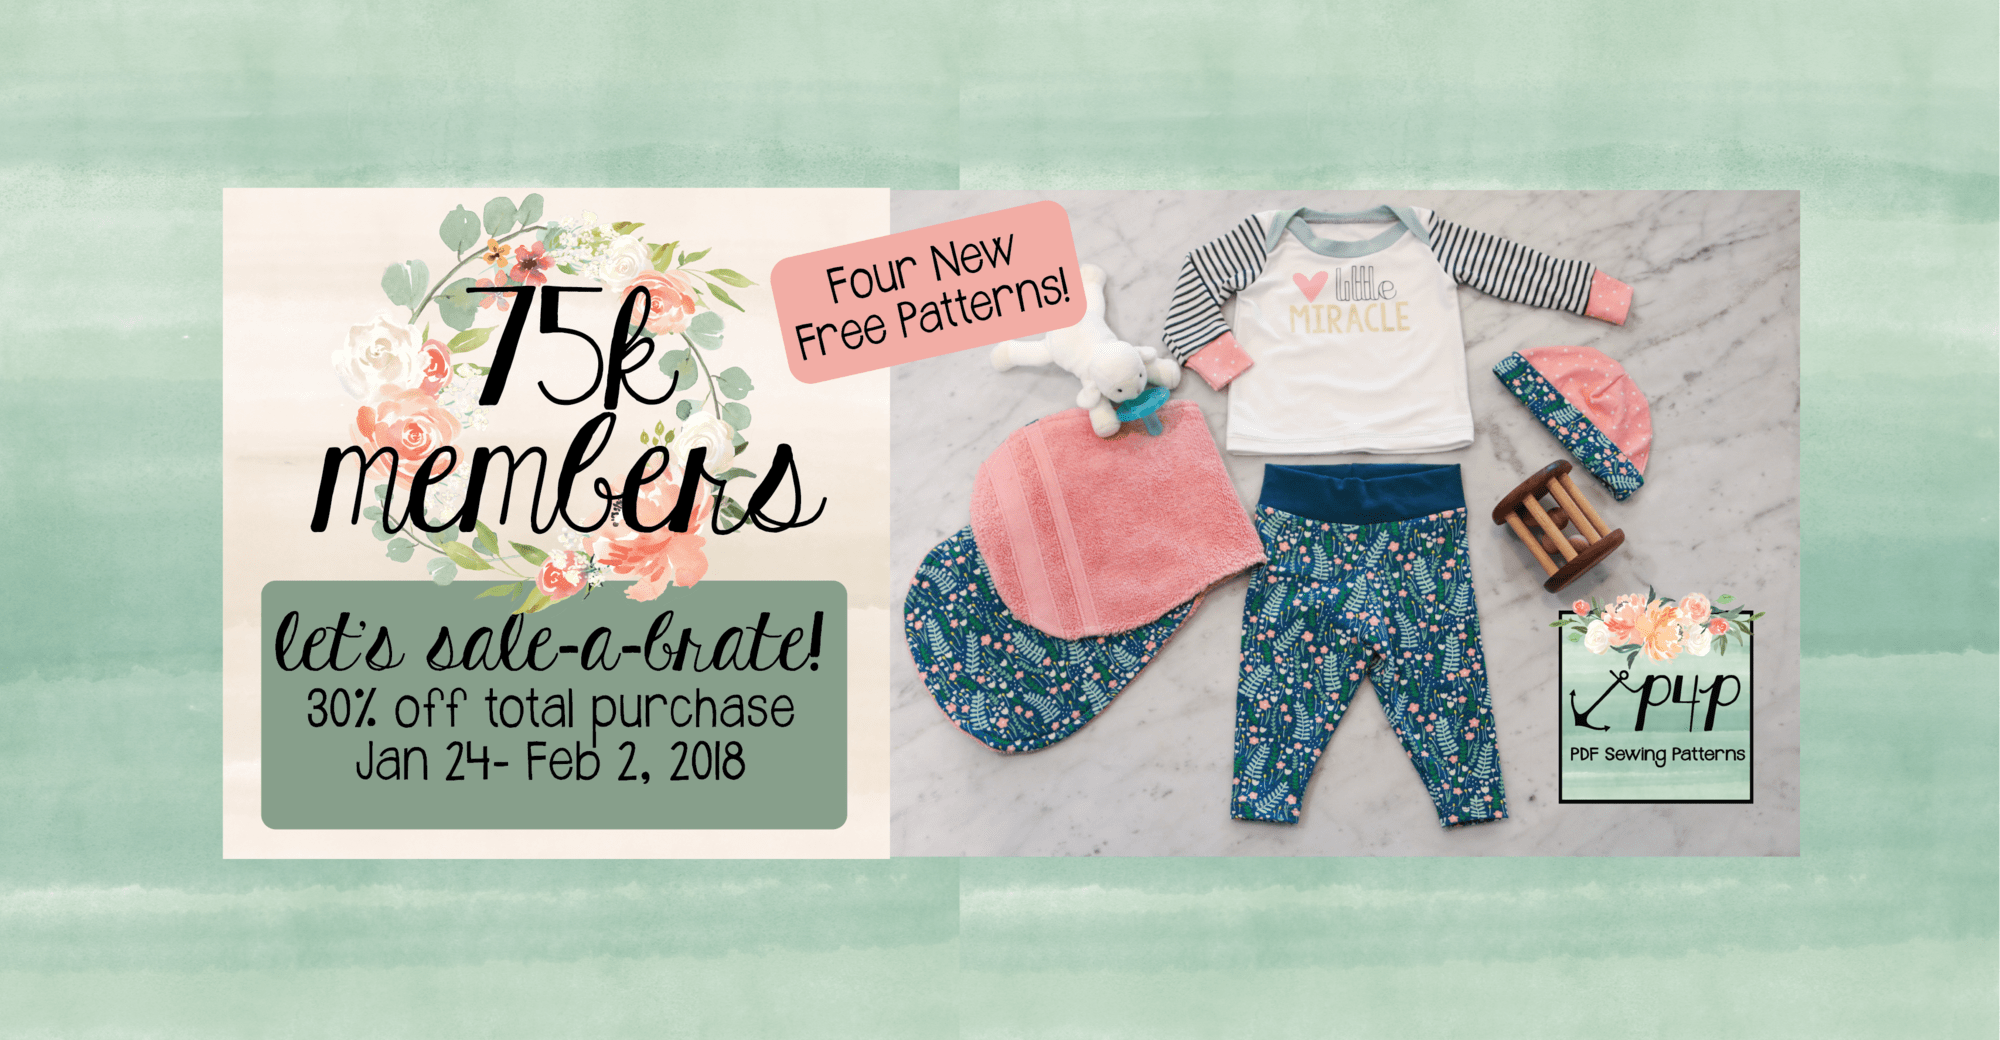
I’m so excited to announce we’ve hit 75k members in our awesome P4P Facebook Group! <3 I love seeing all the inspiration, questions answered, fitting help, and proud first time shares in there! If you’re not a member yet, come join us 🙂
To celebrate we’re having a big sale- 30% off the total site for 10 days! January 24-Feb 2 2018 (US Central Time Zone). There is a coupon code- 75ksale – but don’t worry it will pop up for you in your checkout! So you don’t need to worry about remembering it or writing it down!

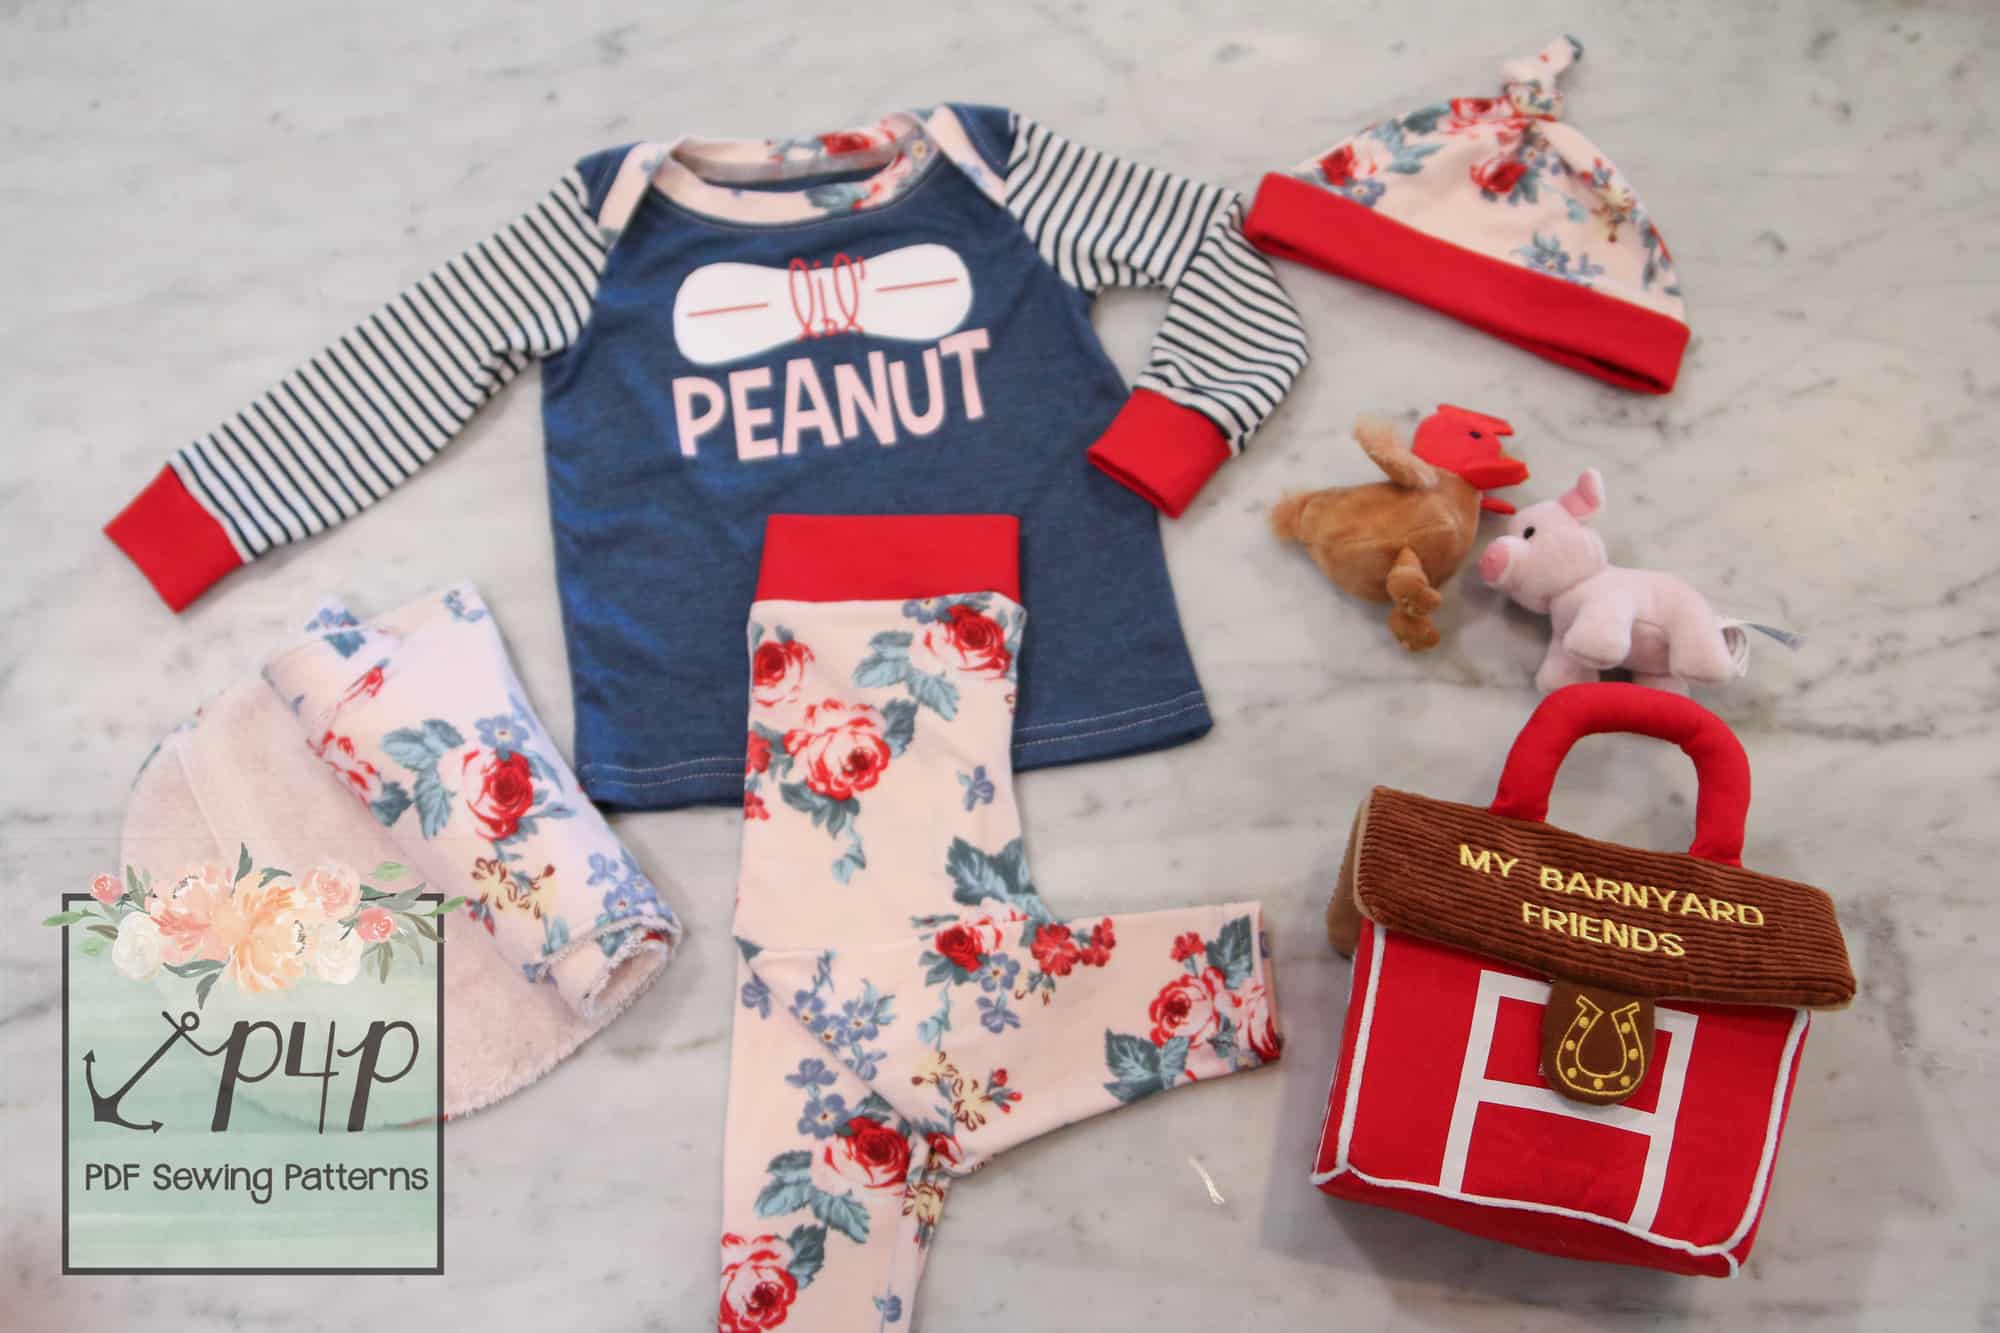
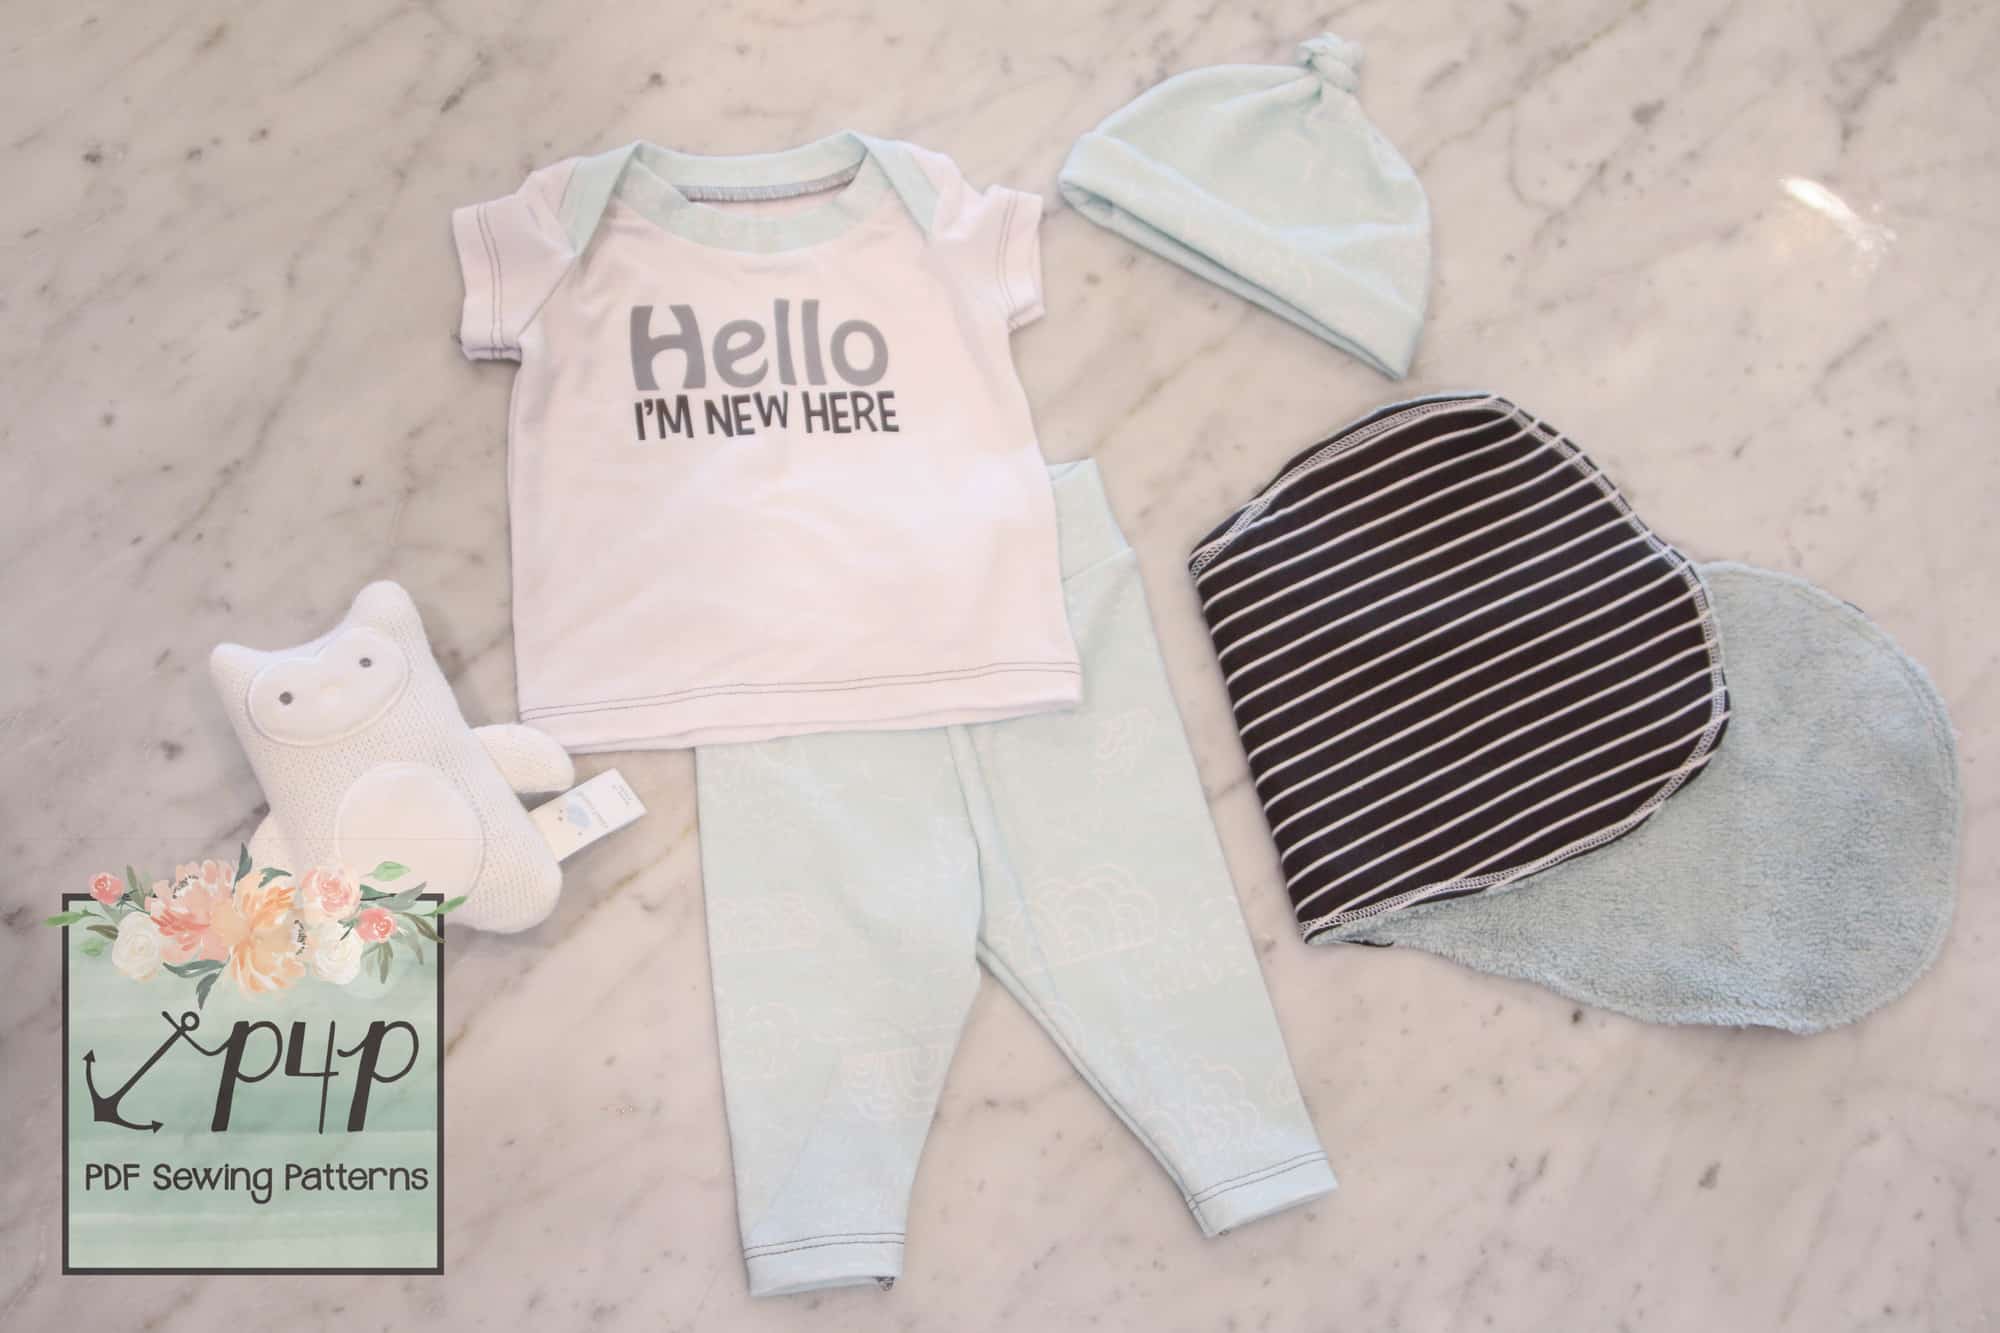
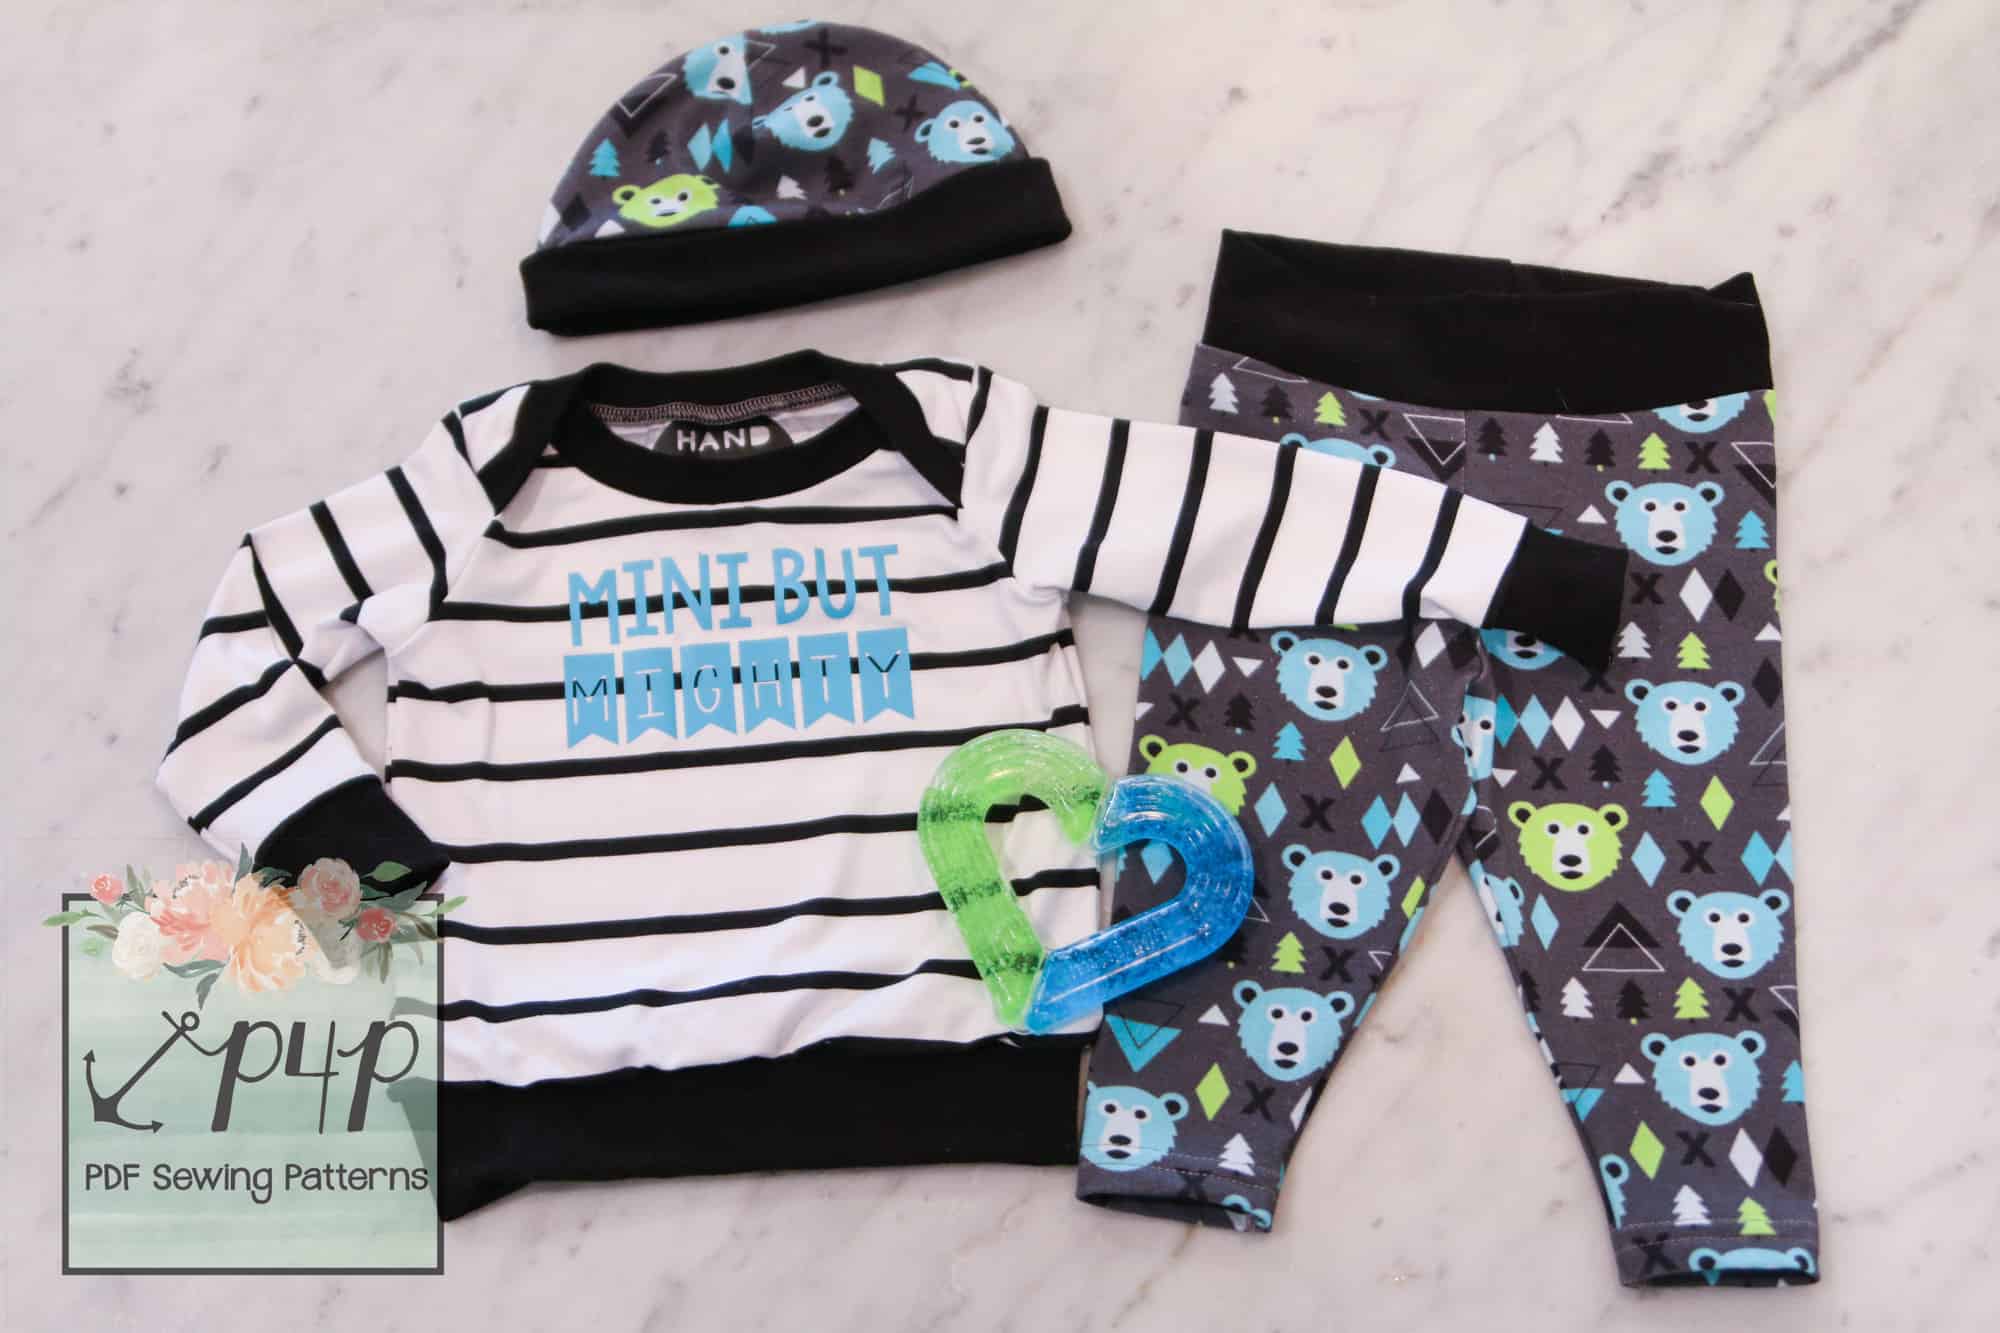
We thought we’d do even more than just a sale though and have worked hard behind the scenes to create a whole Baby Set of Free patterns for you!!! I LOVE getting invited to a baby shower and making some unique handmade items for the mama and baby! Since my patterns start at 3 months there are a few great ones I go to for baby shower gifts…BUT, I’ve always thought there were a few teeny tiny newborn size things I’d love to have a pattern for as well!
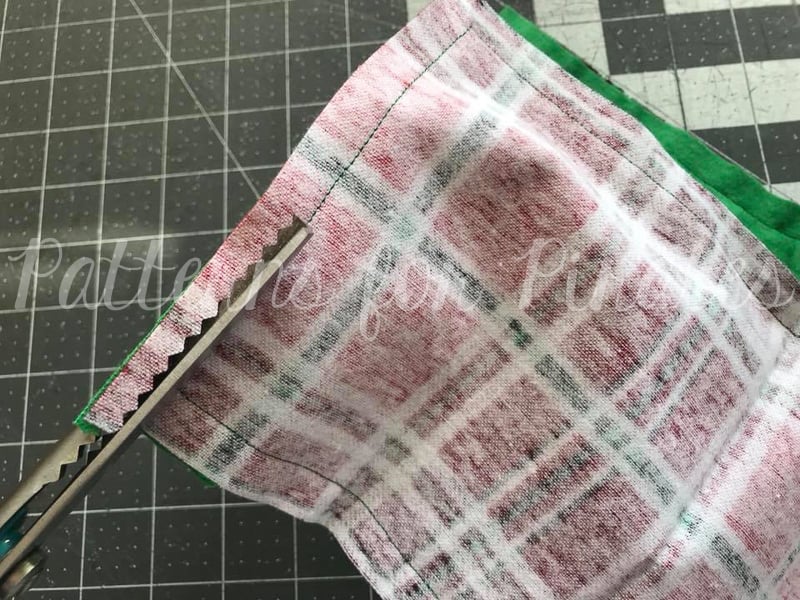
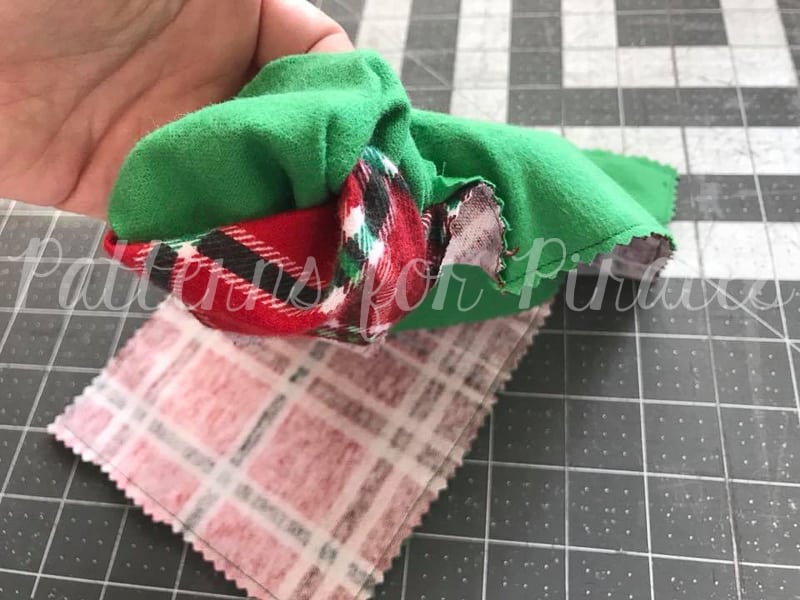
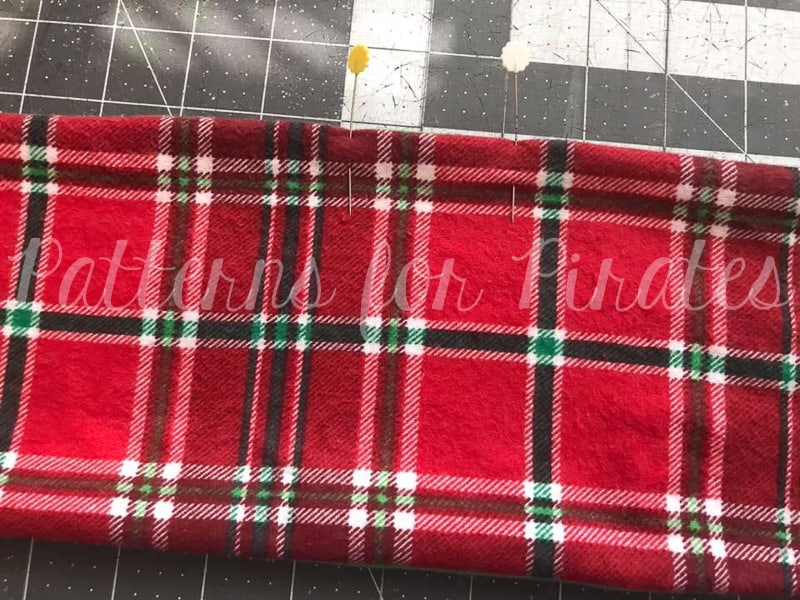
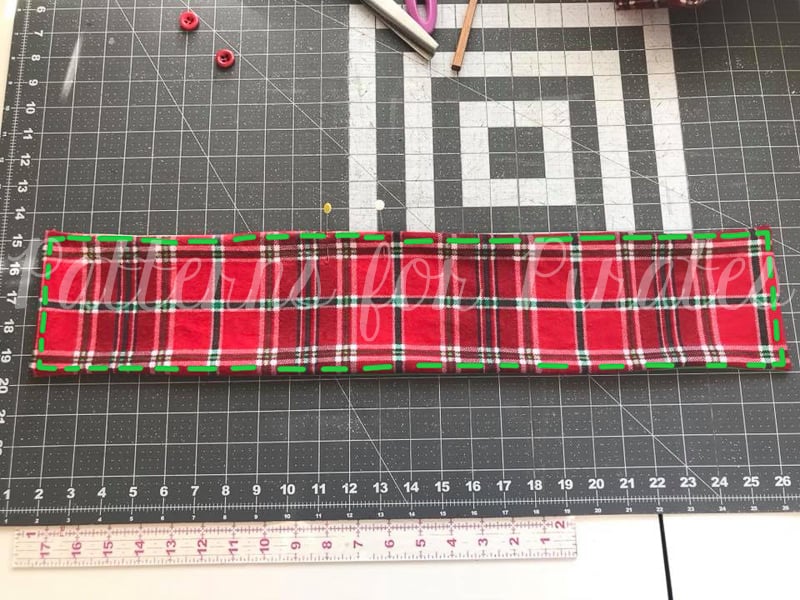
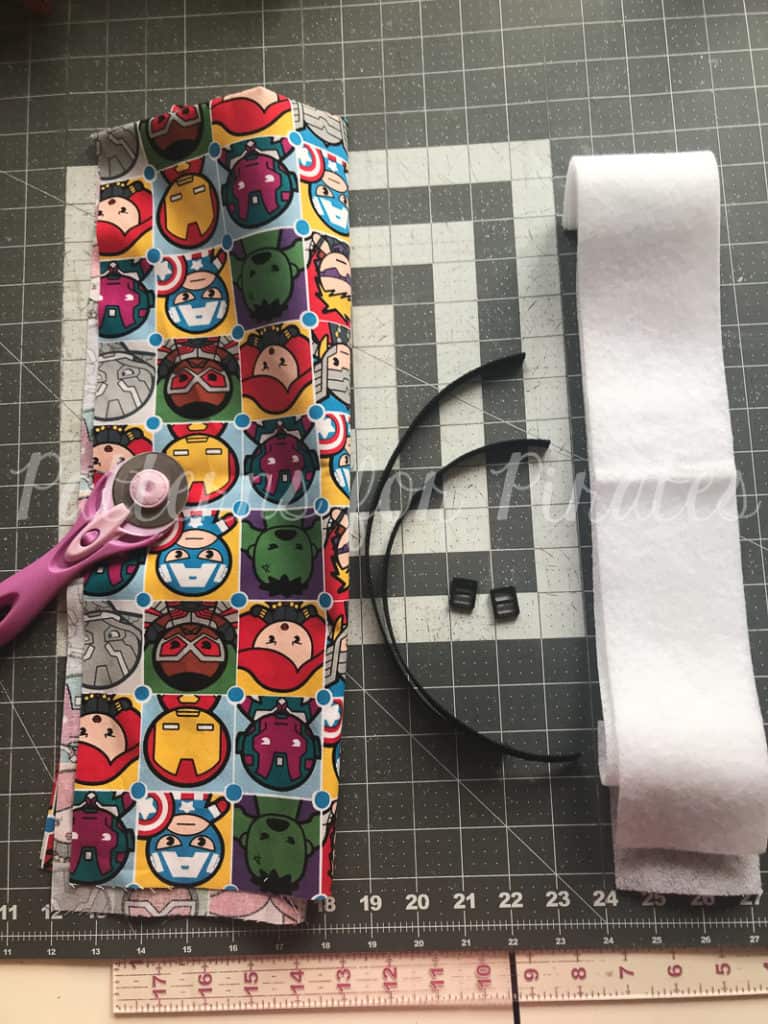
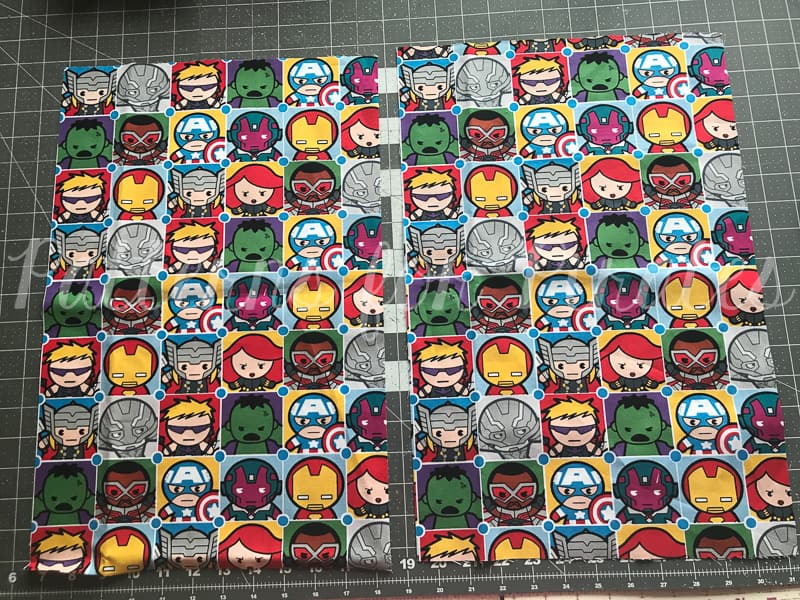
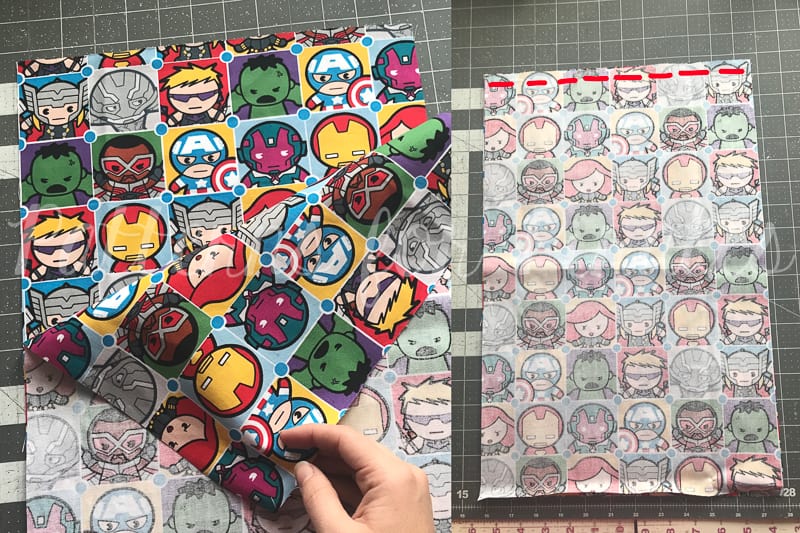
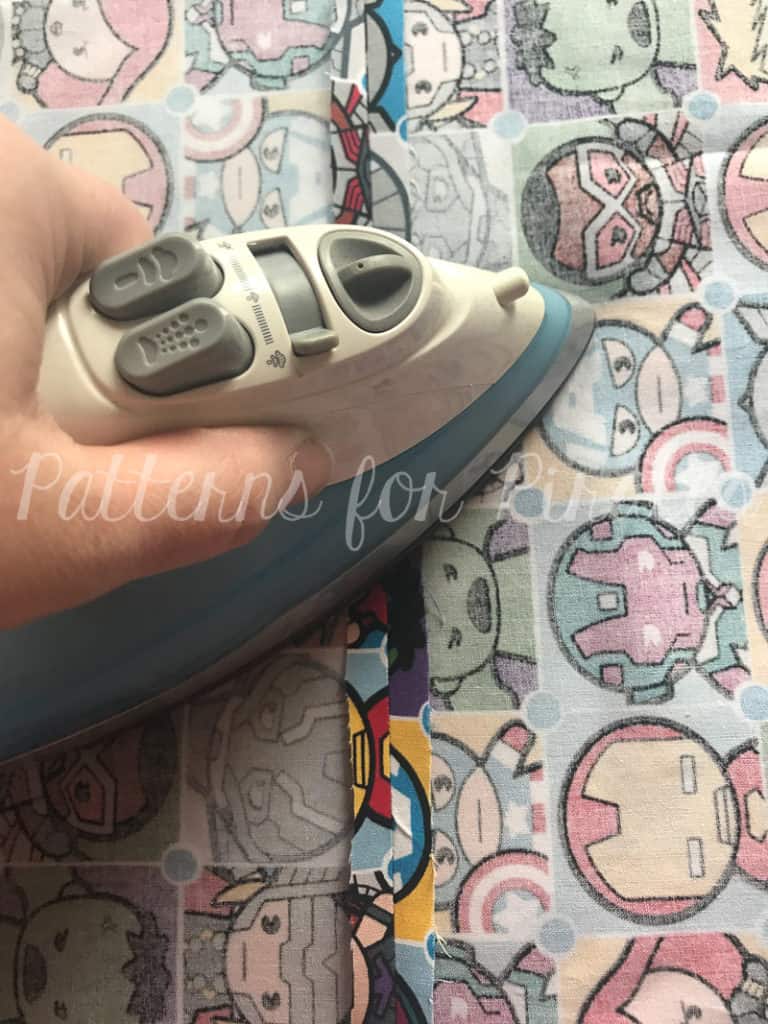
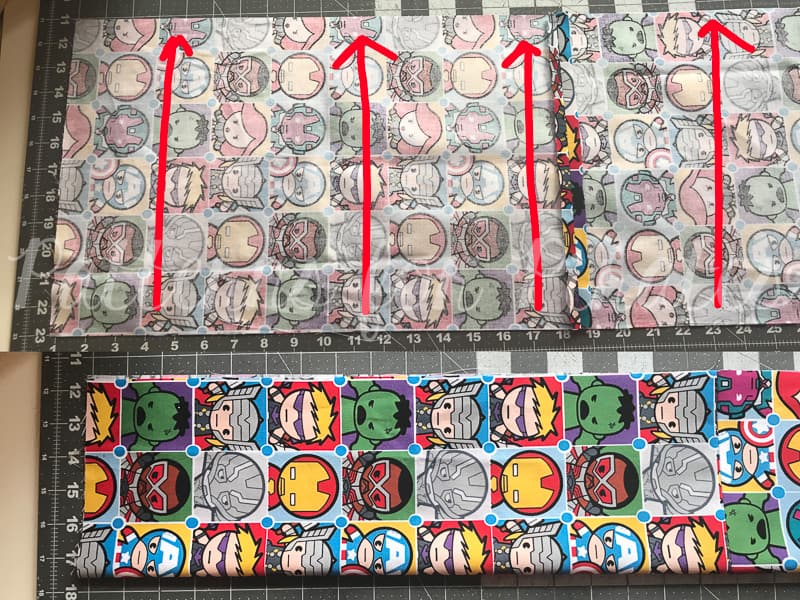
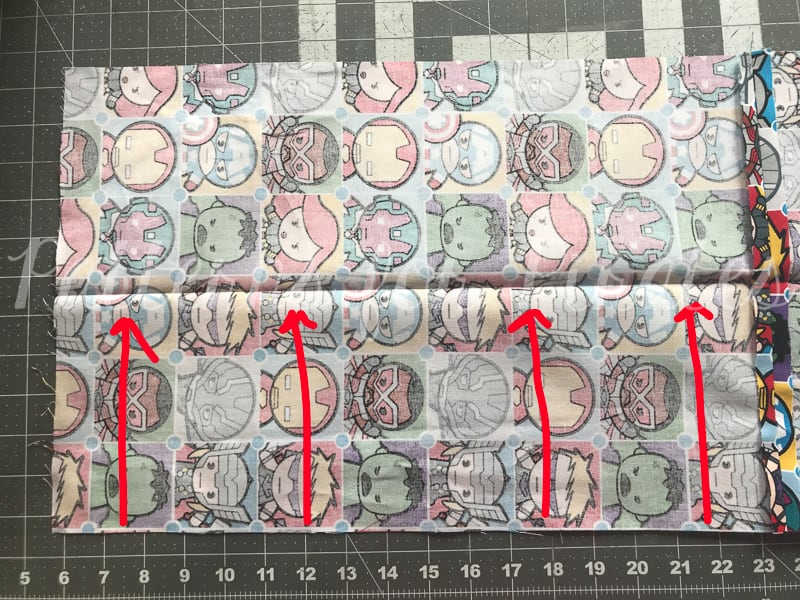
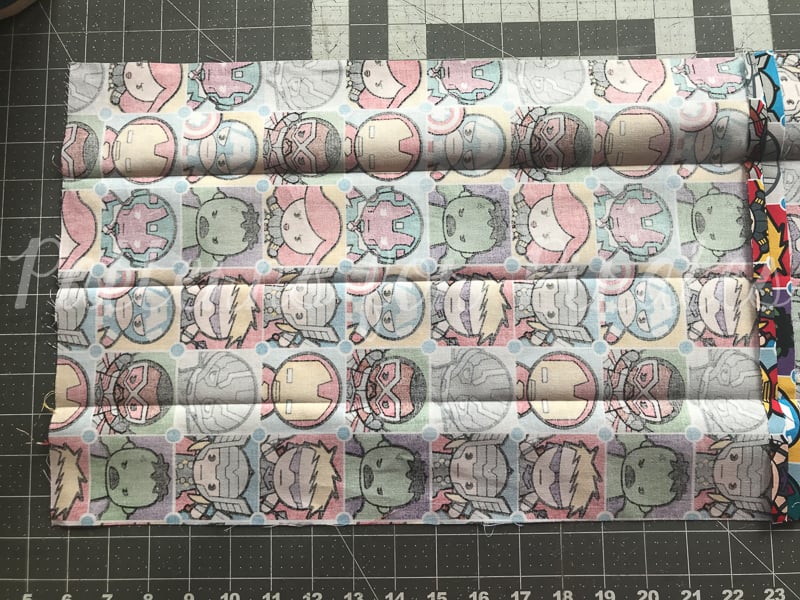
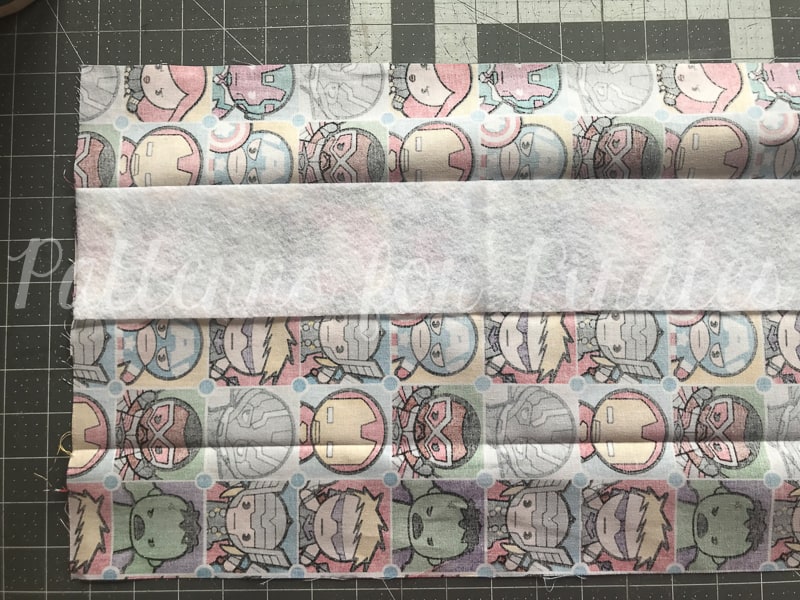
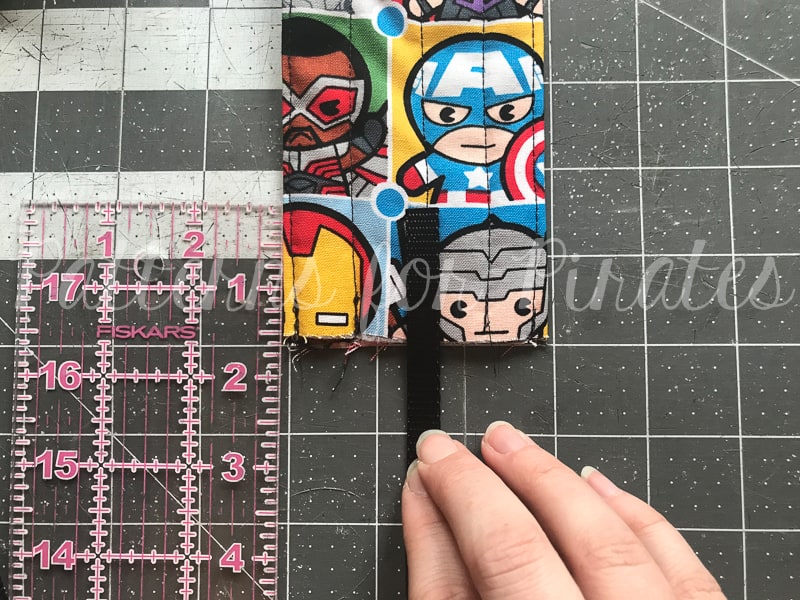
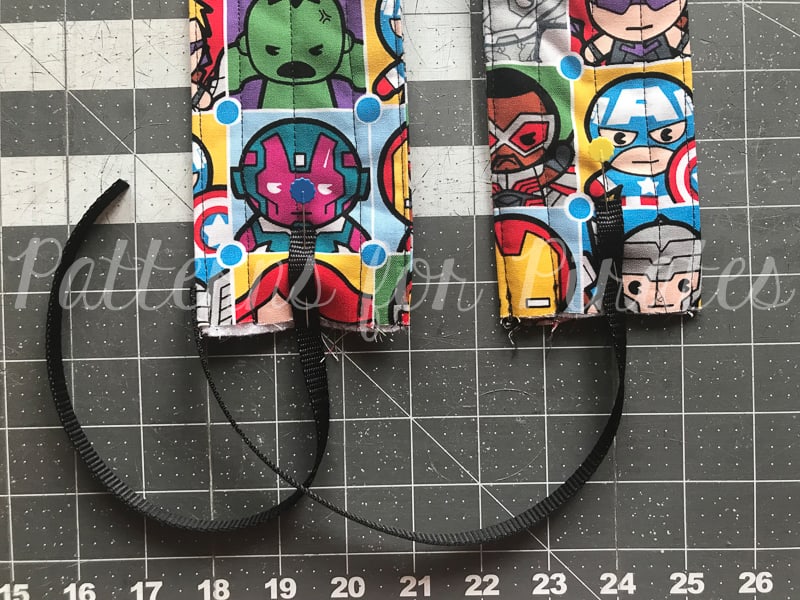
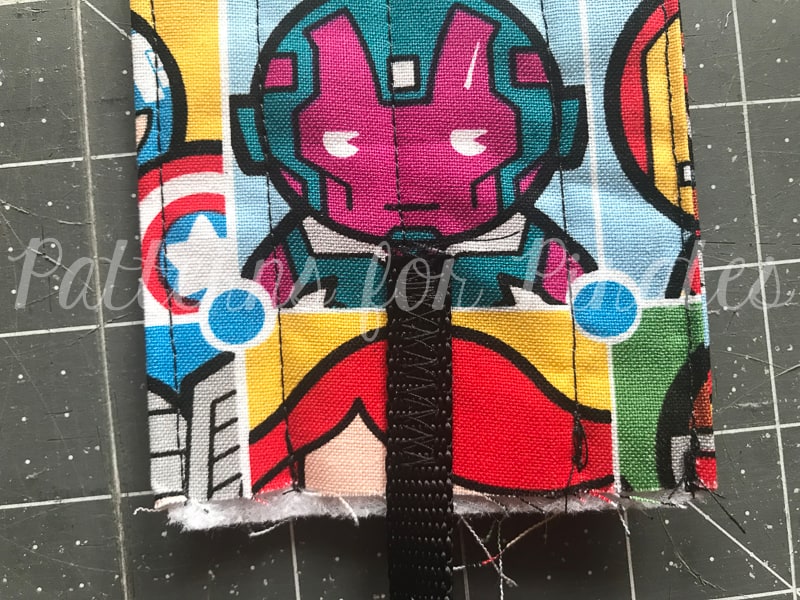
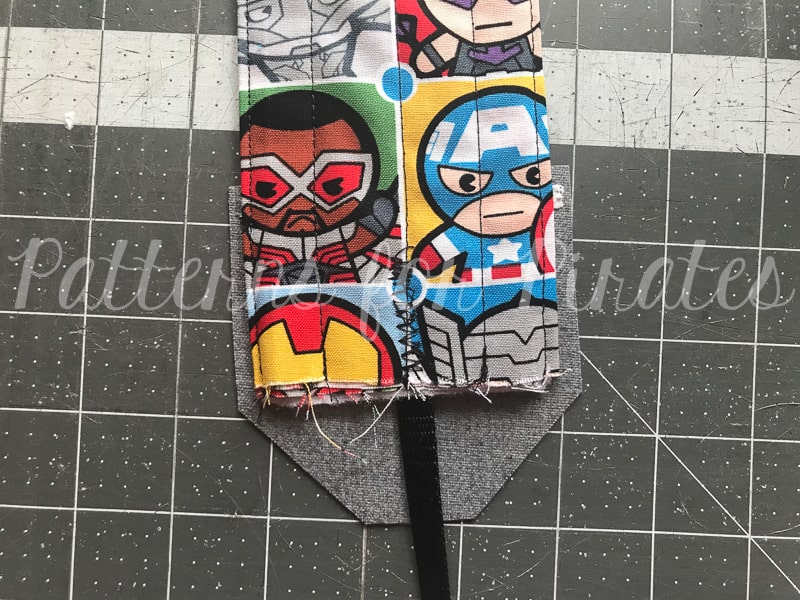
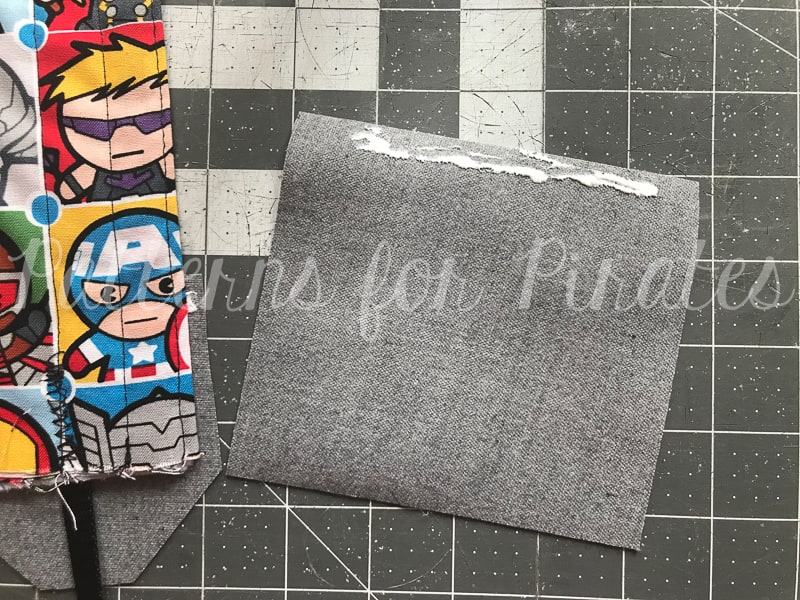
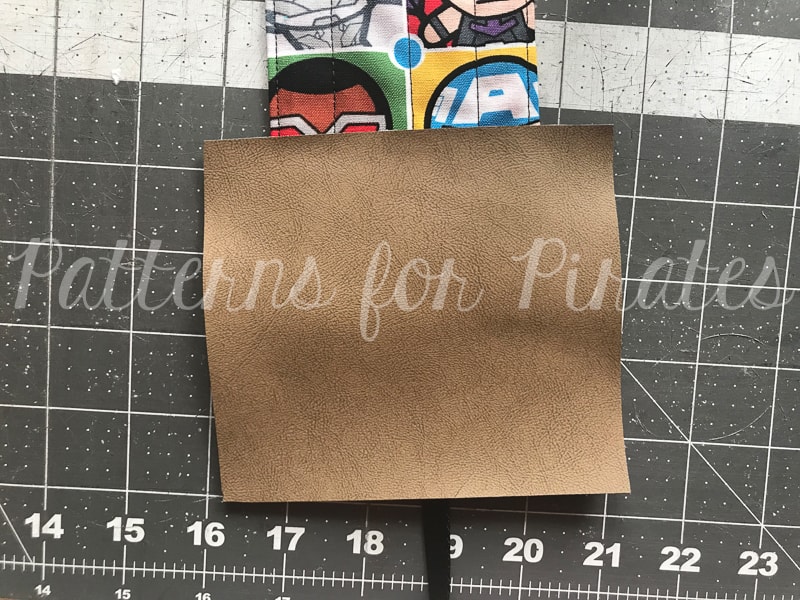
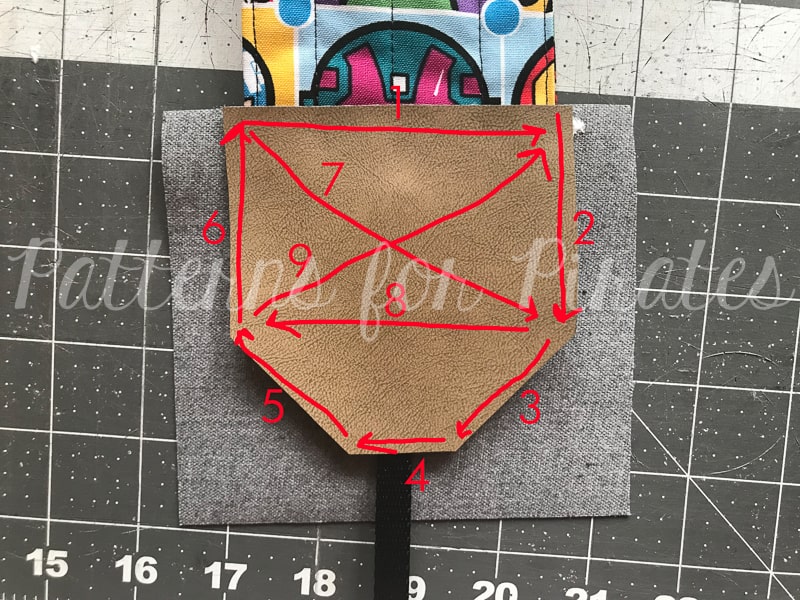
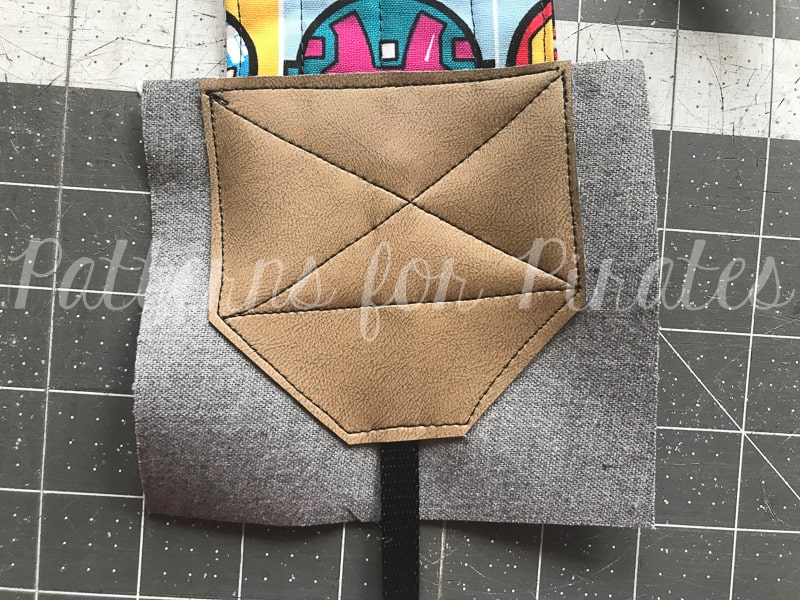
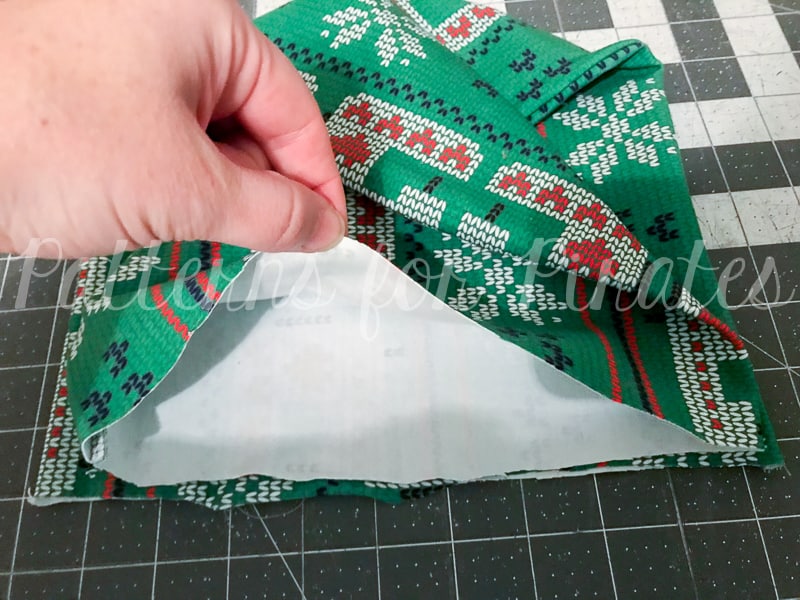
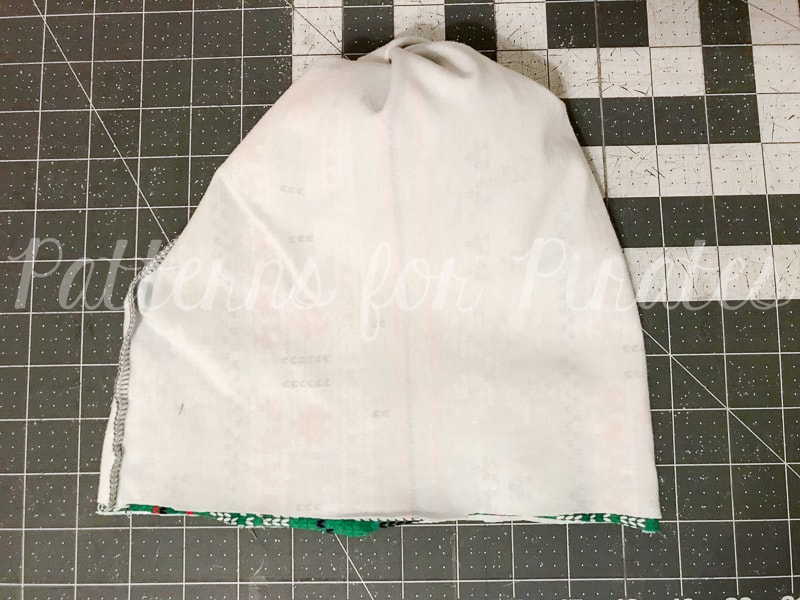
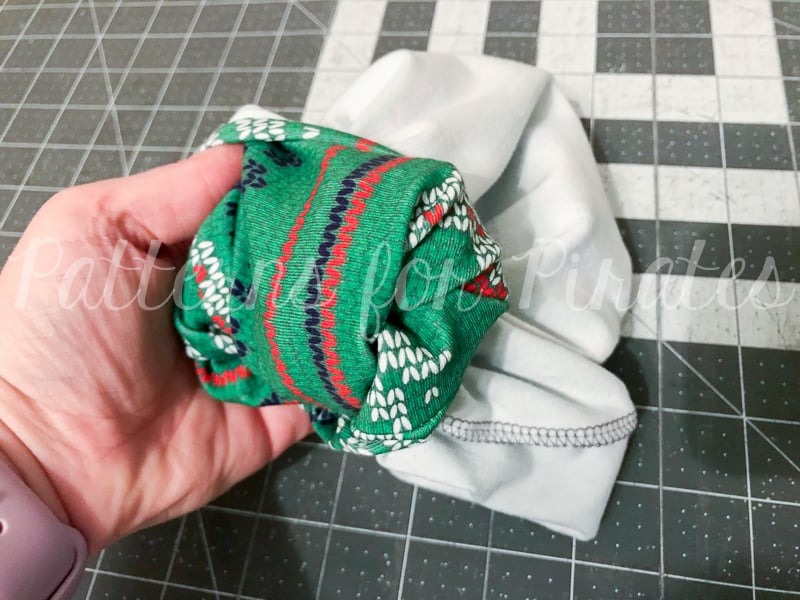
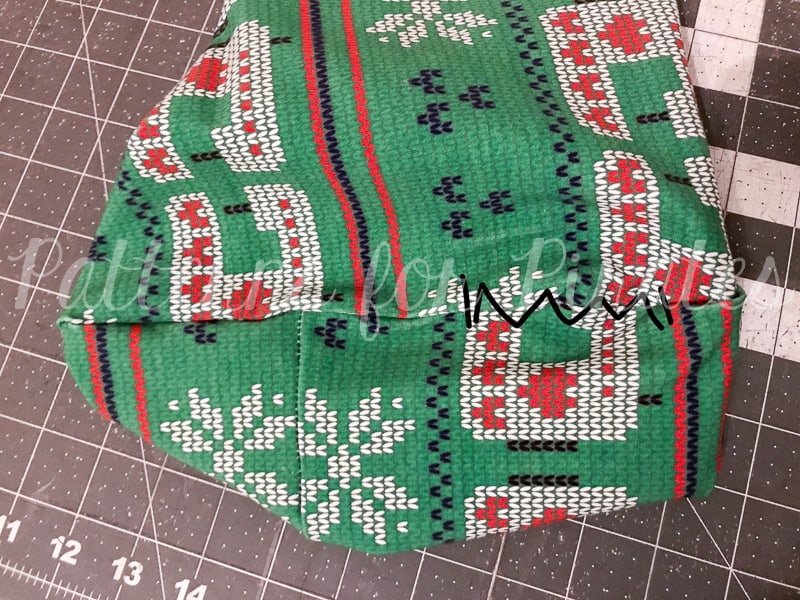
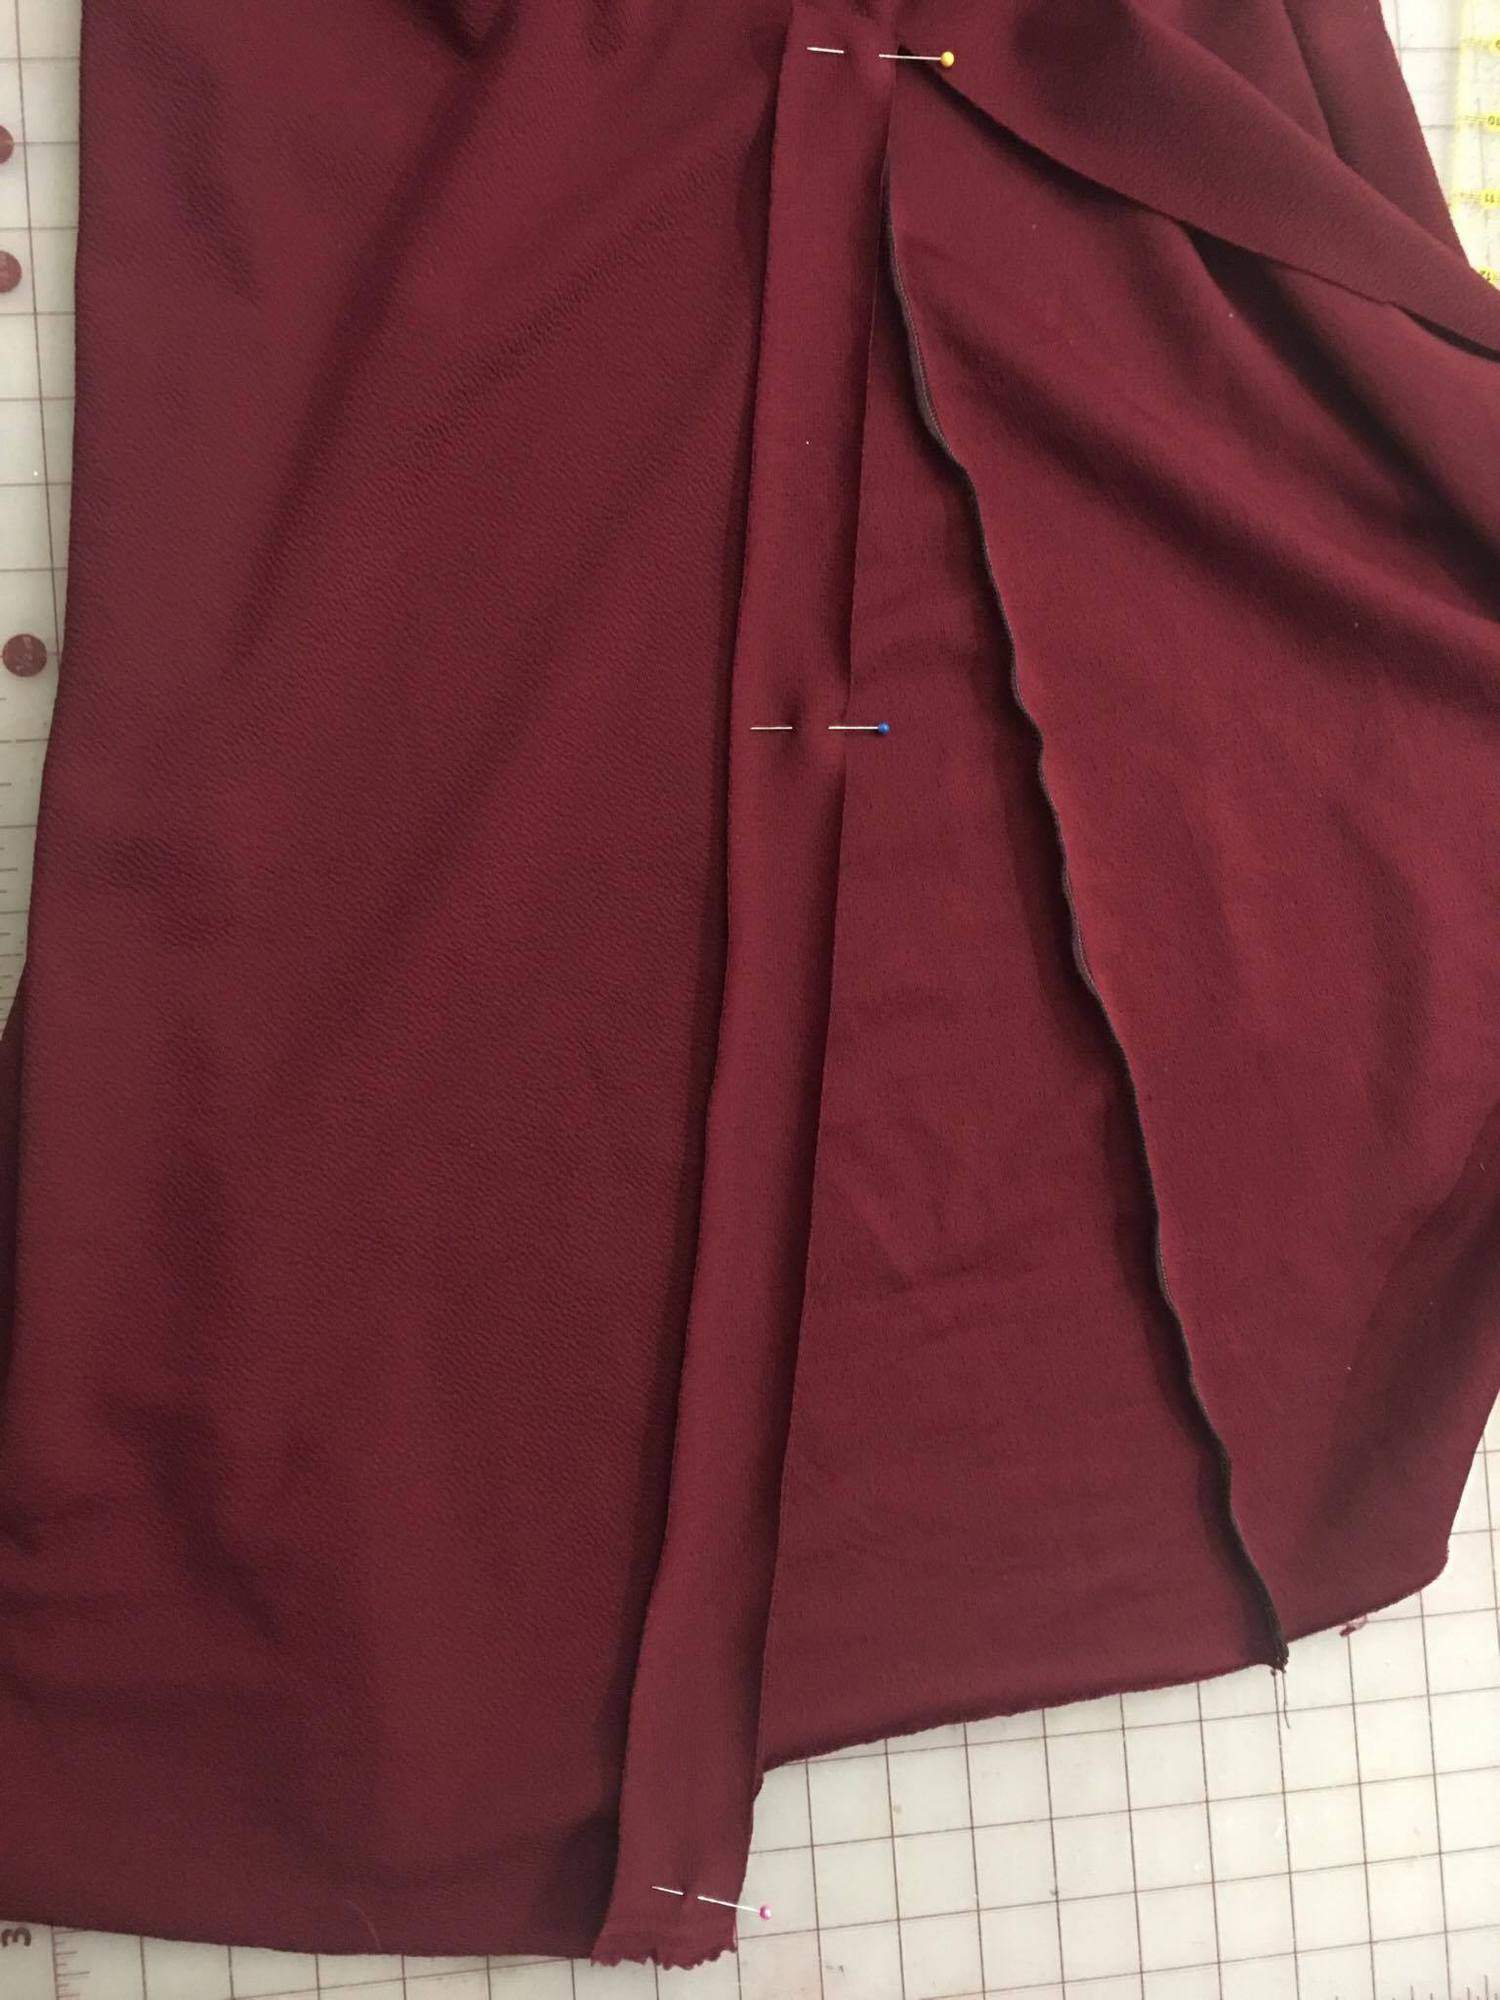
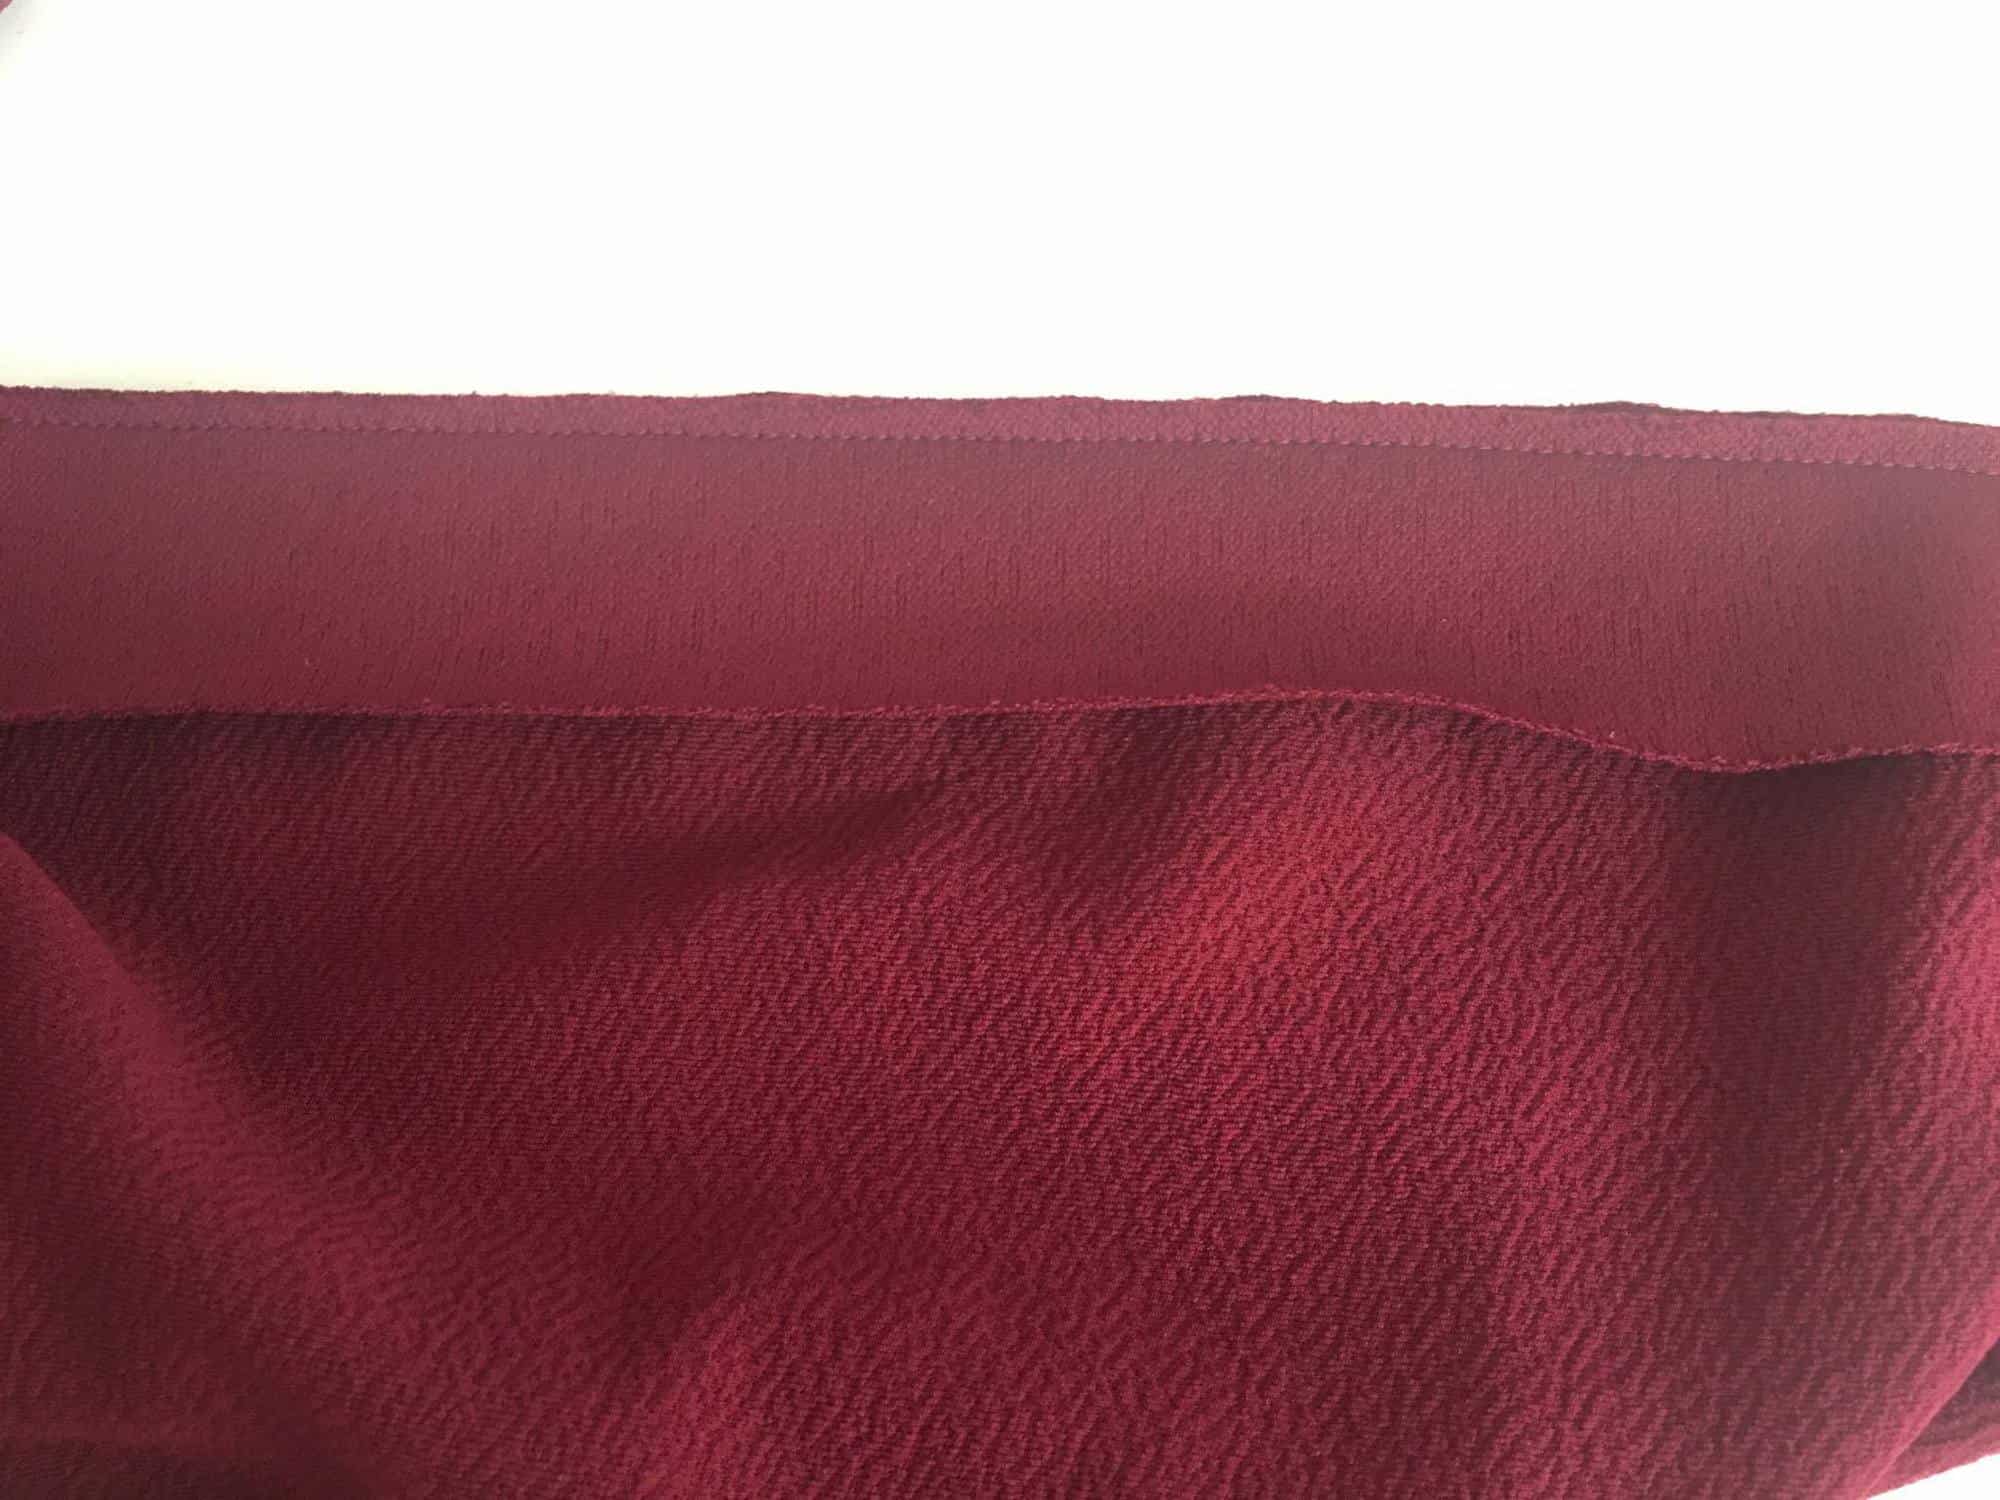
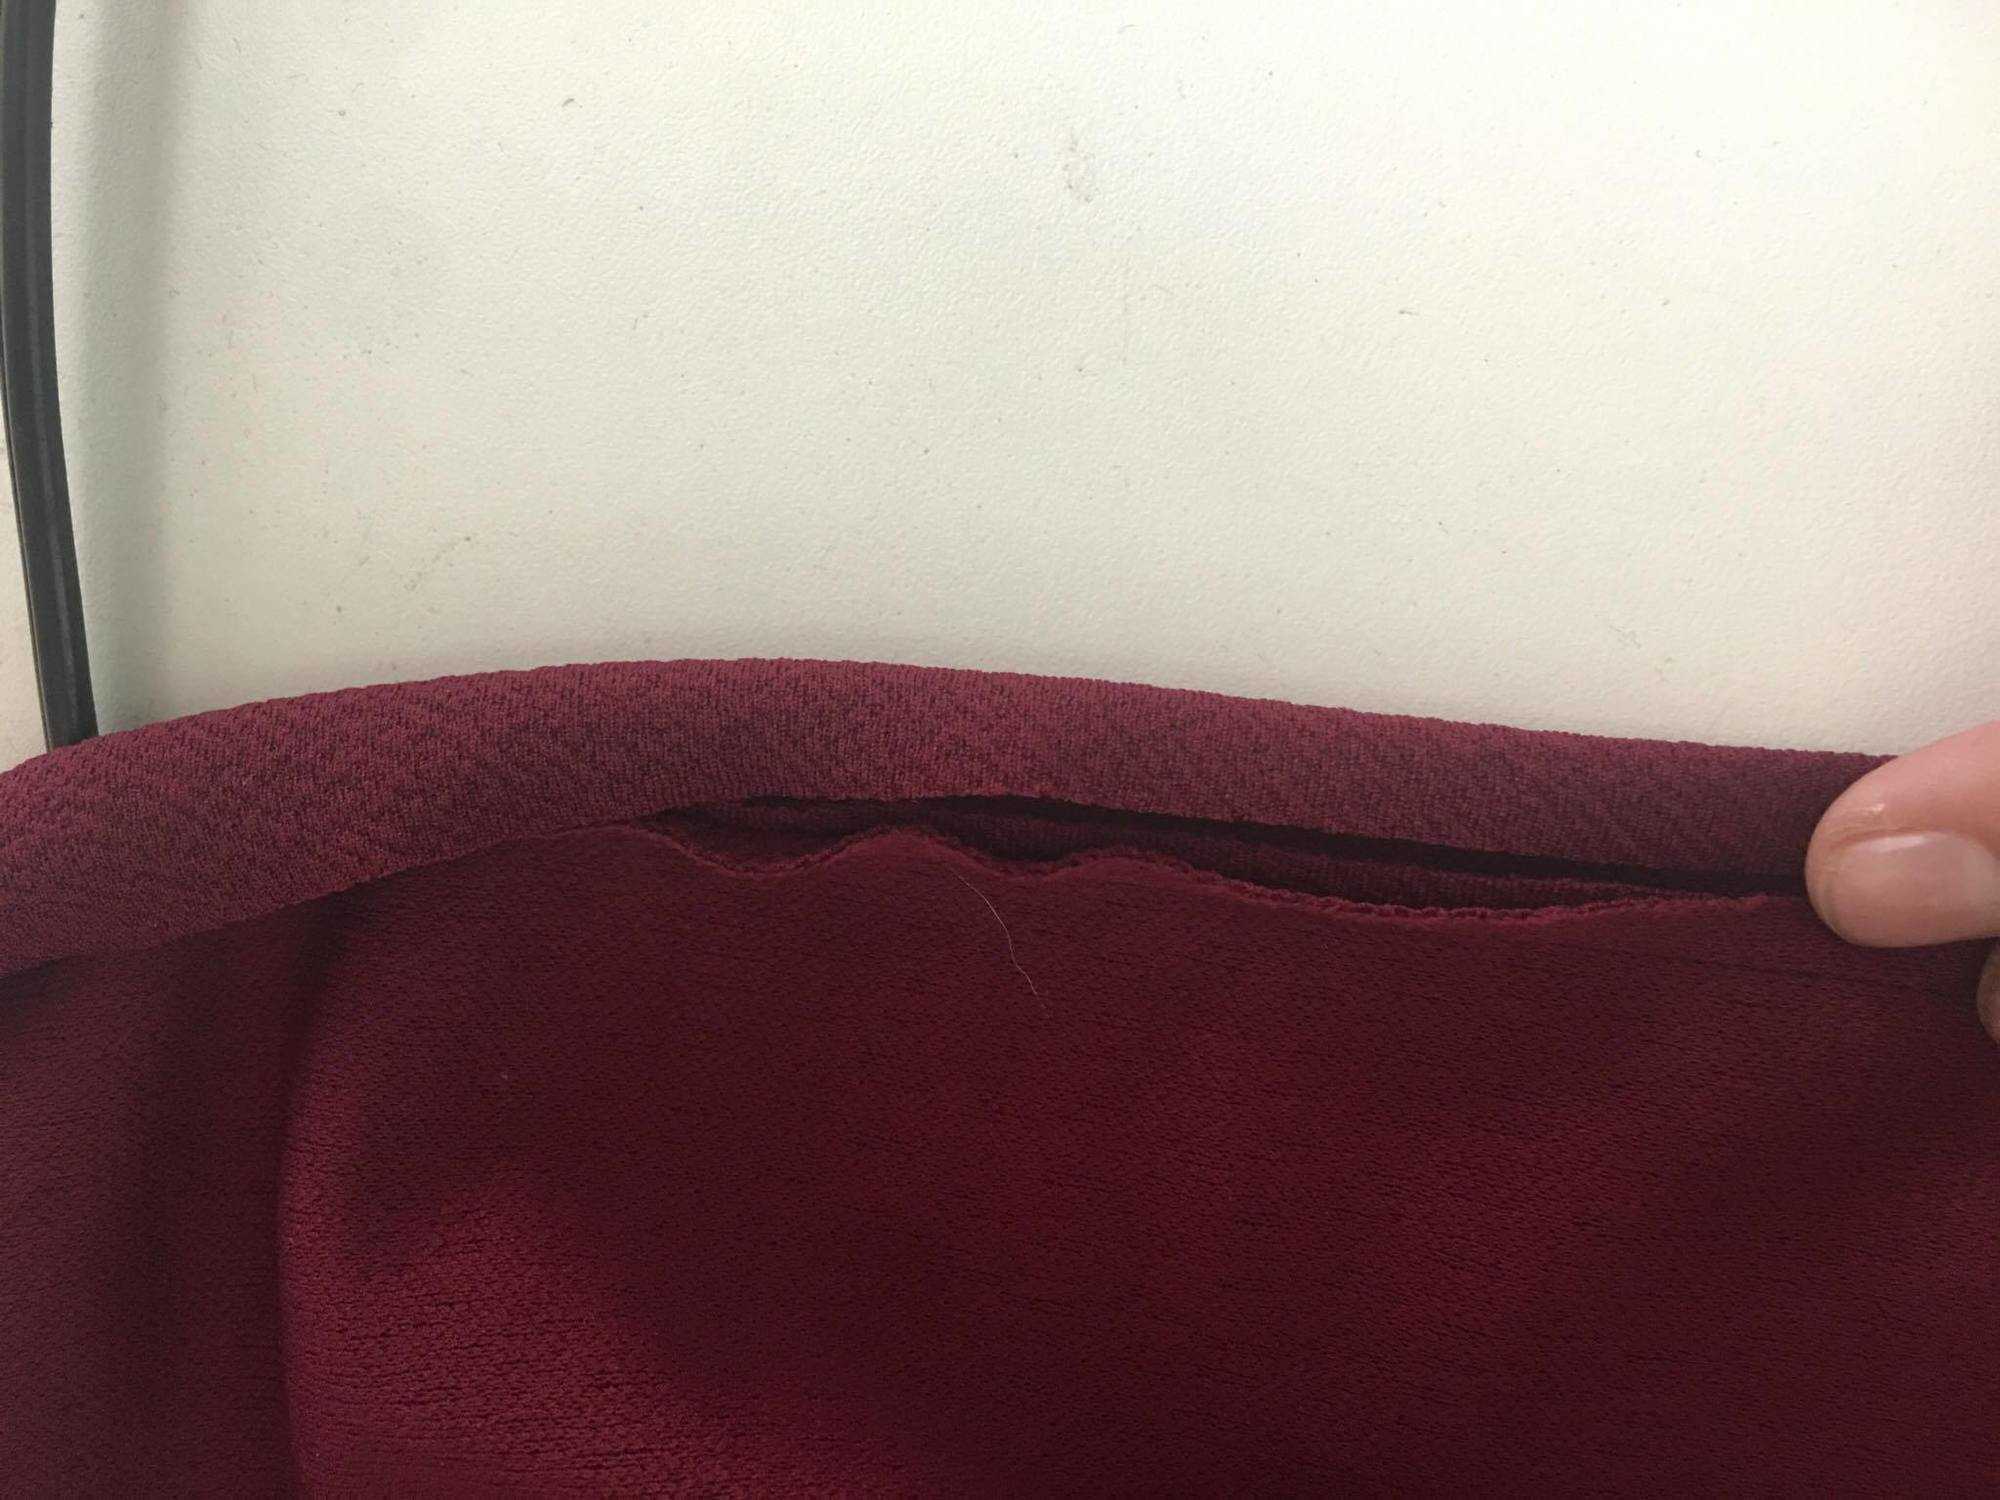
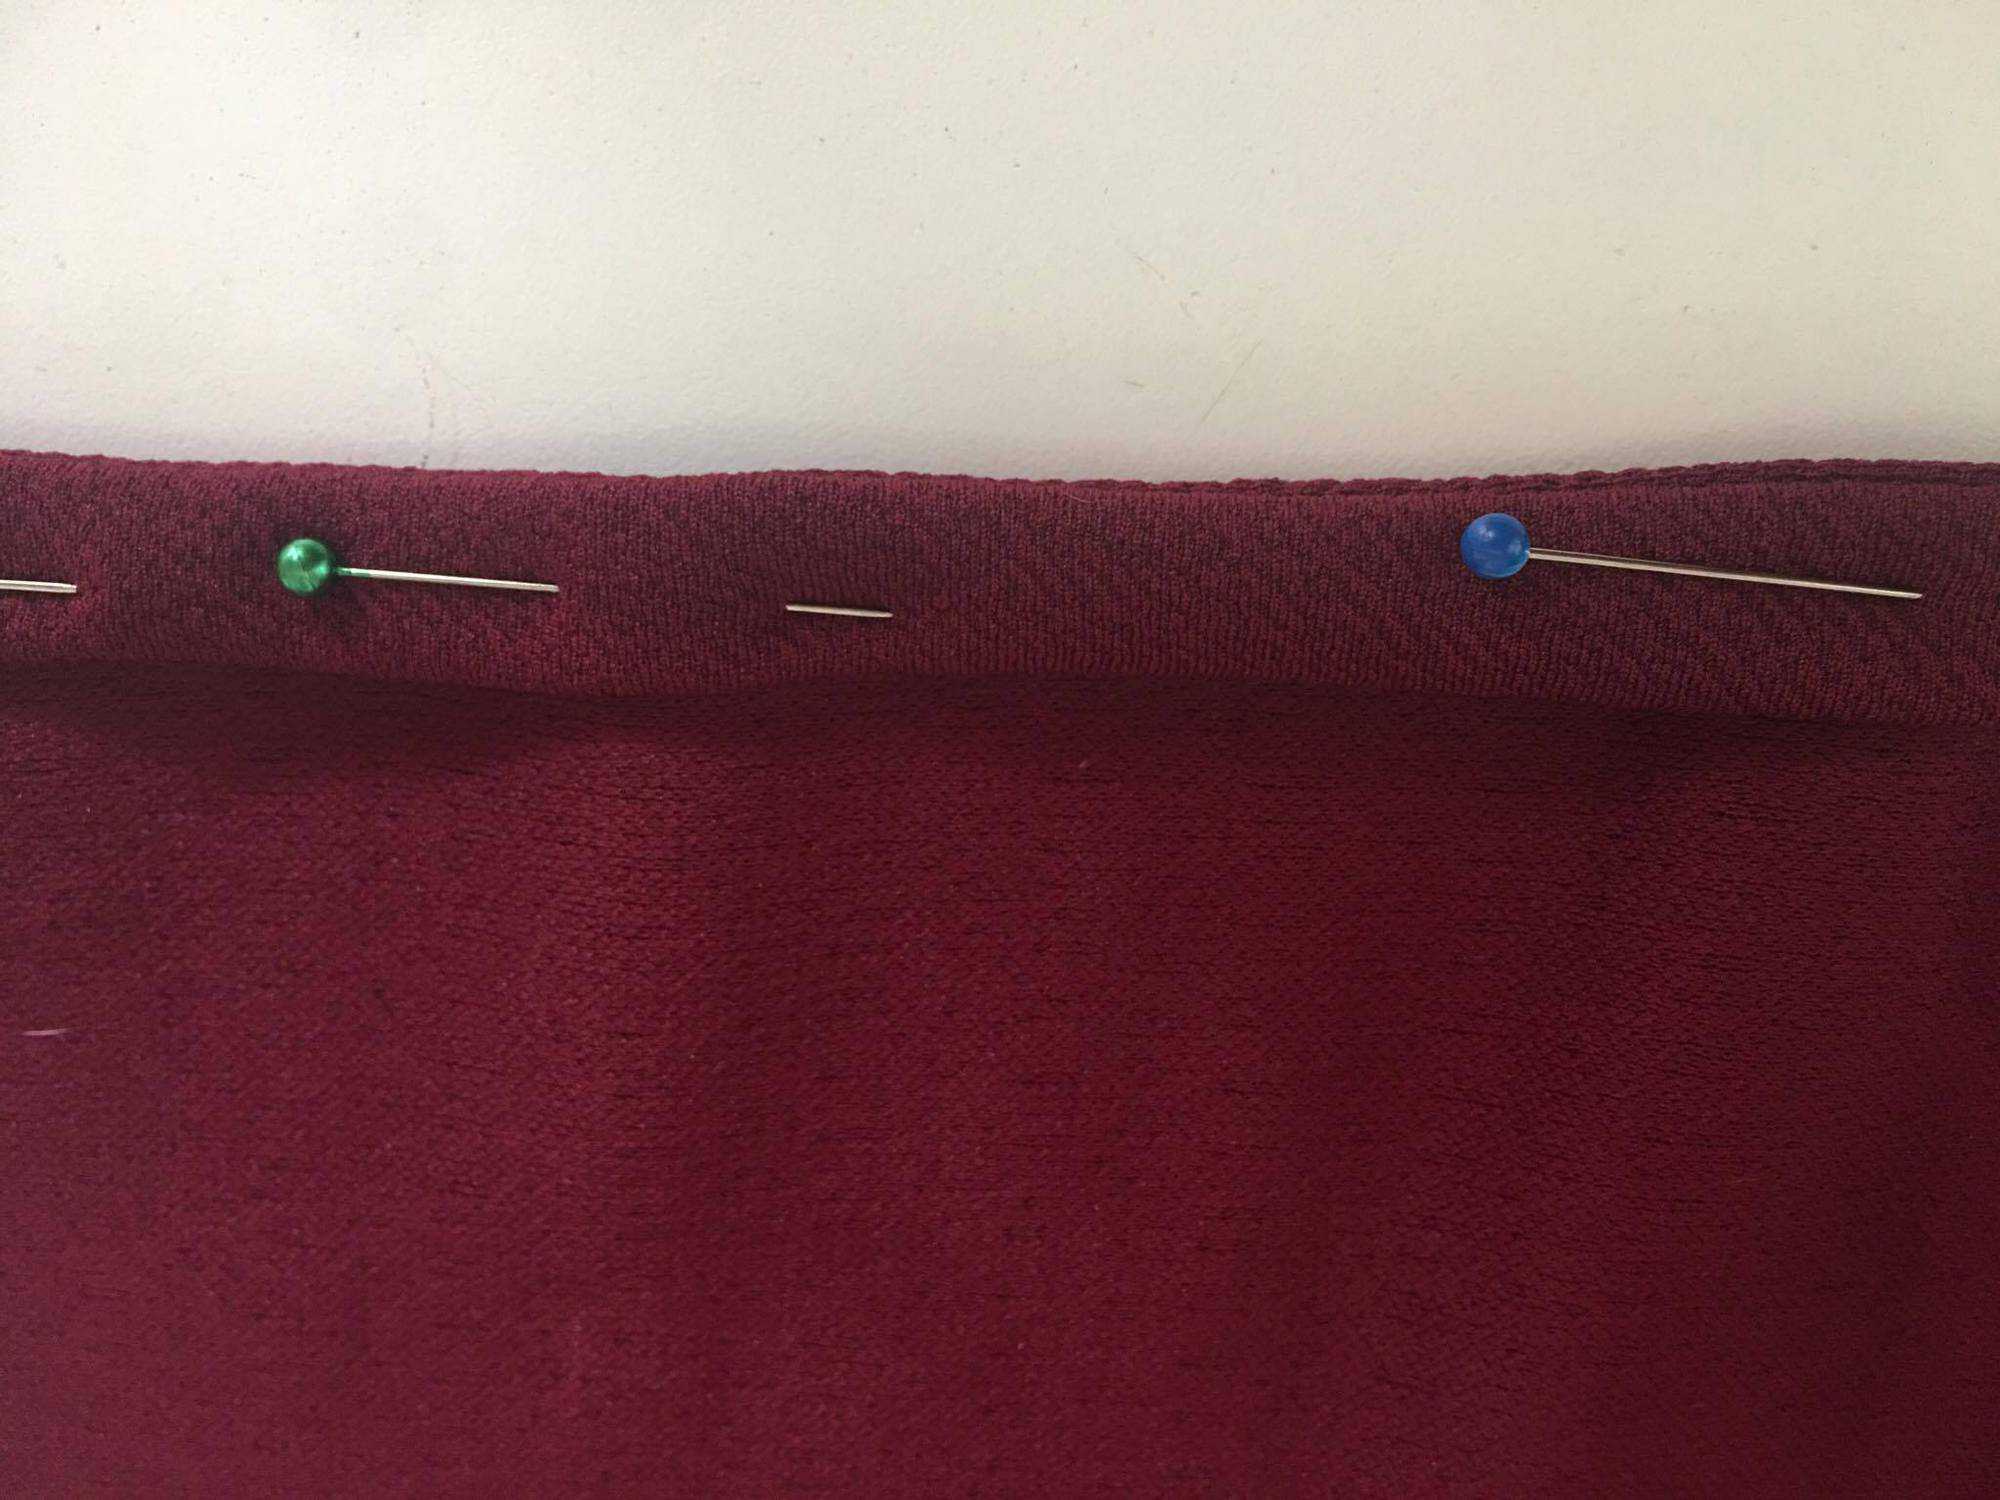
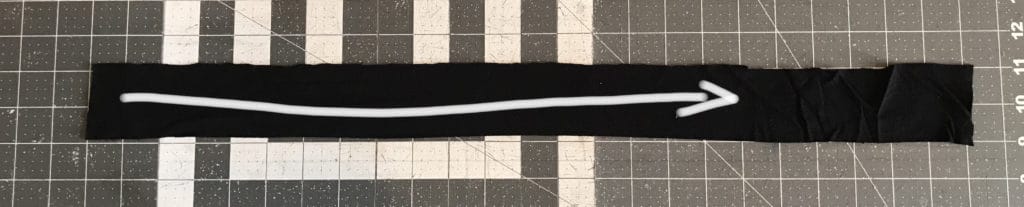
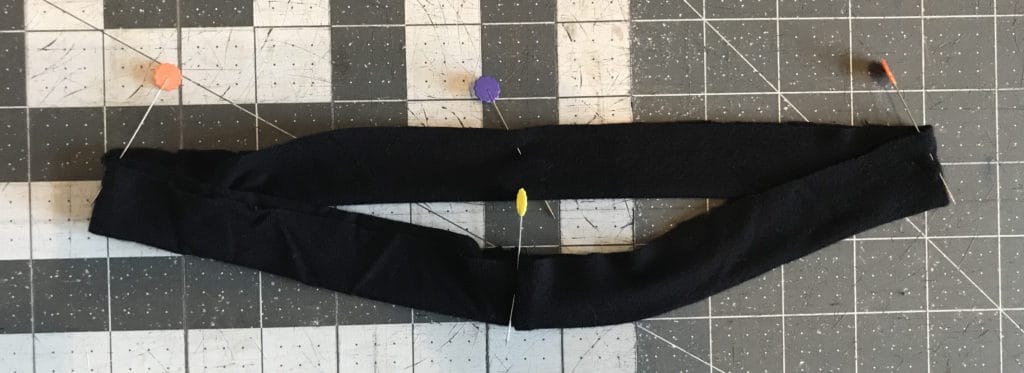
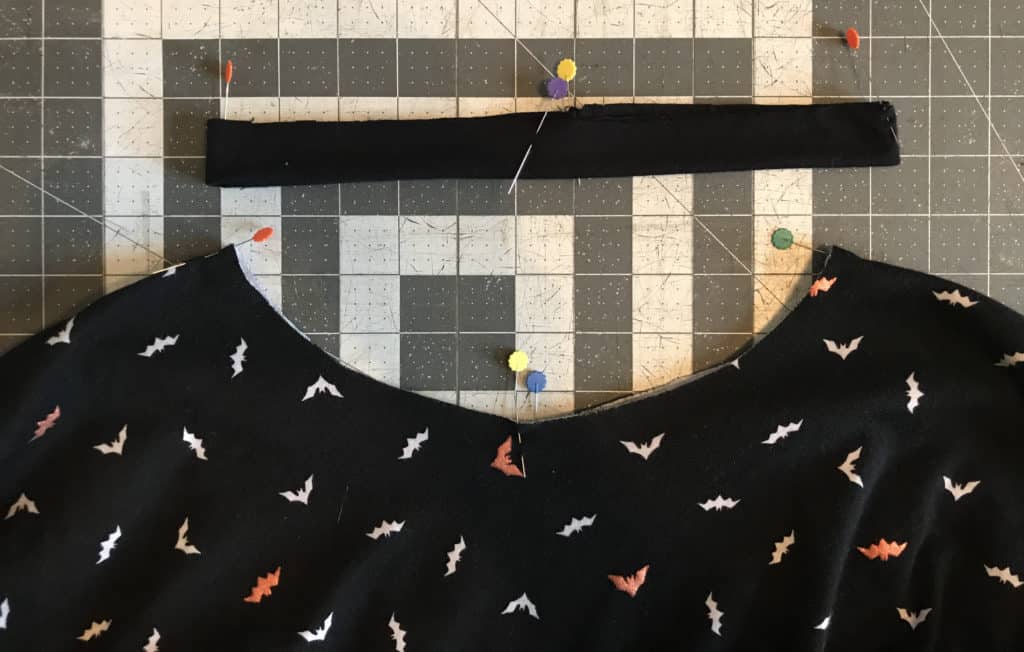
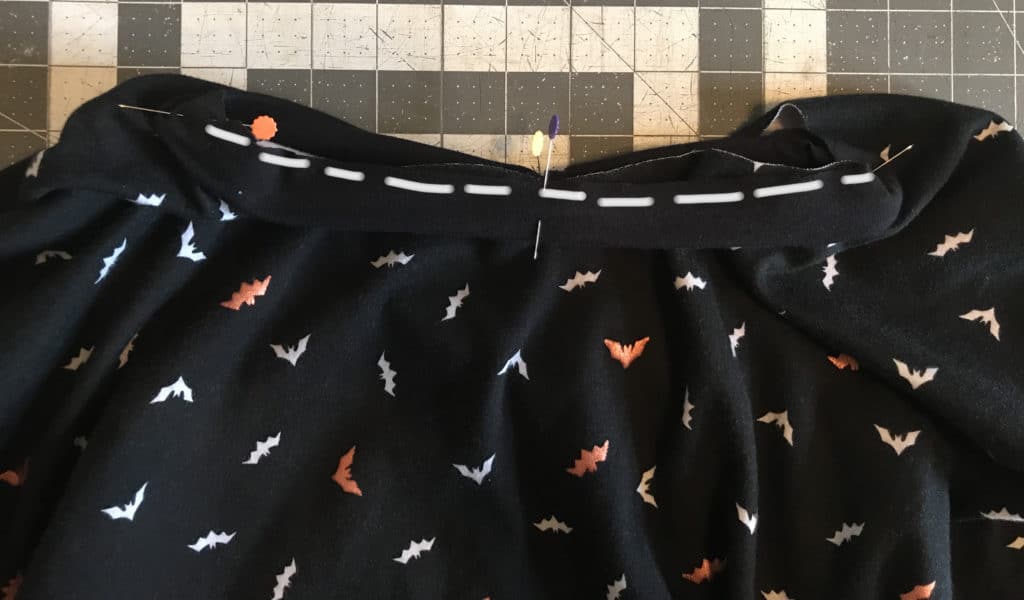
I KNEW we needed a Wee Lap Tee, the envelope style neckline makes dressing newborns easier, and OF COURSE we needed Petite Pegs 🙂 We’ve been asked so many times for baby sizes of our Free Peg Legs pattern it was a no brainer! We added the Teeny Beanie to keep those little head and ears warm and a quick and easy burp cloth too. I also couldn’t help myself to a few cute cut files to add on to the gifts as well!
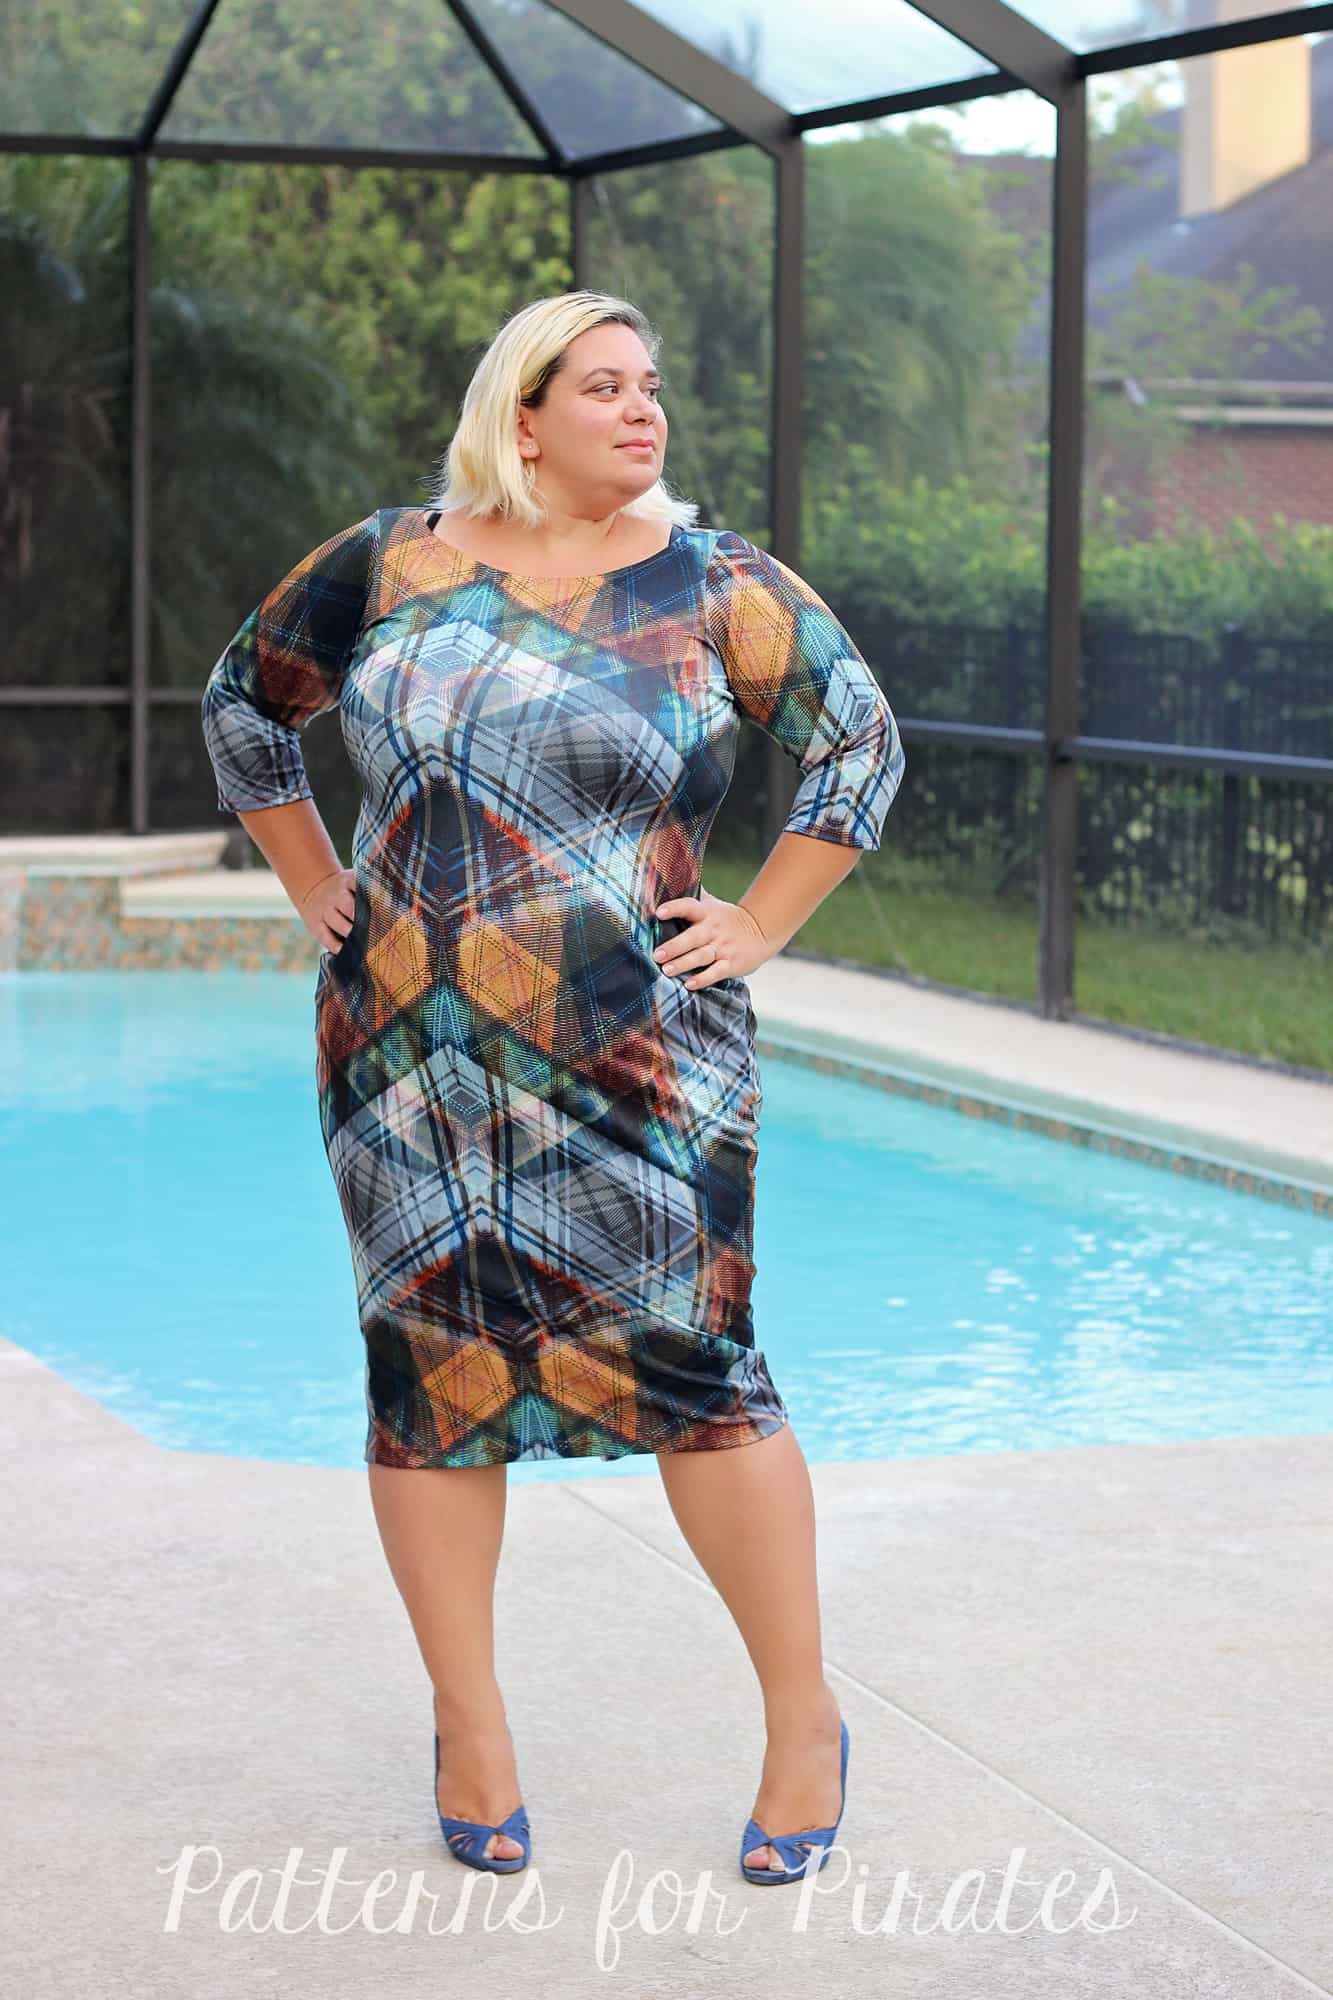
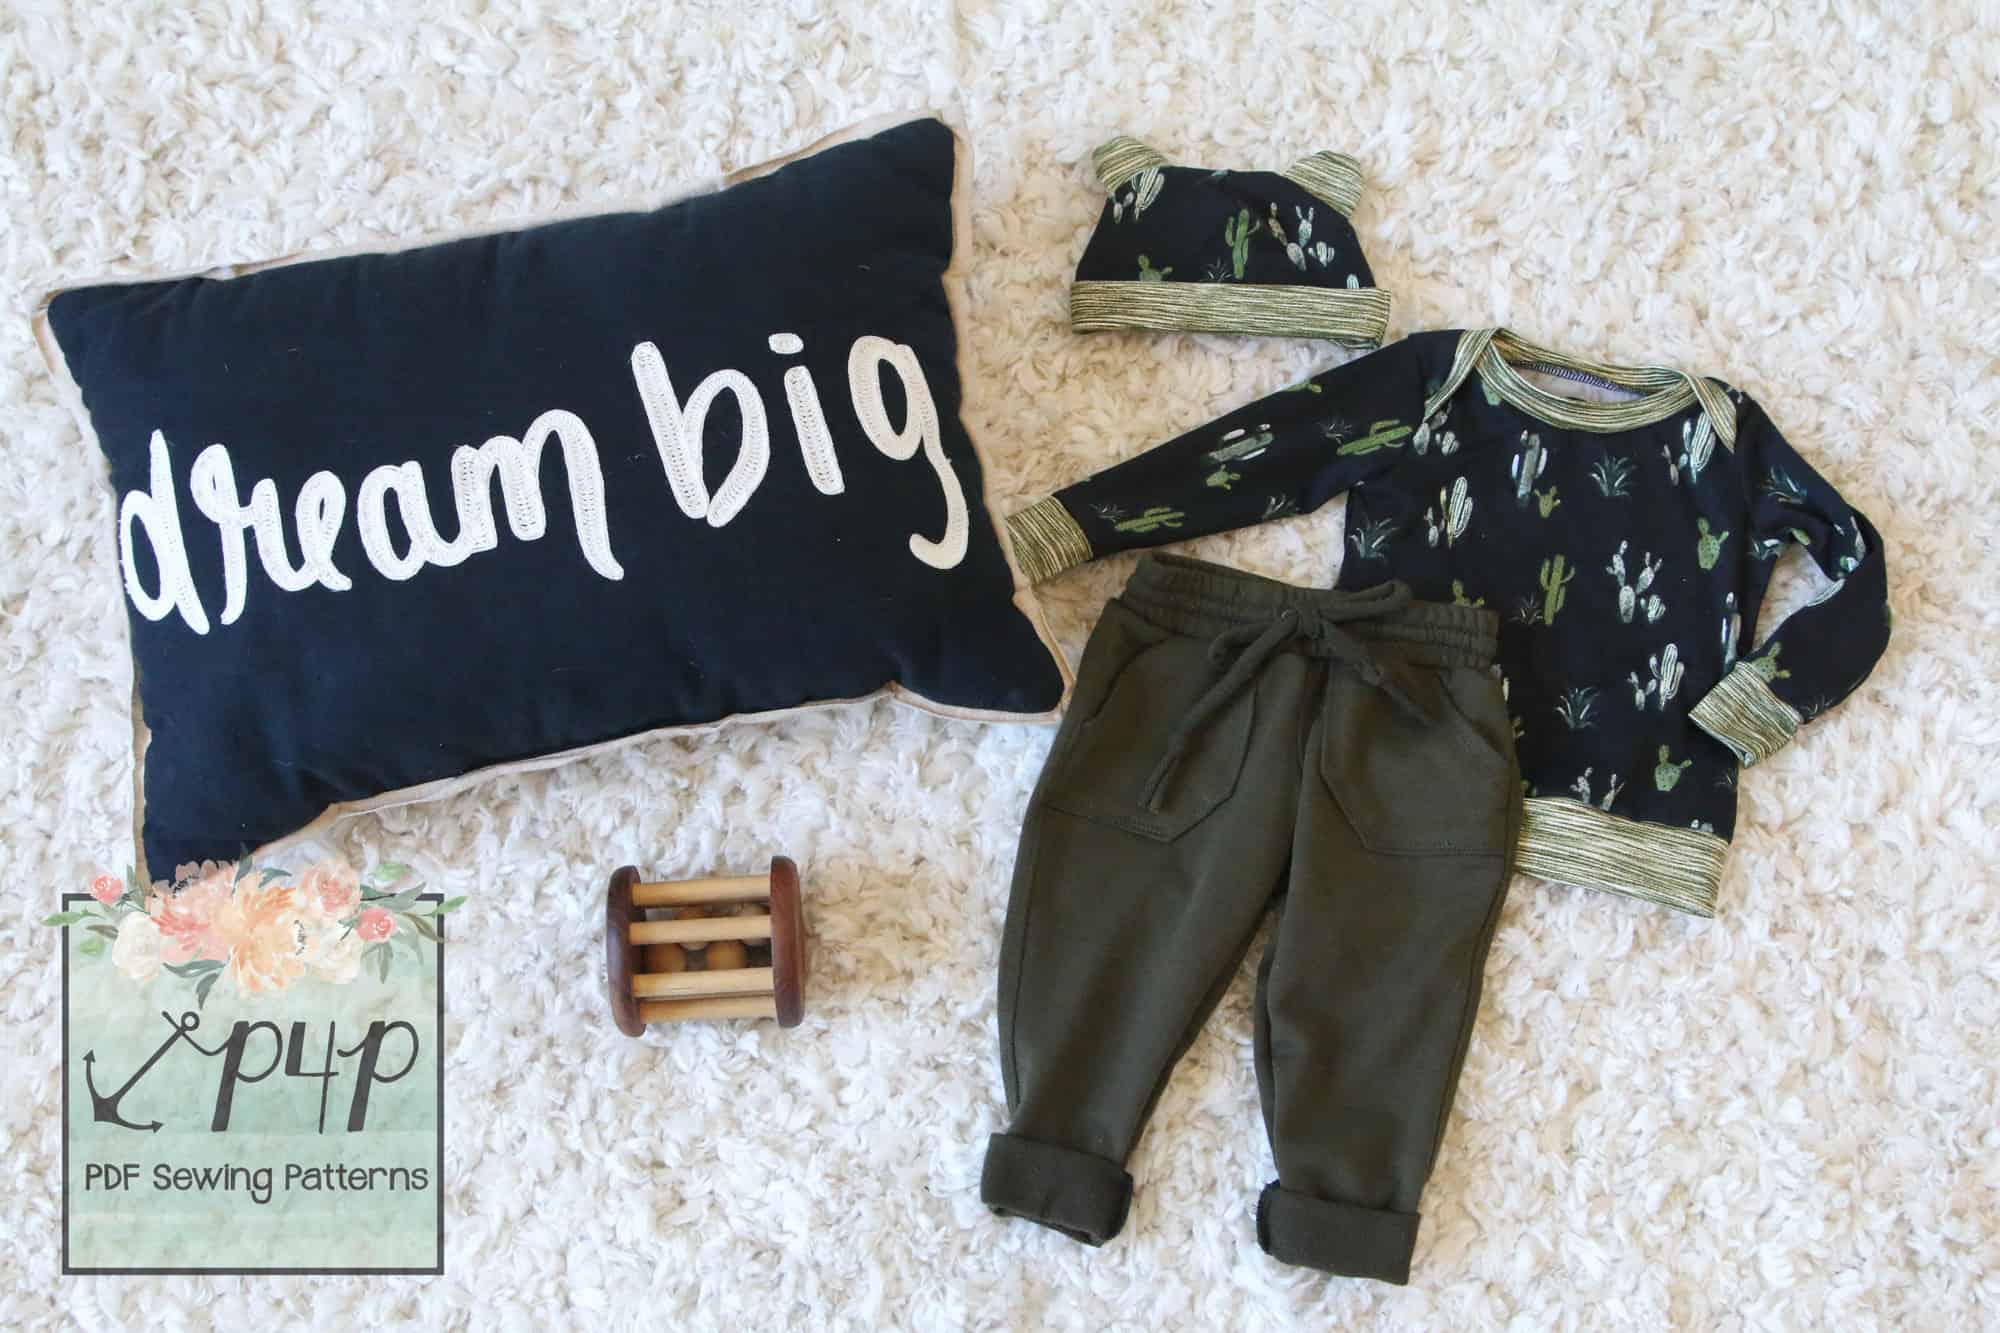
So, next time you find yourself expecting to be a mama, grandma, auntie, or just invited to a baby shower you will be set with this Free Baby Set of Patterns! You can mix and match them with the other favorite P4P patterns you have that start at 3M as well! I love the Baby Bear Joggers for babies!
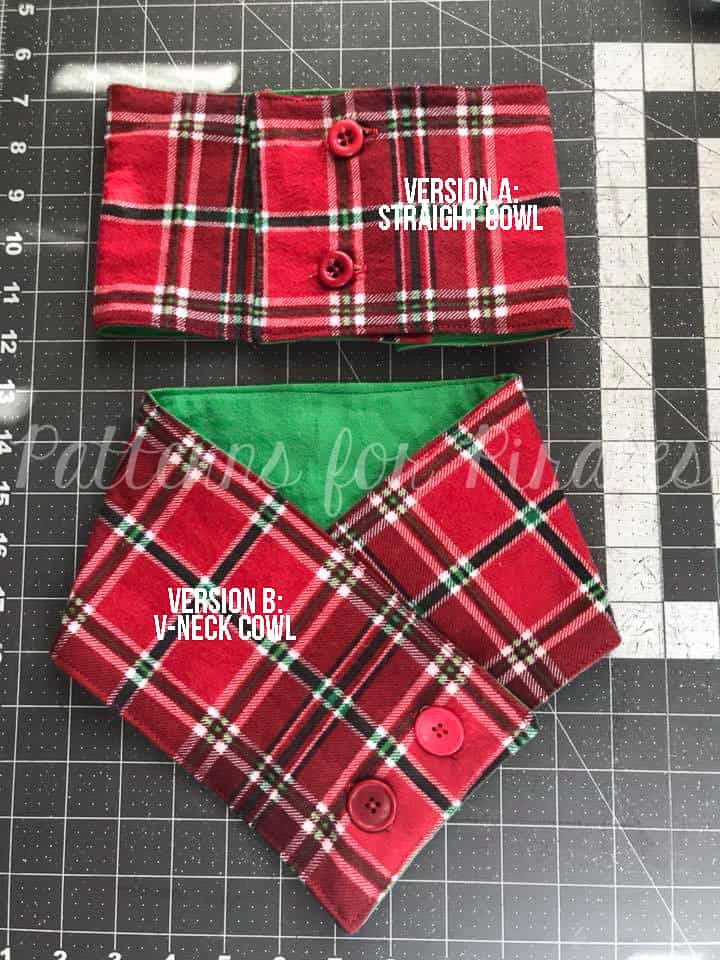
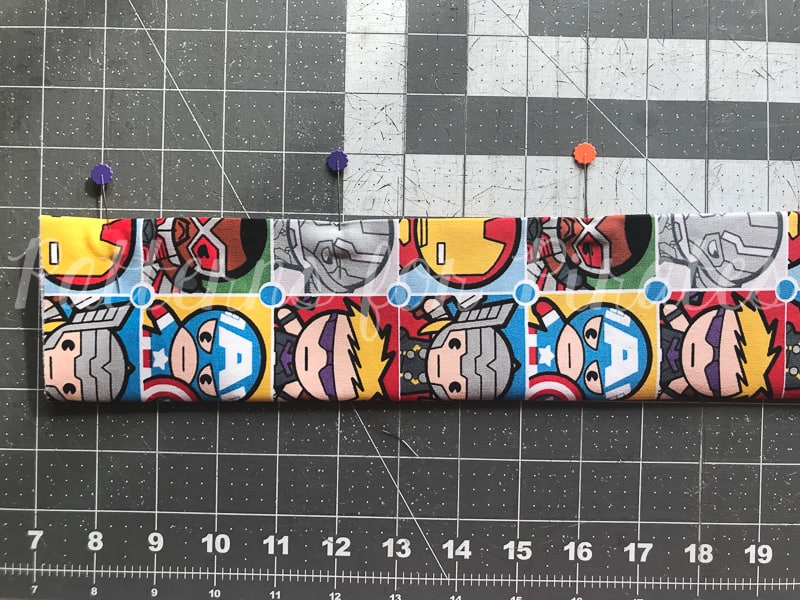
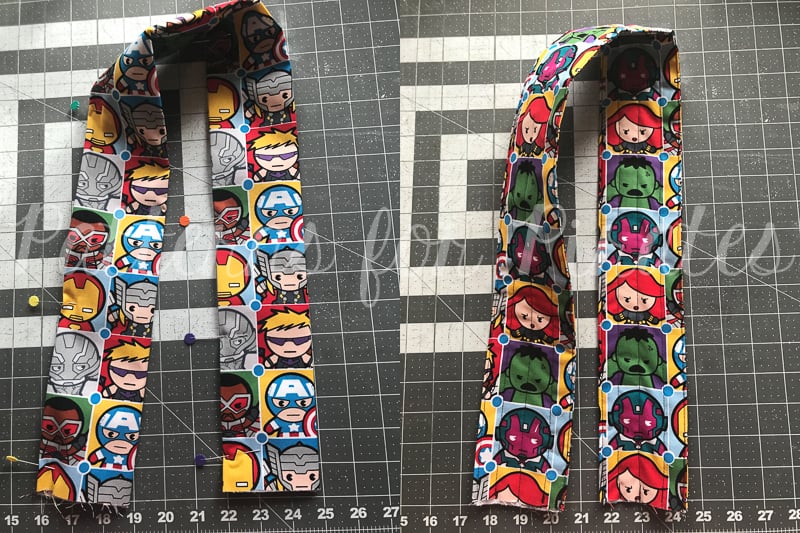
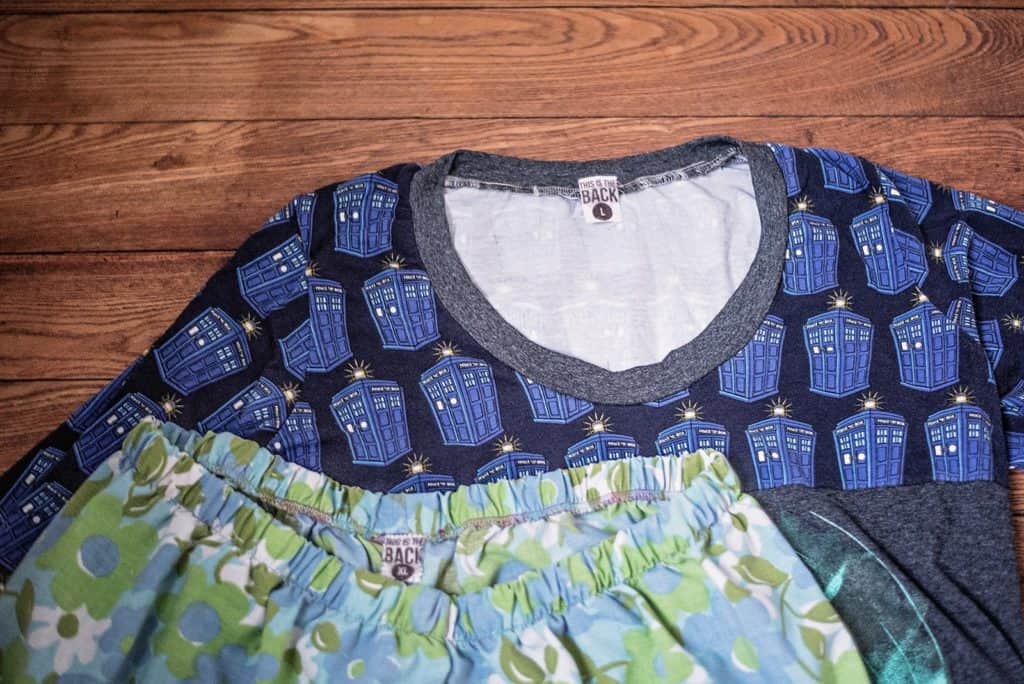
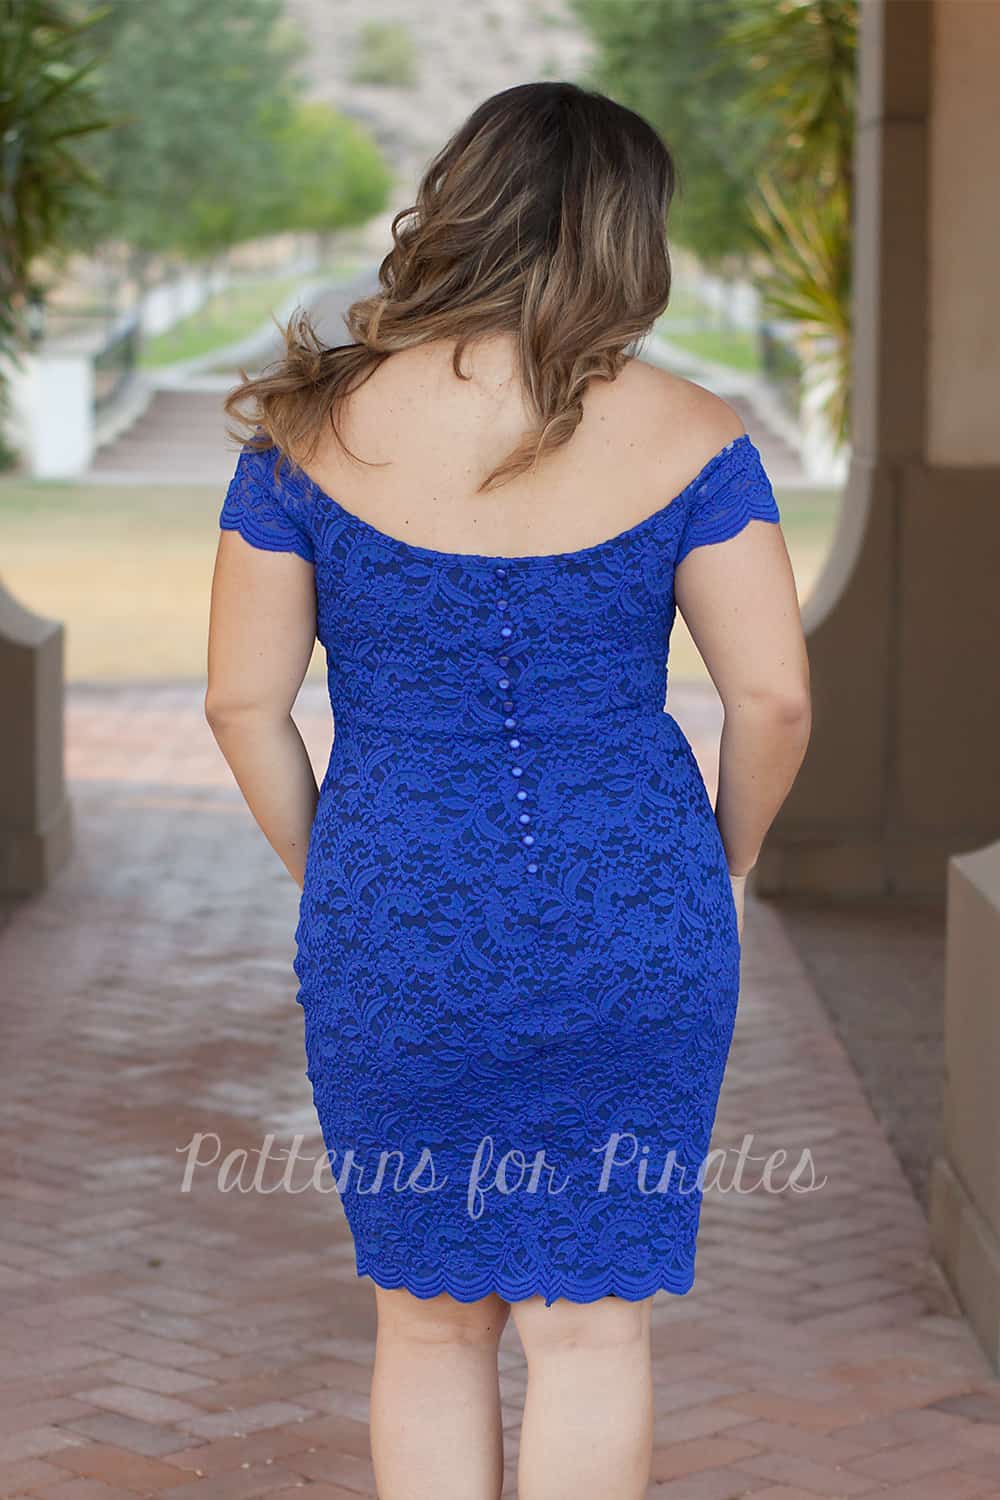
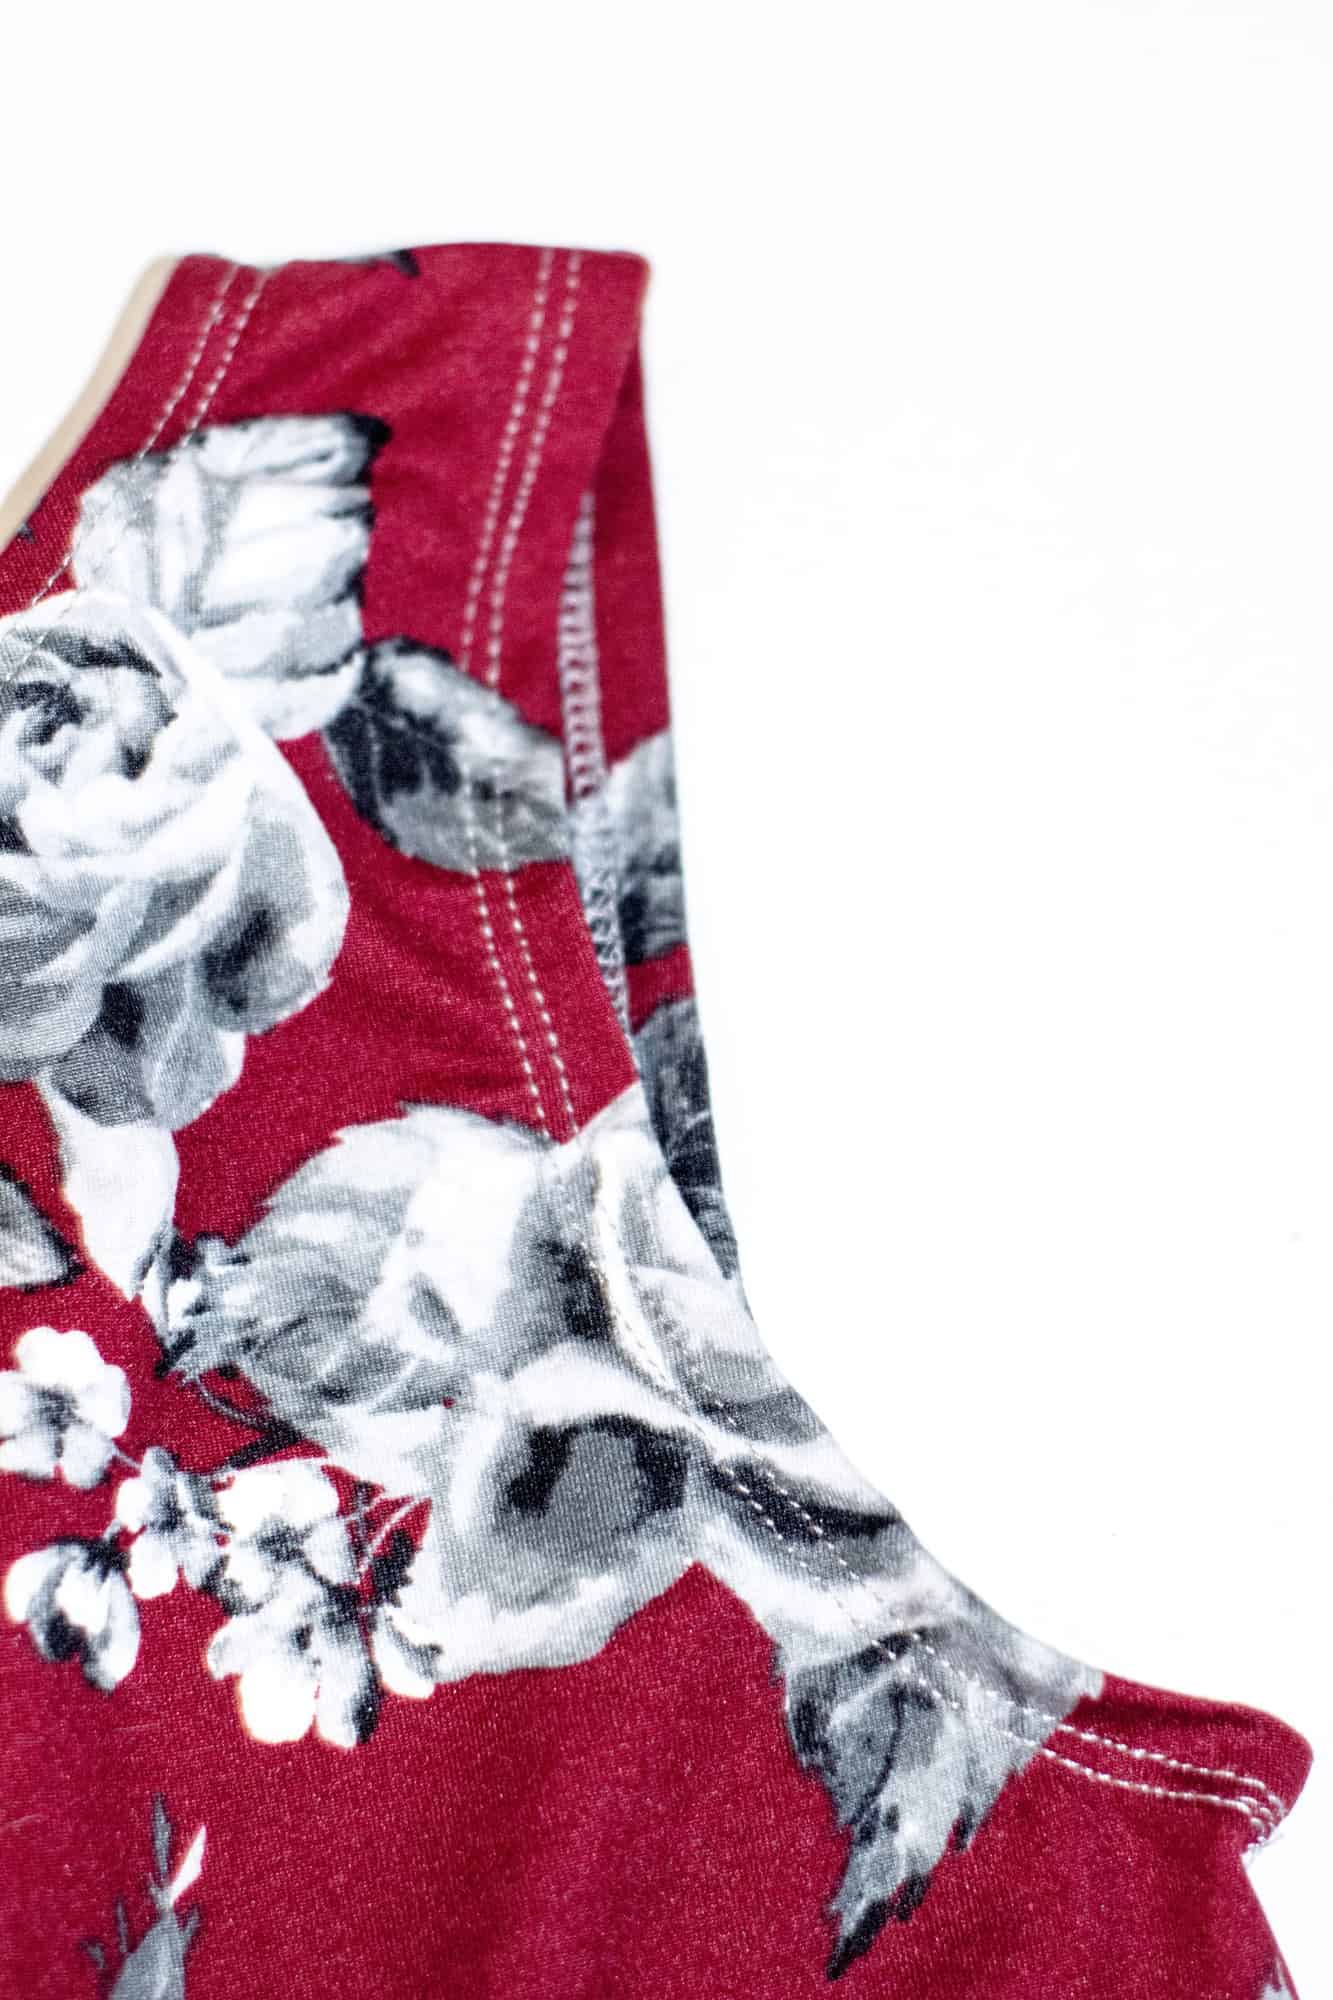
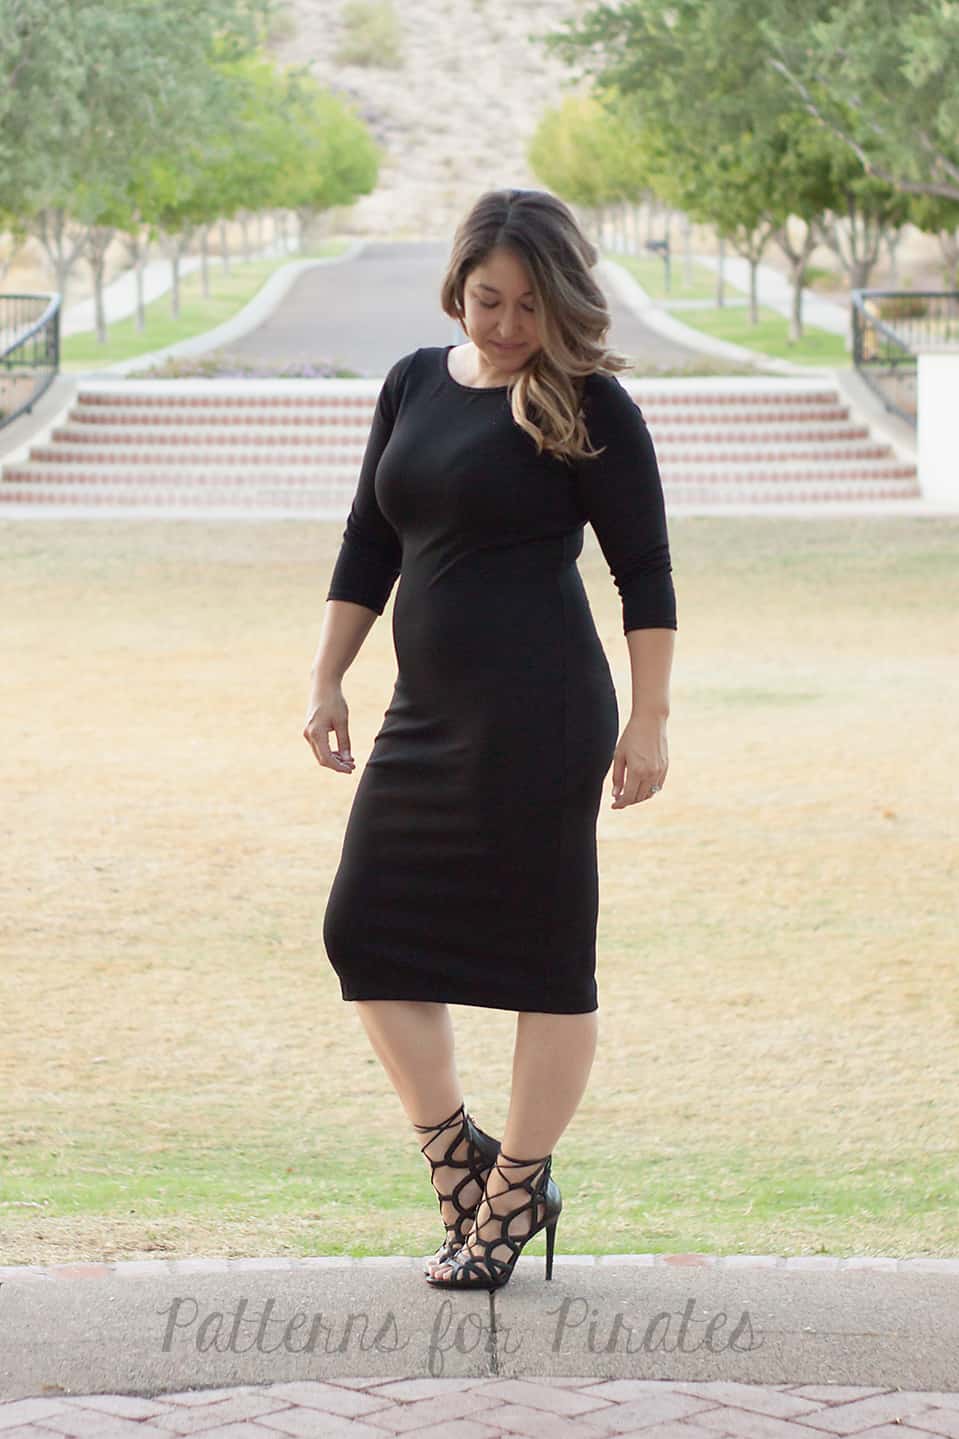
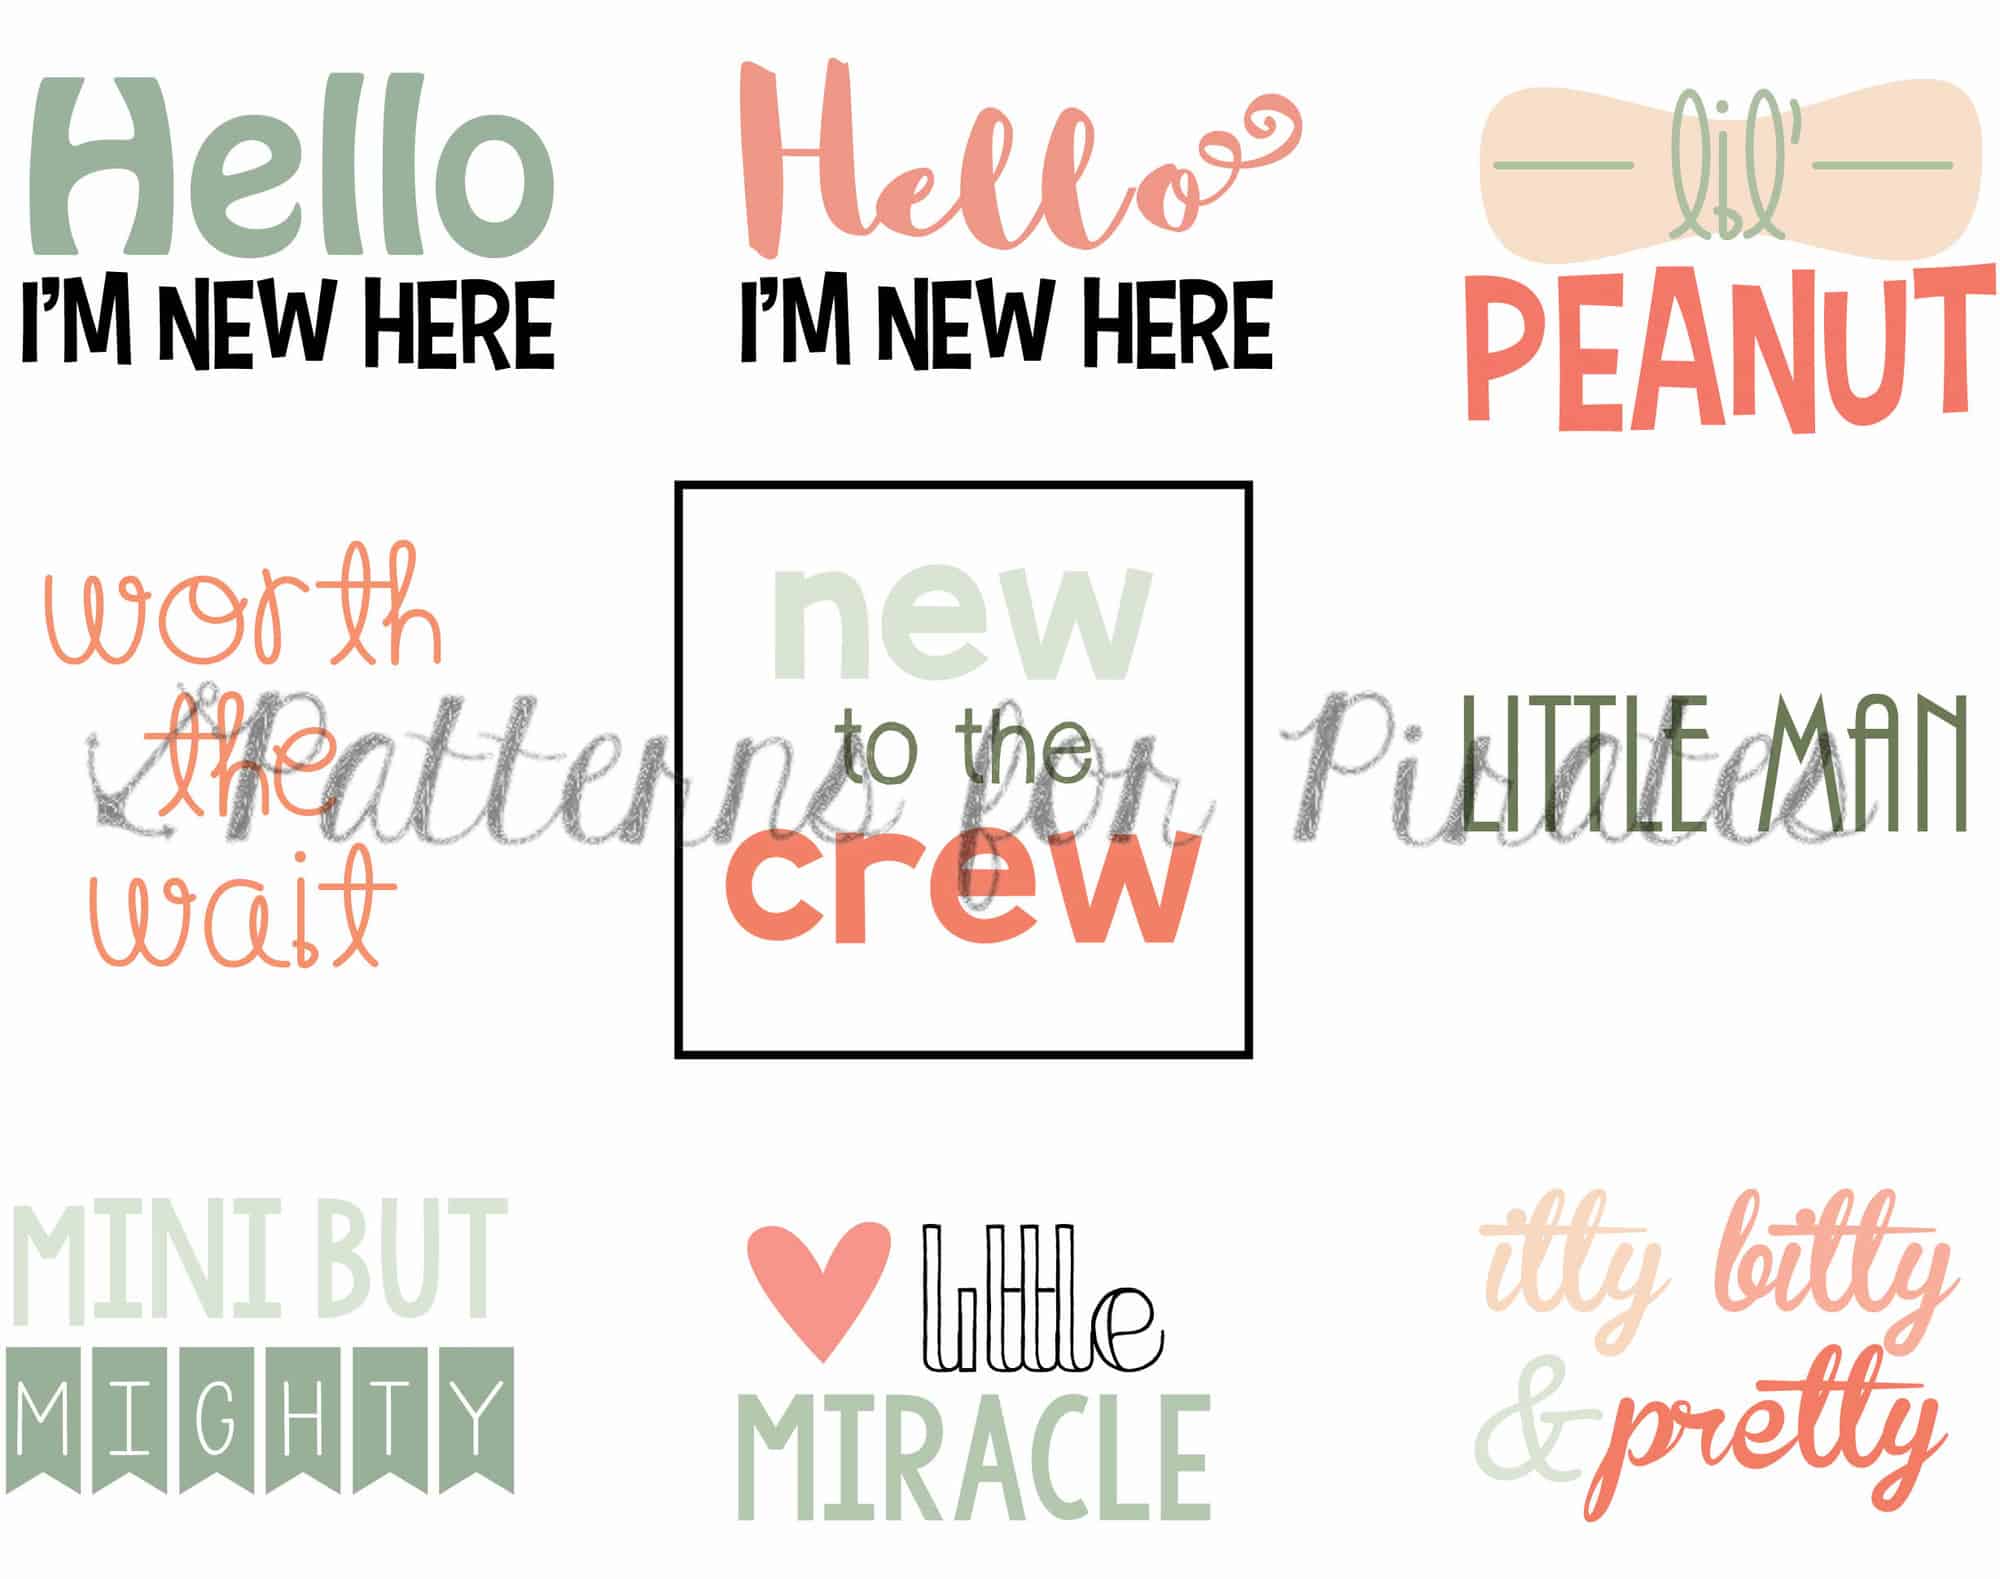
I love adding an adorable design to the Wee Lap Tee! I hope you enjoy them and make your baby’s wardrobe or baby gifts that much more special!
Thank you for supporting P4P Sewing PDF Patterns! <3