Patterns for Pirates

P4P stylish, modern, wearable patterns

  • Home
  • Blog
    • Frequently Asked Questions
    • Pattern Releases
      • Free Patterns
    • P4P University
      • Fitting
      • Sewing with Stretch, Knit Fabrics
      • Sewing with Woven Fabrics
      • Sewing Machines
    • Sew-A-Longs
    • Fabric for Pirates
    • Pattern Hacks
    • Announcement
      • Blog Tours
      • Contest/Giveaway
  • Shop
  • Bundle Discounts
  • Flash Friday
  • Gift Cards
  • My Account
  • Cart

50K Fan Celebration :: Stirrup Pant PegLegs Hack

April 22, 2017


Written by Kelly Bailey (P4P Blog Contributor)

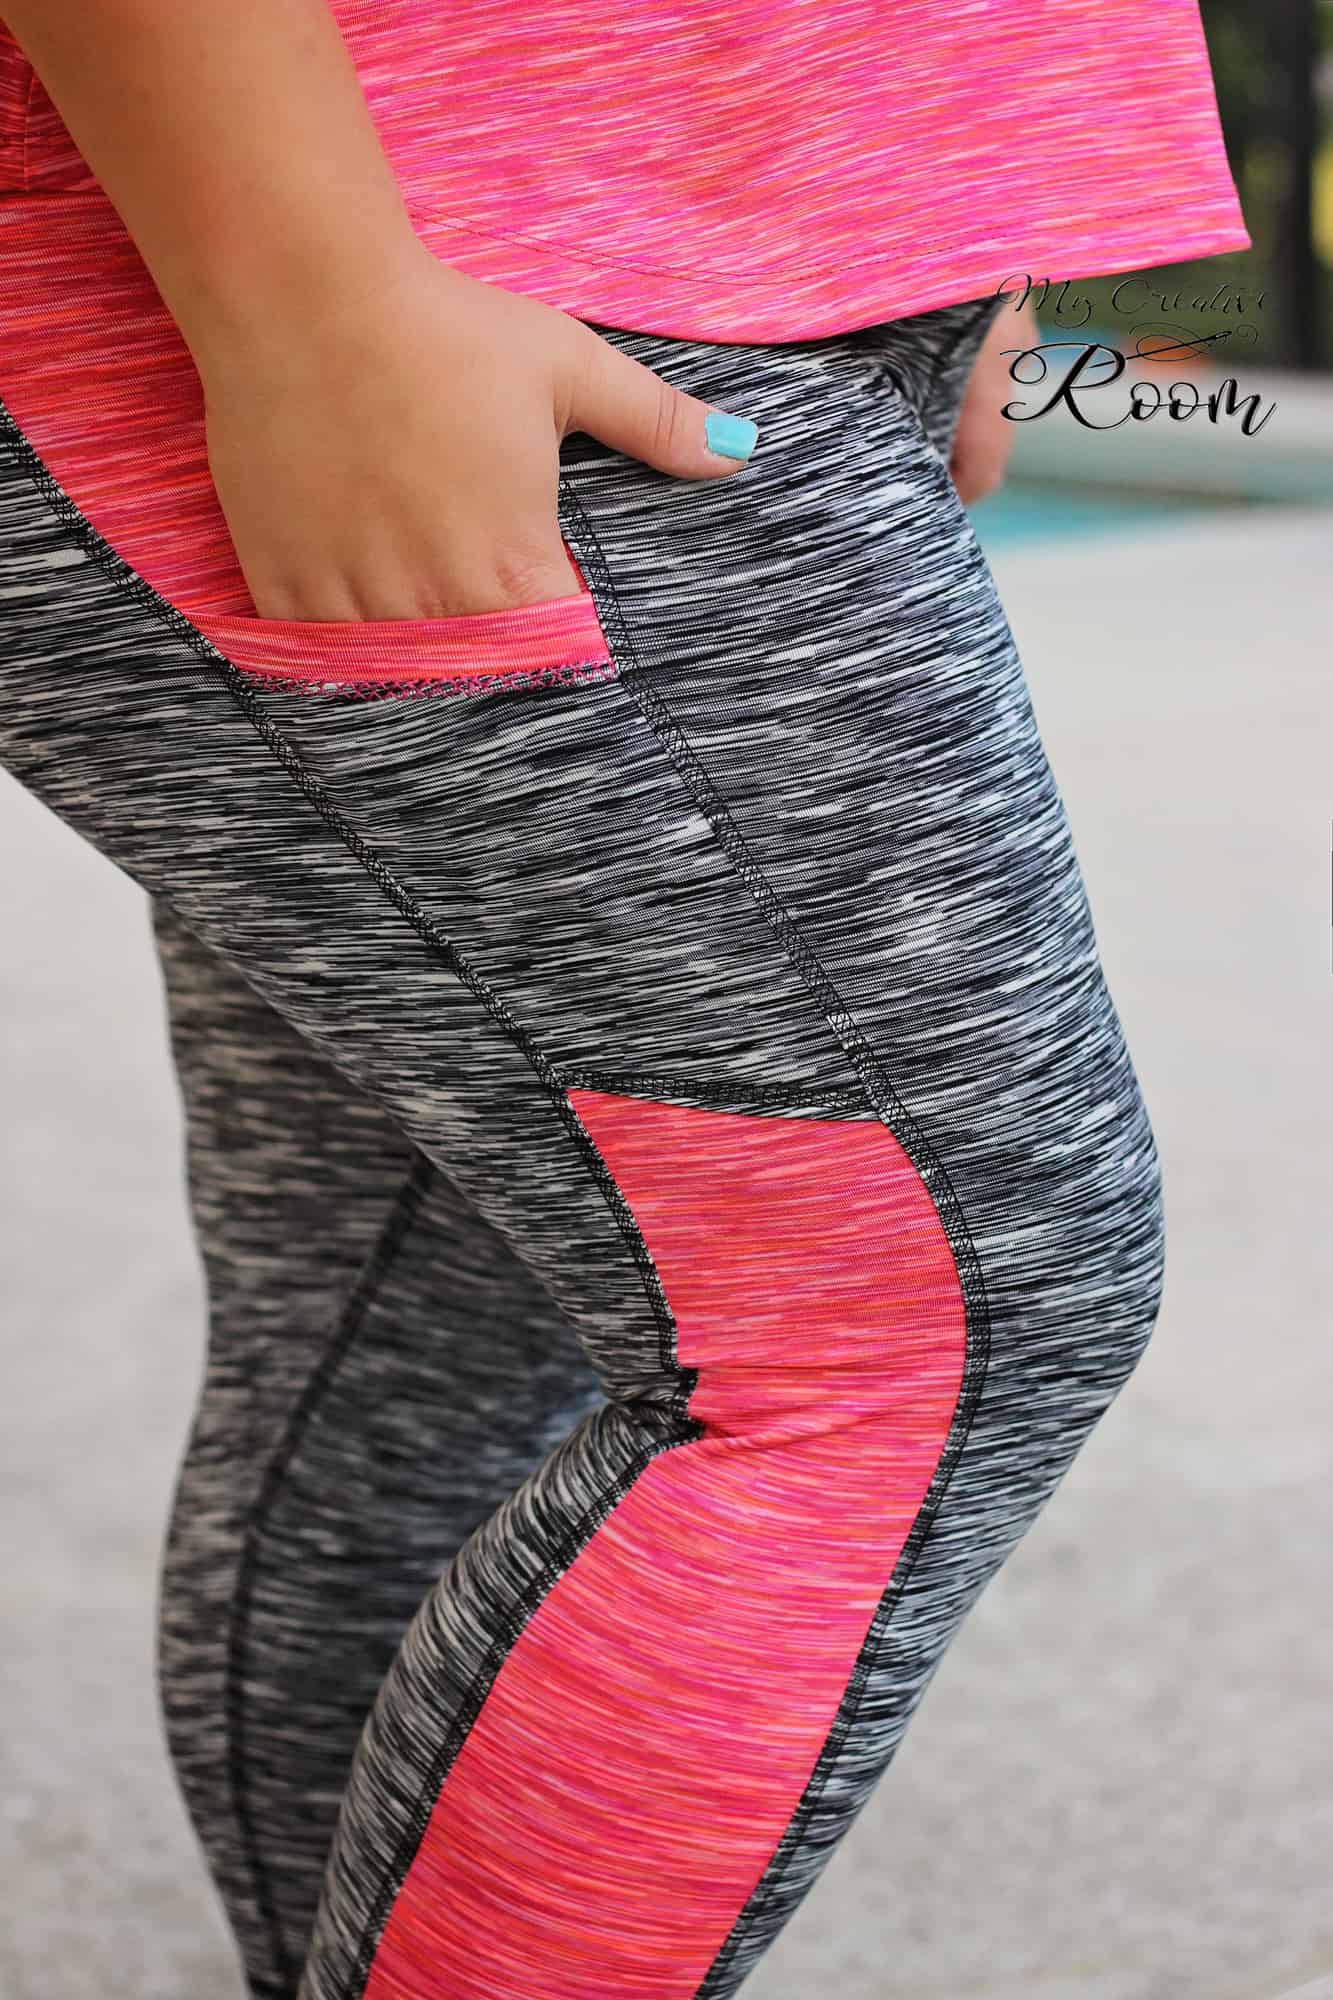
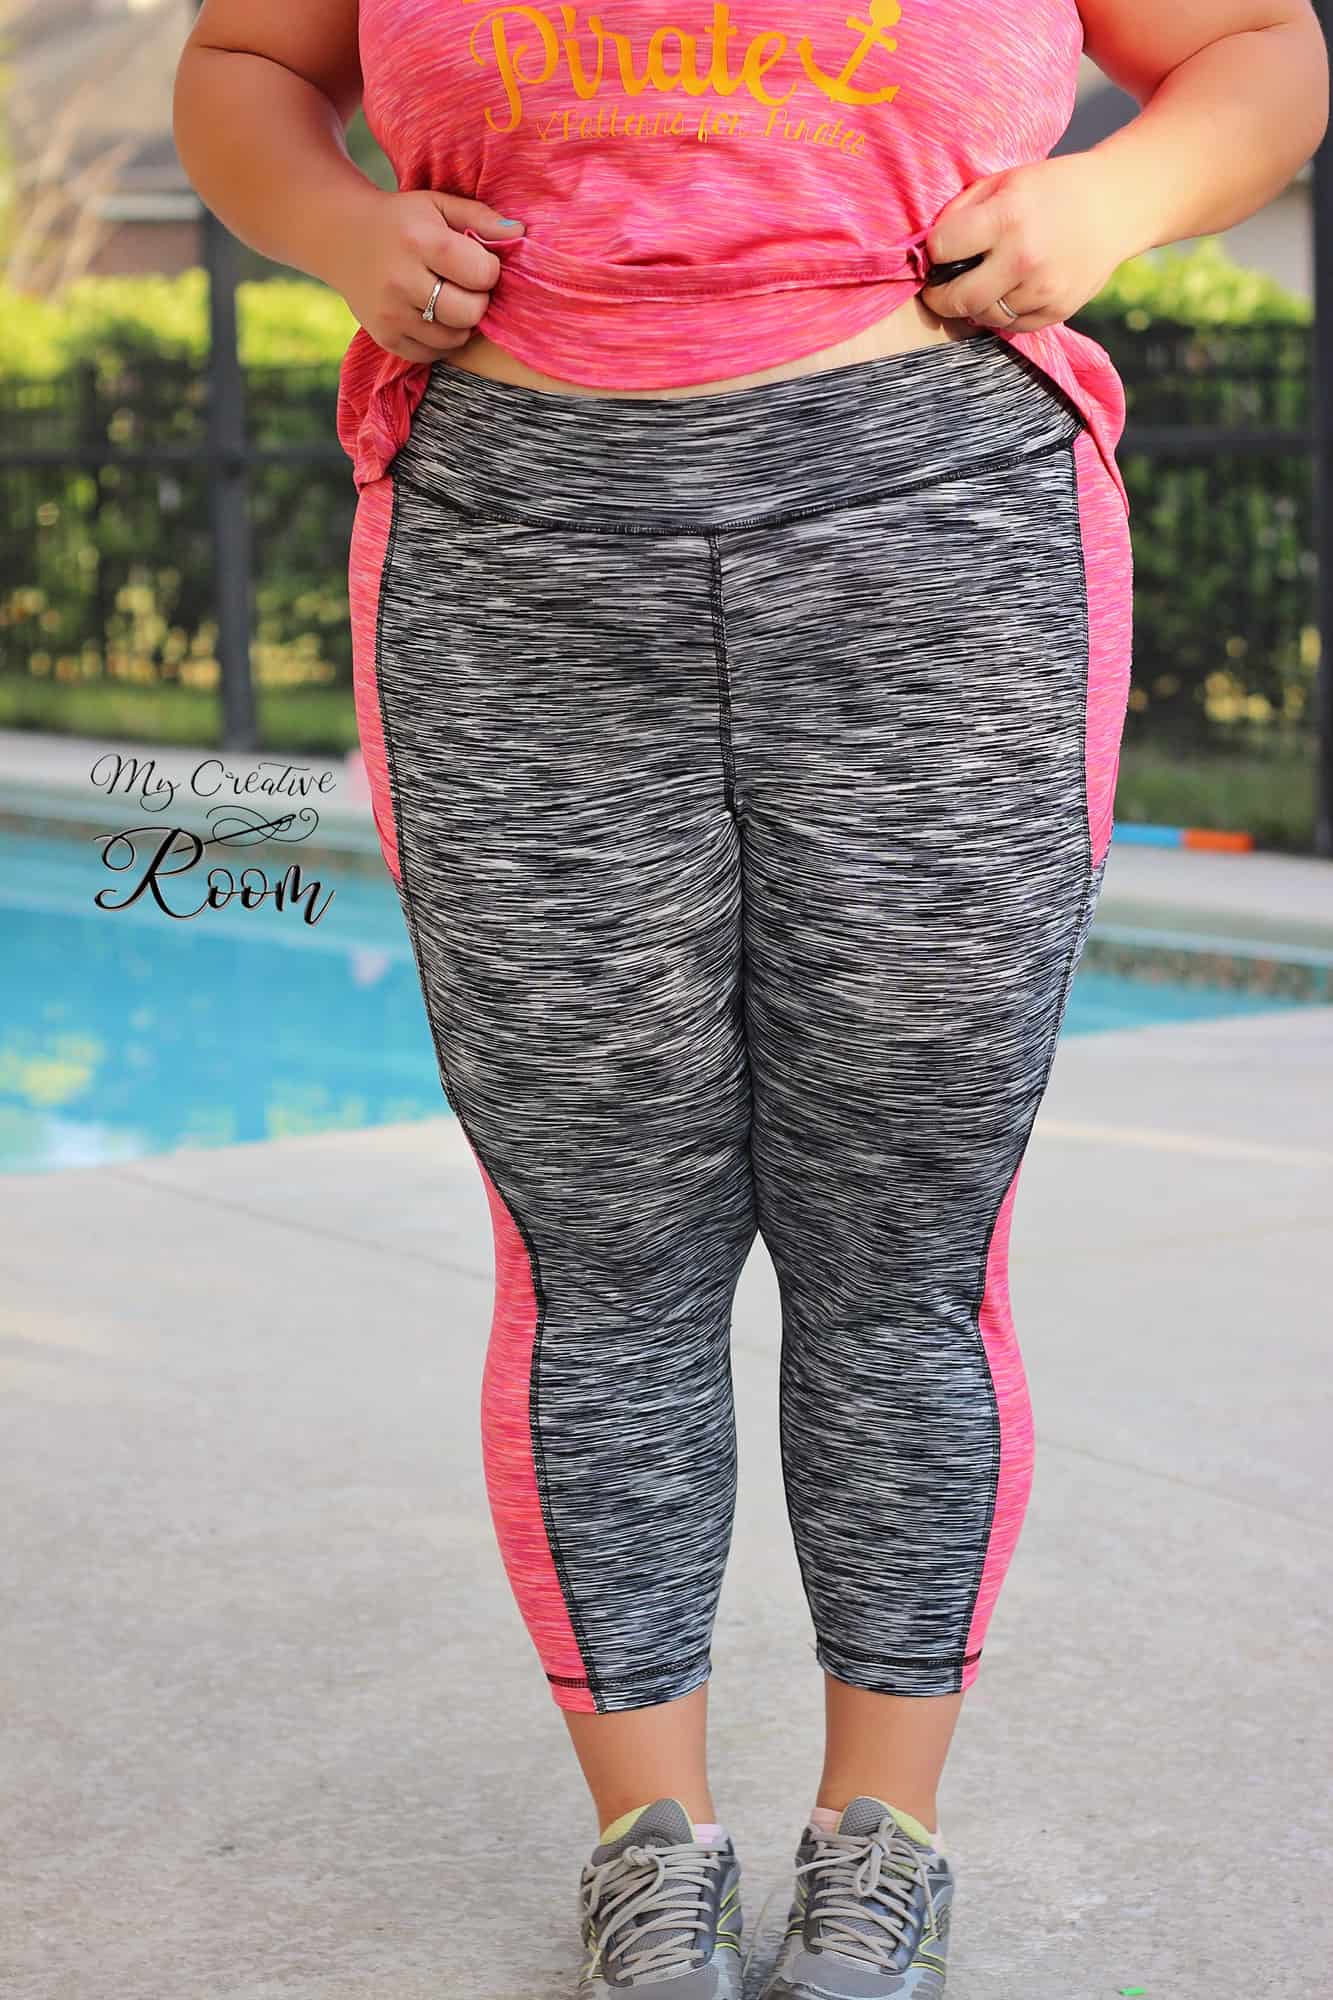
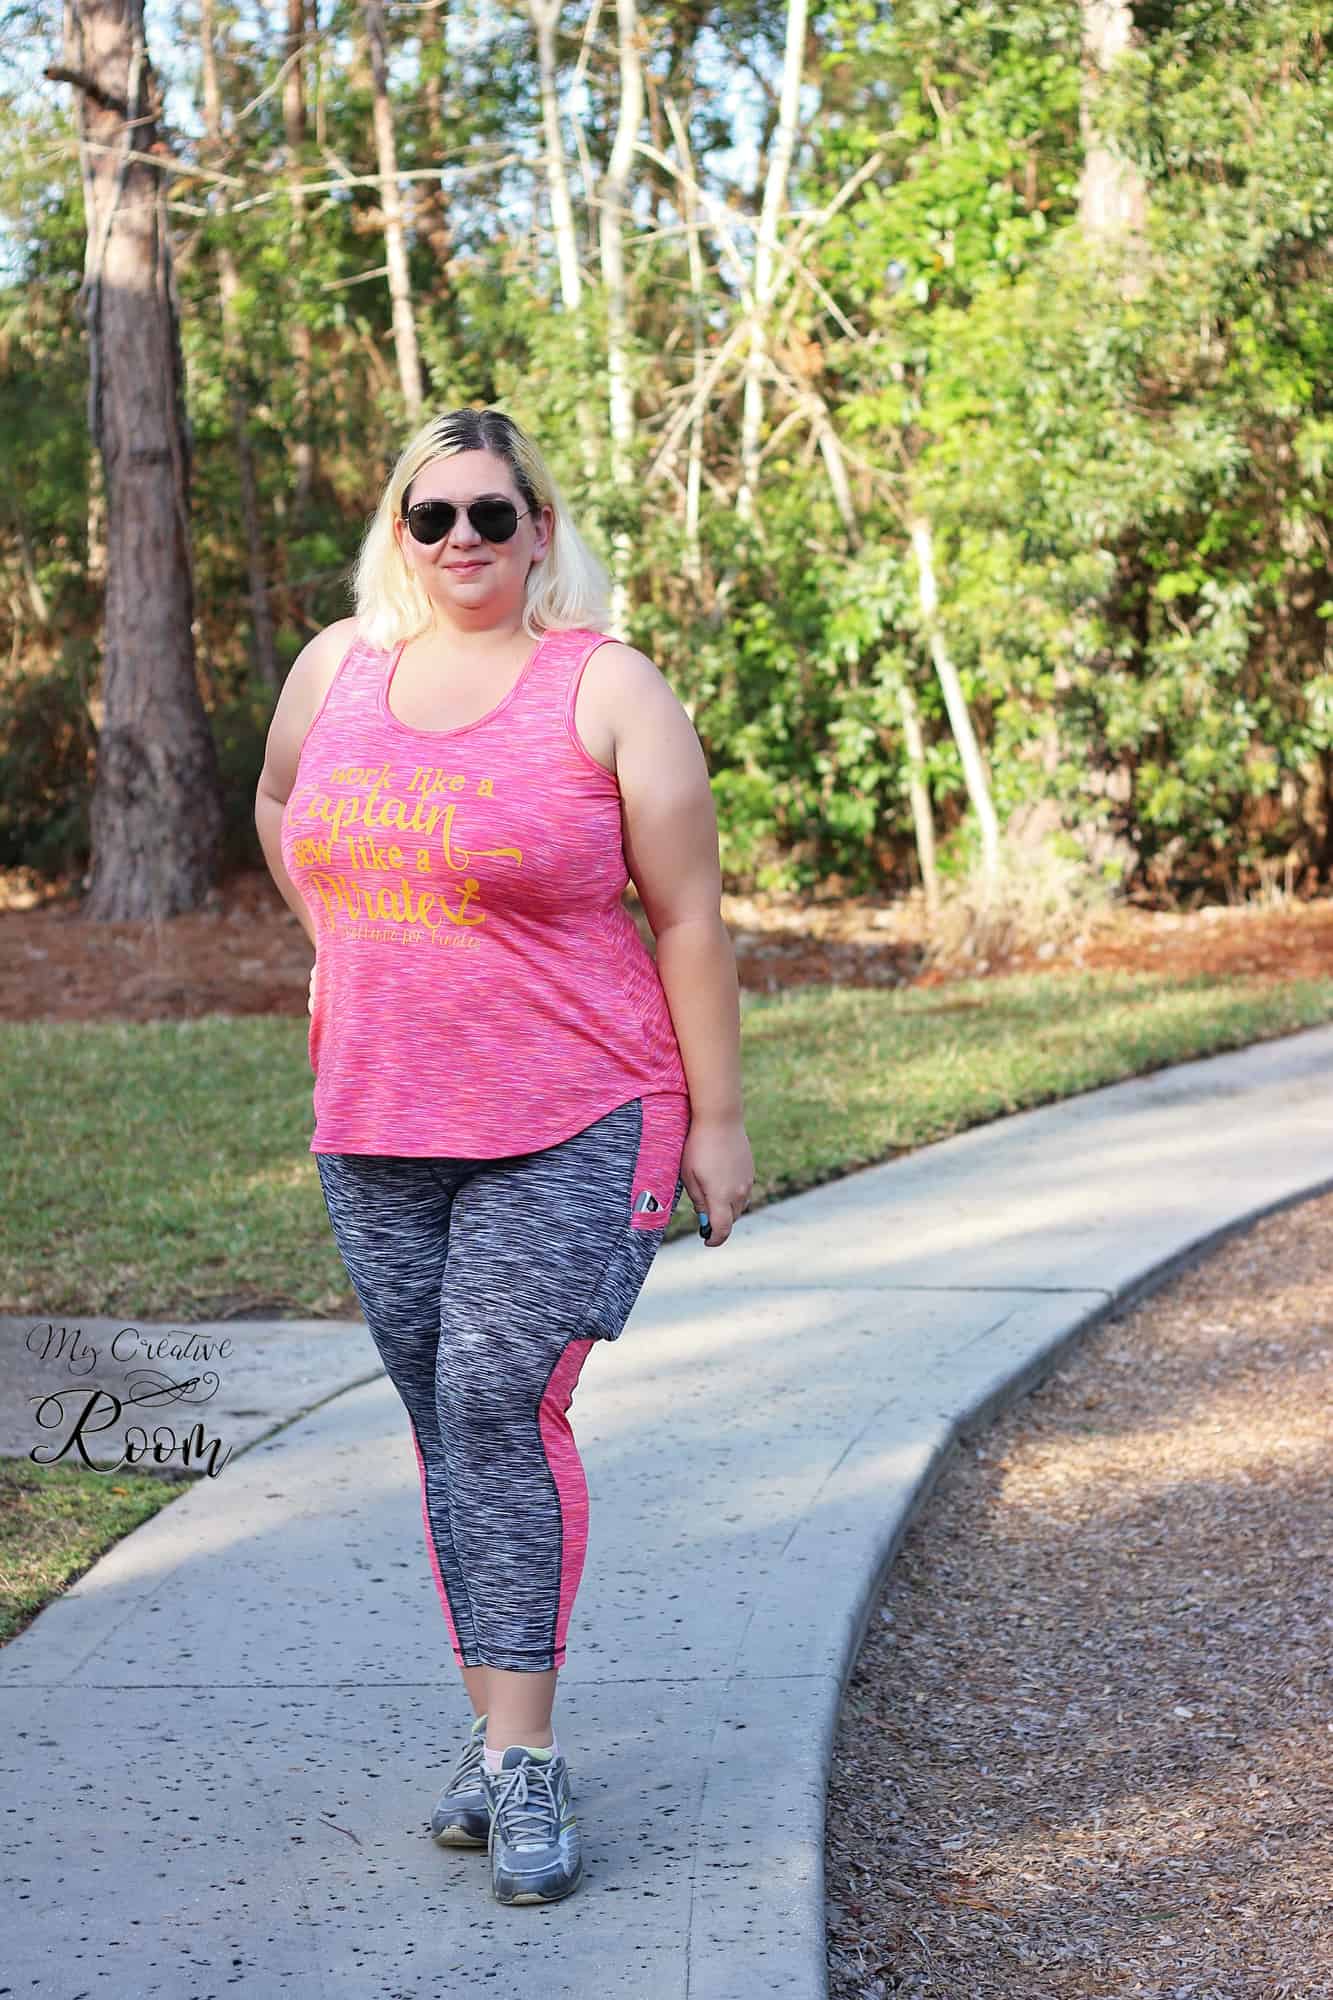
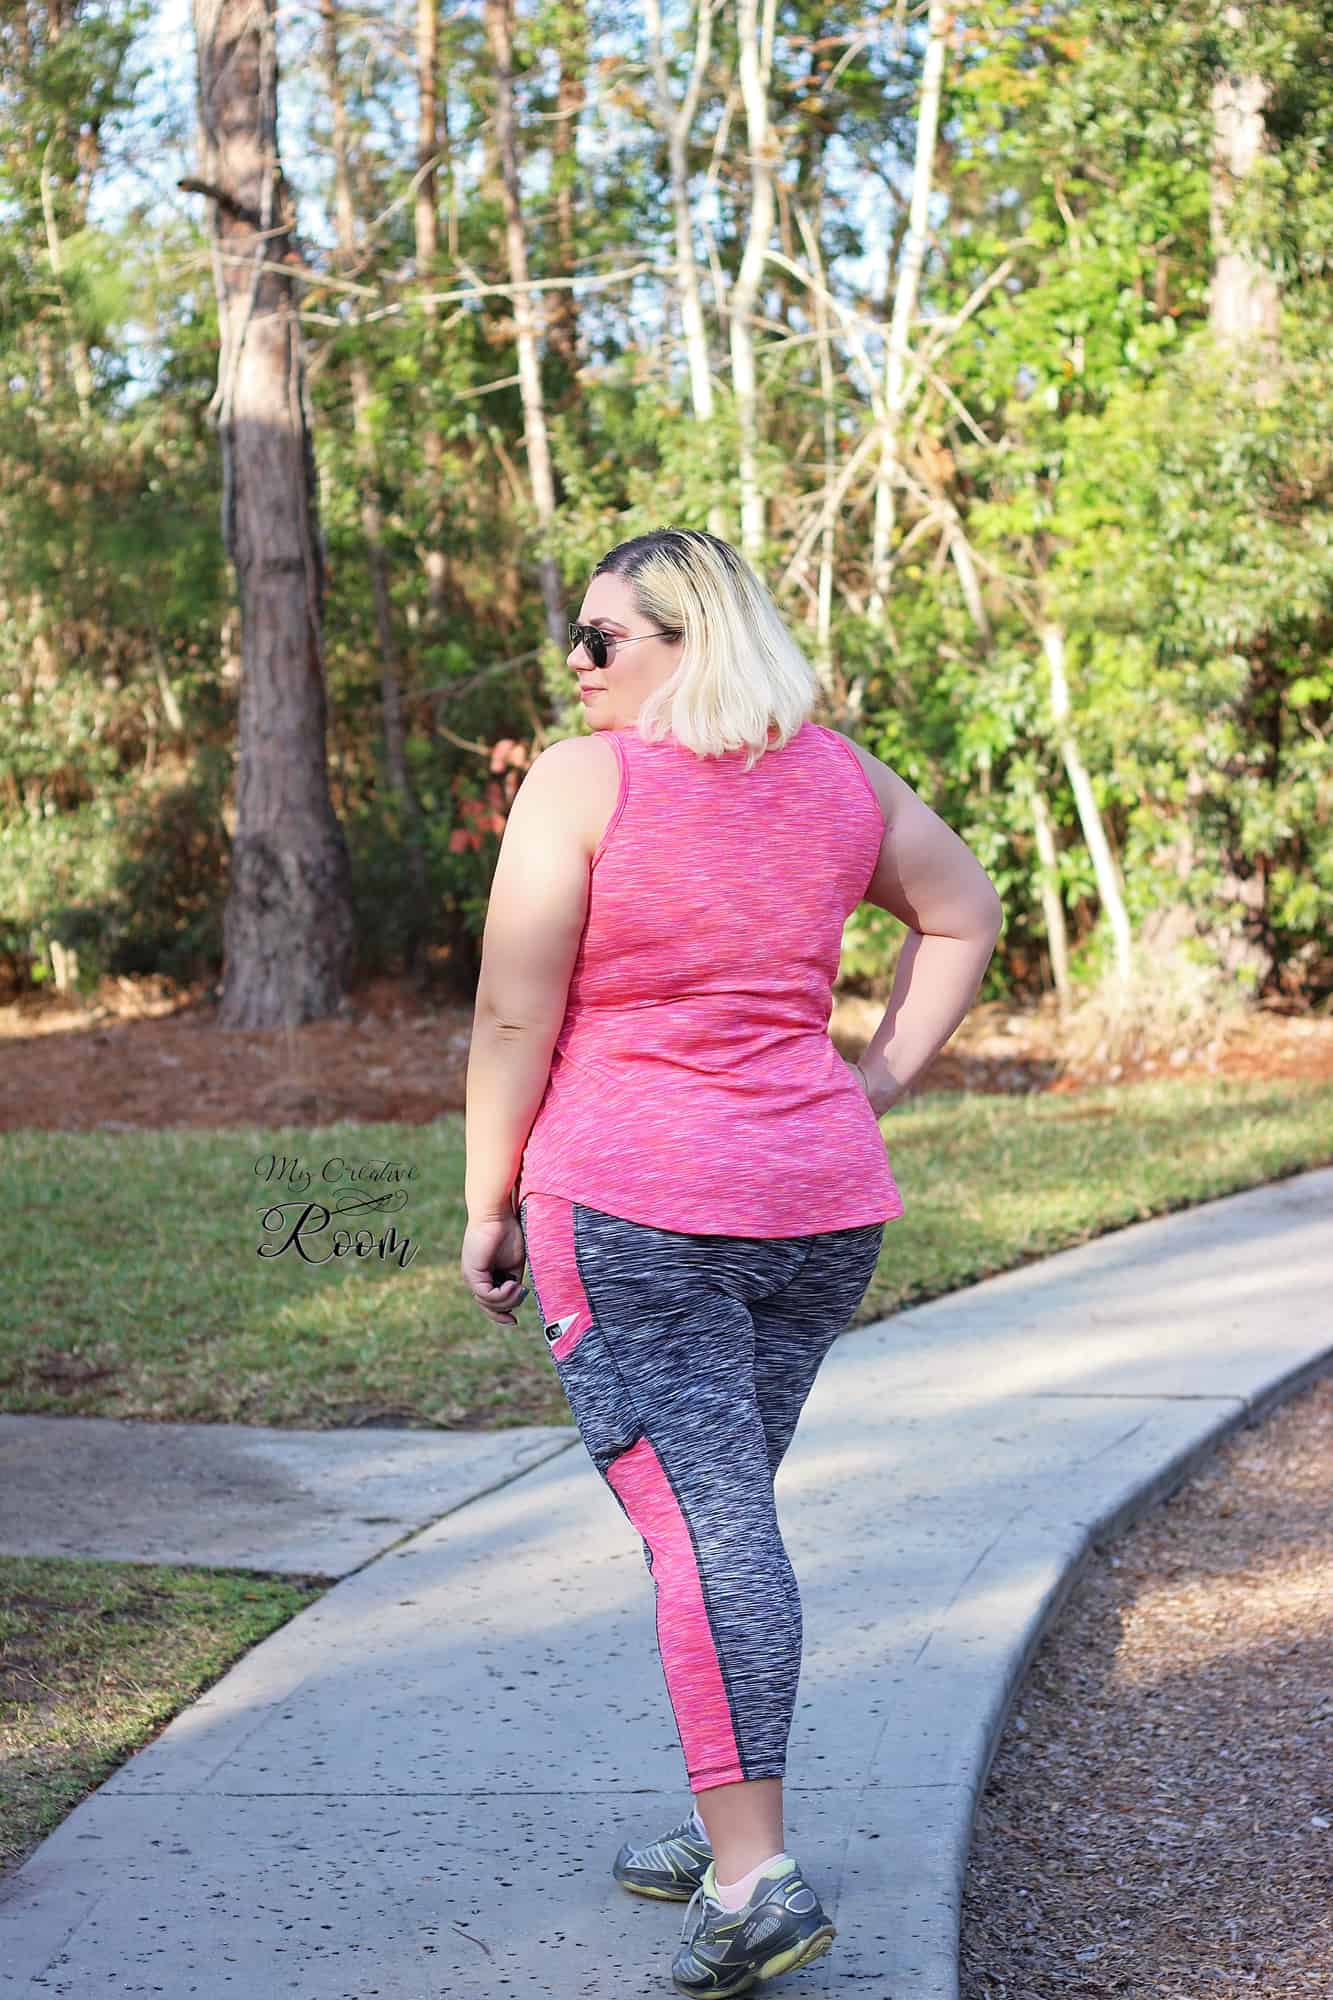
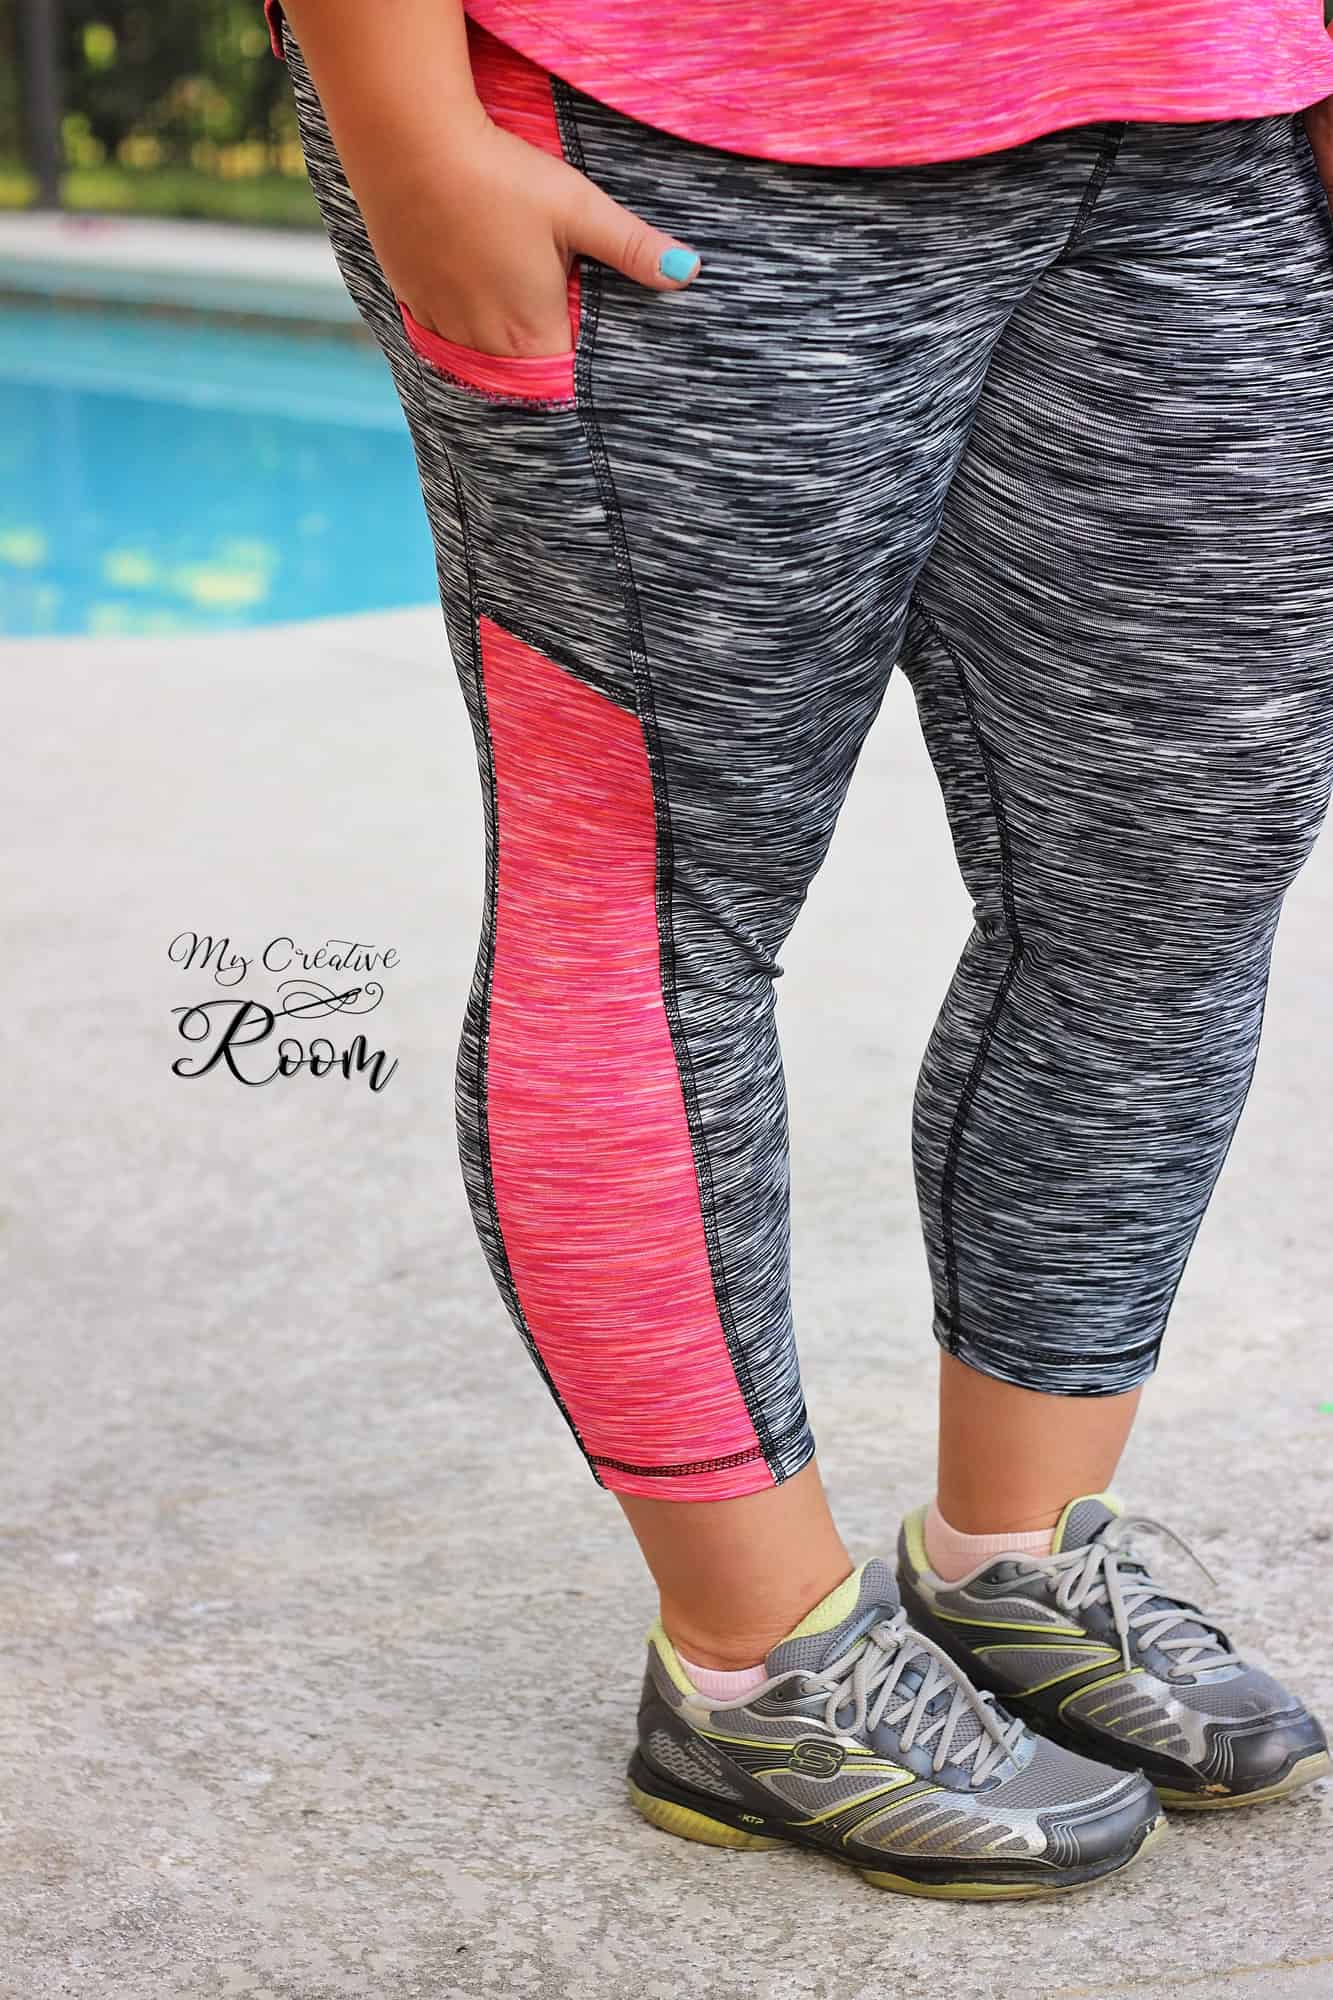
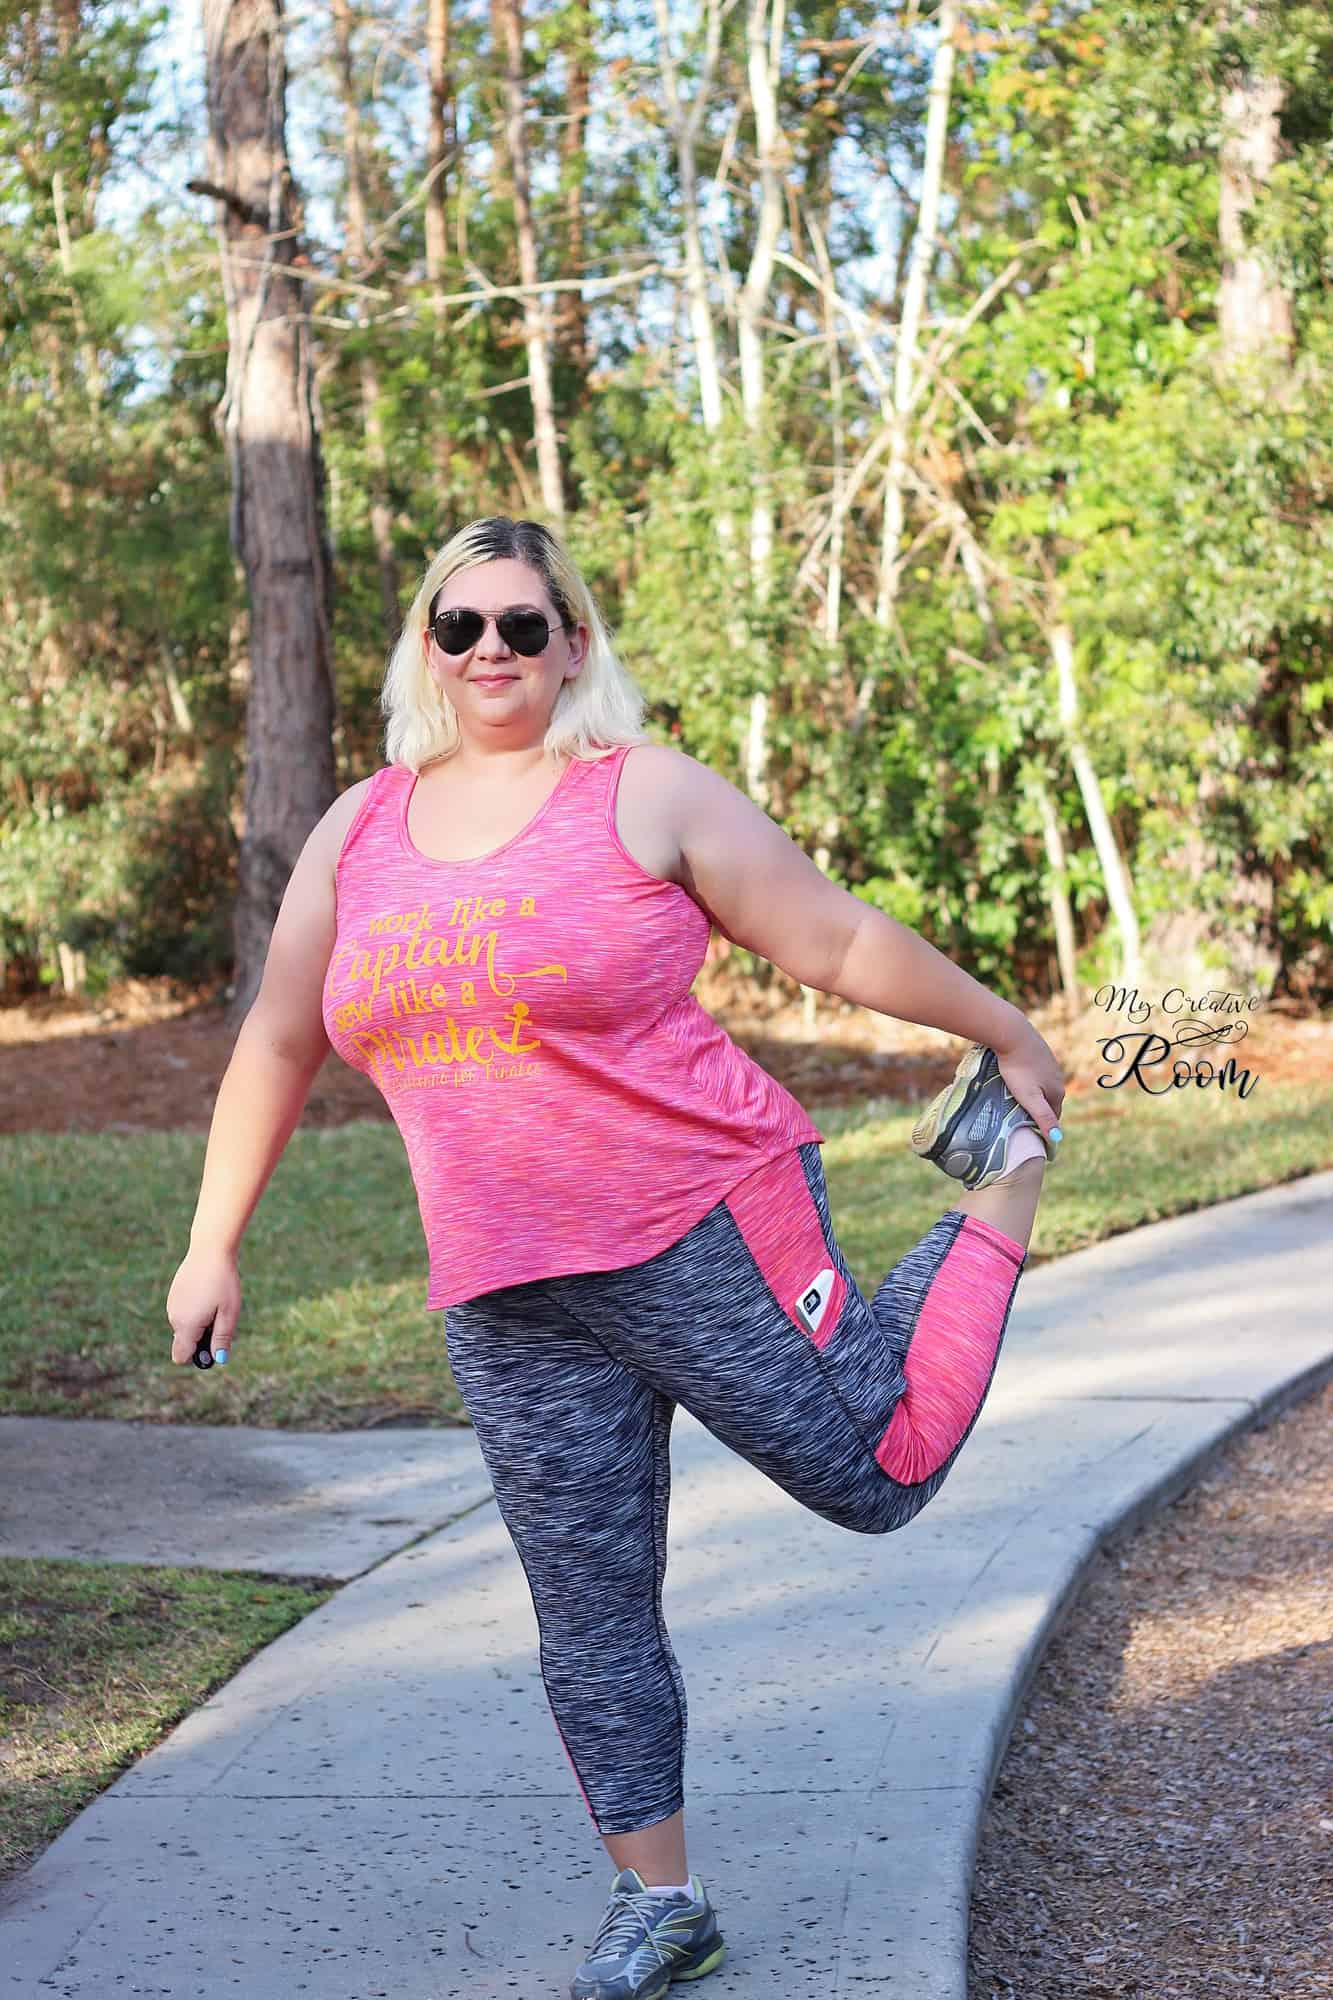
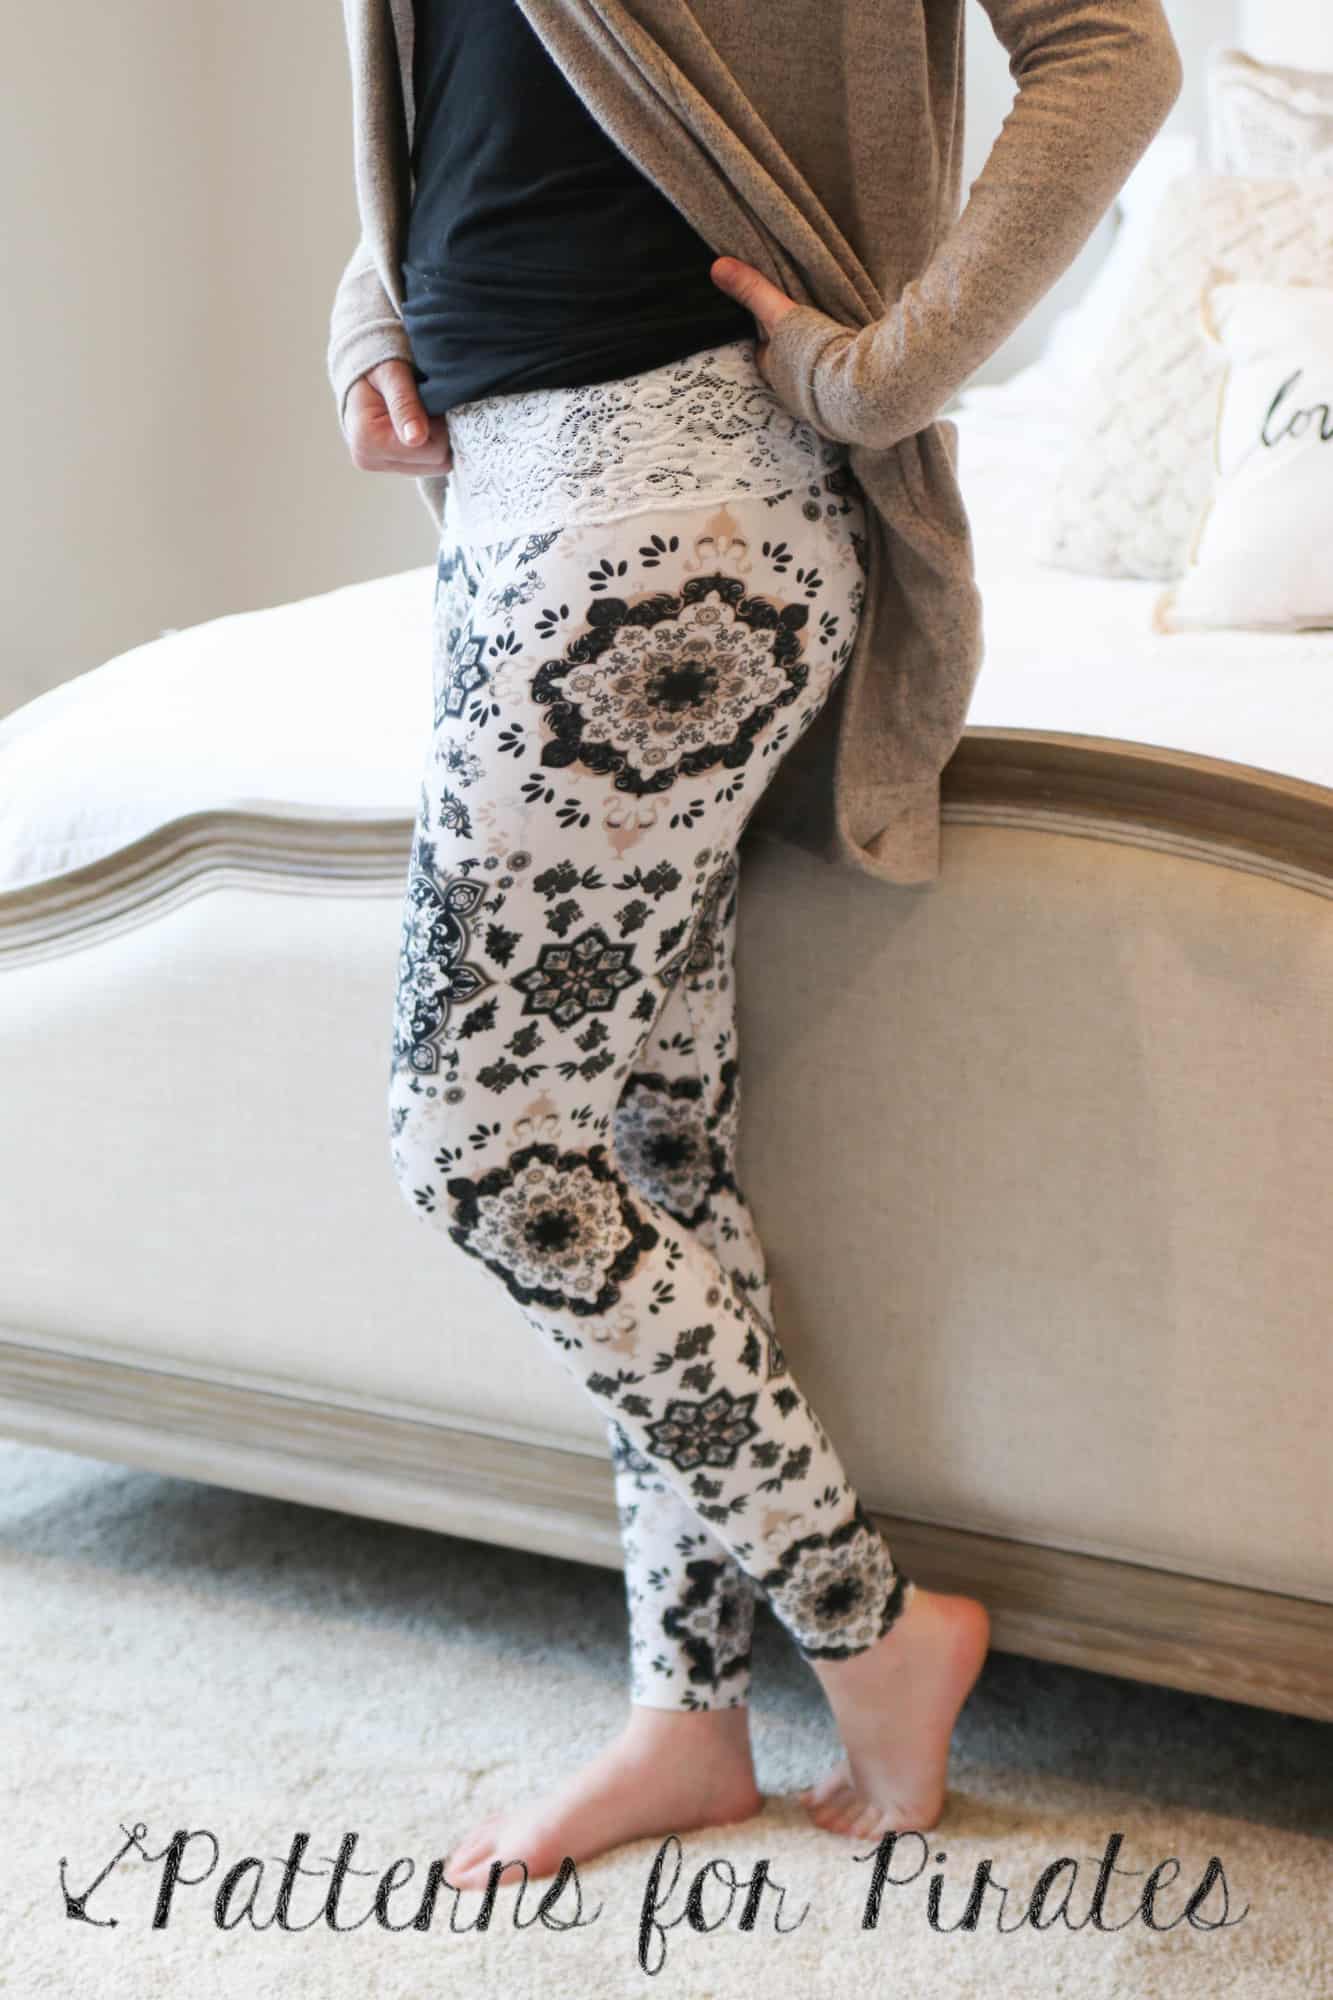
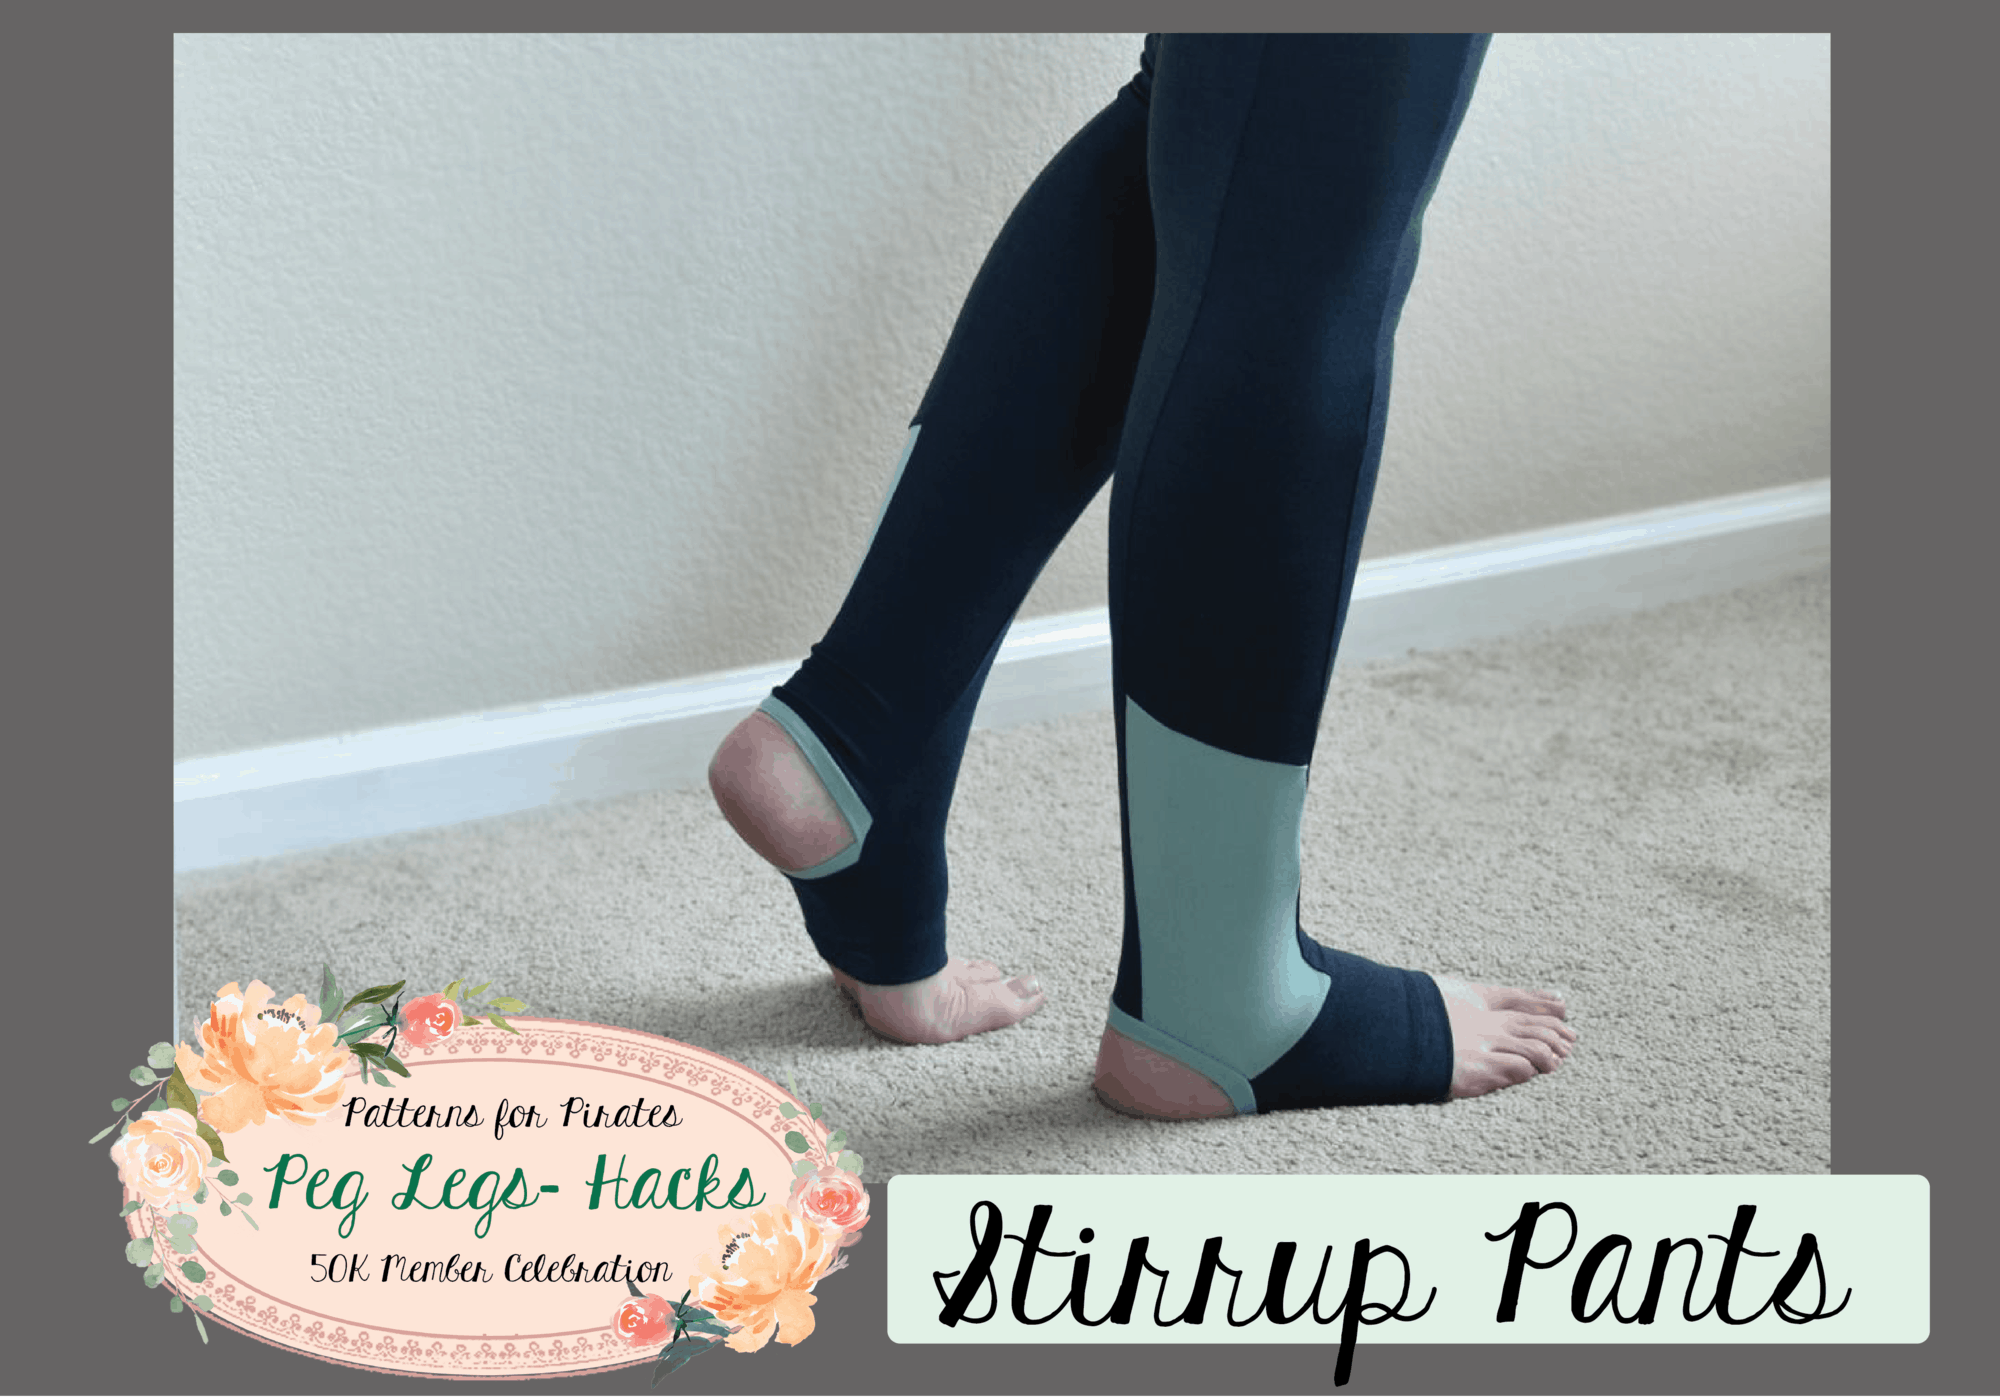
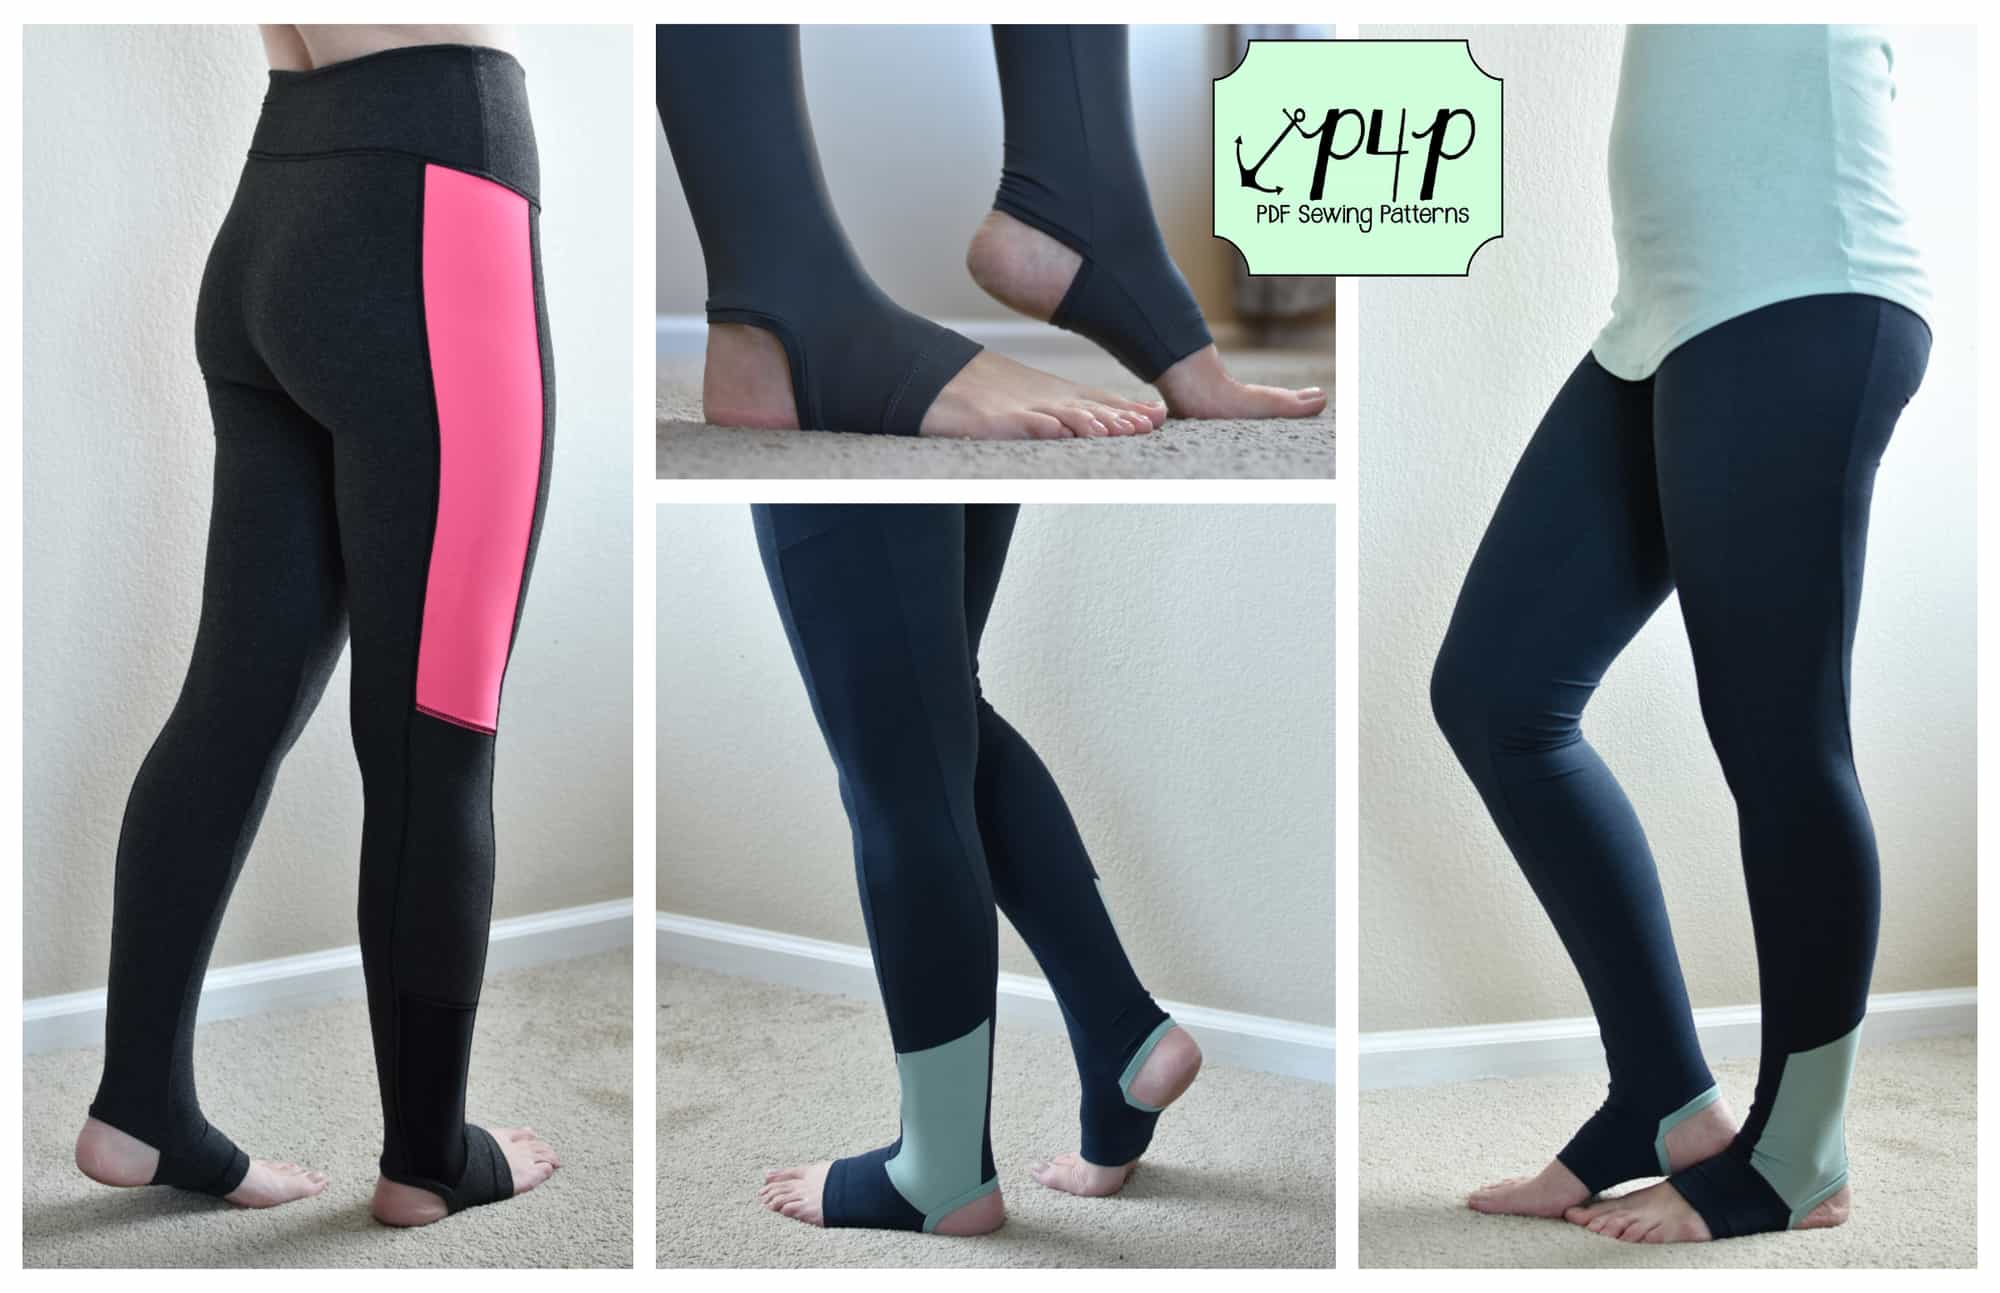
For this tutorial I will be showing you how to take the updated Patterns for Pirates Peg Leg pattern and hack it into a pair of leggings featuring the stylish yoga stirrups! Have you seen these store purchased versions in your gym classes, or maybe on Pinterest, or maybe you’ve been looking for a comfortable pattern for stirrup leggings to compliment a casual outfit? This simple hack is both comfortable and durable. Follow along with this tutorial and please share your results in the P4P sewing group!

Step One: Fabric

My first, and most important, advice is to choose your fabric wisely. This pattern is intended for 4-way stretch knit with at least 50% stretch. See Peg Leg 101 to review the way the fabric contents and stretch will affect your results. Not all knits are meant for leggings due to the degree of stretch this pattern requires. For all 3 of my versions I have used a brushed polyester spandex knit with varying weights. Athletic knits, such as supplex or heavy weight brushed poly, are the best option if you intent to vigorously work out in your finished garment.


Step Two: Stirrup Pattern Piece

Print out and assemble your Peg Leg pattern as normal, being sure to add or take away height as necessary for you. See Peg Leg 101 for more information on how, where and when this is necessary. The Peg Leg pattern is drafted for an average height of 5’5” and an inseam of 28”. This hack can be applied to both the “plain” version and the “color-blocked” versions. Beware that once you’ve sewn this up you will not be able to simply trim off length at the very end of construction as you would with the standard pattern. So be sure to make a traditional pair and know these height adjustments before attempting this hack.

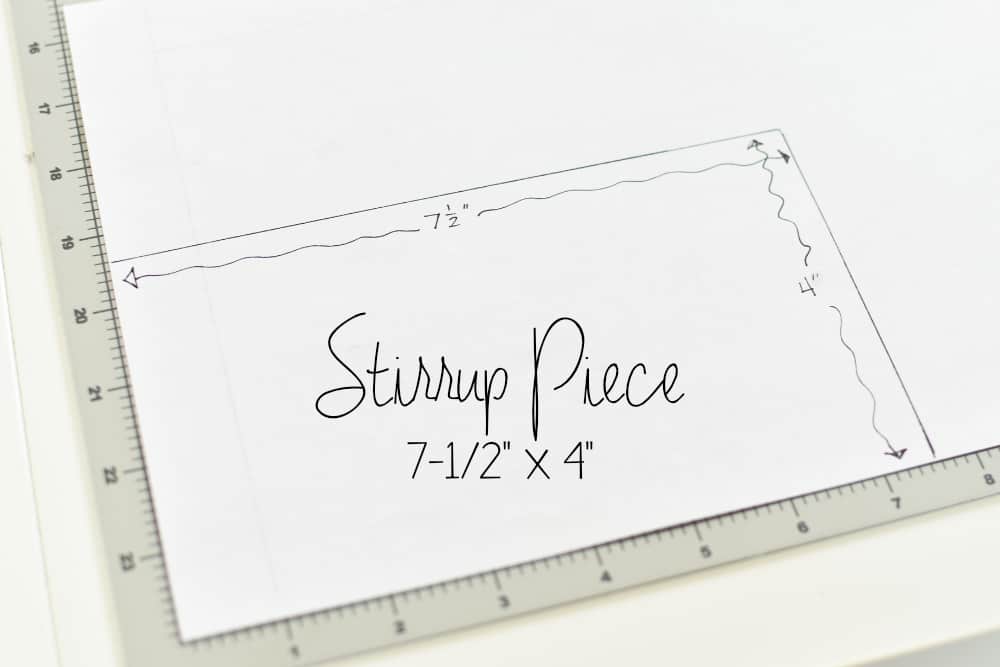
Next cut out a paper rectangle measuring 7.5” x 4”. The 4” height fits my size 9 foot perfectly but you may need to add or remove a little bit to that measurement depending on your shoe size.
Step Three: Modifying the Peg Leg Pattern

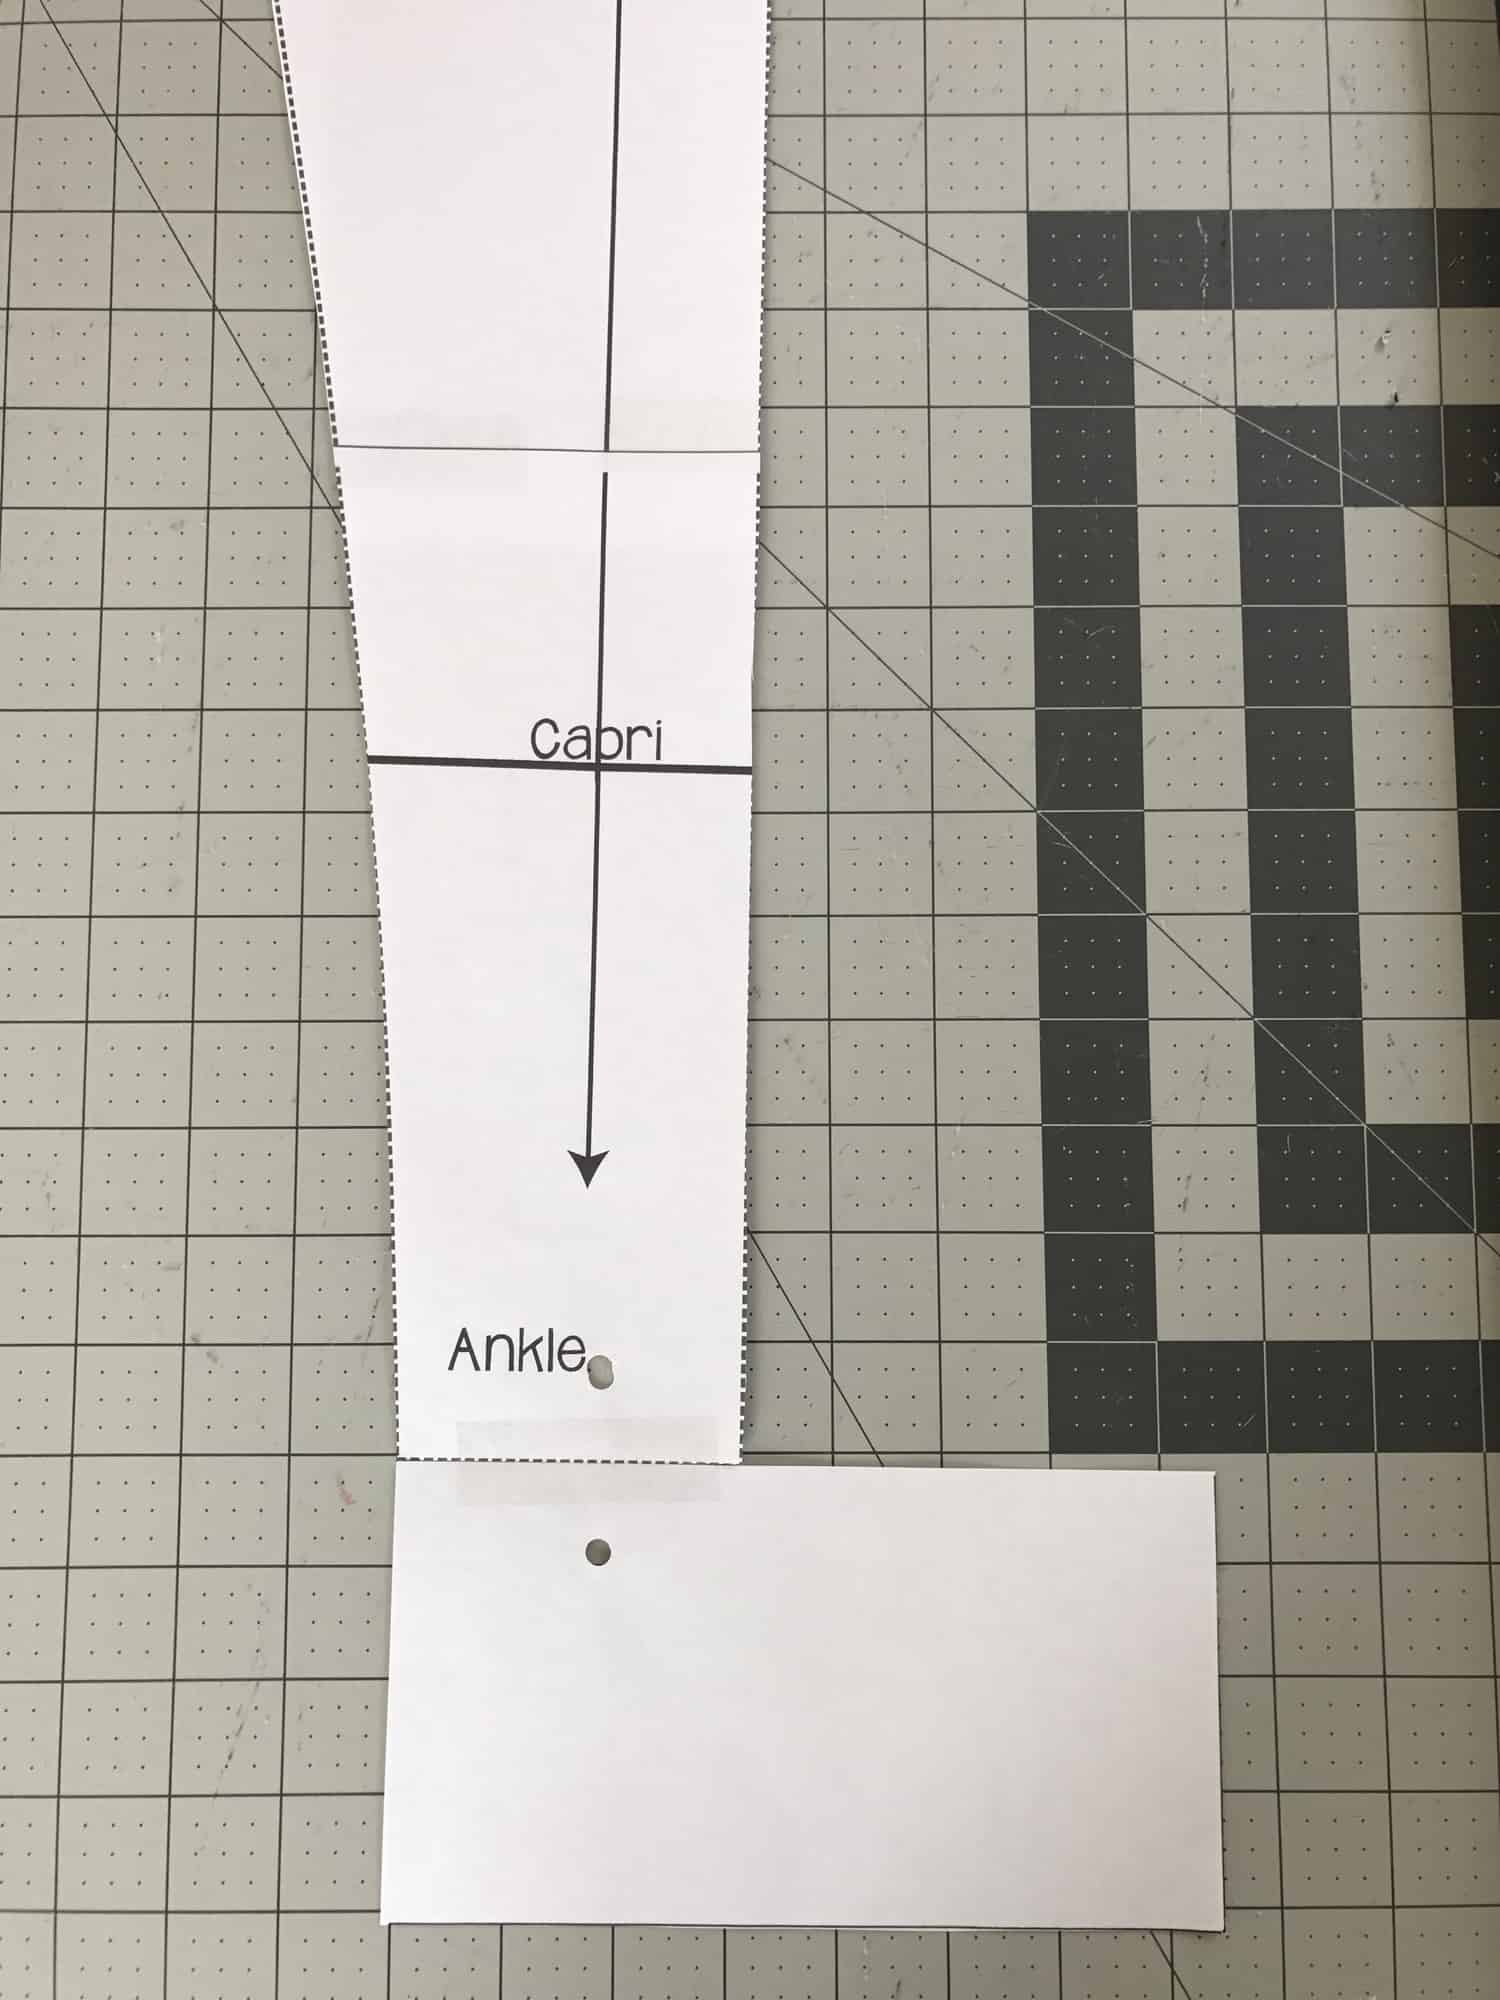
If you’re modifying the “plain” version tape your rectangle to the ankle of your peg pattern as shown. Be sure to pay attention to the side you’re attaching the rectangle to. You want to line the edge of the stirrup rectangle with the FRONT side of the leg piece.
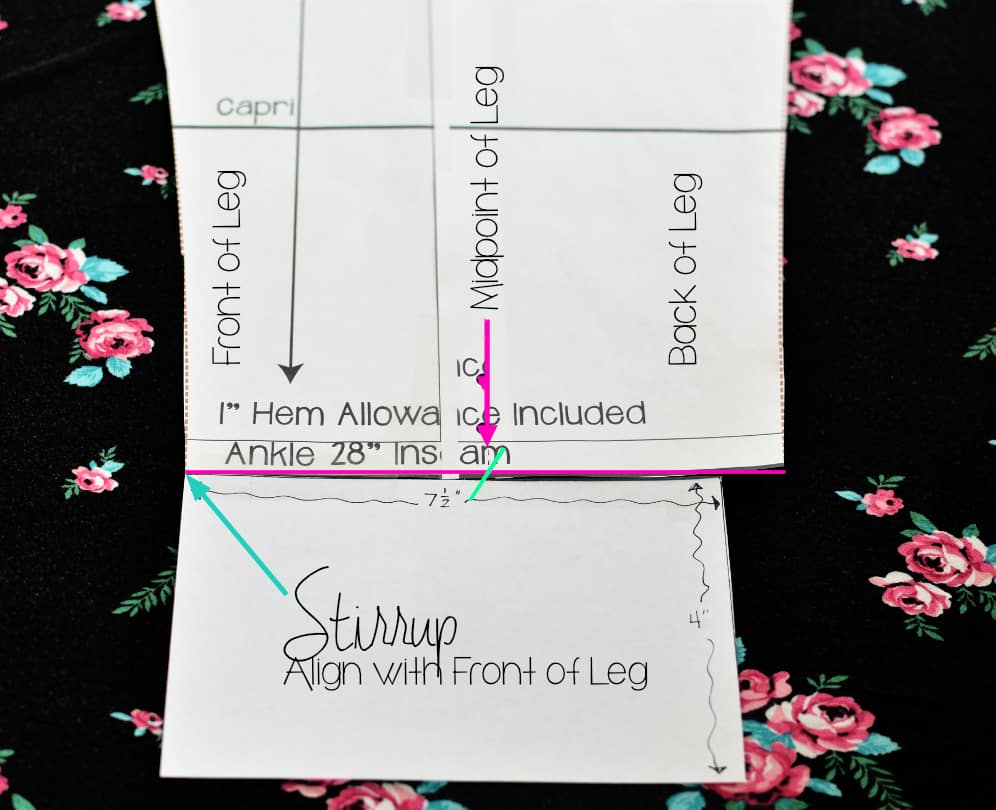
If your modifying one of the “color-blocked” versions line up and attach your stirrup rectangle with the edge of the FRONT pattern piece as pictured.
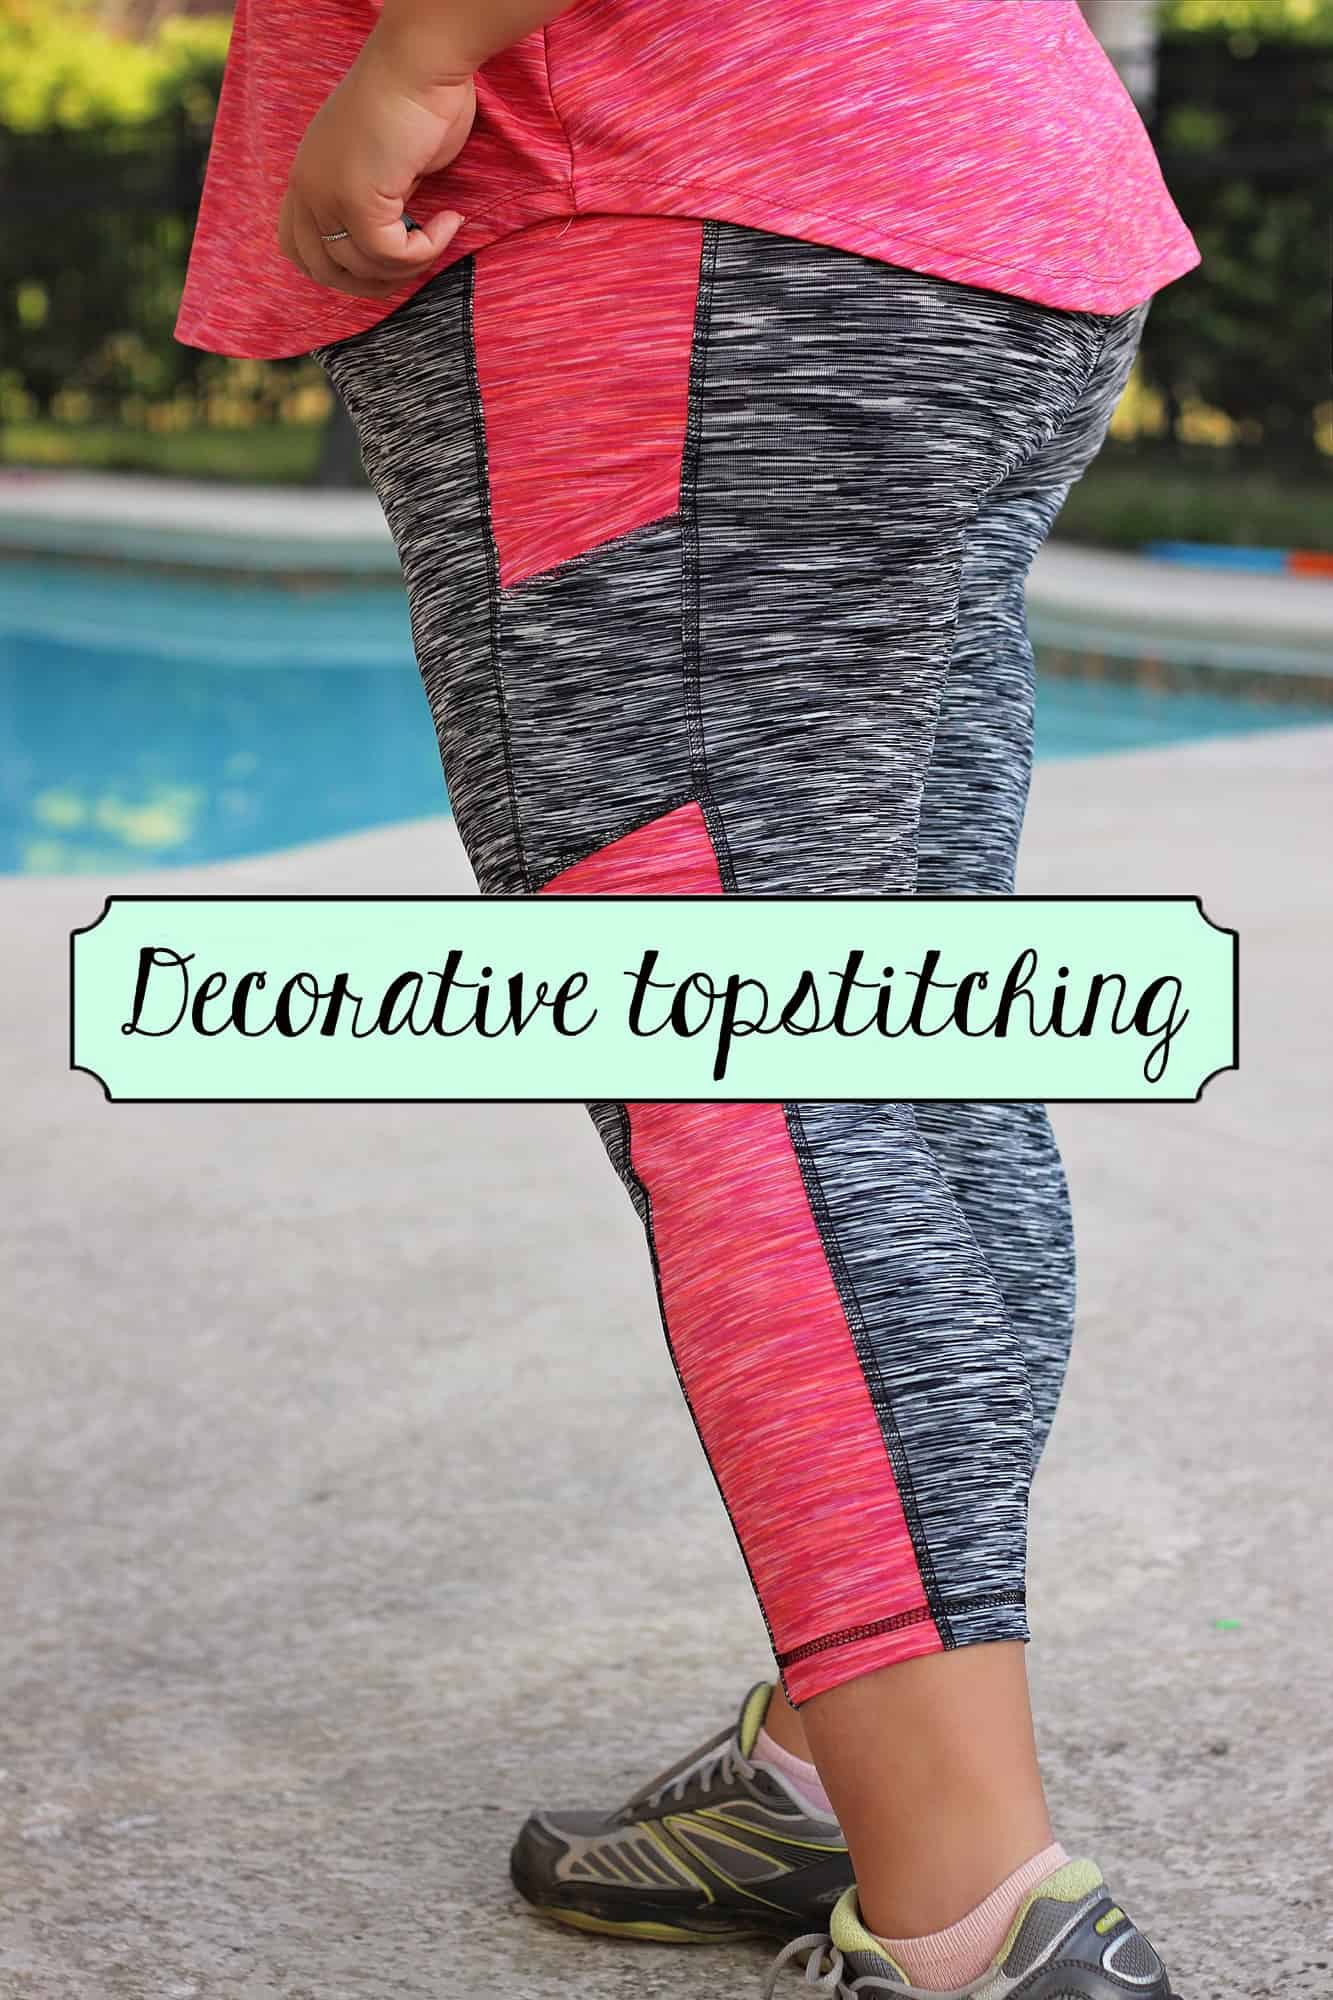
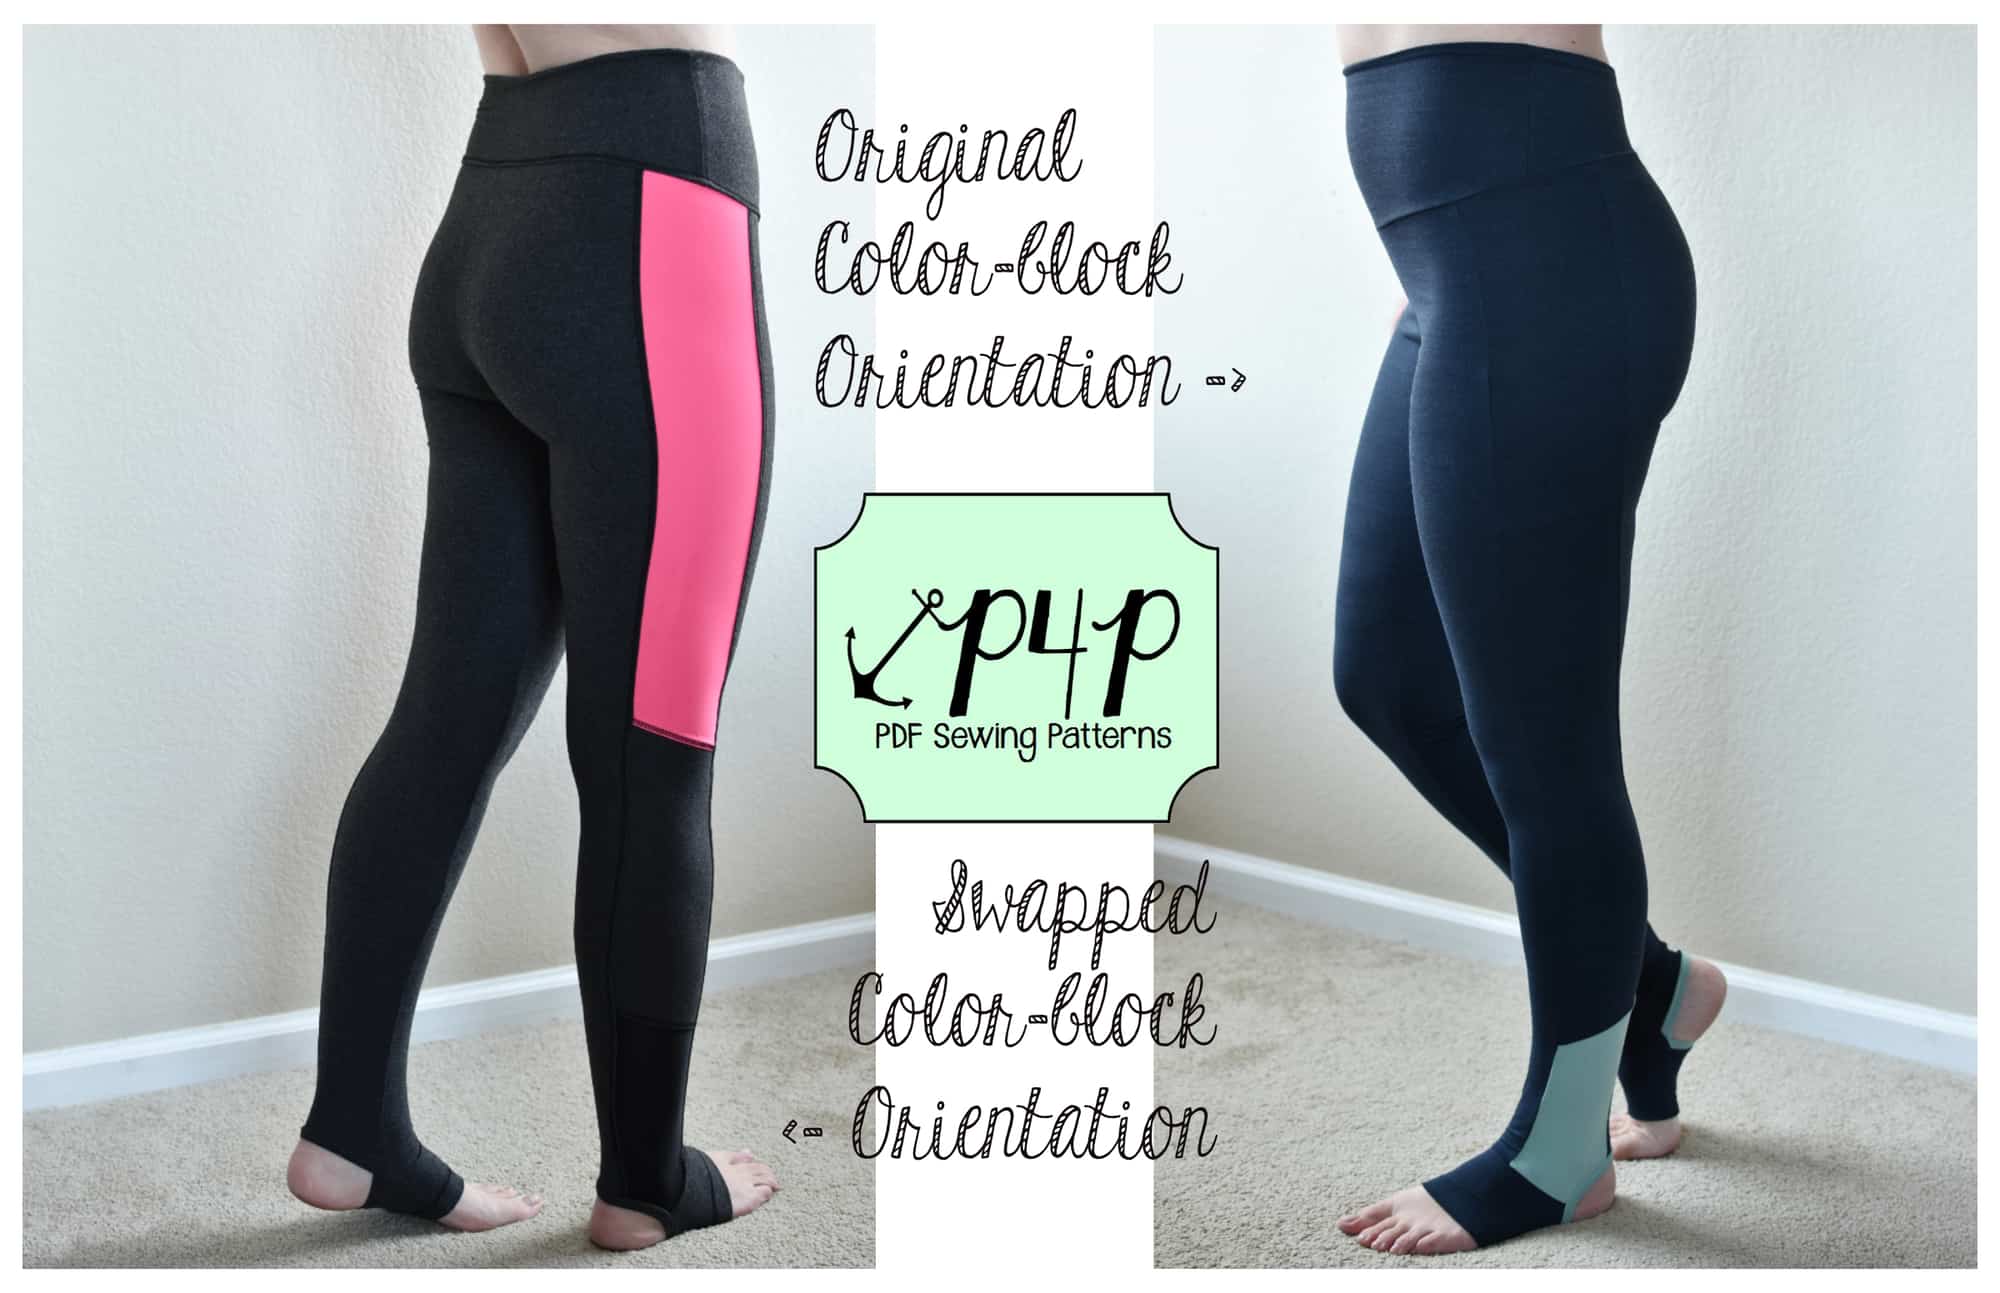
NOTE: You can switch up the top and middle color-block panel pieces and the pattern will still go together without issue if you are not attaching the pocket. If you do attach the pocket still, it would just sit lower on your leg. My charcoal and hot pink pair show what this swap looks like. My navy and seaglass version show the color-block panel assembly as instructed in the original pattern. I also chose to give a faux flatlock look to my pink version. Follow Alex’s decorative top stitching blog to get this look yourself!
Step Four: Cut Out Your Pieces & Assemble Color-block

Use your modified pattern to cut from your fabric all legging pieces. Add to this the addition of two 1.25” x width of ankle strips with the greatest stretch going with the longer length. Theses will be the bands that stretch around the heel of your foot. The width measurement will leave extra that will get trimmed off after attachment. For a size small I cut a 8″x 1.25″ sized heel band.

For the “plain version” make a cut in each leg piece, as shown in the image below, just to the center width of the leg. This is where you will attach the heel band.
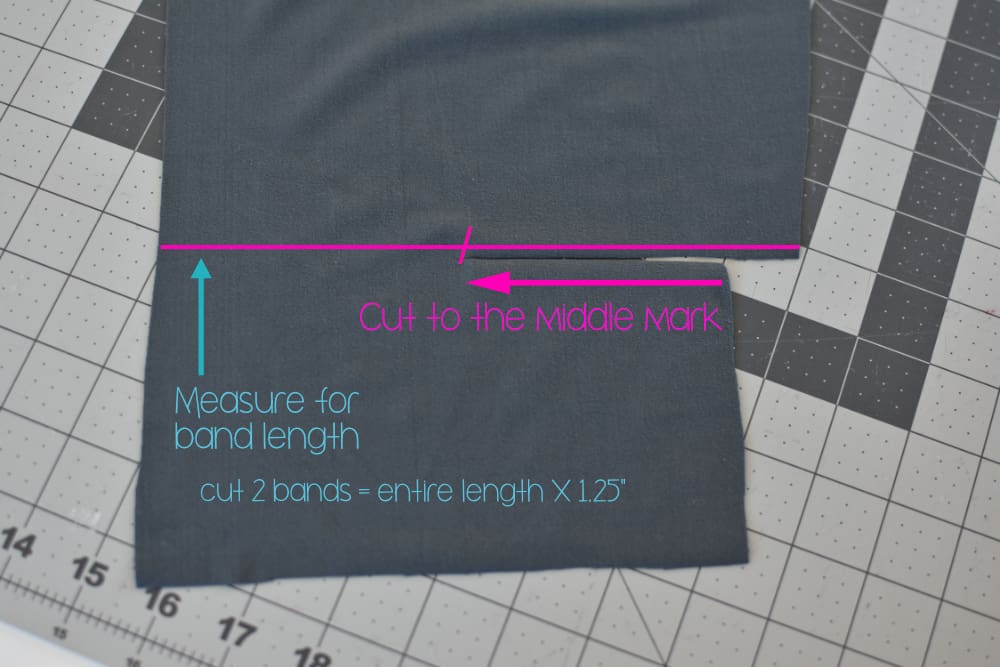
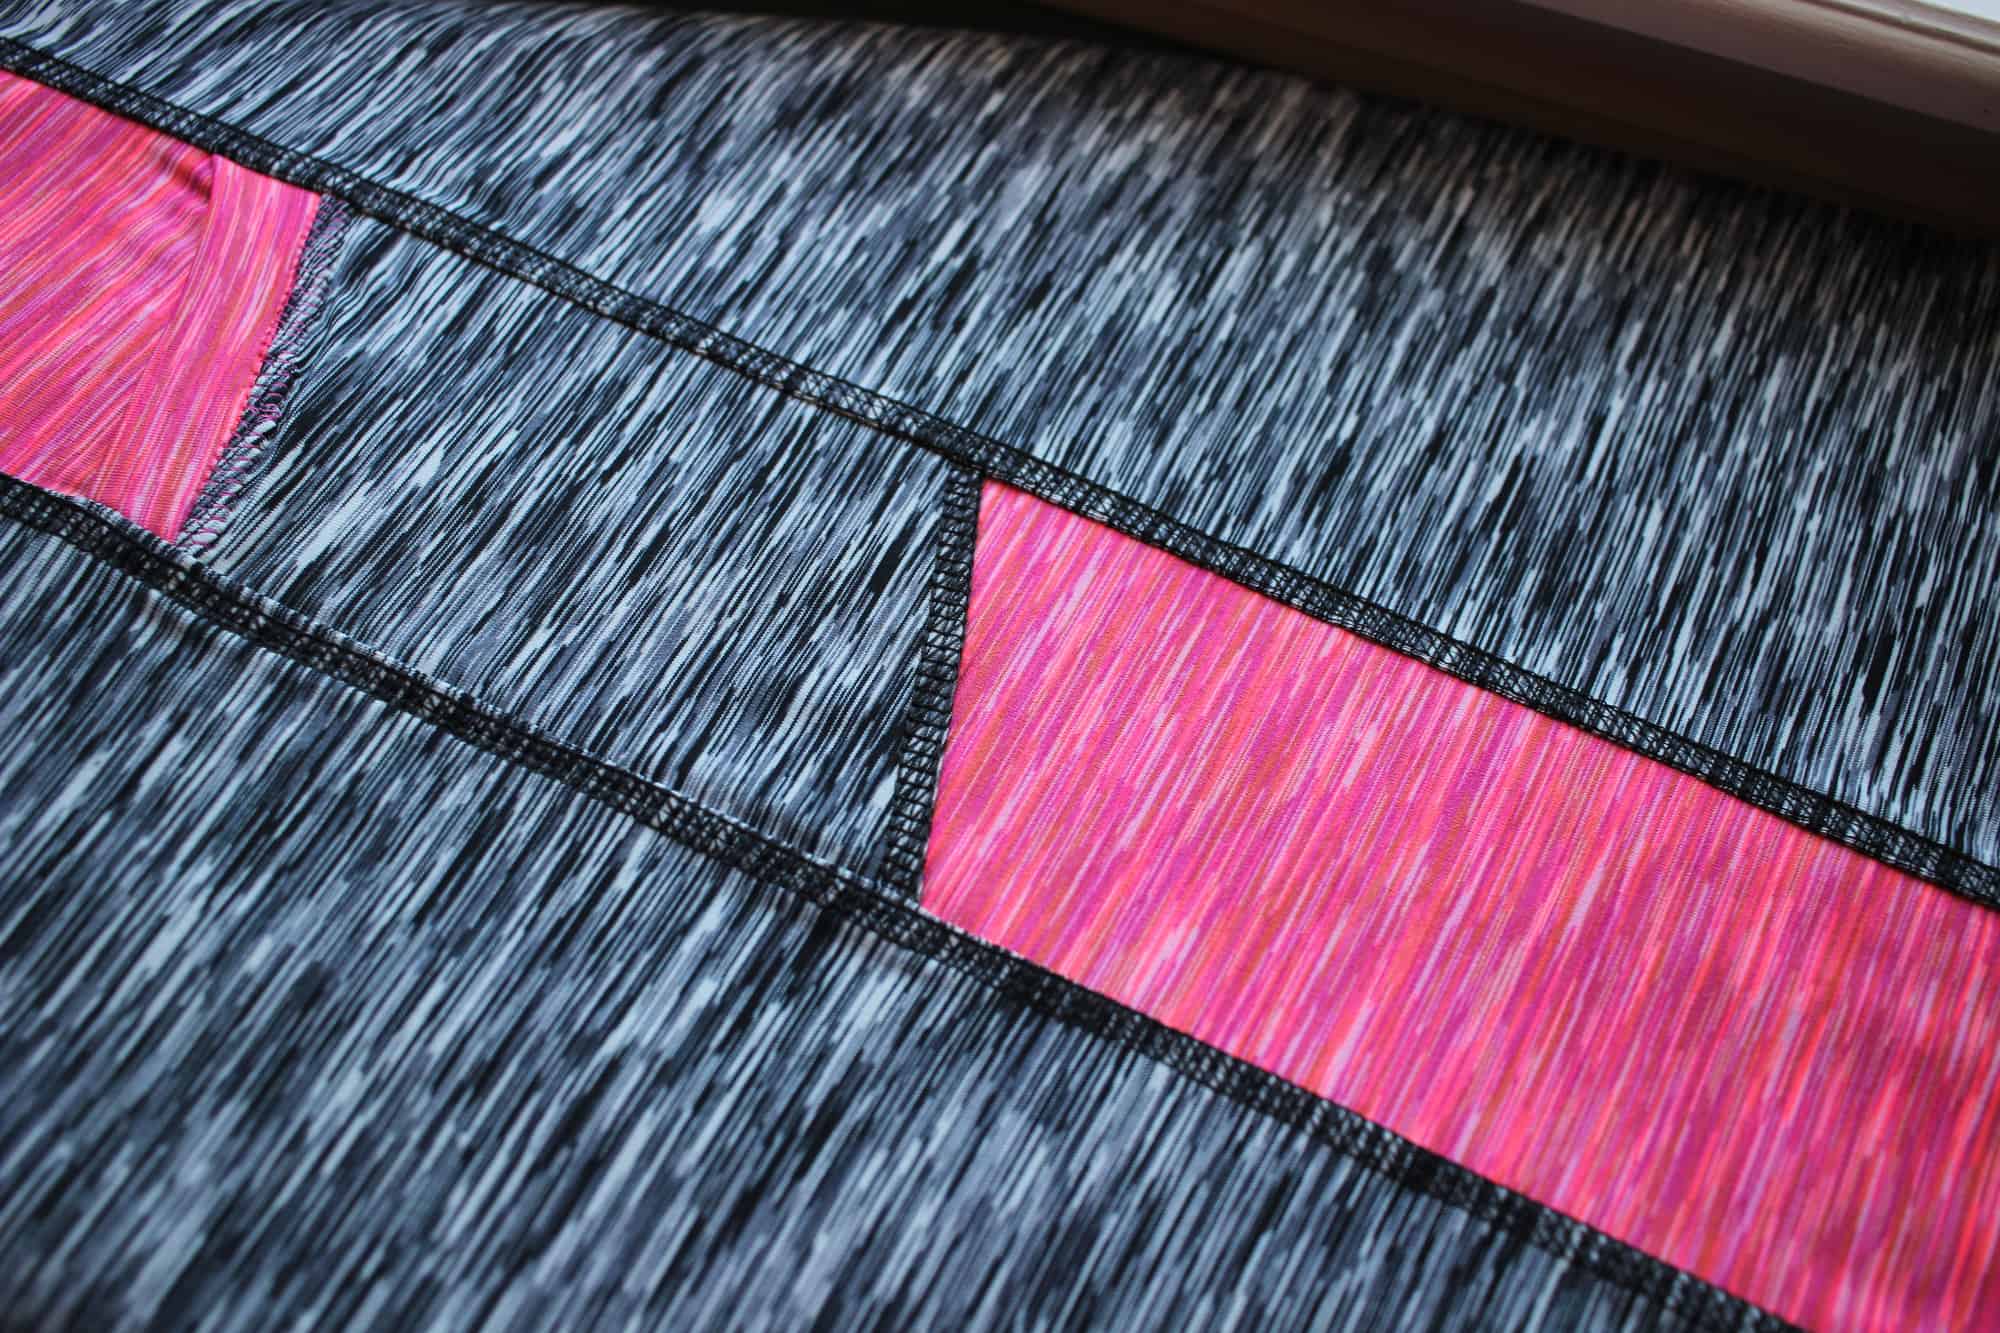
For the “color-blocked” version you are going to sew together all color-block pieces as normal, creating two full leg pieces. You will need to pivot the seam 90 degrees to attach the stirrup to the ankle at the front of the leg. Be sure to only sew the stirrup to the halfway mark along the ankle (mid color-block). Leave the rest unattached so that you can sew the heel band in place.

Step Five: Sew Crotch Seams

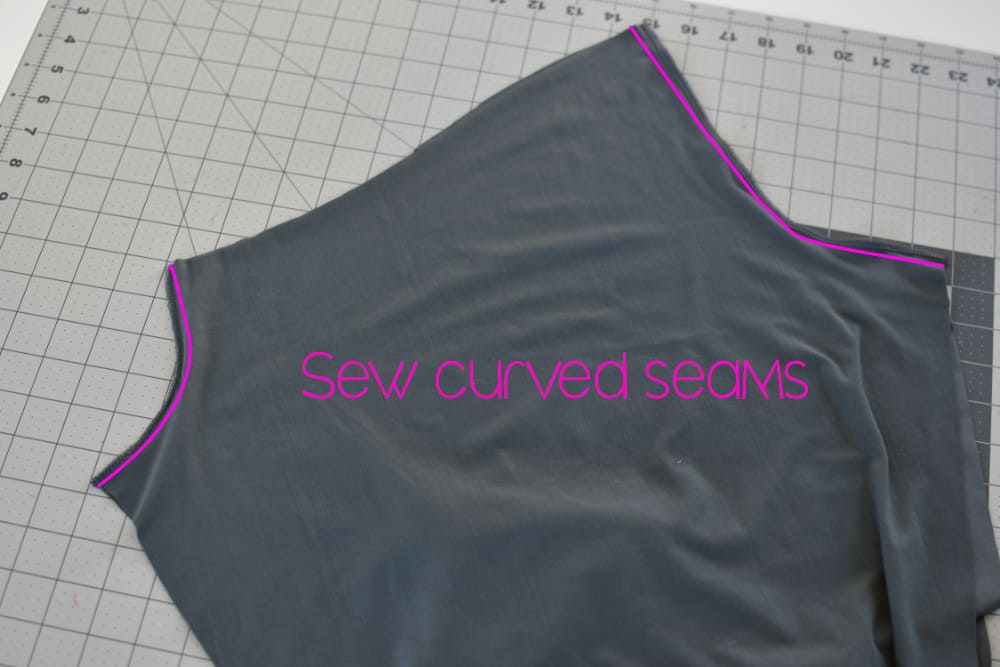
Lay your fully assembled leg pieces right sides together on top of one another. Sew your crotch curves together.
Step Six: Attach Heel Bands

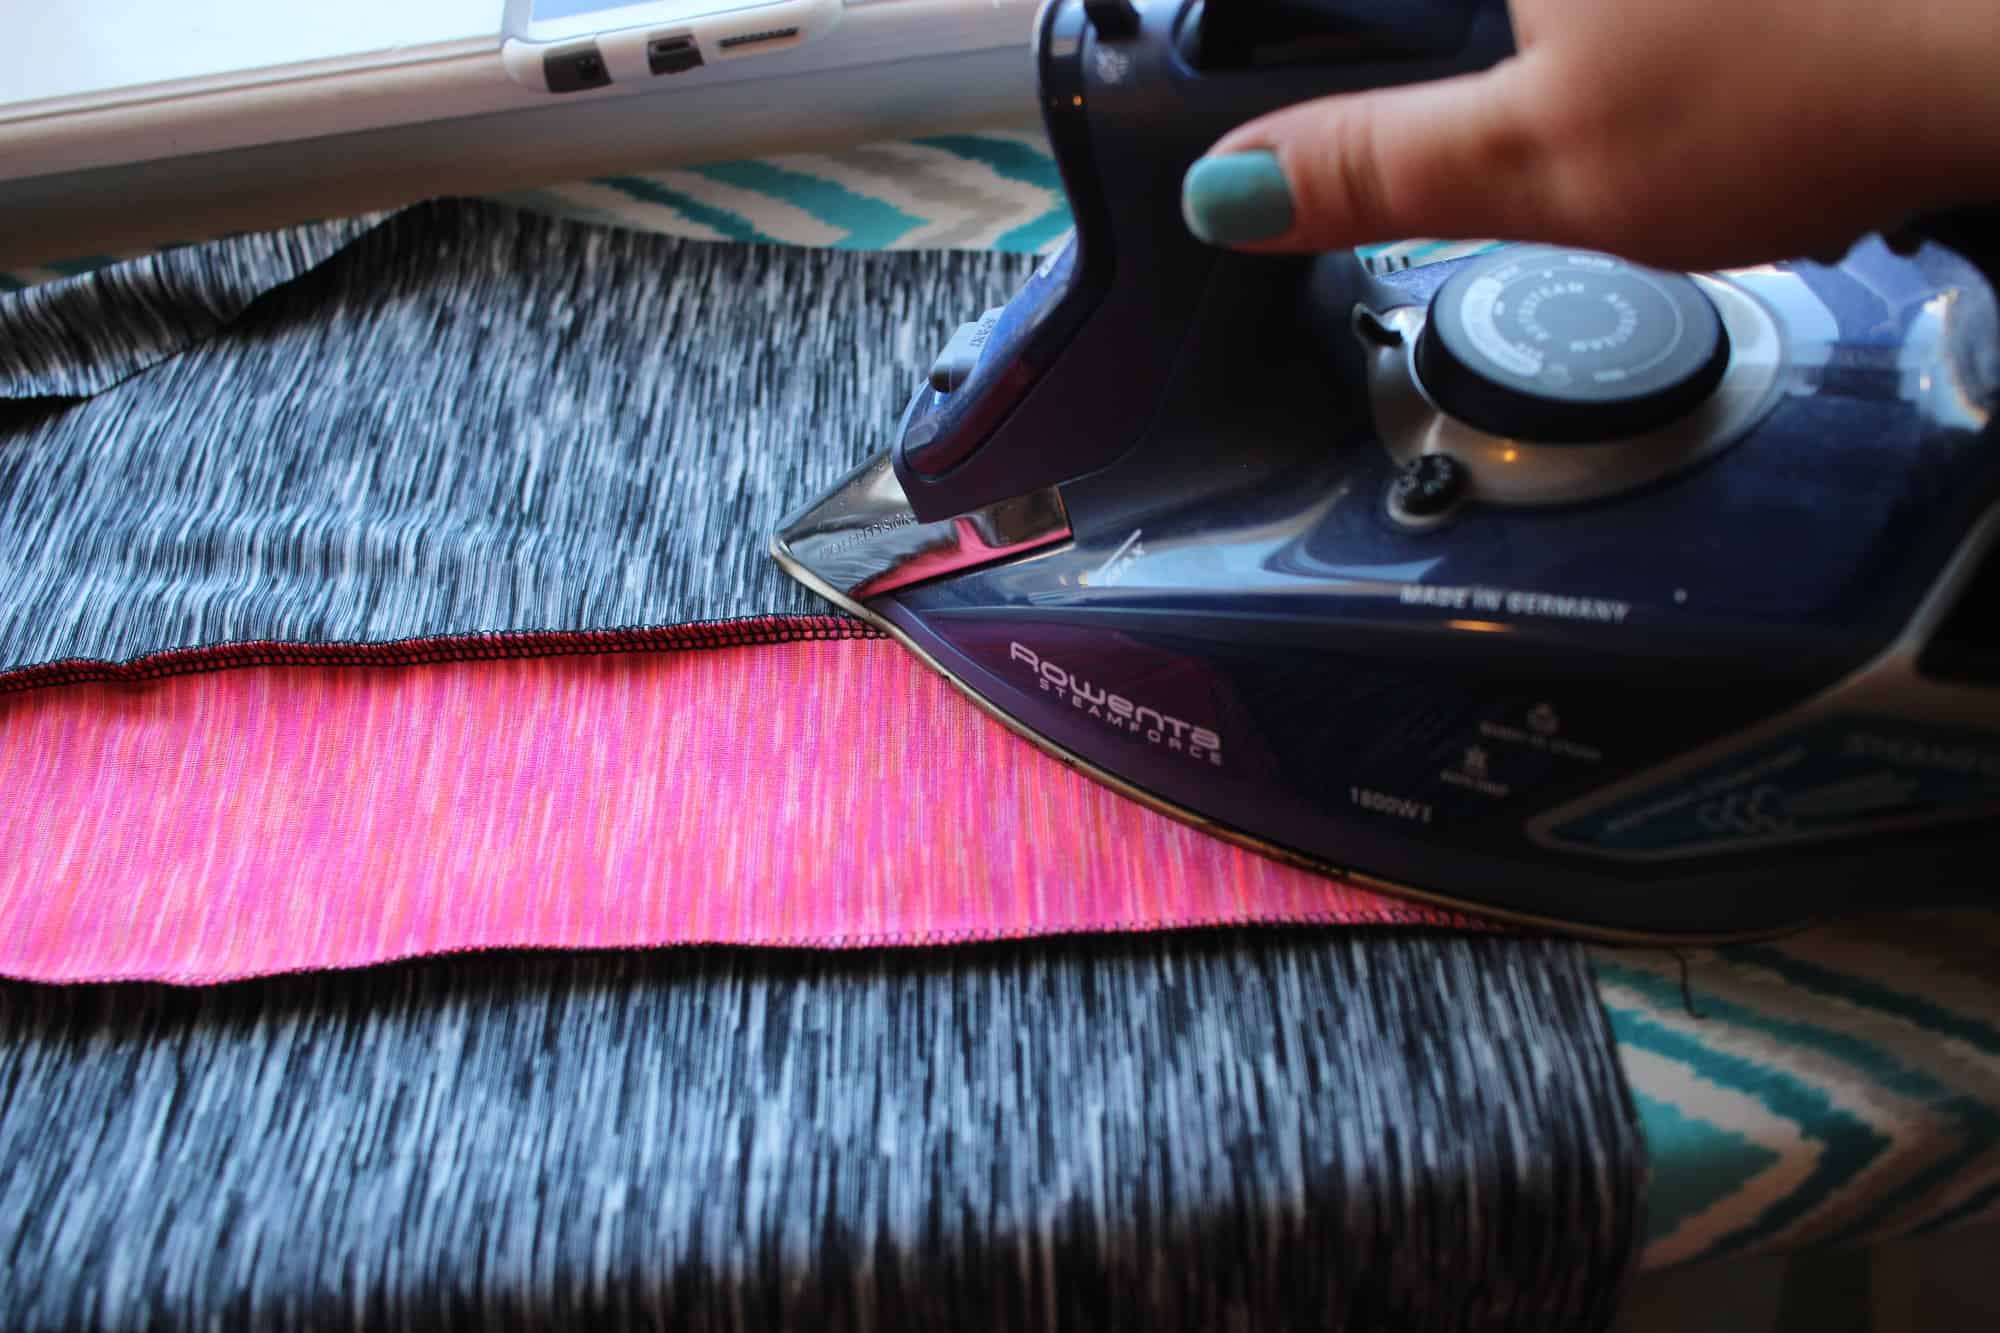
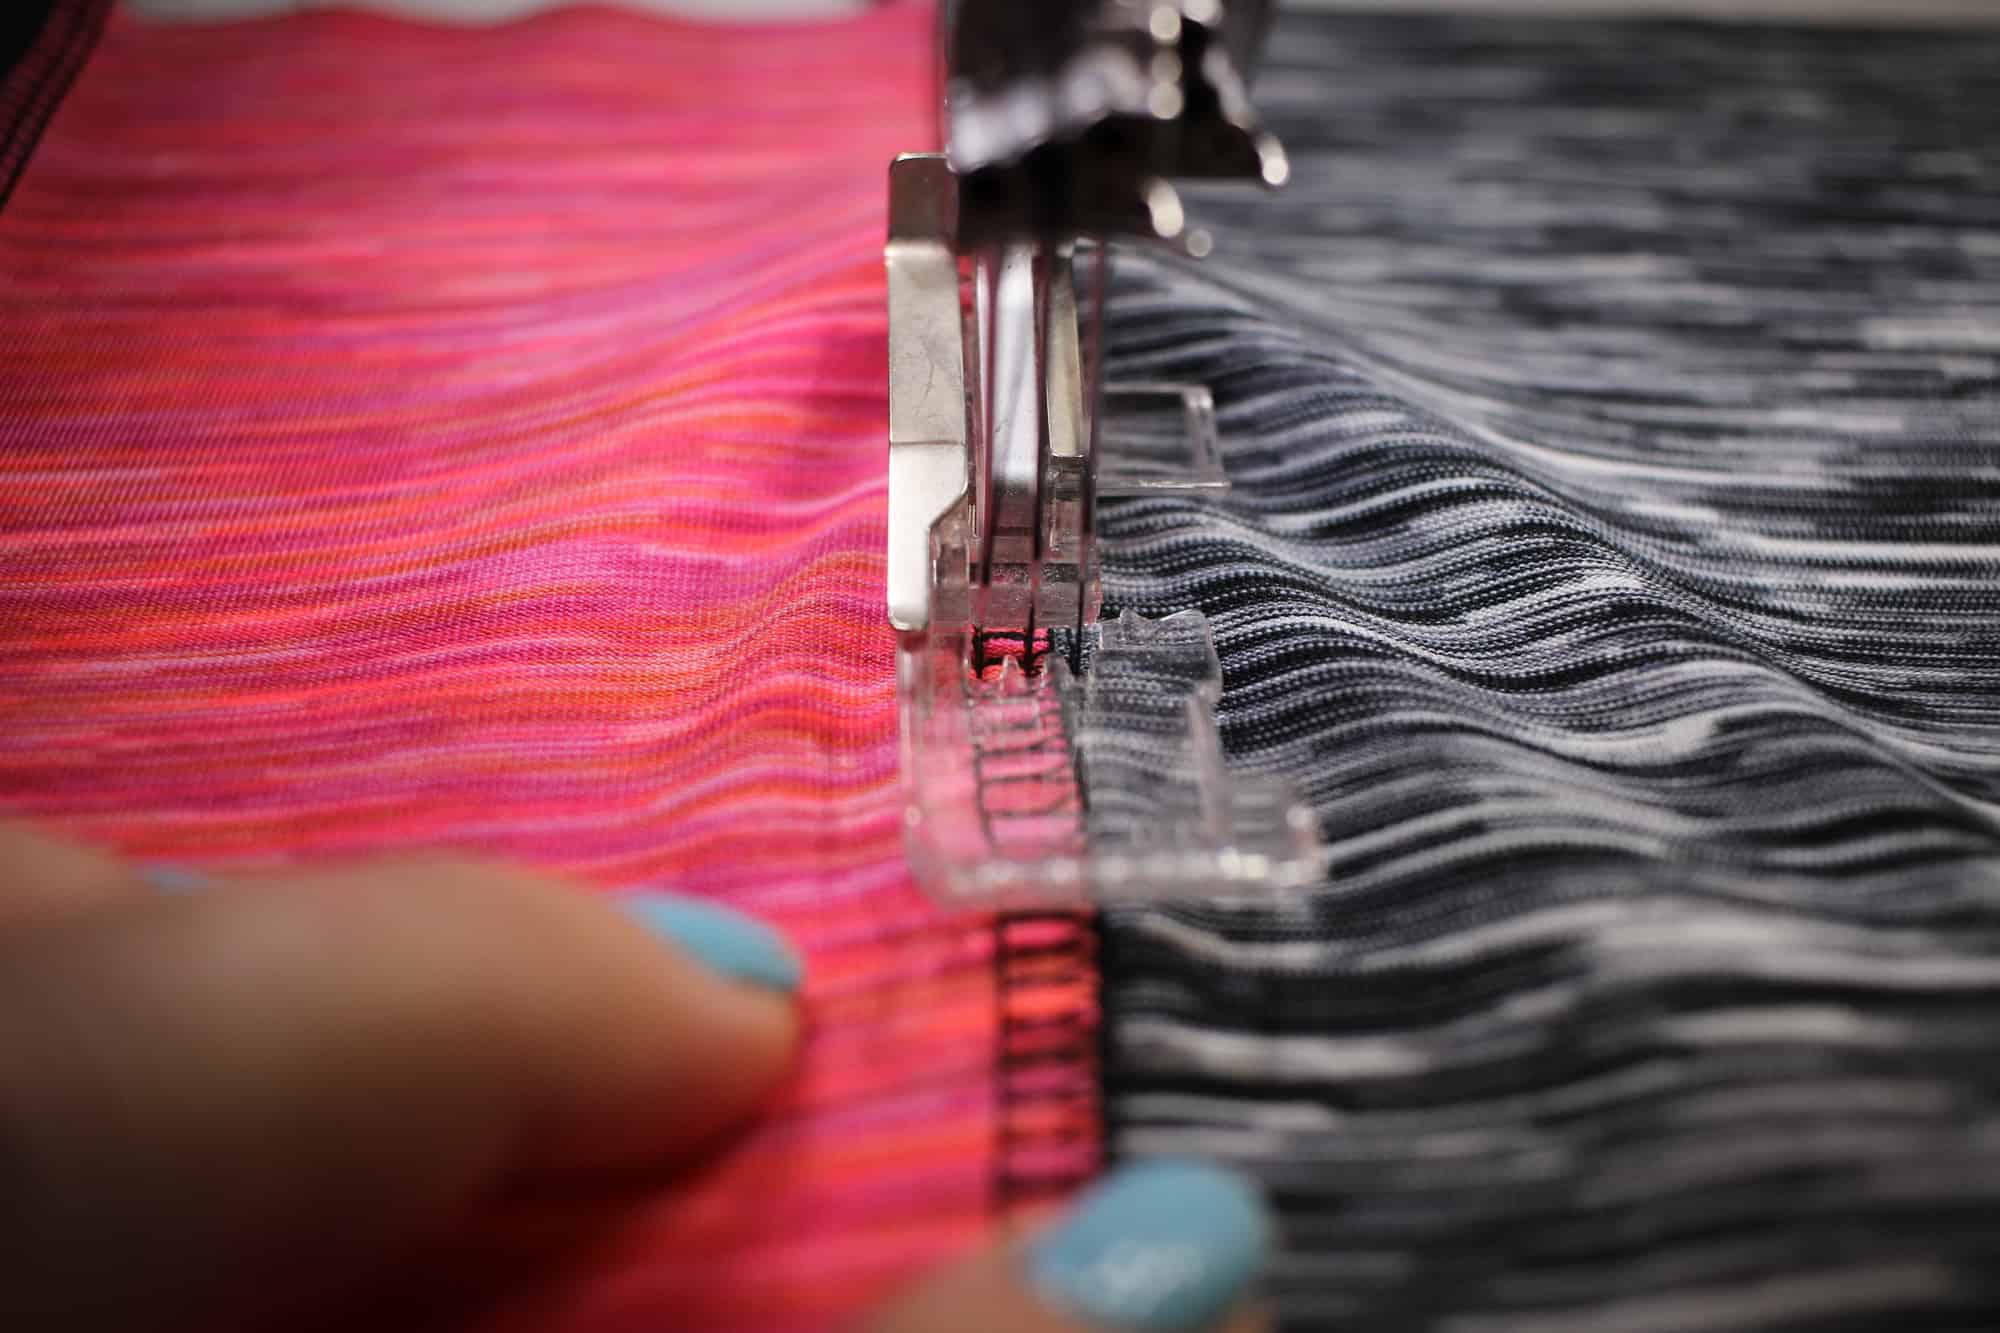
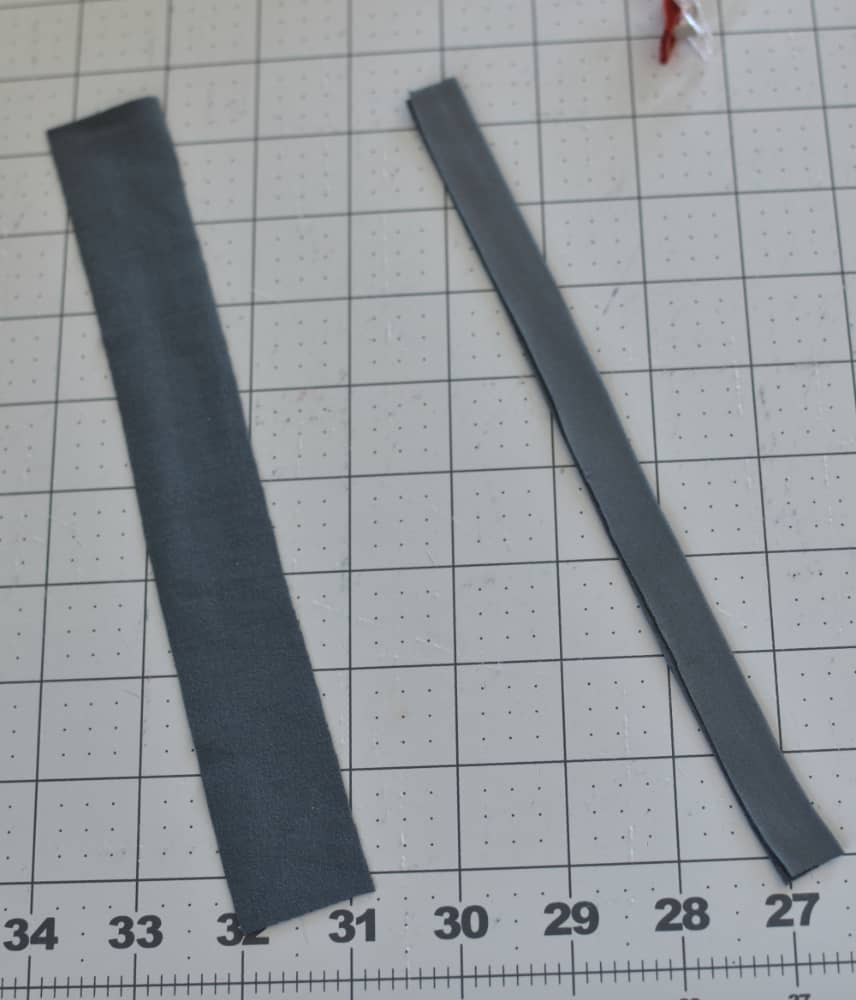
Press your heel bands wrong sides together lengthwise and then pin along the unfinished slit along ankle edge. Sew in place being sure to use a stretch stitch but not to stretch either the band or the leg piece.
 

Step Seven: Pin Inseam in Place

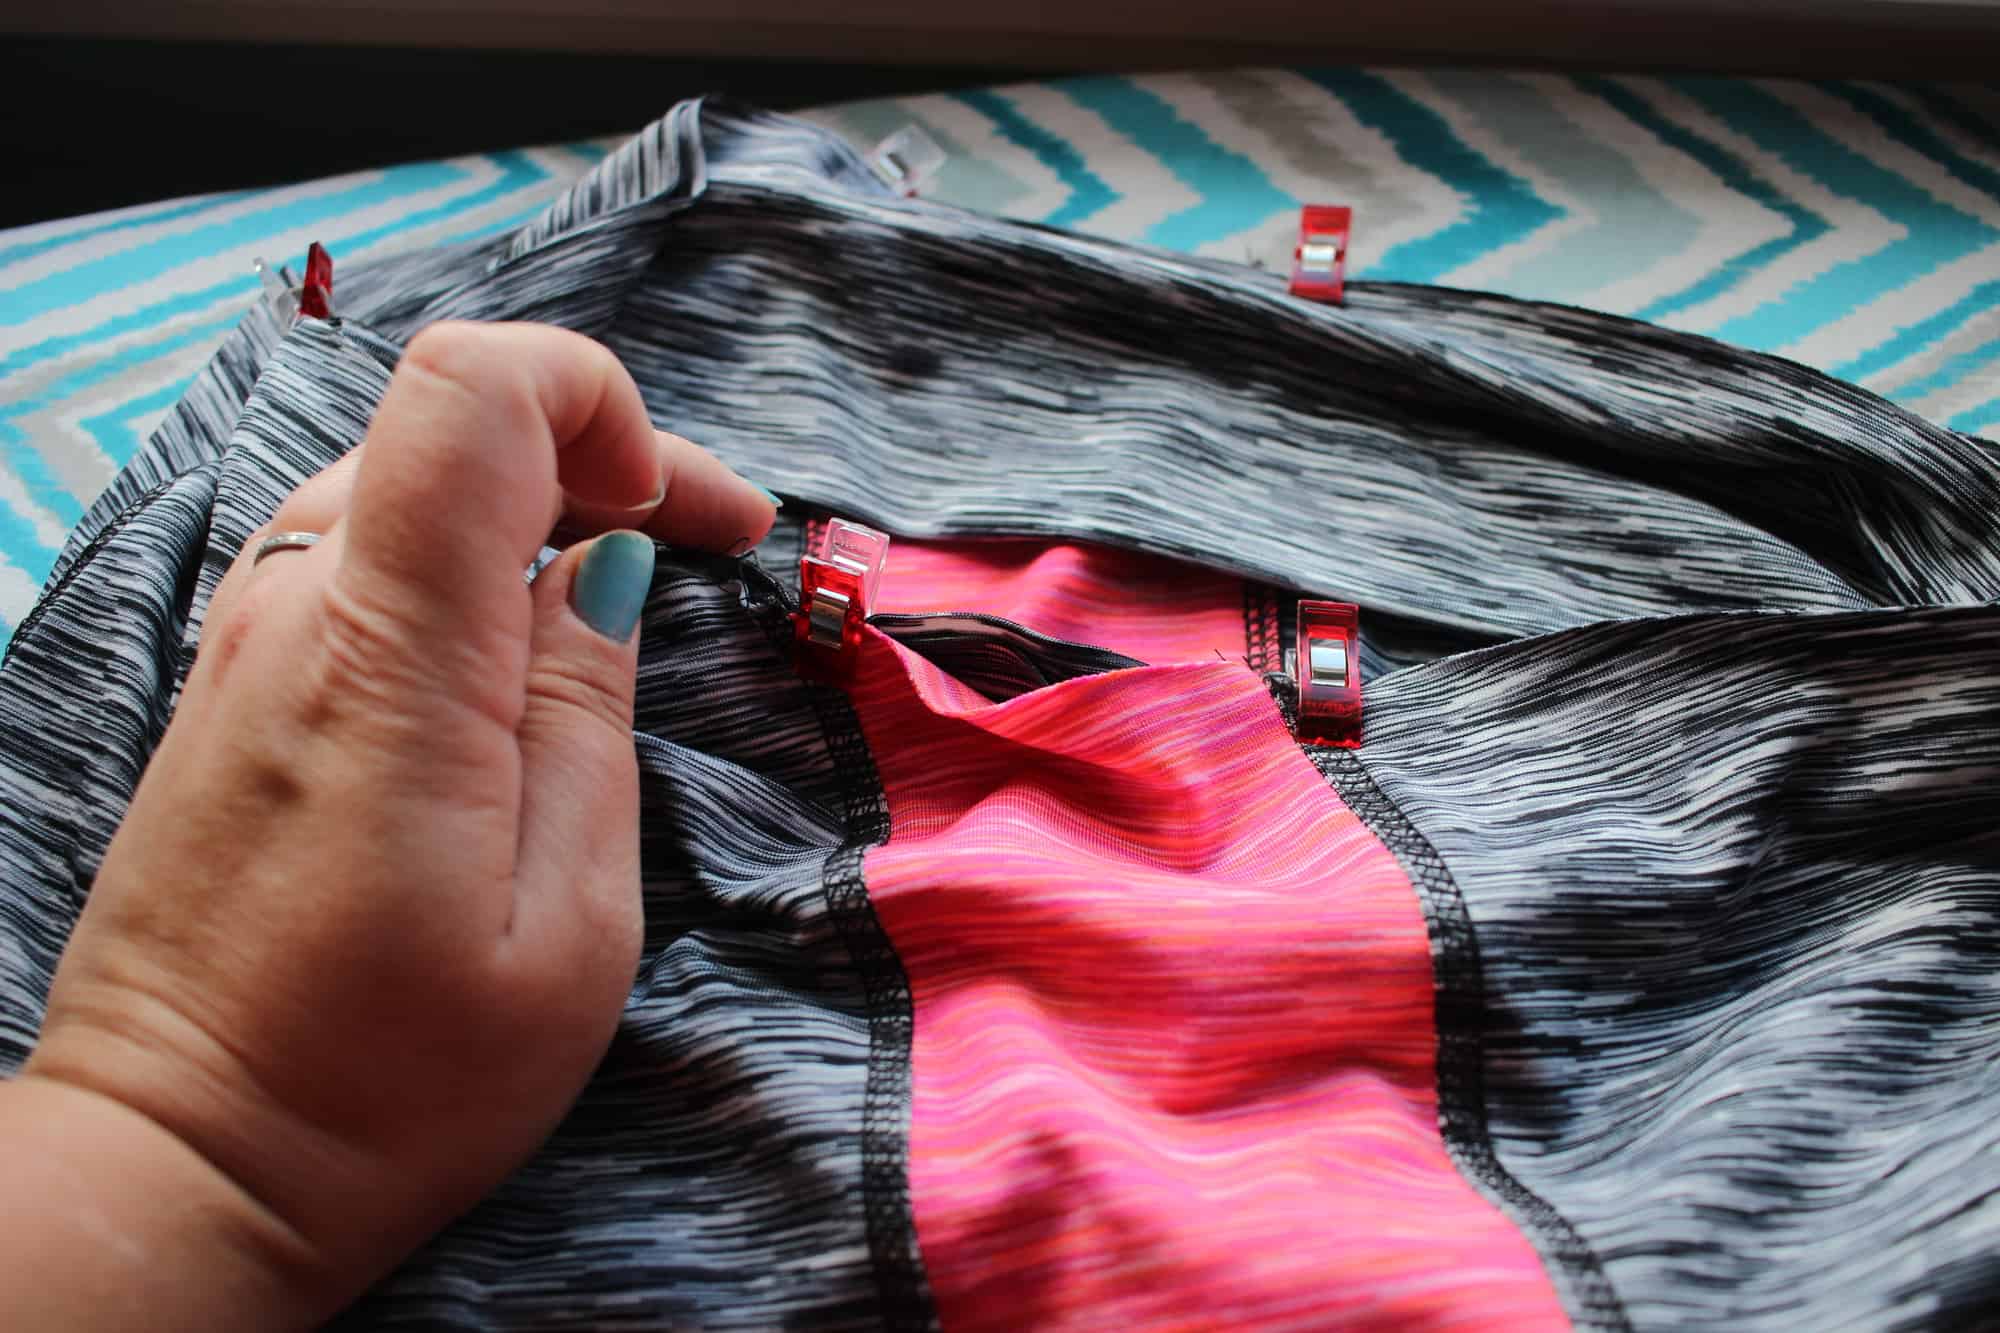
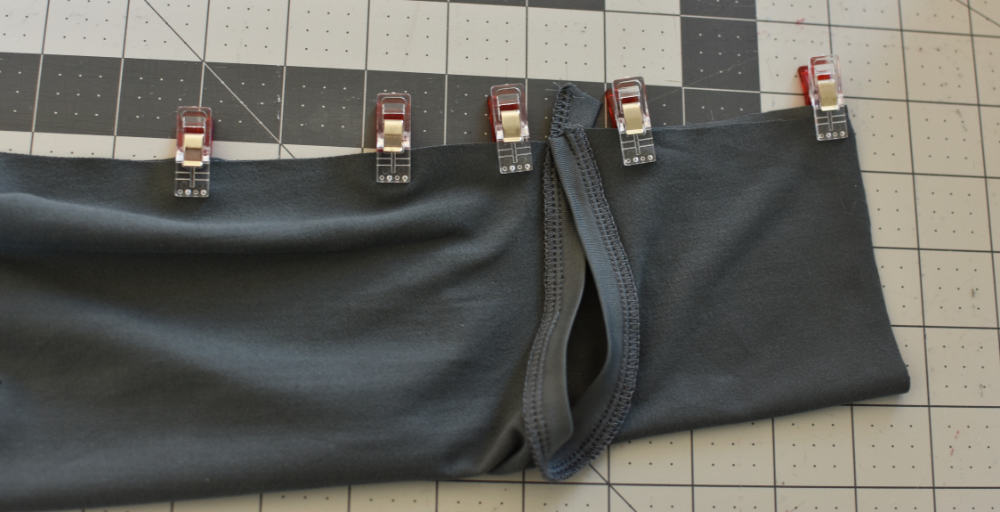
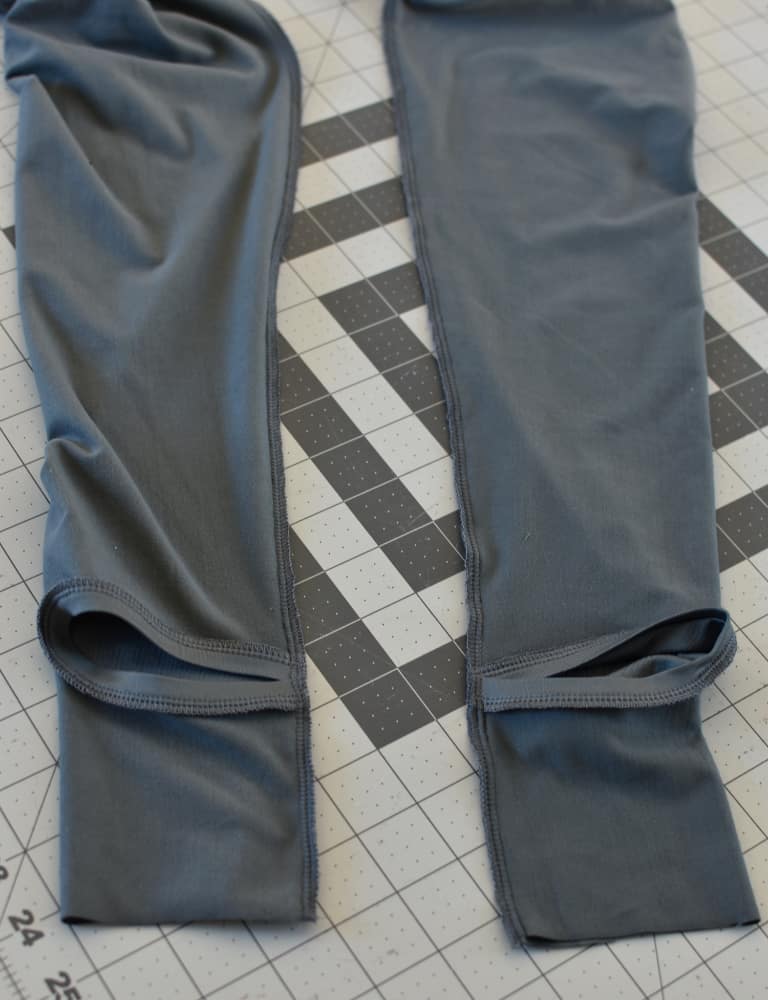
Start by pinning your crotch seams right sides together then go to the stirrup piece and start lining up inseams there. Work your way up the leg making sure to overlap the bands as shown in the photo below. Sew inseam together using stretch stitch. Trim off excess heel band.
 

Step Eight: Finishes

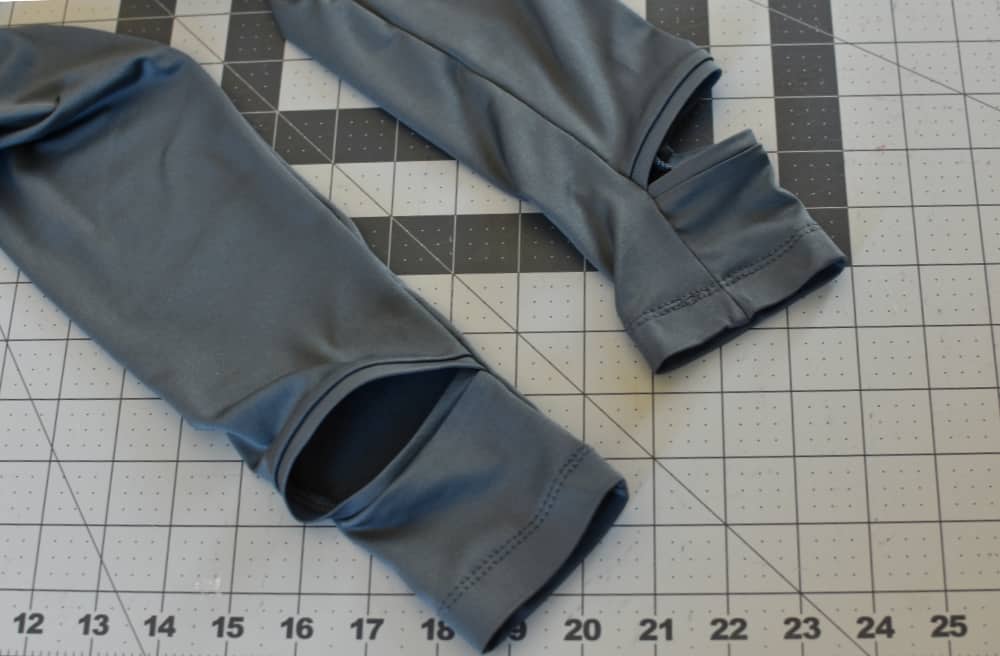
At this point you can attach your waistband using the directions in the patterns tutorial and then hem the bottom of the stirrups using a stretch stitch and your preferred hem width. Press.
All Done!

Try them on and enjoy. Keep your feet cozy whether in yoga class or sewing your next garment at home!

We are celebrating reaching 50K fans in our Facebook group!  To make it a party, our beloved PegLegs pattern just got an update AND some new add-ons.  Before you go running to your machine to sew up your own leggings, make sure to read our PegLegs 101 blog post.  This way, you’ll have all the the information you’ll need to make the perfect pair before you even cut into your gorgeous fabric.

But wait, there’s more!  After any good party is an after-party.  We are taking it one step further and sharing some easy hacks that’ll bring even more flavor to your favorite leggings pattern!  We hope you check them out, make your new favorite pair of leggings, and know that we appreciate every single one of you amazing sewing guys and gals!

Here are our hacks / tutorials / latest tricks:

Lace Waistband Alternative | Drawstring Waistband Tutorial
Exposed Elastic Waistband | Stirrup Pant Hack
Ruched Ankles Adjustment | Decorative Topstitching Tutorial
Ruched Side Panel Hack

Filed Under: Blog Tours, Pattern Hacks, Pattern Release, Uncategorized 2 Comments

50K Fan Celebration :: Drawstring Waistband PegLegs Hack

April 21, 2017

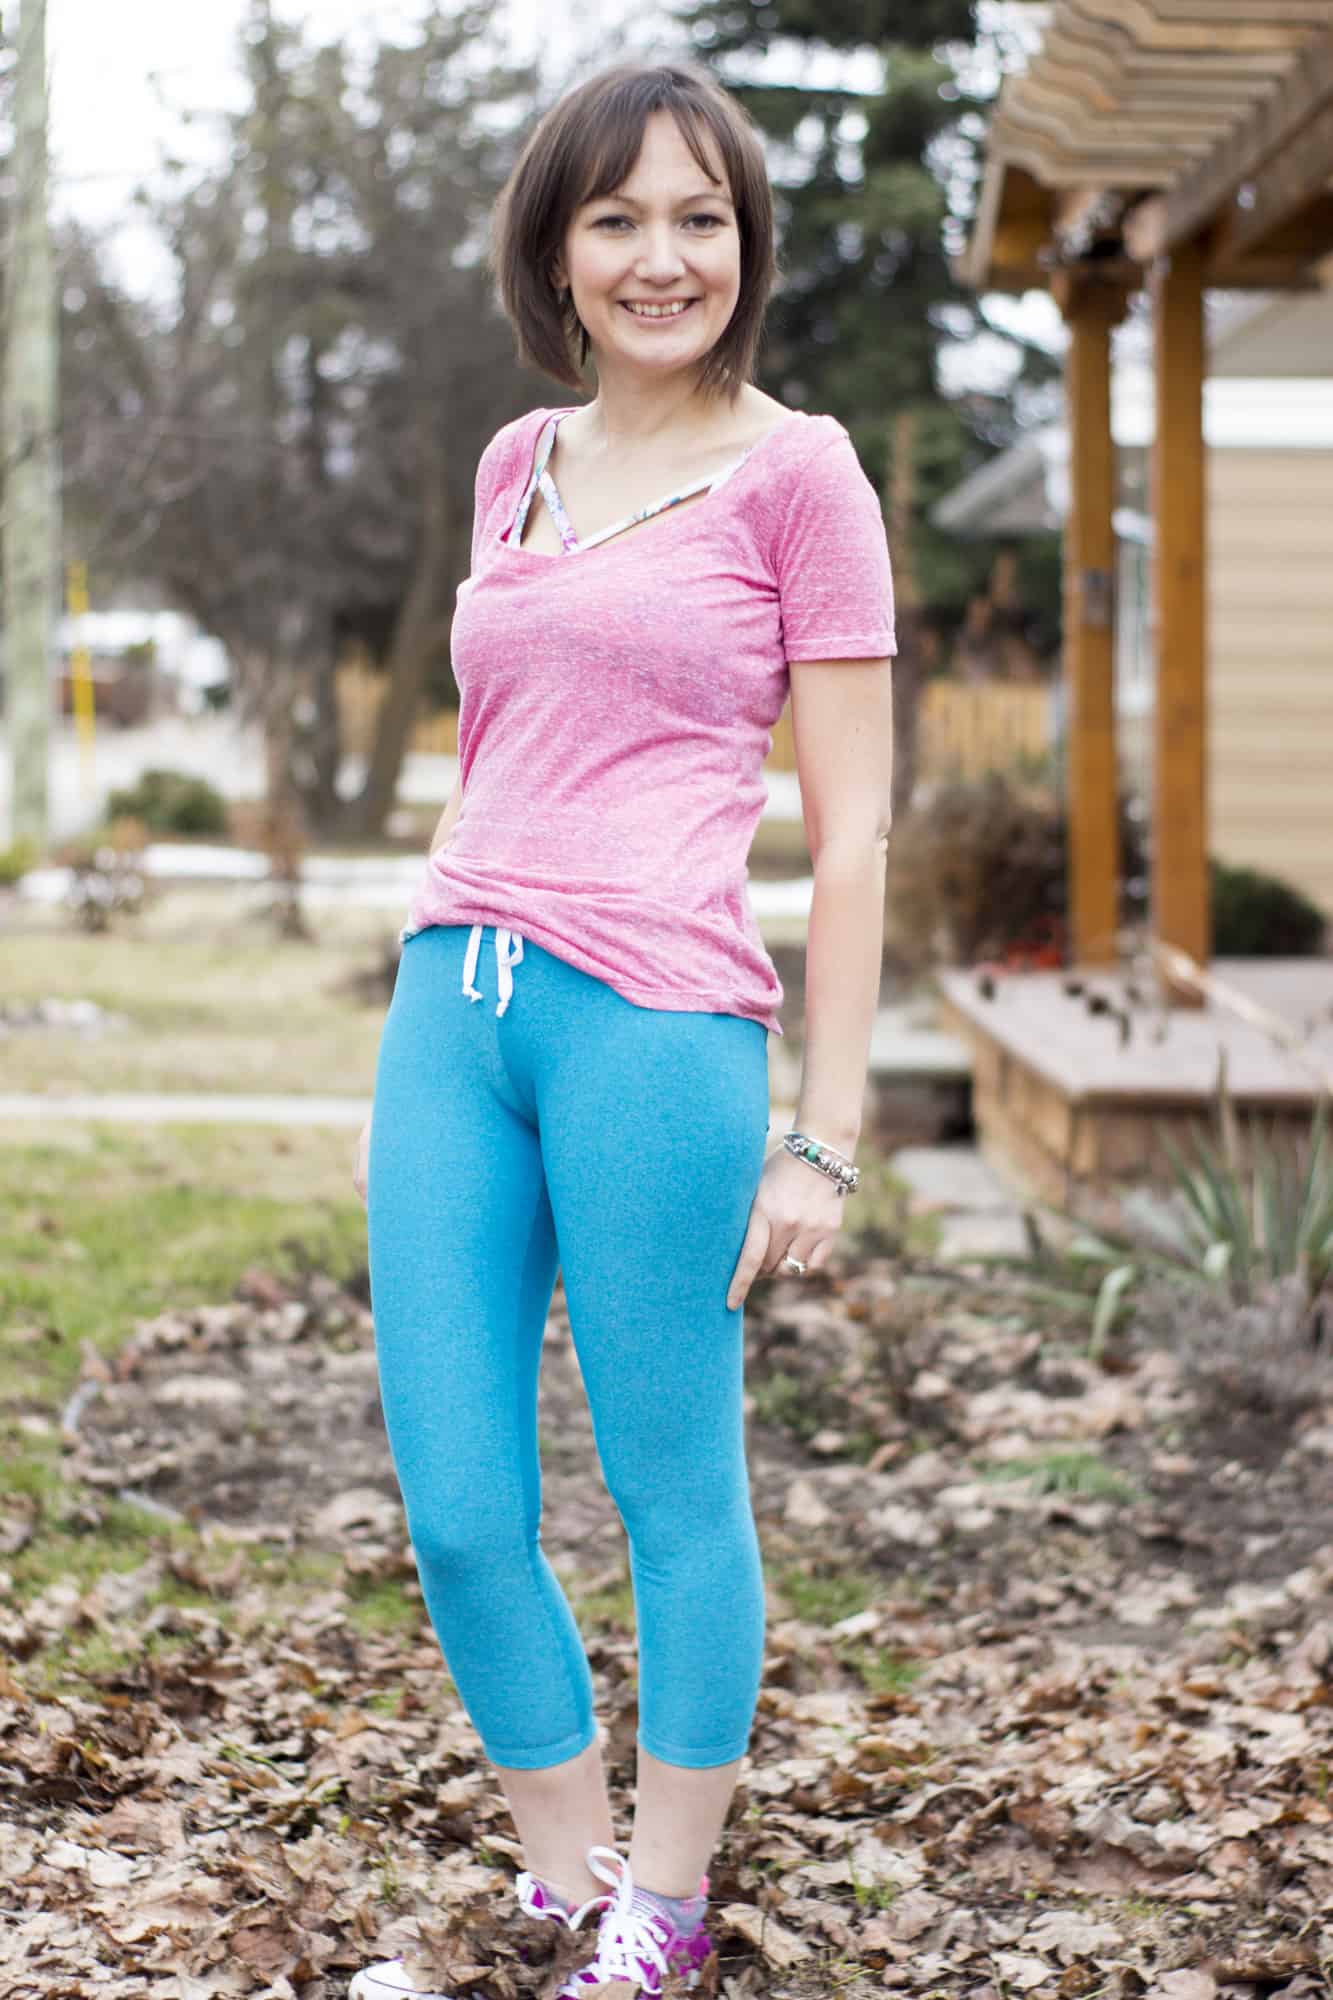
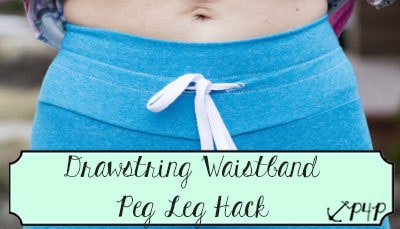
Today I’m sharing a quick cute hack to your peg legs to add a drawstring to your waistband.  I wear peglegs all year round and the drawstring changes up the look just a bit.  Let’s get started.

  1. First you sew your legs together as per the pattern.
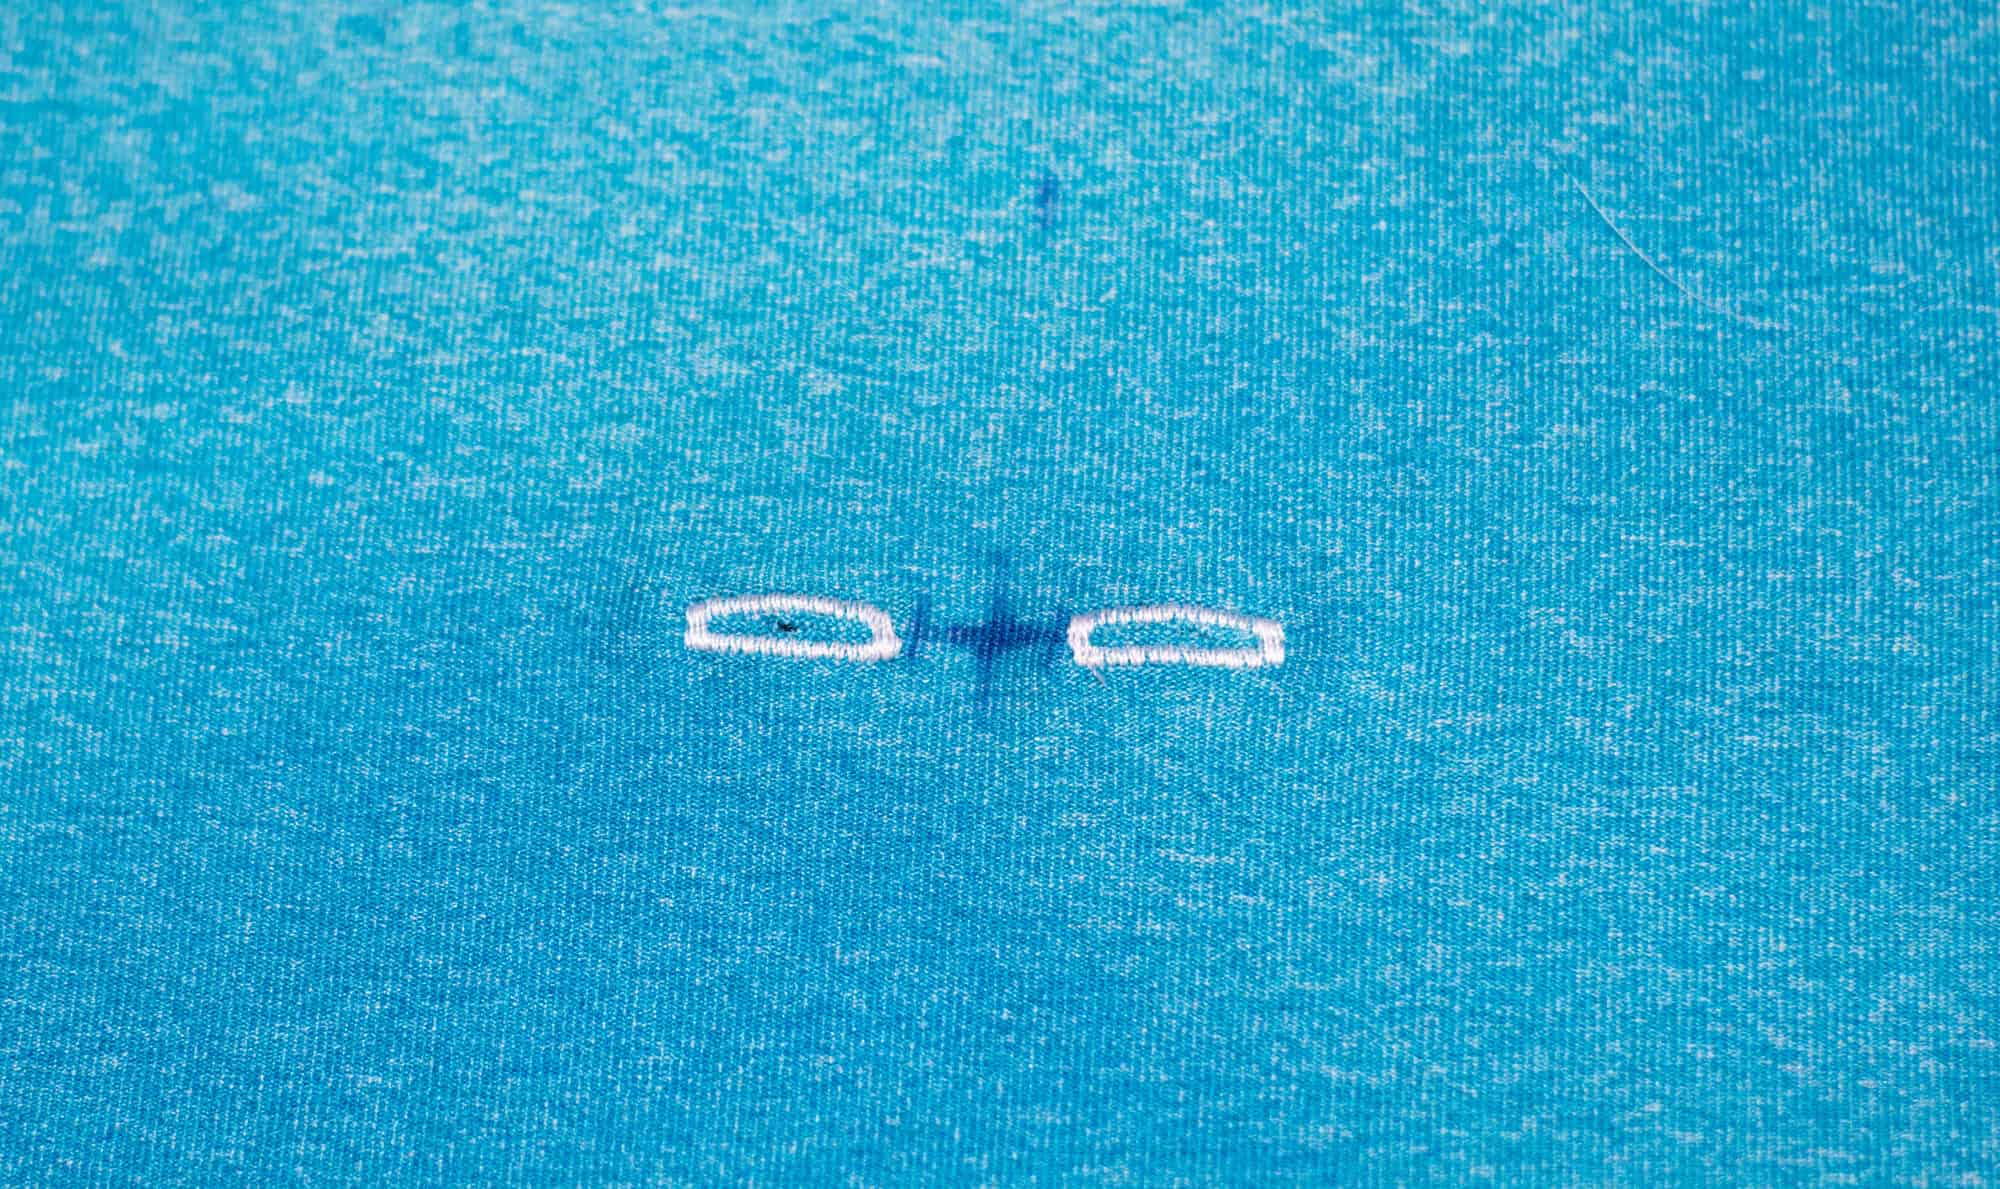
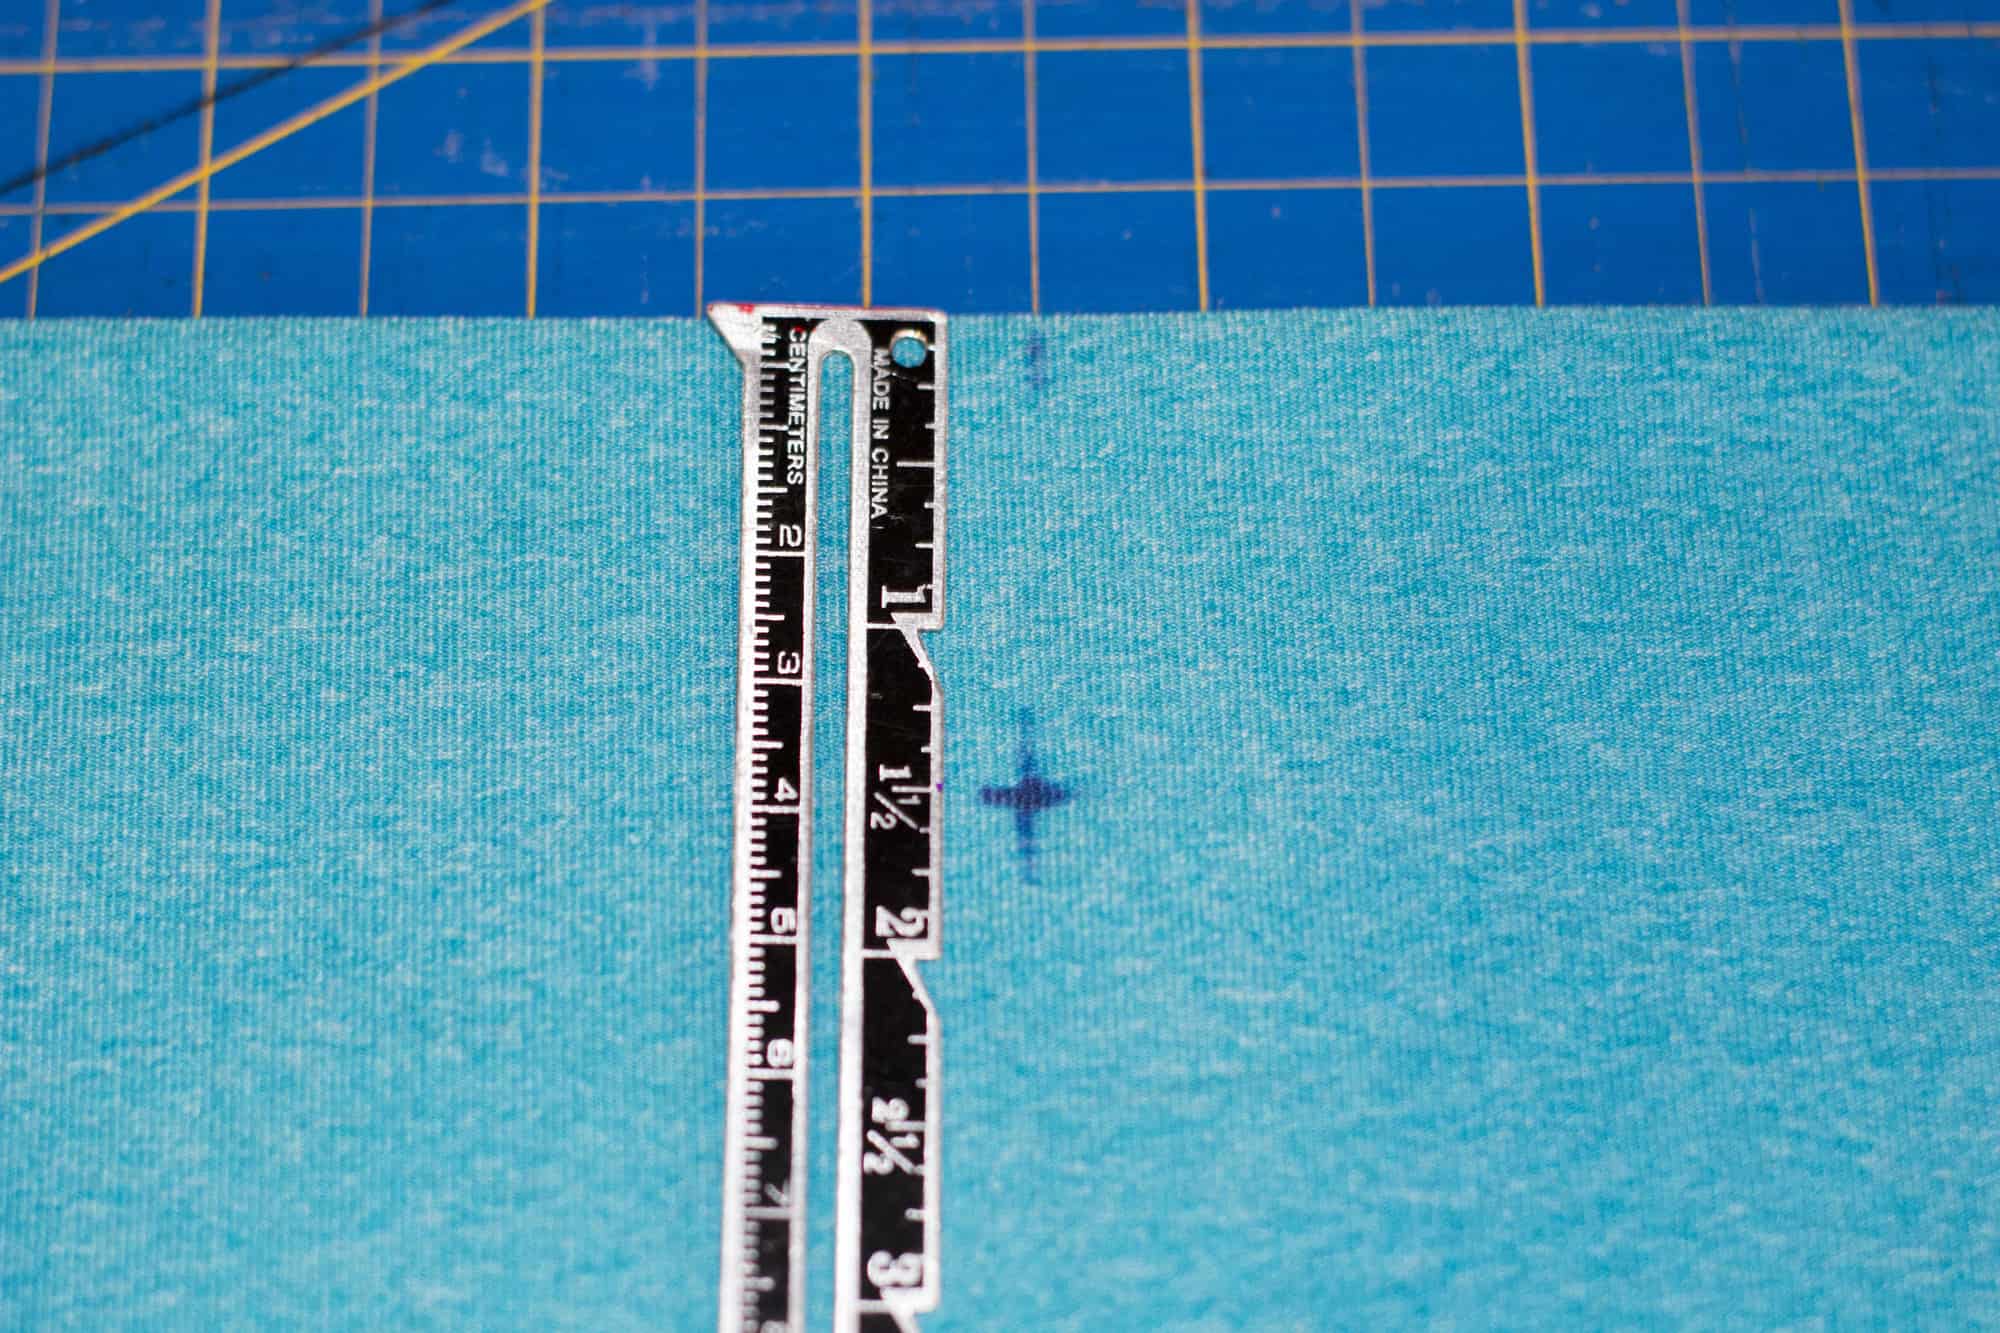
  2. Before we start the waistband we are going to make some markings.  I am using a disappearing ink pen from my fabric store to mark mine.  I folded my waistband in half to find the center and marked the center with my pen in a few spots.  Next I found folded the fabric long sides together to mark where I wanted my buttonholes.  I wanted my buttonholes in the middle of my waistband. Your waistband is 7 inchs wide so folded it is 3.5 inchs but the bottom .5 inch is your seam allowance therefore I measured 1.5 inchs down from the top fold and marked that as being the center right across the other mark that I had made.  Now I have a little cross right marked.

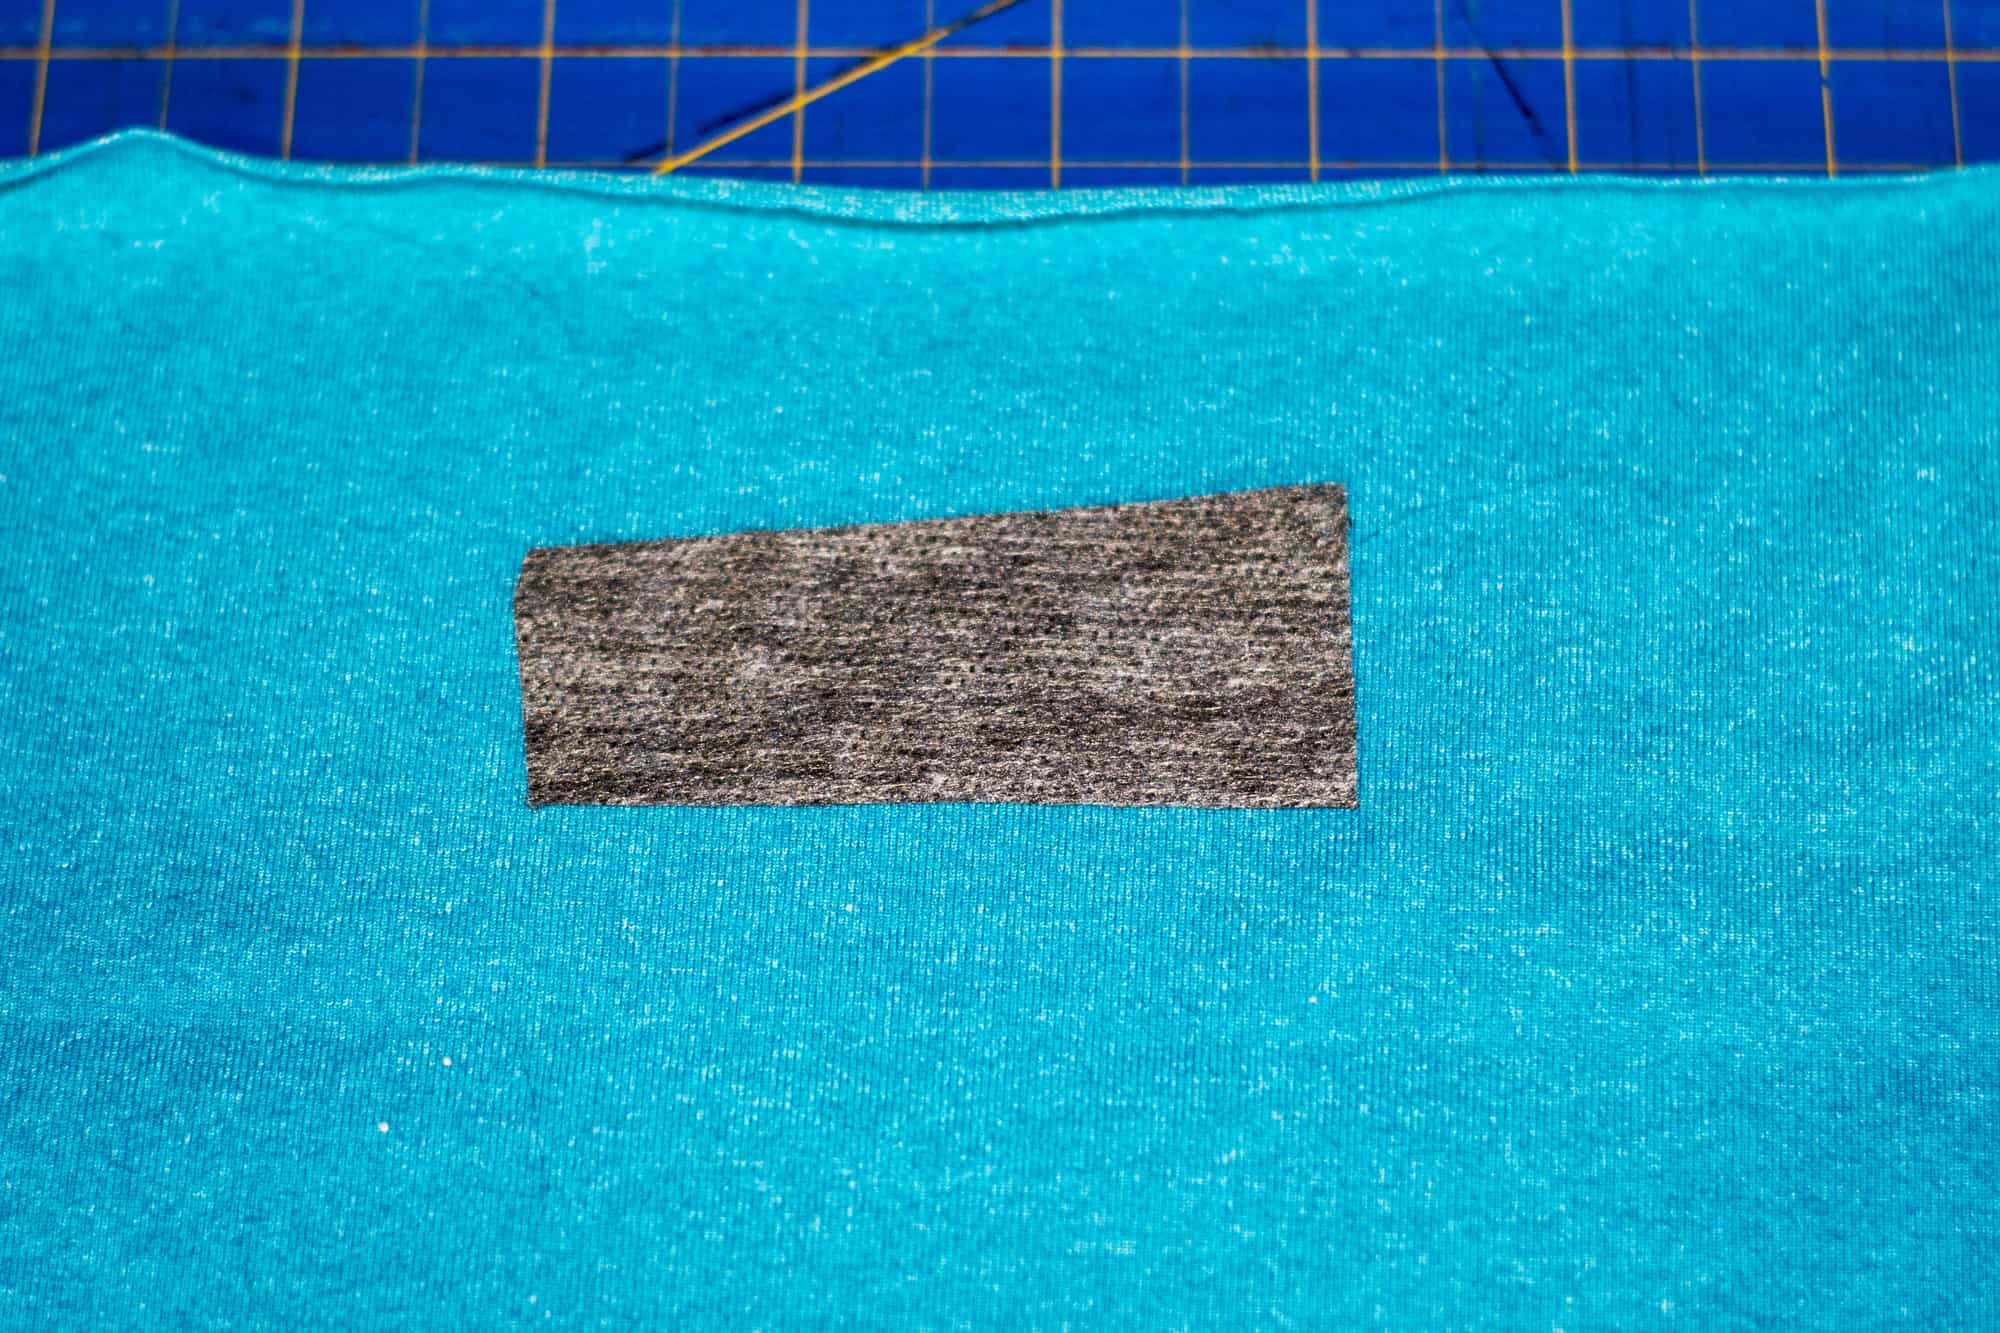
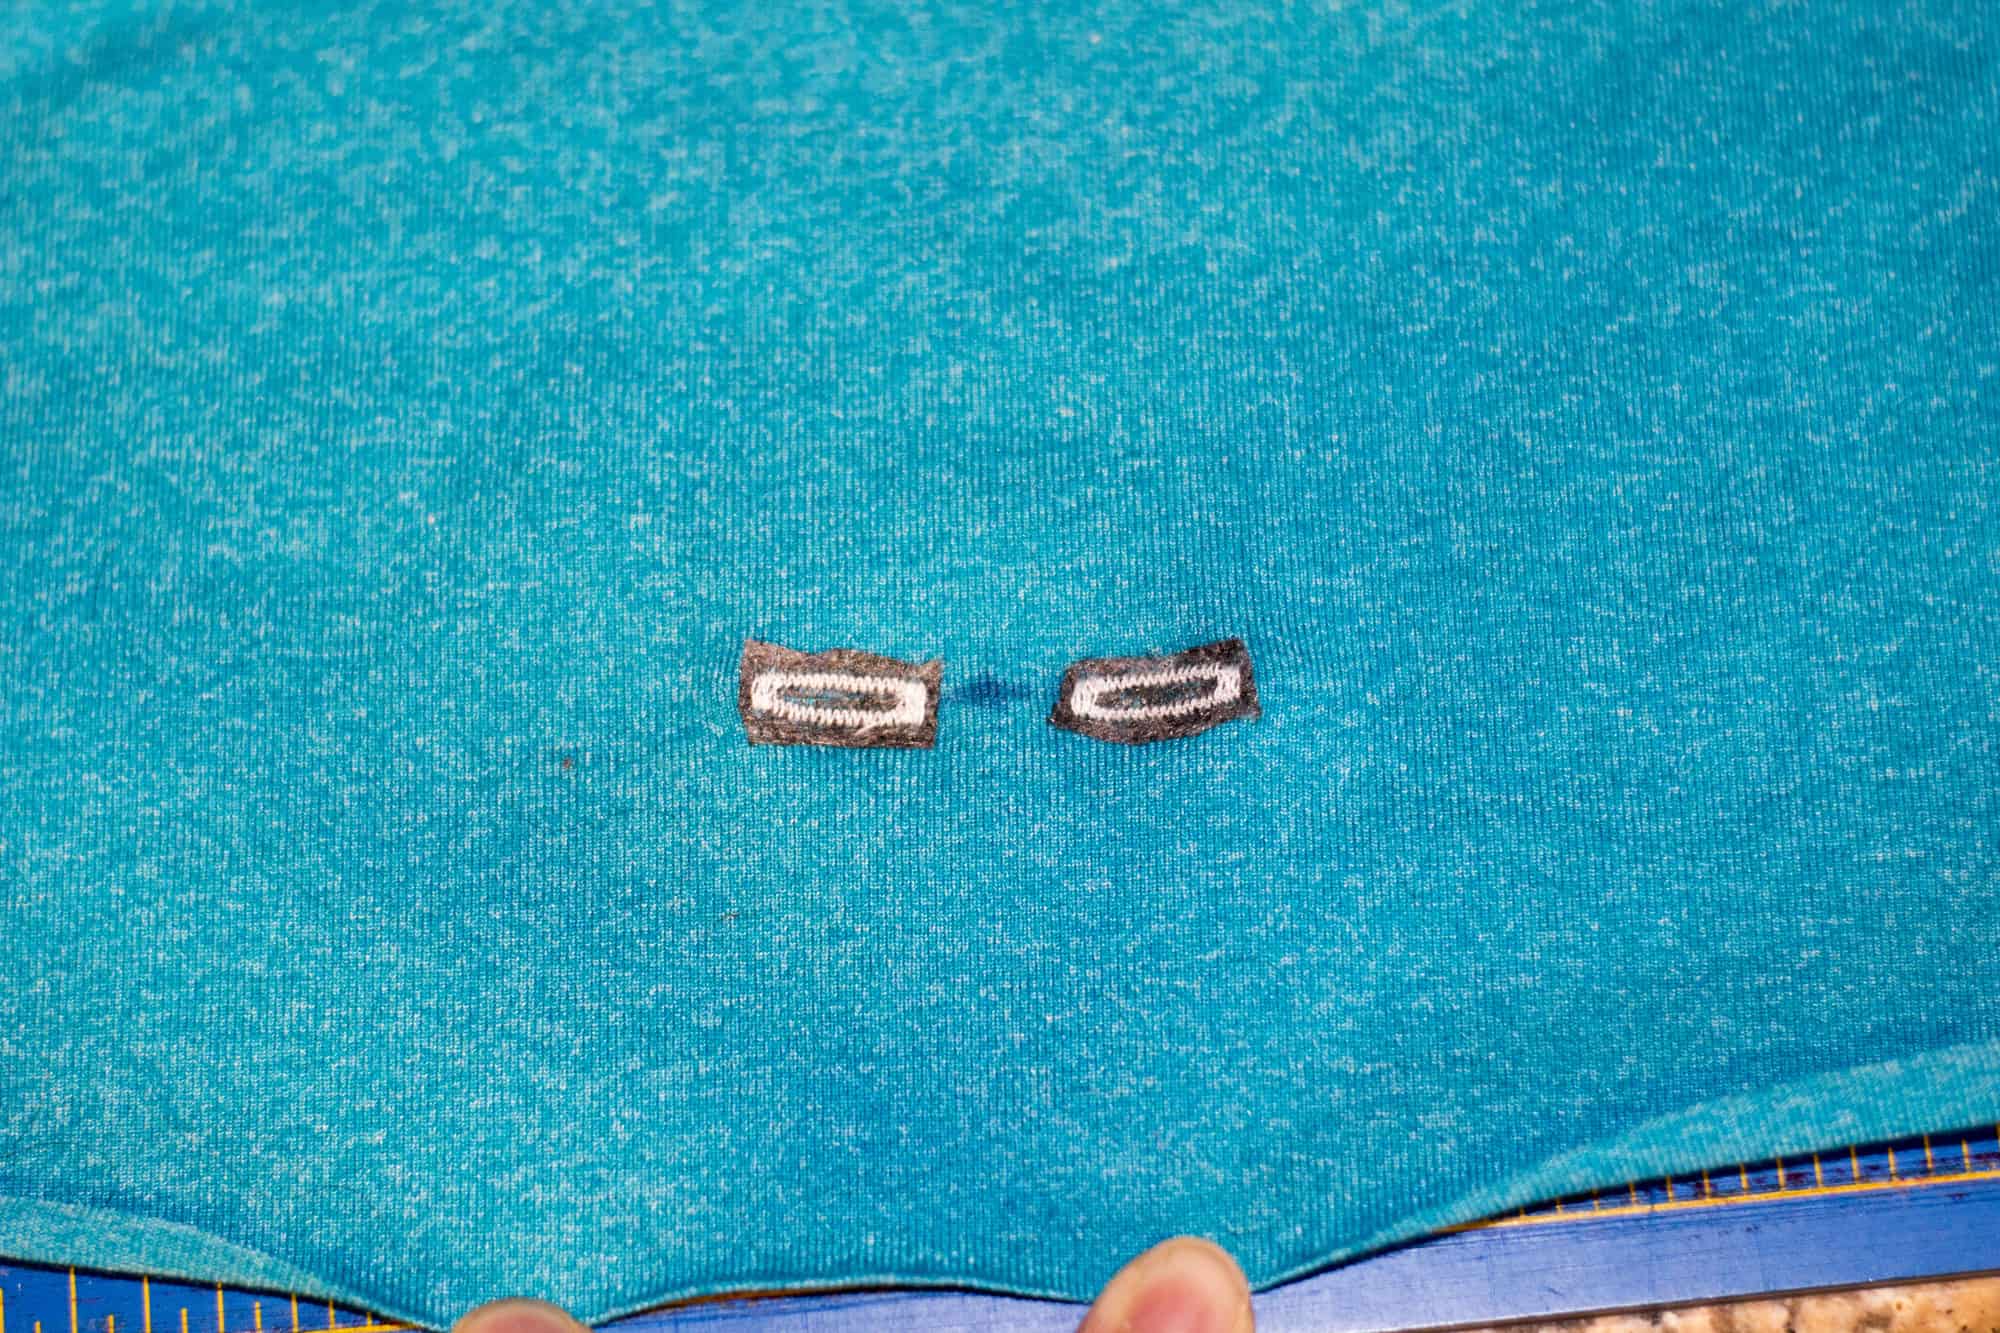
3. Buttonholes can be a bit of a pain on knits so I added a little piece of interfacing on the back, I didn’t actually iron it on to my fabric I just wanted something to give it a bit of stability, a tear away stabilizer would also do the trick or you can iron on a piece of knit interfacing.  I happened to have a bit of regular interfacing sitting here so that is what I used. I sewed the buttonholes on either side of my cross .25 inch from the center. I just did a really small buttonhole, it doesn’t need to be big cause you are just threading through some drawstring.  Now for all those people that hate sewing buttonholes not to worry knits don’t fray so you can always just cut some little slits in the waistband if that is the option you choose make sure to iron on some knit interfacing thou, it would prevent the knit from stretching out while wearing them.


4. Once you have the buttonholes are done we are going to create a casing for your drawstring.  First you are going to match the short sides of your waistband as the pattern directs and sew them together, fold the waist band in half and then your going to sew all the way around about .25 of an inch above the waistband and below the waistband. Now you can mark your lines here that you are going to sew but I’m a rebel and just went for it by sewing 1.25 inchs from my fold, for the second row of stitching I sewed .5 down from the first line I made.  Once your casing is all done just attach the waistband to your legs as normal.

5. Now you just need to add your drawstring.  I used 50 inchs of drawstring on the xxs size and I just tied off each end but you could certainly fold the ends over and hem the edges of your drawstring.  I like to just put the drawstring around me and leave long tails and then insert it into my casing try it them on and you can always cut the drawstring shorter so start with a long piece and then cut them the length you like best.  Remember you have to leave your drawstring fairly loose or you won’t be able to pull your leggings on! I figured this out while trying mine on! Another simple solution to use elastic for most of your drawstring, I would use 1/4 inch or 3/8 inch elastic.  You could cut your elastic slightly shorter then your drawstring and then sew drawstring onto each end of your elastic and thread it through your casing, it would give you just a bit more give when pulling them on and off.


I hope you try adding some drawstring in your peglegs and don’t forget to show them off in our Facebook group! – Angela


We are celebrating reaching 50K fans in our Facebook group!  To make it a party, our beloved PegLegs pattern just got an update AND some new add-ons.  Before you go running to your machine to sew up your own leggings, make sure to read our PegLegs 101 blog post.  This way, you’ll have all the the information you’ll need to make the perfect pair before you even cut into your gorgeous fabric.

But wait, there’s more!  After any good party is an after-party.  We are taking it one step further and sharing some easy hacks that’ll bring even more flavor to your favorite leggings pattern!  We hope you check them out, make your new favorite pair of leggings, and know that we appreciate every single one of you amazing sewing guys and gals!

Here are our hacks / tutorials / latest tricks:

Lace Waistband Alternative | Drawstring Waistband Tutorial
Exposed Elastic Waistband | Stirrup Pant Hack
Ruched Ankles Adjustment | Decorative Topstitching Tutorial
Ruched Side Panel Hack
Filed Under: Free Pattern, Pattern Hacks, Uncategorized 1 Comment

50K Fan Celebration :: Decorative Topstitching PegLegs Hack

April 20, 2017

IMG_6783

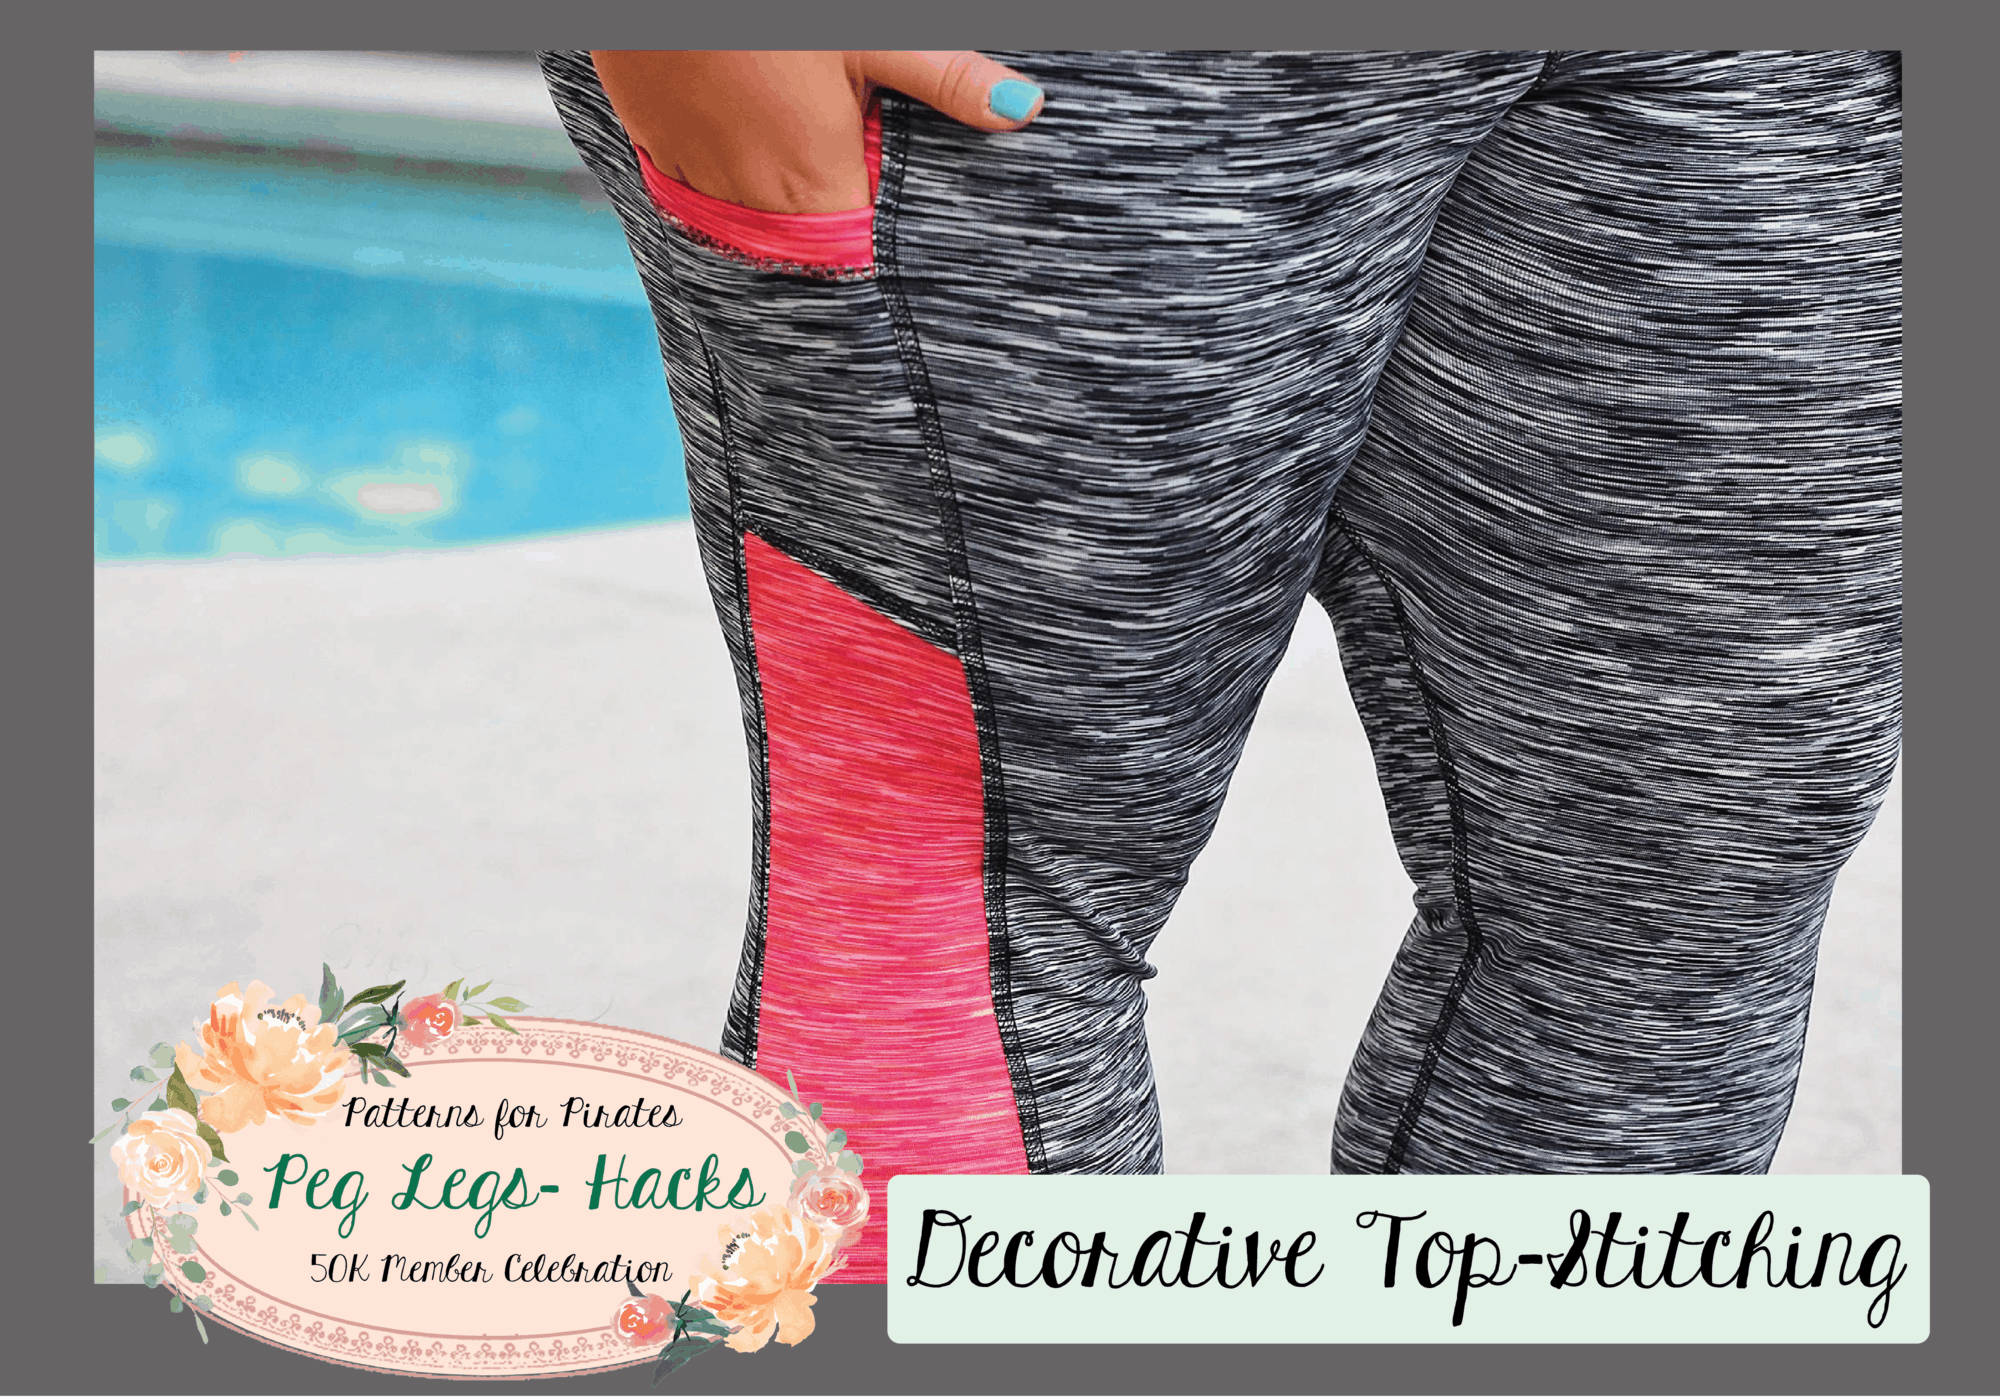
Are you guys loving this 50K celebration as much as we are? How many Peg Legs have you sewn already? Today on the blog I will show you how to take your Peg Legs up a notch with some decorative stitching. I will show you how to achieve the RTW look using your sewing machine, serger or coverstitch machine.

SEWING MACHINE

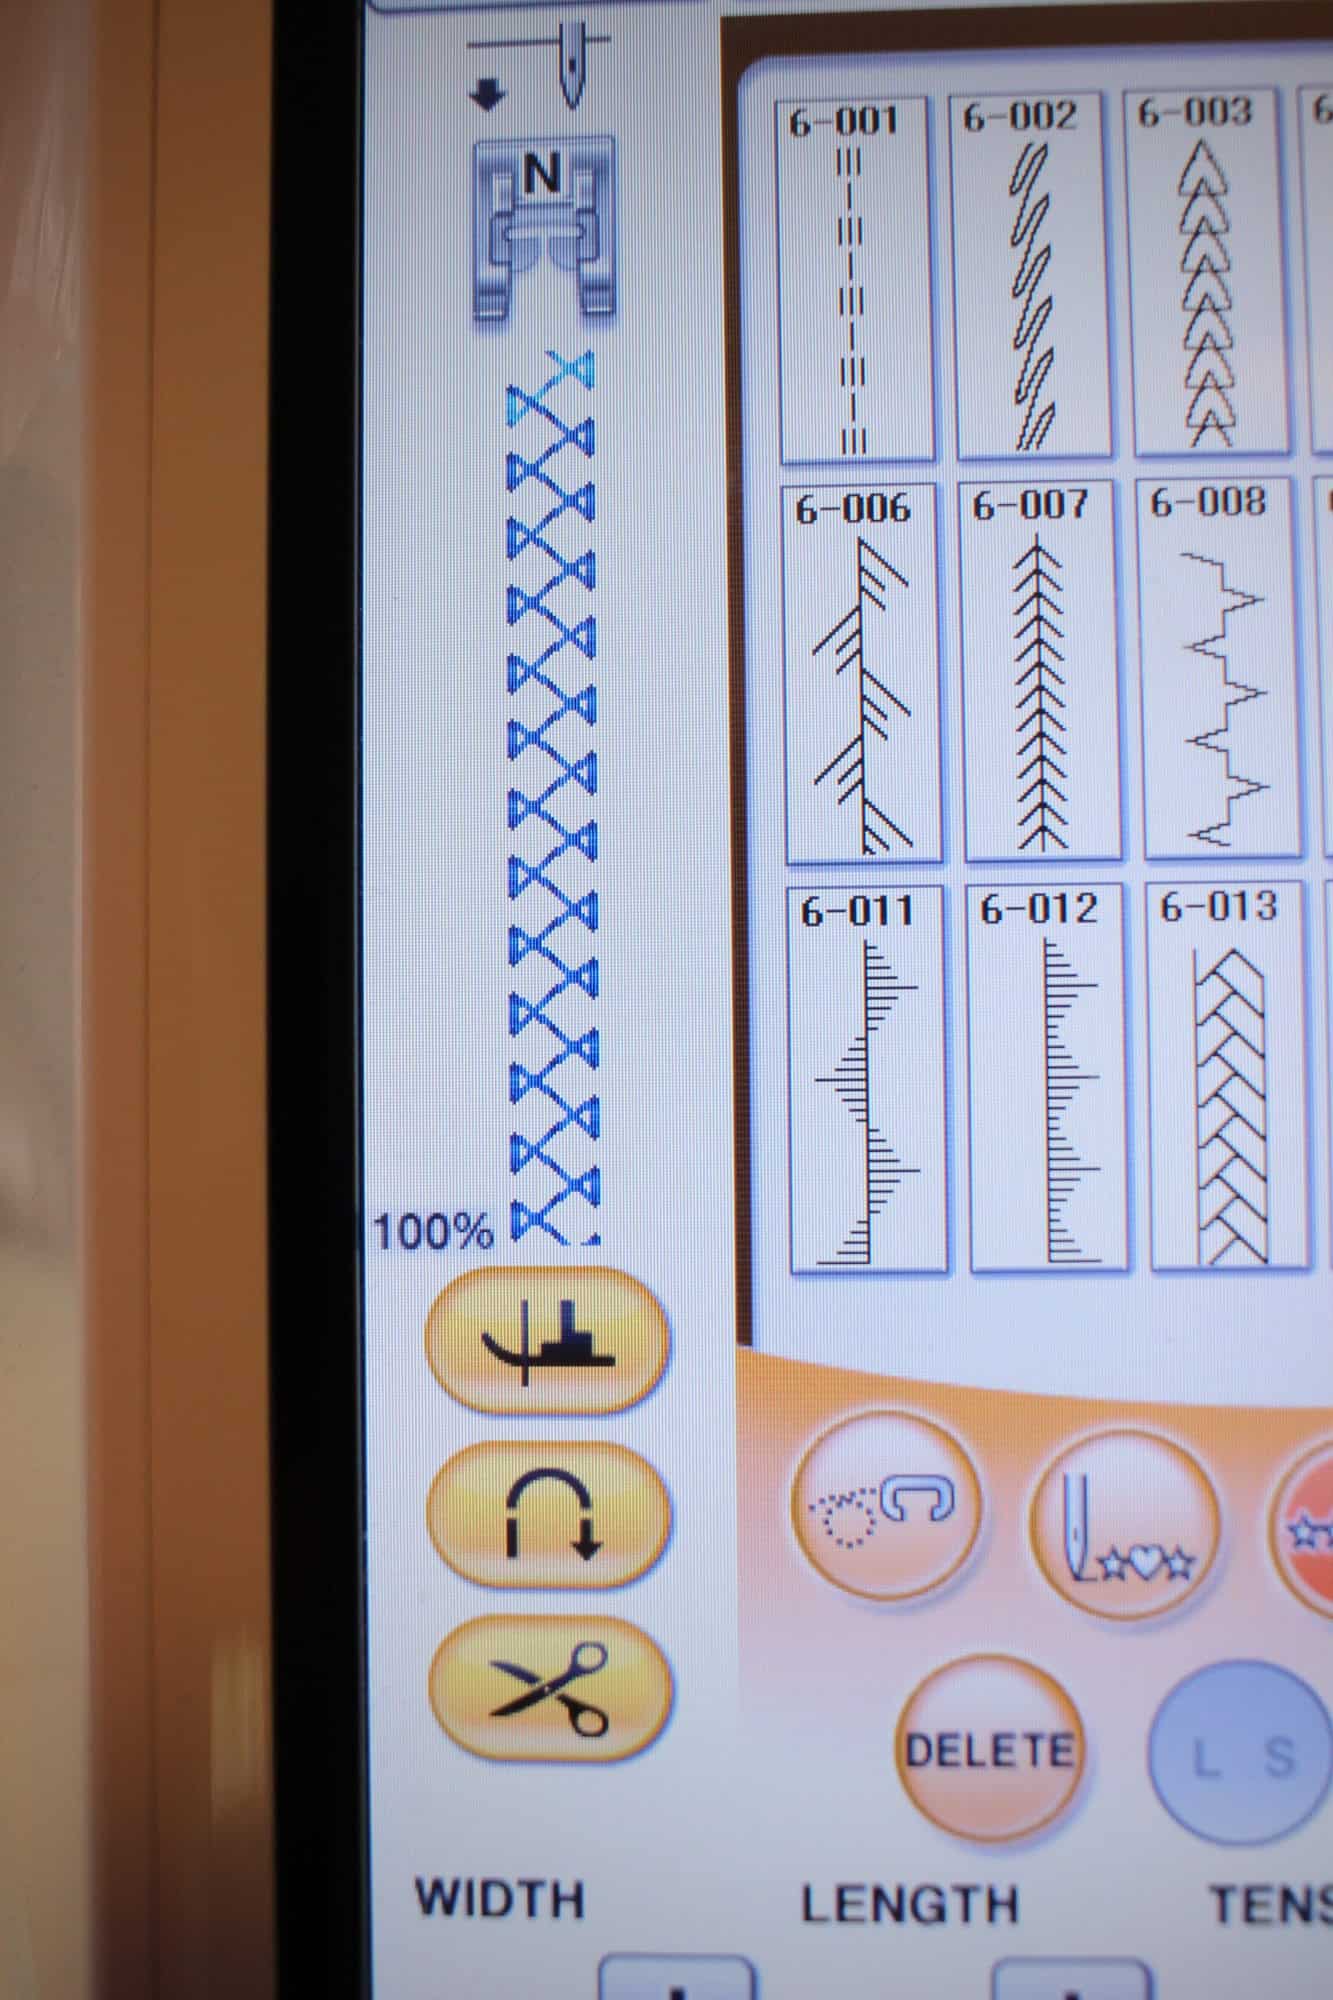
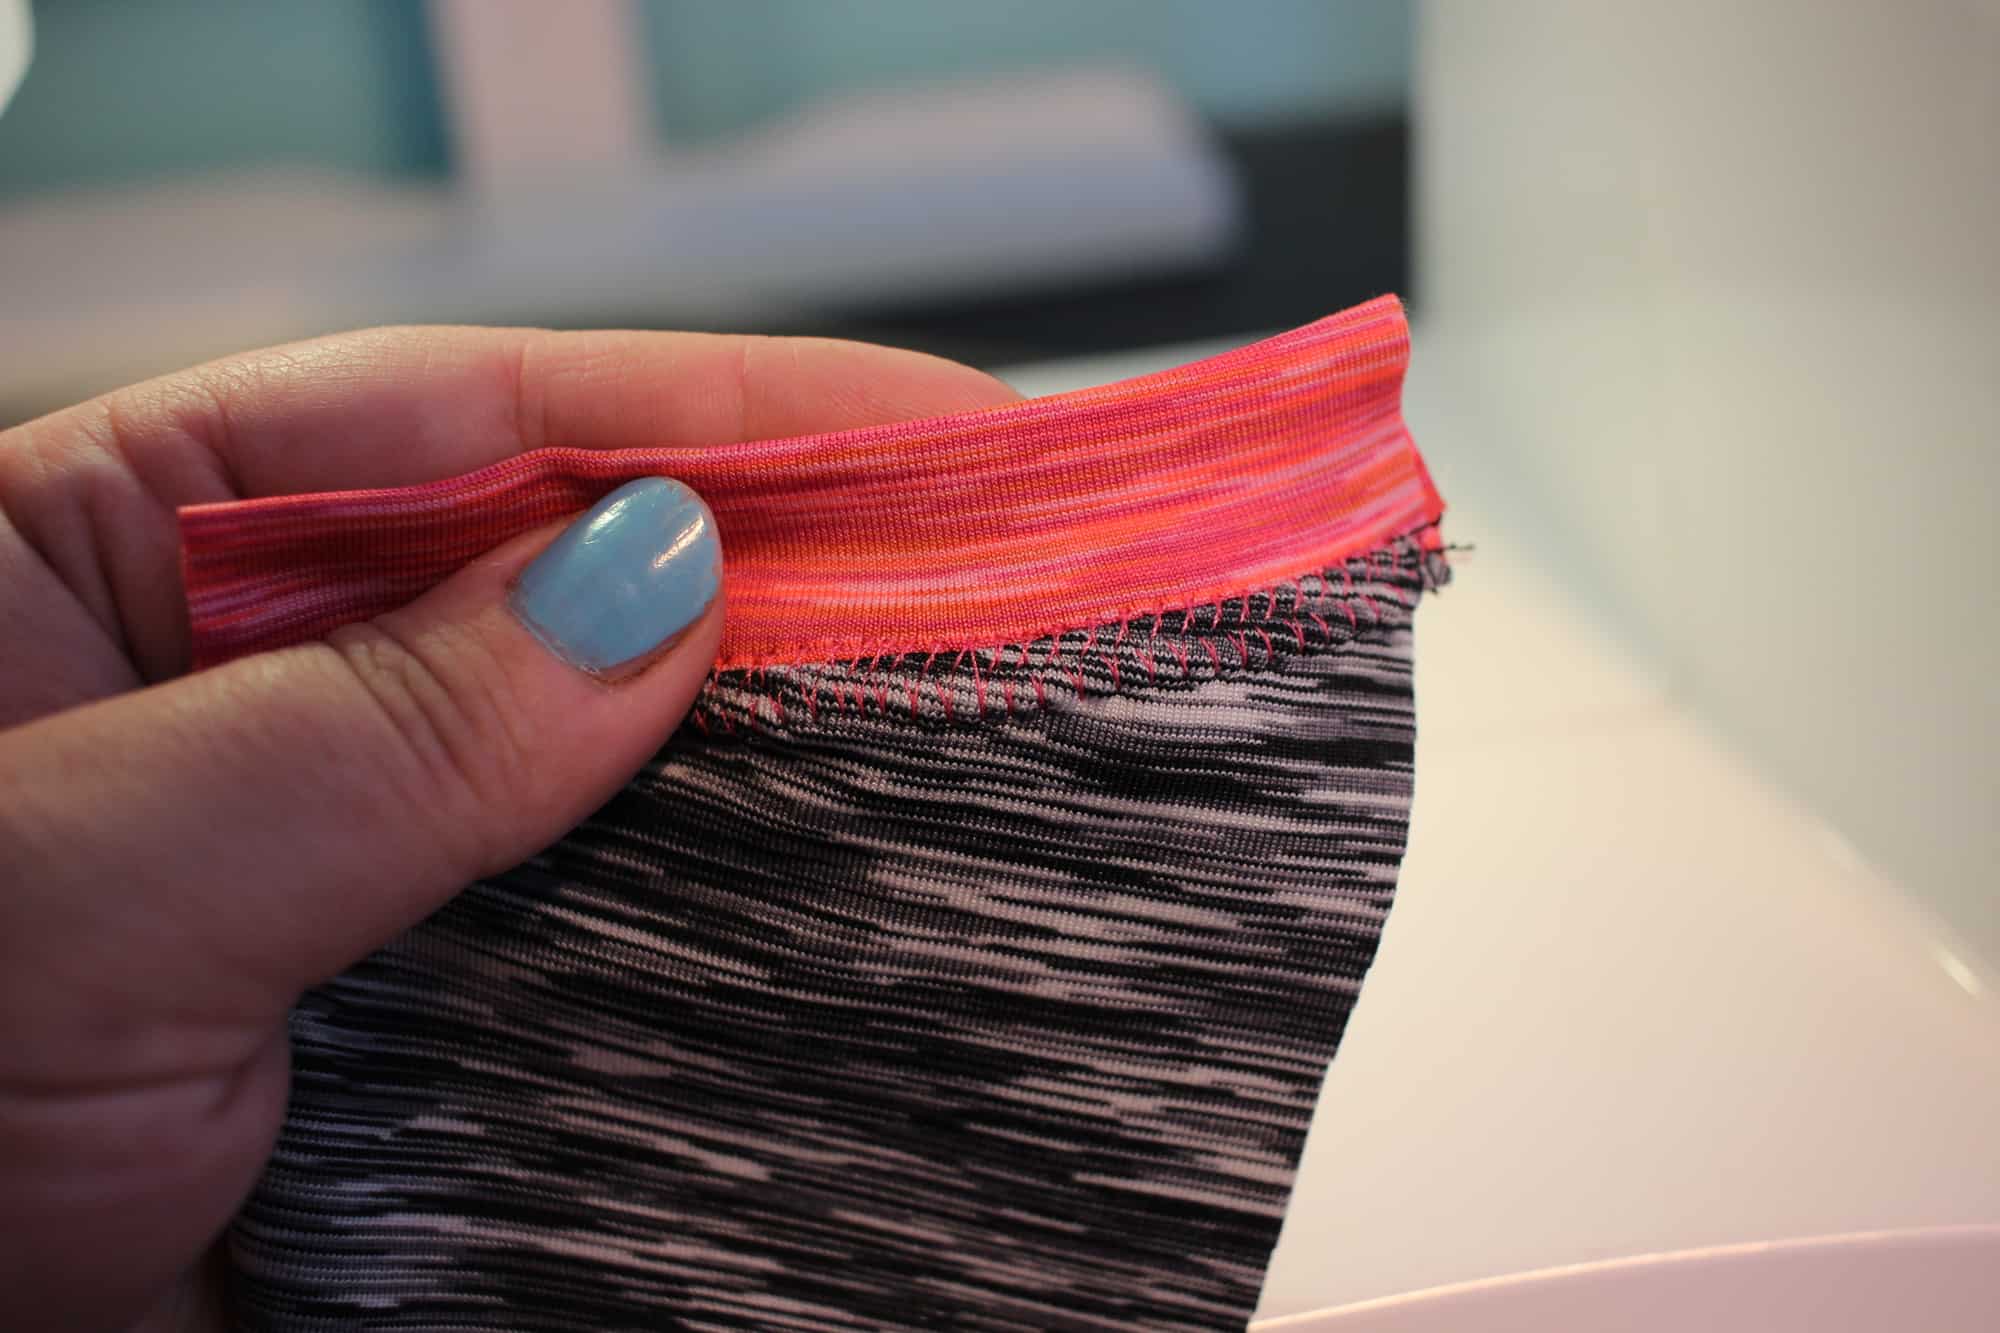
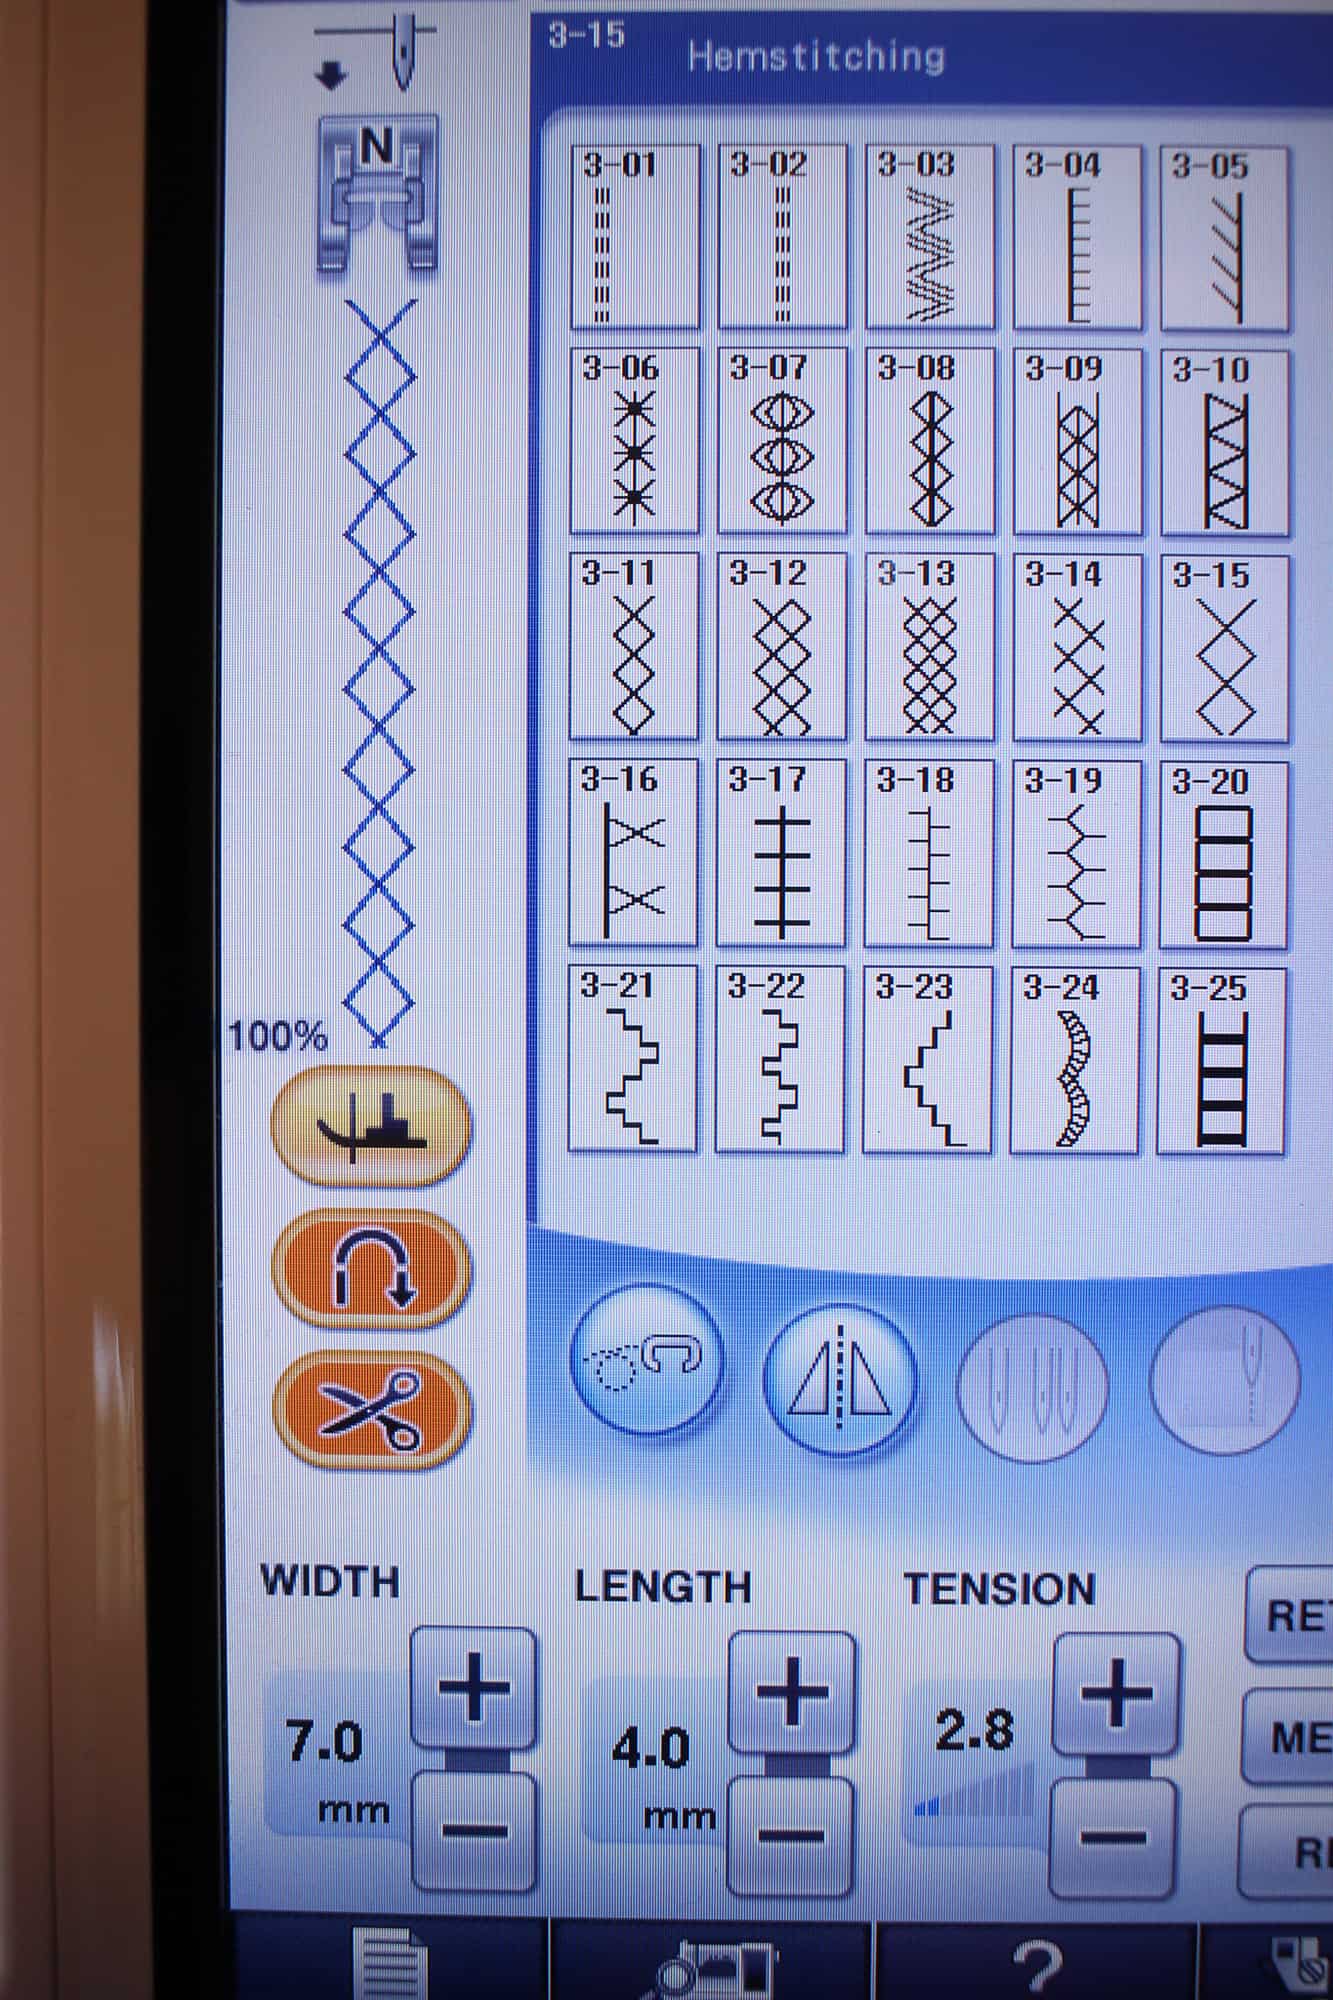
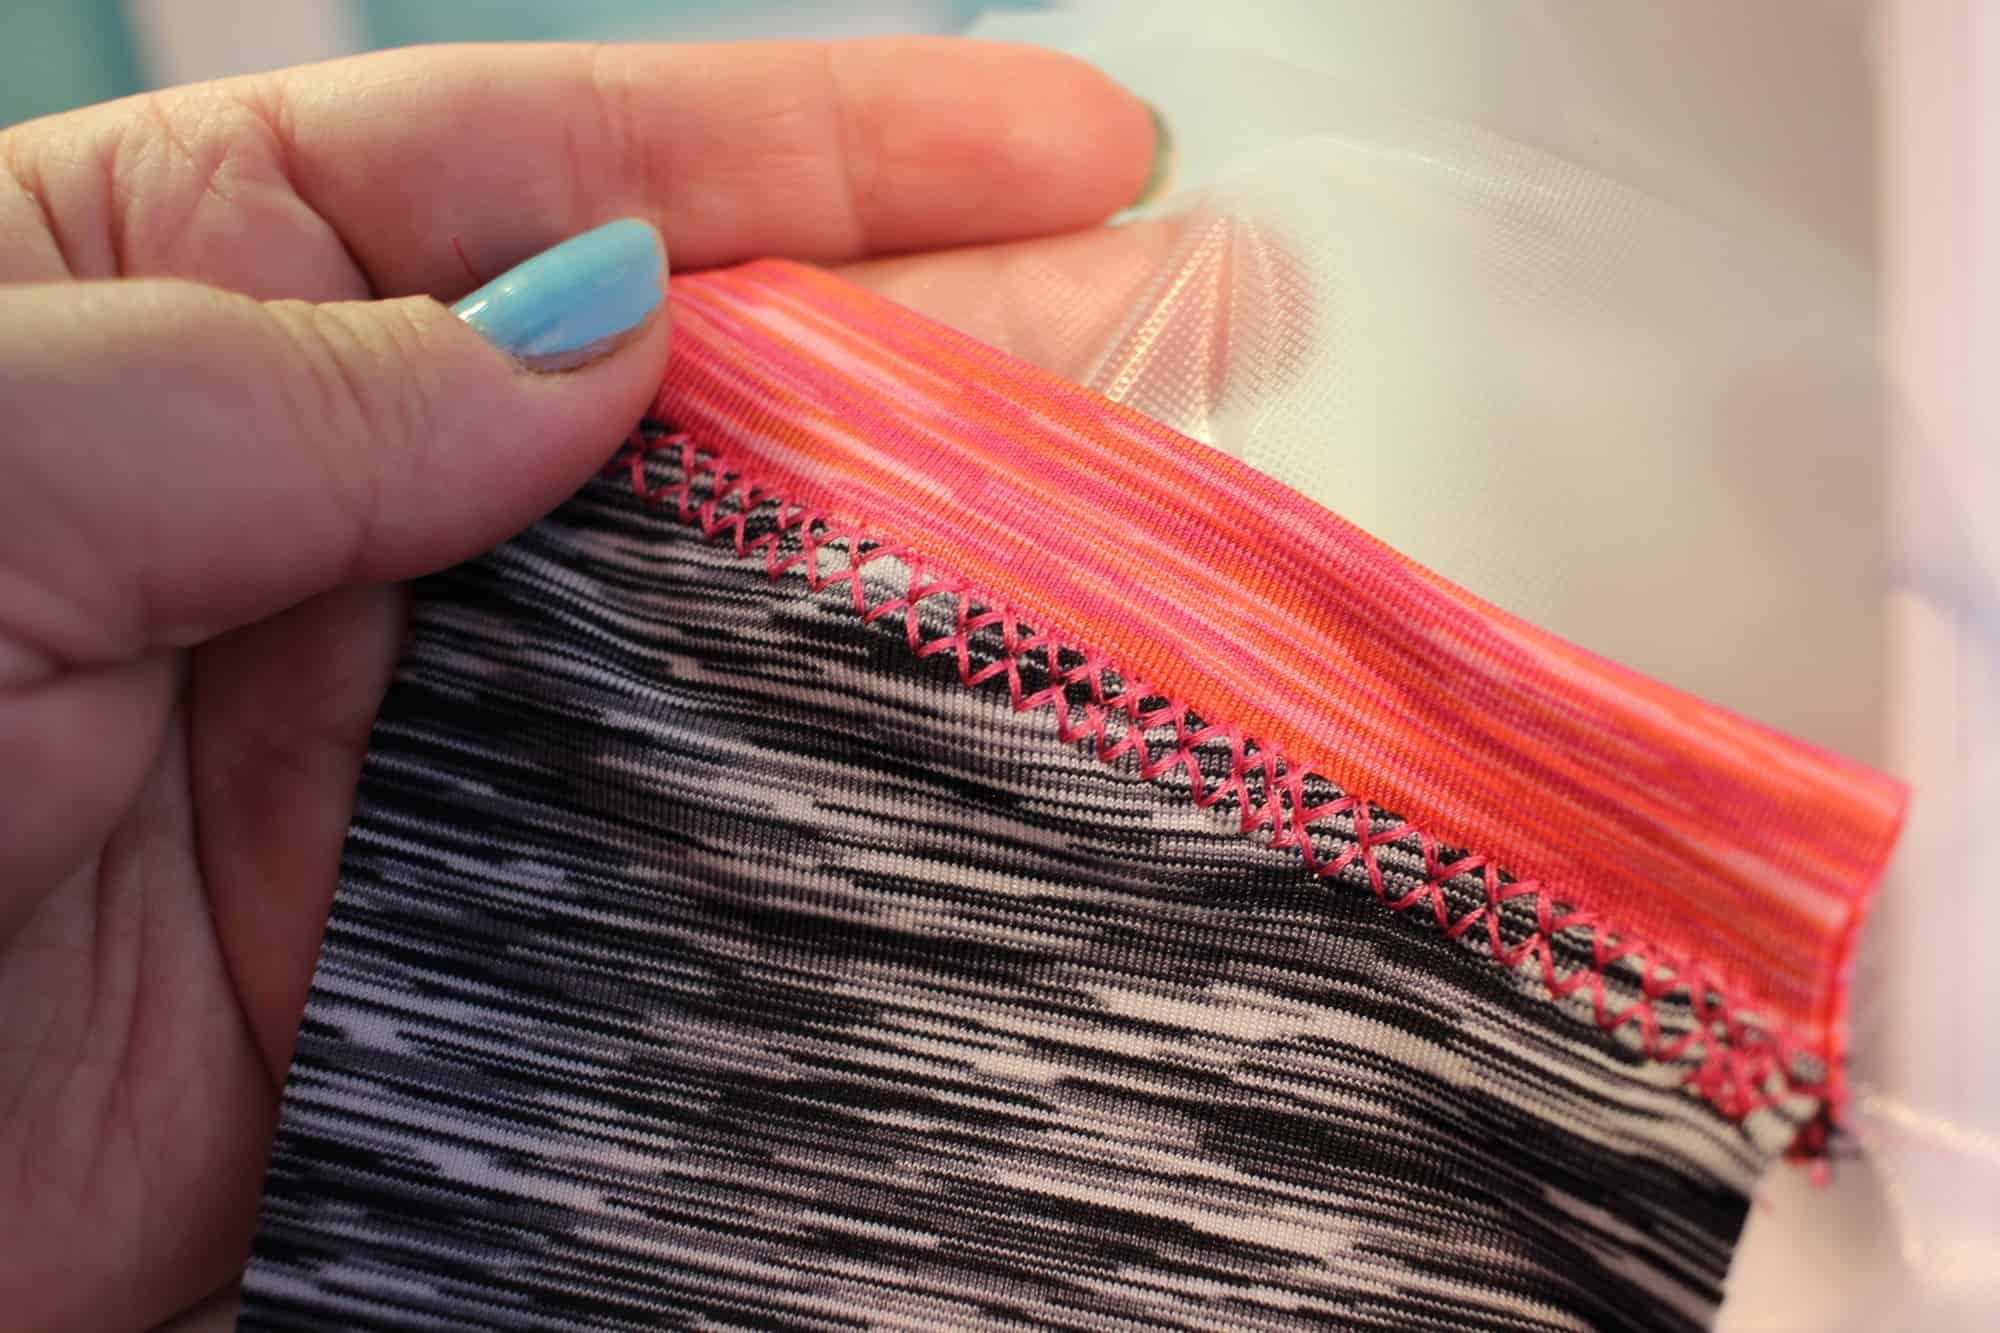
One way to add top stitching is by using your sewing machine and those stitches you never try 🙂 Most machines have at least a few decorative style stitches included. When you chose your favorite style, make sure that the density of the stitch is not too high and always lower the tension a bit. I used two different decorative stitches on the pockets so you can see how it would look.

IMG_6746

IMG_6748

I highly recommend placing a little bit of water soluble stabilizer between the back of the fabric and the dog feed. It will help prevent any fabric from being “eaten” by the machine.

IMG_6751

IMG_6753

Once you finished stitching simply tear away the stabilizer. Any residual will just disappear at the first contact with water.

COVERSTITCH MACHINE

My favorite way to add decorative stitching to athletic wear is by using a 3 needle reverse coverstitch. If you have a coverstitch machine that only has 2 needles you can certainly do that too. If you have wooly nylon or bulky nylon thread, use it in your looper!

Start by pressing and steaming your seams towards the outside of your middle colorblock. DO NOT SKIP this step! Pressing the seam before coverstitching AND after will yield the best looking decorative stitch.

IMG_6755

In order to achieve the athletic wear topstitching you’ve seen in stores, place your fabric in the coverstich with the wrong side up. The right needle should be right in the ditch. Stitch slowly! If your coverstitch machine has a speed dial now is the best time to use it.

IMG_6757

When you finish stitching give all your seams a good steam! Yes, I’ve said it before 🙂 but look how pretty it looks when you do.

IMG_6760

IMG_6780

SERGER

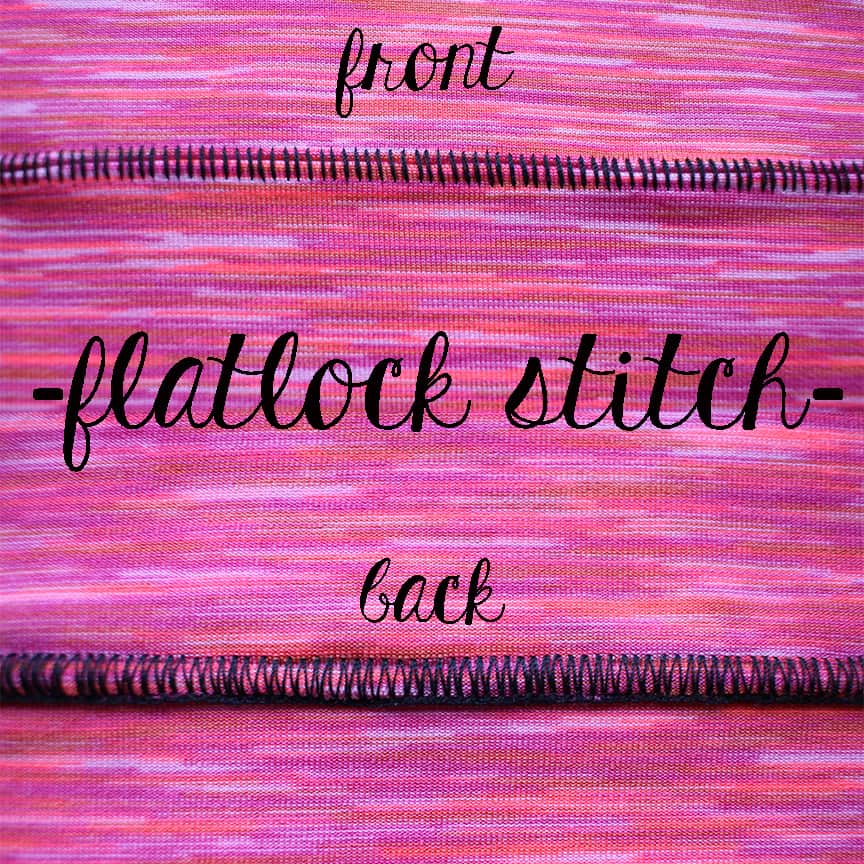
A third way to add decorative stitching is to use a flatlock stitch on your serger. I used a flat lock stitch to attach the waistband. Doing so not only makes the pegs look more like RTW ones but it also makes them feel nicer. As per its name the flat lock seam is flat so no bulky seam at the waistband.

settings

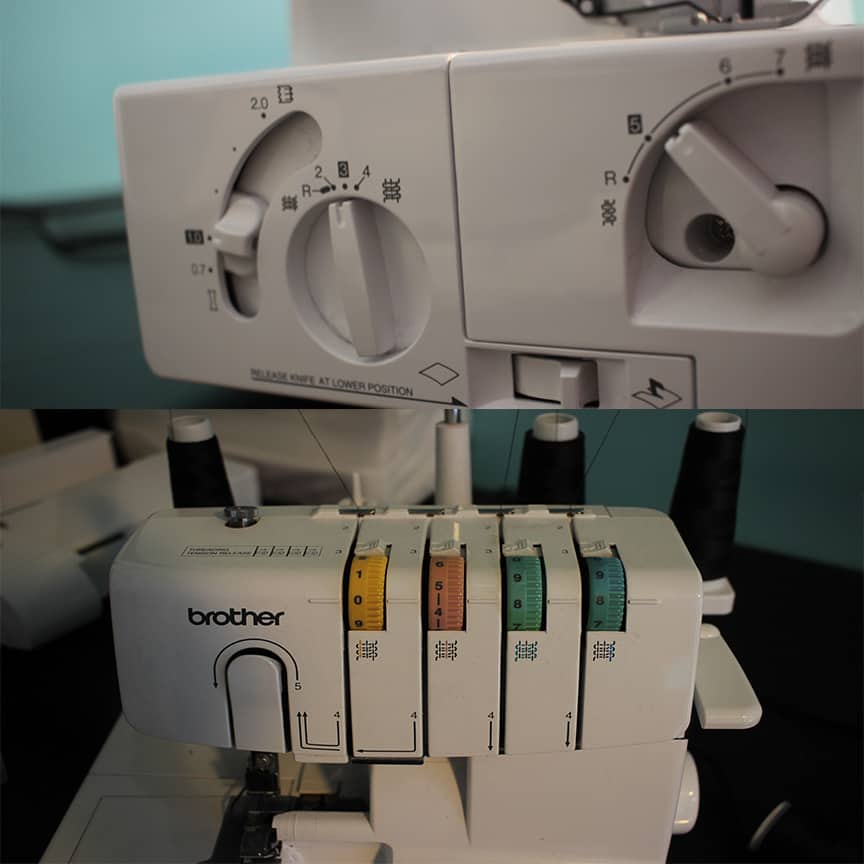
Start by setting up your serger for a flat lock stitch. Make sure to read your manual because all machines are different. You will only be using your left needle. These are the settings I use but please make sure to always test out your machine with similar fabric as the one you’ll be using in your main project. The tension and stitch length will vary from fabric to fabric.

If you’d like to attach the waistband using this style stitch you can can put the waistband inside the pants this way the “back” will be showing or you can place the waistband outside the pants so the front will be showing.

pinkexample

IMG_6764

I placed my waistband inside because I wanted the ladder stitch to show on the inside and the “zig zag” look on the outside.

IMG_6796

There you have it..3 ways to add decorative stitching using your regular sewing machine or your serger or your coverstitch machine! I can’t wait to see your fabulous Peg Legs so be sure to post your creations in the group!

IMG_6798

IMG_6807

IMG_6778

IMG_6812


We are celebrating reaching 50K fans in our Facebook group!  To make it a party, our beloved PegLegs pattern just got an update AND some new add-ons.  Before you go running to your machine to sew up your own leggings, make sure to read our PegLegs 101 blog post.  This way, you’ll have all the the information you’ll need to make the perfect pair before you even cut into your gorgeous fabric.

But wait, there’s more!  After any good party is an after-party.  We are taking it one step further and sharing some easy hacks that’ll bring even more flavor to your favorite leggings pattern!  We hope you check them out, make your new favorite pair of leggings, and know that we appreciate every single one of you amazing sewing guys and gals!

Here are our hacks / tutorials / latest tricks:

Lace Waistband Alternative | Drawstring Waistband Tutorial
Exposed Elastic Waistband | Stirrup Pant Hack
Ruched Ankles Adjustment | Decorative Topstitching Tutorial
Ruched Side Panel Hack

Filed Under: Free Pattern, Frequently Asked Questions, Pattern Release, Uncategorized 4 Comments

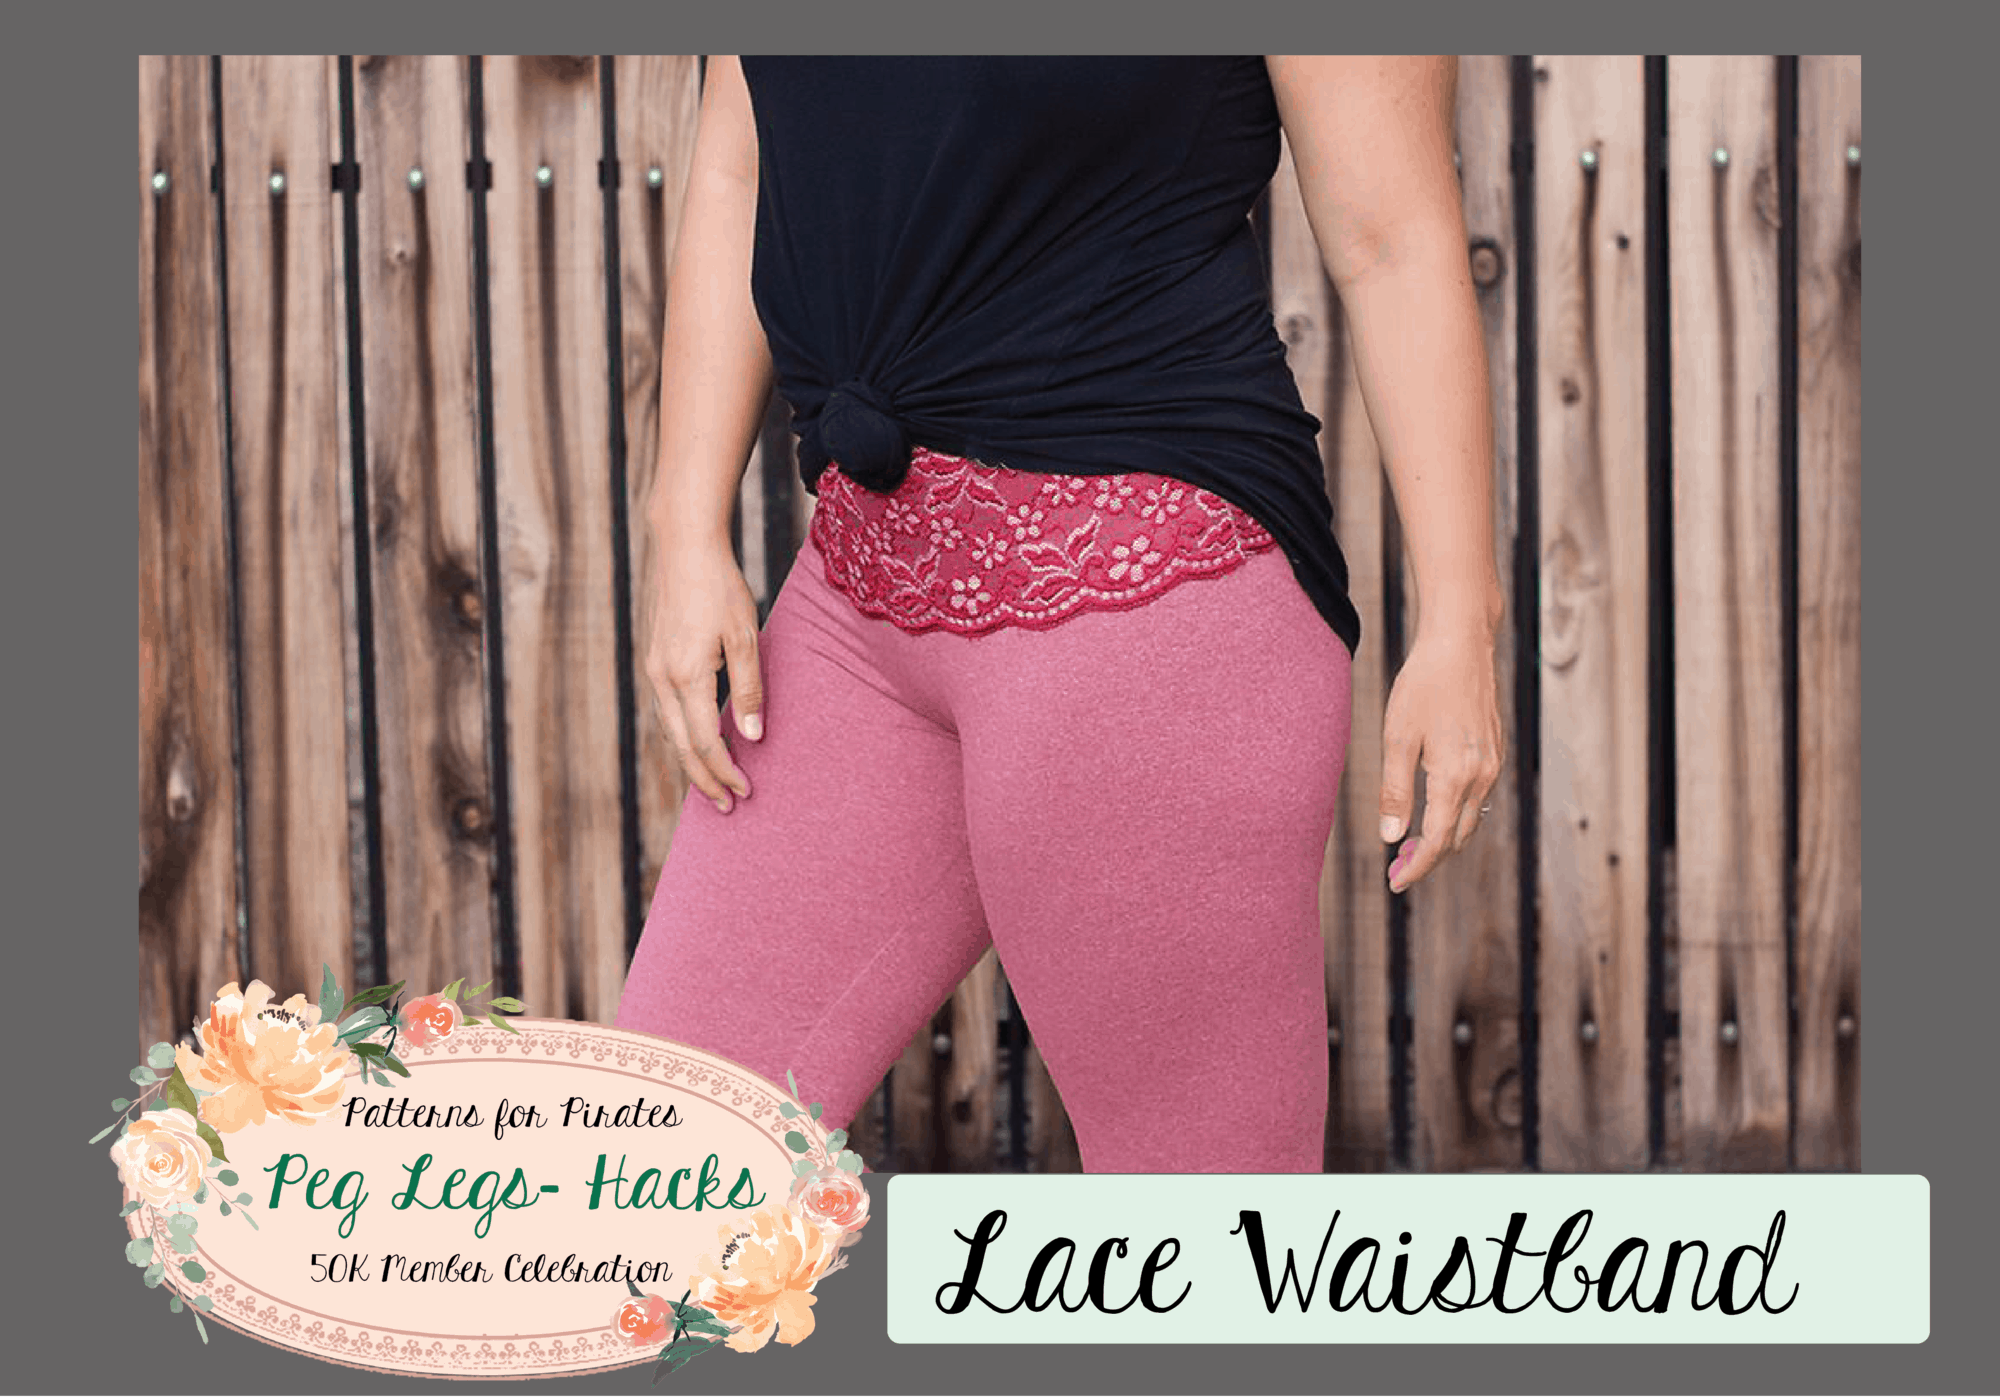
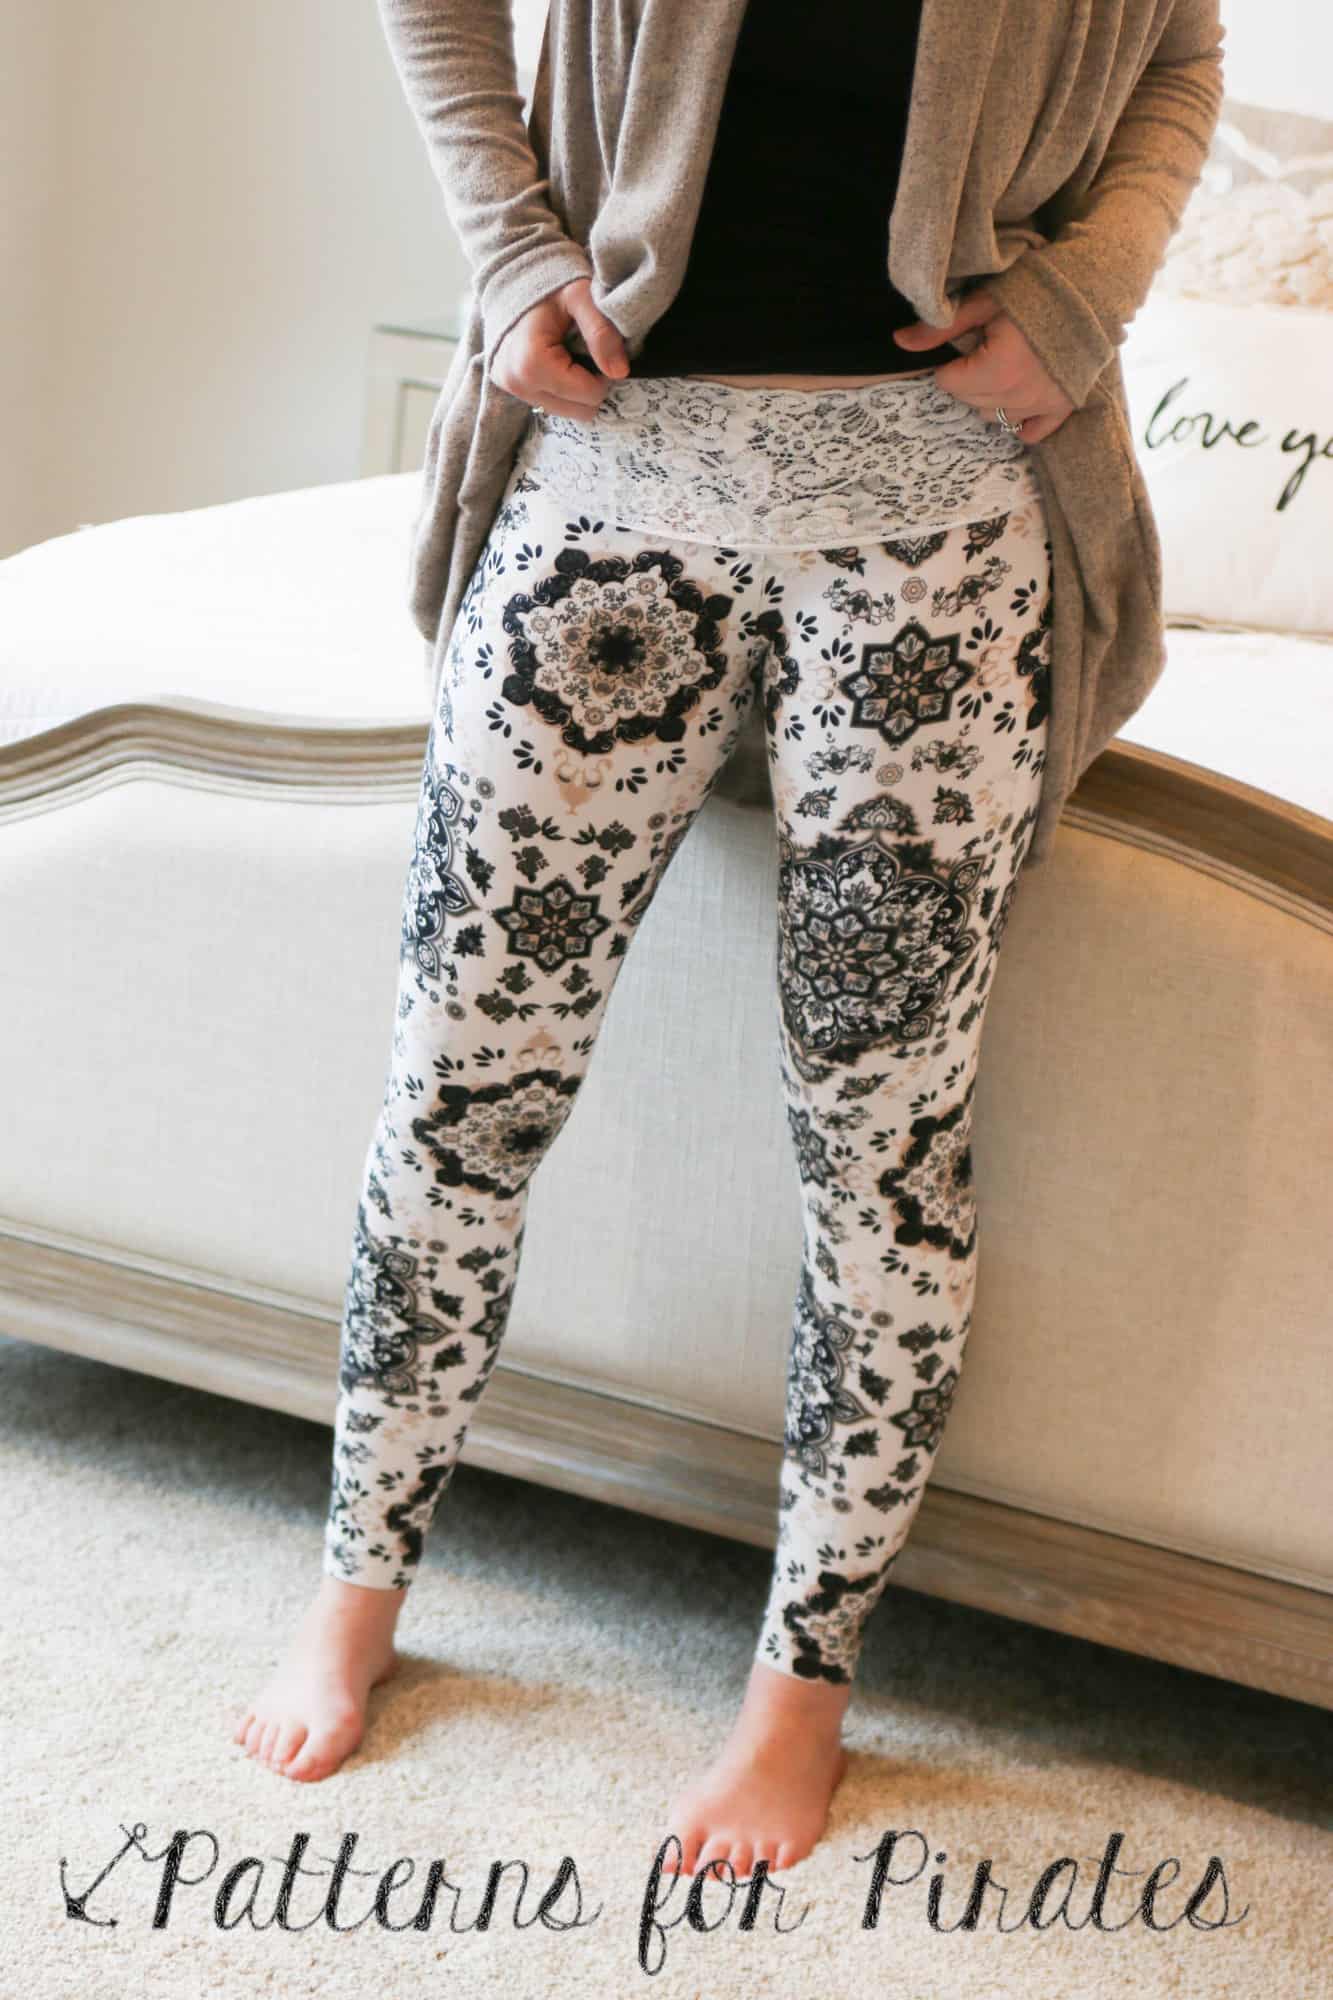
50K Fan Celebration :: Lace Waistband PegLegs Hack

April 19, 2017

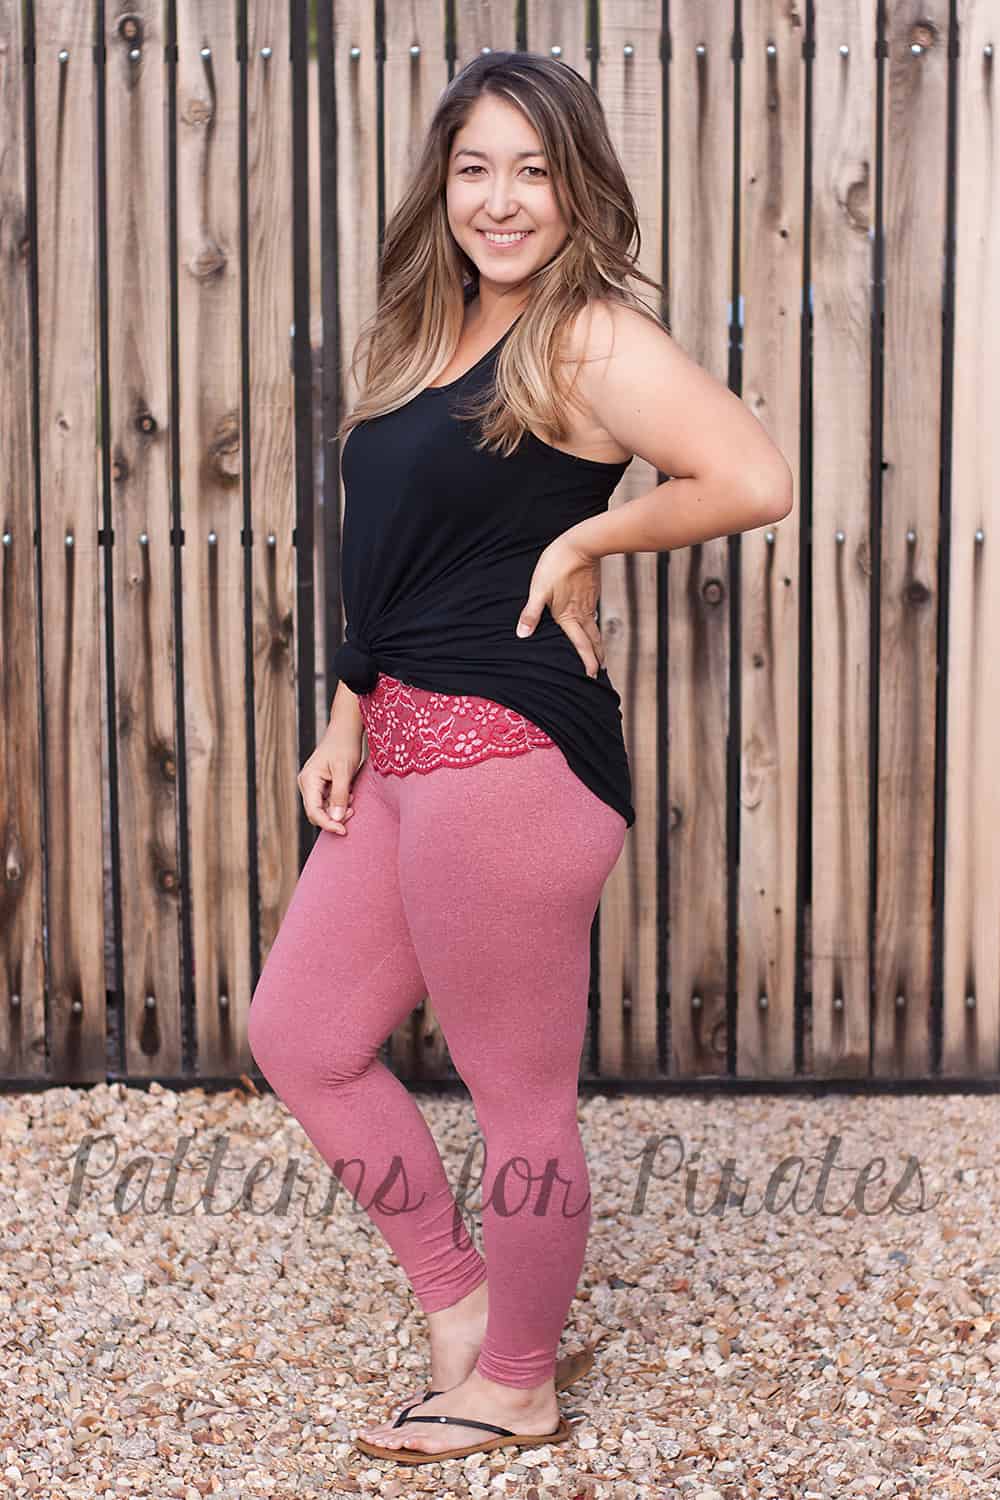
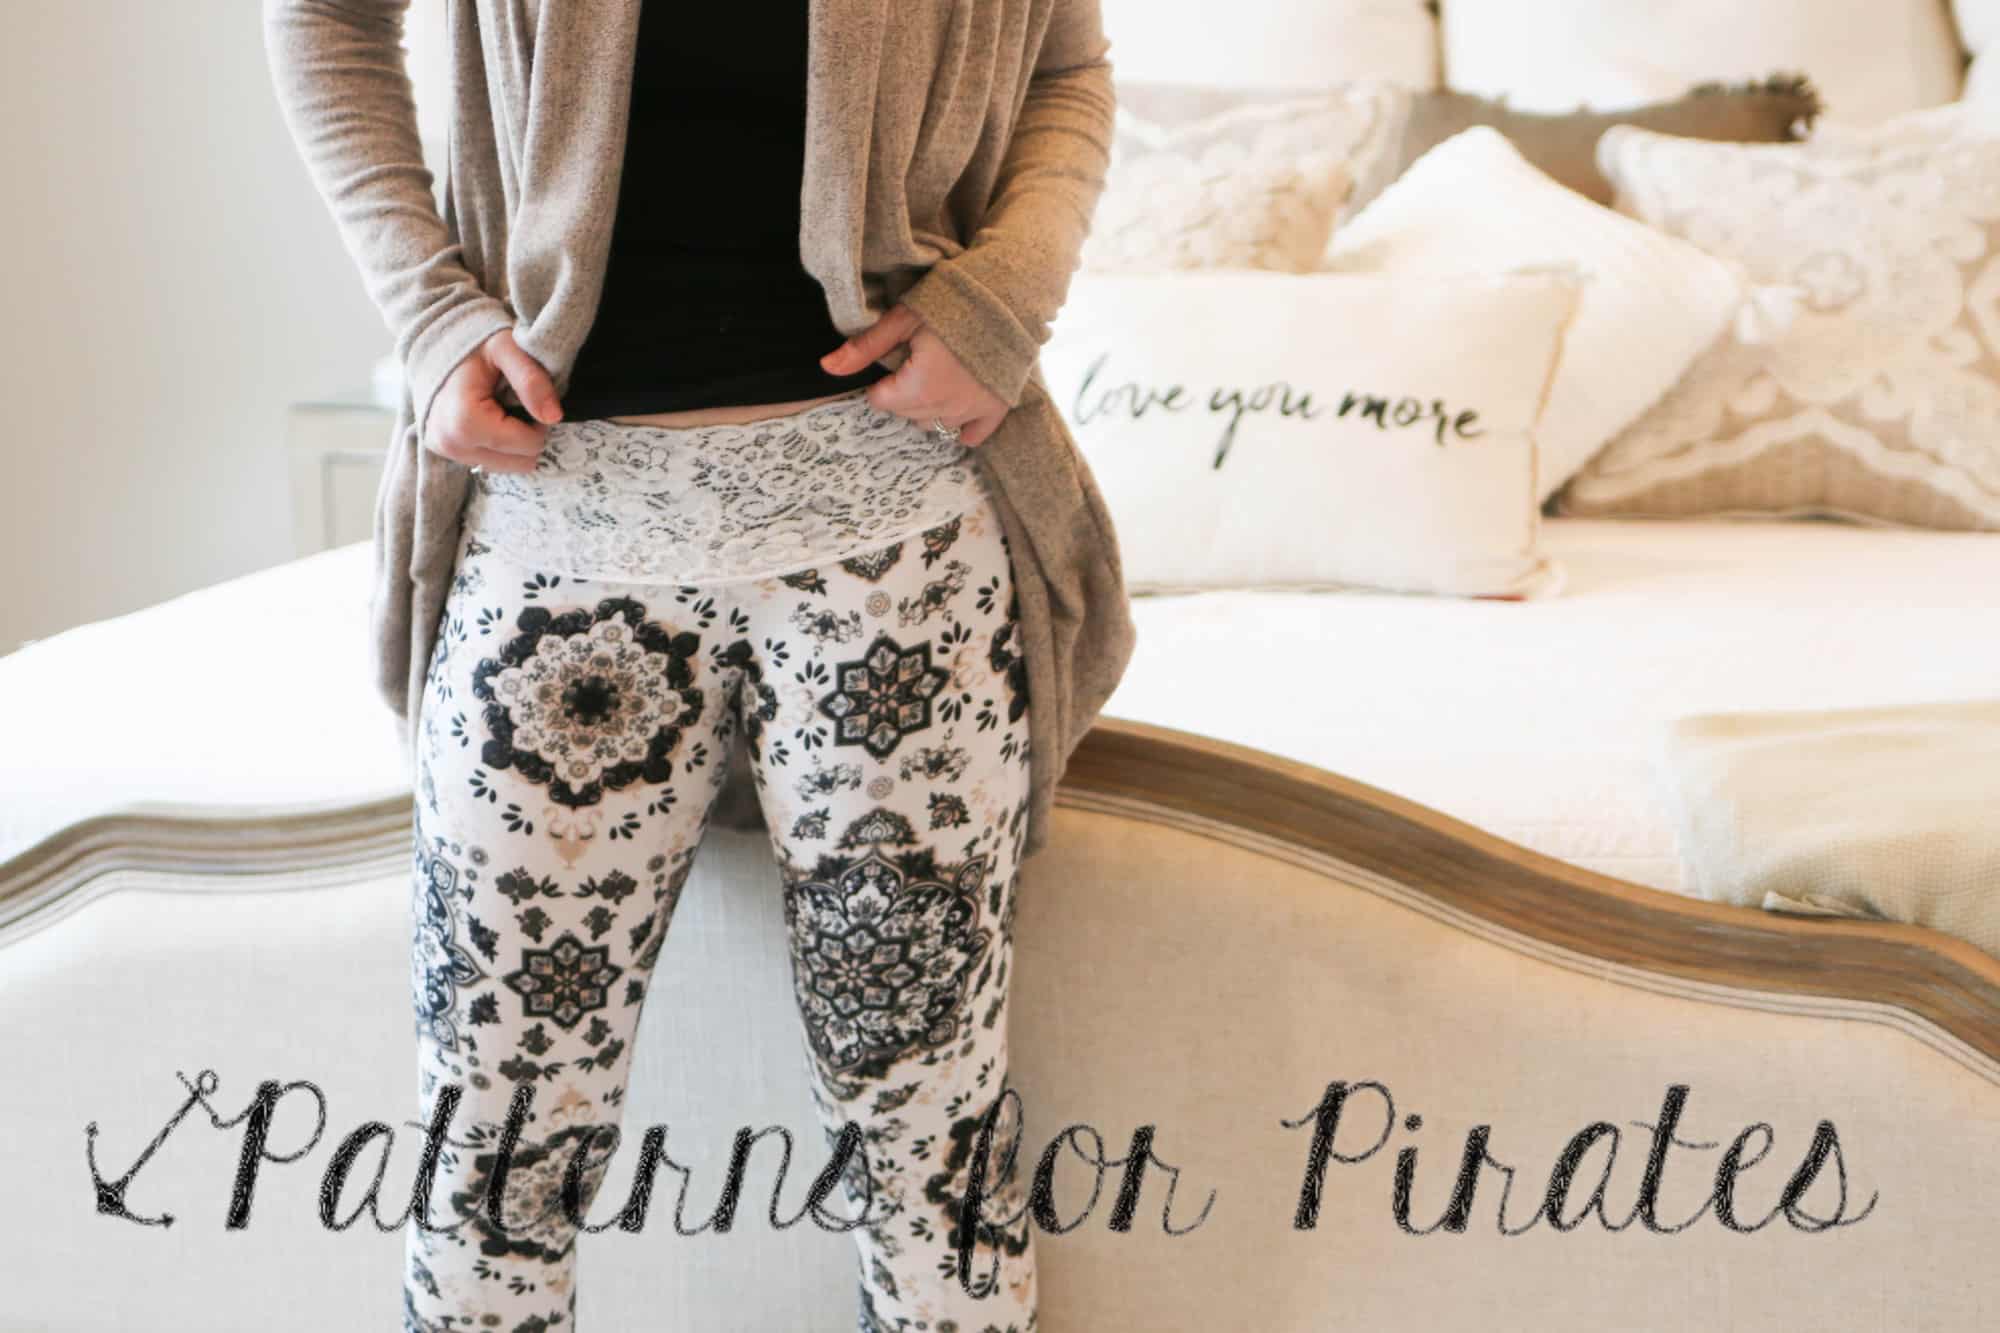
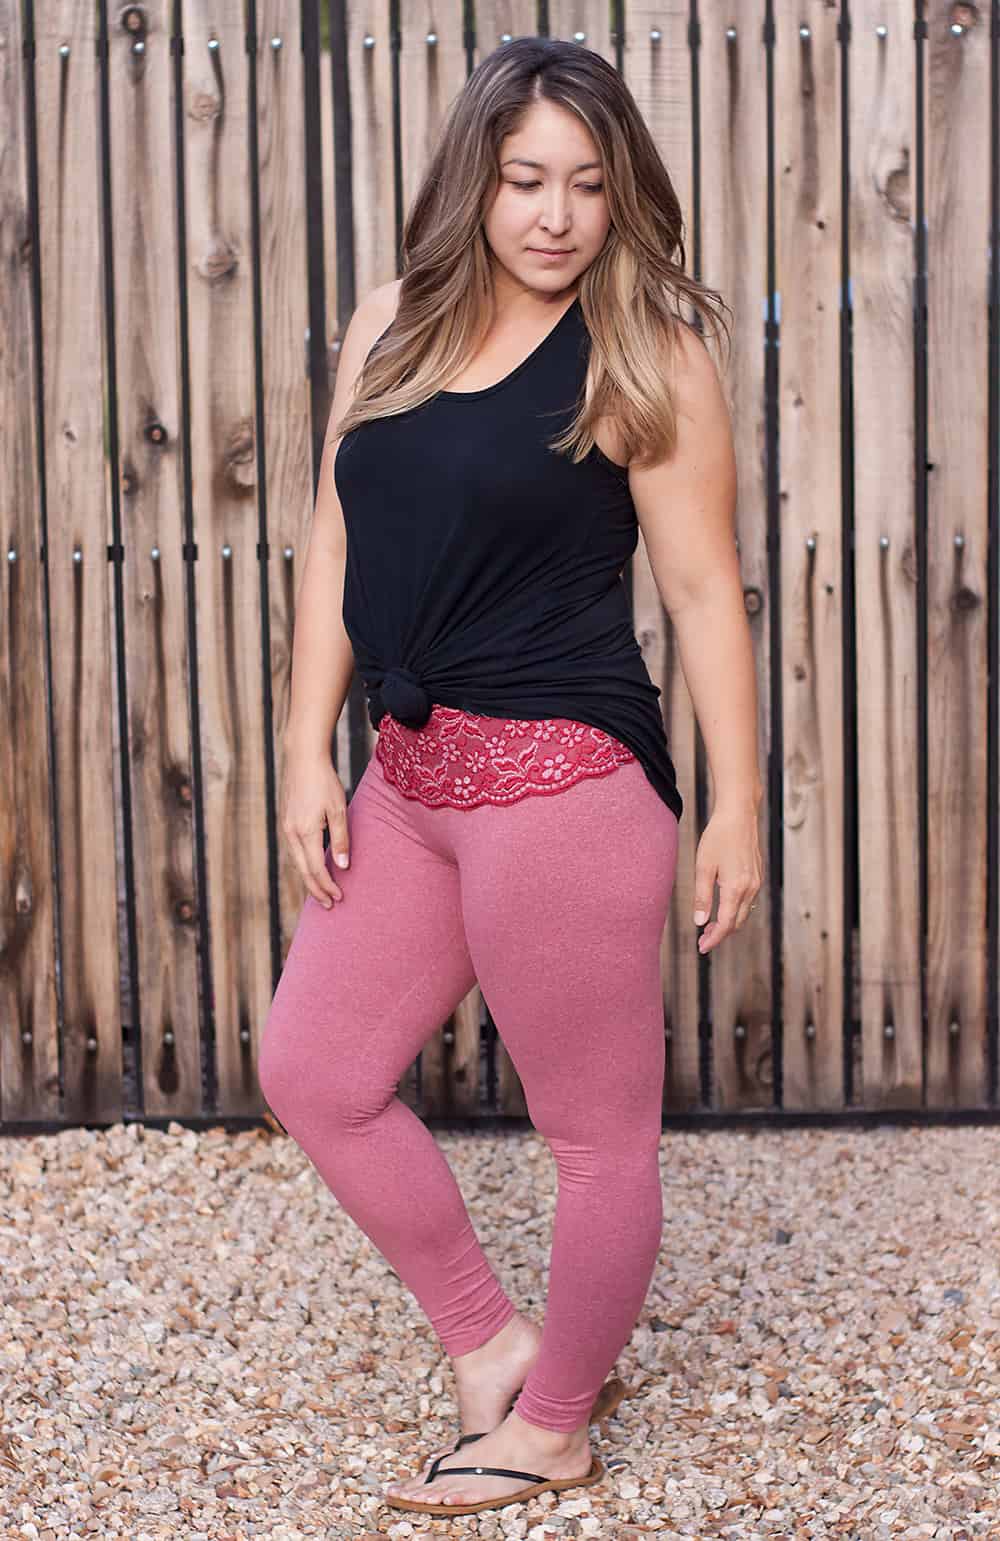
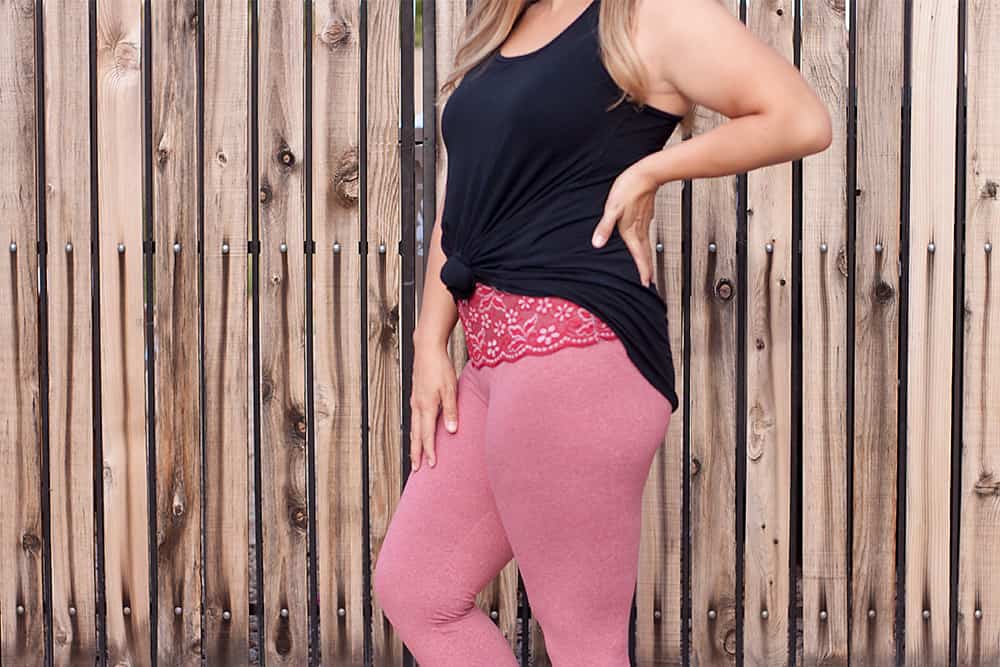
Every once in awhile, our Facebook group gets hit with a picture of a trending item with the question “How can I make this?”.  For a few months, a picture of a lace waistband was circulated and while we secretly worked on the Peg Legs update, we knew we had to add it to our hack lineup.

To achieve this look, we are going to eliminate the waistband piece, but in order to help keep them up, we will be increasing the rise and adding elastic at the top edge.  You will also need wide stretch lace (we used lace between 5-6″ tall) and 1/4″-3/8″ elastic.

I wanted to keep the original mid-rise of the leggings but since we are eliminating the extra waistband piece, I cut on the high rise line and added about 0.25″ to accommodate the elastic.  Once cut, assemble the legs as you normally would.

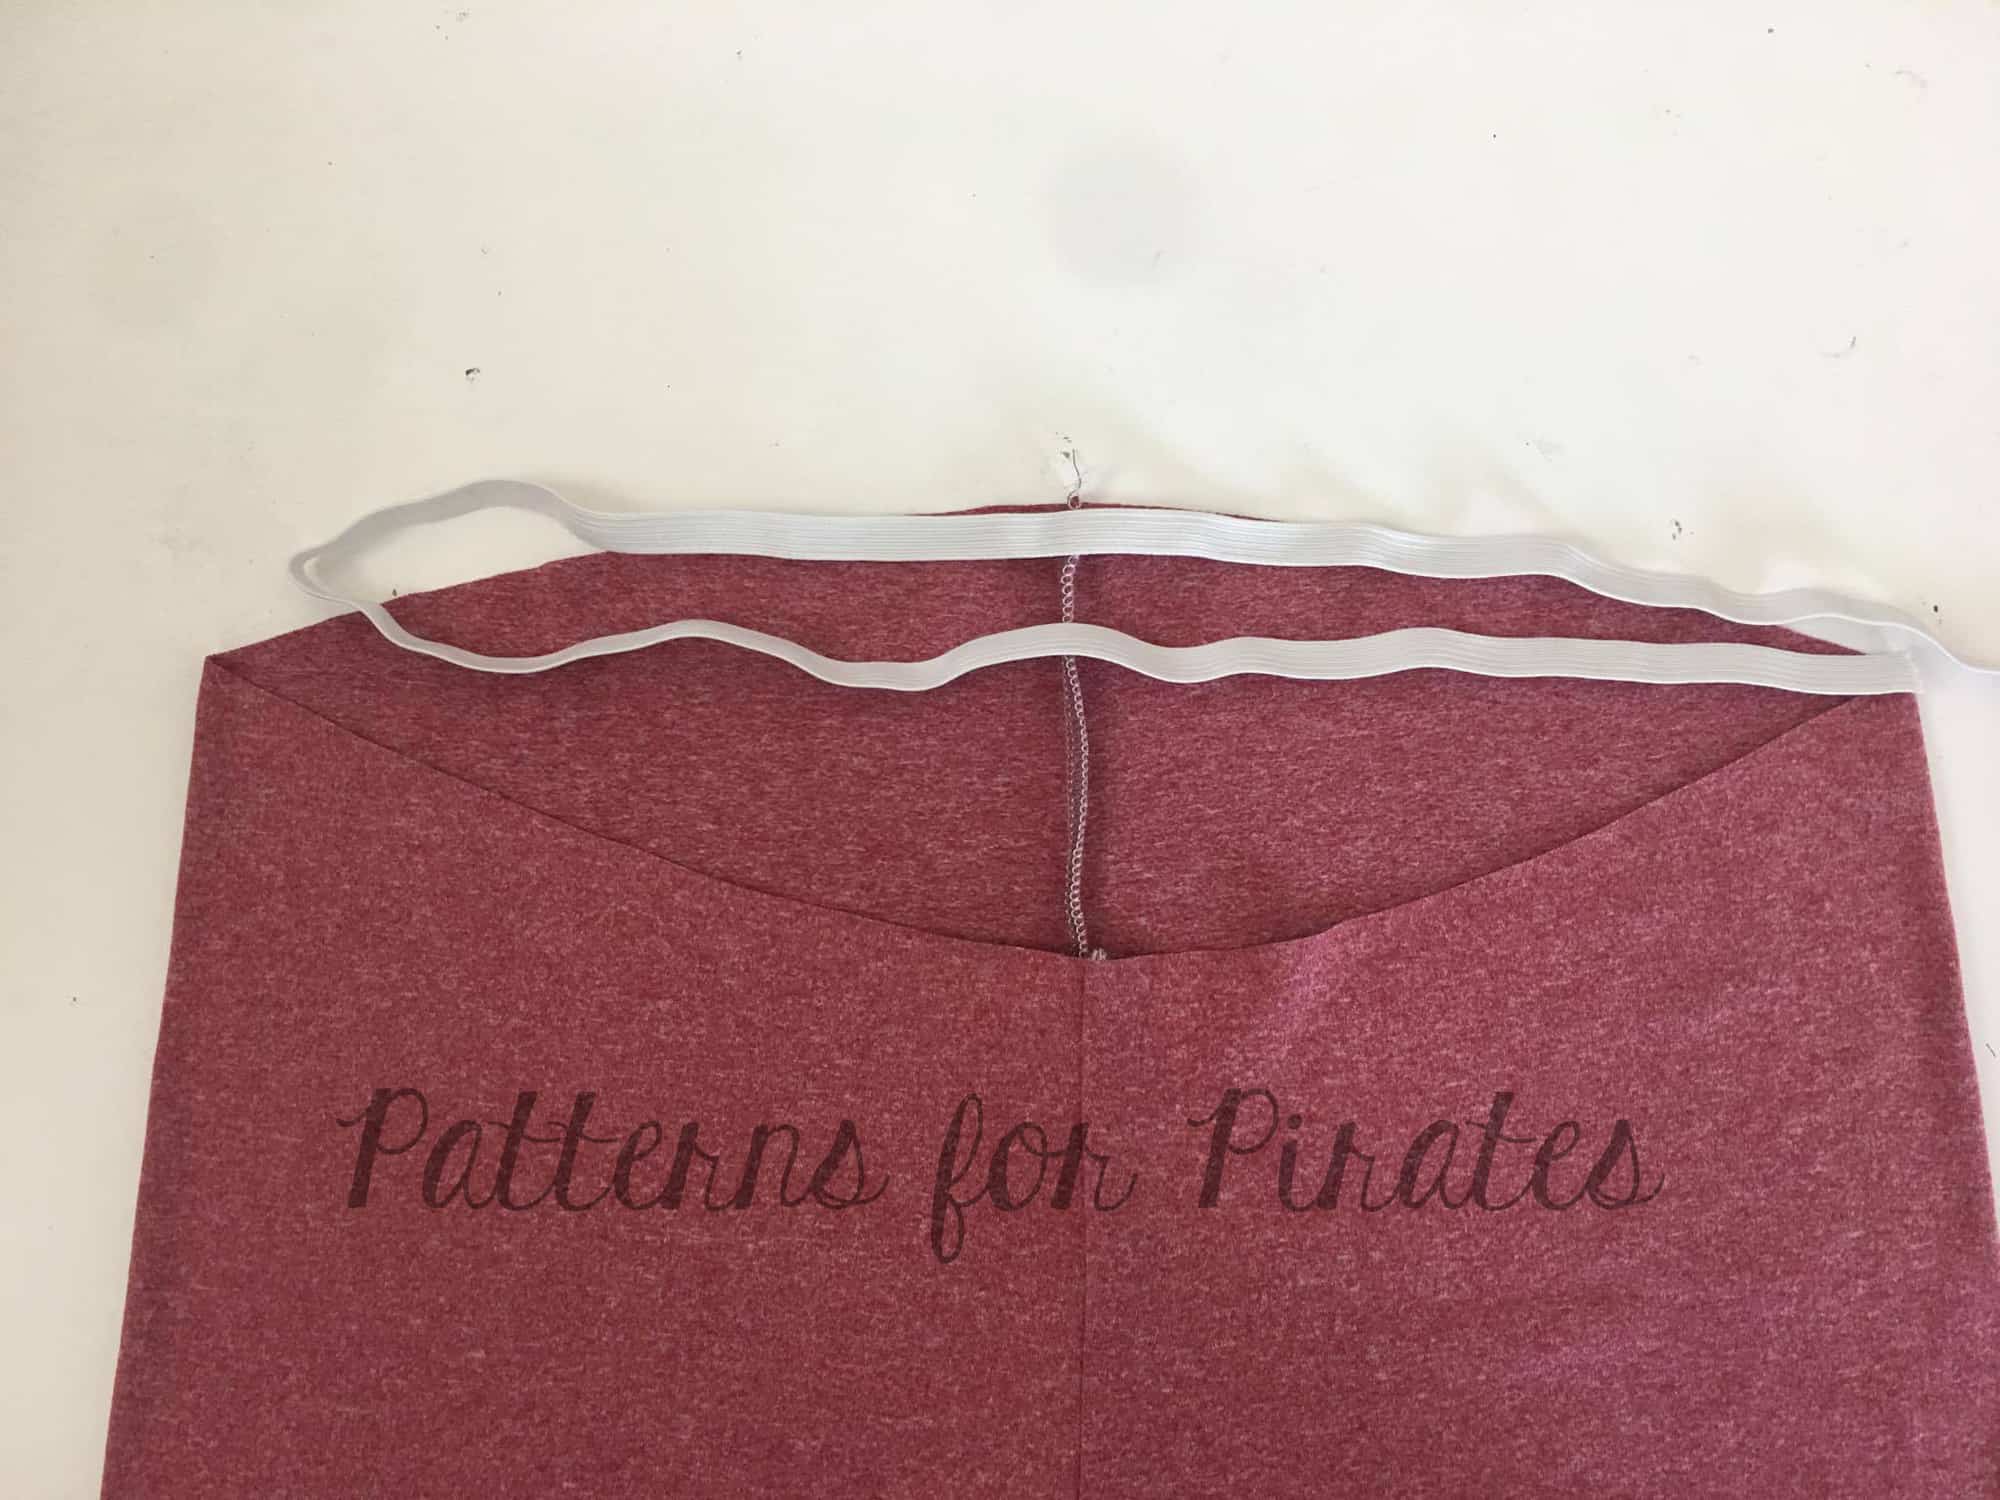
Cut your elastic the width of the waist of the Peg Legs.  The Peg Legs already have negative ease (meaning, they are smaller than your body measurements and stretch to fit) so we do not need to cut the elastic smaller than the opening.  This is just used as extra support to help keep them up.

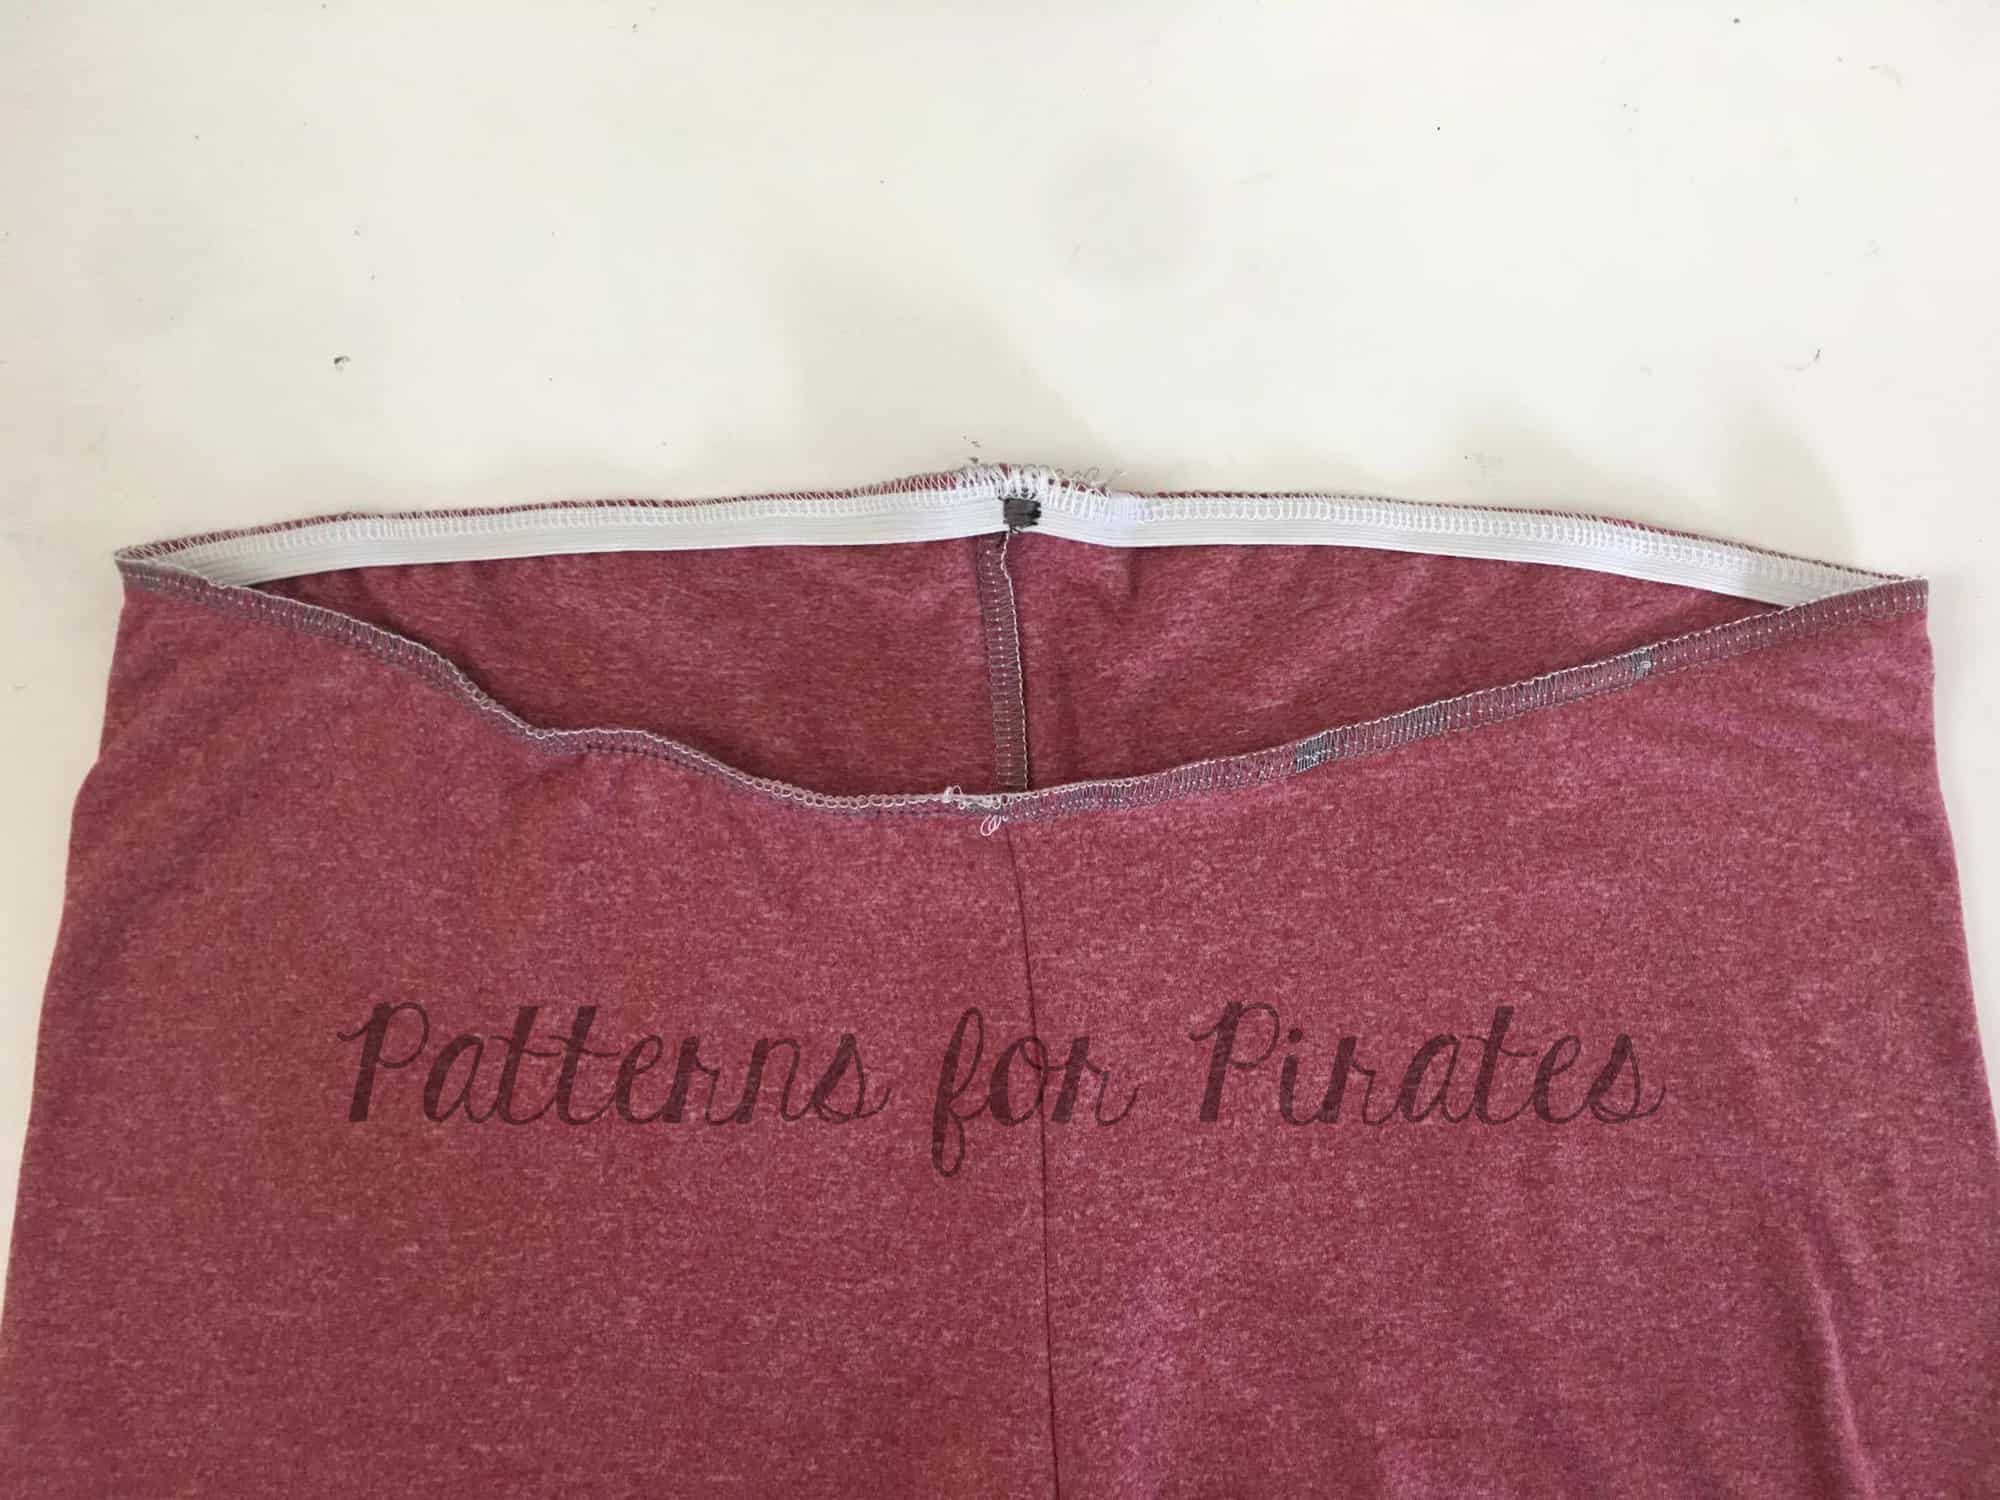
Butt the ends of the elastic to one another, and using a zig-zag stitch, stitch, creating a circle.  Stitch the elastic to the wrong side of the fabric using your favorite stretch stitch.  If using a serger, do not cut any fabric off.   The elastic should be measured at 1:1 with the top of the leggings so should not need to stretch to fit the opening.

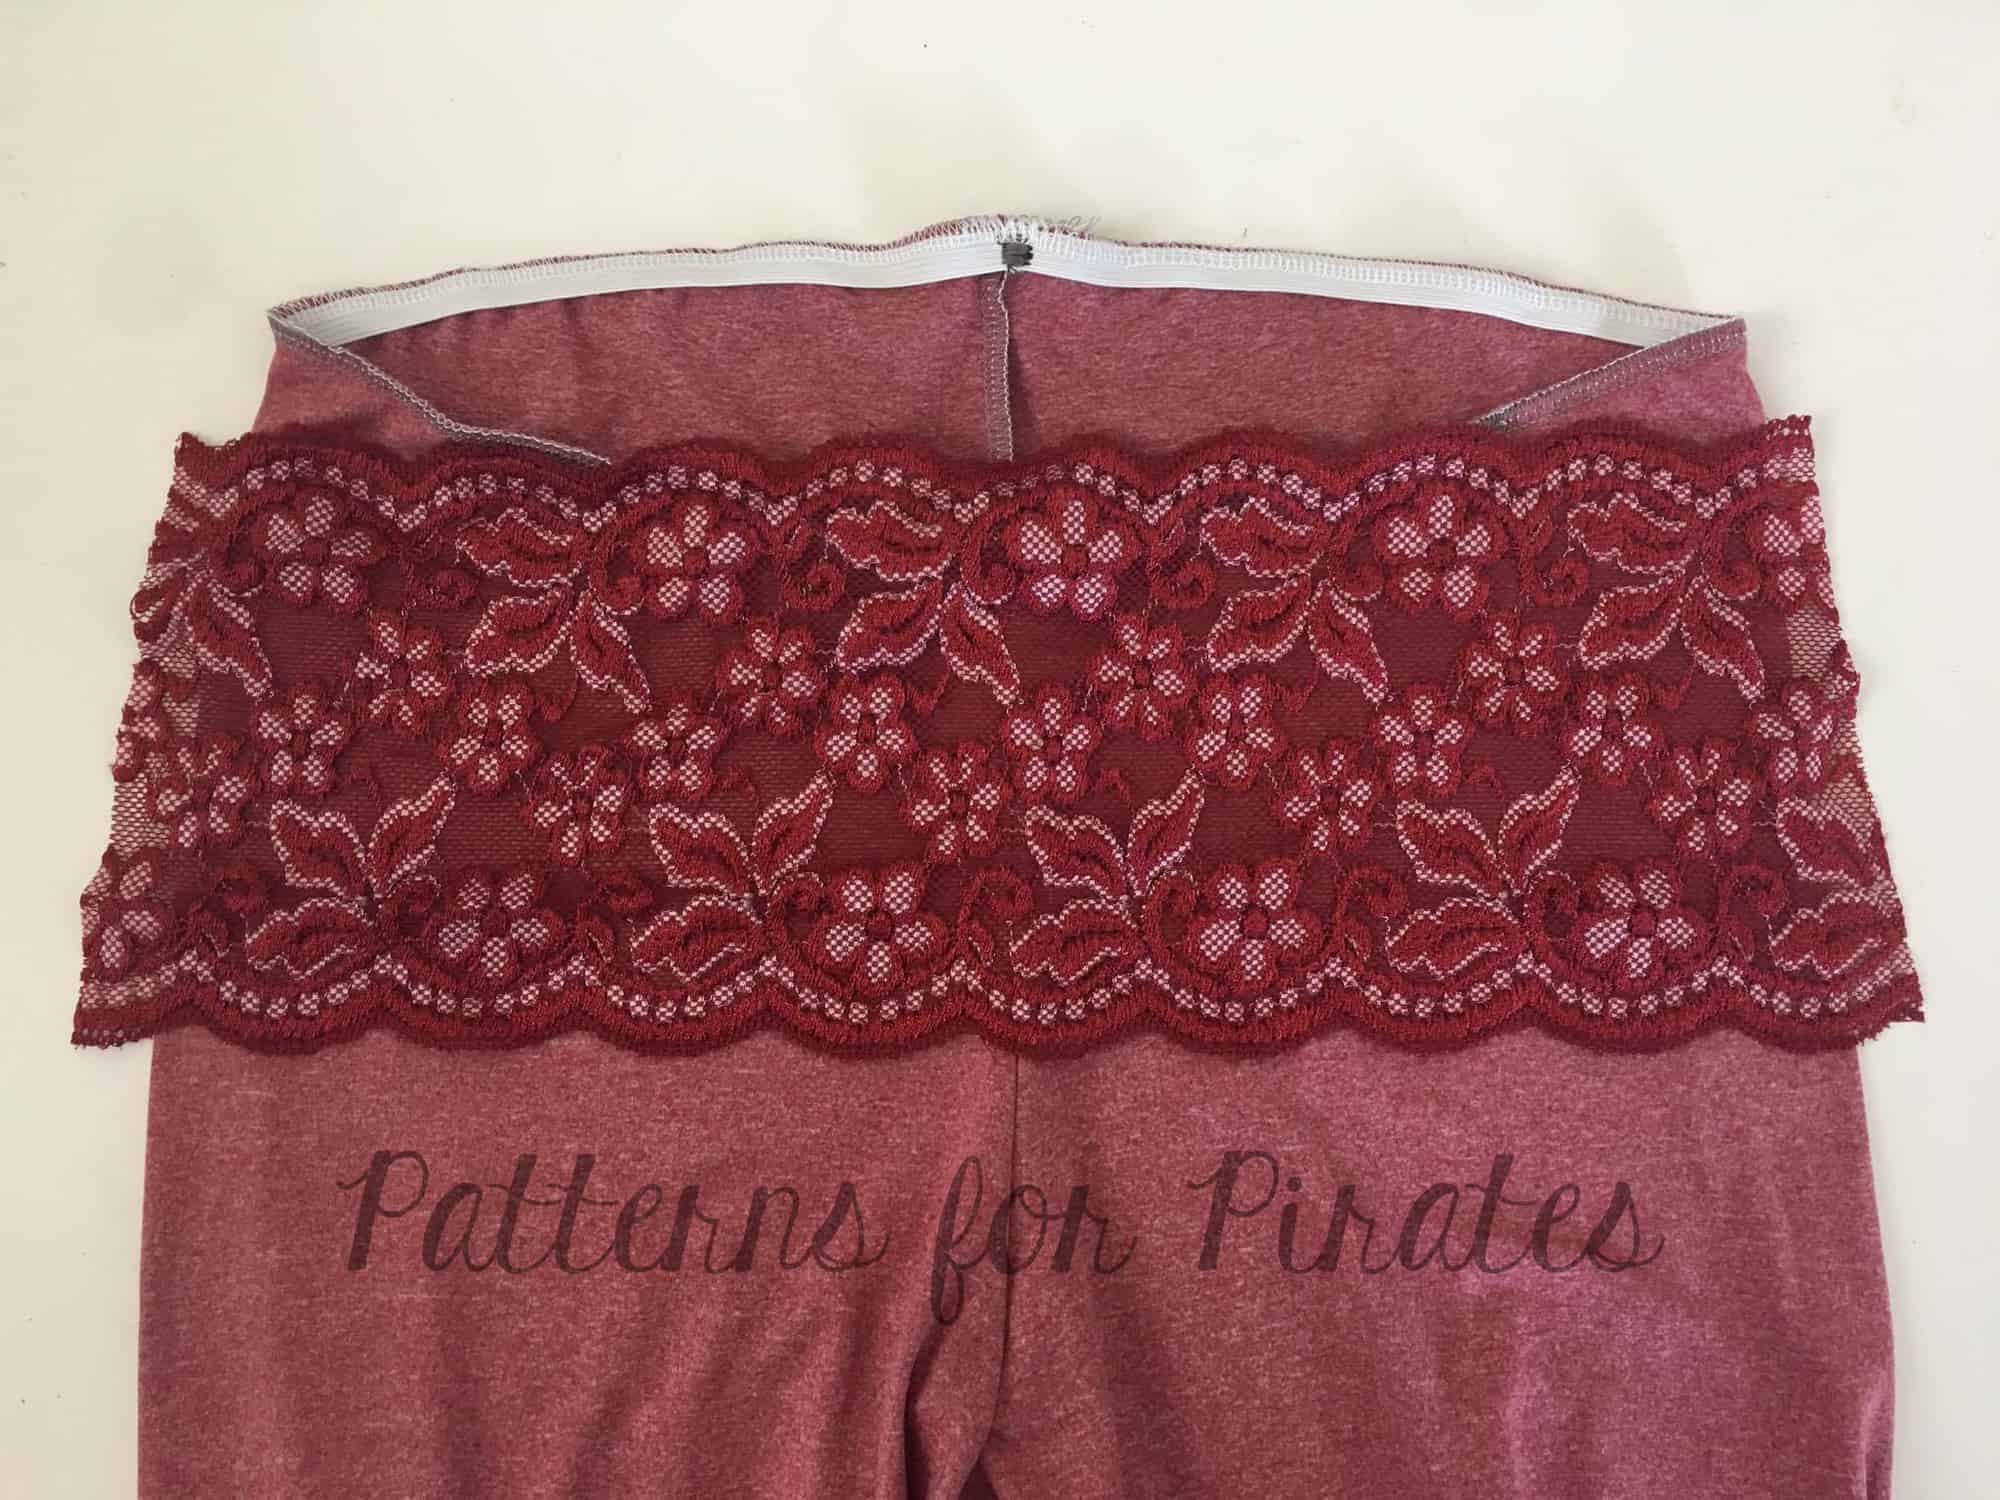
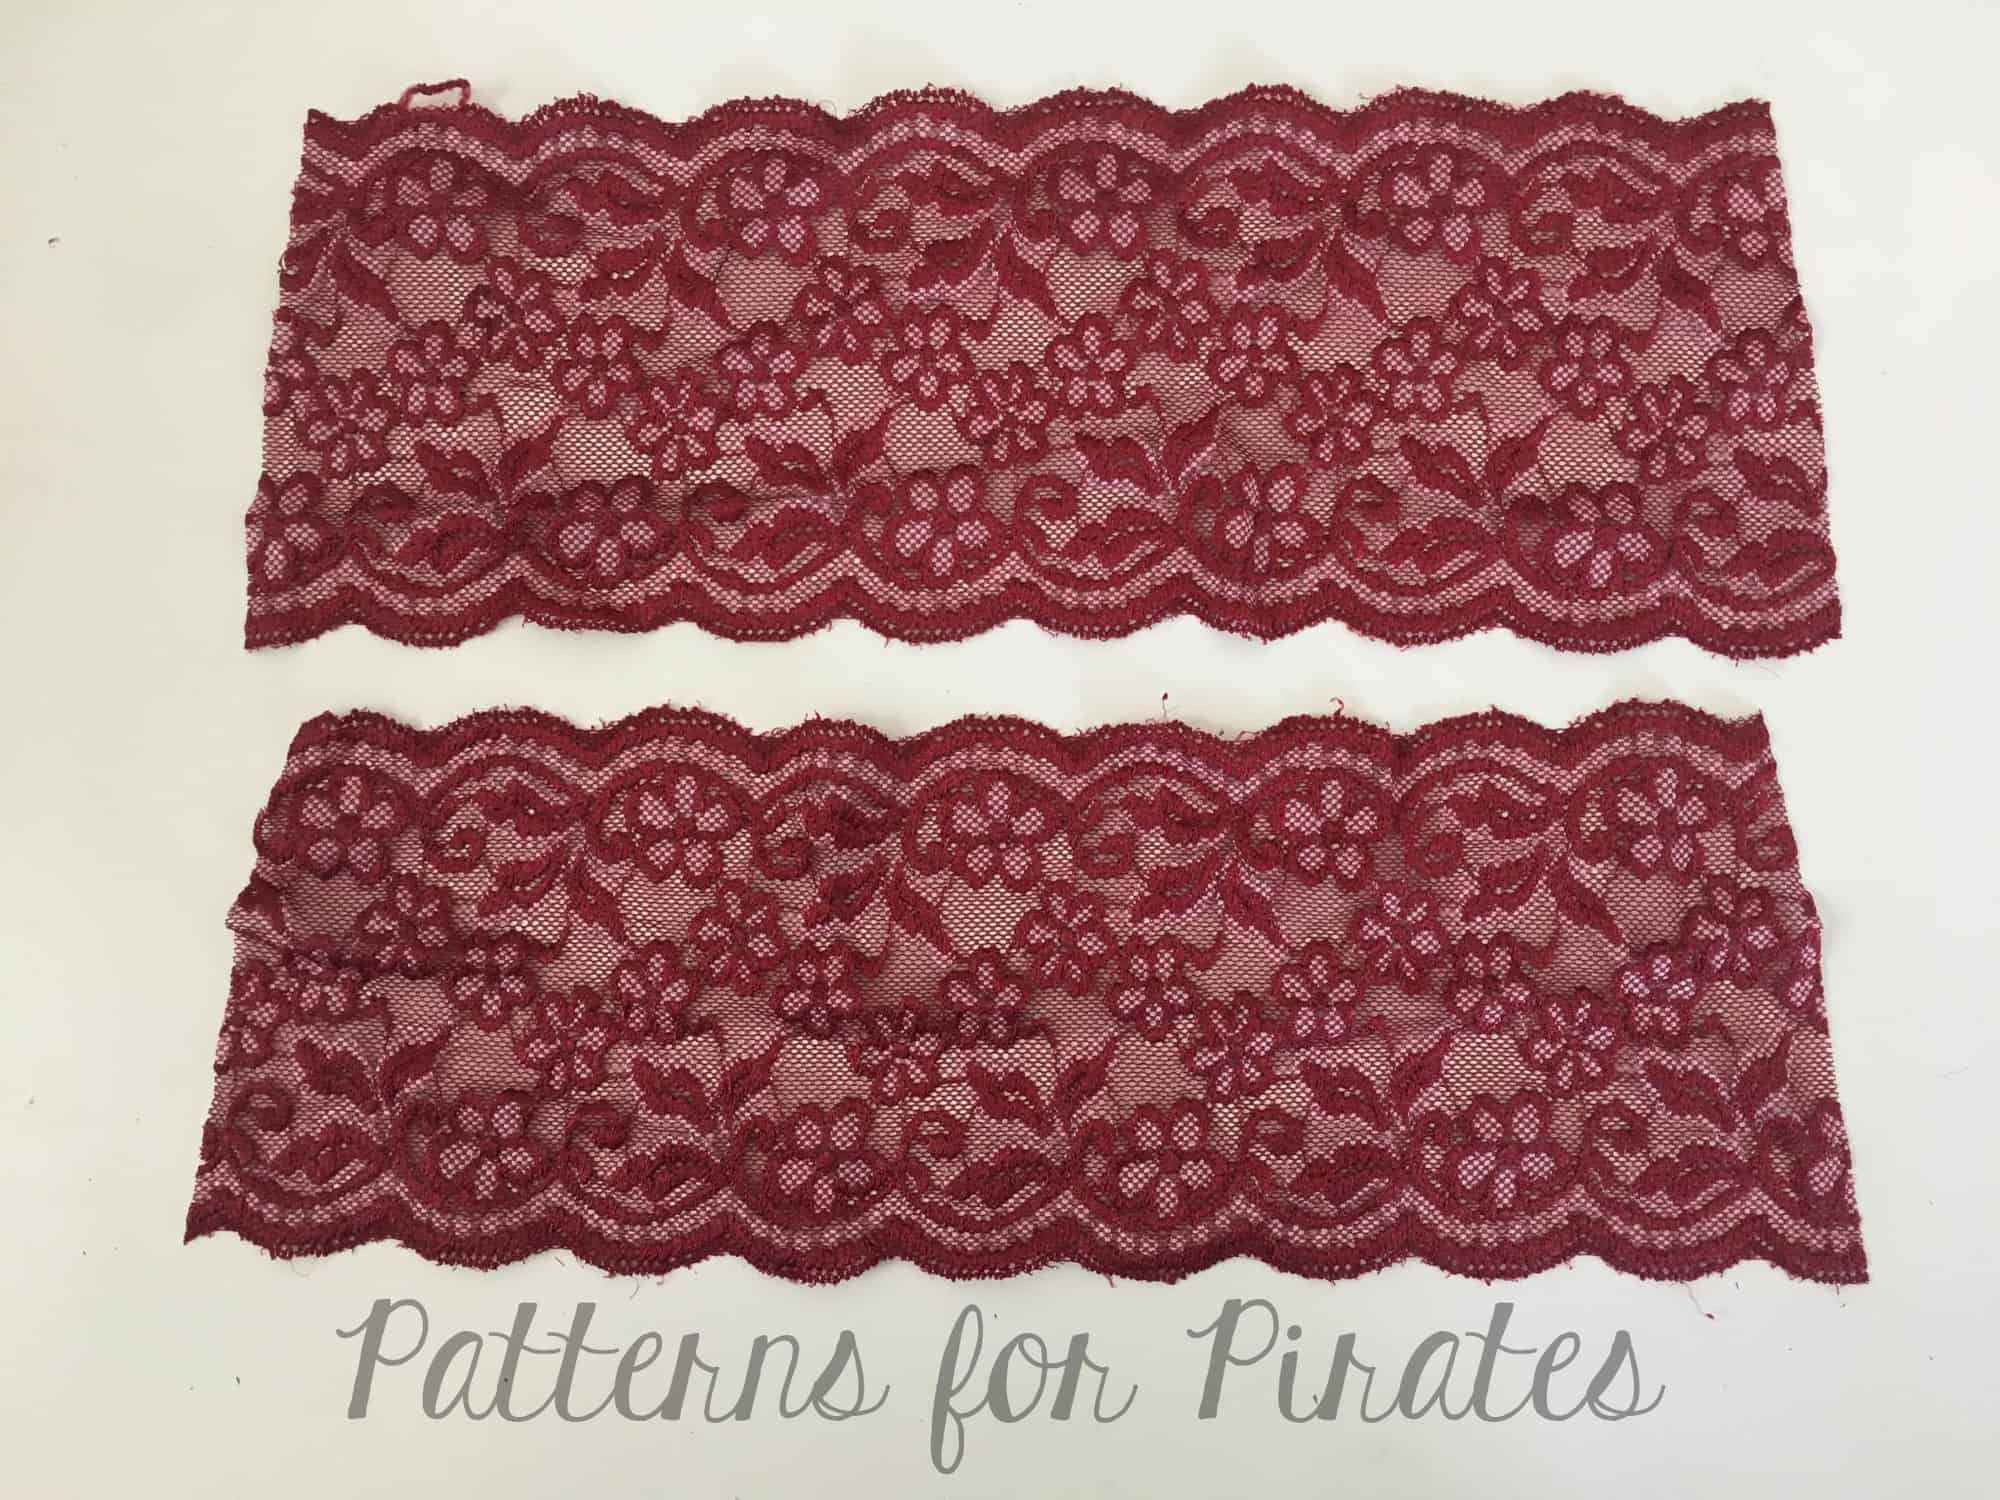
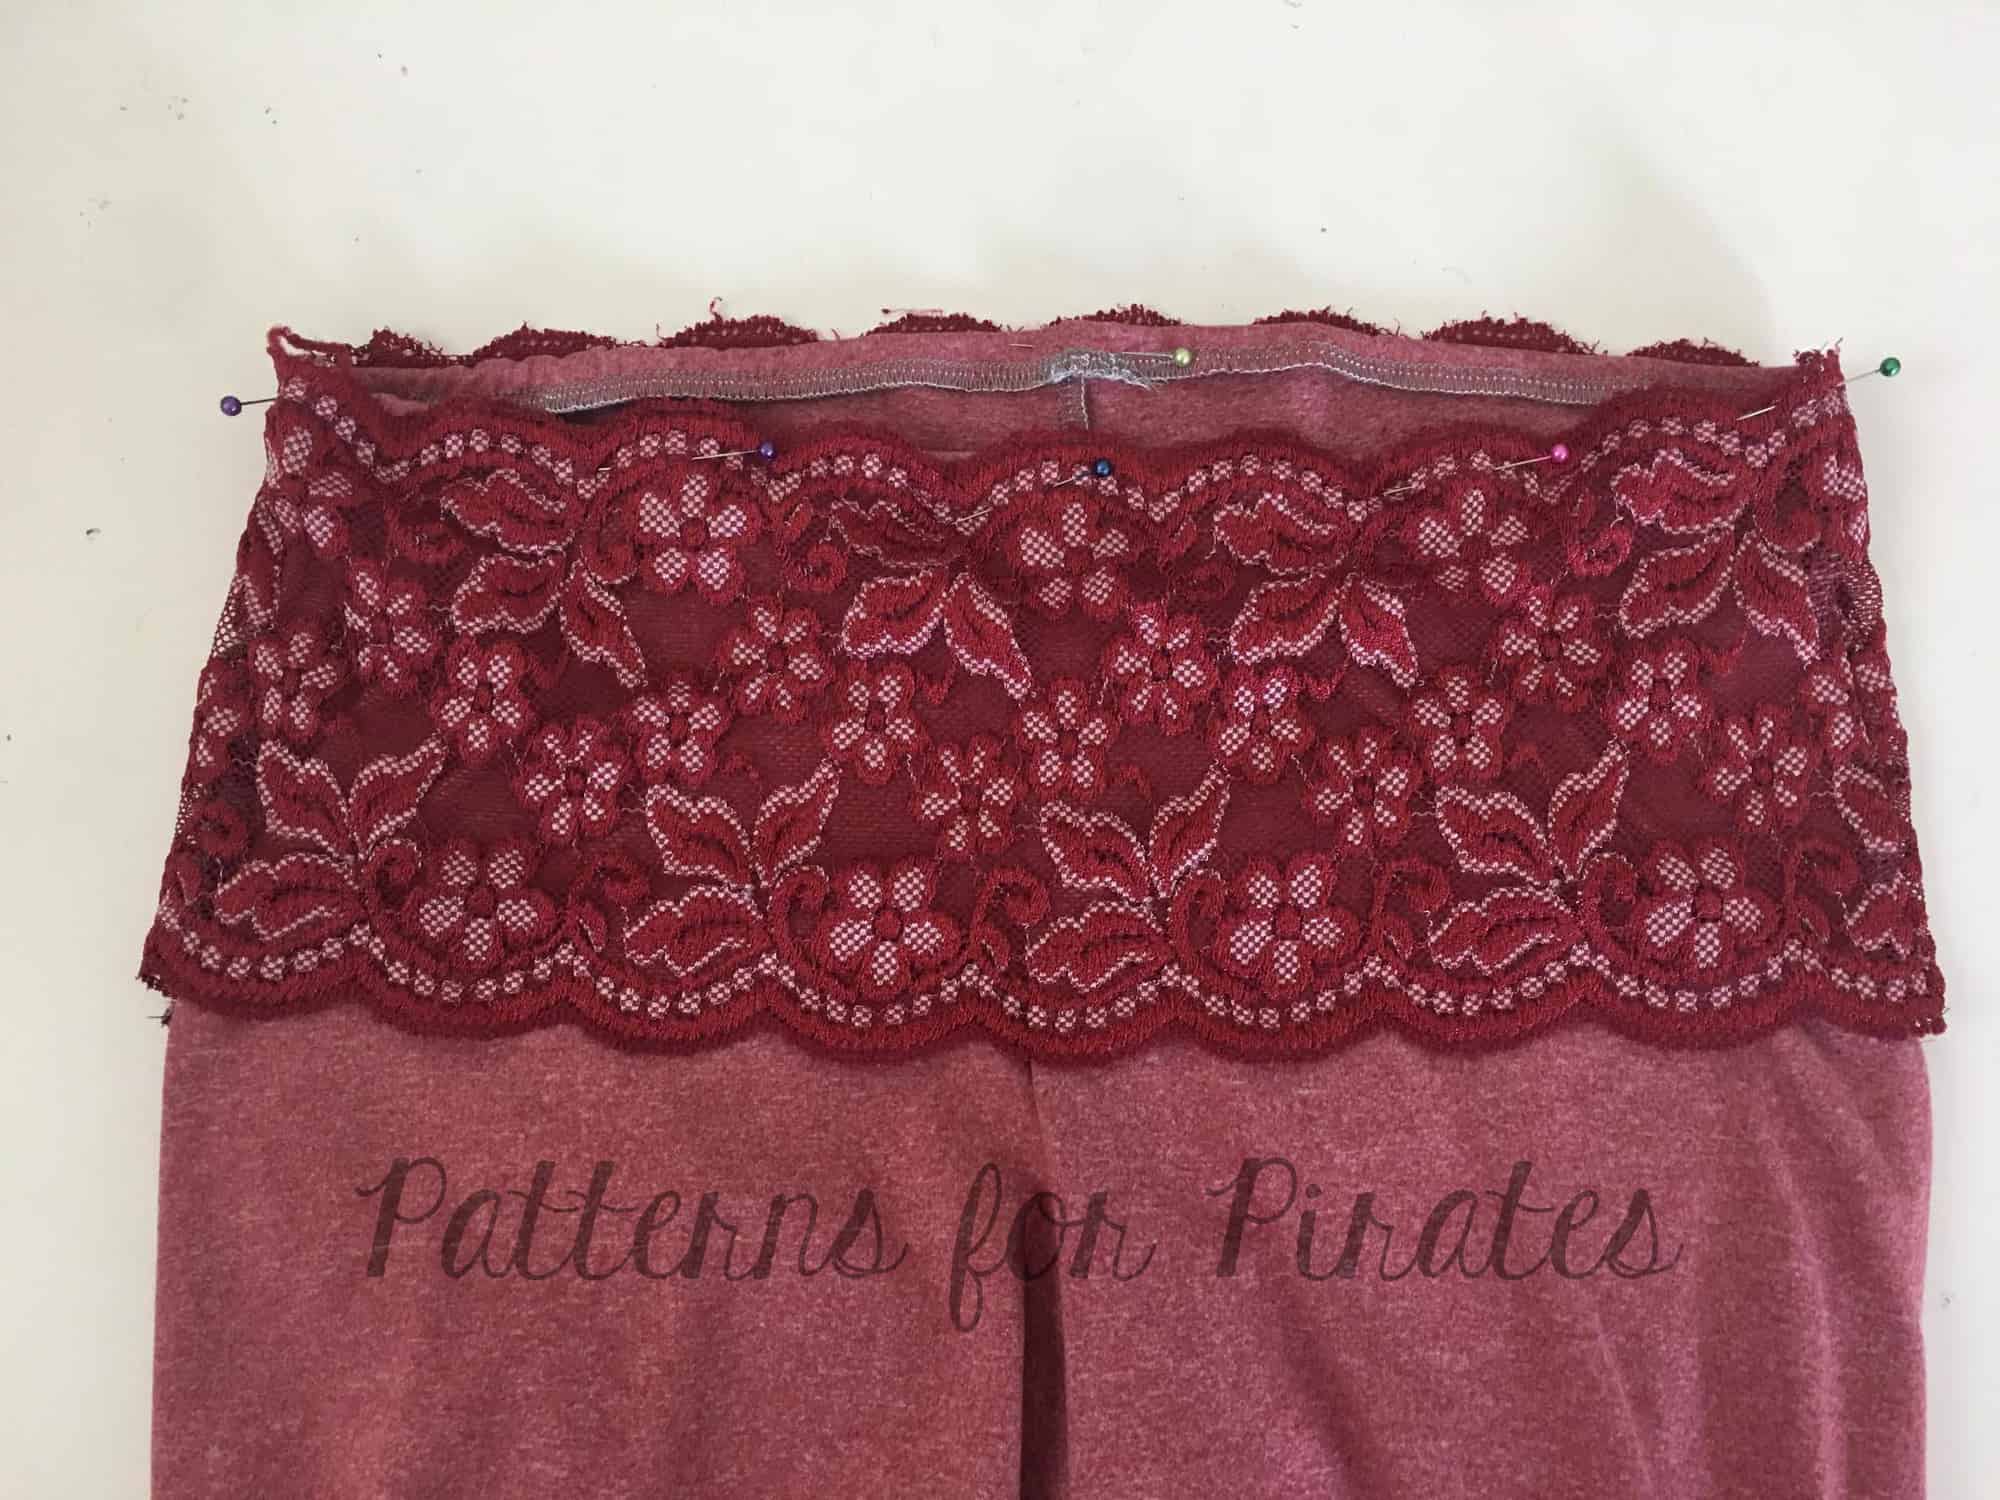
To determine the size of the lace waistband, lay your lace on top of the leggings and cut them 1/2″ wider than the leggings on either side.  Cut 2.

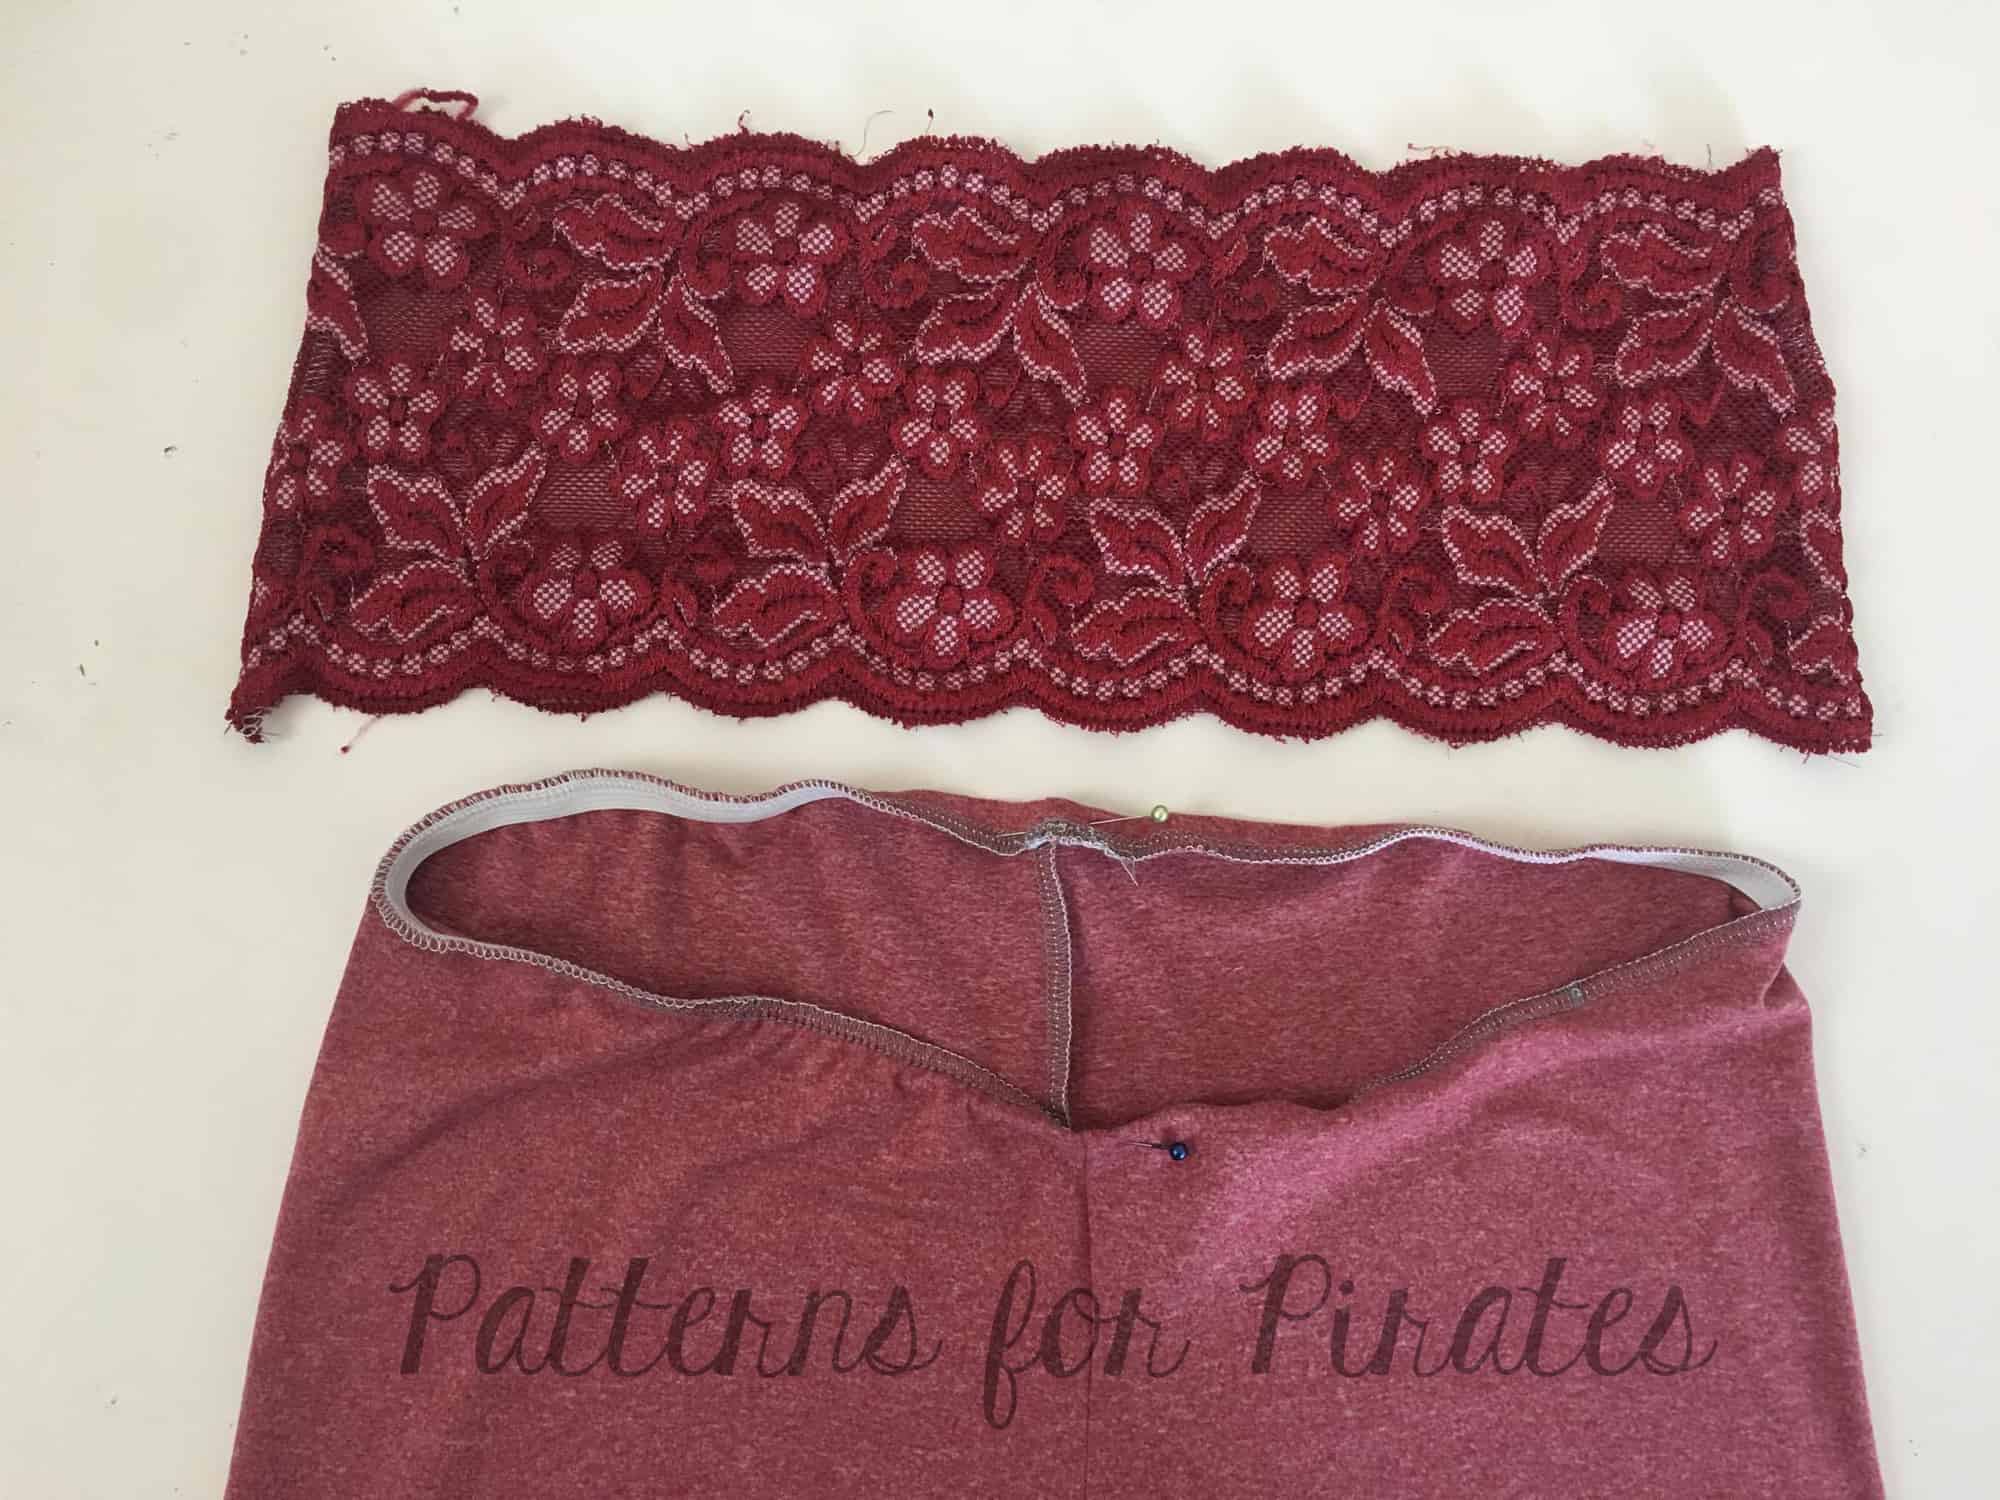
With right sides together, stitch each short end with a 1/2″ seam allowance to create a circle.  Flip right side out.

With both right sides out, slip lace waistband over the leggings.  I wanted to encase my elastic so chose to fold over the edge of the fabric as well.  Top-stitch using your favorite stretch stitch around the top edge of the leggings.  I did not stitch along the bottom edge of the lace.  I used a brushed poly so the lace sort of “stuck” to the fabric when worn so found I did not need to stitch the bottom edge in place.


We are celebrating reaching 50K fans in our Facebook group!  To make it a party, our beloved PegLegs pattern just got an update AND some new add-ons.  Before you go running to your machine to sew up your own leggings, make sure to read our PegLegs 101 blog post.  This way, you’ll have all the the information you’ll need to make the perfect pair before you even cut into your gorgeous fabric.

But wait, there’s more!  After any good party is an after-party.  We are taking it one step further and sharing some easy hacks that’ll bring even more flavor to your favorite leggings pattern!  We hope you check them out, make your new favorite pair of leggings, and know that we appreciate every single one of you amazing sewing guys and gals!

Here are our hacks / tutorials / latest tricks:

Lace Waistband Alternative | Drawstring Waistband Tutorial
Exposed Elastic Waistband | Stirrup Pant Hack
Ruched Ankles Adjustment | Decorative Topstitching Tutorial
Ruched Side Panel Hack
Filed Under: Free Pattern, Pattern Hacks, Uncategorized 3 Comments

50K Fan Celebration :: PegLegs Update + Re-Release!

April 17, 2017


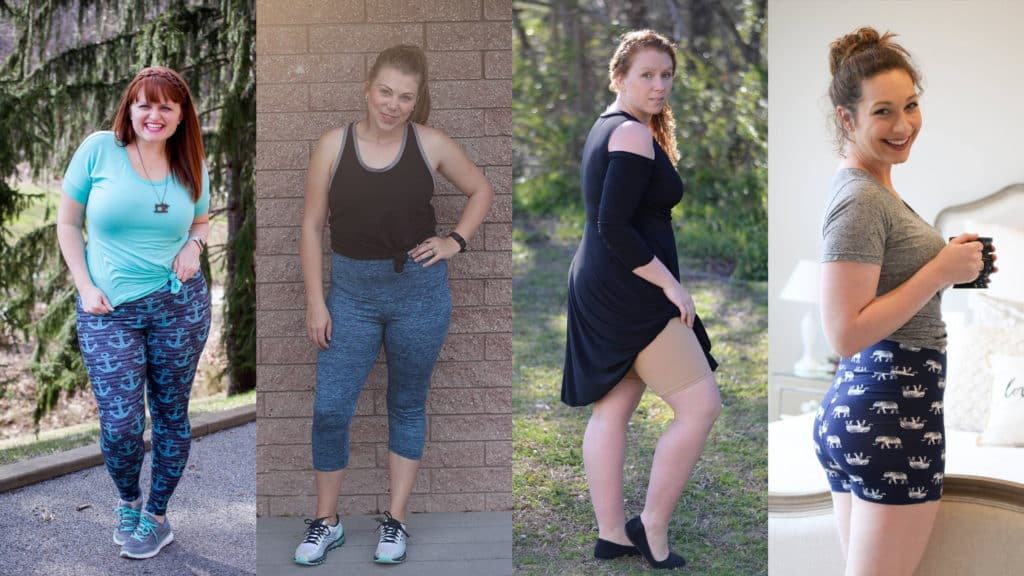
We are celebrating reaching 50K fans in our Facebook group!  To say the least, it is unbelievable that I have added so many ladies into the tiny group it started from.  I’m so honored to help each and every member learn a little more about sewing.  It makes my heart so happy to see posts about first time sews and the community answering questions with nothing but a kind heart.  I love the P4P group so much! So, we tried to think of something AMAZING to say thank you for supporting us!  To make it a party, our beloved PegLegs pattern just got an update AND some new add-ons.

The Peg Legs original pattern has  gotten more reviews and feedback than any other P4P pattern hands down!  So, naturally we took that feedback and tweaked them slightly.  We also updated them to include the newest features P4P offers: layers feature, as well as A0 and International print options.  Just like before, we have four different length options (ankle, capri, bike and shortie).  *If you already have the Peg Legs in your account you will simple need to redownload them to have the new updated files.

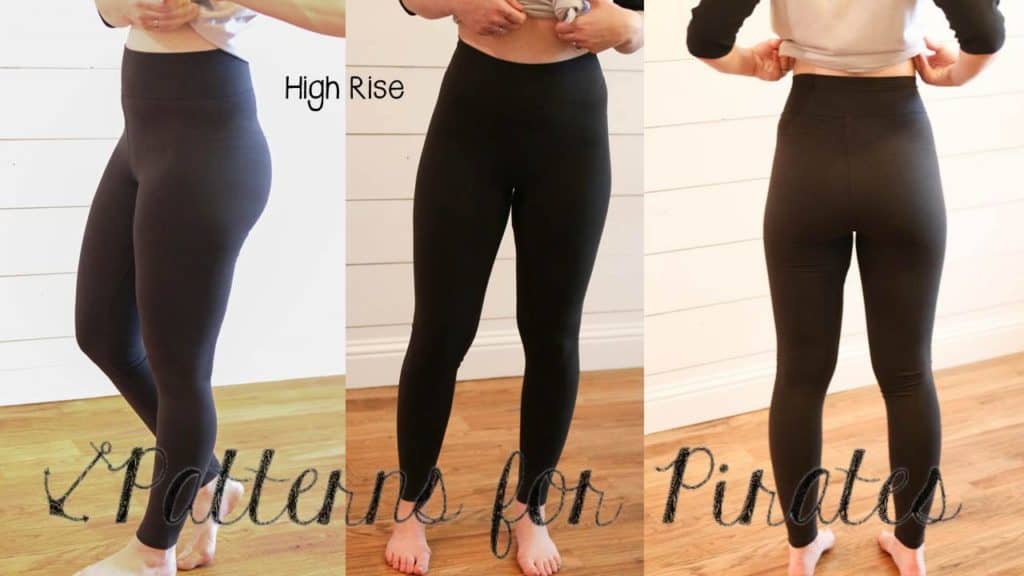
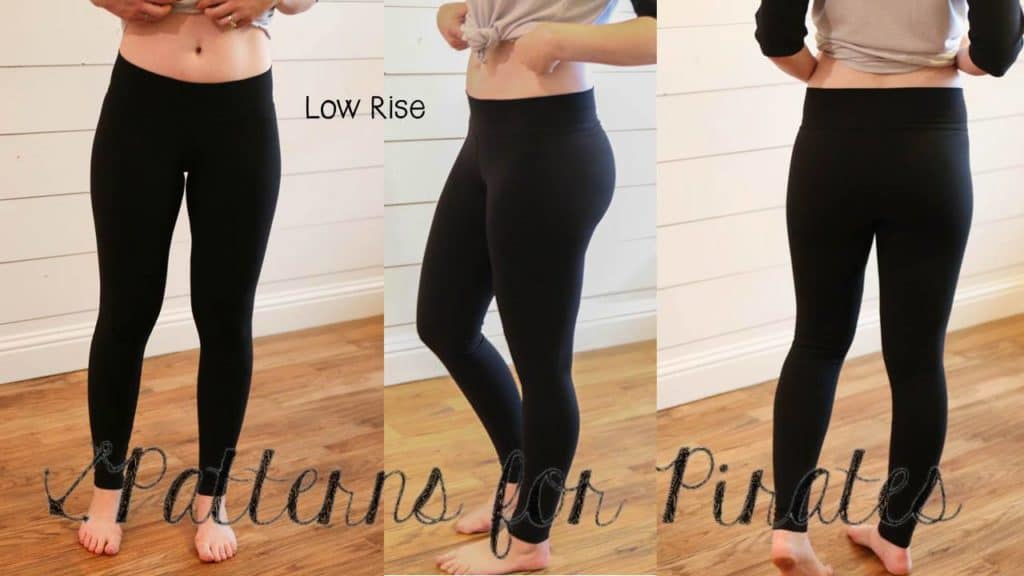
We’ve also added a different rise option, for those of you who like a little higher waist.  You can choose from high AND low/mid rises for your perfect leggings fit. The low/mid rise is the same as the original peg legs.

Now to really bring the celebration up a notch– the Add Ons! But what do the add-ons include?  So many things!
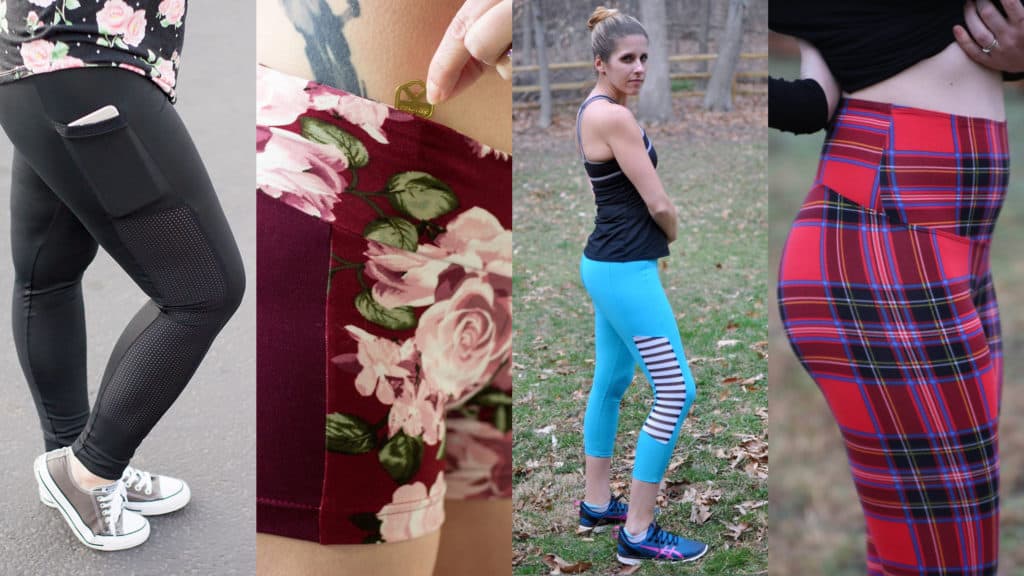
We are giving you color blocking options, pockets (in the waistband AND along the side panel), a contoured high waistband, and a gusset.  All extra options that you can mix-match to your heart’s content.

And, for all of you gorgeous pregnant mommas: a maternity add-on!  You can take the basic Peg Legs pattern and add an under belly, under belly v, or an over belly waistband for your new favorite maternity wear.

We also updated all the Freebies to NO CODES NEEDED.  We loved having everyone join the FB group and amazing community it has built, but we want them to be easy for everyone to get their hands on too! So, we hope everyone will still join the support group as well as enjoy the ease of grabbing the freebies with no codes 🙂

Before you go running to your machine to sew up your own leggings, make sure to read our PegLegs 101 blog post.  This way, you’ll have all the the information you’ll need to make the perfect pair before you even cut into your gorgeous fabric.

But wait, there’s more!  After any good party is an after-party.  We are taking it one step further and sharing some easy hacks that’ll bring even more flavor to your favorite leggings pattern!

We hope you check them out, make your new favorite pair of leggings, and know that we appreciate every single one of you amazing sewing guys and gals!

Here are our hacks / tutorials / latest tricks:

*****These will be made live as we post them throughout the next week! *****

Lace Waistband Alternative | Drawstring Waistband Tutorial
Exposed Elastic Waistband | Stirrup Pant Hack
Ruched Ankles Adjustment | Decorative Topstitching Tutorial
Ruched Side Panel Hack
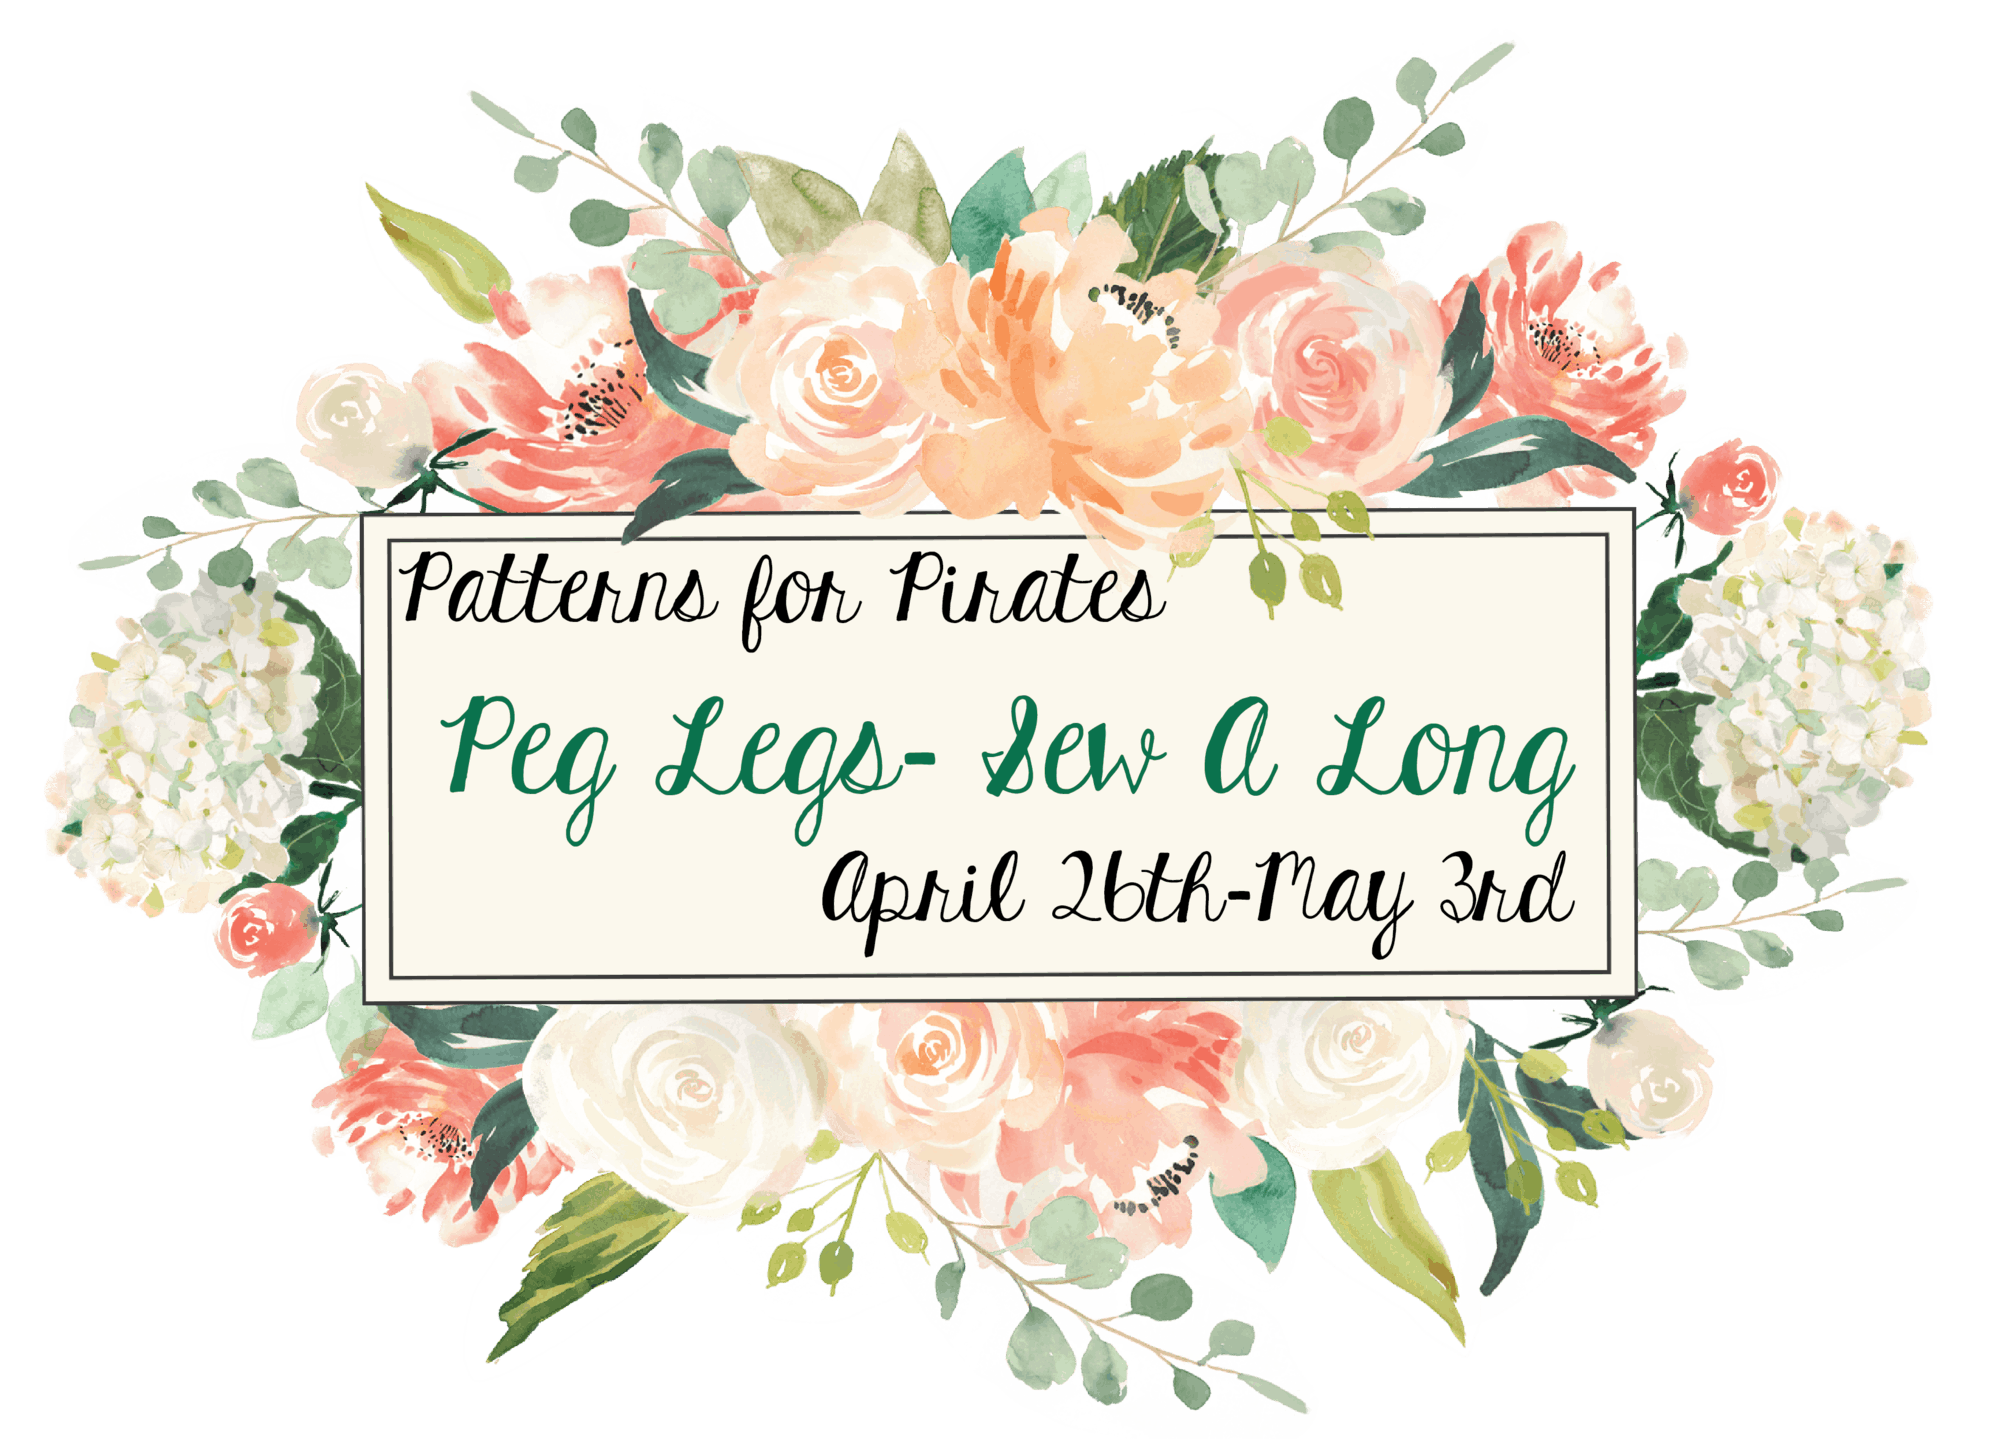
Still want more?!?! Join us for our Peg Legs Sew-A-Long!

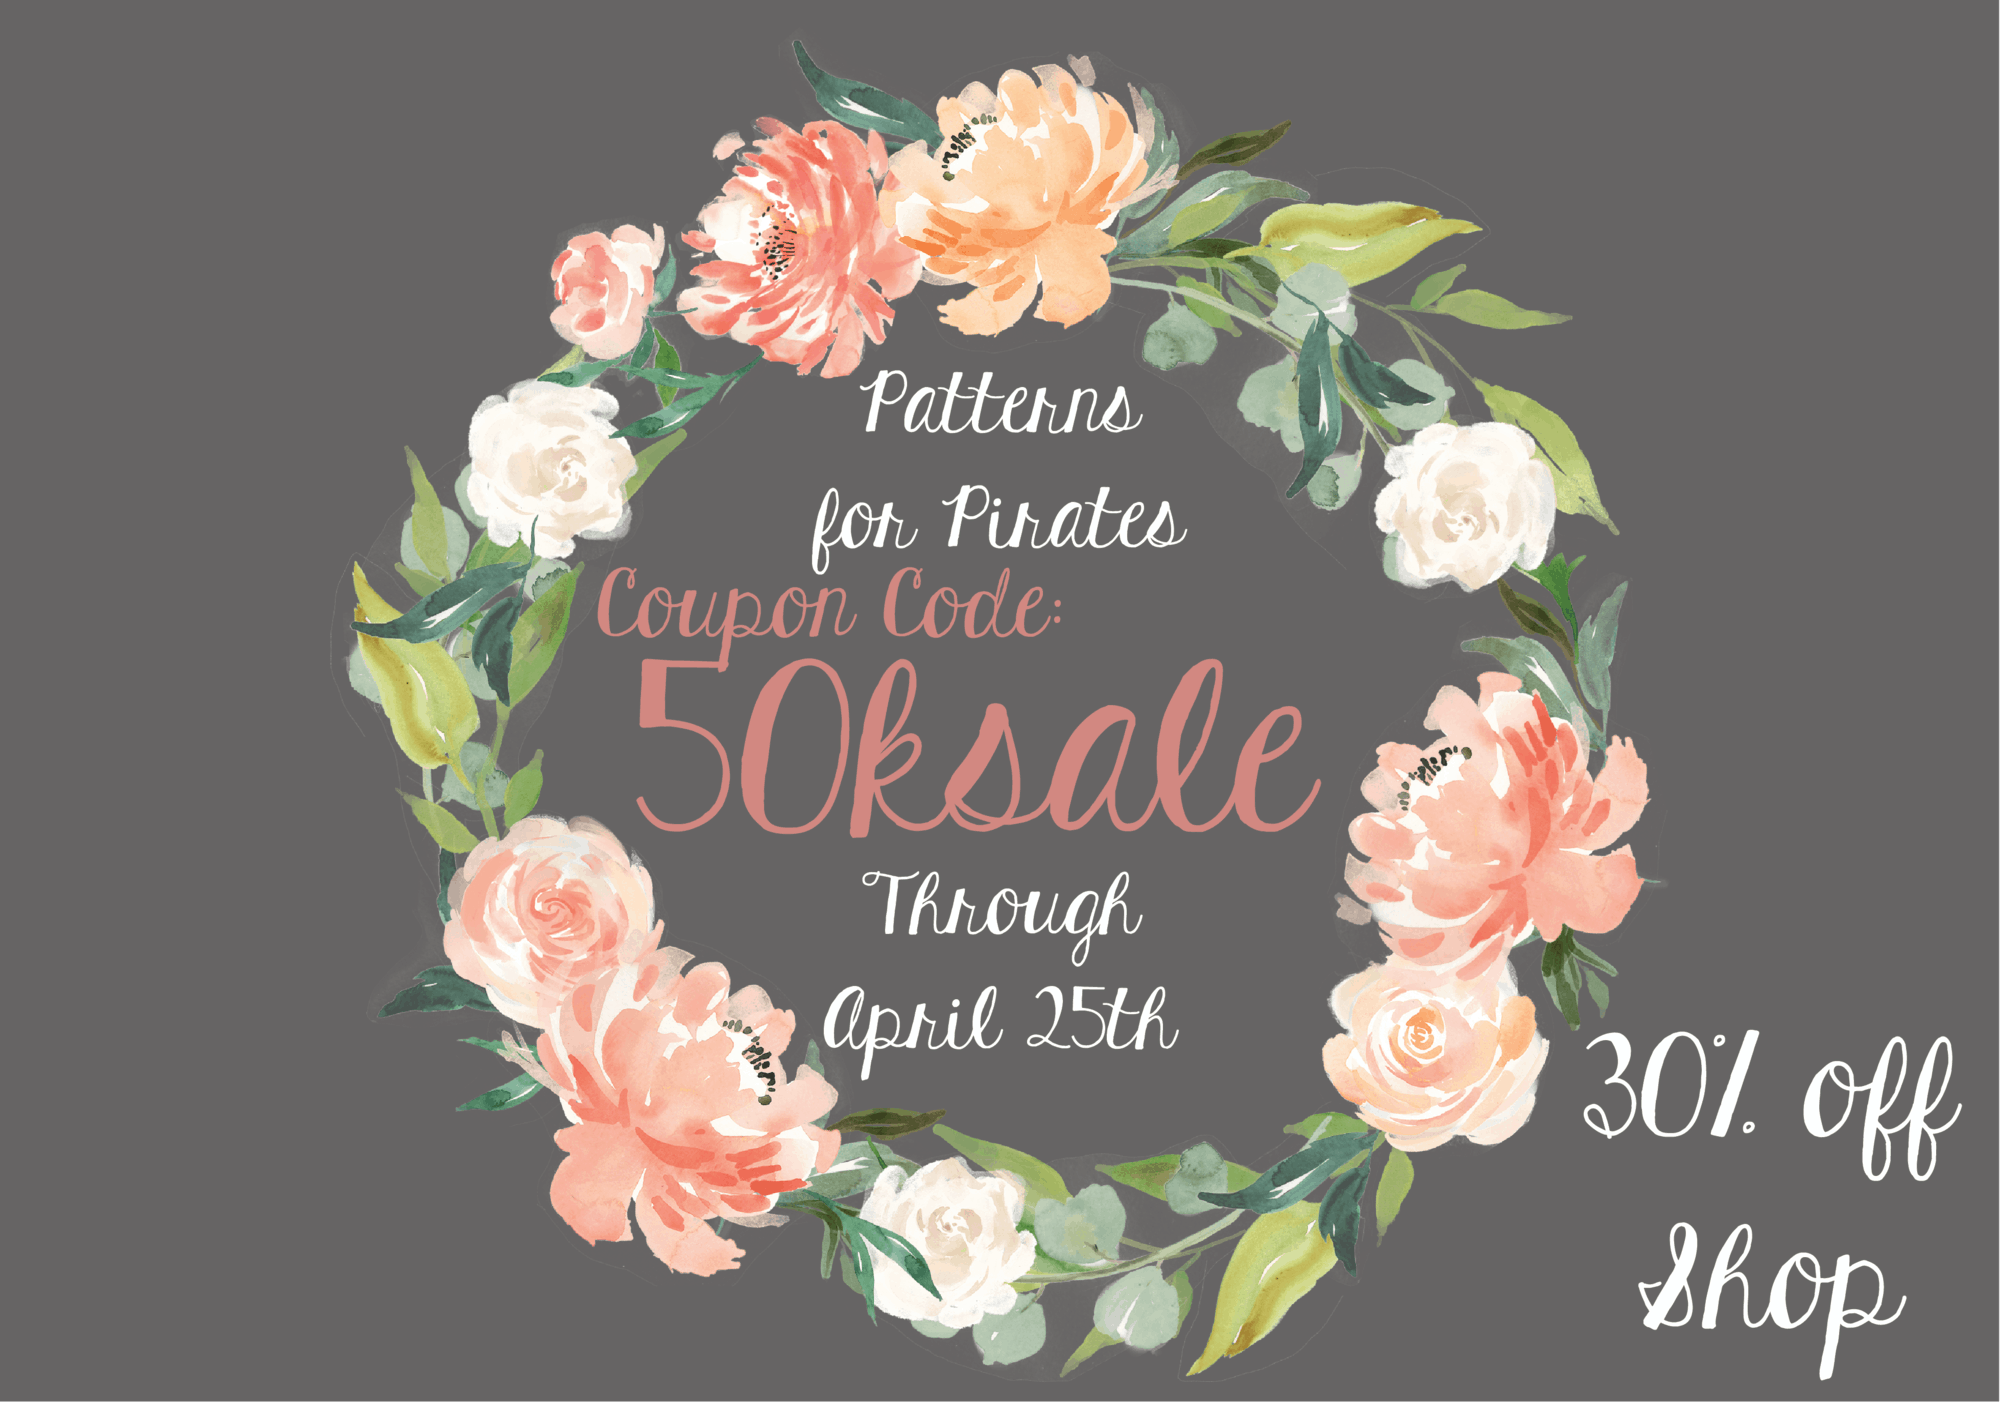
And of course one LAST thing to celebrate reaching 50.000 FB members is a SITE WIDE SALE! Enjoy 30%off your total purchase with coupon code: “50ksale” now through April 25th (ends 11:59PM the night of the 25th US Central Time Zone). *Bundle Discounts will not work with site wide sale code.

Thank you for giving this little work from home mama the chance to do what she loves! I hope each and everyone of you enjoys the updated pattern, the add ons, the hacks, the sew-a-long and the site wide sale 🙂

<3 Judy

Filed Under: Announcement, Free Pattern, Pattern Release, Sew-A-Long 18 Comments

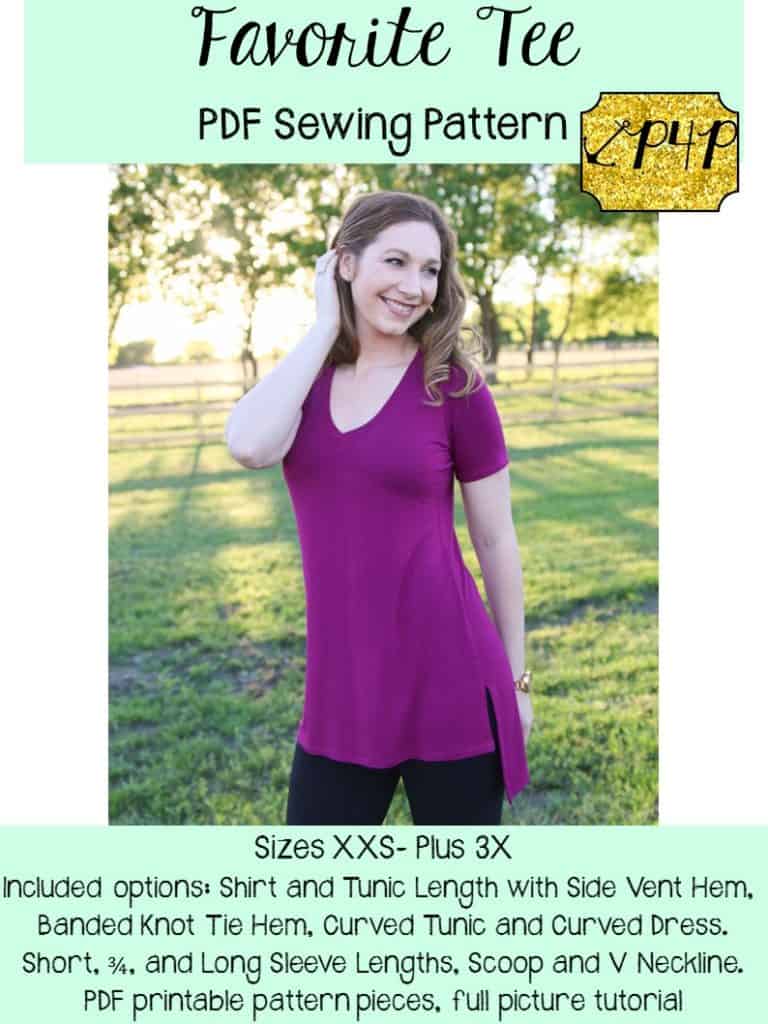
Favorite Tee | New Pattern Release!

April 11, 2017

After Judy teased you about a million times on Instagram with her pre-test versions of the Favorite Tee, we are finally going to give the people what they want.
No more teasers, it can be yours for keeps!  And guess what?  We made it in youth sizes too. Wahoo!

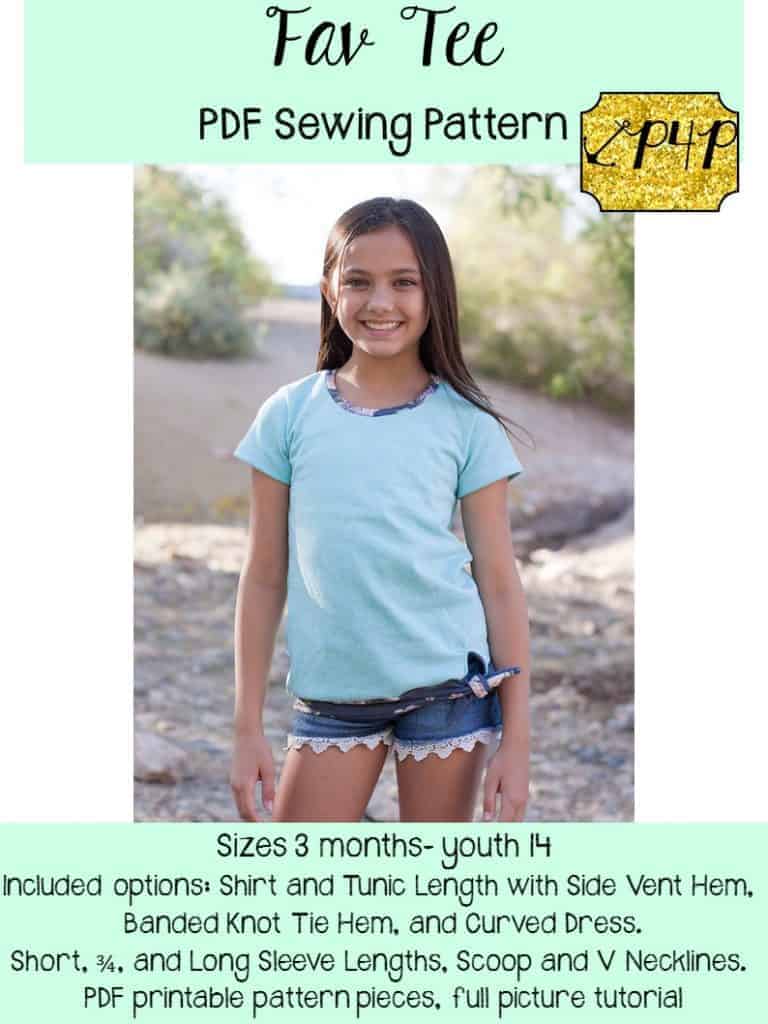
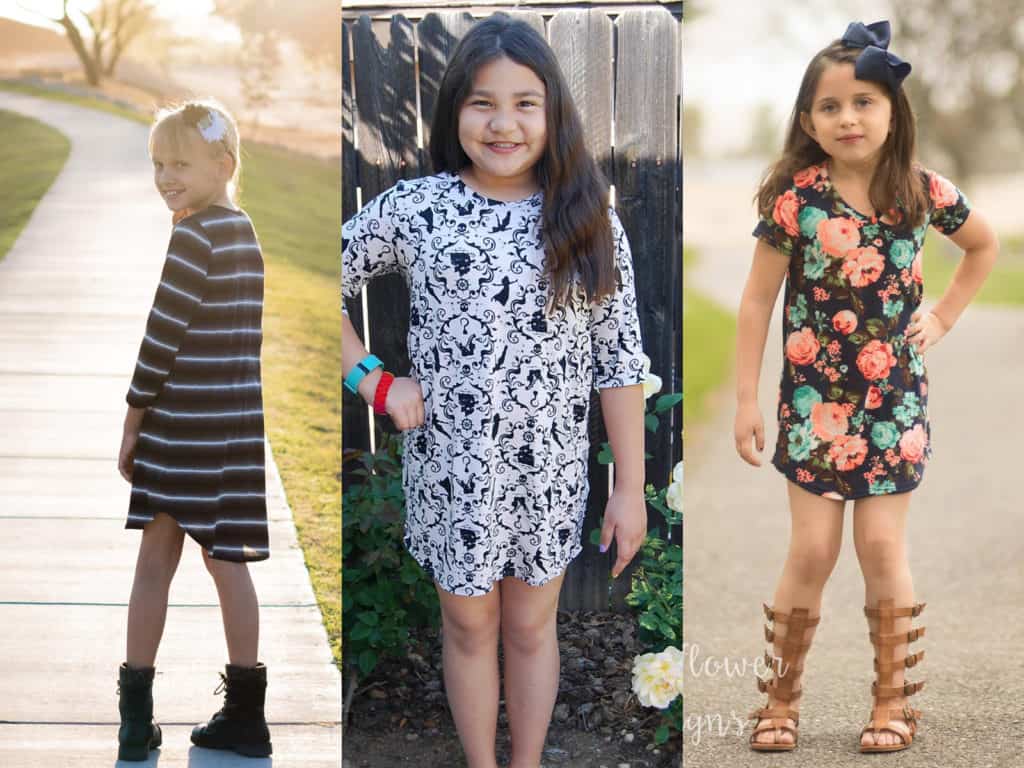
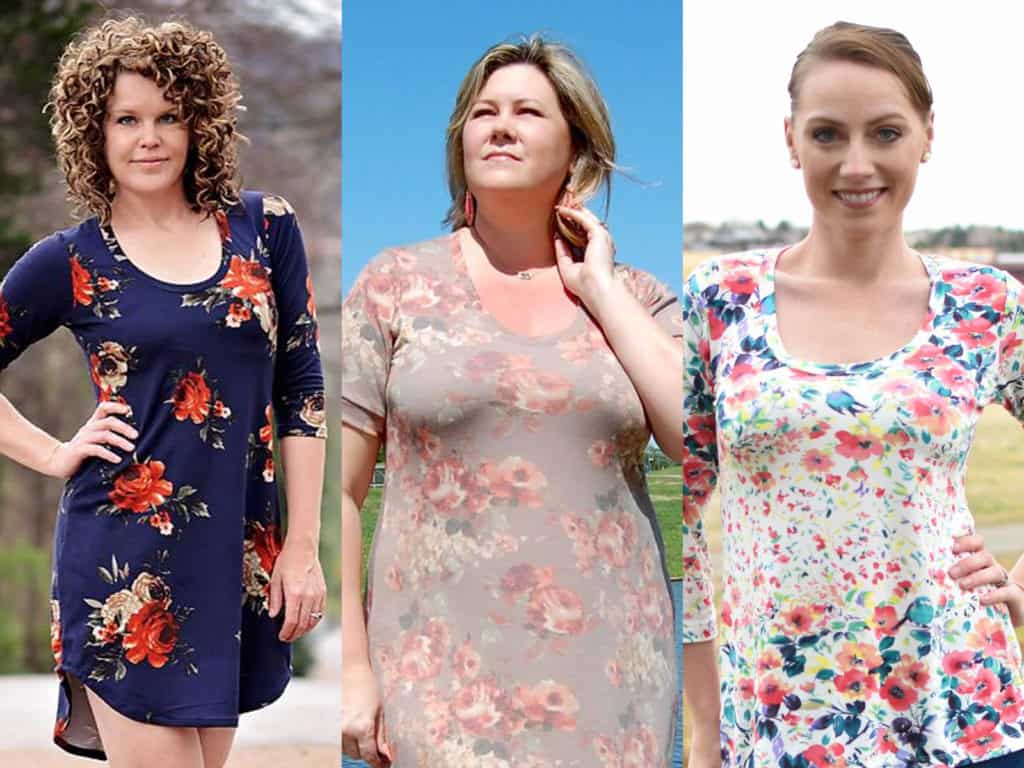
Here they are, your next most-sewn item: Favorite Tee (women’s) and Fav Tee (youth)

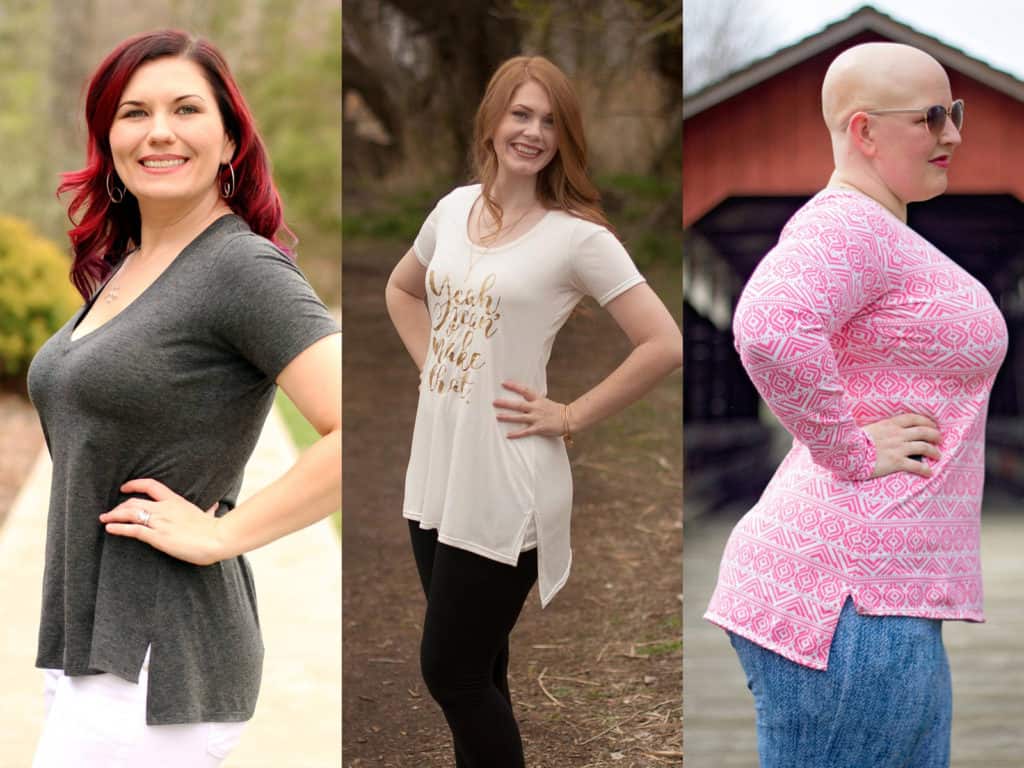
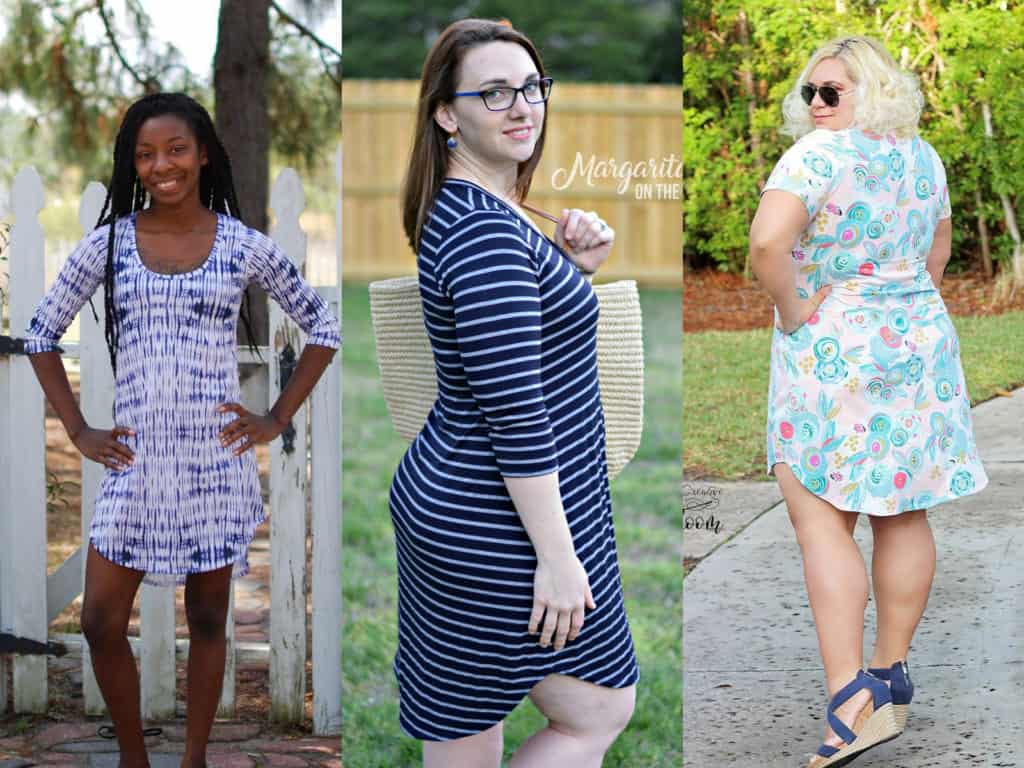
Both tees come packed full of options.  The women’s Favorite Tee is drafted for sizes XXS – Plus 3X.  There are a whopping FIVE hem options (shirt with side vent, tunic with side vent, banded knot tie hem, curved tunic length and curved dress length).  There are THREE sleeve lengths included (short, 3/4 and long) and even TWO options for neck finishes (scoop or vneck).

**Want to learn more about how to measure yourself for this pattern?  We’ve got you covered with an in-depth blog HERE.

The youth Fav Tee is drafted for sizes 3 months – 14 Youth.  It features nearly all of the same options as the women’s version with FOUR hem options (shirt with side vent, tunic with side vent, banded knot tie hem, and curved dress length), THREE sleeve lengths (short, 3/4 and long) and TWO neckline options (scoop and vneck).

Ready to see what those options look like?  Let’s do it!

THREE SLEEVE OPTIONS

SIDE VENT HEM

BANDED KNOT TIE HEM

CURVED TUNIC

CURVED DRESS

SCOOP NECK

VNECK

Ready to grab the patterns for yourself and start sewing?

Favorite Tee (women) | Fav Tee (youth) | Favorite Bundle (women + youth)

Need a little more inspiration?  Head over to our Facebook Group and check out the tester albums.  They are packed full of fabulous tester photos!
You can find the Favorite Tee album HERE, and the Fav Tee album HERE.

Happy Sewing!

Filed Under: Pattern Release 3 Comments

Cross My Heart Cami Hacks

March 14, 2017

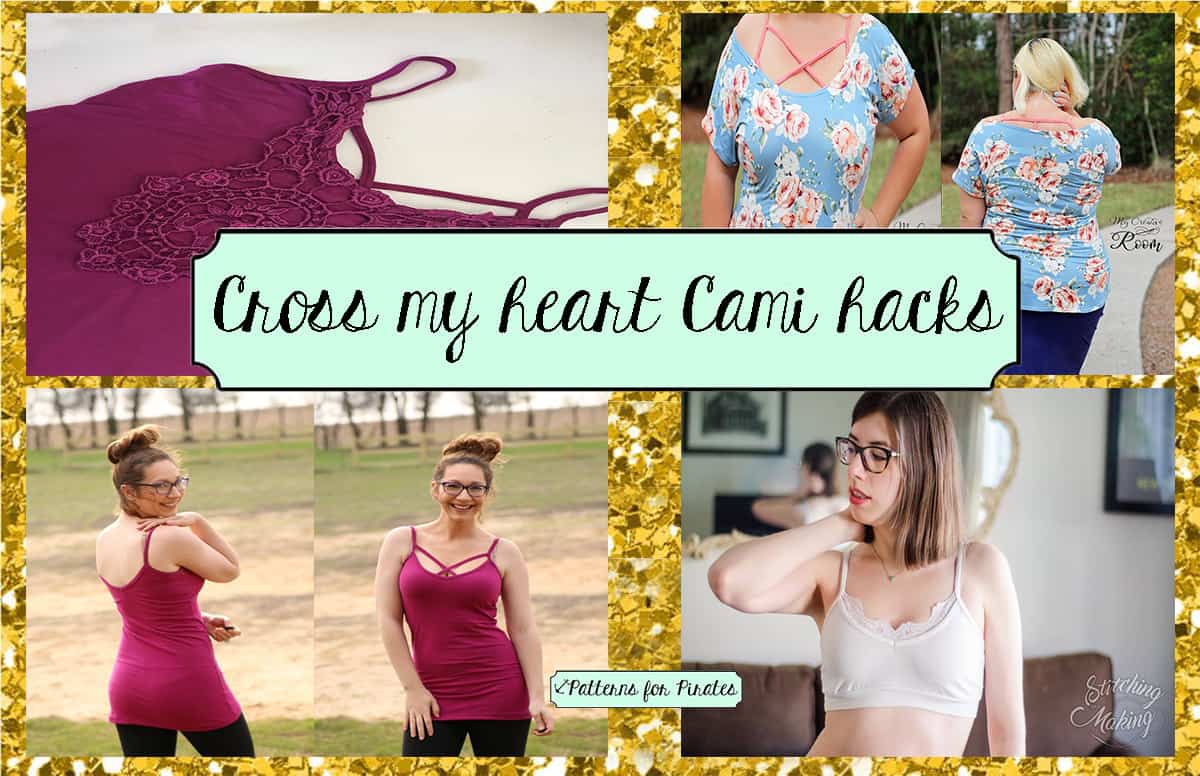
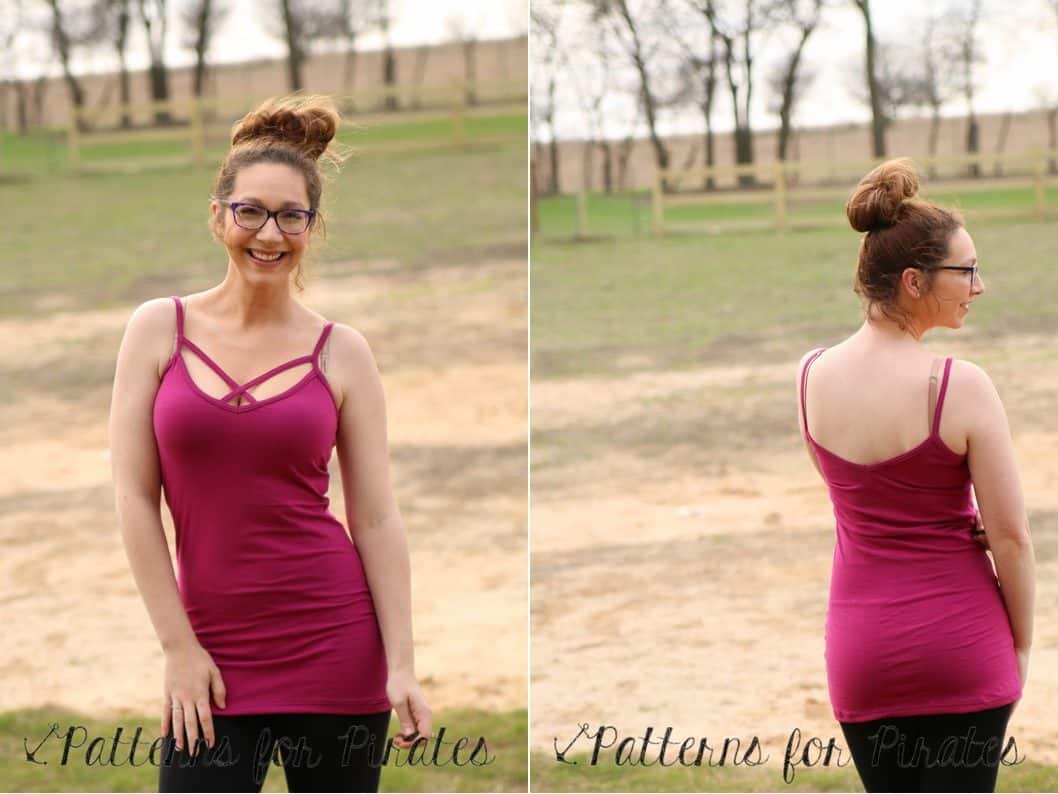
So you love the X option but you also love the T option of the Cross My Heart Cami and now you’re in a pickle…which one do I make? The answer is obvious, you make both! And if you’re anything like I am, you make both style in one cami! 🙂

IMG_6658

IMG_6671

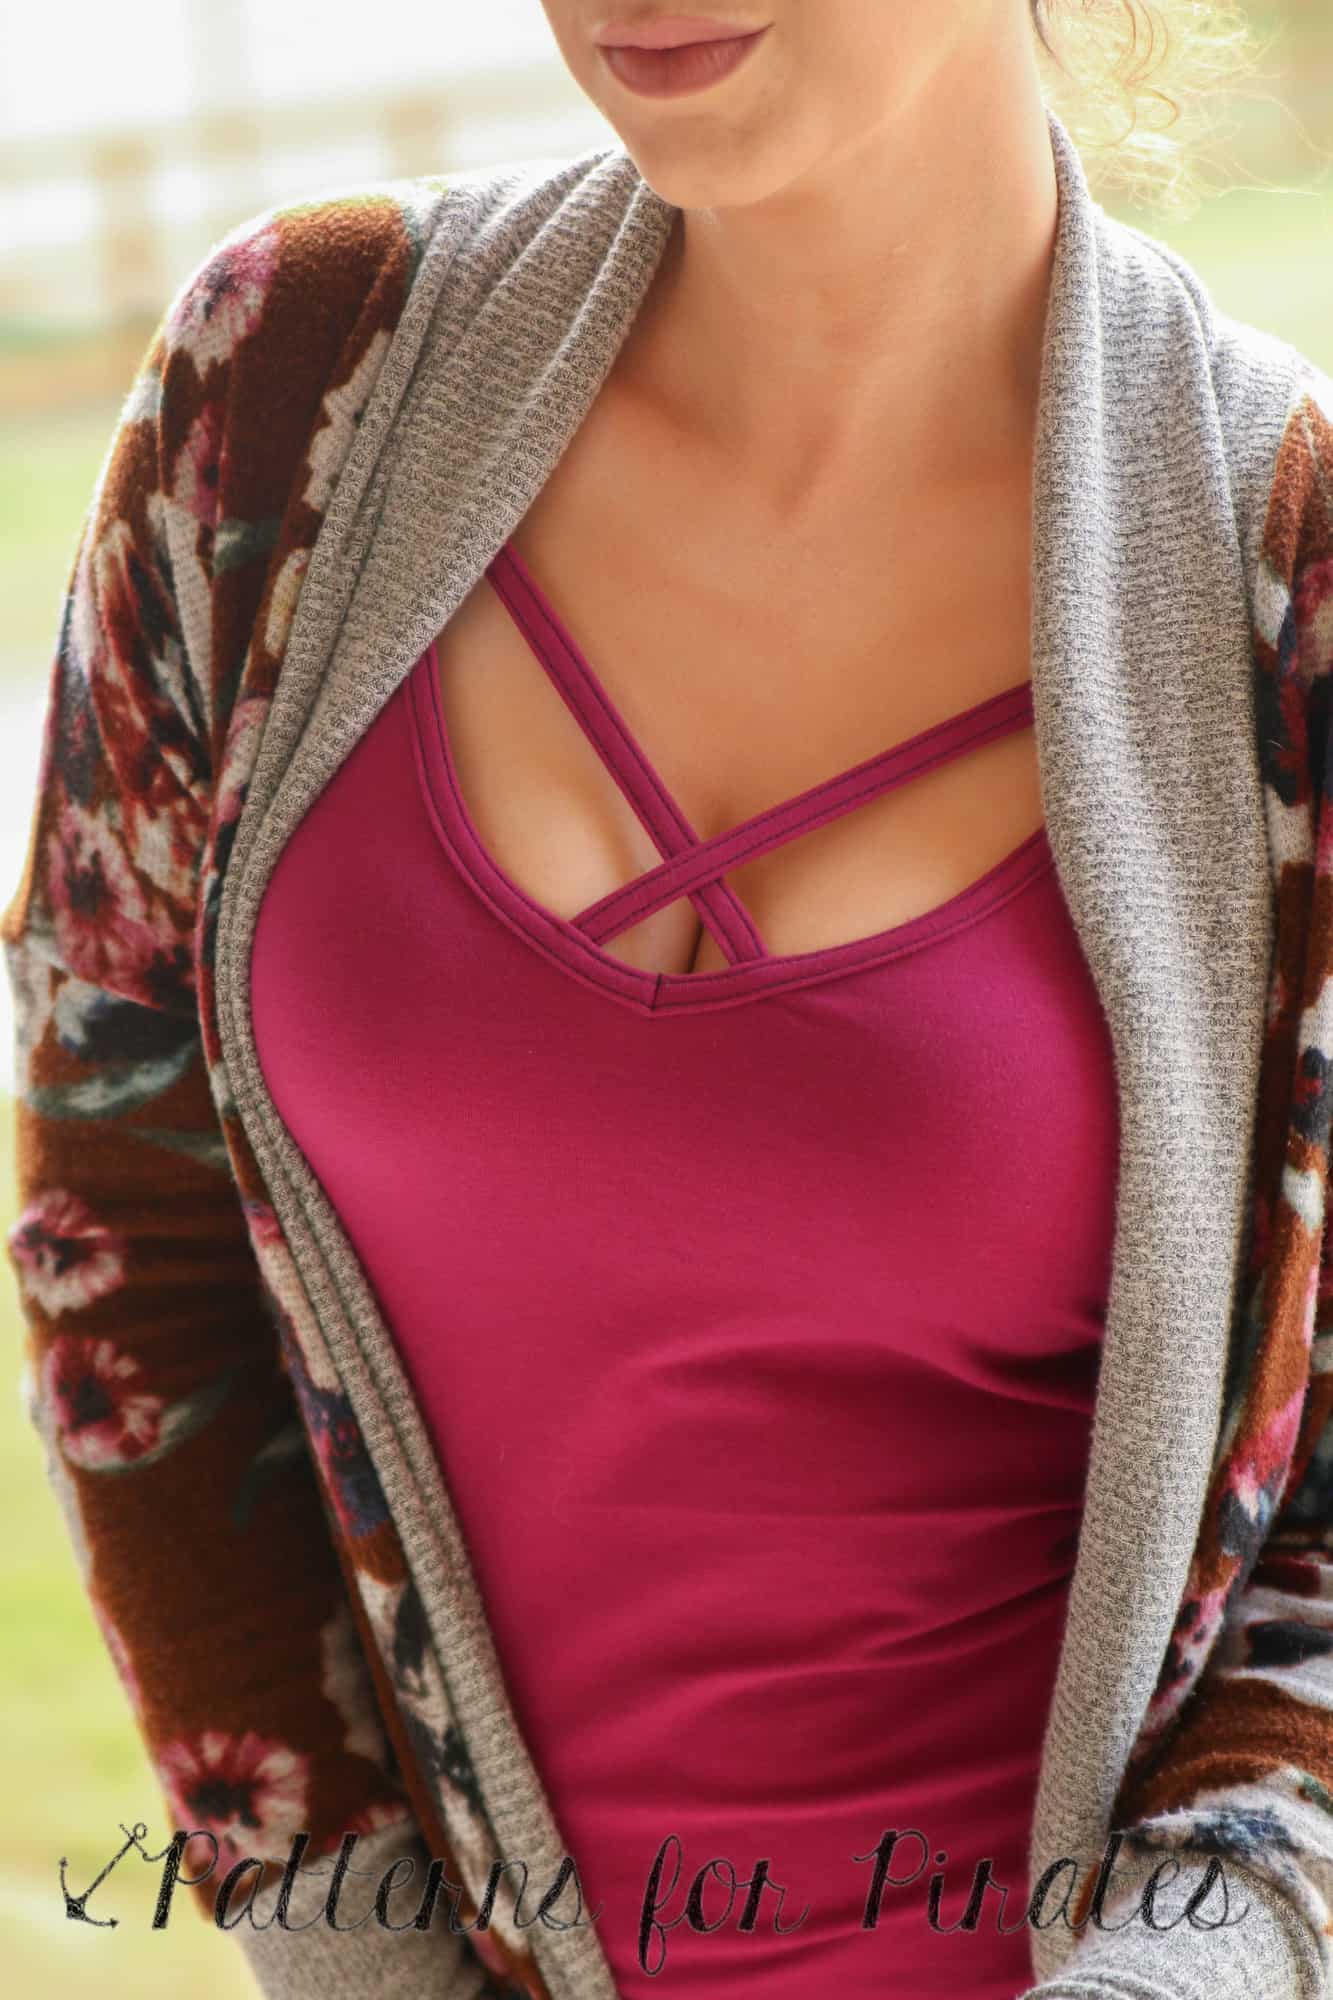
The beauty of the CMHC pattern is that you don’t even need to make any modifications to achieve this look. Simply cut two pieces of the front pattern and follow the directions for adding the T and the X details to the pieces. Finish the cami as per the tutorial and voila! You made yourself a brand new cami that can be worn both way. You can wear the X in the front and the T in the back like I did or you can wear the T in the front.

cami 2fronts

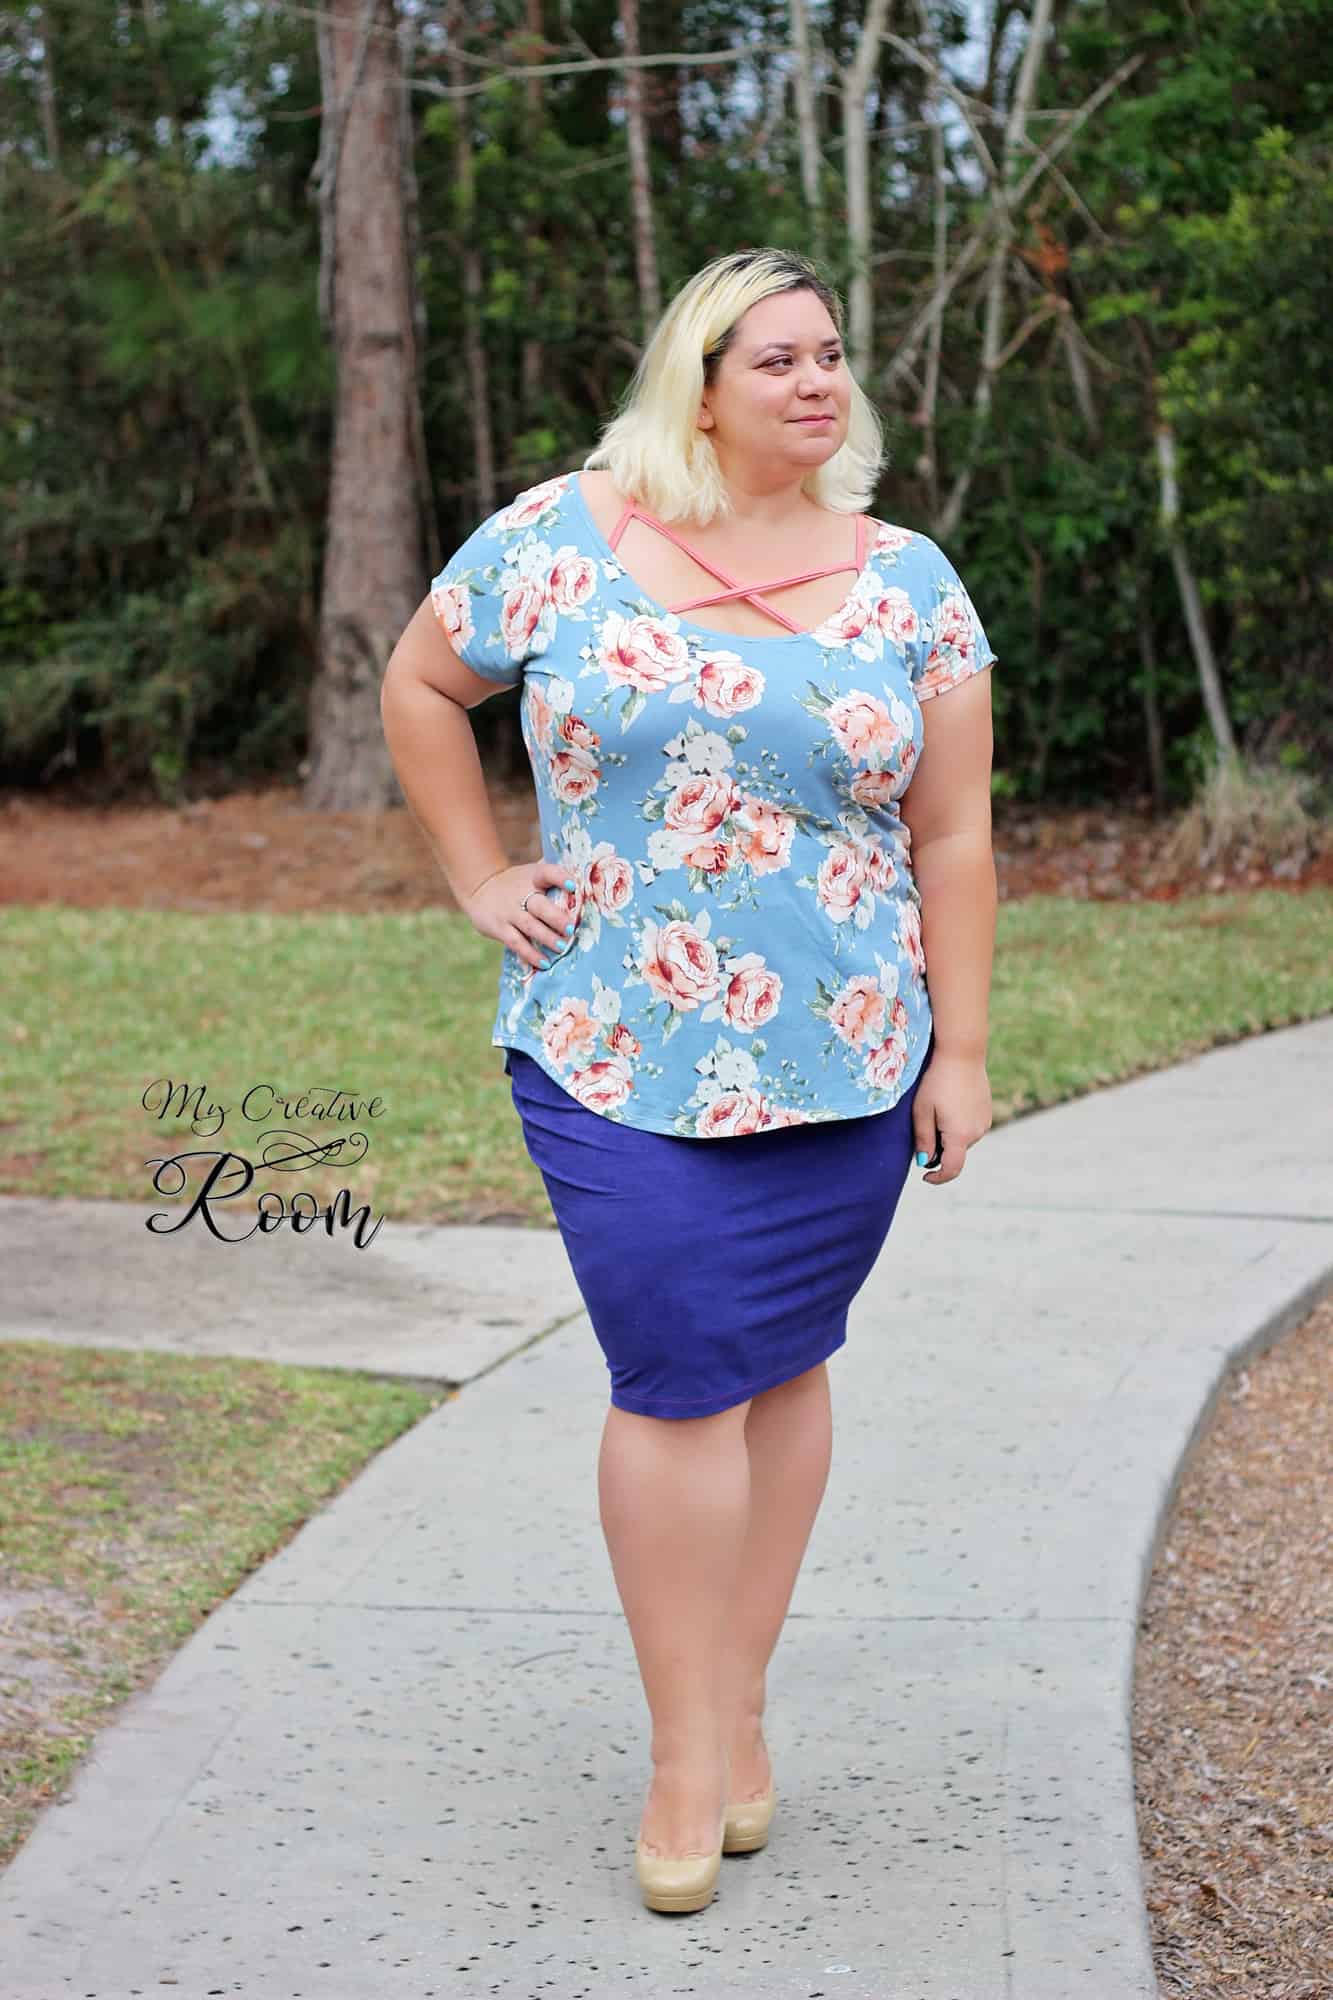
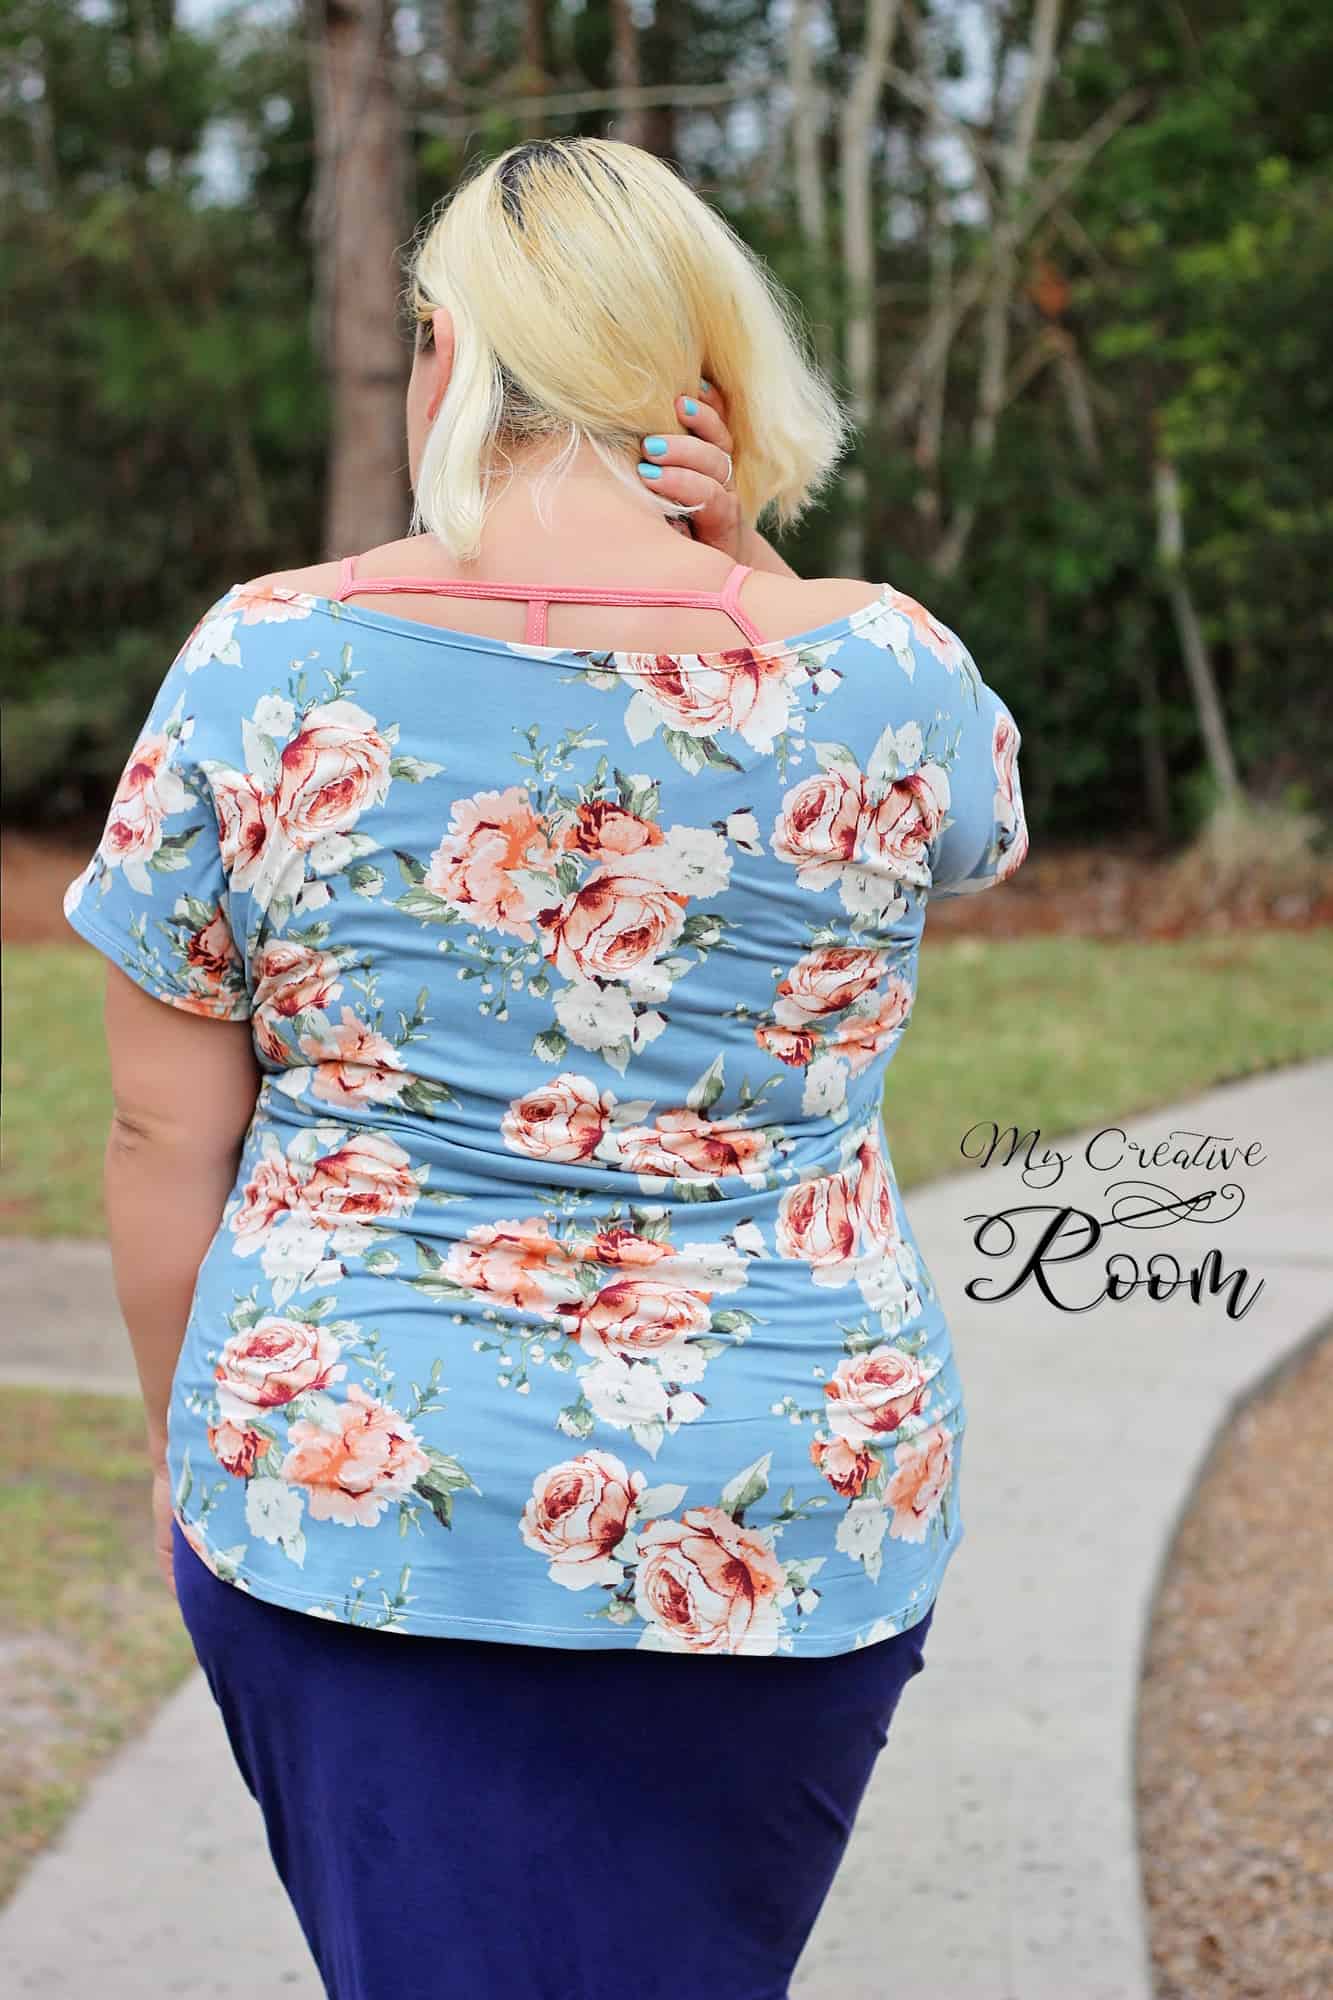
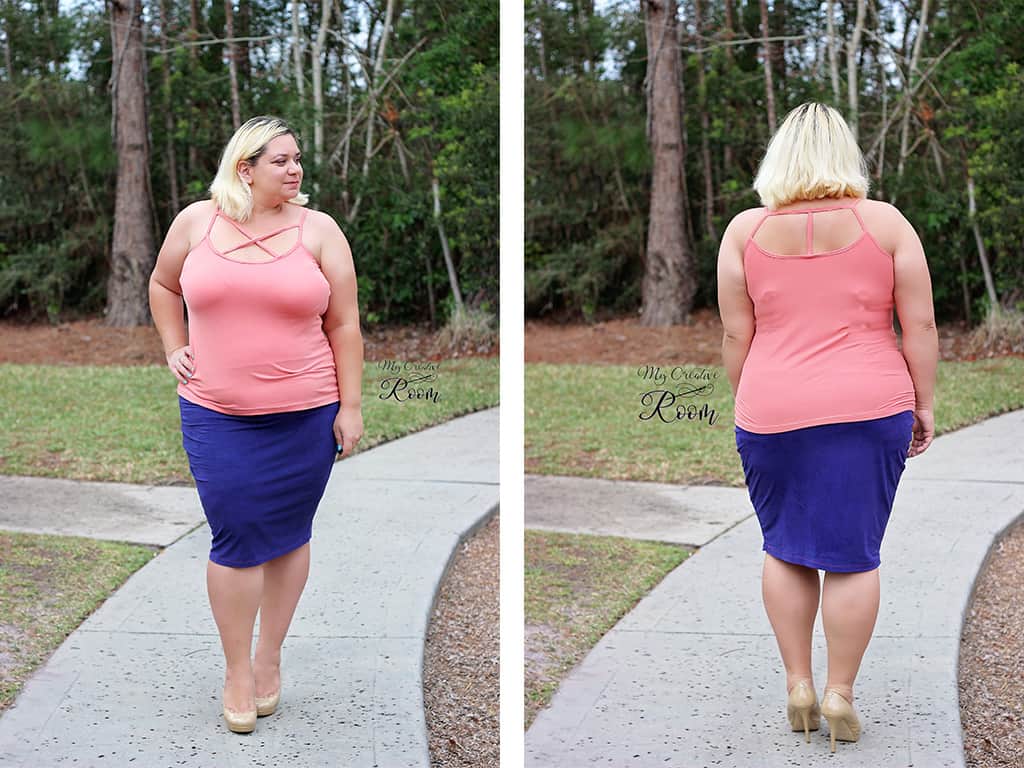
I paired this cami with a Pirate Pencil Skirt and a Sweet Tee with curved hem and an off the shoulder mod. Which styles will you be making first?

Judy made this one with two backs! Such a simple mode that can add so many more options to this pattern!

The V front and low x makes a sizzler! I mean, who doesn’t love to have that piece of clothing that you can pull out, slip on feel a little sexy every once in a while?

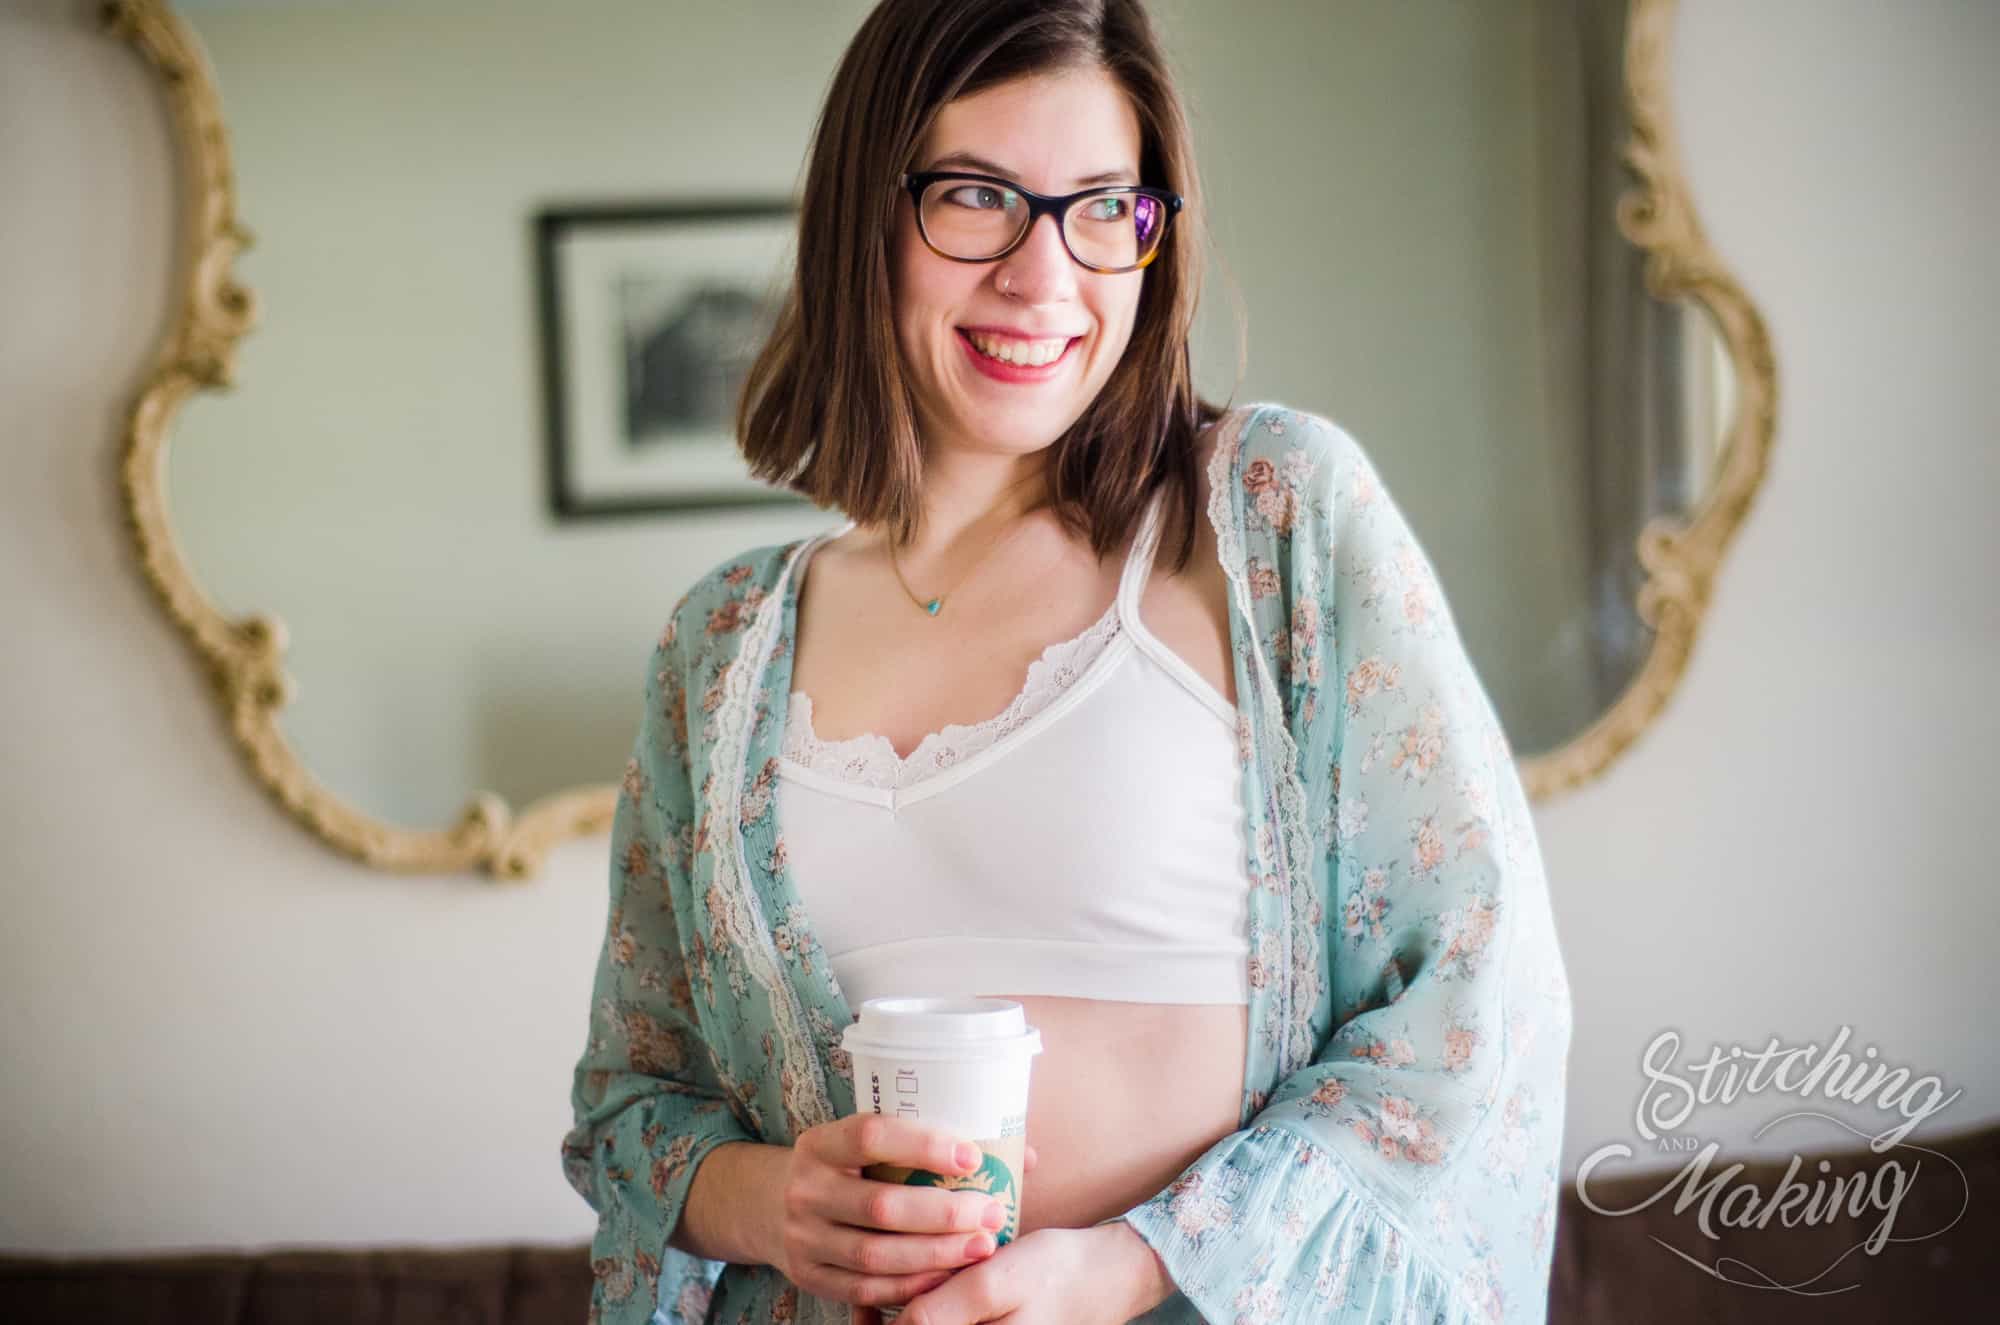
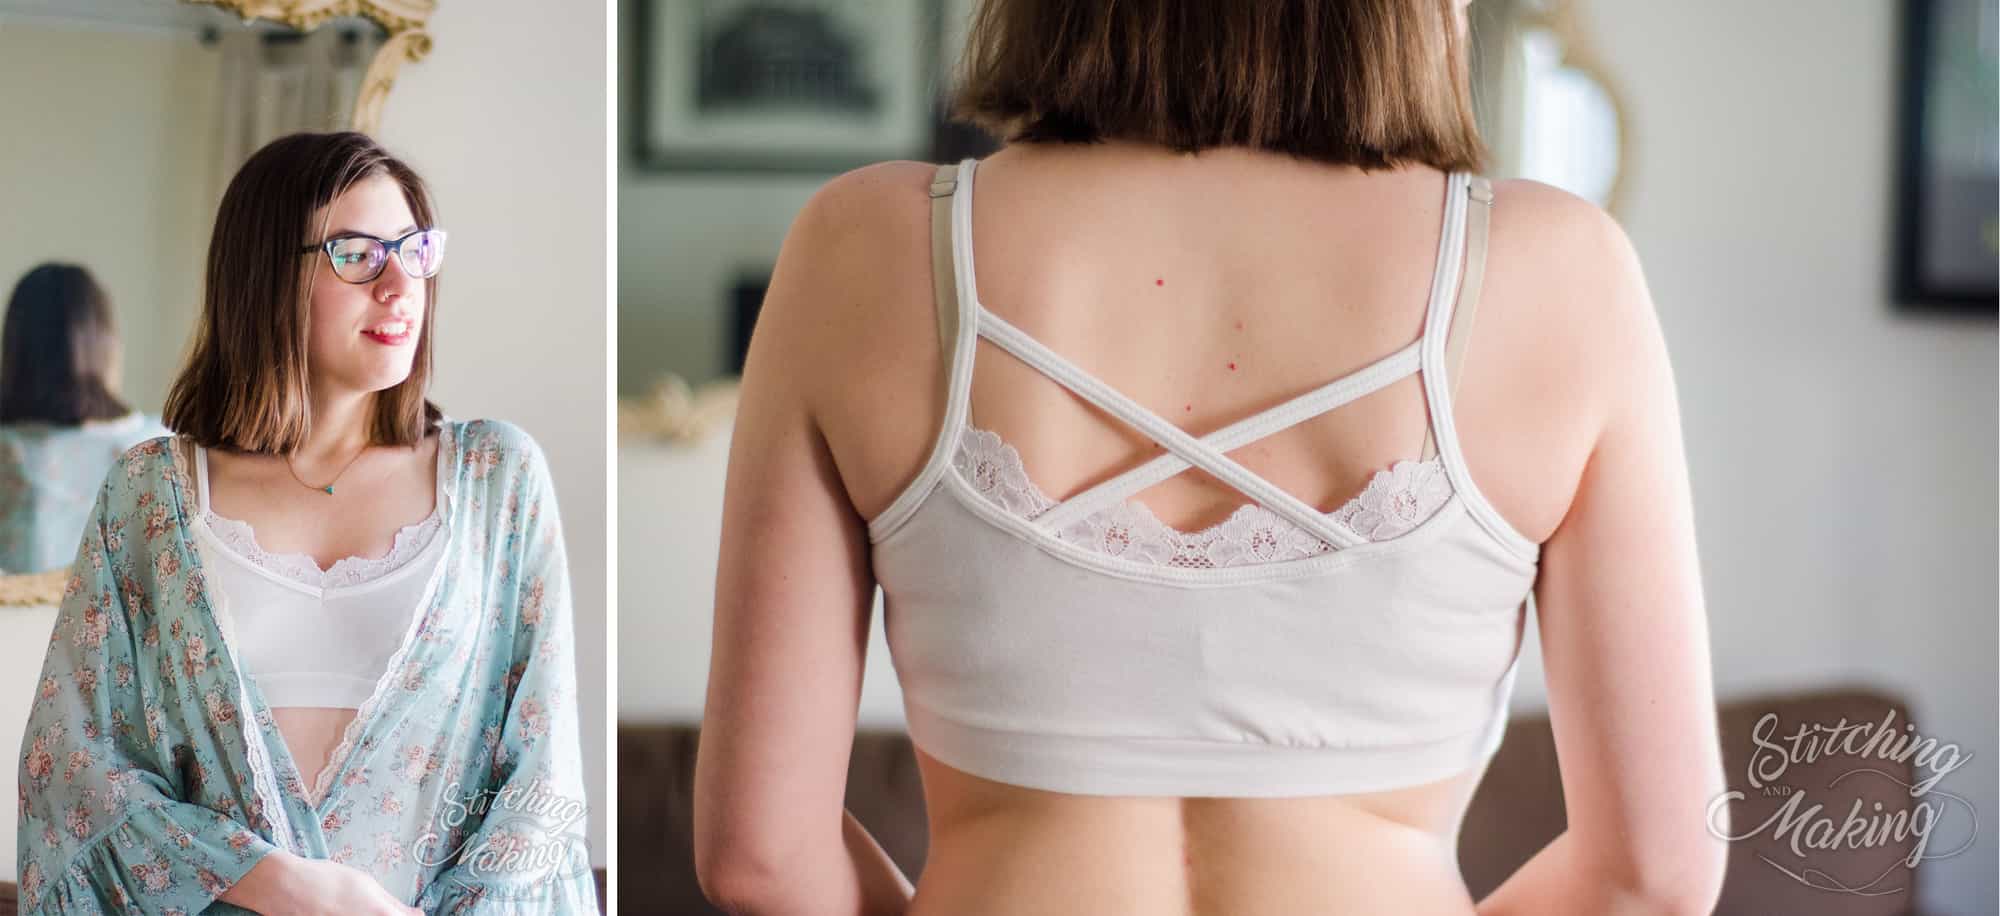
Are you looking for a more delicate, feminine feel?  Grab some stretch lace for an easy hack!

Here’s a simple how-to:

1. Cut the lace the same length as your binding pieces, for whichever neckline you are using.

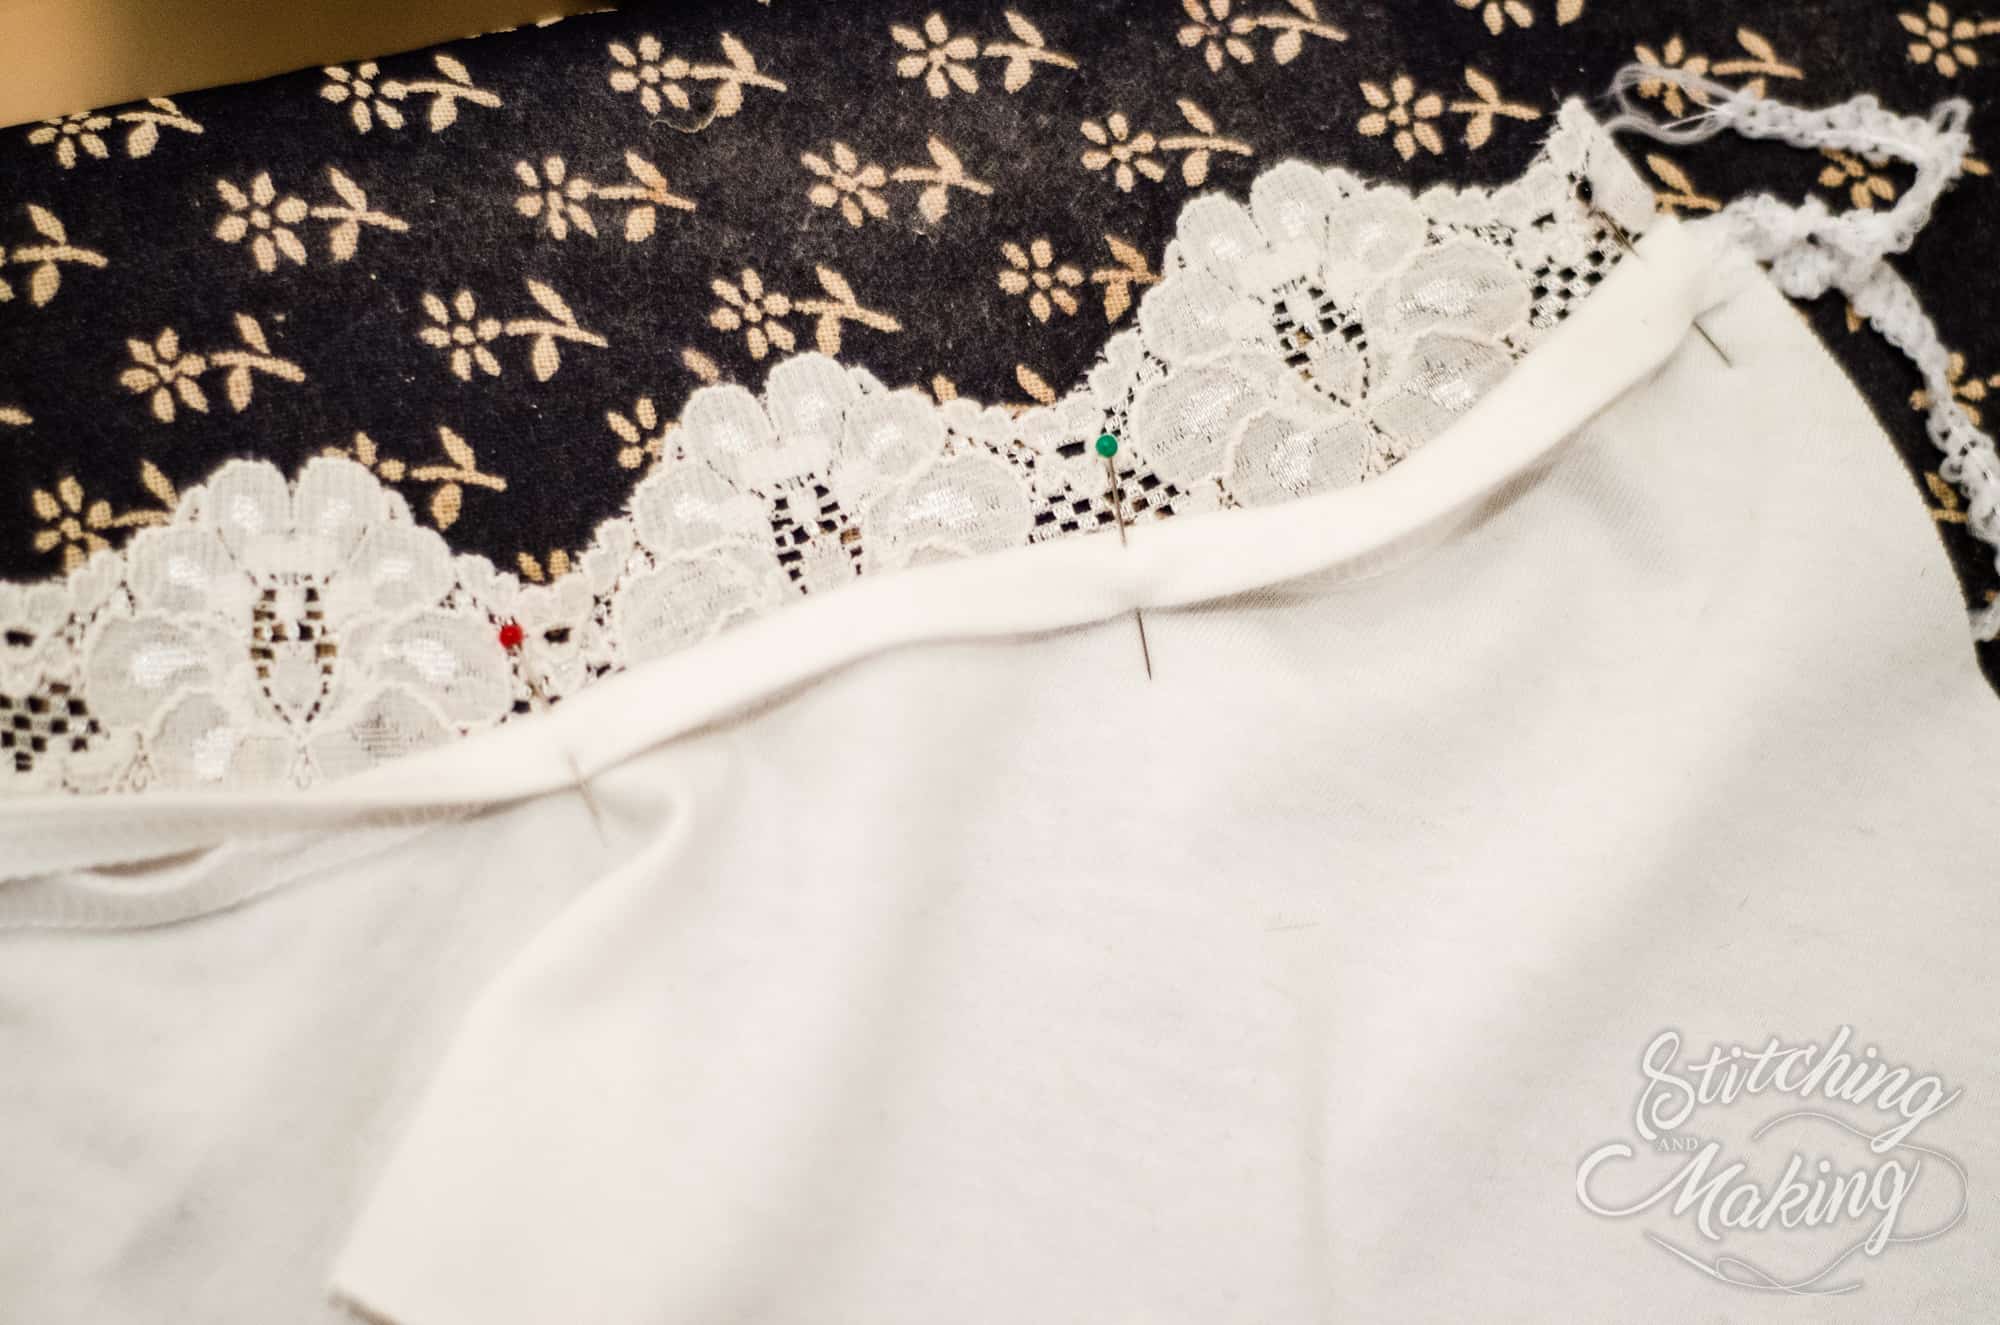
2. After you’ve attached and folded over the binding as directed in the tutorial, pin the right side of the lace to the wrong side of the neckline/binding. In the picture below, the fabric is right side up.


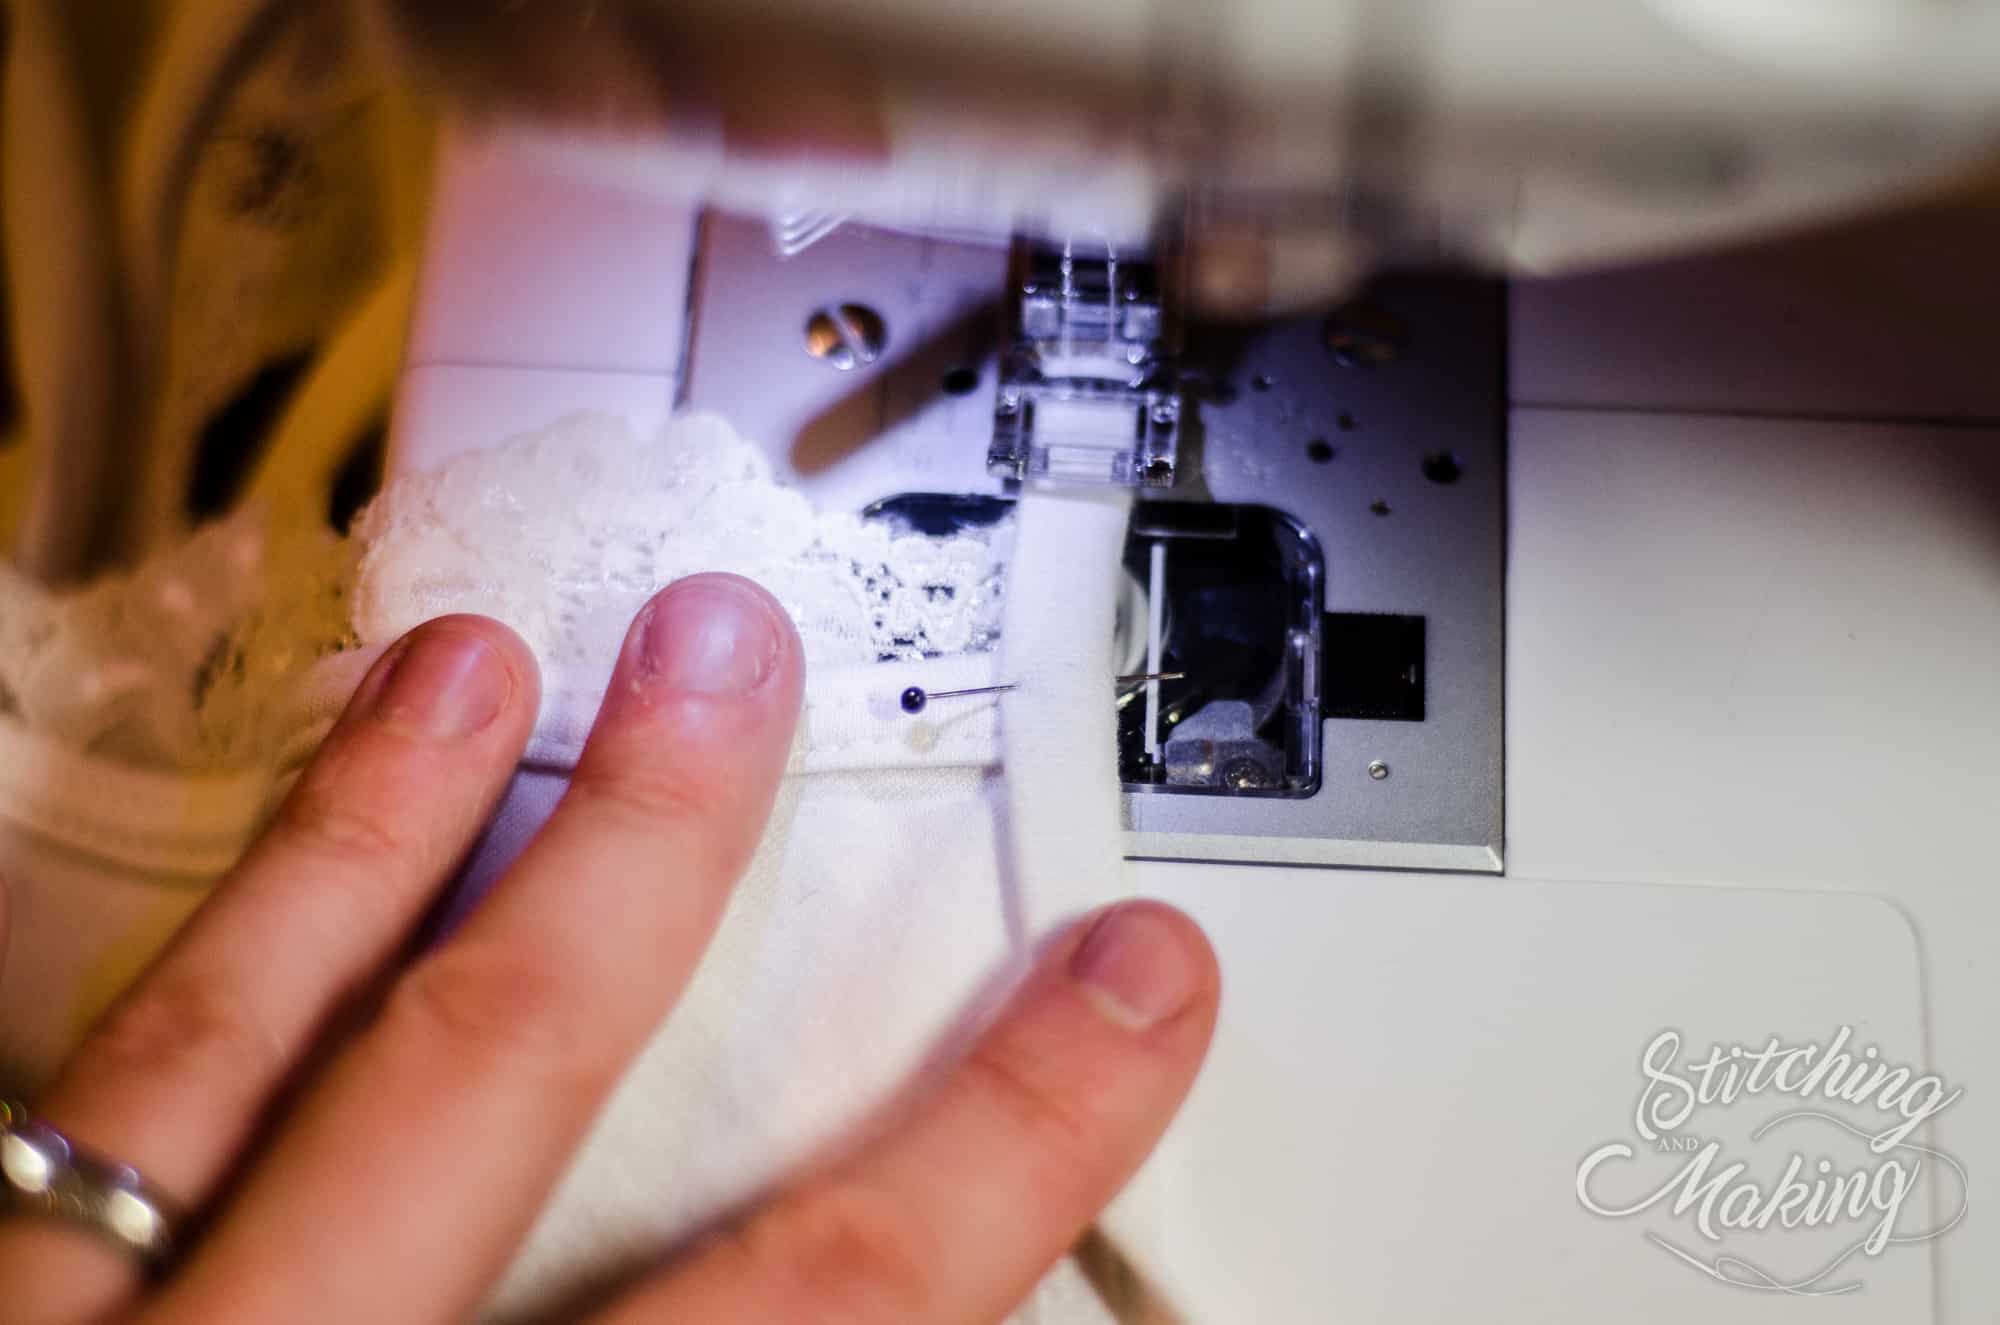
3. Repeat for the back as well, if you’d like.  Then, sew it on as you top-stitch the binding, per the pattern tutorial.  Here’s how it should look all said and done; wrong side up shown on the bottom of the picture, right side up shown at the top.


4. Be sure to catch the edge of the lace on the side of the shoulder binding as you attach it.


5. Finish the shirt as the pattern tutorial directs.  That’s it – easy peasy!

~ Elisabeth


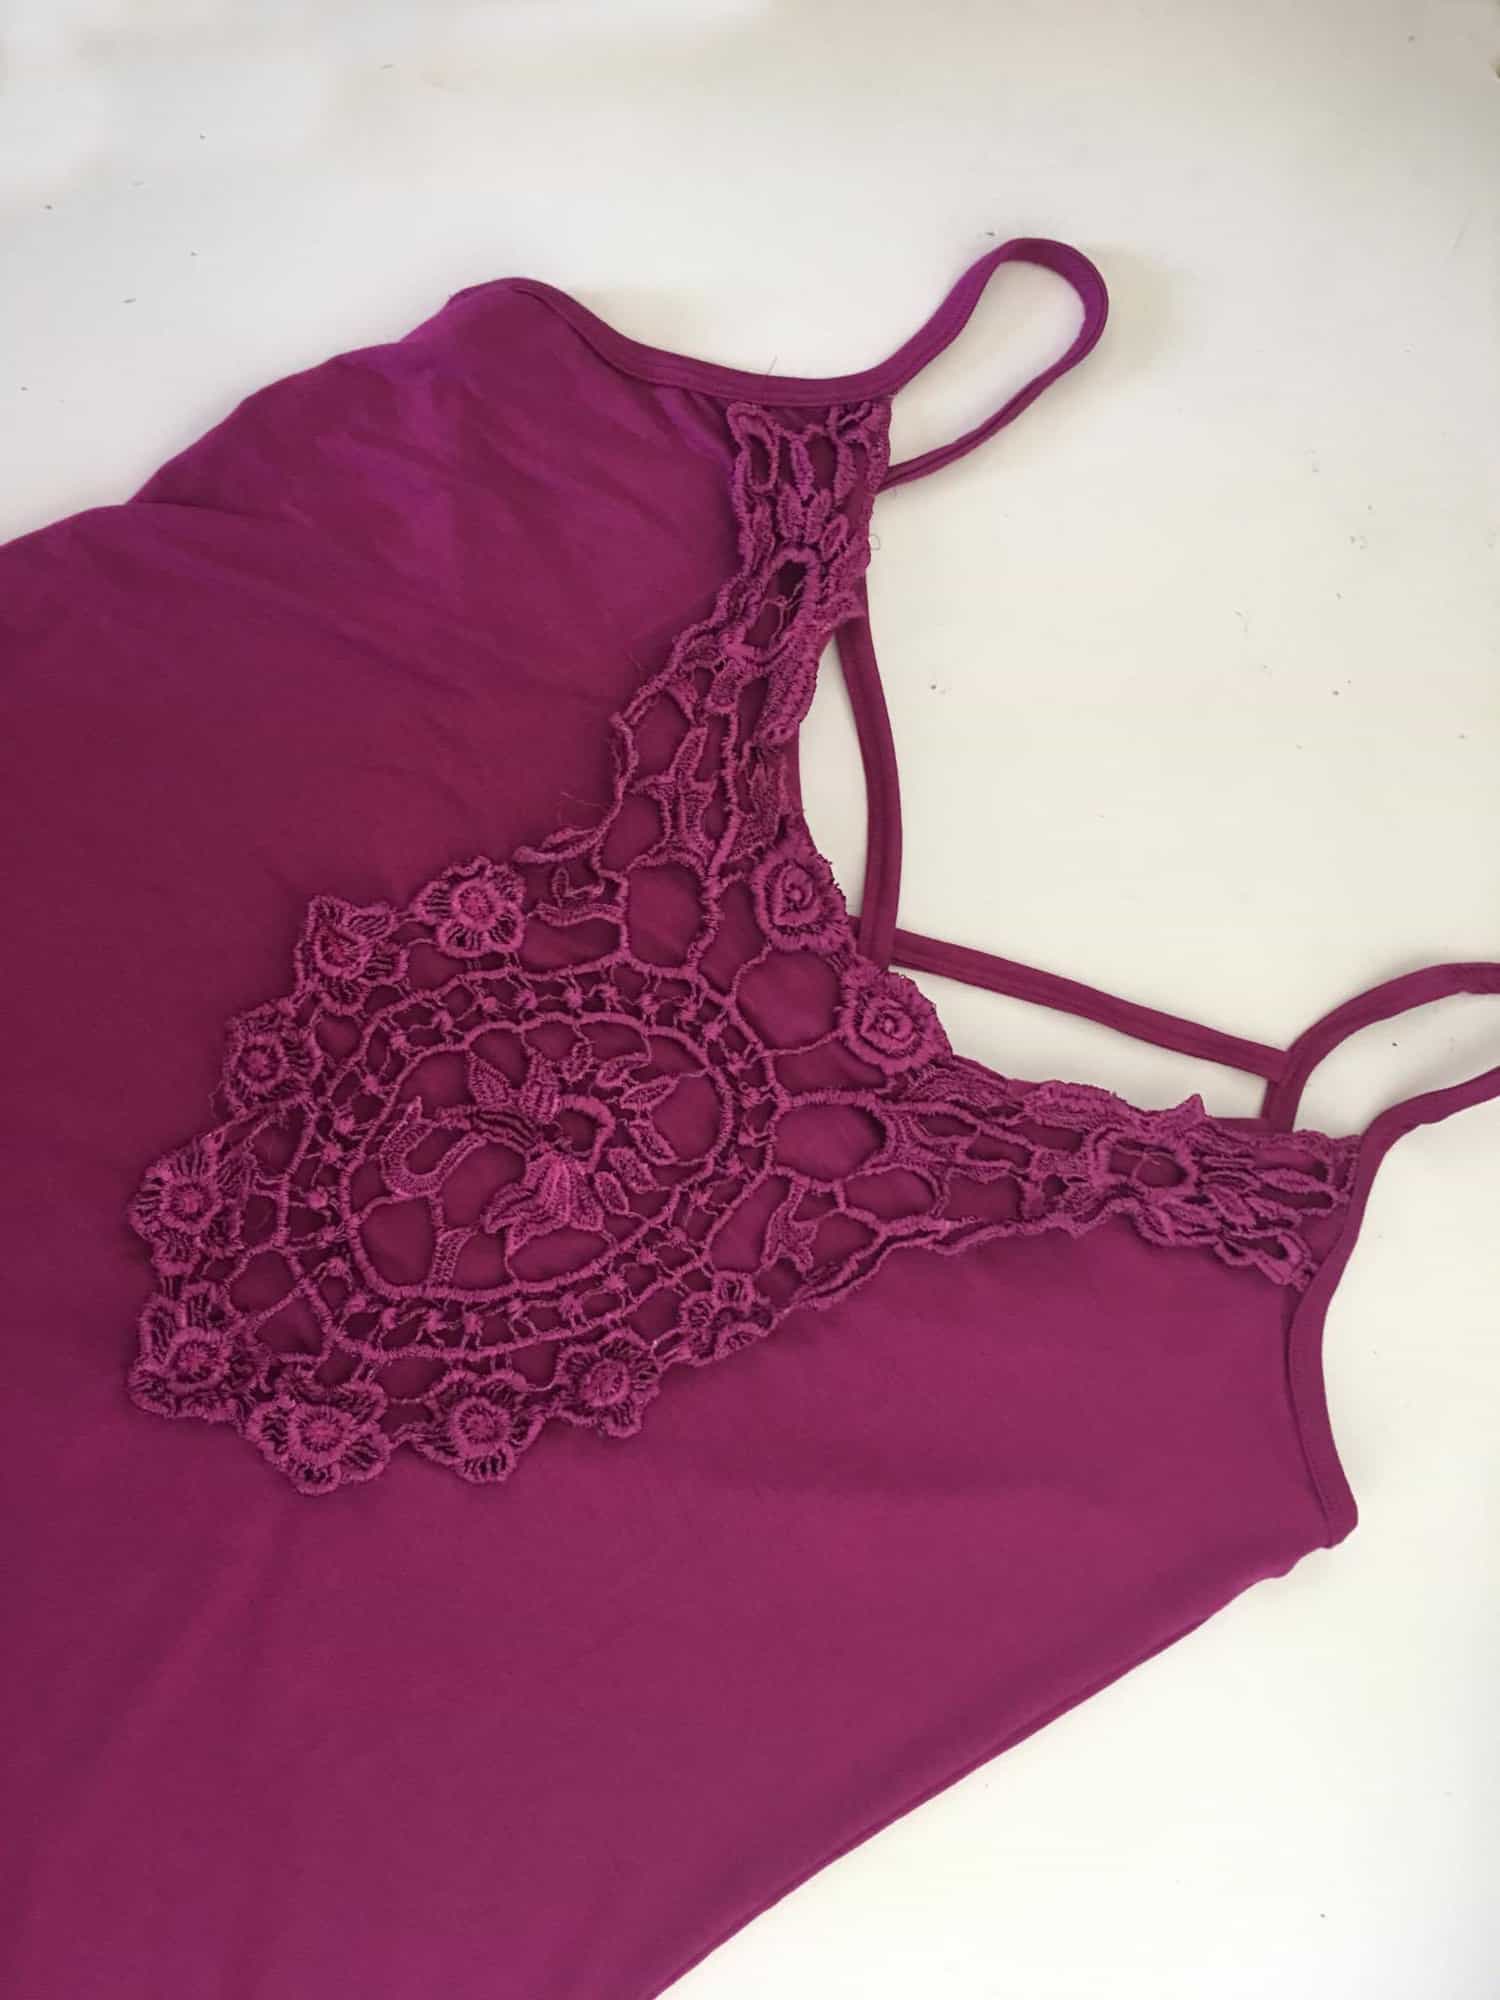
Not sure what to do with all those pretty lace appliques? Attach one to the front or back of the cami.  I happened to up-cycle one from an old shirt that didn’t fit anymore and have some knit on hand that matched perfectly!  I used to V back because of the shape of the applique.  I left the front neckline raw and stitched the lace just overlapping the top edge using a zigzag stitch.  (Knit does not unravel so no need to finish those edges).  Attach to the right side of the cami prior to doing the shoulder binding if your applique extends to the armholes.  For the main body of the applique, I chose to tack down in a few areas (center of the flowers) as the applique itself was pretty open throughout.  Easy Peasy!


Filed Under: Frequently Asked Questions, Pattern Release, Uncategorized 1 Comment

Cross My Heart + Heart Breaker Camis :: Pattern Releases!

March 14, 2017

February was a quiet month for us, but don’t think we weren’t working our tails off behind-the-scenes!  The Pirate Crew is always brewing up some sort of new pattern, but you should know that by now!  We’ve got a few patterns up our sleeves for March and April…and the first one we’re bringing you doesn’t even have sleeves. Ha!

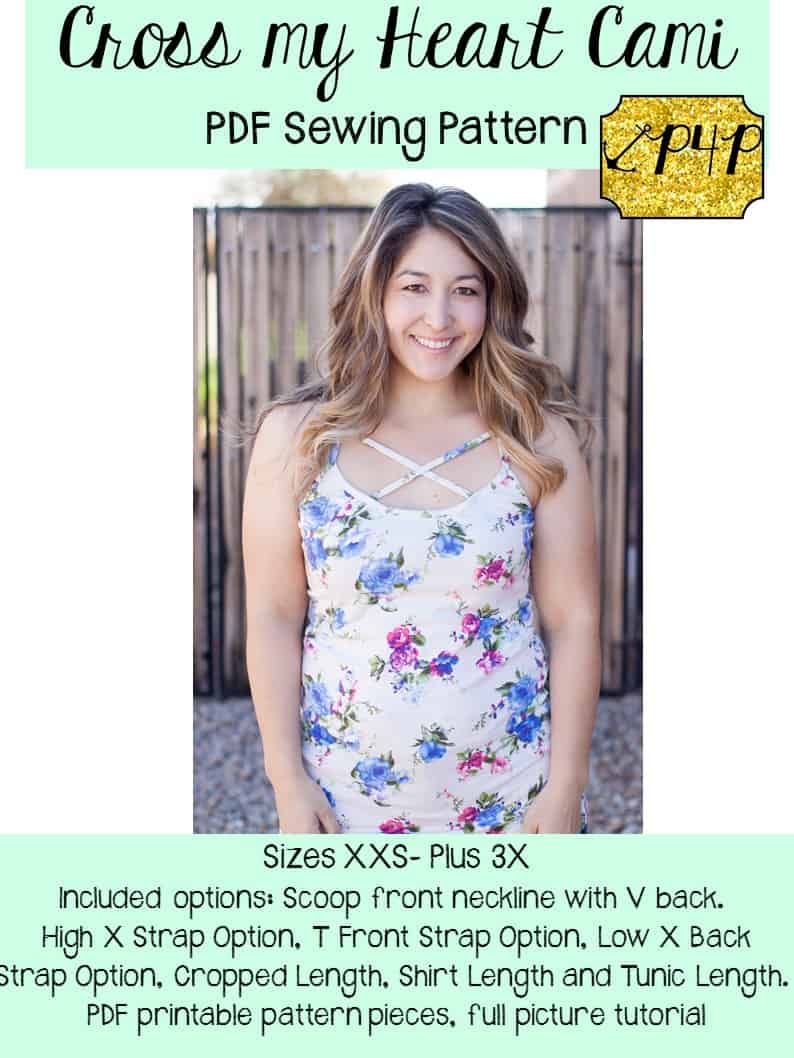
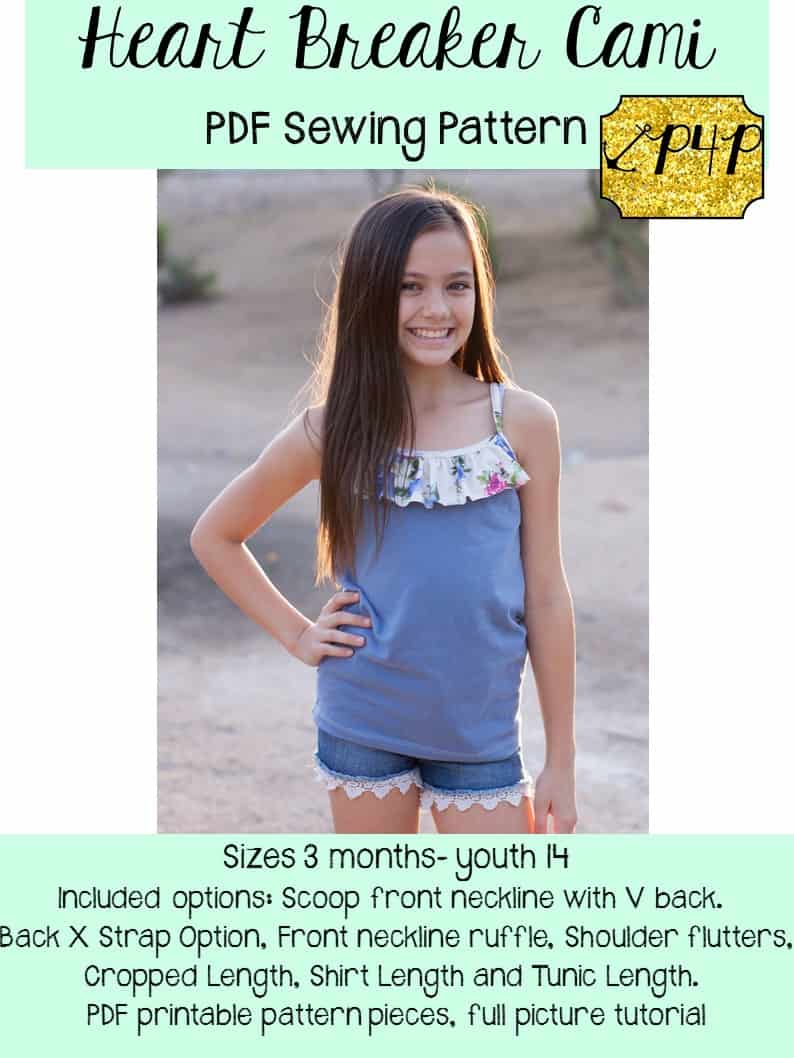
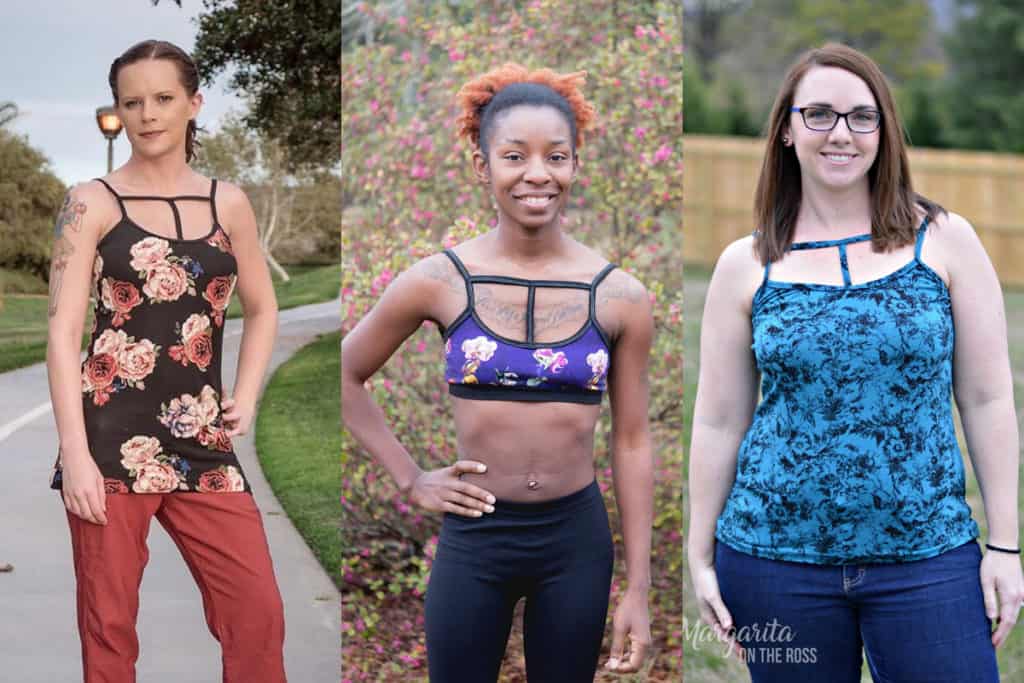
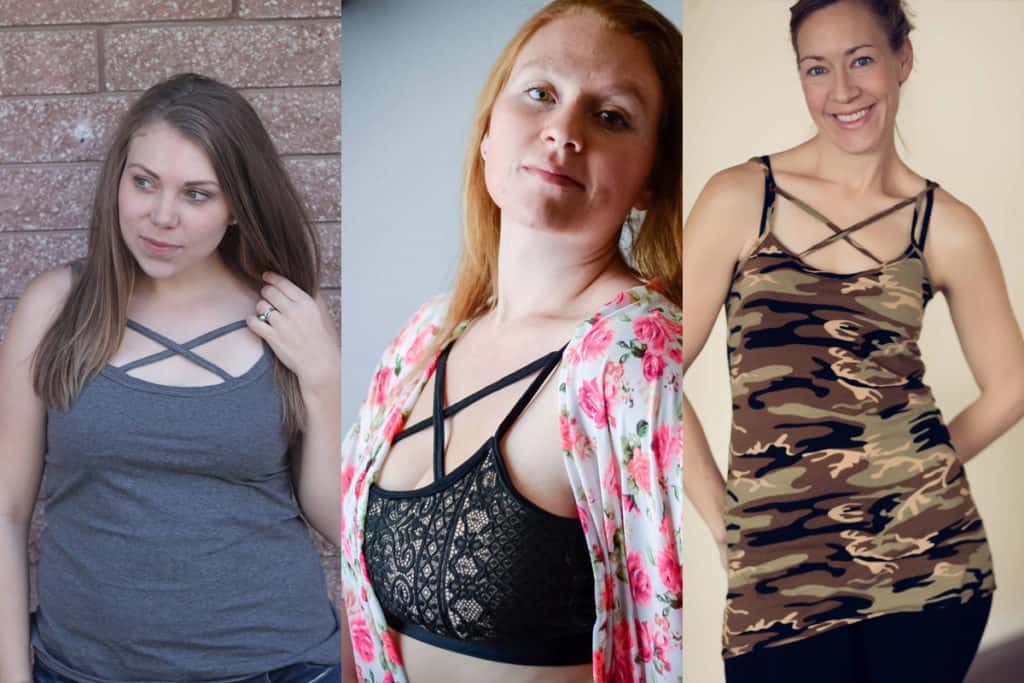
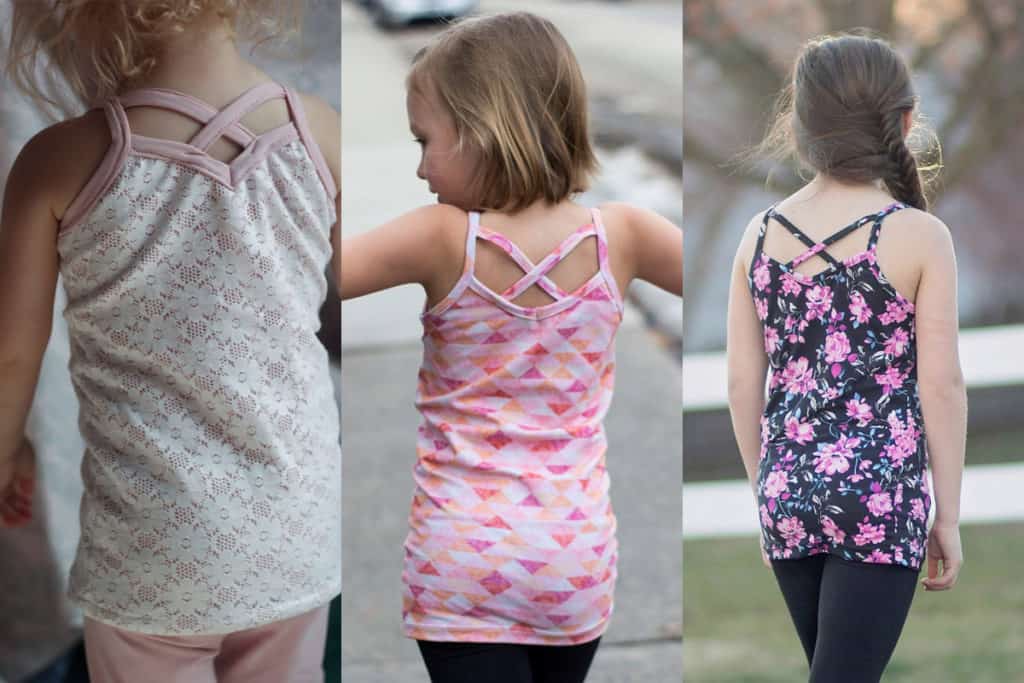
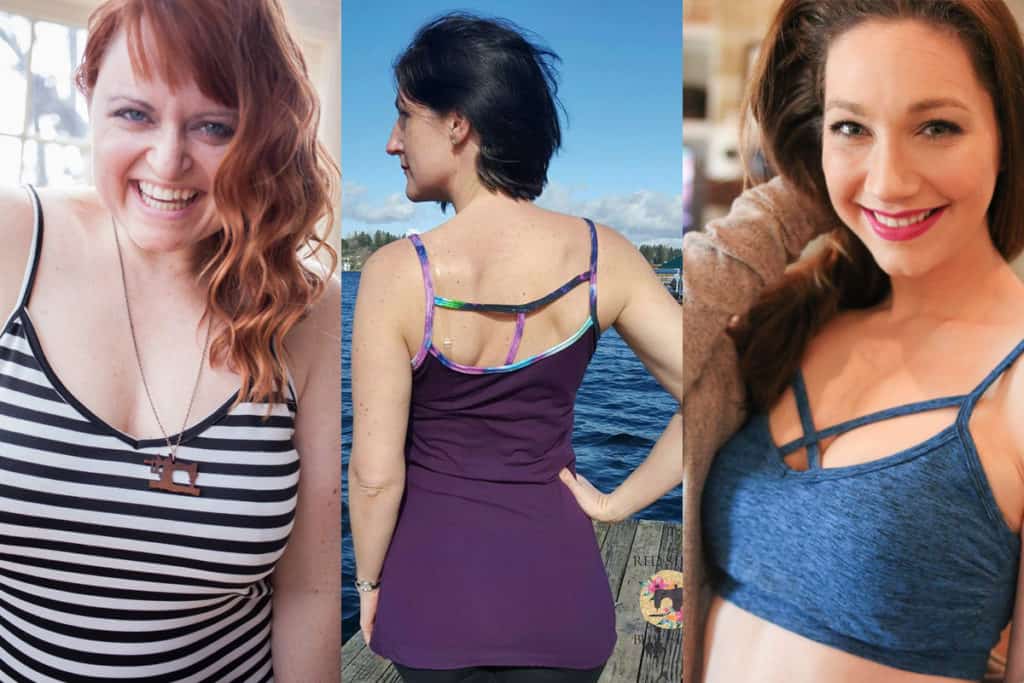
Allow me to introduce you to the newest Pirate patterns: the Cross My Heart Cami (women’s) and Heart Breaker Cami (girl’s).

These camisole tanks are the perfect layering piece but can also be worn alone.  They can even be flipped around and be worn “backwards” with the v in front, and scoop in back.  And hey, if you’re feeling extra wild: make two backs or two fronts and wear it that way!

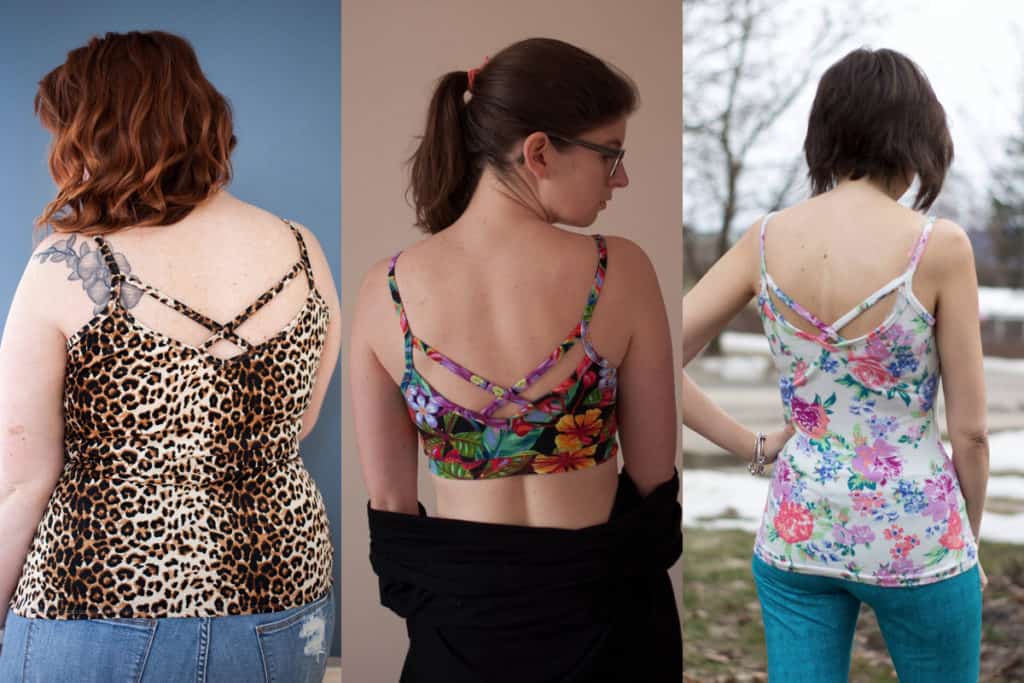
The women’s pattern is drafted for women of all sizes, ranging from XXS to Plus 3X.  They come in three lengths (cropped / shirt / tunic) and have multiple finishing options!  We’ve got t-straps, x-straps, a scoop-neck front and a v-neck back.  The cropped length features cup sizes 1″-7″ cutlines (approximately A cup-G cup).  While the cropped version is a “bralette” style top, it’s not meant for supportive use.  **Want to learn more about how to measure yourself for this pattern?  We’ve got you covered with an in-depth blog HERE.
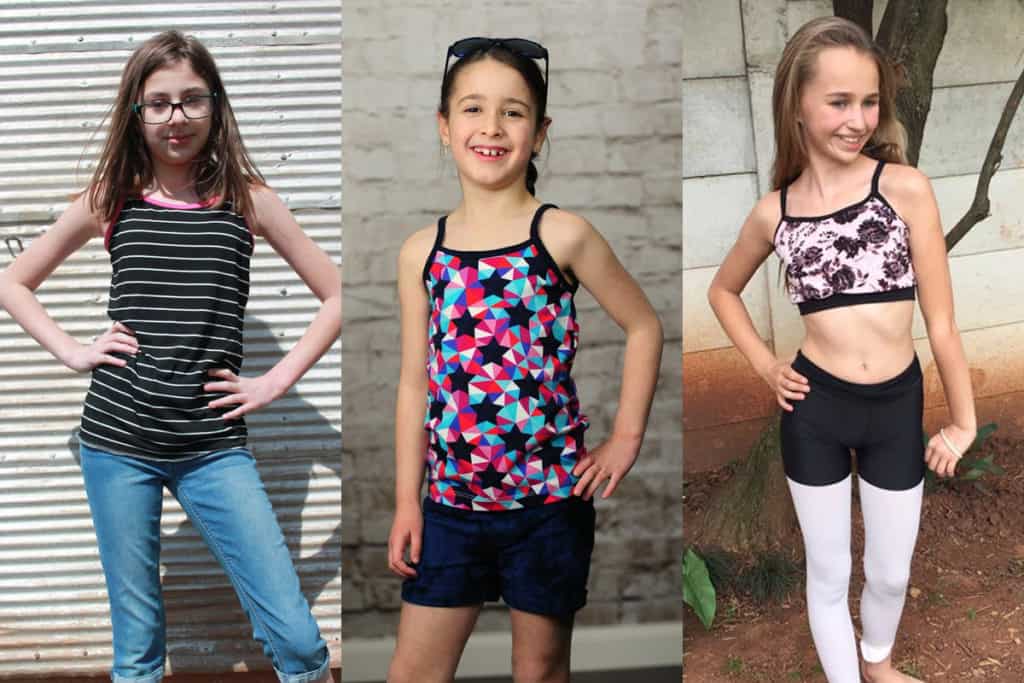
The girl’s pattern is drafted for sizes 3M – 14.   Just like the women’s version, there are three lengths (cropped / shirt / tunic) but it’s made even sweeter with some additional flutter trim/sleeves, as well as the x-strapped back option.
Let’s take a peek at the variety of options, shall we?
Three Lengths
Cross My Heart T-Straps
 
Cross My Heart Front X-Straps
Back X-Straps
 
Heart Breaker Shoulder Flutters
 
Heart Breaker Neckline Ruffle
 
Worn in “Reverse”
Now go snag yourself some new staple patterns for your arsenal: Cross My Heart Cami / Heart Breaker Cami
We also have a bundle option, if you’re looking to make these tanks for both you and your little: Heart Cami Bundle
Have no fear, we aren’t leaving you there!  We’ve even got some simple hacks and tricks to use with the new camis.  Find them all HERE.
Needing some more inspiration?  Not a problem!  Head over to our Facebook group to see the fabulous camisole tanks that our gorgeous testers created!
Find the Cross My Heart Cami tester images HERE, and the Heart Breaker Cami tester images HERE.
And don’t forget to share your gorgeous makes with us over in the Patterns for Pirates Facebook group!

Filed Under: Pattern Release Leave a Comment

P4P Cardi Week :: Cocoon Lace Hems

January 22, 2017

cocoon-lace

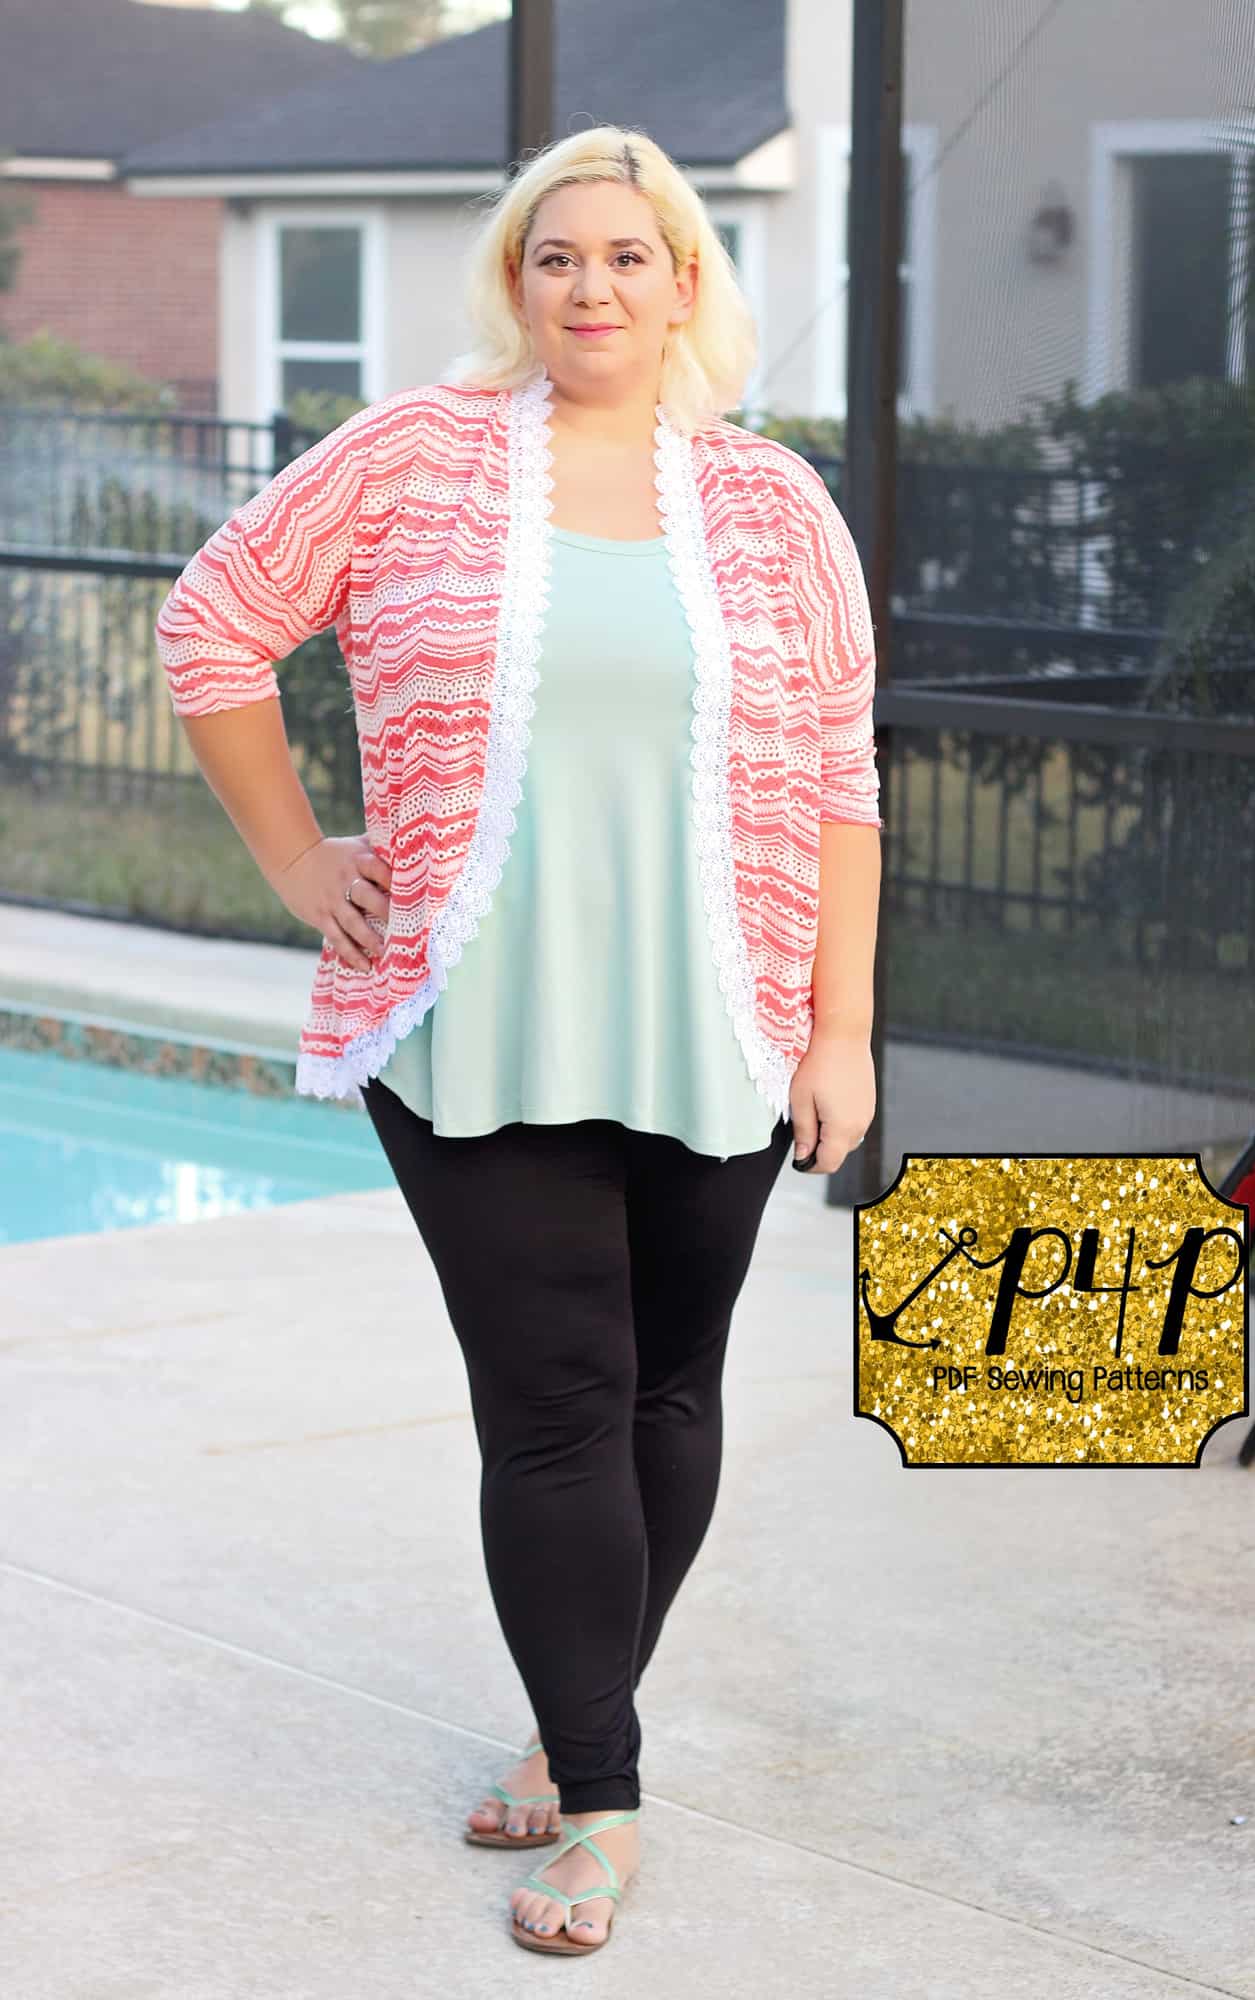
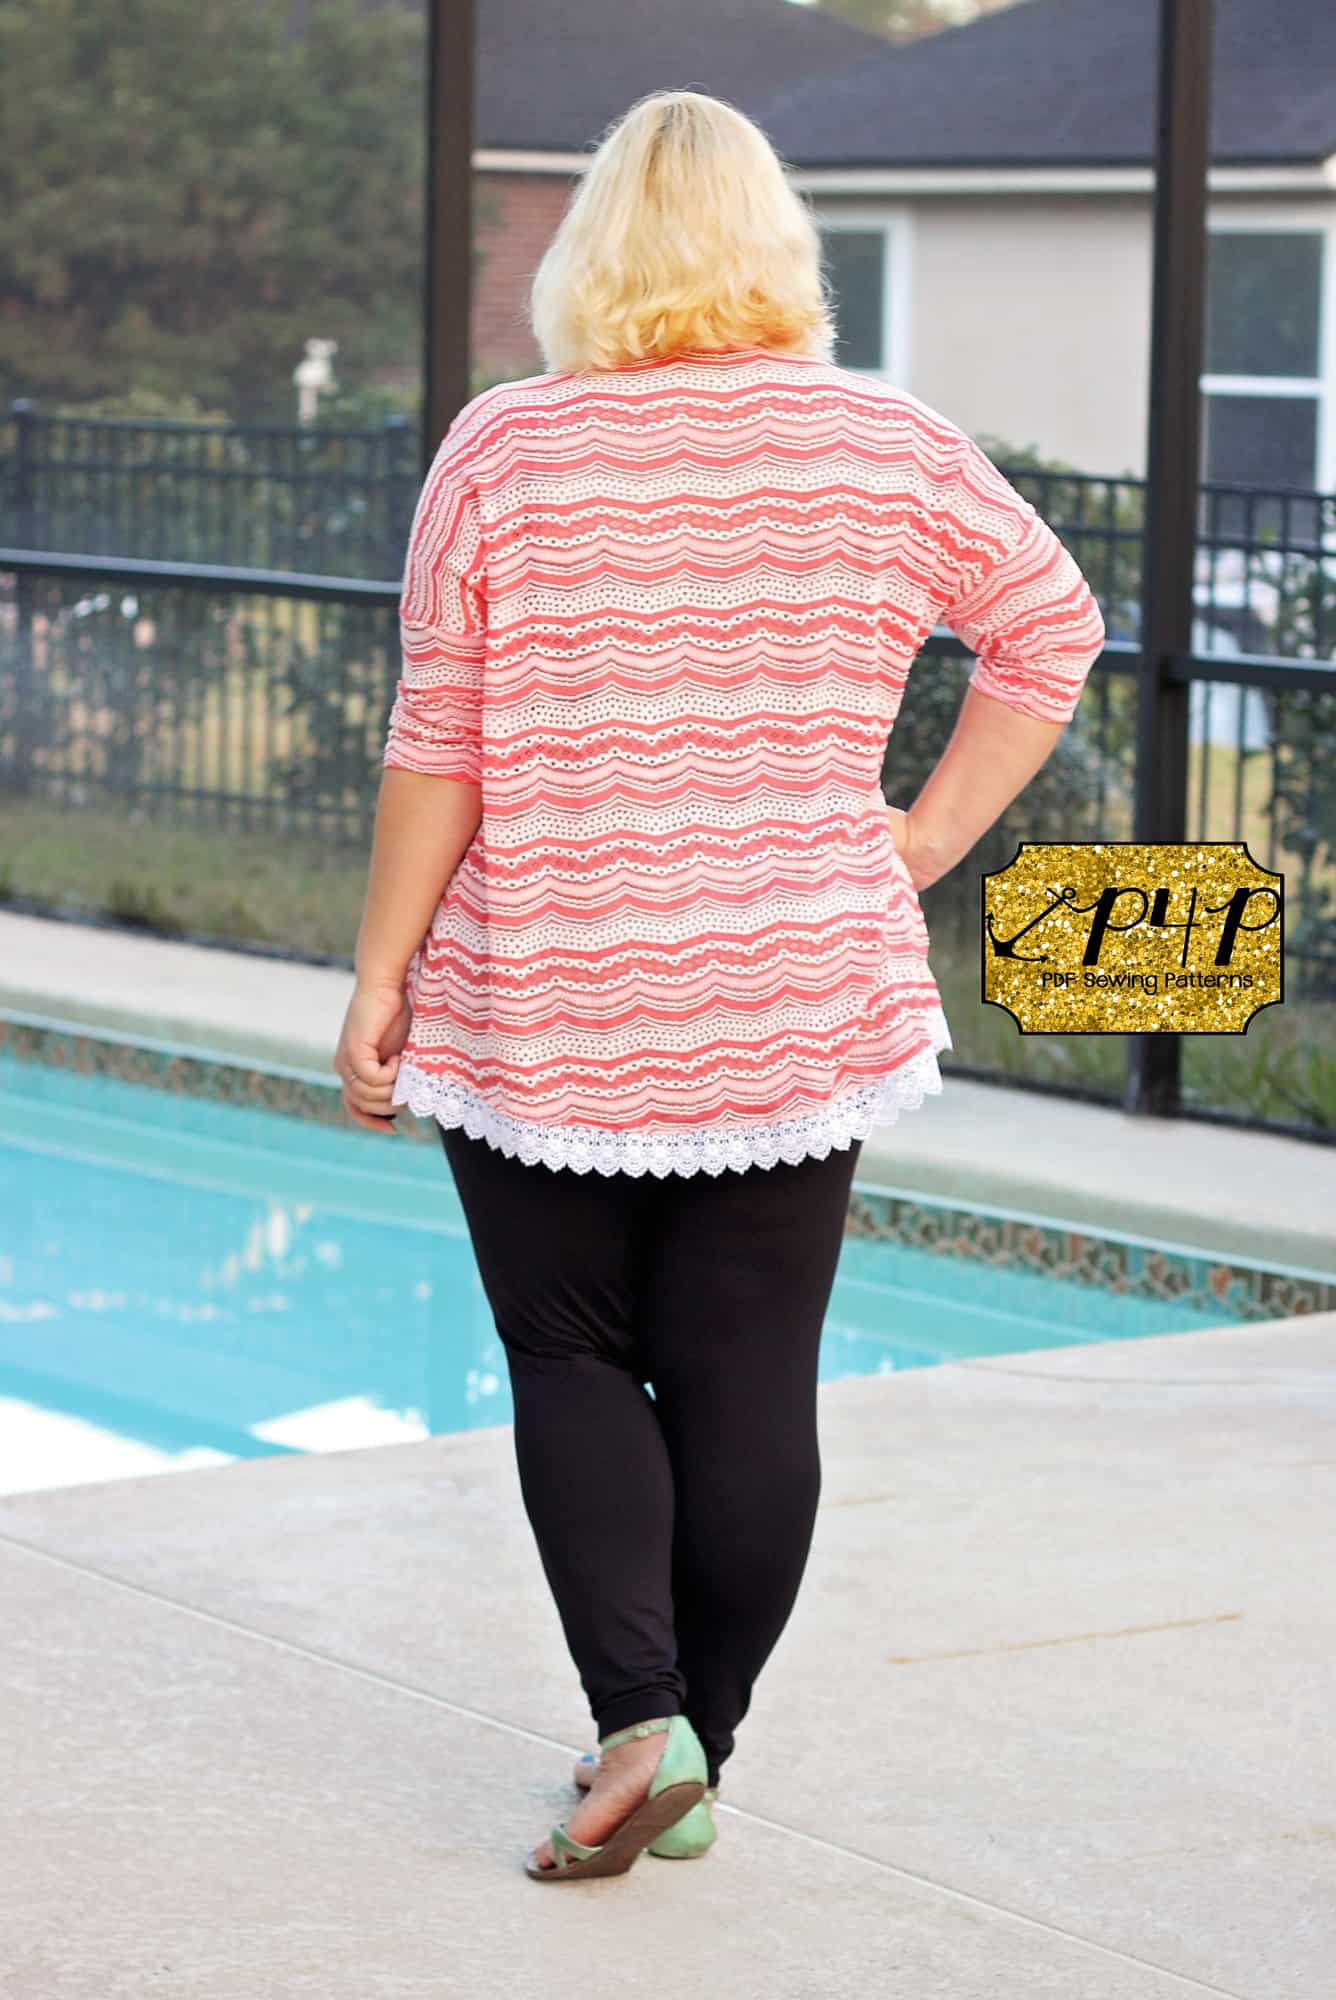
I’m sure by now you’ve all browsed Pinterest for cardigan inspiration, I know I have. When I saw a dolman style cardigan with lace trim I knew right away I needed to make myself one so in today’s blog I’ll show you how easy it is to get the look and I’ll also give you some tip for working with lace.

IMG_5383

Start by cutting the Cocoon Cardigan pattern pieces. You will not need to cut the the band, we will be replacing it with trim. I made a tunic length, 3/4 hemmed sleeves with no pockets but you can apply this technique to either one of the styles. The fabric and lace I used are both from Hobby Lobby.

IMG_5282

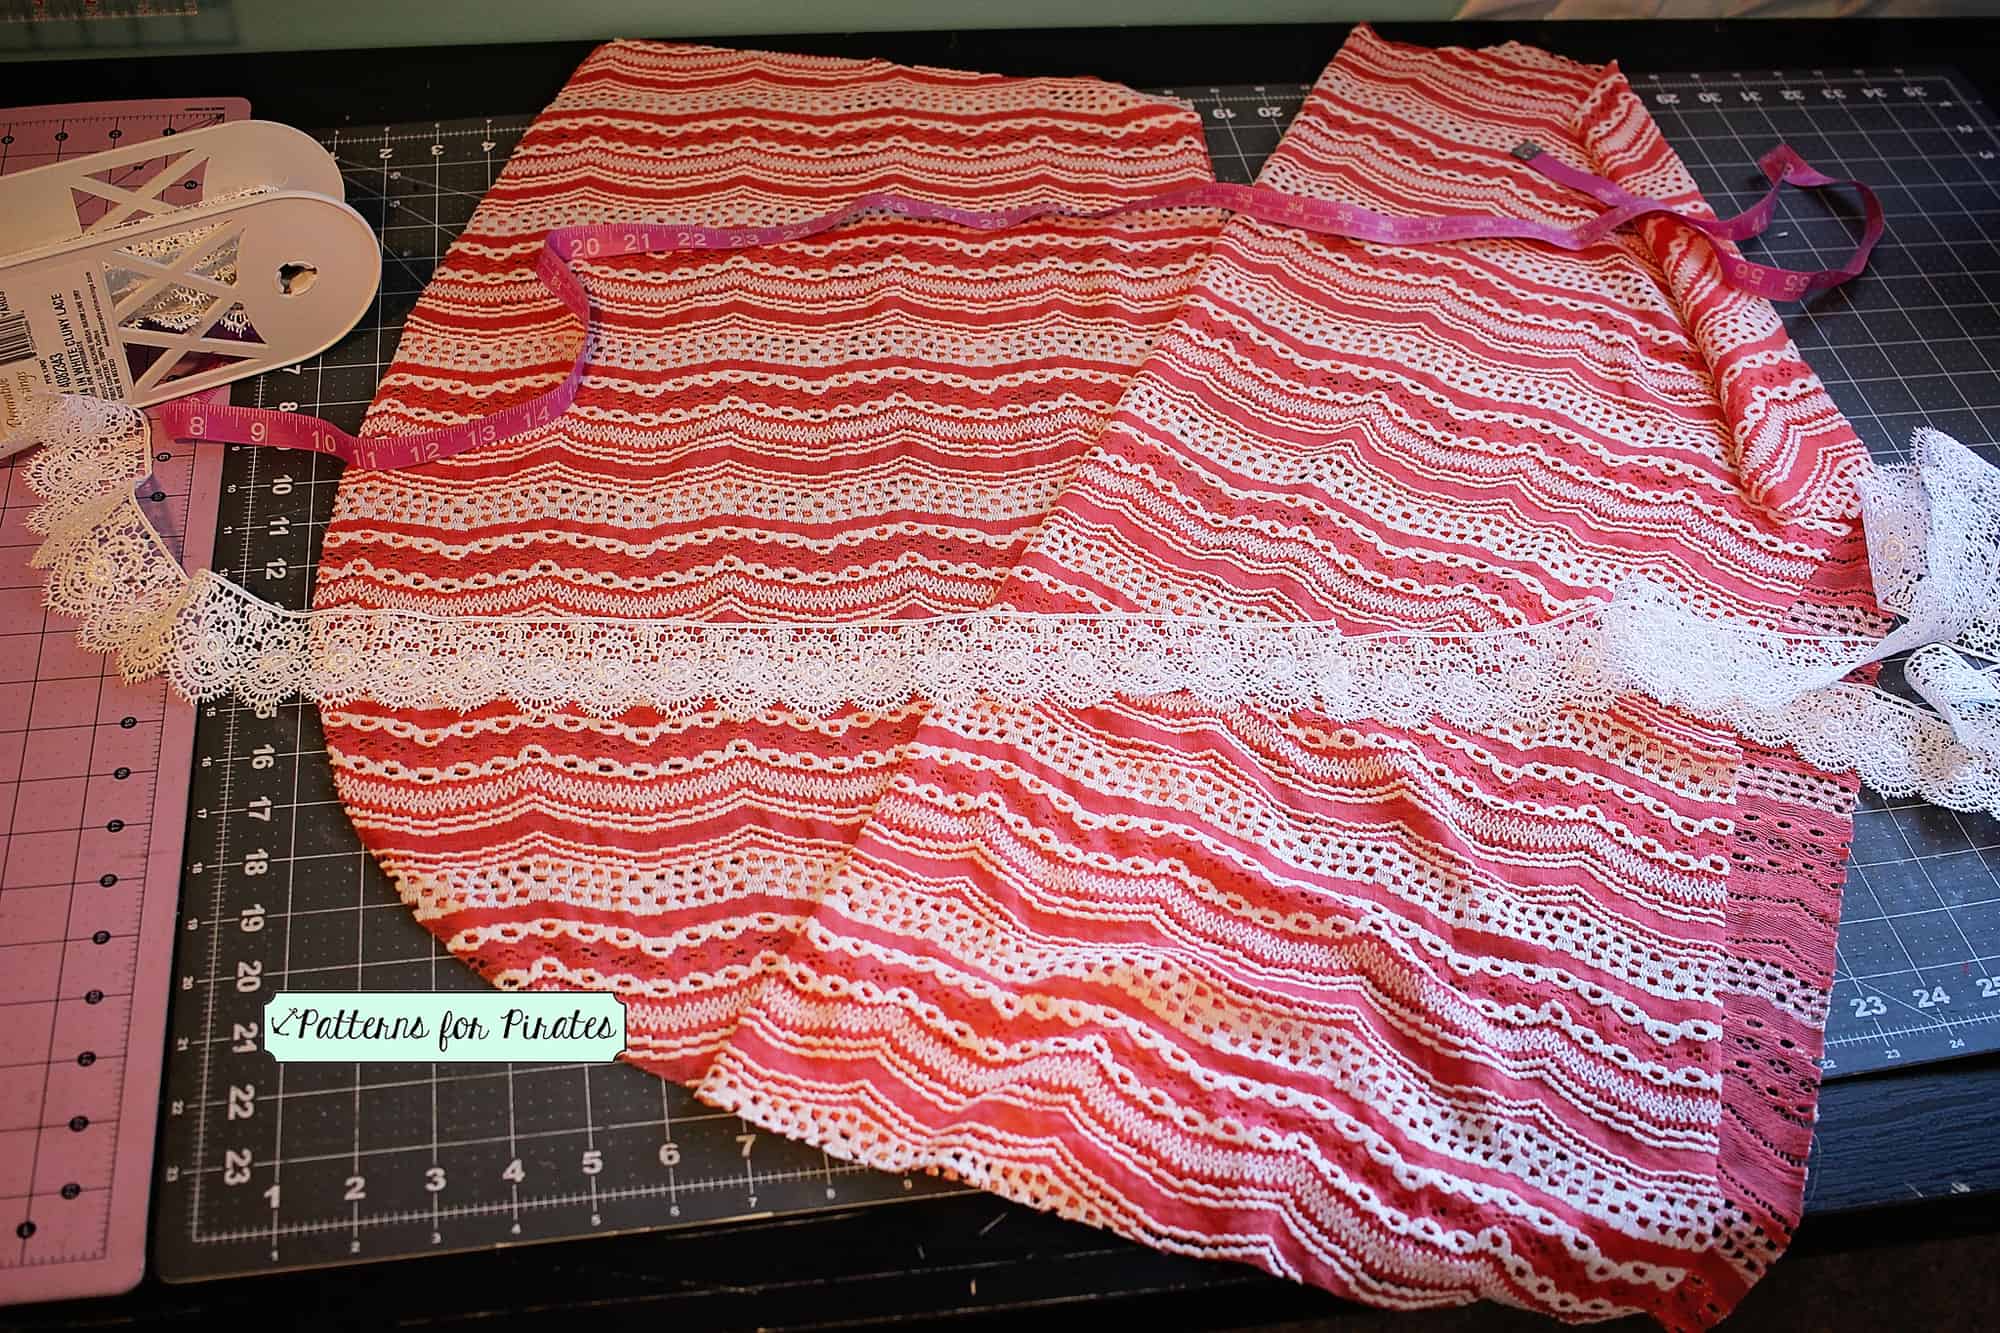
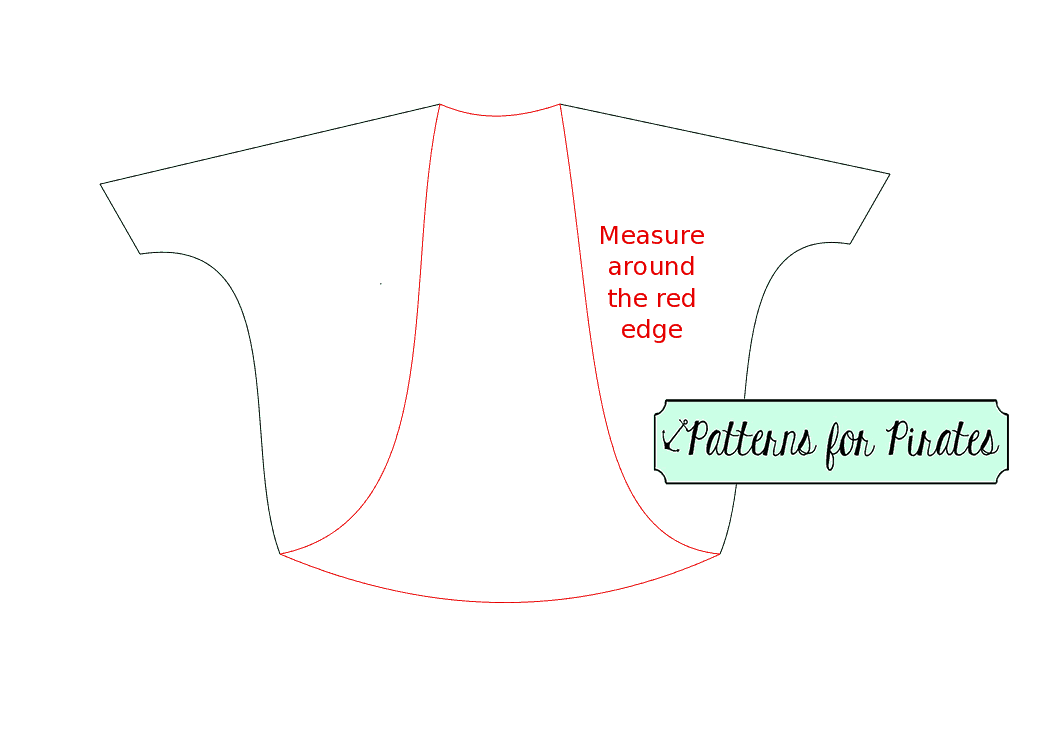
Assemble your pattern pieces as per the instruction. I like to leave the band for the end so you now have your cardigan ready to add the lace trim. The pattern band is shorter than the edge circumference and since most lace trims have no stretch we will have to measure the opening. The trim you will need will be equal to this length.

cocoondrawing1

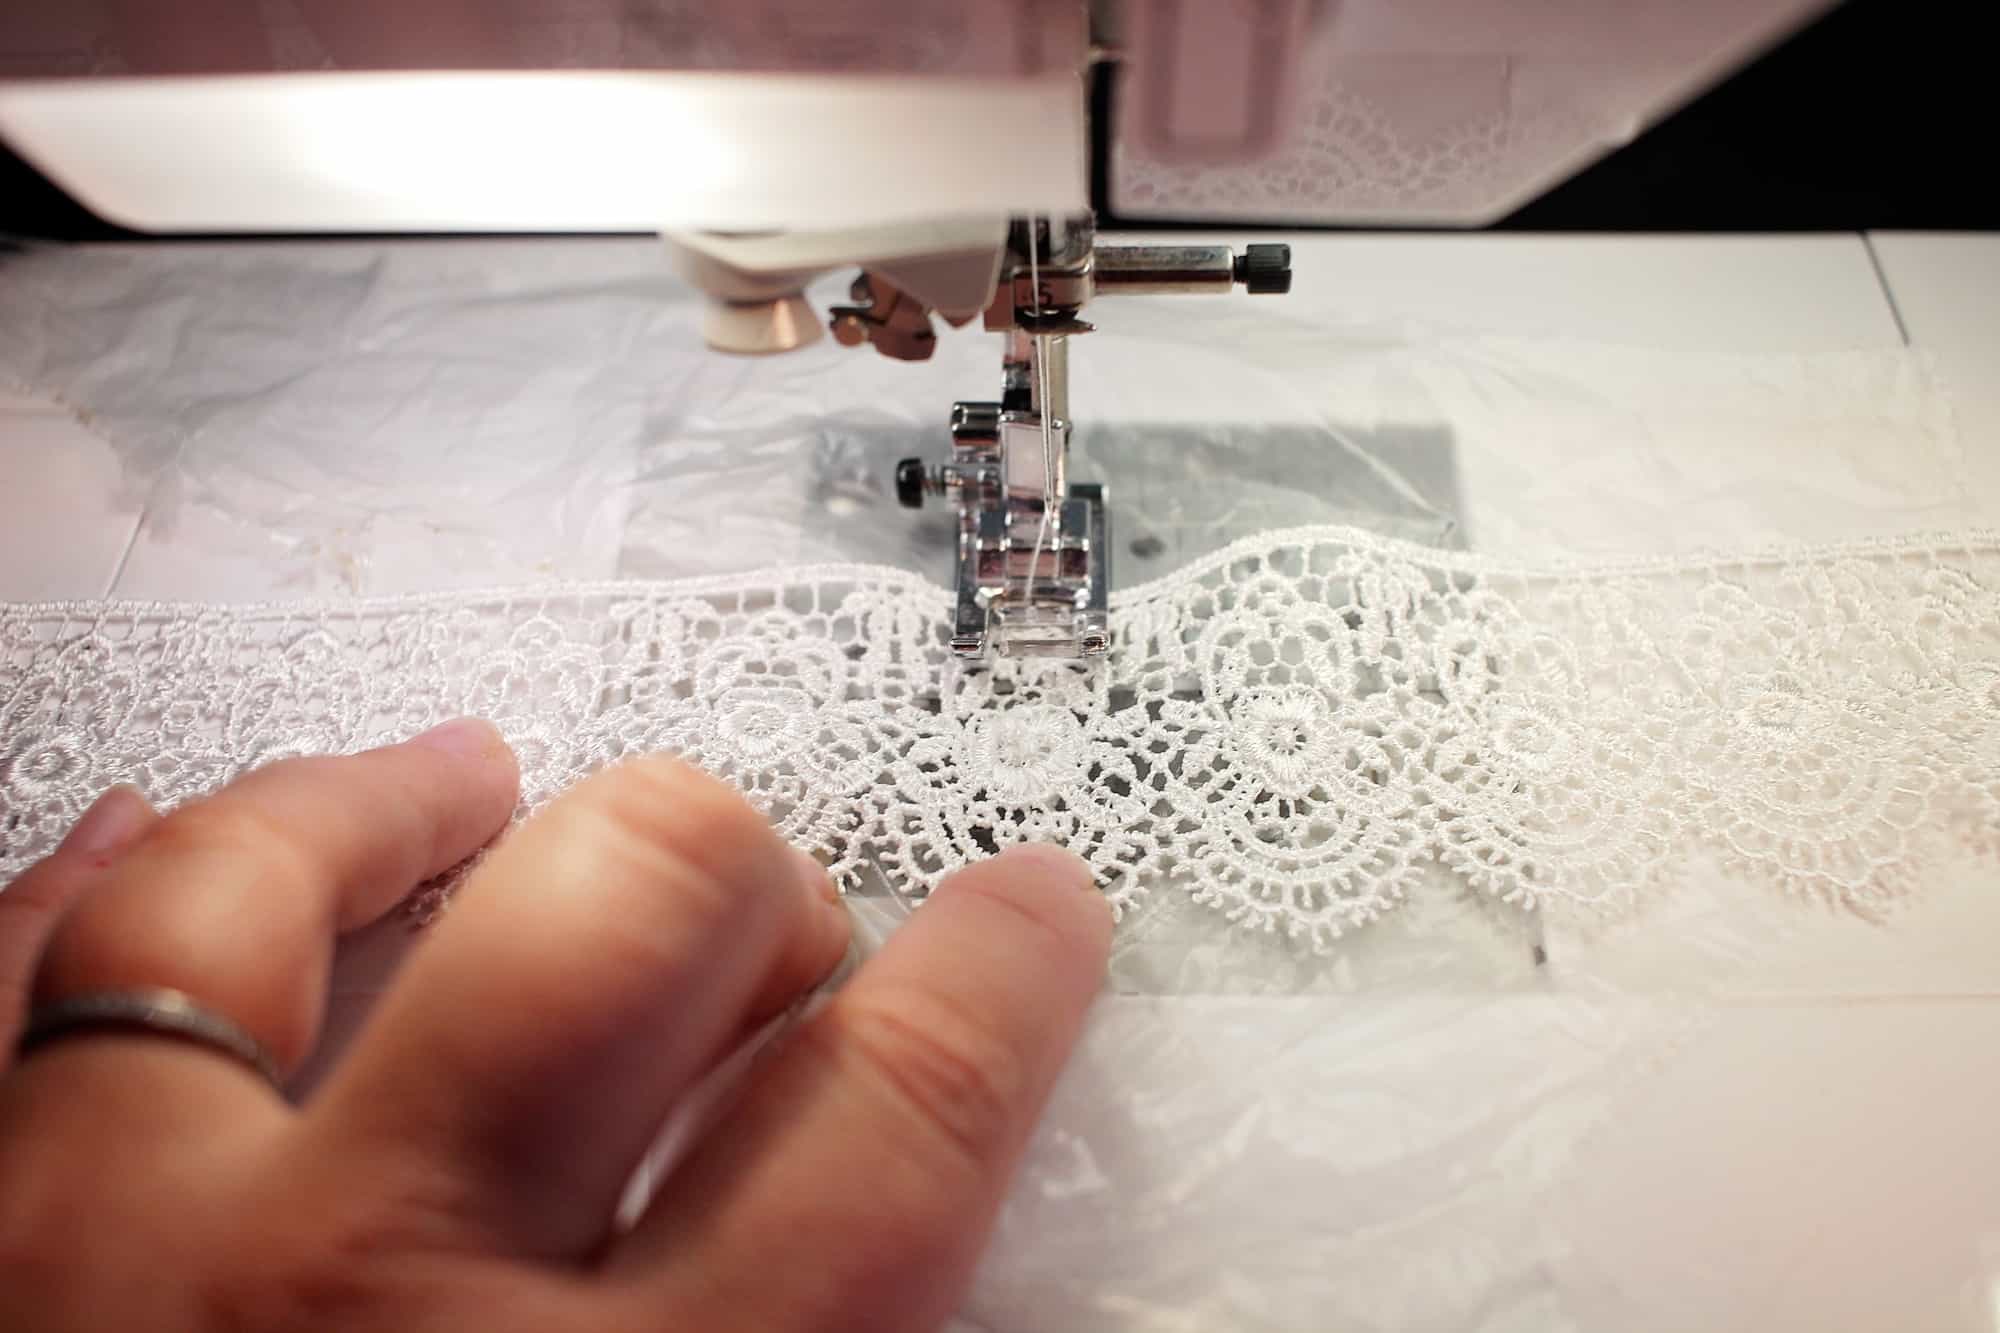
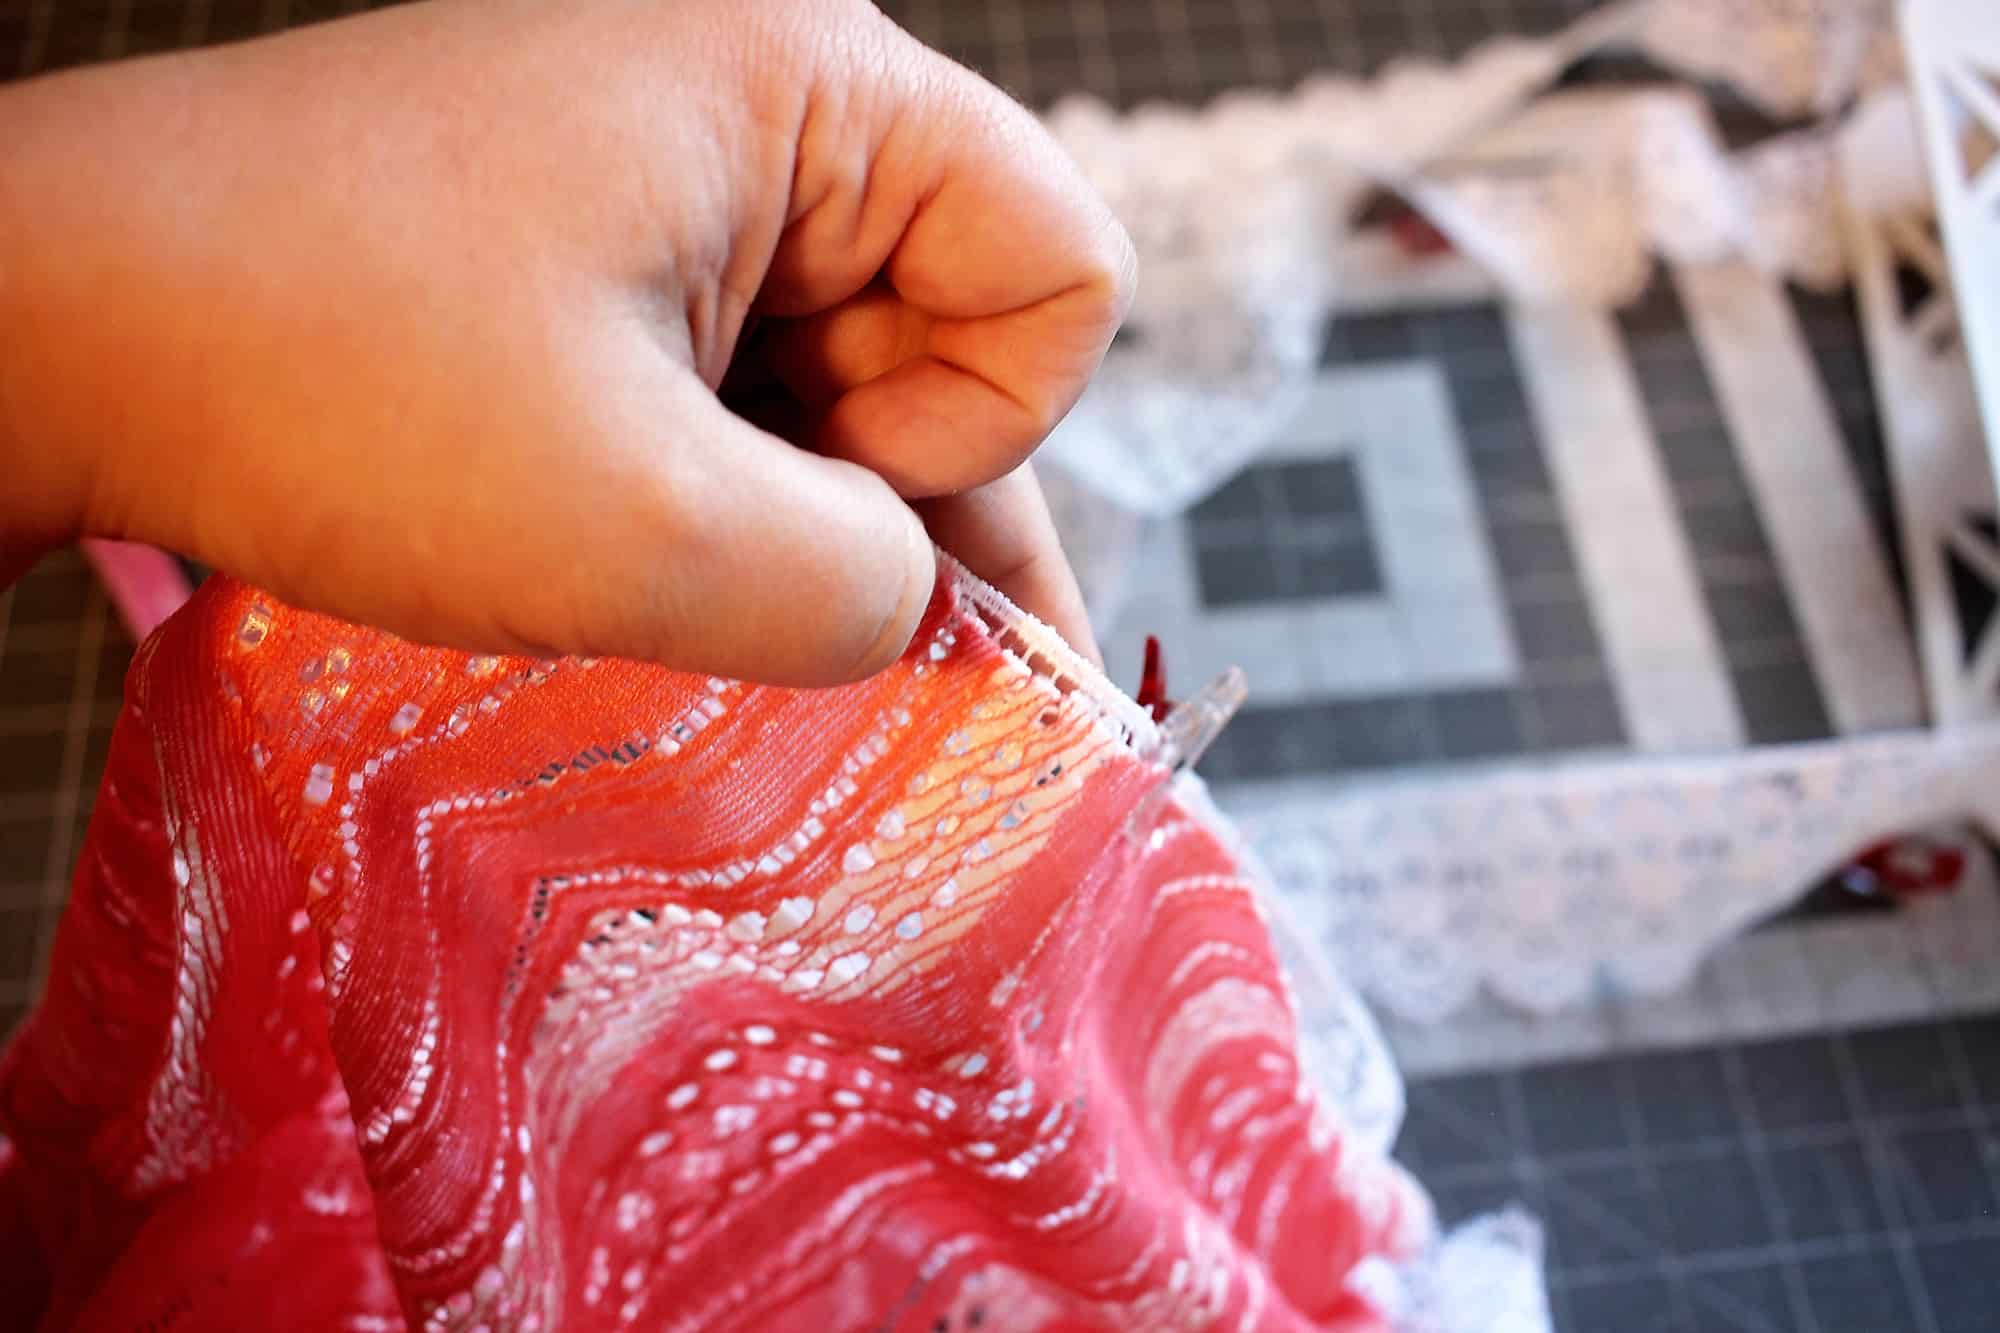
TIP: If your trim comes in 2 yards or less increments you will need to  attach two pieces together. To do that I like to use a zig zag stitch and just slightly overlap the ends. Stitch them together with a narrow zig zag stitch. Don’t forget to place a little piece of water soluble stabilizer under your lace when you stitch it.

IMG_5284

IMG_5285

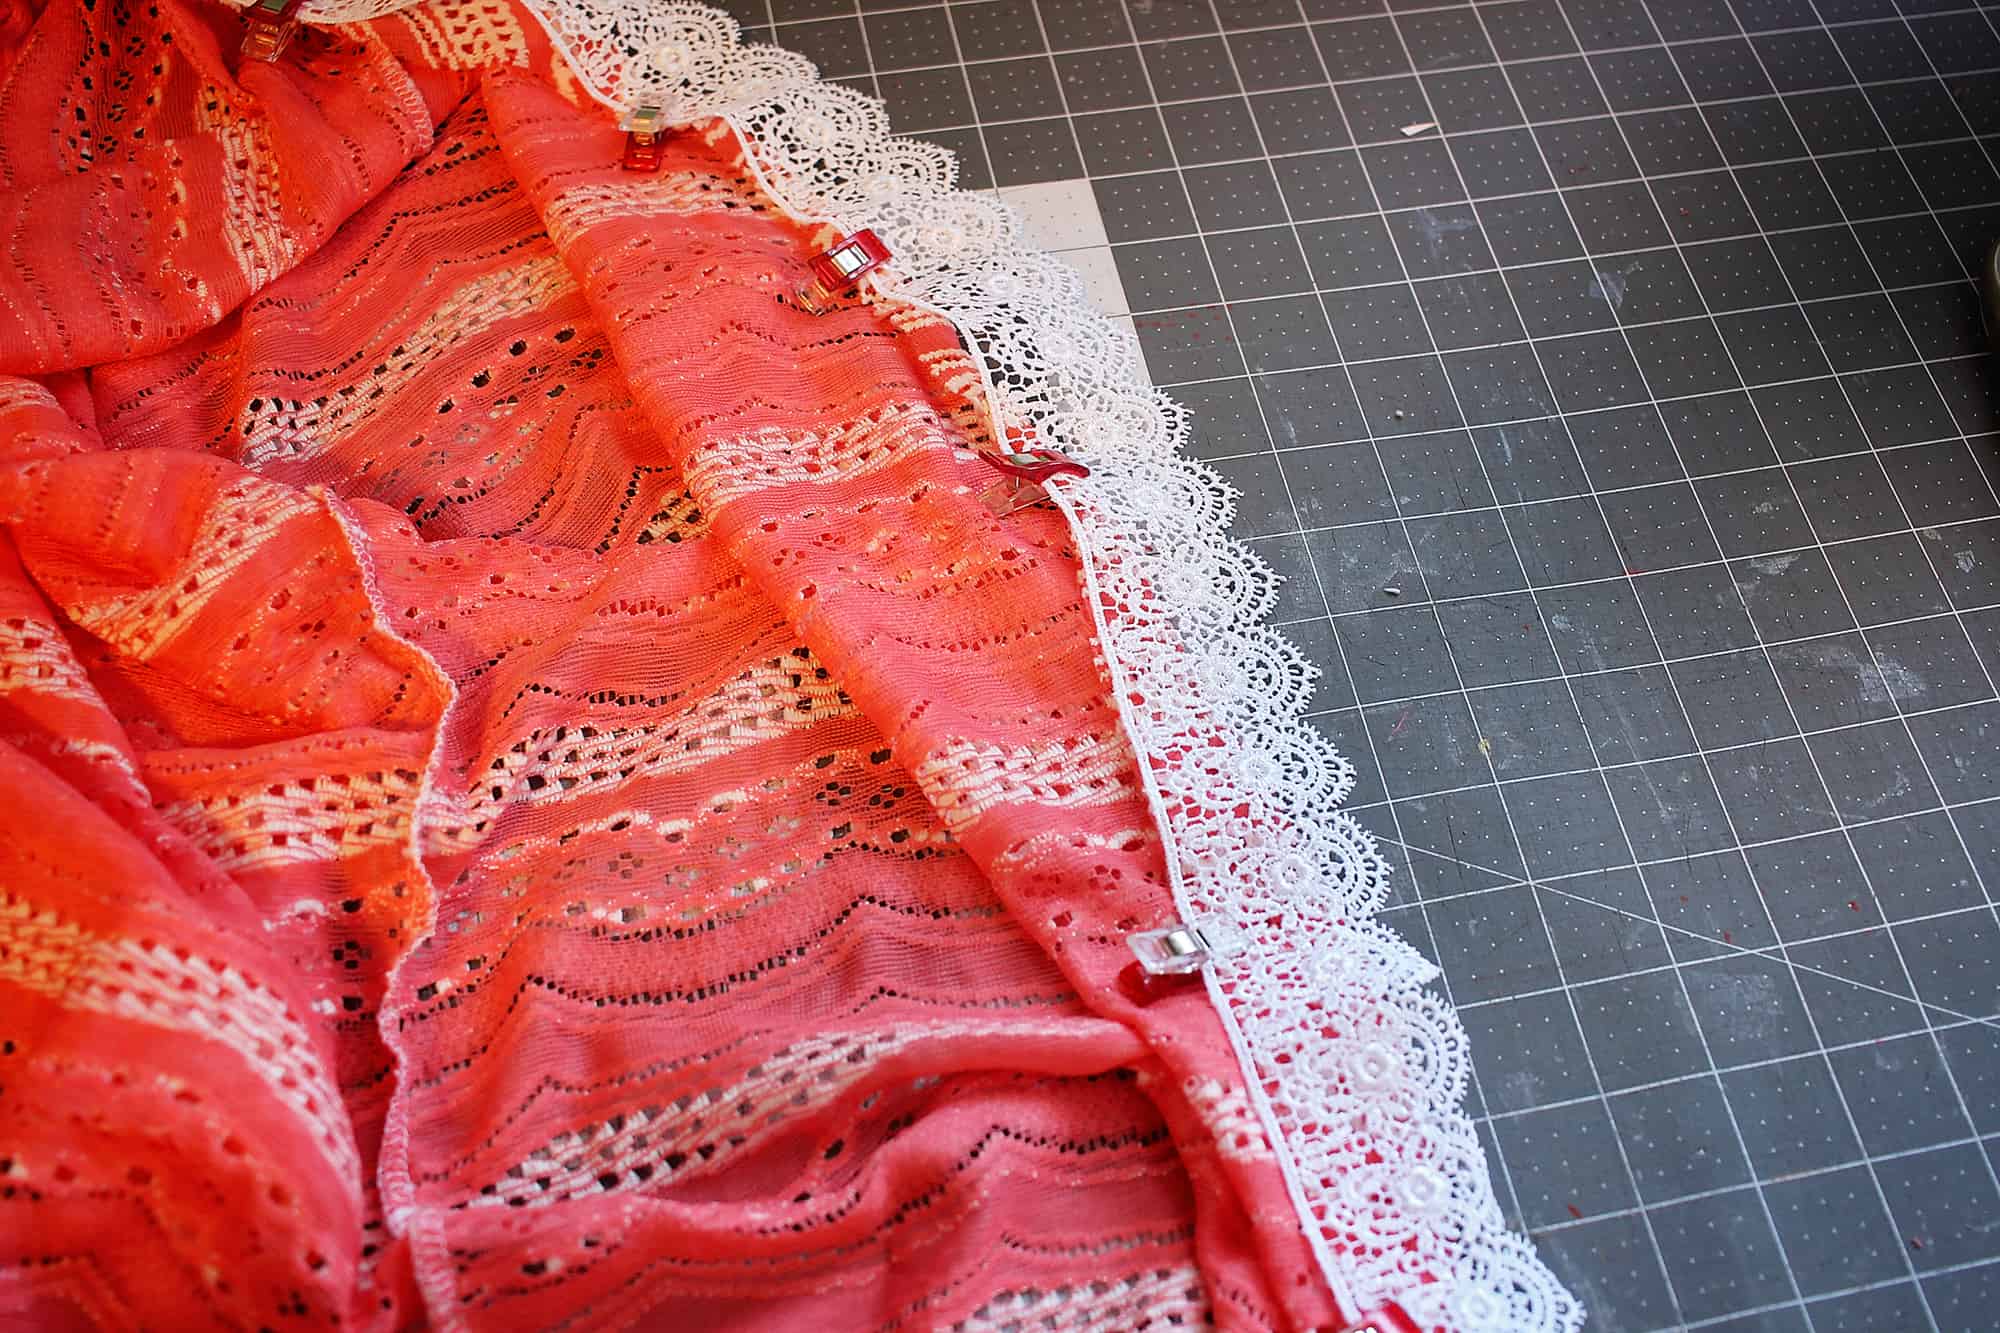
Pin (or clip) your lace to the cardigan raw edge, right sides together. Yes, there is a right side to the lace trim too! 🙂 Pin all around the edge, making sure you do not stretch the cardigan. When you get to the curved edge pin even closer since that part is not only stretchy but also on the bias.

IMG_5289

IMG_5290

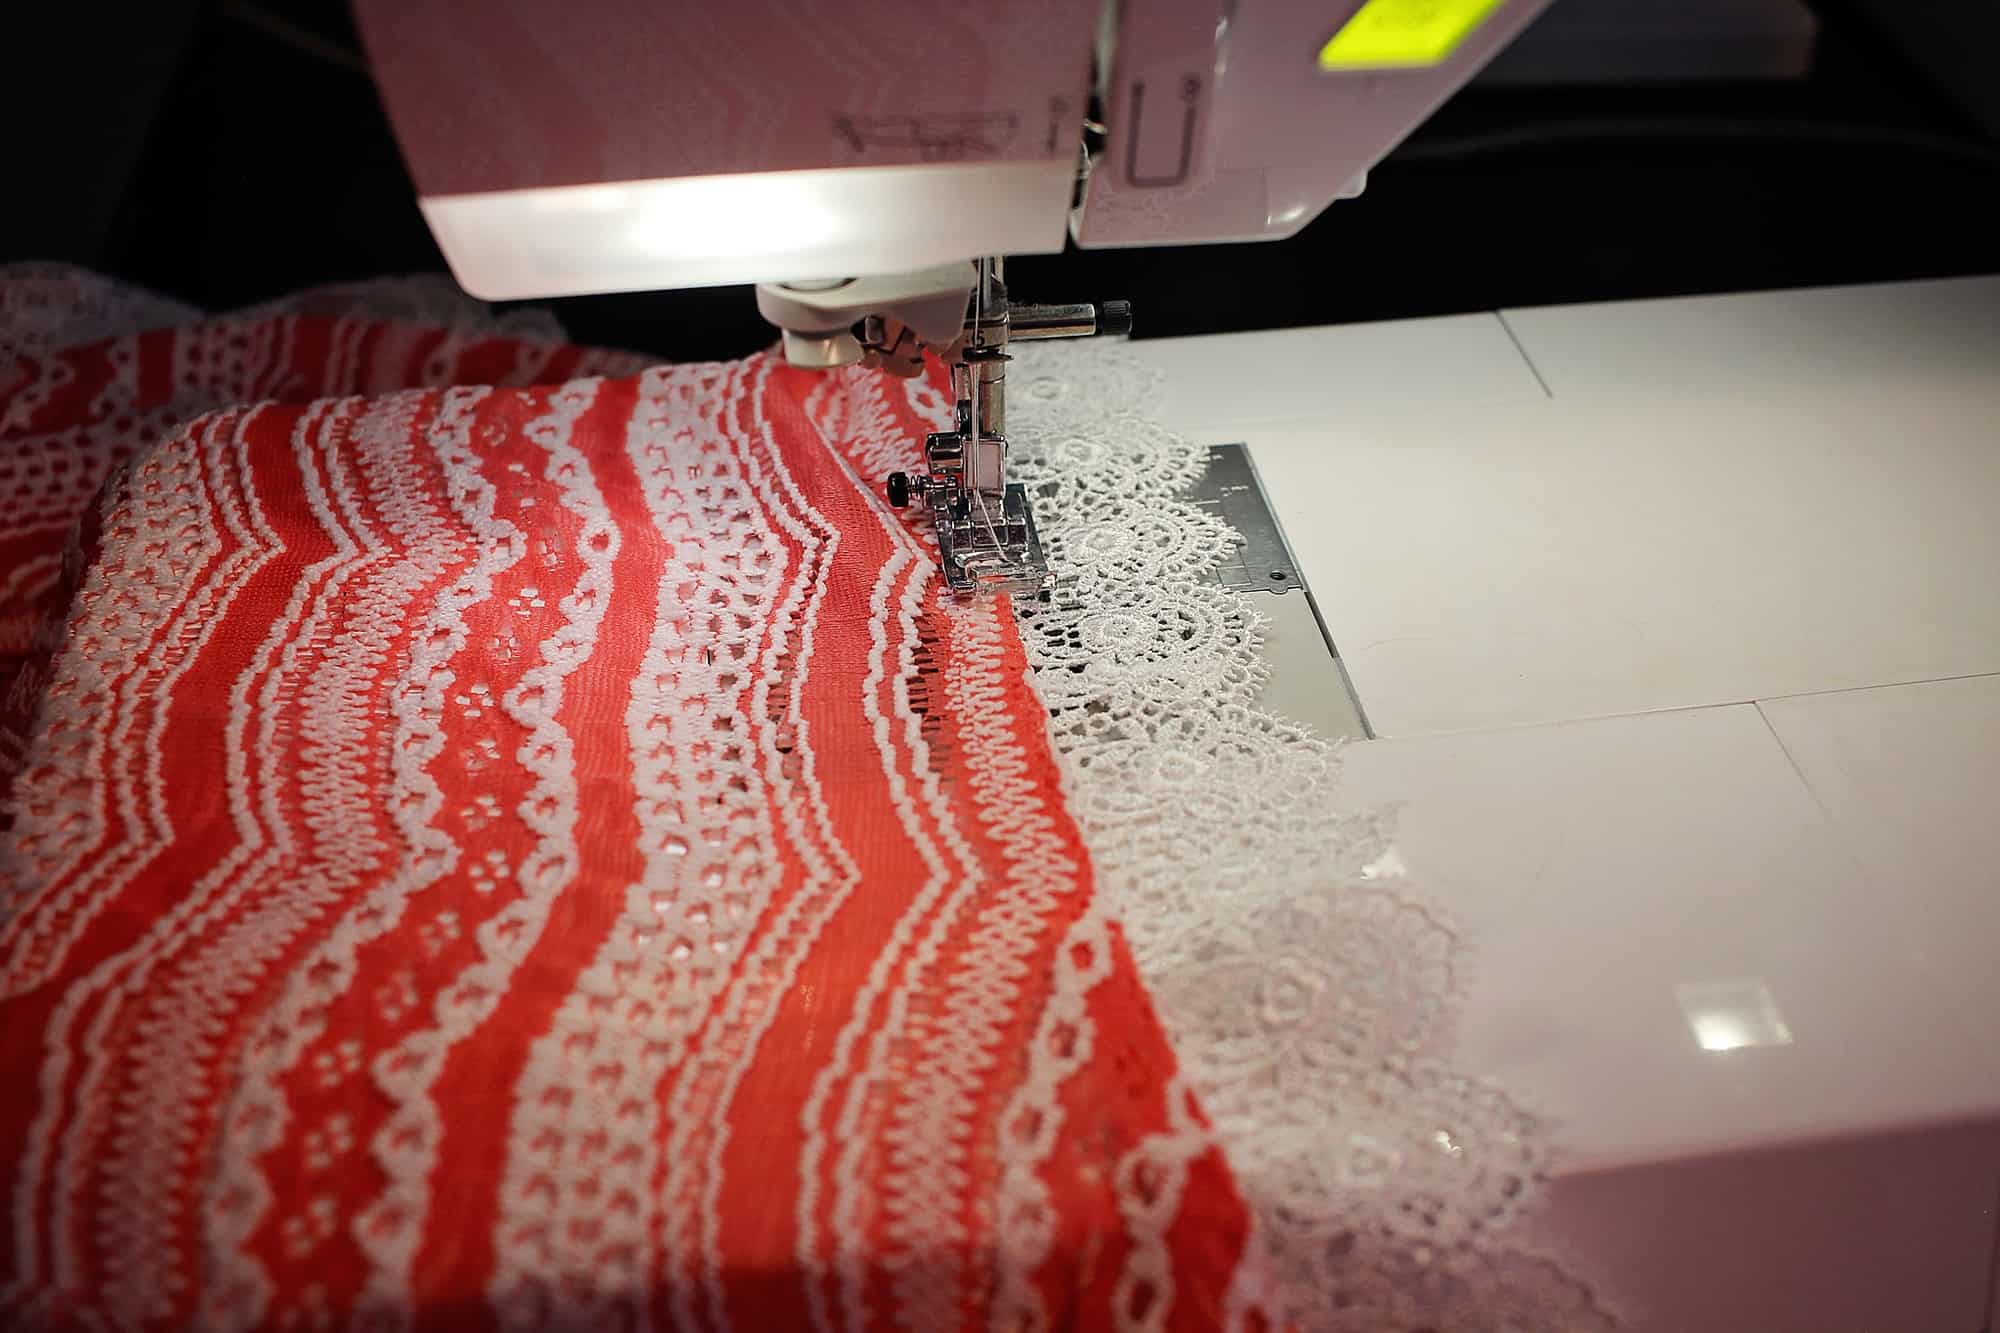
IMG_5291Once it’s all pinned in place sew the lace around the opening very slowly. I like to use my sewing machine for this step, instead of the serger. A stitch length of 3.5 with a 3.4-3.6 tension should be all you need. All you have to do now is top stitch around the opening, about 1/4-1/8 inch away from the trim and you are all set. See how easy that was?

IMG_5389

IMG_5371

Take a look at our jam-packed schedule of cardigan love!

Saturday, January 21: #P4PCardiWeek Announcement

                                                  Sunday, January 22: Cocoon Lace Hems and Butterfly Ruffle

Monday, January 23: Ribbon Tie Closure Hack
Tuesday, January 24: Carefree Cardigan Fringe Hack
Wednesday, January 25: Duster-Length Adjustment

Thursday, January 26: Kimono Ruffle Sleeves + Hem

Friday, January 27: Varsity Sweater Style Hack
Saturday, January 28: Carefree Cardigan Flannel + Vest Hack
Monday, January 30: #P4PCardiWeek Winner Announcement
You can follow along on the blog here, or in our Facebook group.  Search #P4PCardiWeek to be able to find our posts all over social media.  And please feel free to sew-along with us on one or all of the days.  The more the merrier!

But wait, there’s more!  We wanted to create a friendly pirate-y competition with our P4P Cardi Week!

Between tomorrow and Saturday, January 28, sew up a Patterns for Pirates cardigan using one of our hacks, or by keeping the pattern as-is.  Share your photo with us on Instagram or in our Facebook group and use the tag#P4PCardiWeek We will pick our favorite and the winner will win a free P4P pattern of choice AND be featured on this blog.  Fun right?

To make it even better we have put all the cardigan patterns in the shop on sale all week (no code needed)!

Now get out there and sew some cardigans, matey!

Filed Under: Pattern Hacks, Pattern Release, Uncategorized 2 Comments

Butterfly Cardigan :: New Pattern Release!

January 17, 2017

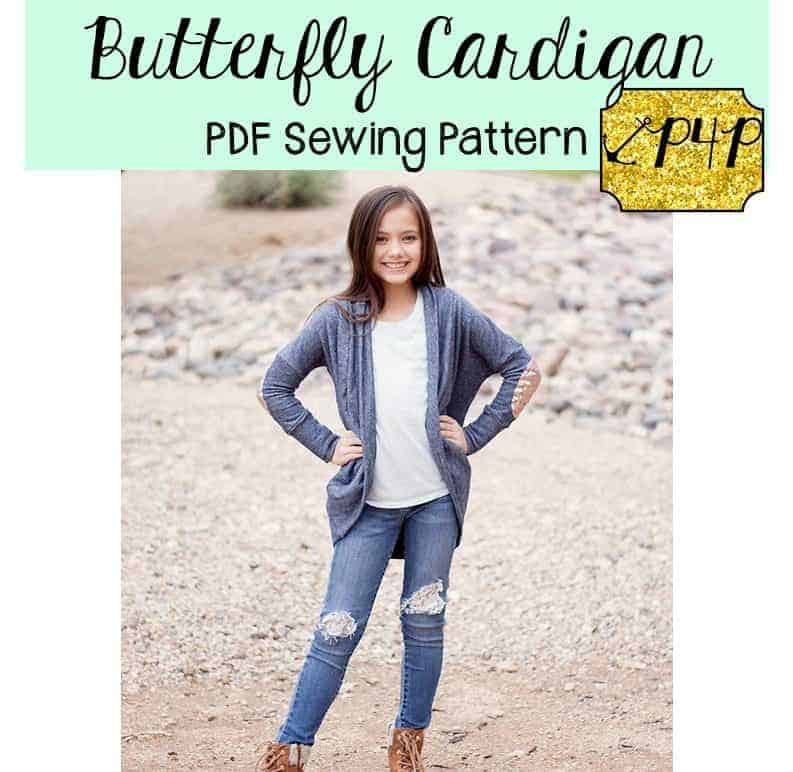
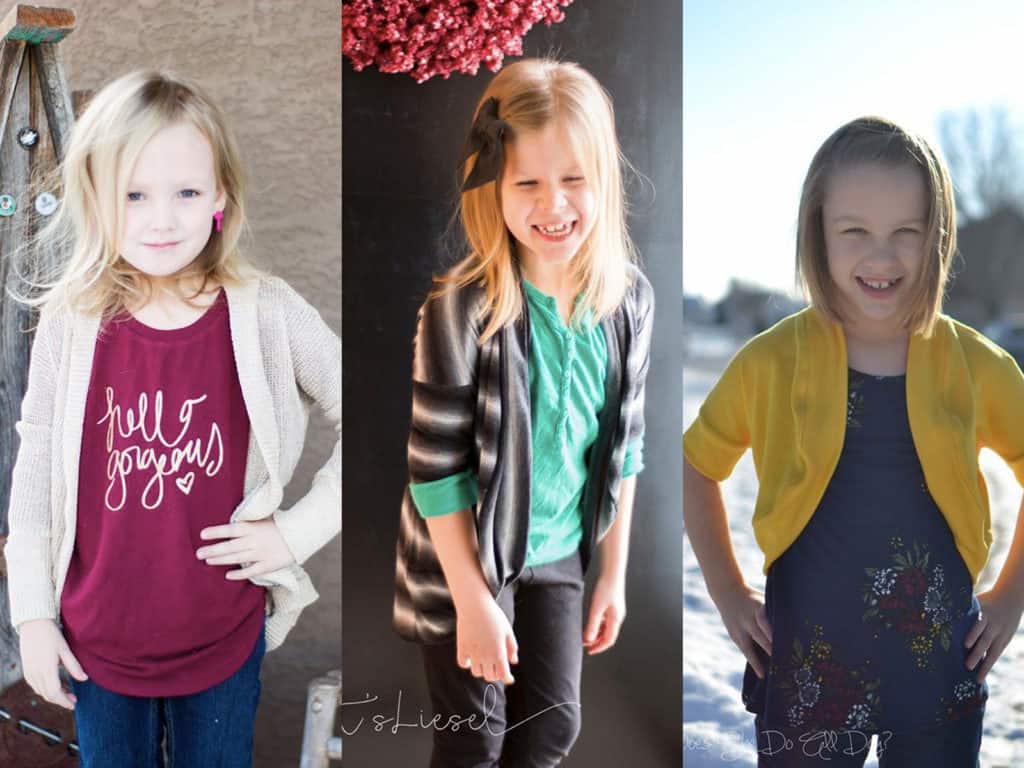
We are celebrating another pattern release day and you’re going to love it!  Remember the Cocoon Cardigan that we put out right before the holidays?  It’s in mini size now!  Meet the Butterfly Cardigan!

listing pictures youth

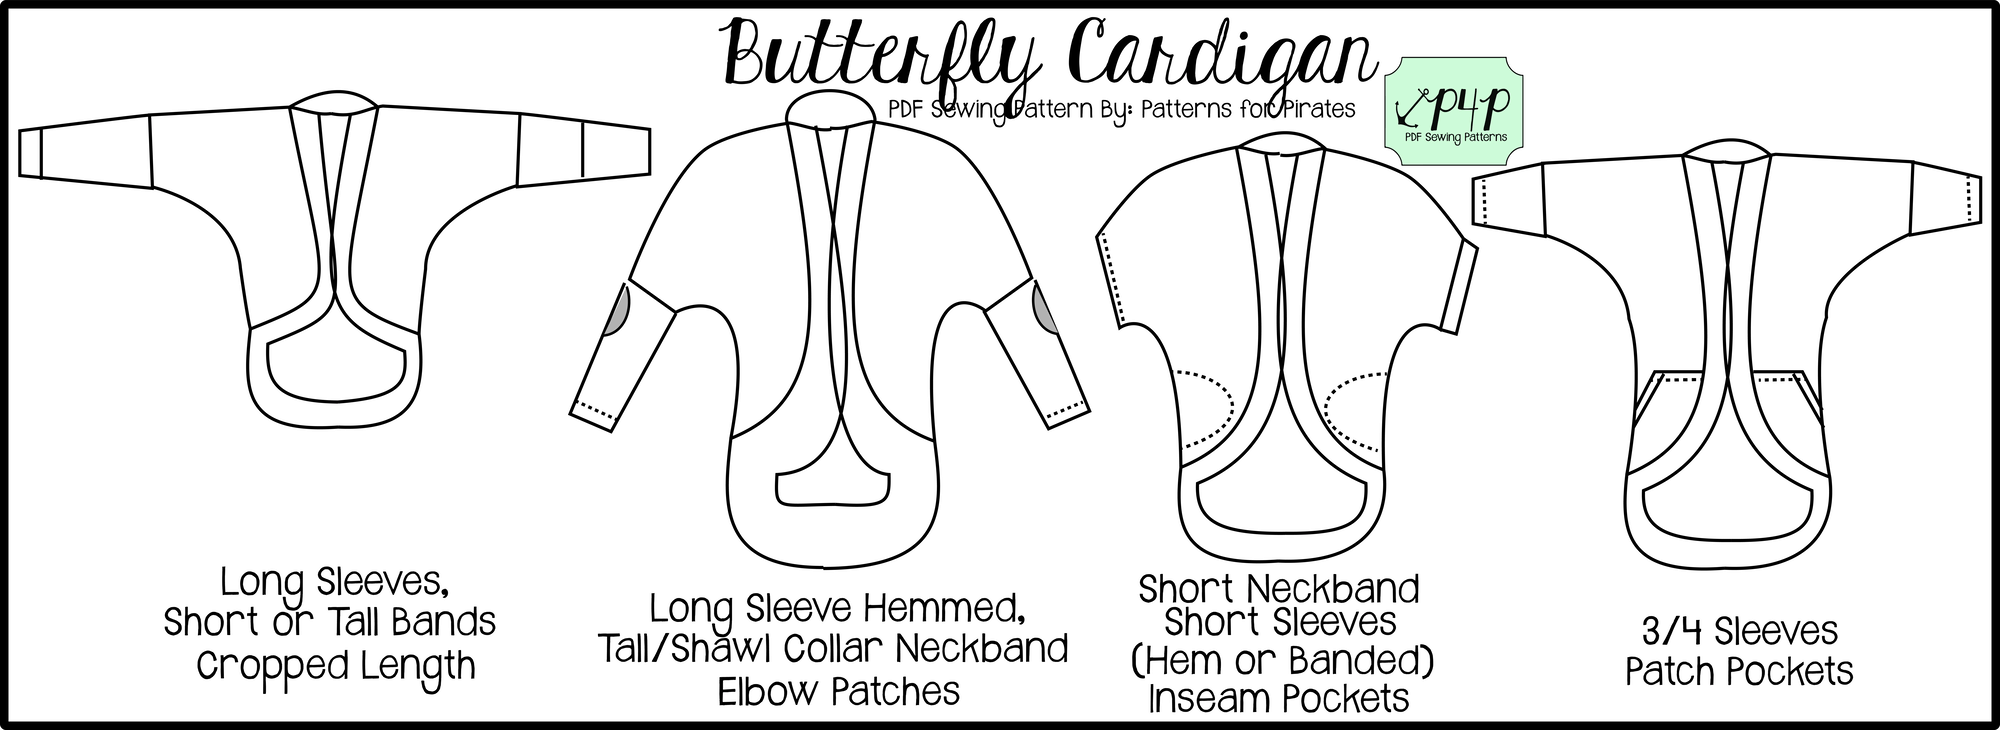
The pattern is drafted for girls sizes 3M – 14.  It’s a dolman style sleeve, so it’s got a looser fit and is quick to put together, just like other dolman style tops.  There are THREE sleeve lengths (short, 3/4 and long — each with multiple band options), TWO hem lengths (cropped or tunic length), TWO neckband options (short or tall), and optional pockets (patch or inseam)!  On top of all of that, we have also included a  PDF layers feature for printing.
line drawing

The three different sleeve length options will take your littles from one season to the next.  Choose between short sleeve, 3/4 length, and long sleeves and your littles can easily transition between all four seasons.

butterfly-sleeves

With two different hem lengths, you’ve got all of your bases covered.  Get more coverage with a longer-length tunic…

butterfly-tunic

…or make it in a short and sweet cropped length!

butterfly-cropped

Don’t worry, we made sure to include pockets (!!!) in the Butterfly Cardigan! Who doesn’t love pockets?

butterfly-pockets

Not quite convinced yet?  Go check out all of the rest of the adorable tester images in our Facebook group HERE and get inspired!

Can’t take it any  longer and need the pattern right now?!  Go grab your very own copy of the Butterfly Cardigan and get to sewing!  Don’t have the Mama version of the Cocoon Cardigan yet?

Go grab a special bundle pricing for the Butterfly + Cocoon Cardigans HERE.  Butterfly and bundle will be on sale (no code needed) through Monday January 23,2017.

And don’t forget to share your gorgeous makes with us over in the Patterns for Pirates Facebook group!

Filed Under: Pattern Release Leave a Comment

  • « Previous Page
  • 1
  • …
  • 19
  • 20
  • 21
  • 22
  • 23
  • 24
  • Next Page »

connect with me

  • Email
  • Facebook
  • Instagram
  • Pinterest
  • YouTube
Privacy & Cookies: This site uses cookies. By continuing to use this website, you agree to their use.

To find out more, including how to control cookies, see here: Cookie Policy
  • Privacy Policy
  • Refund Policy
  • Contact Us
  • About

Copyright © 2026 Patterns for Pirates

Copyright © 2026 · Genesis Framework · WordPress · Log in