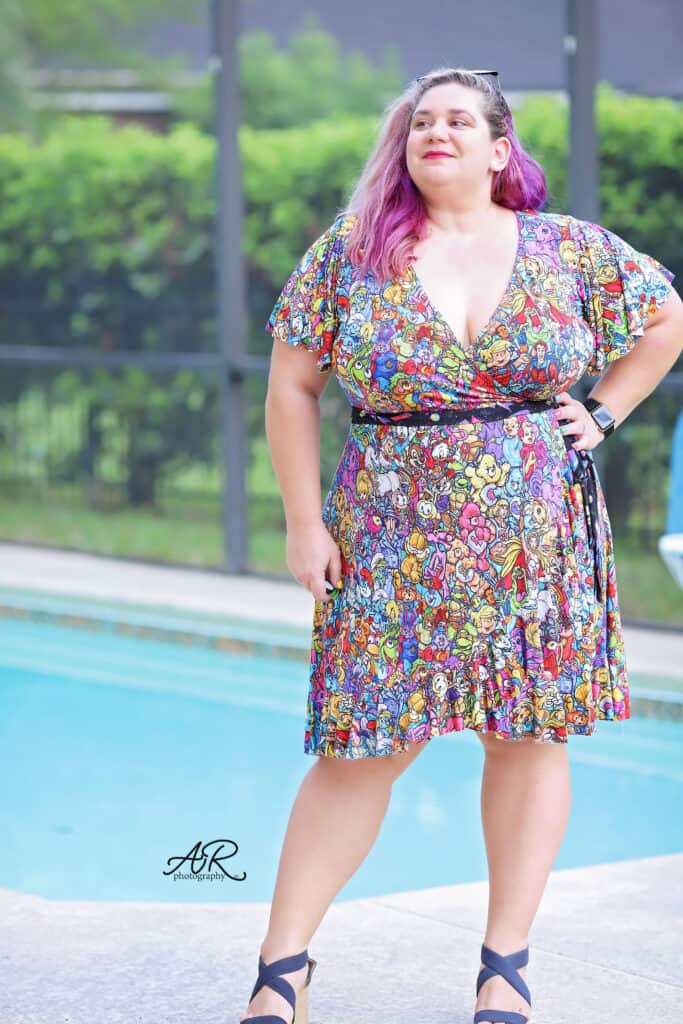
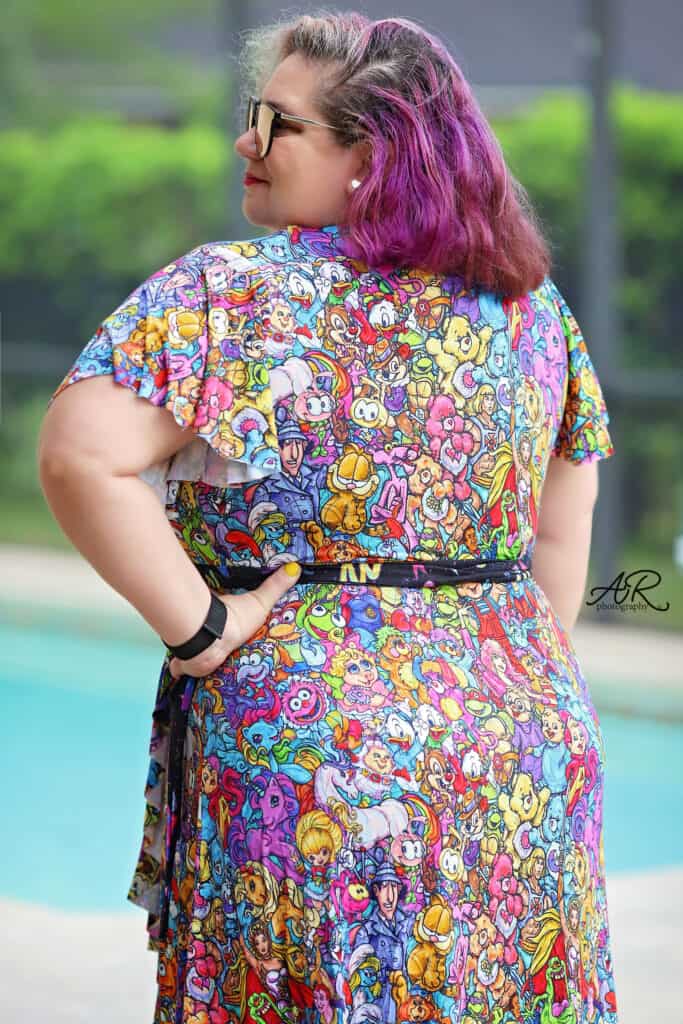
Welcome to the last sewing day of the sew along! What a fun week! Today we add the bottom flounce flounce or hem the dress/shirt.
If you opted for the no flounce style, start by hemming the vertical raw edge first. Fold it 1/2″ and stitch it down with a zig zag stitch, a coverstitch or twin needles. Before you start, take a look over our Hemming blog because we have a few tips for easy and successful hemming. If you are finishing the bottom hem using twin needles, a good refresher blog is the P4P University Twin Needles Tips.
For my dress, I went with the flounce hem. Start by creating the very long flounce by sewing the pieces together as instructed in the pattern. If you added the neckline flounce yesterday, you will be doing a very similar process today. Once the flounce is created you will add it to the raw hem, right sided together. The ratio is 1:1 so you will not be stretching the dress or the flounce.
All done! All you have left to do is enjoy your gorgeous creation and show it off…you know… “I made it!” 😉

You can see today’s video below! Once you finish your dress or shirt snap a photo of it (modeled or not) and post it in the comments of day 6 photo of the Flutter Wrap Sew Along album in the SAL FB group. We will be choosing the two winners from the photos in the comments! Once you do your check in, please do share your work in the main Patterns for Pirates FB group too.
Flutter Wrap SAL day 1 | Print and cut pattern
Flutter Wrap SAL day 2 | Cut fabric
Flutter Wrap SAL day 3 | Sew back, shoulder and side seams
Flutter Wrap SAL day 4 | Sew sleeves or tank binding
Flutter Wrap SAL day 5 | Add neckline binding and waist ties
Flutter Wrap SAL day 6 | Finish skirt
Flutter Wrap SAL day 7 | Winners announcement

What if my flounce isn’t a 1:1 ratio? I think I may be missing a piece when I cut it out. I’m making the youth size 12 and have 6 total flounce piece – (2) piece 1, (2) piece 2, and (2) back piece. M 2 back flounce pieces line up perfectly with the main back piece but my front pieces are way too short by at least 6 inches on each side. It seems like I’m missing another flounce piece on each side. Please help!
Do you have the first/top flounce piece that narrows at the top? That one looks a bit different from the others.
Yes I had that piece. I asked in the sew along group and other ladies said theirs was also several inches too short (but in the womens sizes) and they just quartered it and stretched the flounce. So I went ahead and did that and it seemed to work out after steaming it really good!