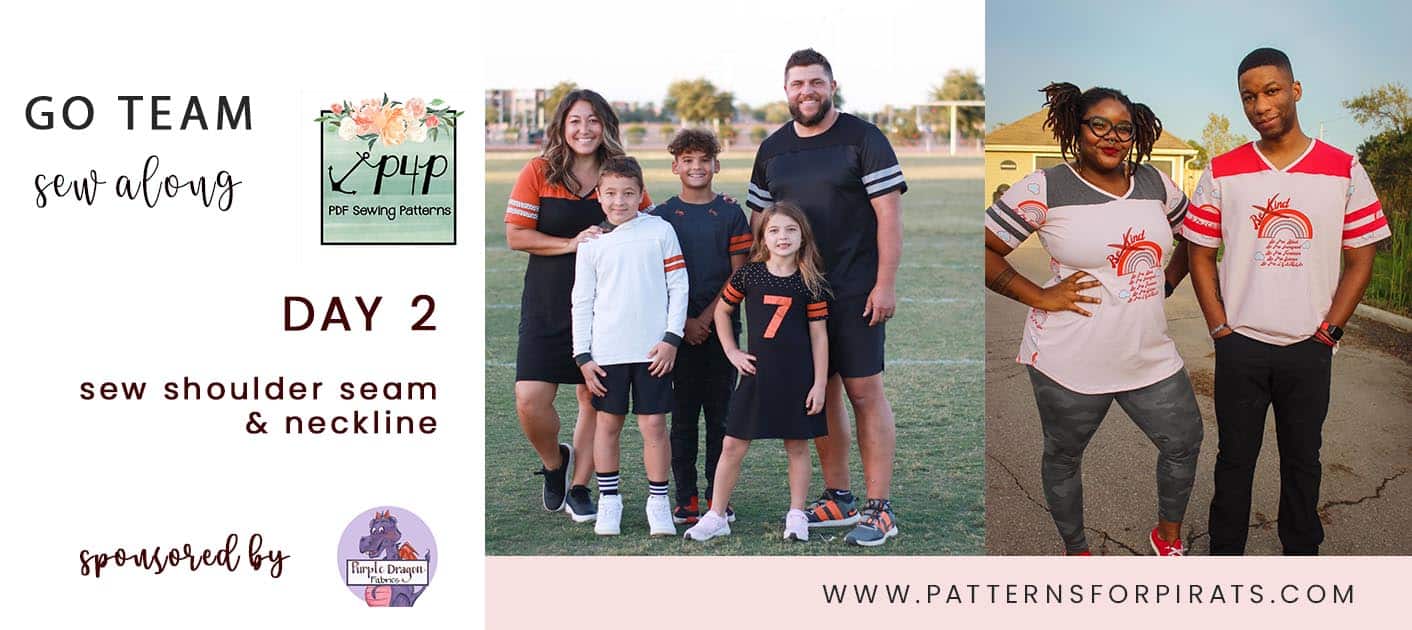
Good morning, friends! Today we start sewing our Go Team jerseys or dresses . Let’s begin by stitching the shoulder seams, right sided together. The pattern follows a 1/2″ seam allowance so if you are using the serger for this step, don’t forget to cut off 1/4″. You can stitch the whole project using your sewing machine, just remember to sew with a stretch stitch.
All Go Team patterns feature 3 necklines:
+ crew neck
+ V neck
+ hood
If you chose the crew neck, create the neckband first. Don’t forget to press it lengthwise prior to stitching it in a loop. It is very important to follow the pattern’s seam allowance when attaching the neckband to the neckline. If not, you may see that the opening is smaller than needed.
If you opted for the sporty V neck you will not be sewing the neckband in a loop. For this shirt the neckband will be stitch flat. Find the center of the back and the center of the neckband. Pin them in place, matching these center and the two fronts. You will have a small corner of the neckband sticking out on both sides. That’s the way it supposed to look. You can trim these corners today, or wait till we add the yokes tomorrow.
If you are adding the hood, start by stitching the curved part of the hood pieces right sides together. This pattern has an unlined hood. However, if you prefer the look of a lined one, simply cut one more pair of mirrored hood pieces. Instead of hemming the front opening 1/2″, you will place the two hoods right sides together, and stitch along the front opening. Turn your lined hood right sides out and top stitch the seam allowance.
All you have left to do today is press! Don’t skip pressing your neckline, it will make a world of difference!
You can see in the video below how I create the V neckline and the lined hood for my kid’s GT Jerseys. Once you finish today’s steps, post a photo of your progress in the comments of day 2 photo of this SAL album. You can find it in our Sew Along group.
Go Team SAL – day 1 | cut fabric
Go Team SAL – day 2 | shoulder seams & neckline
Go Team SAL – day 5 | side seams & hem bottom
Go Team SAL – day 6 | hem sleeves or add cuffs
Go Team SAL – day 7 | winners announcement

Leave a Reply