Welcome to the final day of the Charli and Kelli sew along!
All we have left to do today is attach the skirt to the bodice and hem. If you have not basted the two front skirt pieces yesterday, I recommend you do so today. Find the center point of the skirt’s front and back ad well as bodice front. With the right sides together, match the side seams and center marks on the skirt and bodice. Pin in place.
Tip: If you are using a fabric with vertical stretch or on the heavier side, add clear elastic to the waist seam. This will prevent the bodice from stretching too much when worn.
Sew the skirt to the bodice using a stretch stitch. I love a triple stretch stitch for this step. Press the waistband to reduce any waviness from sewing. Remember that a lot of the fancier fabric require a pressing cloth to be used.
Final steps of this sew along are hemming the skirt and the sleeves. If you opted for the split skirt and cap or sleeveless you are done with your Kelli and Charli projects. Our P4P University hemming knits blog post gives you a few tips for an easy and successful process. I have “discovered” the overcasting stitch on my sewing machine and I found it to just perfect for hemming stretch velvet. Give it a try!
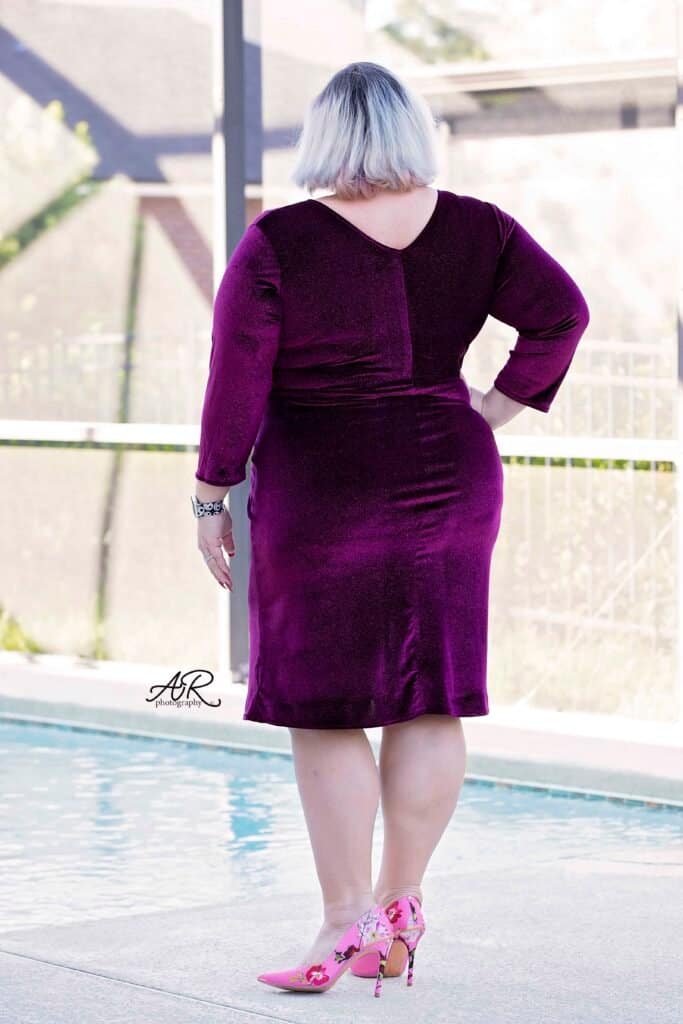
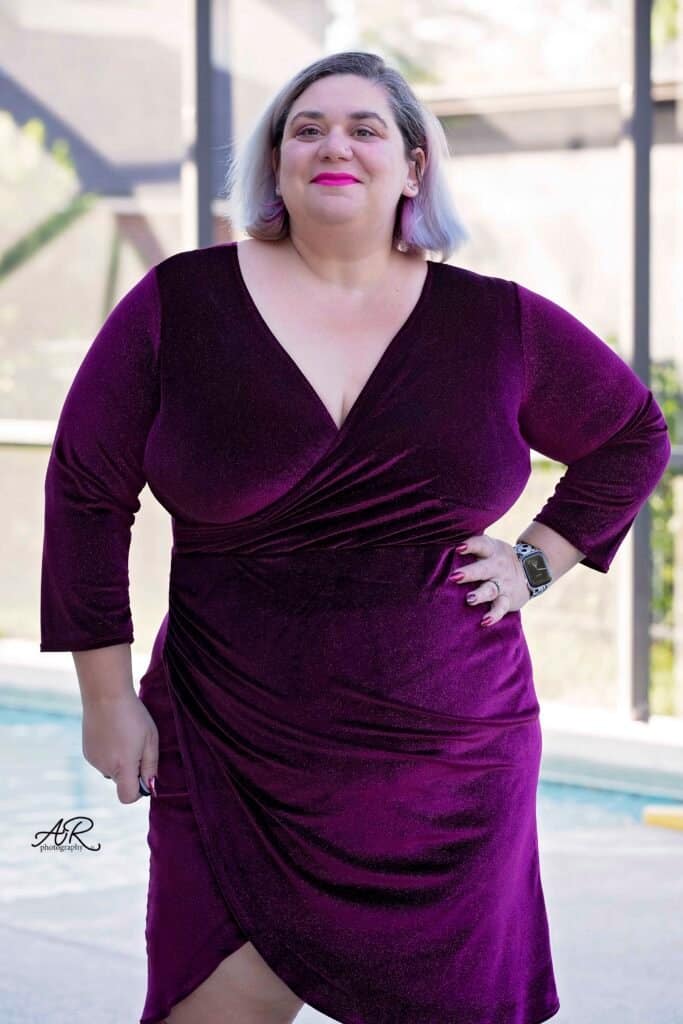
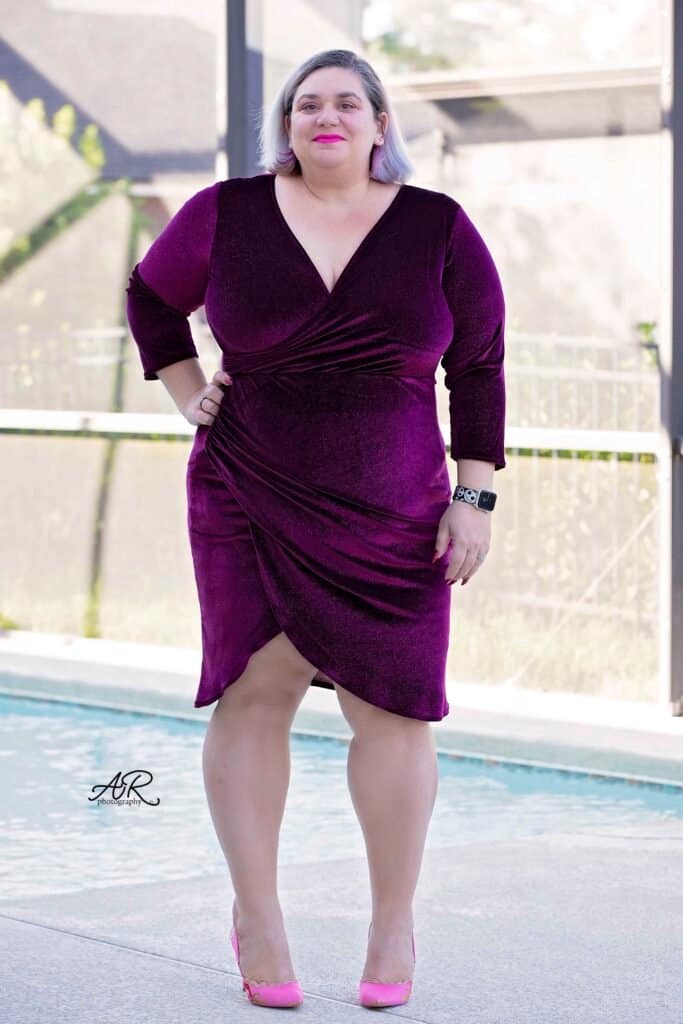
All done! I love the classic look of my glitter velvet Kelli, it will be just perfect for the holidays.
Here is the final construction and hemming video. Post your finished Charli and Kelli dresses in the comments of day 6 photo of the sew along album. I look forward to admiring your beautiful dresses!
Kelli and Charli sew along – day 1 | cut fabric
Kelli and Charli sew along – day 2 | shoulder seams and facing
Kelli and Charli sew along – day 3 | gather front and sew side seams
Kelli and Charli sew along – day 4 | add sleeves
Kelli and Charli sew along – day 5 | create skirt
Kelli and Charli sew along – day 6 | attach skirt and hem


Leave a Reply