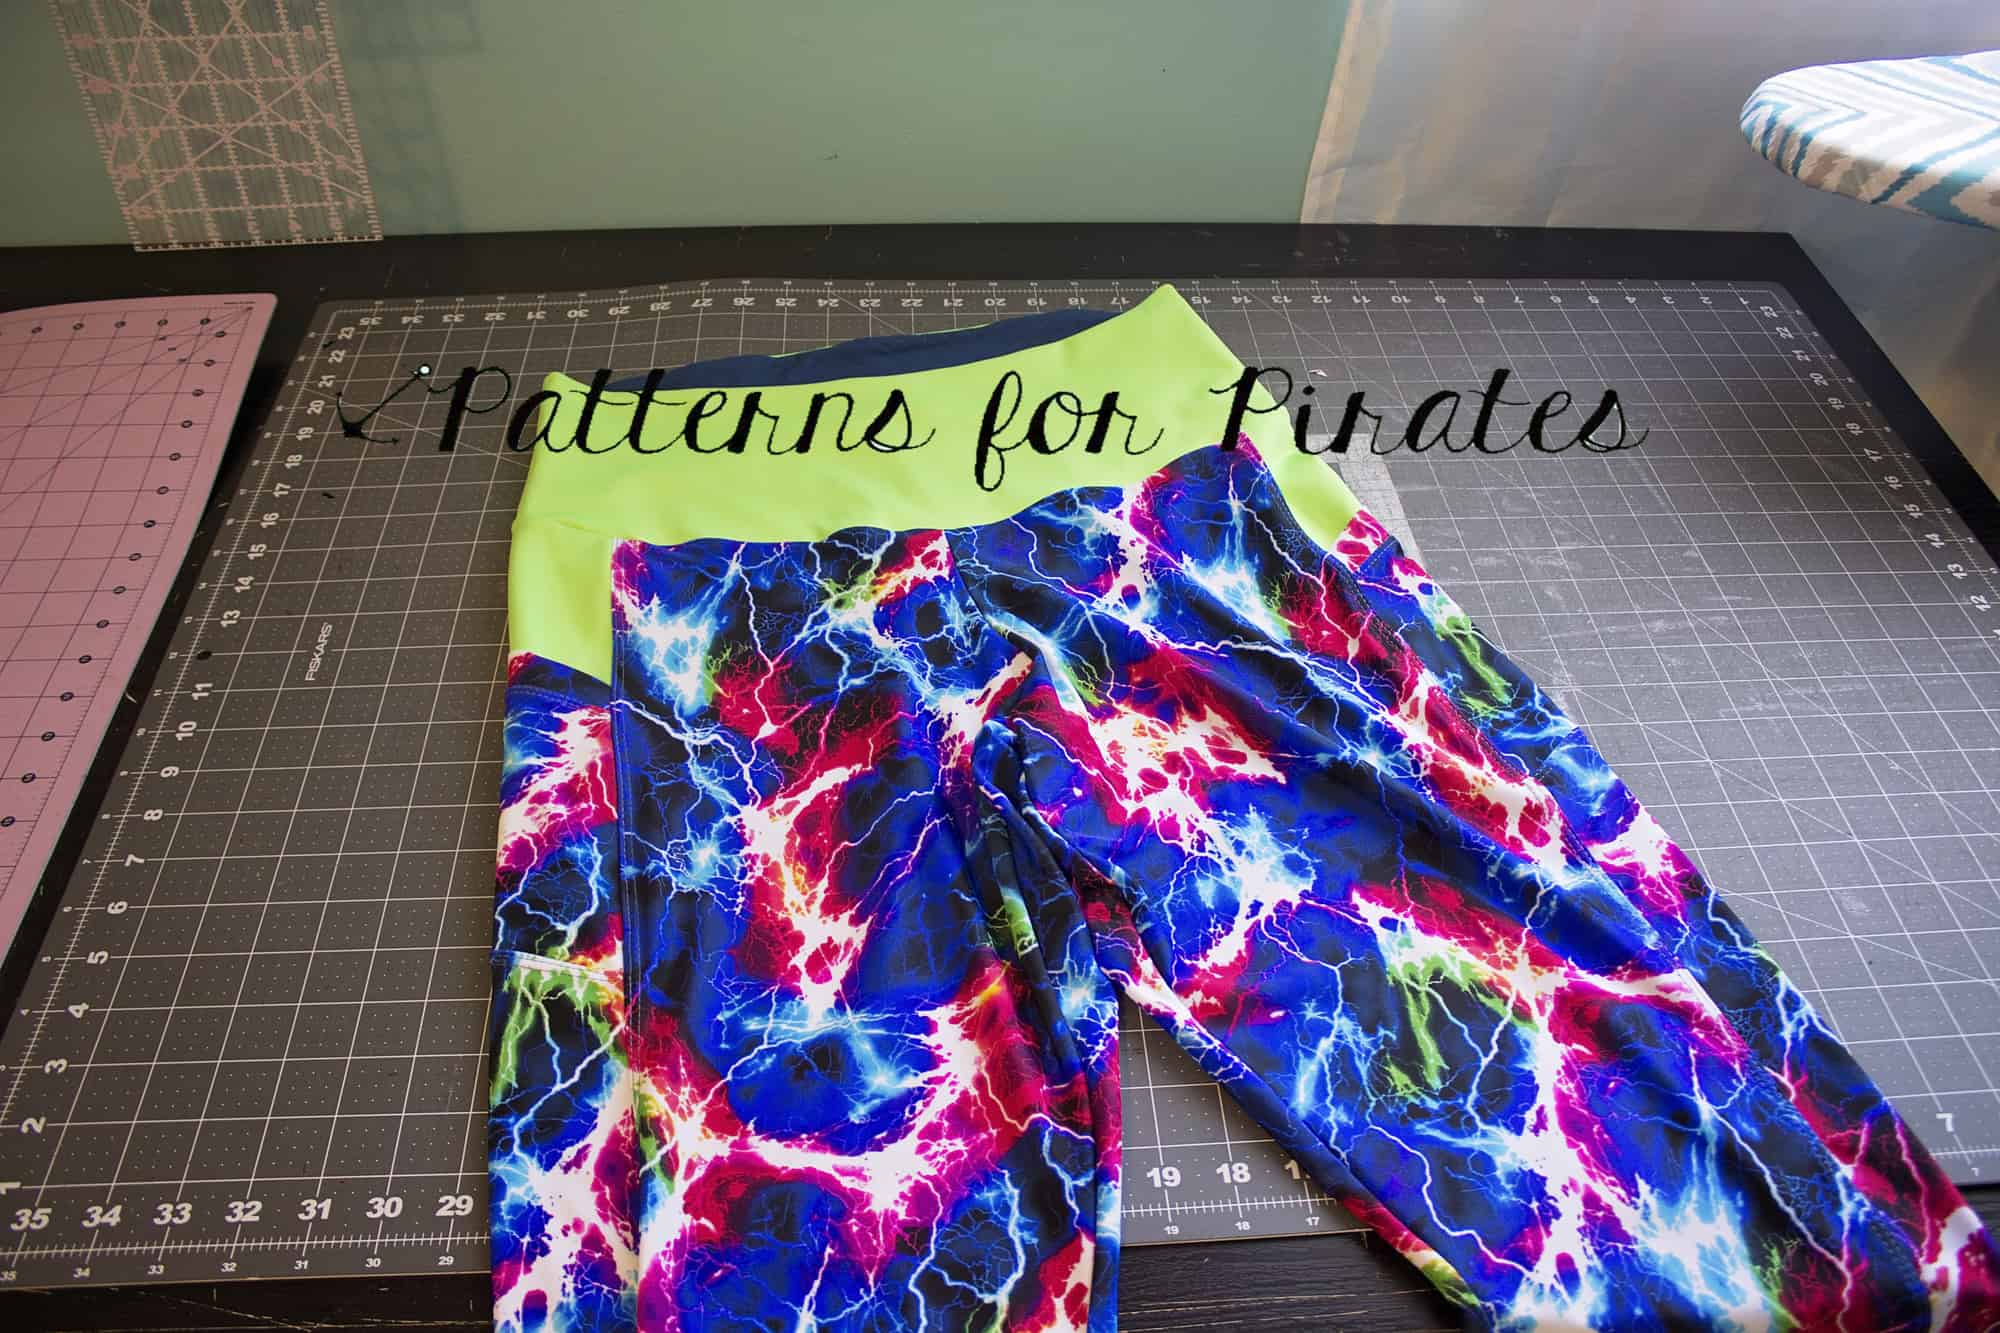
Can’t believe we’re almost at the end of the sew along. Today we’ll be attaching the waistband. Whether you’re doing the high or low rise or the contoured waistband like I did, now is the time to add it to the leggings. This step can also be done with the sewing machine or the serger. If you use a sewing machine, remember to set it for a stretch stitch. A triple stretch stitch will work great!
If you are attaching your waistband with your serger you can either do a regular overlock stitch or you can even do a flat lock stitch. Using a flatlock stitch will eliminate the bulk at the seam that you get with an overlock stitch.
For this sew along I used the new contoured waistband which, let me tell you, is the best thing ever! Best tummy control while still comfortable.
It is very important to cut your fabric along the grain. We have seen some FB comments suggesting to cut the waistbands against the grain for more support. I highly discourage that because your peg legs will loose shape in the wash and will not fit as intended.
TIP: If you are more of a rectangular shape than hourglass, you can add elastic to the top seam of your contoured waistband.
You can see the waistband construction video here.
Don’t forget to post your final picture in the Peg Legs SAL event and hastag it #peglegsSAL before May 3rd 10 pm EST. Be sure to come back on Wednesday for the Sew Along recap and the winners announcement.
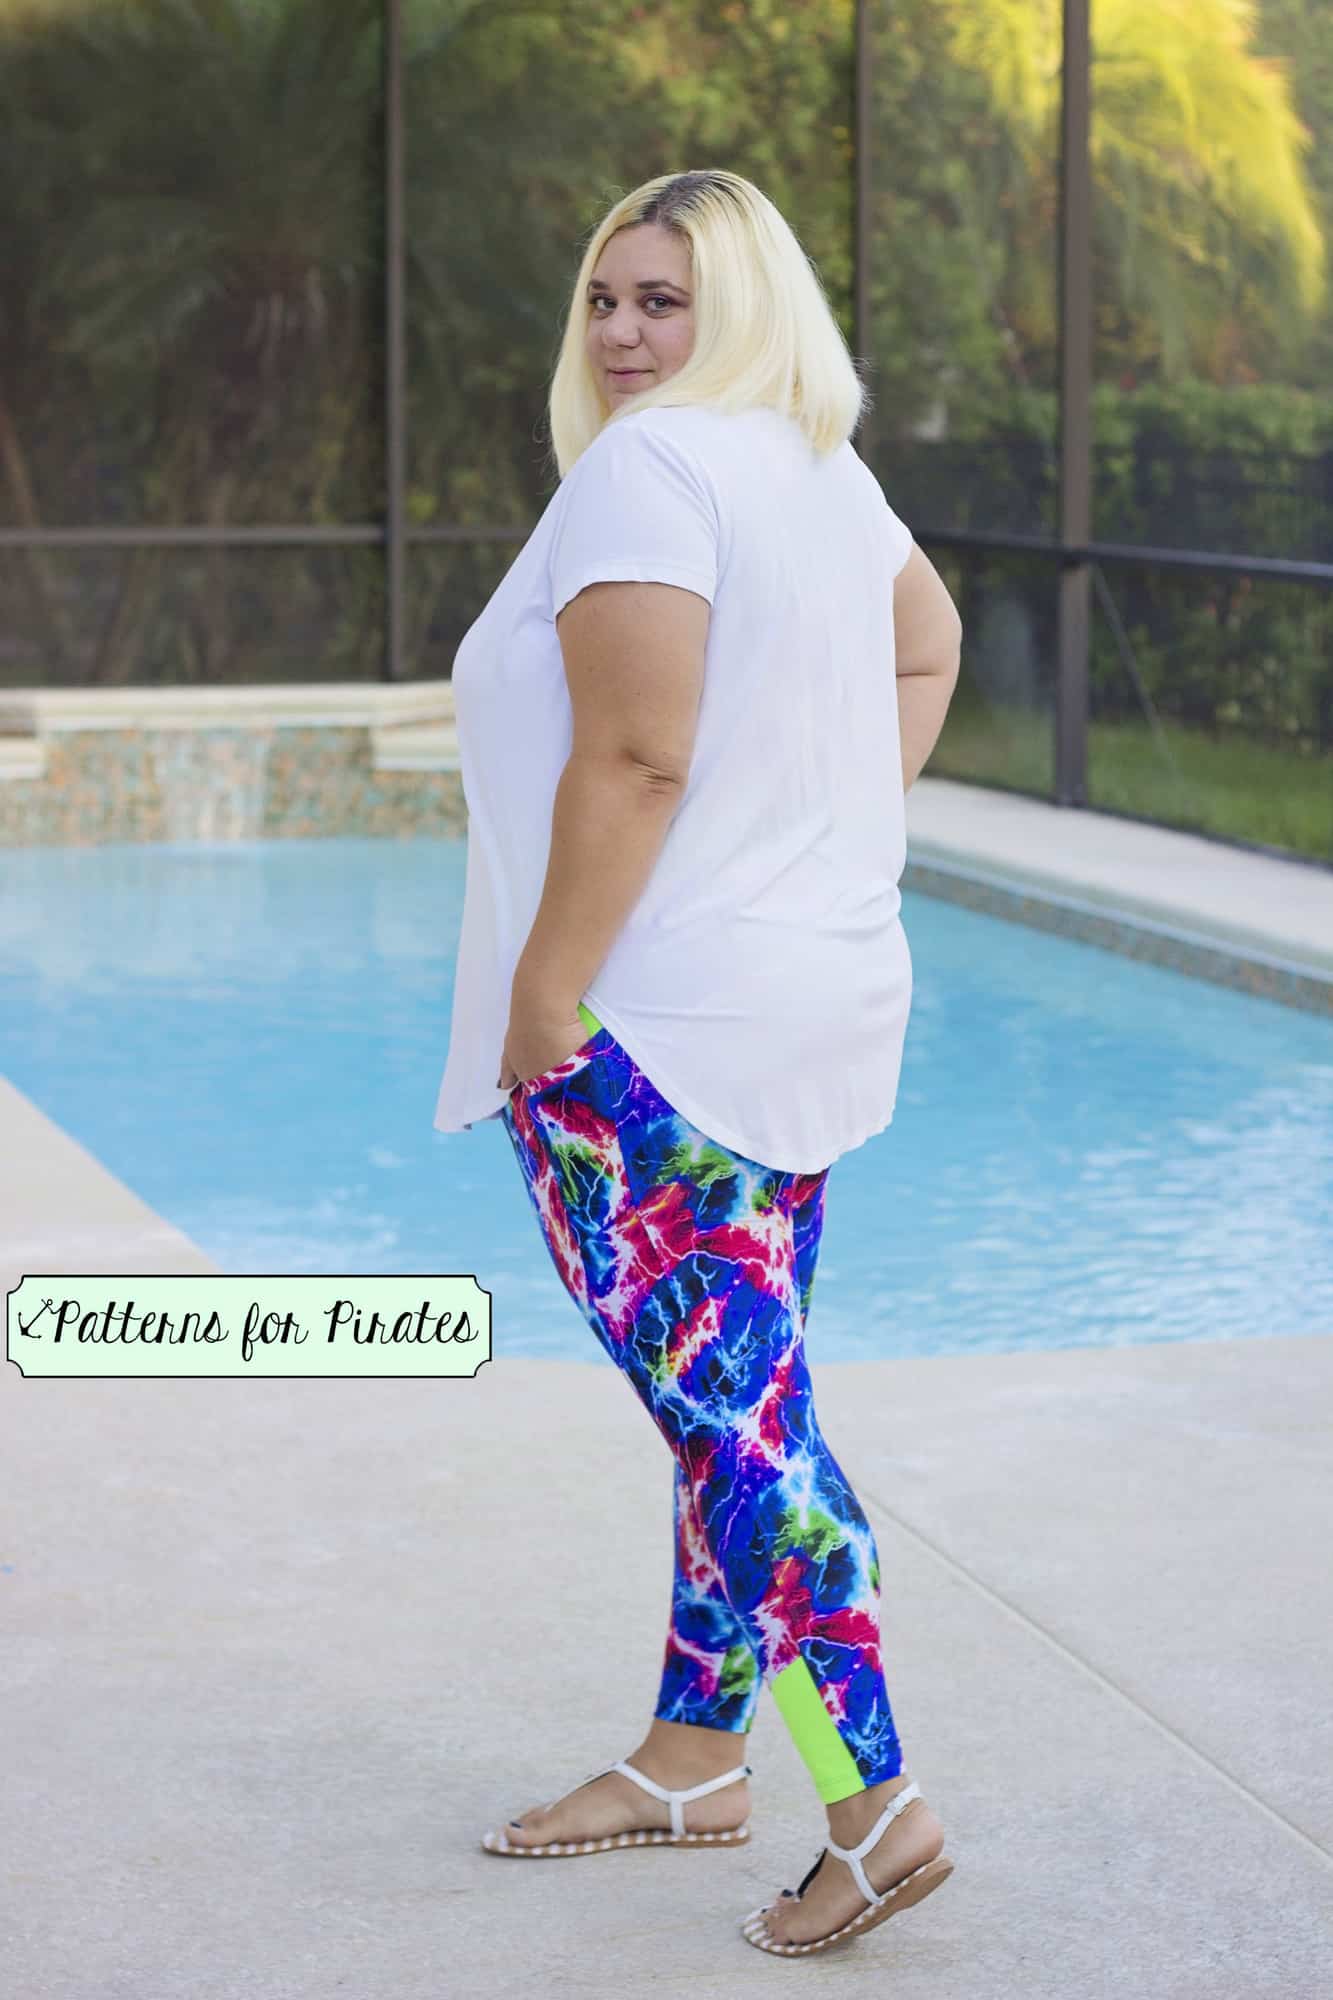
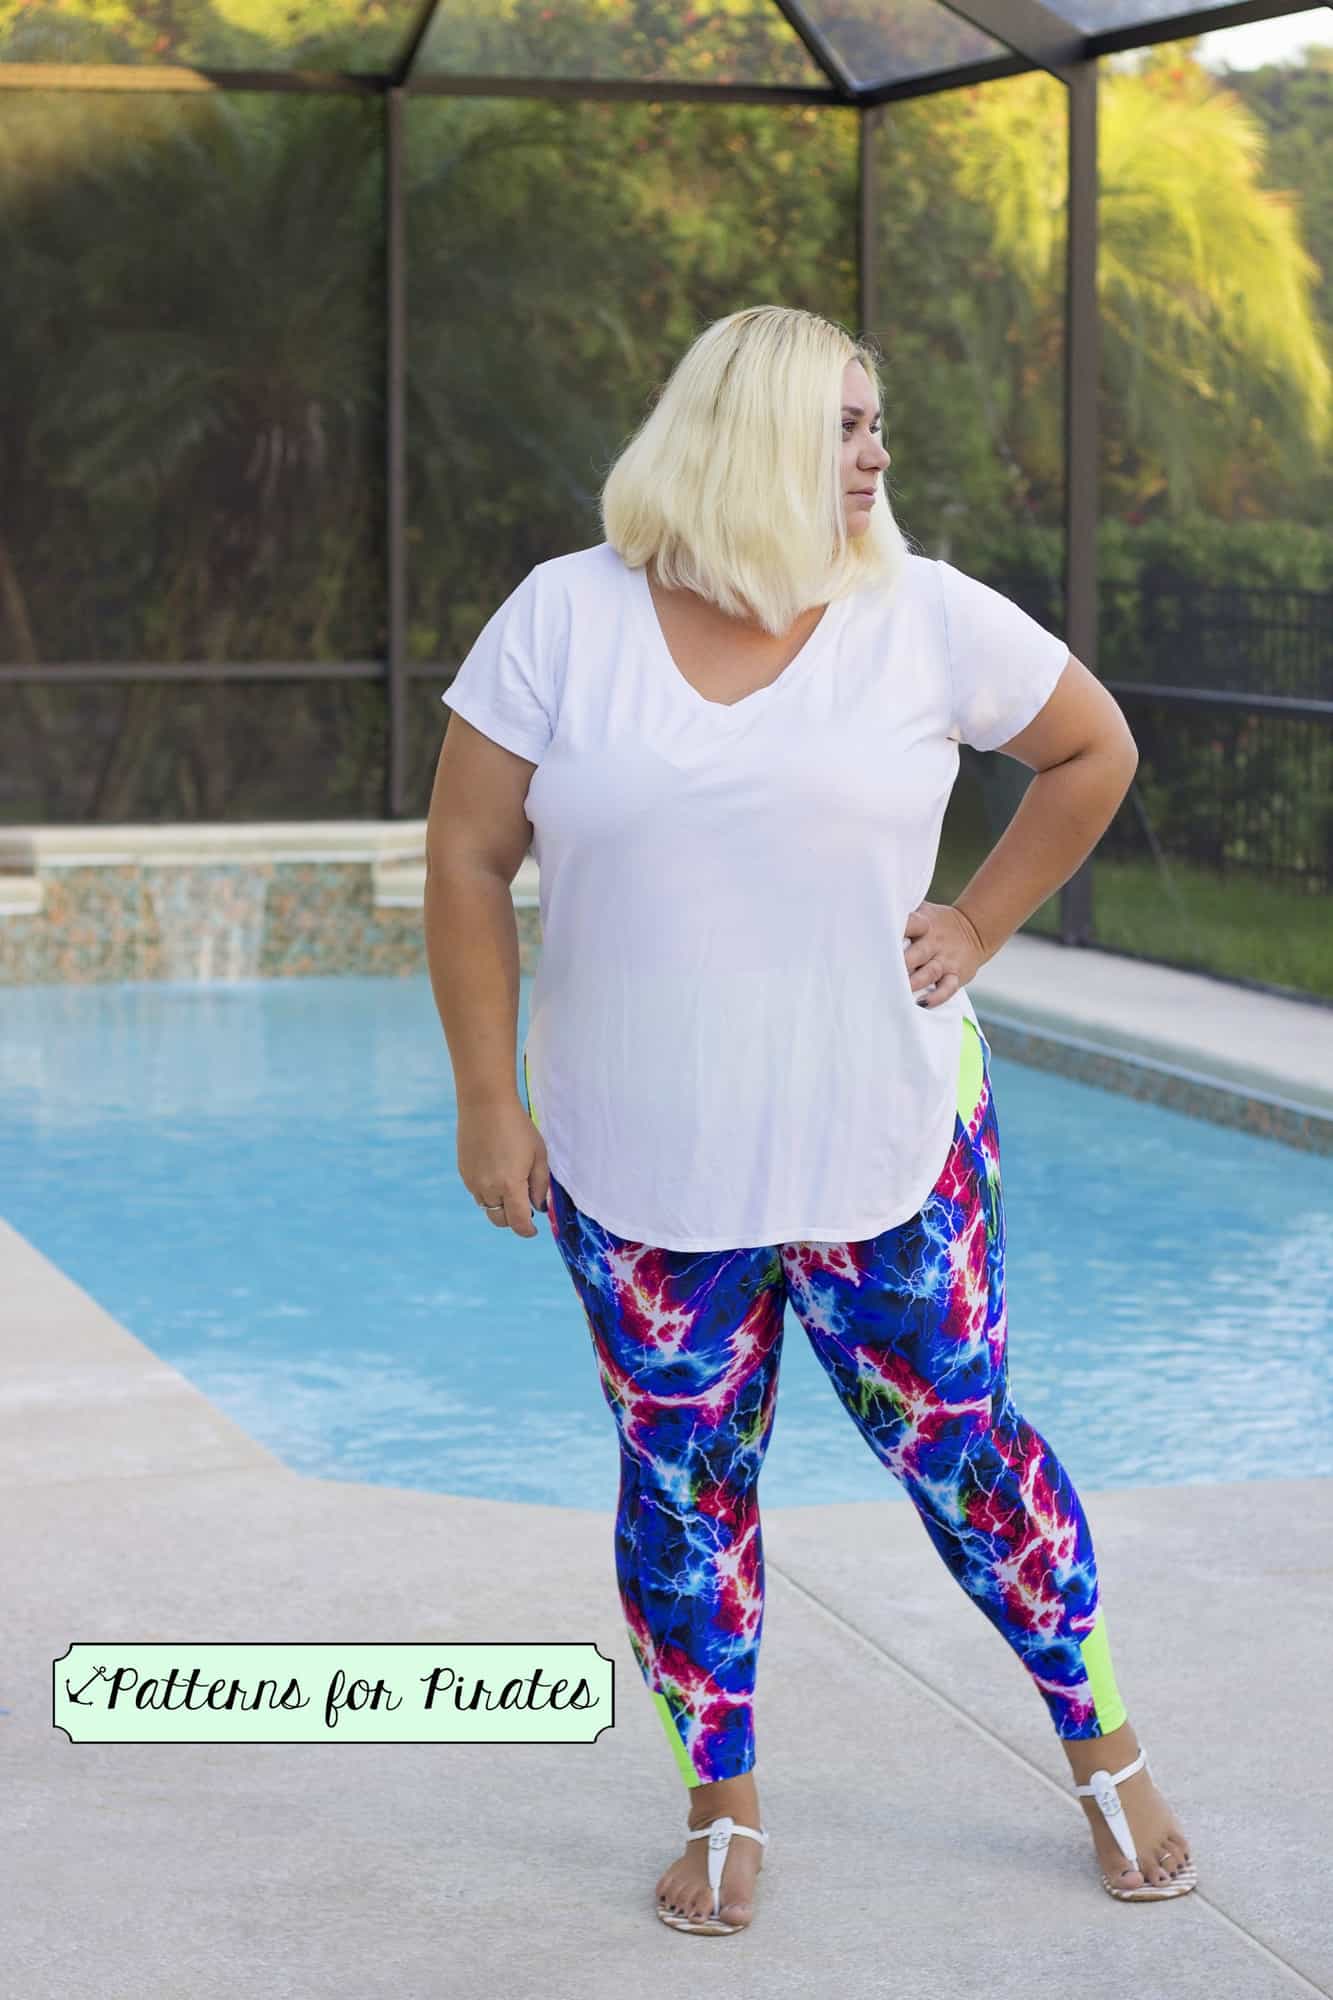
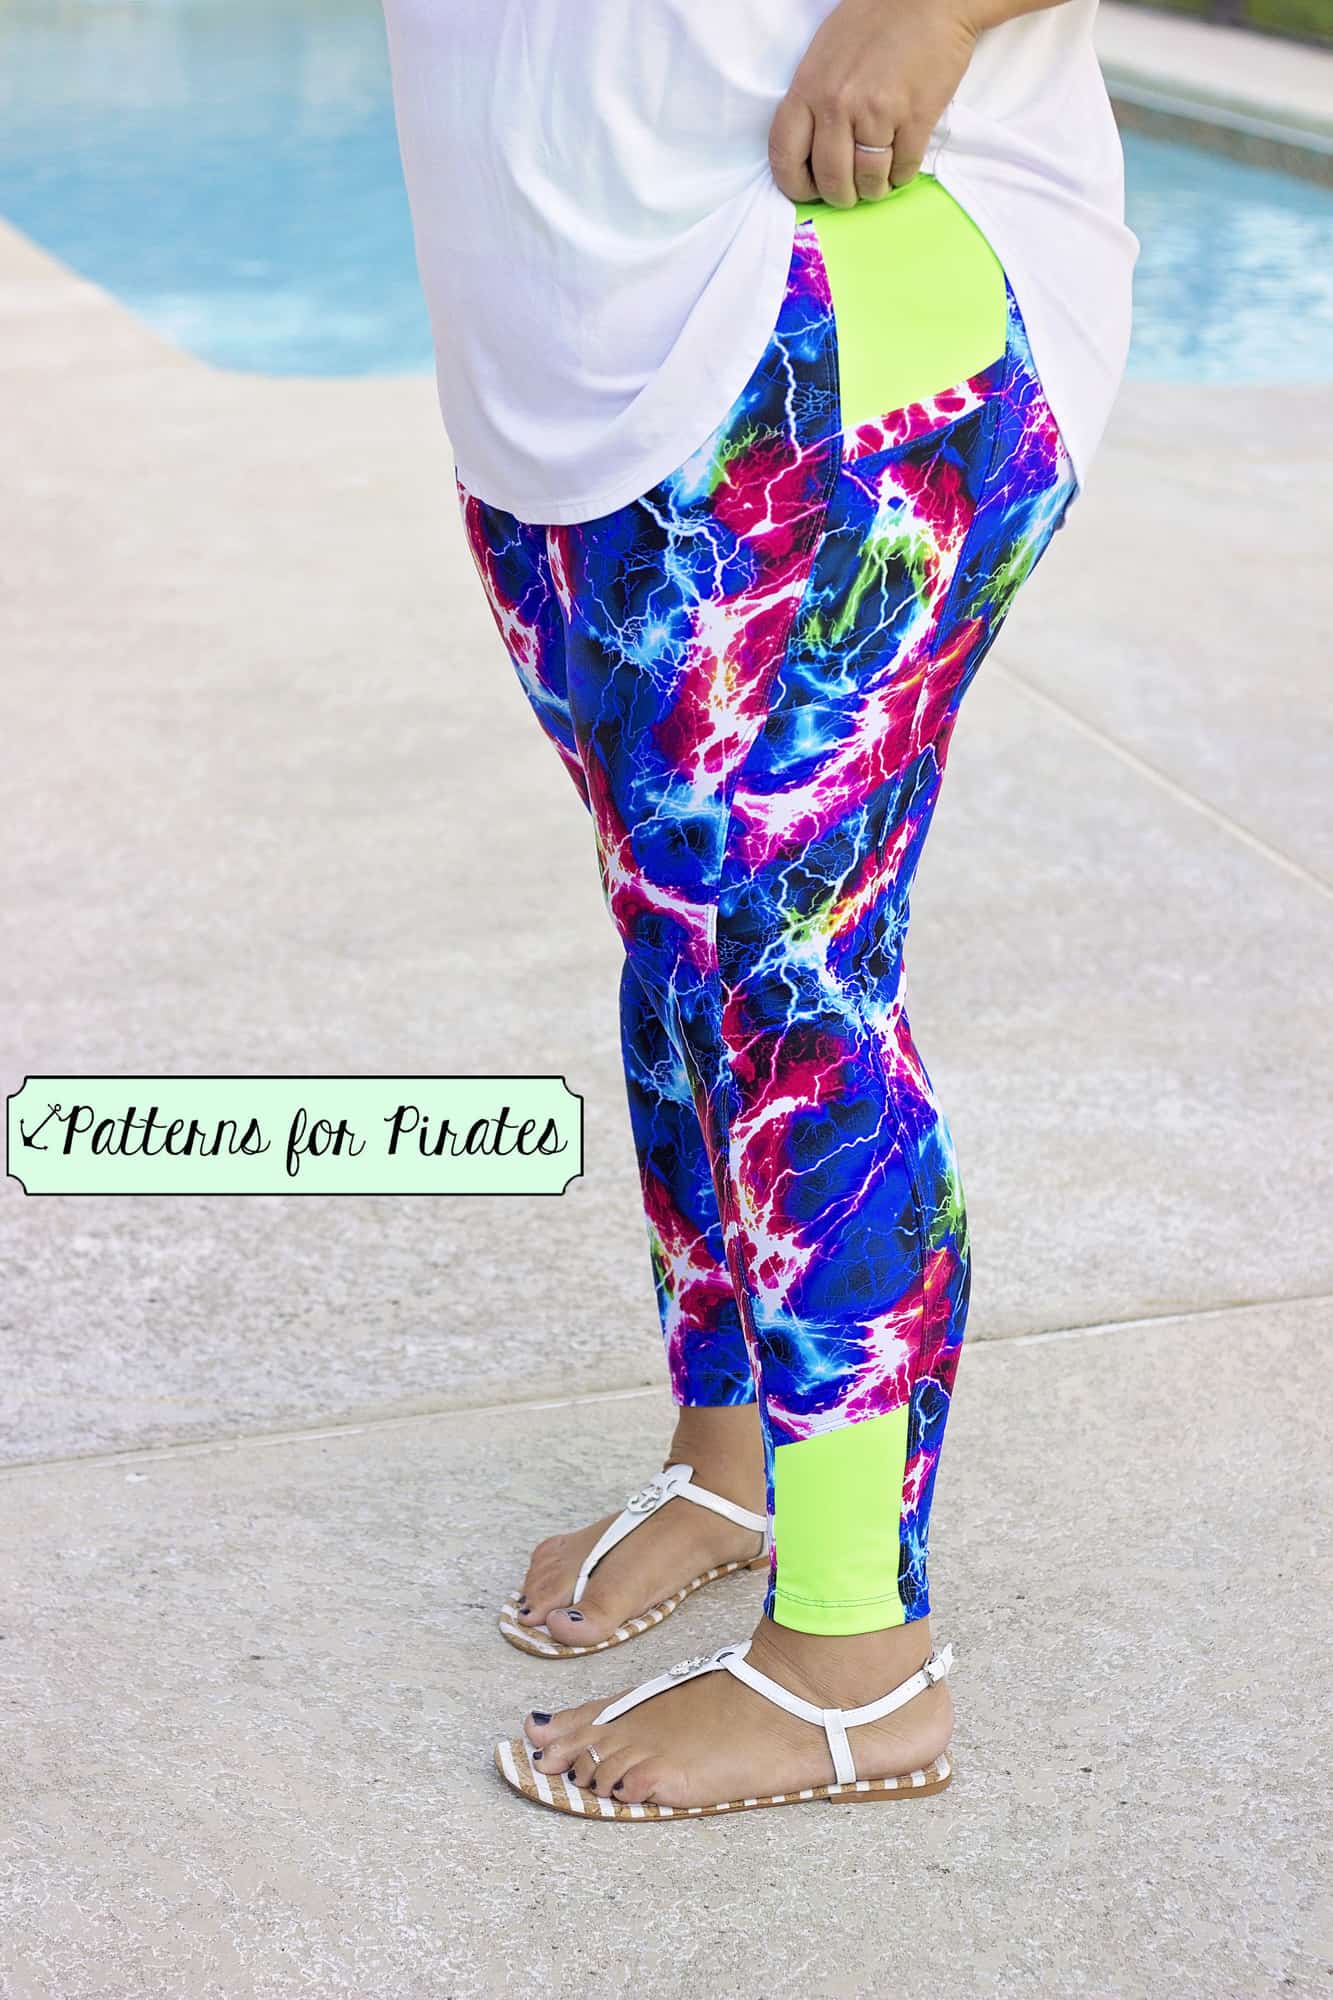
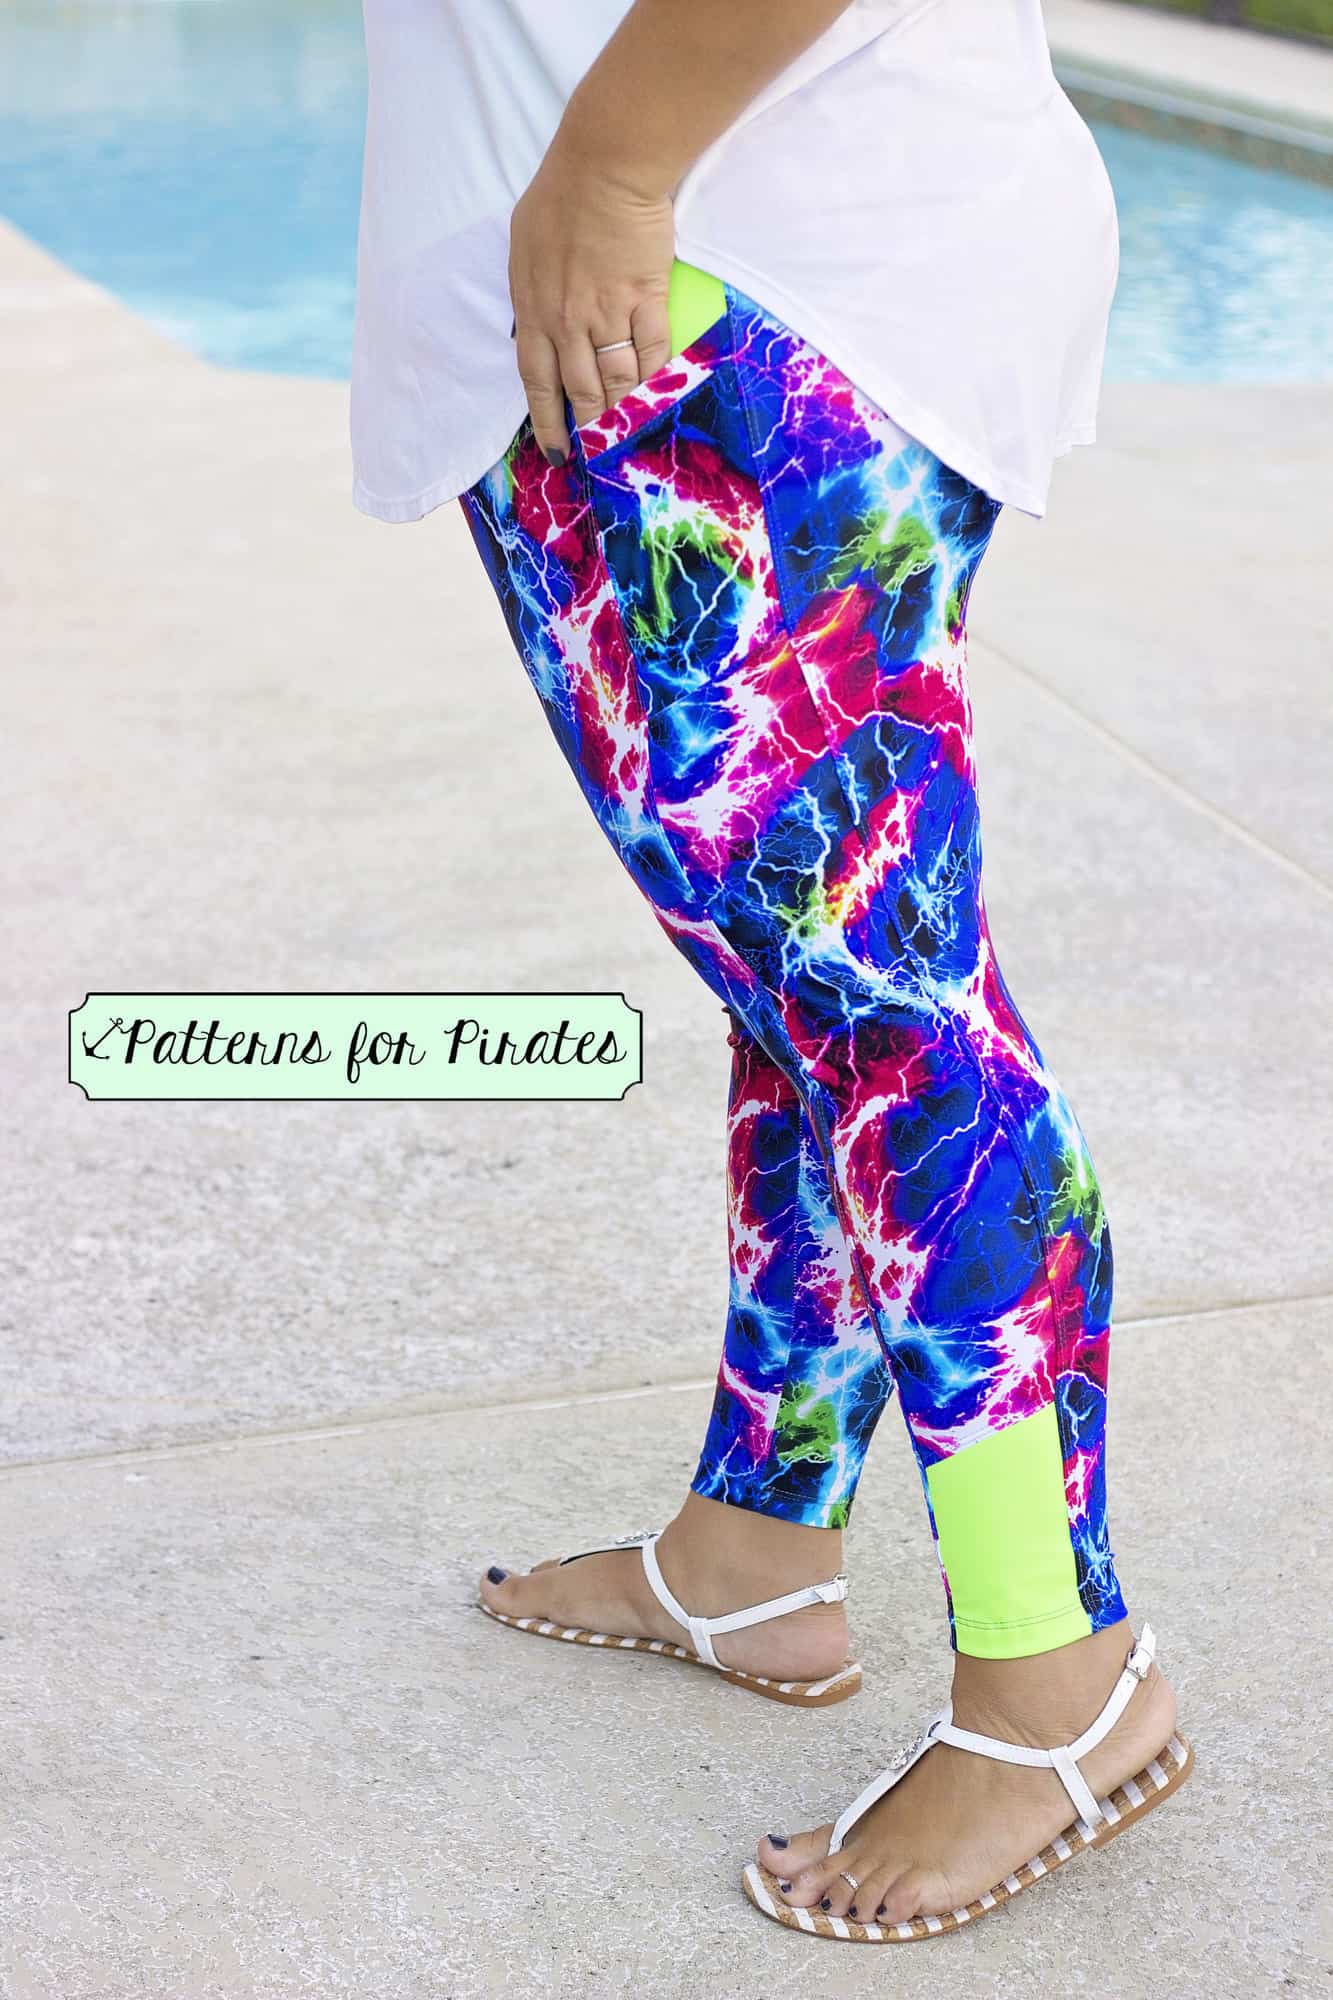
I just LOVE those Peg Legs that this beautiful blond is wearing like lightning blue and other colors with the lime green!!! Where is THAT MATERIAL from??? AWESOME!!! Thanks! God Bless!!! Peg Hambrecht
The fabric is from Made Whimsey (youmadesomething.com)
If making the contoured waistband do you but out the low rise or high rise option?
The low rise
Is the white shirt, in the above pictures, a P4P pattern?
No it isn’t. It is one my of sister Megan’s patterns 🙂 http://www.madeformermaids.com/mamaava
I have been trying to find the pattern piece for the regular waistband in both the original peg legs pattern & the add-ons, but I can’t seem to find it anywhere. Will you please help?
Hi- It is just a rectangle- so it will be the Cut Chart. We put the Cut Chart both on the pattern piece and again in the tutorial on the first few pages <3
Wonderful, thank you so much !!!
I get confused at the same step everytime I sew these, and on the pics in the tutorial, this is very hard to see: once I have sewn the waistband together and is ready to attach it to the pants, what is the center front of the waistband? Is it the shorter side or the longer side? ☺️
I also saw the video, but she doesn’t show explicitly what the center front looks like once the waistband is all sewn up and ready to attach.
The front is the longer side. <3