Patterns for Pirates

P4P stylish, modern, wearable patterns

  • Home
  • Blog
    • Frequently Asked Questions
    • Pattern Releases
      • Free Patterns
    • P4P University
      • Fitting
      • Sewing with Stretch, Knit Fabrics
      • Sewing with Woven Fabrics
      • Sewing Machines
    • Sew-A-Longs
    • Fabric for Pirates
    • Pattern Hacks
    • Announcement
      • Blog Tours
      • Contest/Giveaway
  • Shop
  • Bundle Discounts
  • Gift Cards
  • My Account
  • Cart

Peg Legs SAL: Day 7 – Recap and winners announcement

May 3, 2017

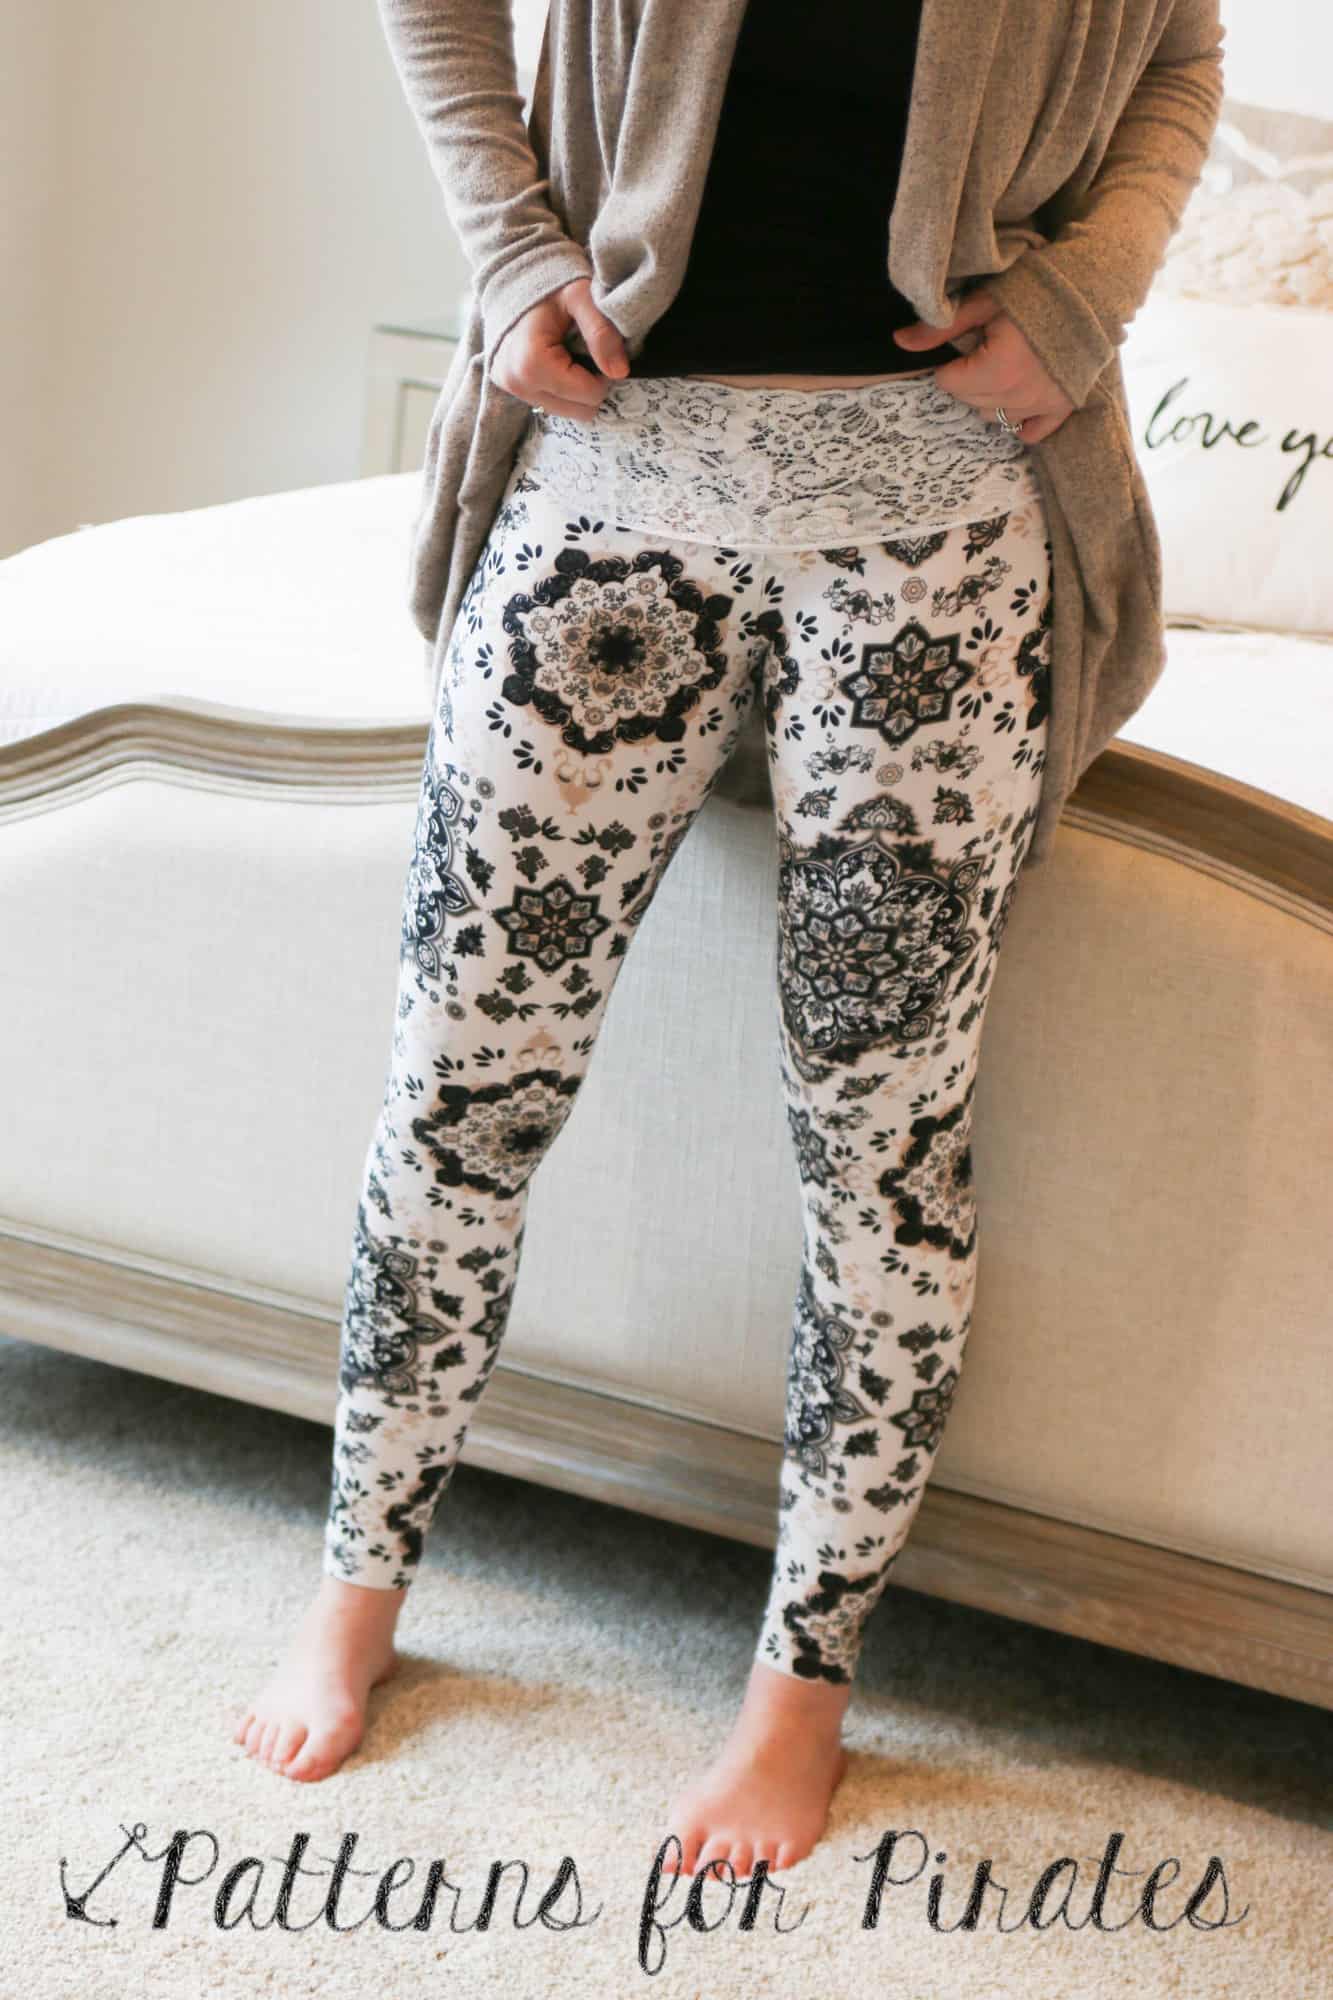
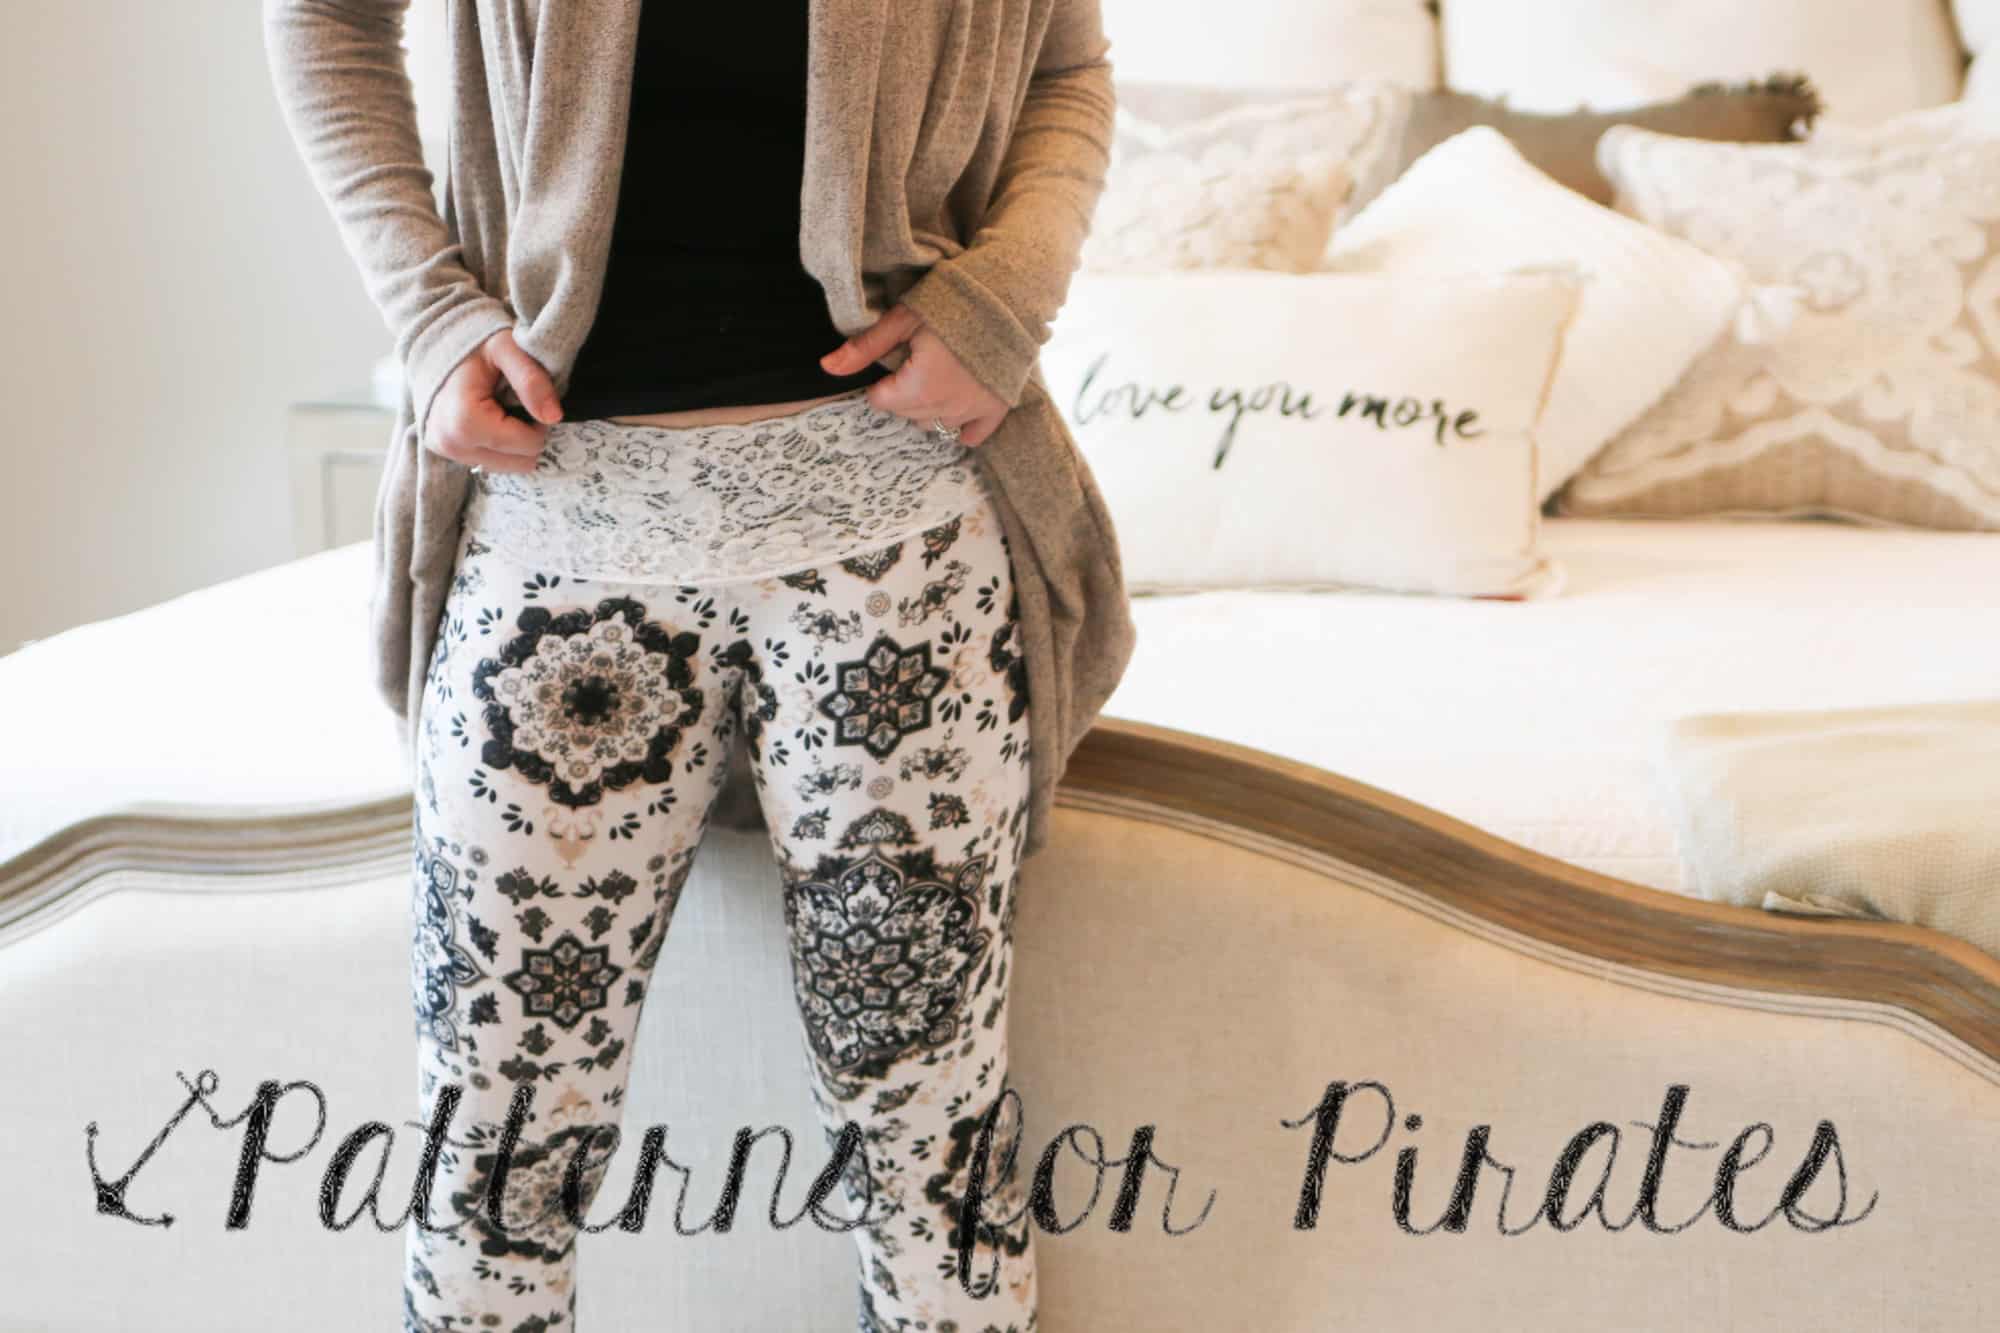
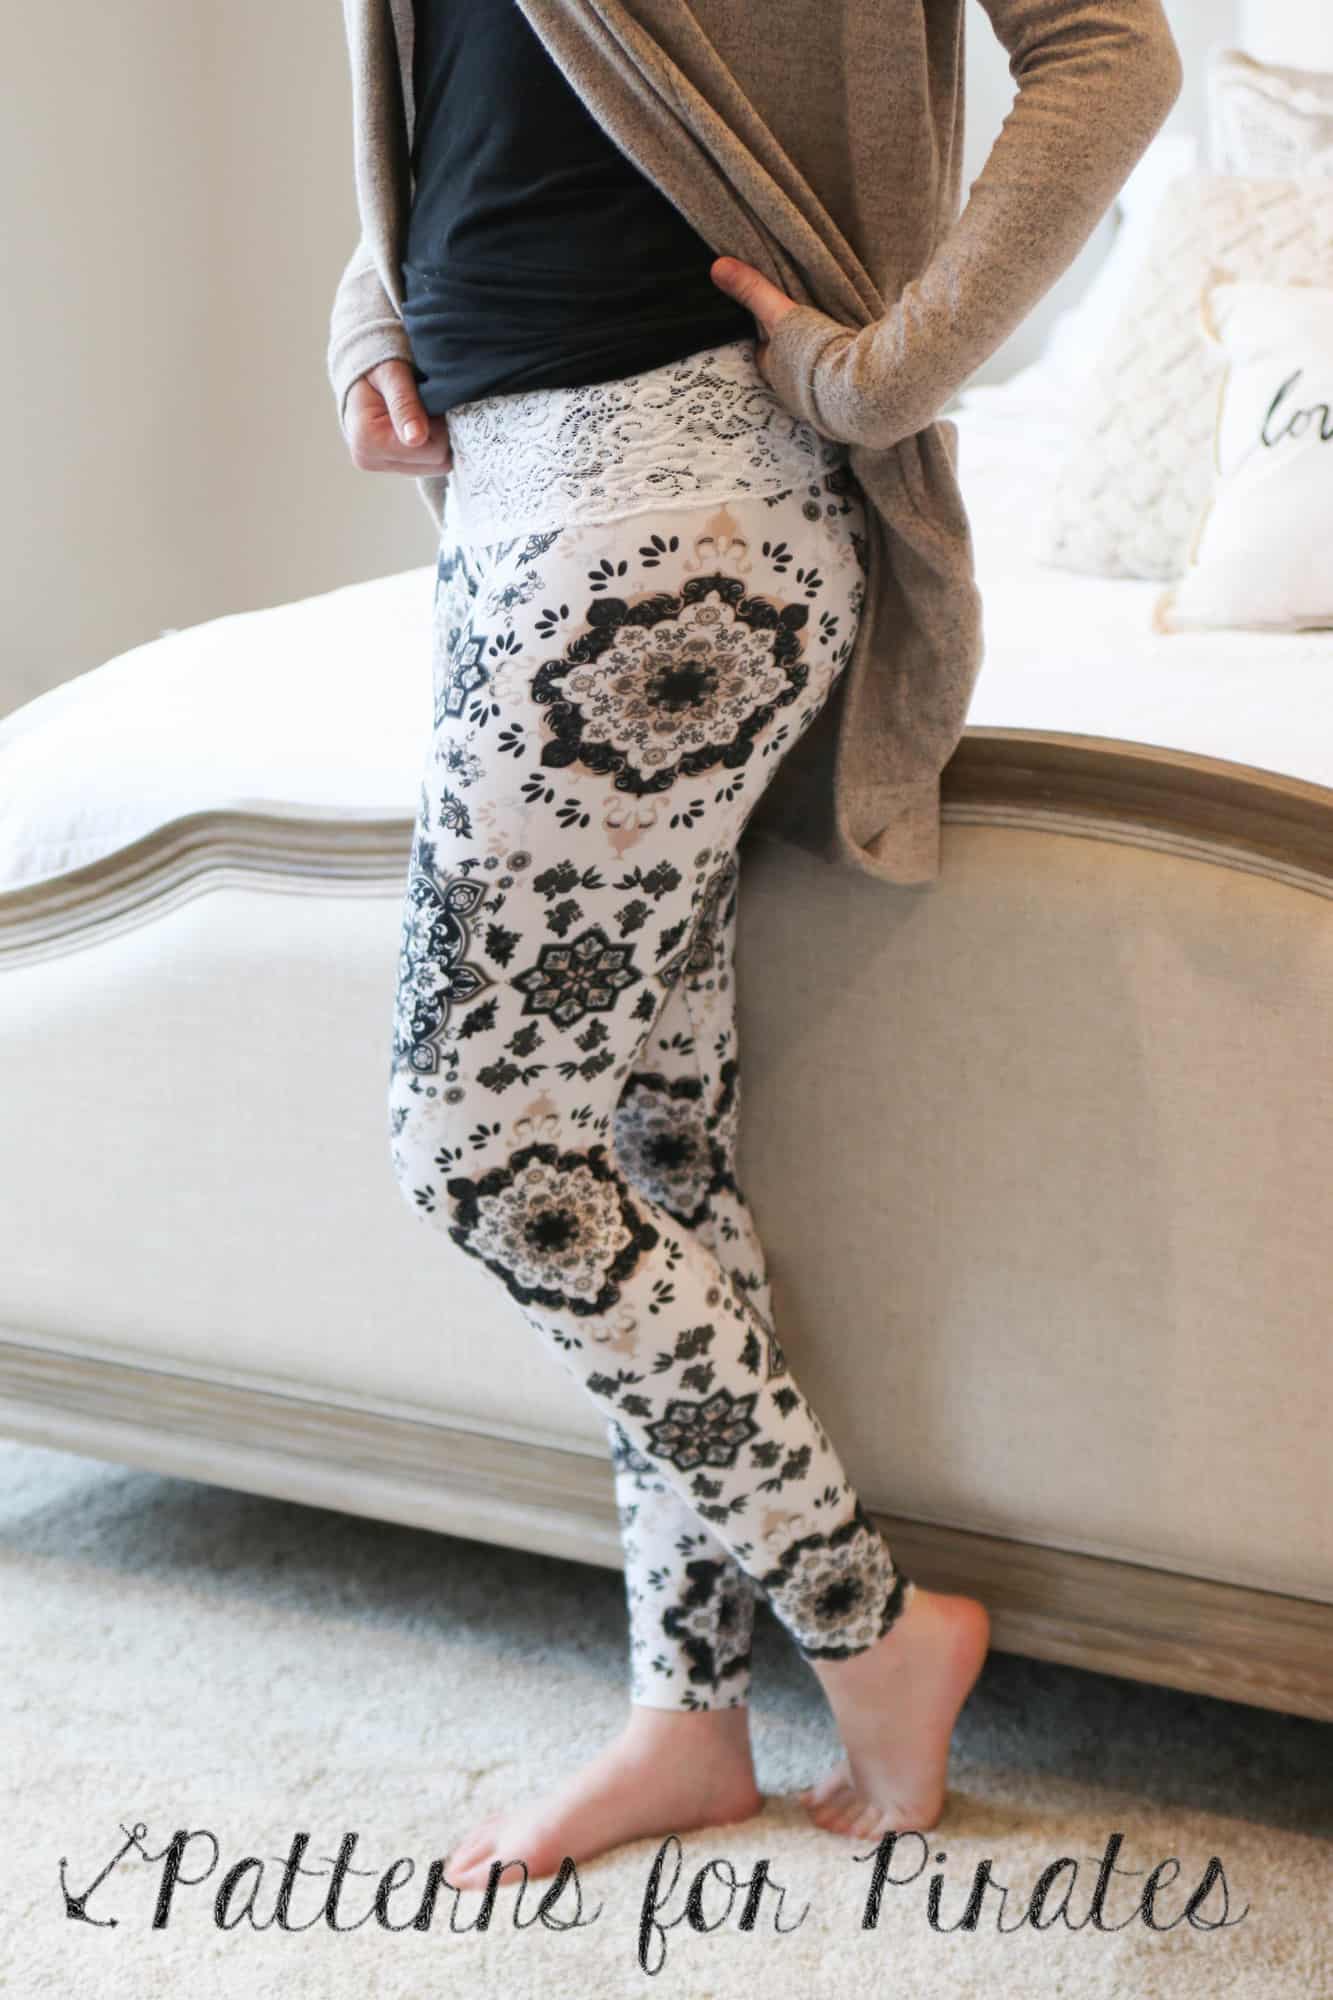
We made it to the last day of the Peg Legs sew along. You all did an amazing job this past week! I’ve seen so many beautiful pairs of Peg Legs being sewn.

Let’s recap what we did so far:

Day 1: Fabric selection

Day 2: Printing and measuring

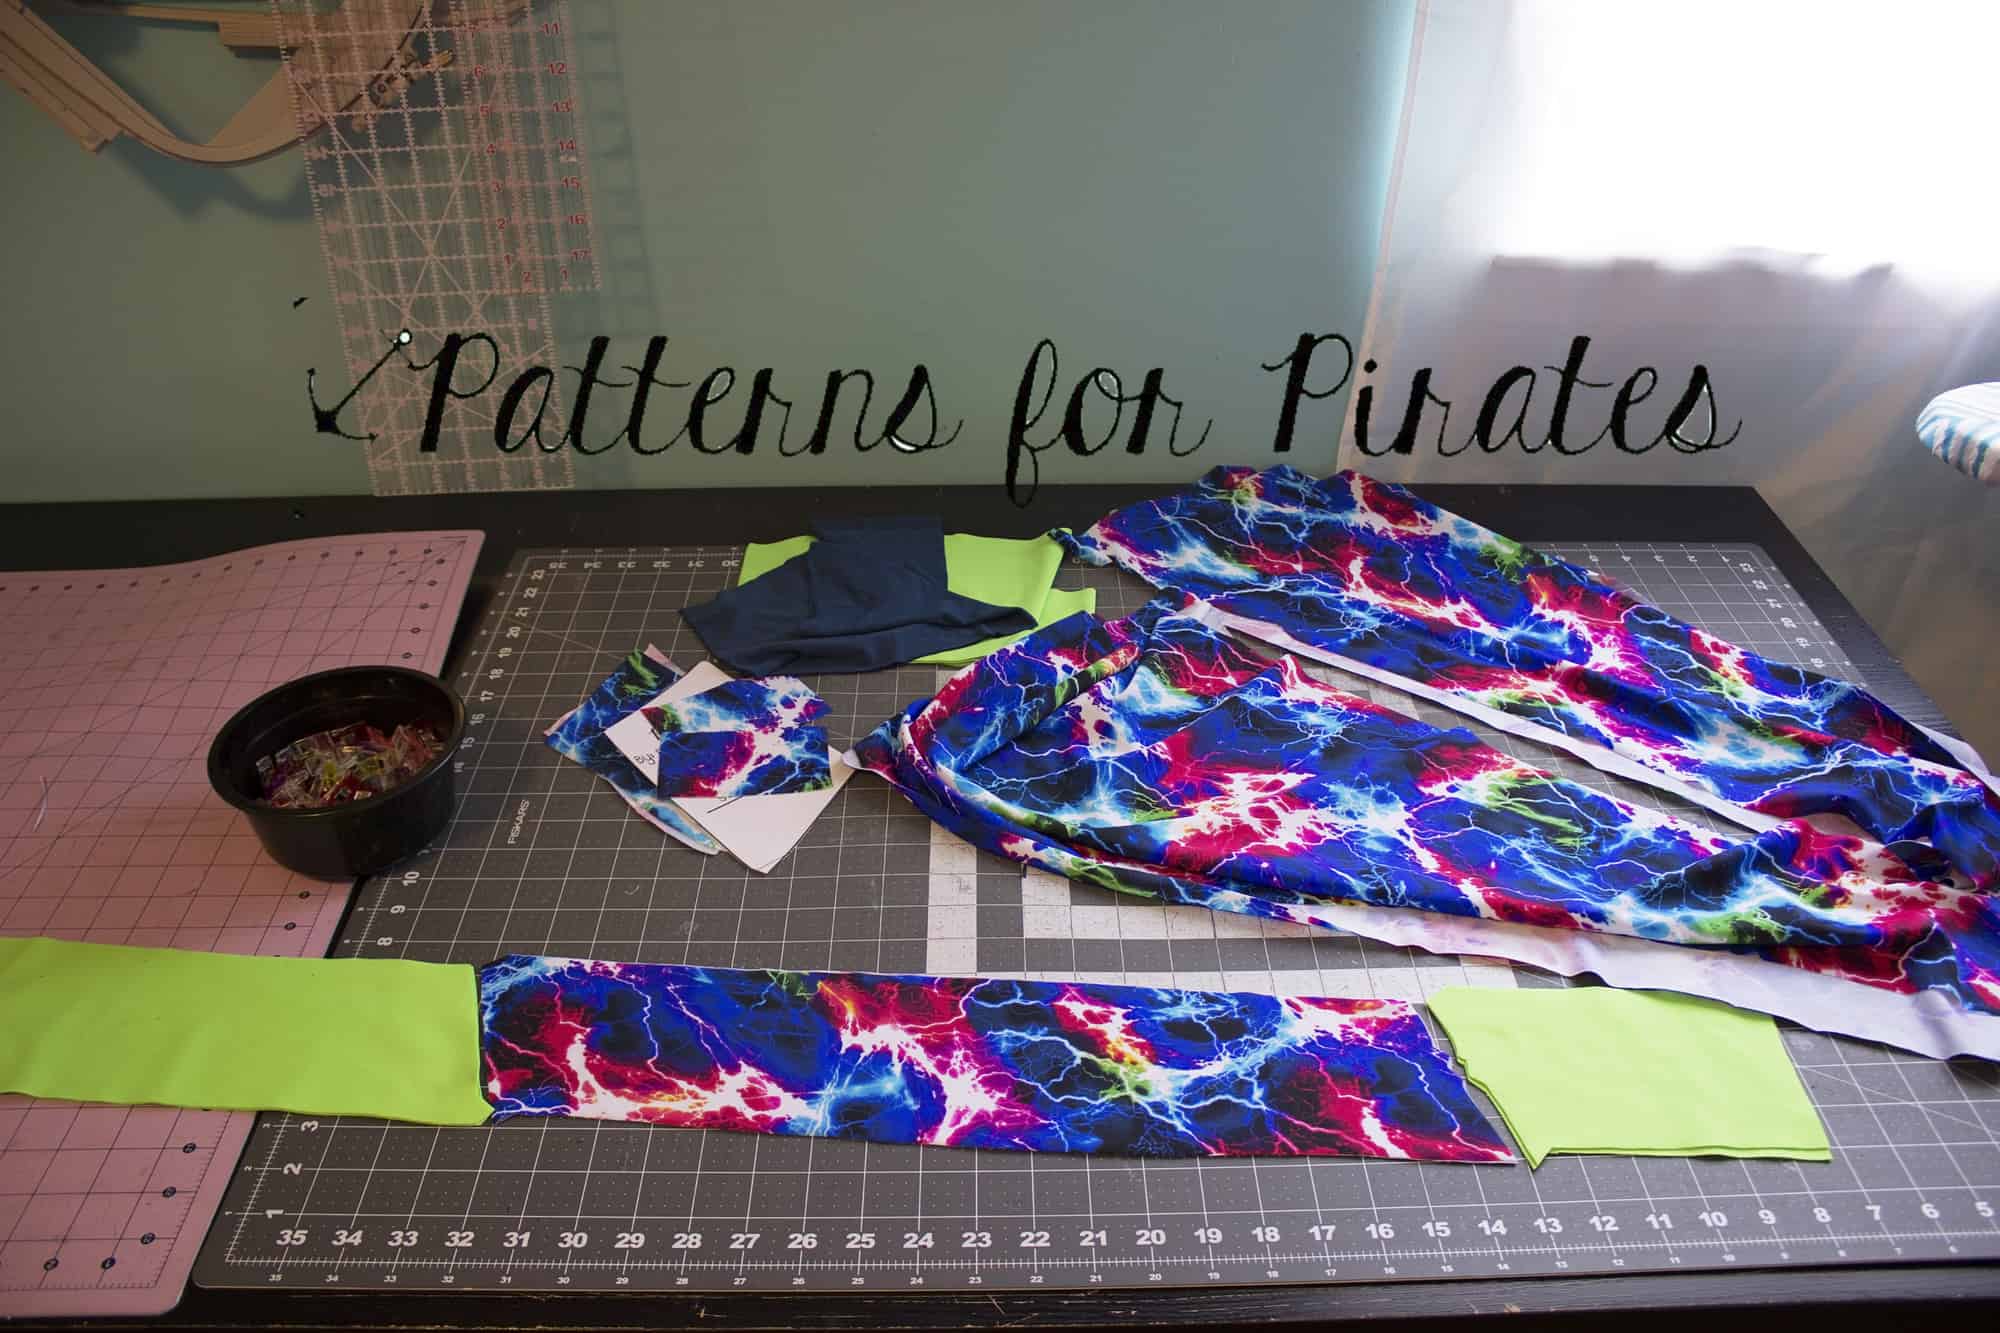
Day 3: Cutting the fabric

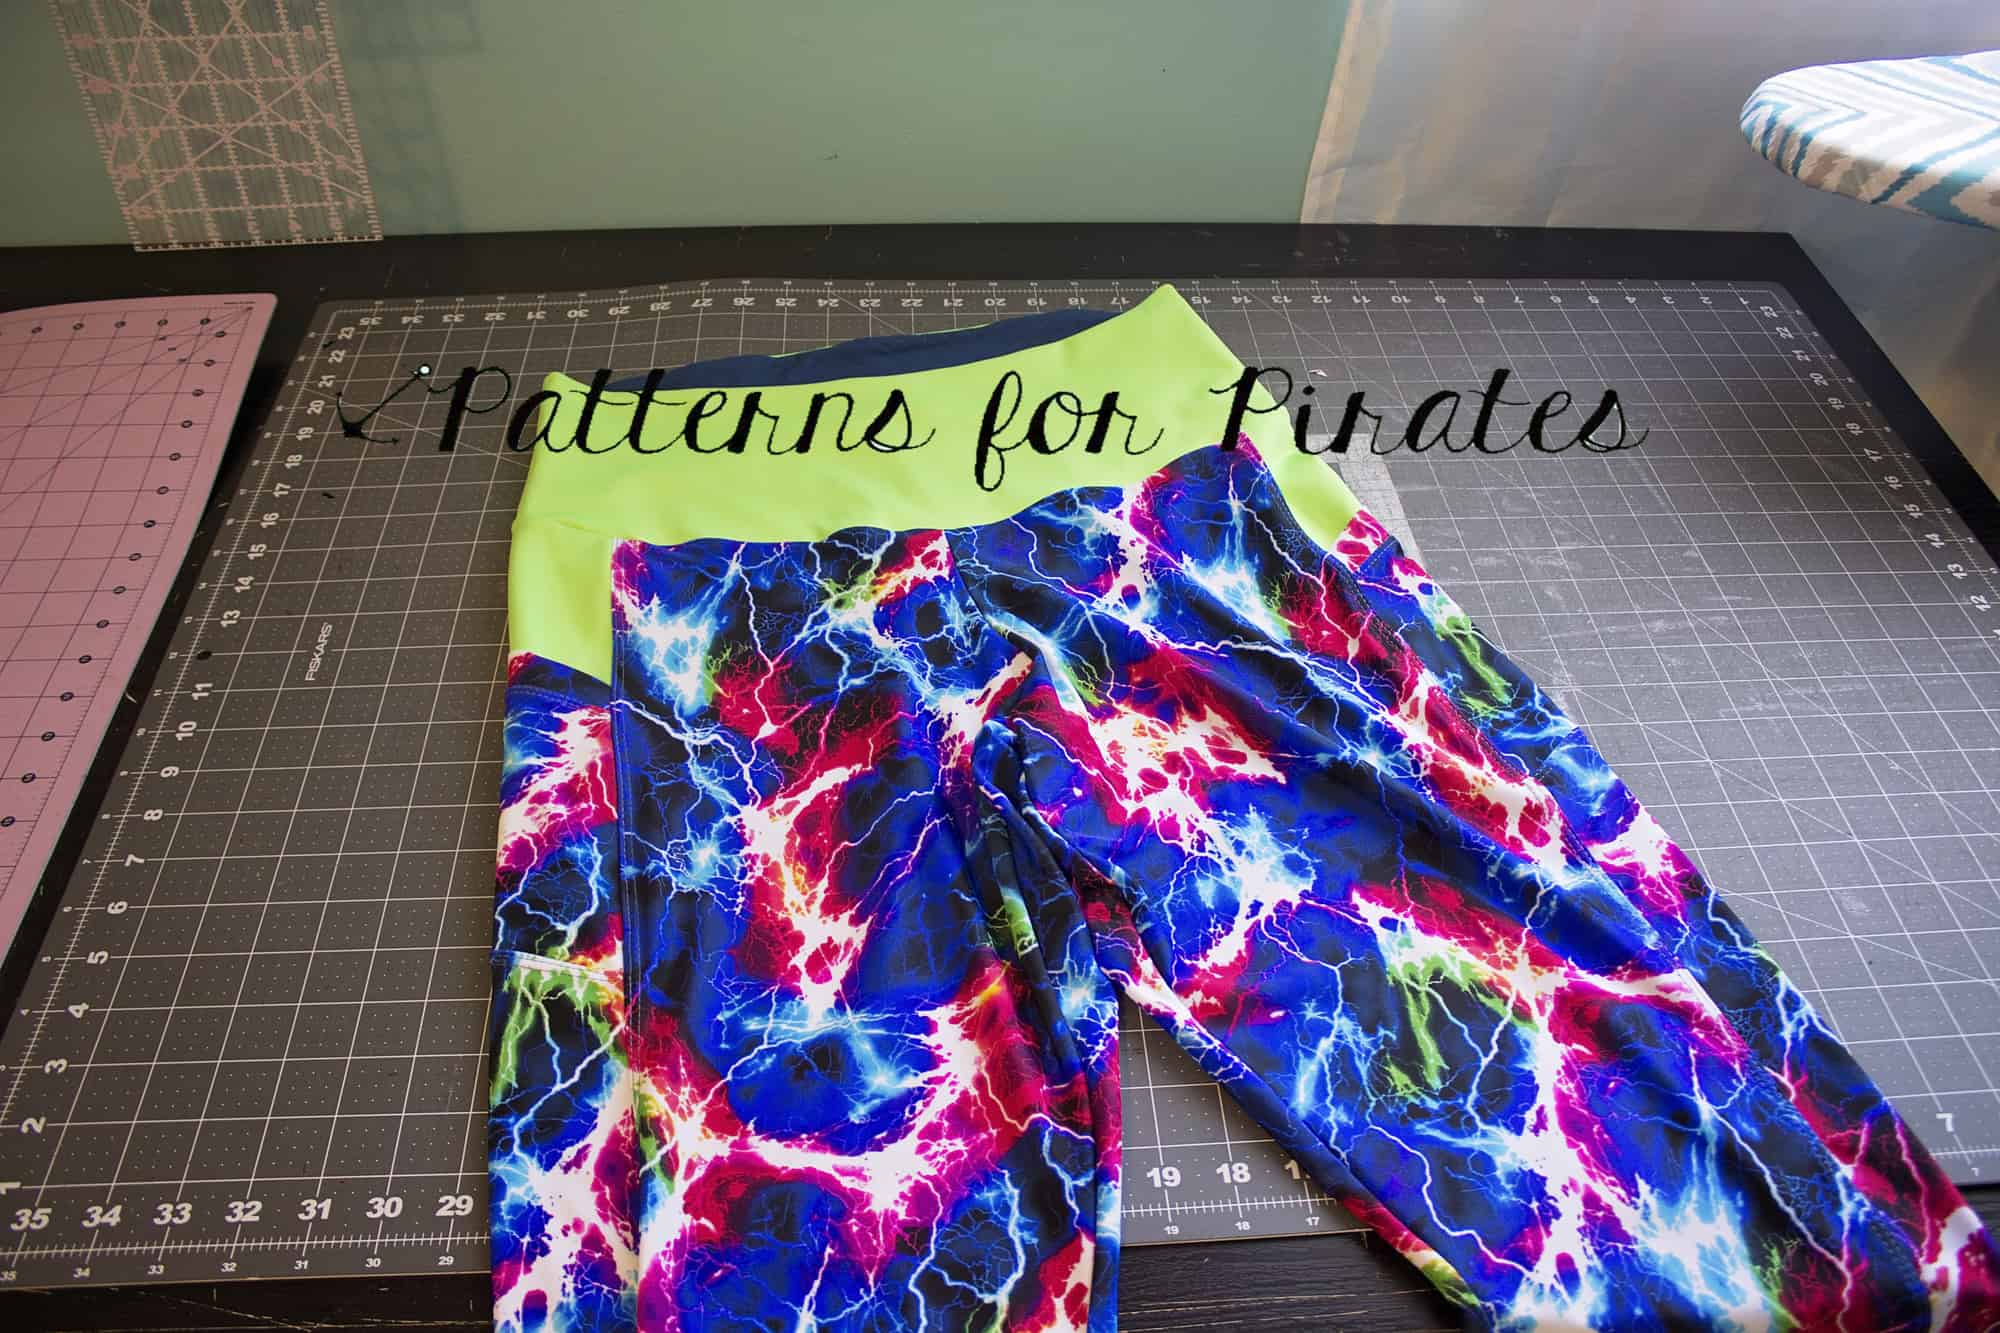
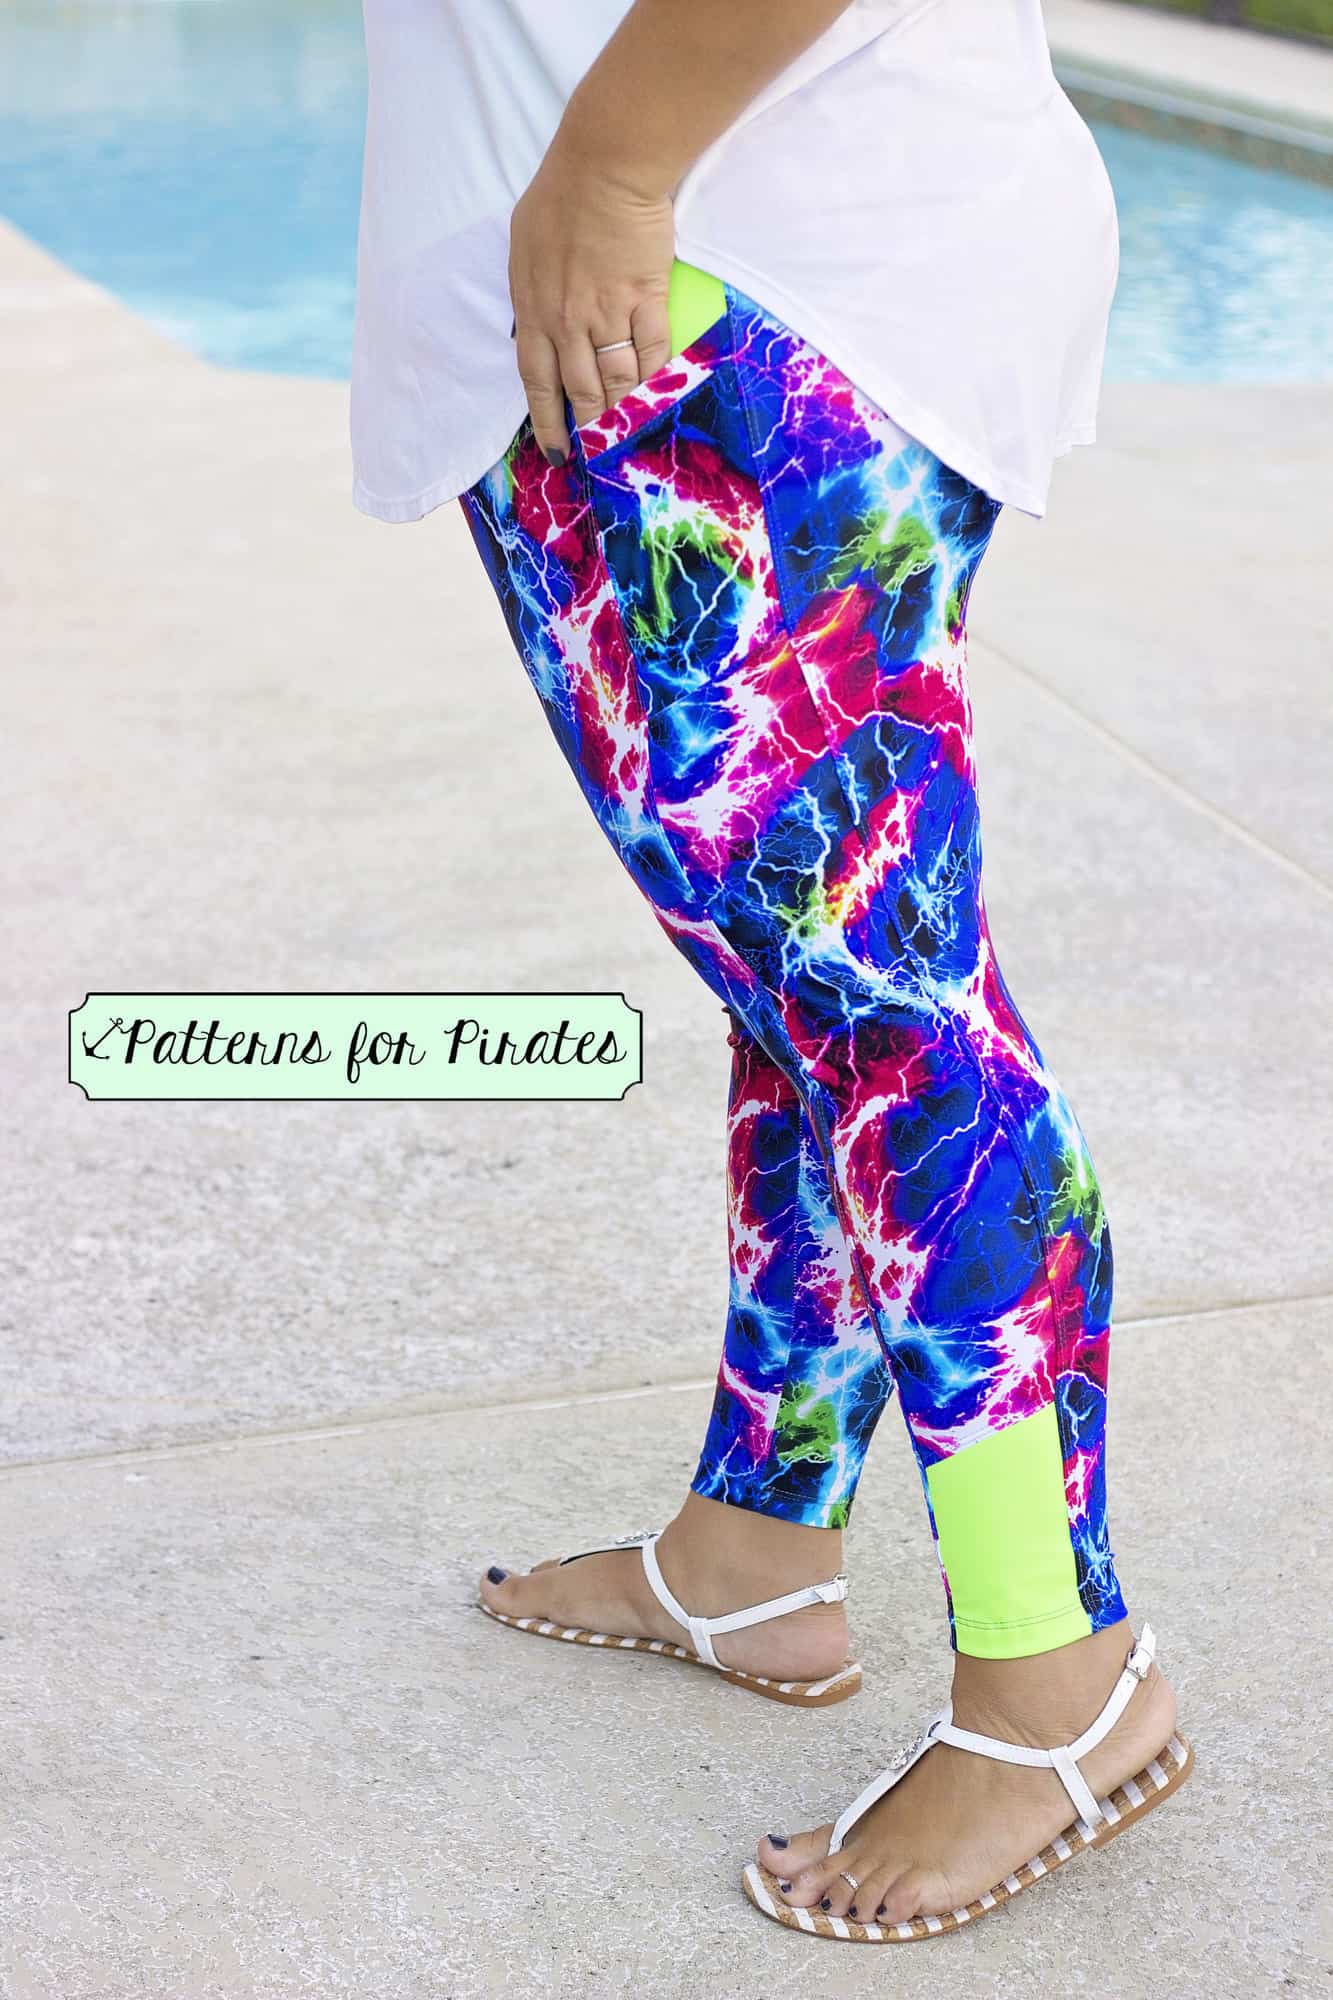
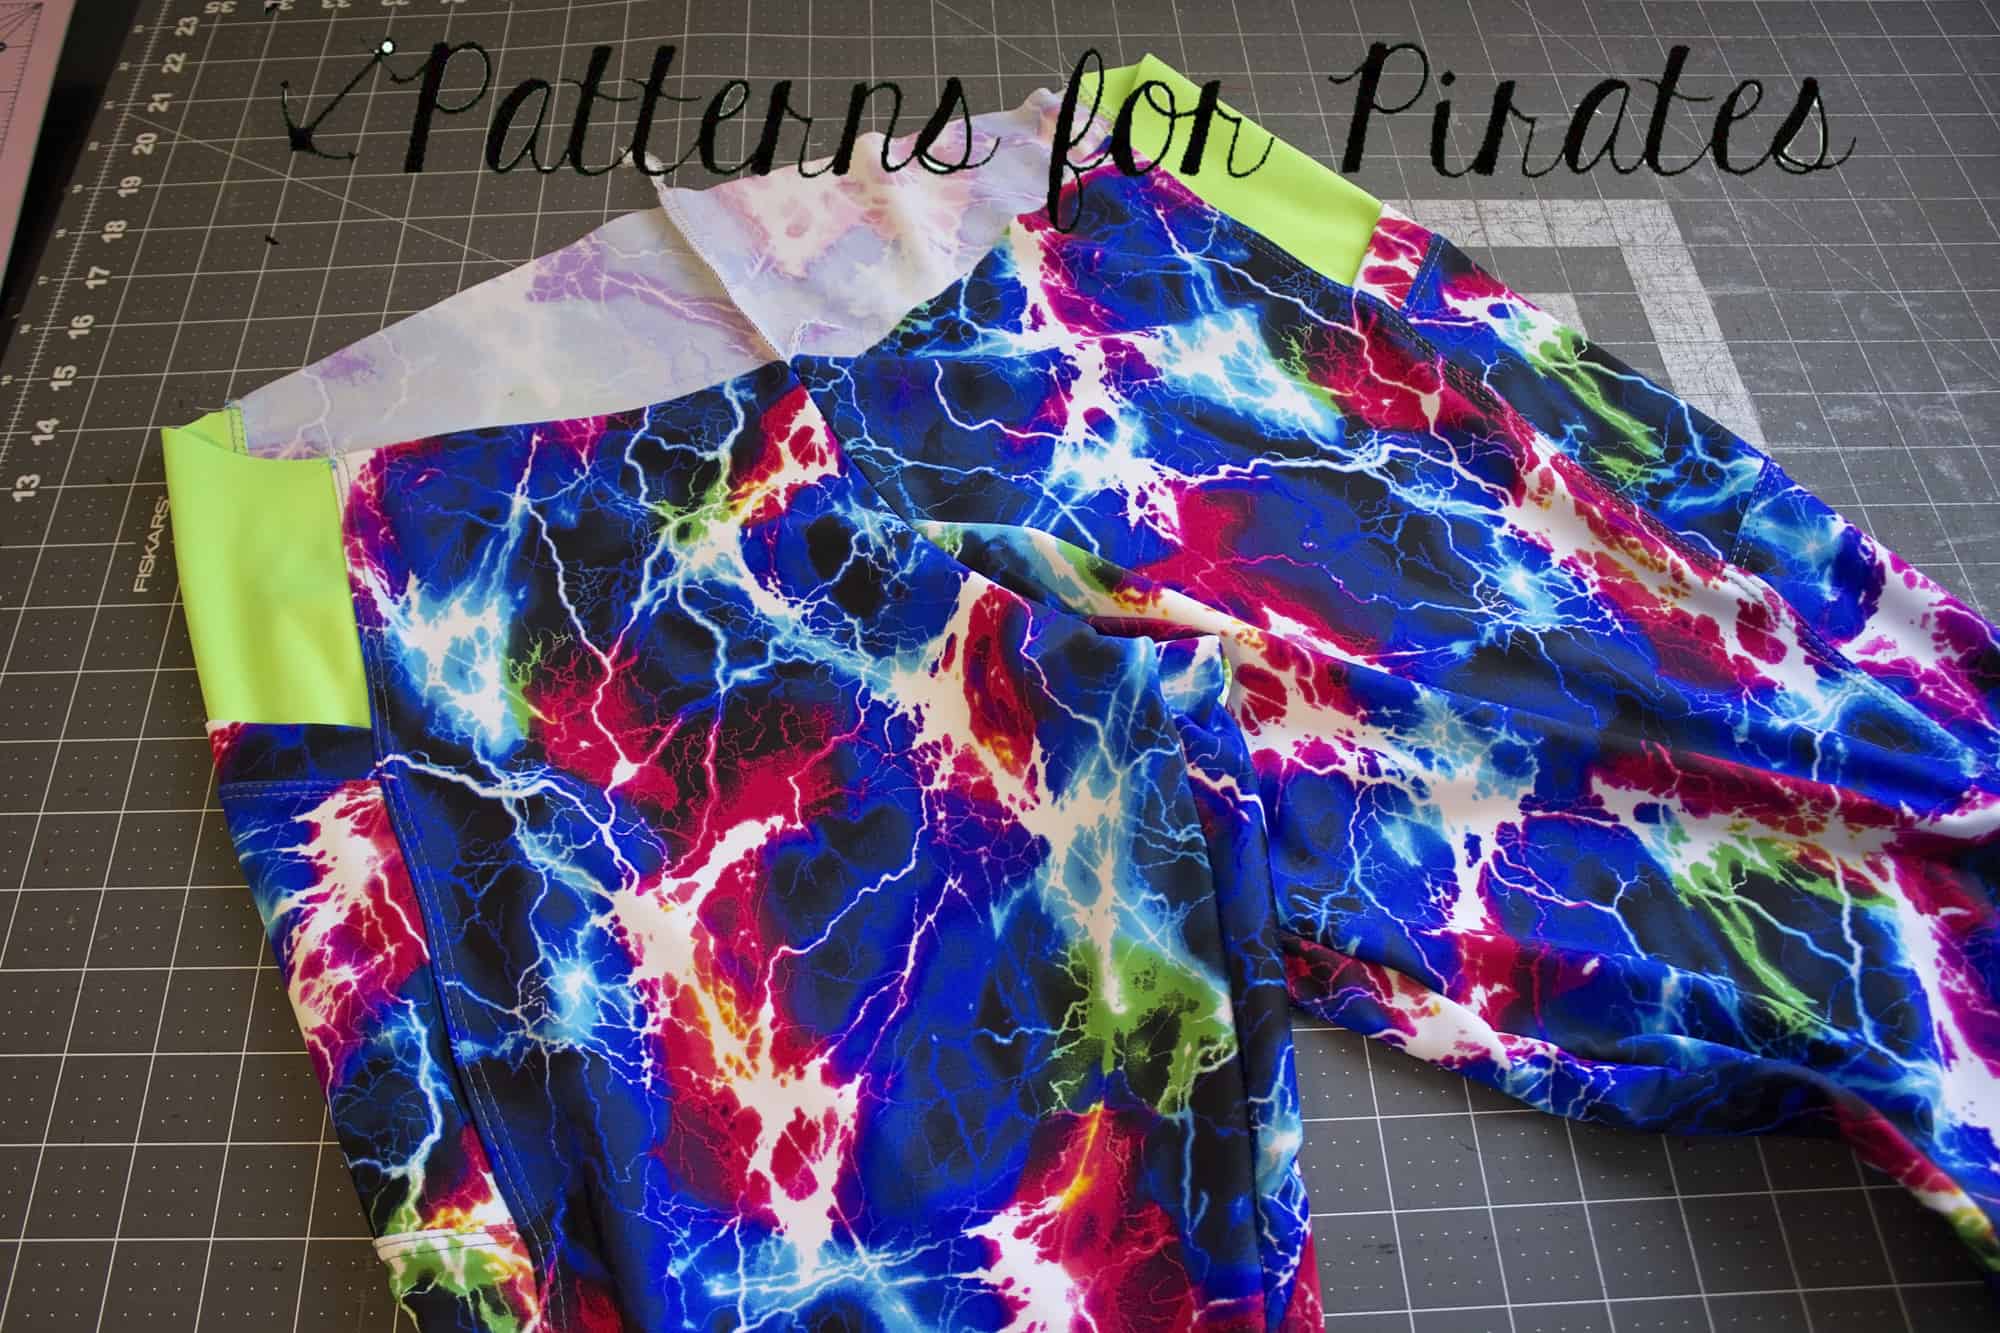
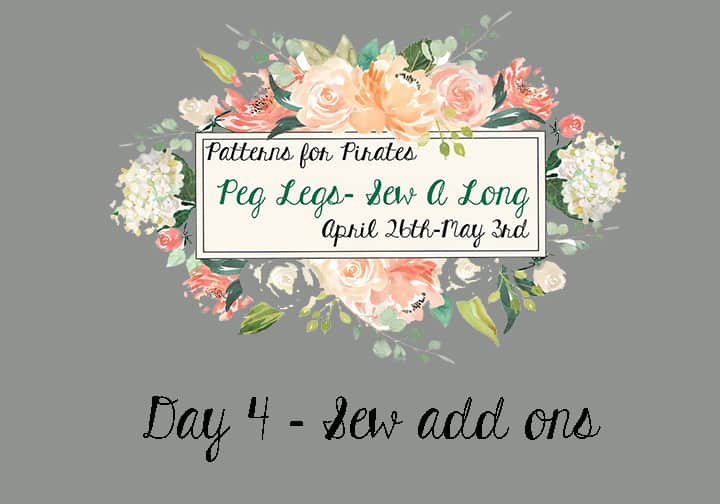
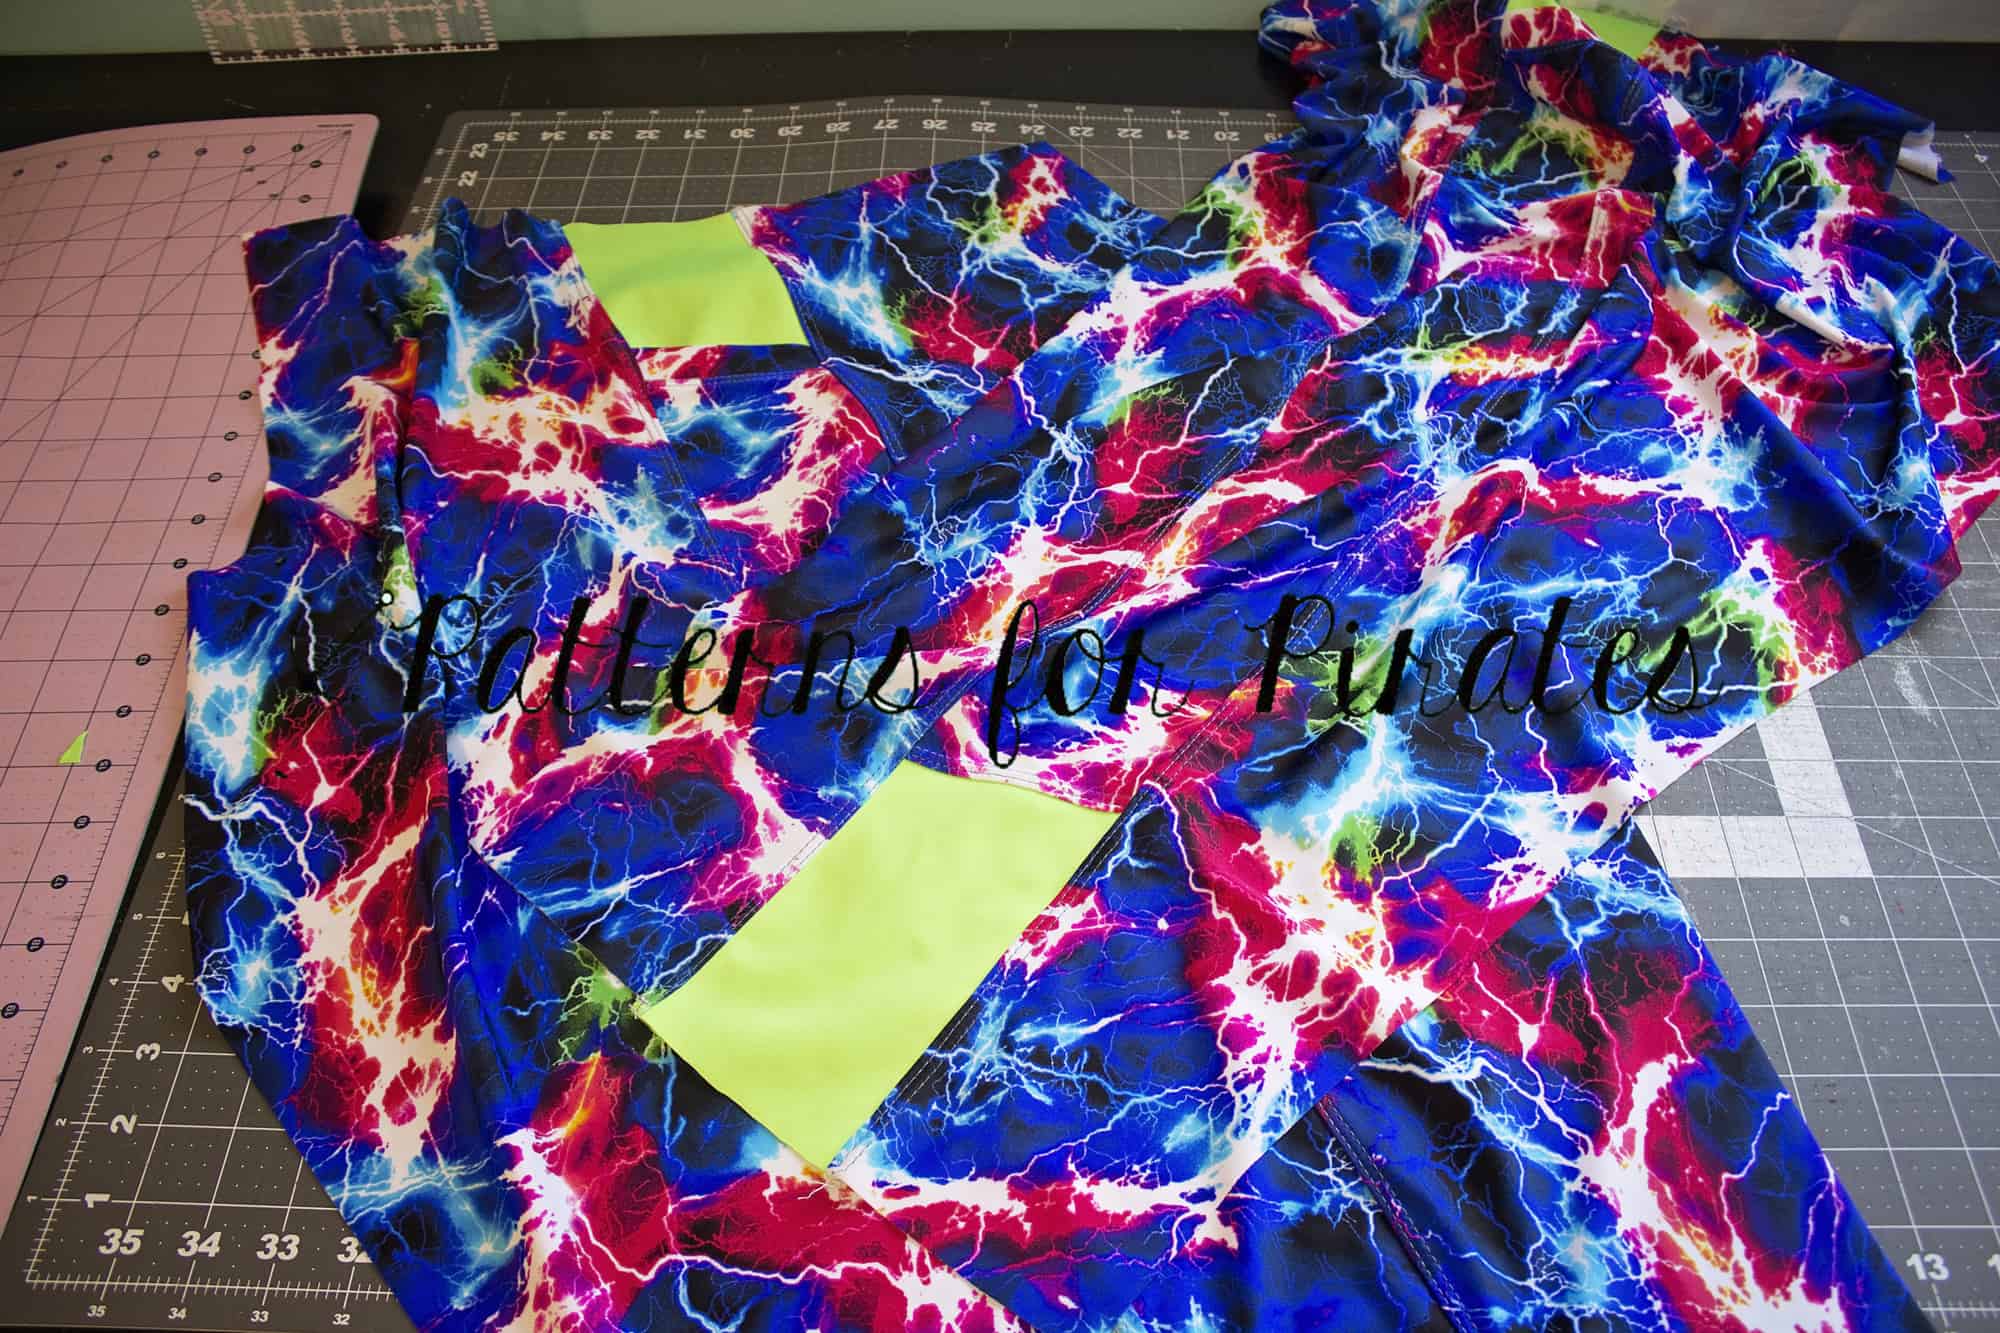
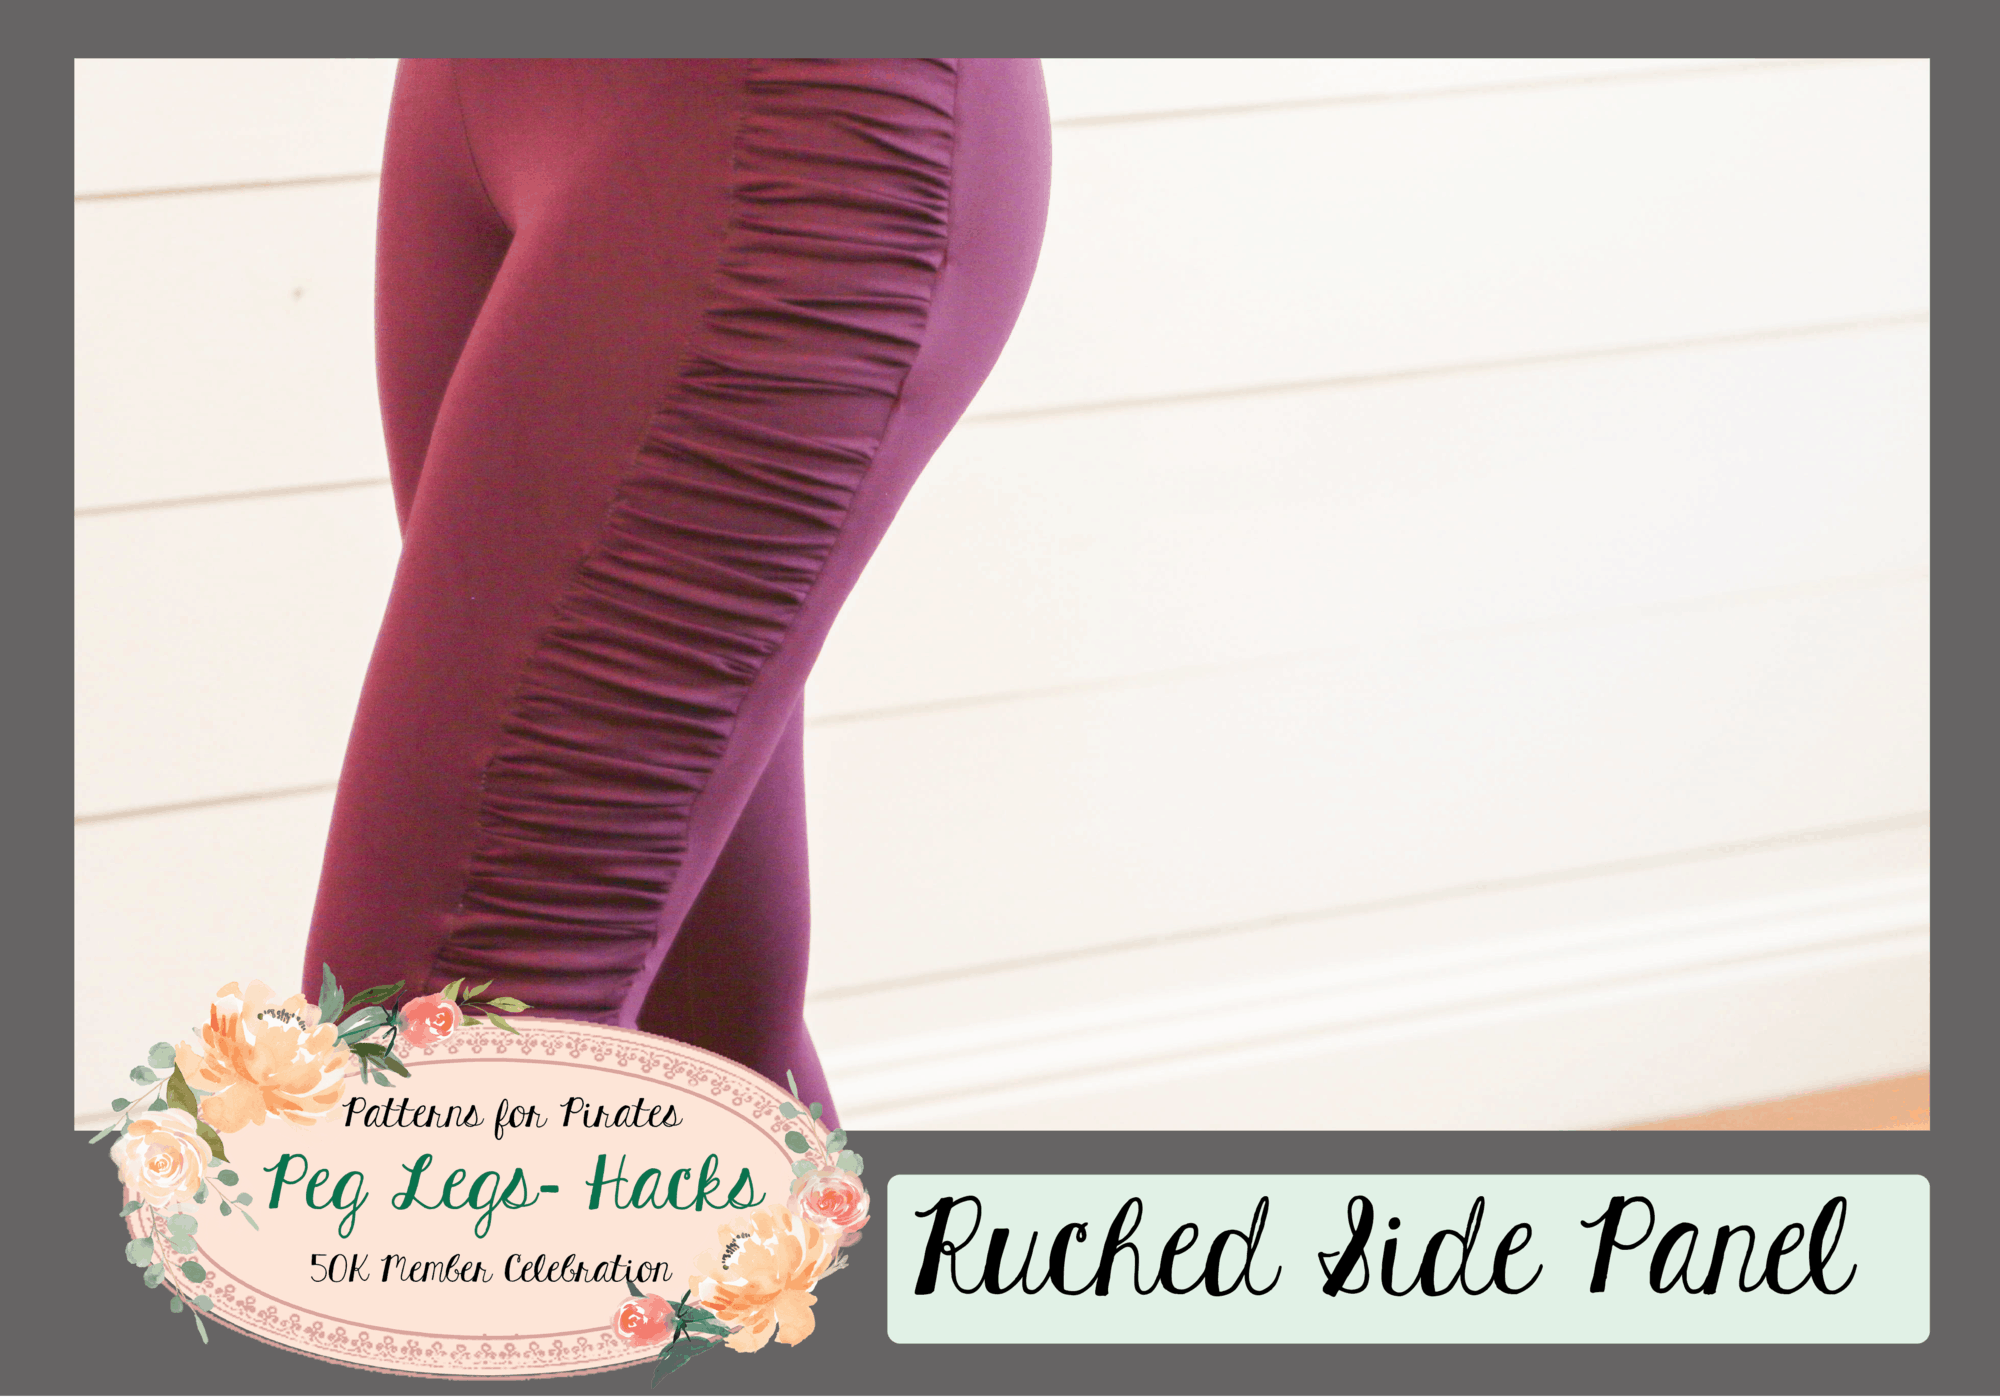
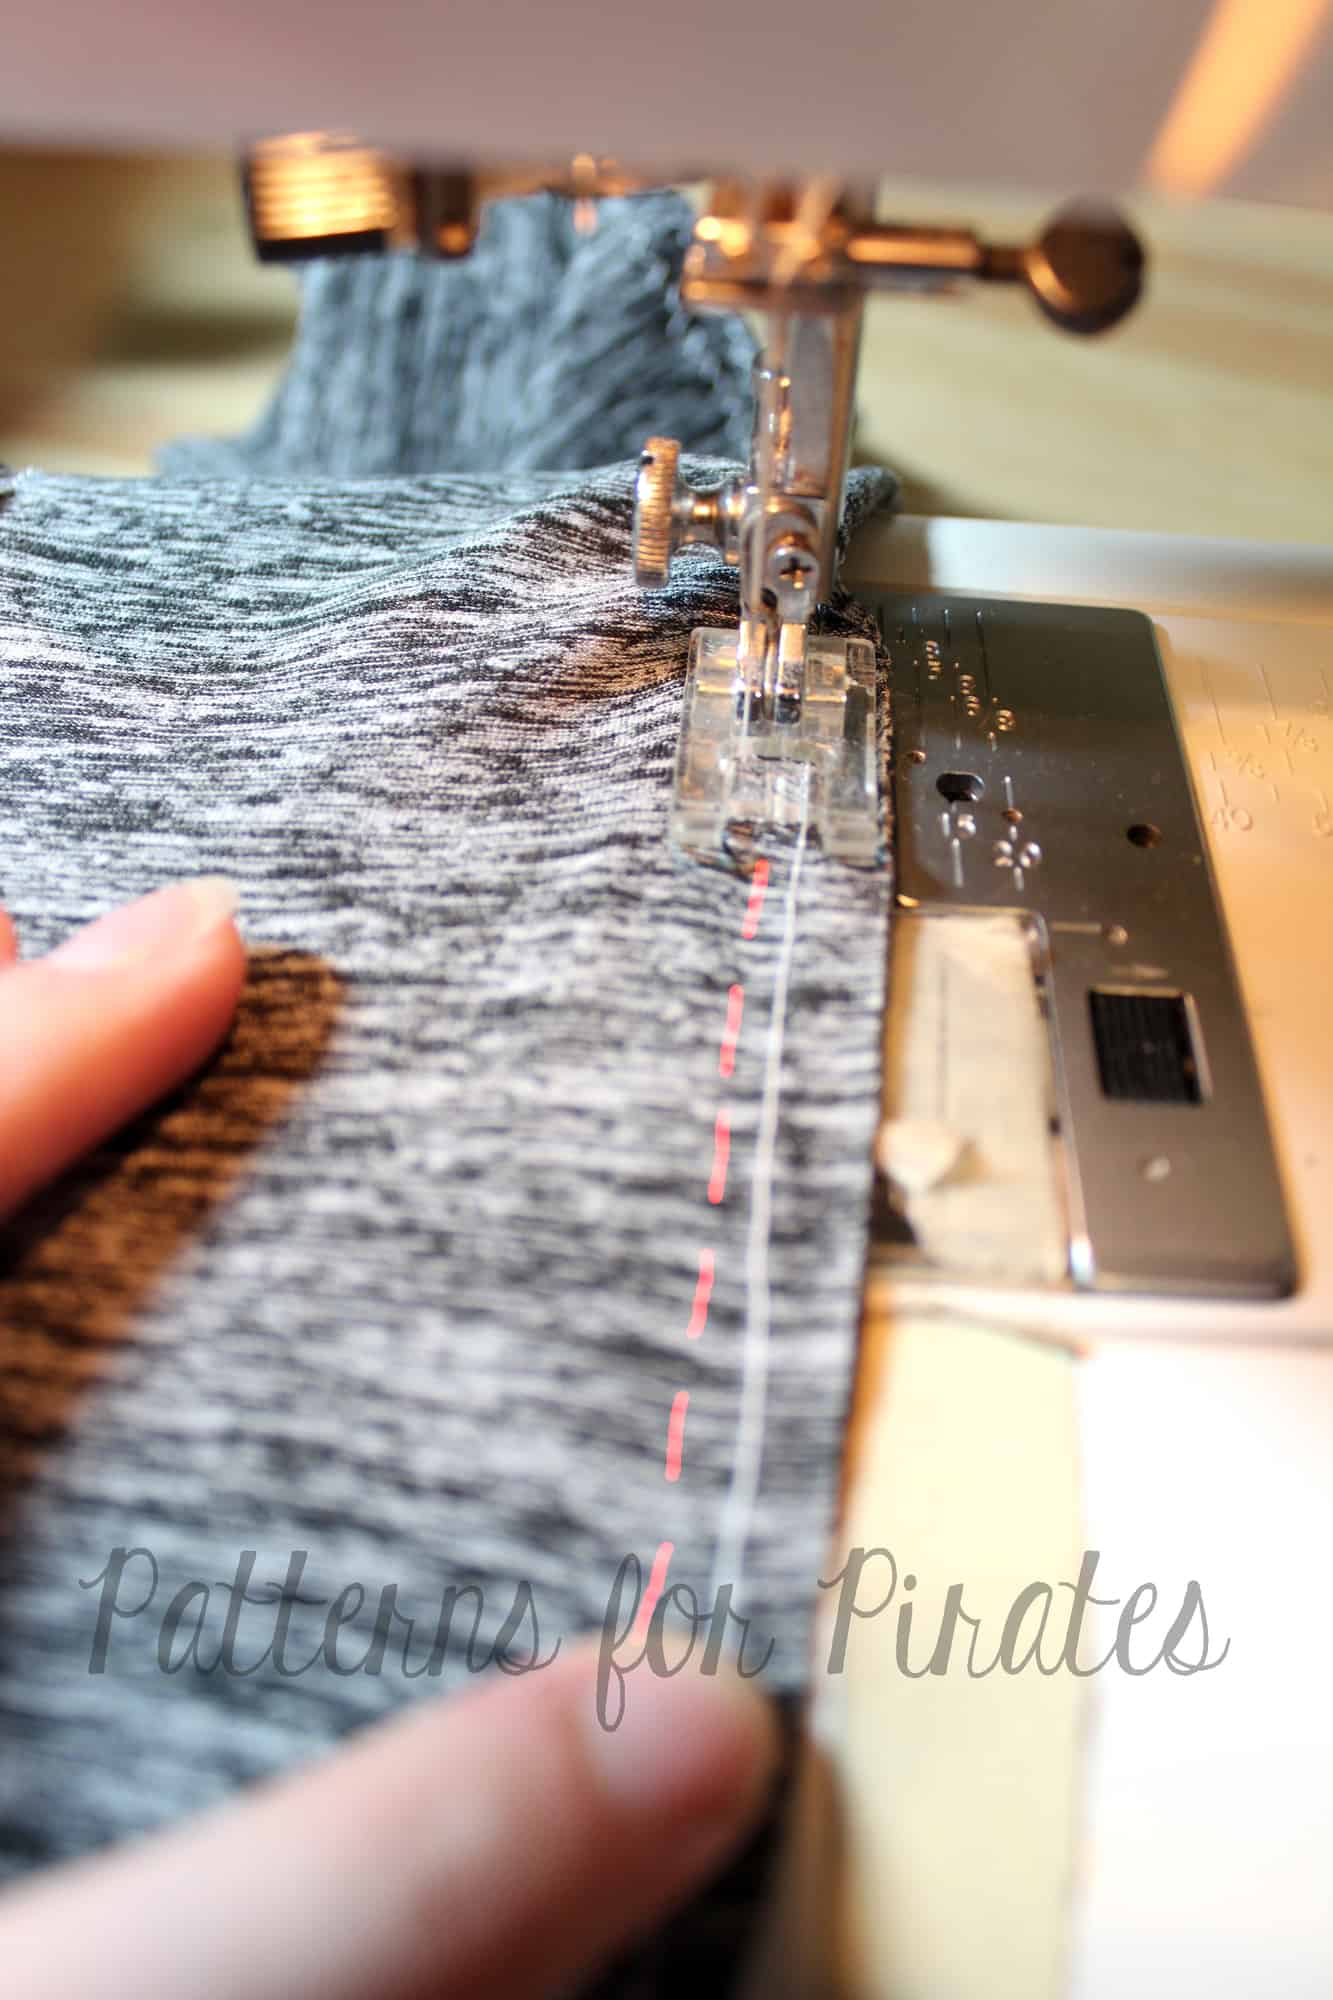
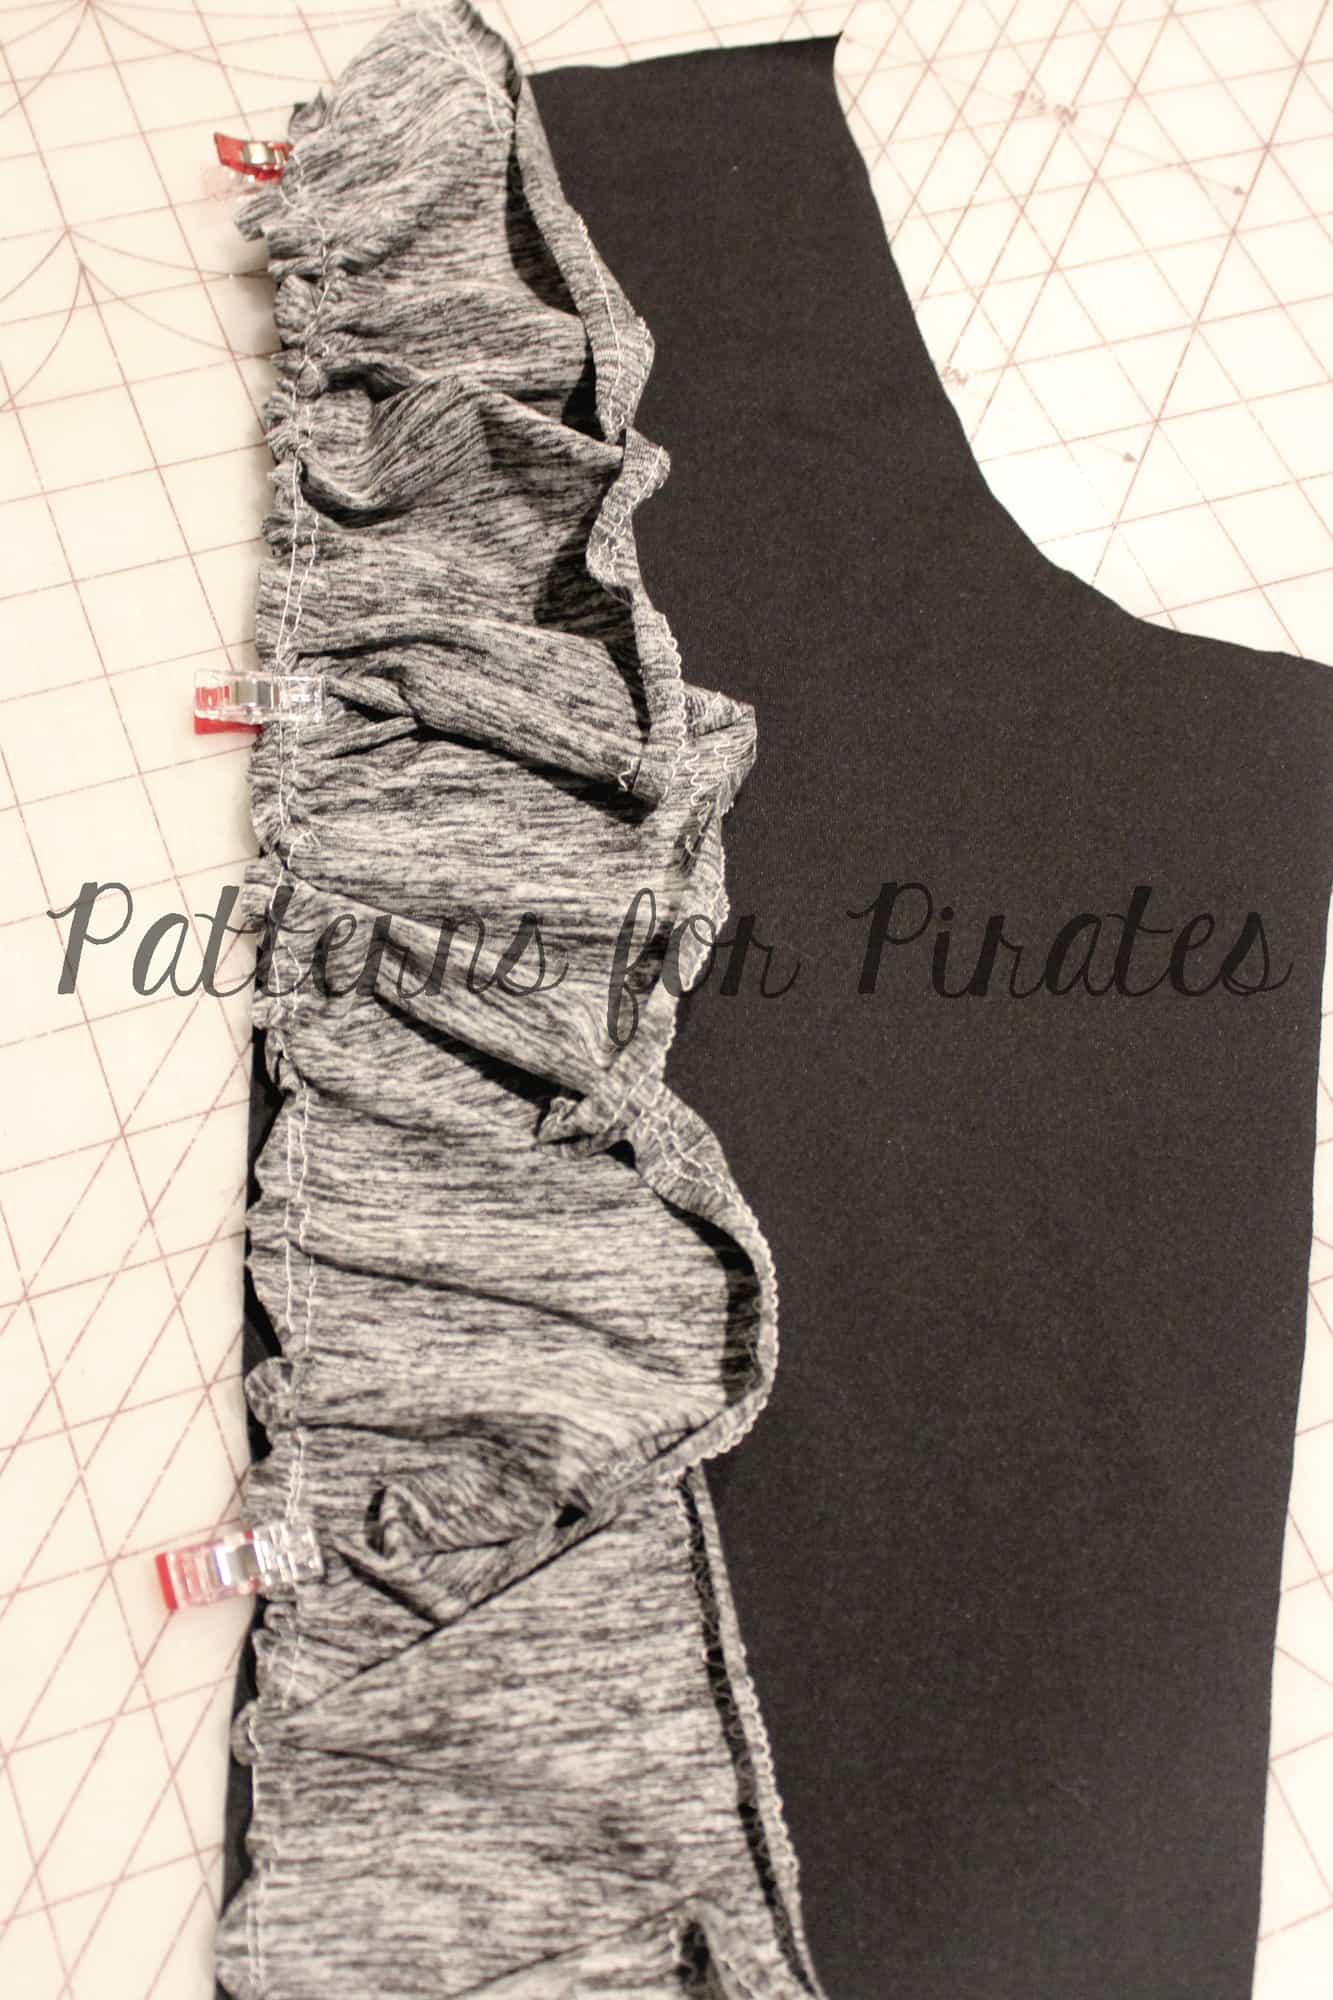
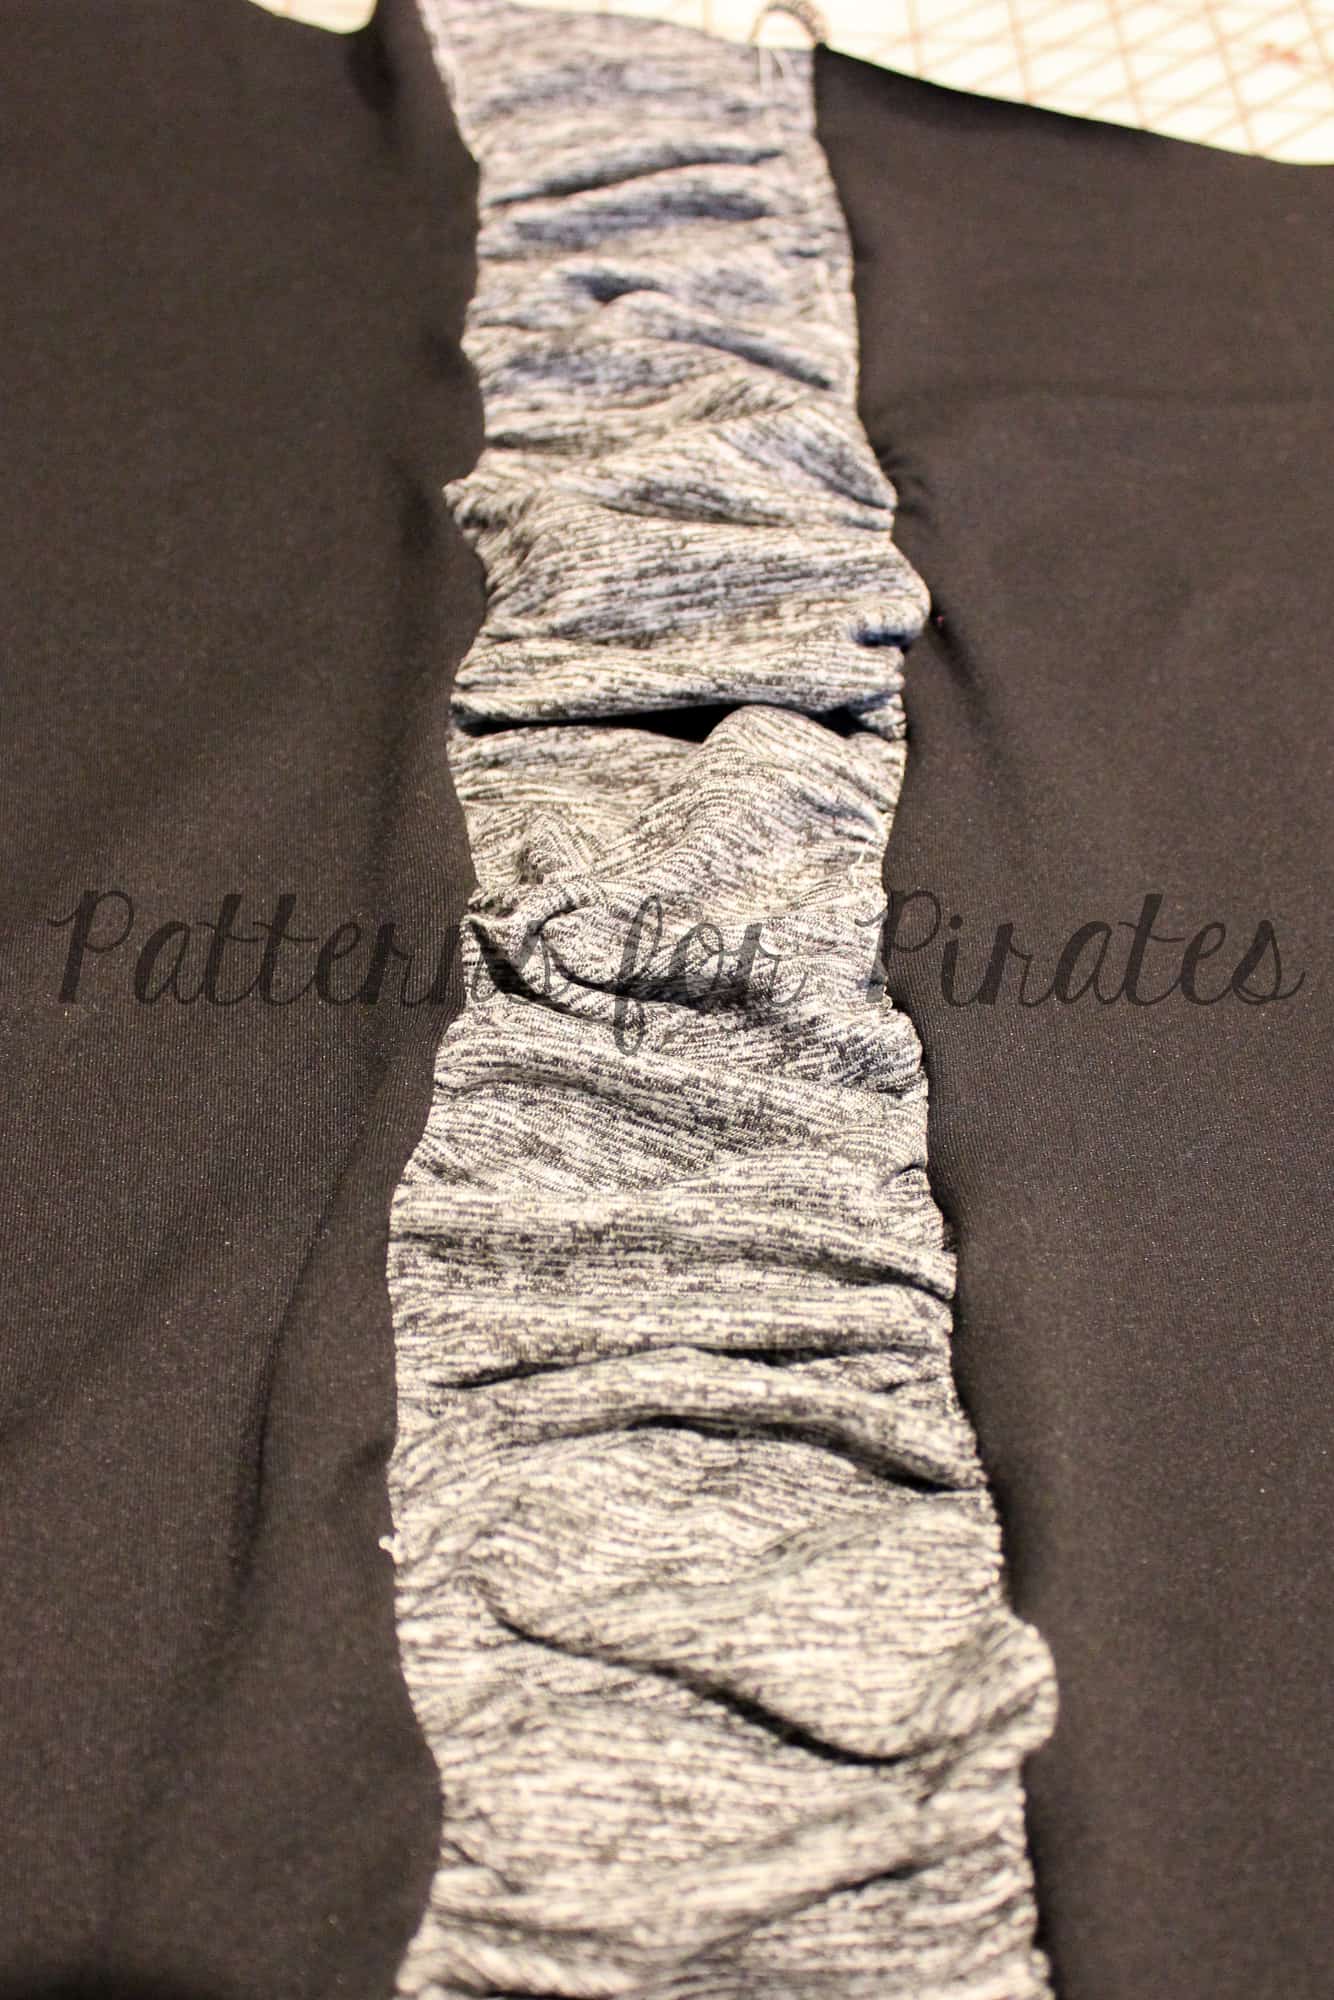
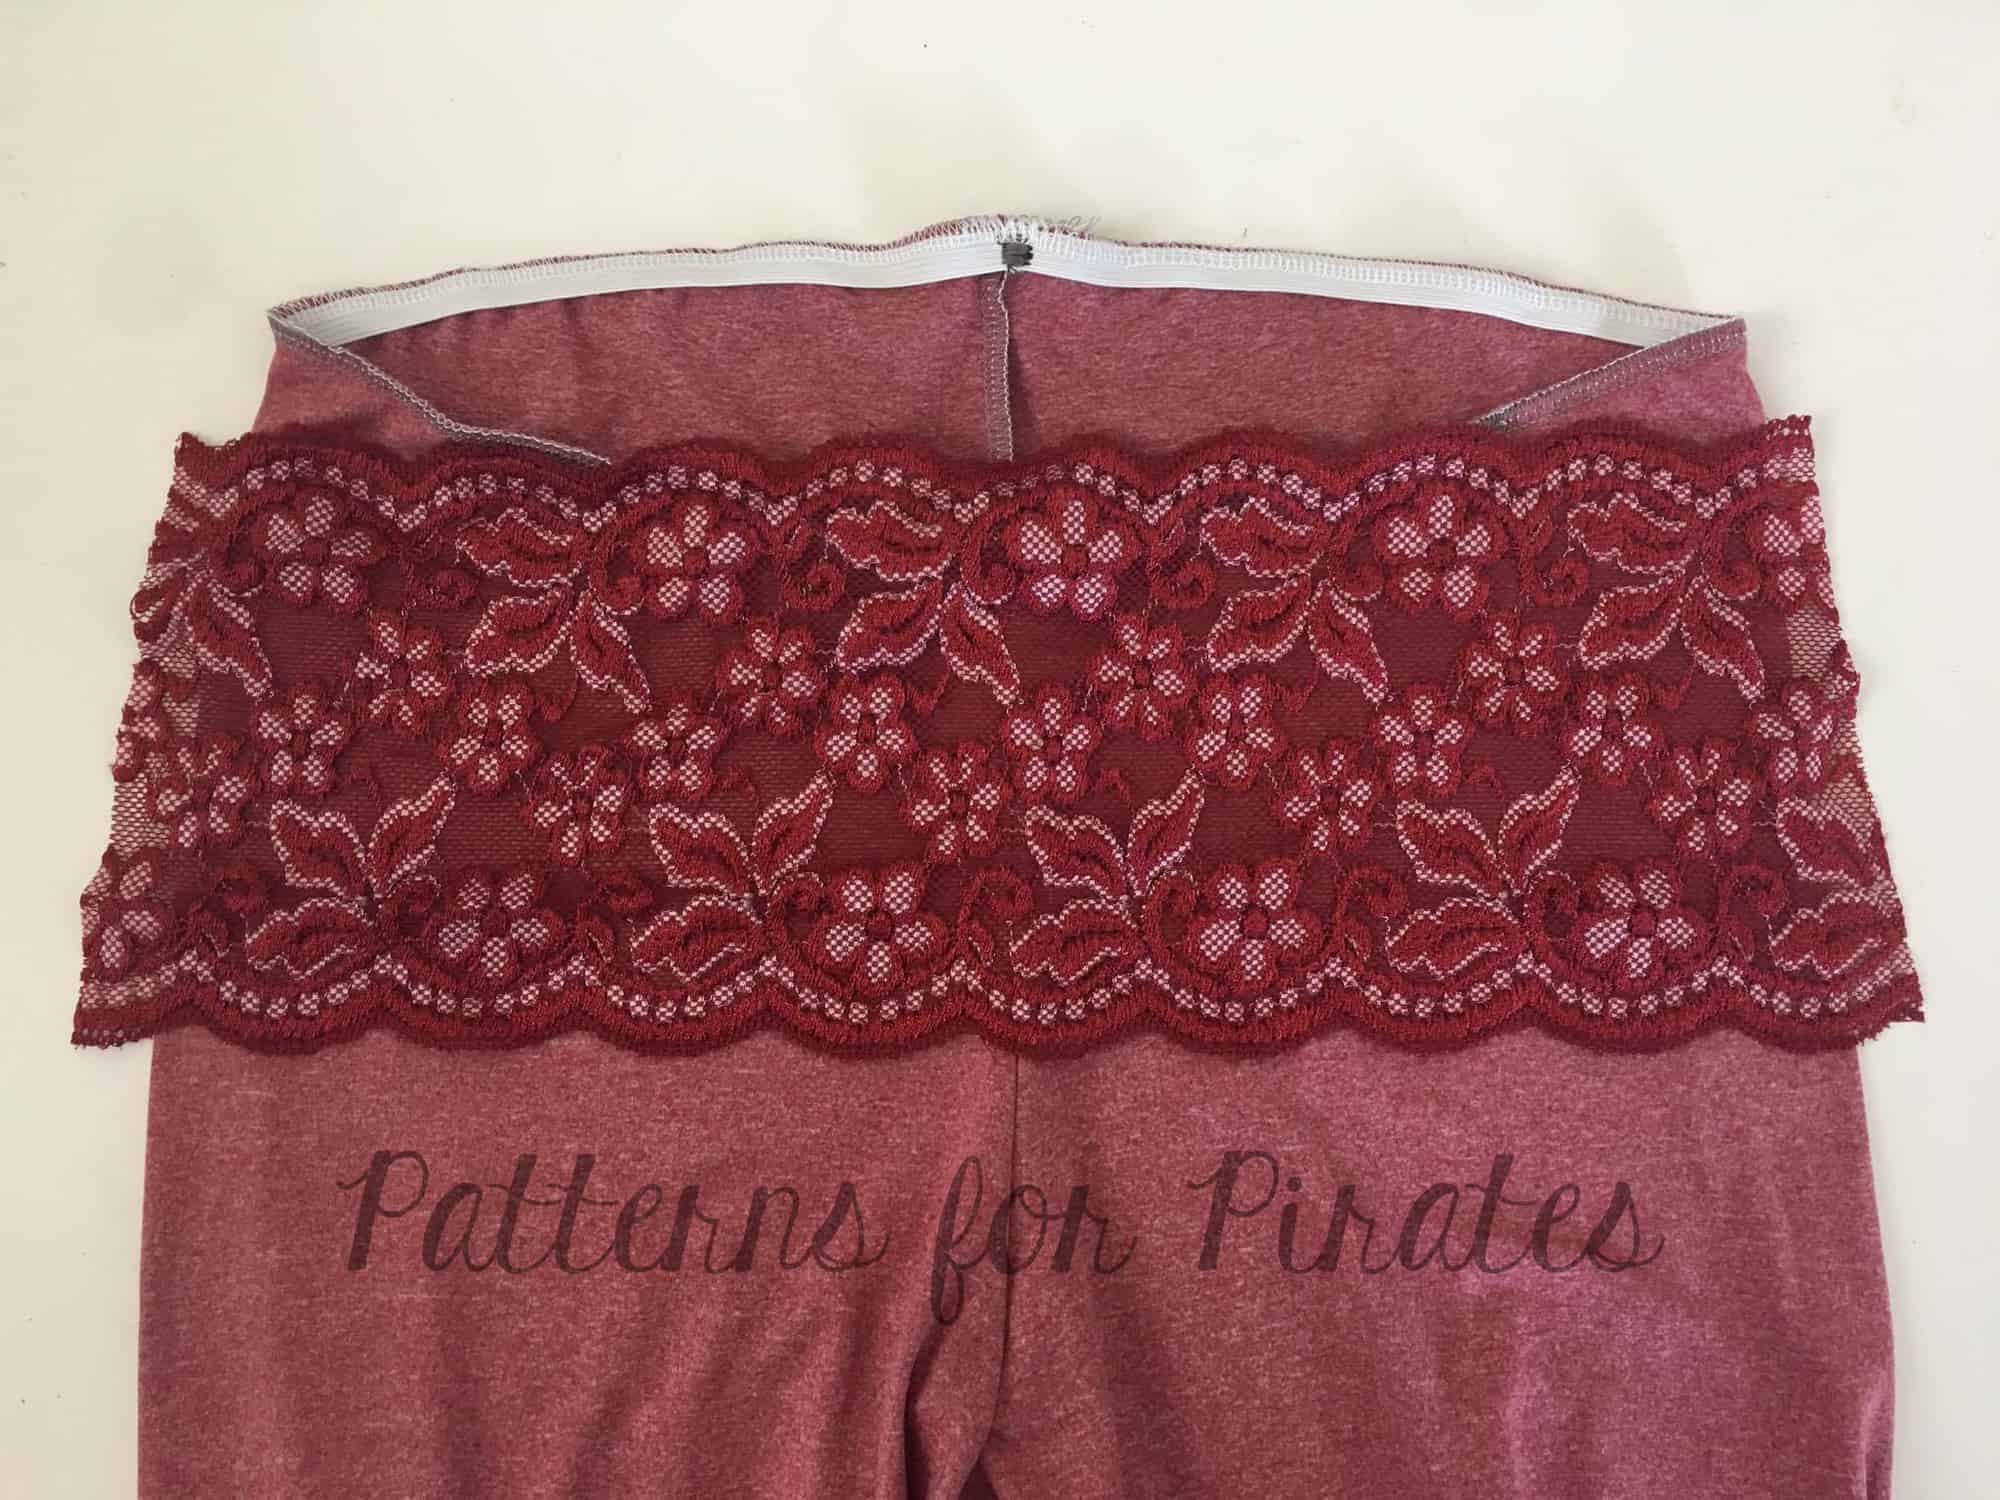
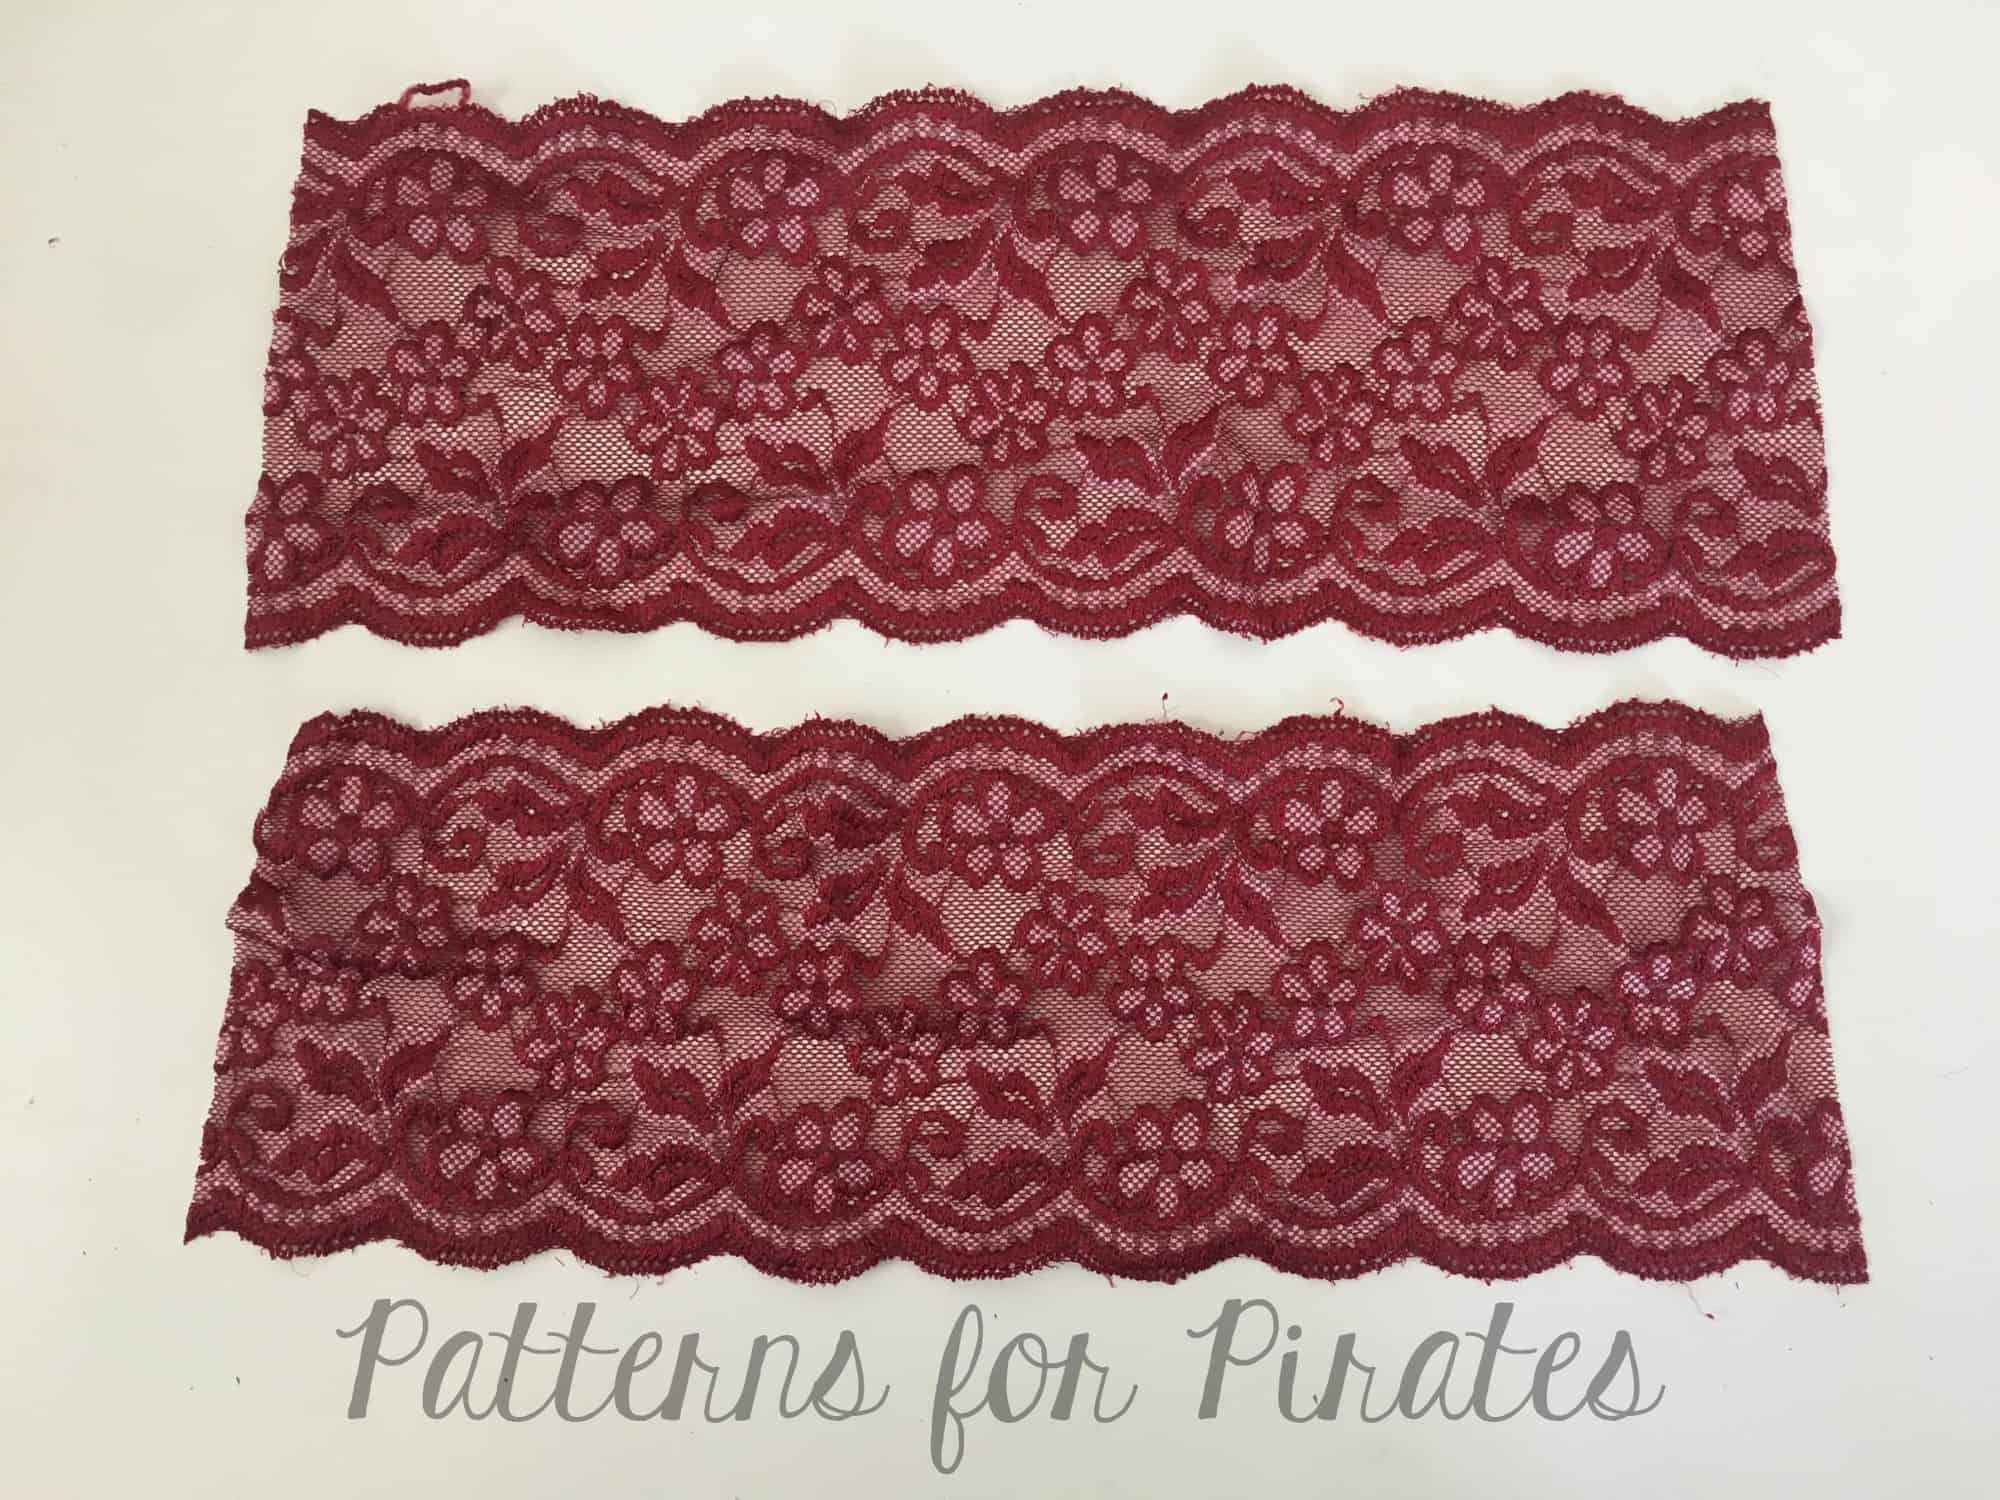
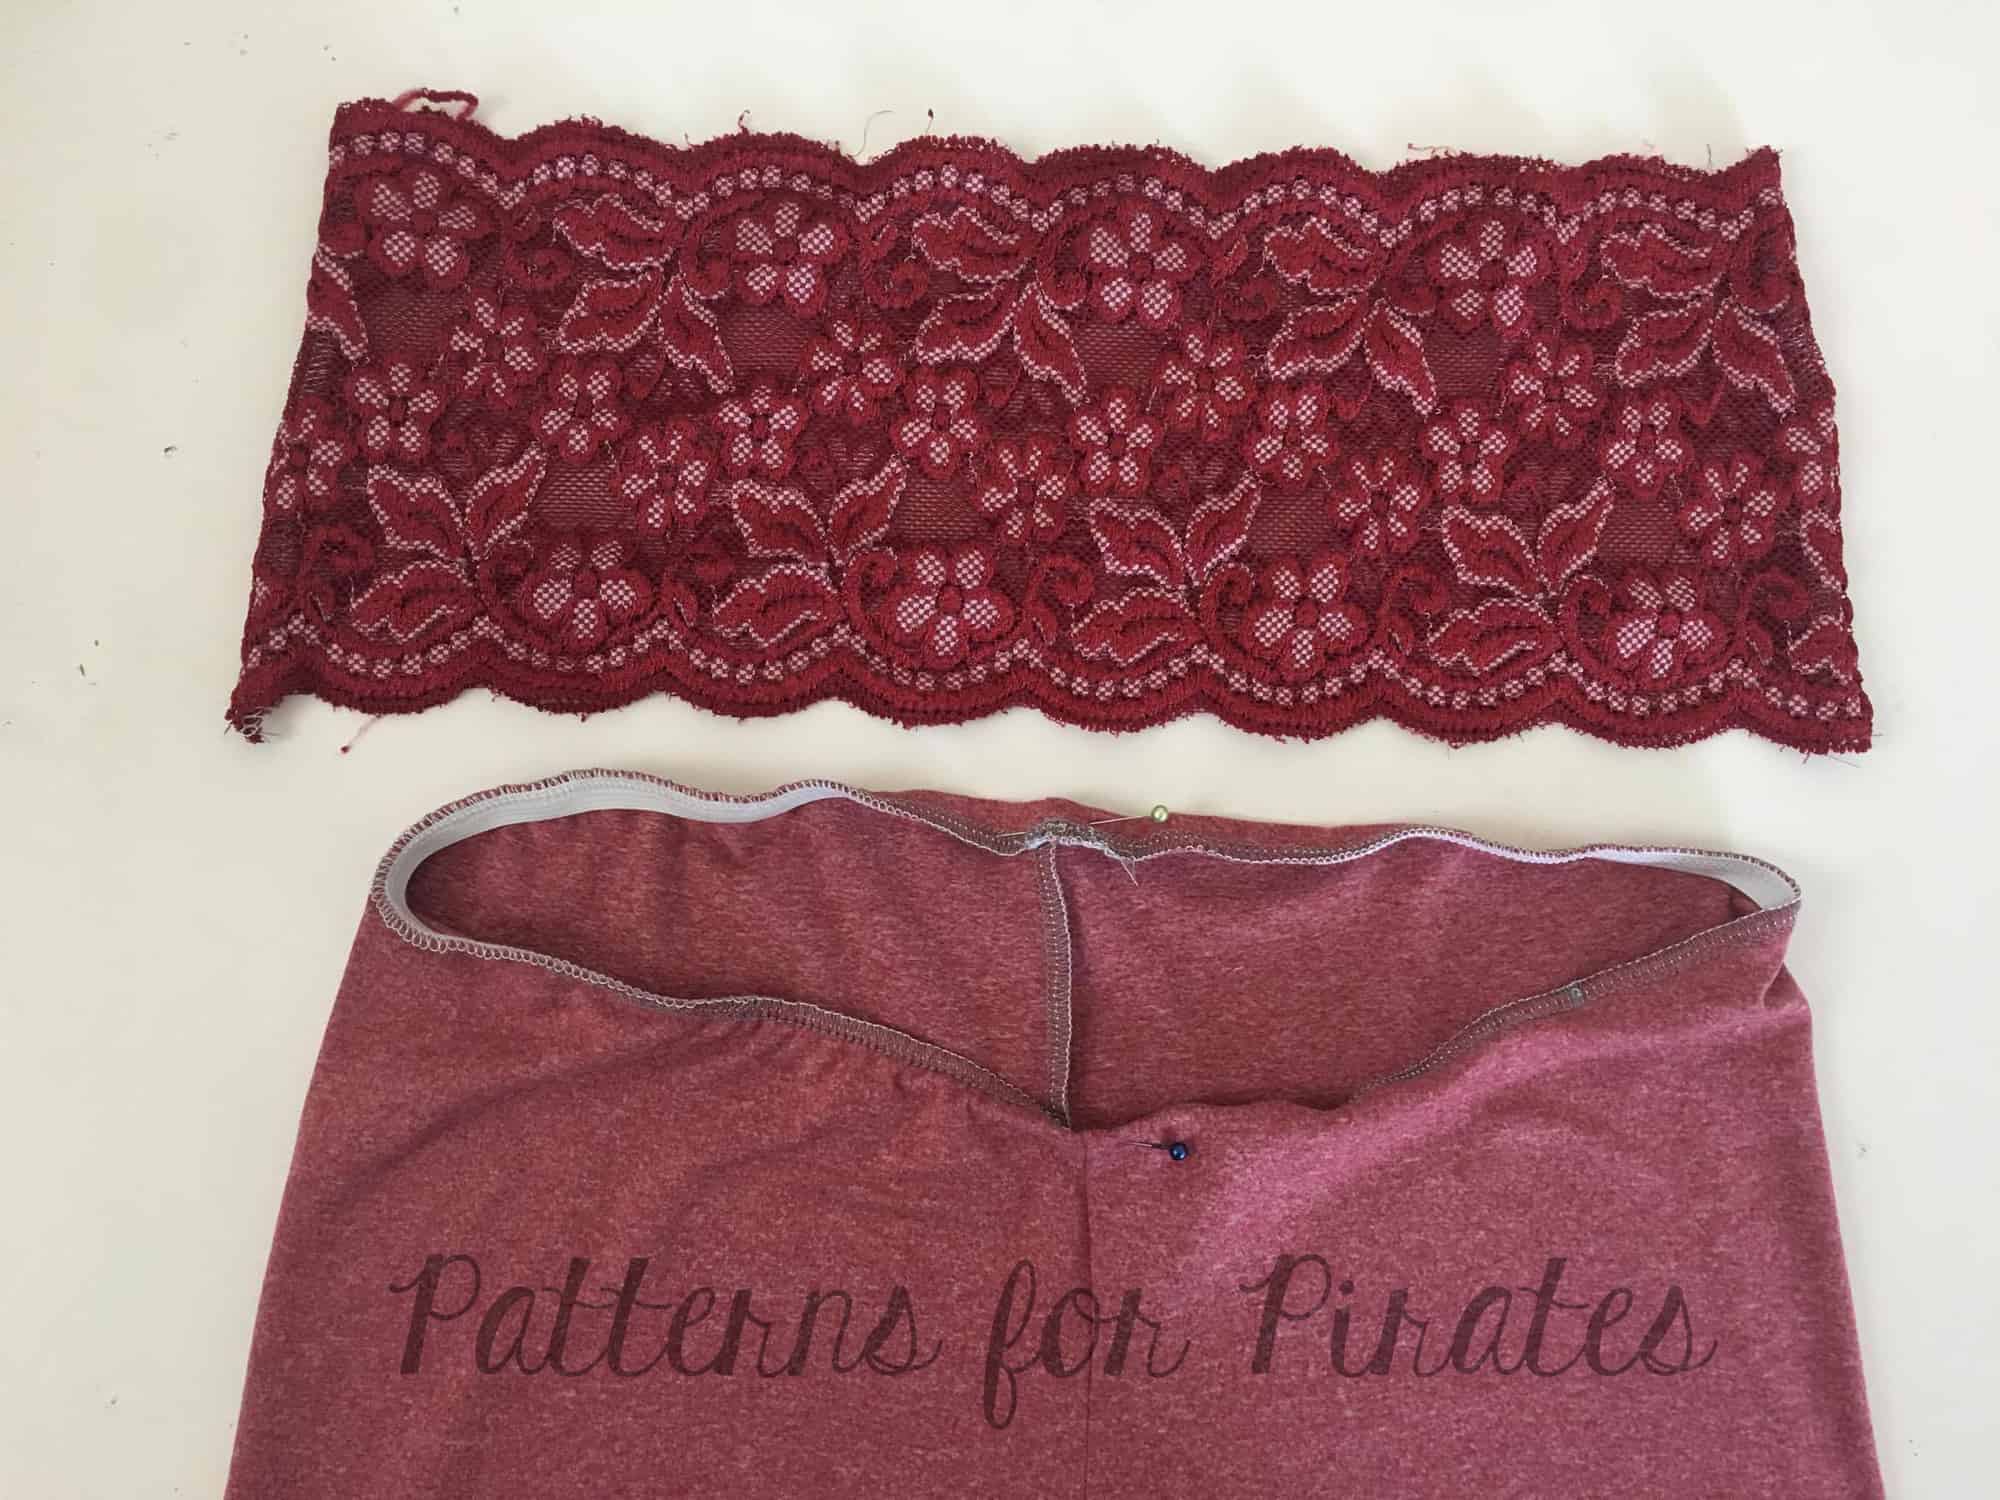
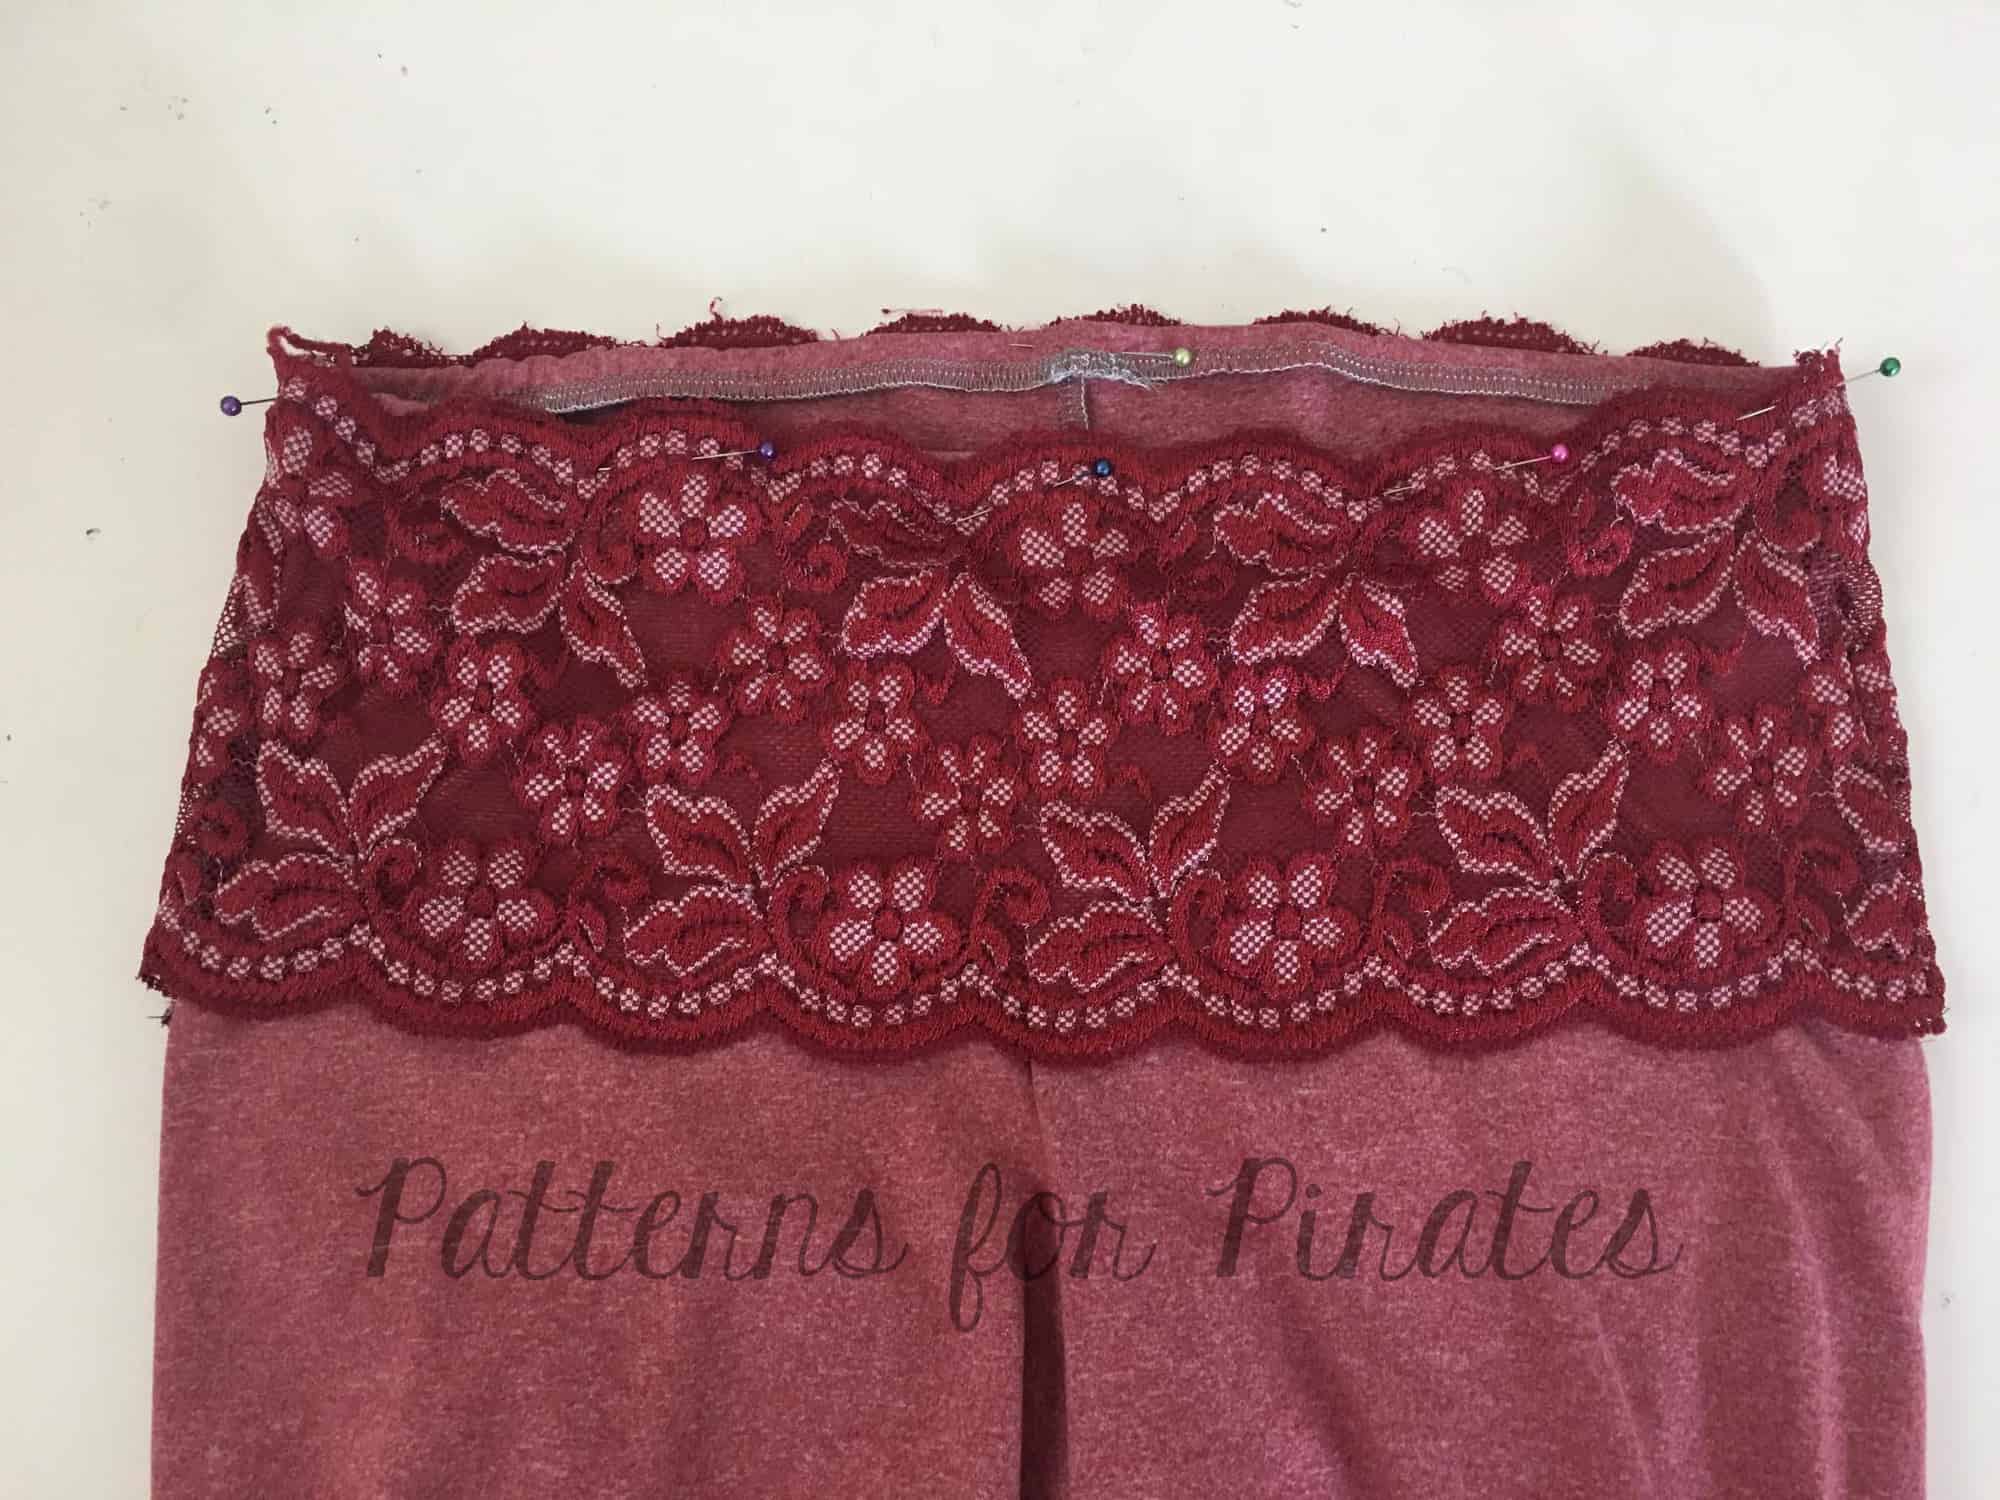
Day 4: Attach add ons

Day 5: Sew inseam and attach legs

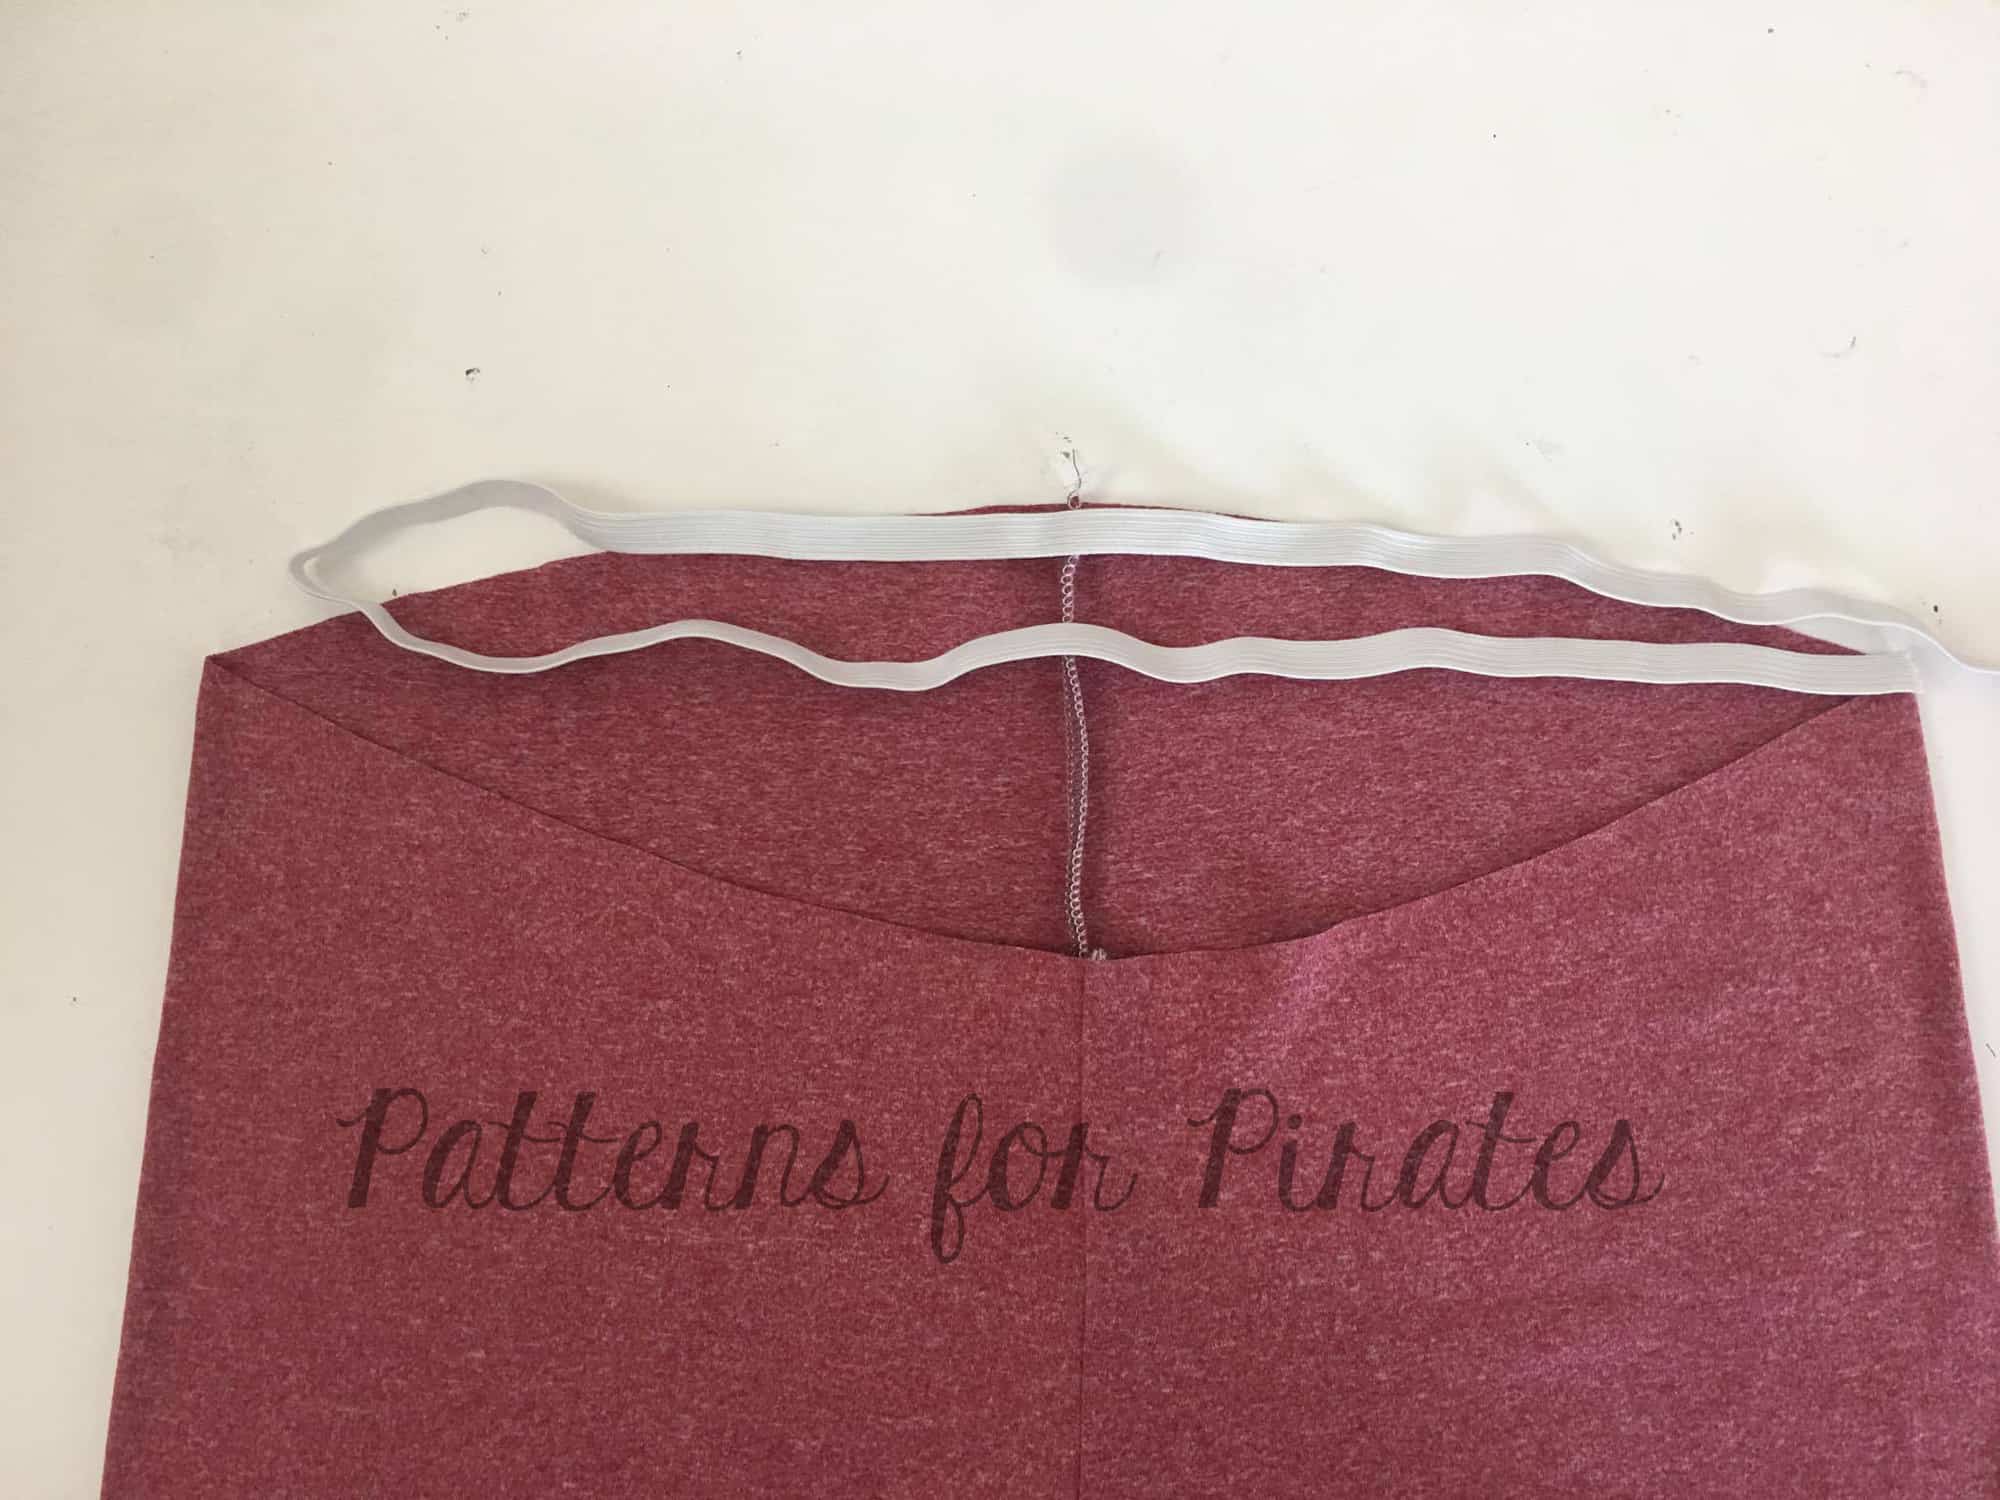
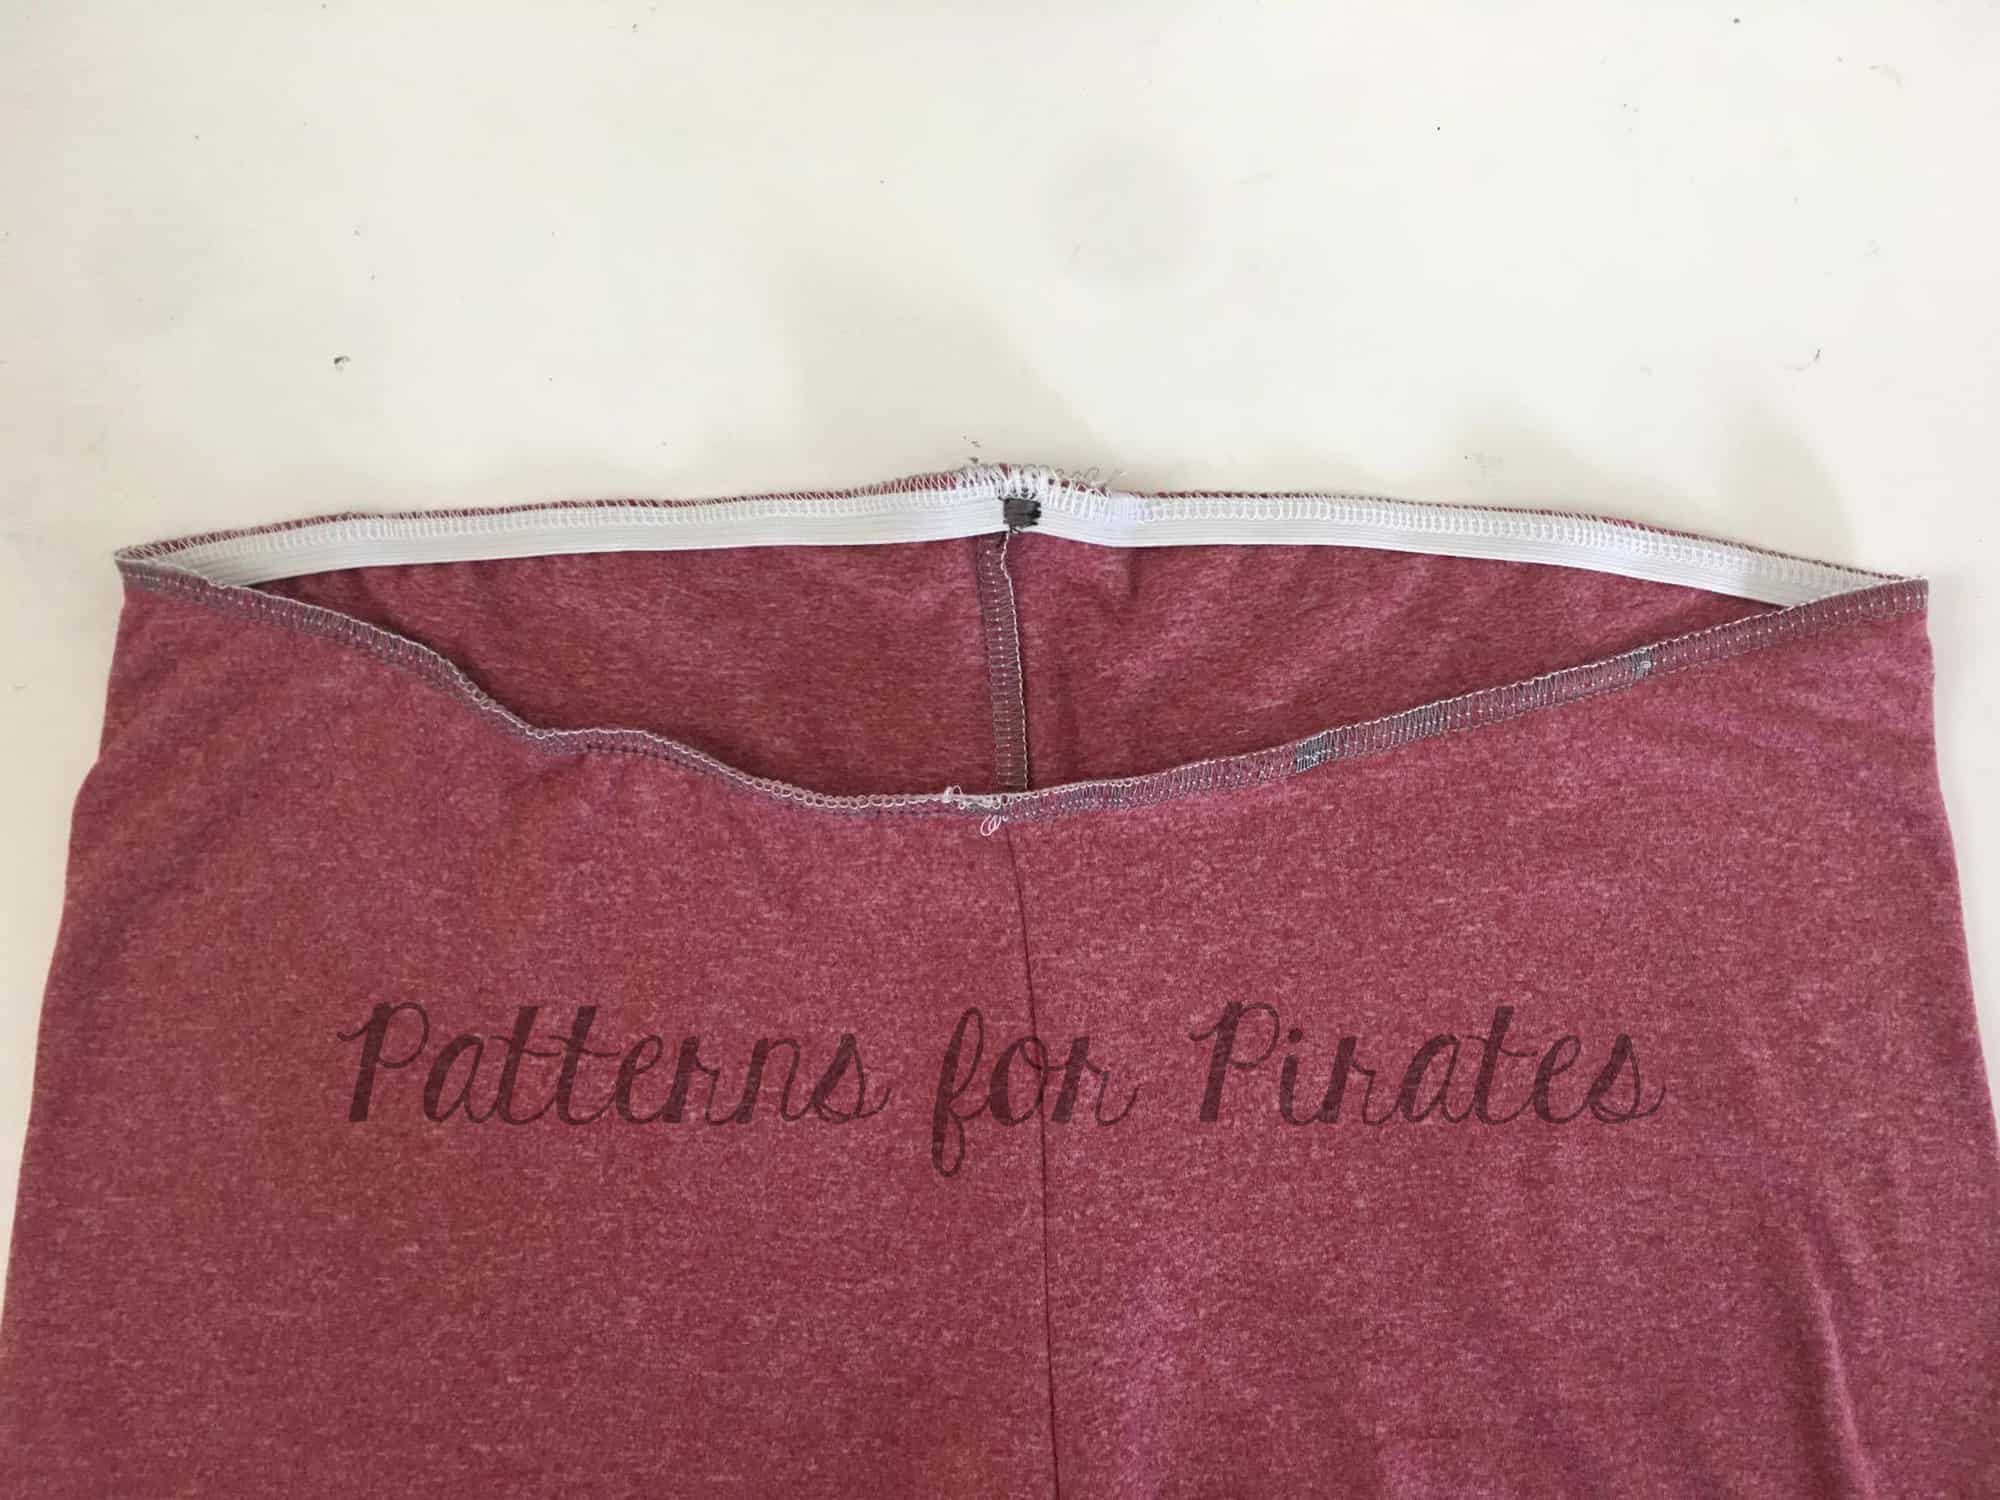
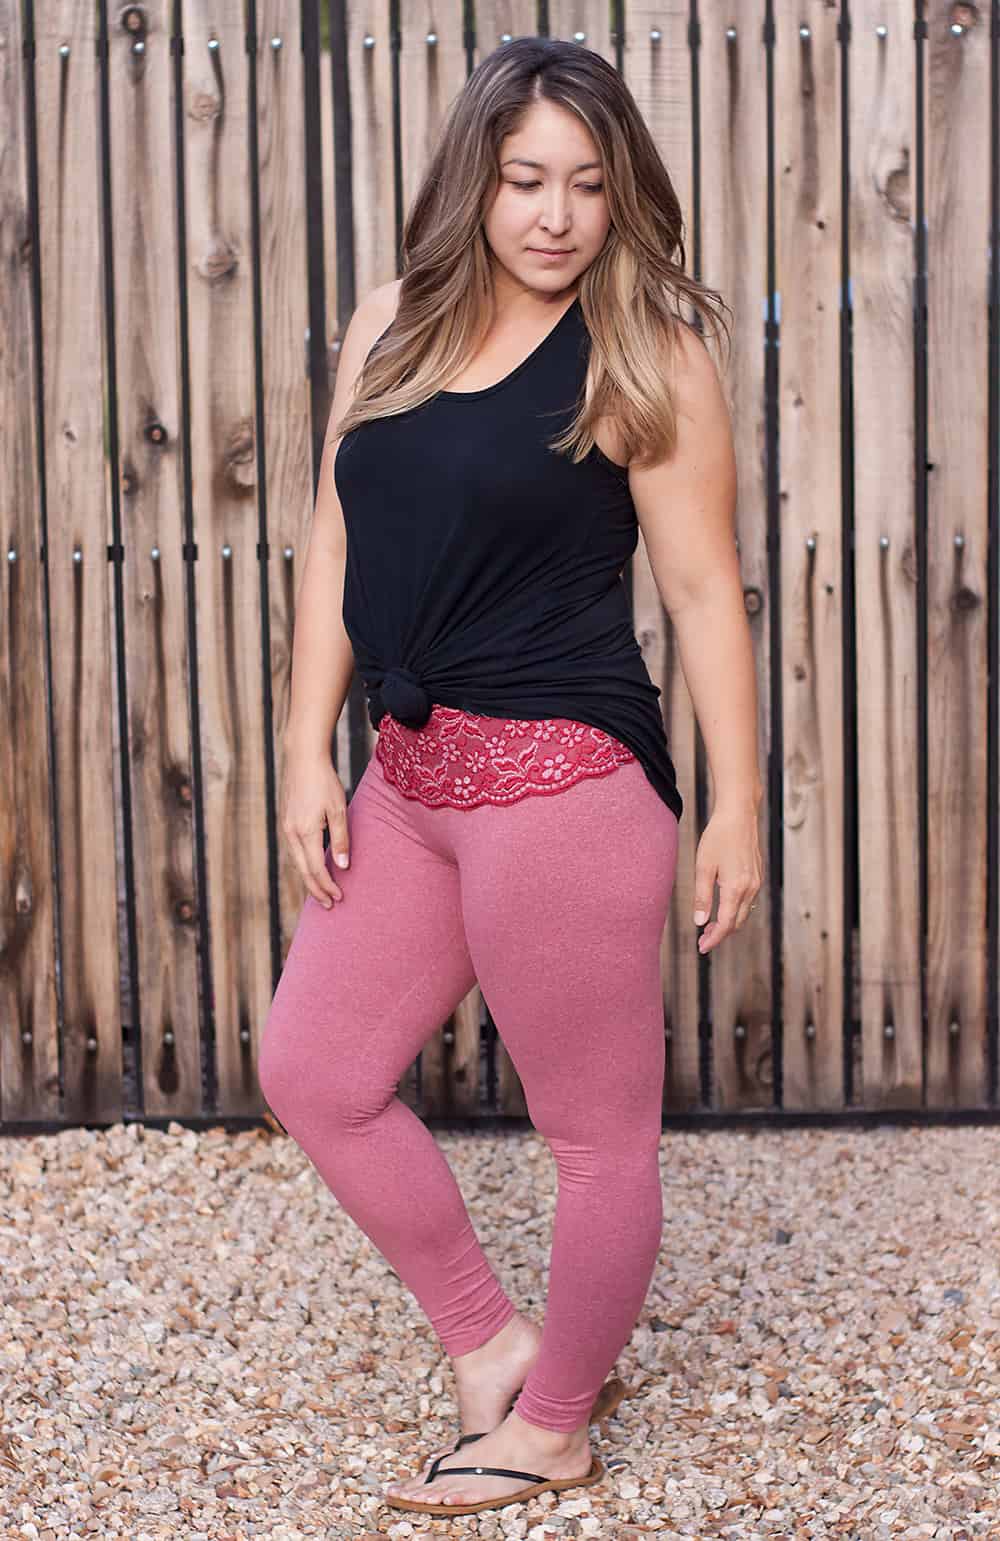
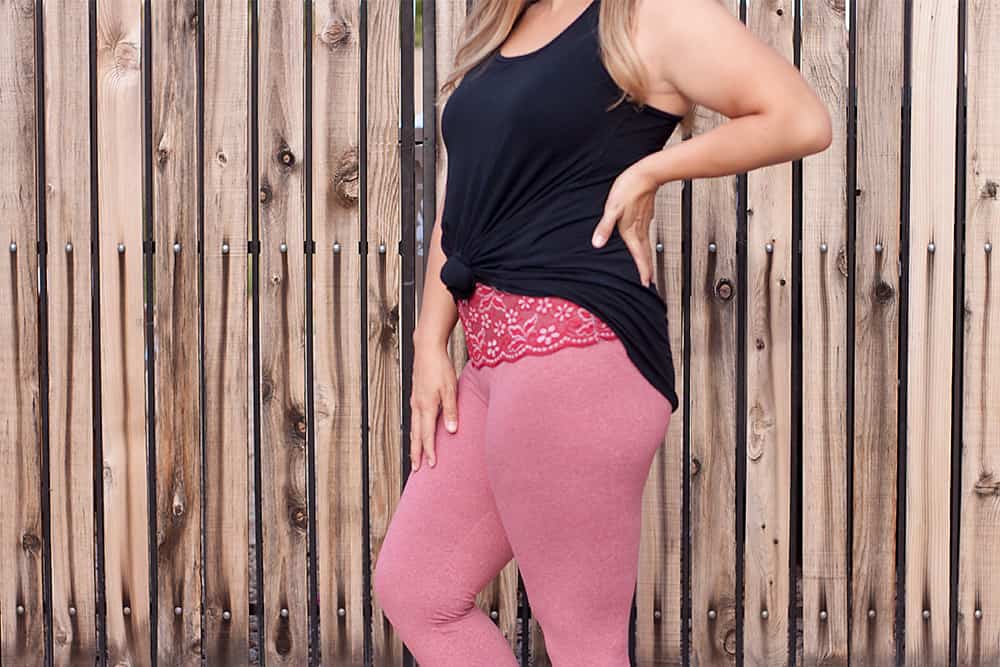
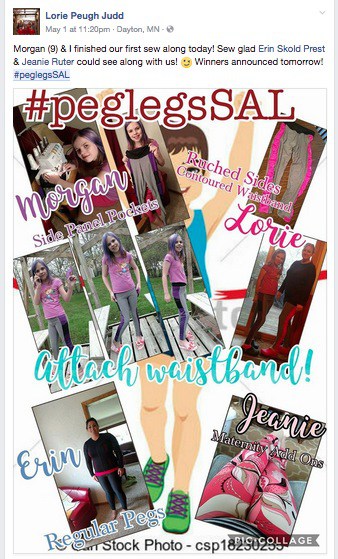
Day 6: Attach waistband

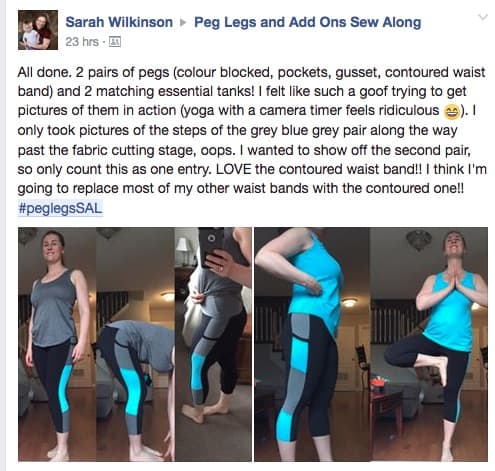
Without further ado…here are our 5 Peg Leg SAL winners


First winner: Sarah Wilkinson

$15 P4P store credit

$50 So Sew English store credit

$50 Stika Fabrics store credit

$50 Midnight Mountain Fabrics store credit

$25 Beanpop store credit

$50 RP Custom Fabrics store credit


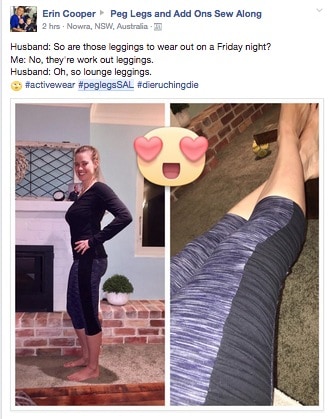
Second winner:  Erin Cooper

$15 P4P store credit

$50 Aurora Designs store credit

$50 Little Bear Fabric + Trim store credit

$50 Smoogie Custom Fabric store credit

$25 Little Lady Bug Fabrics Gift Card

$30 Store Credit($50 NZD) Levana Fabrics


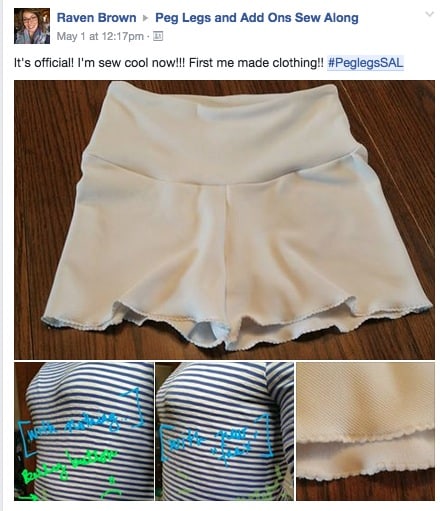
Third winner: Raven Brown

$15 P4P store credit

$60 Boss Lady Fabric store credit

$50 The Fabric Snob store credit

$50 RockerBye Destash Fabric store credit

$50 Water Tower Textiles Canada store credit

€25 Droomstoffen store credit


Fourth winner: Lorie Peugh Judd

$15 P4P store credit

$50 Made Whimsy/ You Made Something store credit

$25  Star Dust & Moon Beam Textile Company gift card to each store

$50 Pretty Posh Prints store credit

$50 Sash Fabrics store credit

$30 Phat Quarters store credit

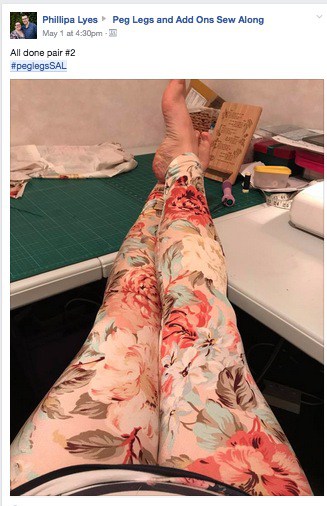
Big prize winner: Phillipa Lyes

$50 P4P store credit

$100 Sincerely Rylee store credit

$75 Sew Vagabond store credit

LFRB full of fabric from Sly Fox Fabrics

$50 True North Fabrics store credit

$50 Sweet N Charmed Fabric store credit


Congratulations to all of the winner and all participants! Please contact the shop owners to claim your prizes.


Thank you to the sponsors who made all these amazing prizes possible. Be sure to check out their awesome fabric selections!

Made Whimsy Fabric

Sew Vagabond

Sly Fox Fabrics

True North Fabrics

Sincerely Rylee

RP Custom Fabrics

Smoogie Fabric and Design

Sitka Fabrics

Star Dust and Moon Beam Textile Company

Levana Fabrics

Midnight Mountain Fabrics

Water Tower Textiles

Droomstoffen

Aurora Designs

Boss Lady Fabrics

Little Bear Fabric and Trim

Sash Fabrics

Rockerbye  Destash

The Fabric Snob

So Sew English

Fabricmail Sweet N Charmed

Phat Quarters, Pretty Posh Prints

Little Ladybug Fabrics.

Filed Under: Contest/Giveaway, Free Pattern, Sew-A-Long, Uncategorized 4 Comments

Peg Legs SAL: Day 6 – Attach waistband (with optional pocket)

May 1, 2017

Can’t believe we’re almost at the end of the sew along. Today we’ll be attaching the waistband. Whether you’re doing the high or low rise or the contoured waistband like I did, now is the time to add it to the leggings. This step can also be done with the sewing machine or the serger. If you use a sewing machine, remember to set it for a stretch stitch. A triple stretch stitch will work great!

If you are attaching your waistband with your serger you can either do a regular overlock stitch or you can even do a flat lock stitch. Using a flatlock stitch will eliminate the bulk at the seam that you get with an overlock stitch.

For this sew along I used the new contoured  waistband which, let me tell you, is the best thing ever! Best tummy control while still comfortable.

It is very important to cut your fabric along the grain. We have seen some FB comments suggesting to cut the waistbands against the grain for more support. I highly discourage that because your peg legs will loose shape in the wash and will not fit as intended.

TIP: If you are more of a rectangular shape than hourglass, you can add elastic to the top seam of your contoured waistband.

You can see the waistband construction video here.

Don’t forget to post your final picture in the Peg Legs SAL event and hastag it #peglegsSAL before May 3rd 10 pm EST. Be sure to come back on Wednesday for the Sew Along recap and the winners announcement.

Filed Under: Contest/Giveaway, Free Pattern, Sew-A-Long, Uncategorized 11 Comments

Peg Legs SAL: Day 5 – Sew Inseam and attach legs

April 30, 2017

Welcome to day 5 of the Peg Legs Sew Along! Today we will be sewing the inseam, hemming each leg and attaching them. Start by pinning (or clipping) the inseams on each leg, right sides together. You can either serger it or stitch it with your sewing machine. If you use your sewing machine for this step, make sure to use a stretch stitch!

If you’re using your serger, test the stitches on a scrap piece of fabric, preferably the same as the one you used for your pegs.  Testing first will give you a chance to see if you need to make any adjustments to the tension or stitch length or width.

Once you’ve sewn the inseams you can either hem or sew the crotch curves. I prefer to hem first because I find it easier to maneuver if the legs are not attached together. When hemming your Peg Legs make sure you steam press before and after you stitch. You can use your coverstitch machine or your sewing machine for this step, just remember to use a stretch stitch.

Last step of the day is sewing the crotch curve. Pin or clip the curve right sides together, matching the inseam and the back and front rise. The easiest way to do this is to turn one of the legs inside out and place the other leg (right side out) inside.

You can see the day 5 video here !

When you’ve finished these steps, don’t forget to post a picture in the Peg Legs SAL Event and hashtag it #pegsalday5.

Filed Under: Contest/Giveaway, Free Pattern, Sew-A-Long, Uncategorized 1 Comment

Peg Legs SAL: Day 4 – Sew add ons (pocket, color block, side strip etc)

April 29, 2017

Hello there! Day 4 is here and we’re starting to sew! Woohoo! Today we’ll be putting the leg pieces together. If you added a pocket, or a side strip, or color blocked the side strip, now is the time to put them together.

I love to work “assembly line style” so I pin…well clip…all pieces together first. Then sew/serge and then topstitch. If you are using a sewing machine make sure you use a stretch stitch like the “thunderbolt” , a triple stretch stitch or a very narrow zig zag. When top stitching with a sewing machine I highly recommend using twin needles. Check out the Twin Needles Blog for some tips and tricks!

For my SAL Peg Legs pair I stitched with my serger and topstitch with the coverstitch machine. You can see how I put together the add ons in the day 4 video here!

If you want to take it up a notch you can use decorative top stitching too. The Decorative stitching blog is an excellent source for all of you who would like to take the Peg Legs up a notch!


Once you’ve assembled your leg pieces post a picture in the Peg Legs SAL Event and hash tag it #pegsalday4. See you back here tomorrow!

Filed Under: Contest/Giveaway, Free Pattern, Sew-A-Long, Uncategorized Leave a Comment

Peg Legs SAL: Day 3 – Cutting the fabric

April 28, 2017

Welcome to day 3 of our Peg Leg sew along. So far we have picked the fabric(s) we will use, measured for accurate sizing and printed the pattern. Today we will be cutting the fabric so grab those sharp scissors or rotary cutter and let’s get started.

It is imperative that you cut your fabric following the grain/stretch recommendation. Do not cut your pegs against the grain even if you feel that it may save you some fabric. The final product will not look as nice and you will notice sagging and misshaping.

Don’t forget to cut MIRROR pieces for both your main part and the color block ones! The easiest way to make sure you cut all the fabric correctly is to fold the fabric and make only one cut instead of two mirrored ones. Check out day 3 video here!

TIP: Cut all pieces of the same fabric before cutting the pieces of the coordinating fabrics.

Once you cut your fabric post a picture of the pieces in the Peg Leg SAL Event and hashtag it #pegsalday3. See you back here tomorrow!

Filed Under: Free Pattern, Sew-A-Long, Uncategorized 6 Comments

50K Fan Celebration :: Ruched Side Panel Hack

April 25, 2017

Hey guys, I have a super easy hack to the new Peg Leg Add Ons for you today!

You will need to cut your side panel piece from the Peg Leg Add Ons twice the length.

Gather along side seams. I used two rows of stitches on each side to help keep gathers even (it’s also a safeguard just in case one of them breaks along the way!).

Gather the ruched piece to original length.  I like to clip in the middle of each piece and then the ends before I begin to pull the gathering strings. This will help to keep your gathers even throughout the piece.

Lastly, attach your pieces like normal!

So simple and gives you a whole different look!


We are celebrating reaching 50K fans in our Facebook group!  To make it a party, our beloved PegLegs pattern just got an update AND some new add-ons.  Before you go running to your machine to sew up your own leggings, make sure to read our PegLegs 101 blog post.  This way, you’ll have all the the information you’ll need to make the perfect pair before you even cut into your gorgeous fabric.

But wait, there’s more!  After any good party is an after-party.  We are taking it one step further and sharing some easy hacks that’ll bring even more flavor to your favorite leggings pattern!  We hope you check them out, make your new favorite pair of leggings, and know that we appreciate every single one of you amazing sewing guys and gals!

Here are our hacks / tutorials / latest tricks:

Lace Waistband Alternative | Drawstring Waistband Tutorial
Exposed Elastic Waistband | Stirrup Pant Hack
Ruched Ankles Adjustment | Decorative Topstitching Tutorial
Ruched Side Panel Hack

Filed Under: Free Pattern, Pattern Release, Uncategorized Leave a Comment

50K Fan Celebration :: Lace Waistband PegLegs Hack

April 19, 2017

Every once in awhile, our Facebook group gets hit with a picture of a trending item with the question “How can I make this?”.  For a few months, a picture of a lace waistband was circulated and while we secretly worked on the Peg Legs update, we knew we had to add it to our hack lineup.

To achieve this look, we are going to eliminate the waistband piece, but in order to help keep them up, we will be increasing the rise and adding elastic at the top edge.  You will also need wide stretch lace (we used lace between 5-6″ tall) and 1/4″-3/8″ elastic.

I wanted to keep the original mid-rise of the leggings but since we are eliminating the extra waistband piece, I cut on the high rise line and added about 0.25″ to accommodate the elastic.  Once cut, assemble the legs as you normally would.

Cut your elastic the width of the waist of the Peg Legs.  The Peg Legs already have negative ease (meaning, they are smaller than your body measurements and stretch to fit) so we do not need to cut the elastic smaller than the opening.  This is just used as extra support to help keep them up.

Butt the ends of the elastic to one another, and using a zig-zag stitch, stitch, creating a circle.  Stitch the elastic to the wrong side of the fabric using your favorite stretch stitch.  If using a serger, do not cut any fabric off.   The elastic should be measured at 1:1 with the top of the leggings so should not need to stretch to fit the opening.

To determine the size of the lace waistband, lay your lace on top of the leggings and cut them 1/2″ wider than the leggings on either side.  Cut 2.

With right sides together, stitch each short end with a 1/2″ seam allowance to create a circle.  Flip right side out.

With both right sides out, slip lace waistband over the leggings.  I wanted to encase my elastic so chose to fold over the edge of the fabric as well.  Top-stitch using your favorite stretch stitch around the top edge of the leggings.  I did not stitch along the bottom edge of the lace.  I used a brushed poly so the lace sort of “stuck” to the fabric when worn so found I did not need to stitch the bottom edge in place.


We are celebrating reaching 50K fans in our Facebook group!  To make it a party, our beloved PegLegs pattern just got an update AND some new add-ons.  Before you go running to your machine to sew up your own leggings, make sure to read our PegLegs 101 blog post.  This way, you’ll have all the the information you’ll need to make the perfect pair before you even cut into your gorgeous fabric.

But wait, there’s more!  After any good party is an after-party.  We are taking it one step further and sharing some easy hacks that’ll bring even more flavor to your favorite leggings pattern!  We hope you check them out, make your new favorite pair of leggings, and know that we appreciate every single one of you amazing sewing guys and gals!

Here are our hacks / tutorials / latest tricks:

Lace Waistband Alternative | Drawstring Waistband Tutorial
Exposed Elastic Waistband | Stirrup Pant Hack
Ruched Ankles Adjustment | Decorative Topstitching Tutorial
Ruched Side Panel Hack

Filed Under: Free Pattern, Pattern Hacks, Uncategorized 3 Comments

Newest Patterns

  • Uptown Joggers - Youth $10.00
  • Uptown Joggers $12.00
  • Uptown Joggers - Bundle $20.00
  • Notch Top & Dress $12.00
  • Notch Top & Dress - Youth $10.00
  • Privacy Policy
  • Refund Policy
  • Affliliate Program
  • Contact Us
  • About

Copyright © 2023 Patterns for Pirates

Copyright © 2023 · Genesis Framework · WordPress · Log in