Let me start this much anticipated blog post with a “wow” ! You have outdone yourself this past week, braving technical difficulties and Facebook glitches. We have seen so many gorgeous Brunch Blouse and Bitty Brunch Blouses being sewn and as always we had a hard task at hand…so… Without further ado: our big sew along winner is
STACIA ZINK! Her bright yellow bitty blouse caught the team’s eye, so adorable!
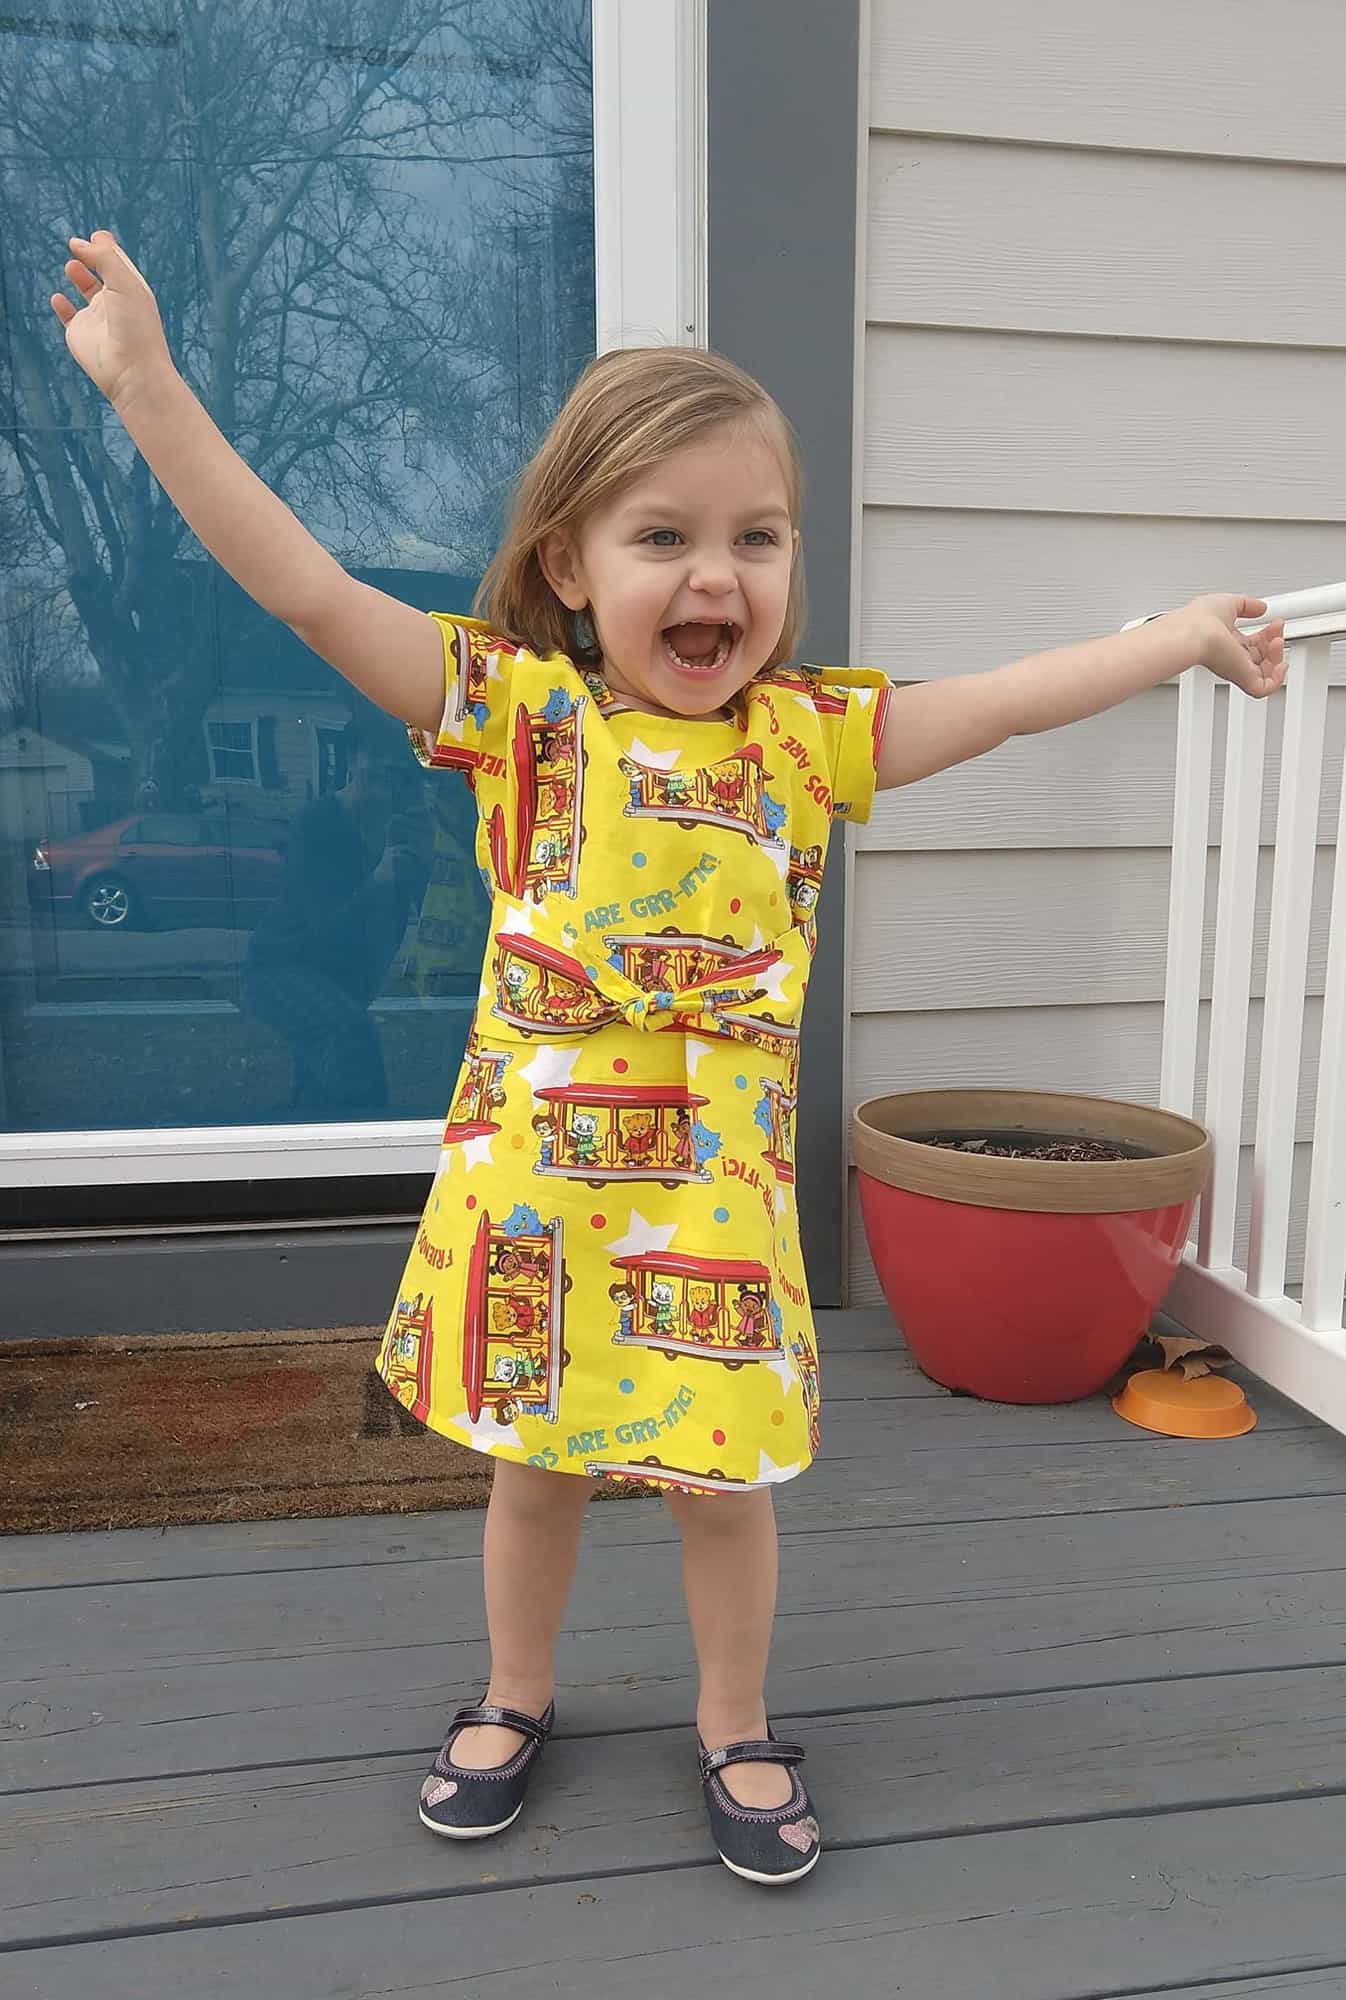
We loved that Stacia treated herself to a Brunch Blouse too. Great job! You have won a $20 gift card to Patterns for Pirates and a $50 gift card to Backstitch SoFlo.
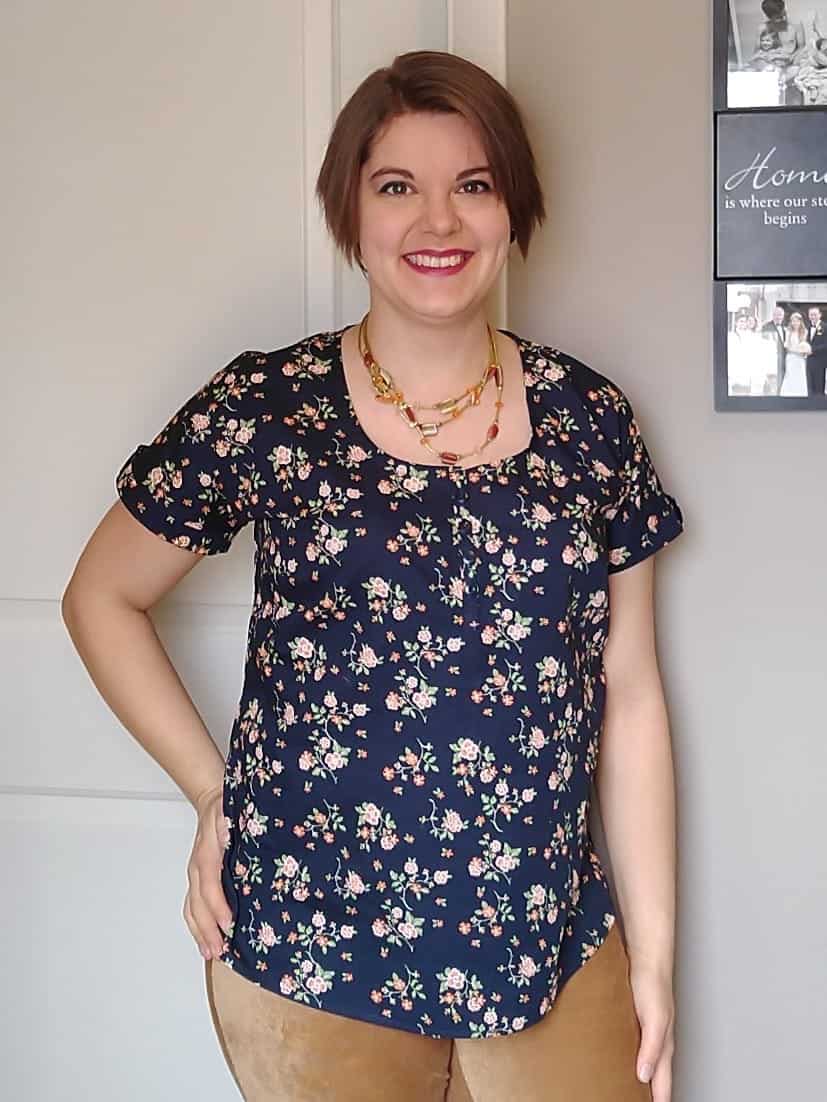
As always, we have a runner up prize too! Congratulations, Melanie Carr!
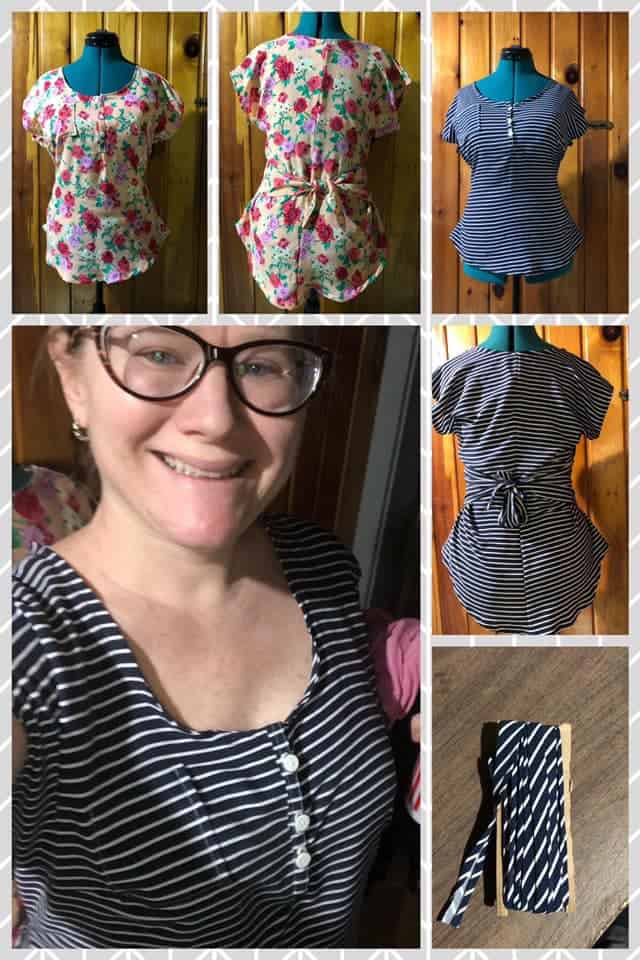
Melanie’s BB tops are so beautiful and I’m sure they will become a staple in her closet. Melanie won a $20 gift card to Made for Mermaids and a $25 gift card to Backstitch SoFlo. Happy stitching!
A huge THANK YOU to Backstitch SoFlo for sponsoring this sew along.
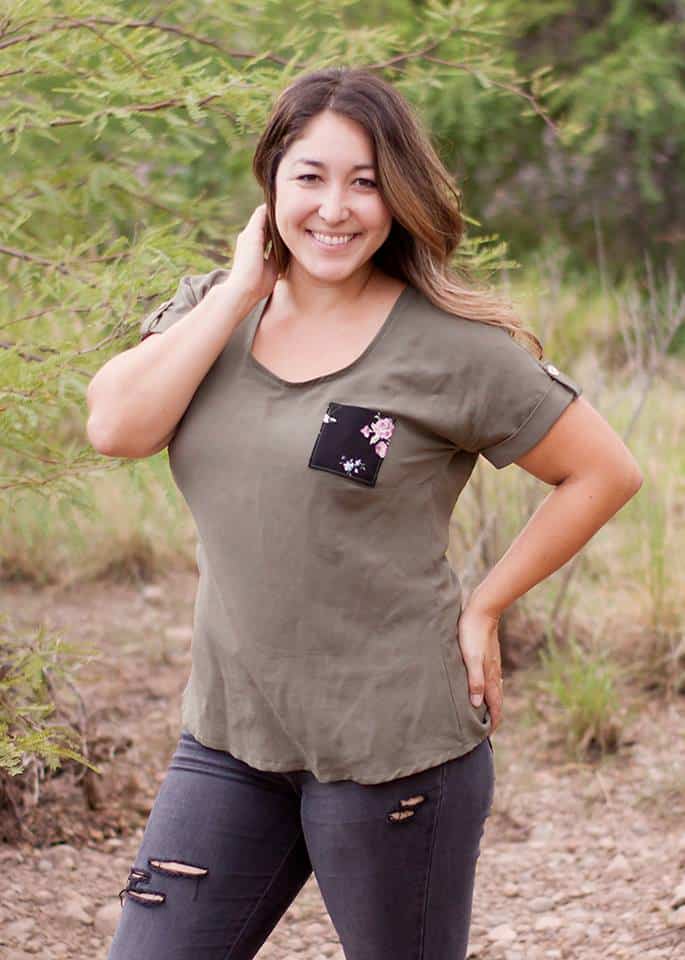
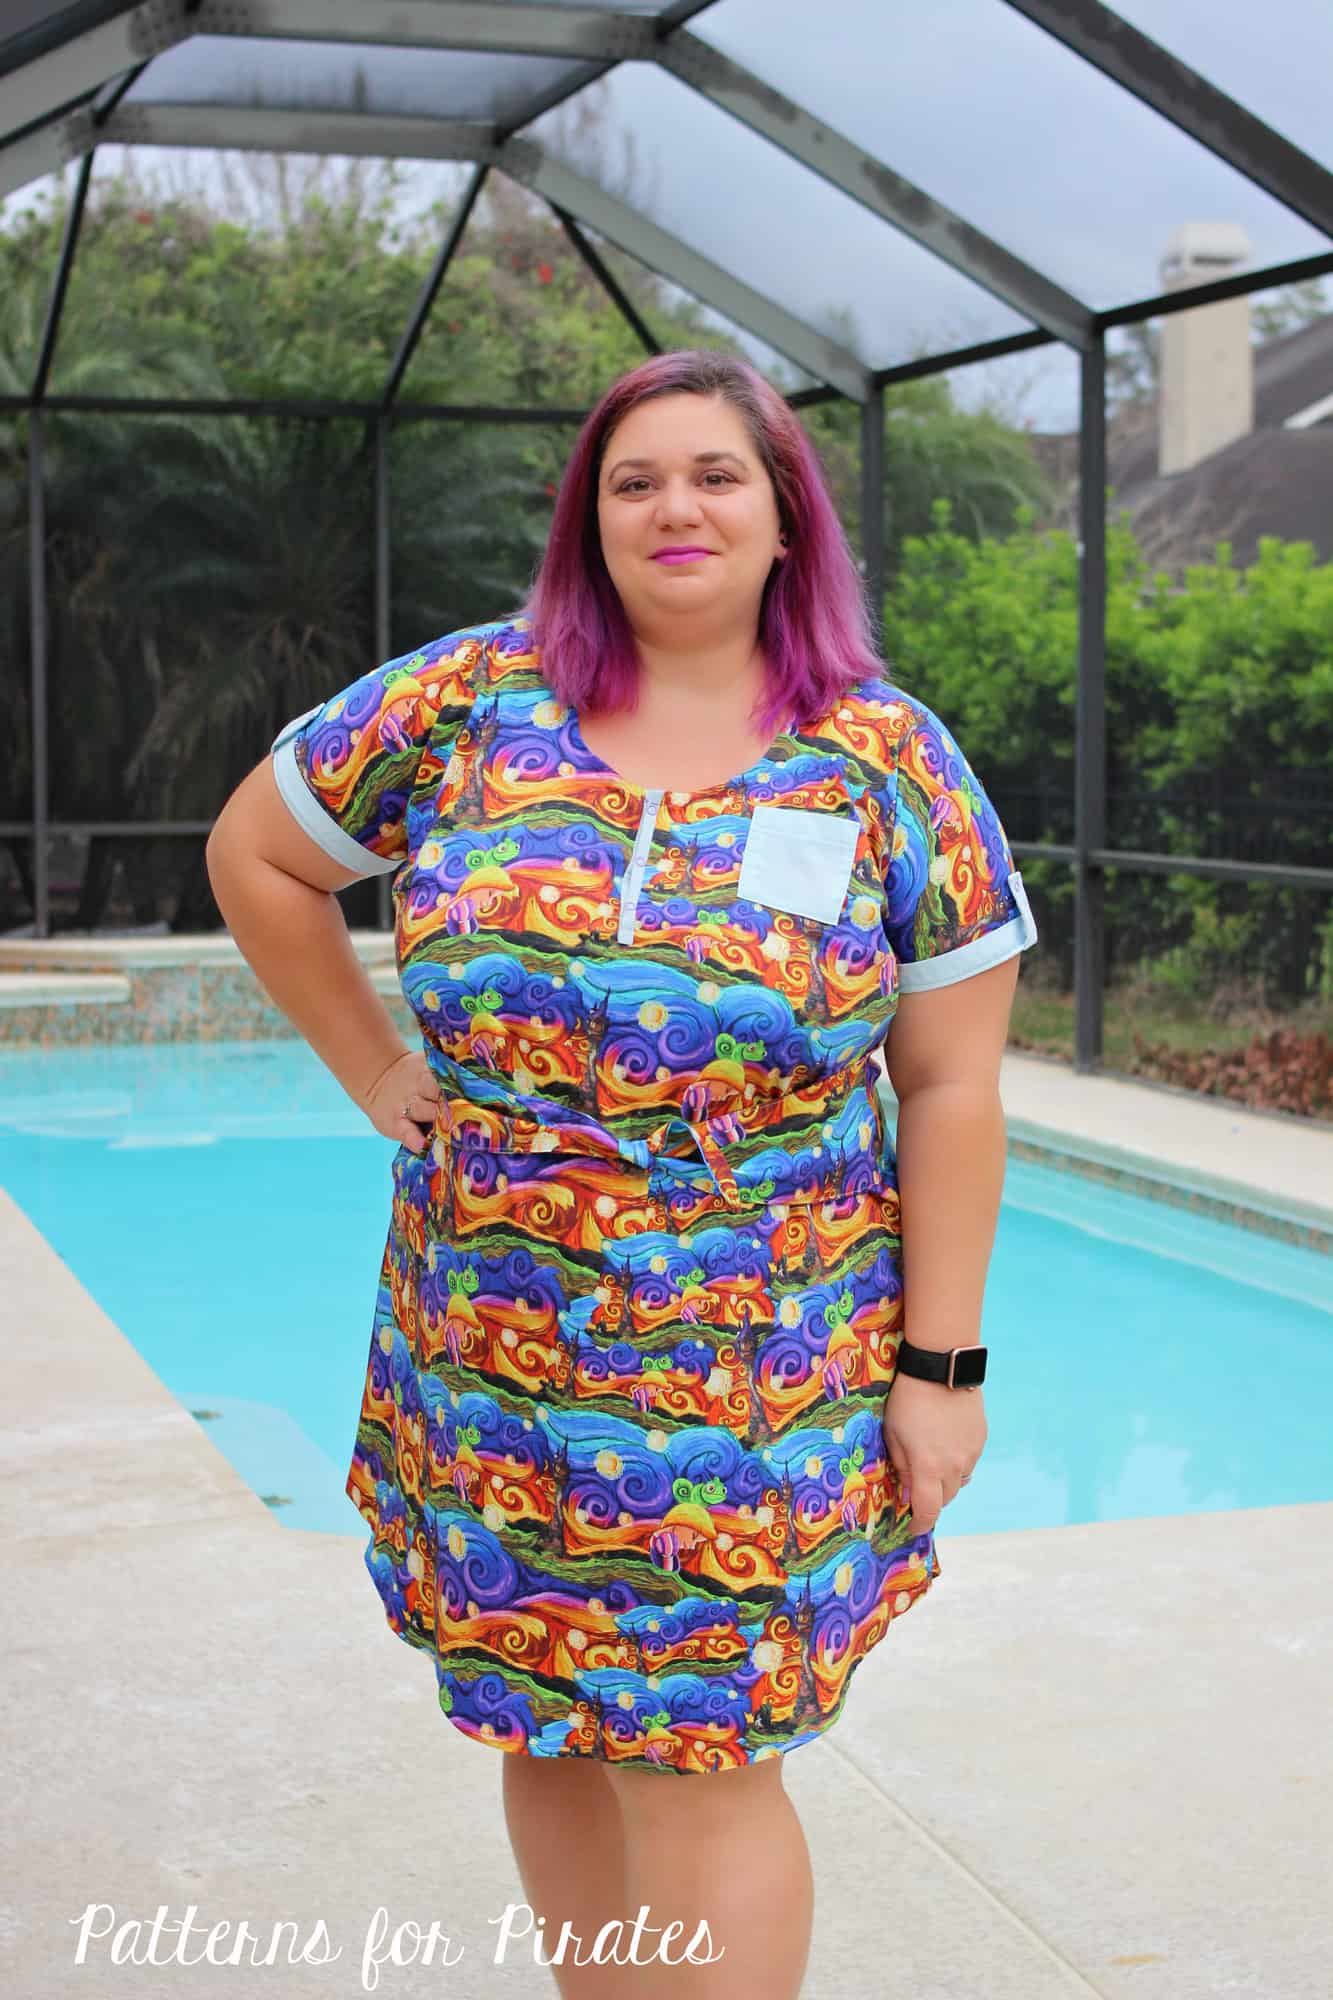
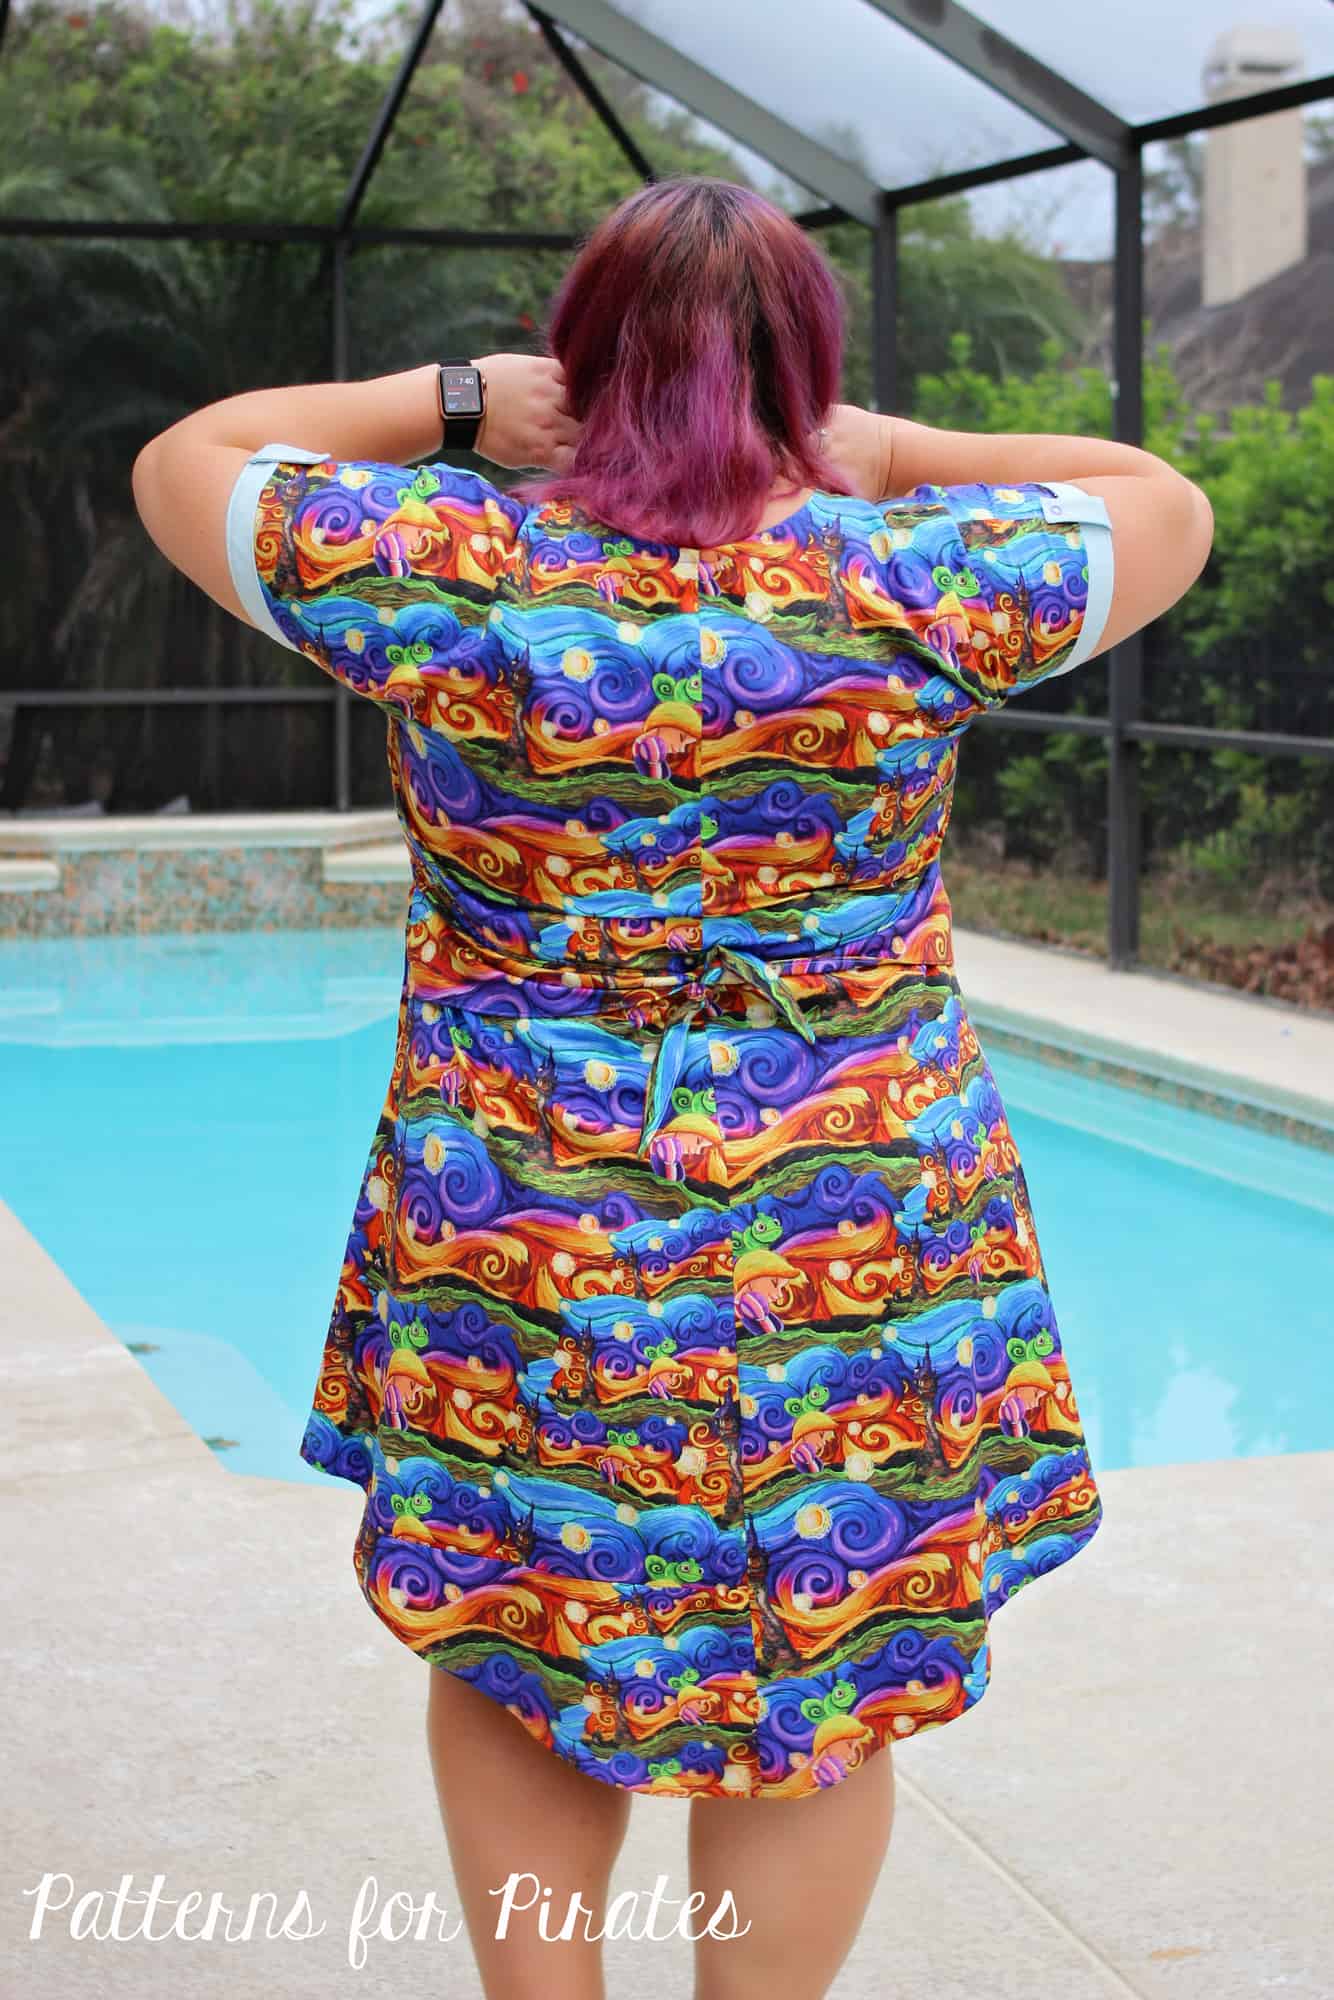
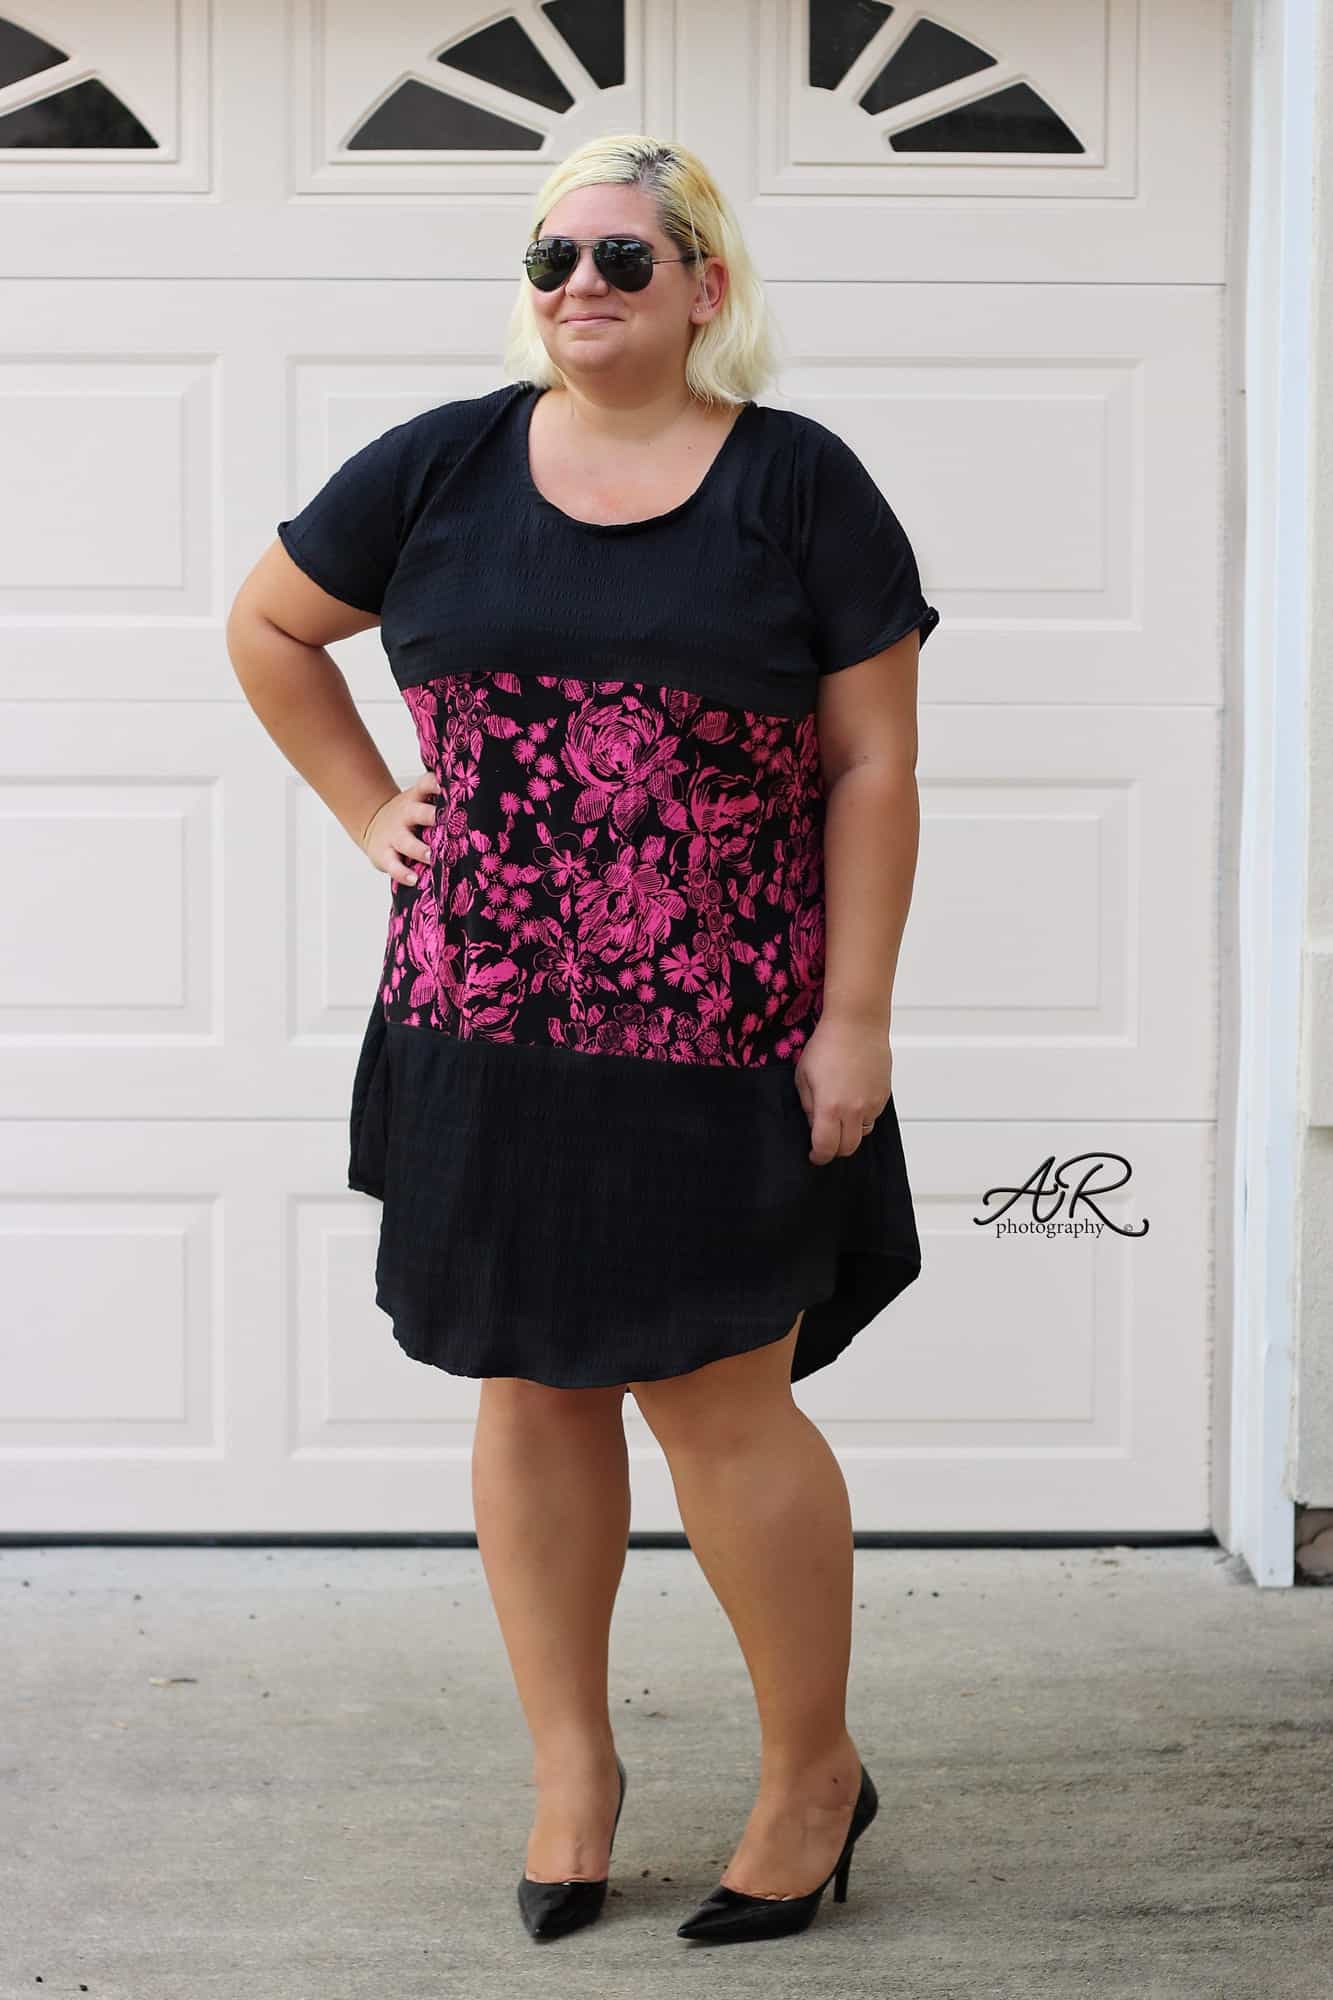
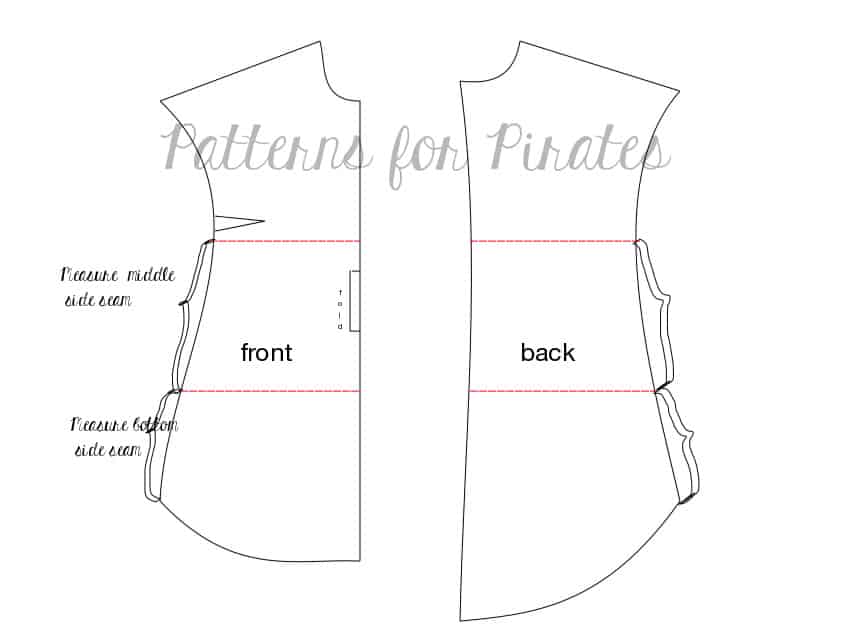
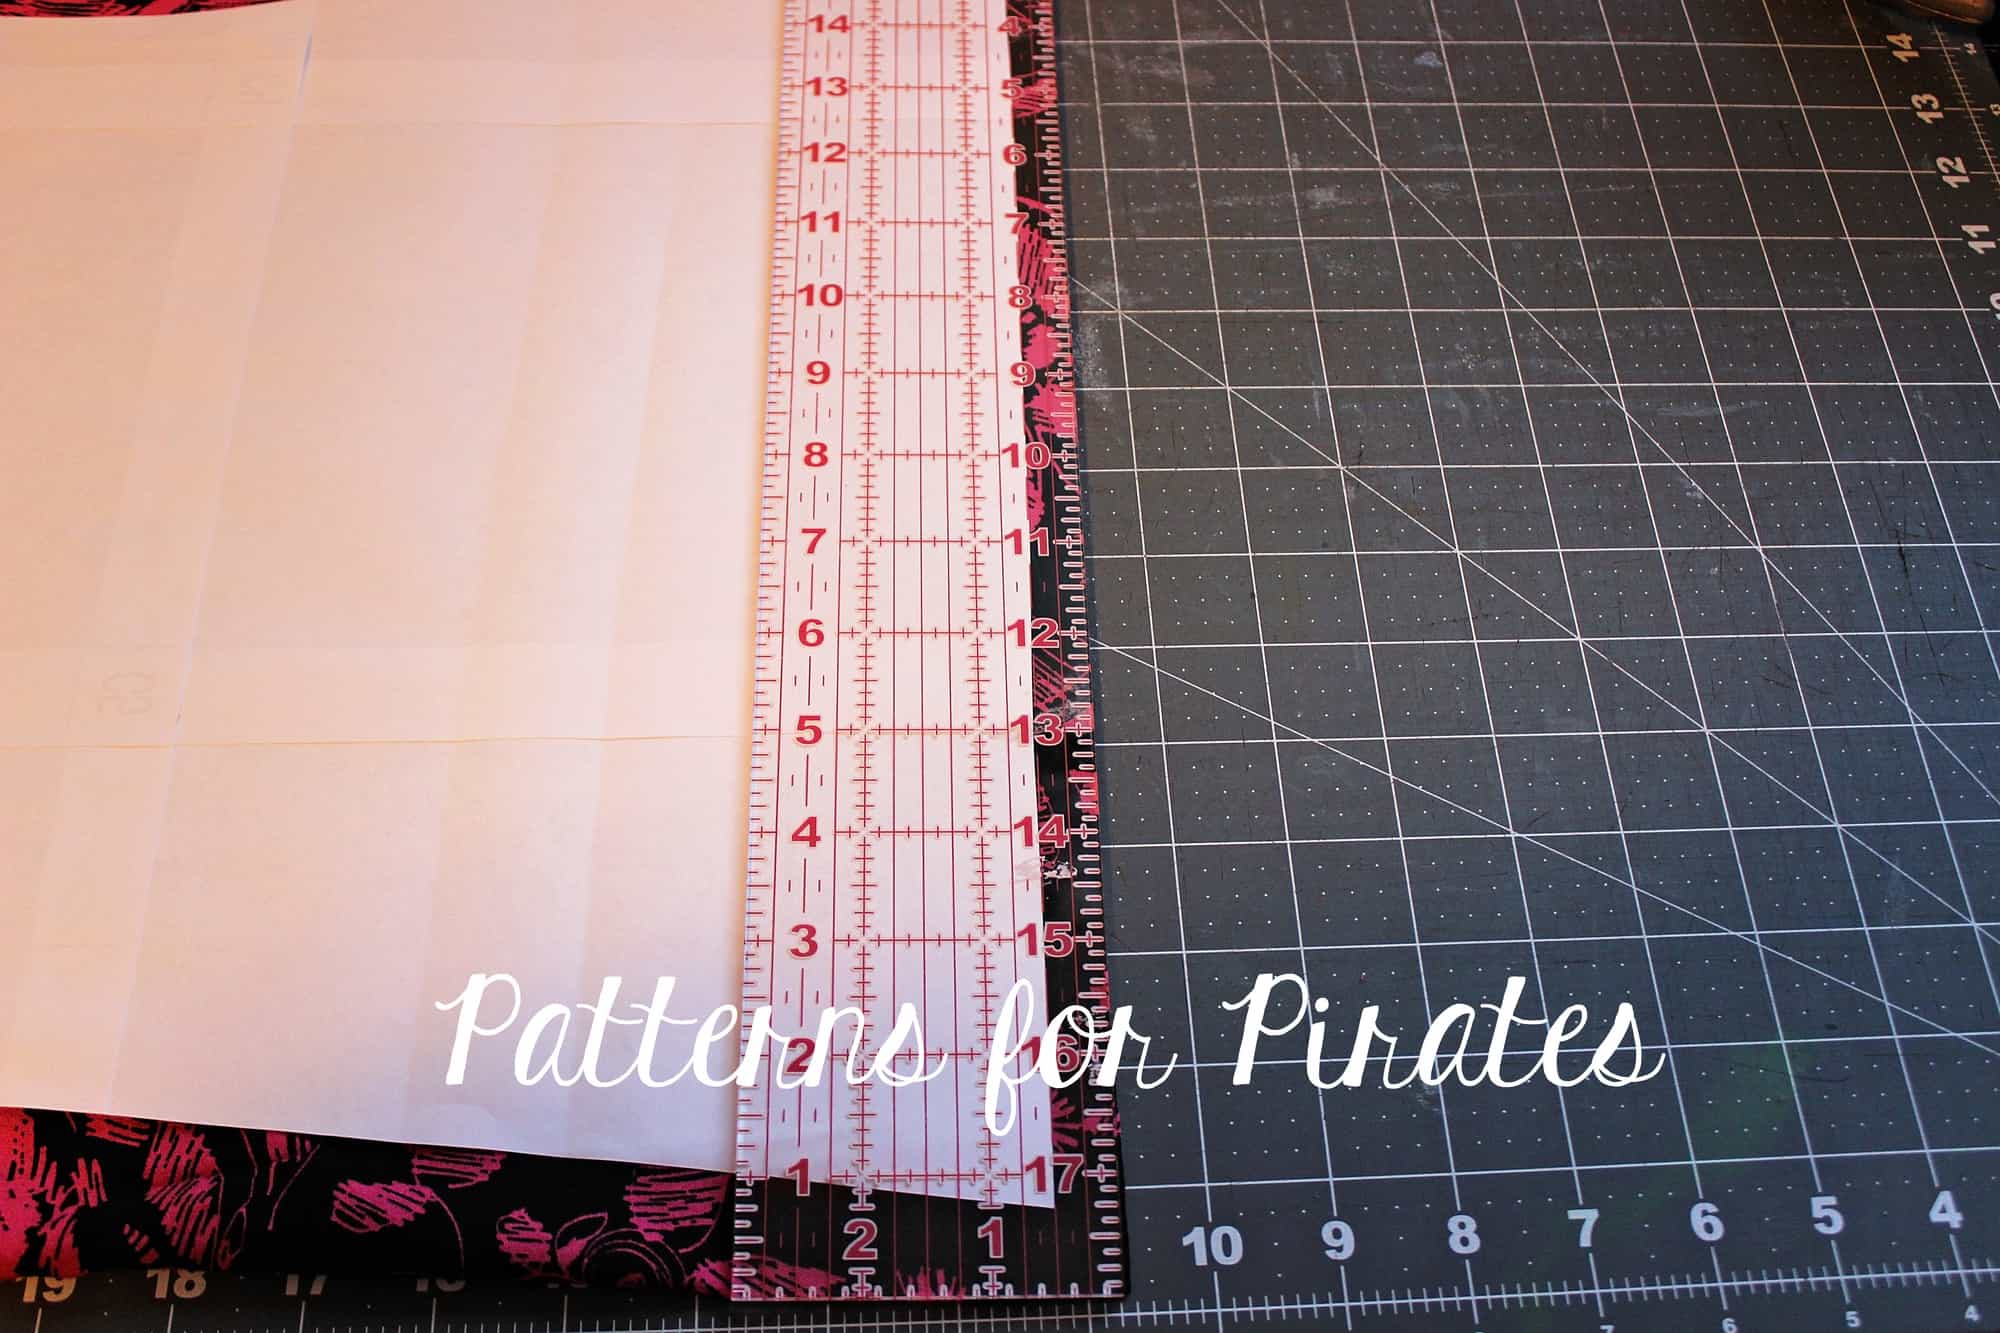
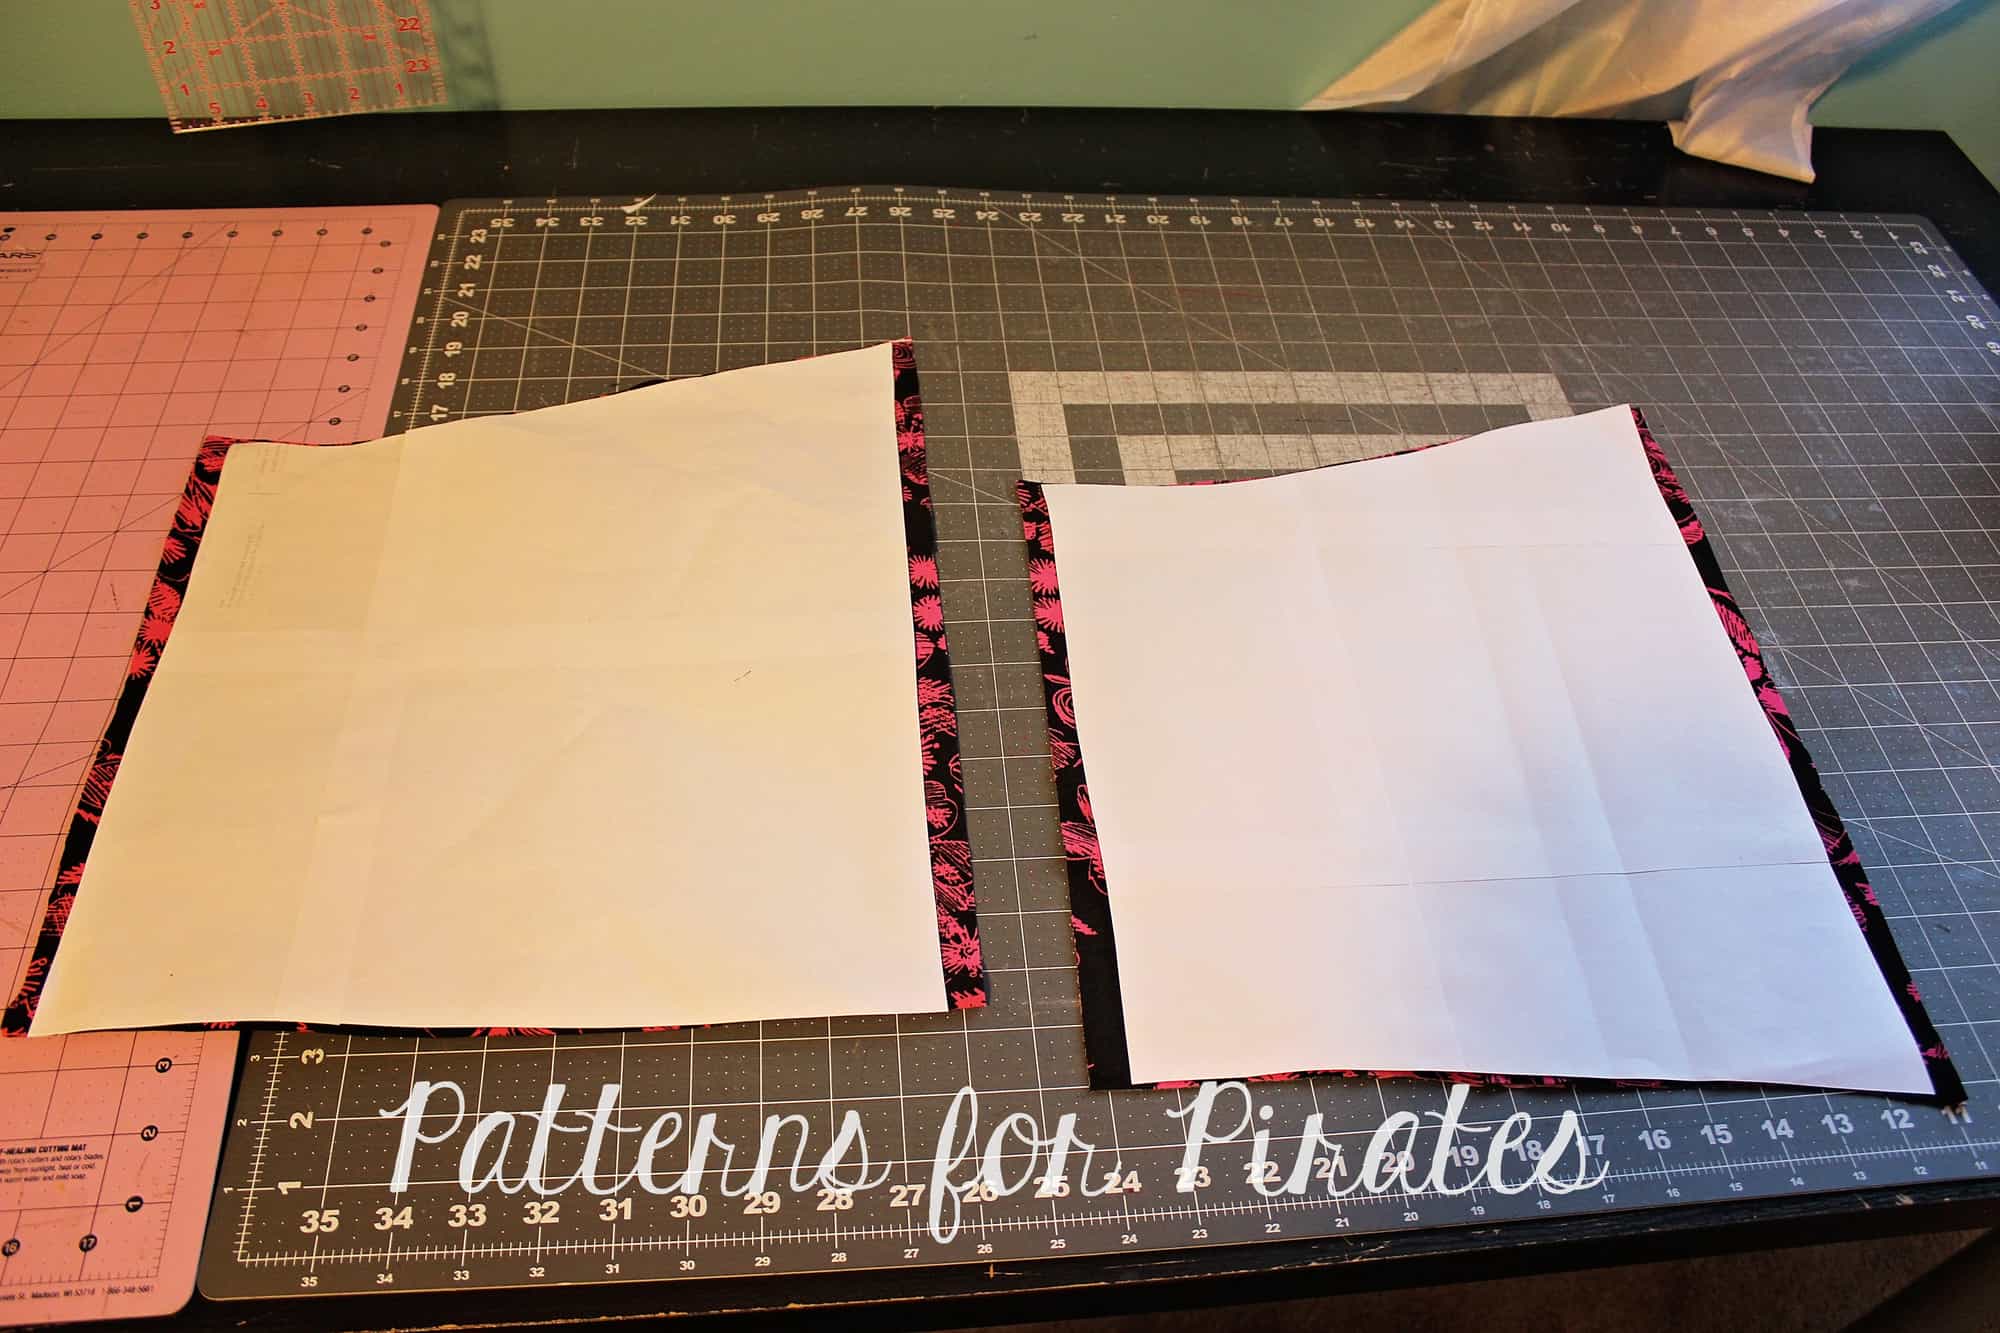
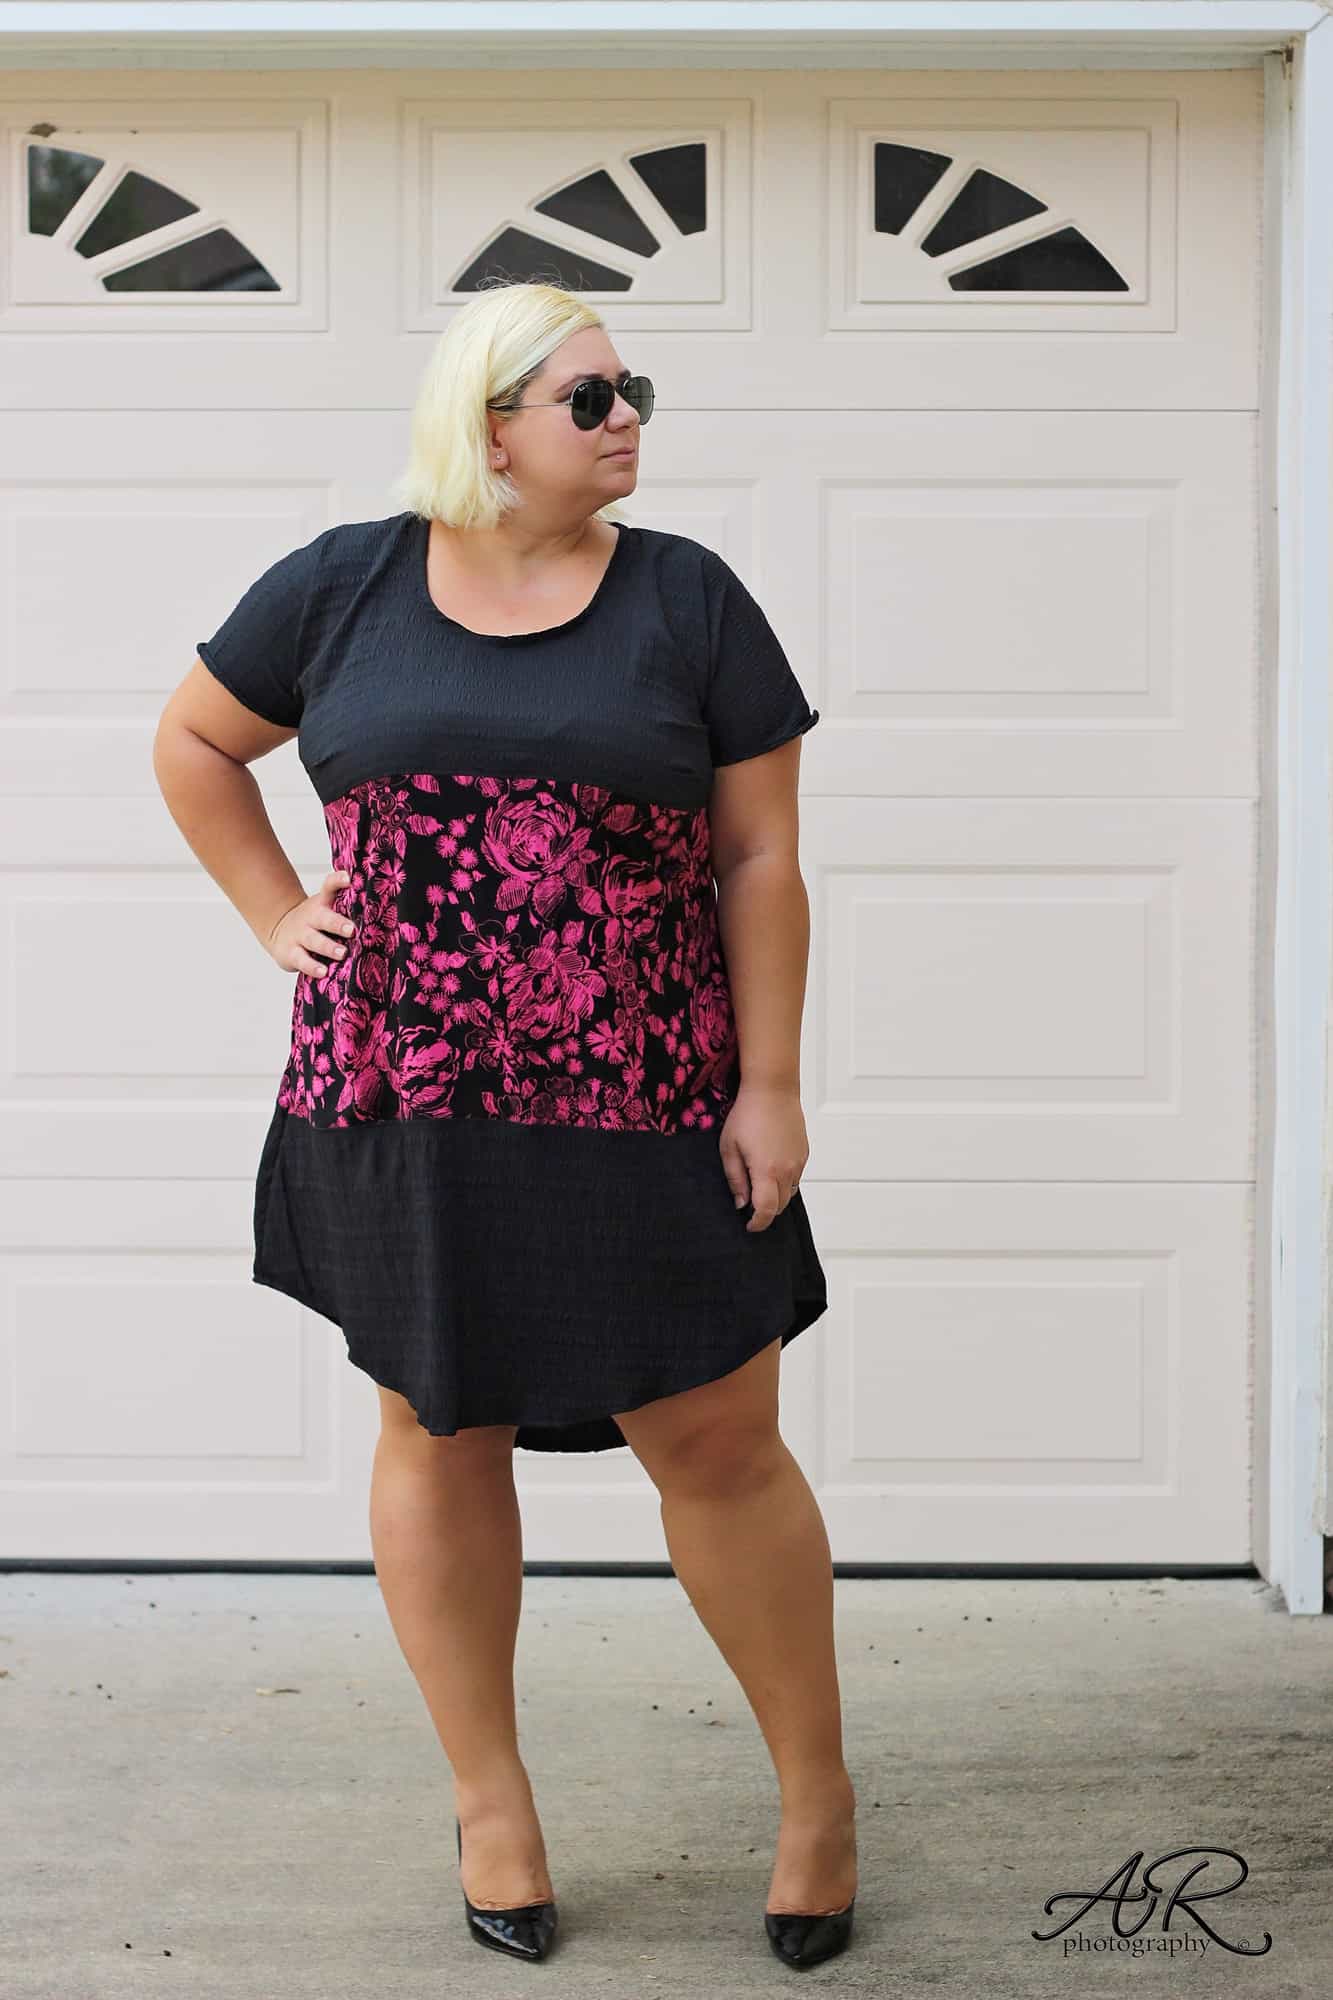
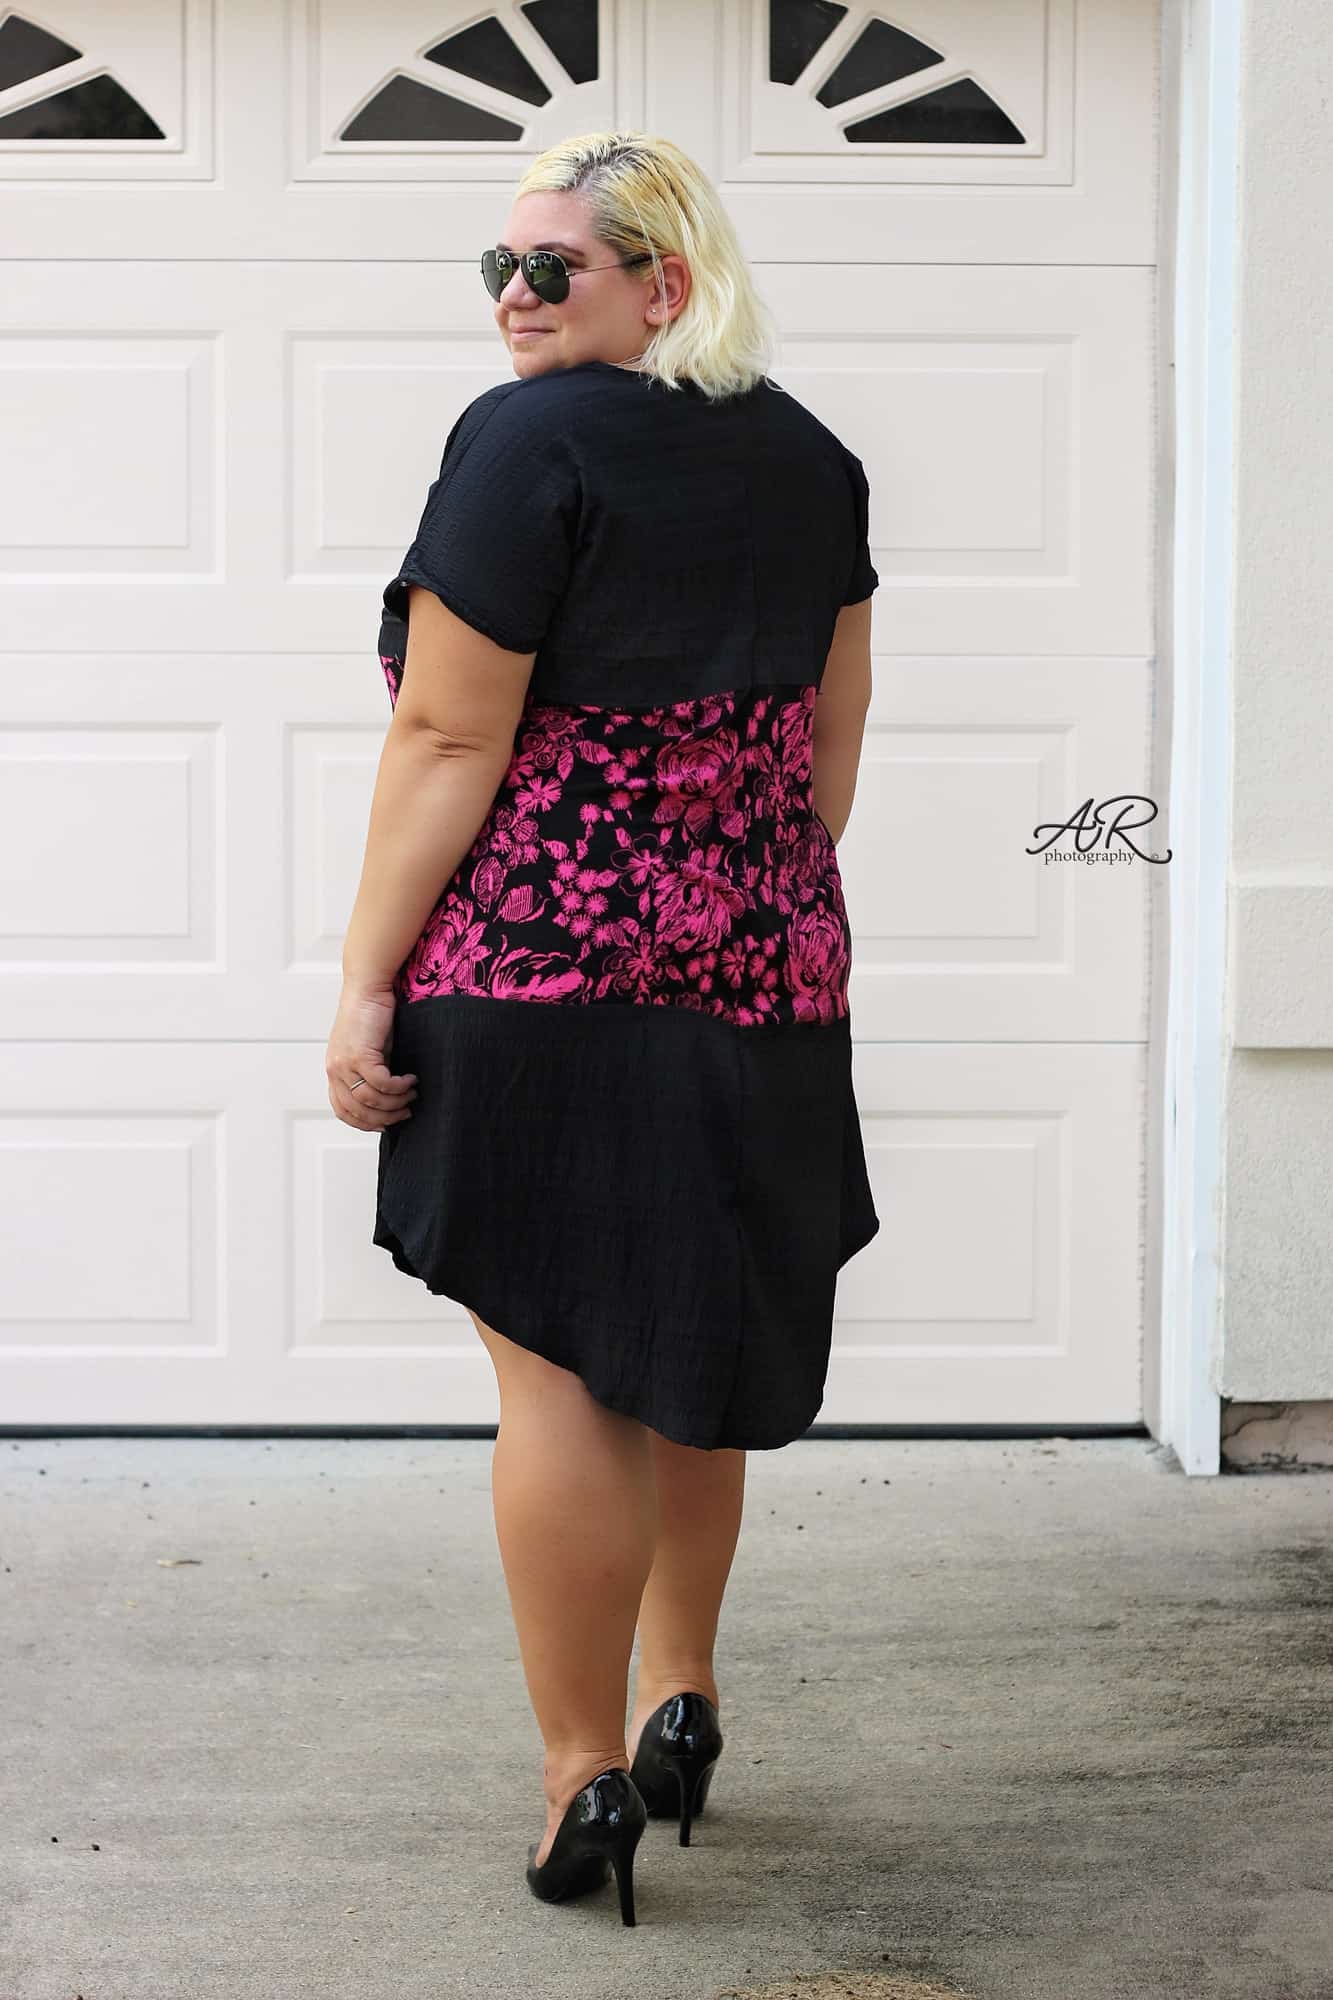
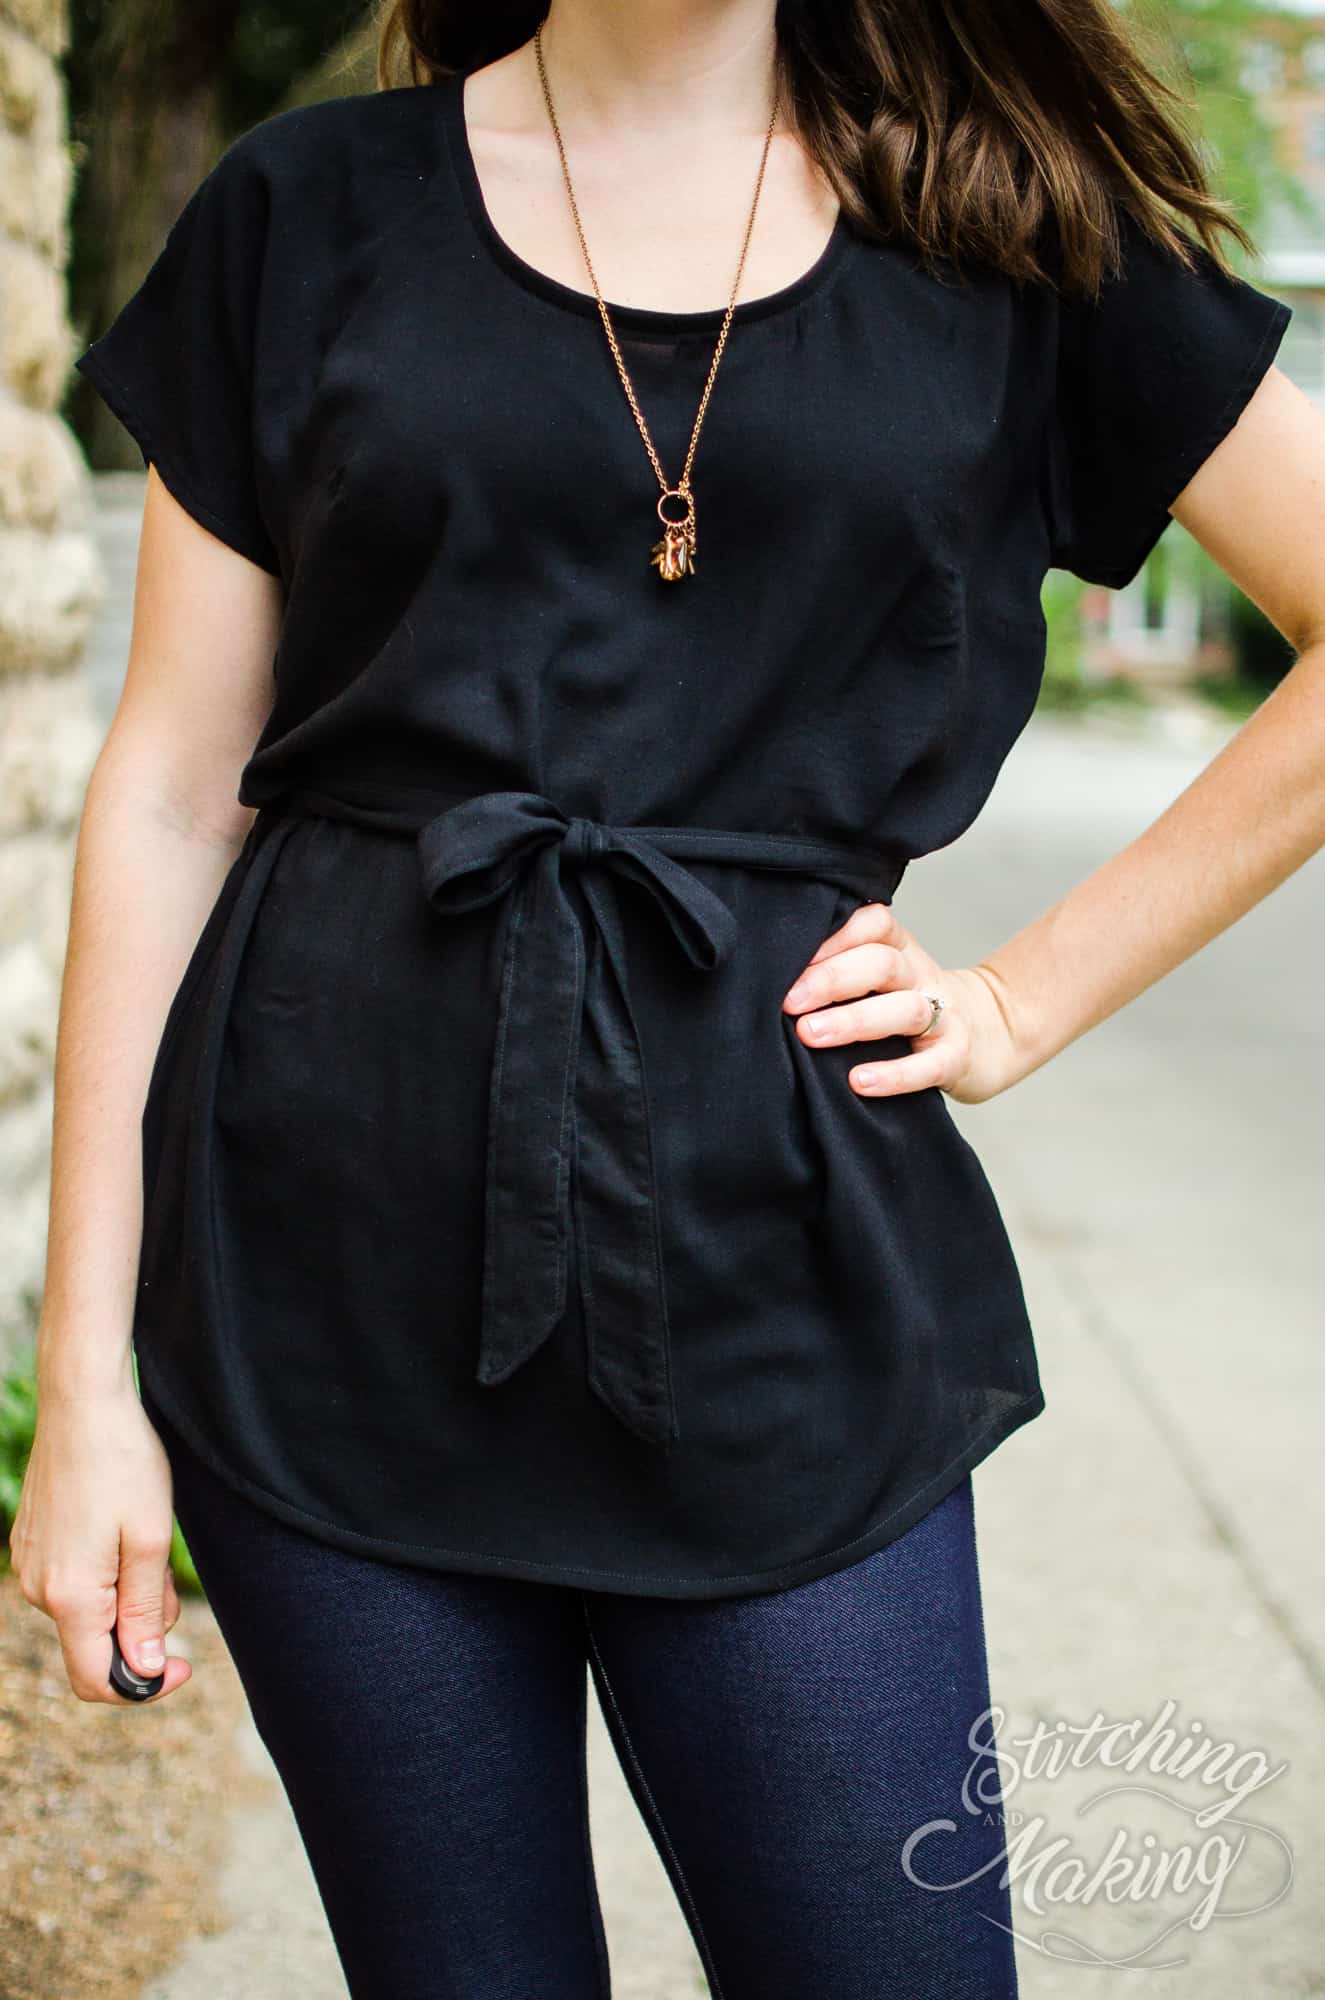
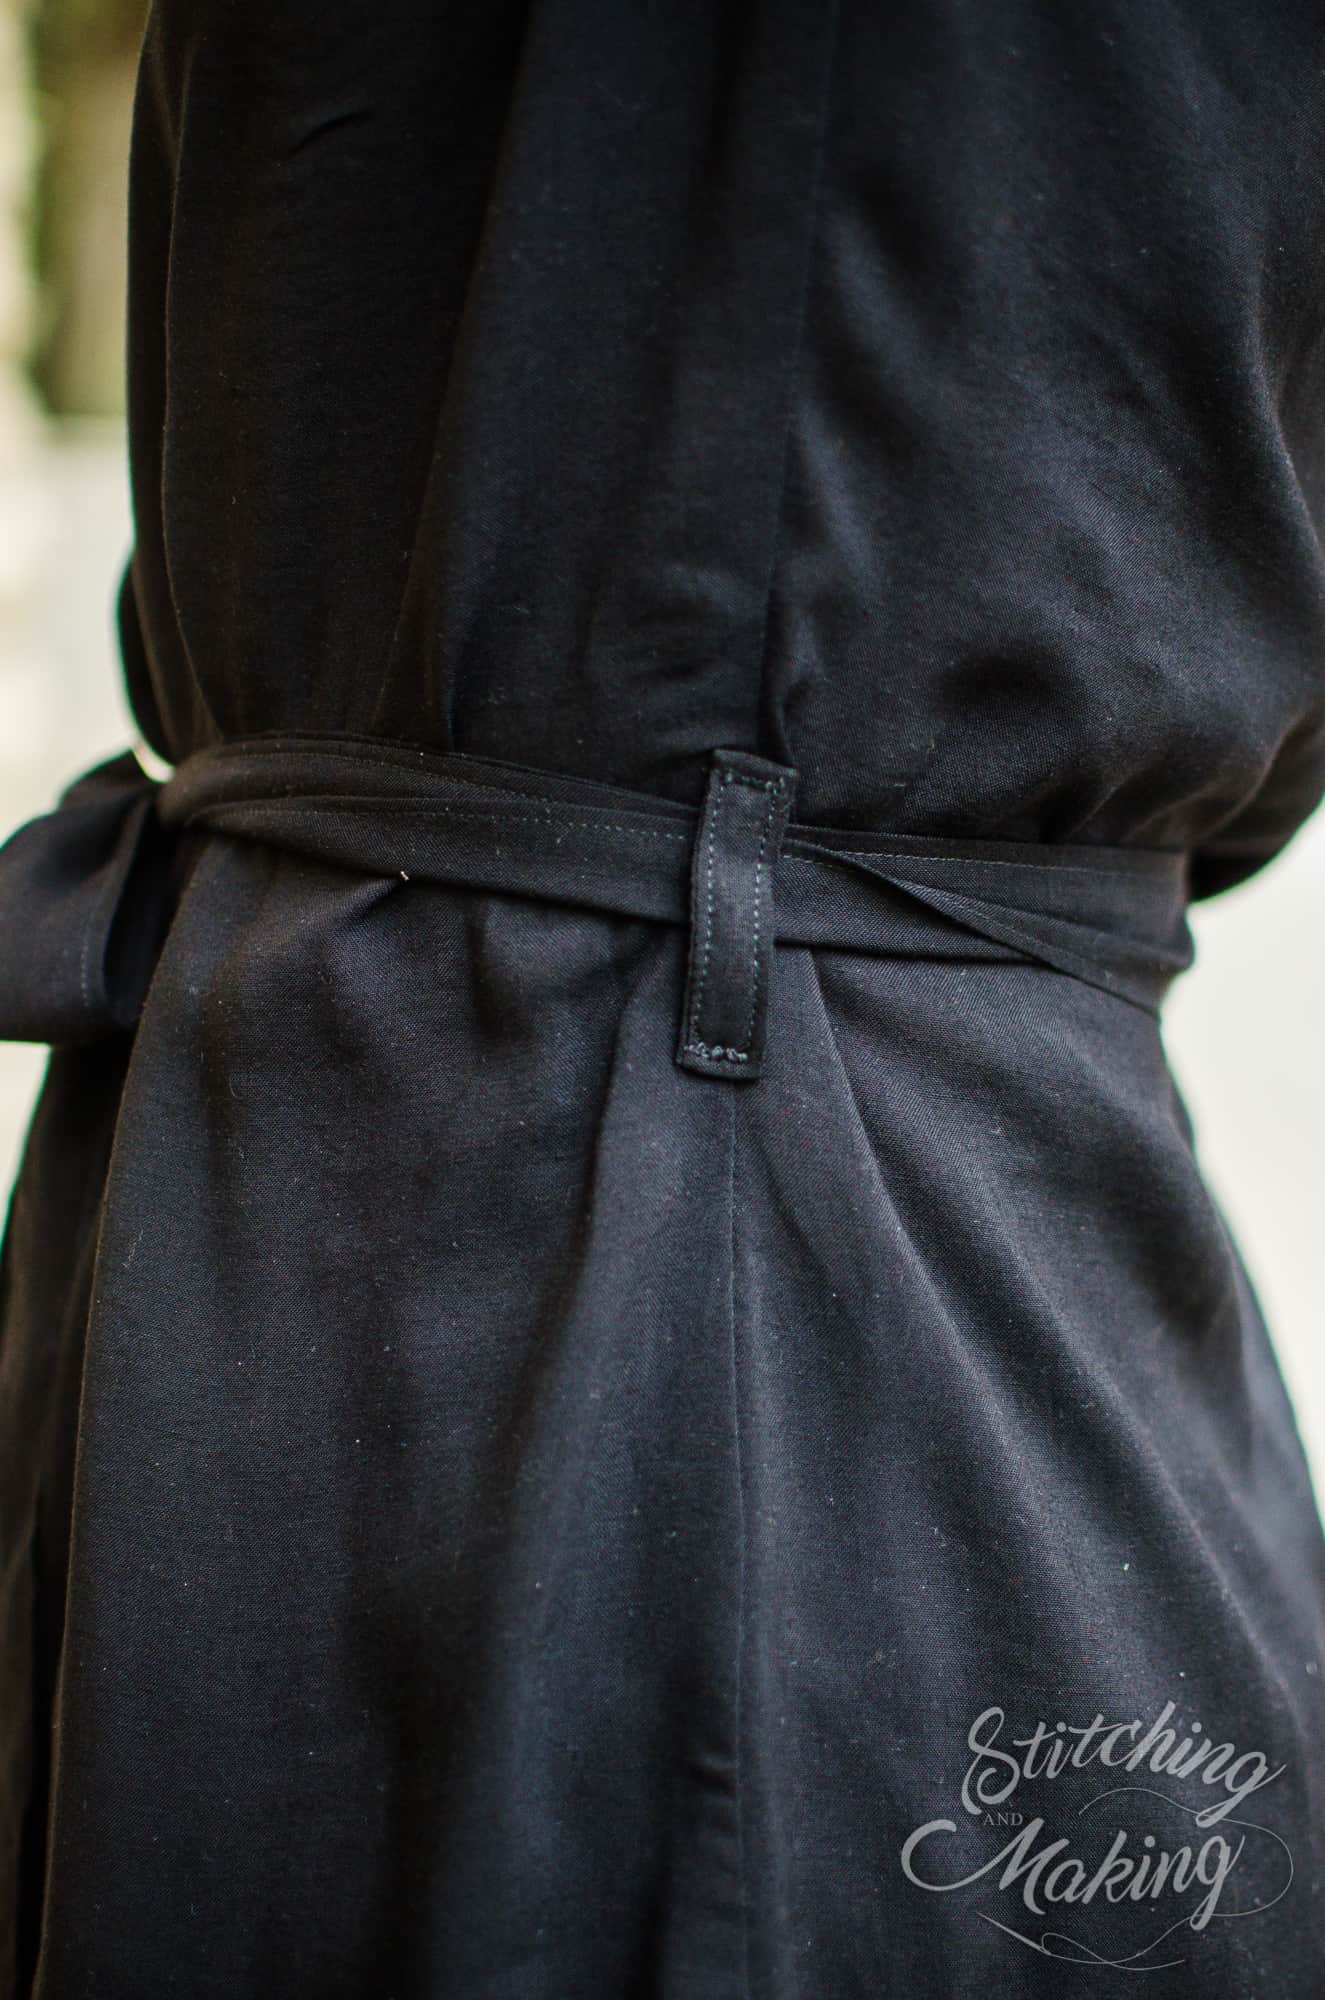
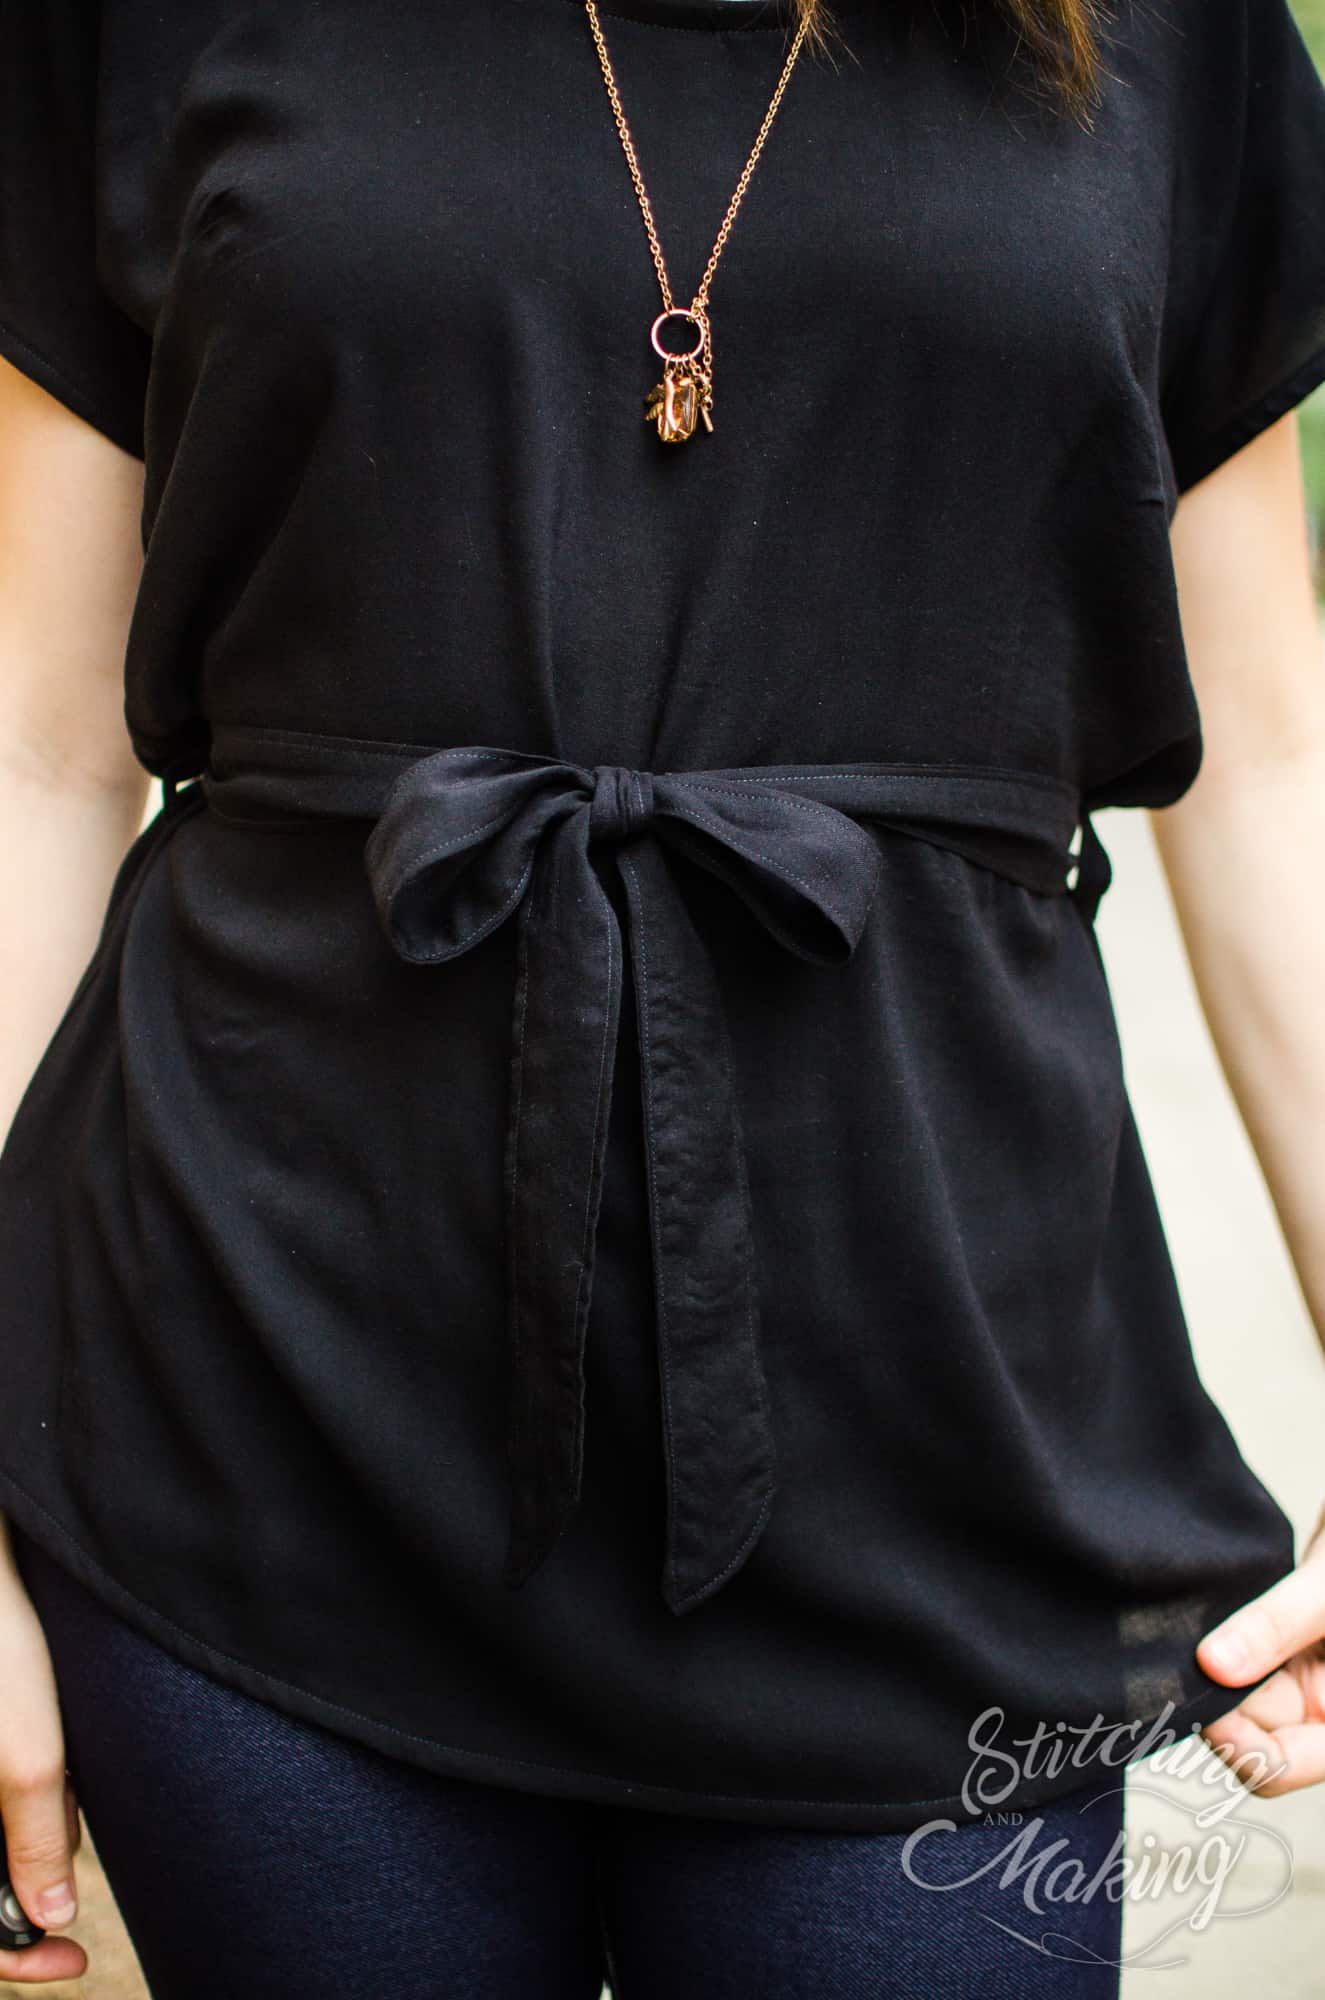
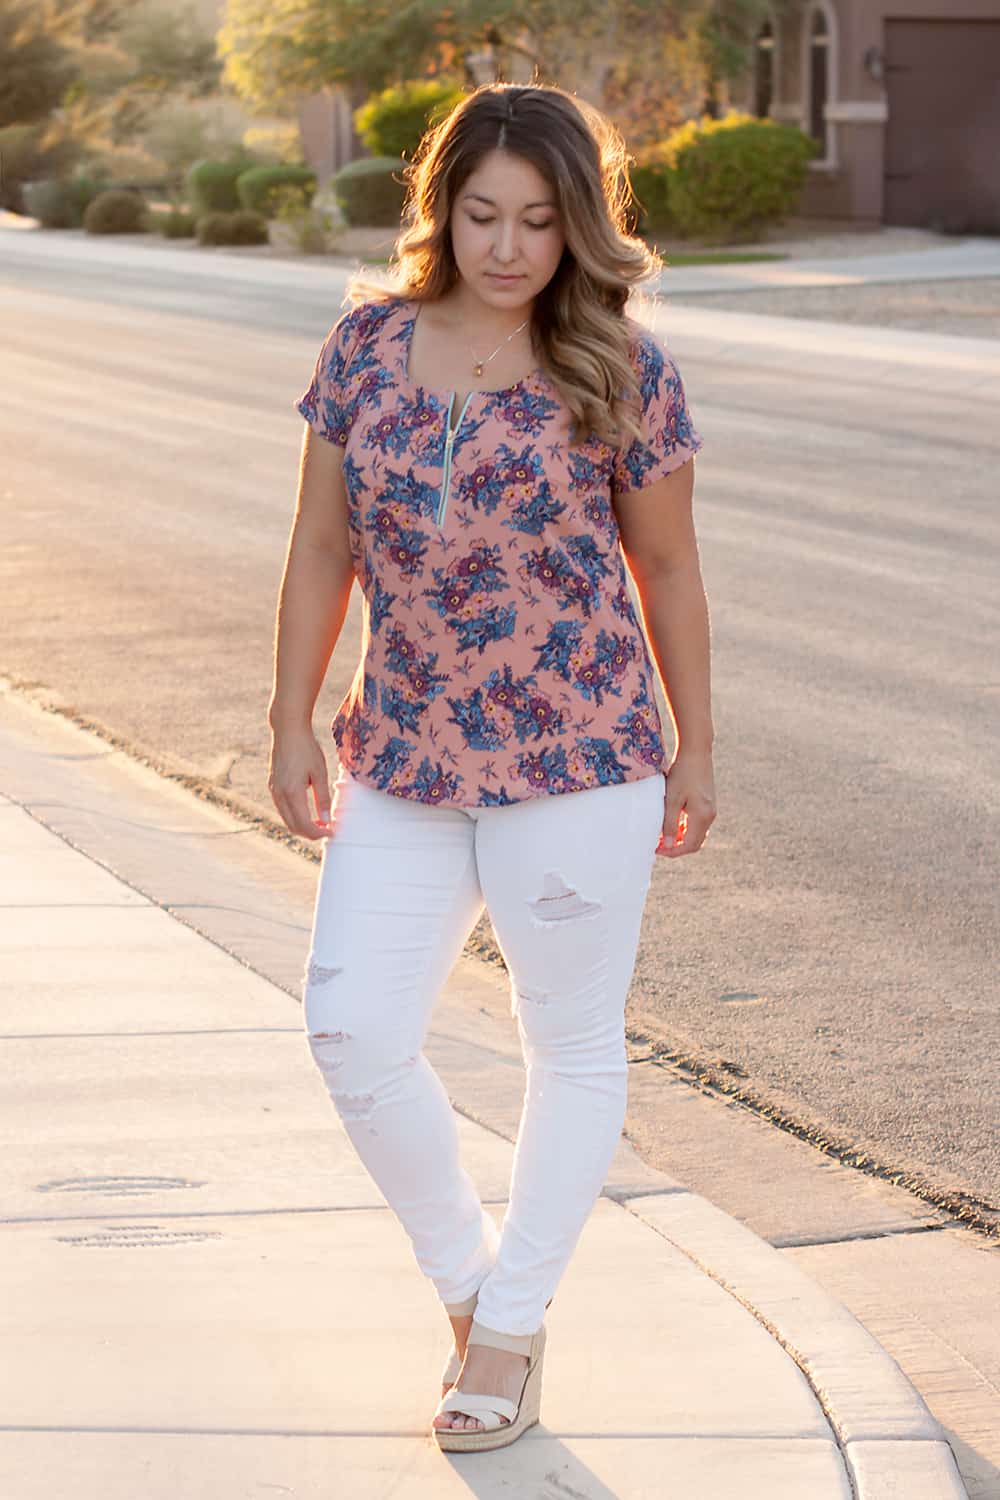
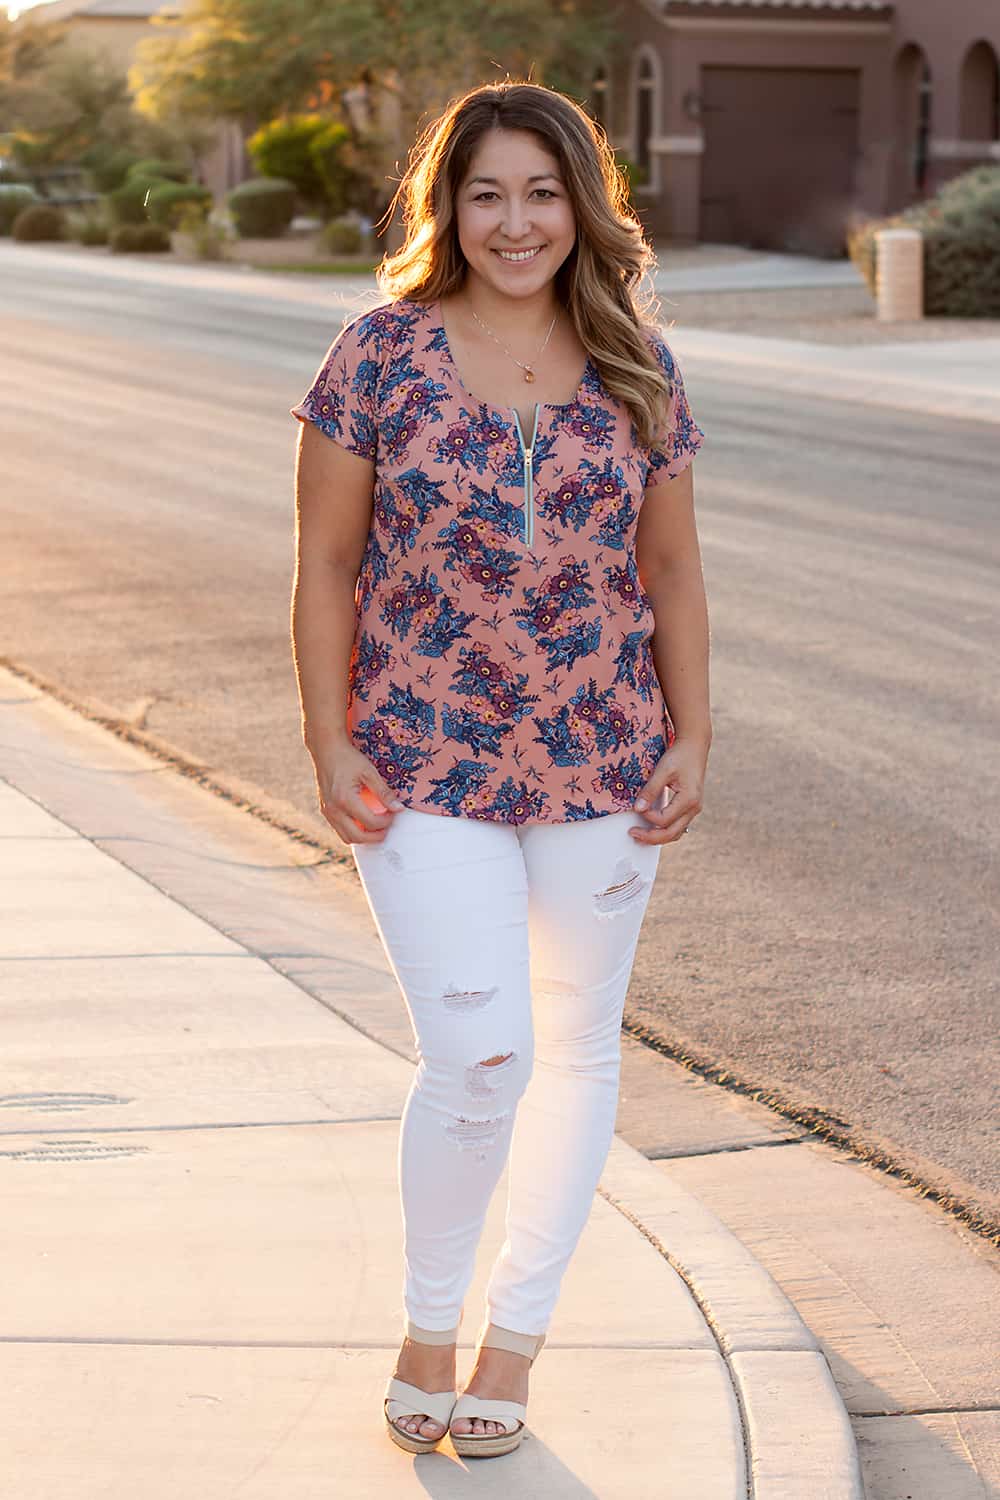
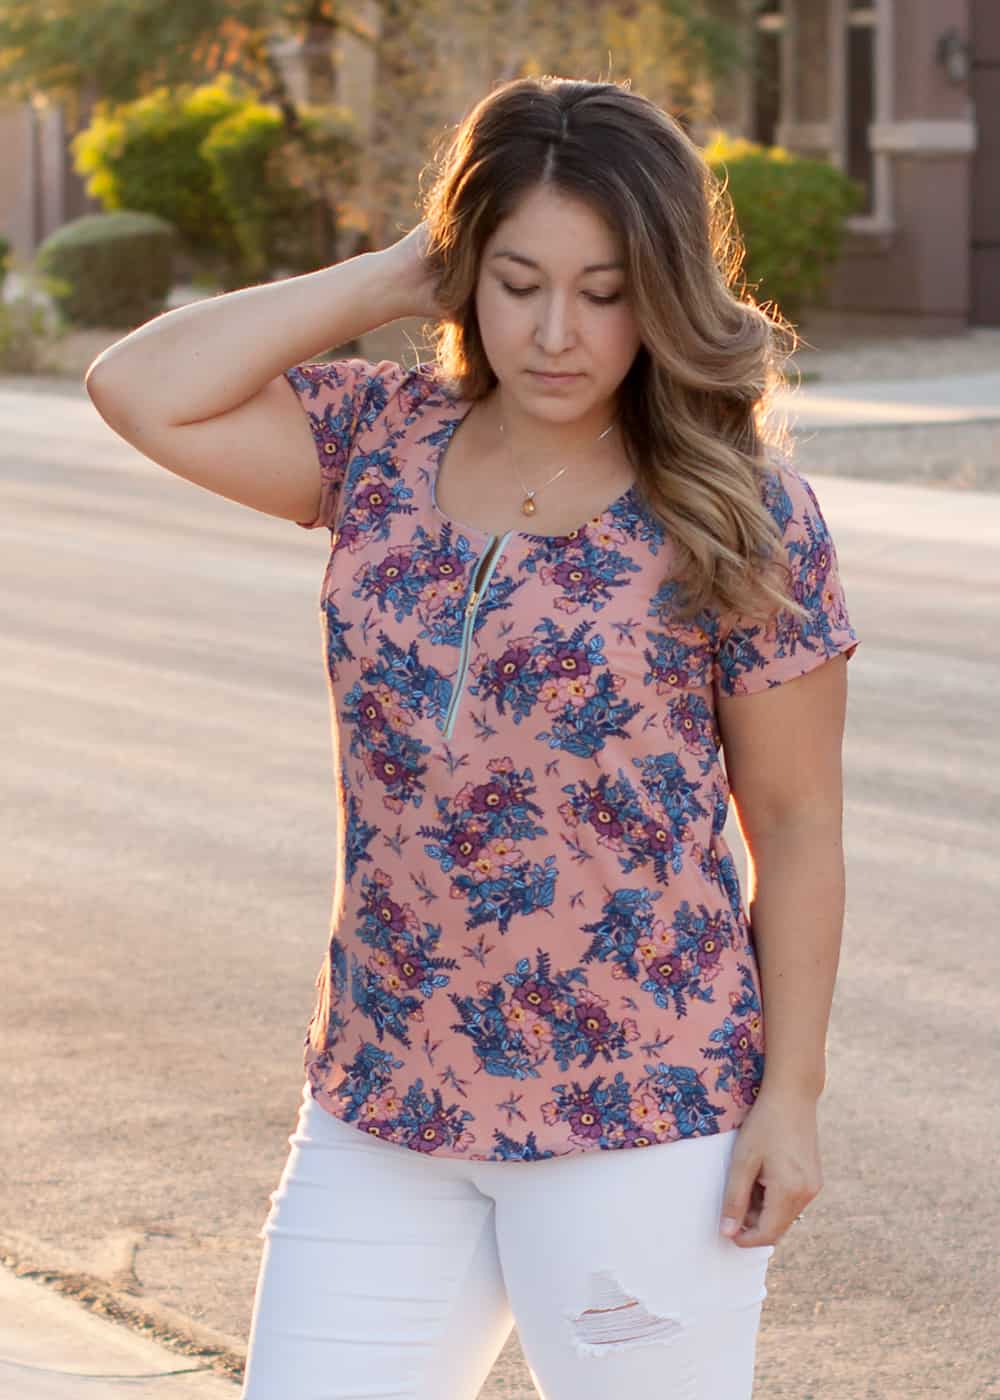
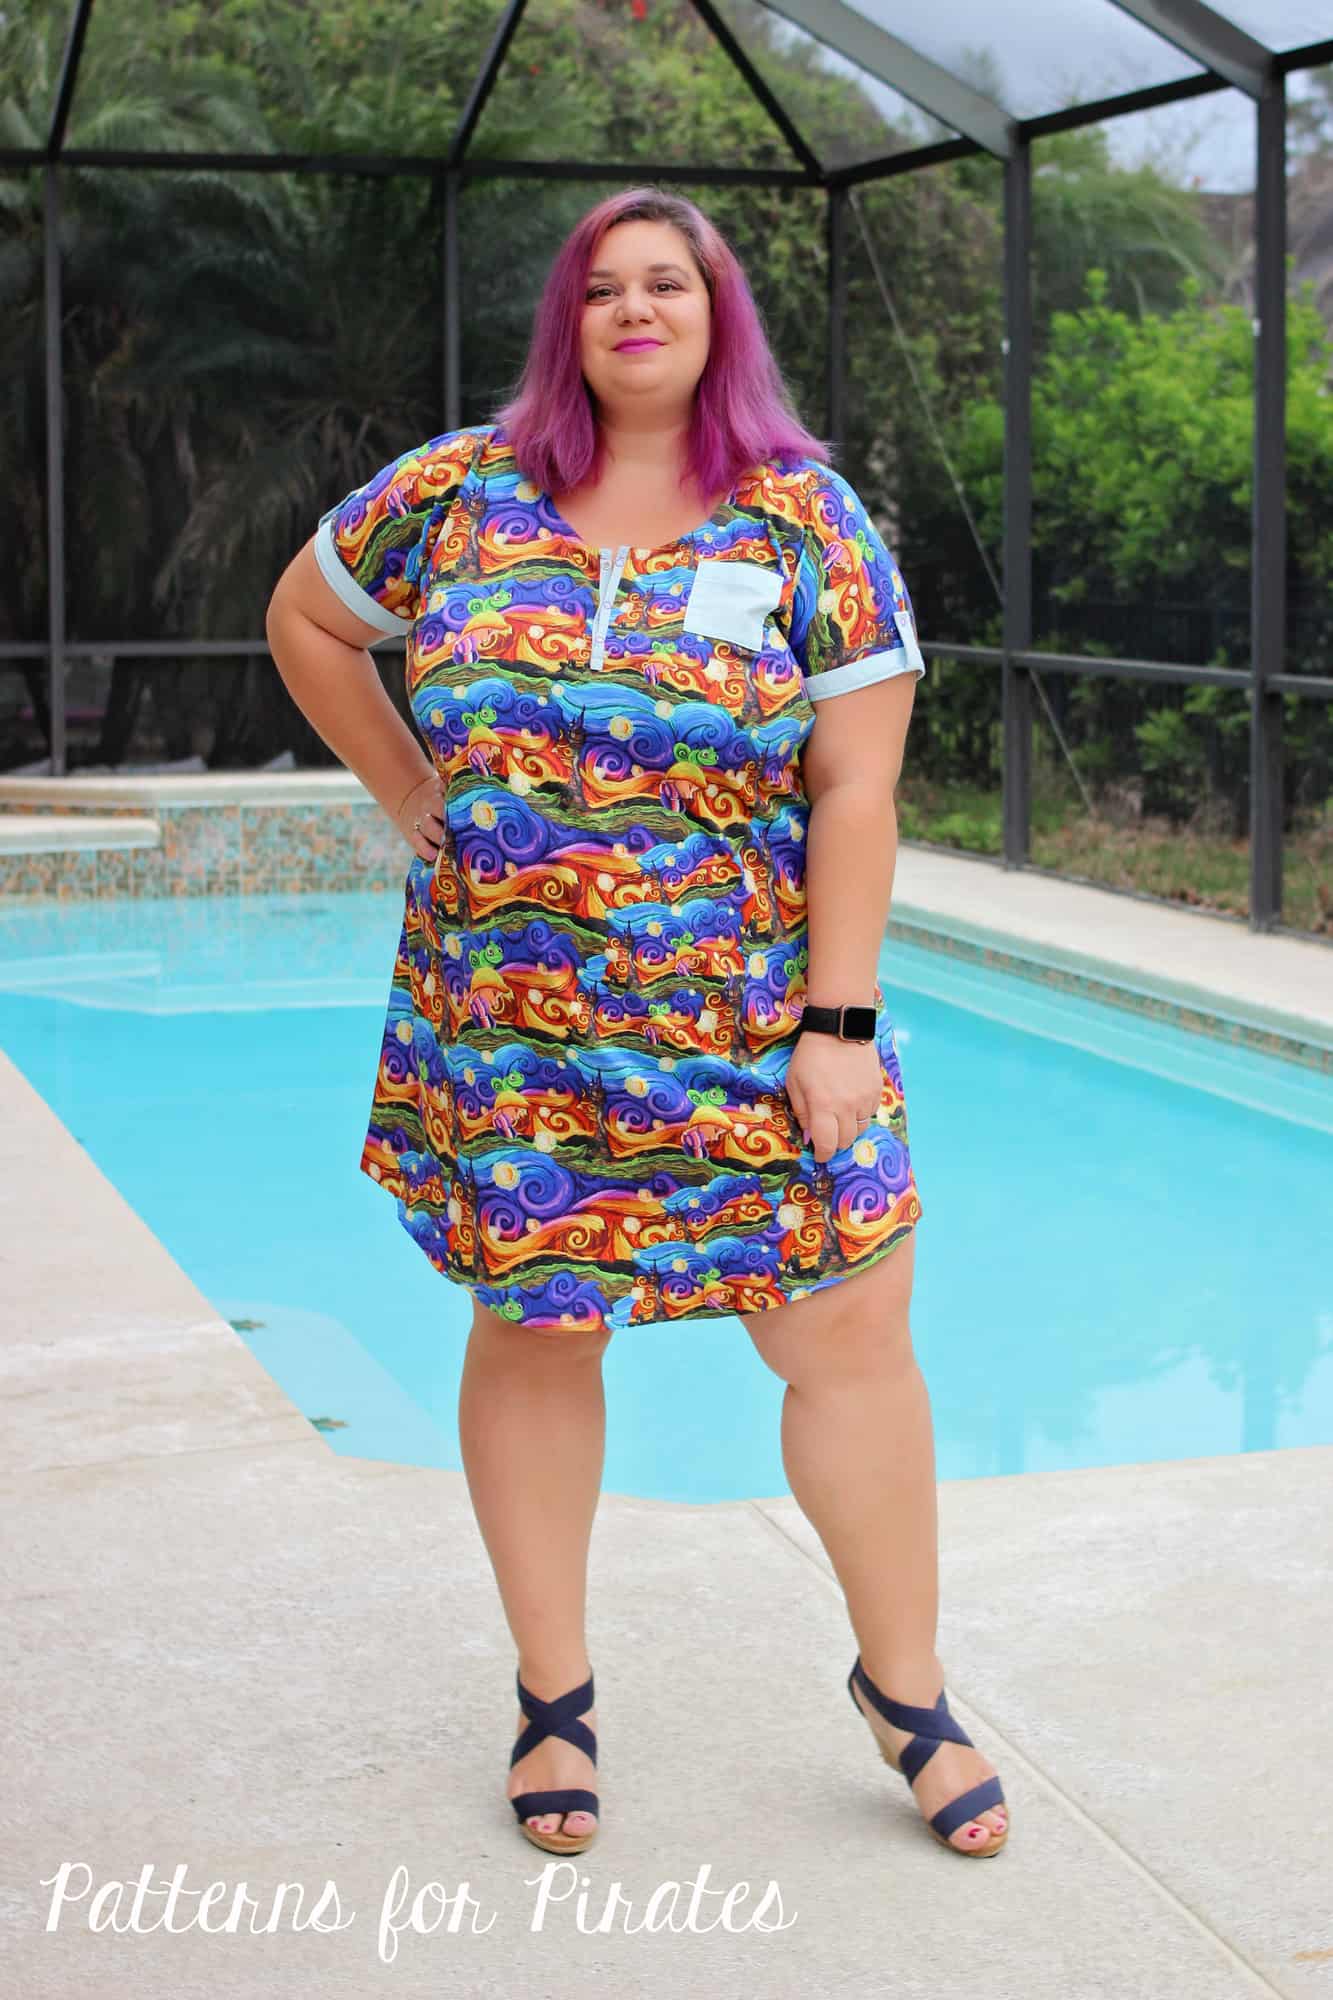
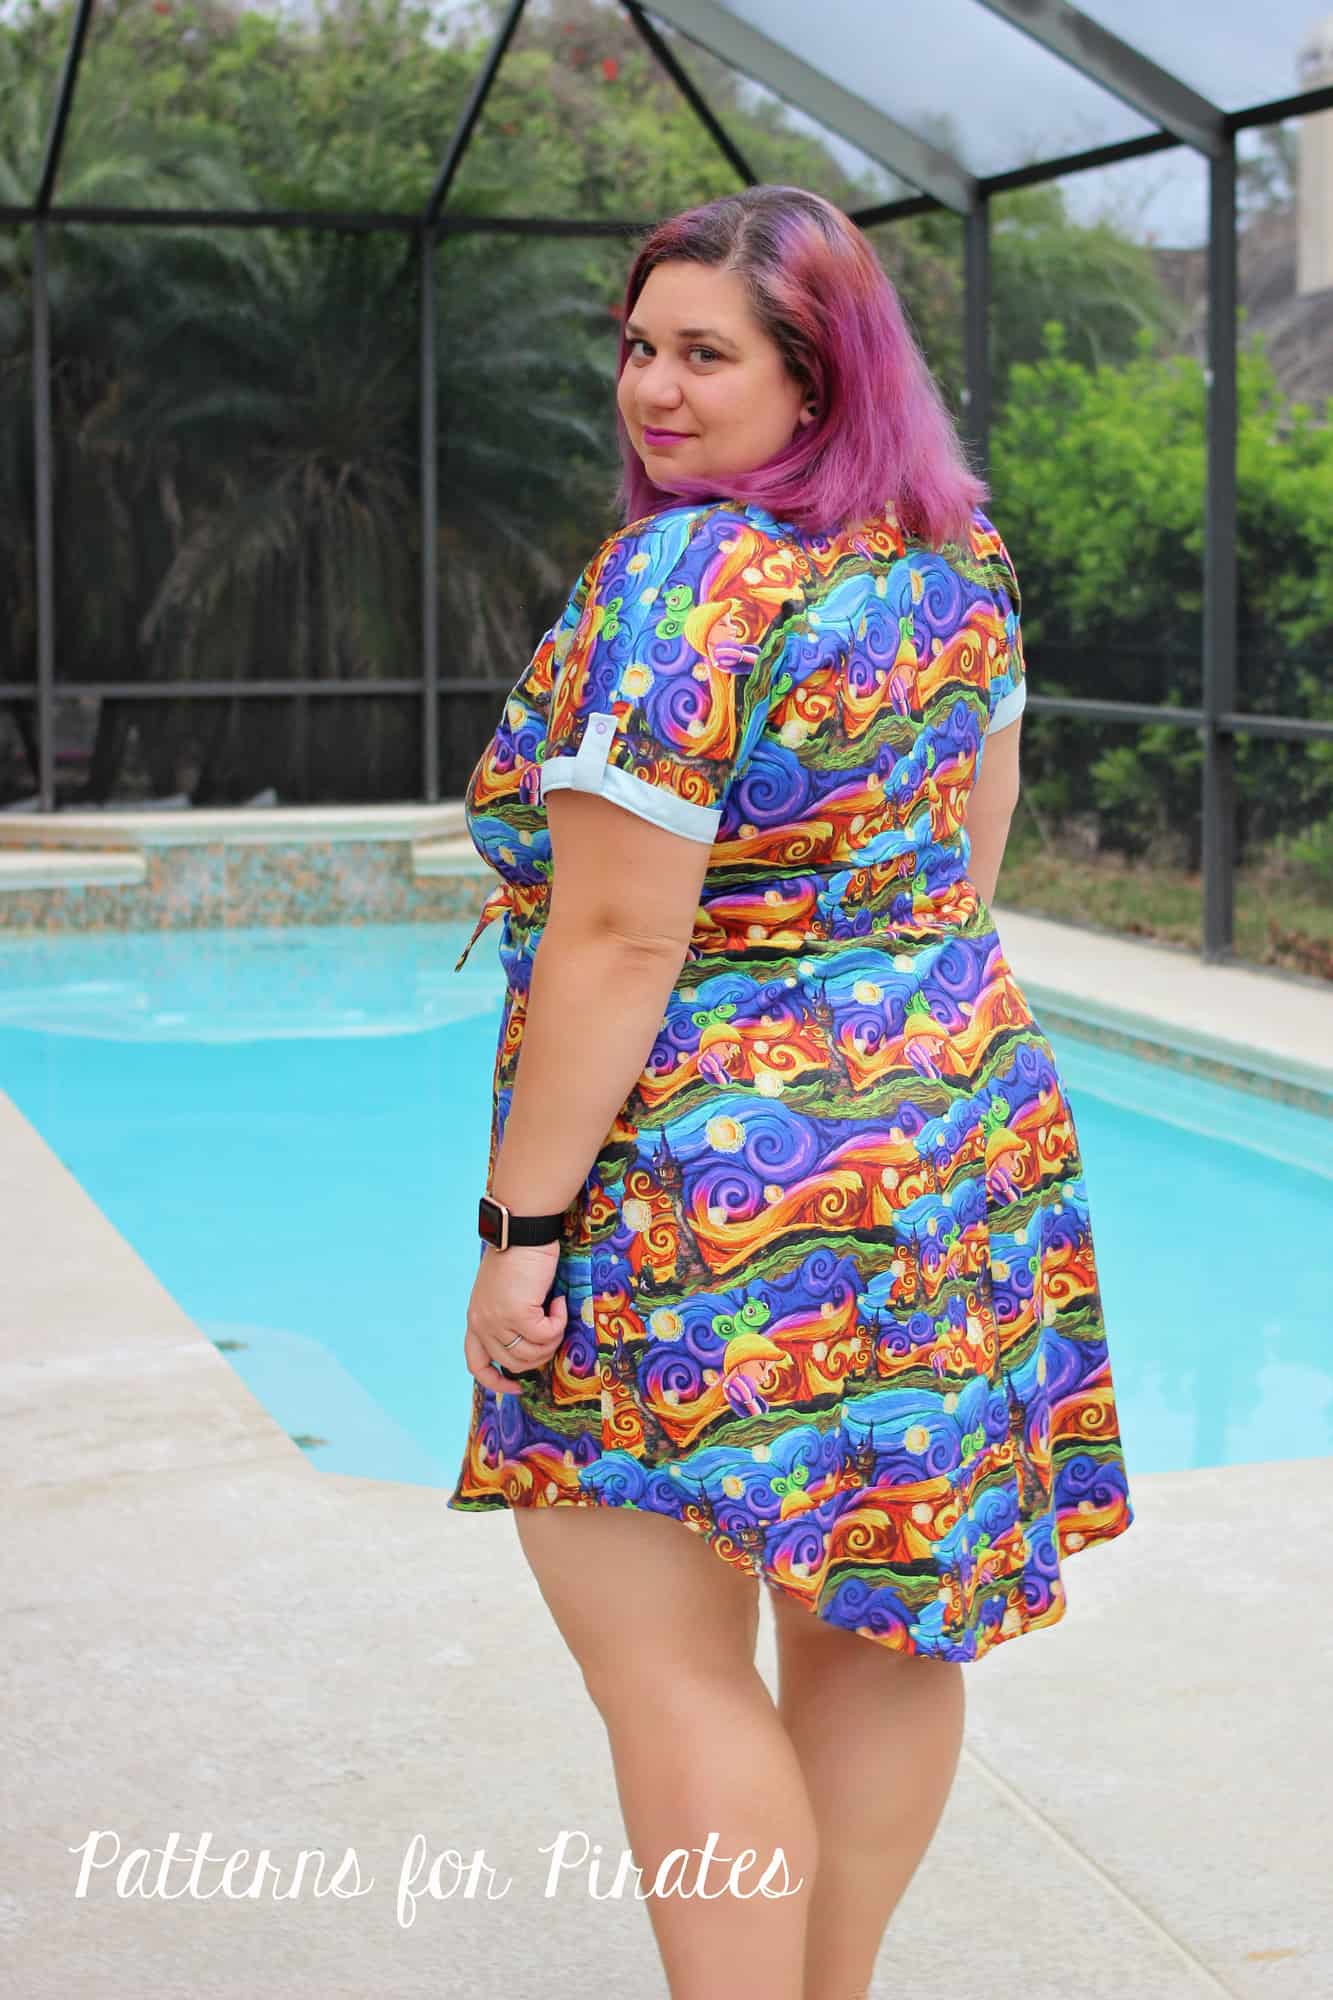
Before I let you go, I wanted to show off my Mane Attraction Brunch Blouse dress that I absolutely love.
Stay tuned for the mermaids’ sew along announcement. You do not want to miss it!
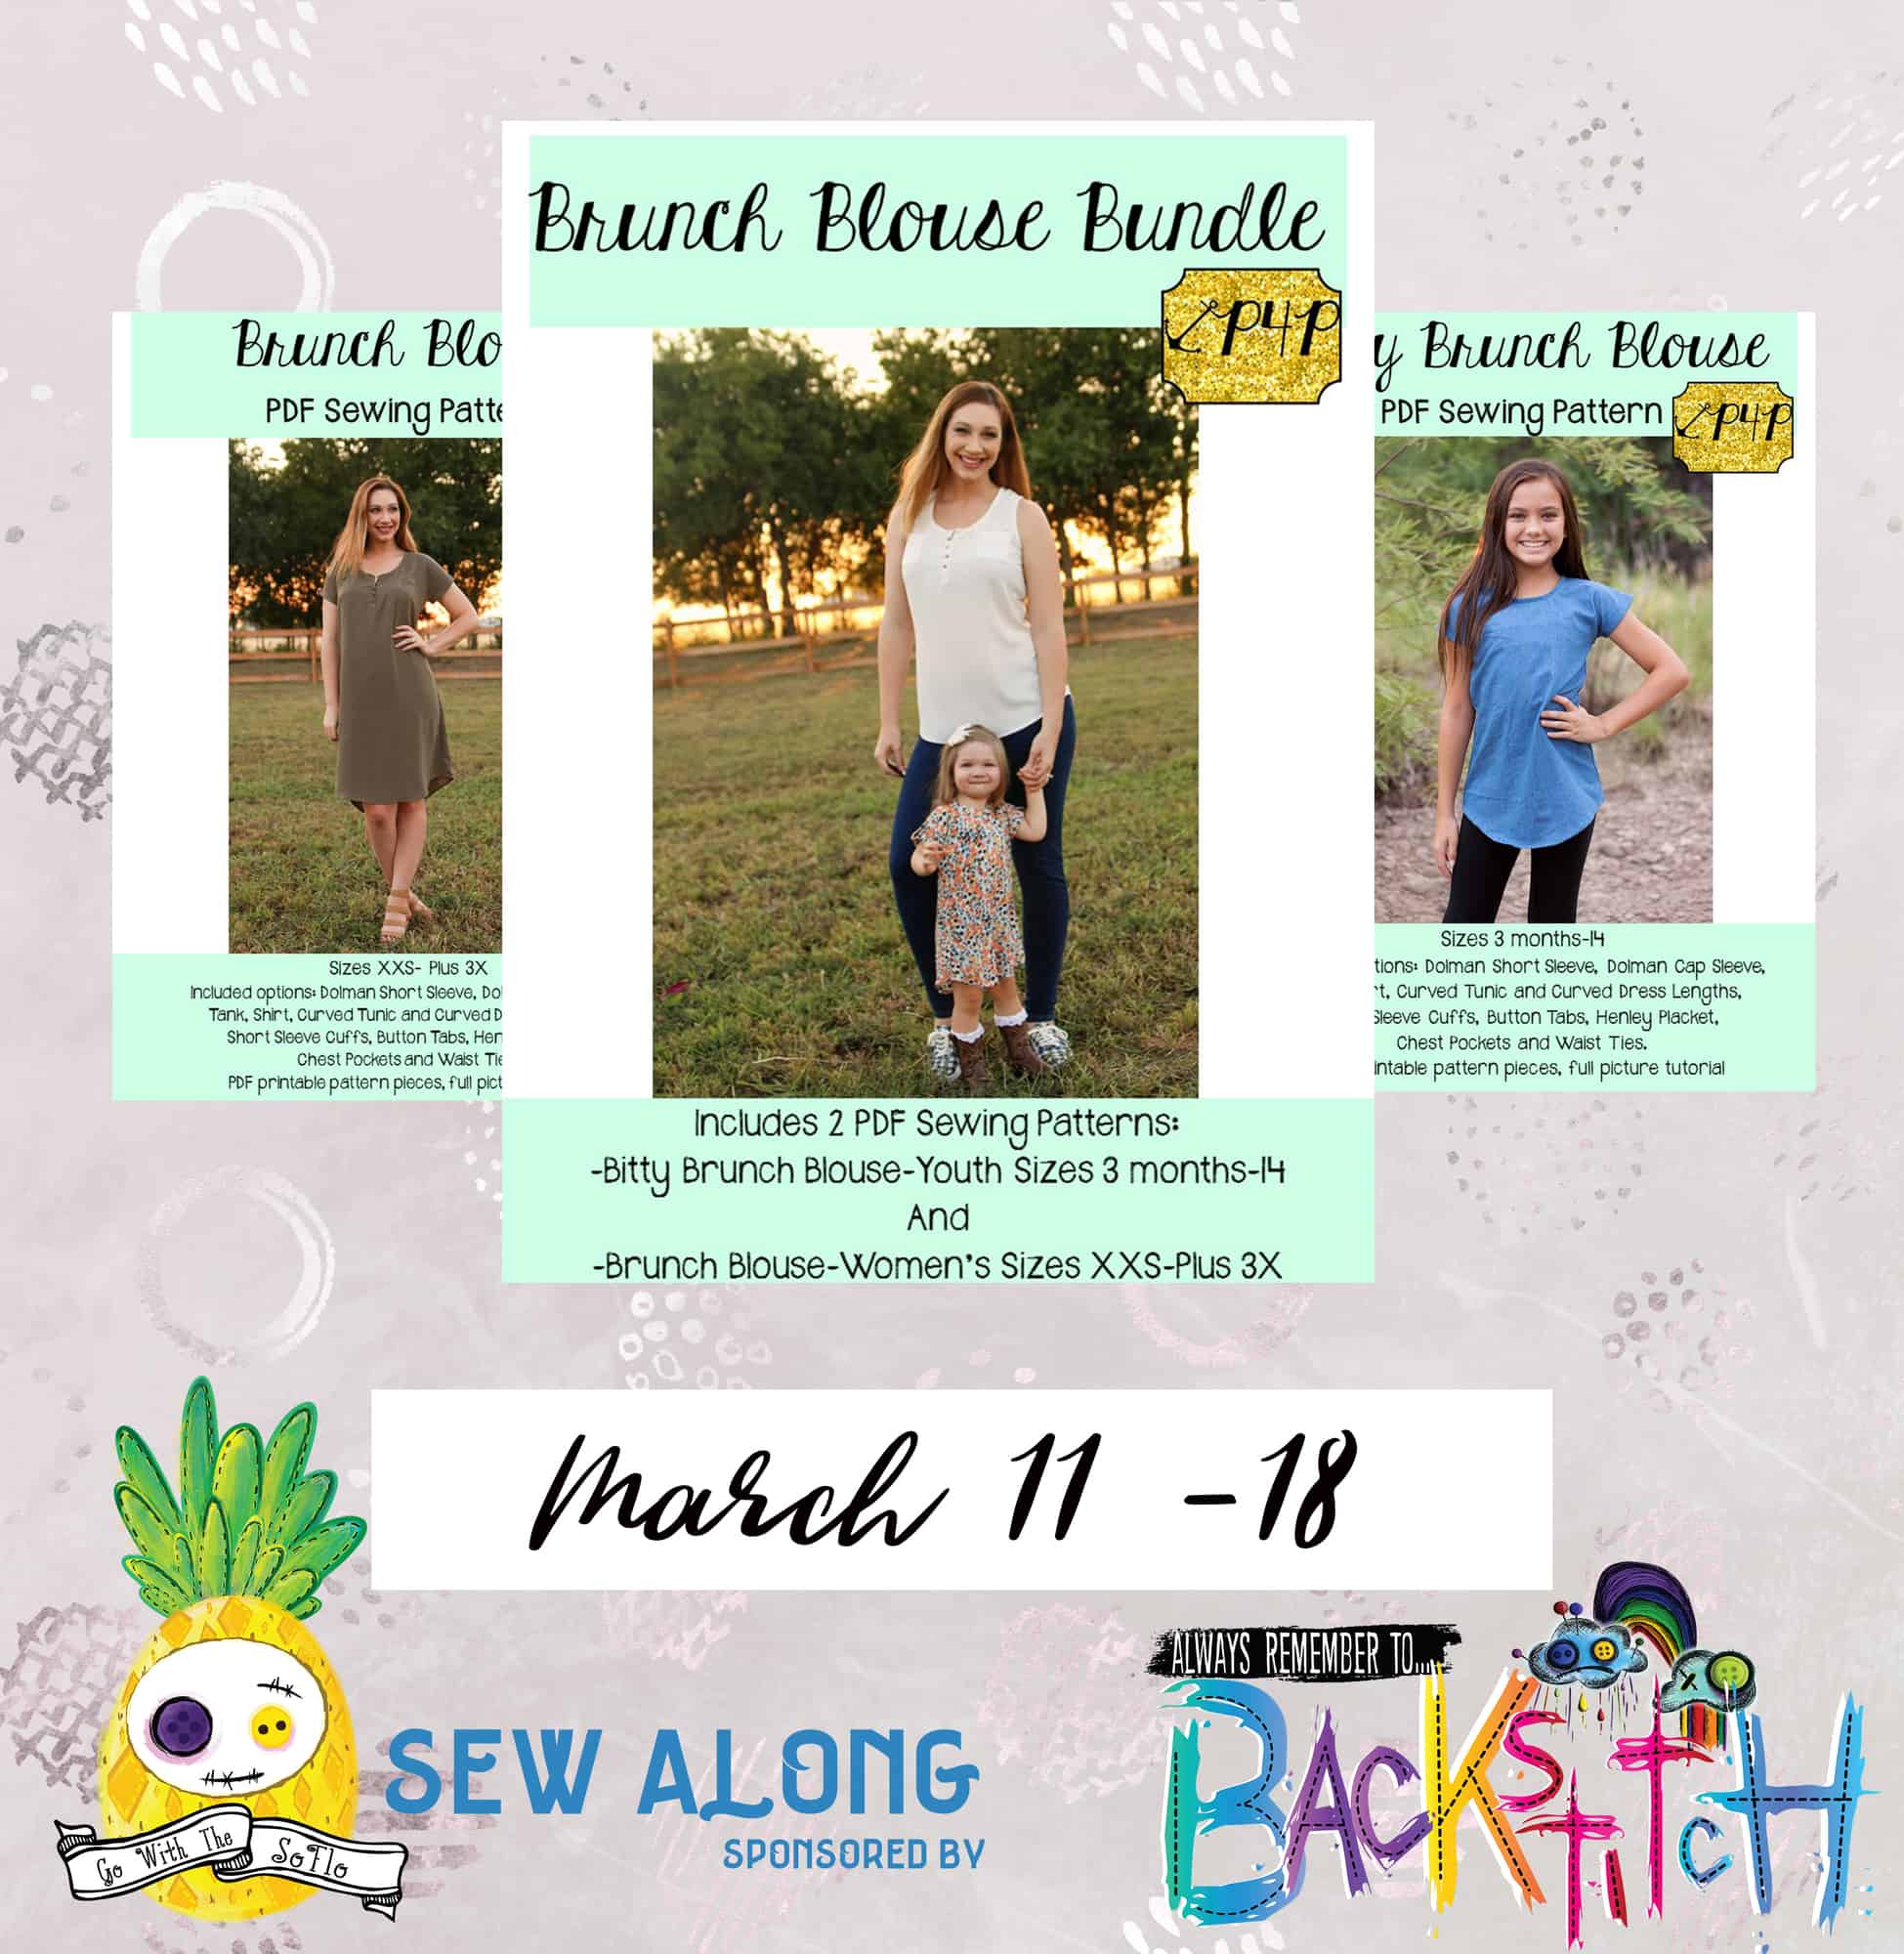
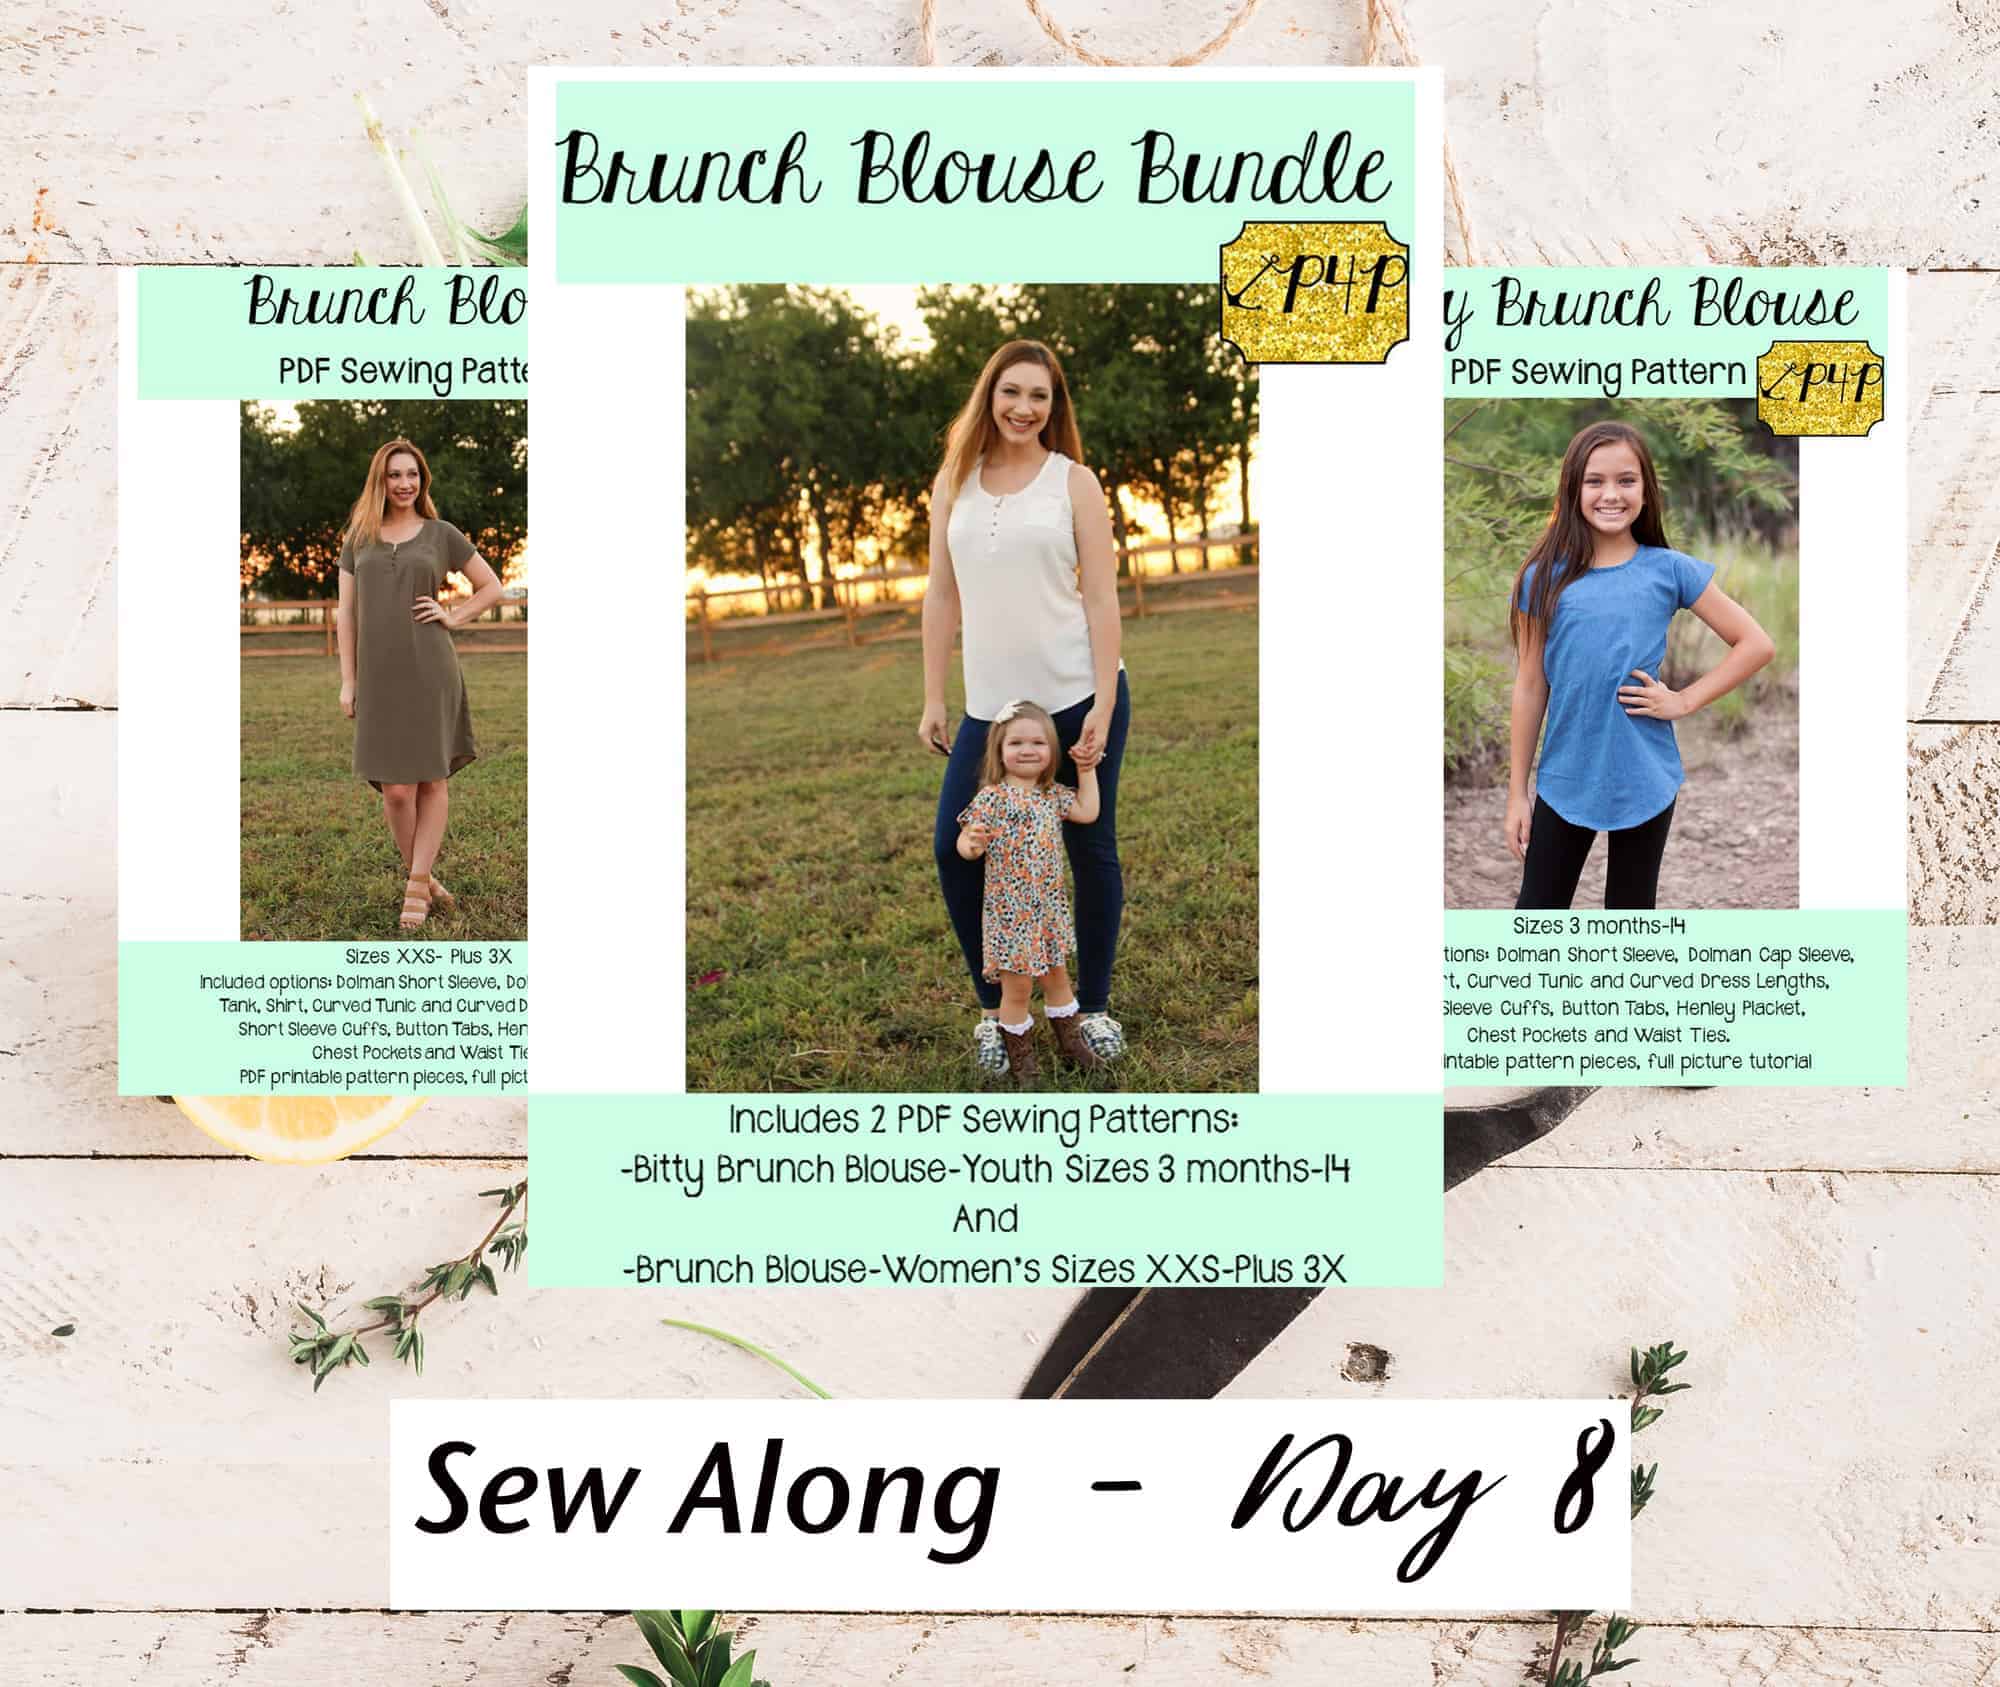
Brunch Blouse|Bitty Brunch Blouse SAL day 1 (print pattern)
Brunch Blouse|Bitty Brunch Blouse SAL day 2 (cut fabric)
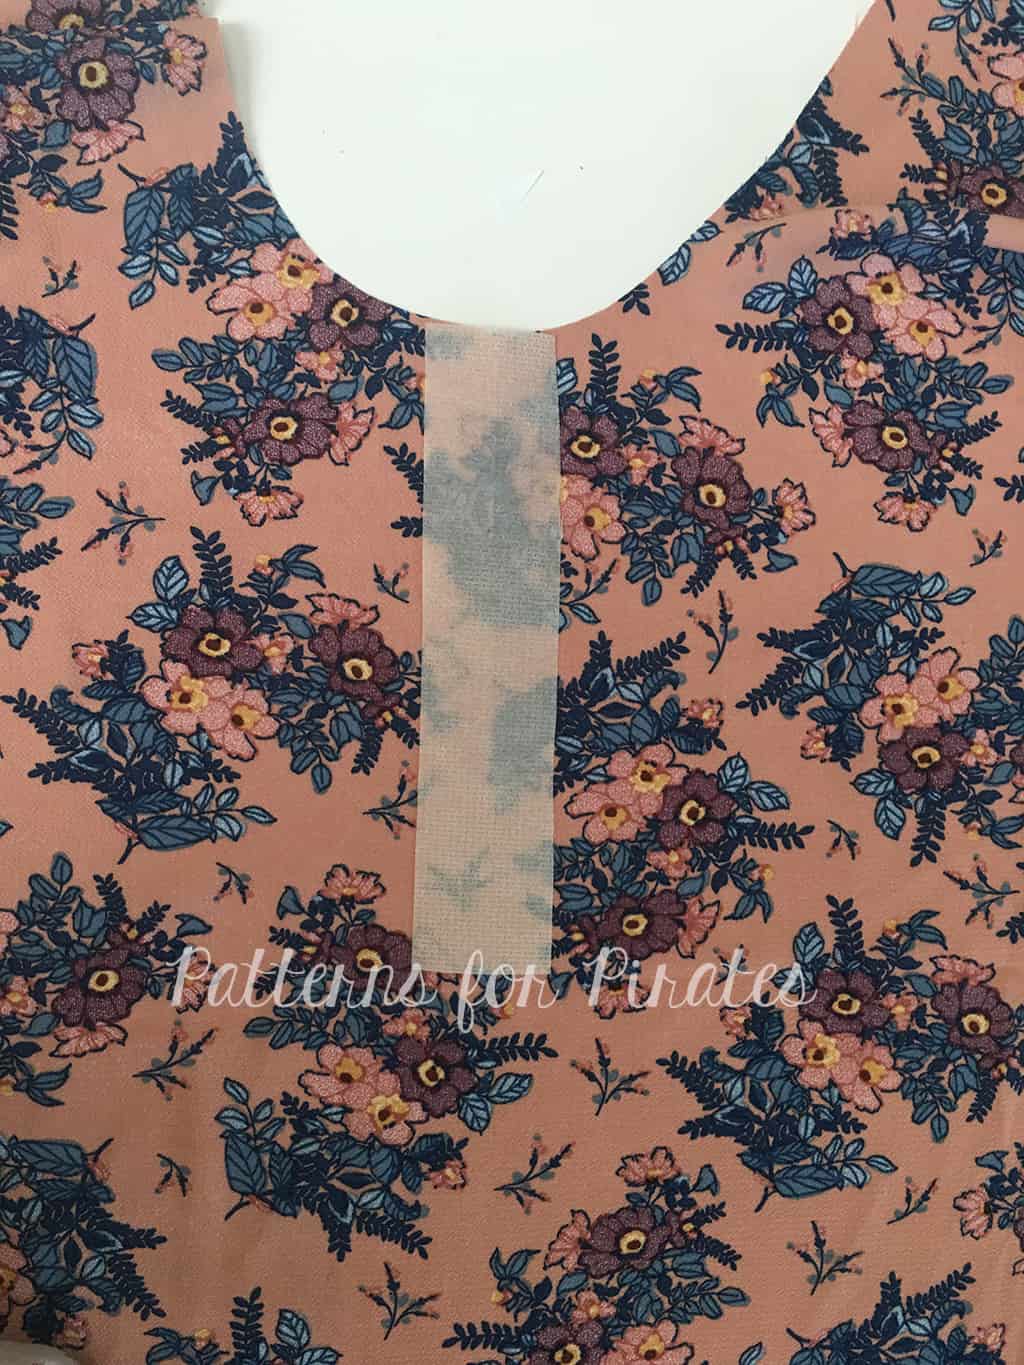
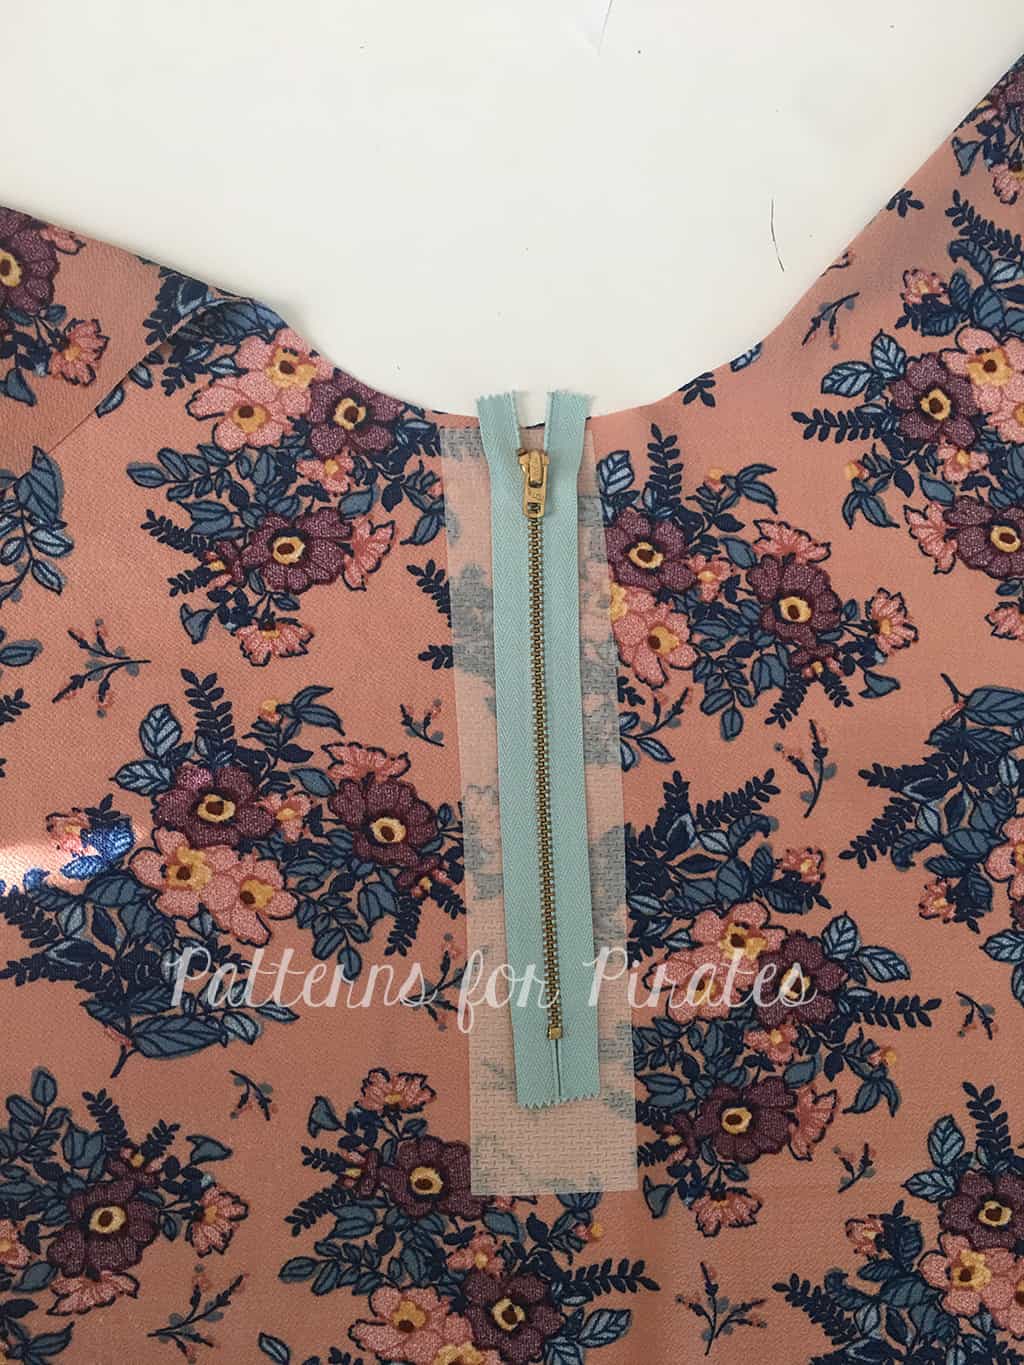
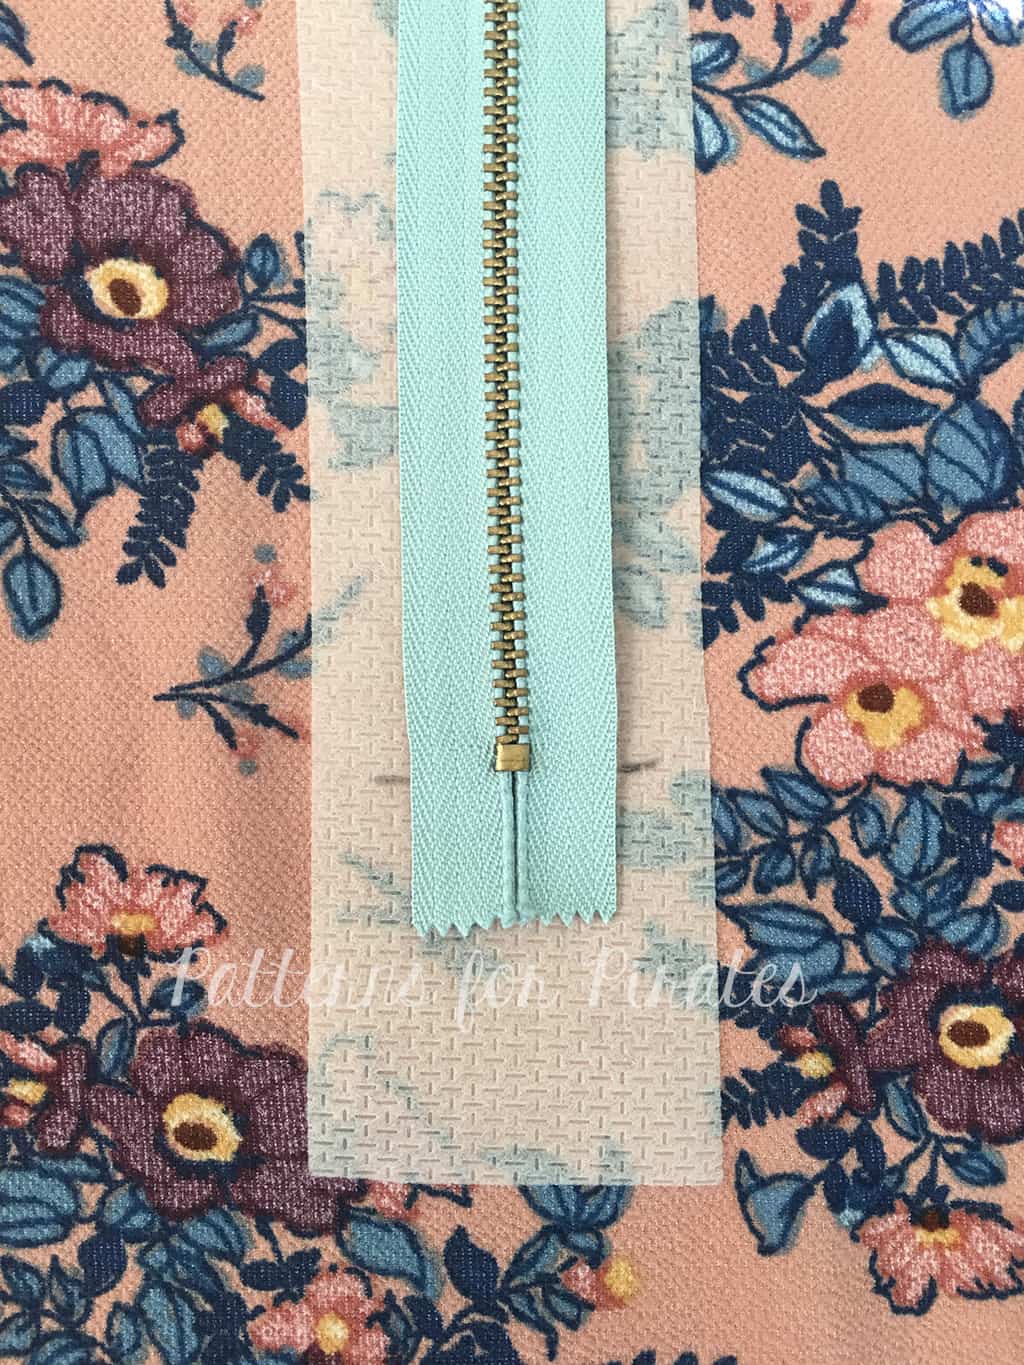
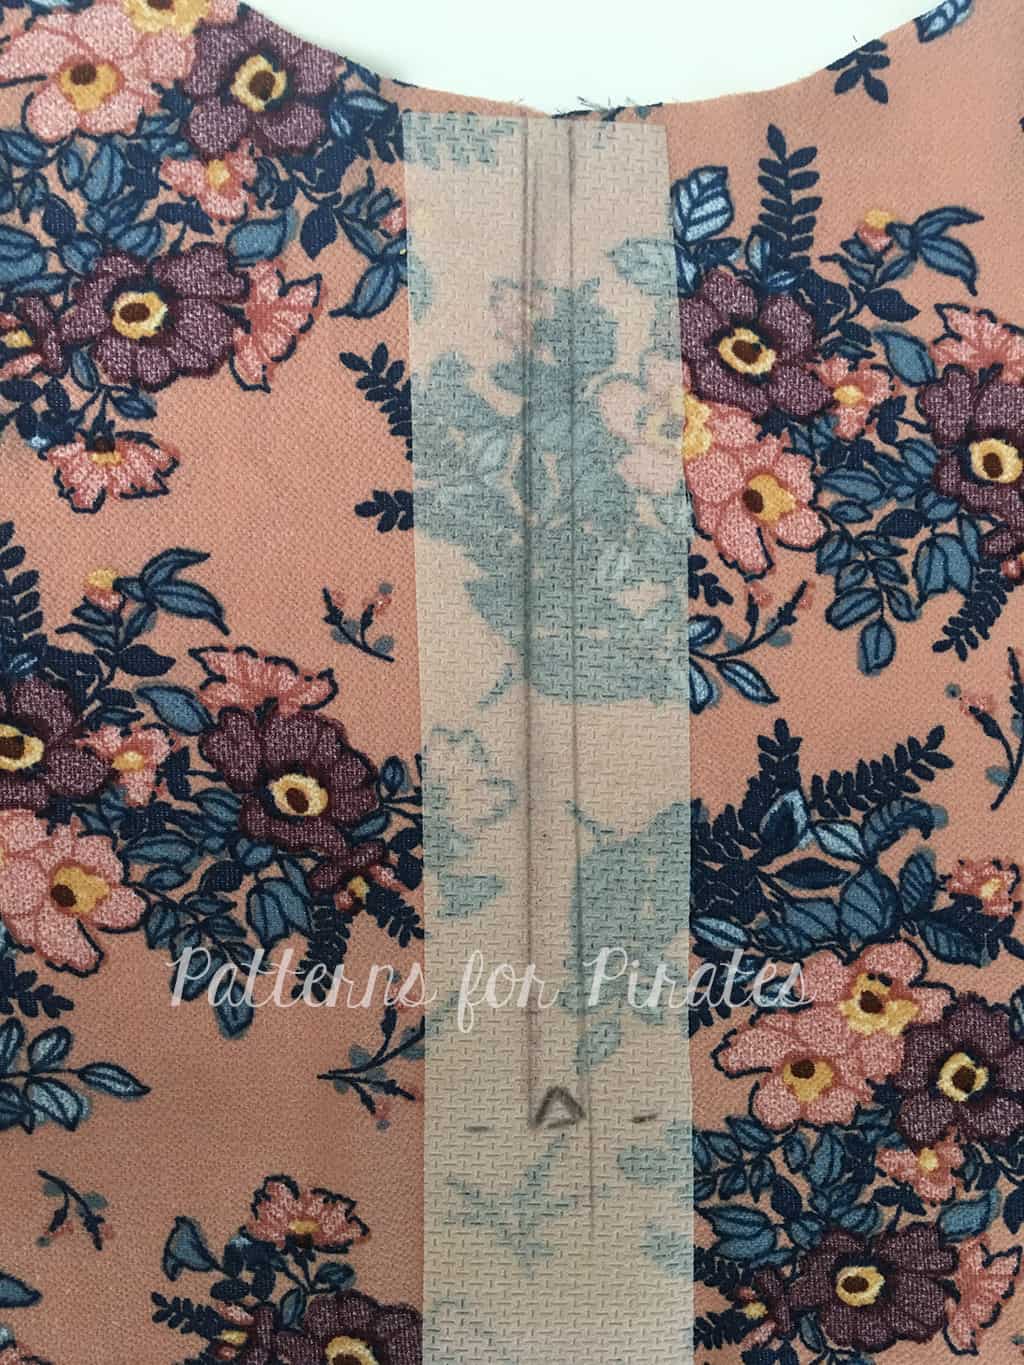
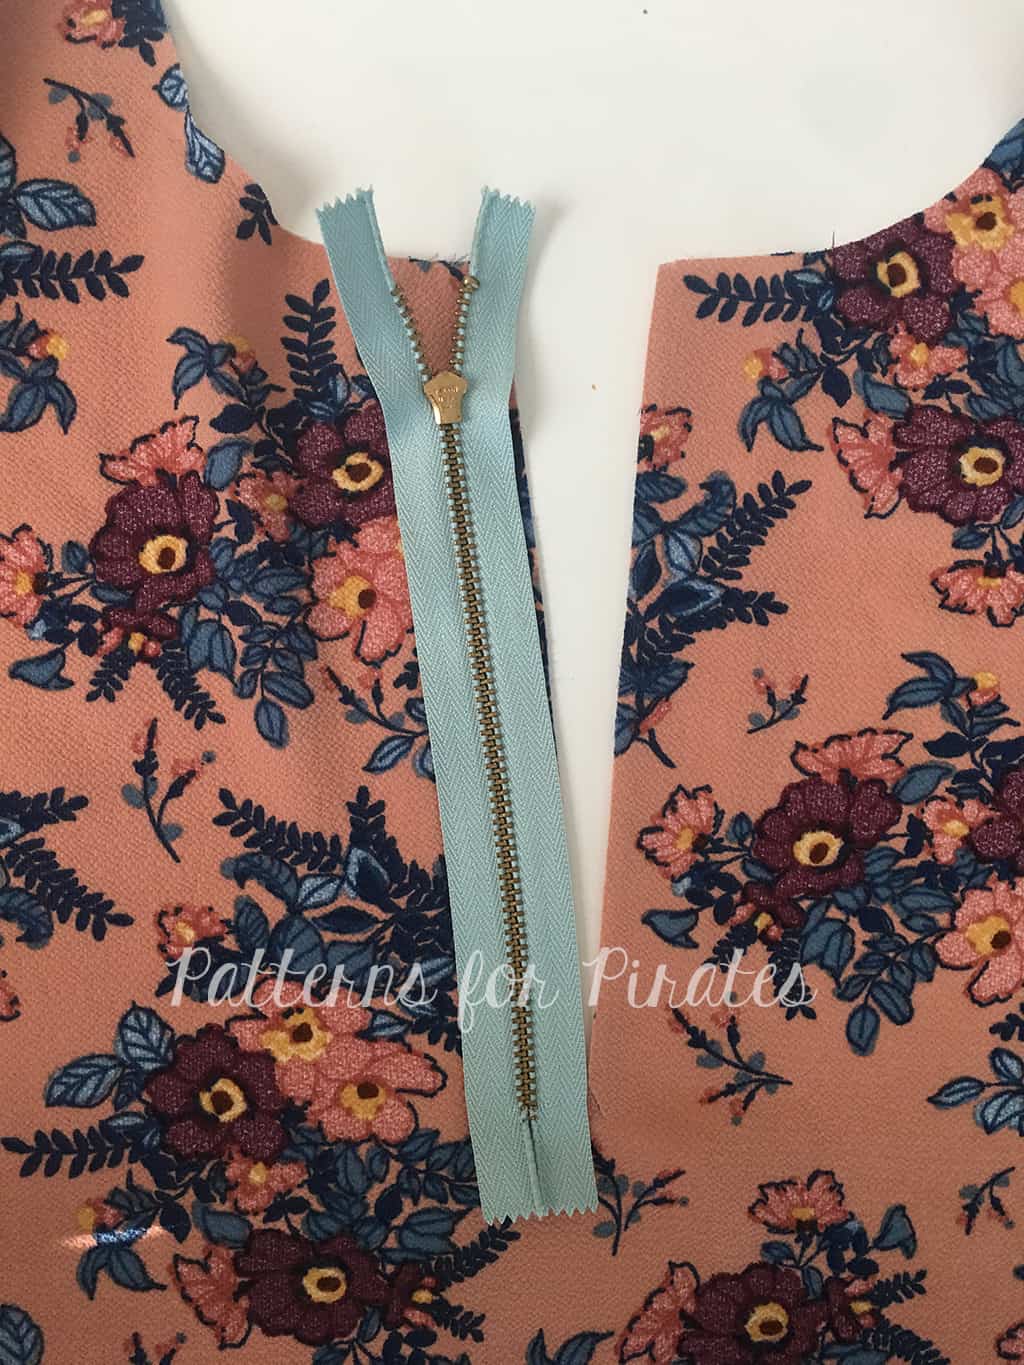
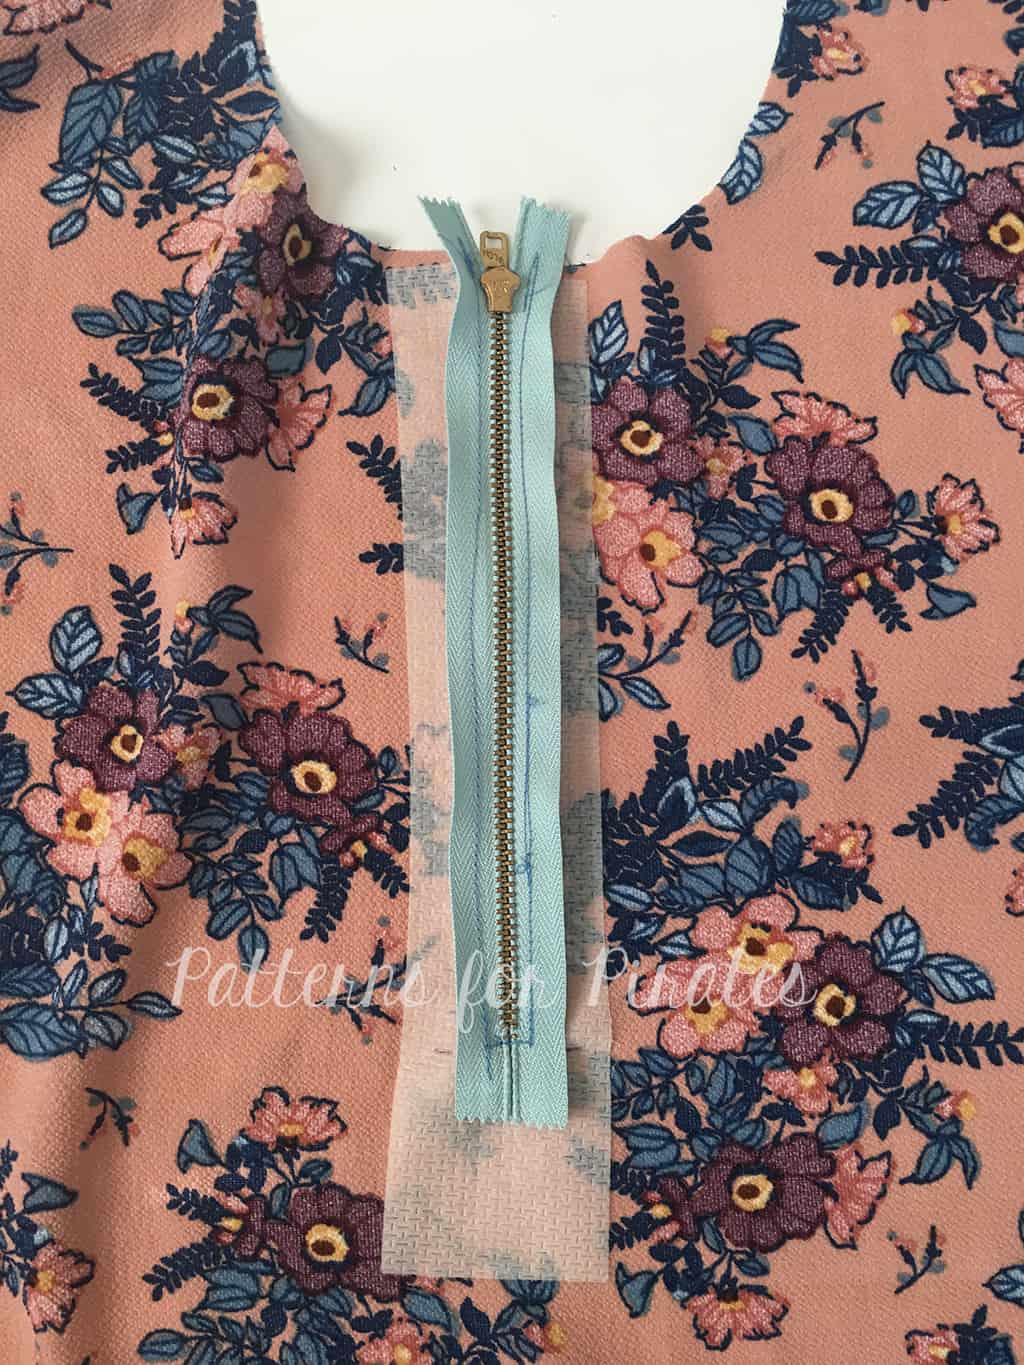
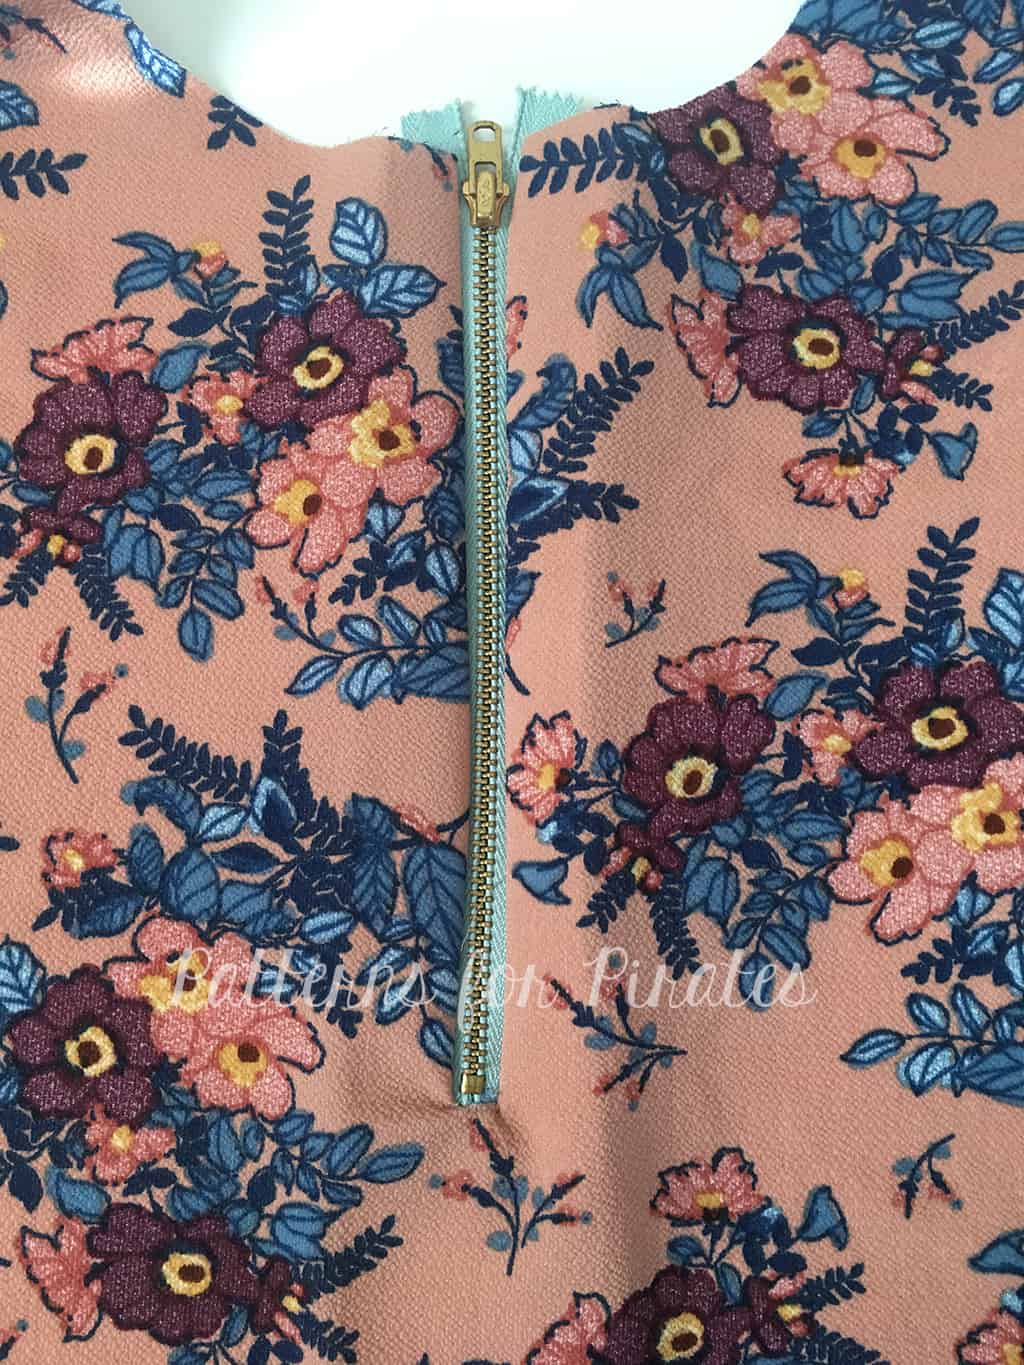
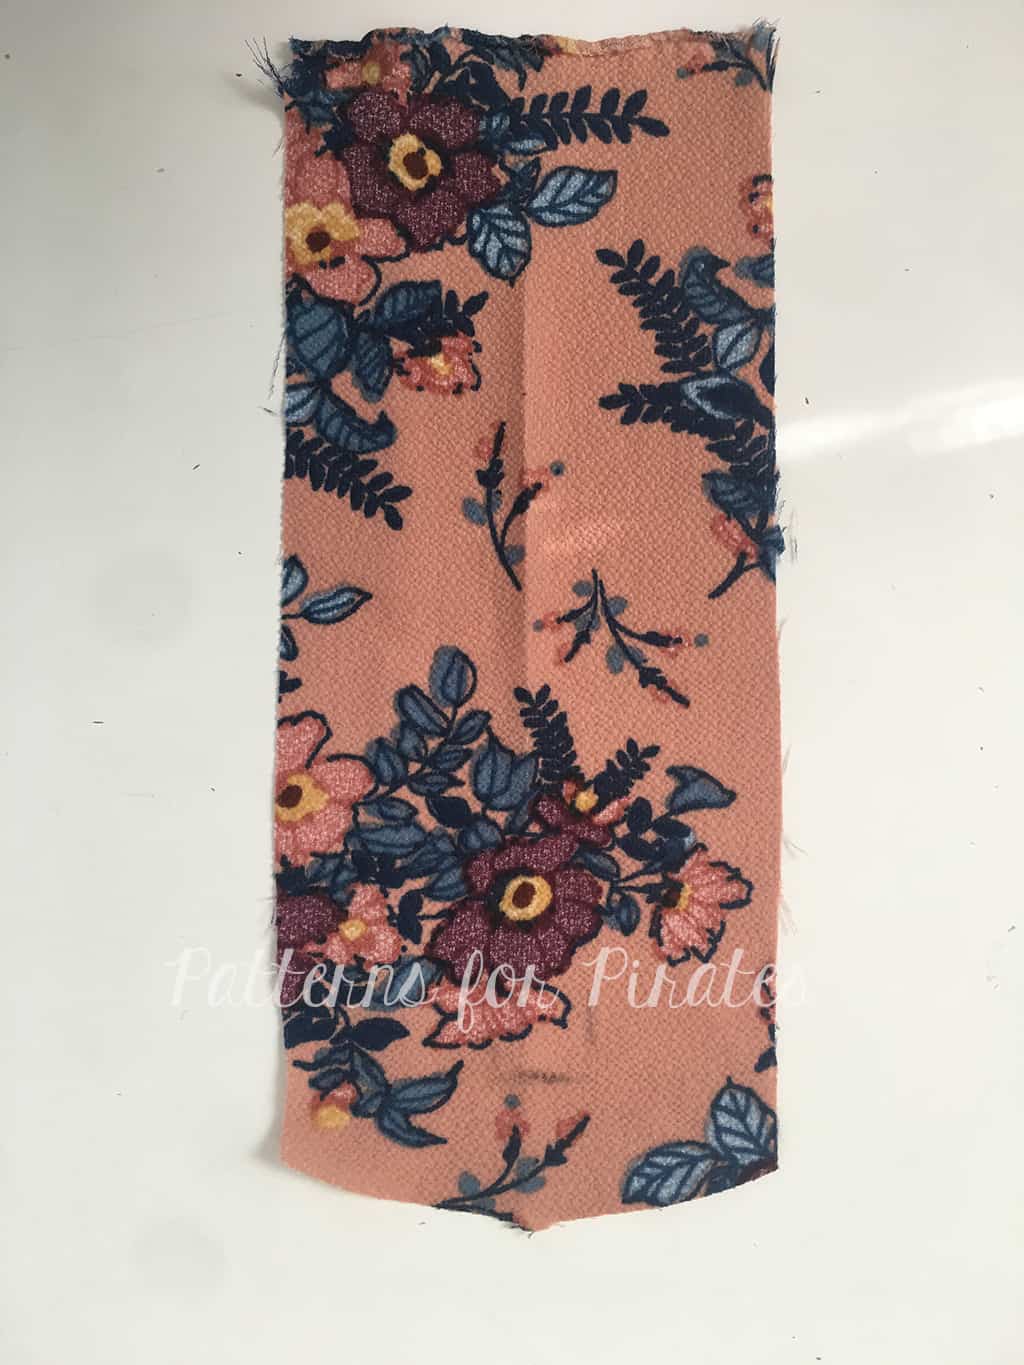
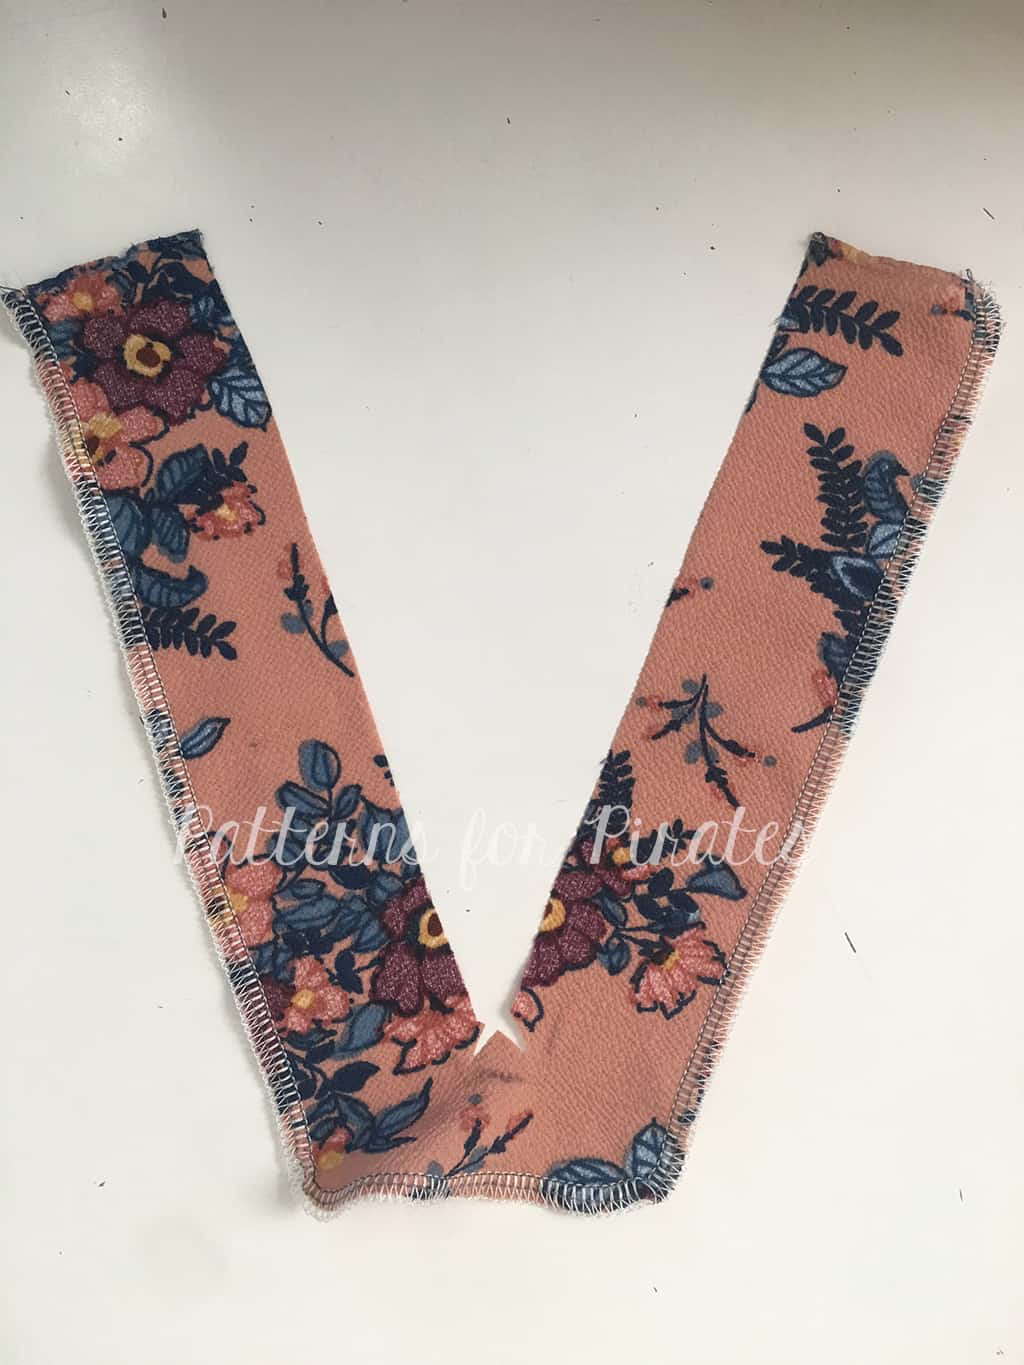
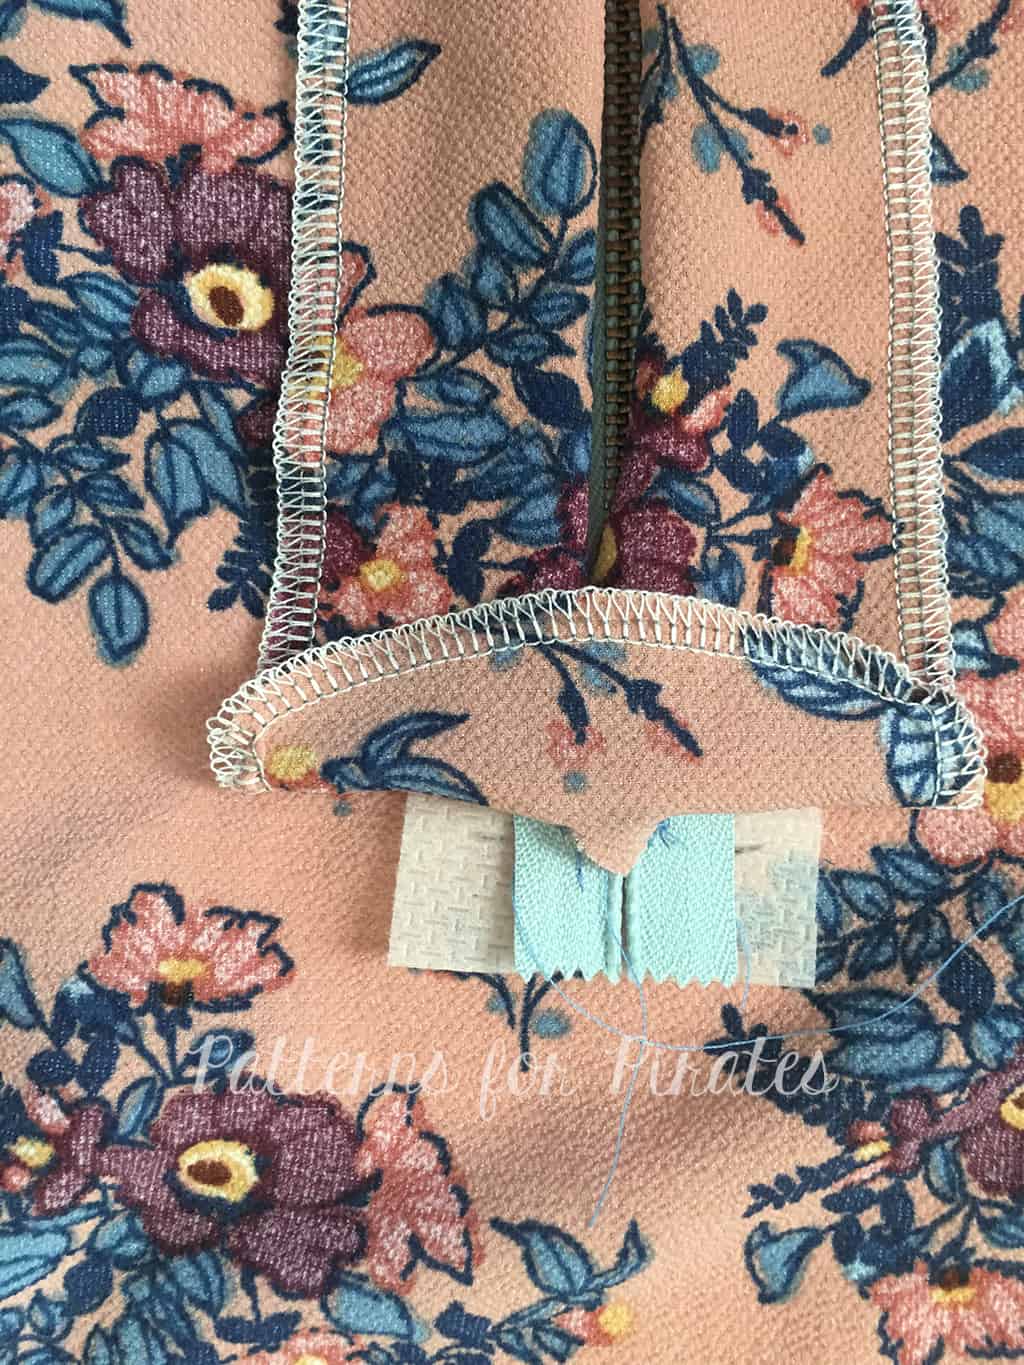
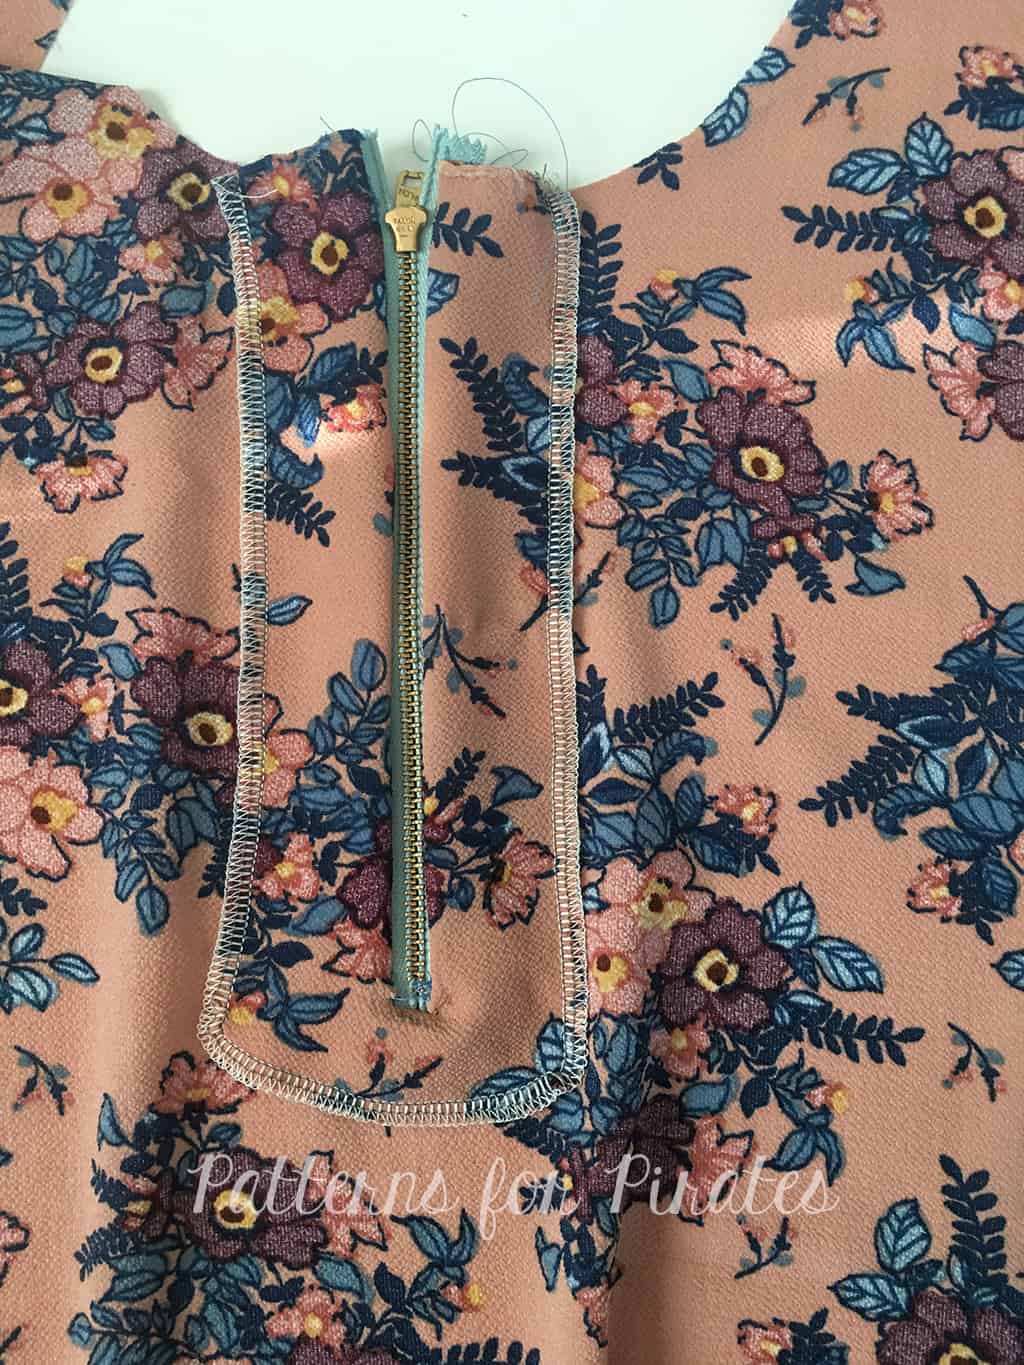
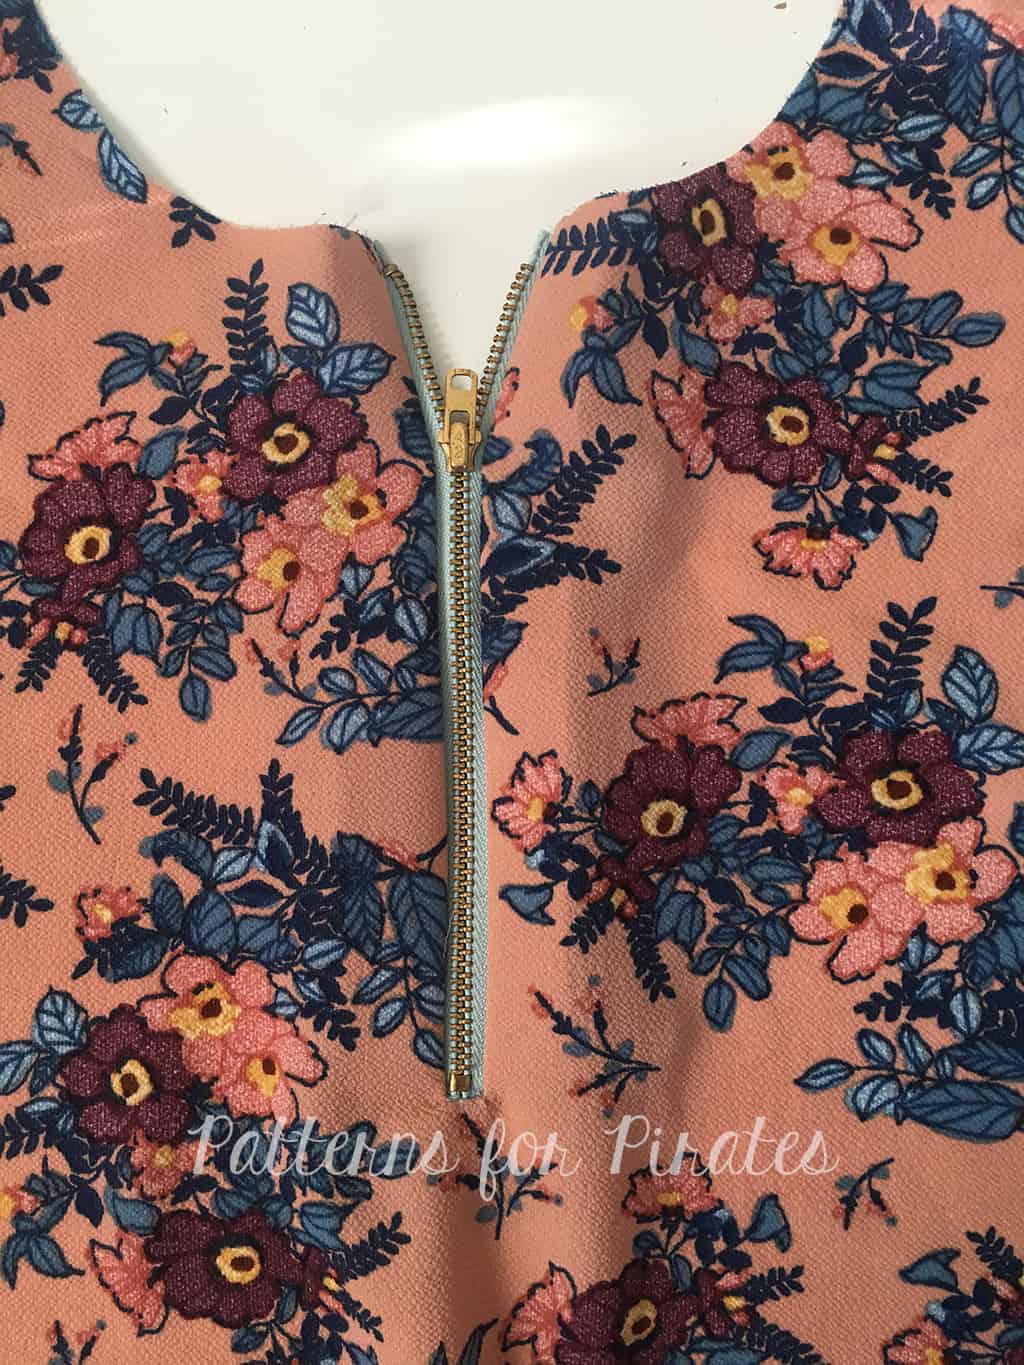
Brunch Blouse|Bitty Brunch Blouse SAL day 3 (darts and placket)
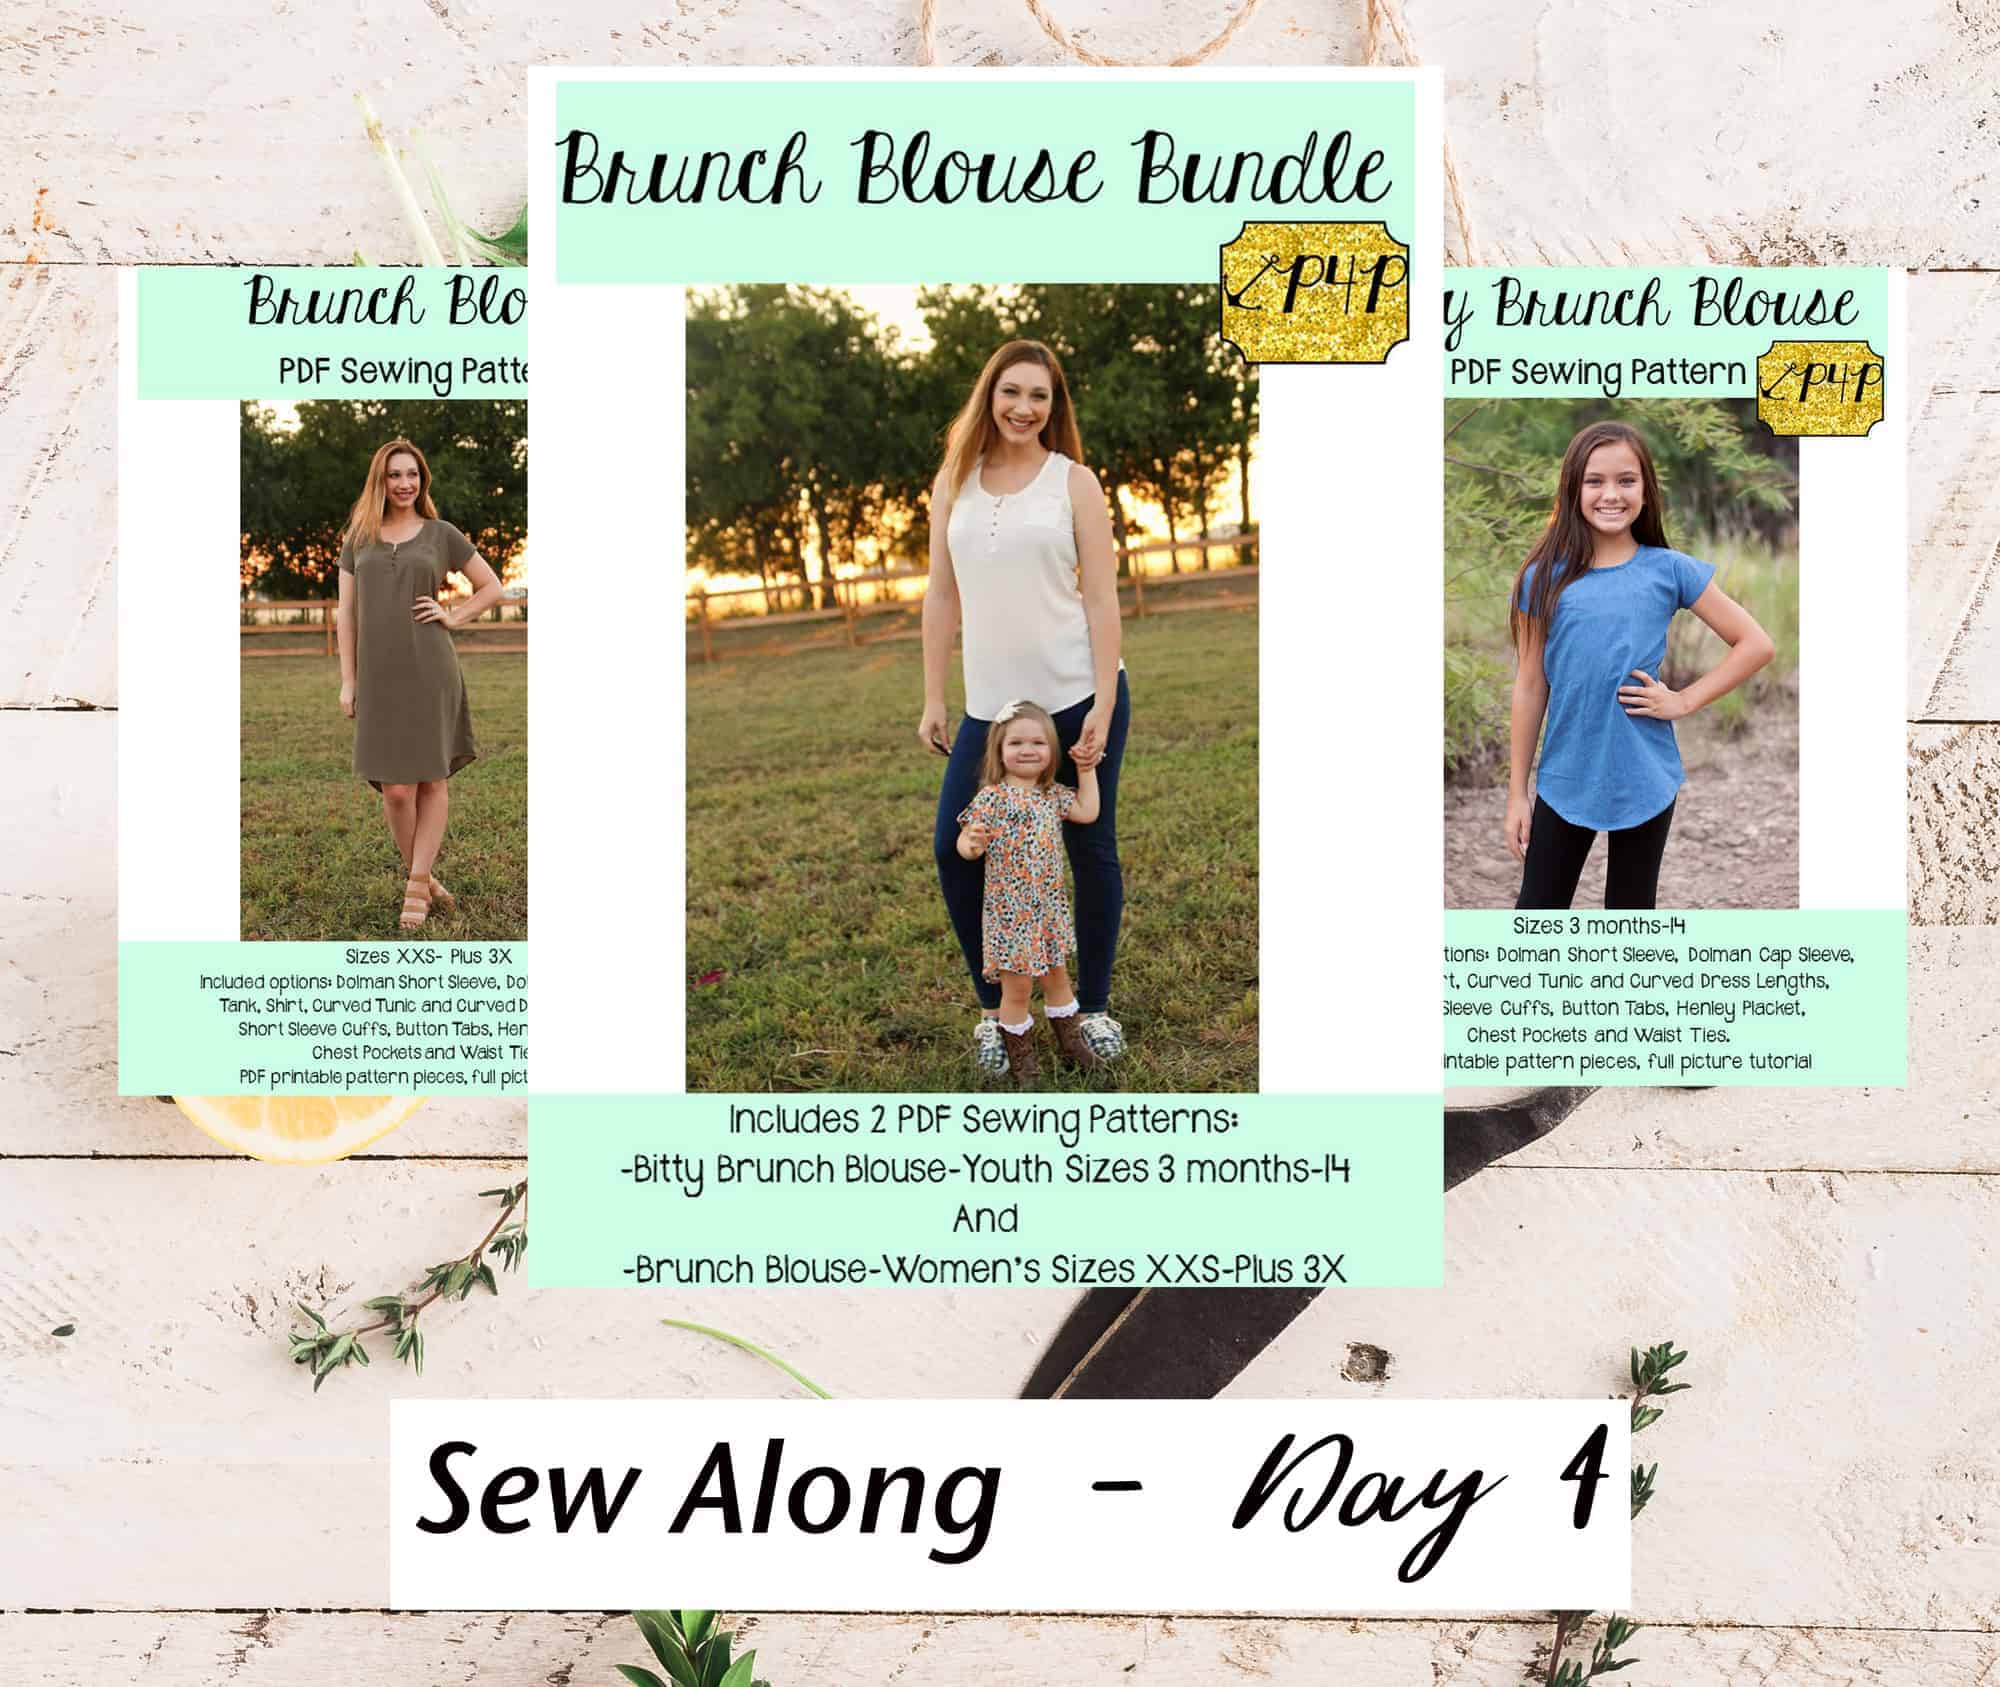
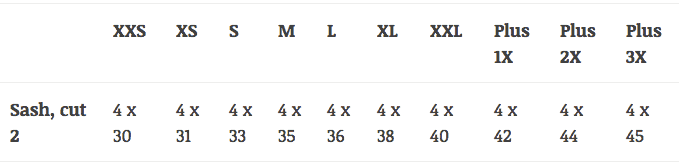
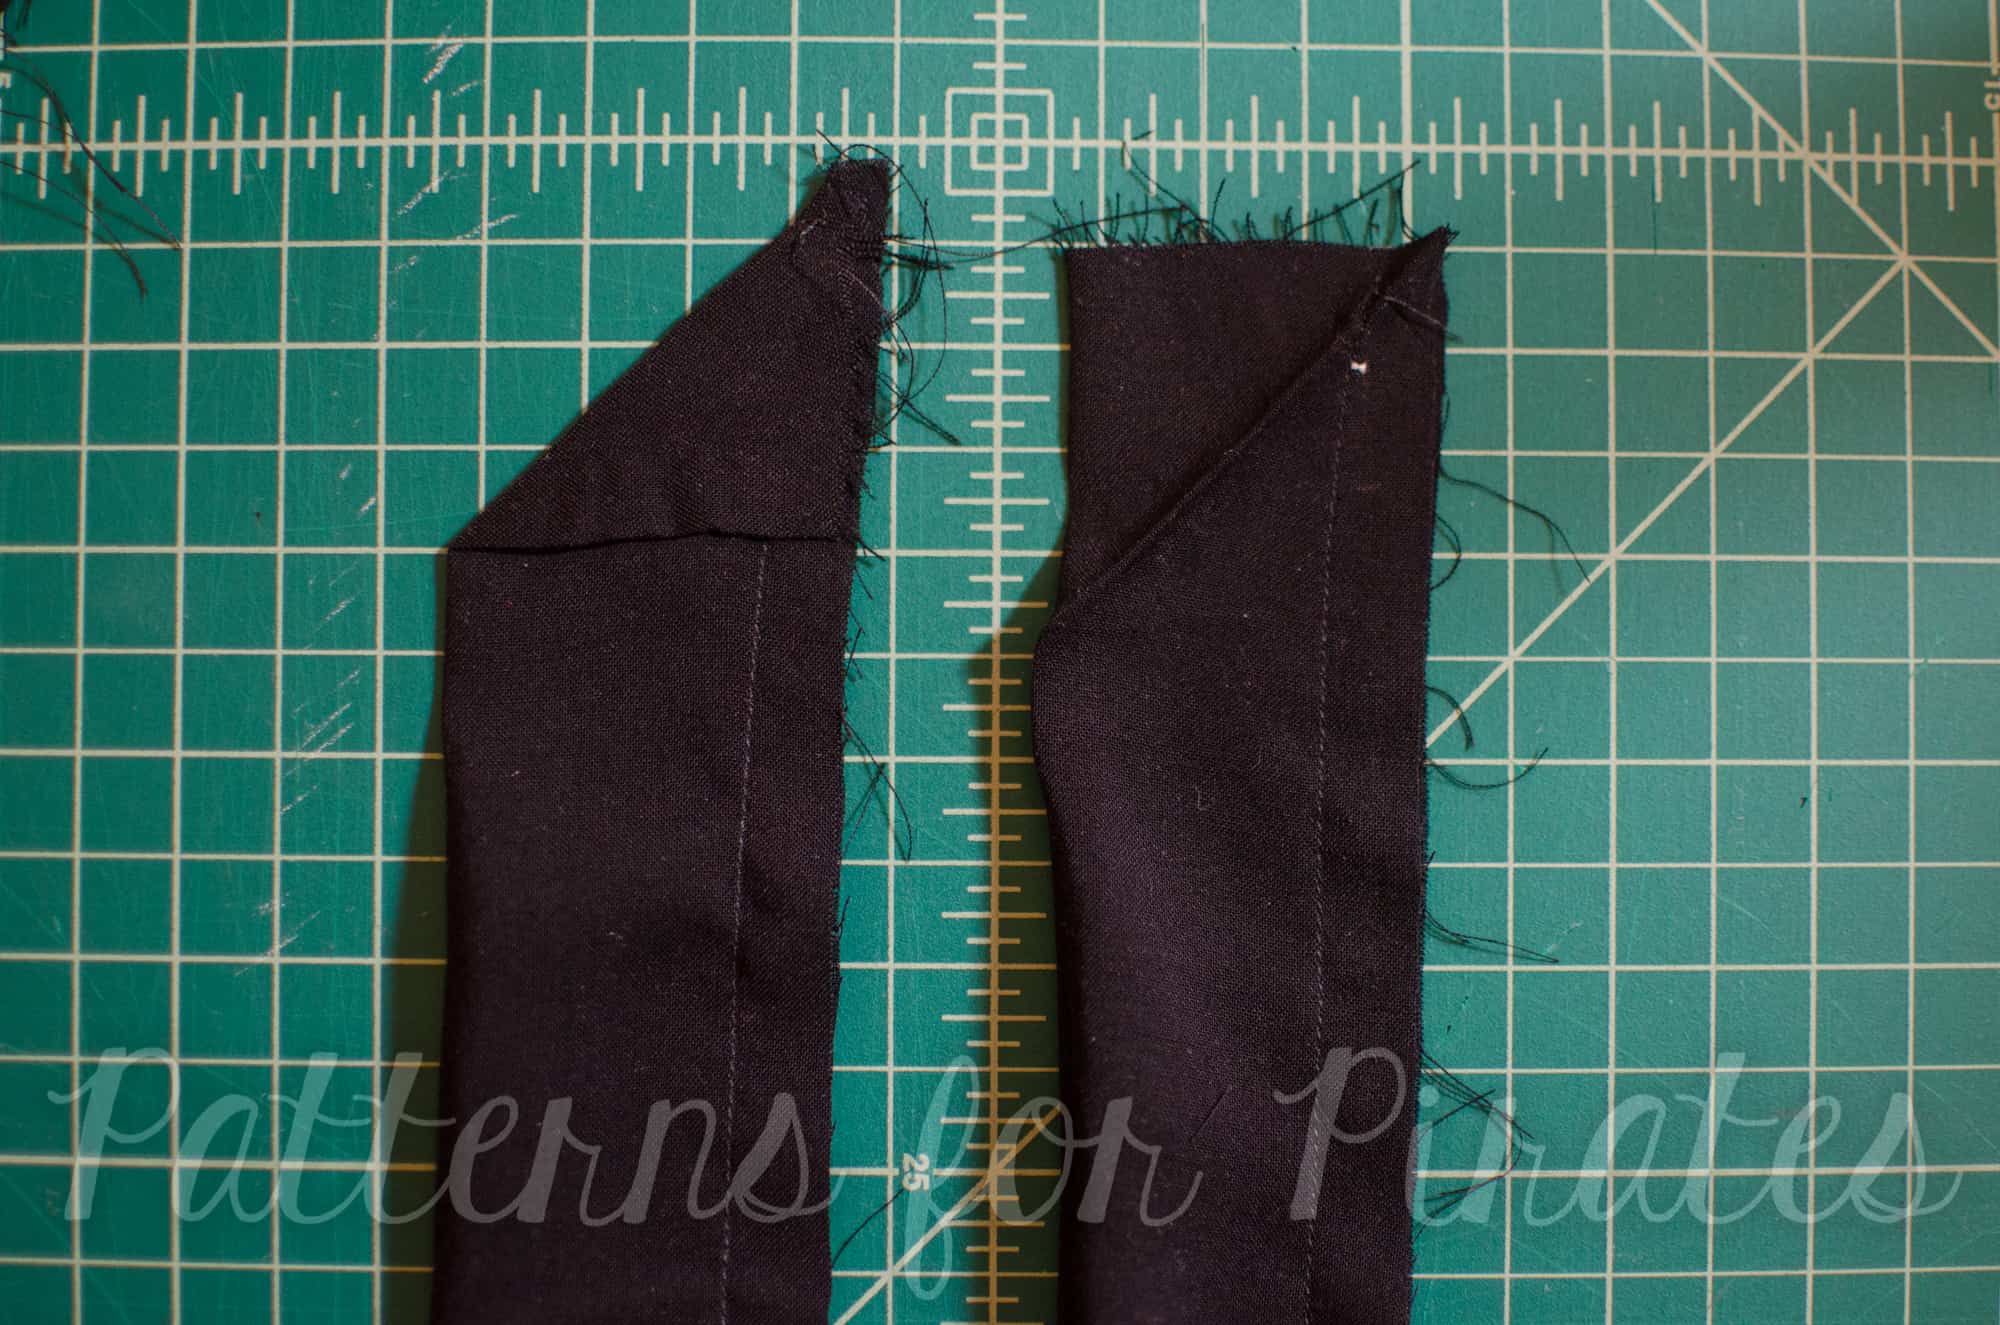
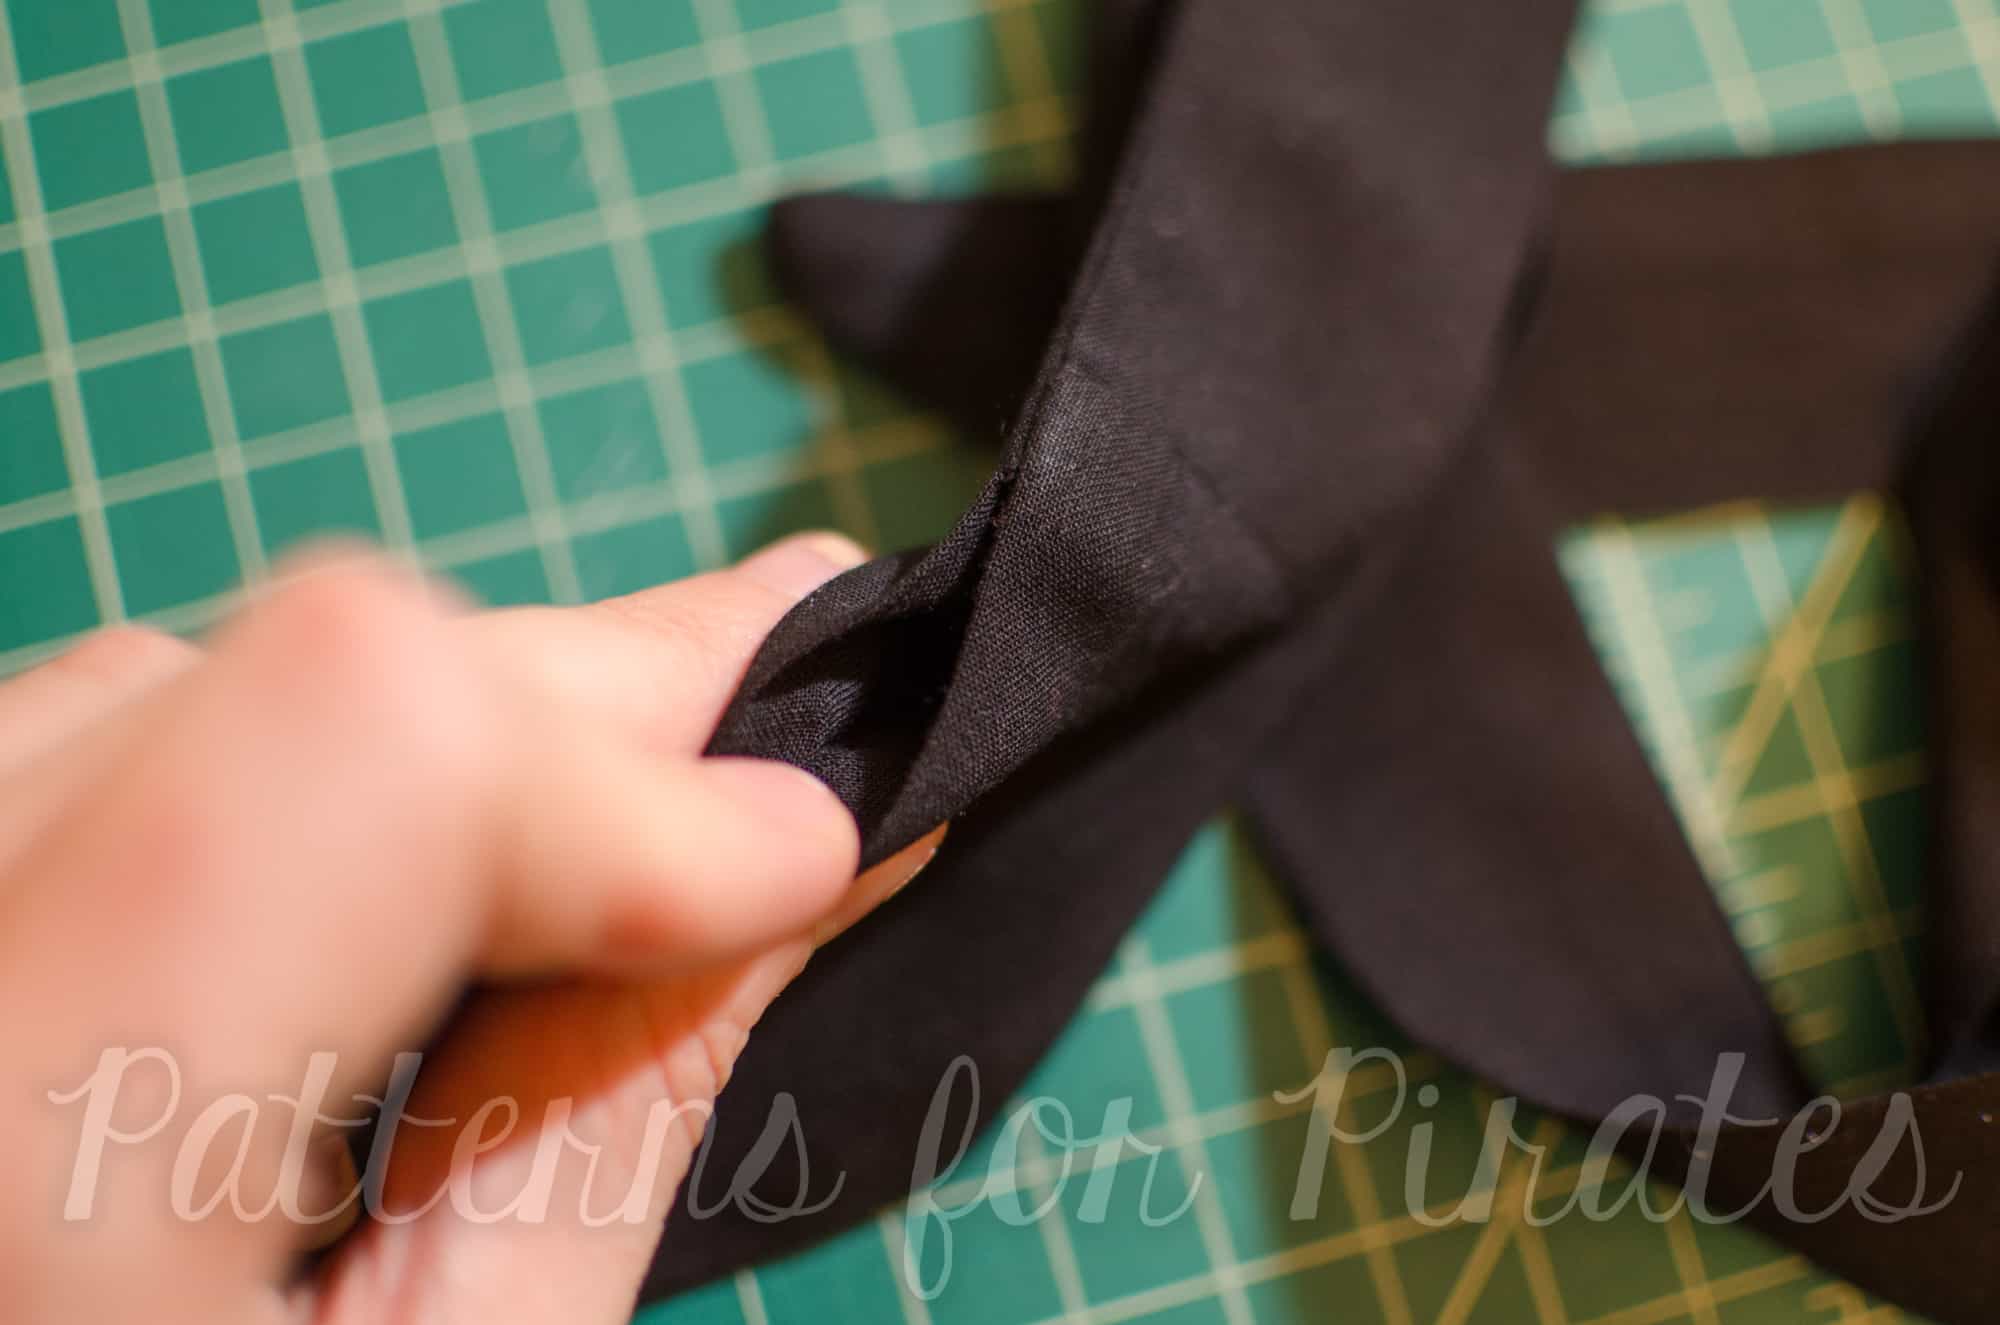
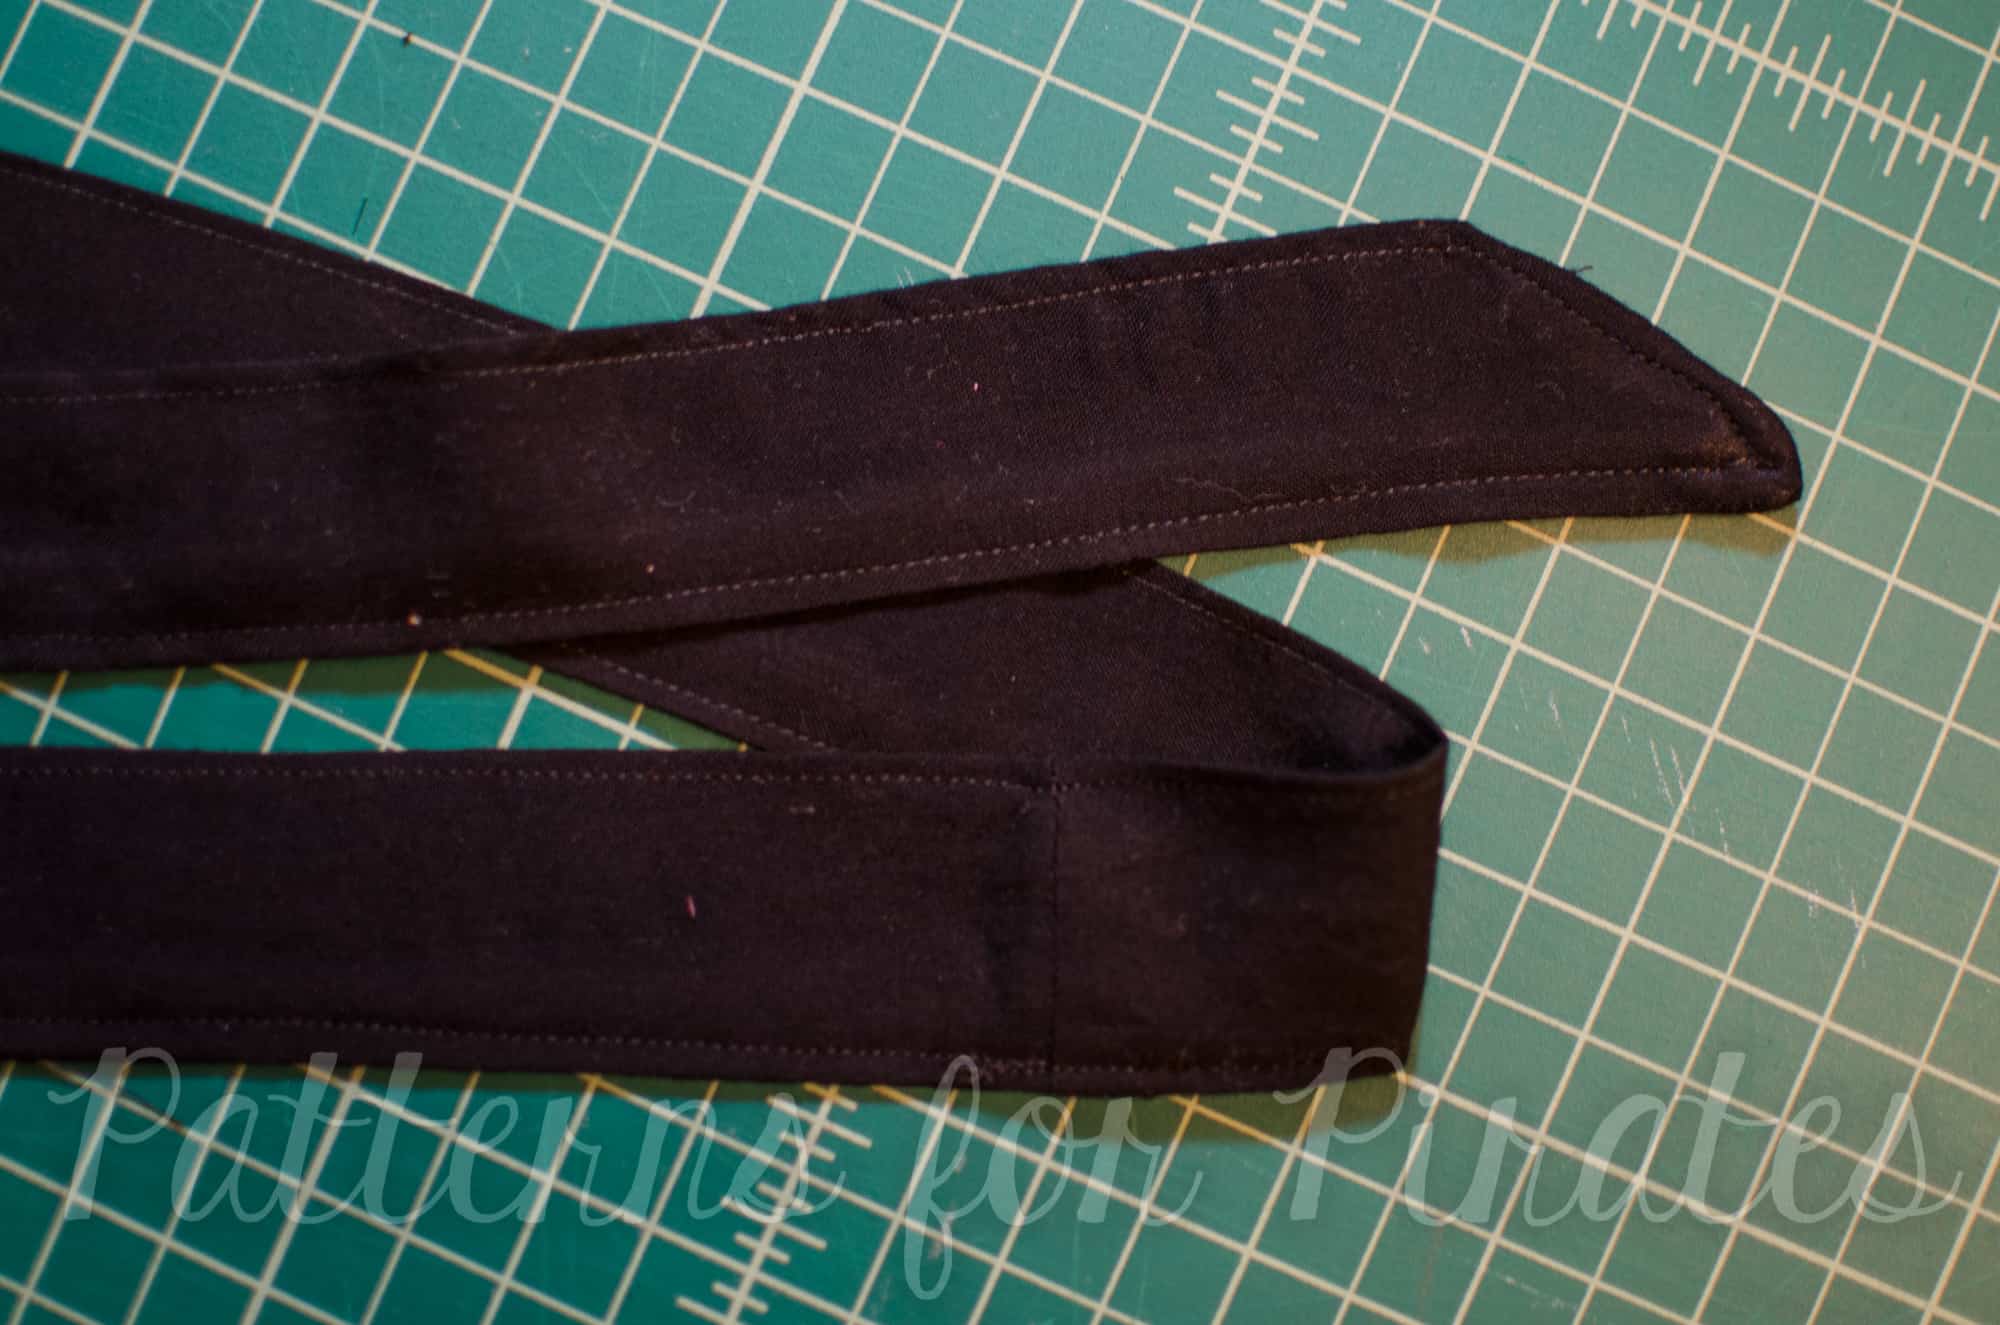
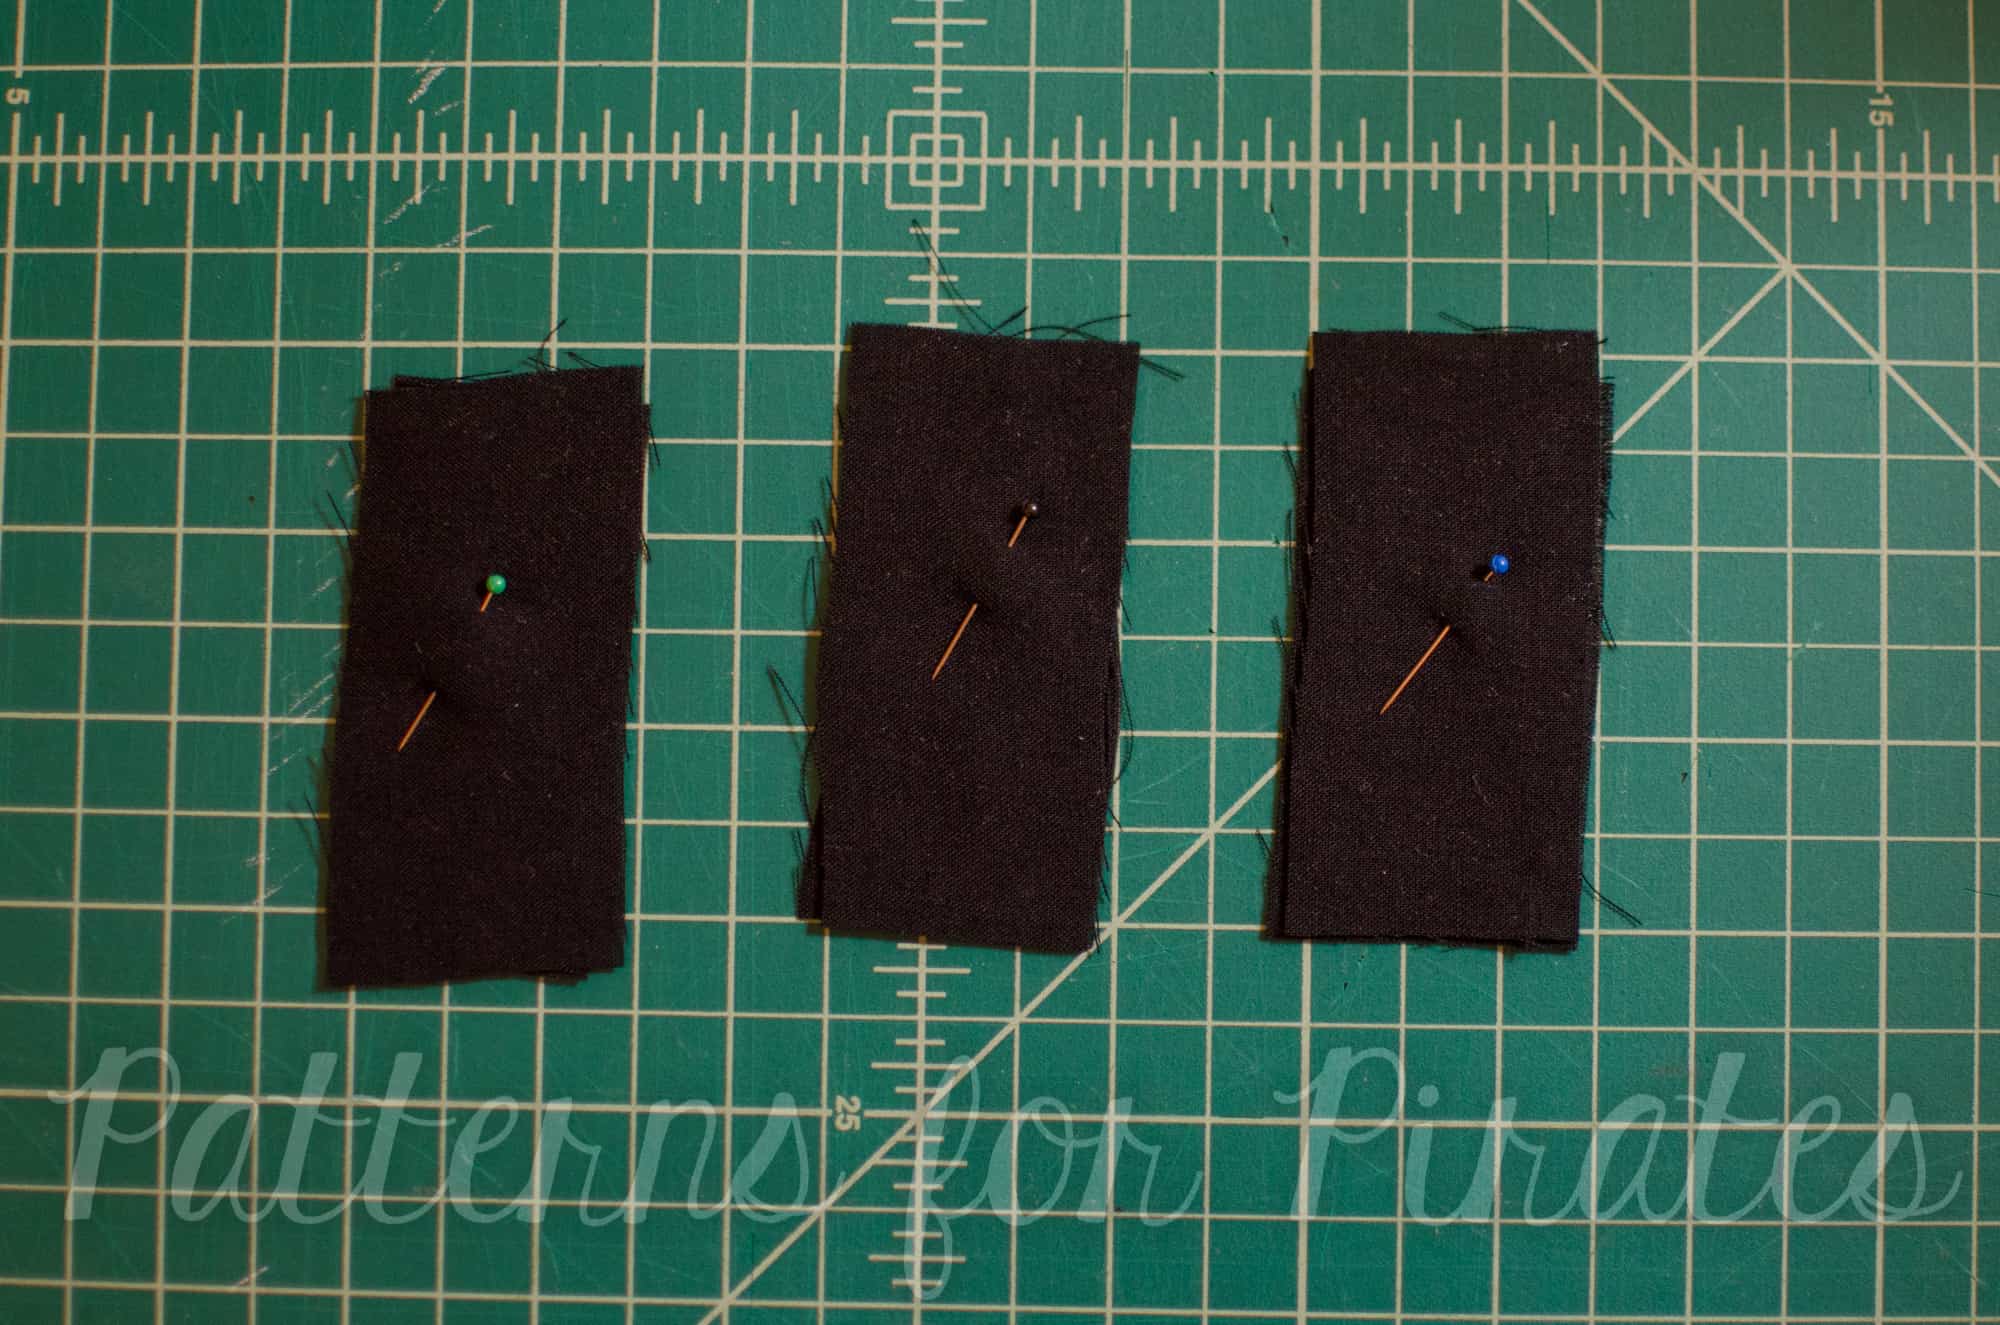
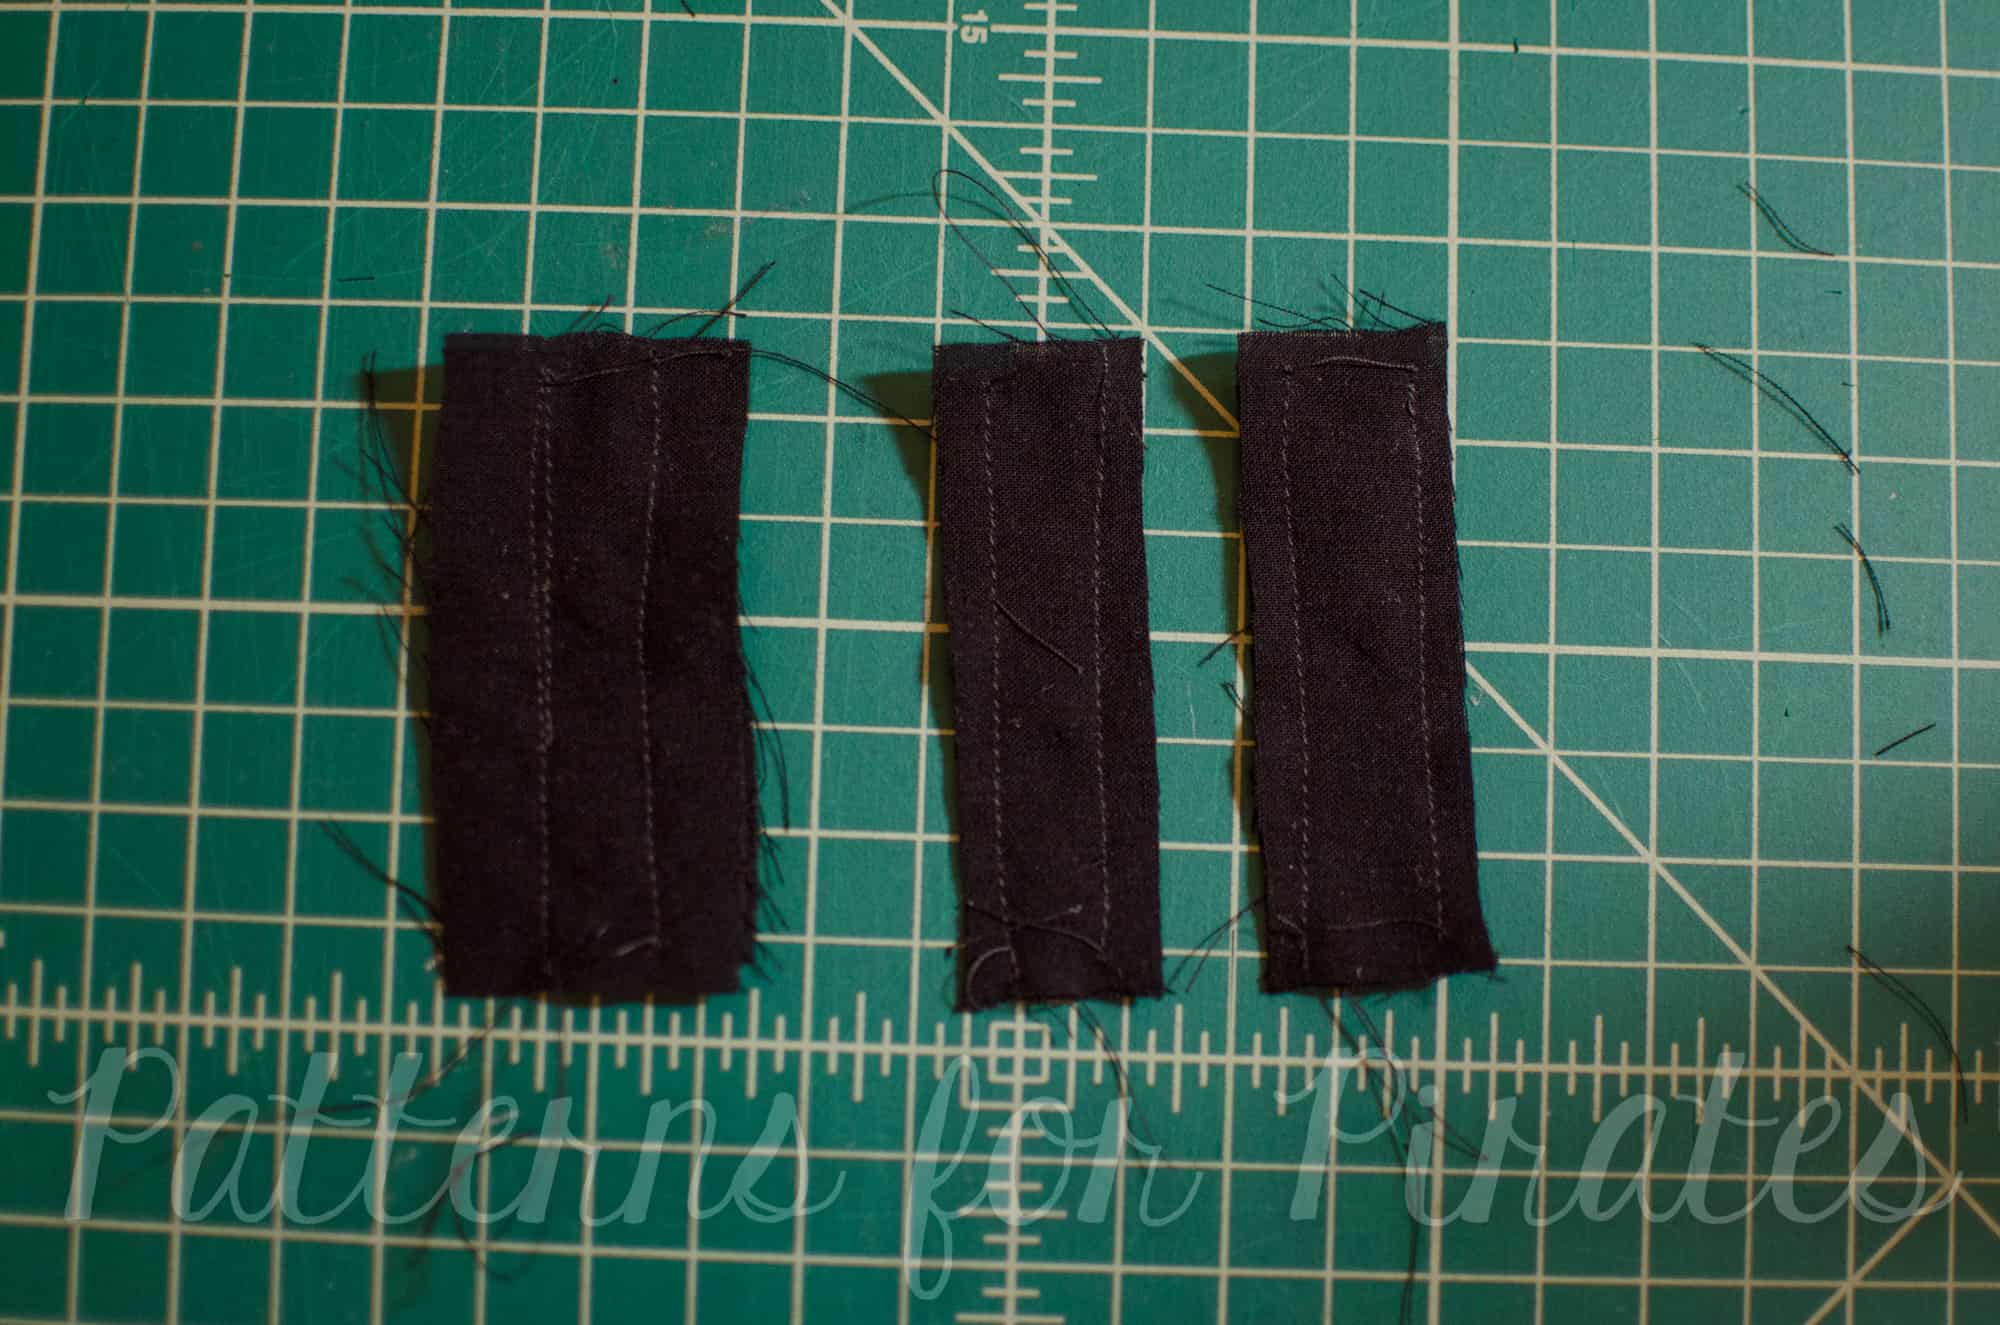
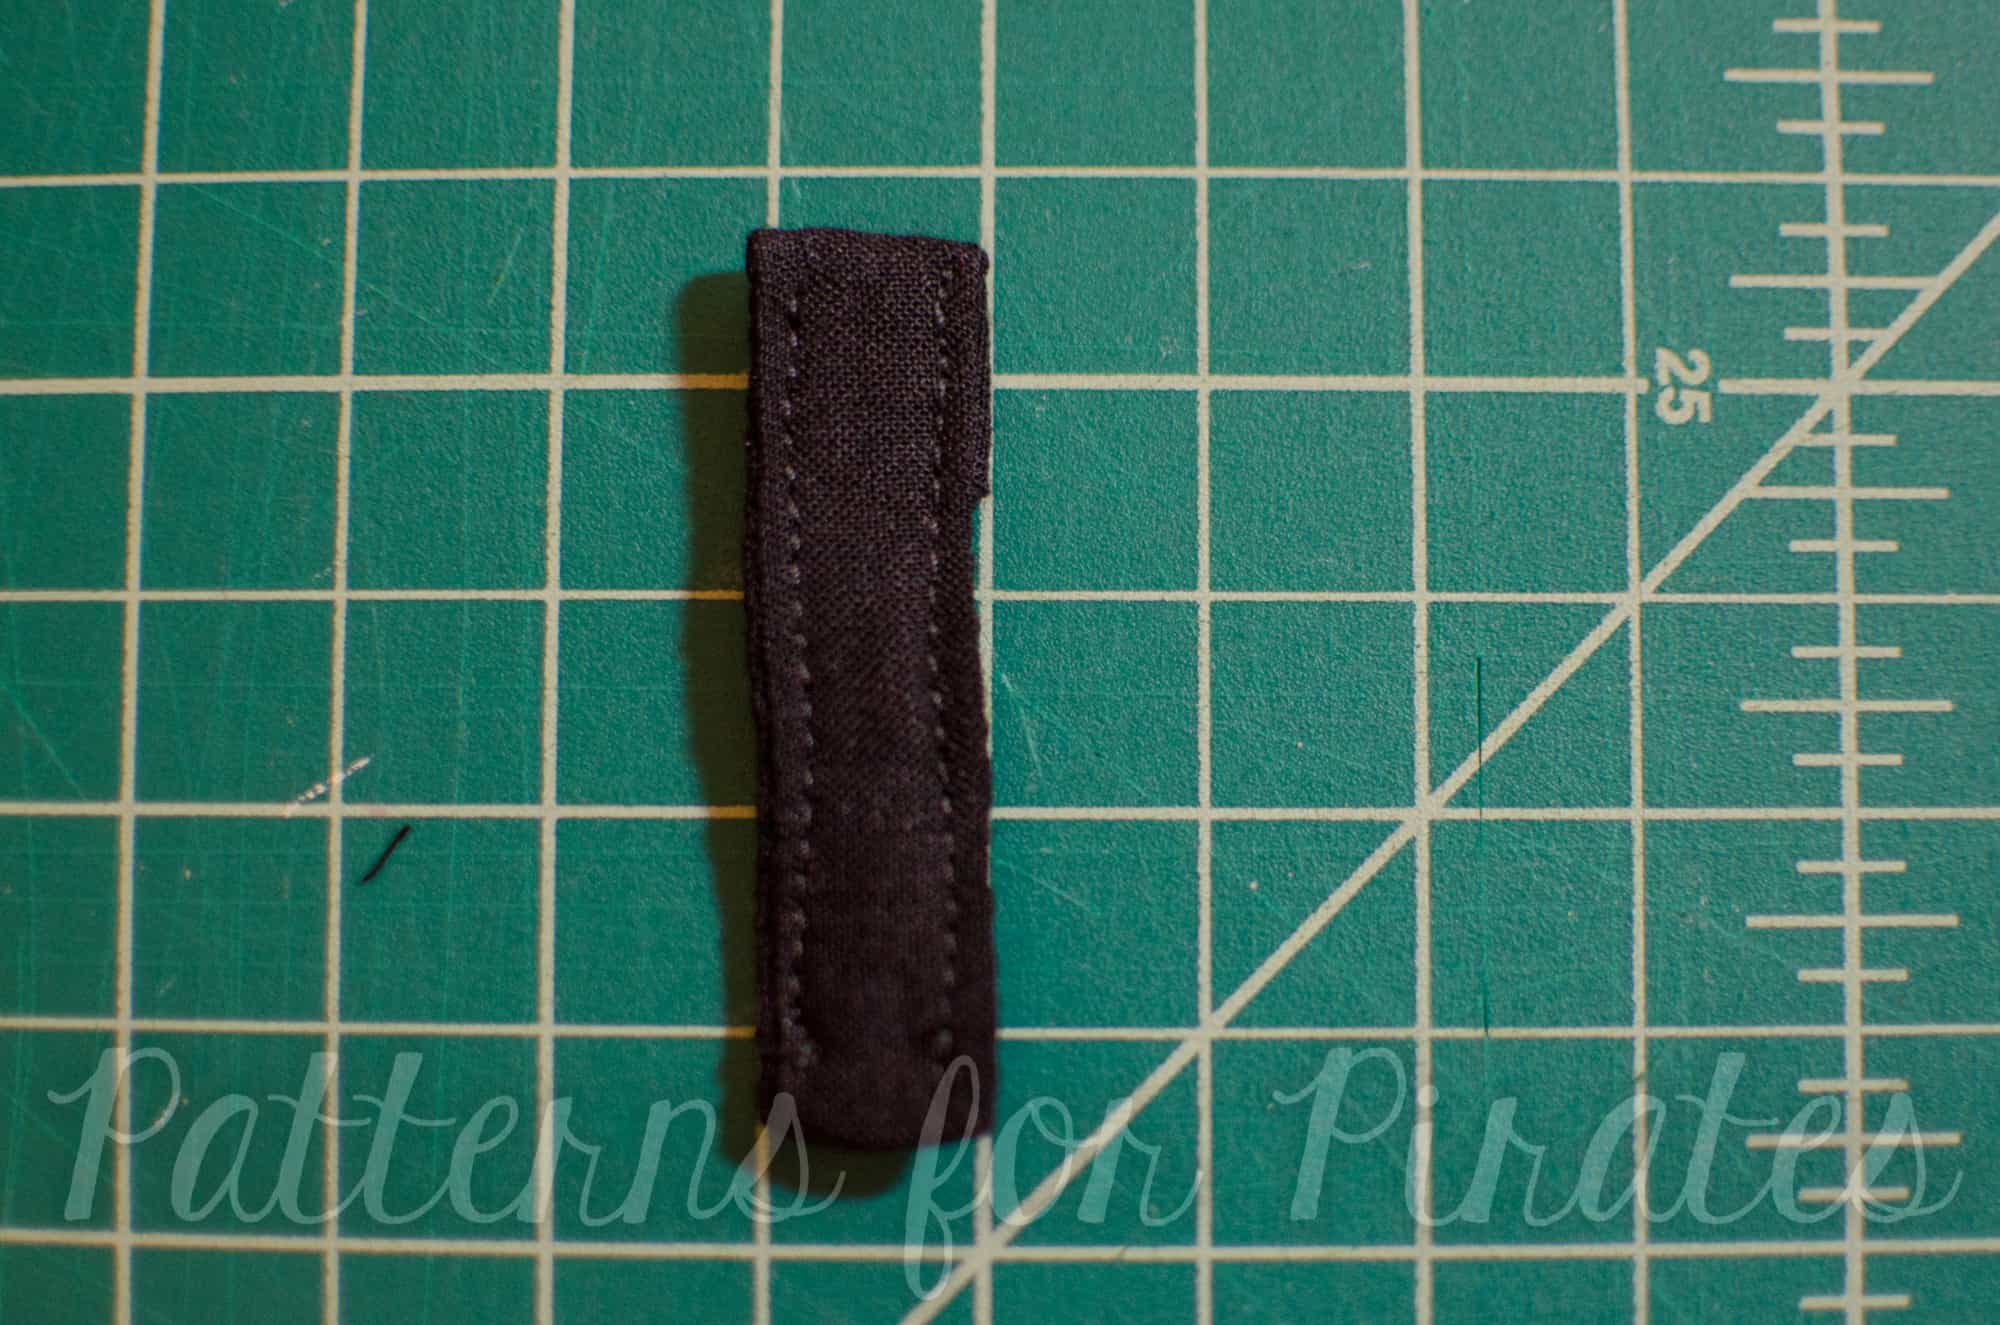
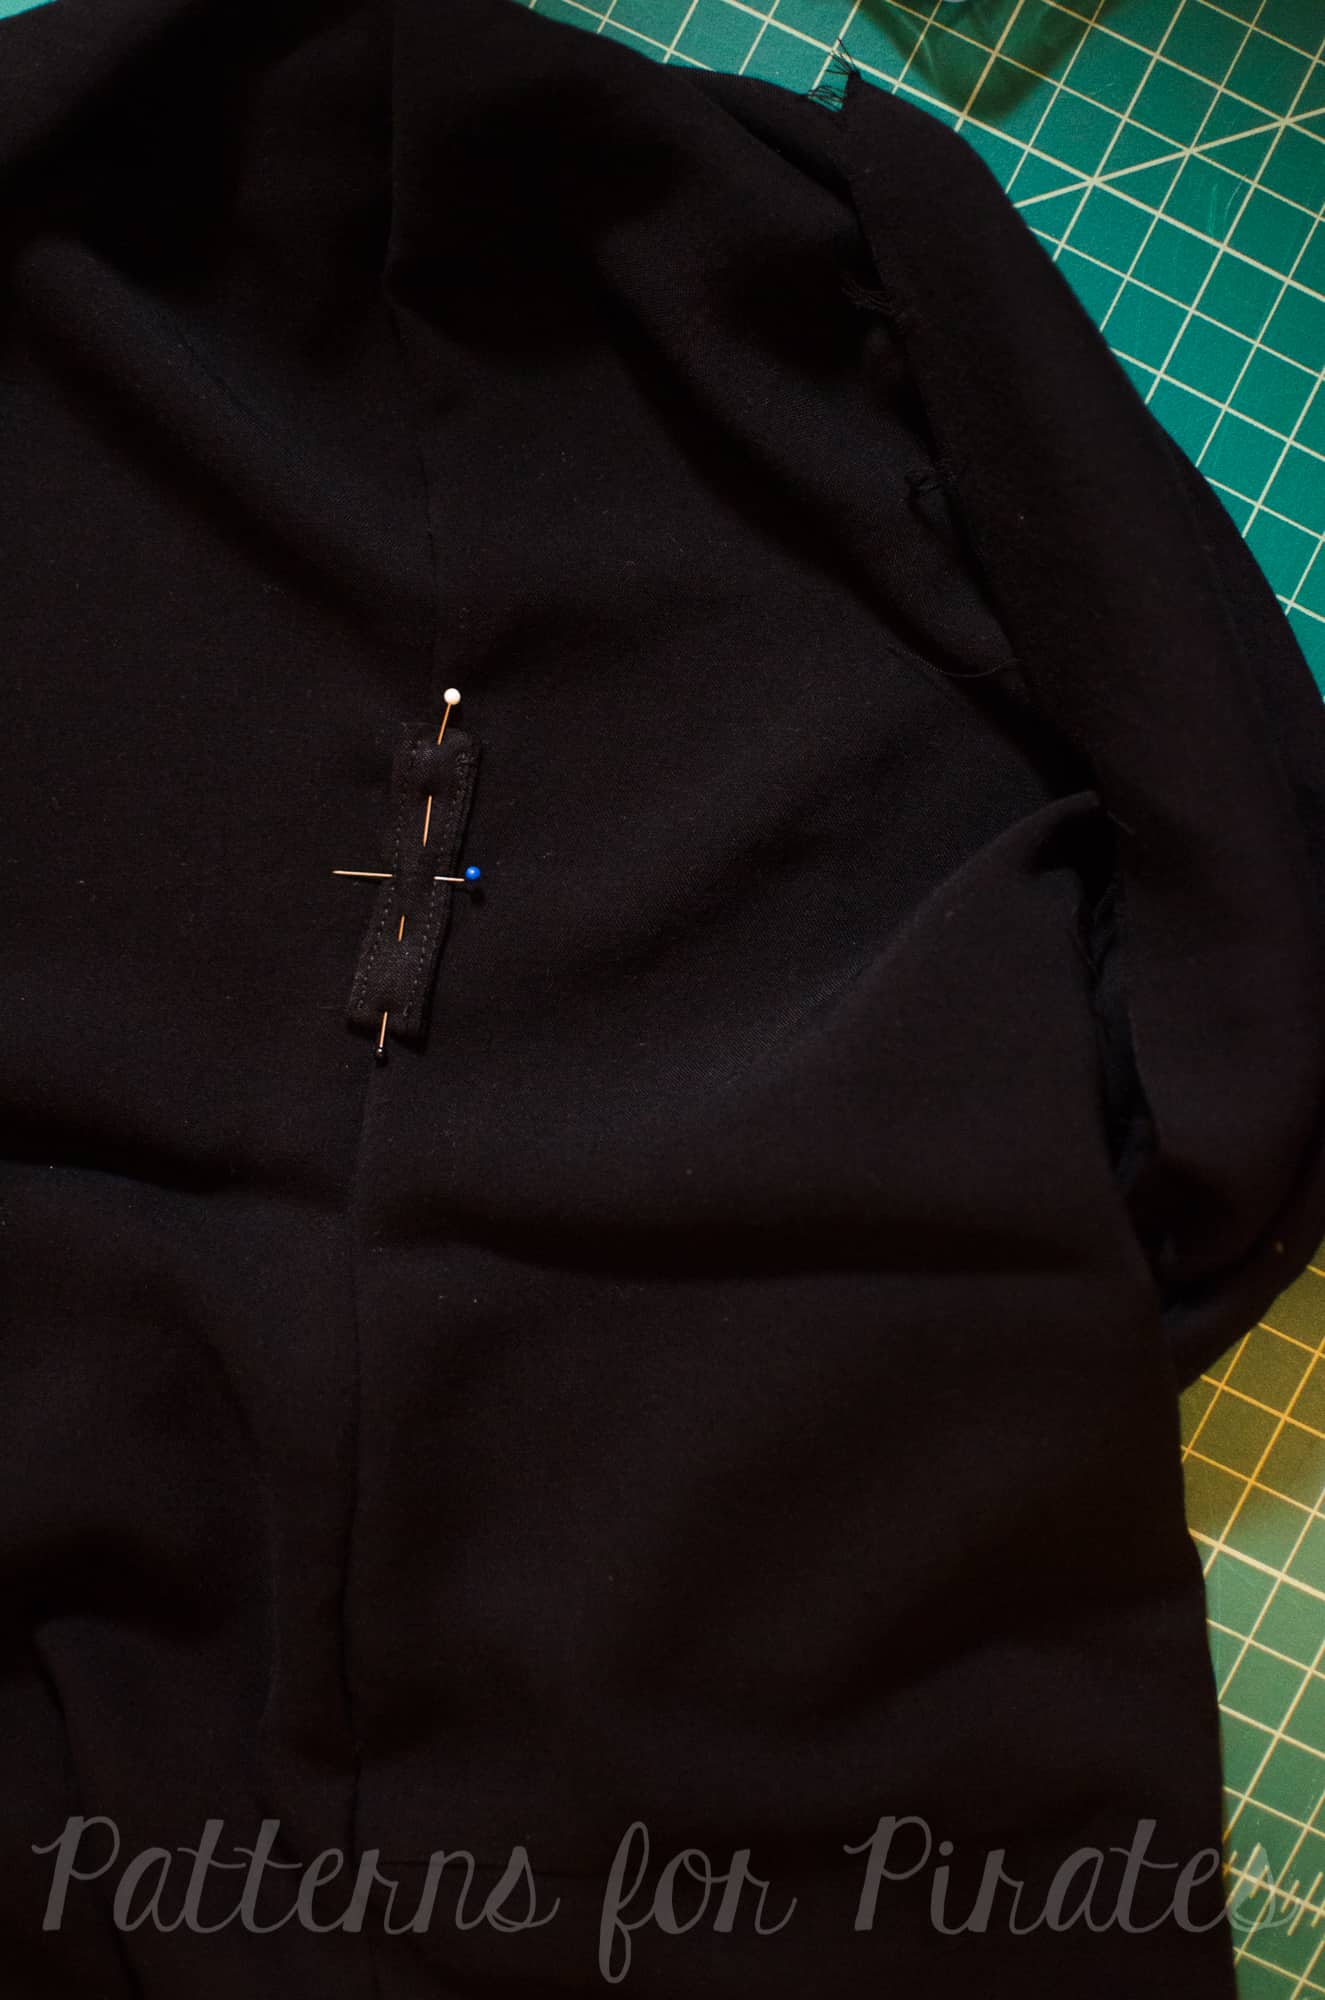
Brunch Blouse|Bitty Brunch Blouse SAL day 4 (pocket/waist ties/back seam)
Brunch Blouse|Bitty Brunch Blouse SAL day 5 (shoulder/side seams)
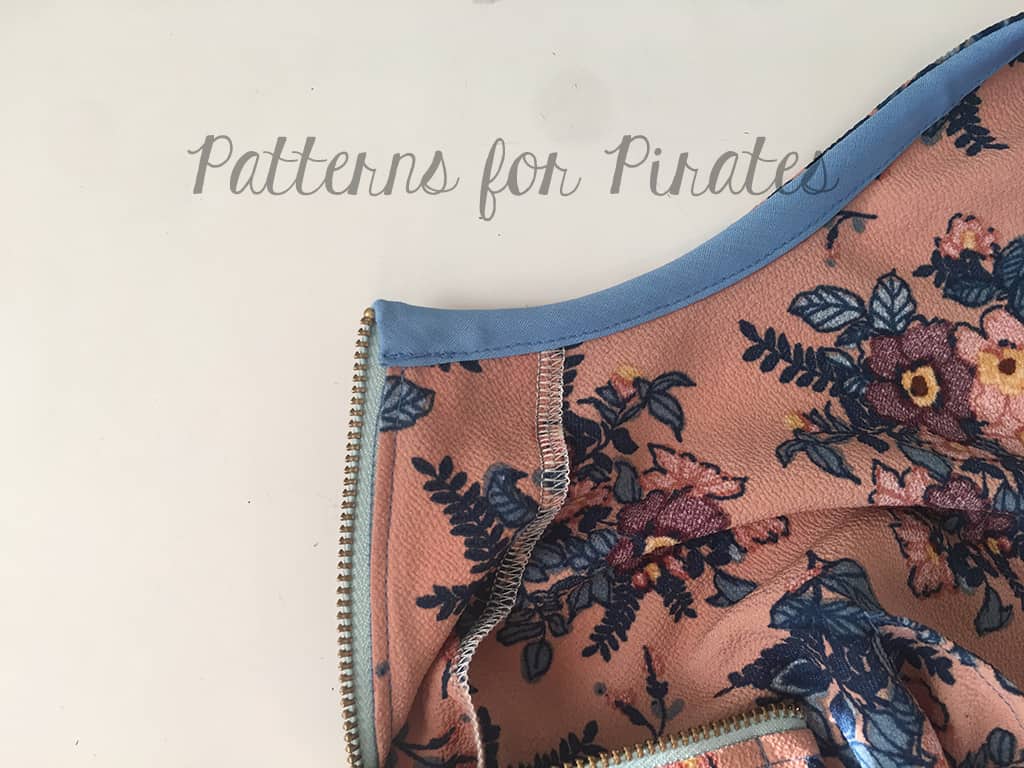
Brunch Blouse|Bitty Brunch Blouse SAL day 6 (neckband)
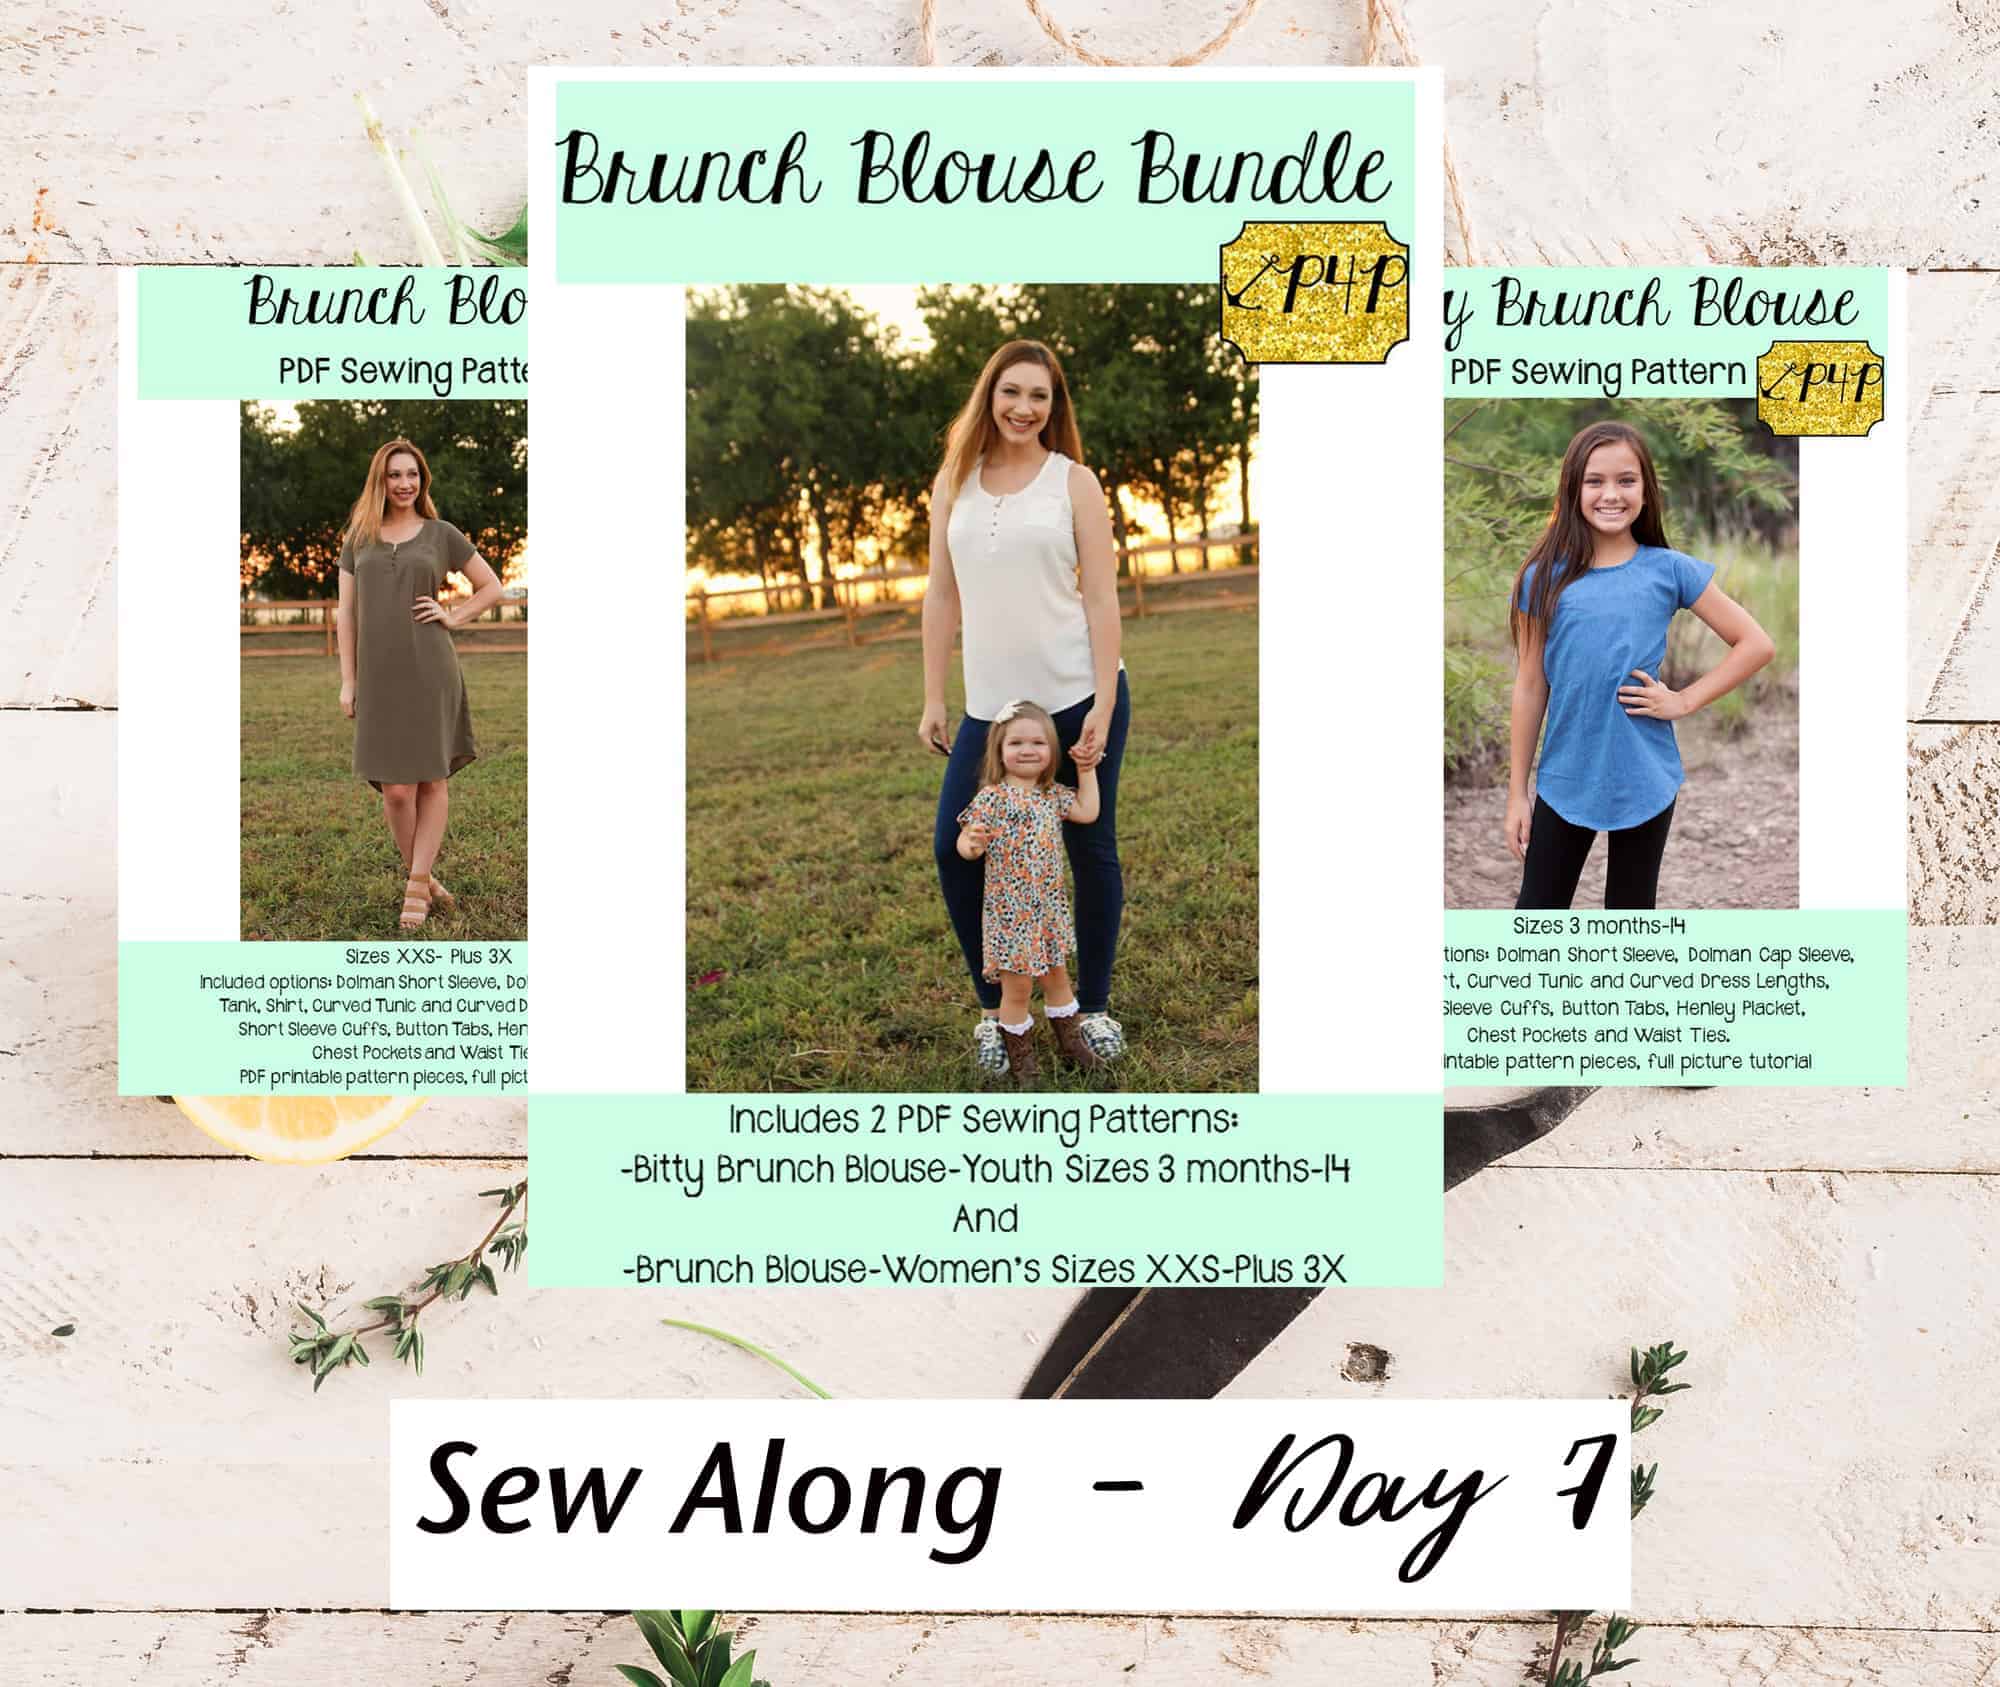
Brunch Blouse|Bitty Brunch Blouse SAL day 7 (finish sleeves/hem)
Brunch Blouse|Bitty Brunch Blouse SAL day 8 (winners announcement)