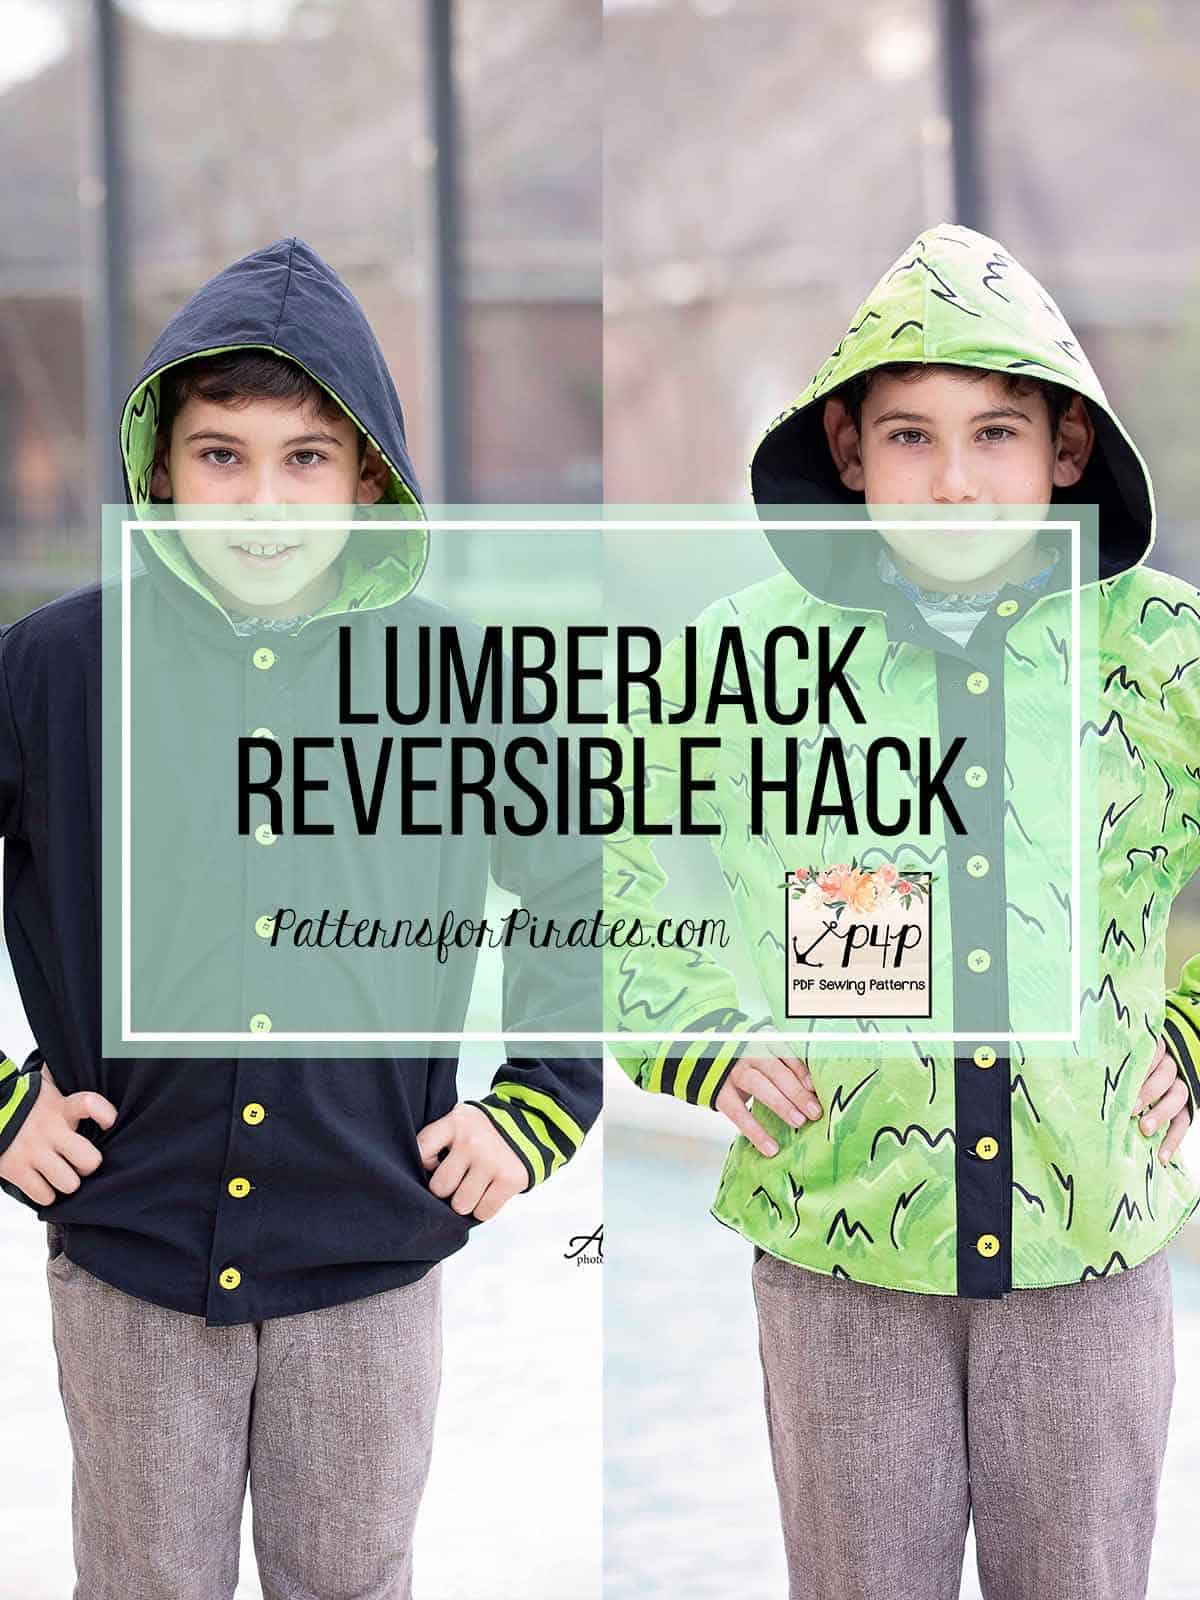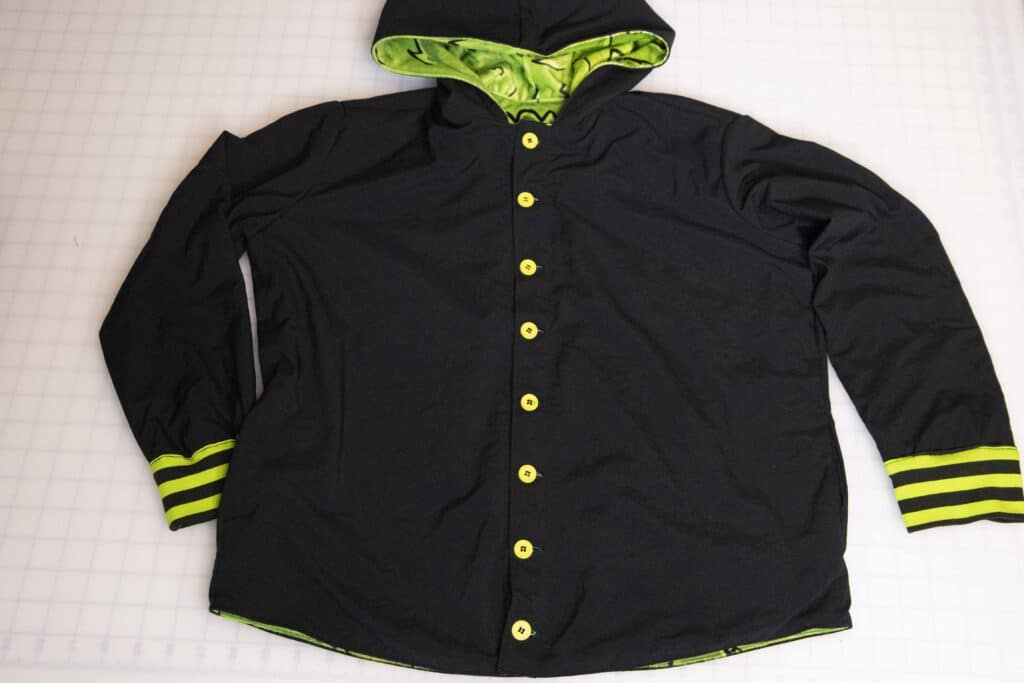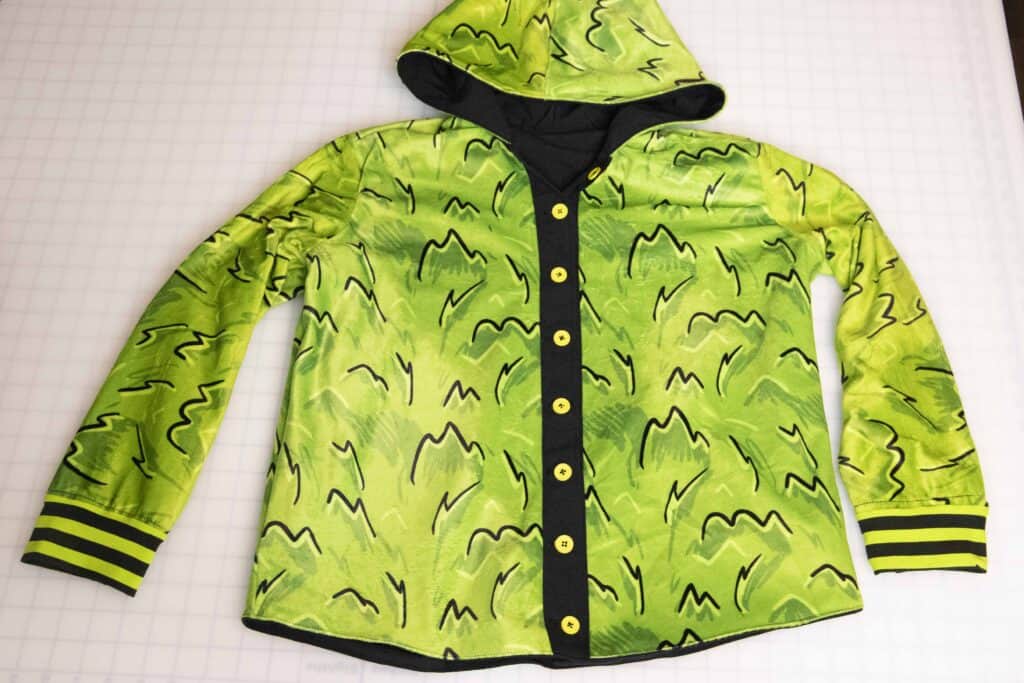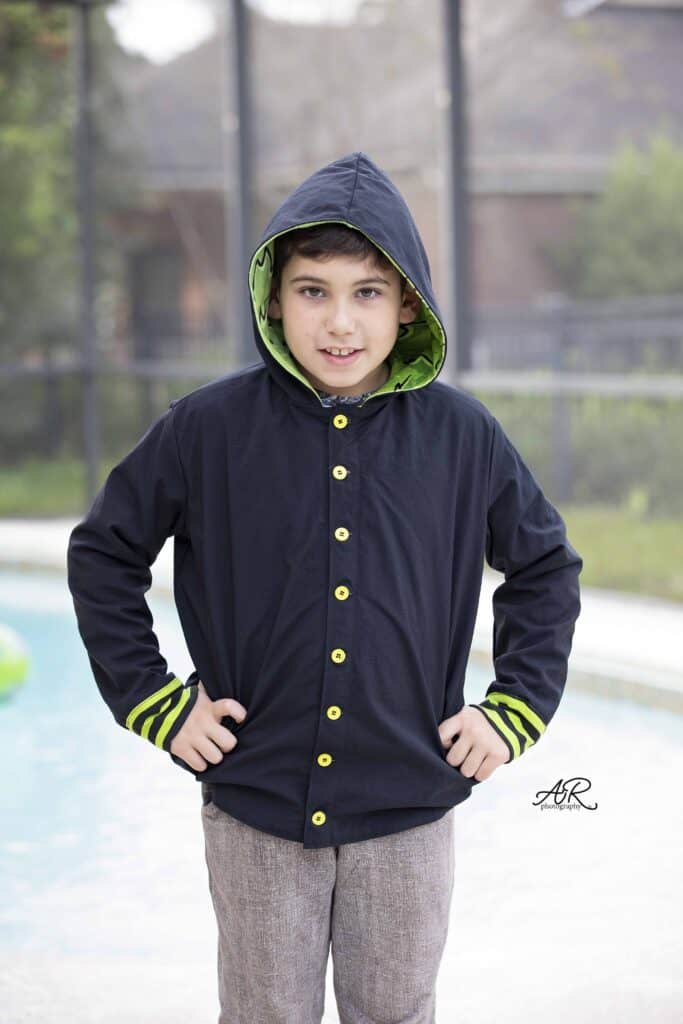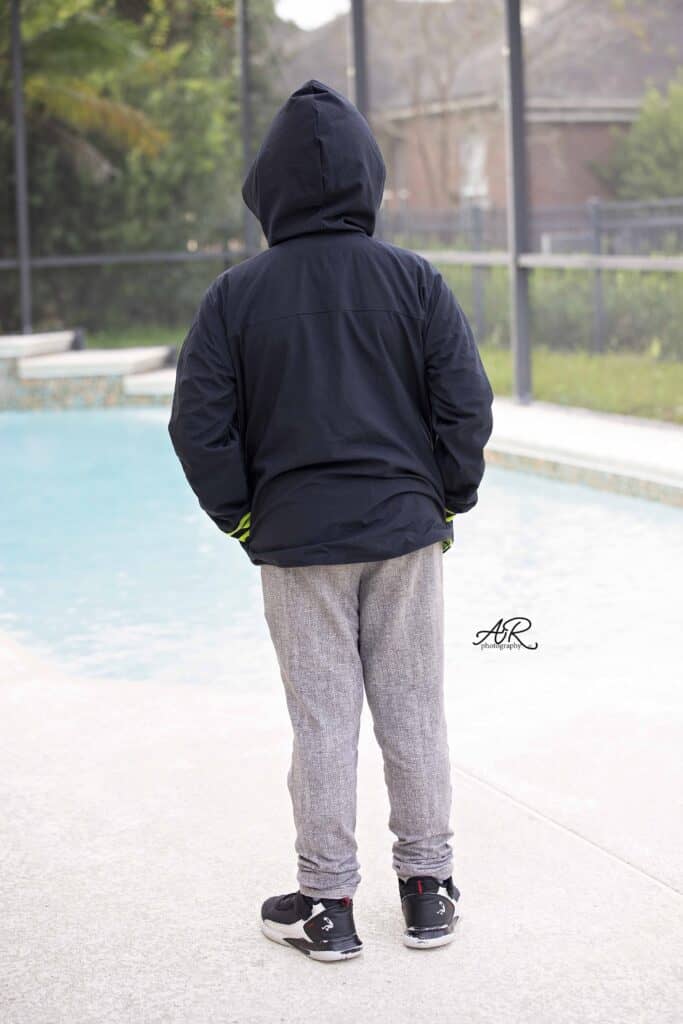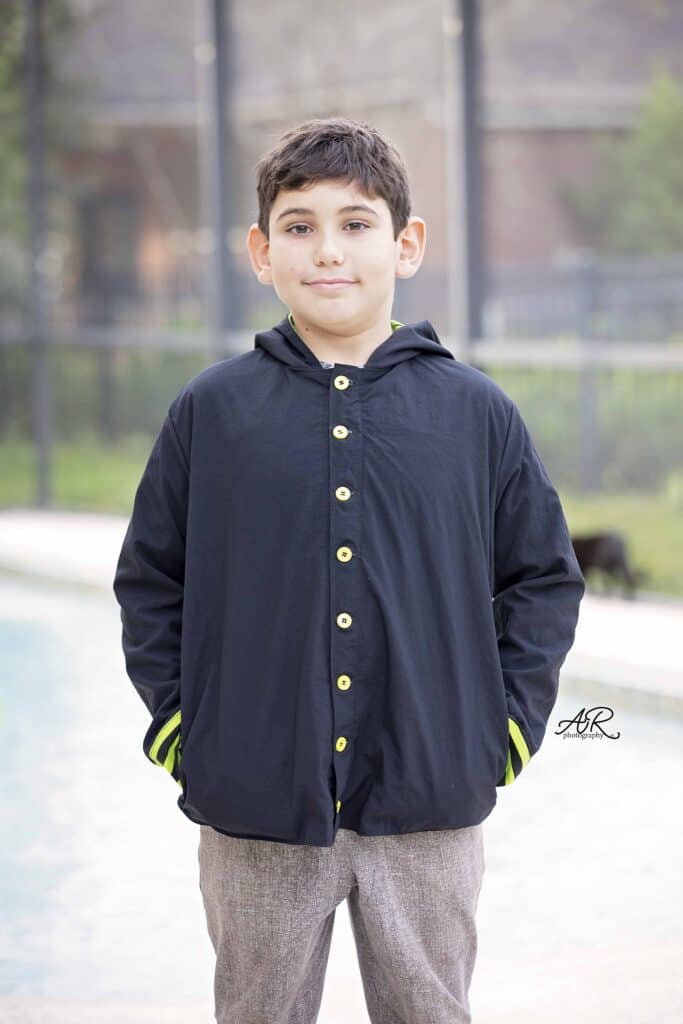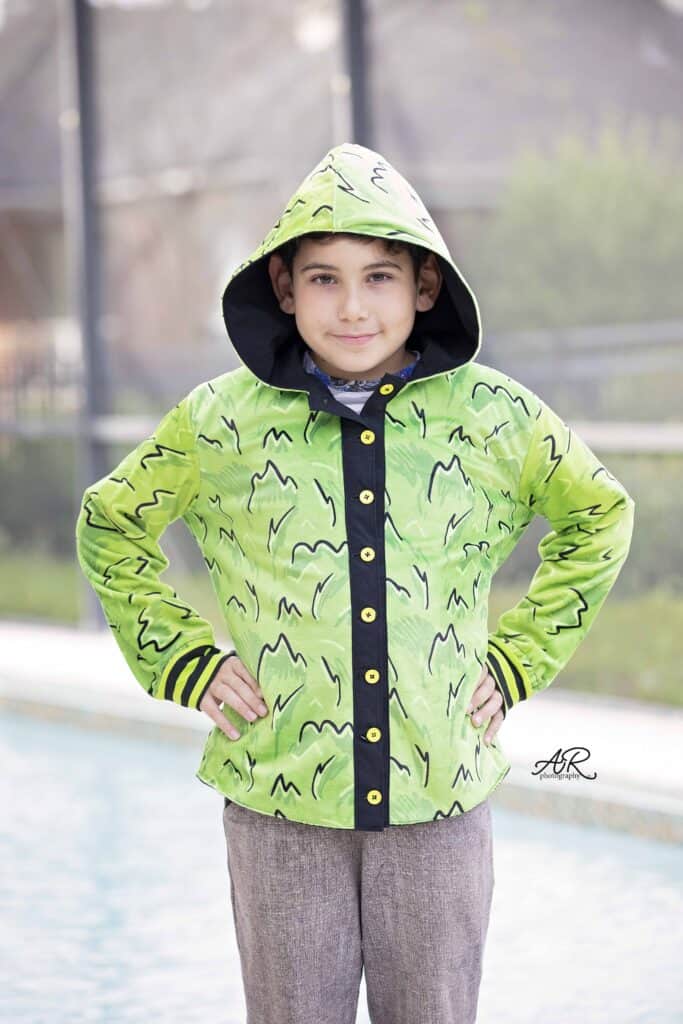
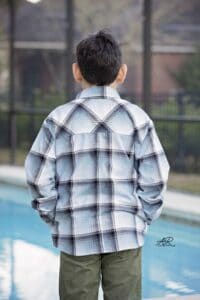
Wow!! I am so in love with all your Lumberjack shirt! You have outdone yourselves this past week. My little one said this was one of his favorite sew alongs I did. Could it be because he was the recipient of this shirt? 😉 “Mom, it’s so cool. I’ll wear it today at school!” This Lumberjack shirt was less than $9 in materials. Score!


But enough about me! Let’s give out some prizes!
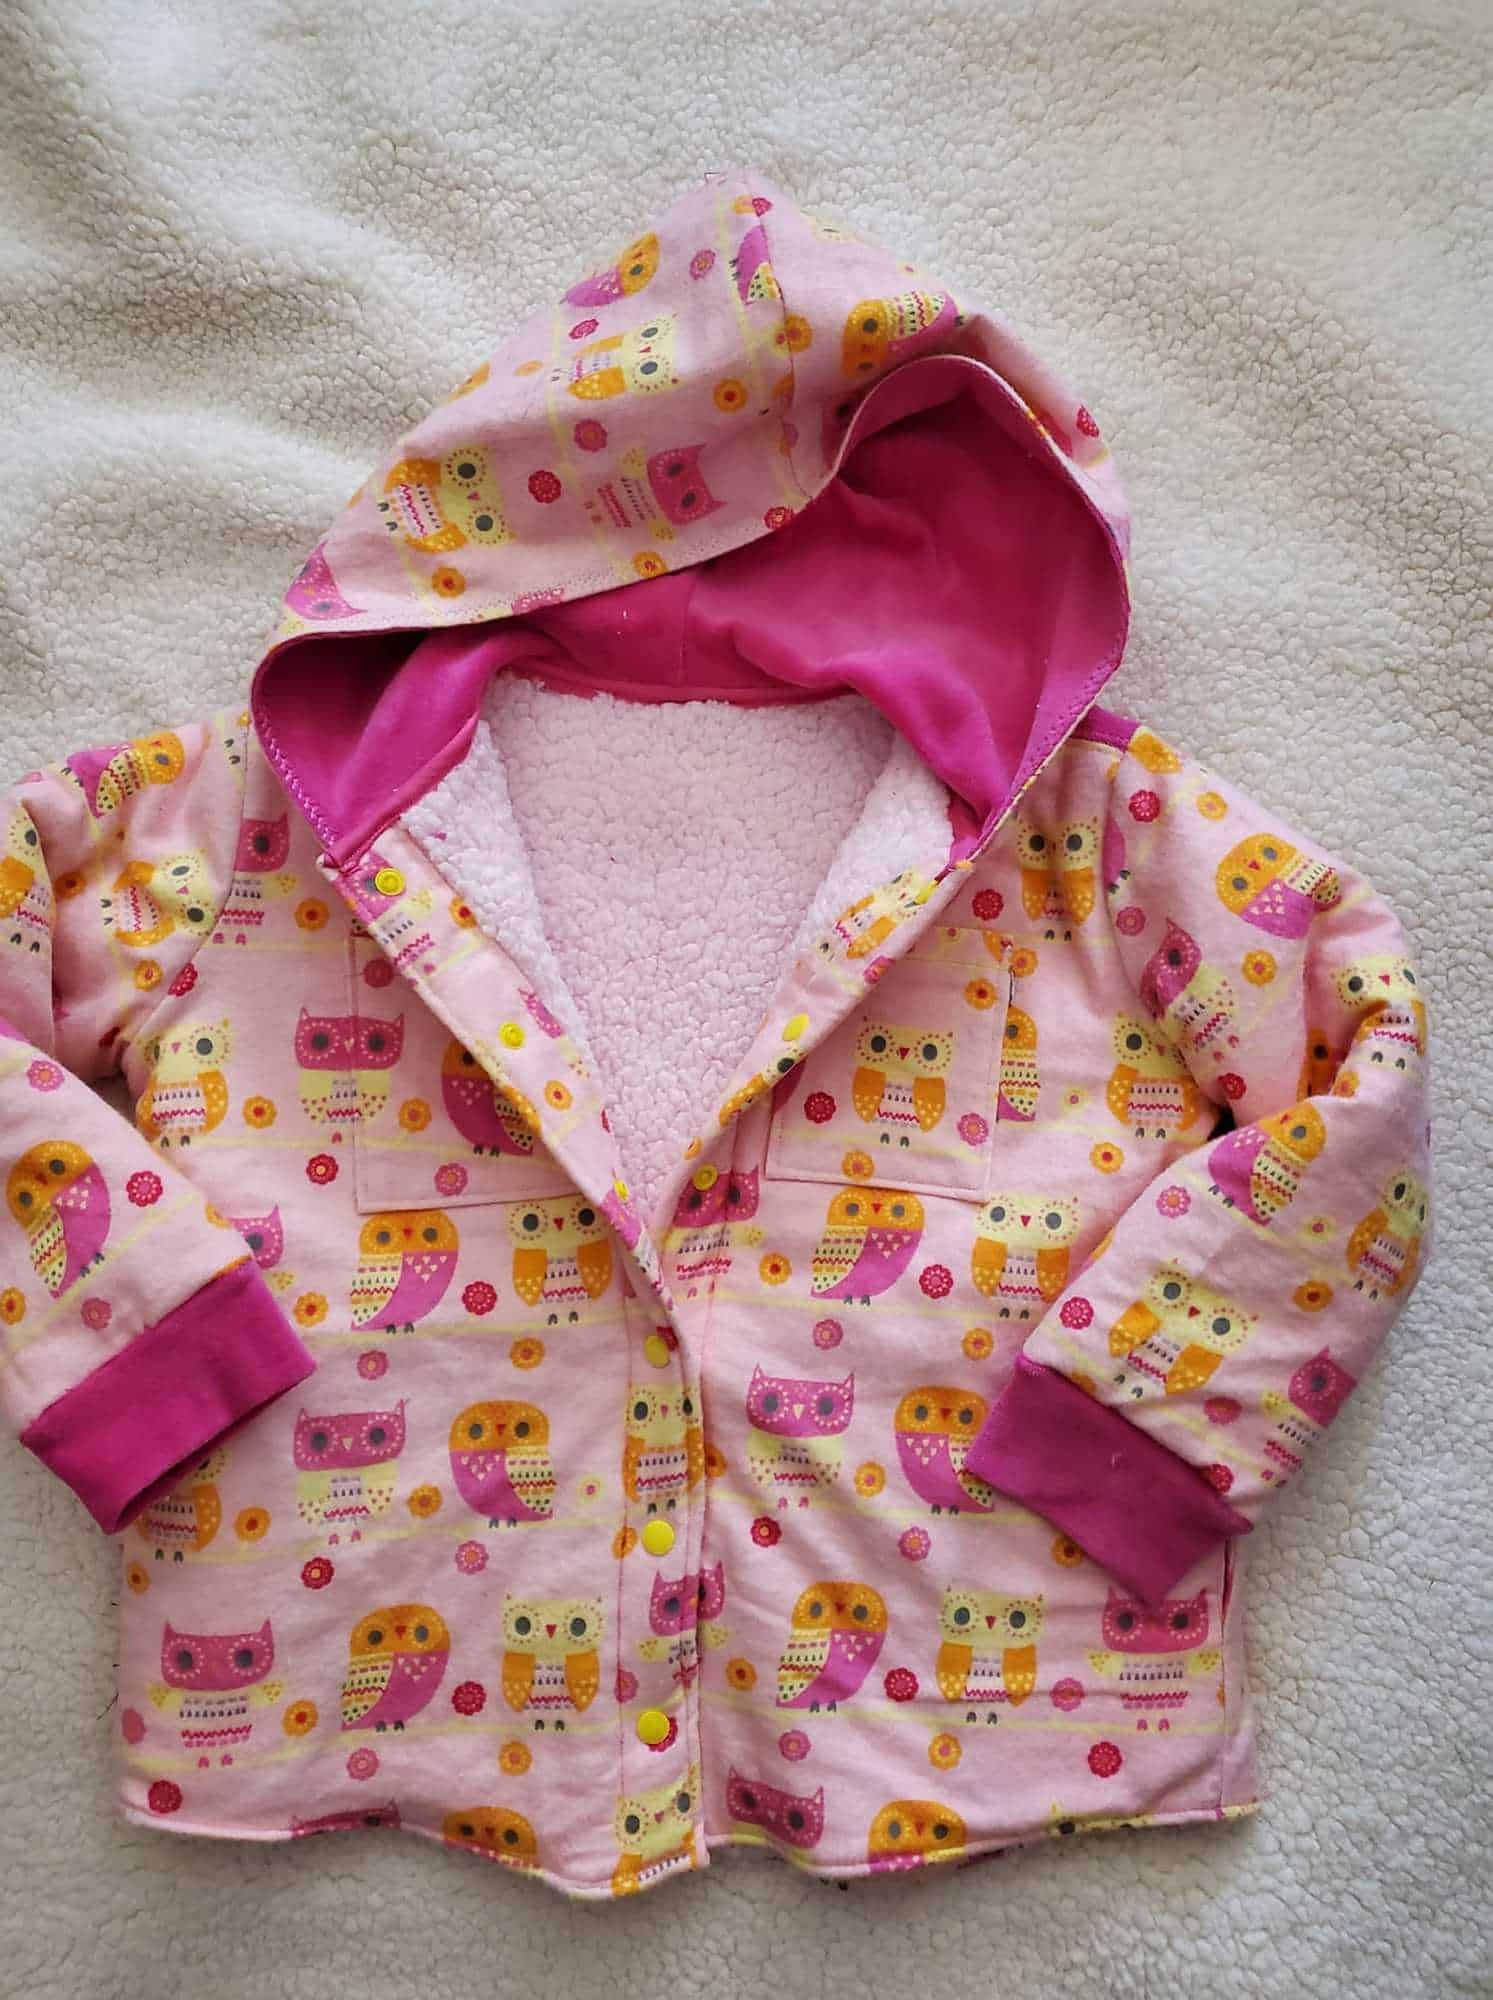
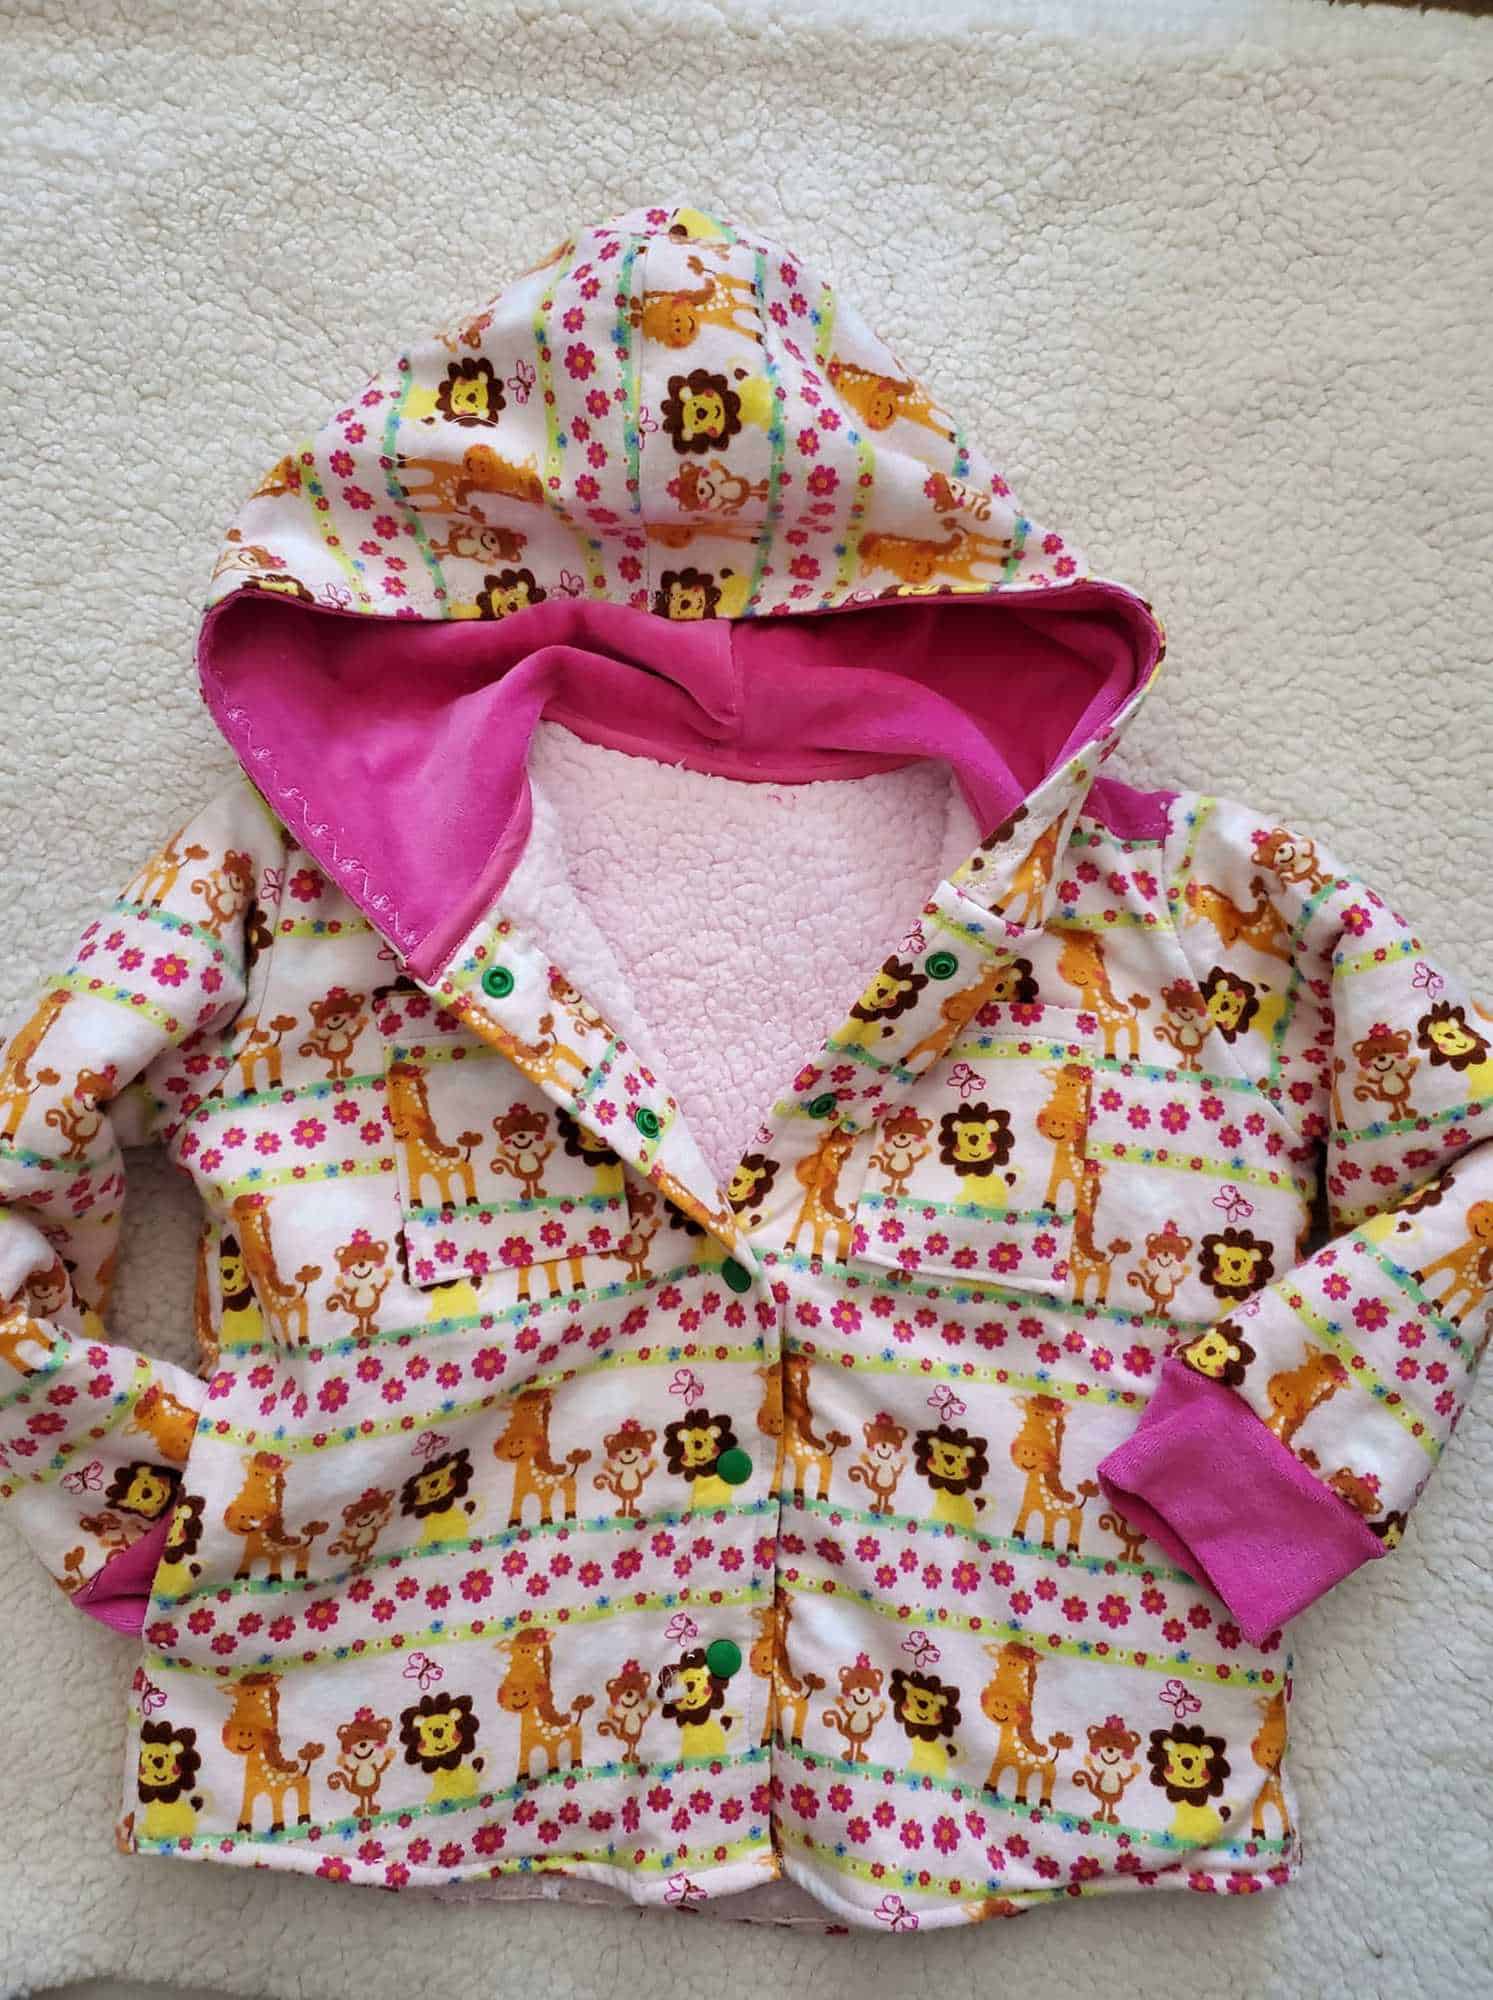
First winner is Tammy Richards! Tammy won a $20 gift card from Patterns for Pirates and a mystery Fabric 4 Pirates package. Look at these 3 ( yes, THREE!) beautiful Lumberjack shirts she made for her loved ones.
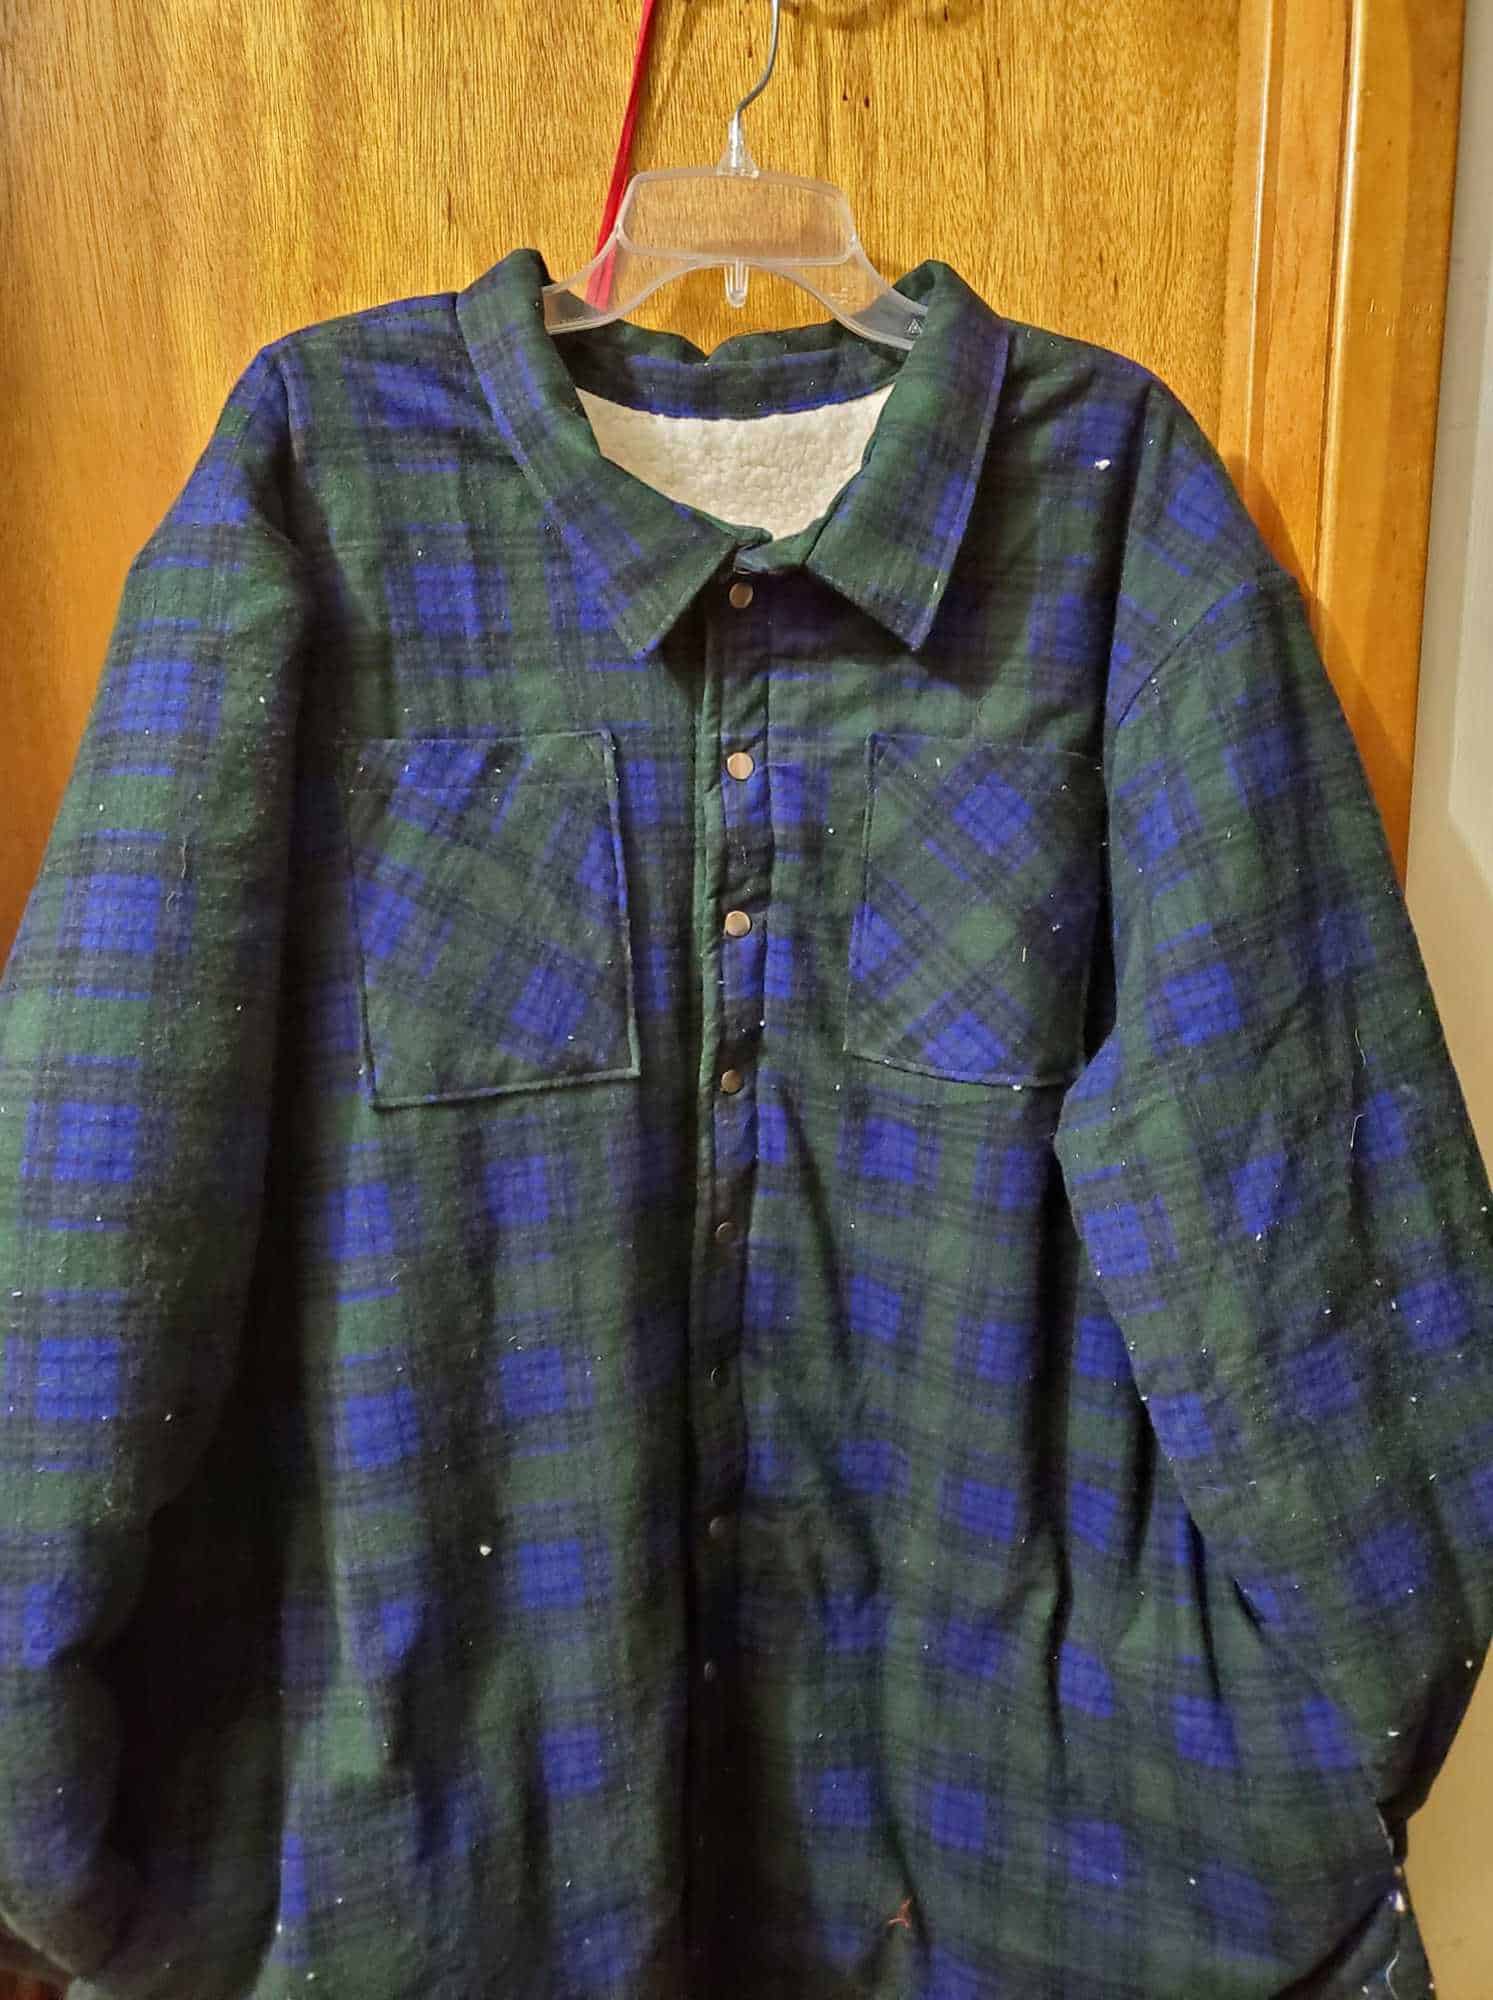
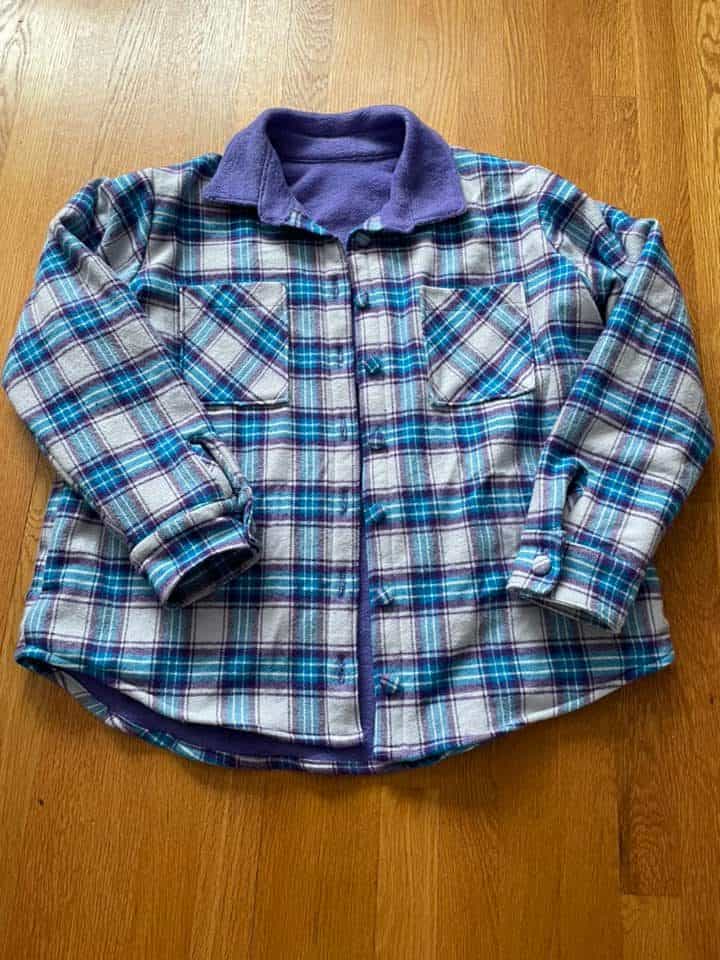
Our runner up is Barbara Wong. Barbara won a $20 gift card from Made for Mermaids. The Lumberjack she made looks so cozy and those covered buttons are mighty cute!

Thank you so much for joining the P4P sew along for January. I pass the baton to Colleen for the February SAL. See you back here in March!
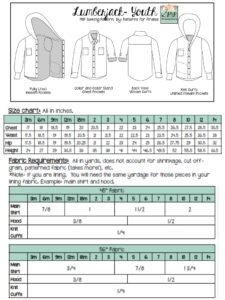
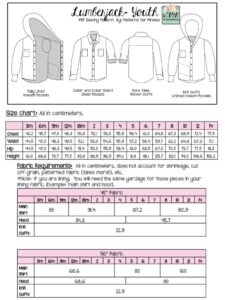
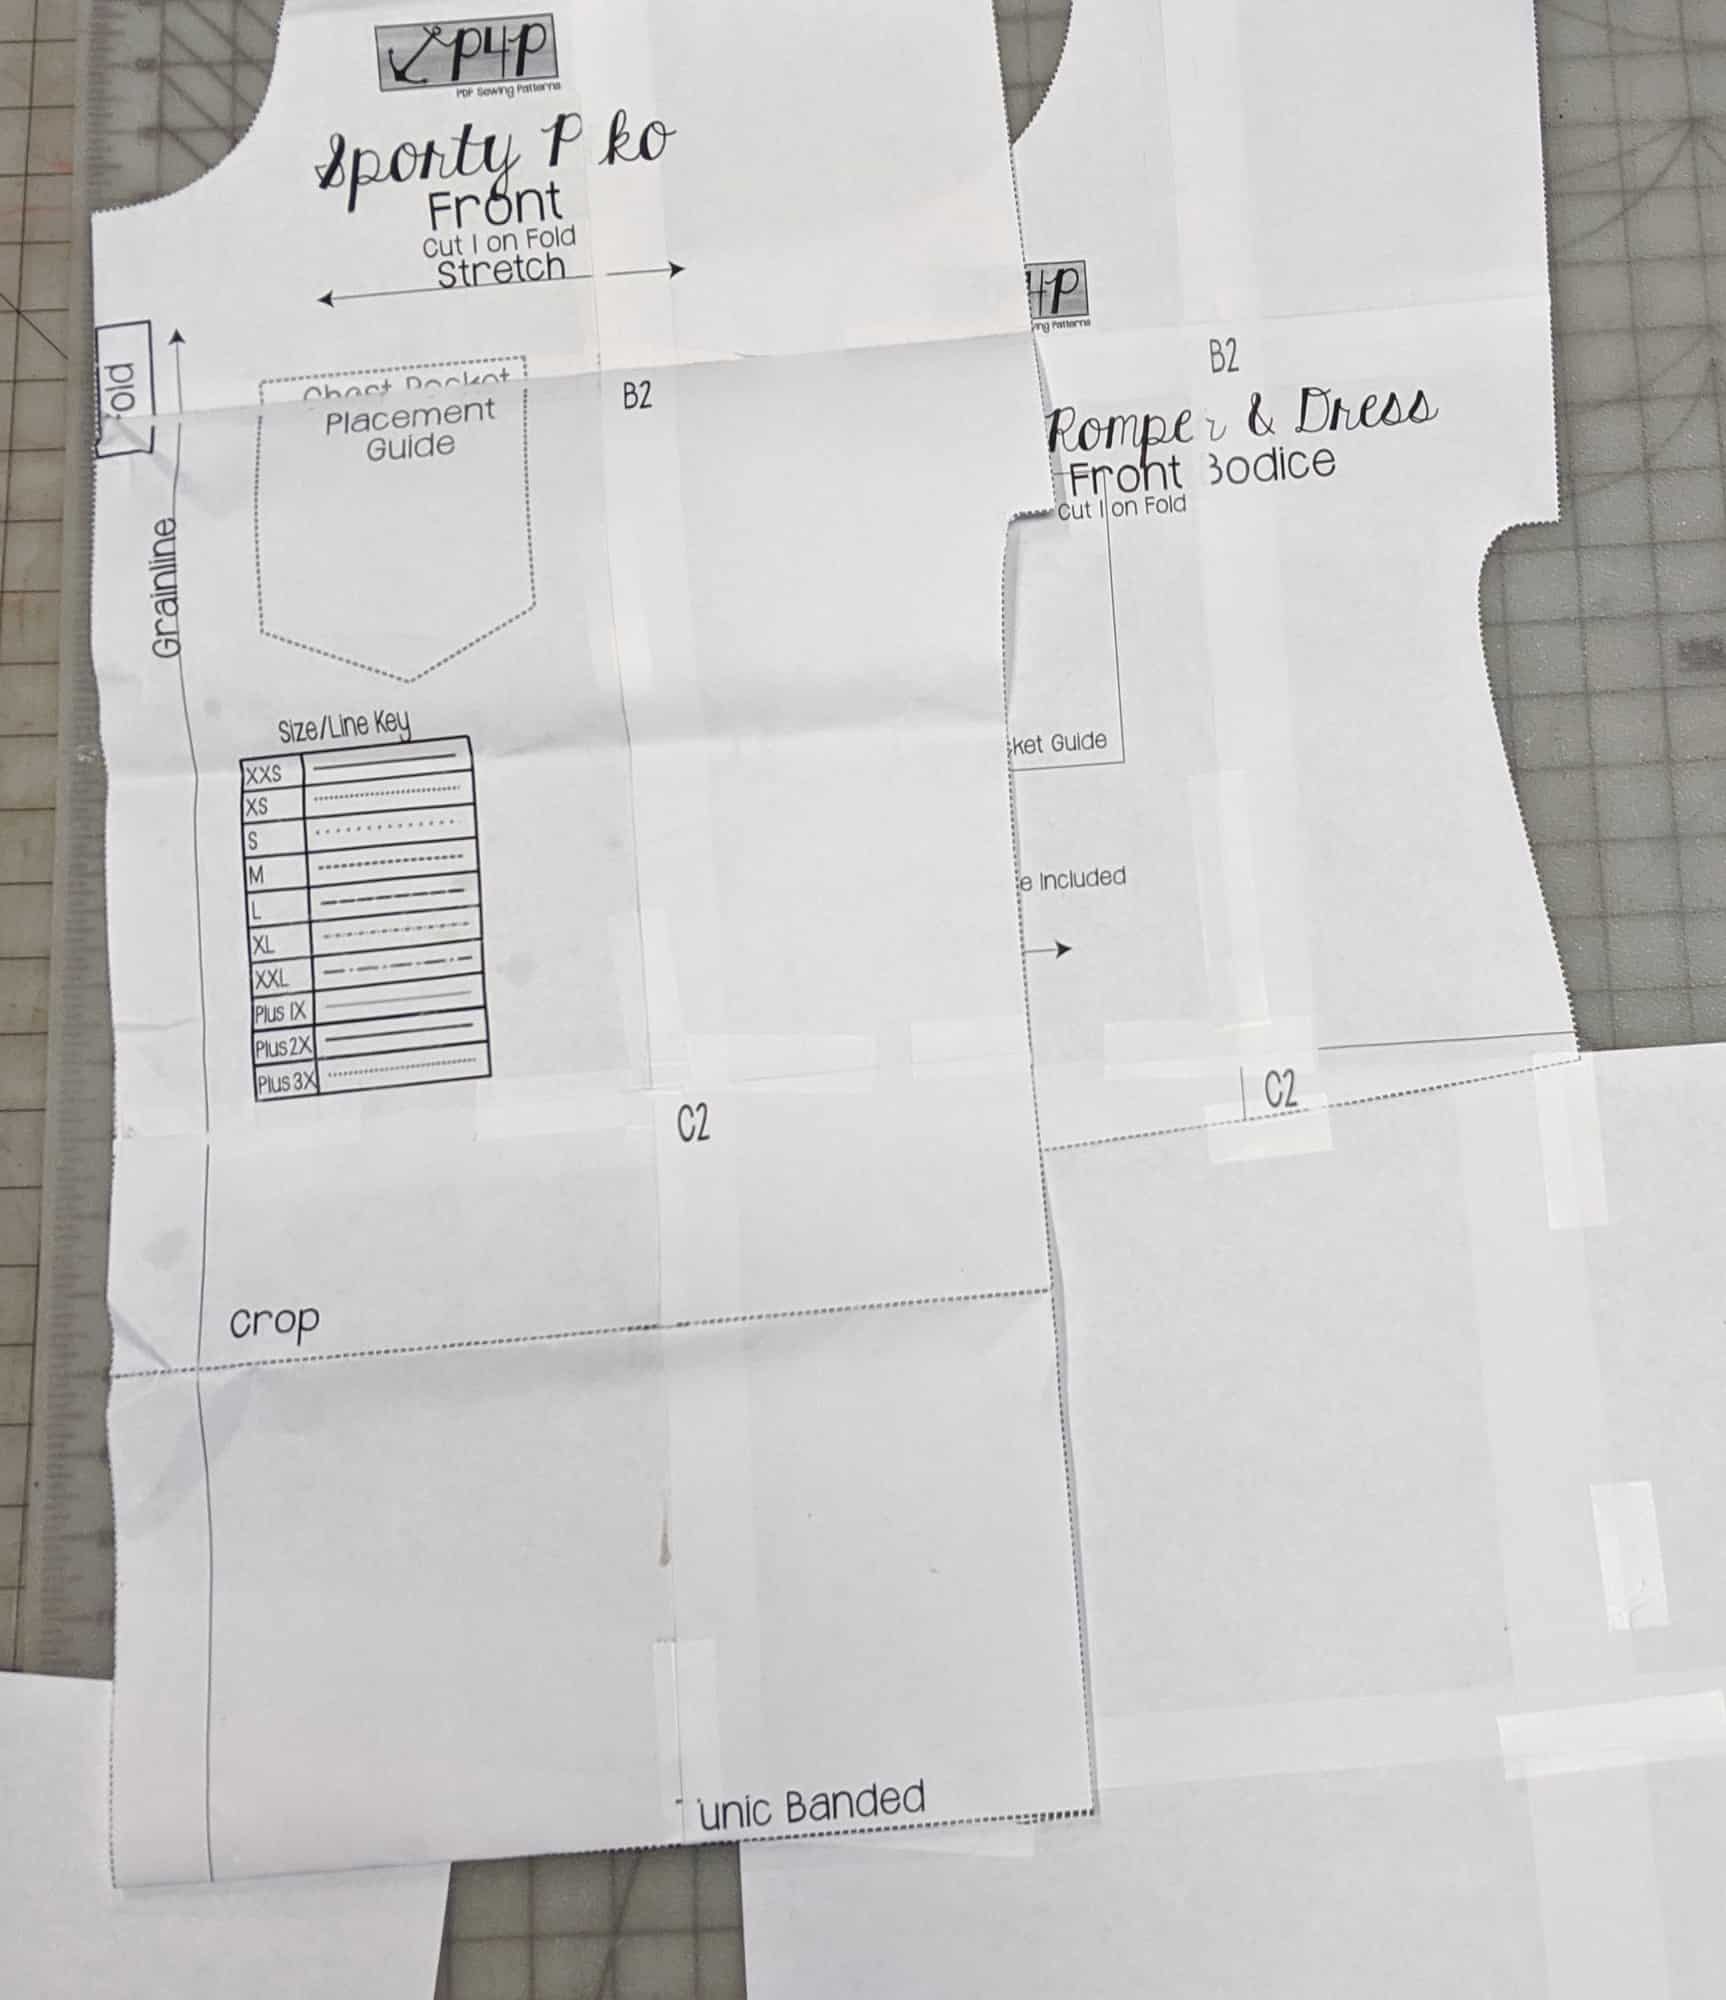
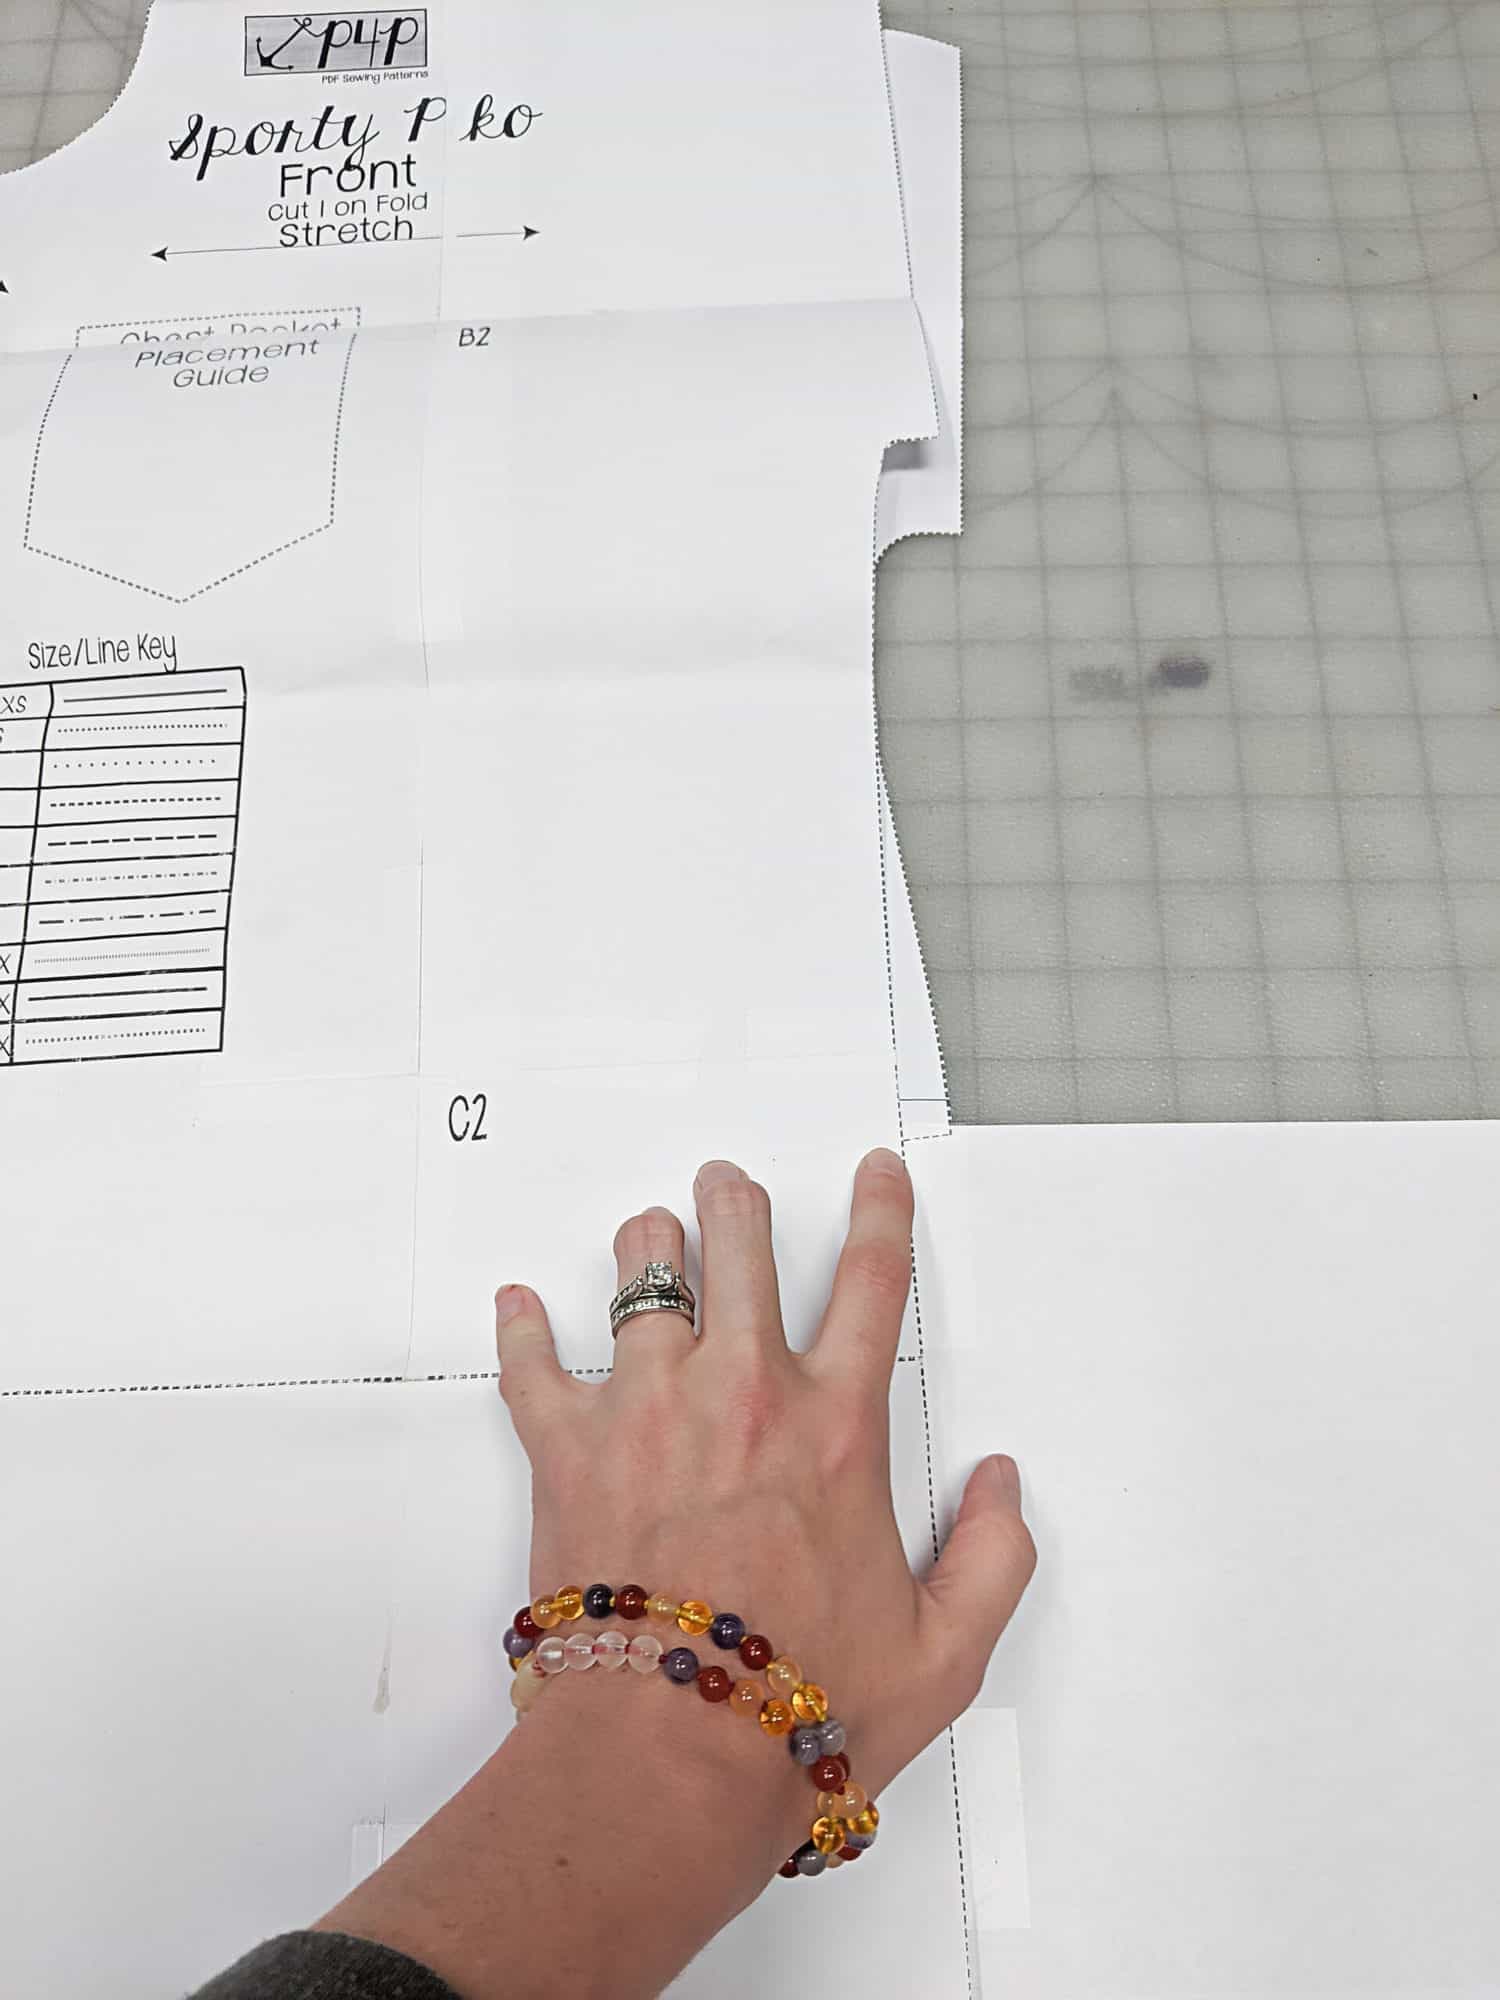
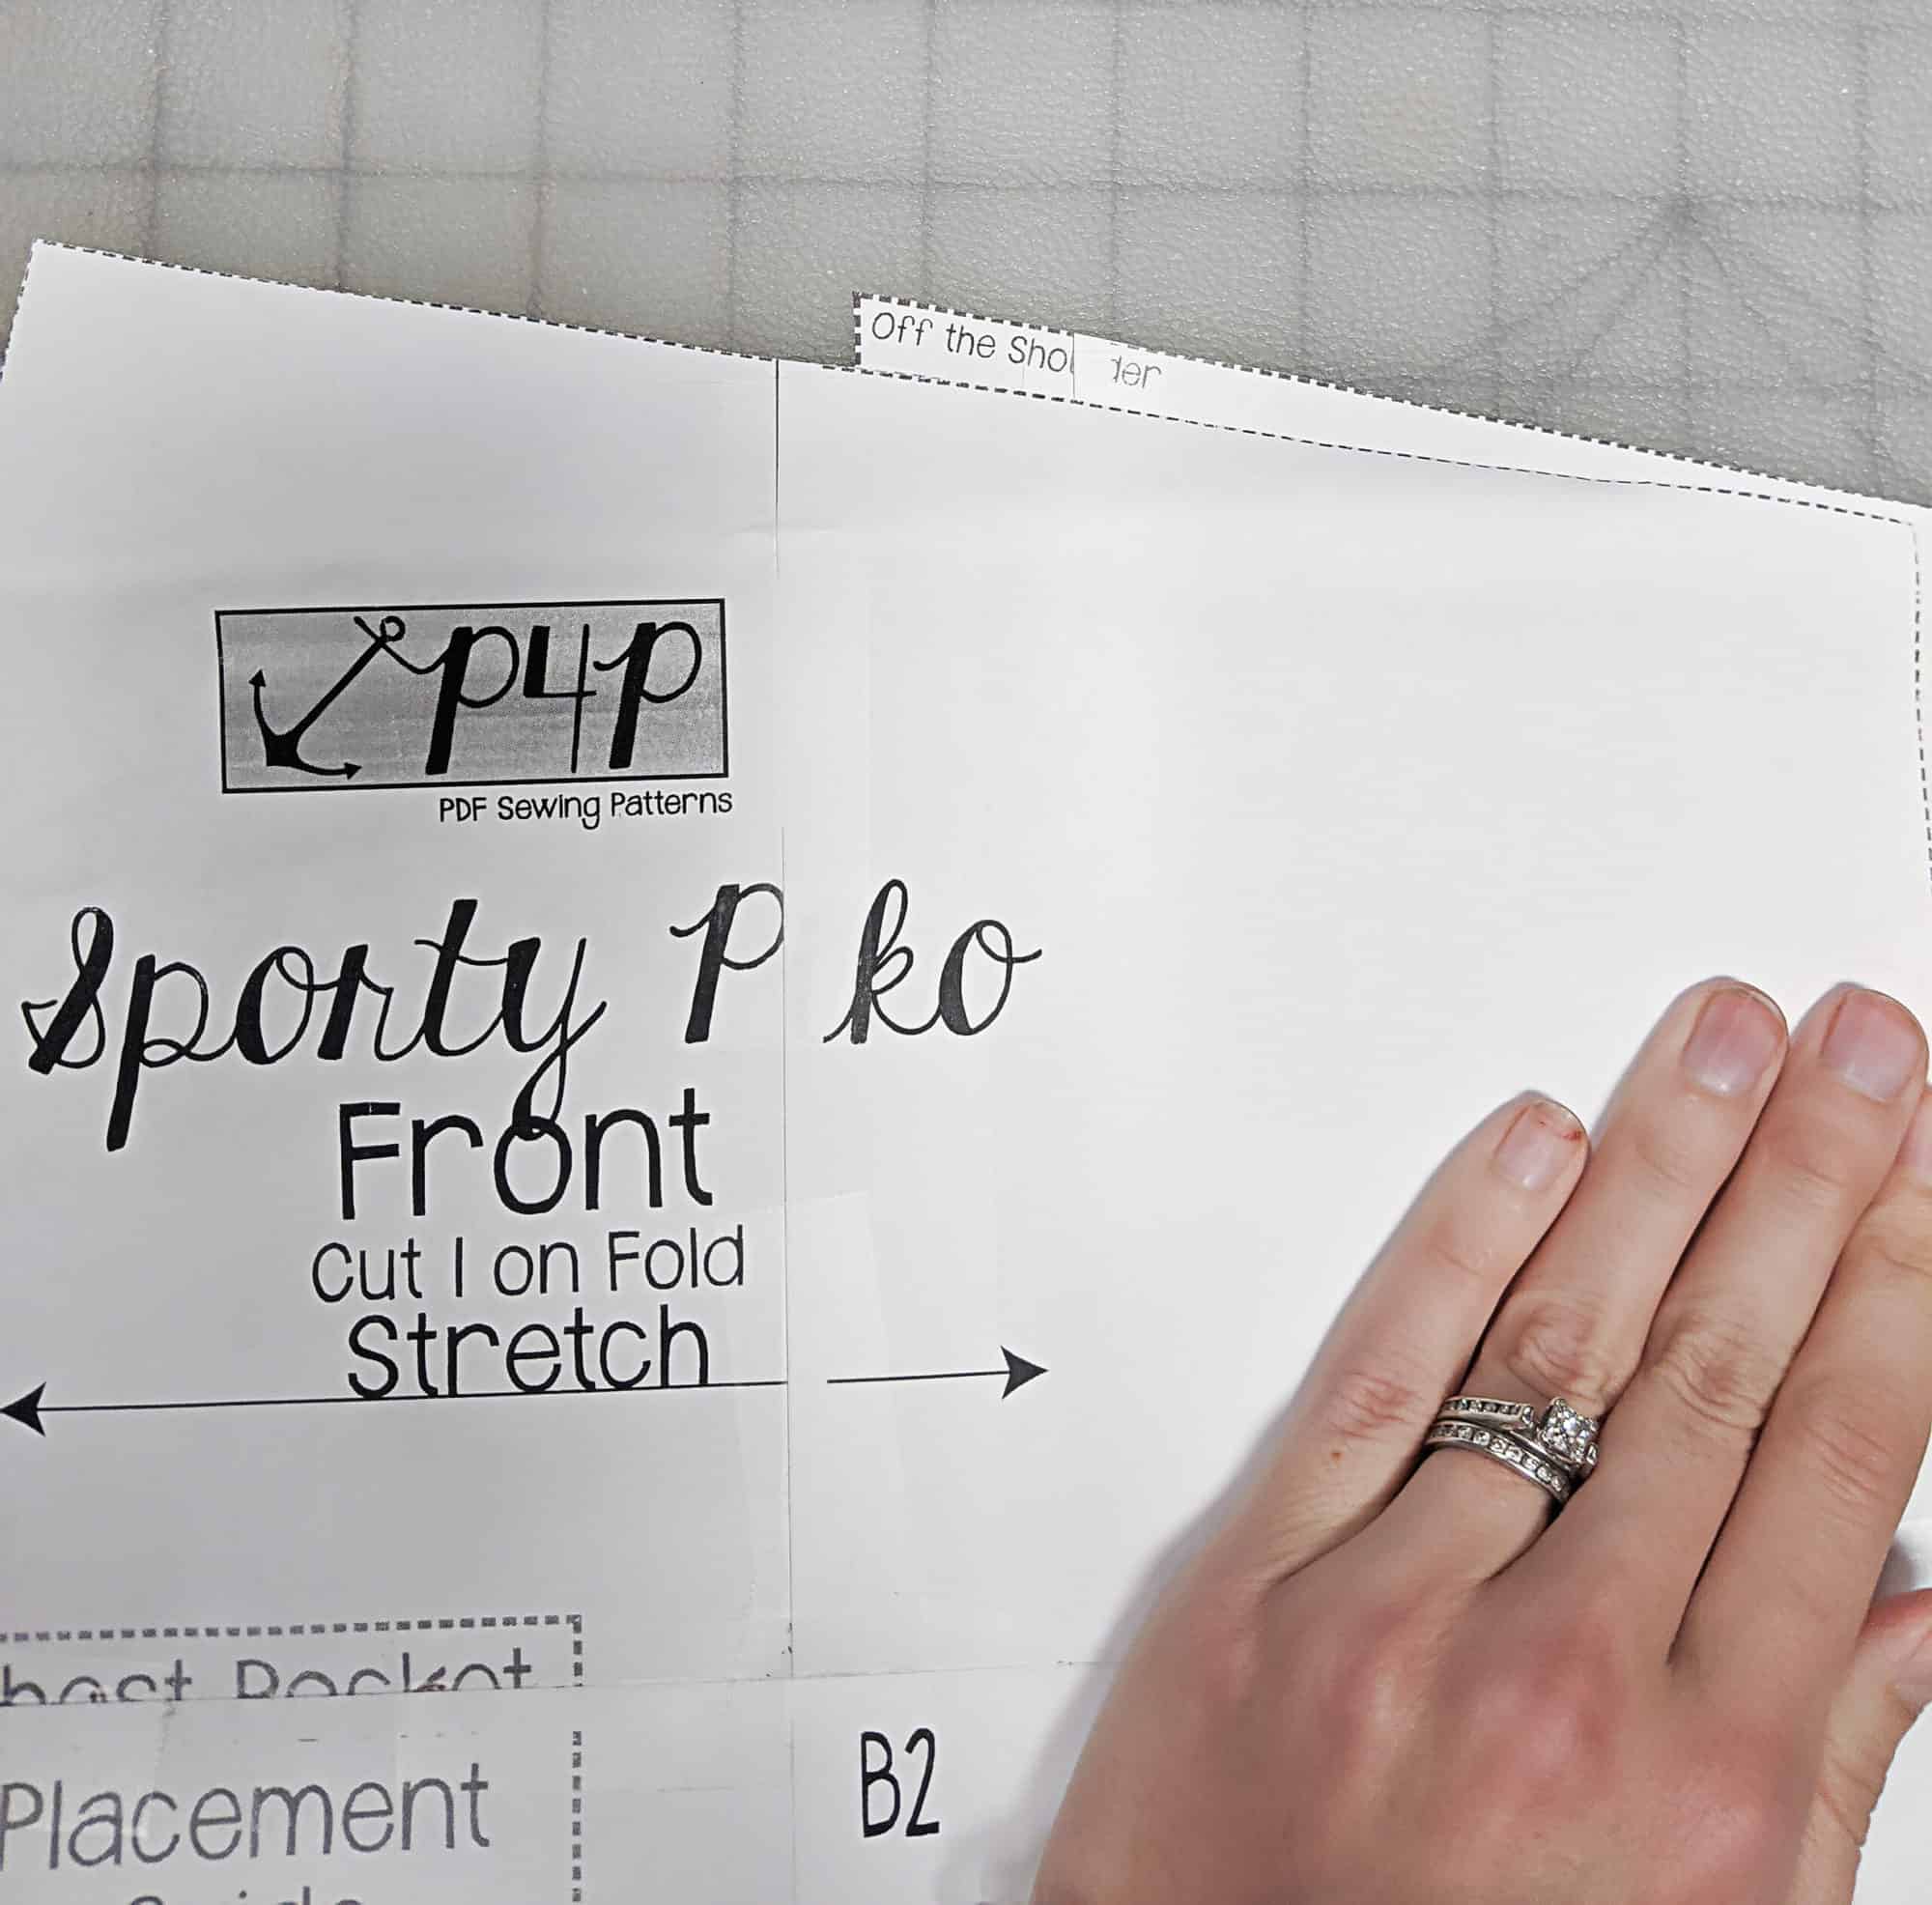
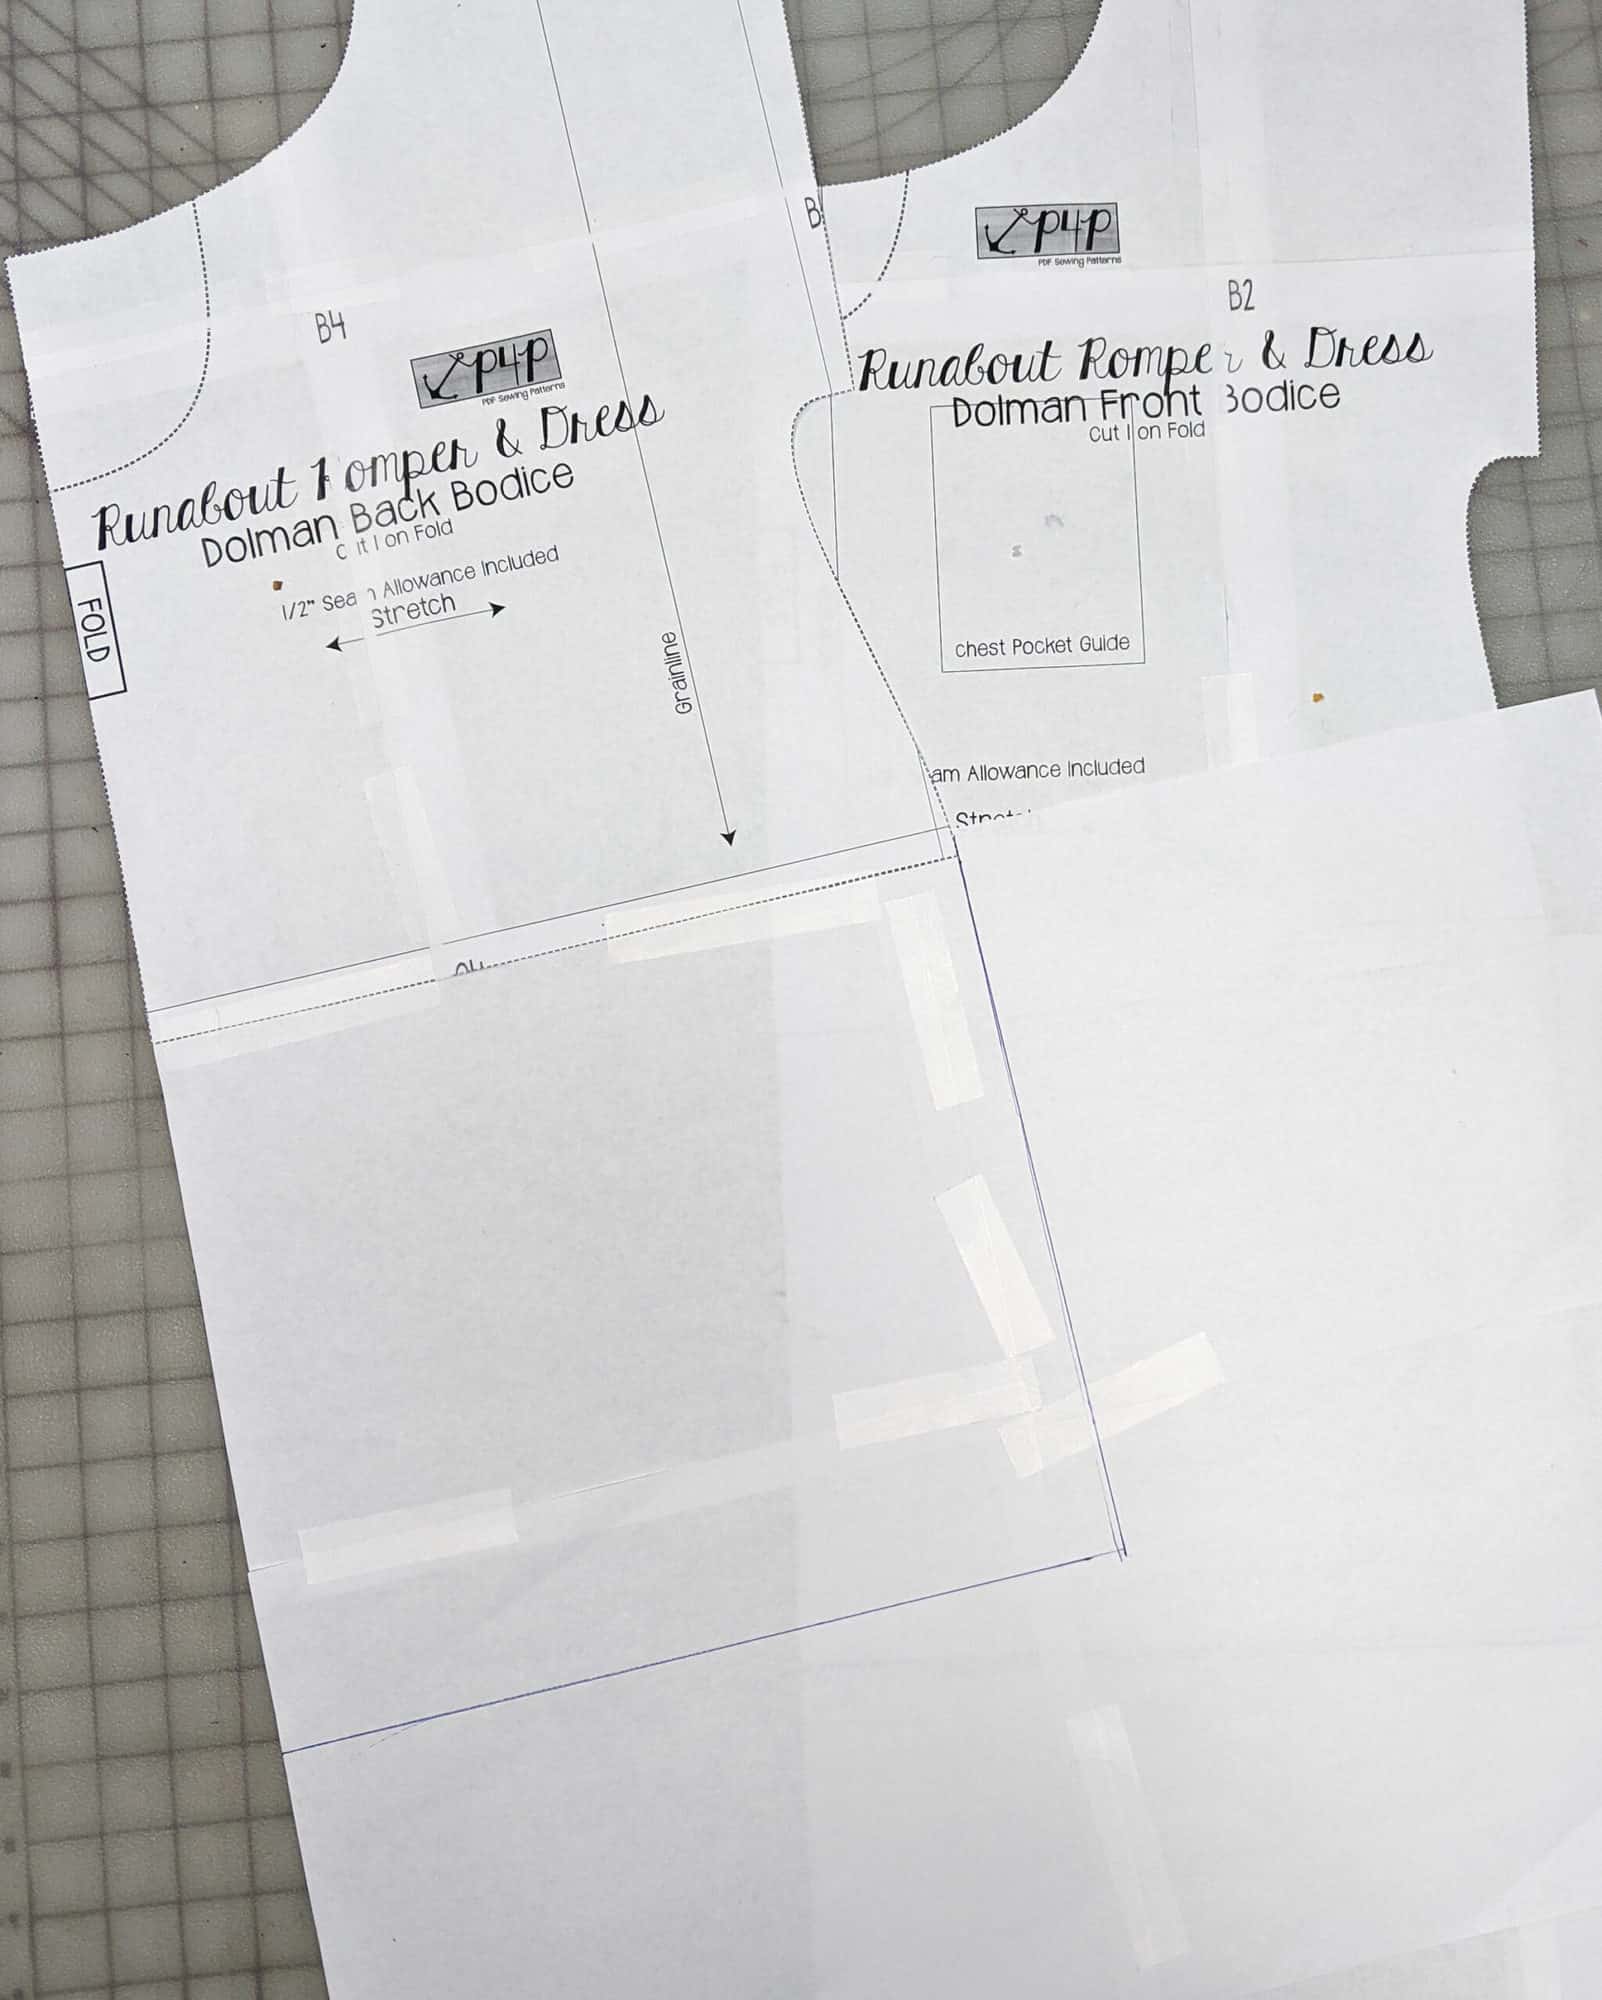
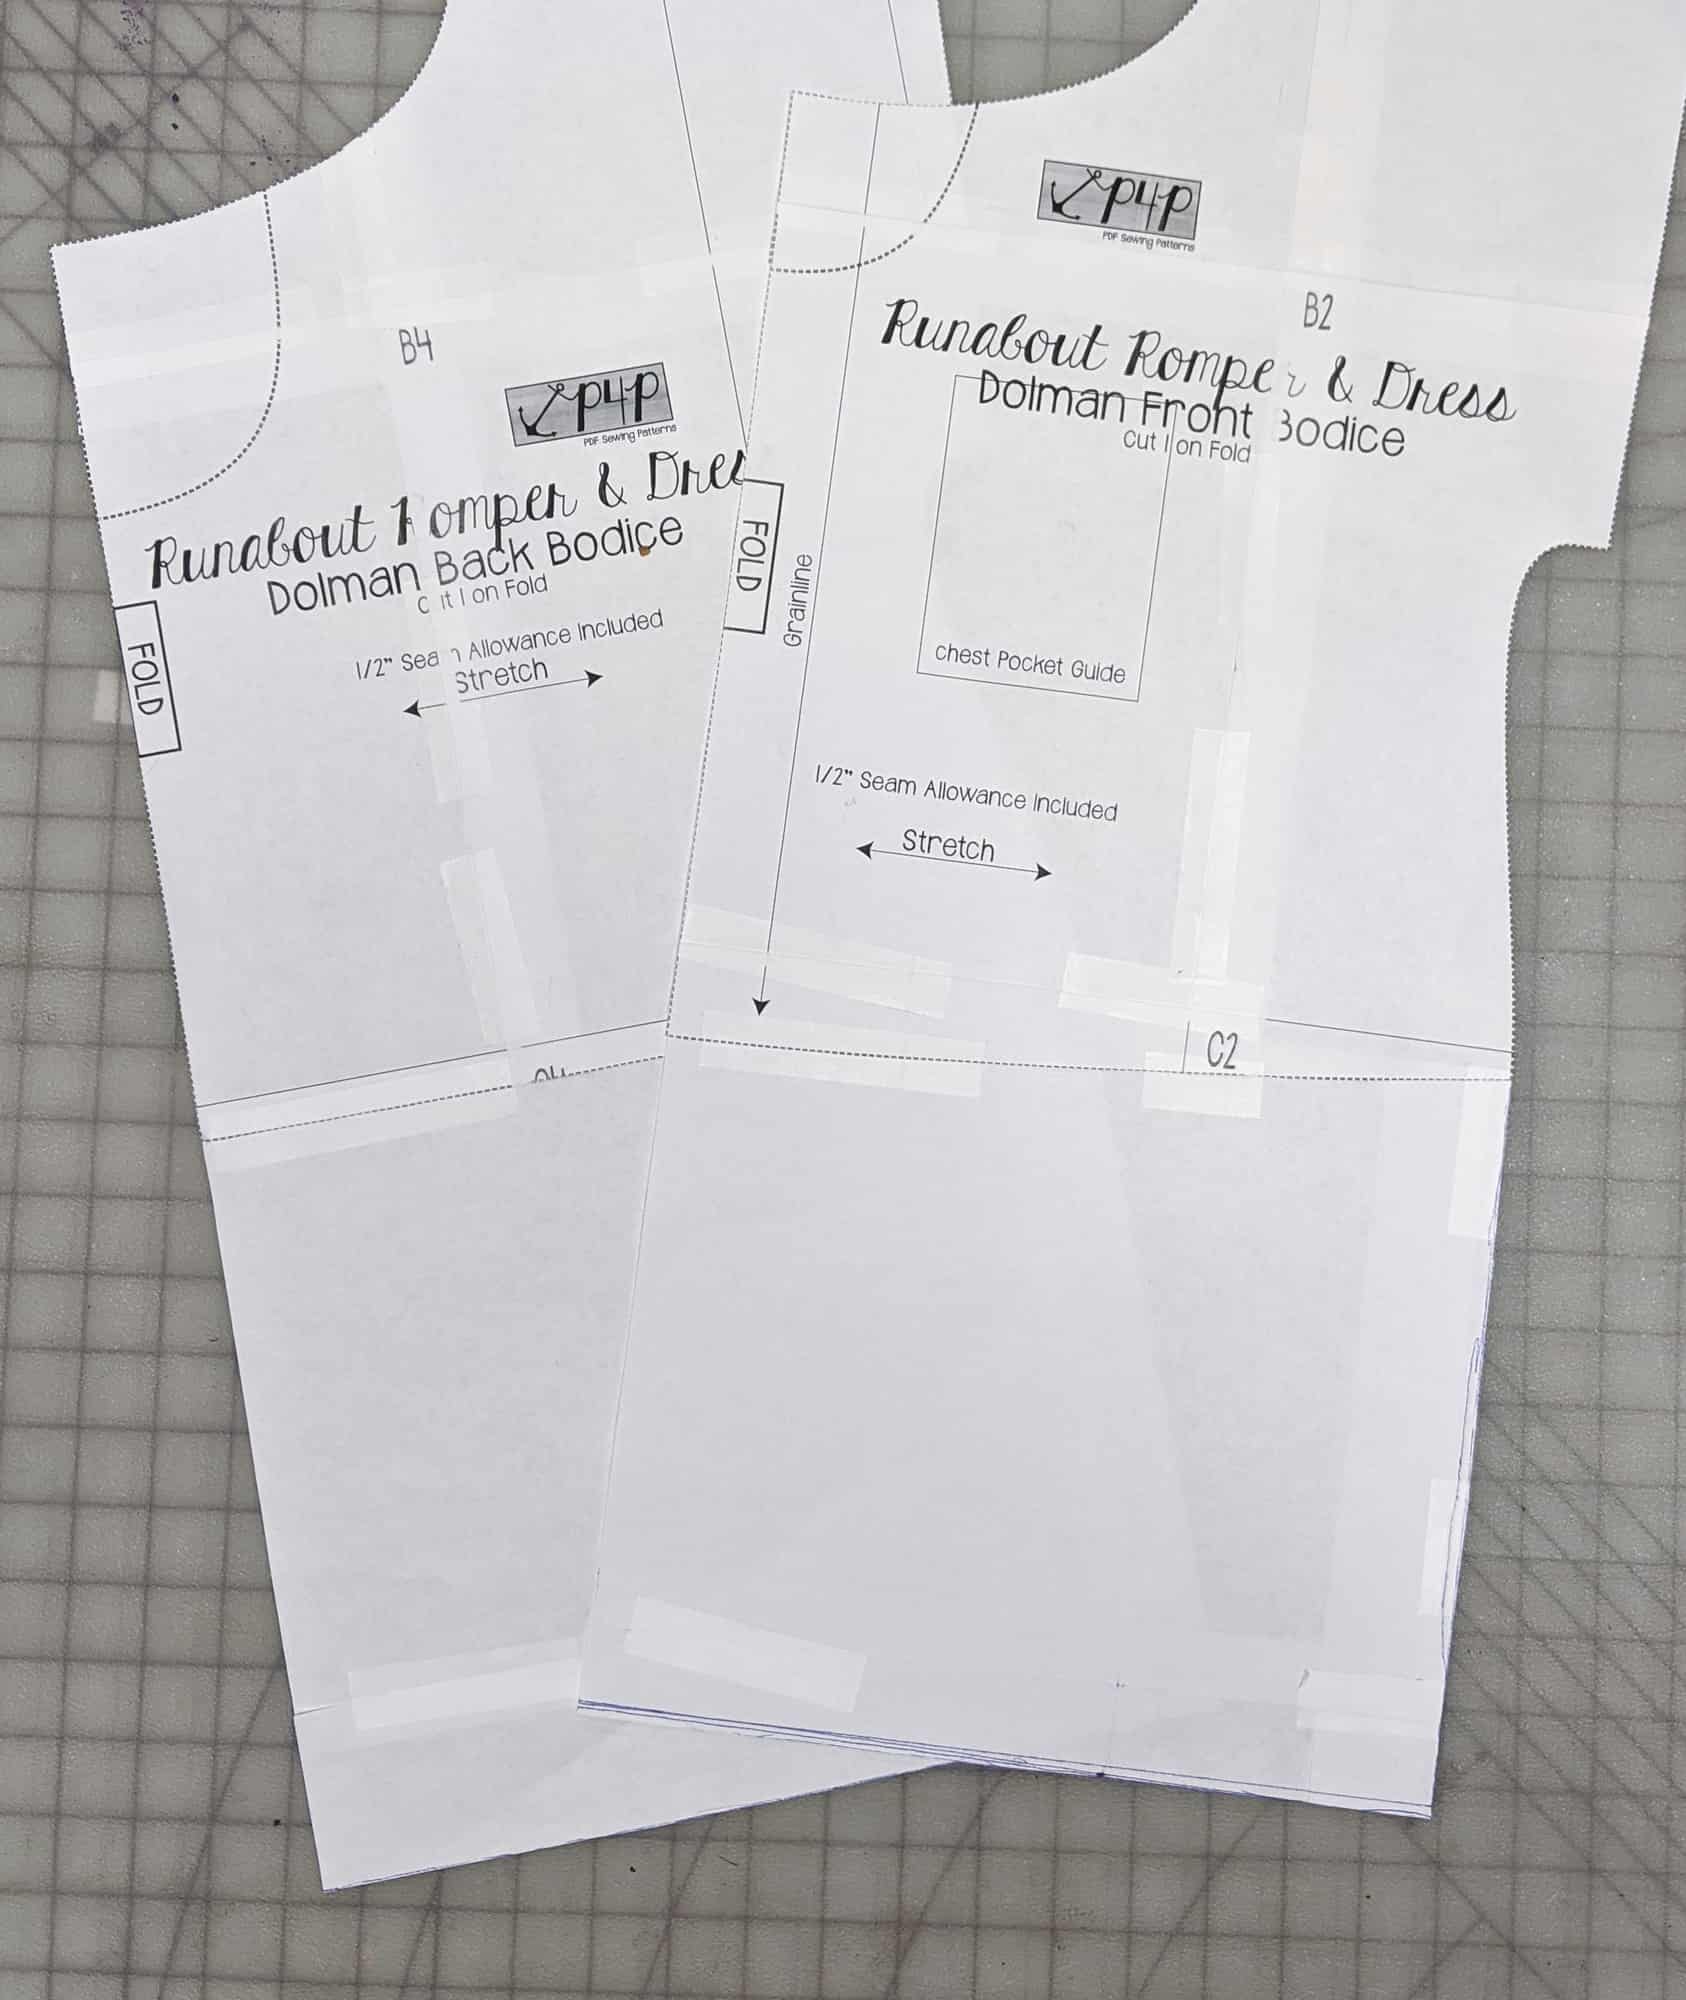
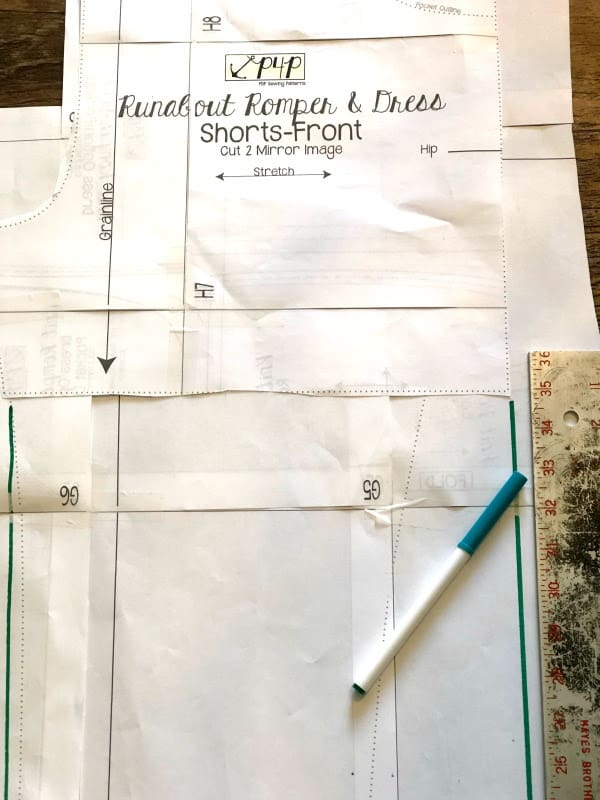
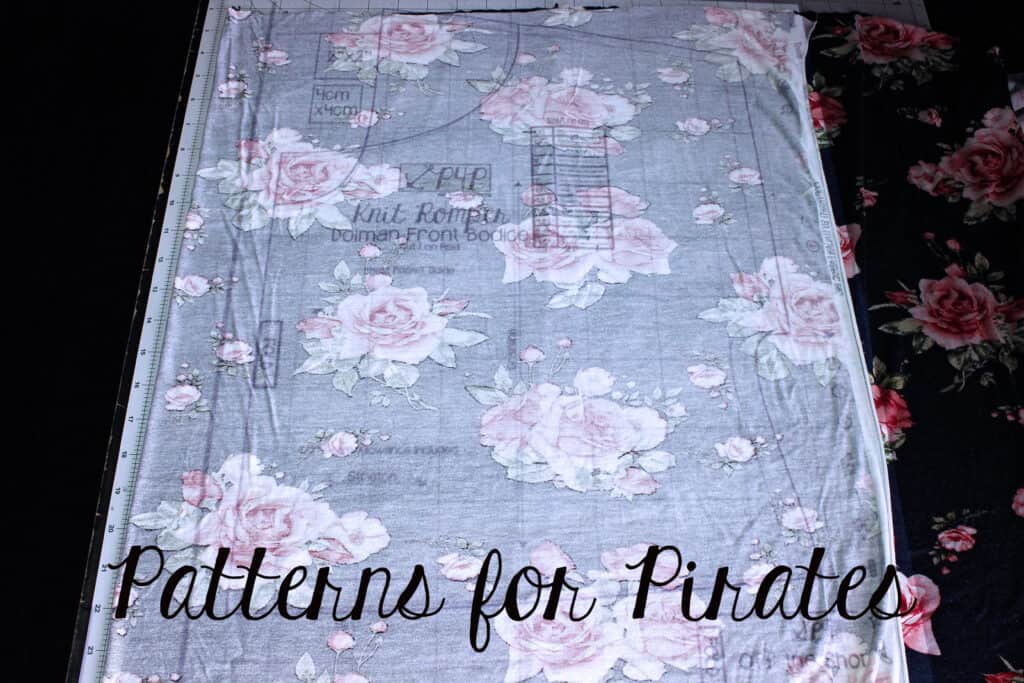
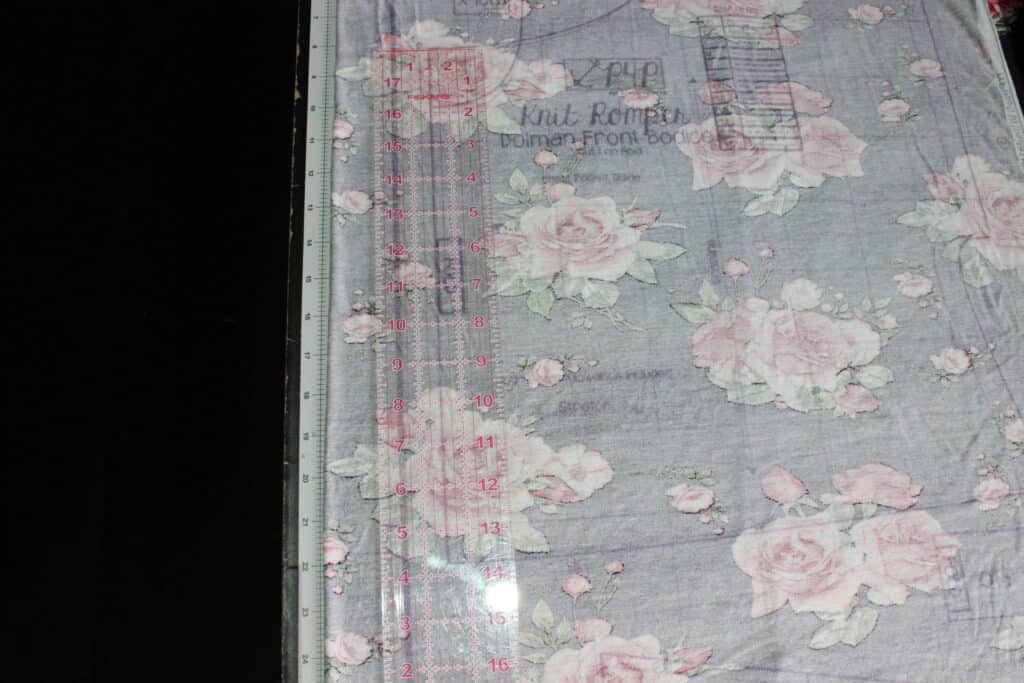
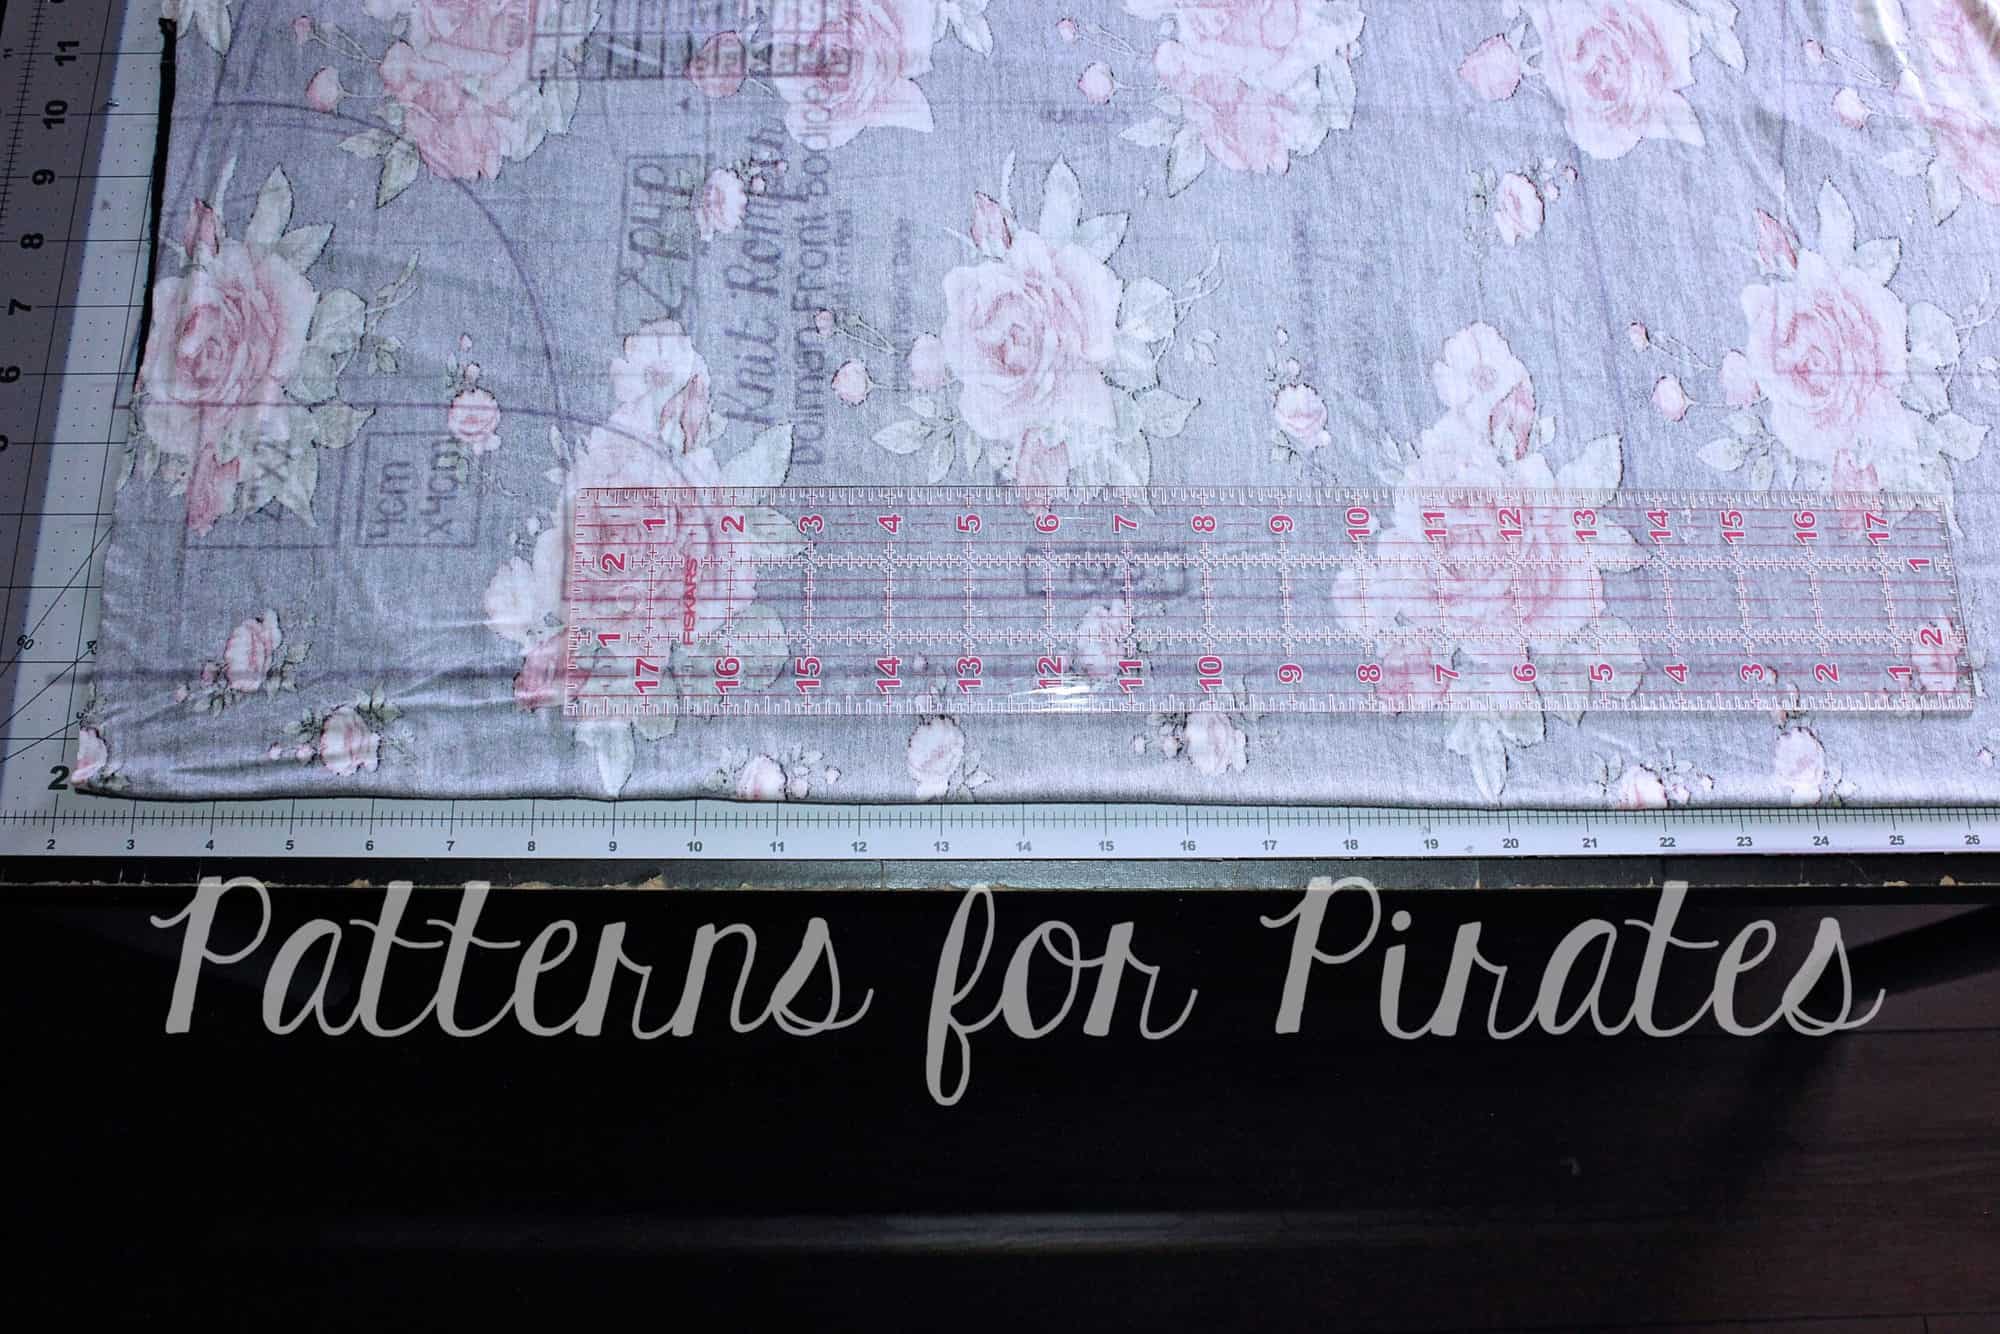
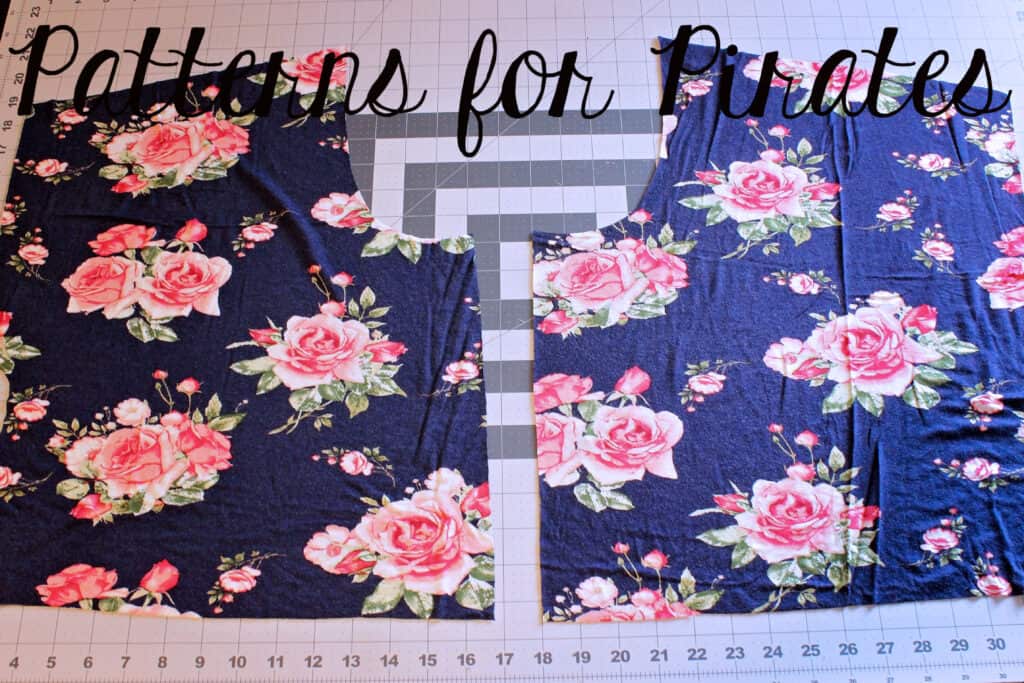
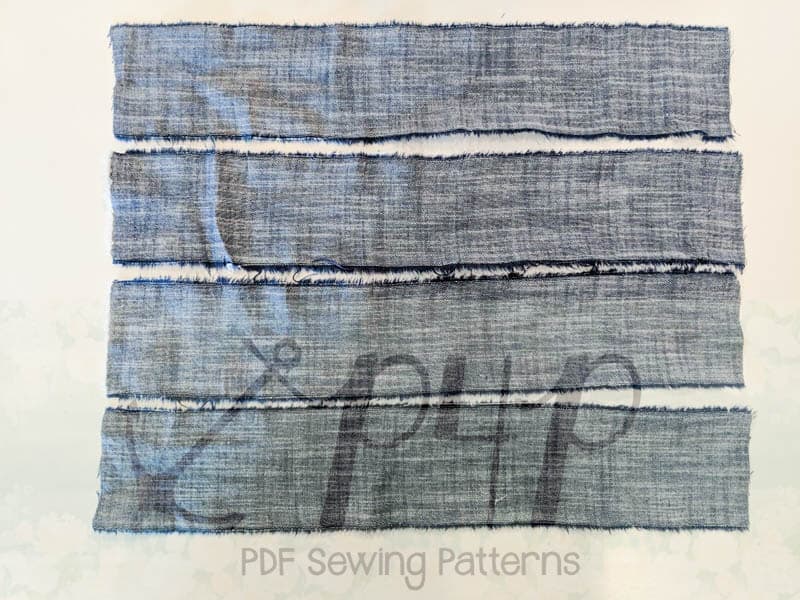
Lumberjack Sew along – day 1 | cut fabric
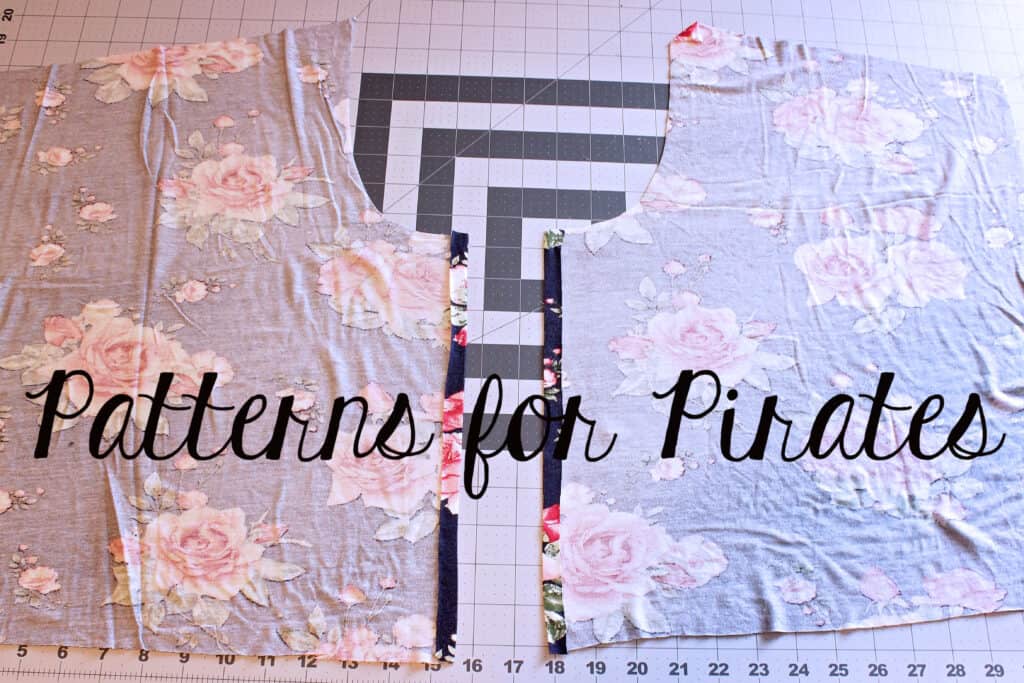
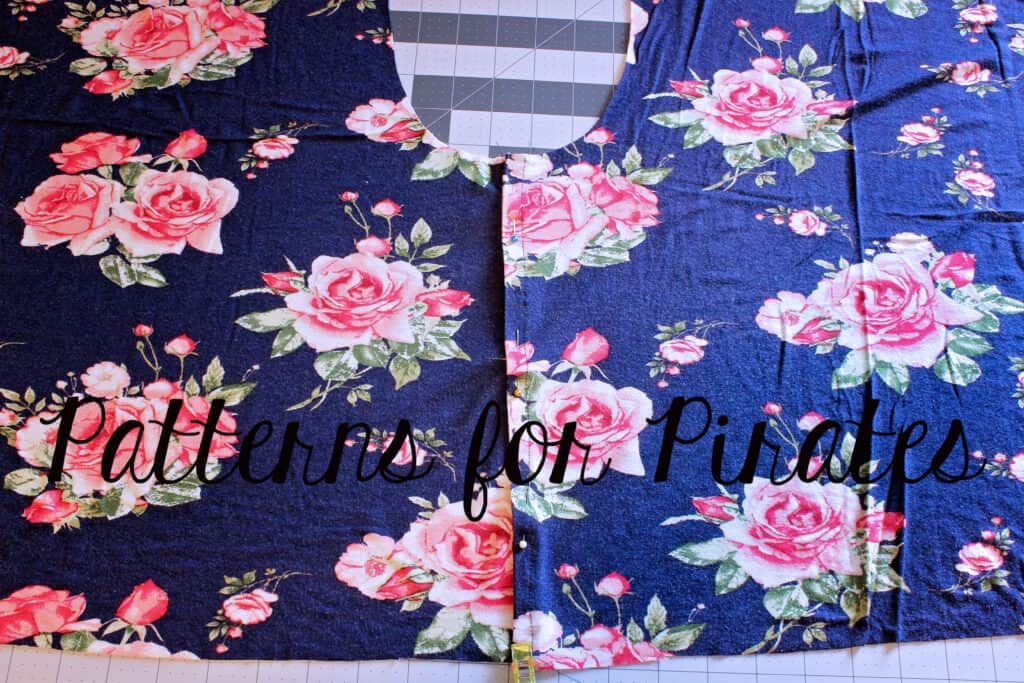
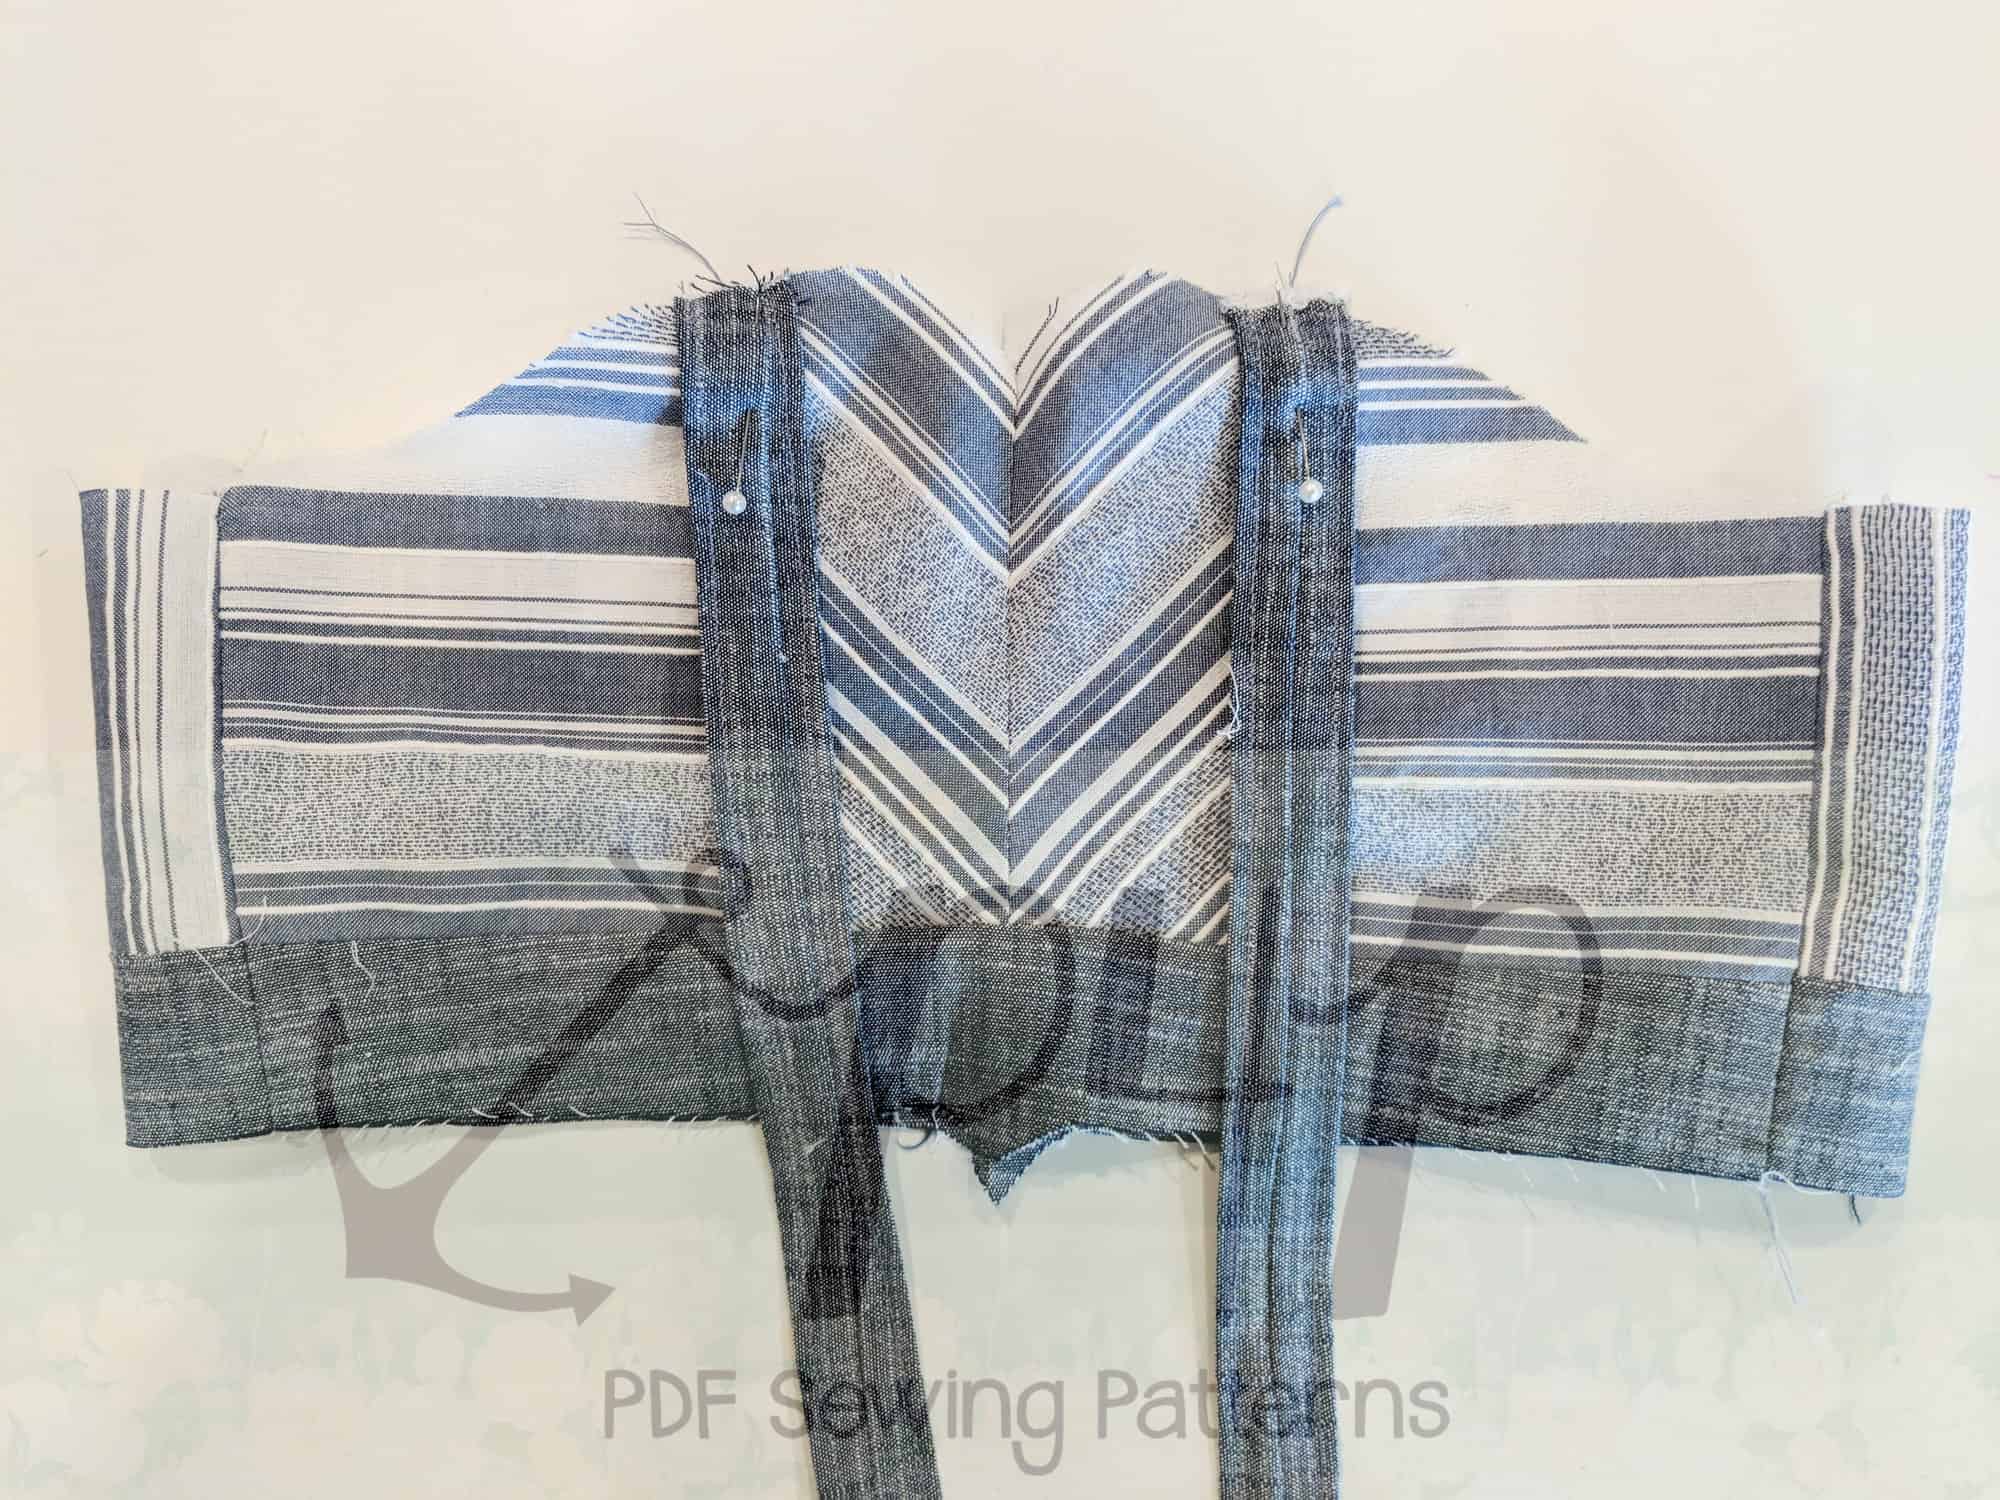
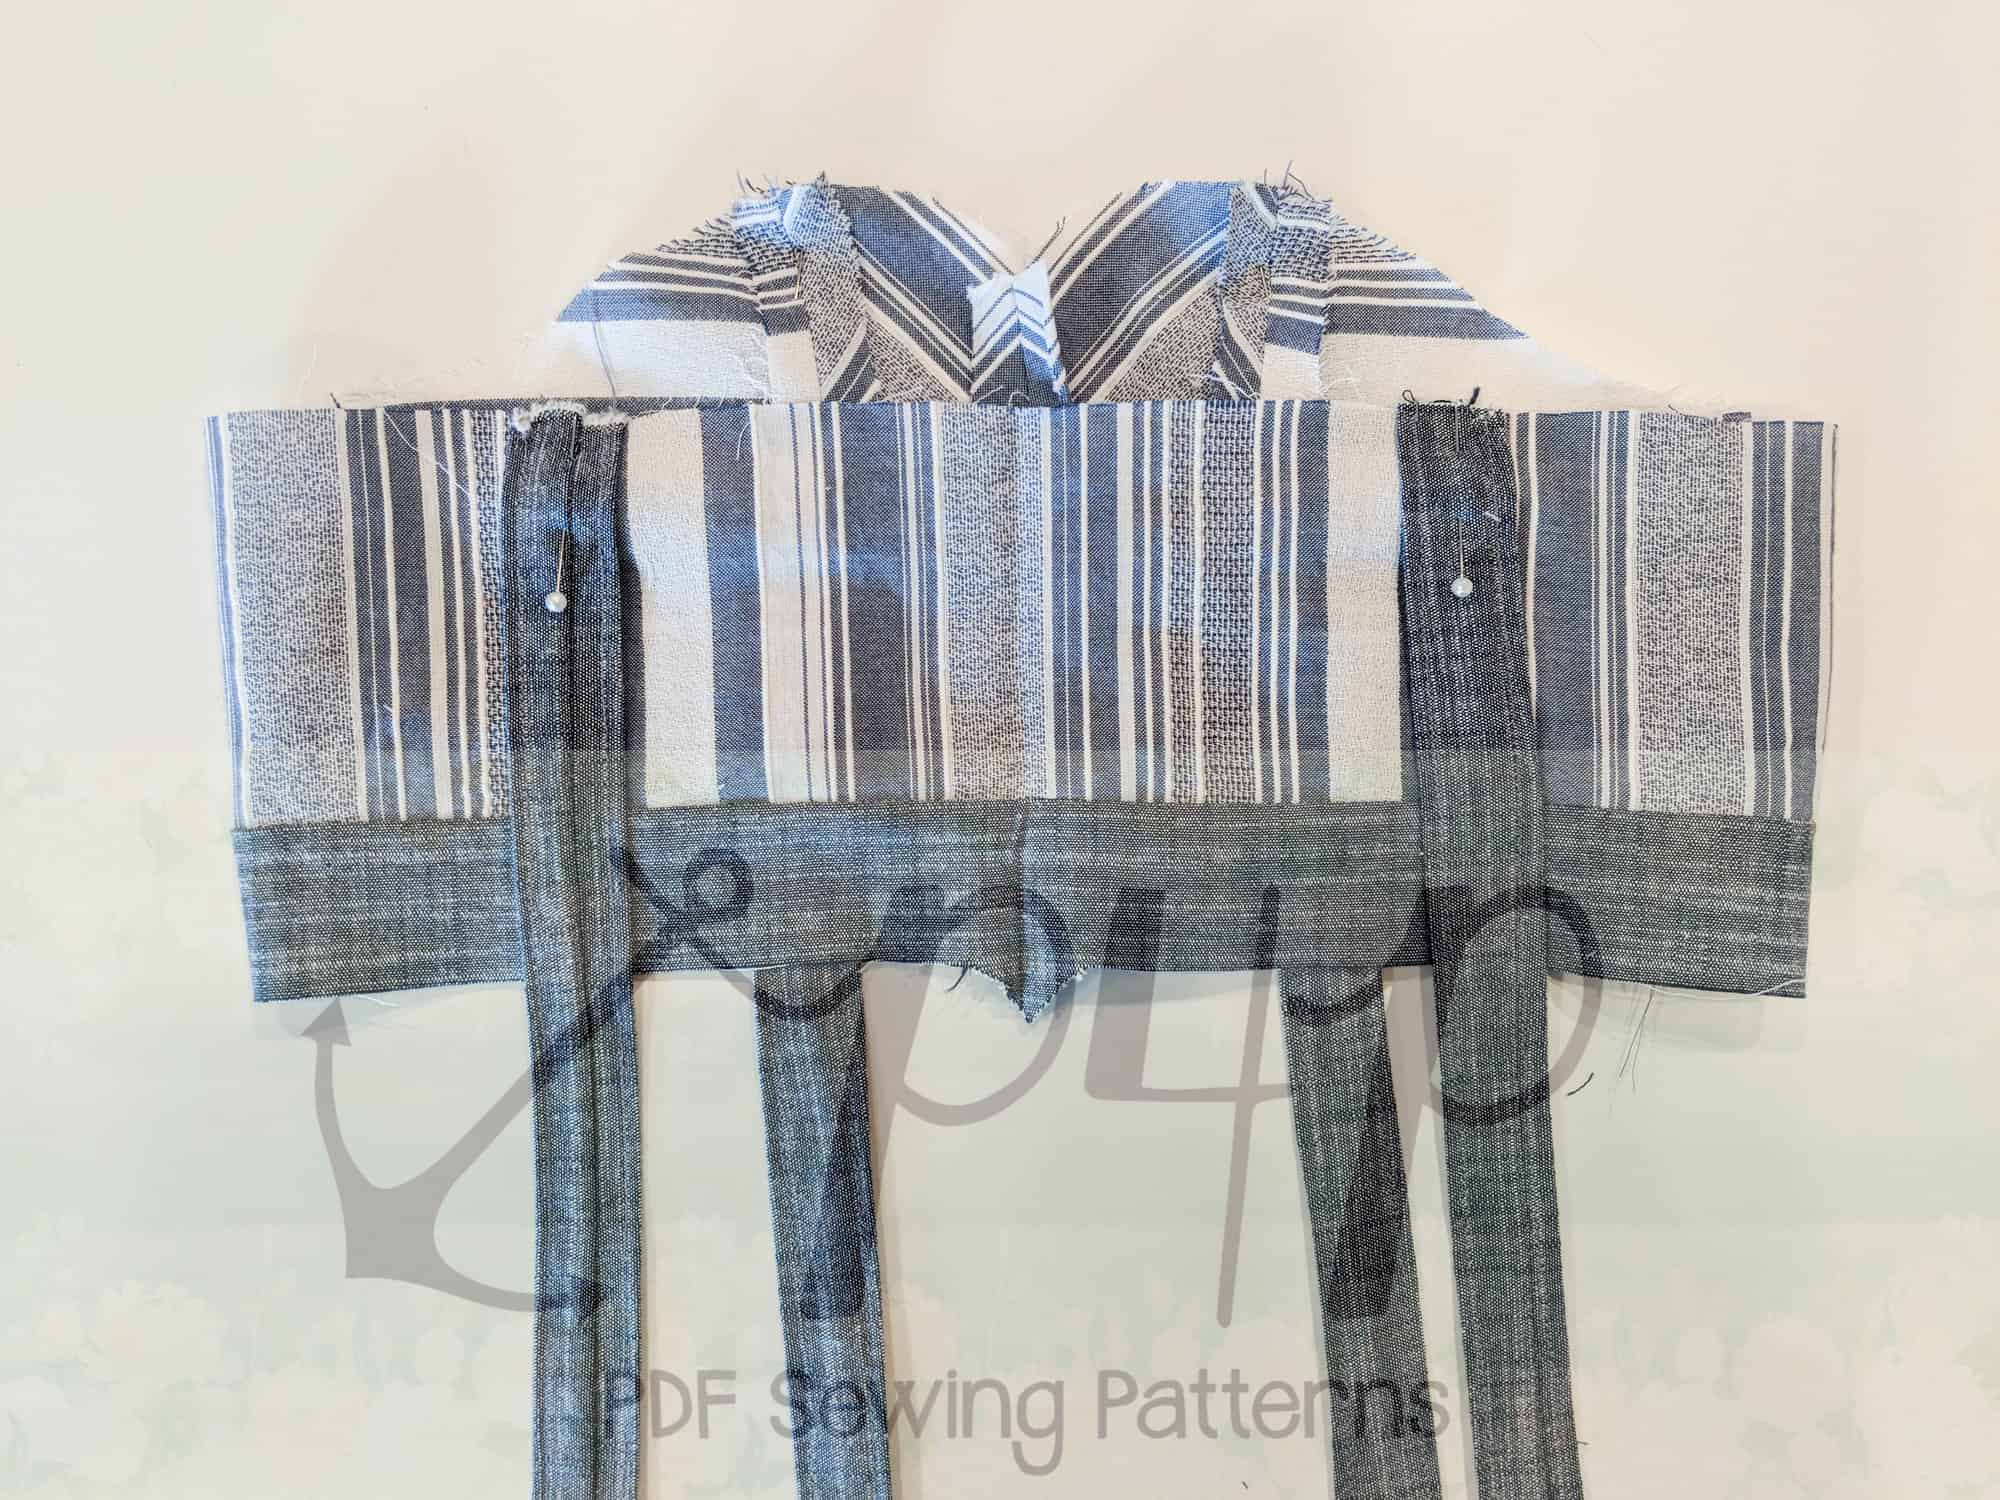
Lumberjack Sew along – day 2 | chest pocket, shoulder seams
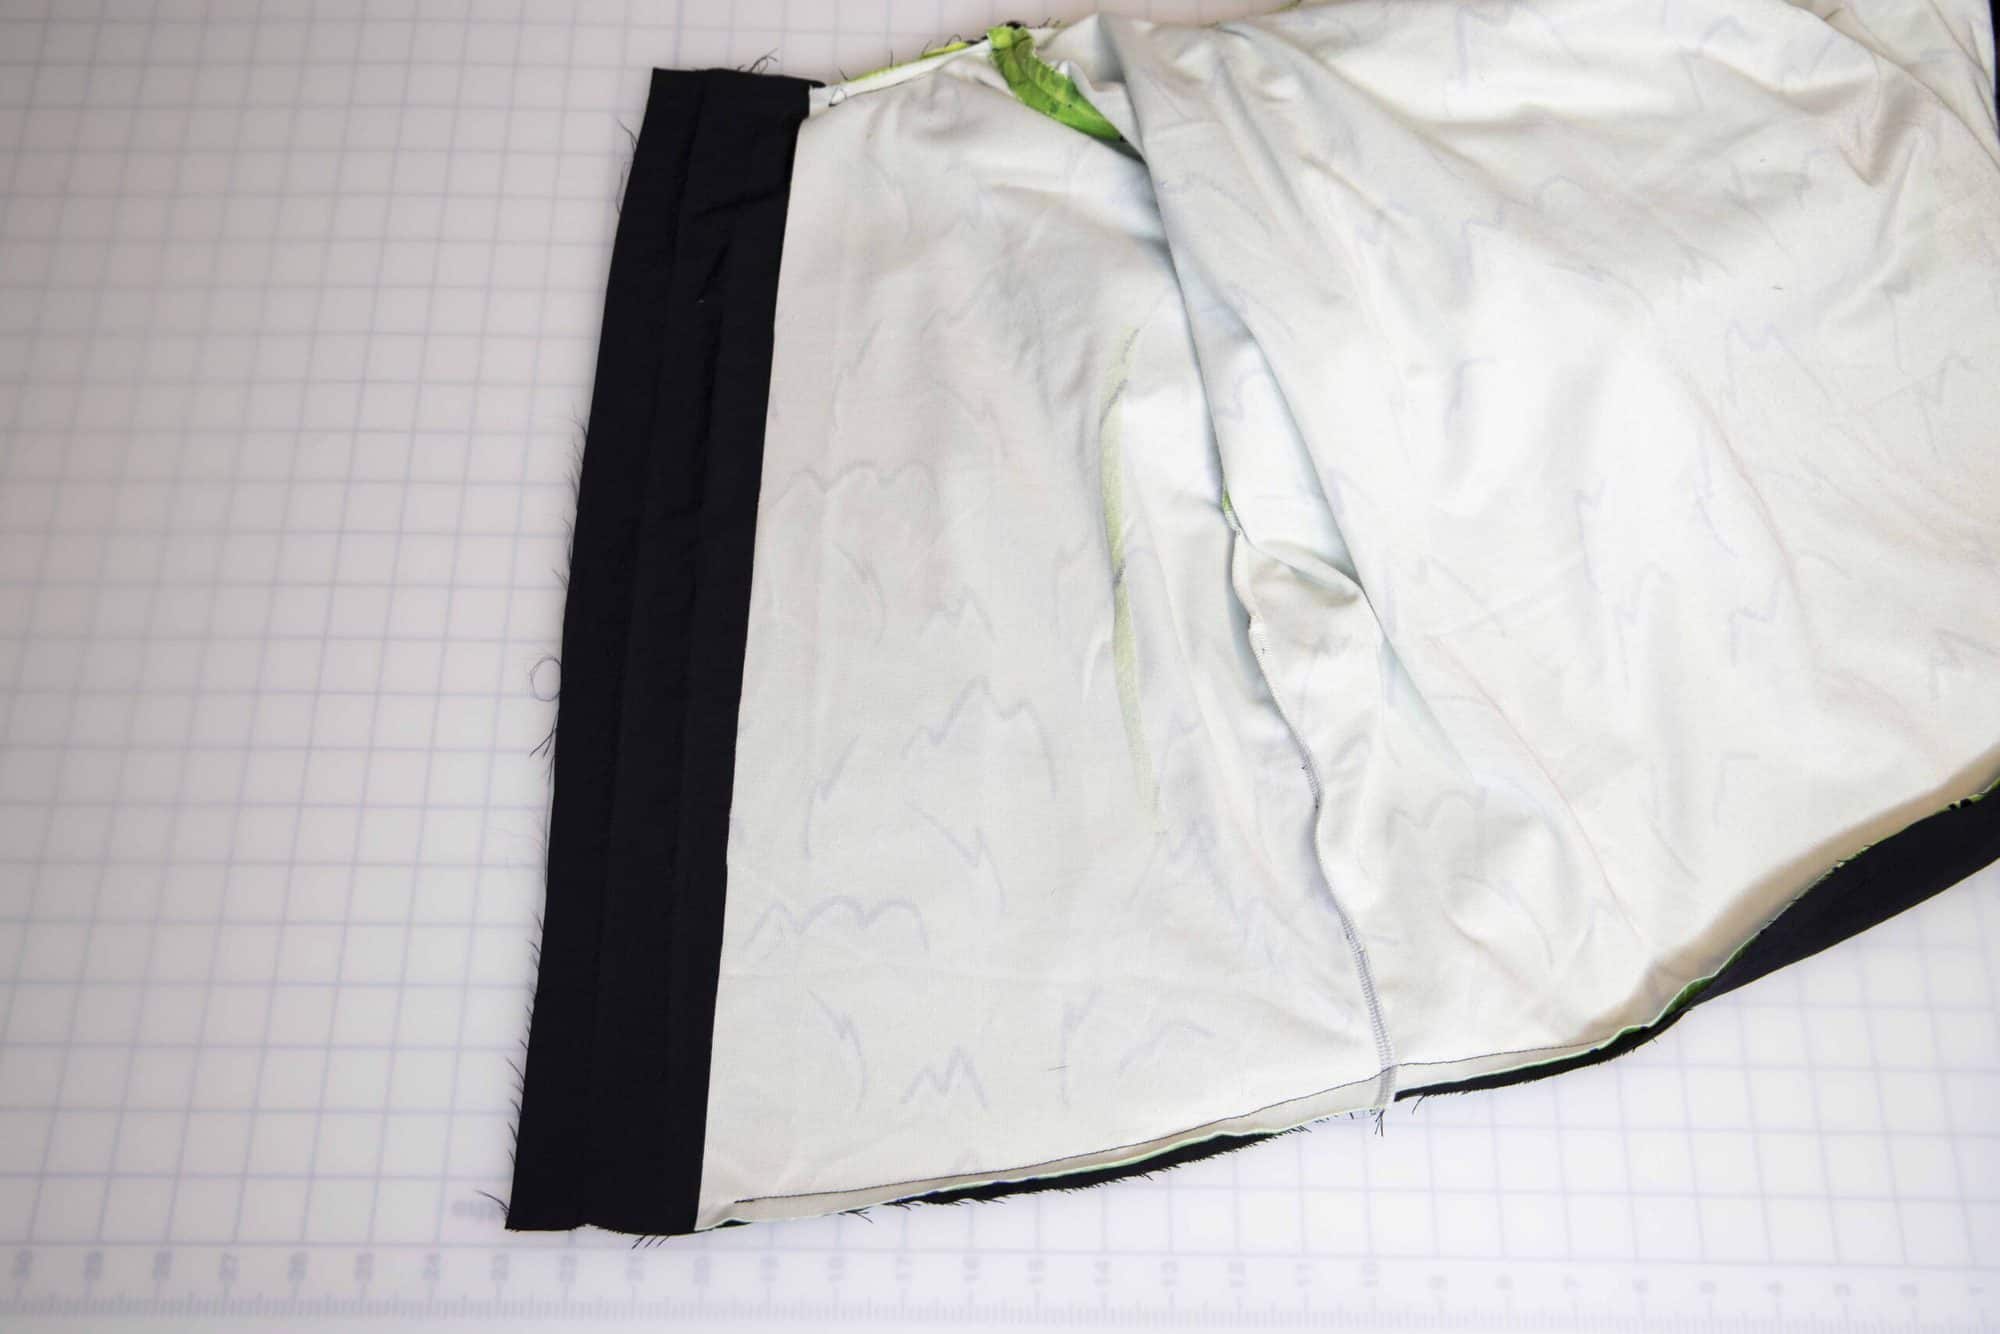
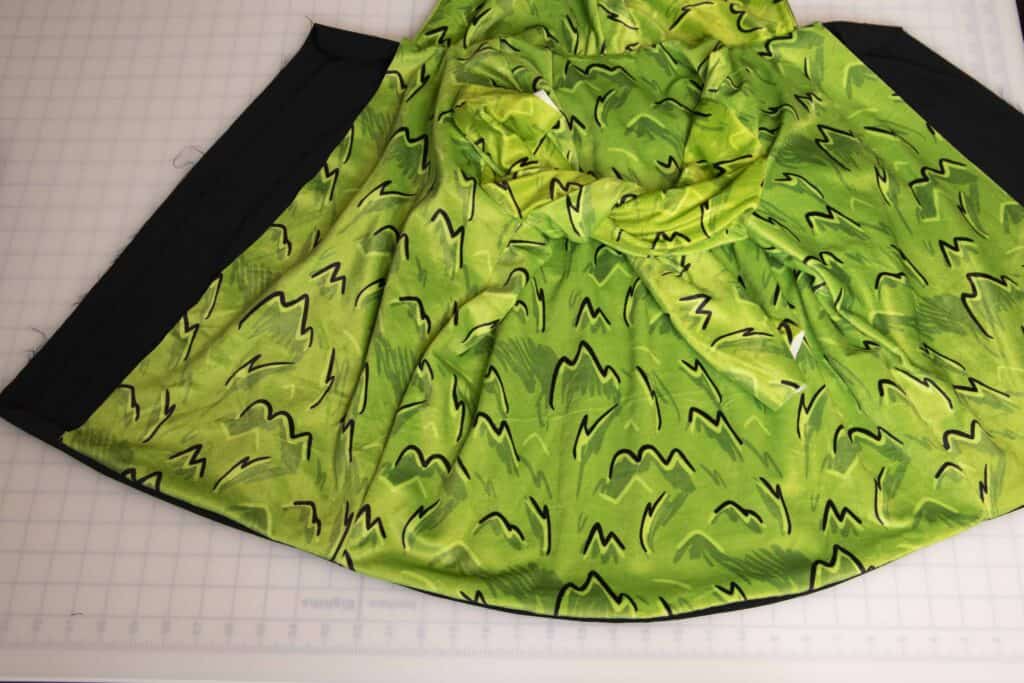
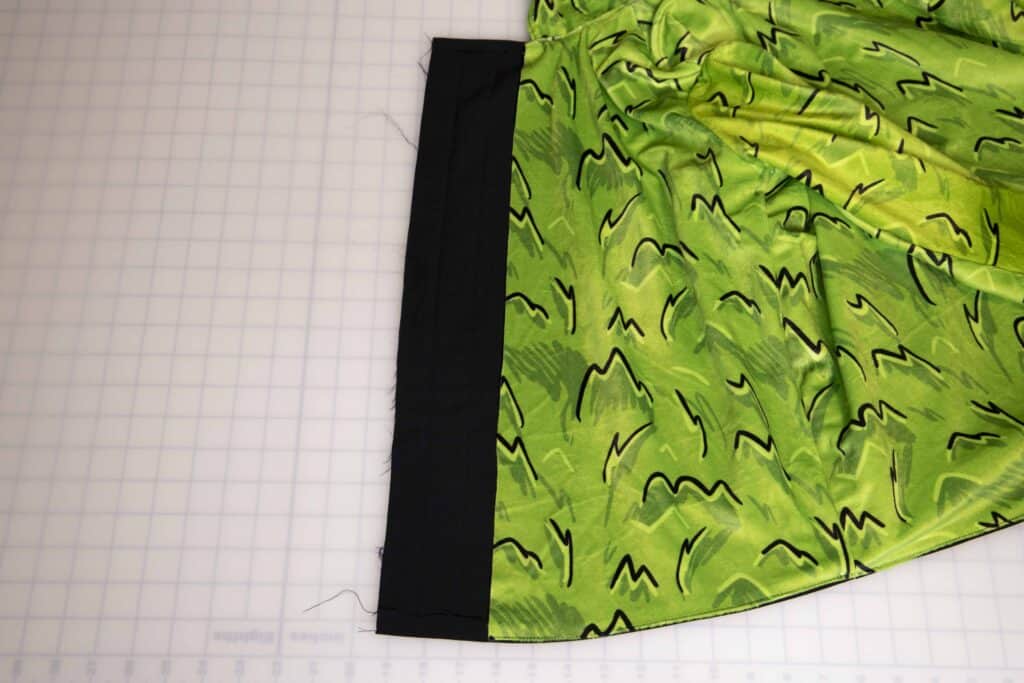
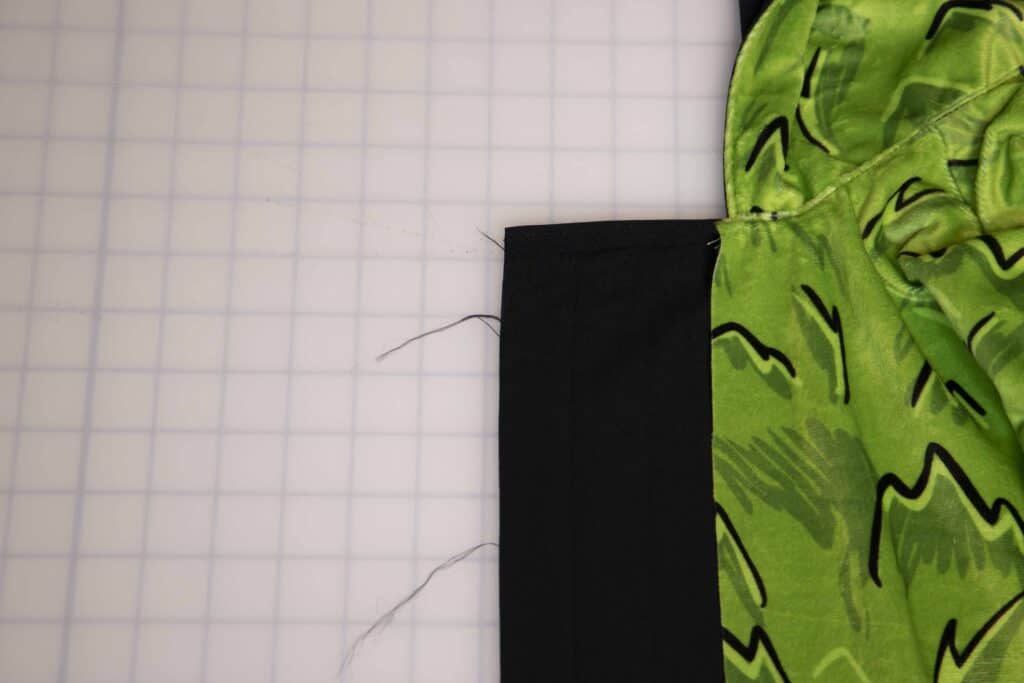
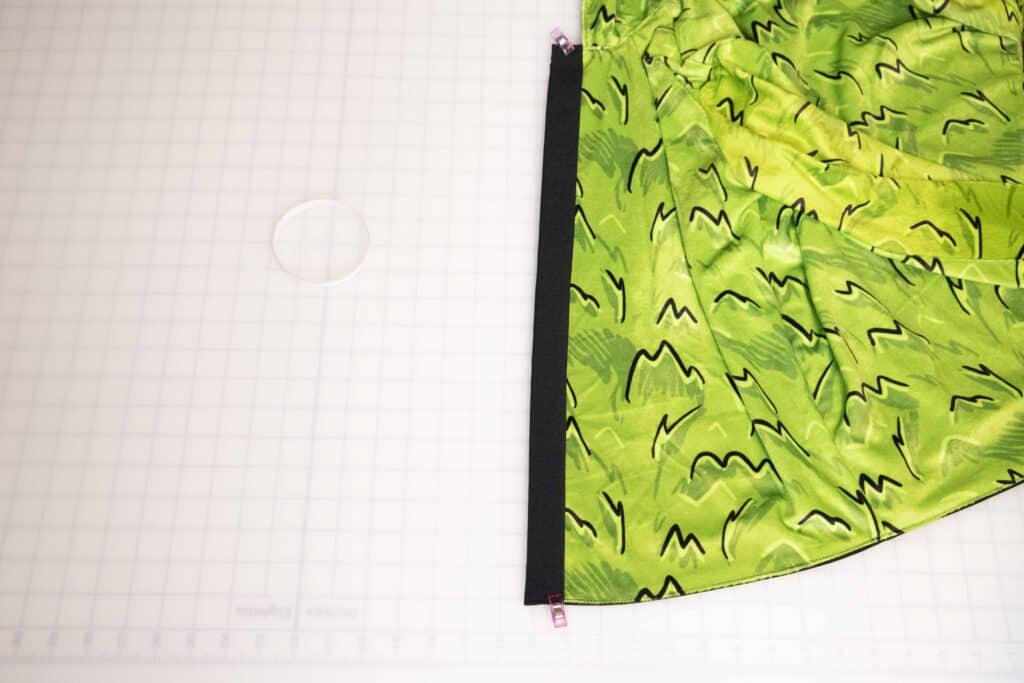
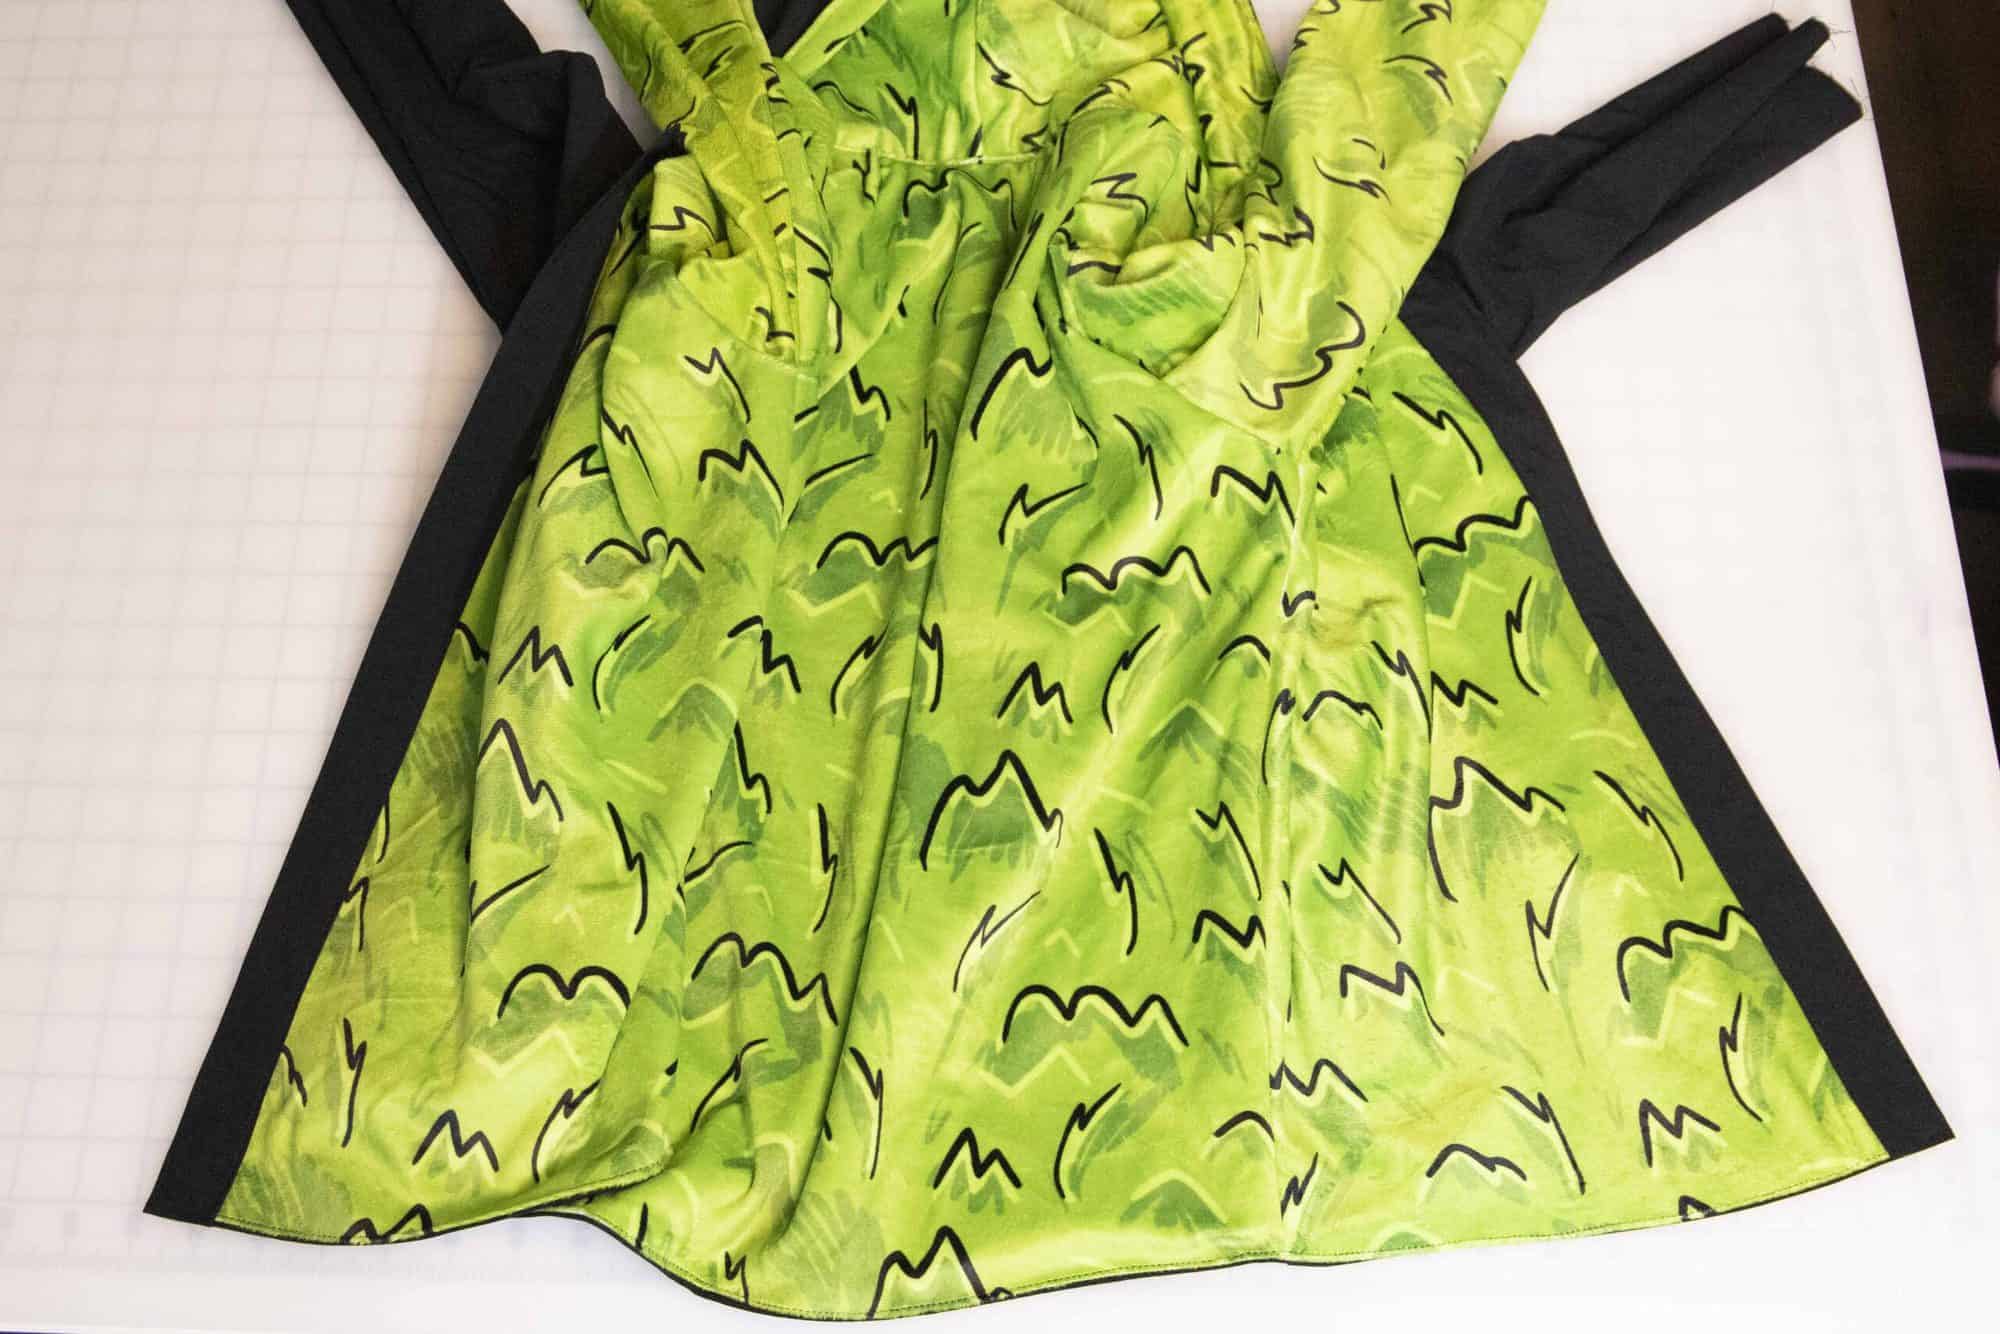
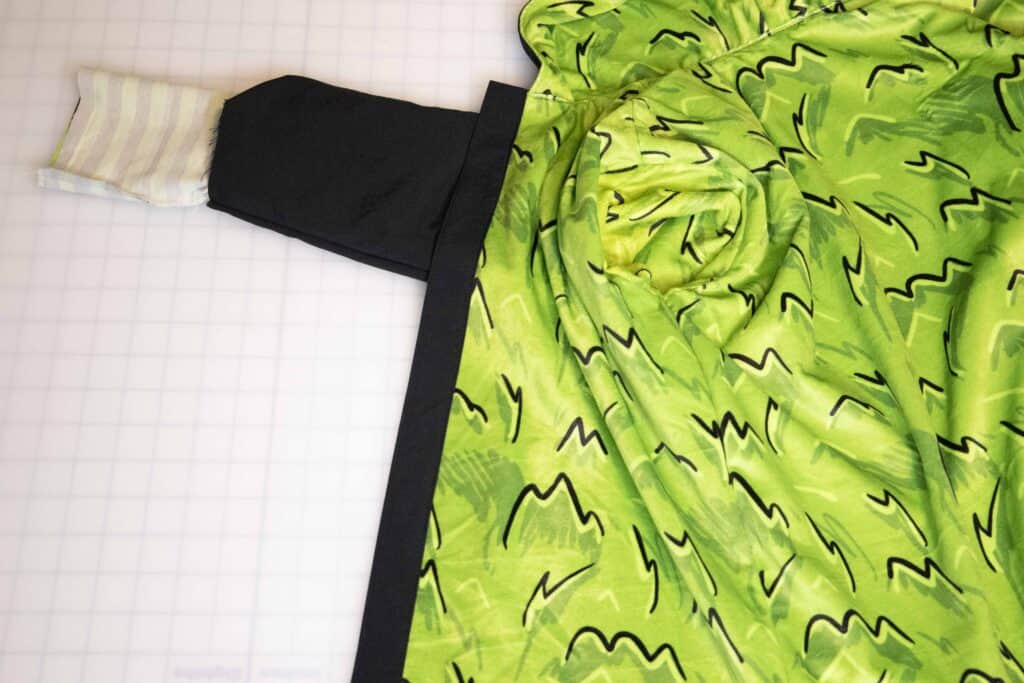
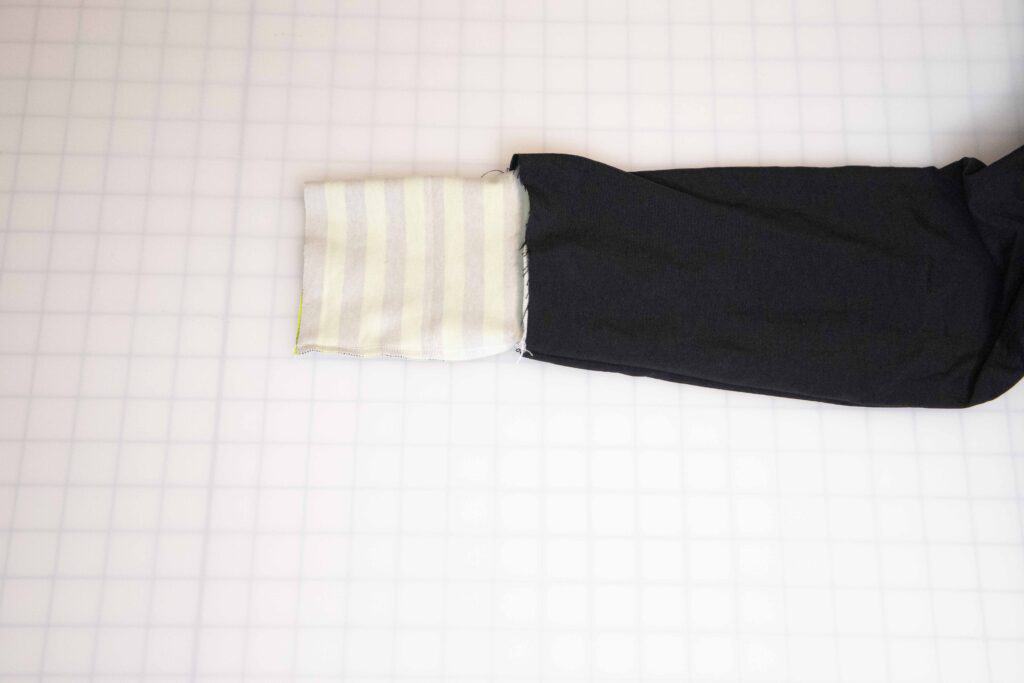
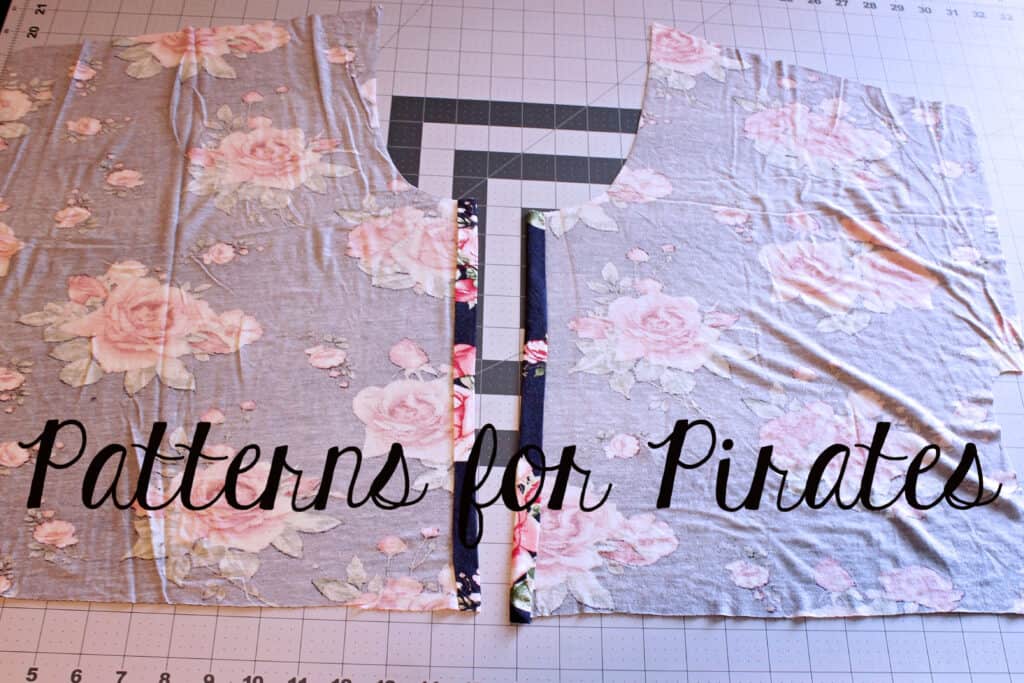
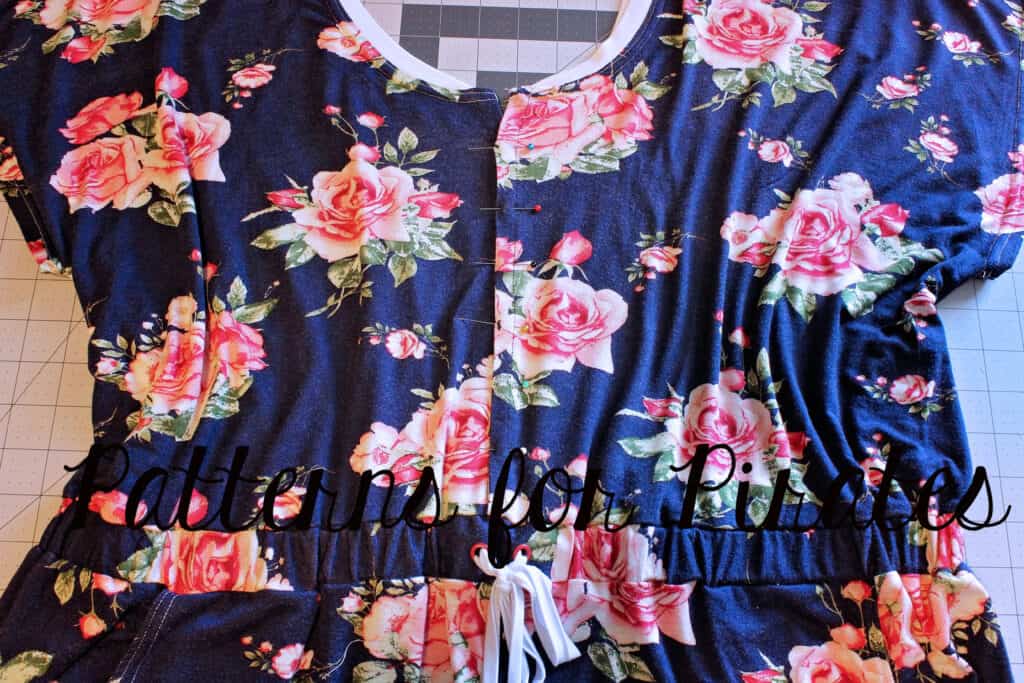
Lumberjack Sew along – day 3 | sleeves, side seams
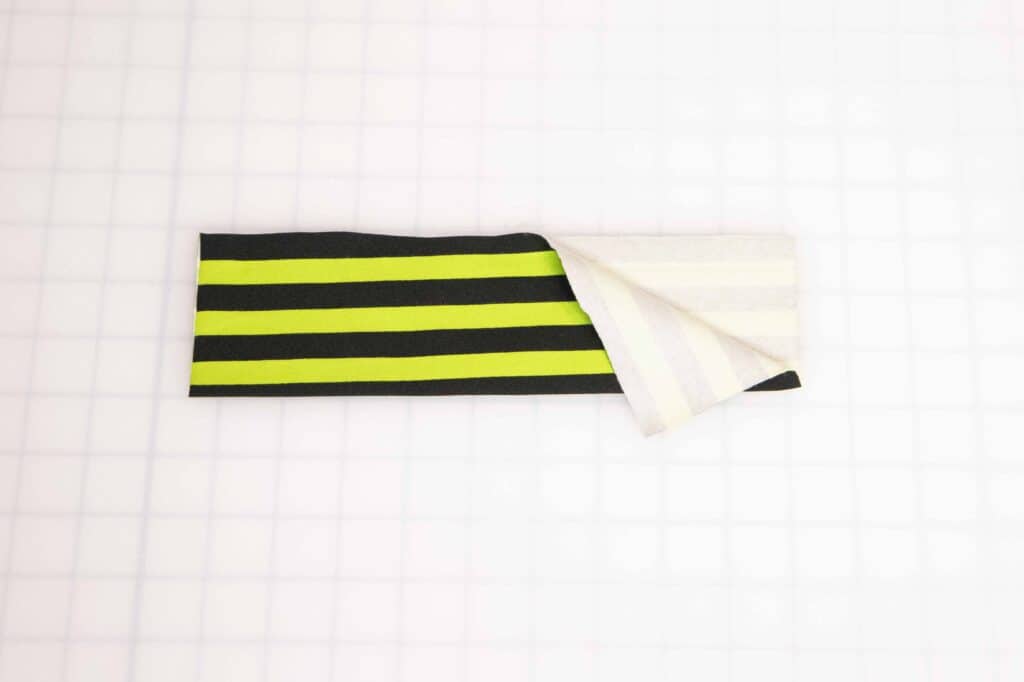
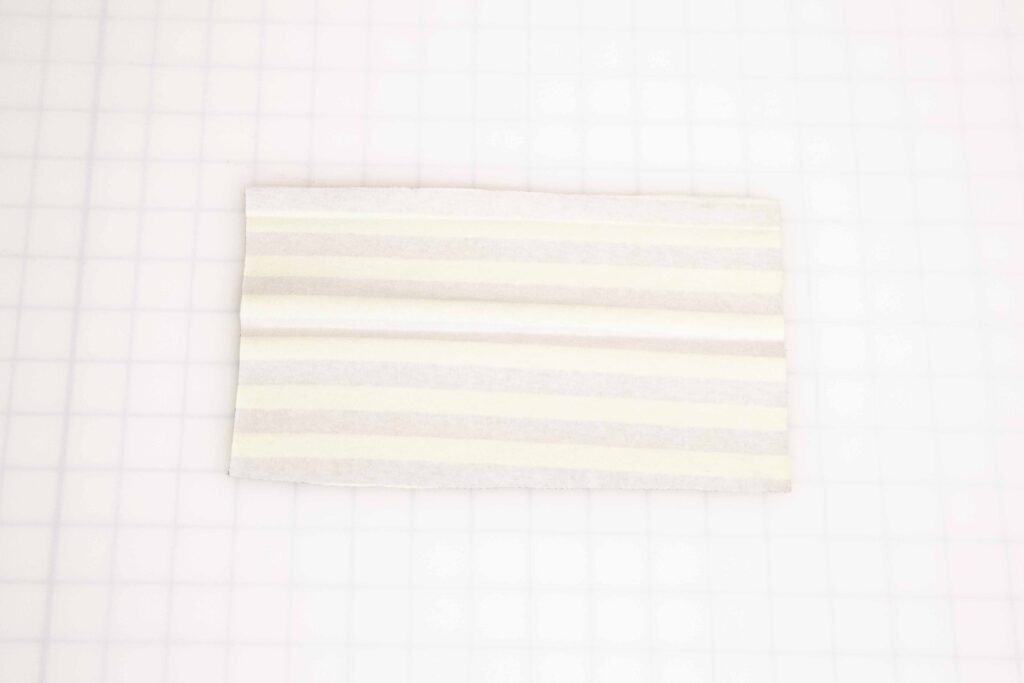
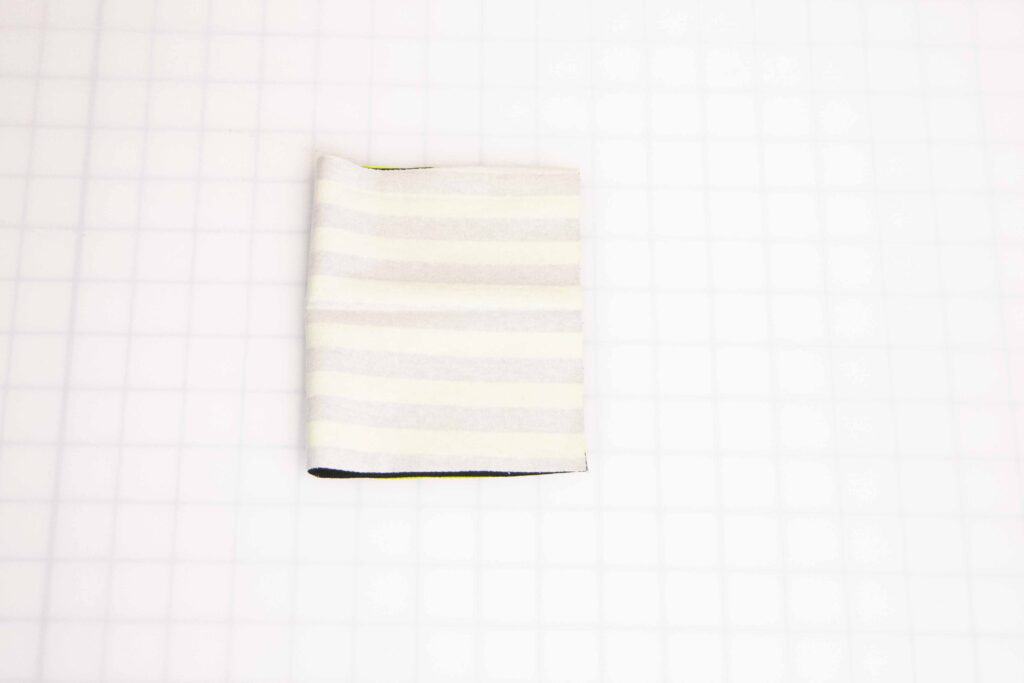
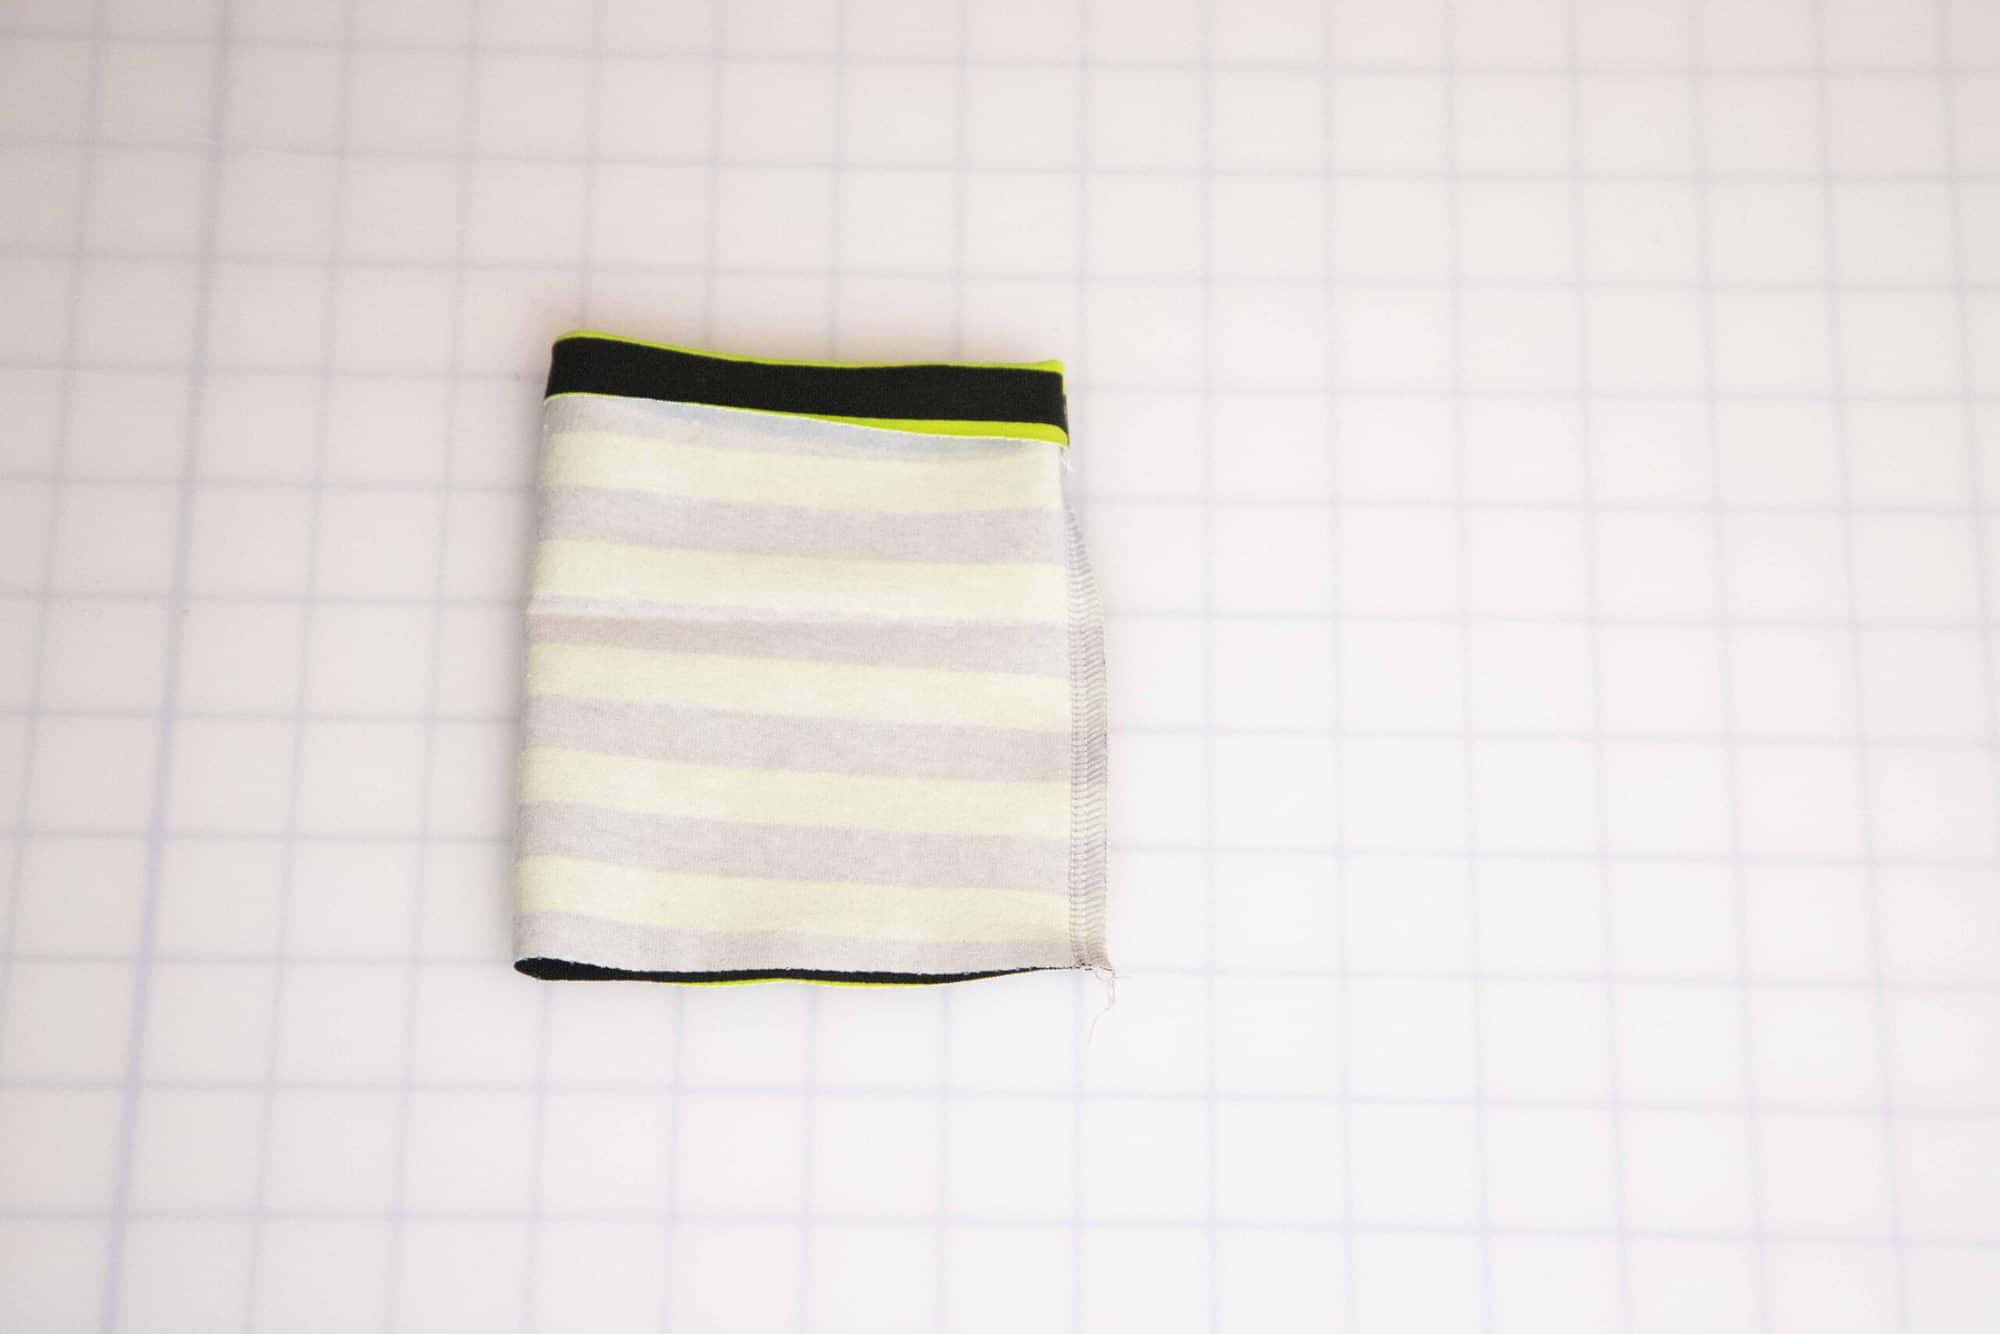
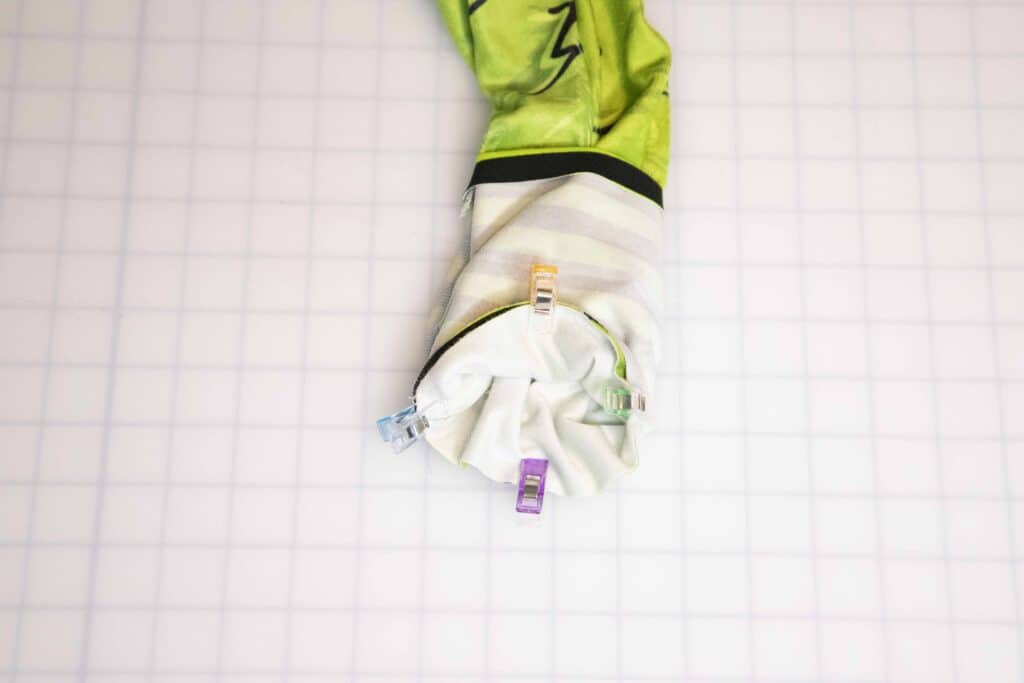
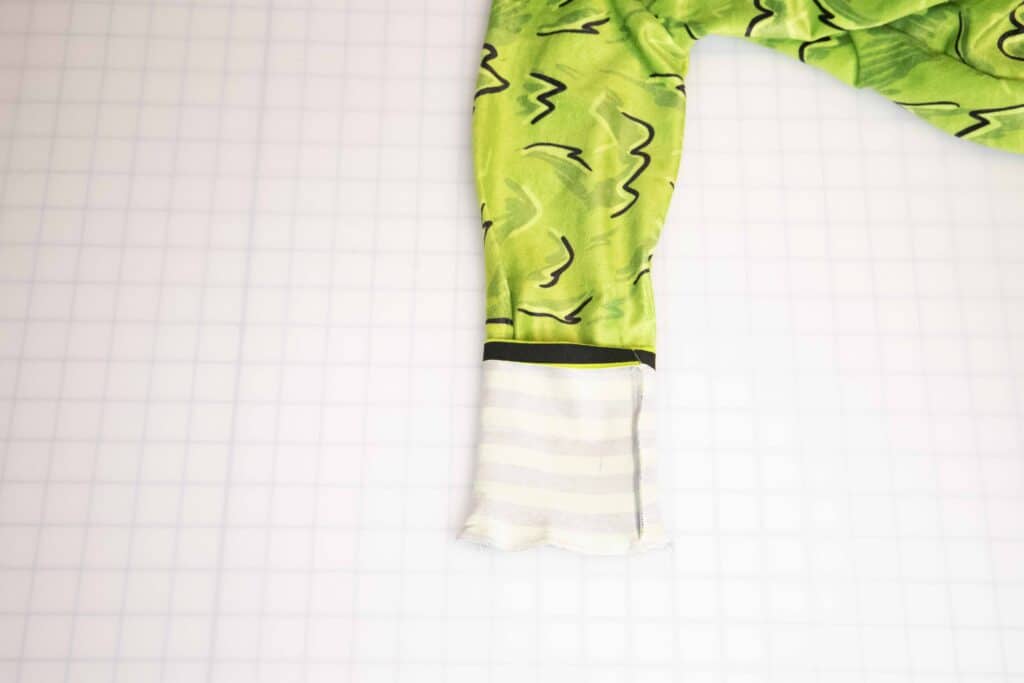
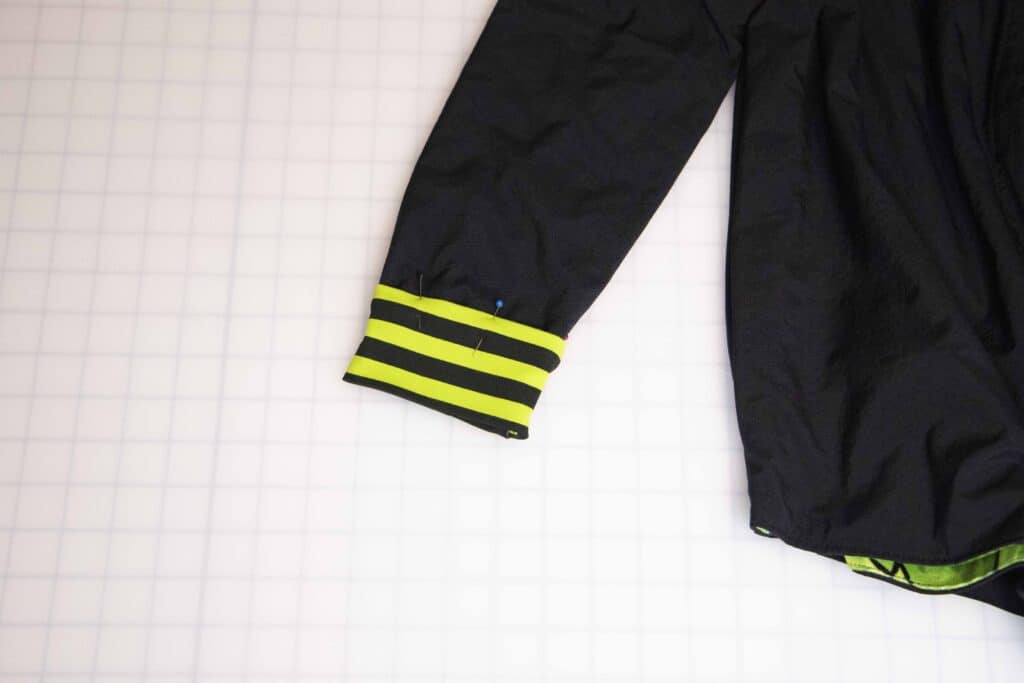
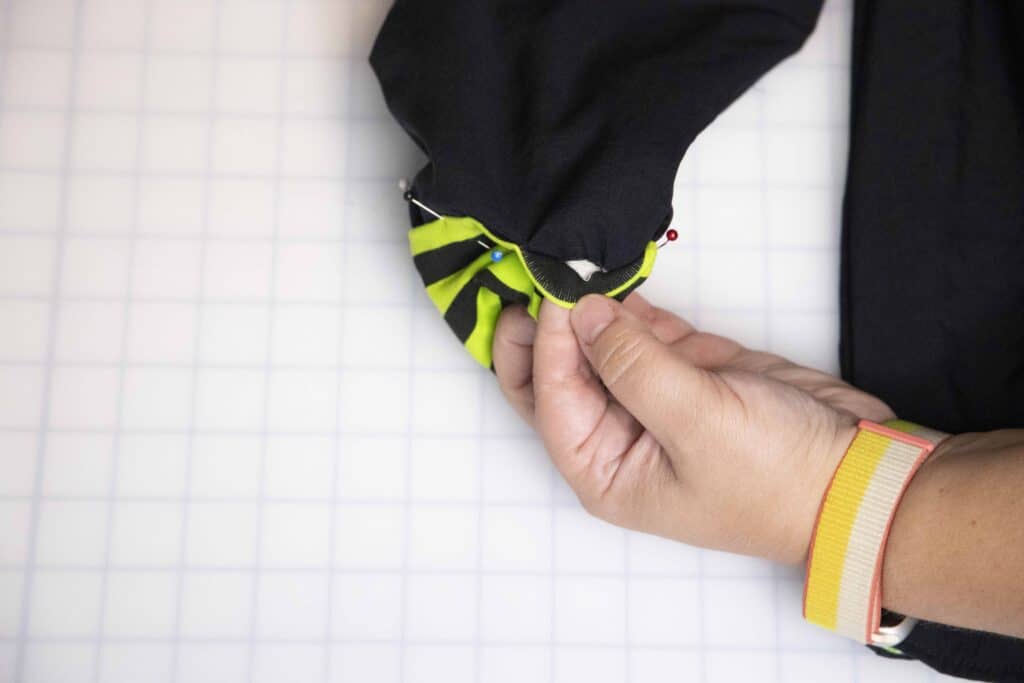
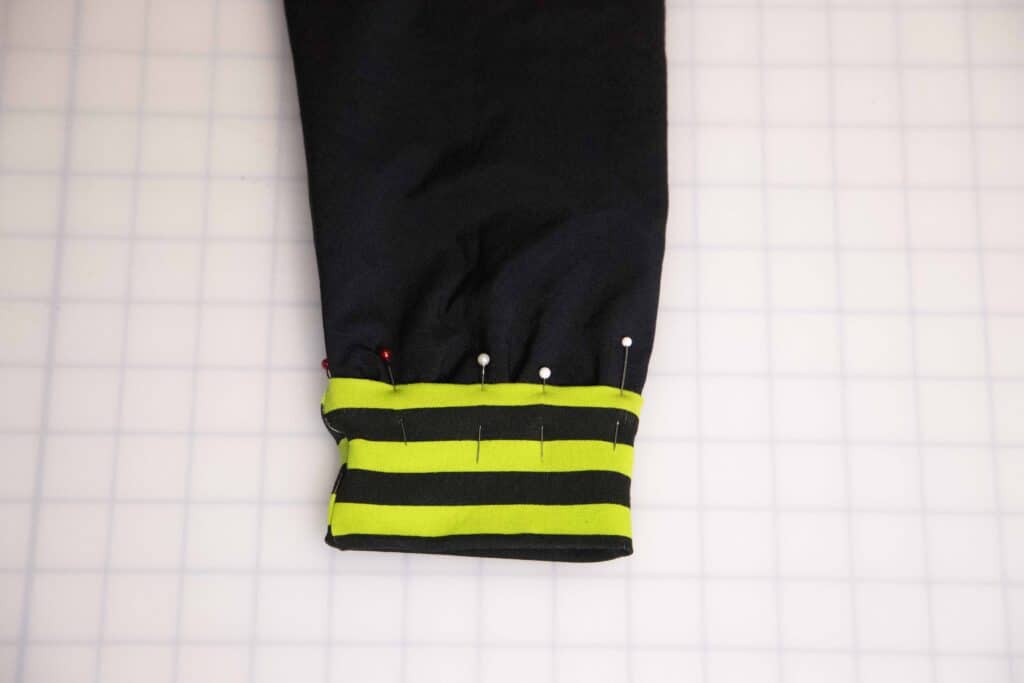
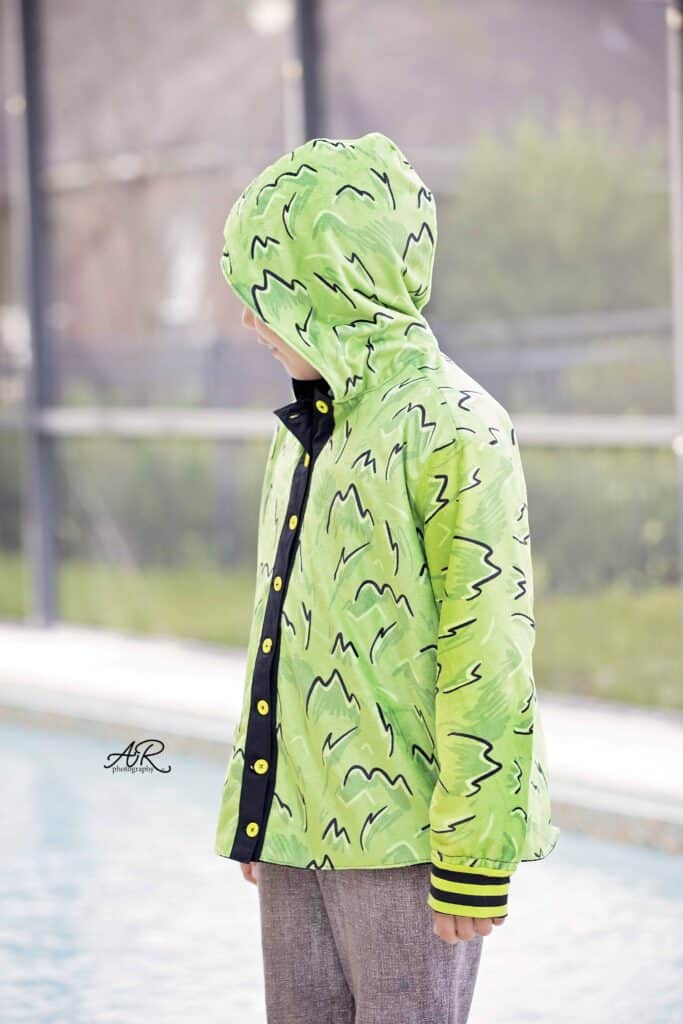
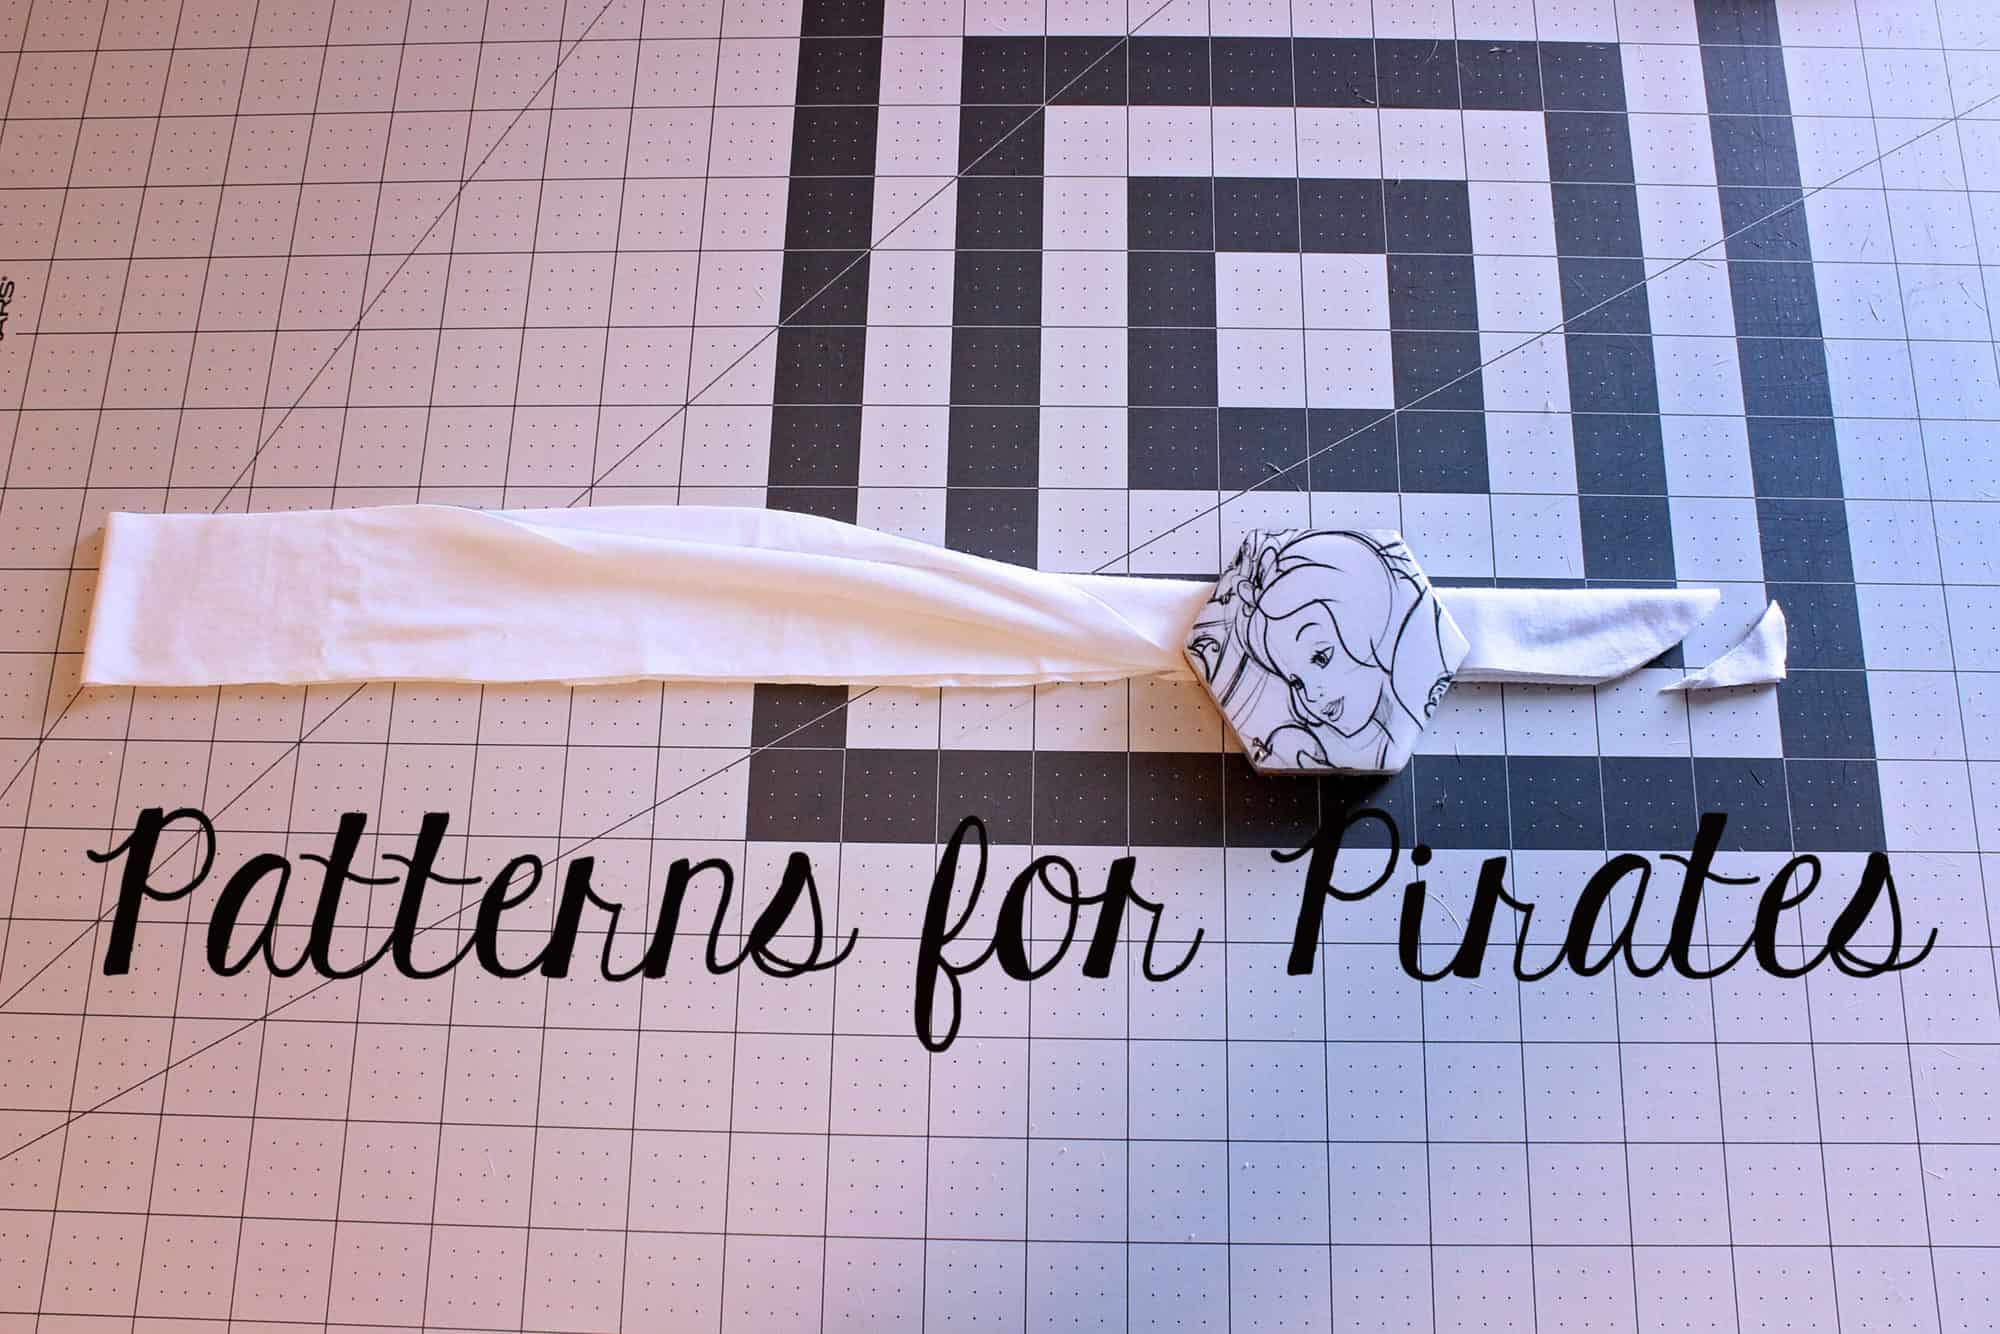
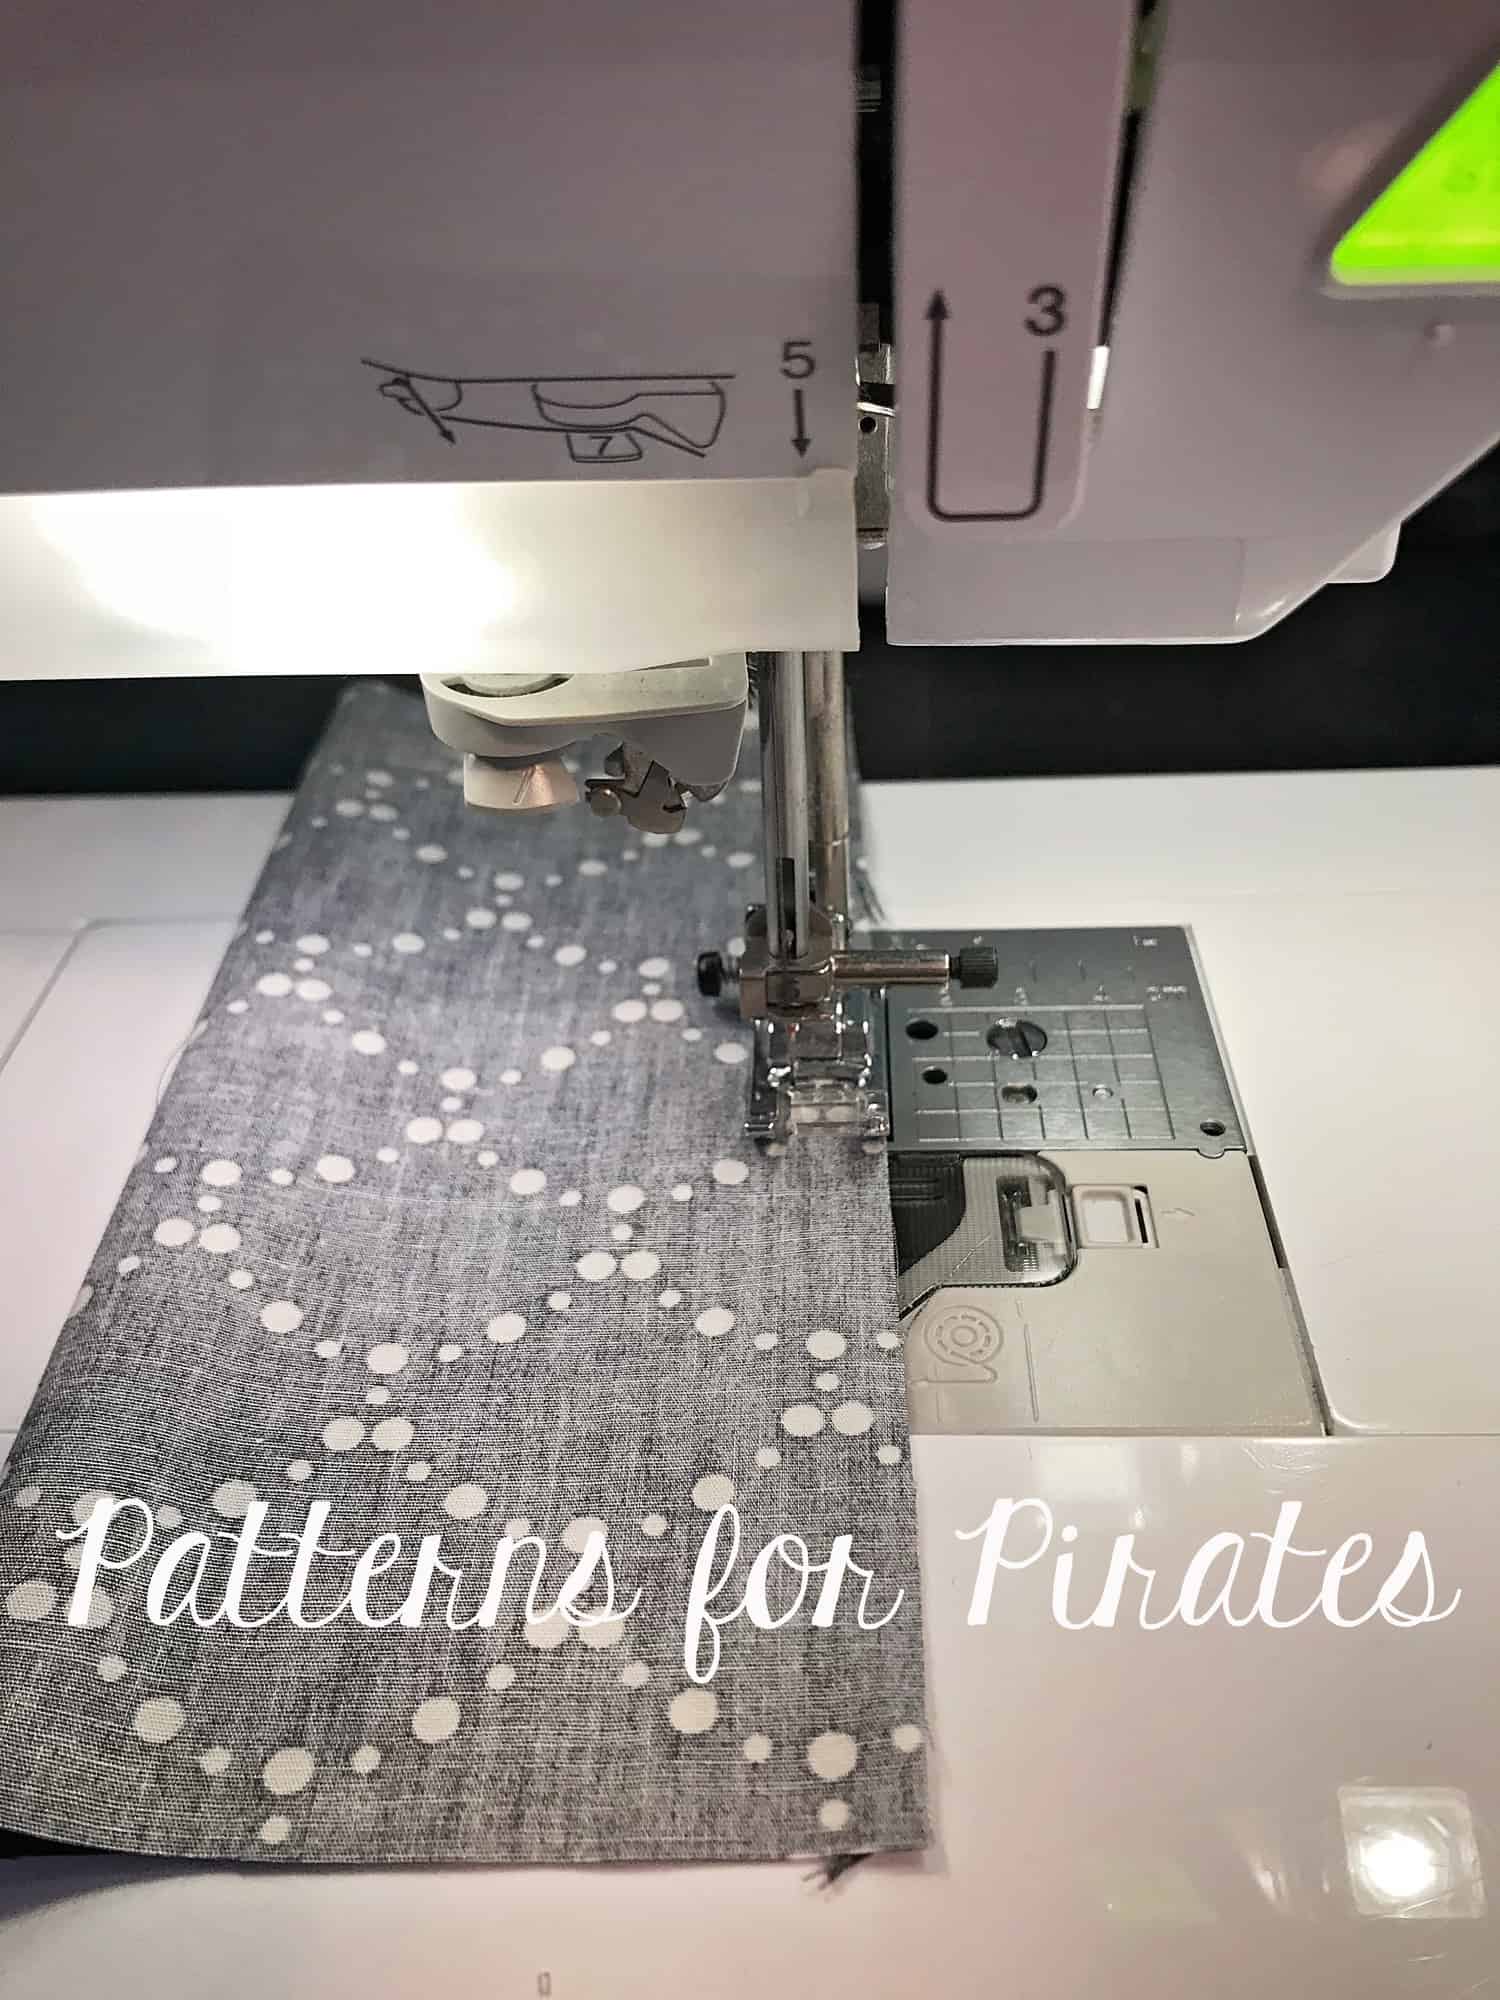
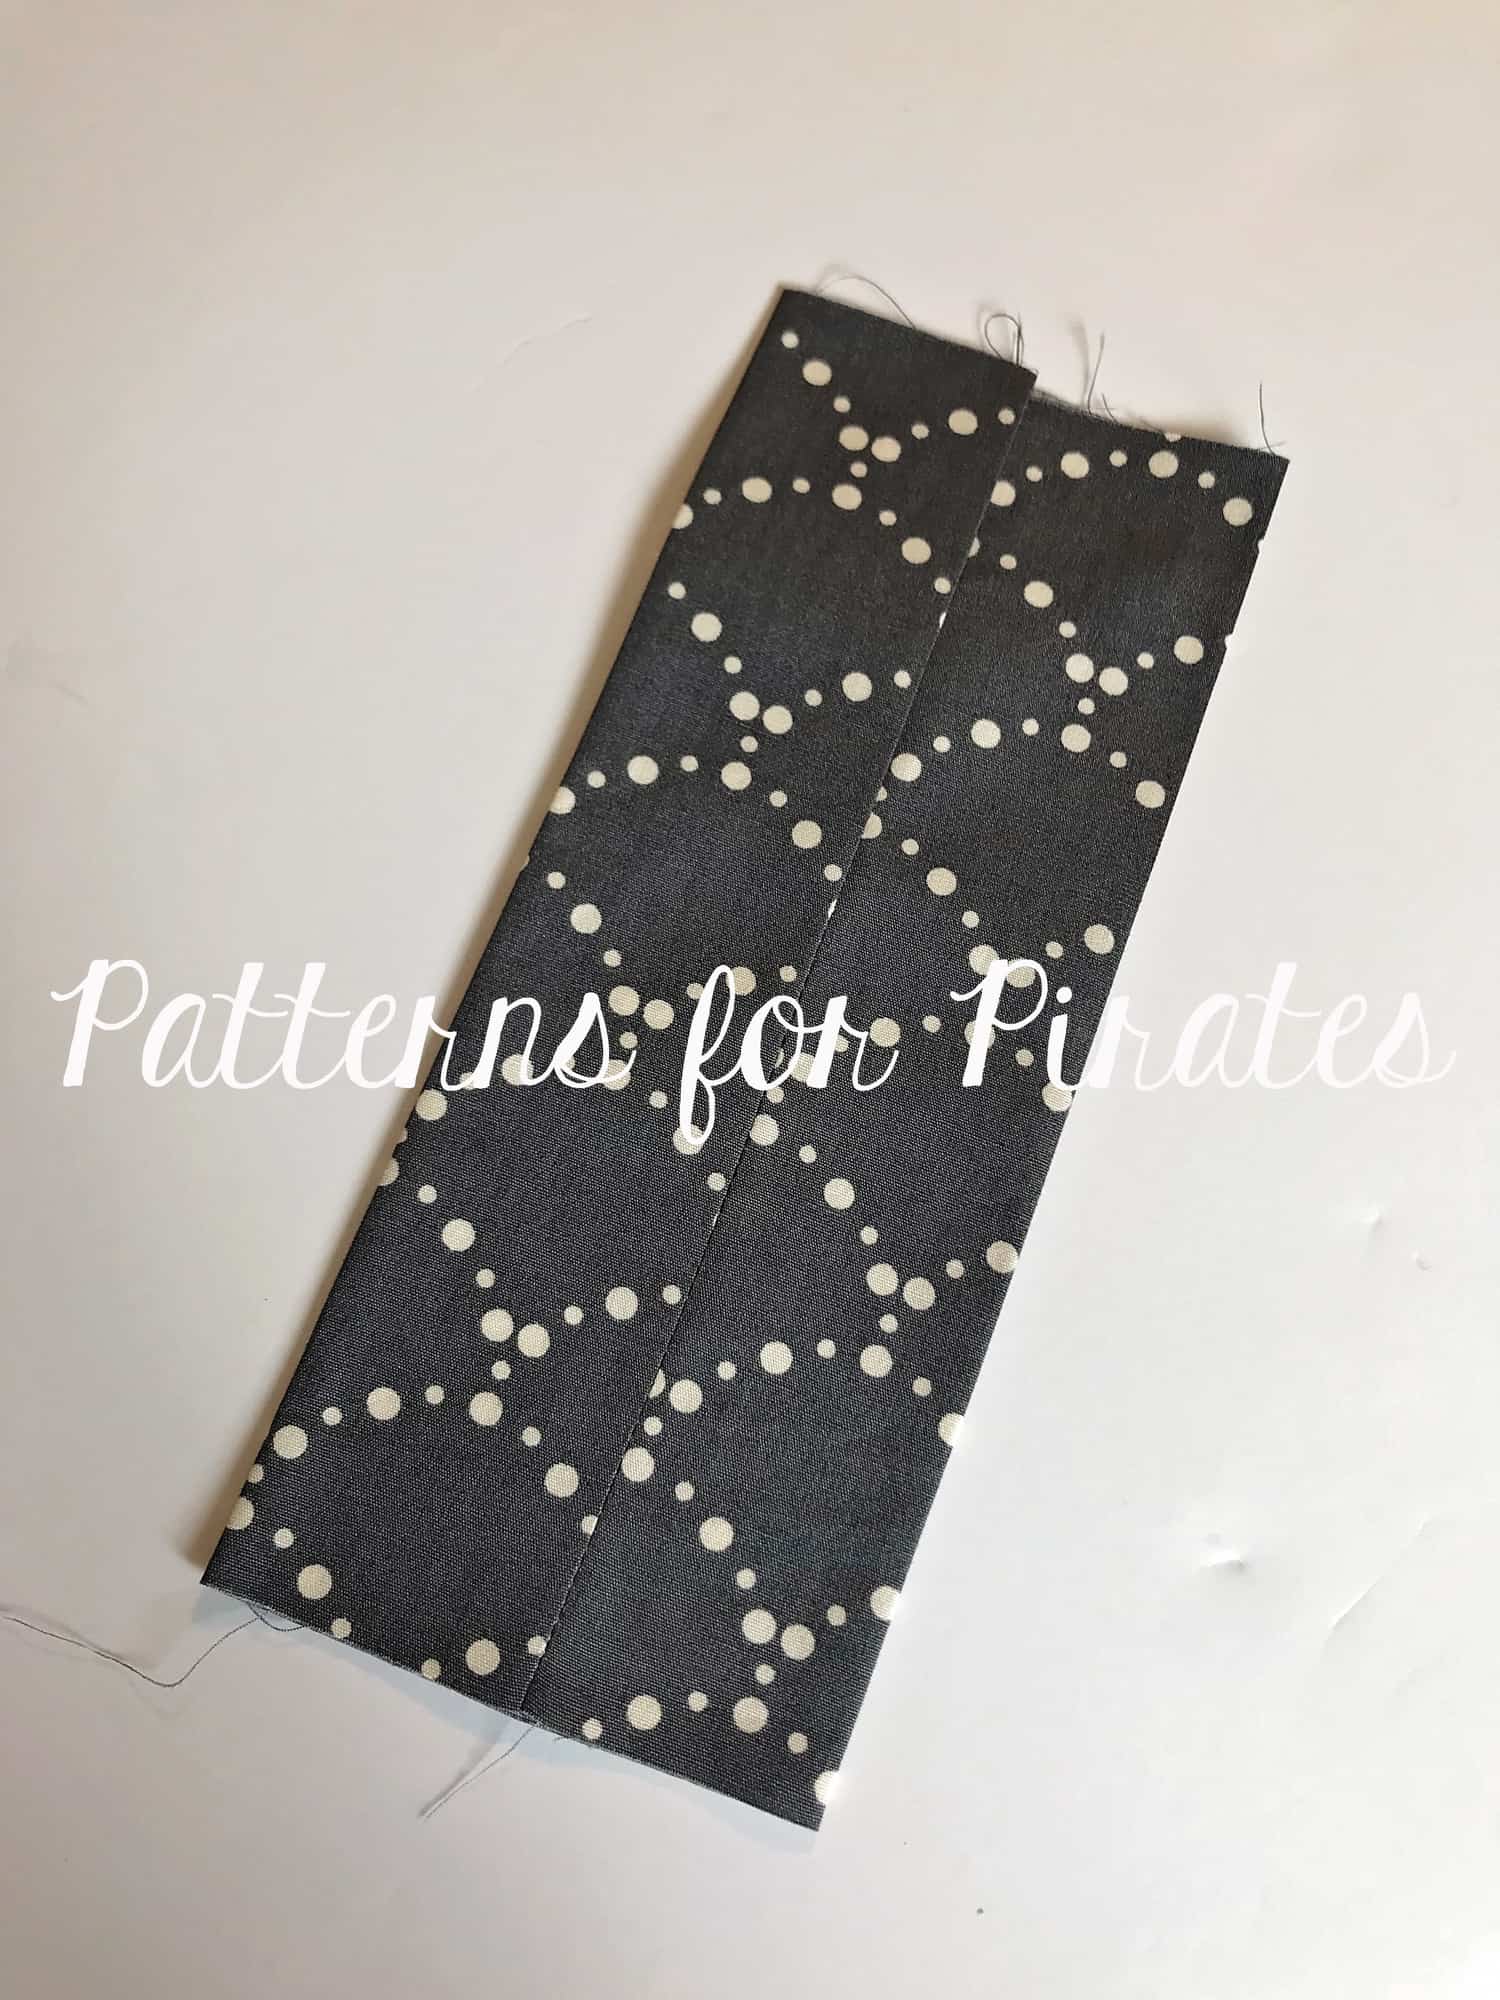
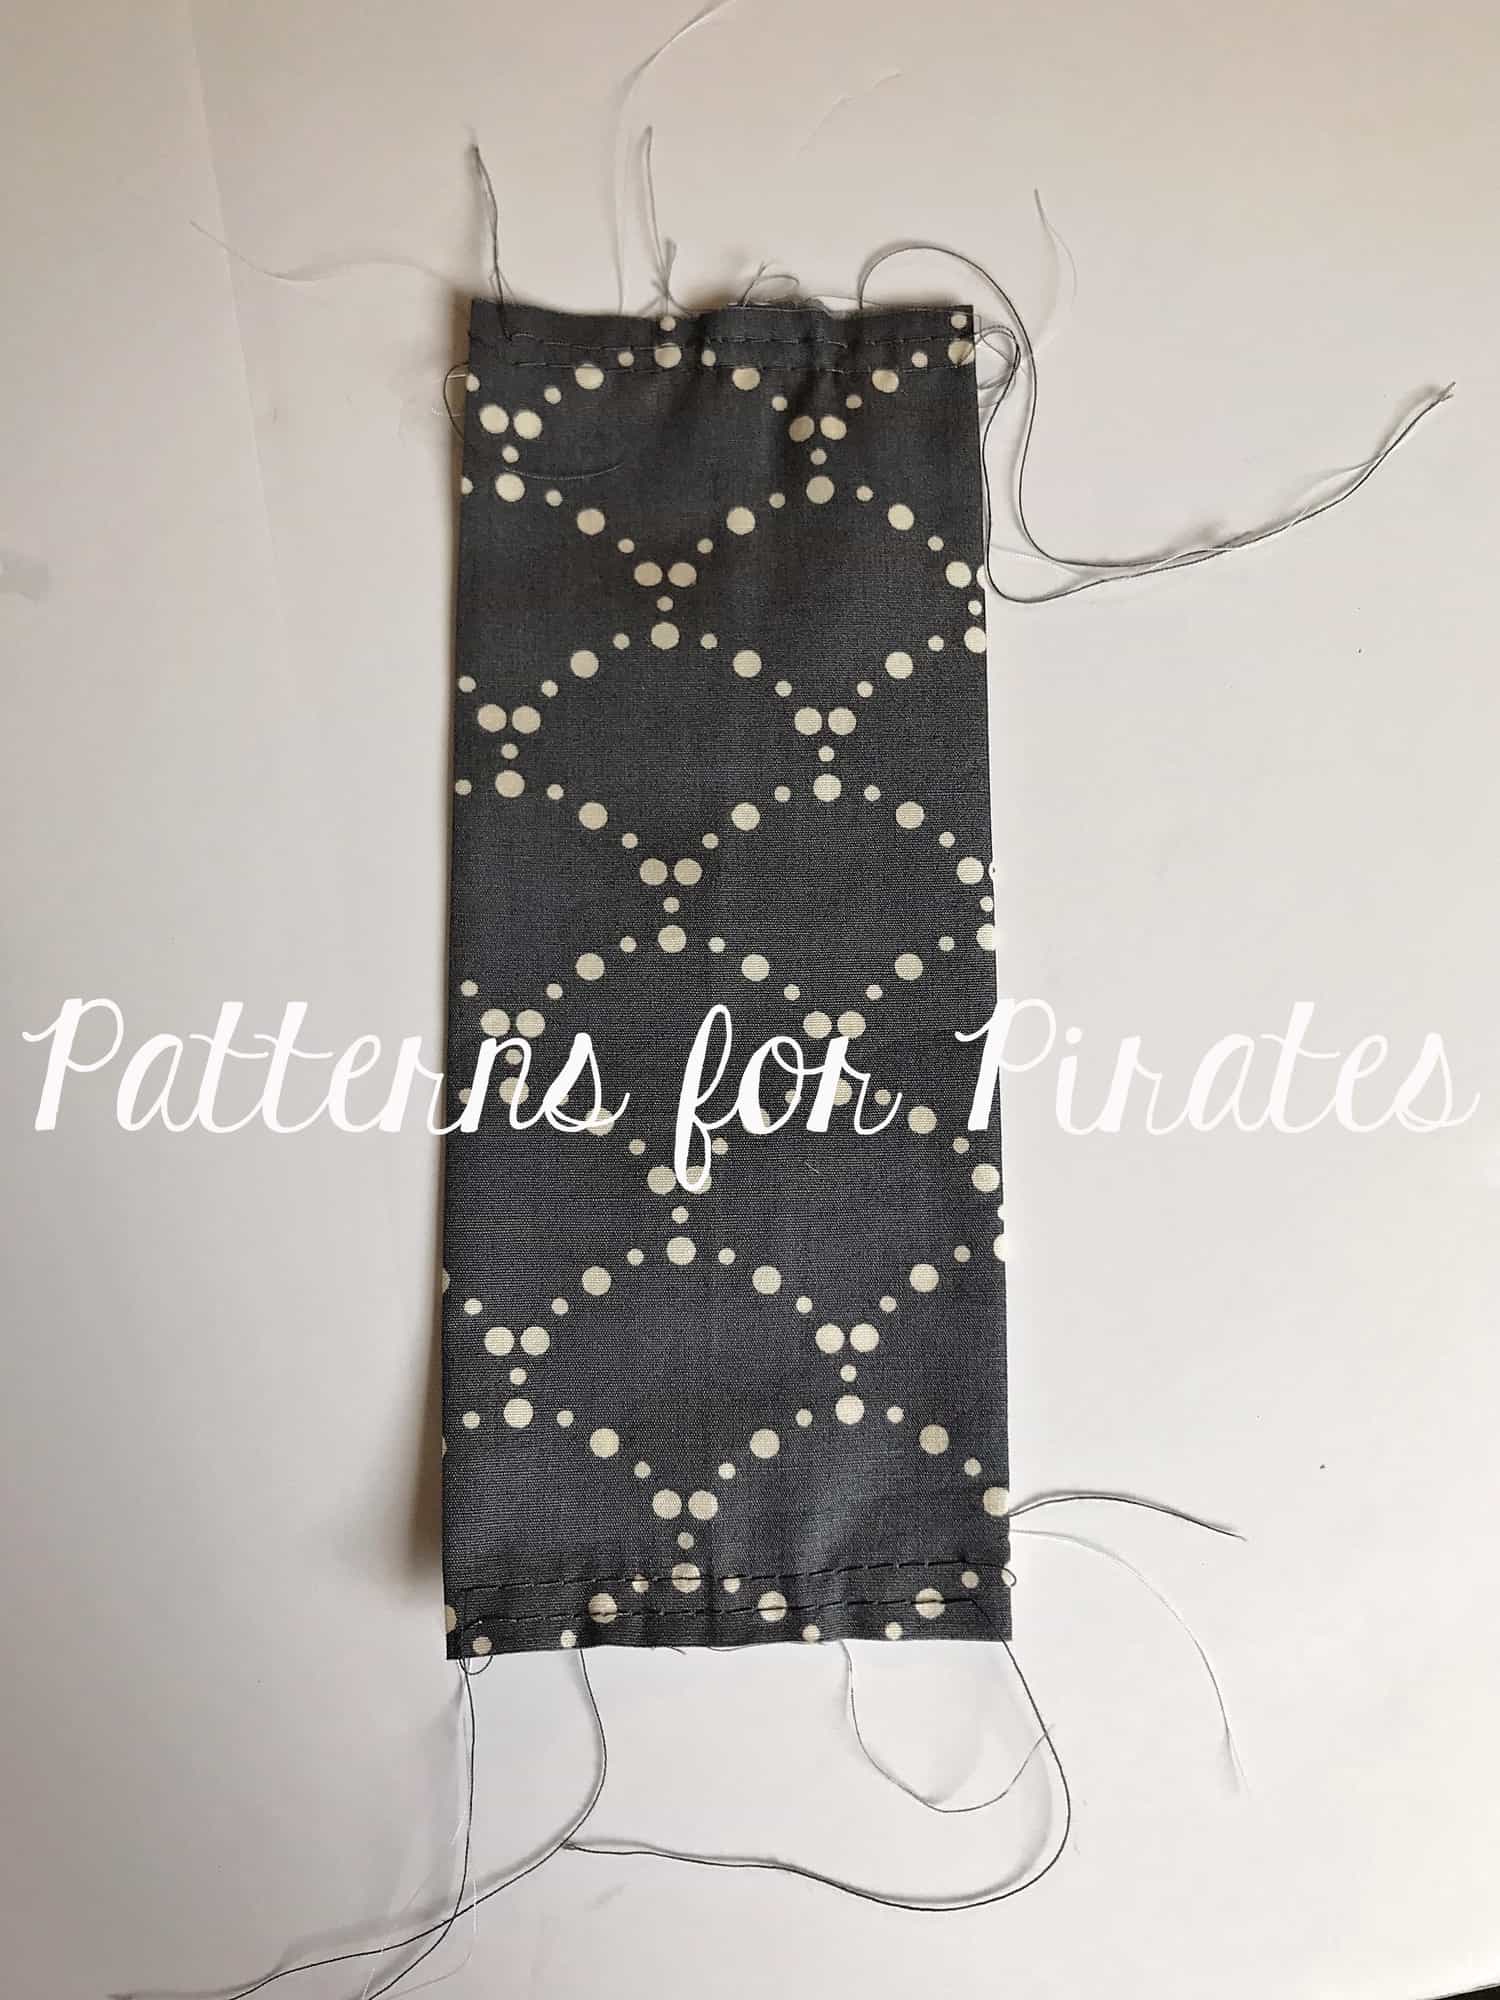
Lumberjack Sew along – day 4 | cuffs
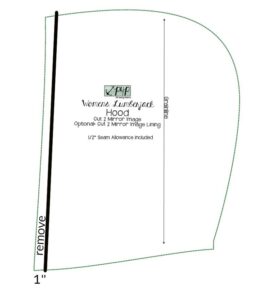
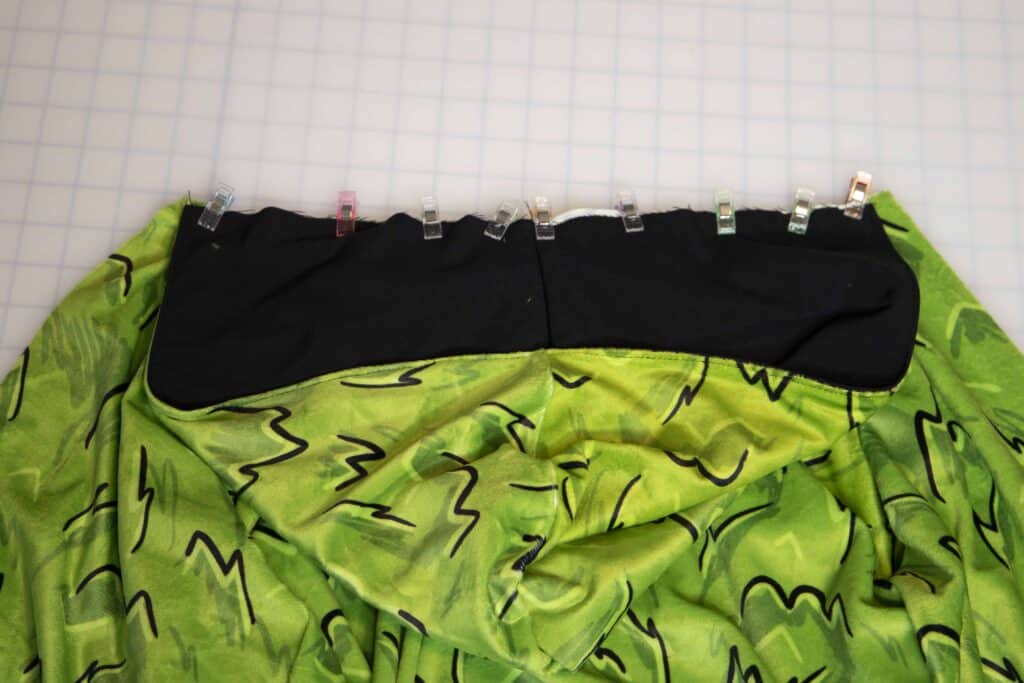
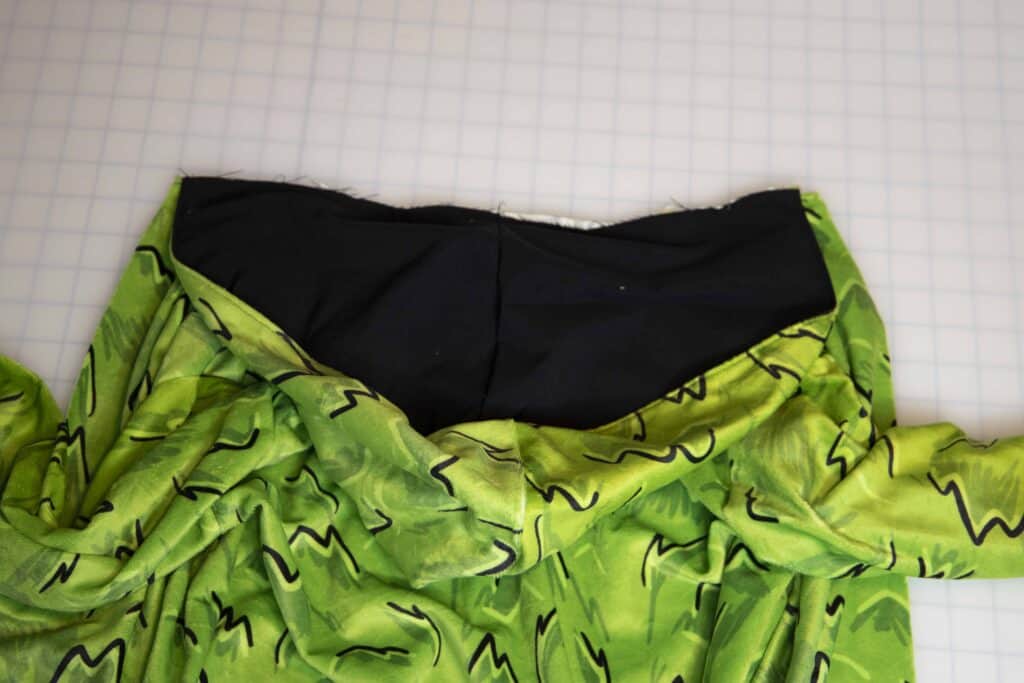
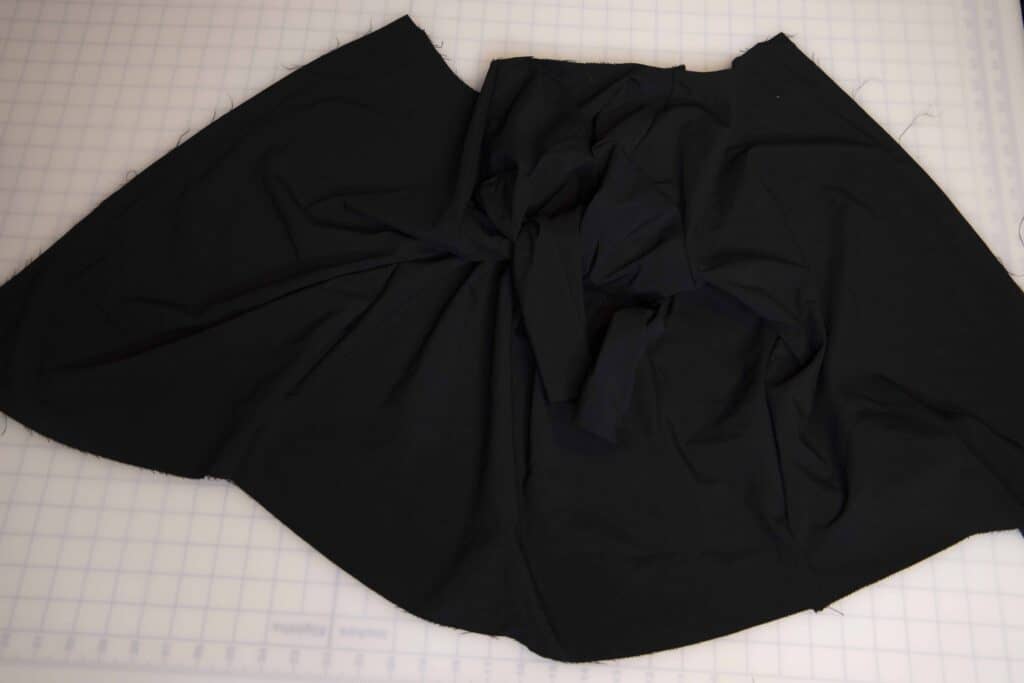
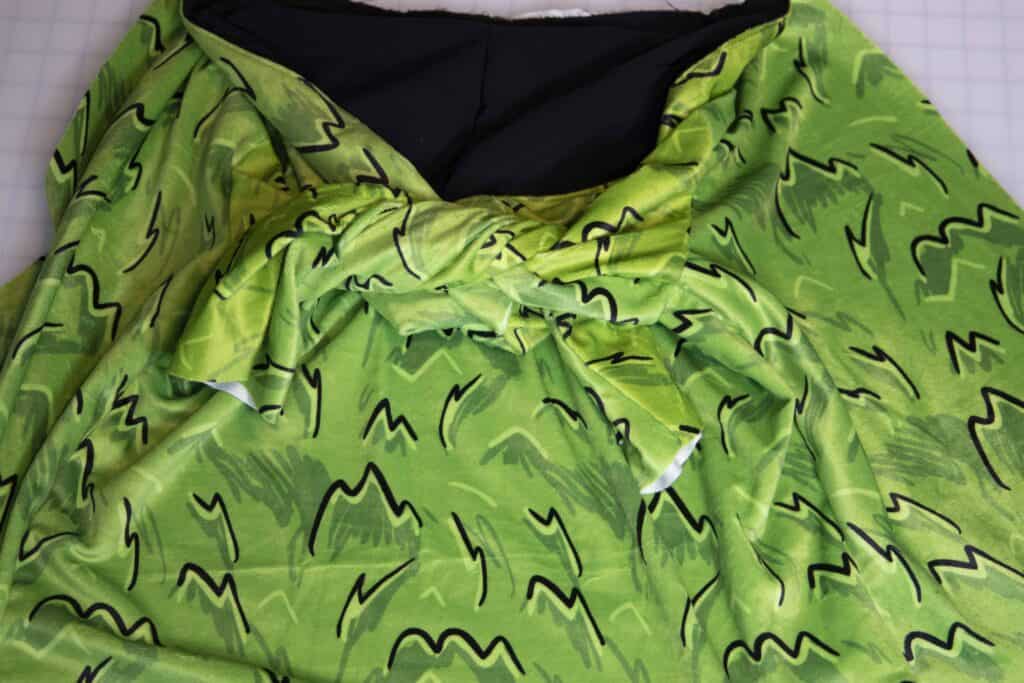
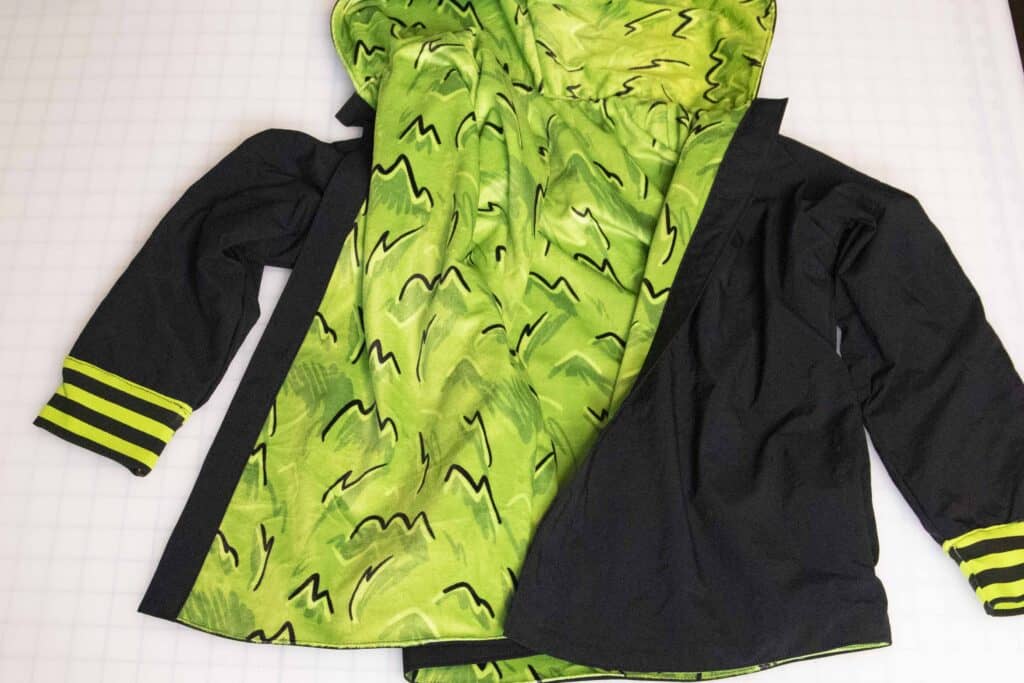
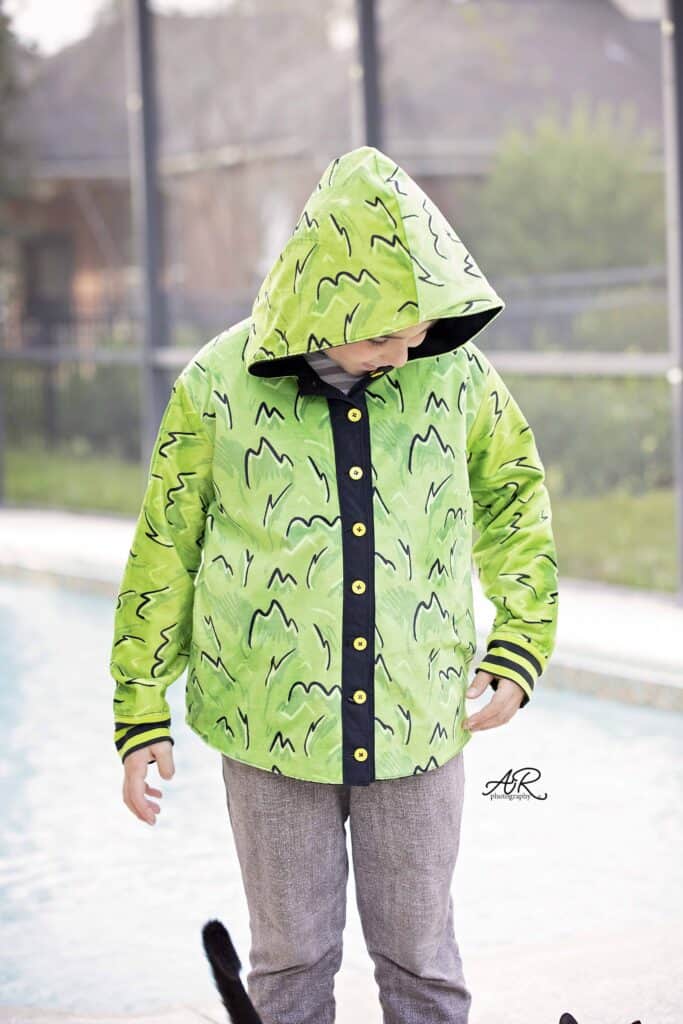
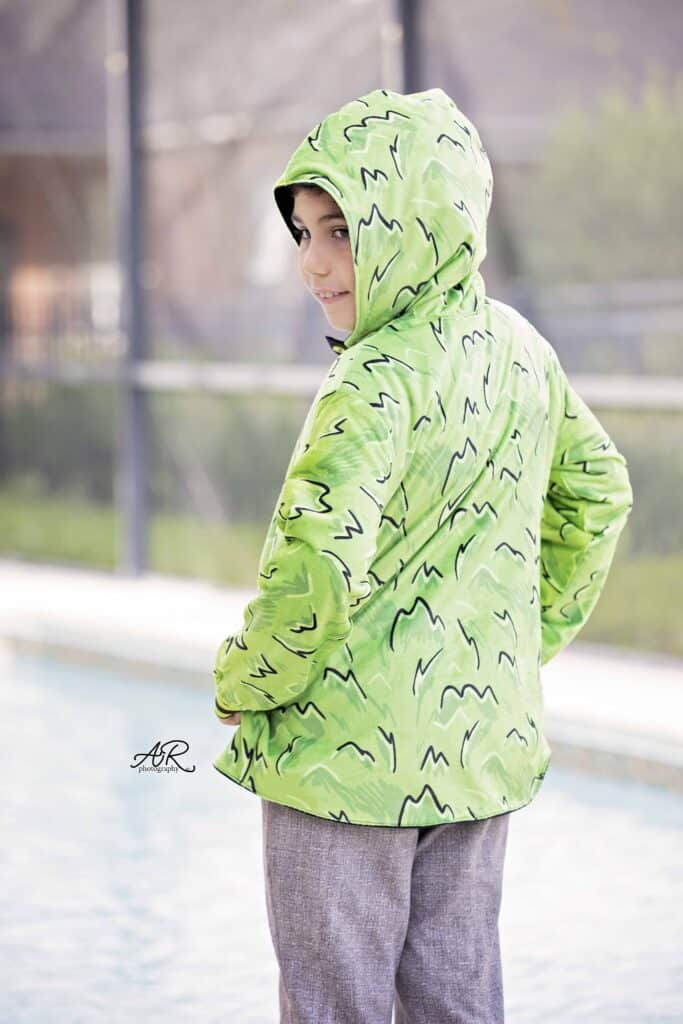
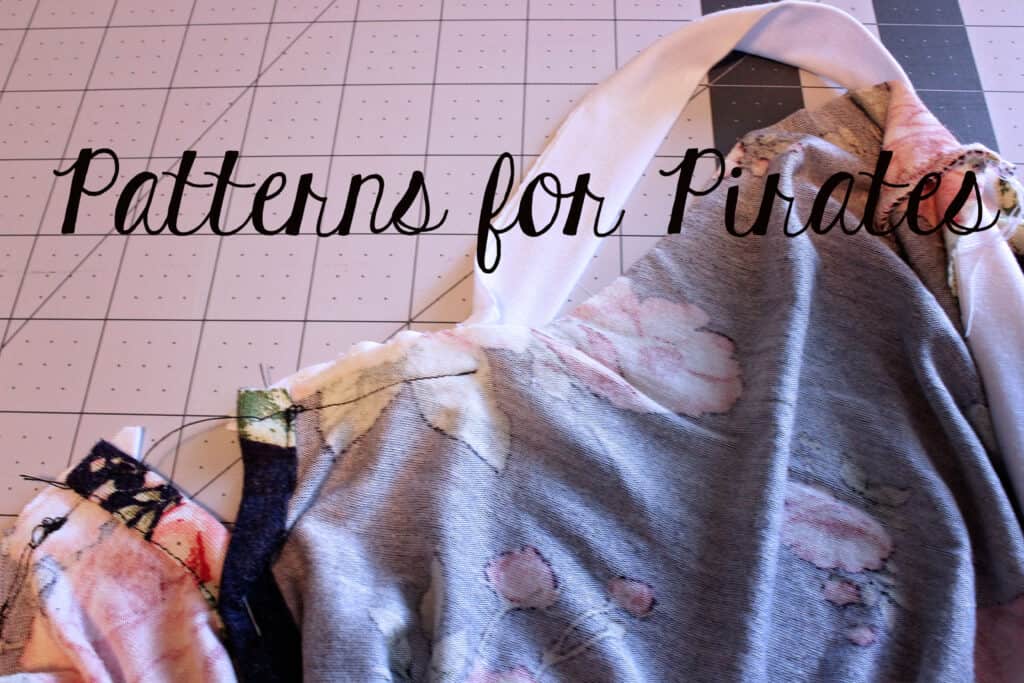
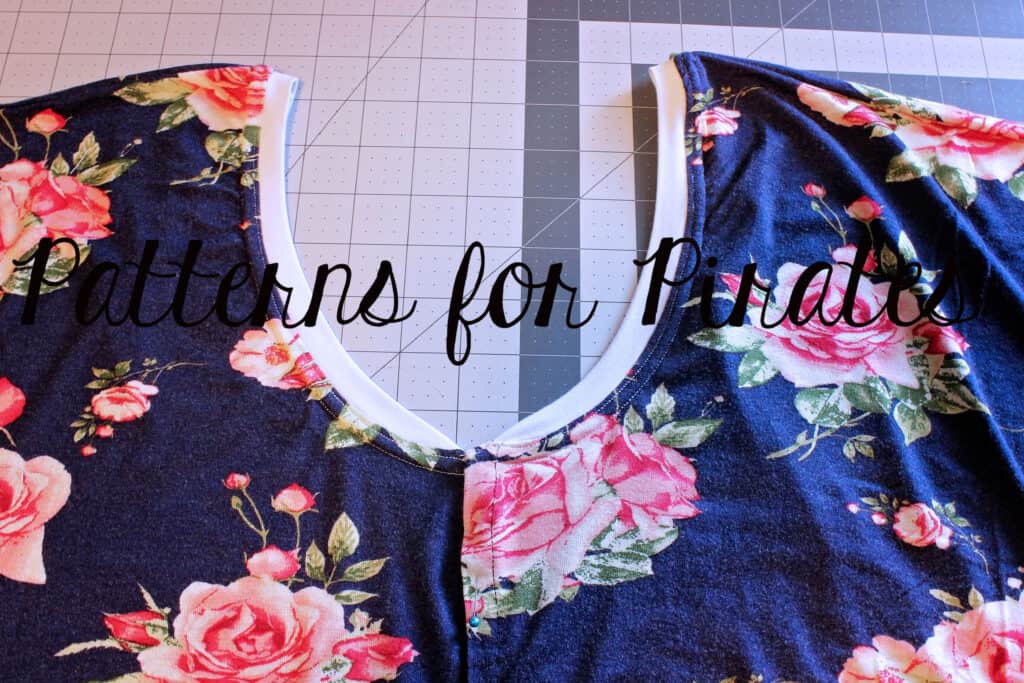
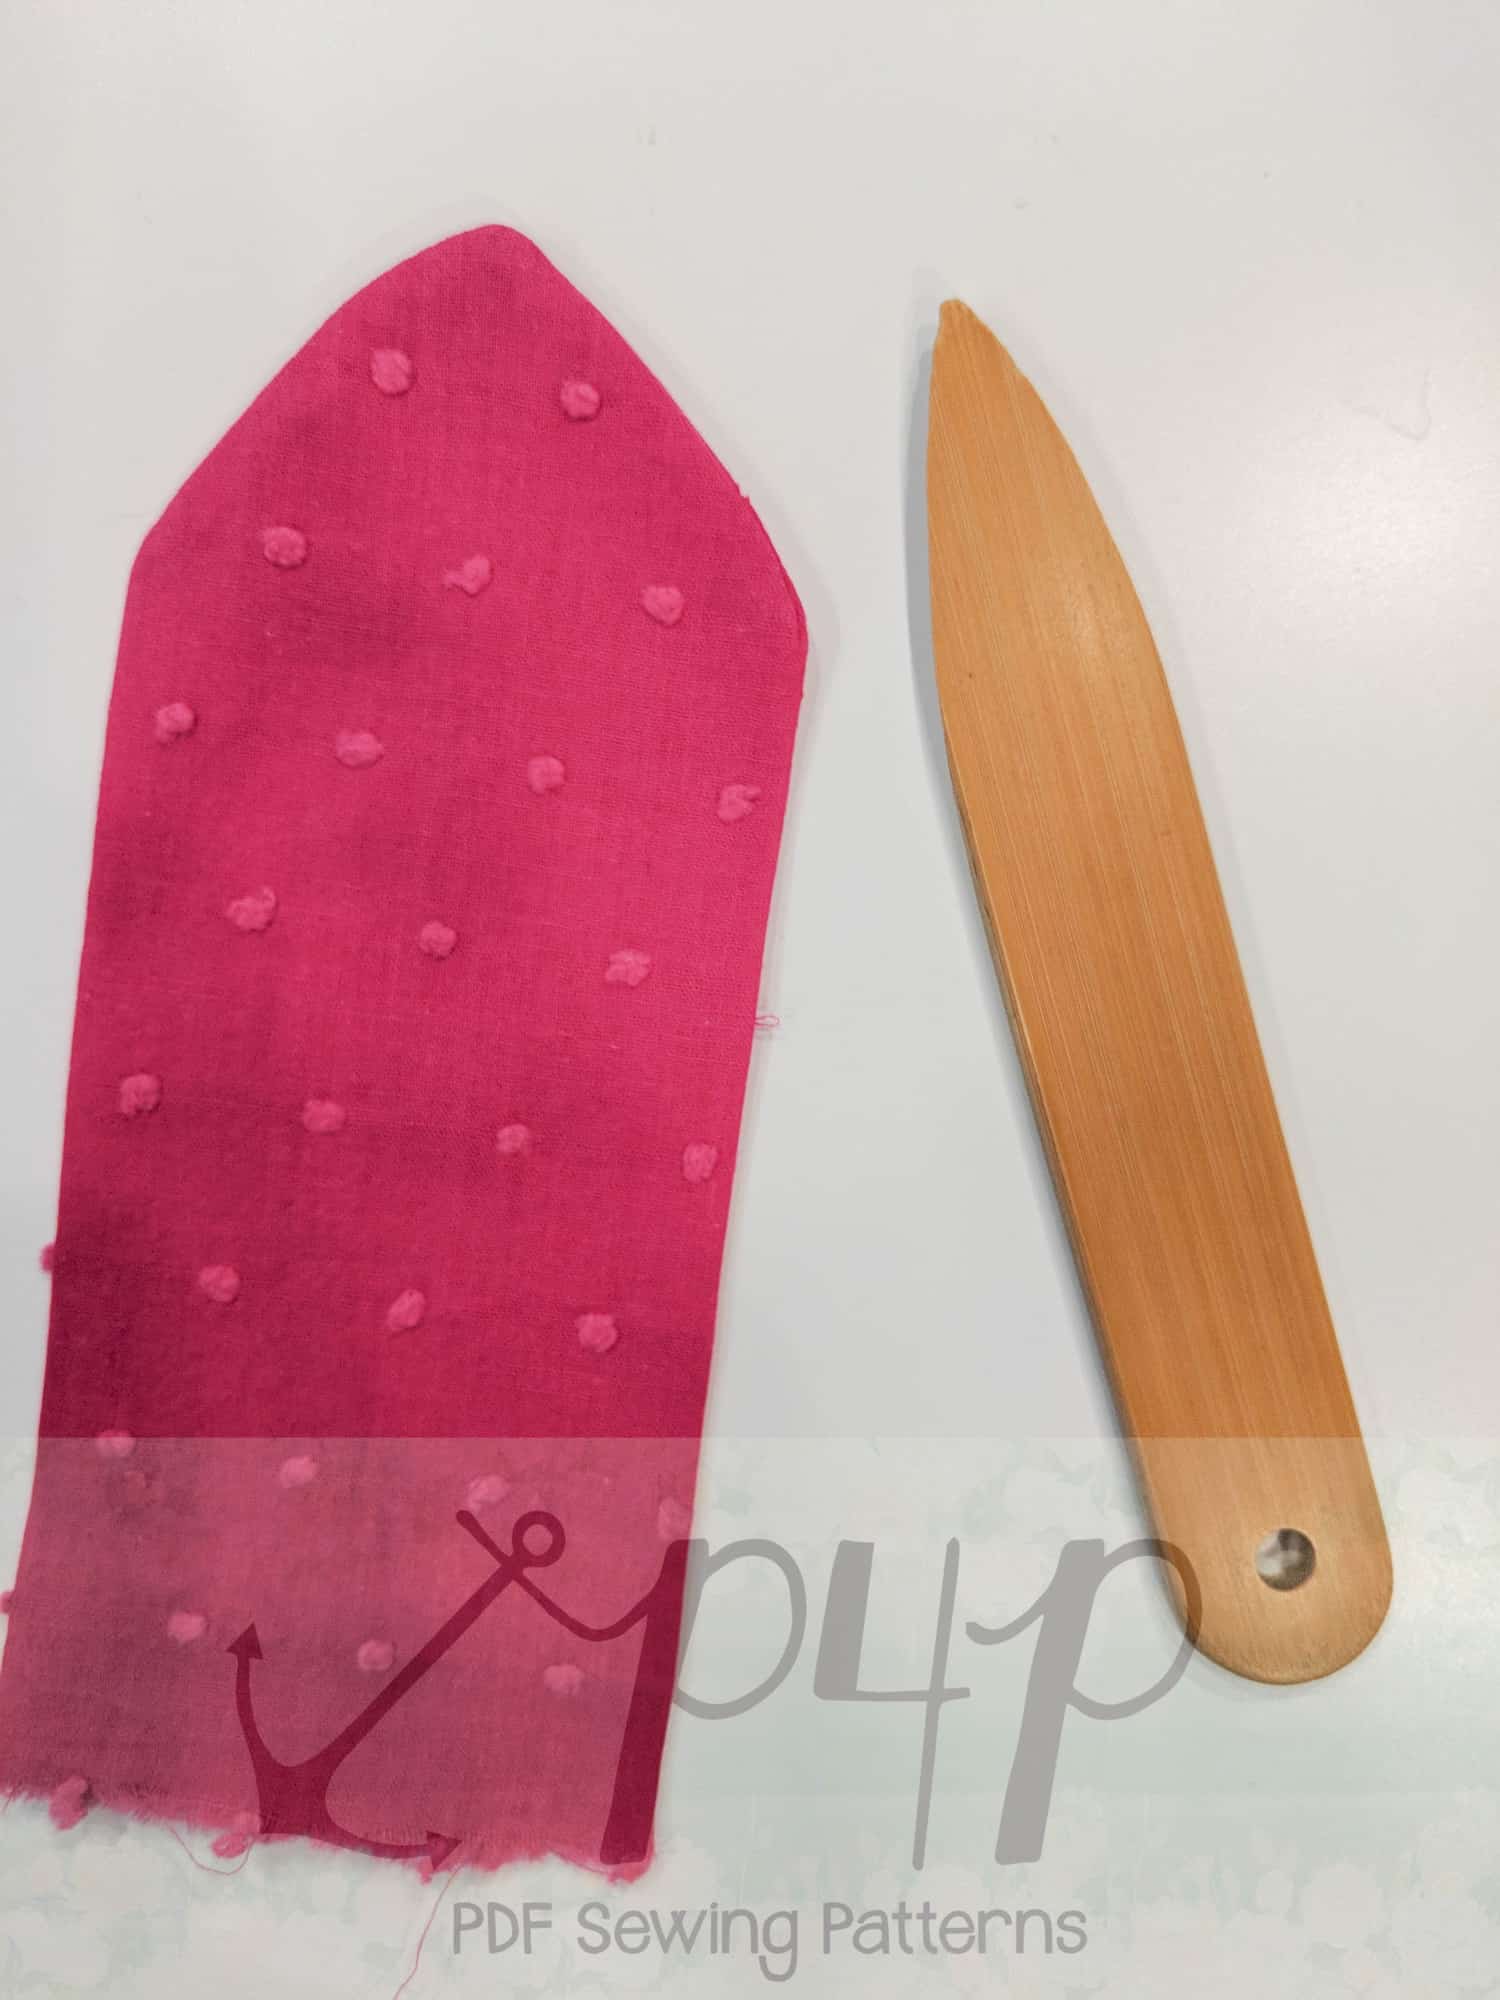
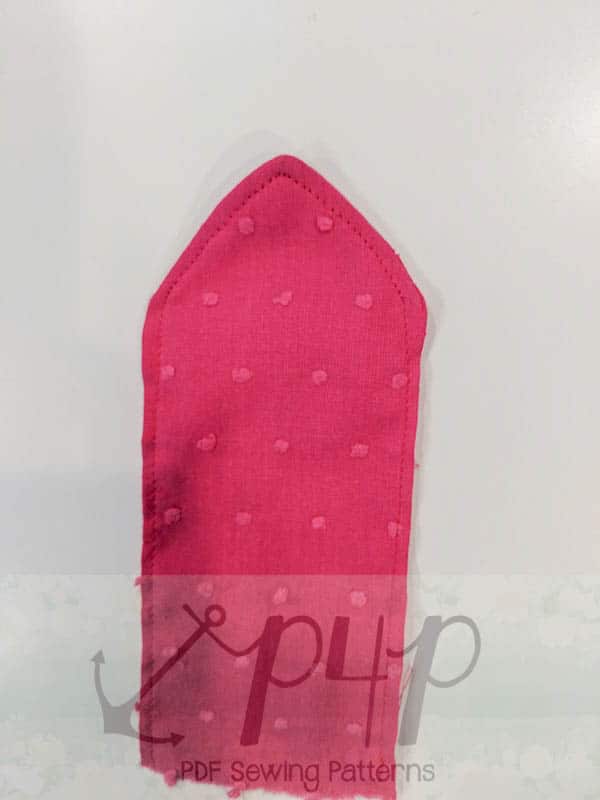
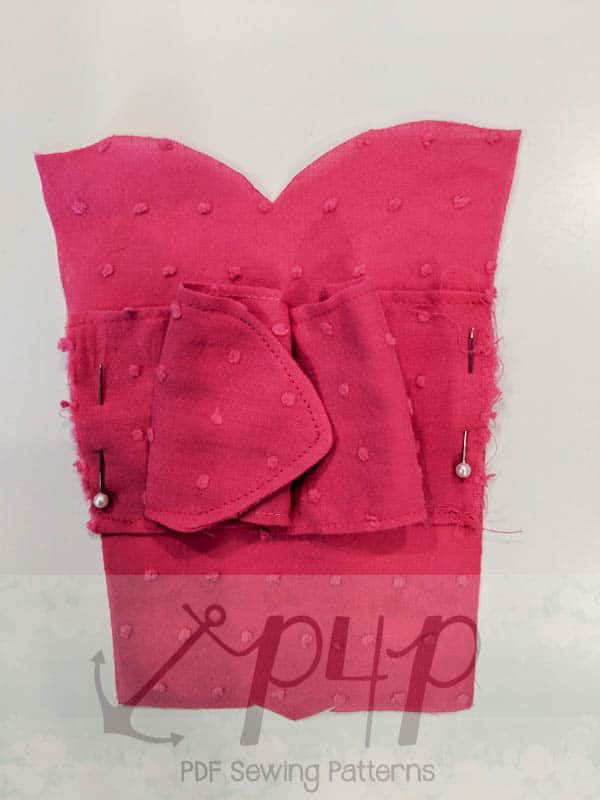
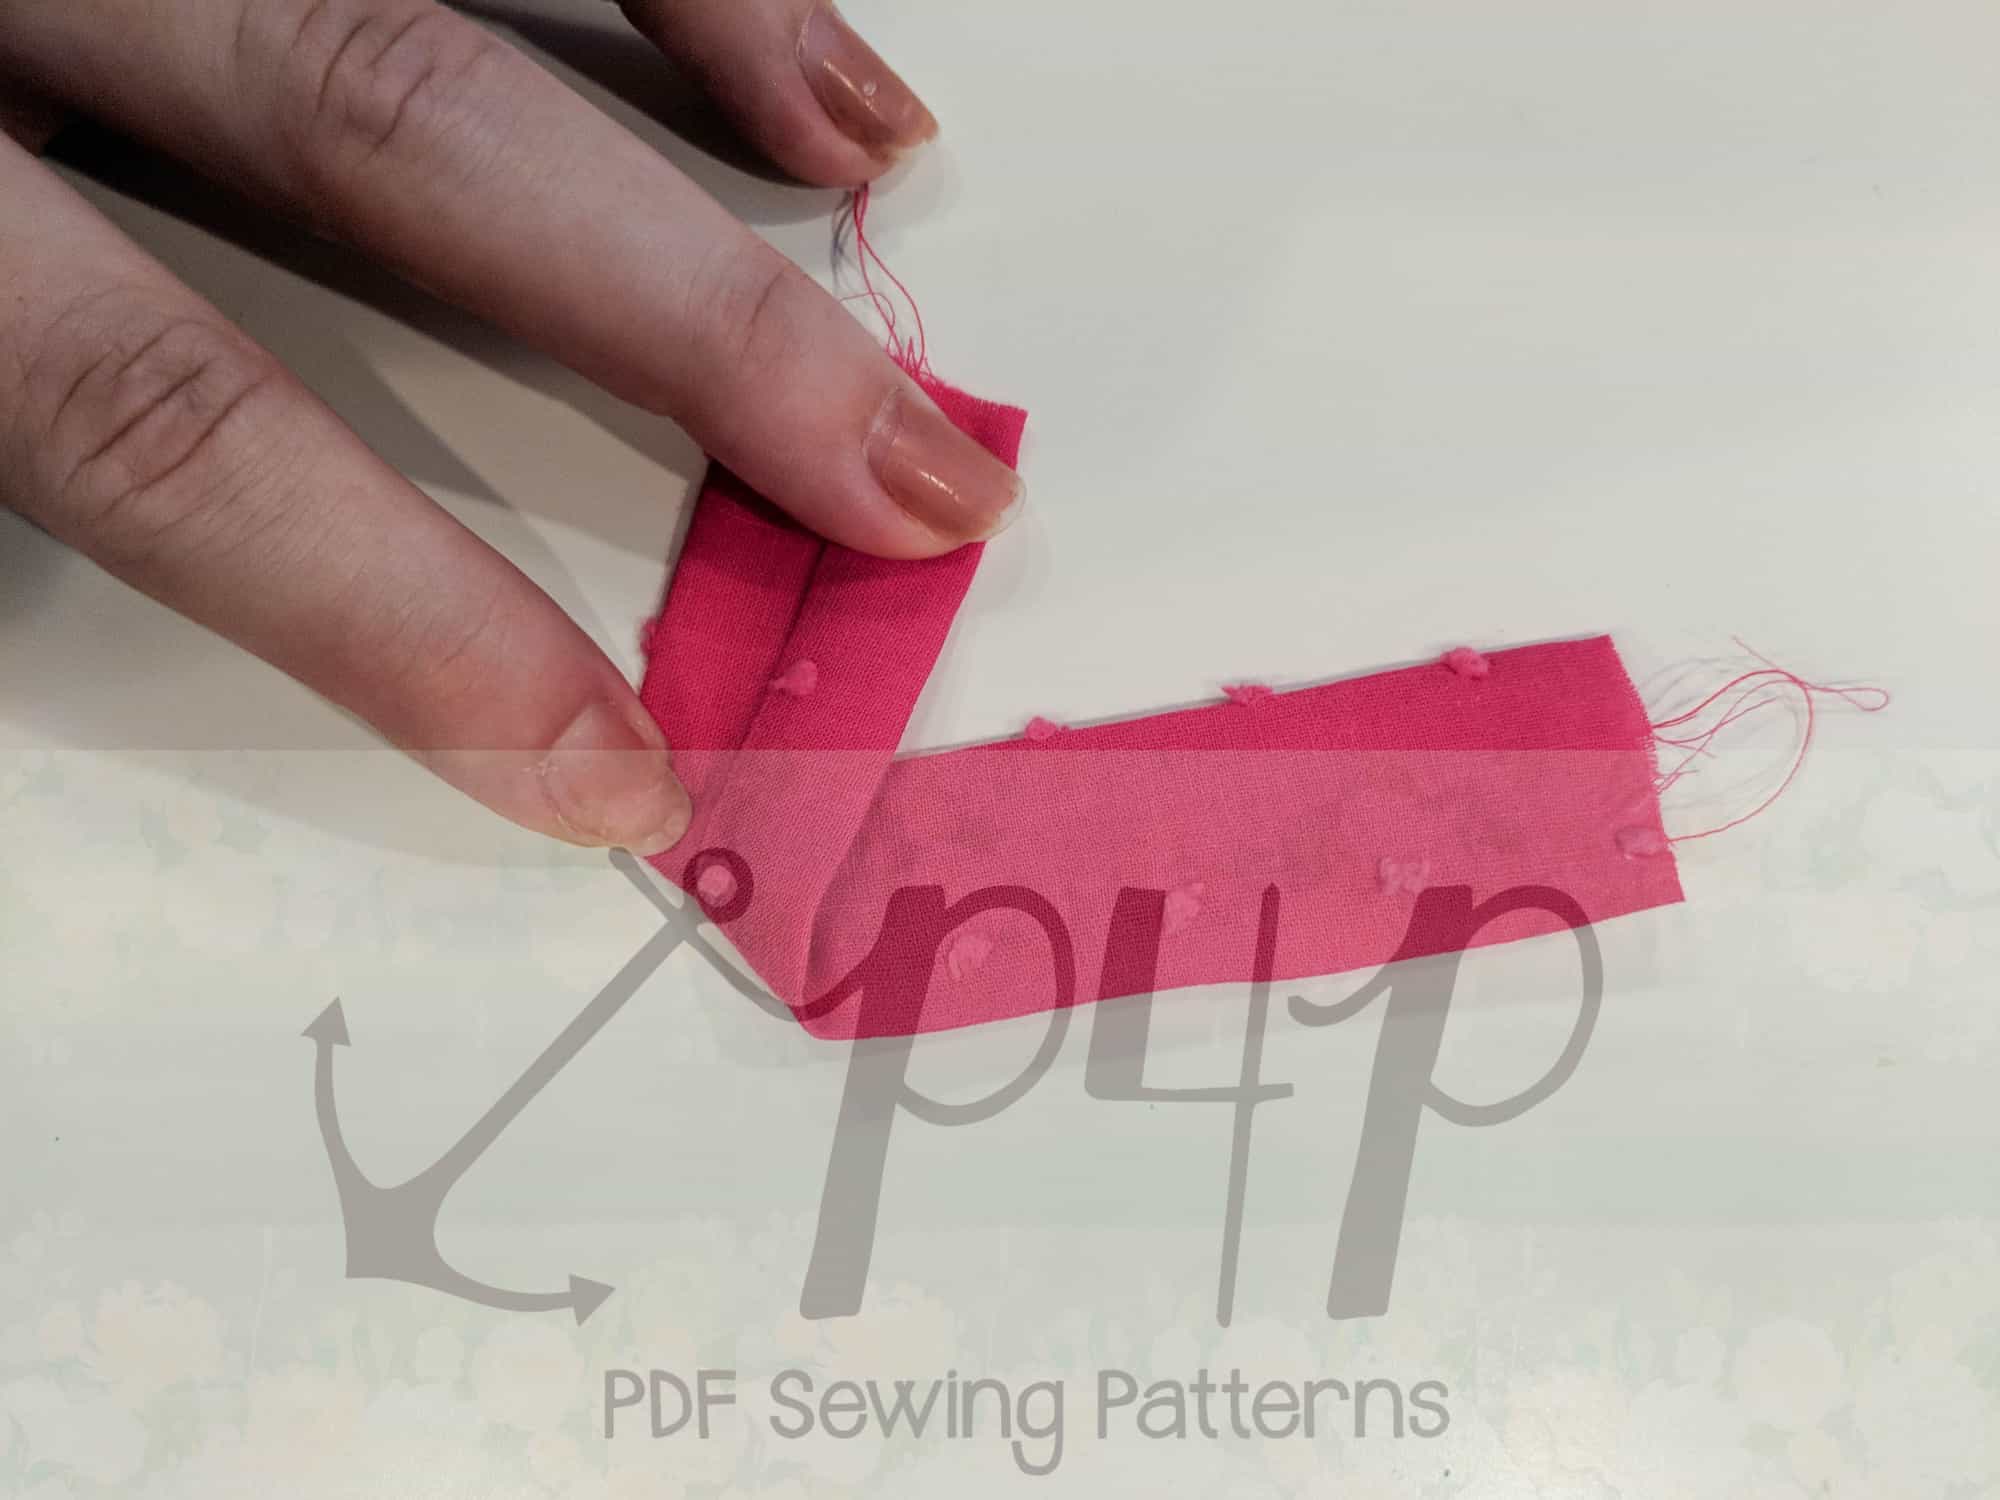
Lumberjack Sew along – day 5 | hood/collar
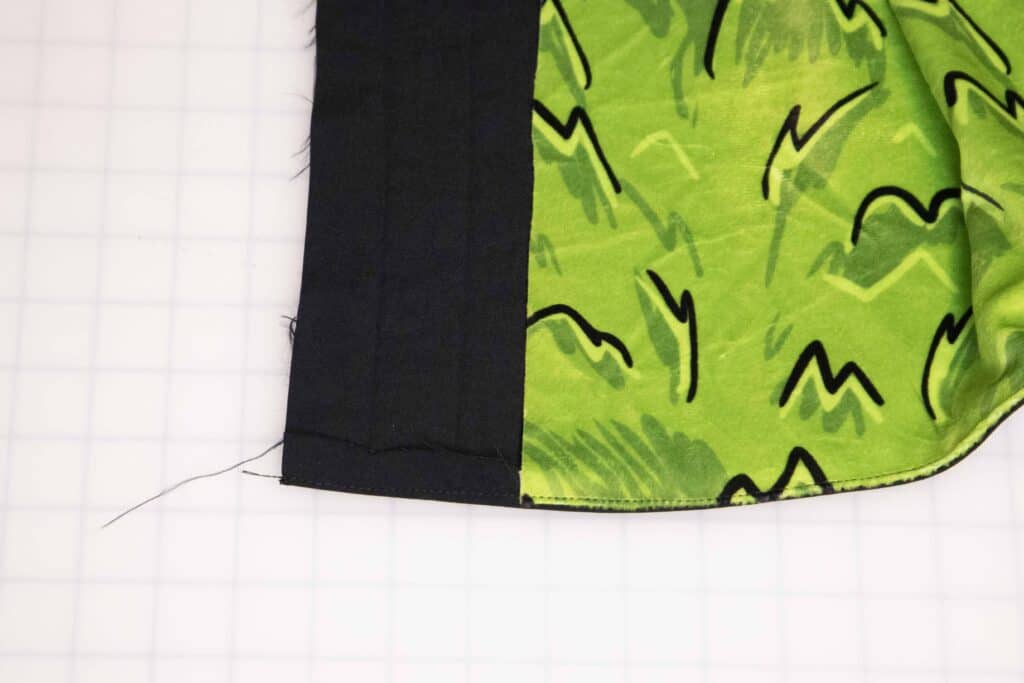
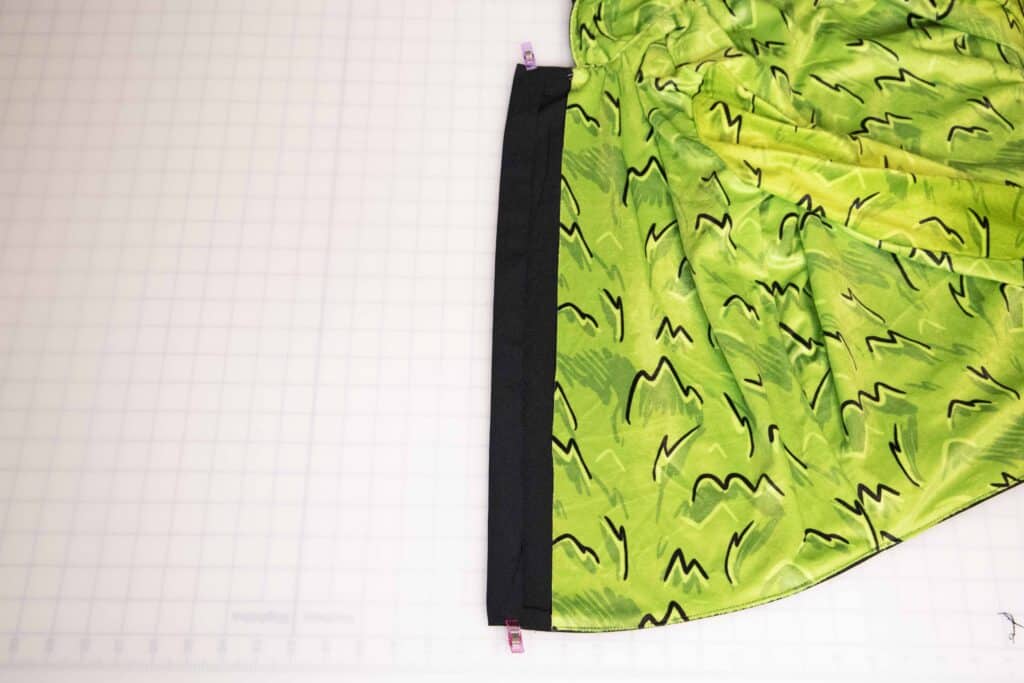
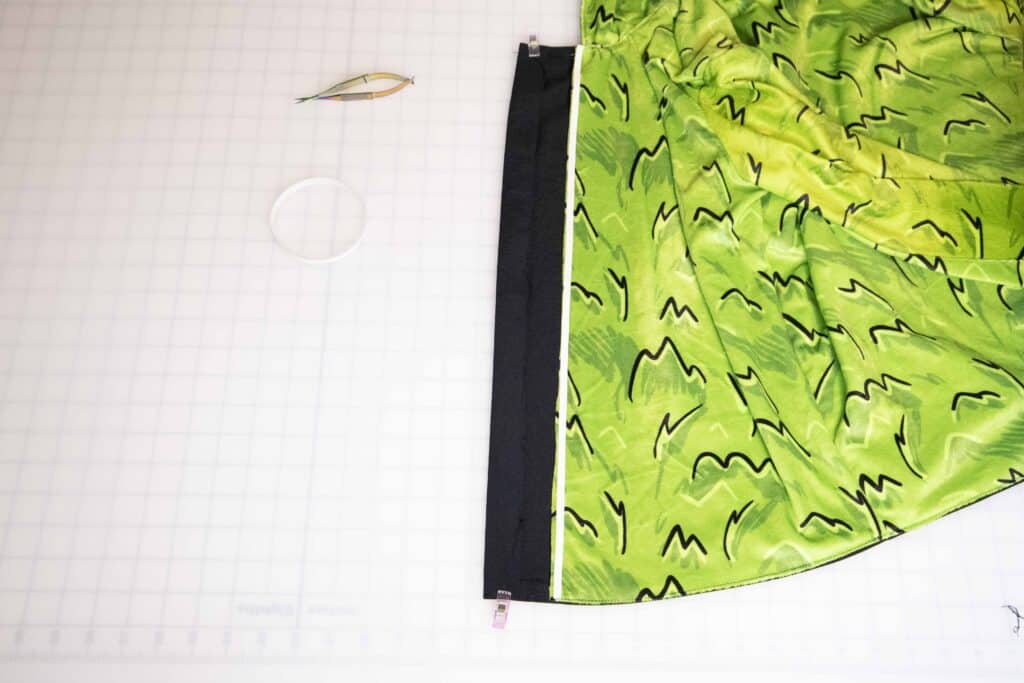
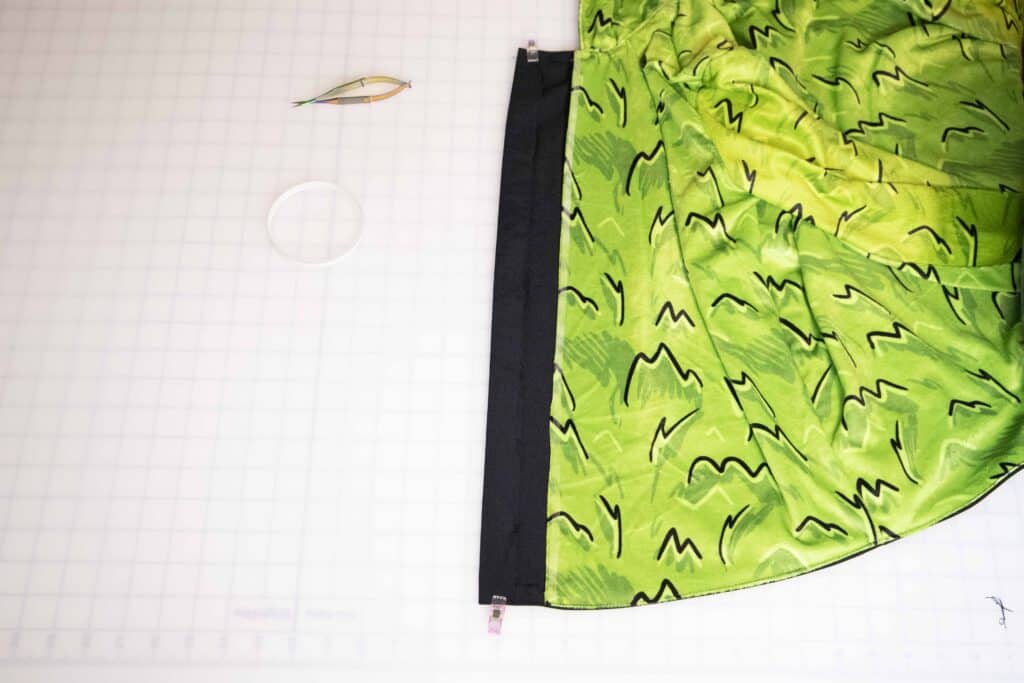
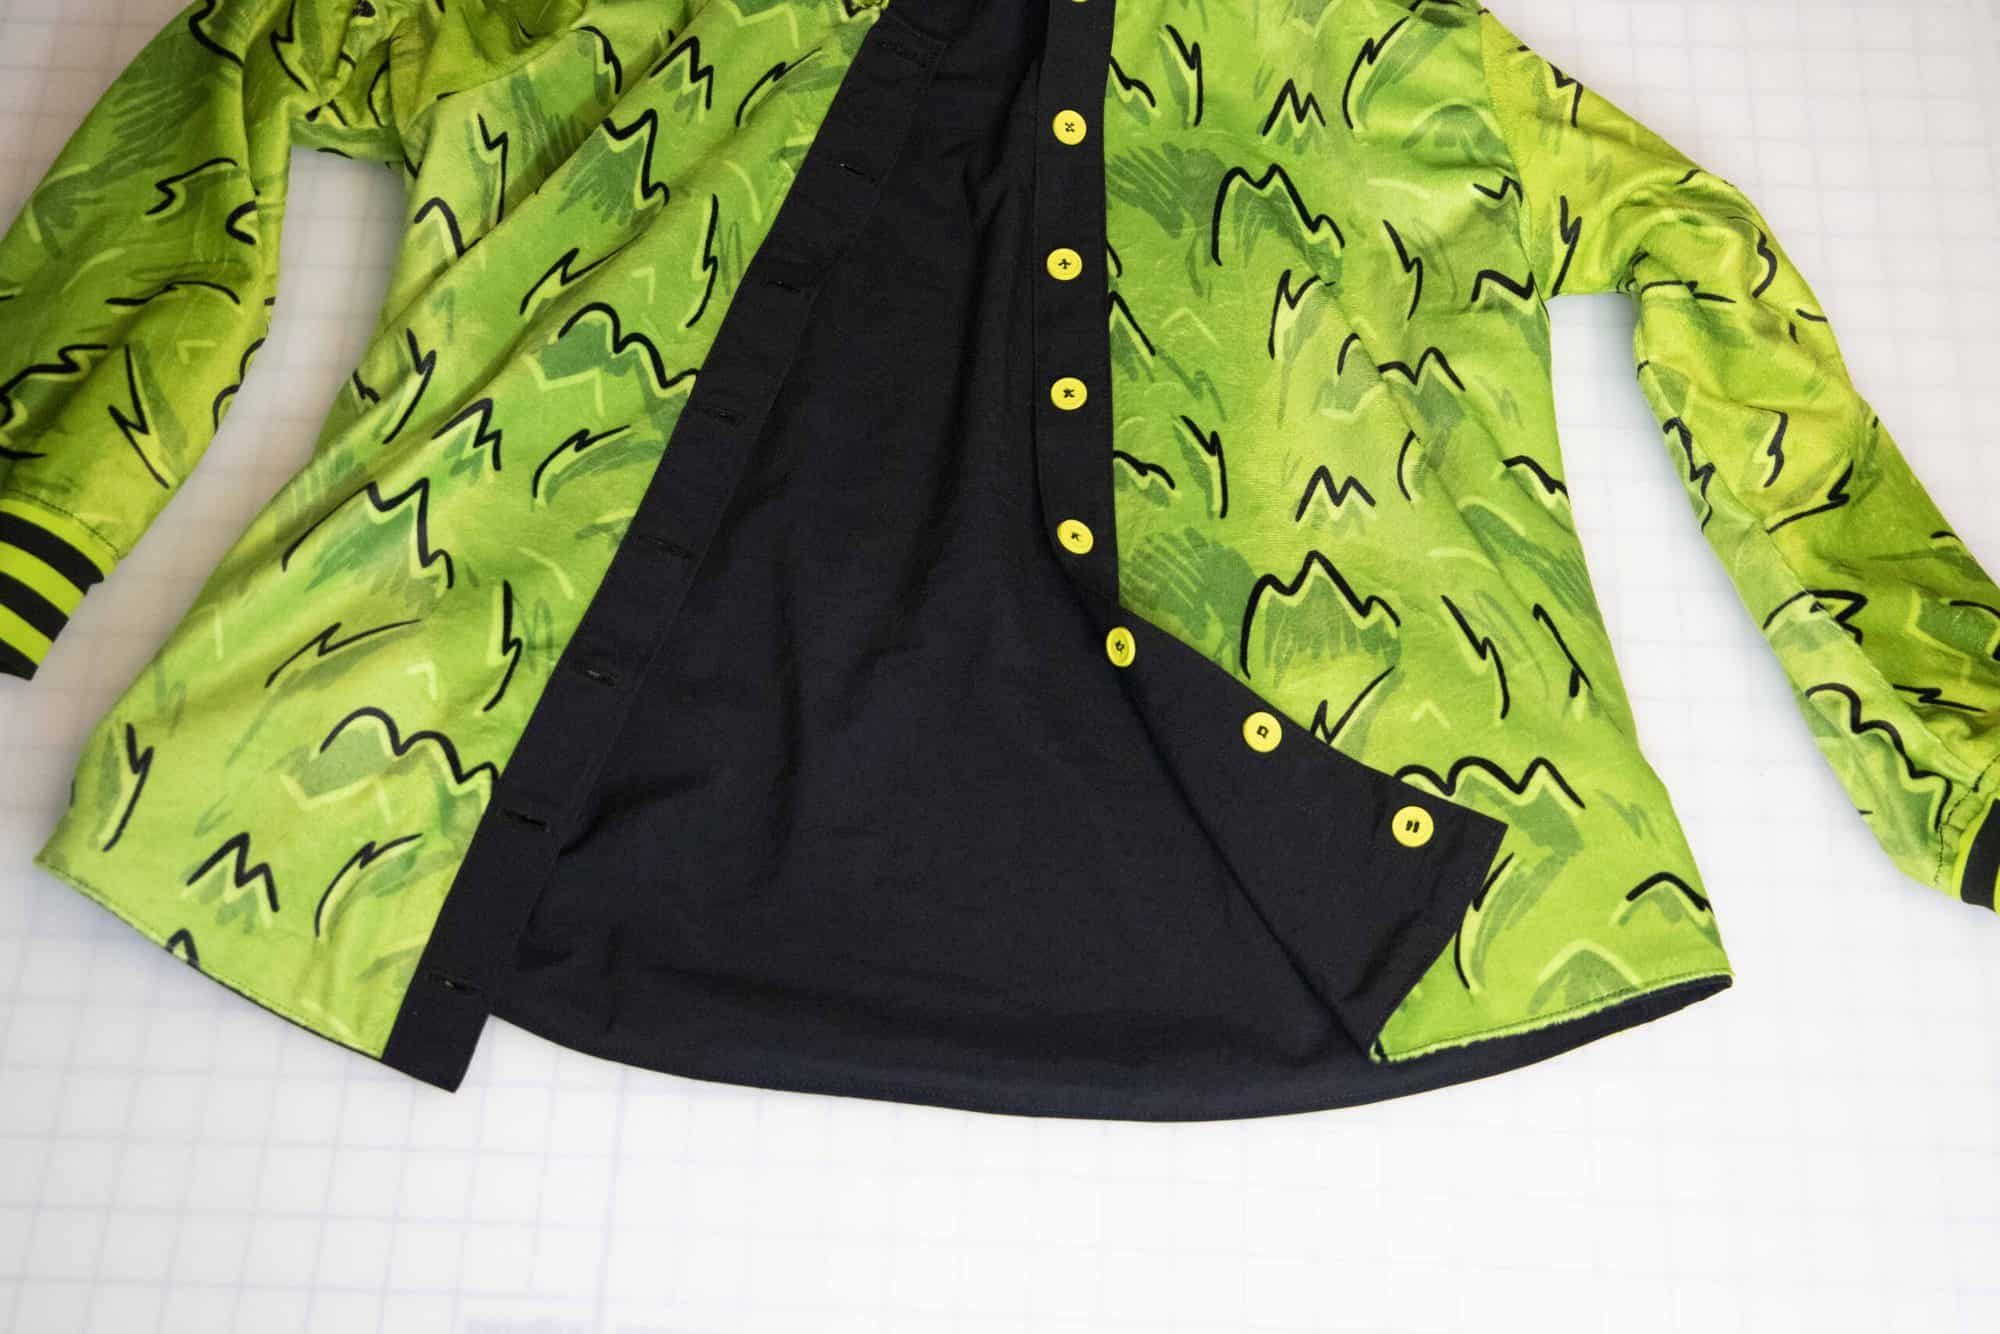
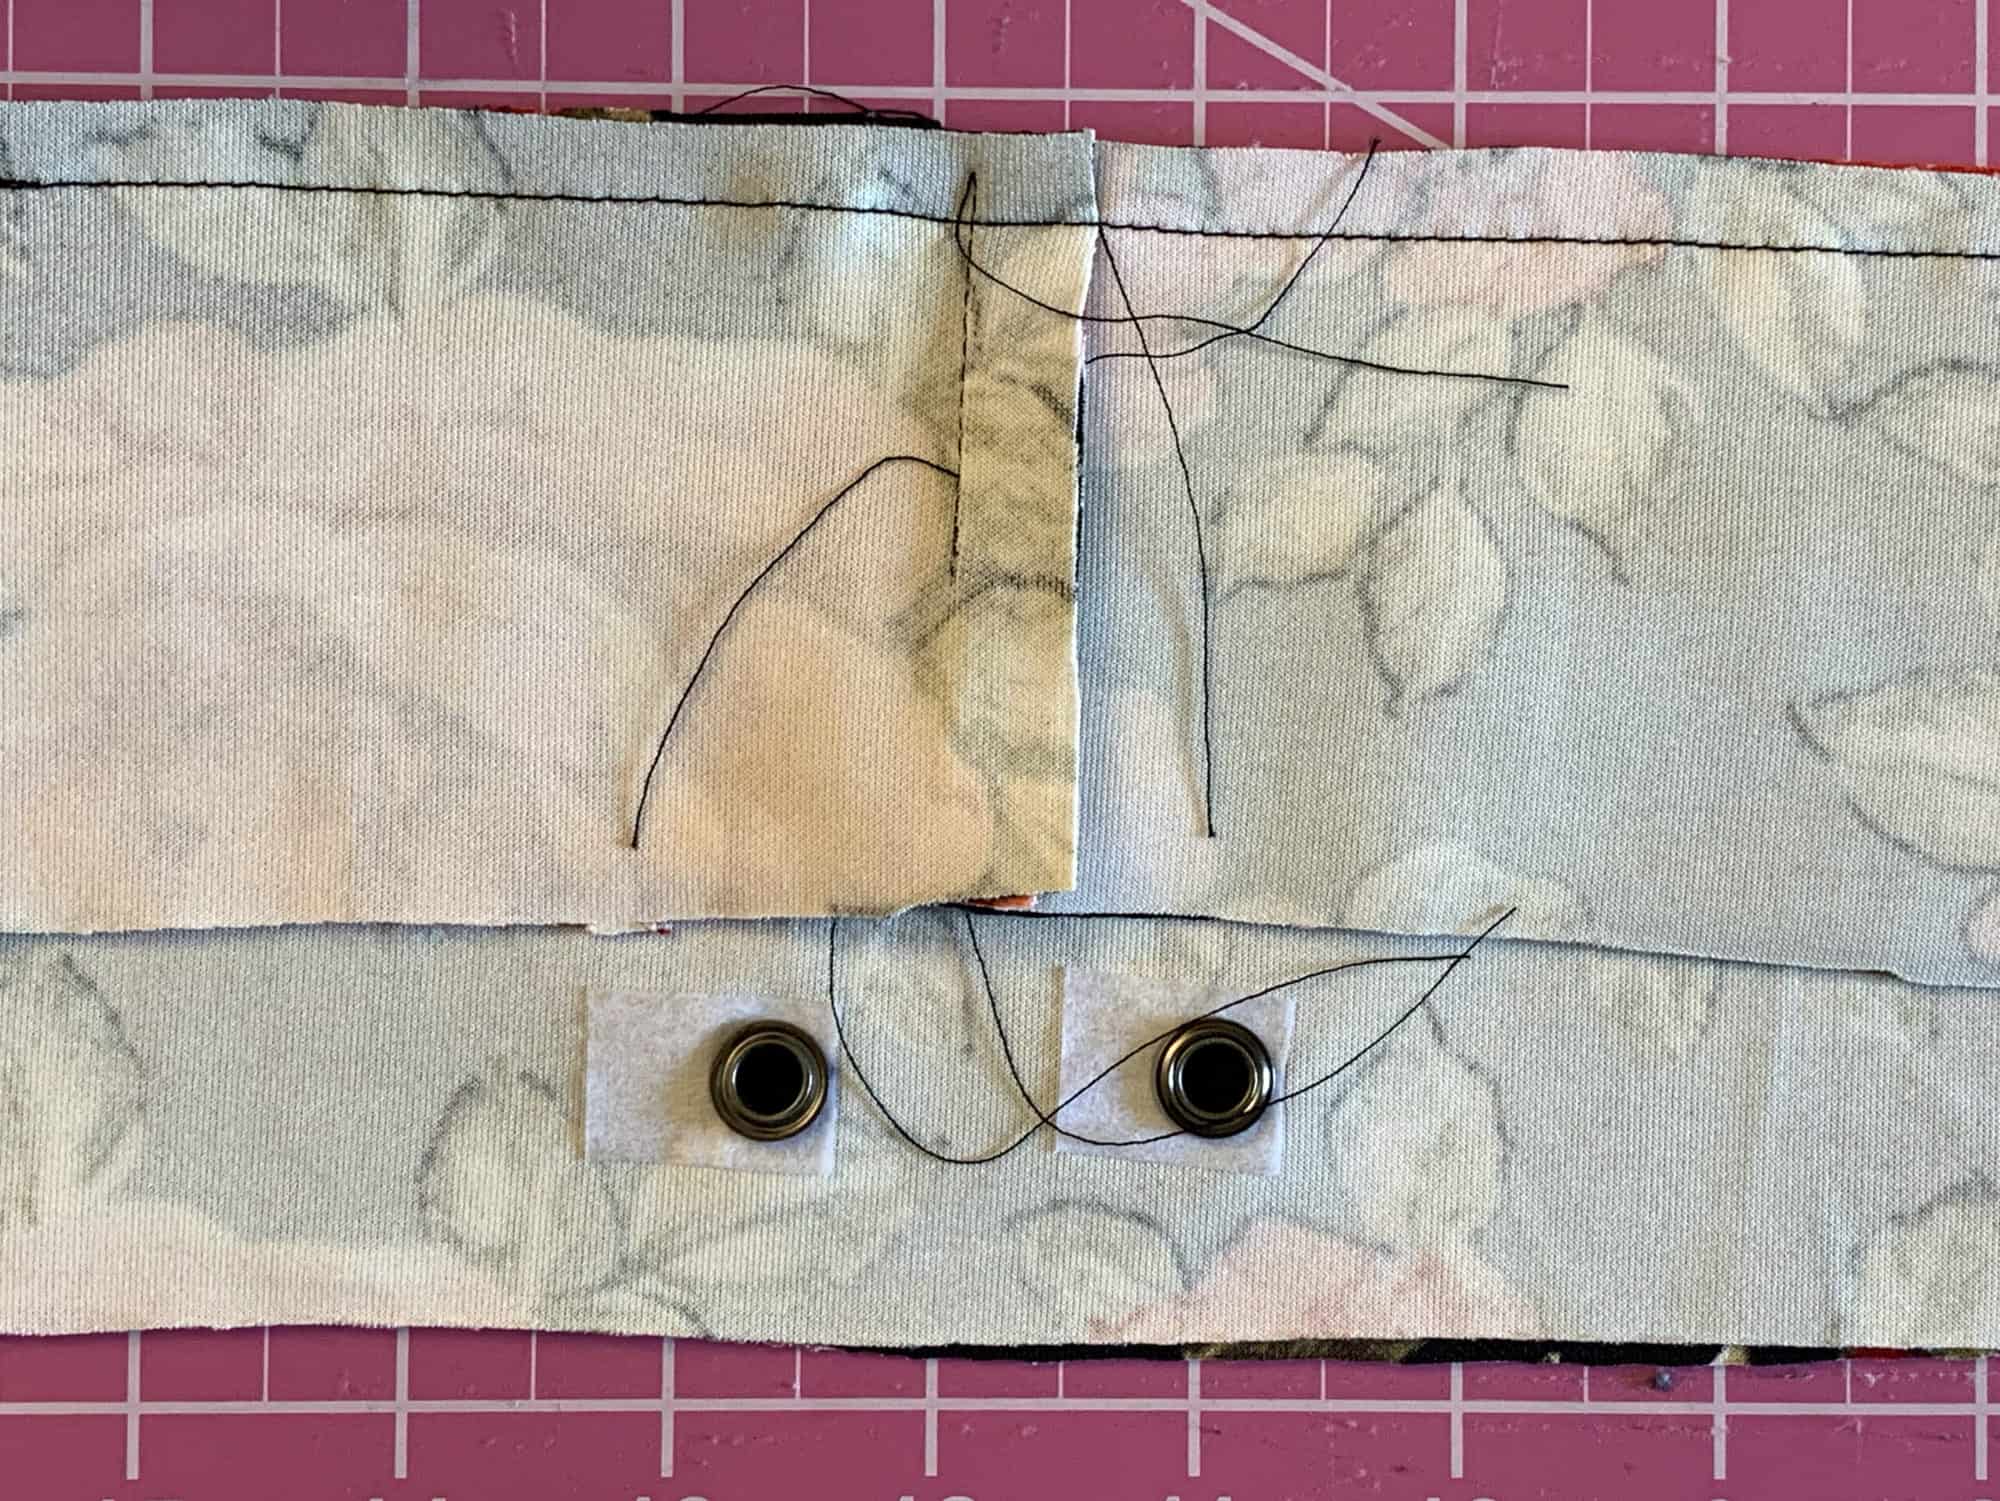
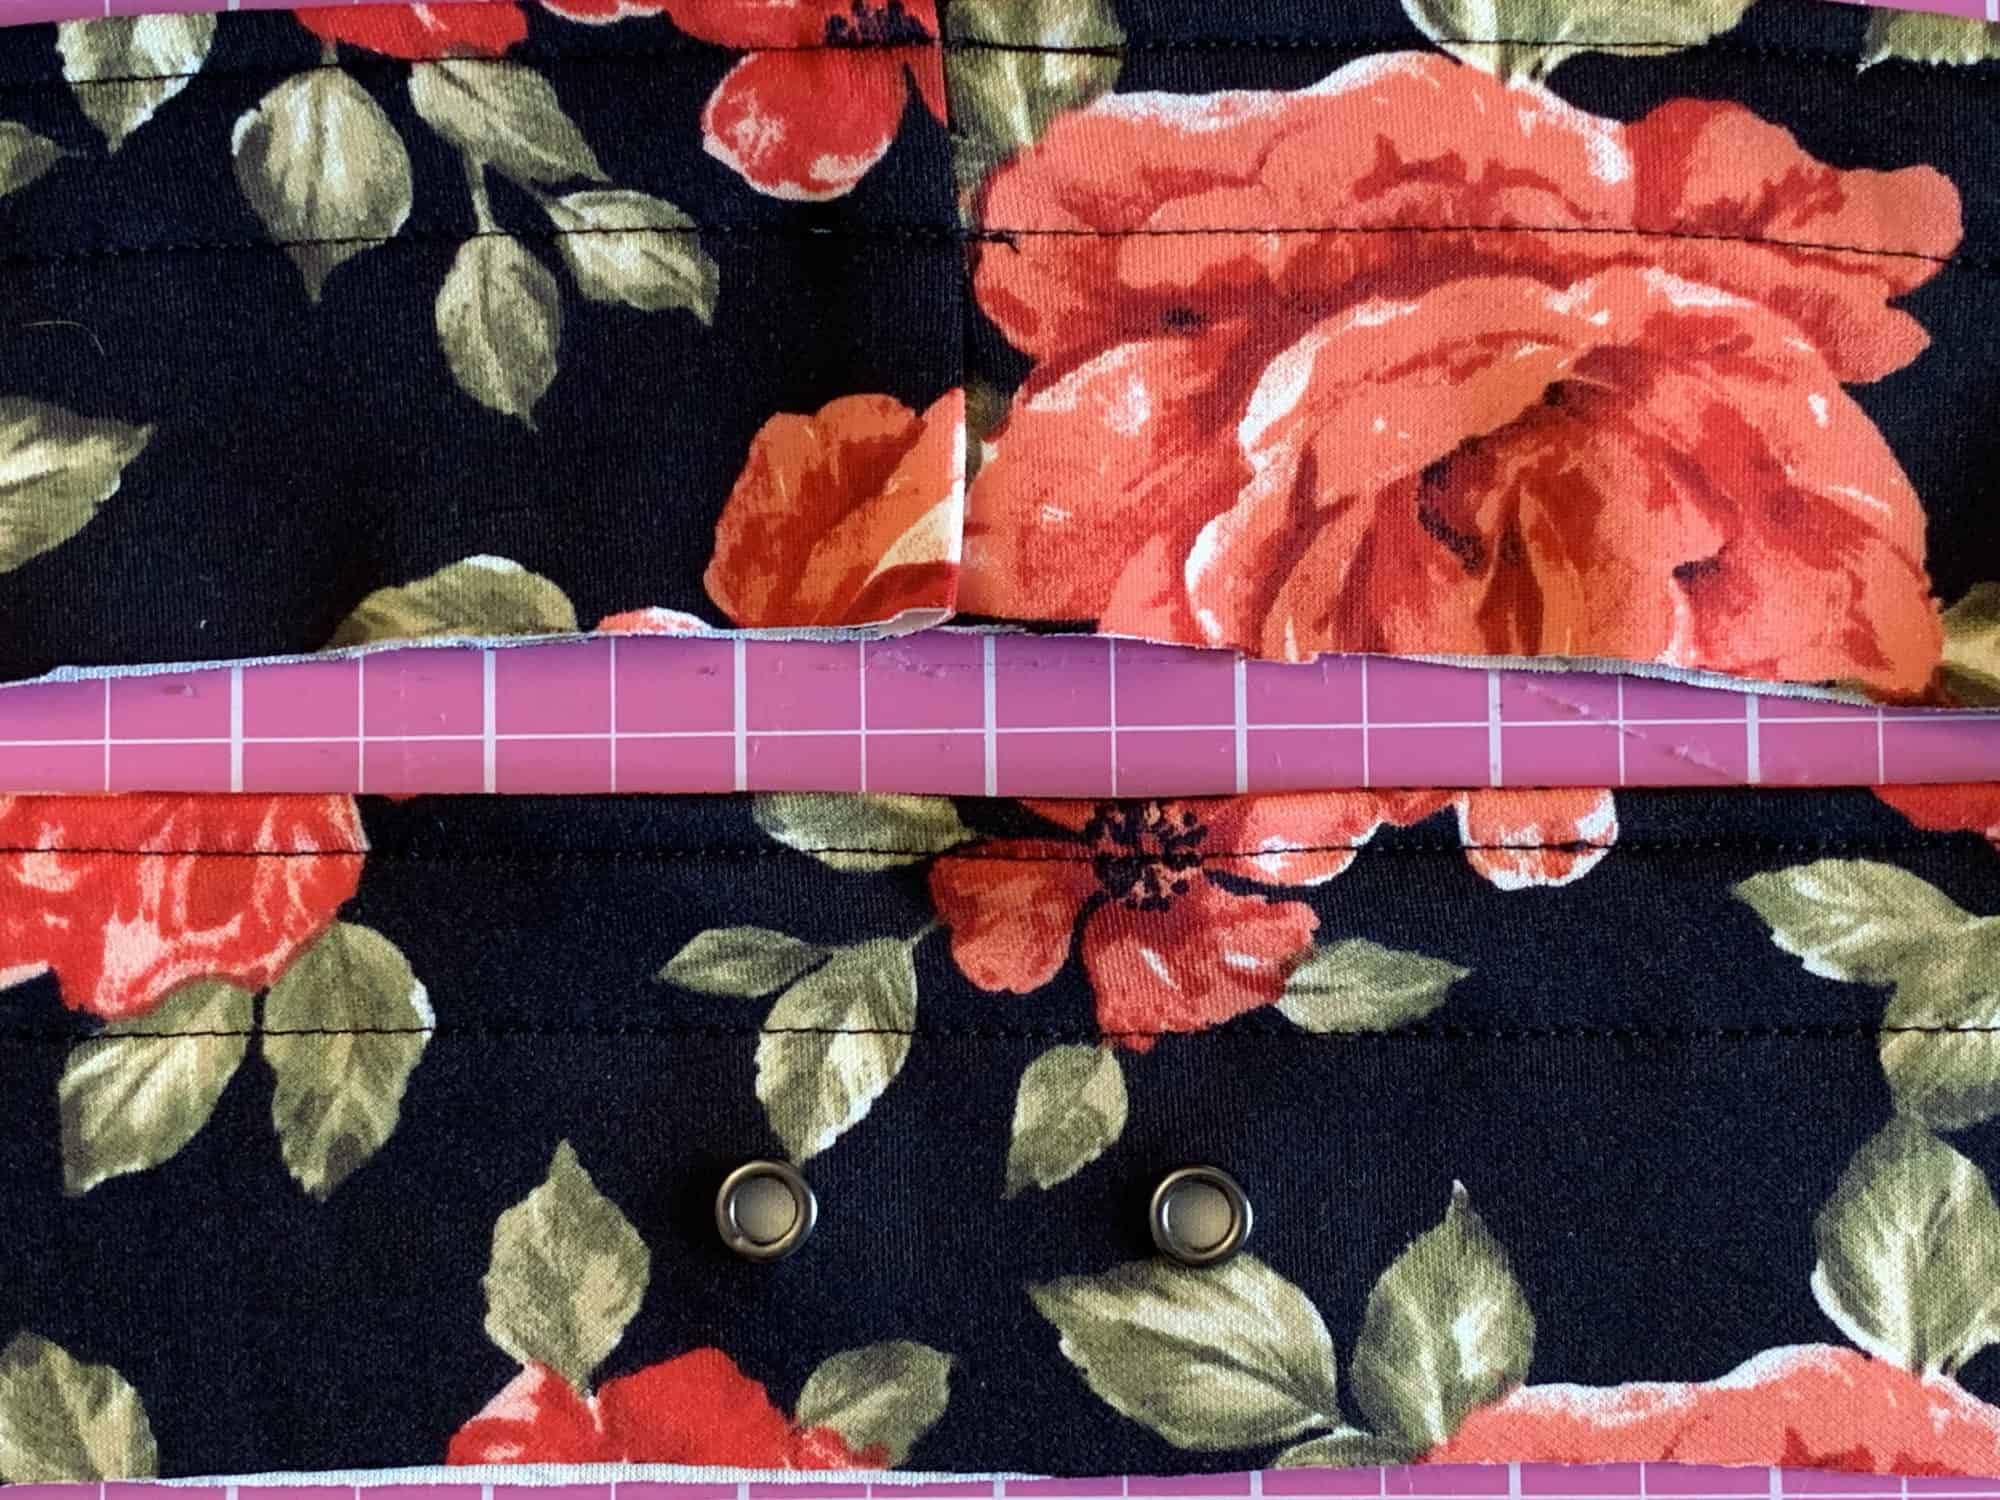
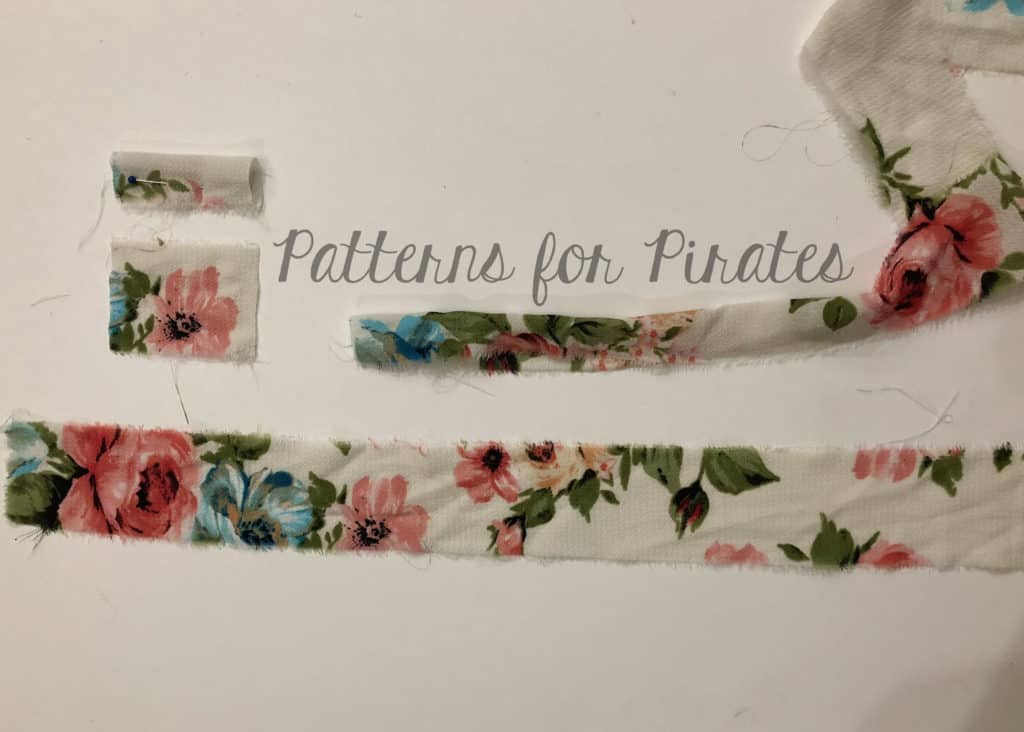
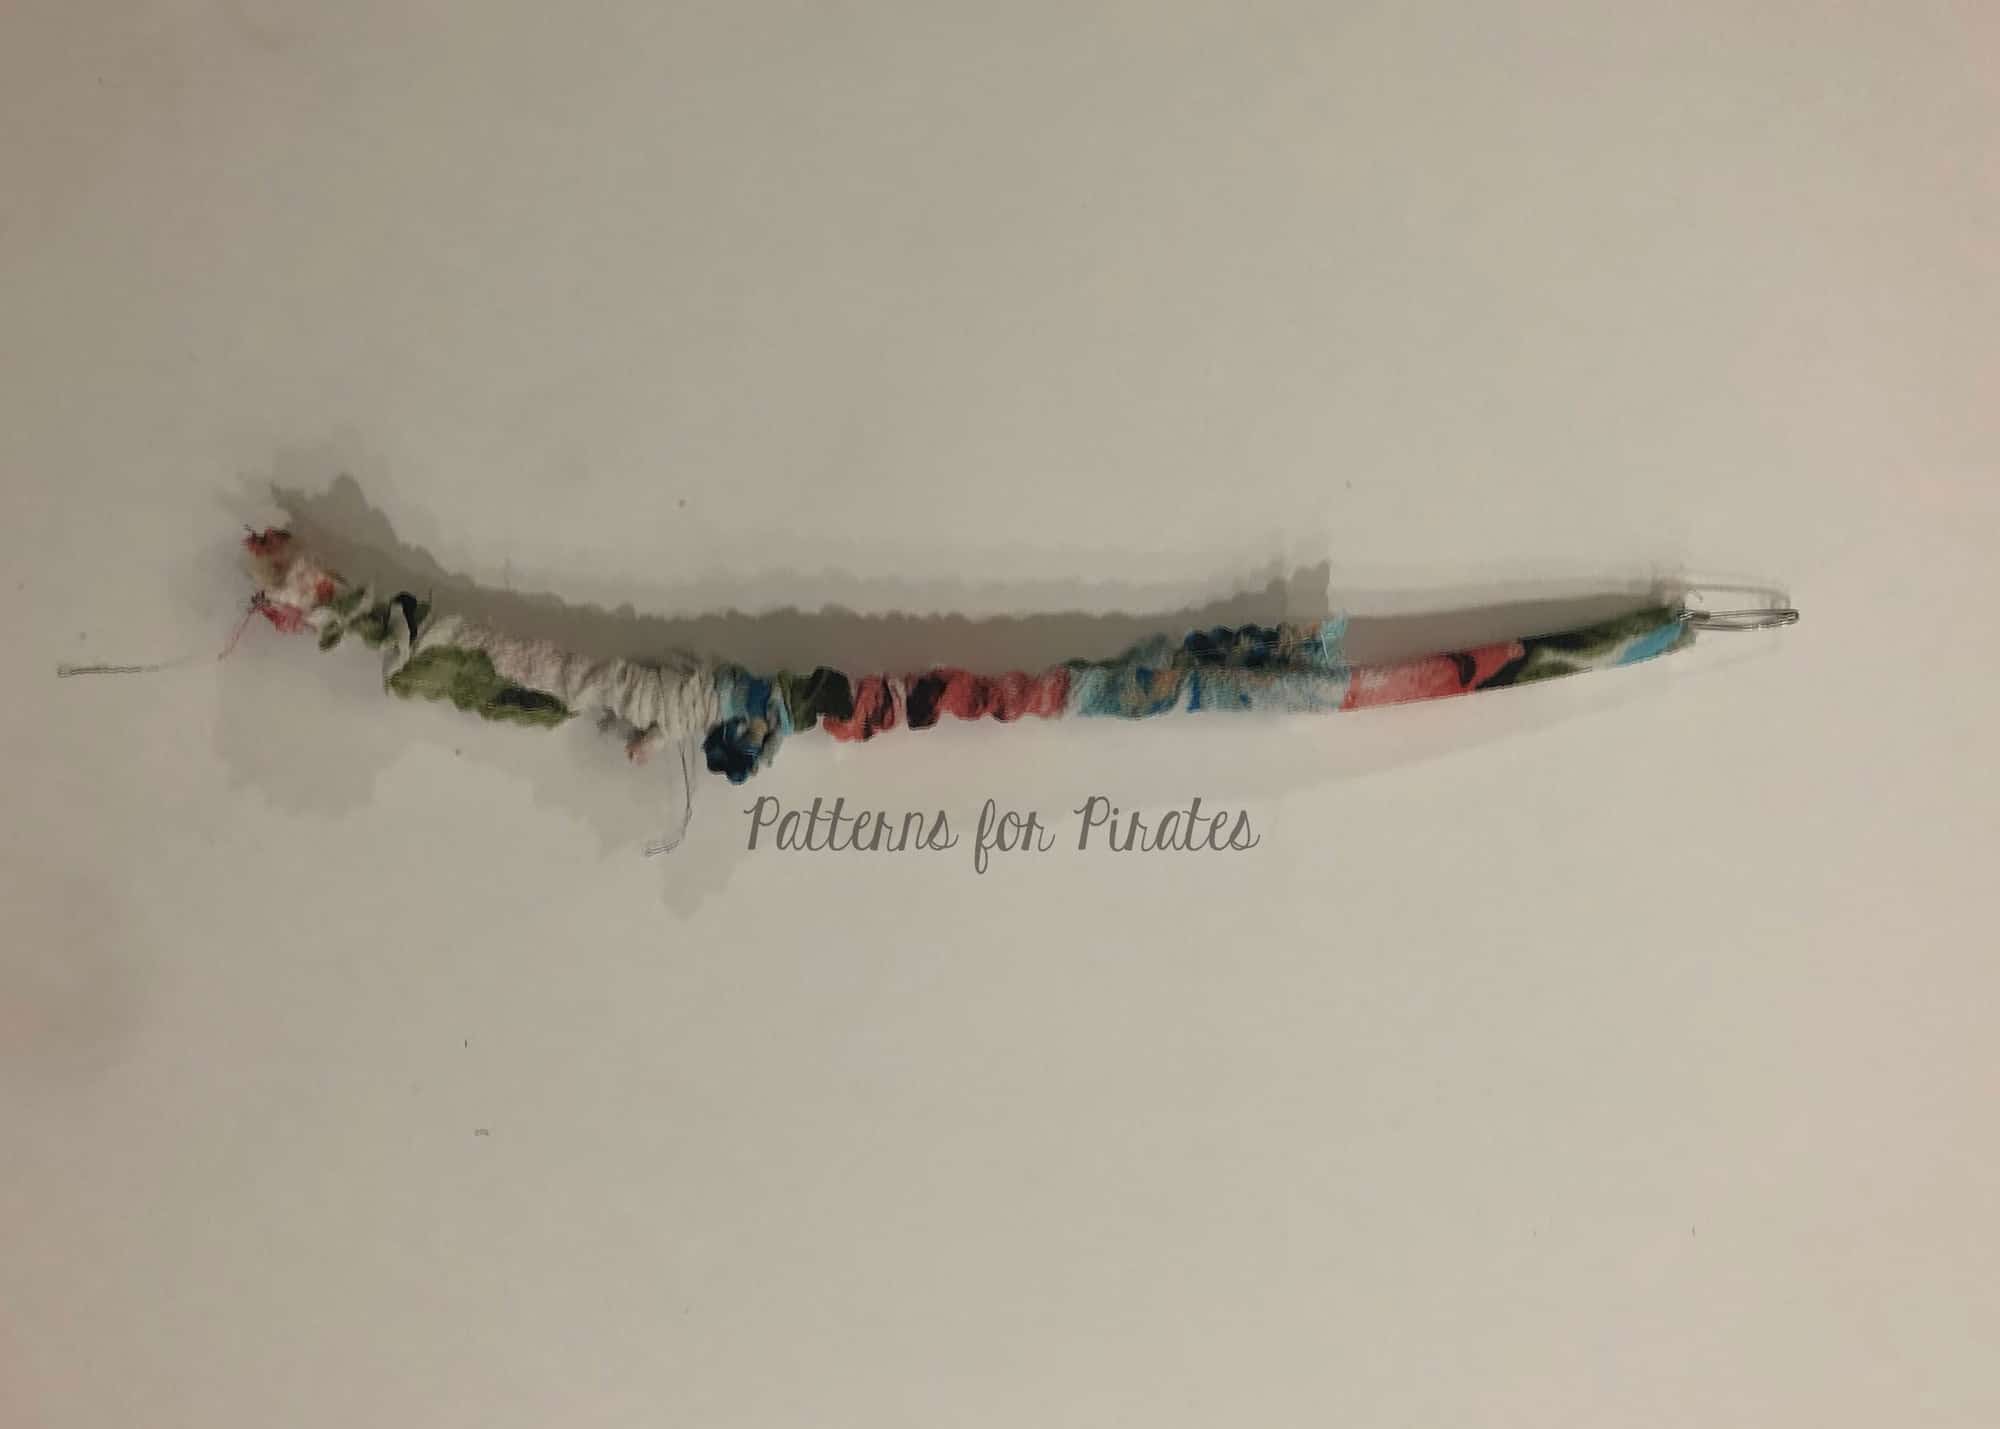
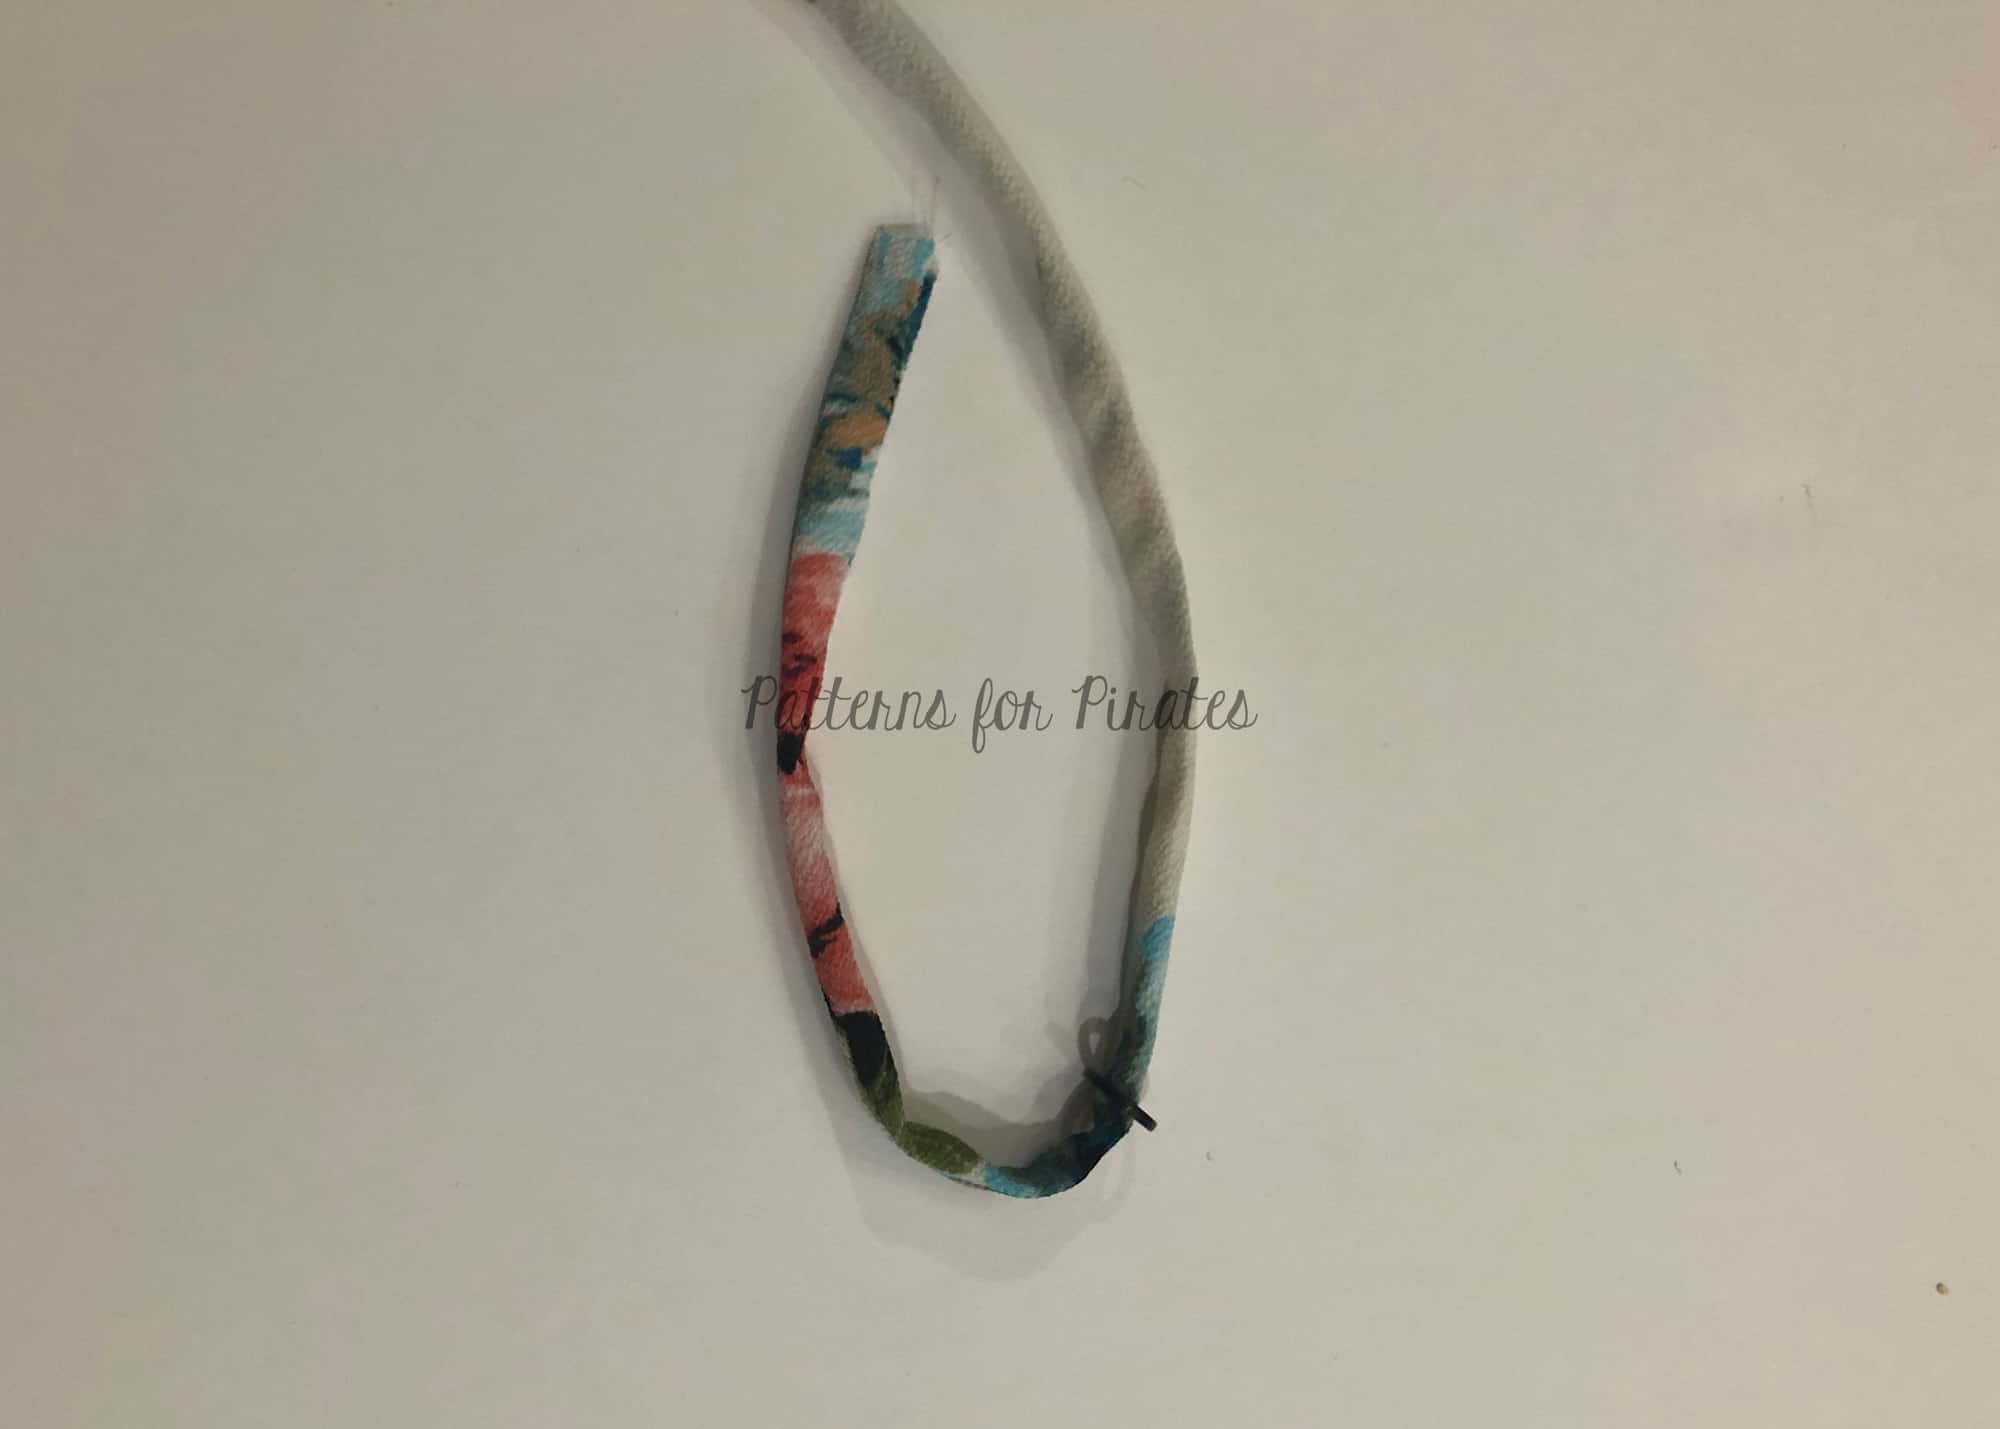
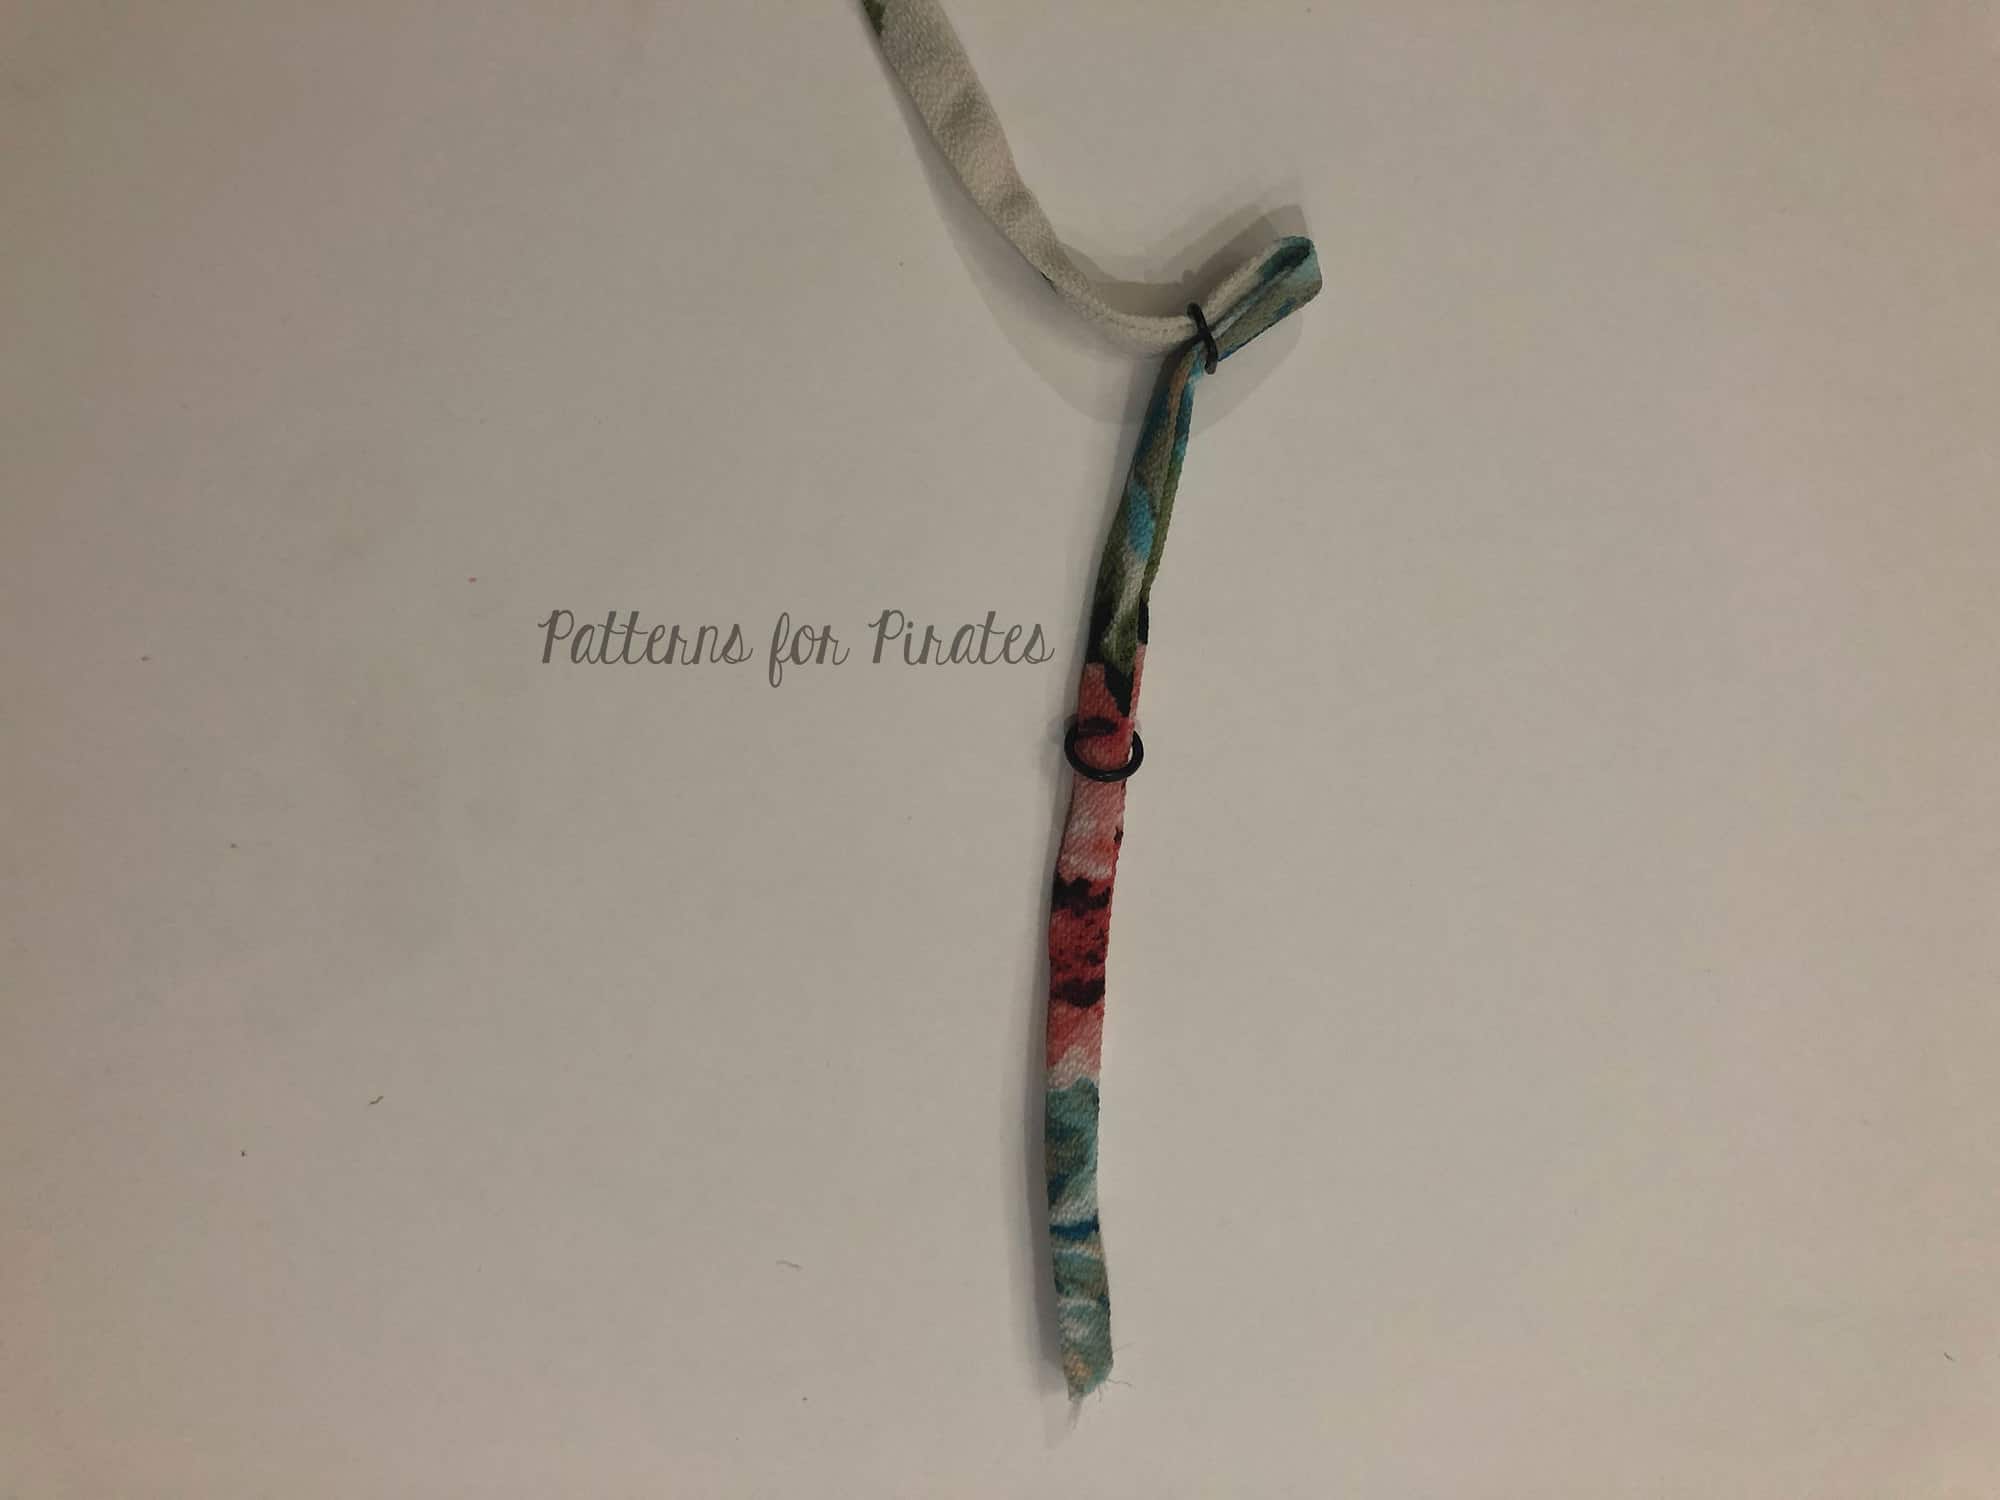
Lumberjack Sew along – day 6 | hemming, closures
Lumberjack Sew along – day 7 | winners announcement
![]()