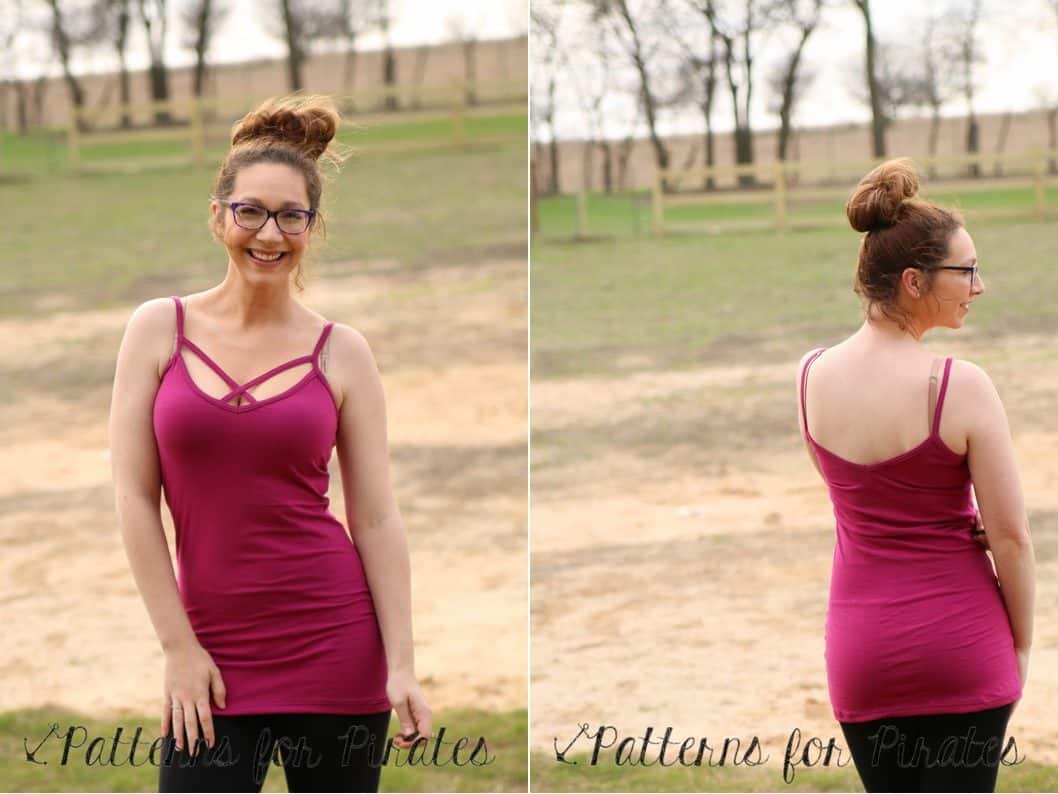
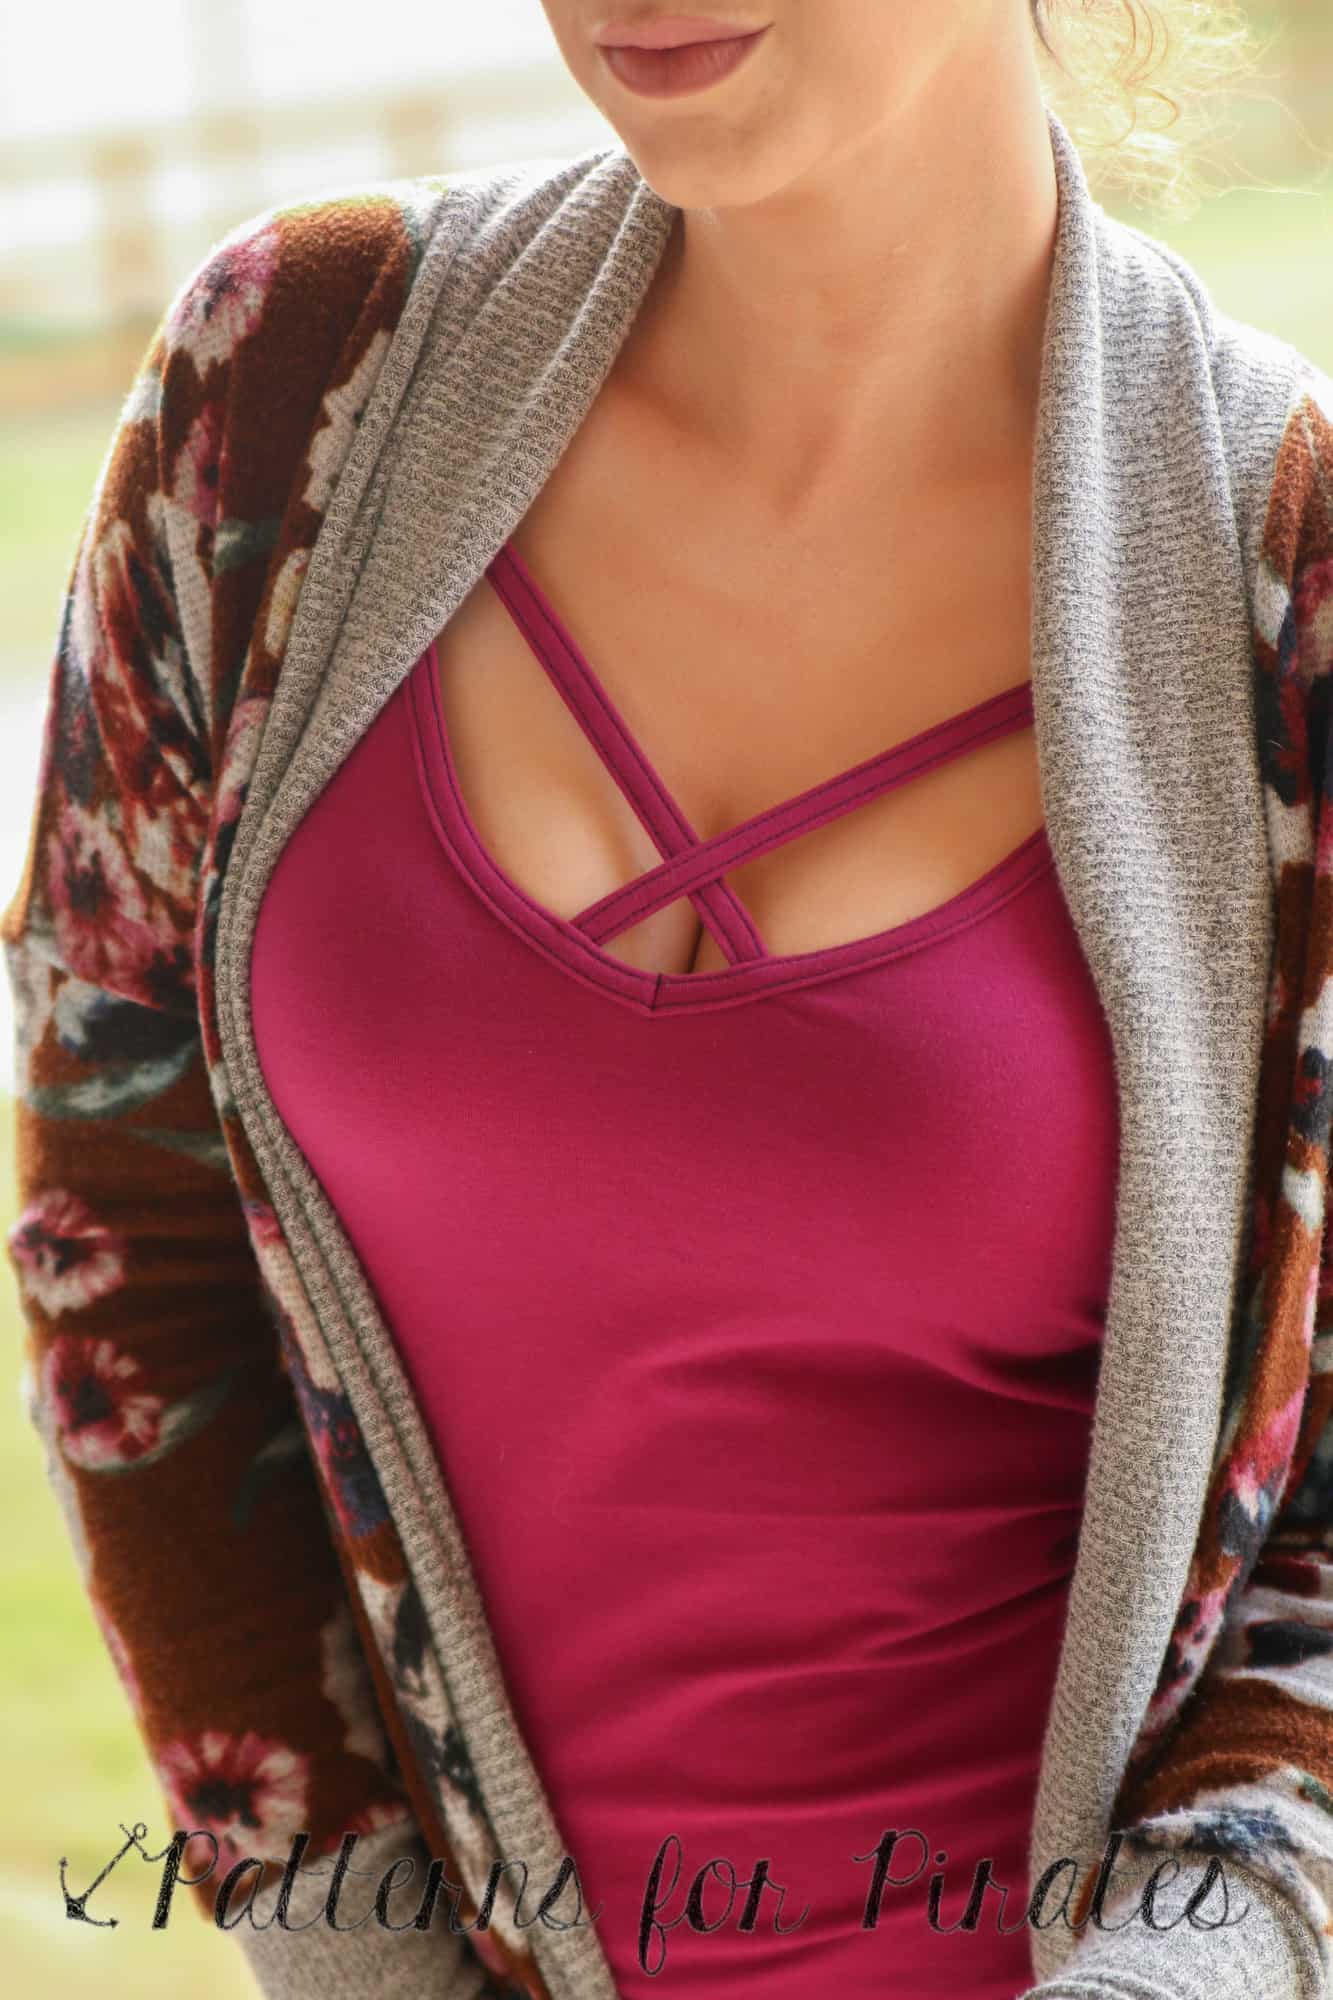
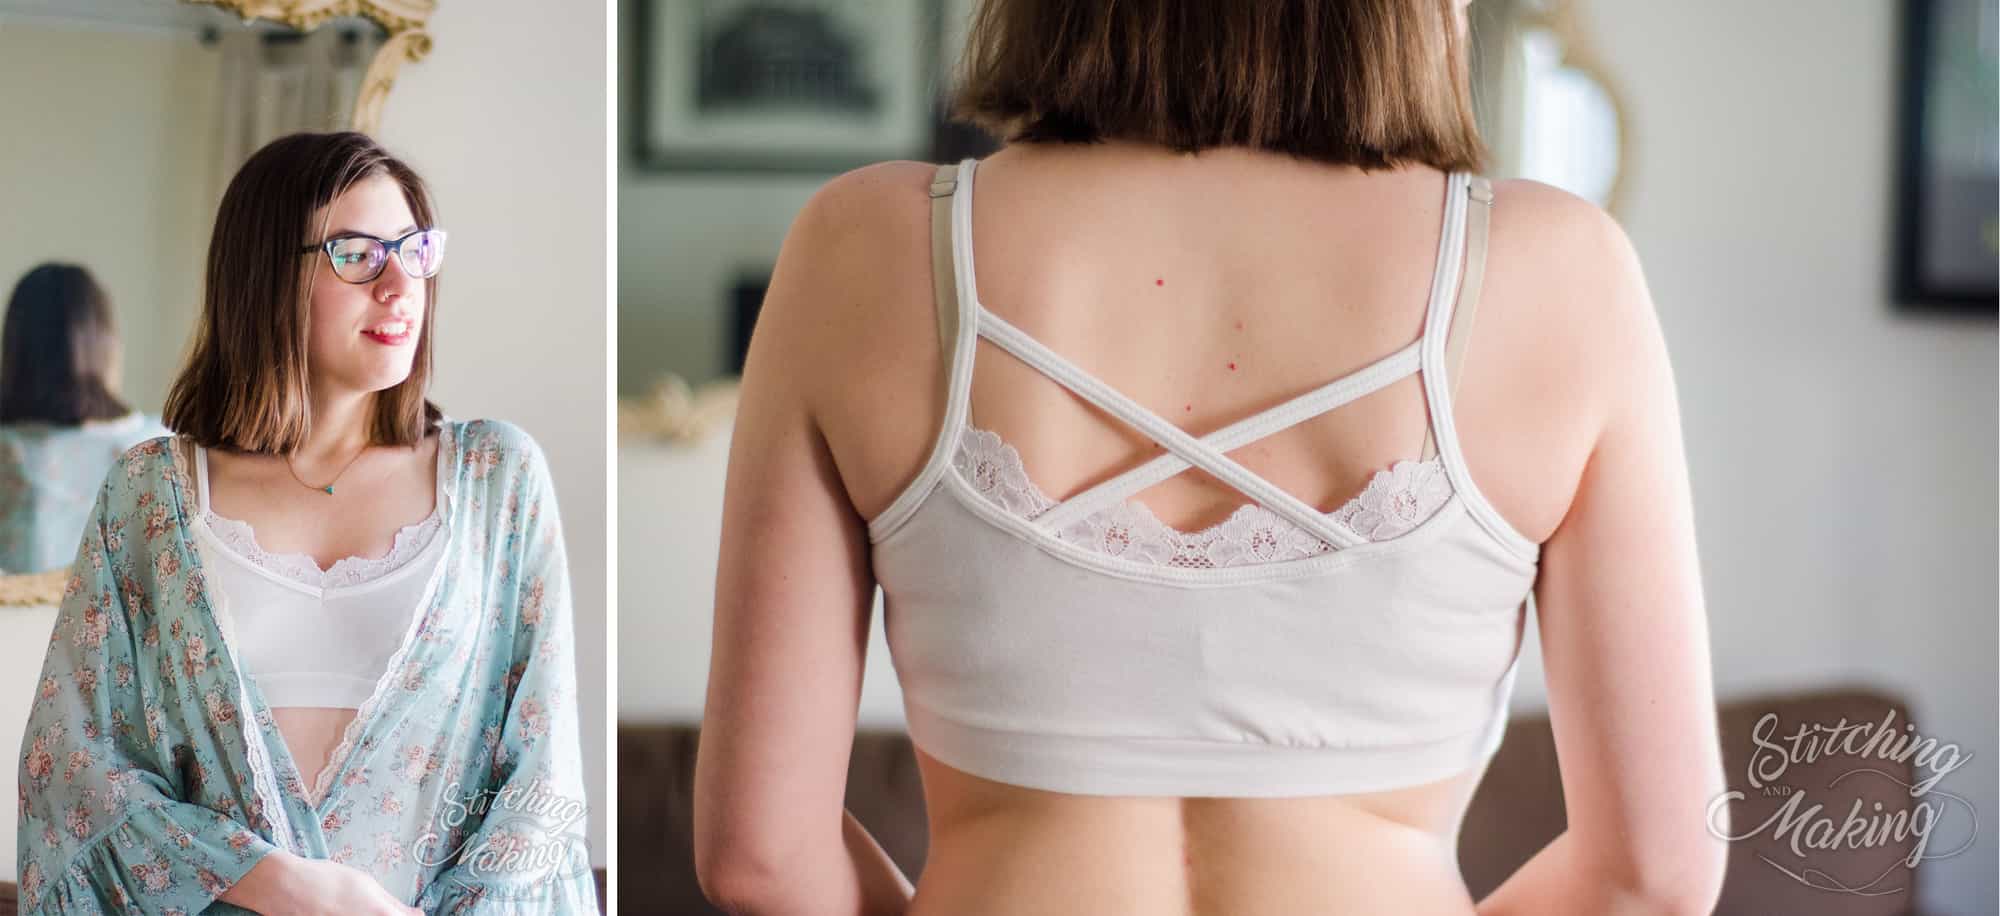
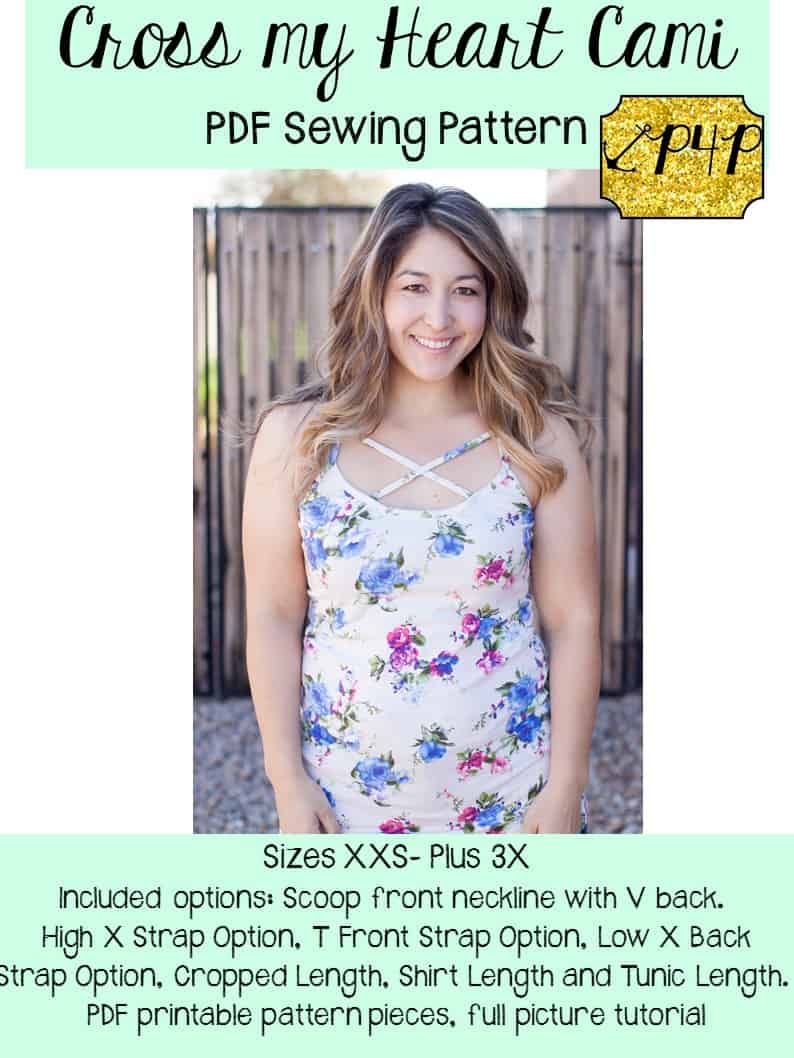
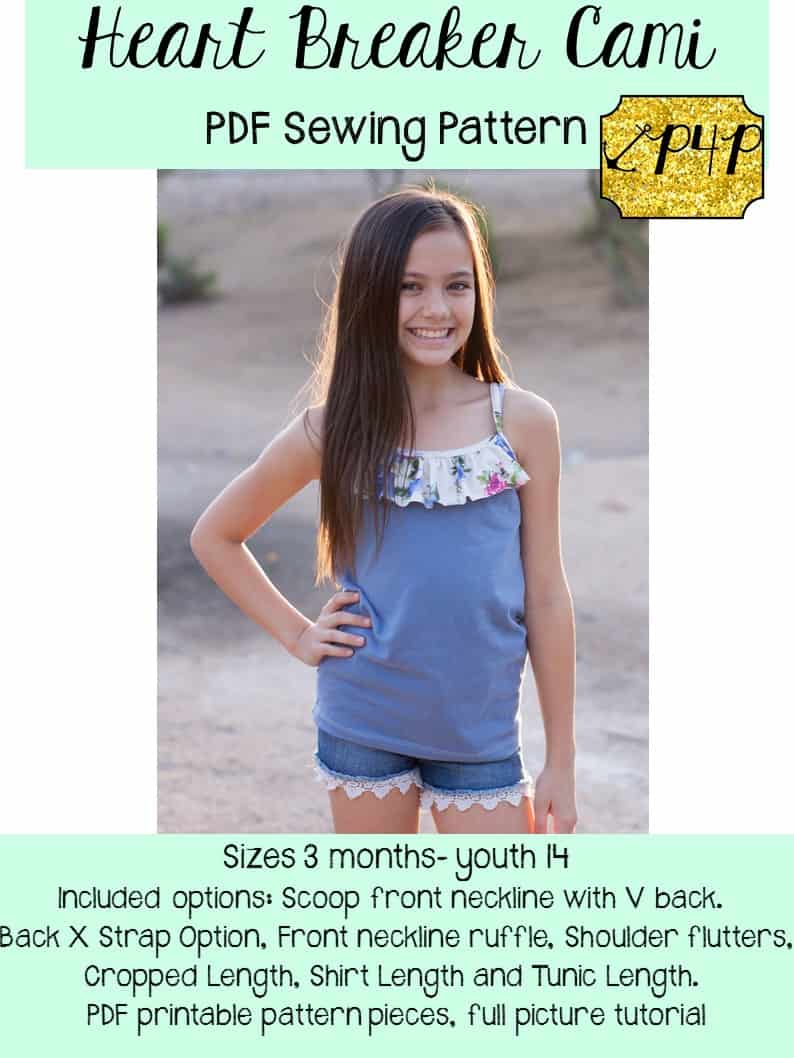
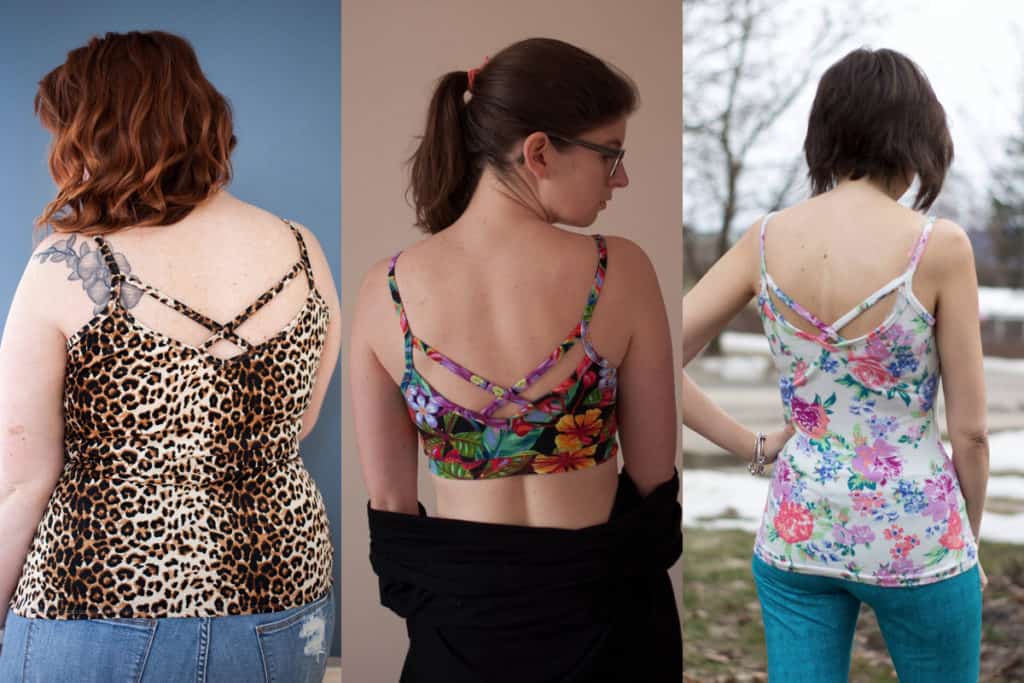
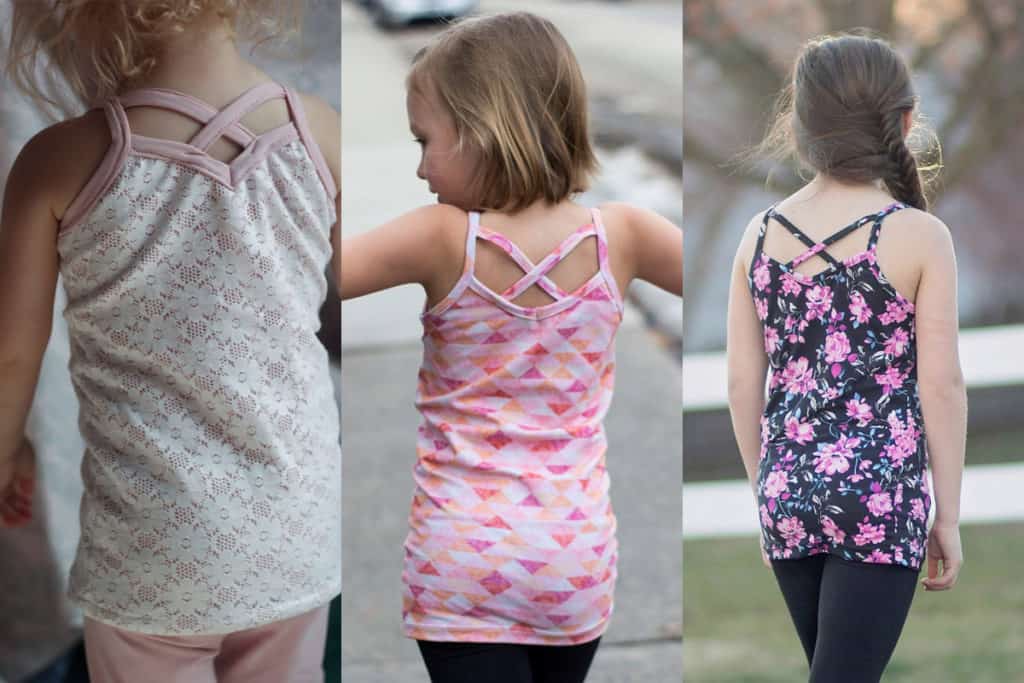
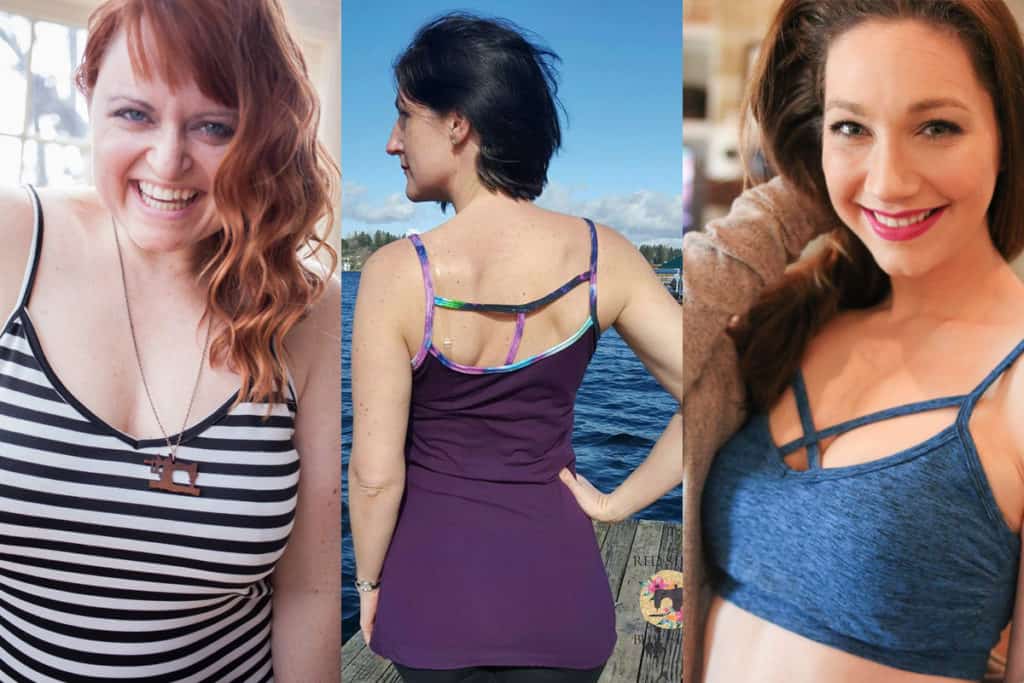
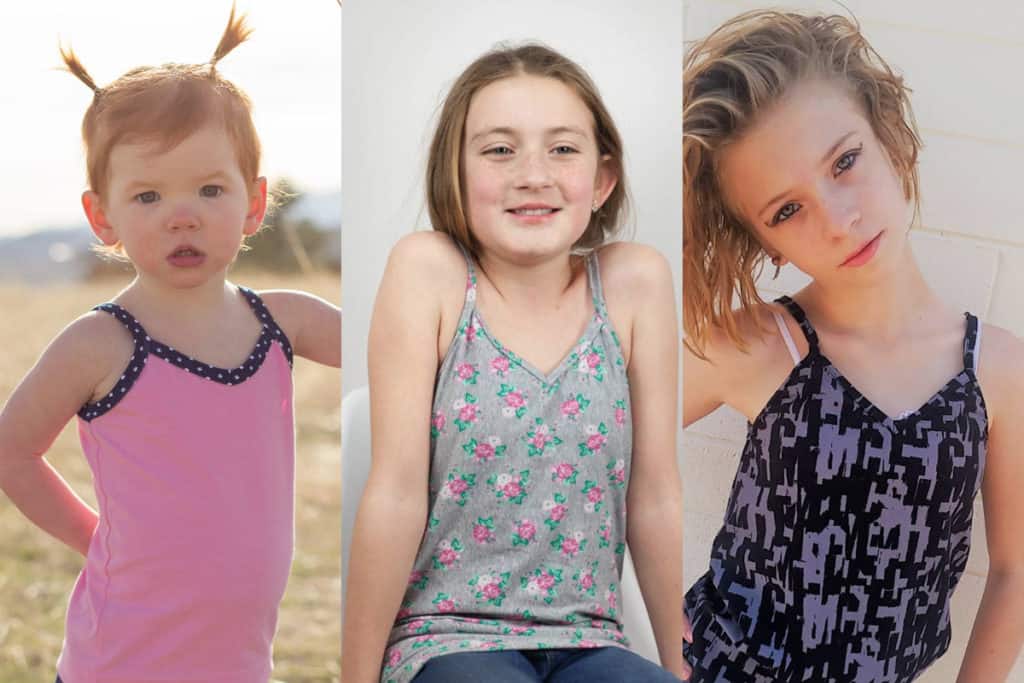
With our recent release of the Cross my Heart and Heart Breaker Cami patterns, we’ve had some questions and hesitation about the straps… because, well, they look scary! They may look intimidating but they truly are not as bad as they appear. We’re going to show you a few different ways to do knit binding and hopefully help ease those fears.
What is Knit Binding?
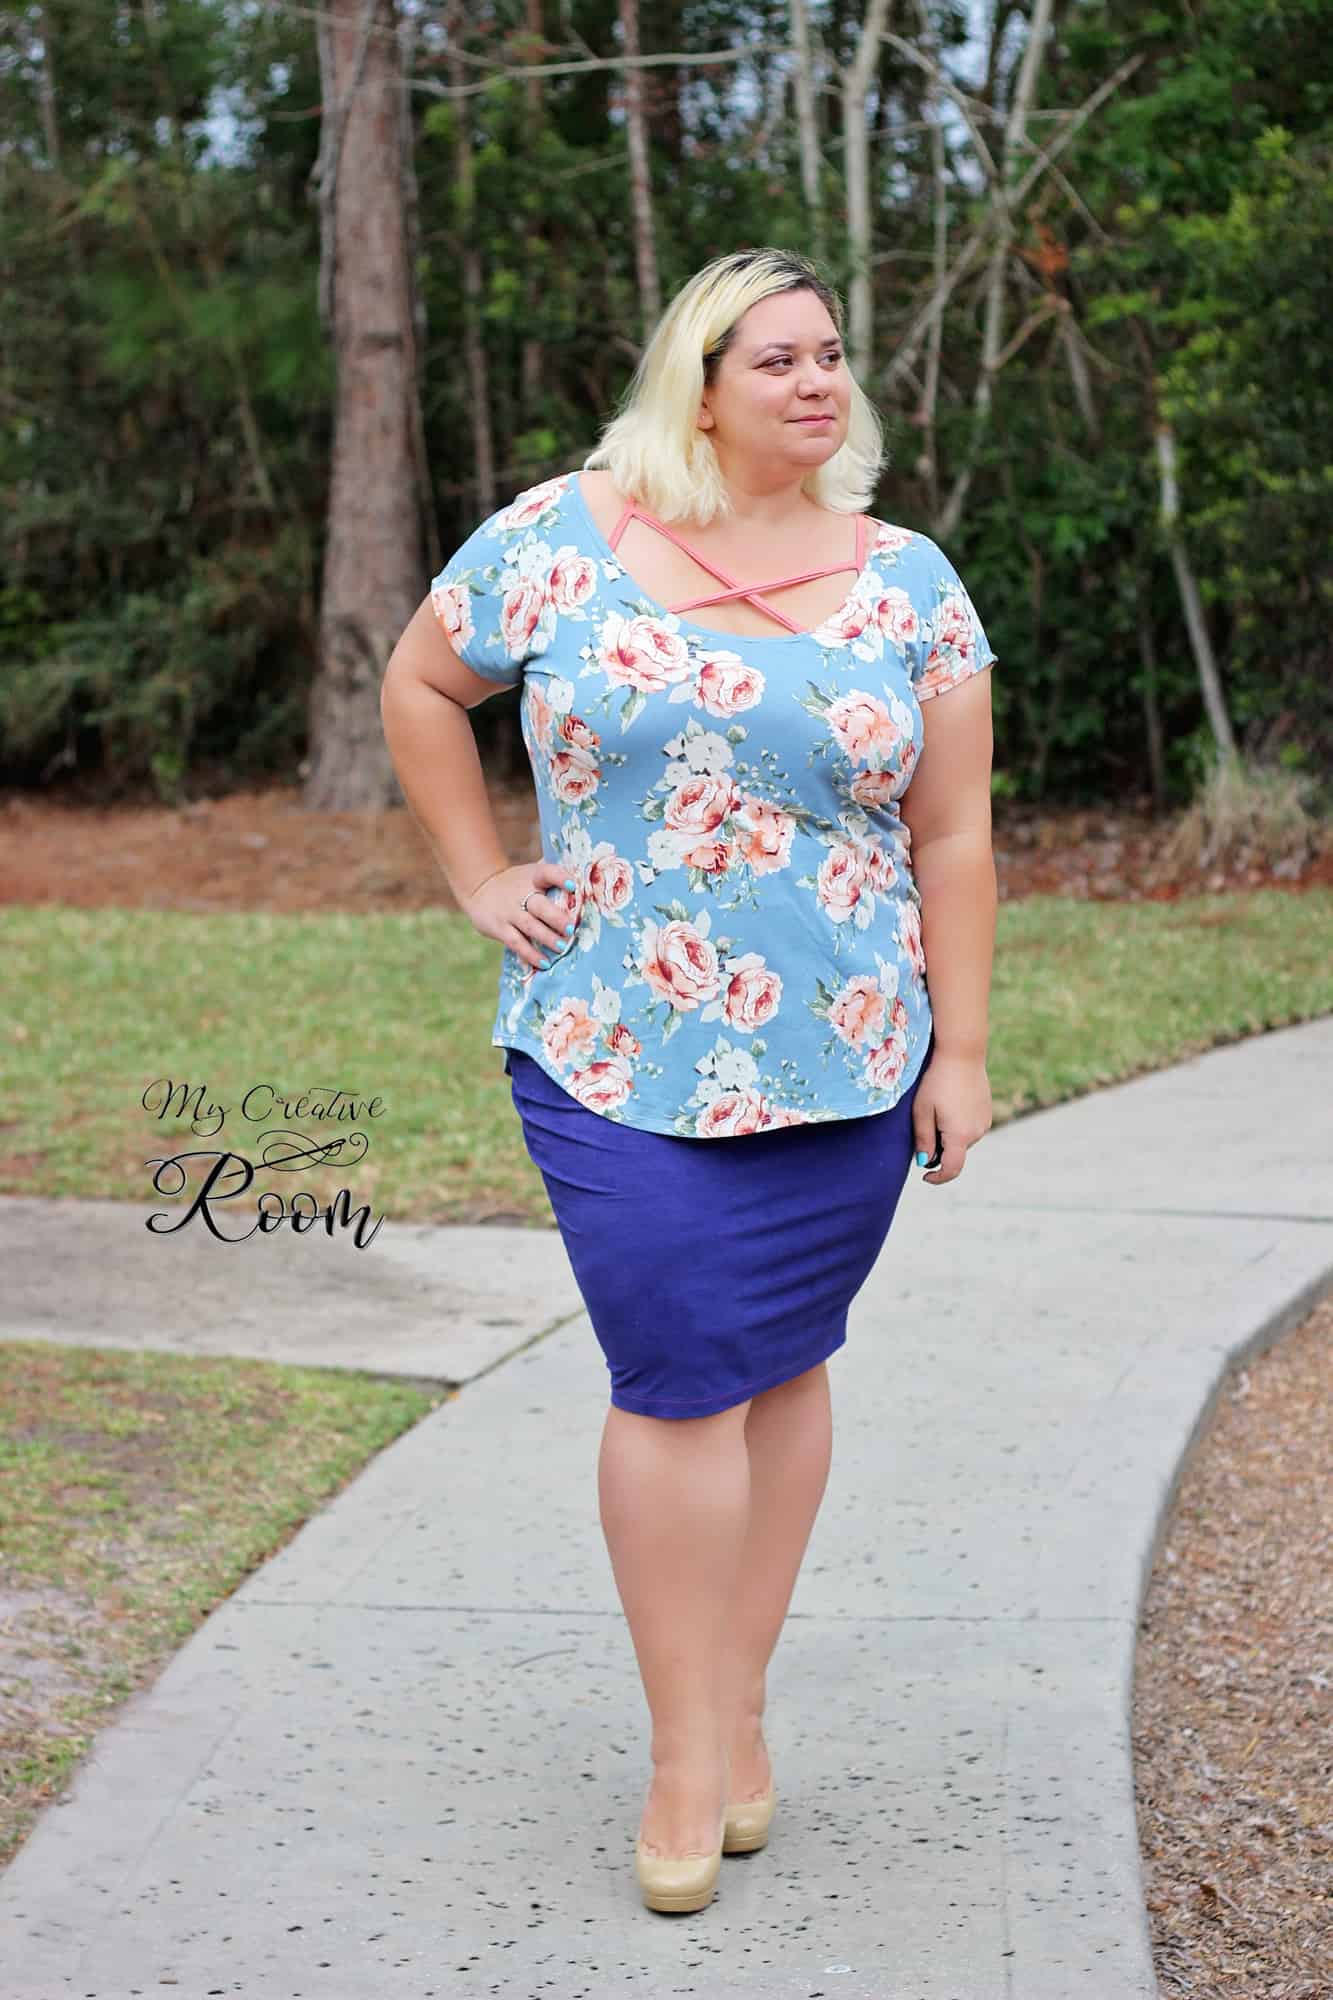
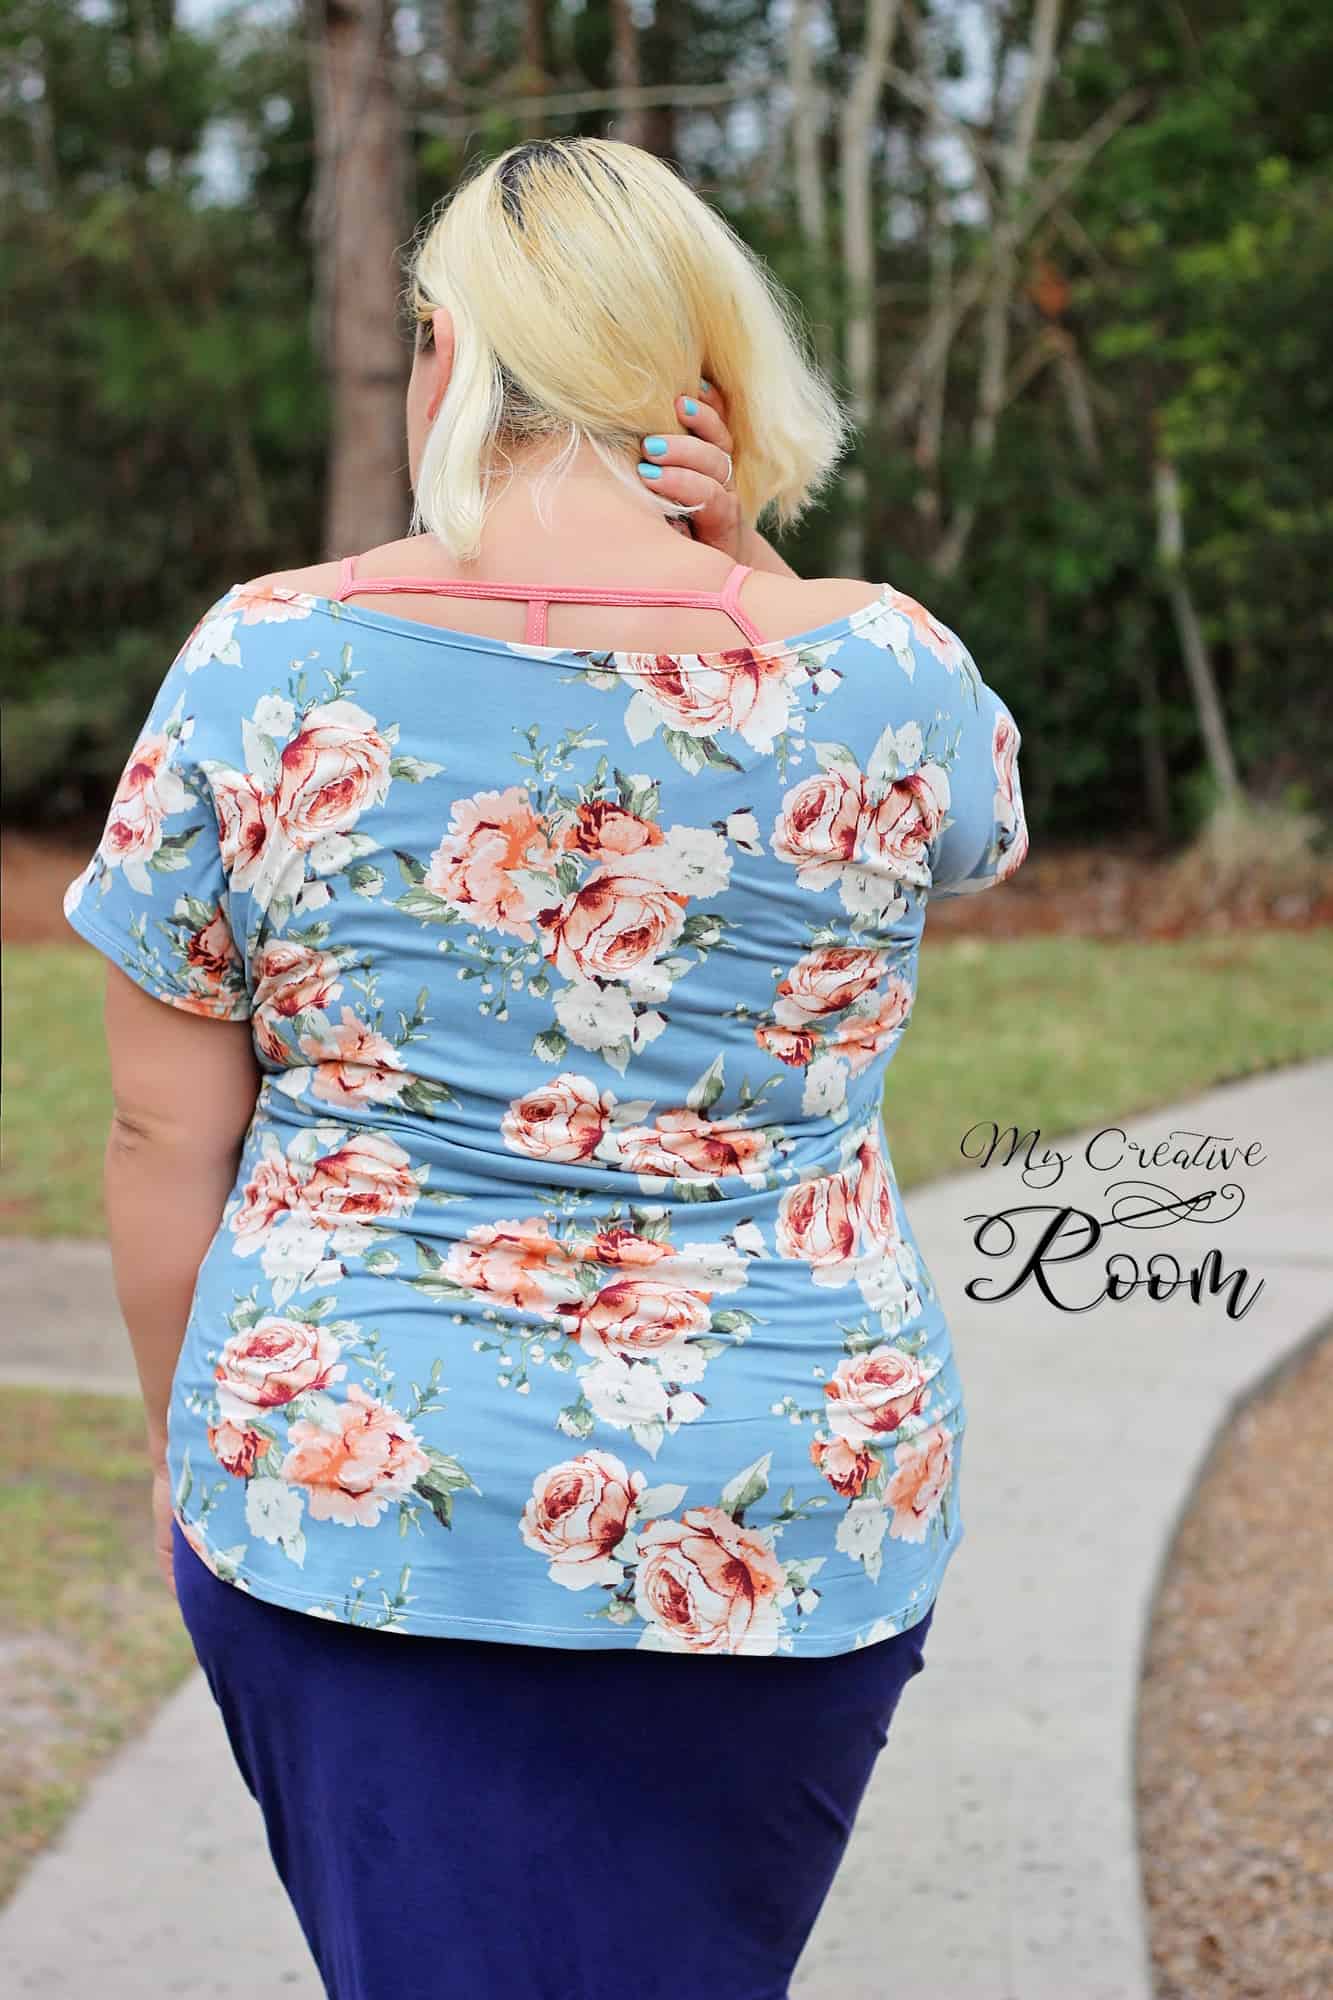
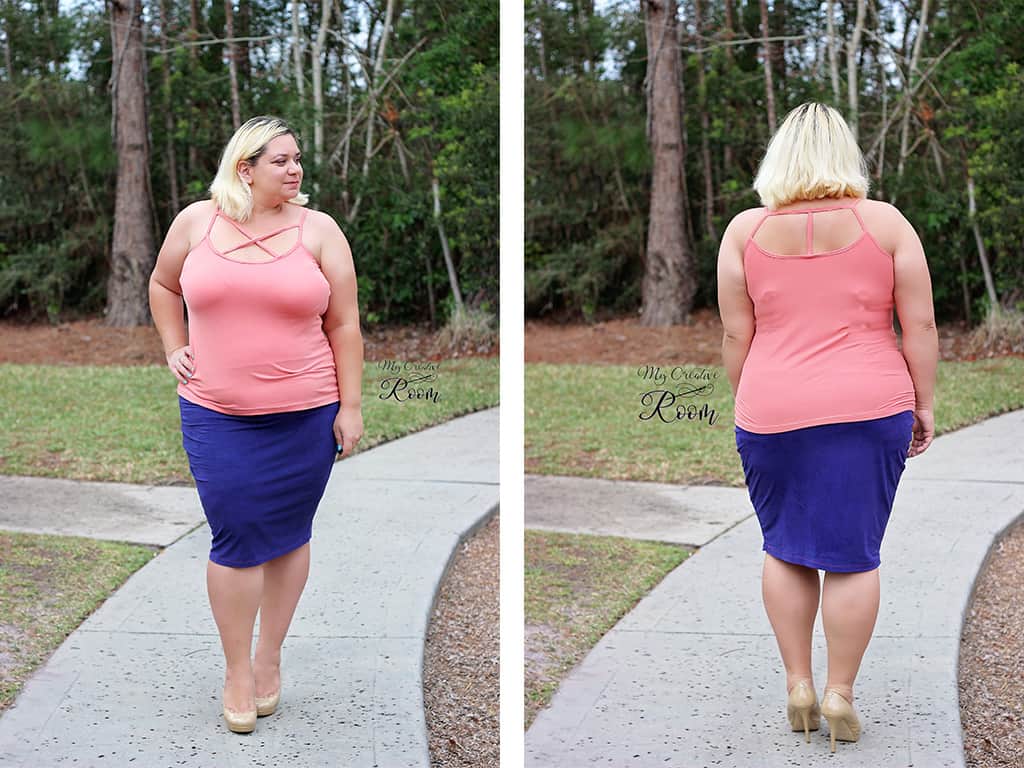
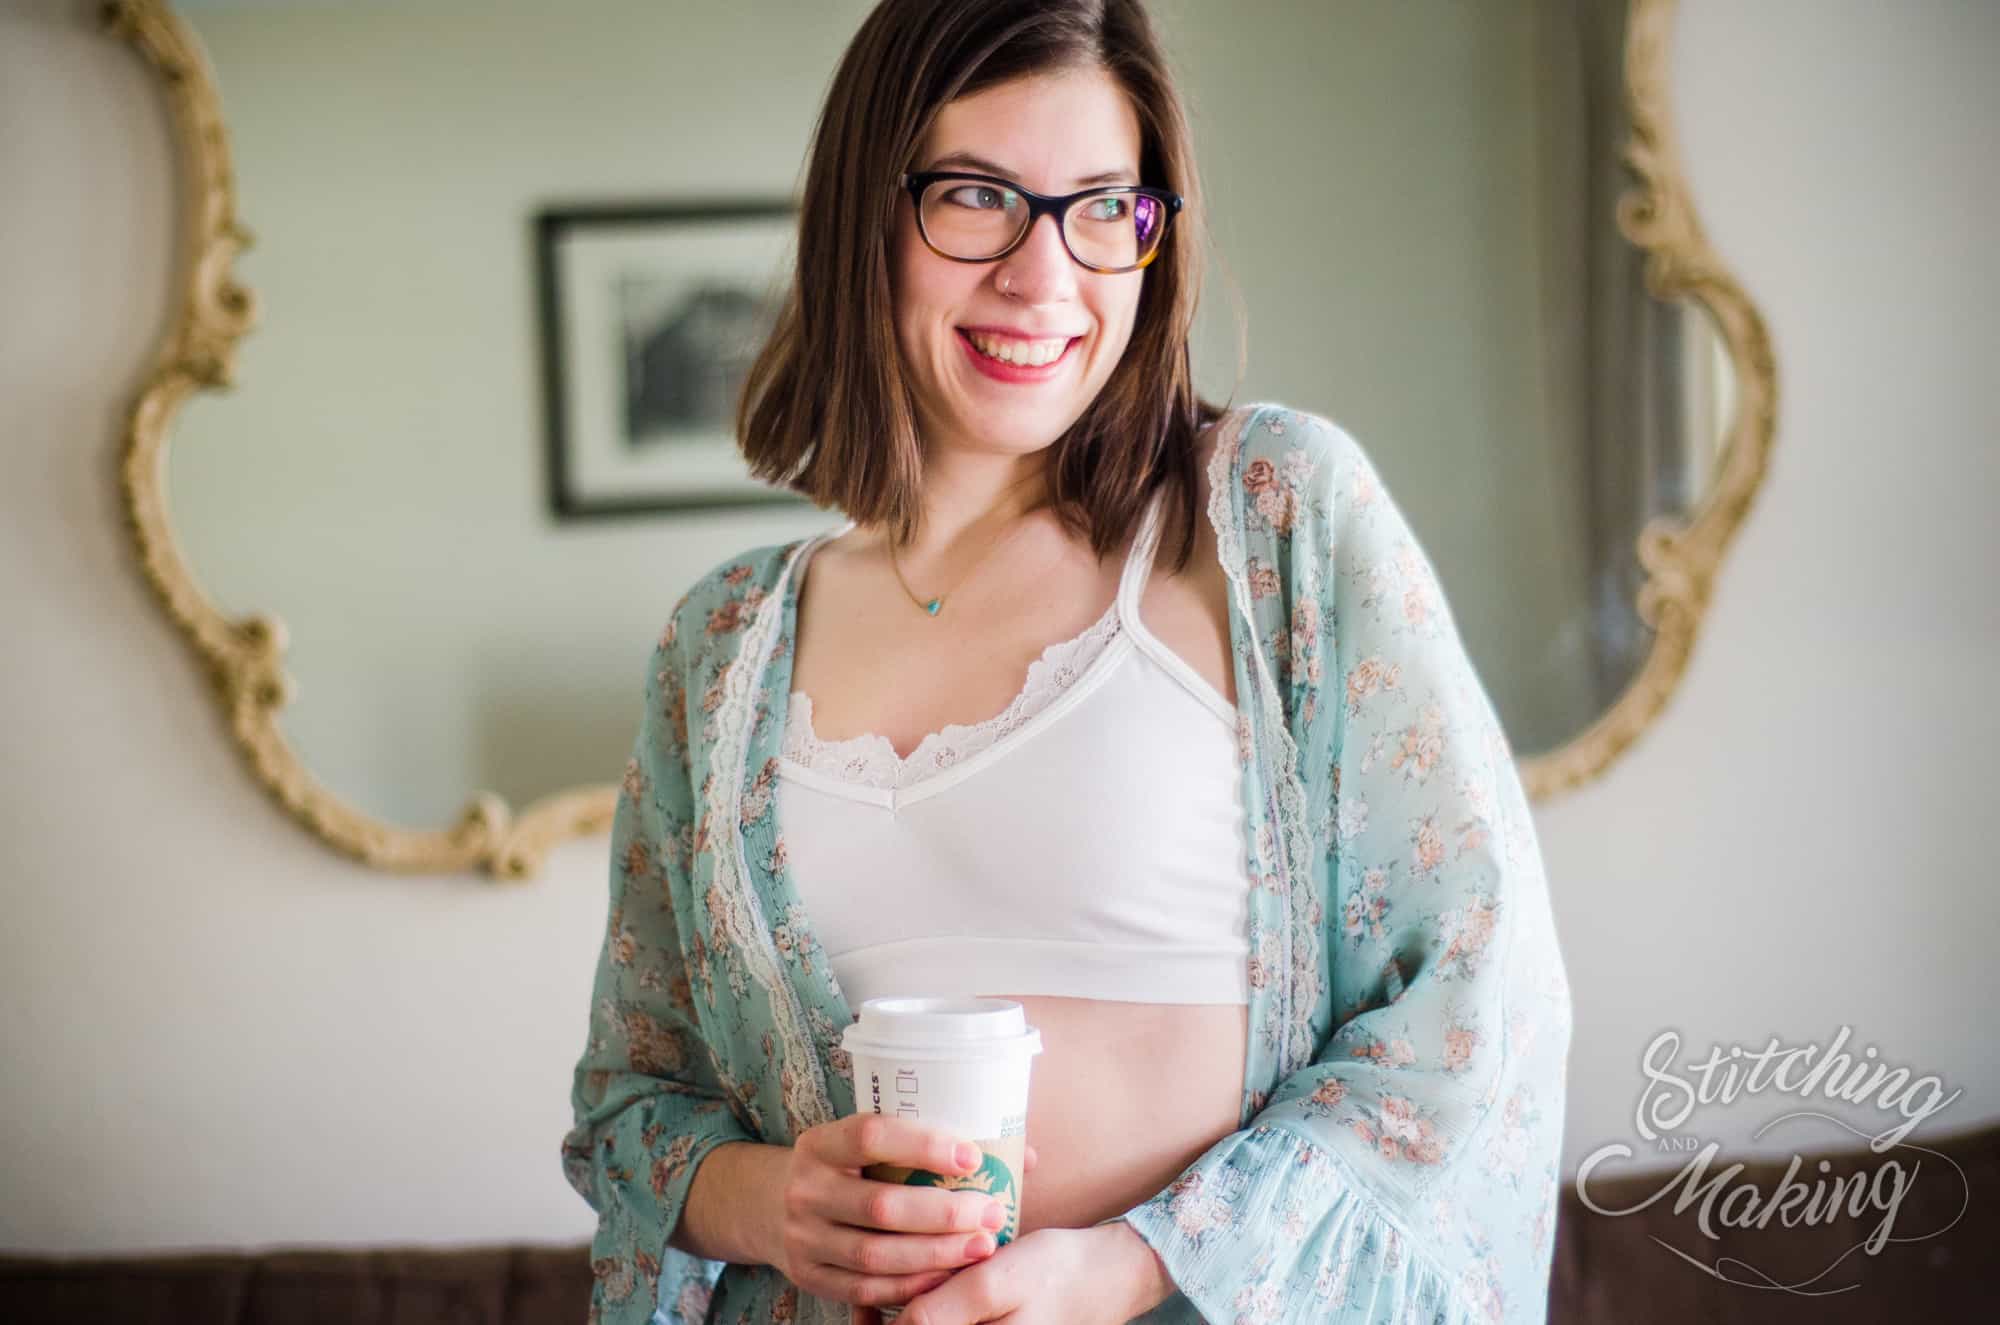
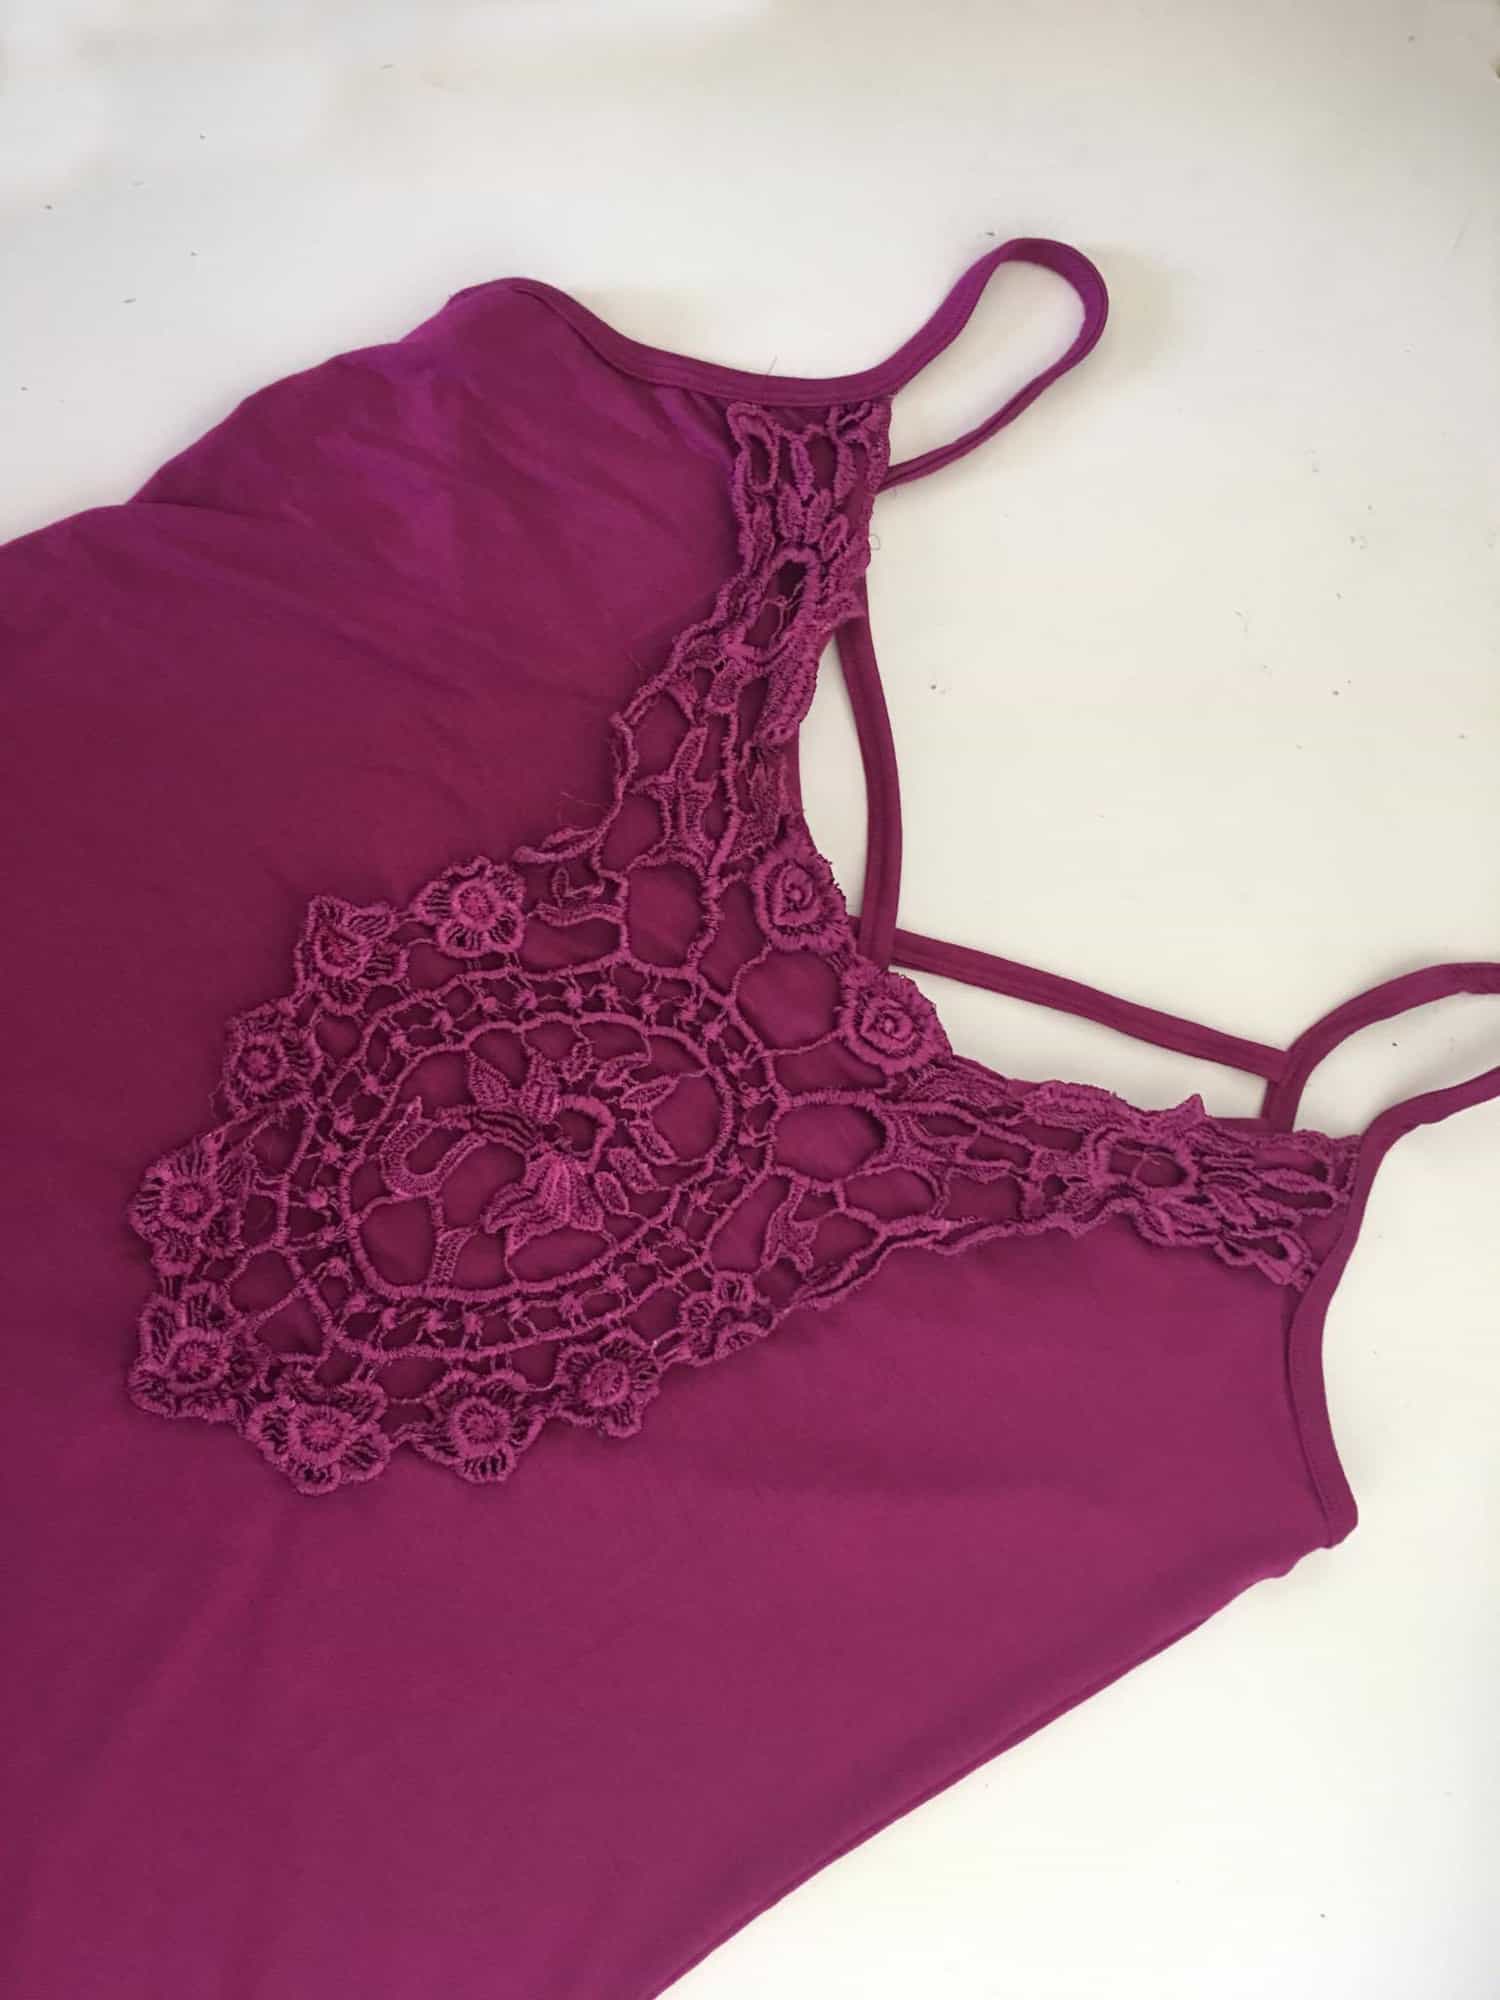
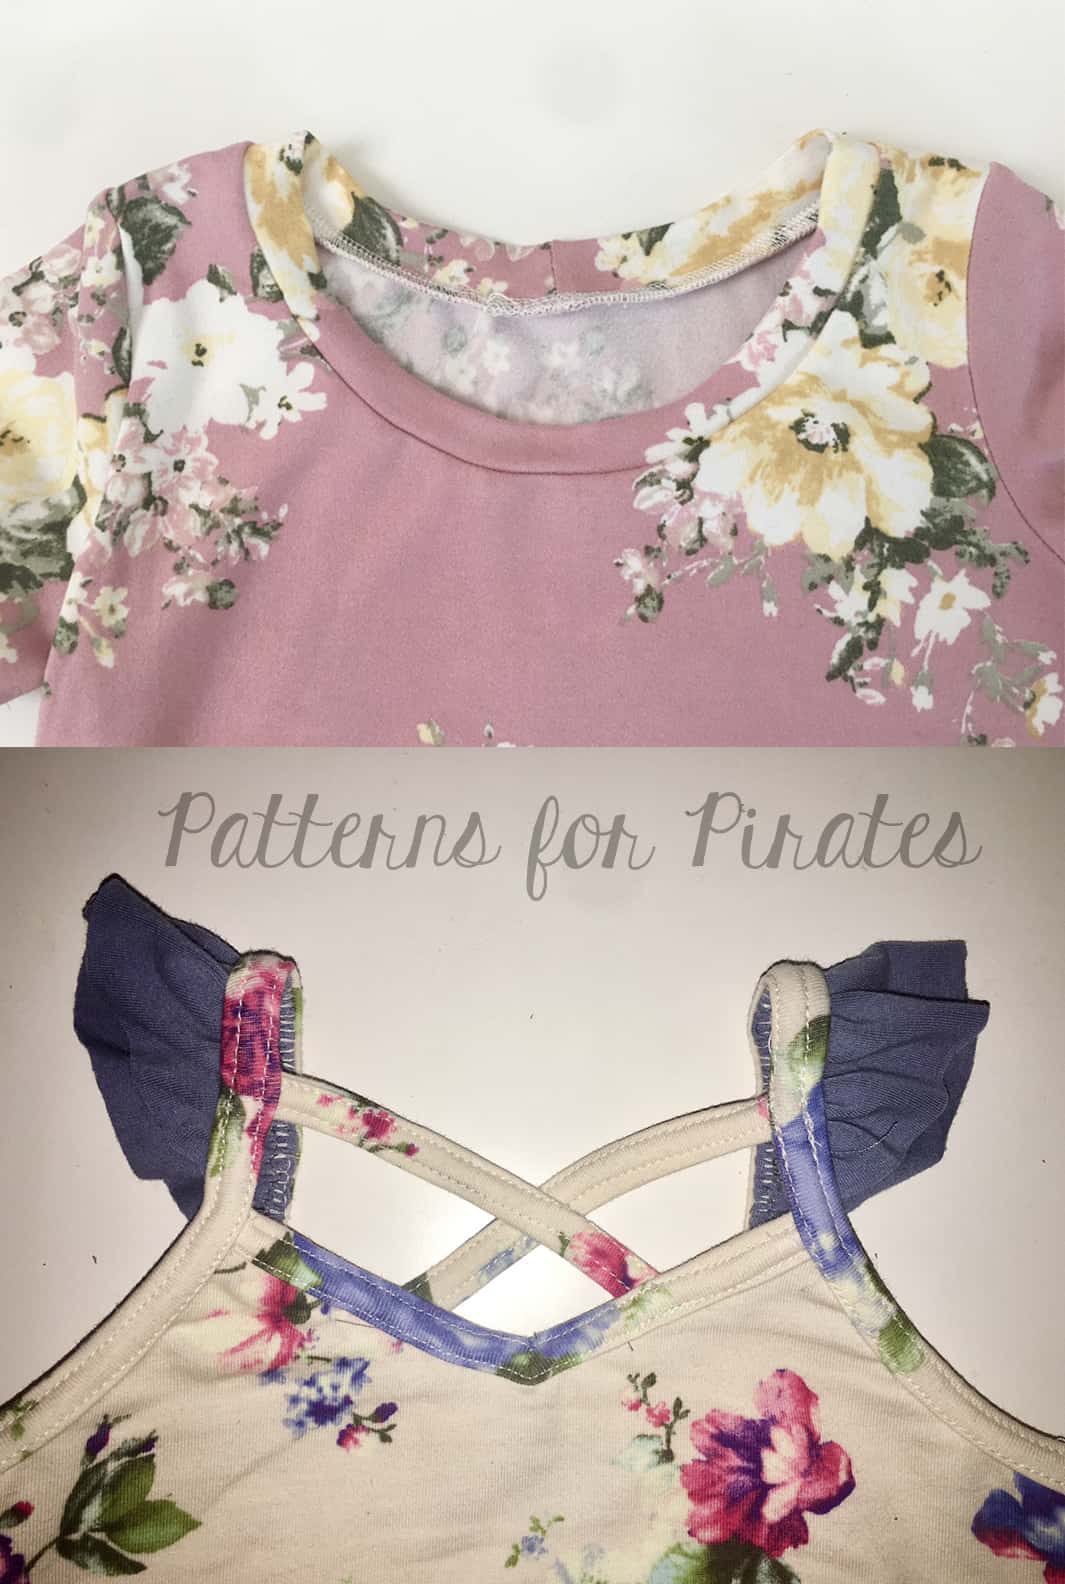
- There are two main methods to finish a neckline or armhole. Knit bands are an extension of the neckline and probably the most recognizable finishing method for a traditional T-Shirt (rose floral shown below). We’ll dive in to bands on another post ;). Knit binding is done similar to bias tape binding, which is typically used on woven fabrics and encloses the raw edge of the neckline but does not extend above and away from it (ivory floral shown below).
Tools to create successful knit binding:
- Use fabric with spandex. You will yield better results with fabric that has great stretch and recovery. Not sure what fabrics to use? Check out our Knit Fabric Cheat Sheet.
- Steam iron: One of the best tips to create even and professional looking binding is to press, press and press again. Throughout the entire process of binding your garment, hitting your binding with some steam will help it bounce back to shape and keep a clean, crisp fold which is easier to turn and top-stitch.
- Ball Point or Stretch Needles: Whenever using knit fabric, stretch or ball point needles are always recommended. The needle tip slips between the knit fibers and does not break or damage them while sewing. Stretch needles are mostly used with fabrics that have a higher percentage of stretch (think swimwear or athletic fabrics) but most prefer to use them for all types of knits.
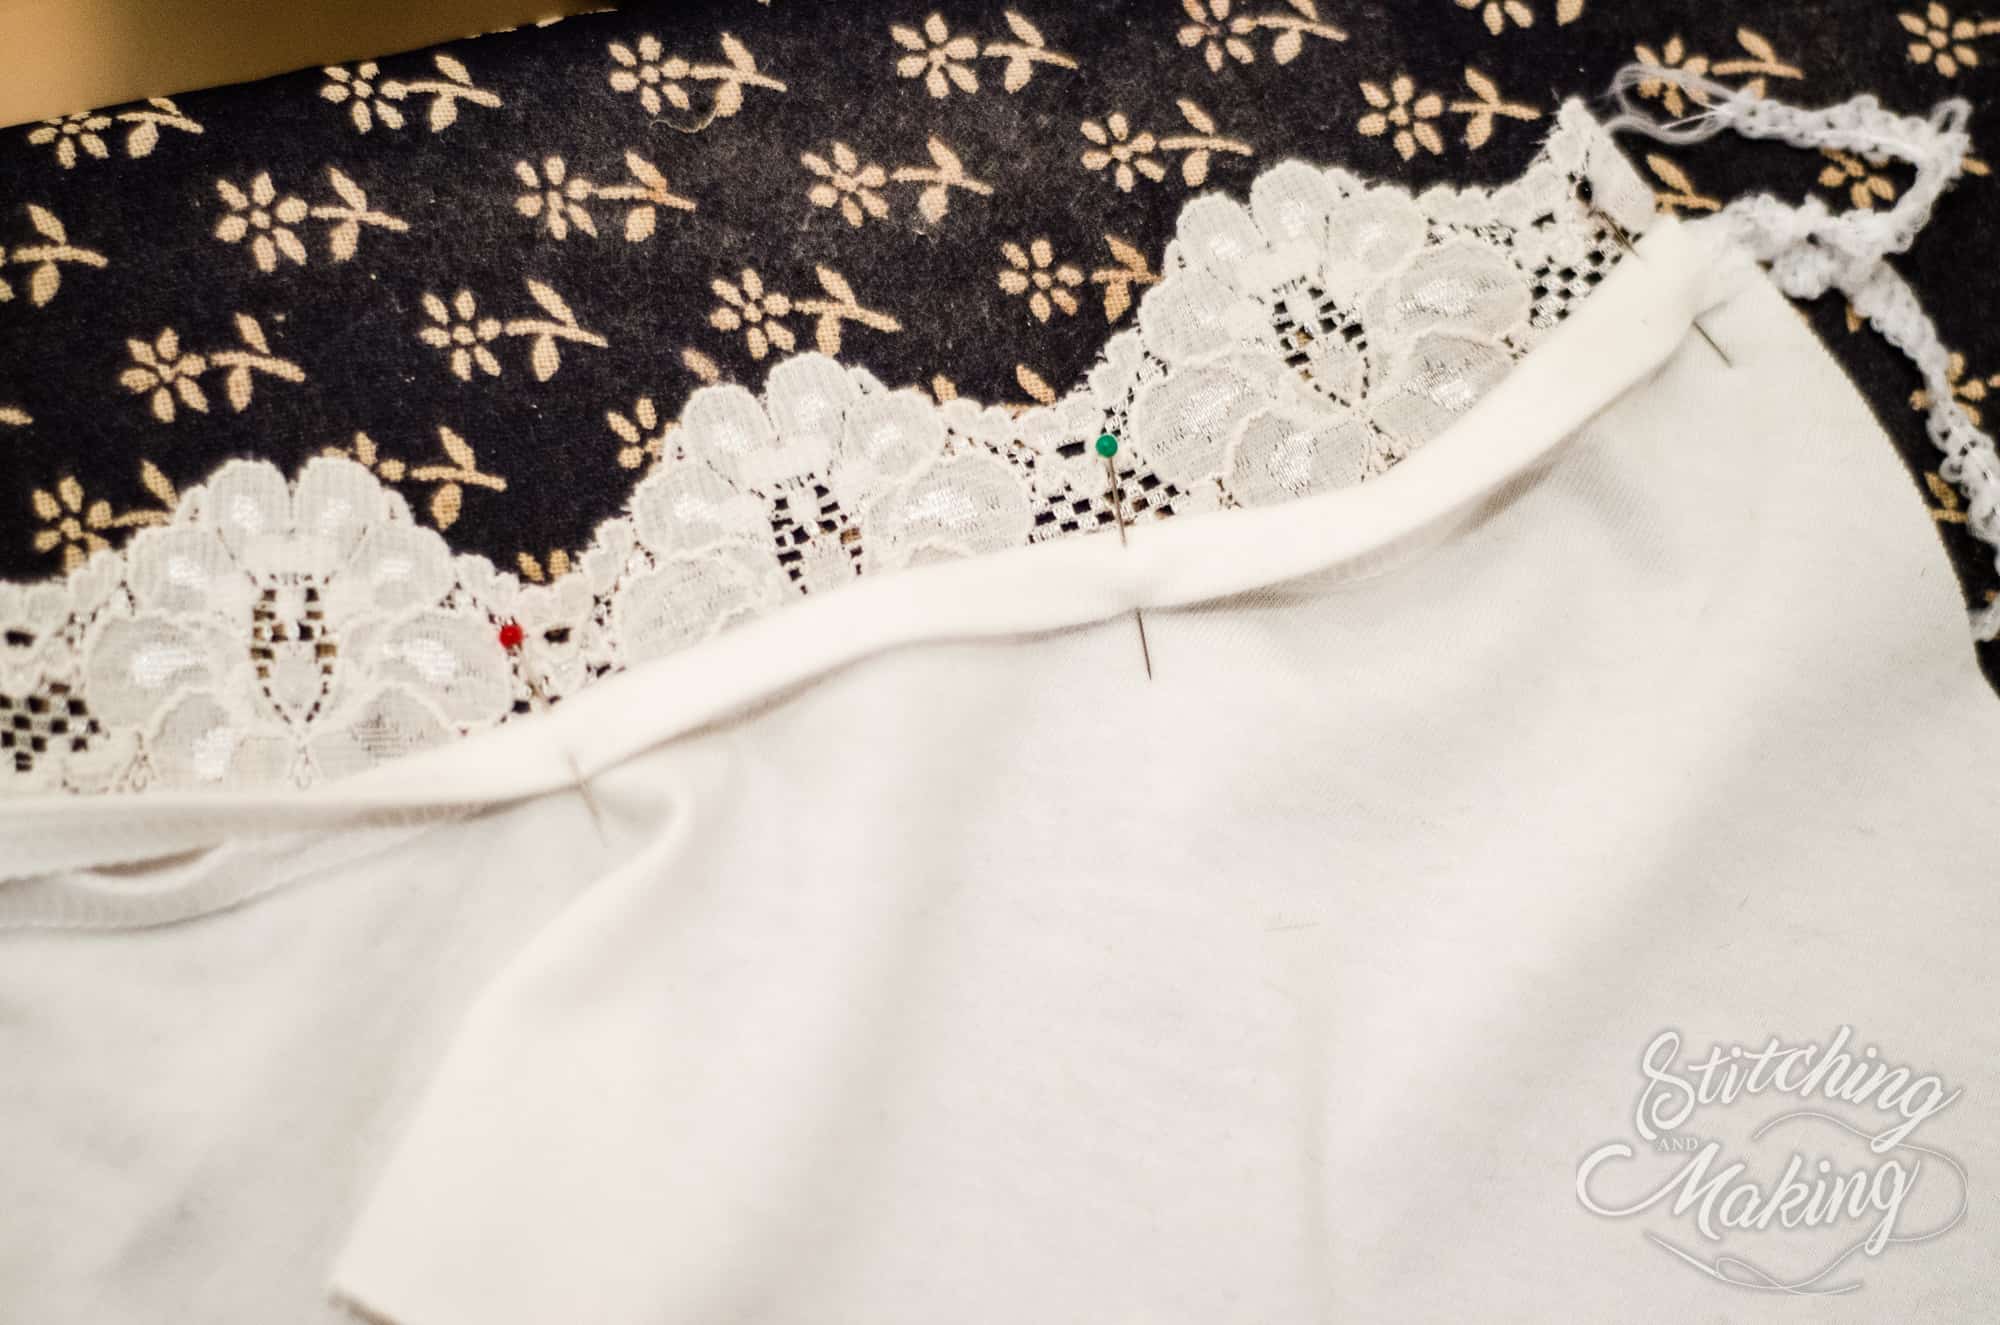
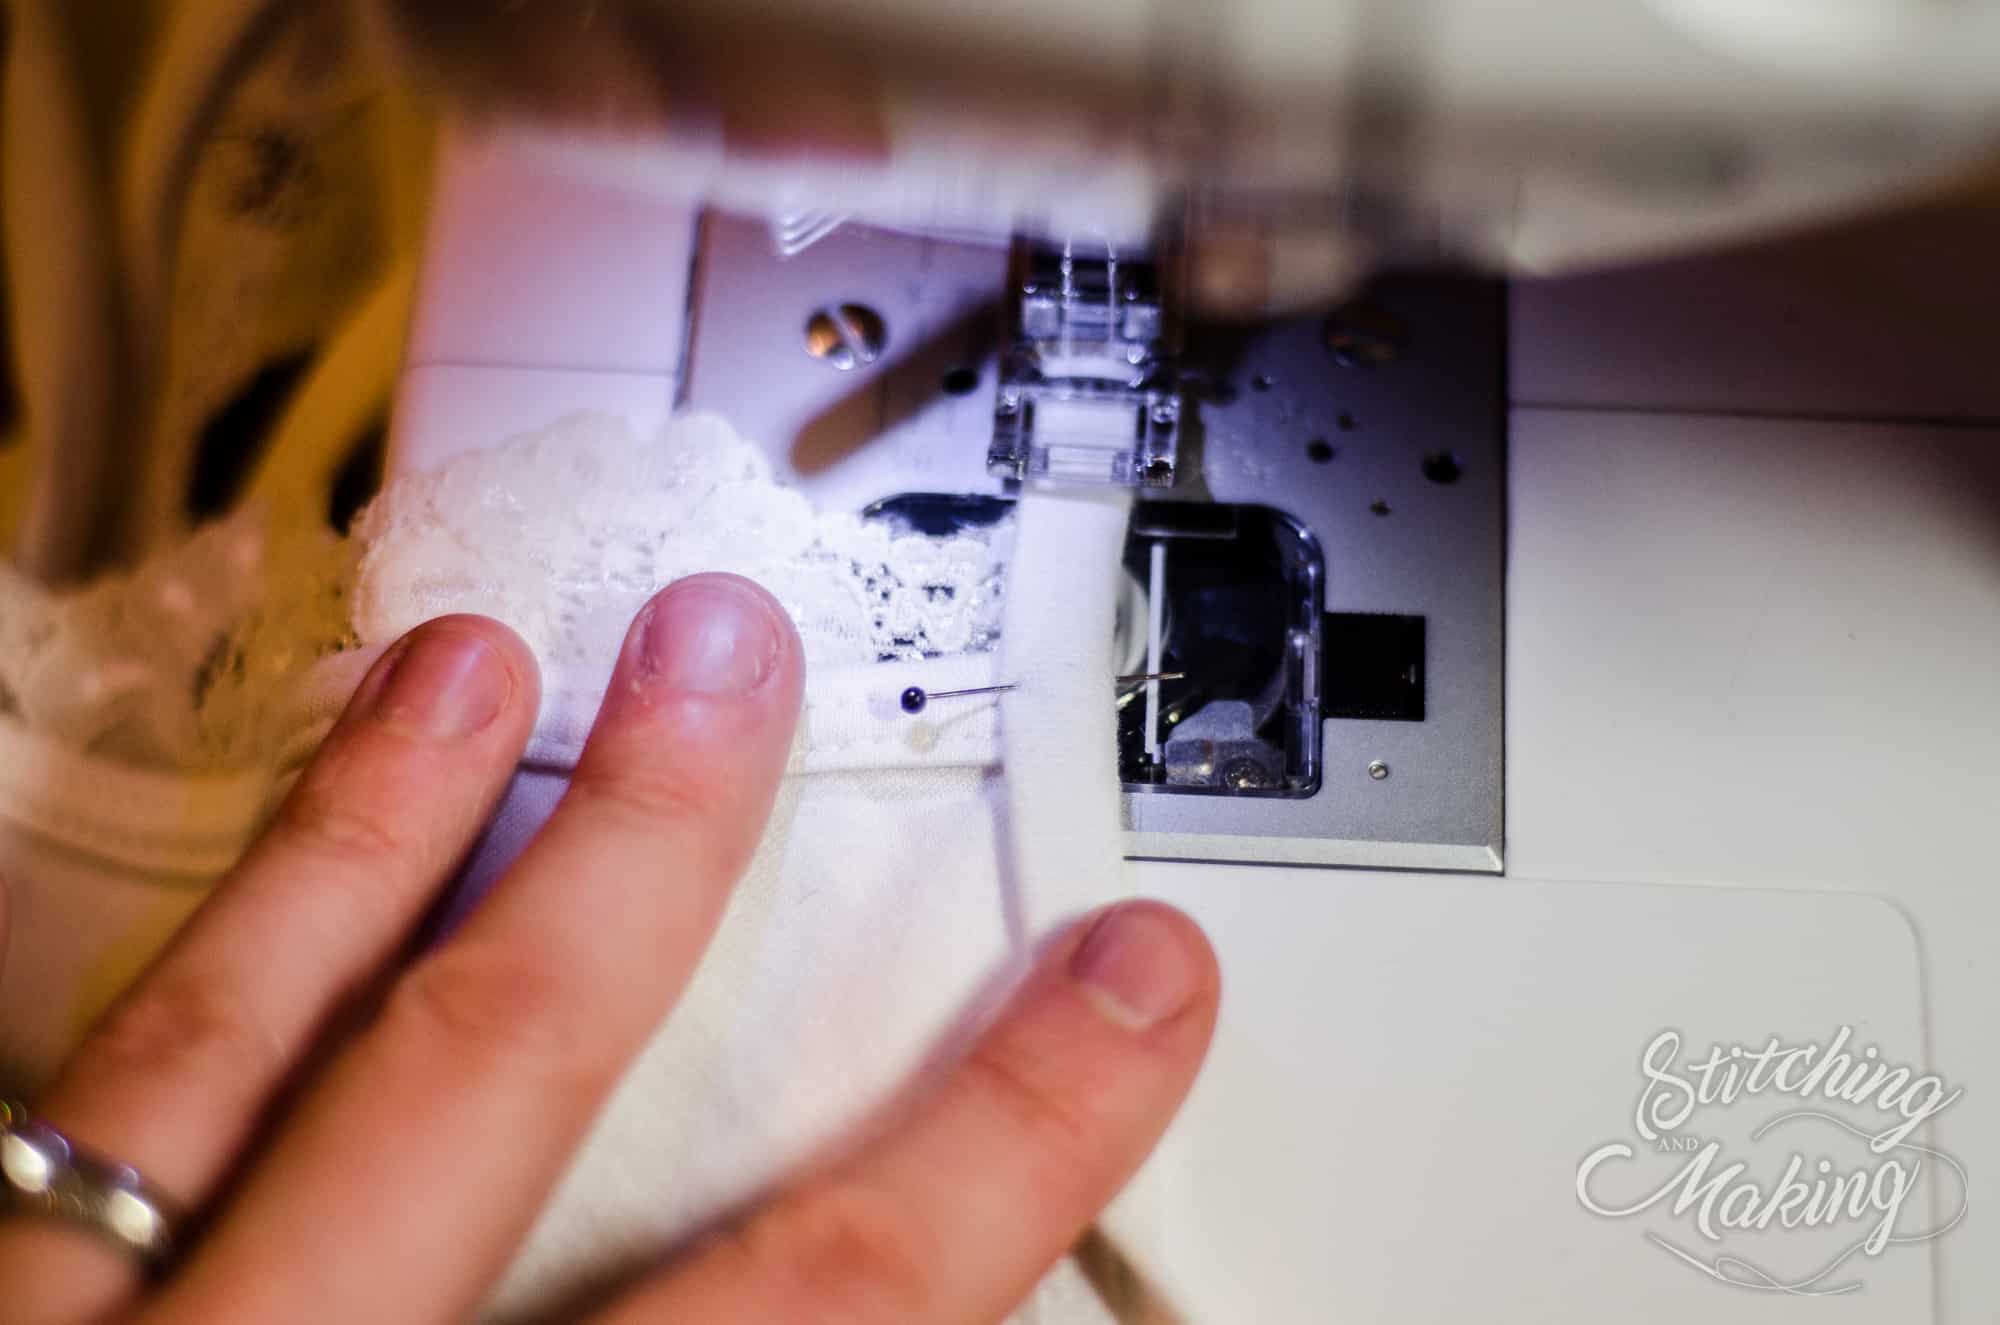
- Pins or clips: Pinning or clipping your binding, especially when you get to the later steps to turn and top-stitch is a life-saver. Once you become more comfortable with binding, you may not need as many but it’s always best to clip more now than regret it later.
- Optional: Blind Hem Foot – this helps keep an even straight line along the edge of your binding when top-stitching.
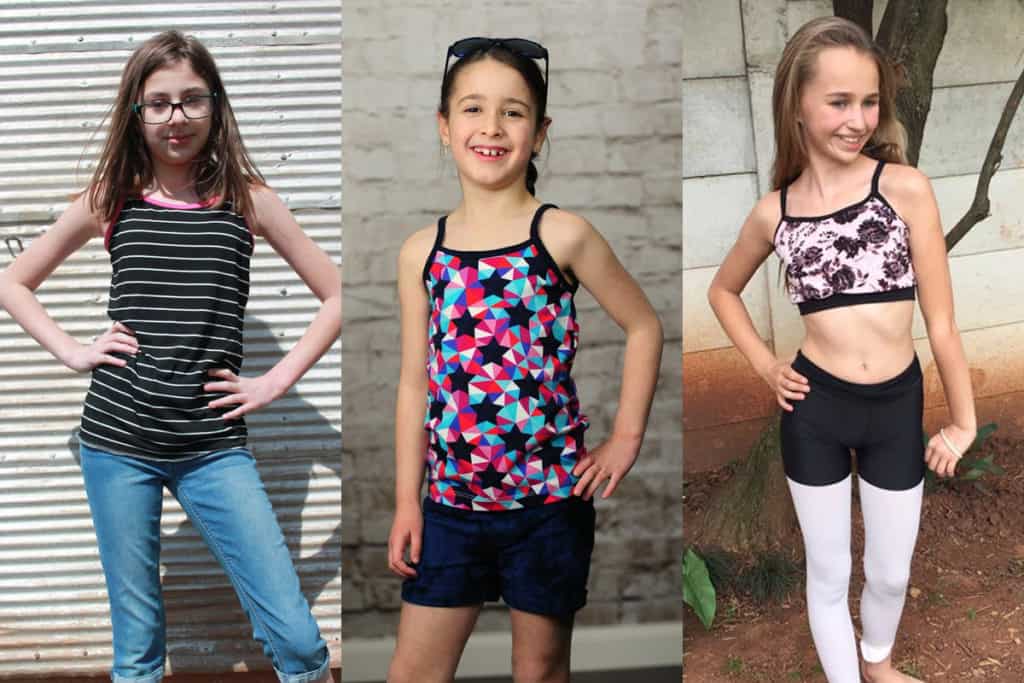
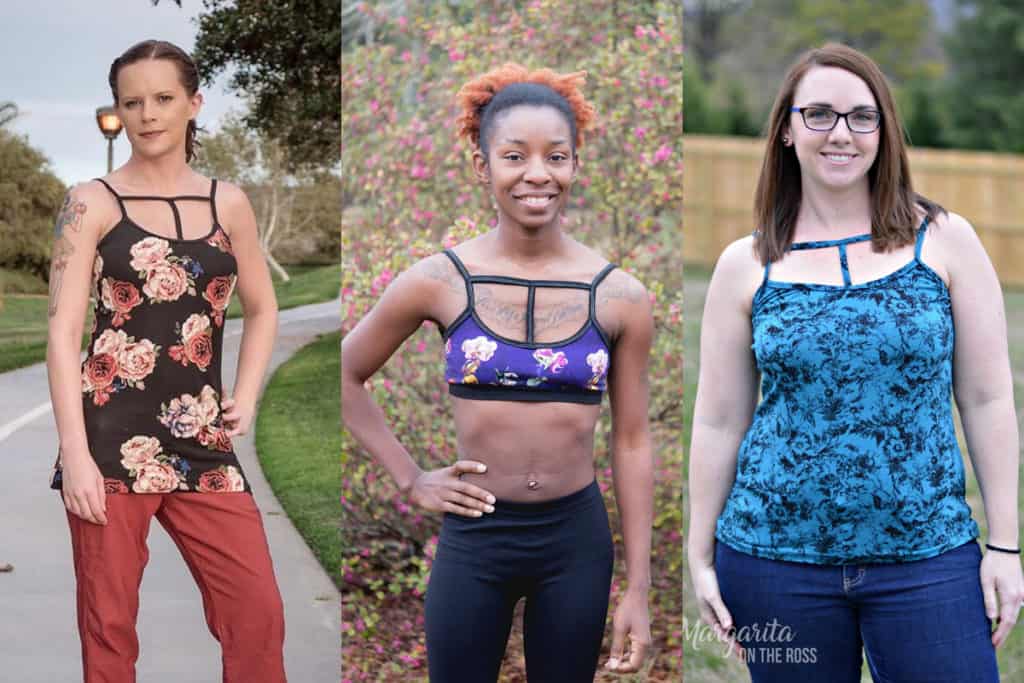
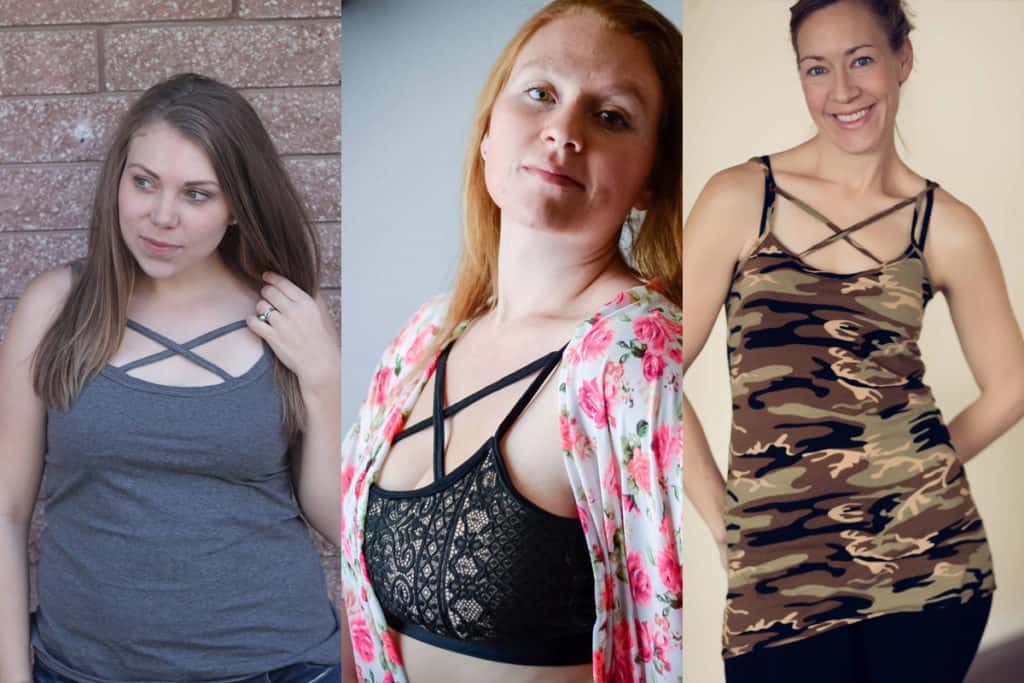
Both the cami patterns, the Sweetheart and Me Hearties Dress, and Essential Tank use knit binding to finish the necklines, armholes or sleeves but you can apply this method to other tops and skirts in lieu of bands or hemming. Just be sure to take in to account your seam allowances and band heights as they will finish lower or higher if no adjustments are made.
Methods to do knit binding:
- Serger: (this method is used in the Cross my Heart and Heart Breaker Cami). Using a 1/4″ seam allowance, the binding is serged to the neckline or armhole with the right side of the binding to the wrong side of the main fabric. The seam allowance is pressed up with binding folded up and over the serged edge and then top-stitched.

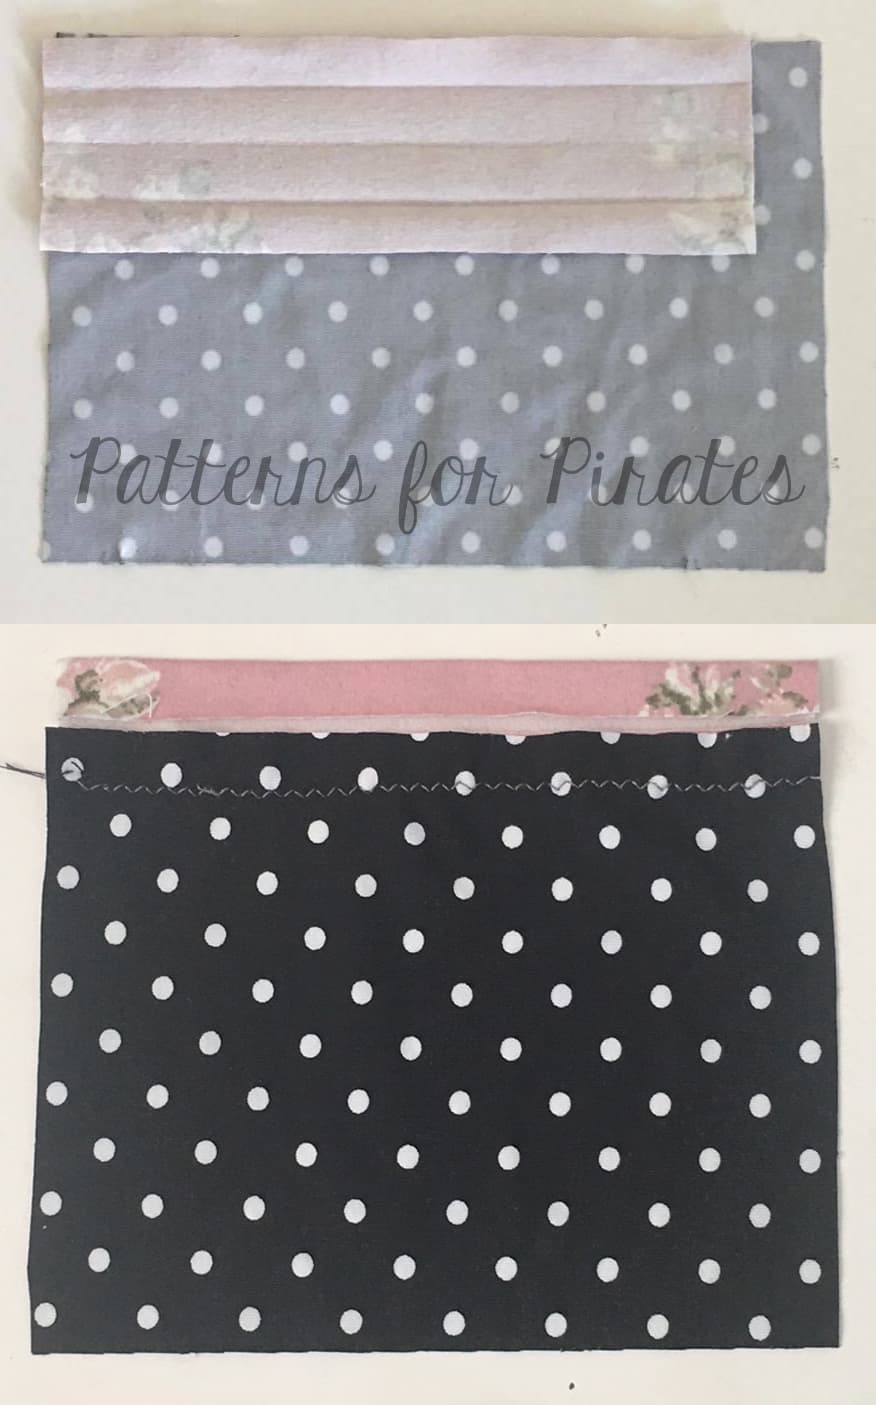
- Sewing Machine: (this method is used as an option in the Sweetheart and Me Hearties Dress and Essential Tank). The binding is pre-pressed in quarters (double folds). Using a stretch stitch (narrow zigzag, lightening bolt, or triple stretch stitch), with right side of the binding to the wrong side of the main fabric, the binding is stitched along the crease. The seam allowance is pressed up with binding folded up and over the raw edge and then top-stitched.
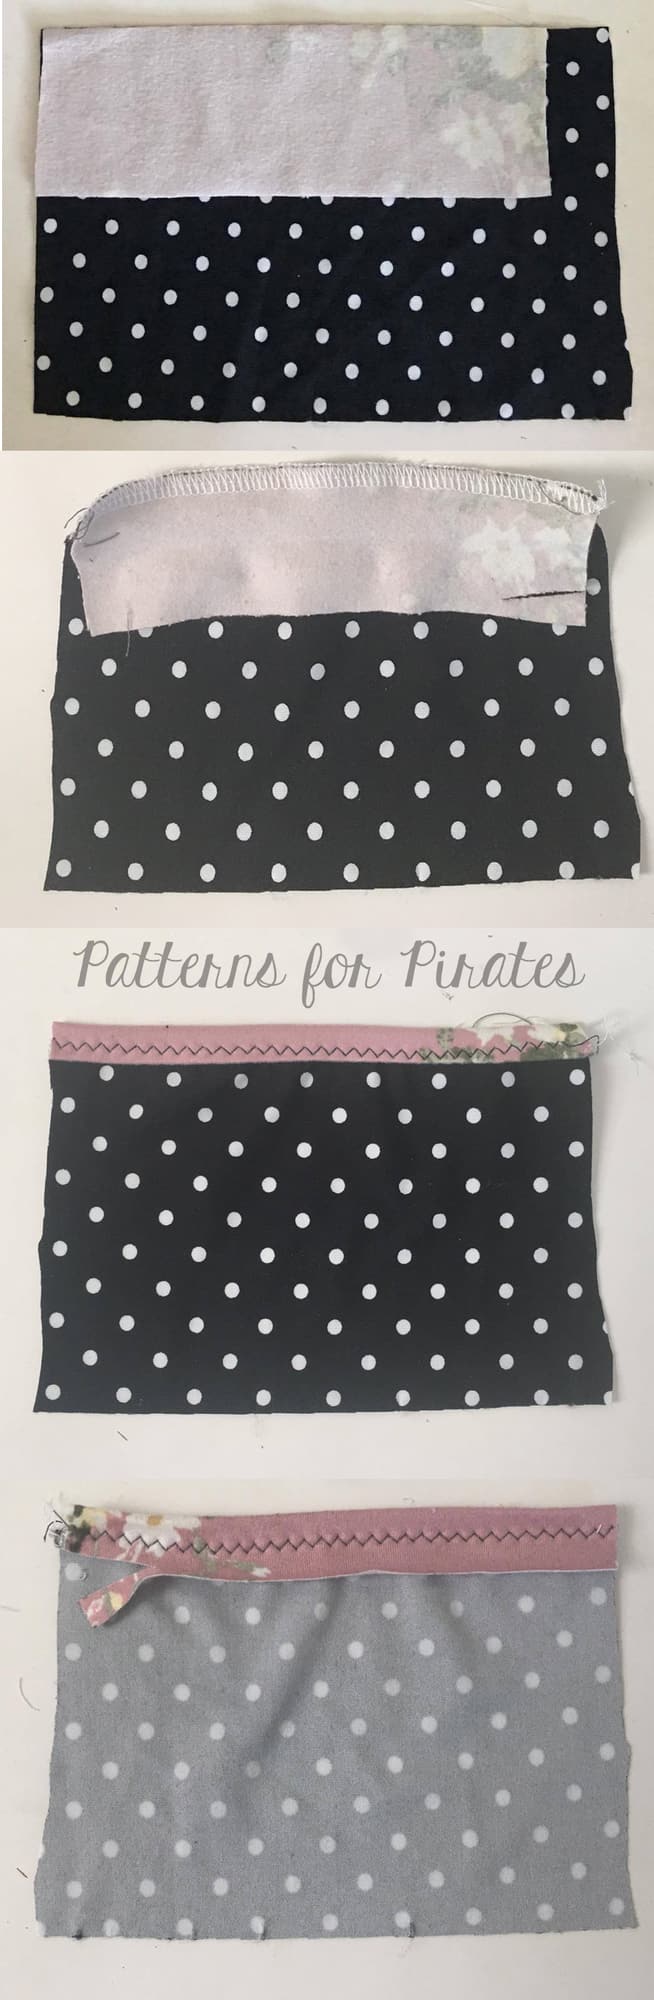
- Serger or Sewing Machine: Using a 1/4″ to 3/8″ seam allowance the binding is stitched with right sides of the binding to the right side of the main fabric. The seam allowance is pressed up and binding folded over the edge to the wrong side of the fabric and then top-stitched. The excess binding is trimmed at the seam-line.
There are multiple options for Top-stitching binding. Here are few of our favorites:
- Twin Needle: Double straight stitch on front and zig-zag on back. (Elisabeth walked us through using a twin needle a few posts back and is a great resource for top-stitching the knit binding using a regular sewing machine. In case you missed it, be sure to check it out HERE!)
- Coverstitch: single or double needle: straight stitch on the front with a stretch zig-zag stitch on the back.
- Narrow Zig-Zag: Gives the appearance of a straight stitch but still has some stretch.
- Triple Step Zig-Zag: This is great for swimwear or high stretch areas.
Need more help? Here’s a video of the binding options described above 🙂
Hopefully this answered your questions about knit binding and eased some of your fears. Just remember, press and go slow! As with any new skill, it takes time to master, so keep practicing and you’ll have added another finishing method to your sewing arsenal.
Finished a project using knit binding? Be sure to share in our Facebook Group! We’d love to see it.