Patterns for Pirates

P4P stylish, modern, wearable patterns

  • Home
  • Blog
    • Frequently Asked Questions
    • Pattern Releases
      • Free Patterns
    • P4P University
      • Fitting
      • Sewing with Stretch, Knit Fabrics
      • Sewing with Woven Fabrics
      • Sewing Machines
    • Sew-A-Longs
    • Fabric for Pirates
    • Pattern Hacks
    • Announcement
      • Blog Tours
      • Contest/Giveaway
  • Shop
  • Bundle Discounts
  • Flash Friday
  • Gift Cards
  • My Account
  • Cart

Grandpa Cardi/Cpt Mack’s Cardigan SAL – day 1 (print and cut pattern)

January 14, 2019

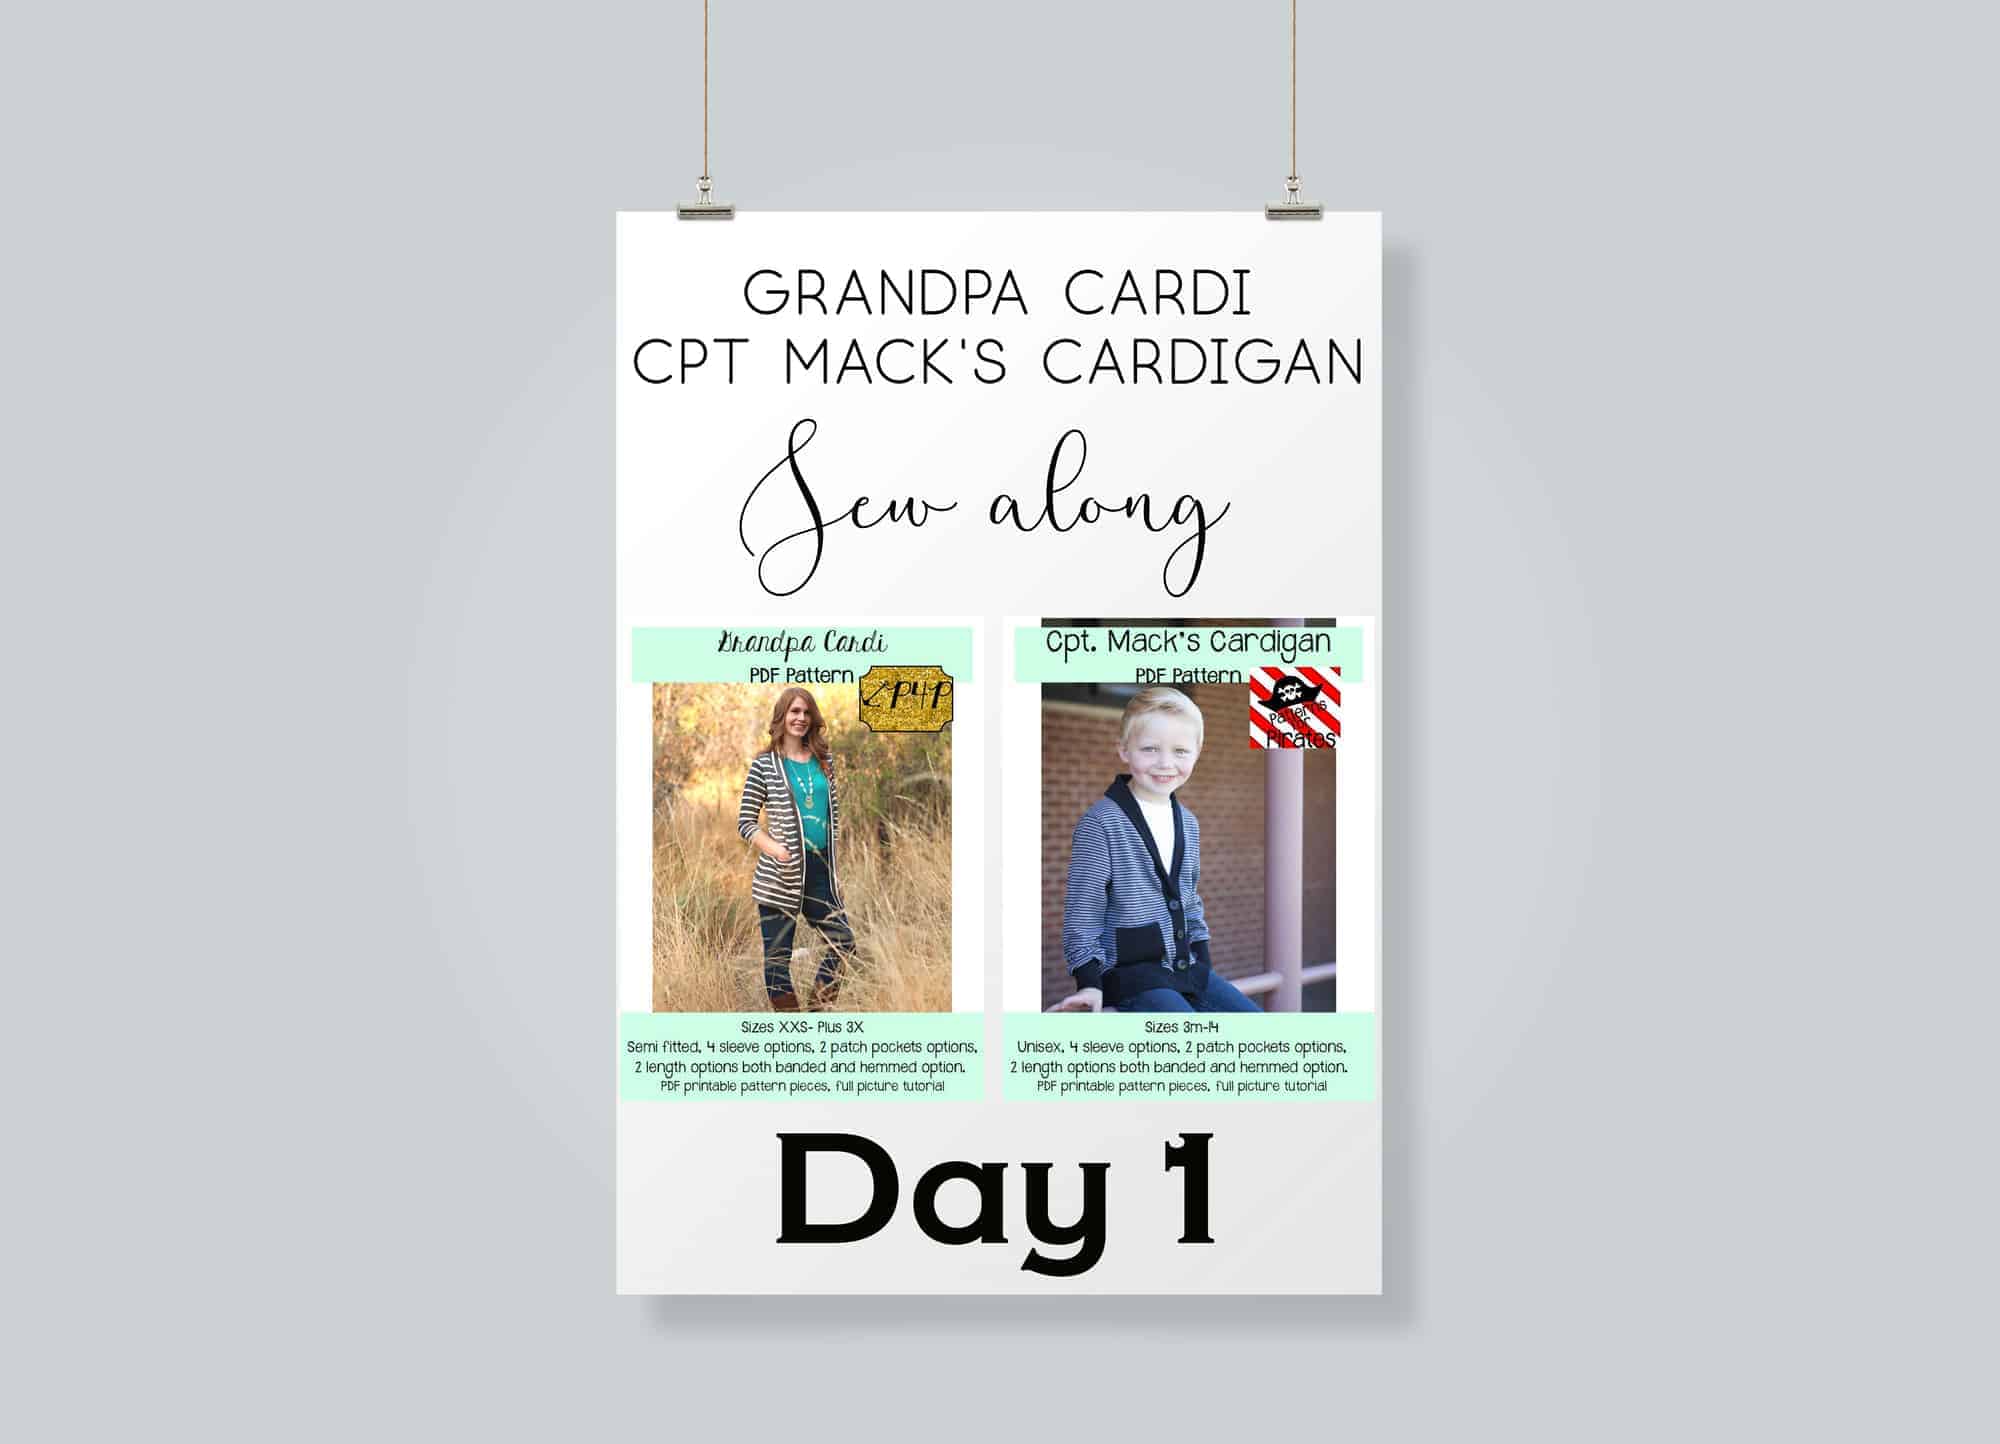
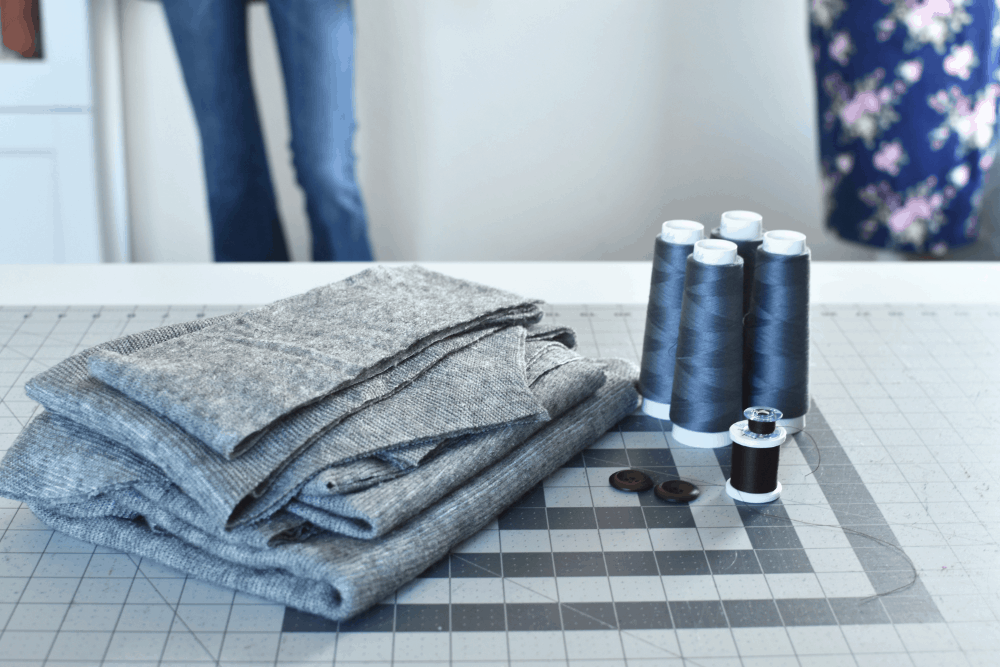
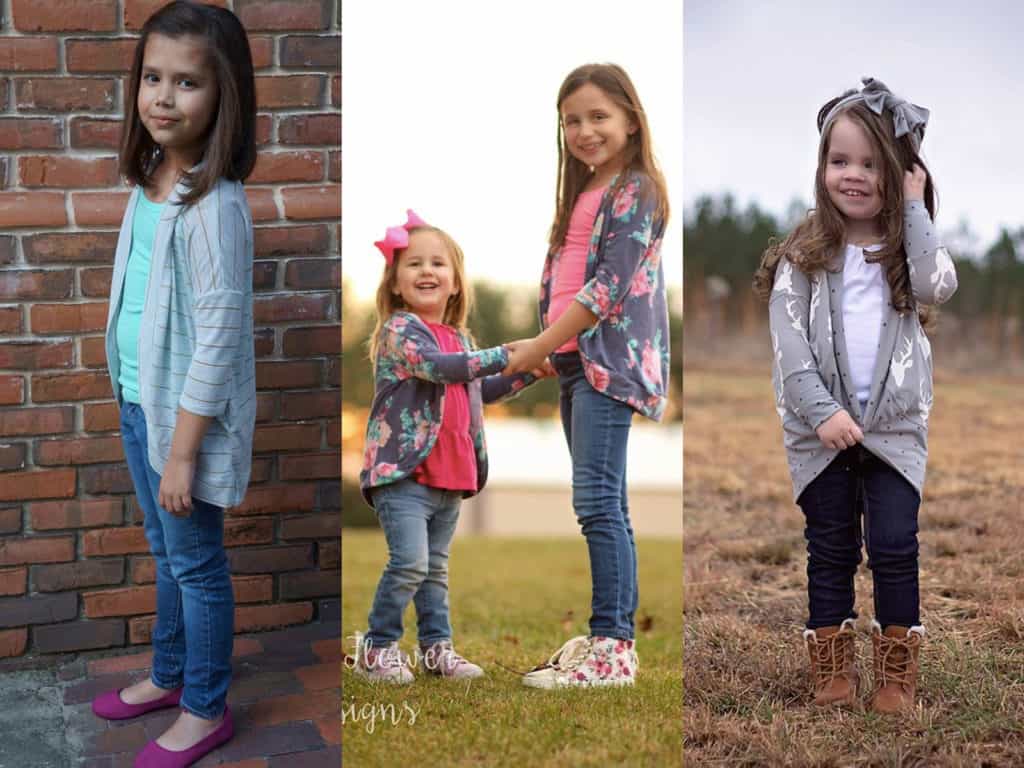
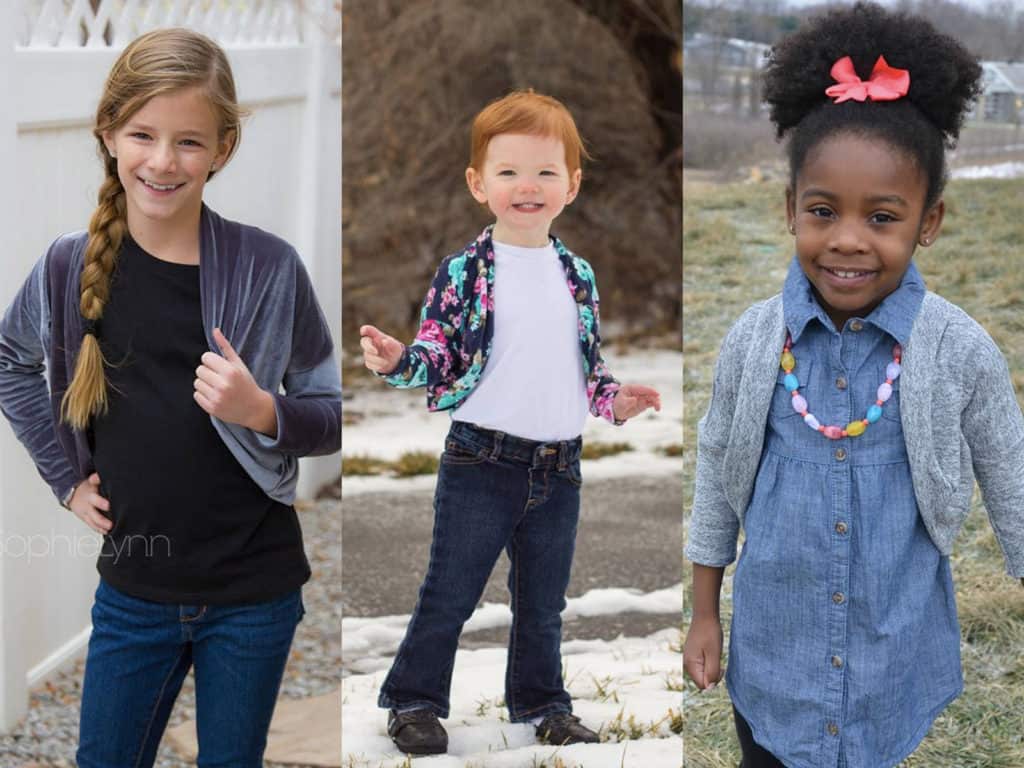
Welcome to the Grandpa Cardi / Cpt. Mack’s Cardigan Sew Along!

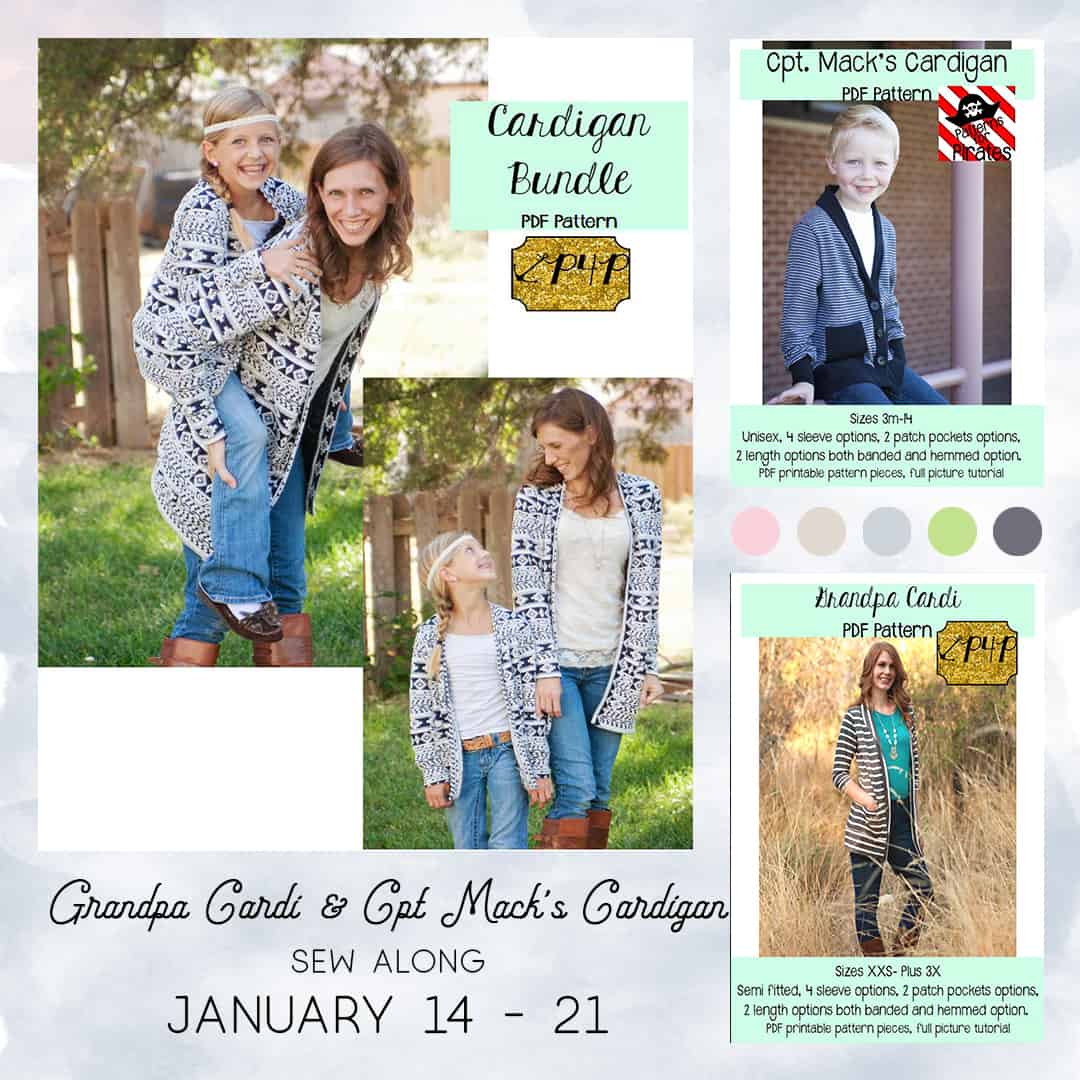
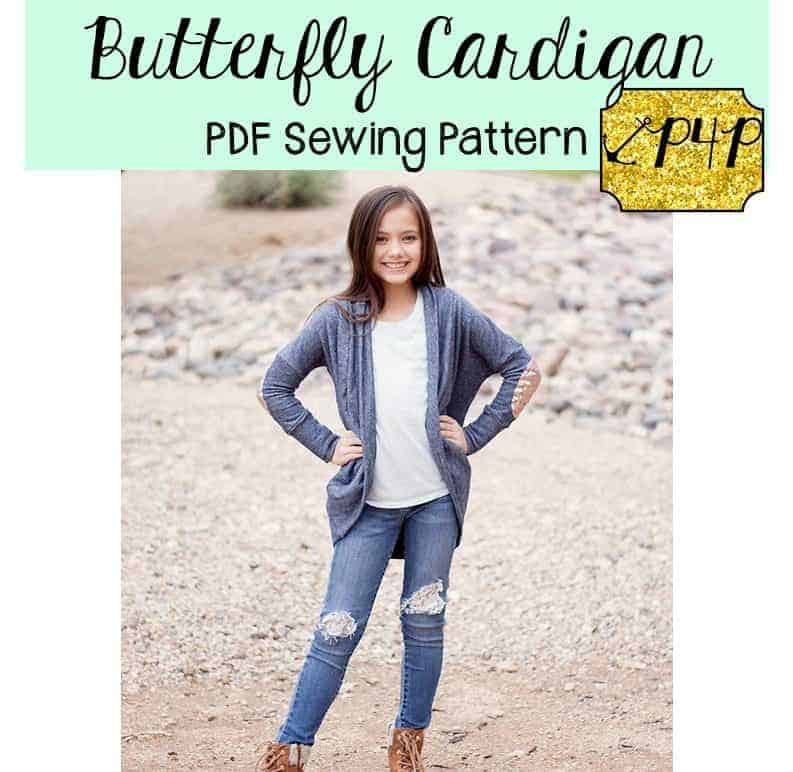
Day One is reserved to purchasing the patterns, printing and cutting the size(s) you need. If you plan on sewing for yourself you can get the Grandpa Cardi  here, if you’re sewing for your little one, the Cpt. Mack’s Cardigan can be purchased here and if you’re sewing for both of you (just think of the mommy and me matching outfits!) you can get the bundle.

This Sew Along will take place in the new M4M & P4P Sew Along group so be sure to join the group not only for the exclusive discount code available for the Grandpa Cardi and Cpt. Mack’s Cardigan patterns but also to post your progress this week.

Now that you purchased the pattern(s), print the size needed. In order to do that it is very important that you take your most accurate measurements.

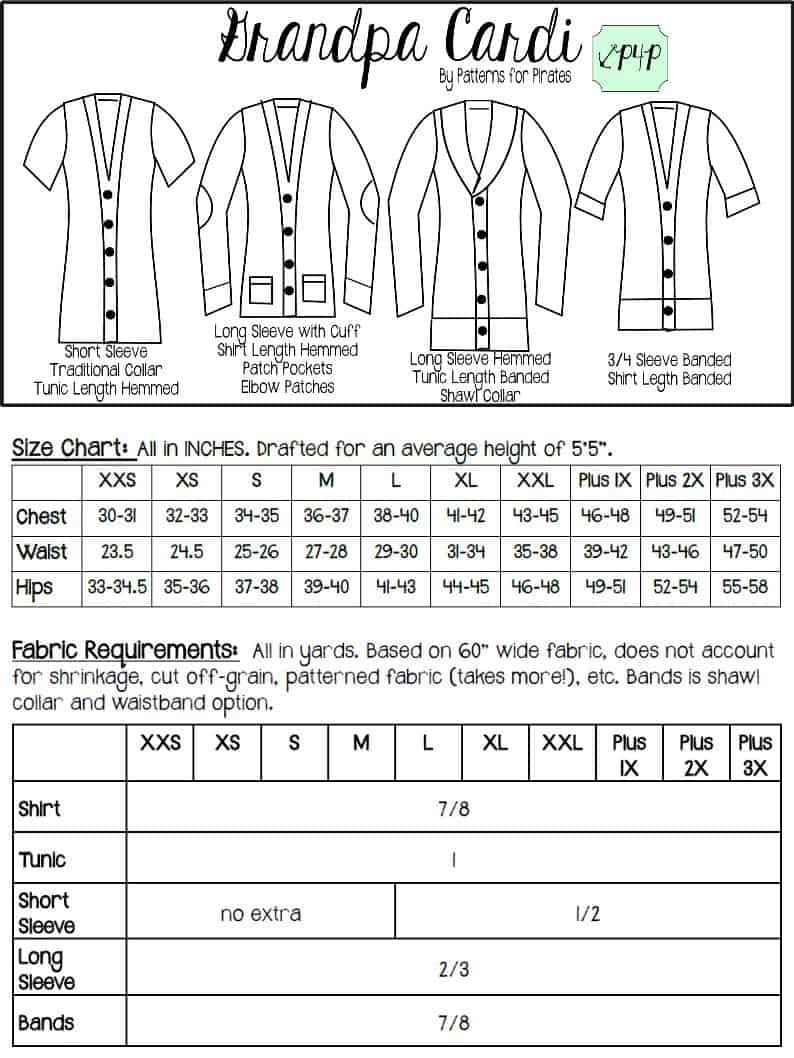
You will need your waist, hips and chest measurements in order to choose the correct cardigan size. P4P has an amazing blog that gives you tip for accurately taking your measurements. You can read all about it here. If your measurements put you in a different size for chest/waist/hips be sure to check out our P4P University blog and grade to achieve the perfect fit.

Check out the day 1 video below and then comment “done” on the Day 1 picture of the Cadigan SAL album in the sew along group. We don’t allow pictures of the pattern pieces so this will count as your day 1 check in.


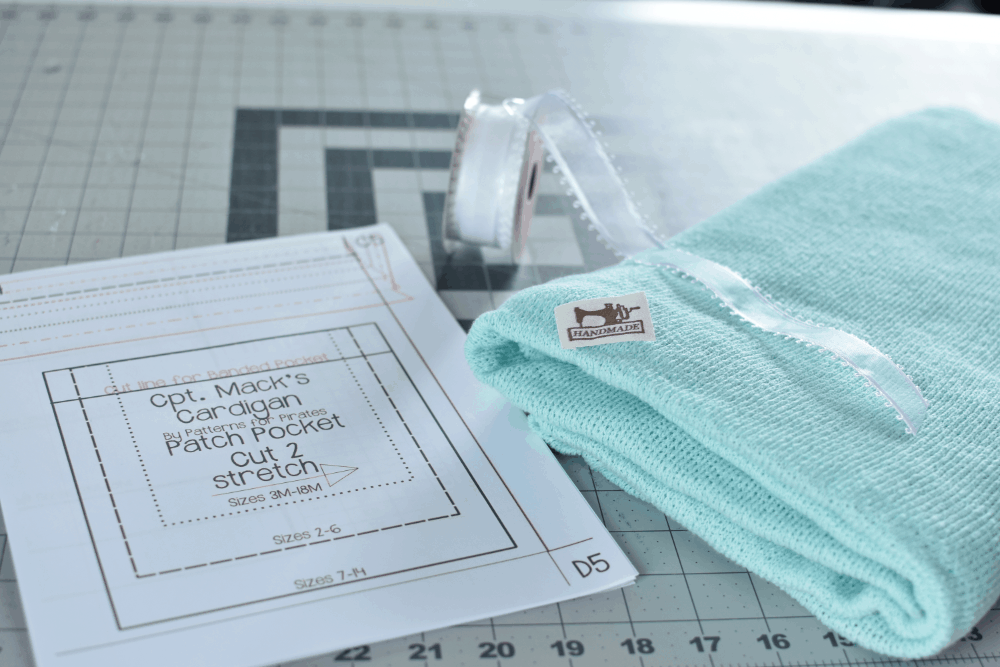
Grandpa Cardi | Cpt Mack’s Cardigan Sew along  – Day 1 (Print & cut pattern)

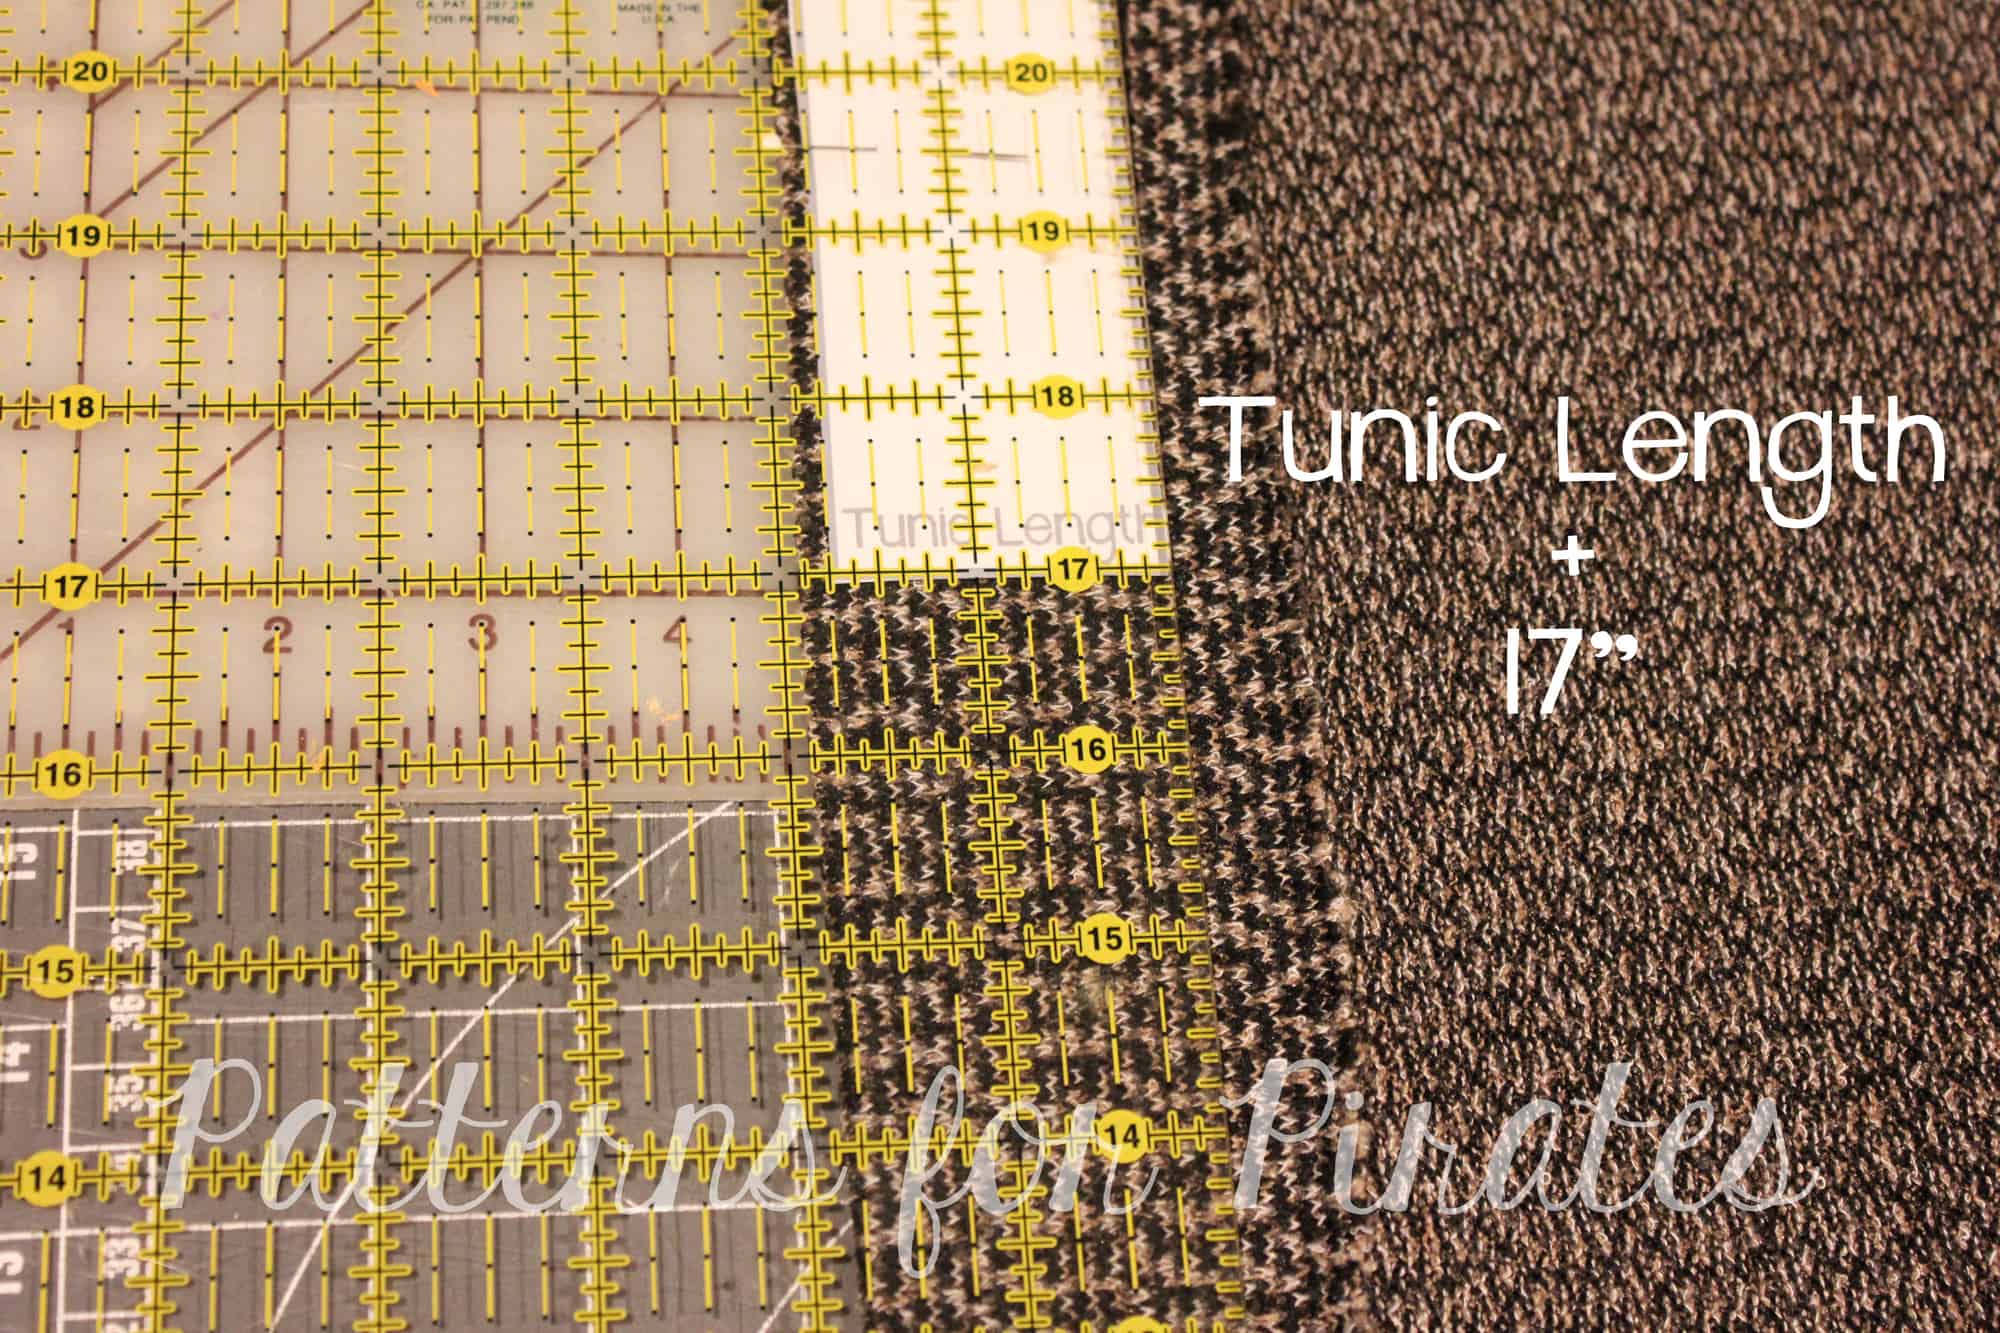
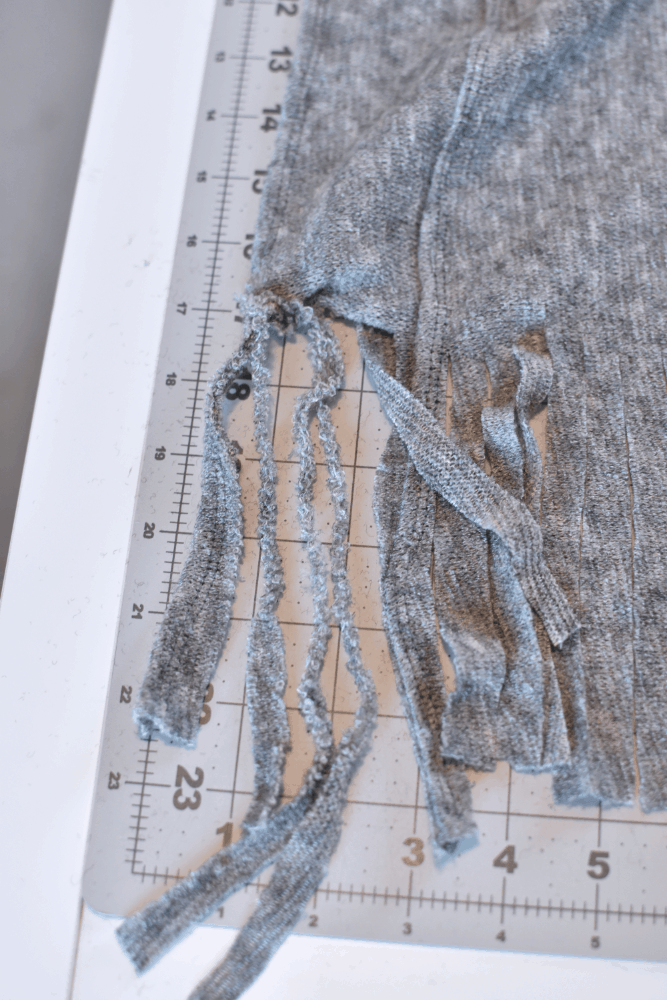
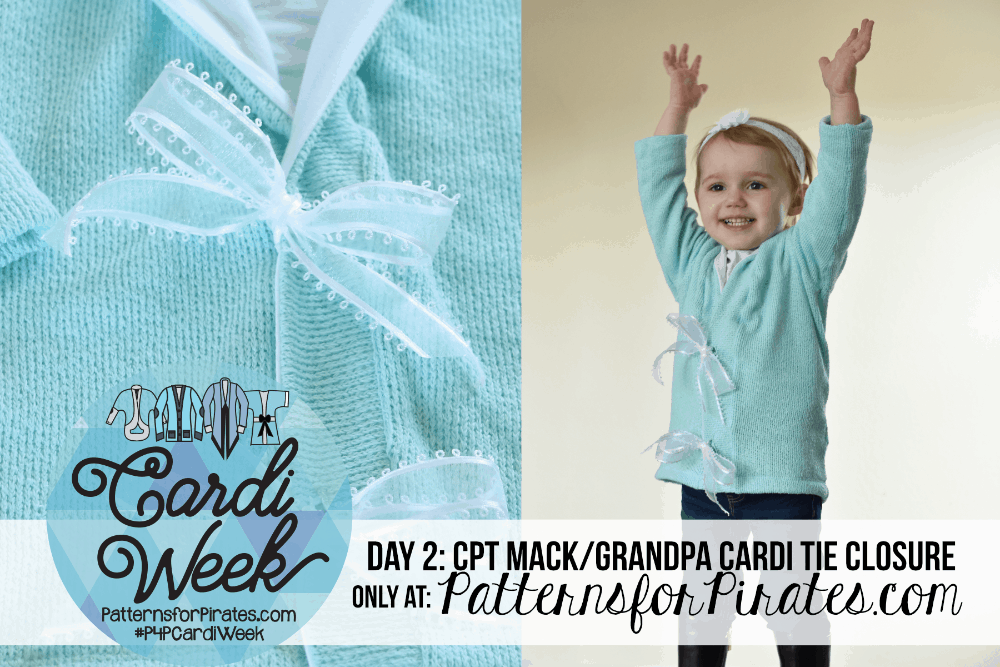
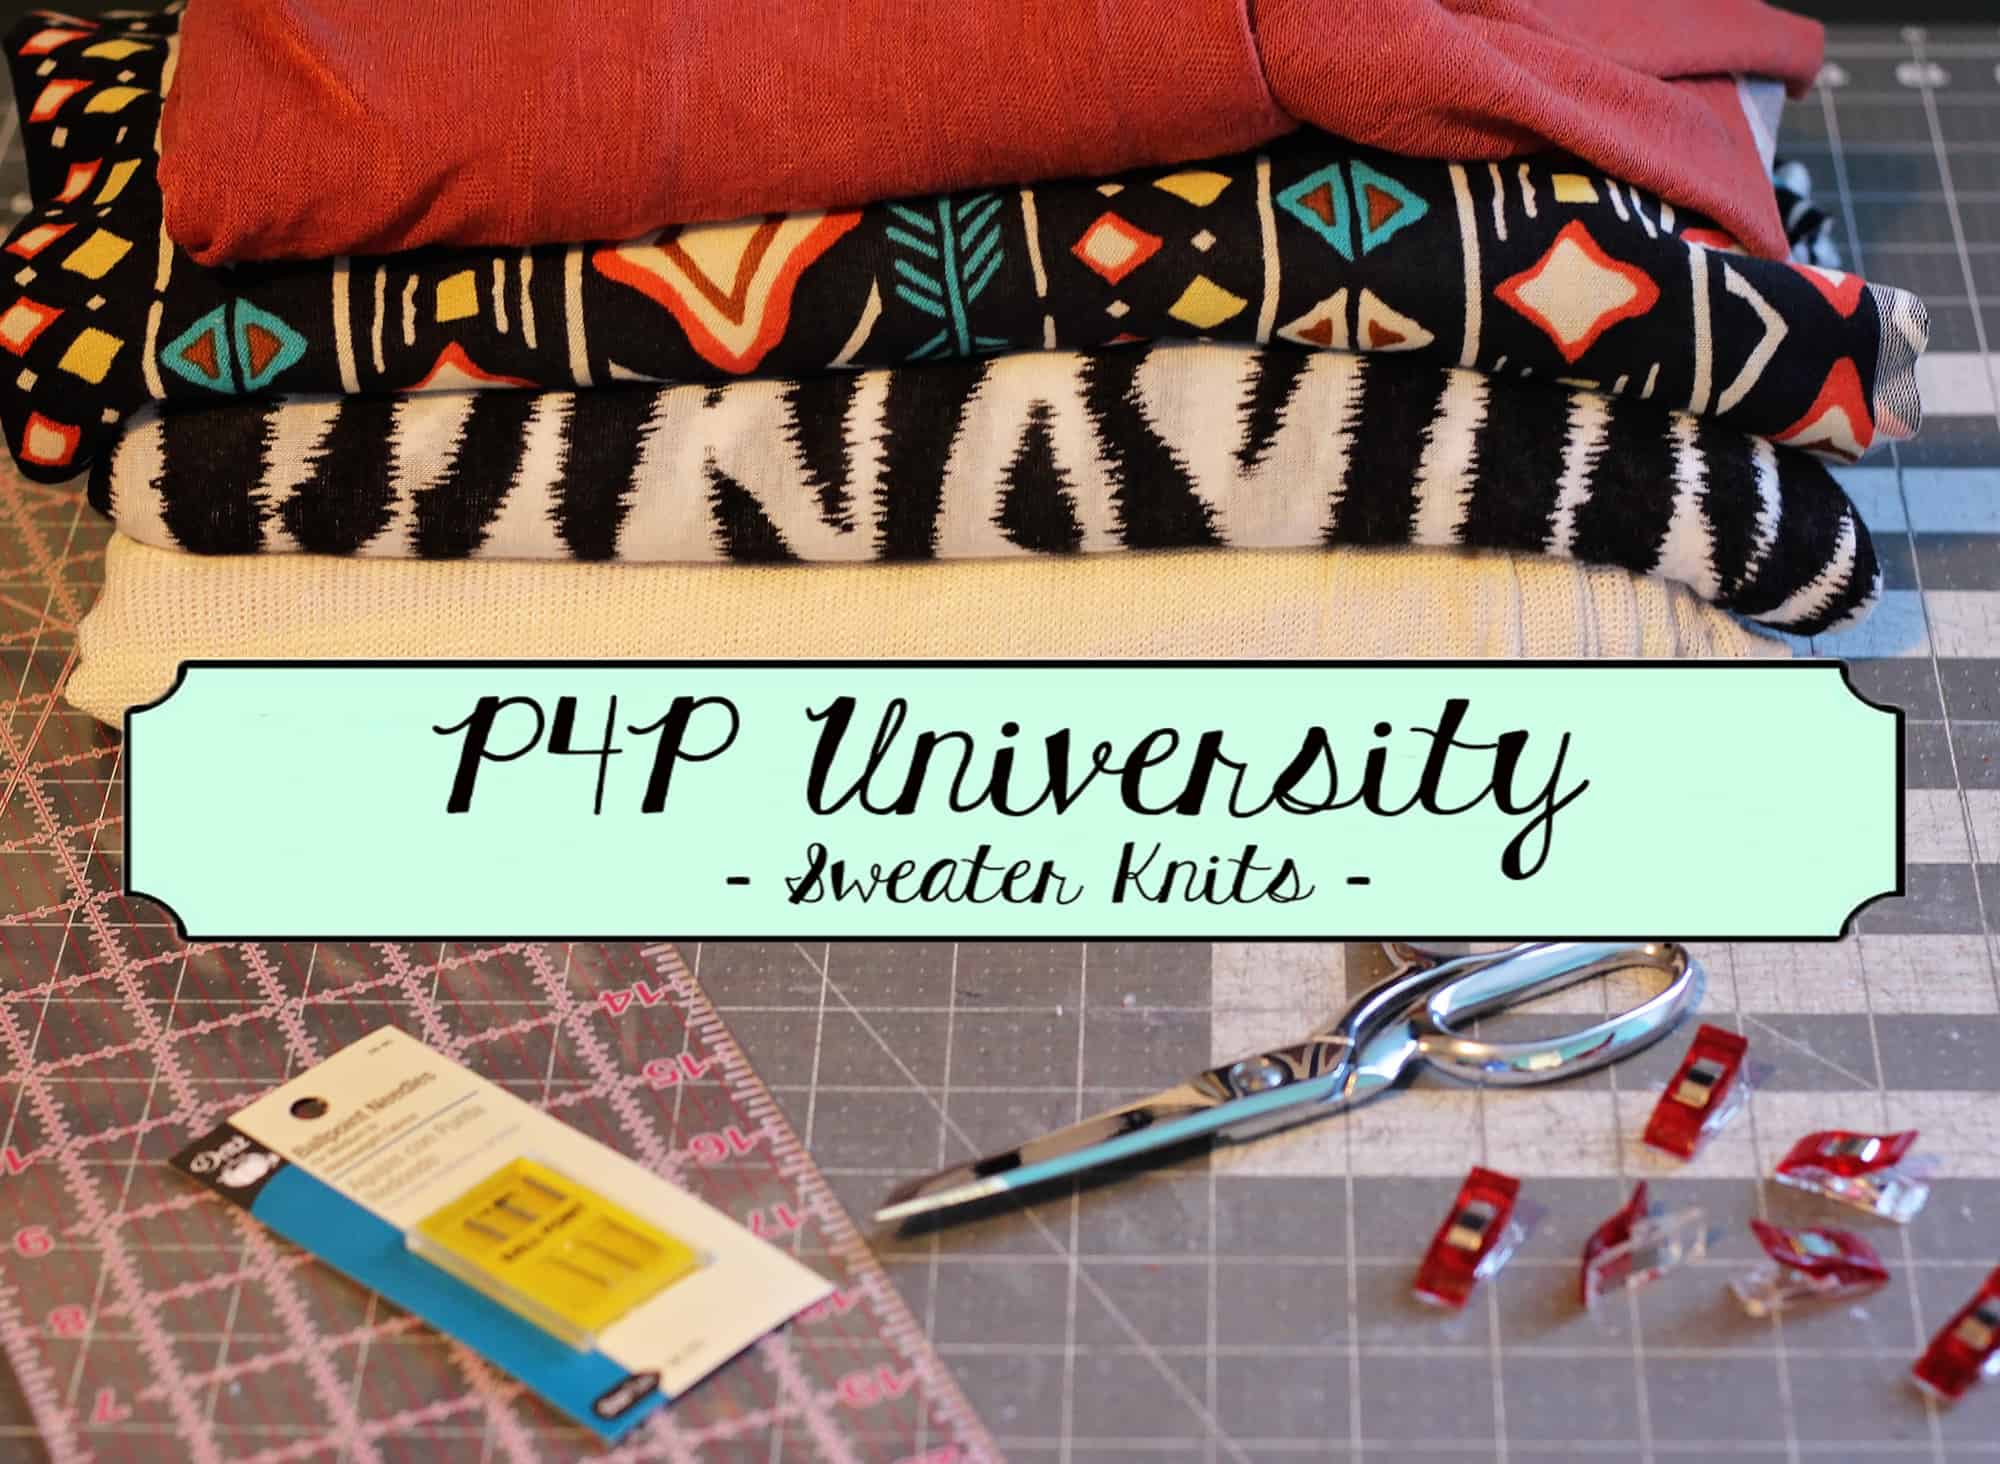
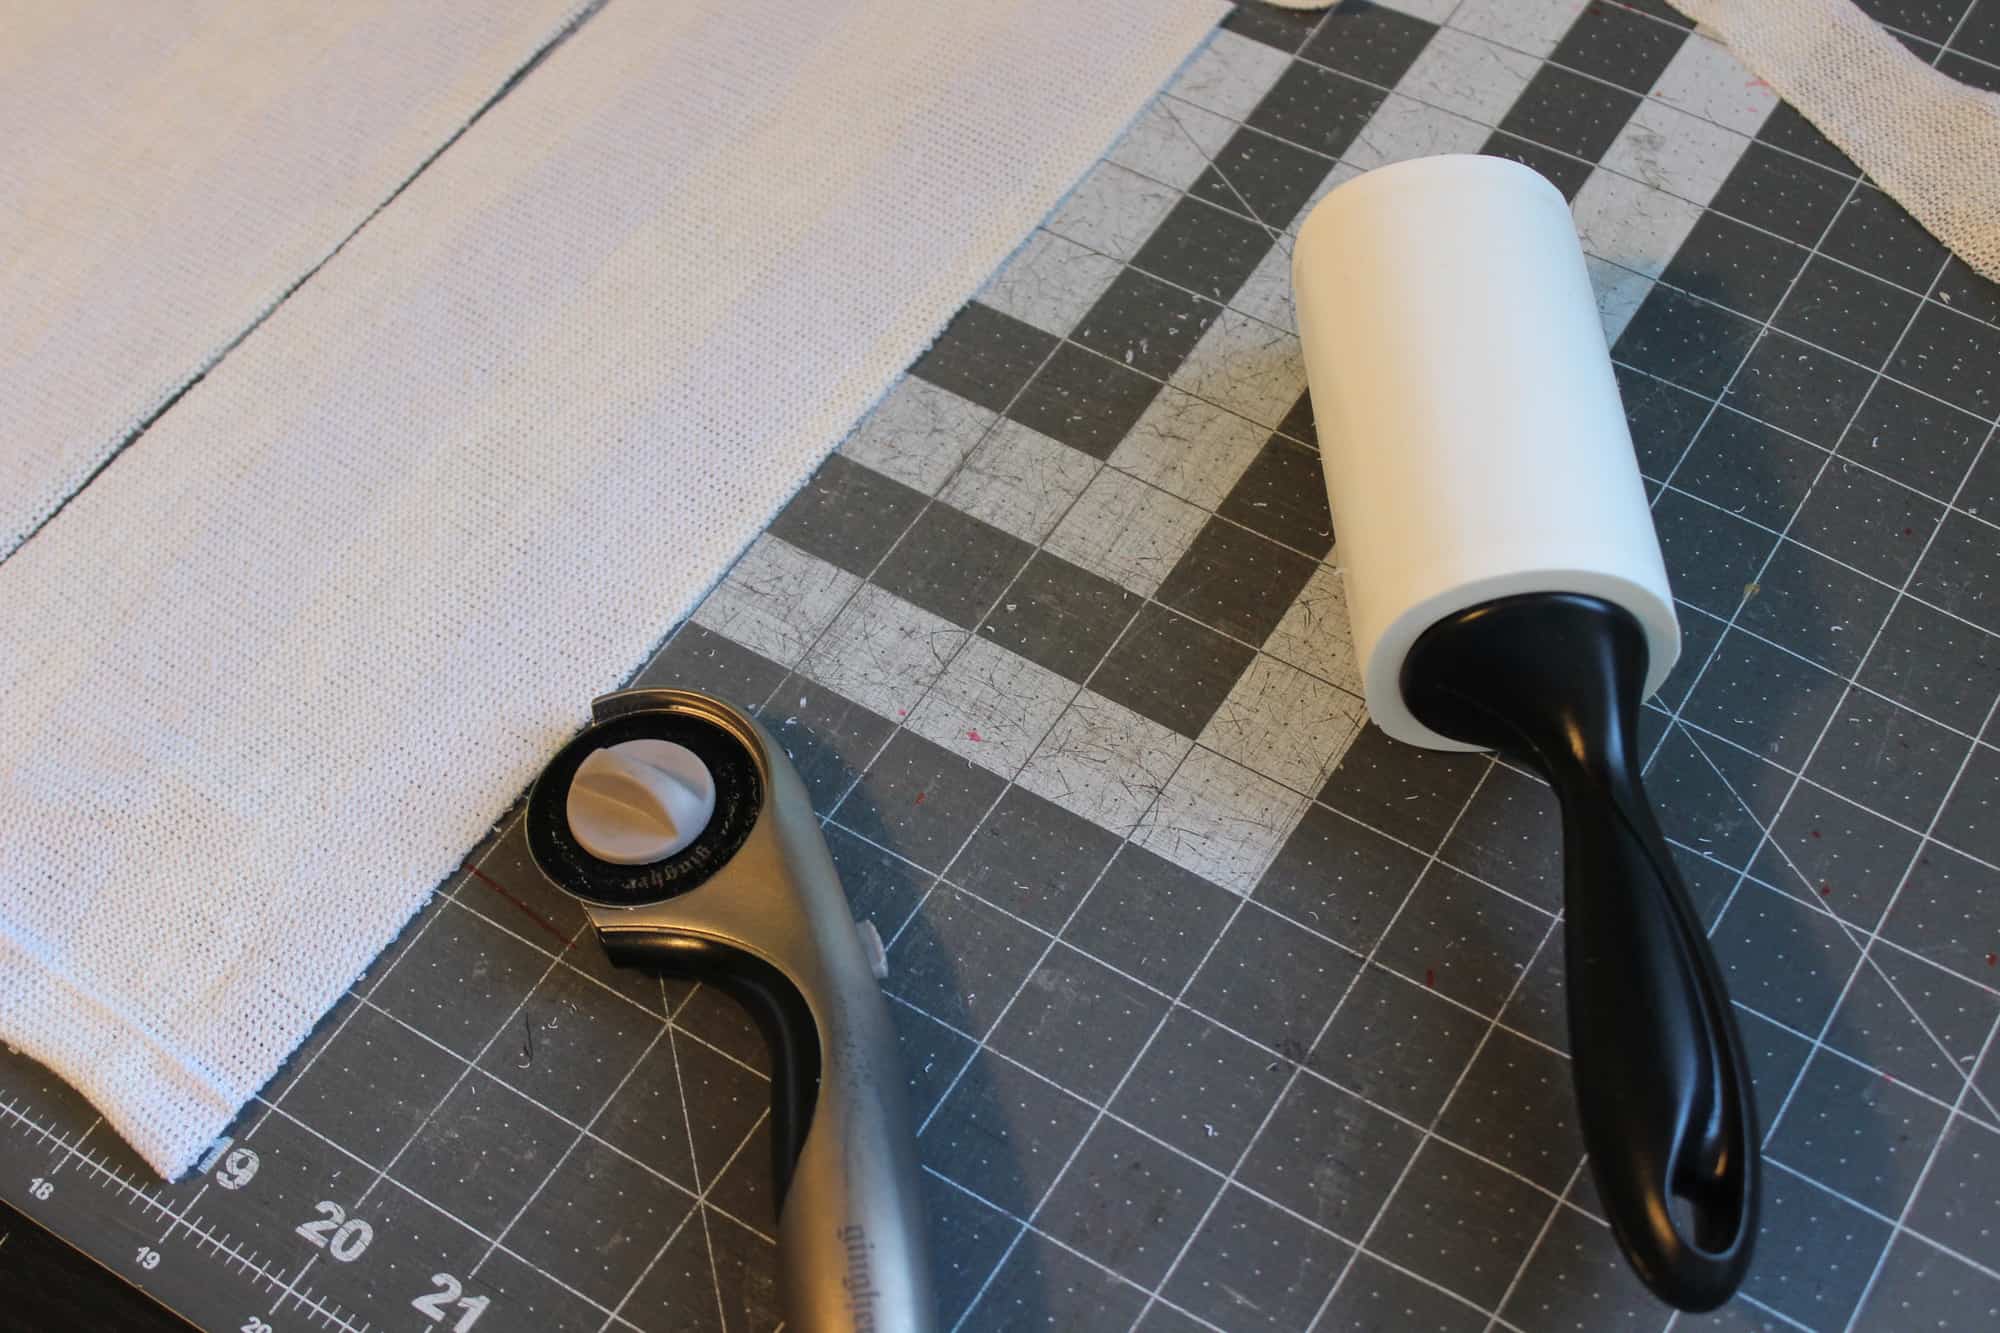
Grandpa Cardi | Cpt Mack’s Cardigan Sew along  – Day 2 (choose and cut fabric)

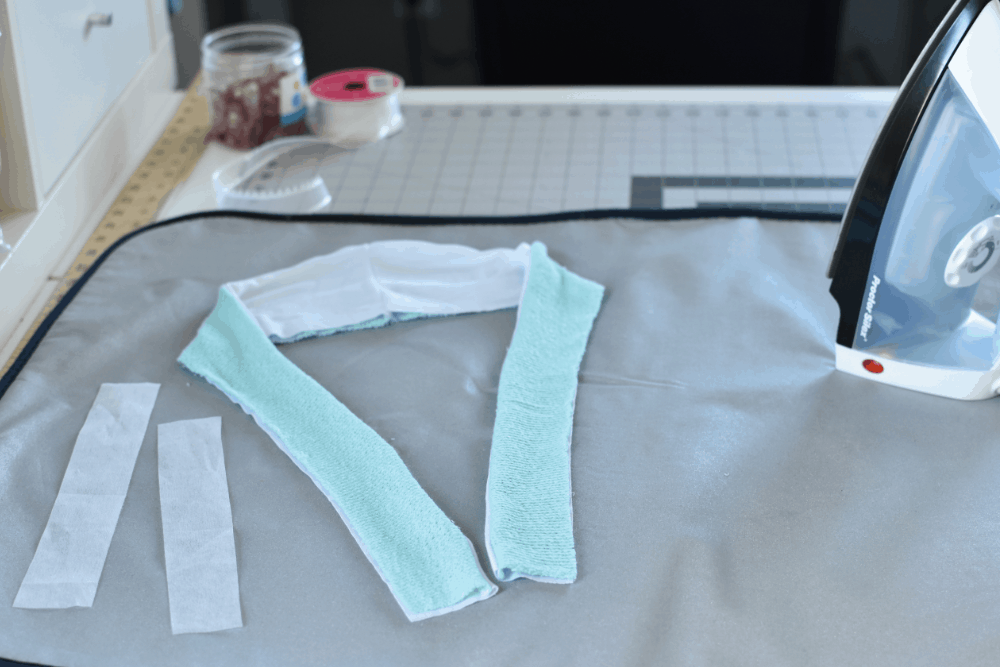
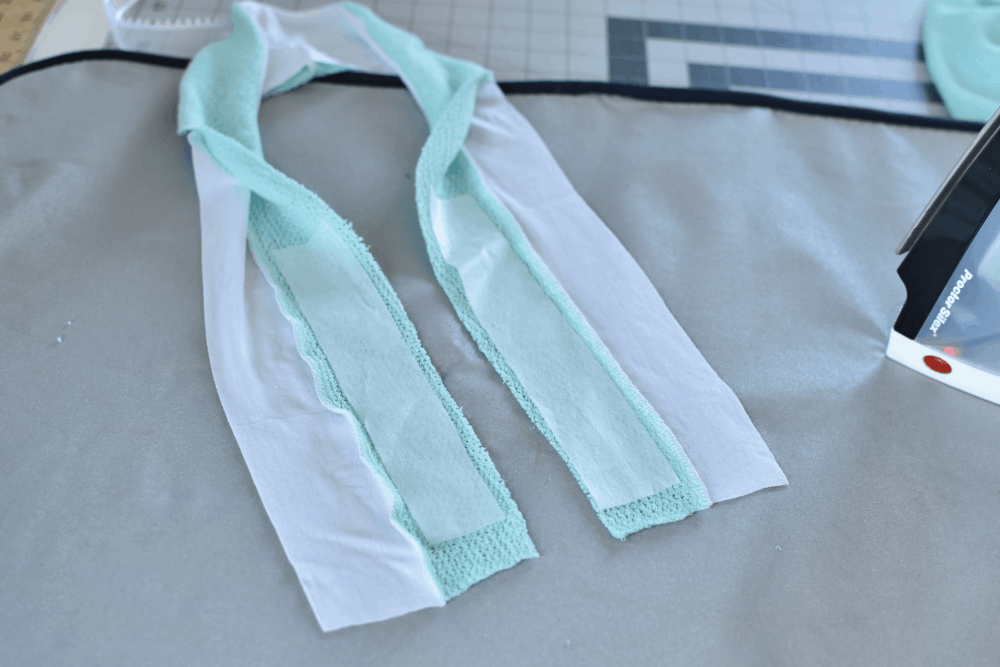
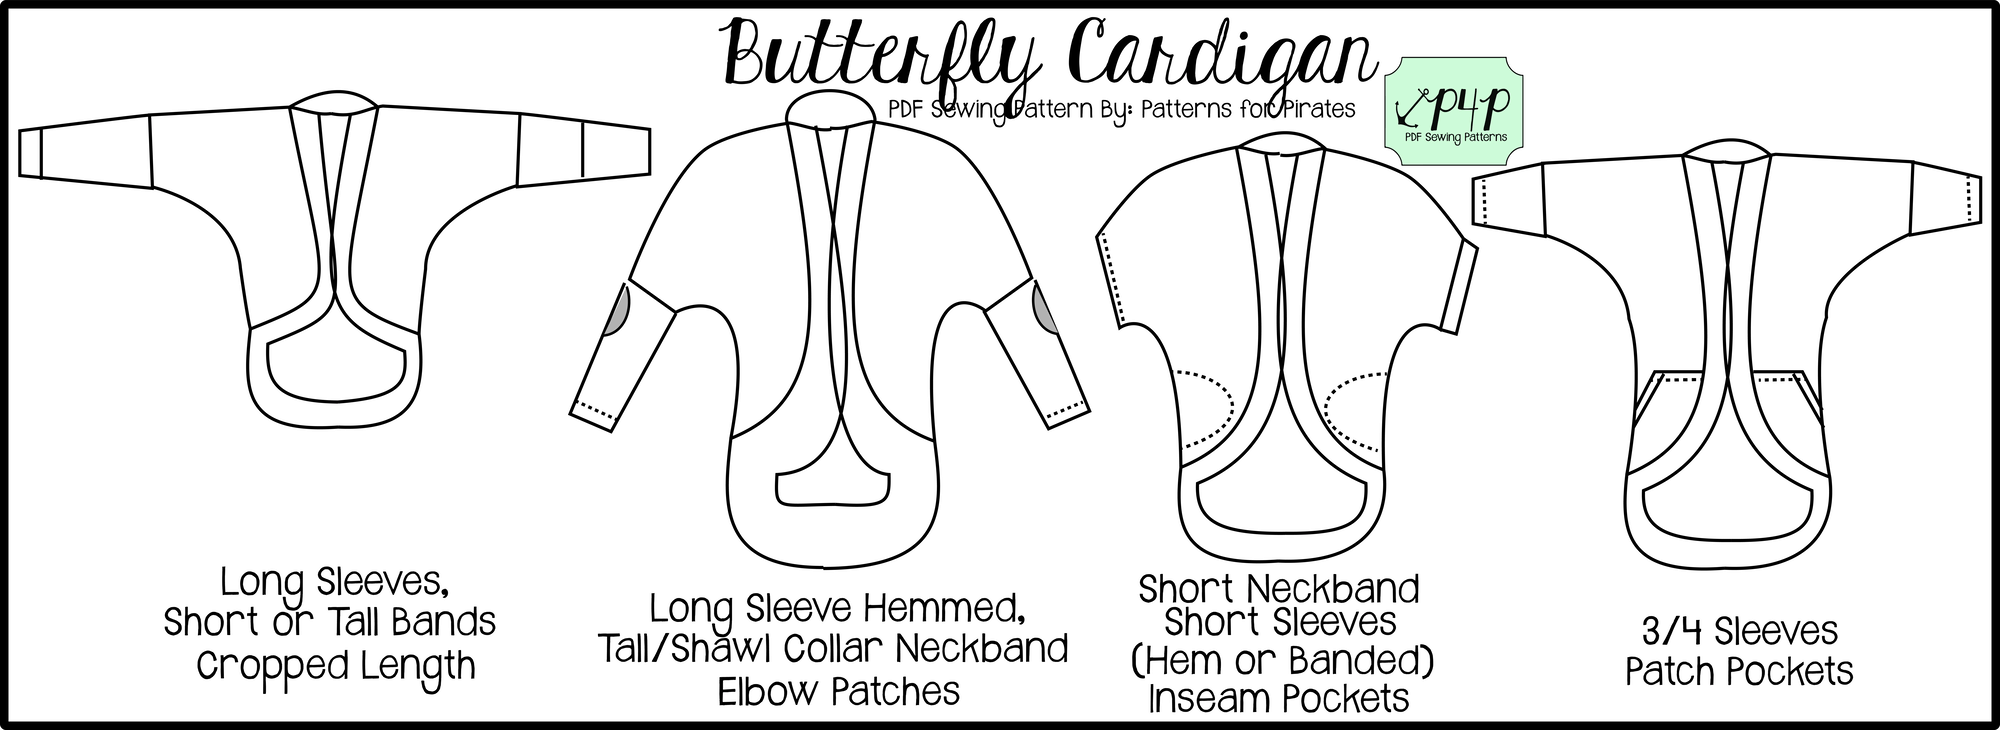
Grandpa Cardi | Cpt Mack’s Cardigan Sew along  – Day 3 (pockets and elbow patches)

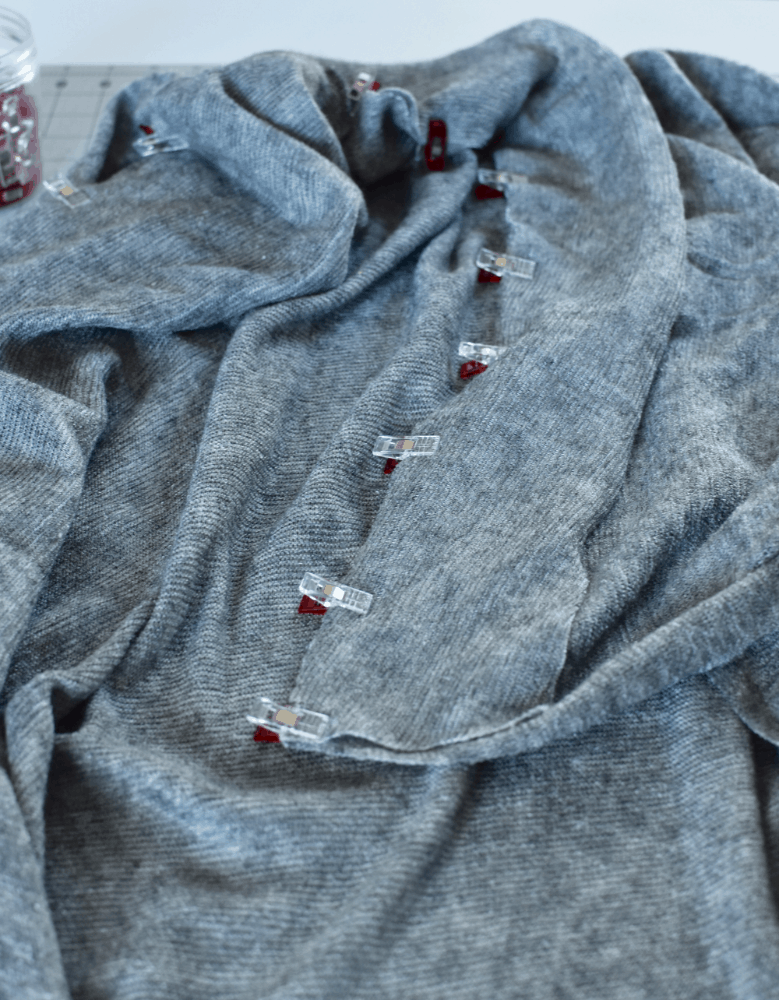
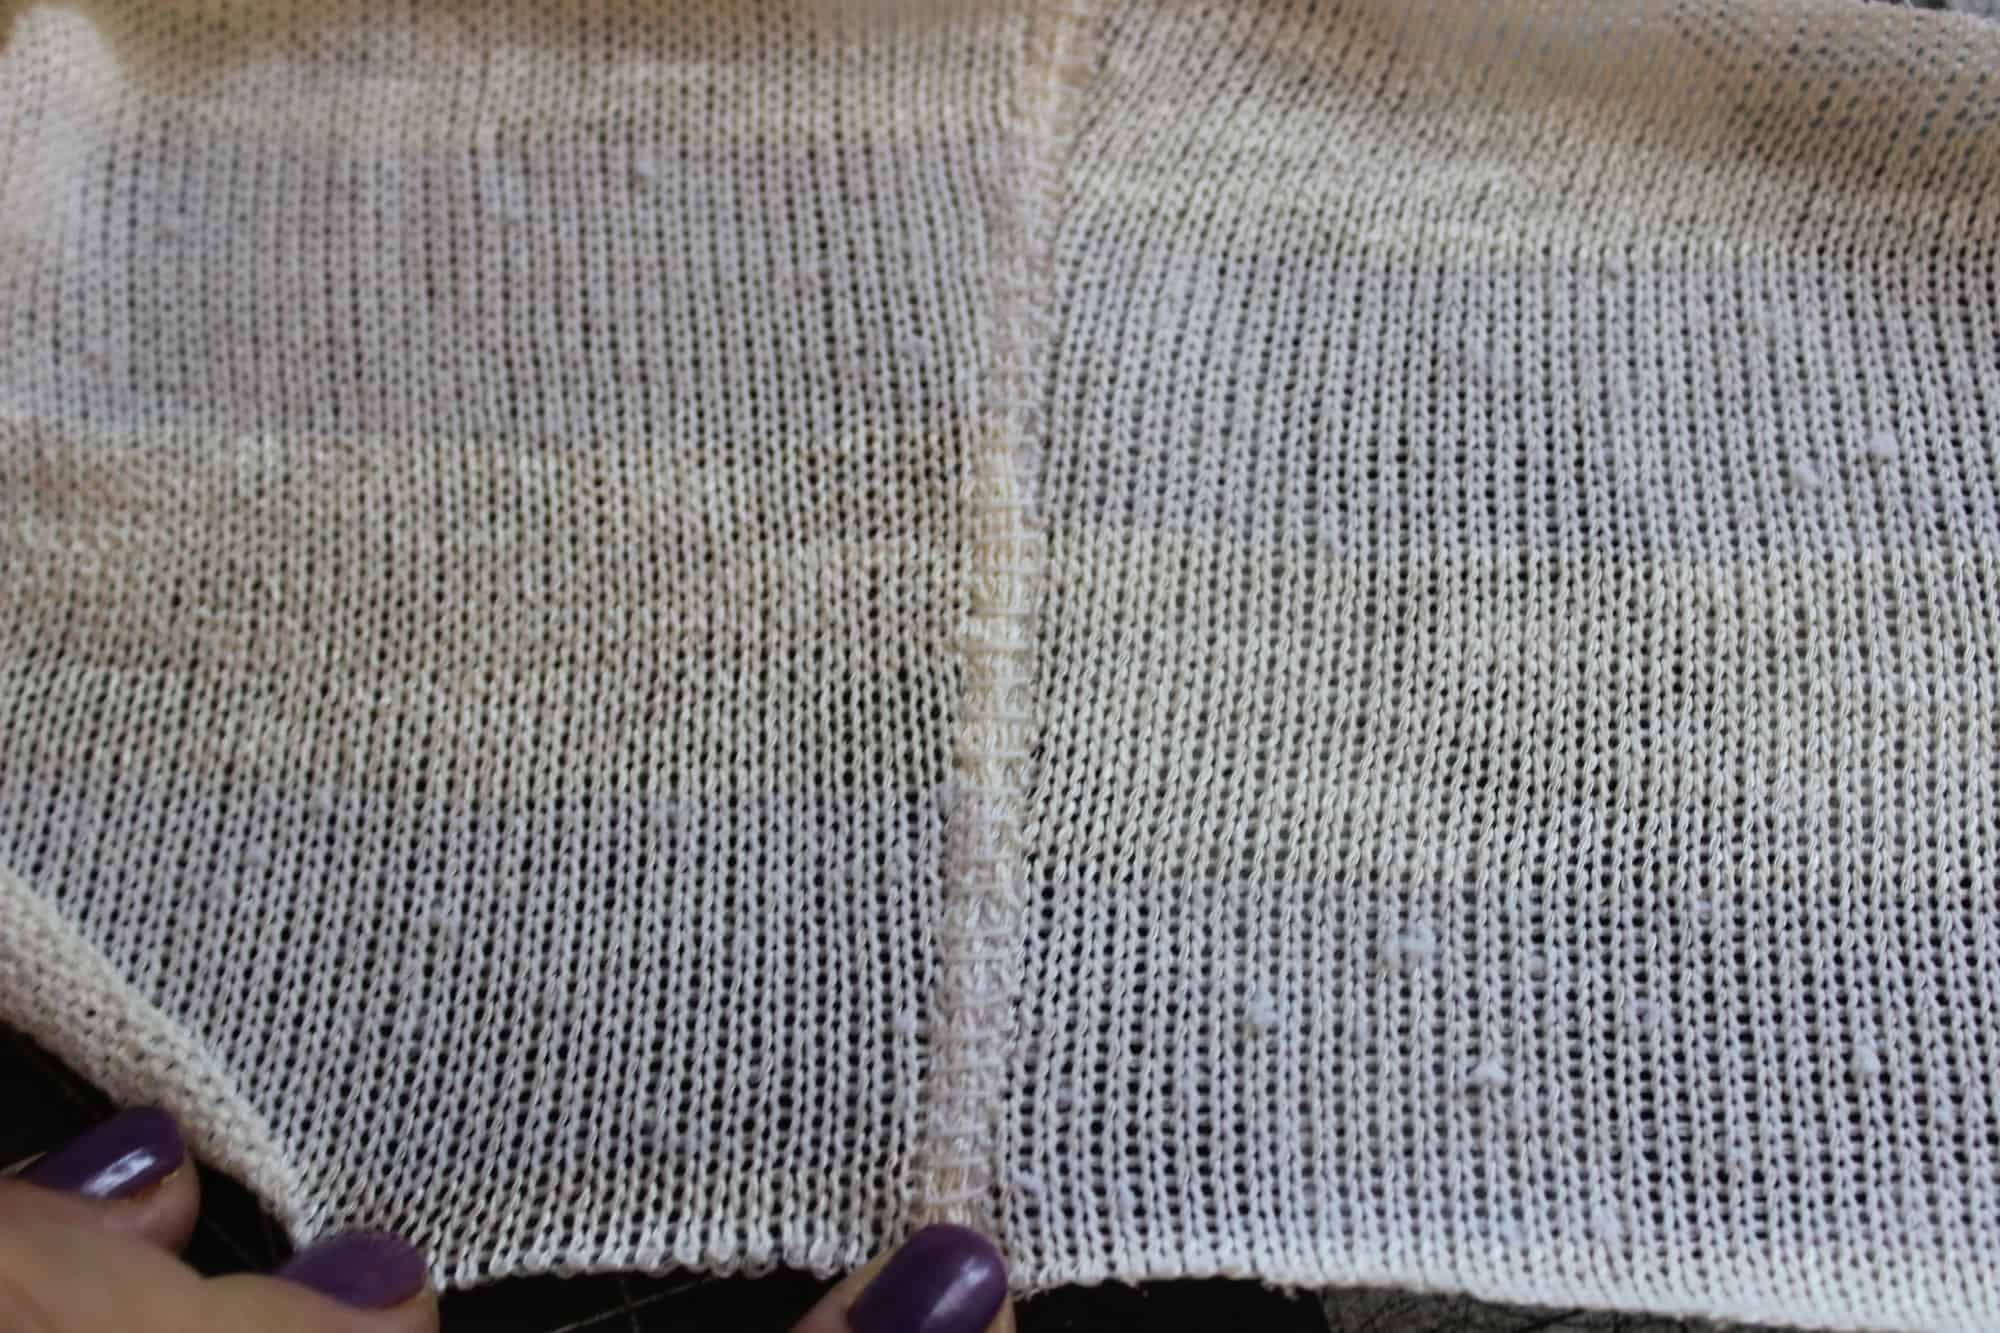
Grandpa Cardi | Cpt Mack’s Cardigan Sew along  – Day 4 (shoulder seams and add sleeves)

Grandpa Cardi | Cpt Mack’s Cardigan Sew along  – Day 5 (finish sleeves and bottom edge)

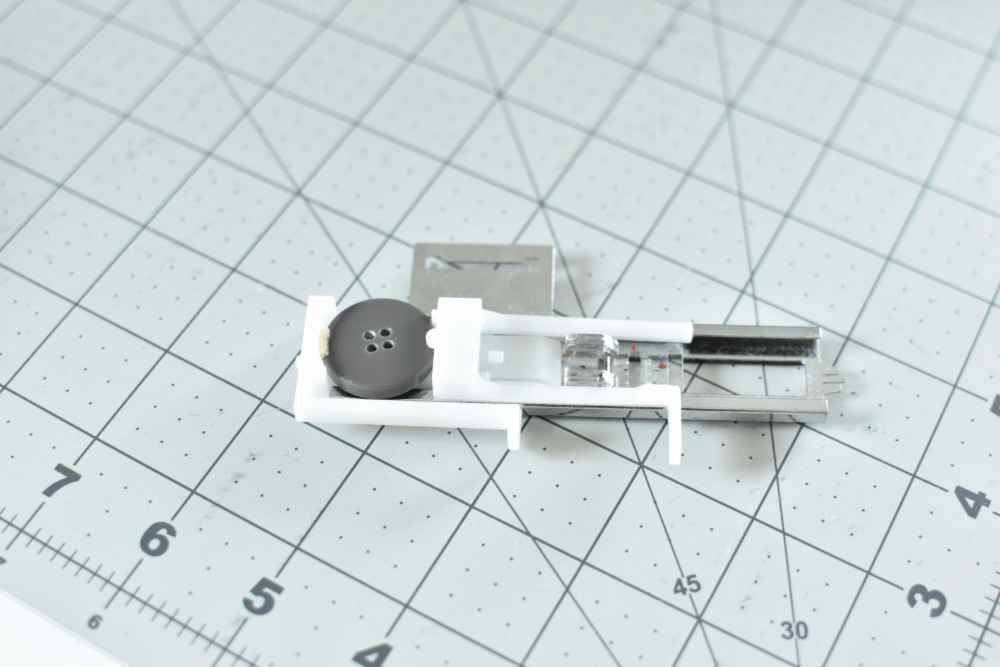
Grandpa Cardi | Cpt Mack’s Cardigan Sew along  – Day 6 (collar/shawl and buttons)

Grandpa Cardi | Cpt Mack’s Cardigan Sew along  – Day 7 (winners announcements)

Filed Under: Frequently Asked Questions, Sew-A-Long, Uncategorized 4 Comments

P4P Cardi Week : Grandpa Cardi in Duster Length

January 25, 2017

After spending way too much time browsing for sewing inspiration online, one of the biggest trends I’ve notice is the amount of long cardigans, also known as the duster length. While the original duster length was worn by the adventurous horsemen of the Wild West, I’ve decided to put a Pirate’s twist on it by using the Grandpa Cardigan. And what’s not to love about the Grandpa Cardi? It’s cozy, the perfect layering accessory, and always stylish! With a few quick and easy mods to the pattern, you too will be ready to join in on one of the hottest trends!

Determining Length 
First you will need to determine how long you want your duster. For me, I chose to have it hit right around my mid-calf. I measured from my underarm to mid-calf, which was a distance of 40″ (I’m 5’7″ for reference).

Adding Length to Back and Bodice Pieces
To add my length, I traced the pattern as is, using the tunic cut length. I then placed my tape measure from the bottom of the armcyce to the edge of the tunic cut line on the front bodice piece. For an XS, this measurement was 23″, meaning that I needed to add an additional 17″ in length (you will want to measure this distance if you are using a different size). I then drew a line 17″ down from the tunic cut line, keeping these two lines parallel. Once the line was drawn, I connected the new duster length cut line  perpendicular to the original pattern. Repeat this step on the back piece.

duster cardi

Adding Length to Collar
The Grandpa Cardi is very easy adjust the length of the collar. The band is only stretched around the neckline, while there is a 1:1 ratio below the slight V. Since I added 17″ in length, I added this same amount at the end of each collar piece from the tunic cut line. This will not alter the part of the band that needs to be stretched, only add to the section that is 1:1.

 IMG_6577_edited-1

Finishing Duster Cardi
Once you have lengthened all pieces (and cut out your sleeves), assemble the pattern as per the tutorial.

And if you needed a little more inspiration, the Duster happens to pair amazingly well with the Boyfriend V-neck! You should probably just grab that one as well if you don’t already have it! Make sure to check out the bottom of the page to read about what the other ladies have in store for you during #P4PCardiWeek. ~ Erinn

1watermark 2watermark 3watermark

Take a look at our jam-packed schedule of cardigan love!

Saturday, January 21: #P4PCardiWeek Announcement

Sunday, January 22: Cocoon / Butterfly Ruffle + Lace Hems

Monday, January 23: Ribbon Tie Closure Hack

Tuesday, January 24: Carefree Cardigan Fringe Hack

Wednesday, January 25: Duster-Length Adjustment

Thursday, January 26: Kimono Ruffle Sleeves + Hem

Friday, January 27: Varsity Sweater Style Hack

Saturday, January 28: Carefree Cardigan Flannel + Vest Hack

Monday, January 30: #P4PCardiWeek Winner Announcement

You can follow along on the blog here, or in our Facebook group.  Search #P4PCardiWeek to be able to find our posts all over social media.  And please feel free to sew-along with us on one or all of the days.  The more the merrier!

But wait, there’s more!  We wanted to create a friendly pirate-y competition with our P4P Cardi Week!

Between tomorrow and Saturday, January 28, sew up a Patterns for Pirates cardigan using one of our hacks, or by keeping the pattern as-is.  Share your photo with us on Instagram or in our Facebook group and use the tag#P4PCardiWeek We will pick our favorite and the winner will win a free P4P pattern of choice AND be featured on this blog.  Fun right?

To make it even better we have put all the cardigan patterns in the shop on sale all week (no code needed)!

Now get out there and sew some cardigans, matey!

Filed Under: Contest/Giveaway, Pattern Hacks, Uncategorized 2 Comments

P4P Cardi Week :: Carefree Cardigan Fringe Hack

January 24, 2017

WEB COVER

So you’ve been perusing Pinterest and you see all of those must have, trendy fringe cardigans. Now you’re looking at your library of sewing patterns and wondering which one can you easily hack into one of those gorgeous cardigans for yourself? Well here is a tutorial to show you how to easily transform the Patterns for Pirates Carefree Cardigan into a DIY fringe cardigan! Follow along to find out how easy this look is to achieve. At the end I have added the option to attach a button closure too!

First things first, which fabric should you use? My favorite knit fabrics to use for this purpose are knit fleece, closed weave brushed hacci sweater knit or a light-medium weight poly rayon spandex french terry. That said, you could do this with pretty much any knit. Be careful of really loose weave sweater knits though (the ones you can see through). They may fall apart on you during the fringe creation.


MATERIALS

Step 1: Whatever you do, DON’T SKIP THIS. Before you make your fabric selection and begin cutting out your garment pieces, test out how the fabric is going to look once fringed. To do this make a few ½” wide by 6” deep cuts perpendicular to the selvedge edge. Tie a couple of these strips into a knot together just as it will be done on the finished cardigan. Some knits will stay structured; some will come close to falling apart. It is important to test the fabric to determine if your chosen fabric is going to give you a desired look.

IMAGE 1c

Step 2: Cut out all pieces of your Carefree Cardigan for a ‘neckband only’ version, except for the neckband. For the neckband you are going to cut out a band half the cut chart width plus a seam allowance of 1/2″ for hemming. 

IMAGE 3

Step 3: Assemble your cardigan as directed by the Carefree Cardigan pattern tutorial with the exception of the neckband. You are attaching the neckband without folding it in half to form a closed band. You want an open raw edged band.

IMAGE 4

Step 4: Using your sewing or coverstitch machine, you will then hem the long exposed edge of the neckband and along the bottom hem. Use a 1/2”” hem width here. You want it thin so that it doesn’t become bulky when you create the fringe. Lastly, hem the sleeves as directed by the pattern.

IMAGE 5c

Step 5: Lay your cardigan out on your cutting mat, lining up the unfinished edge along a straight measurement line on your mat. Decide how wide you would like your fringe to be. Take your scissors and cut strips about 6” deep along the entire length of your cardigan front, every ½-1”. I chose to cut ½” strips. Go back and seam rip the hems on the bottom and top strips that you have now cut into fringe strips. You may want to add some reinforcement stiching to the hem stitches at the beginning and end just before it turns into fringe.

image 6c

Step 6: The last step is to finish the fringe edge. This is done by tying the base of the strips into knots all down the front. Decide how many strips you would like to be knotted together to create some separation. I chose to knot 2 strips together down the entire length of my cardigan.

If you choose not to add a button closure you are now all finished!

IMAGE 7B


OPTIONAL  Button Closure

IMAGE 12B

Step 7: Following Judy’s lead in her Carefree Cardigan Button blog tutorial, I chose to add a button to mine to finish off the look. To do this I put on my cardigan and played with different variations of button placement; to decide how I wanted the cardigan to be styled. I settled on adding a 1” shoulder button.

image 8b

[center button placement]

image 8c

[shoulder button placement]

Step 8: Once you have decided on placement, mark it. A lot of the time I like to use dry erase crayons to mark placement. The mark is easily visible on any fabric and it stays put until you throw your garment in the wash. Mark the button location both on the overlapping bodice front and the under lapping bodice front.

image 9c

[dry erase crayon]

image 10c

Step 9: Use your sewing machine to create a buttonhole on the overlapping bodice front in the top corner. If you are using an oversized button or do not have an automatic buttonhole presser foot for your machine see Judy Hale’s post HERE. Carefully cut open the buttonhole with your seam ripper.

IMAGE 10B

[automatic buttonhole presser foot]

Step 10: Now attach your button with your sewing machine or by hand on the under lapping bodice shoulder where you have placed a marking. Try it on and adjust button placement if necessary.

IMAGE 11c

All done!

IMAGE 12c

Keep your eyes peeled for some other fun tutorials the ladies at Patterns for Pirates have prepared for you this week! Be sure to read all the way through the end of this post to find out about the contest we have running this week!

-Kelly Bailey

P4P Blog Contributor

Take a look at our jam-packed schedule of cardigan love!

Saturday, January 21: #P4PCardiWeek Announcement

Sunday, January 22: Cocoon Lace Hems and Butterfly Ruffle

Monday, January 23: Ribbon Tie Closure Hack

Tuesday, January 24: Carefree Cardigan Fringe Hack

Wednesday, January 25: Duster-Length Adjustment

Thursday, January 26: Kimono Ruffle Sleeves + Hem

Friday, January 27: Varsity Sweater Style Hack

Saturday, January 28: Carefree Cardigan Flannel + Vest Hack

Monday, January 30: #P4PCardiWeek Winner Announcement

You can follow along on the blog here, or in our Facebook group.  Search #P4PCardiWeek to be able to find our posts all over social media.  And please feel free to sew-along with us on one or all of the days.  The more the merrier!

But wait, there’s more!  We wanted to create a friendly pirate-y competition with our P4P Cardi Week!

Between tomorrow and Saturday, January 28, sew up a Patterns for Pirates cardigan using one of our hacks, or by keeping the pattern as-is.  Share your photo with us on Instagram or in our Facebook group and use the tag #P4PCardiWeek. We will pick our favorite and the winner will win a free P4P pattern of choice AND be featured on this blog.  Fun right?

To make it even better we have put all the cardigan patterns in the shop on sale all week (no code needed)!

Now get out there and sew some cardigans, matey!

Filed Under: Contest/Giveaway, Pattern Hacks 1 Comment

P4P Cardi Week :: Grandpa + Cpt. Mack Ribbon Tie Closure

January 23, 2017


Cpt Mack Ribbon Tie Closure Primary


Today I have for you a simple hack that can be applied to either the Patterns for Pirates women’s Grandpa Cardi or the youth version, the Cpt. Mack’s Cardigan. This mod is simple but it adds so much to the overall look! There are a few different ways that you could approach this; but grab your pattern and follow along the tutorial below to find out how I like to add a ribbon tie closure to the Cpt. Mack and Grandpa Cardigans.

For this tutorial I am using some simple satin and mesh ribbon to coordinate with my rayon spandex lined loose weave sweater knit Cpt. Mack.

MATERIALS

Step 1: Sew up your cardigan, stopping just before attachment of the collar.

IMAGE 0

Step 2: Iron on some interfacing along the inside of the collar where the buttonholes will be stitched. This will provide some stability to your knit and to prevent the holes from being stretched out with use. I know my kids aren’t gentle with their clothes!

IMAGE 1

Step 3: Now sew your collar onto the cardigan as directed by the pattern tutorial.

IMAGE 2

Step 4: Mark on the overlapping band (with pins) where you would like your bows to be located. I used two bows for my daughters size 2T tunic length cardigan. The width of the chosen ribbon should be considered when deciding how many bows to use as well. Now mark the corresponding location on the under lapping band.

IMAGE 4

Step 5: Use your machine to create buttonholes on the overlapping band locations. For this I used my automatic buttonhole presser foot. If you haven’t yet used your buttonhole foot I highly suggest reading your manual or searching YouTube for a quick video. These make it super simple! If you do not have a buttonhole setting and foot option on your machine you can certainly use a zigzag stitch to create one yourself. Follow along Judy’s Carefree Cardigan Button blog post to see how she likes to create a buttonhole in that circumstance. Once the buttonhole is stitched, it’s time to very carefully cut them open with your seam ripper.

IMAGE 5

Step 6: Next, use your ribbon to tie a bow to the size of your liking. Trim the ribbon tails a little longer than desired to allow for some wiggle room as we construct this. Untie your bow and cut an additional piece equal in length for as many bows as you would like to attach.

IMAGE 6

IMAGE 7

Step 7: Find the center of each piece of ribbon and secure it to the under lapping band at the pin locations. Sew a straight stitch vertically down the centerline of the ribbon to attach it to the cardigan. I stitched mine on along the left side of the band. This allows the overlapping band to fully cross over once tied.

IMAGE 8

IMAGE 8B

Step 8: Pull one end of each ribbon through its corresponding buttonhole and tie into bows once again, closing the cardigan front. Once all of your bows are tied you can trim the tails to the desired lengths. If you prefer these to be permanent bows you can certainly hand stitch them so that they may not come untied.

IMAGE 9

IMAGE 10

Step 9: If you have used a ribbon that frays easily, use a lighter to gently melt each ribbon end or some Fray Check to seal the weave. Be careful to use the heat from the flame and not the flame itself. If you mess up, no worries! Simply trim off the tip of the ribbon tail and try again.

There you have it. All done!

IMAGE 11B

Keep your eyes peeled for some other fun tutorials the ladies at Patterns for Pirates have prepared for you this week! Be sure to read all the way to the end of this post to find out how to participate in this week’s sewing contest!

-Kelly Bailey

P4P Blog Contributor


Take a look at our jam-packed schedule of cardigan love!

Saturday, January 21: #P4PCardiWeek Announcement

Sunday, January 22: Cocoon Lace Hems and Butterfly Ruffle

Monday, January 23: Ribbon Tie Closure Hack

Tuesday, January 24: Carefree Cardigan Fringe Hack

Wednesday, January 25: Duster-Length Adjustment

Thursday, January 26: Kimono Ruffle Sleeves + Hem

Friday, January 27: Varsity Sweater Style Hack

Saturday, January 28: Carefree Cardigan Flannel + Vest Hack

Monday, January 30: #P4PCardiWeek Winner Announcement

You can follow along on the blog here, or in our Facebook group.  Search #P4PCardiWeek to be able to find our posts all over social media.  And please feel free to sew-along with us on one or all of the days.  The more the merrier!

But wait, there’s more!  We wanted to create a friendly pirate-y competition with our P4P Cardi Week!

Between tomorrow and Saturday, January 28, sew up a Patterns for Pirates cardigan using one of our hacks, or by keeping the pattern as-is.  Share your photo with us on Instagram or in our Facebook group and use the tag #P4PCardiWeek. We will pick our favorite and the winner will win a free P4P pattern of choice AND be featured on this blog.  Fun right?

To make it even better we have put all the cardigan patterns in the shop on sale all week (no code needed)!

Now get out there and sew some cardigans, matey!

Filed Under: Contest/Giveaway, Pattern Hacks, Uncategorized 2 Comments

P4P Cardi Week :: Cocoon Lace Hems

January 22, 2017

cocoon-lace

I’m sure by now you’ve all browsed Pinterest for cardigan inspiration, I know I have. When I saw a dolman style cardigan with lace trim I knew right away I needed to make myself one so in today’s blog I’ll show you how easy it is to get the look and I’ll also give you some tip for working with lace.

IMG_5383

Start by cutting the Cocoon Cardigan pattern pieces. You will not need to cut the the band, we will be replacing it with trim. I made a tunic length, 3/4 hemmed sleeves with no pockets but you can apply this technique to either one of the styles. The fabric and lace I used are both from Hobby Lobby.

IMG_5282

Assemble your pattern pieces as per the instruction. I like to leave the band for the end so you now have your cardigan ready to add the lace trim. The pattern band is shorter than the edge circumference and since most lace trims have no stretch we will have to measure the opening. The trim you will need will be equal to this length.

cocoondrawing1

TIP: If your trim comes in 2 yards or less increments you will need to  attach two pieces together. To do that I like to use a zig zag stitch and just slightly overlap the ends. Stitch them together with a narrow zig zag stitch. Don’t forget to place a little piece of water soluble stabilizer under your lace when you stitch it.

IMG_5284

IMG_5285

Pin (or clip) your lace to the cardigan raw edge, right sides together. Yes, there is a right side to the lace trim too! 🙂 Pin all around the edge, making sure you do not stretch the cardigan. When you get to the curved edge pin even closer since that part is not only stretchy but also on the bias.

IMG_5289

IMG_5290

IMG_5291Once it’s all pinned in place sew the lace around the opening very slowly. I like to use my sewing machine for this step, instead of the serger. A stitch length of 3.5 with a 3.4-3.6 tension should be all you need. All you have to do now is top stitch around the opening, about 1/4-1/8 inch away from the trim and you are all set. See how easy that was?

IMG_5389

IMG_5371

Take a look at our jam-packed schedule of cardigan love!

Saturday, January 21: #P4PCardiWeek Announcement

                                                  Sunday, January 22: Cocoon Lace Hems and Butterfly Ruffle

Monday, January 23: Ribbon Tie Closure Hack

Tuesday, January 24: Carefree Cardigan Fringe Hack

Wednesday, January 25: Duster-Length Adjustment

Thursday, January 26: Kimono Ruffle Sleeves + Hem

Friday, January 27: Varsity Sweater Style Hack

Saturday, January 28: Carefree Cardigan Flannel + Vest Hack

Monday, January 30: #P4PCardiWeek Winner Announcement

You can follow along on the blog here, or in our Facebook group.  Search #P4PCardiWeek to be able to find our posts all over social media.  And please feel free to sew-along with us on one or all of the days.  The more the merrier!

But wait, there’s more!  We wanted to create a friendly pirate-y competition with our P4P Cardi Week!

Between tomorrow and Saturday, January 28, sew up a Patterns for Pirates cardigan using one of our hacks, or by keeping the pattern as-is.  Share your photo with us on Instagram or in our Facebook group and use the tag#P4PCardiWeek We will pick our favorite and the winner will win a free P4P pattern of choice AND be featured on this blog.  Fun right?

To make it even better we have put all the cardigan patterns in the shop on sale all week (no code needed)!

Now get out there and sew some cardigans, matey!

Filed Under: Pattern Hacks, Pattern Release, Uncategorized 2 Comments

P4P Cardi Week is here!

January 22, 2017

We had so much fun when we ran #P4PRaglanWeek that we decided to do it again.  But this time, we are focusing on our favorite layering pieces: Cardigans!  That’s right, Pirates!  We are asking you to dig out your Grandpa/Cpt Mack, Carefree, and Cocoon/Butterfly Cardigan patterns…and the Kimono pattern too!  Let’s get busy sewing!

cardi logo

We are giving you a full week of cardigan sewing, with hacks and add-ons and easy tutorials.  This is going to be so much fun!

Take a look at our jam-packed schedule of cardigan love!

Saturday, January 21: #P4PCardiWeek Announcement

Sunday, January 22: Cocoon / Butterfly Ruffle + Lace Hems

Monday, January 23: Ribbon Tie Closure Hack

Tuesday, January 24: Carefree Cardigan Fringe Hack

Wednesday, January 25: Duster-Length Adjustment

Thursday, January 26: Kimono Ruffle Sleeves

Friday, January 27: Varsity Sweater Style Hack

Saturday, January 28: Carefree Cardigan Flannel + Vest Hack

Monday, January 30: #P4PCardiWeek Winner Announcement

You can follow along on the blog here, or in our Facebook group.  Search #P4PCardiWeek to be able to find our posts all over social media.  And please feel free to sew-along with us on one or all of the days.  The more the merrier!


To sweeten the deal, we’ve gone through and updated the older patterns to include the layers feature, as well as the international and copy shop files.  How do you get the updated copies from previous purchases?  That’s easy!

  • If you purchased from PatternsforPirates.com or Craftsy, log into your accounts and download the updated file.  It’s already in there, waiting for you!
  • If you purchased from Etsy, email a copy of your receipt to help@patternsforpirates.com and the Pirate crew will email you with your updated files.

But wait, there’s more!  We wanted to create a friendly pirate-y competition with our P4P Cardi Week!

Between tomorrow and Saturday, January 28, sew up a Patterns for Pirates cardigan using one of our hacks, or by keeping the pattern as-is.  Share your photo with us on Instagram or in our Facebook group and use the tag#P4PCardiWeek We will pick our favorite and the winner will win a free P4P pattern of choice AND be featured on this blog.  Fun right?

To make it even better we have put all the cardigan patterns in the shop on sale all week (no code needed)!

Grandpa Cardigan | Cpt. Mack Cardigan | Carefree Cardigan | Cocoon Cardigan
Butterfly Cardigan | Summer Kimono

Now get out there and sew some cardigans, matey!

Filed Under: Announcement 8 Comments

Butterfly Cardigan :: New Pattern Release!

January 17, 2017

We are celebrating another pattern release day and you’re going to love it!  Remember the Cocoon Cardigan that we put out right before the holidays?  It’s in mini size now!  Meet the Butterfly Cardigan!

listing pictures youth

The pattern is drafted for girls sizes 3M – 14.  It’s a dolman style sleeve, so it’s got a looser fit and is quick to put together, just like other dolman style tops.  There are THREE sleeve lengths (short, 3/4 and long — each with multiple band options), TWO hem lengths (cropped or tunic length), TWO neckband options (short or tall), and optional pockets (patch or inseam)!  On top of all of that, we have also included a  PDF layers feature for printing.

line drawing

The three different sleeve length options will take your littles from one season to the next.  Choose between short sleeve, 3/4 length, and long sleeves and your littles can easily transition between all four seasons.

butterfly-sleeves

With two different hem lengths, you’ve got all of your bases covered.  Get more coverage with a longer-length tunic…

butterfly-tunic

…or make it in a short and sweet cropped length!

butterfly-cropped

Don’t worry, we made sure to include pockets (!!!) in the Butterfly Cardigan! Who doesn’t love pockets?

butterfly-pockets

Not quite convinced yet?  Go check out all of the rest of the adorable tester images in our Facebook group HERE and get inspired!

Can’t take it any  longer and need the pattern right now?!  Go grab your very own copy of the Butterfly Cardigan and get to sewing!  Don’t have the Mama version of the Cocoon Cardigan yet?

Go grab a special bundle pricing for the Butterfly + Cocoon Cardigans HERE.  Butterfly and bundle will be on sale (no code needed) through Monday January 23,2017.

And don’t forget to share your gorgeous makes with us over in the Patterns for Pirates Facebook group!

Filed Under: Pattern Release Leave a Comment

Tips for working with sweater knits

November 25, 2016

img_3505

Have you seen the sneak peek Judy posted on Instagram? Check it out if you haven’t already. If you did you might have noticed that soon you will be sewing those pretty sweater knits you’ve been saving. In the blog today I will give you some of my tips and tricks to work with this kind of fabric.

1.Grab the lint roller! No, I have not lost my mind…believe me, you will want the lint roller close by when you cut sweater knit. Whether it’s a open weave or a dense one, sweater knits tend to leave a lot of residue when being cut.

img_3488

TIP: Use the lint roller to not only clean your cutting mat but also the edges of the fabric pieces you just cut. That will help keep your sewing machine cleaner.

img_3491

2. If cutting with a rotary cutter, use a new or very sharp blade. I find sweater knits to be more prone to getting a run in the fabric if  the cutter or scissors is not very sharp.

img_3489

3. Water soluble stabilizer is not just for embroidery! When working with sweater knits on your sewing machine I highly recommend placing a piece of WSS under your fabric. This will not only make sewing it easier but it will also prevent puckering and even more important it will stop your machine from “eating” your fabric. Sweater knits, especially open weave ones have a lot of “holes” so your machine is basically sewing through air.

img_3493

Tear away the excess, the remaining water soluble stabilizer will disappear when you first wash the garment. I prefer transparent WSS but opaque ones work just as well.

img_3494

4. You can sew sweater knit entirely with your sewing machine however a serger will make the process faster and easier. You might need to adjust your settings a bit to accommodate this type of fabric. My favorite serger stitch when sewing sweater knits is the FLATLOCK stitch. Check your serger user manual to make the proper settings for a flatlock stitch, they will vary from model to model. Here is an example of how a white thread flatlock stitch looks like on a black piece of fabric.

img_3498

A narrower flat lock stitch

img_3501

A wider flat lock stitch

I use this type of serger stitch when I make sweater knit bands and hems. Use a matching thread so the stitch will blend in with the fabric.

img_3504

5. Just as with all knits, always use a ball point needle in your sewing machine and serger. You’ll also need to lower the pressure foot tension of your sewing machine.

6. The markings on open weave sweater knits will need to be added with chalk/ a tailor pen or by adding tailor tacks. Notches are impossible to see on sweater knits.

I hope you find these tips helpful when you will be sewing the new Cocoon pattern releases soon. I will leave you with another sneak peek of this amazing cardigan. Now get the sweater knits stash out and as always post your creations in the group so we can all ohh and ahhh over them.

img_3638img_3518

Alex


Filed Under: P4P University, Sewing with Stretch, Knit Fabrics, Uncategorized 1 Comment

Carefree with added Button

December 22, 2015

I’ve seen a lot of draped front cardigans with the big wooden buttons on Pinterest and in the Boutiques…and of course I thought, “I can do that!” So the Carefree Cardigan Big Button Modification was born!

carefree cardigan add big button tutorial

The Carefree Cardigan is perfect for the look.

carefree cardigan patterns for pirates drape front cardigan tutorial

I choose the neckband only option, cuffed long sleeve, and choose to leave the front and bottom raw.

I’ve been making a ton of Carefrees after Baby Girl made her arrival… it is such a nice baby wearing cardigan that I feel cute in and can wrap us both up in when it’s windy or cold.  I can also use it nursing her so easily without worrying about bringing another cover or getting anything on or ready when she’s ready to nurse! So, I thought I’d make TWO buttonhole placements… one for normal wear that just pulls the cardigan closed at the neckline… and a second for when I’m wearing Baby Girl and need the neckline open much more.

carefree-cardigan-button2carefree-cardigan-button1
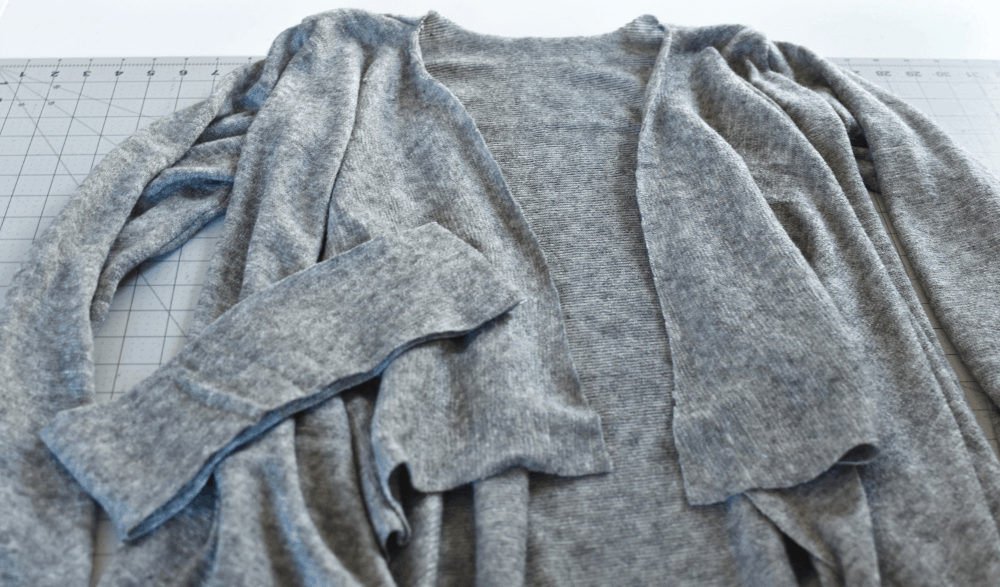
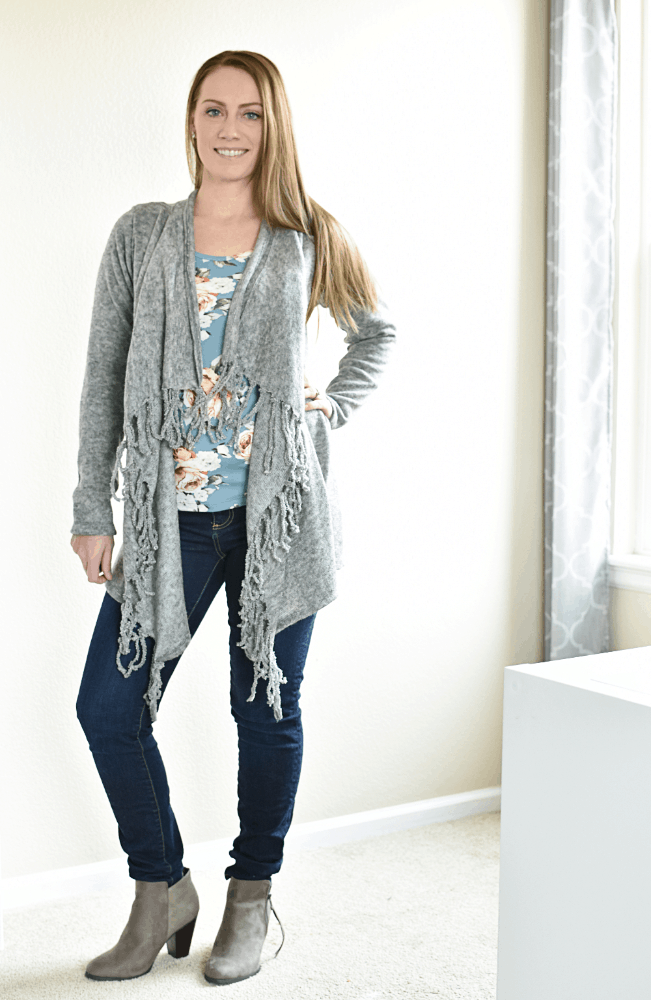
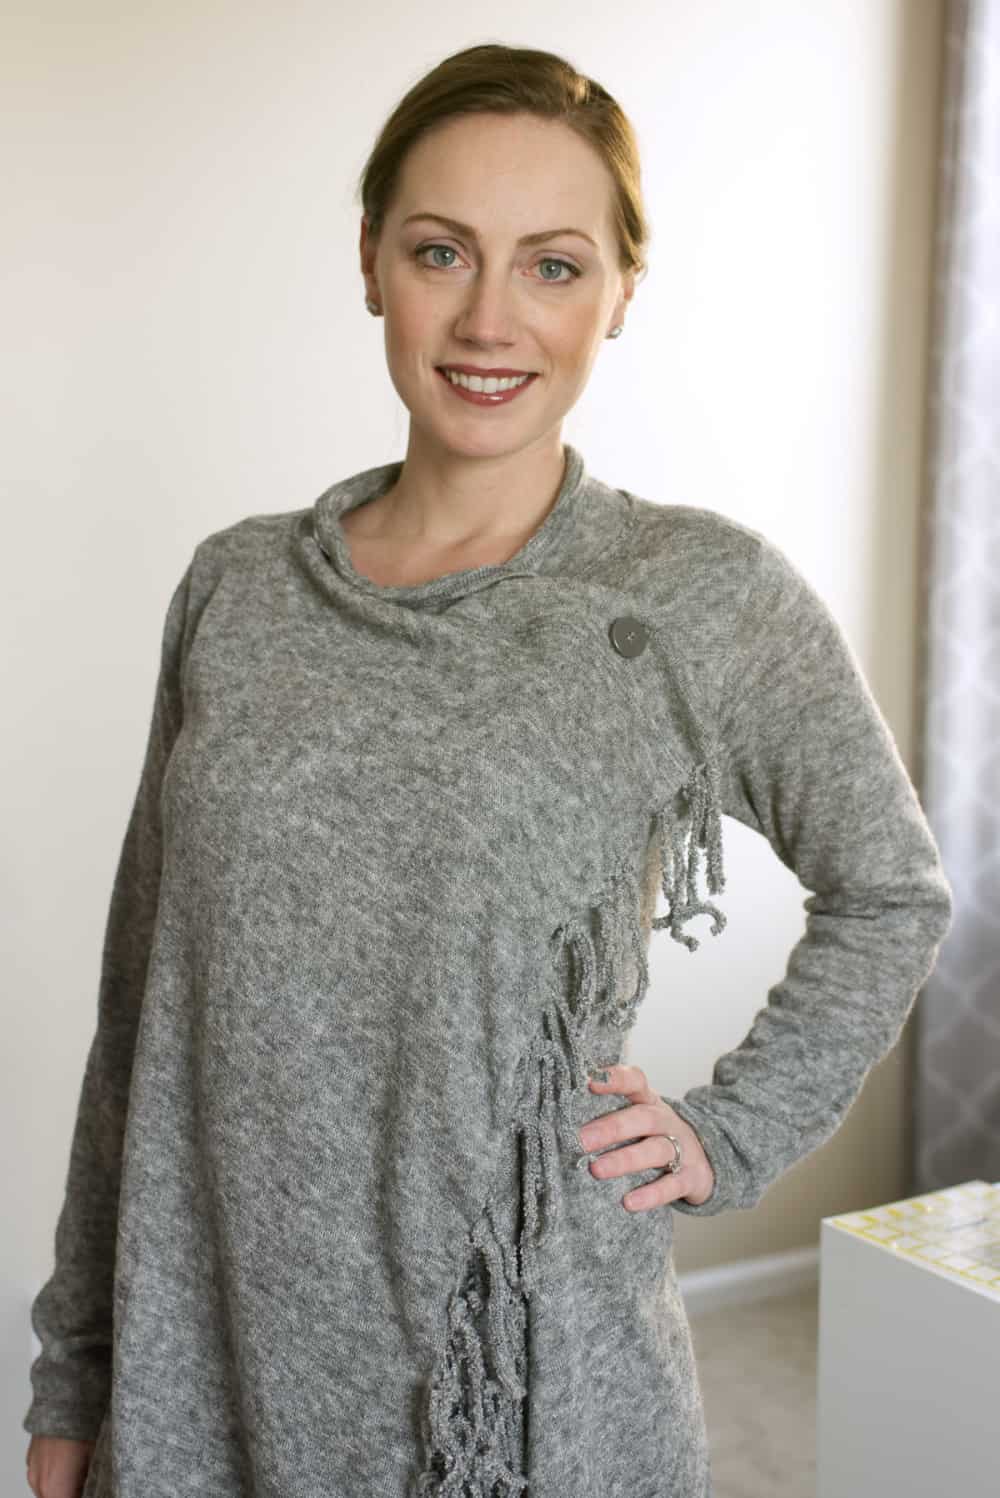
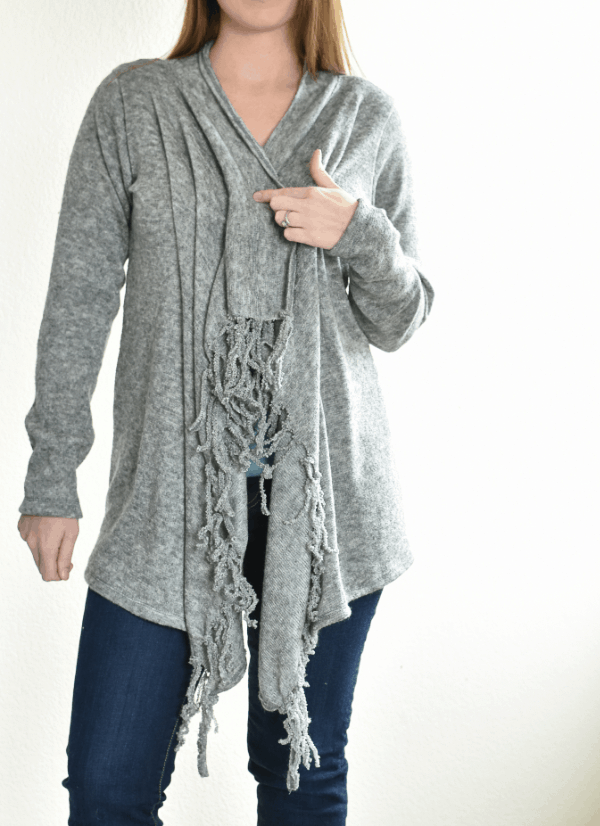
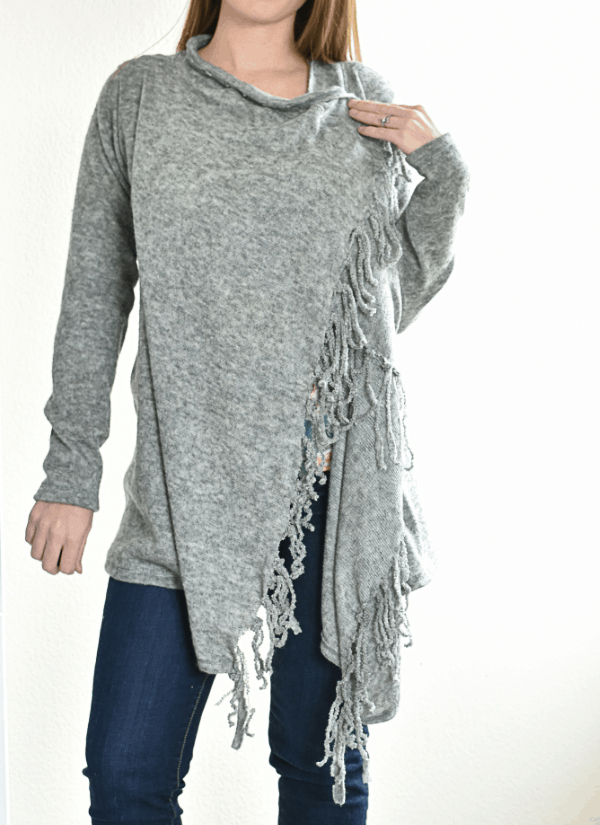
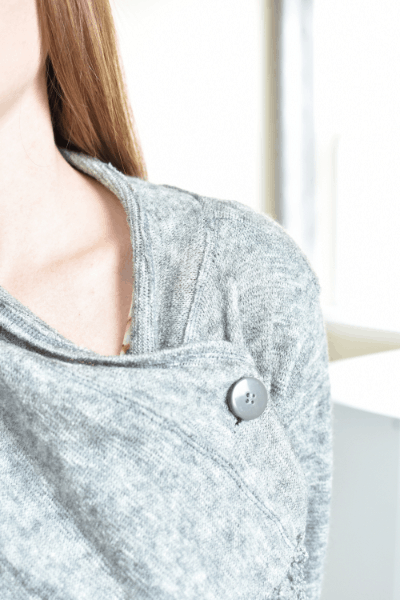
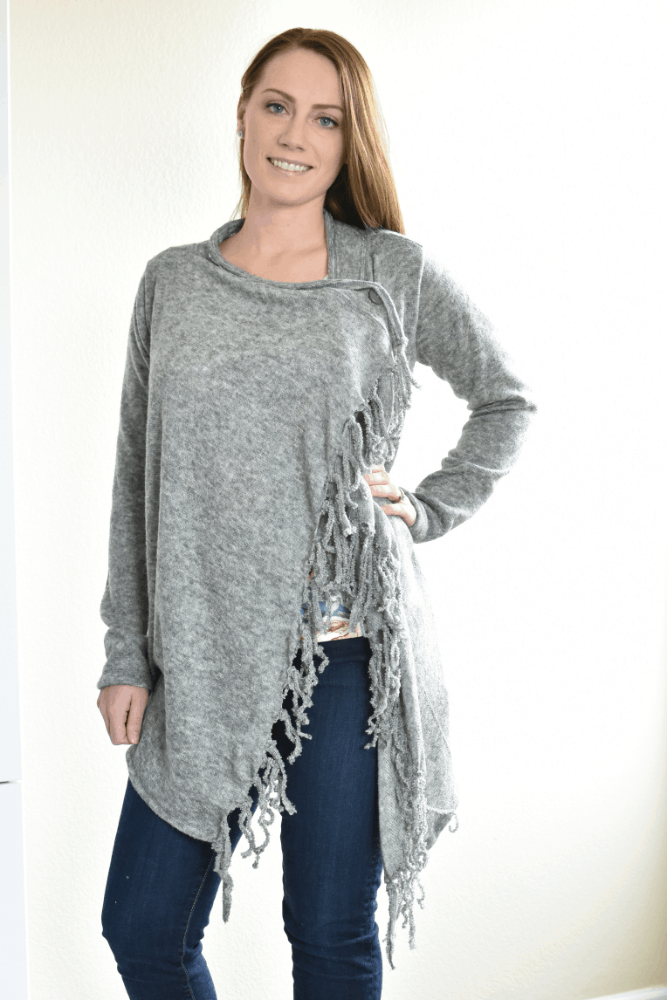
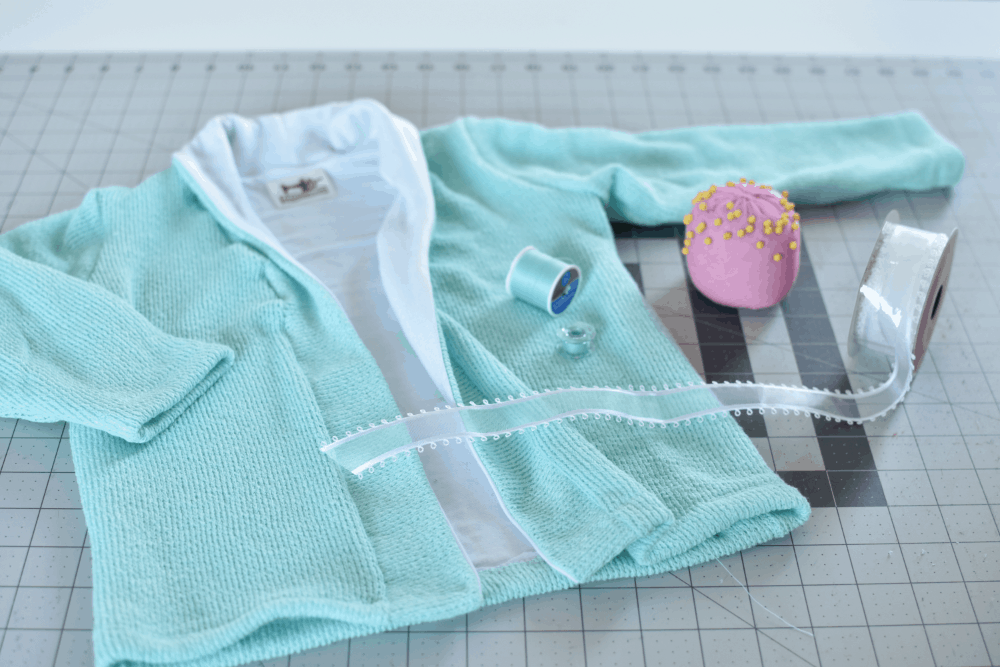
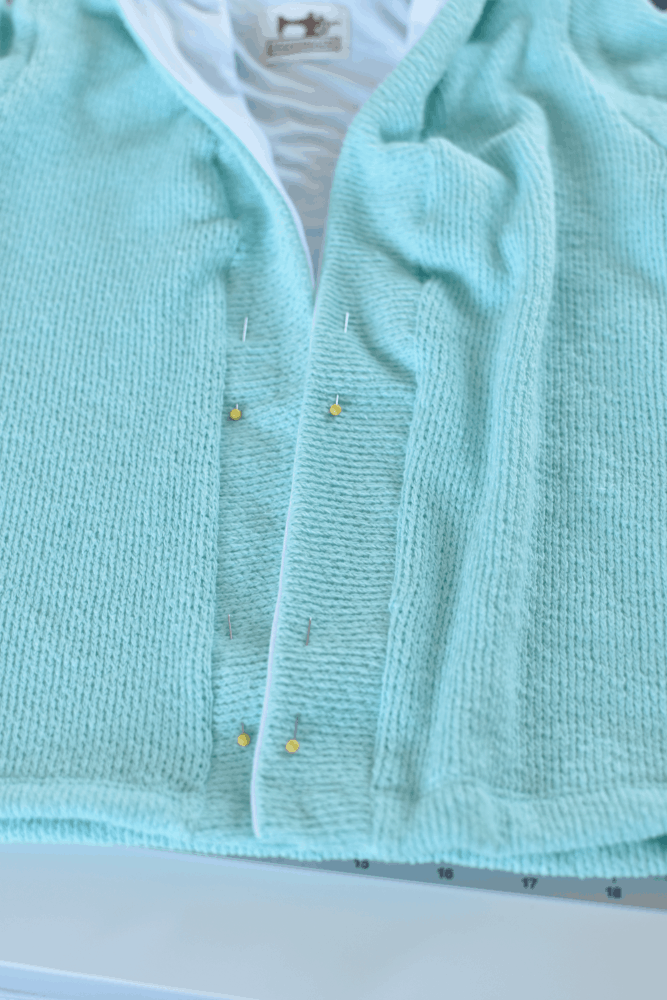
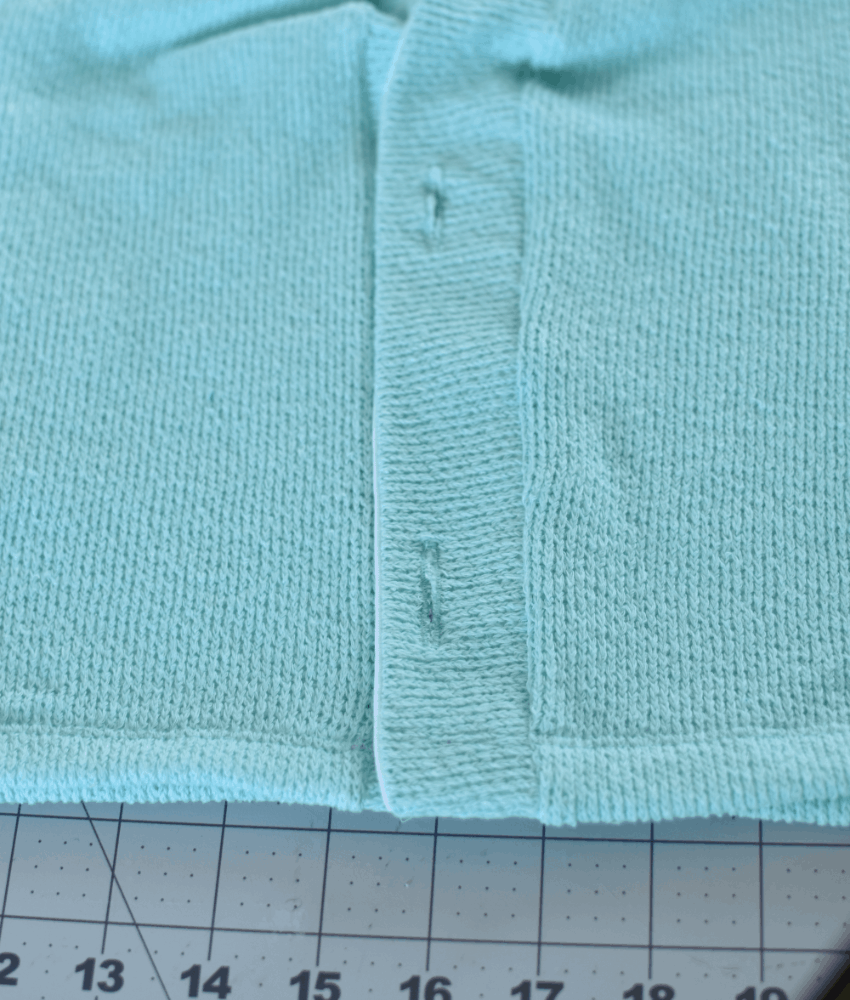
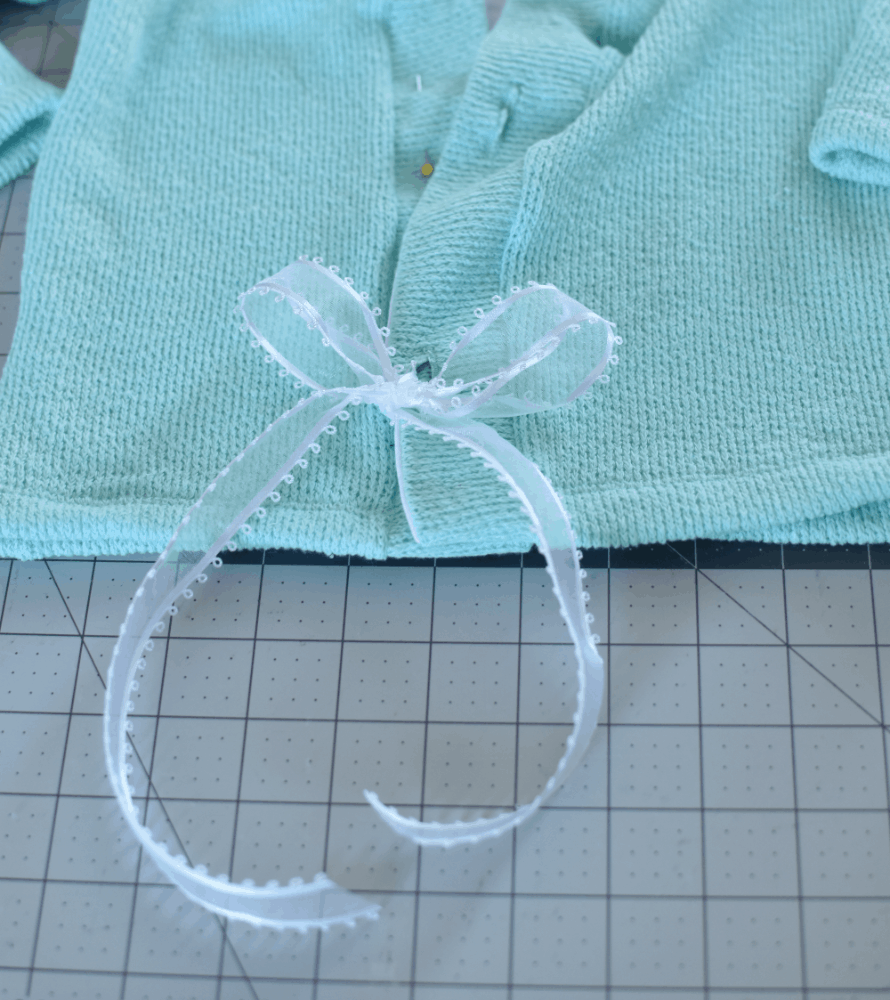
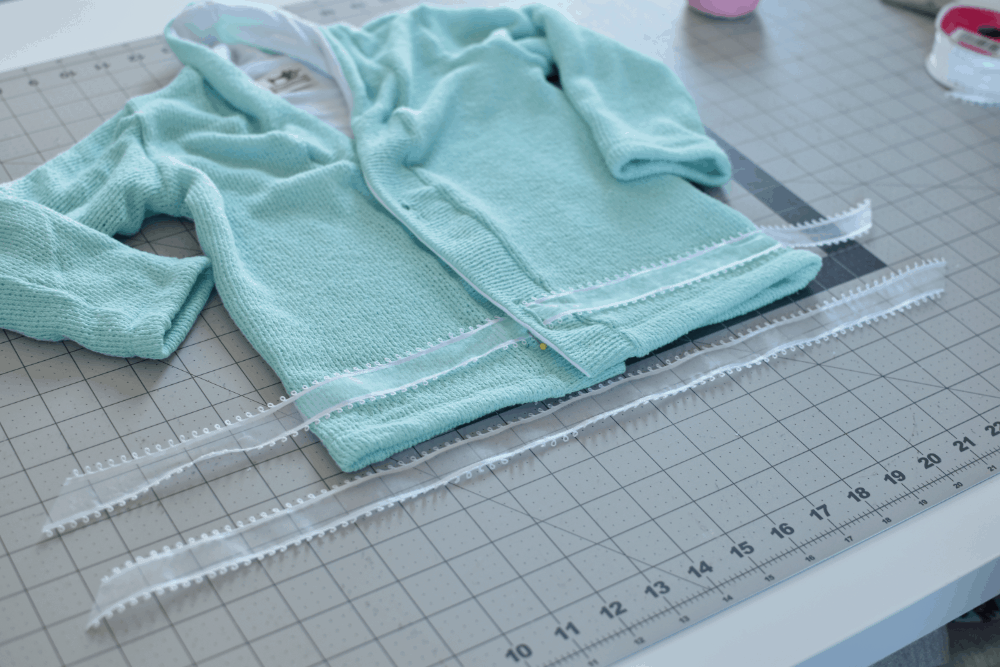
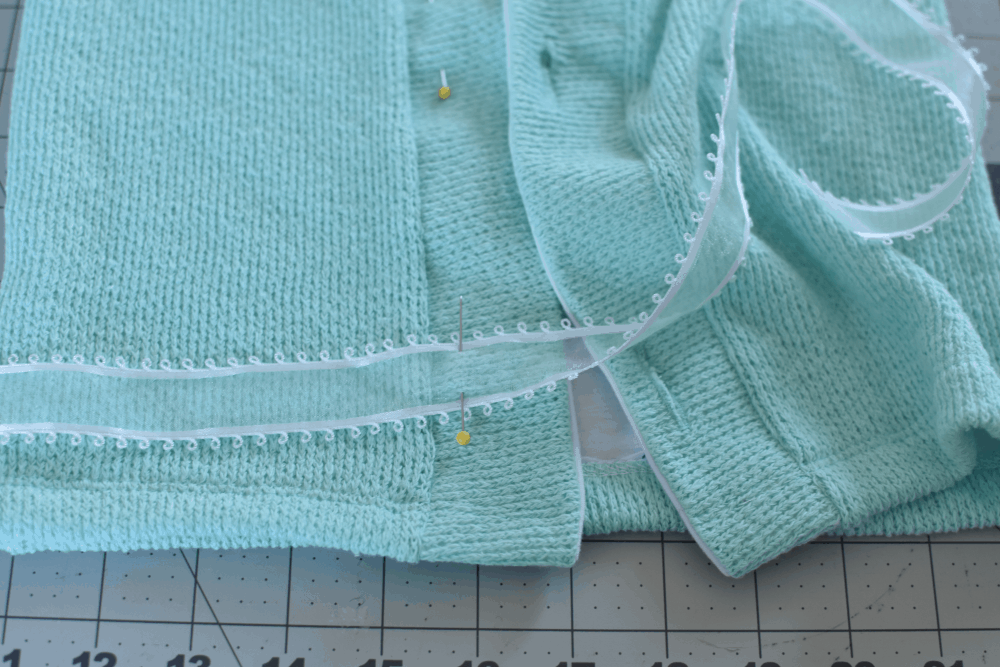
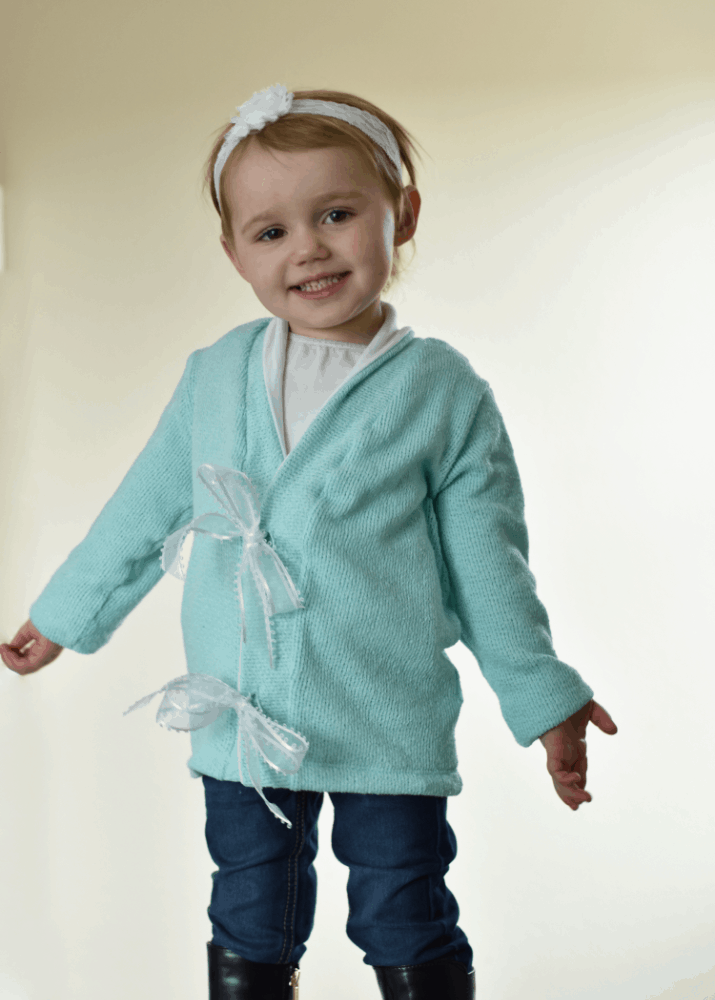
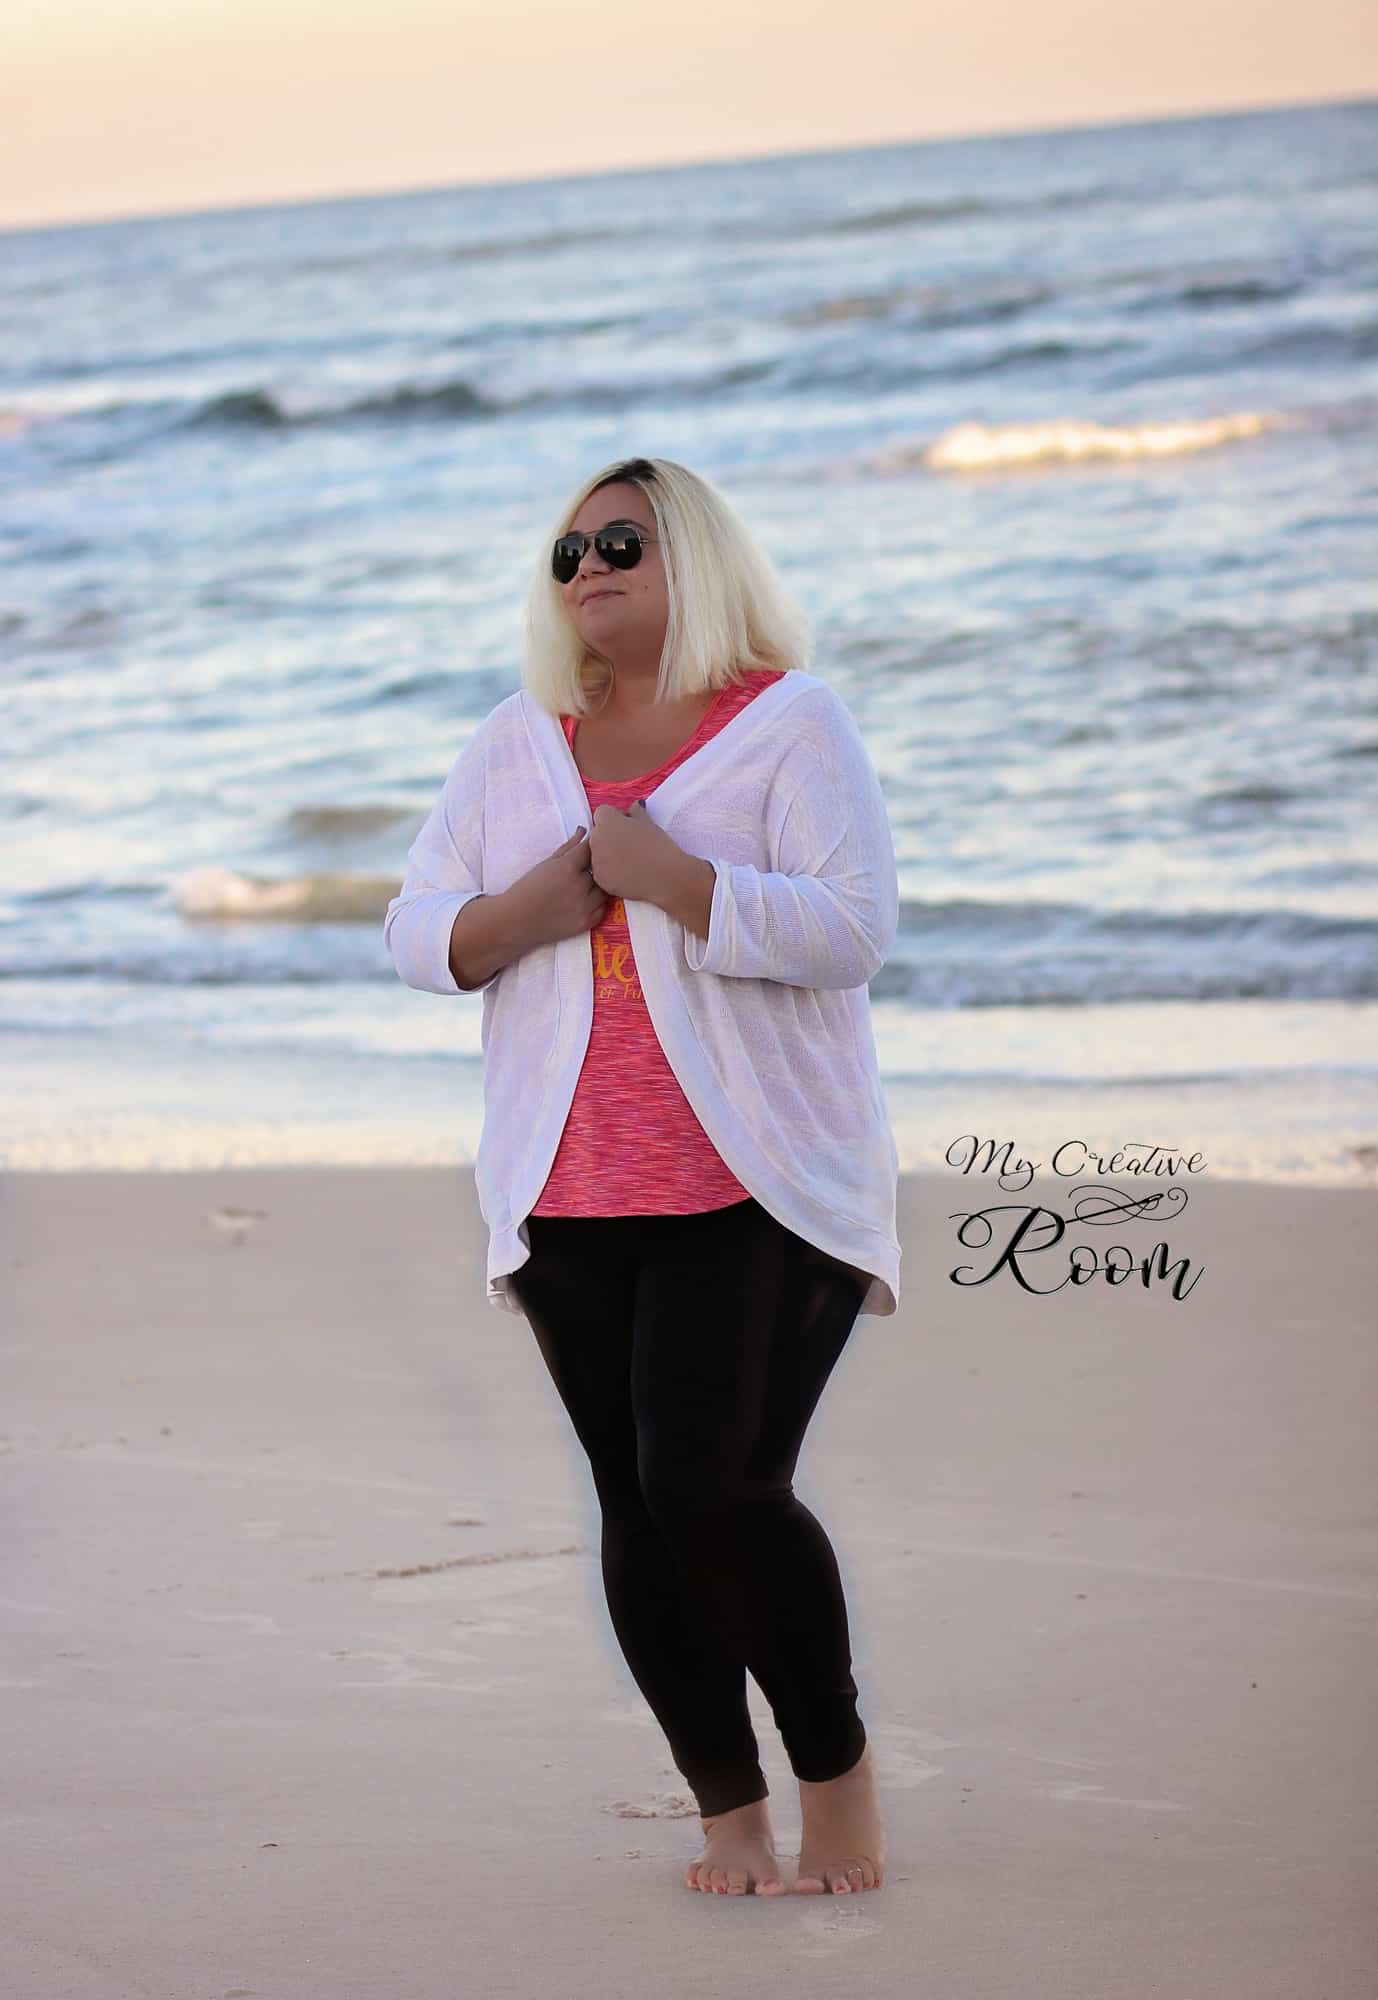
I sewed up my entire cardigan exactly as normal. Then tried it on both with Baby Girl on me and without and marked where I would like the cardigan to close.  Of course, Little Guy had to come photobomb a few shots ;).

SAMSUNG CAMERA PICTURES

I placed my button down a bit away from my neck, because I happen to be one of those people who can’t stand anything tight up against their neck (you will never see a turtle neck from this designer ;)).

carefree cardigan patterns for pirates drape front cardigan tutorial

So now I needed to create the buttonholes, which is a bit different then usual because I wanted the GIANT buttons that are so popular right now and my sewing machine can’t fit a button near that big on my automatic buttonhole foot.  SOOOO, I made my own buttonhole with 2 different size zigzag stitches.

First I marked my button placement and how big I need the buttonhole to be.

SAMSUNG CAMERA PICTURES

Then I sewed a very narrow rectangle that would be my buttonhole.  I turned my zigzag length down very low to 1, so that it was a tight stitch.

For the top and bottom of my rectangle I used a wide 5 zigzag and for the sides I used a narrow 2.  I simple freehanded it.

SAMSUNG CAMERA PICTURES

SAMSUNG CAMERA PICTURES

I used matching navy thread, so I knew if it wasn’t exactly perfect that no one would be able to see.  Actually, the thread matched so close it was REALLY difficult to get a picture of the buttonhole!

SAMSUNG CAMERA PICTURES

Then I used my seam ripper to very carefully rip a line inside the narrow rectangle/buttonhole.

SAMSUNG CAMERA PICTURES

I created a second buttonhole for my baby wearing, looser option.

Wa-lah! Now I have a great on trend cardigan that was quick and easy that I can button up with or without Baby Girl! 🙂

carefree cardigan patterns for pirates drape front cardigan tutorialcarefree cardigan patterns for pirates drape front cardigan tutorial


Filed Under: Pattern Hacks 7 Comments

  • « Previous Page
  • 1
  • 2

Featured Patterns

  • Loosey Goosey Loosey Goosey $12.00
  • Loosey Goosey- Youth Loosey Goosey- Youth $10.00
  • Loosey Goosey - Bundle Loosey Goosey - Bundle $20.00
  • Everyday Shirt Everyday Shirt $12.00
  • Everyday Shirt- Youth Everyday Shirt- Youth $10.00
  • Privacy Policy
  • Refund Policy
  • Affliliate Program
  • Contact Us
  • About

Copyright © 2025 Patterns for Pirates

Copyright © 2025 · Genesis Framework · WordPress · Log in