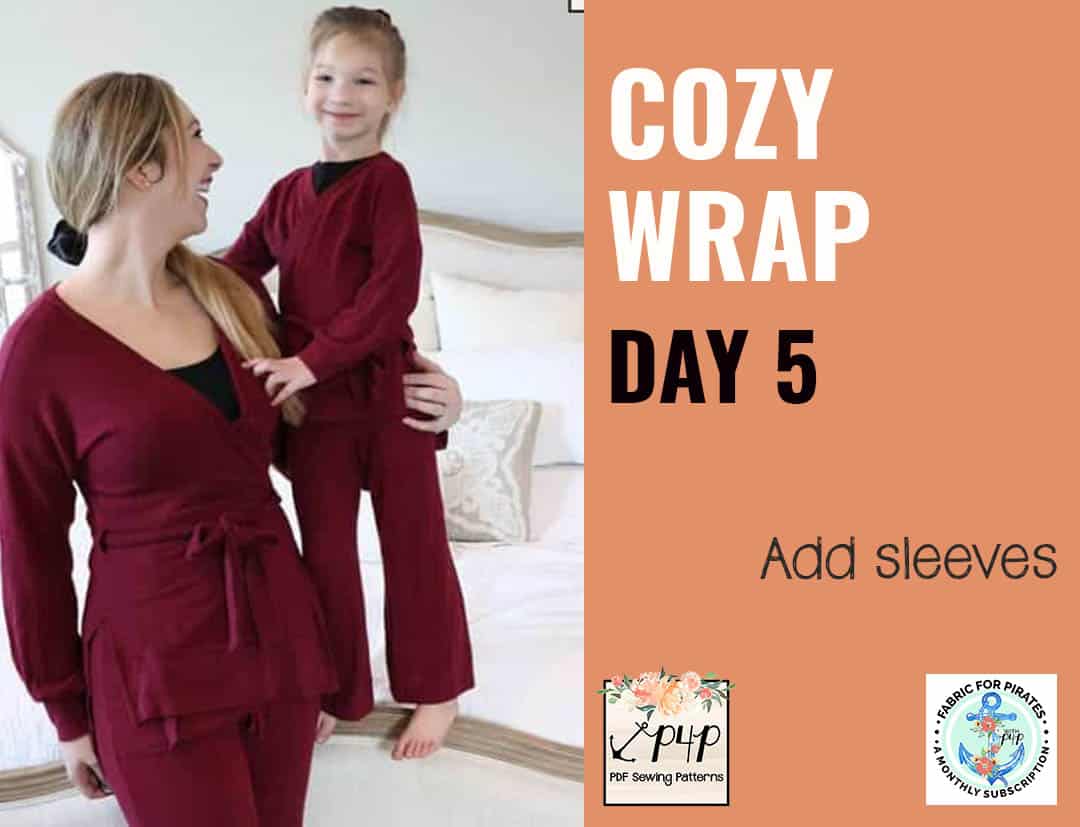
Welcome to day 5 of our Cozy Wrap sew along. Today is probably my favorite day because I get to make those cute, trendy gathered sleeves. The pattern includes a banded short sleeve, a cuffed regular sleeve and a gathered one.
If you opted for short sleeve, you will create the bands by sewing each one right sides together to form loops. I highly encourage you to pre-press the cuffs wrong sides together before creating the loops. Just like we did the past few days.
The standard long and gathered sleeves are attached in the round. That means you are sewing the side seams of the sleeves first. Matching the armpit seam to the sleeve side seam, attach the sleeves to the opening. If you opted for the gathered sleeves, you need to run a gathering stitch or two at the wrist. Pull the gathering threads so that the opening matches the cuff. I personally love gathering with my serger. Our P4P University Gathering blog covers a few gathering methods.
To attach the cuff, simply match the cuff seam to the sleeve seam and sew right sides together. We have a tips and tricks P4P University cuffs 101 blog that I encourage you to check out.
We are so close to finishing! All we have left to do is create the waist tie tomorrow. You can see today’s video below. Check in with your progress in the comments of day 5 photo of the Cozy Wrap sew along album.
Cozy Wrap SAL day 1 | Cut fabric
Cozy Wrap SAL day 2 | Sew shoulder and side seams
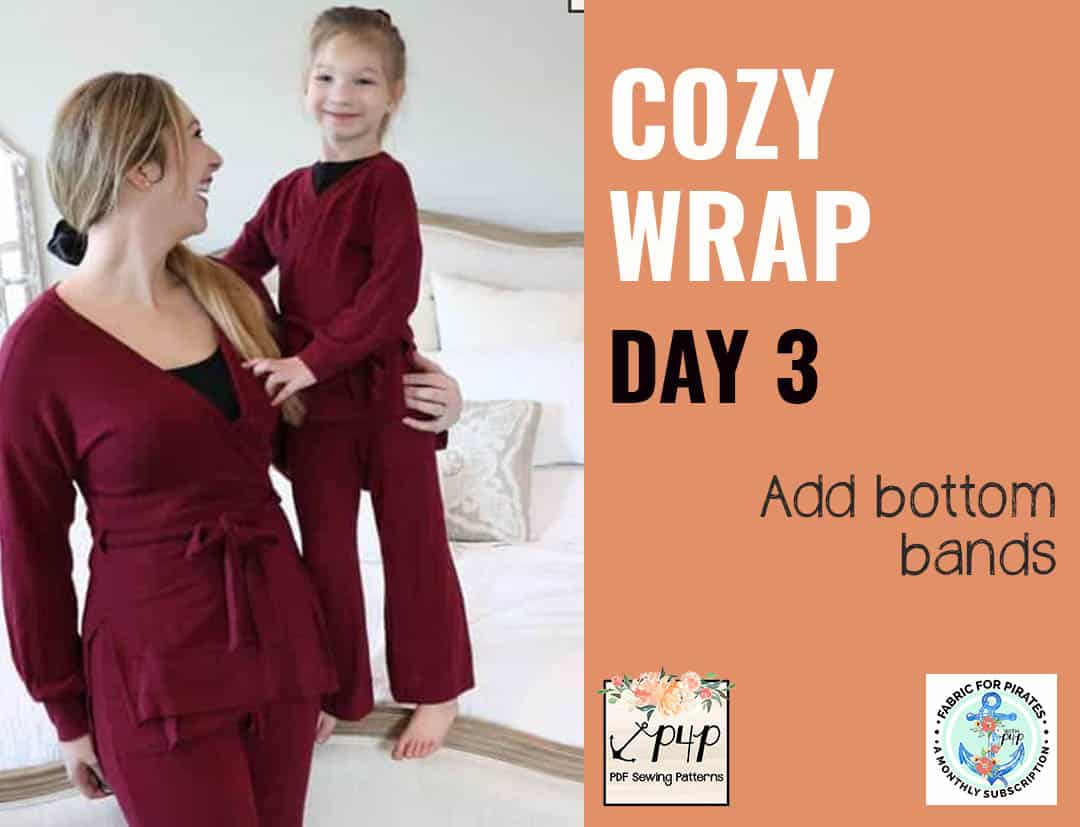
Cozy Wrap SAL day 3 | Add bottom bands
Cozy Wrap SAL day 4 | Add neckband
Cozy Wrap SAL day 5 | Add sleeves
Cozy Wrap SAL day 6 | Add waist tie
Cozy Wrap SAL day 7 | Winners announcement