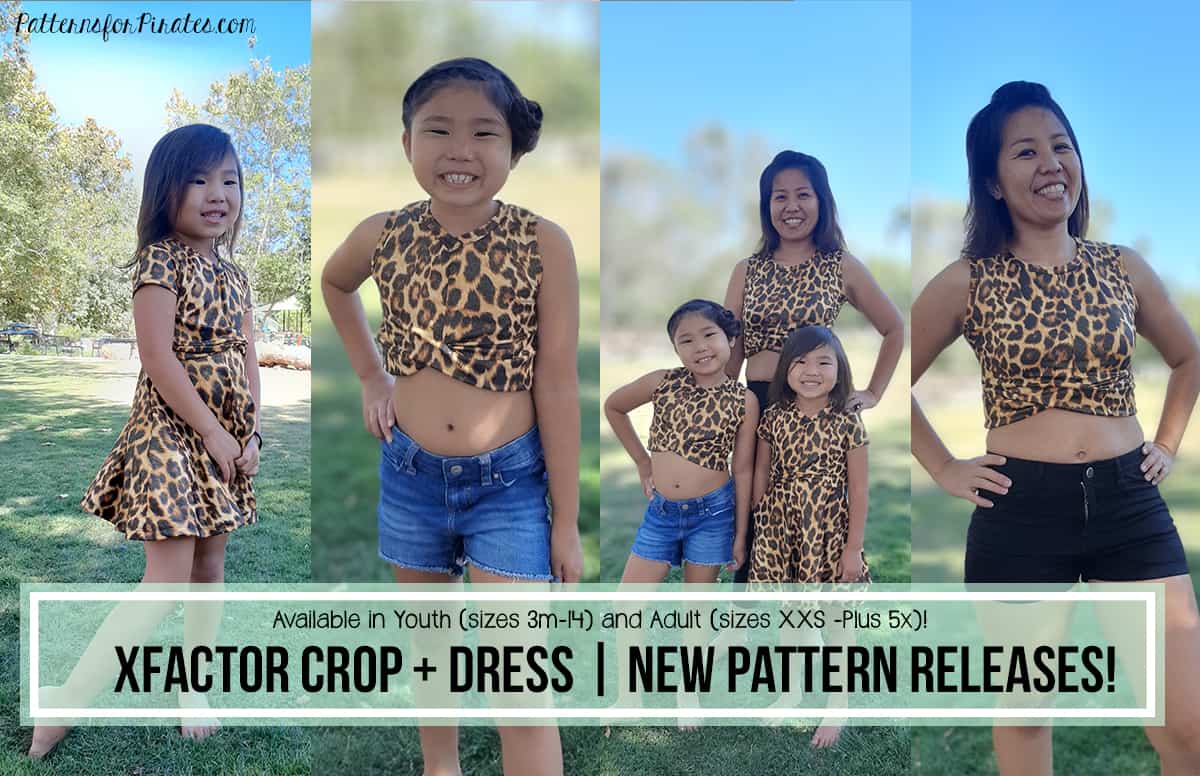
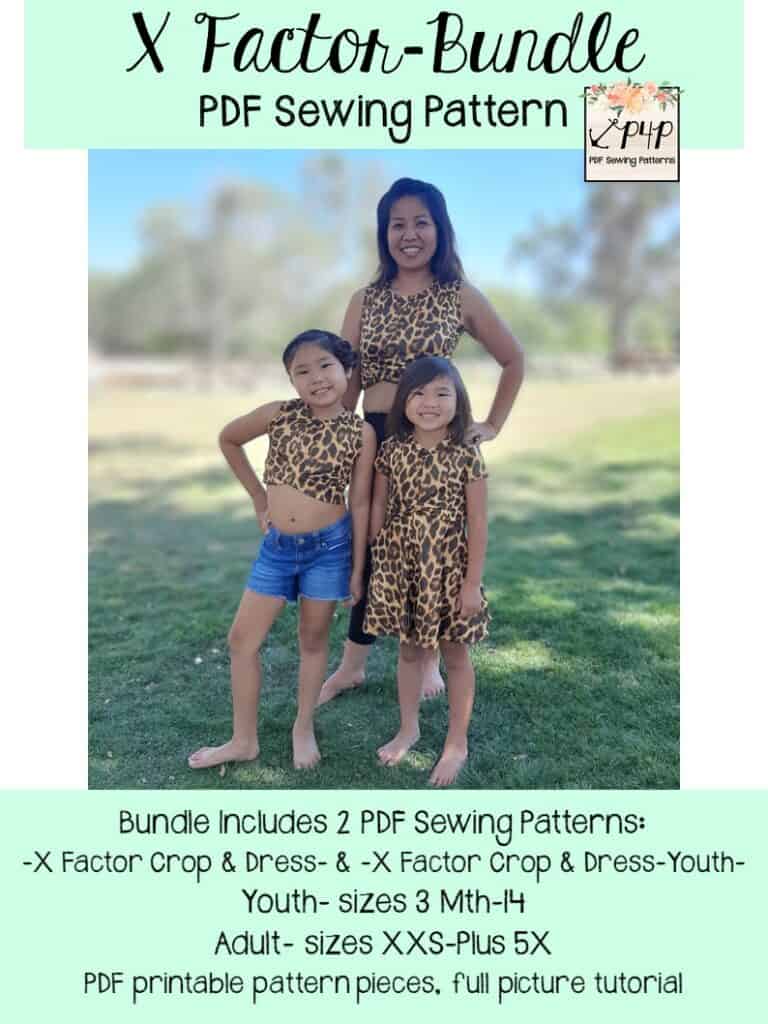
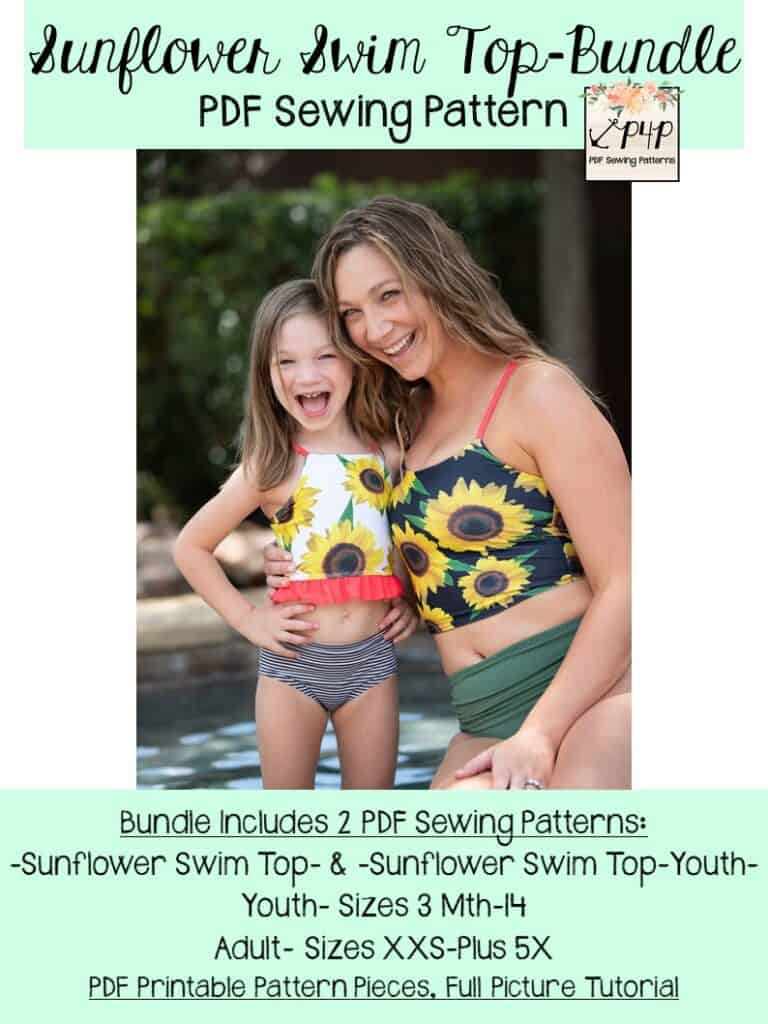
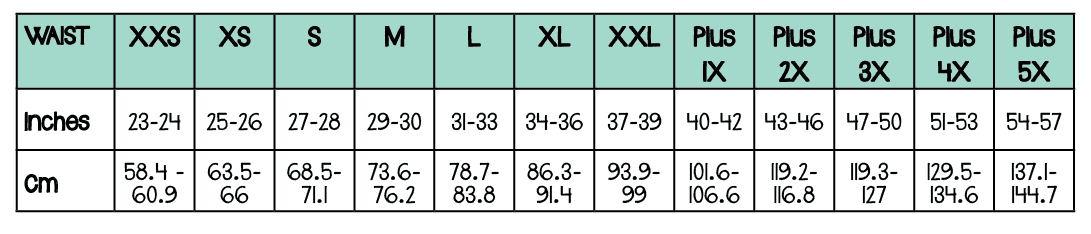
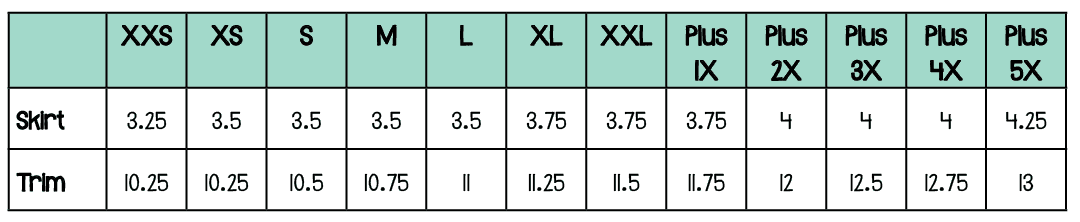
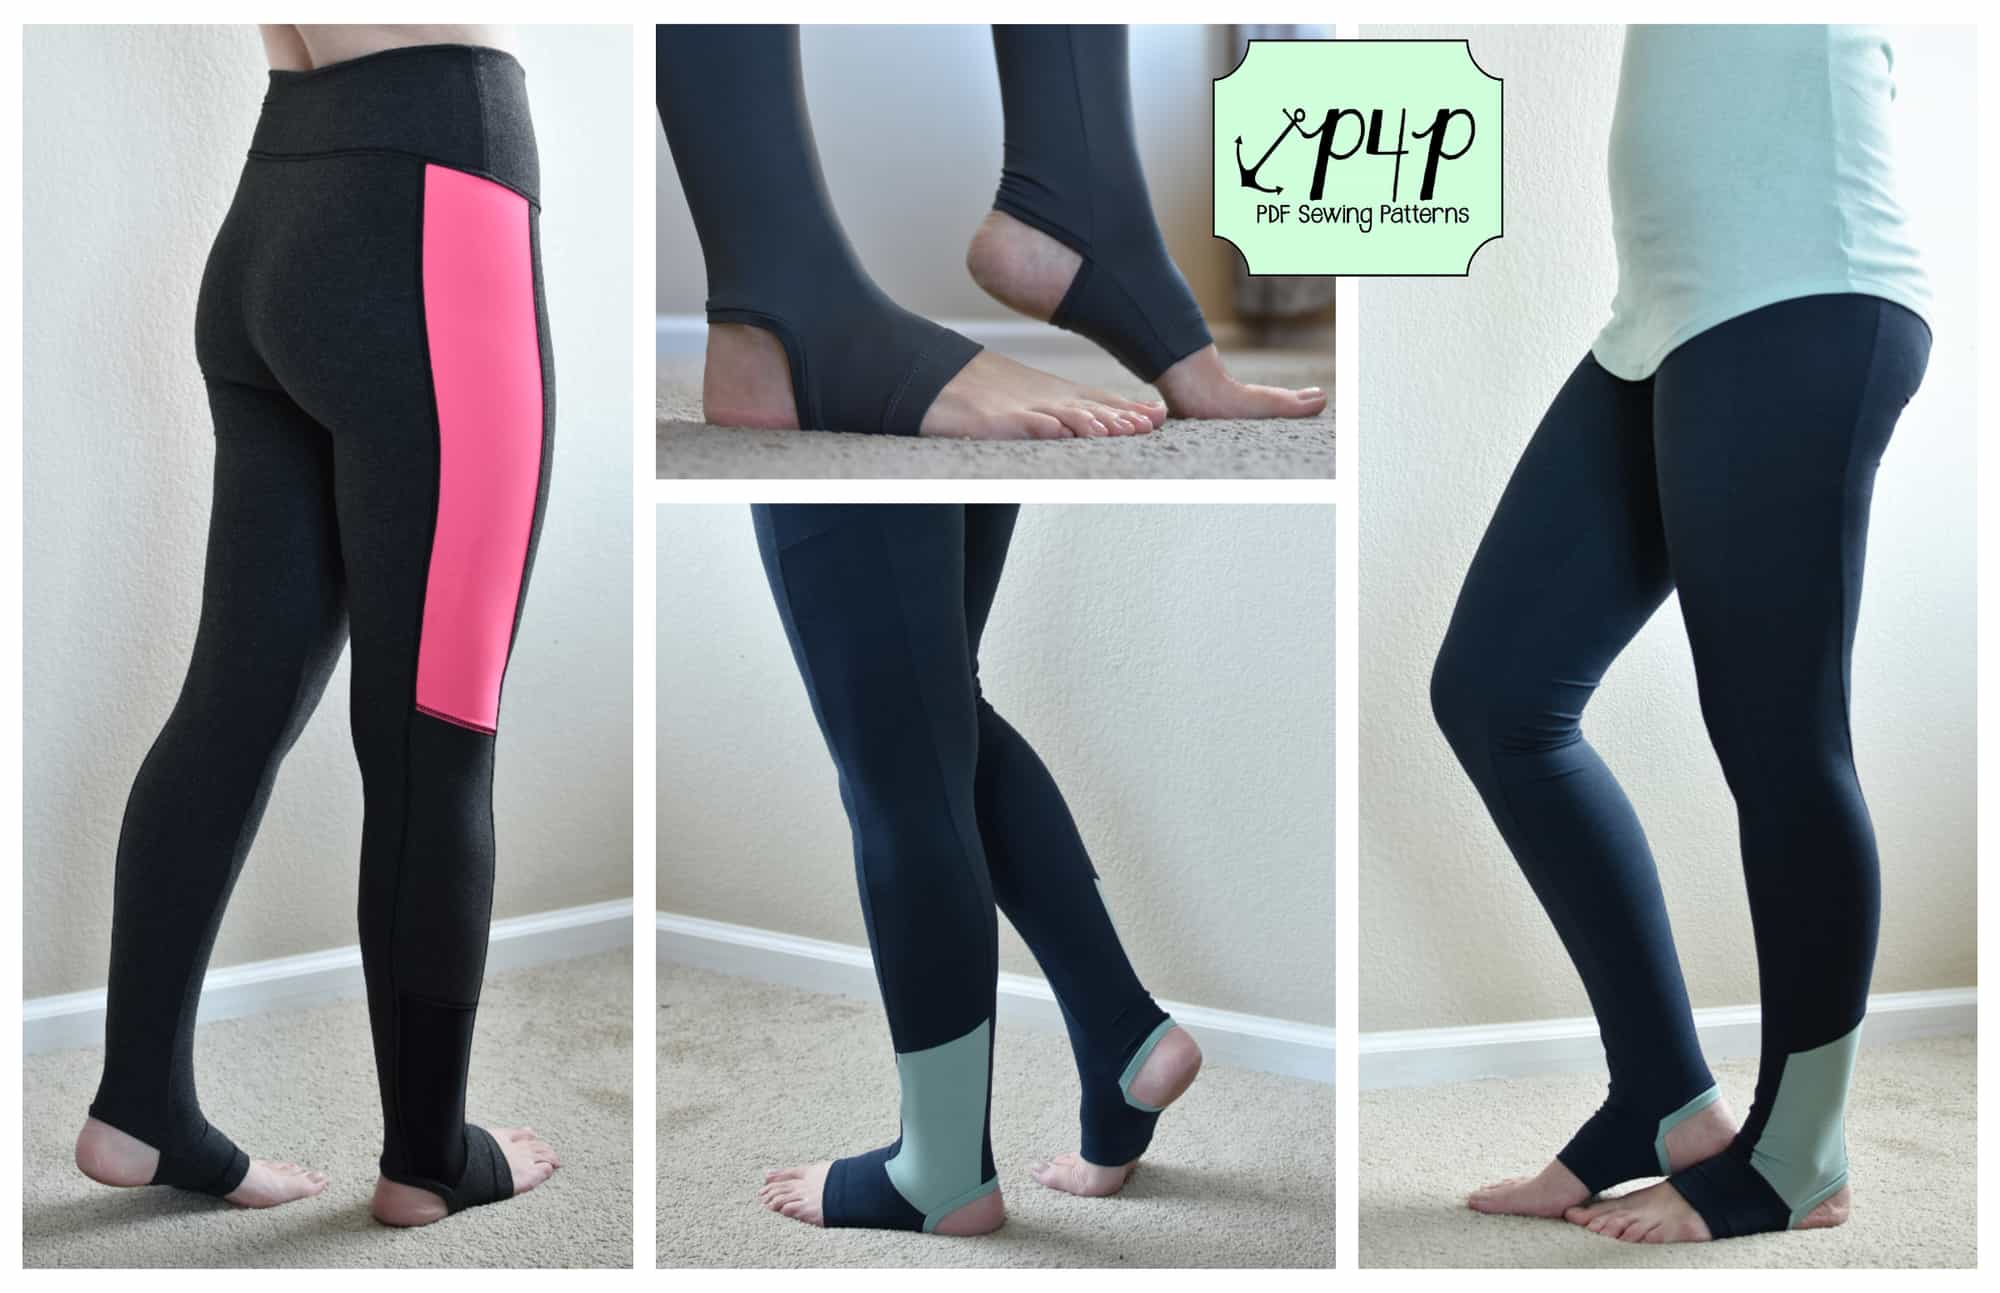
We’re so eXcited! Why? Because the newest pattern from P4P just dropped today and it’s eXcellent! The XFactor Crop + Dress, for us Pirates, is one of those “x marks the spot” kind of deals. We are just in love with it and think you will be too. For both of these patterns, the youth sizes range from 3m – 14. And the adult sizes are for the full, newer size chart, extending from XXS – Plus 5X! If you haven’t sewn with us in a while, please make sure to check the size charts, as there were slight adjustments made to accommodate the new size range for adults.
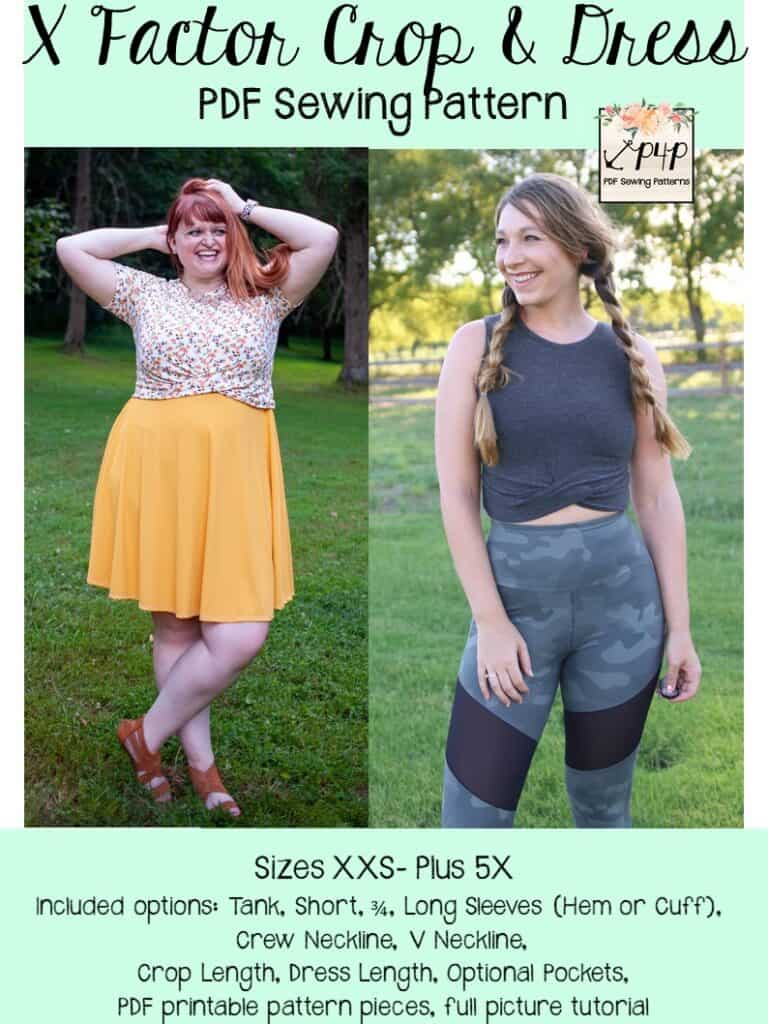
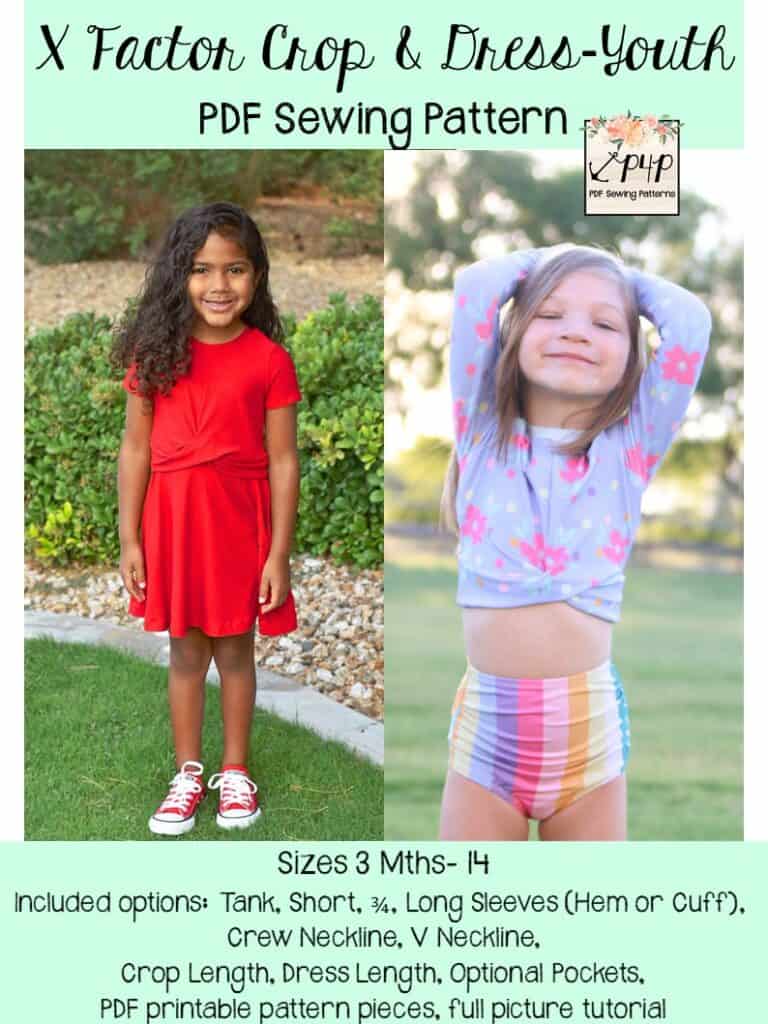
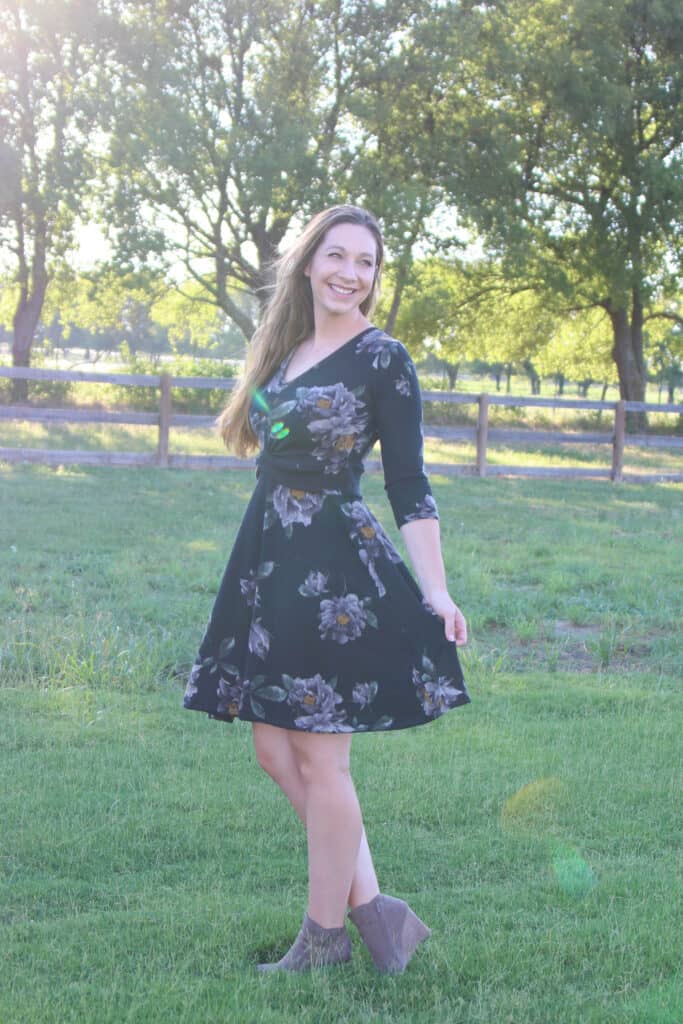
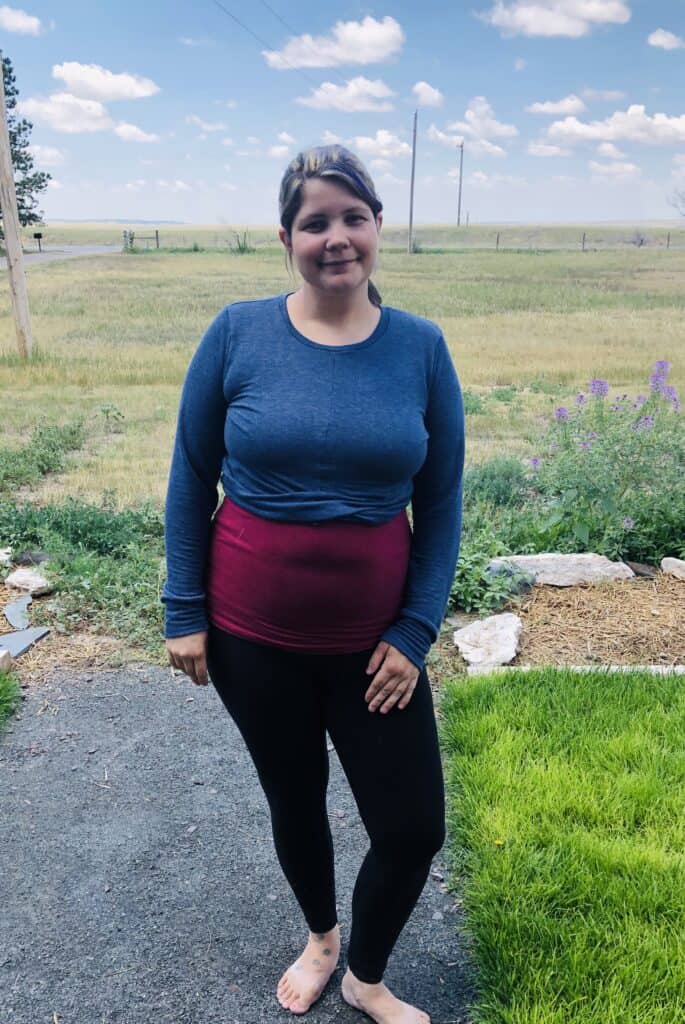
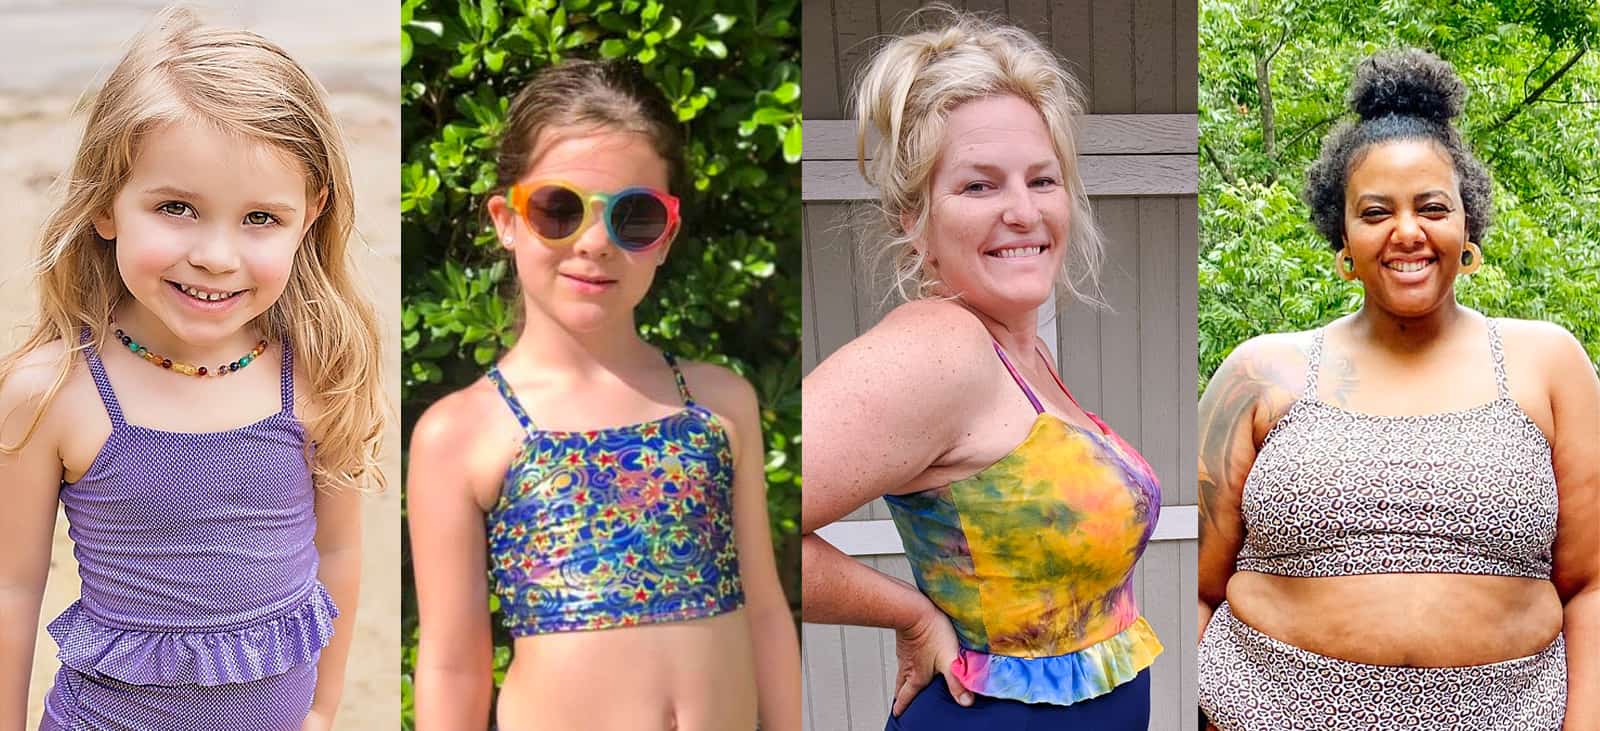
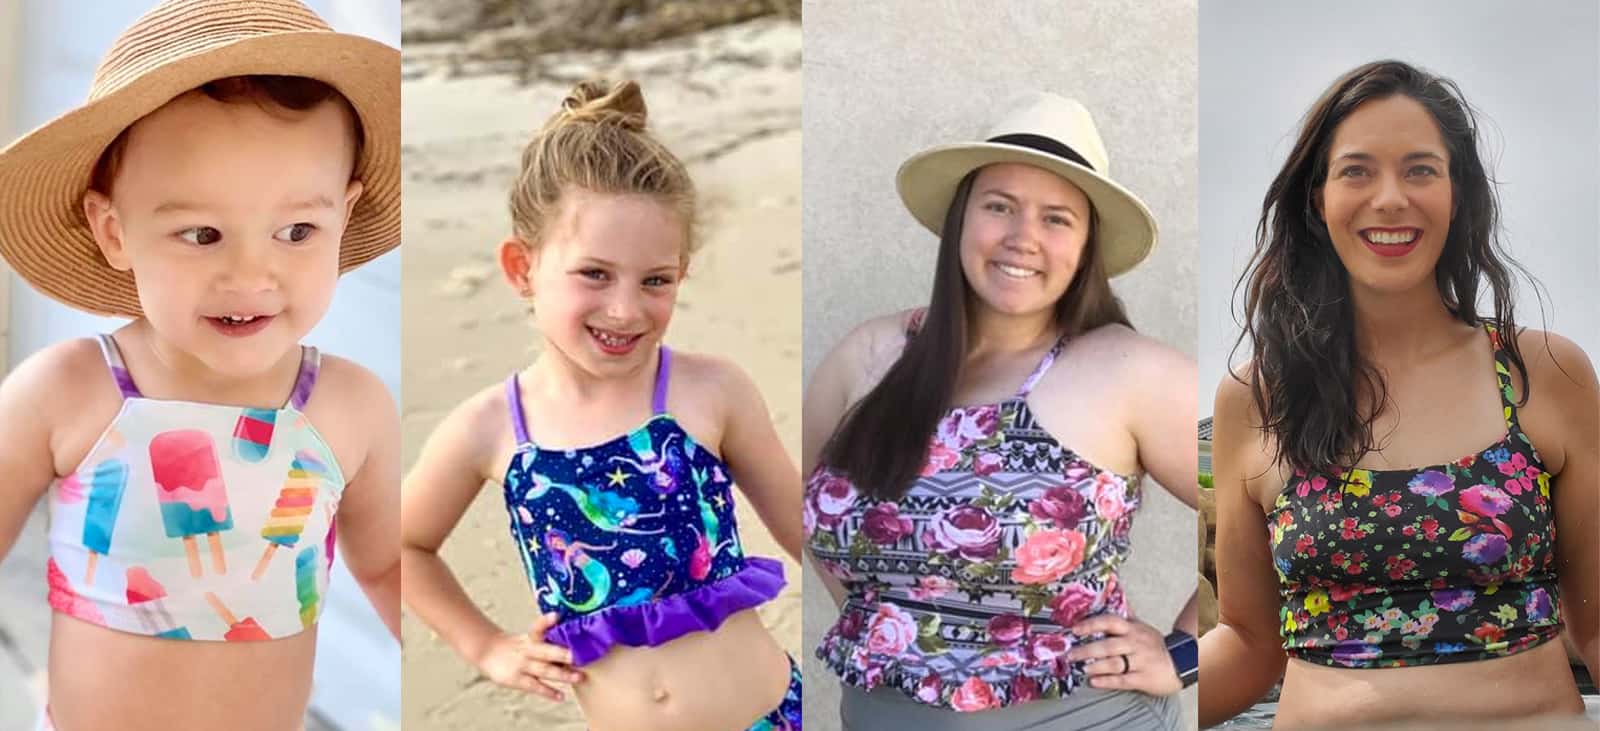
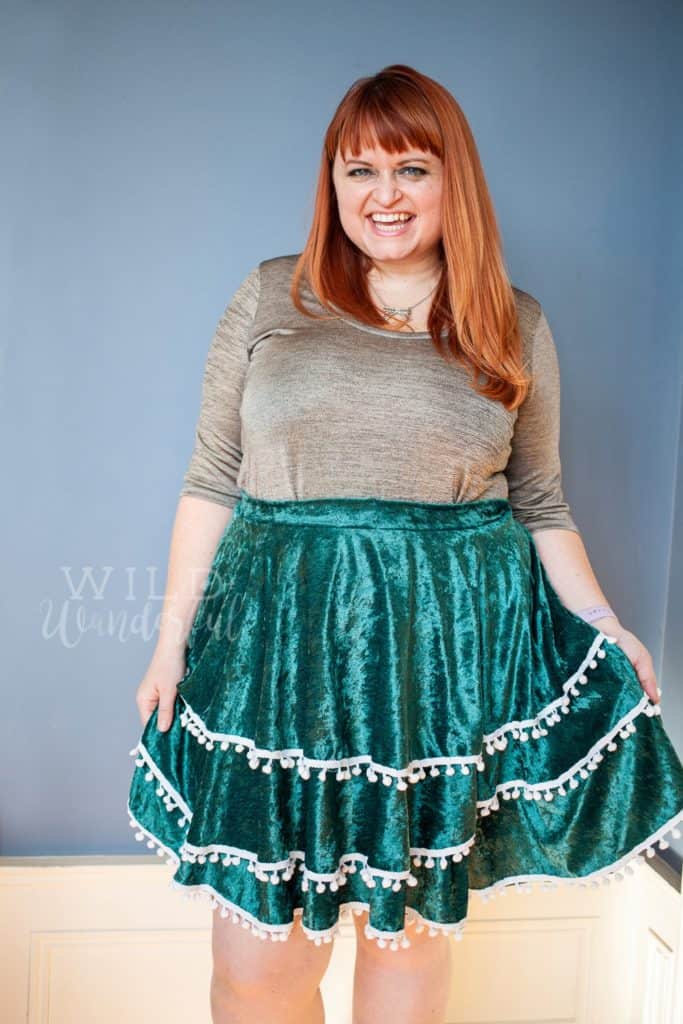
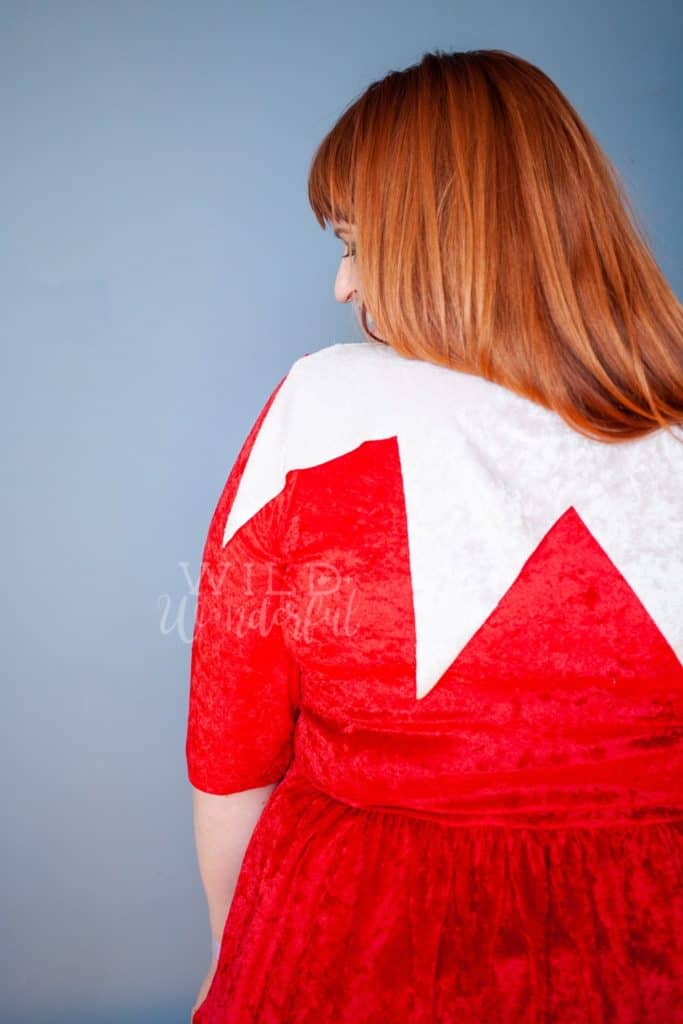
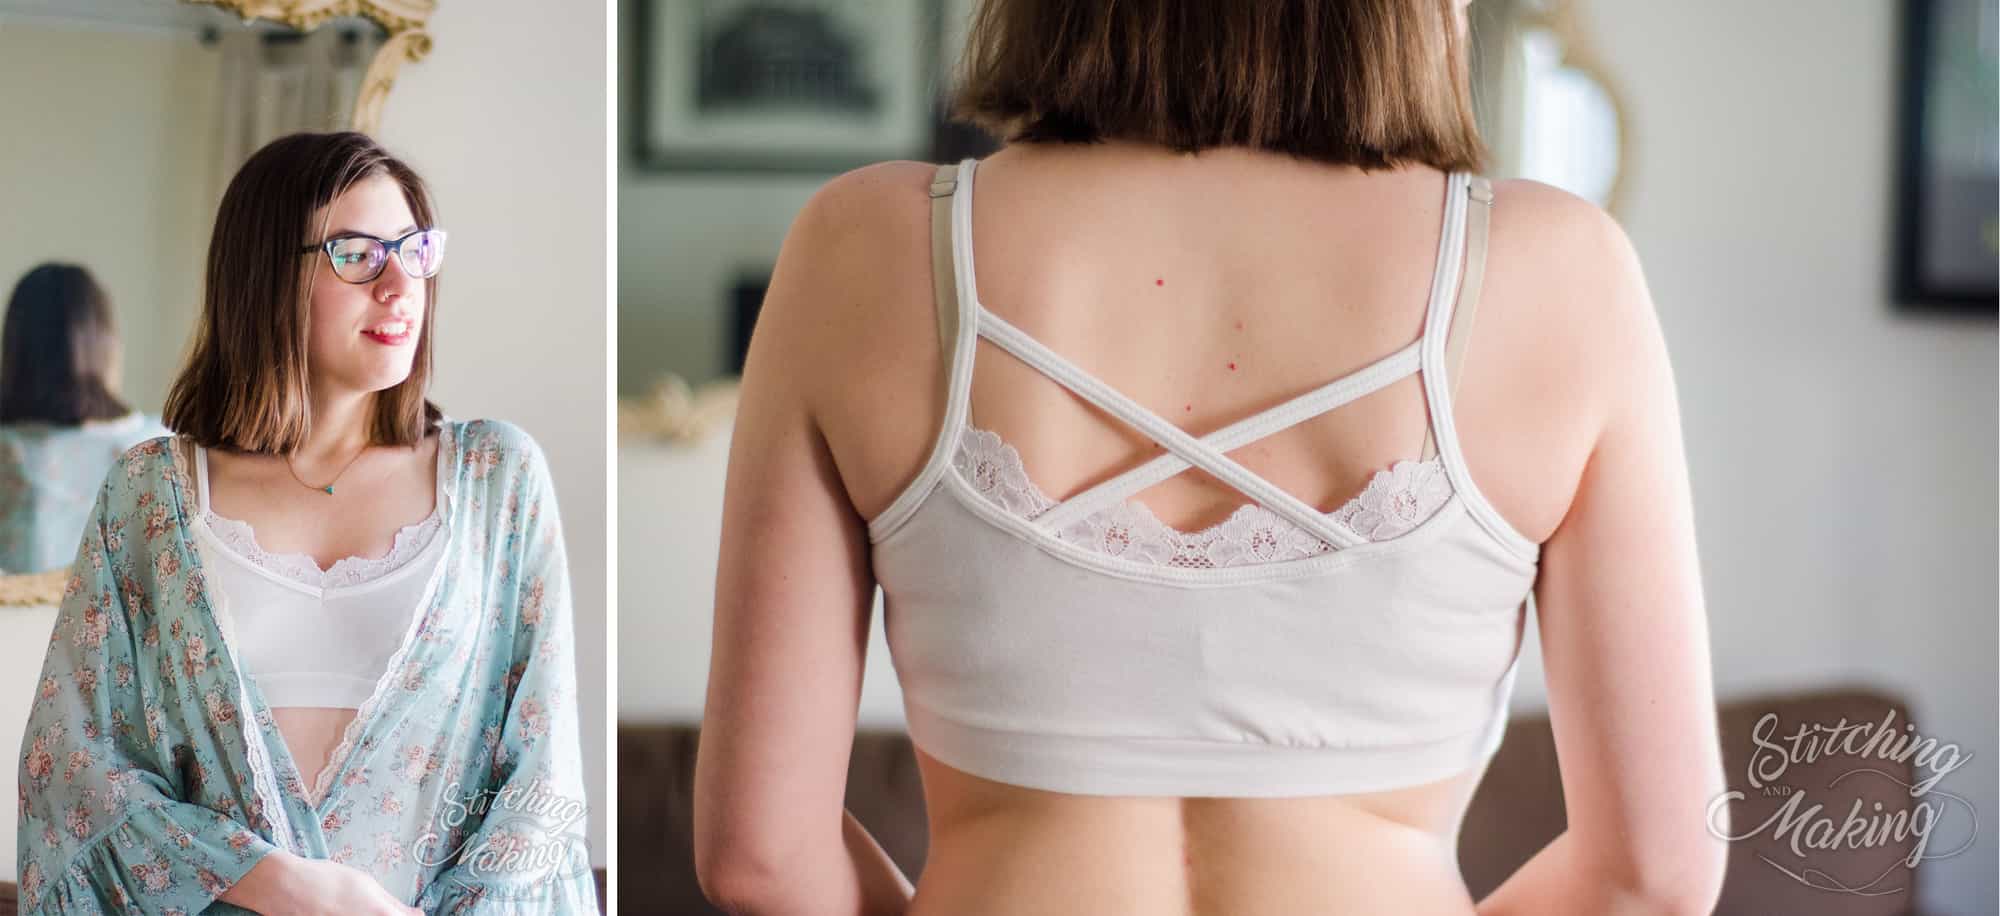
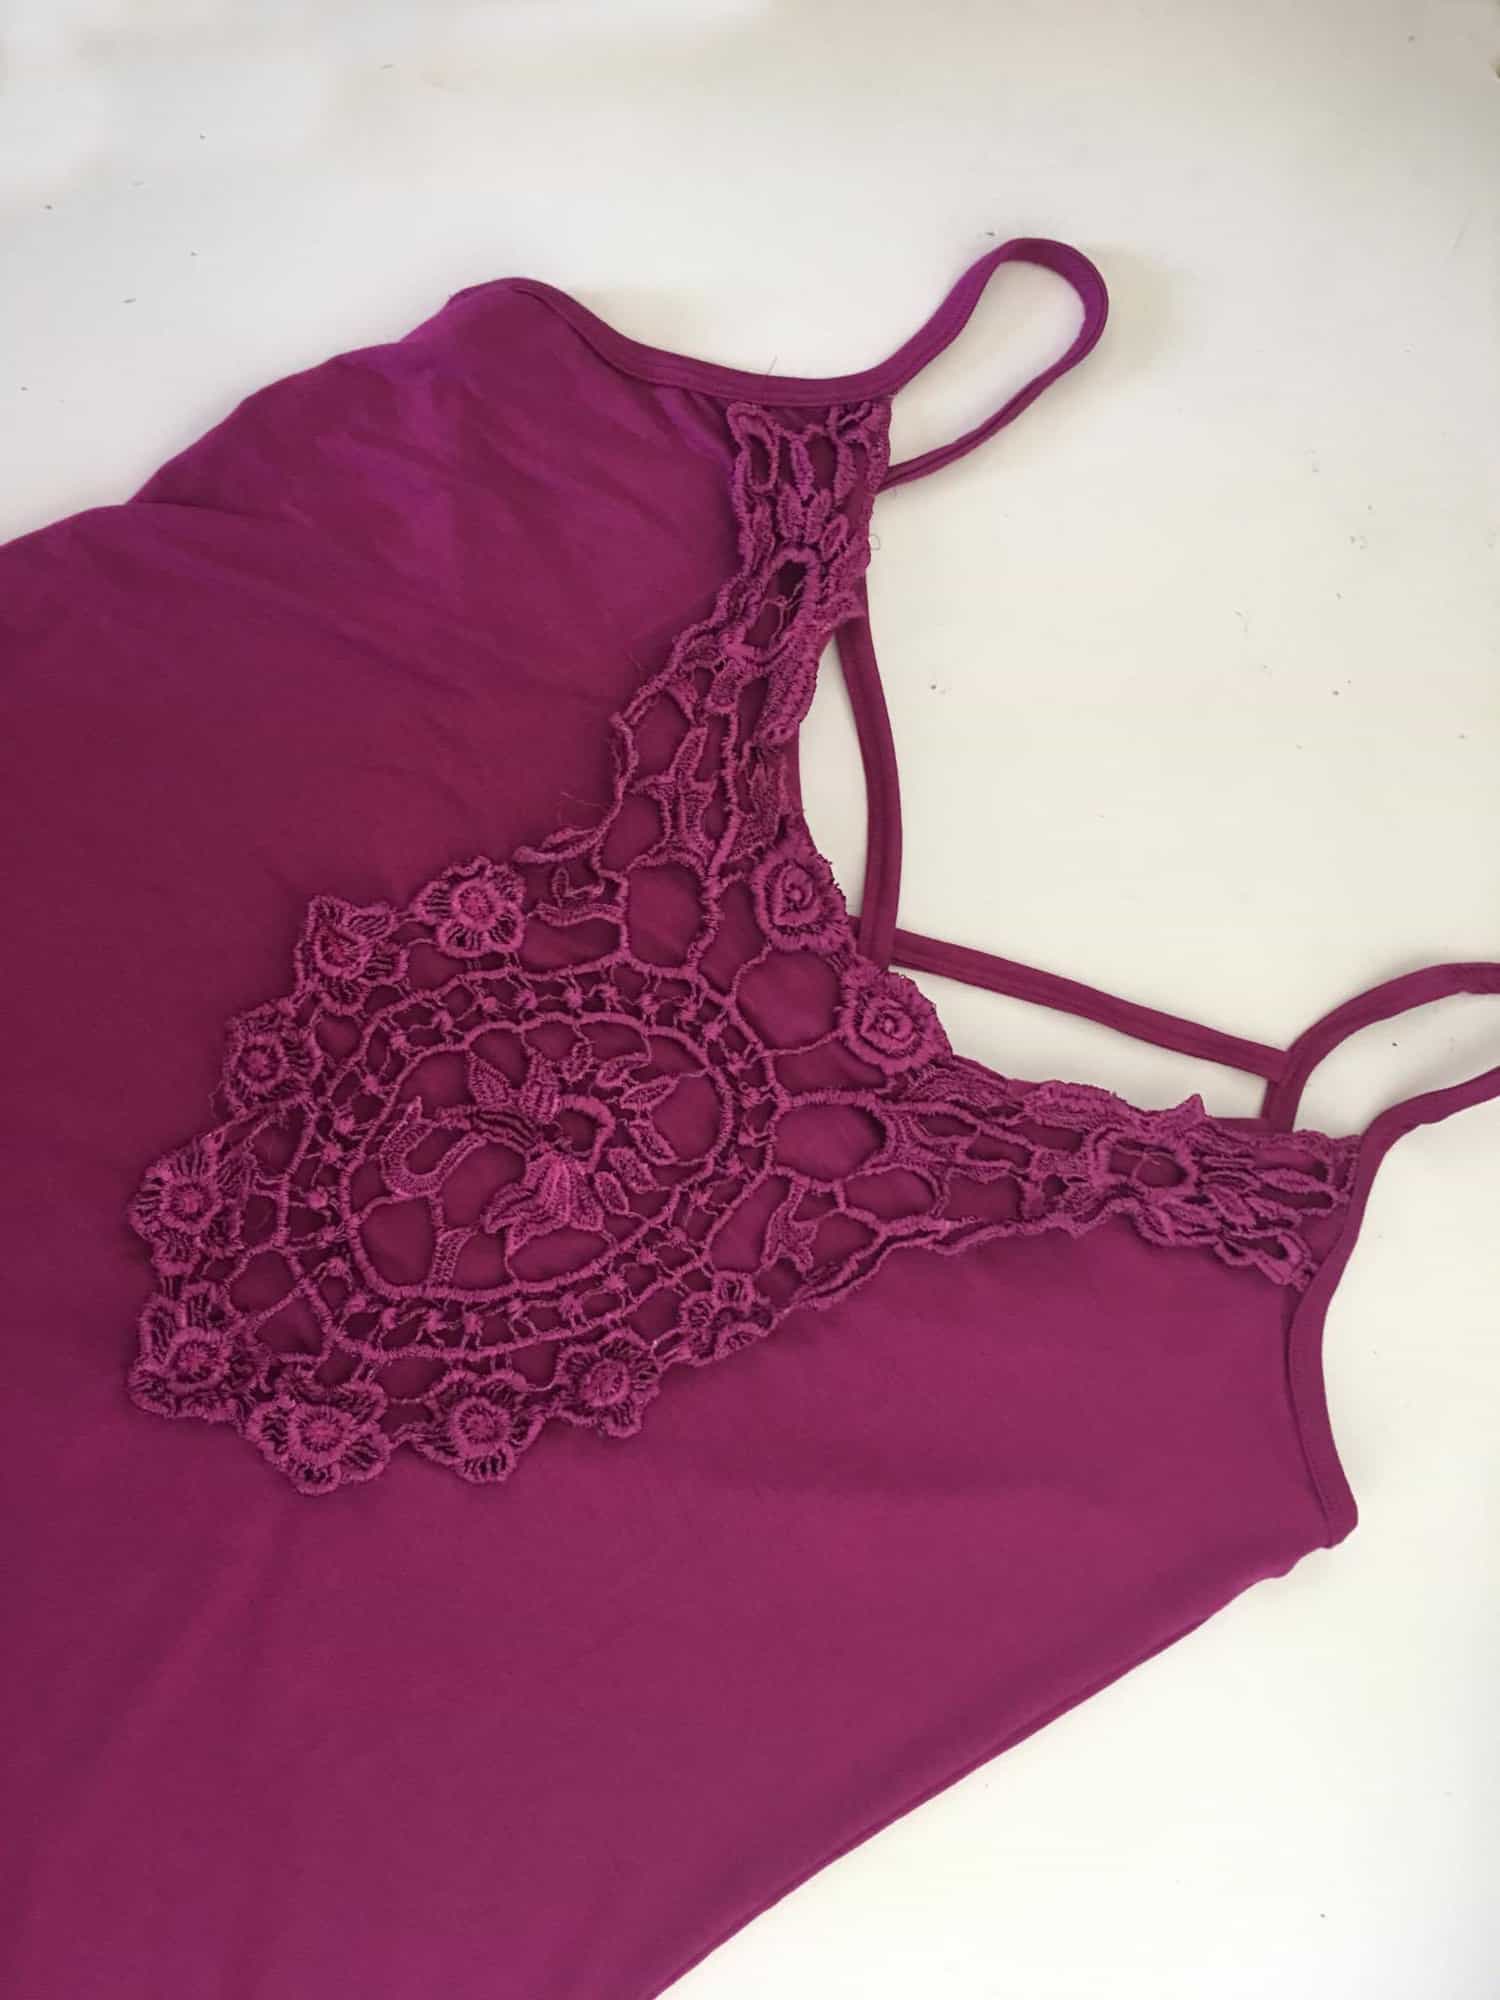
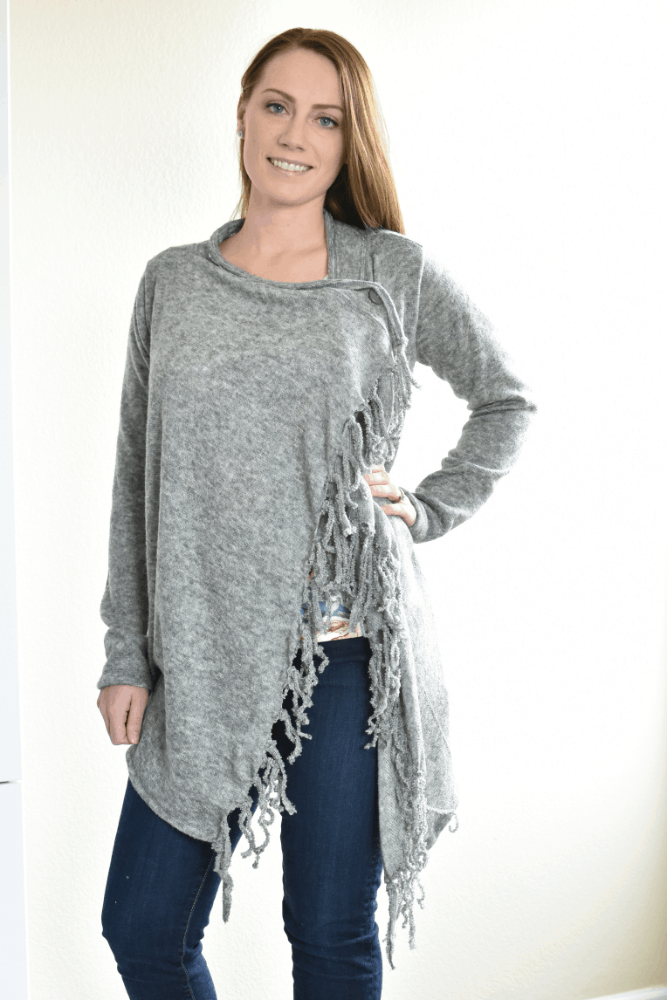
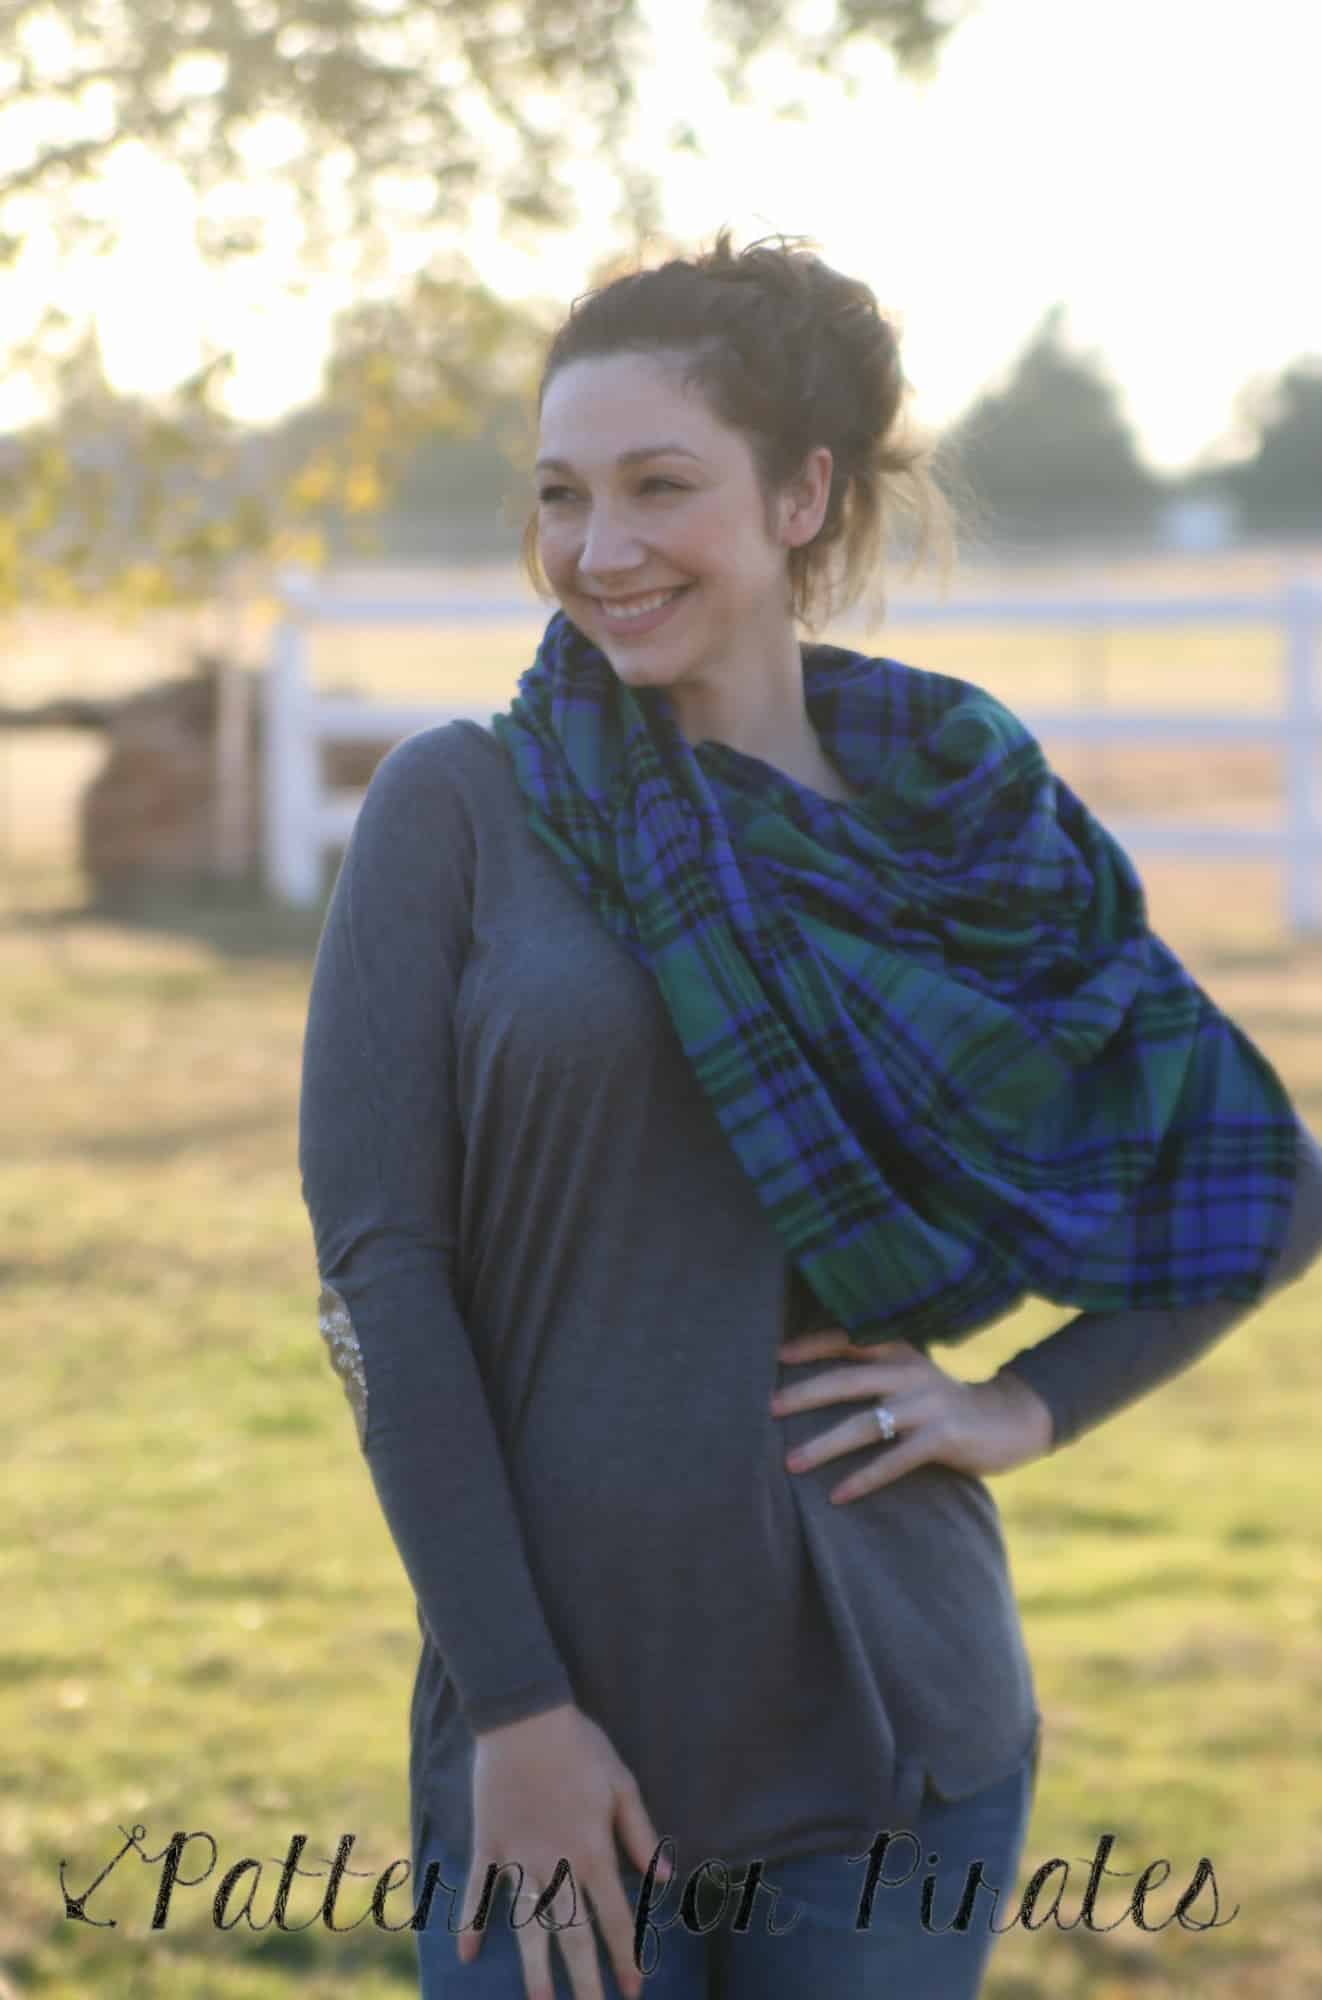
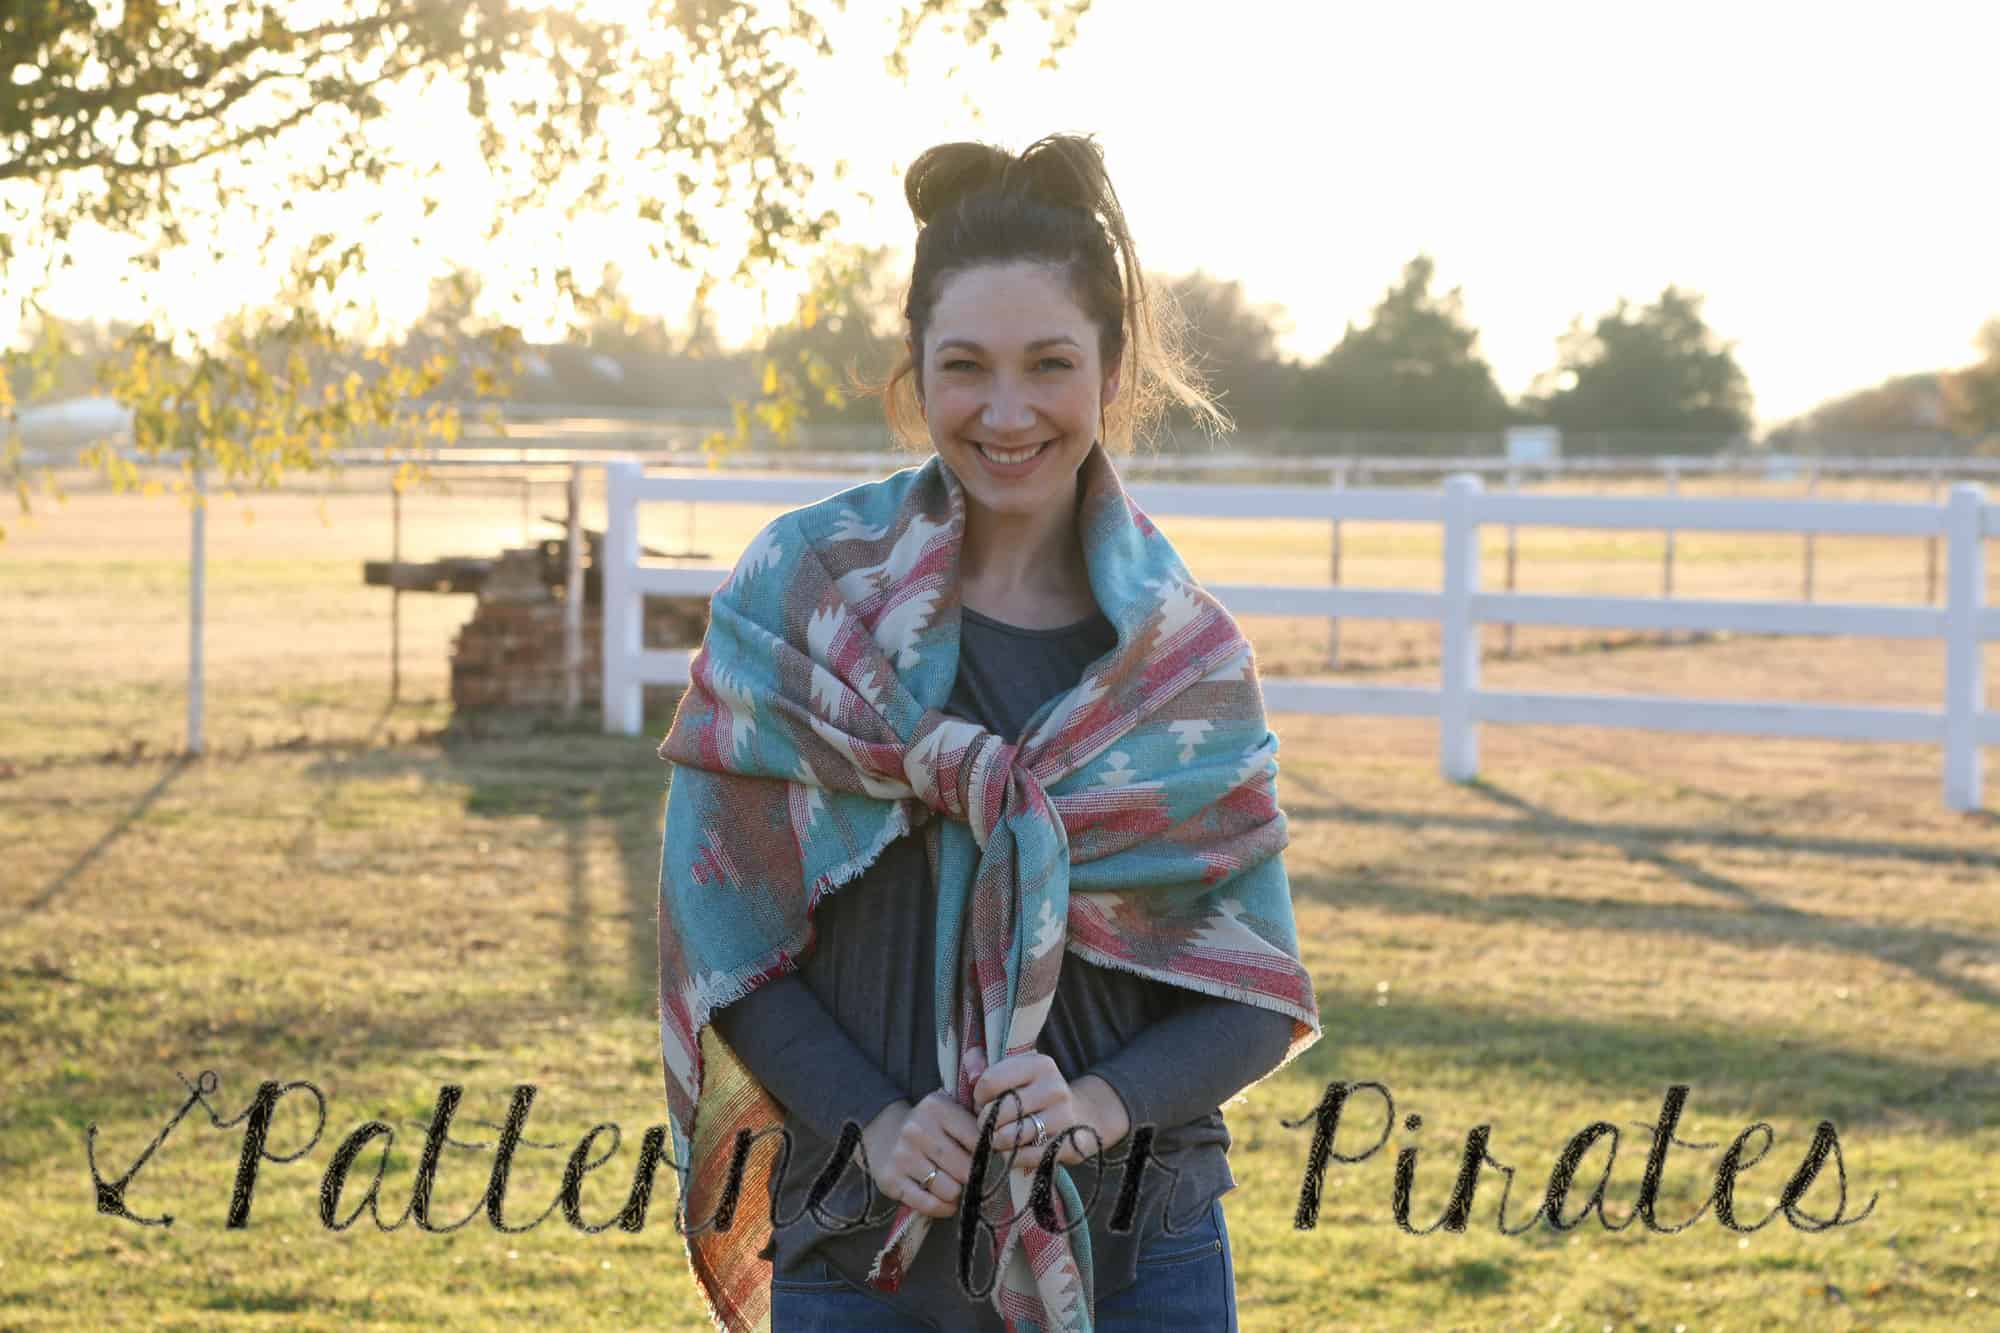
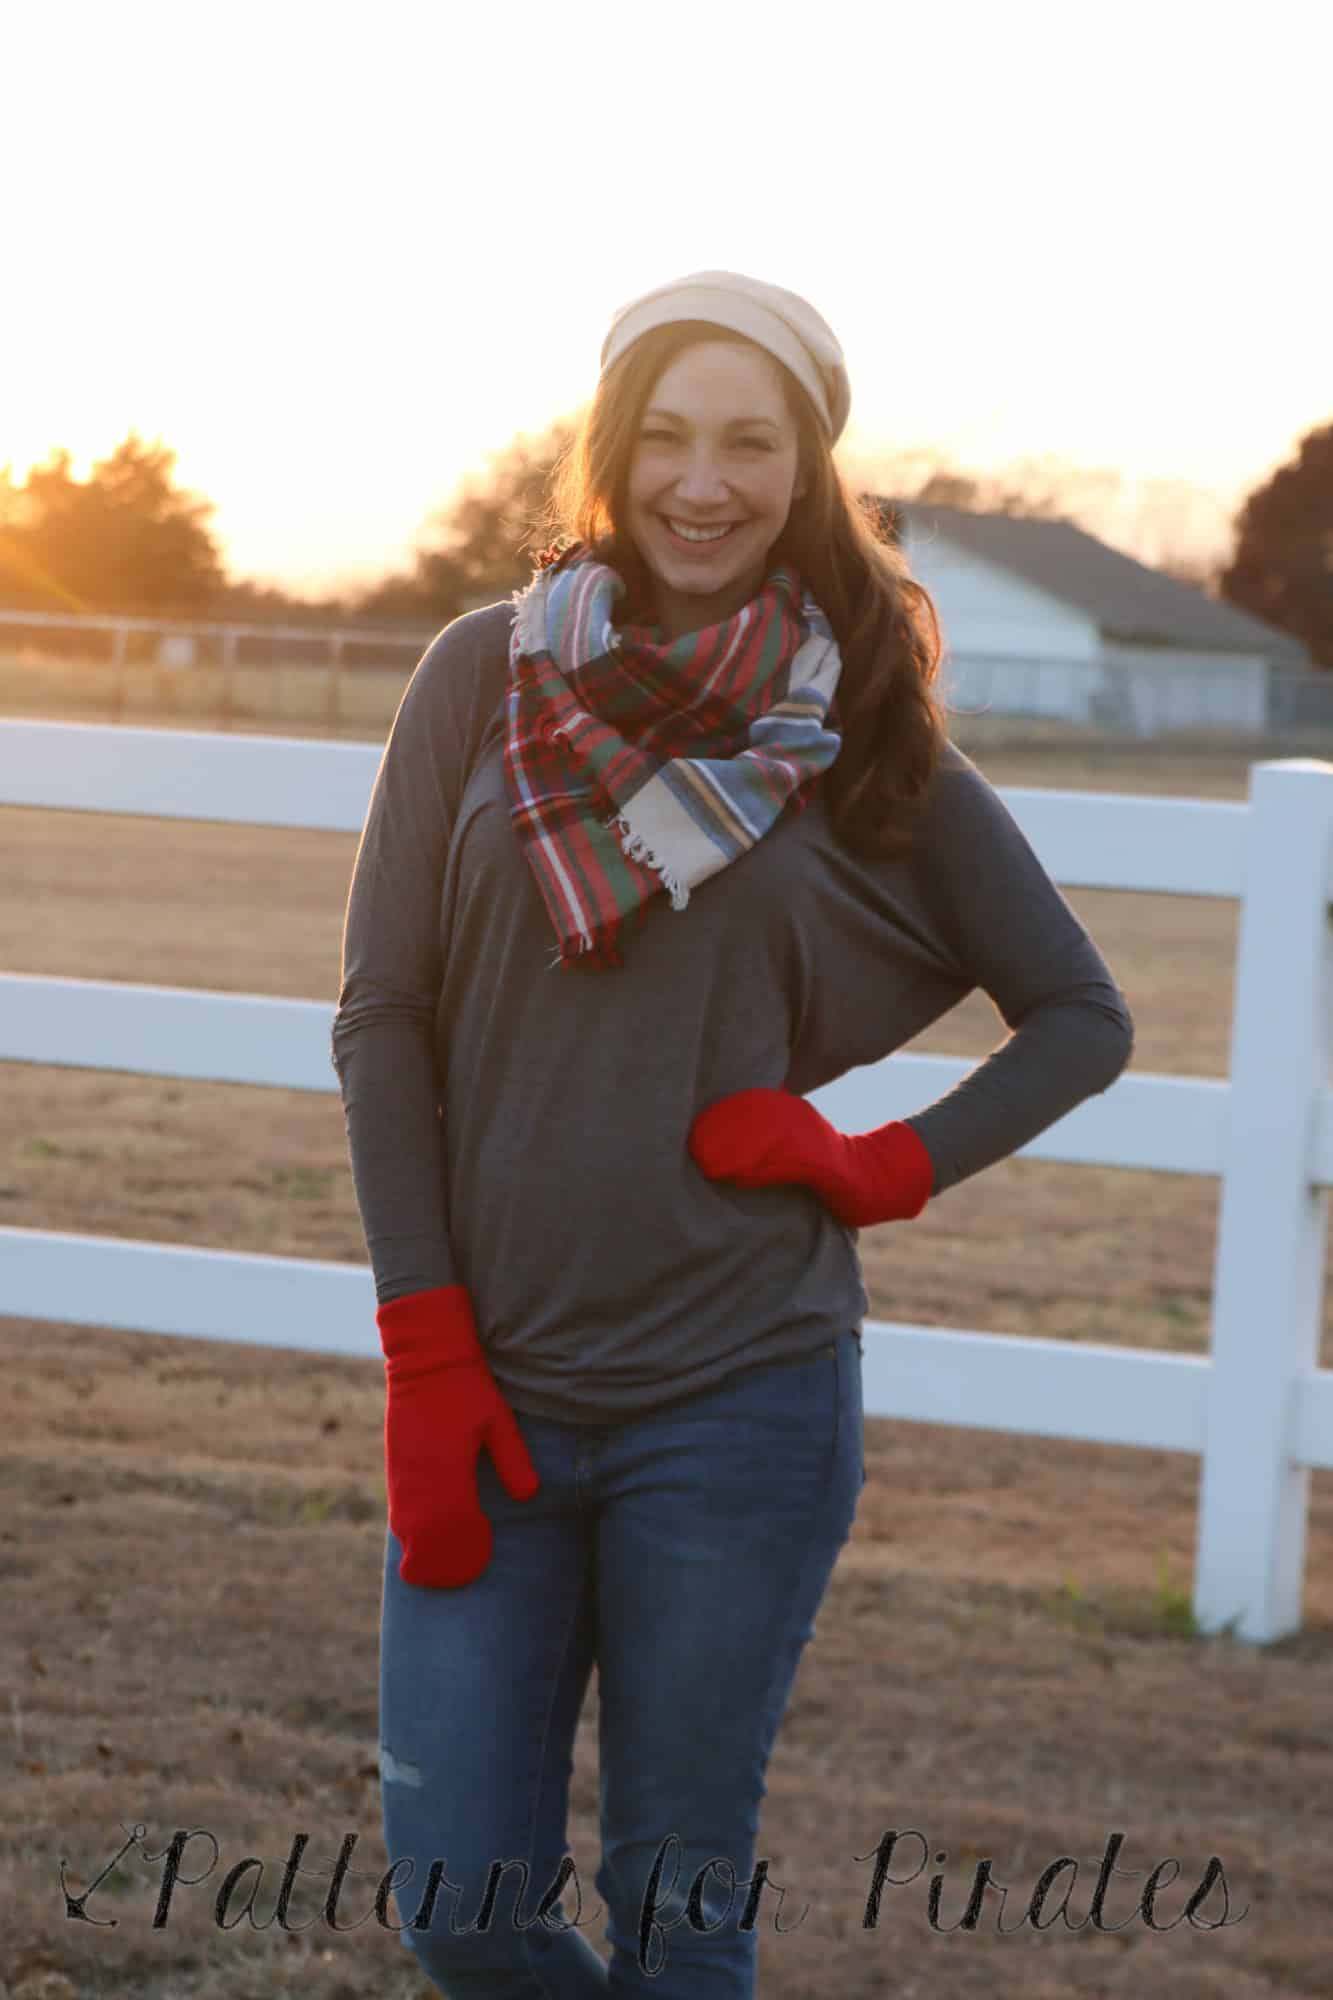
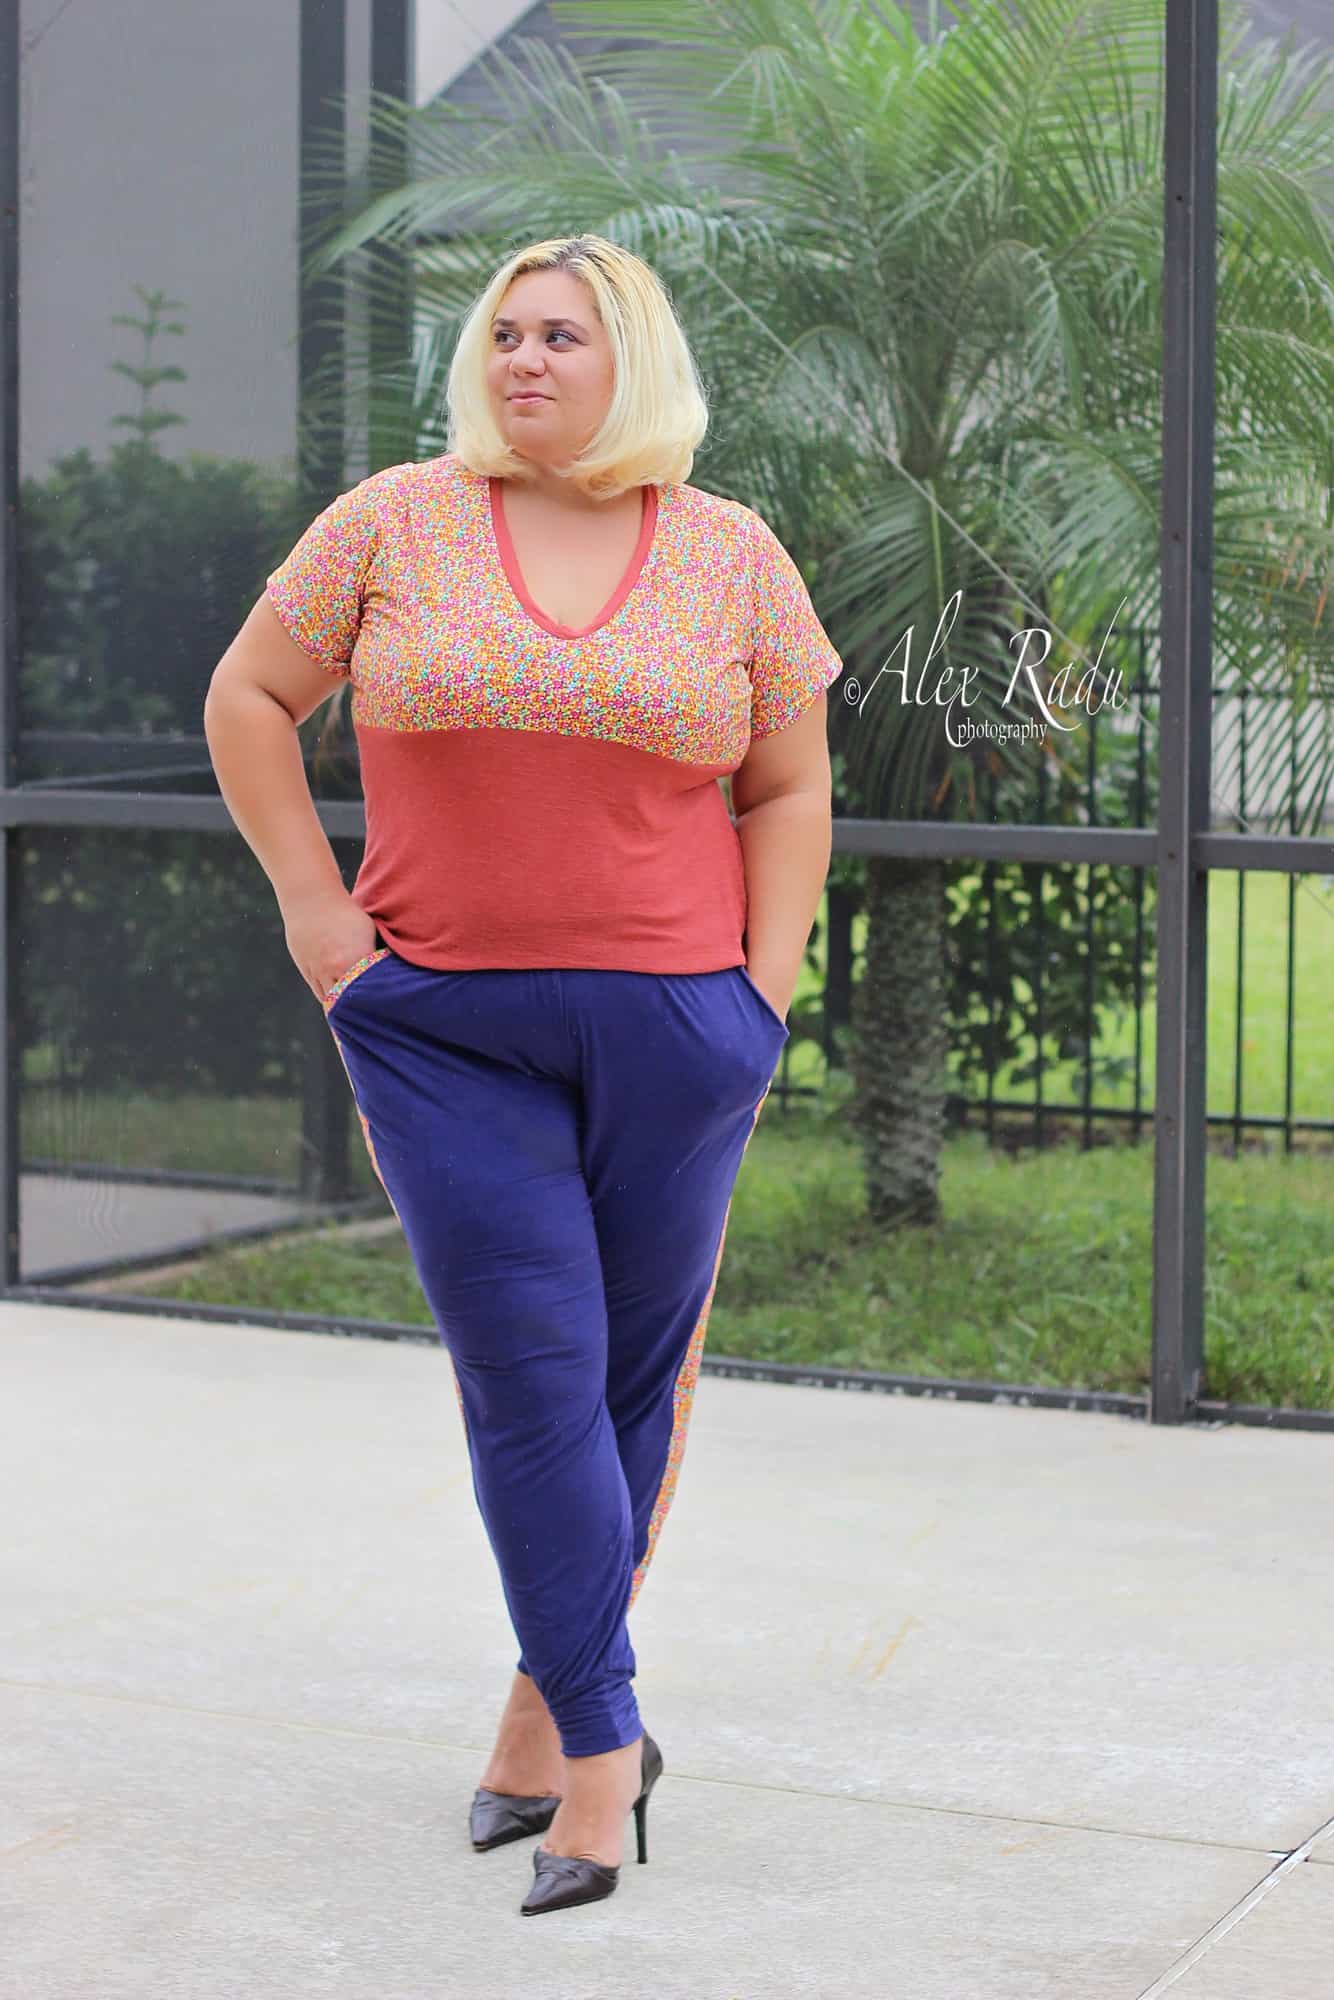
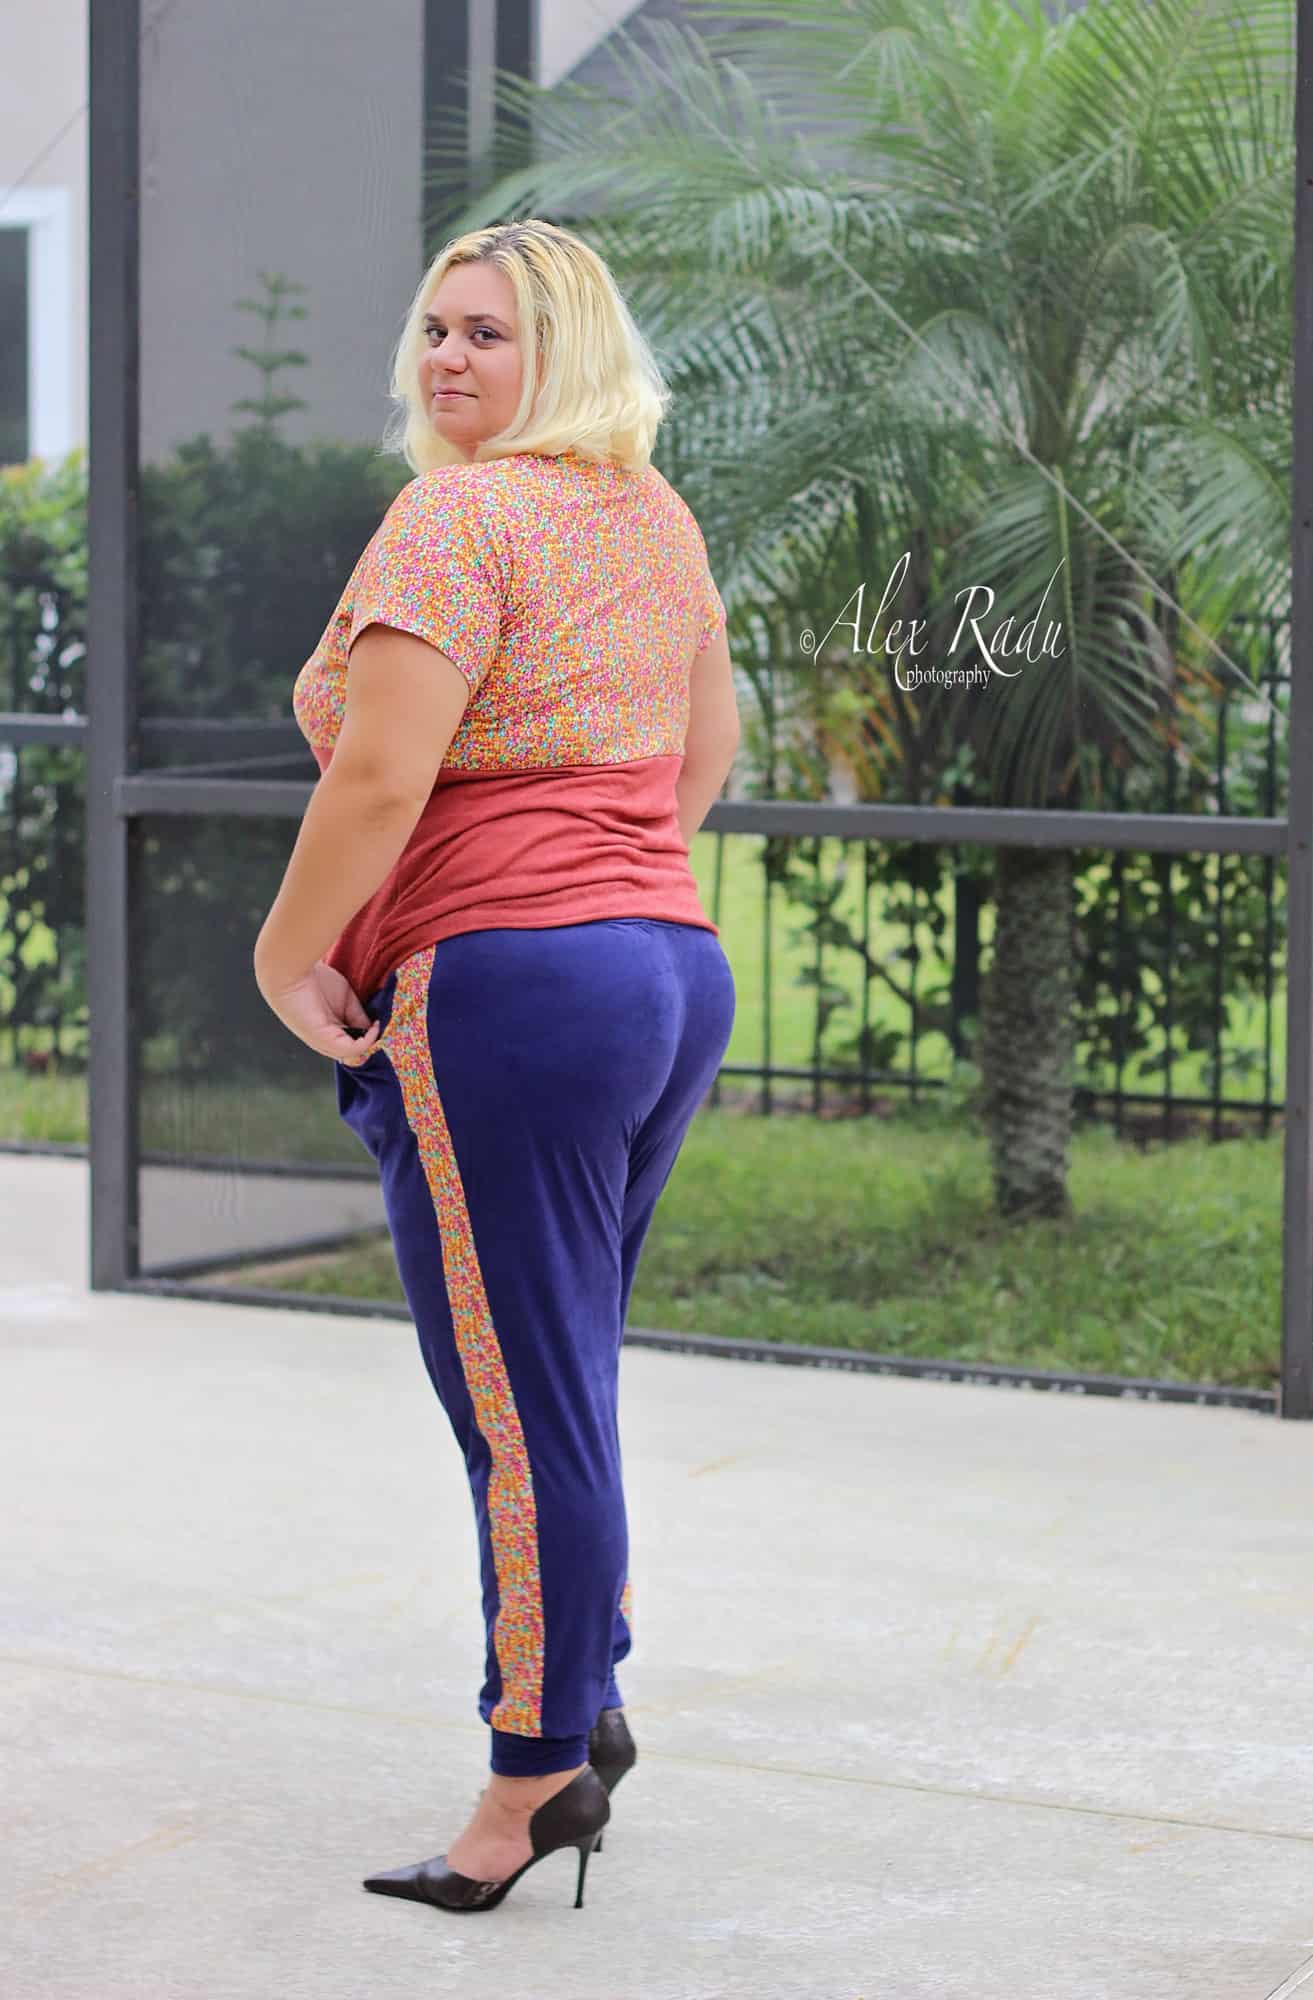
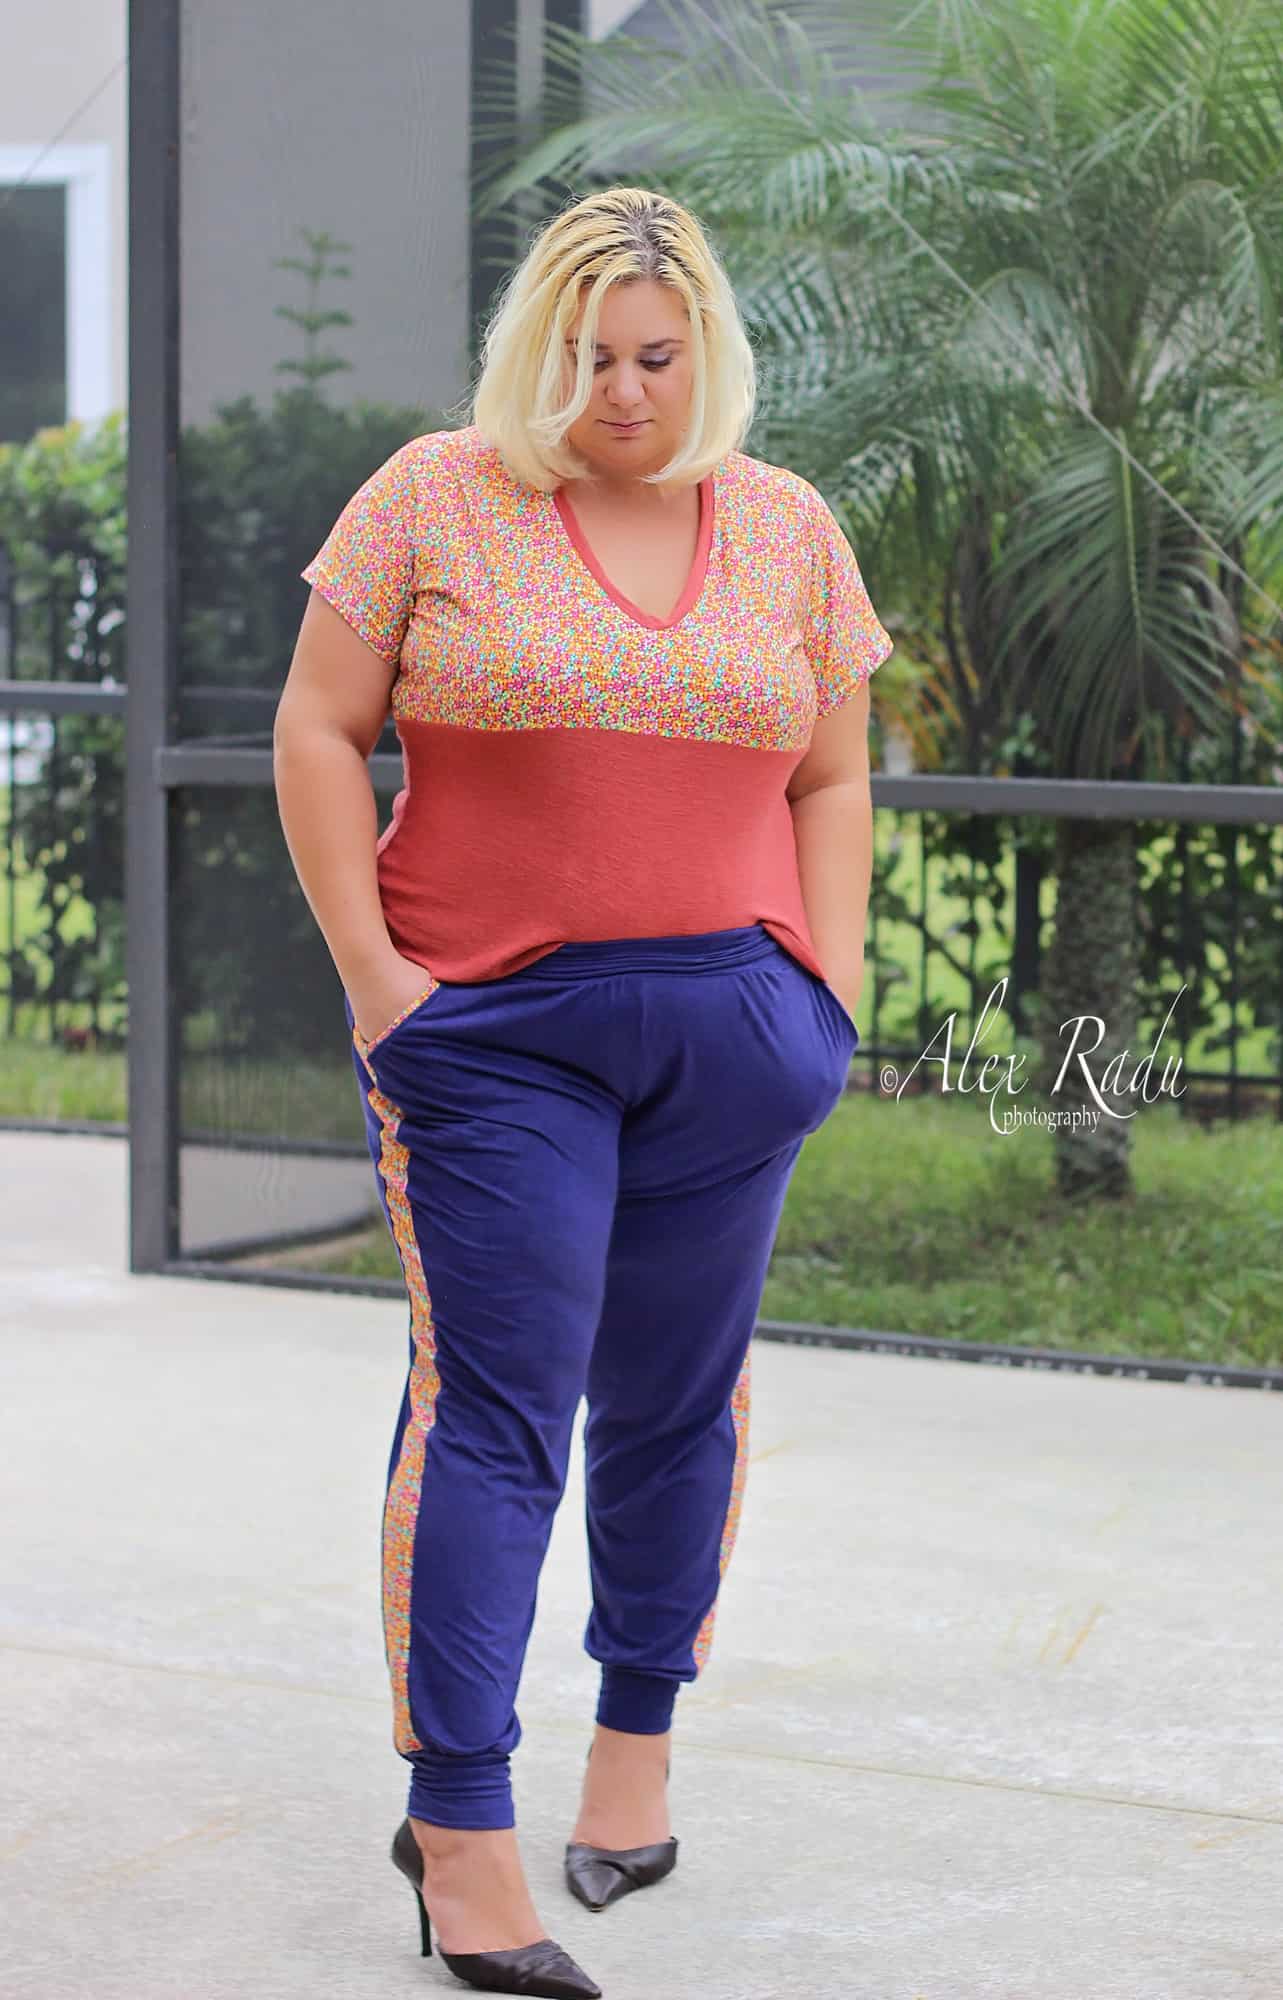
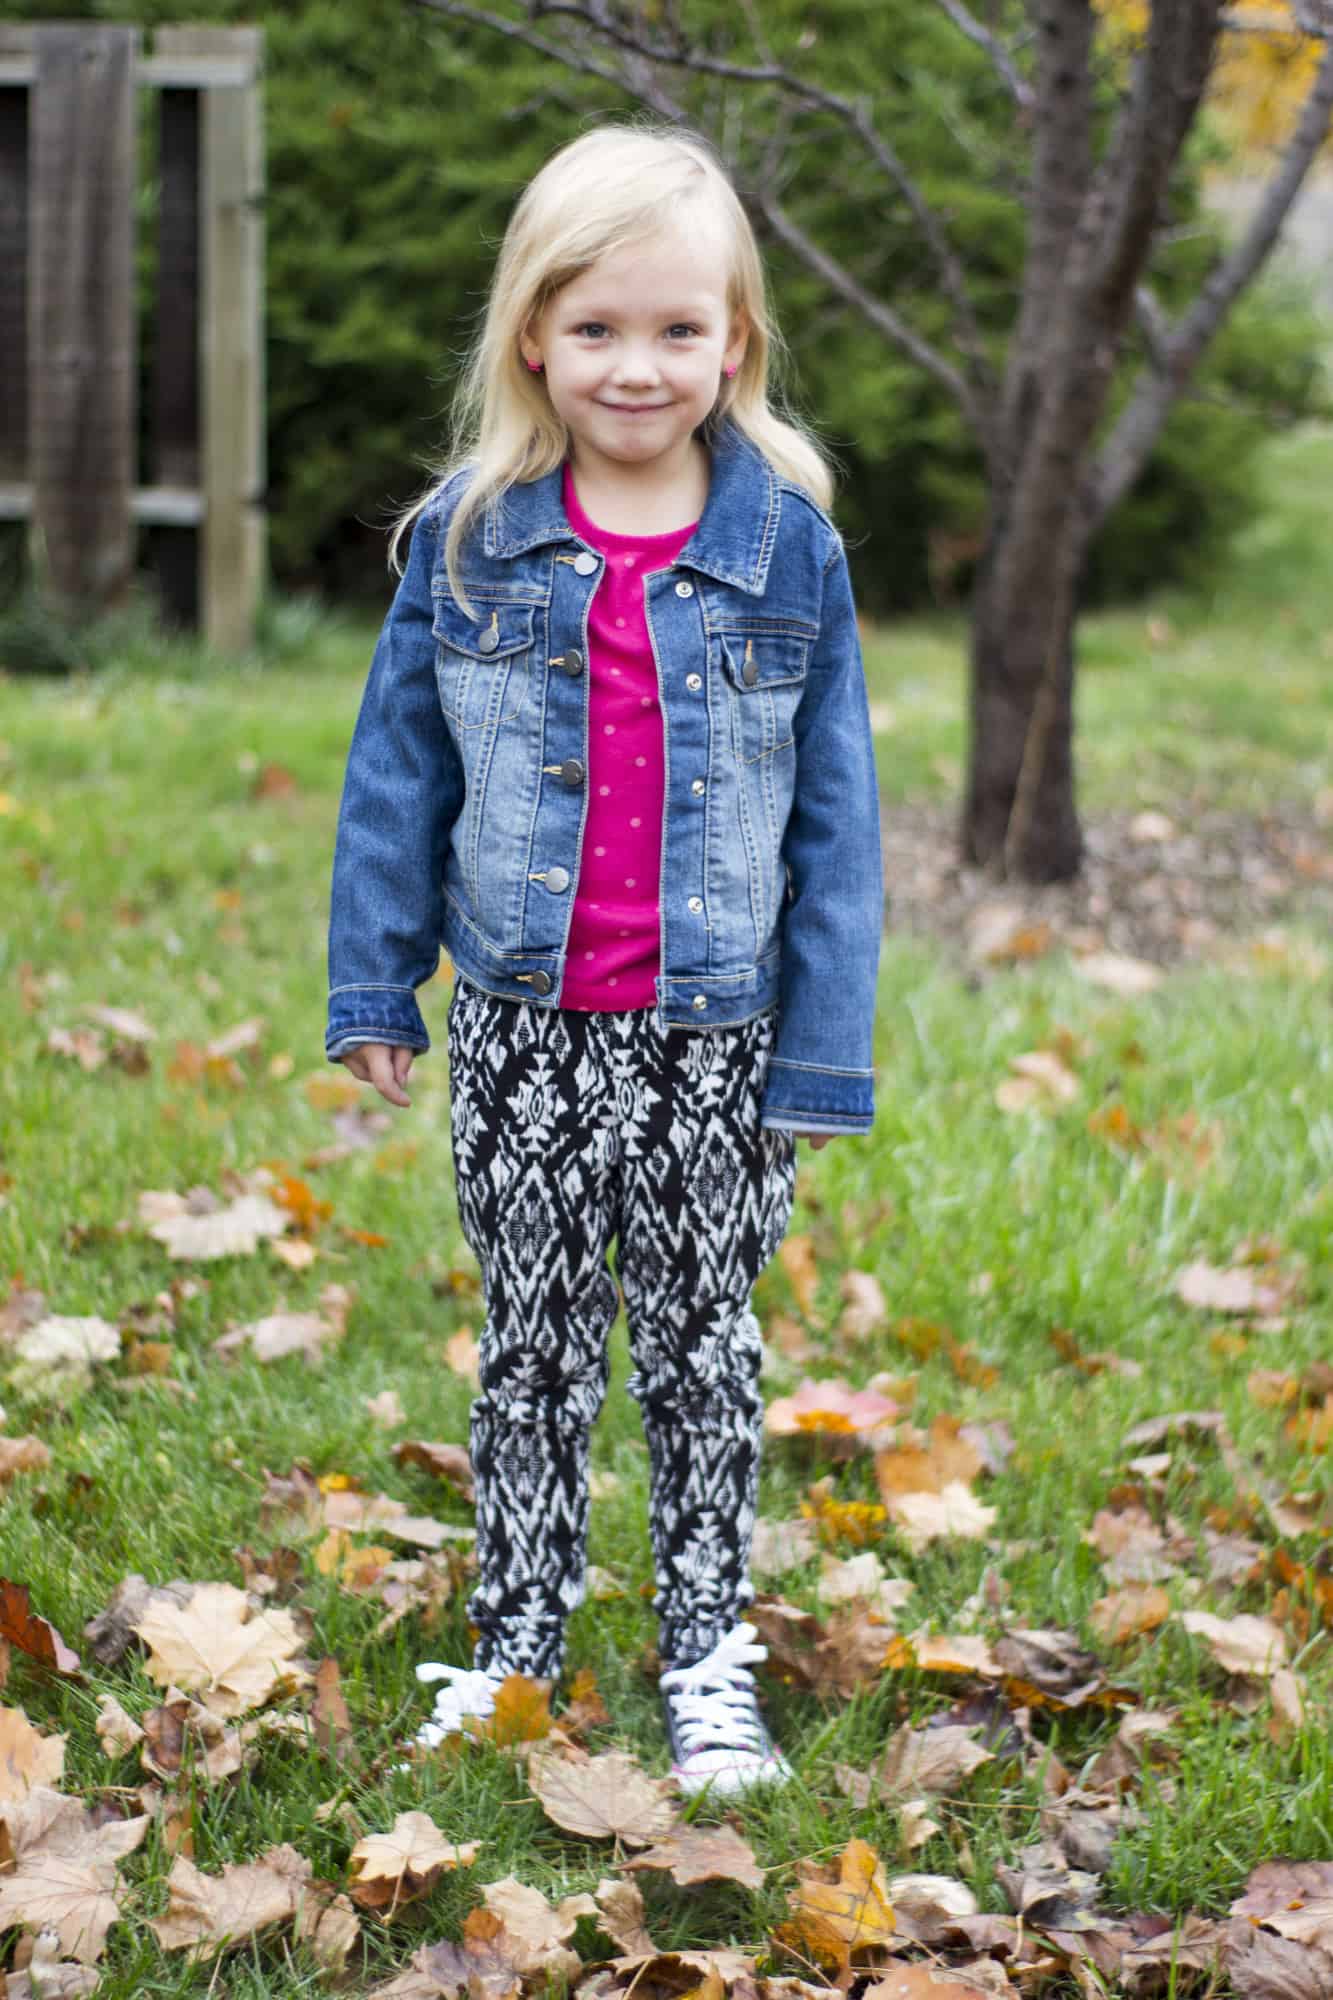
The X Factor Crop & Dress is an adorable pattern that gives you drastically different garments depending on the options you choose. You can create a cute, trendy workout crop or rash gaurd. Or you make a fit and flare dress that is comfortable and flattering.
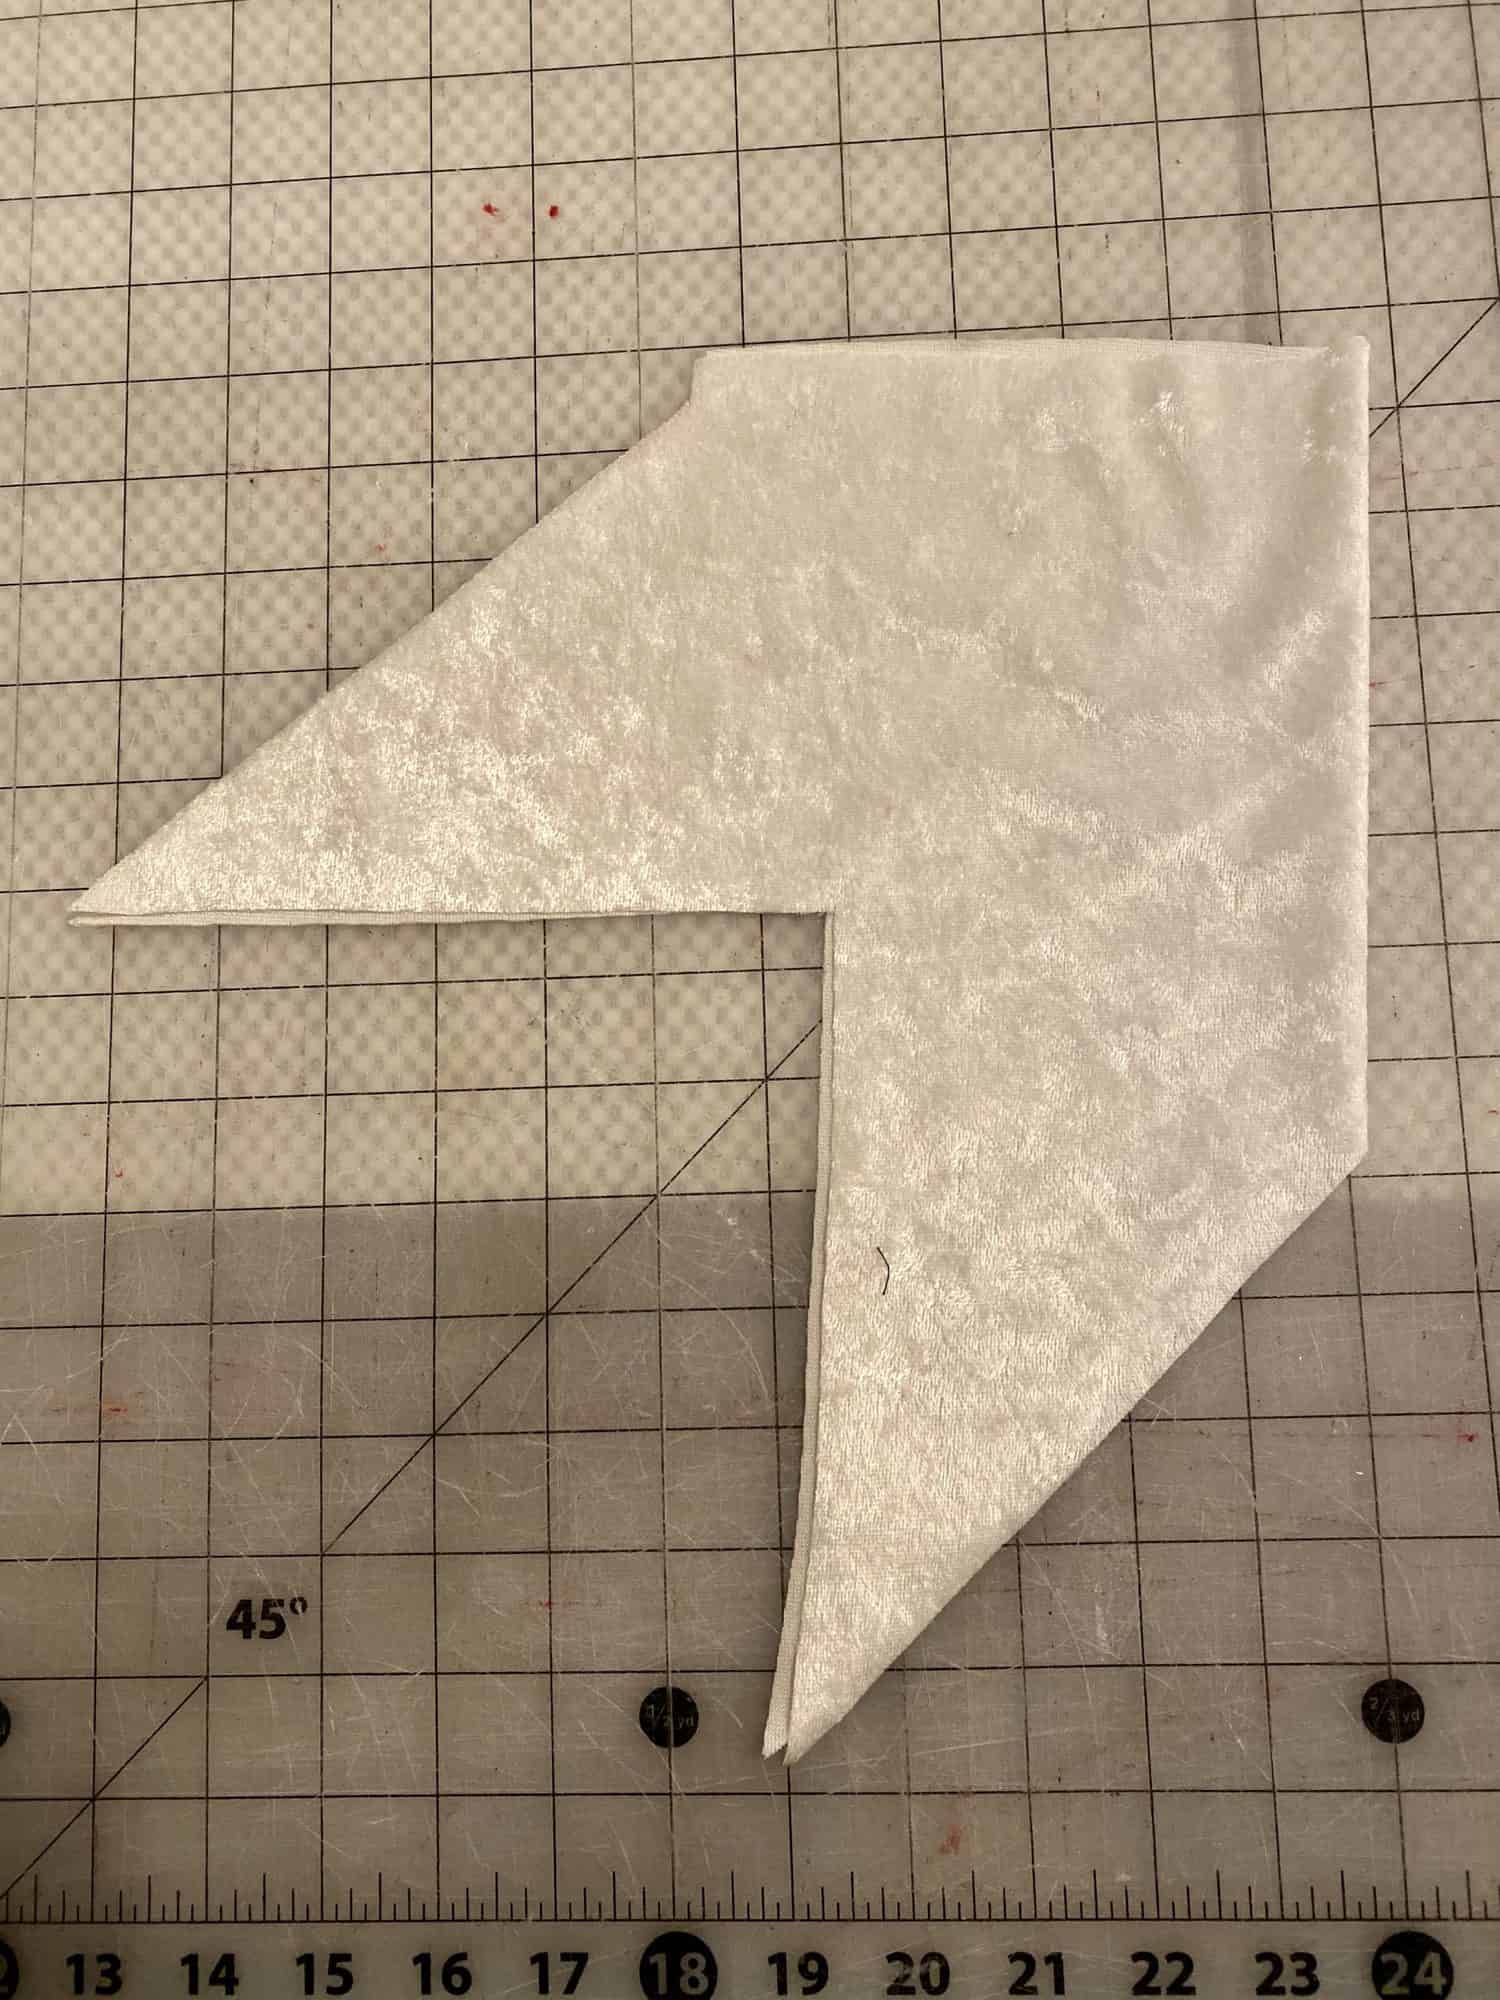
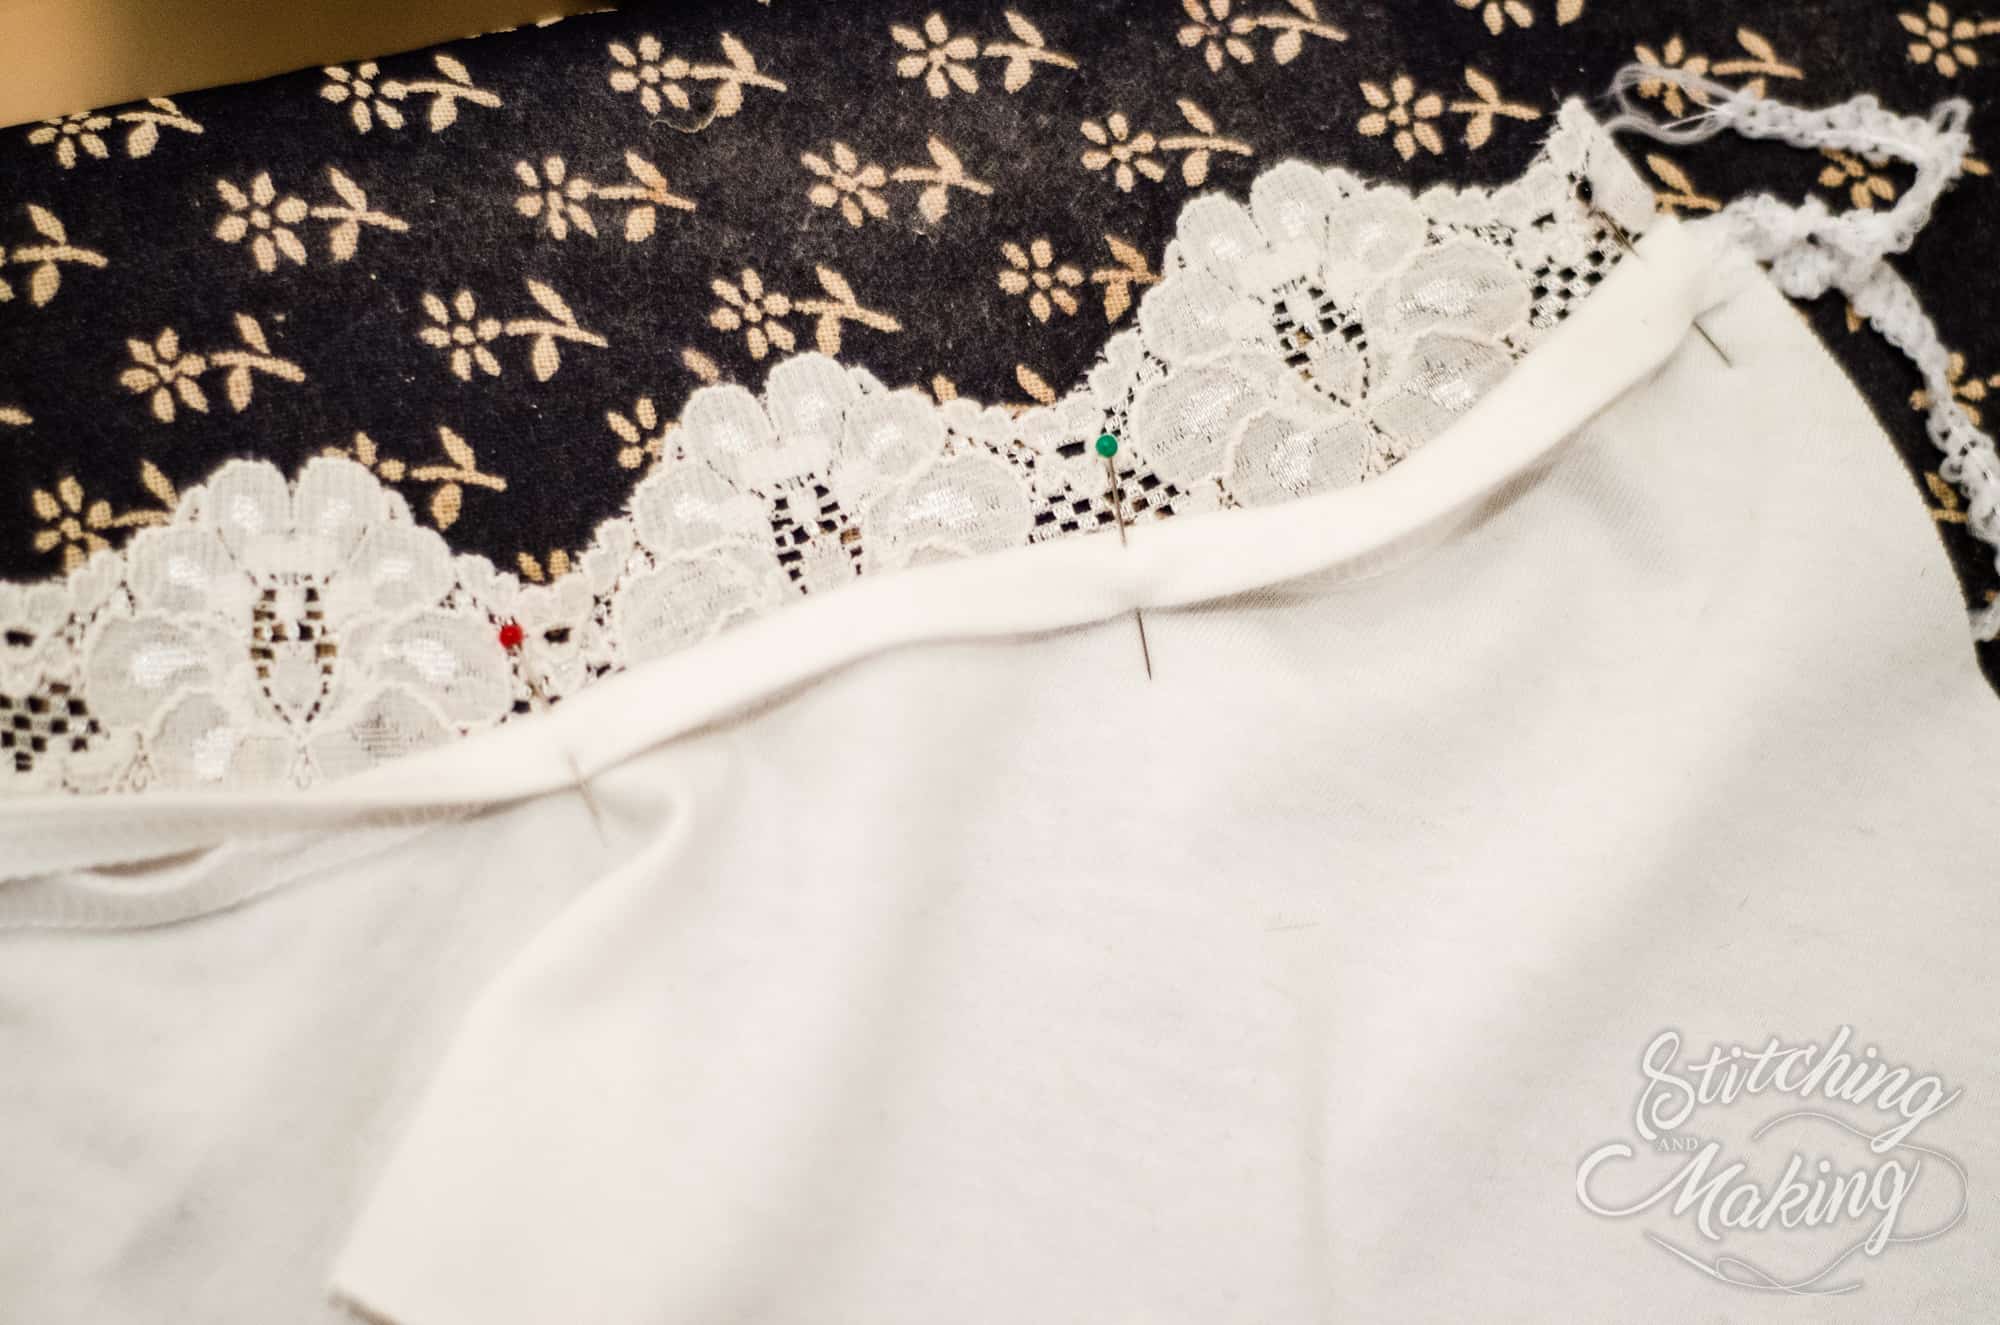
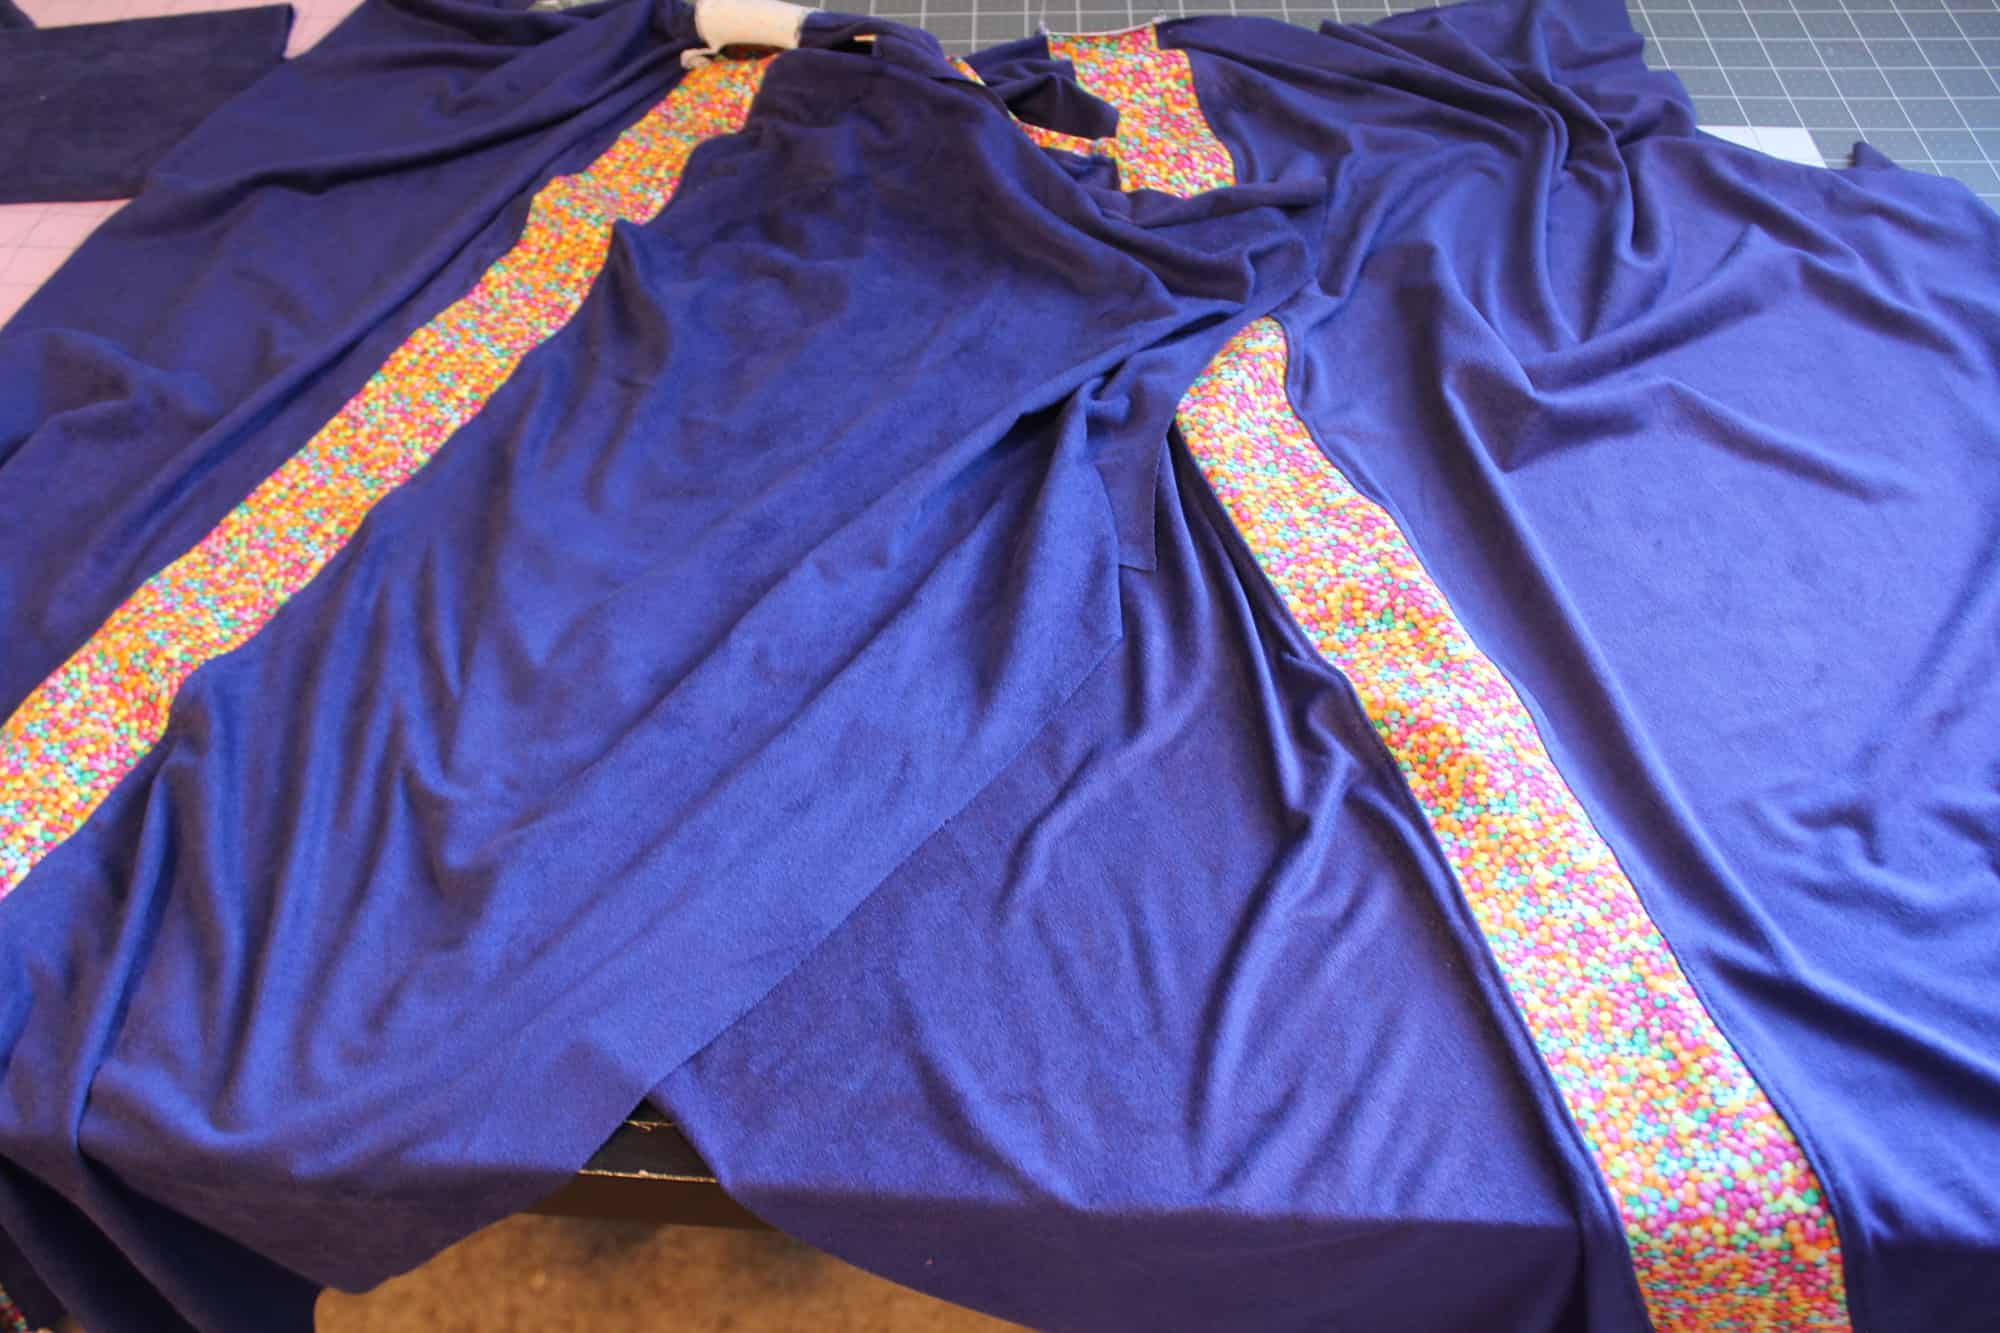
Options include: crop / dress length, vneck / crew neck, short / three-quarter / long (hemmed or cuffed) sleeves, or tank top.
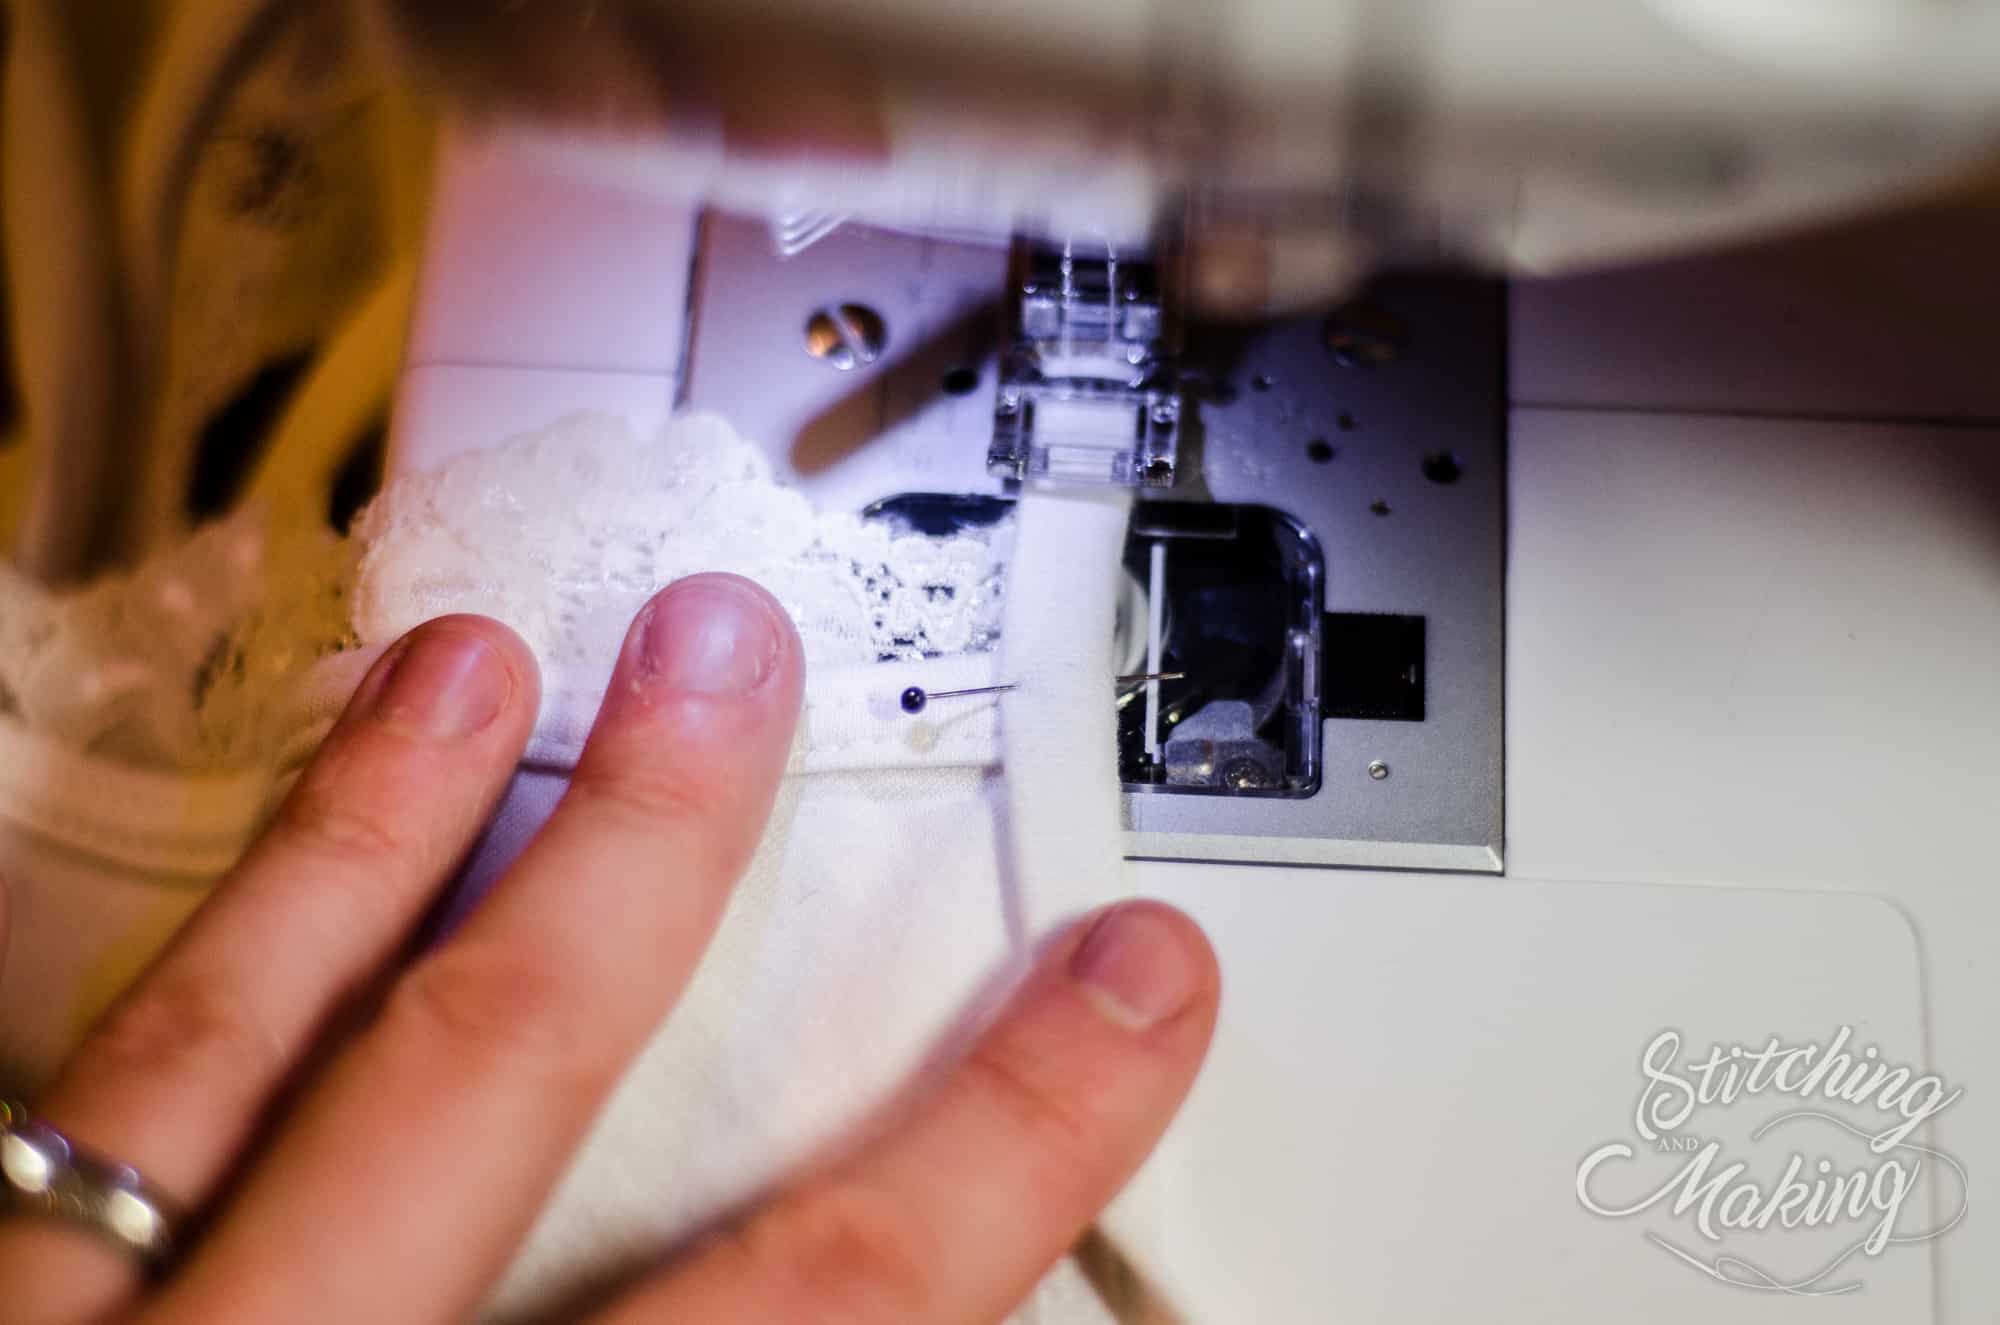
Also enjoy several videos throughout the tutorial, including a complete sew-up of the pattern.
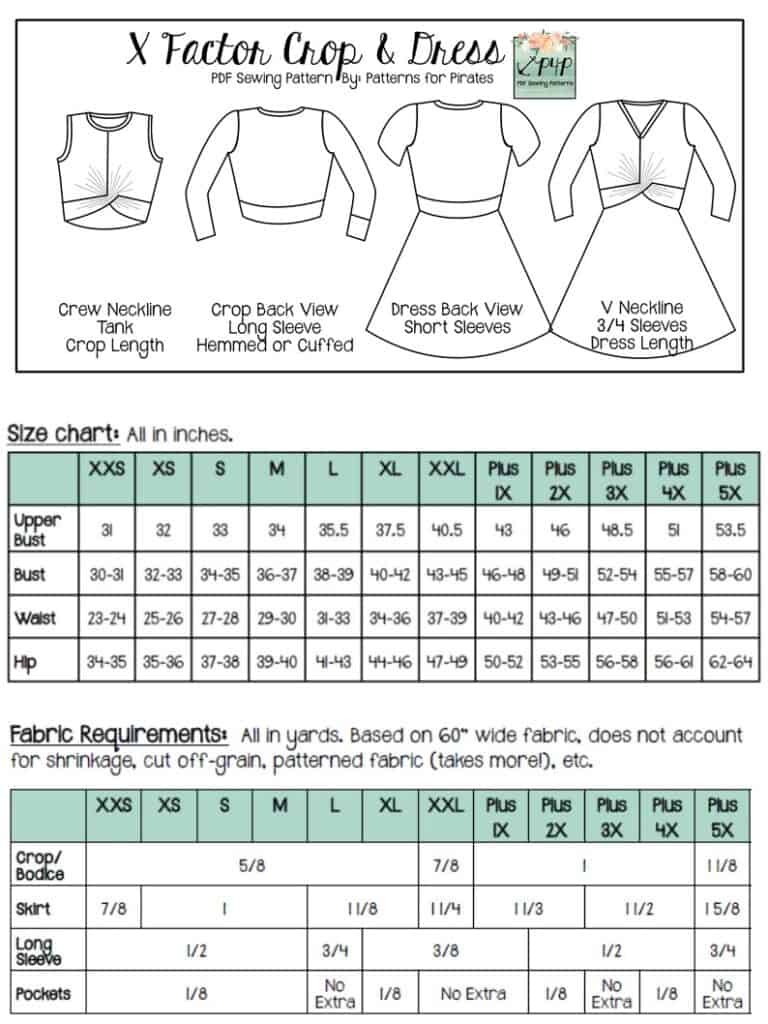
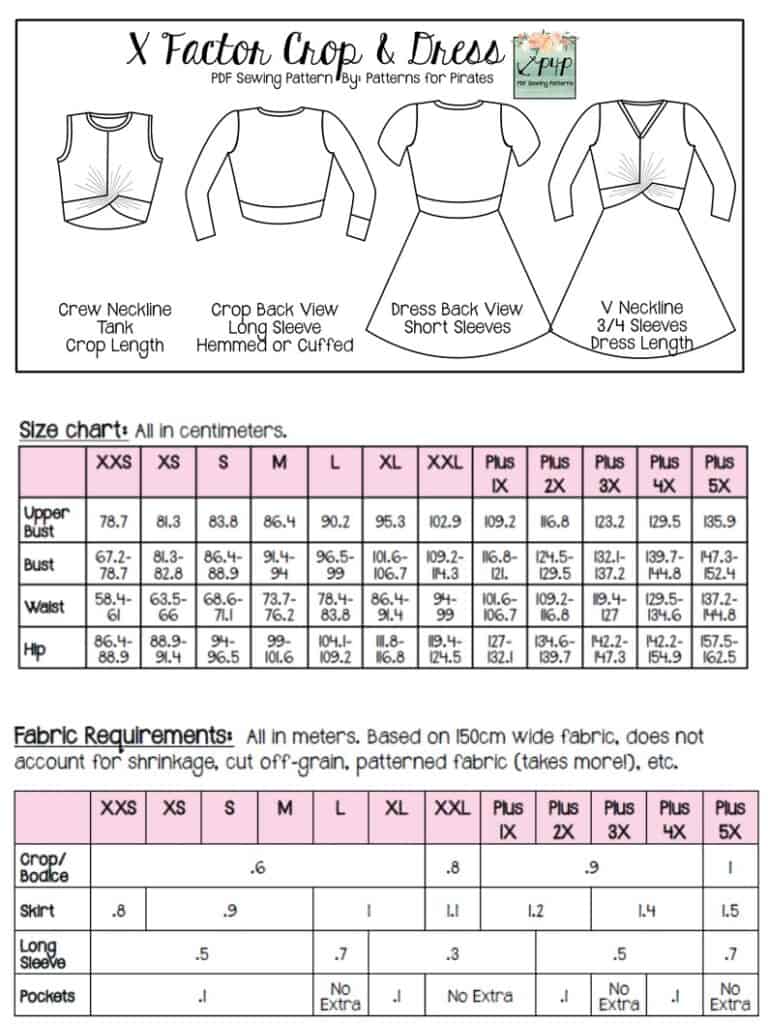
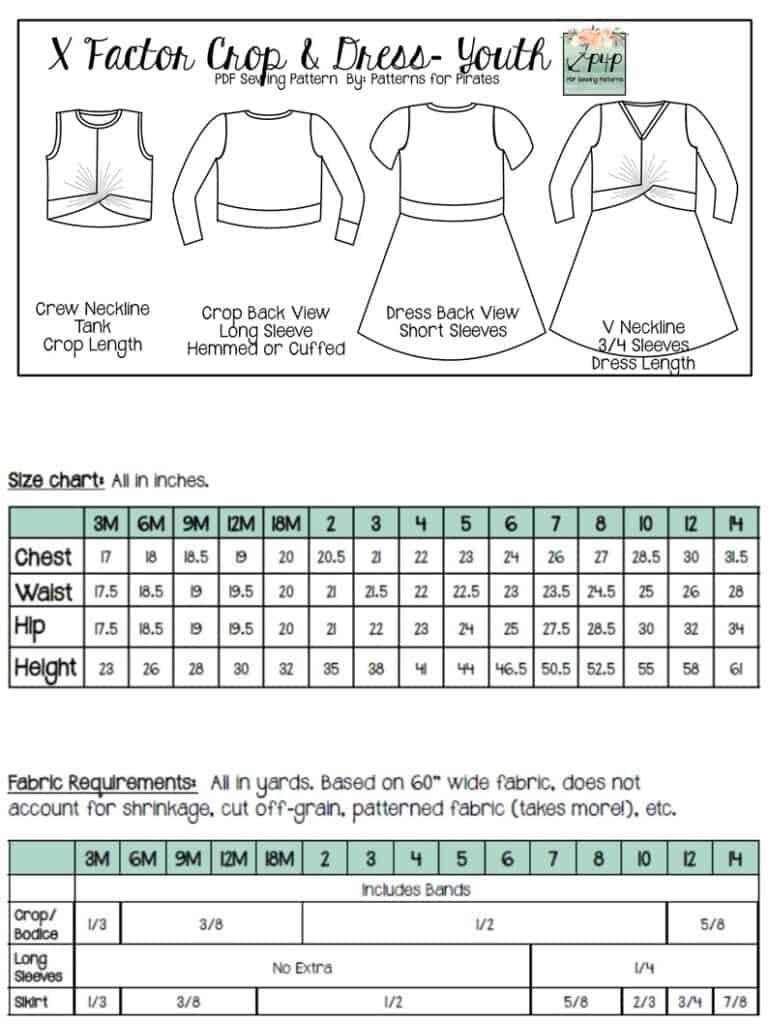
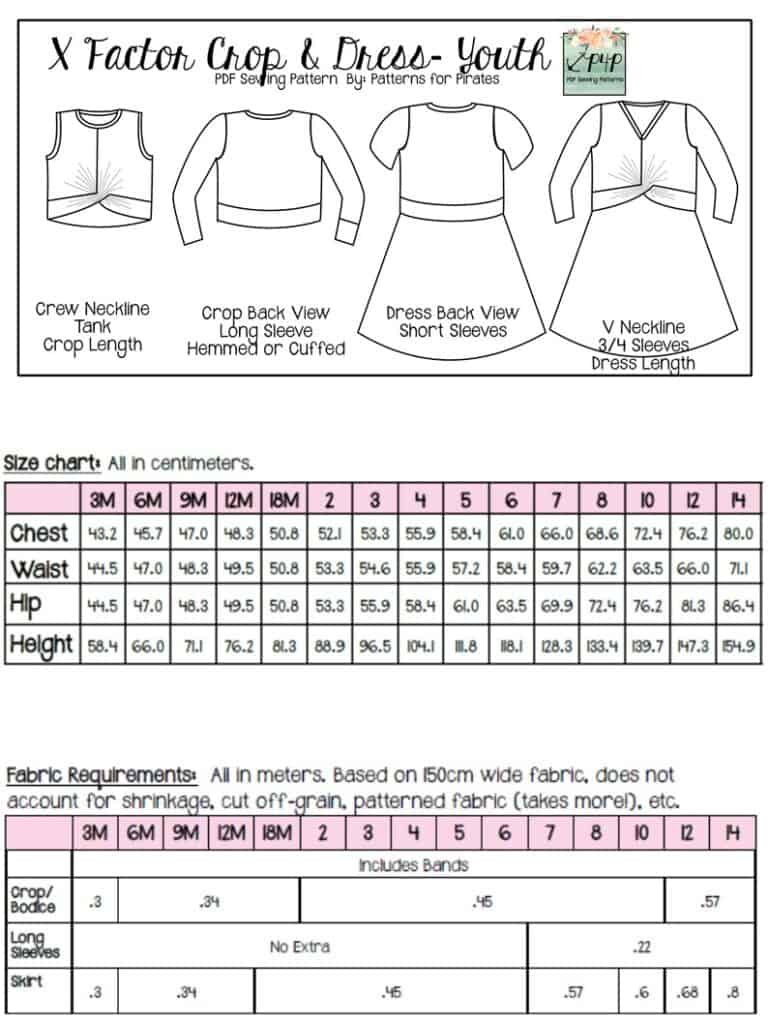
**Want to learn more about how to measure yourself for this pattern? We’ve got you covered with an in-depth blog HERE. And in case you’re new to Patterns for Pirates and PDF patterns in general, we have a great blog full of new-user tips HERE to help you get started! As with all of our current releases and updates, the pdfs now include our layers feature and can be found in Letter, A4, A0 and projector sizes. And for even more helpful fun, we have a *free* printable that you can use to help record your measurements as you take them.
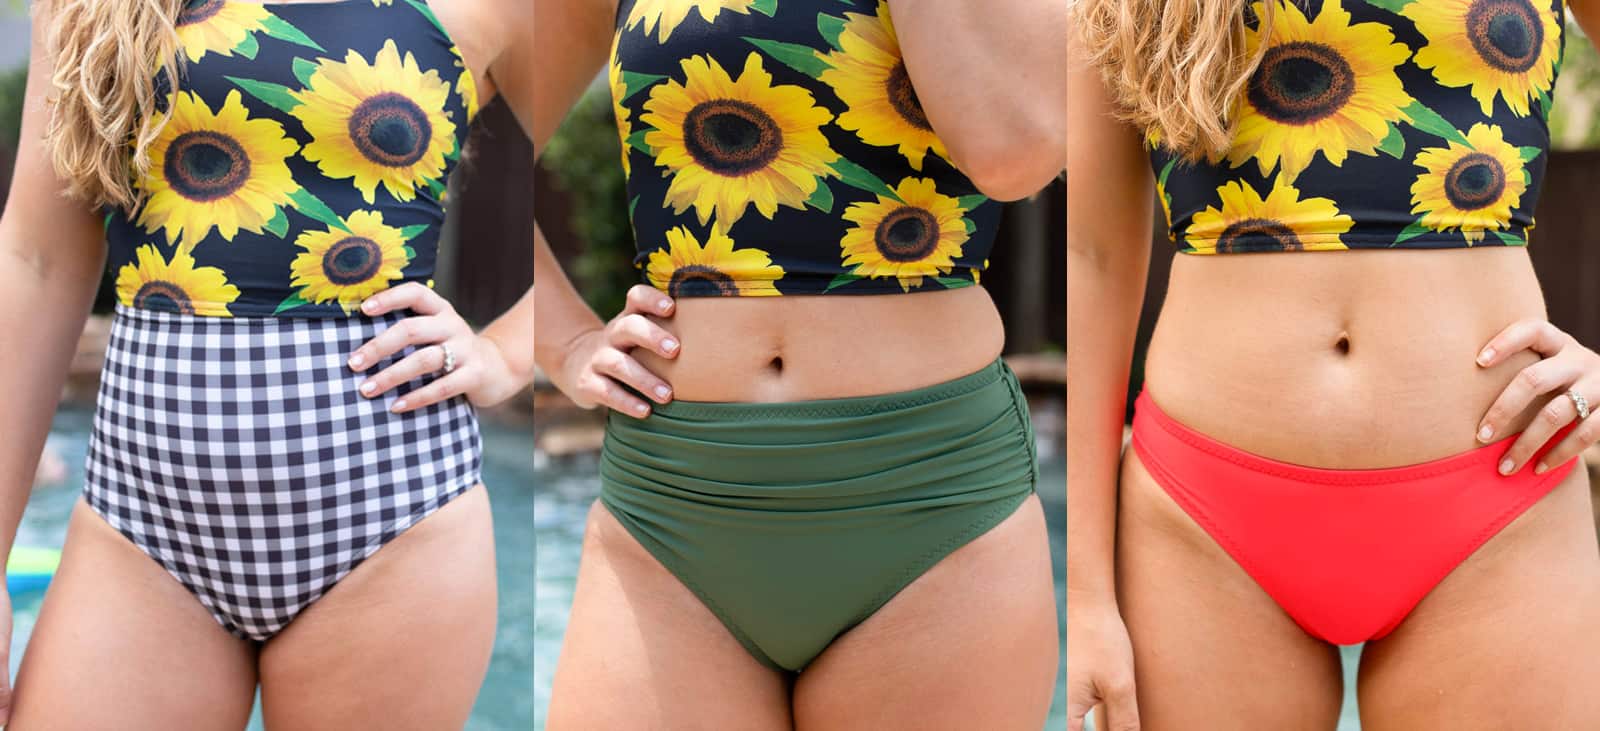
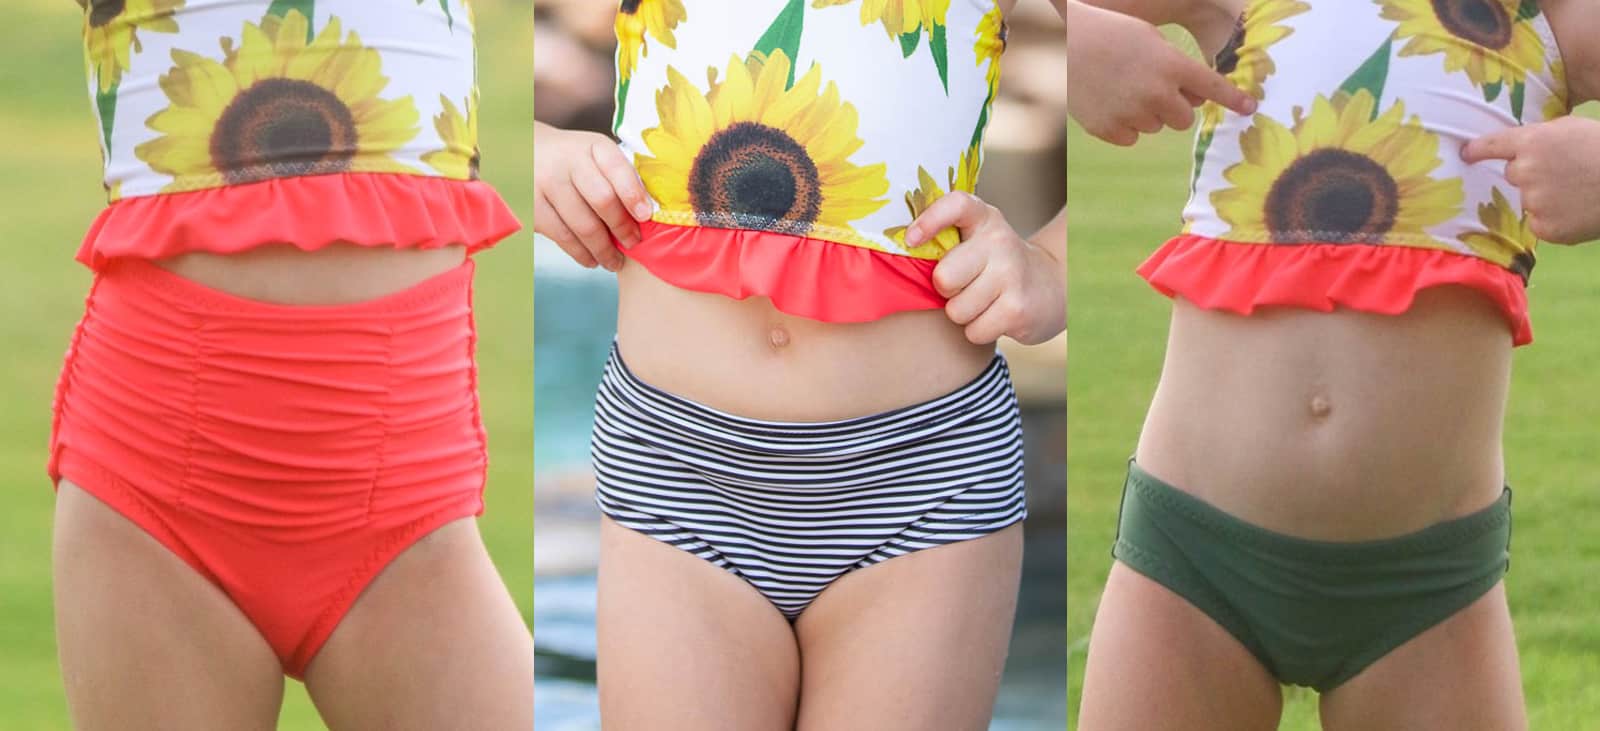
Let’s take a quick look at the different options and features!
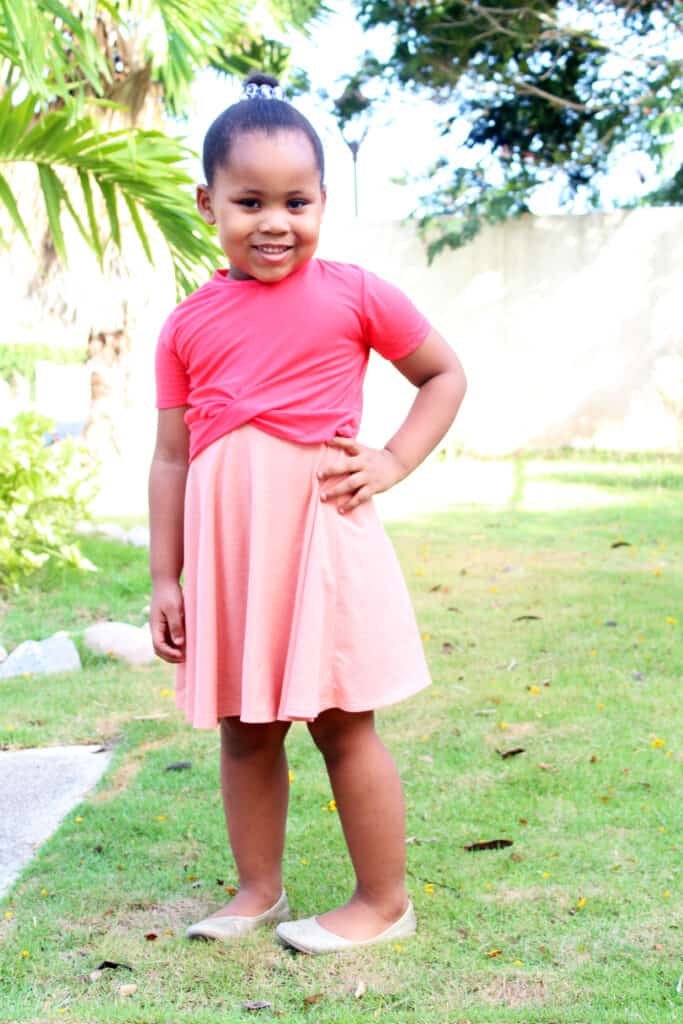
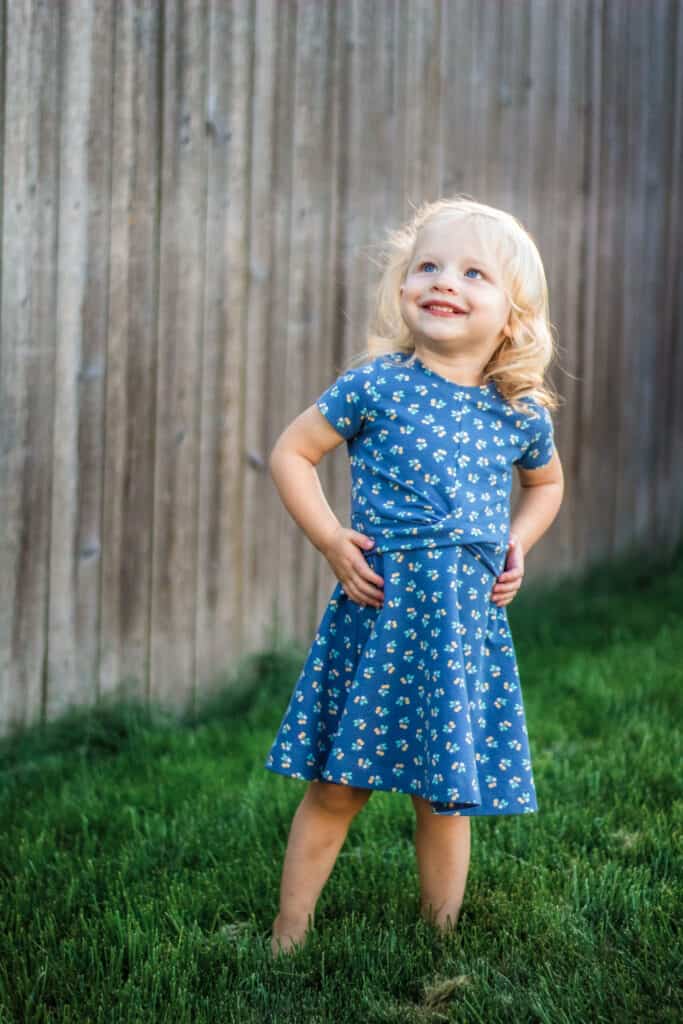
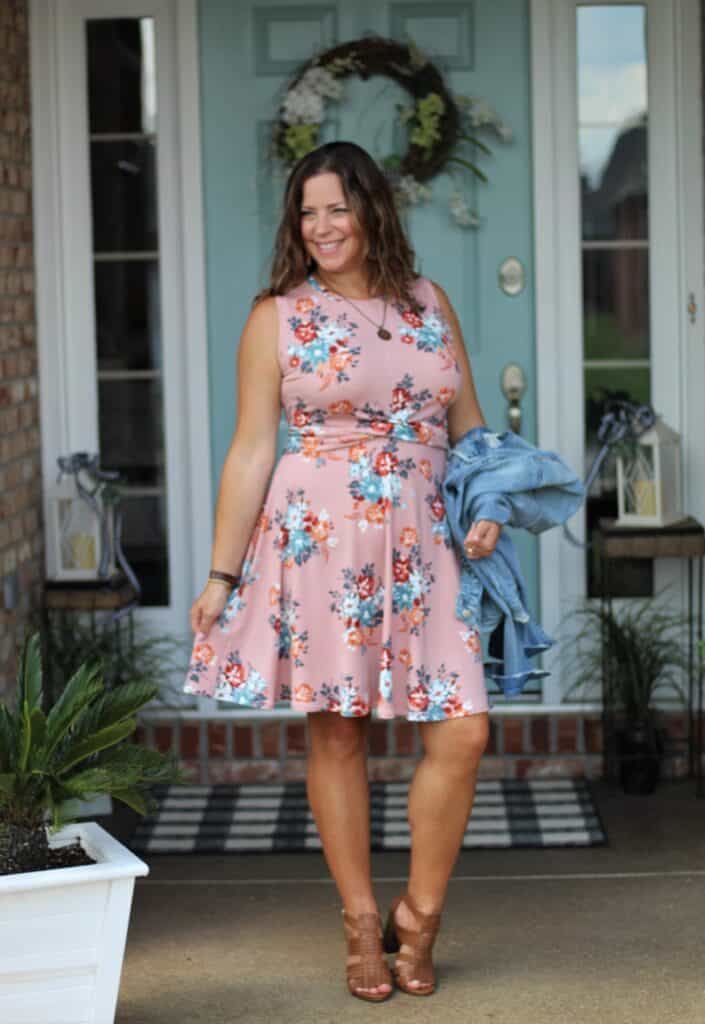
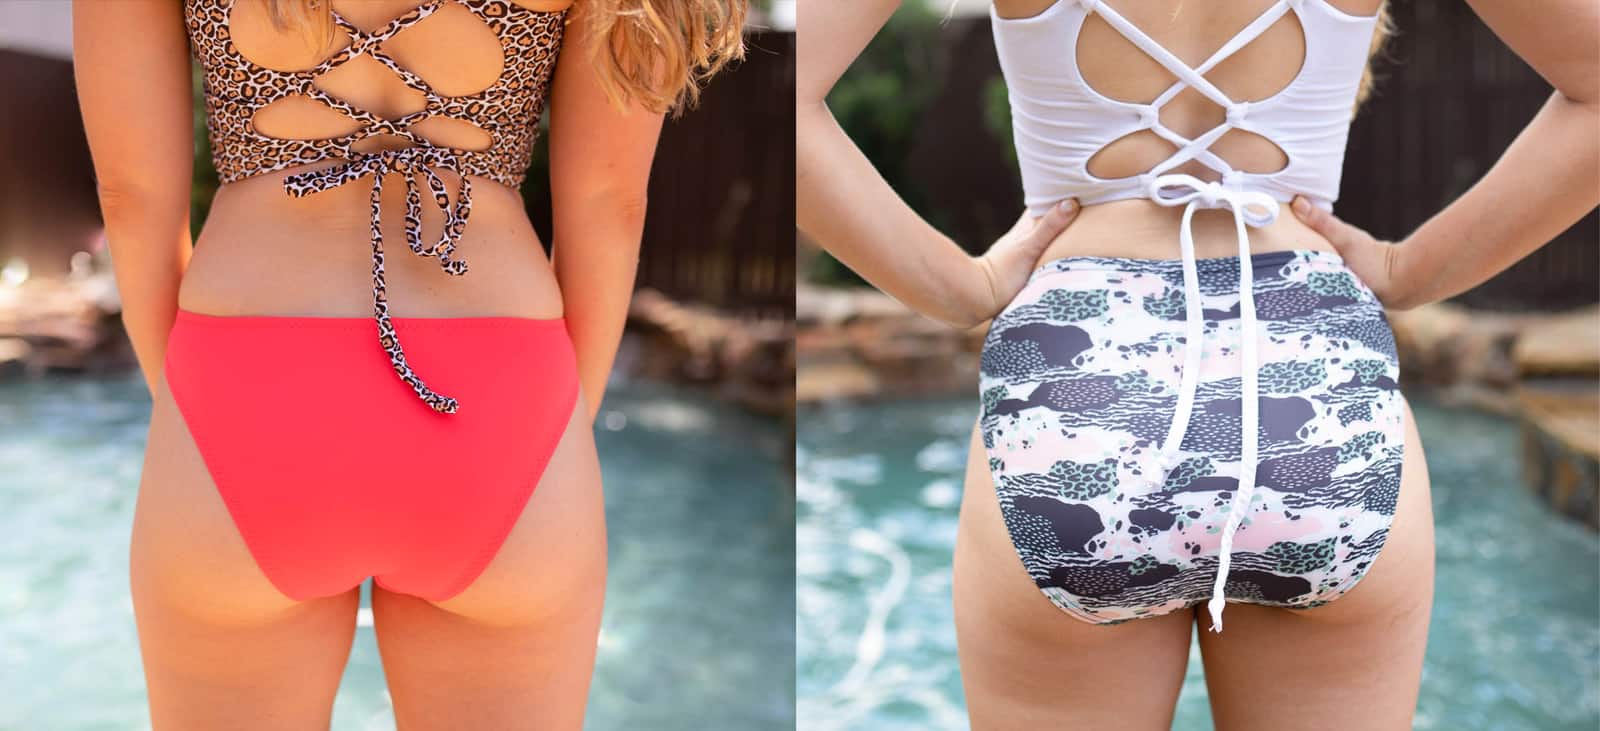
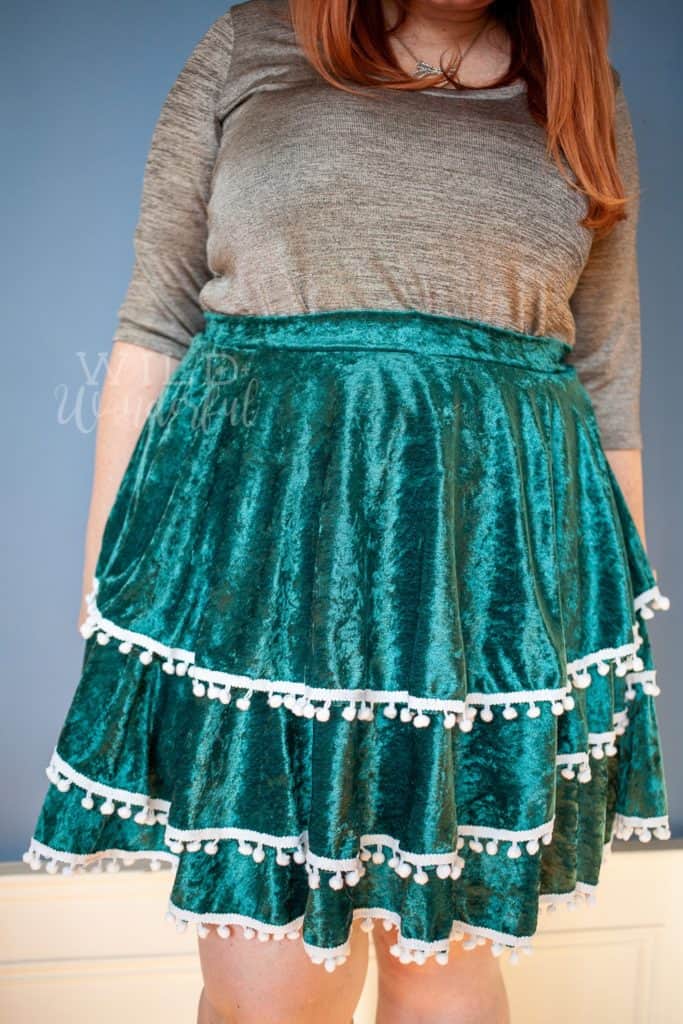
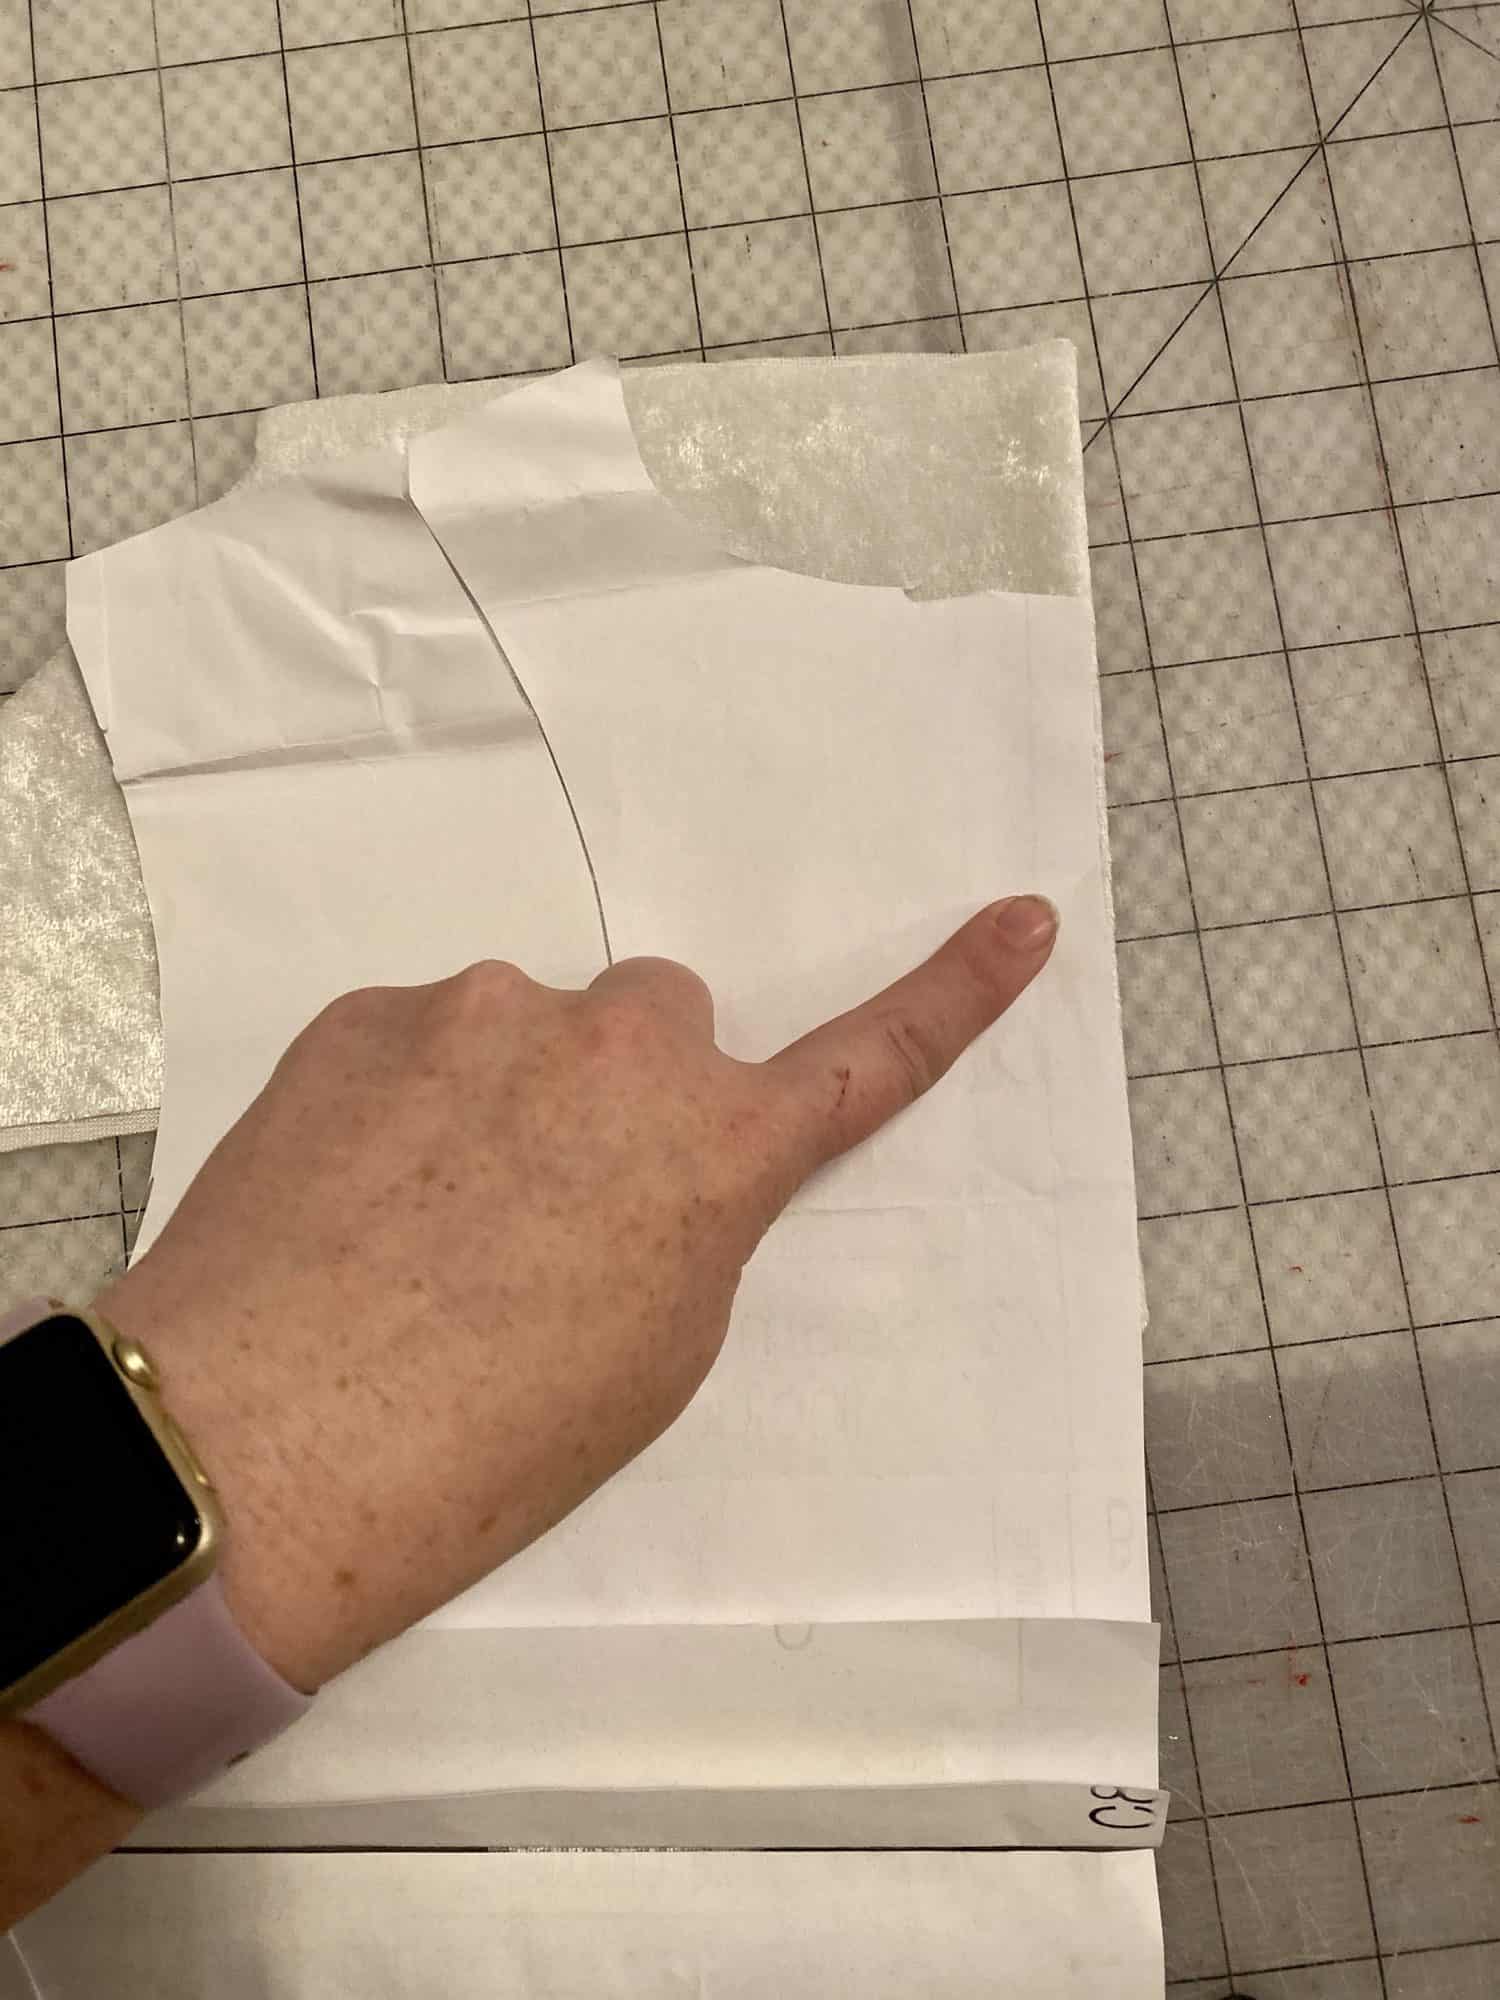
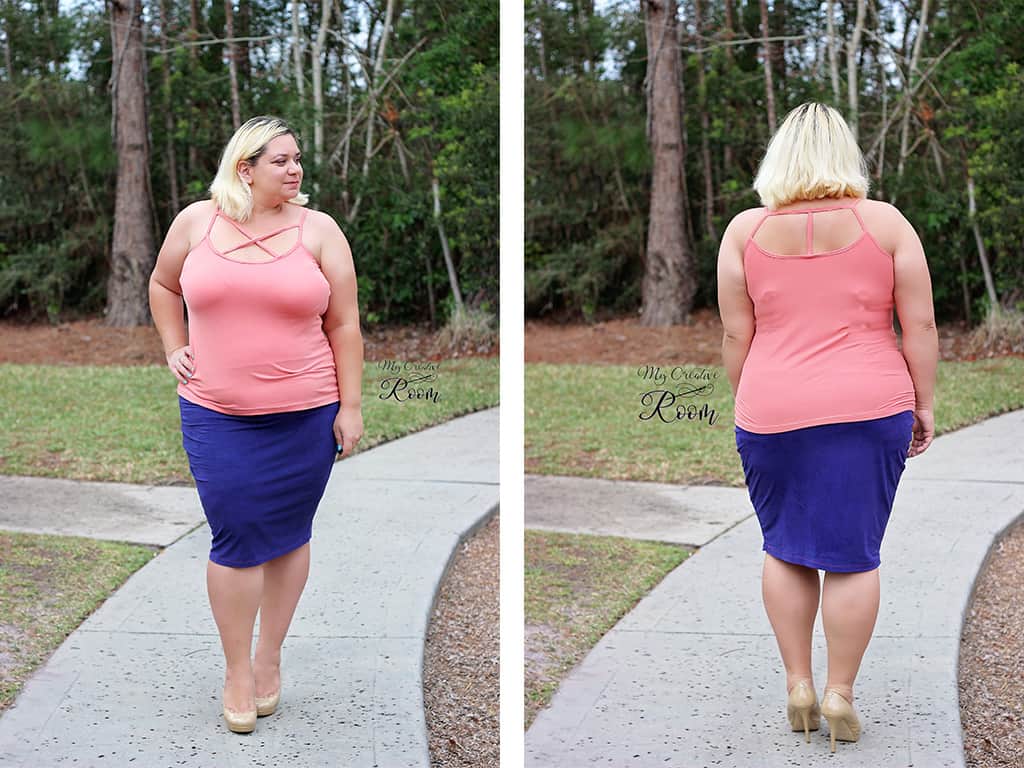
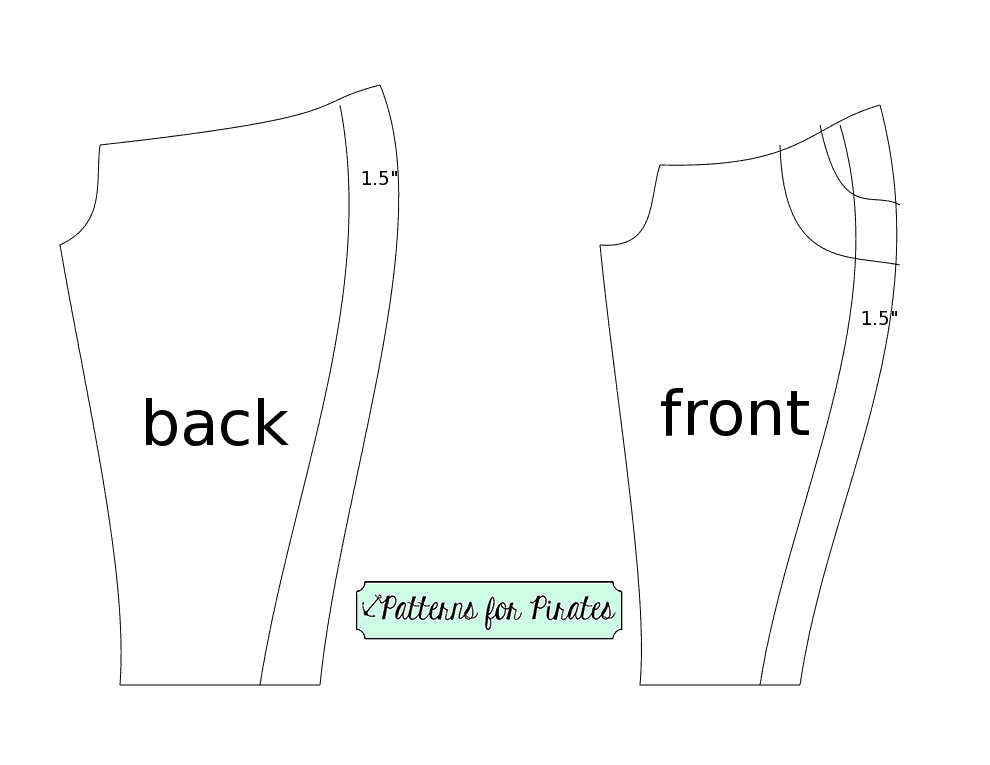
CROP + DRESS LENGTH
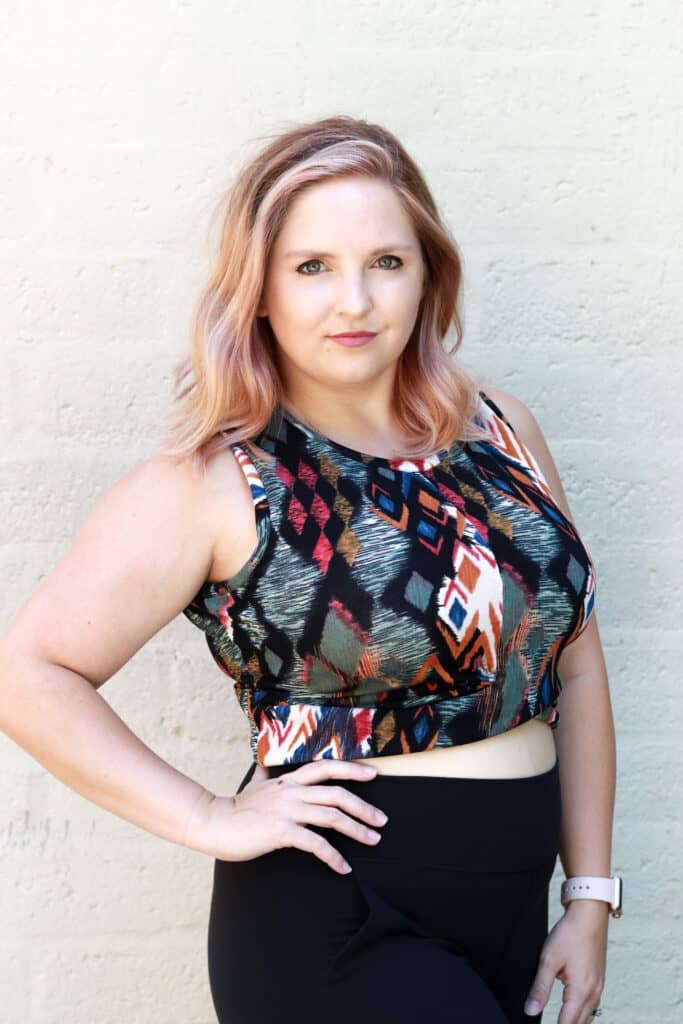
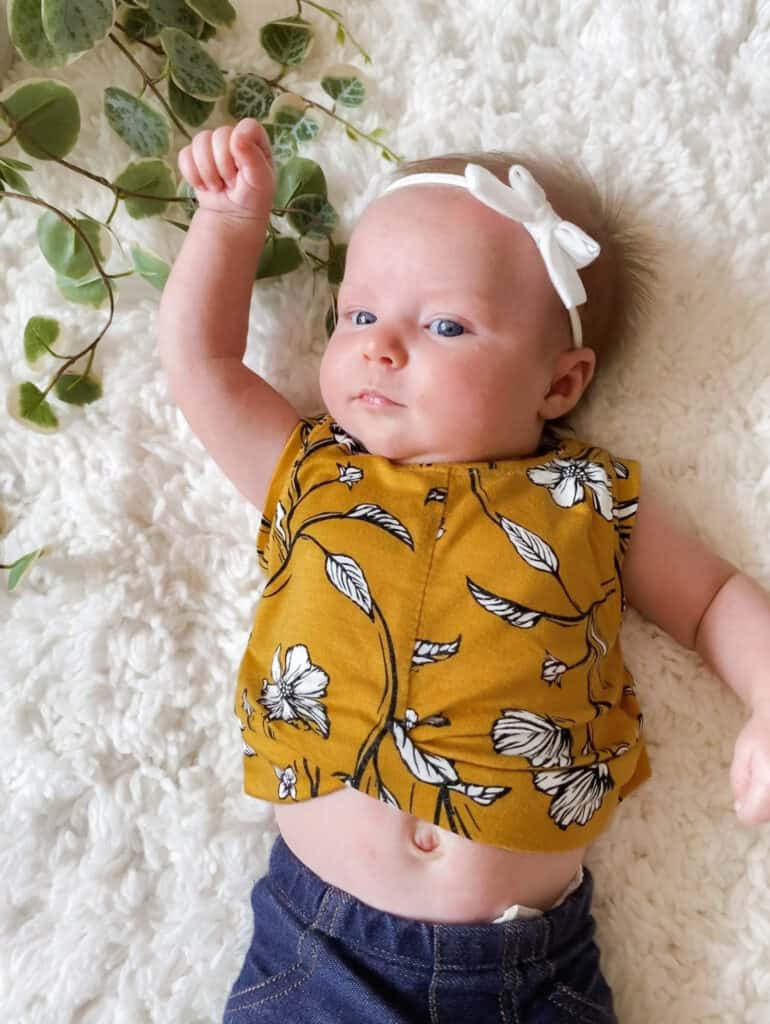
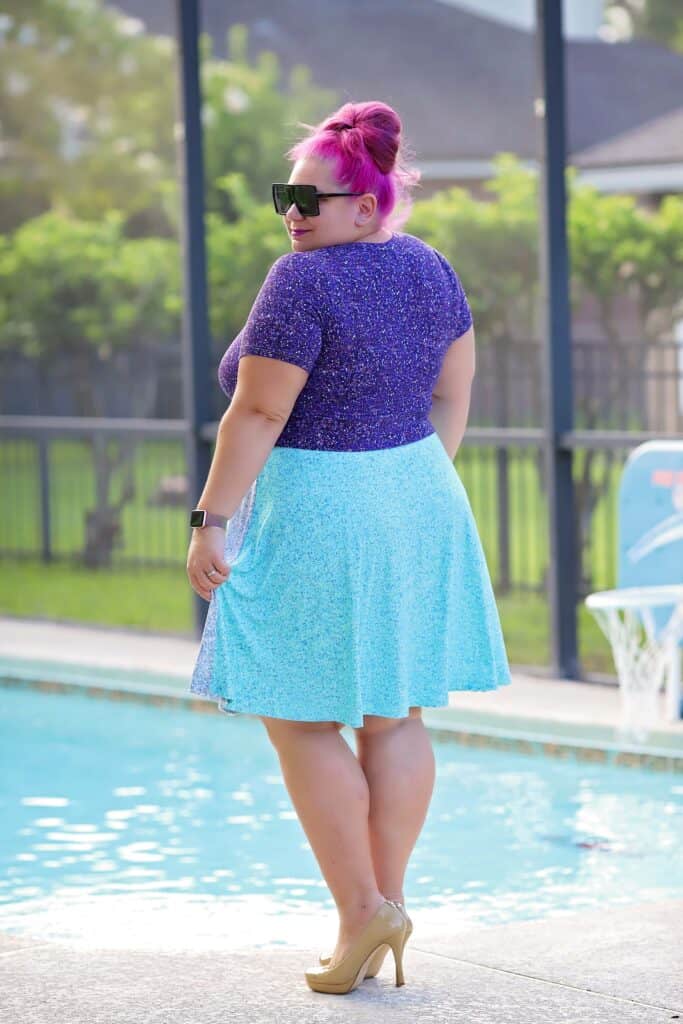

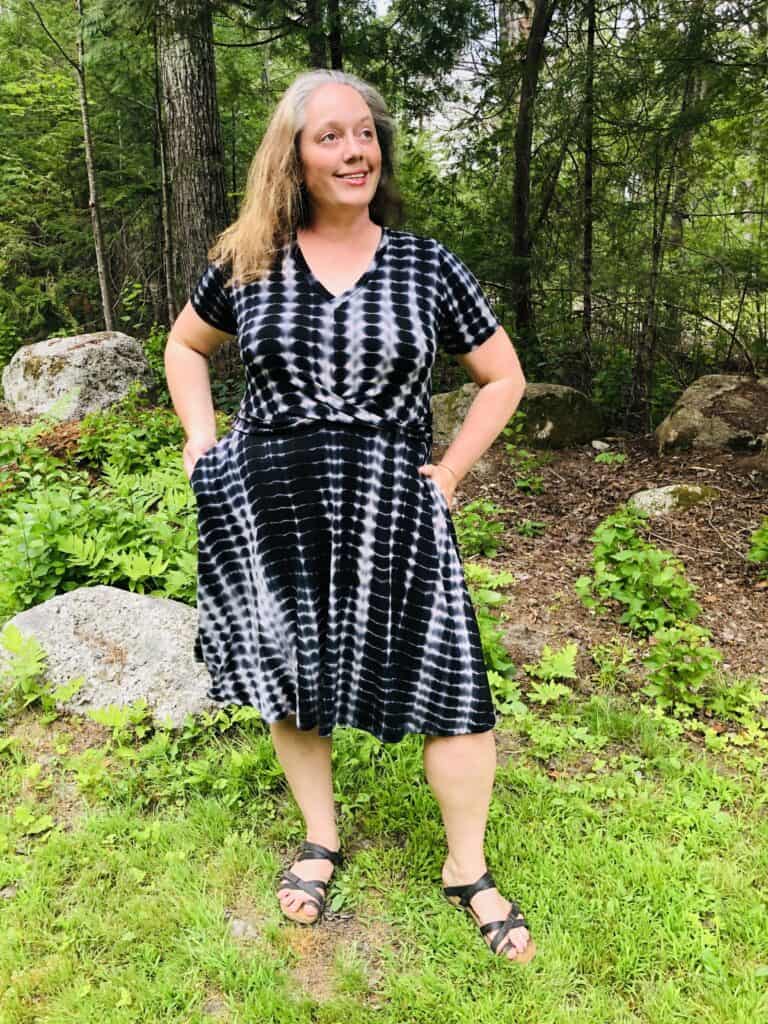
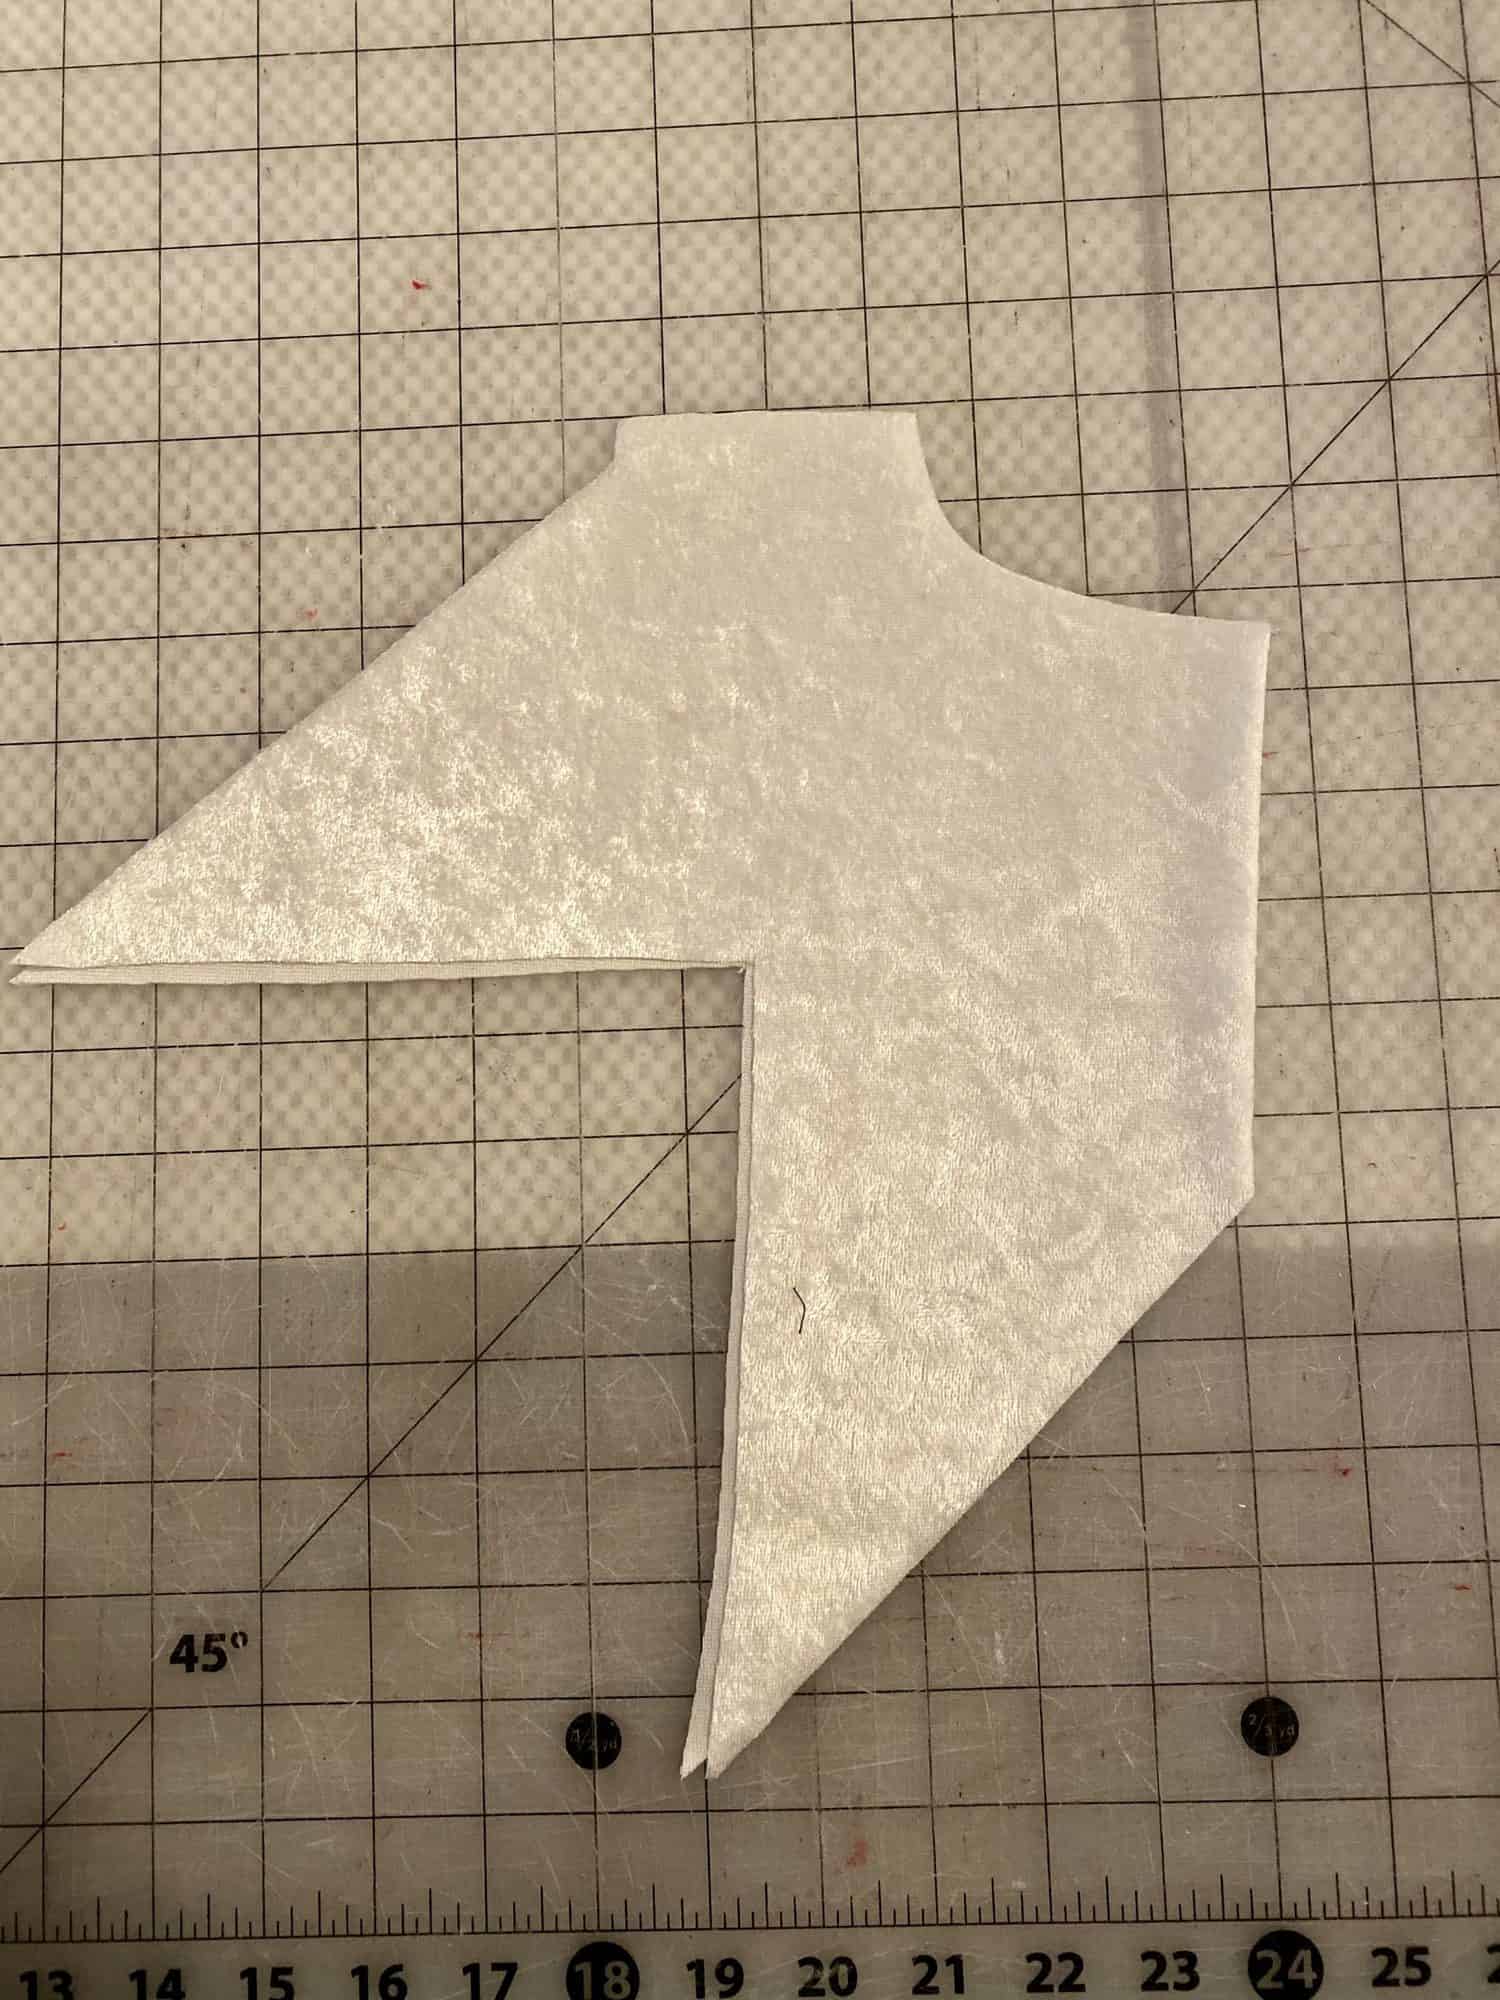
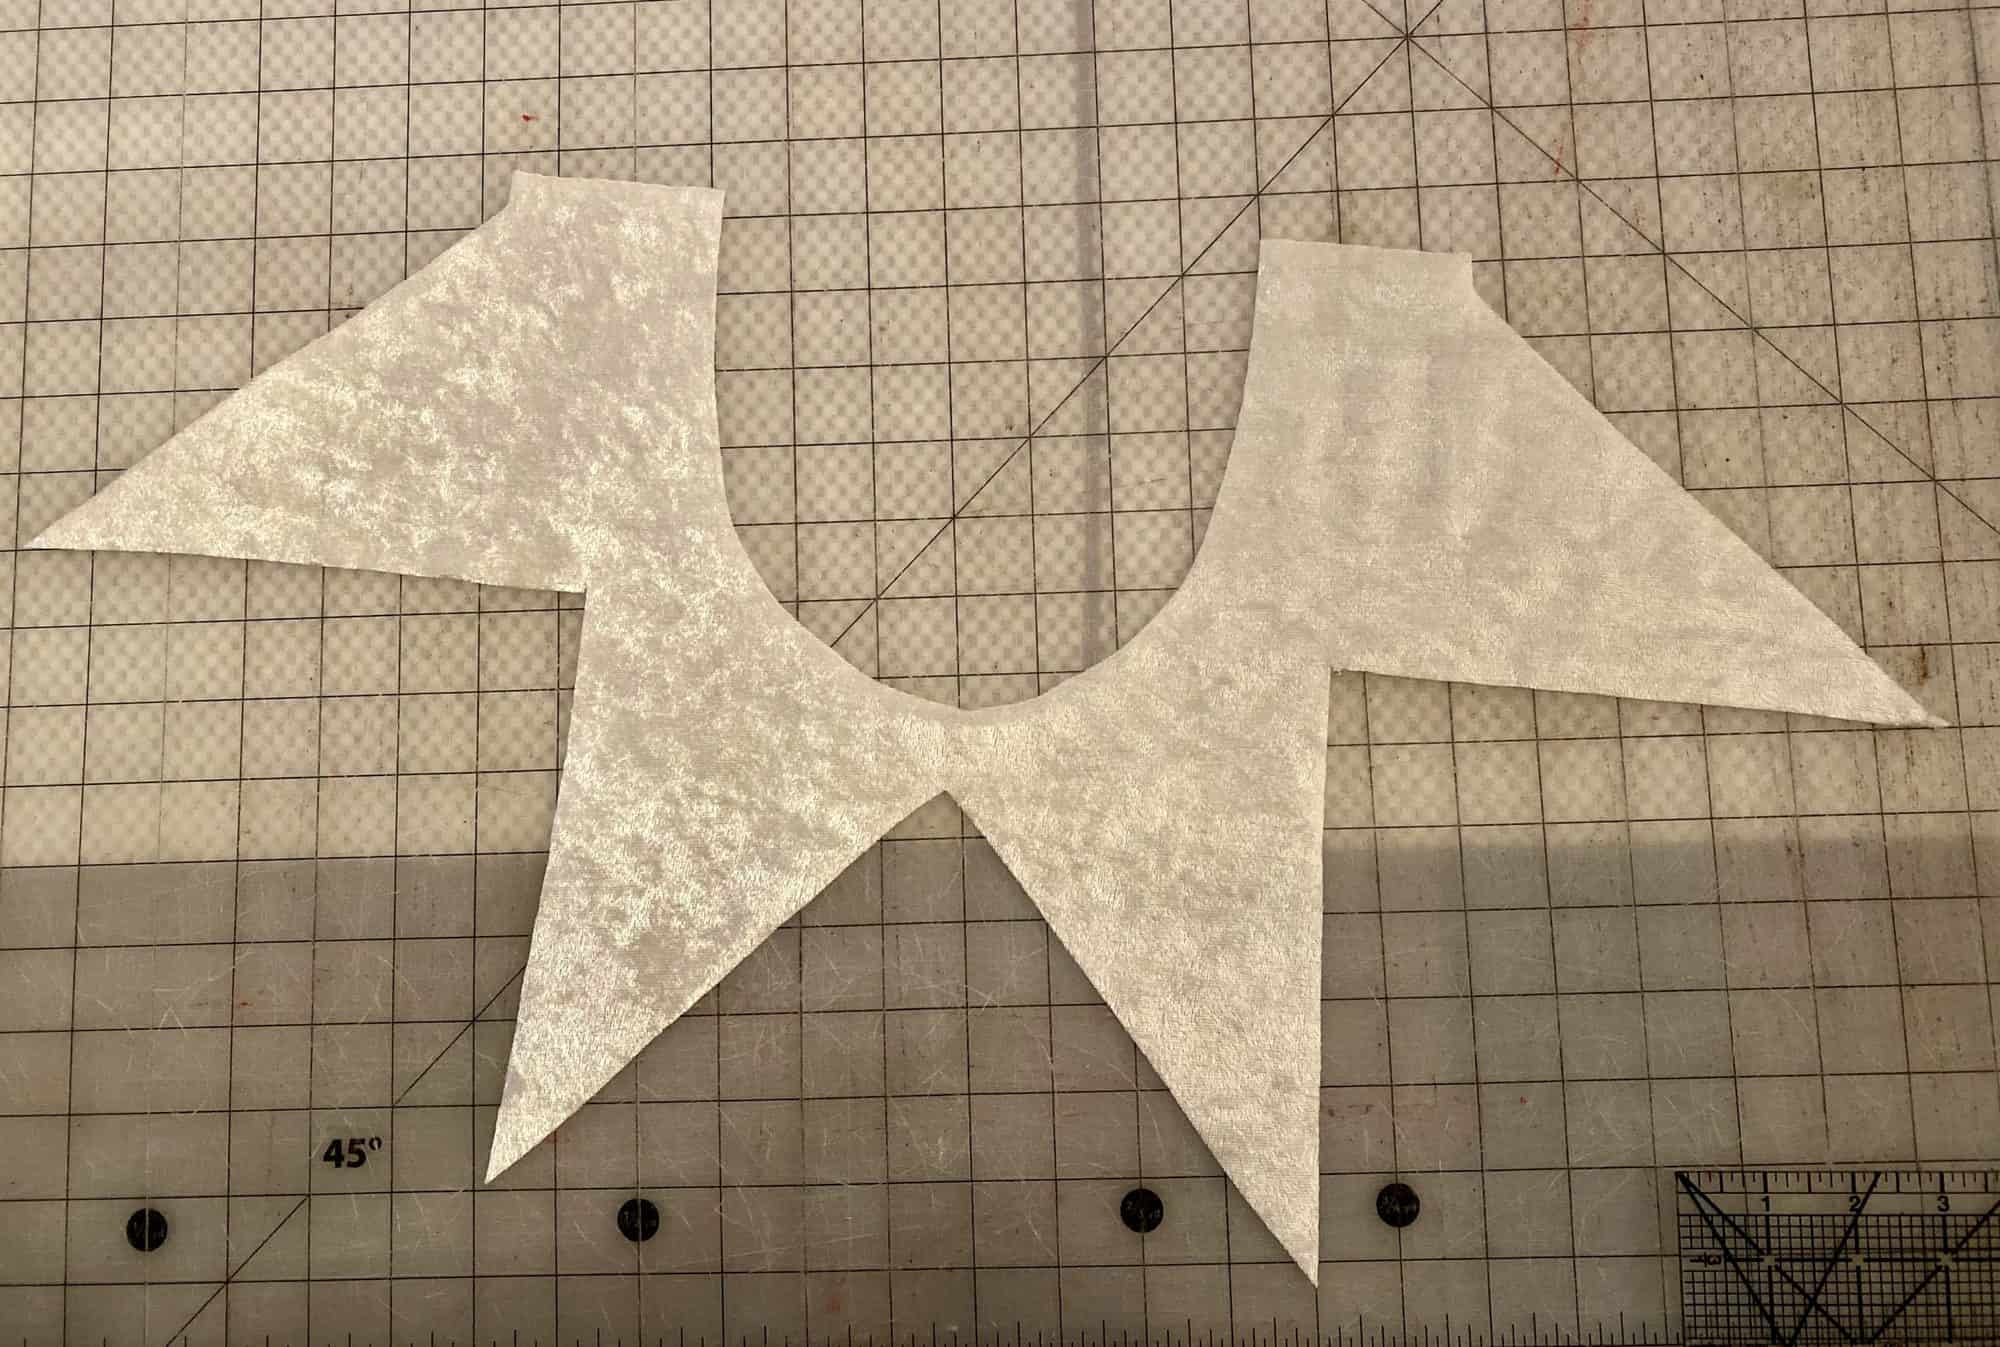
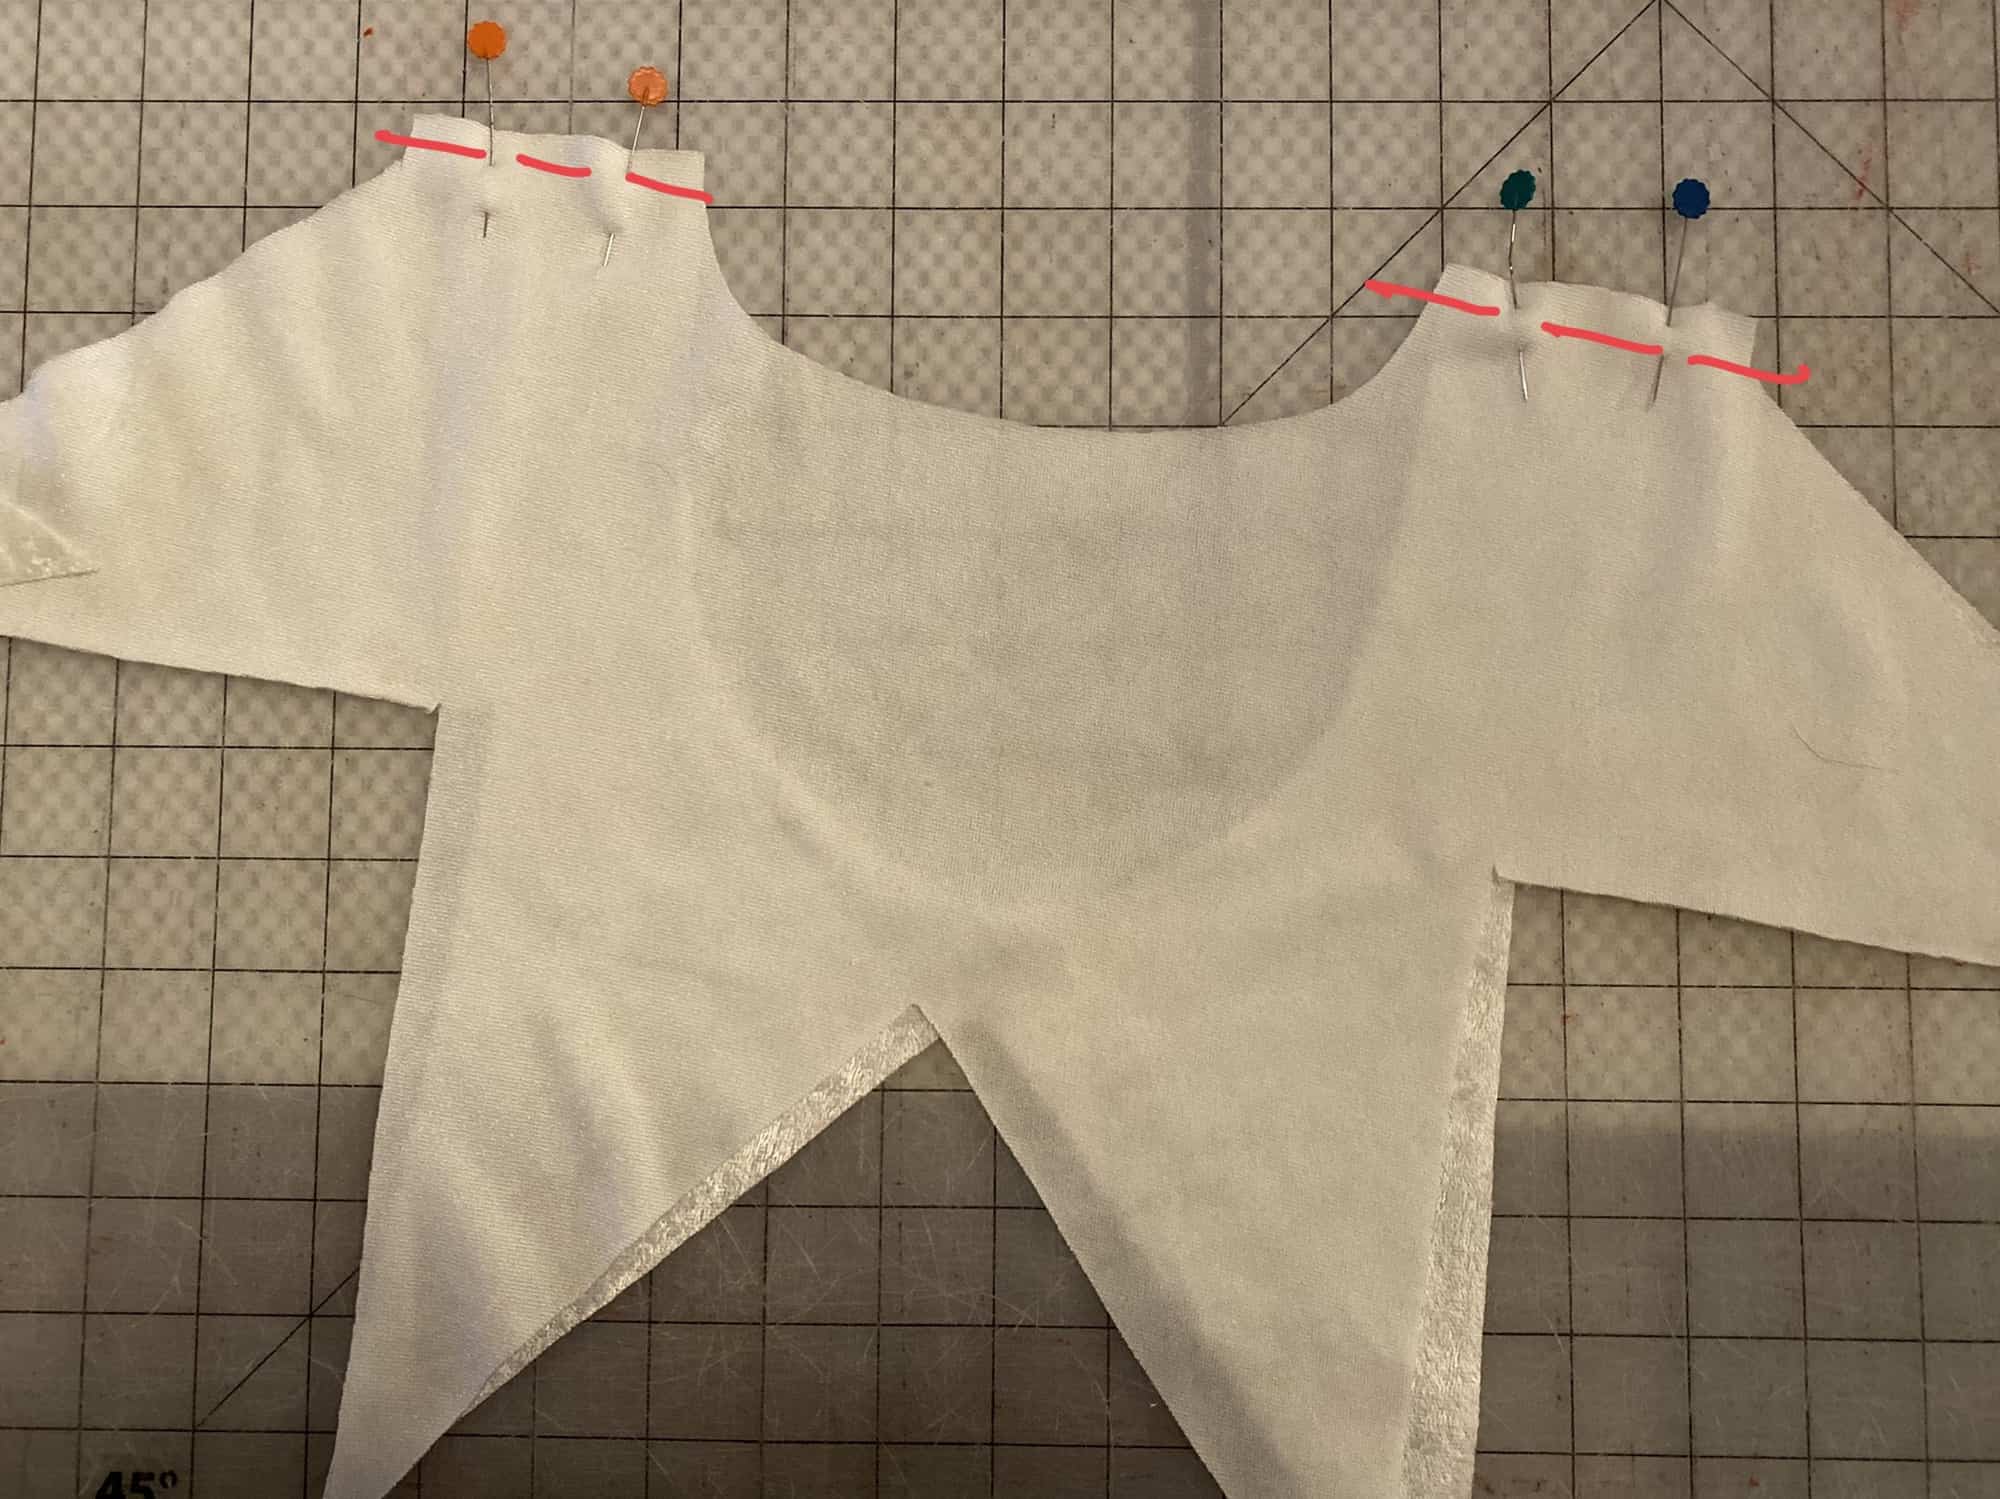
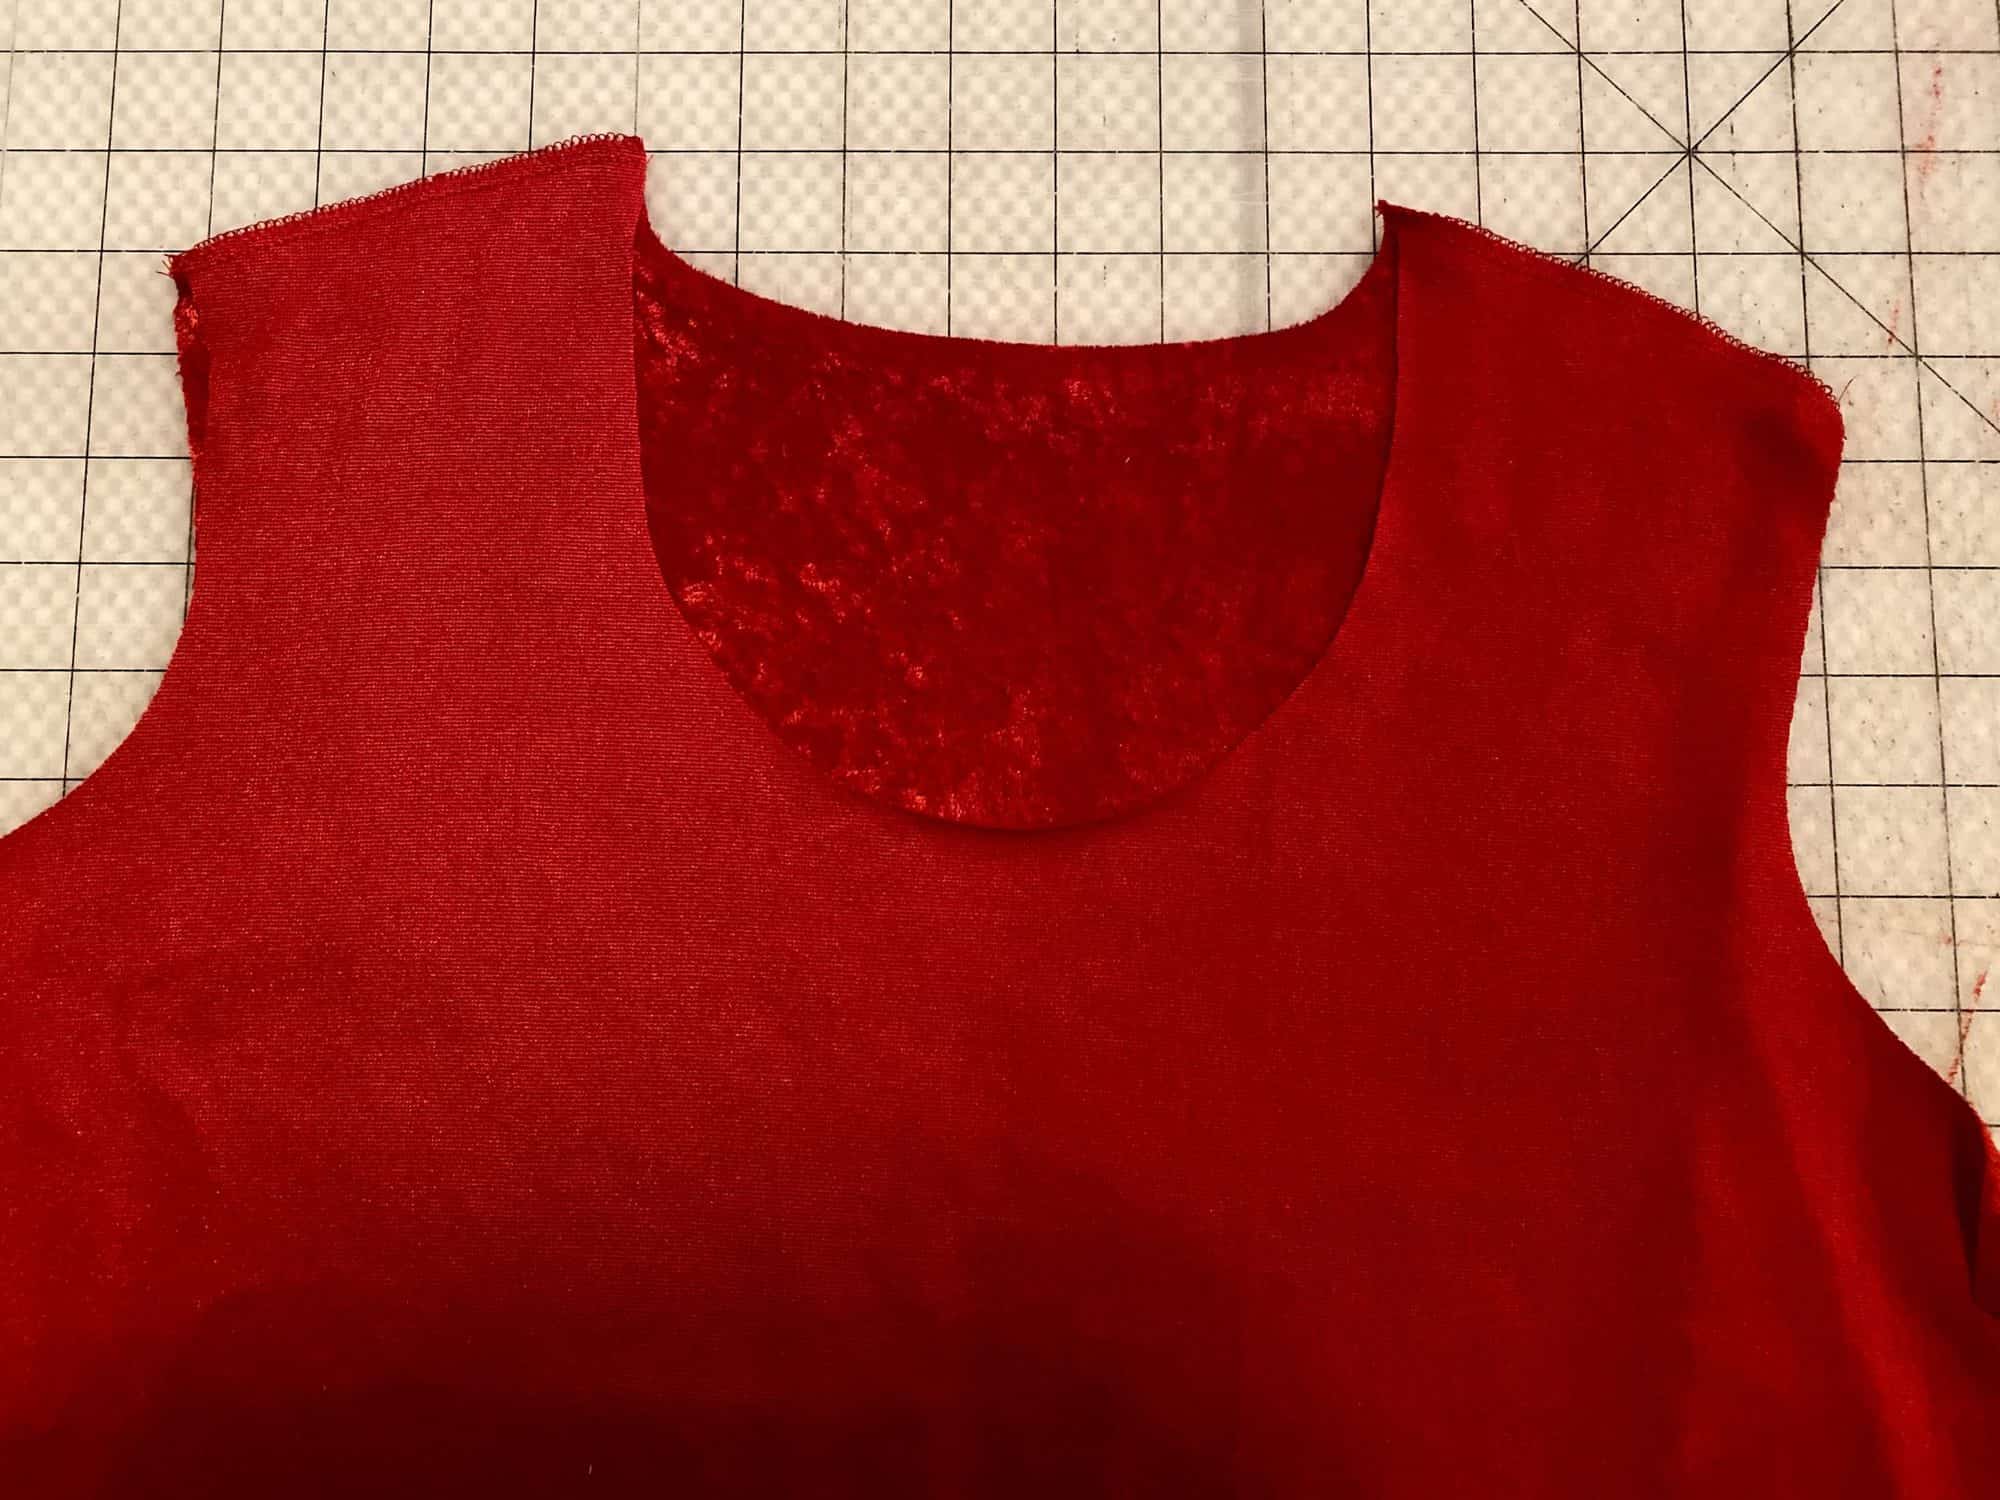
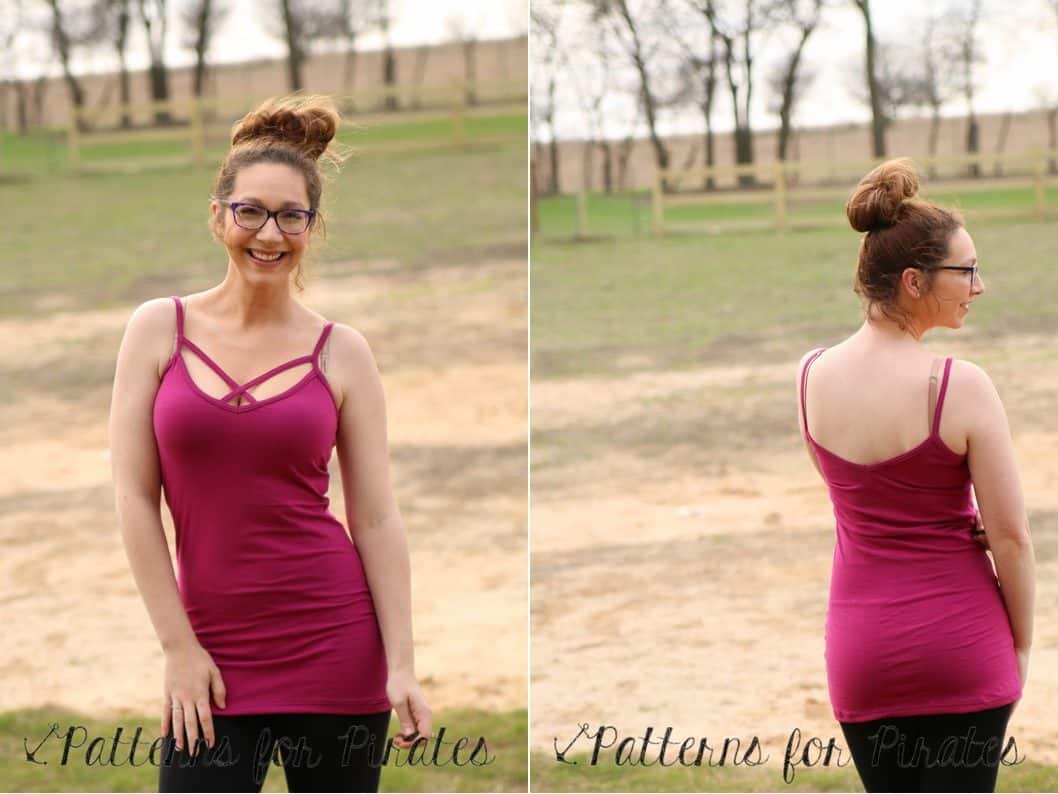
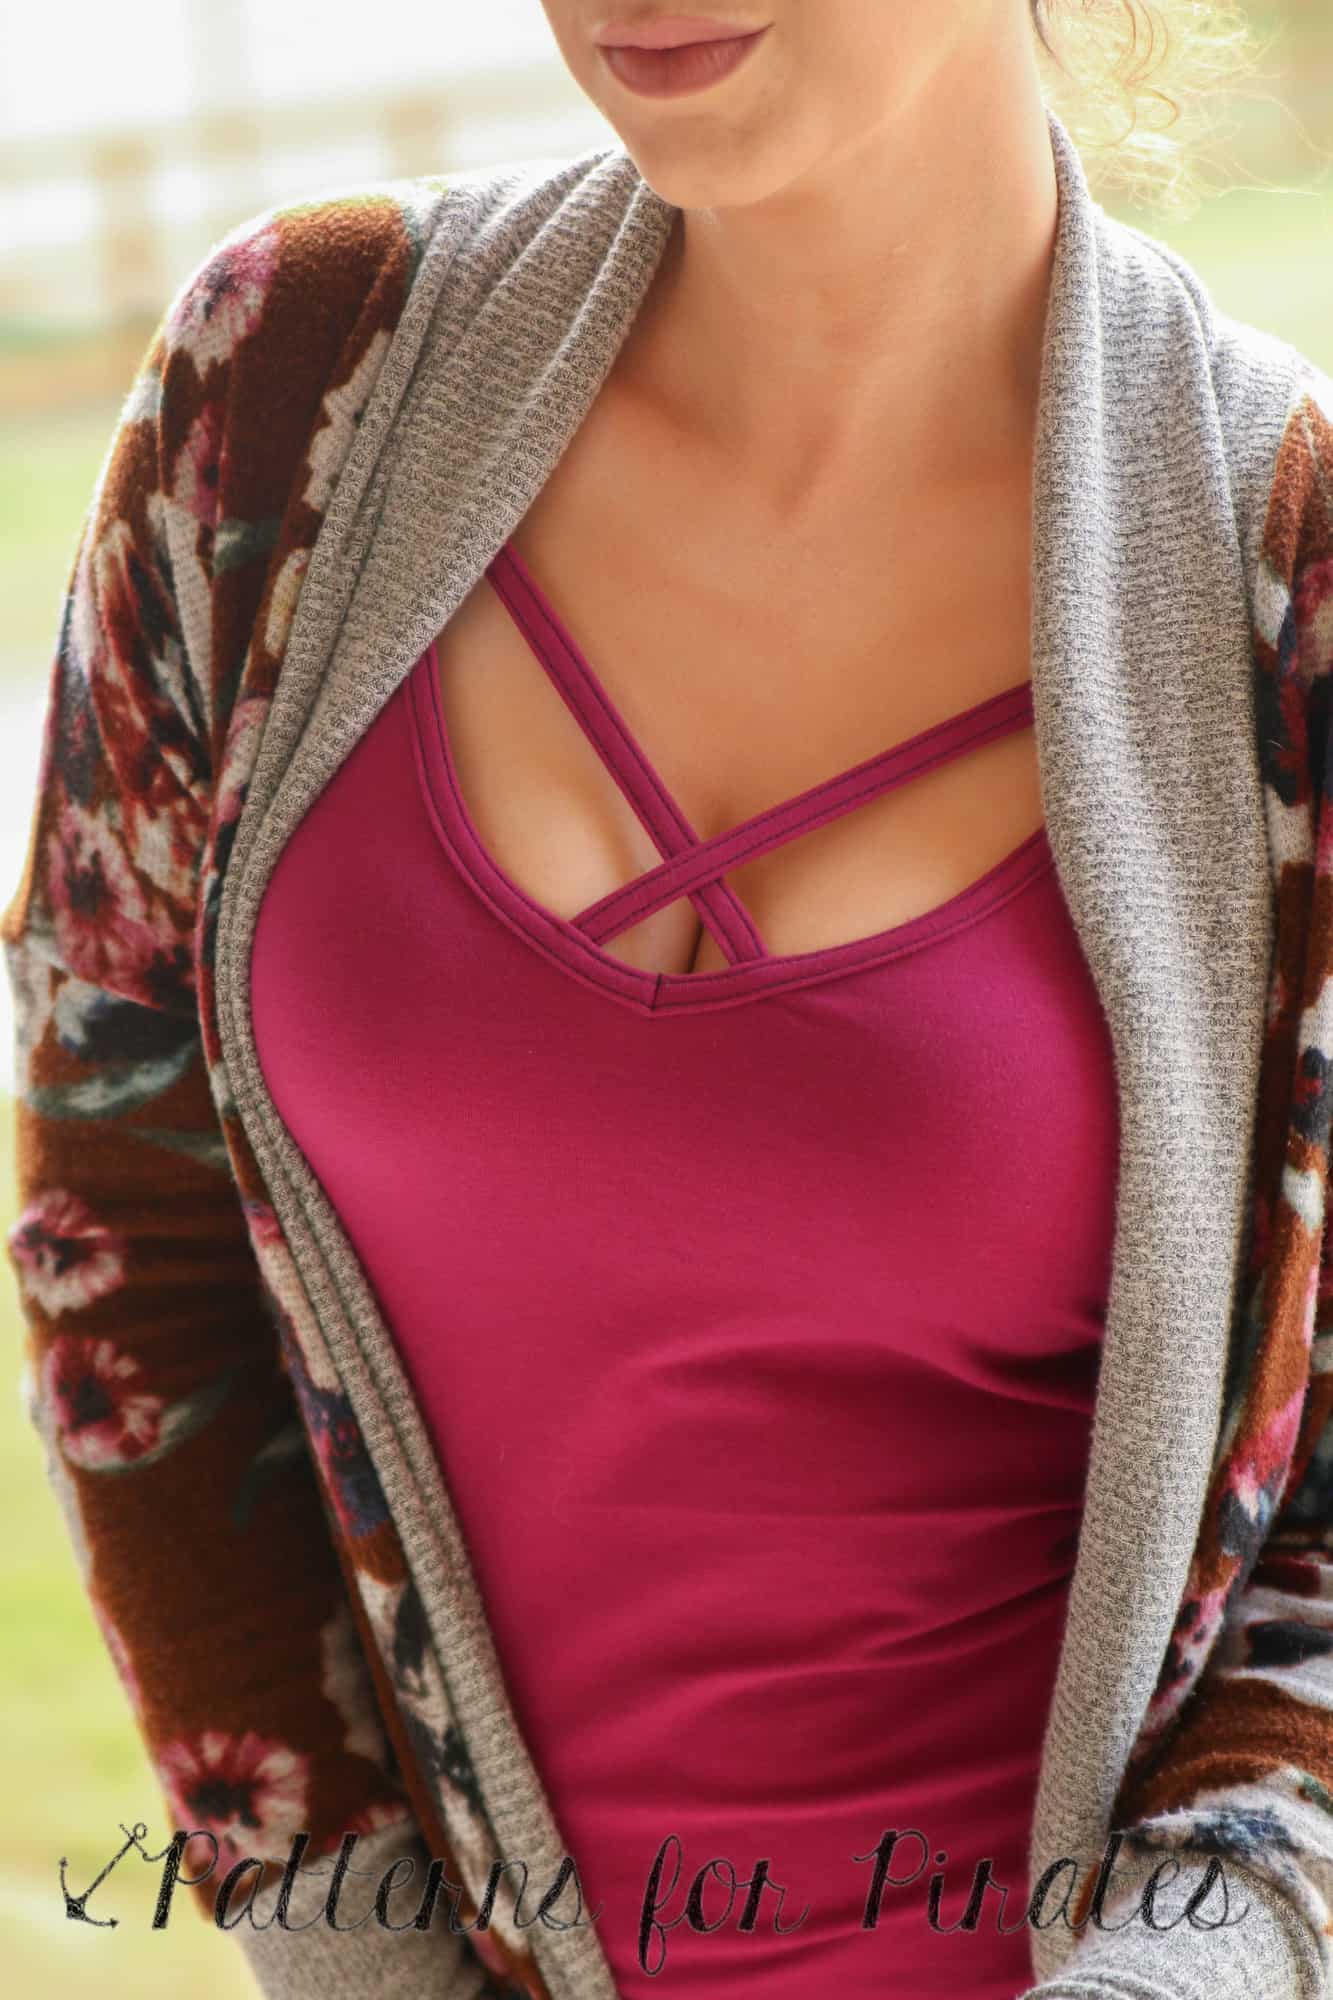
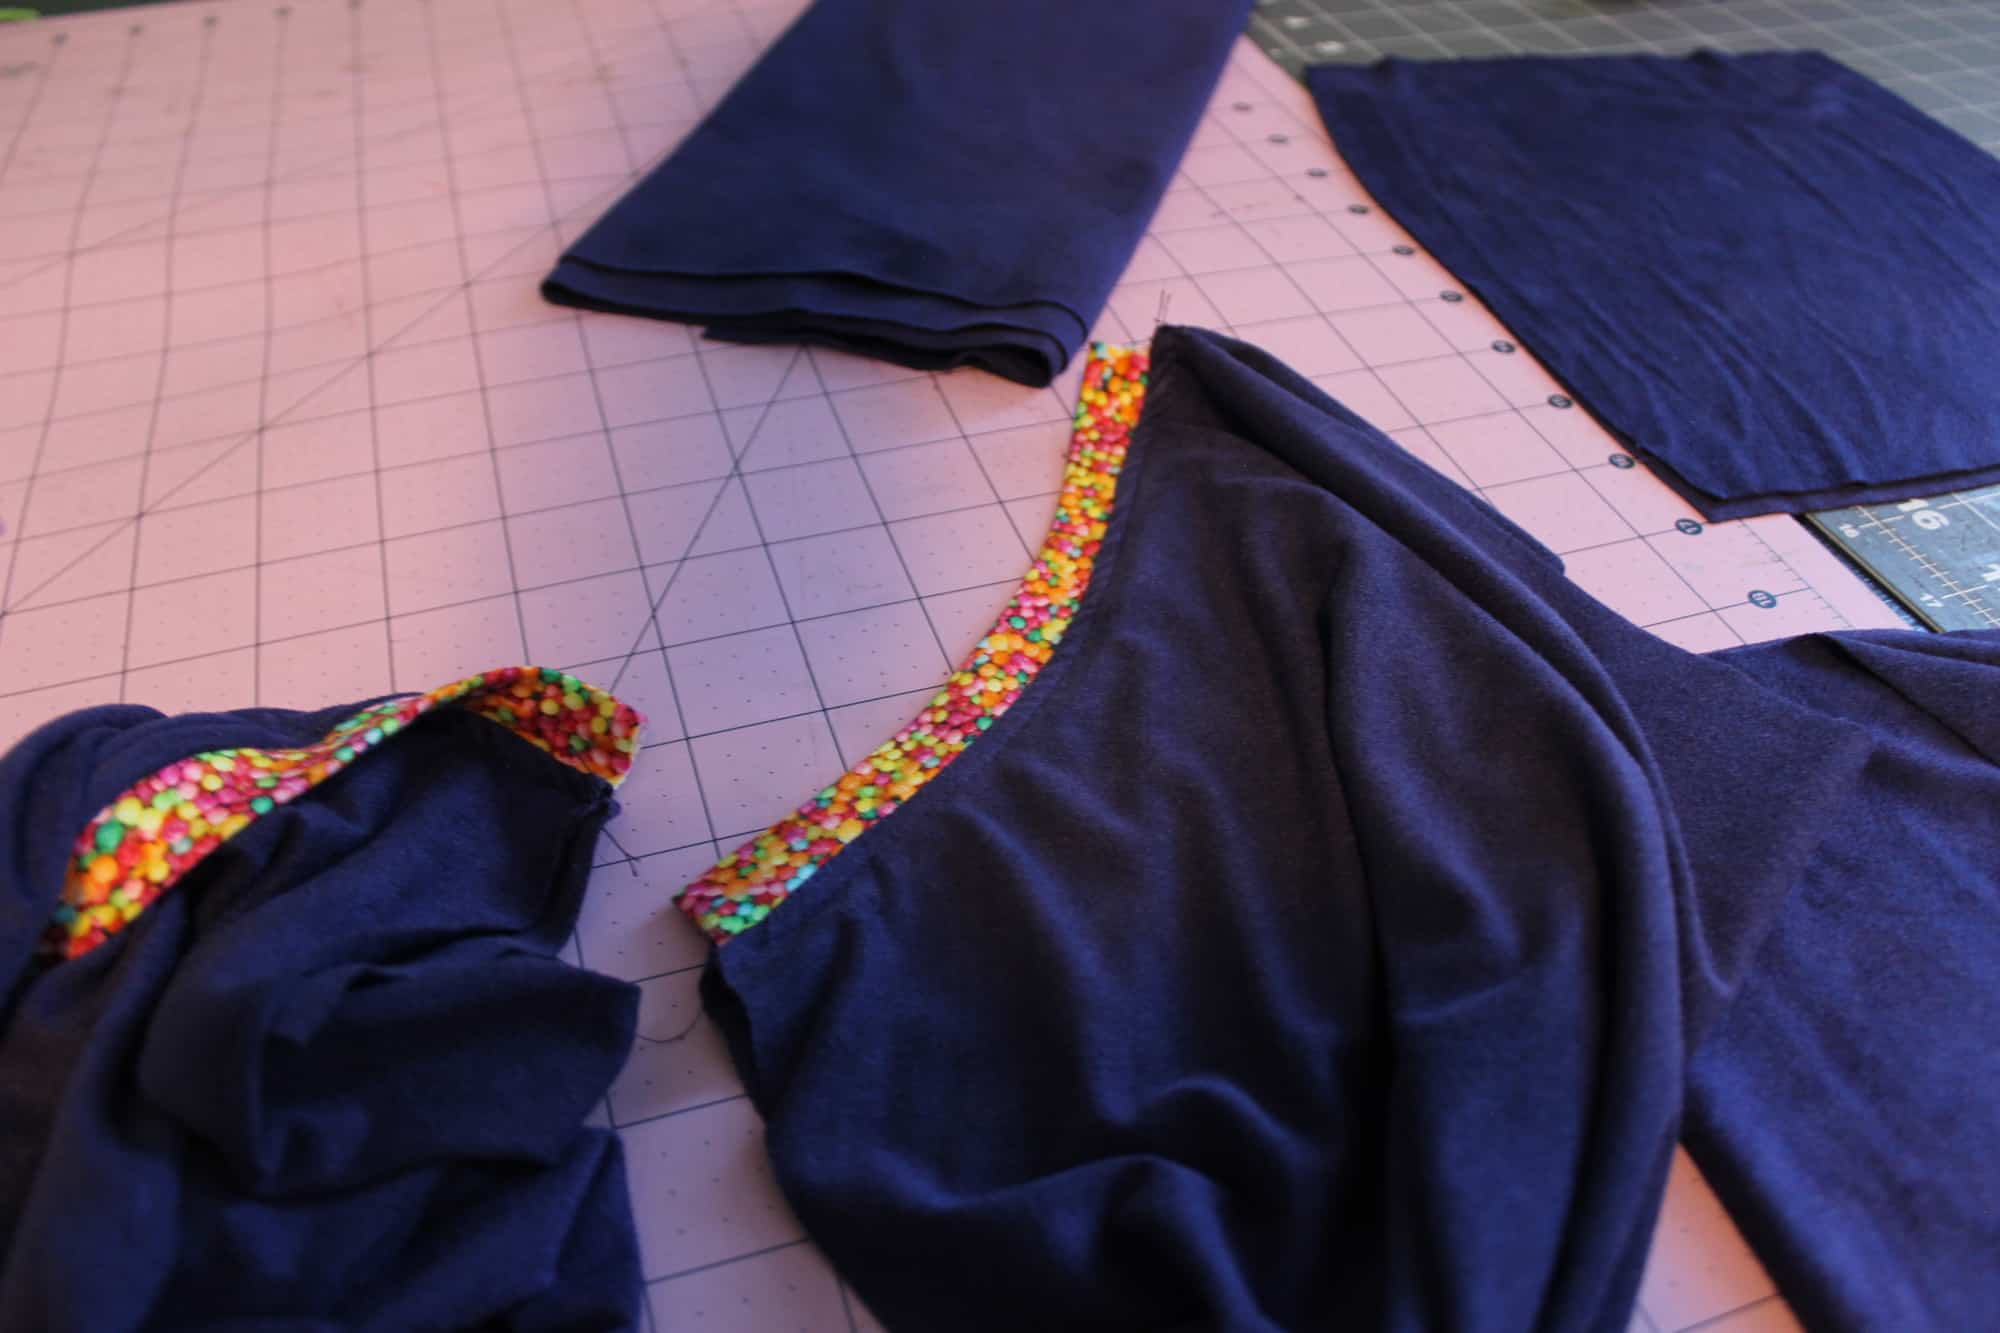
CREW + V NECKLINE
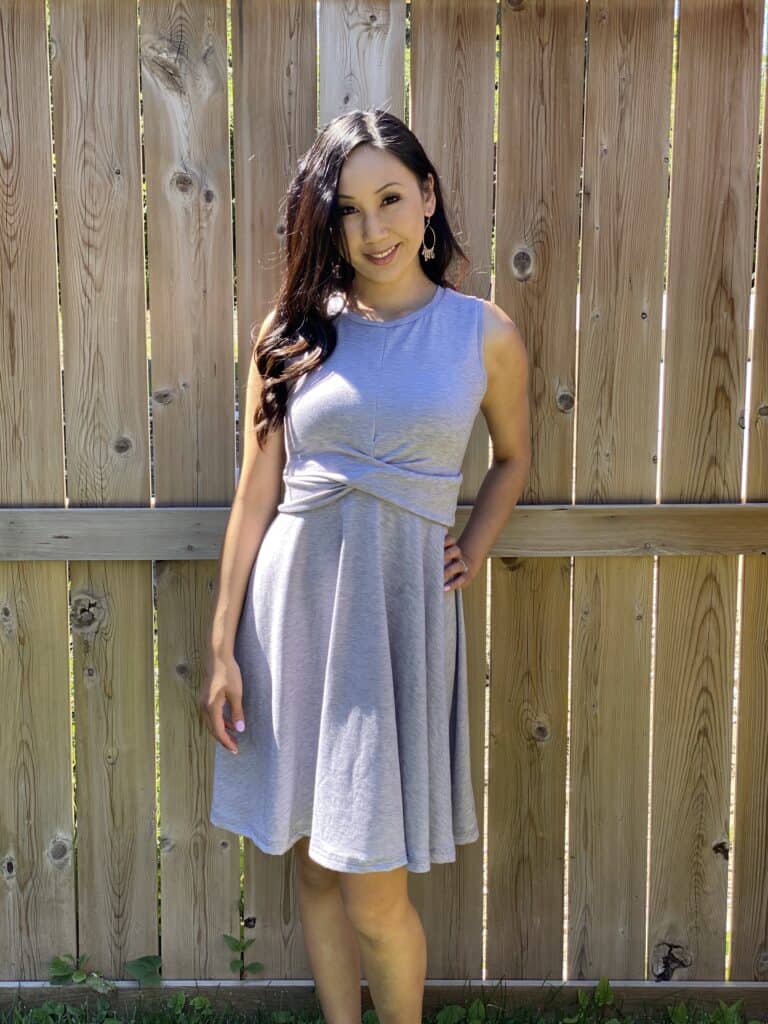

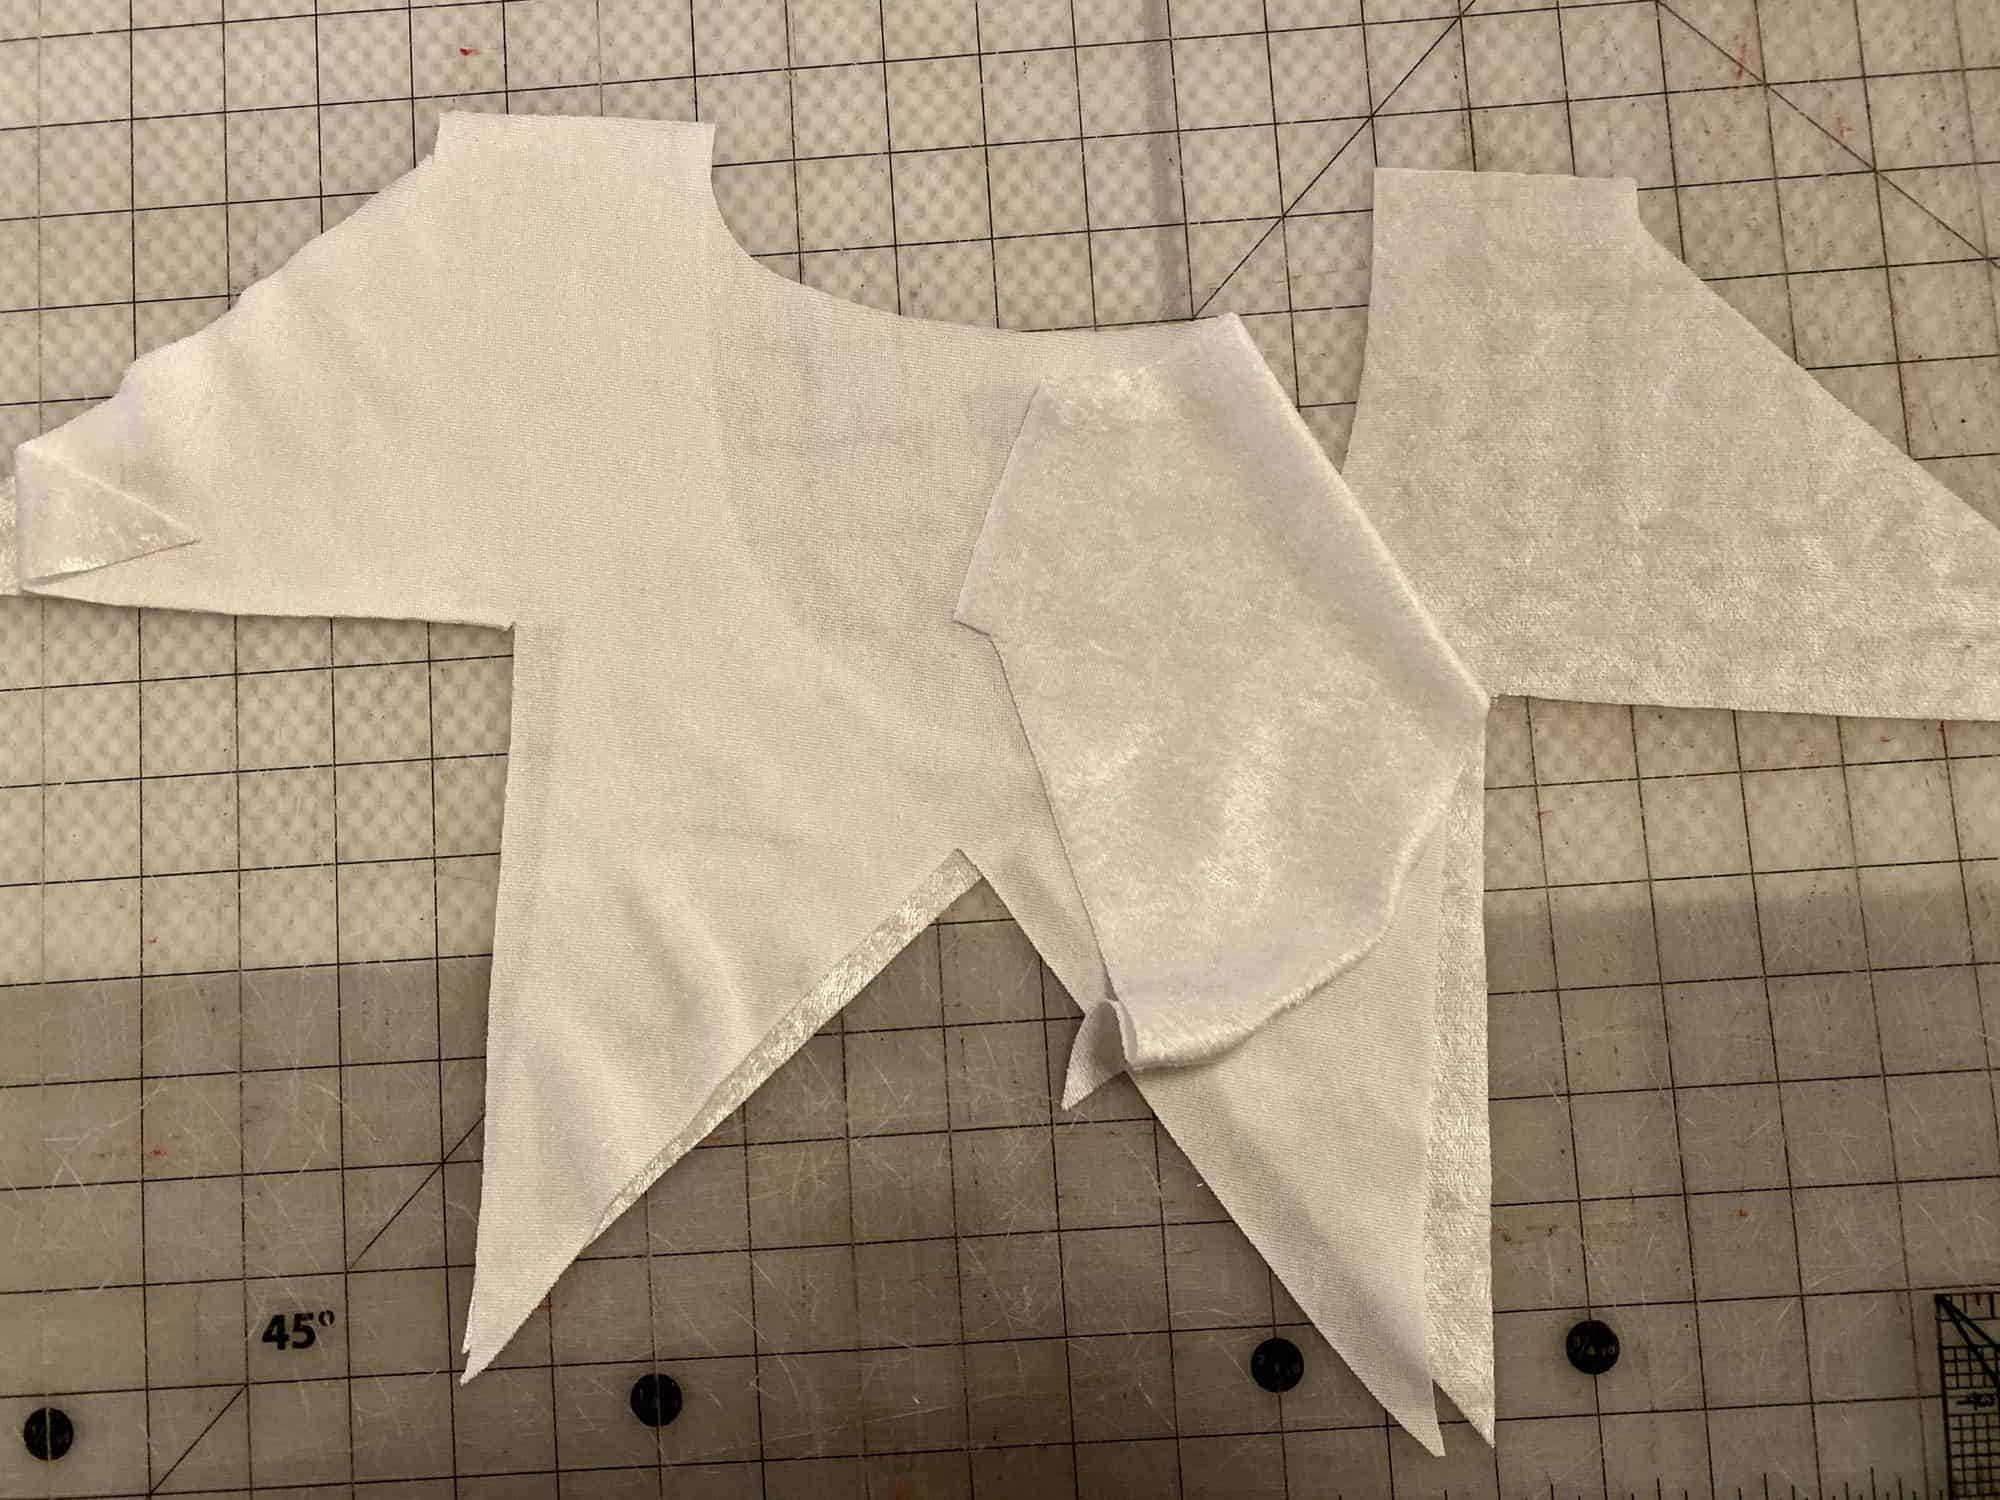
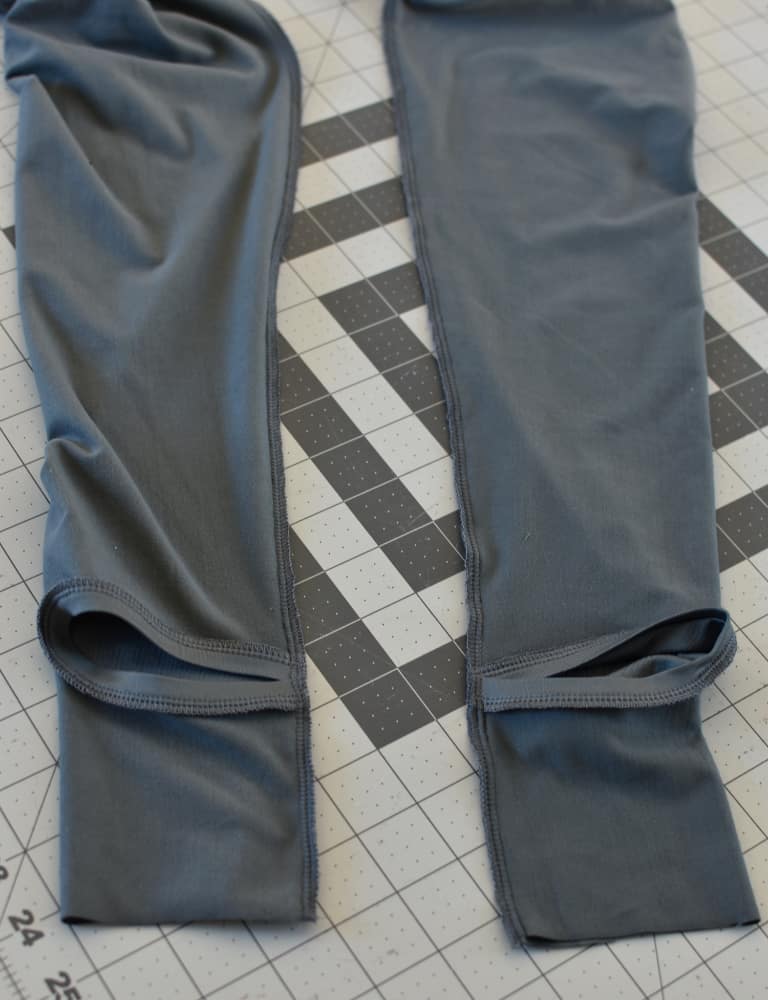
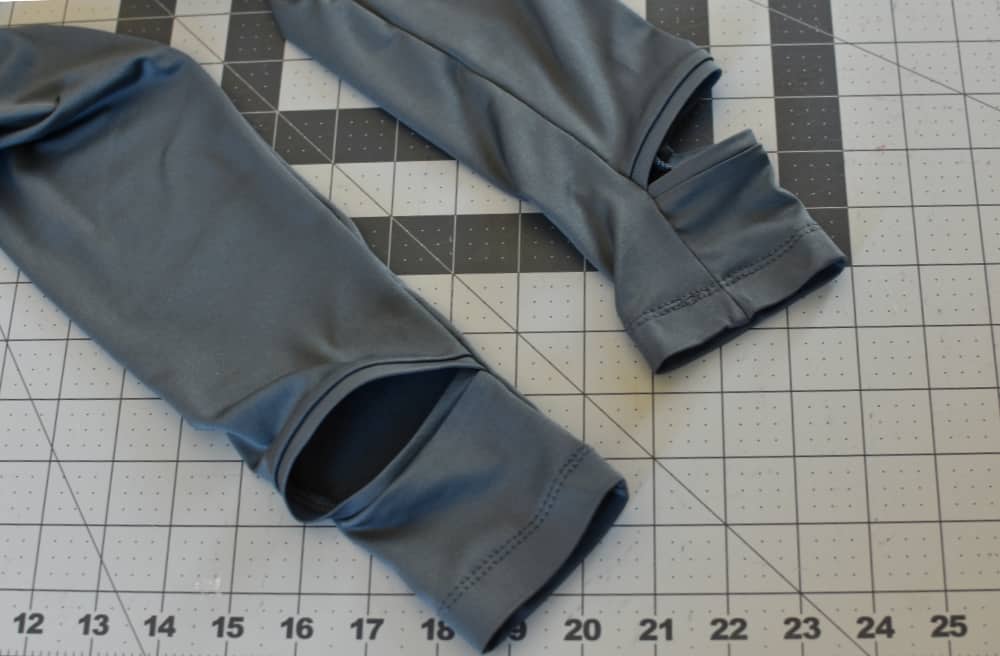
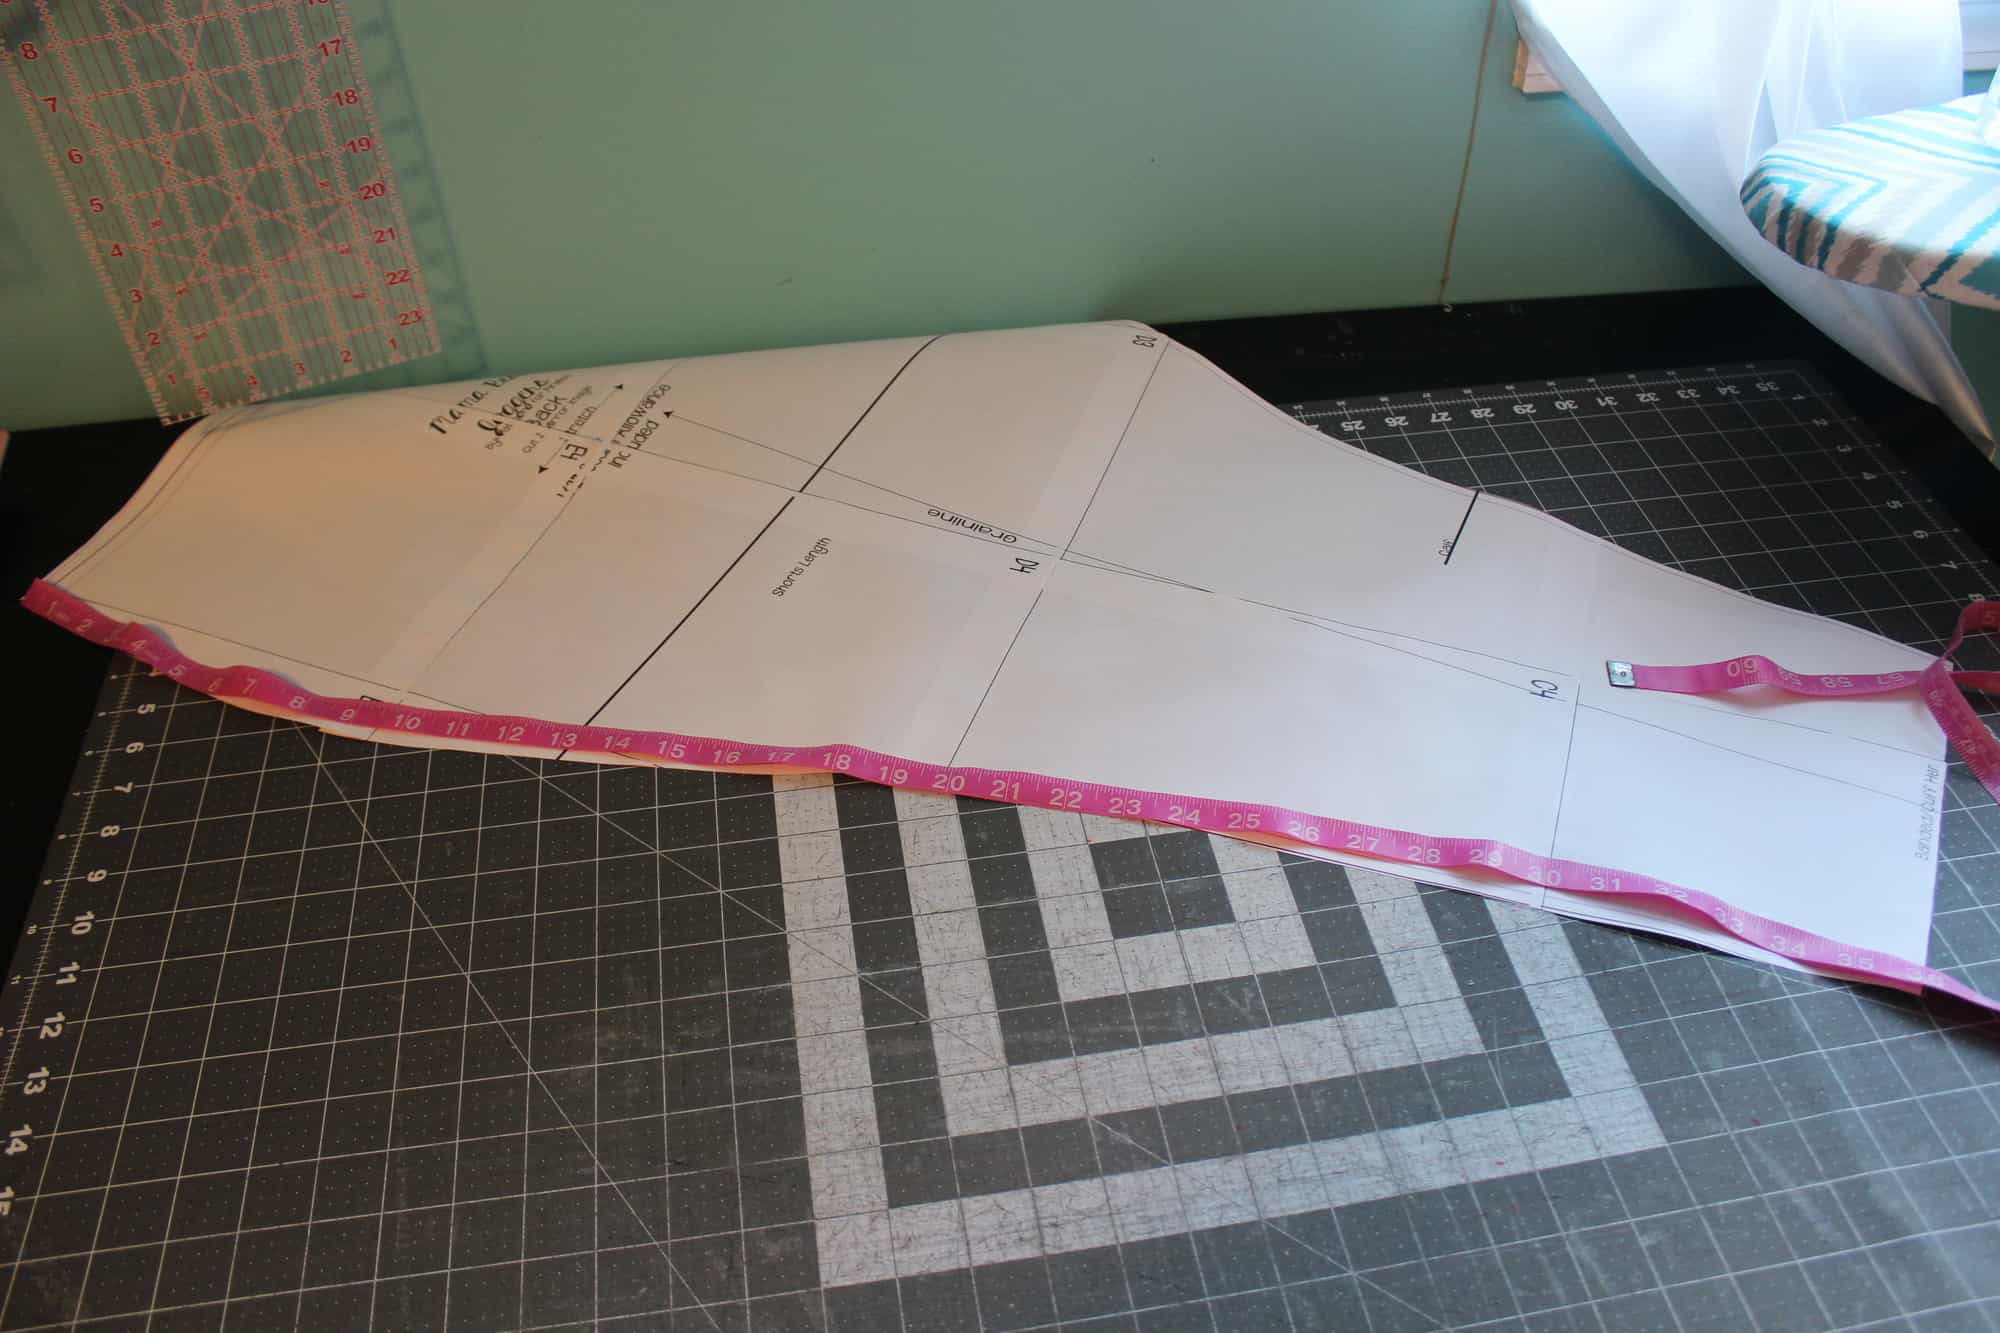
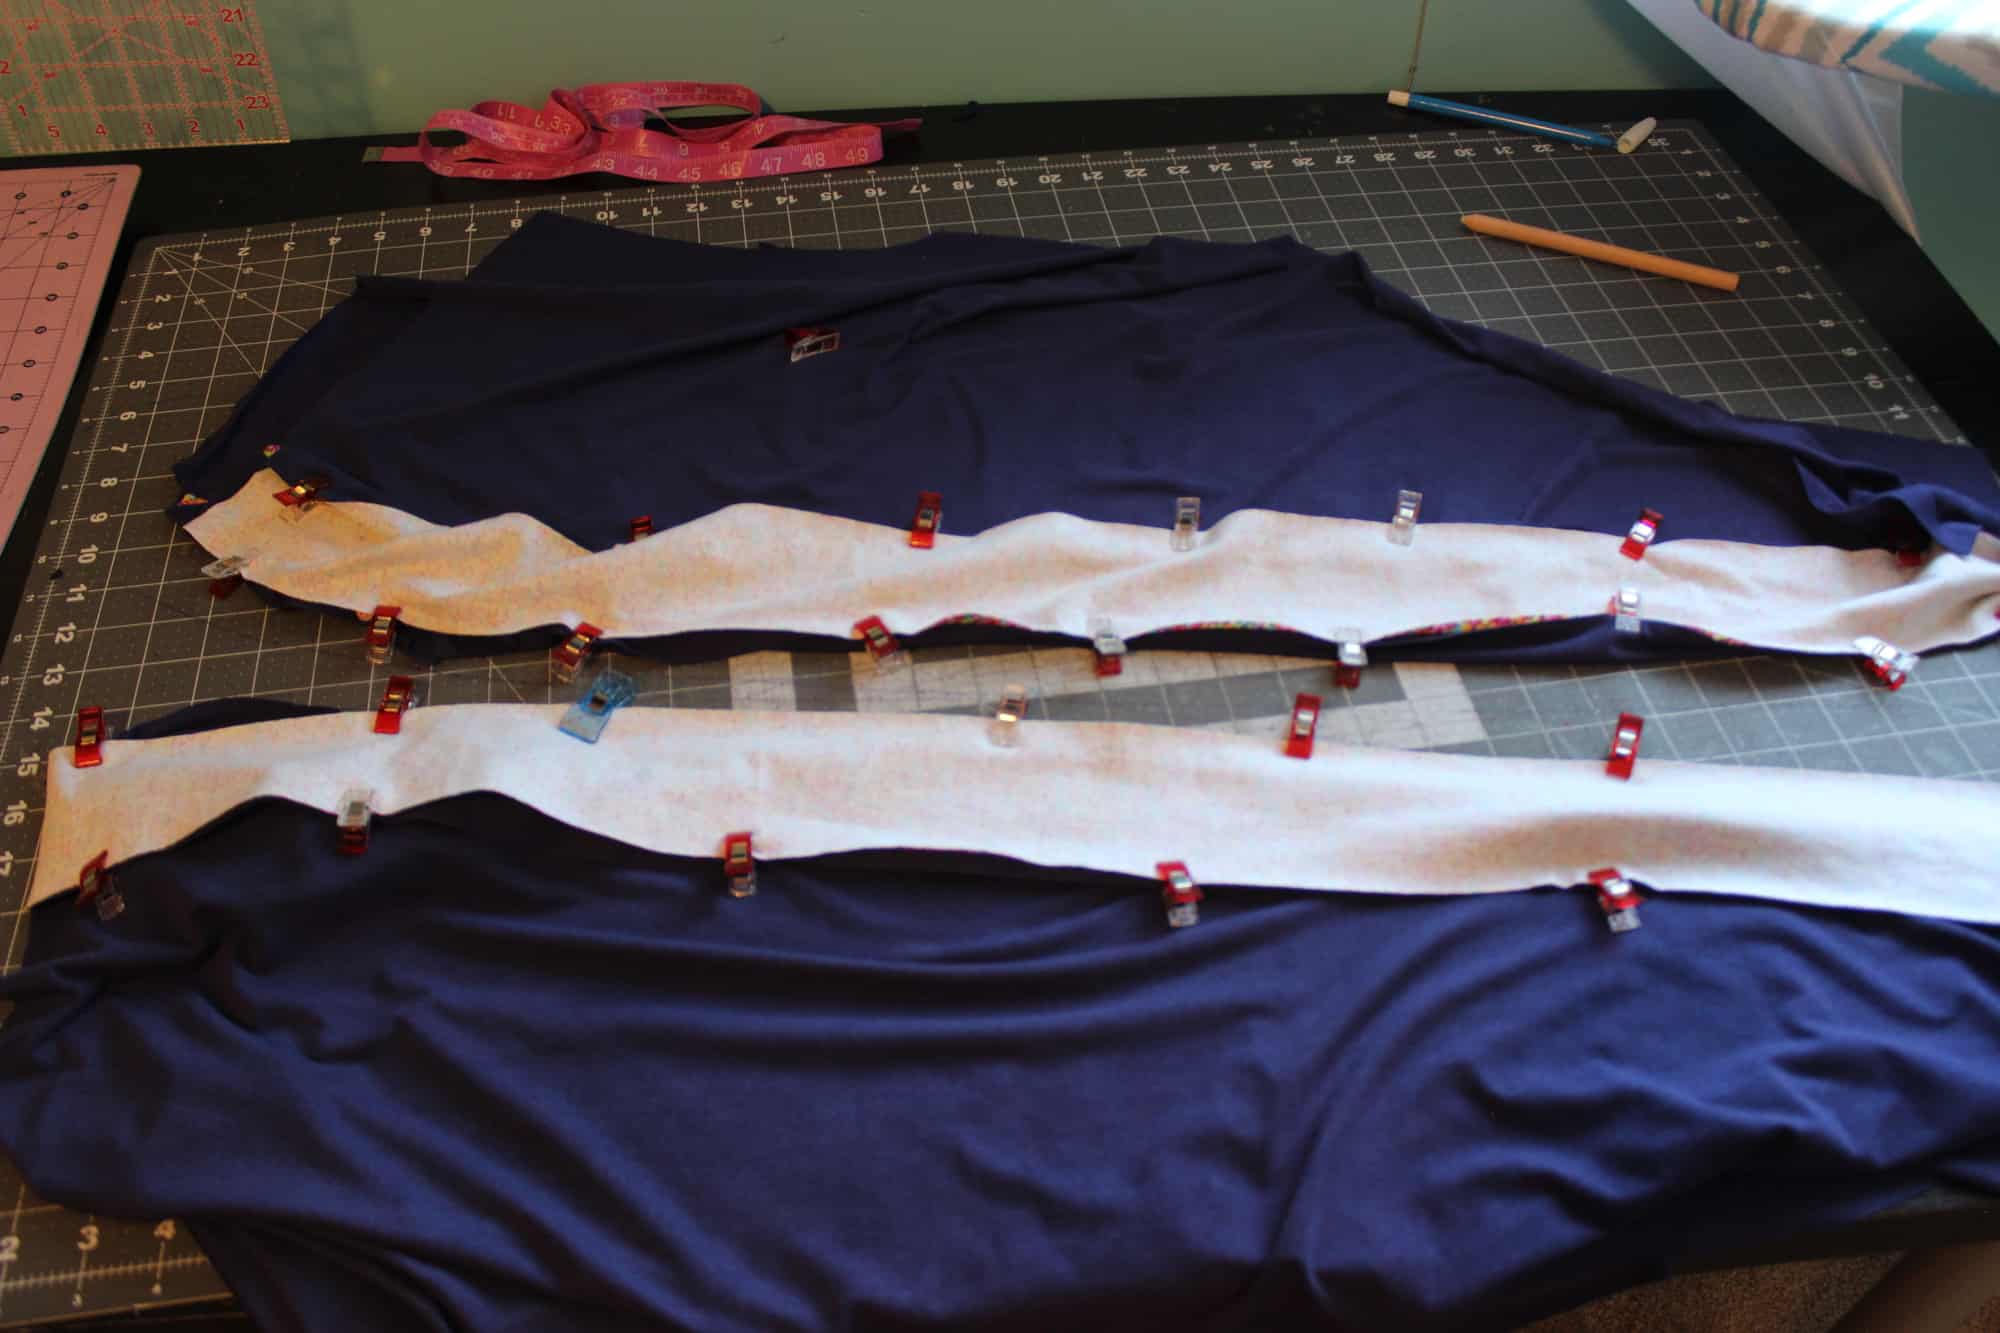
SLEEVE LENGTH OPTIONS

What are you waiting for? Head on over and grab yourself a copy of this eXtra fun new pattern! The Xfactor patterns are available on sale (no code needed) through 11:59pm CST, August 4, 2020.
XFACTOR CROP + DRESS | XFACTOR CROP + DRESS – YOUTH | XFACTOR CROP + DRESS – BUNDLE
Maybe hoping for a little more inspiration before you make the purchase? Head over to our Facebook group where you can see tester albums full of amazing images! Adult Album / Youth Album
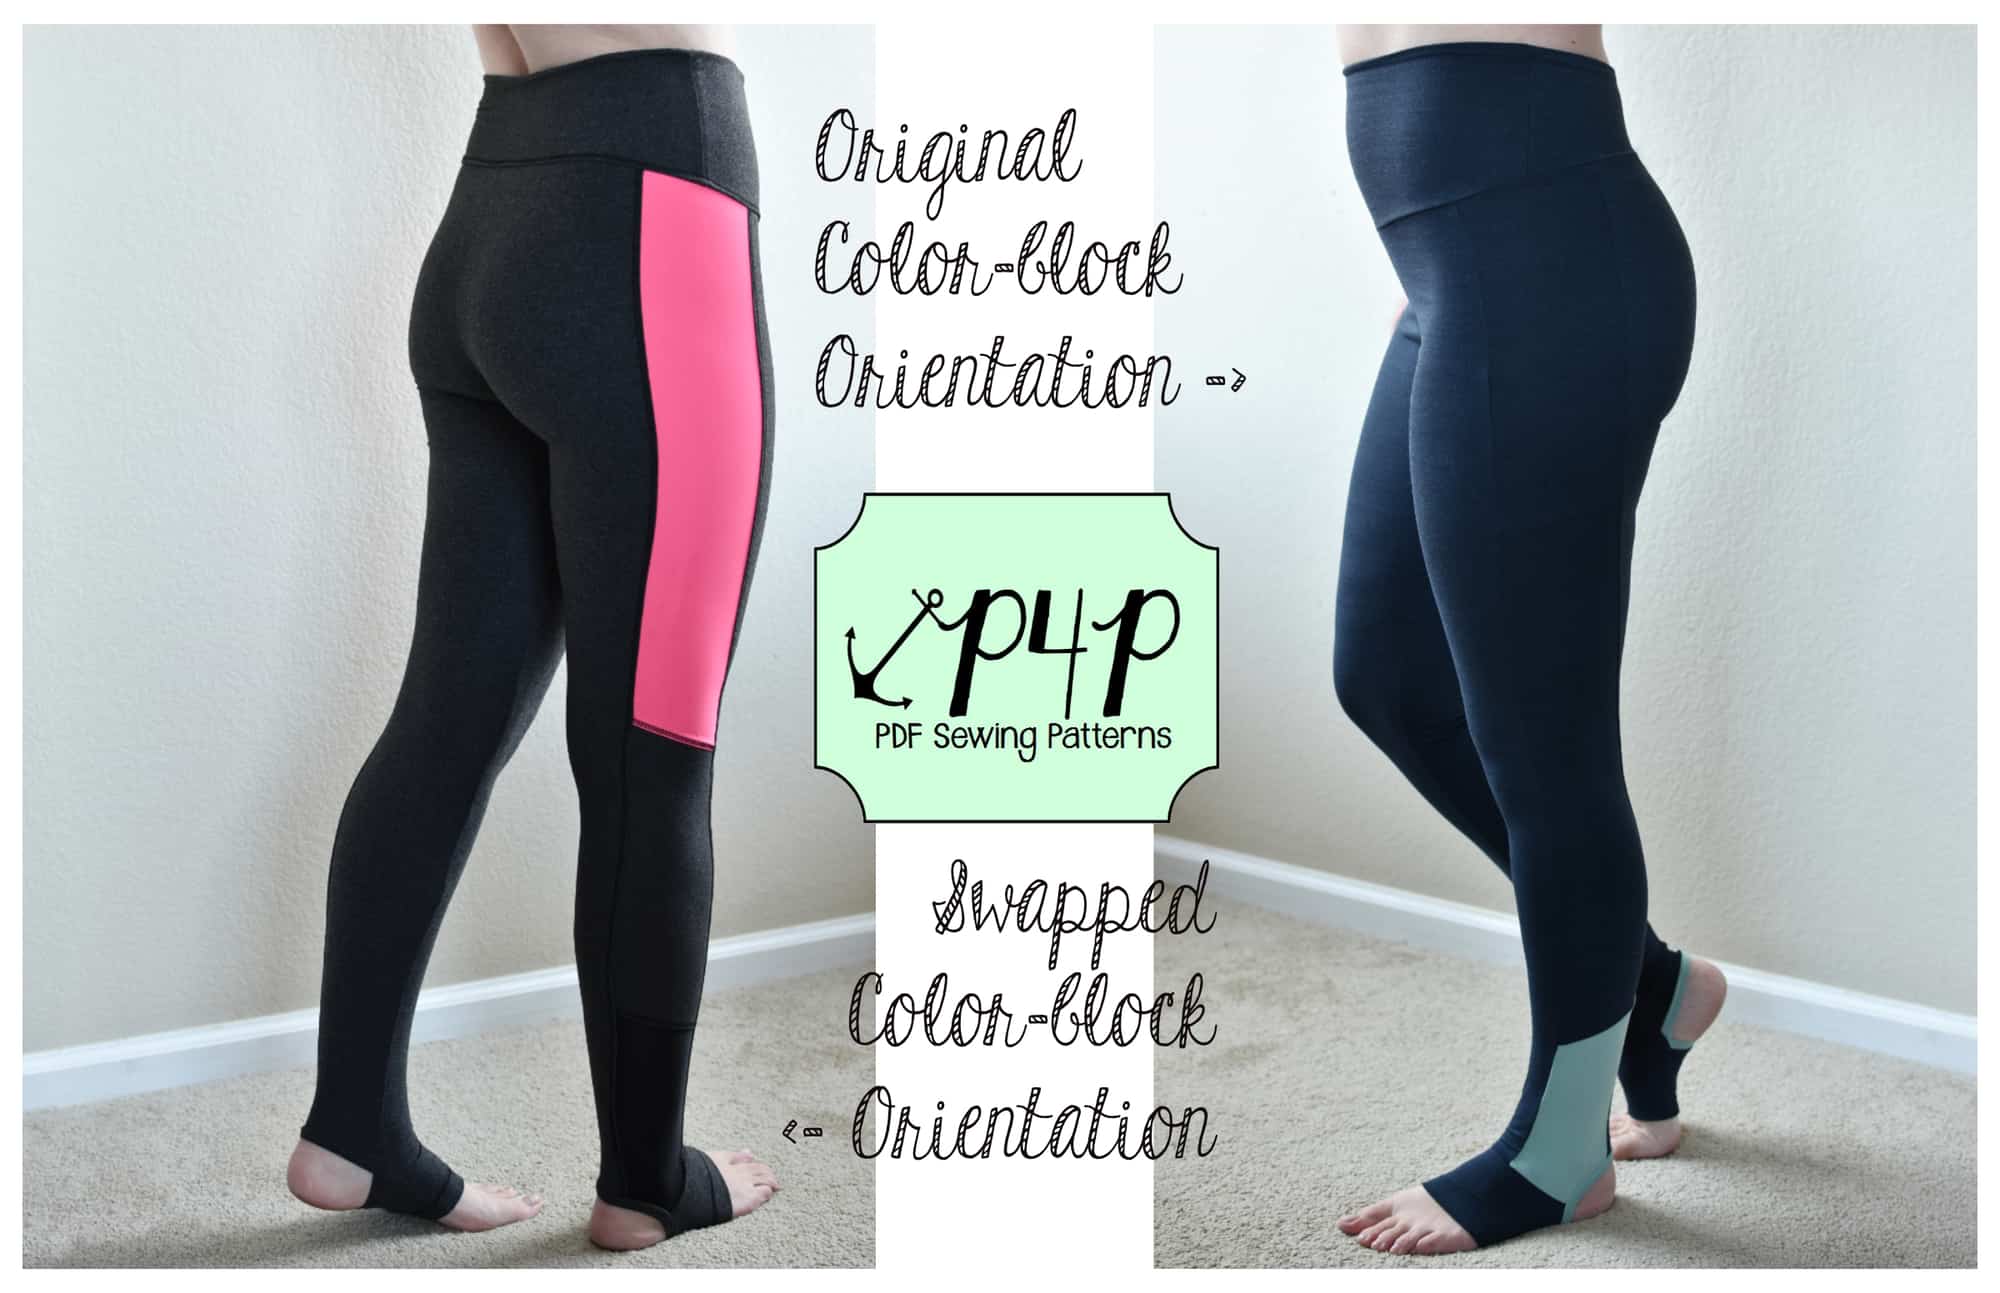
If you’re looking for even more options, we show you a few more ways you can use this pattern in our XFactor Easy Hacks post.


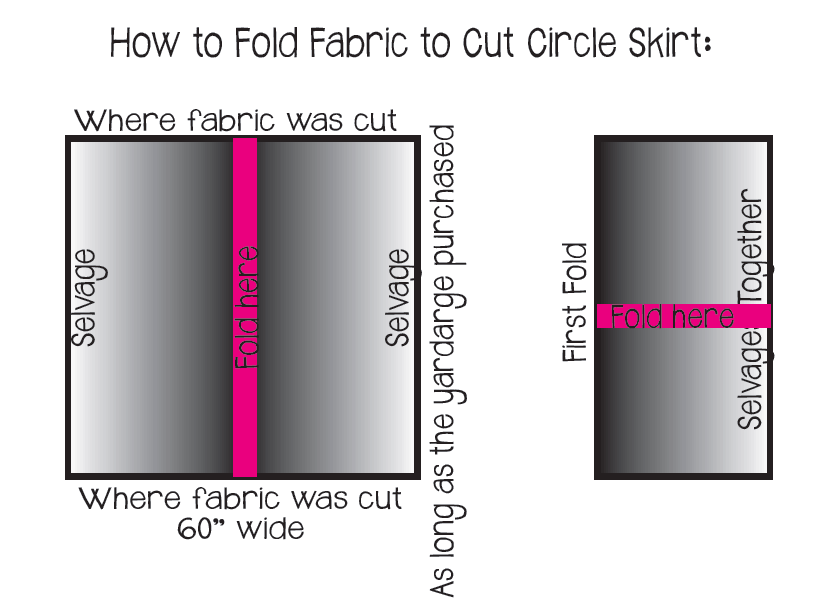
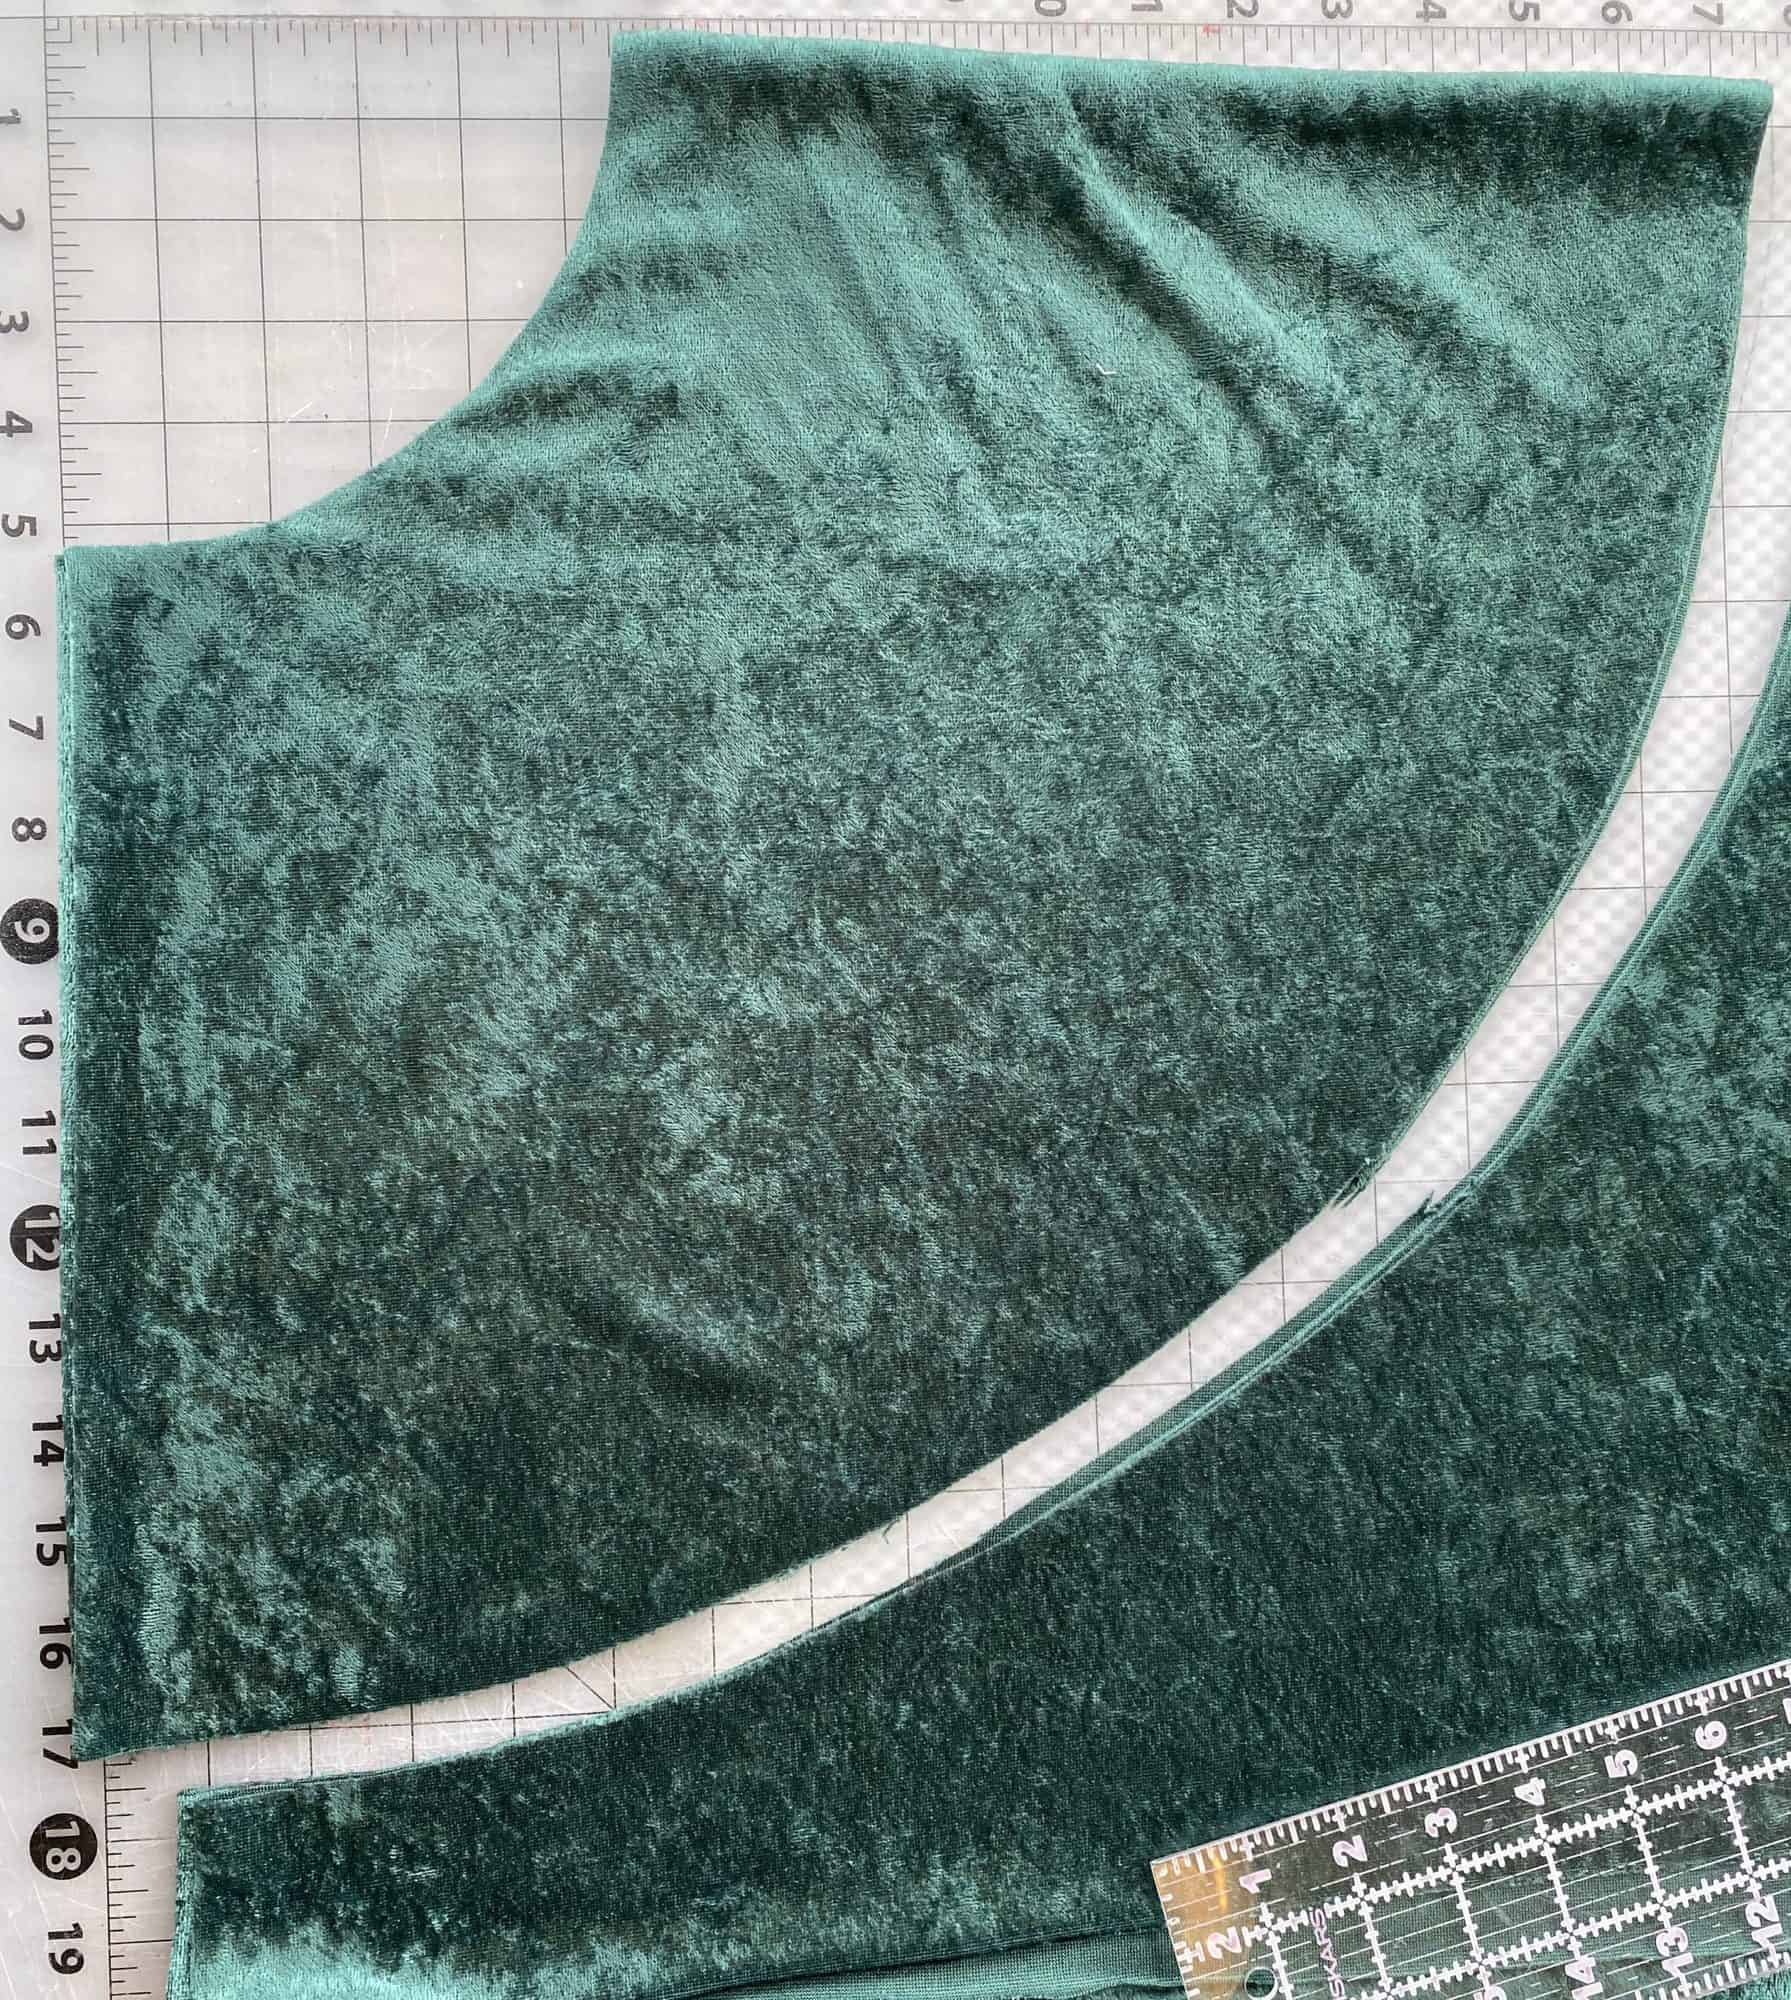
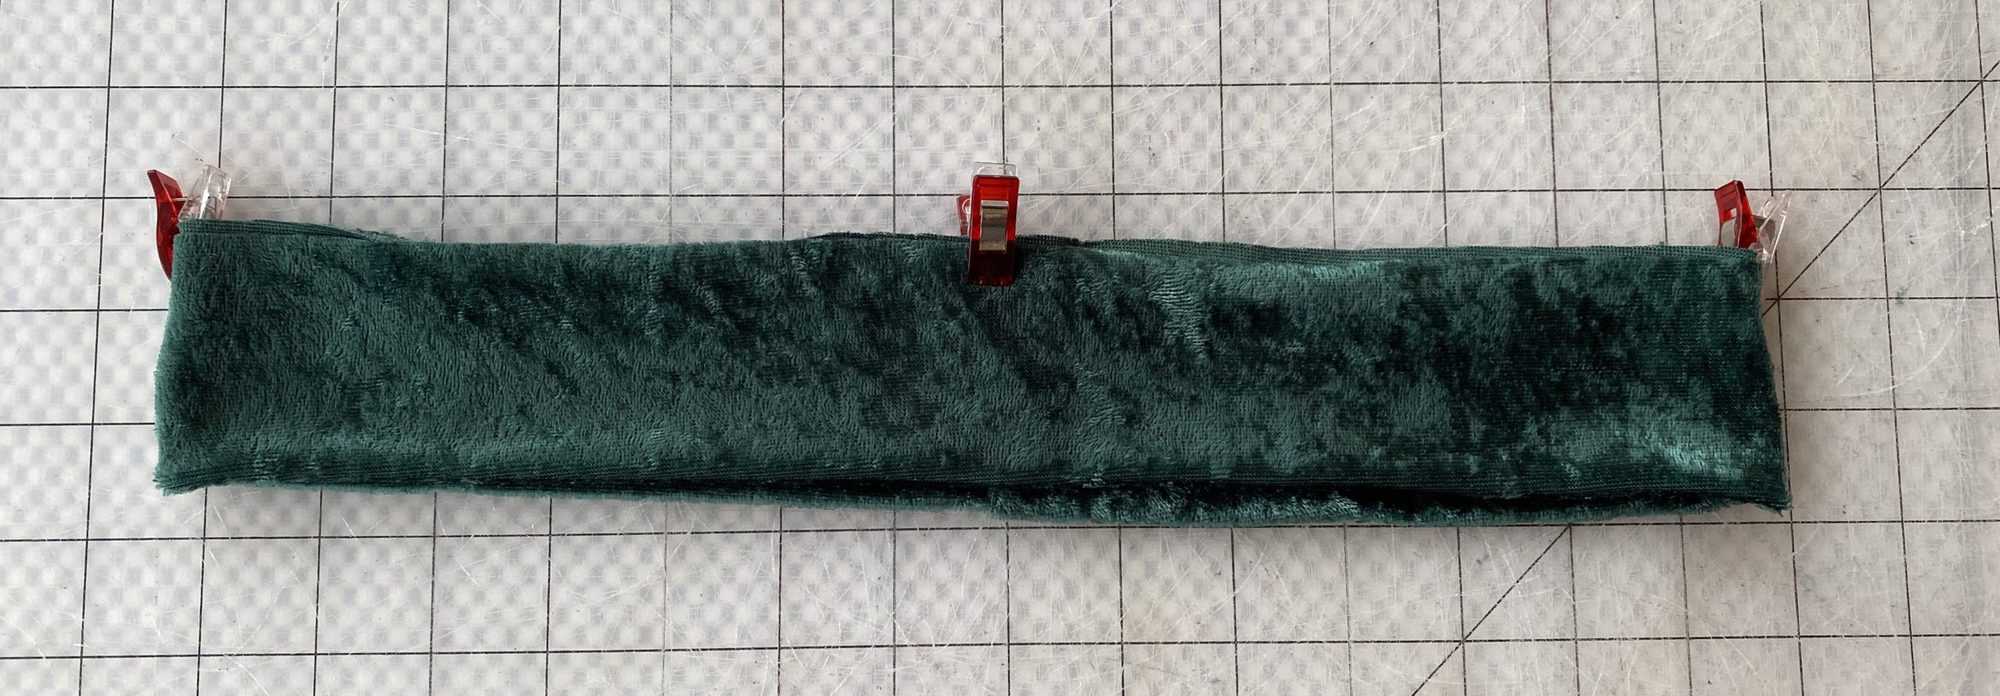
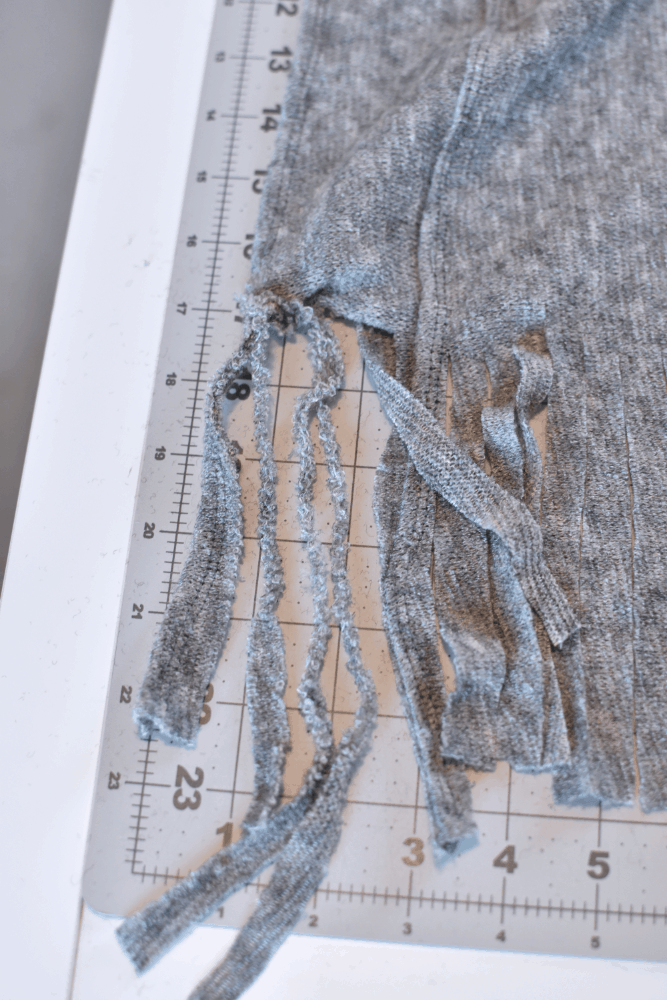
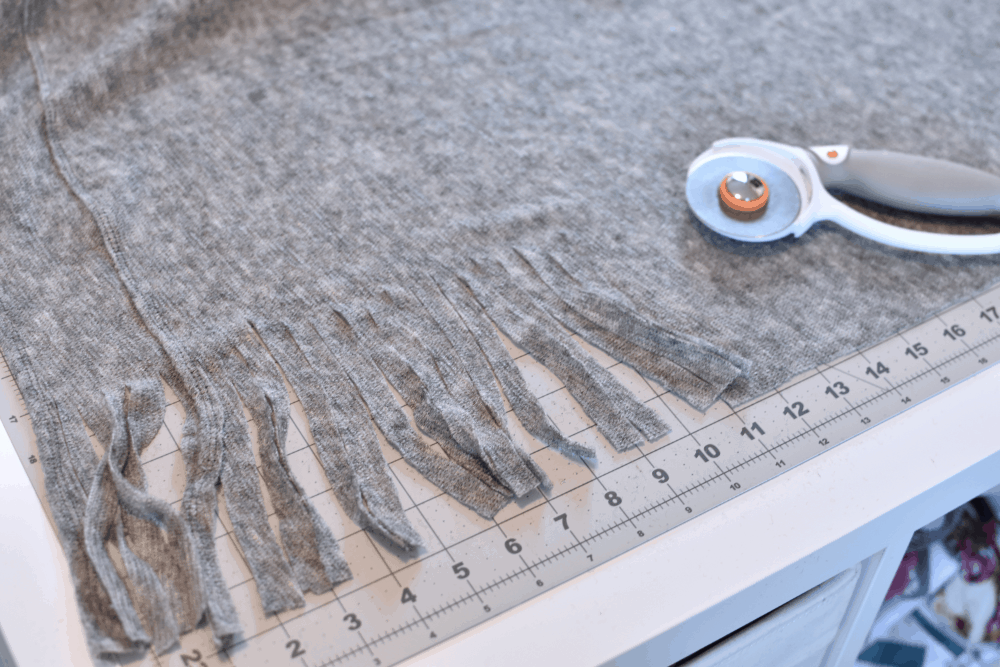
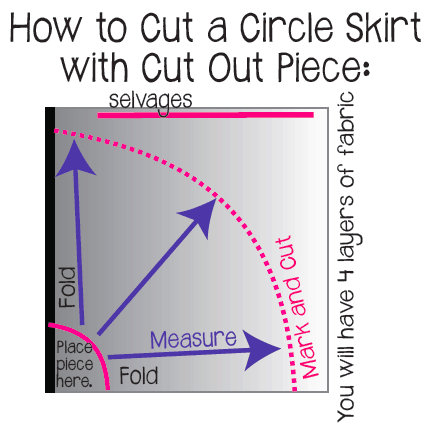 1. Place the cutout piece in between both of folds. Measure the distance from bottom of the cutout piece. First for 12″, then for 16″ and then another circle at 20″.
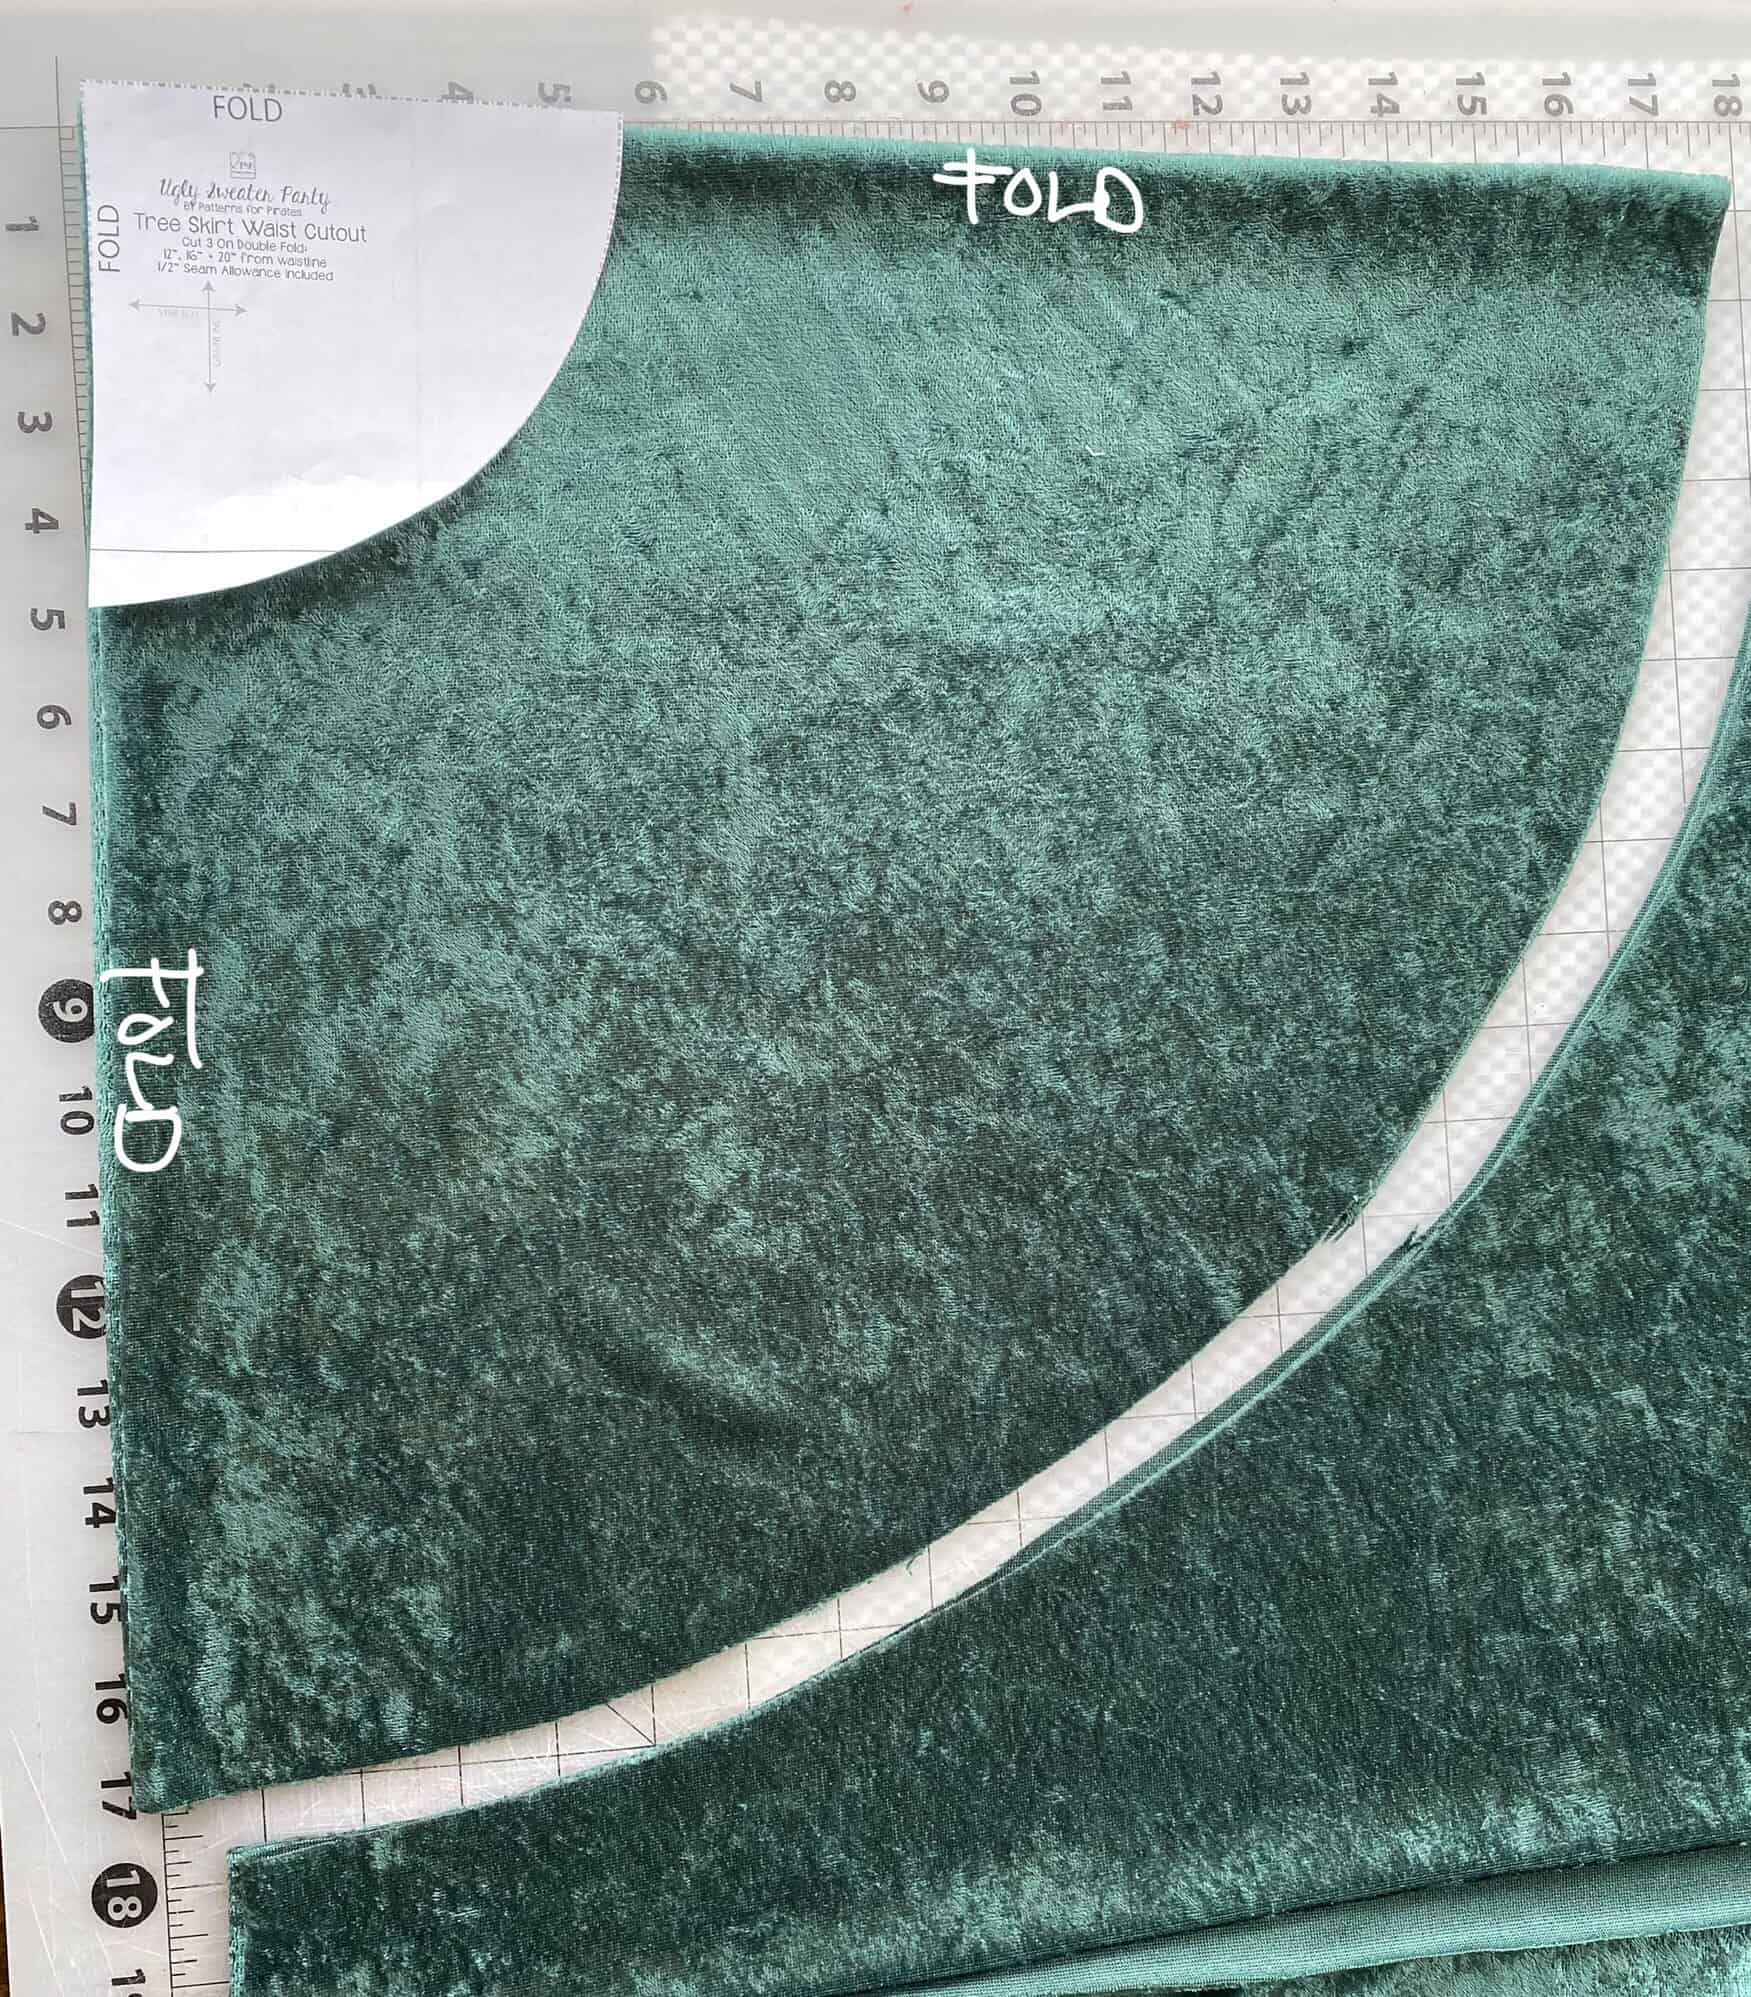
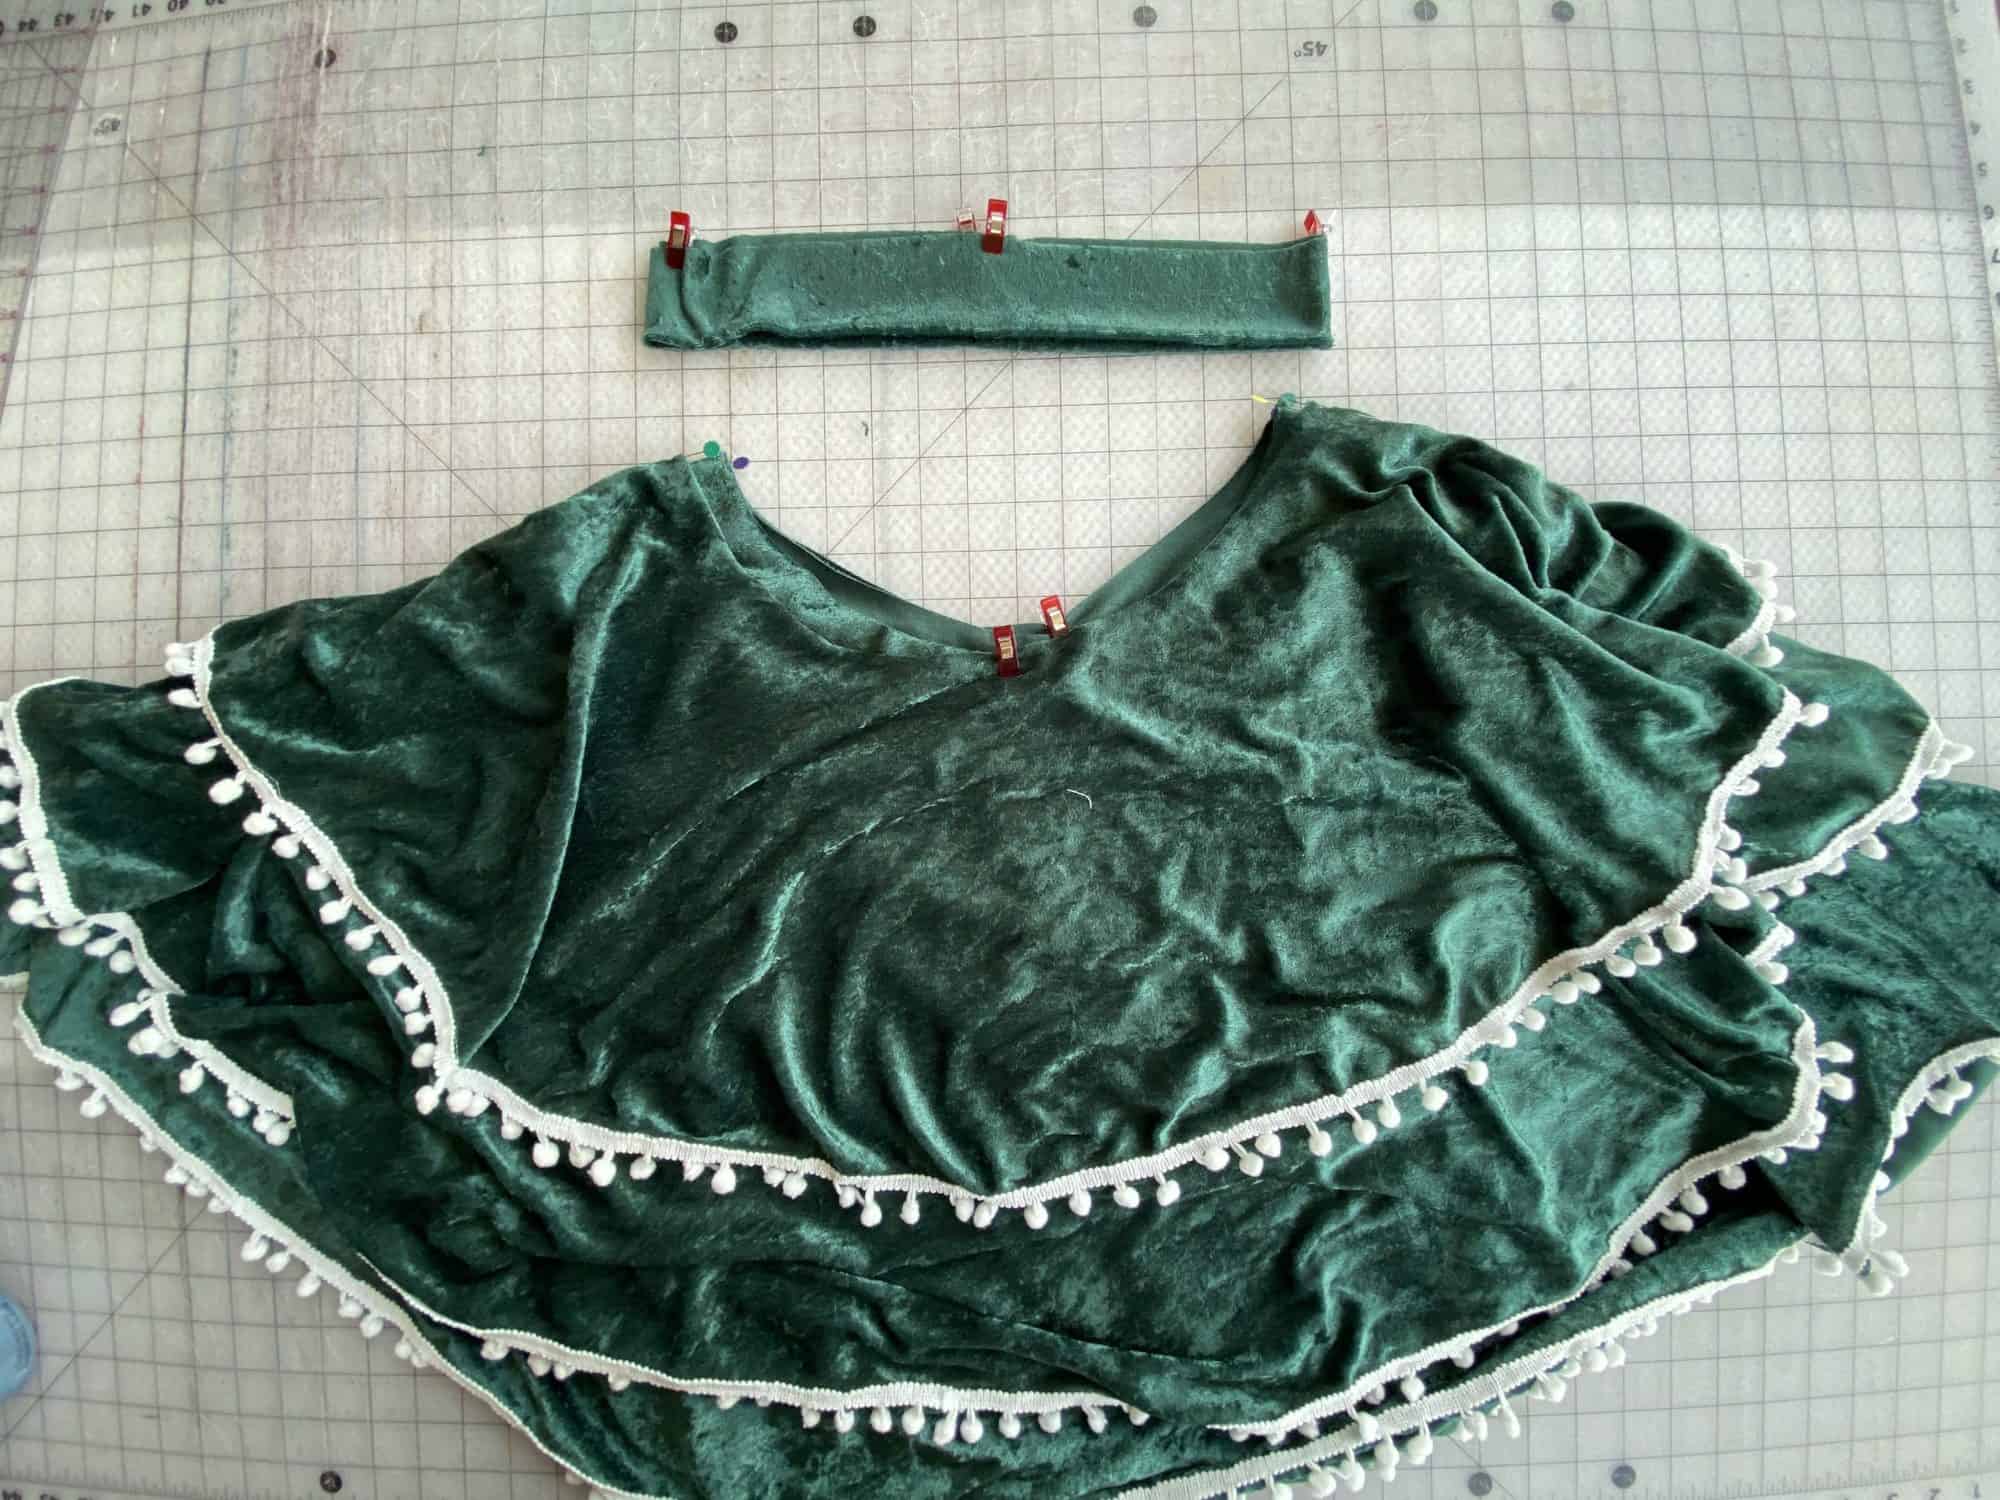
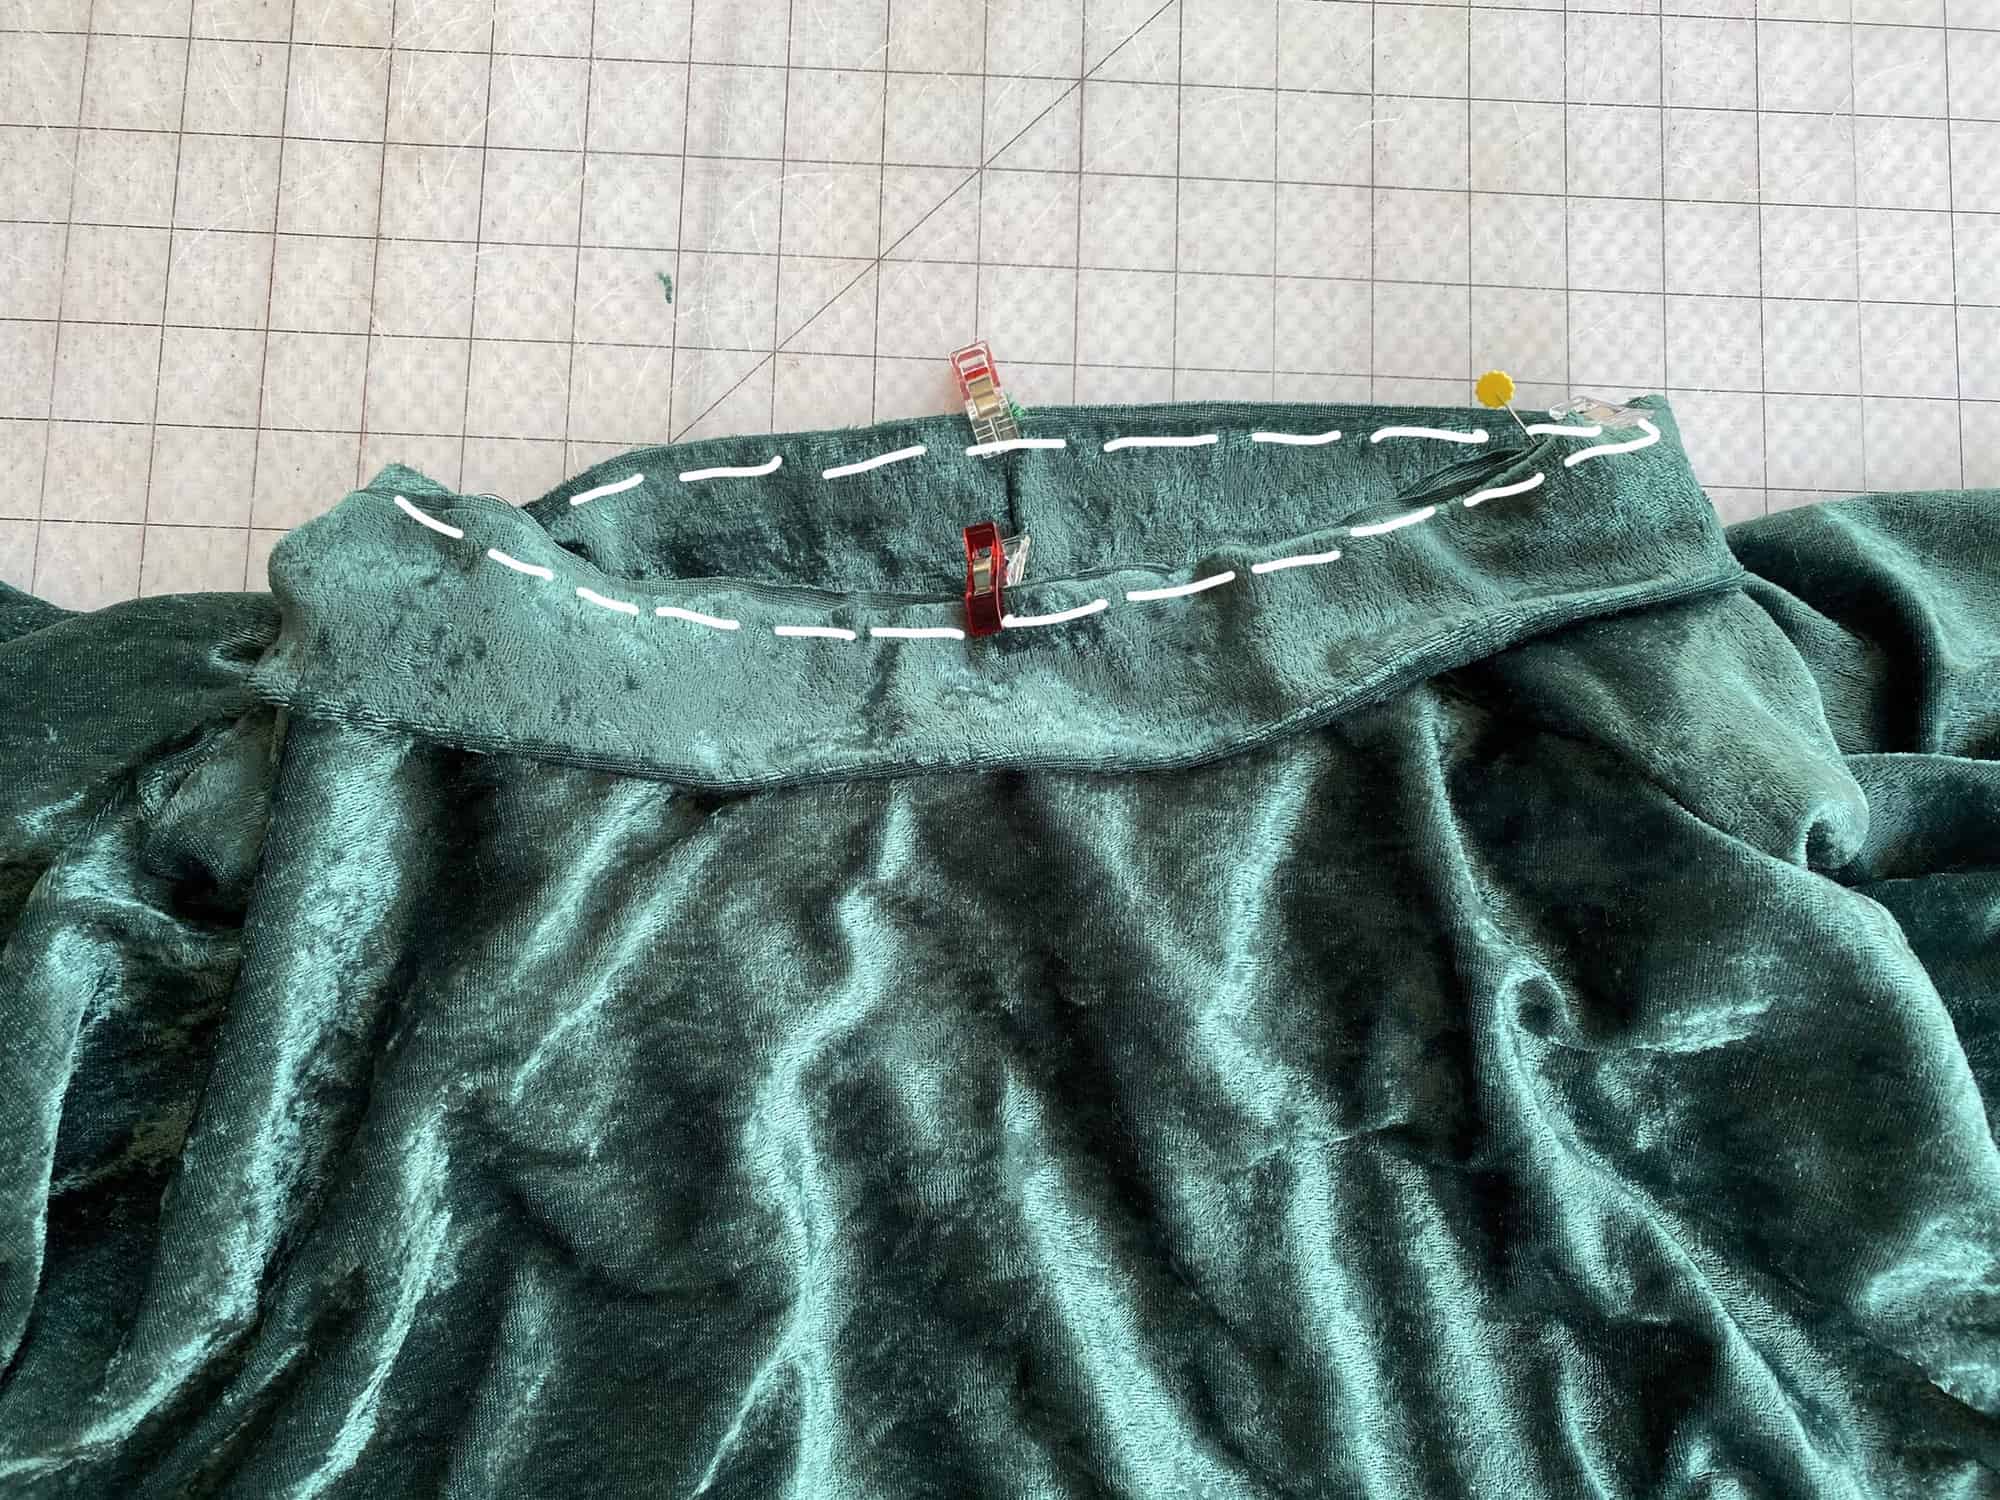


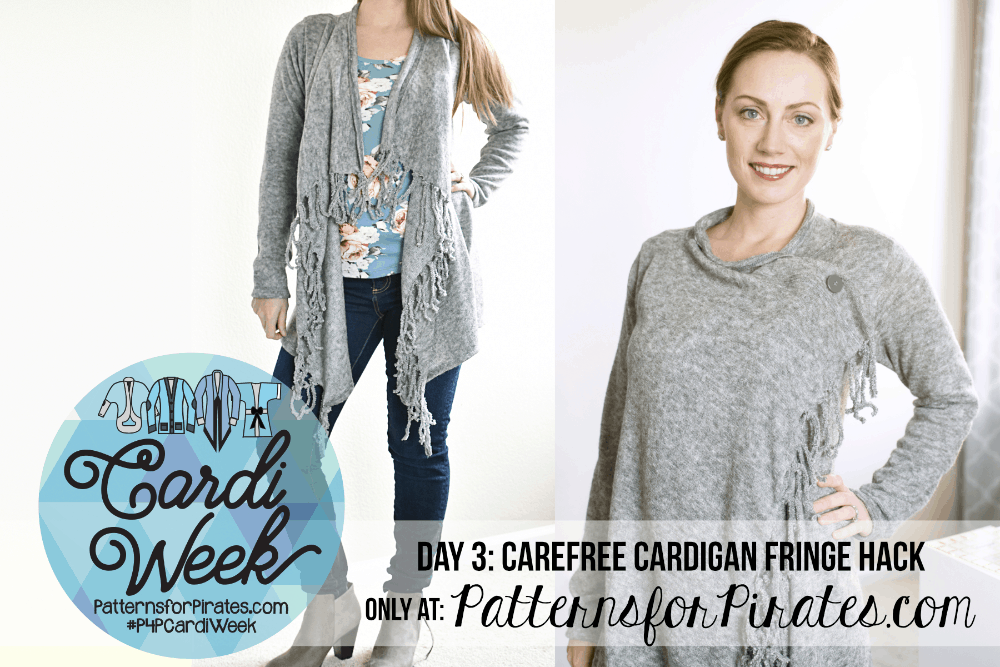
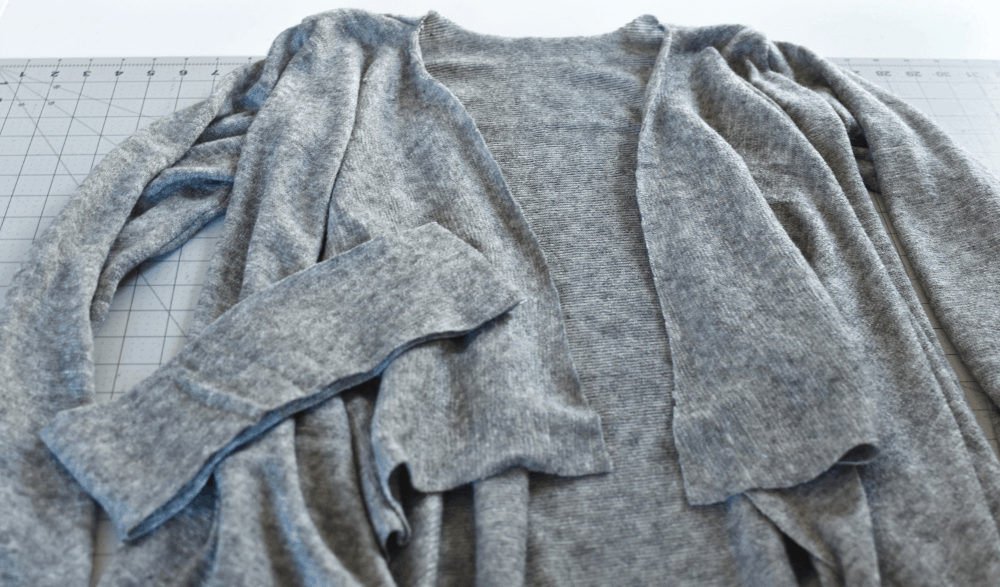
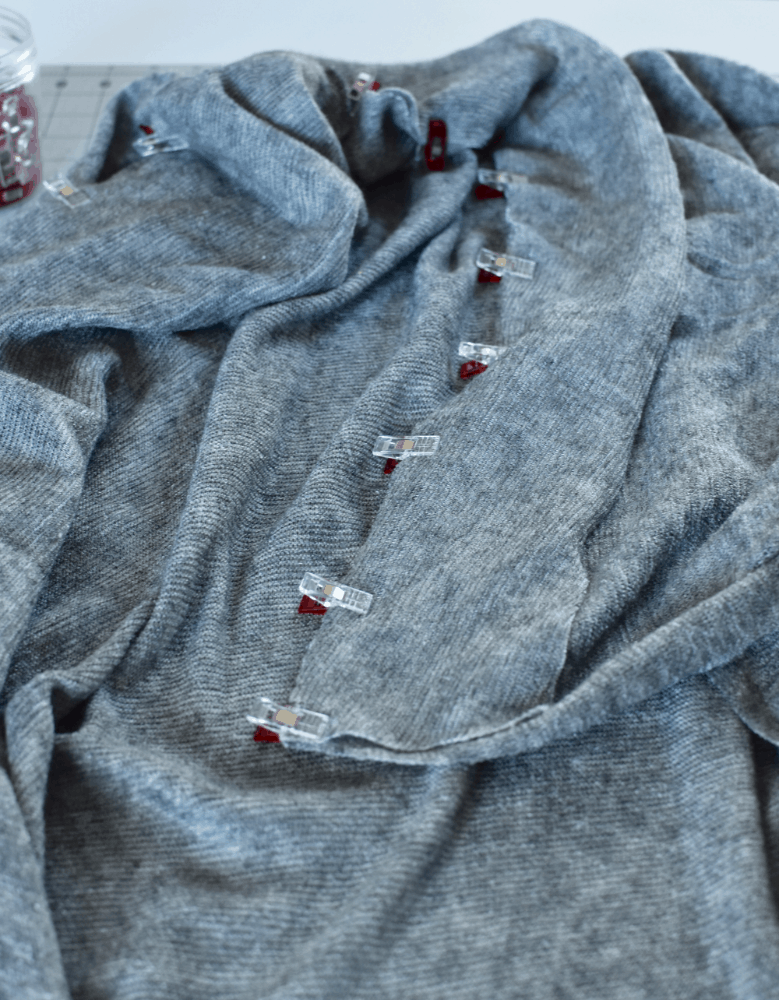
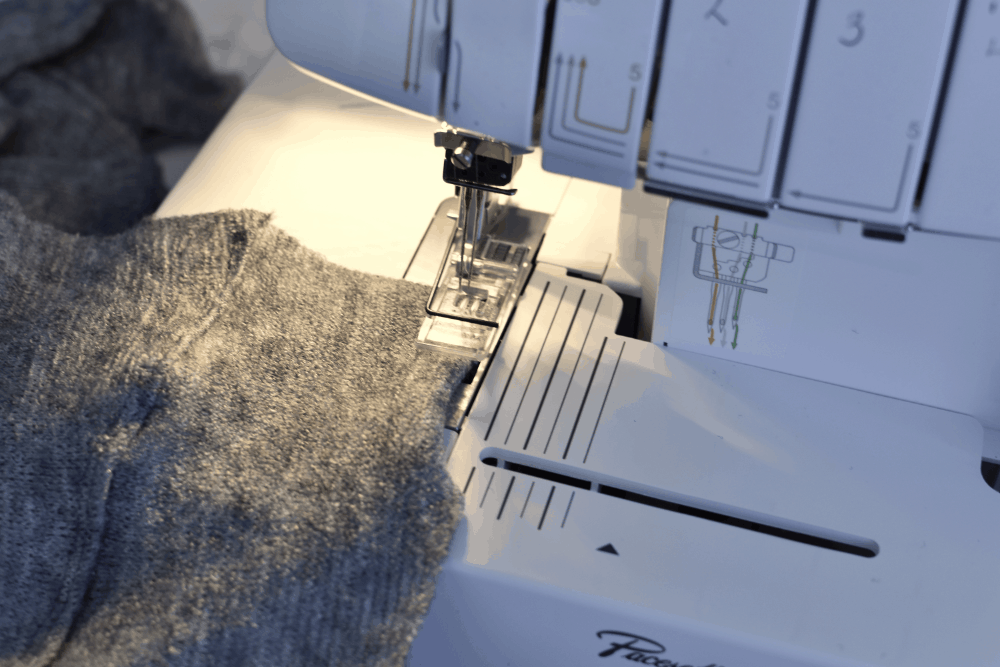
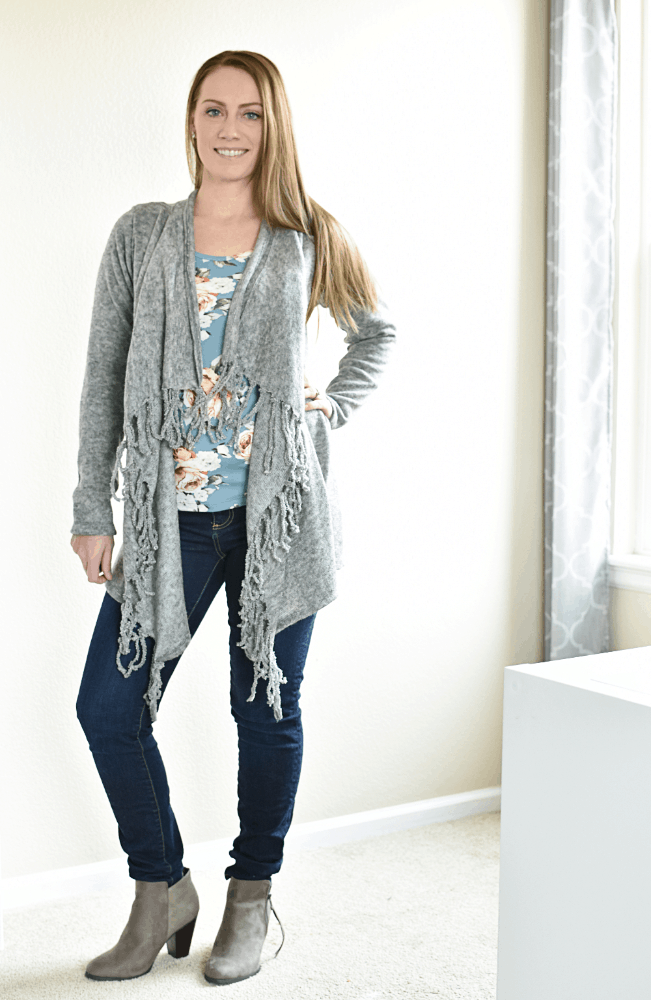
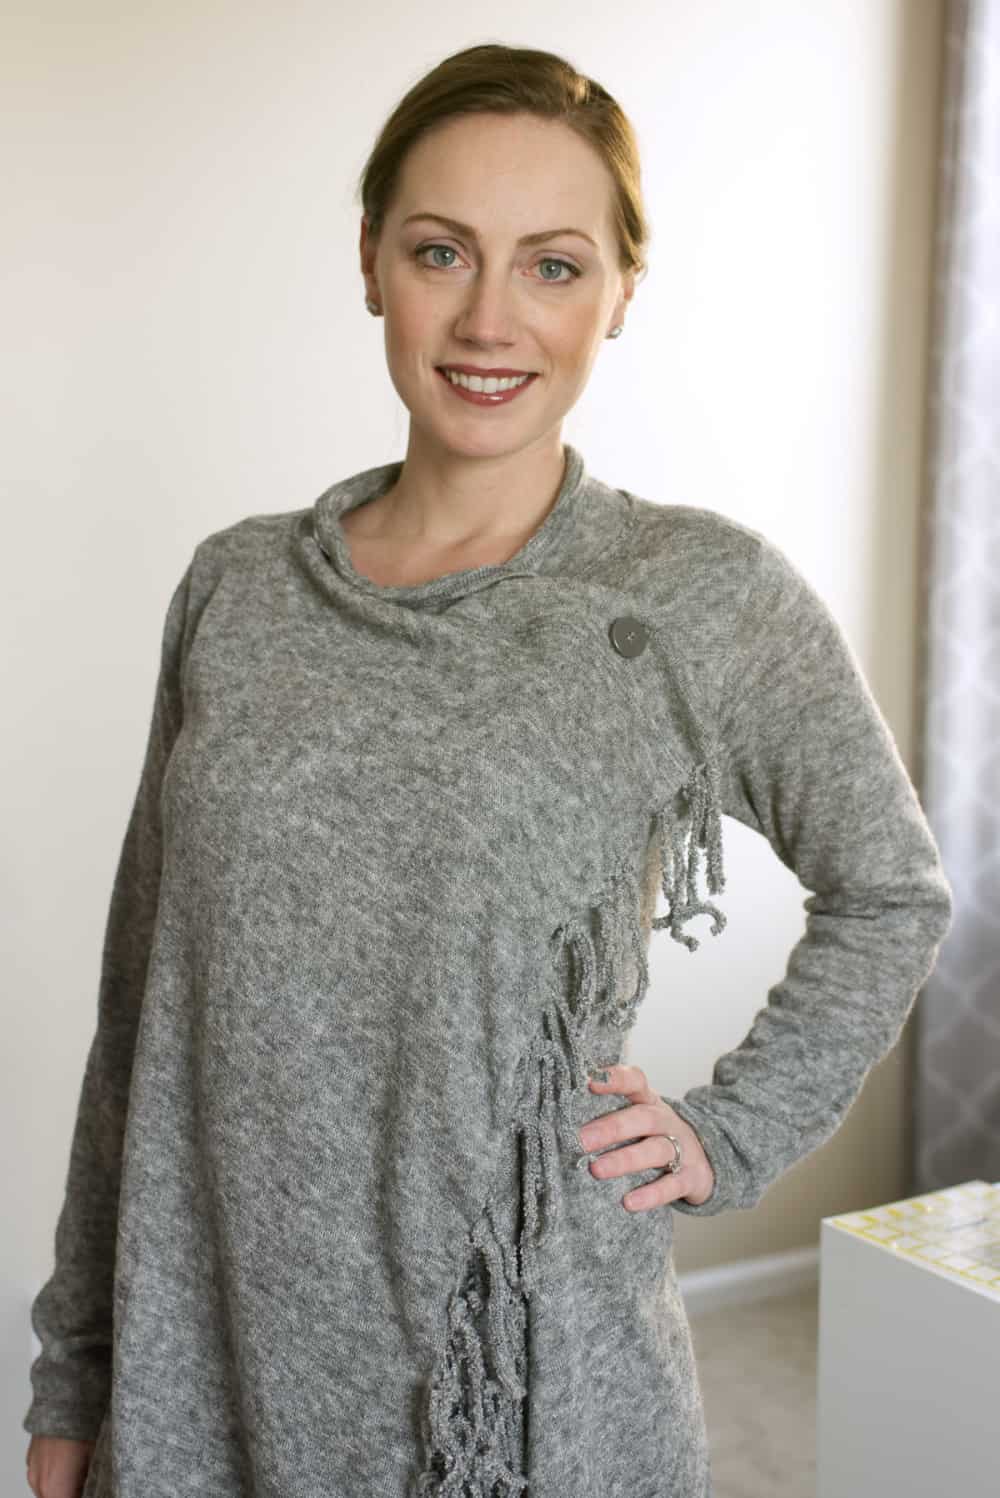
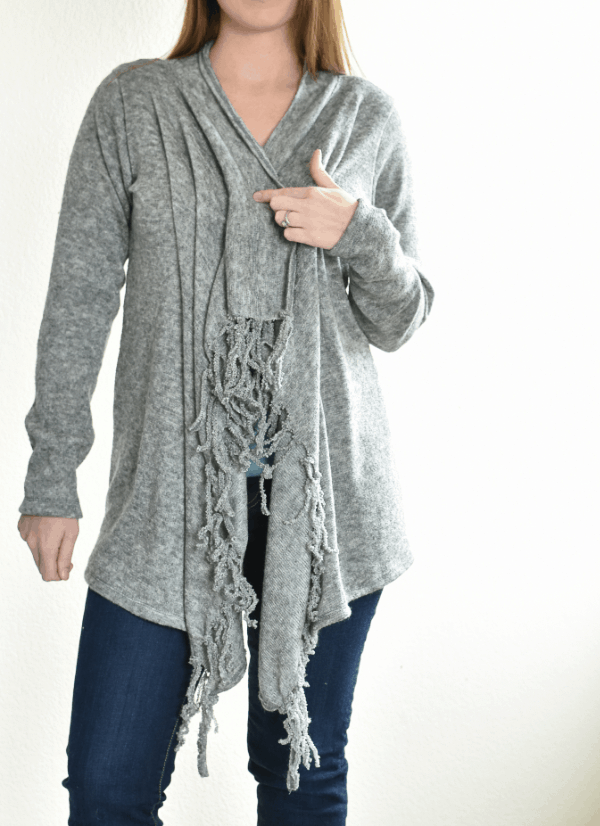
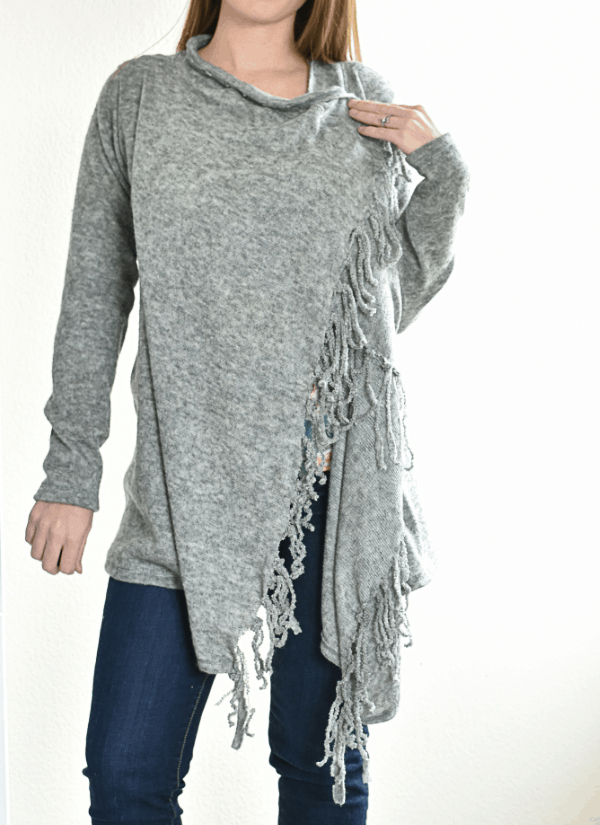
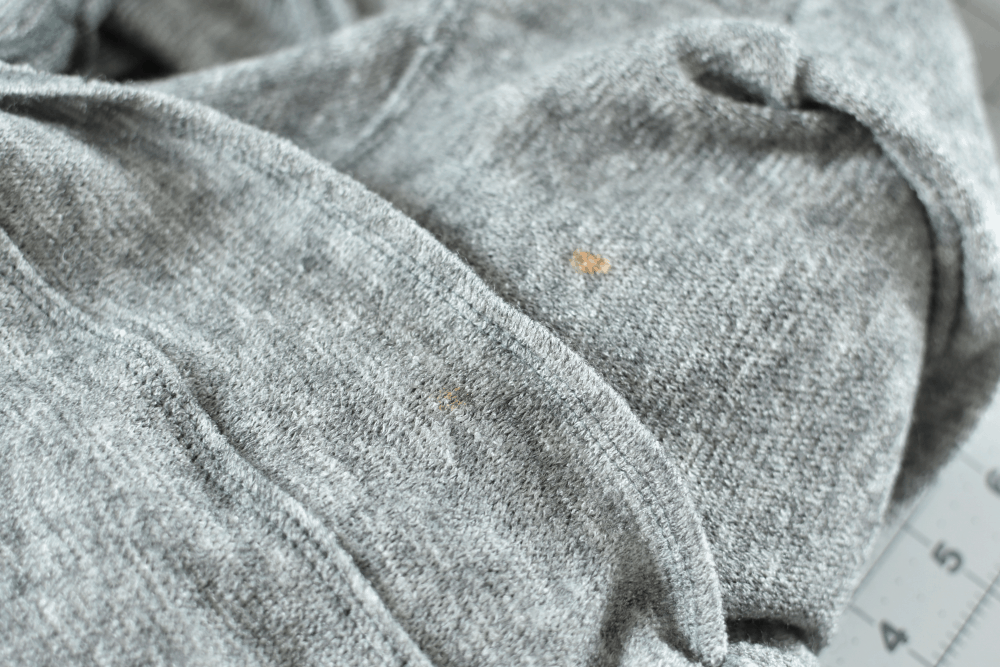
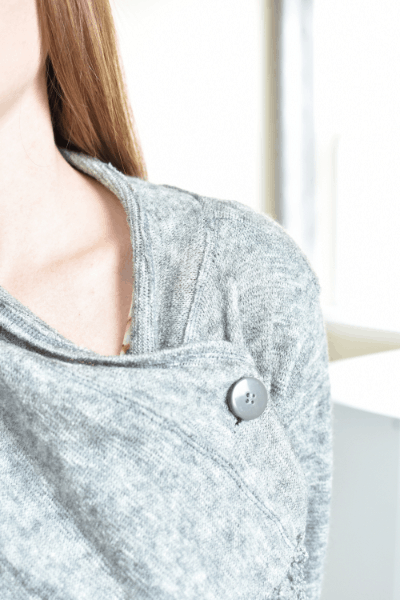


 I sewed up my entire cardigan exactly as normal. Then tried it on both with Baby Girl on me and without and marked where I would like the cardigan to close. Of course, Little Guy had to come photobomb a few shots ;).


