Patterns for Pirates

P4P stylish, modern, wearable patterns

  • Home
  • Blog
    • Tutorials
    • Pattern Releases
    • Sew-A-Longs
    • Blog Tours
    • Fitting
  • Shop
  • Bundle Discounts
  • Gift Cards
  • Affliliate Program
  • My Account
  • Cart

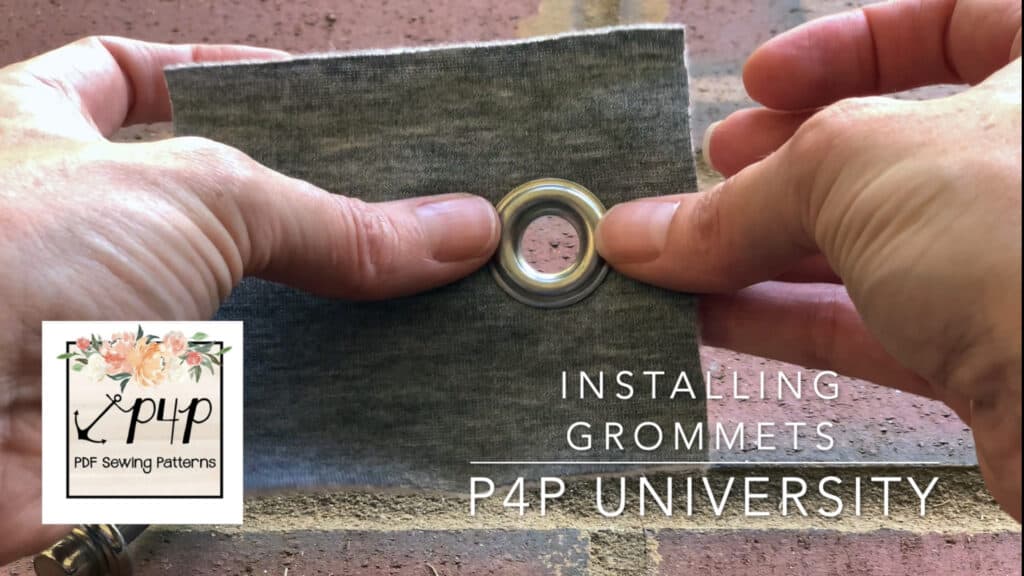
P4P University – Grommets

October 16, 2020

Raise your hand if grommets scare you? Have you done everything possible, including skipping that cute drawstring, just to avoid installing eyelets?

I did for years! I even made buttonholes to avoid installing those little metal devils. Buttonholes!

But, I’m here now to show you how truly easy it is to install grommets in your makes. Within the next few minutes, you’ll wonder why you were ever intimidated.

For those who prefer a video tutorial, I’ve got you covered!

If you prefer a written tutorial, read on.

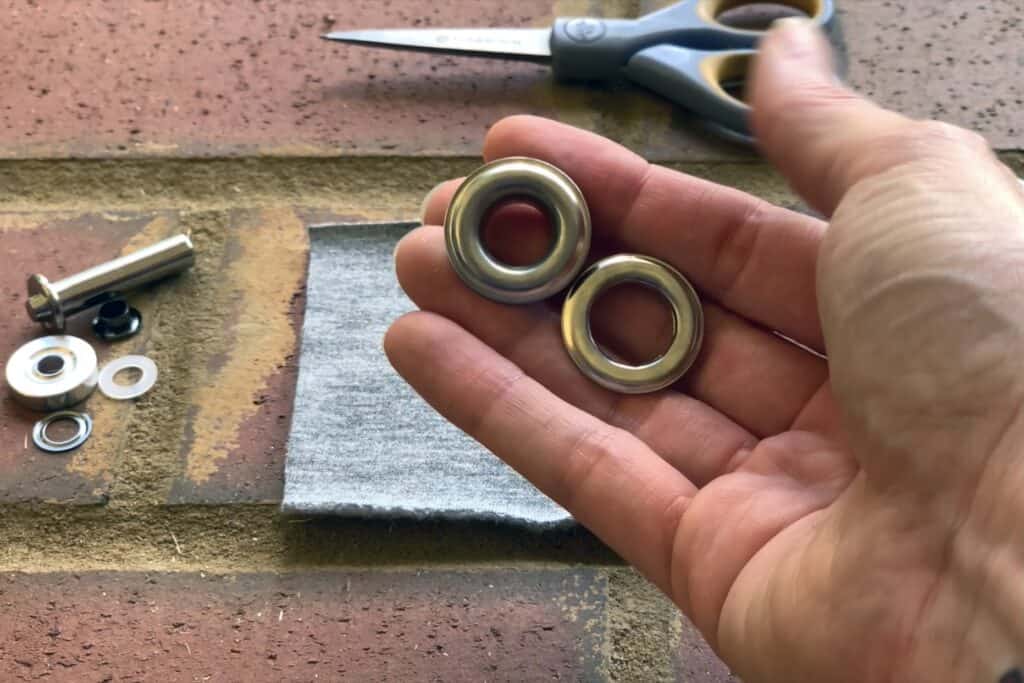
First, the anatomy of a grommet…

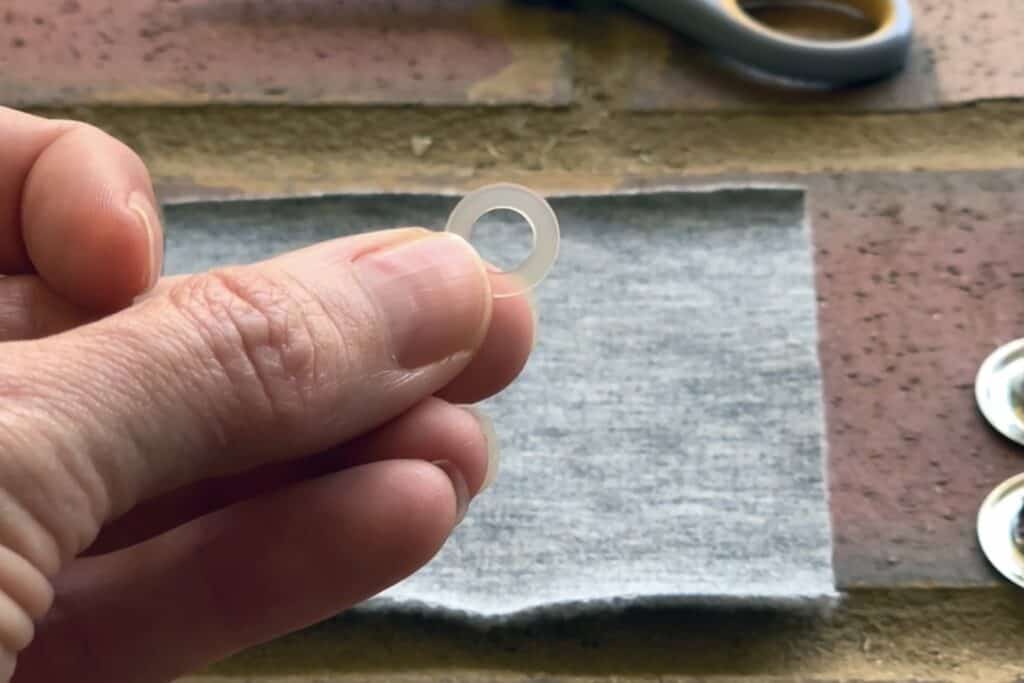
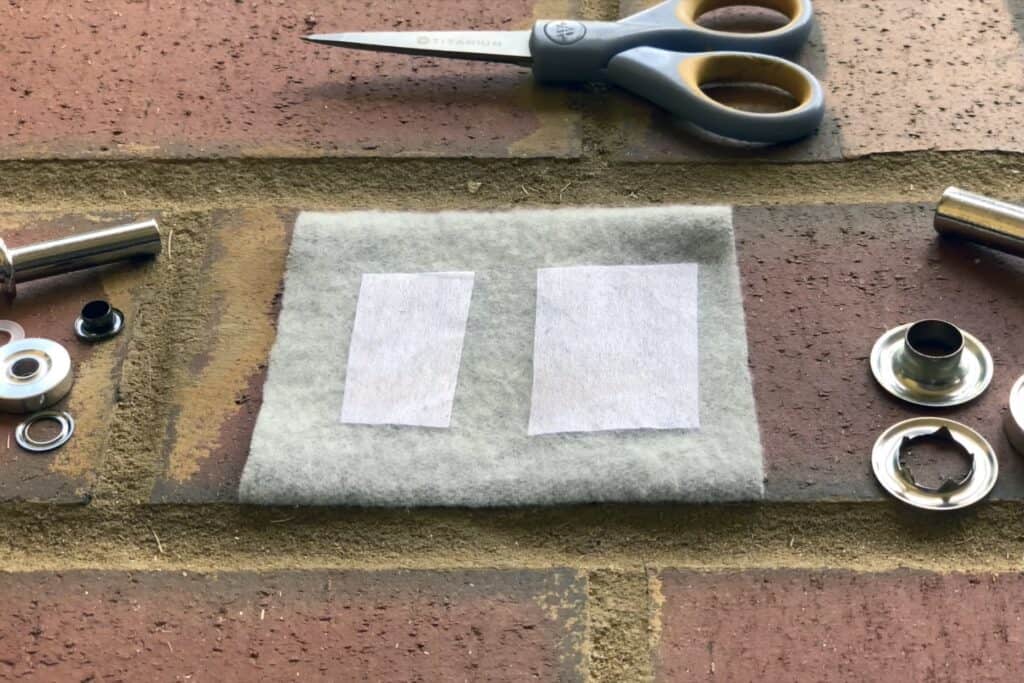
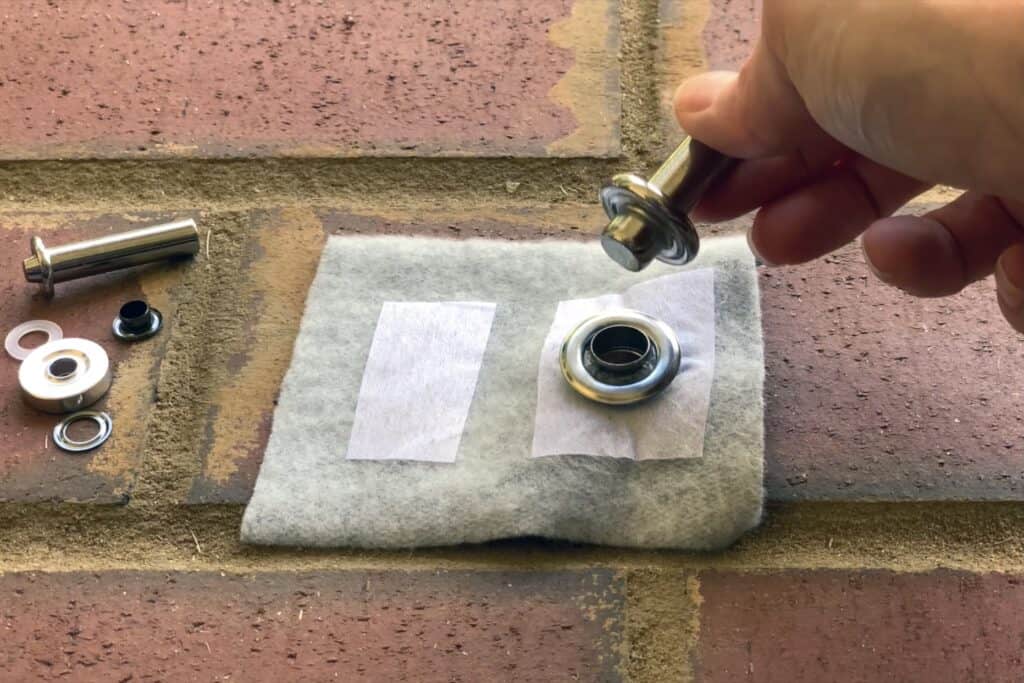
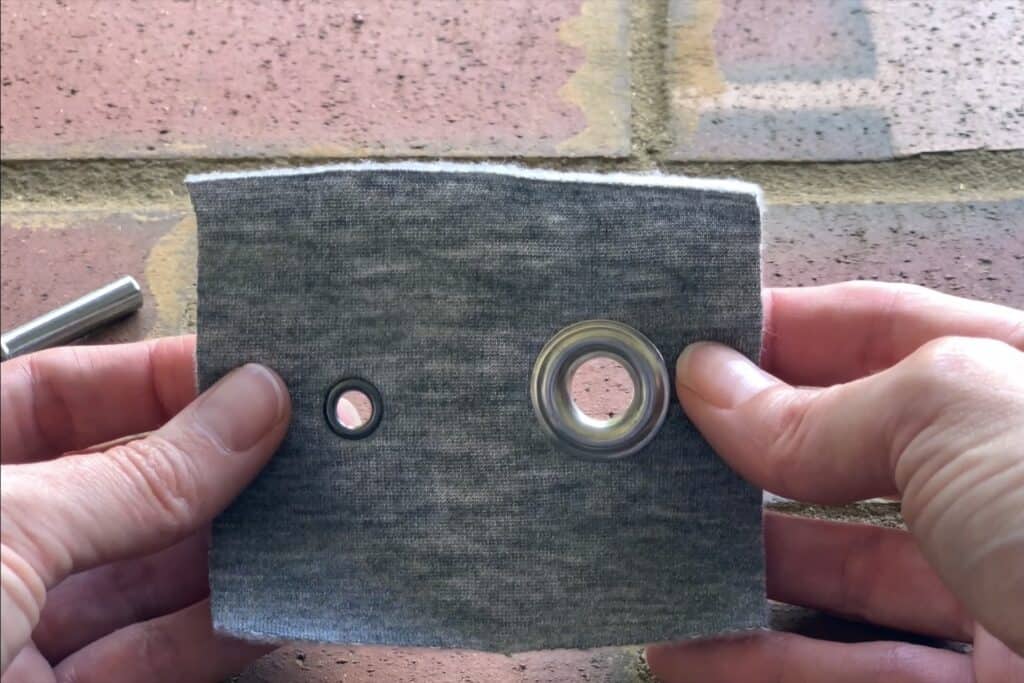
You will have your eyelet – that’s the piece that has a post. It will always be on the right side of your fabric. The backside is called the washer. The larger sizes typically have sharp teeth that help to better secure the grommet in place. The smaller sizes often have a plastic ring that sits between the back of your fabric and the metal washer.

Most grommet kits will also come with an anvil (remember the Coyote and Roadrunner from Looney Tunes?!) and a setting tool. It’s important to use the right anvil for the size of grommet that you are setting.

I always iron a bit of interfacing on the backside of where my grommets will be installed. That extra security means that you won’t be replacing a grommet due to your fabric stretching out.

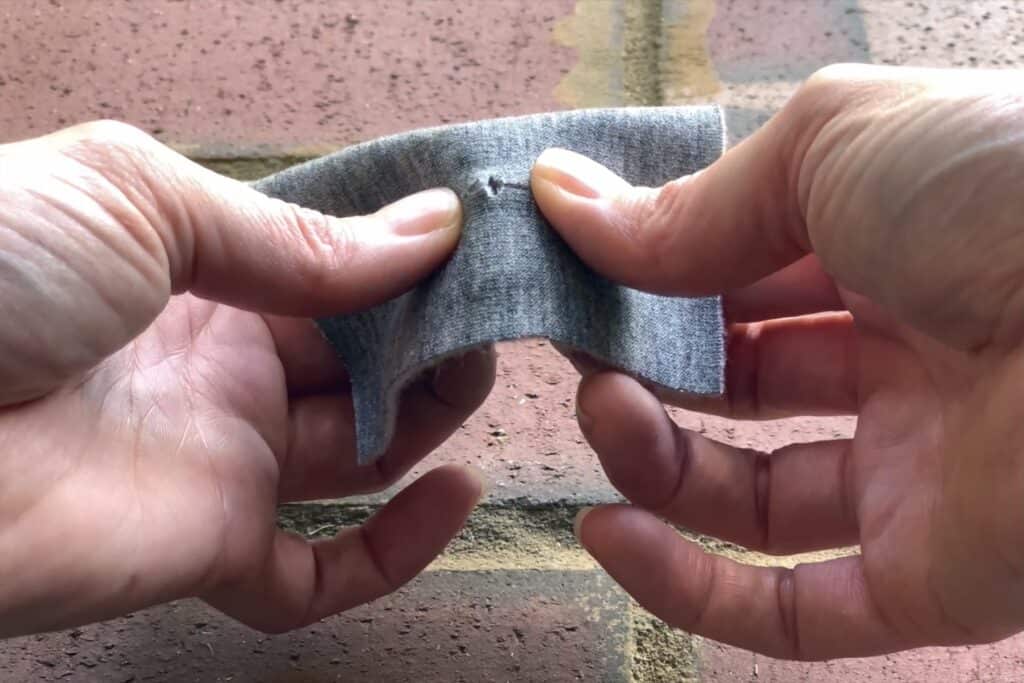
Snip a small “X” where you want to place your grommet, taking care not to make the opening too large. You want it just big enough to push your eyelet post through.

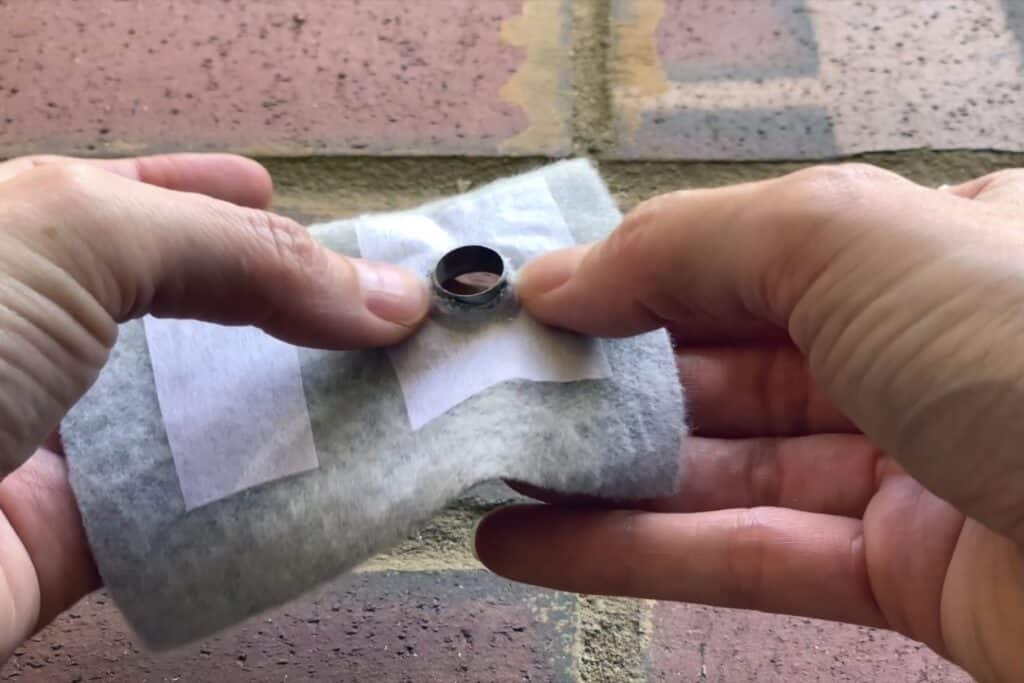
Place your washer around the post of the eyelet. If you are using a smaller eyelet, place the plastic ring under the metal washer.

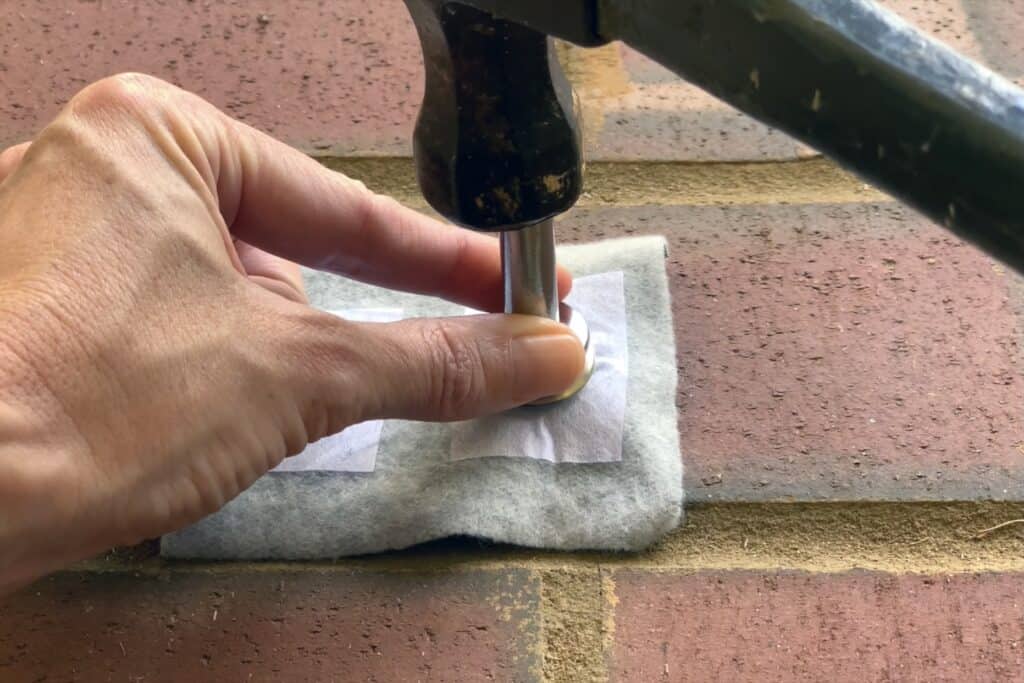
Set your grommet, face down, on top of the anvil and insert your setting tool in the post with the short end.

Give it a few good whacks with your hammer – four or five should do. As you are hammering, the post is actually folding down over the washer and securing it in place.

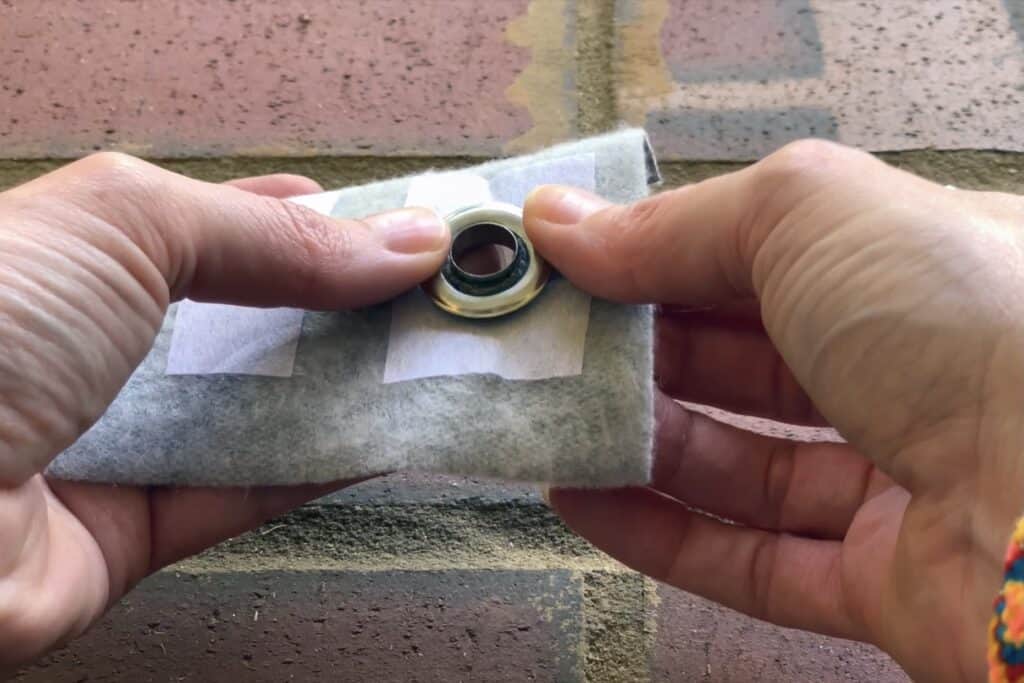
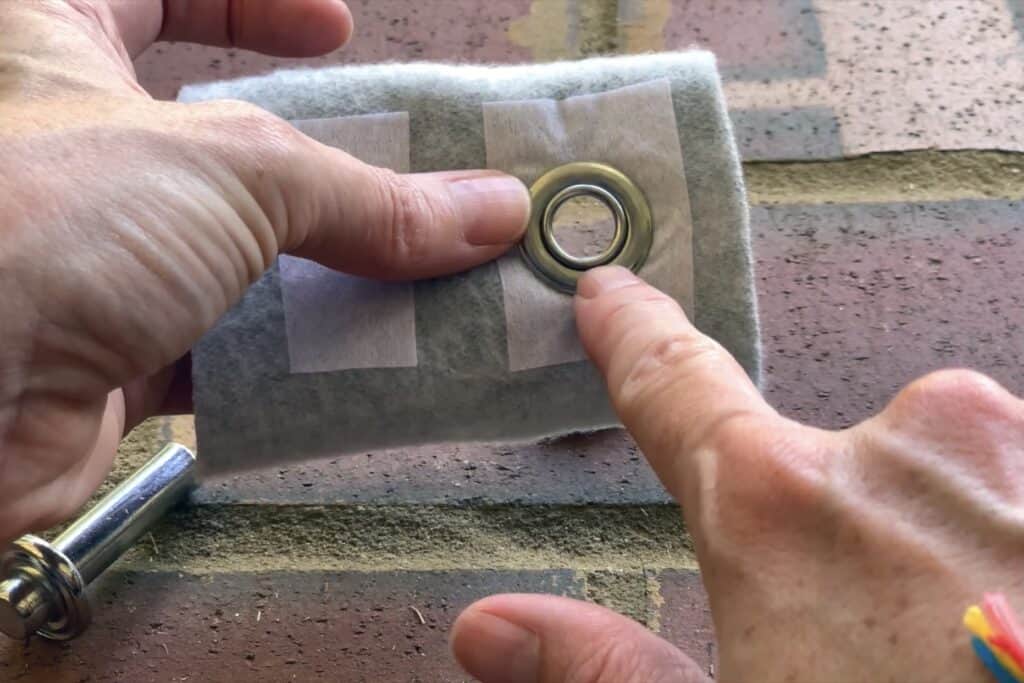
And that’s it! You’re ready to install your second grommet. You can feel how tight the fit is around your fabric. If it feels too loose, replace your setting tool and strike it with the hammer a couple more times.

Setting grommets is a wonderful garment-making skill to know and it will unleash even more creative possibilities in your future projects.

If there is any detail that I’ve left out of the written instructions, please do watch the video above. Feel free to reach out to me through the P4P Facebook Group, too. I’m happy to answer any questions you may have.

Until next time, happy sewing!

Rachel

Filed Under: General Sewing, P4P University, Uncategorized, Using P4P Patterns- Tips and How Tos 2 Comments

It’s a Cinch…Bag FREE Sewing Pattern + Tutorial!

April 4, 2019

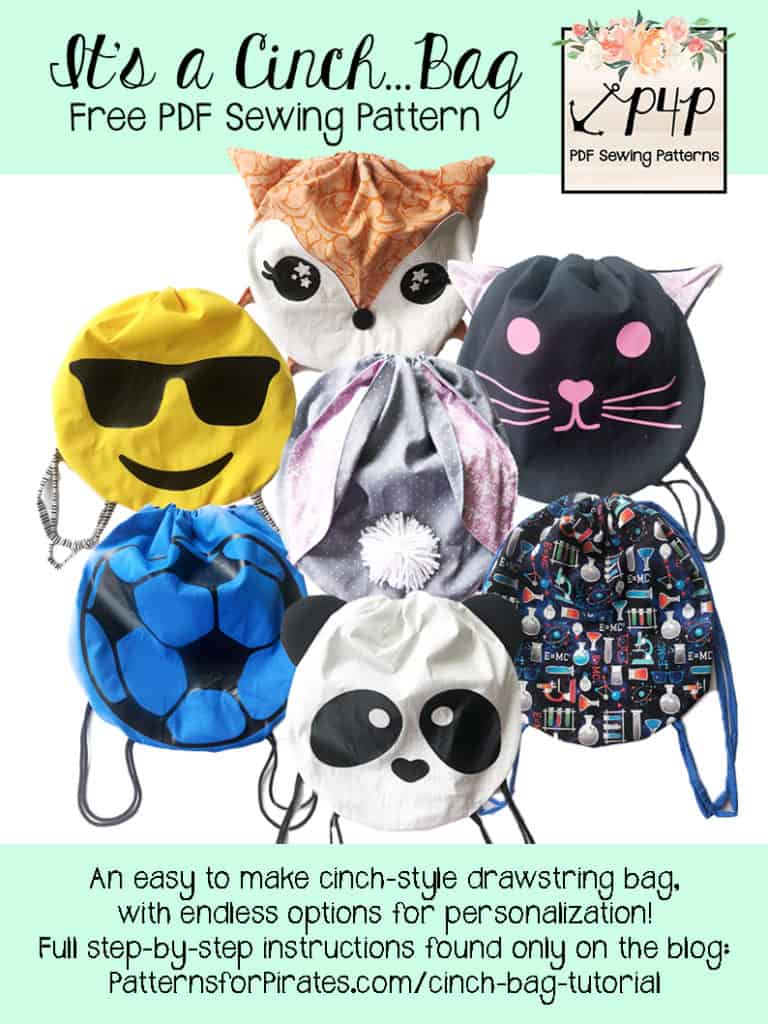
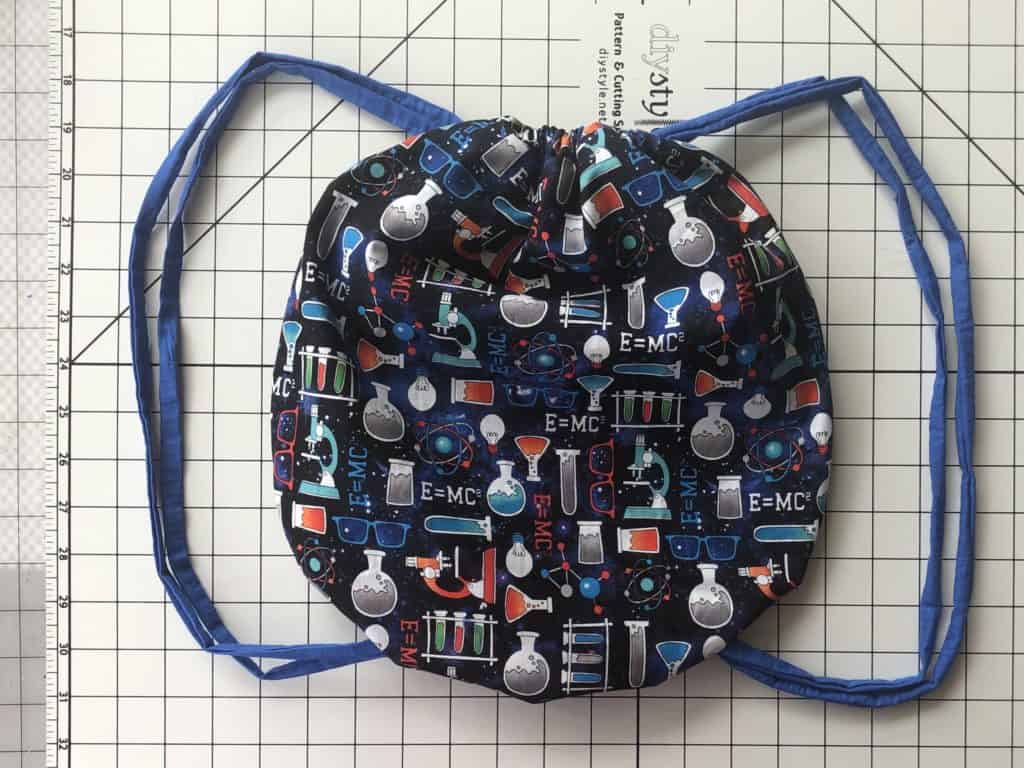
I have been having the hardest time containing myself over these bags!  I just love them so much and I hope you have the same feelings about them….because this is our newest FREE pattern and it’s launching RIGHT NOW!

Let’s make some It’s A Cinch….Bags!

Included in the pattern below are instructions on how to make a basic bag, or one of the animals like the fox, kitty cat, panda, or bunny!  There are also downloadable files for all of the animal faces (and the emoji face pictured), which you can use for htv, fabric paint or embroidery.  But wait, there’s more!  Included along with all of that are downloadable files for a soccer ball, volleyball, basketball and baseball!  I’ve got you covered all over the place!

Plus I totally spared you from having to install zippers this time.  (I know you were worried.)

**Stick around all the way to the bottom of this post for a full video tutorial of the assembly of these sweet cinch bags as well!

— It’s a Cinch…Bag PDF free pattern pieces, animal face files, and sports ball designs (found HERE)
— 1/2 yard main fabric
— 1/2 yard lining fabric
— 3 yards cording for straps, cut into 2 – 1.5 yard lengths.
— Optional: Small amounts of accent fabrics for ears, etc.
— Optional: Small amounts of fiberfill for the animal ears.
— Optional: Heat Transfer Vinyl / Embroidery Floss / Fabric Paint / Buttons / etc for Details

Recommended fabrics: quilting cotton, kona cotton, etc.

BASIC BAG CONSTRUCTION

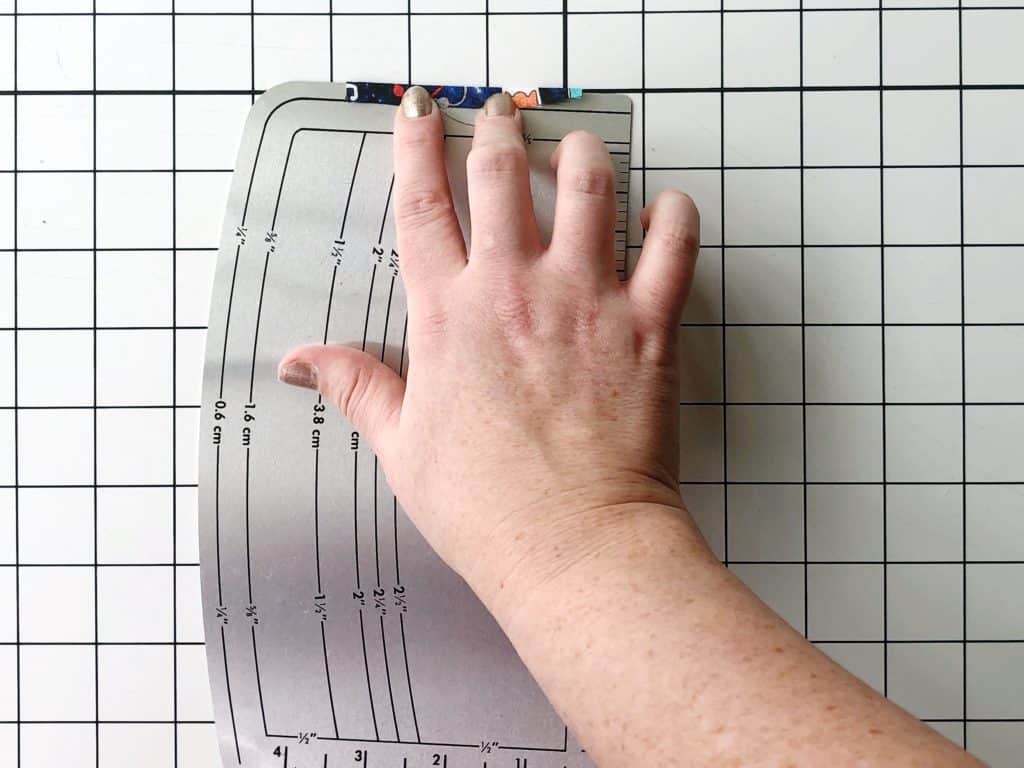
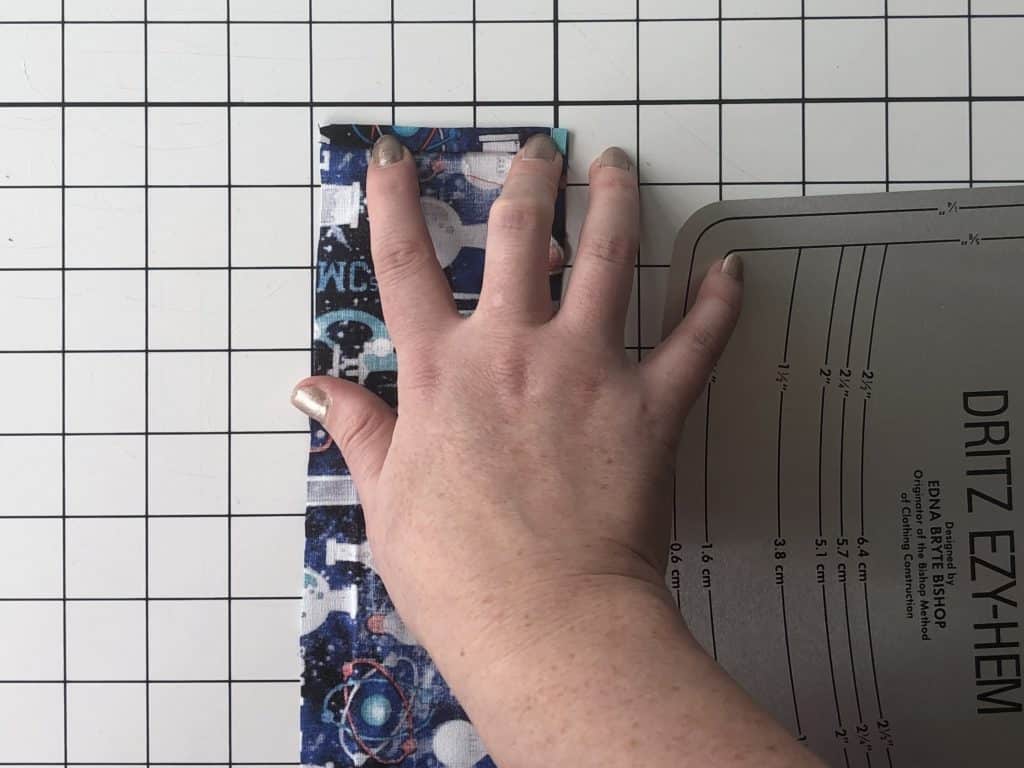
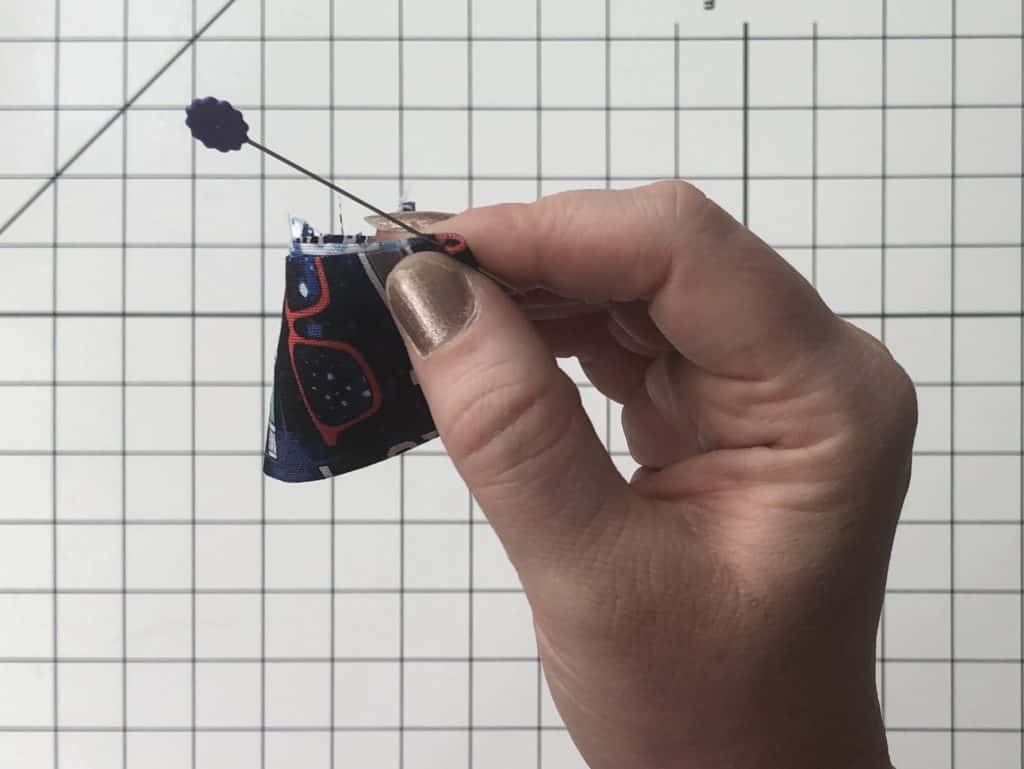
Step 1: Using a strap channel piece, fold one of the short ends (wrong sides together) at 1/4″ and press.

Fold another 1/4″ to enclose raw edges and press again.

Repeat on the other short side of strap channel.  Repeat with other strap channel piece.

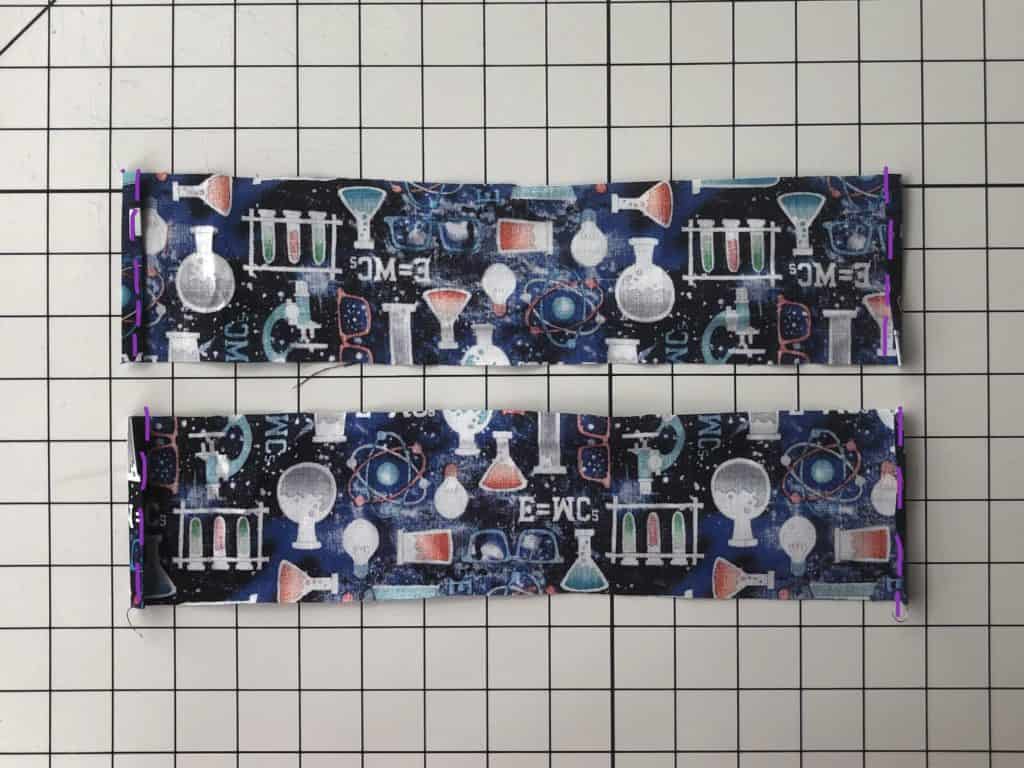
Step 2: Top stitch along both edges of strap channel pieces.

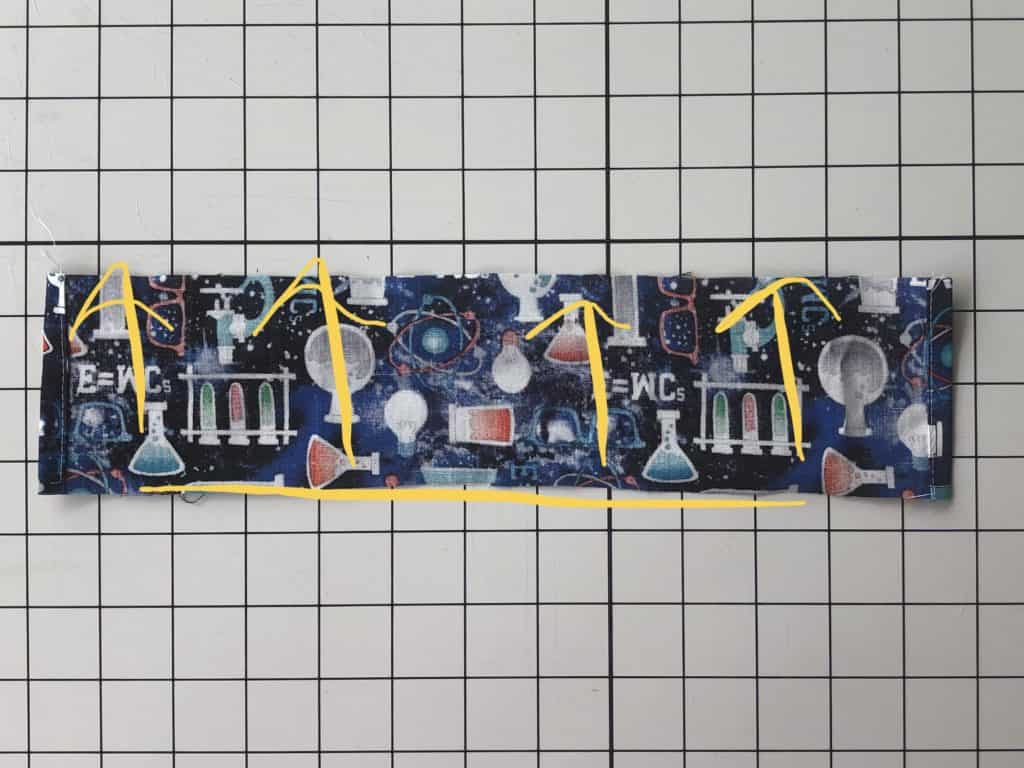
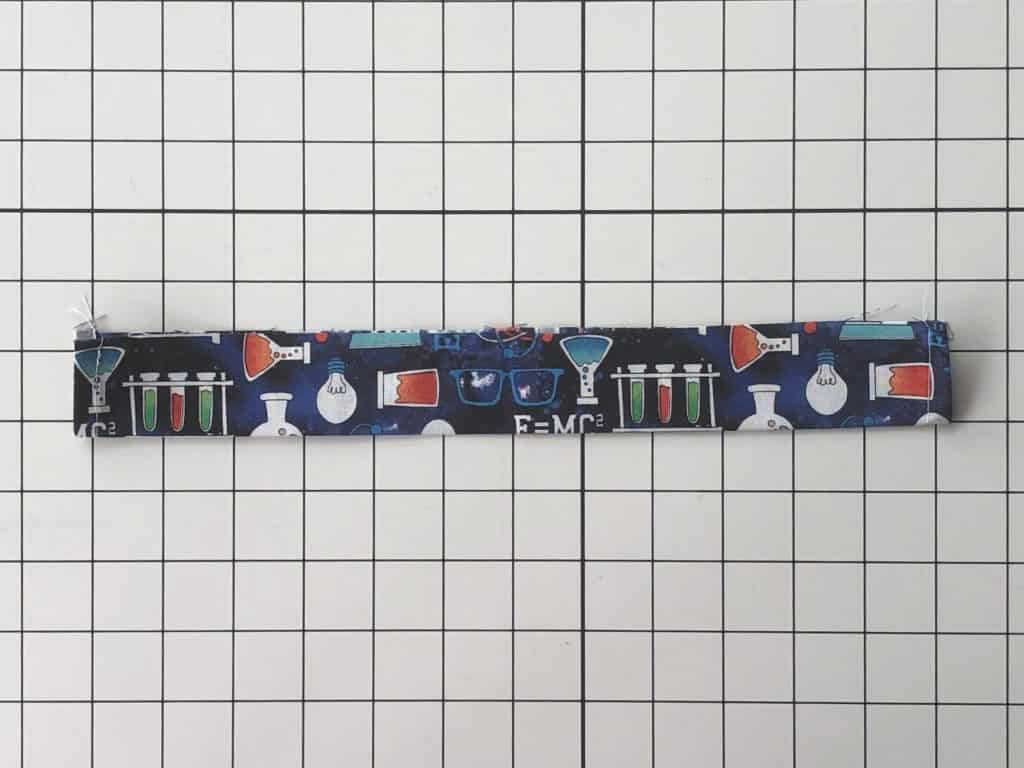
Step 3: With wrong sides together, fold the strap channel in half, meeting the long raw edges together.  Press.  Repeat with other strap channel piece.

Step 4: Fold channel pieces in half and place a pin to mark the center along the raw, unfolded edges.

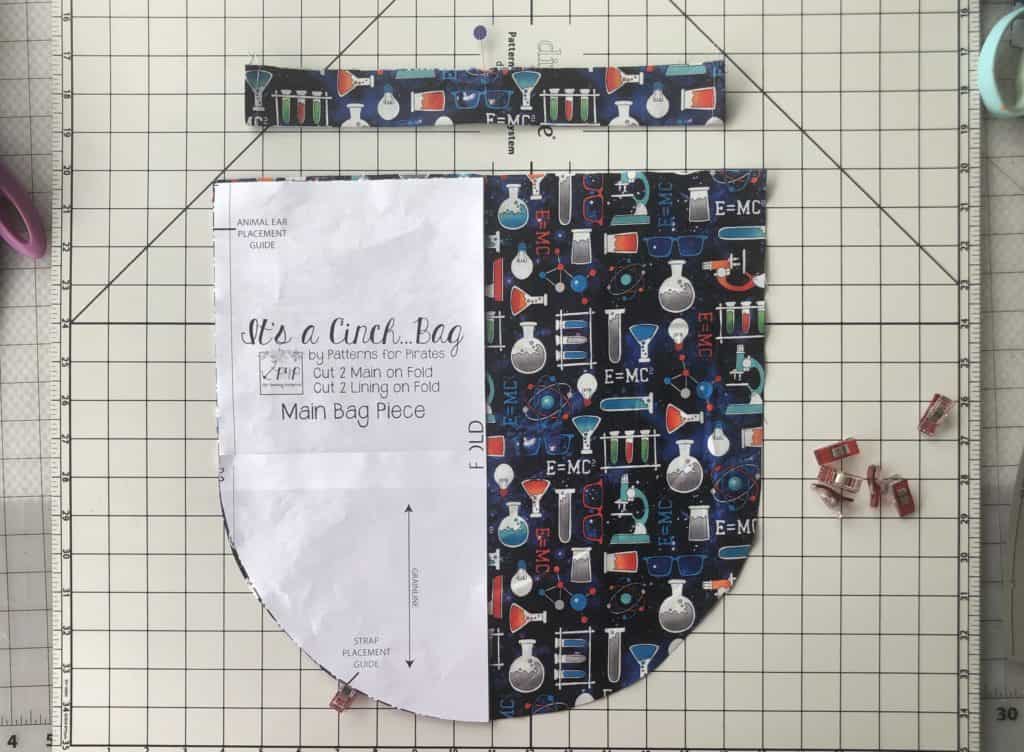
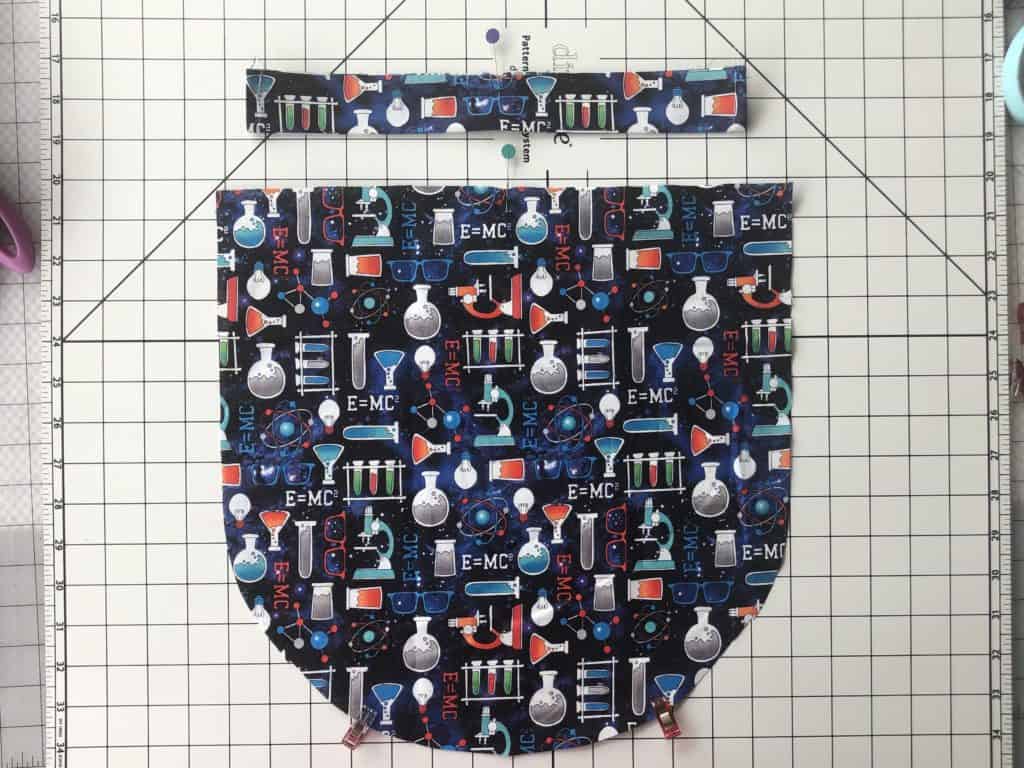
Step 5: Grab one of the Main Bag pieces, in your main fabric and place it right side up.  Using your pattern pieces for alignment, place a pin or clip at the strap placement guides at the bottom, as well as the center top of the piece.

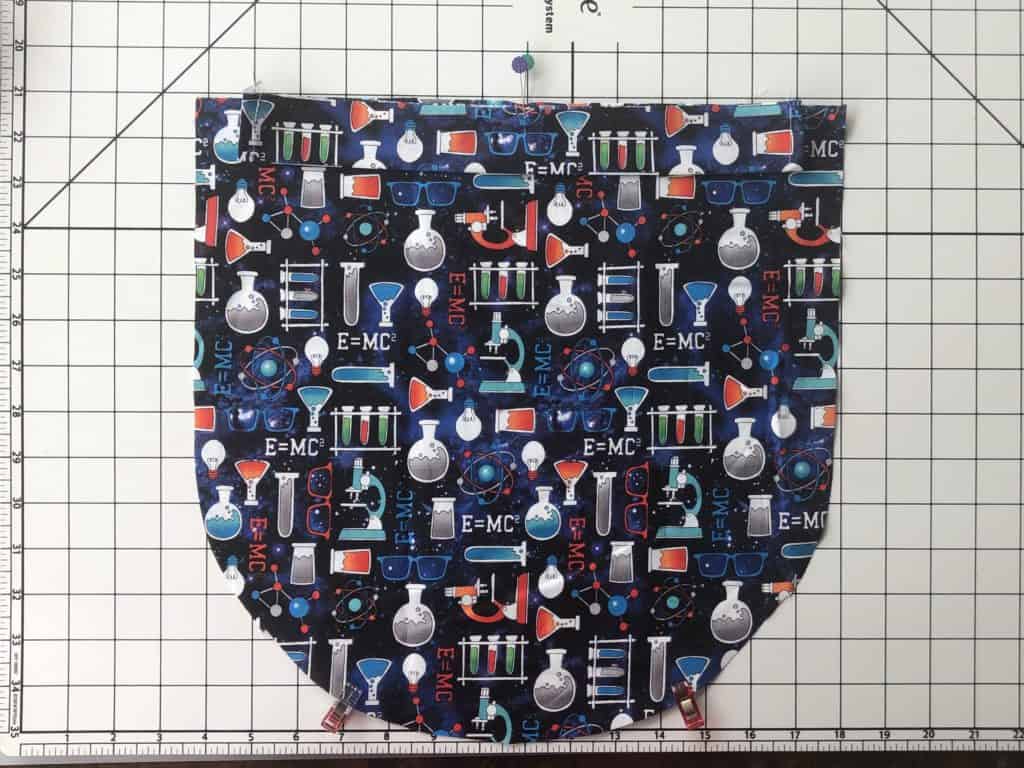
Step 6: Align one of the strap channel pieces along the top of the main bag piece, with the raw edges all matching, centered against each other.

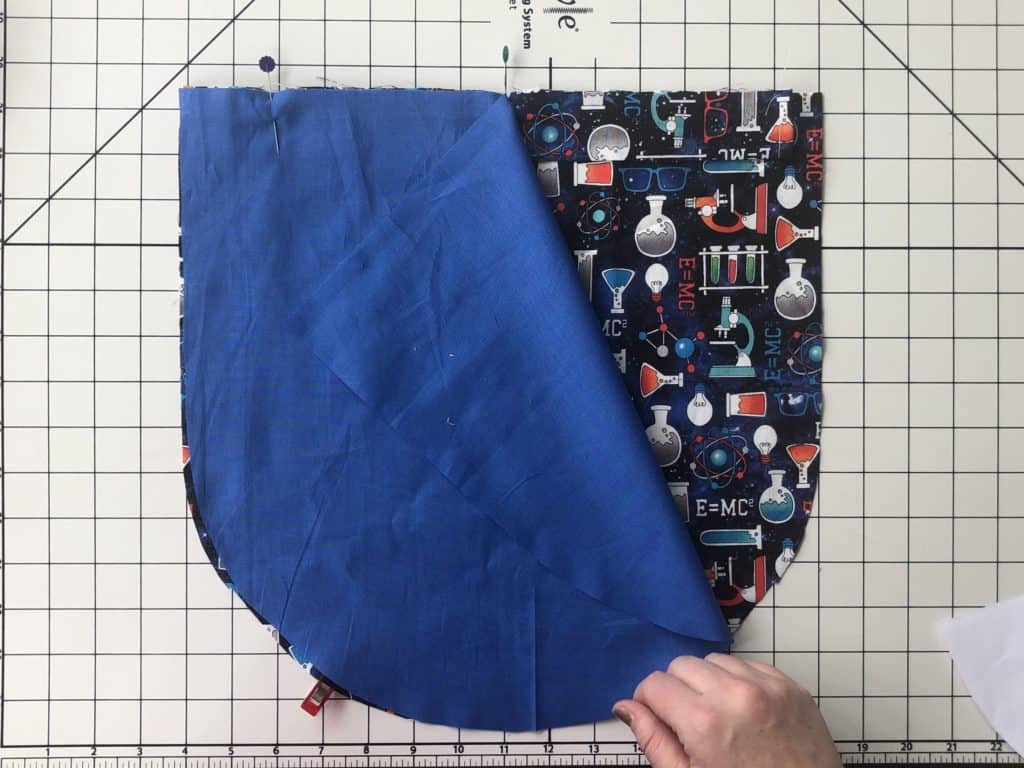
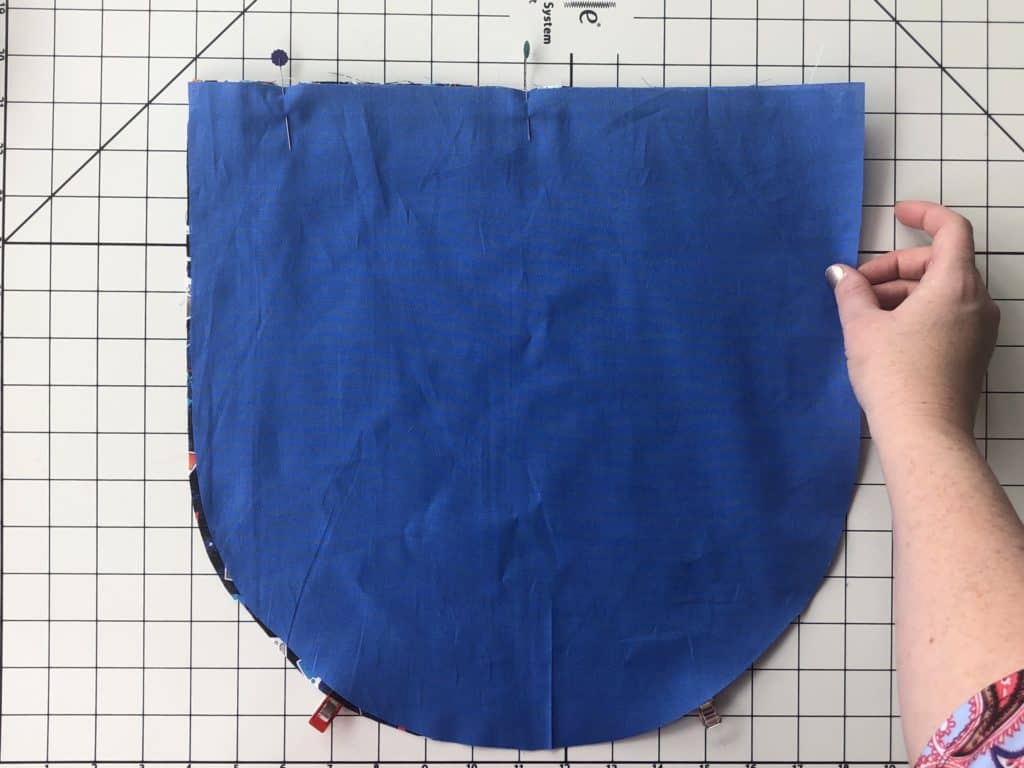
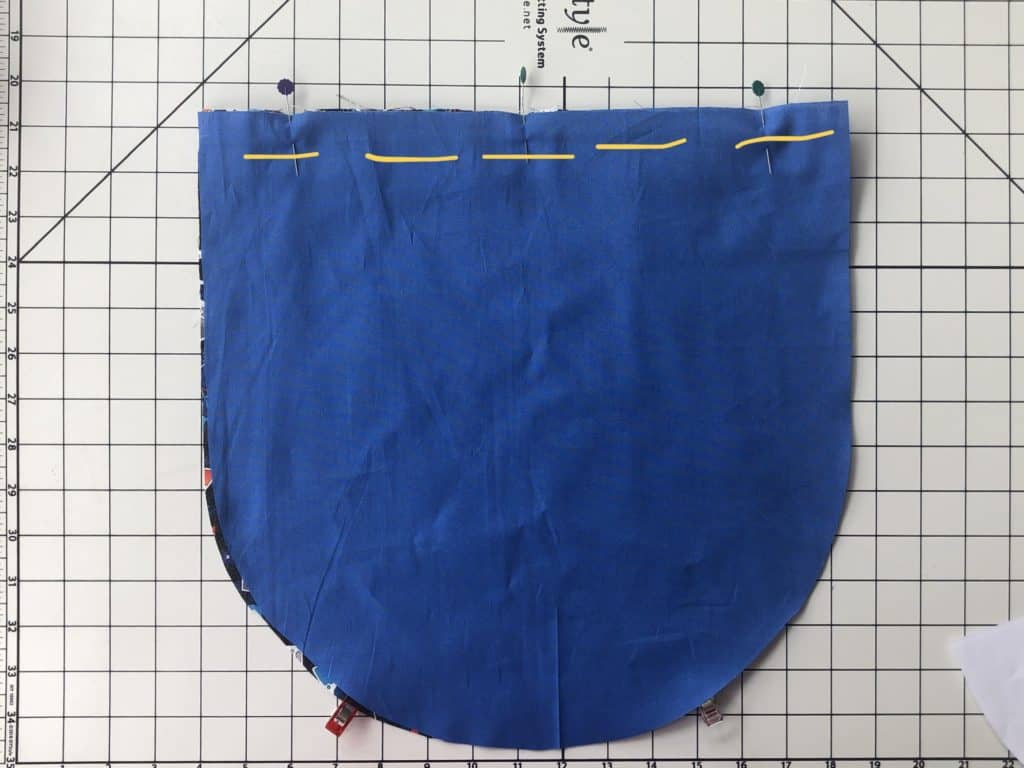
Step 7: With one of the lining pieces face down, lay it on top, sandwiching the strap channel piece between the two body pieces.

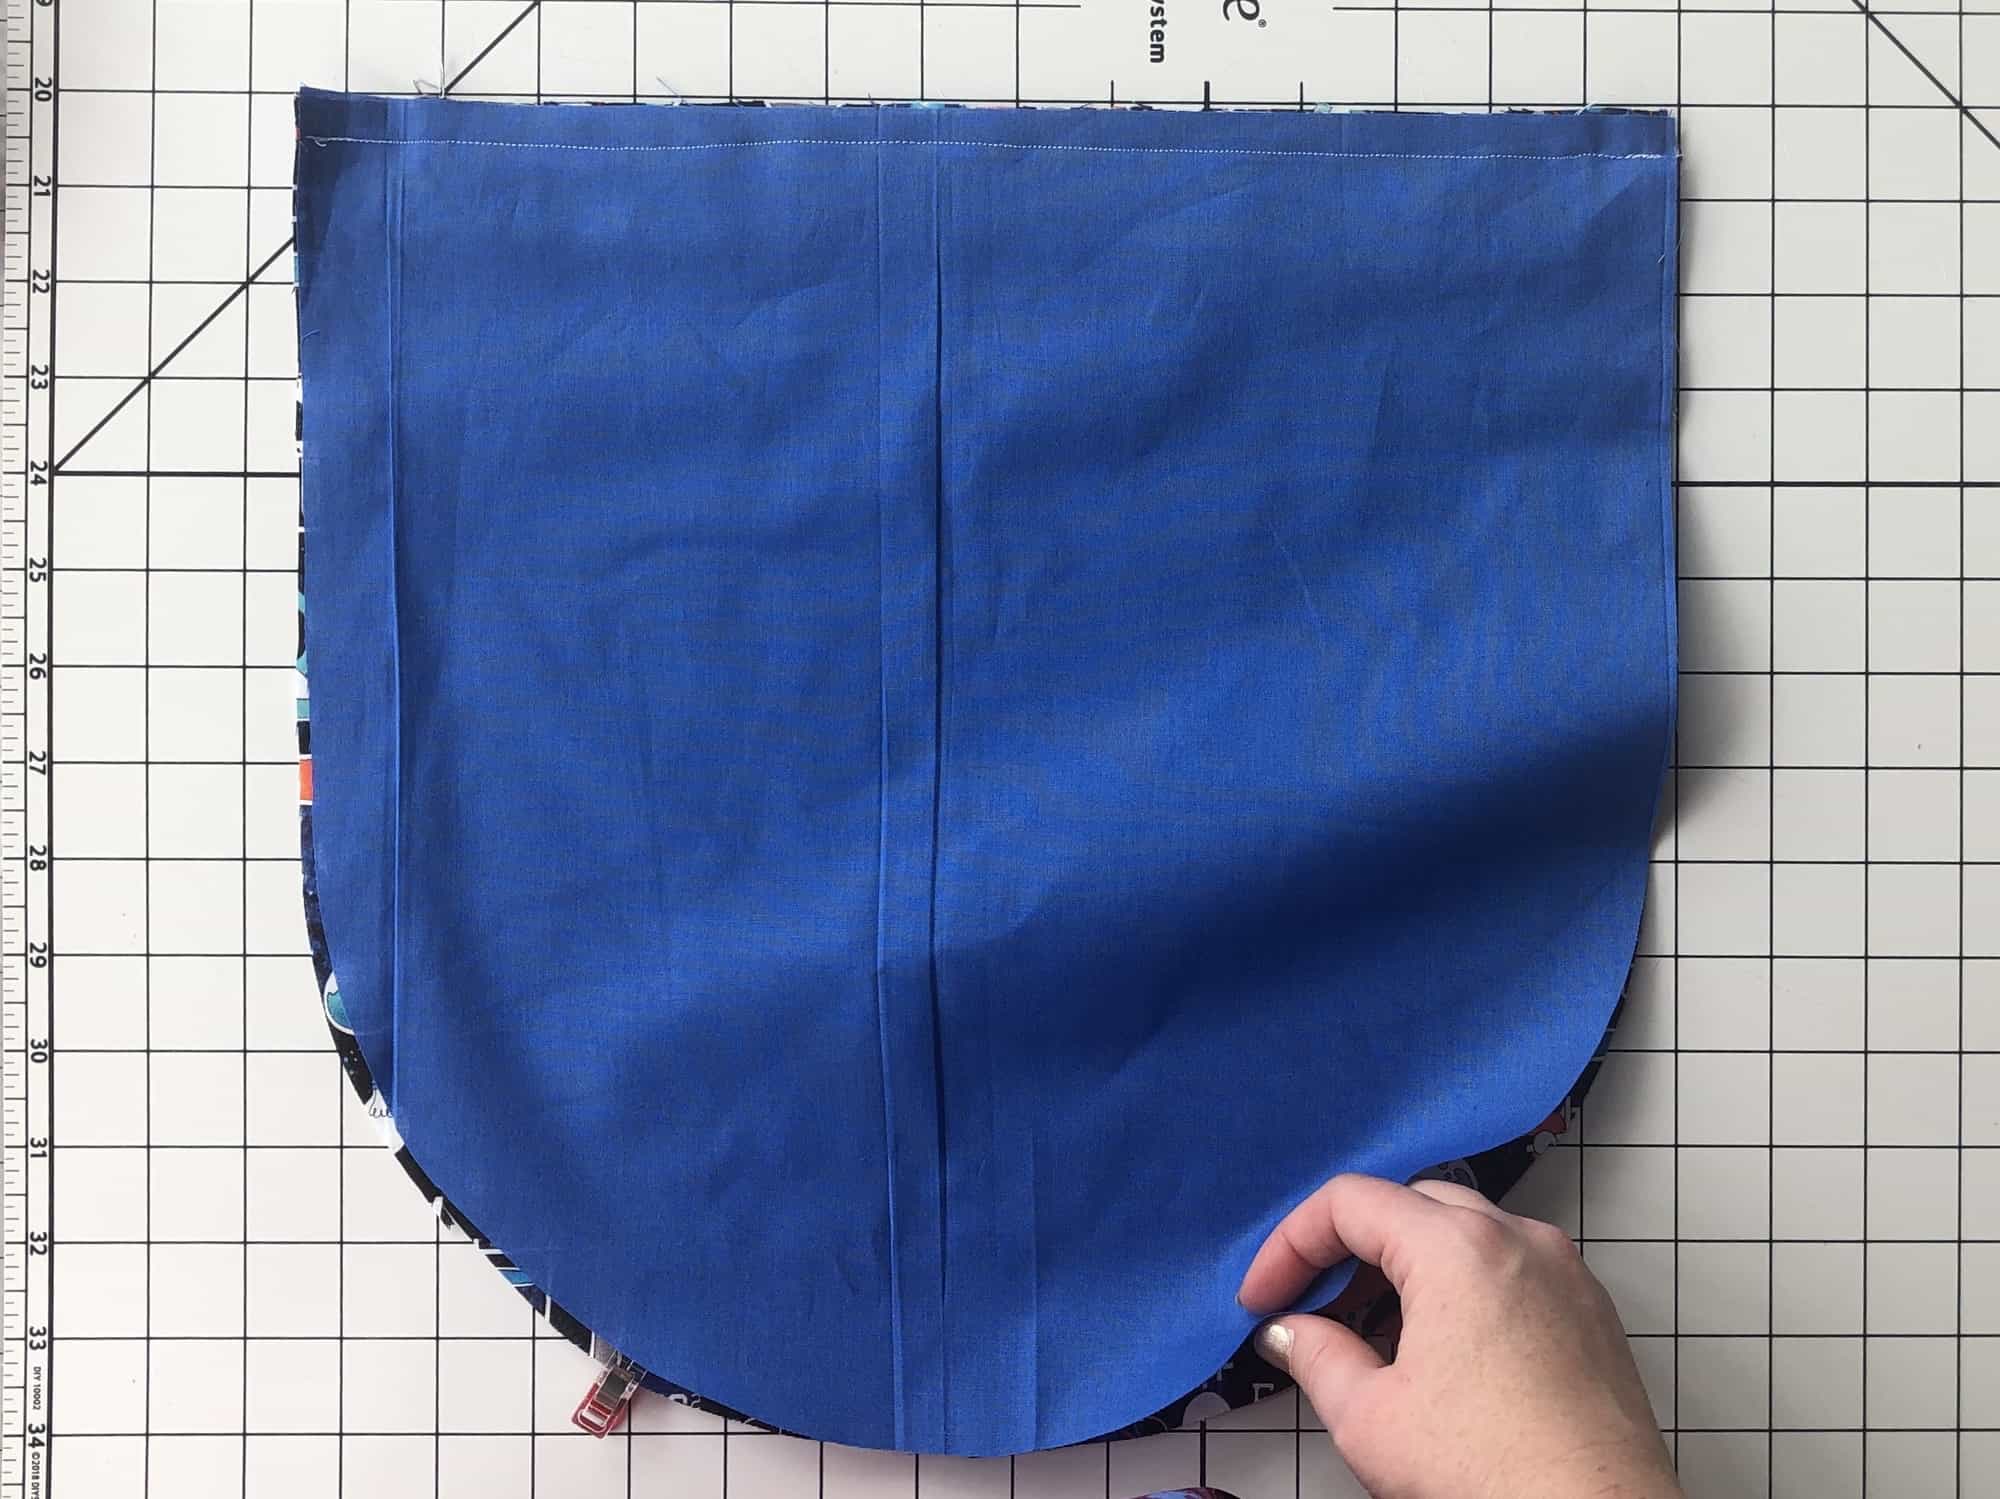
Step 8: Using 1/2″ seam allowance, stitch along the entire top, straight edge.

Step 9: Flip your fabrics so they are now right sides facing out, and the strap channel is sticking above the body pieces.  Press.  Repeat with other main, lining and strap channel pieces.


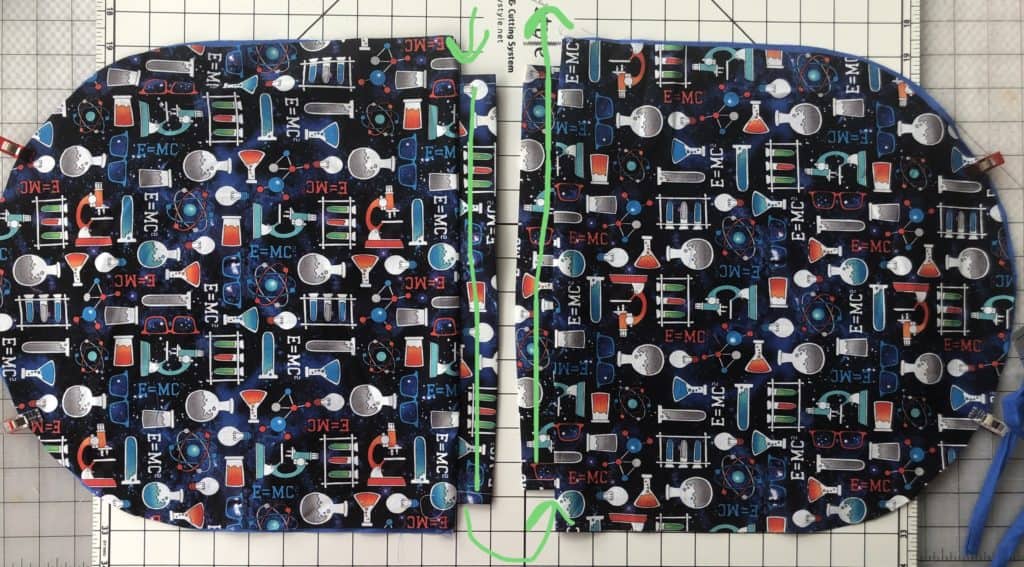
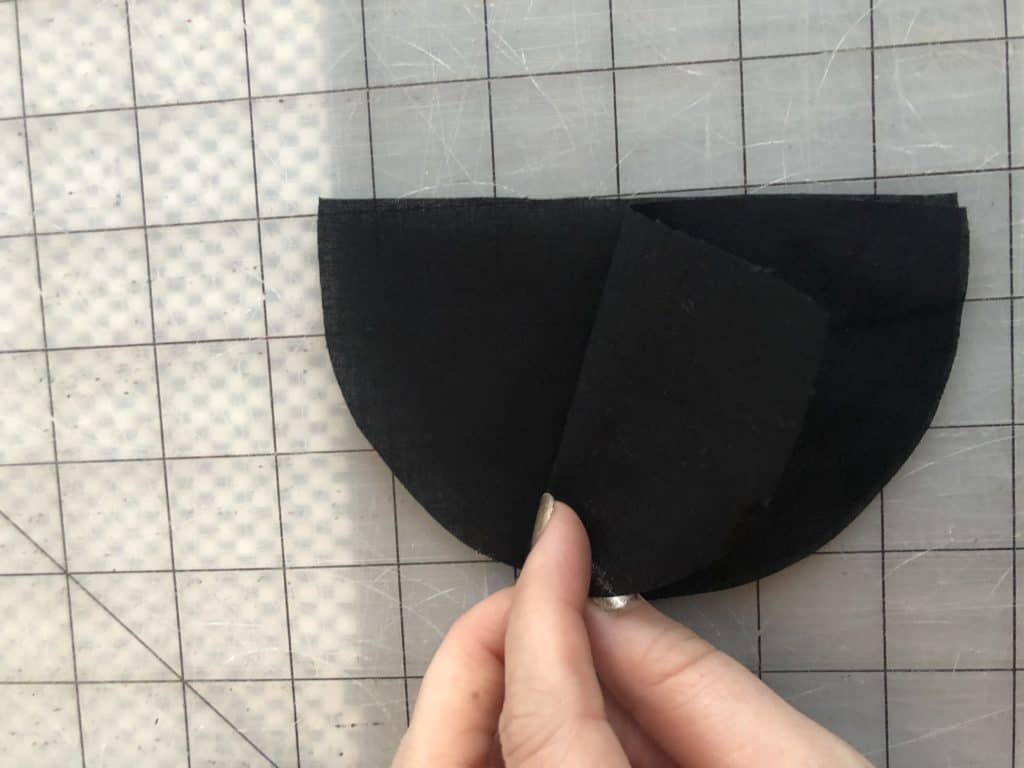
Step 10: With the main fabrics facing up, lay your bag pieces so that they are mirrored and the strap channels are closest to each other.

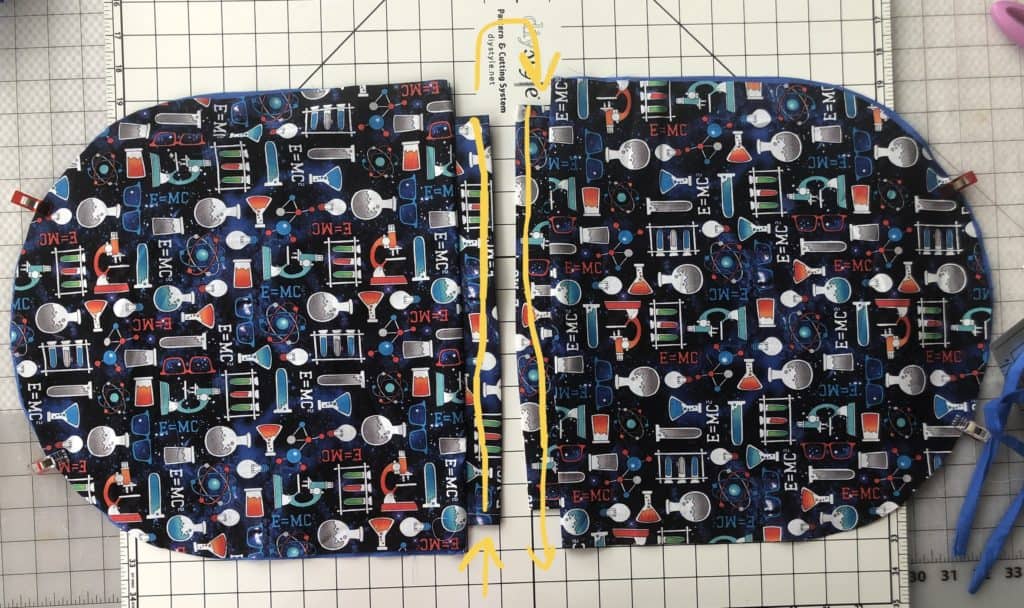
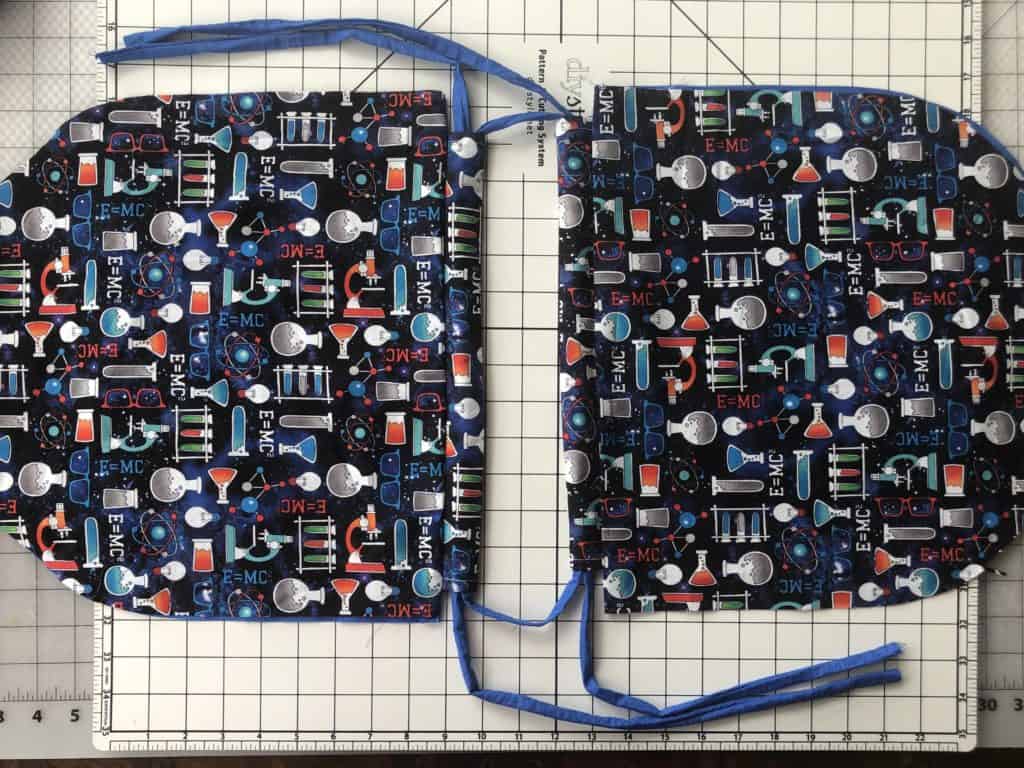
Take one of your straps and using a bodkin, safety pin, or other threading tool, feed your strap through the channels.

Feed into the bottom left channel, out the top, and back down through the top right channel.

Repeat with the opposite by feeding a strap through the top left channel, out the bottom, and back up the bottom right channel.

You will now have two raw ends of your straps on either side of your bag pieces.

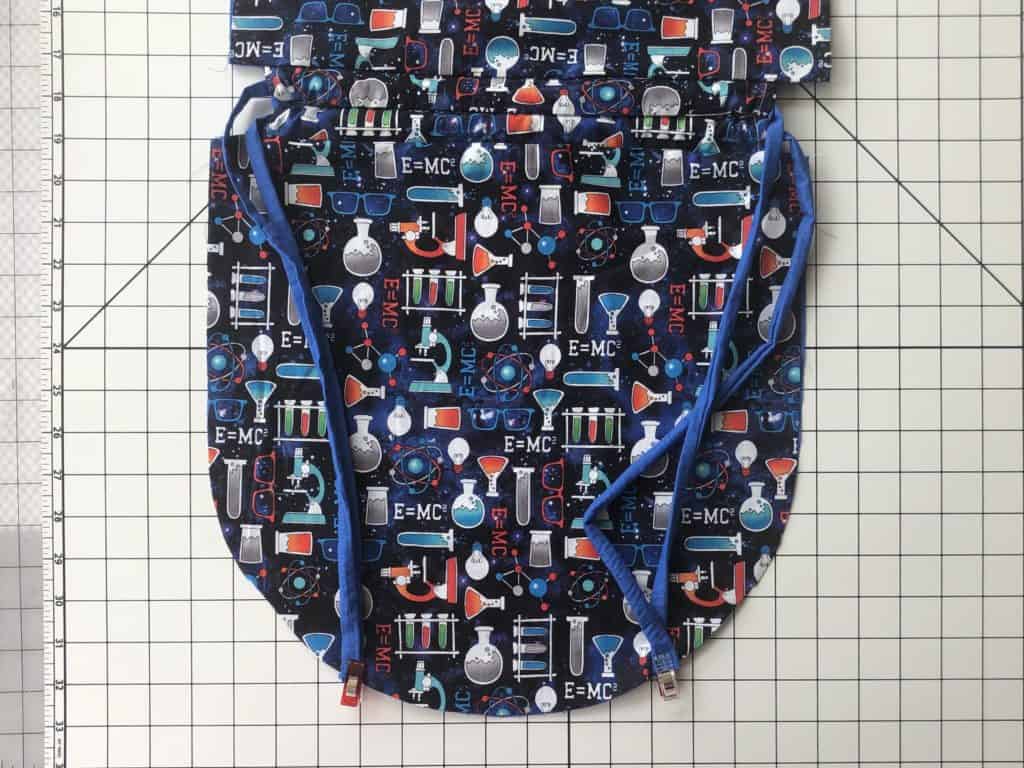
Step 11: Adjust your bag to have the outer, front of the bag facing you.  And clip or pin your straps with the raw edges facing away from the bag, to where you previously marked with the strap placement guides.

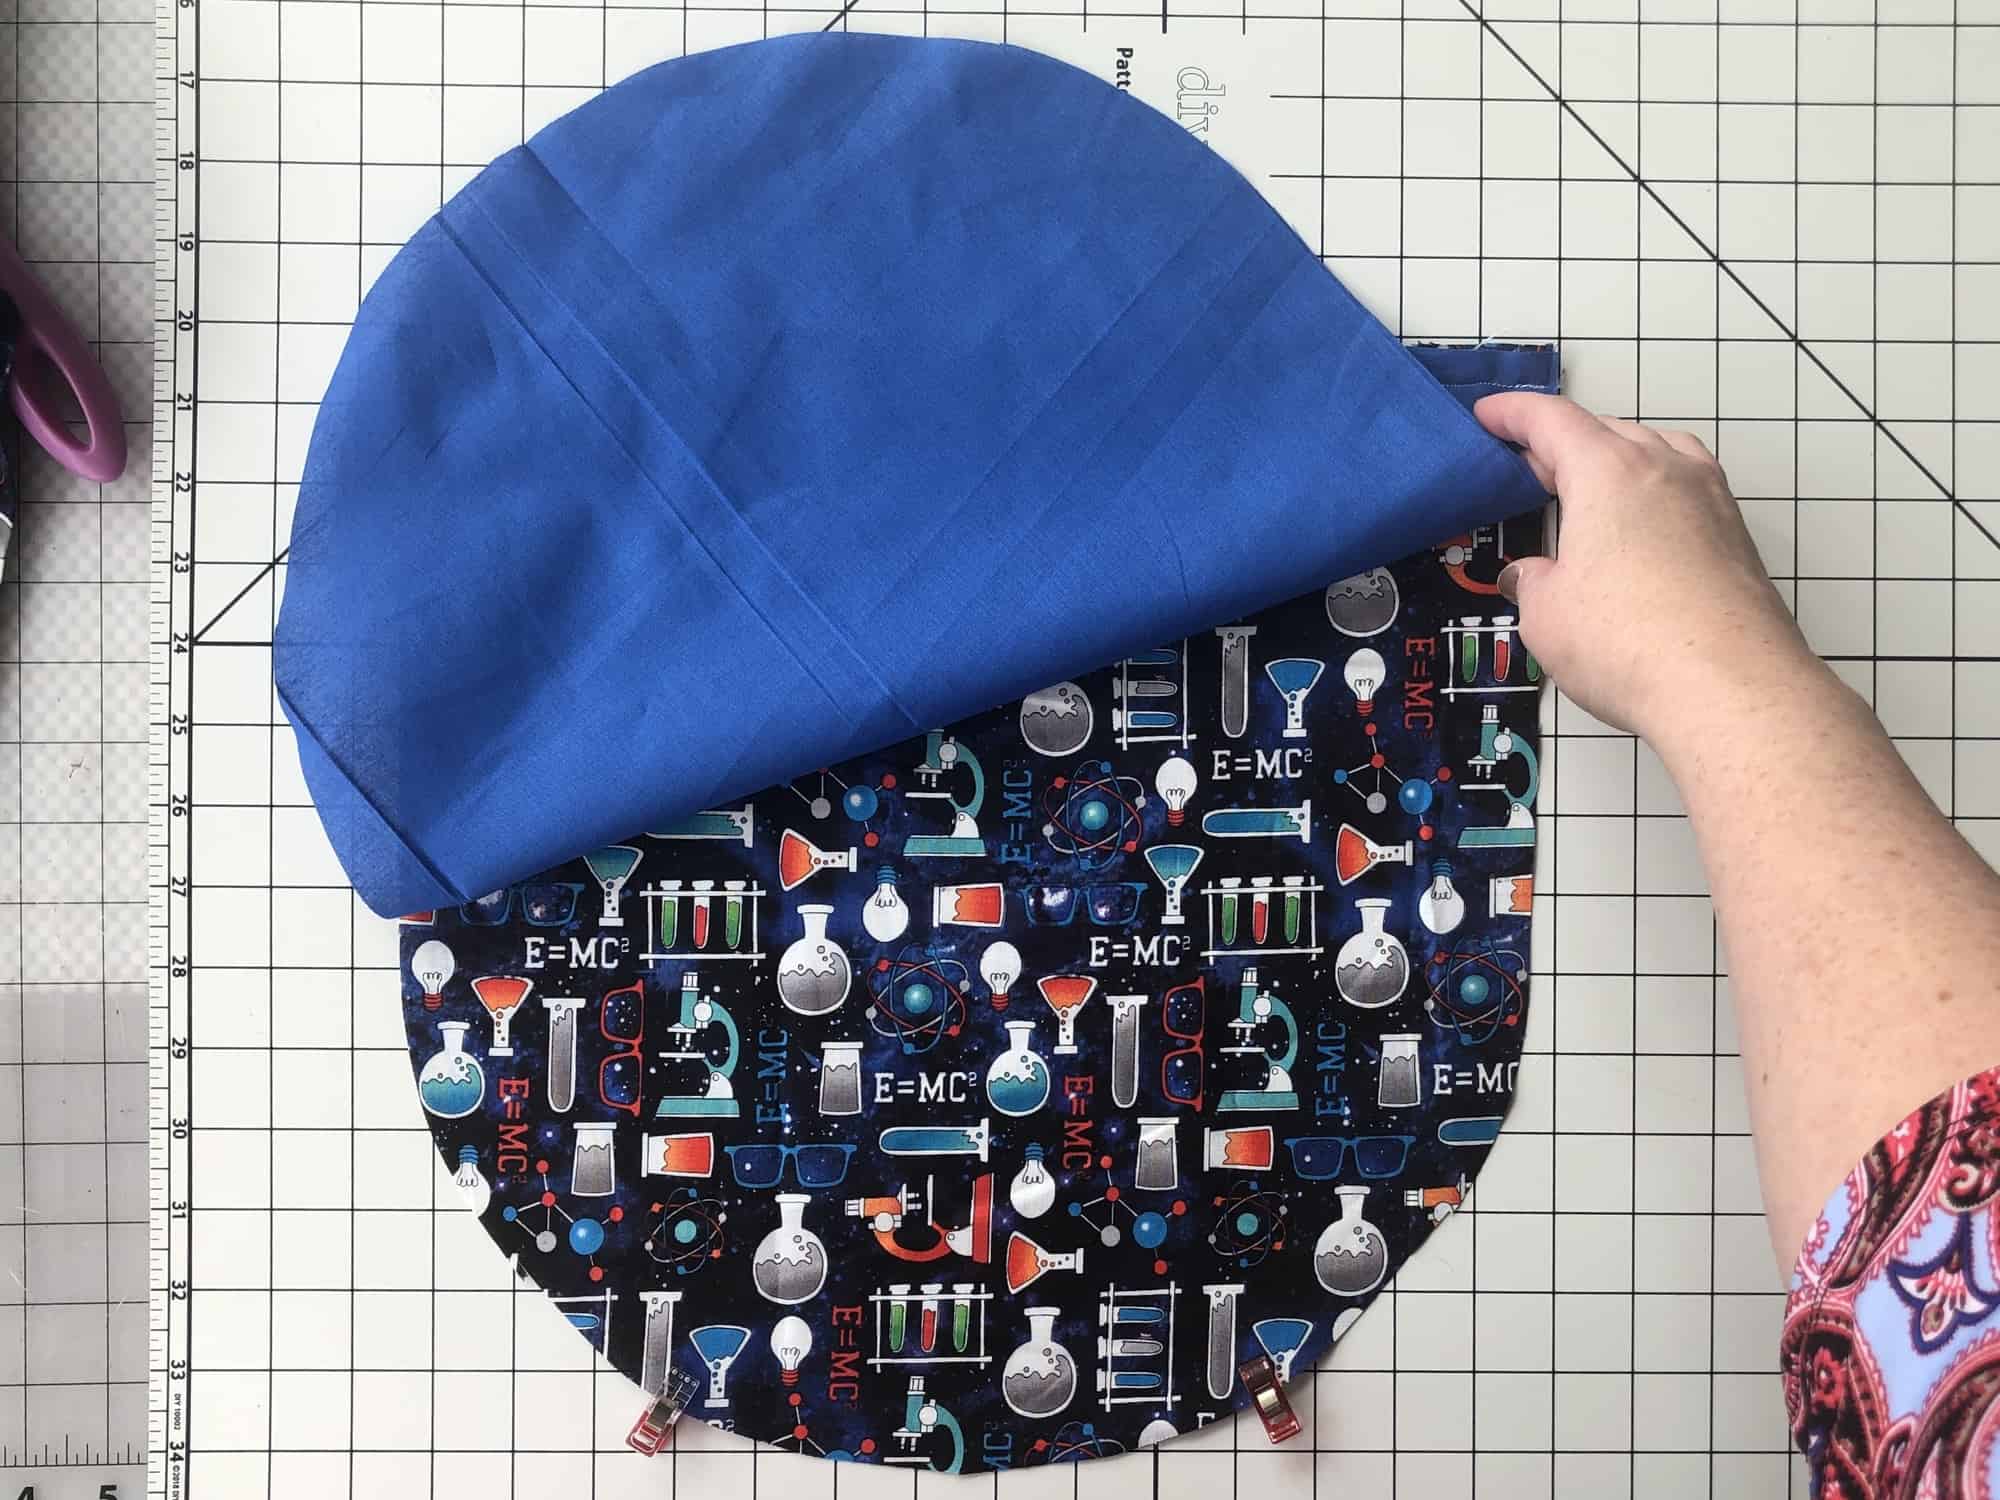
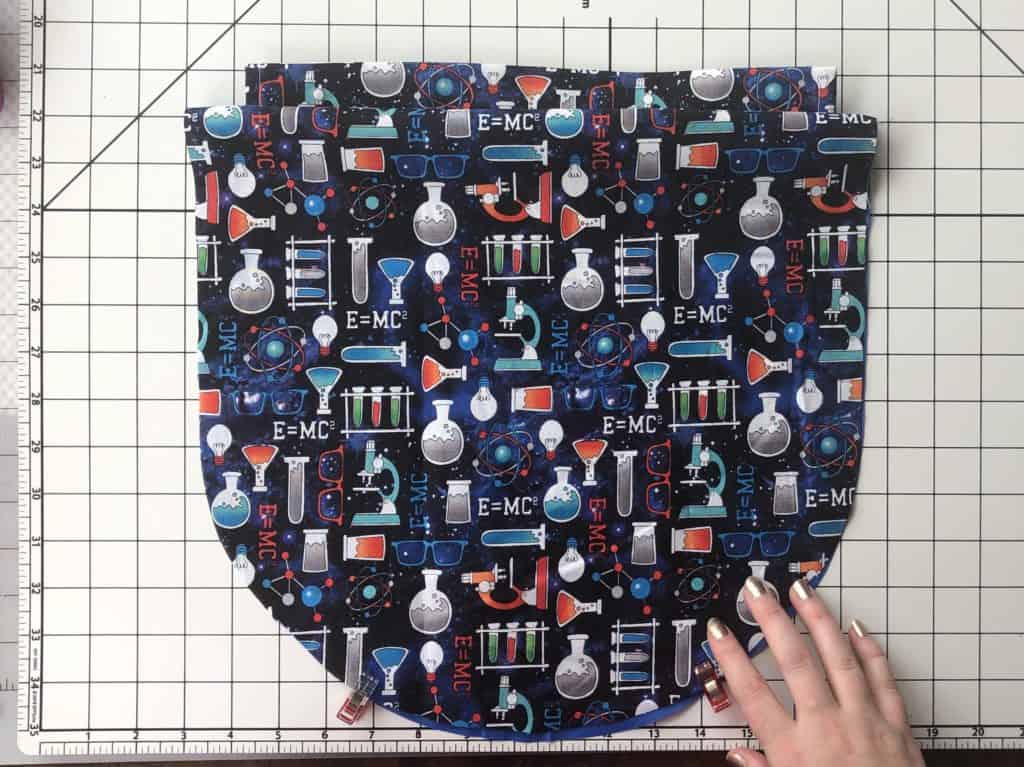
Step 12: Flip open your bag, so that the lining pieces are right sides together, and the main fabric pieces are right sides together, and the straps are nestled neatly inside.

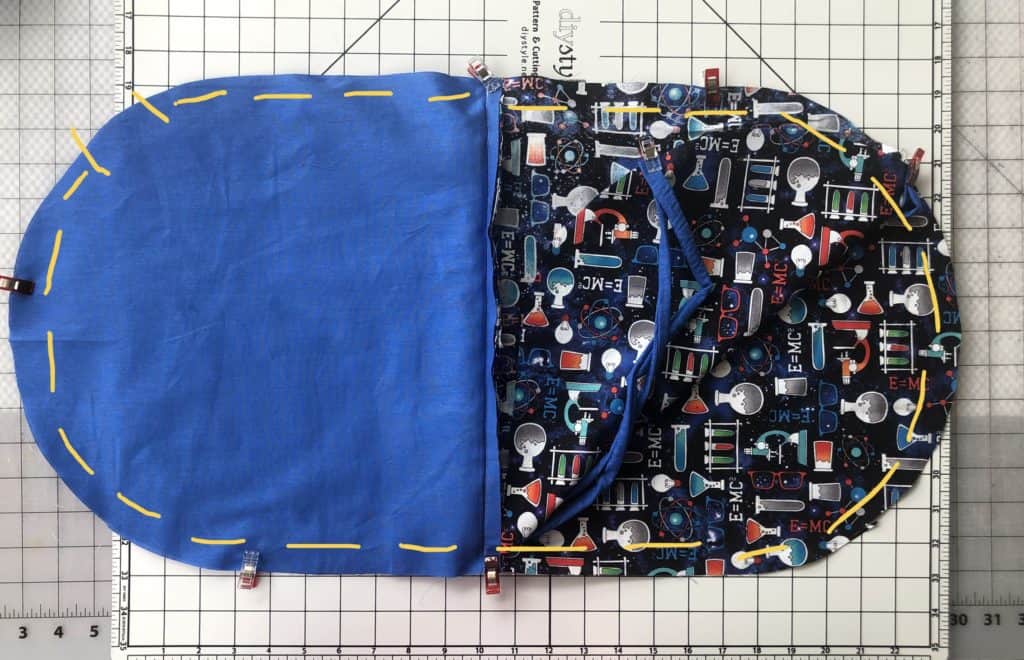
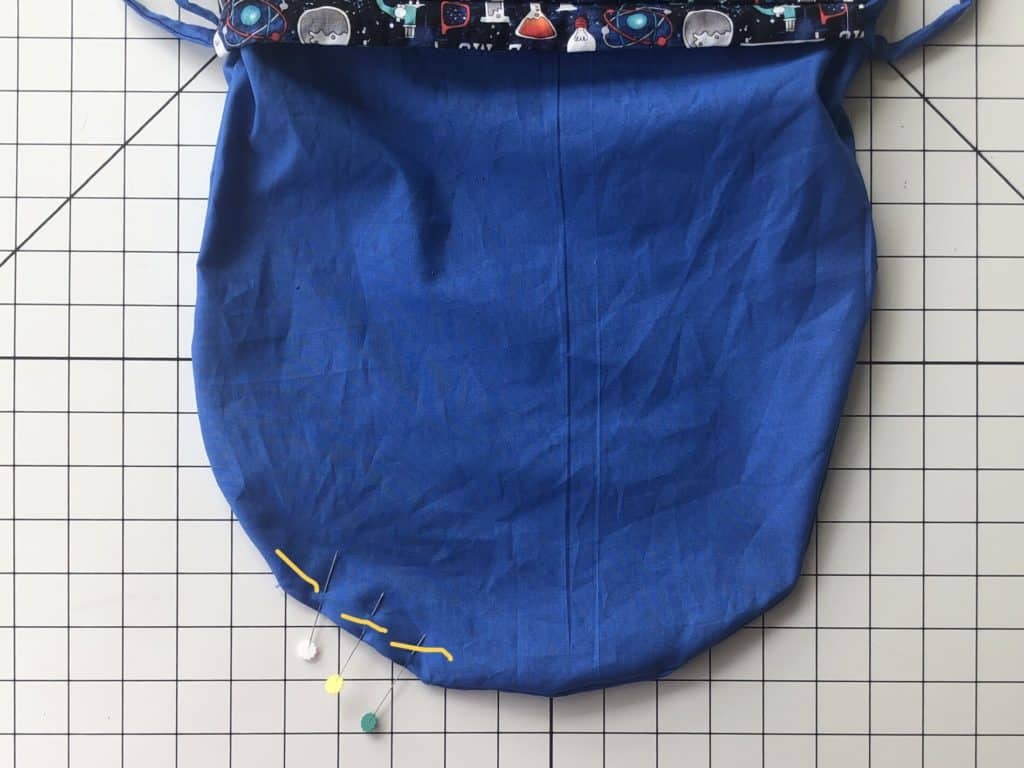
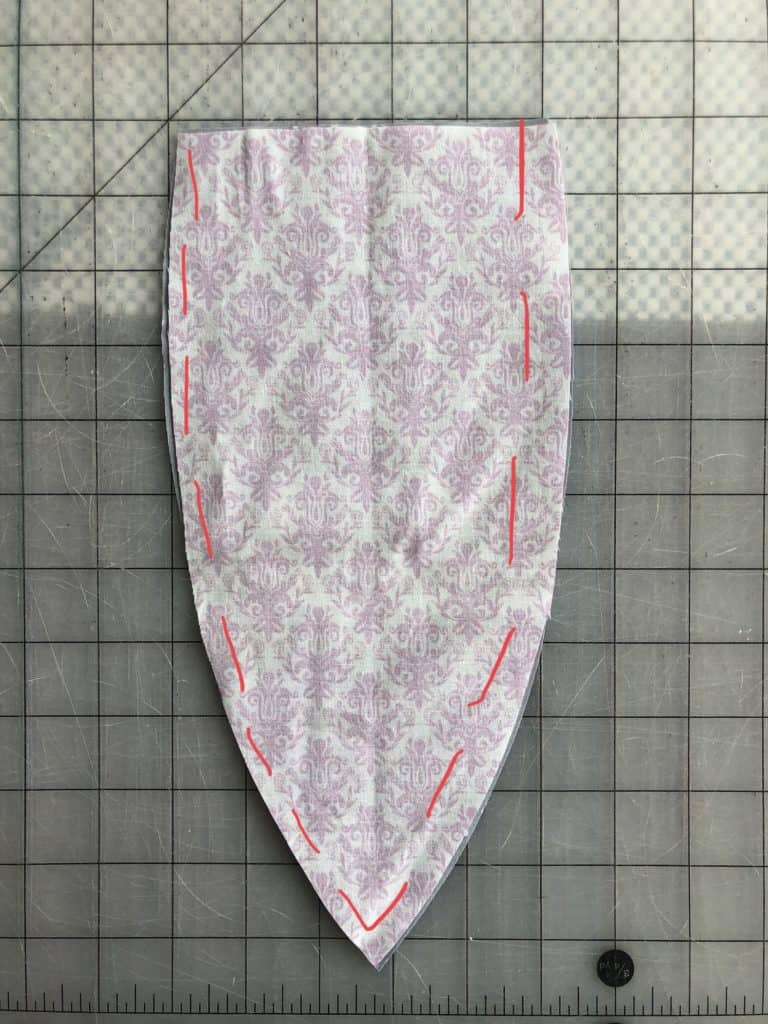
Align all edges and sew with a 1/2″ seam allowance around the entire edge, leaving open only a 4-5″ space for turning.  Be careful not to sew your strap pieces into the seam on accident.

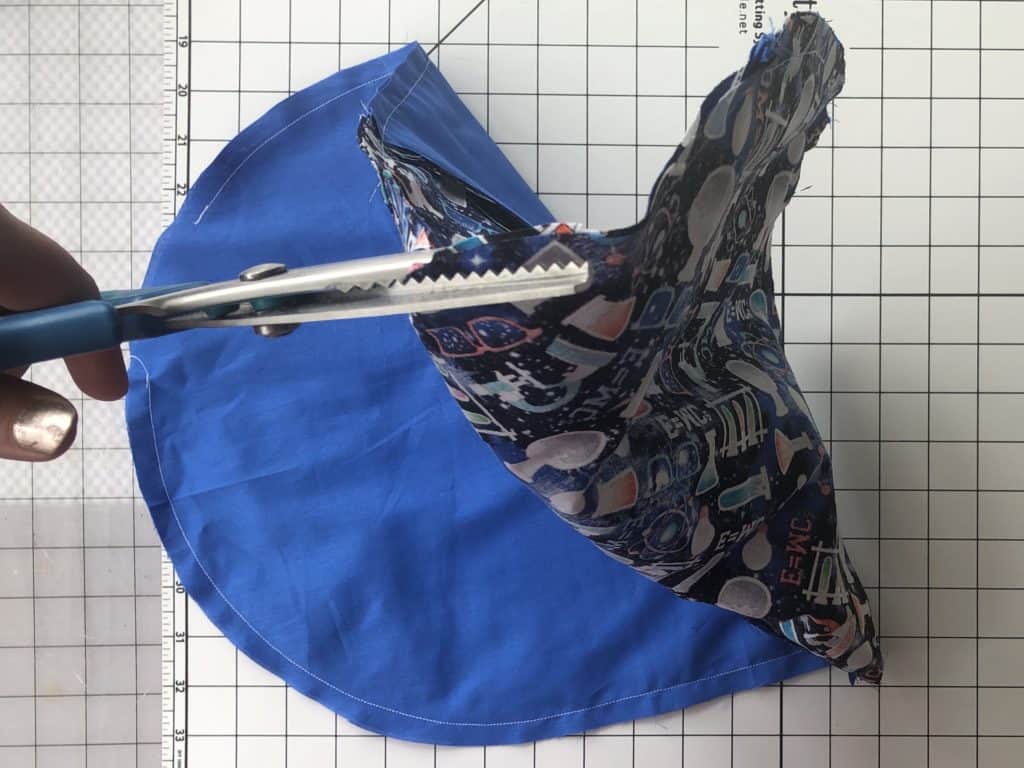
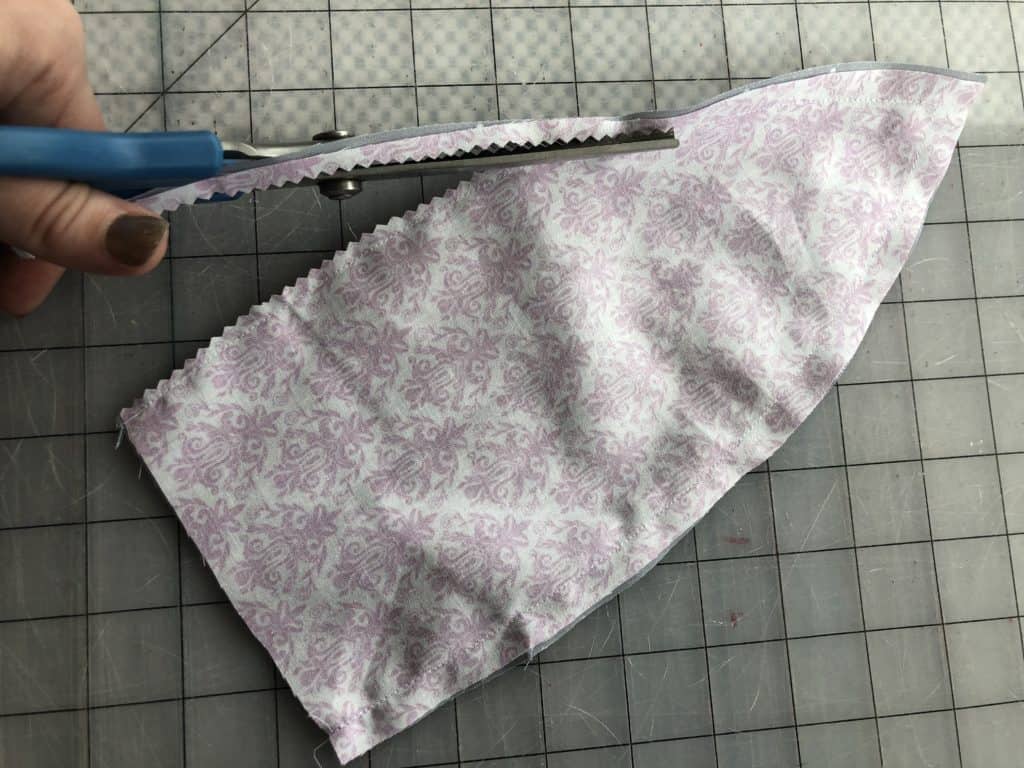
Step 13: Careful not to clip through your seams, trim your seam allowances down to help with a more precise curve.

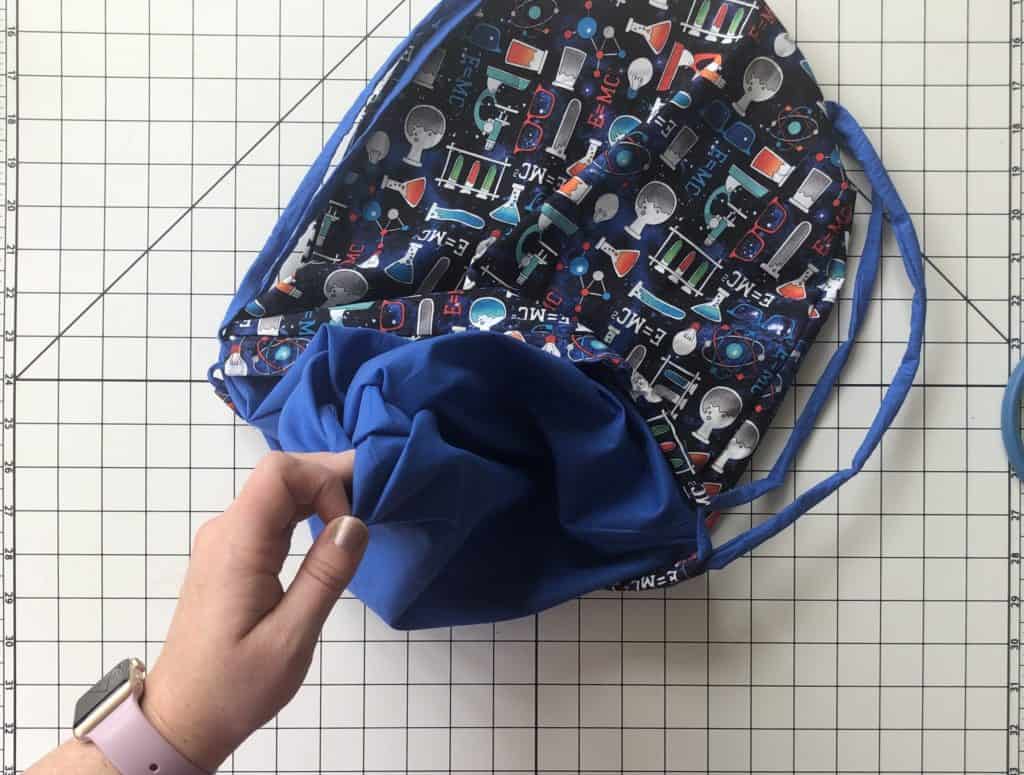
Step 14: Turn your bag right sides out, through the opening you created in Step 12.

Step 15: Tuck your seam allowance back into the opening.  Pin or clip.  And using your favorite method, stitch it shut.

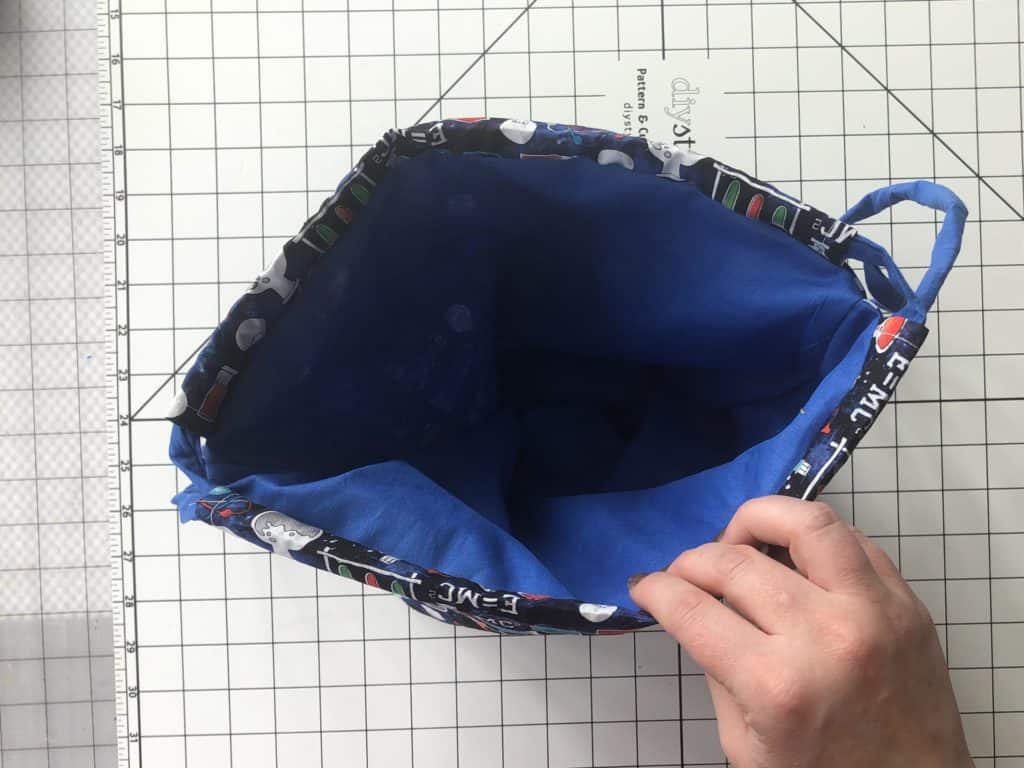
Step 16: Push your lining fabric into the main fabric side.

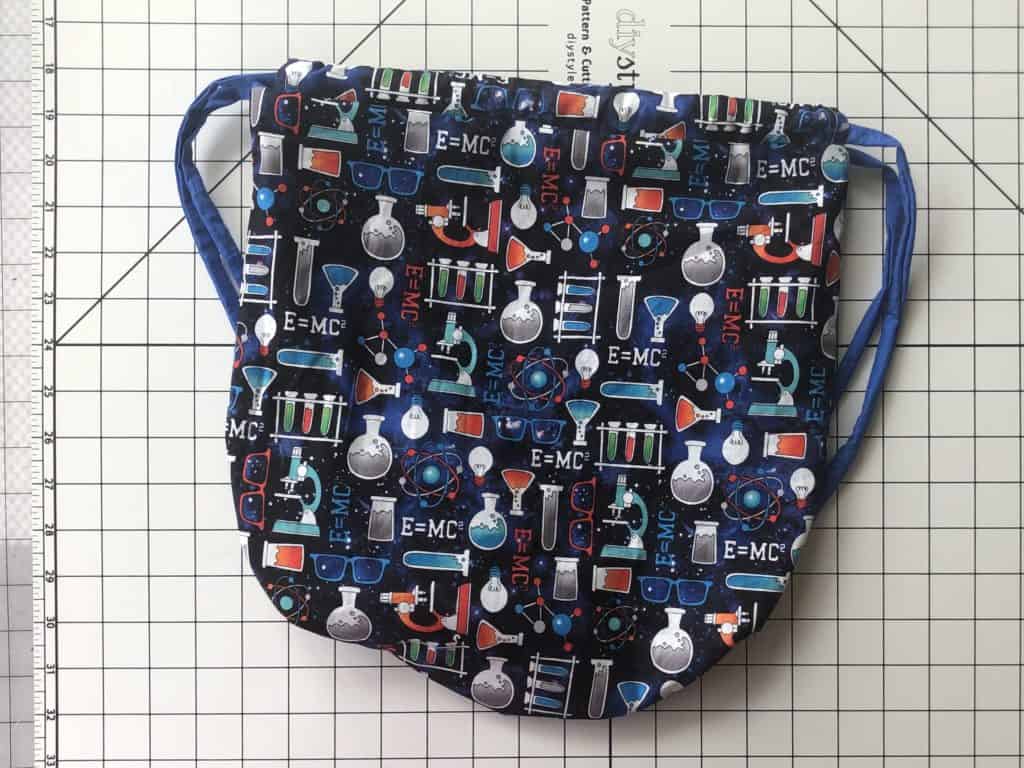
Step 17: Give your brand new bag a good press, pull the straps tight, gift it to your favorite person and make another!

BUNNY BAG CONSTRUCTION

Step 1: Place the ear fabrics right sides together.

Step 2: Using 1/2″ seam allowance, stitch long outer edges together.

Step 3: Trim seam allowance, being careful not to clip through your stitches.

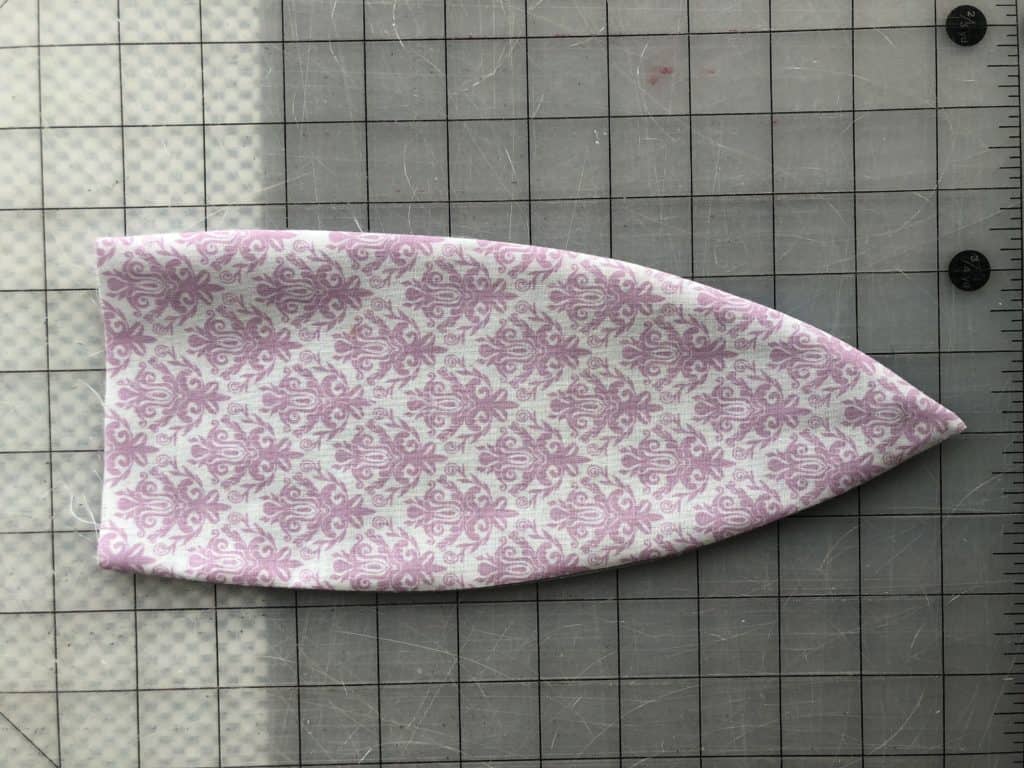
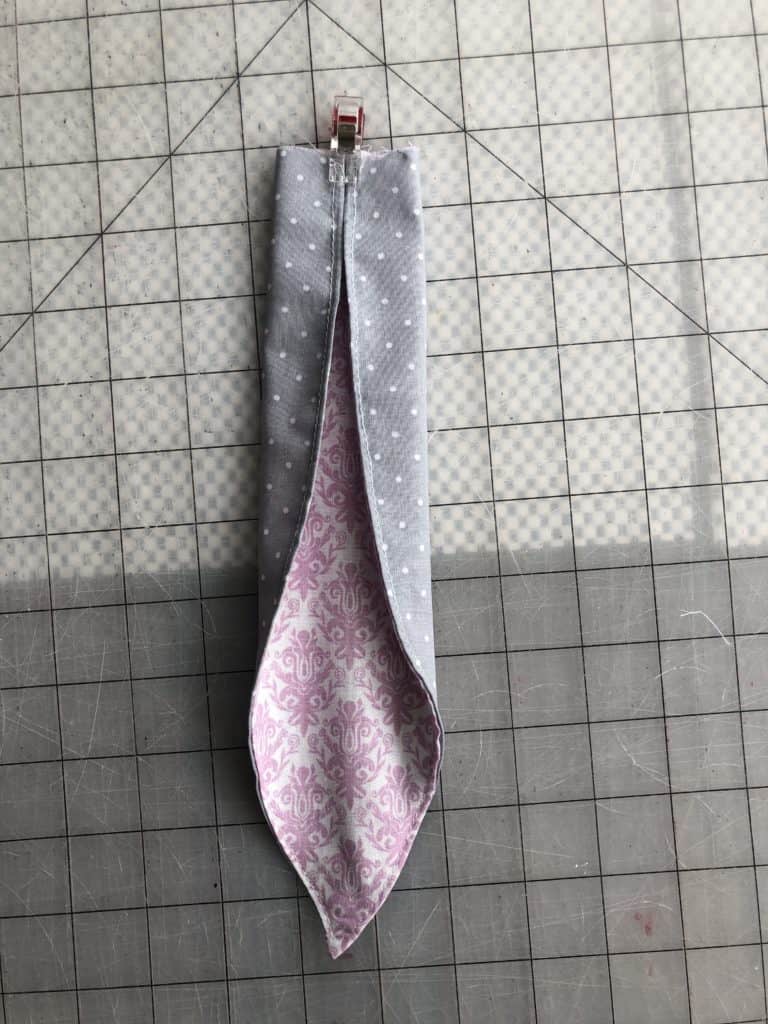
Step 4:  Turn and press, topstitch if desired.

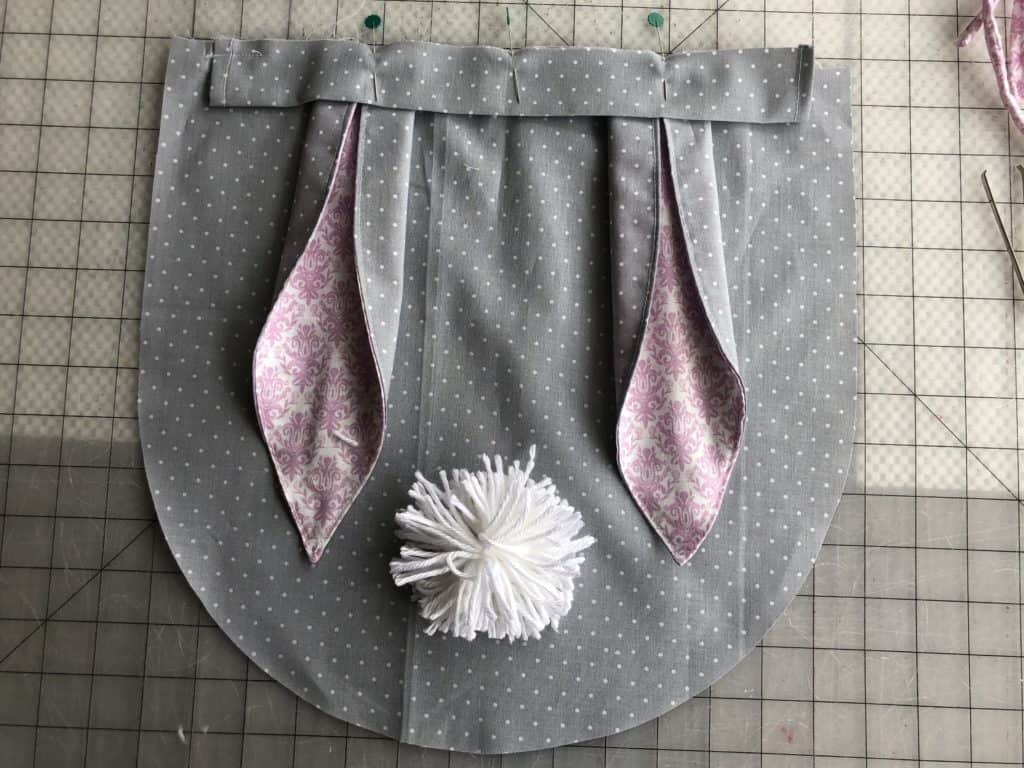
Step 5: Fold along the top, raw edge, meeting the corners together.  Clip or baste top edge in place.  Repeat with other ear.

Step 6: If using yarn for the bunny tail:

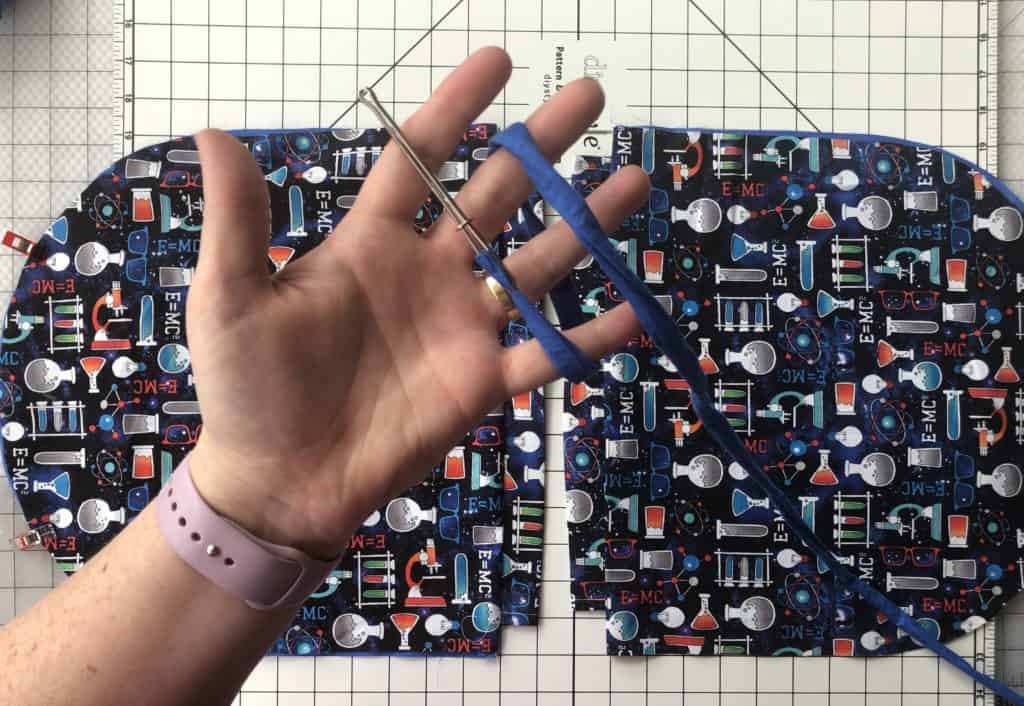
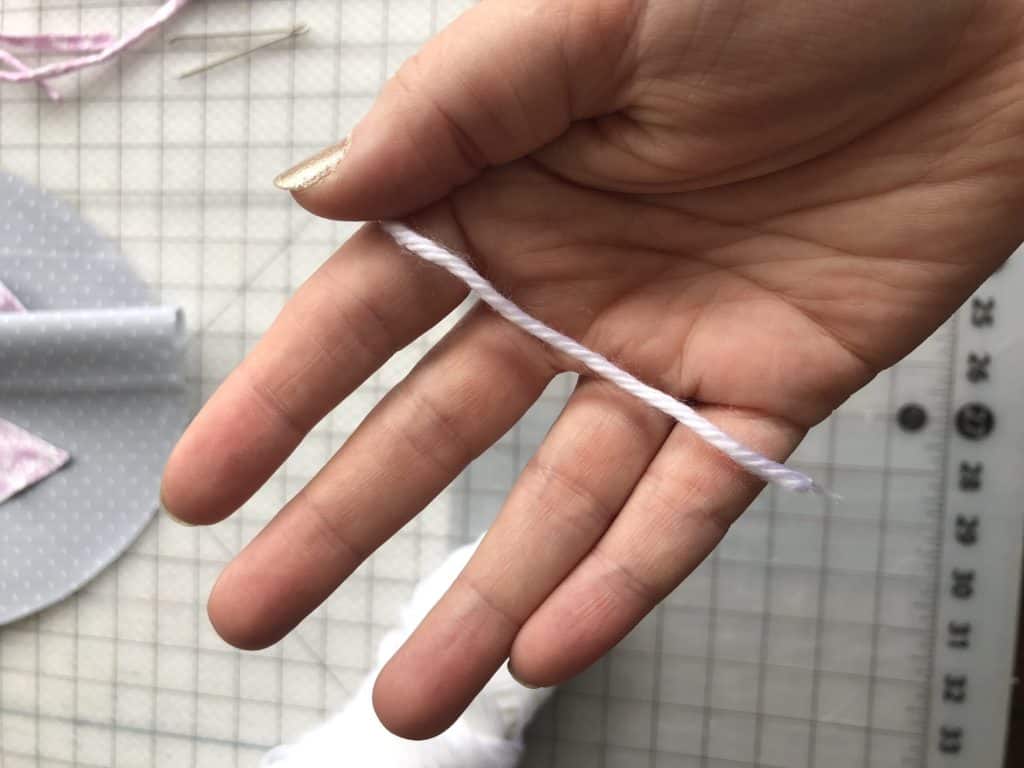
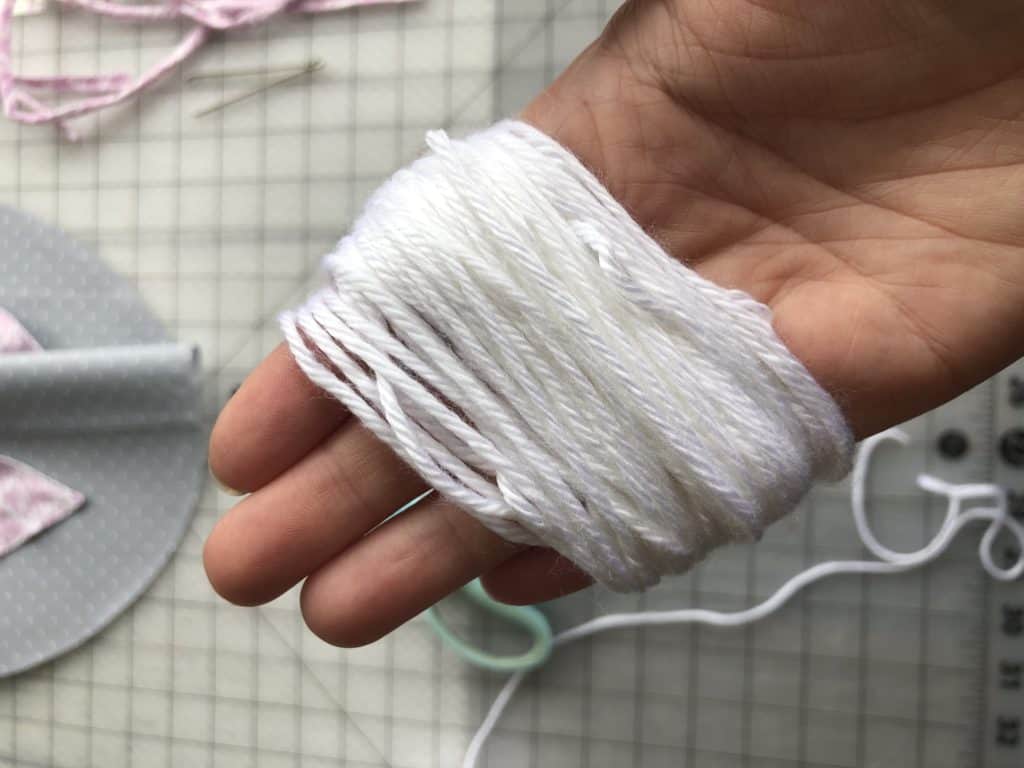
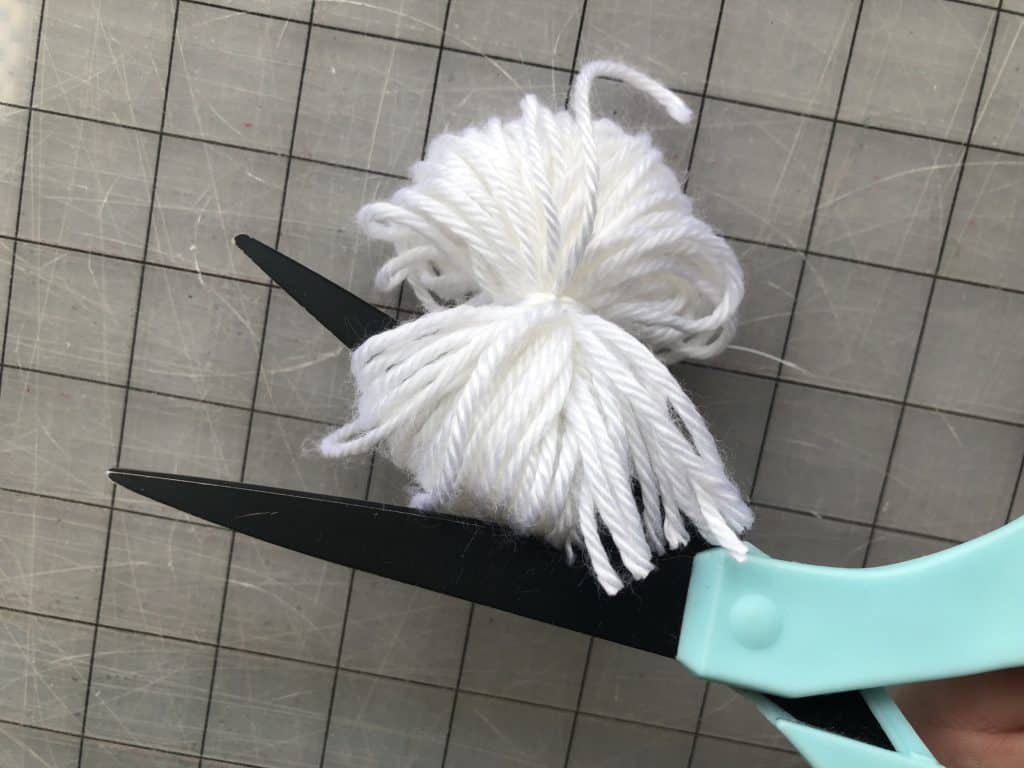
Wind the yarn around and around (and around!) your fingers.  The more you wrap, the fuller the pompom’s poof will be.

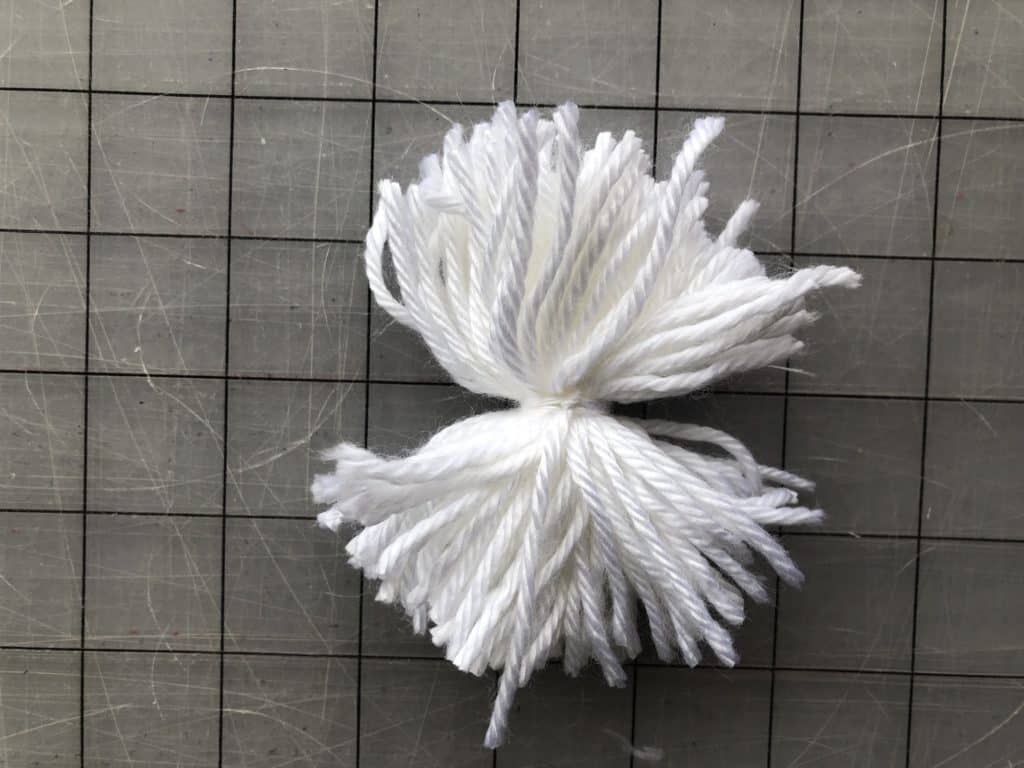
Once you’ve reached that desired poof, carefully slide the yarn off your hand.  Take a piece of yarn and tie it directly in the center.  Make the knot is as tight as you can get it.  I often secure the knot, and then switch my strands to the other side, and create a second tight not…just for safe measure.  Take your scissors and cut through the loops on each side of the knot.

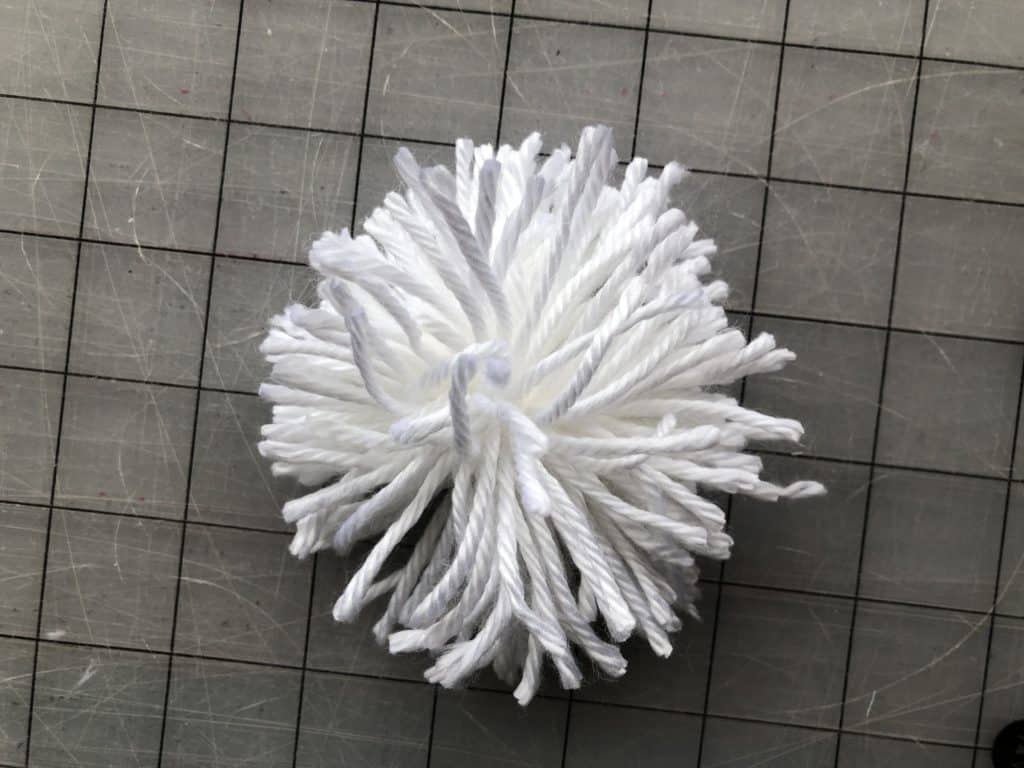
4.) Fluff your new yarn ball…cutting the ends to make them more even if necessary.

Step 7:  Align your ears with the outer ear measuring 3″ from the edges.  And your bunny tail centered between the bottom of the ears.

Step 8:  Finish the basic bag construction per the instructions.

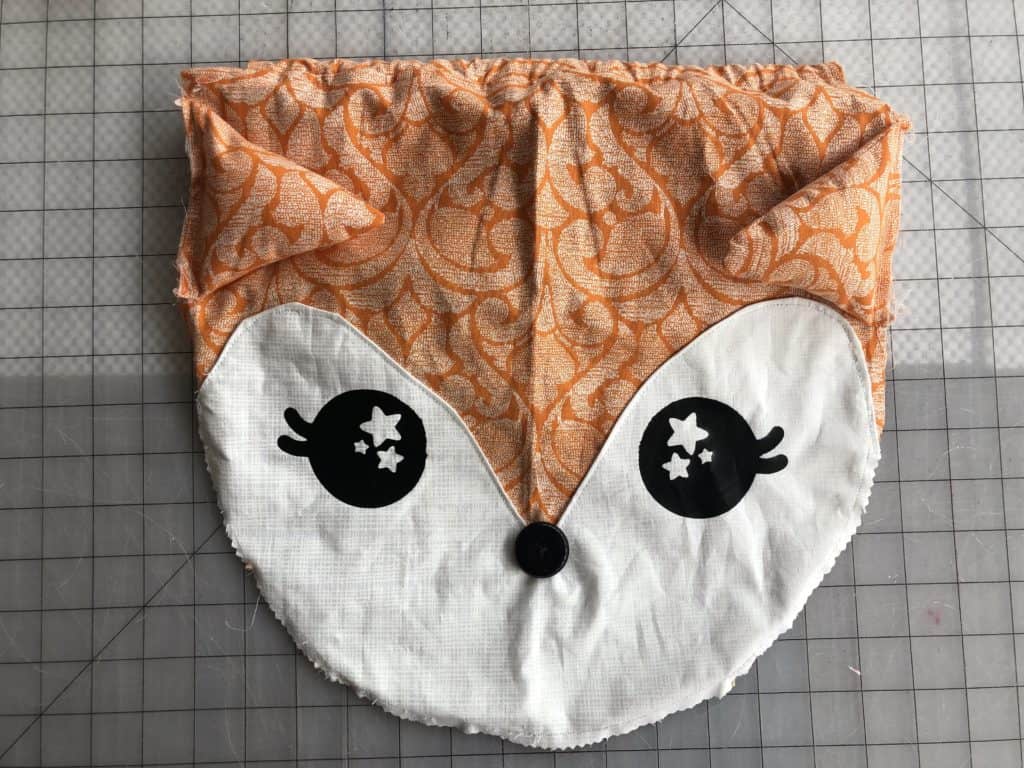
FOX BAG CONSTRUCTION

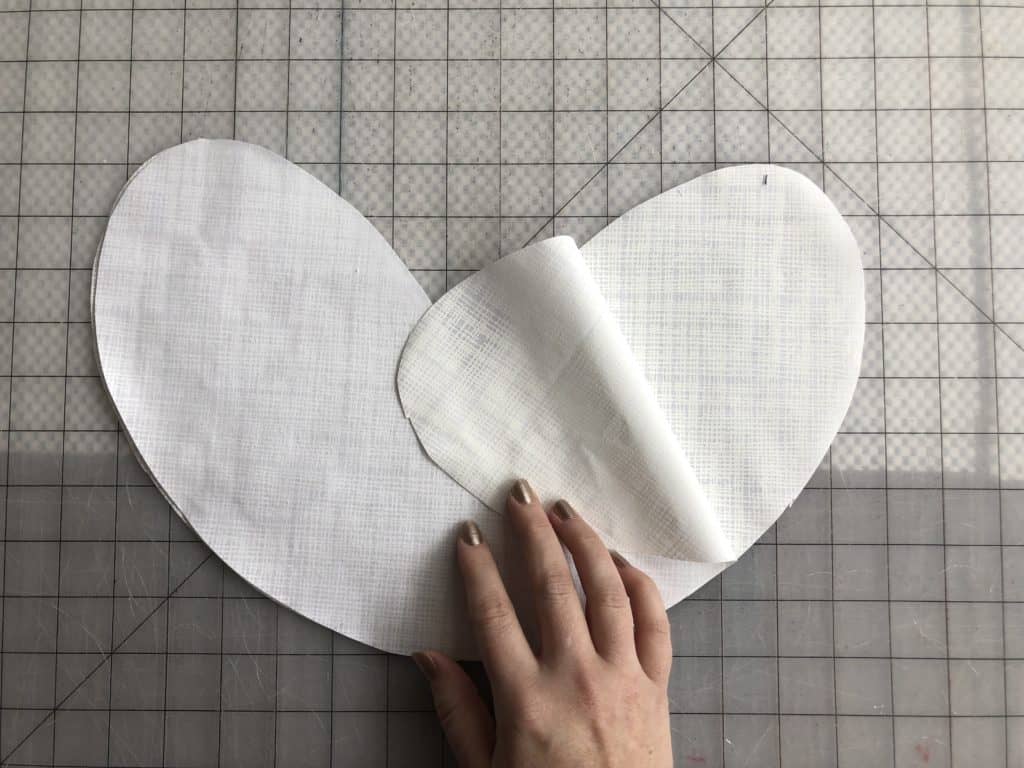
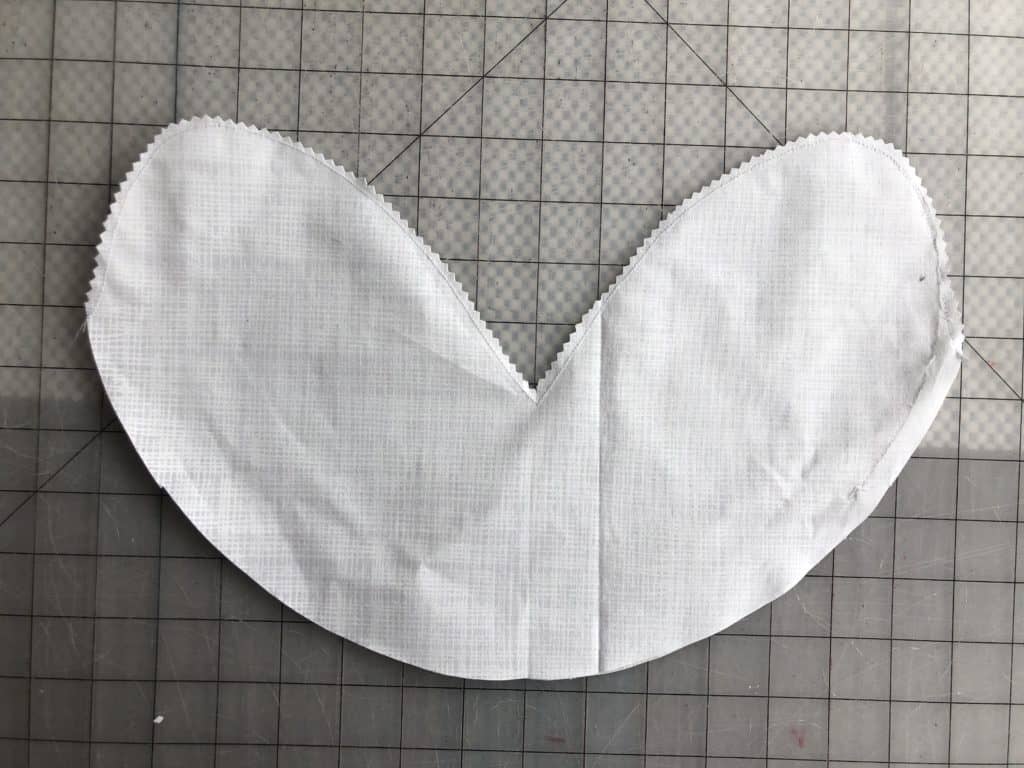
Step 1: Lay the face pieces with right sides together.

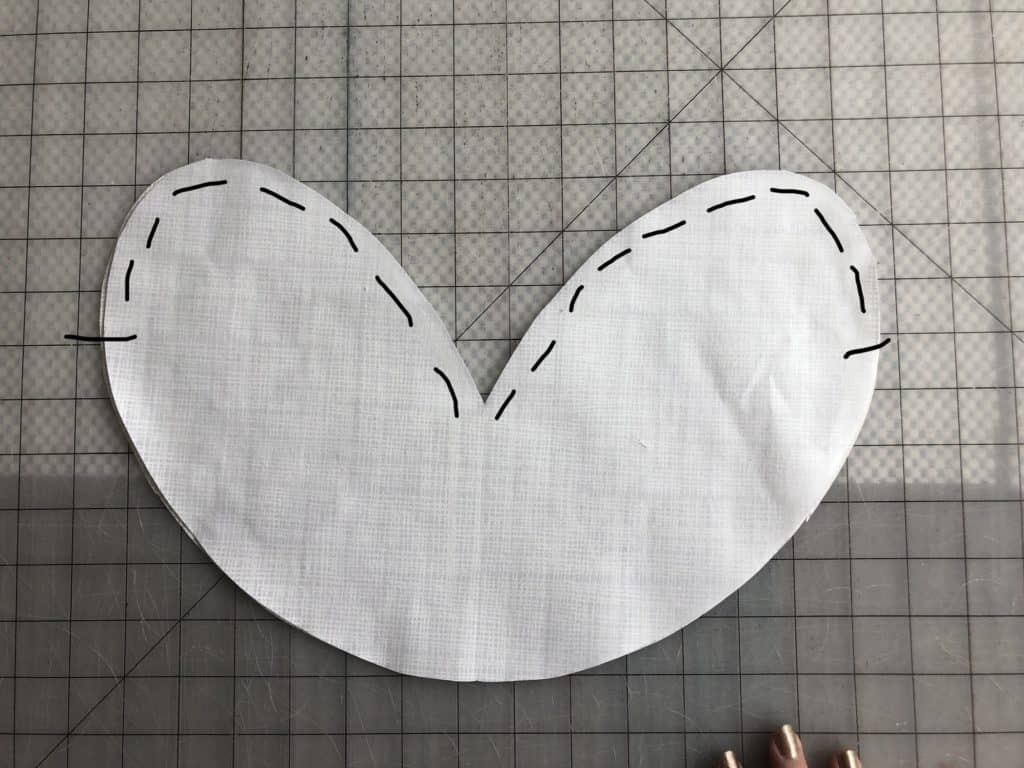
Step 2: Stitch with 1/2″ seam allowance, stopping at the marking guides on the pattern piece.

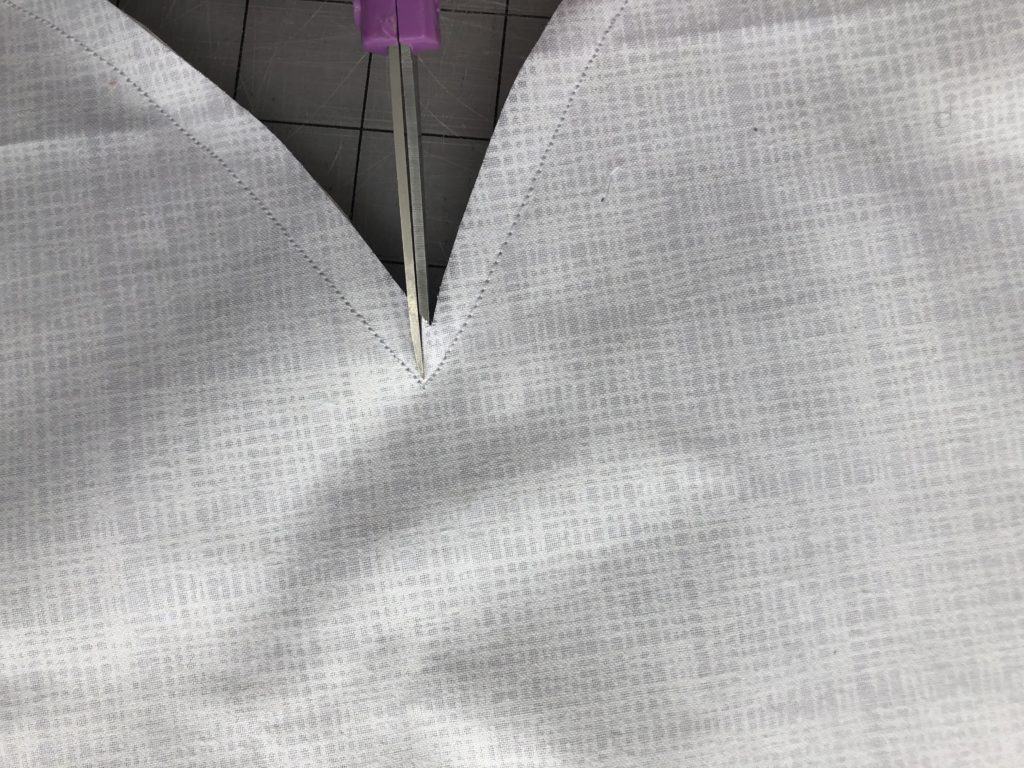
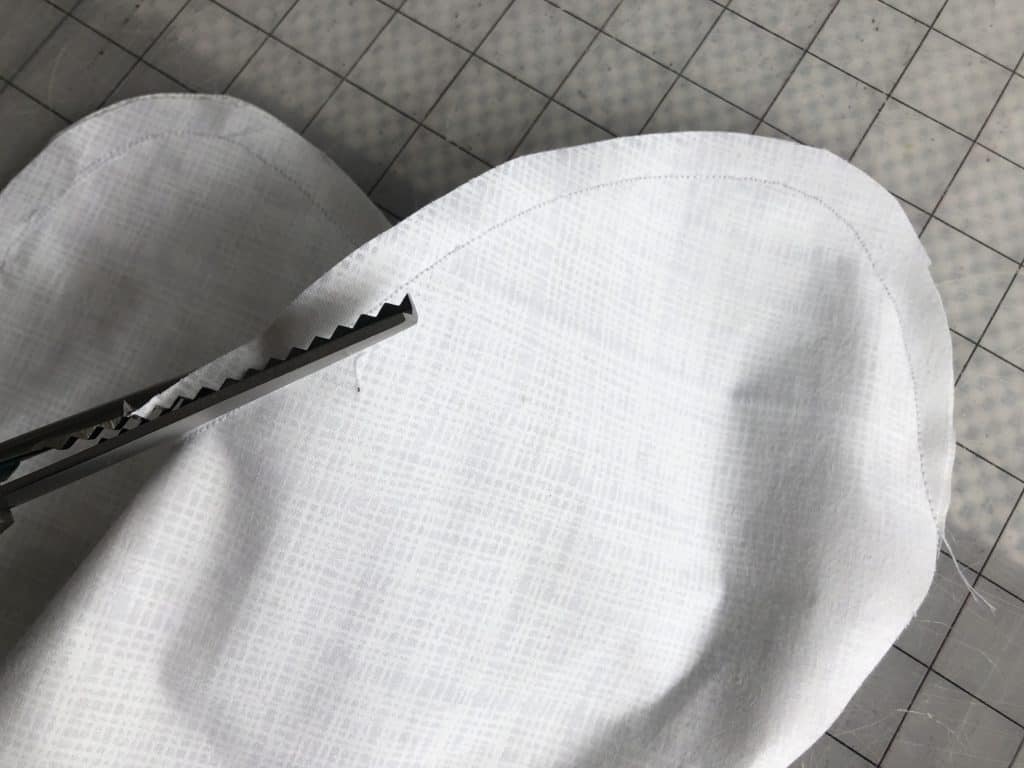
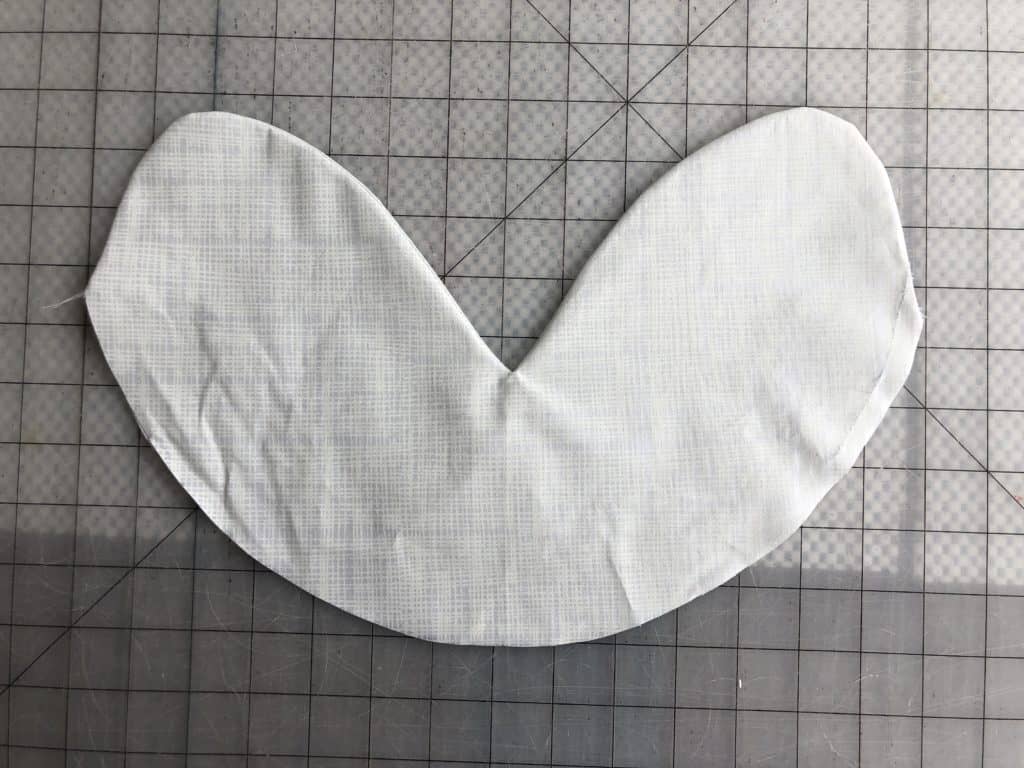
Step 3: Clip the center point and trim around top curves for a cleaner turning.

Step 4: Turn right sides out and press.

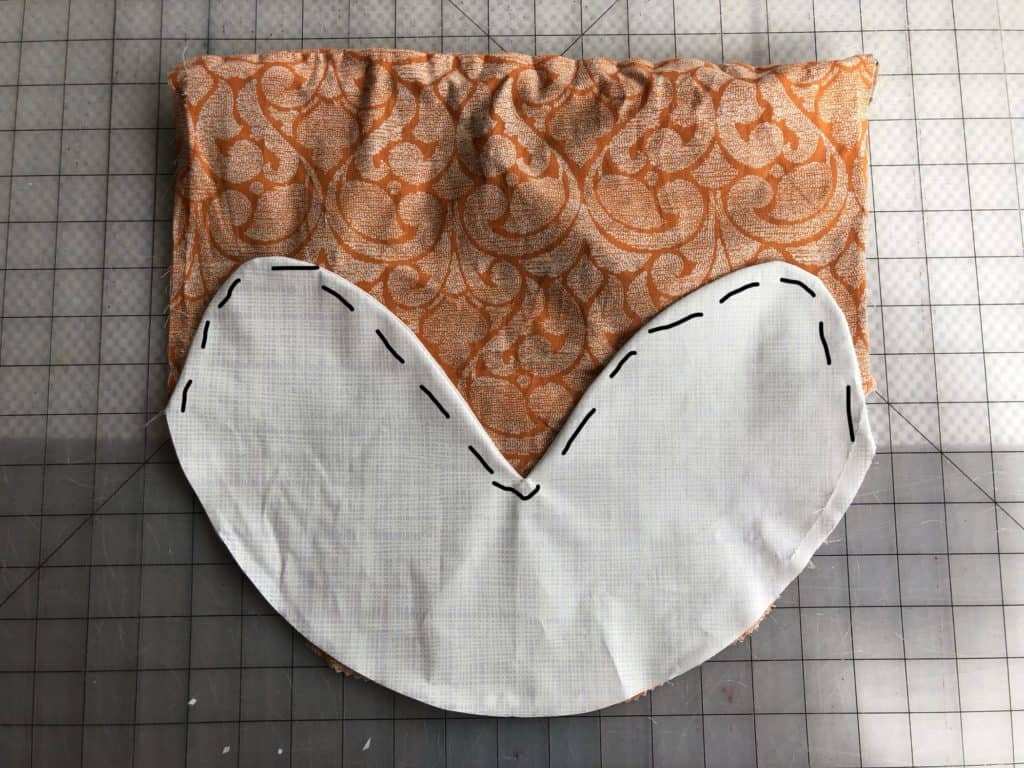
Step 5: Align with main fabric piece and topstitch the upper curves.

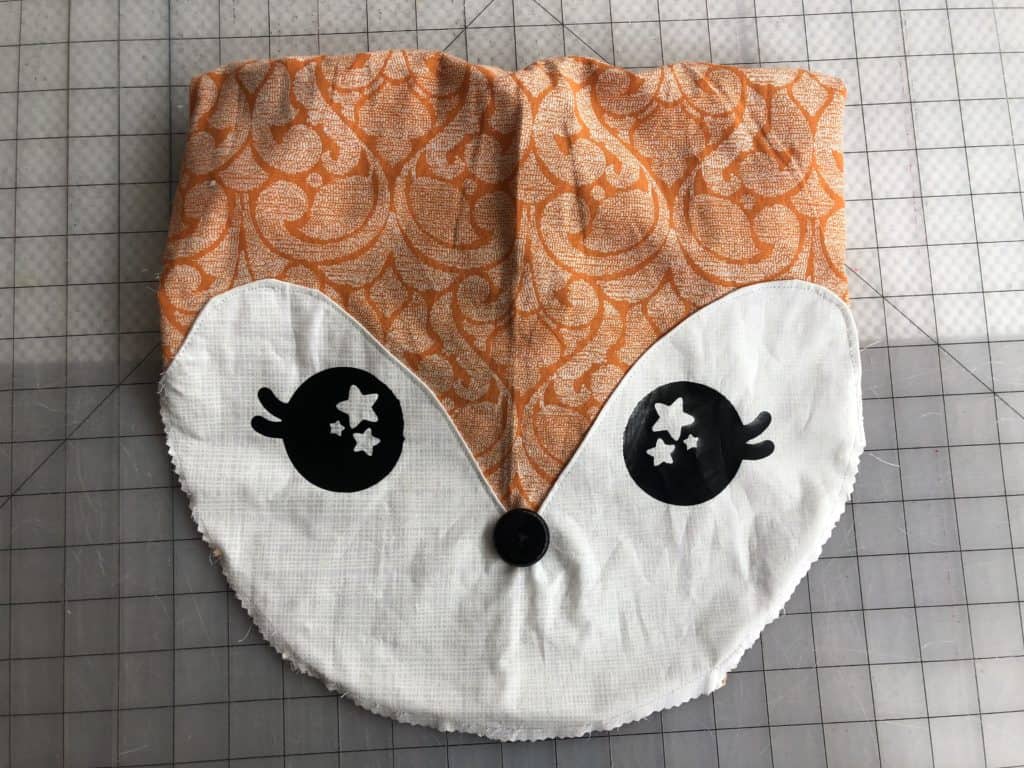
**Add your face details now.  Either the htv designs, paint, or embroidery.  It’s easiest to add everything at this step while all of the pieces are flat and unattached to other items of the bag!

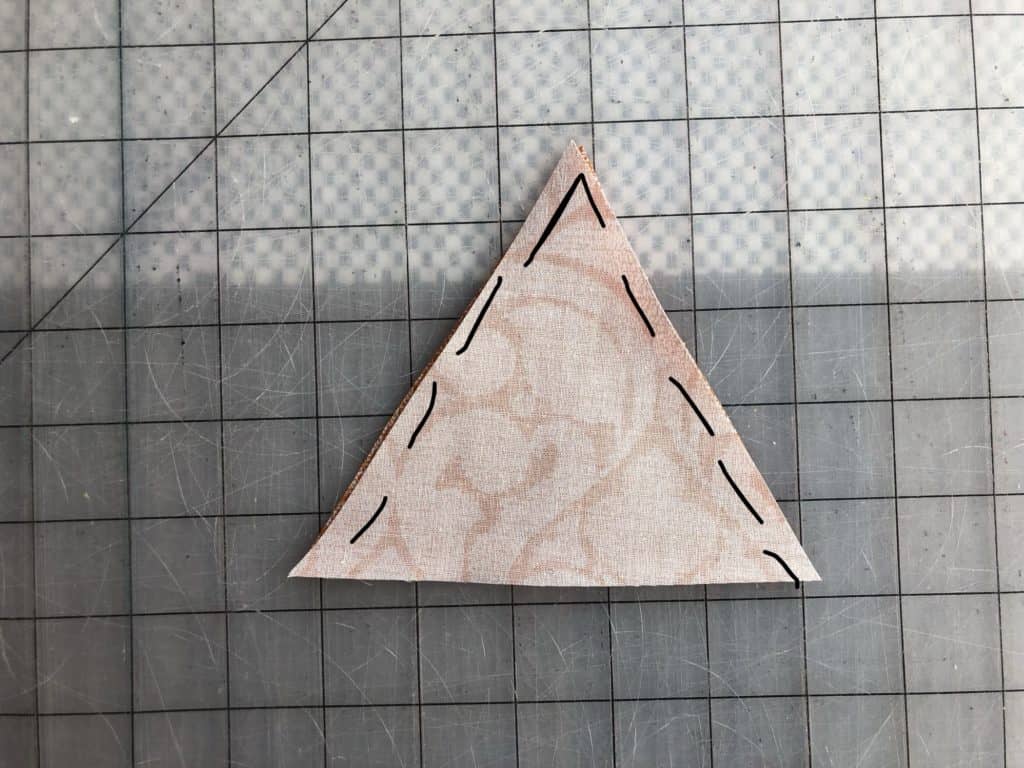
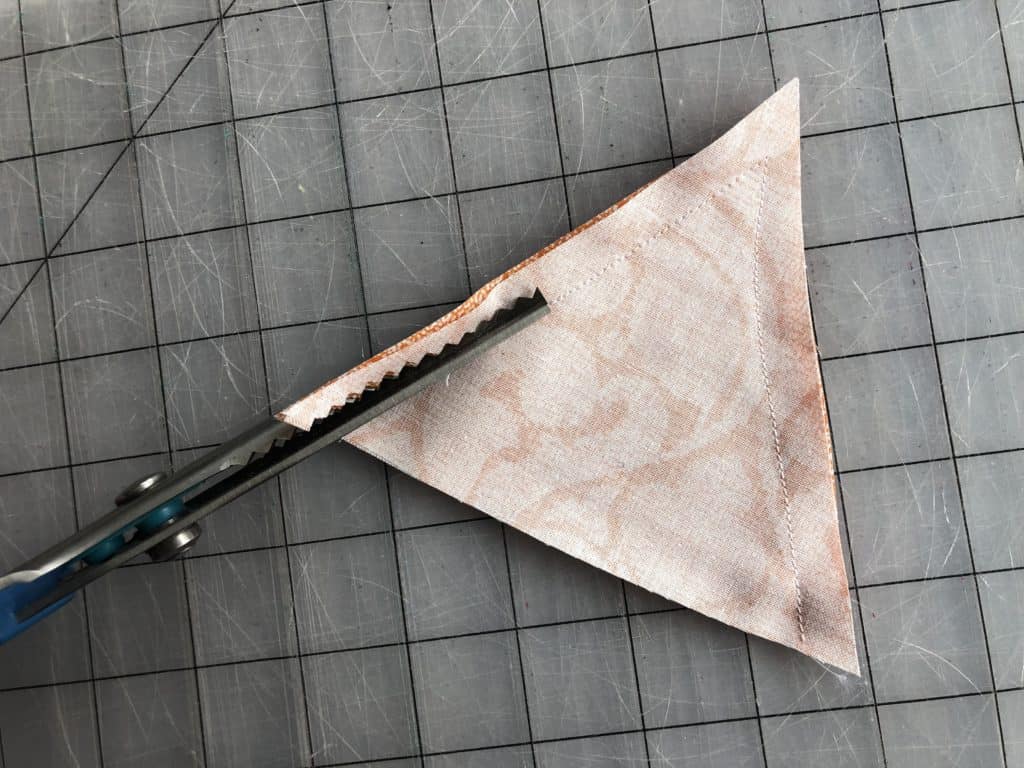
Step 6: With right sides together, stitch ear pieces using 1/2″ seam allowance.  Trim seam.

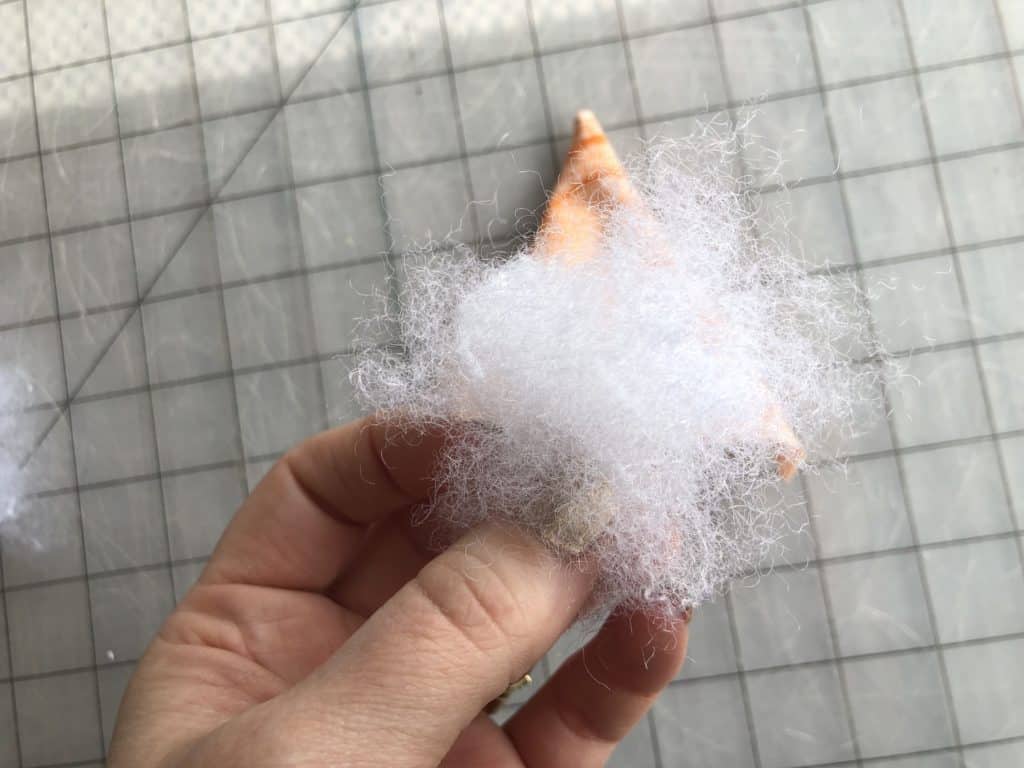
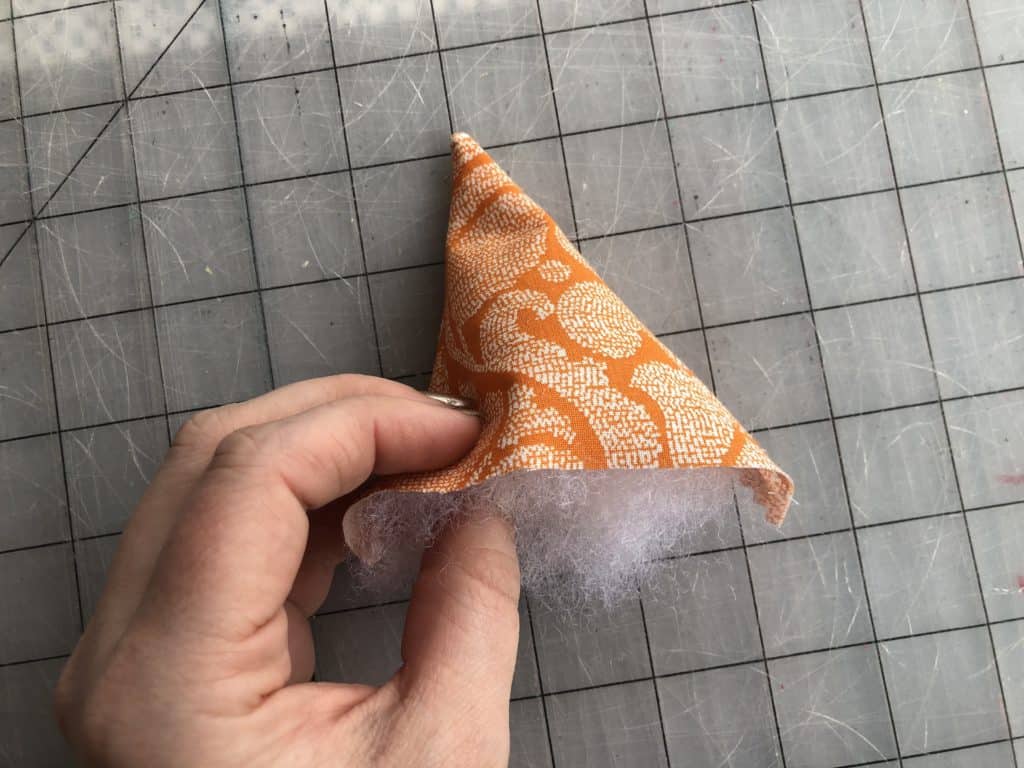
Step 7: Using a small amount of polyfil (if desired), stuff the ear.  Repeat with other ear.


Step 8: Using the placement guide on the pattern piece, align and baste ears.

Step 9: Finish the basic bag construction per the instructions.

KITTY CAT BAG CONSTRUCTION

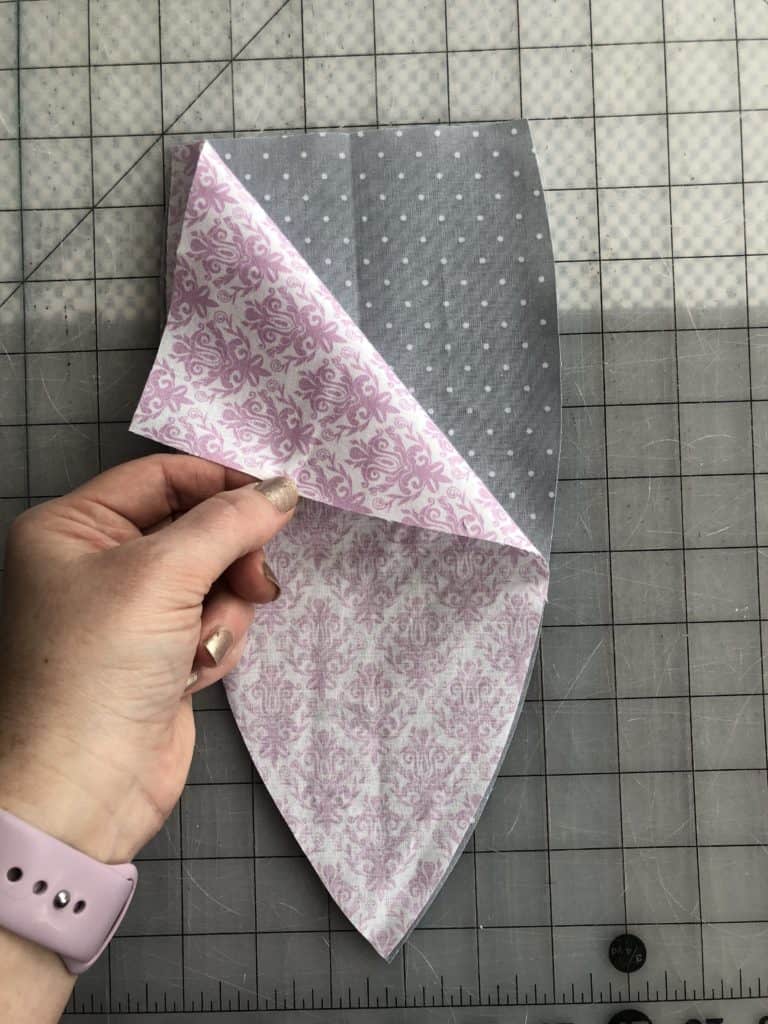
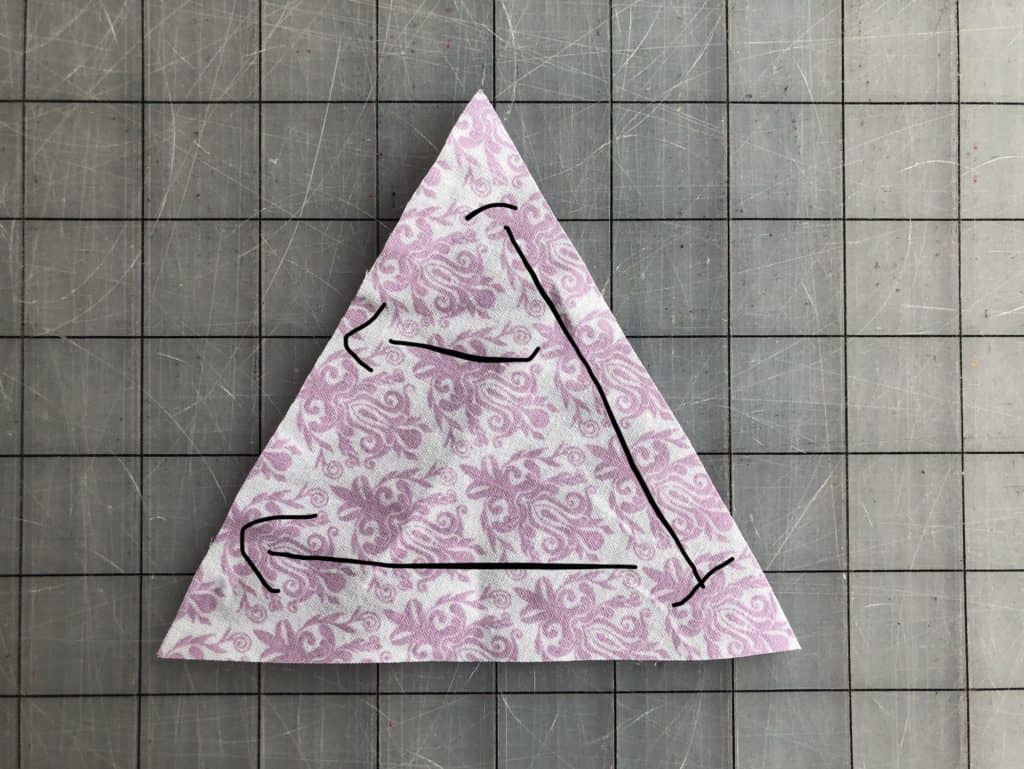
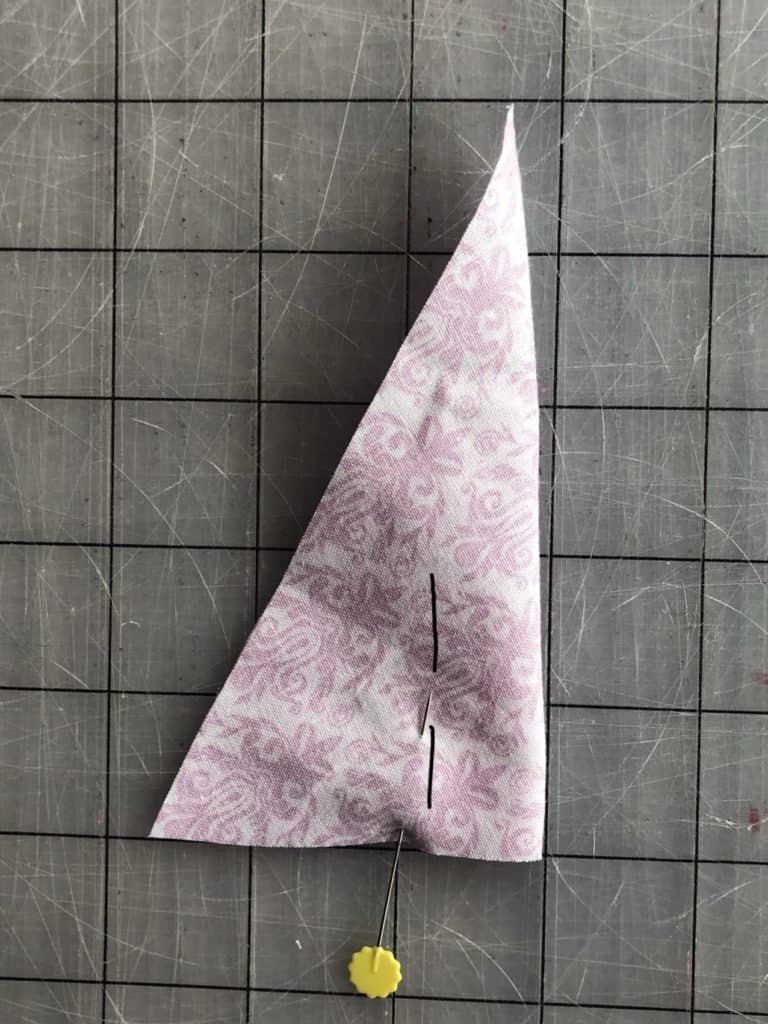
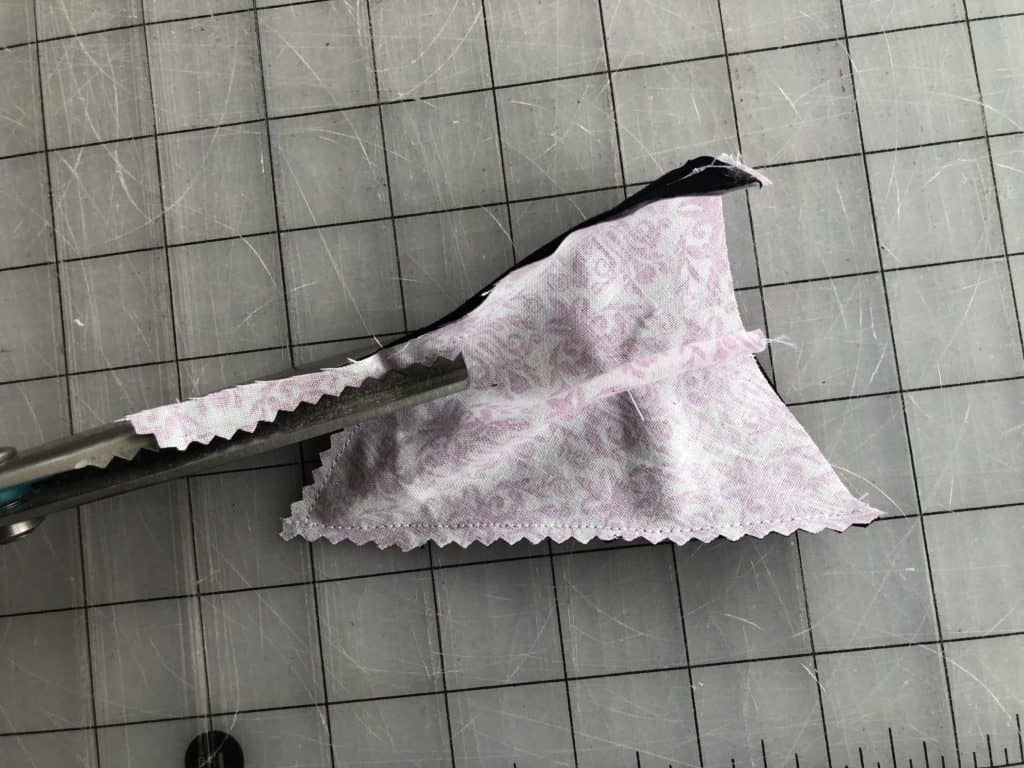
Step 1: Fold the inner ear fabric in half, with right sides together.

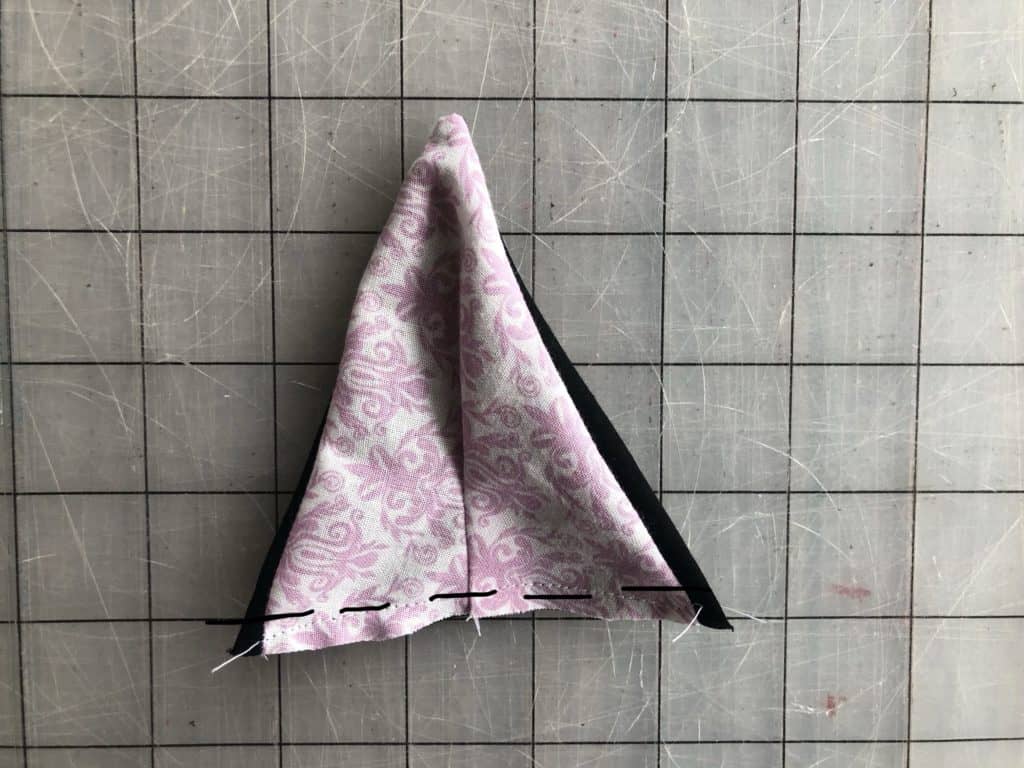
Step 2: About 1/2″ from the fold, sew a 1-2″ vertical line.

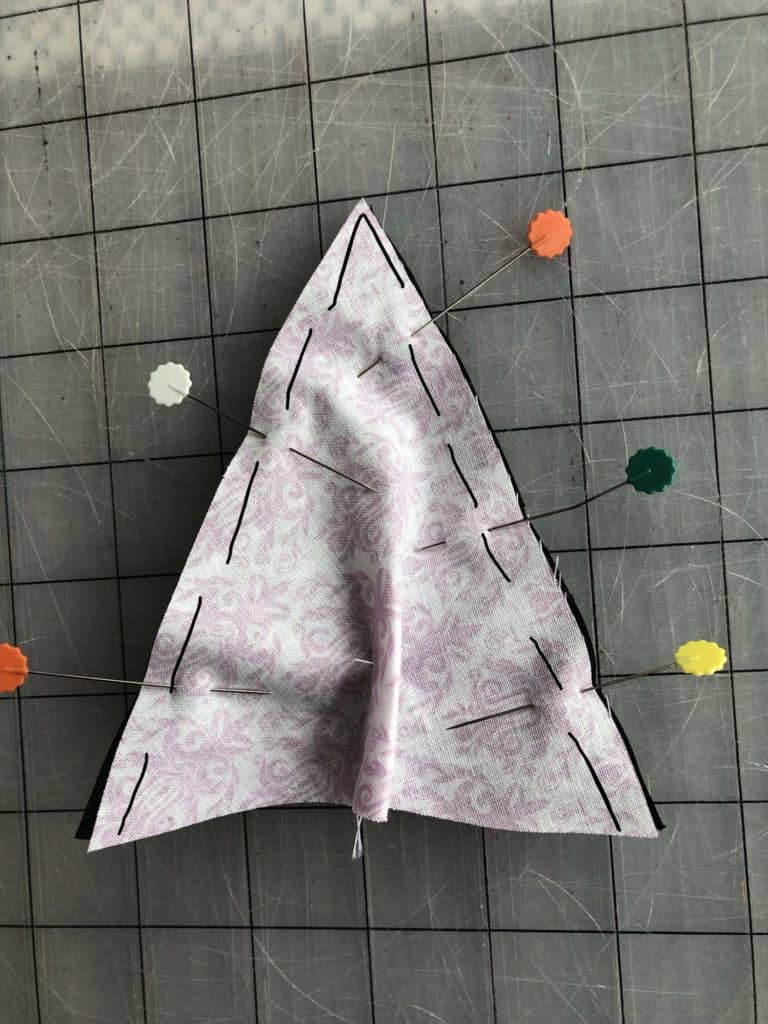
Step 3: With right sides together, align the two side edges to the outer ear fabric.  Sew using 1/2″ seam allowance.

Step 4: Trim your seam allowance down, for cleaner turning.

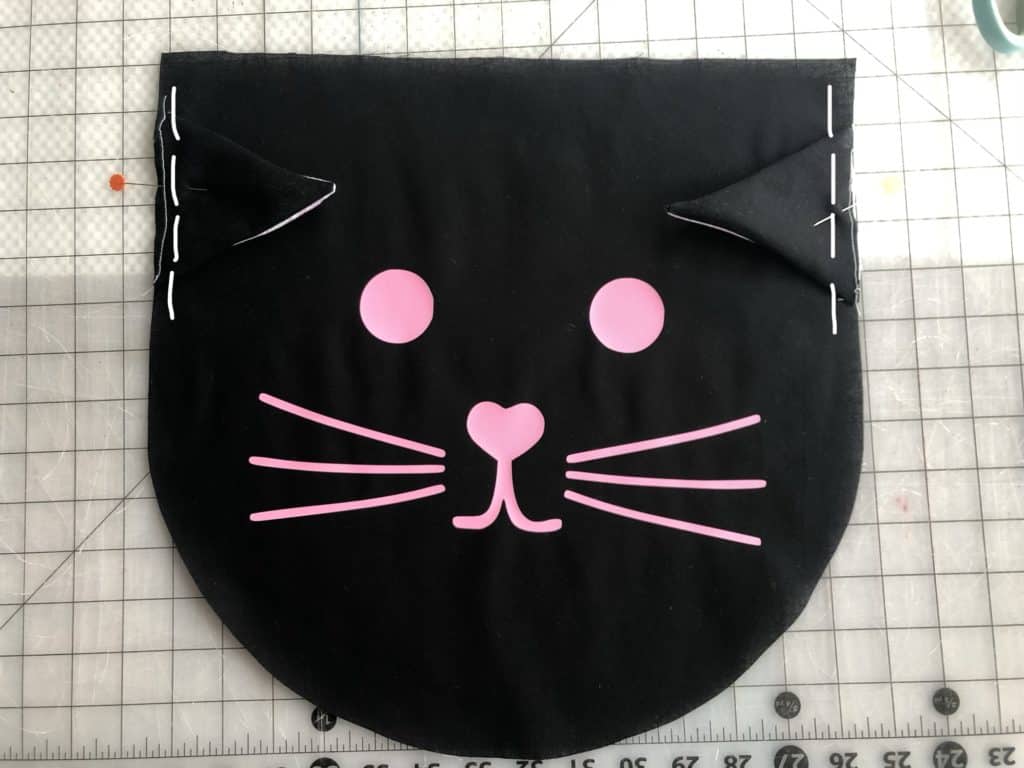
Step 5: Turn ear right-side-out and press.  Baste along bottom edge of ear, to help for easier assembly.  The “pinch” we created should fold the outer ear fabric a little bit in the front, creating a little more of a cat ear effect. 🙂  Repeat other ear.

Step 6: Add any face details.  And then using the placement guide on the pattern piece, align and baste ears.

Step 7: Finish the basic bag construction per the instructions.

PANDA BAG CONSTRUCTION

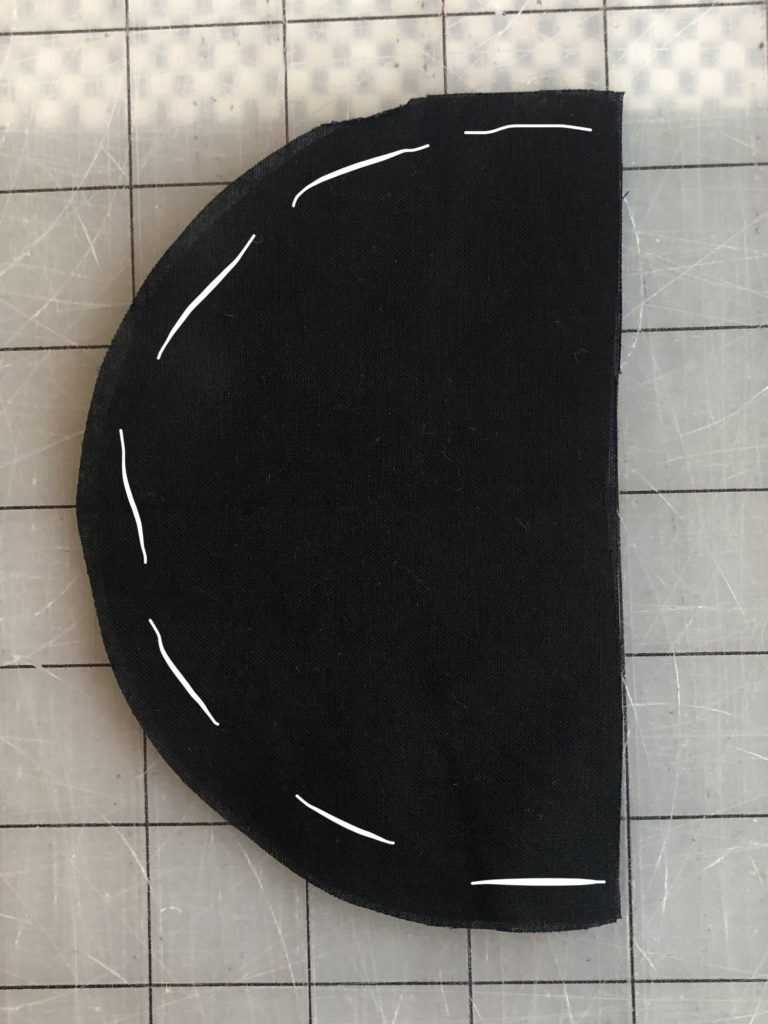
Step 1: Align two ear pieces, right sides together.  Using 1/2″ seam allowance, stitch around entire curved edge.

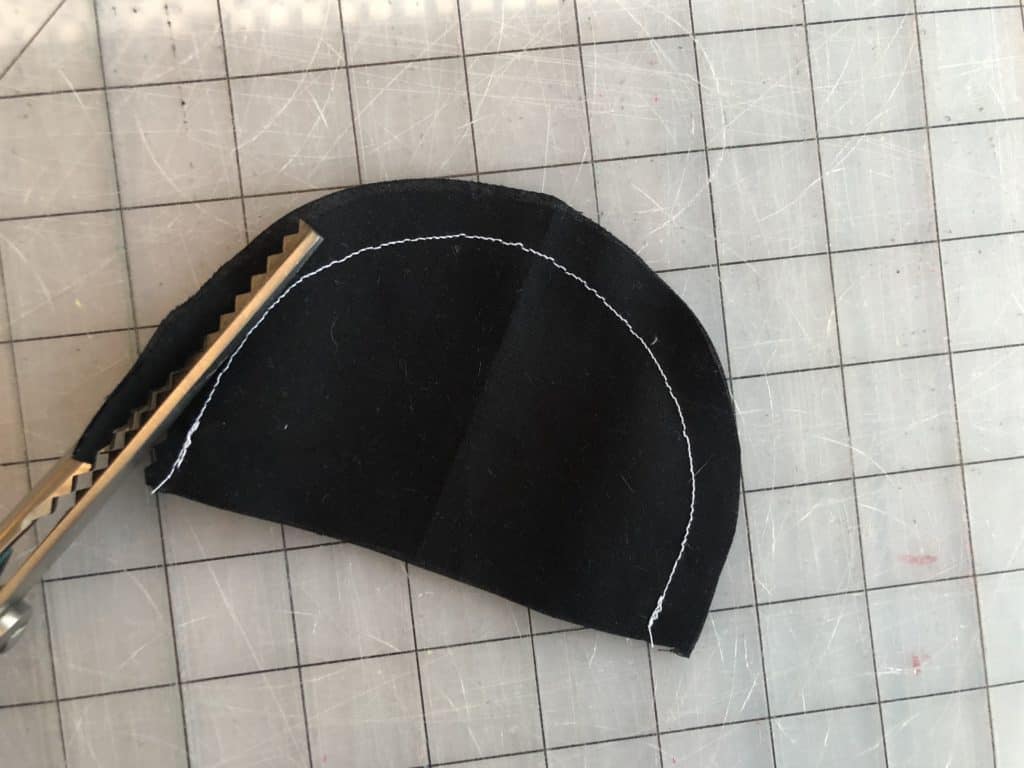
Step 2: Careful not to clip through your stitches, trim down the seam allowance.

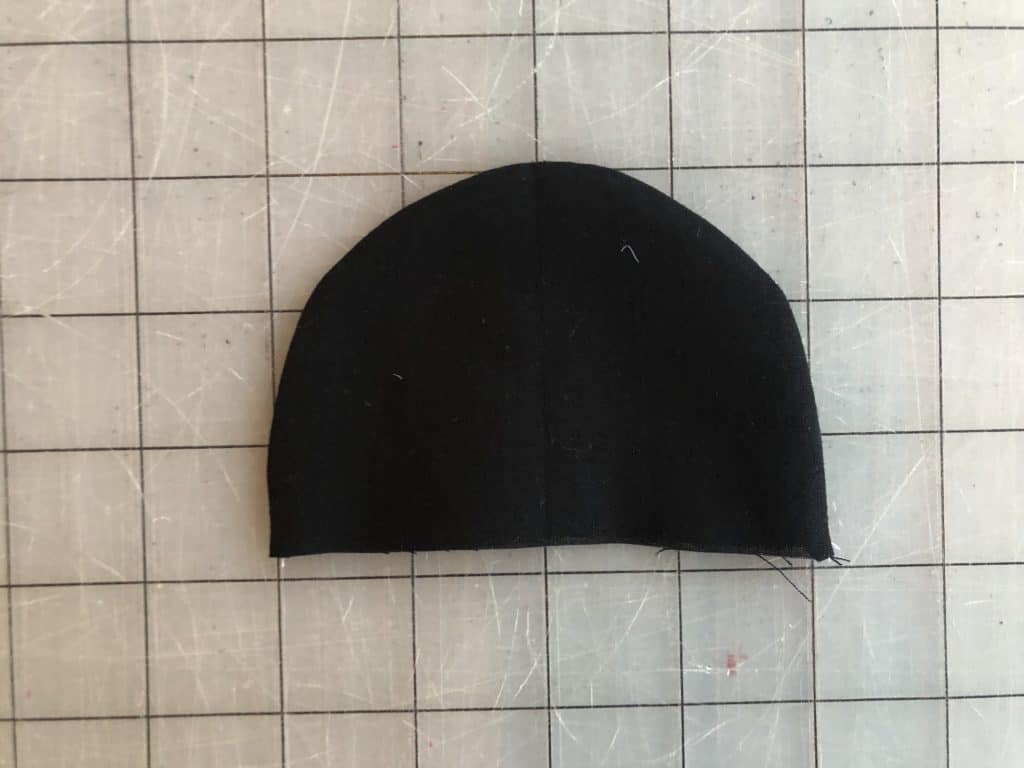
Step 3: Turn right side out and press.

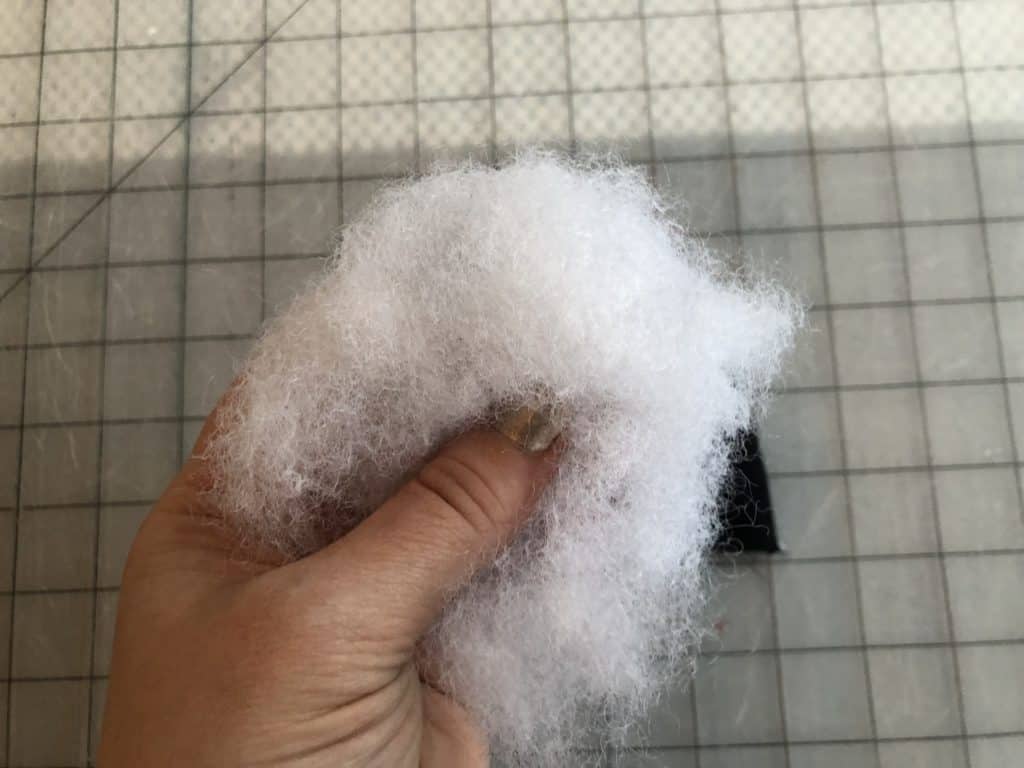
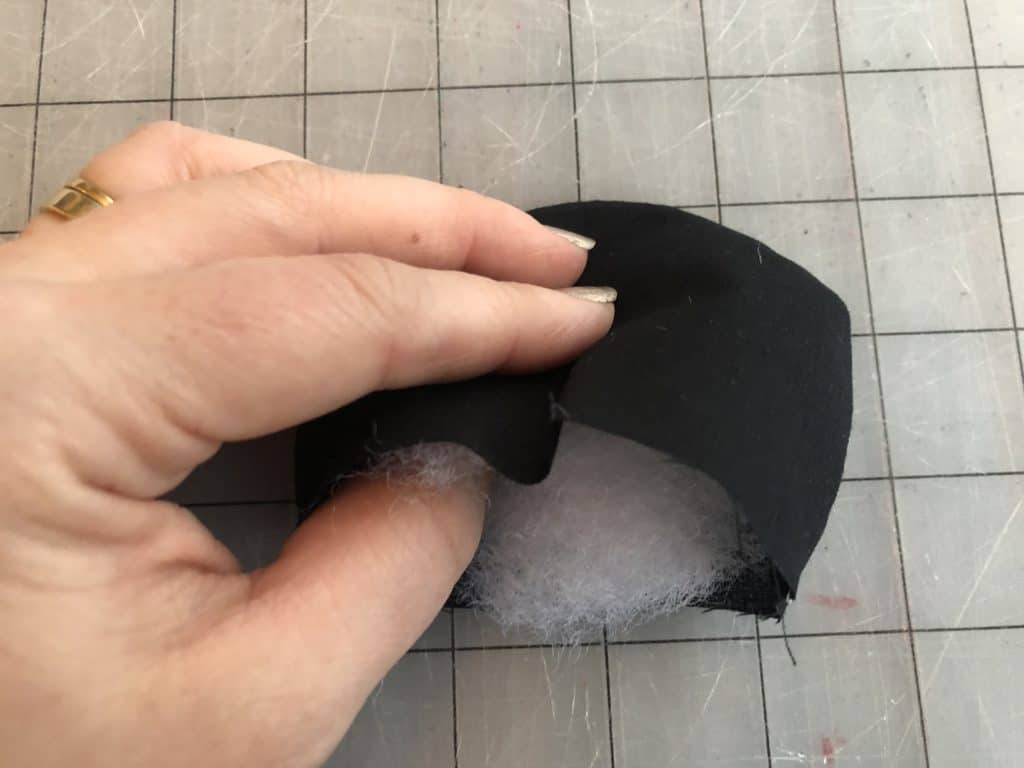
Step 4: Using a small amount of polyfil (if desired), stuff the ear.  Repeat with other ear.


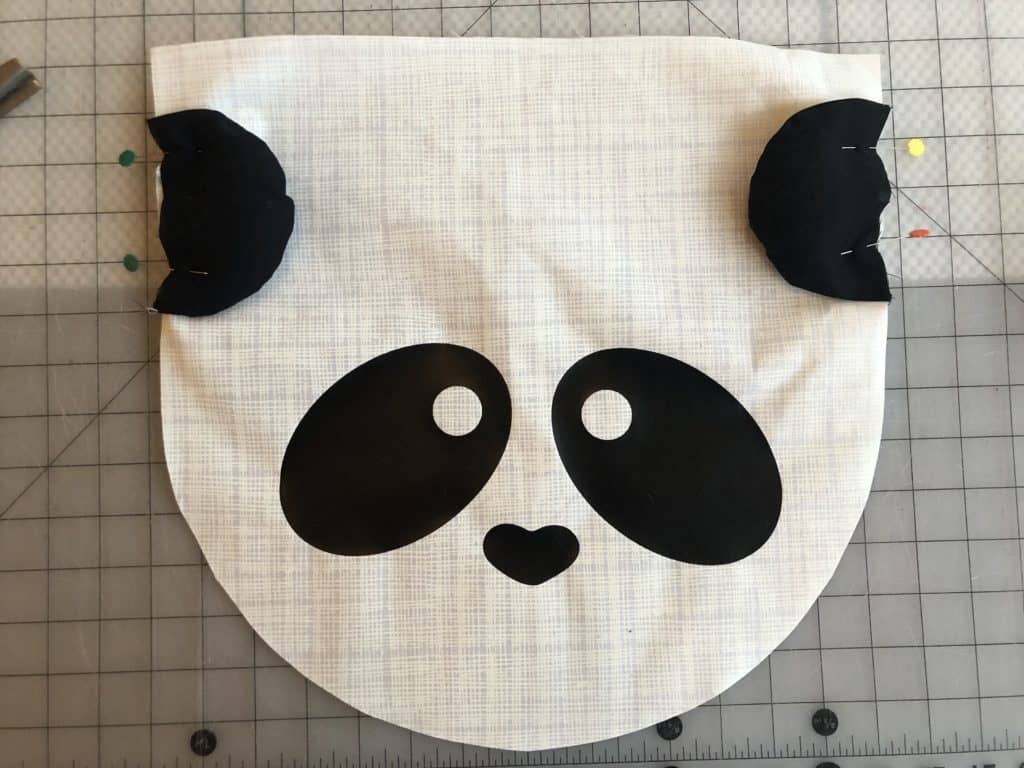
Step 5: Add any face details.  And then using the placement guide on the pattern piece, align and baste ears.

Step 6: Finish the basic bag construction per the instructions.

HOW TO MAKE YOUR OWN CORDING

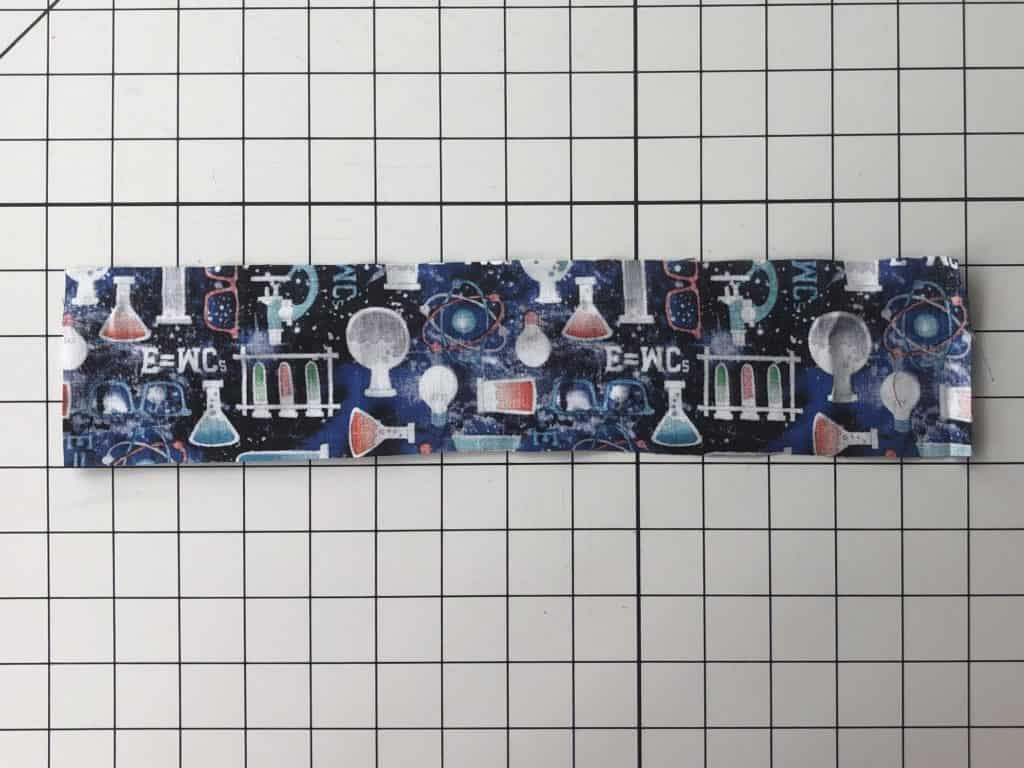
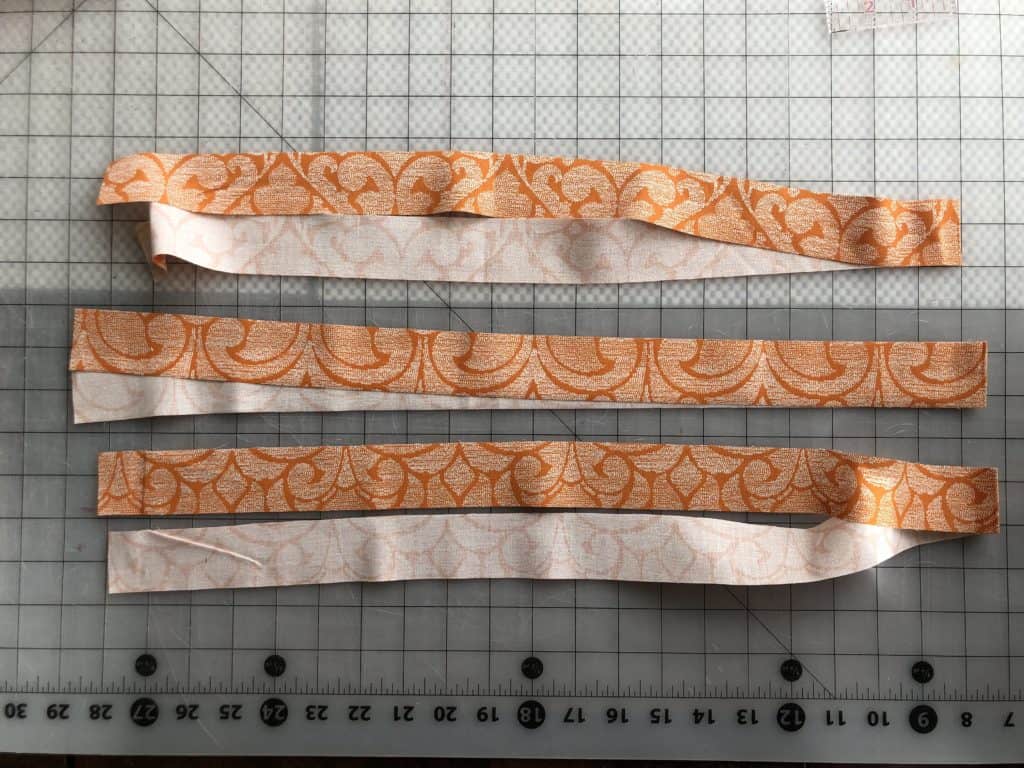
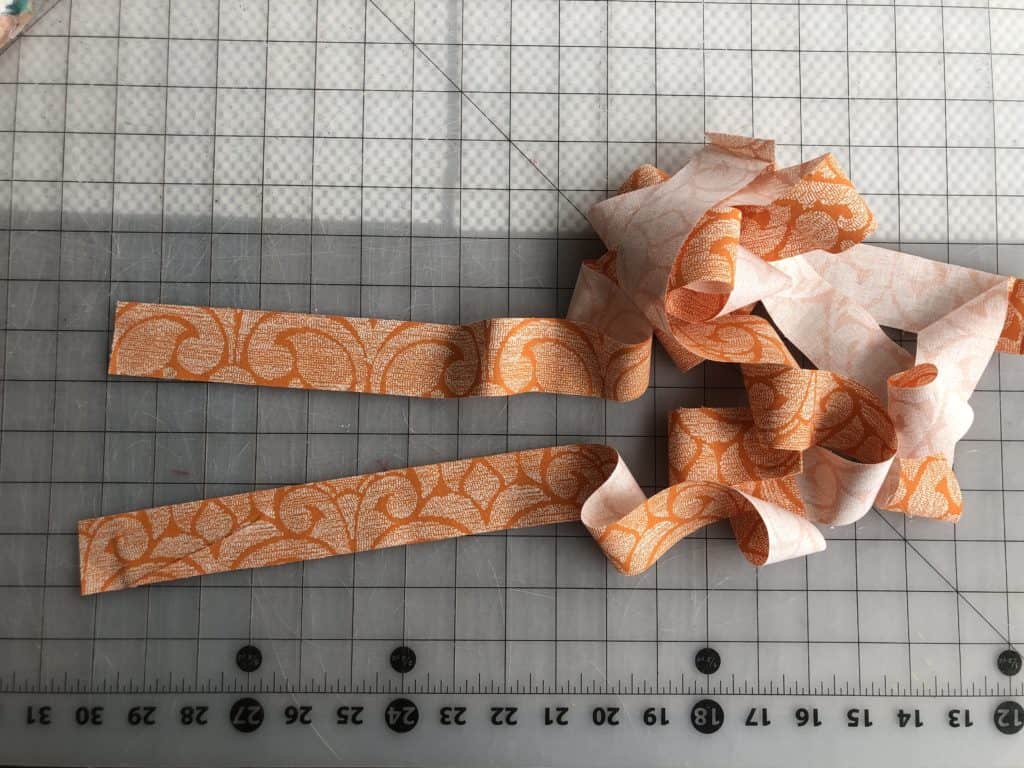
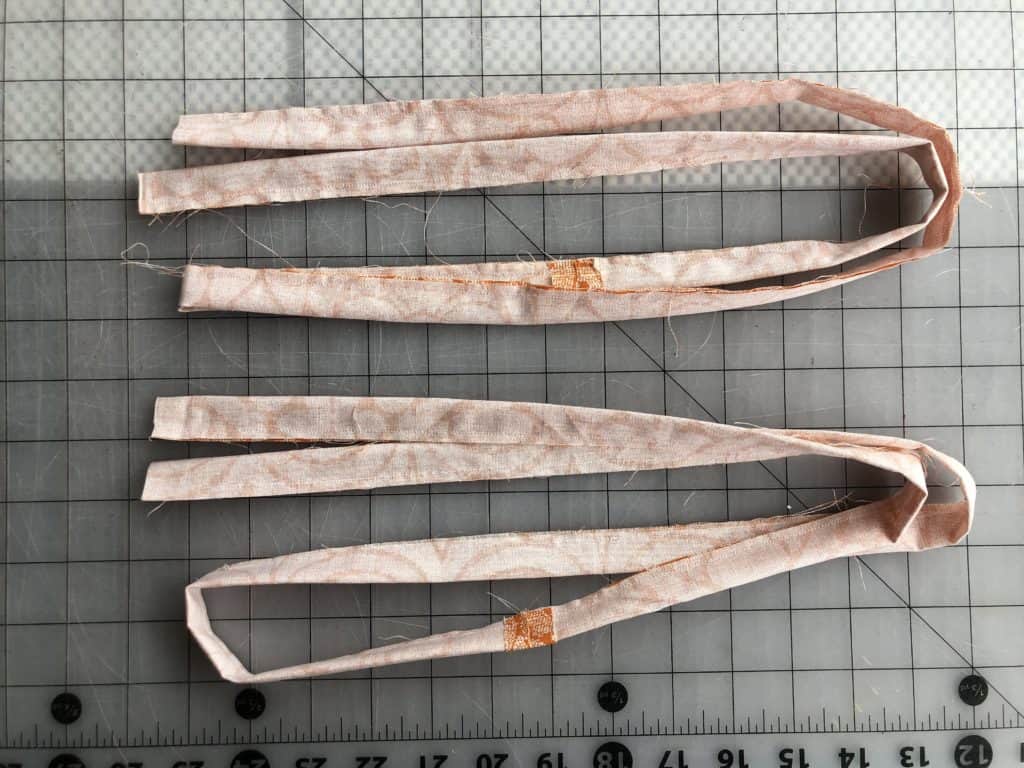
Step 1: Cut several strips of fabric at 1.5″ wide.  You’ll need 3 yards total of length (or 108″).

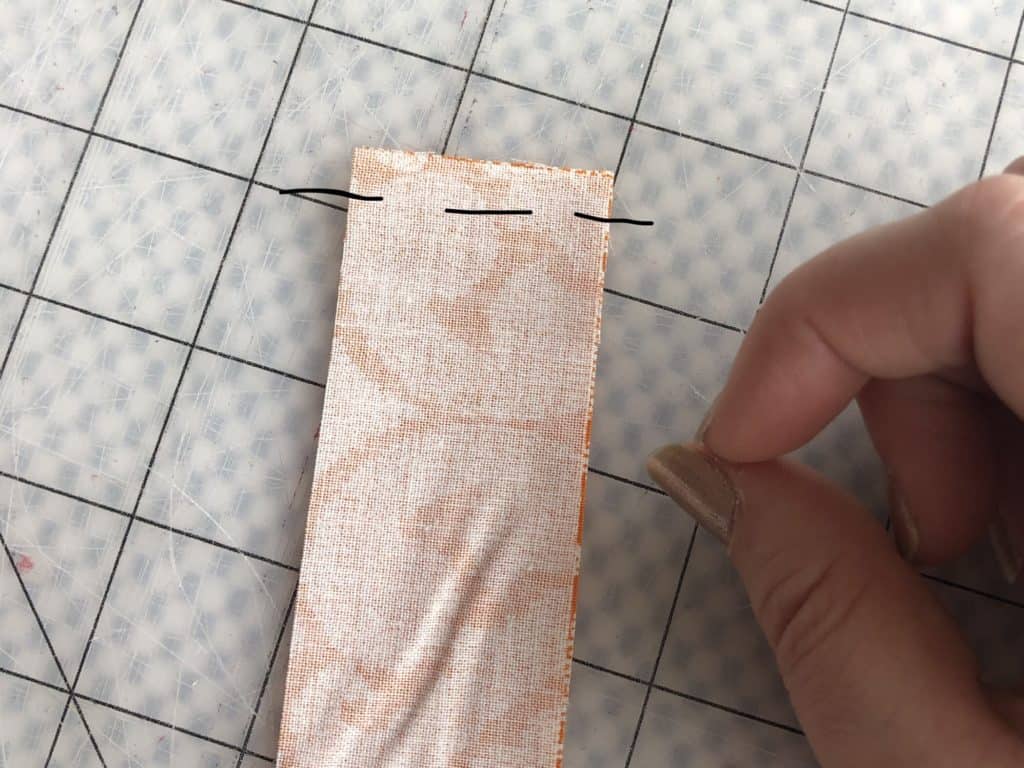
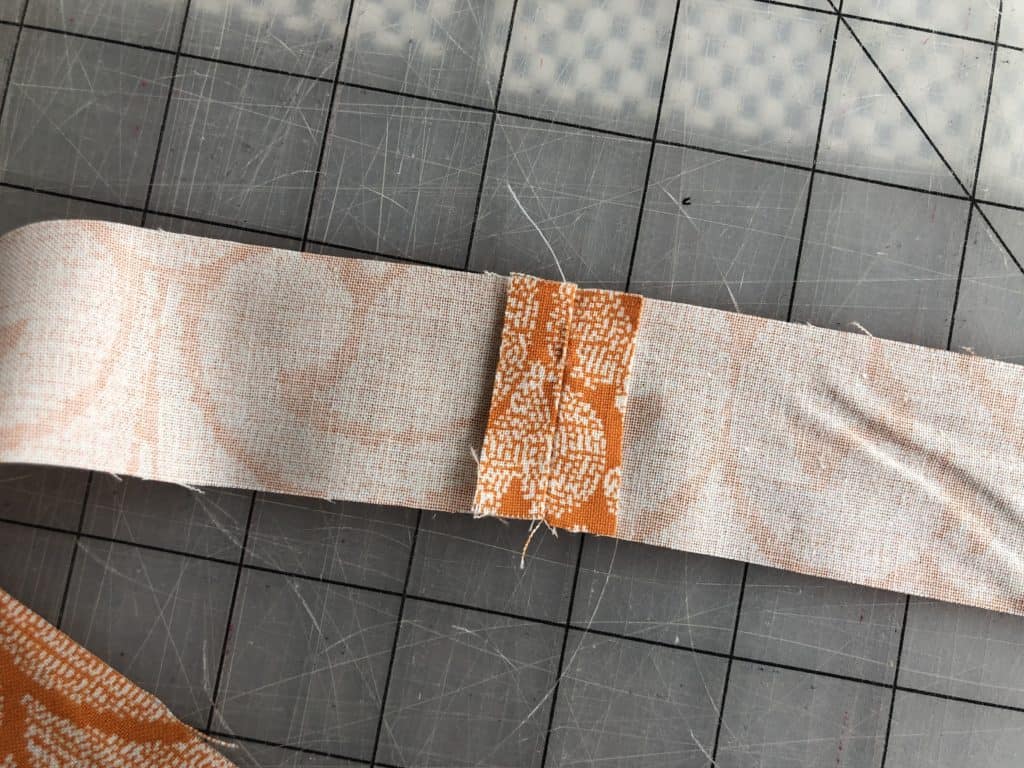
Step 2: Sew strips together across the short edge, right sides together.

Step 3: Press open seam allowance.

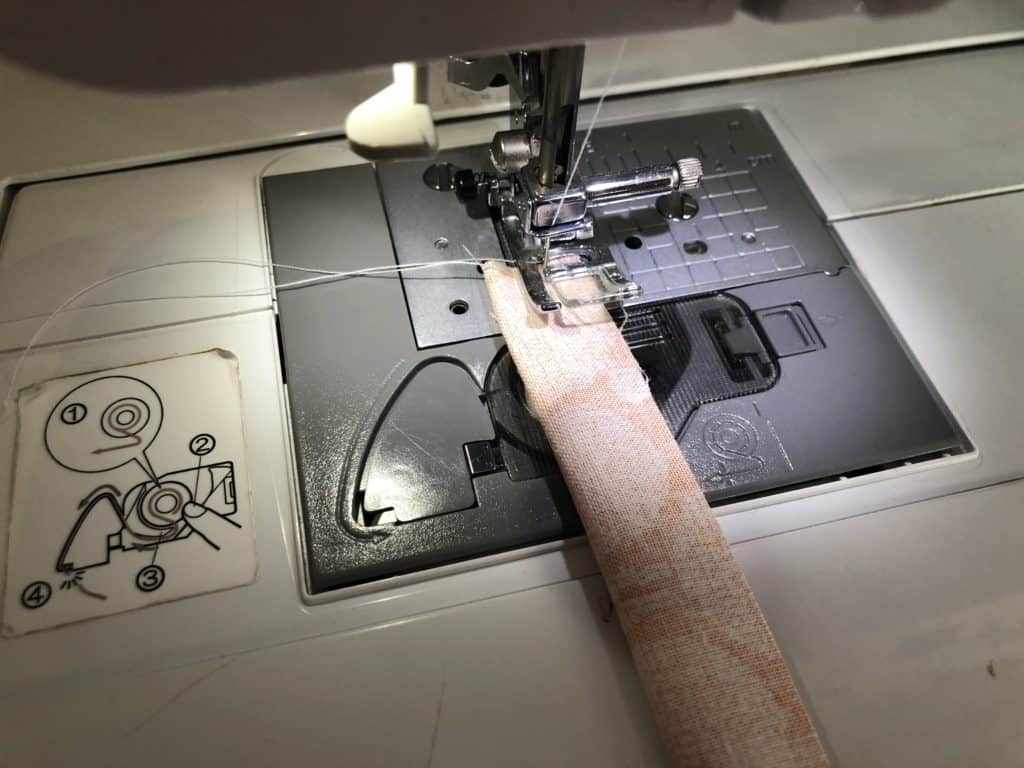
Step 4: Fold your fabric right sides together, with the long edges now touching.  And sew with 1/2″ seam allowance down the entire length.

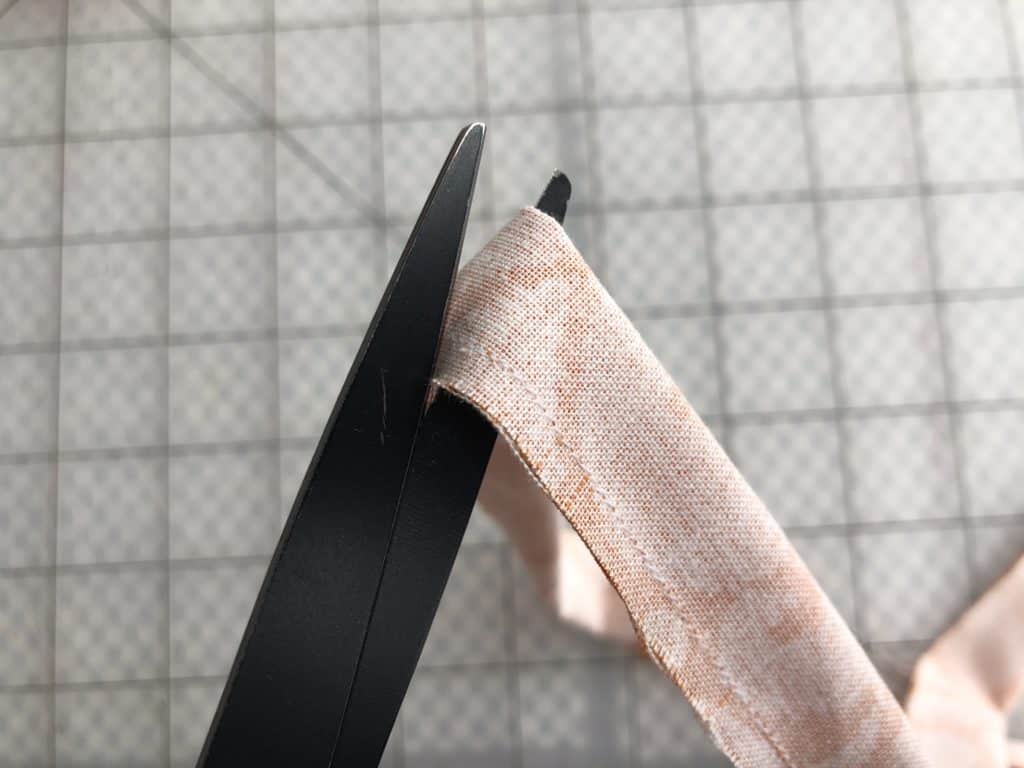
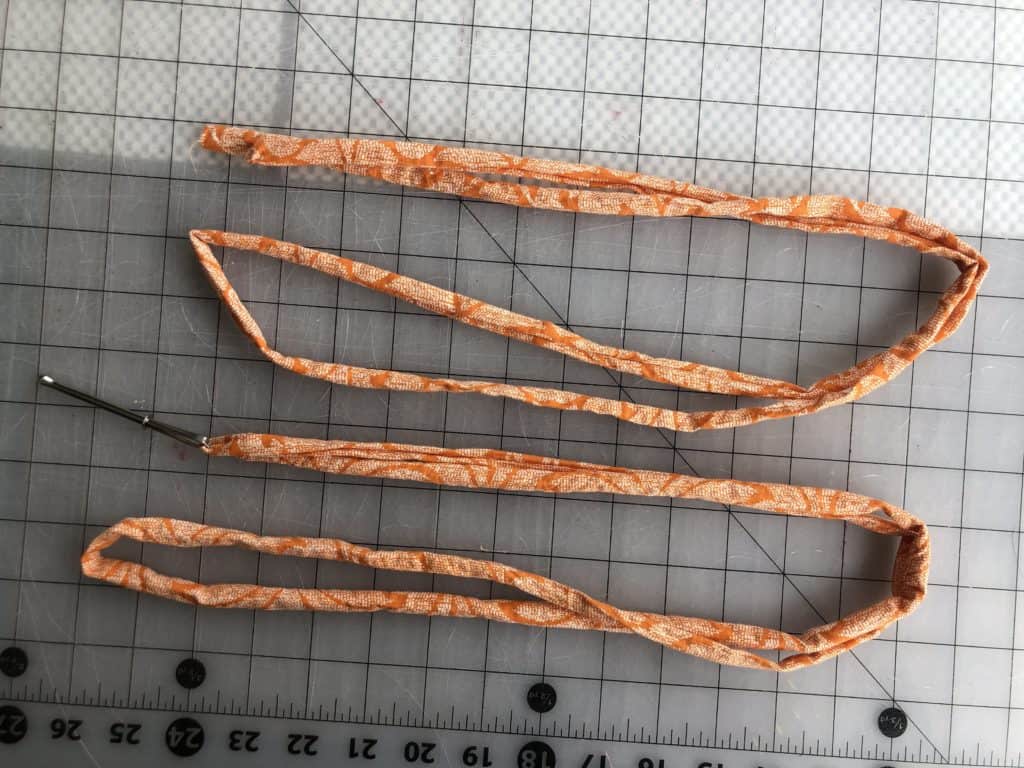
Step 5: Carefully trim down your seam allowances and cut the straps to the desired length.  In this instance, you need 54″ per strap.

Step 6: Using your favorite turning method, turn the tubes right side out.  Press your new straps, and top stitch along edges if desired.

Are you someone who considers themselves to be more of a visual learner?  Here’s a video that walks you through all of the same steps above.  Hopefully it helps!

As always, we love when you share what you’ve made with us.  Head over to the Patterns for Pirates Facebook group and show off the adorable It’s a Cinch…Bag that you’ve managed to make from our freebie pattern!  Have a great week, Pirates!

Filed Under: Free Pattern, Pattern Release 1 Comment

Newest Patterns

  • Cozy Wrap $10.00
  • Cozy Wrap- Youth $9.00
  • Cozy Wrap- Bundle $18.00
  • Cozy Pants $10.00
  • Cozy Pants- Youth $9.00

Copyright © 2021 Patterns for Pirates

Copyright © 2021 · Genesis Framework · WordPress · Log in