Patterns for Pirates

P4P stylish, modern, wearable patterns

  • Home
  • Blog
    • Frequently Asked Questions
    • Pattern Releases
      • Free Patterns
    • P4P University
      • Fitting
      • Sewing with Stretch, Knit Fabrics
      • Sewing with Woven Fabrics
      • Sewing Machines
    • Sew-A-Longs
    • Fabric for Pirates
    • Pattern Hacks
    • Announcement
      • Blog Tours
      • Contest/Giveaway
  • Shop
  • Bundle Discounts
  • Flash Friday
  • Gift Cards
  • My Account
  • Cart

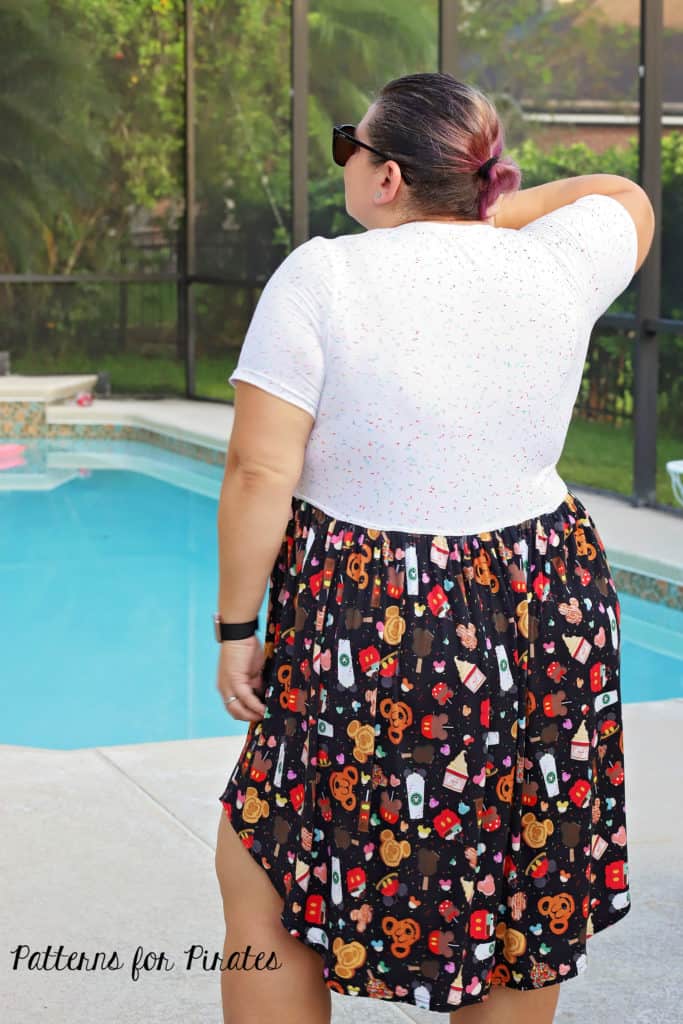
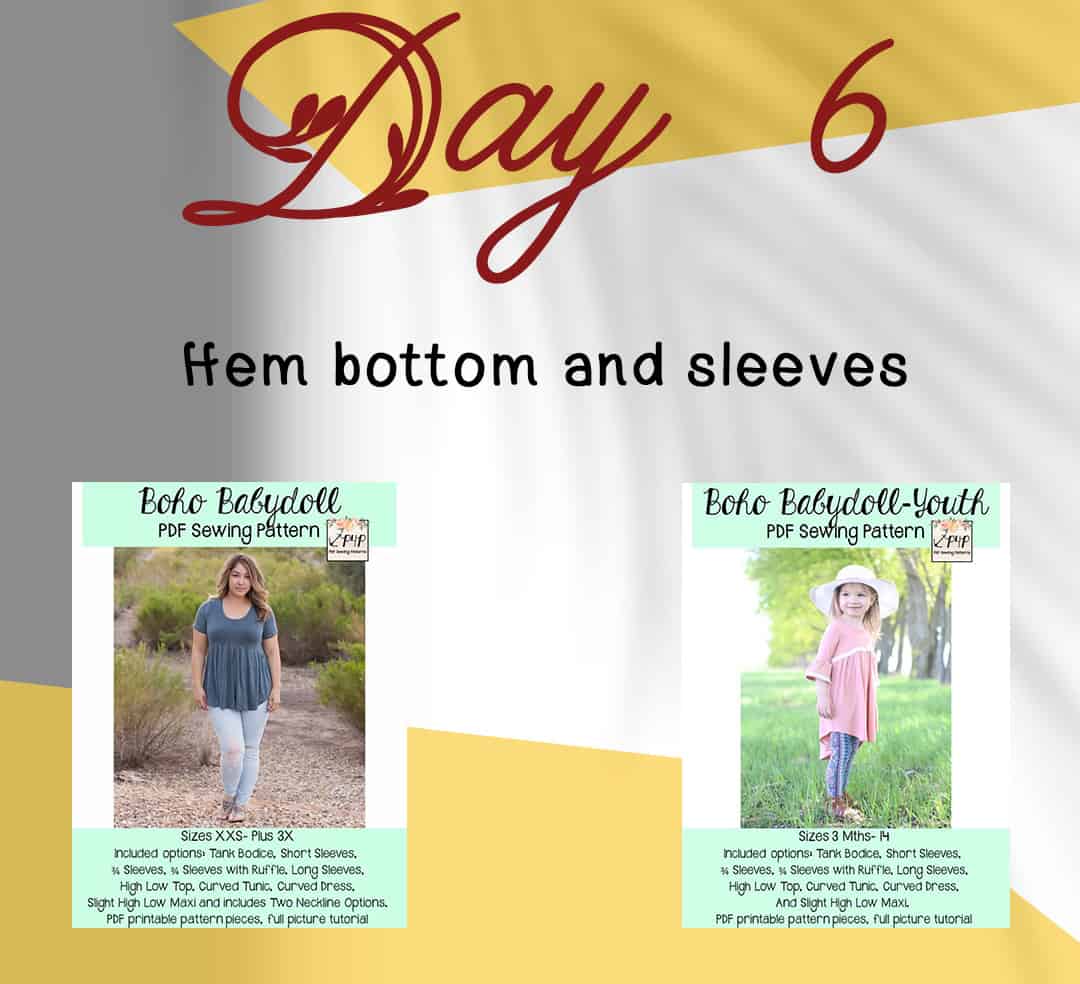
Boho Babydoll SAL day 6 (hem skirt and sleeves)

September 21, 2019

Last day of the sewing part of the SAL is here! Today we hem the bottom of the skirt and the sleeves. You can do that using your sewing machine’s twin needles option or your coverstitch as I have. Before you start, take a look over our Hemming blog because we have a few tips for easy and successful hemming. If you are finishing the bottom hem using twin needles, a good refresher blog is the P4P University Twin Needles Tips.
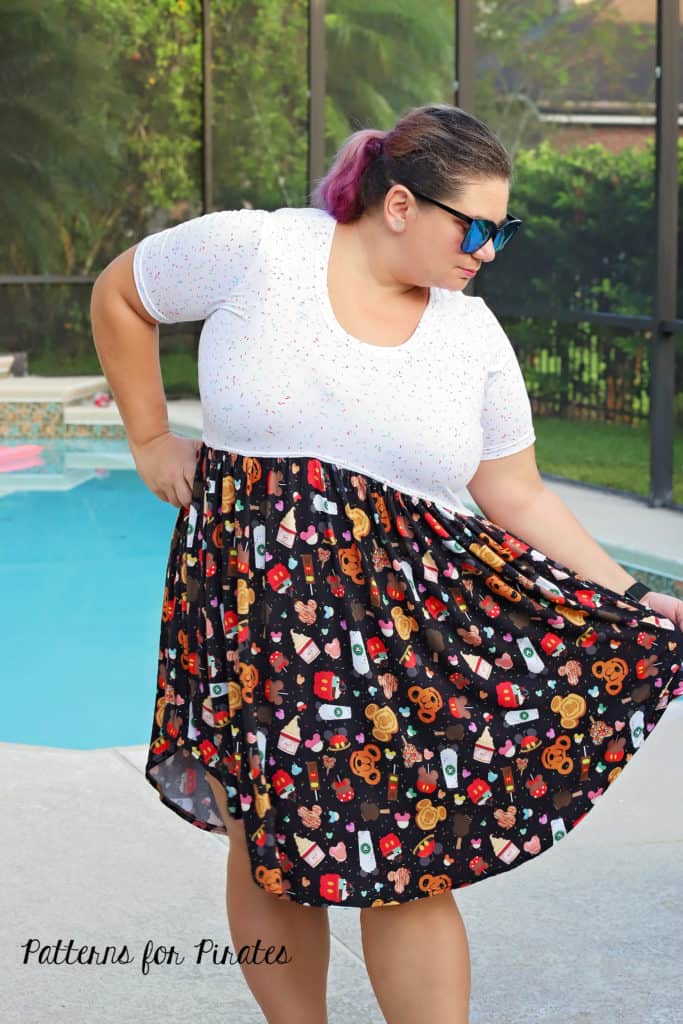

In the Day 6 video below I am showing you how easy it is to hem the curved dress option. Check it out and once you finish your day 6 steps, be sure to post a picture of your progress in the comments of the DAY 6 photo of the Boho SAL album in the sew along group. Can’t wait to see all your finished projects!

Boho Babydoll Sew Along | Day 1 (print and cut pattern)

Boho Babydoll Sew Along | Day 2 (choose and cut fabric)

Boho Babydoll Sew Along | Day 3 (sew shoulder seams and sleeves)

Boho Babydoll Sew Along | Day 4 (Sew side seams, add neckband and armbands)

Boho Babydoll Sew Along | Day 5 (prepare skirt and attach it)

Boho Babydoll Sew Along | Day 6 (hem skirt and sleeves)

Boho Babydoll Sew Along | Day 7 (winners announcement)

Filed Under: Frequently Asked Questions, Sew-A-Long, Uncategorized Leave a Comment

Boho Babydoll SAL day 5 (prepare and attach skirt)

September 20, 2019

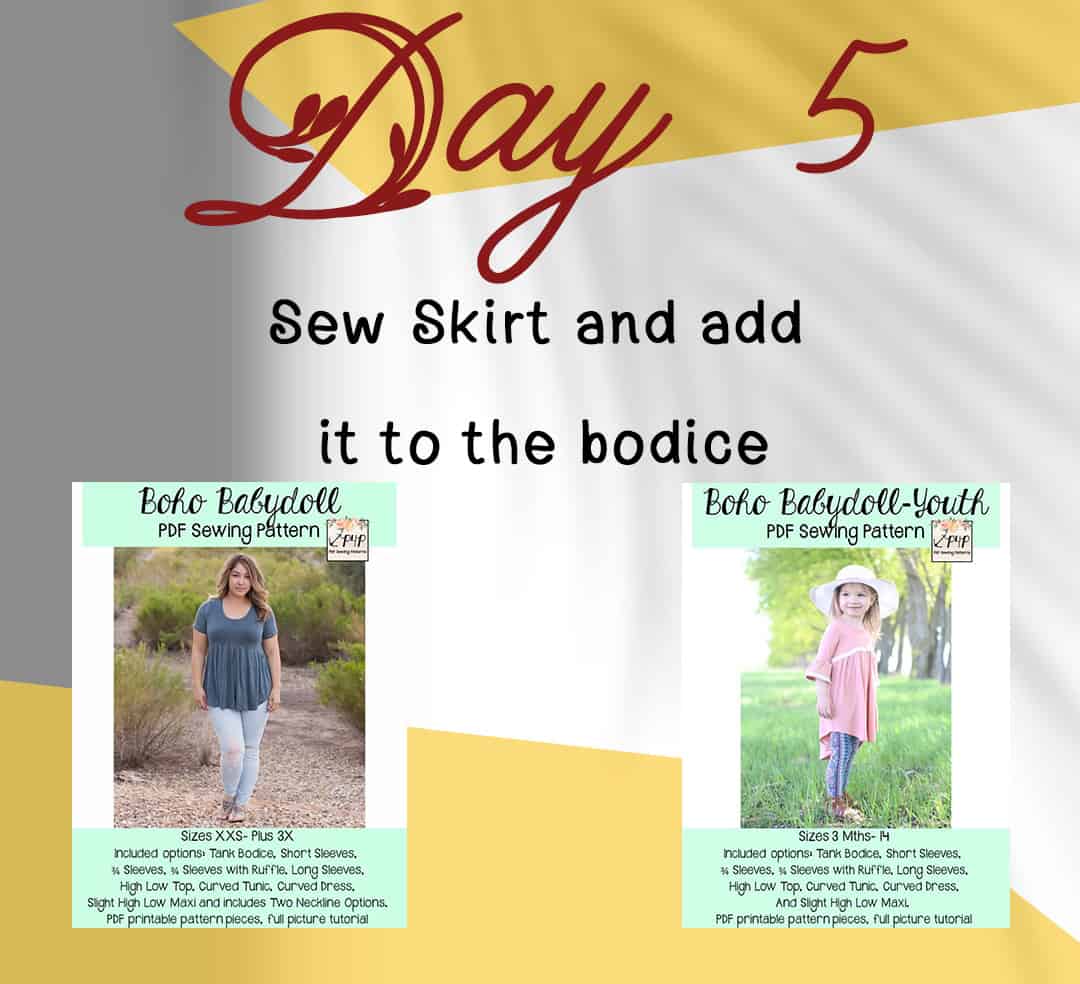
Ahoy, pirates! Today we will add the skirt to to bodice we finished yesterday. Start by sewing the side seams of the skirt pieces, right sides together. Mark the center front of the skirt front and back and well as the bodice.

You will next start gathering the skirt. My suggestion for this pattern is to gather with two rows of stitching. Your first gathering row should be 1/4″ away from the raw edge and the second row will be about 5/8″ away from the raw edge. In doing so, you ensure that one of the stitches will be in the seam allowance and the second one will just outside of it.

Match the center points and side seams of the bodice and gathered skirt right sides together. Attach them with your serger making sure you that you follow the 1/2″ seam allowance. Optionally you can top stitch the seam allowance up on the bodice. I like using my coverstitch for that step but you can certainly use a zig zig stitch or twin needles for this step.

Below is the day 5 video. Once you completed today’s steps post a picture of your progress in the comments of day 5 photo of the Boho SAL album.

Boho Babydoll Sew Along | Day 1 (print and cut pattern)

Boho Babydoll Sew Along | Day 2 (choose and cut fabric)

Boho Babydoll Sew Along | Day 3 (sew shoulder seams and sleeves)

Boho Babydoll Sew Along | Day 4 (Sew side seams, add neckband and armbands)

Boho Babydoll Sew Along | Day 5 (prepare skirt and attach it)

Boho Babydoll Sew Along | Day 6 (hem skirt and sleeves)

Boho Babydoll Sew Along | Day 7 (winners announcement)
Filed Under: Frequently Asked Questions, Sew-A-Long, Uncategorized 1 Comment

Boho Babydoll SAL day 4 (side seam, neckband and armband )

September 19, 2019

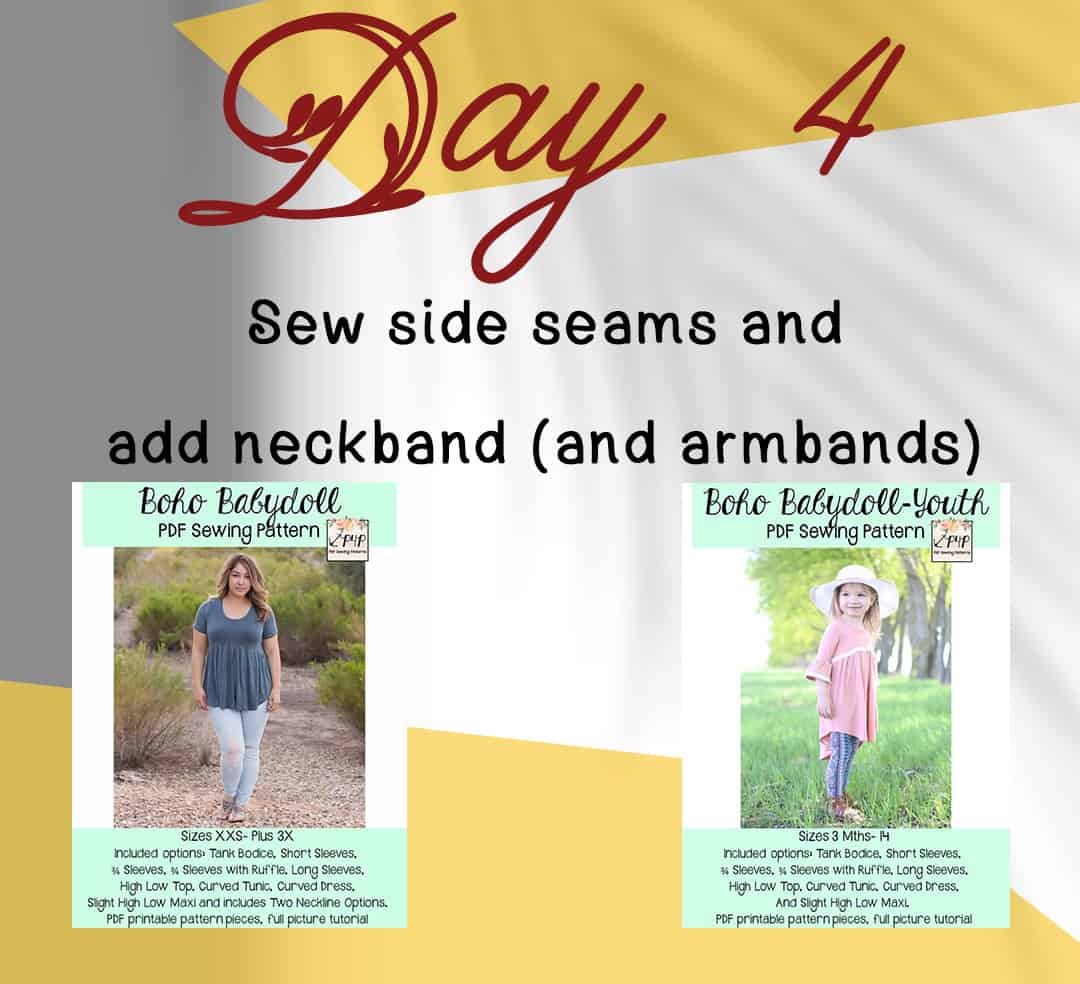
We made it to the half way mark of our Boho Babydoll sew along! That was fast! Today we’ll be sewing the side seams and adding the neckband and armbands (if you picked the tank option).

When sewing the side seams, pin the front to the back of the shirt, right sides together. I like to pin the armpit first, then the end of the sleeve and the bottom and finally add a few pins or clips in between. Whether you are making the long sleeve, 3/4 or short sleeves (like I am) the technique is the same.

Whether you chose the high or the low scoop neckline, take a look over our P4P University Neckbands 101 before you start sewing.

In the video below I show you how to sew the side seams and add the neckband using a serger / coverstitch machine. When you finish these steps be sure to post a picture of your progress (finished bodice) in the comments of the Day 4 photo  (album is in the M4M & P4P Sew along group)

Boho Babydoll Sew Along | Day 1 (print and cut pattern)

Boho Babydoll Sew Along | Day 2 (choose and cut fabric)

Boho Babydoll Sew Along | Day 3 (sew shoulder seams and sleeves)

Boho Babydoll Sew Along | Day 4 (Sew side seams, add neckband and armbands)

Boho Babydoll Sew Along | Day 5 (prepare skirt and attach it)

Boho Babydoll Sew Along | Day 6 (hem skirt and sleeves)

Boho Babydoll Sew Along | Day 7 (winners announcement)
Filed Under: Frequently Asked Questions, Sew-A-Long, Uncategorized Leave a Comment

Boho Babydoll SAL day 3 (Shoulder seams and sleeves)

September 18, 2019


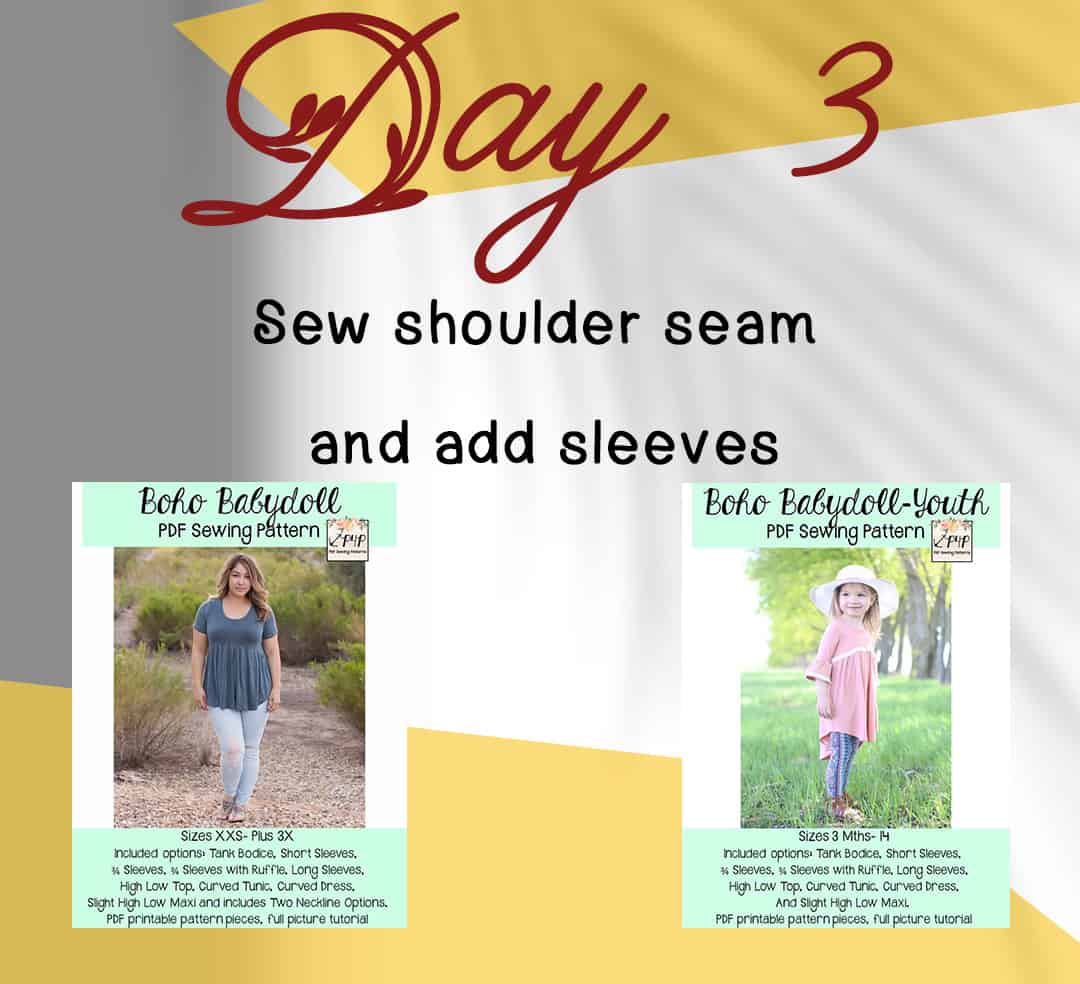
Let’s start sewing! Today is a pretty quick day. Today we sew the shoulder seams together, making sure to follow the 1/2 inch seam allowance. If you have opted for the sleeves option, as I have, today we are adding them too.

With the fabrics right sides together, match the shoulder seam with the notch on the sleeve curve. Pin the sides of the sleeves first and then easy the rest of the sleeve in the armcyse. Sew it in place with a 1/2″ seam allowance.

Watch the day 3 video below and be sure to post a picture of today’s progress in the day 3 photo comments of the Boho Babydoll album in the M4M & P4P Sew Along Group.

Boho Babydoll Sew Along | Day 1 (print and cut pattern)

Boho Babydoll Sew Along | Day 2 (choose and cut fabric)

Boho Babydoll Sew Along | Day 3 (sew shoulder seams and sleeves)

Boho Babydoll Sew Along | Day 4 (Sew side seams, add neckband and armbands)

Boho Babydoll Sew Along | Day 5 (prepare skirt and attach it)

Boho Babydoll Sew Along | Day 6 (hem skirt and sleeves)

Boho Babydoll Sew Along | Day 7 (winners announcement)
Filed Under: Frequently Asked Questions, Sew-A-Long, Uncategorized Leave a Comment

Boho Babydoll SAL day 2 (choose and cut fabric)

September 17, 2019


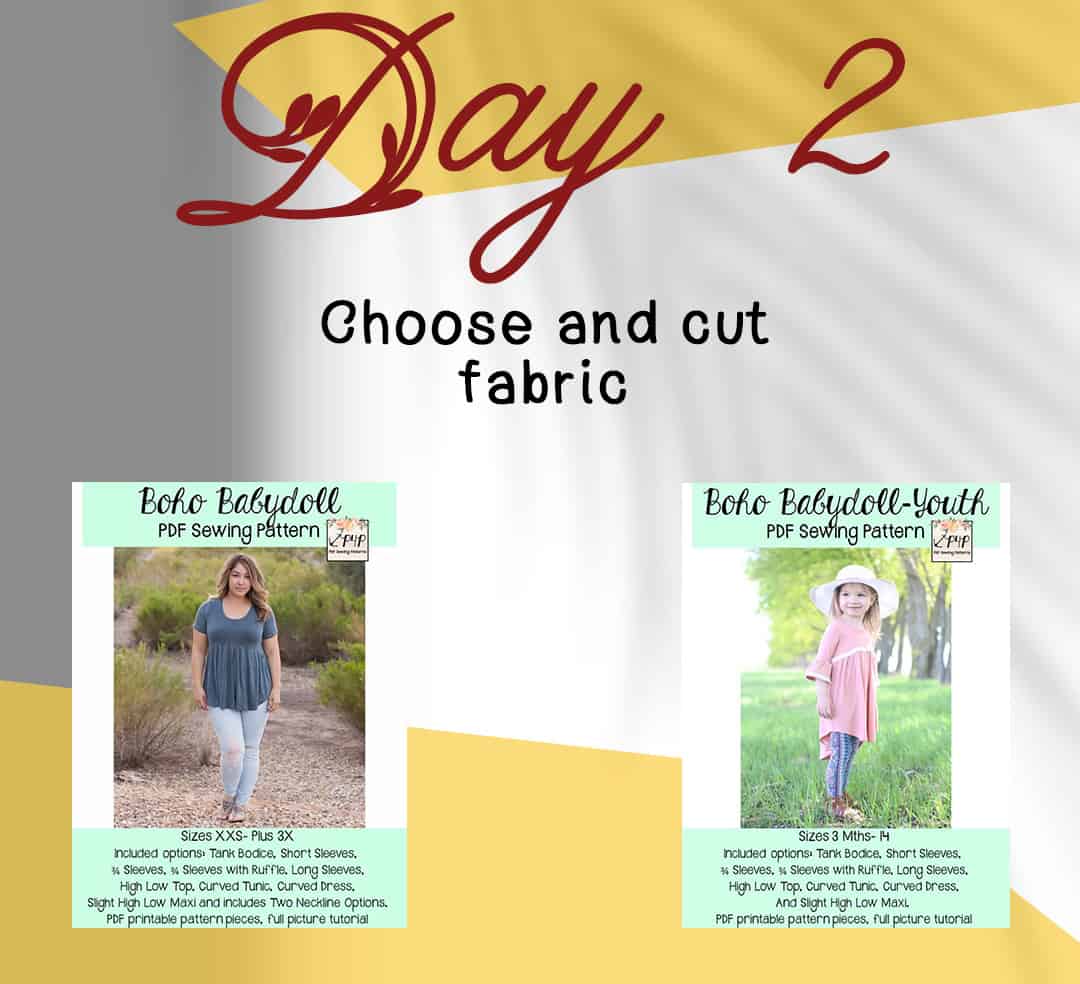
Welcome to day 2 of our Boho Babydoll  sew along. Today we will be choosing the fabric, cutting it and gathering all necessary notions and accessories. You should have your pattern pieces ready from yesterday.

Let’s talk a little about the right fabric for this pattern. As you can see in the video below I am using Bamboo Spandex from Hissy Fit Fabrics for my dress. This is by far my favorite knit type for this pattern. I also like Rayon Spandex, Modal, ITY, Cupro and Double Brushed Poly for it. All these bases can be layered so beautifully for cooler weather.

Hissy Fit Fabrics is also the sponsor for this sew along so our two lucky winners will receive gift cards to their shop.

If you are unsure about which knit type will work best for your desired look, take a look over our P4P University Knit Types blog. Judy also included a cheat sheet that you can print. If you are like me and sometime are just keen on using a specific print for a specific pattern, read our Different fabric, different fit blog post before you cut your fabric.

The Day 2 video is posted below. Check it out and once you are done cutting your fabric post a picture of it in the comments of the Day 2 photo of the Boho SAL album  in the M4M & P4P Sew Along group.

Boho Babydoll Sew Along | Day 1 (print and cut pattern)

Boho Babydoll Sew Along | Day 2 (choose and cut fabric)

Boho Babydoll Sew Along | Day 3 (sew shoulder seams and sleeves)

Boho Babydoll Sew Along | Day 4 (Sew side seams, add neckband and armbands)

Boho Babydoll Sew Along | Day 5 (prepare skirt and attach it)

Boho Babydoll Sew Along | Day 6 (hem skirt and sleeves)

Boho Babydoll Sew Along | Day 7 (winners announcement)
Filed Under: Frequently Asked Questions, Sew-A-Long, Uncategorized 1 Comment

Boho Babydoll SAL day 1 (print and cut pattern)

September 16, 2019

Welcome to the Boho Babydoll

Sew Along!

Day One is reserved to purchasing the patterns, printing and cutting the size(s) you need. If you plan on sewing for yourself you can get the Boho Babydoll here, if you’re sewing for your little girl, the BB Youth can be purchased here and if you’re sewing for both of you (just think of the mommy and me matching outfits!) you can get the bundle.

This Sew Along will take place in our M4M & P4P Sew Along group so be sure to join the group not only for the exclusive discount code available for the patterns but also to post your progress this week. As always all daily blog posts will be here, but you’ll be checking in with your completed steps in the group.

Now that you purchased the pattern(s), print the size needed. In order to do that it is very important that you take your most accurate measurements. The Boho Babydoll patterns are drafted for light weight fabrics with great drape so if you need to grade for multiple sizes, please do not skip this step.


You will need your waist, hips and chest measurements in order to choose the correct  size. P4P has an amazing blog that gives you tip for accurately taking your measurements. You can read all about it here. If your measurements put you in a different size for chest/waist/hips be sure to check out our P4P University blog and grade to achieve the perfect fit.

The Boho Babydoll is a loose fitting shirt and dress, perfect for hot summers but also lovely when layered in the fall. Just imagine a cute denim jacket and some fun boots with it! Perfection!

Check out the day 1 video below and then comment “done” on the Day 1 picture of the Boho Babydoll SAL album in the Facebook sew along group. We don’t allow pictures of the pattern pieces so this will count as your day 1 check in. Let’s get started!

Boho Babydoll Sew Along | Day 1 (print and cut pattern)

Boho Babydoll Sew Along | Day 2 (choose and cut fabric)

Boho Babydoll Sew Along | Day 3 (sew shoulder seams and sleeves)

Boho Babydoll Sew Along | Day 4 (Sew side seams, add neckband and armbands)

Boho Babydoll Sew Along | Day 5 (prepare skirt and attach it)

Boho Babydoll Sew Along | Day 6 (hem skirt and sleeves)

Boho Babydoll Sew Along | Day 7 (winners announcement)
Filed Under: Frequently Asked Questions, Sew-A-Long, Uncategorized 3 Comments

SOS sal day 2 (cut fabric)

May 16, 2019


Welcome to day 2 of our SOS knit pants sew along. Today we will be choosing the fabric, cutting it and gathering all necessary notions. You should have your pattern pieces ready from yesterday. If you haven’t removed the top part of the pocket on the front pieces, now is the time to do it.

But first let’s talk a little about the right fabric for the SOS pants. As you can see in the video below I am using a gorgeous athletic knit from Kammie Lou Lou for my SOS skinny pants. This poly base knit is custom printed and the perfect medium weight. For the straight leg I absolutely love French Terry or Baby French Terry for a casual/sporty feel and ponte for a more elegant look. I highly encourage you to avoid thinner knits like double brushed poly, low weight cotton spandex or bamboo spandex.

Custom Brushed Poly
Jacquard
Baby French Terry
Jeggings
Athletic poly

Kammie Lou Lou is this sew along’s sponsor too, so one of you will be getting a $75 Gift Card to the retail shop so you can treat your to some gorgeous custom printed fabric.


You will also need 1″ or 1.25″ elastic for the waistband. Not all elastic is the same, so keep that in mind when you choose knit elastic vs no roll elastic.

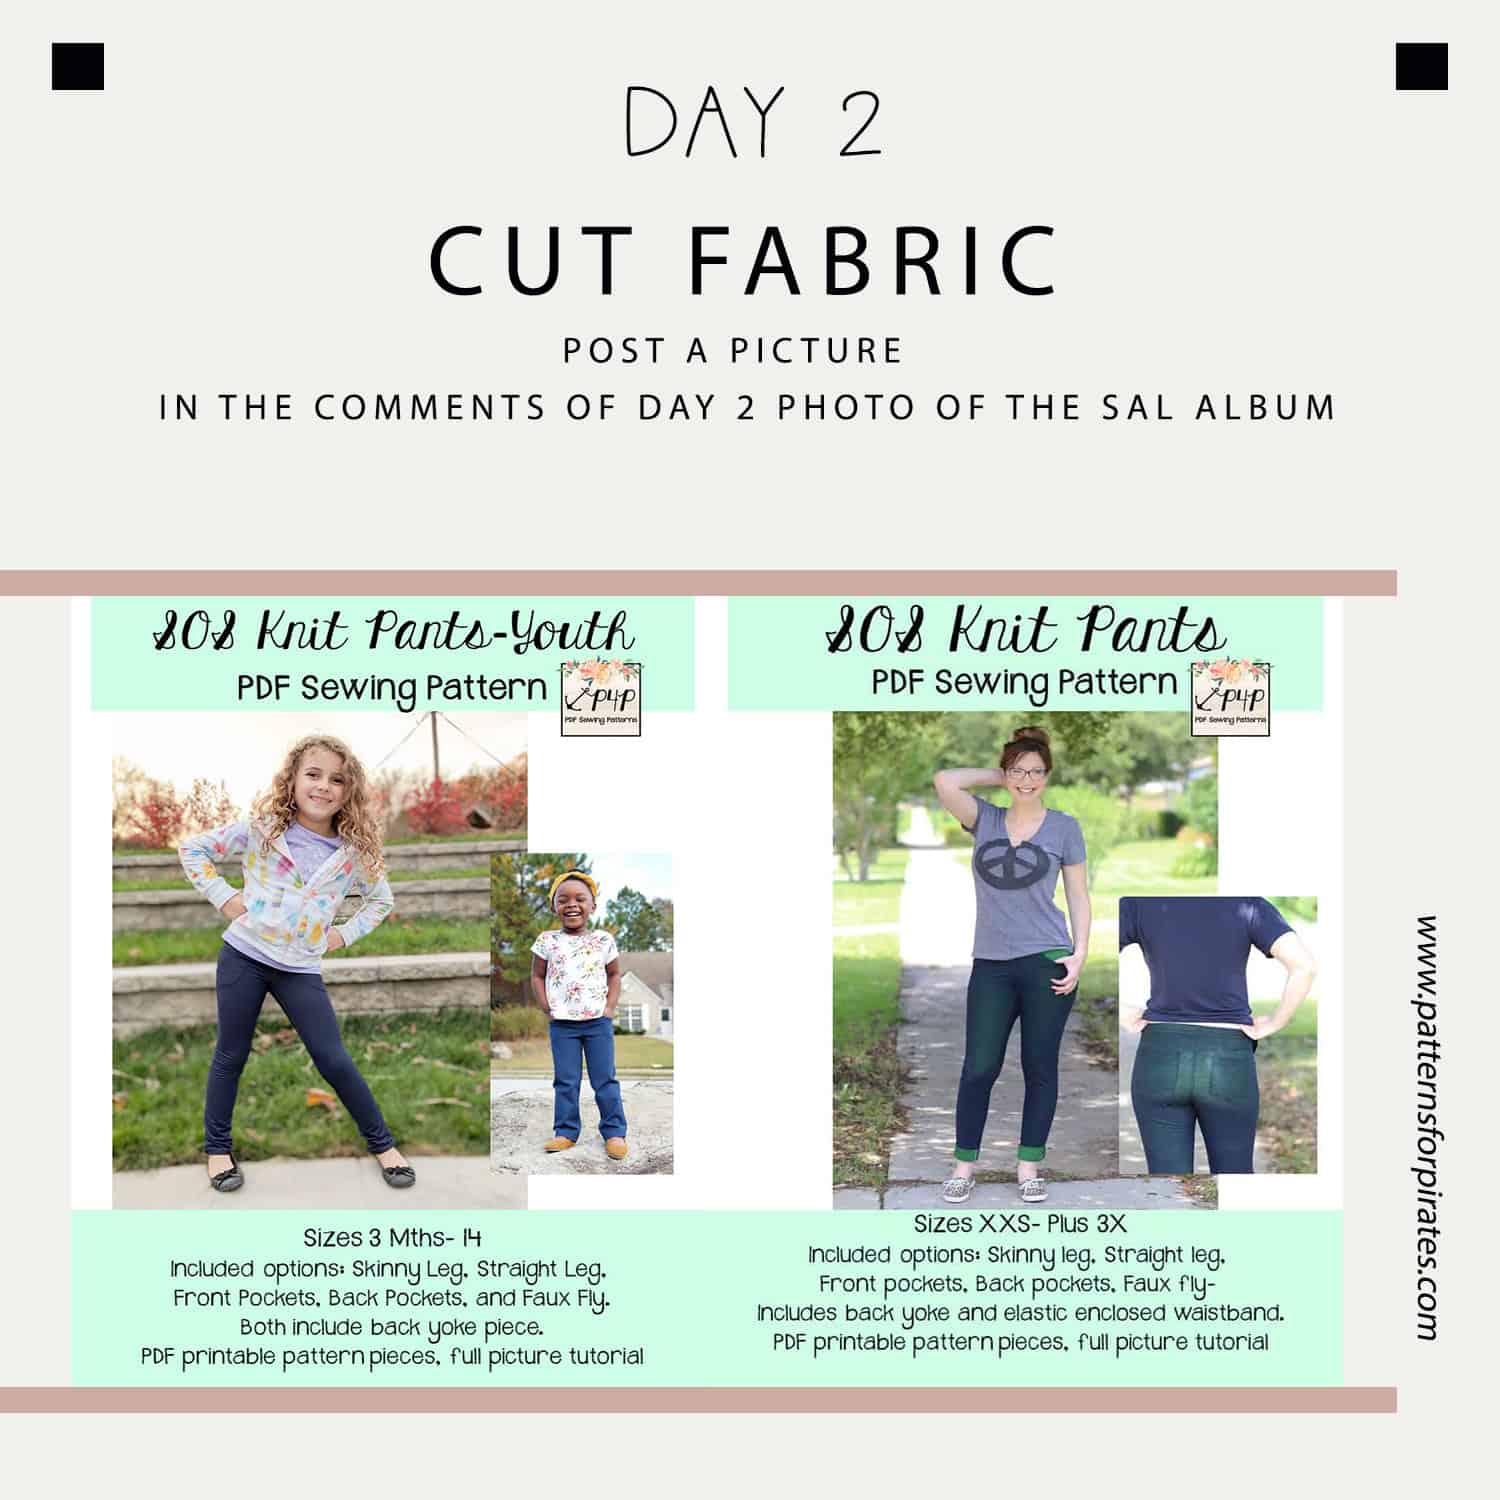
The Day 2 video is posted below. Check it out and once you are done cutting your fabric post a picture of your prepped fabric in the comments of the Day 2 photo of the SOS SAL album in the M4M & P4P Sew Along group.


SOS sew along | Day 1 – Print and cut pattern

SOS sew along | Day 2 – Cut fabric

SOS sew along | Day 3 – Back: pocket, yoke, inseam

SOS sew along | Day 4 – Front: pocket, inseam

SOS sew along | Day 5 – Leg inseam, side seam, hem

SOS sew along | Day 6 – Waistband

SOS sew along | Day 7 – Winners announcement

Filed Under: Frequently Asked Questions, Sew-A-Long, Uncategorized Leave a Comment

Grandpa Cardi/Cpt Mack’s Cardigan SAL – day 2 (pick and cut fabric)

January 15, 2019

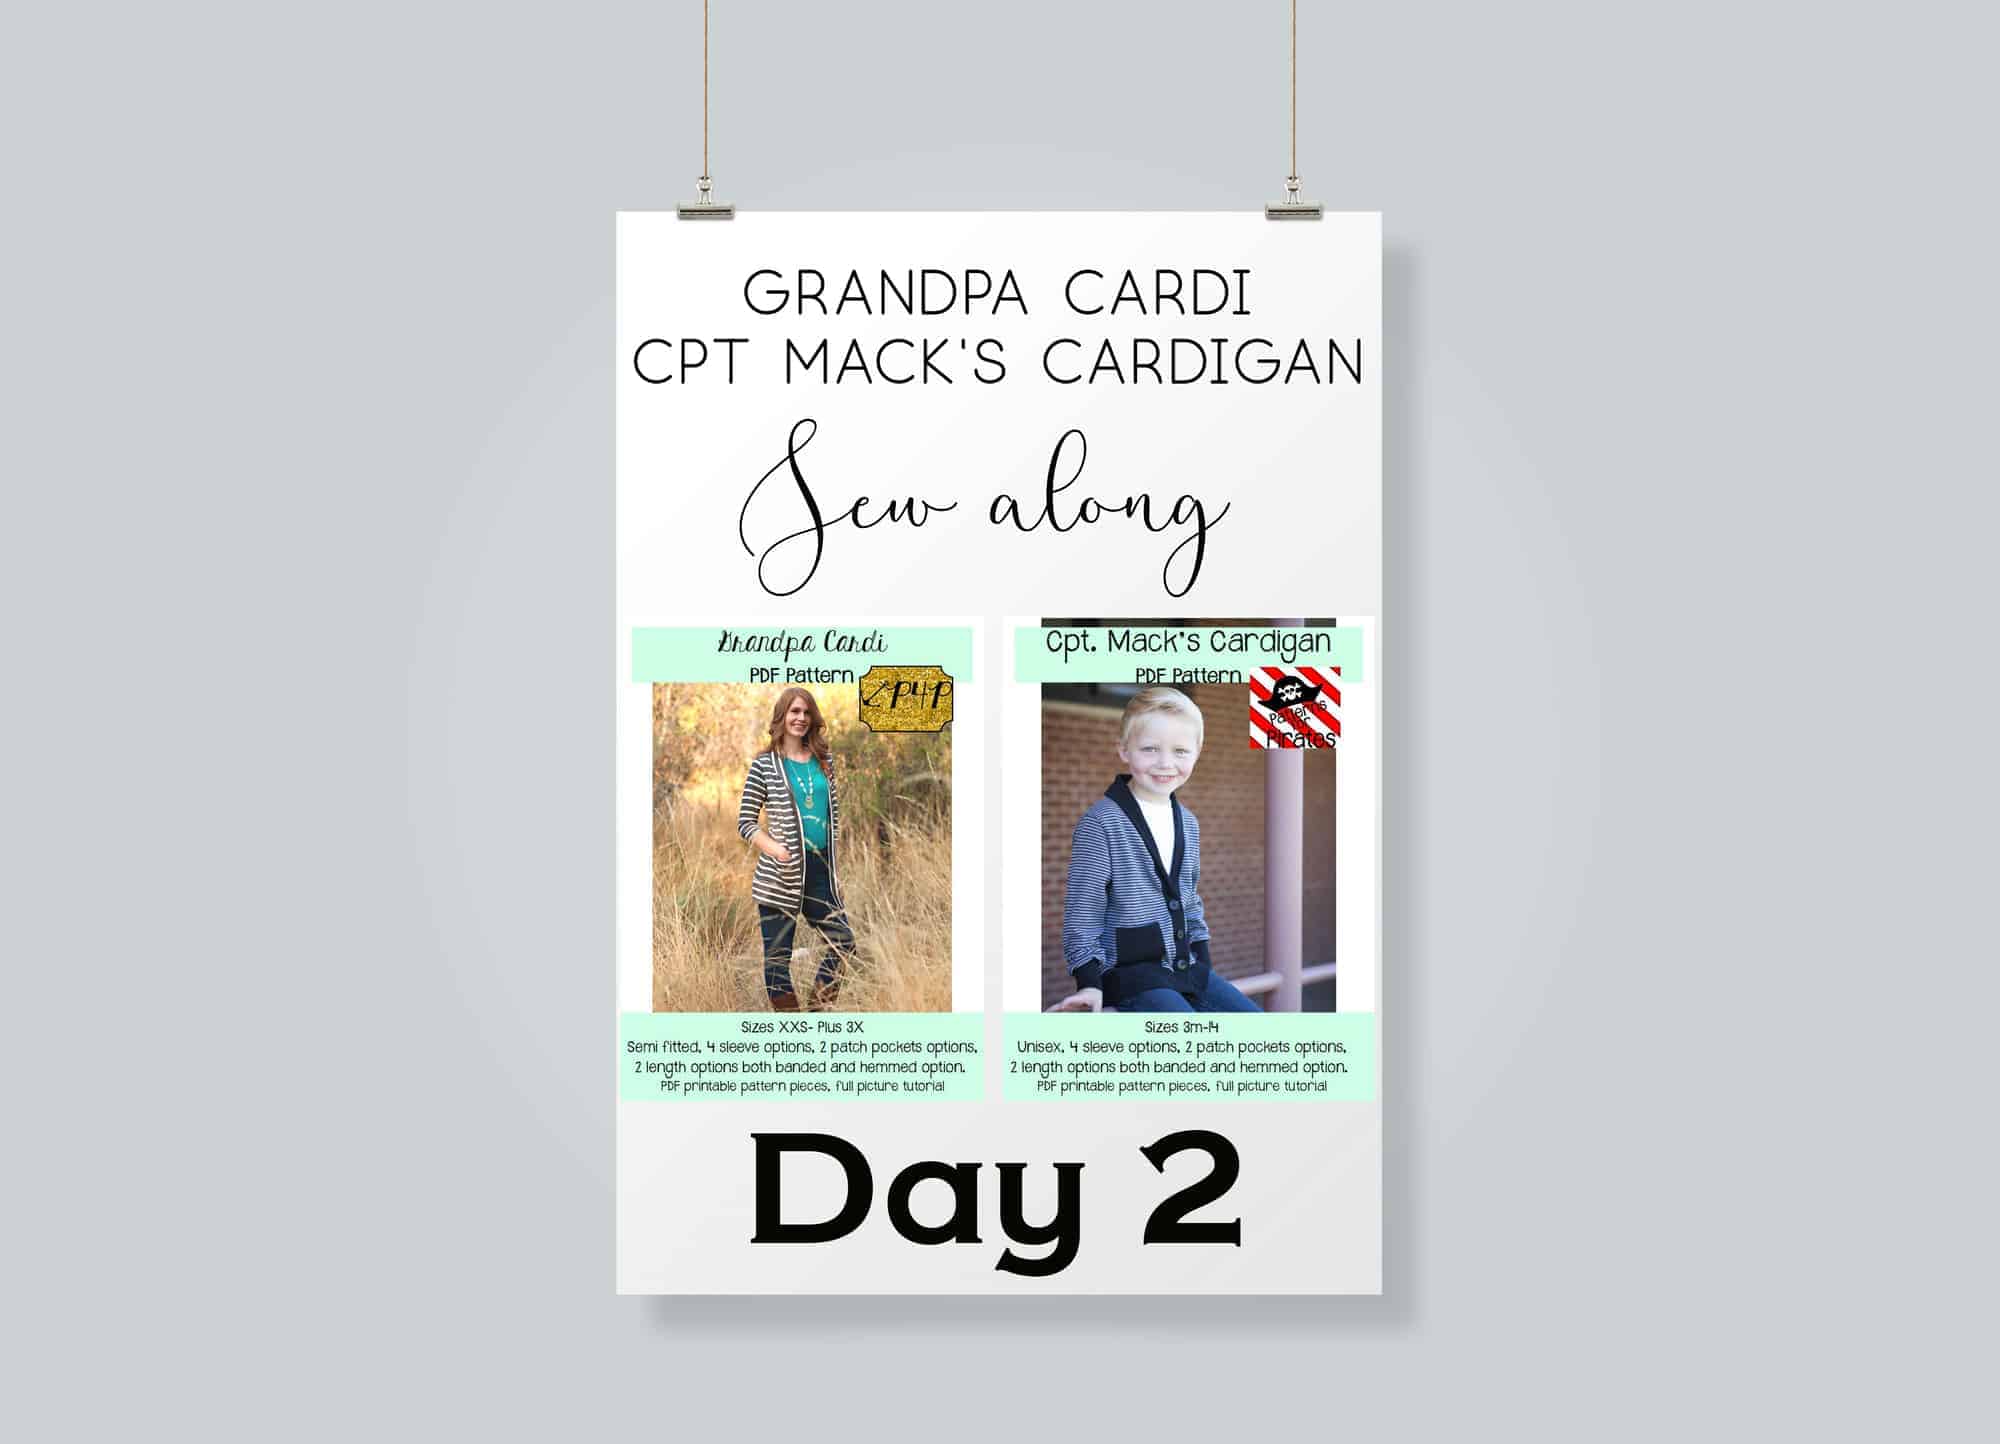
Welcome to day 2 of our Grandpa Cardi/Cpt Mack’s Cardigan sew along. Today we will be choosing the fabric and cutting it. You should have your pattern pieces ready from yesterday.

But first let’s talk a little about the right fabric for this pattern. As you can see in the video below I am using a gorgeous rose gold sweater knit from Sincerely Rylee for my Grandpa Cardi. This my favorite knit type for this pattern. For Cpt Mack’s I like the structured look of cotton lycra. These two cardigans can be made with virtually any knit fabric since they only require 20% stretch.

Sincerely Rylee is this SAL’s sponsor too, so one of you will be getting a $50 Gift Card to their shop so you can treat your to some gorgeous sweater knits (and not only) too.

If you are unsure about which knit type will work best for your desired look, take a look over our P4P University Knit Types blog. Judy also included a cheat sheet that you can print. If you are like me and sometime are just keen on using a specific print for a specific pattern, read our Different fabric, different fit blog post before you cut your fabric.

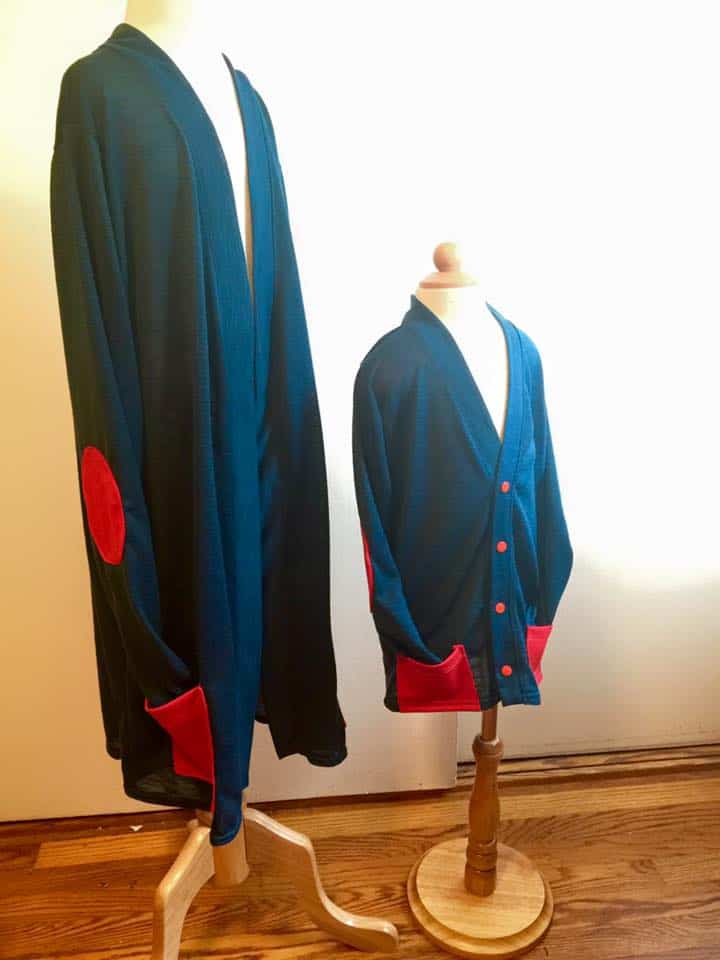
Writing this blog brought back some memories…the set below is my first ever Grandpa cardi/Cpt Mack’s cardigan I ever made. It’s a thin sweater knit from Joann and I still wear it today. My little man wore his at school for two years. It makes an great uniform piece too.

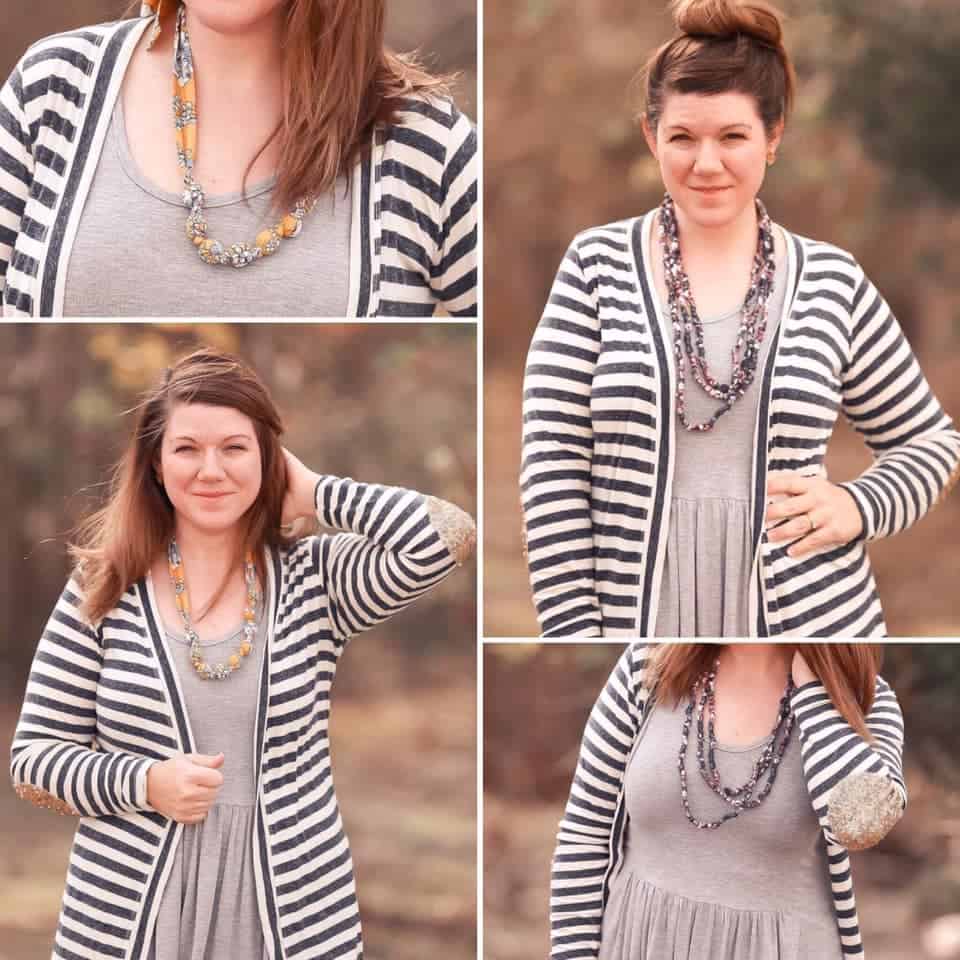
Got some sequins fabric you absolutely love? Use them for the elbow patches. Colleen’s Grandpa cardi is to die for…afterall, who doesn’t need a fancy elbow pocket patch?

For my cardigan I decided to add bamboo lycra shoulder patches and pockets. I’m using a rose gold striped main fabric so I chose a gold and roses print for the patches. Get it Get it? 😉

The Day 2 video is posted below. Check it out and once you are done cutting your fabric post a picture of it in the comments of the Day 2 photo of the Grandpa Cardi/ Cpt Mack’s SAL album in the M4M & P4P Sew Along group.

Grandpa Cardi | Cpt Mack’s Cardigan Sew along  – Day 1 (Print & cut pattern)

Grandpa Cardi | Cpt Mack’s Cardigan Sew along  – Day 2 (choose and cut fabric)

Grandpa Cardi | Cpt Mack’s Cardigan Sew along  – Day 3 (pockets and elbow patches)

Grandpa Cardi | Cpt Mack’s Cardigan Sew along  – Day 4 (shoulder seams and add sleeves)

Grandpa Cardi | Cpt Mack’s Cardigan Sew along  – Day 5 (finish sleeves and bottom edge)

Grandpa Cardi | Cpt Mack’s Cardigan Sew along  – Day 6 (collar/shawl and buttons)

Grandpa Cardi | Cpt Mack’s Cardigan Sew along  – Day 7 (winners announcements)

Filed Under: Frequently Asked Questions, Sew-A-Long, Uncategorized 1 Comment

Favorite/Fav Tee SAL – day 2 (choose and cut fabric)

August 7, 2018

Welcome to day 2 of our Favorite and Fav Tee sew along. Today we will be choosing the fabric and cutting it. You should have your pattern pieces ready from yesterday so now we will be using them to cut the fabric.

But first let’s talk a little about the right fabric for this pattern. As you can see in the video below I am using Bamboo Spandex from Fabric Anthropology for my dress. This is by far my favorite knit type for this pattern. I also like Rayon Spandex and Brushed Poly for it too.

If you are unsure about which knit type will work best for your desired look, take a look over our P4P University Knit Types blog. Judy also included a cheat sheet that you can print. If you are like me and sometime are just keen on using a specific print for a specific pattern, read our Different fabric, different fit blog post before you cut your fabric.

The Day 2 video is posted below. Check it out and once you are done cutting your fabric post a picture of it in the comments of the Day 2 photo in the M4M & P4P Sew Along group.


Favorite Tee & Fav Tee SAL

Day 1: print + cut pattern

Day 2: chose + cut fabric

Day 3: shoulder seam + attach sleeves

Day 4: side seam + hem sleeves

Day 5: hem bottom or add band

Day 6: neckband

Day 7: winner announcement 

Filed Under: Frequently Asked Questions, Sew-A-Long Leave a Comment

When It Goes Against the Grain

November 14, 2017

Woven Fabrics

We make woven fabrics on a loom. The weaver strings the lengthwise threads first, and we call them the “warp”. Then threads are woven through them creating the fabric. We call these horizontal threads  the “weft” or the “woof”. We’ve named the edges of the fabric the “selvages” or “selvedges”, and we weave them more tightly to prevent fraying.

The warp creates the “straight grain” of the fabric, and the weft creates the “cross grain”.

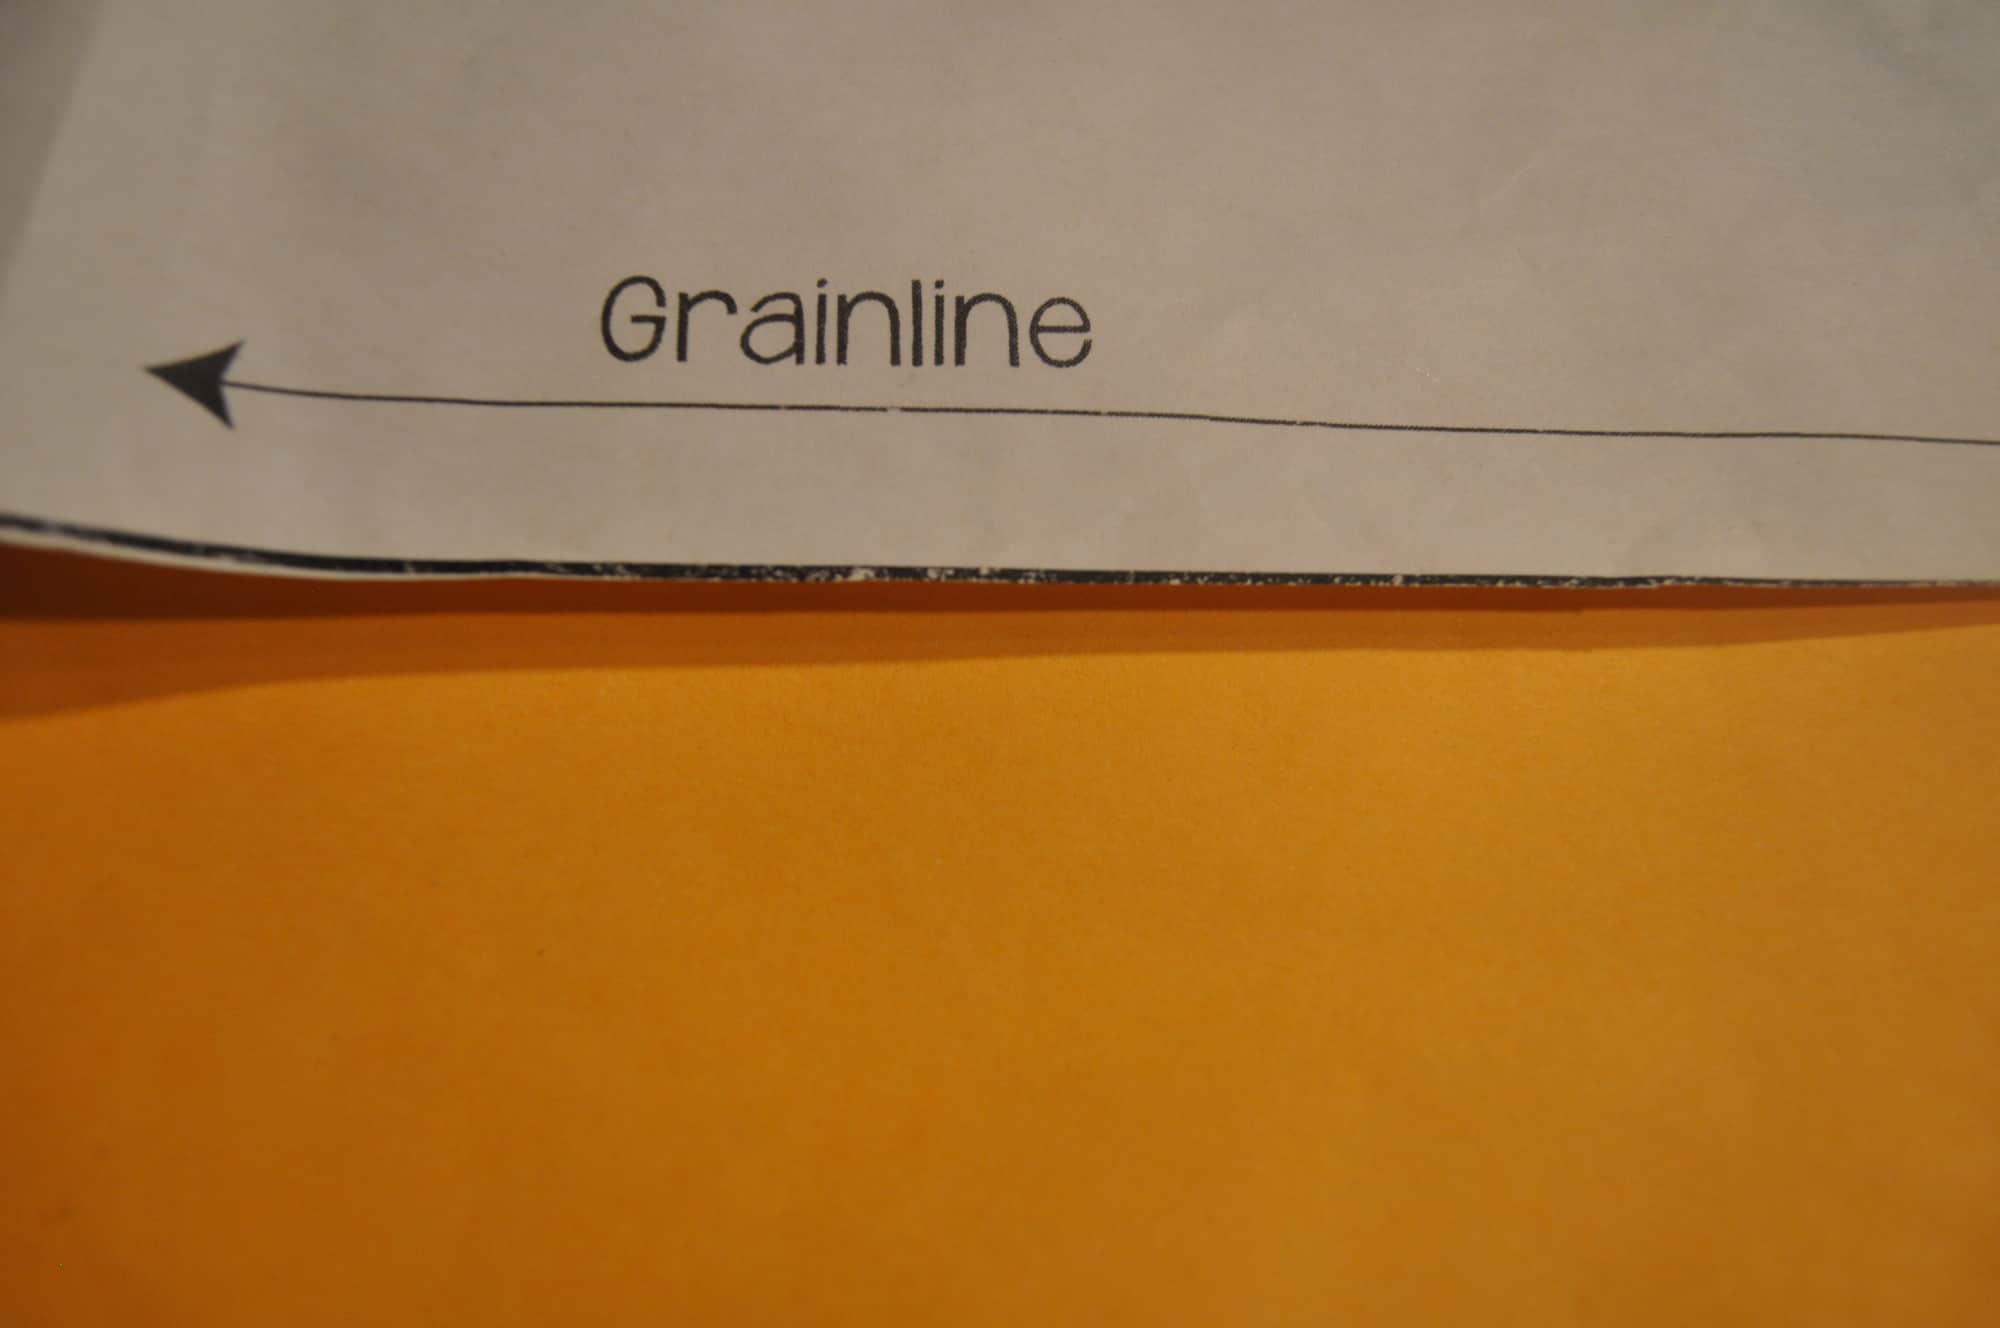
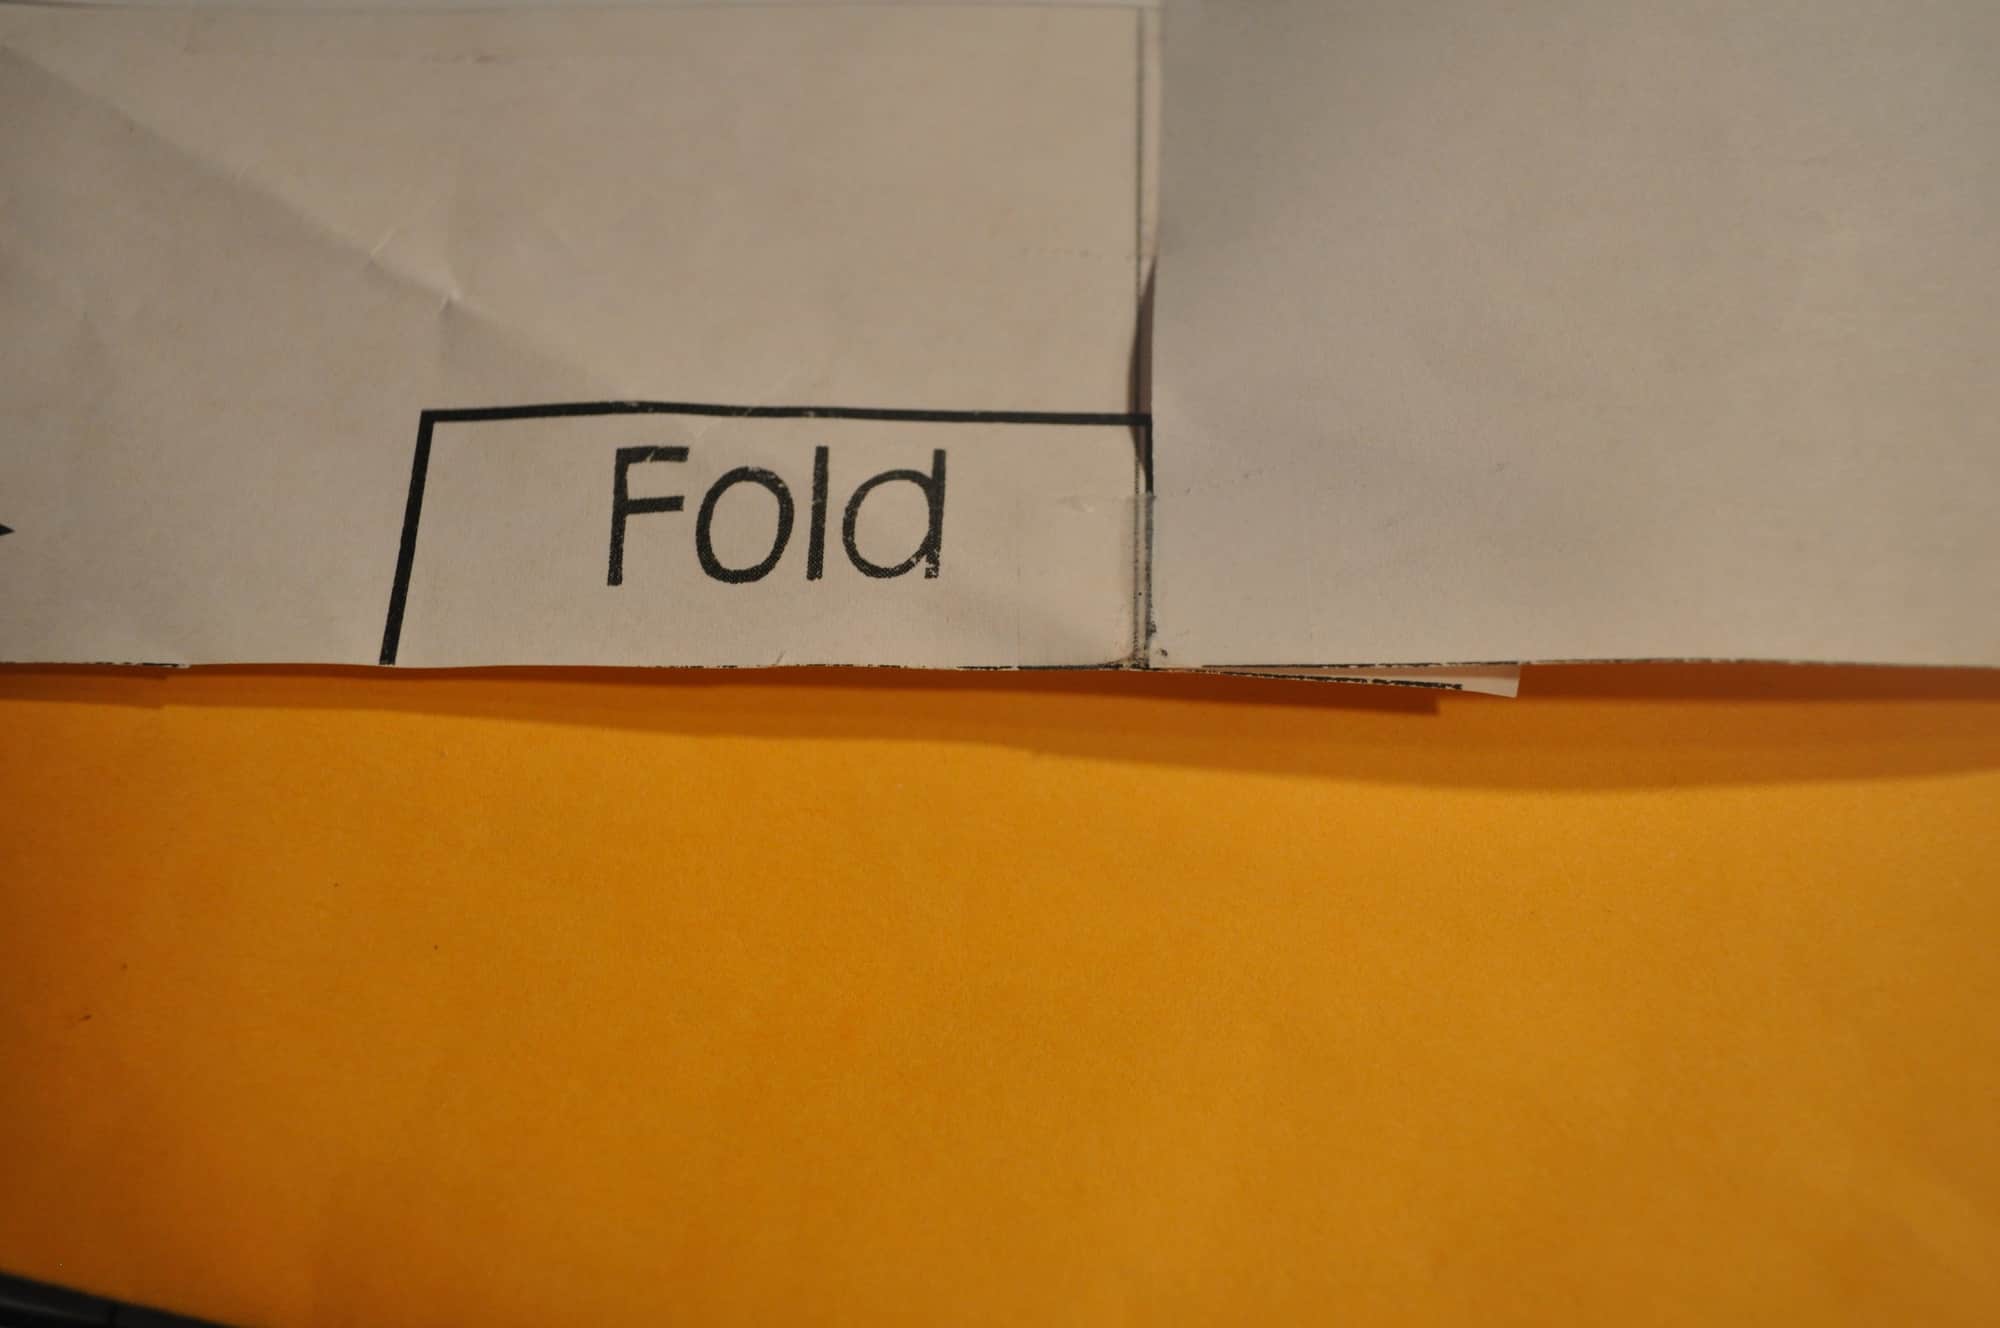
Pattern pieces have grainlines printed on them.  They are either arrows or fold lines.

Grainline


When we cut a pattern out, the best way is to fold the fabric carefully on the straight grain of the fabric, lining up the selvages .  If you need to straighten the ends of your fabric, take a snip through the selvage near one end. Then pull a horizontal thread. The missing thread will create a straight line for you to cut along.

Fold Placement

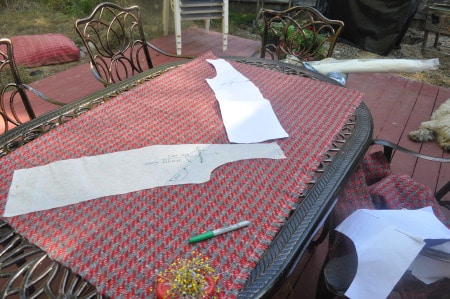
Then place the pattern pieces down carefully with the grain lines on the pattern piece lined up with the straight grain of the fabric.

Finding the Straight Grain

An easy way to check if your pattern piece is “on-grain” is to measure from the line on the pattern piece to the selvages in a couple of places. The distance should be the same.

It’s important for long pattern pieces, especially something like a pant leg, to be grain perfect. If it’s not, the garment will twist, and once you cut it, there’s nothing you can do to fix it. You’ll also never be able to match stripes or plaids if you cut off-grain.

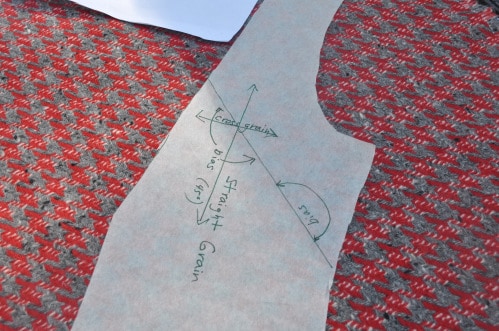
Smaller pieces like pockets, collars, cuffs, and yokes can be cut on the straight grain, the cross grain, or the bias no matter what the lines on the pattern say. The “bias” is the direction that’s 45 degrees from the straight grain. It has more drape than either the straight grain or the cross, and edges cut on the bias don’t fray.

When you cut major pieces on the bias, it’s important to cut them in opposite directions or your whole garment will twist. But it’s not important for small pieces like pockets.

How to Position Bias Cut Pieces


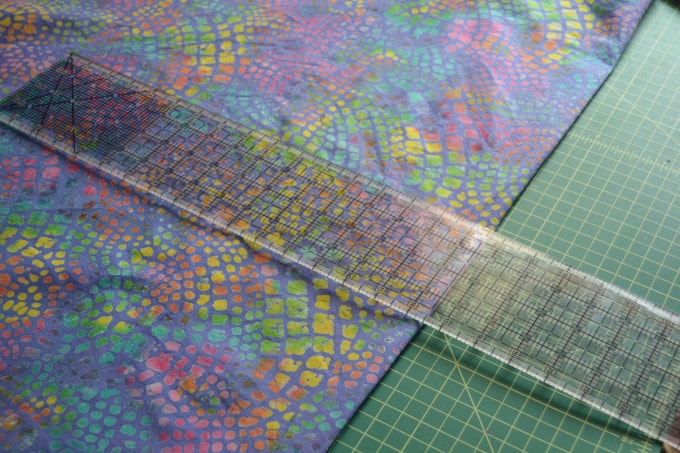
You can mark the bias on your pattern piece with a protractor or a quilting ruler.

Marking the Grainlines


Over time fabrics cut on the cross grain will droop more than then fabric cut on the straight. It’s not a problem for something like a skirt or pants made from a border print. The droop won’t be noticeable in the normal lifetime of the garment. You might see it in heavy curtains, though.

Knit Fabrics

Technically, knit fabrics don’t have a grain, but the direction you cut your pieces out matters just as much. Big machines make knit fabric, but they work the same way we knit with yarn and needles. Some machines knit back and forth and some  knit in the round. One results in a fabric with selvage-like edges and other in a tube of fabric.

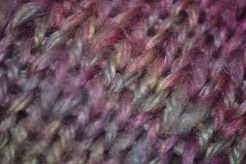
Close up of a Knit Fabric


No matter what yarn is used to create the knit fabric, the single knit process will result in a horizontal stretch in the fabric we call the “mechanical stretch”.  Fabrics that only have horizontal stretch are usually called “two-way stretch”.  The addition of elastane (Spandex, Lycra, etc.) to the yarns can create a fabric with both horizontal and vertical stretch, and it is usually described as “four-way stretch”. Whether the fabric is two-way or four-way,  the horizontal stretch should be the circumference of your garment.

Horizontal Stretch Line

While the amount of elastane in the yarns might make the fabric stretchy enough for the garment to fit you cut with the vertical stretch used as the circumference, you shouldn’t cut it that way. If the mechanical stretch in the fabric hangs vertically, you’ll get elephant knees, saggy elbows, and baggy crotches. You can use the same method for making sure your pattern is lined up so the grainlines on your pattern are parallel to the edges of your fabric that we use for wovens. Knit patterns often have the horizontal stretch line marked, too.

There’s a saying in sewing- The fabric always wins. There is probably nowhere in sewing where fighting the fabric is more futile than not paying attention to the grain.

Roberta

Filed Under: Frequently Asked Questions, P4P University, Sewing Techniques, Uncategorized 14 Comments

  • « Previous Page
  • 1
  • 2
  • 3
  • Next Page »

connect with me

  • Email
  • Facebook
  • Instagram
  • Pinterest
  • YouTube
Privacy & Cookies: This site uses cookies. By continuing to use this website, you agree to their use.

To find out more, including how to control cookies, see here: Cookie Policy
  • Privacy Policy
  • Refund Policy
  • Contact Us
  • About

Copyright © 2026 Patterns for Pirates

Copyright © 2026 · Genesis Framework · WordPress · Log in