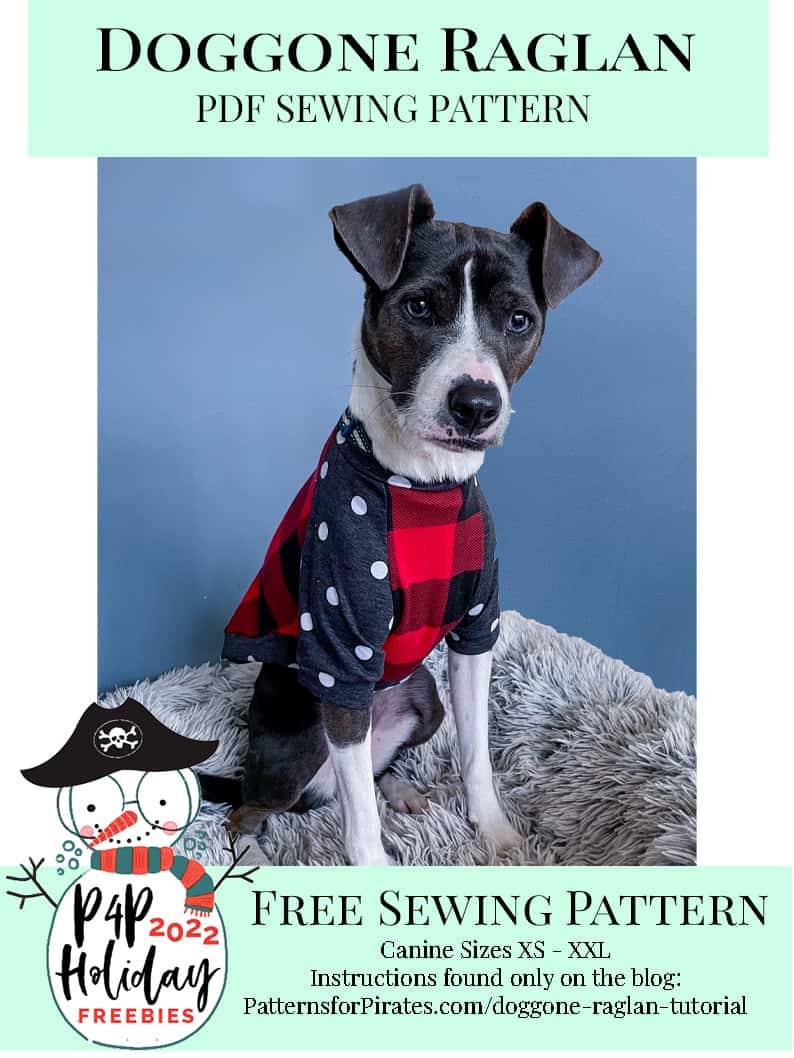
Happy Holidays, Pirate Friends! We are excitedly back for another year and another round of holiday freebies to share with you! Since 2016, we’ve compiled different tutorials and patterns that we think would make *perfect* gifts for your friends and family. Curious about what we’ve already released in the way of holiday freebies? Head right here to see all of them: Holiday Freebies Roundup.
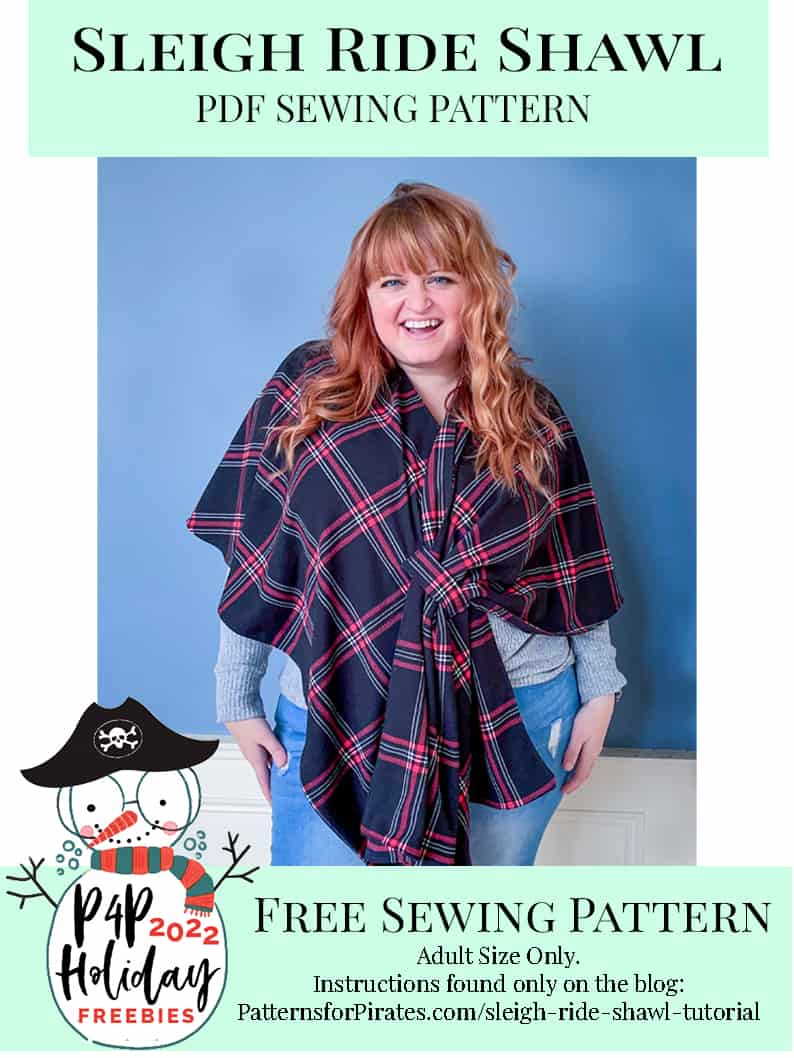
Today, we are bringing you the: Merry Napkins!
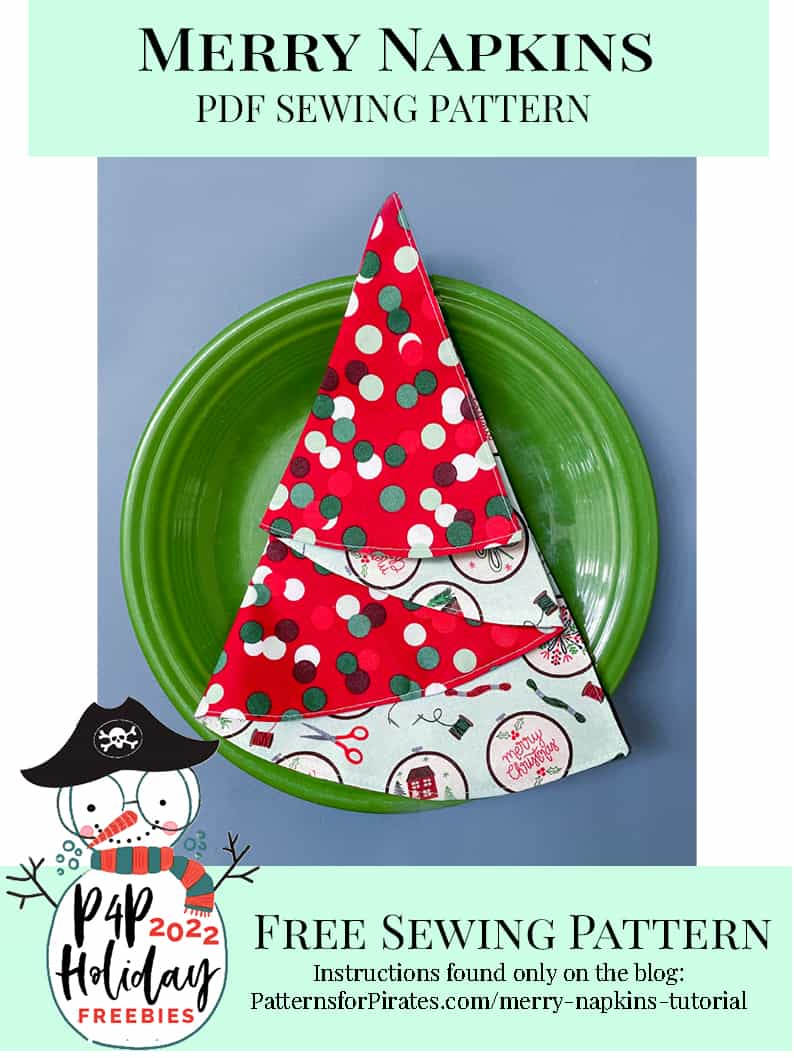
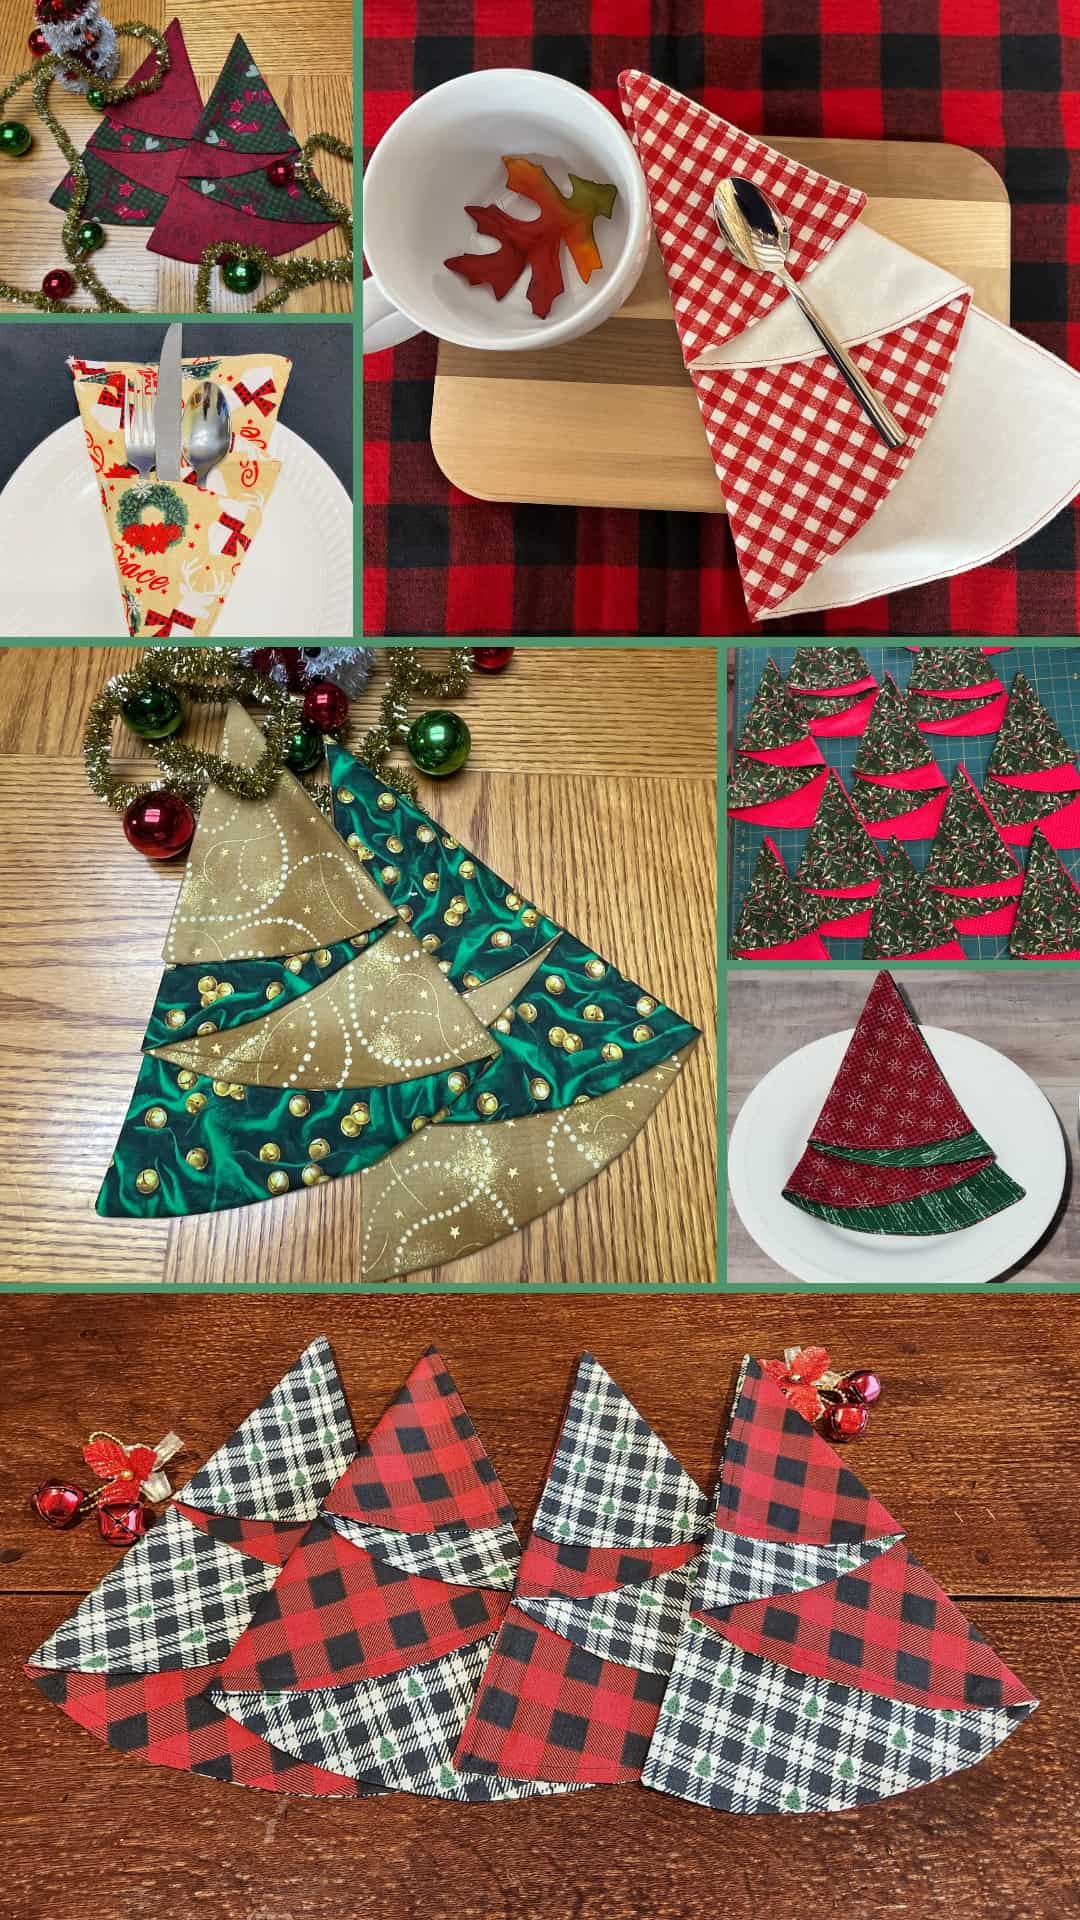
The Merry Napkins are the cutest, most festive thing to show up at your dining room table! My son and I are always watching videos during the holidays to learn new, fun napkin folding techniques and this year I saved us some time by adding these to our place settings! These napkins are incredibly quick to make, you can mix-match fabrics and prints, personalize them if you’d like, and they’d make amazing gifts this holiday season!
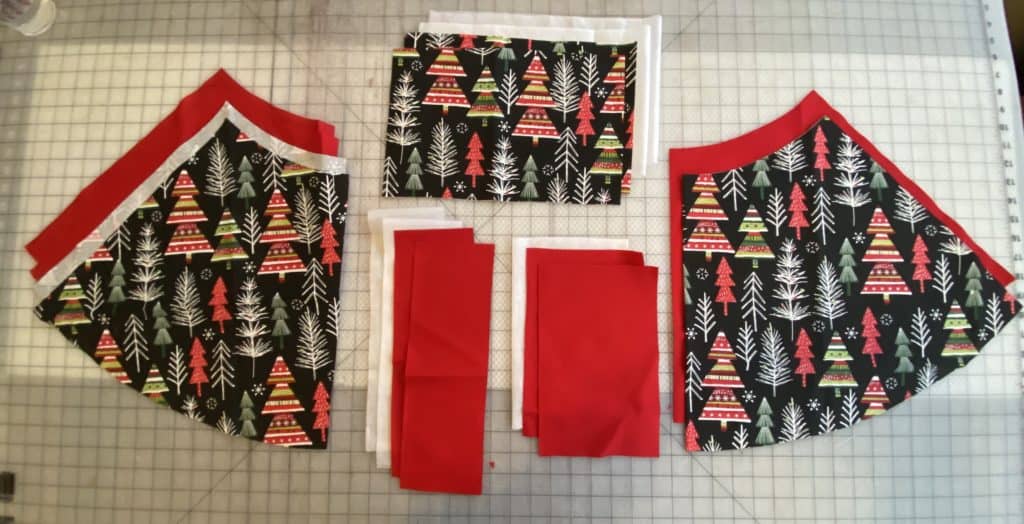
Fabric Requirements / Recommendations: 1-1/8 Yard Main Fabric + 1-1/8 Yard Lining Fabric will make 8 Merry Napkins
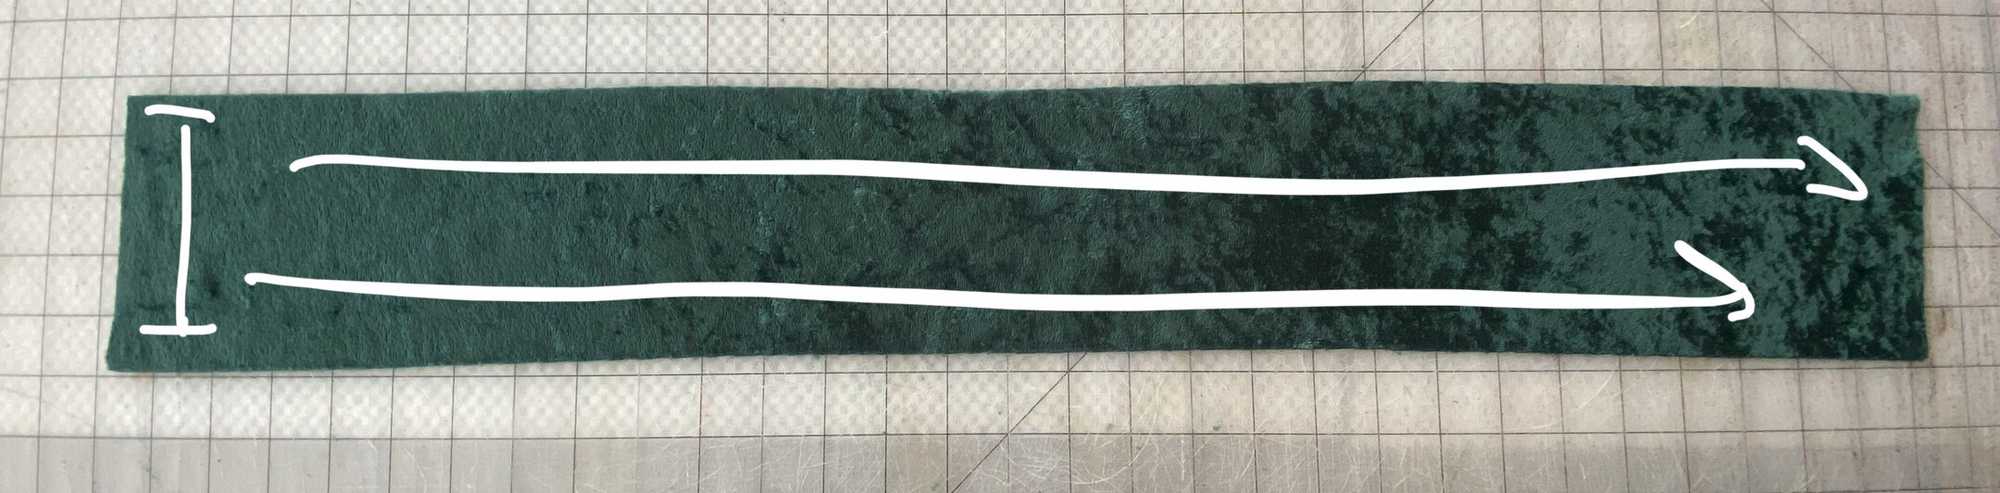
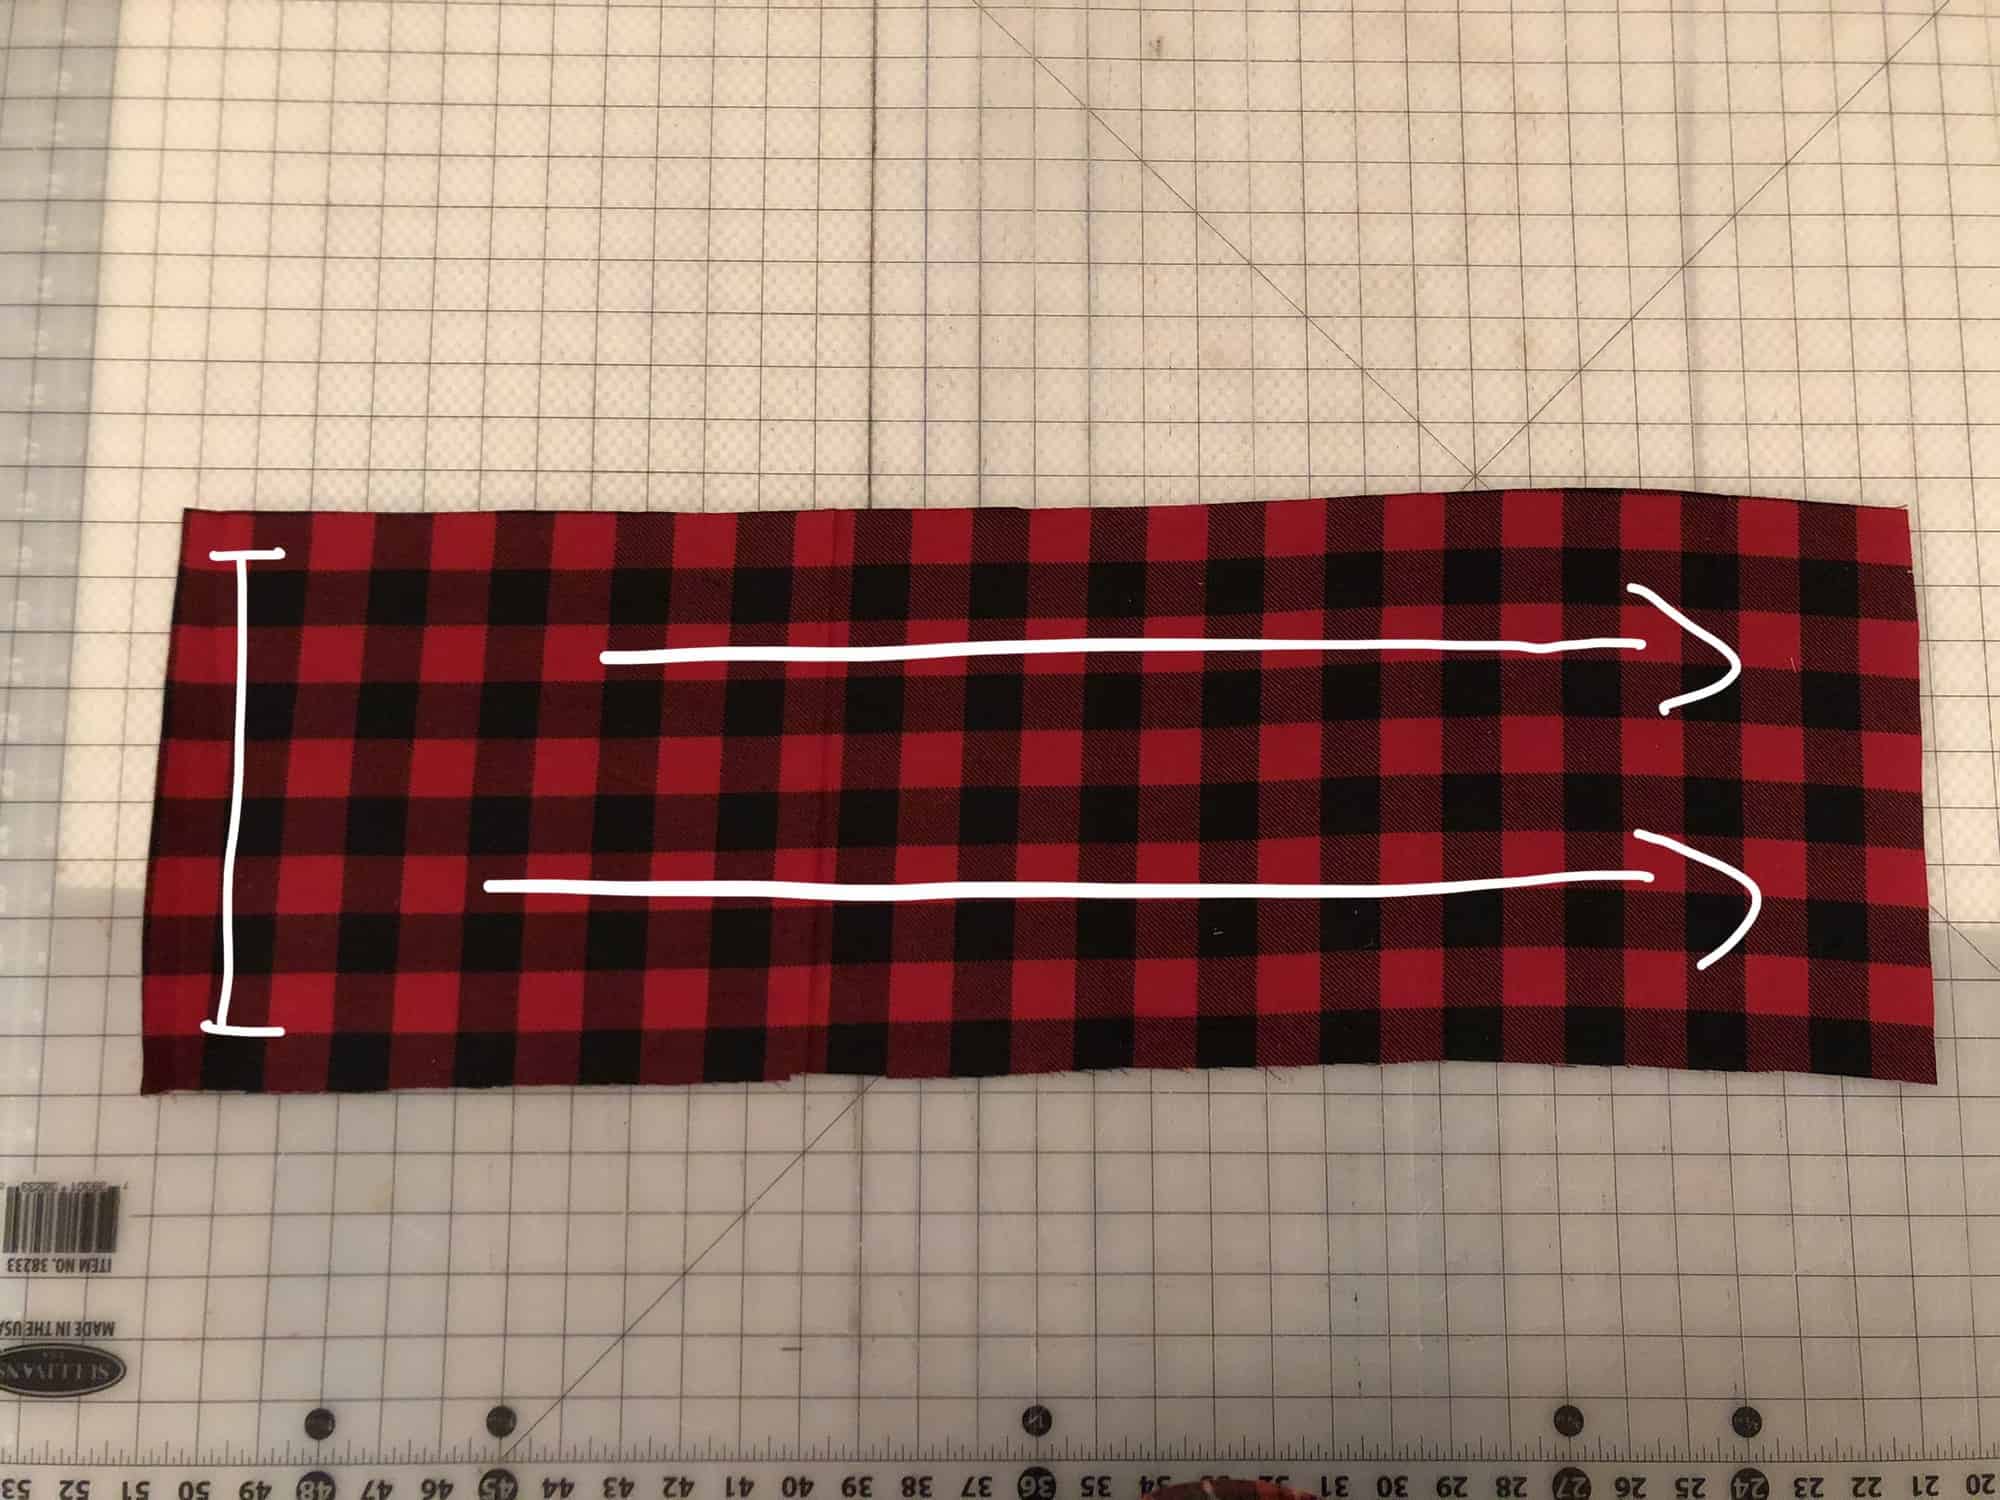
- Each napkin piece is 20″ in length before sewing.
- You can fit 4 across the width of a typical quilting cotton fabric.
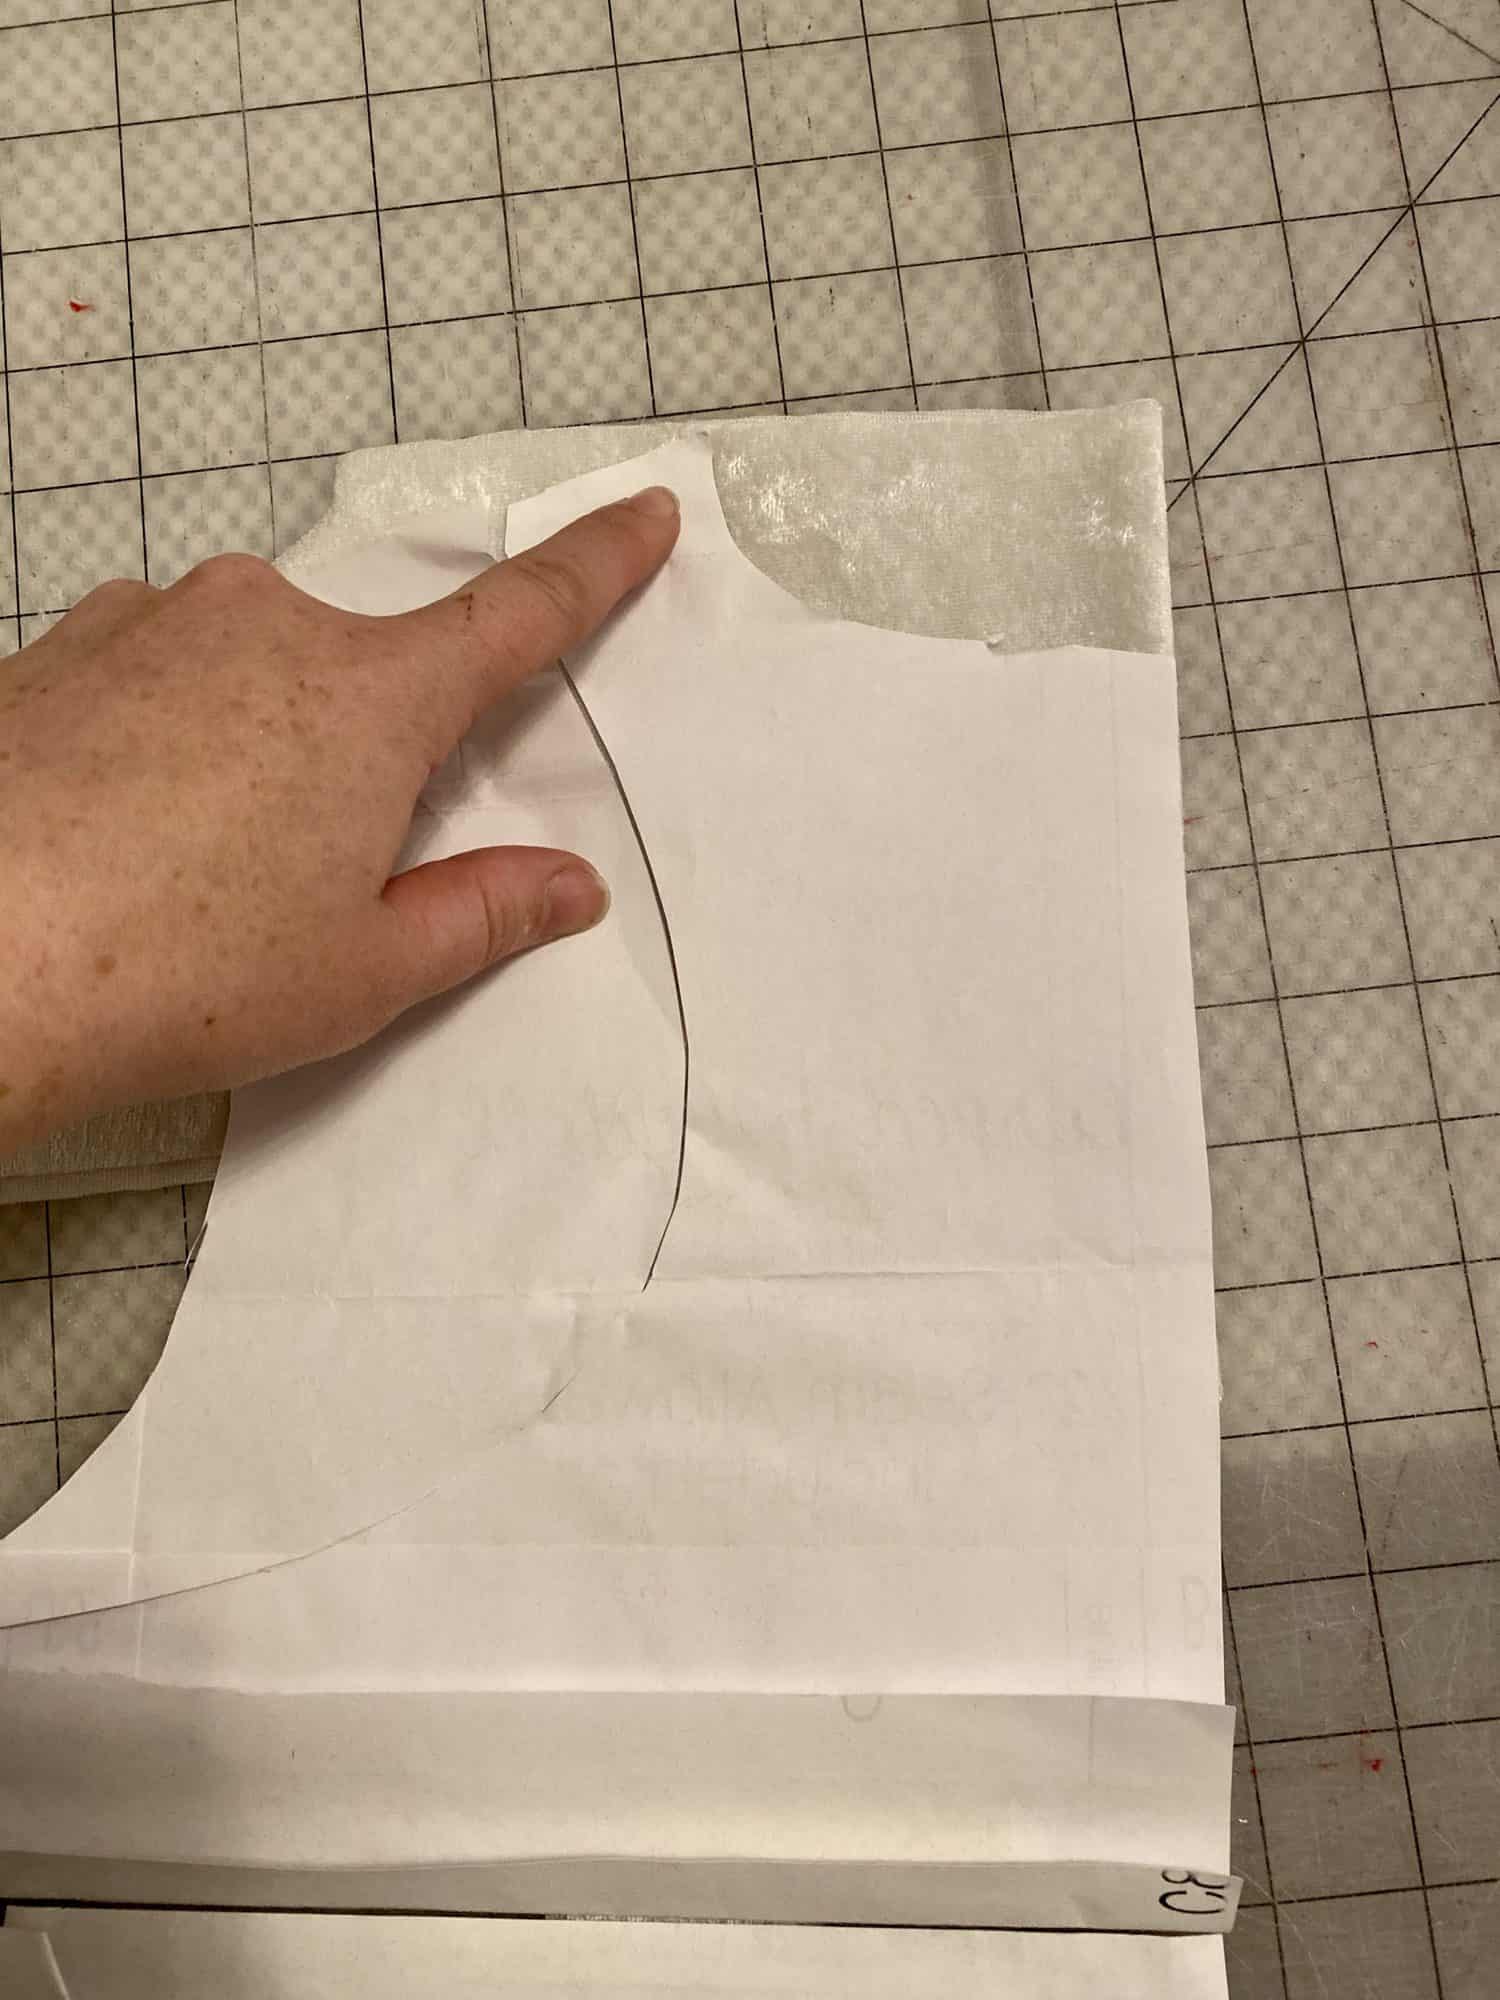
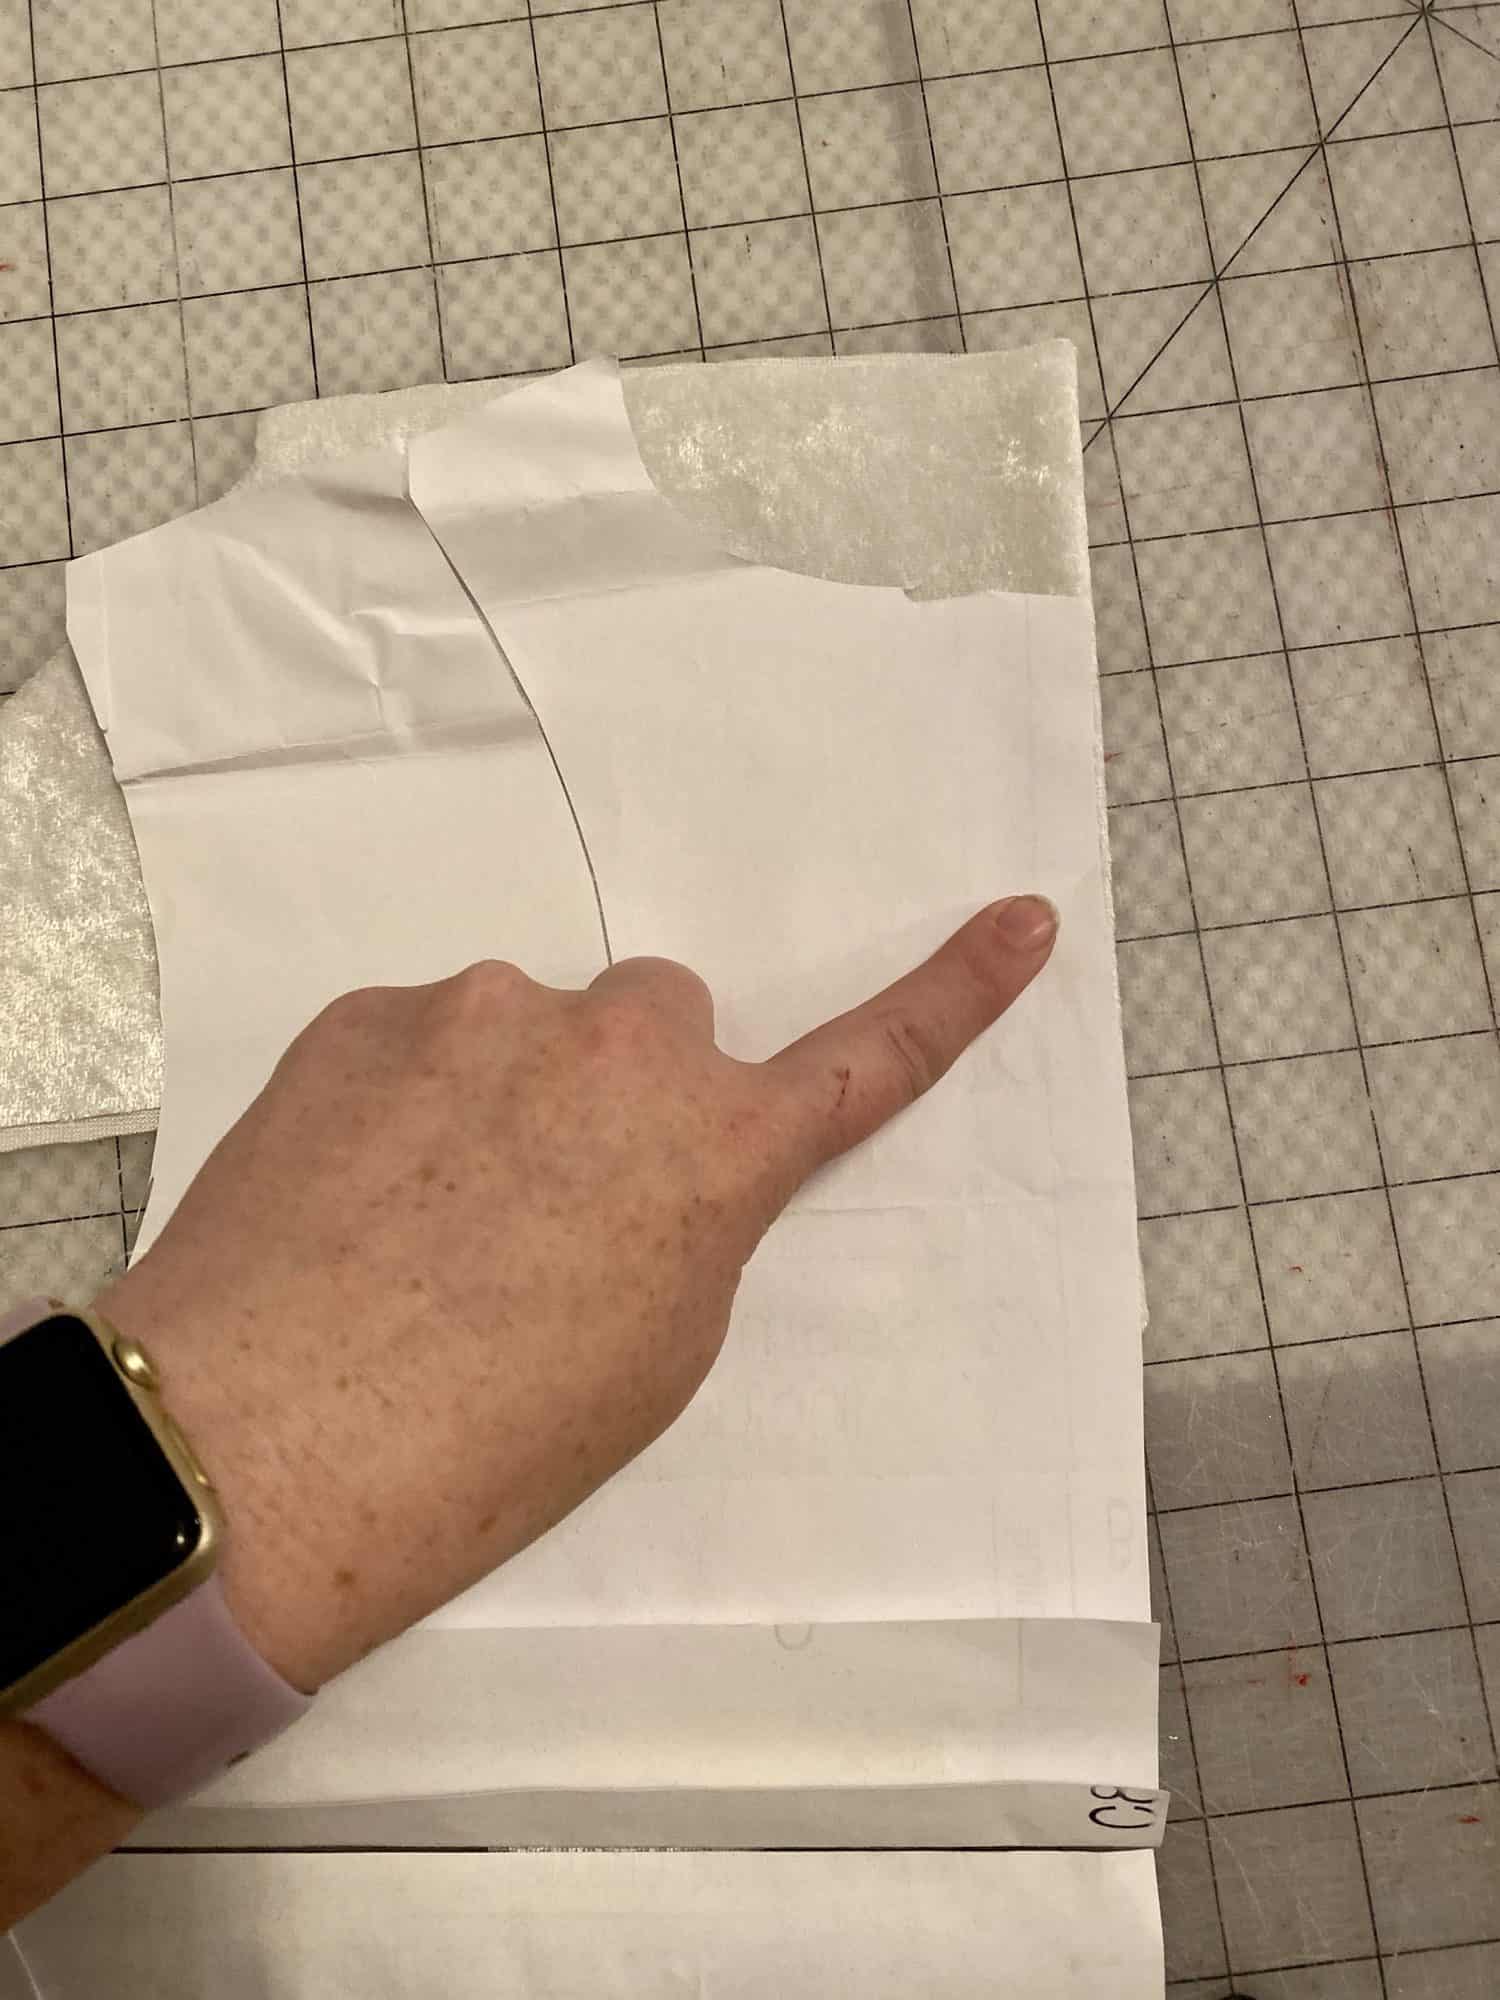
Grab Your Pattern Pieces Here: Merry Napkins pattern pieces

TUTORIAL:
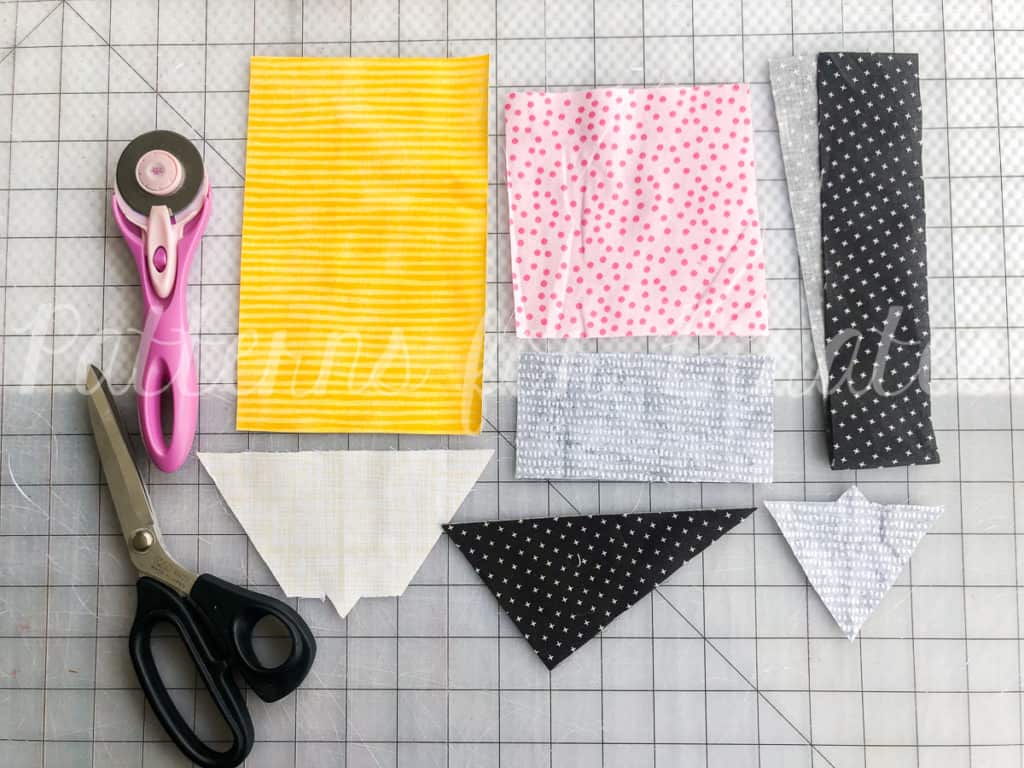
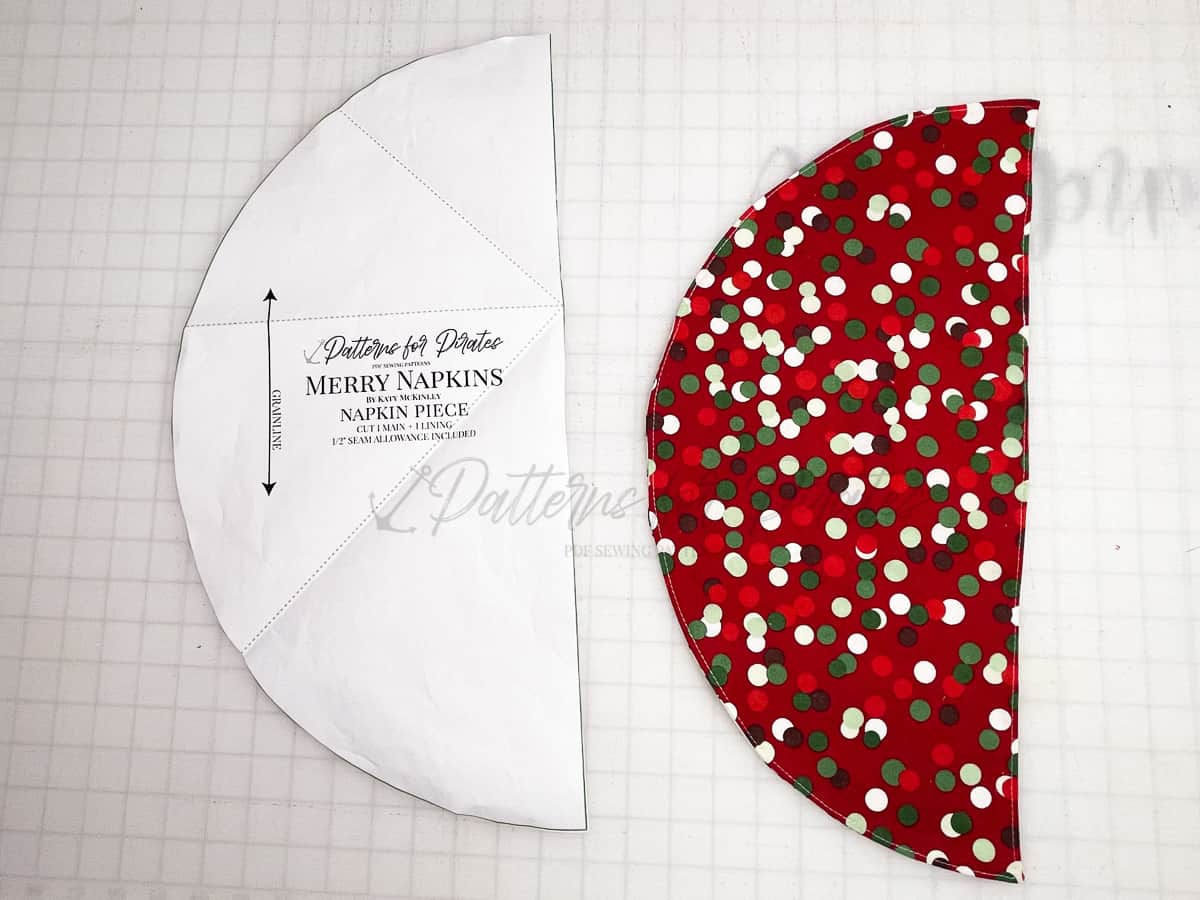
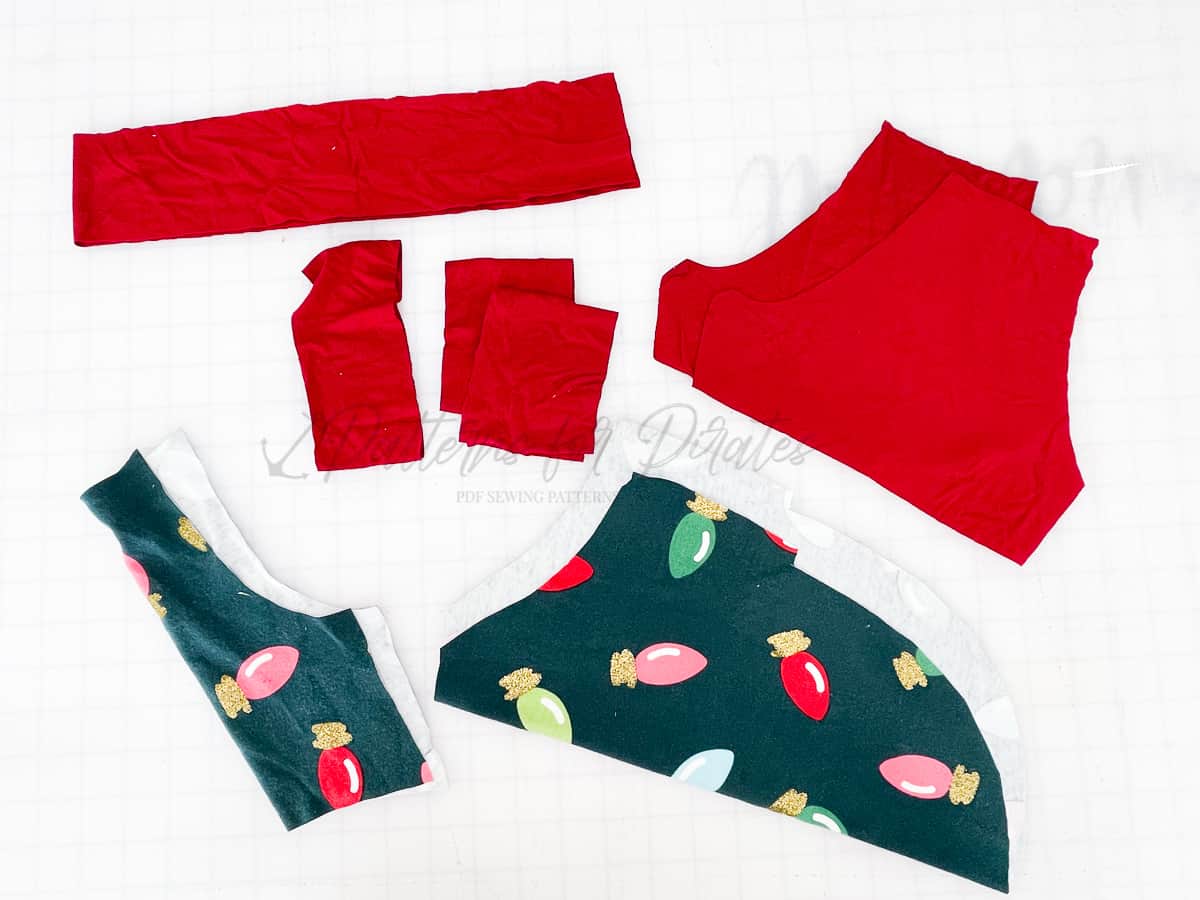
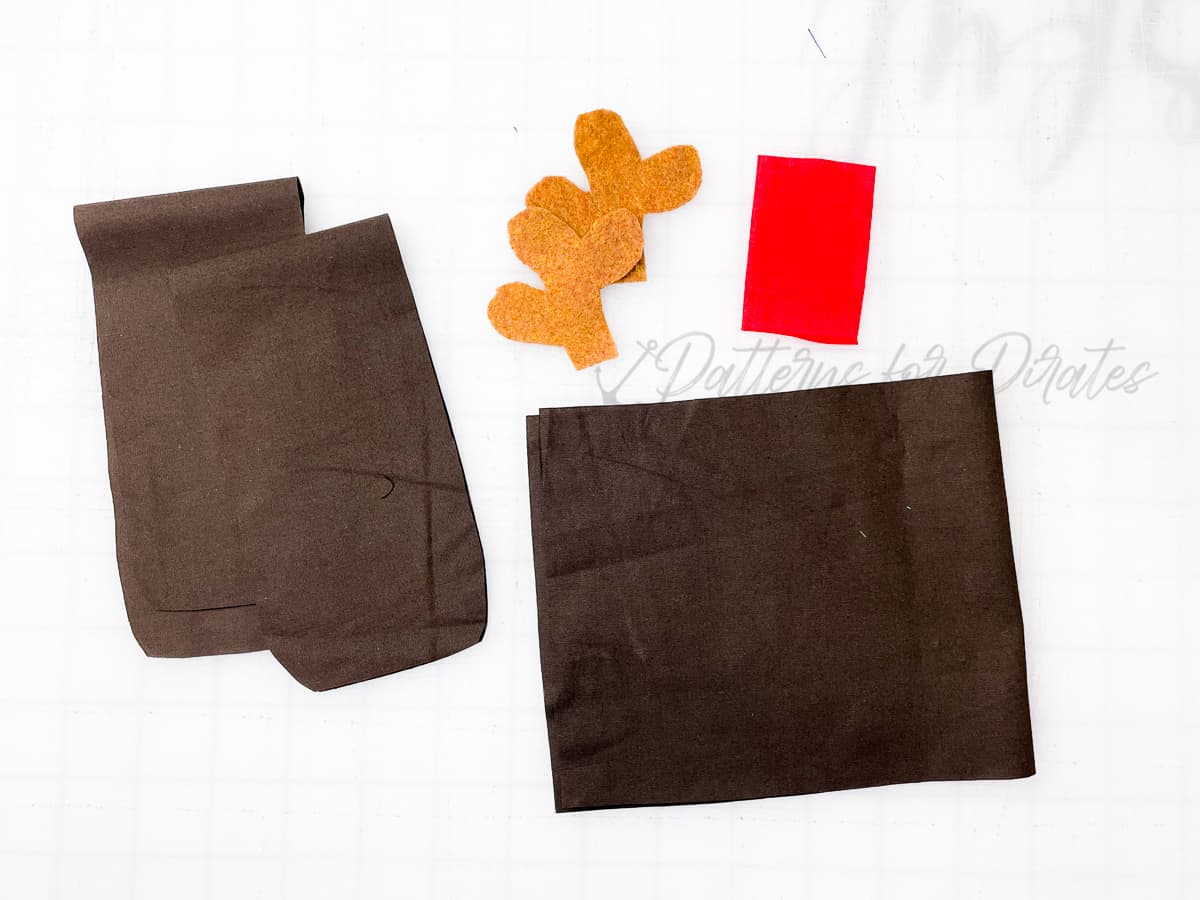
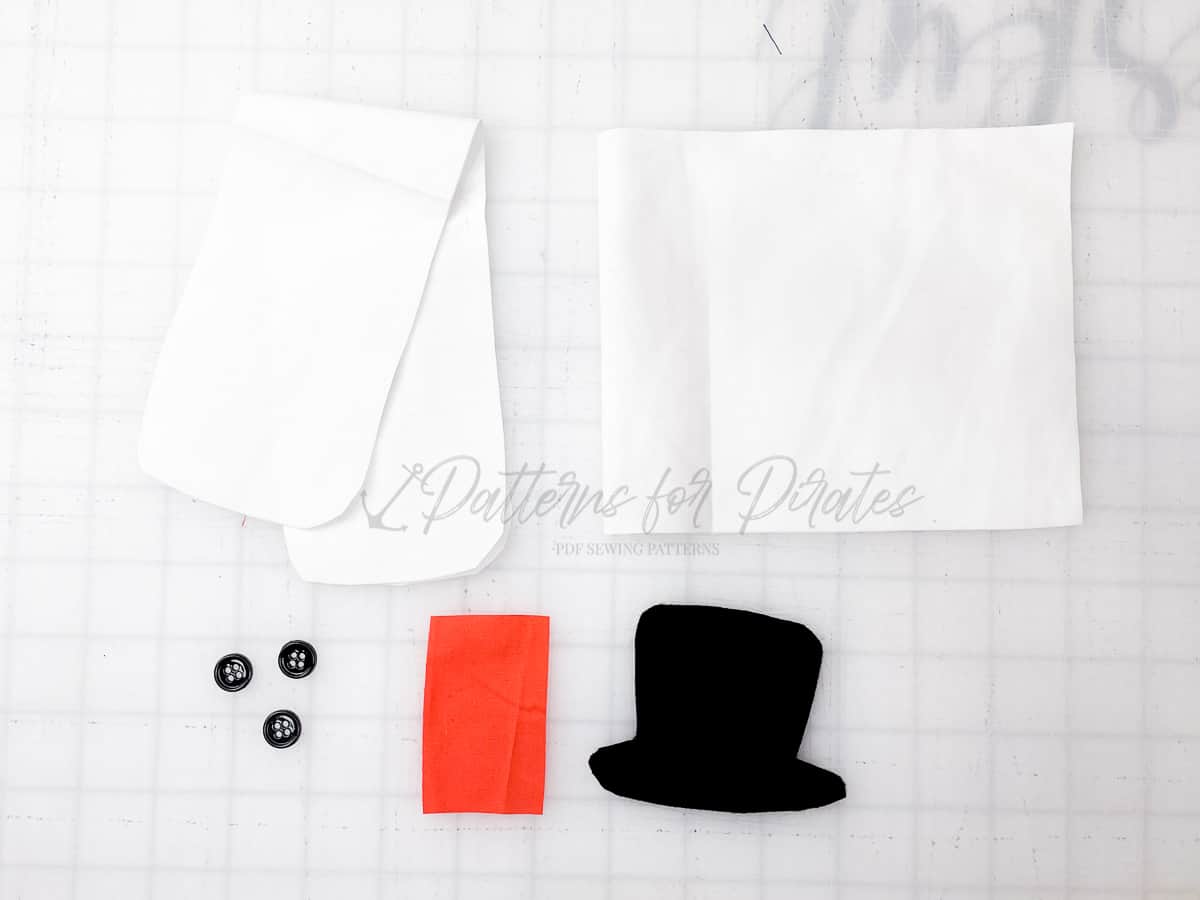
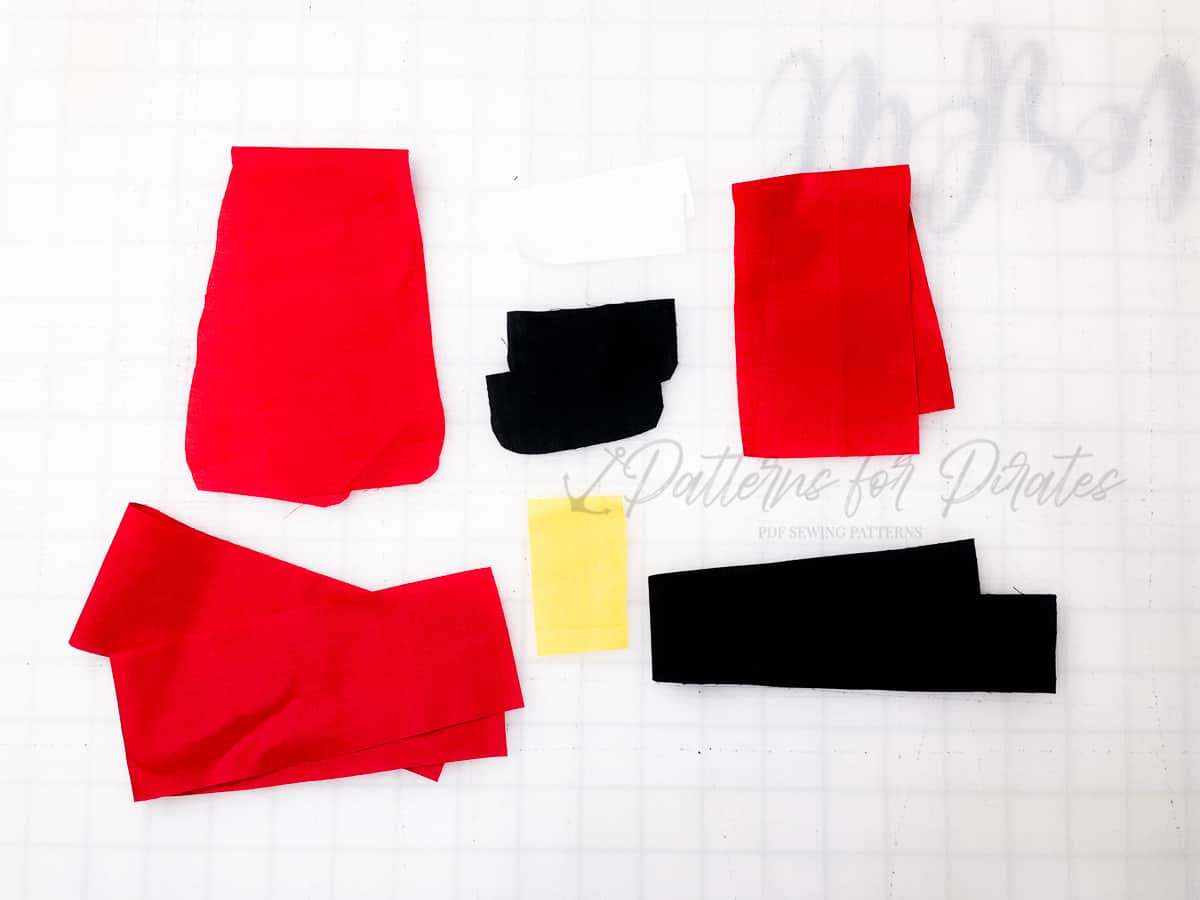
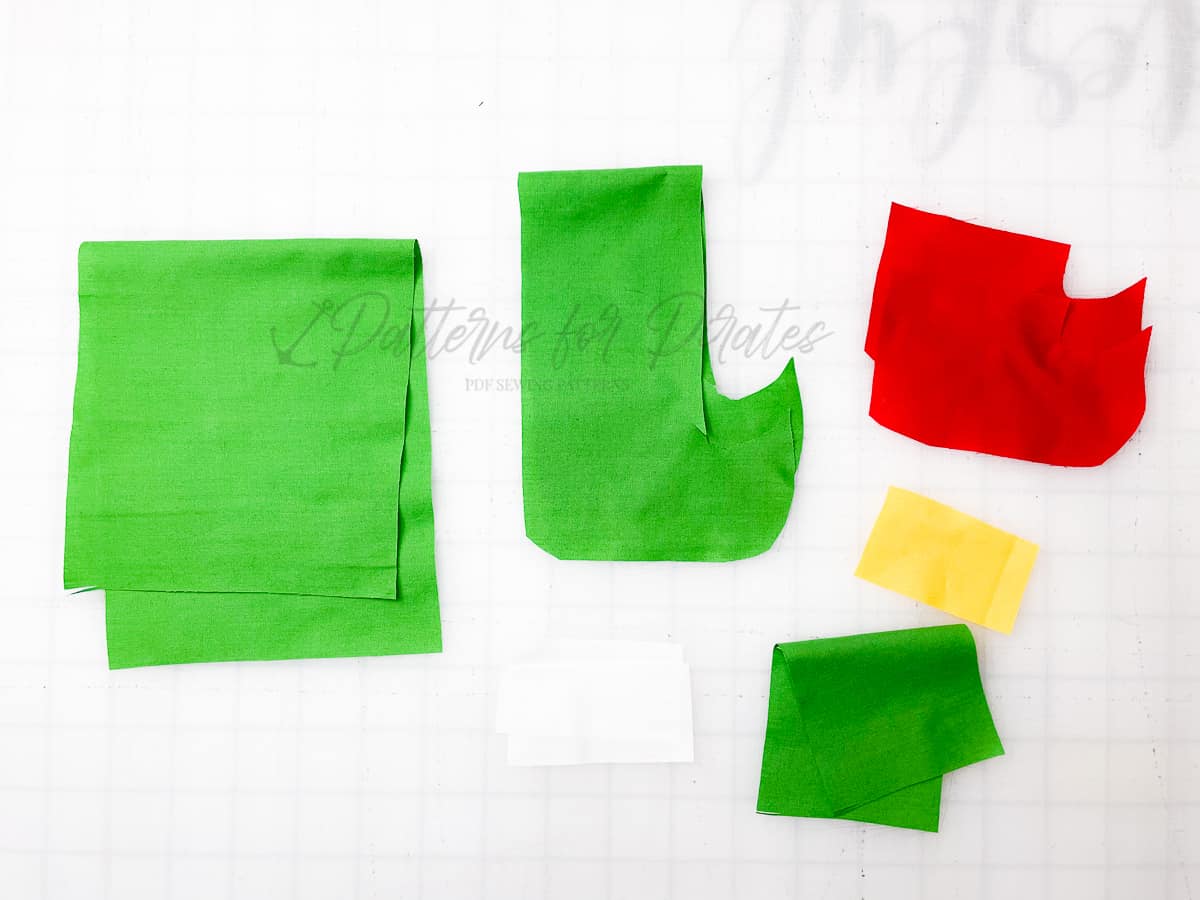
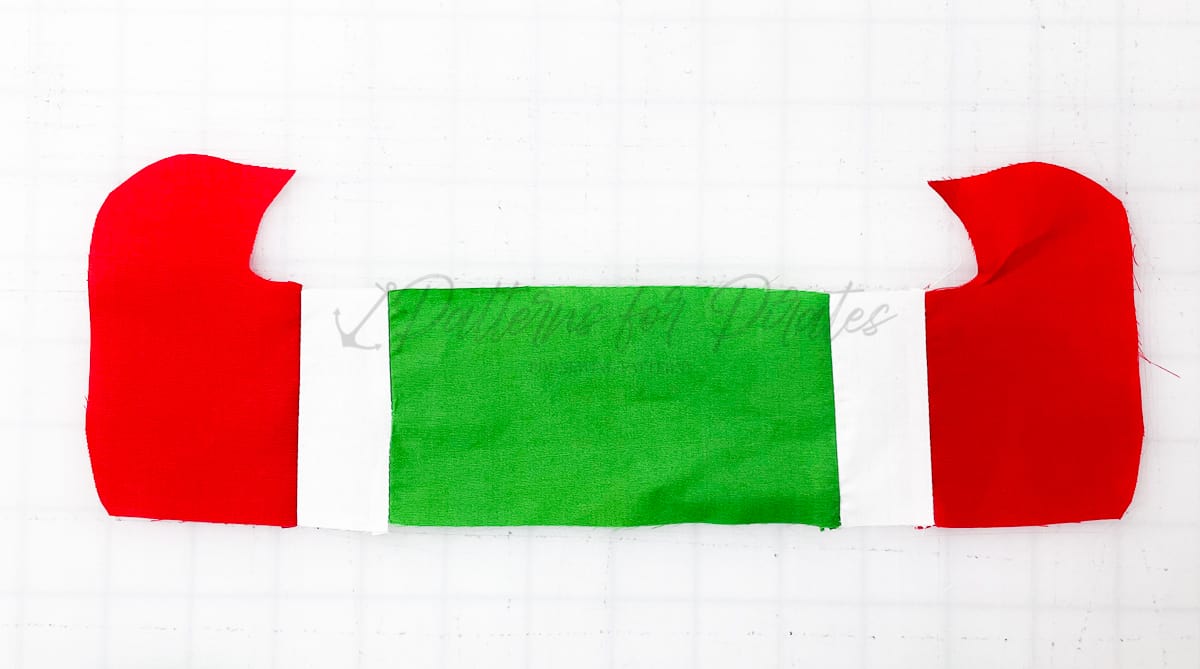
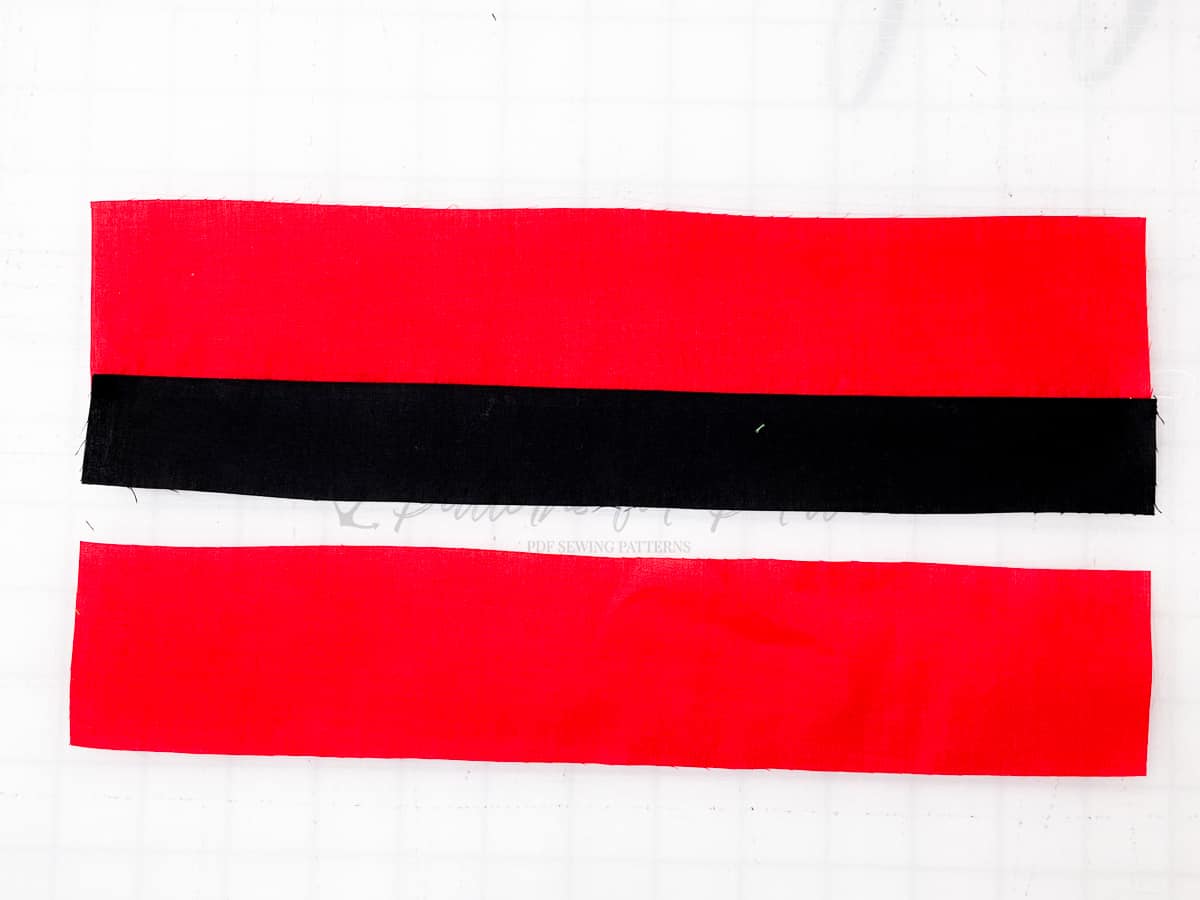
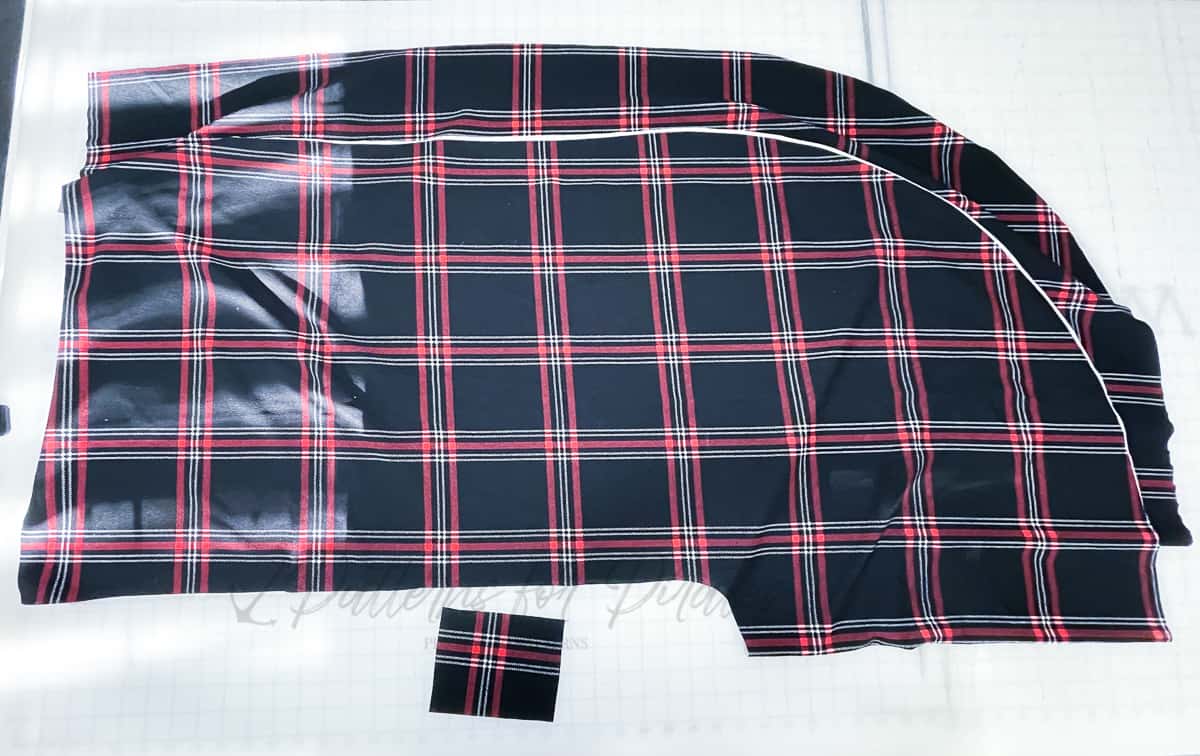
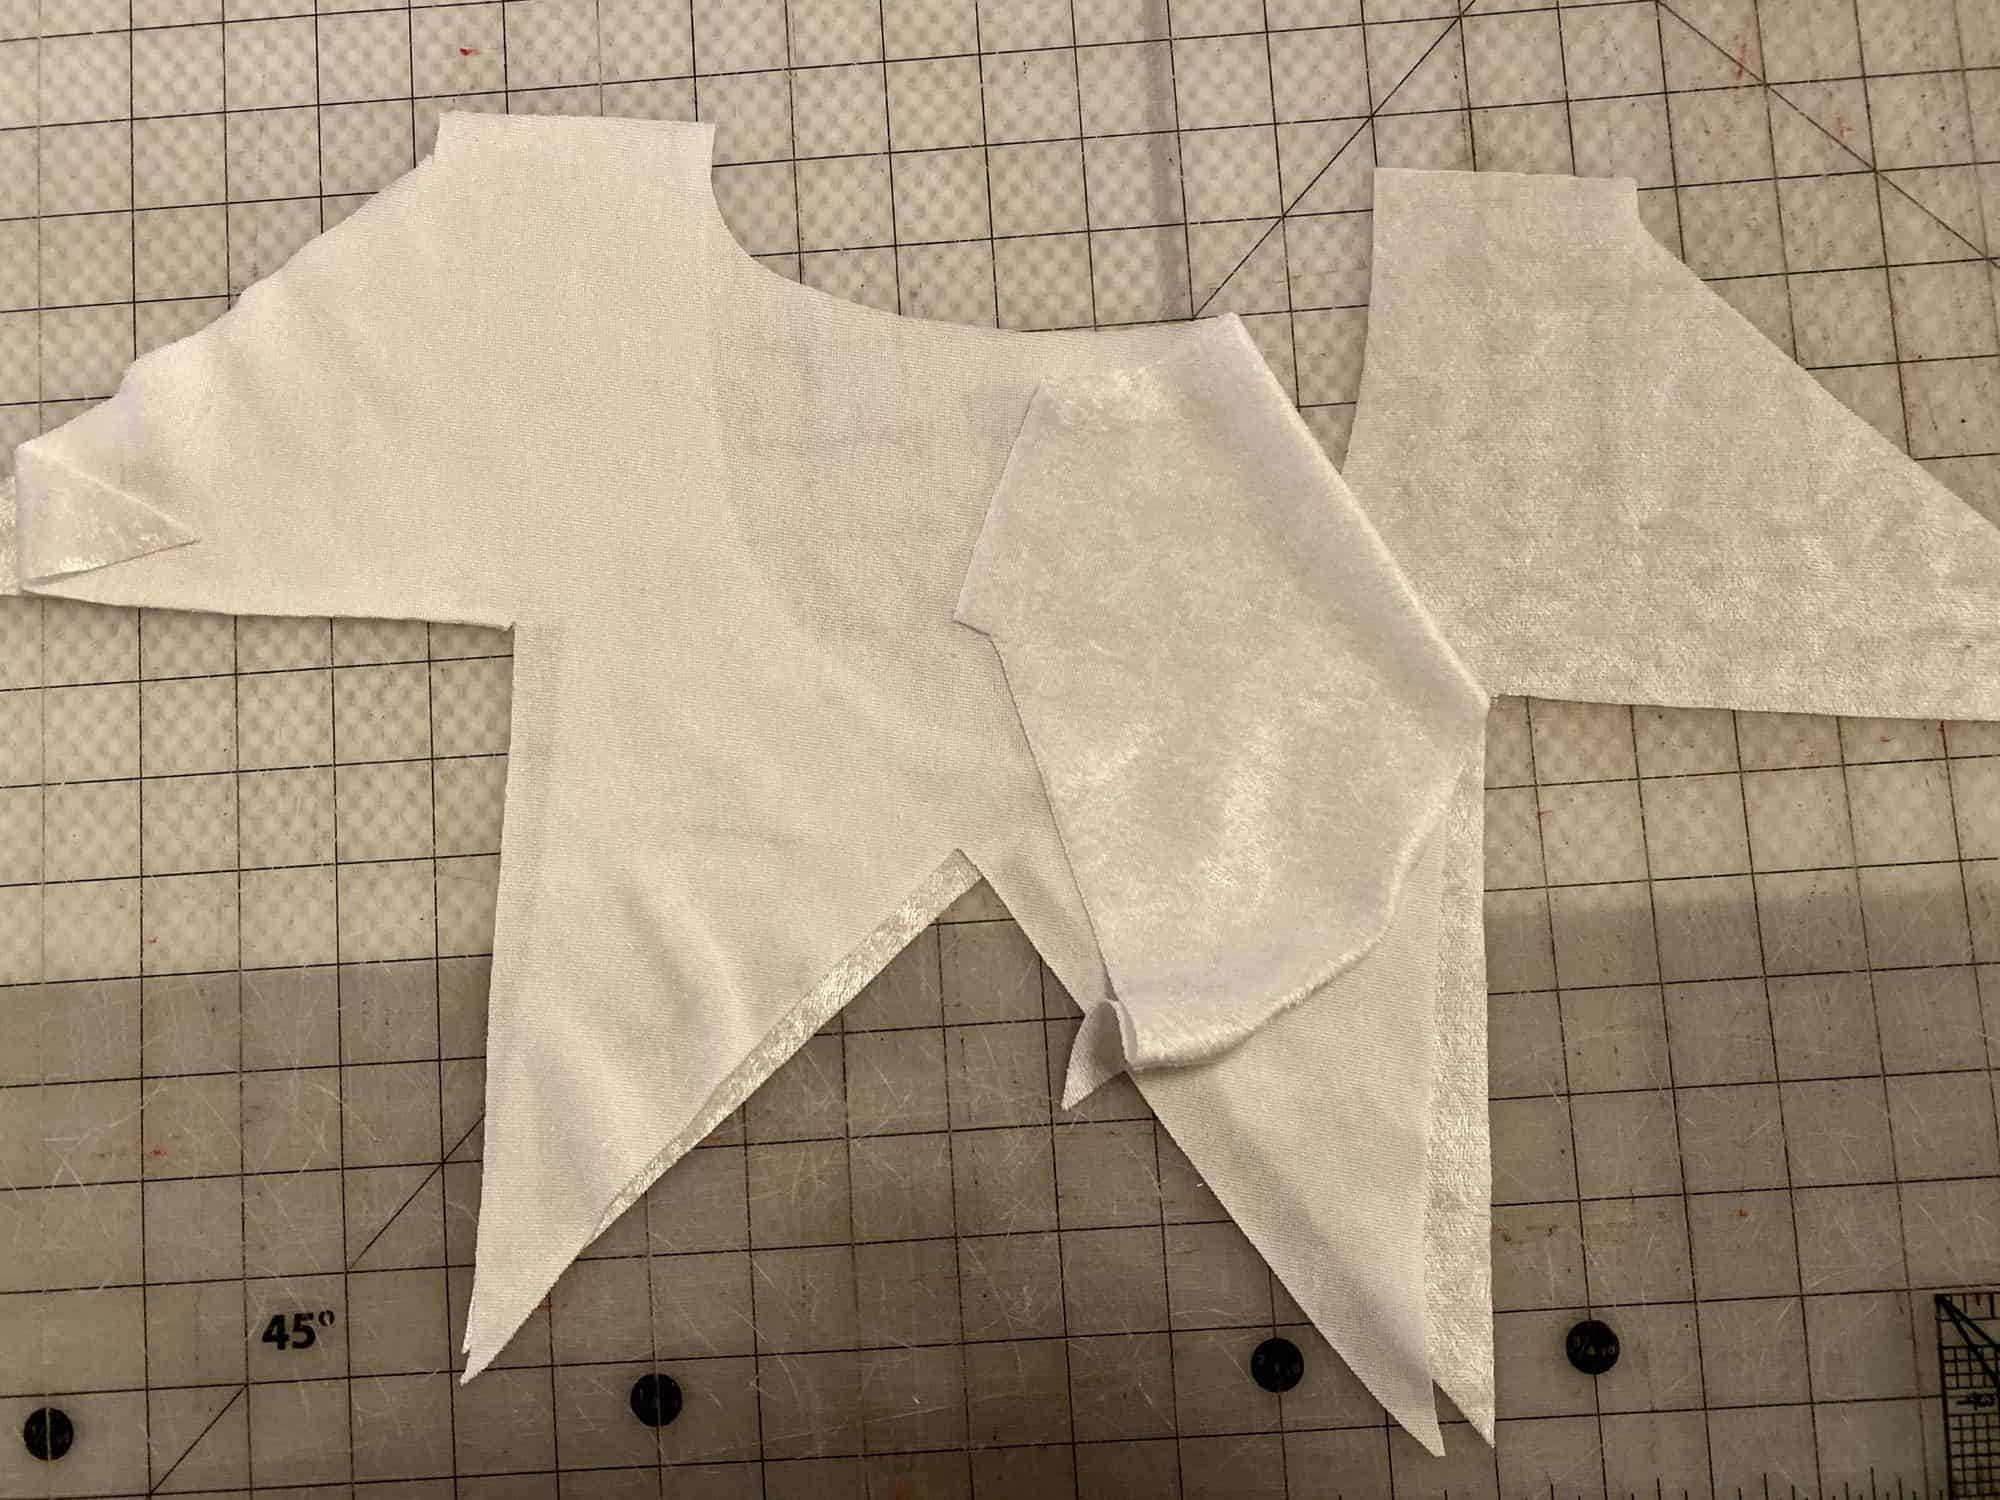
For each napkin you will need:
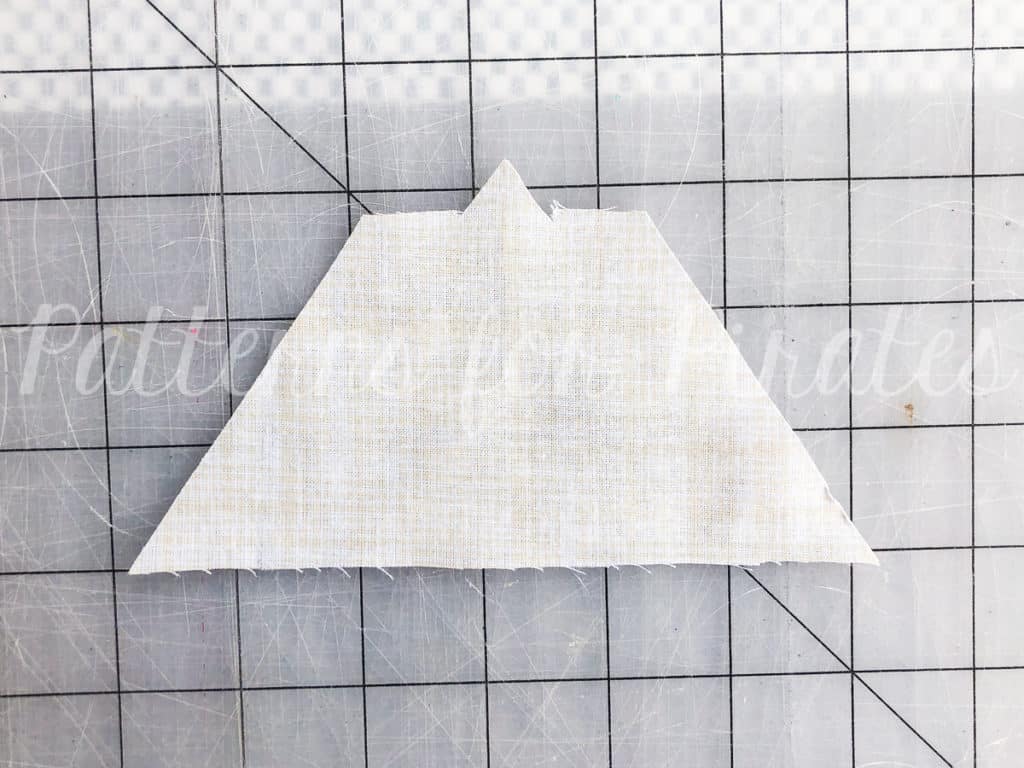
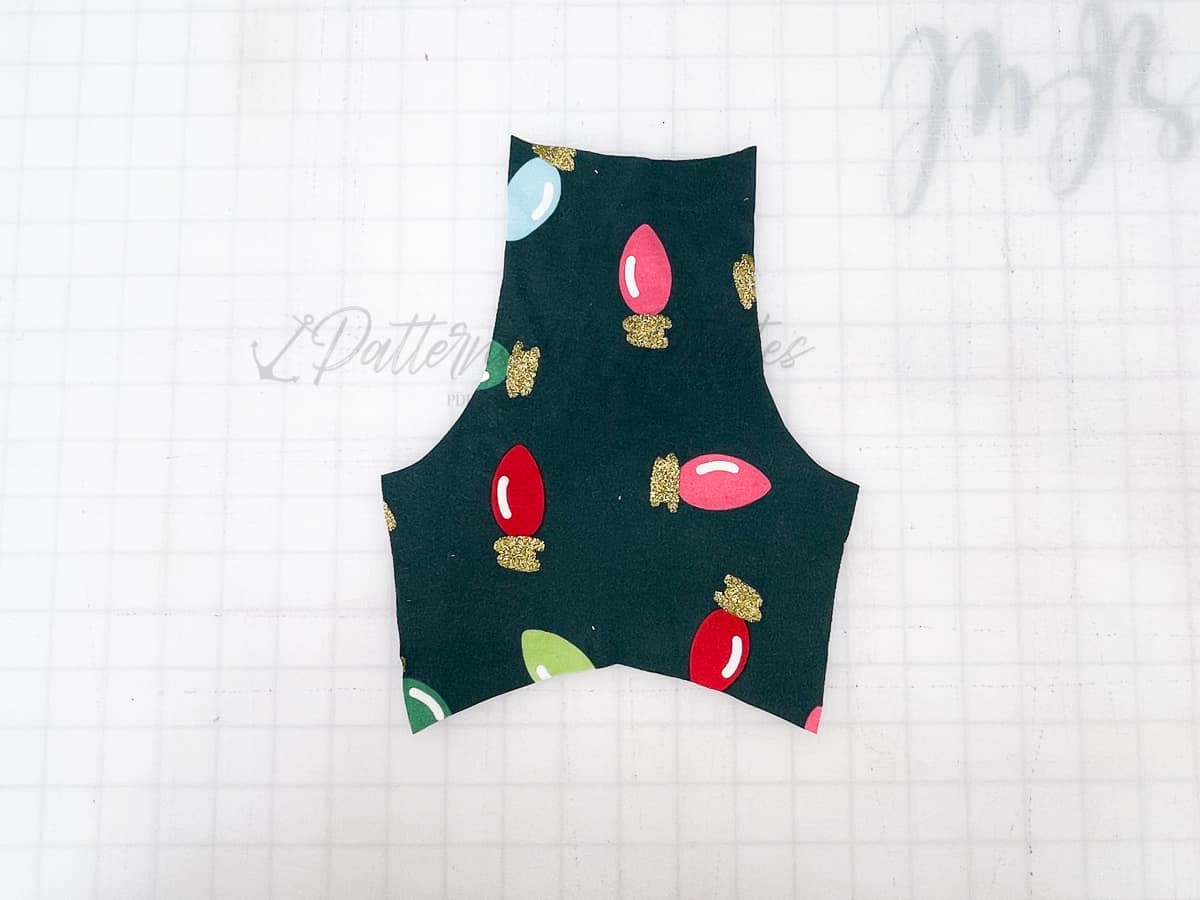
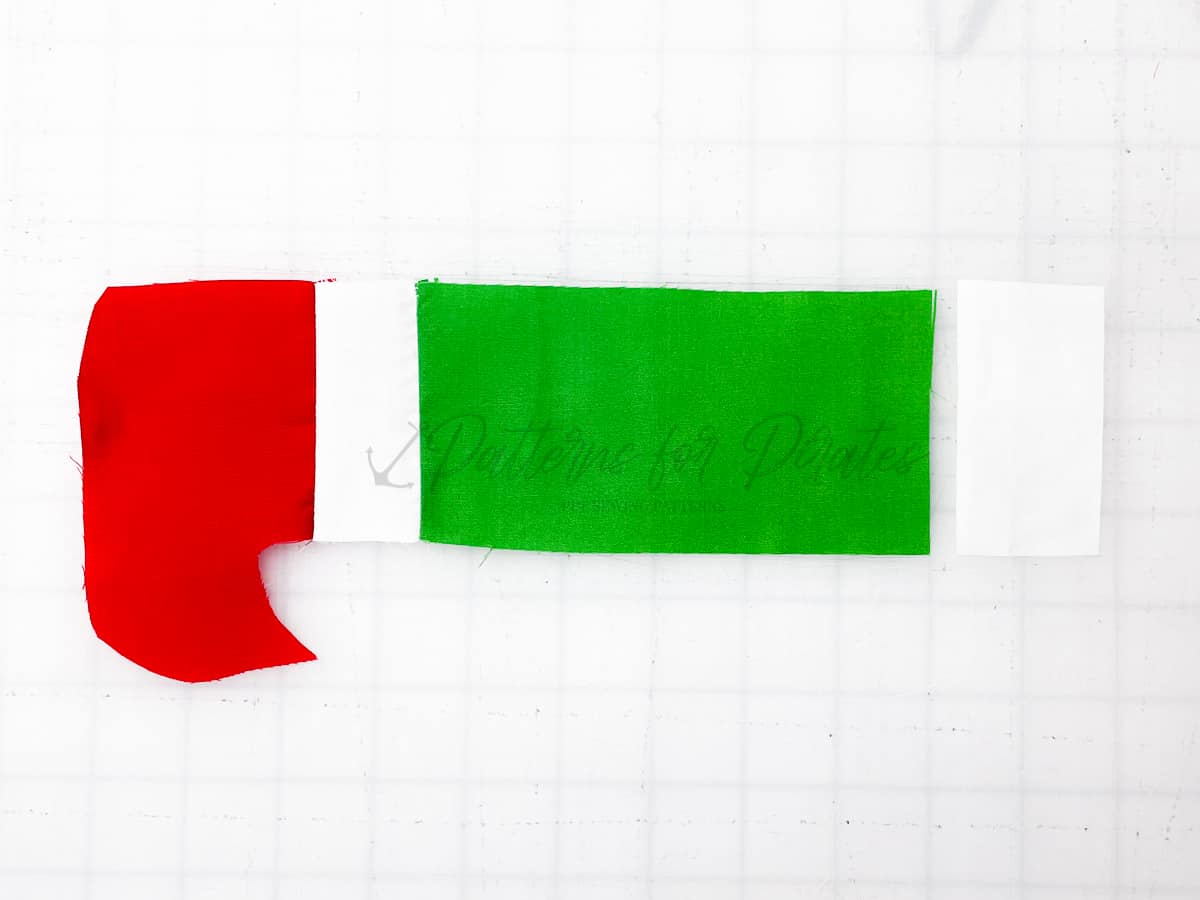
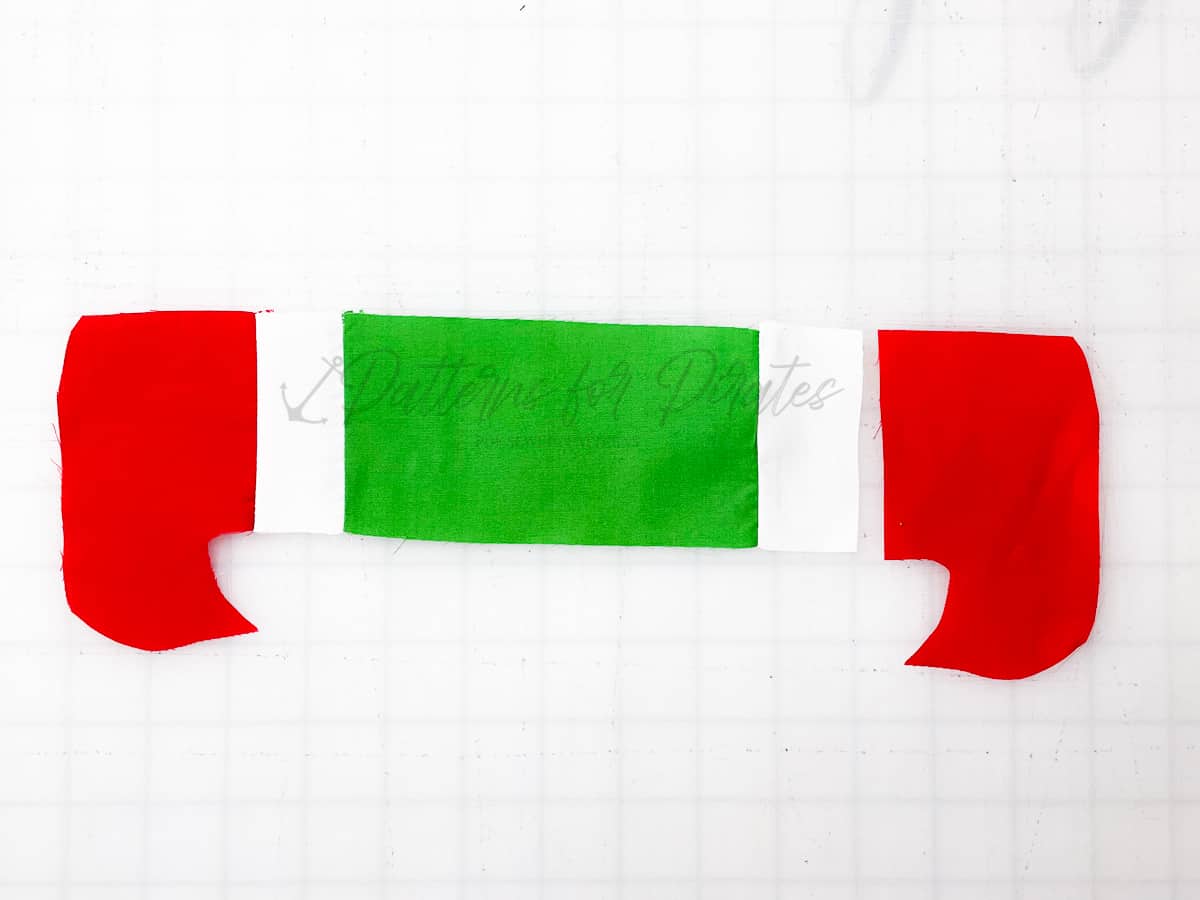
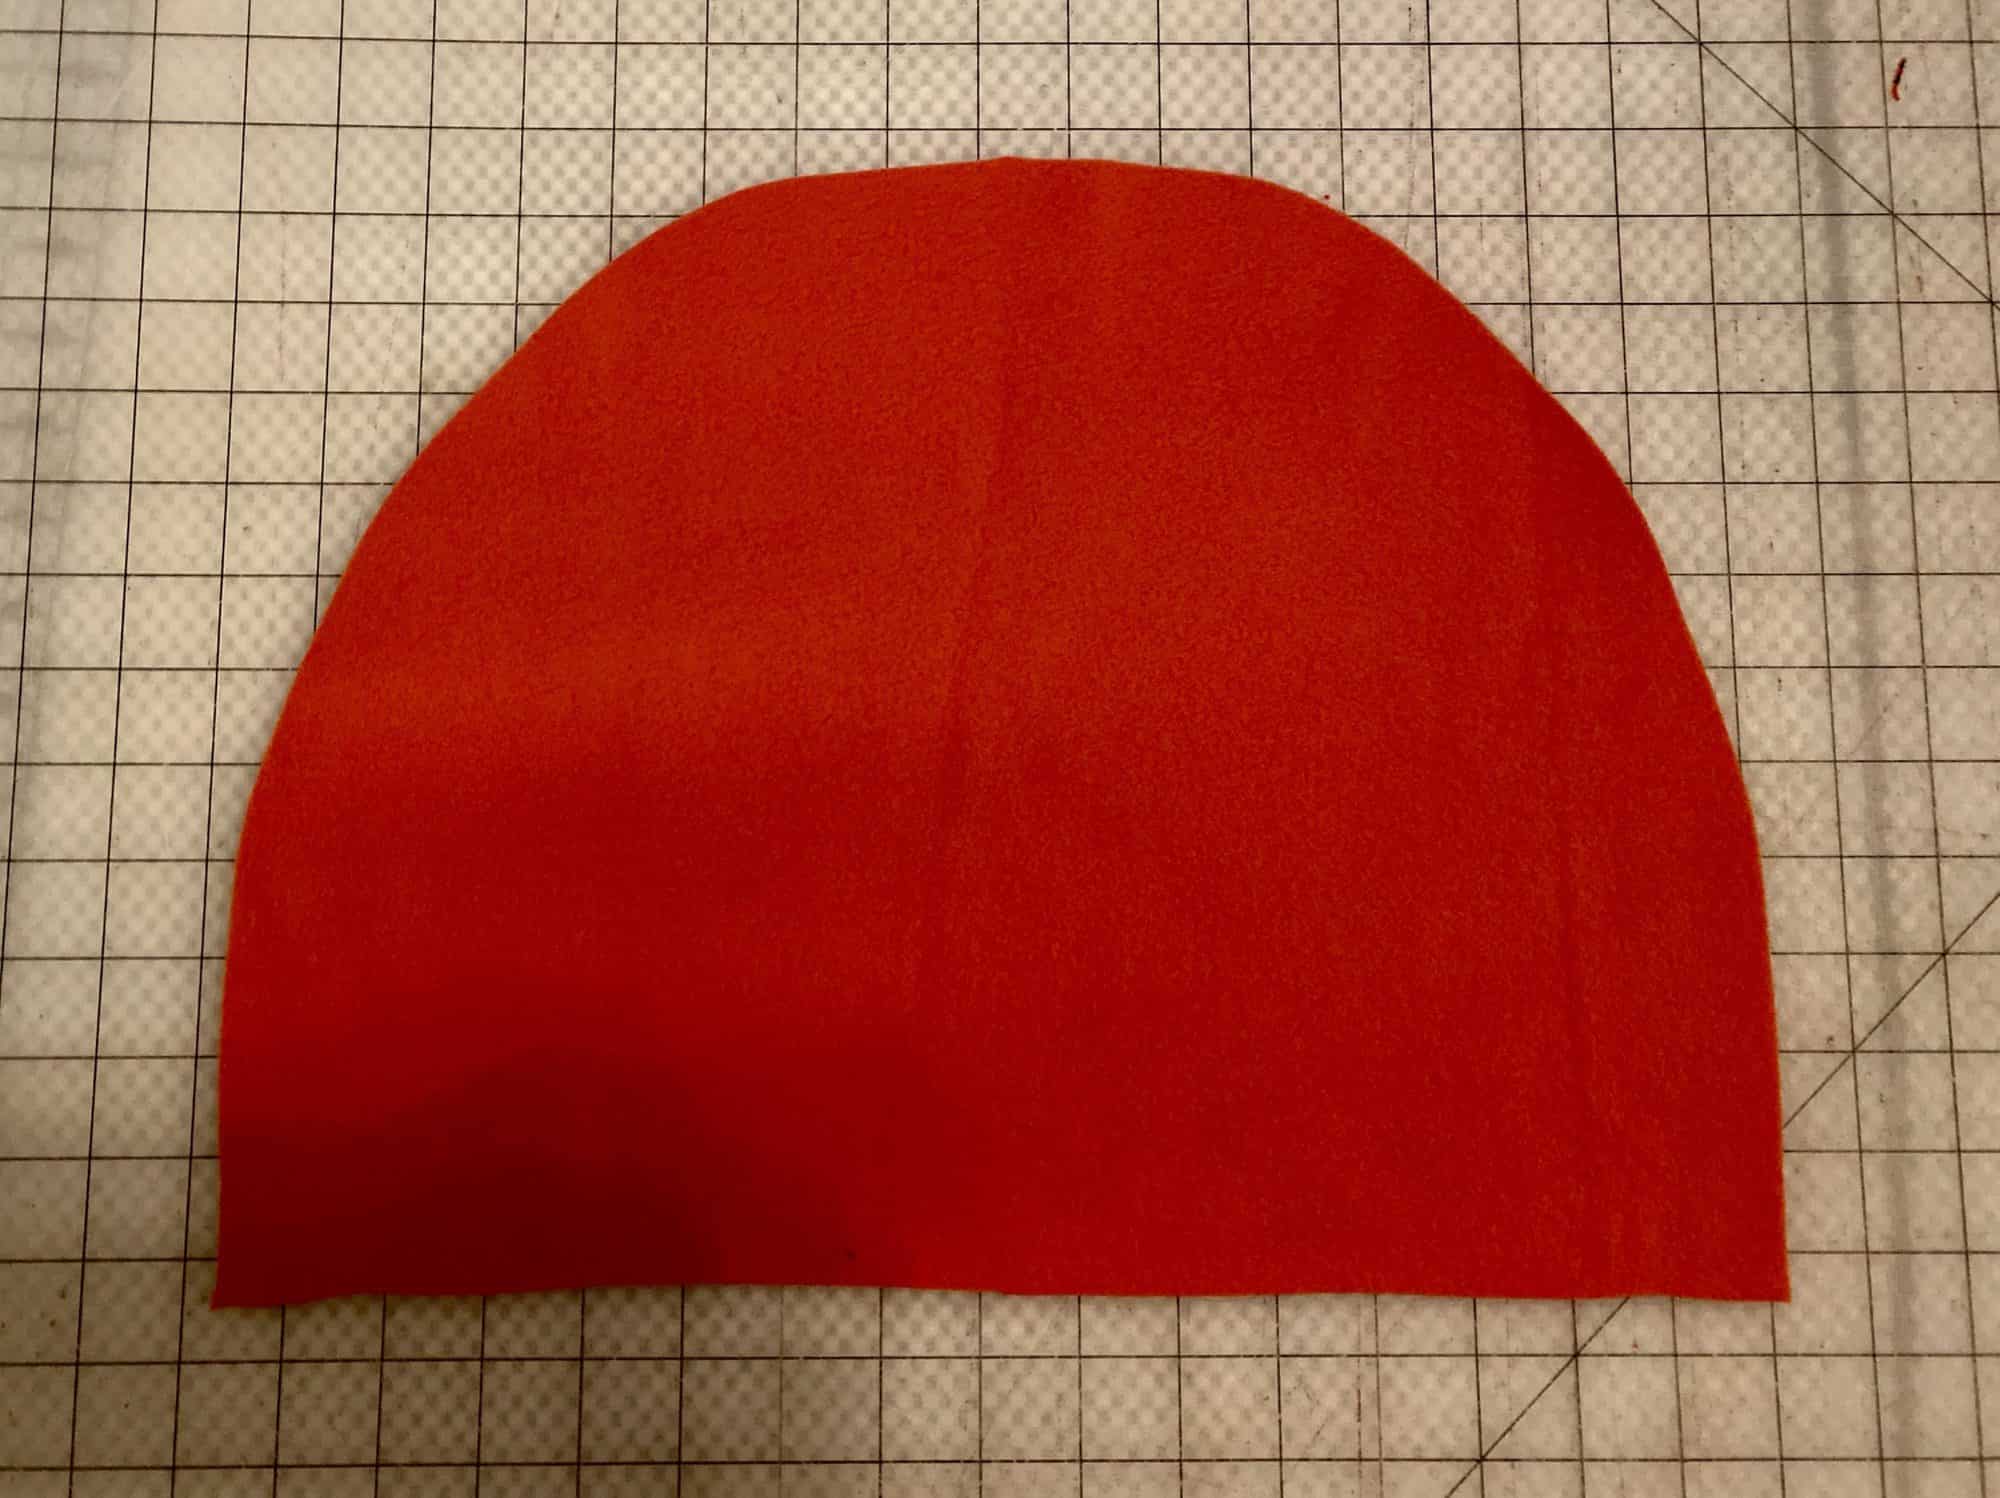
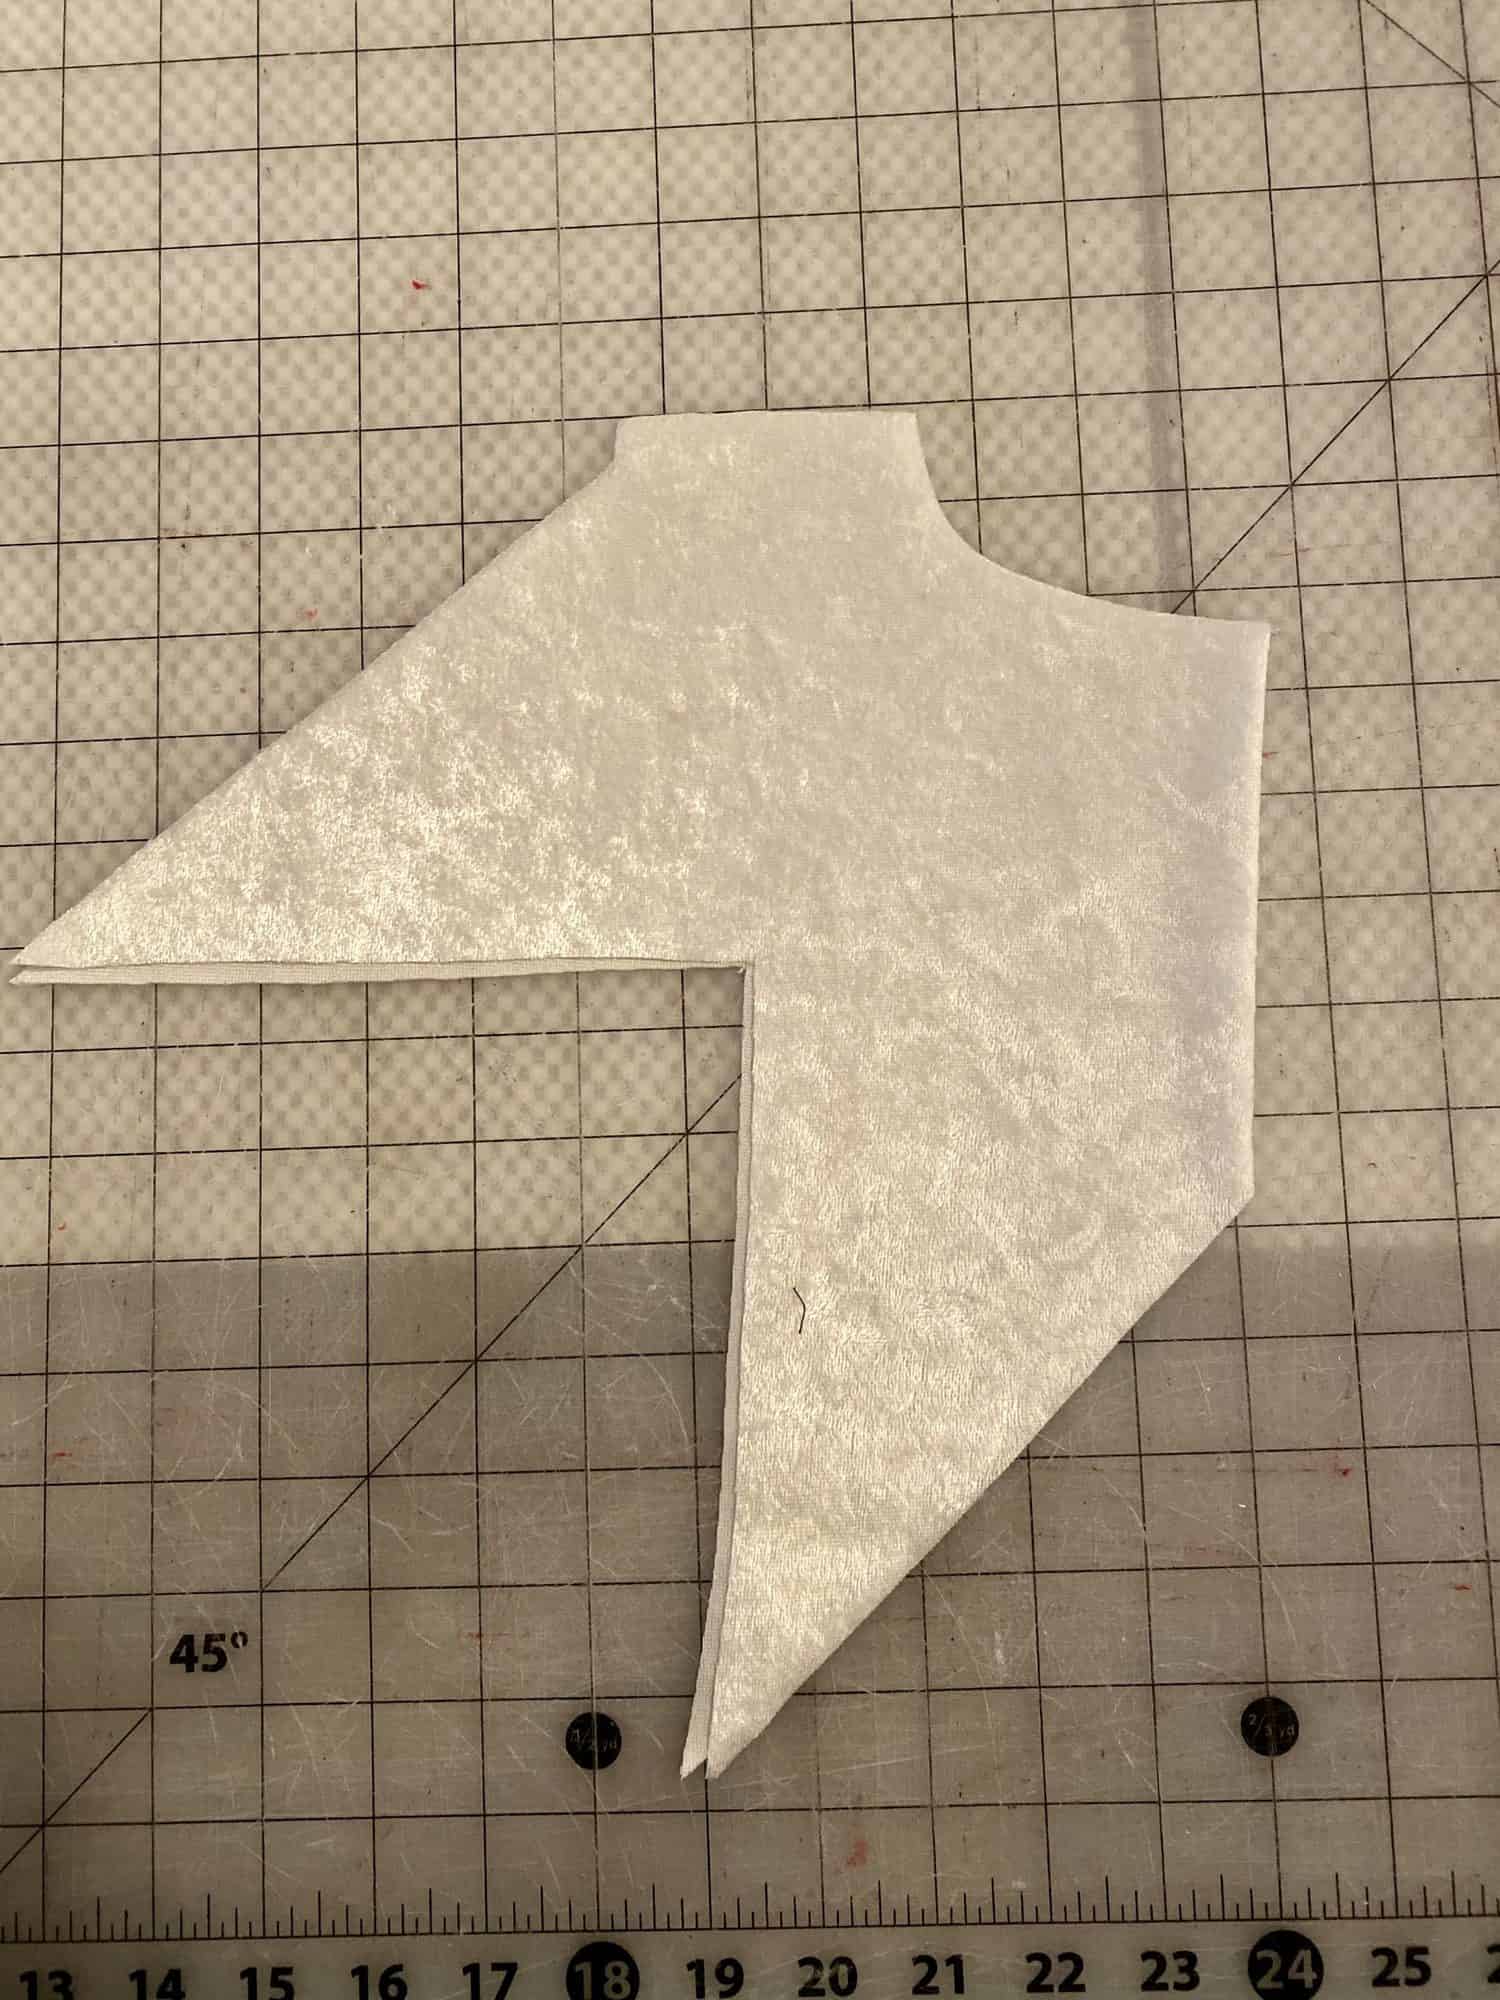
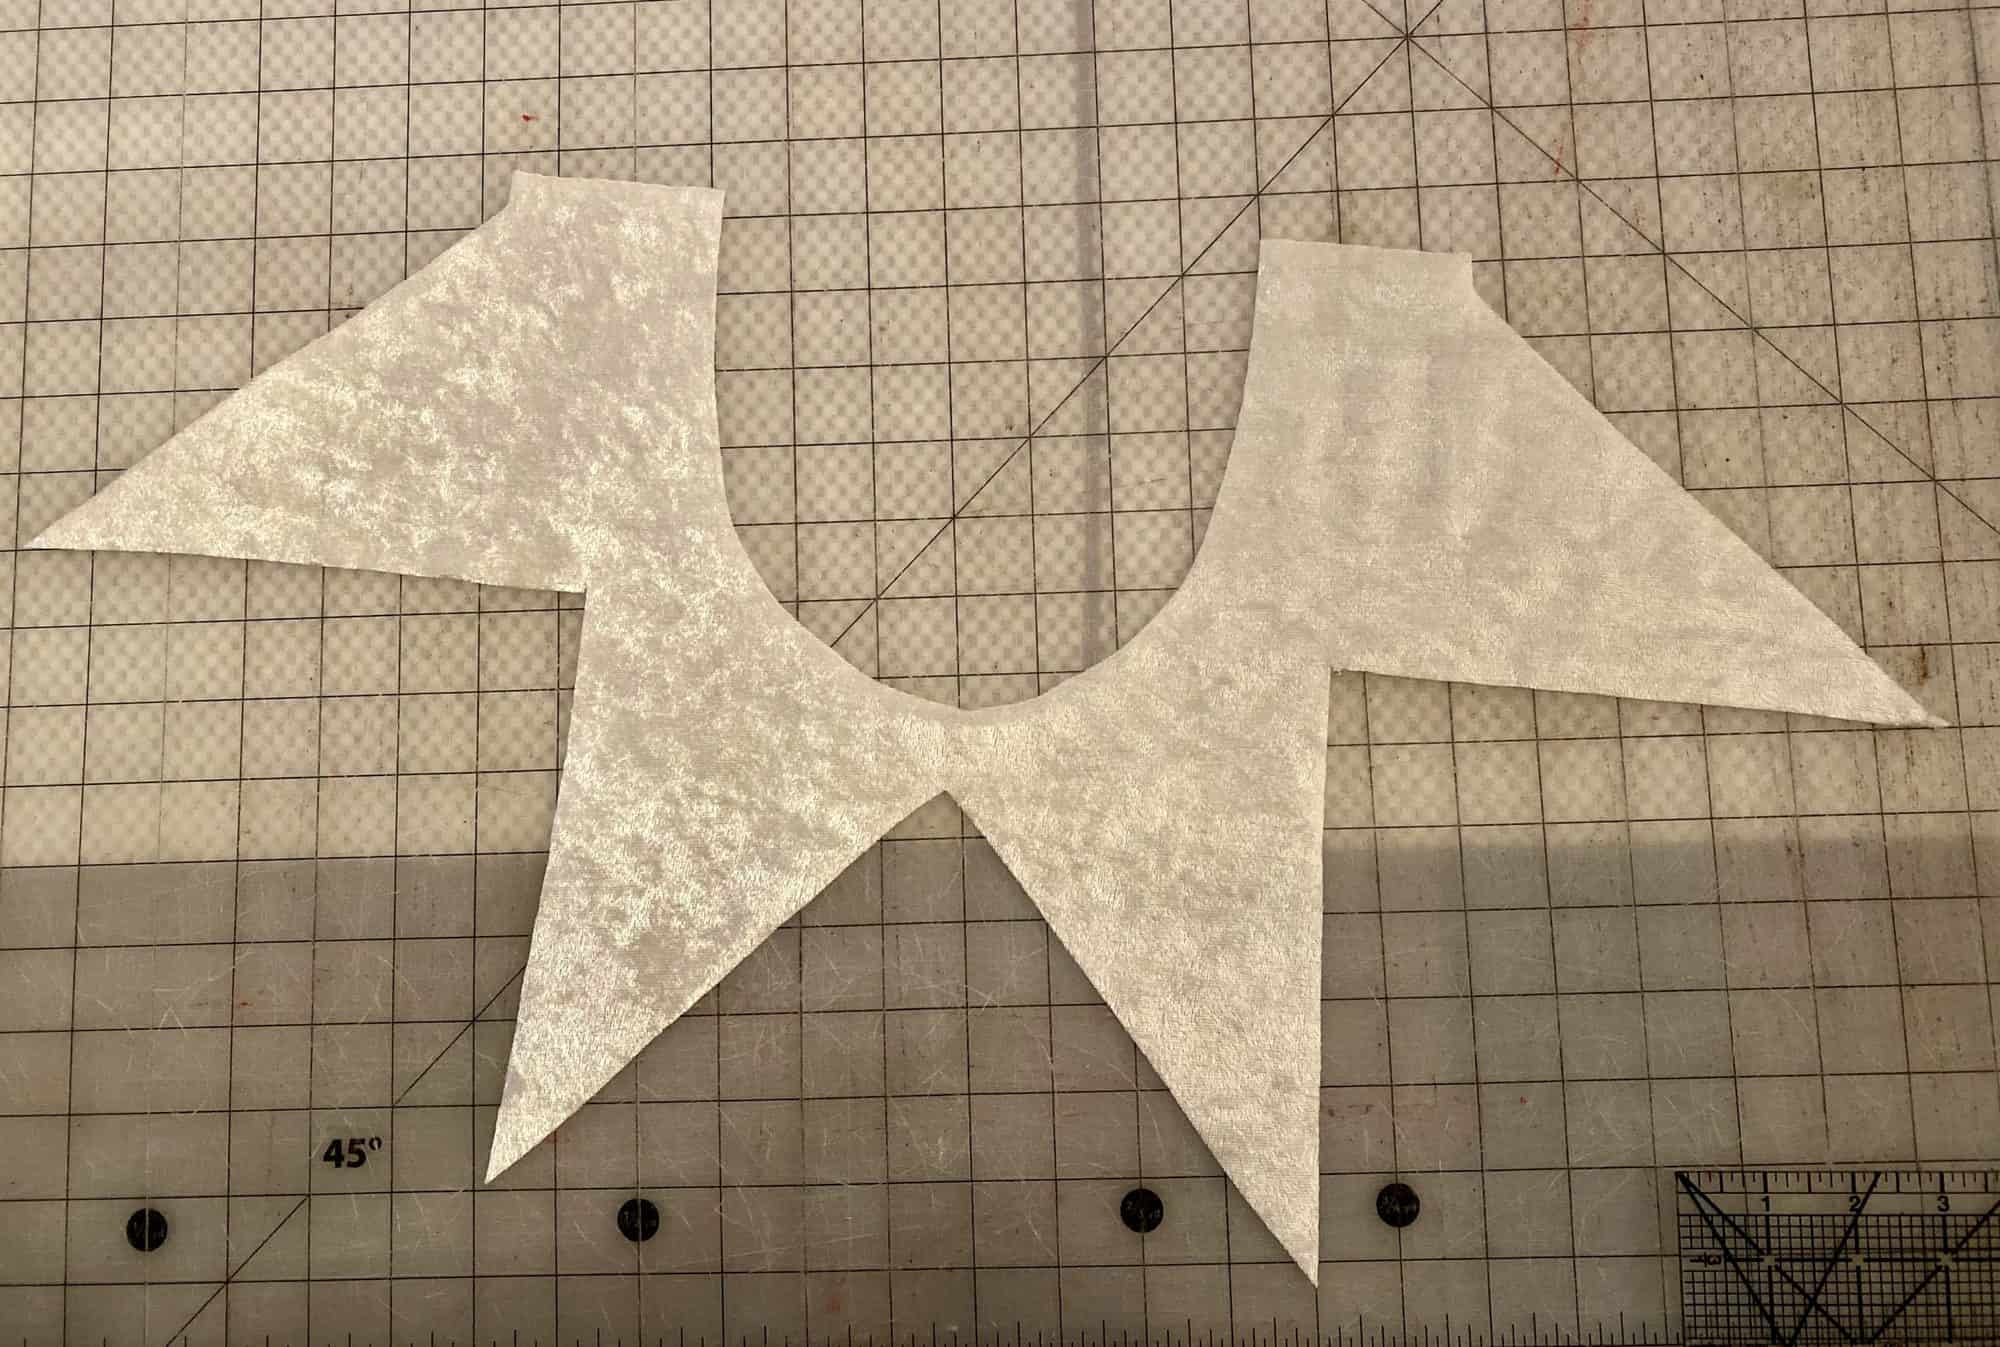
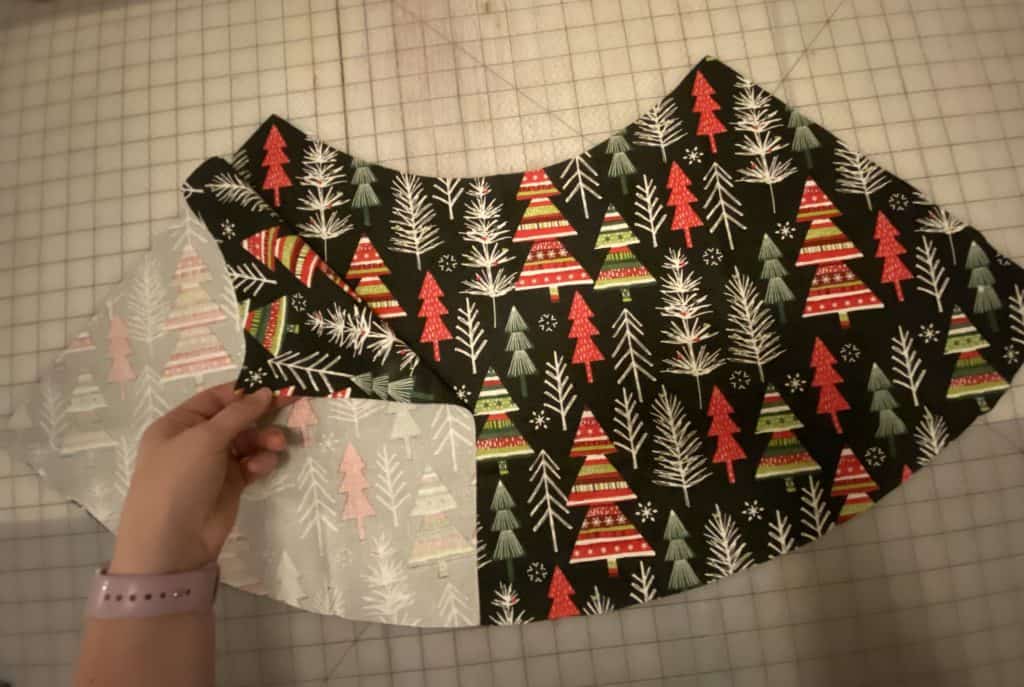
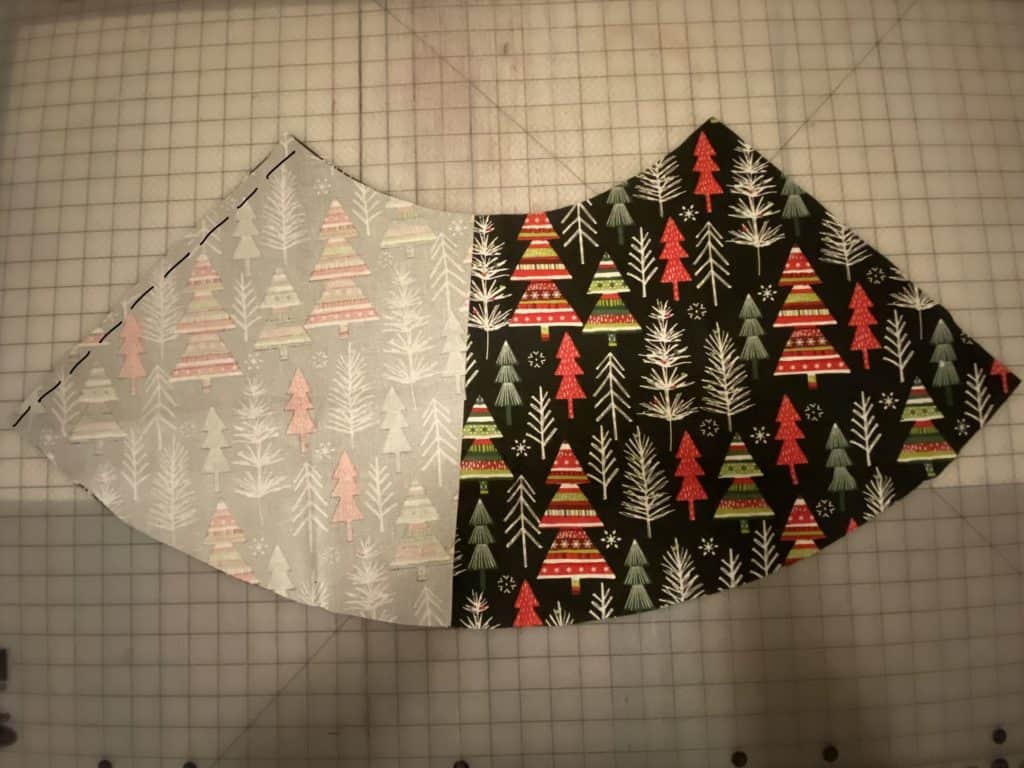
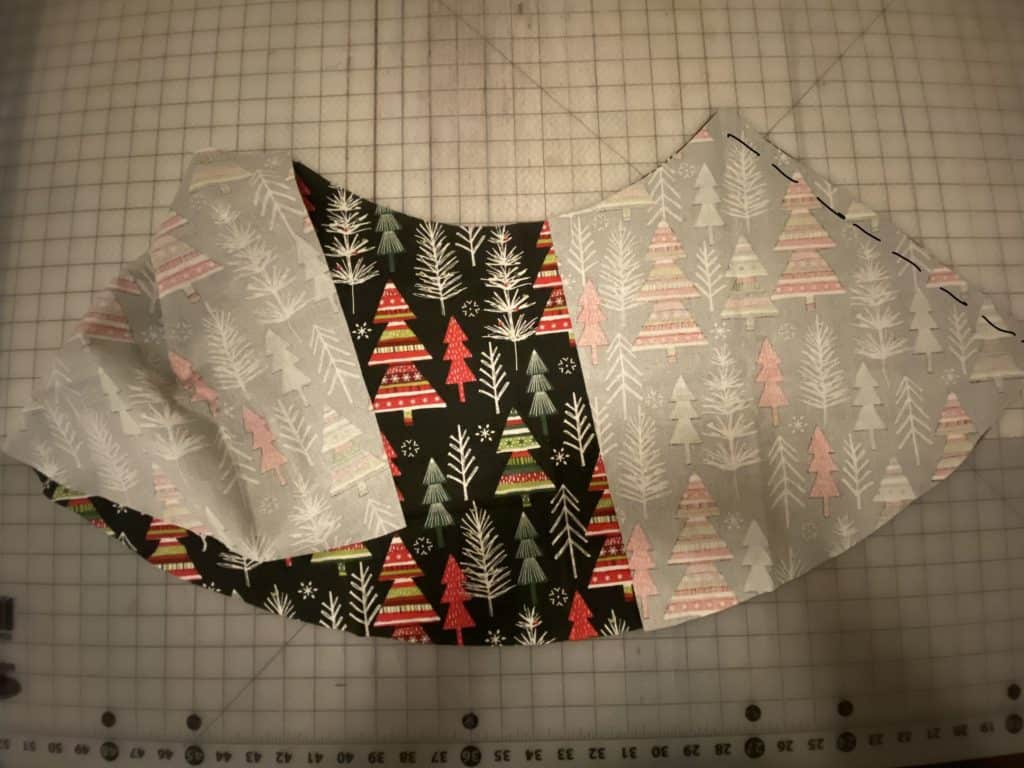
- 1 main piece
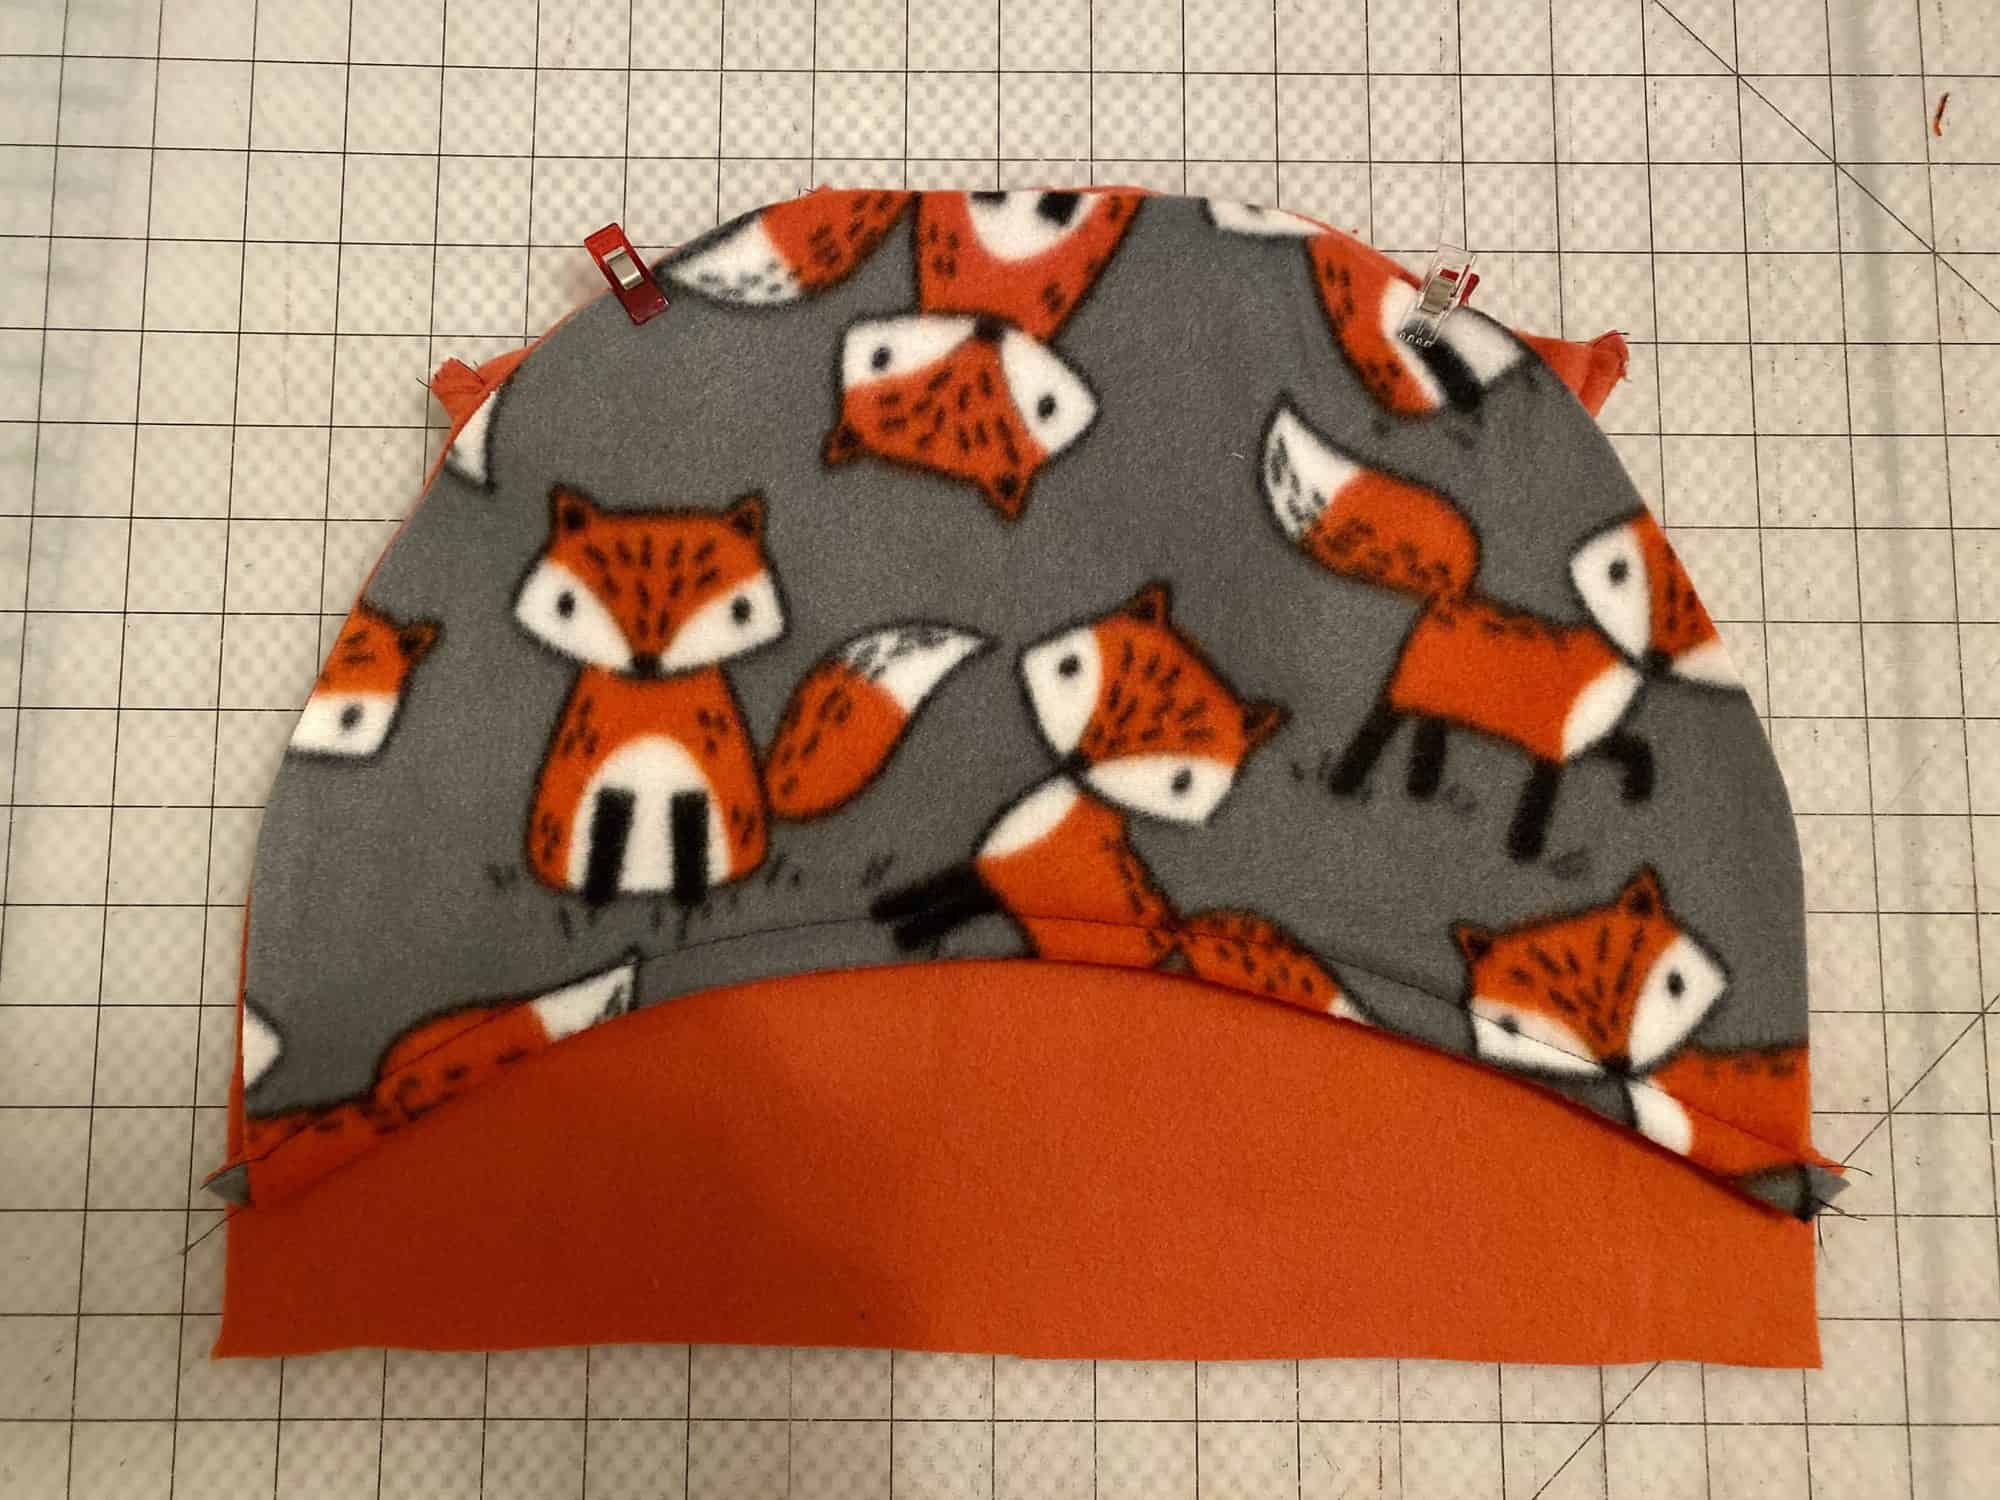
- 1 lining piece (cut in a mirror image)
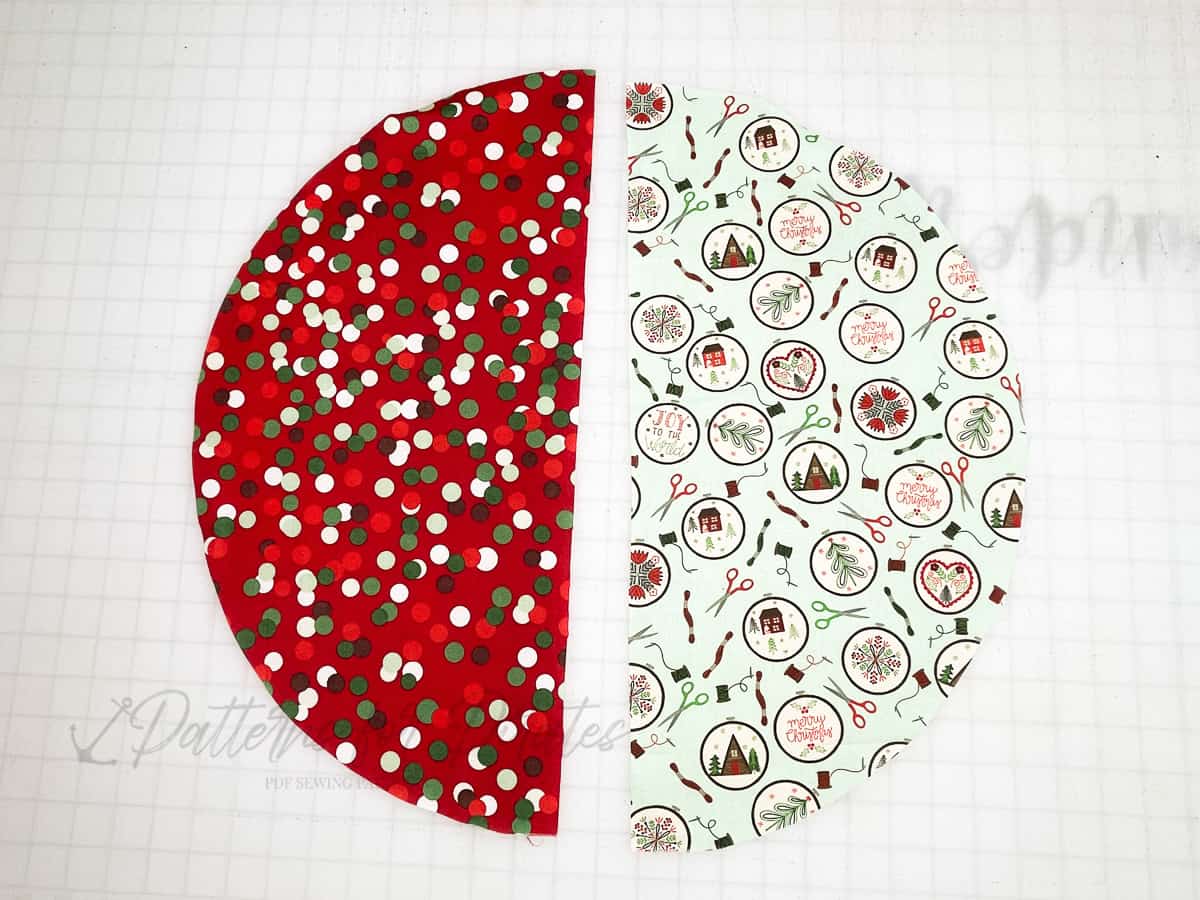
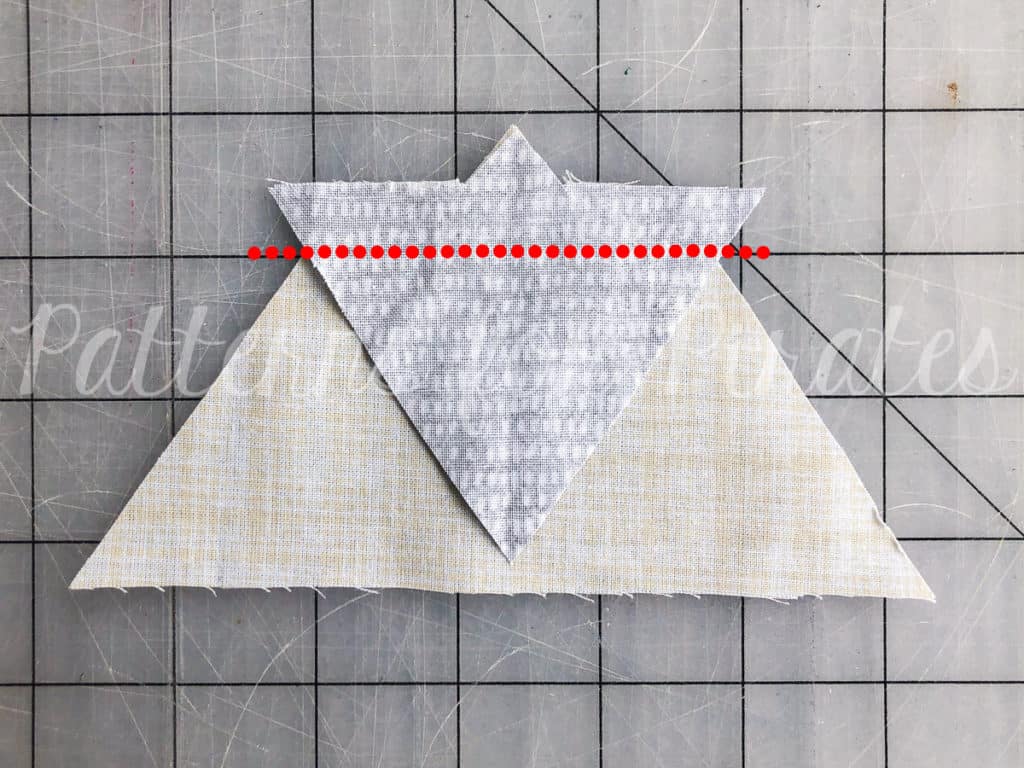
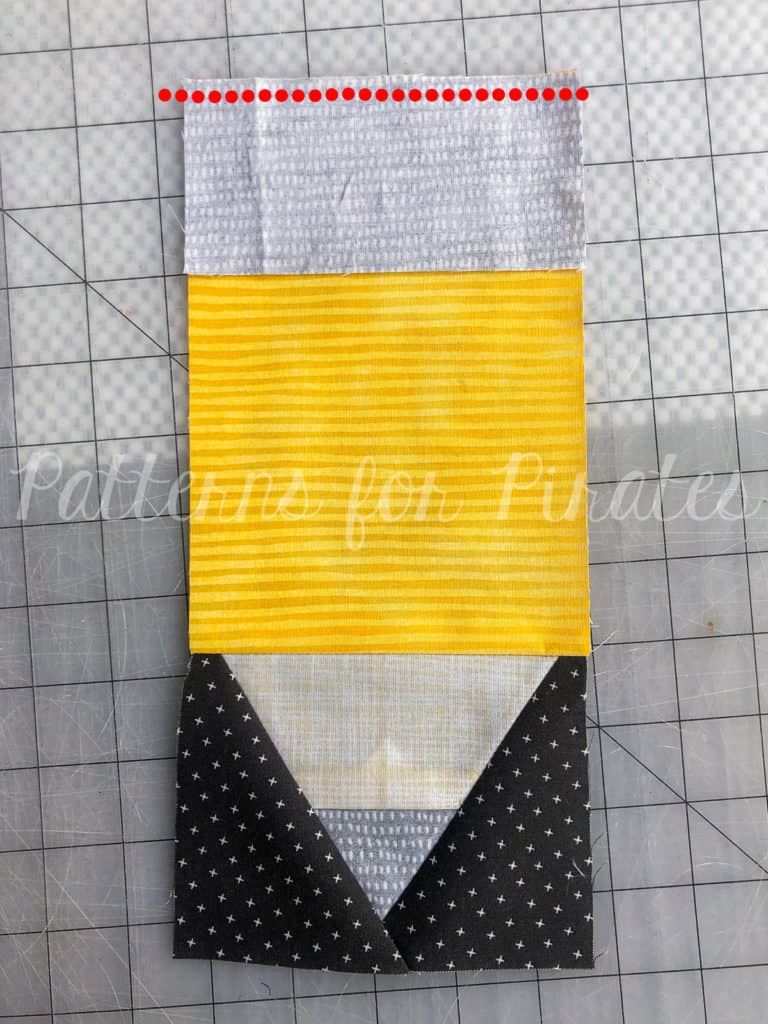
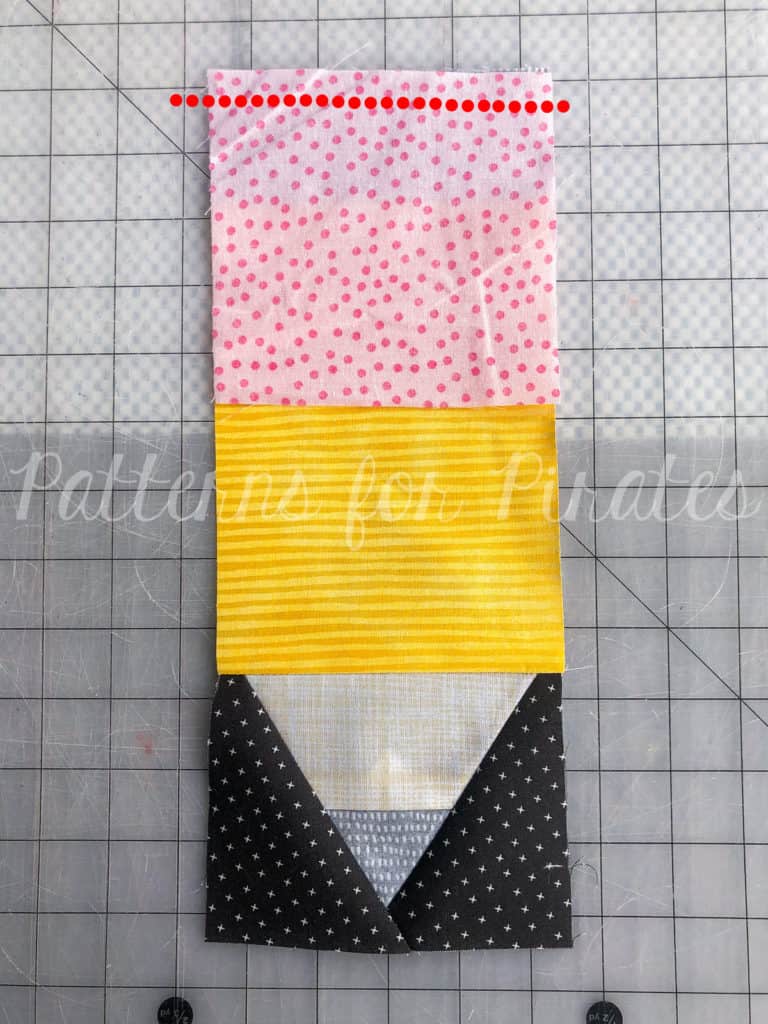
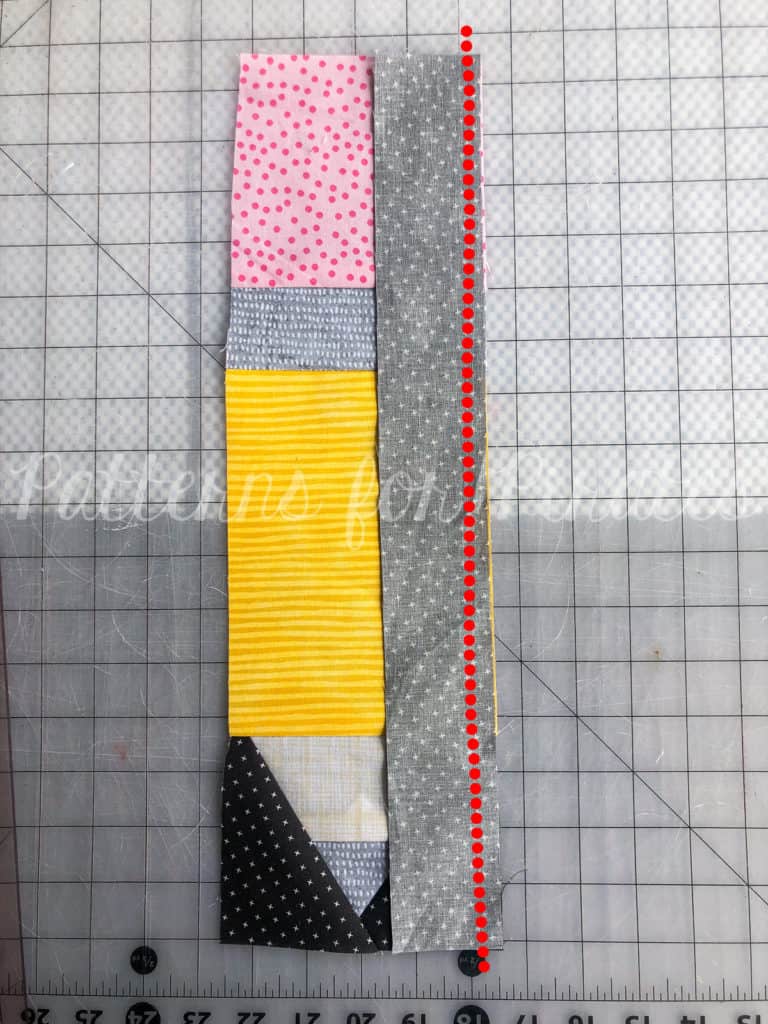
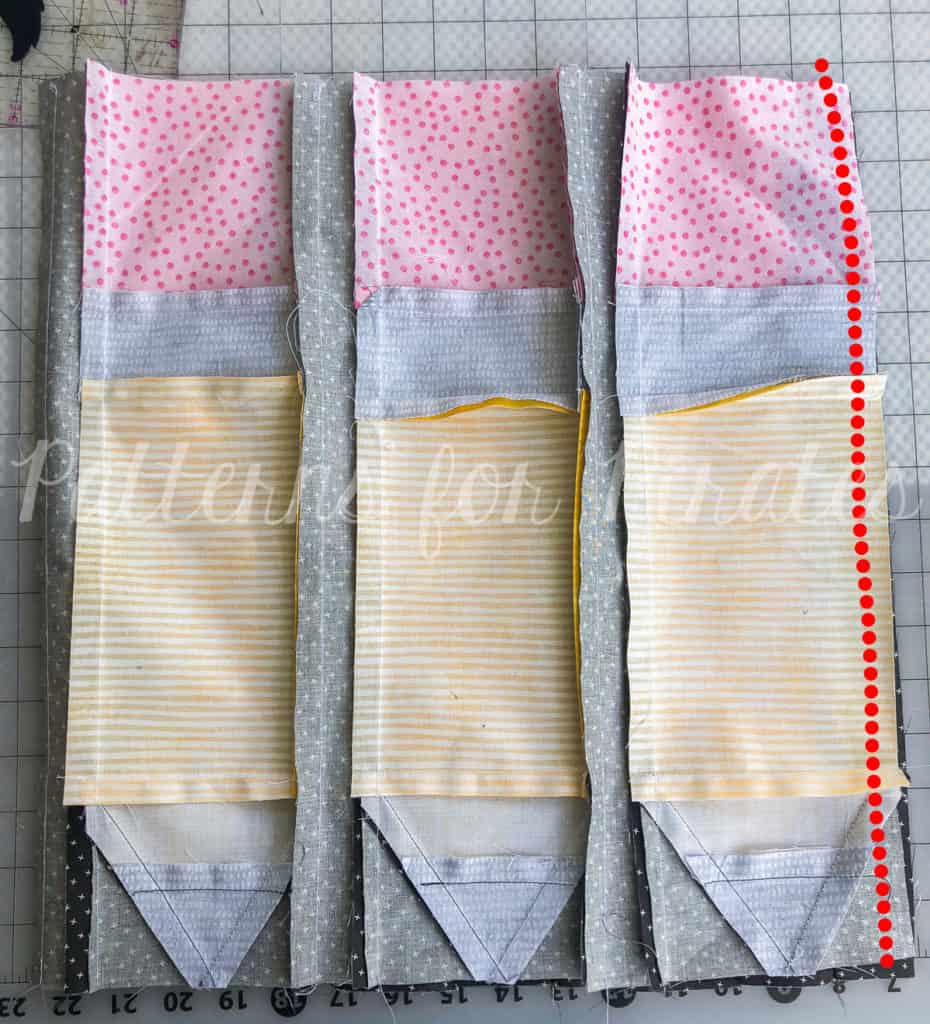
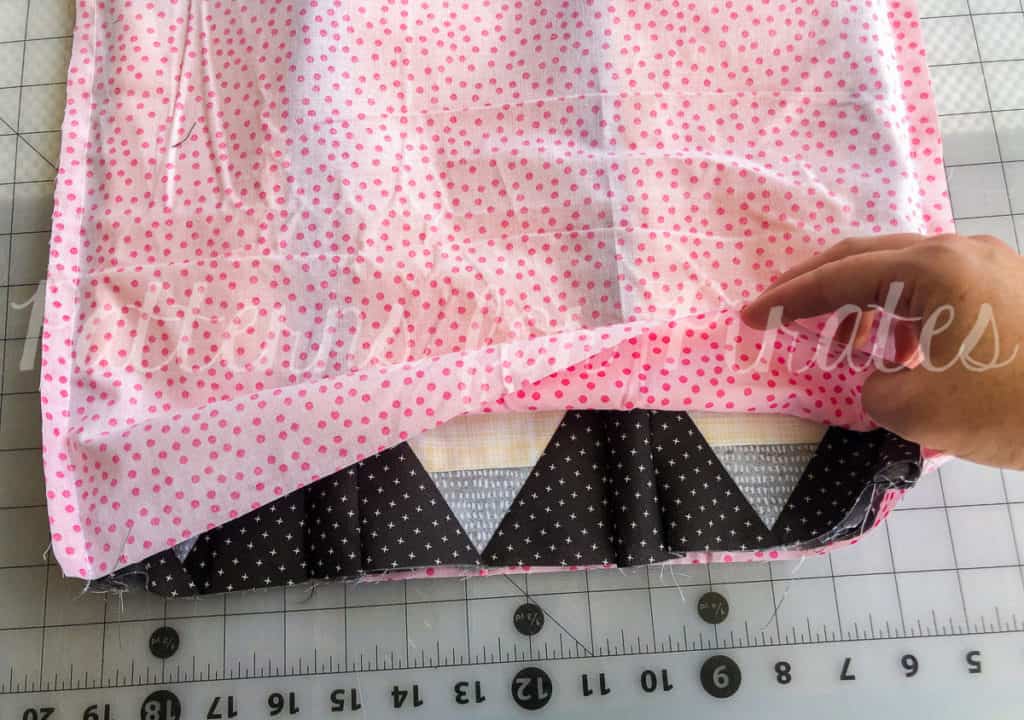
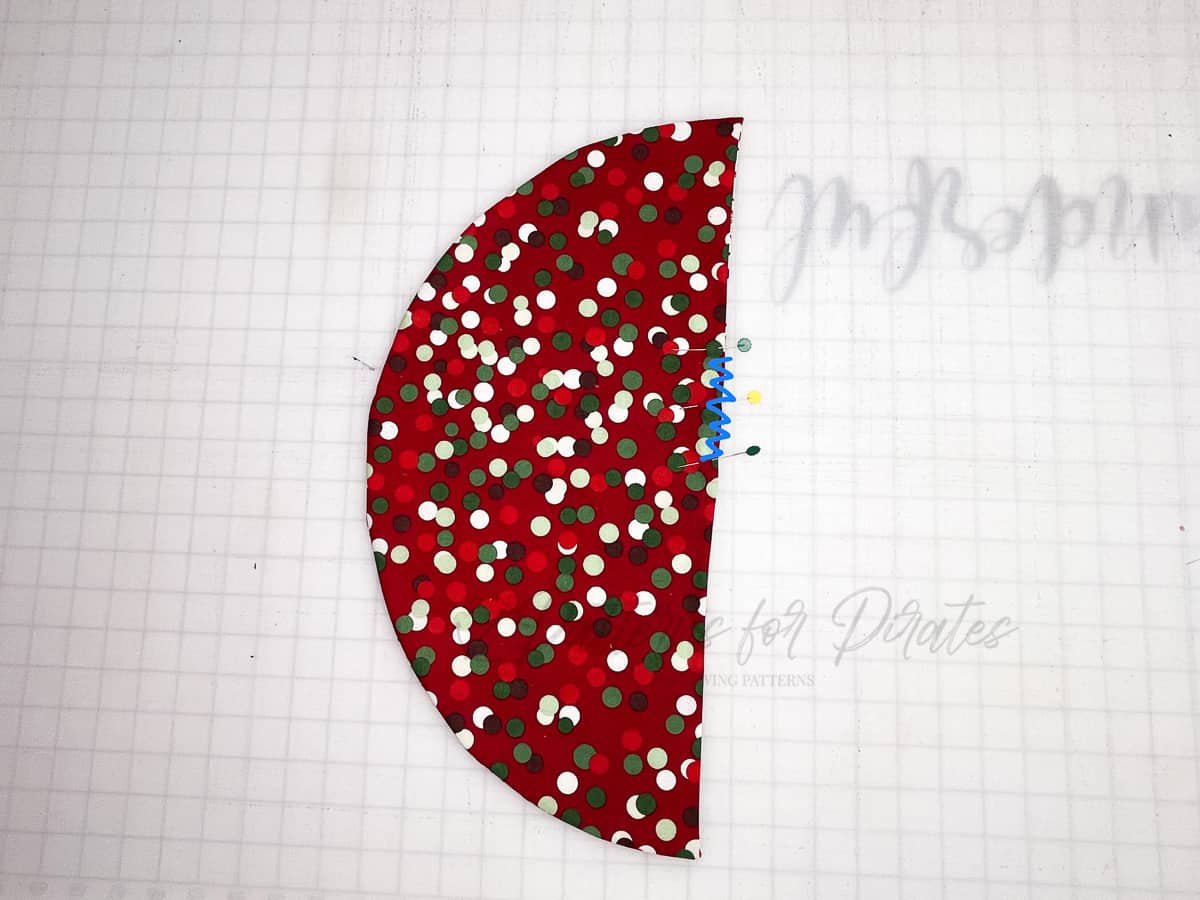
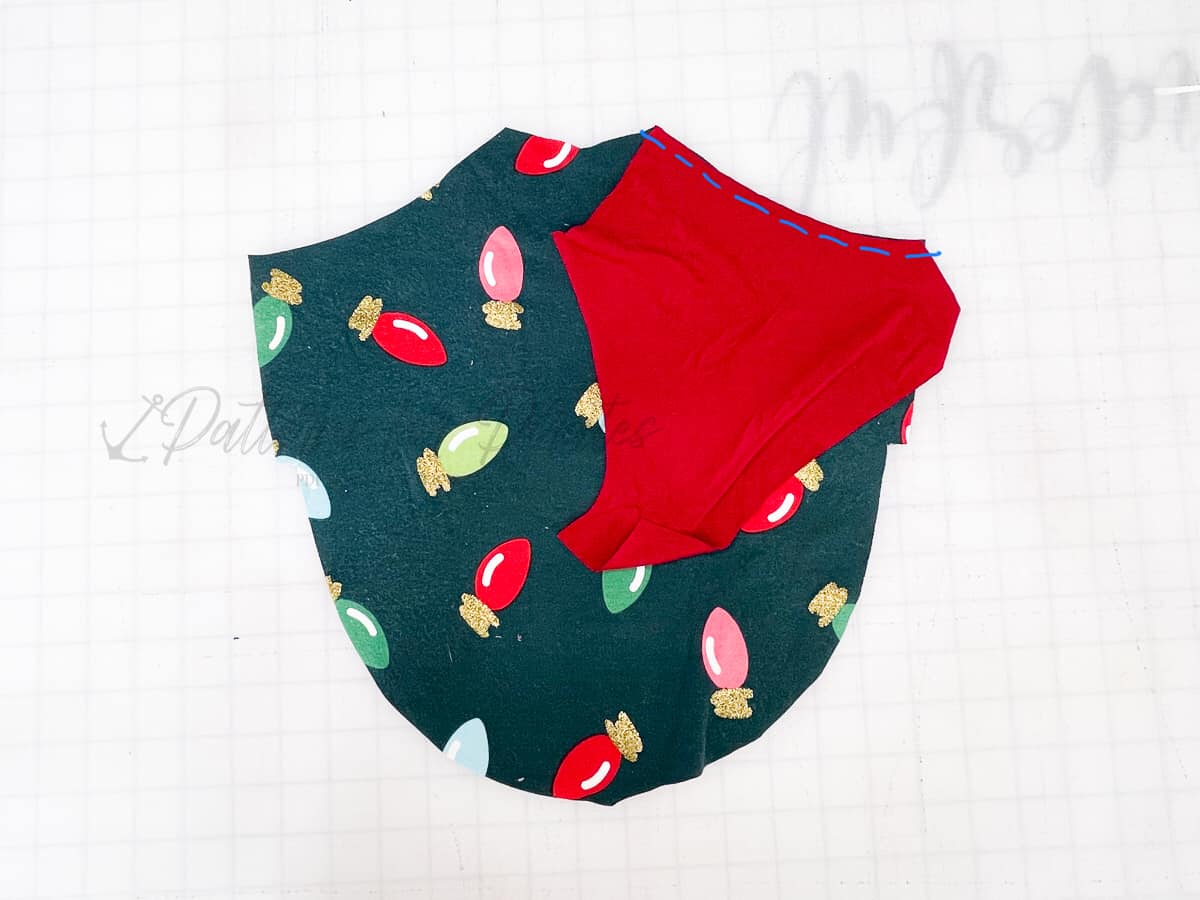
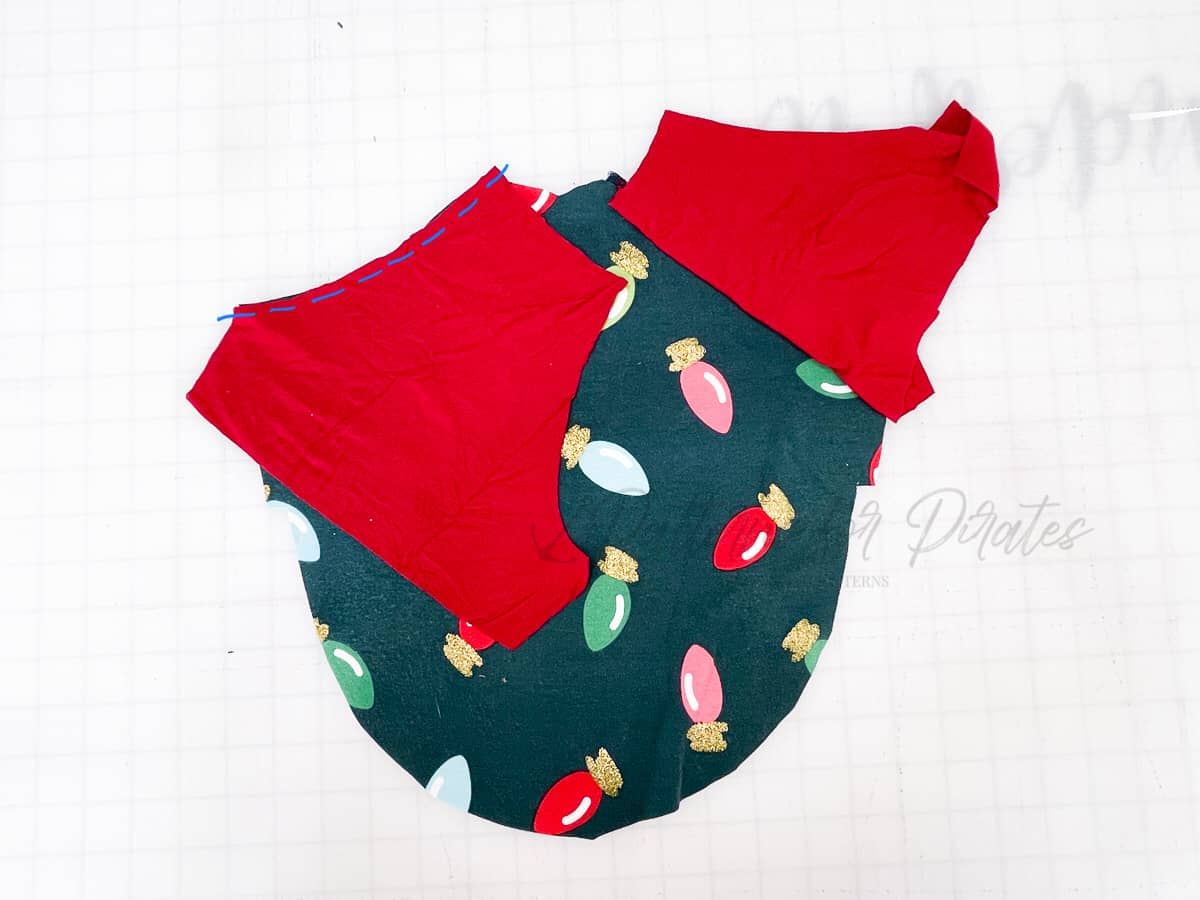
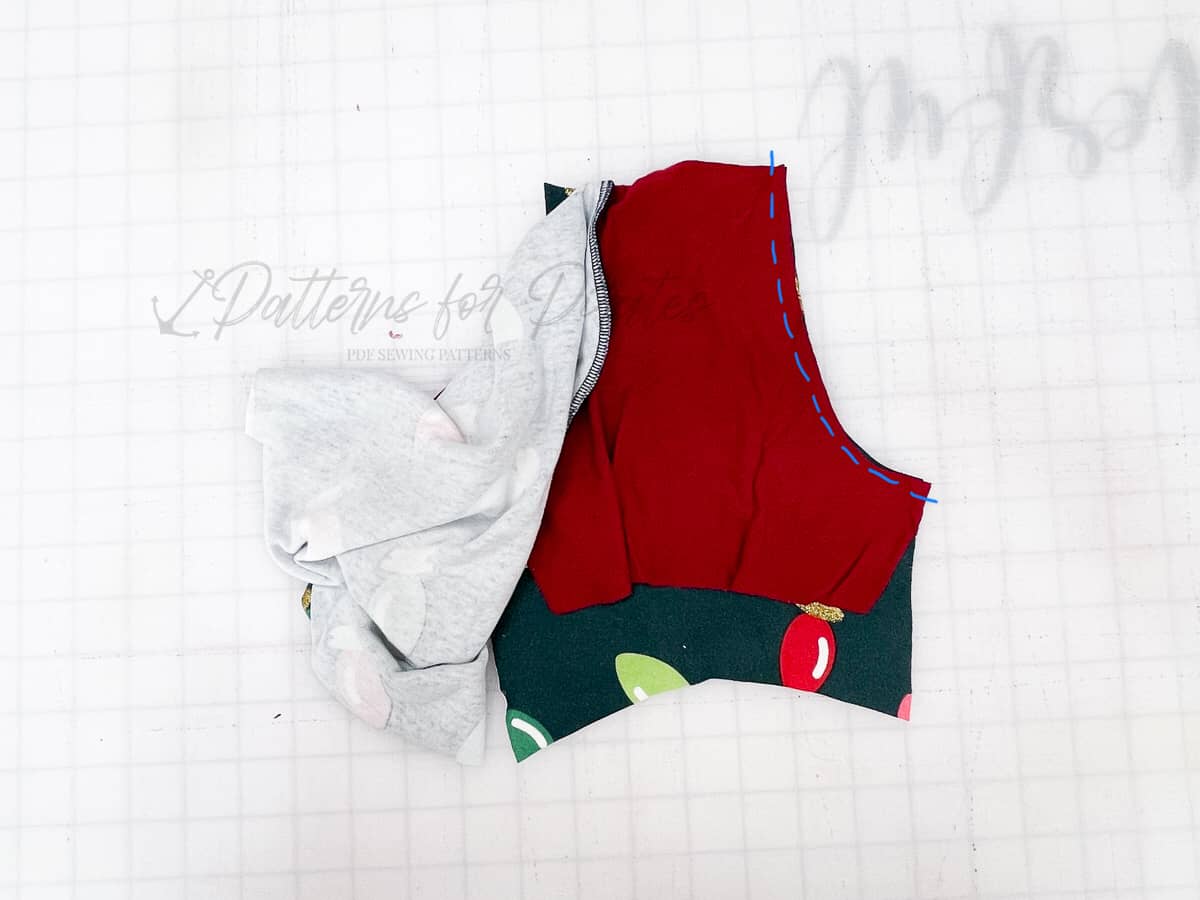
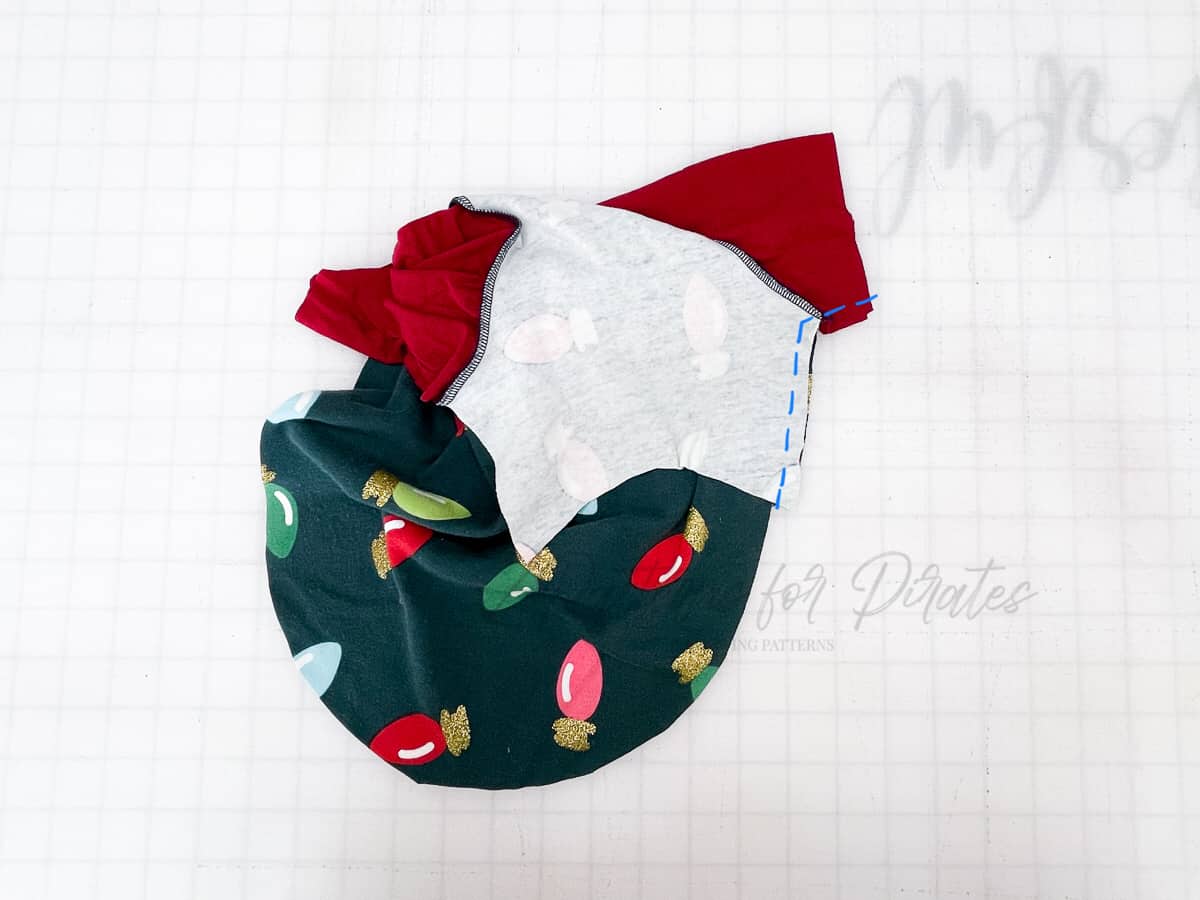
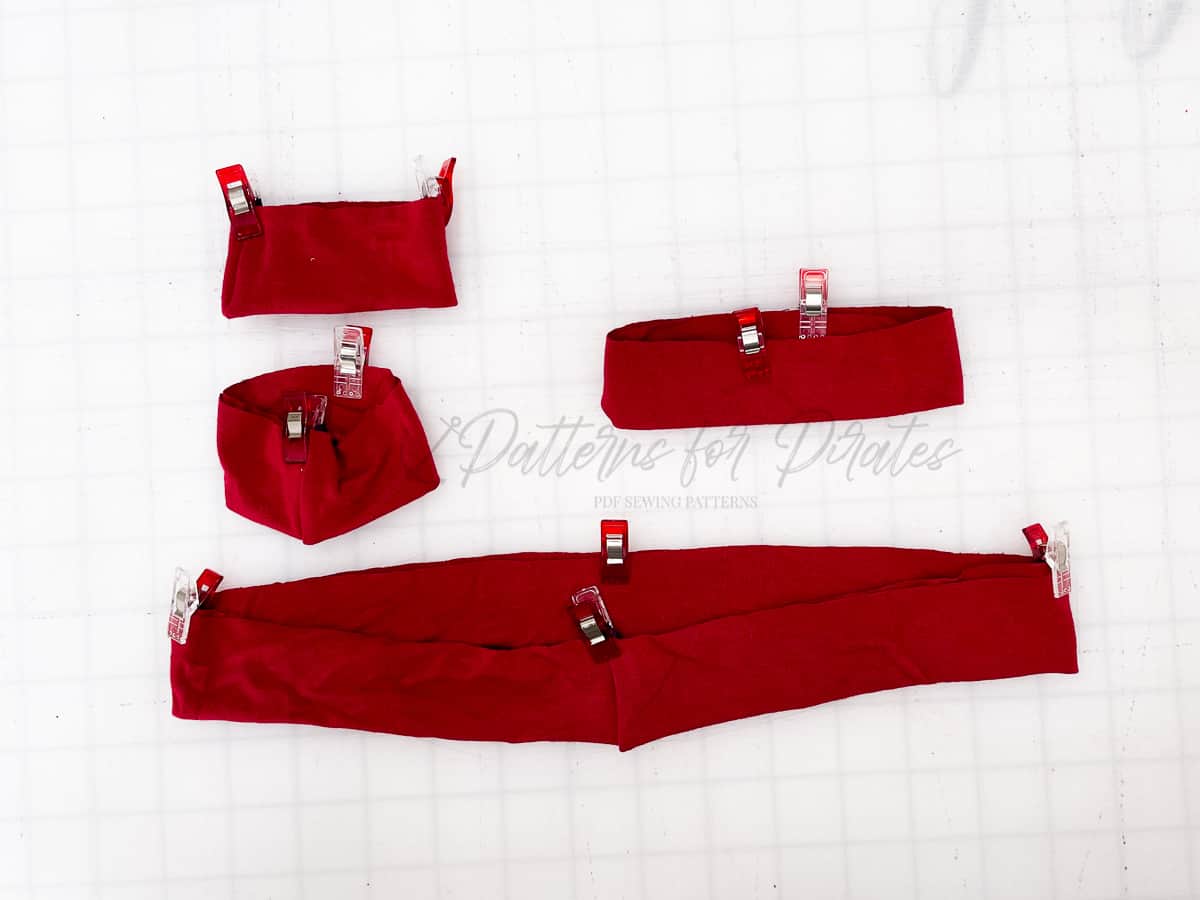
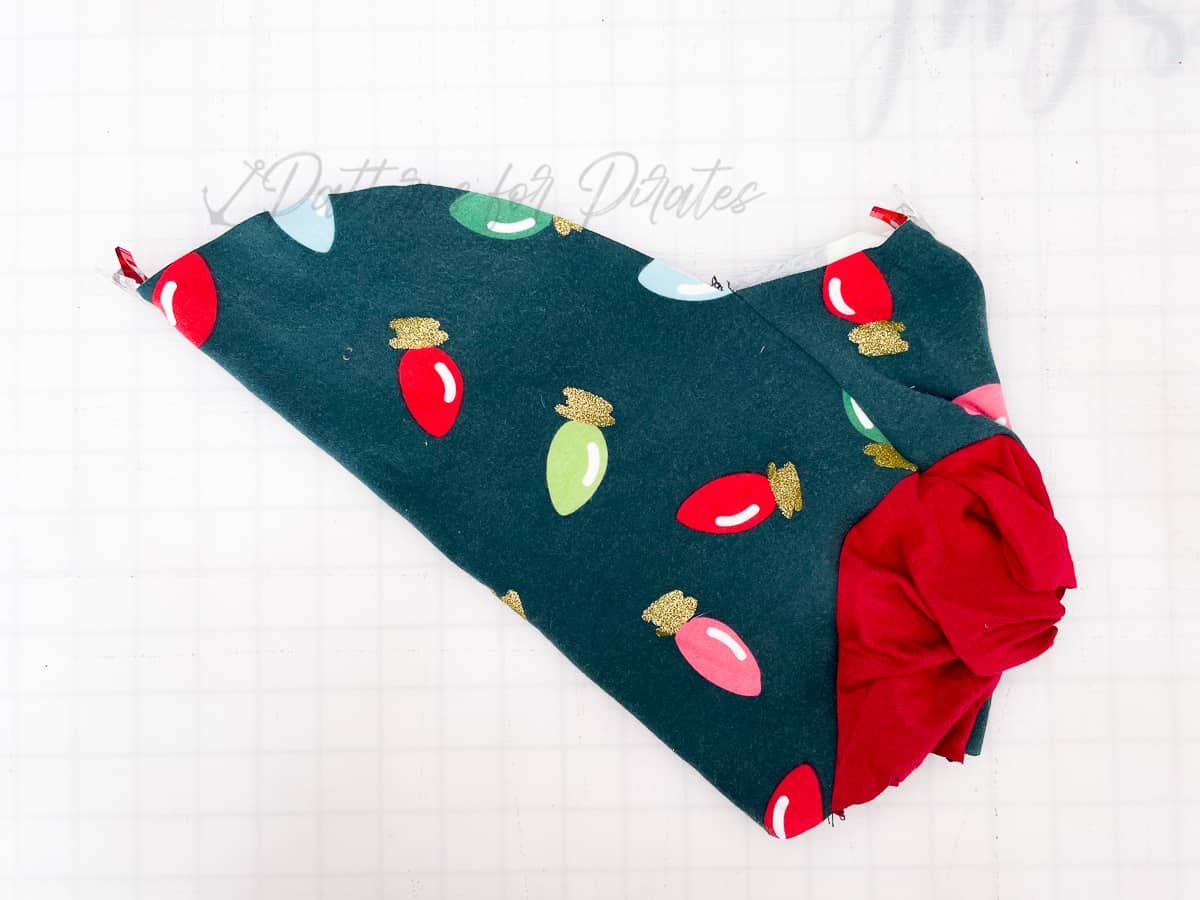
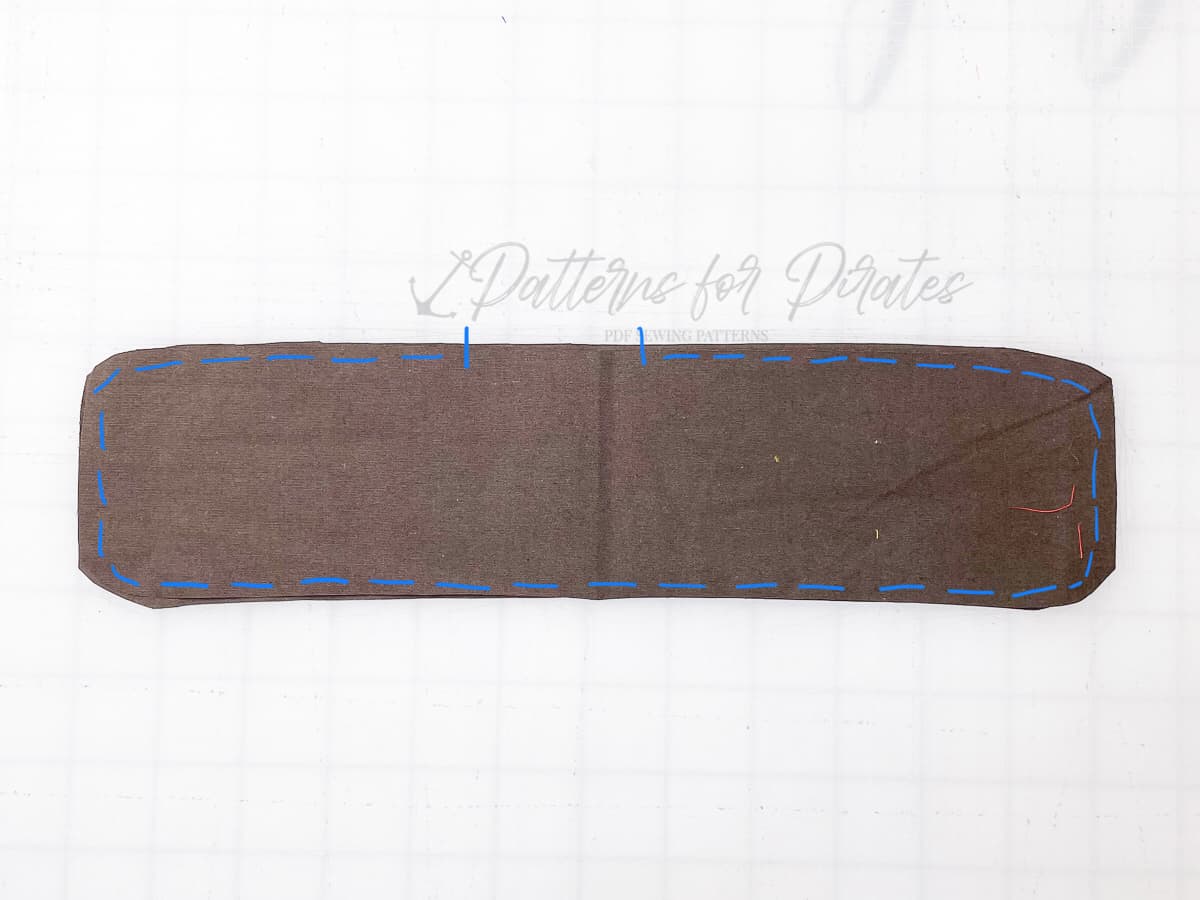
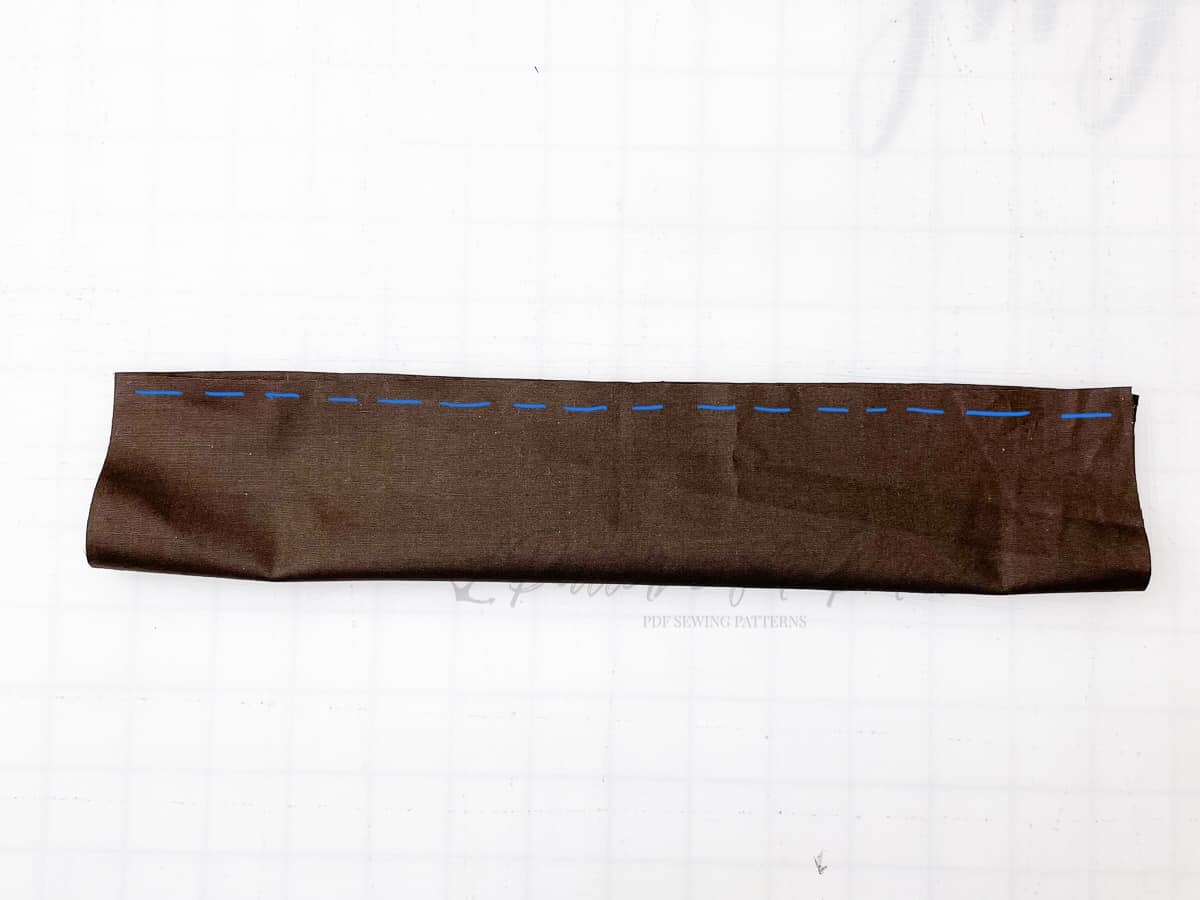
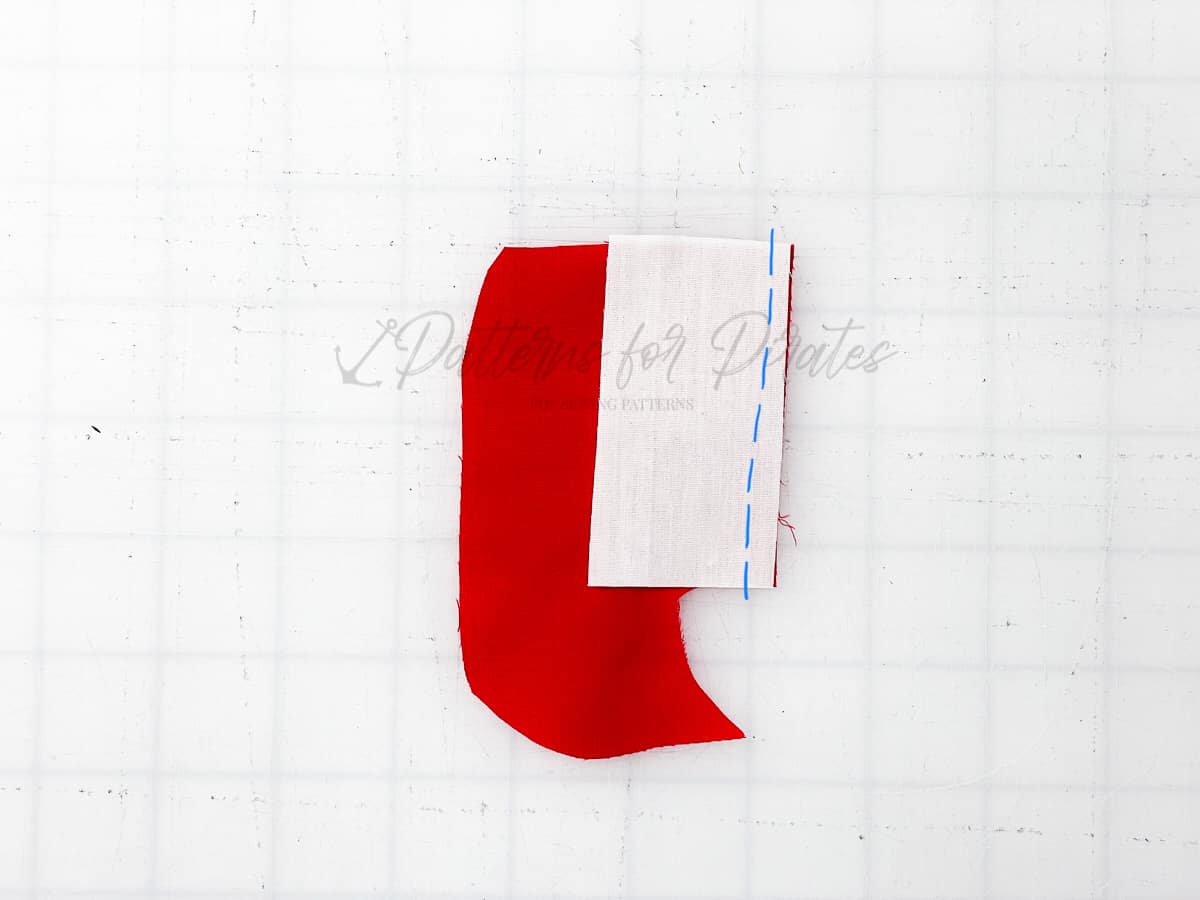
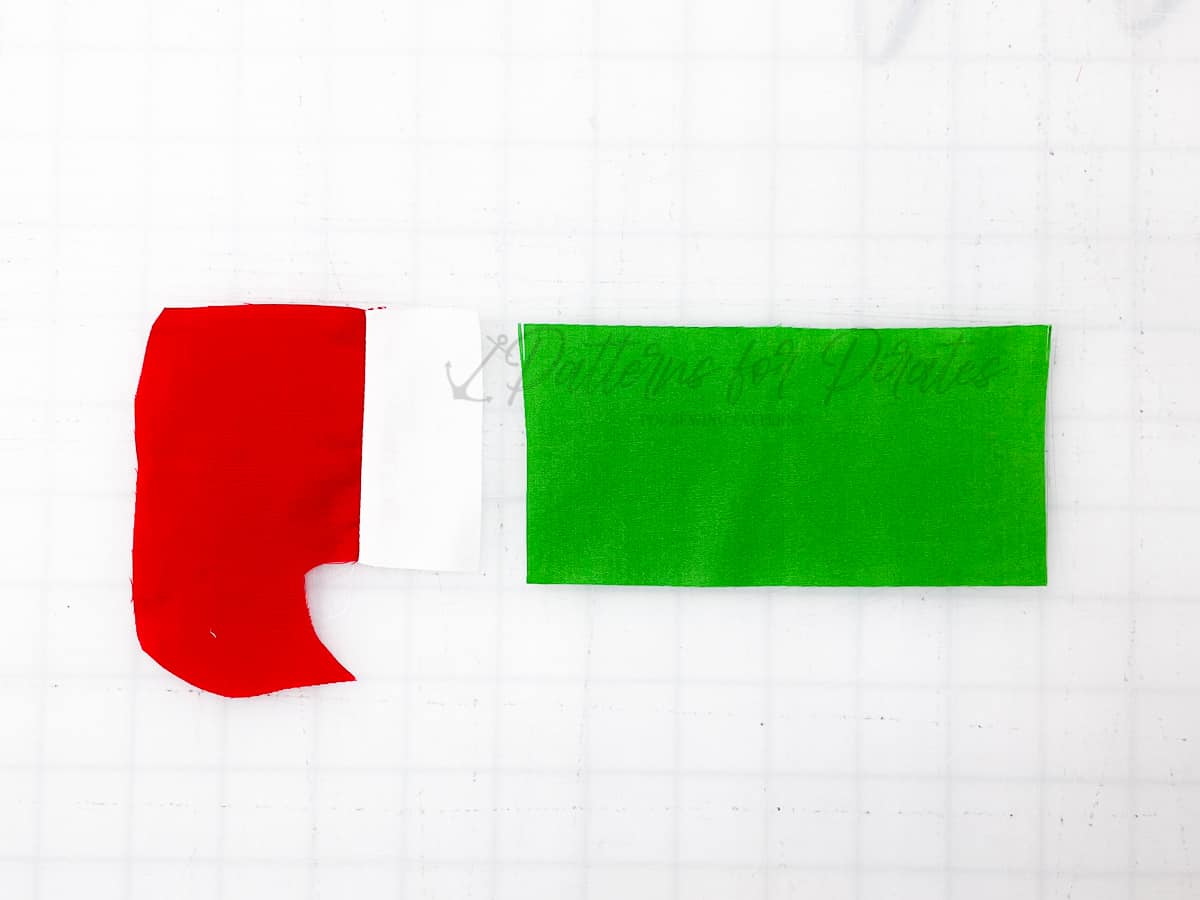
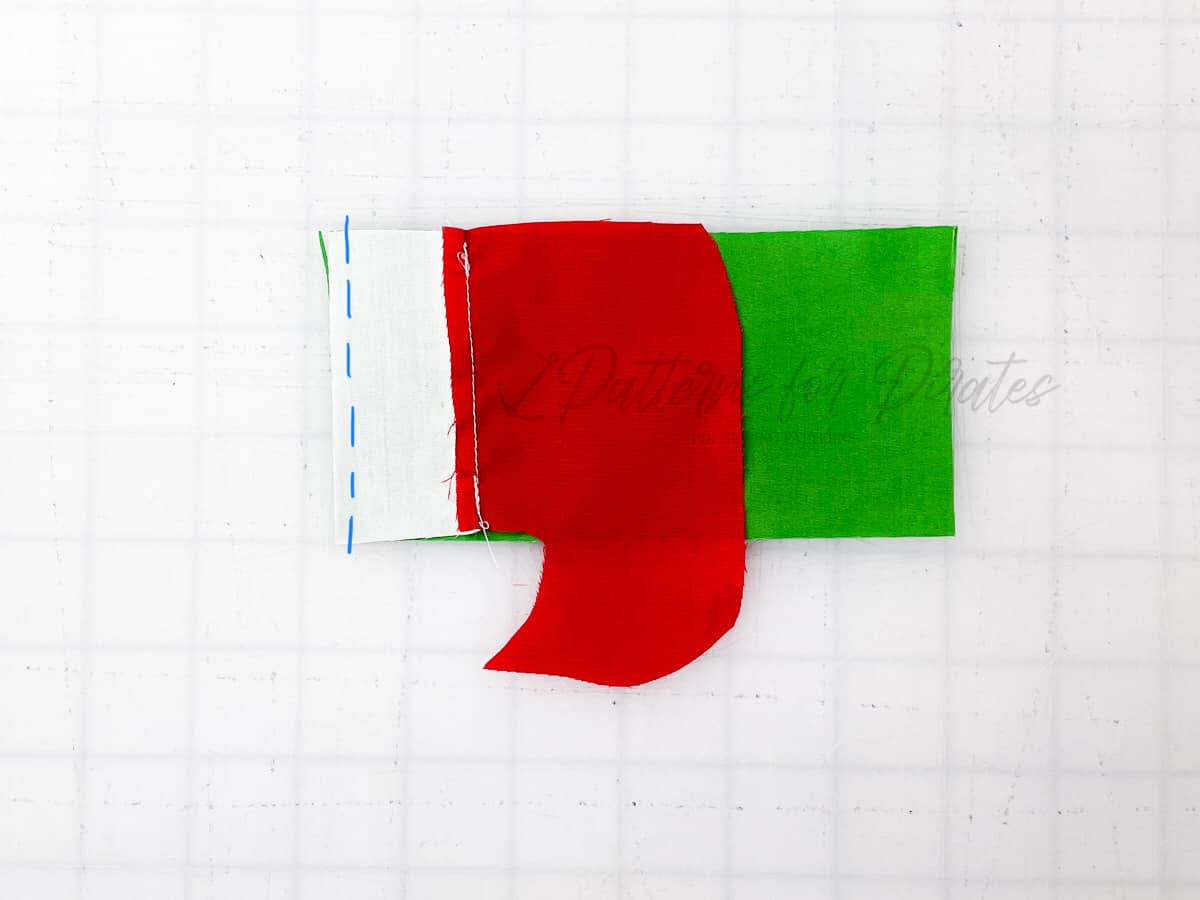
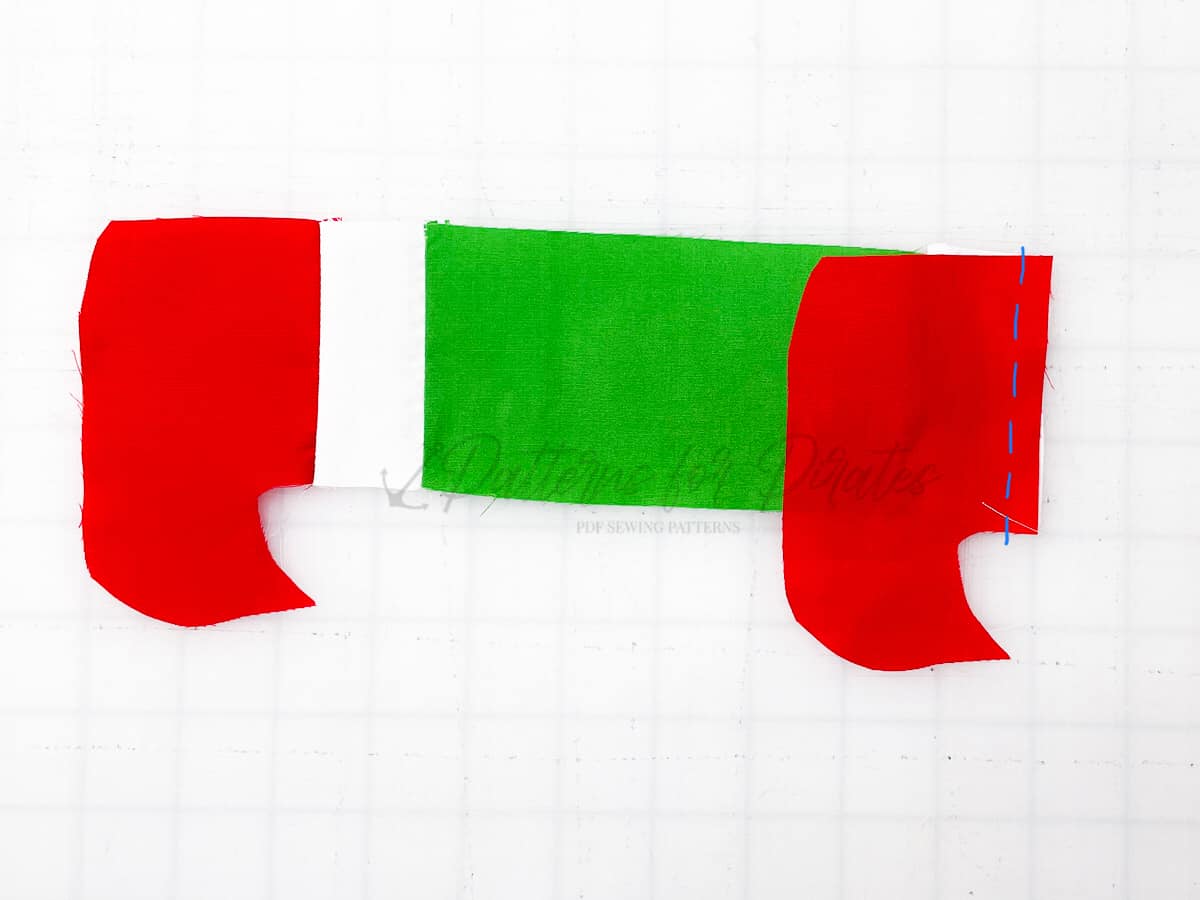
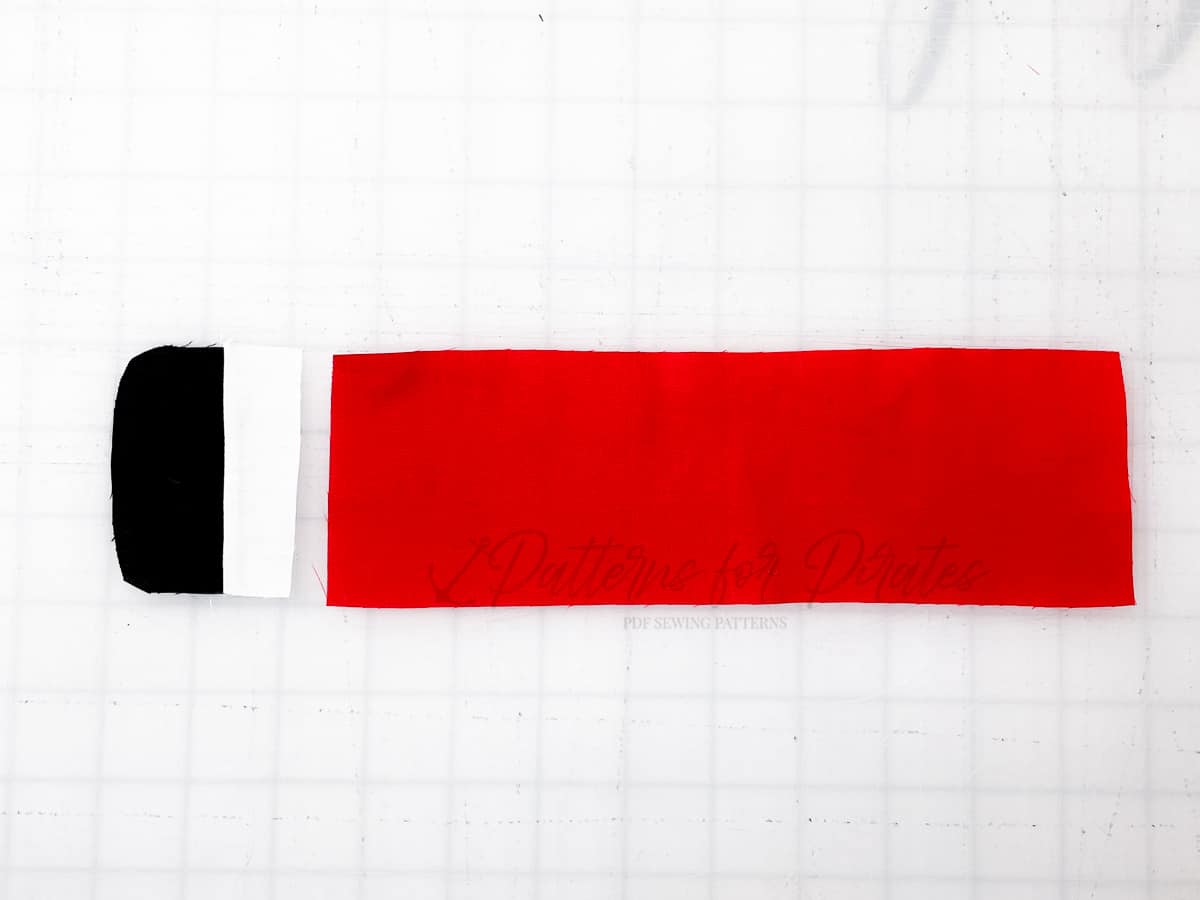
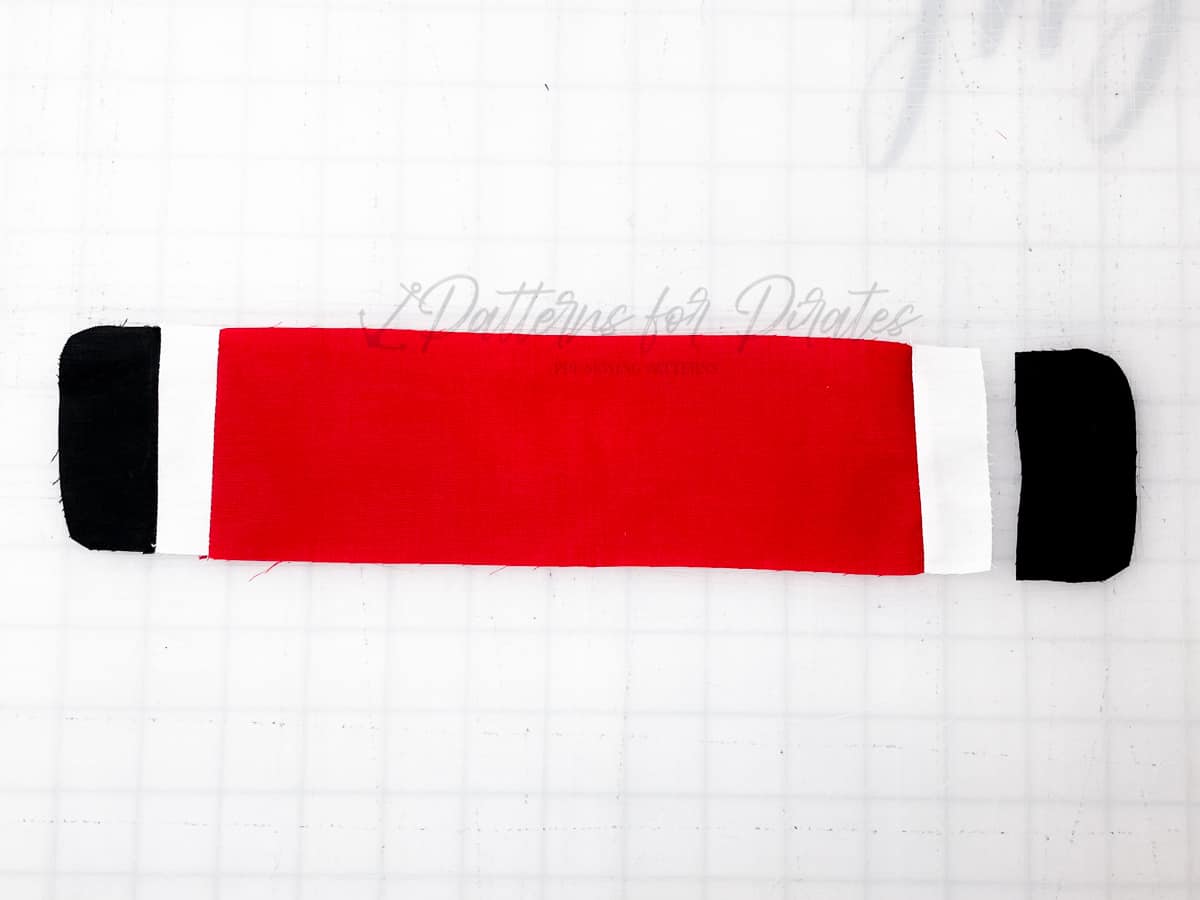
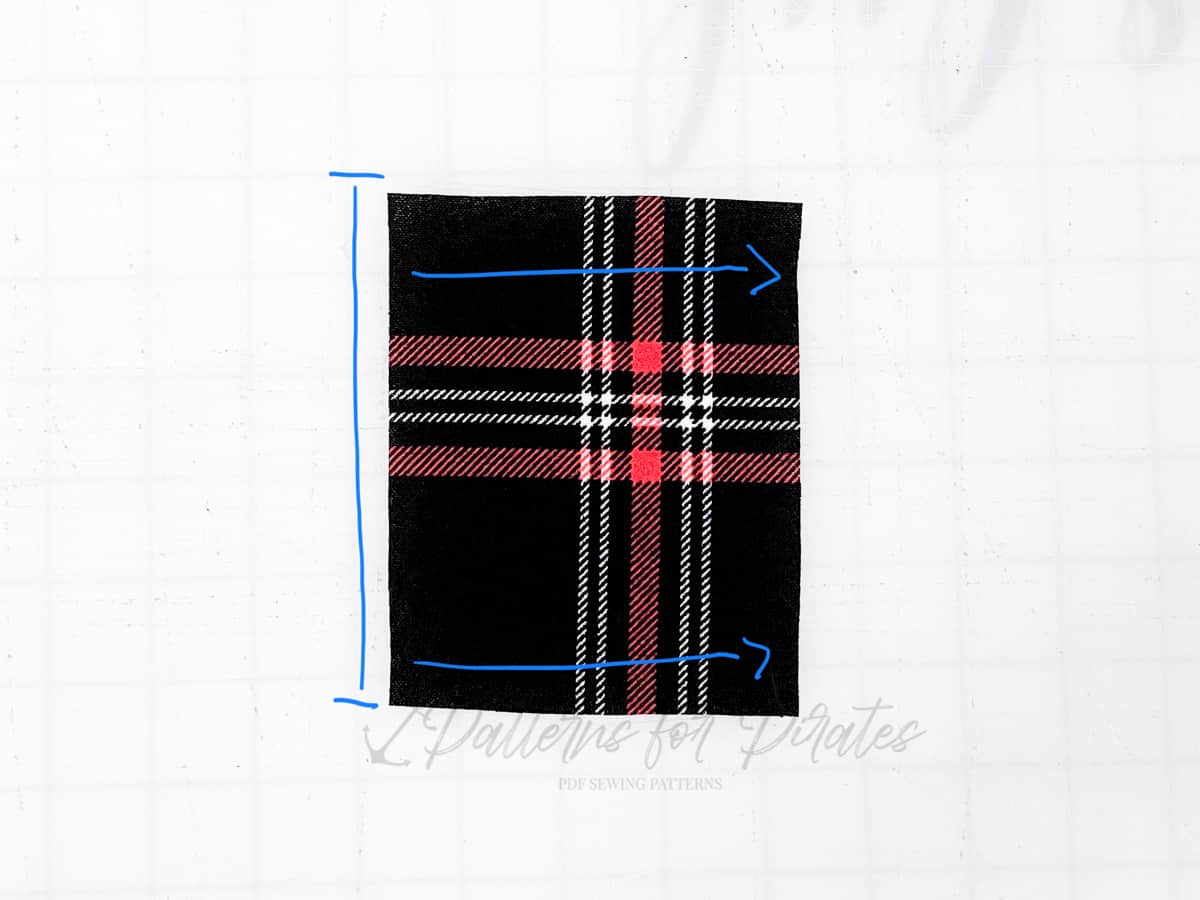
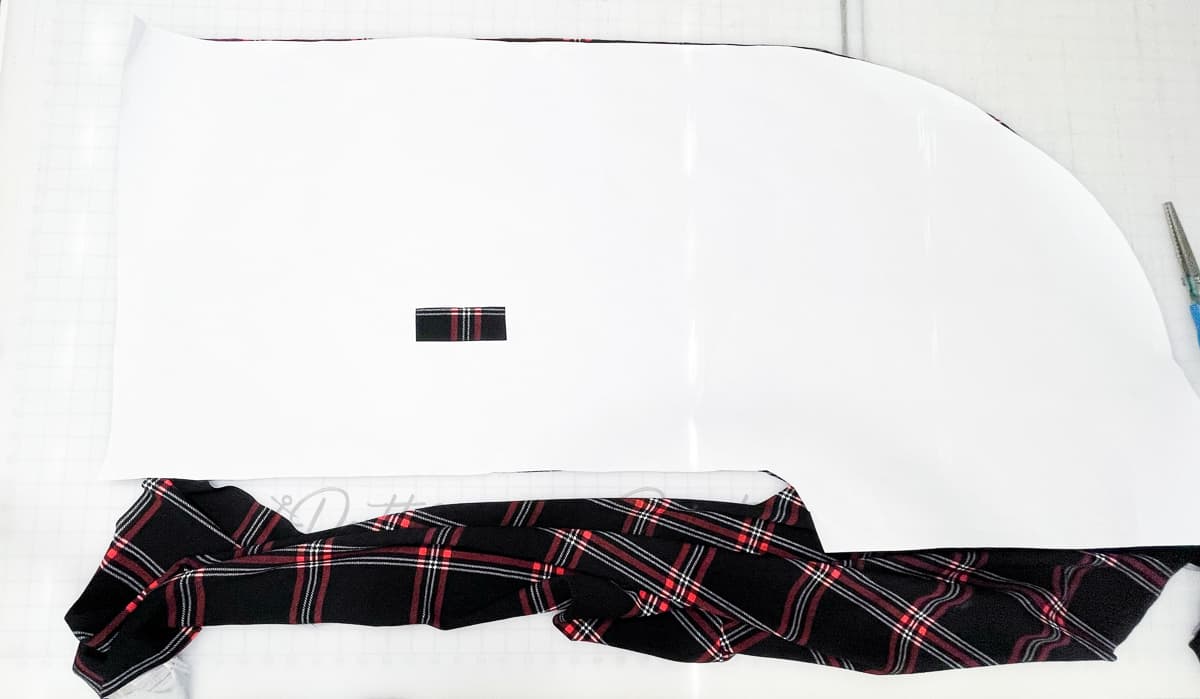
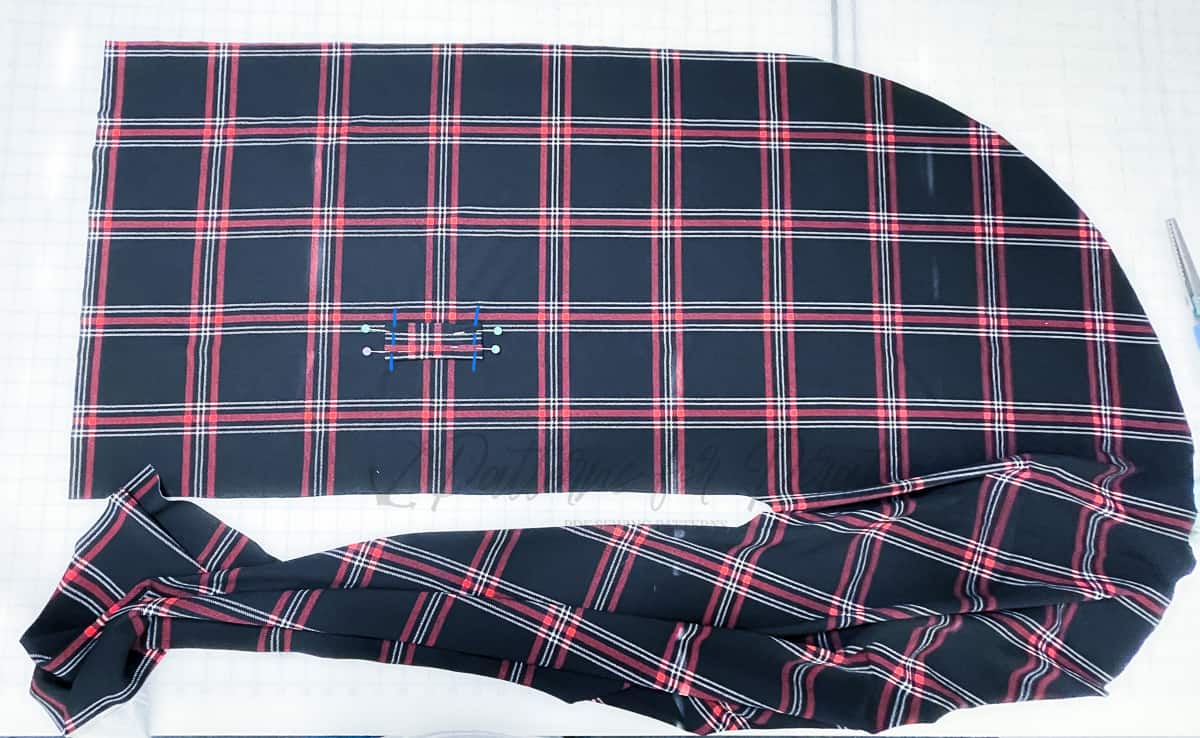
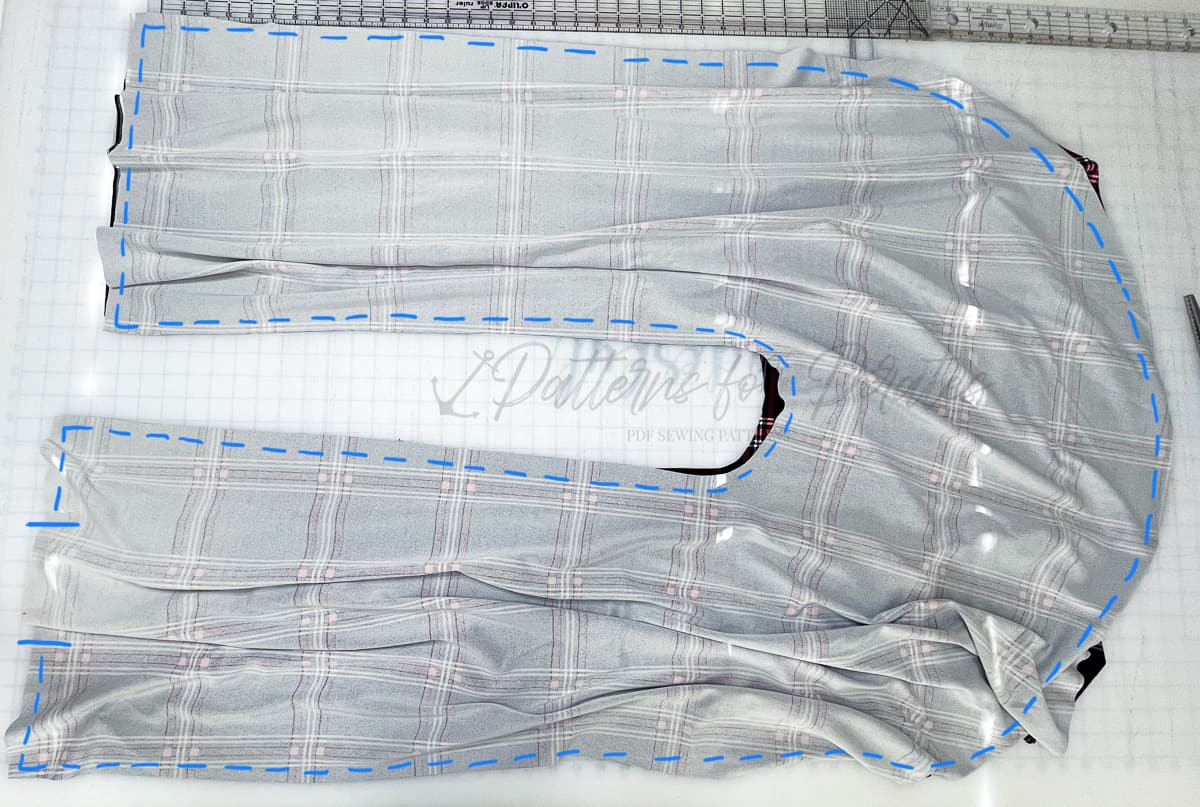
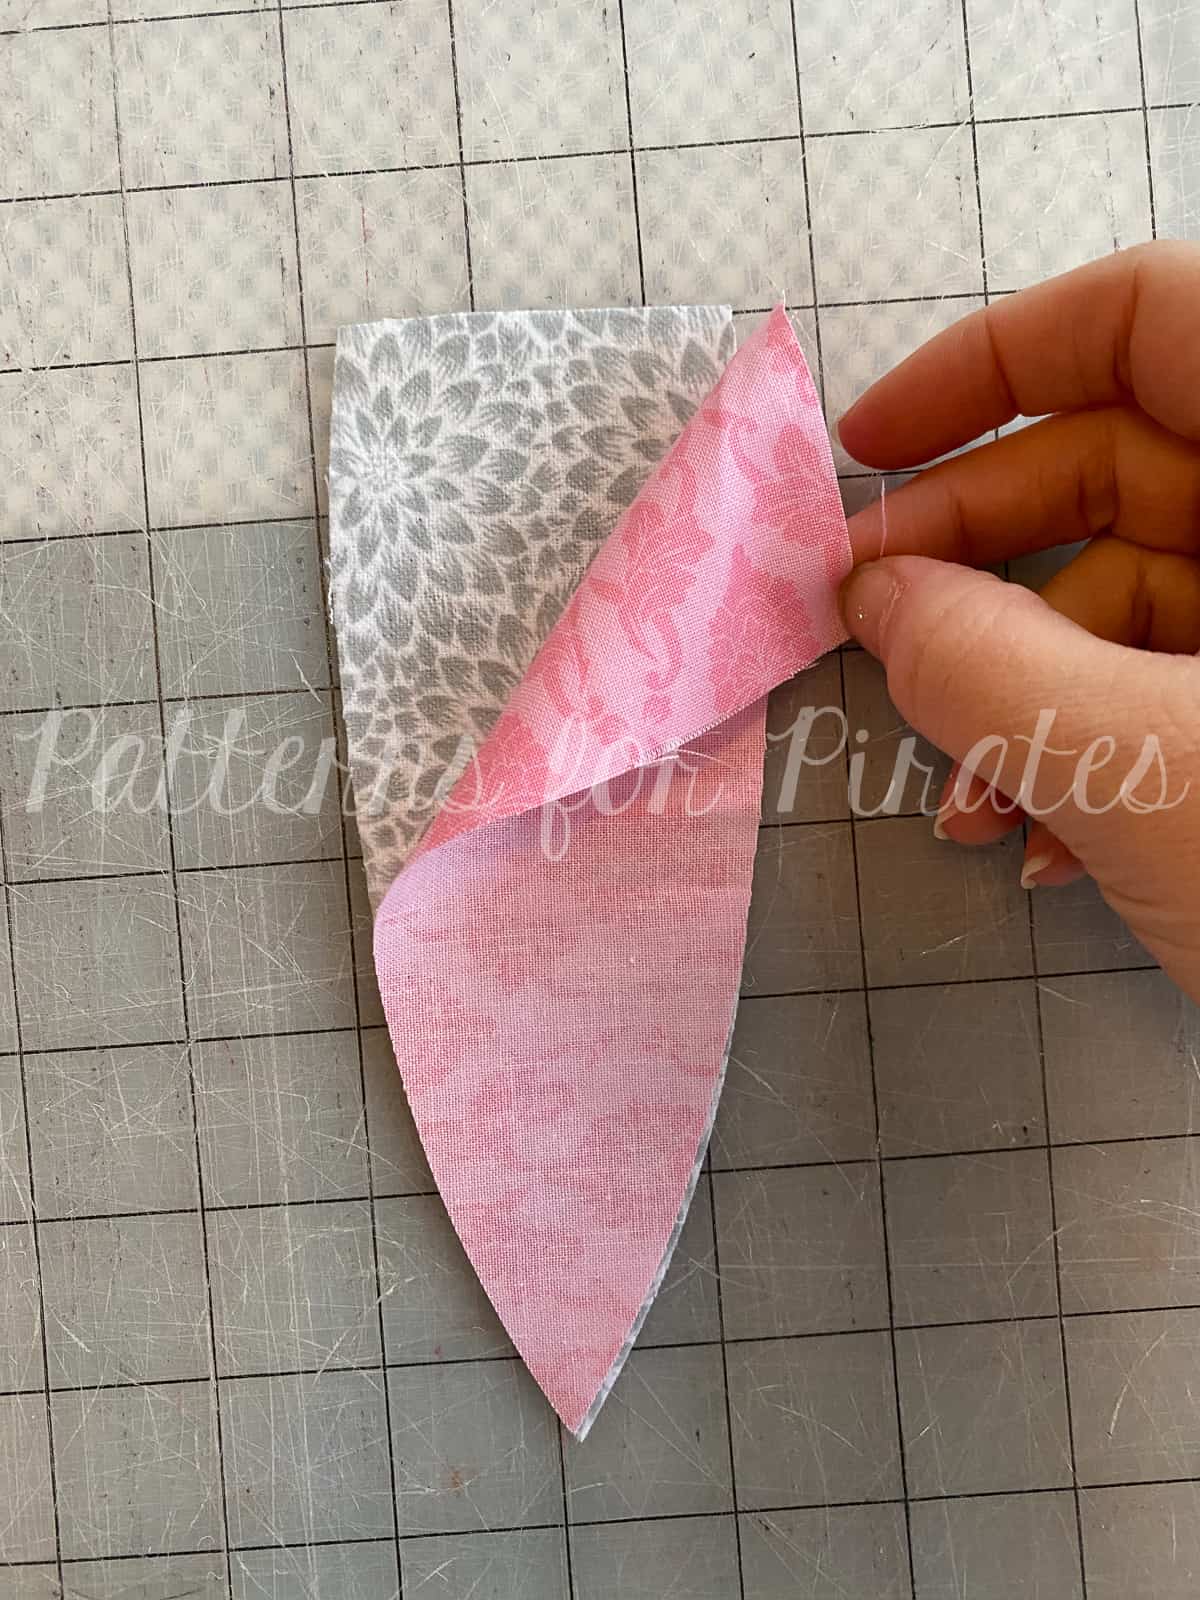
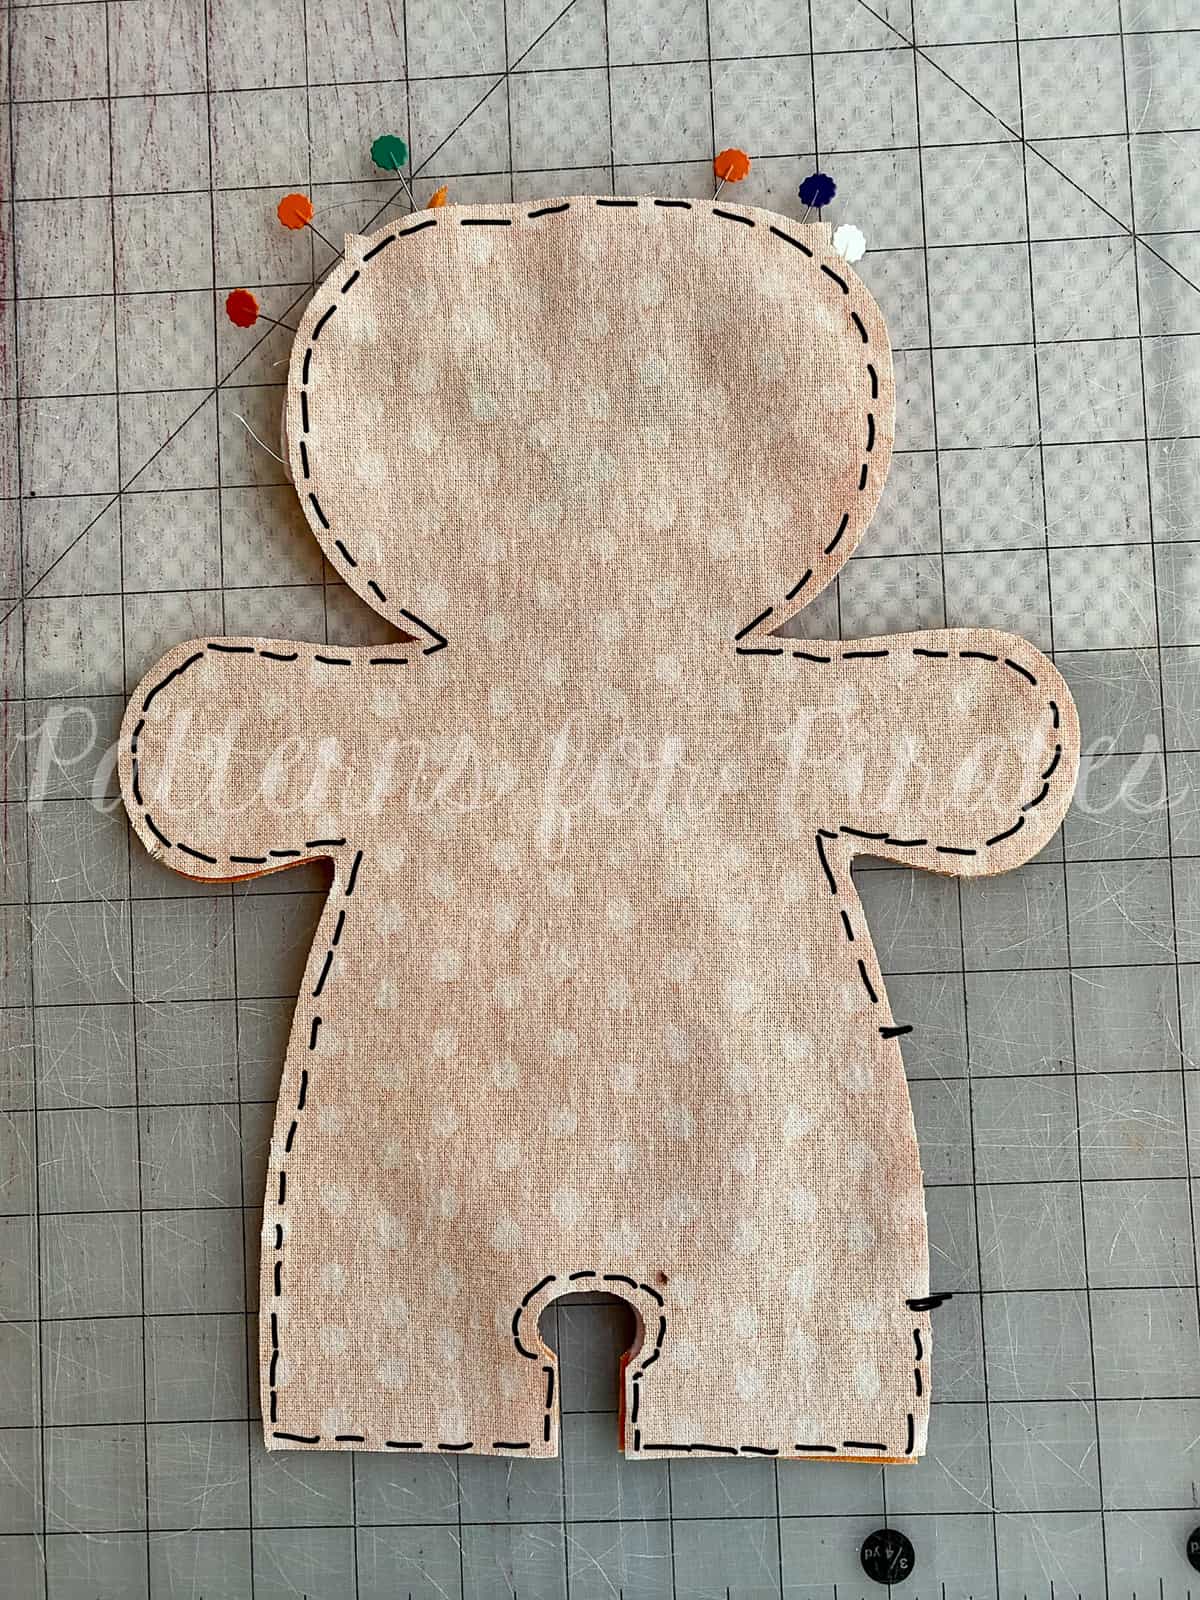
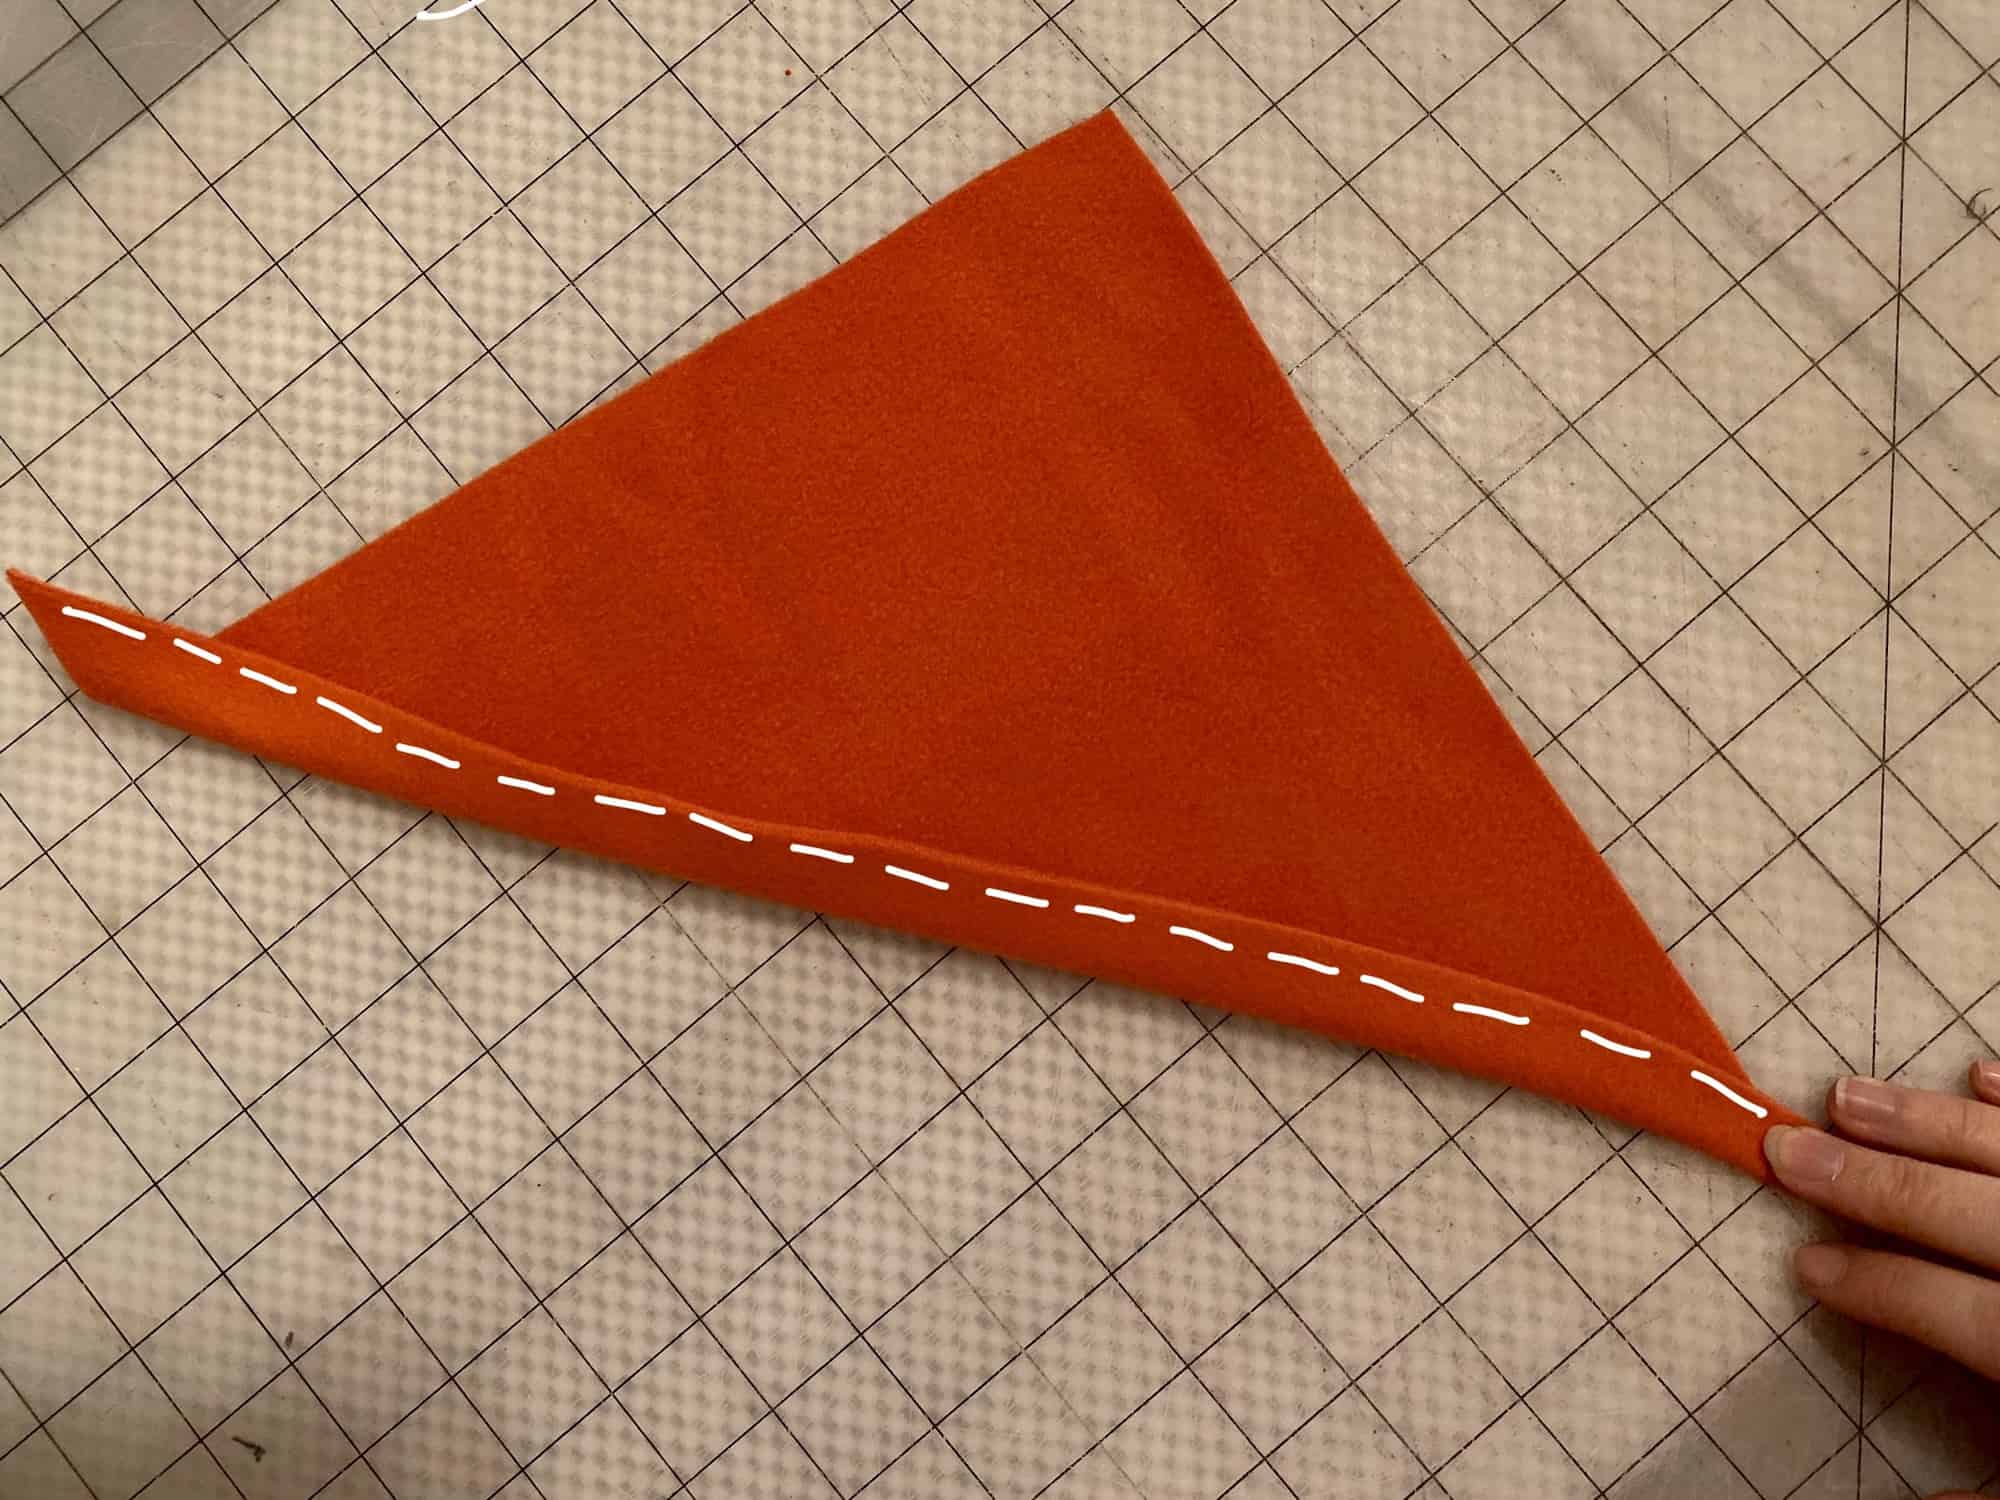
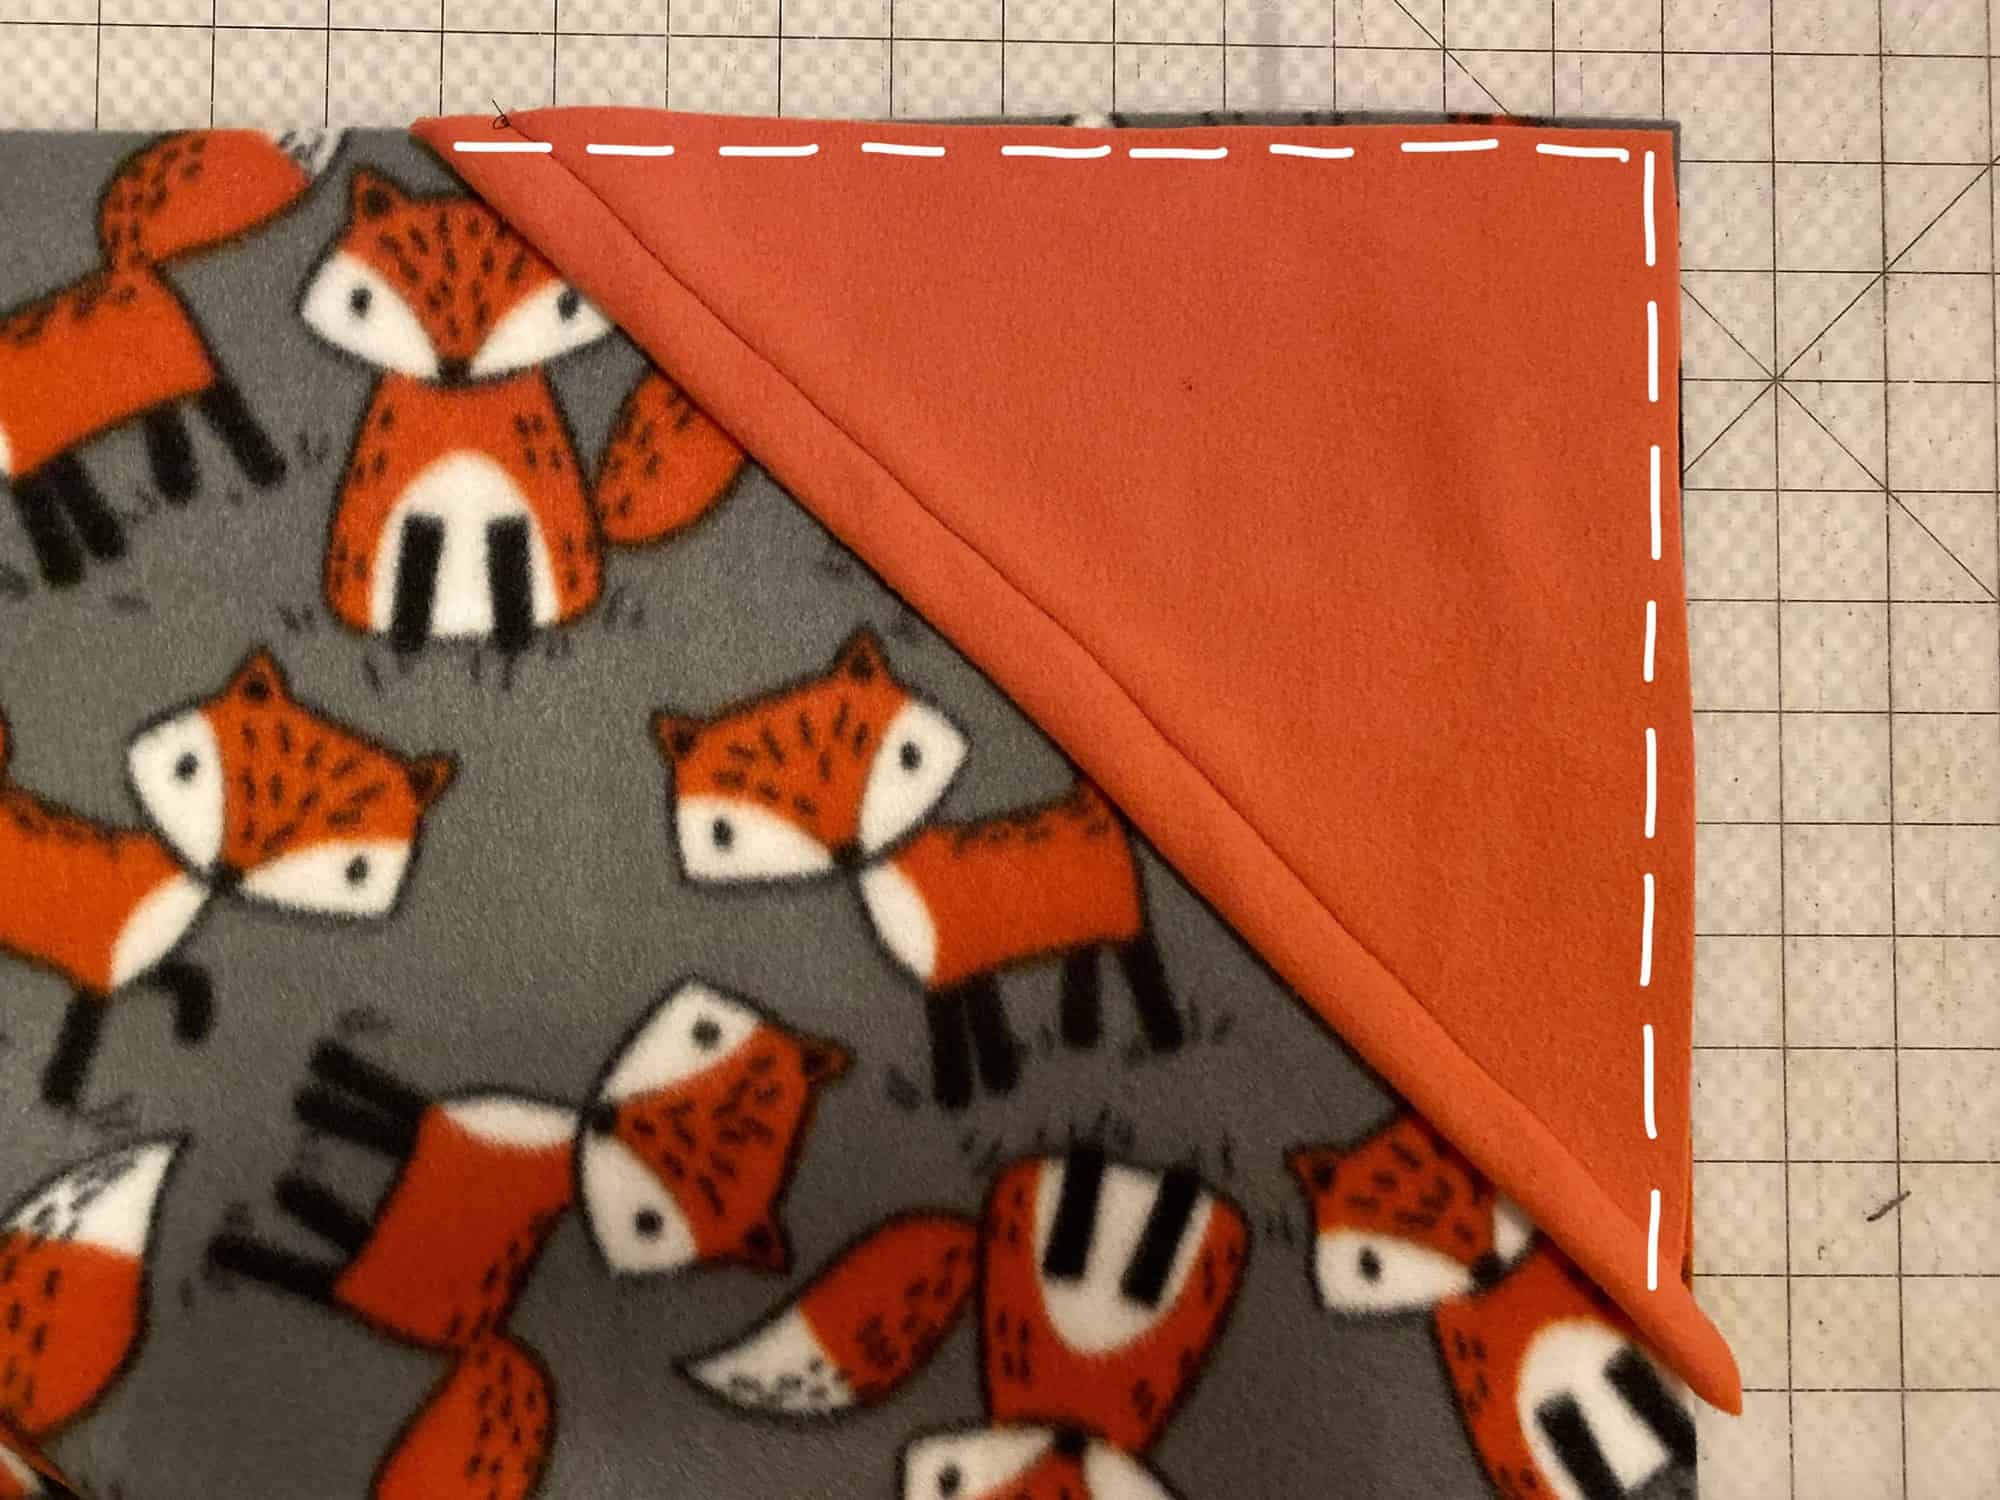
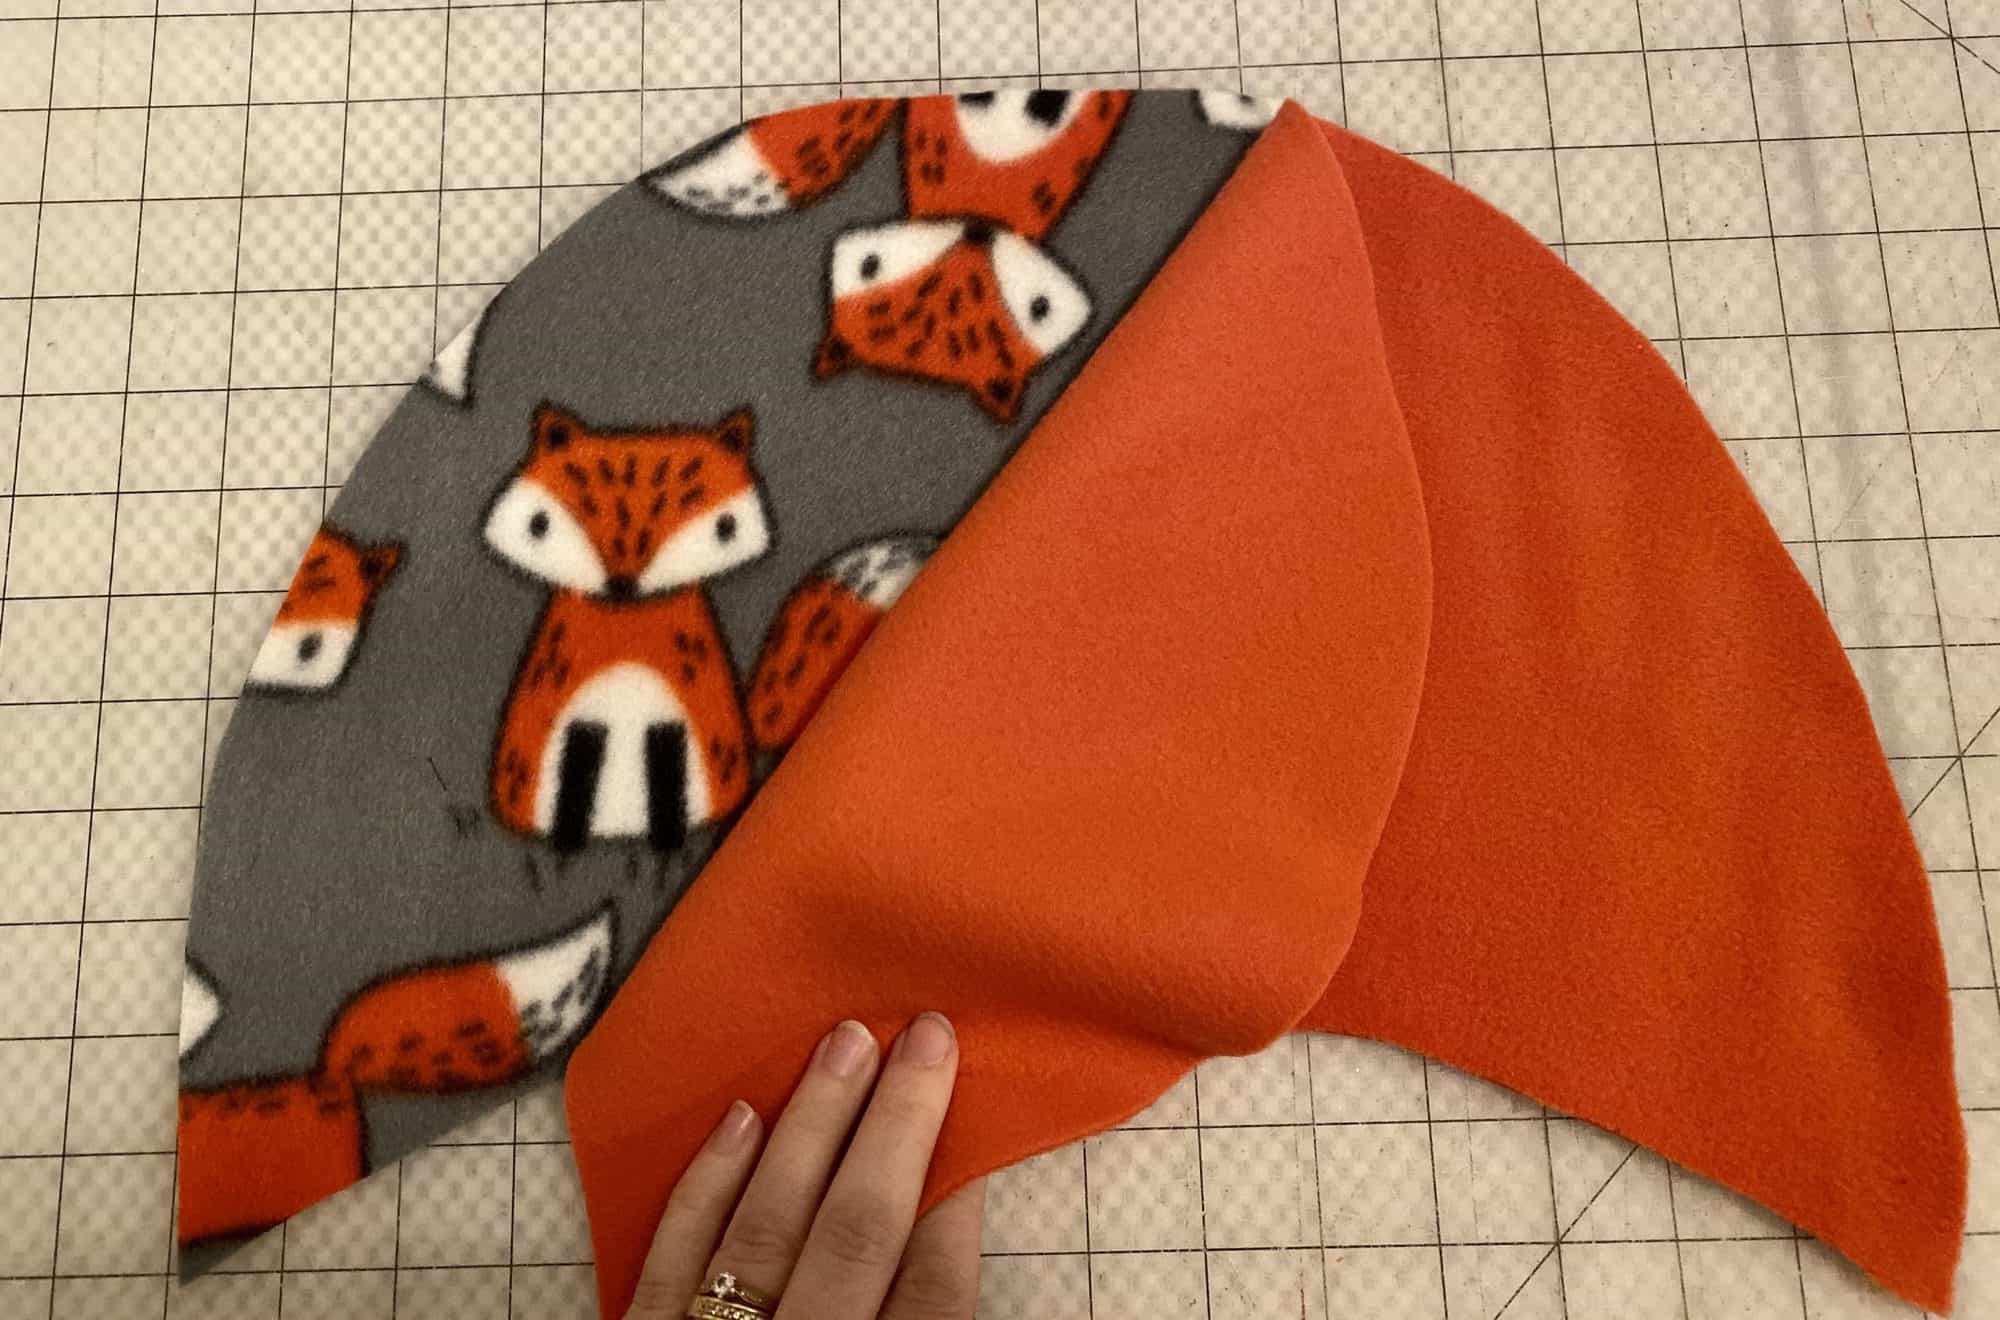
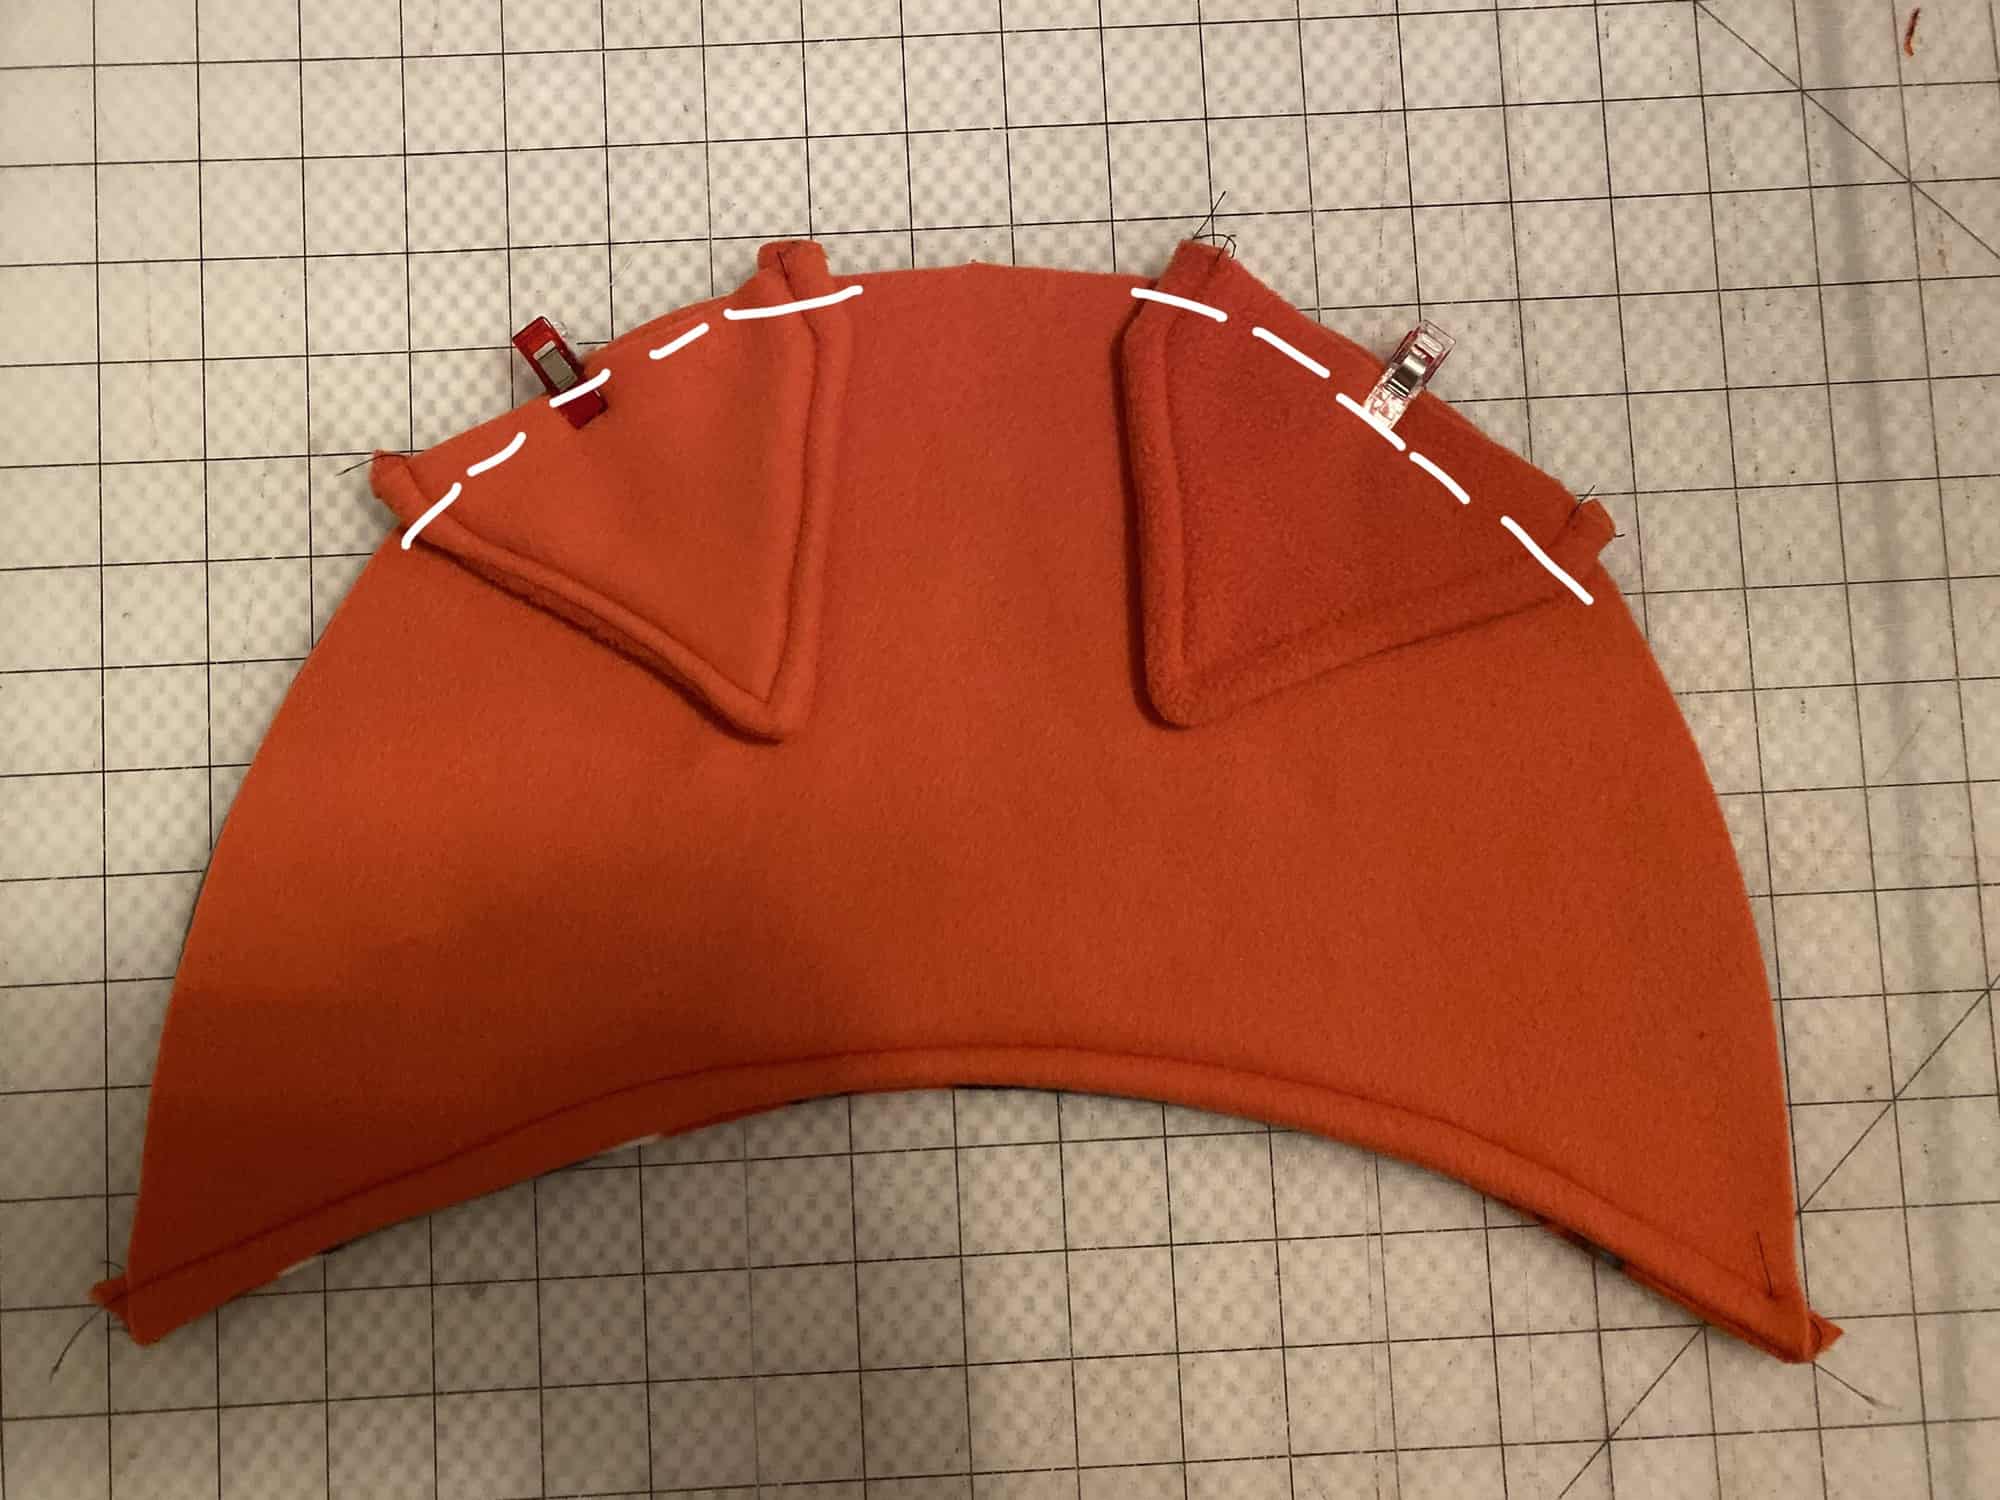
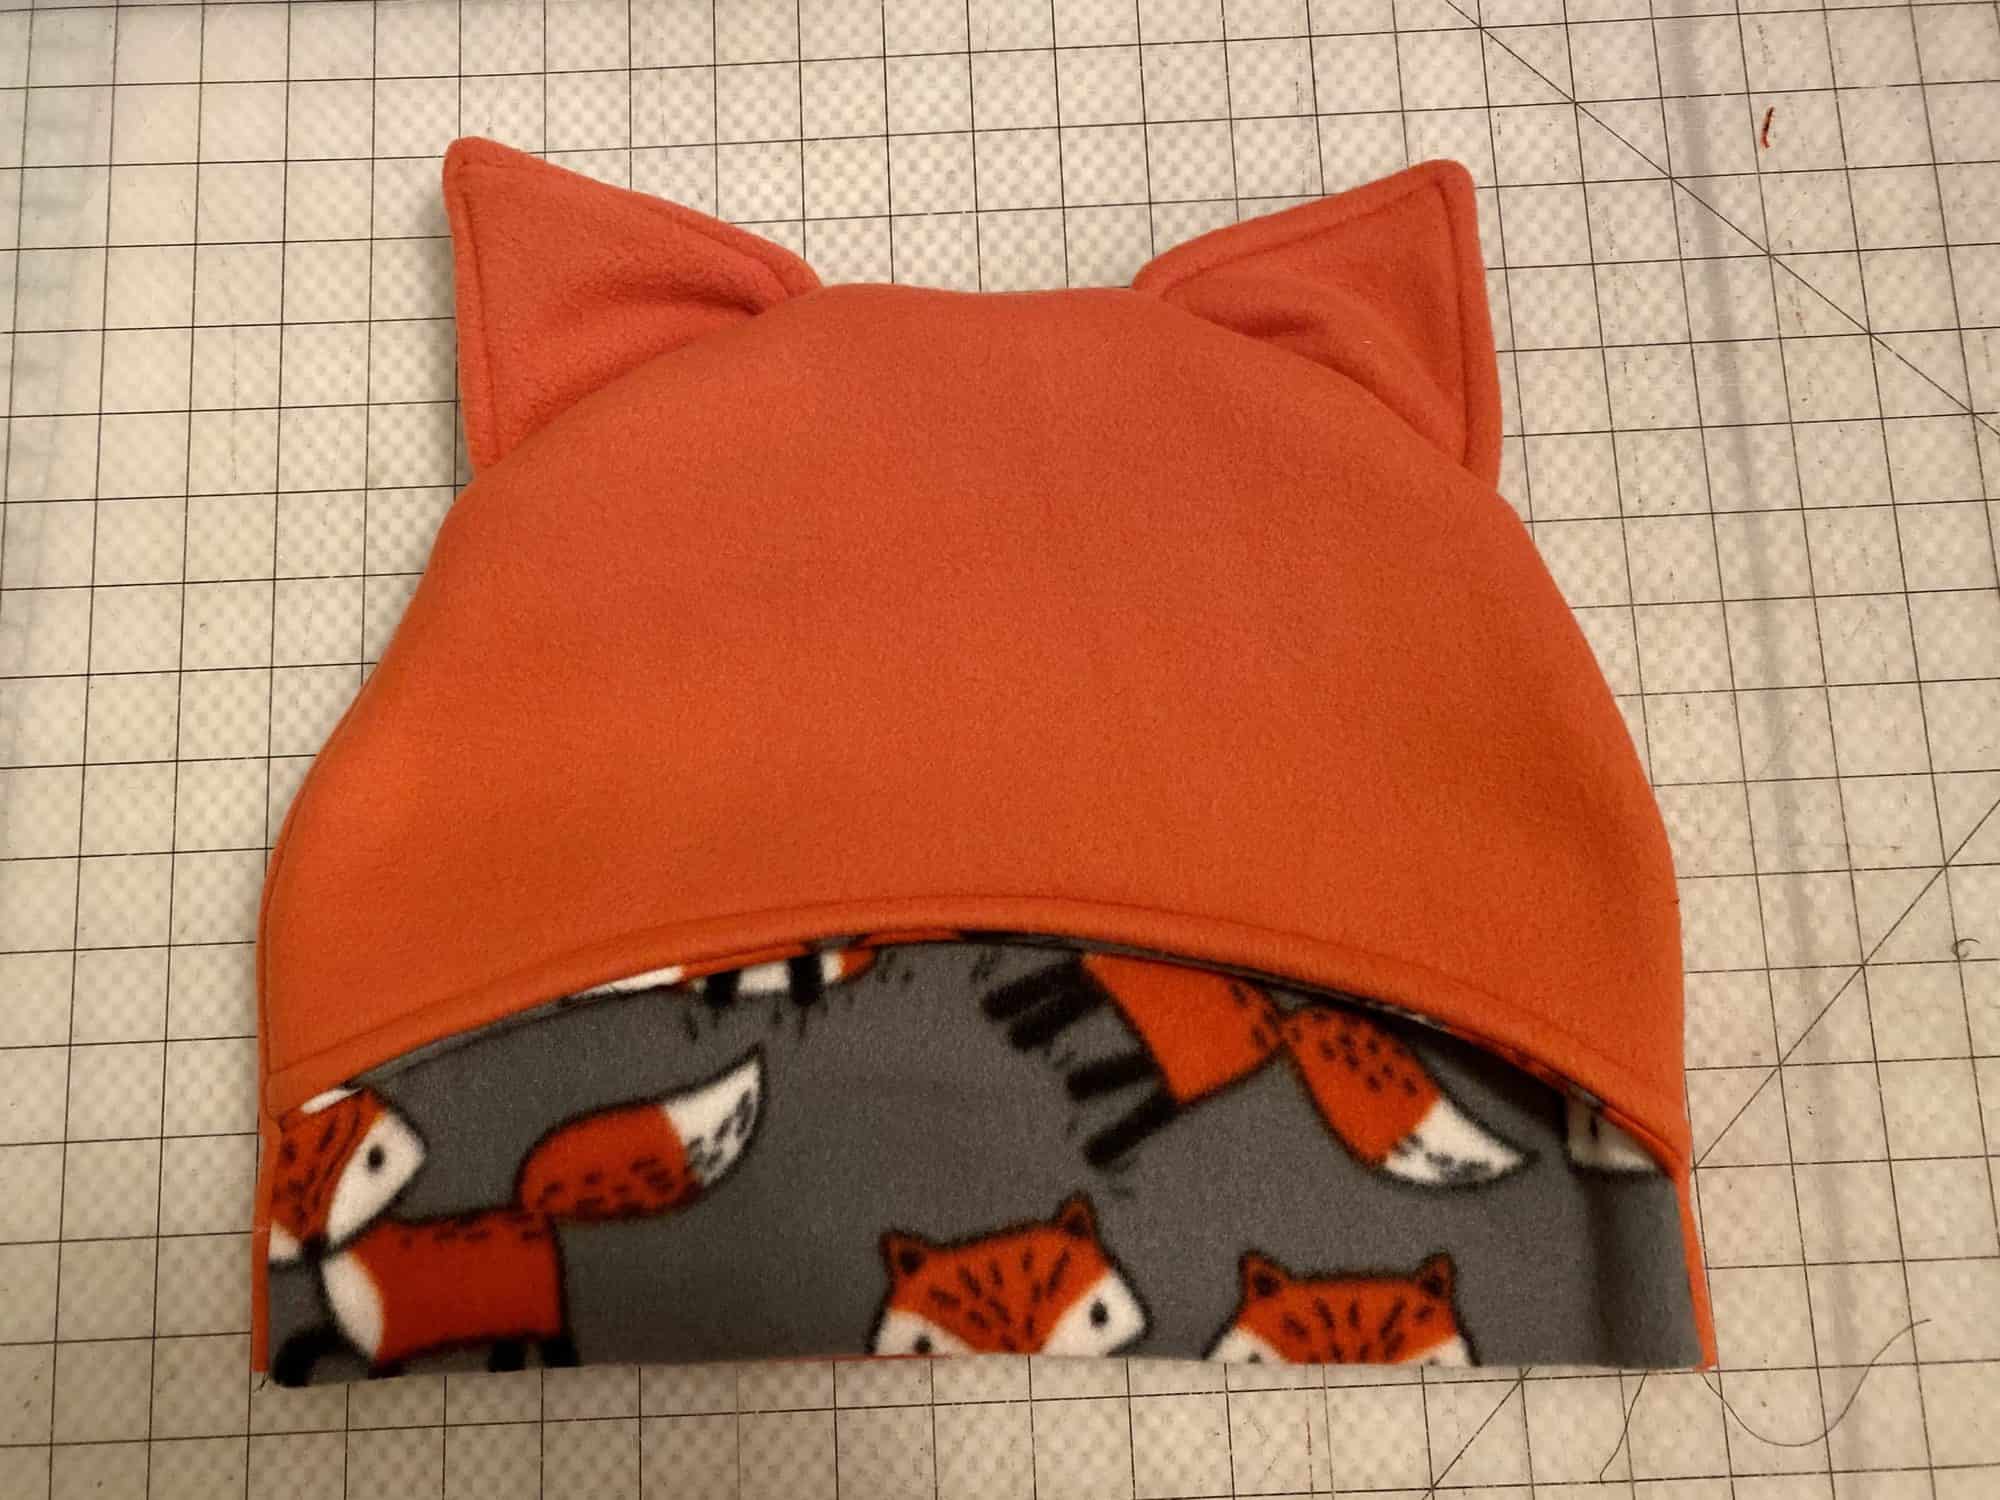
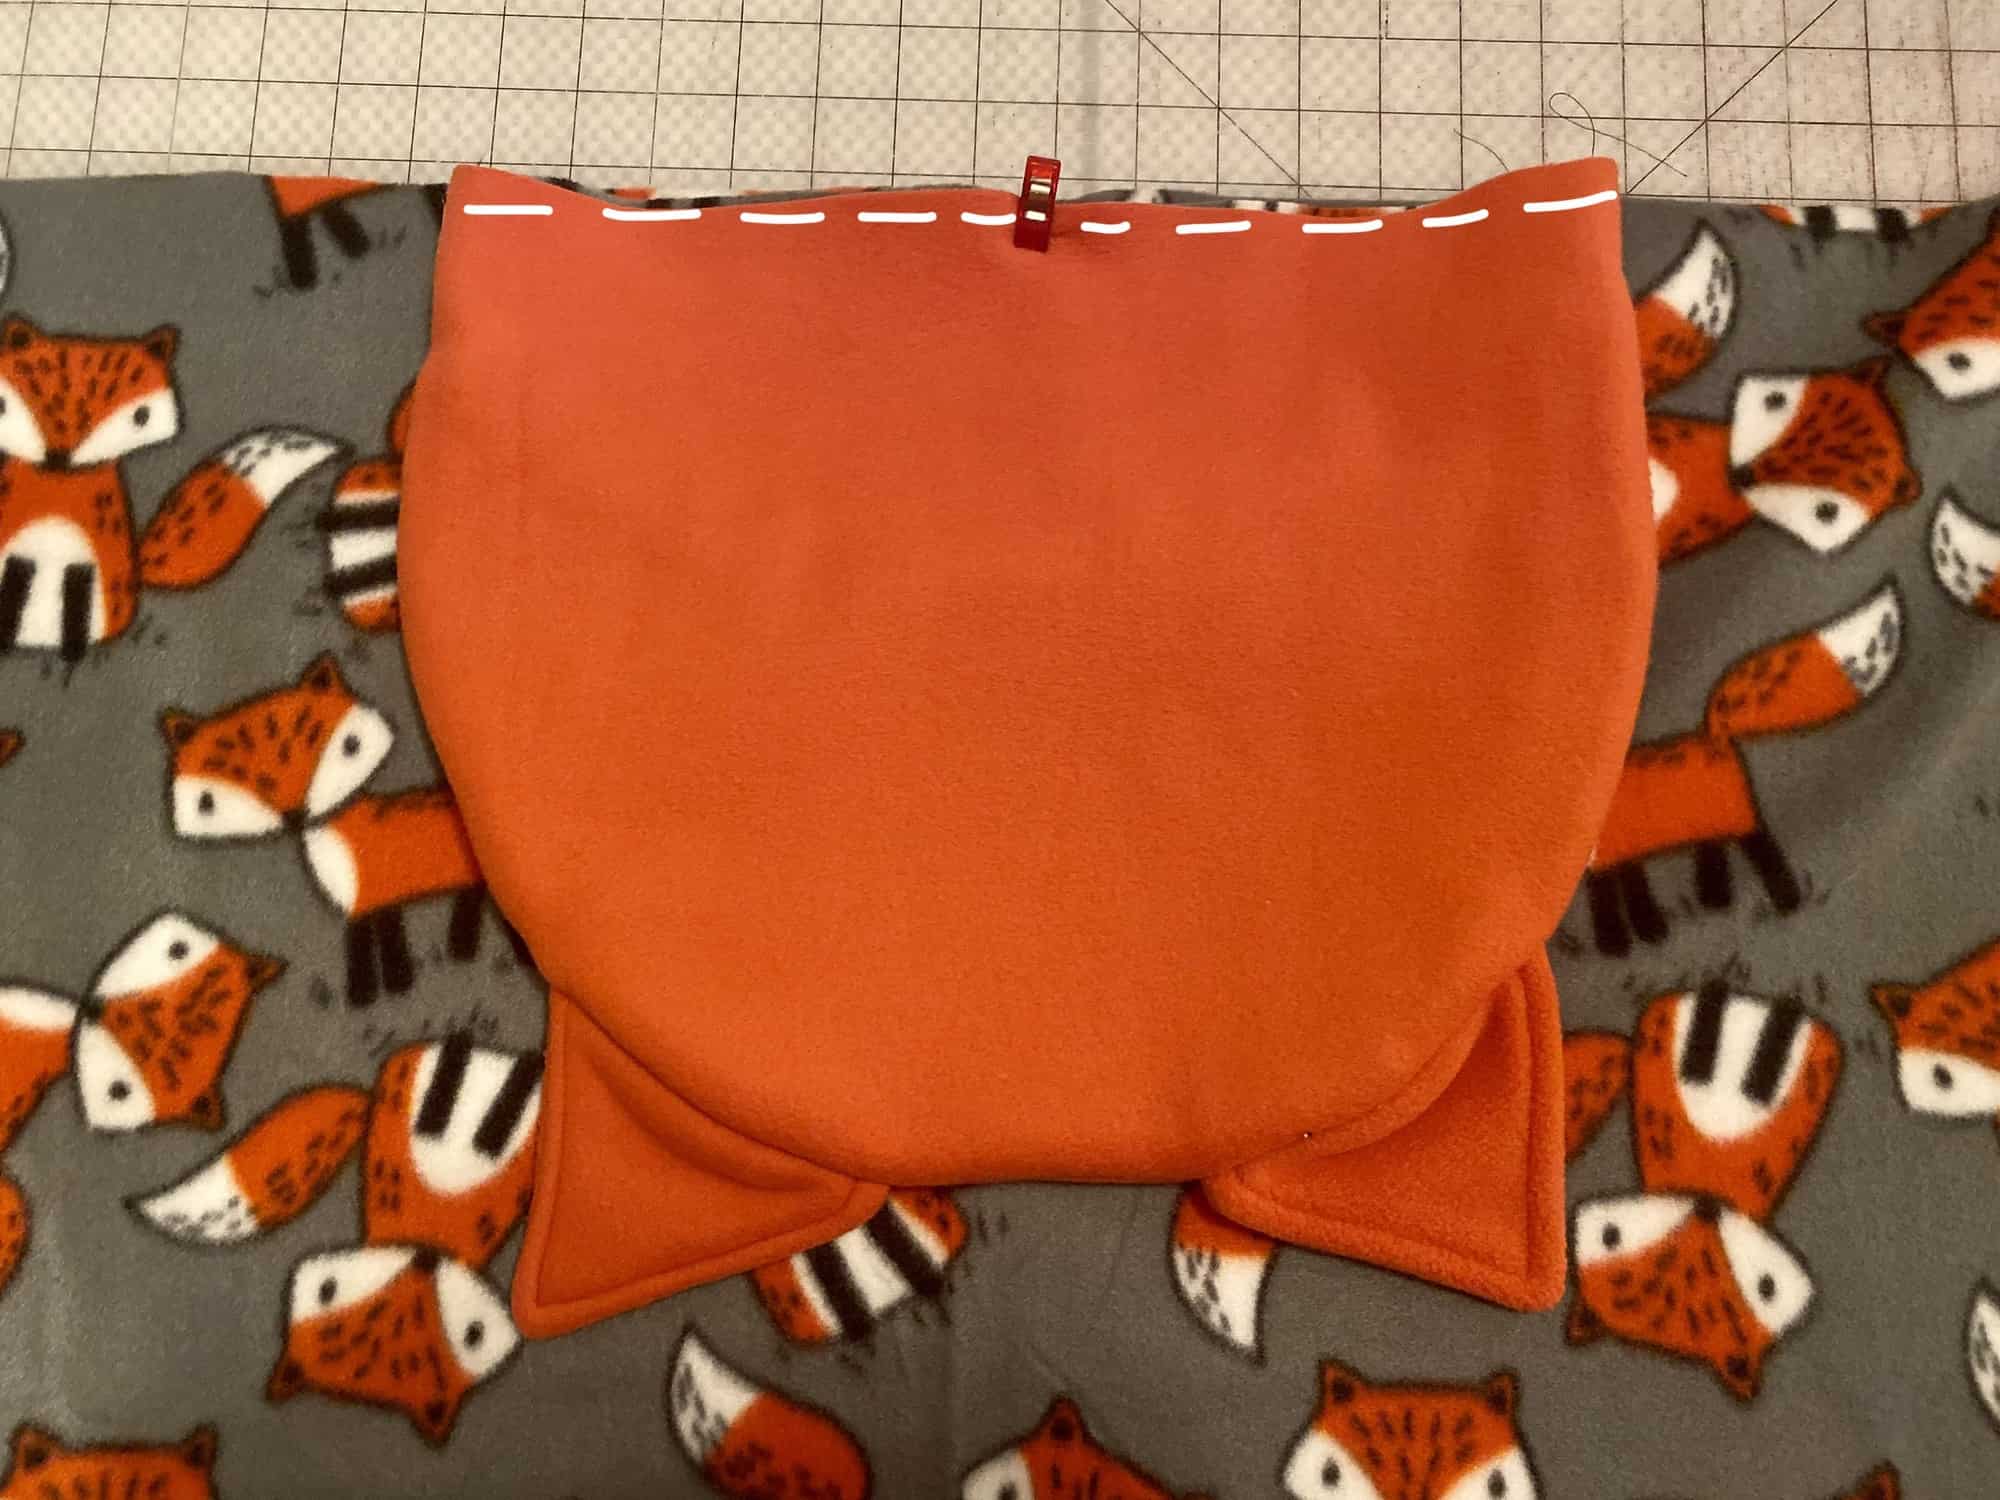
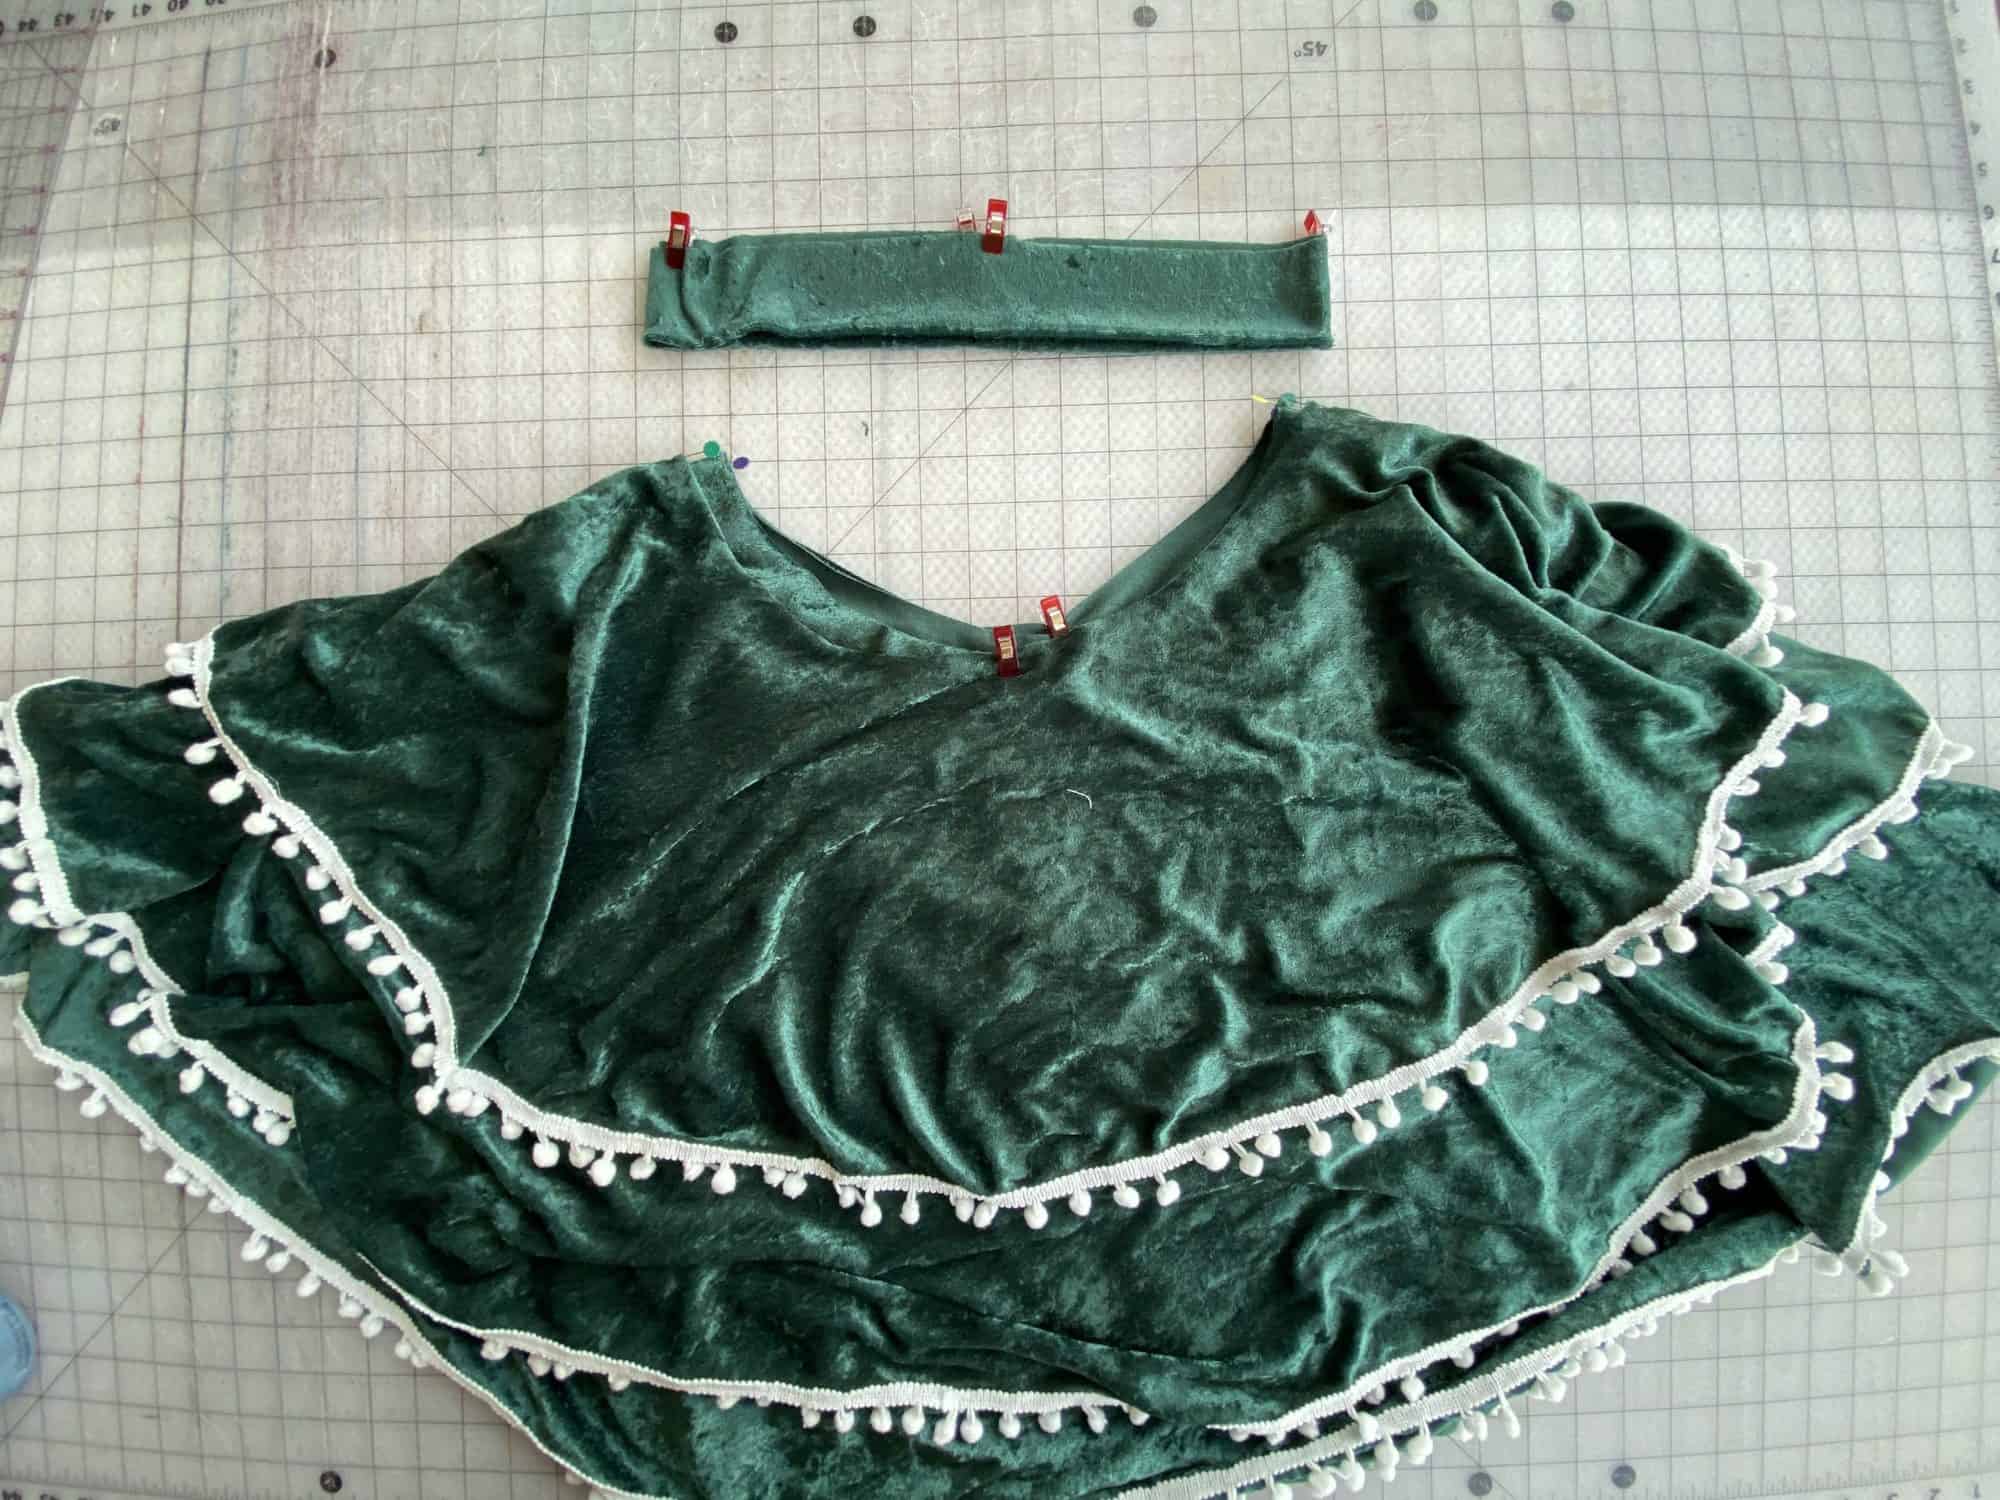
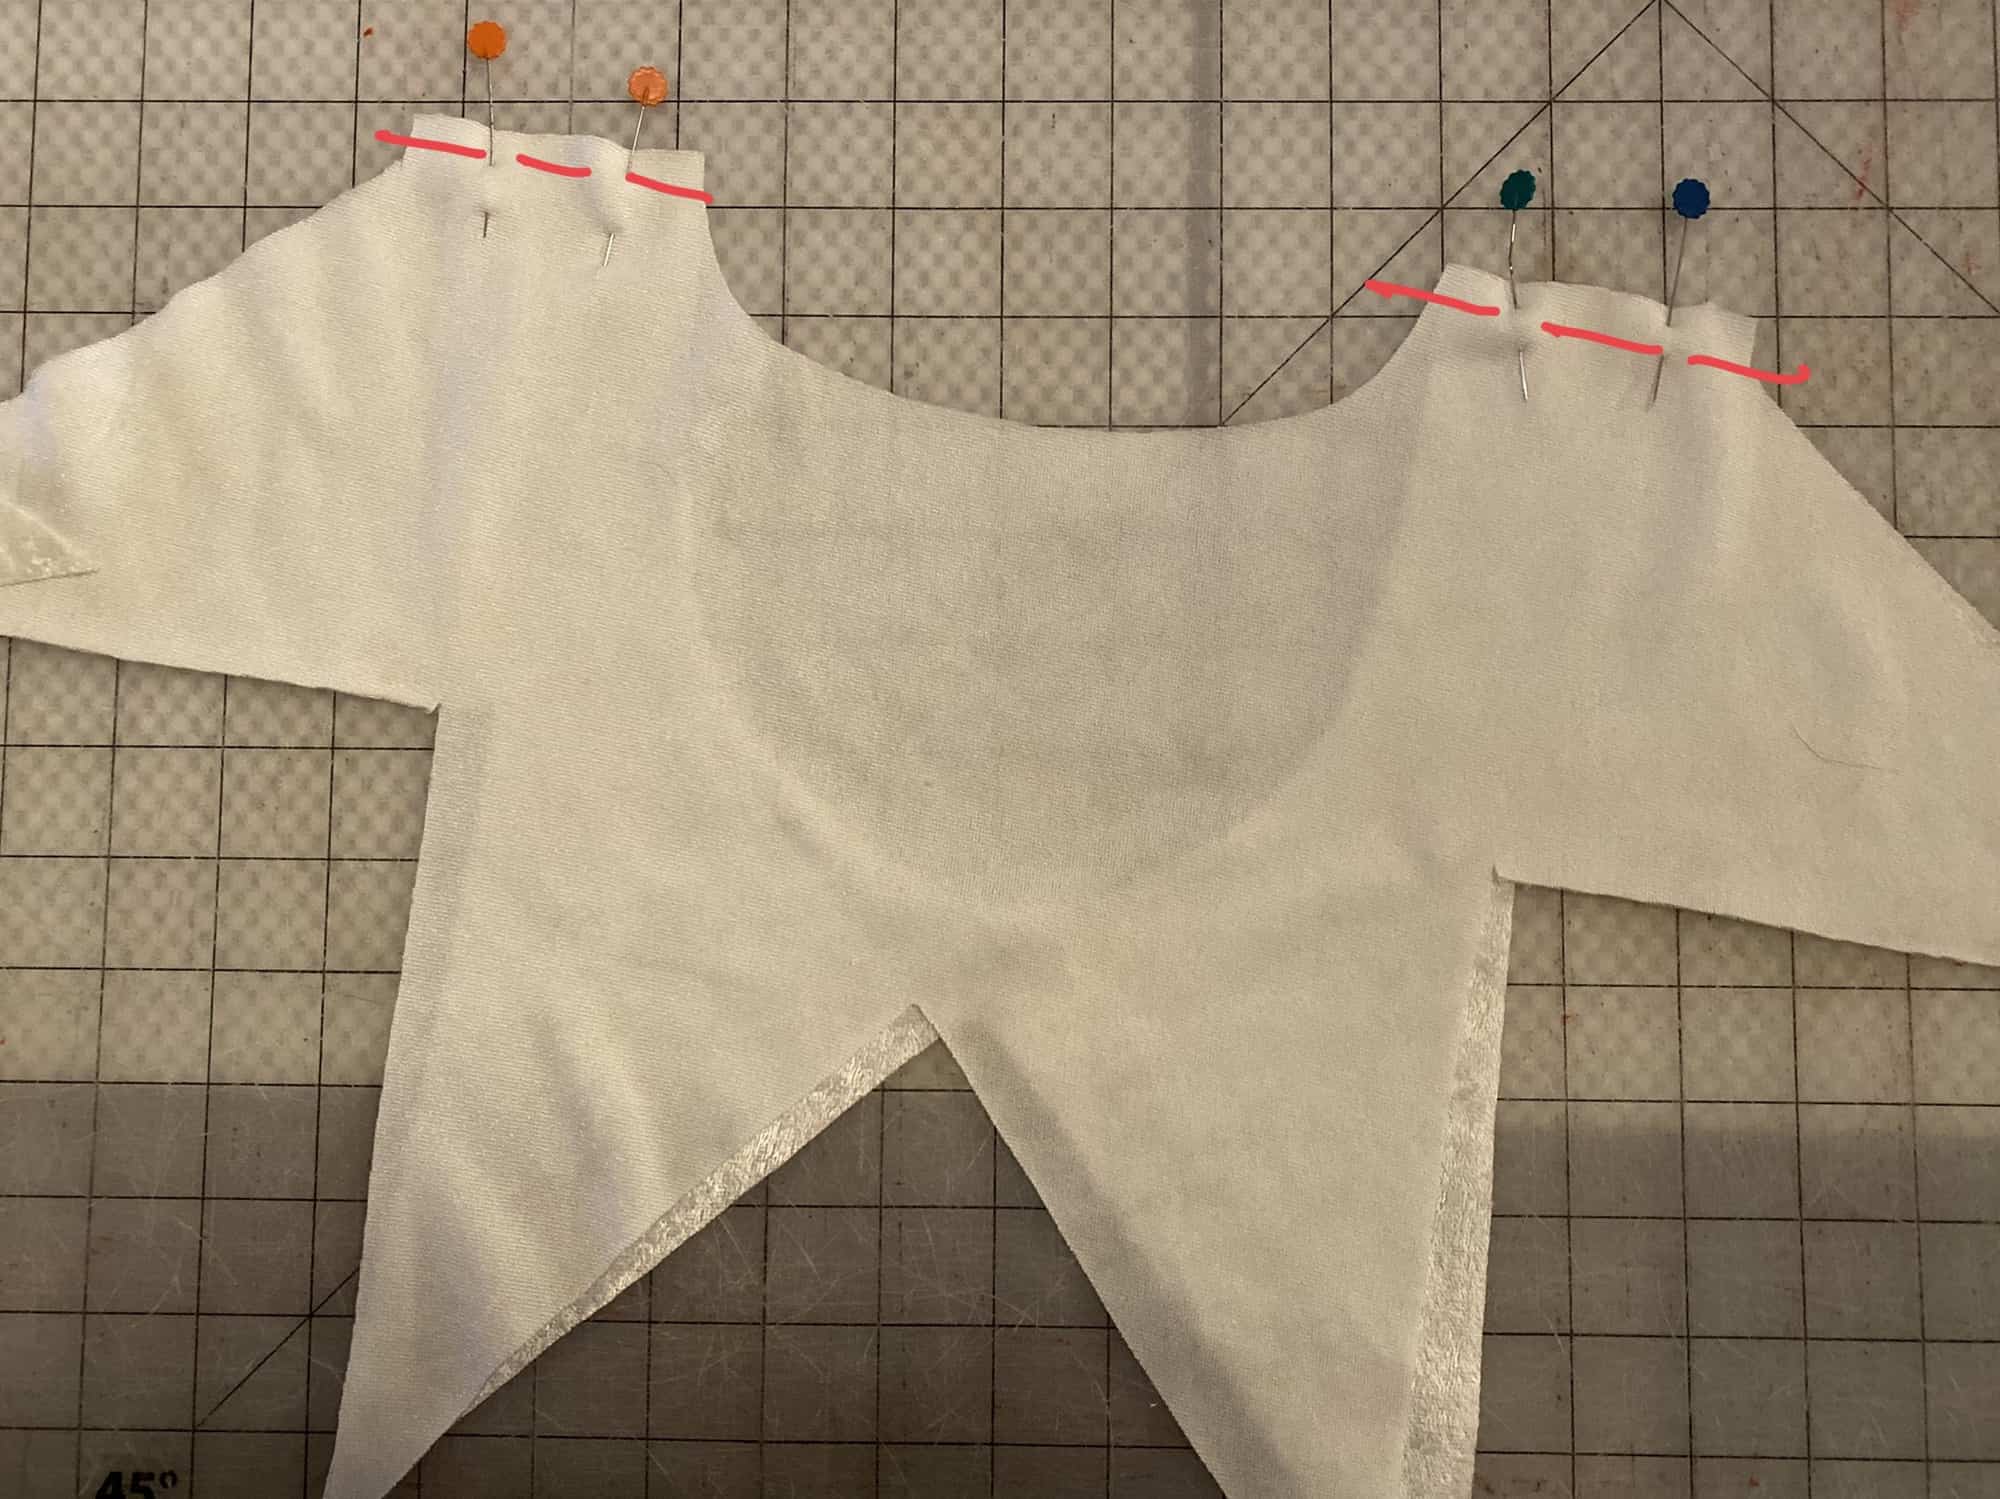
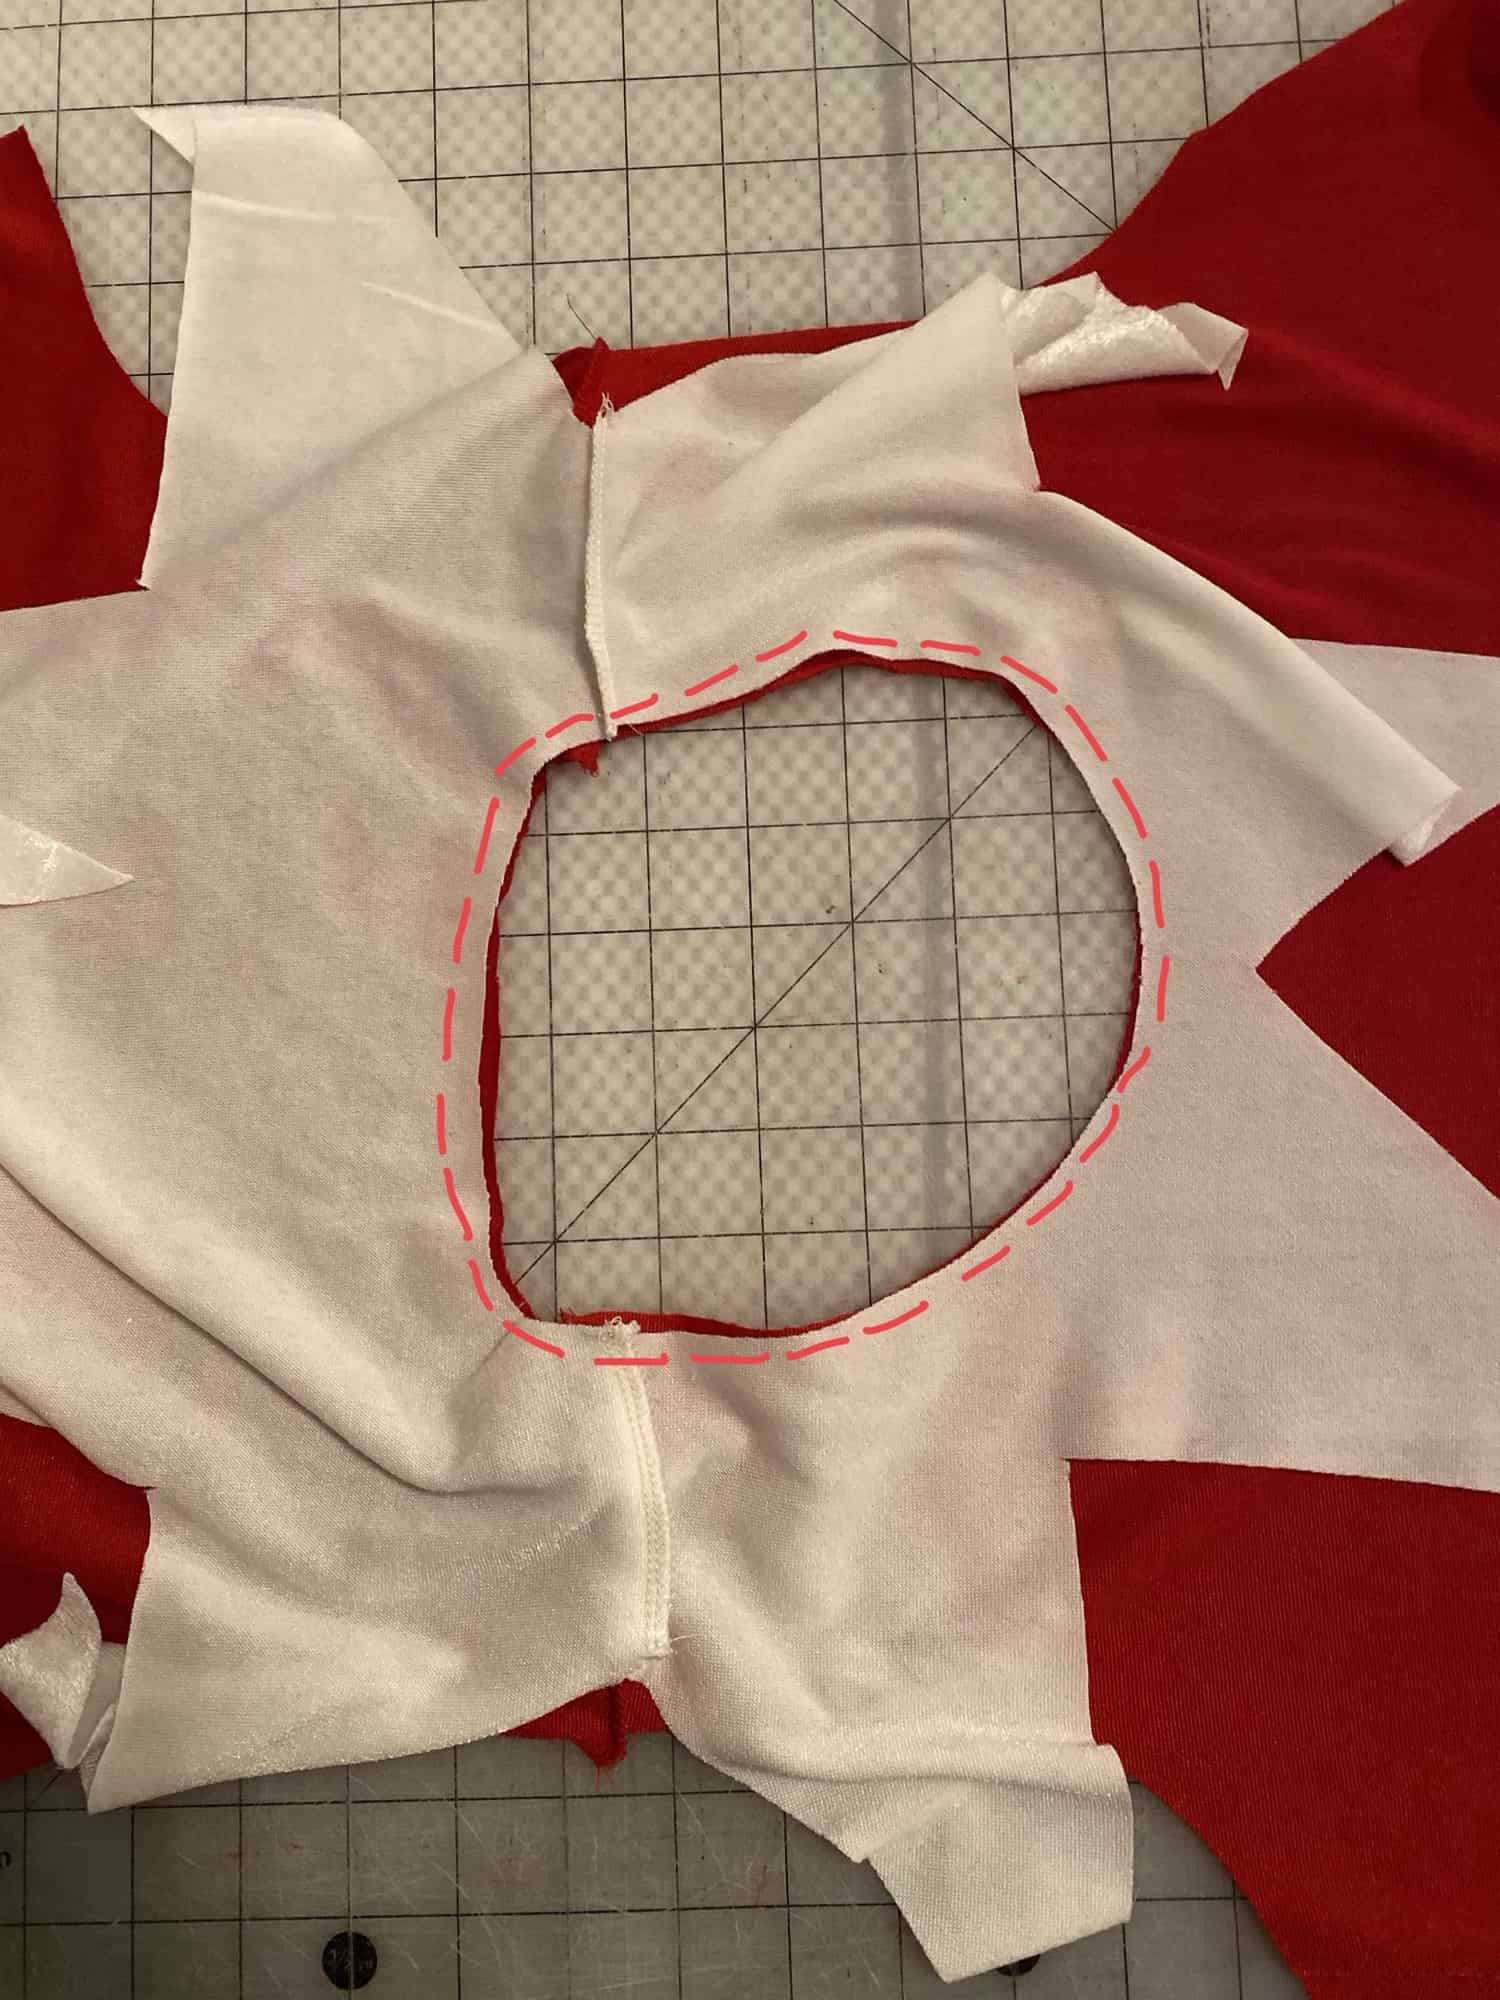
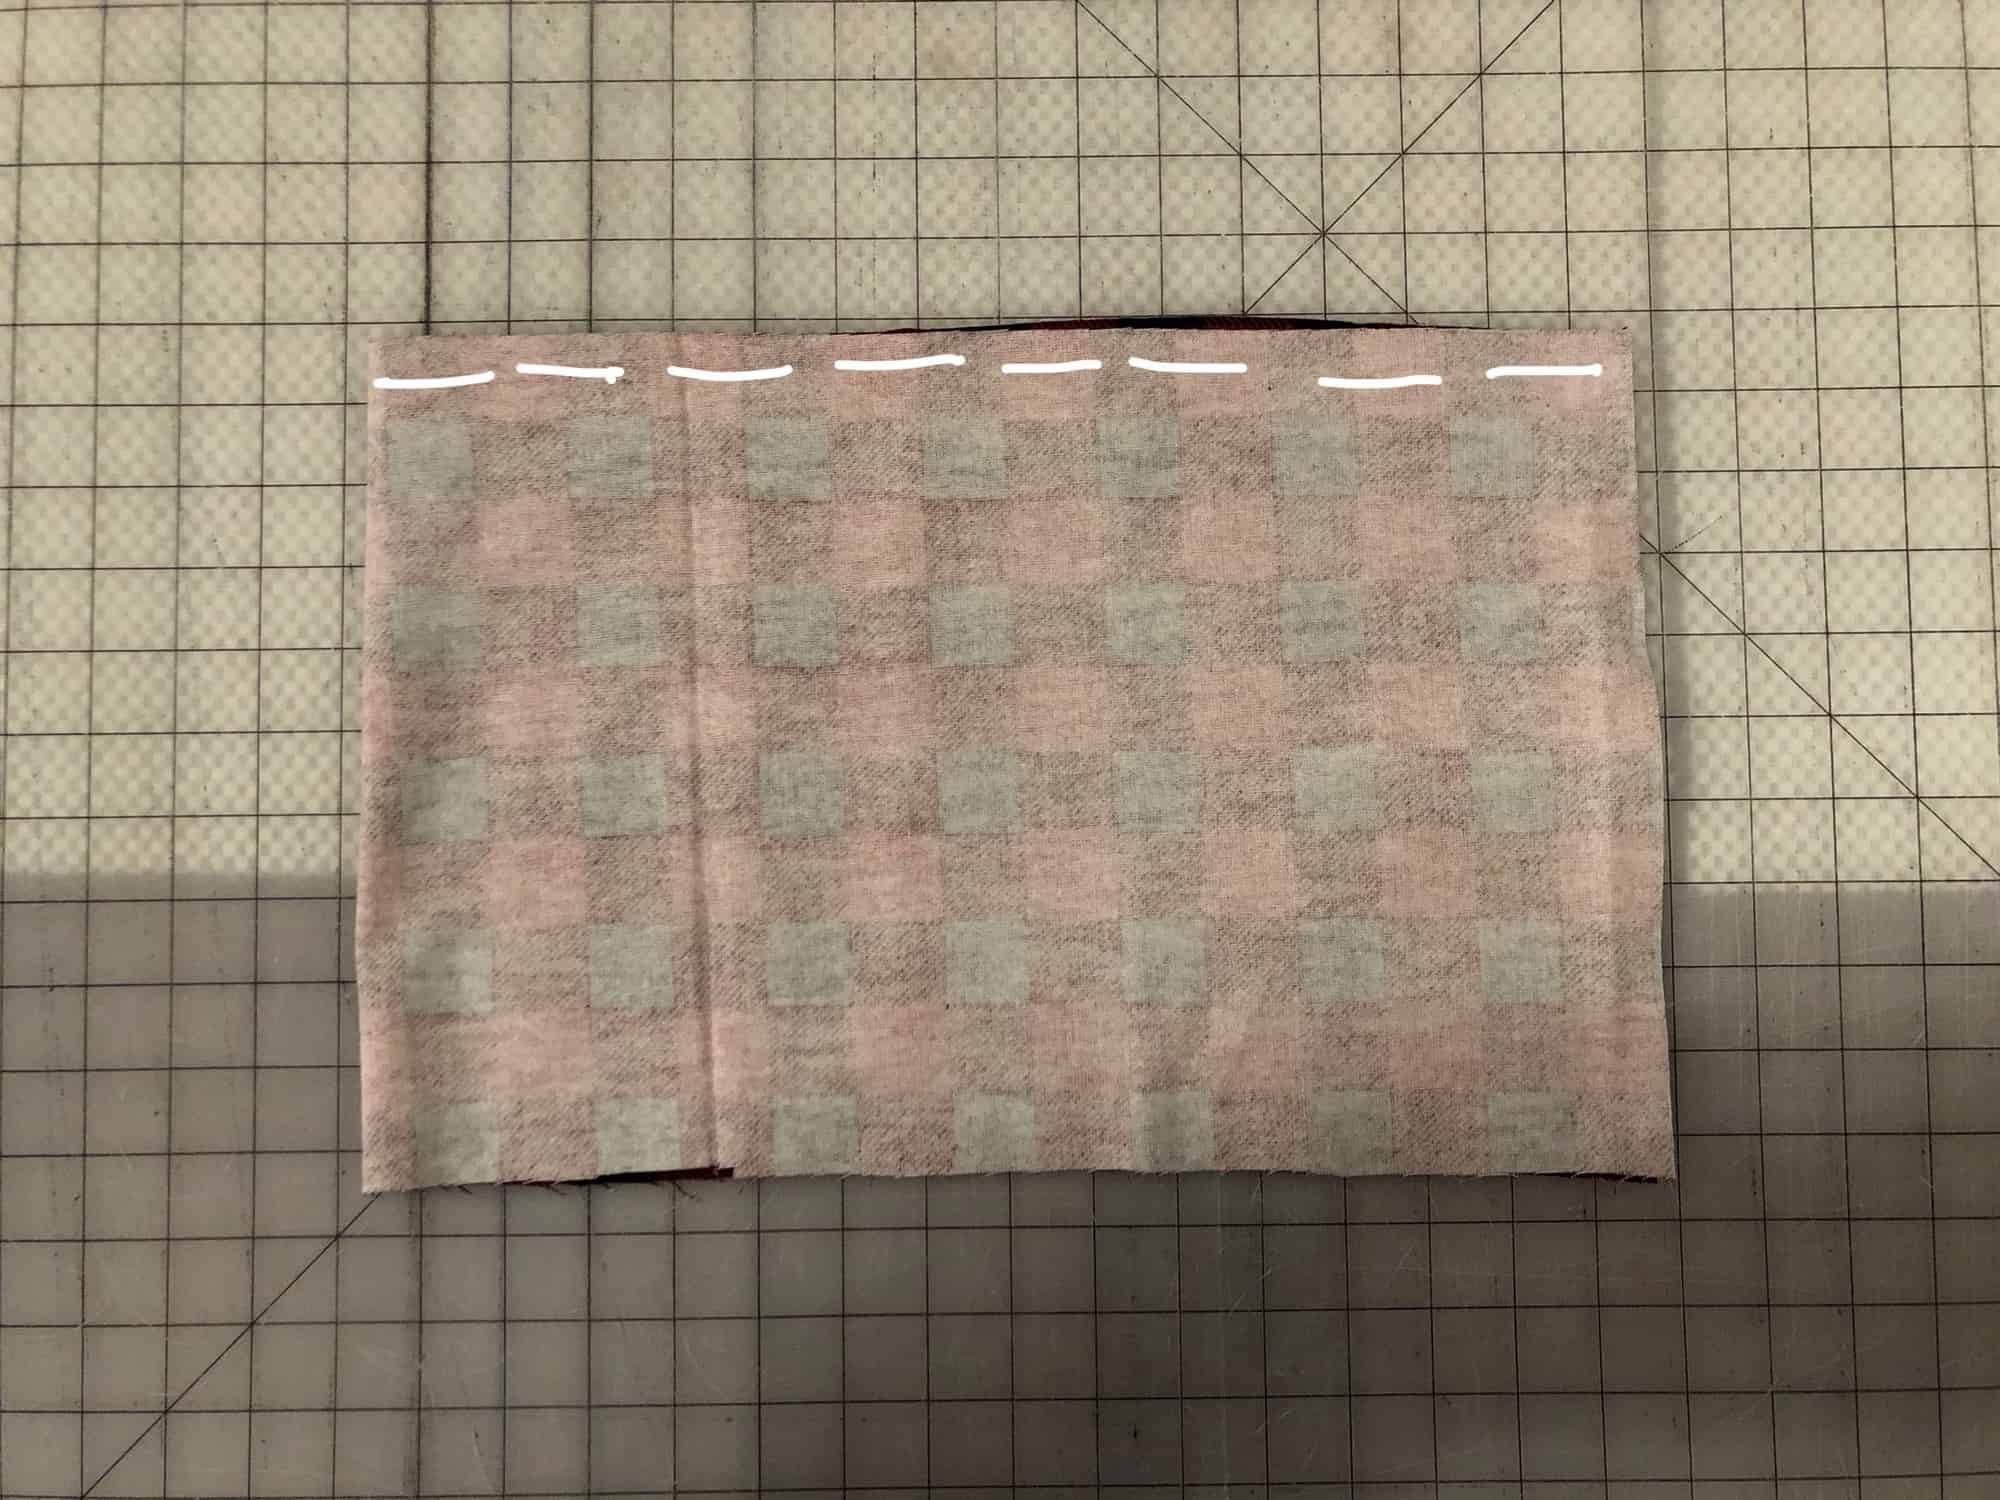
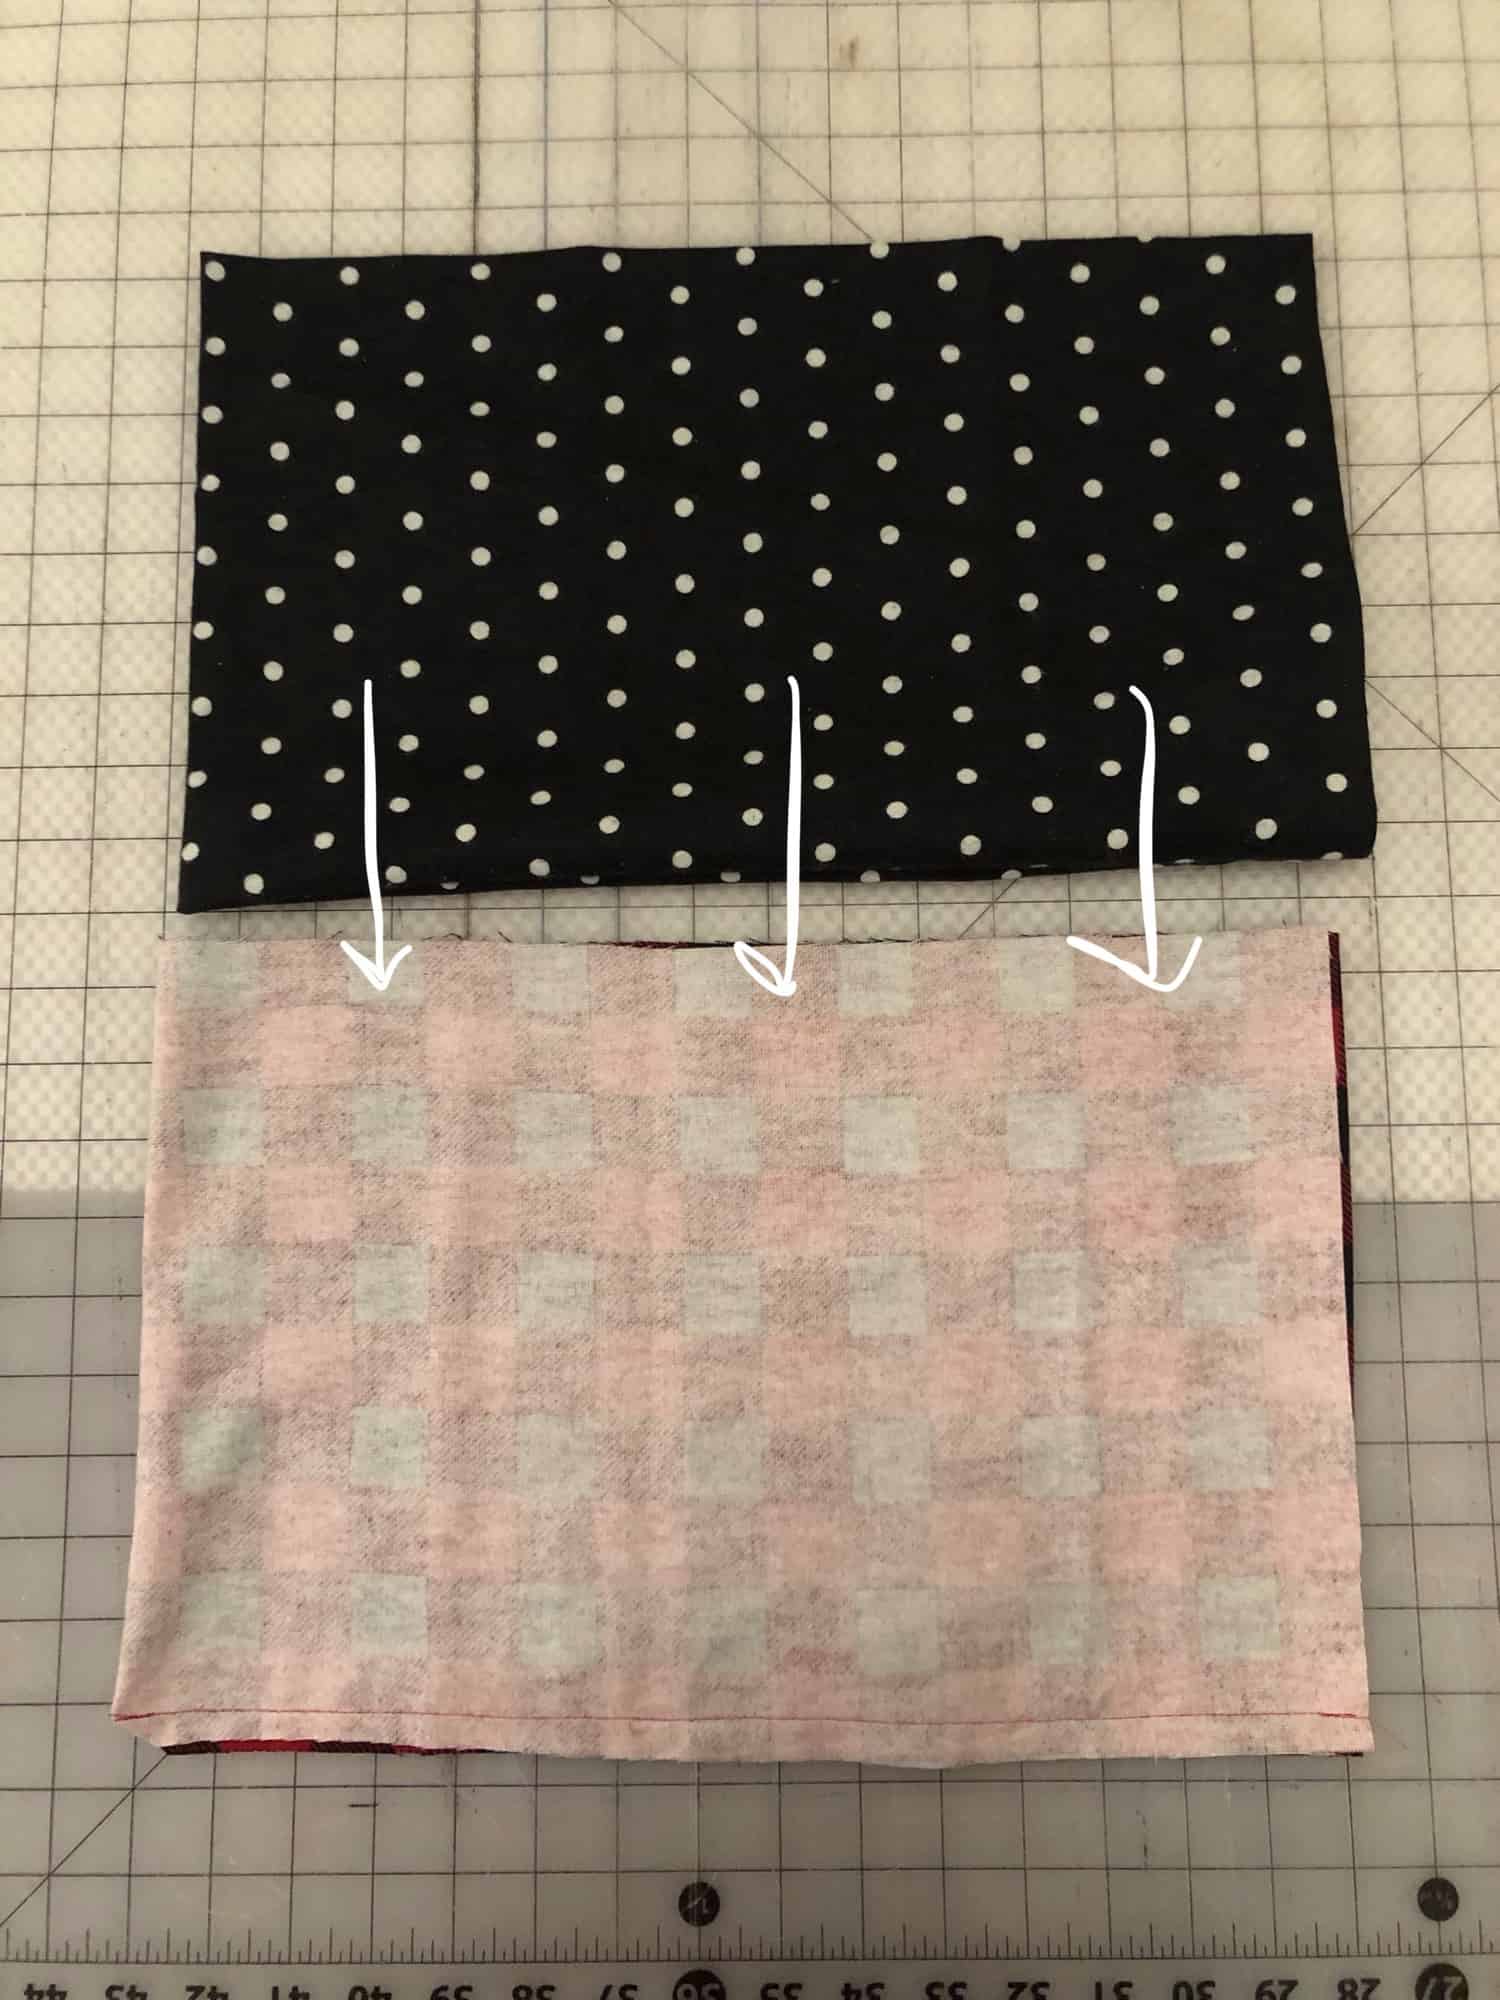
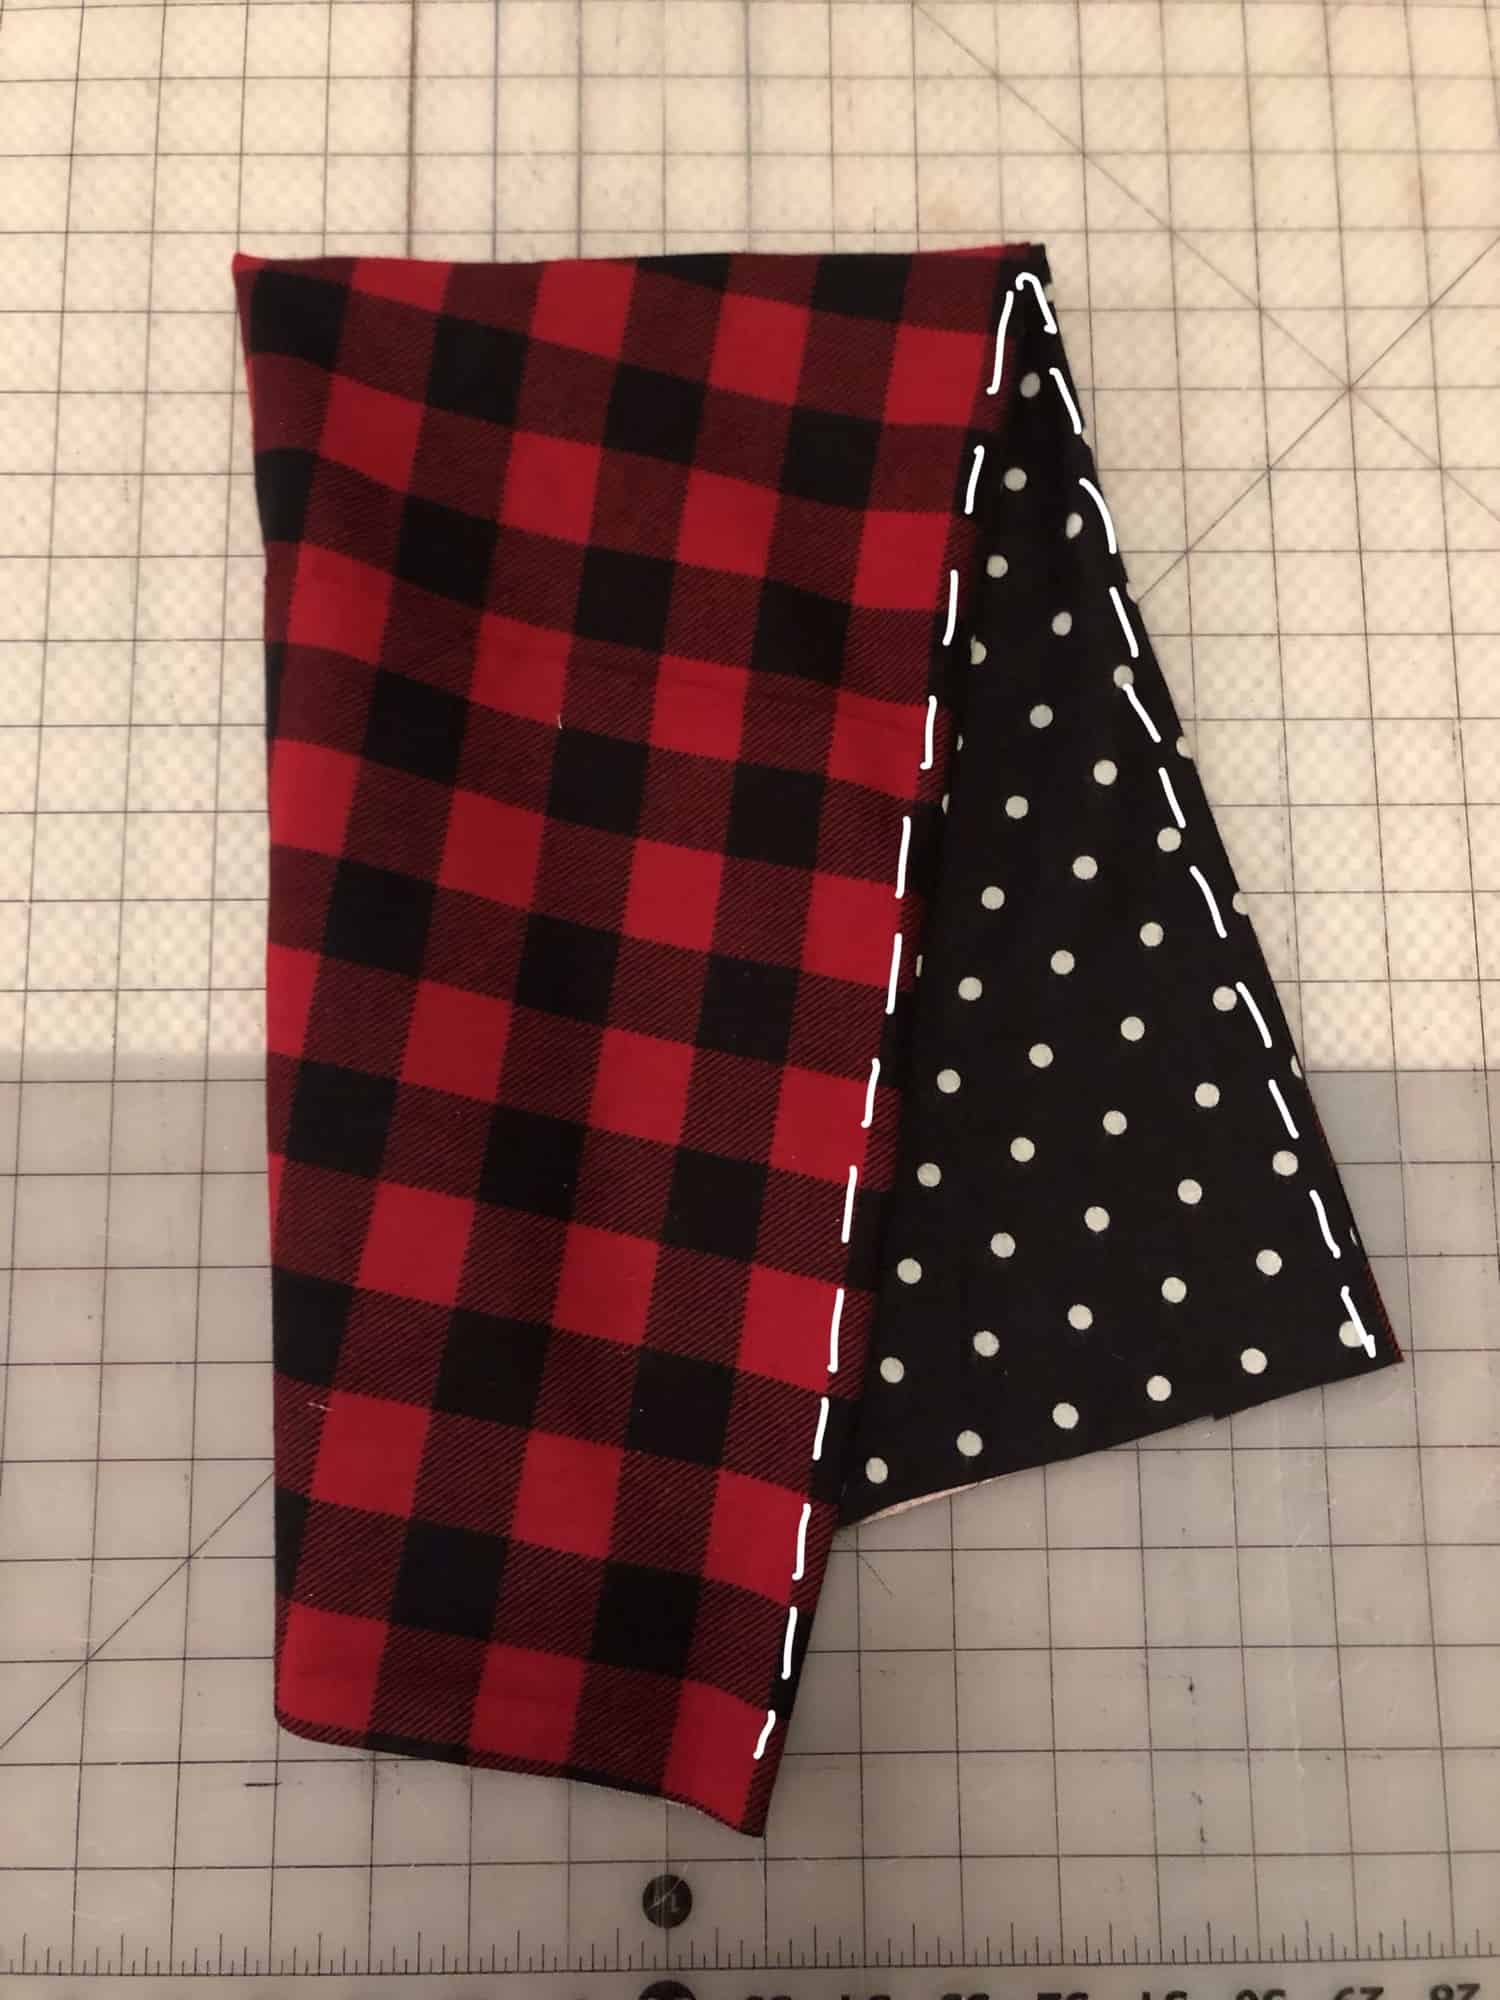
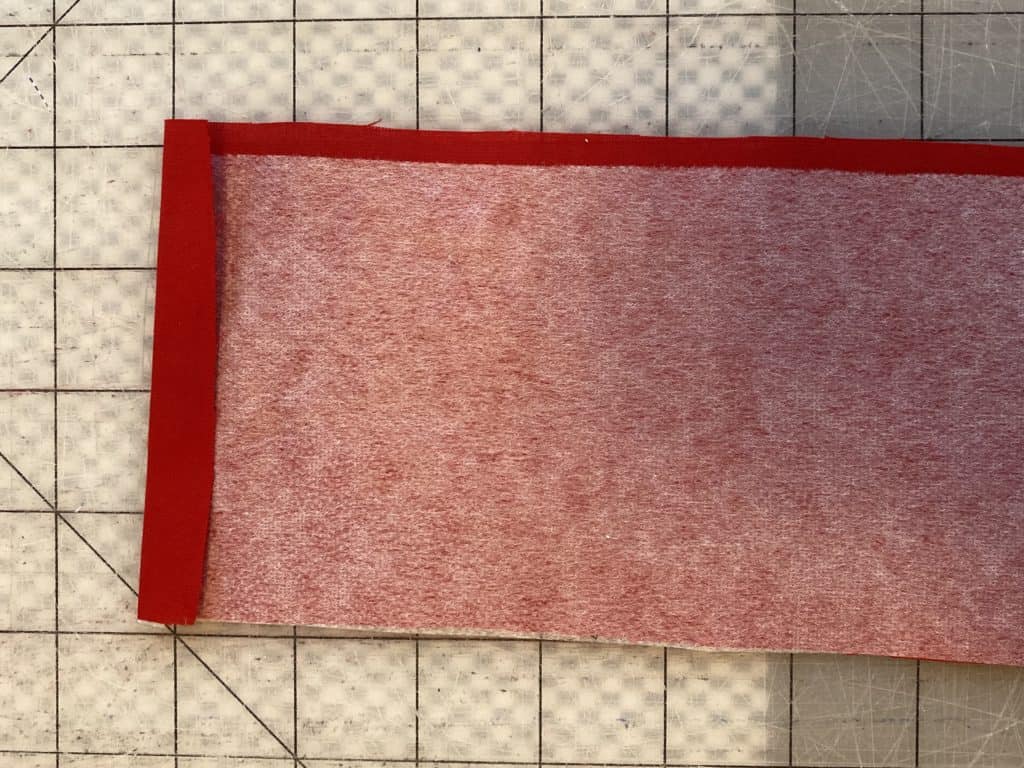
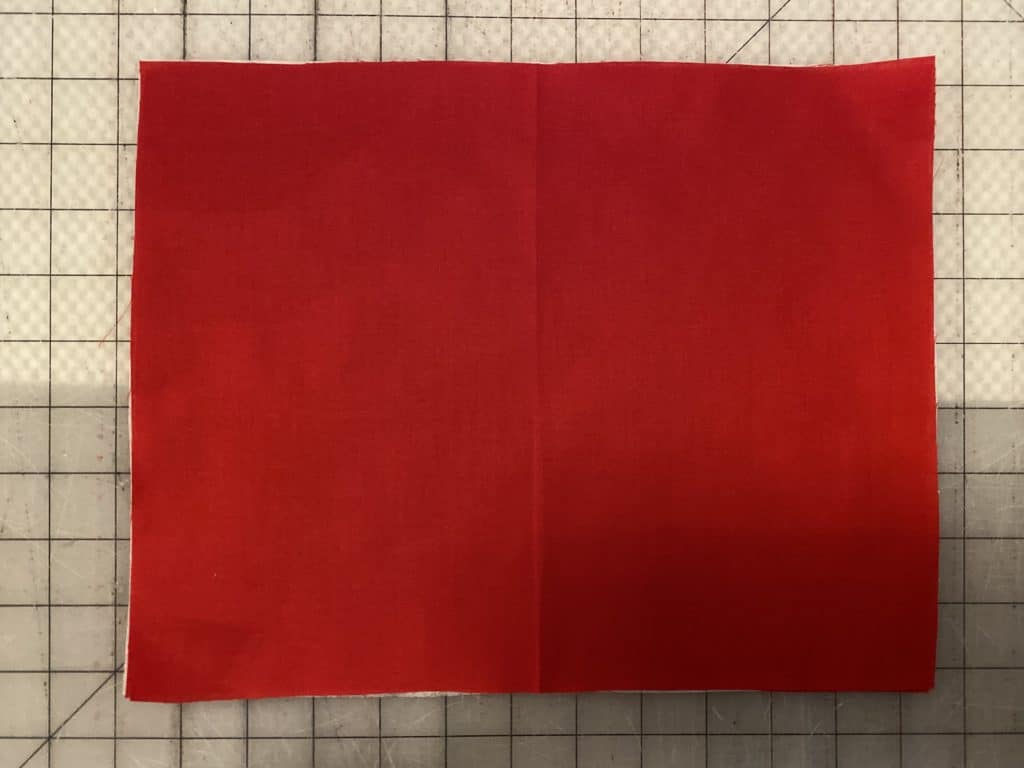
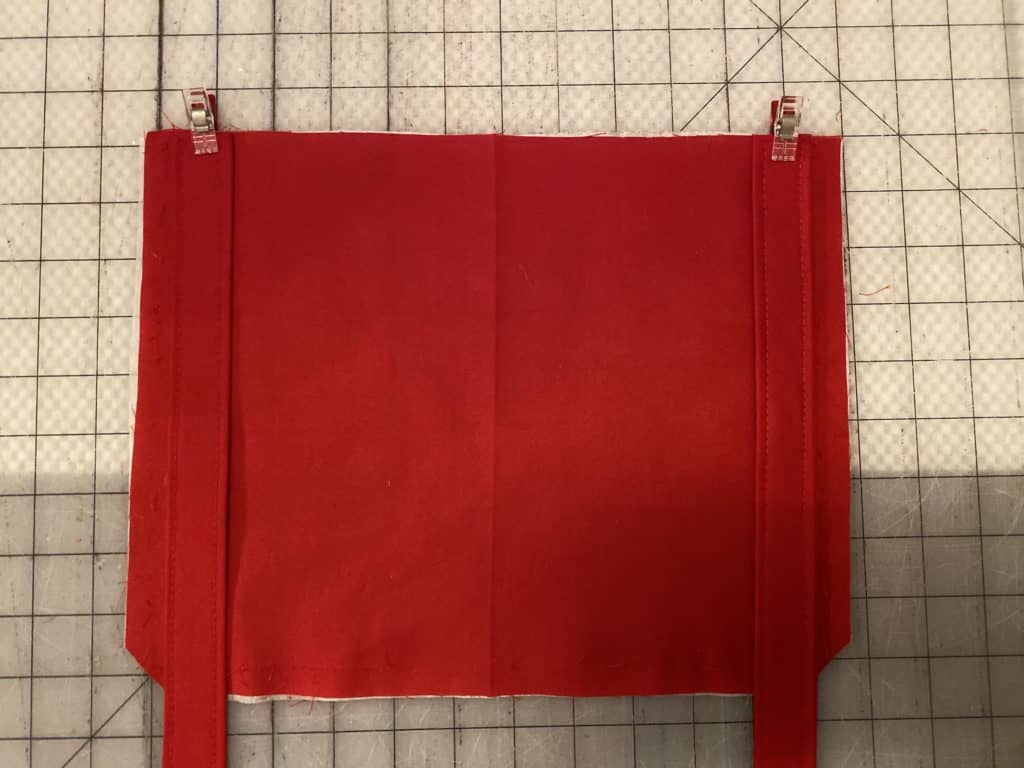
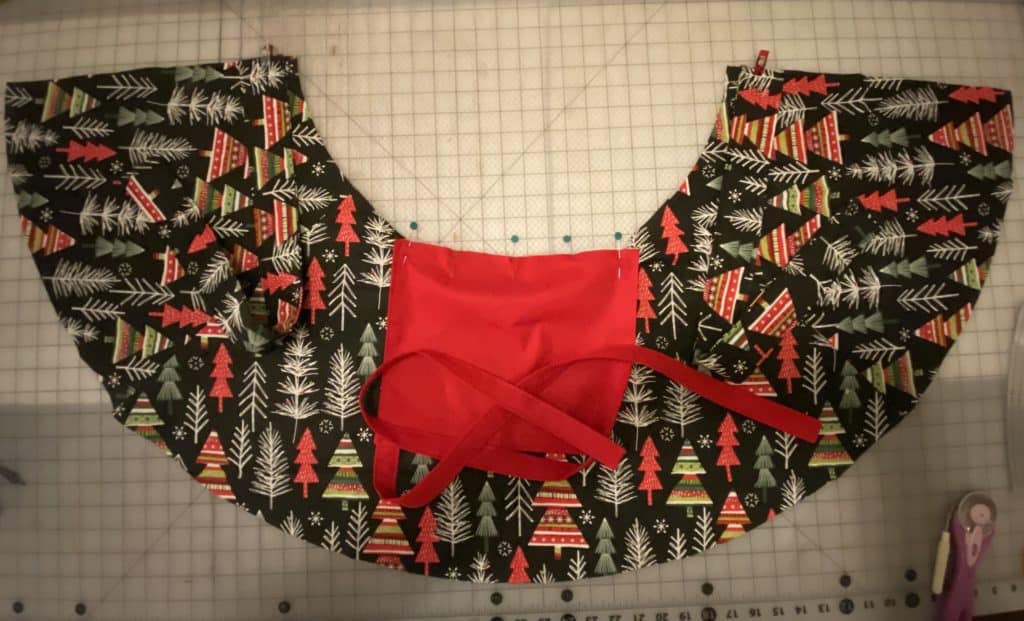
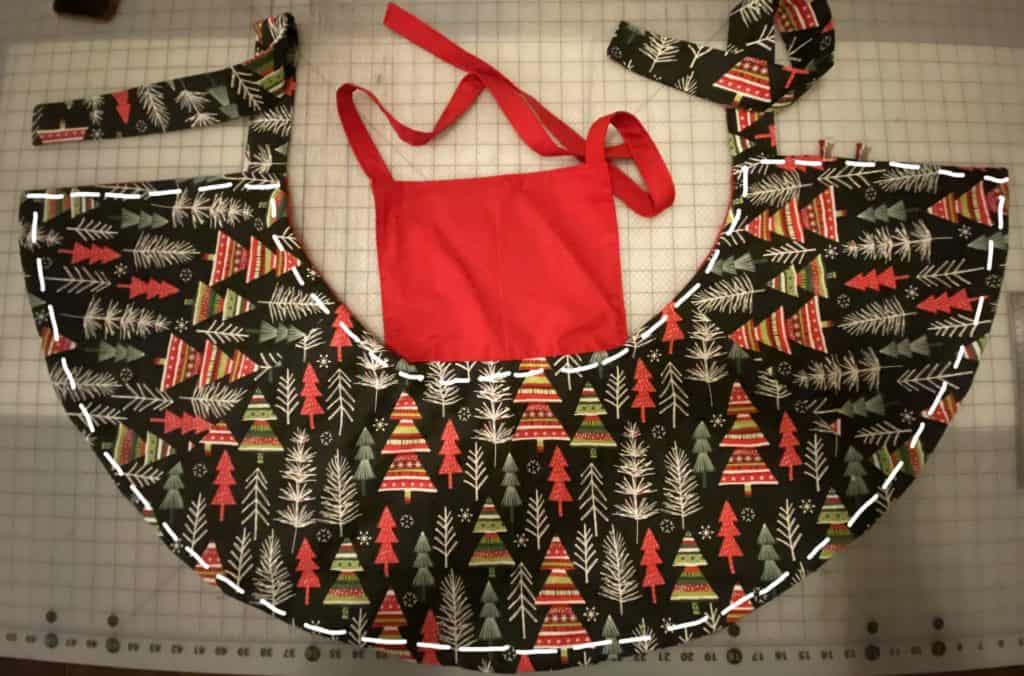
Align the main and lining pieces against one another, with right sides together.
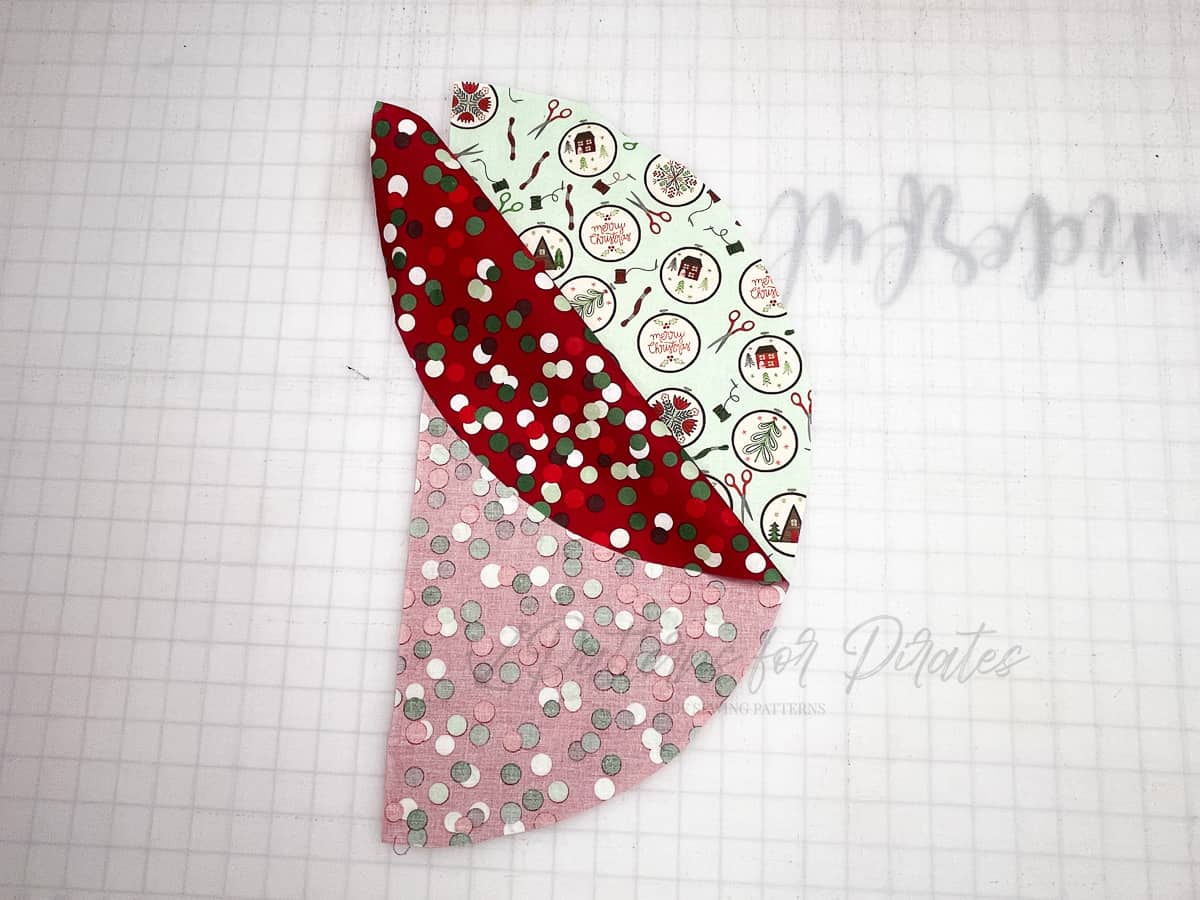
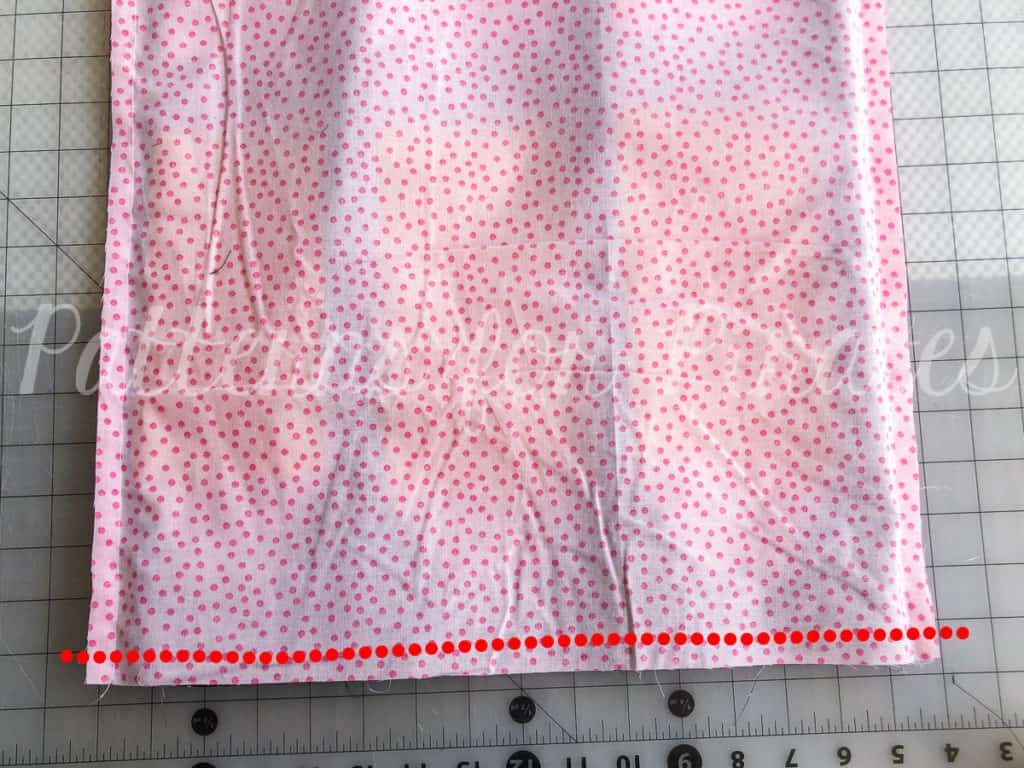
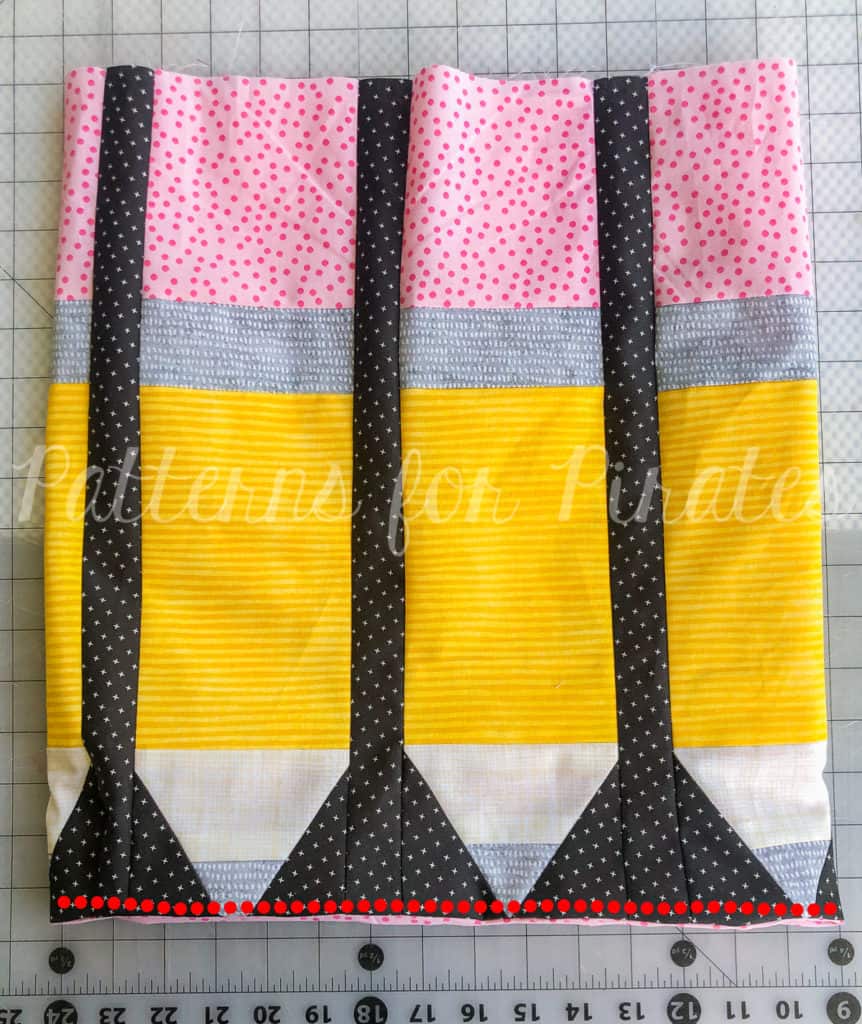
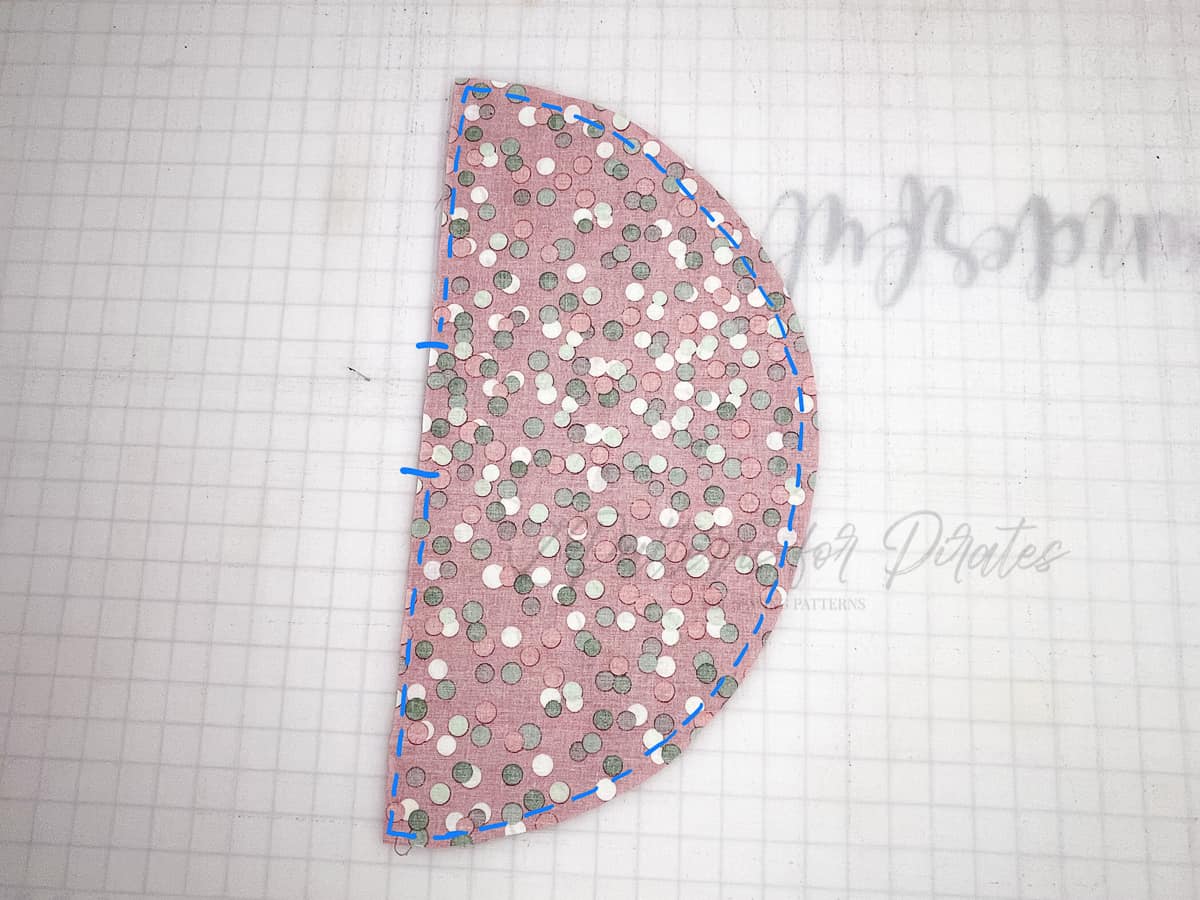
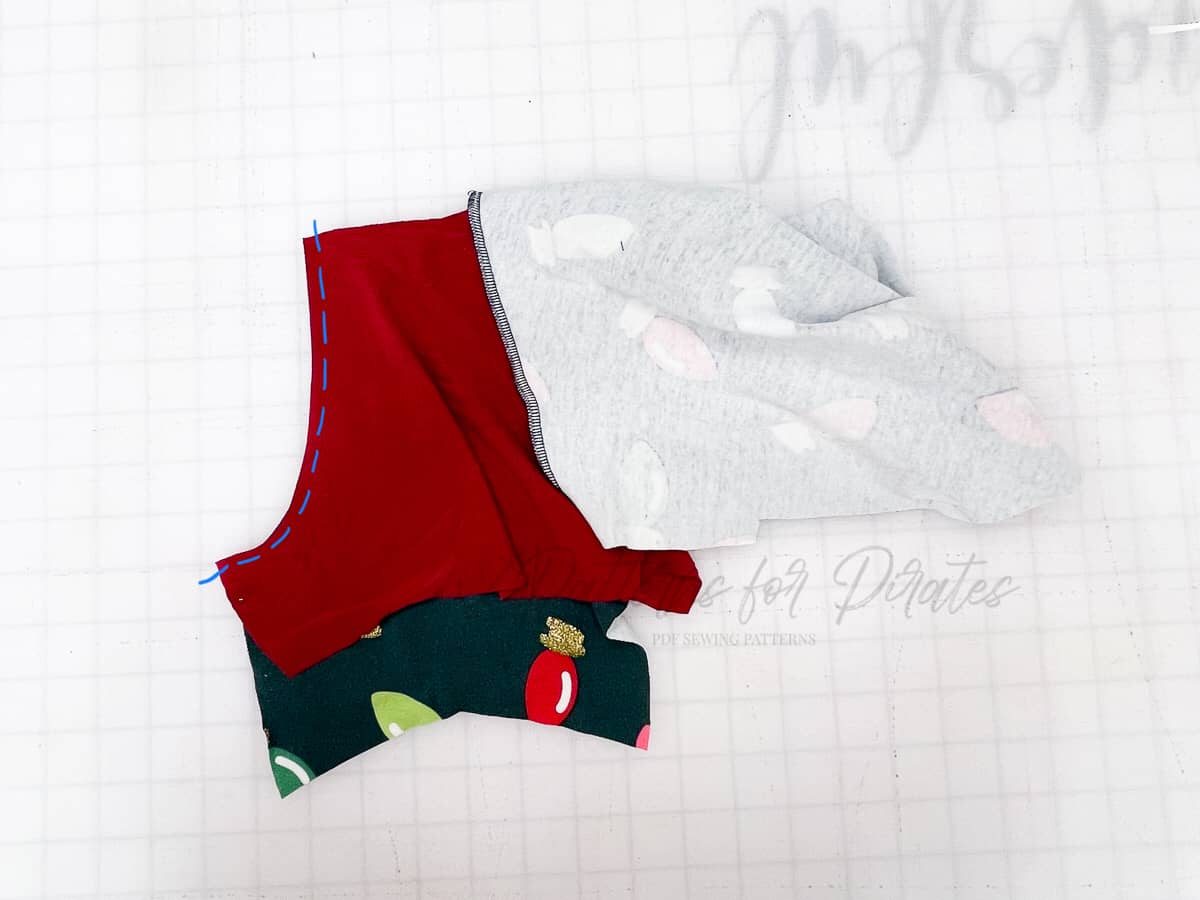
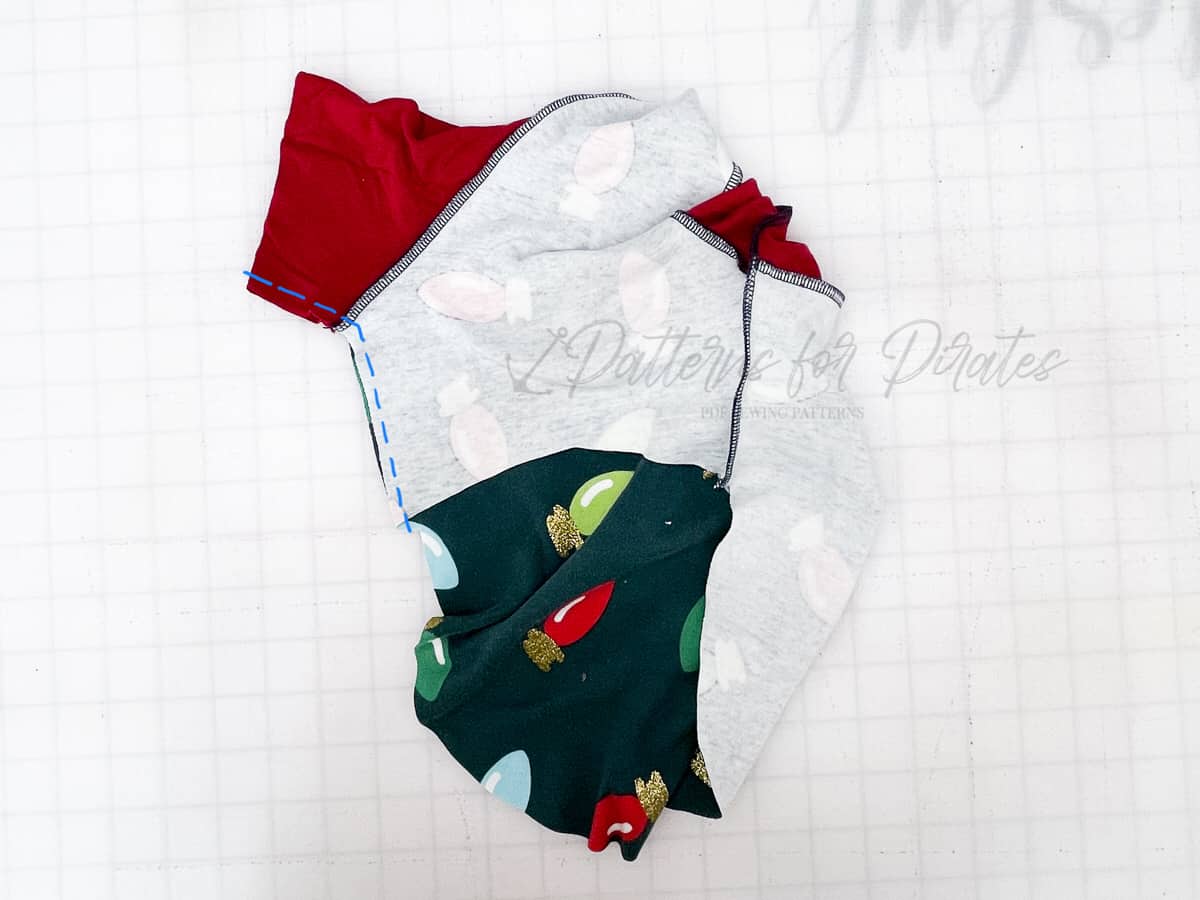
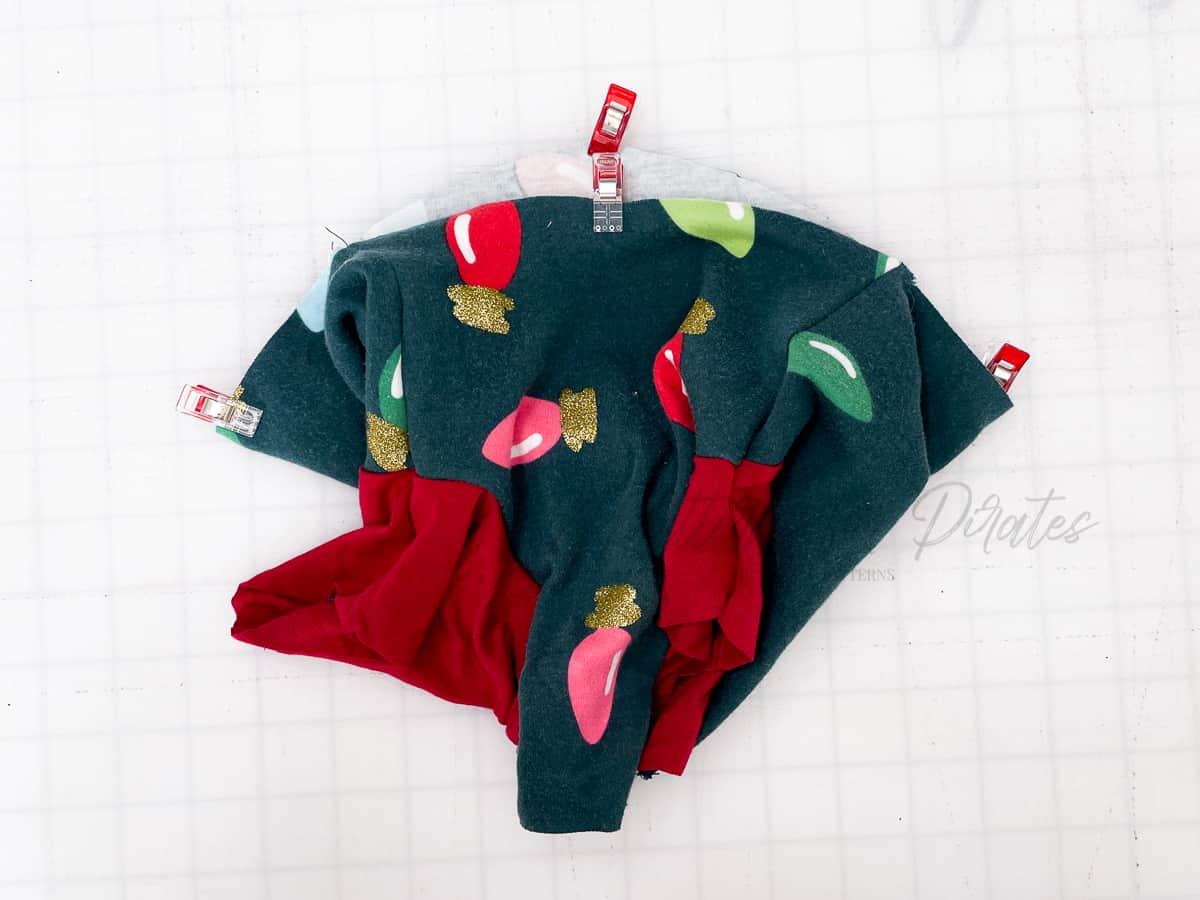
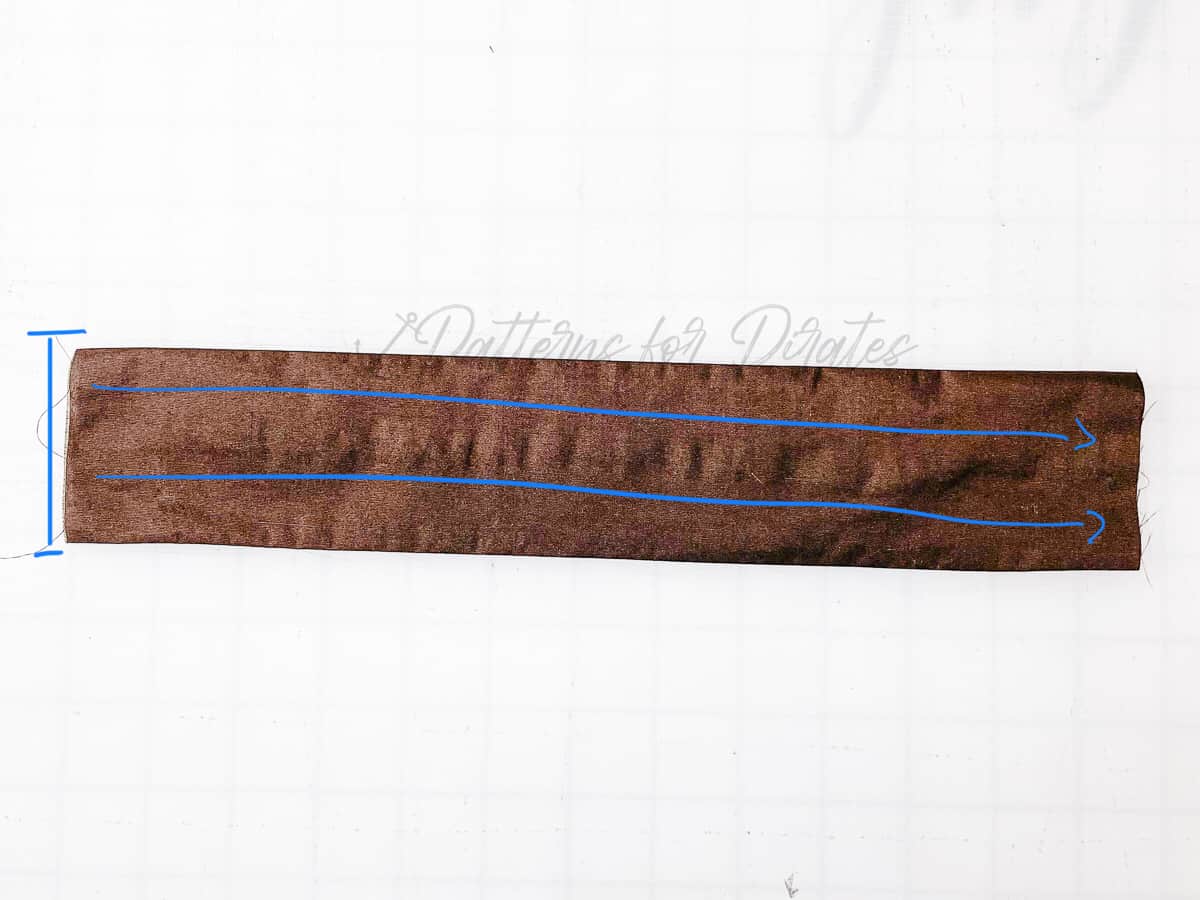
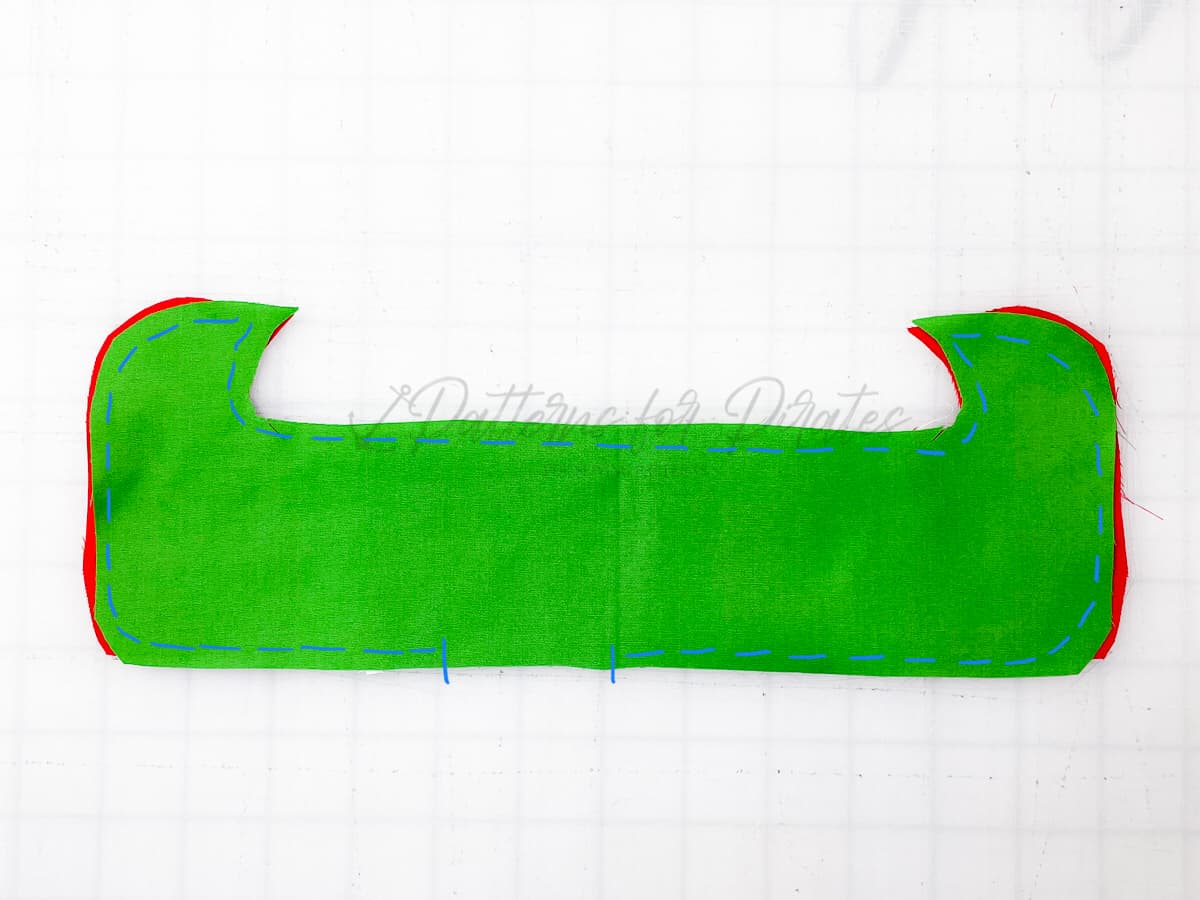
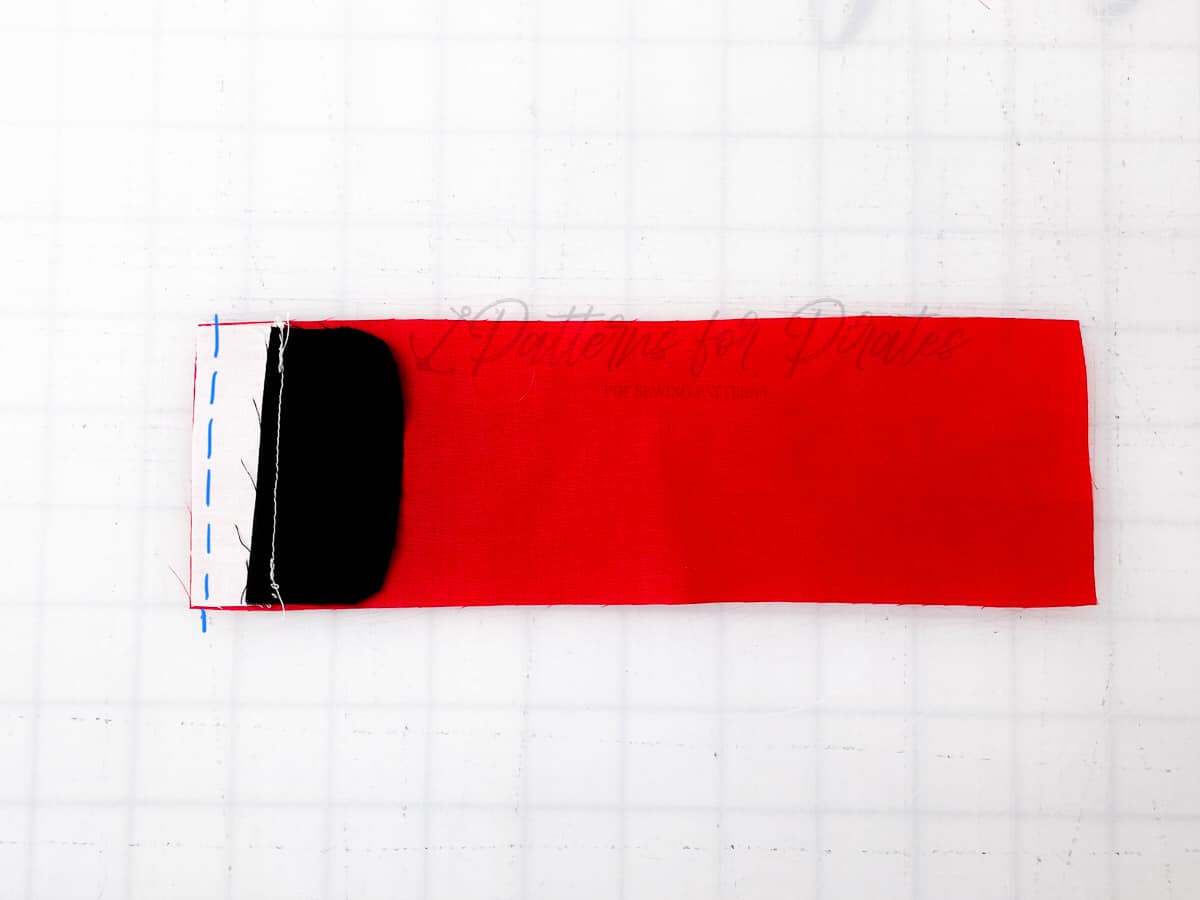
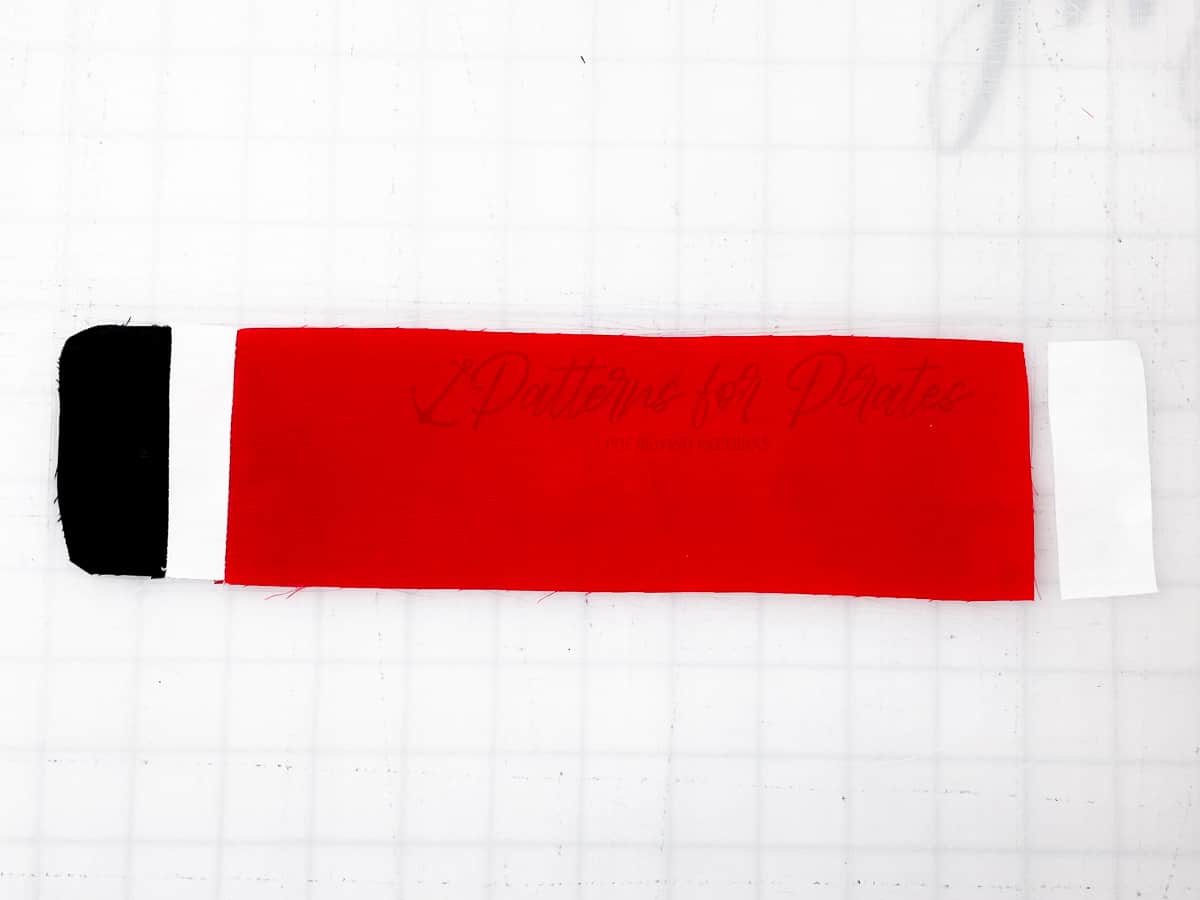
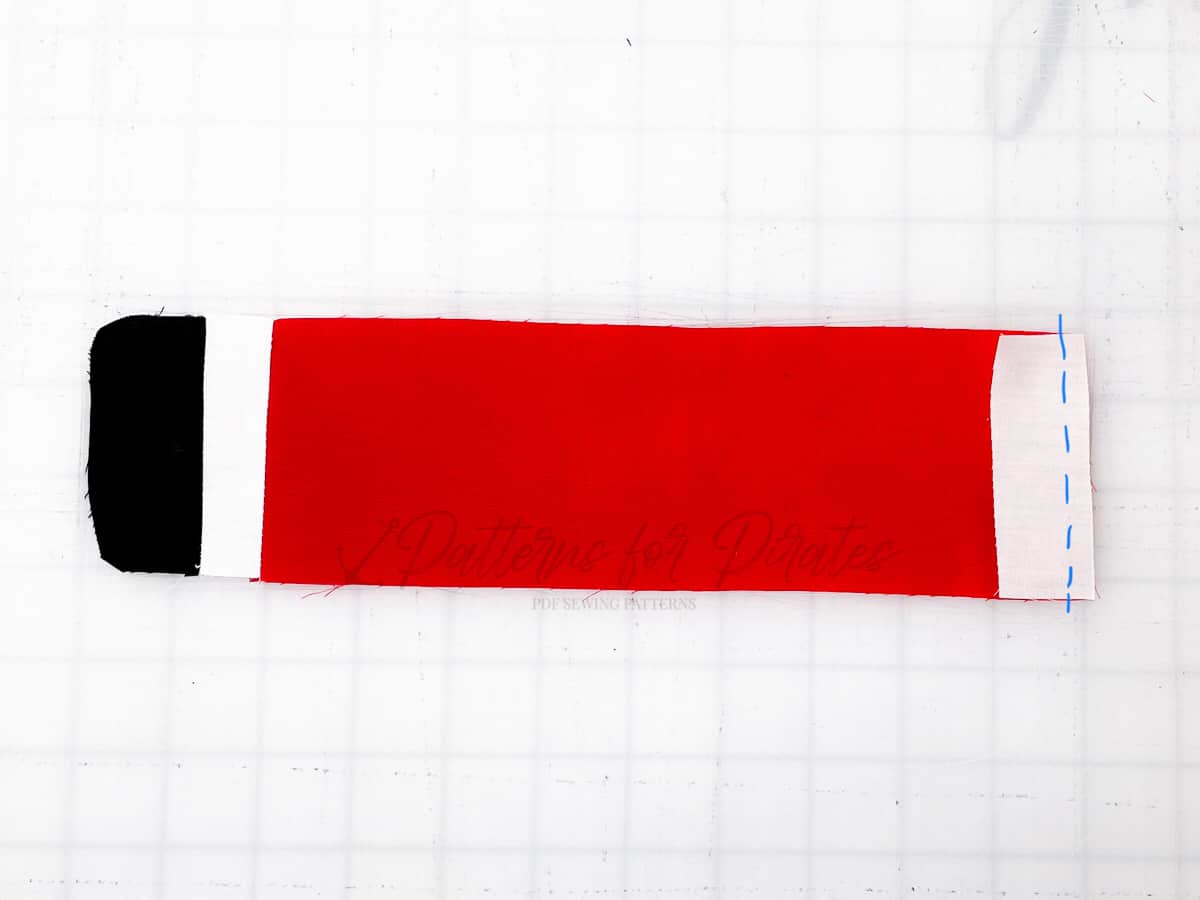
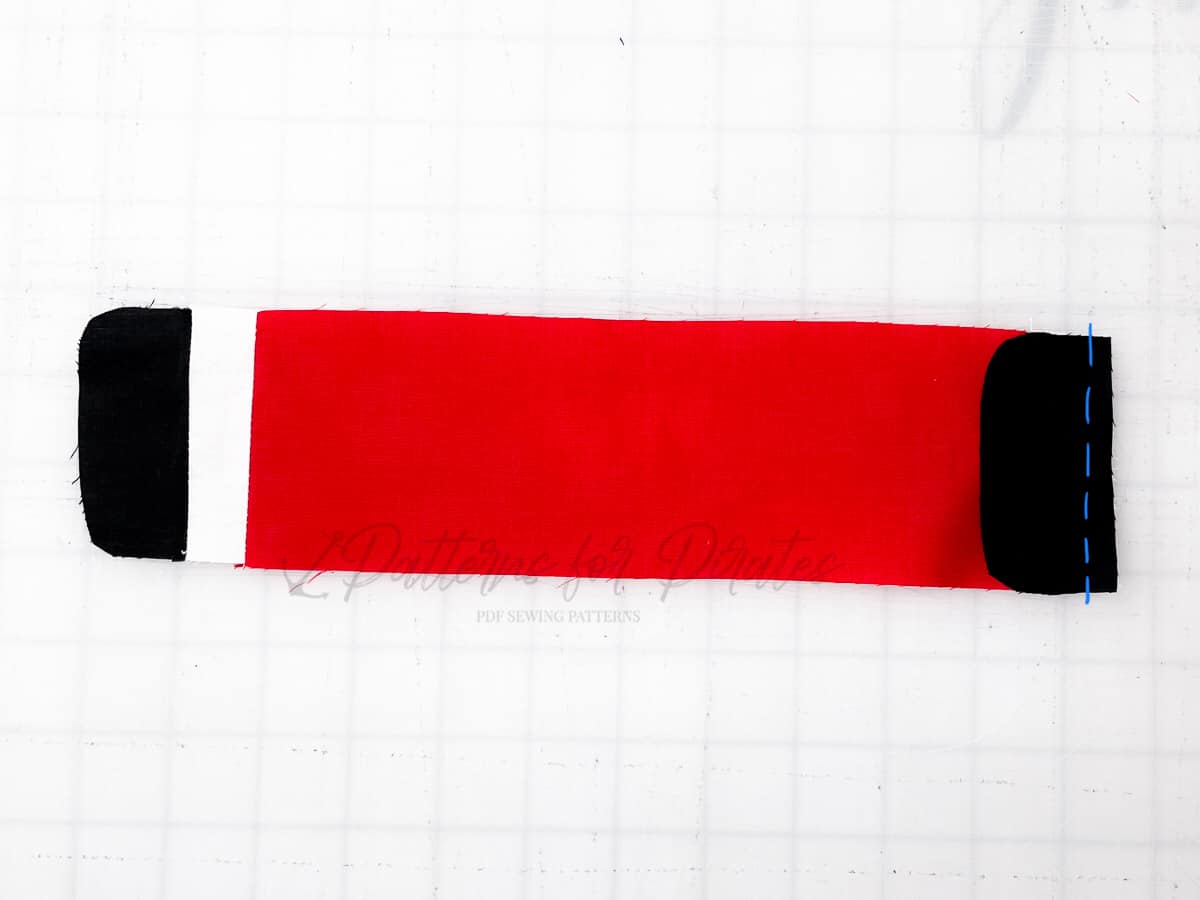
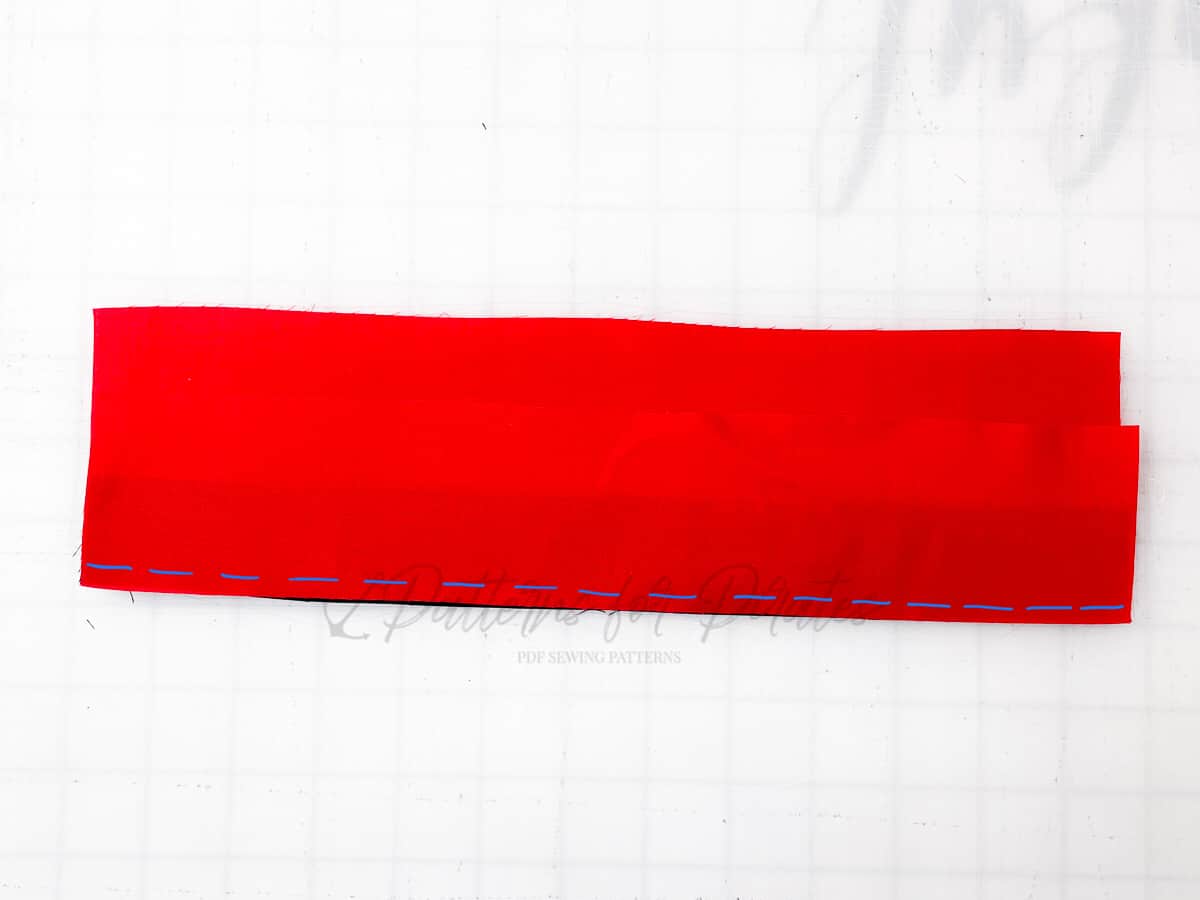
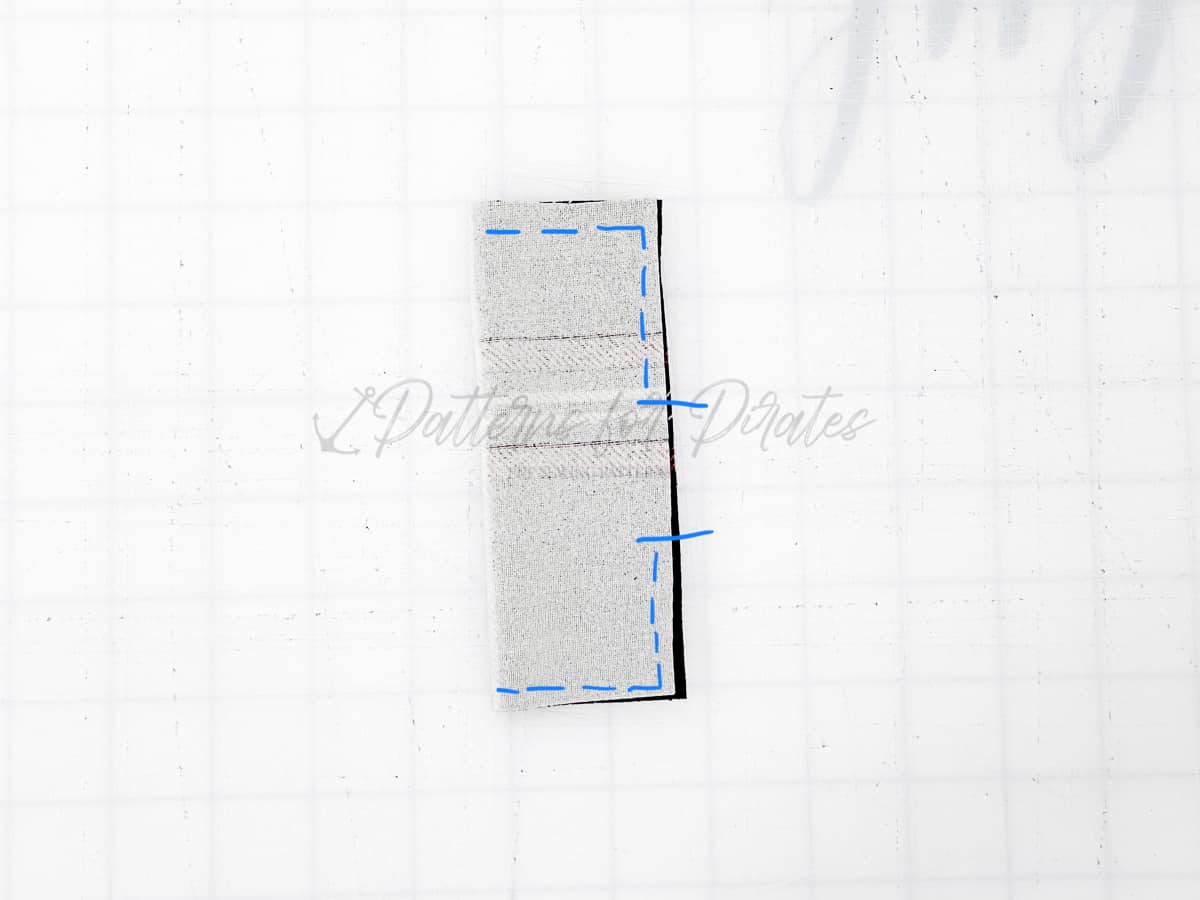
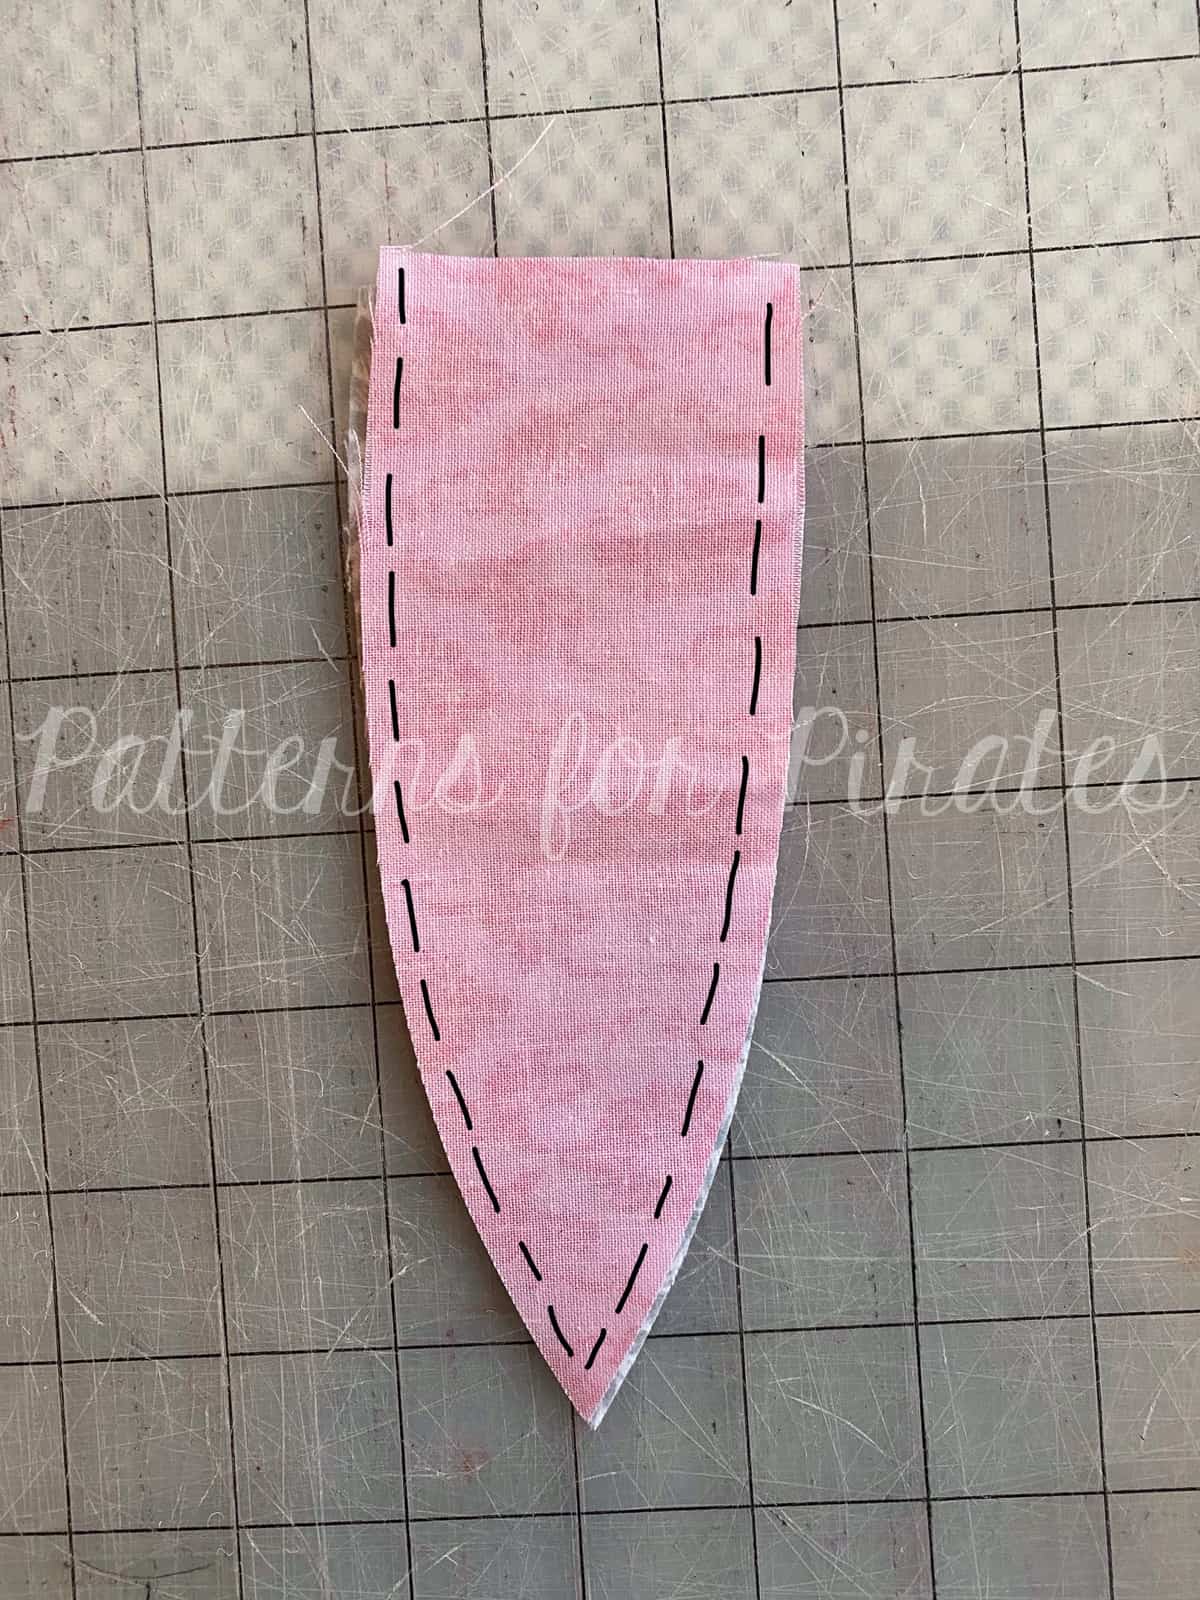
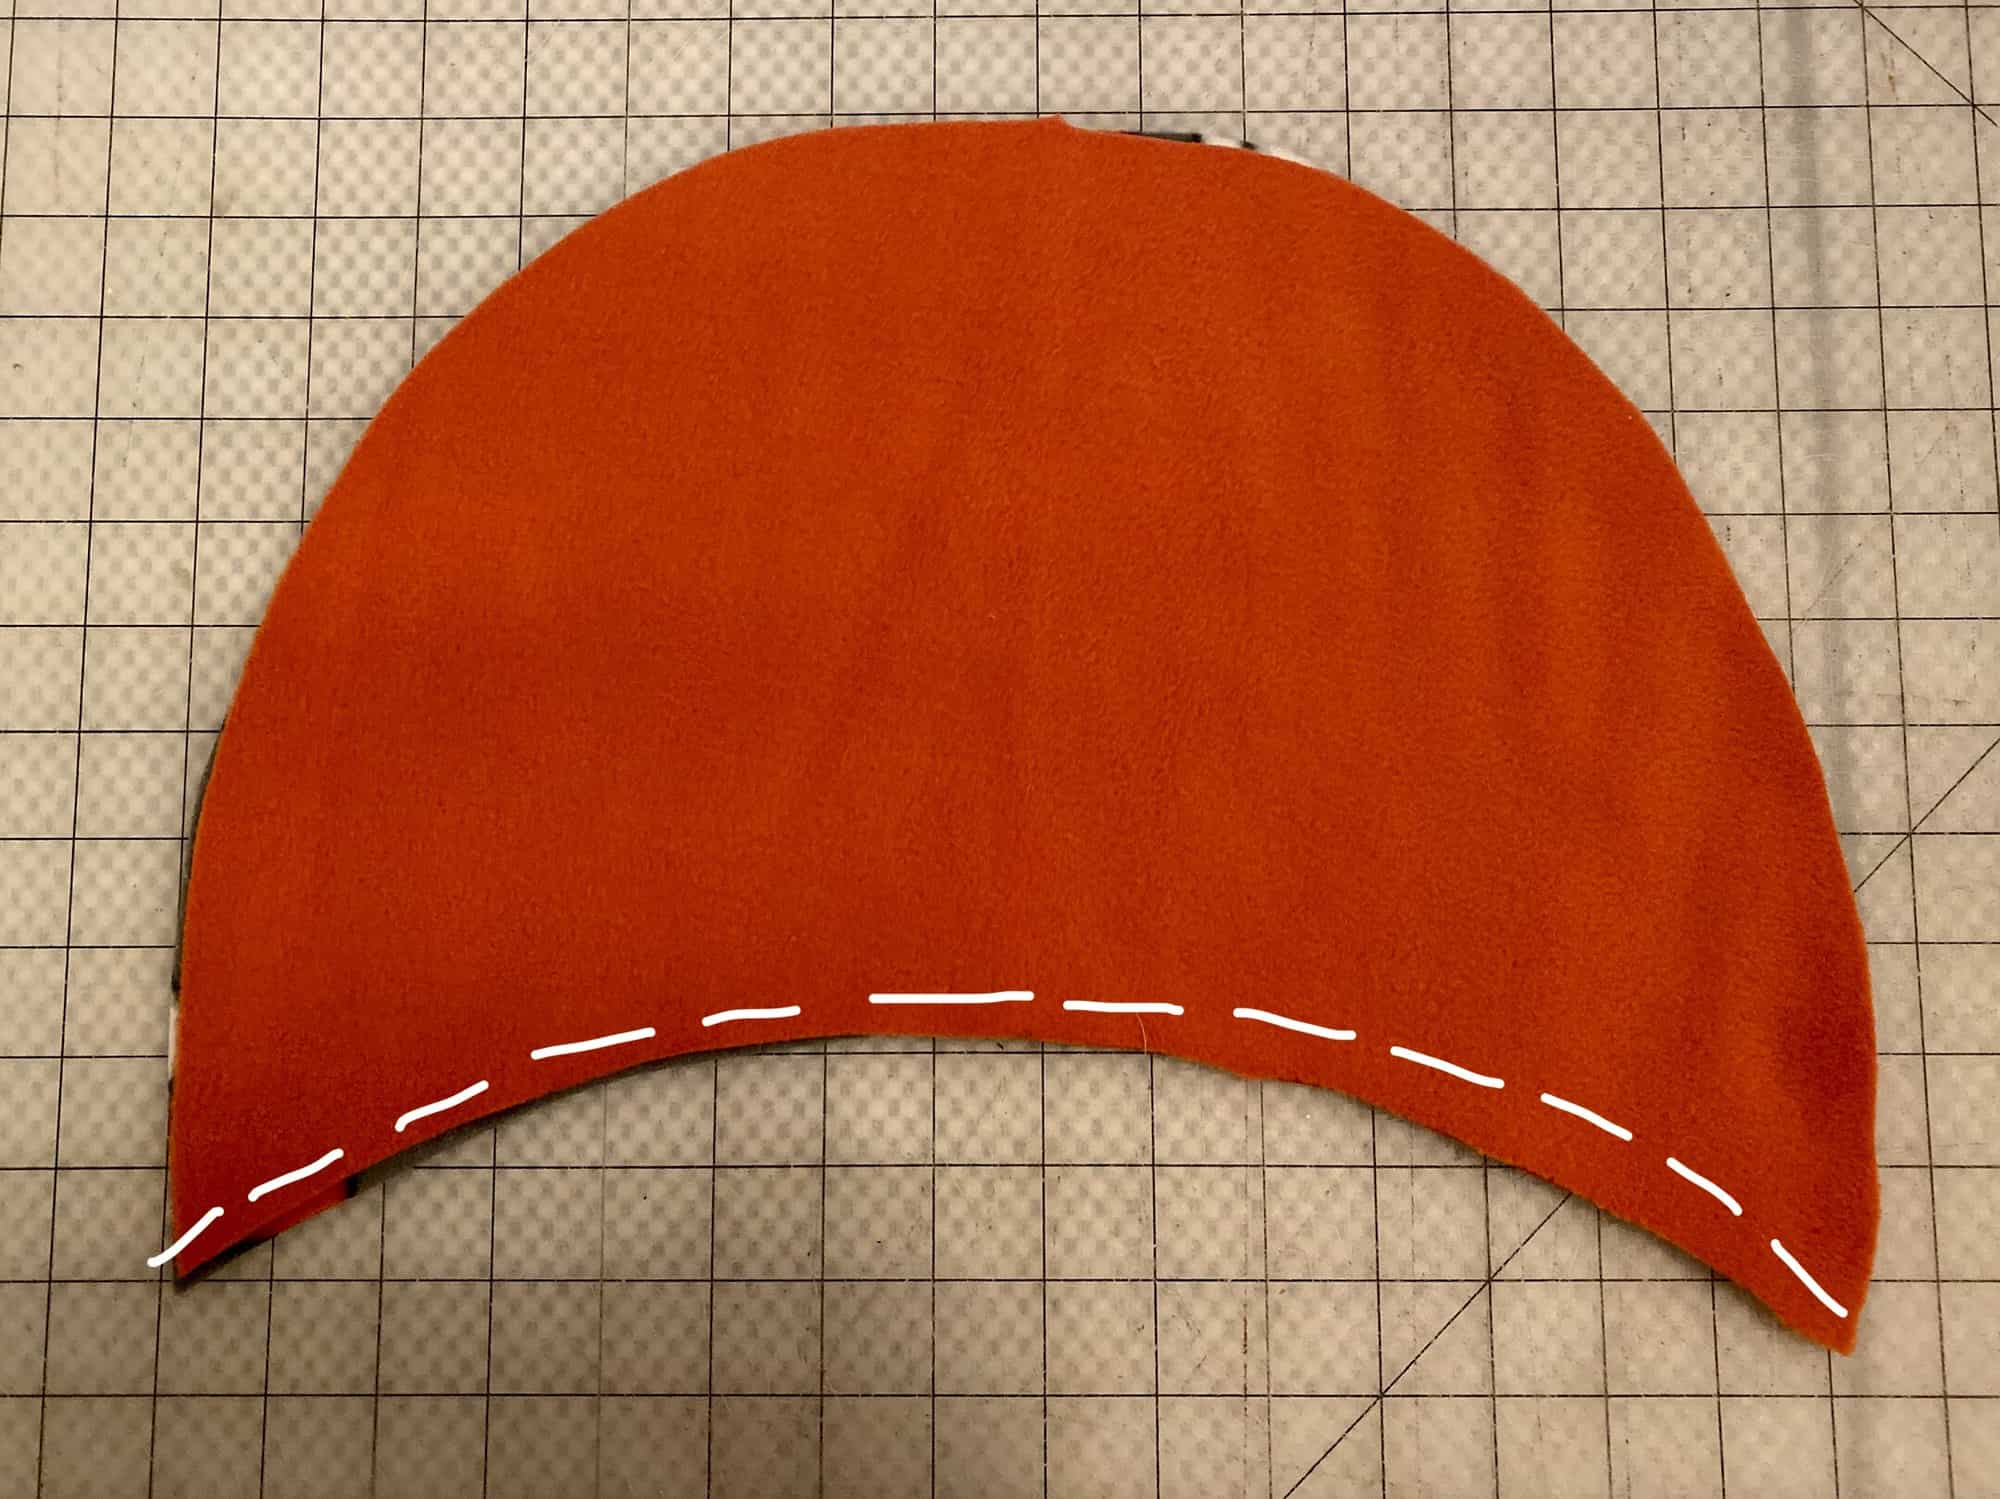
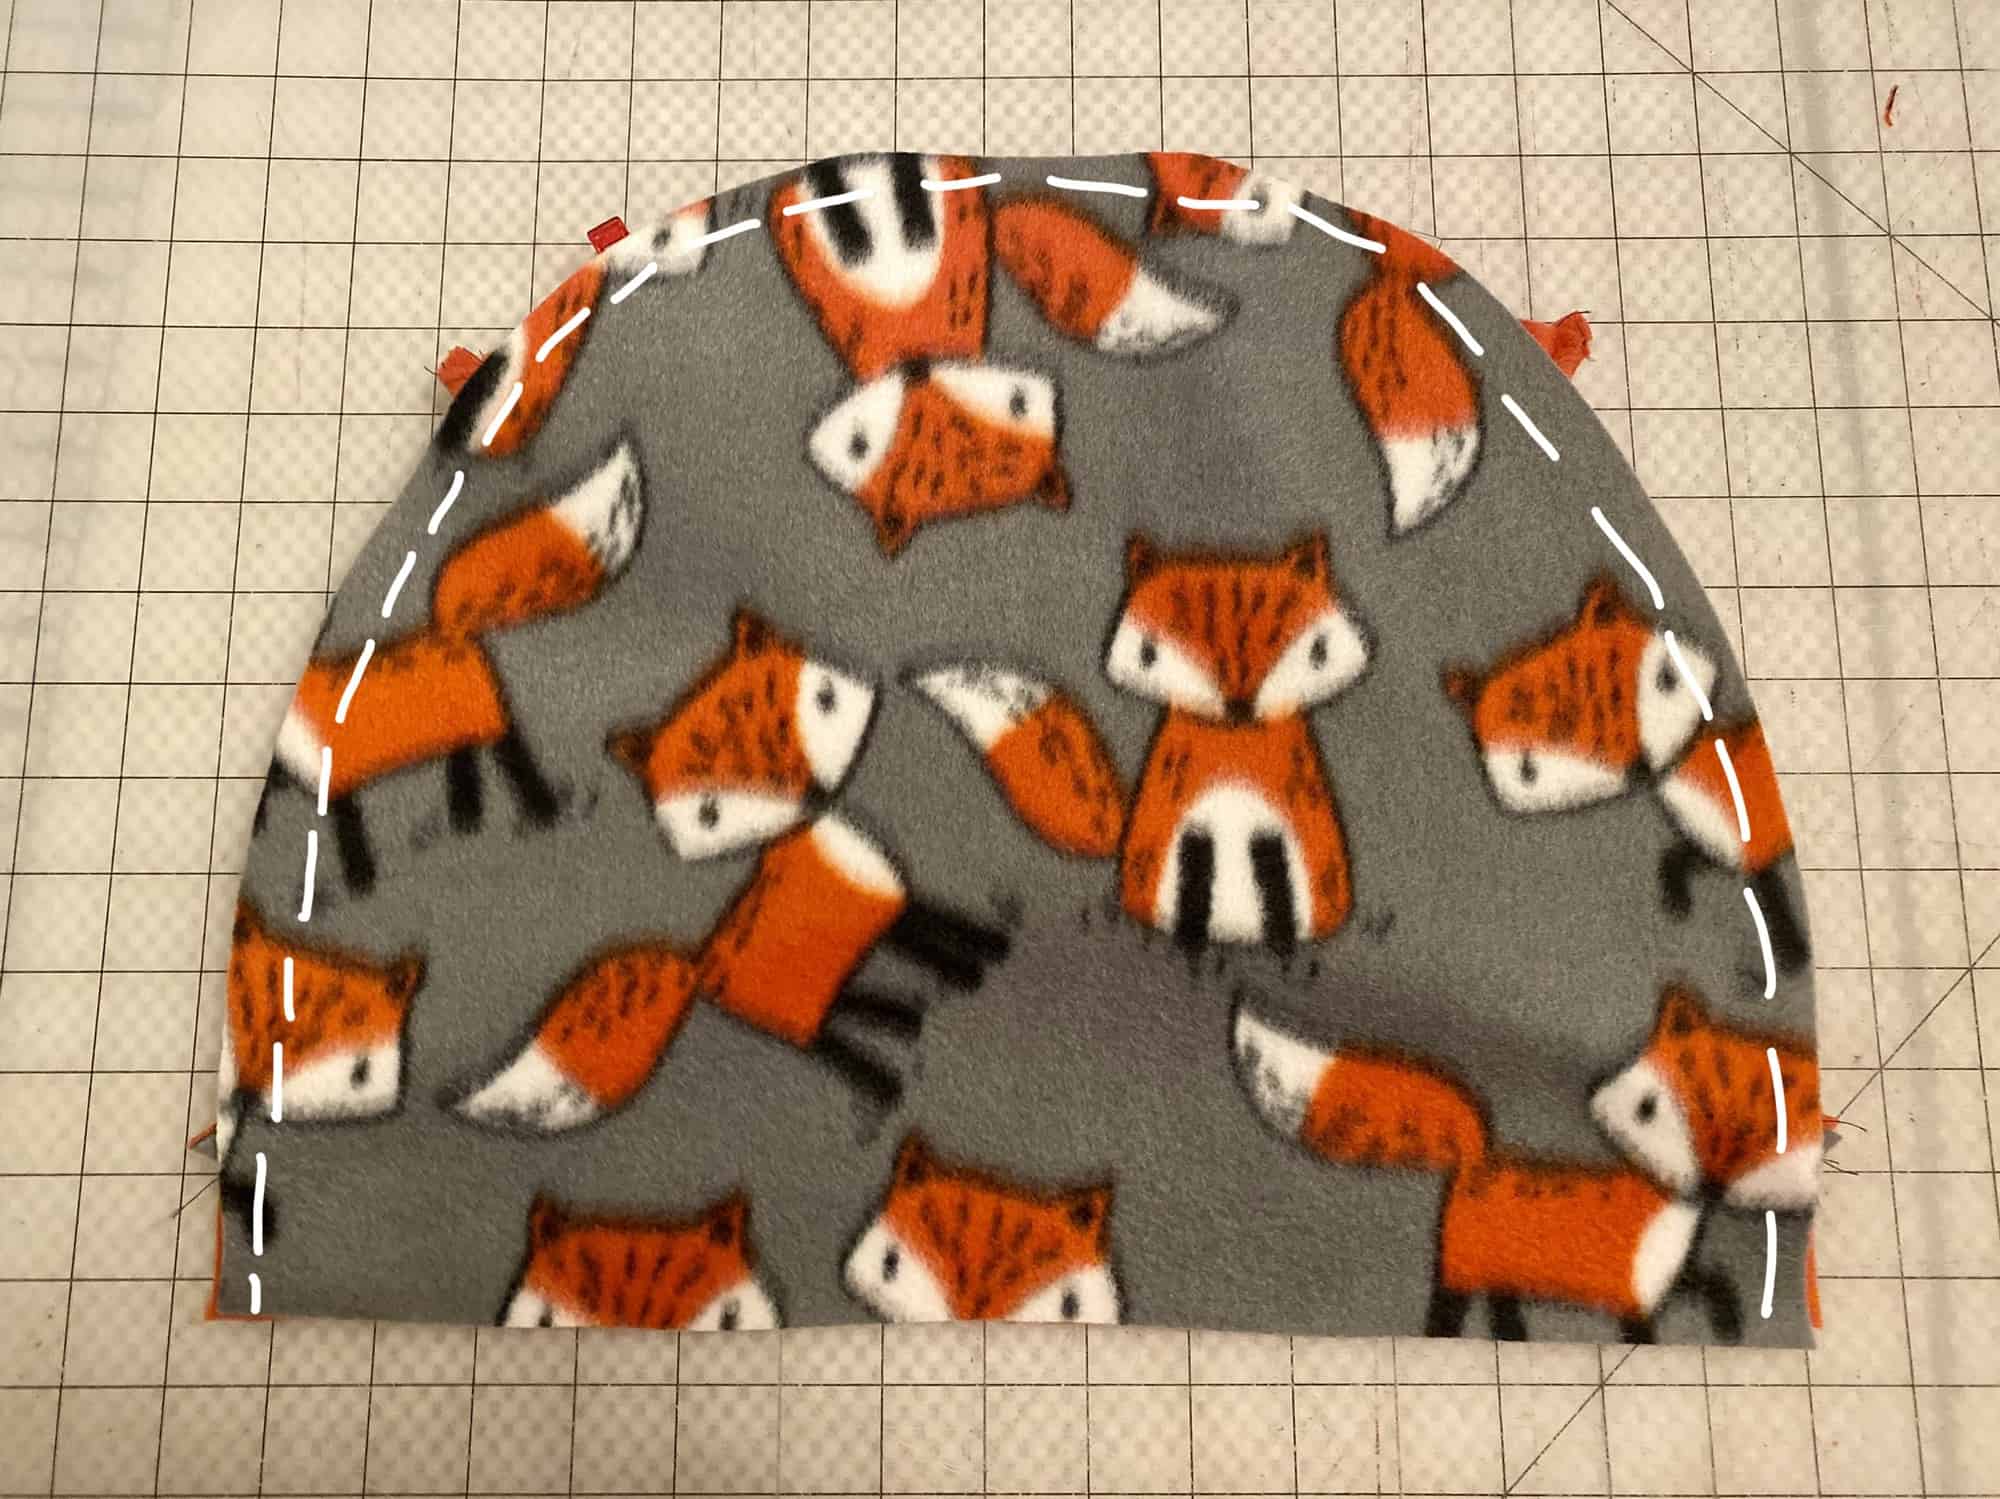
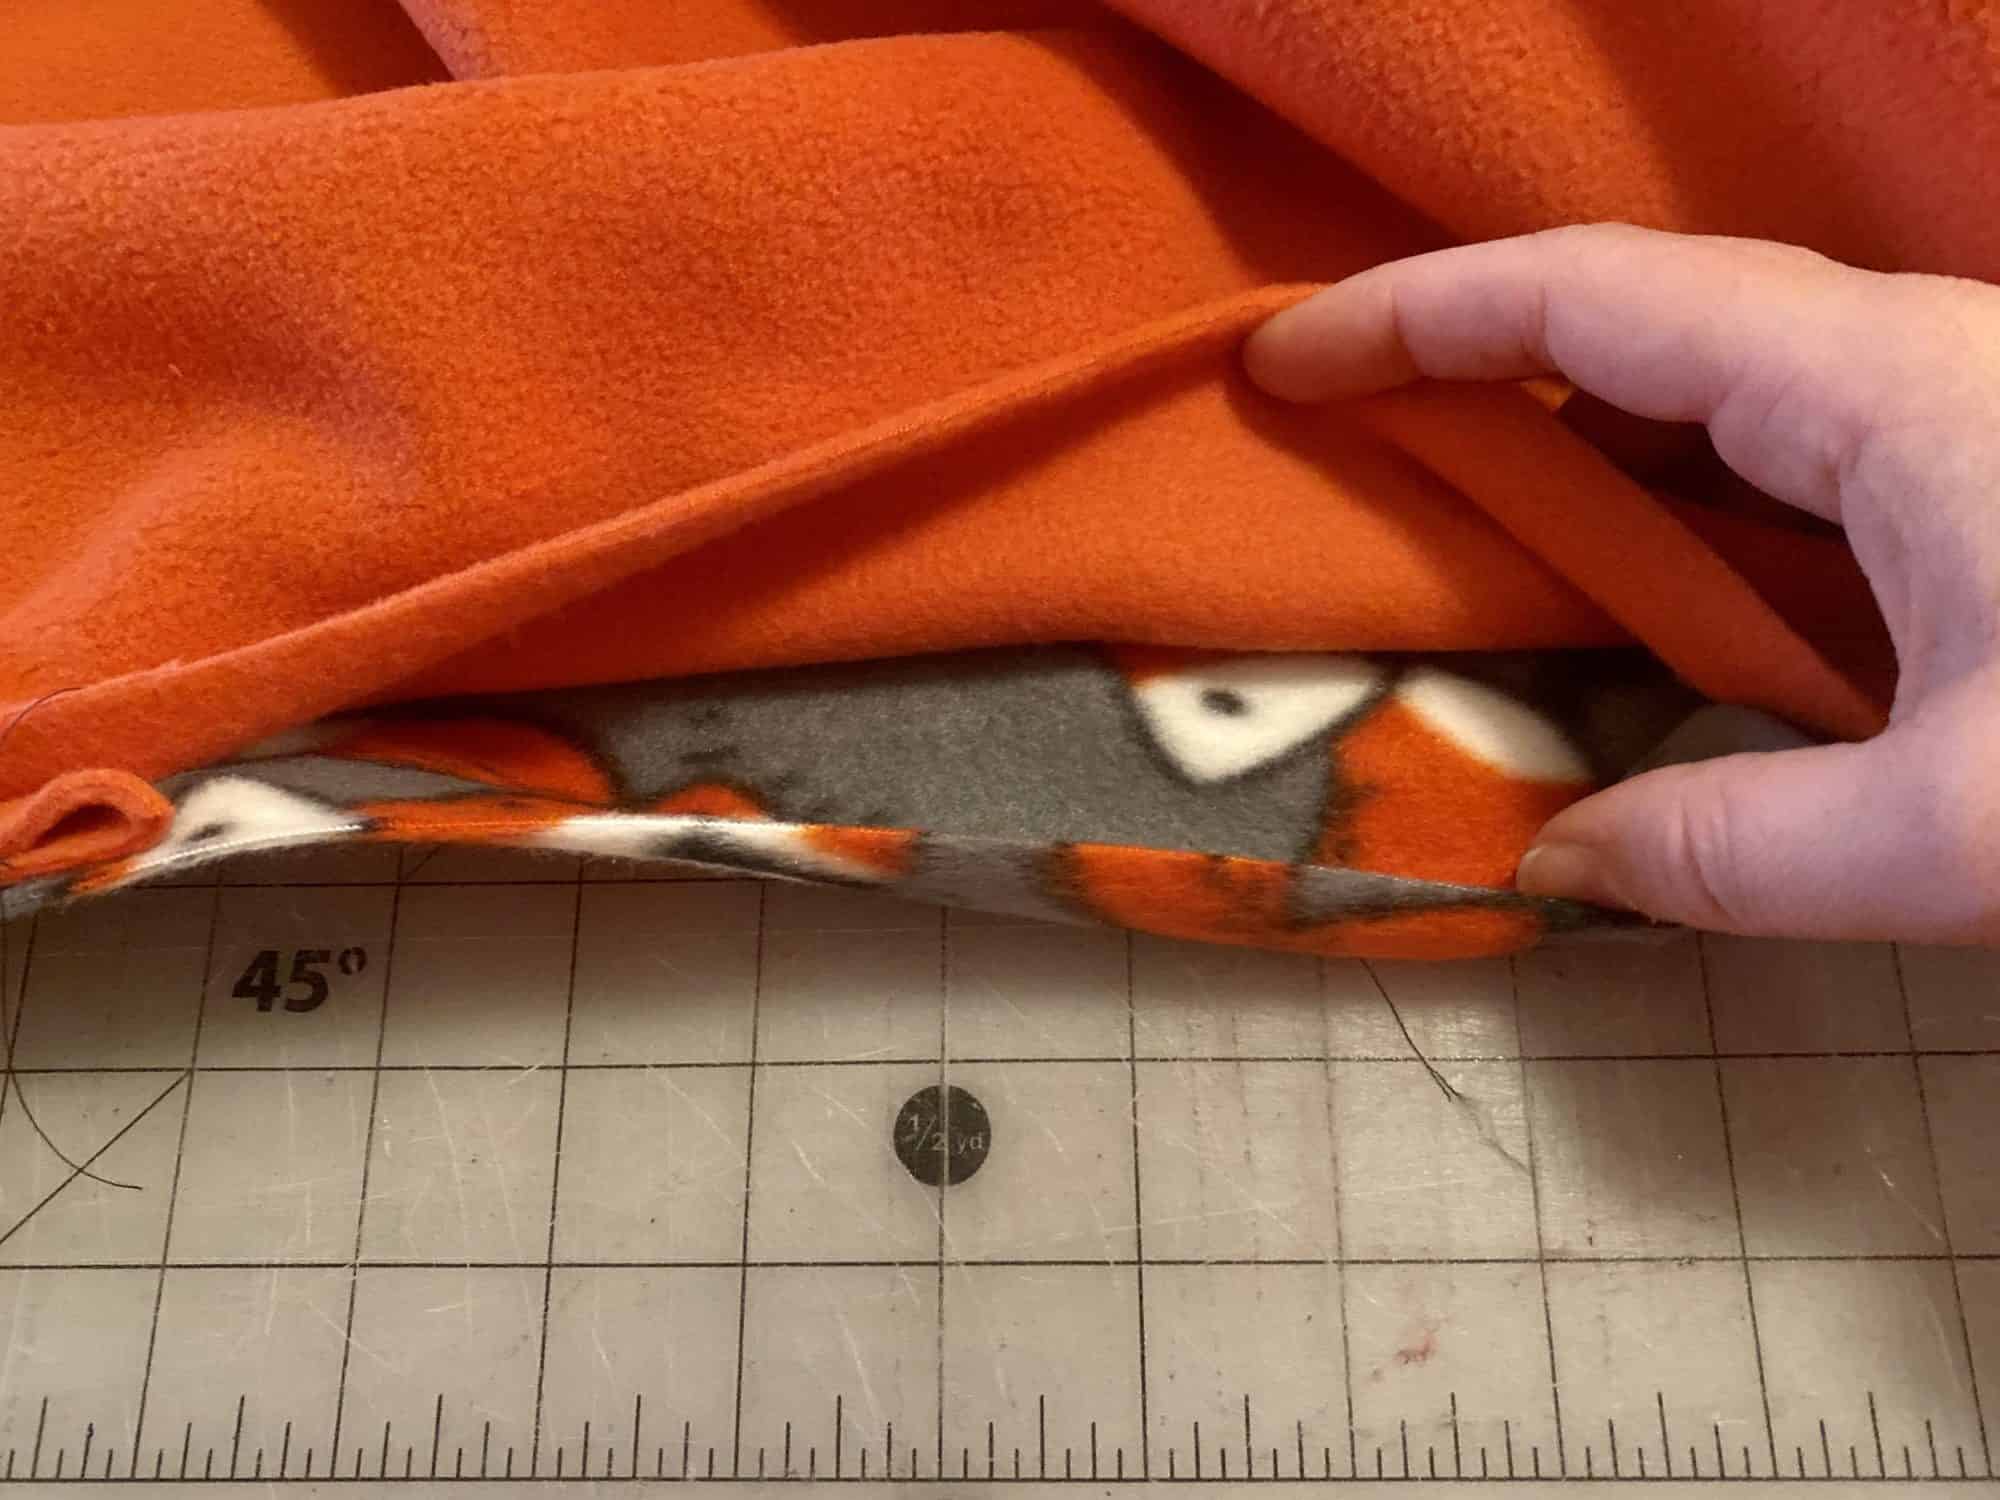
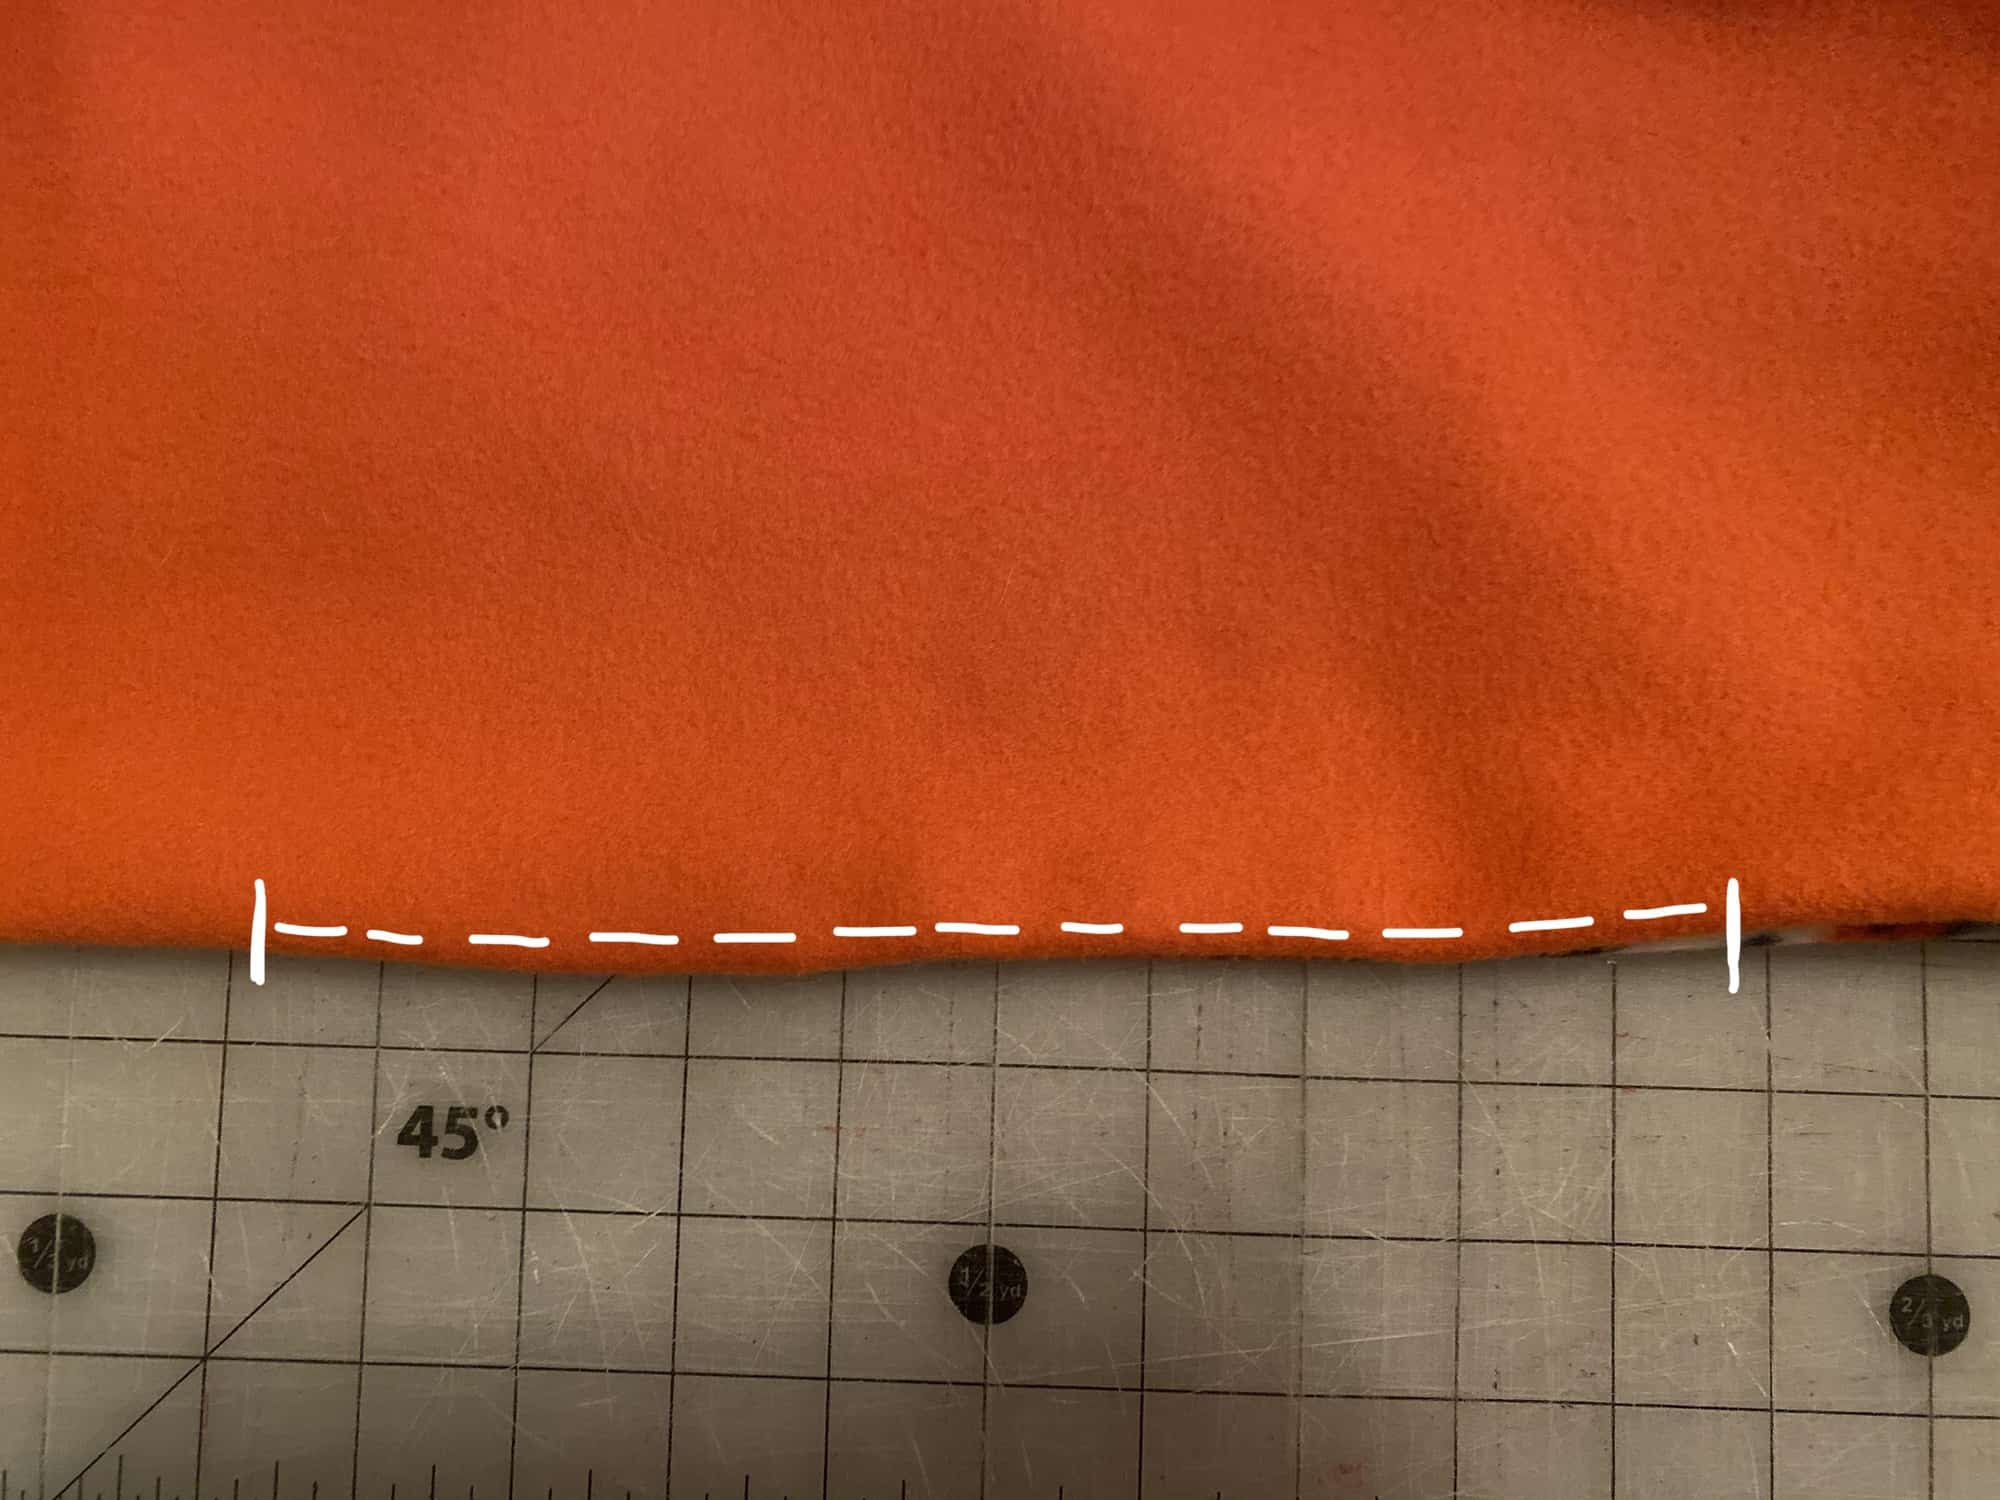
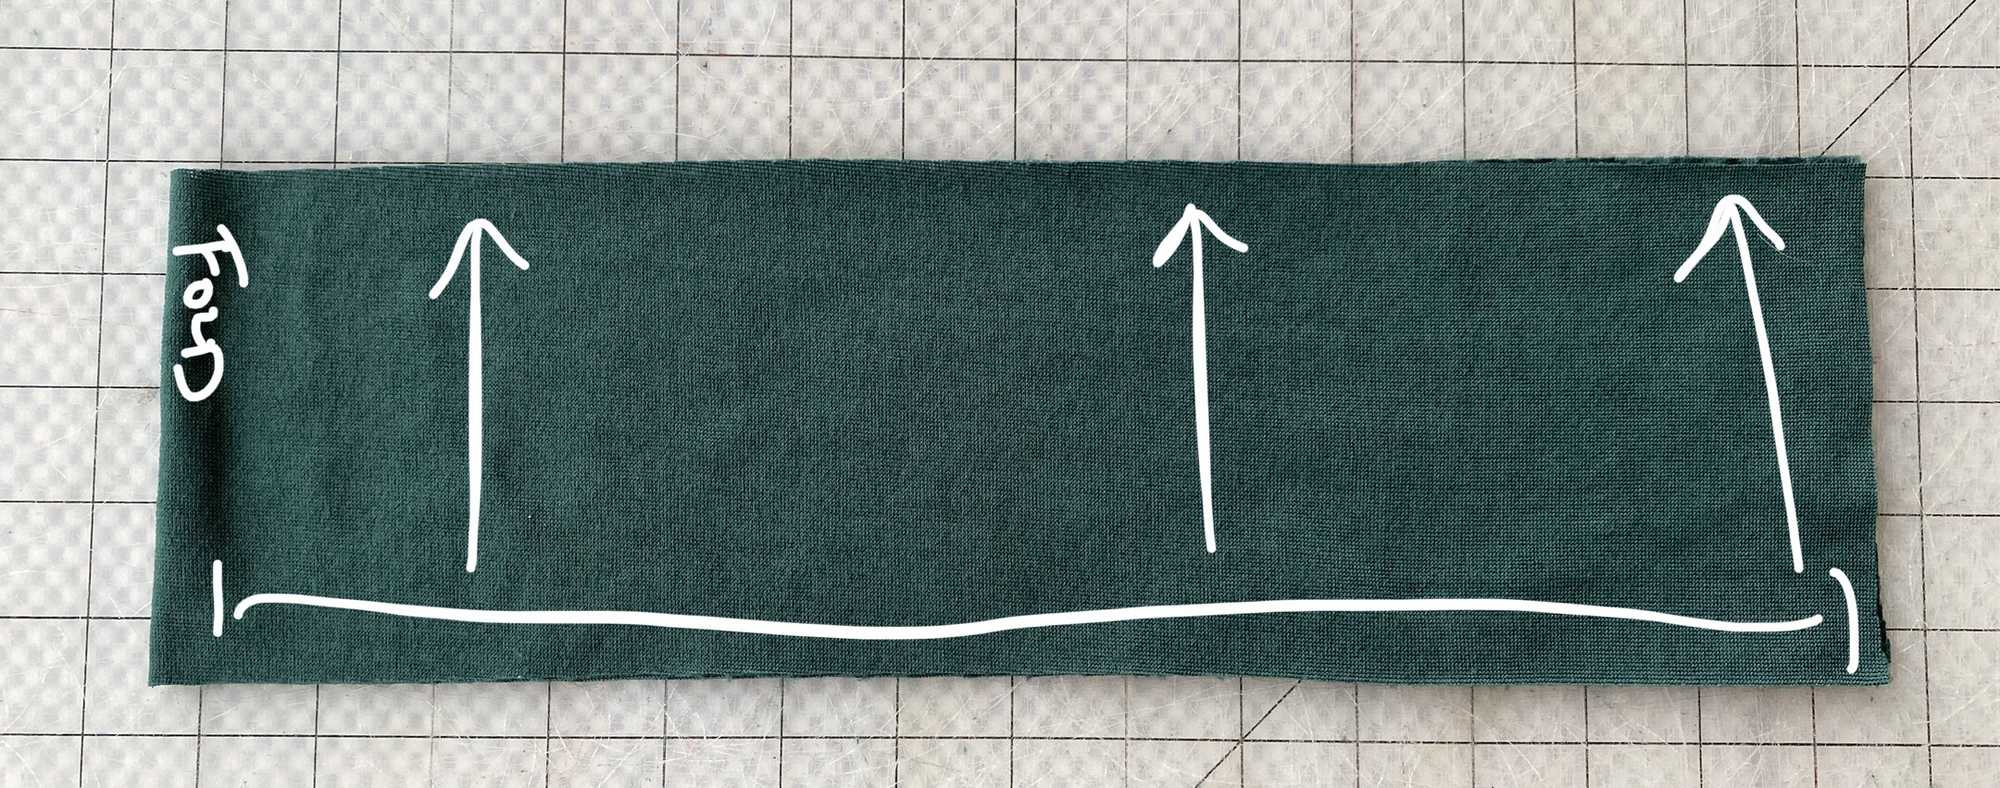
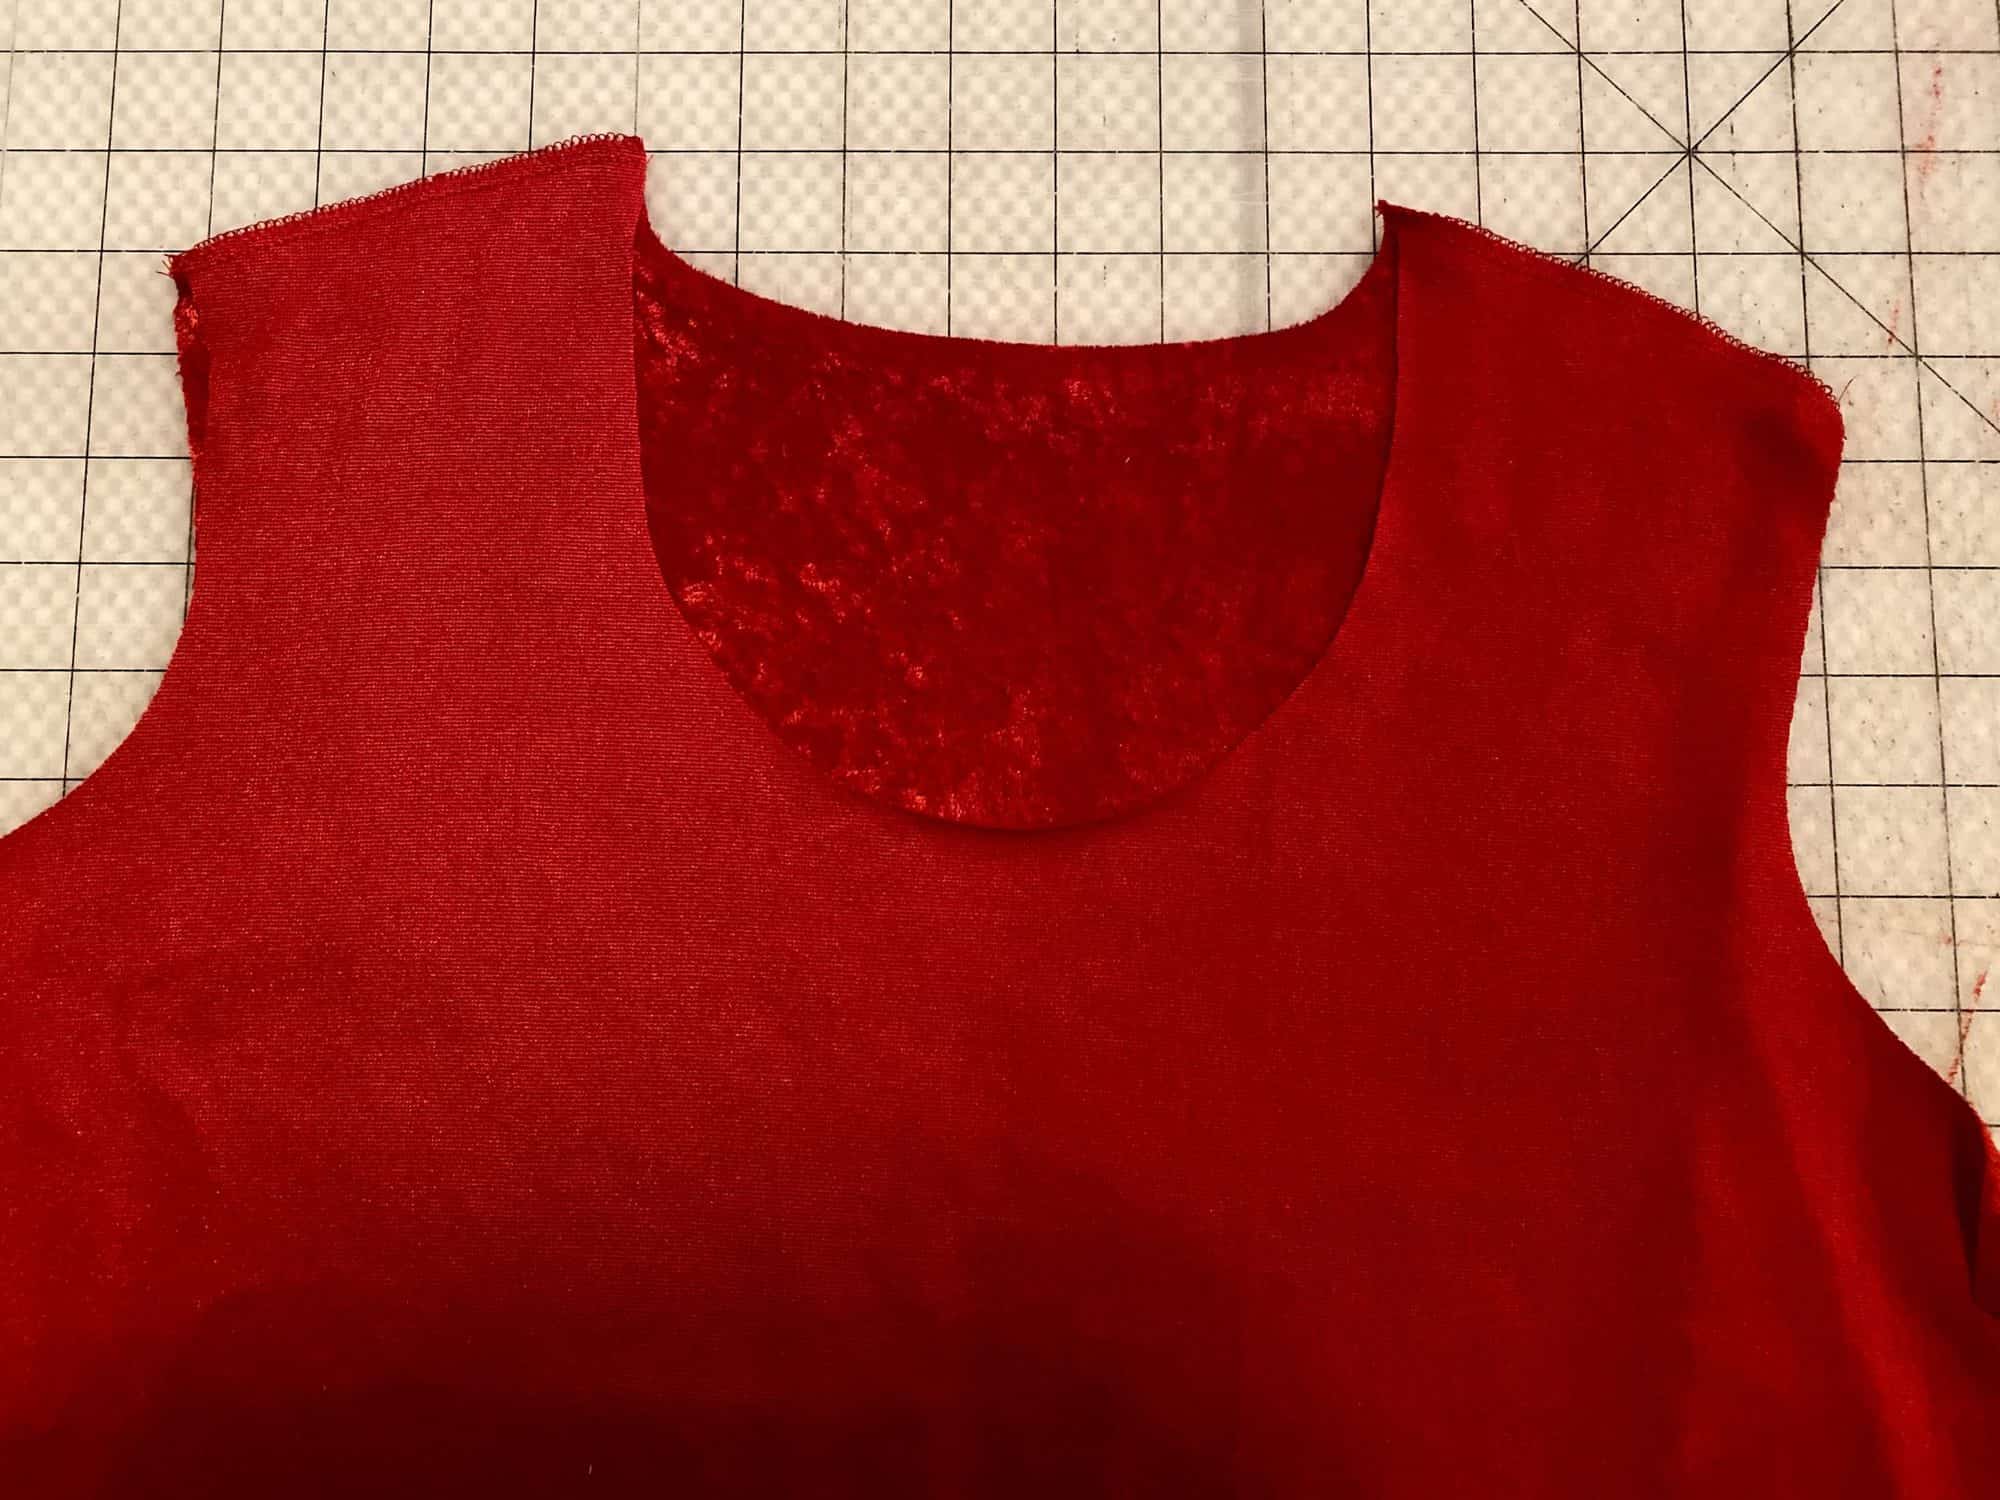
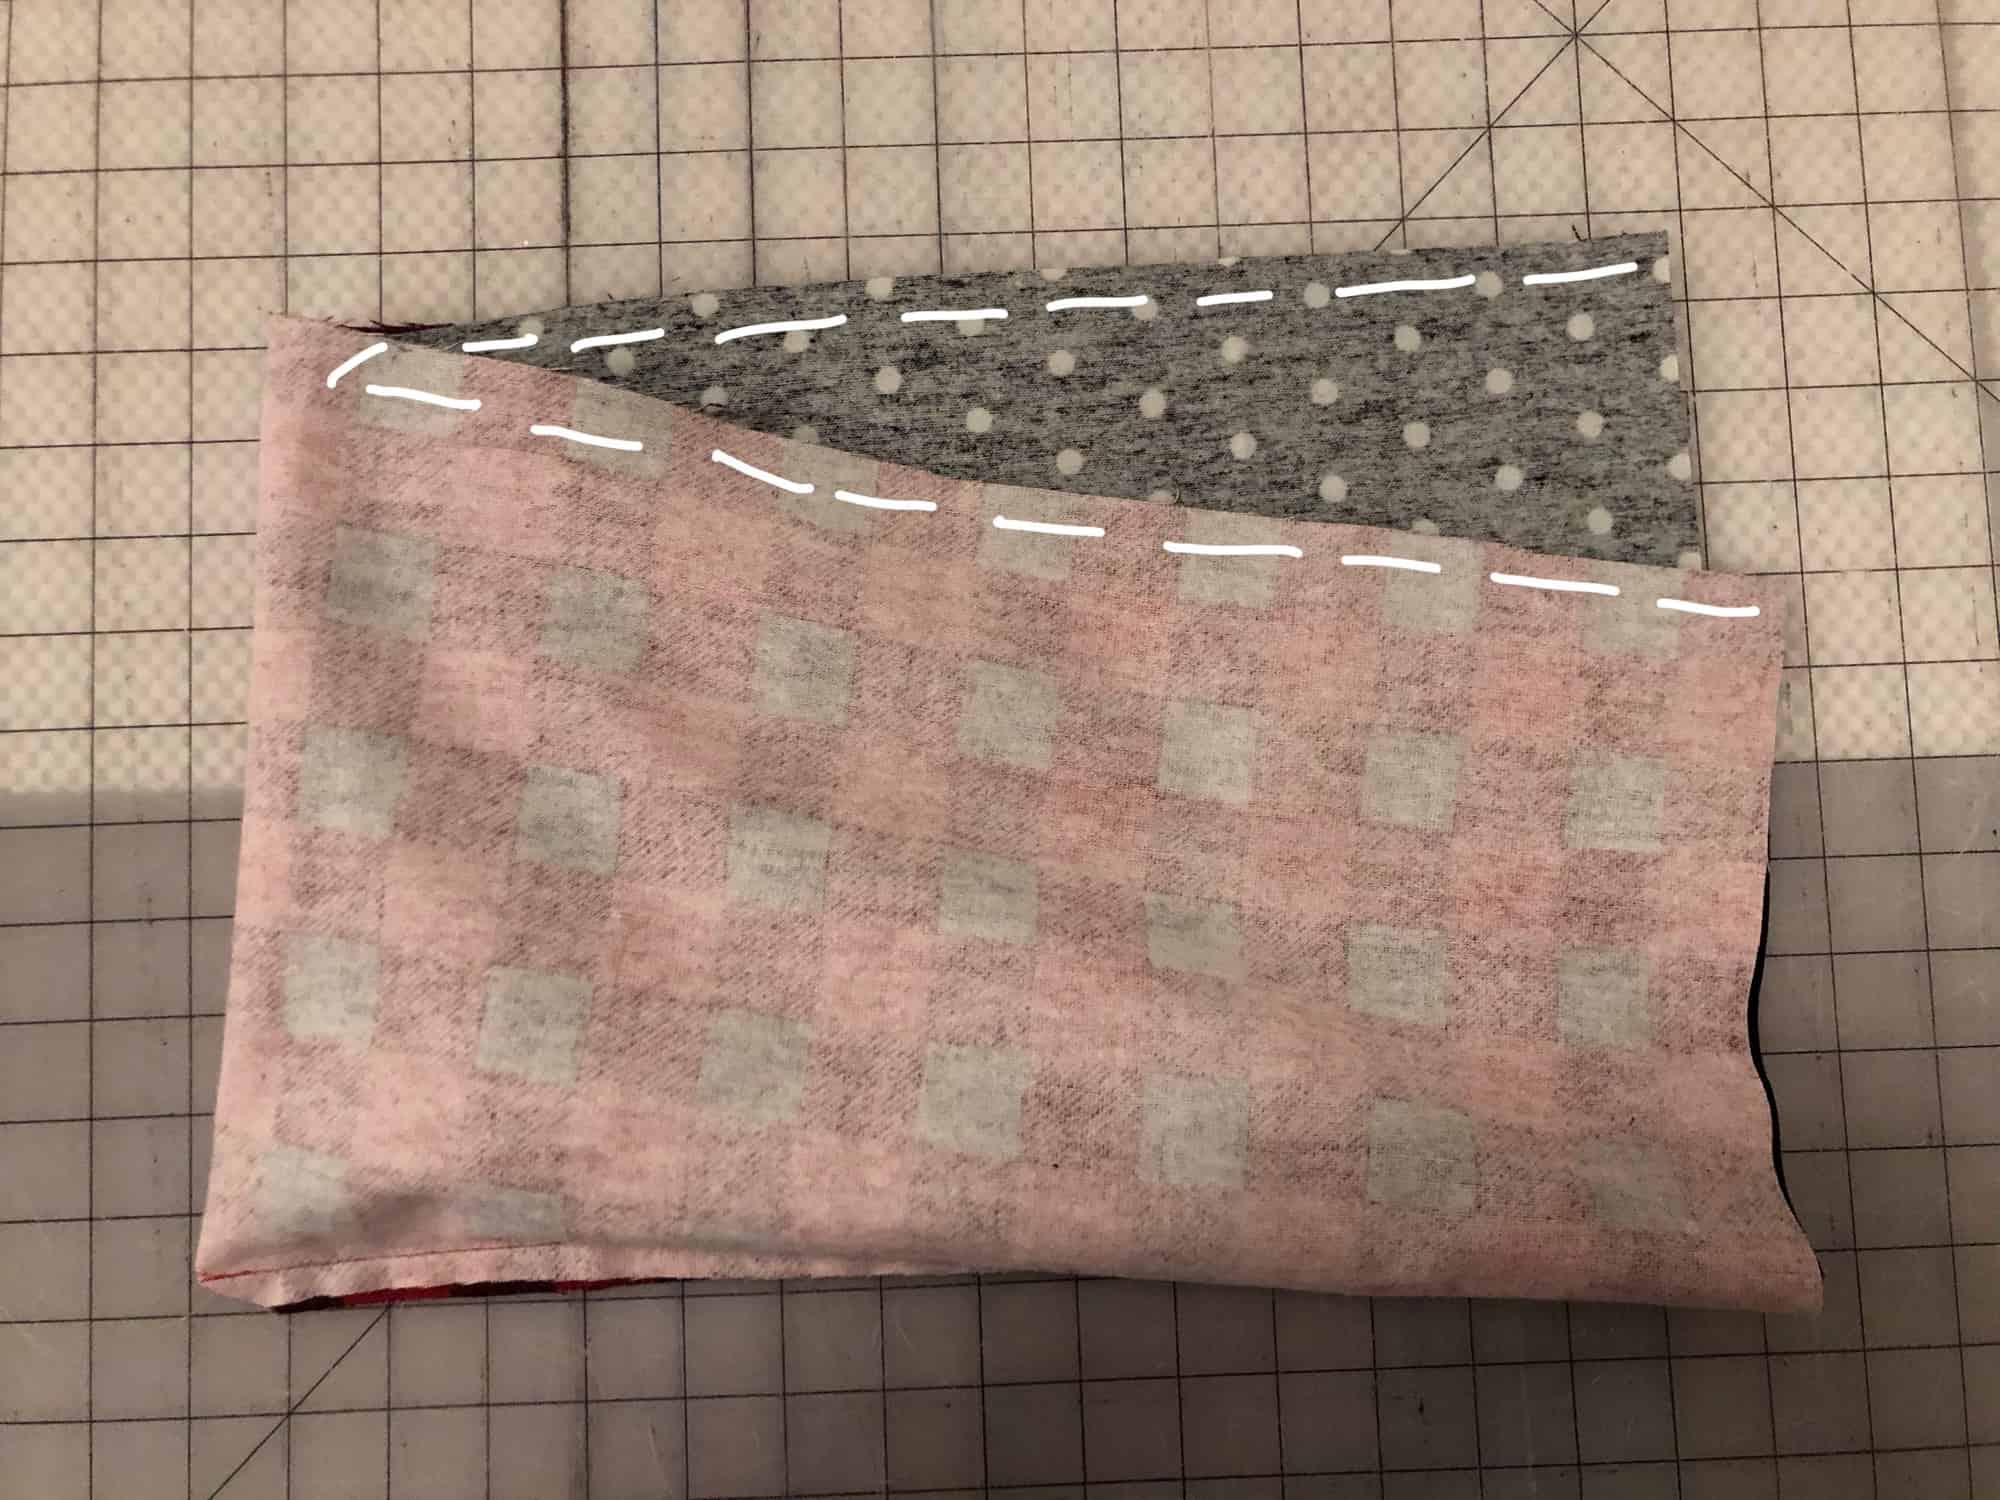
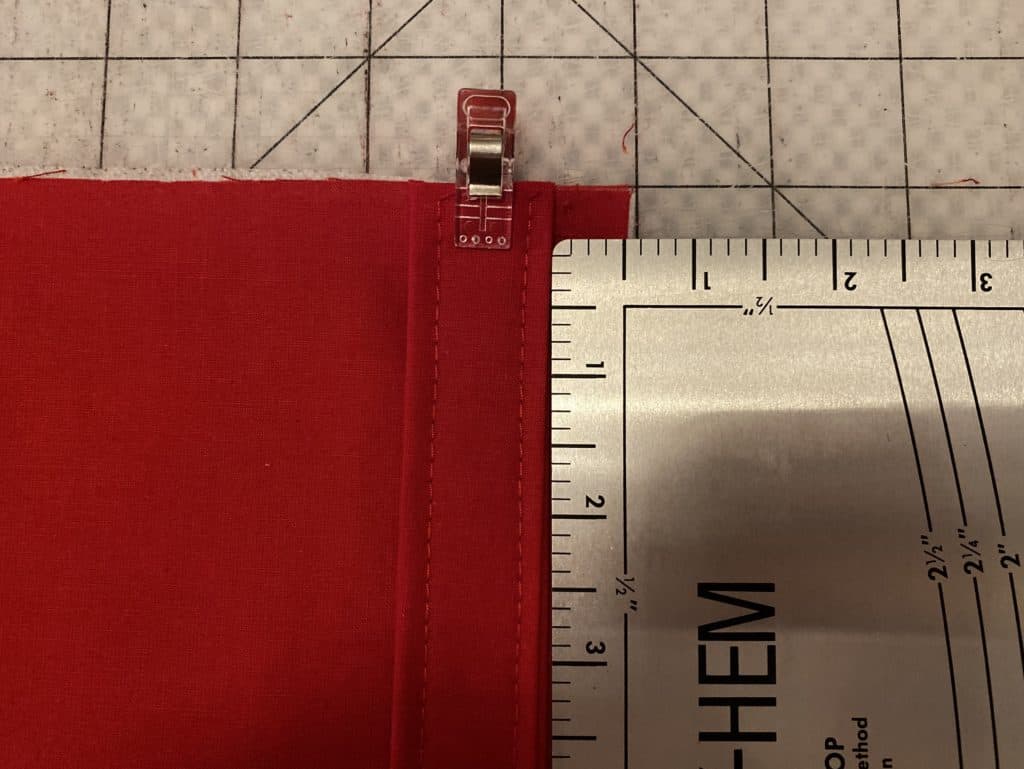
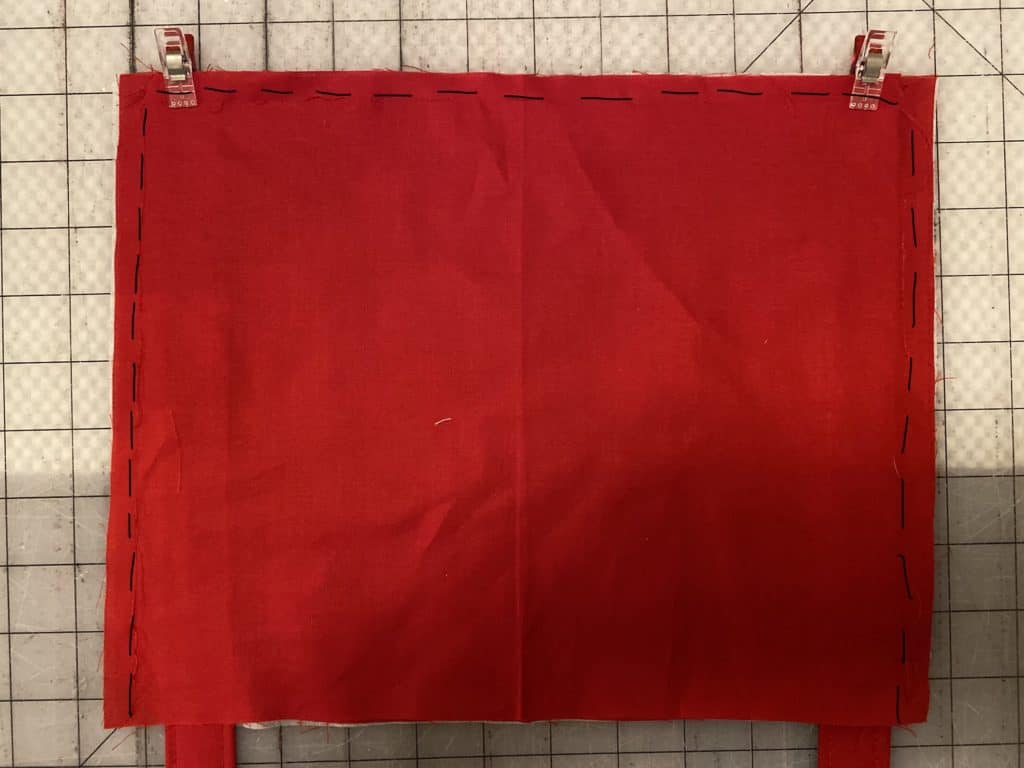
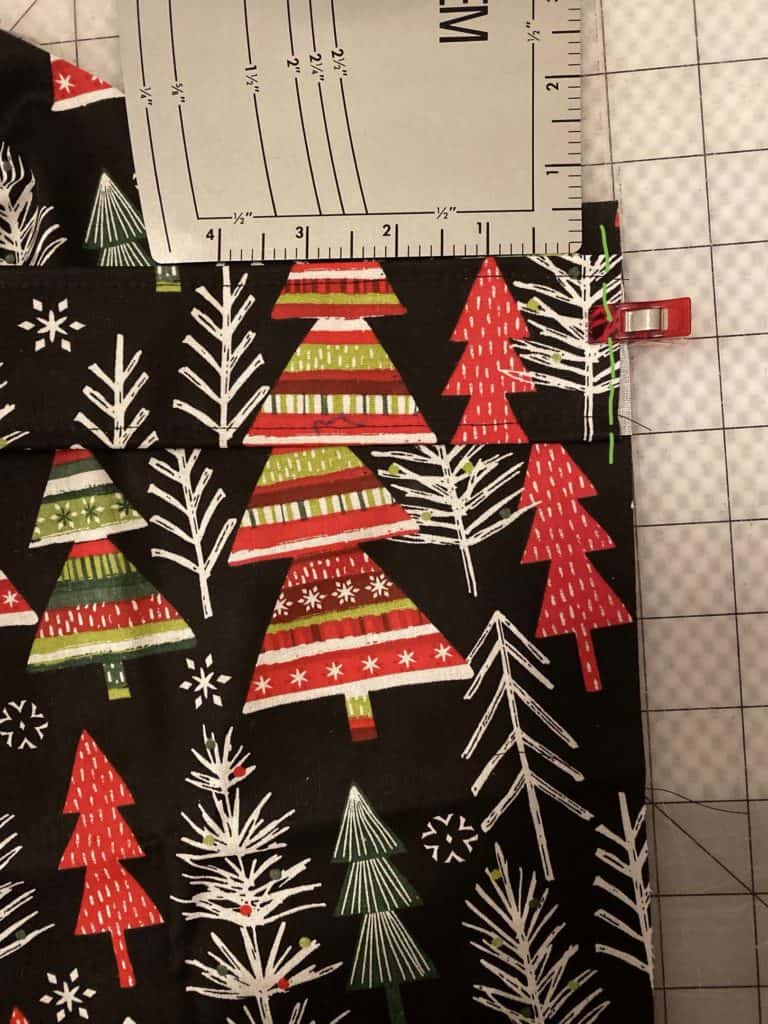
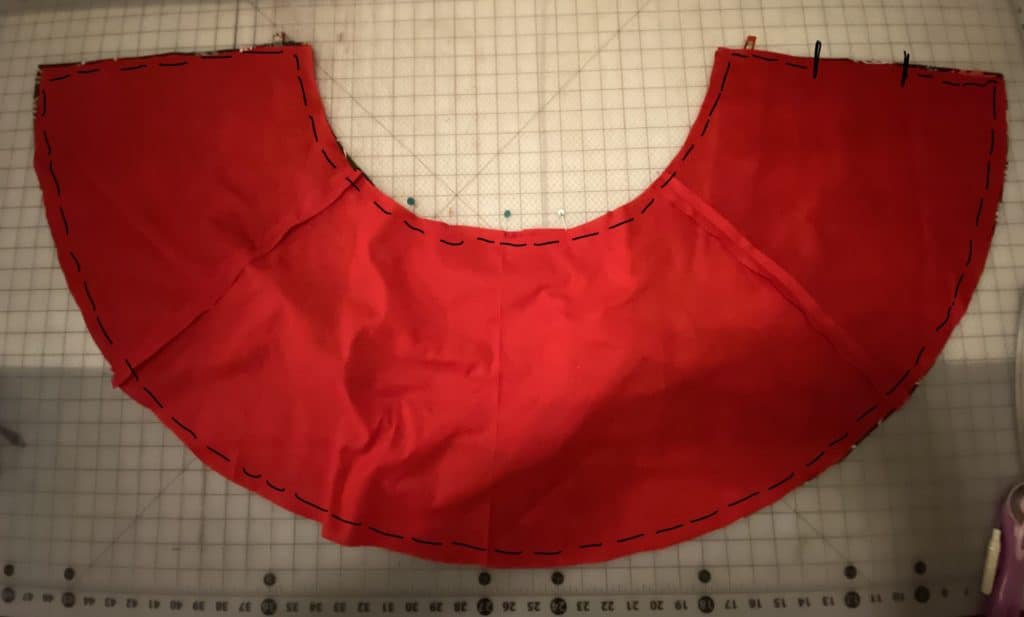
Using 1/2″ seam allowance, sew along entire outer edge. Leave 2-3″ opening along straight edge for turning.
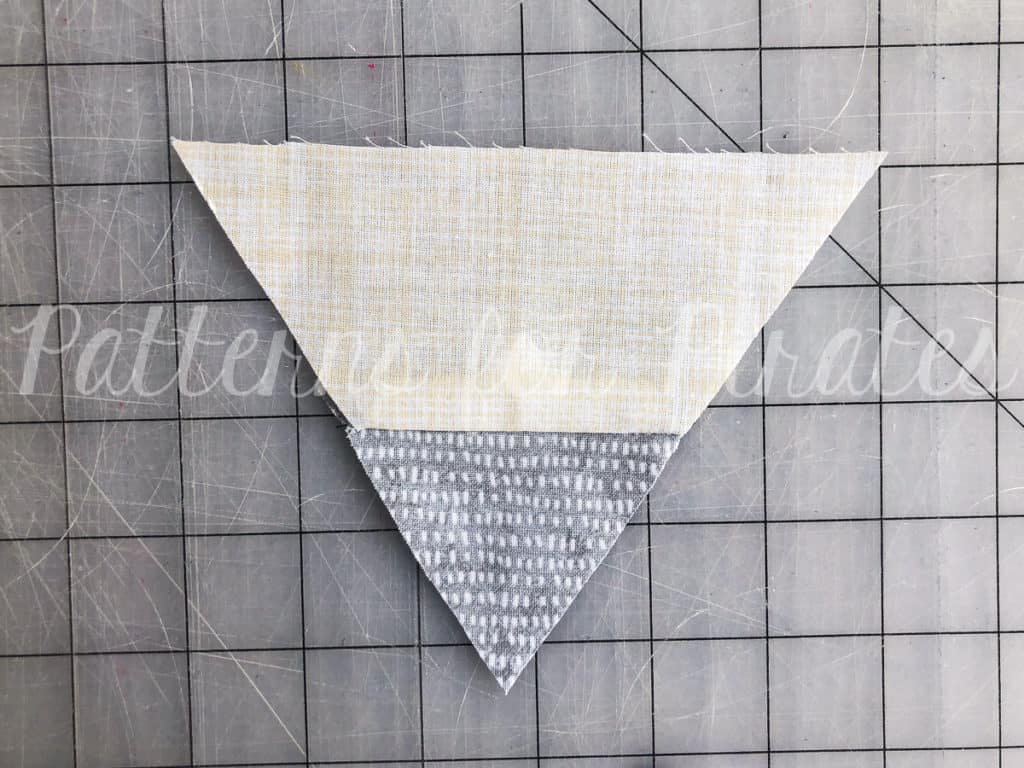
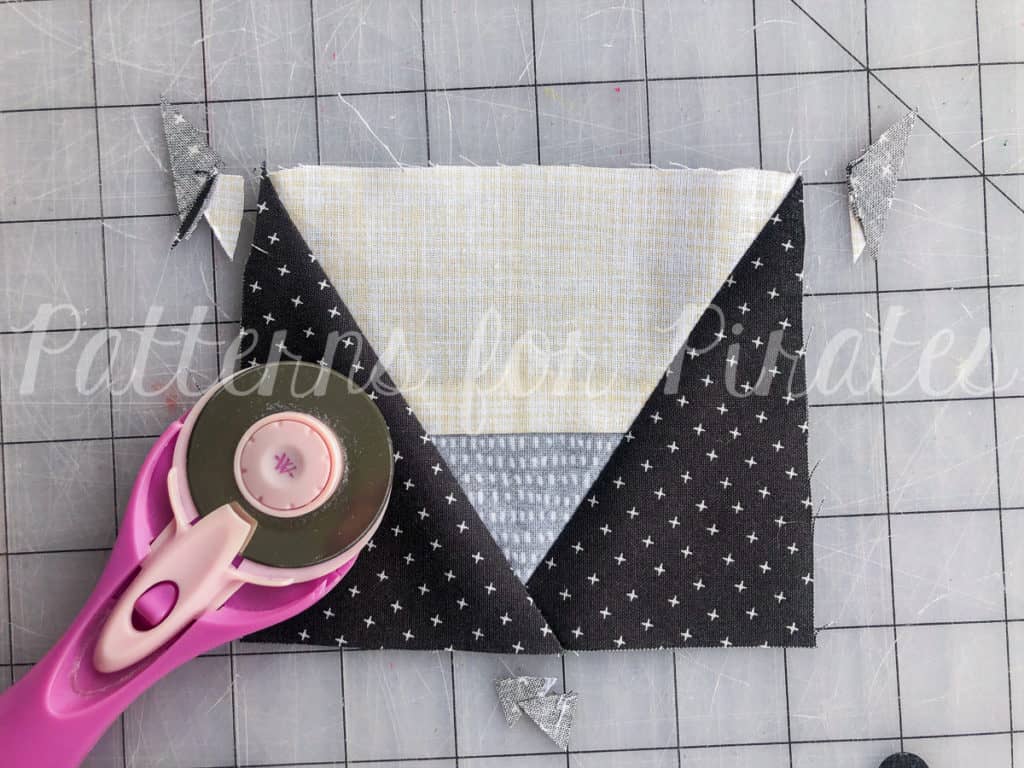
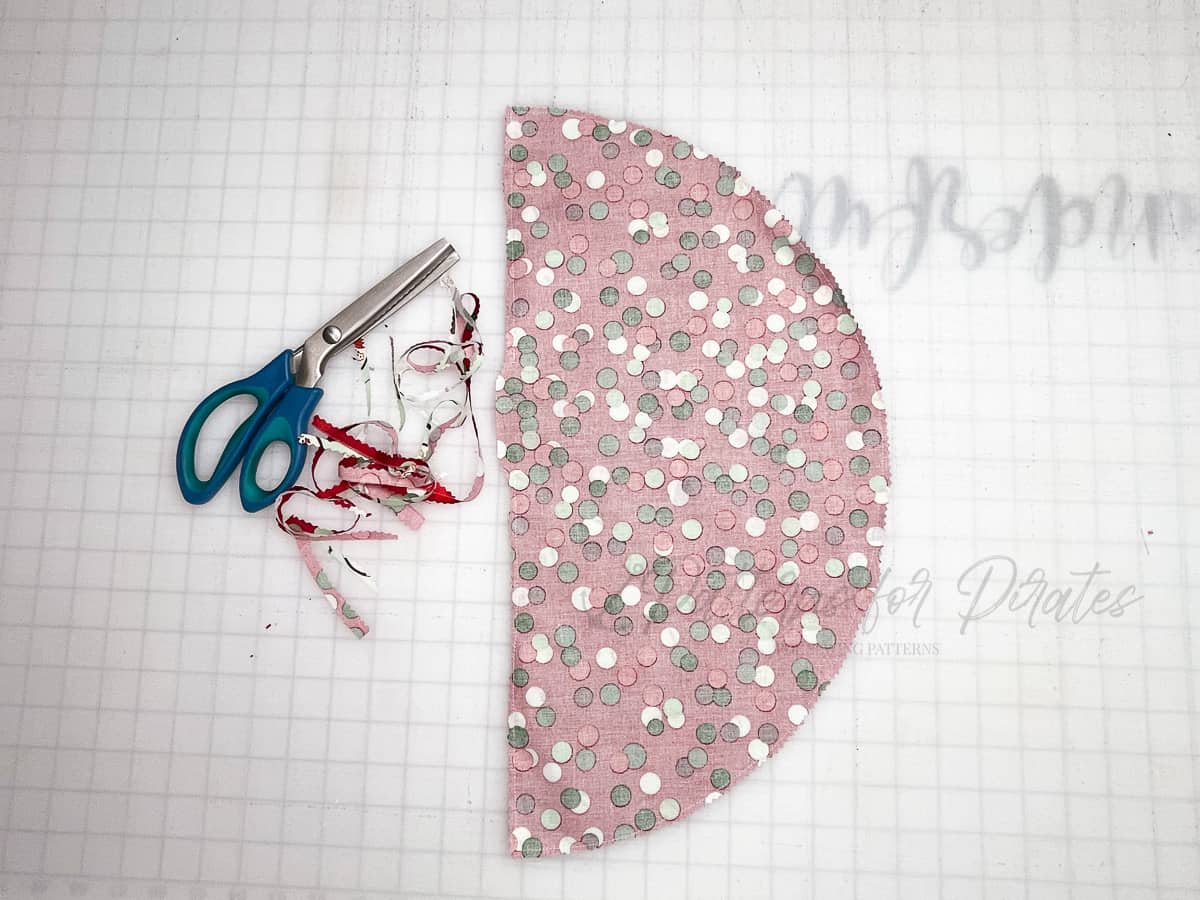
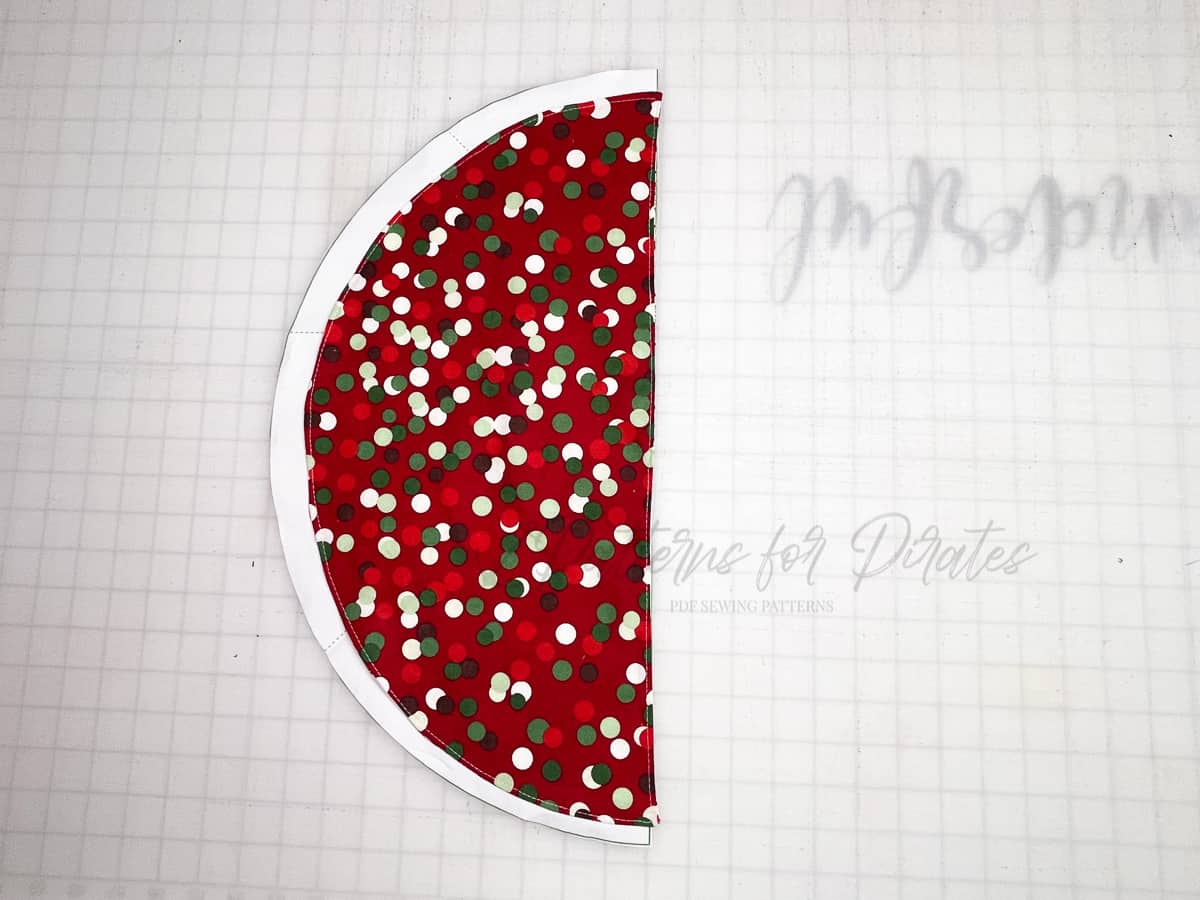
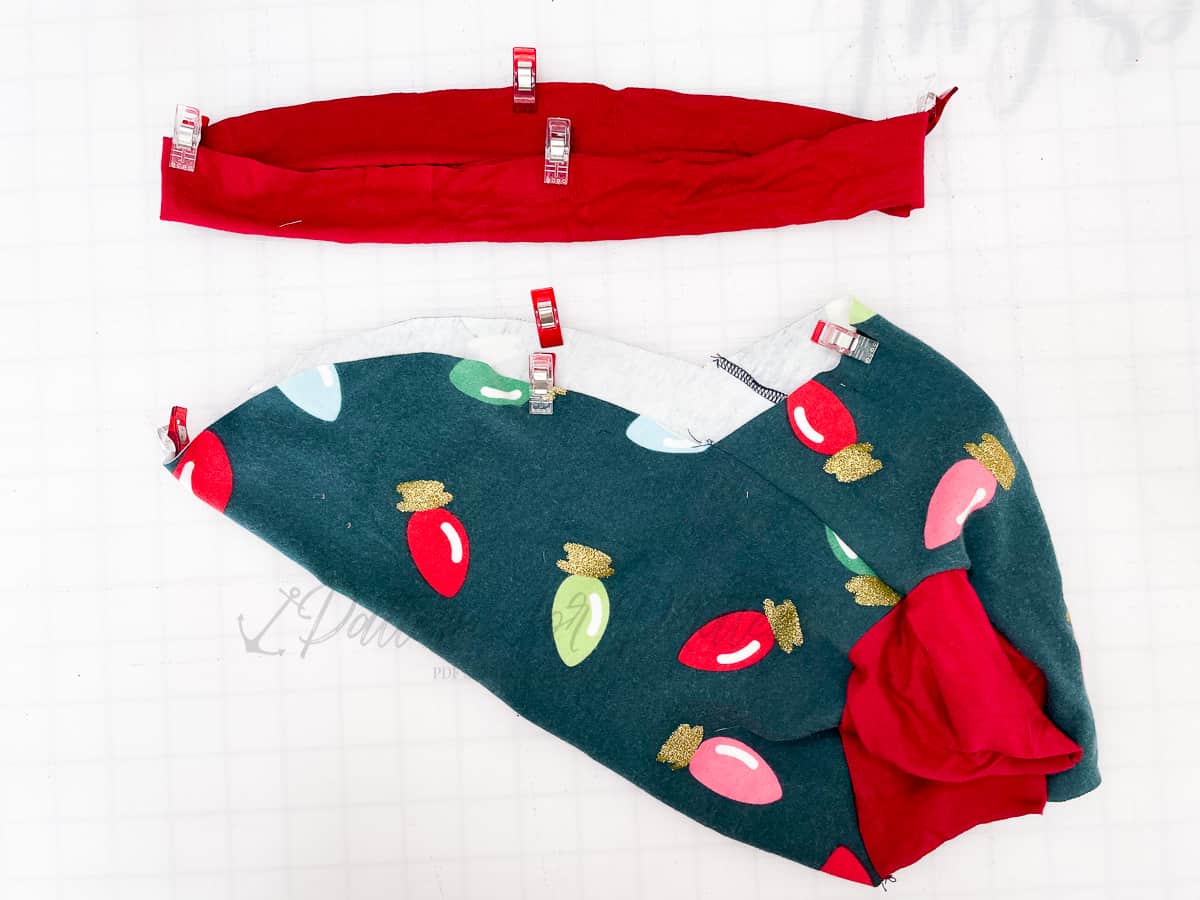
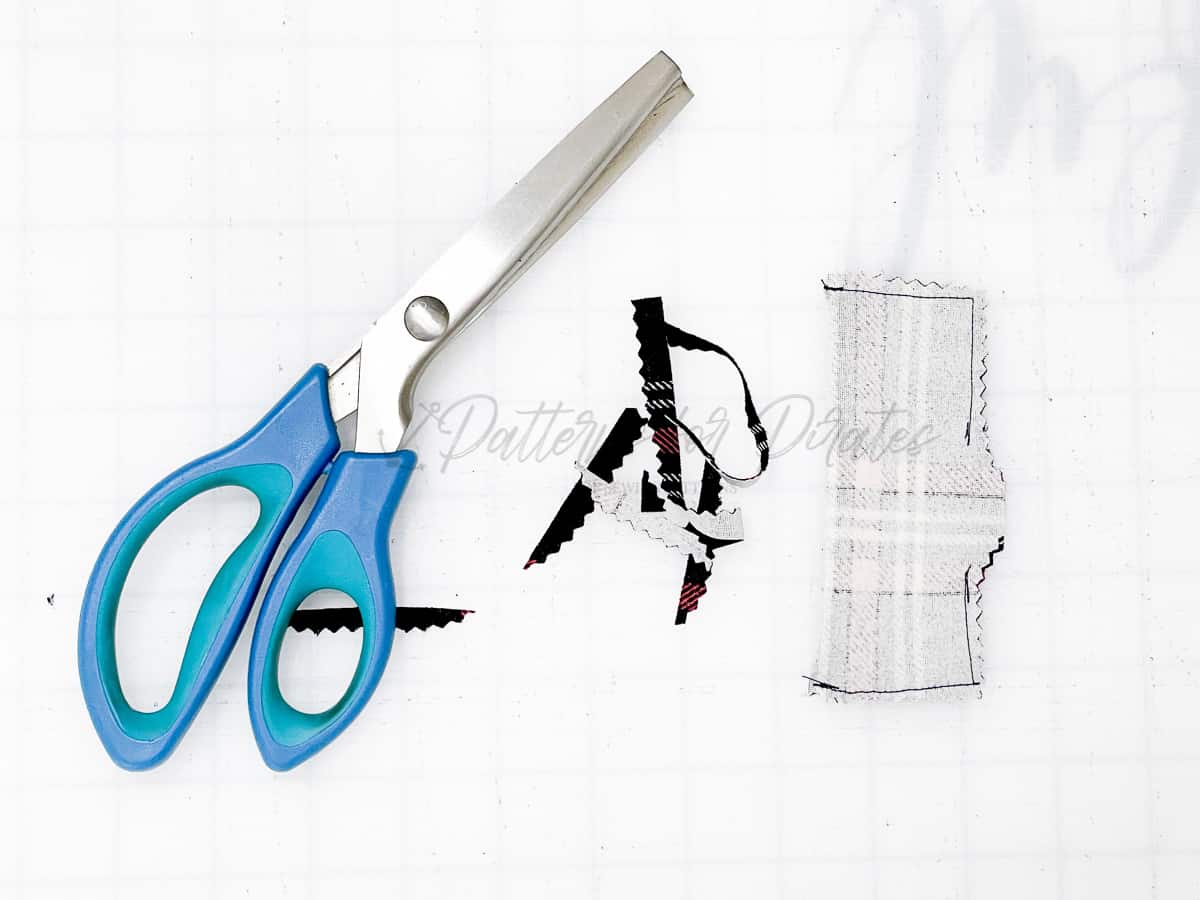
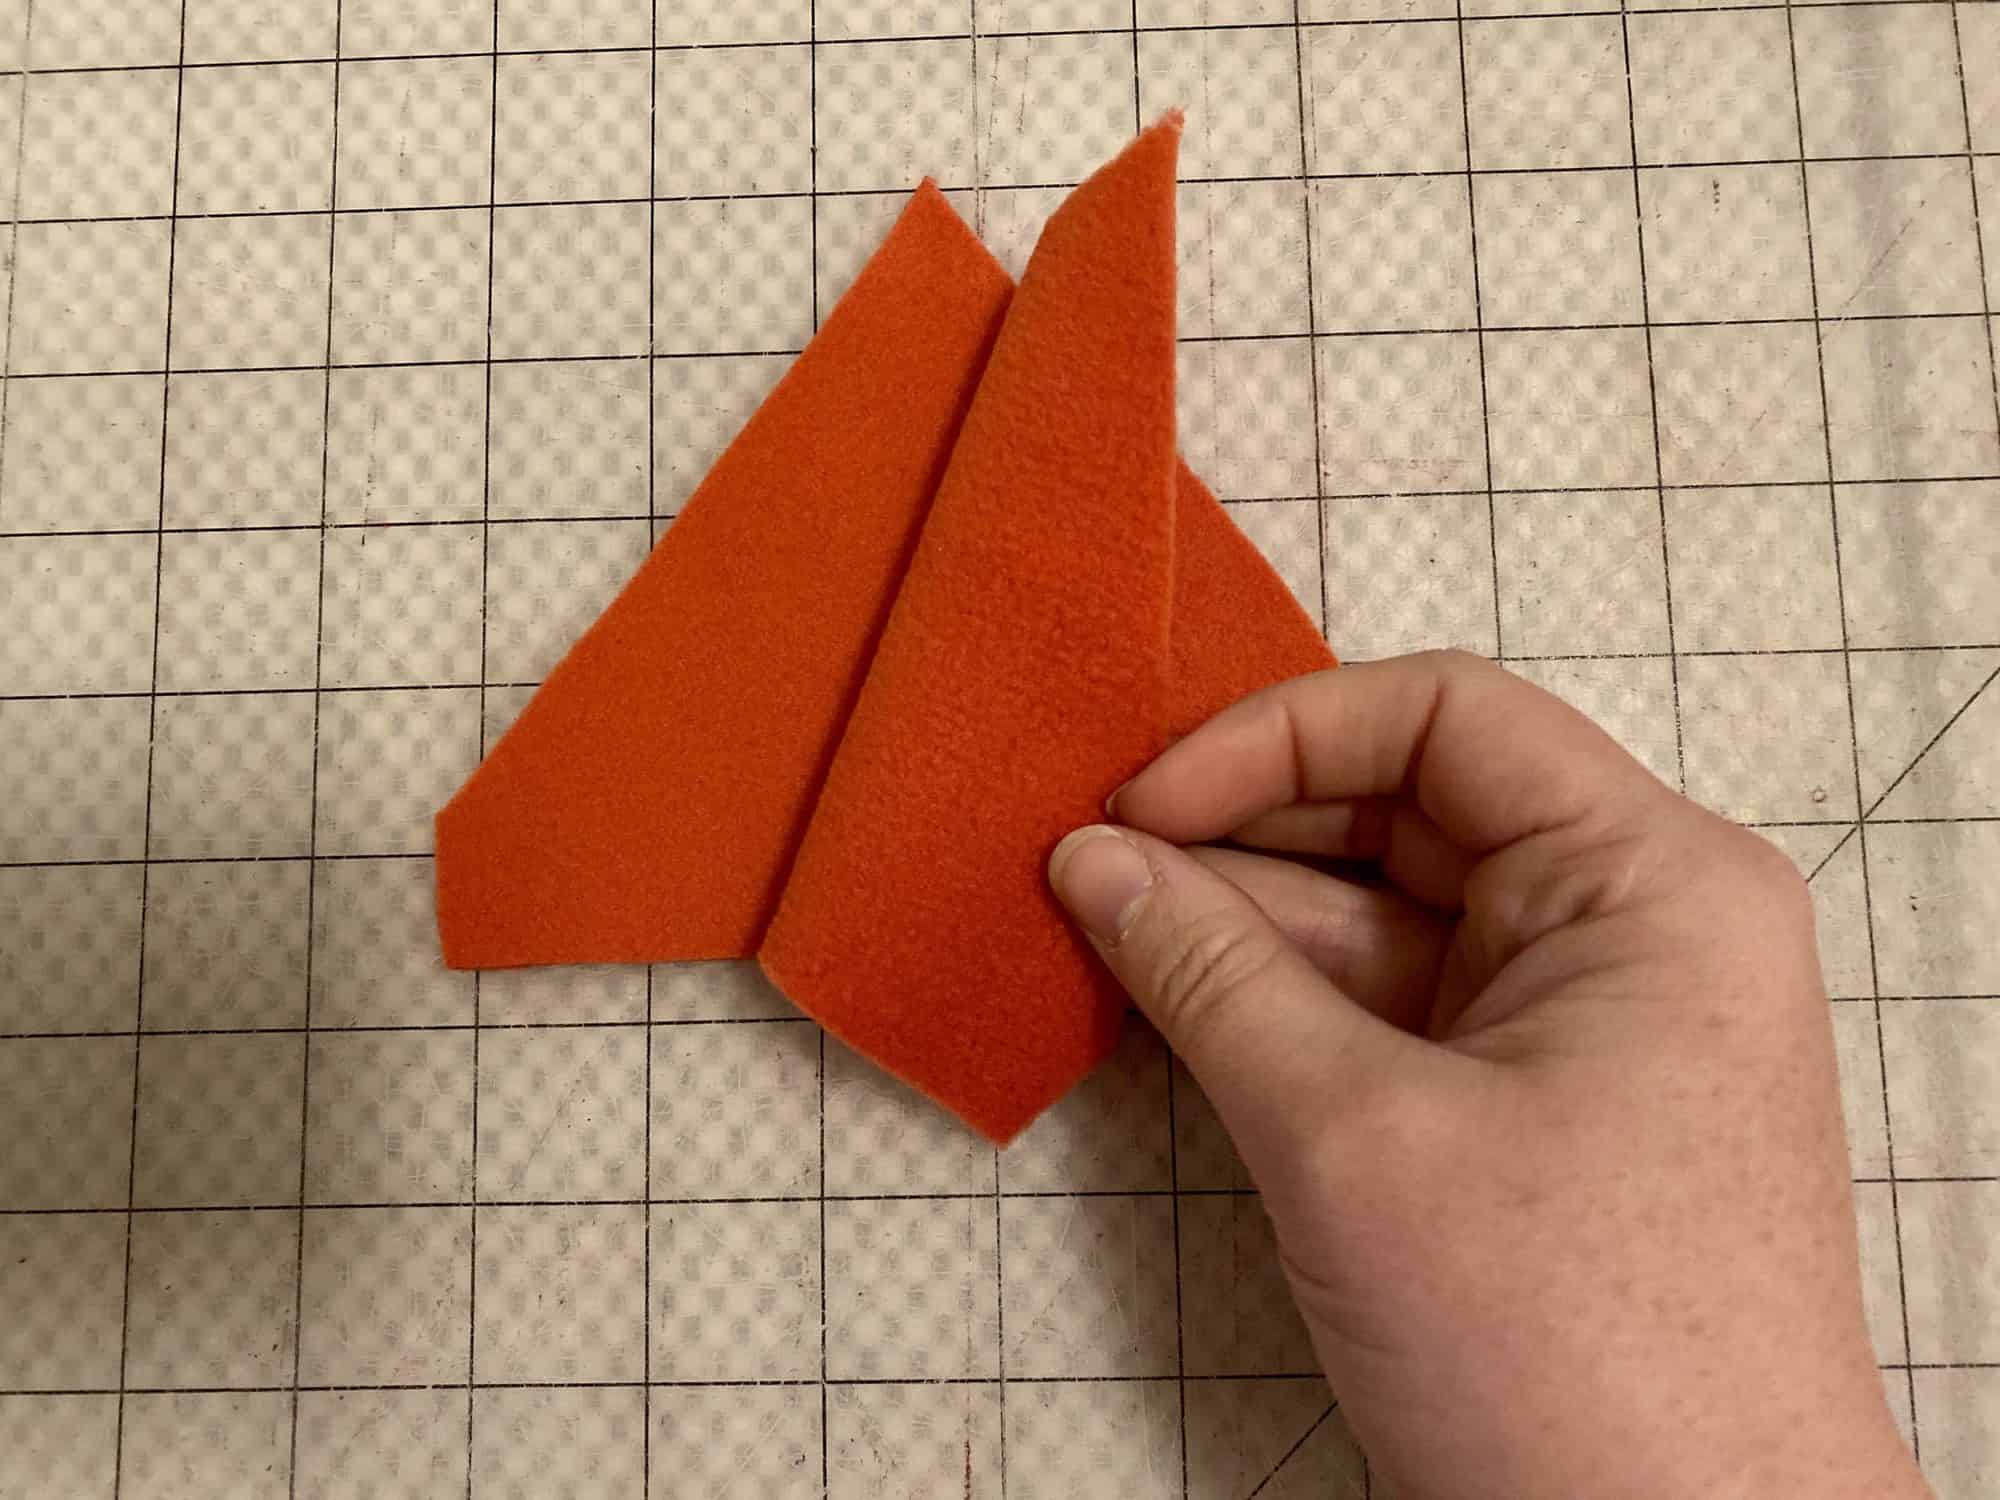
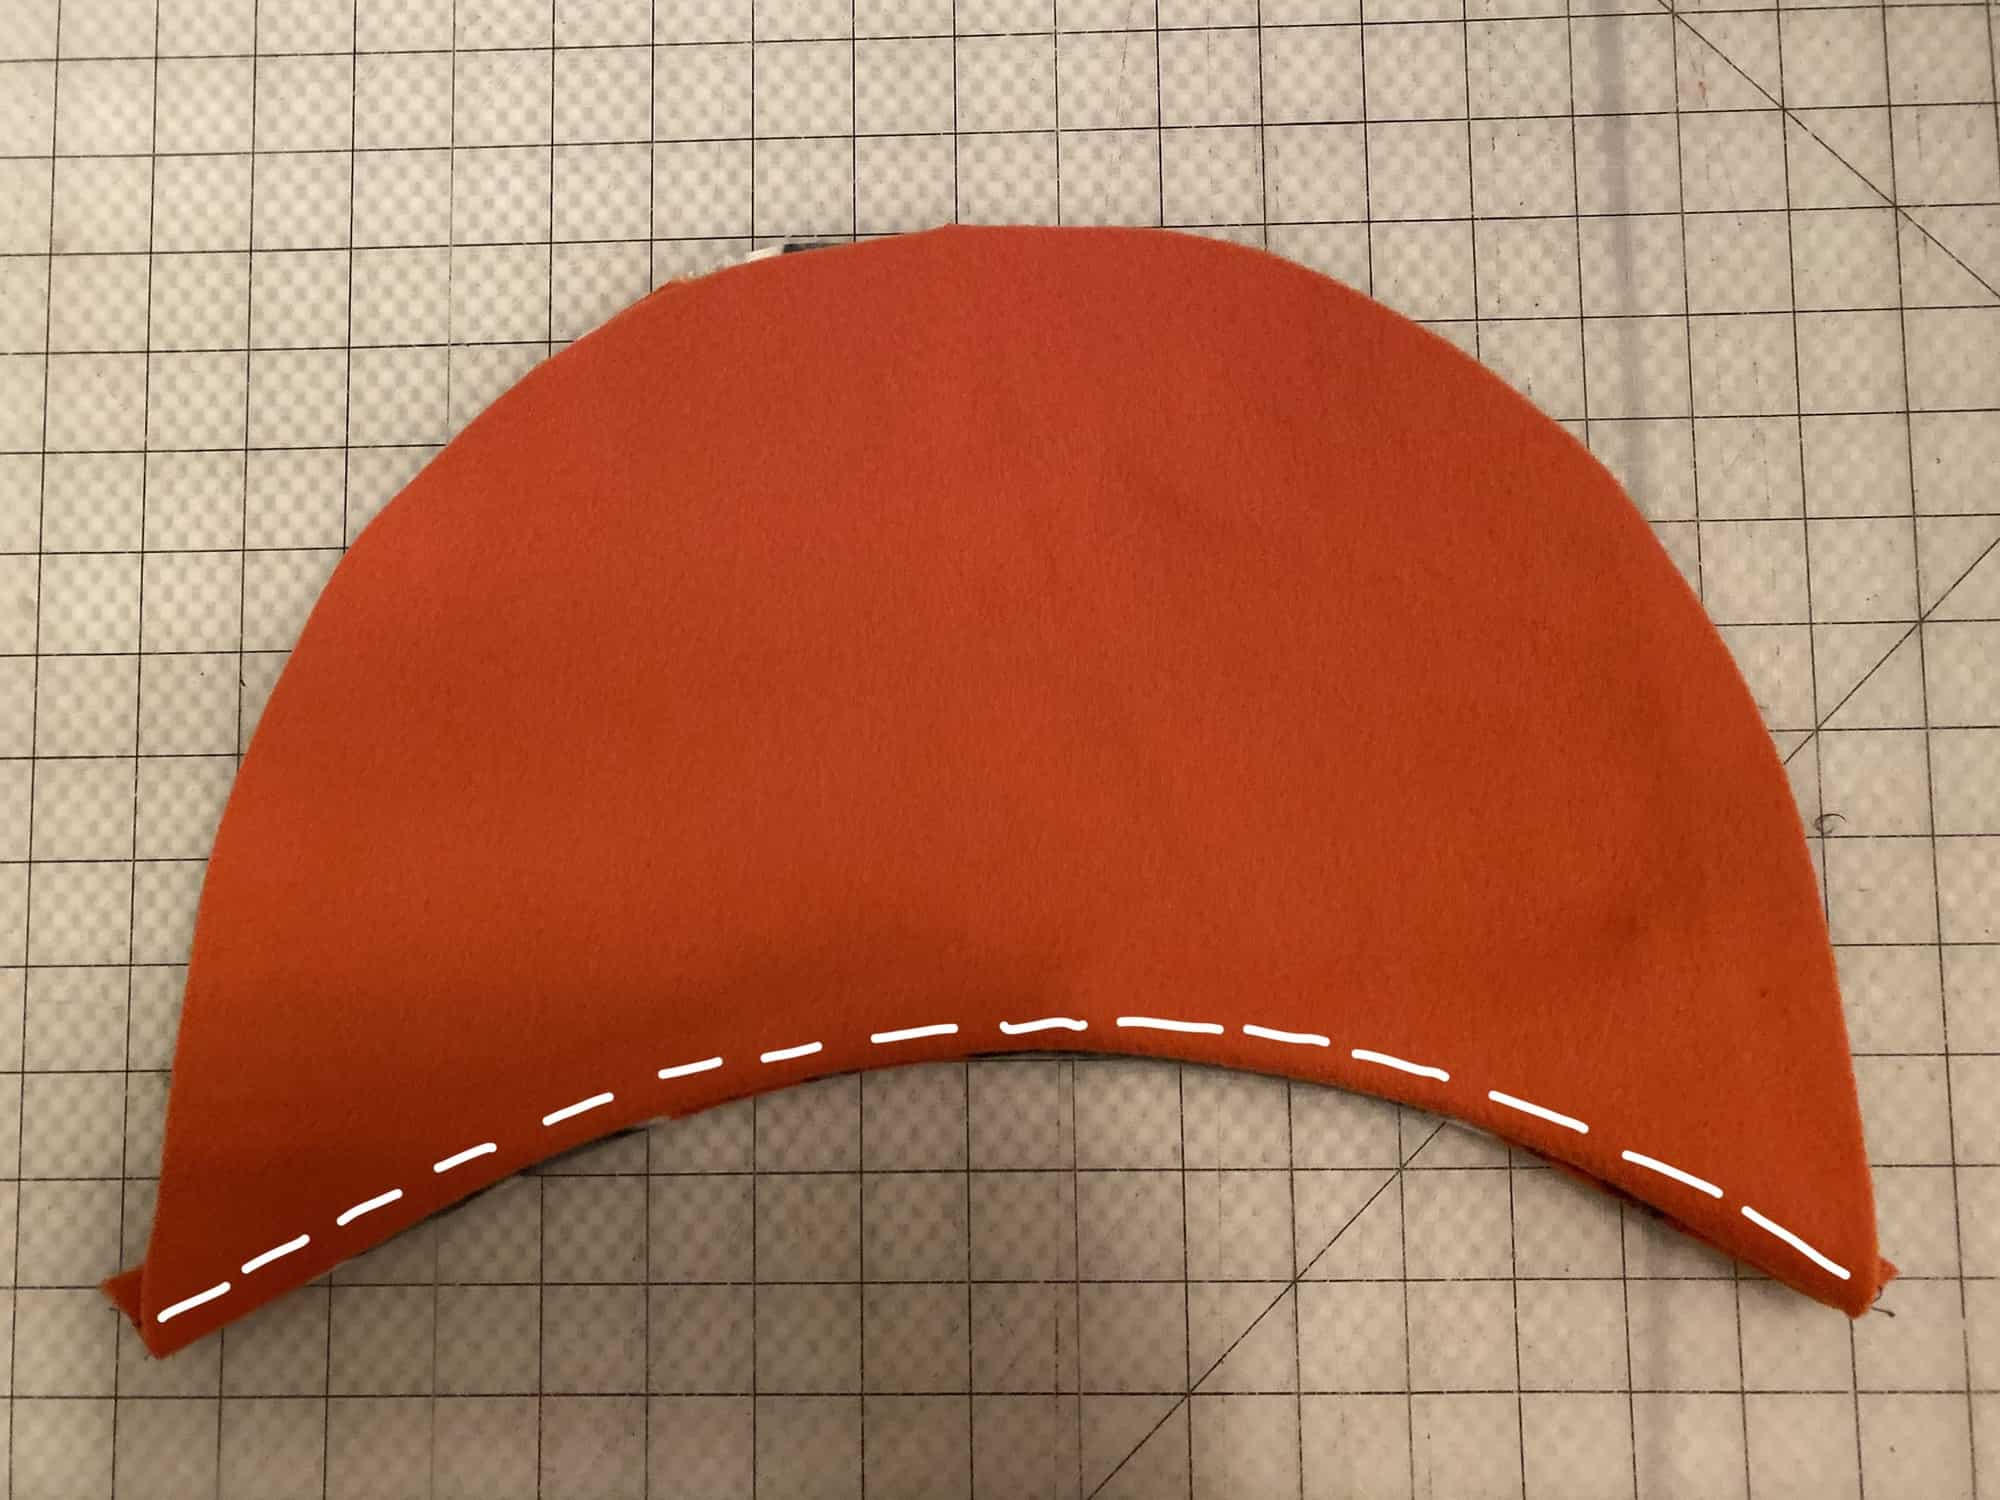
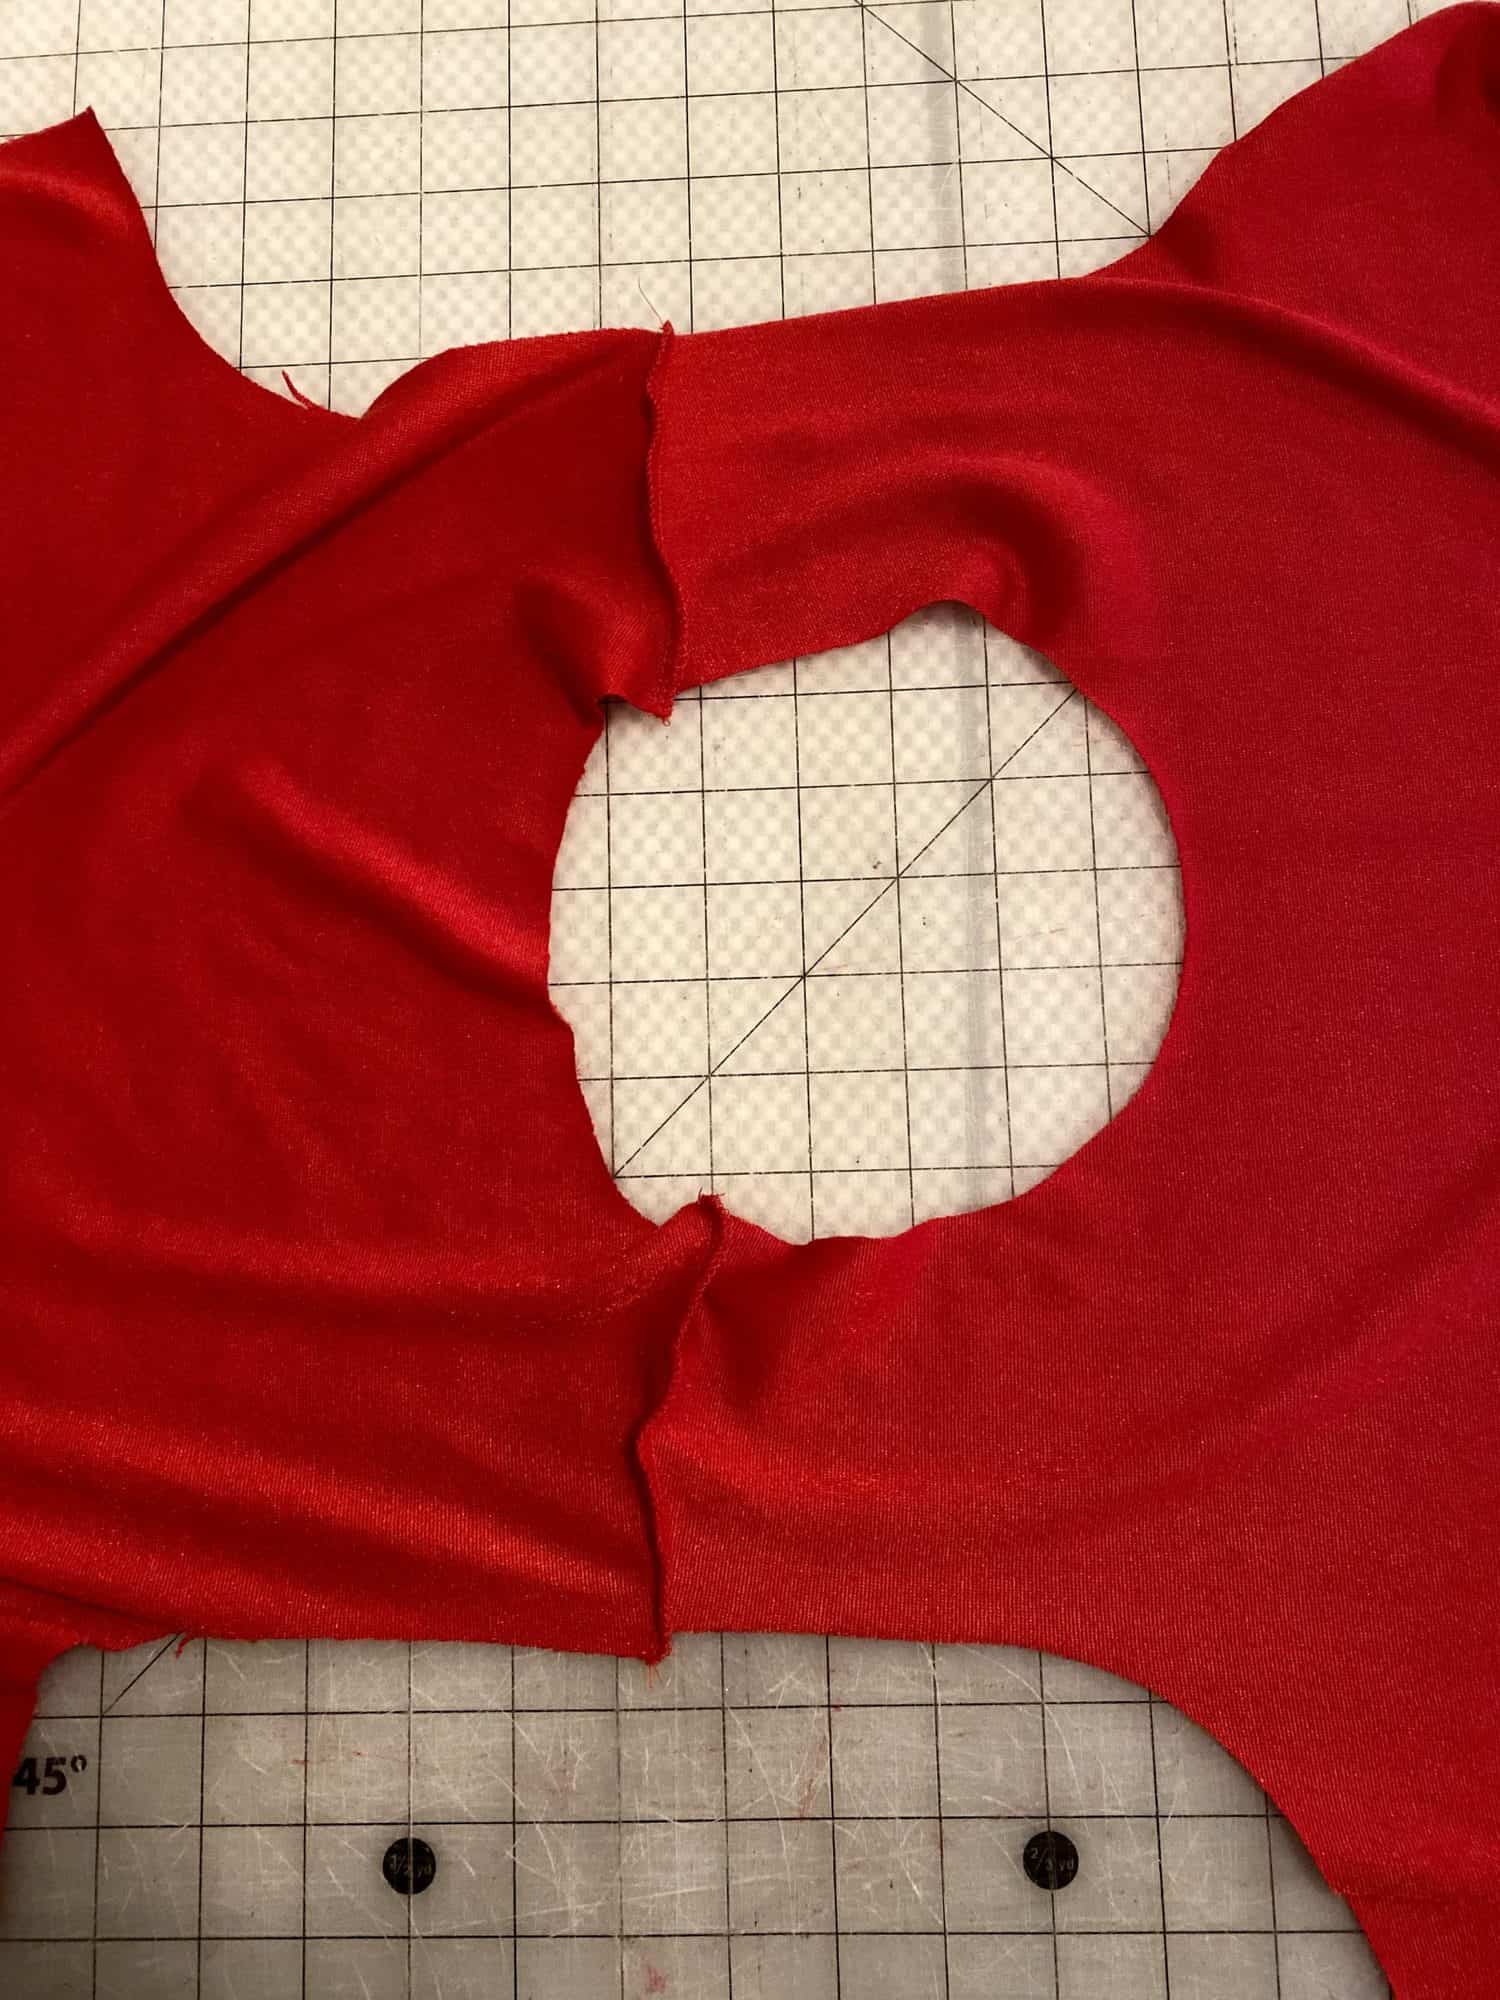
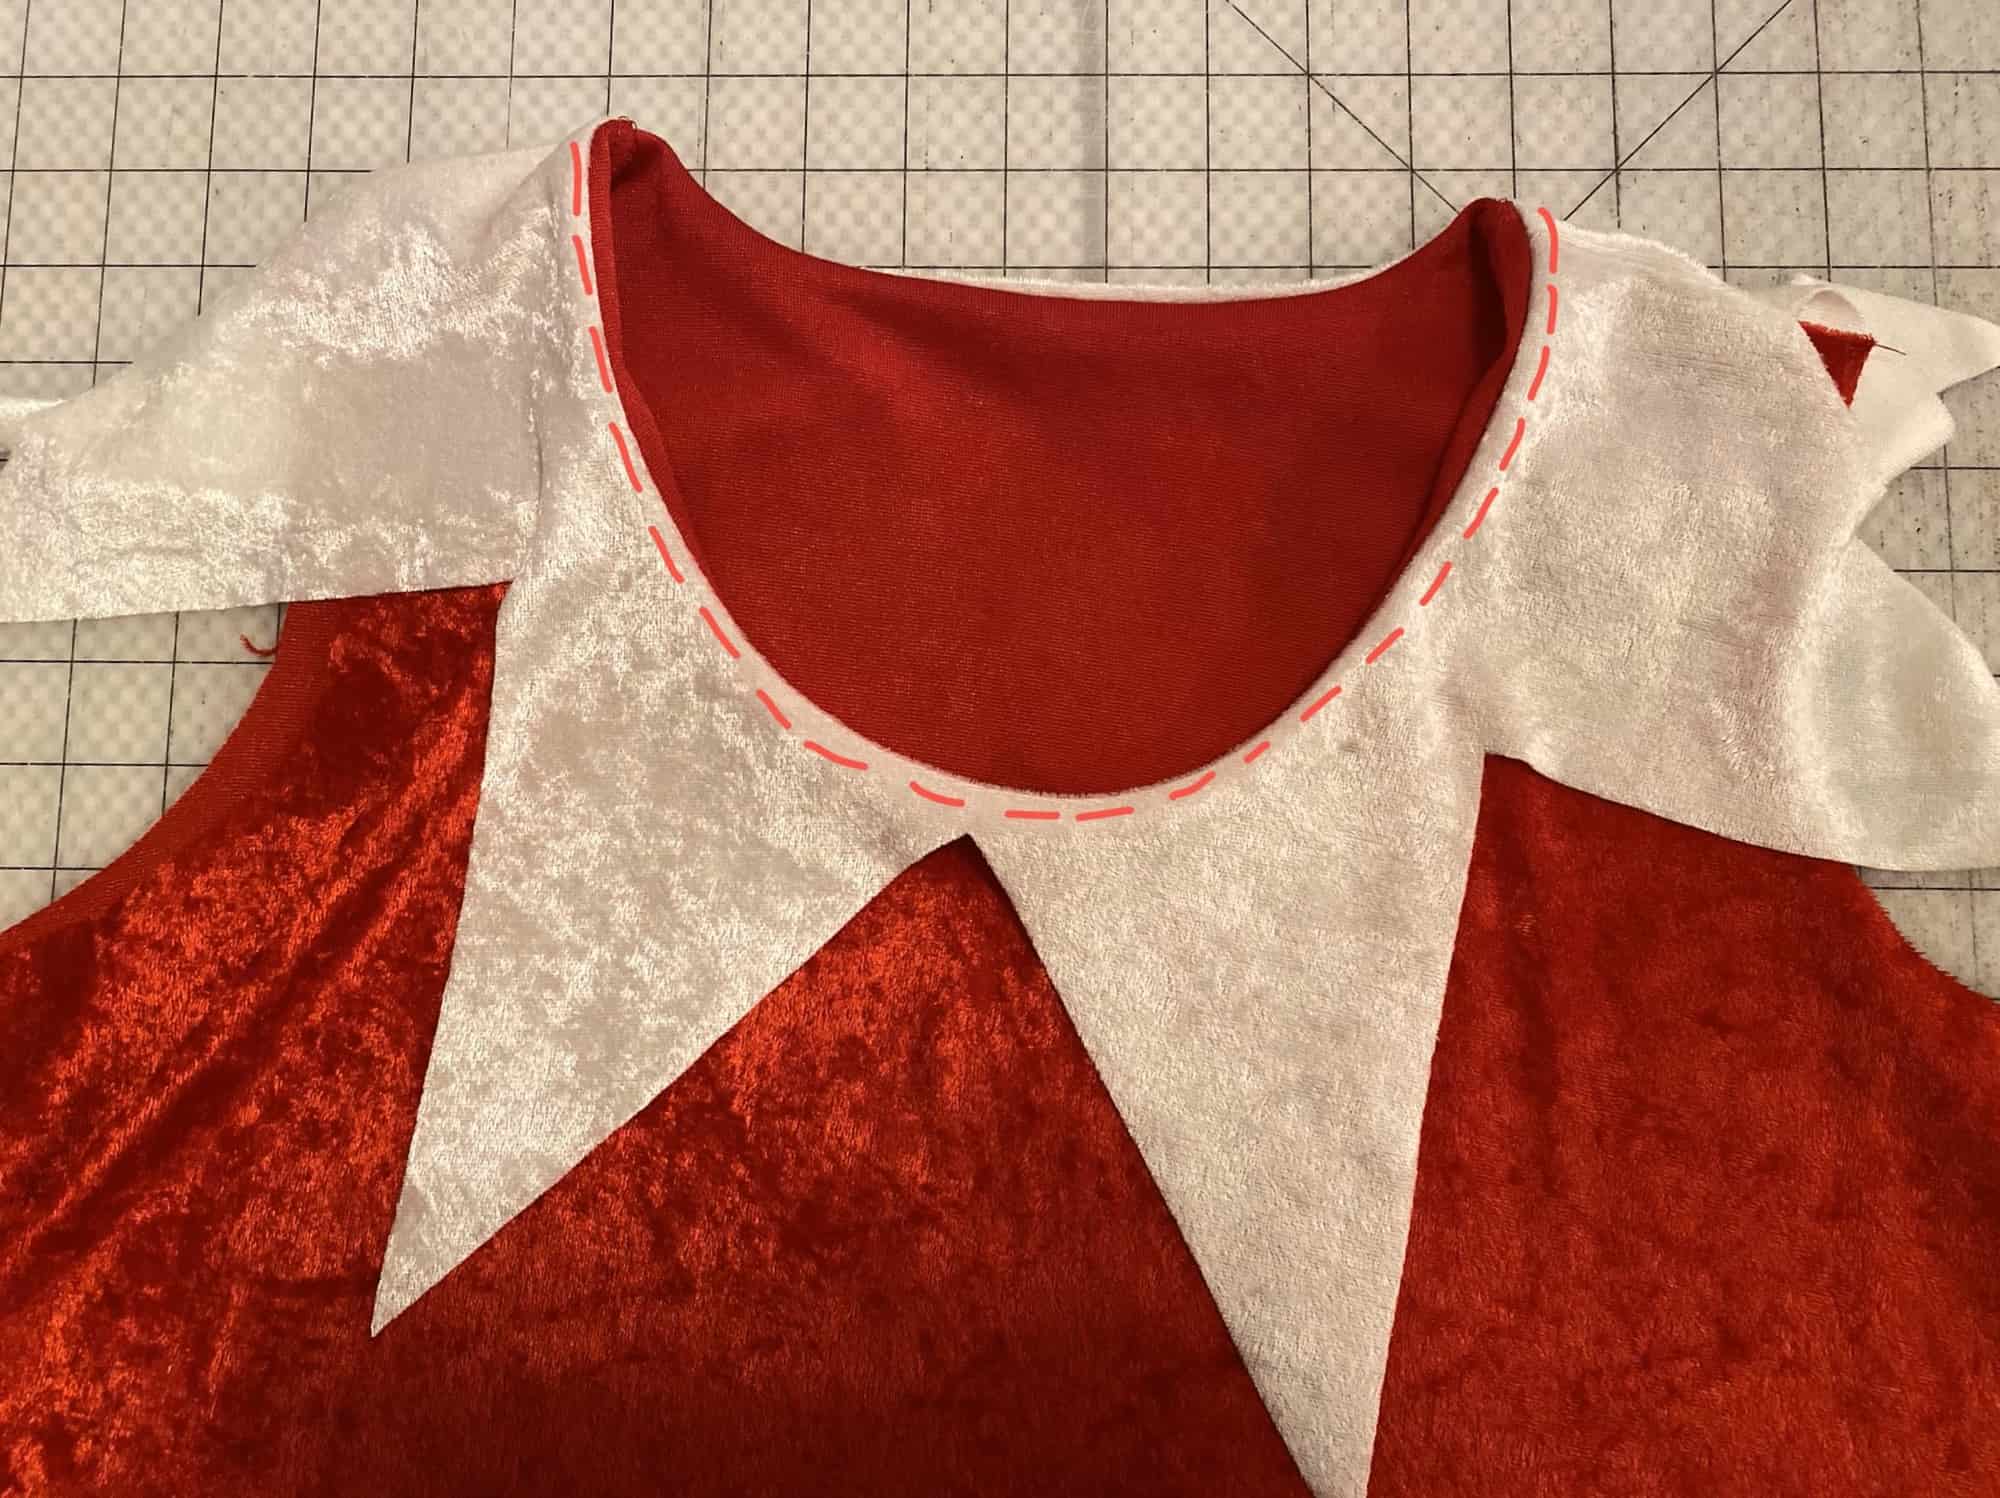
Trim down seam allowances, for smoother curves and sharper corners.
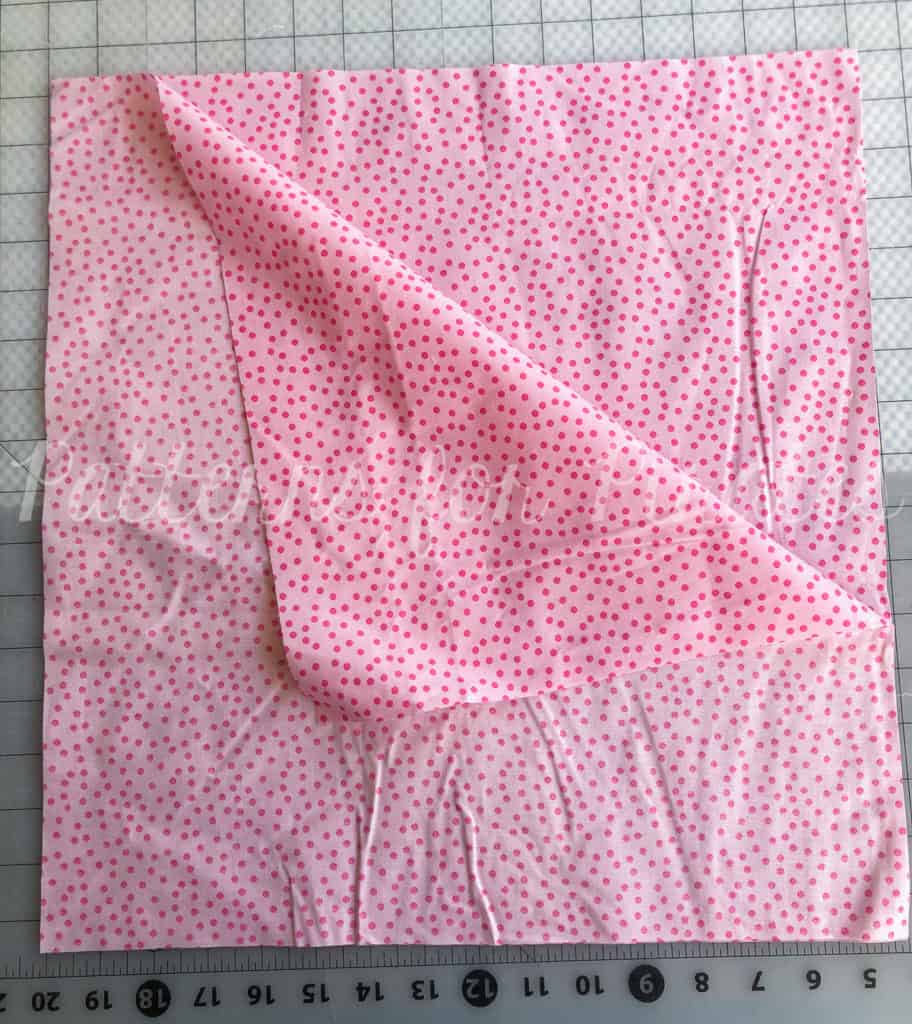
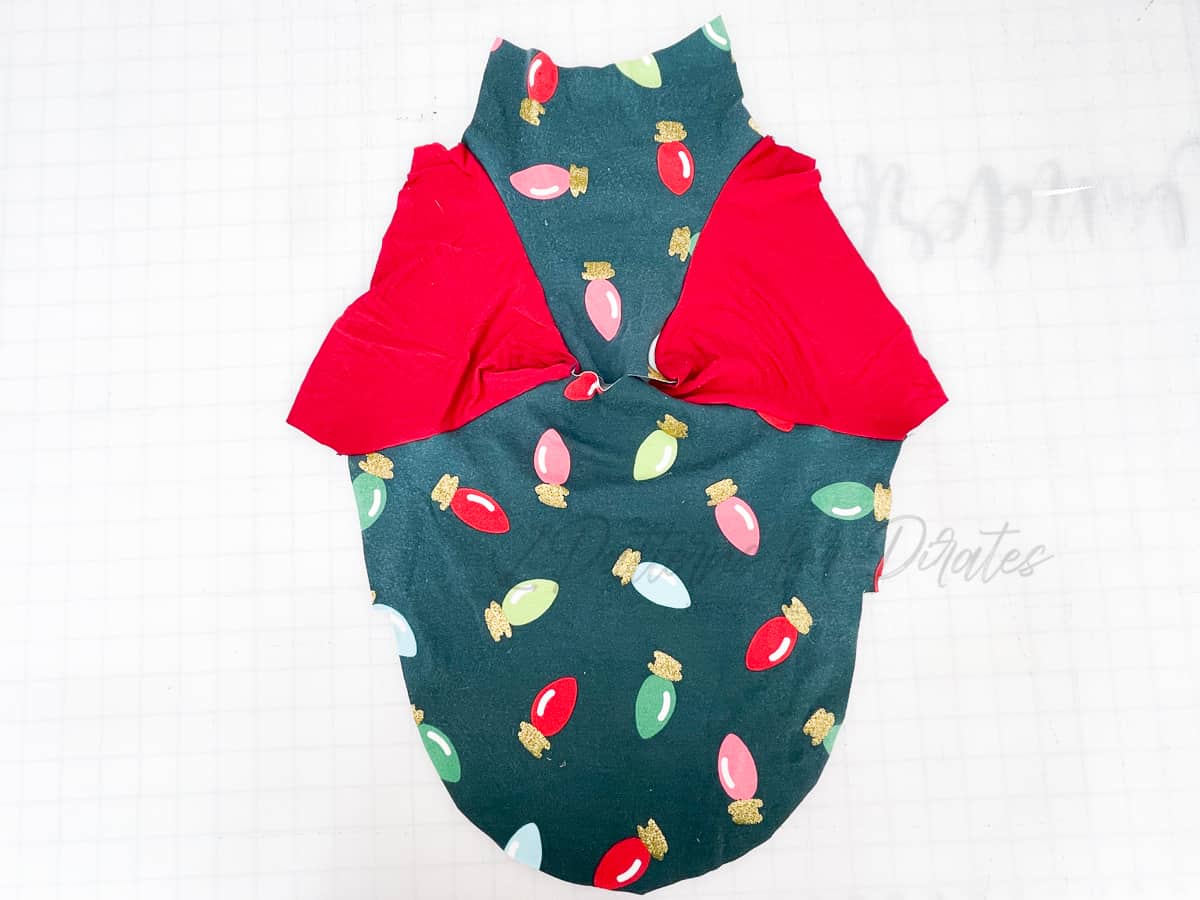
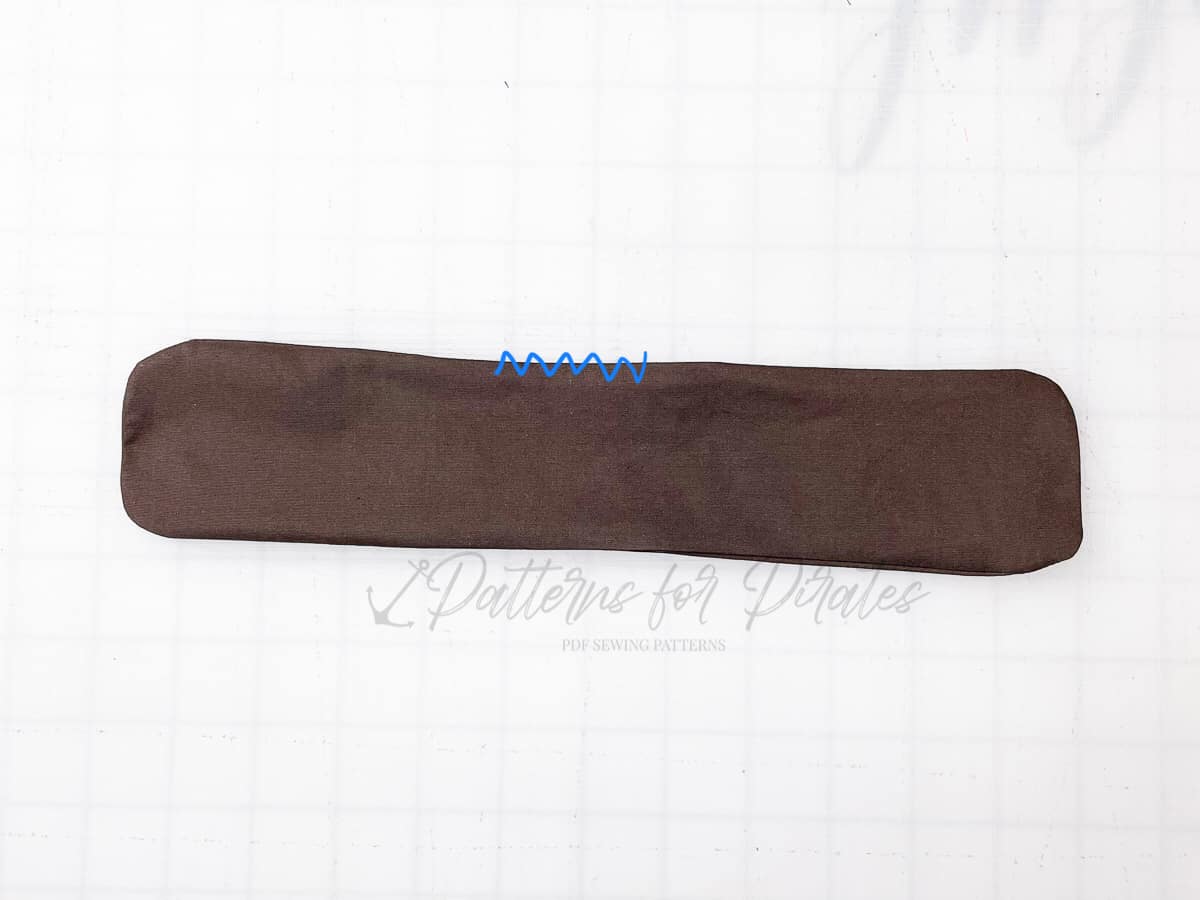
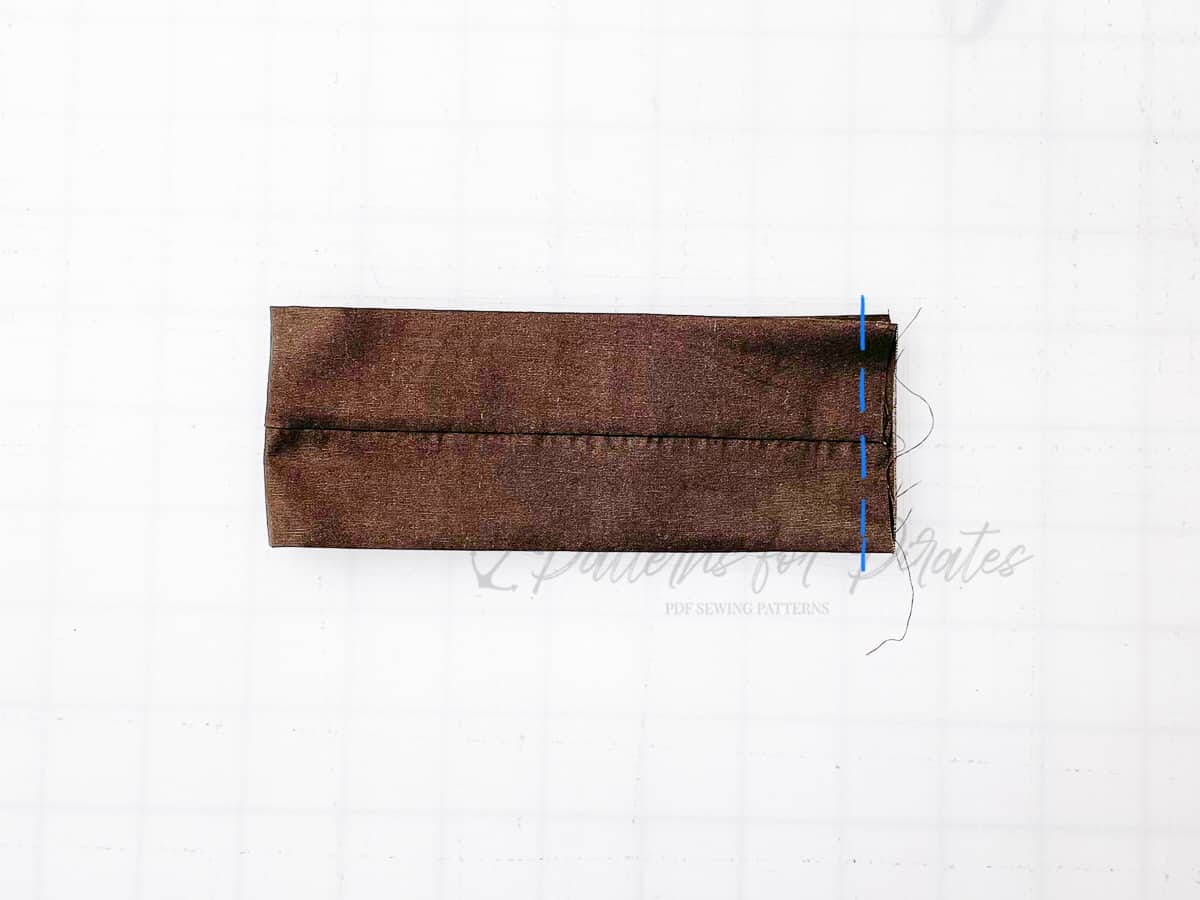
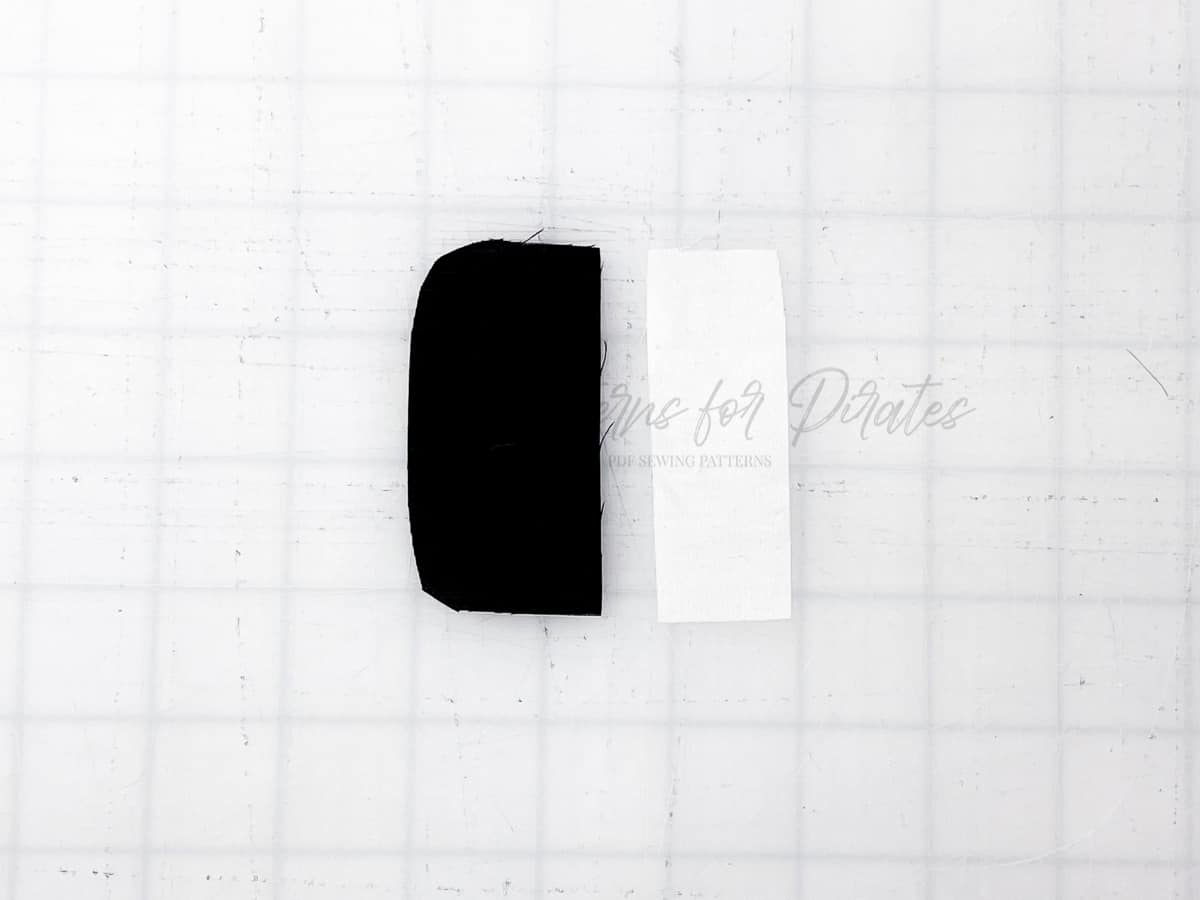
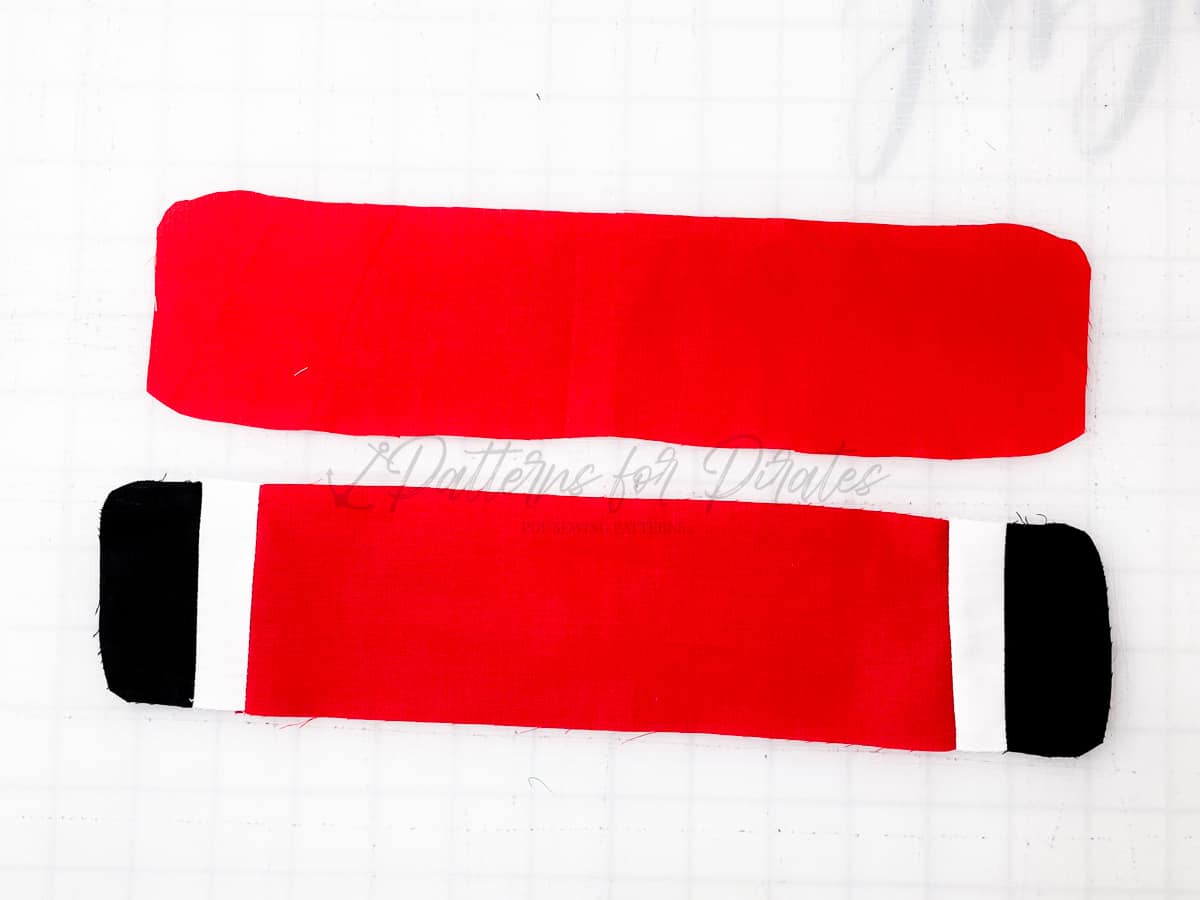
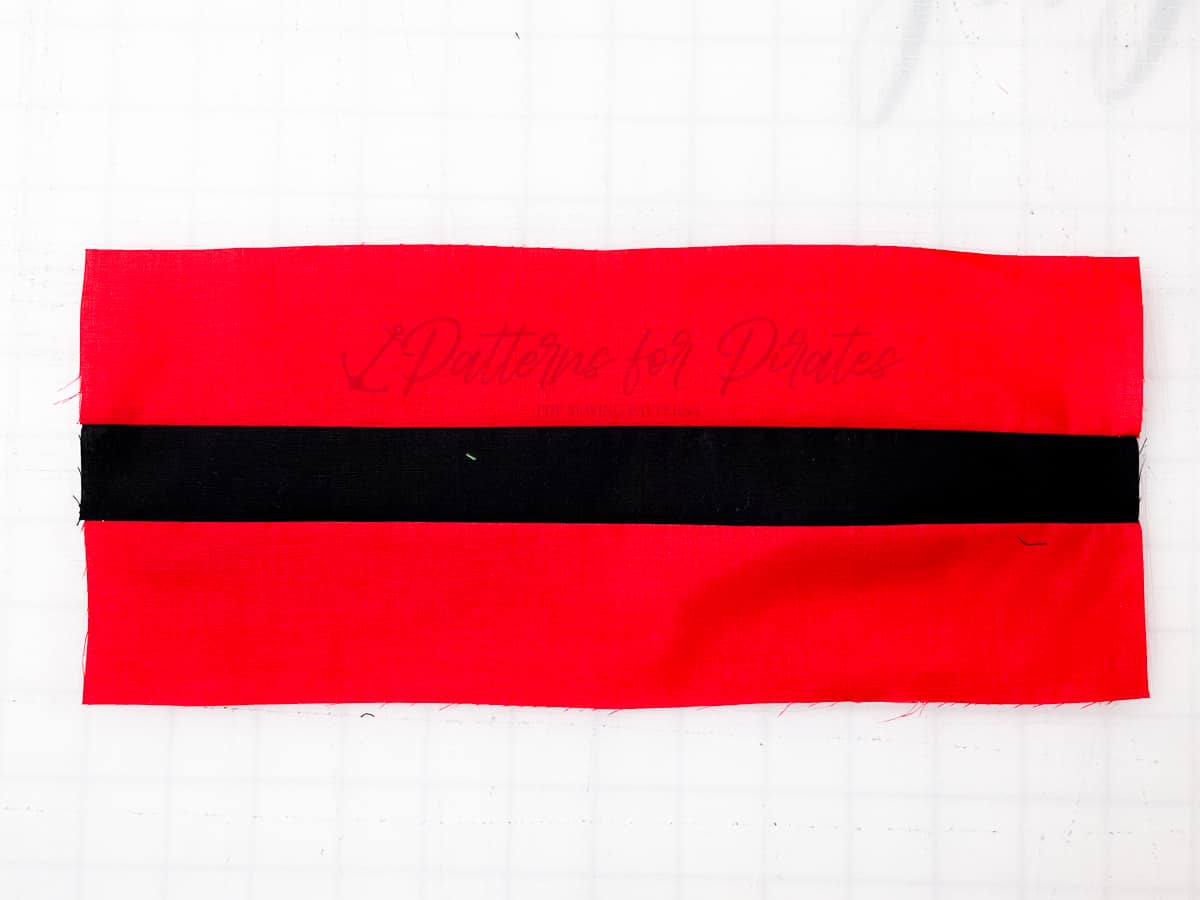
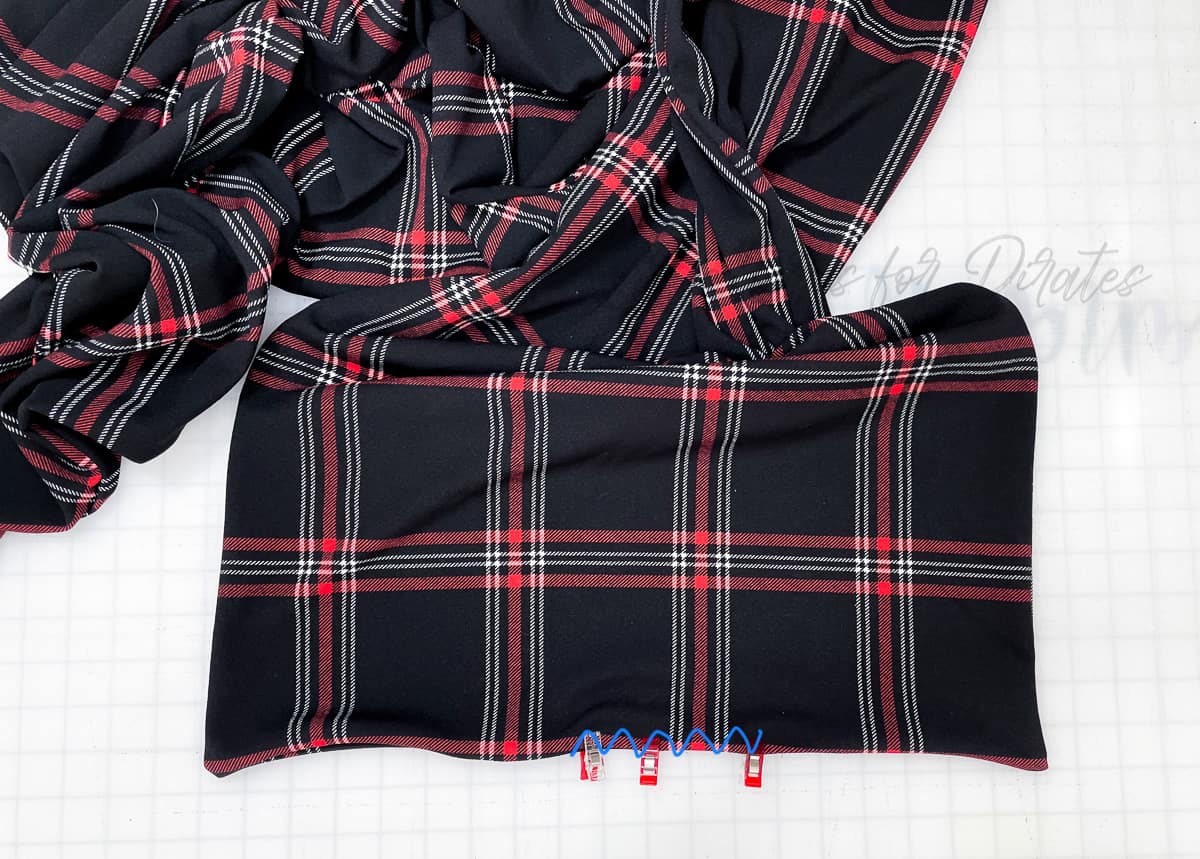
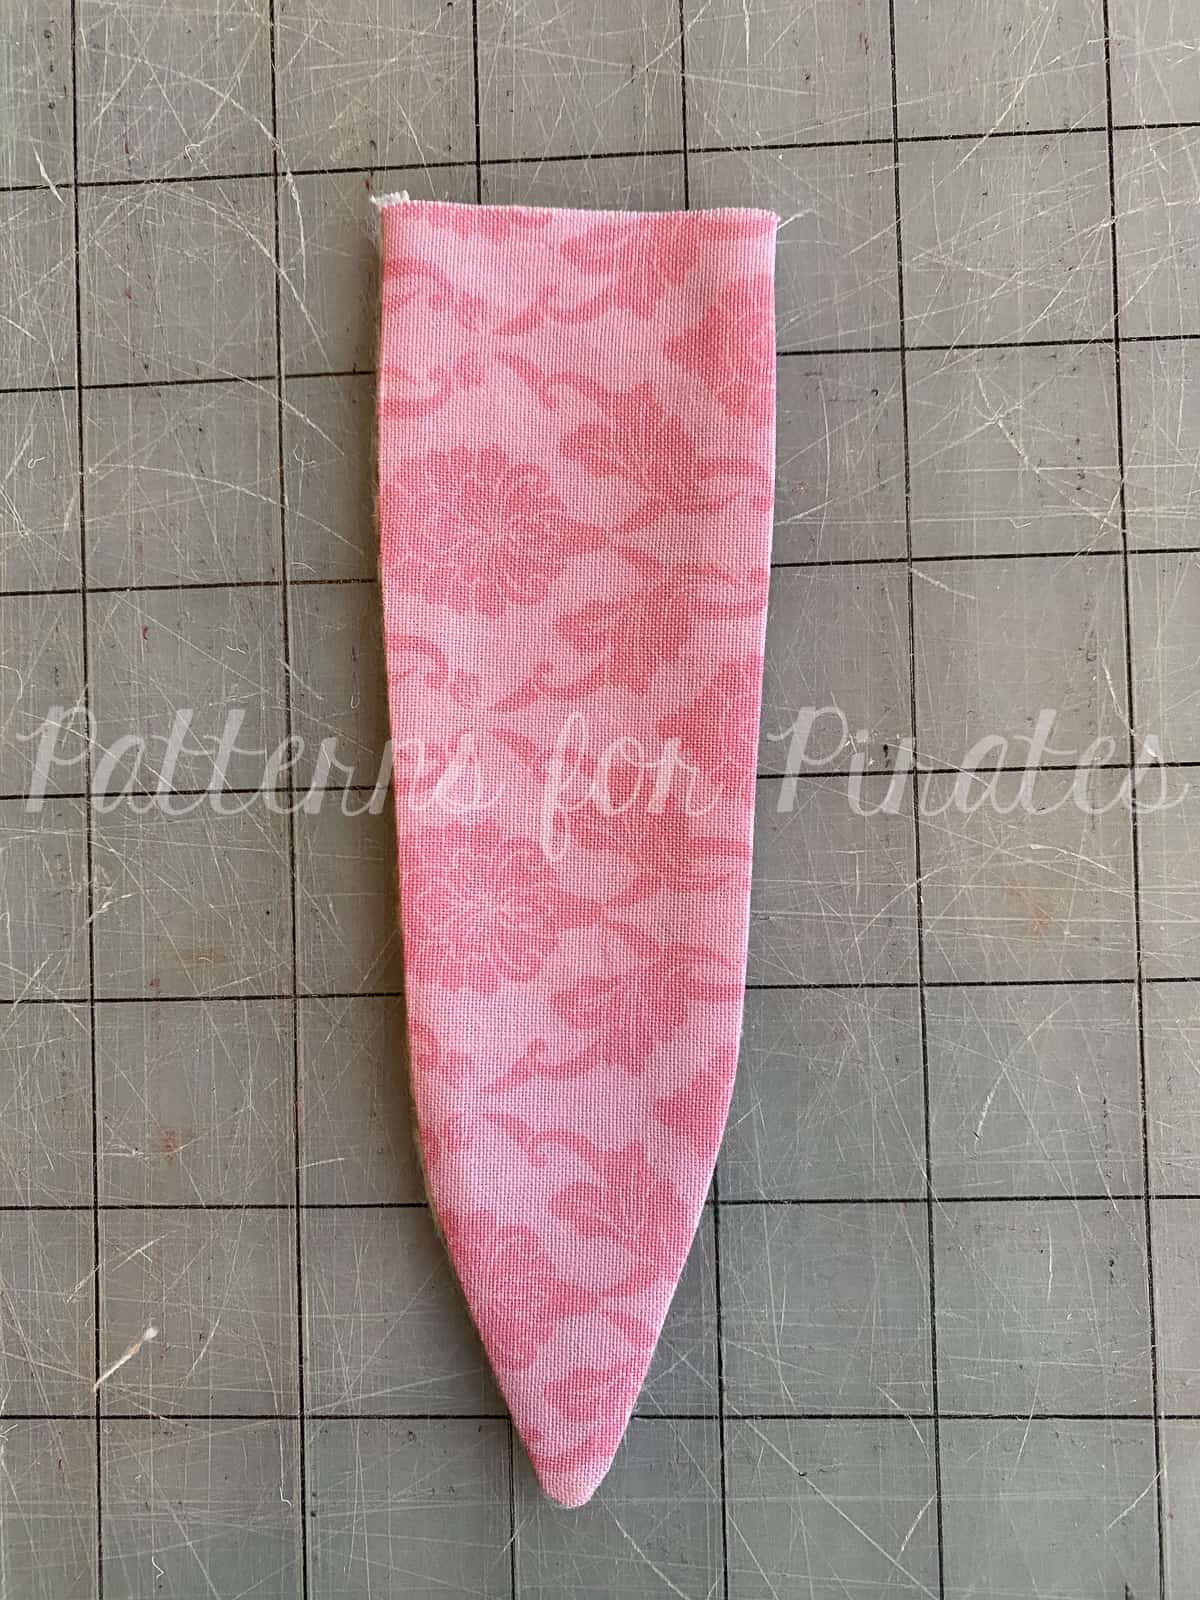
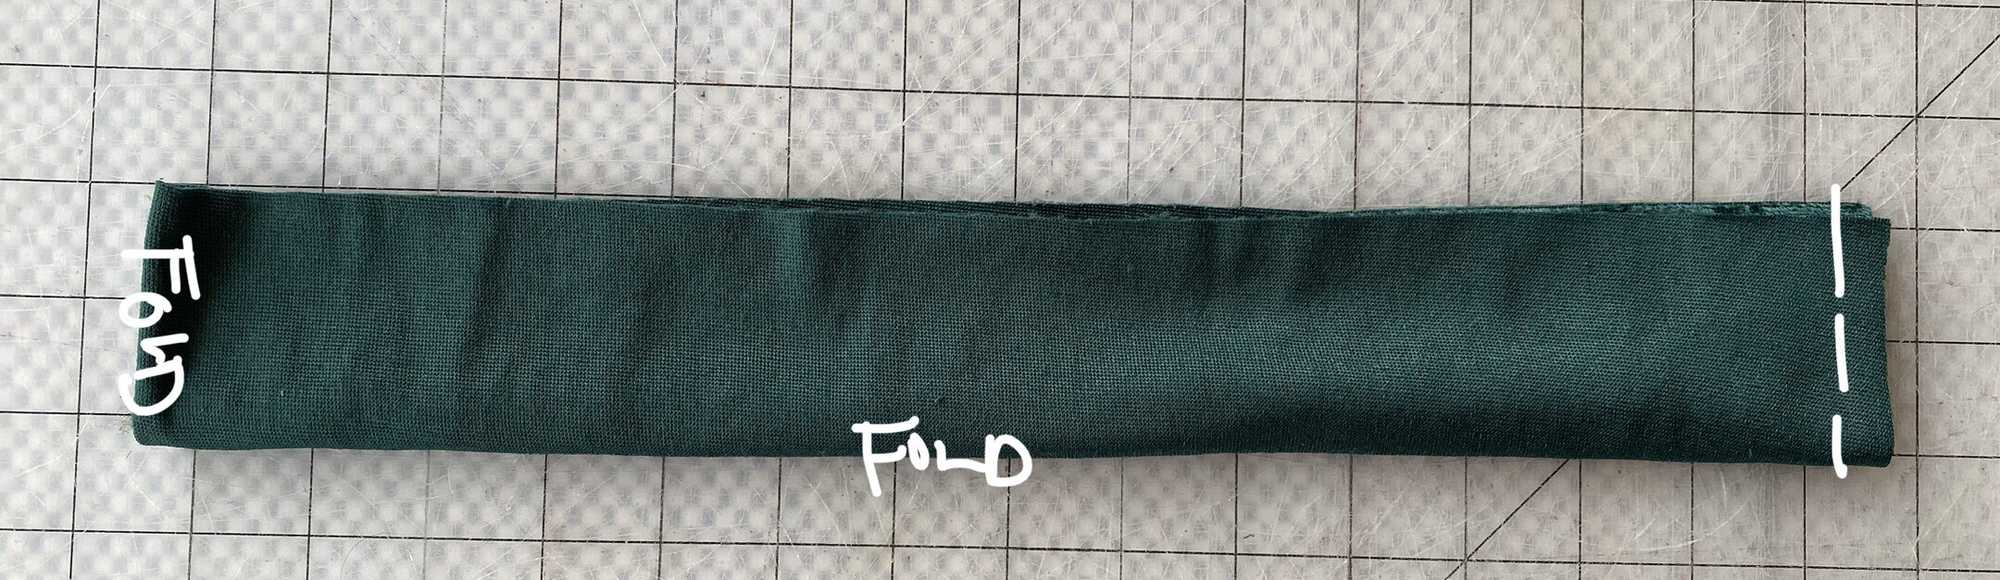
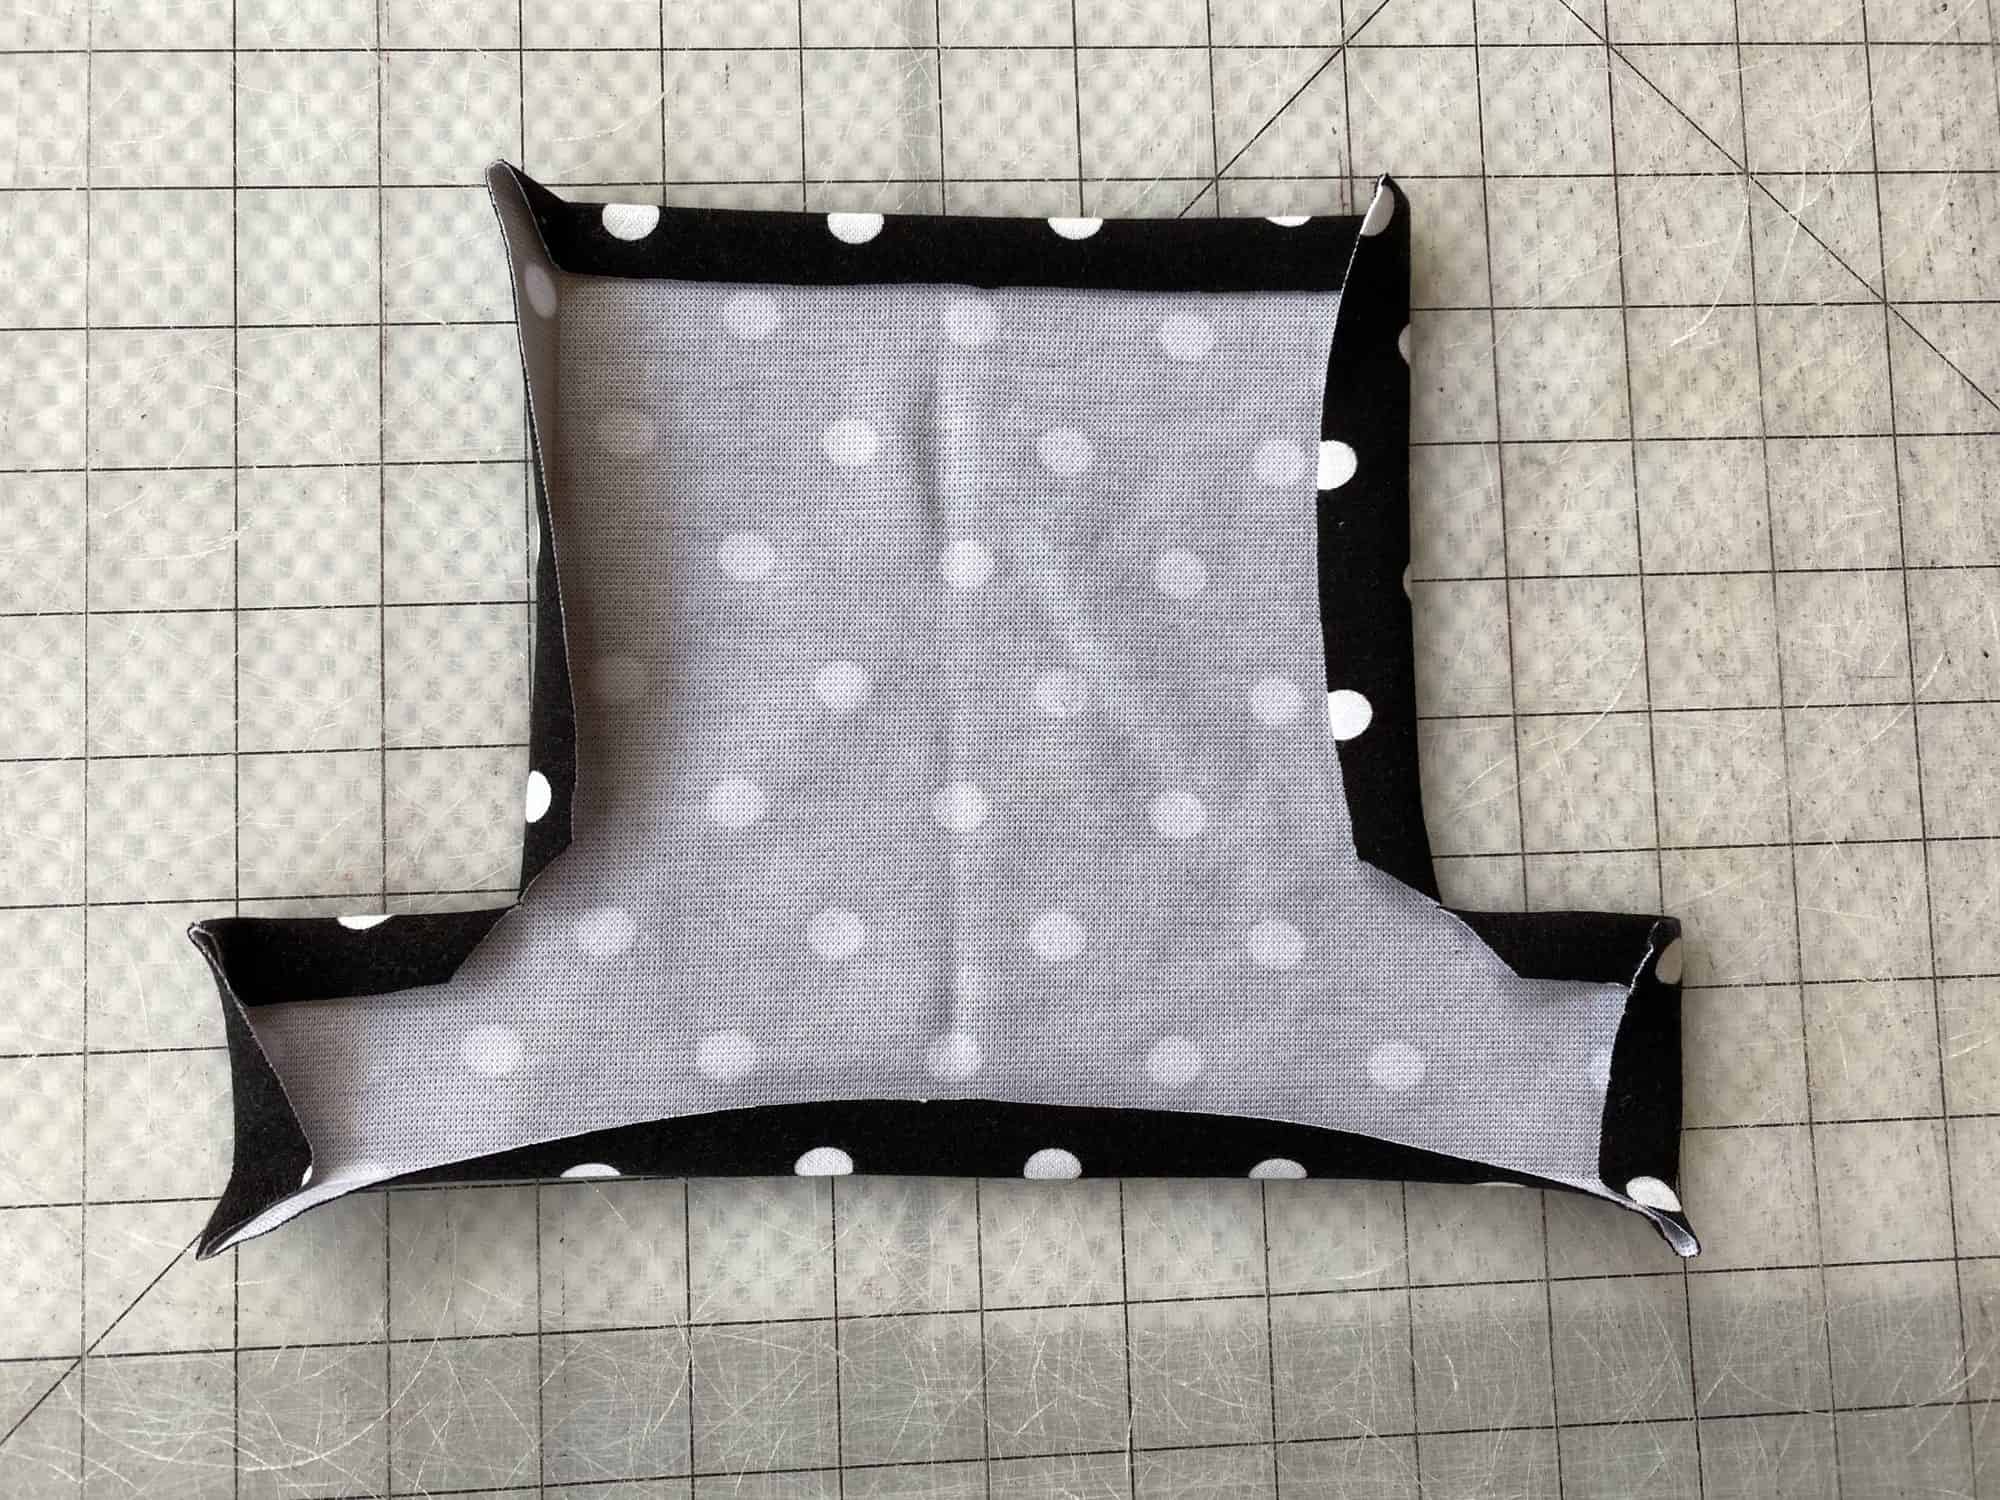
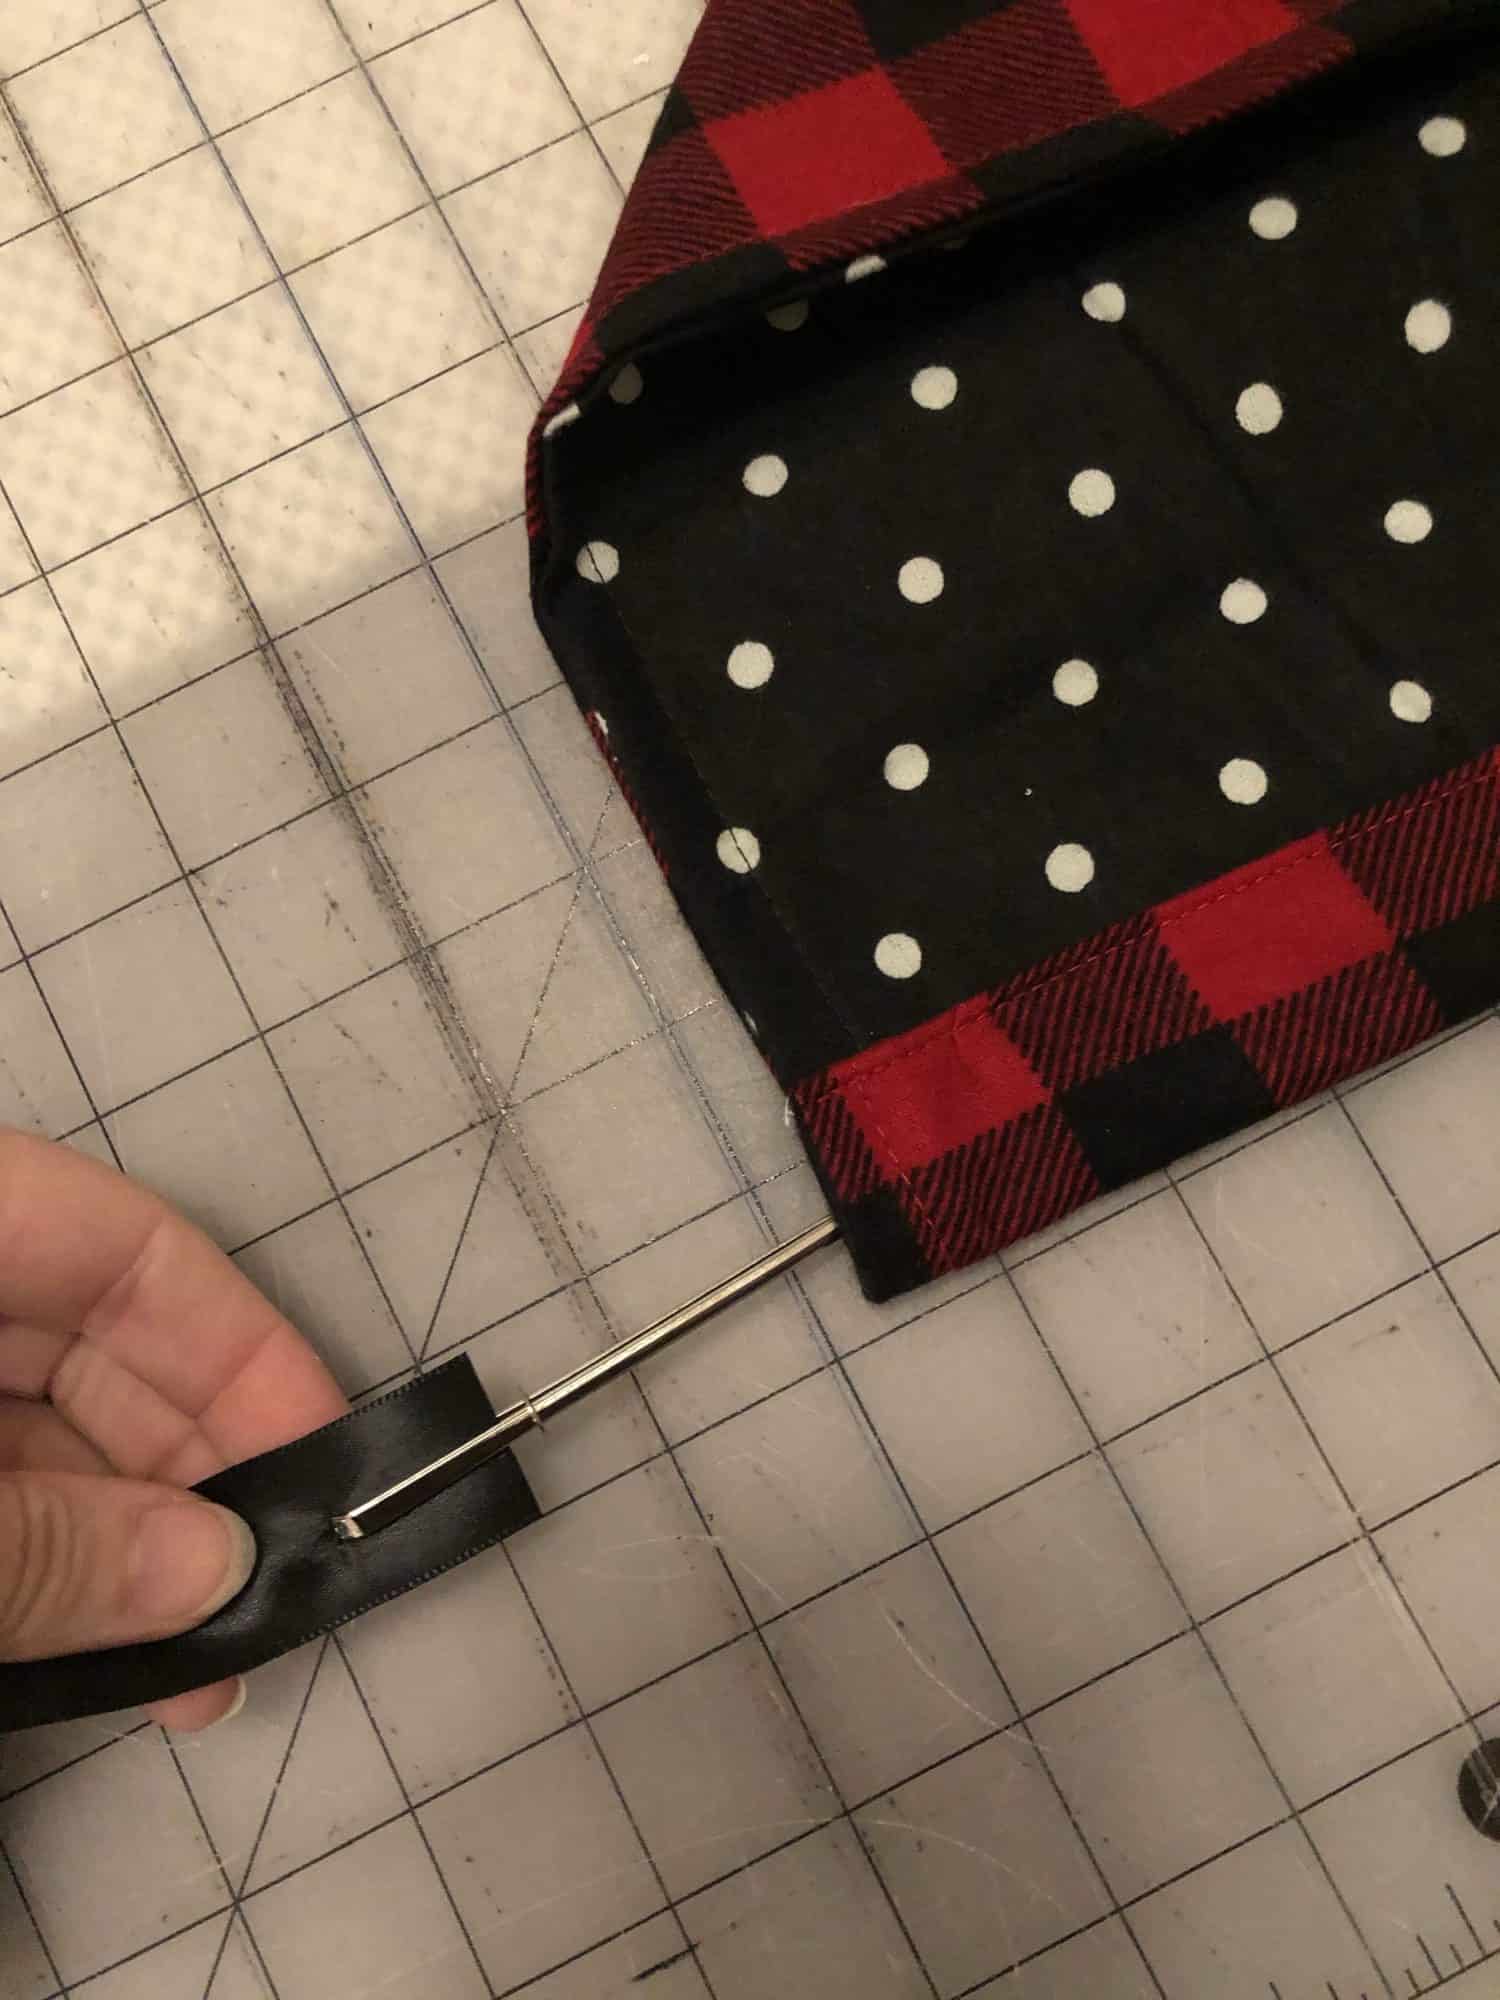
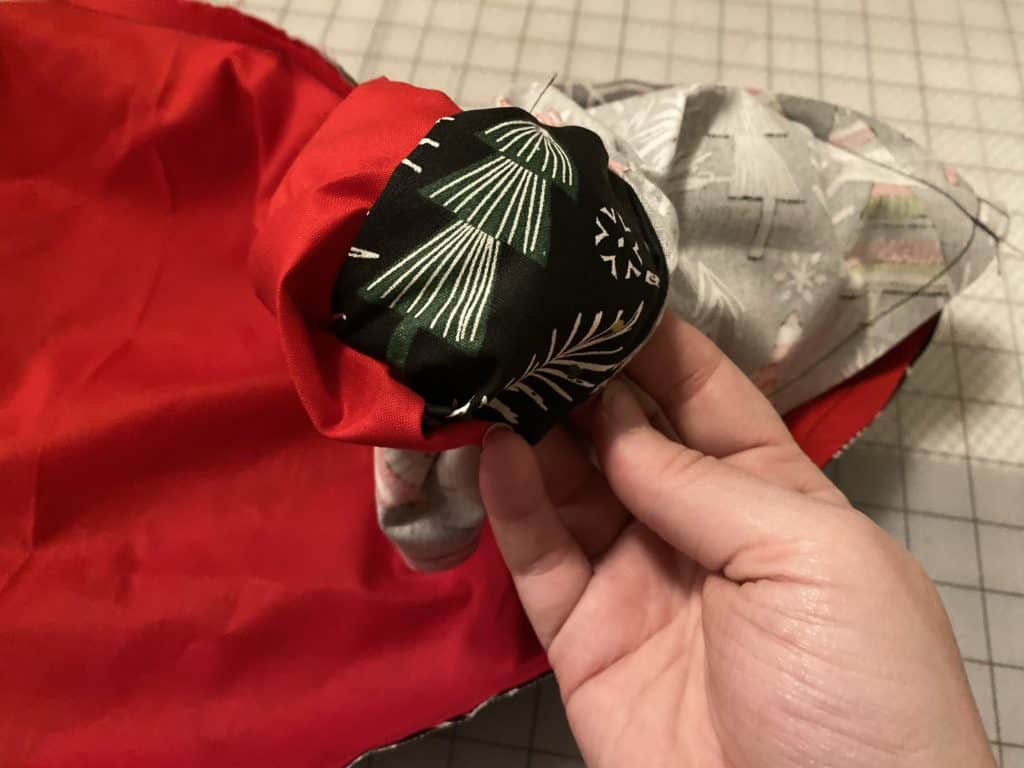
Turn right sides out, through opening.
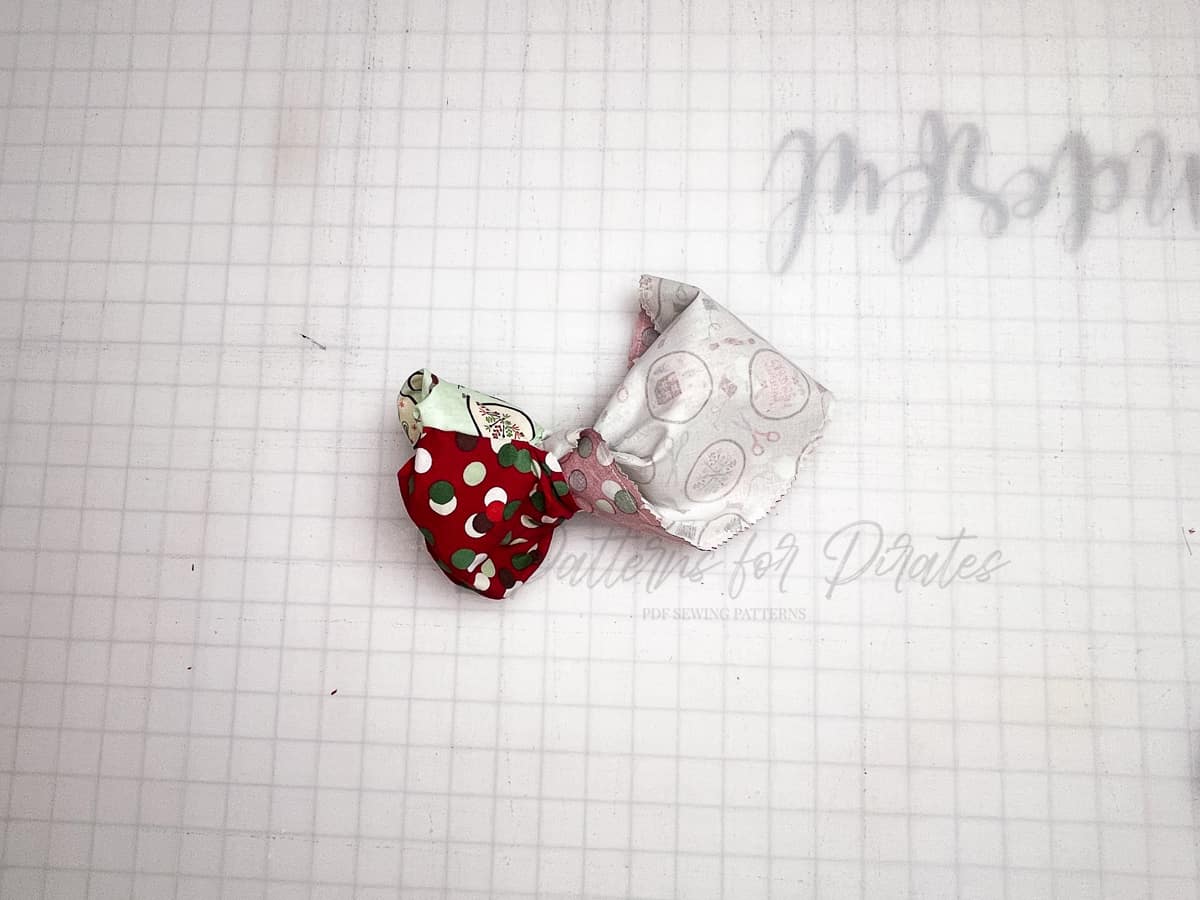
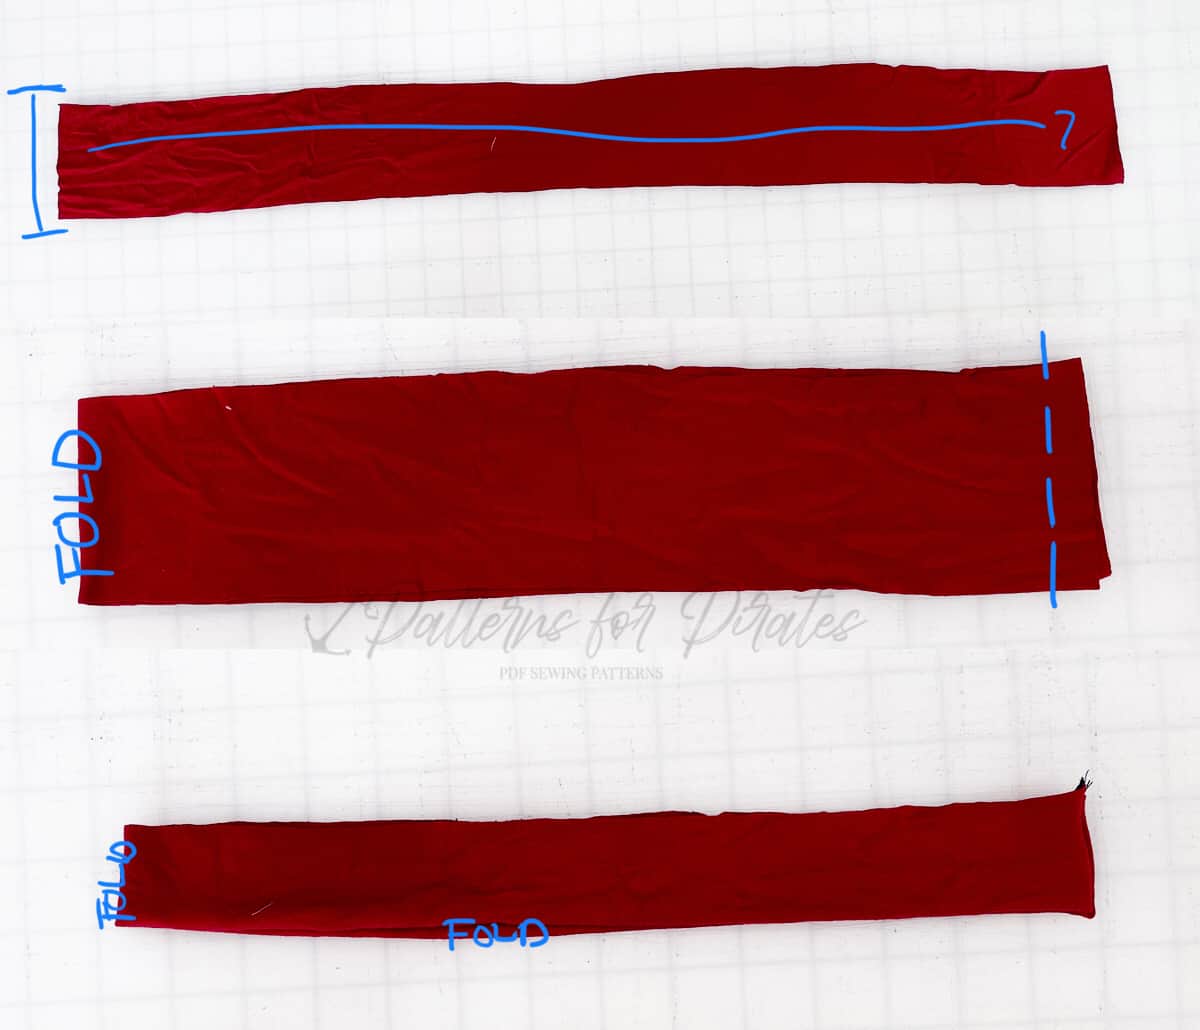
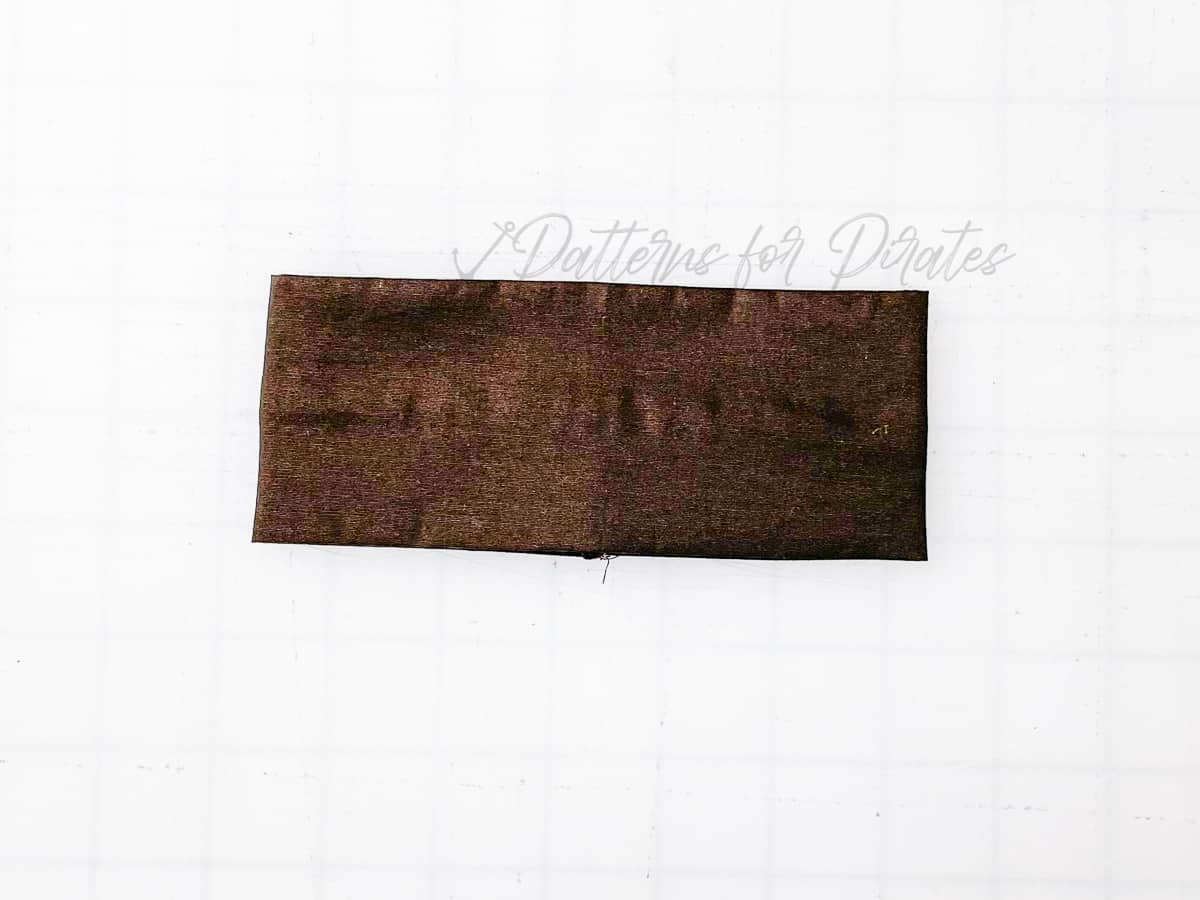
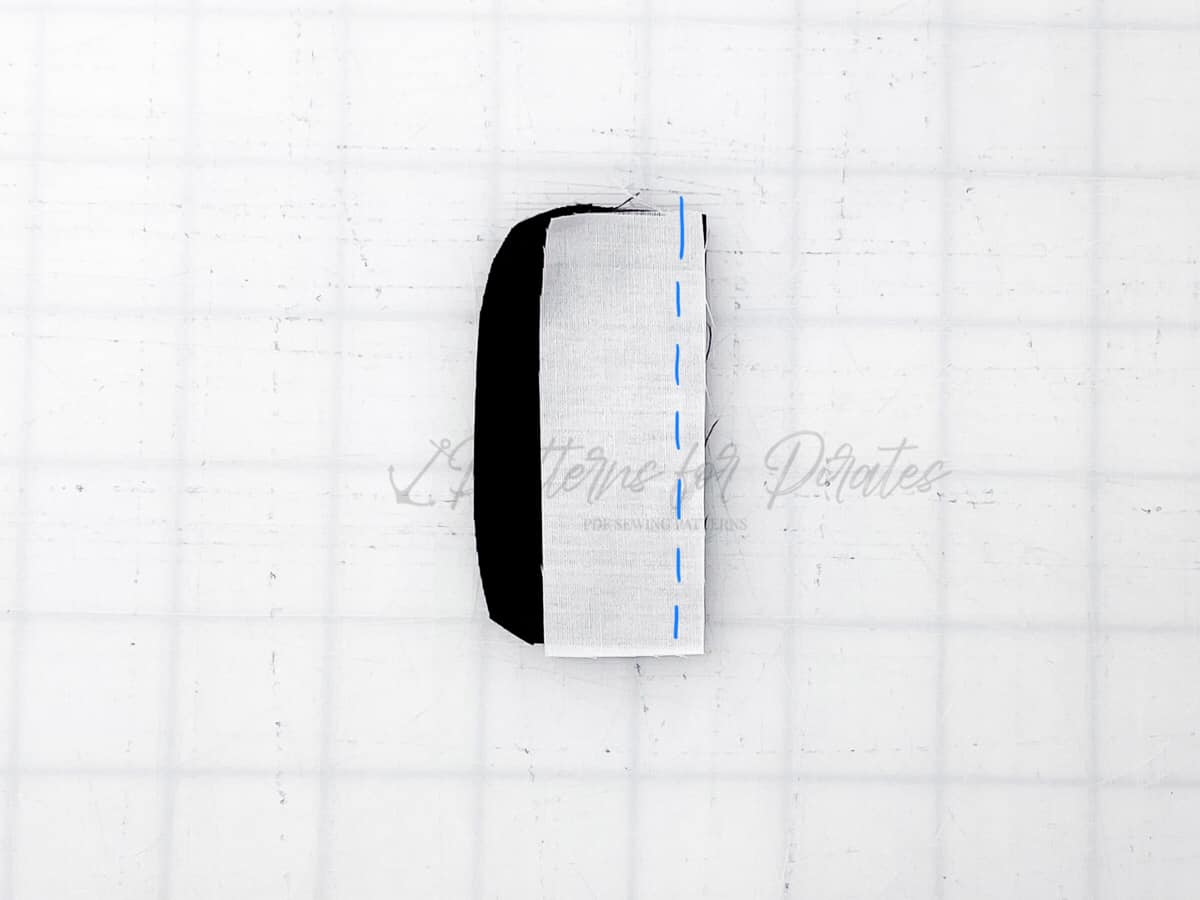
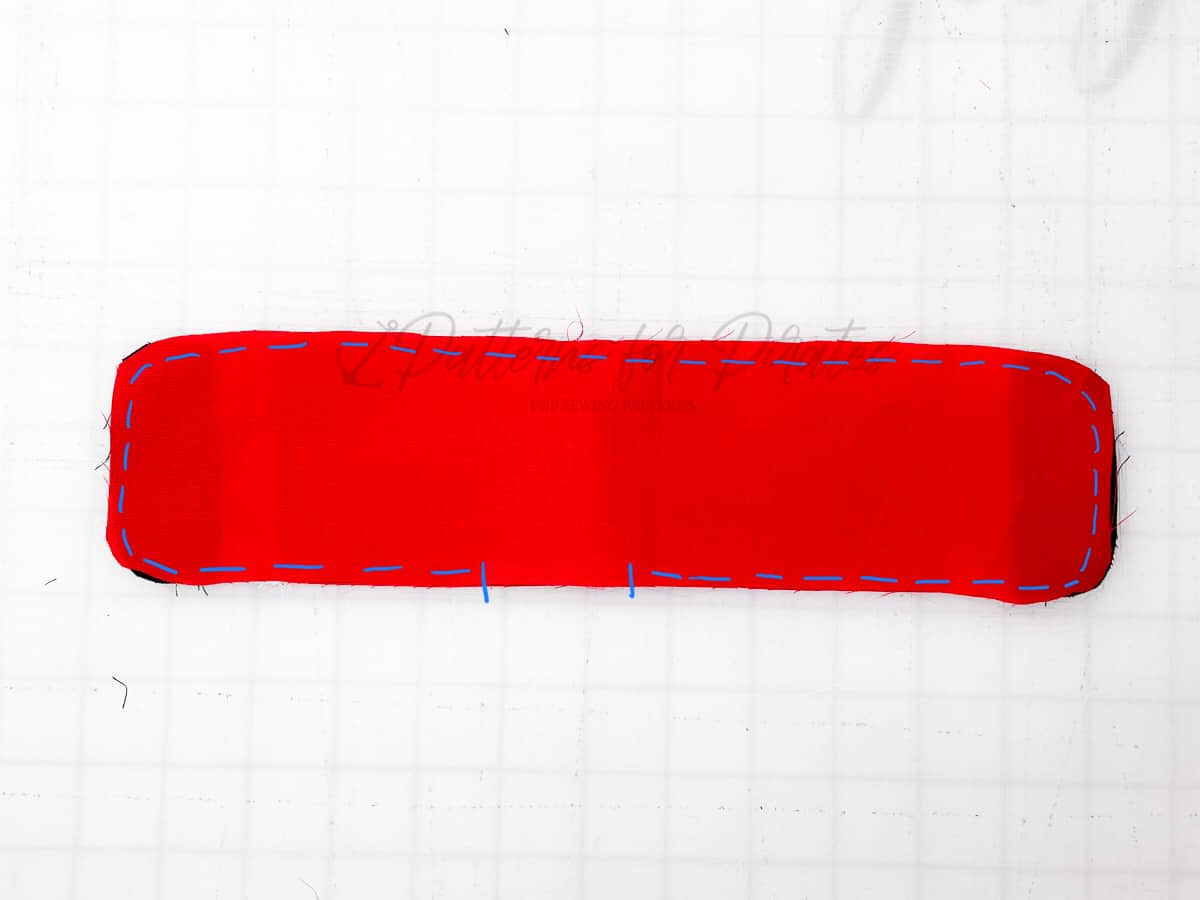
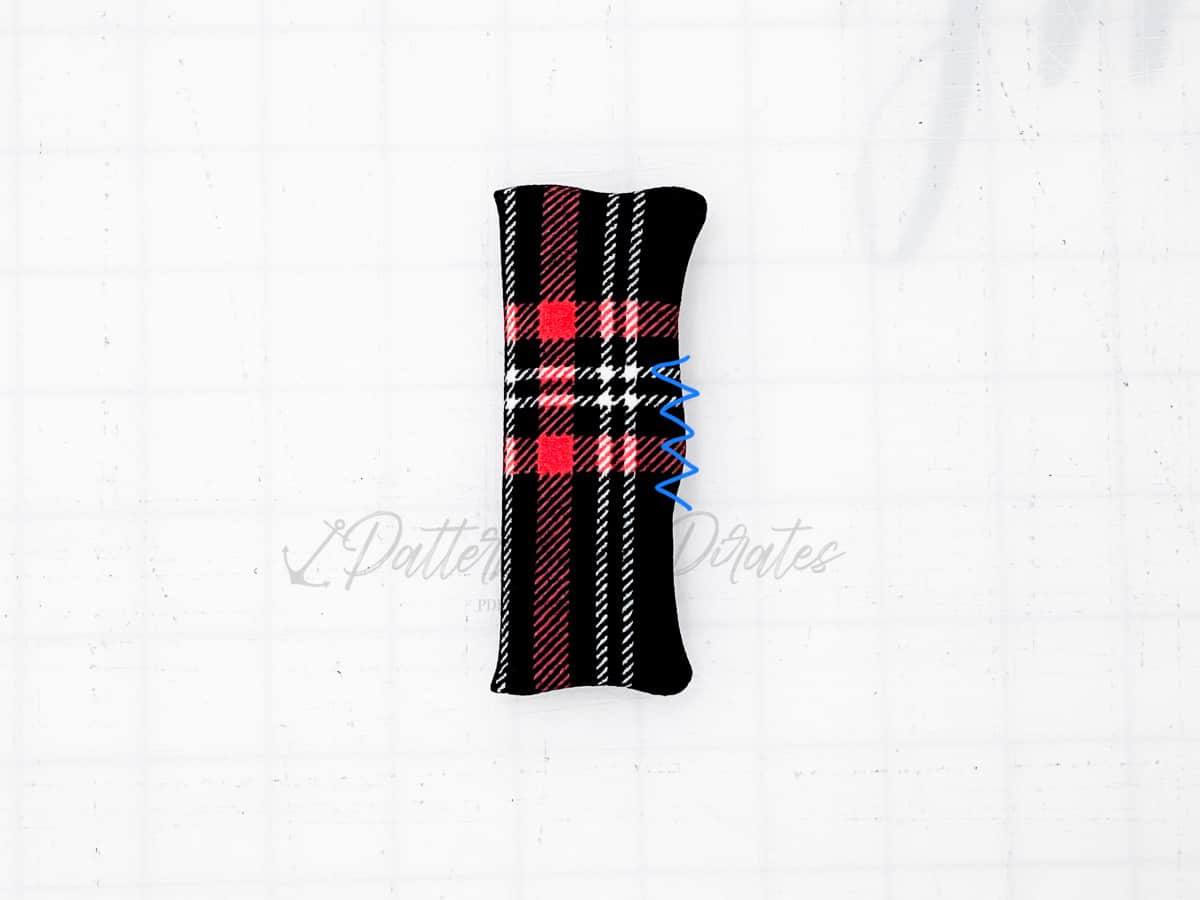
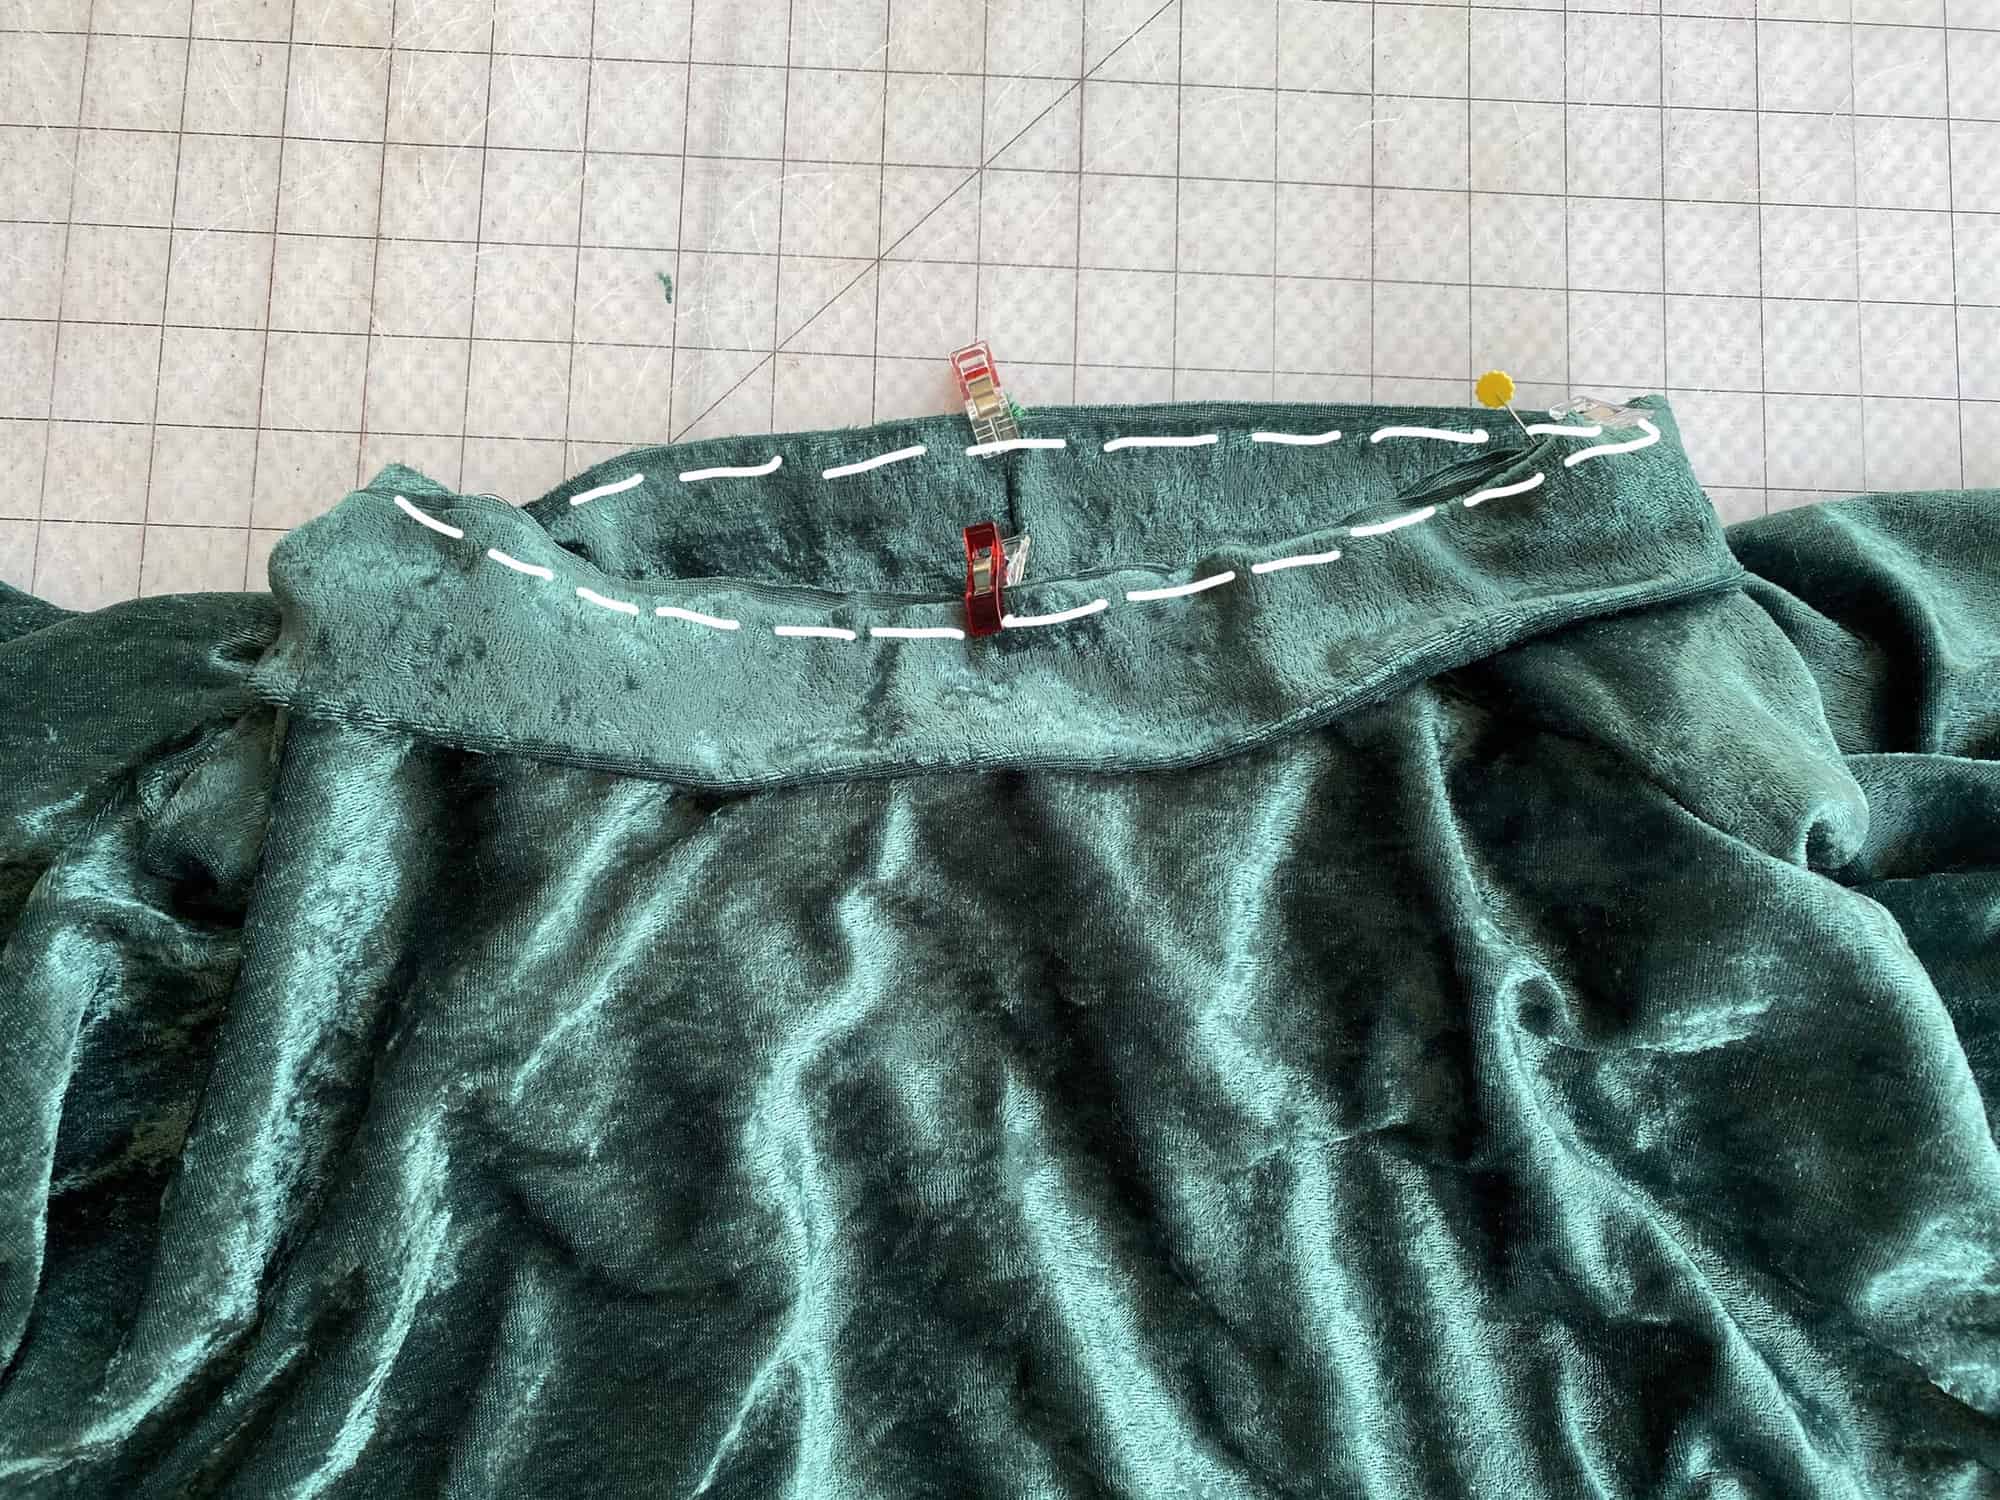
Press and close opening, using your favorite method (blind stitch / top stitch / etc).
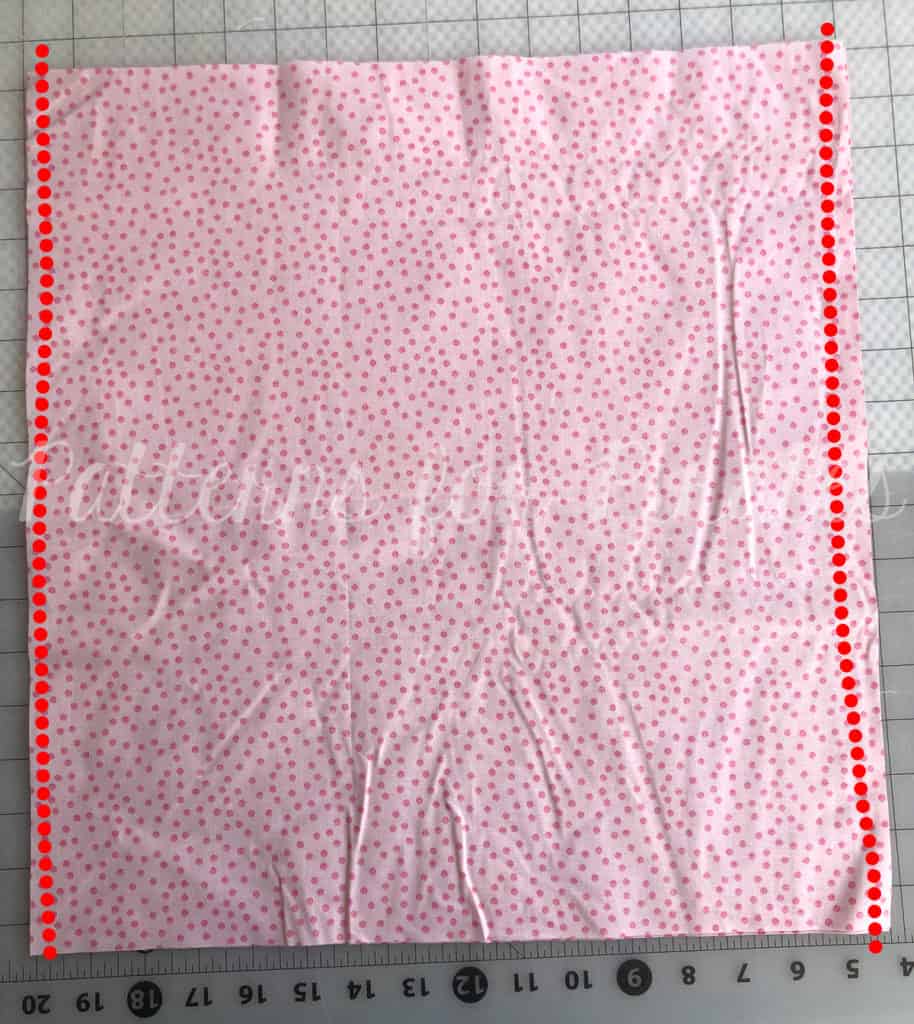
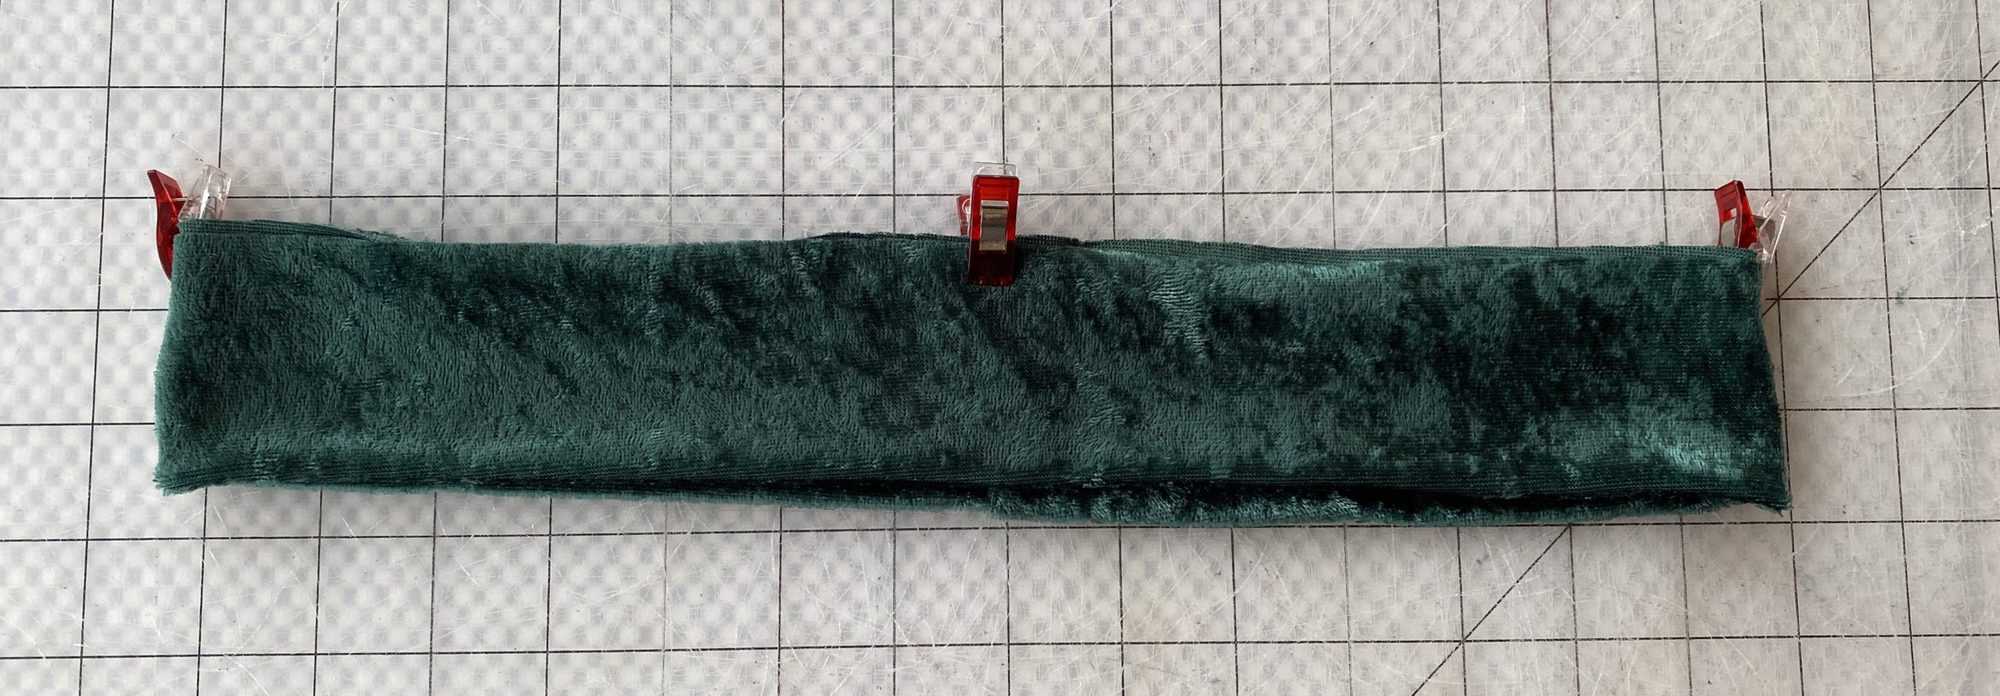
Optional (but recommended): top stitch along entire outer edge of napkin.
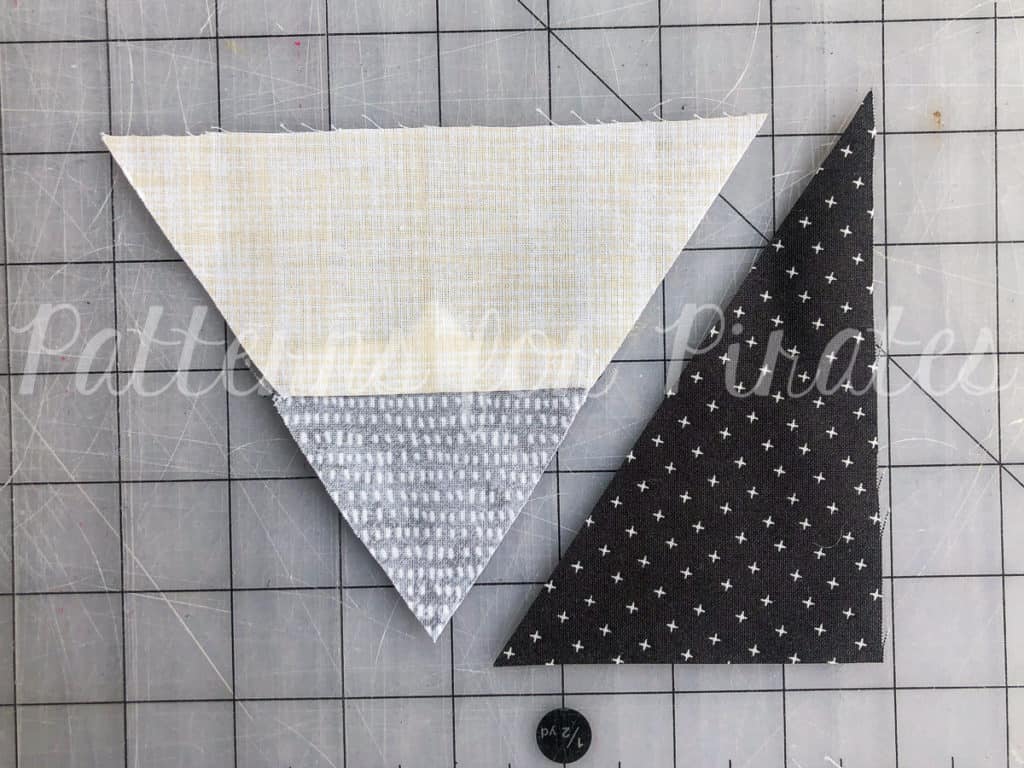
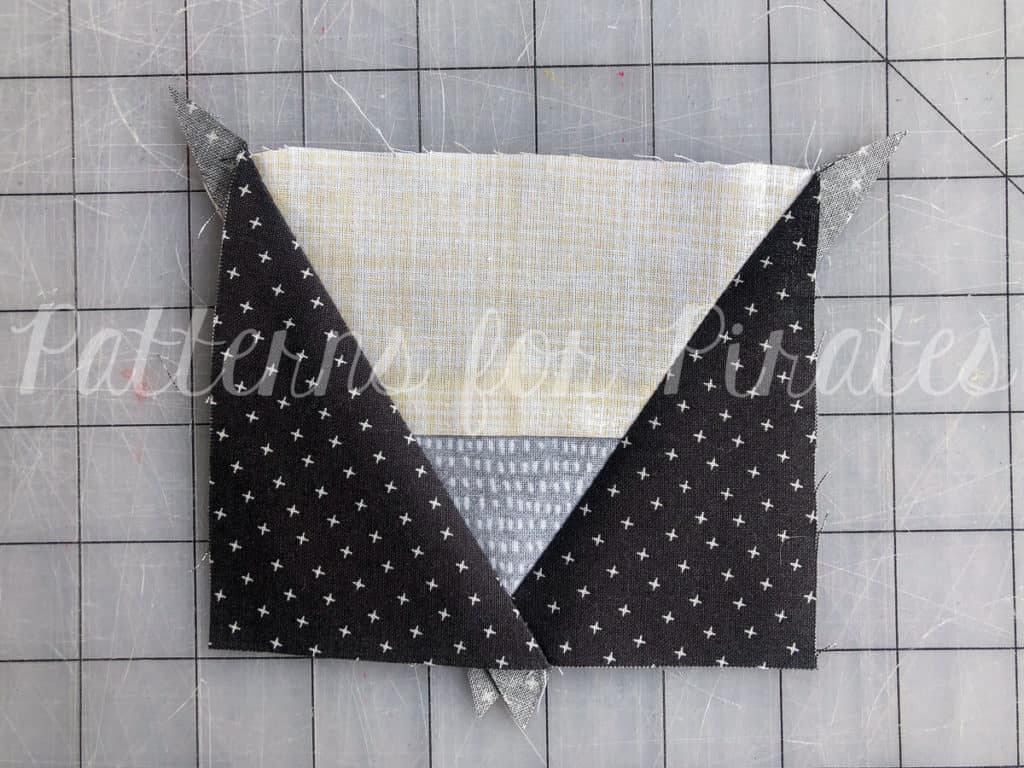
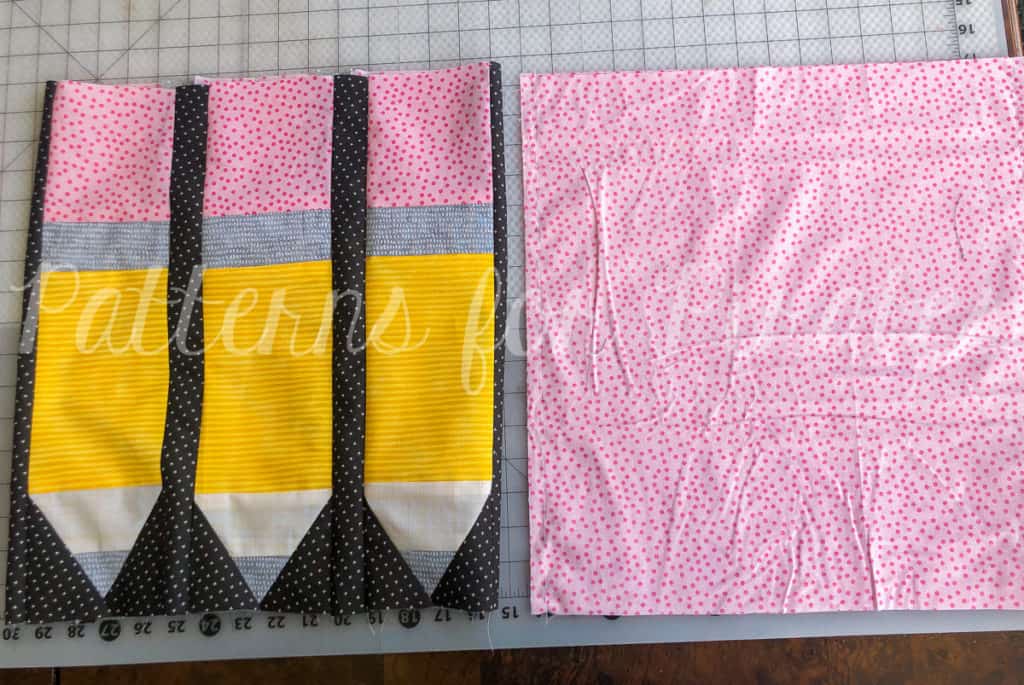
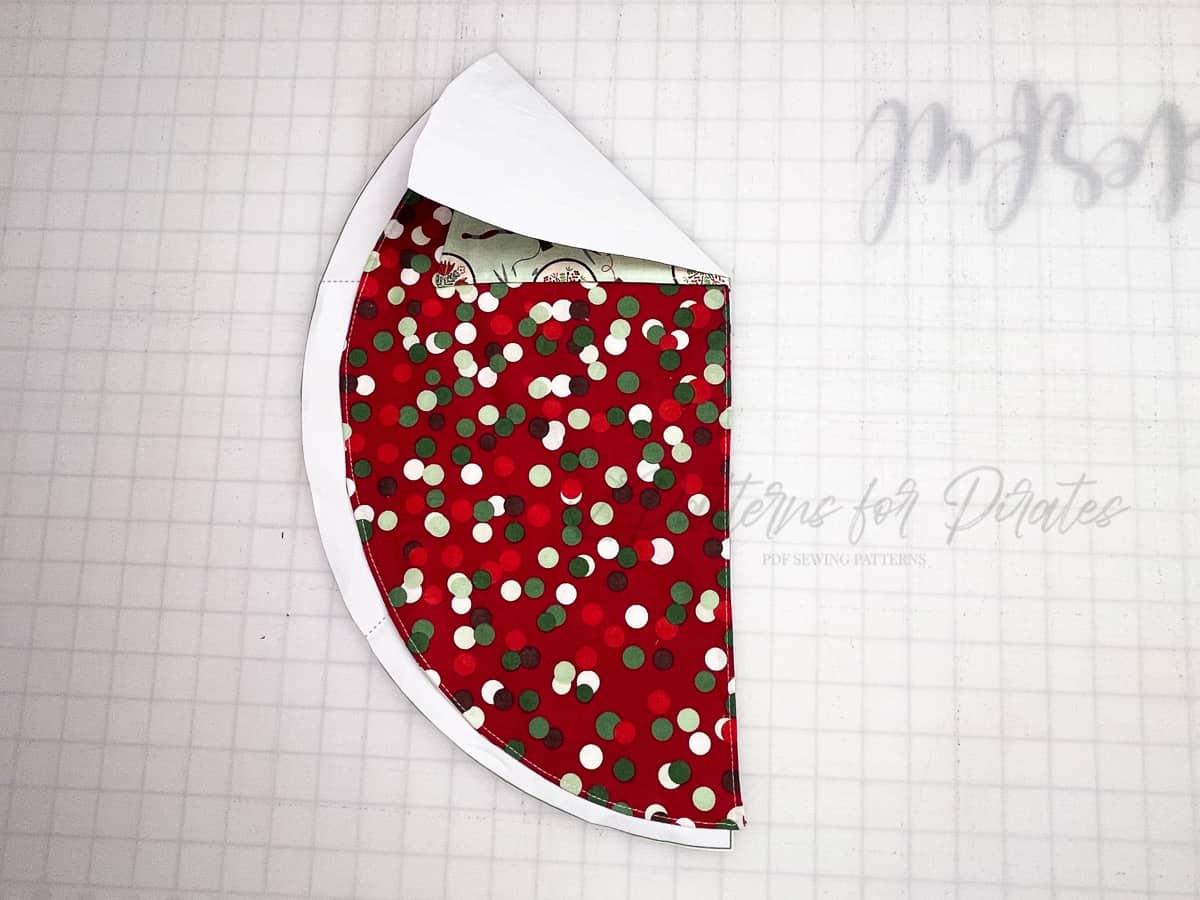
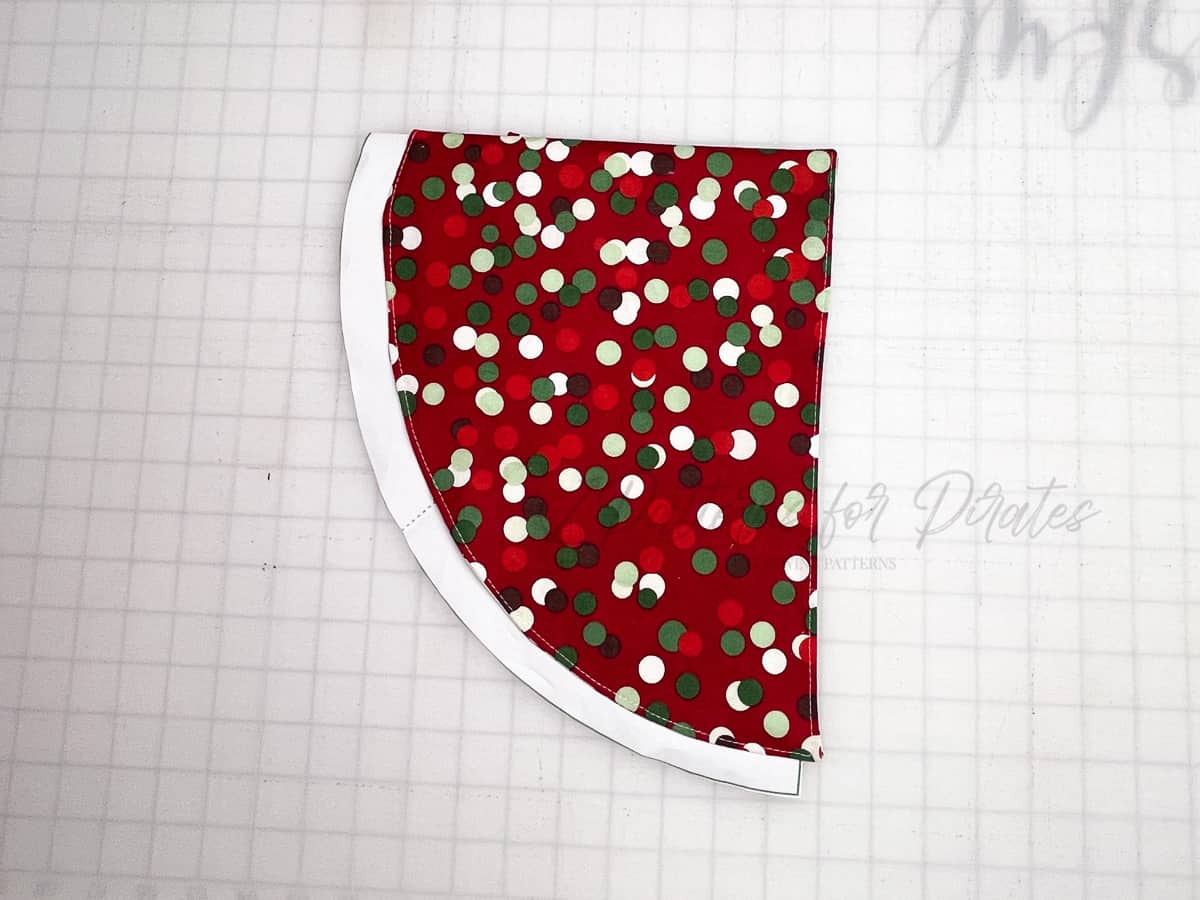
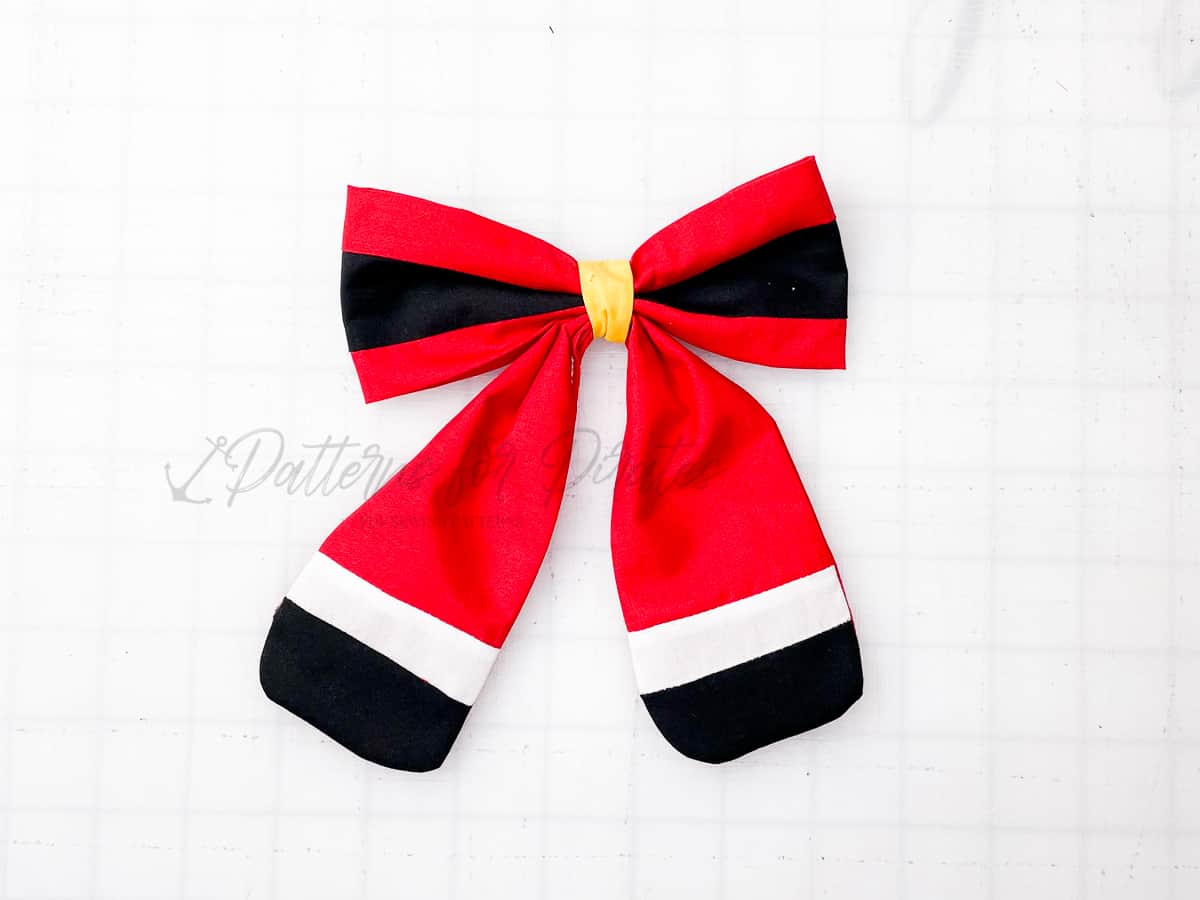
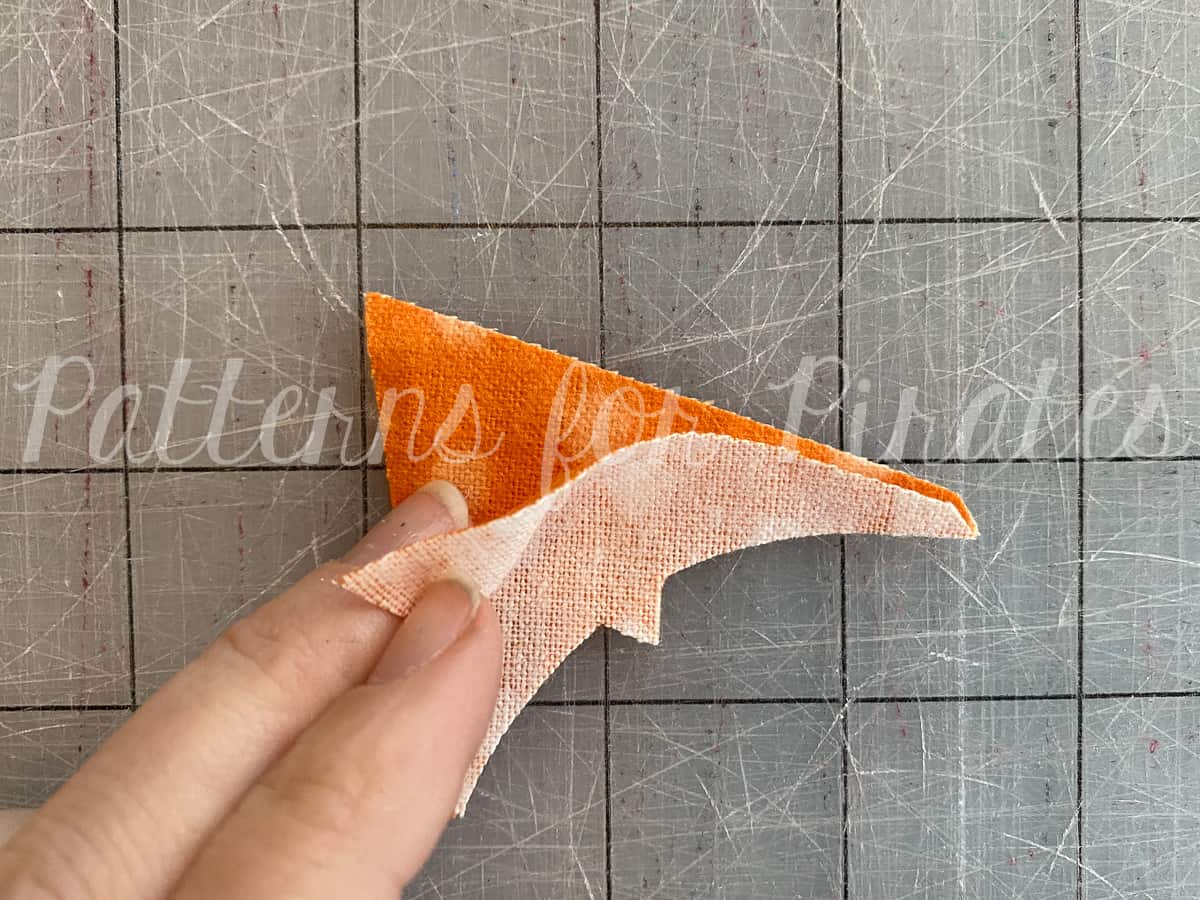
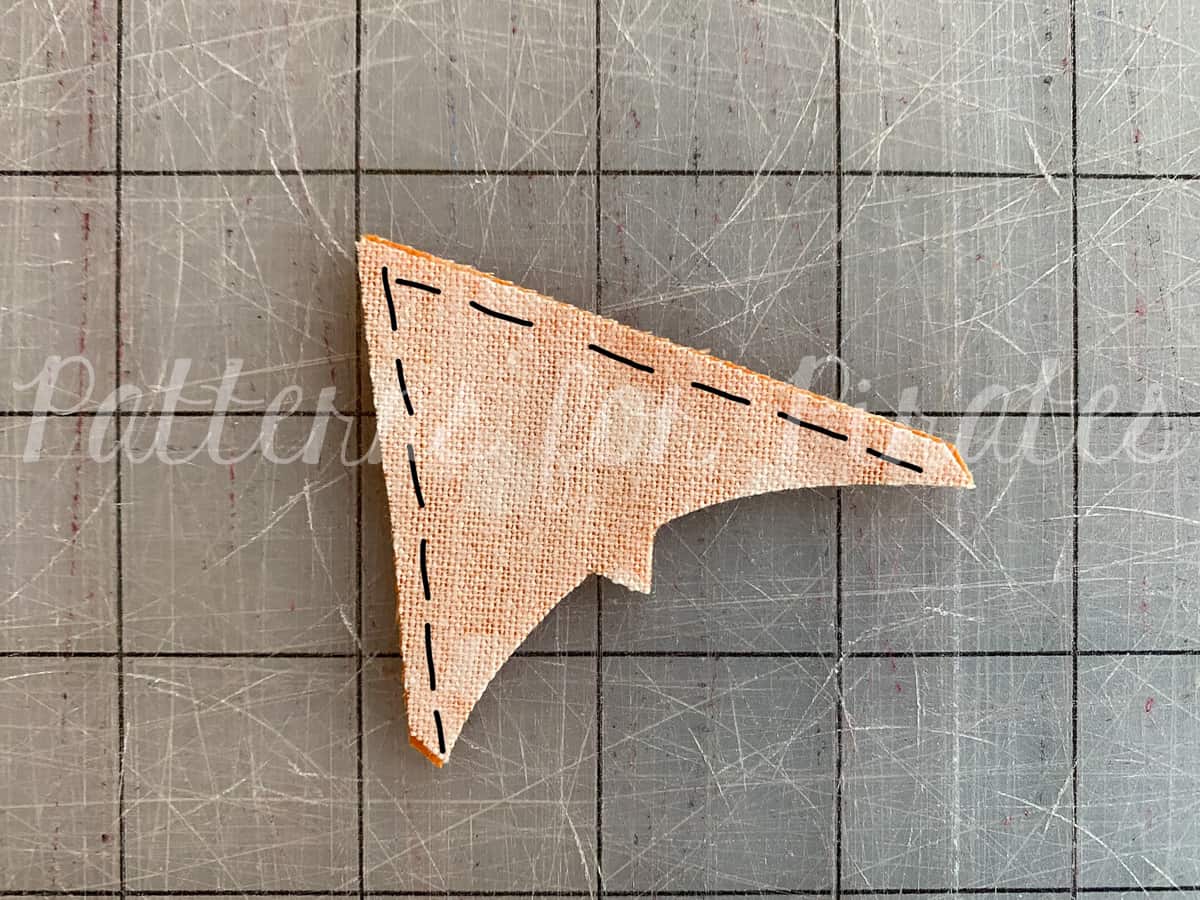
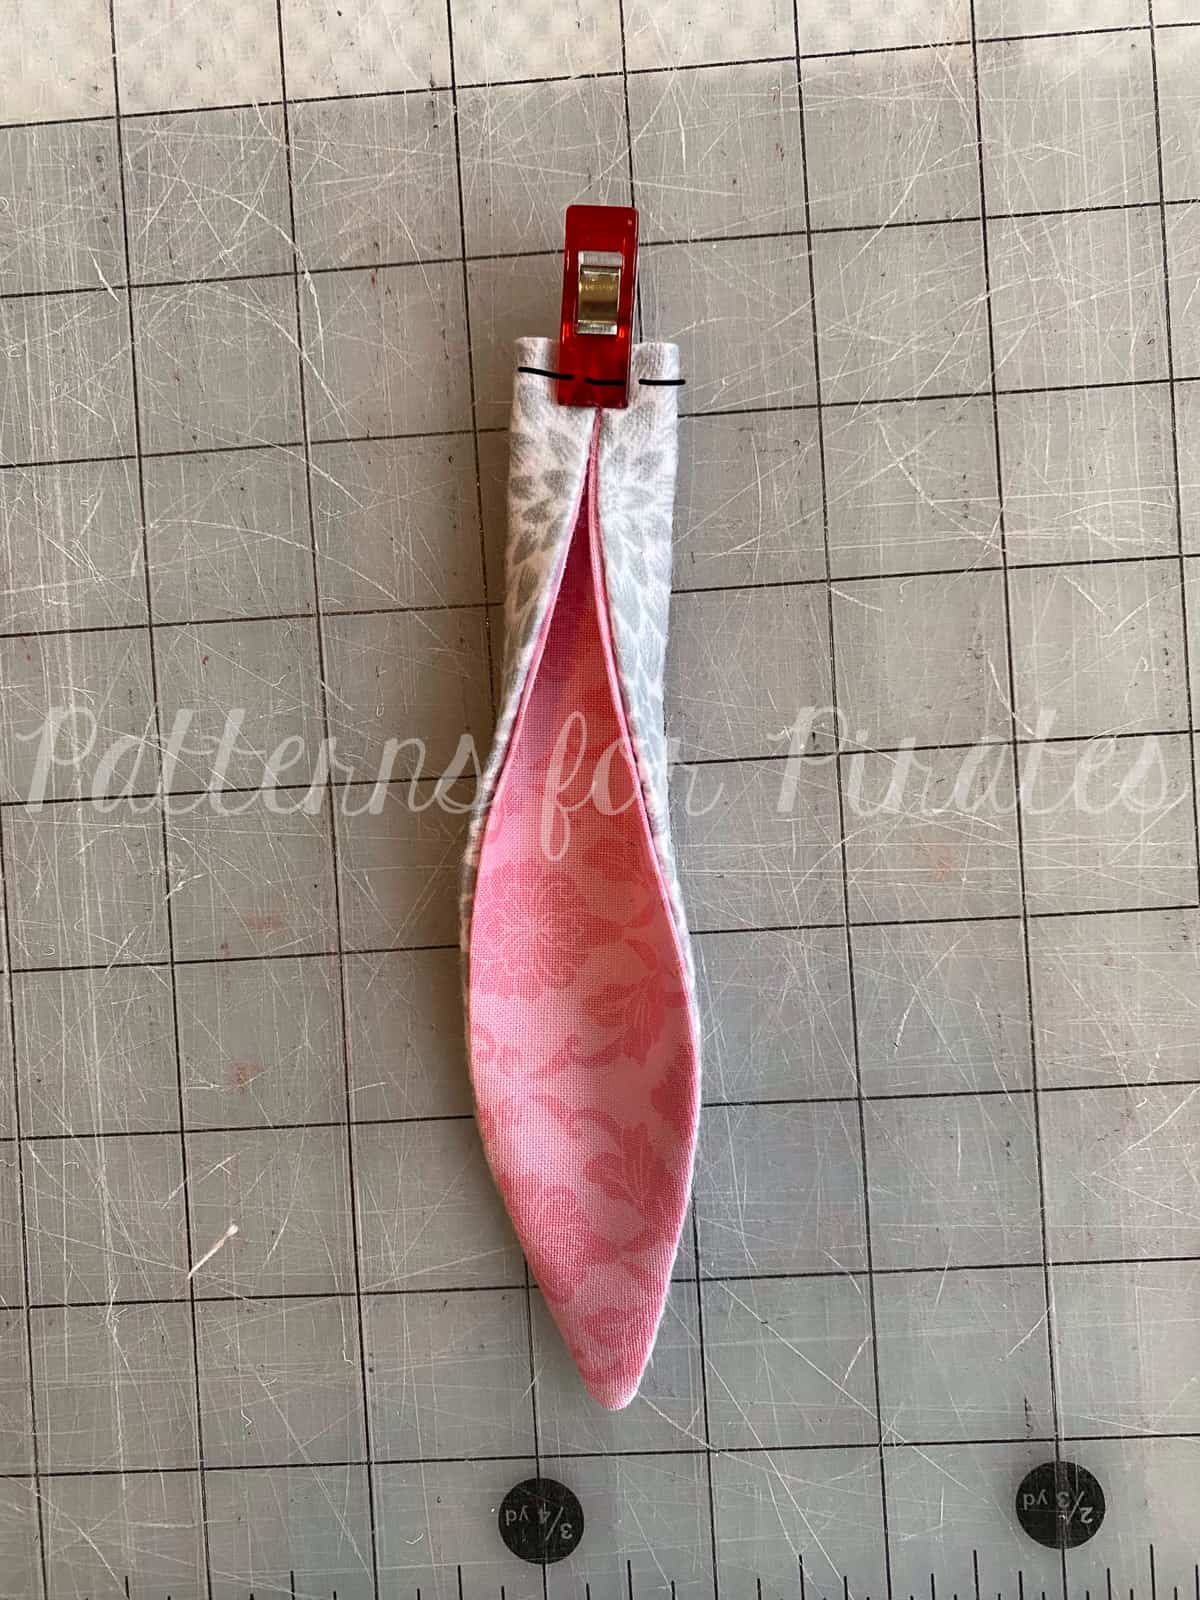
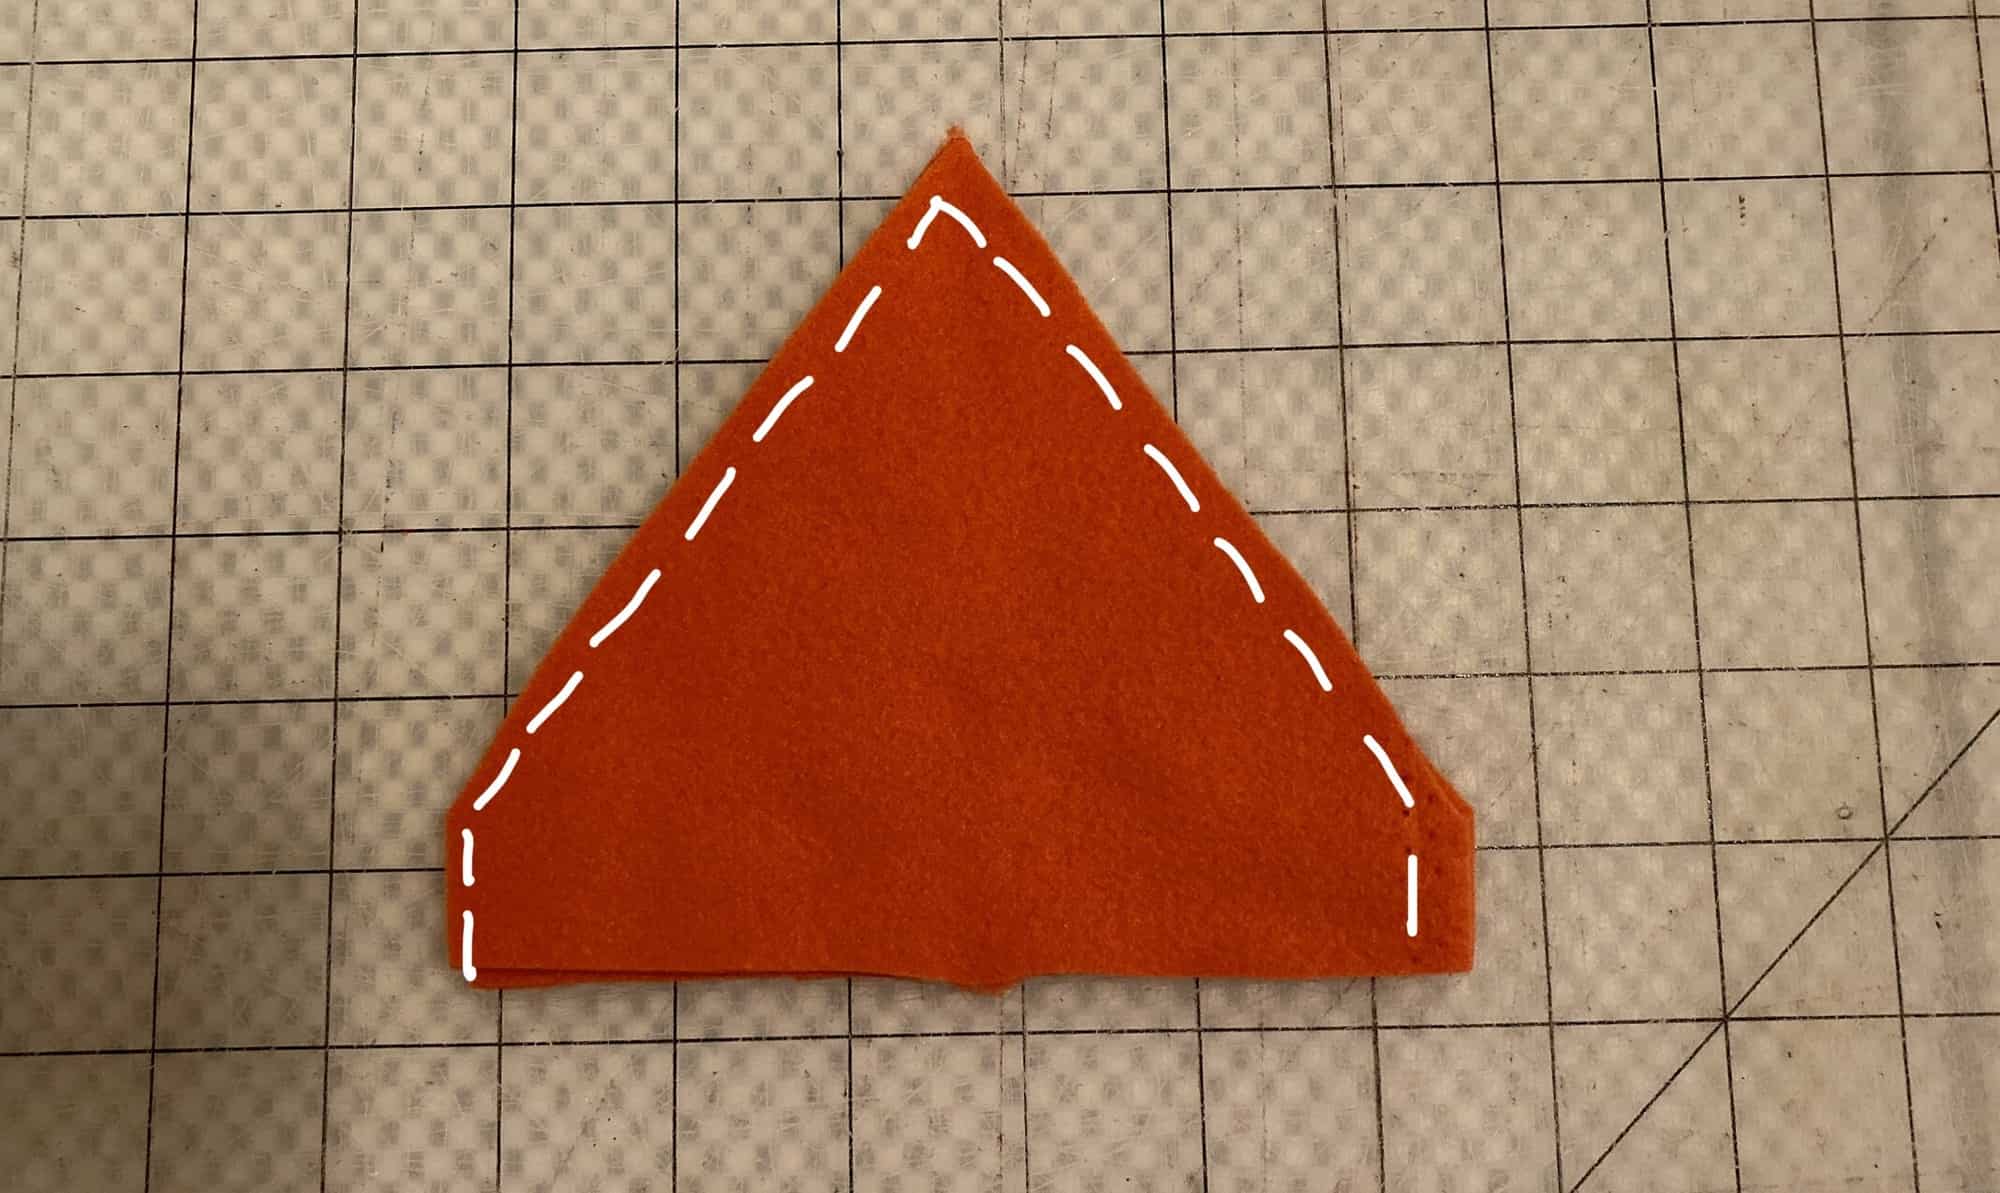
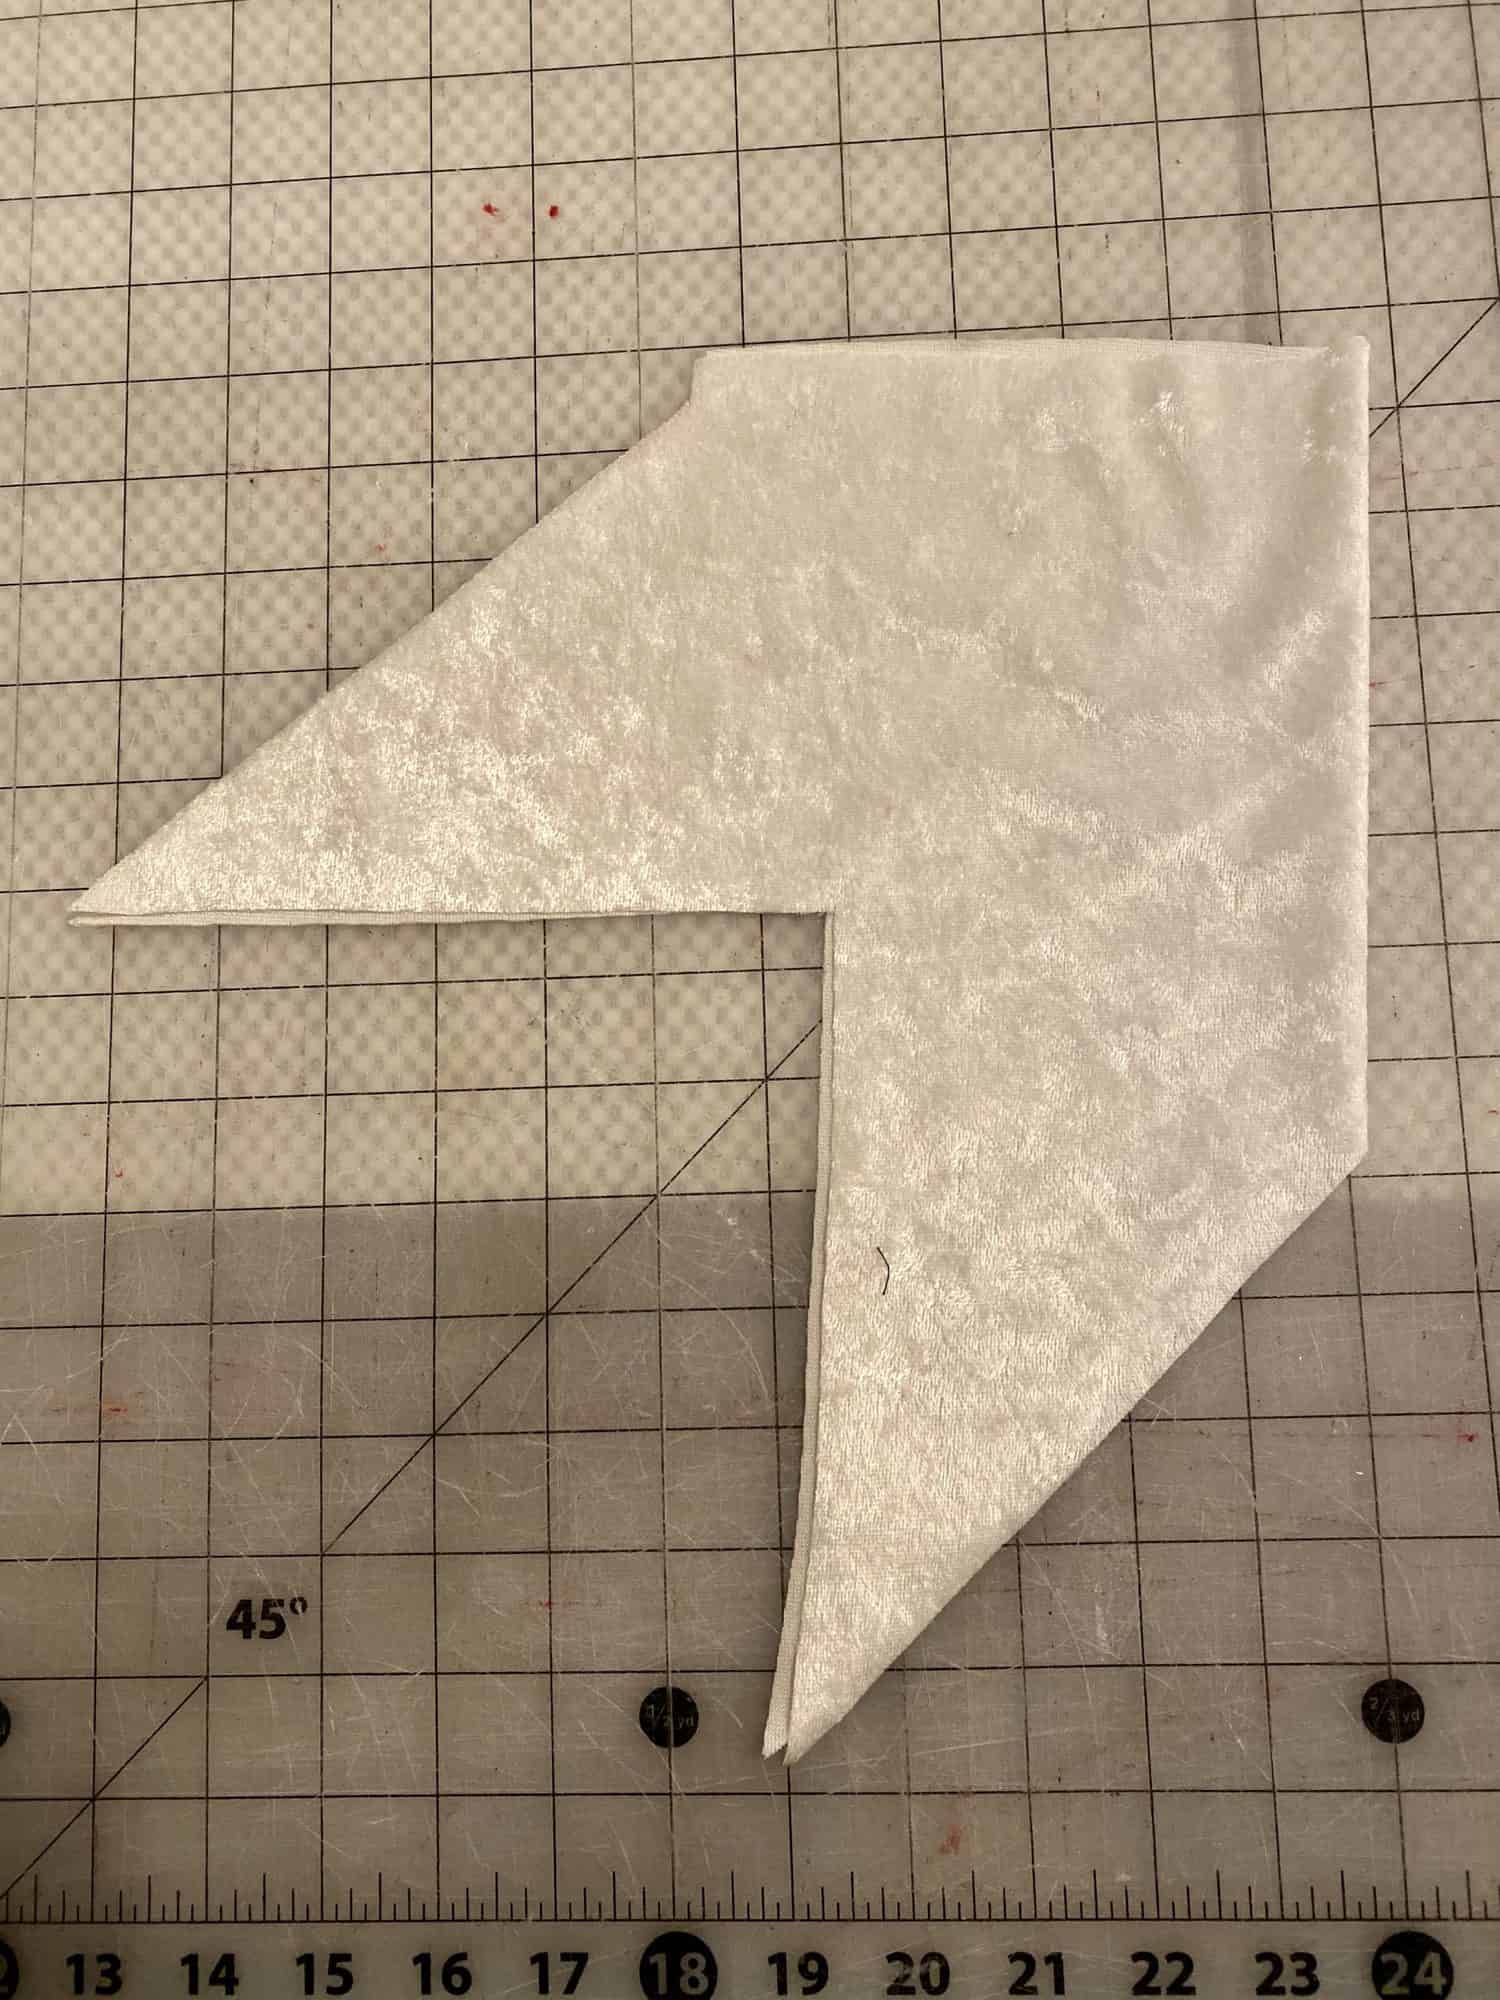
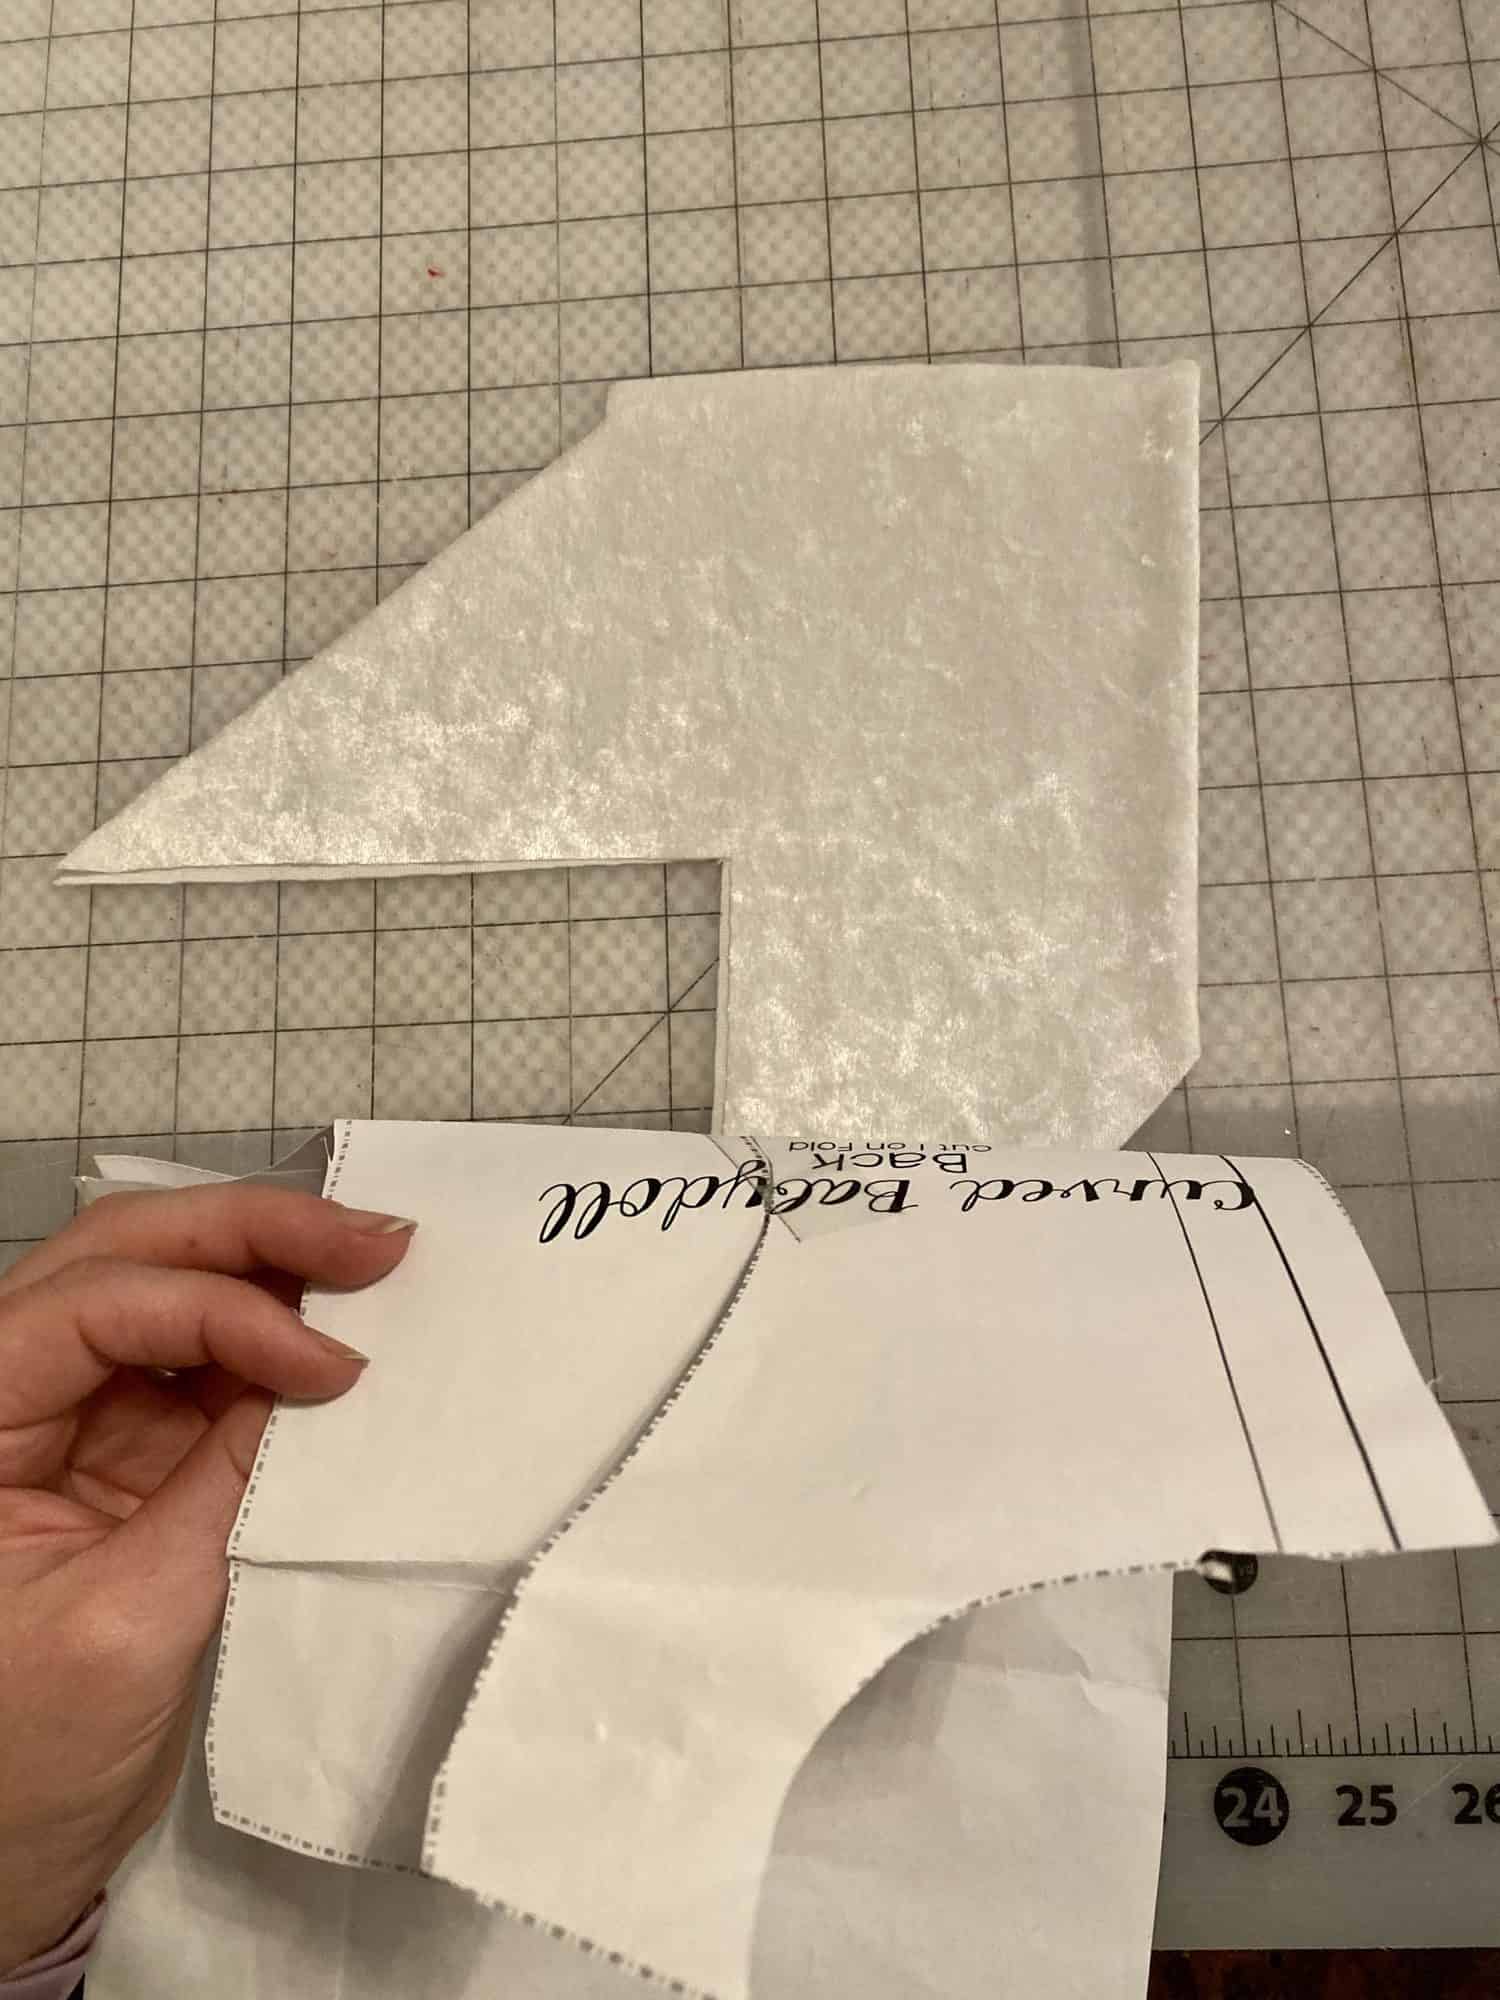
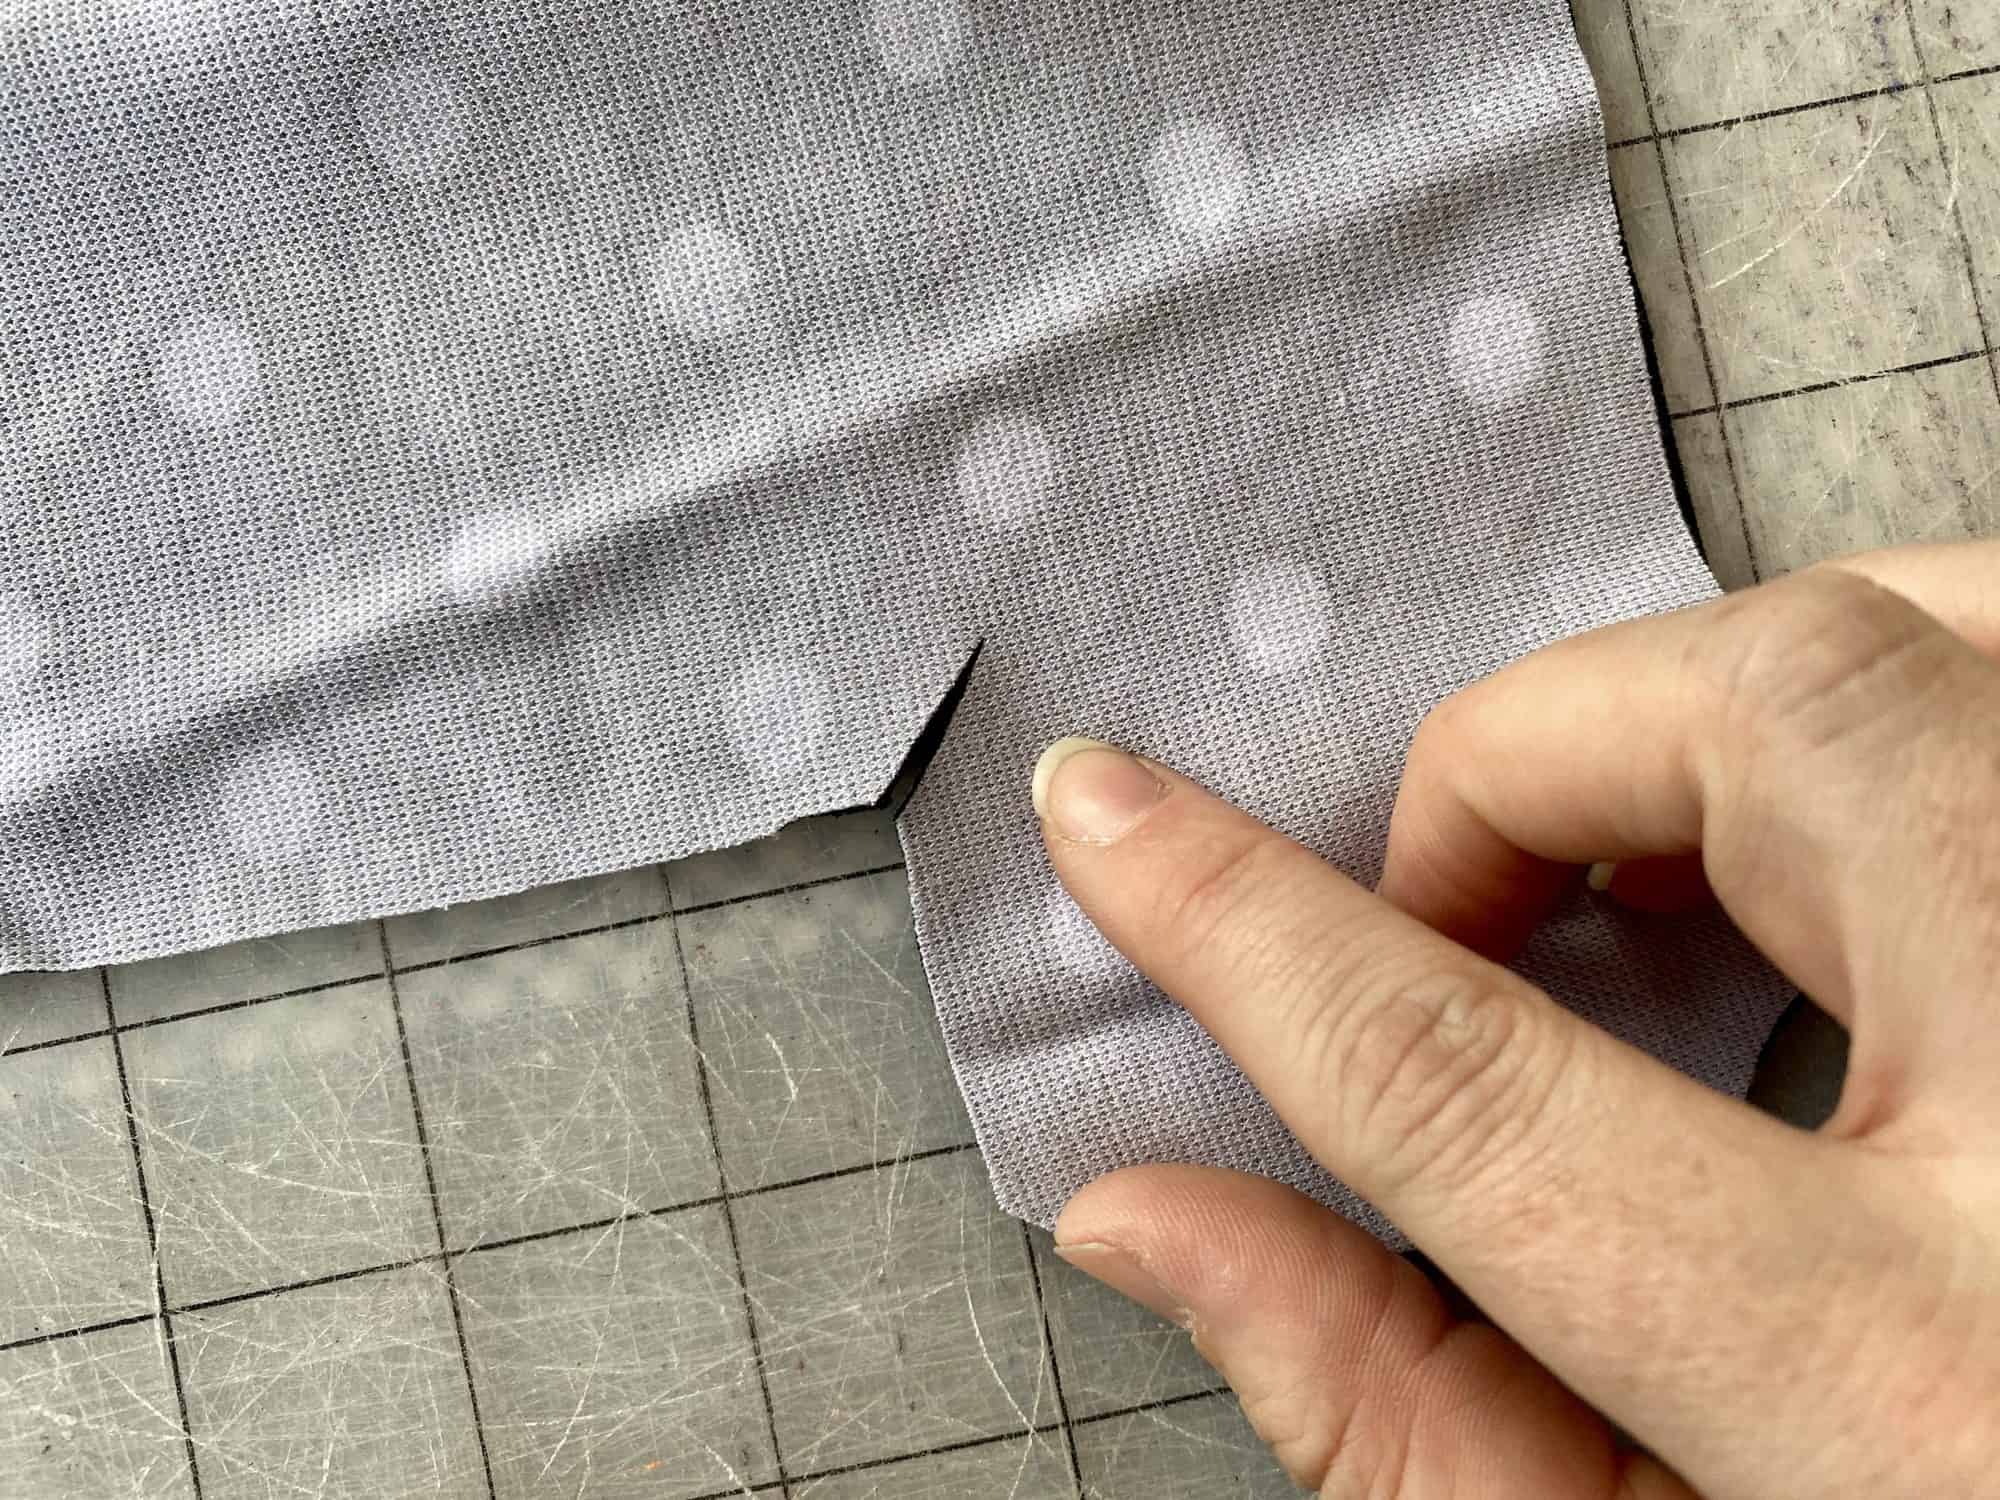
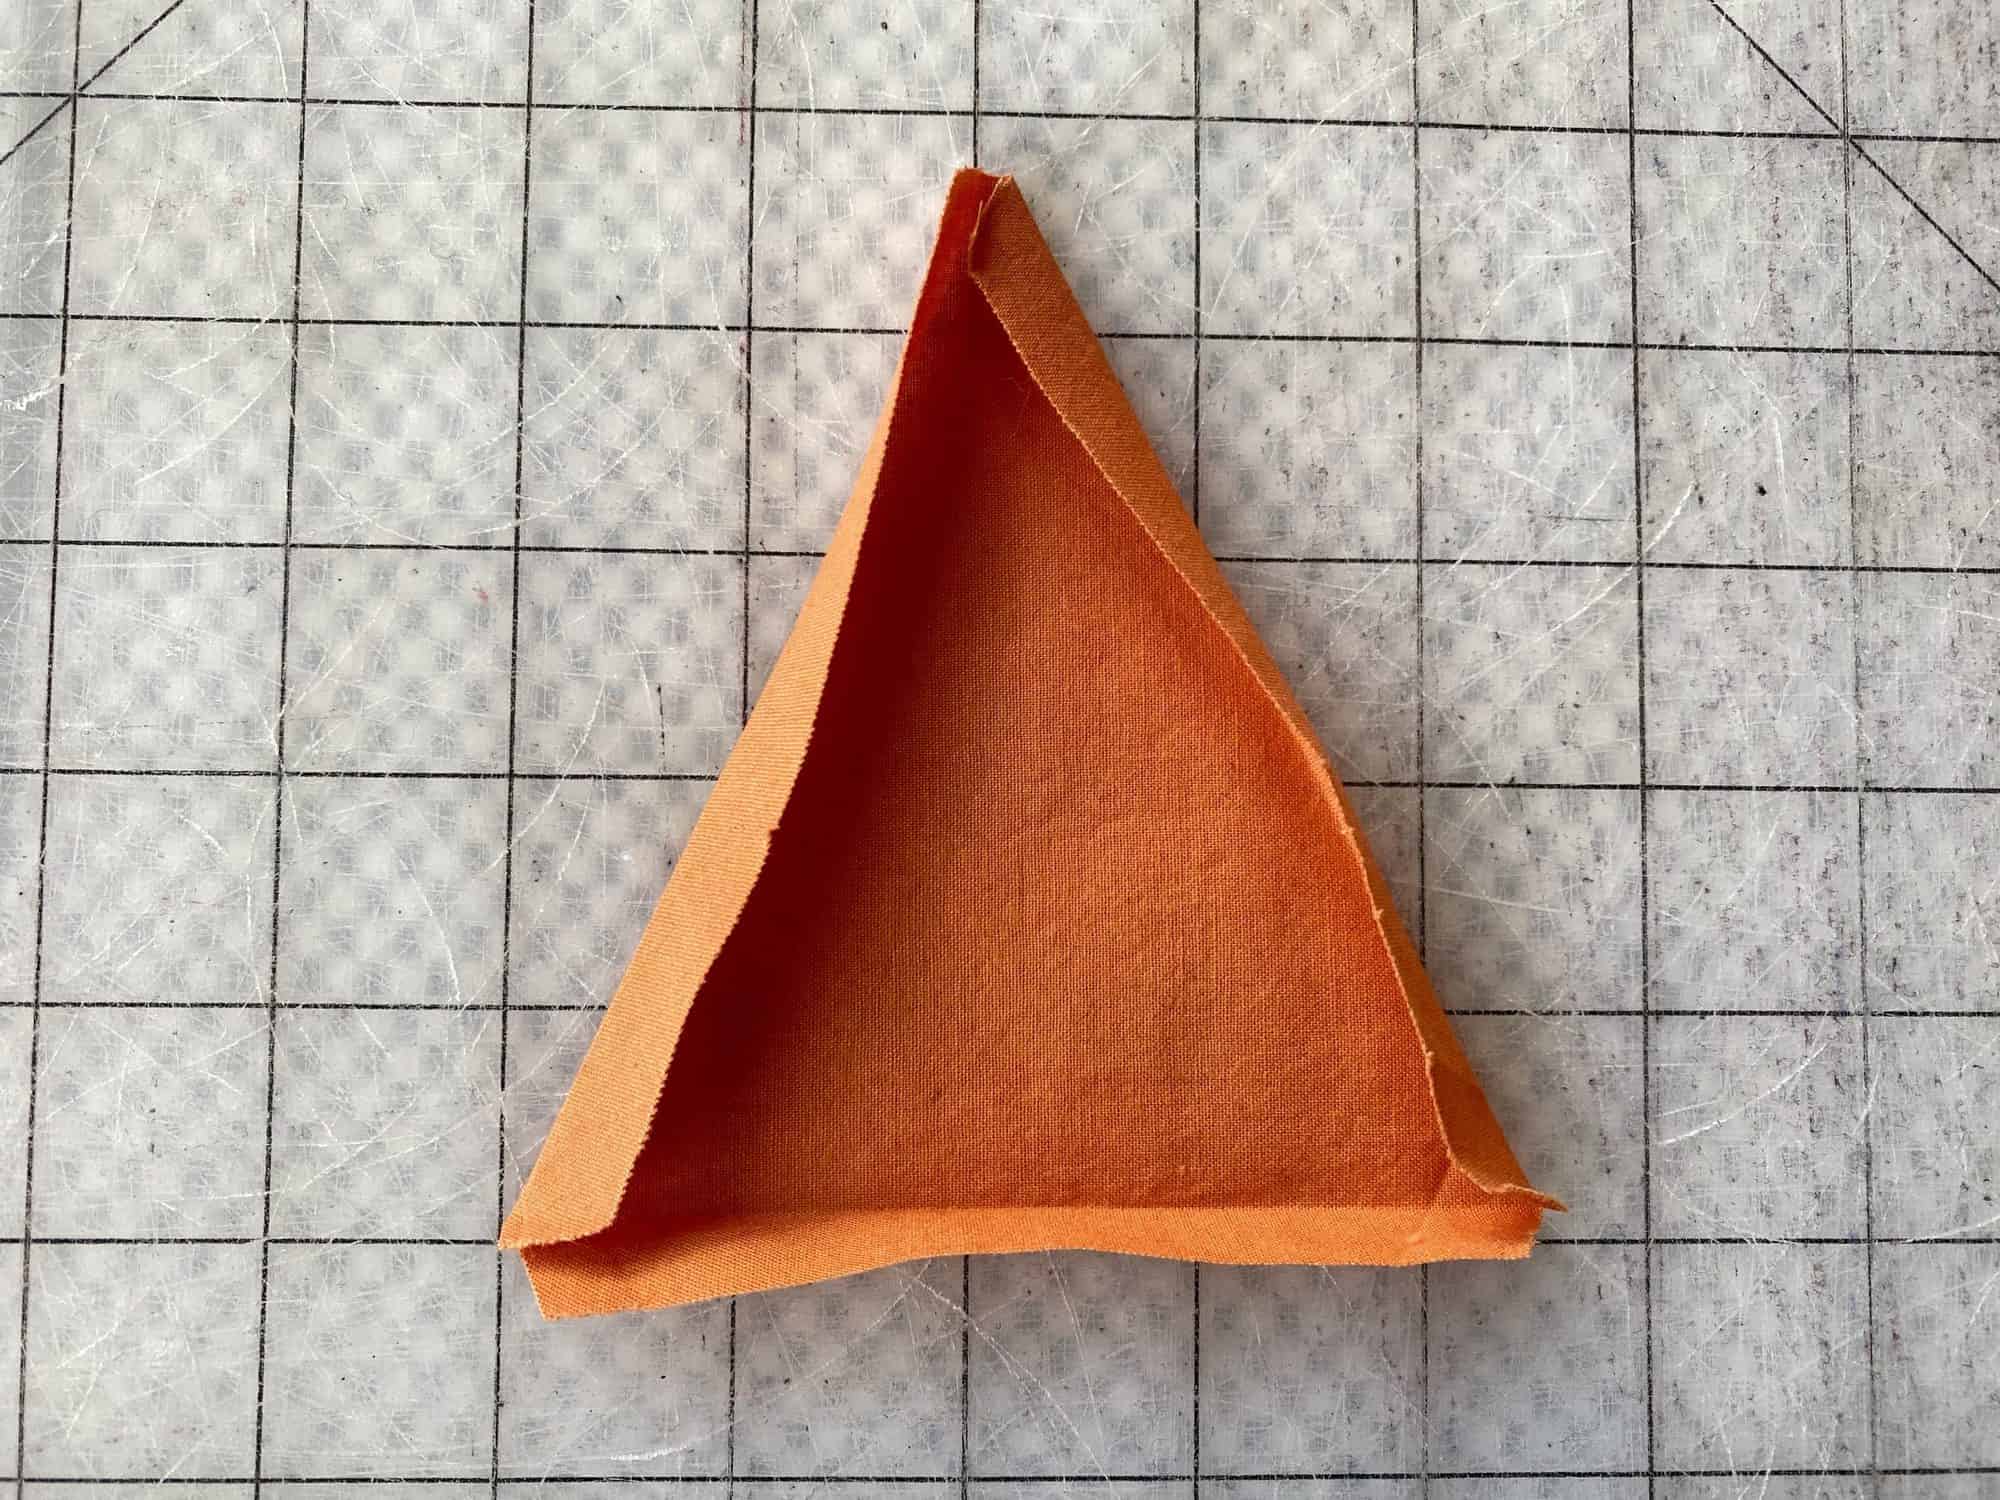
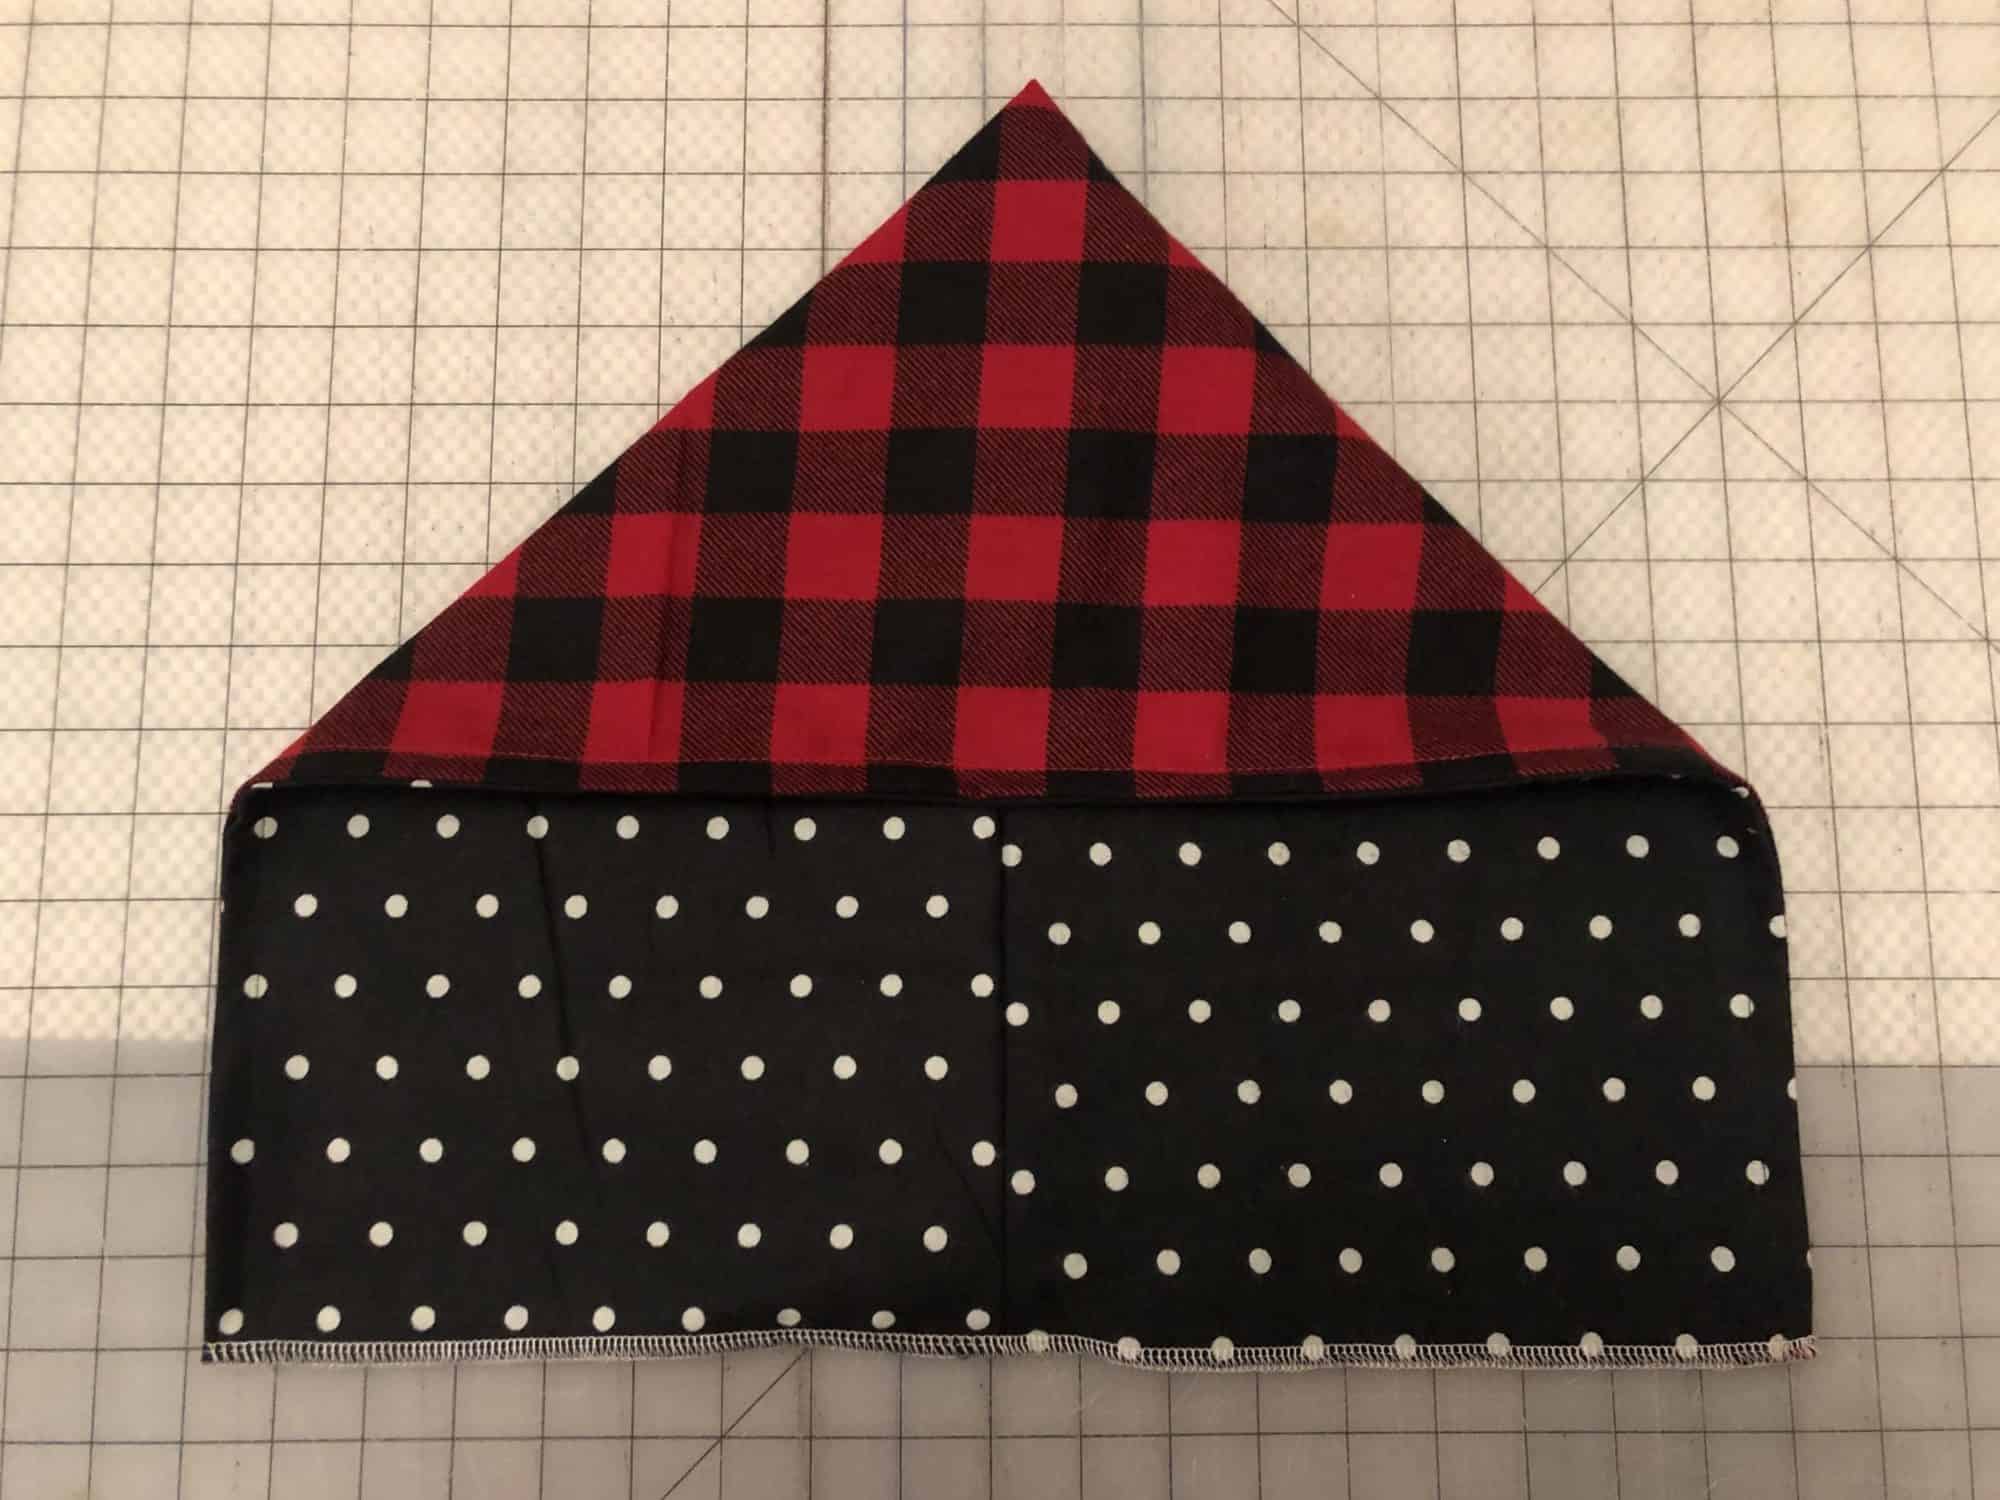
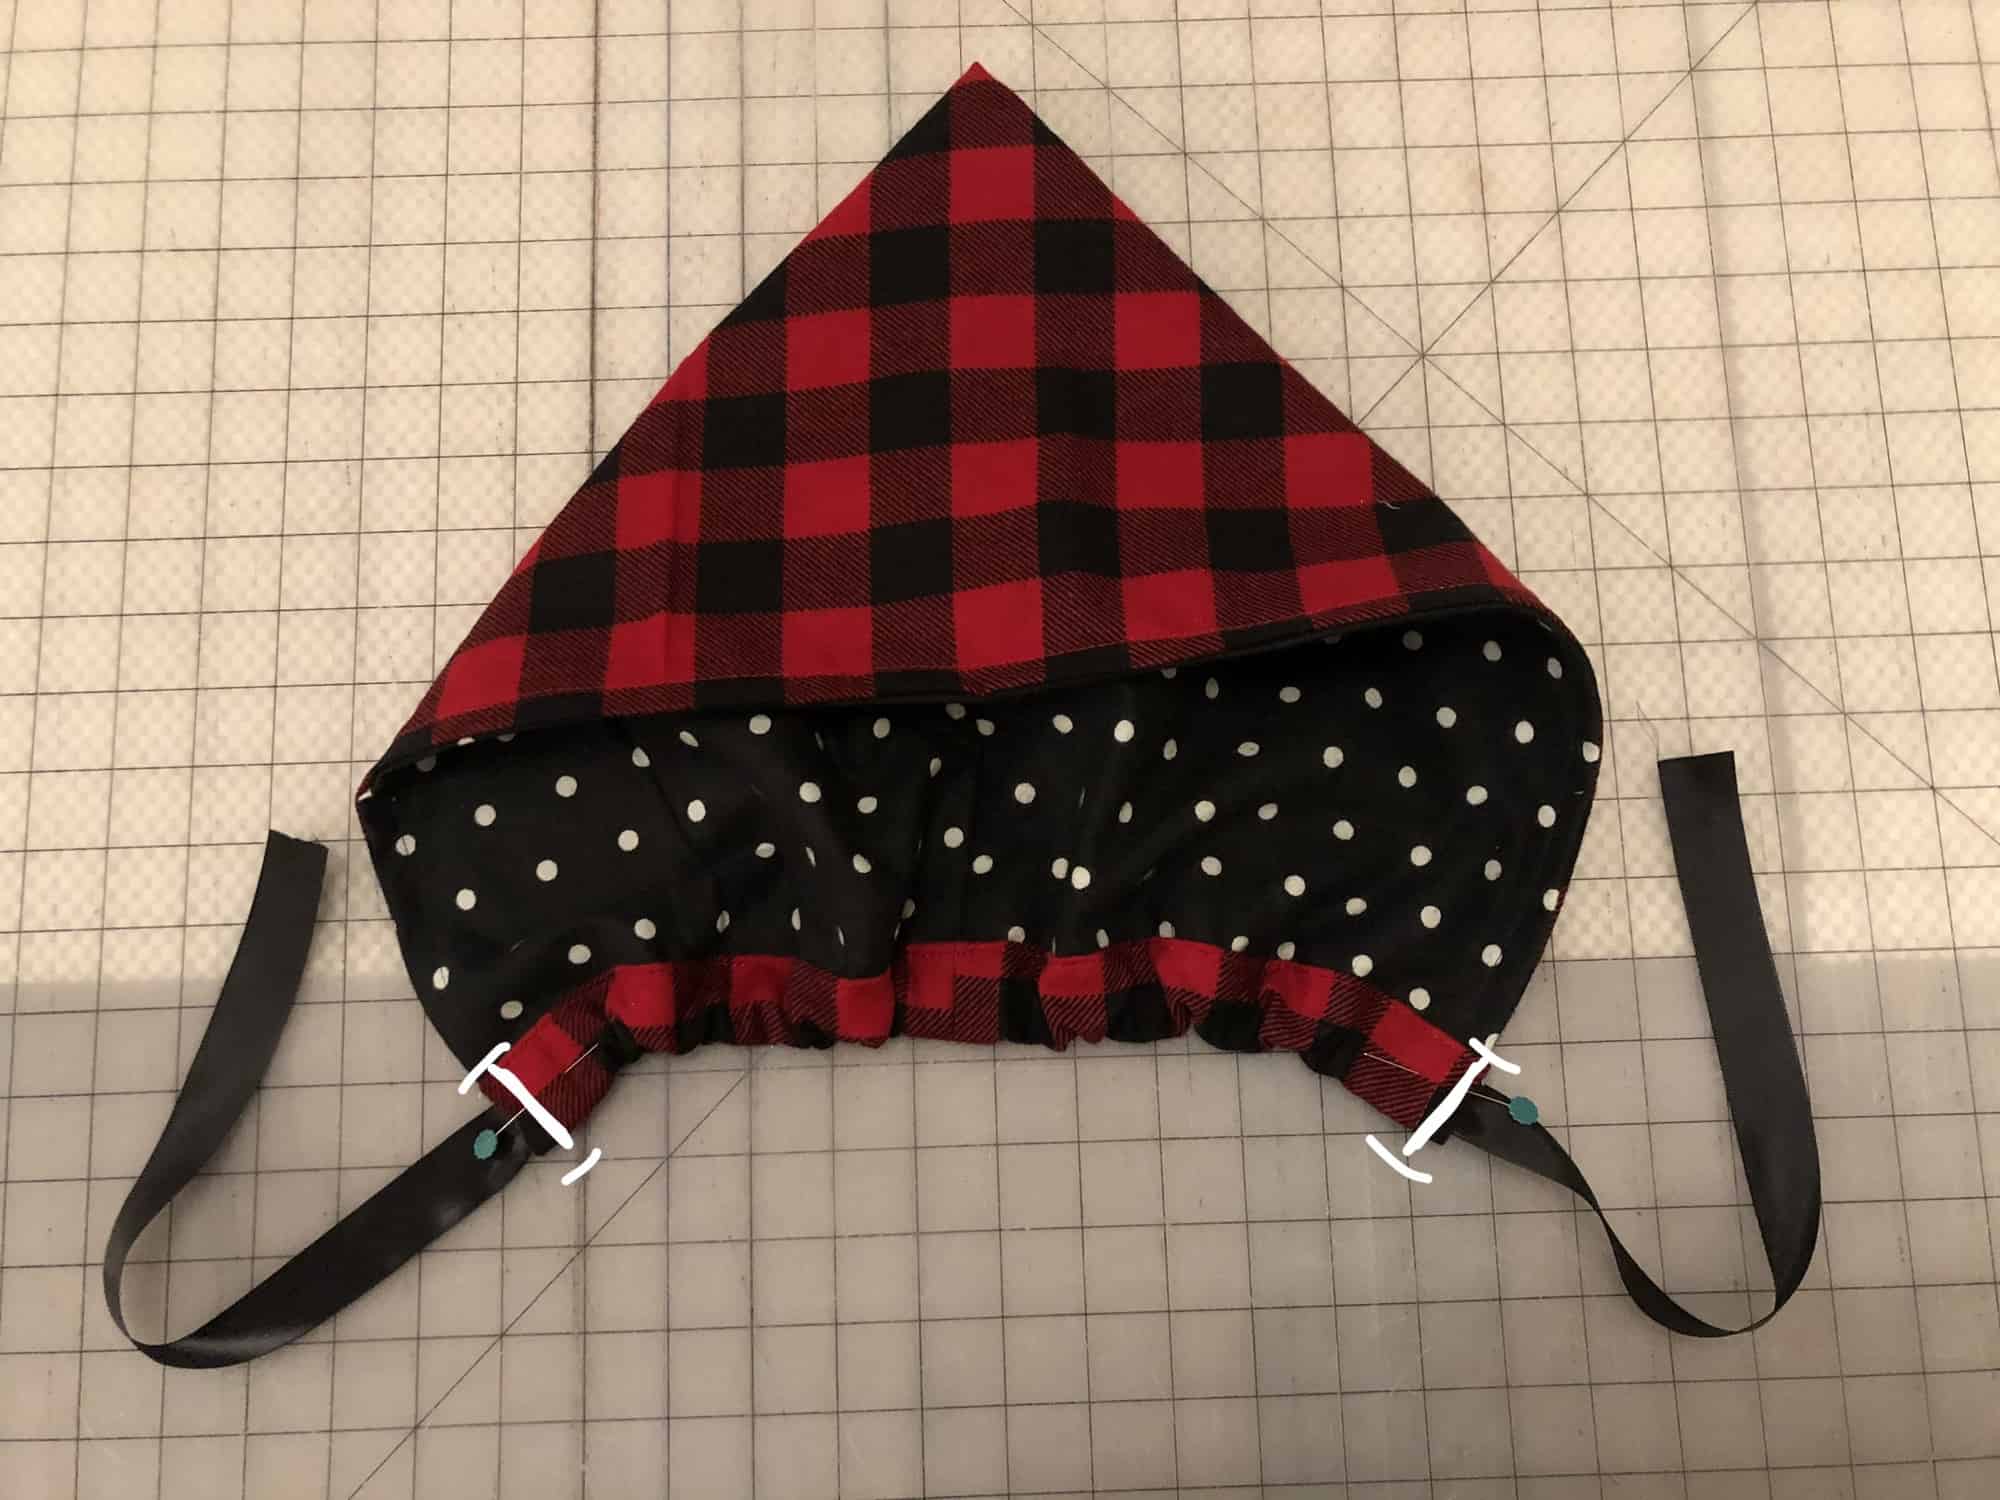
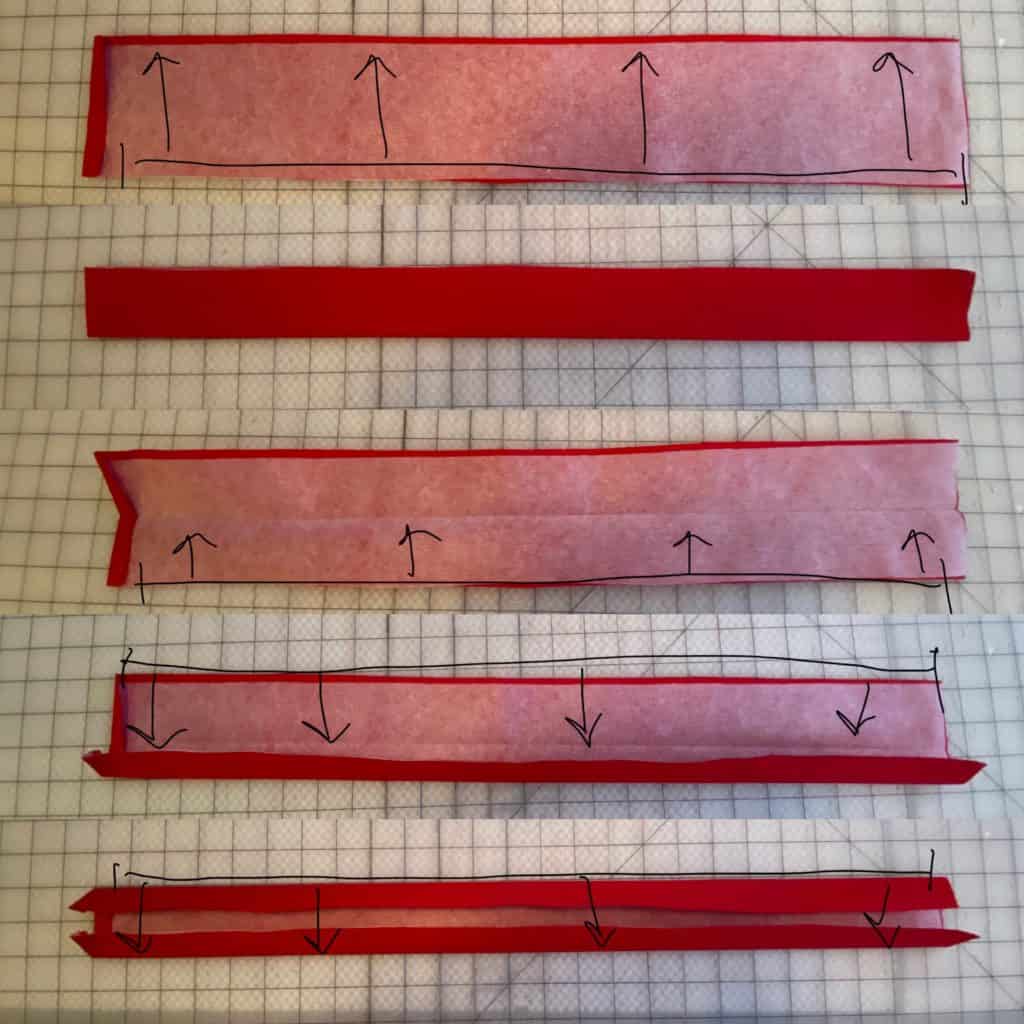
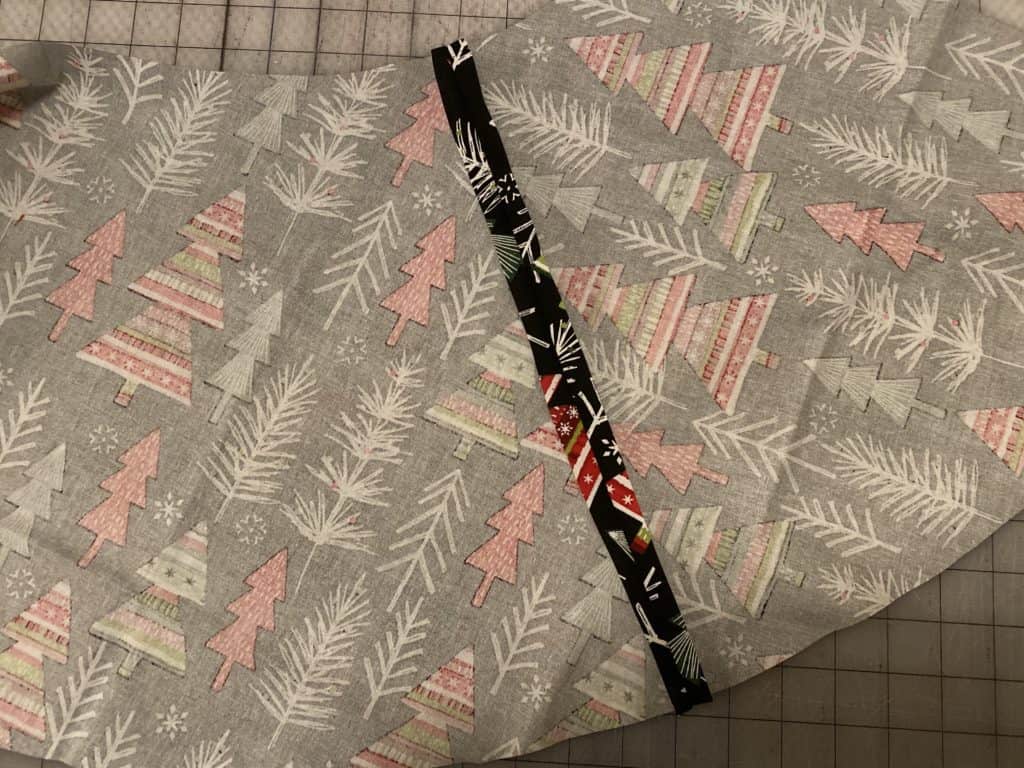
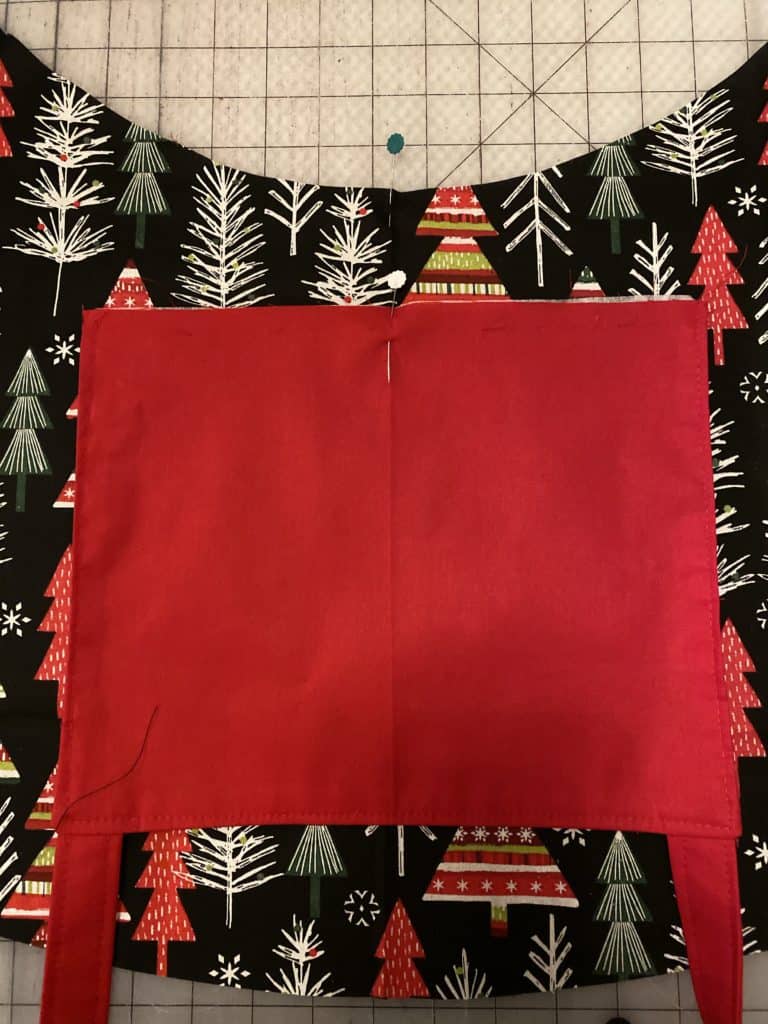
All finished! Now you just need to fold it into a tree shape. Use the dotted lines of the pattern piece to guide you.
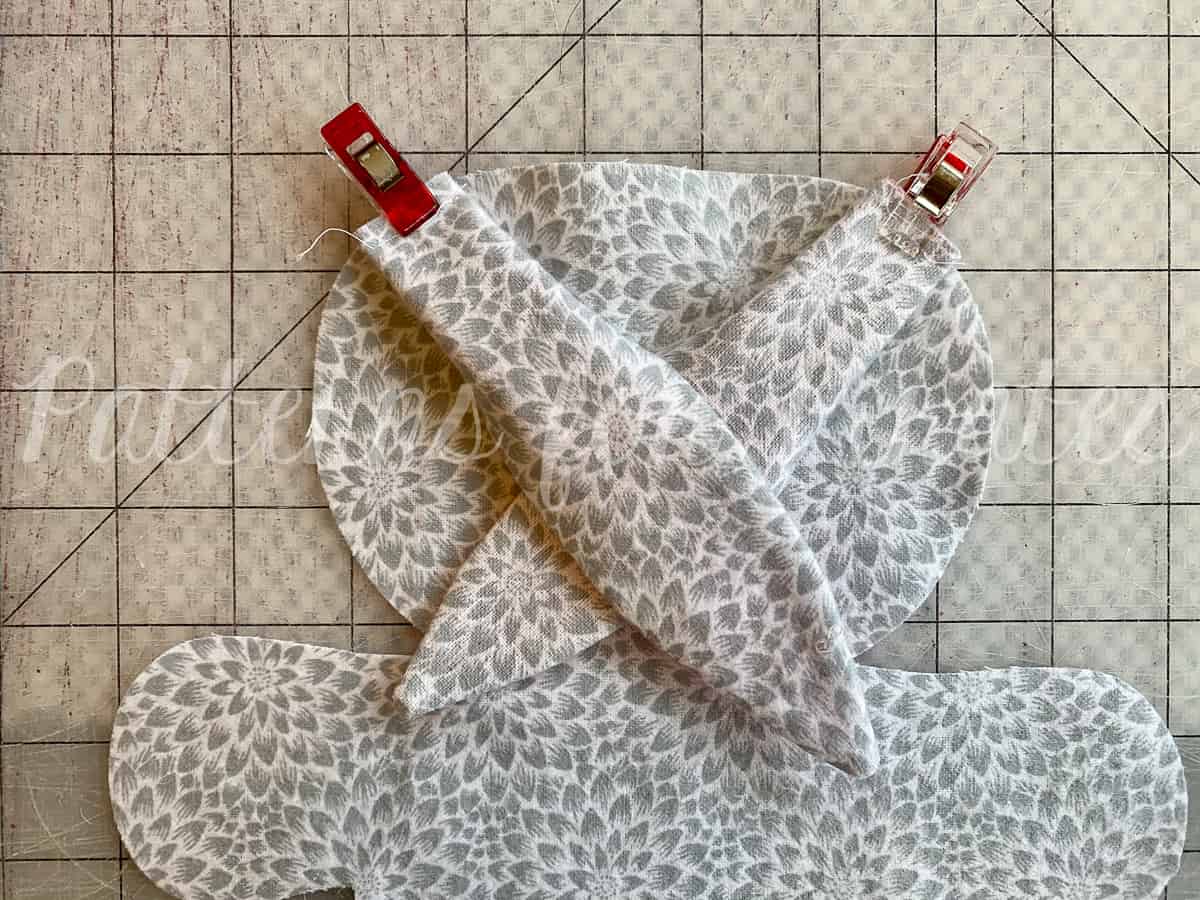
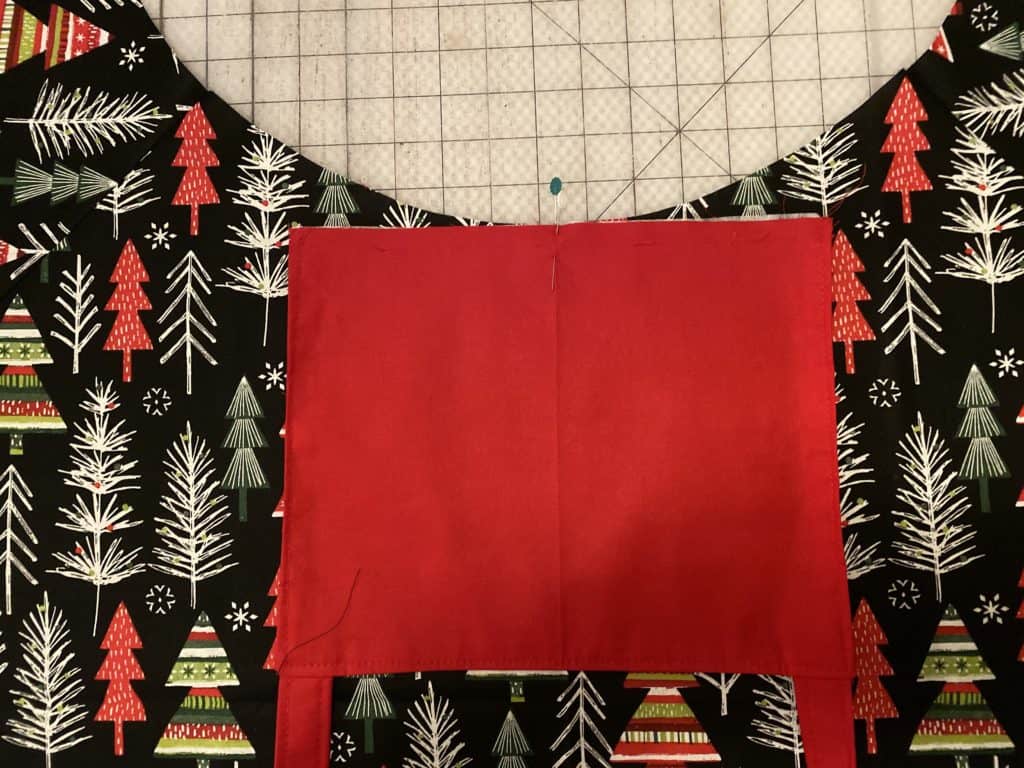
Align along straight edge of pattern piece.
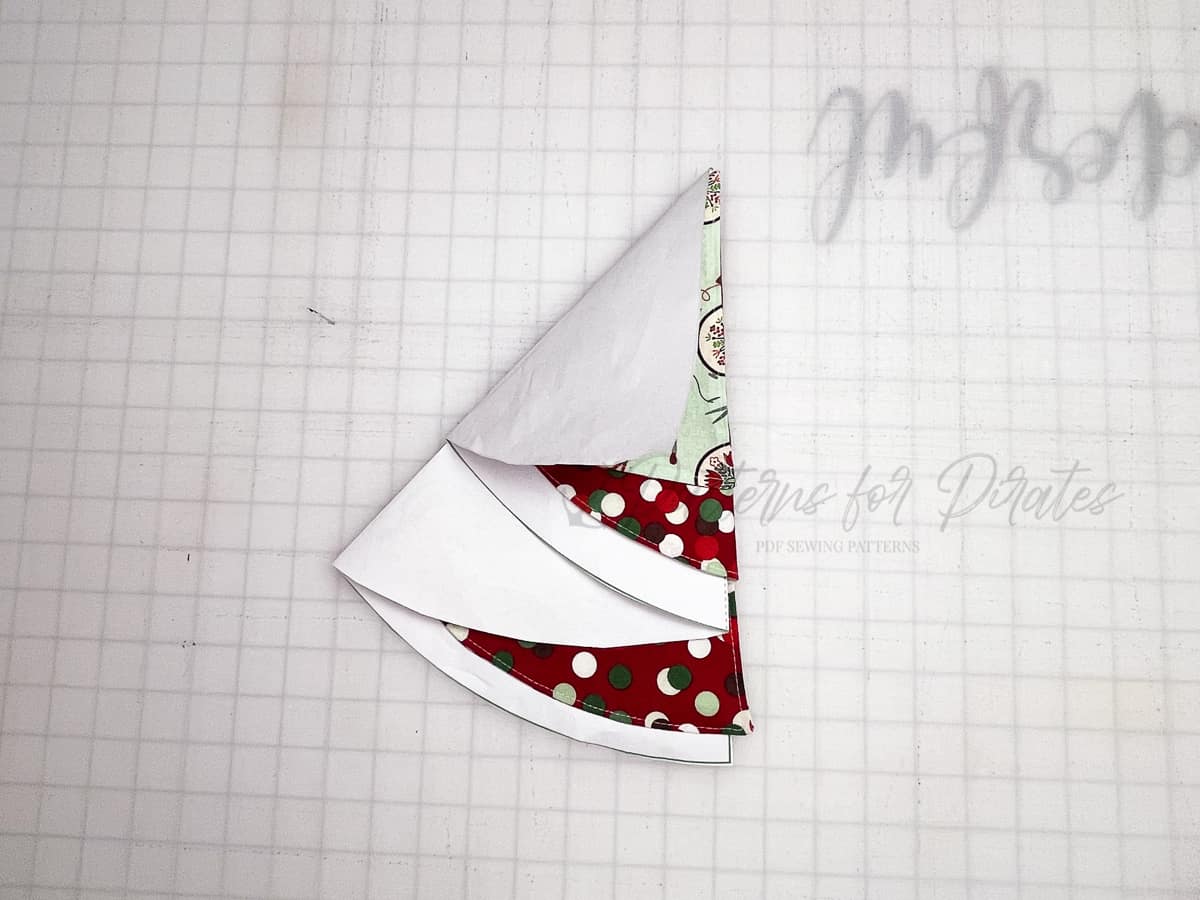
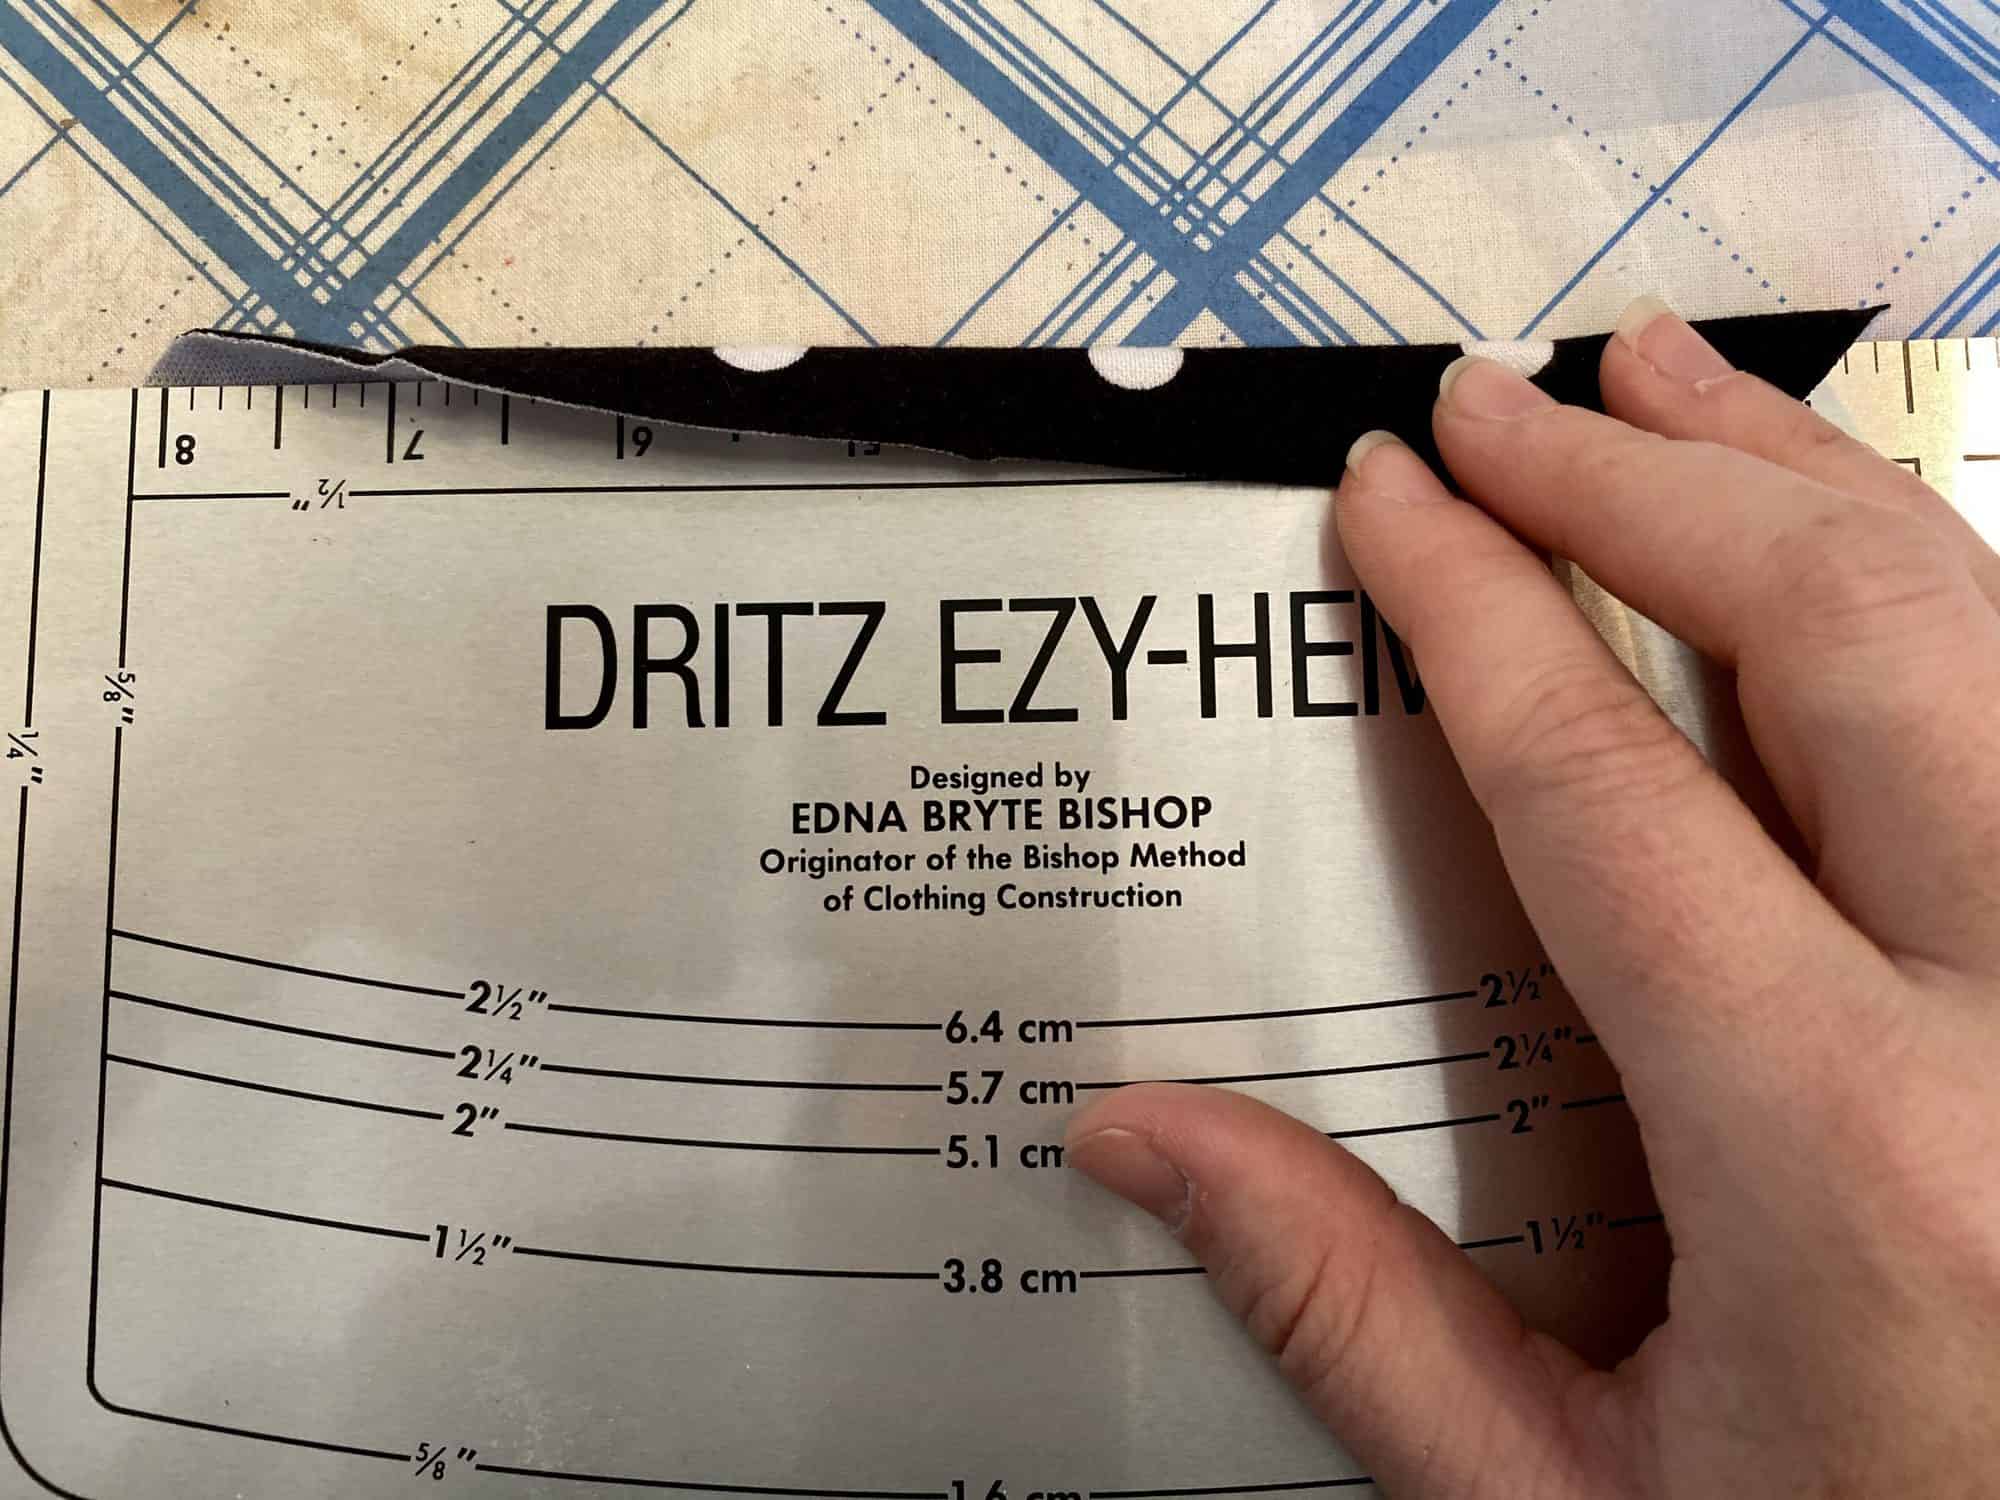
Fold top corner down.
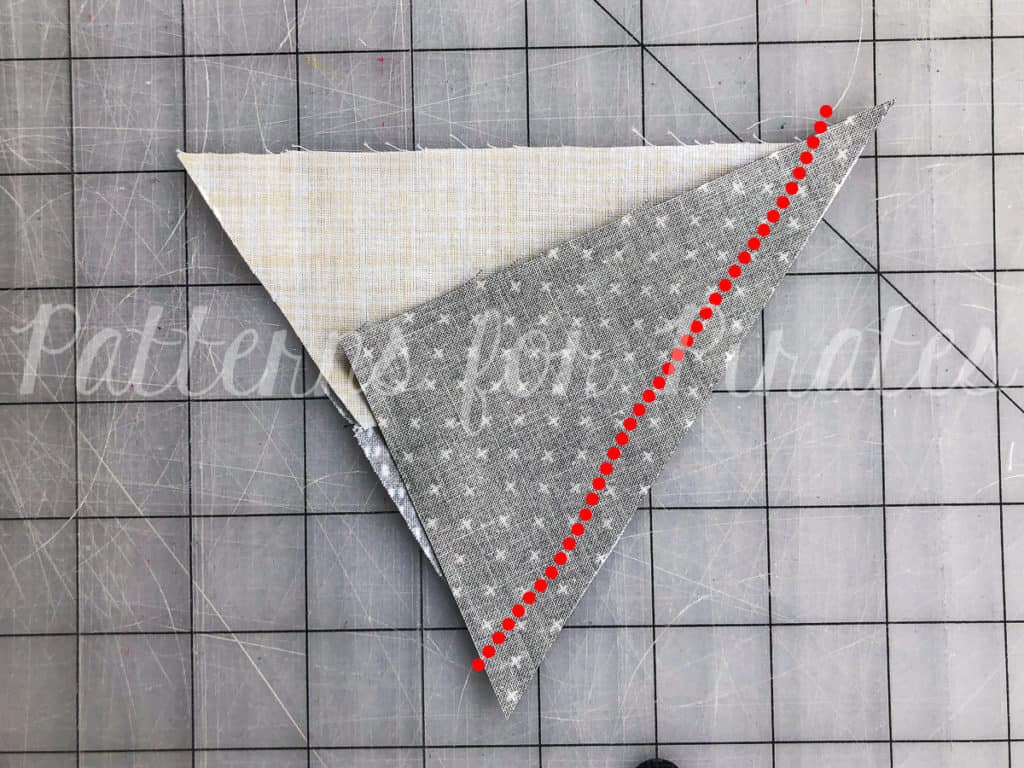
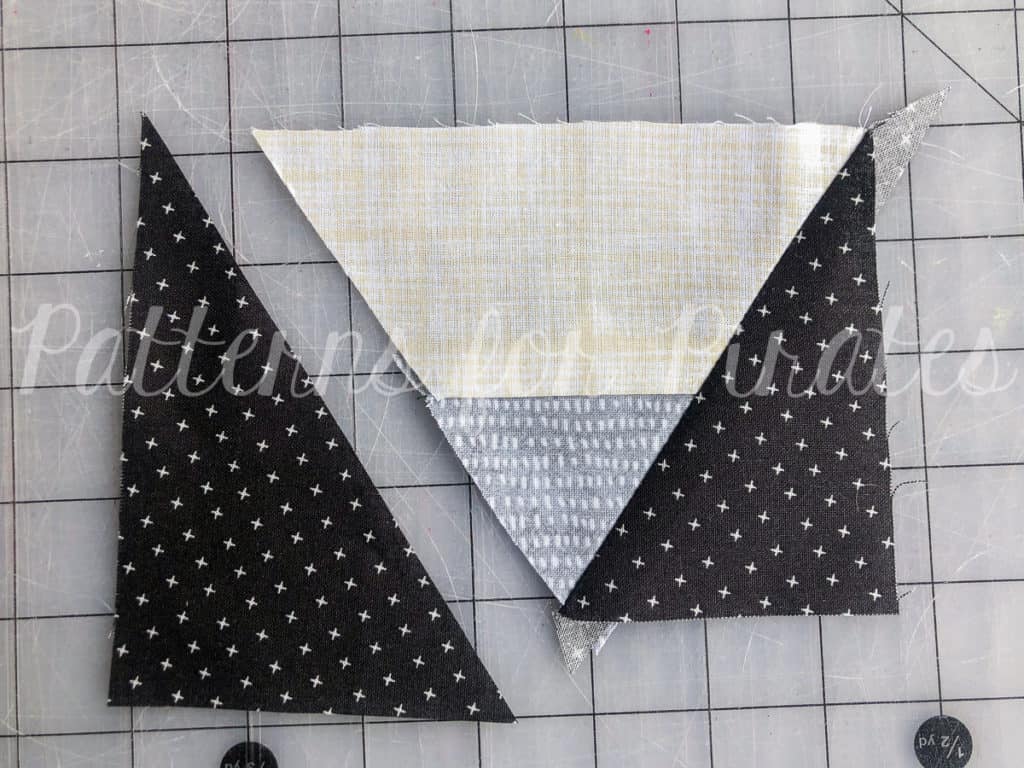
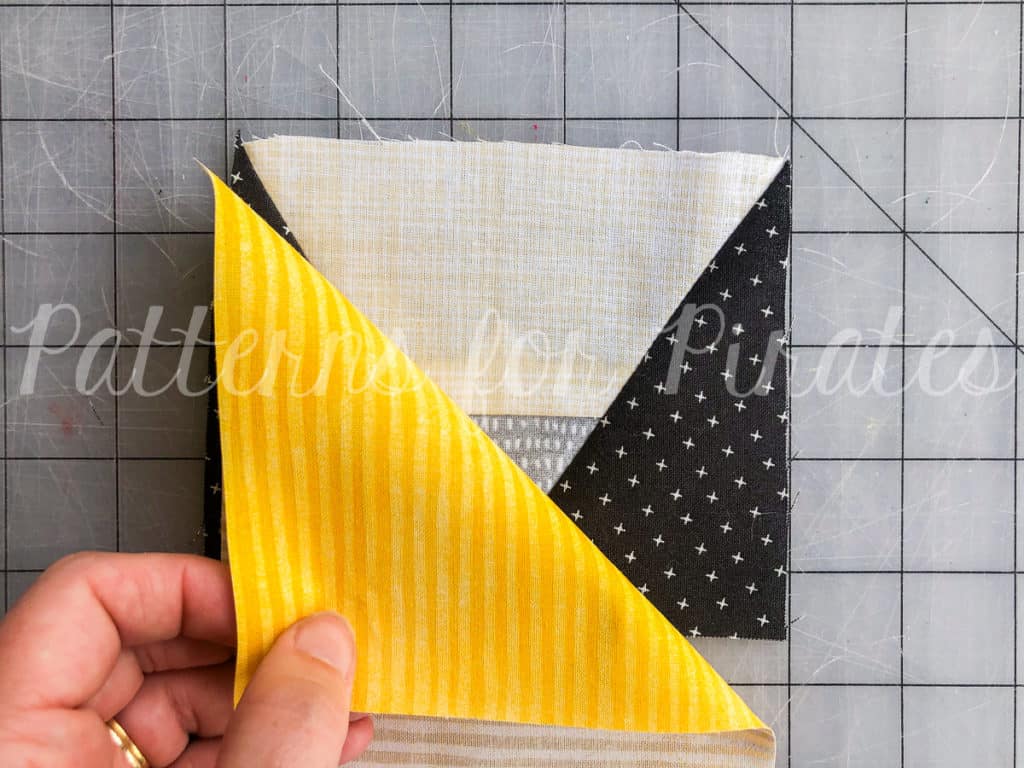
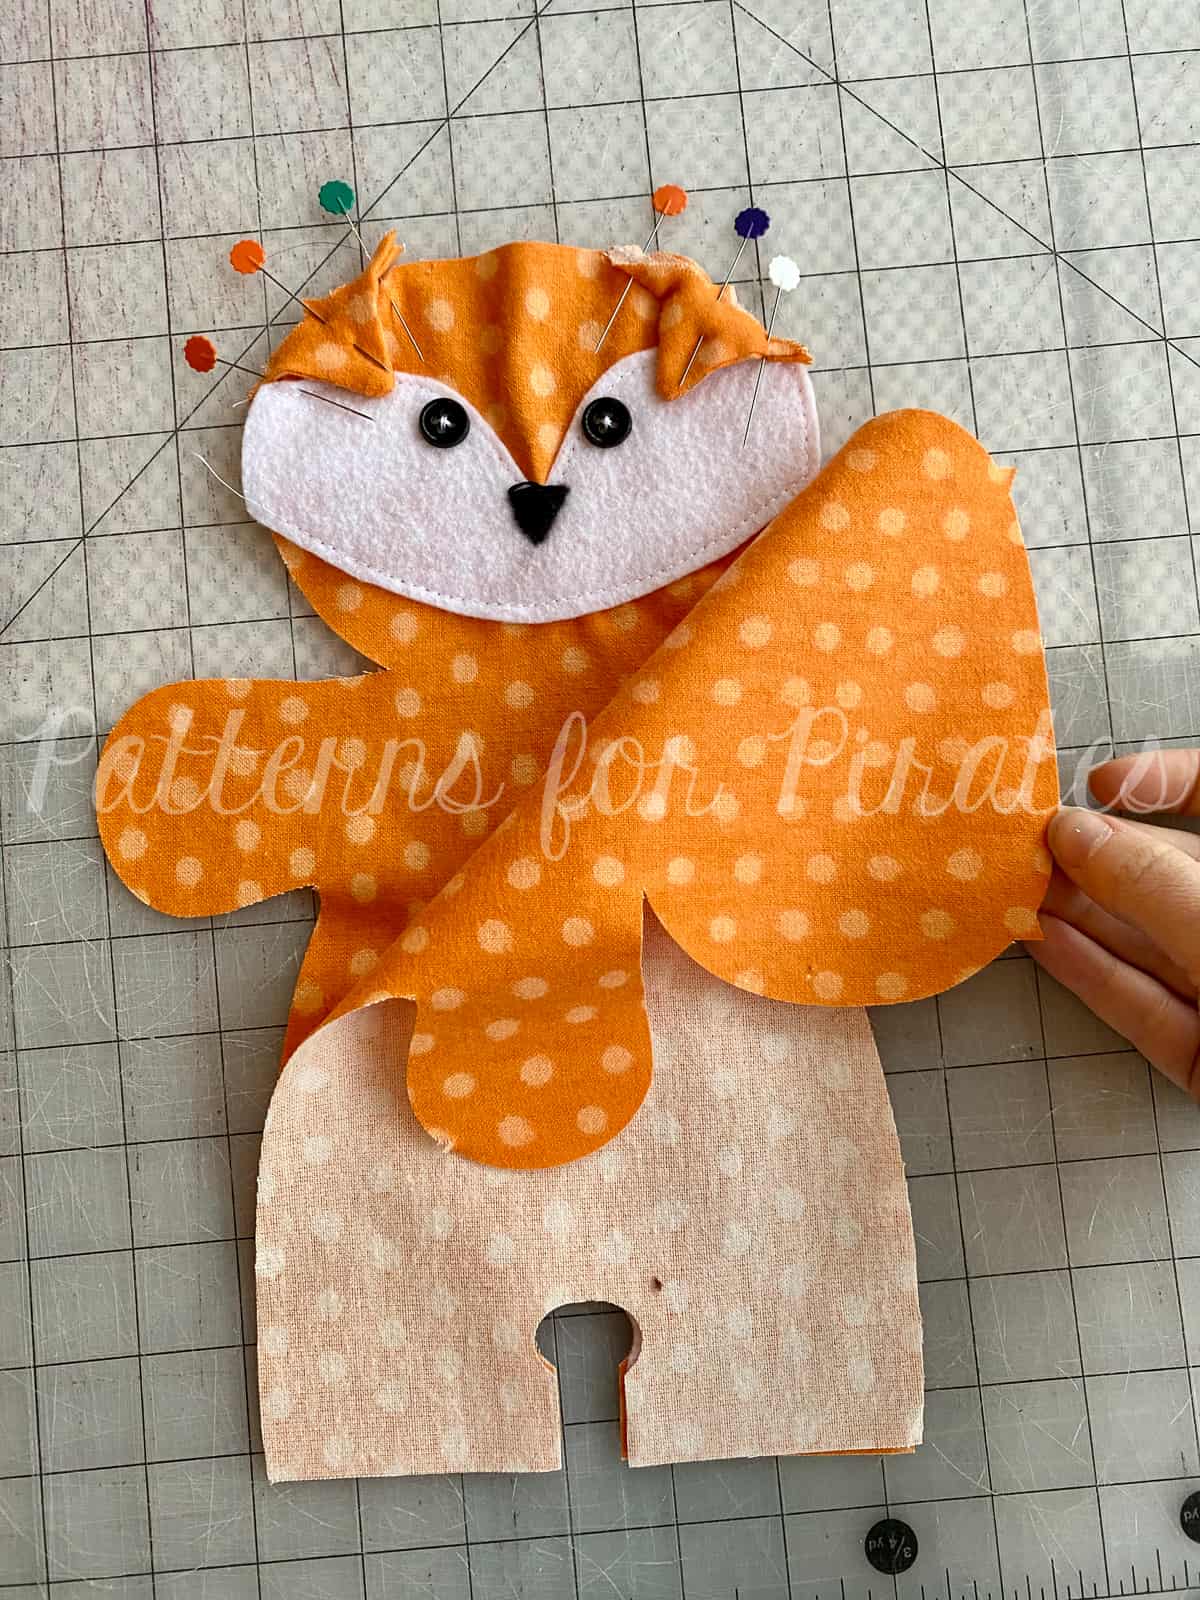
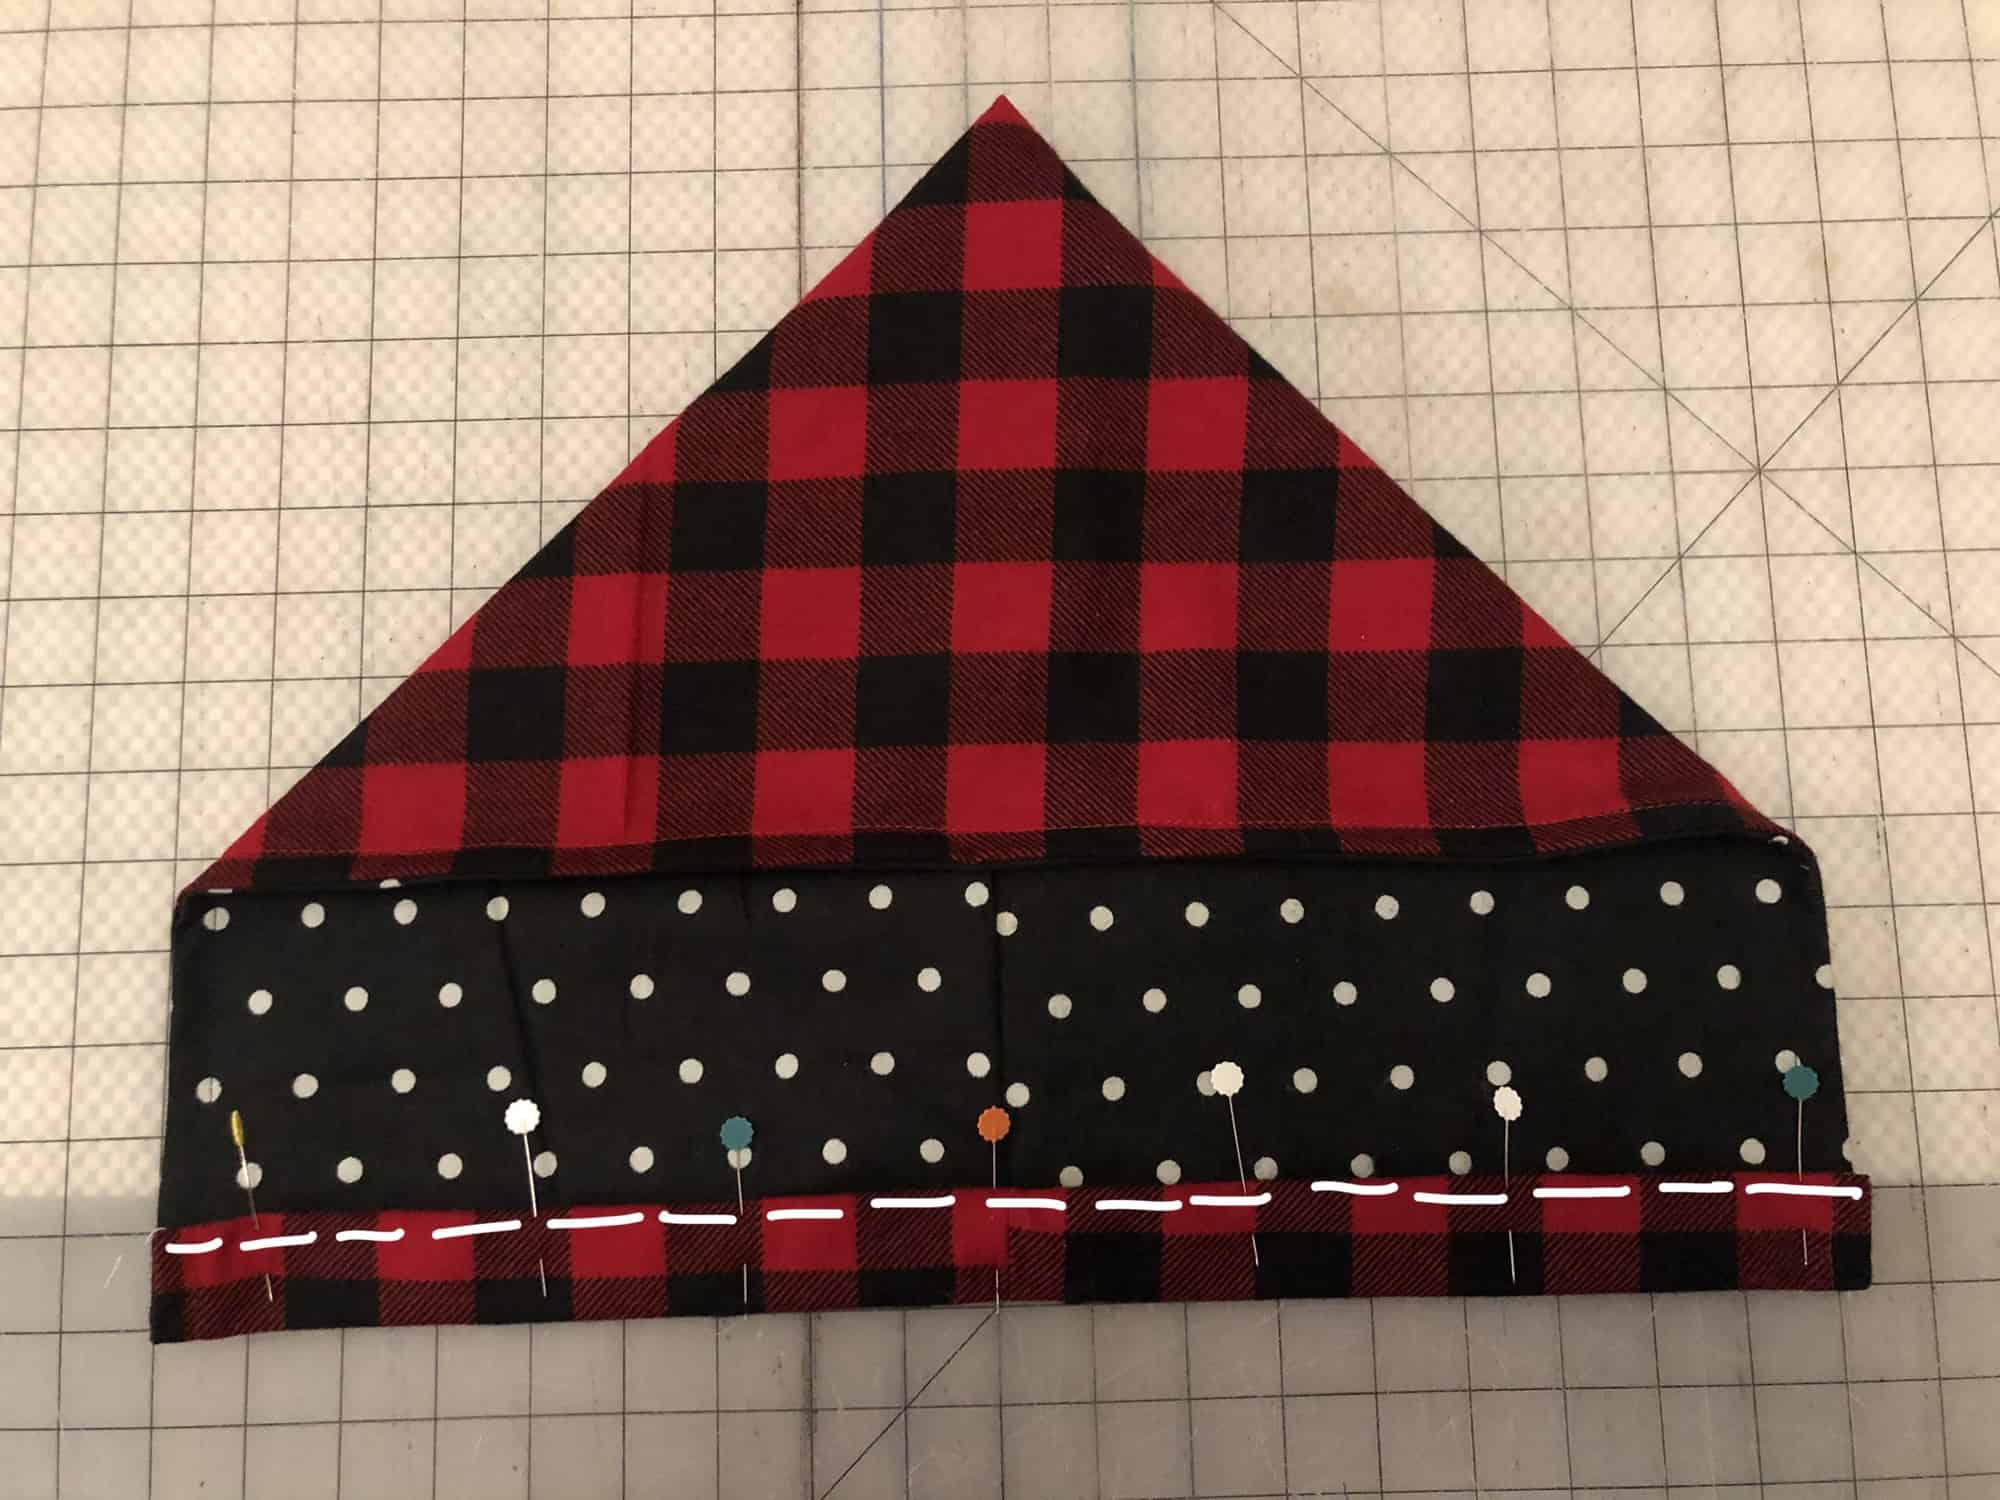
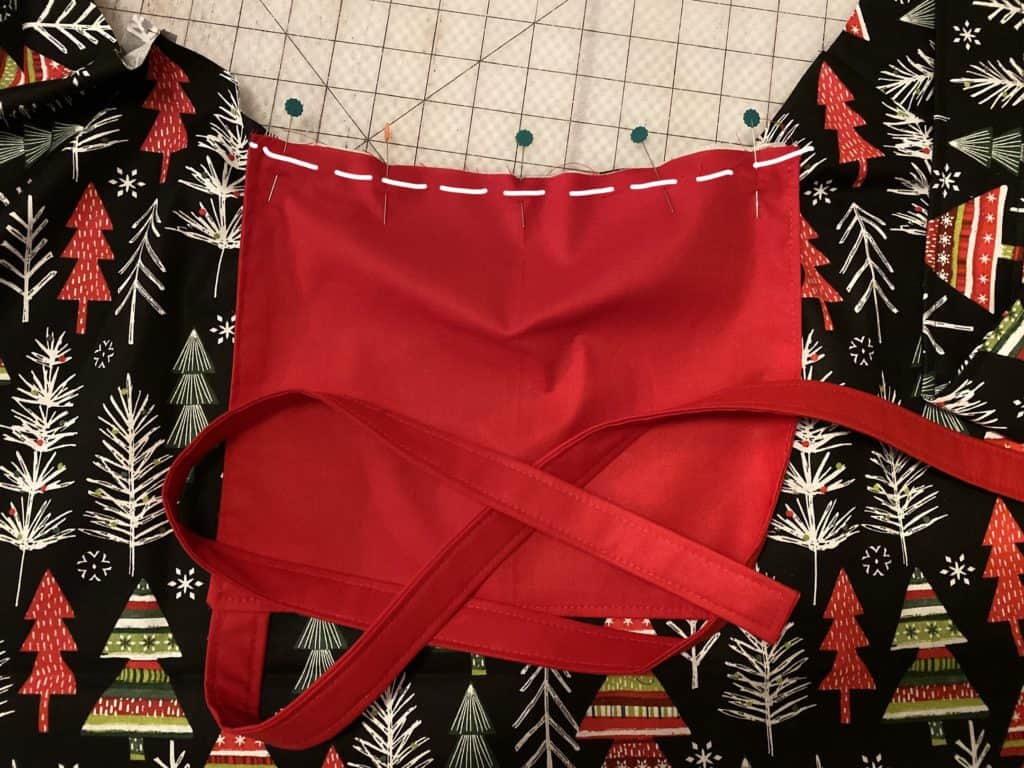
Make the second fold toward the back of napkin.
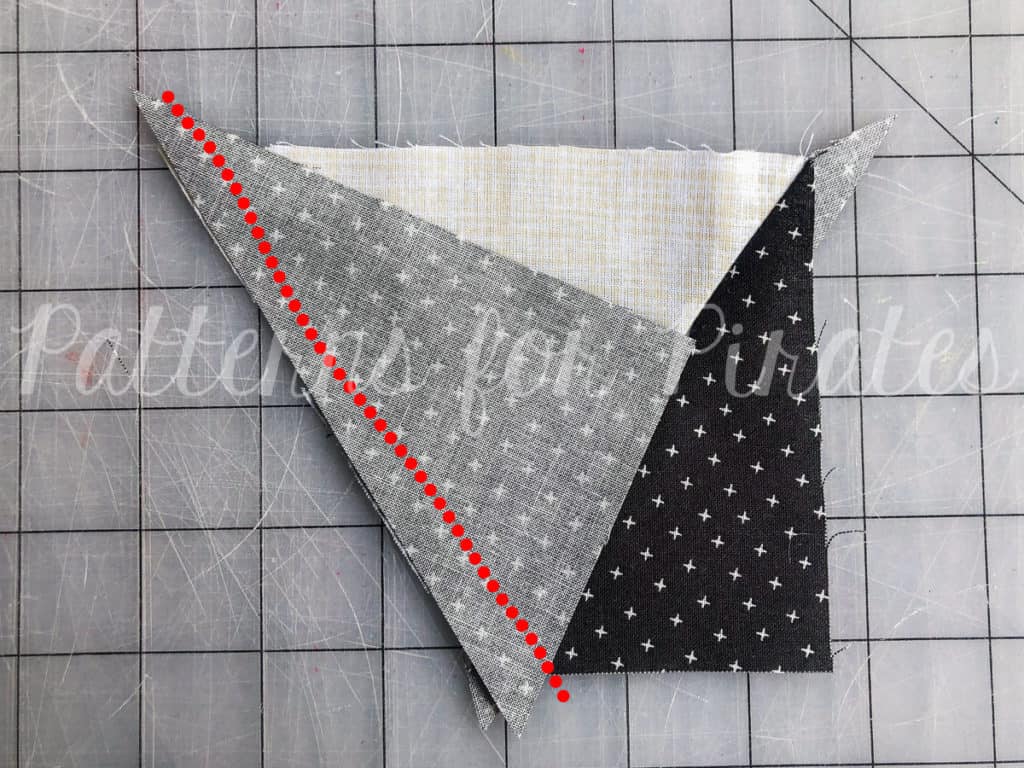
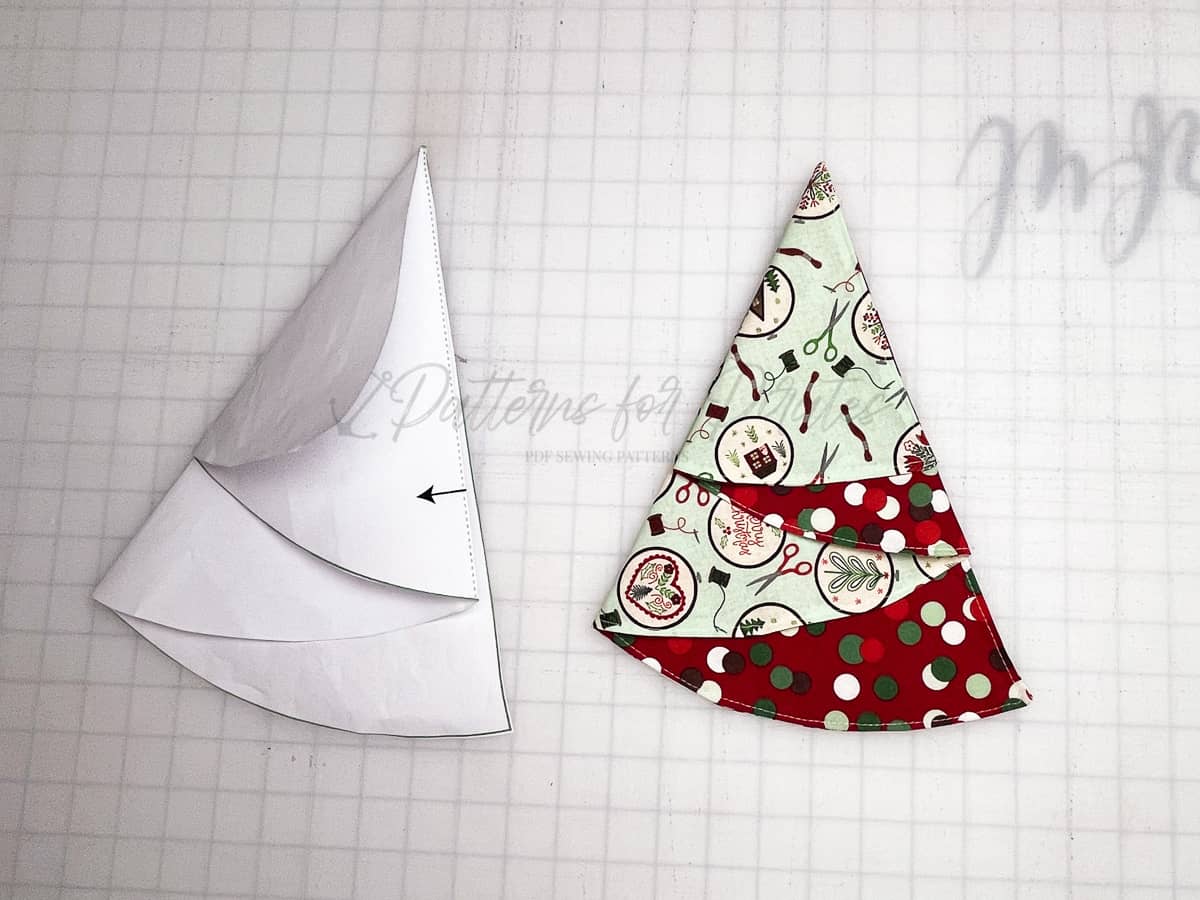
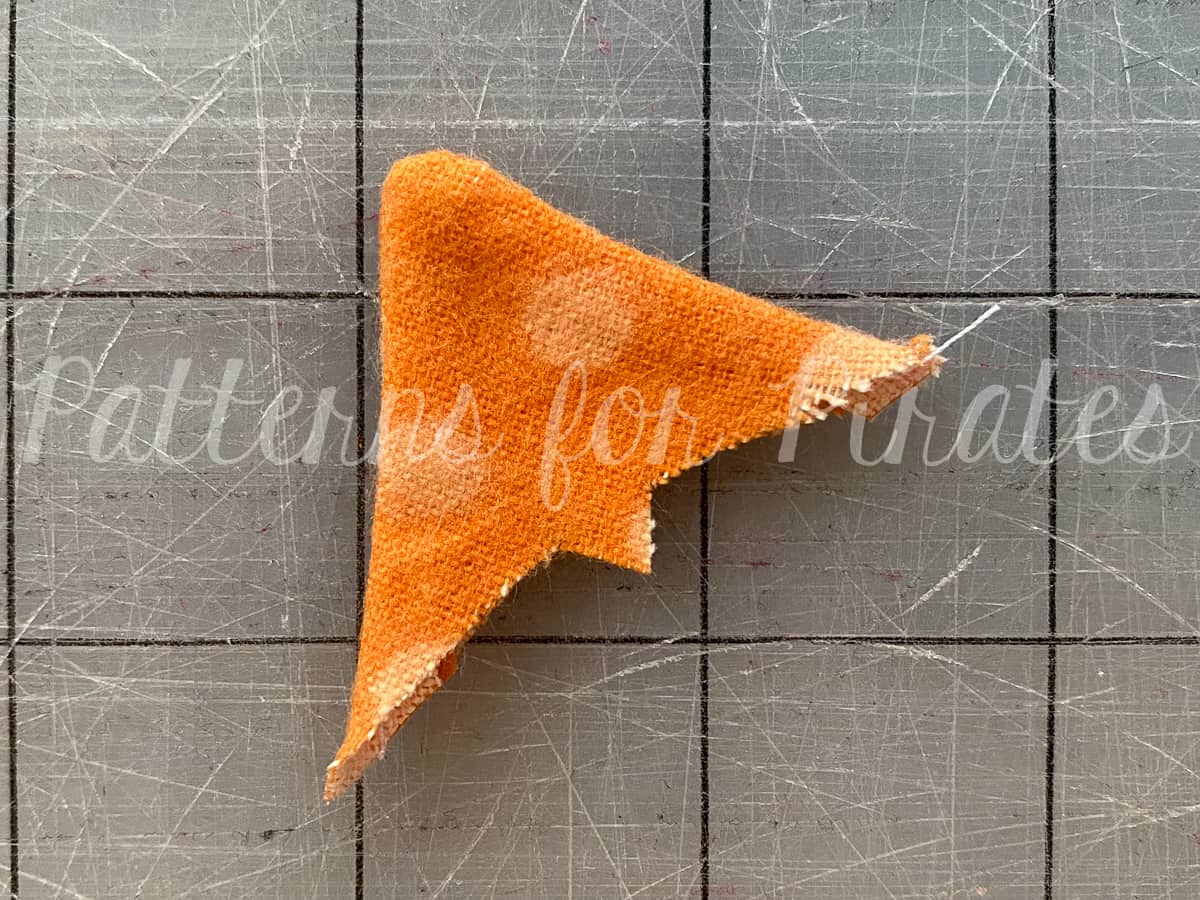
Make third fold toward the front of the napkin, completing your tree shape.
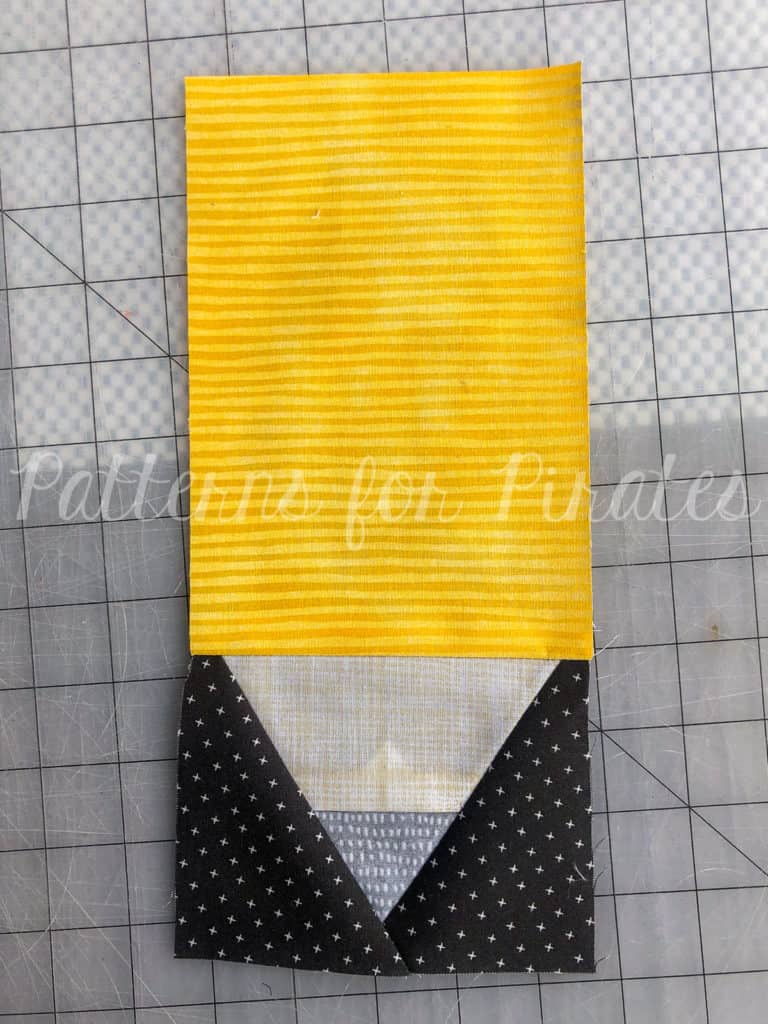
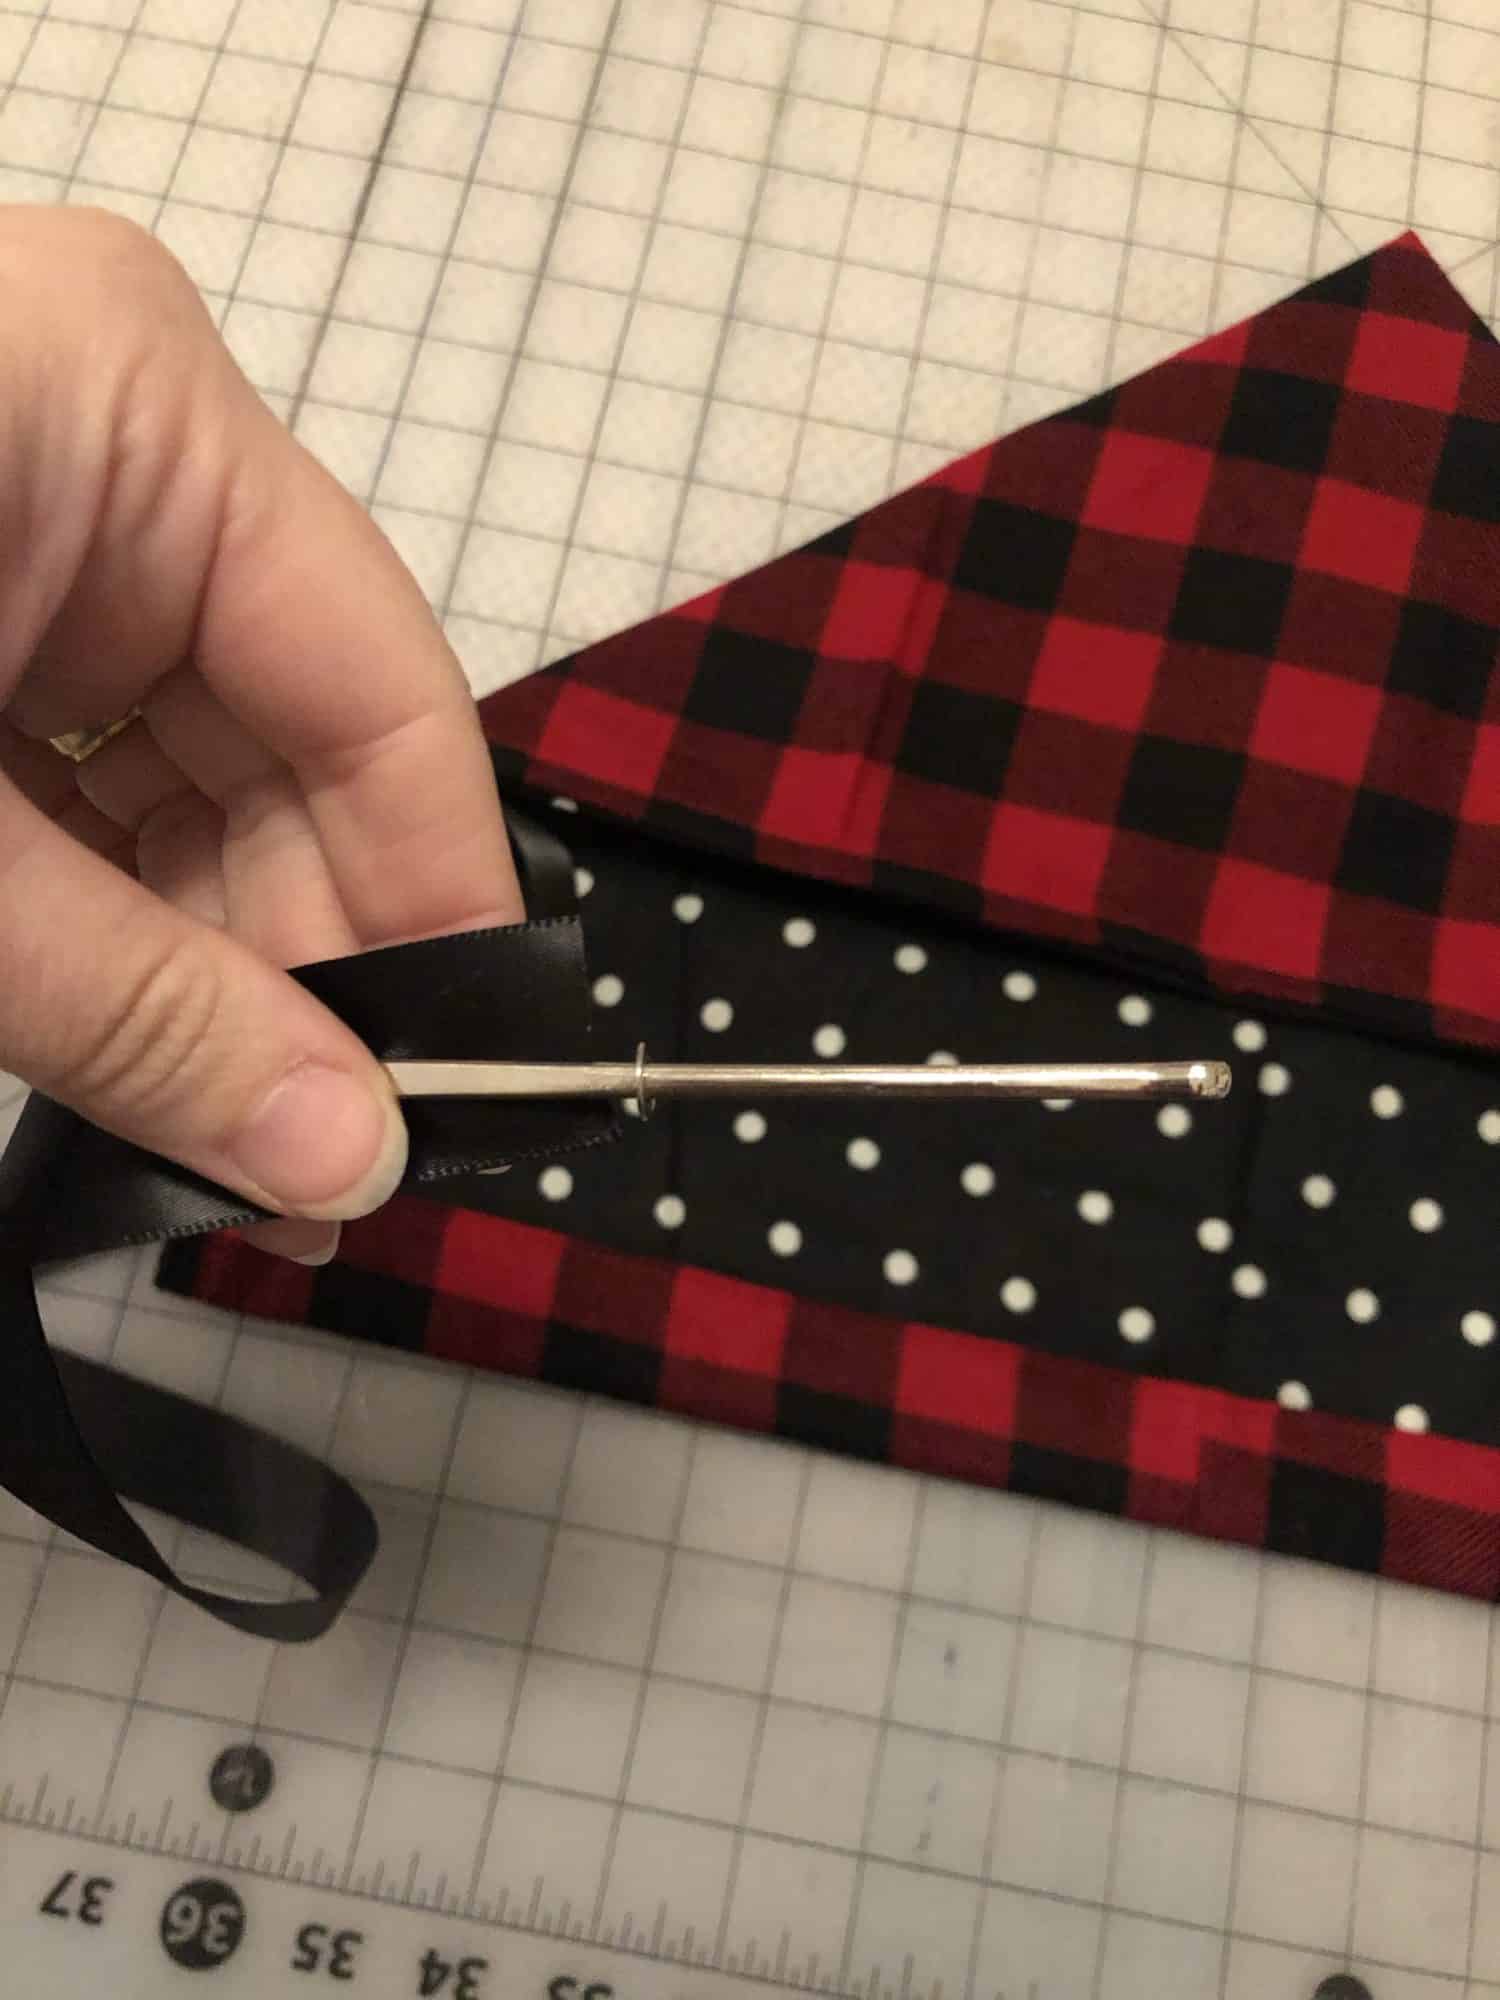
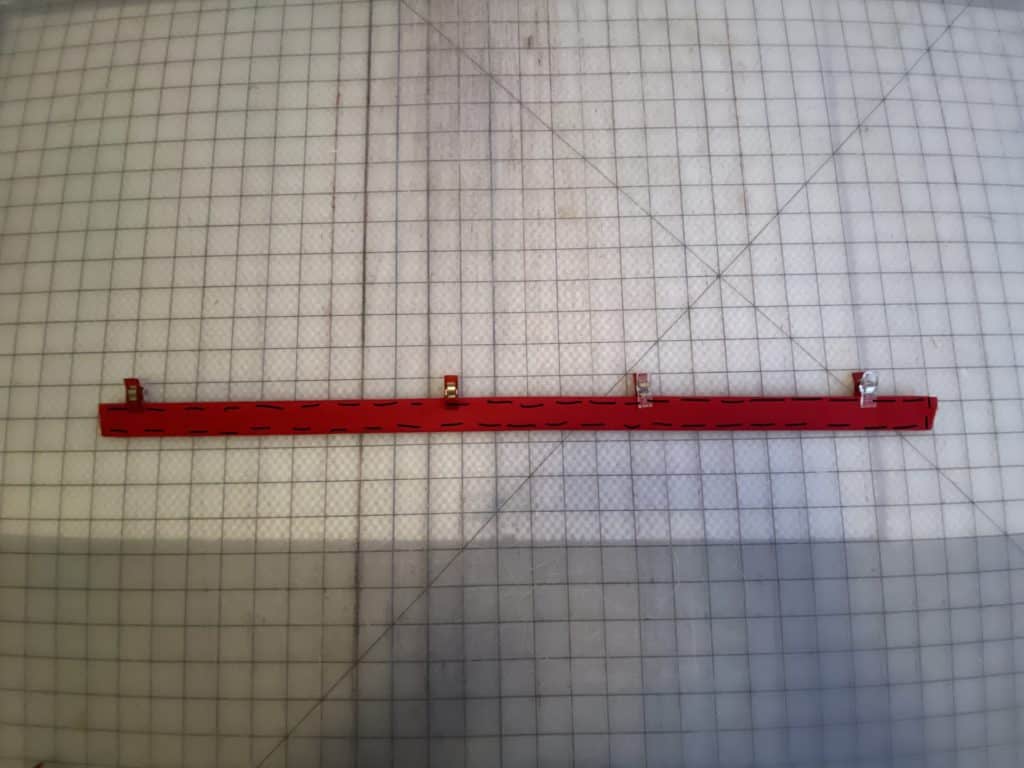
Slide pattern piece out and press, if desired.
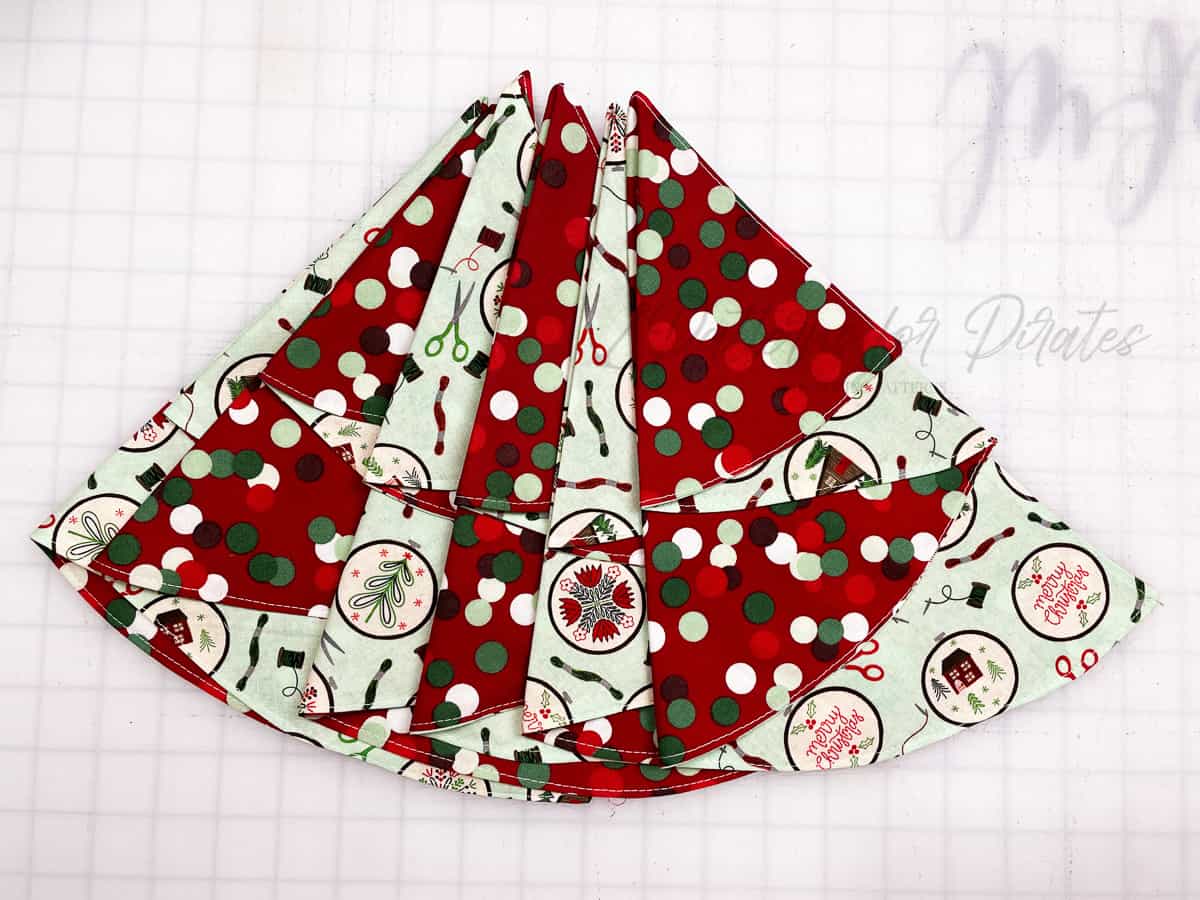
Practice makes progress! Fold them a few times using the pattern piece as a guide and you’ll be a pro in no time!
Now go make an entire set of napkins for your table this holiday season!
In case you consider yourself a more “visual learner” here’s a video tutorial that walks you through the entire tutorial, start-to-finish. The video also demonstrates the folding process a few times, if you want to see it in live action form.
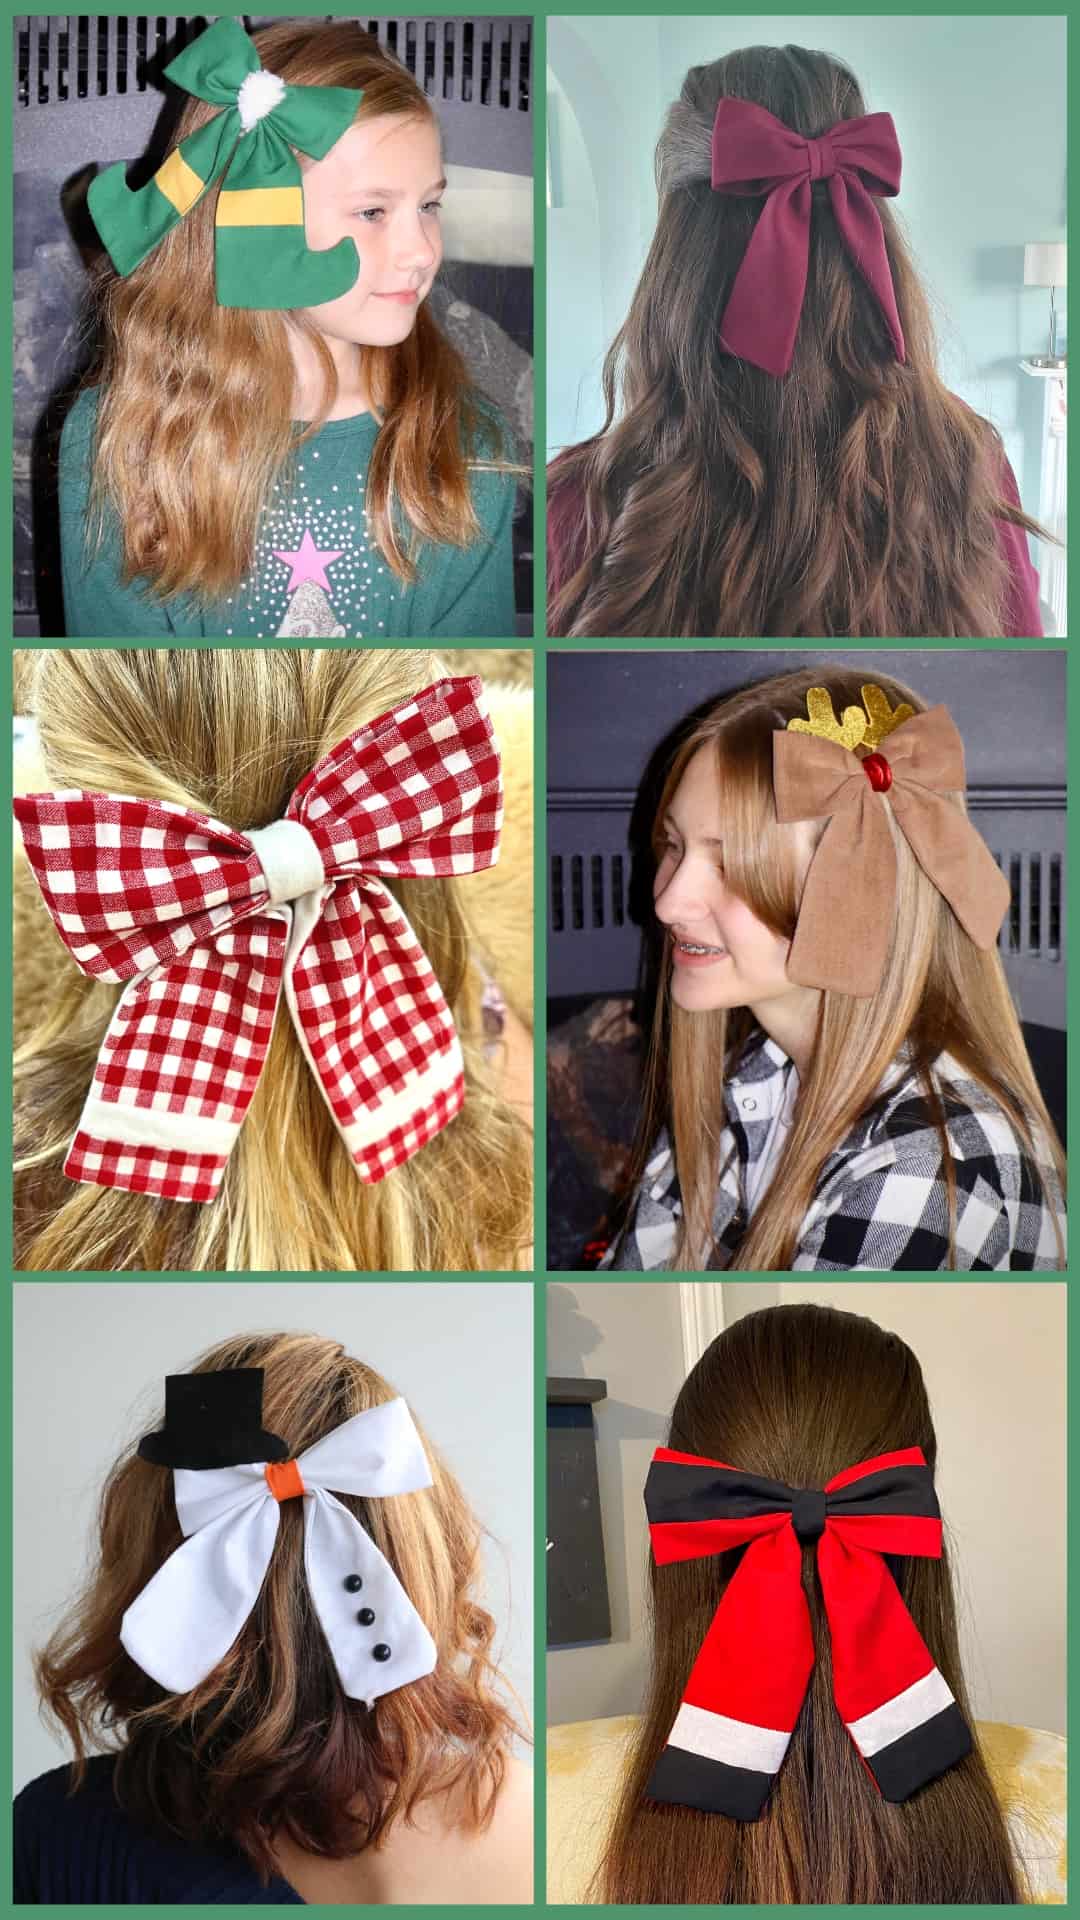
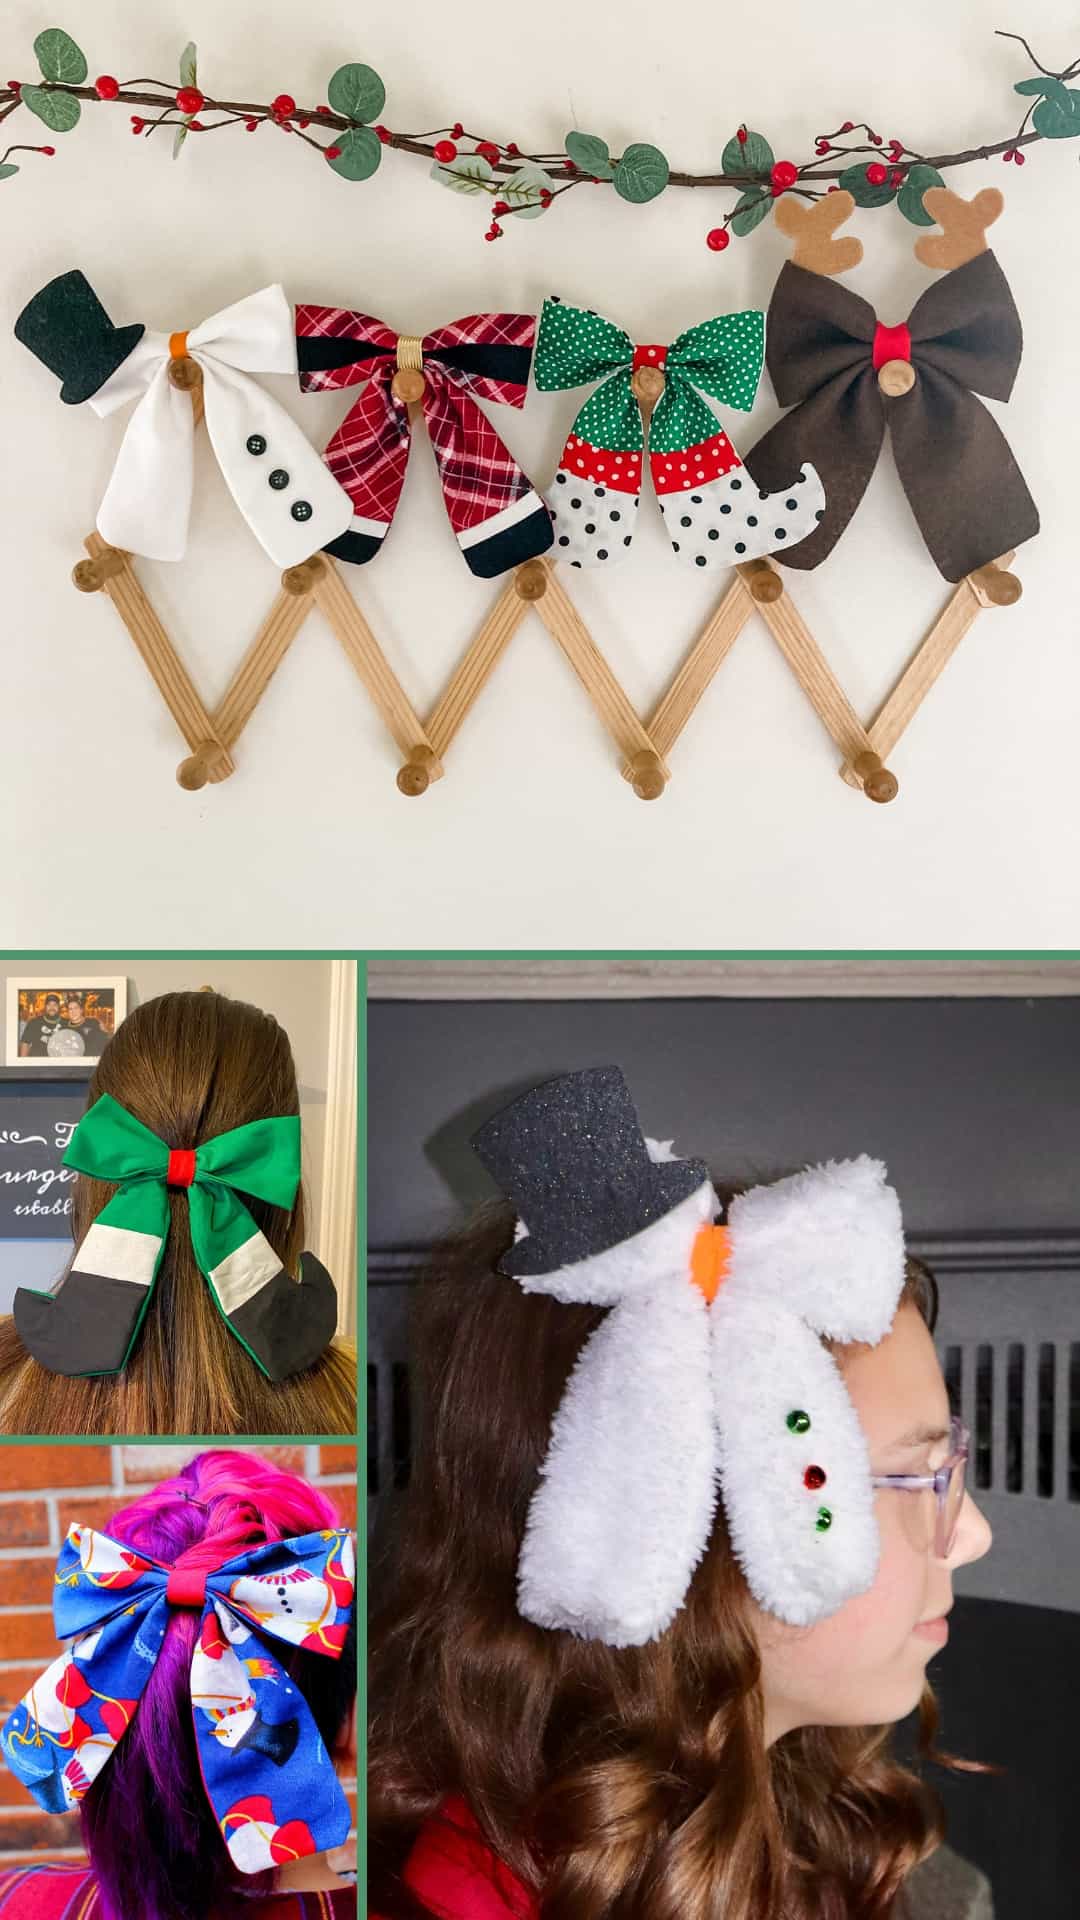
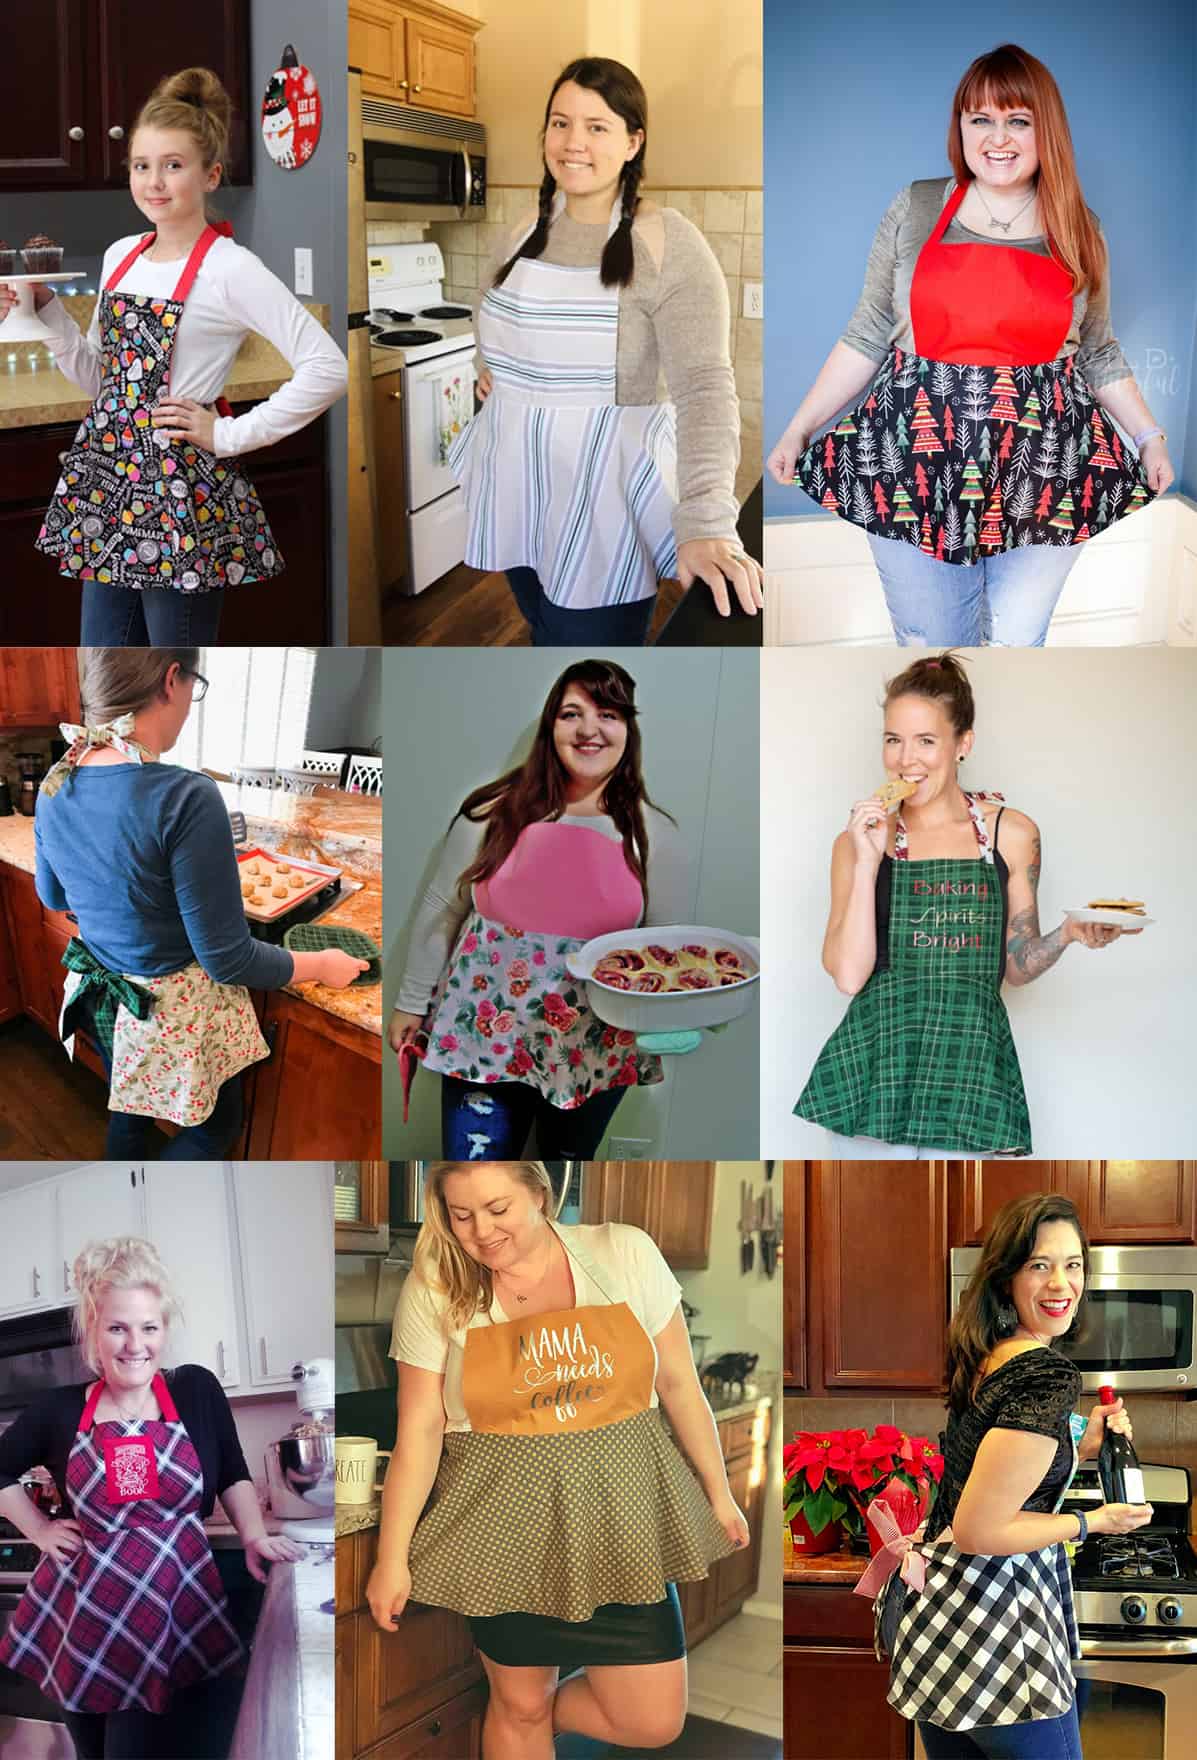
Before you go, take a look at what our super testers made using the Merry Napkin pattern!!
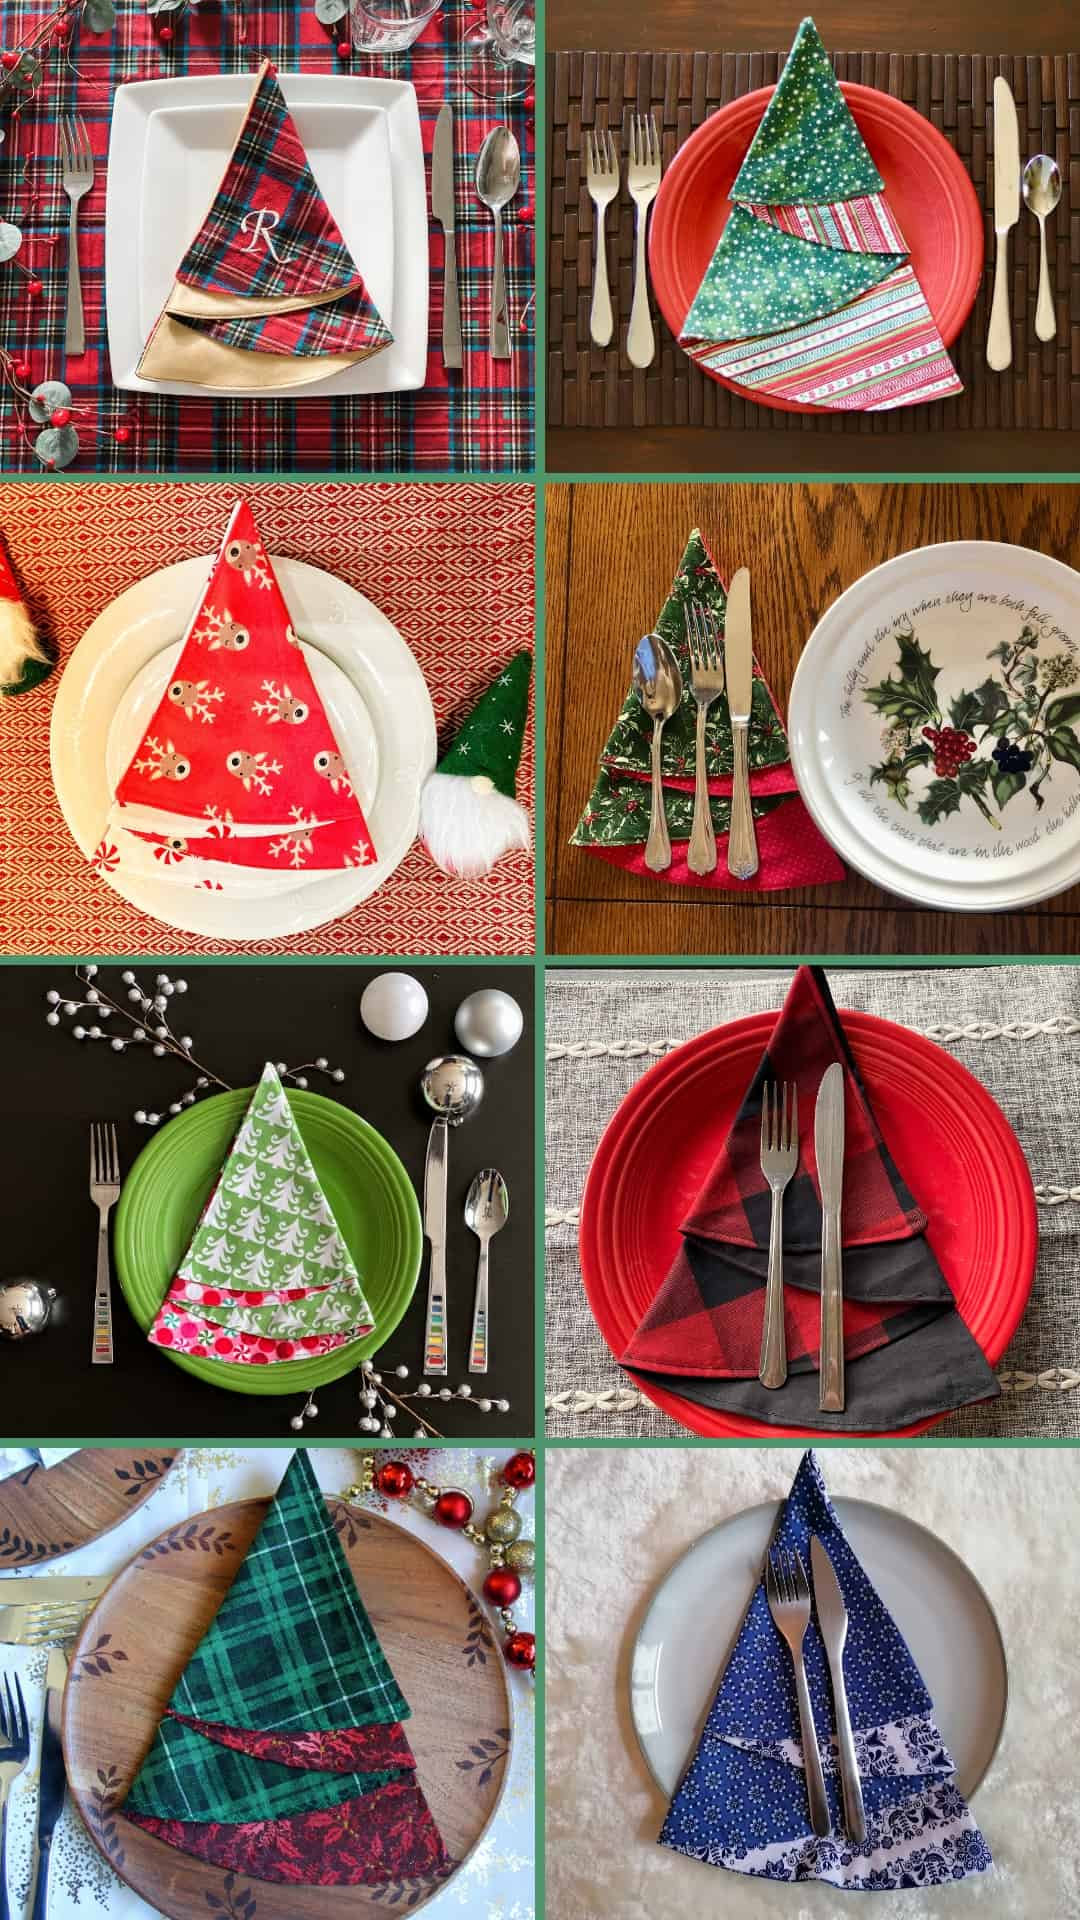
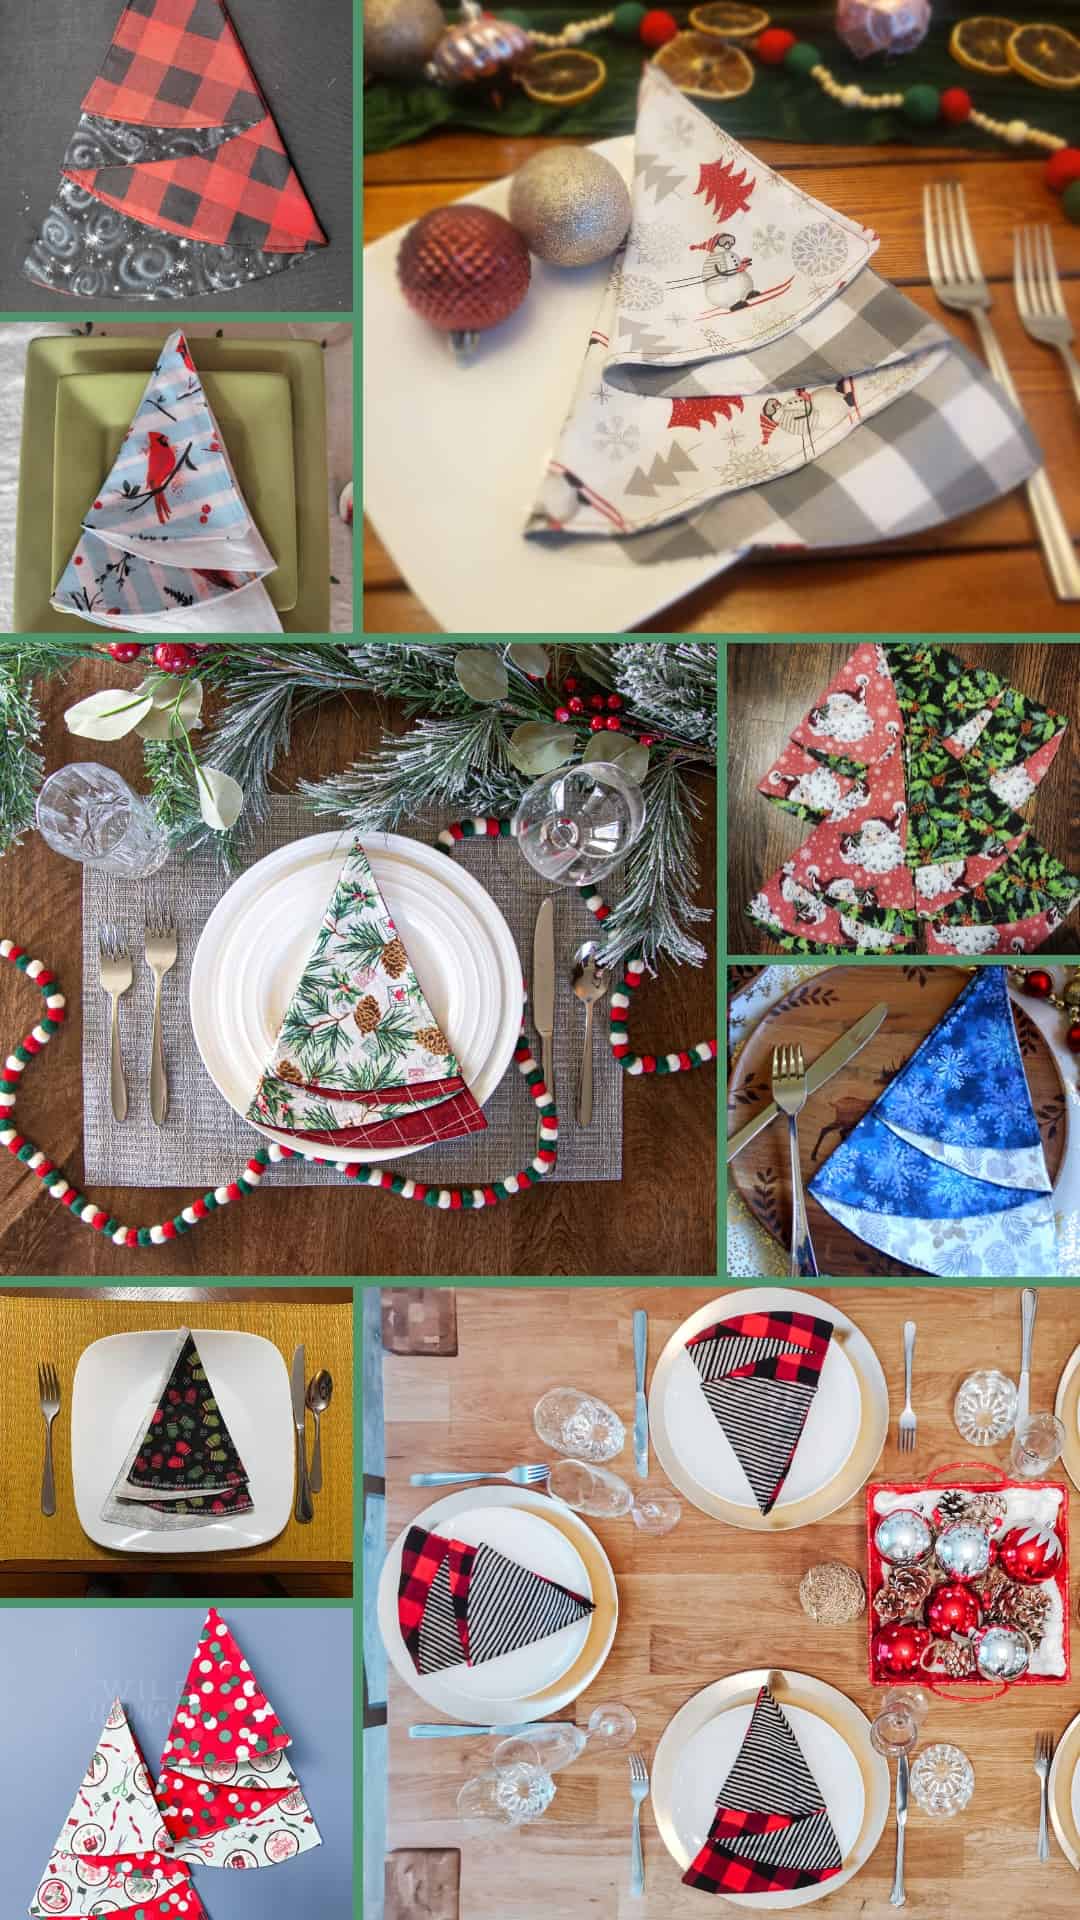
I la-la-love when you share your photos with me! Head over to the Patterns for Pirates Facebook Group and show us what you’ve made!
Happy Holidays, Pirates!


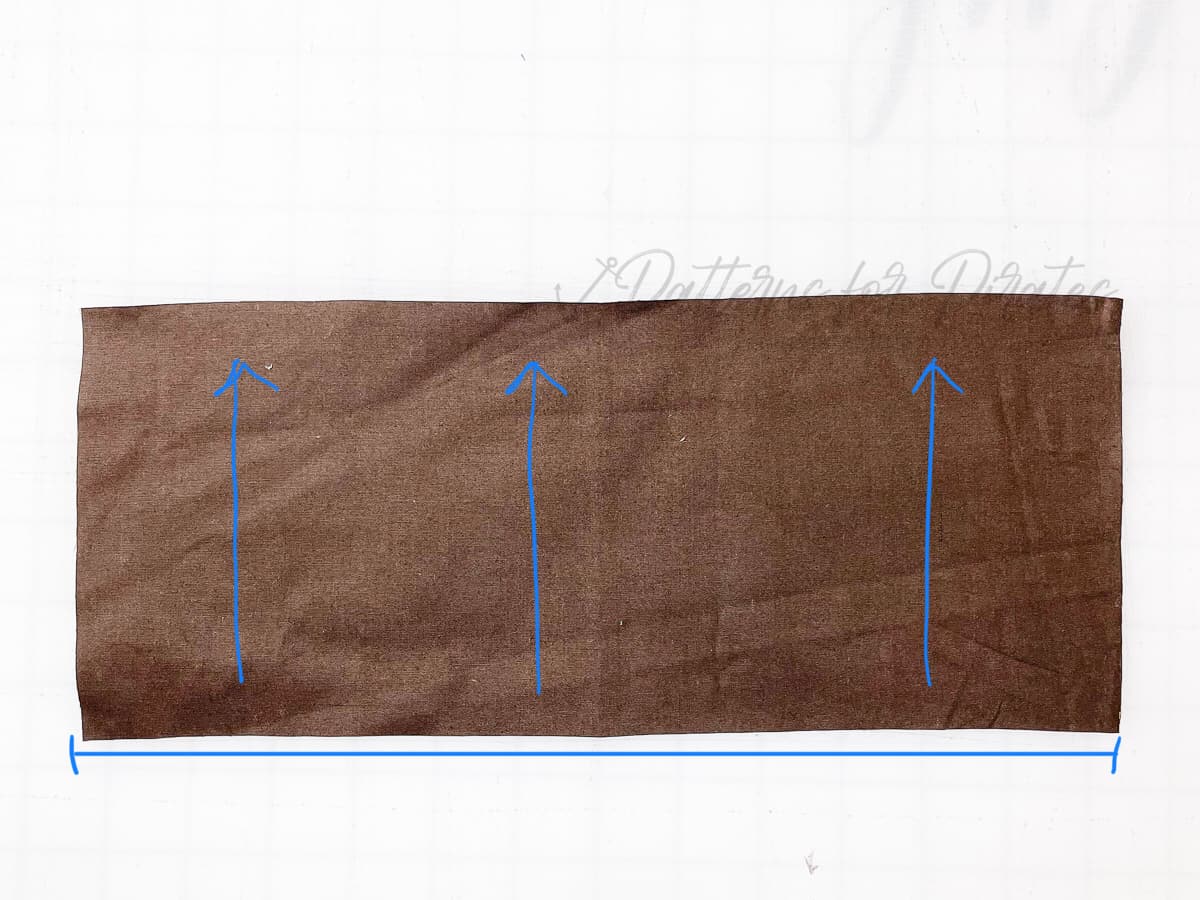


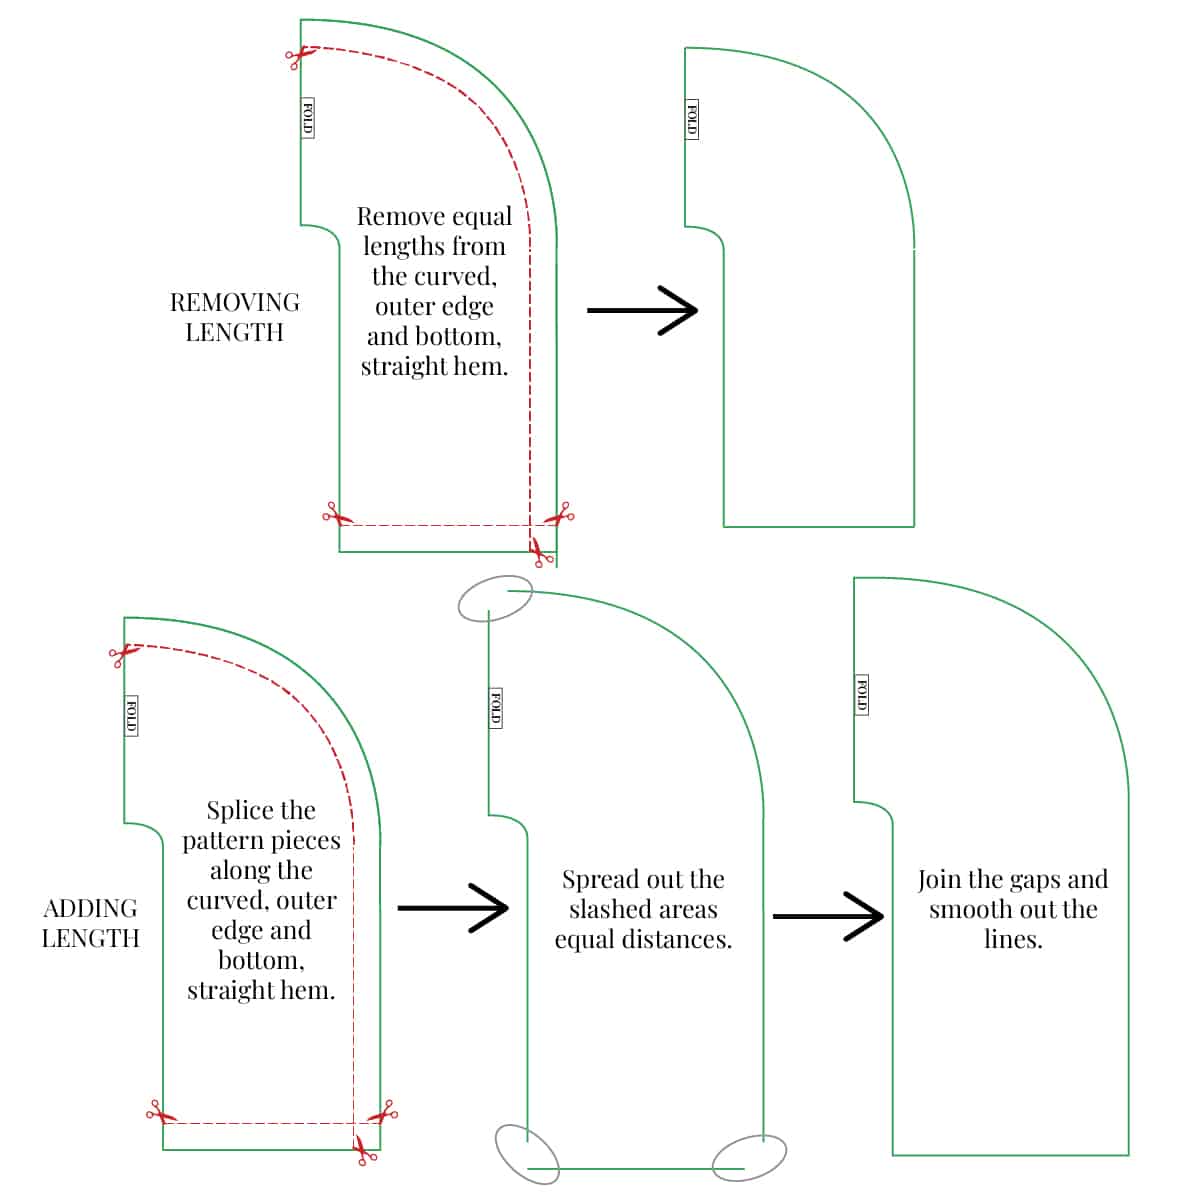


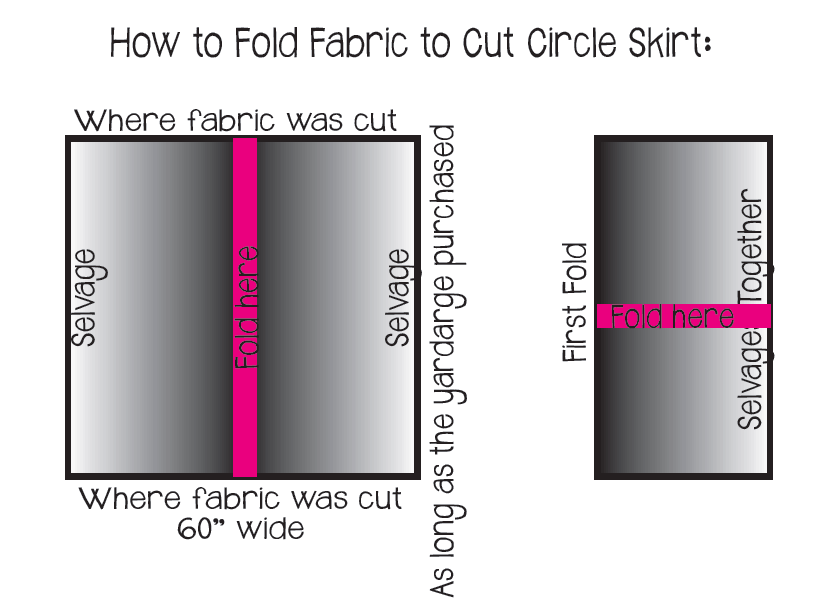
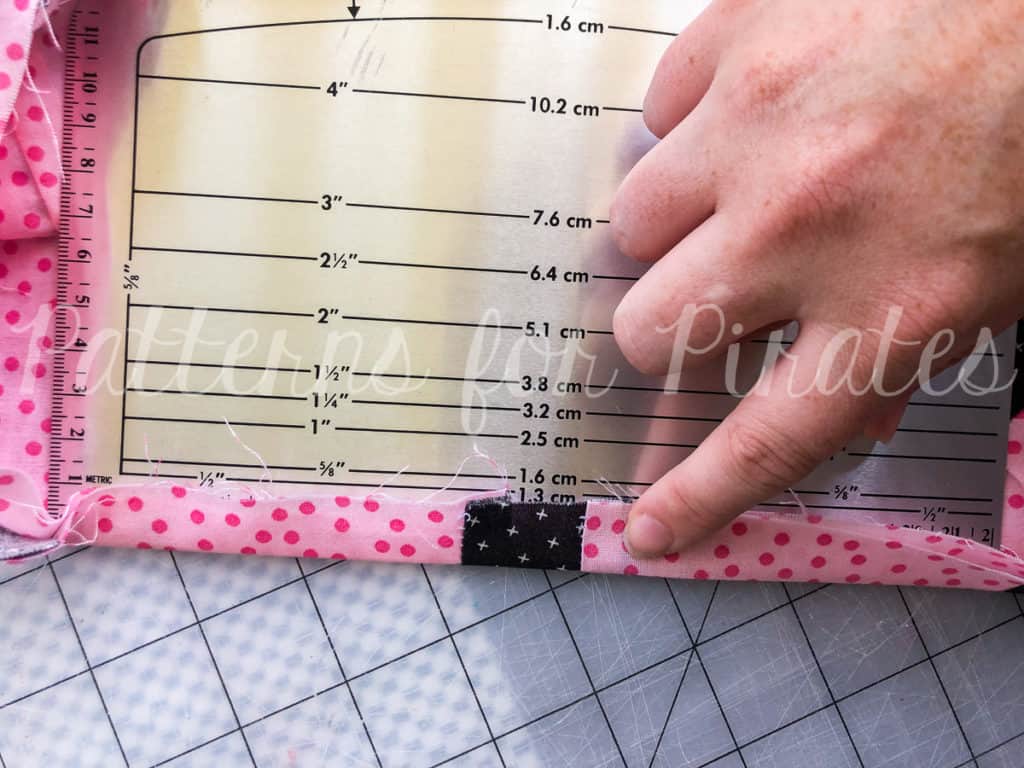
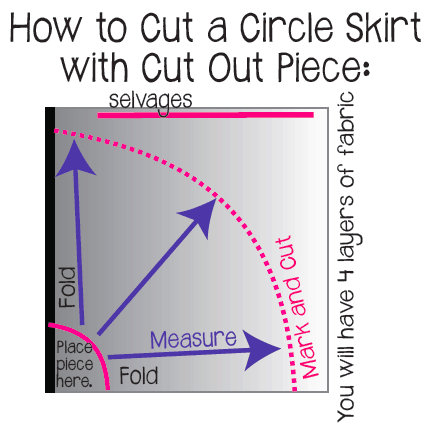 1. Place the cutout piece in between both of folds. Measure the distance from bottom of the cutout piece. First for 12″, then for 16″ and then another circle at 20″.
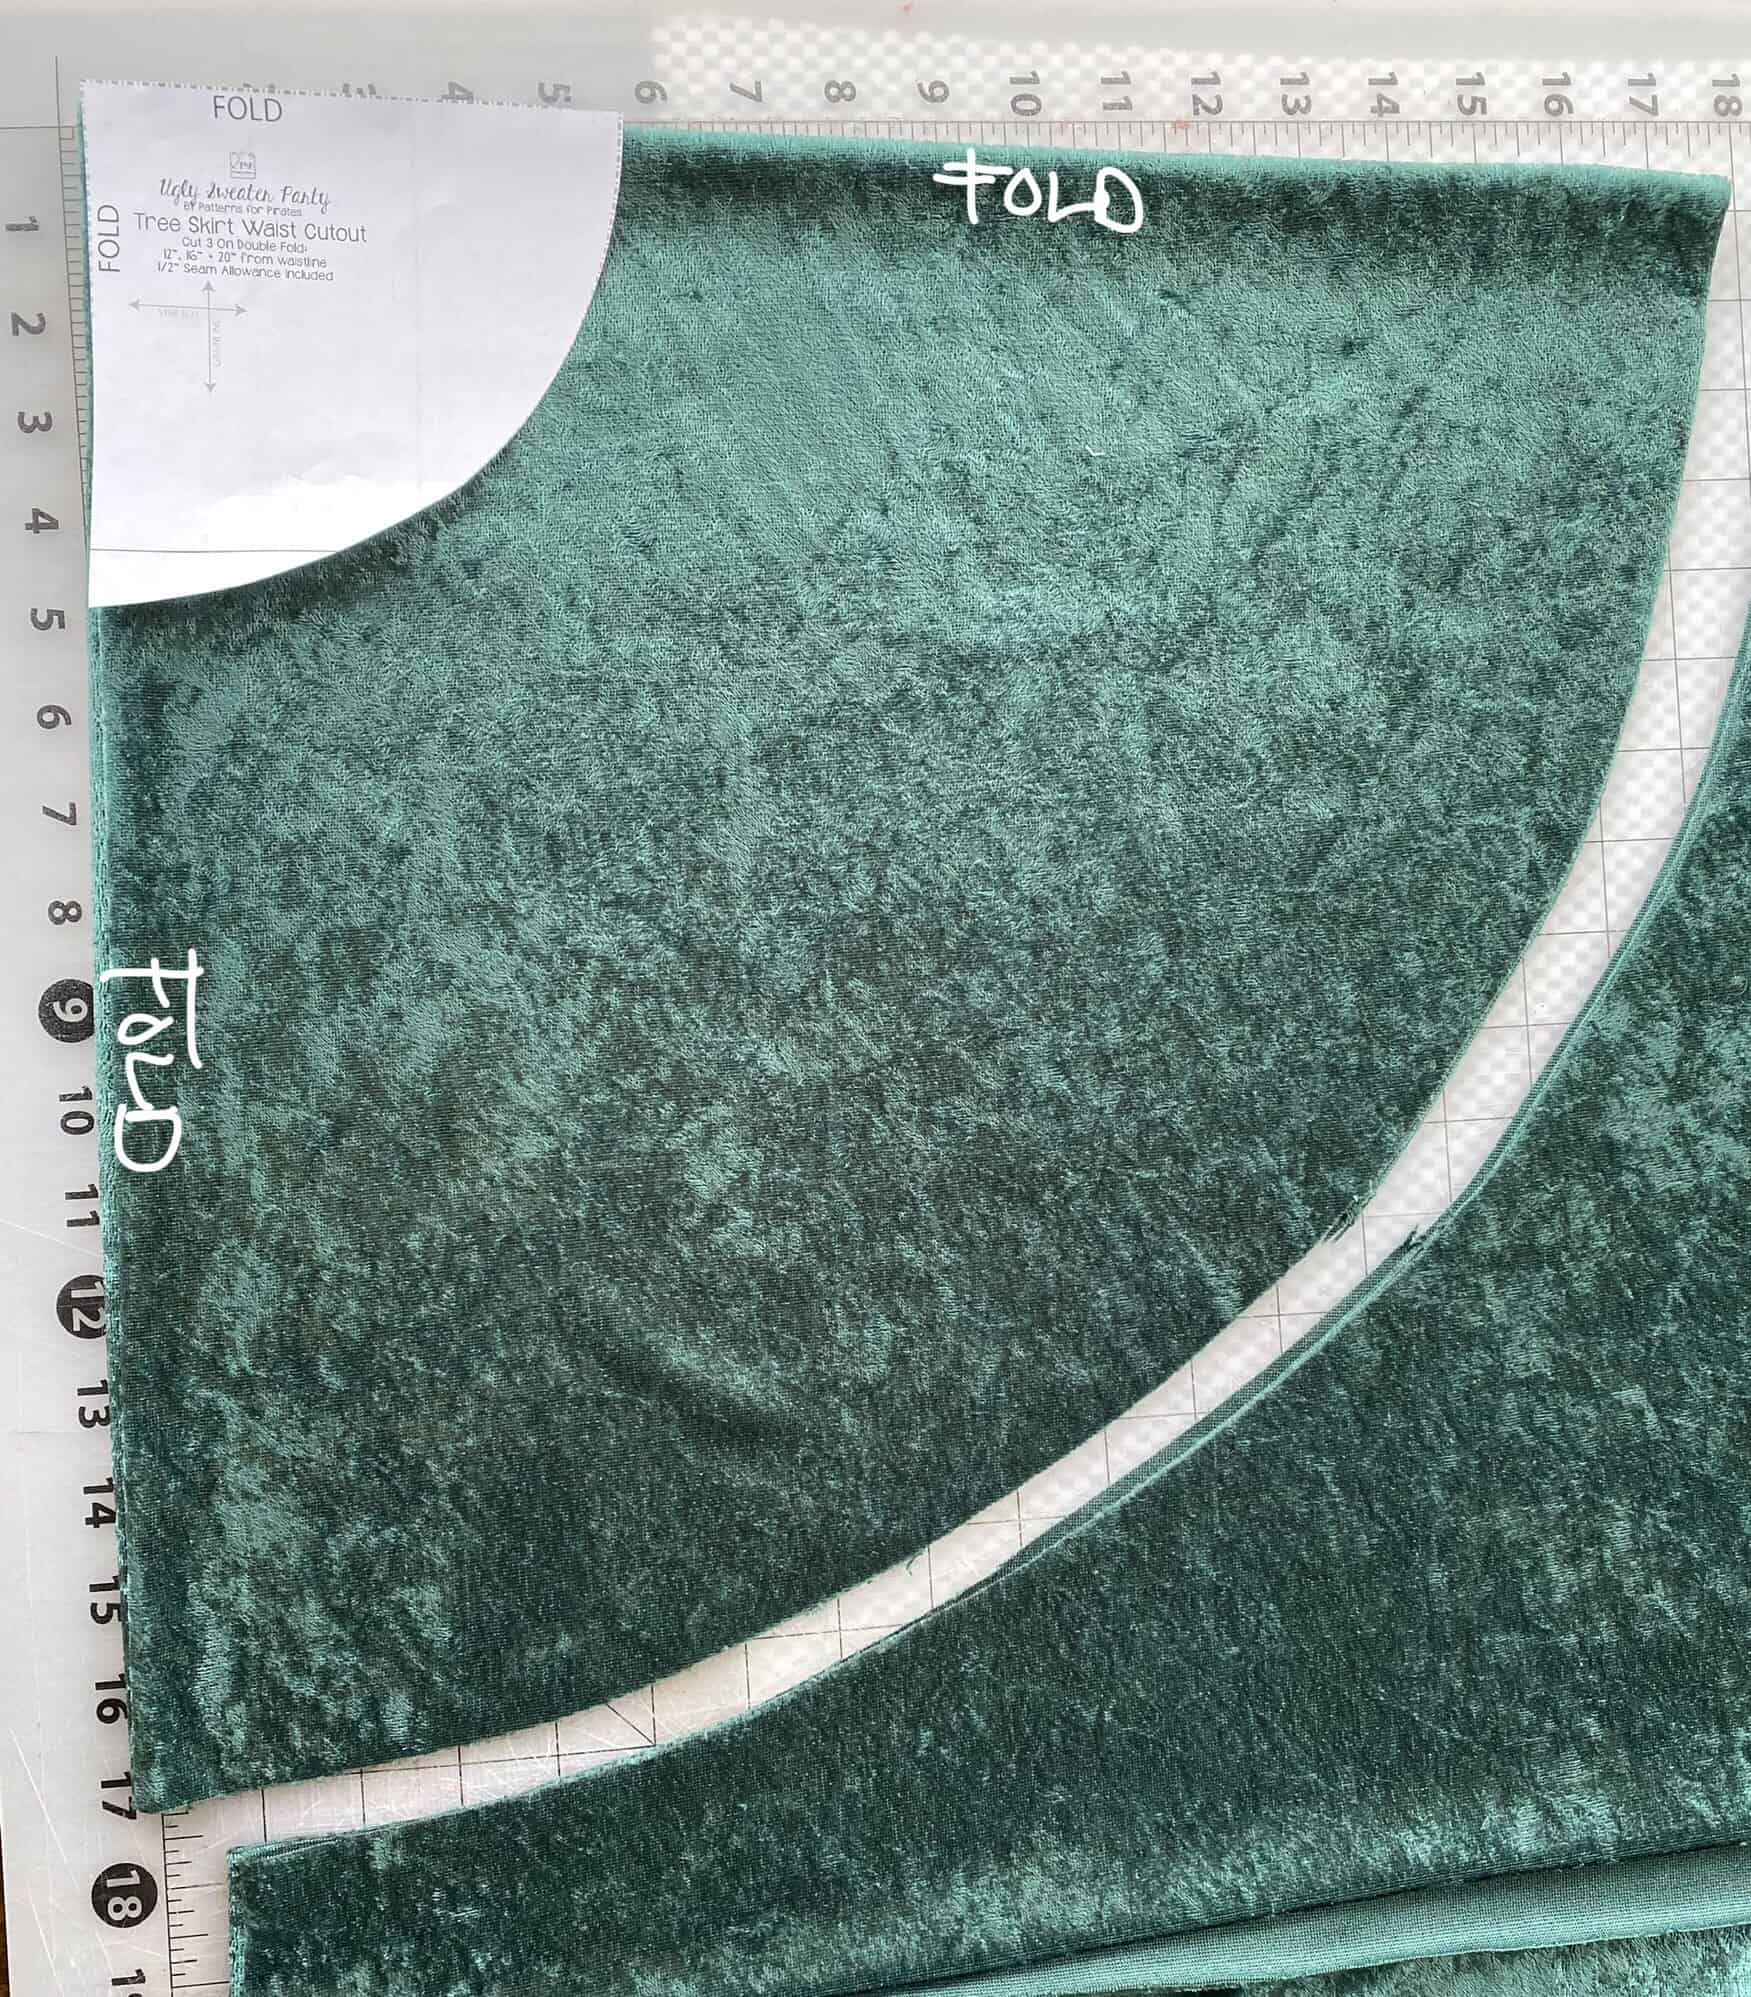


 And now, onto the tutorial!