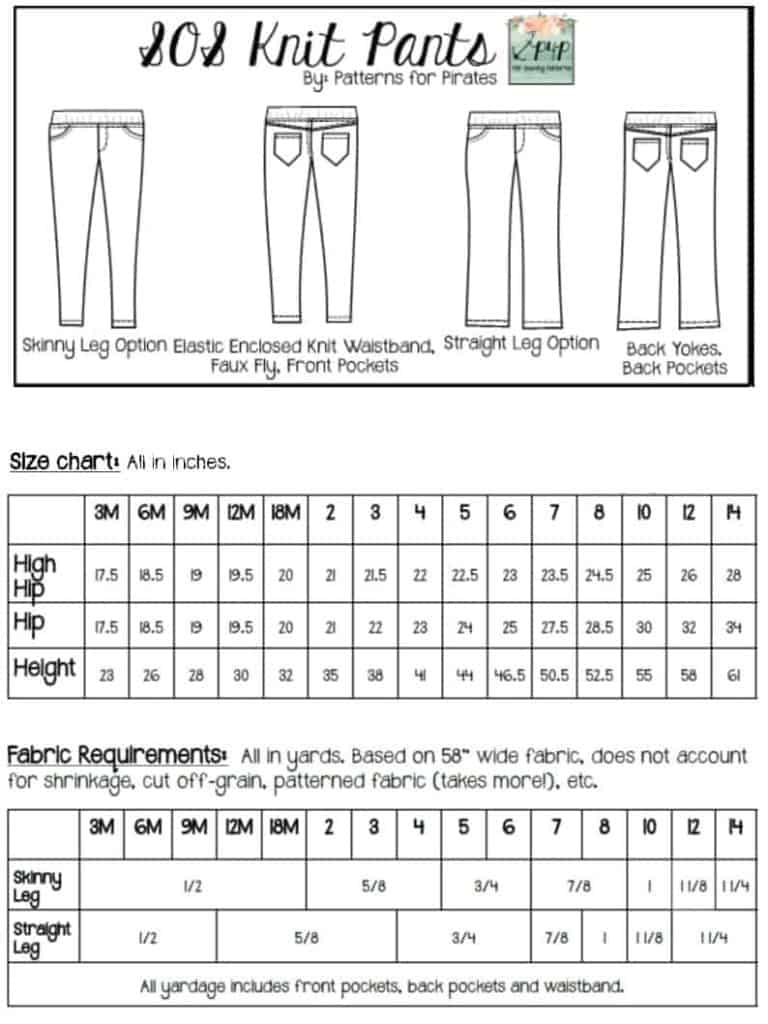
P4P University – Armbands Tips and Tricks
I’m going to spend a little time today showing how I get the best finish on my armbands. They can be quite tricky to get right and people often struggle with ‘bubbling’ over the shoulder, which can ruin the look of an otherwise perfect neckline.
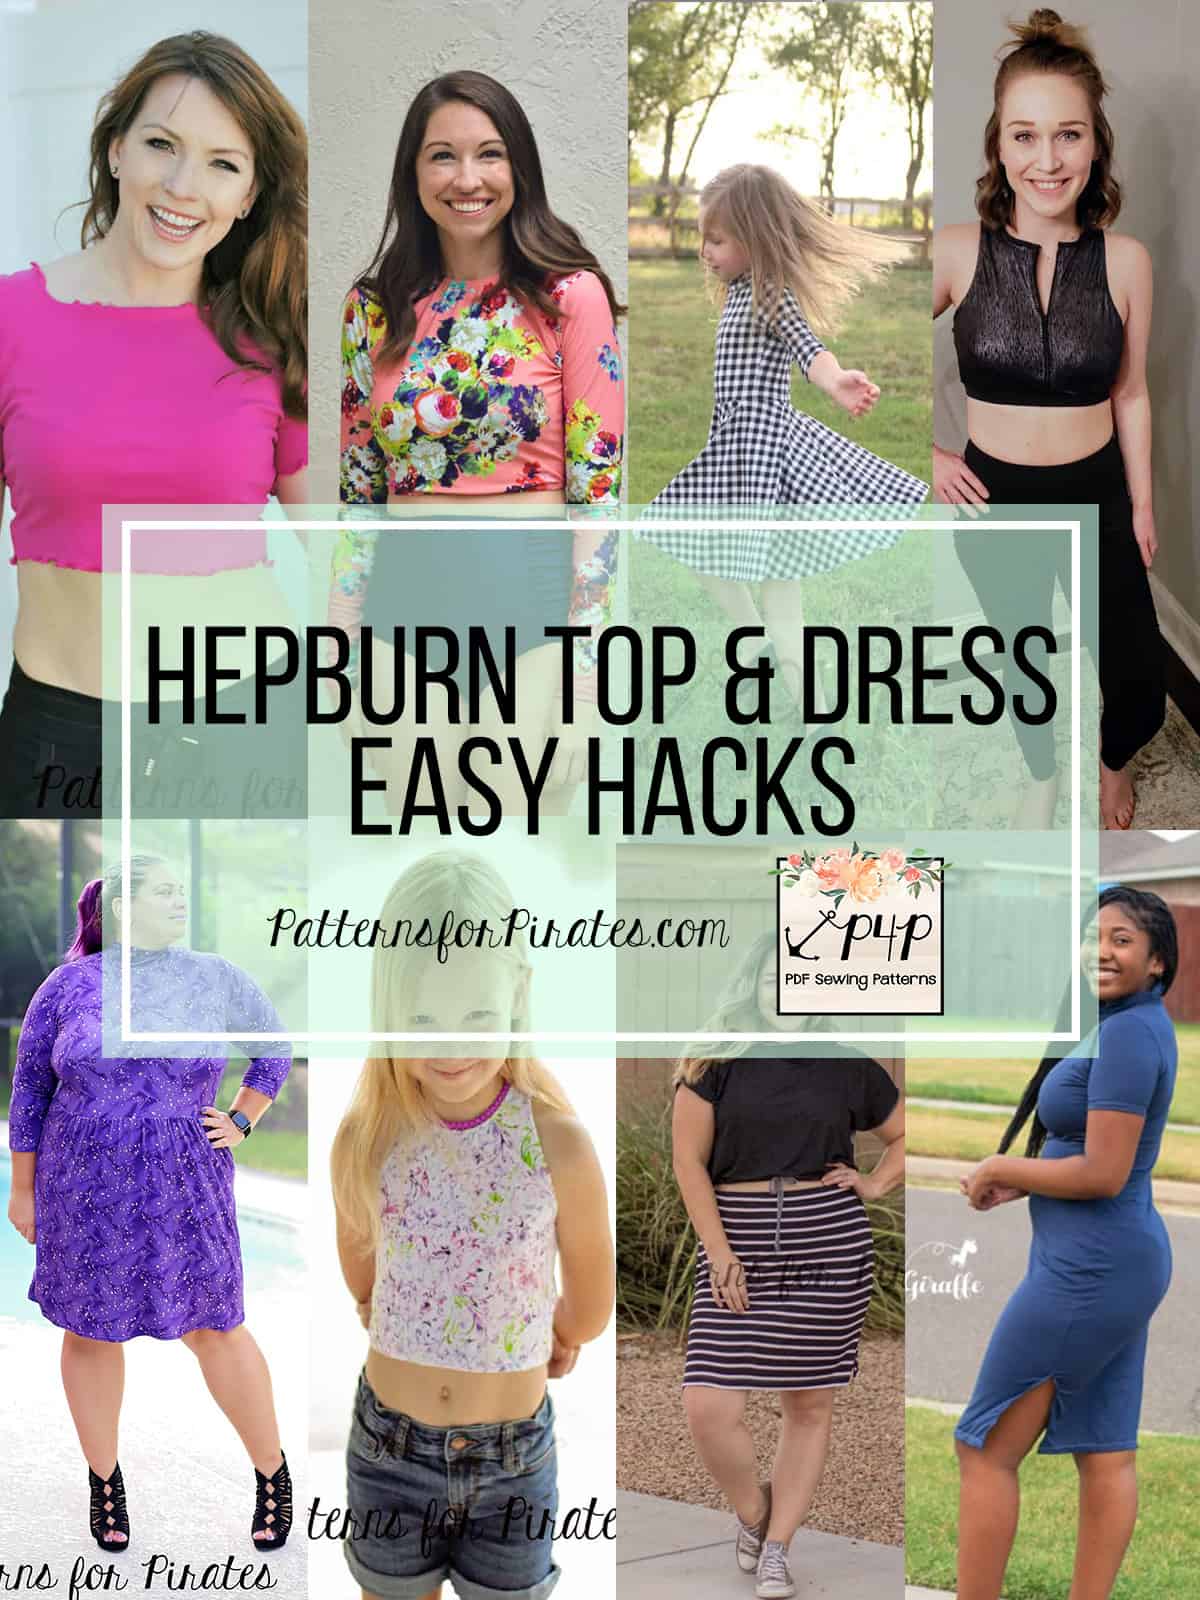
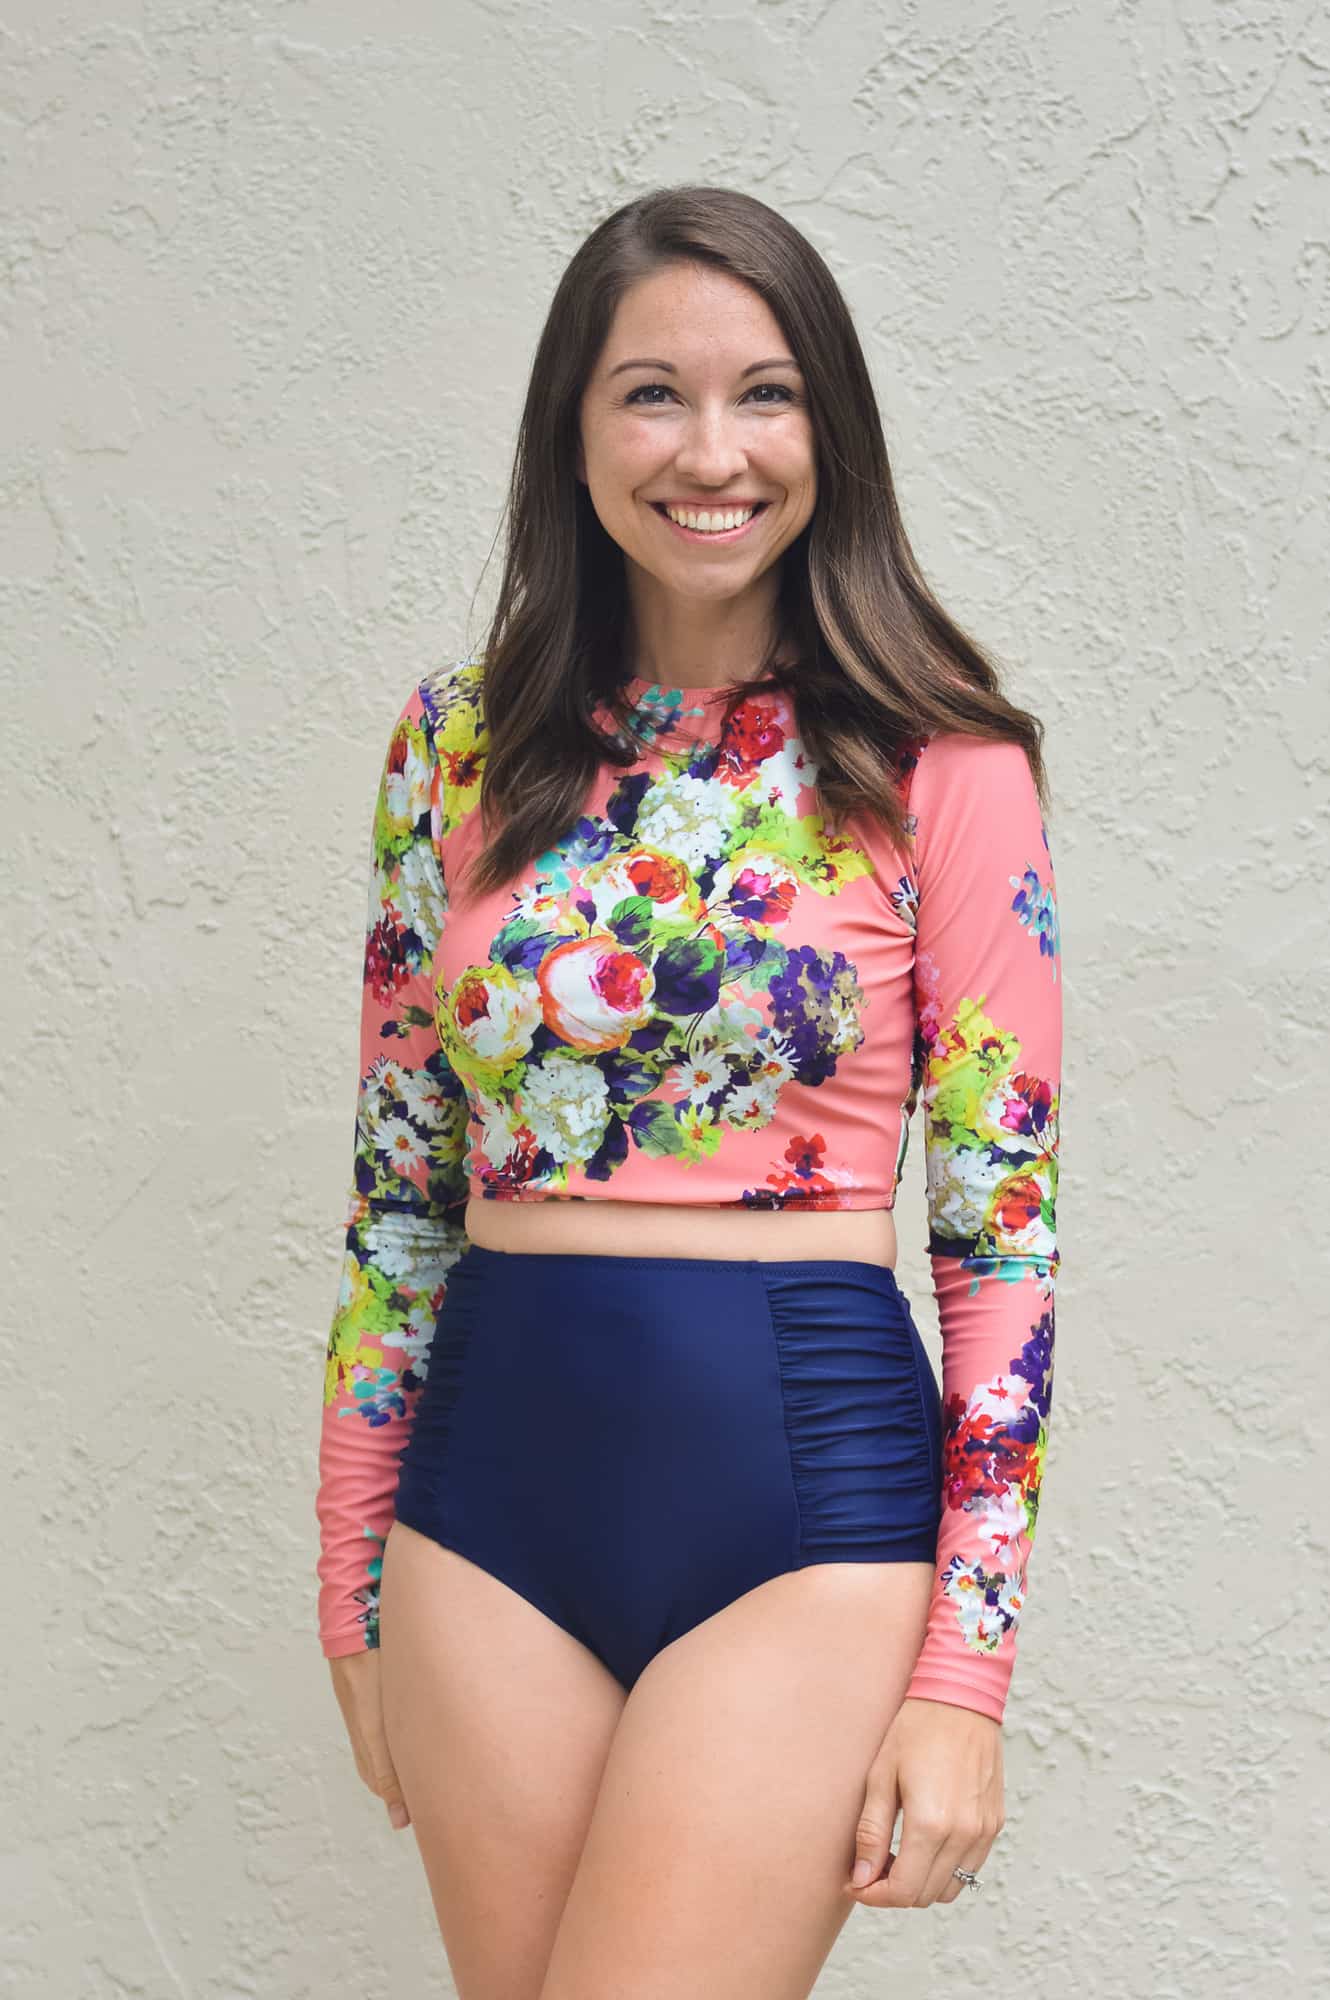
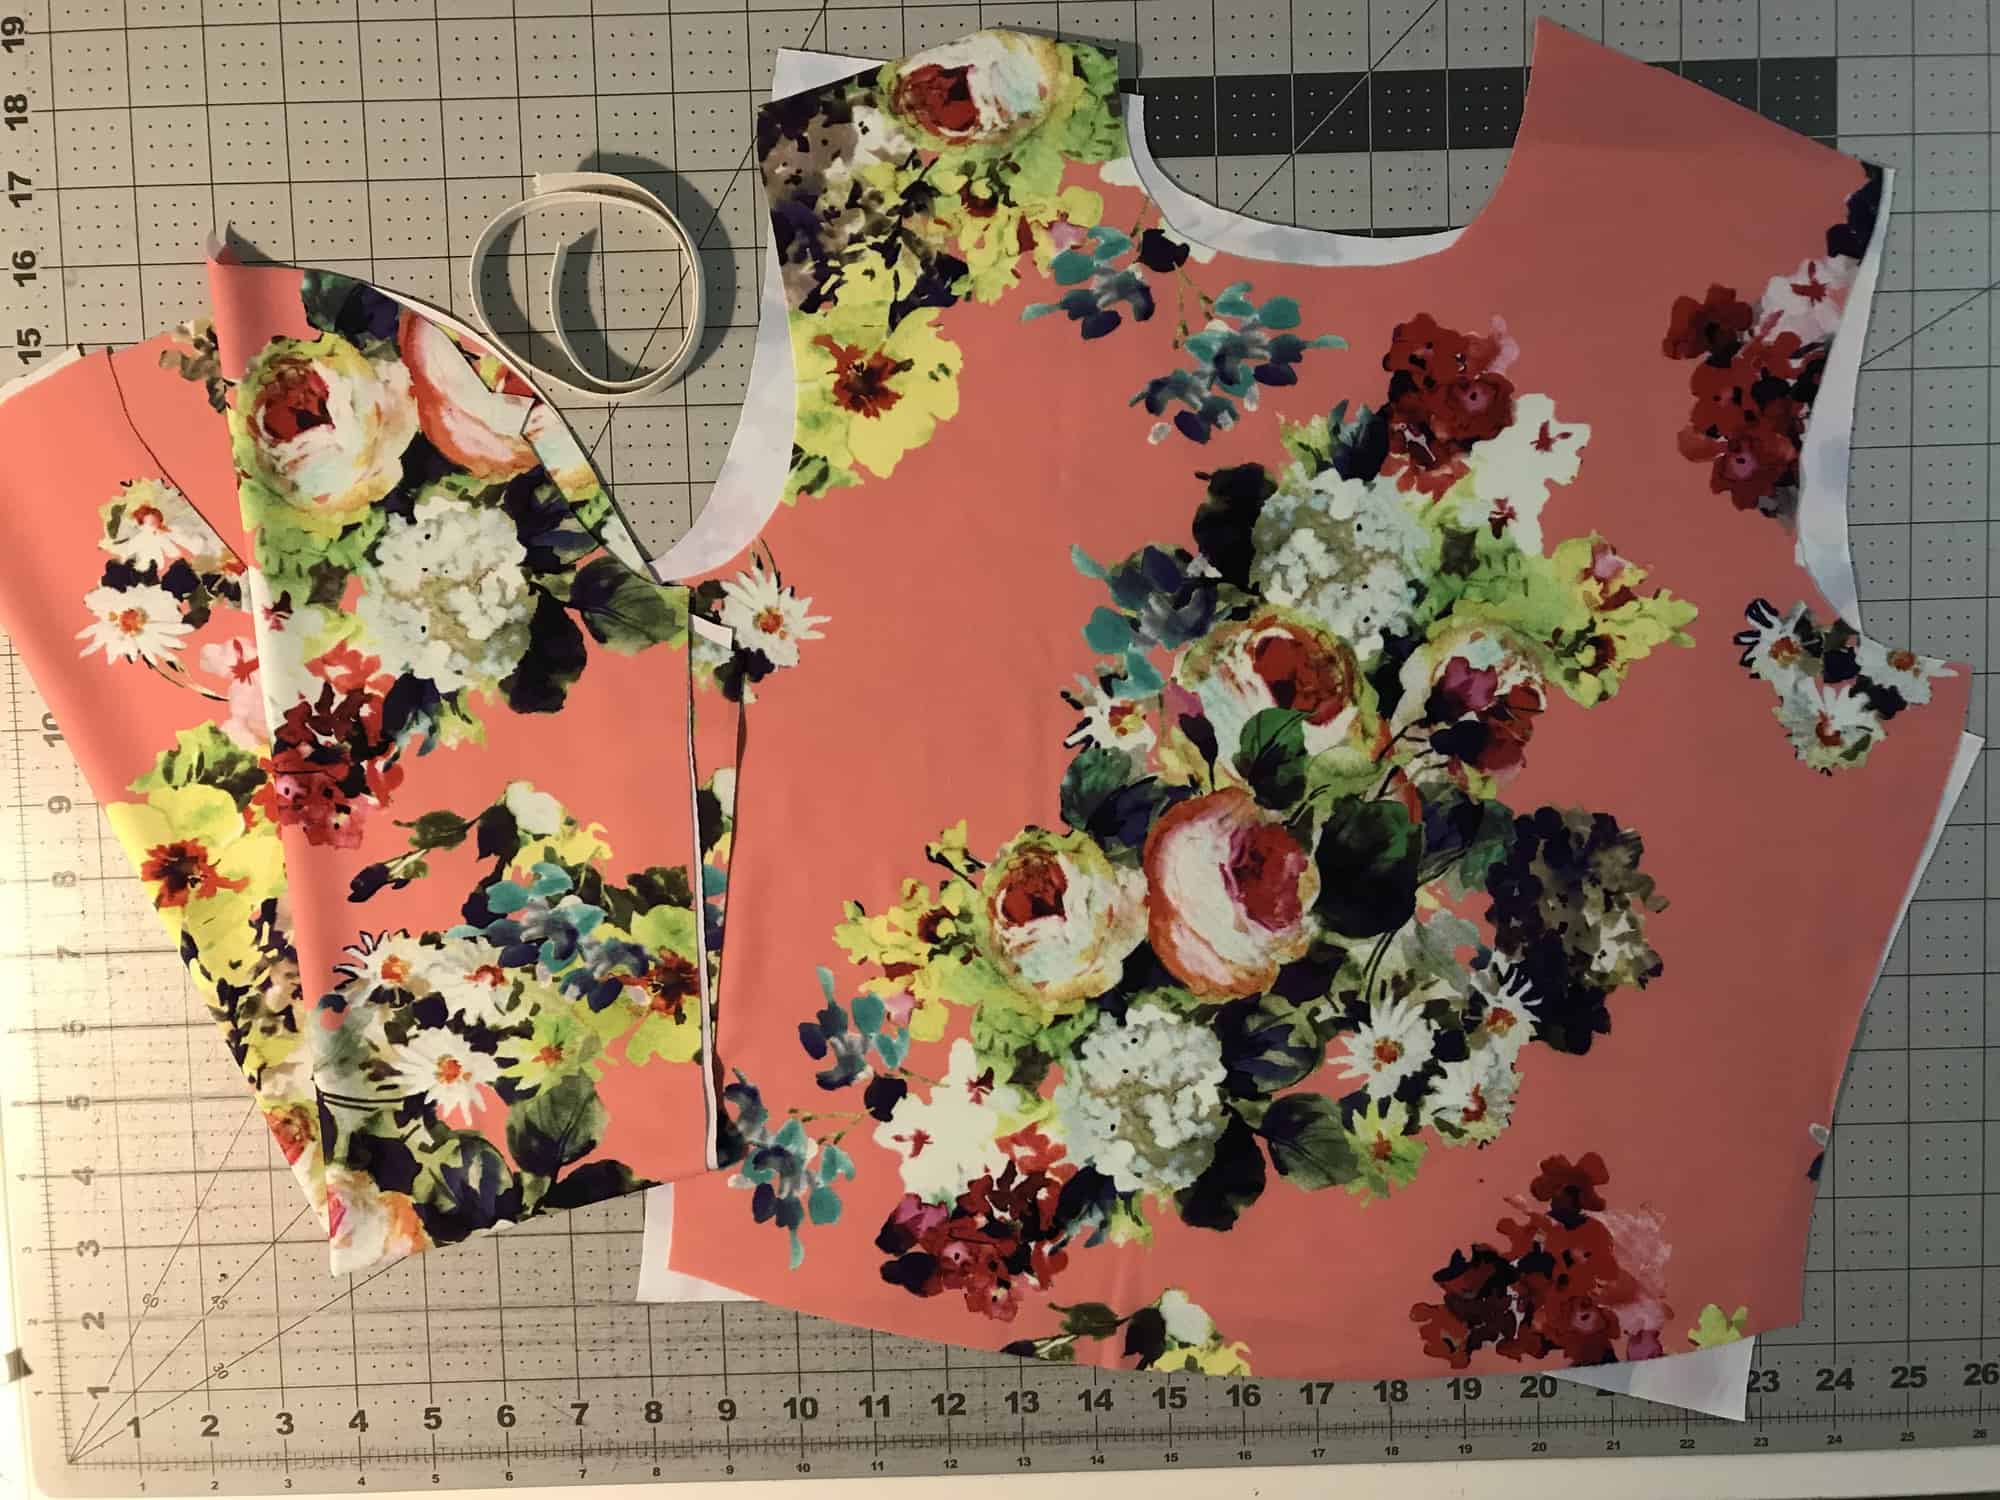
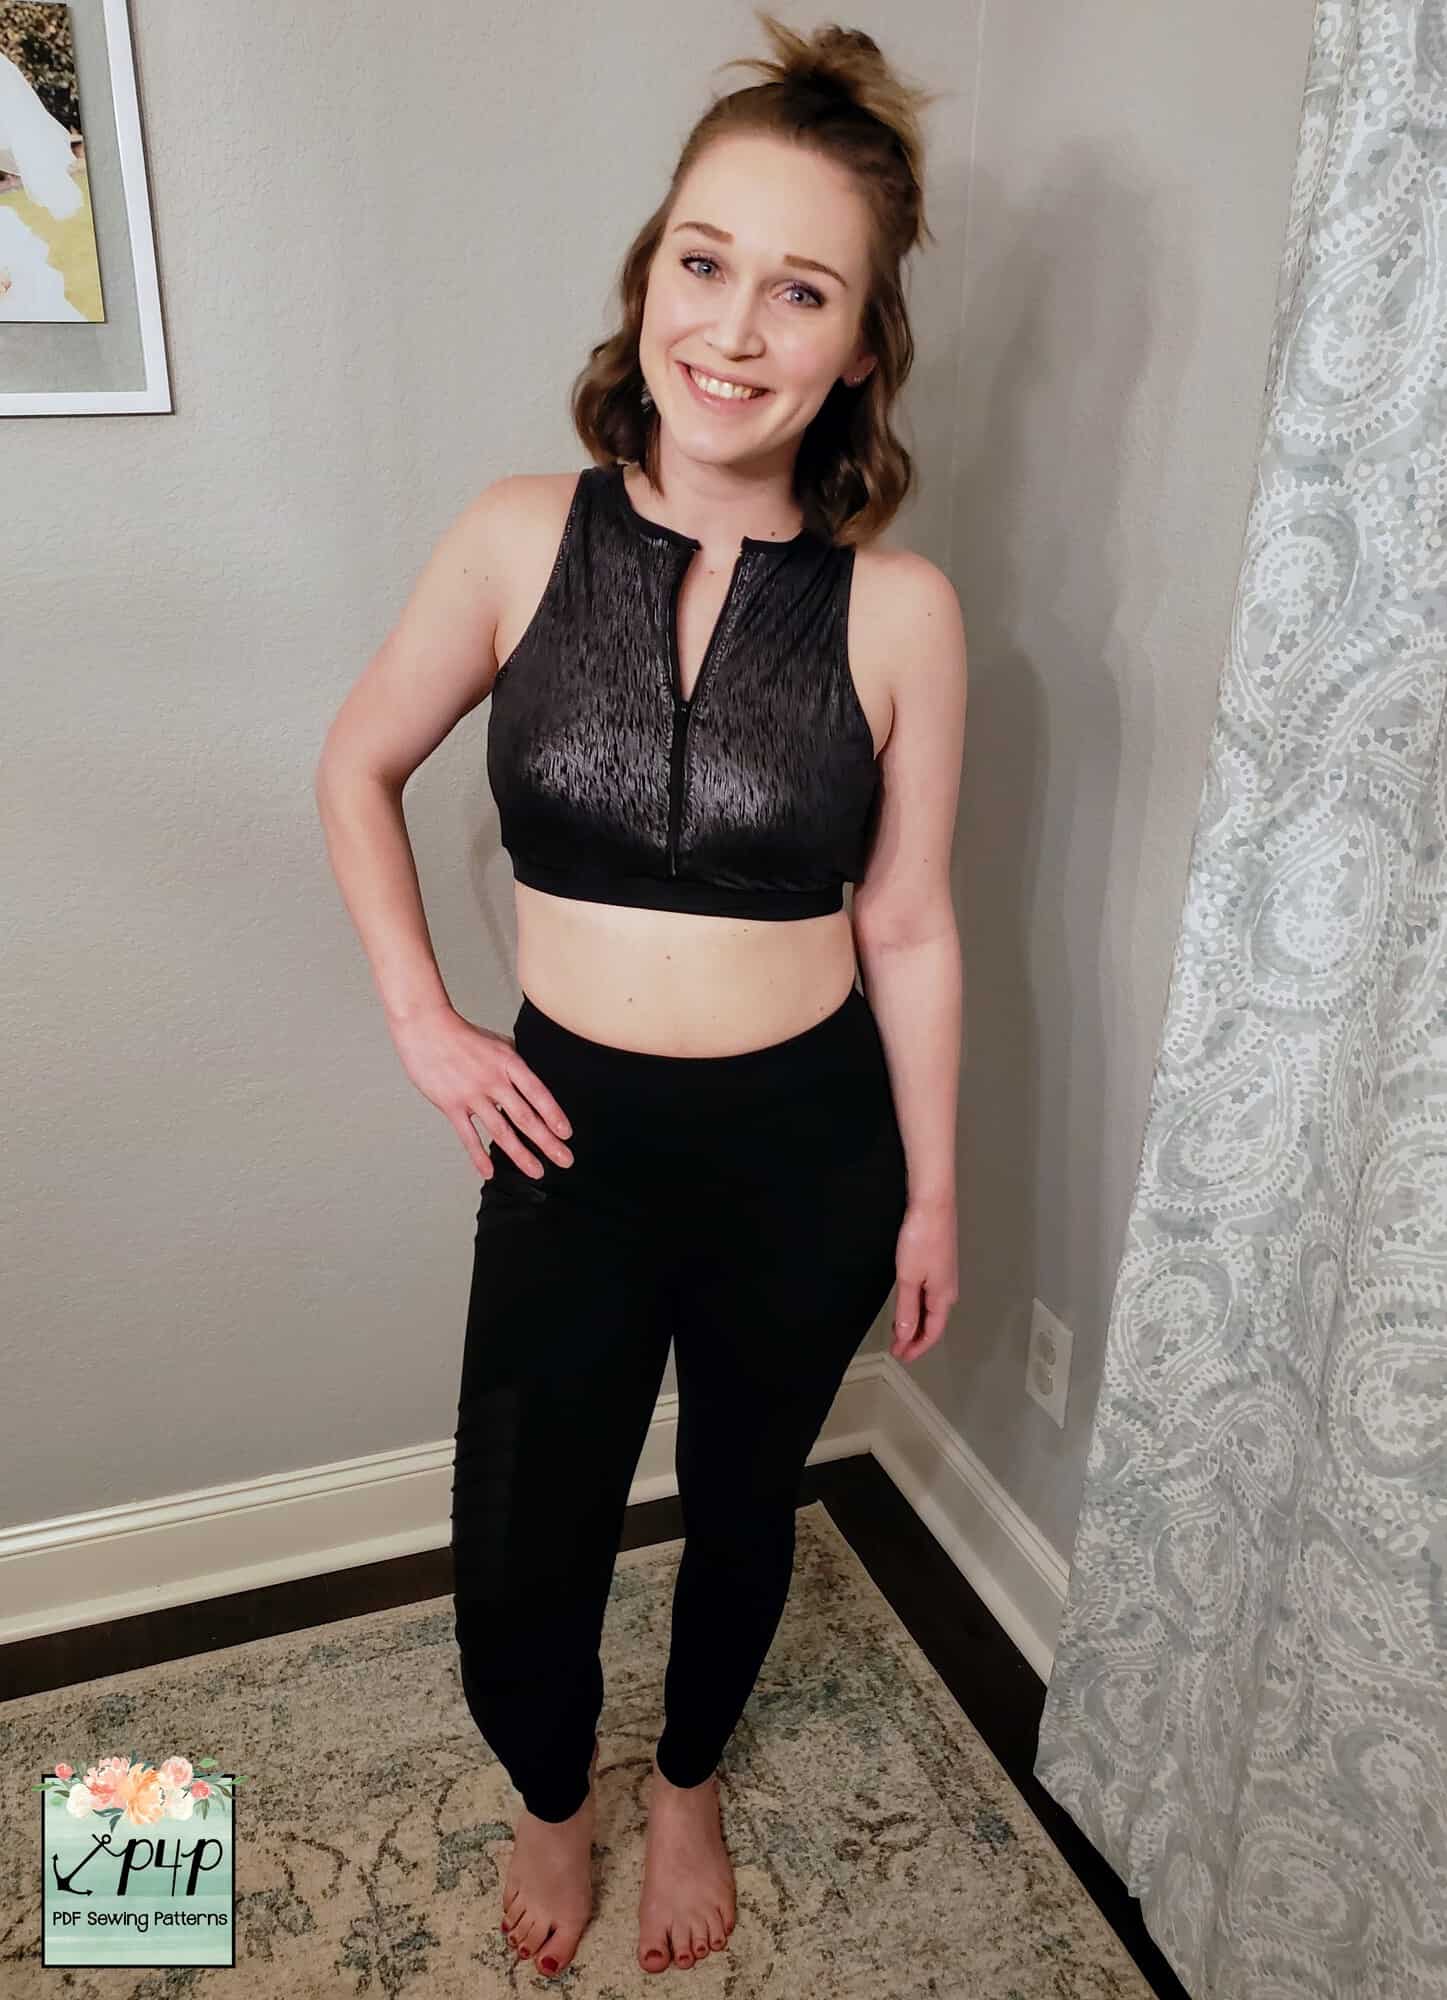
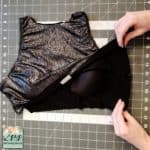
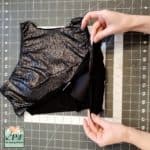
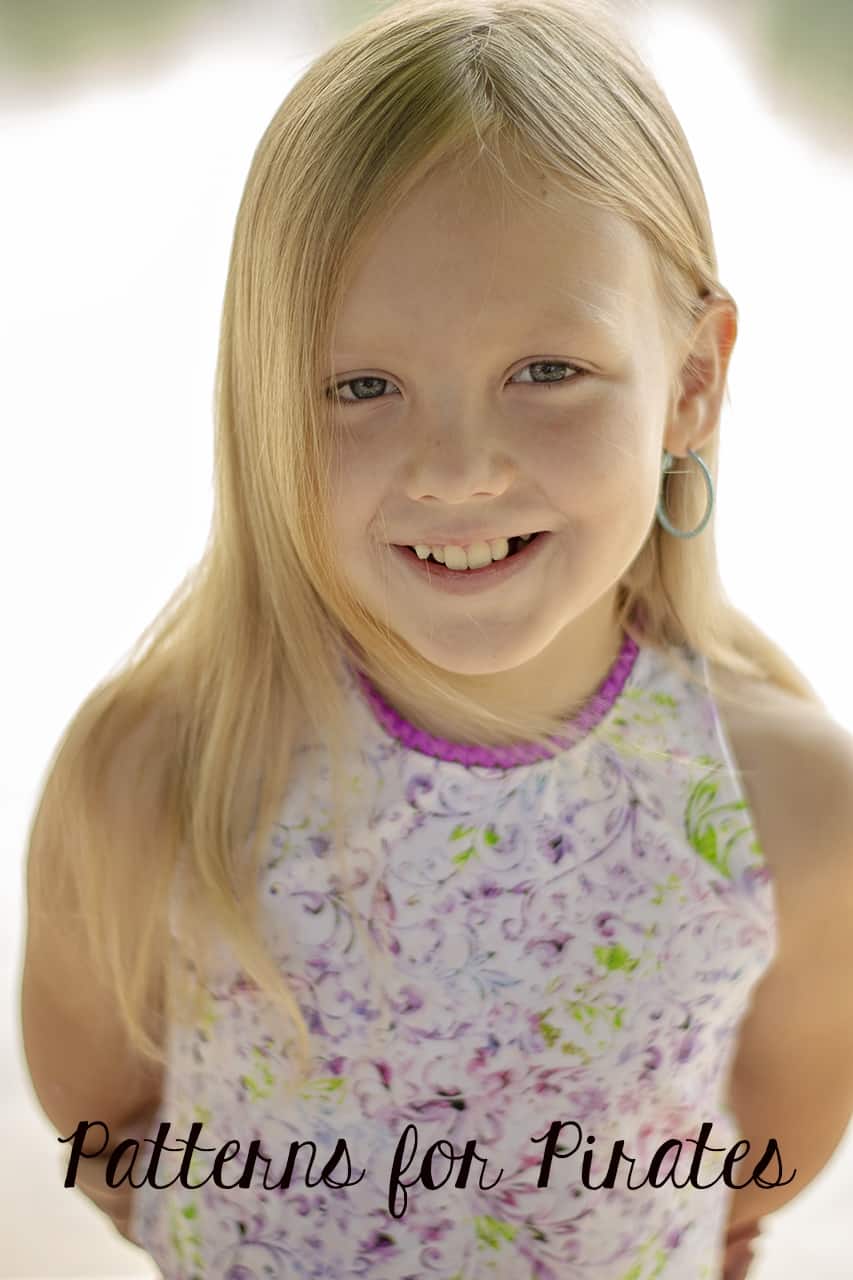
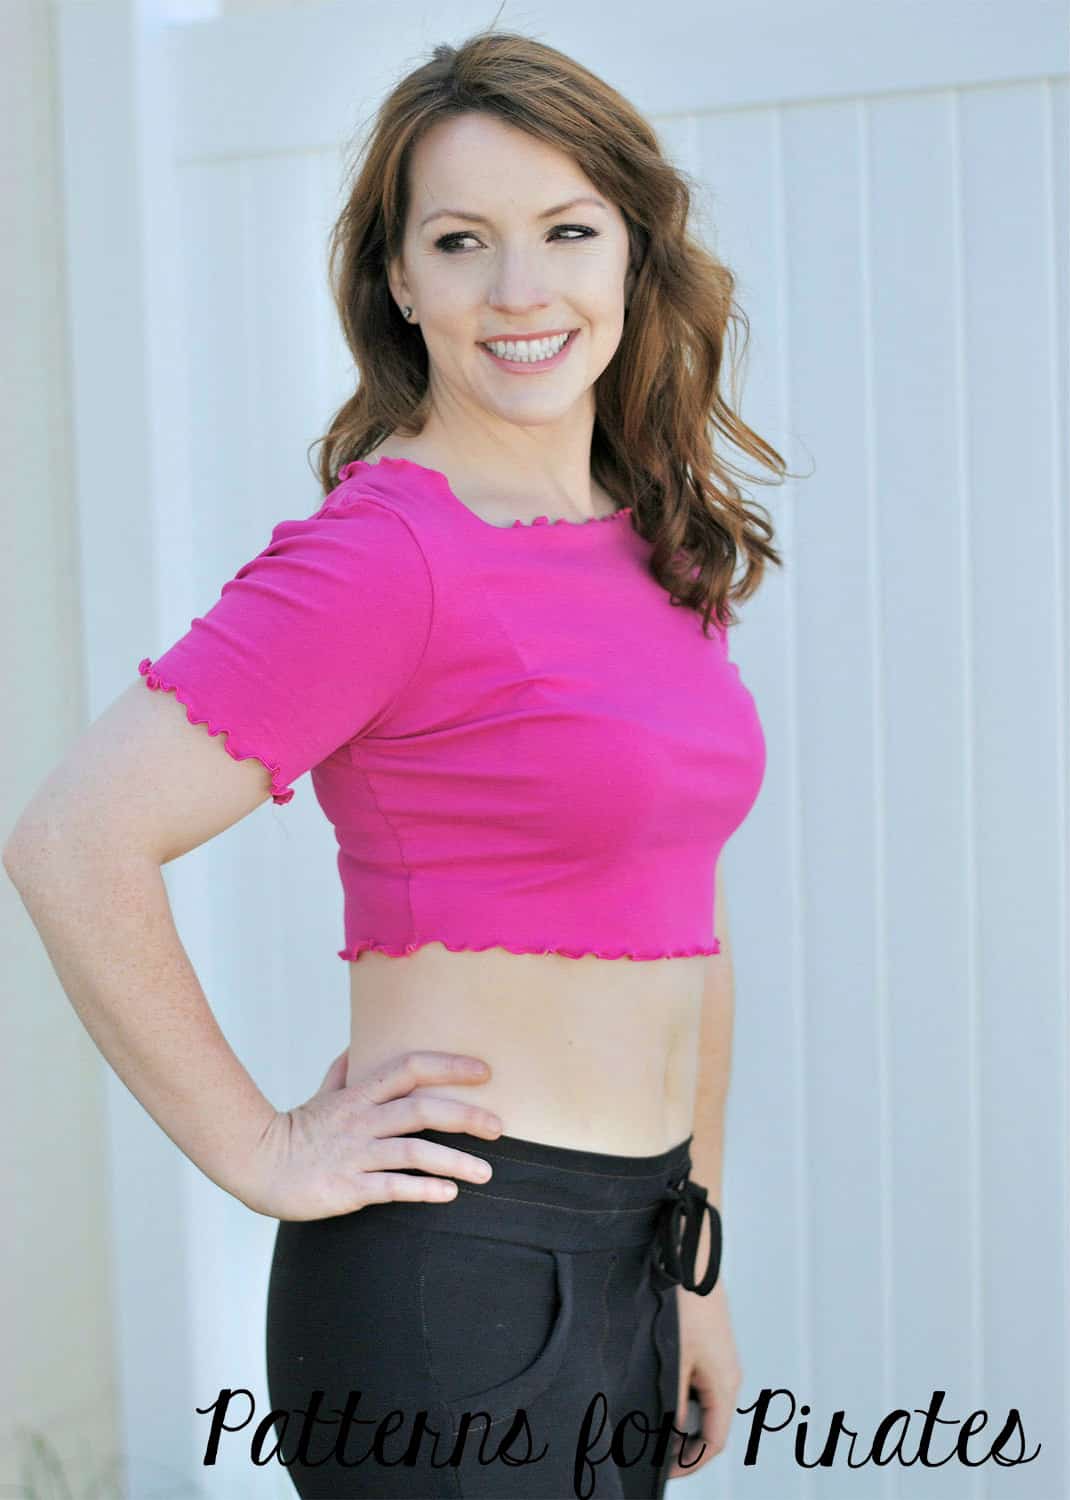
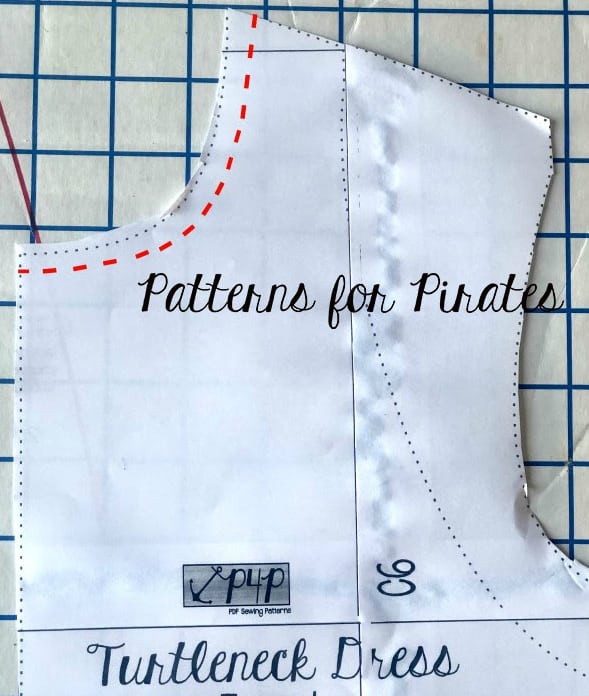
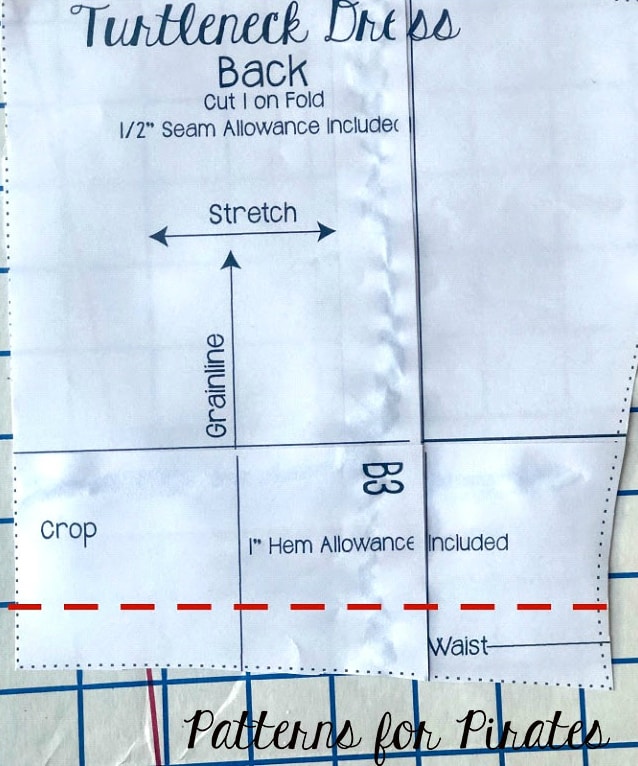
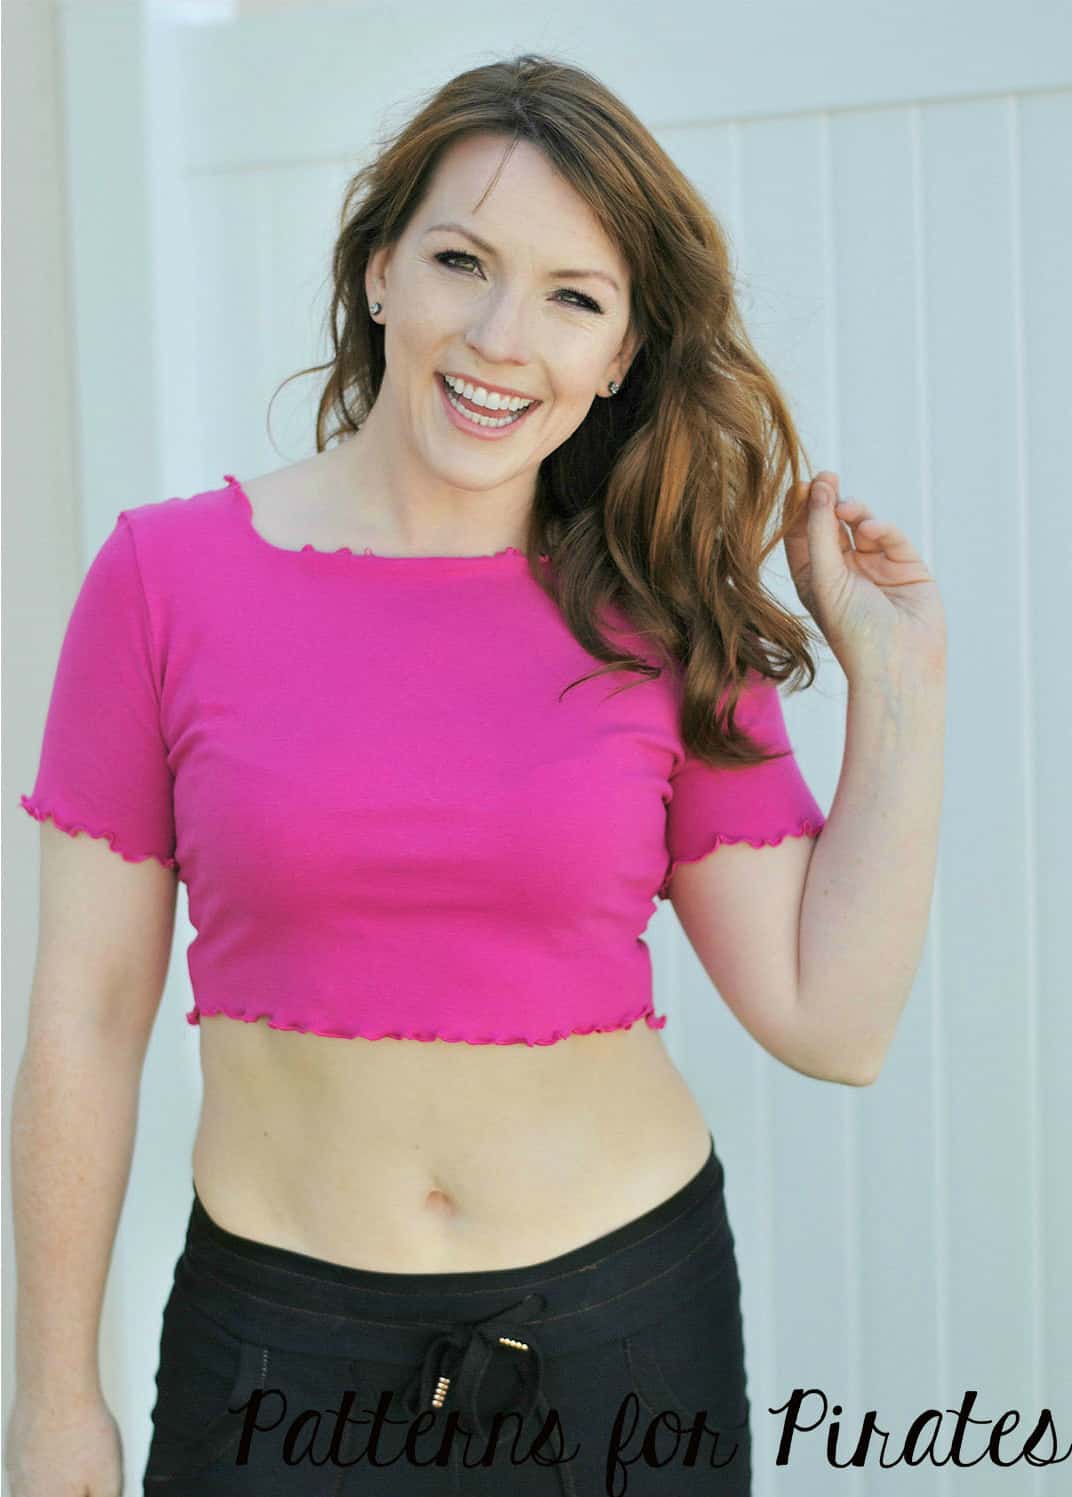
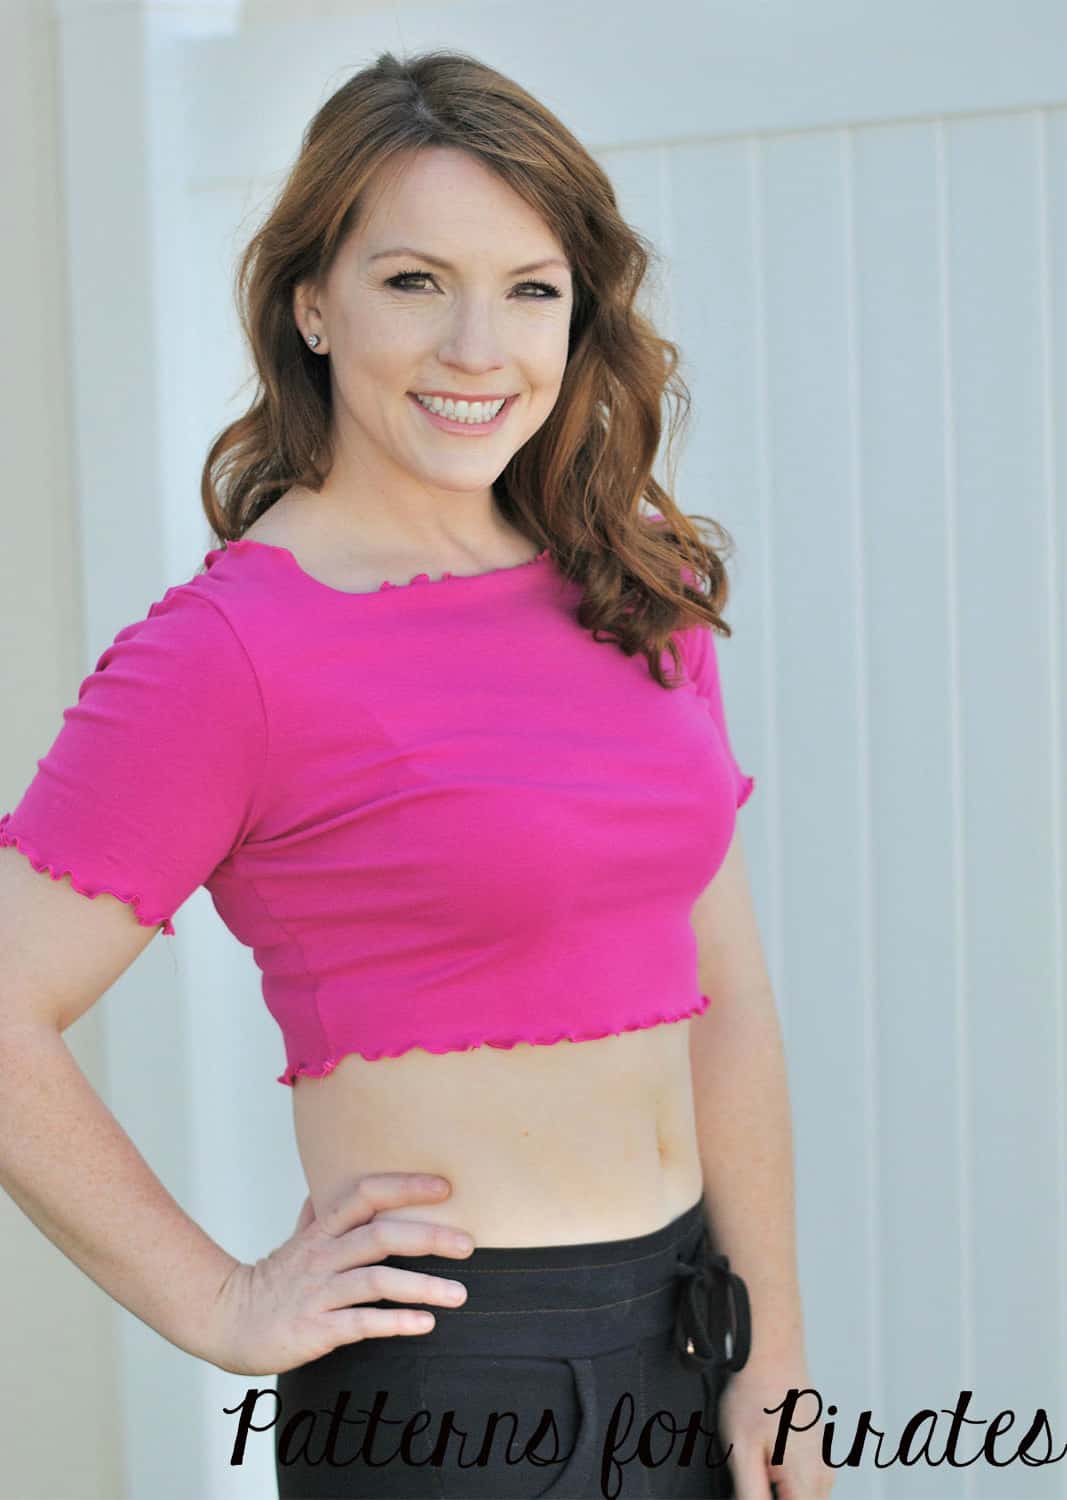
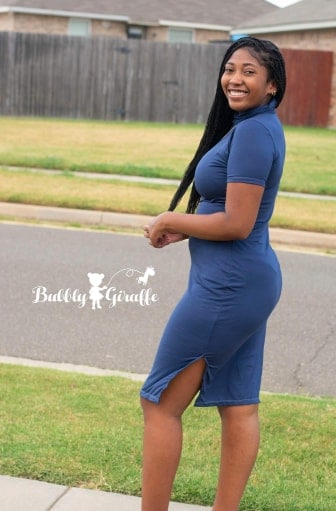
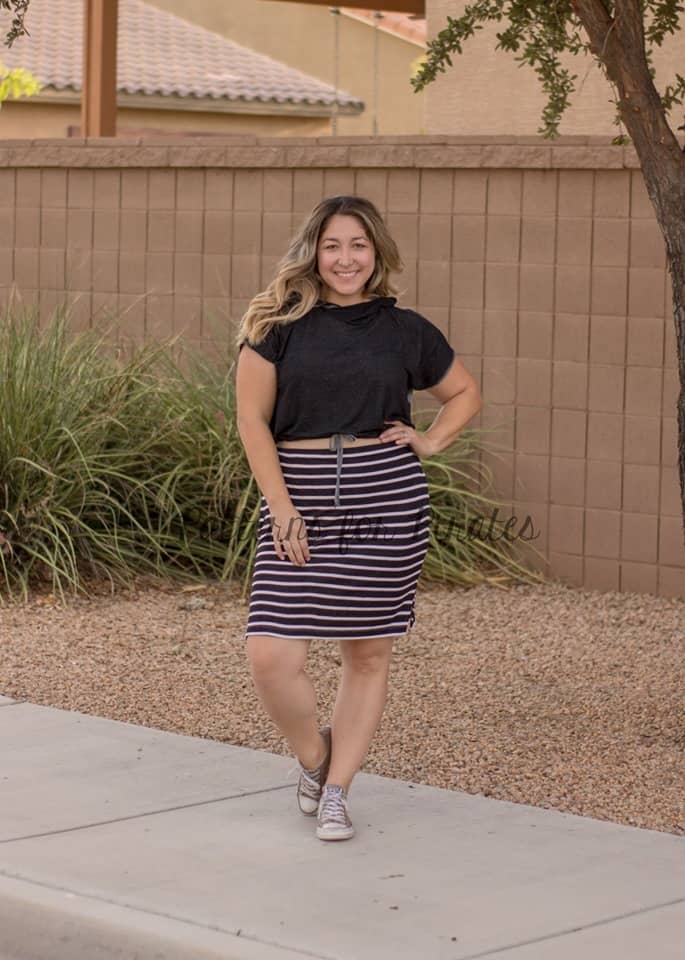
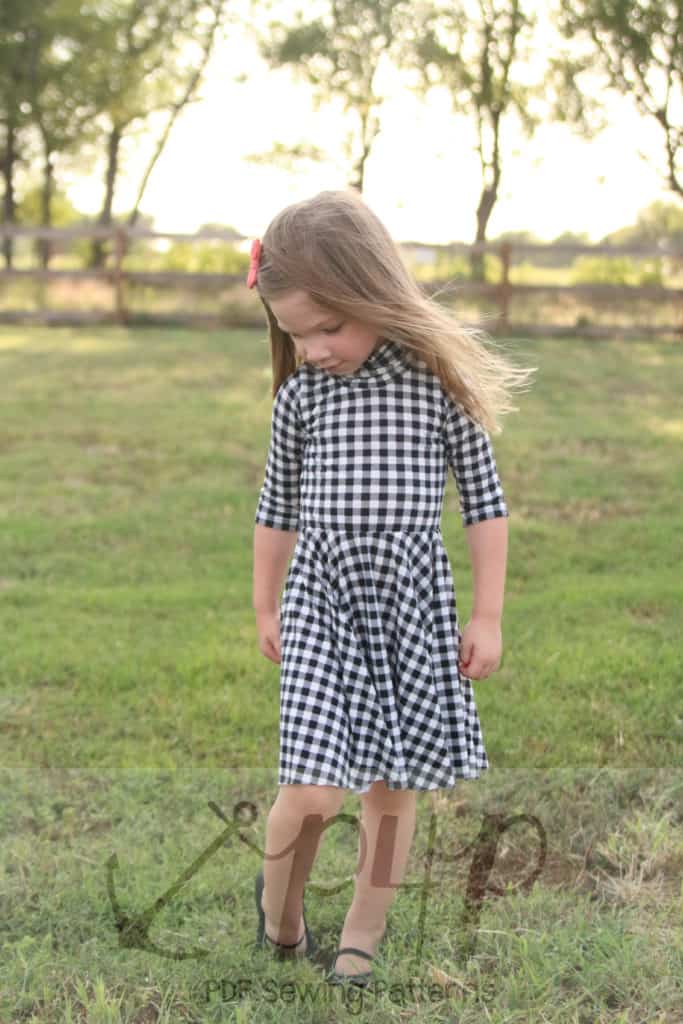
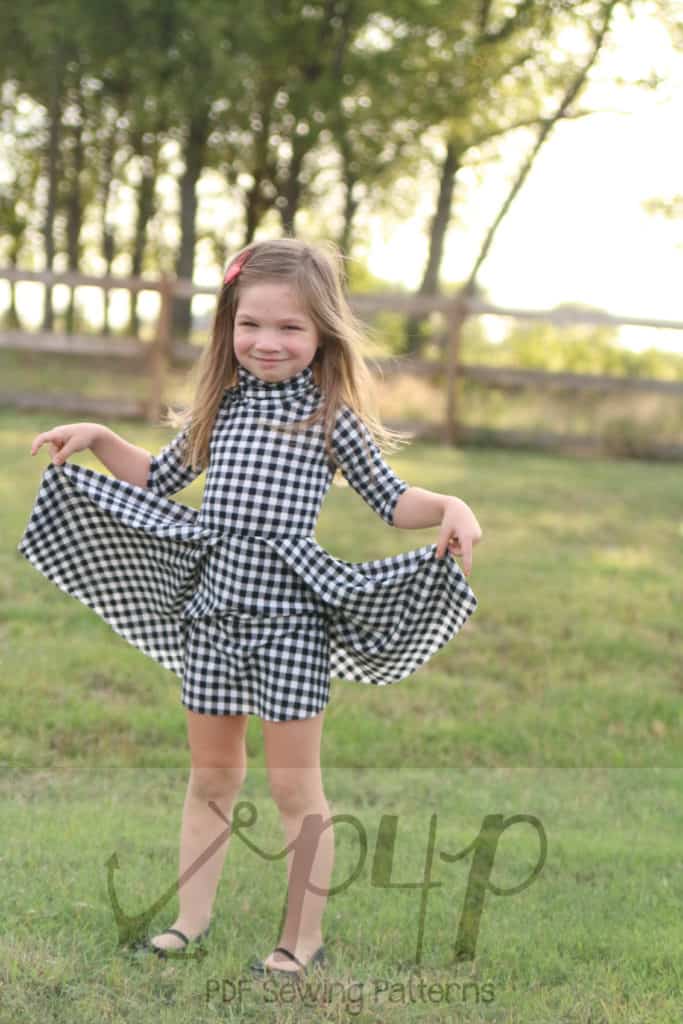
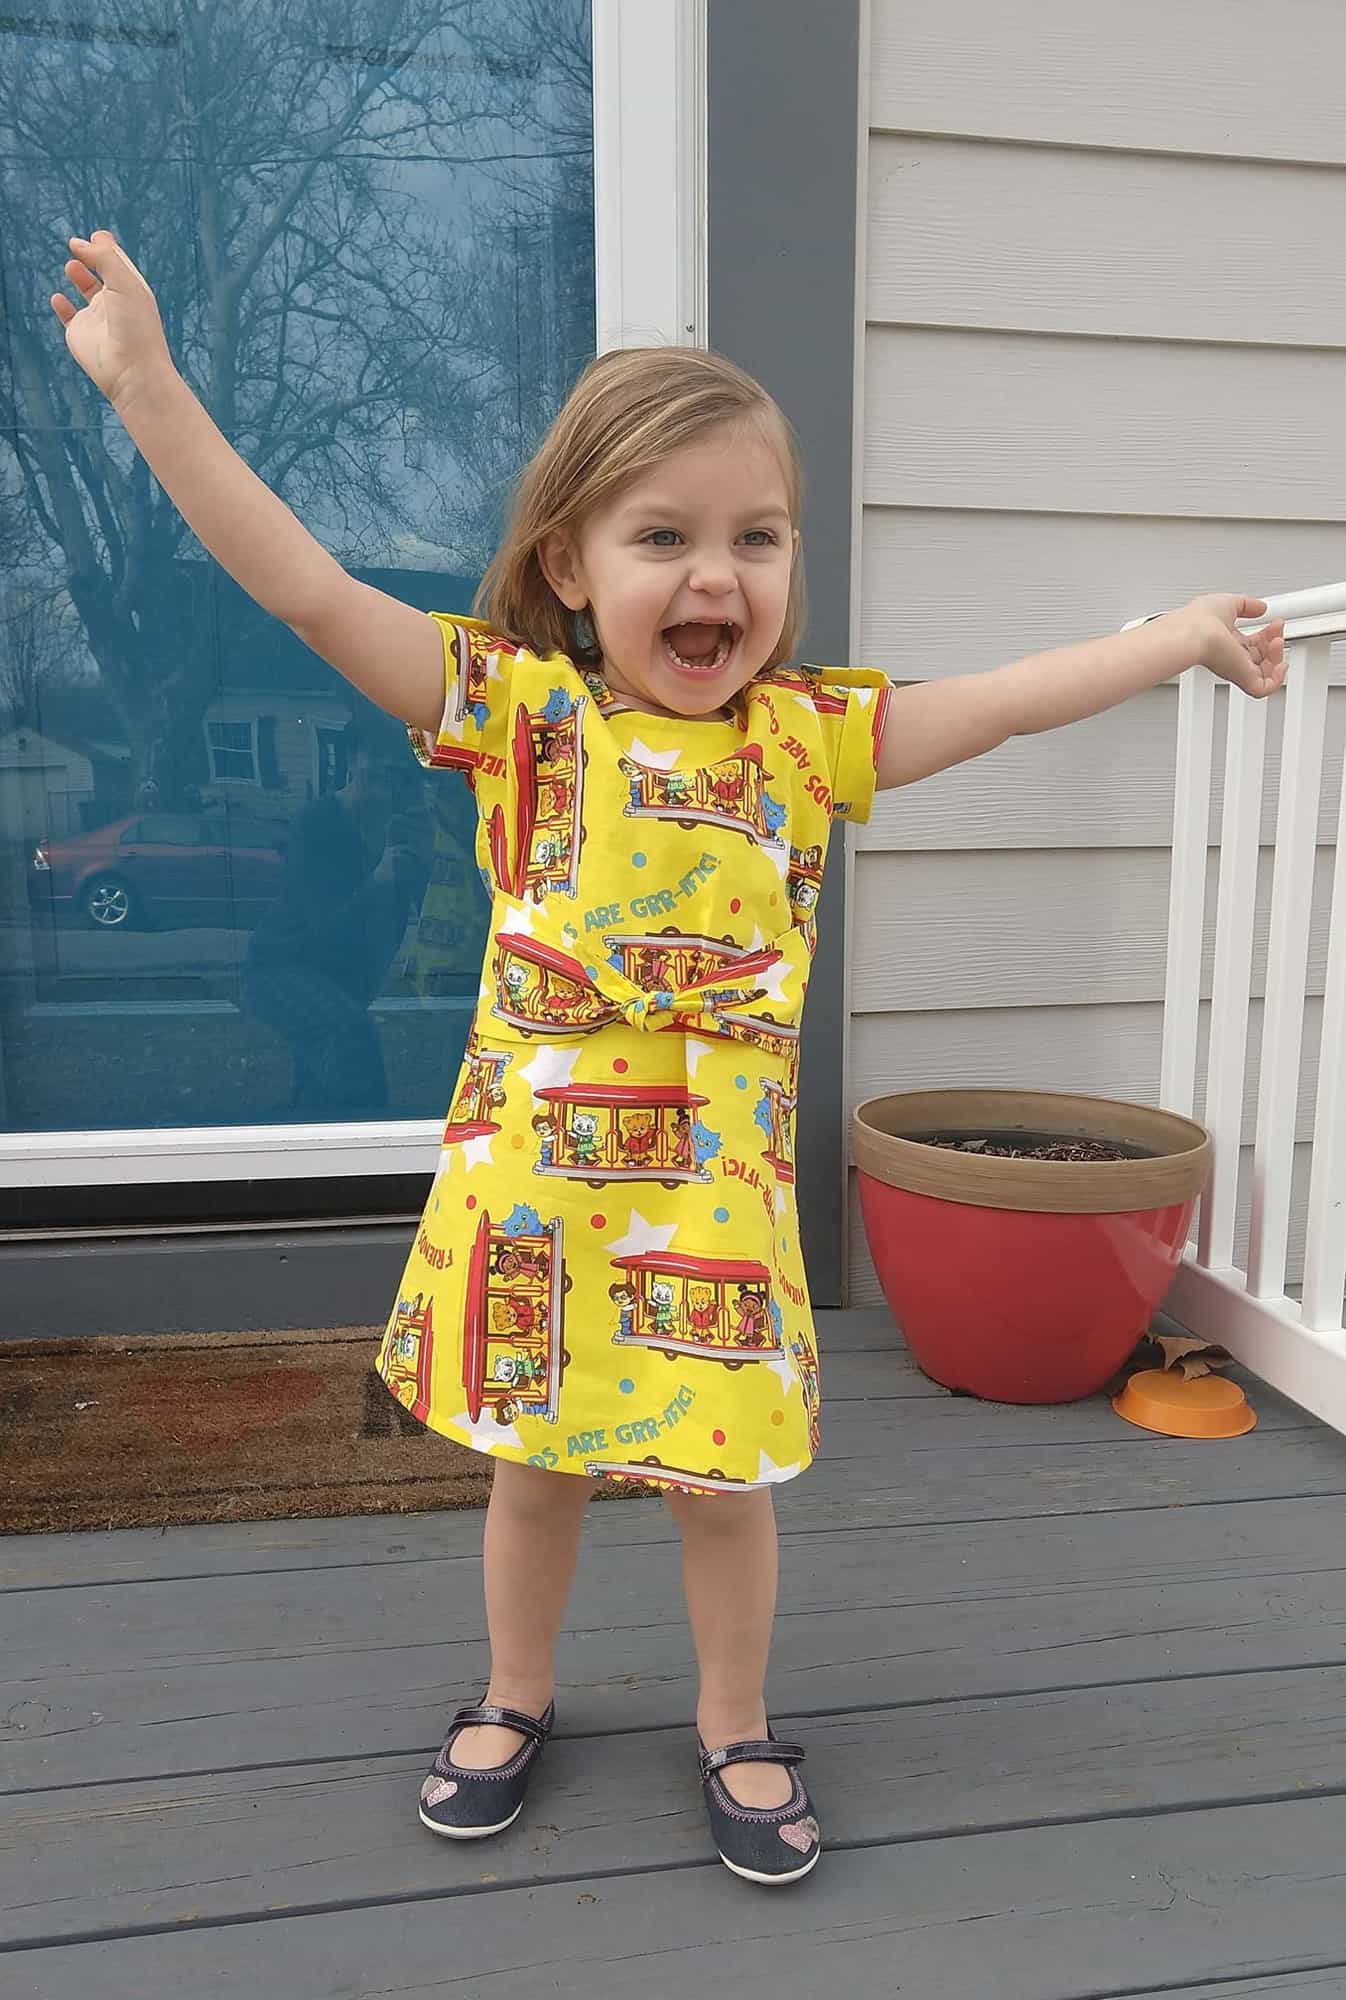
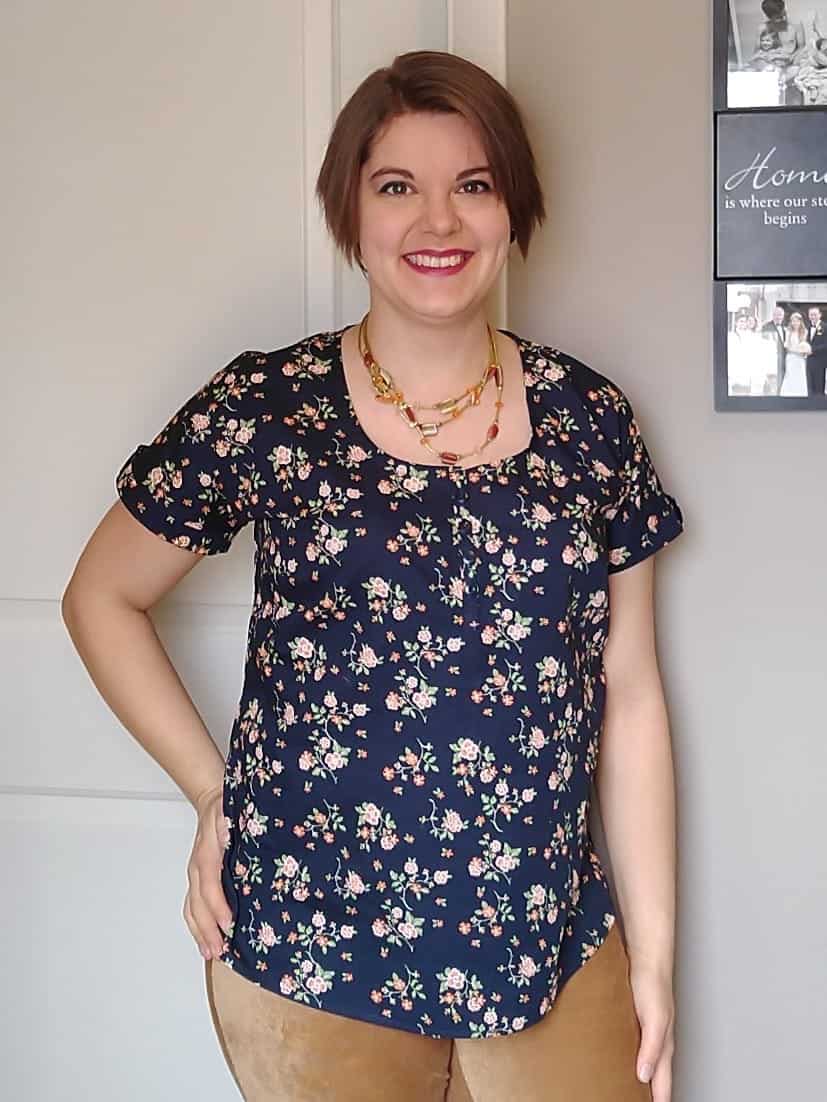
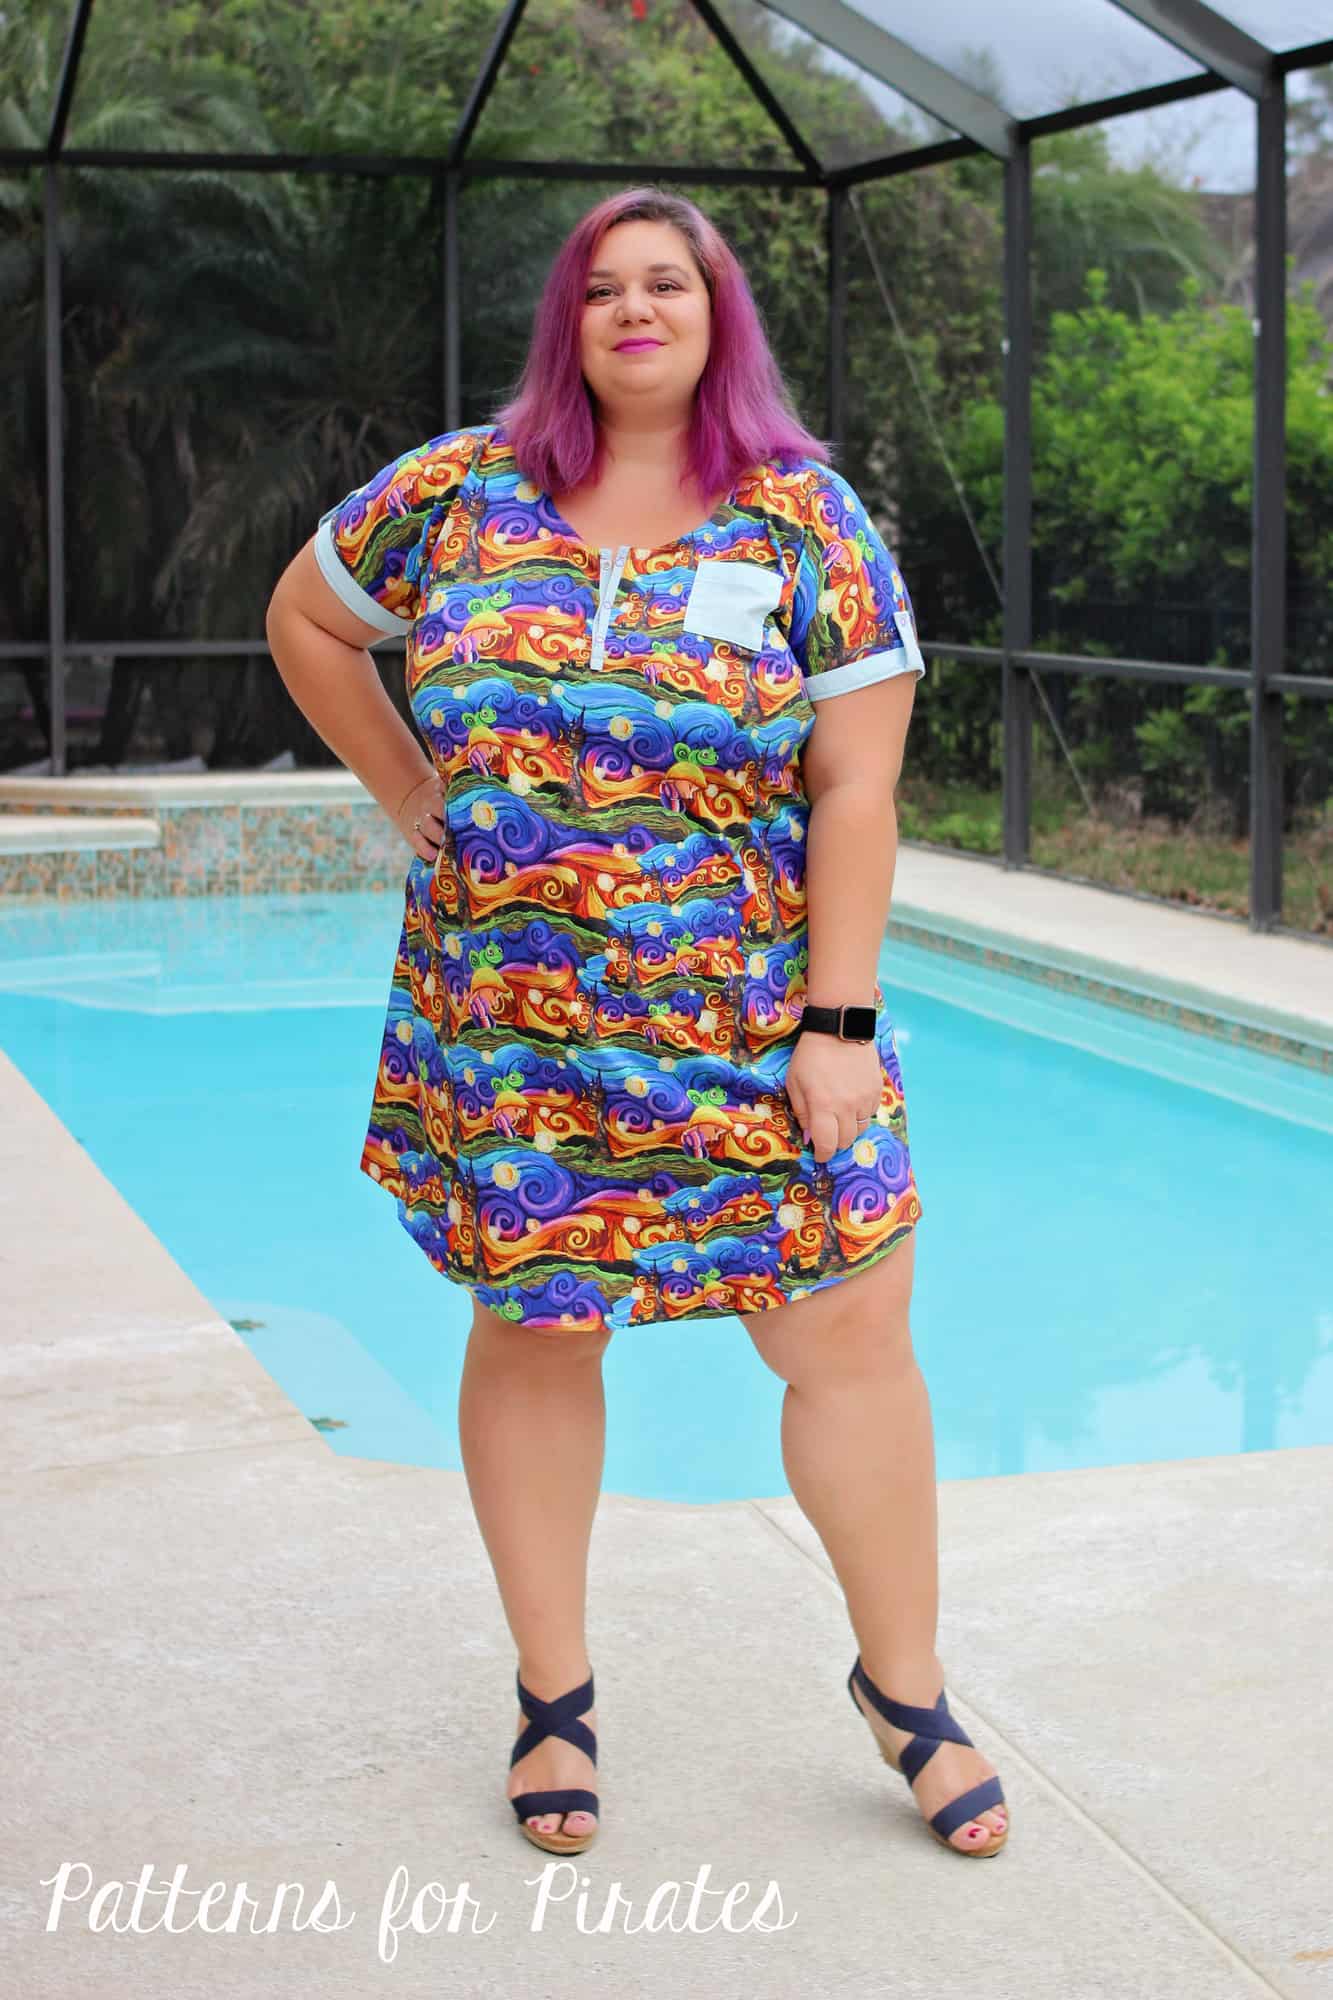
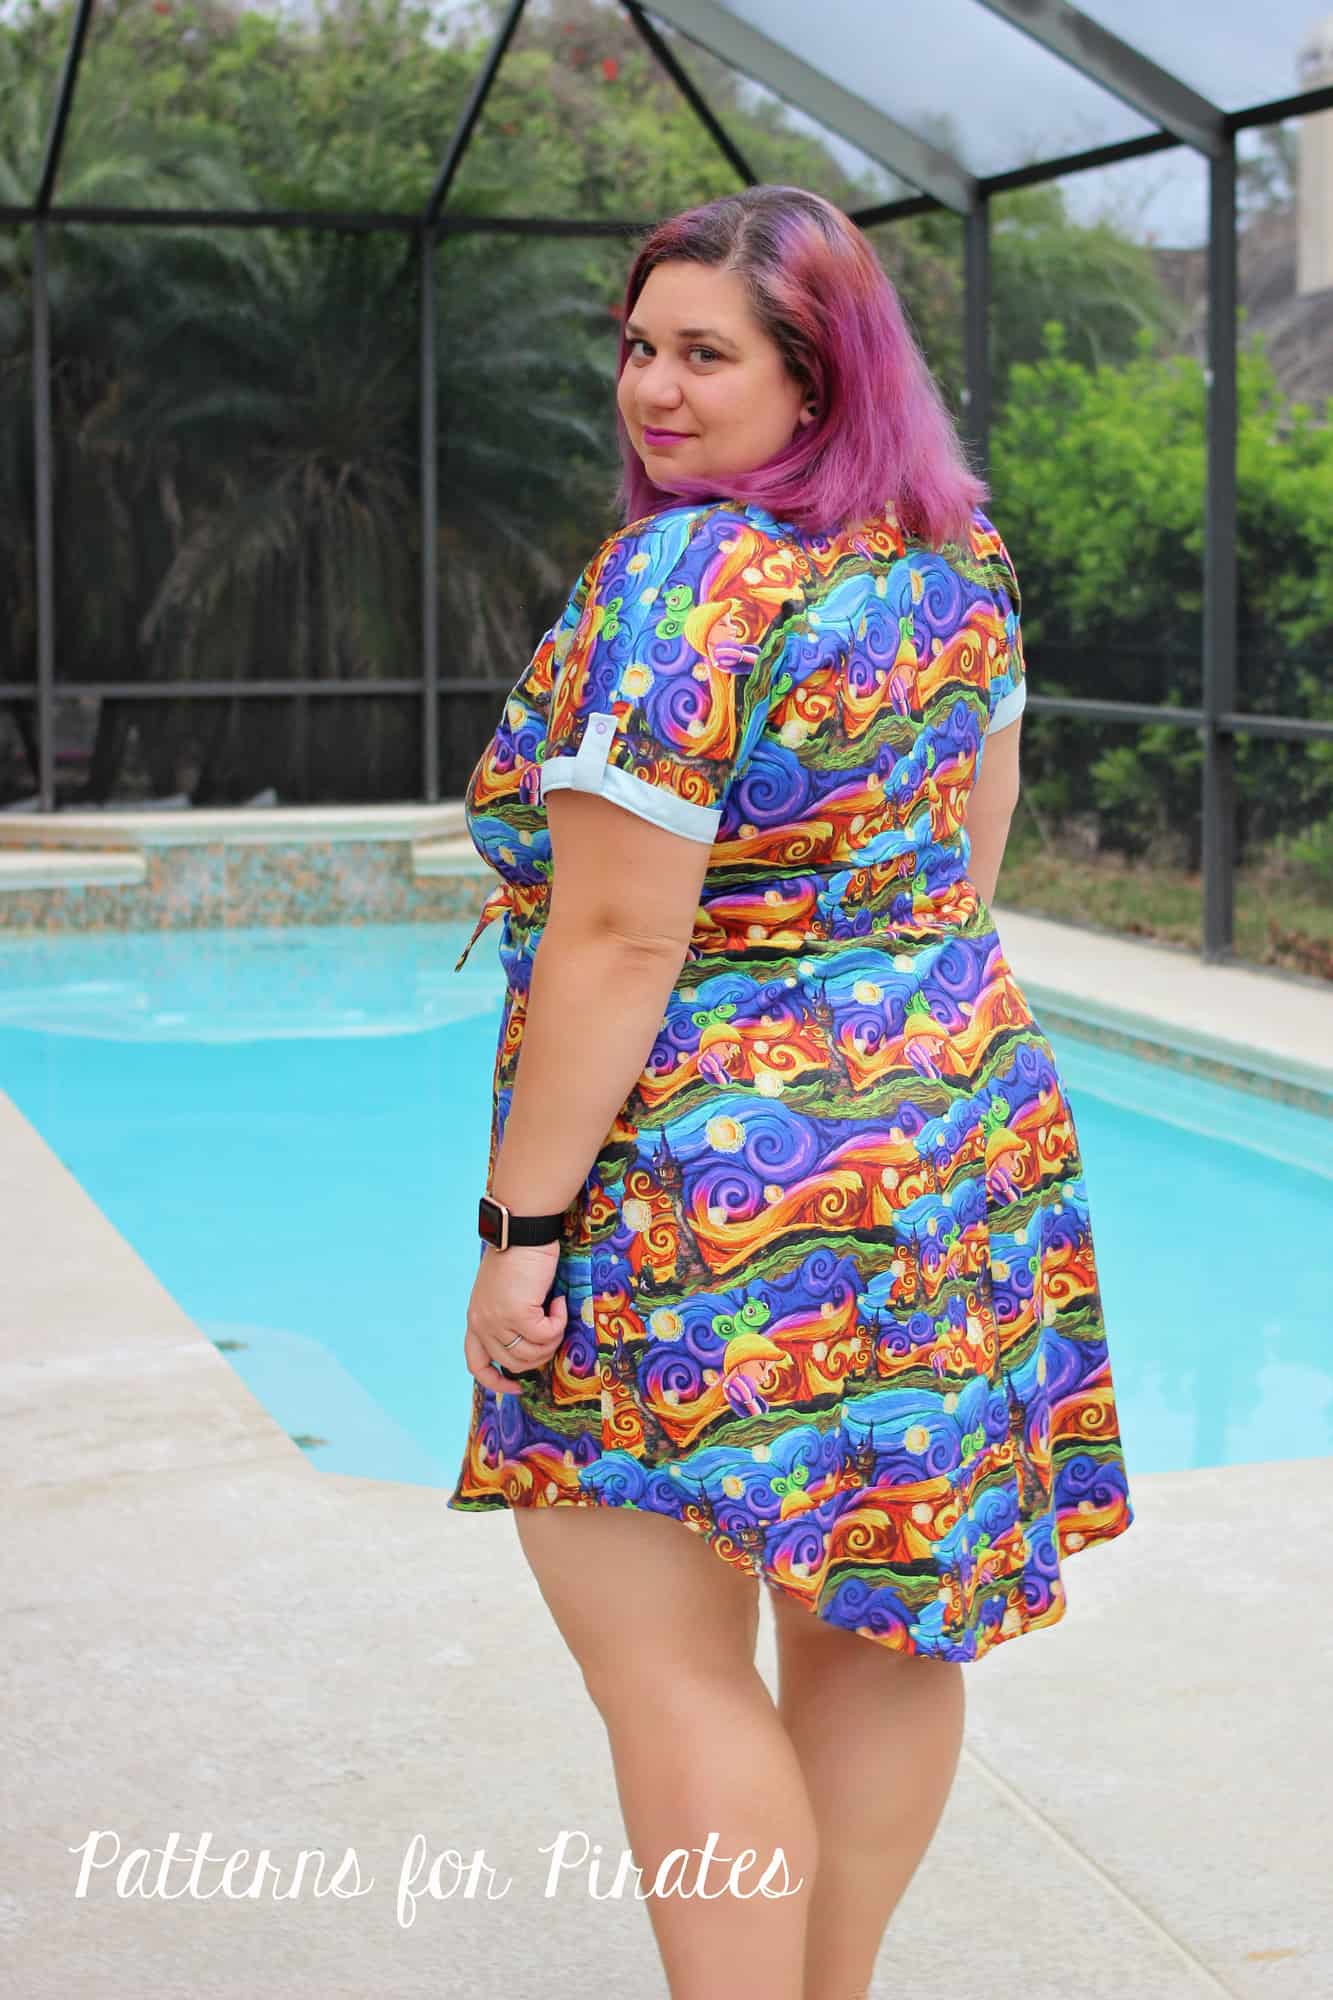
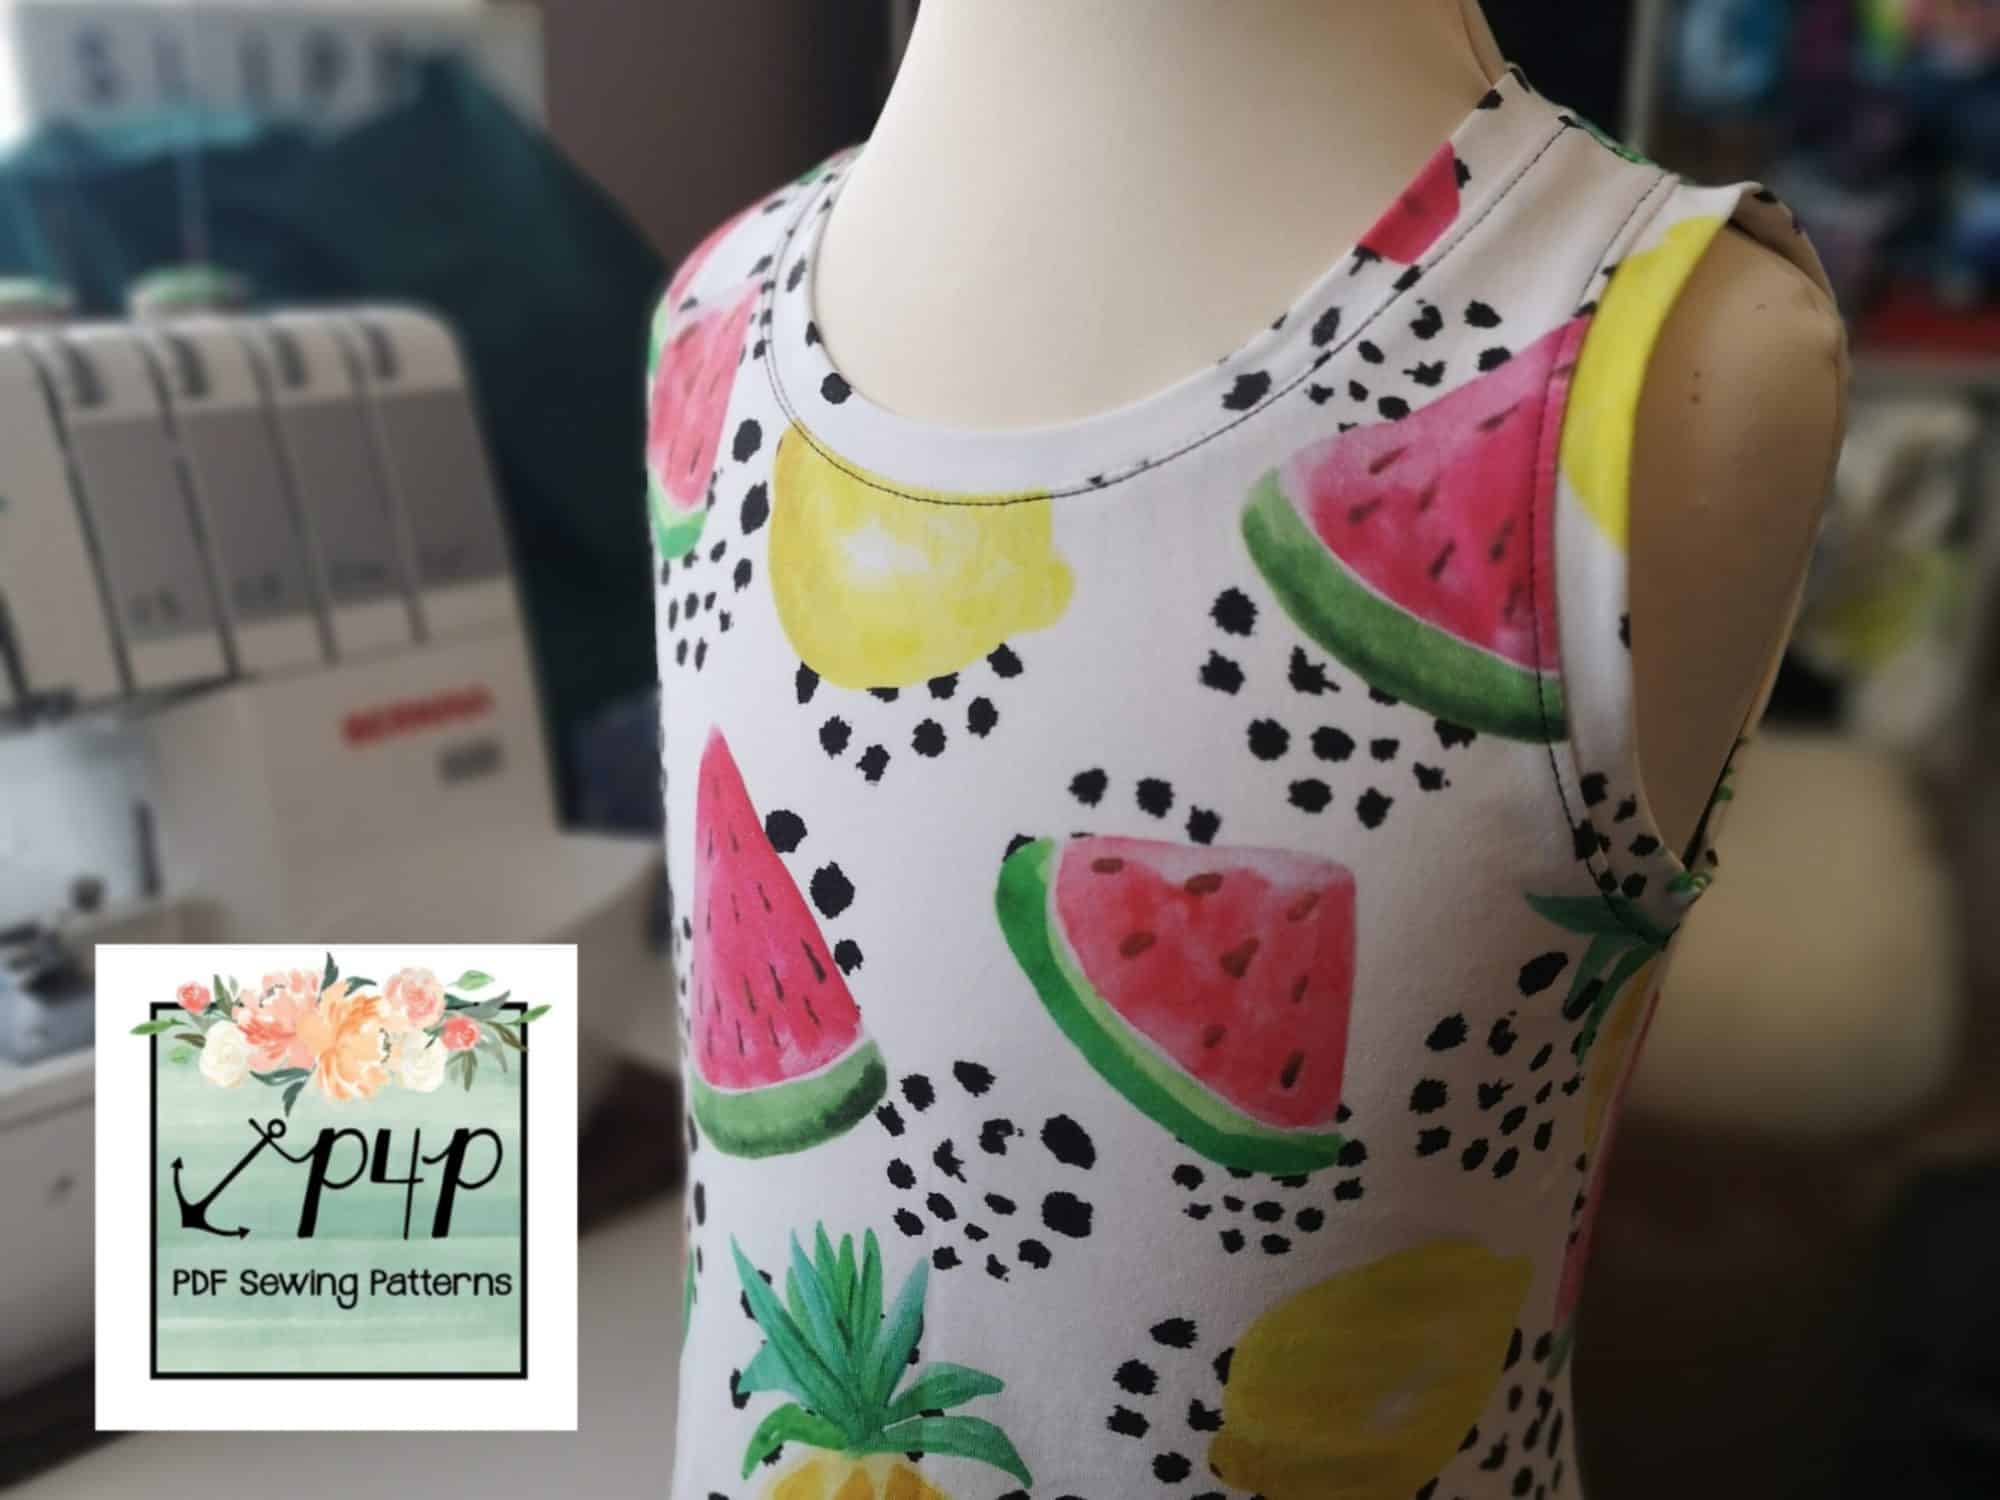
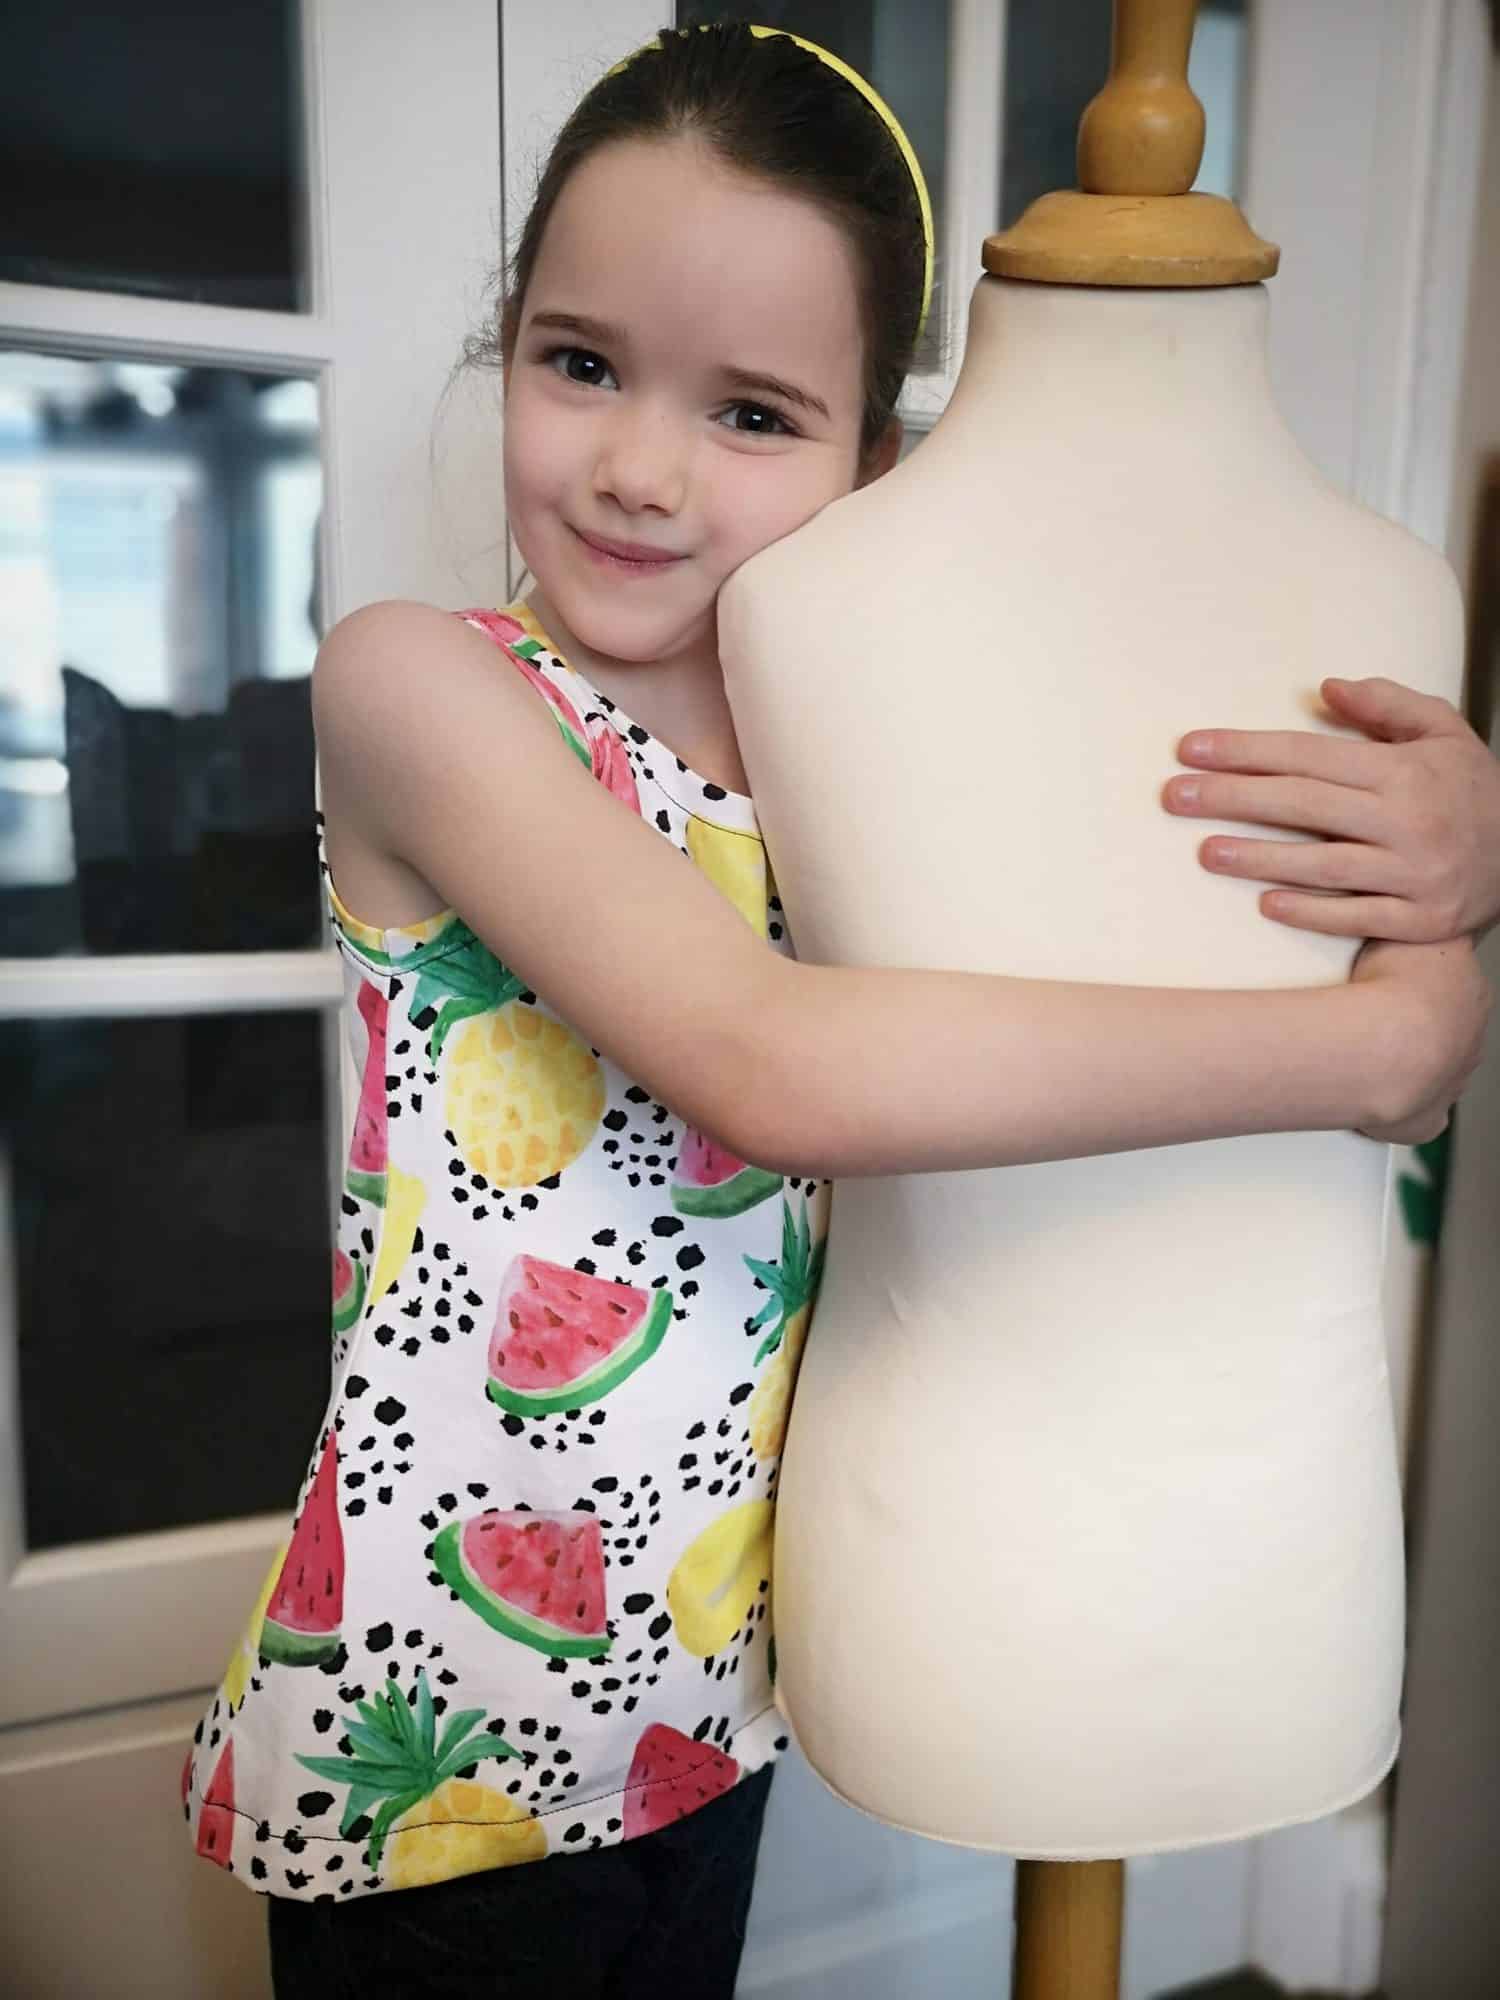
The pattern I will be using to illustrate how I sew my armbands is the Youth Essential Tank. There are many different cut lengths, from shirt to dress length and the option for a regular tank or a racerback cutline. Today I will be sewing the shirt length tank option for my daughter, ready for the summer weather which we are all desperate for right now!
The first thing to remember is that there are pattern pieces for you to use for the neckband and armband options and these are calculated at 85% of the opening, but the fabric you use may need you to make some adjustments to those pieces to get the perfect fit. A fabric like a 100% cotton interlock won’t have as much stretch as you may need and you will probably want to add a little length to your bands, perhaps recalculate at 90%. Something like a ribbing/cuffing has lots of stretch and that could be cut at 75 or 80% to get the same look. Either way you will want to ensure that you sew the shoulder and side seams of your garment at the full ½” seam allowance or you will find that the bands won’t be long enough, as not using the full seam allowance will make your neck/arm openings wider than they were drafted to be.
If you prefer a video, I filmed the process of making my Essential Tank here:
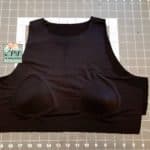
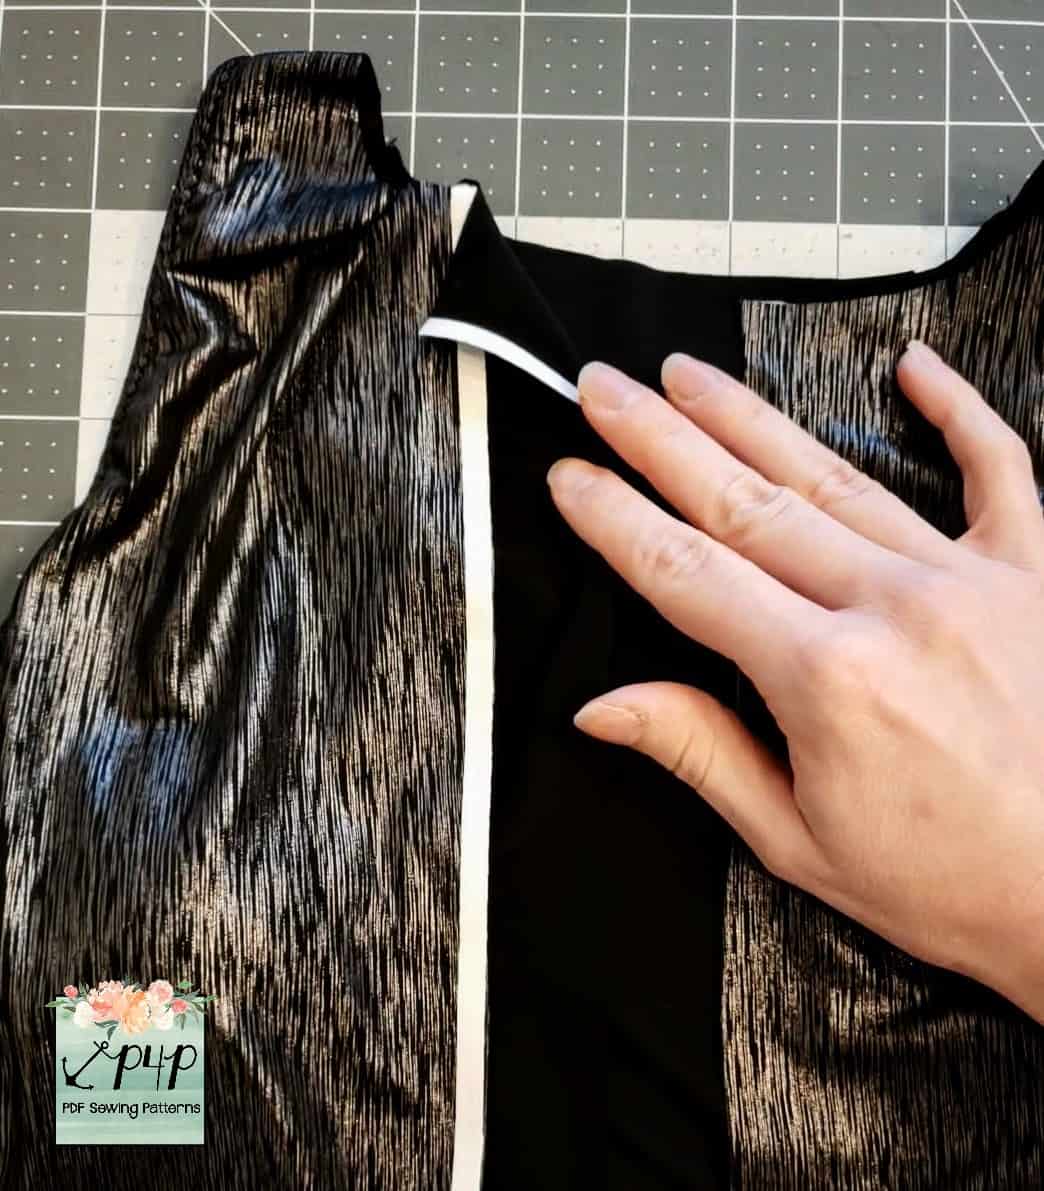
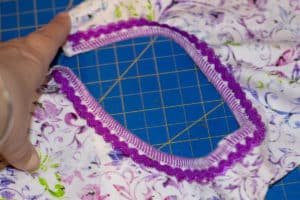
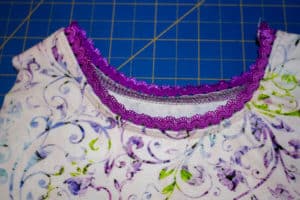
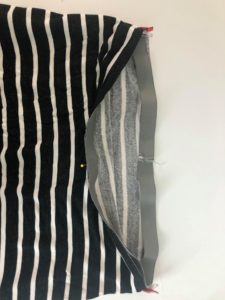
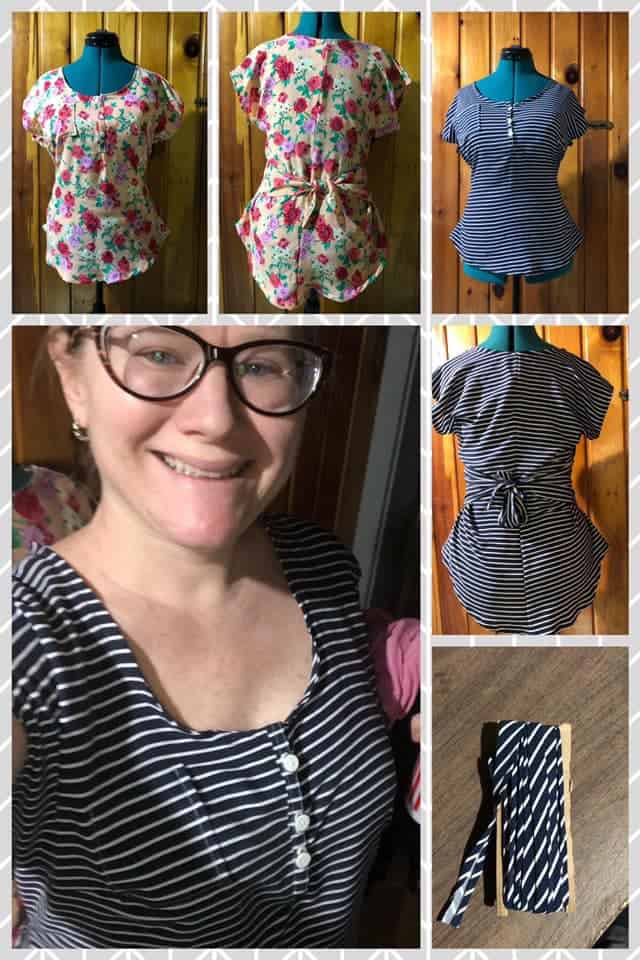
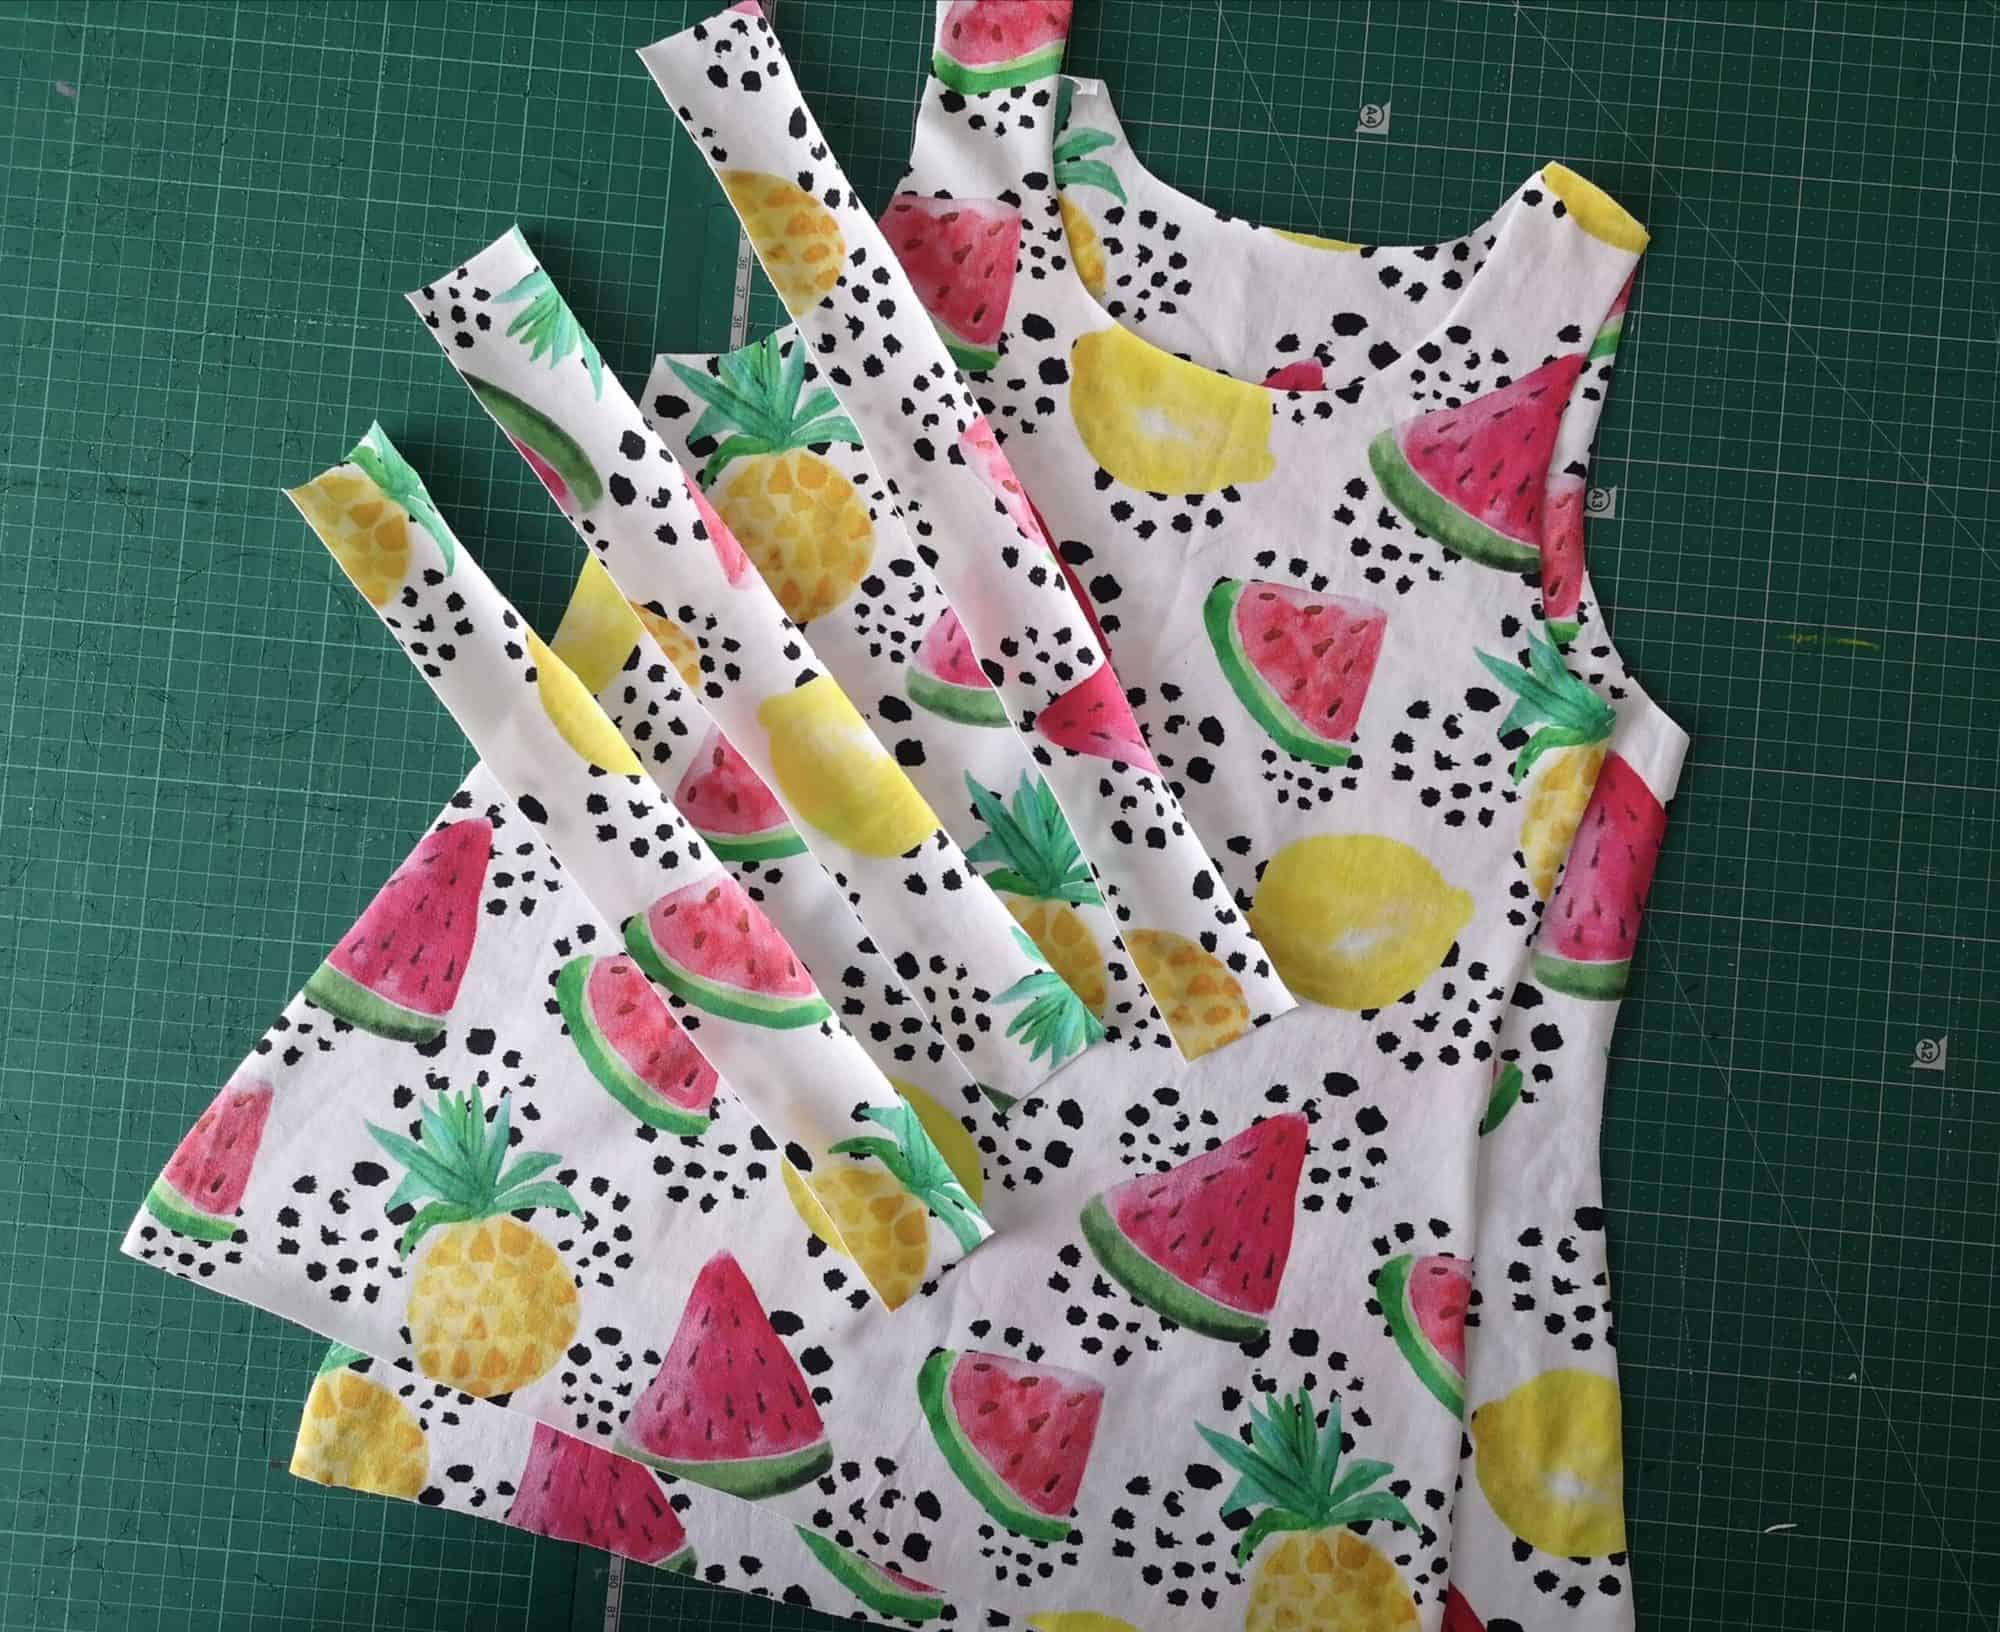
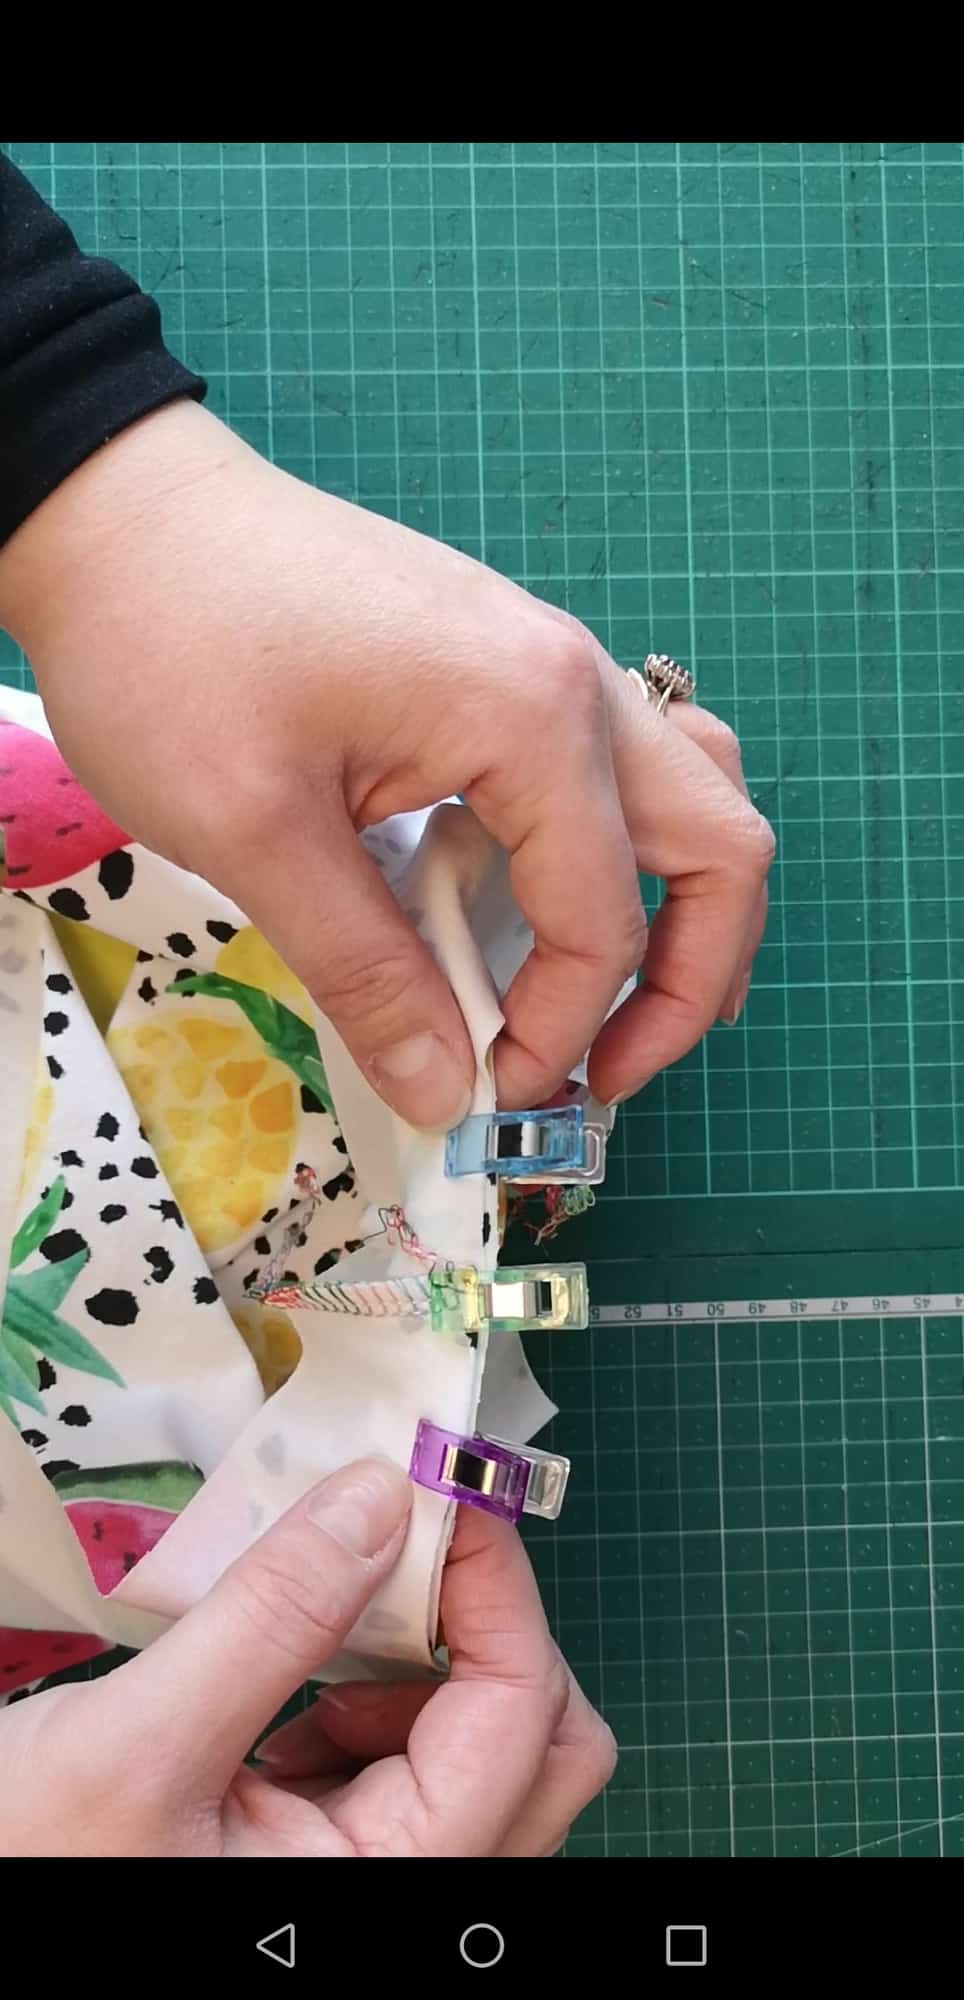
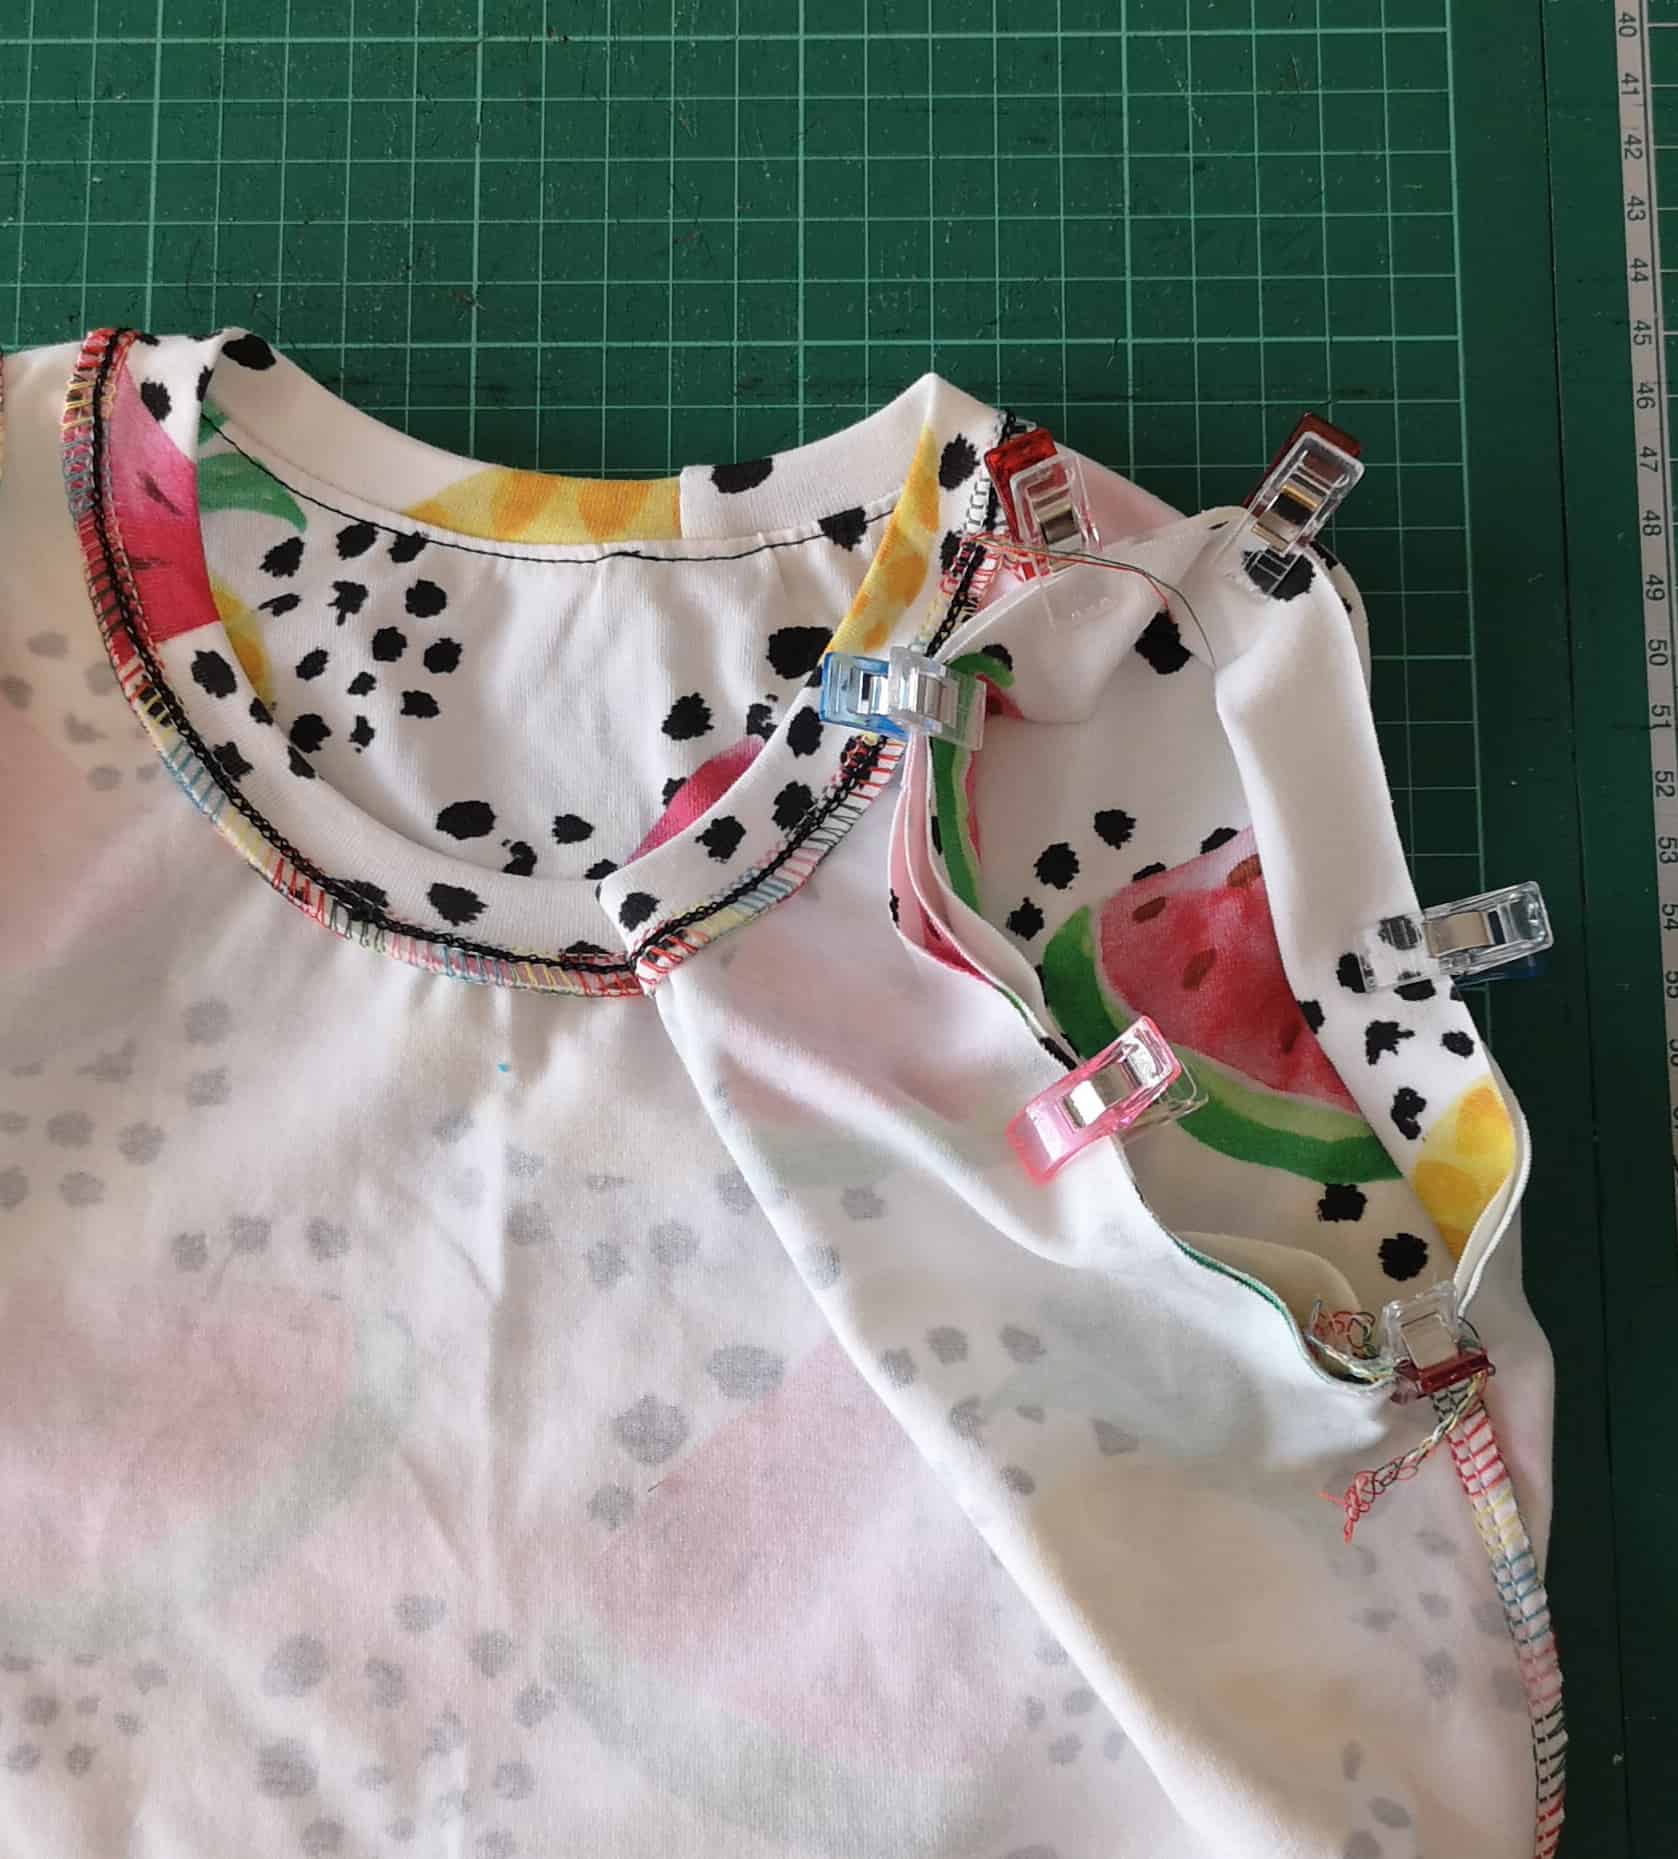
Sew your shoulder seams and then prep your neckband by sewing the short sides, right sides together to form a loop. Fold your fabric wrong sides together around the long edge and then place a clip at the joining seam. Place another clip at the other end of the band by stretching the band a little to find the centre point opposite the joining seam. Unlike a regular neckband, we won’t be quartering the neckhole and the neckband, just halving. Find the centre front and centre back of your neckhole and place clips. You should have this.
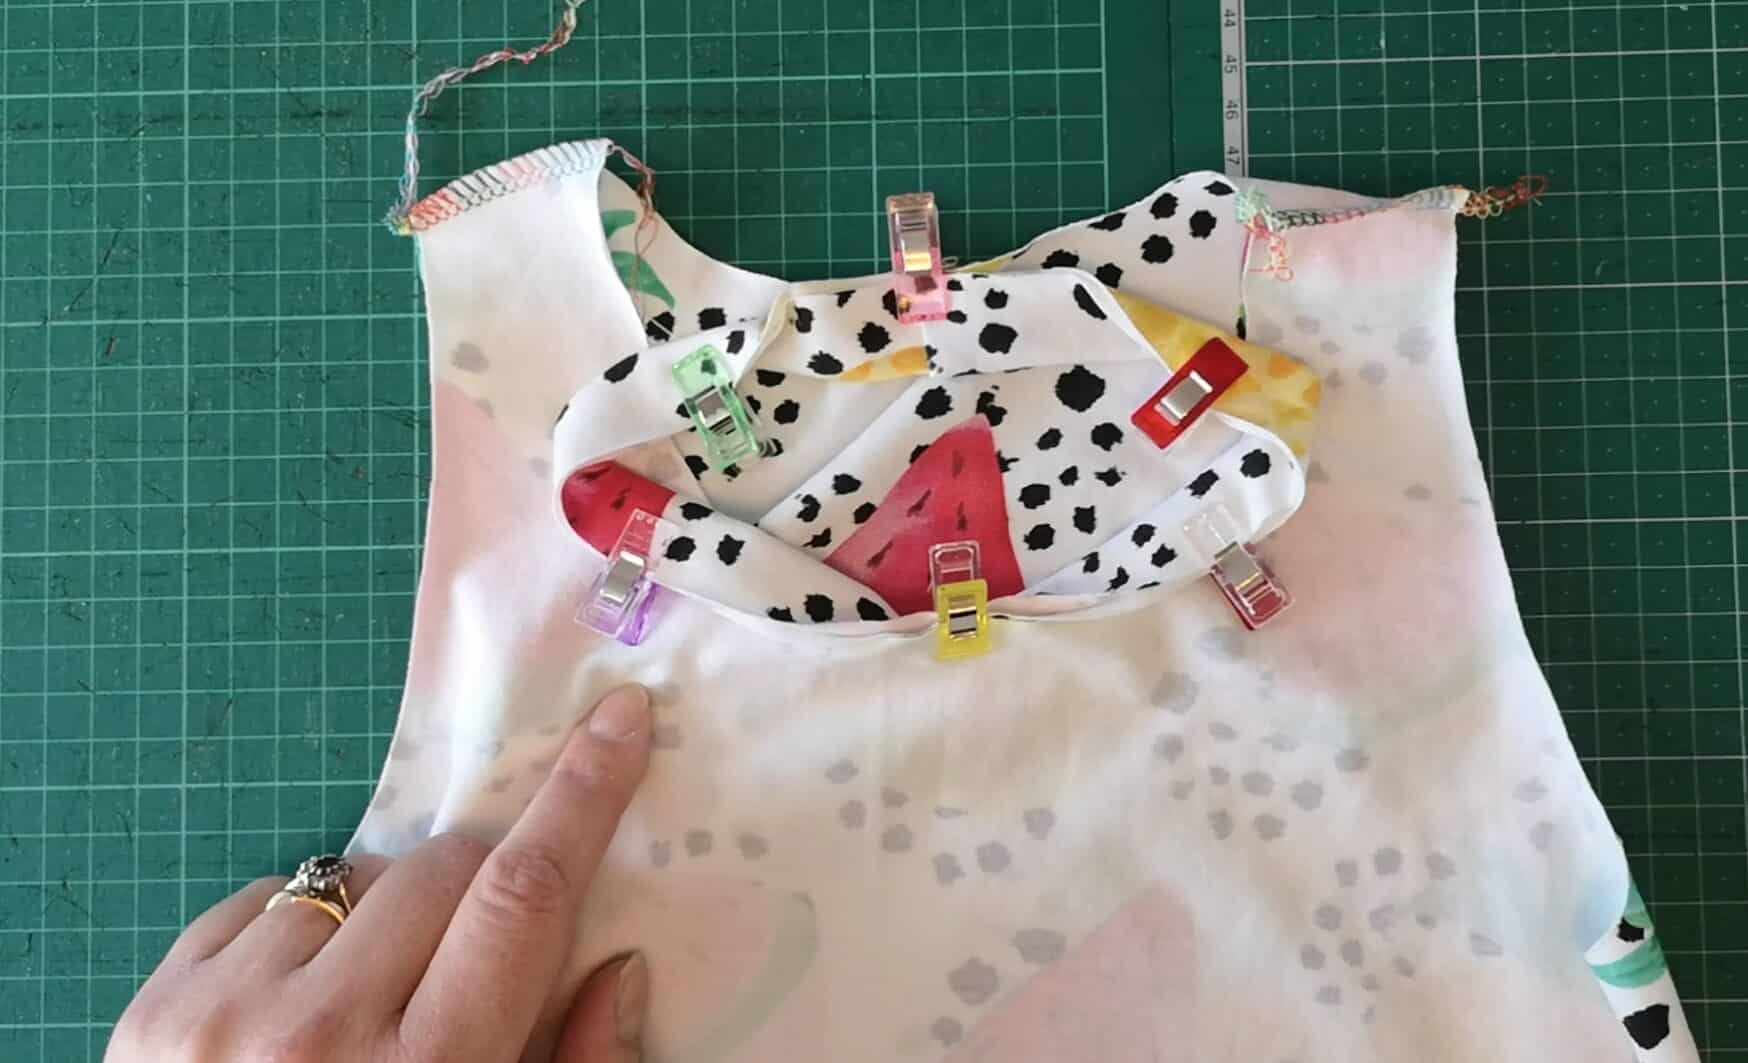
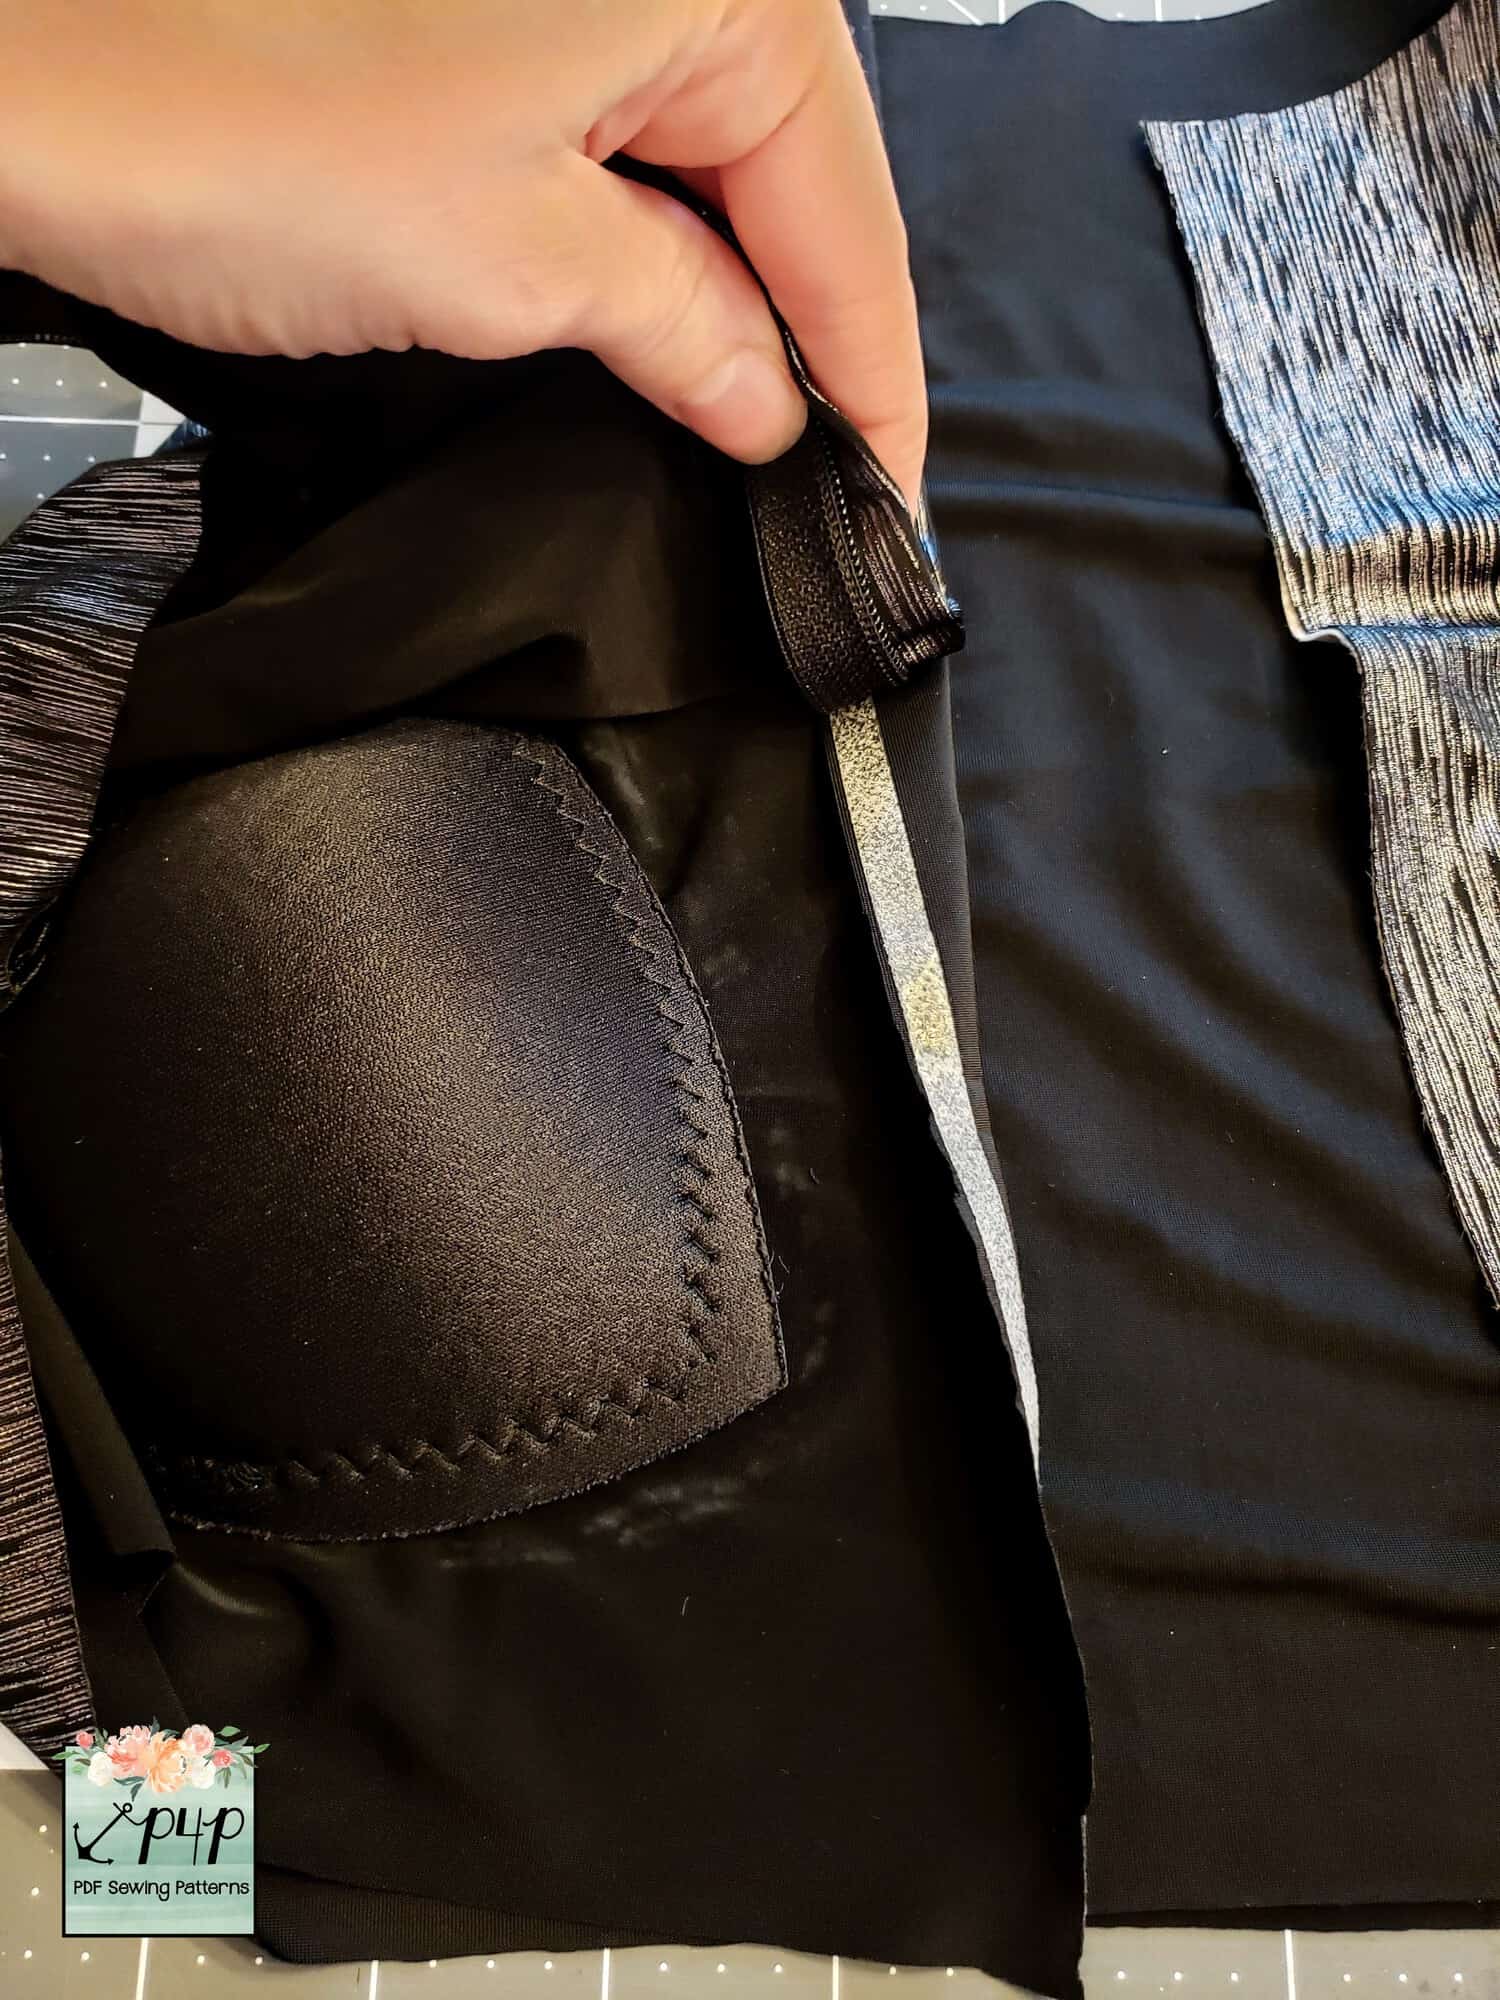
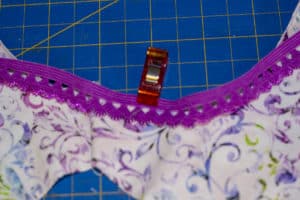
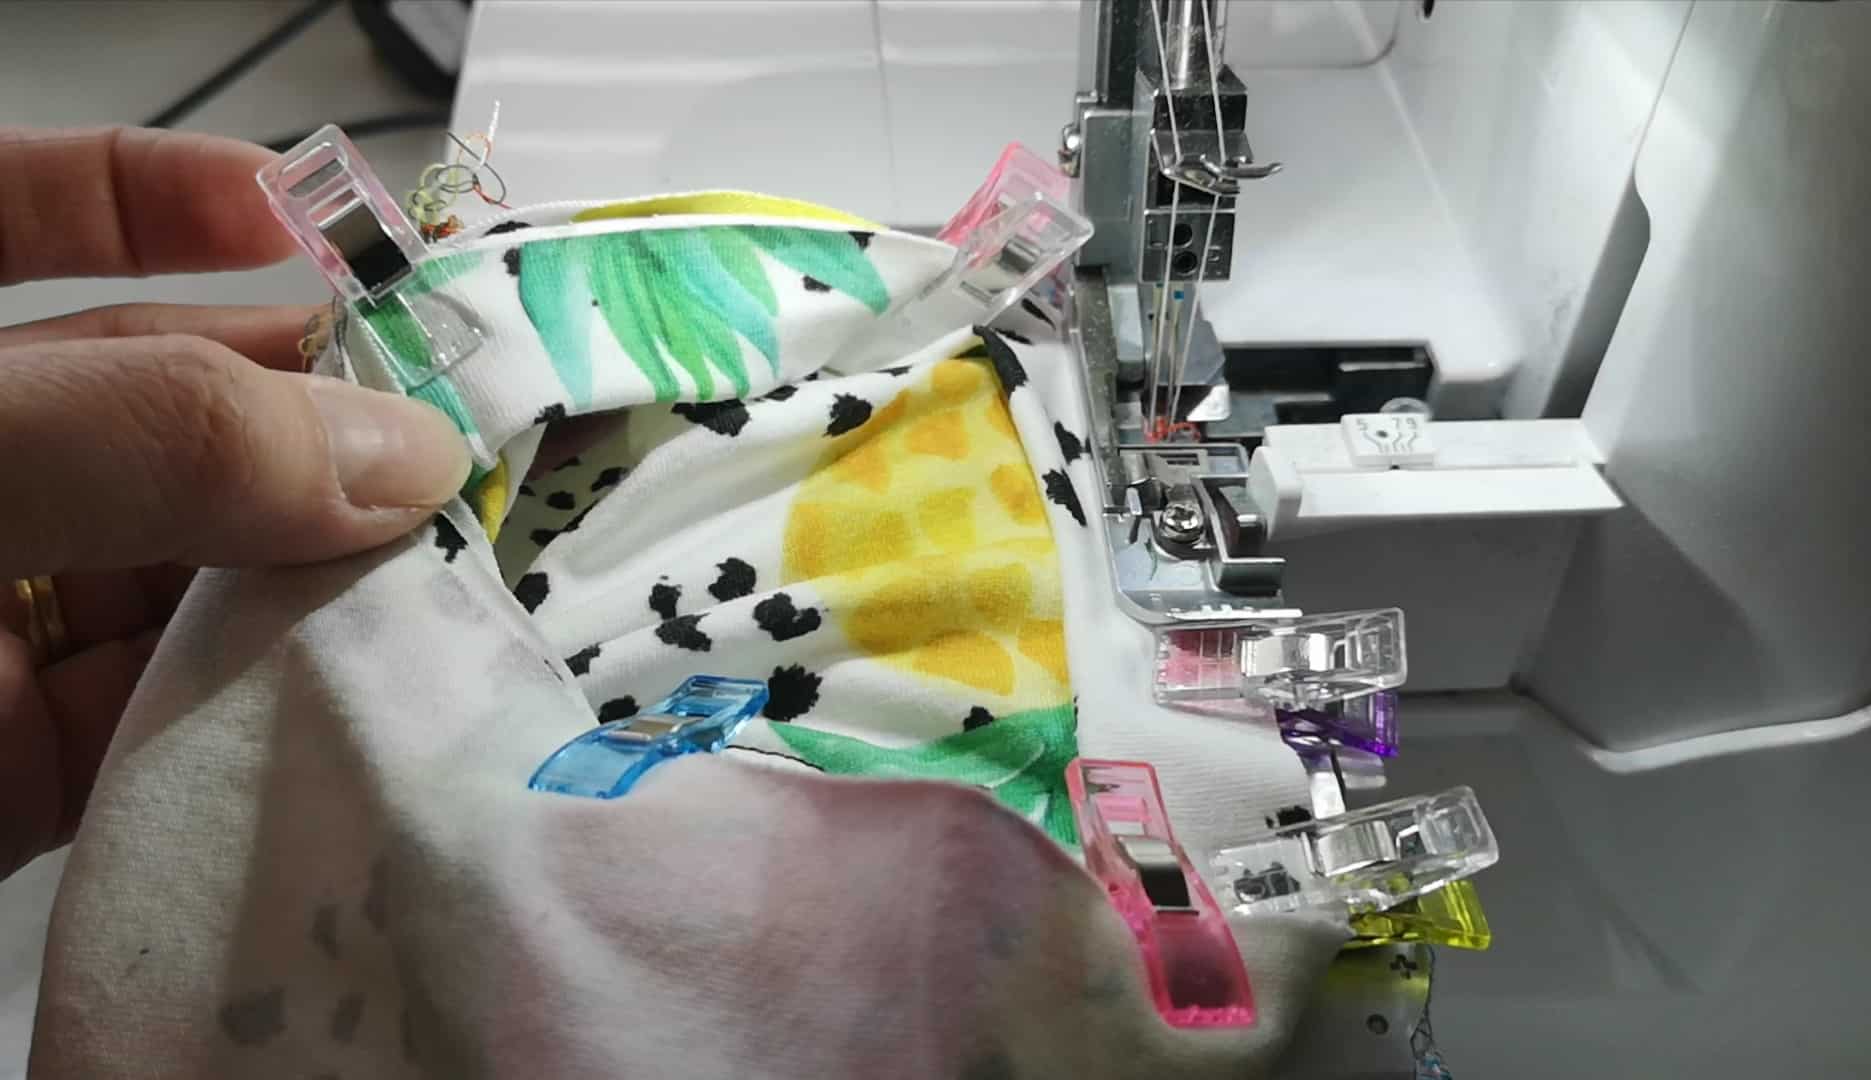
Next, evenly stretch the neckband until it fits the neckhole and clip the neckband to the neckhole at the shoulder seam (this won’t be the normal quarter point as the shoulder seam will be further towards the back). Then also place clips 1 inch either side of the shoulder seam NOT STRETCHING THE NECKBAND BETWEEN THESE THREE CLIPS. (If making an adult sized tank I wouldn’t stretch for 2 inches either side of the shoulder seam), then ease the remaining neckband in between the clips either side of the shoulder seam and the centre front and back clips.
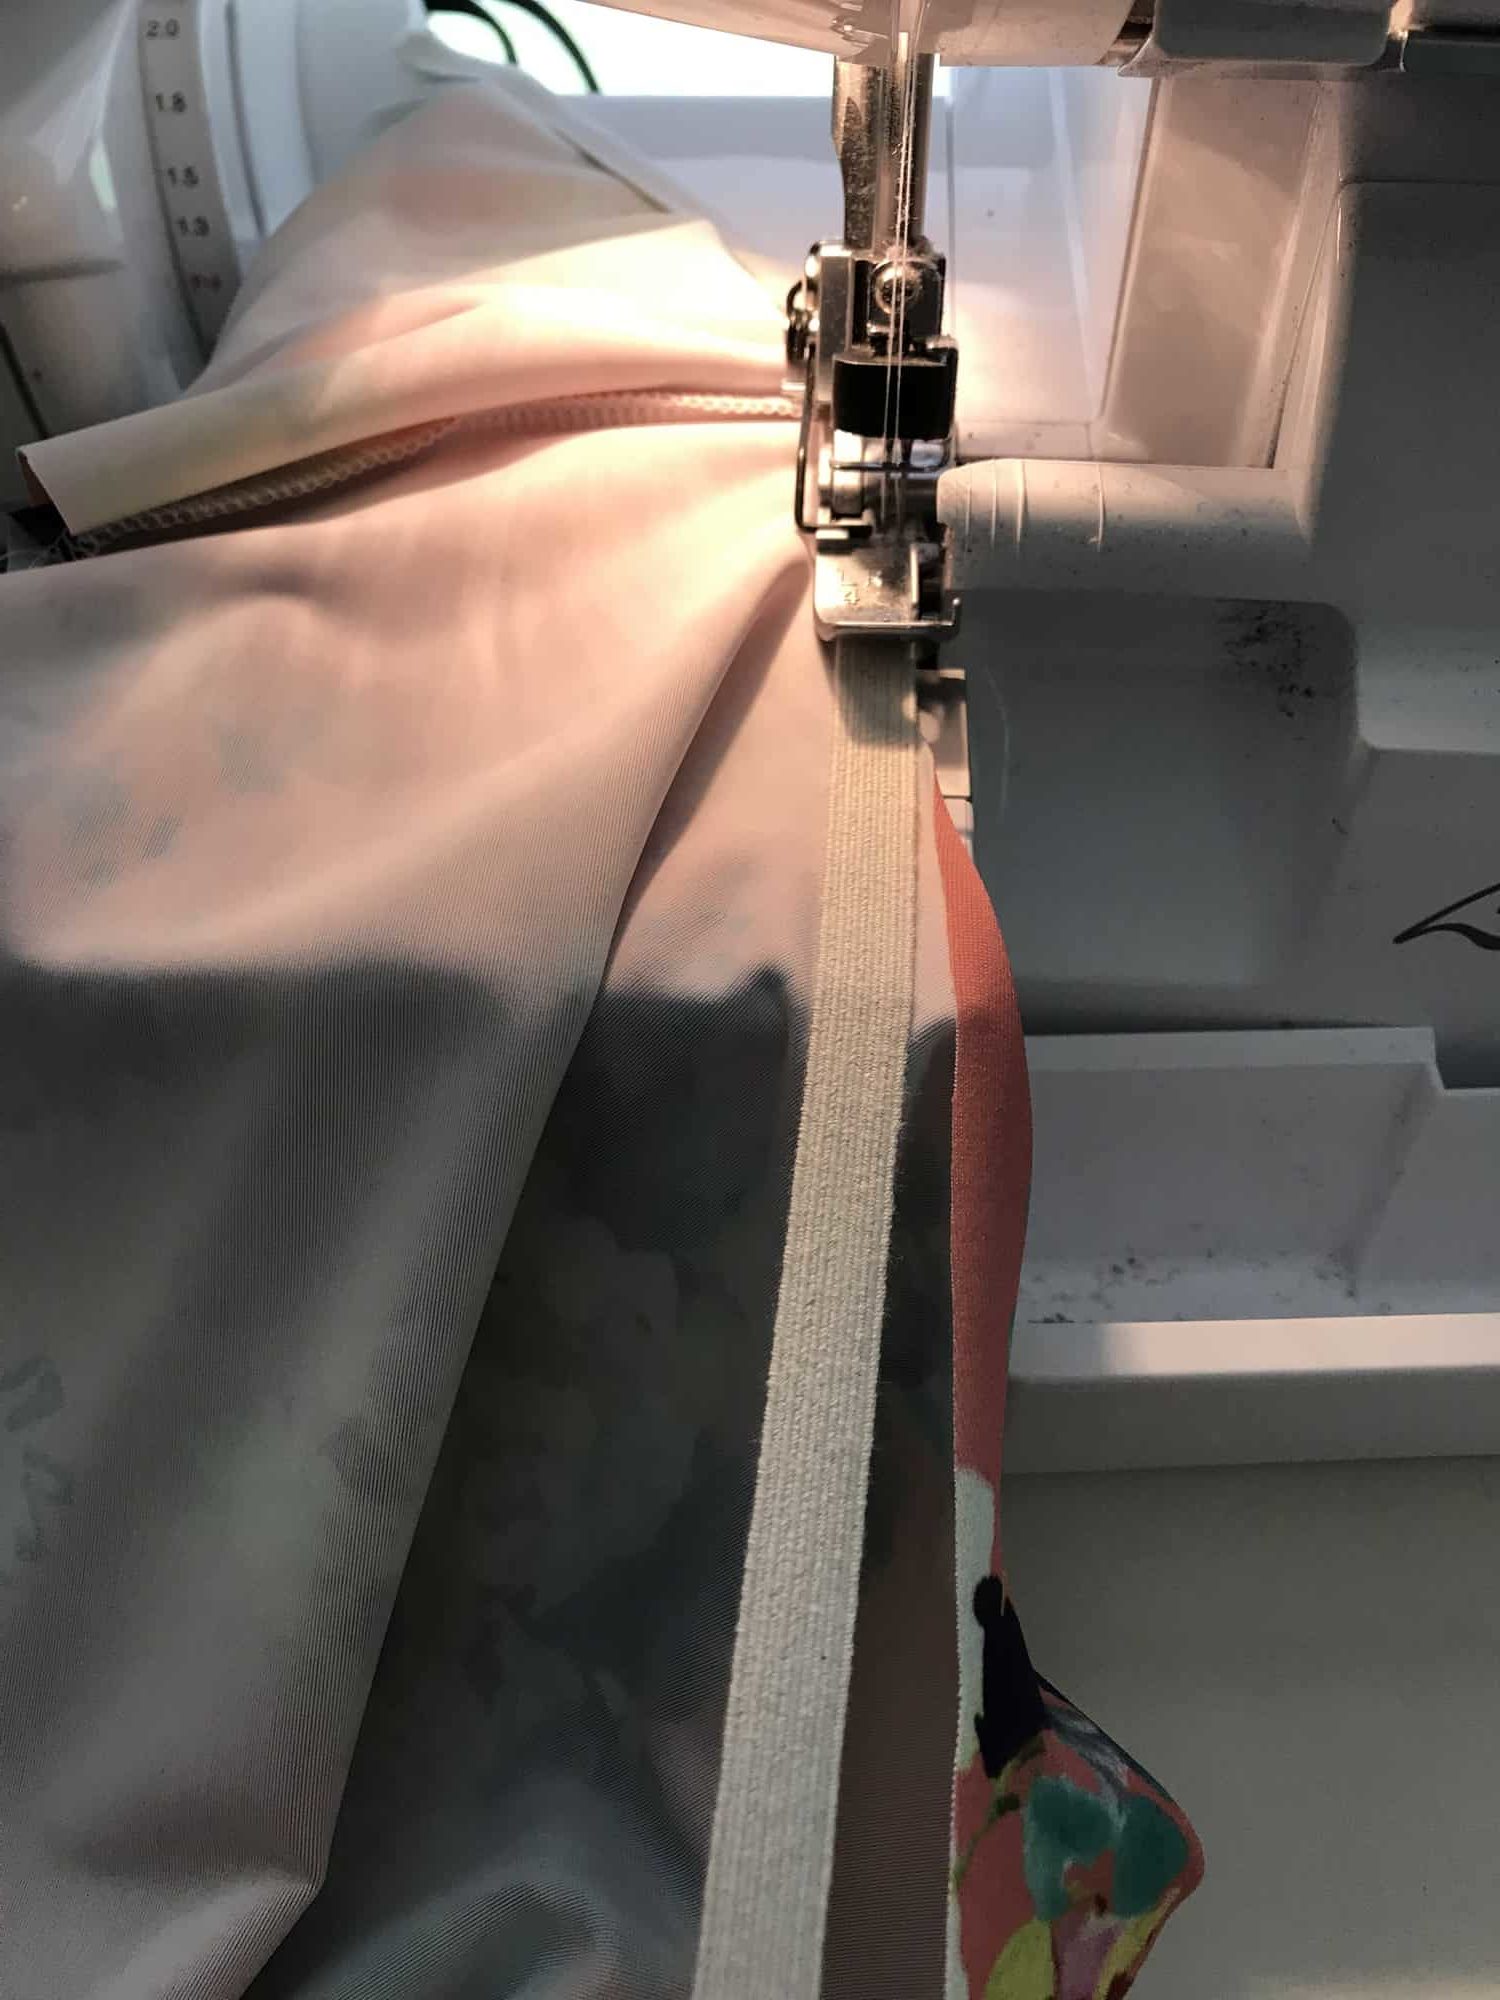
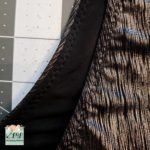
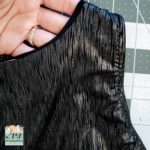
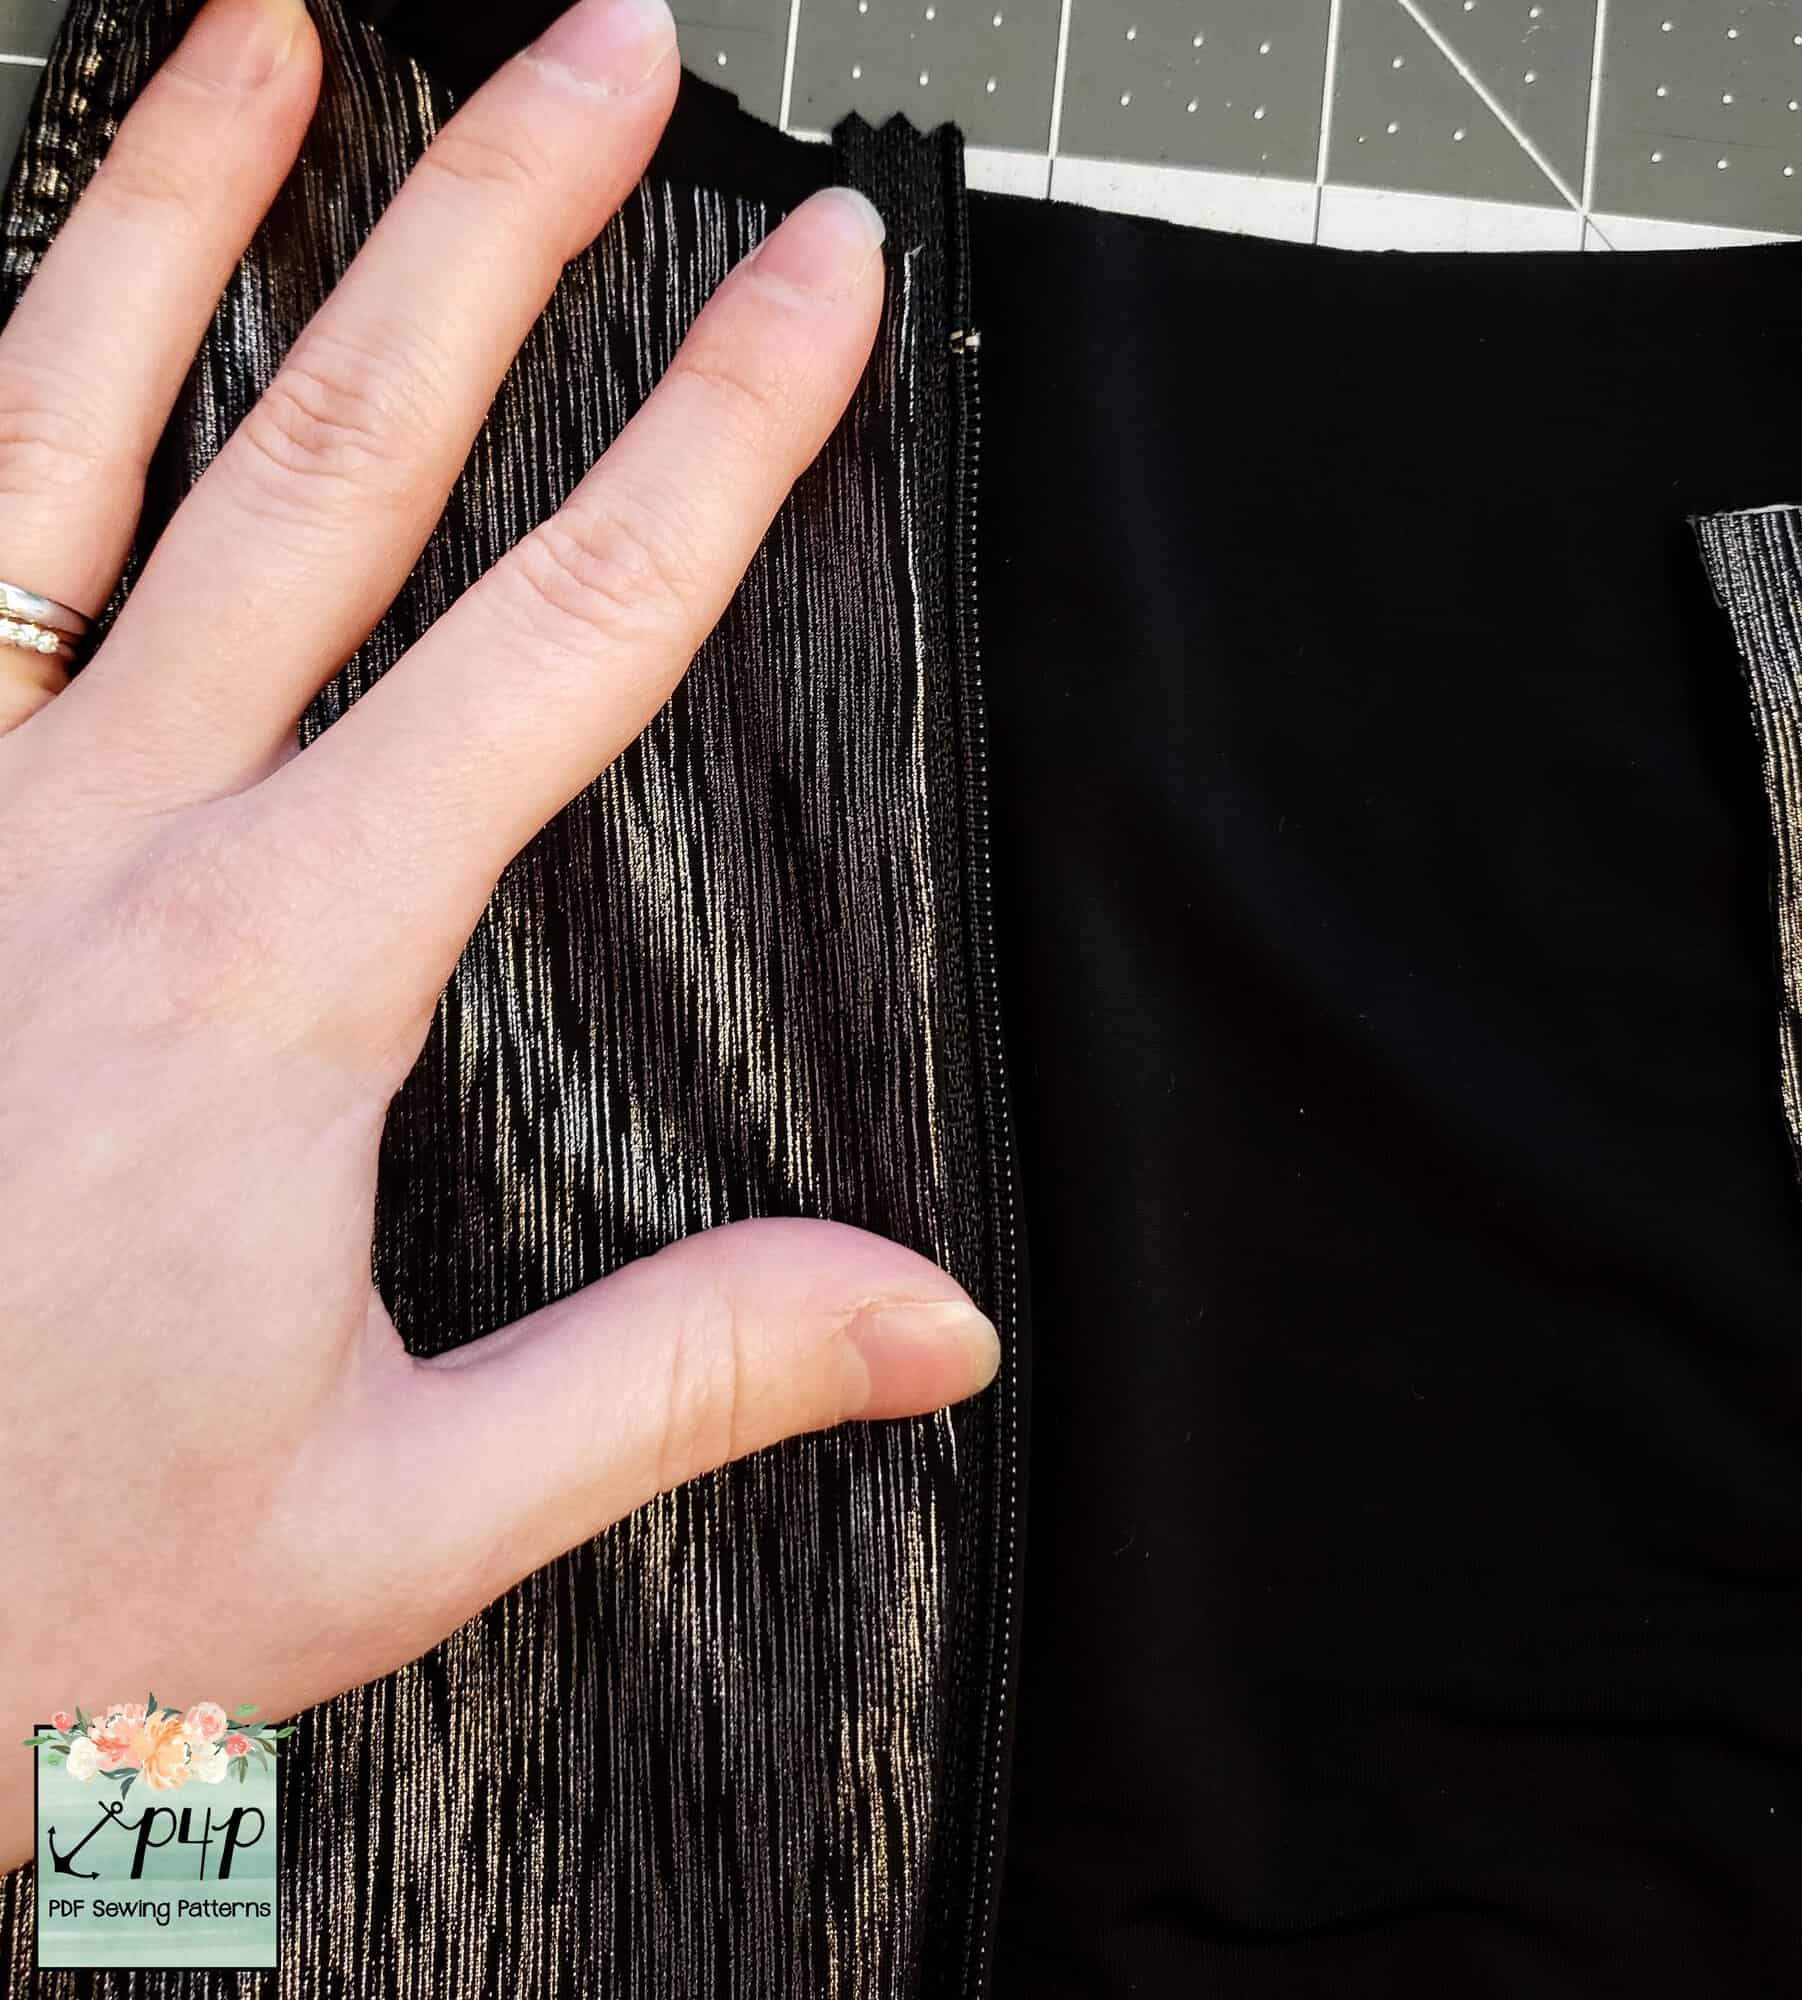
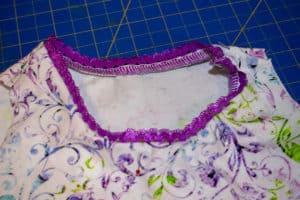
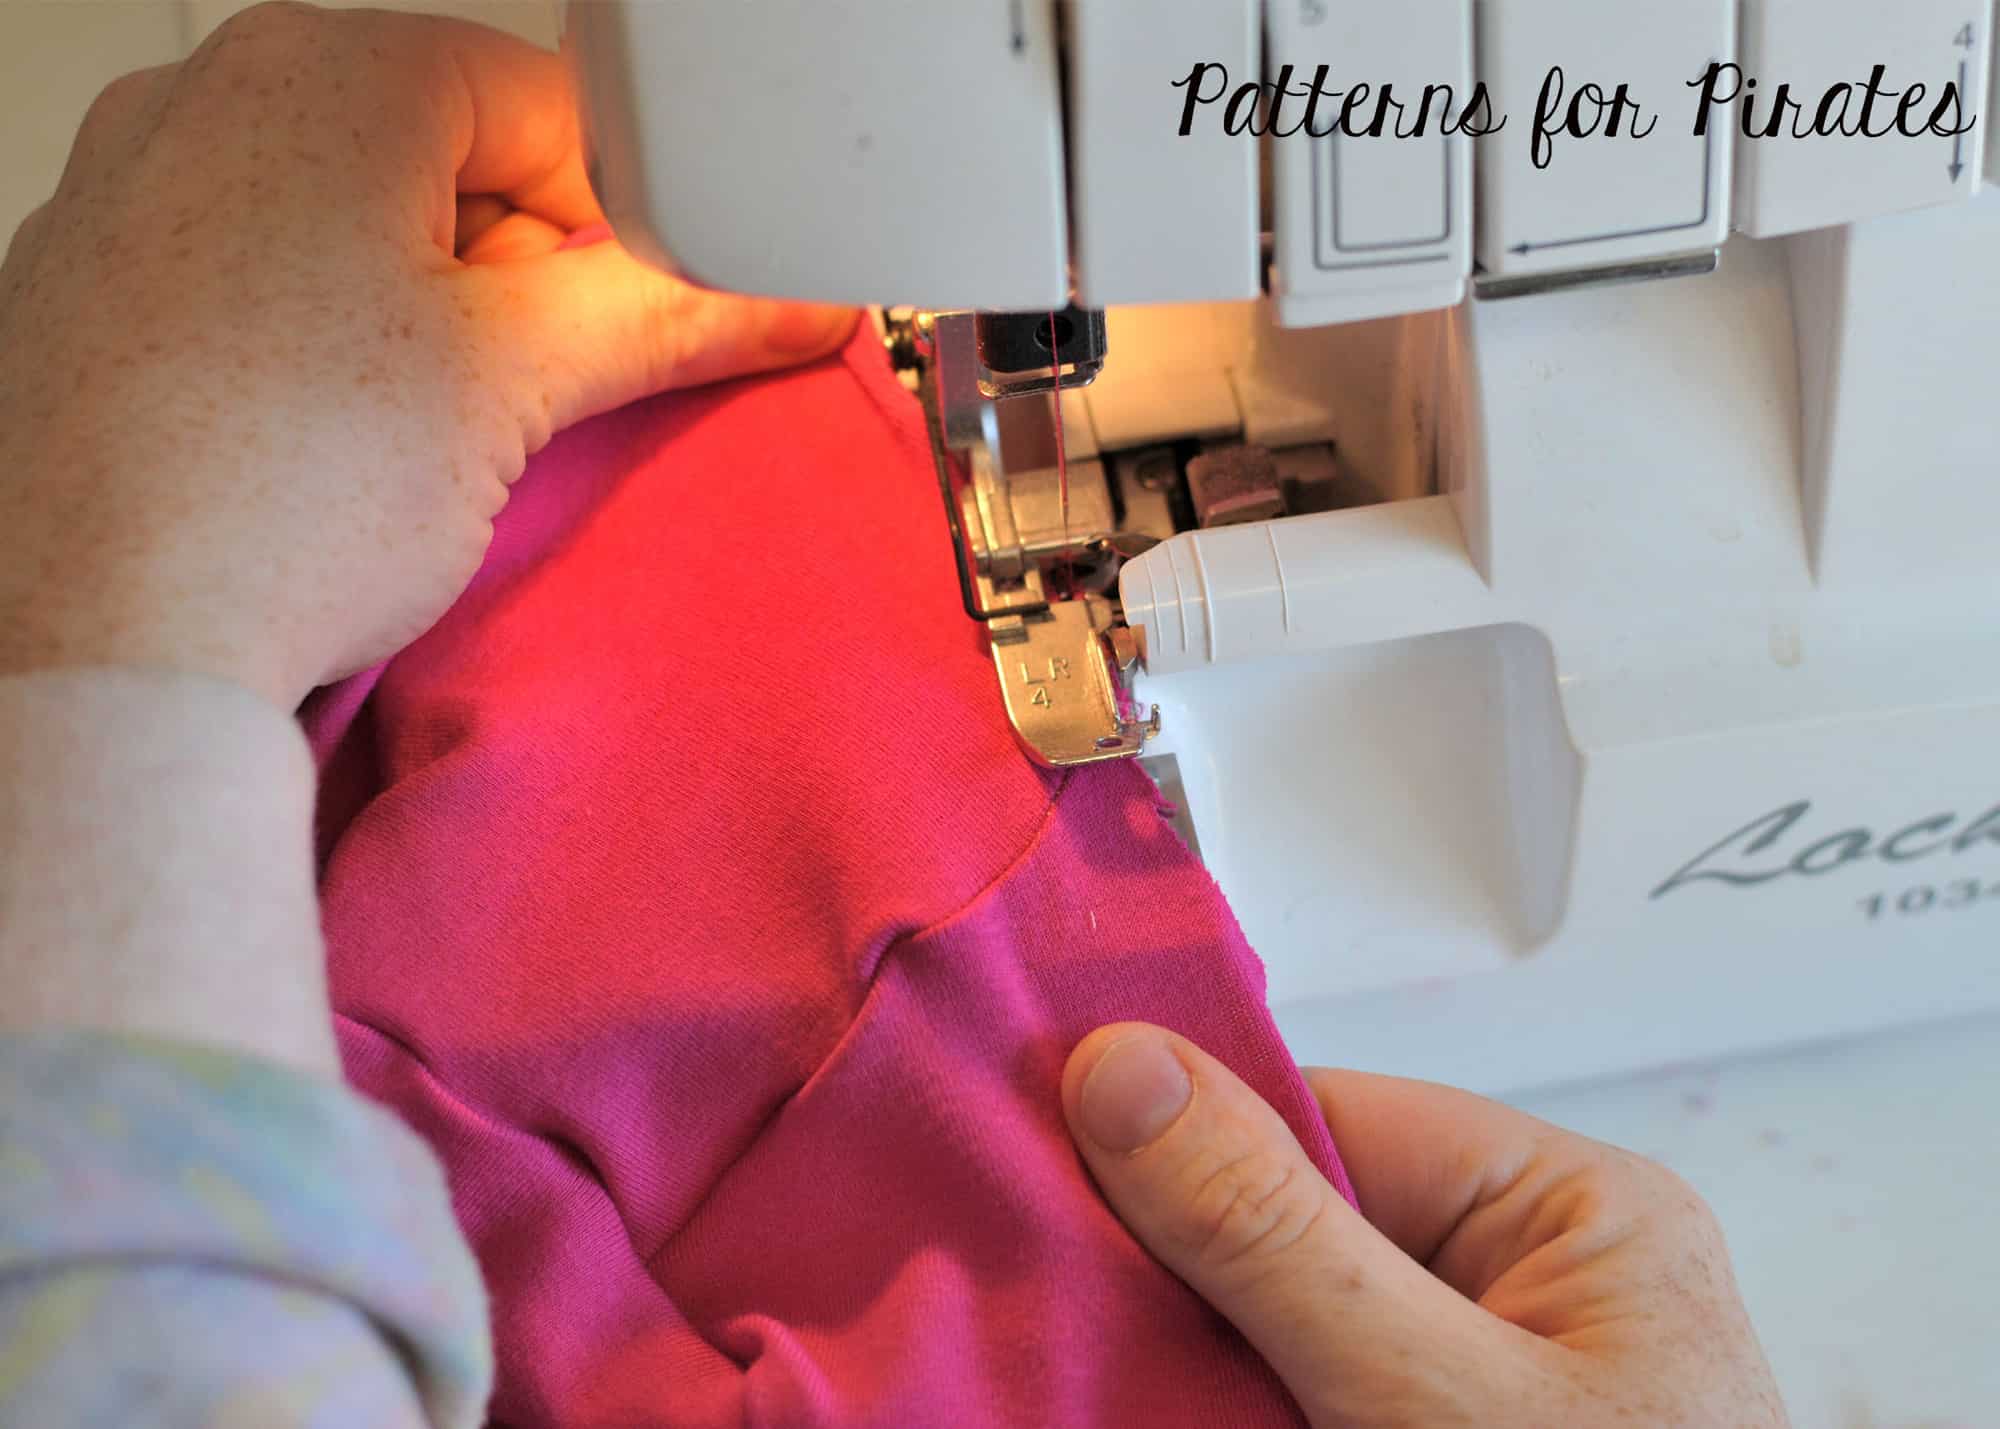
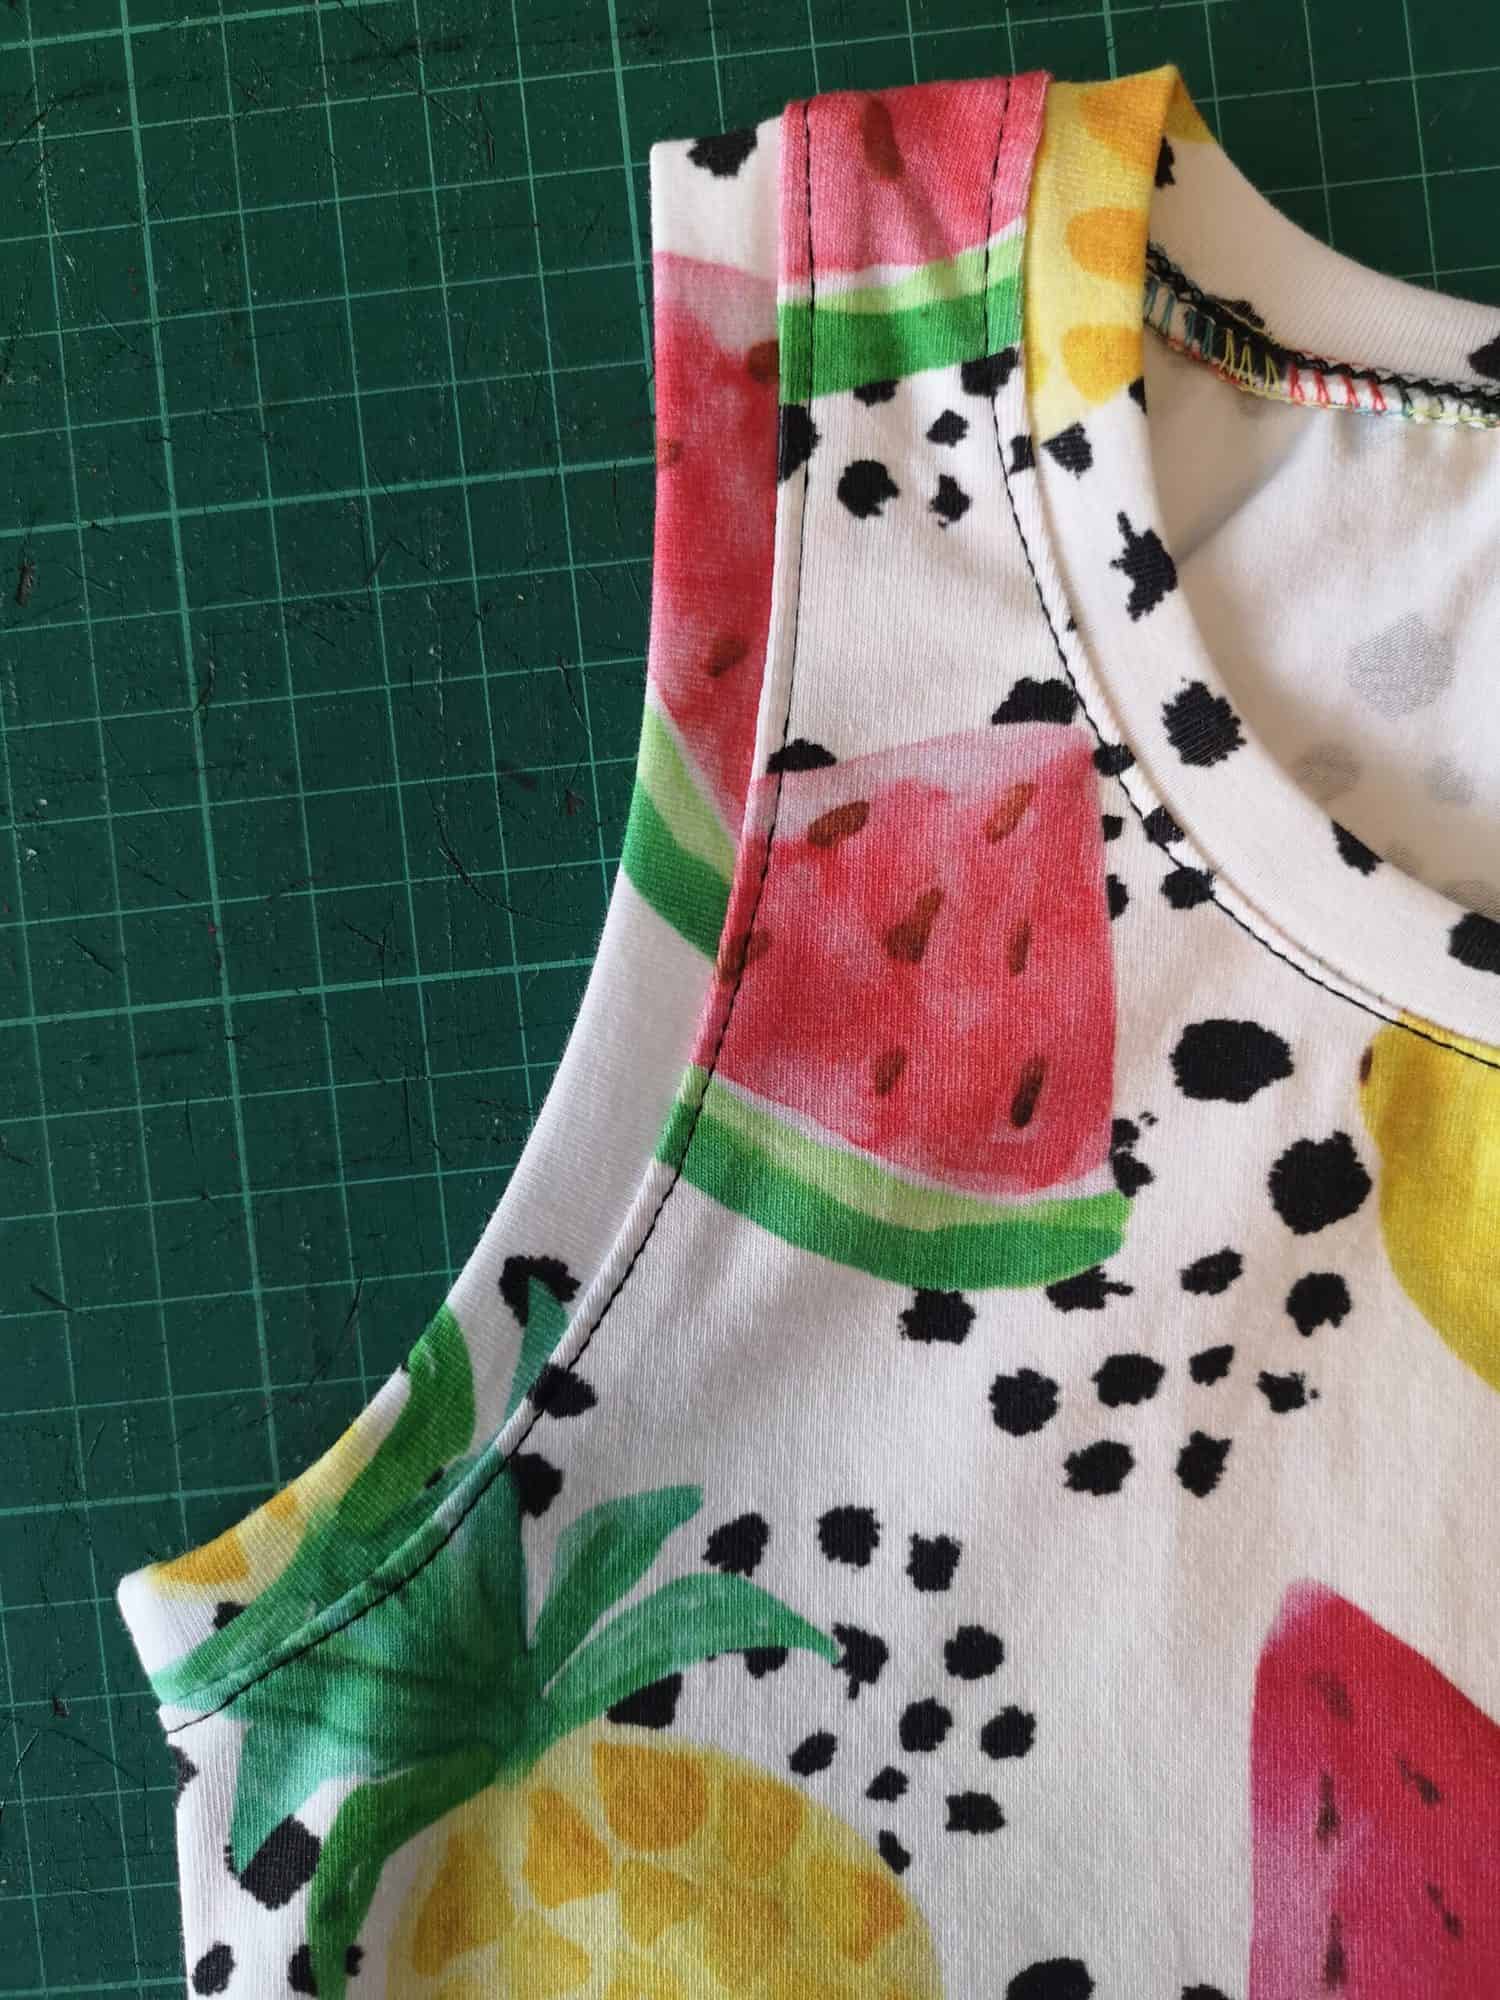
Sew the neckband on, making sure to use the full seam allowance, and remembering not to stretch the neckband over the shoulder seams. This reduces the tension on the neckband here and helps to stop the ‘bubbling’ we spoke of earlier. I prefer to sew with the band uppermost as it helps me keep an eye on the seam allowance. I also like to start sewing just before the shoulder seam as this is the area we will NOT be stretching as we sew. It is easy to forget about this if you come to it at the end of sewing the neckband on, so I like to do this part straightaway so I don’t have to worry about forgetting about it later.
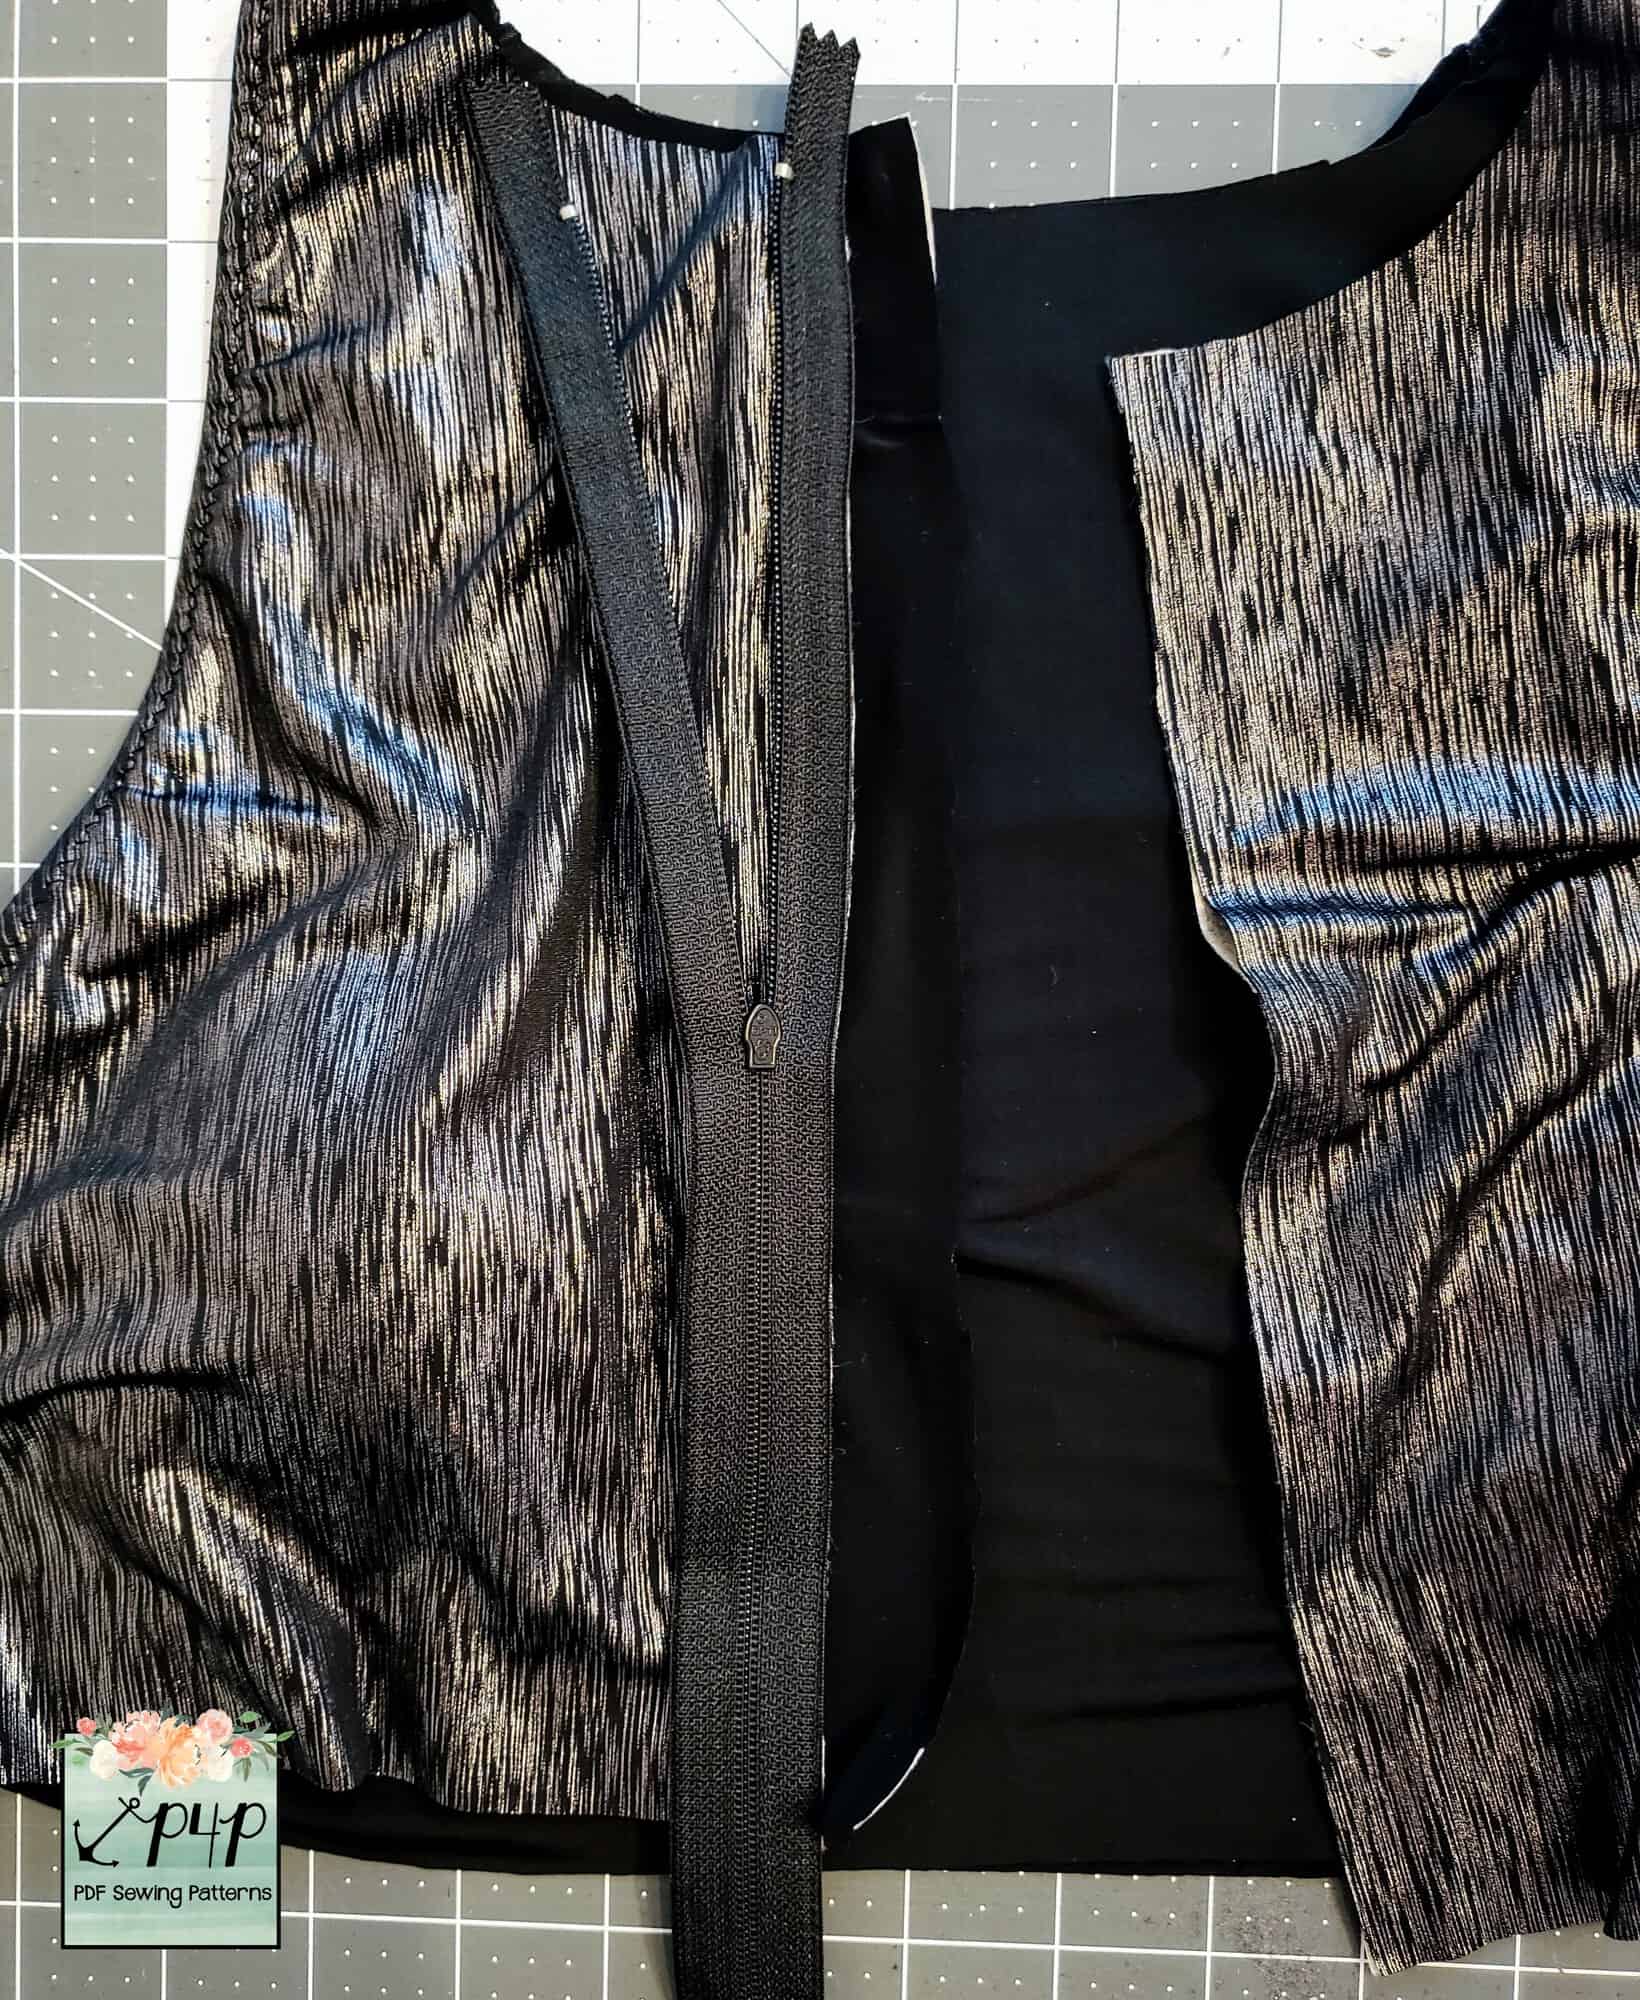
TIP – If you have difficulty managing the three layers when sewing the neckband on, or if your fabric has a tendency to curl badly, I recommend sewing the neckband together around the long raw edge before attaching it to the bodice. You can either use your overlocker/serger without trimming any seam allowance off, or do a zig zag stitch with your sewing machine right at the edge (you may need to stretch the neckband slightly as you sew round, just to make sure it will still fit in the neckhole after sewing this temporary stitch). It just keeps those two layers together whilst you are sewing it onto the bodice, then you simply trim if off with your serger blade when you attach it, or trim with scissors if using a sewing machine.
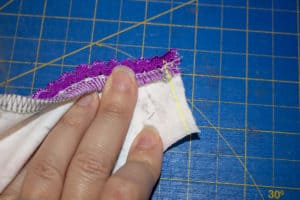
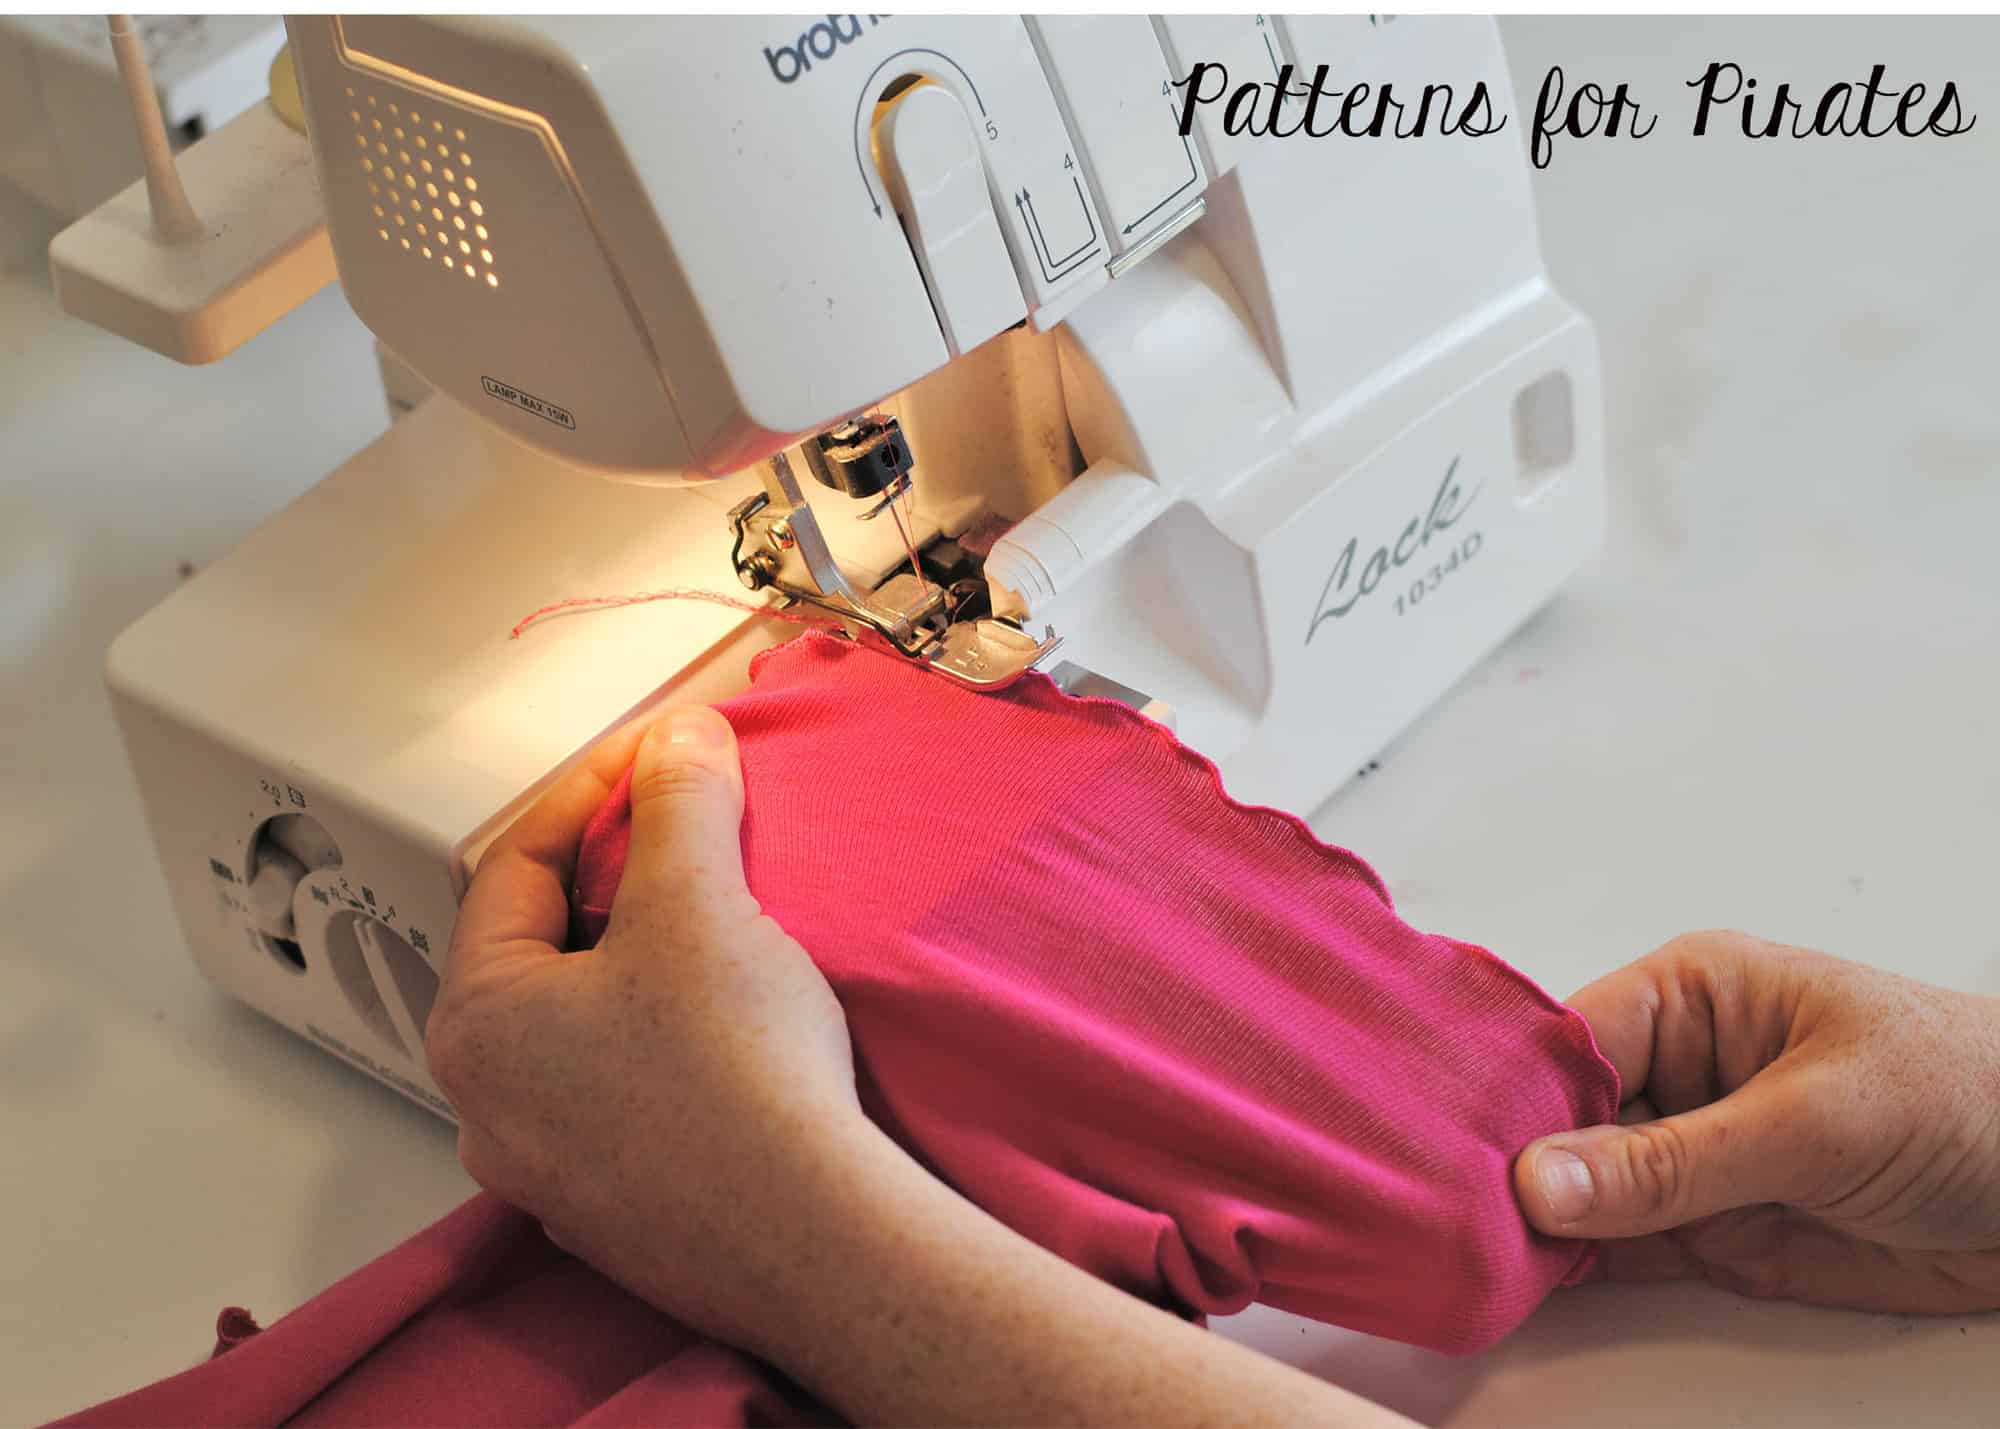
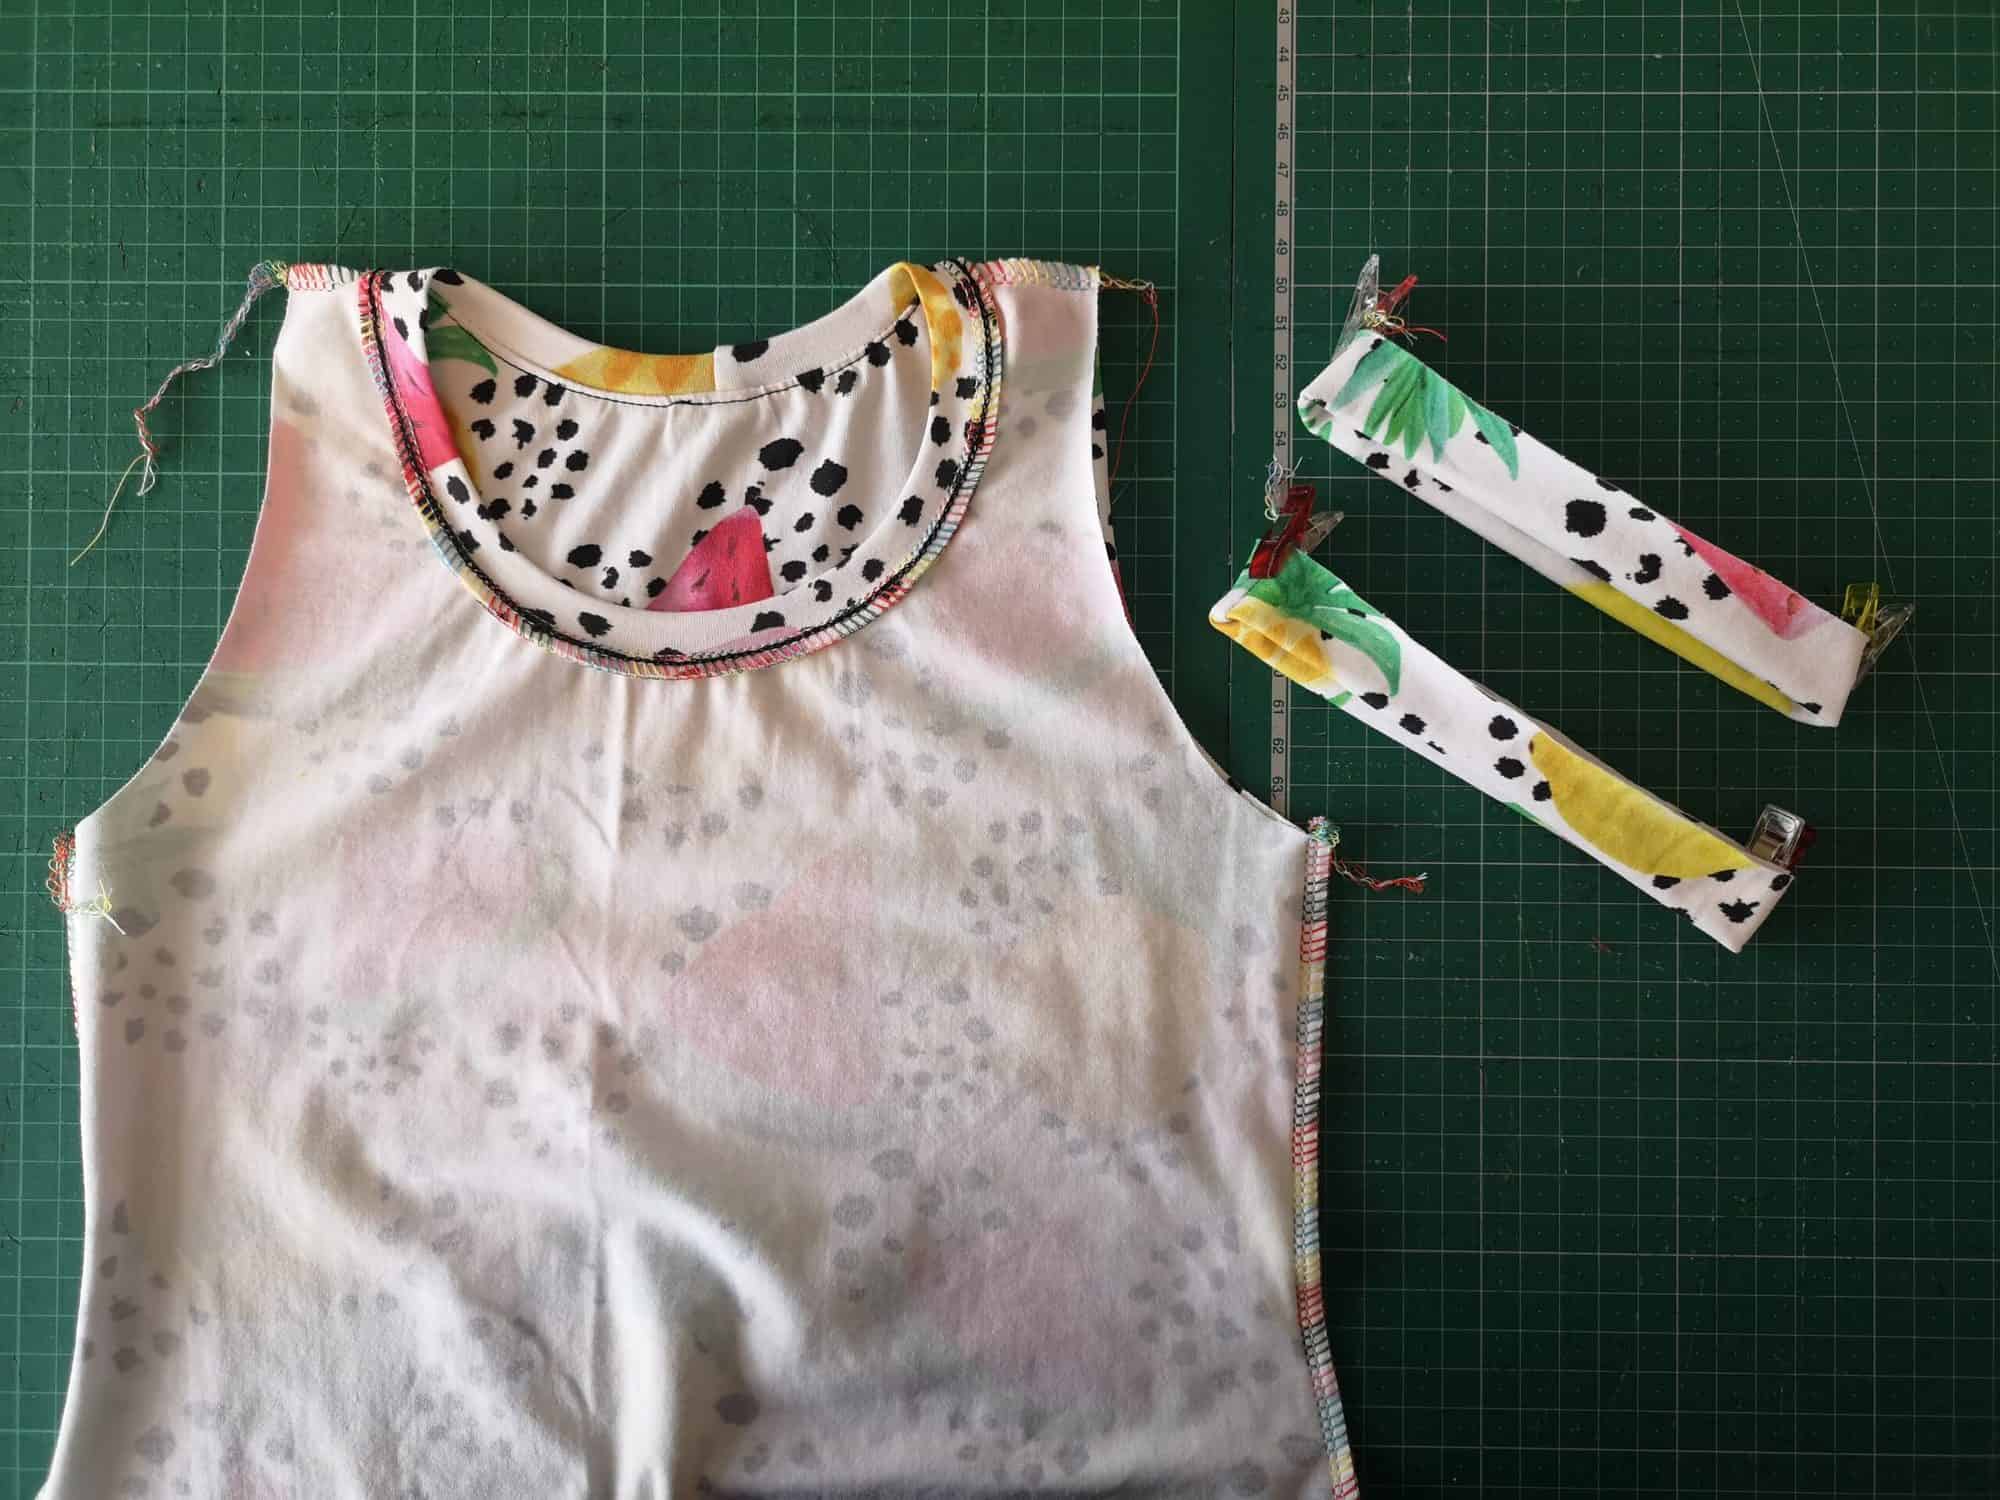
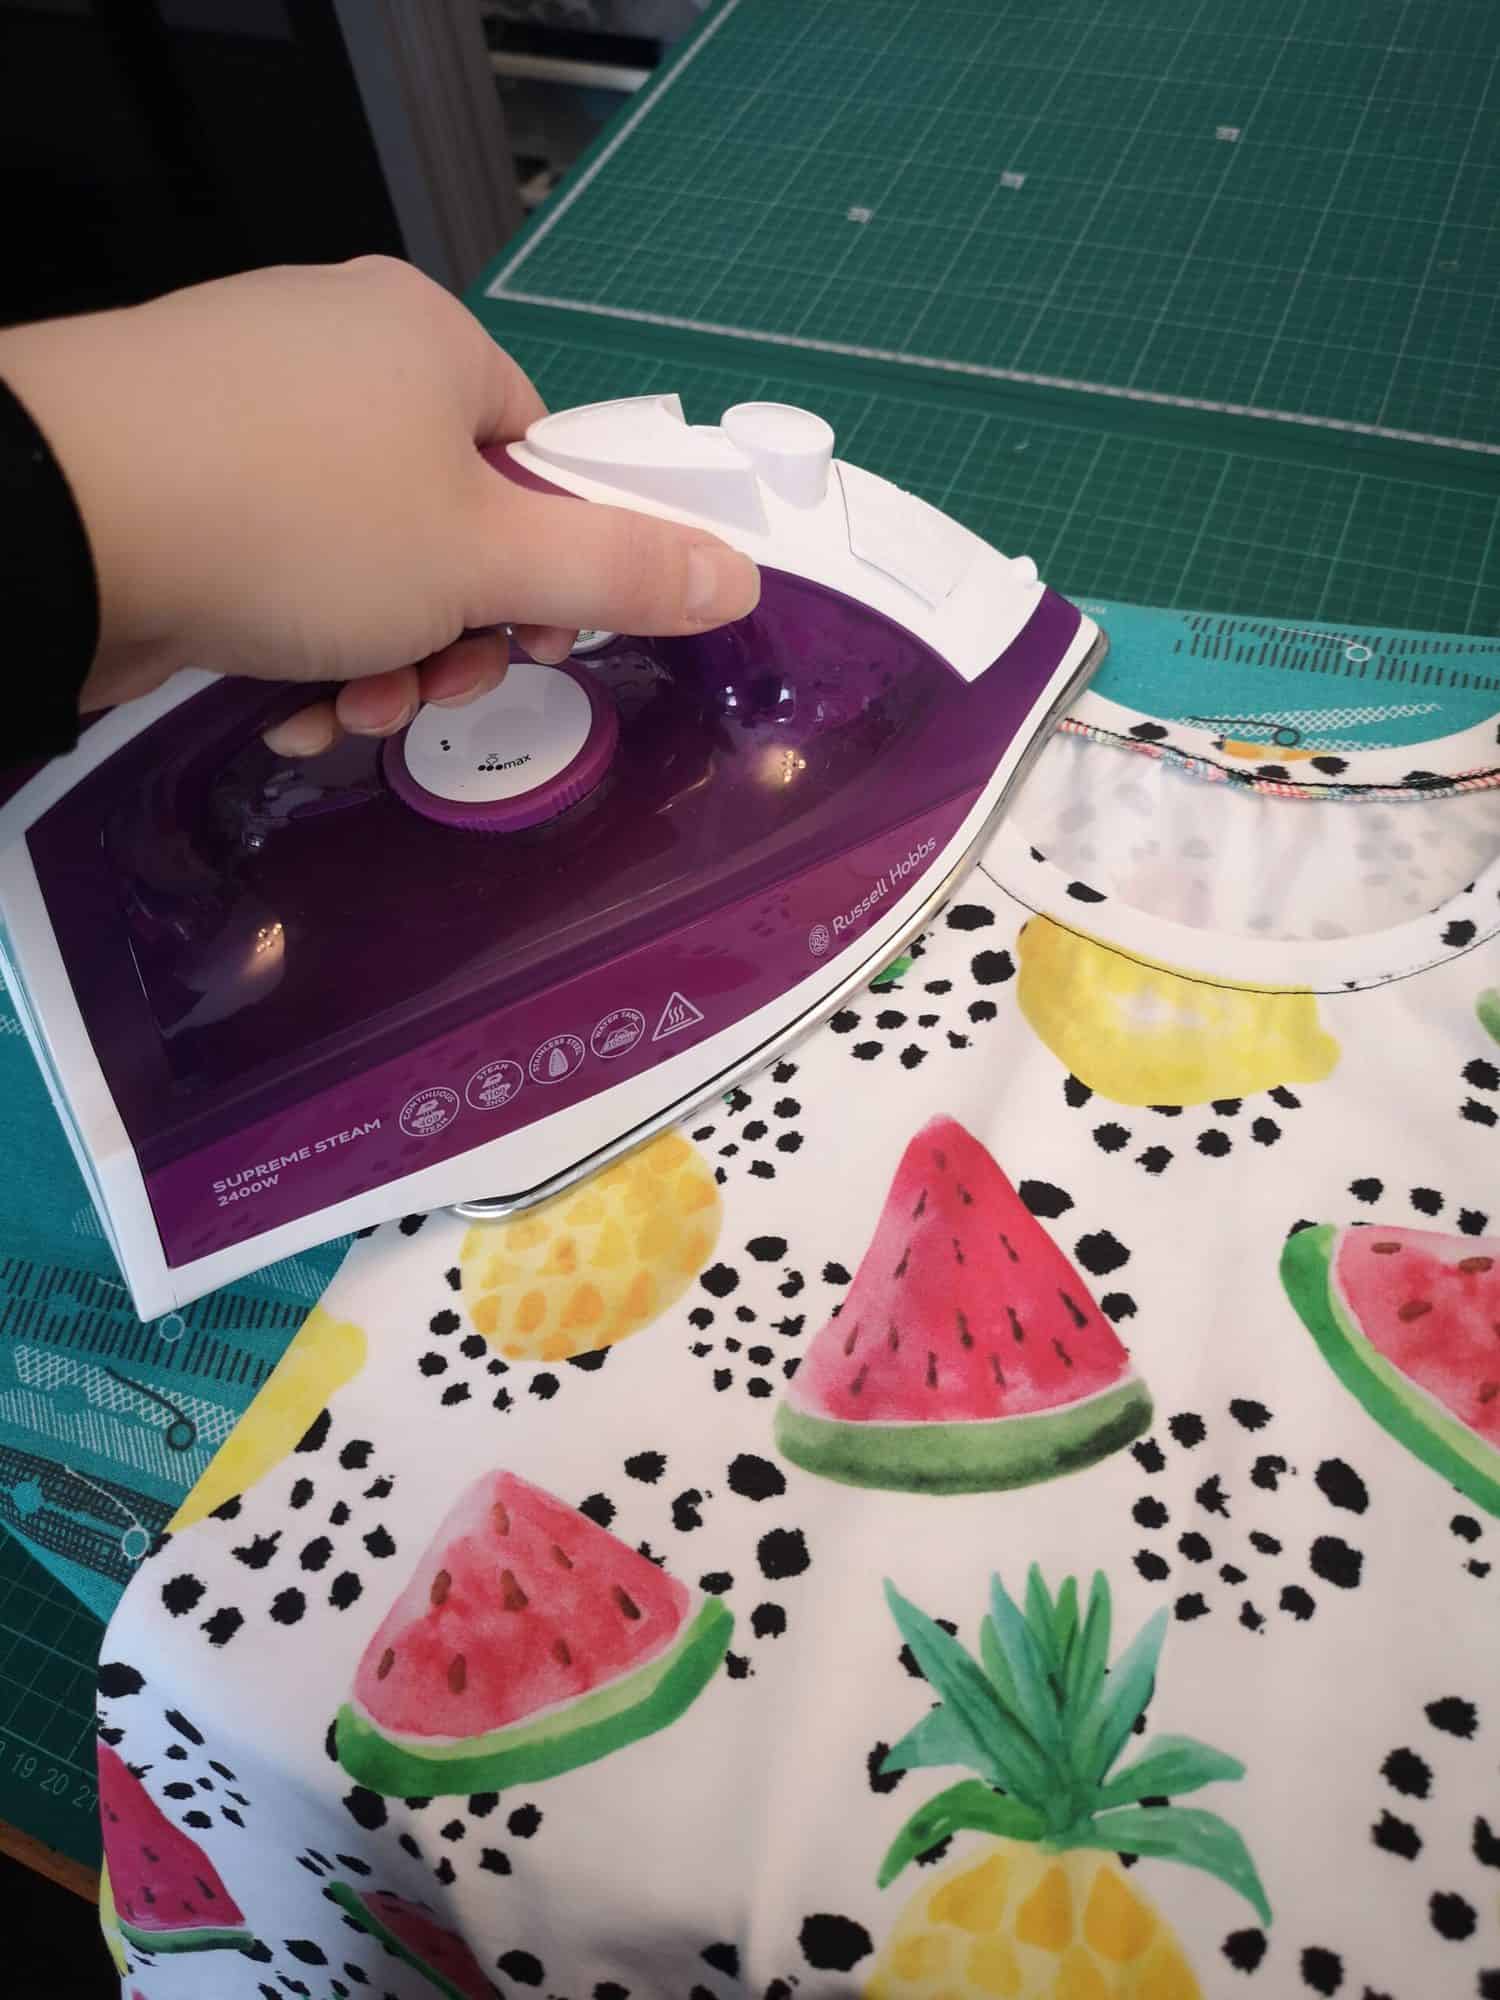
Press with steam and then topstitch. You can either use a chain stitch as I have here, or a regular 2 or 3 needle coverstitch. If you have a sewing machine then you can choose a twin needle, long straight stitch or zig zag/stretch stitch of your choosing.
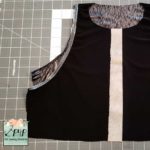
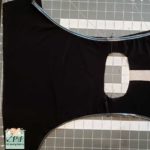
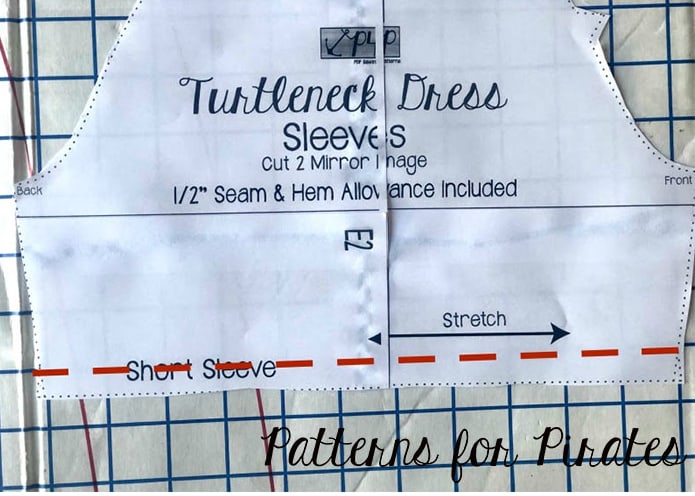
Next we move onto the armbands which are sewn in the same way as the neckband. First sew the short ends to form a loop, then fold wrong sides together and mark the seam and opposite point on the band with clips or pins.
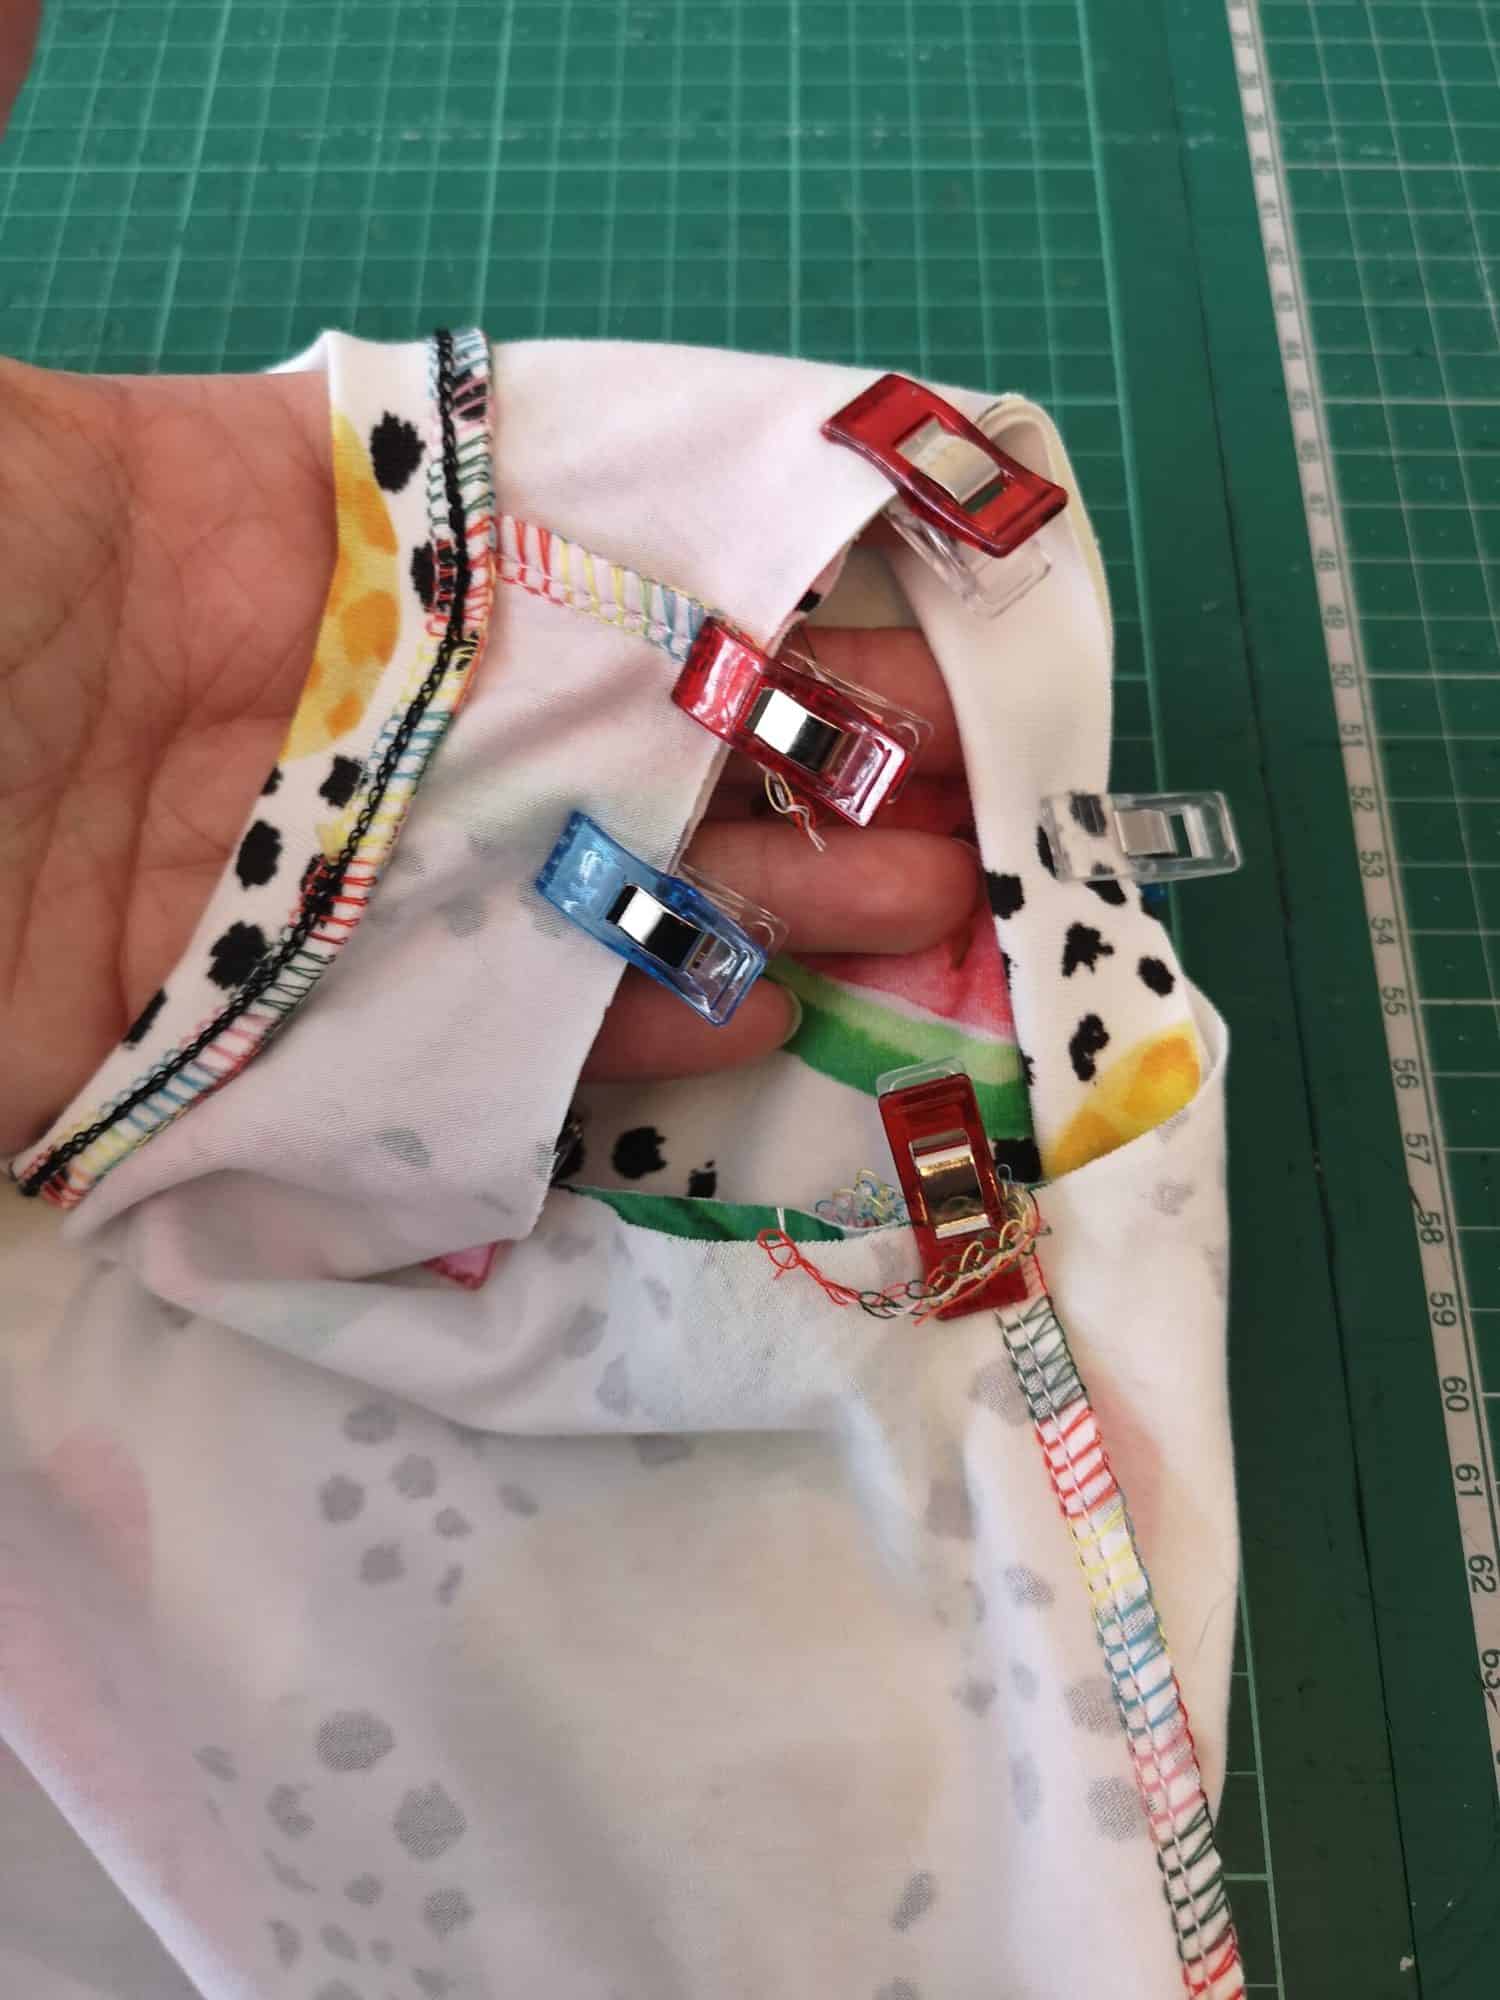
The armbands are a little easier because more often than not you find the shoulder and underarm seams are opposite one another. I like to put the armband seam at the bottom of the armscye, for comfort and so you cannot see it when it is worn, then clip in place. Next clip the opposite end of the armband to the shoulder seam. Again, clip the armband to the armhole WITHOUT STRETCHING for 1 inch either side of the shoulder seam (again for a larger sized adult tank, I would not stretch for 2 inches either side of the shoulder seam), then ease the rest of the armband into the armhole between the other clips. The idea behind this is that it should allow the armband to run flat over the shoulder seam, but then the added tension around the bottom of the armband will encourage it to flip up and sit snug against the side of the body at the bottom and sides.
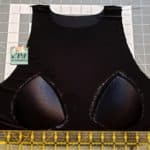
Sew, using the full seam allowance, then press with steam and top stitch as before.
Finish the rest of your garment as usual, and you’re done.
I hope you found this tutorial helpful and don’t forget if you have any questions we have a large community on our Facebook page who are always happy to help.
Happy Sewing!
Dana x