How much fun did you have last week, sewing all the henleys? The Pirate team just loved seeing all of those plackets and neckbands being tackled for the first time, as well as the fun raglan sleeve hack being utilized!
We didn’t really want to have a contest with this sew-along, as much as we just wanted people to have fun without pressure. However, we couldn’t resist picking some random people that sewed along with us, to gift them some free P4P patterns! Here are the four P4P Henley Sew-Along Champs!
Layni Van Hyning
Cathryn Perrotti Larkin
Kit Kabboord 
Alaura Sproles
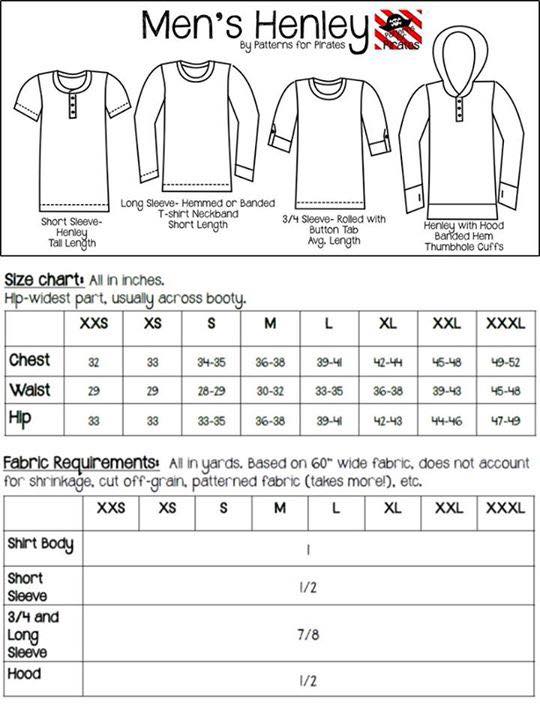
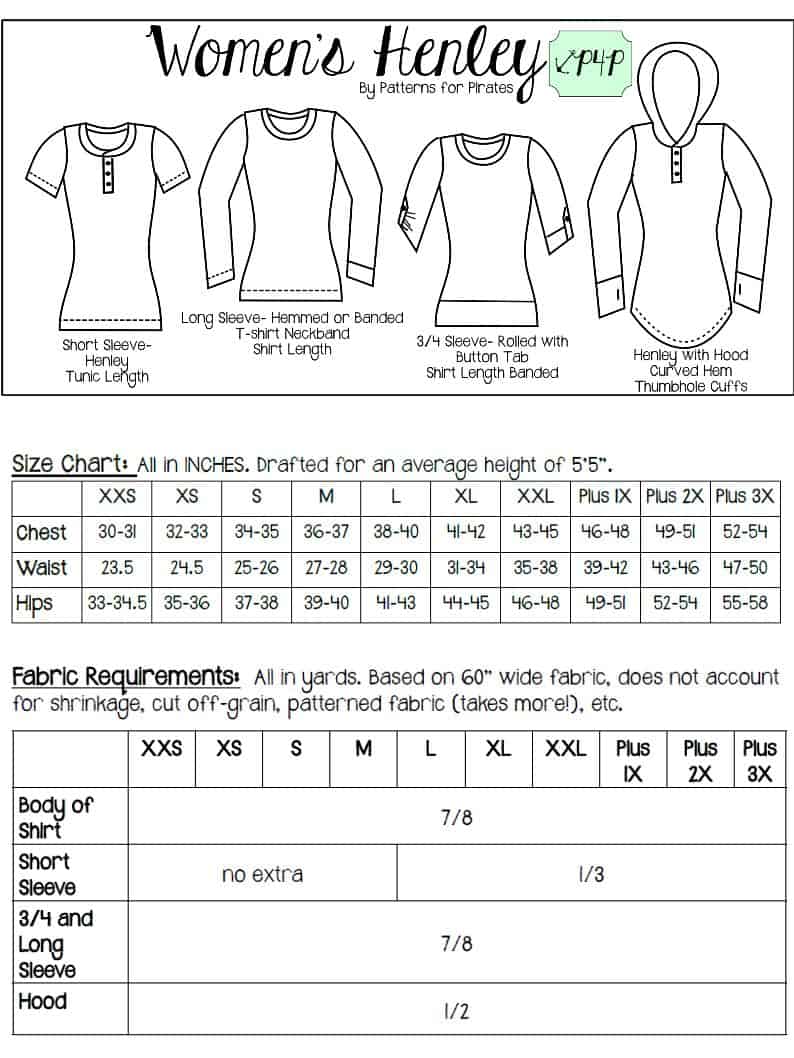
Worried that you missed something? Don’t be! We ran this sew-along on the blog so you’d have easy access to it whenever you were ready to sew some henleys for yourself. Here was the weekly lineup, in case you need it again!
January 14: Announcement.
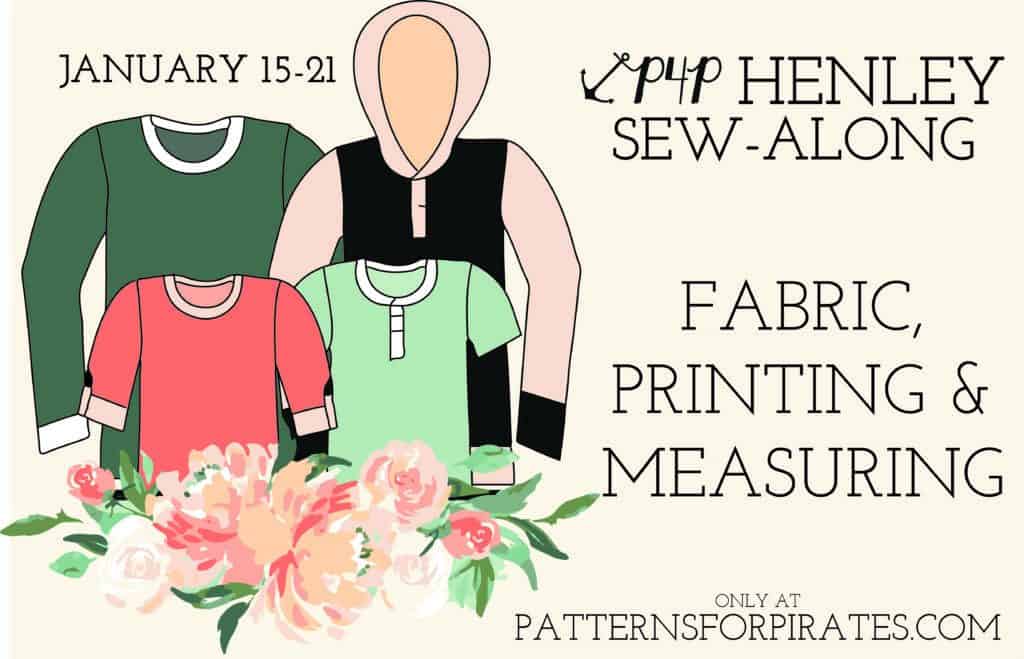
January 15: Choosing Your Fabrics, Printing + Measuring.
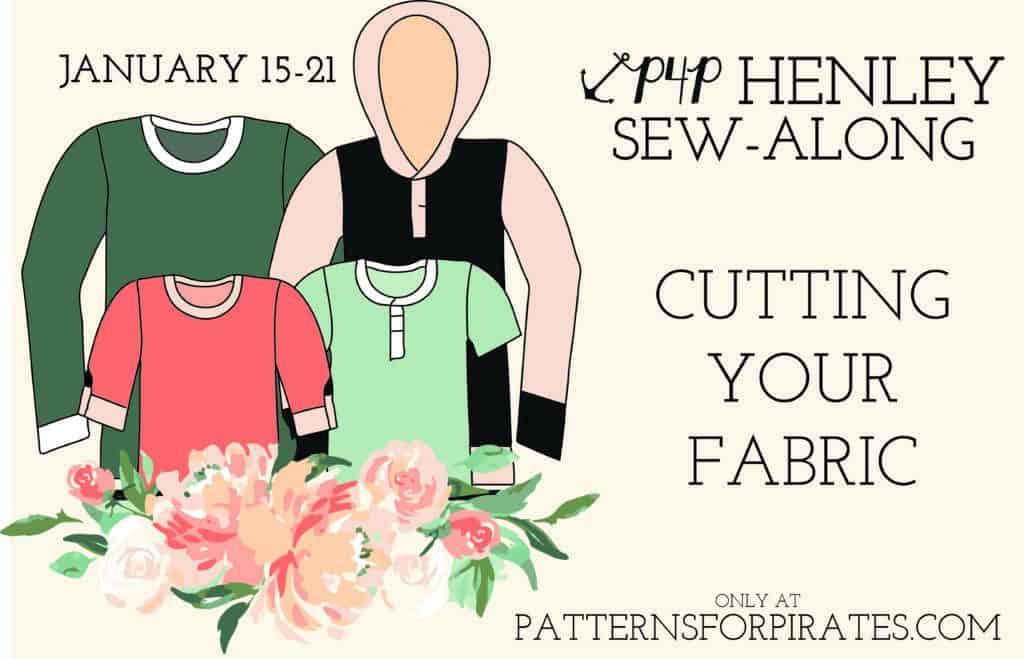
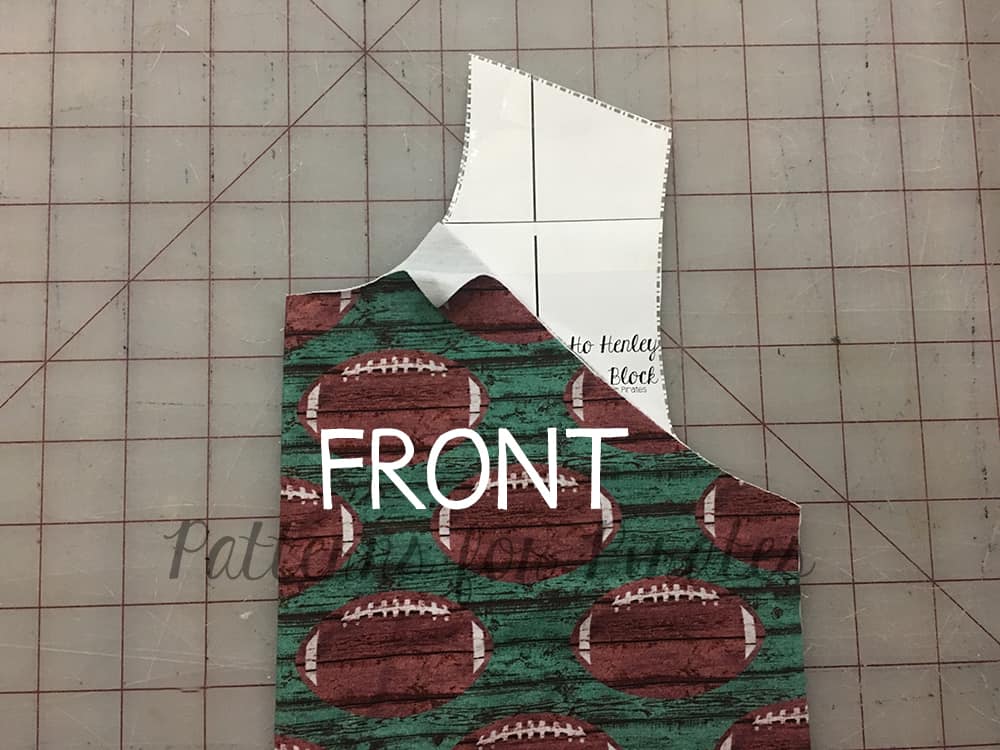
January 16: Cutting Fabric.
January 17: Placket.
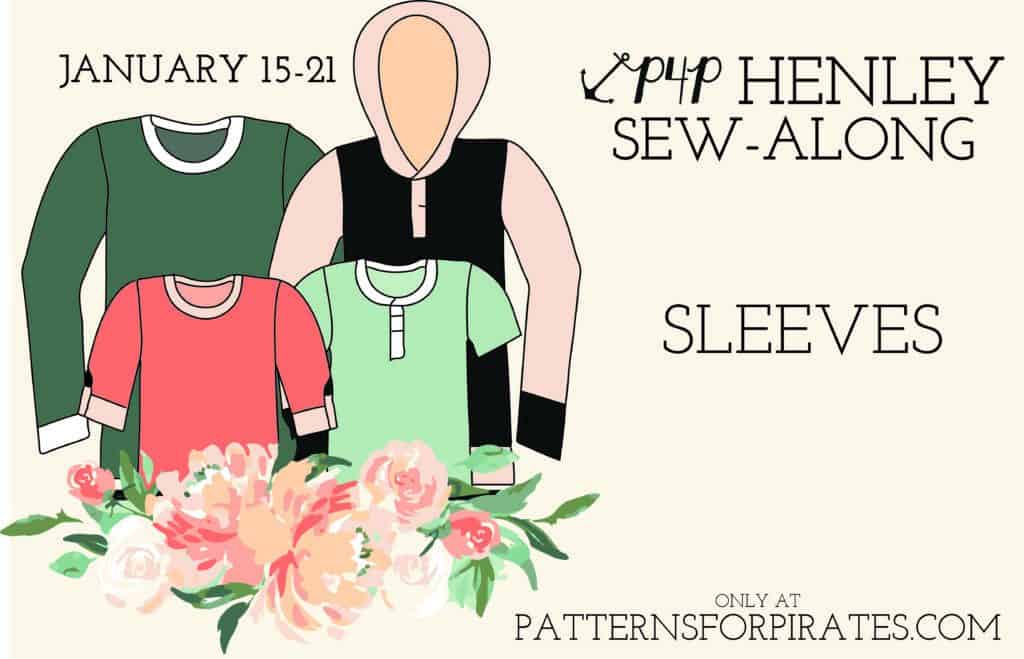
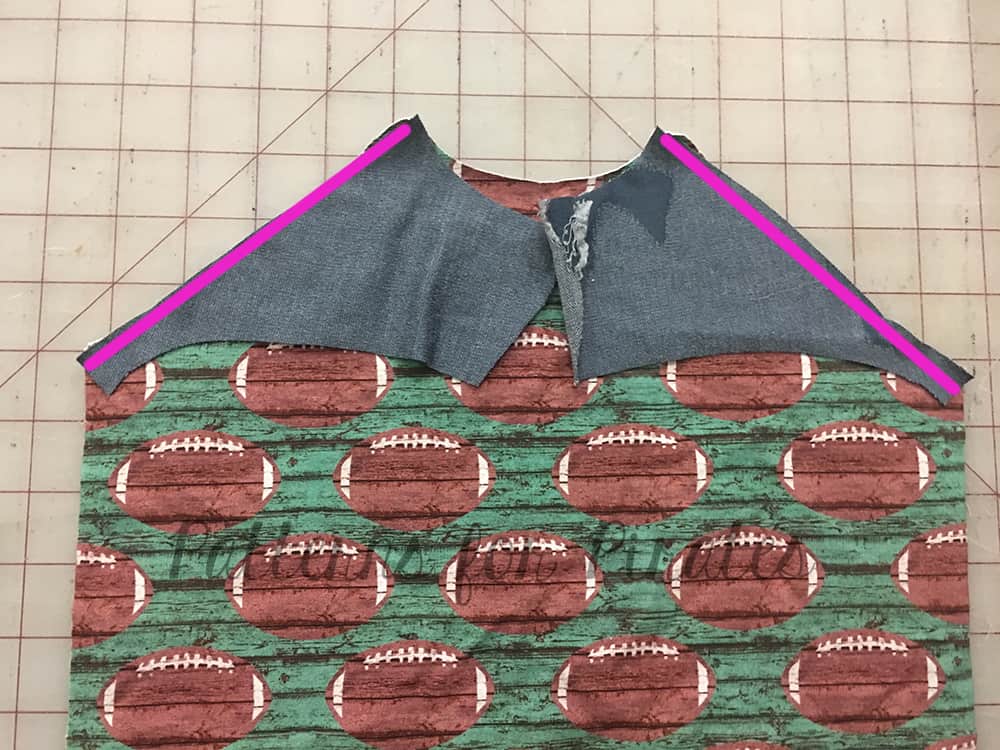
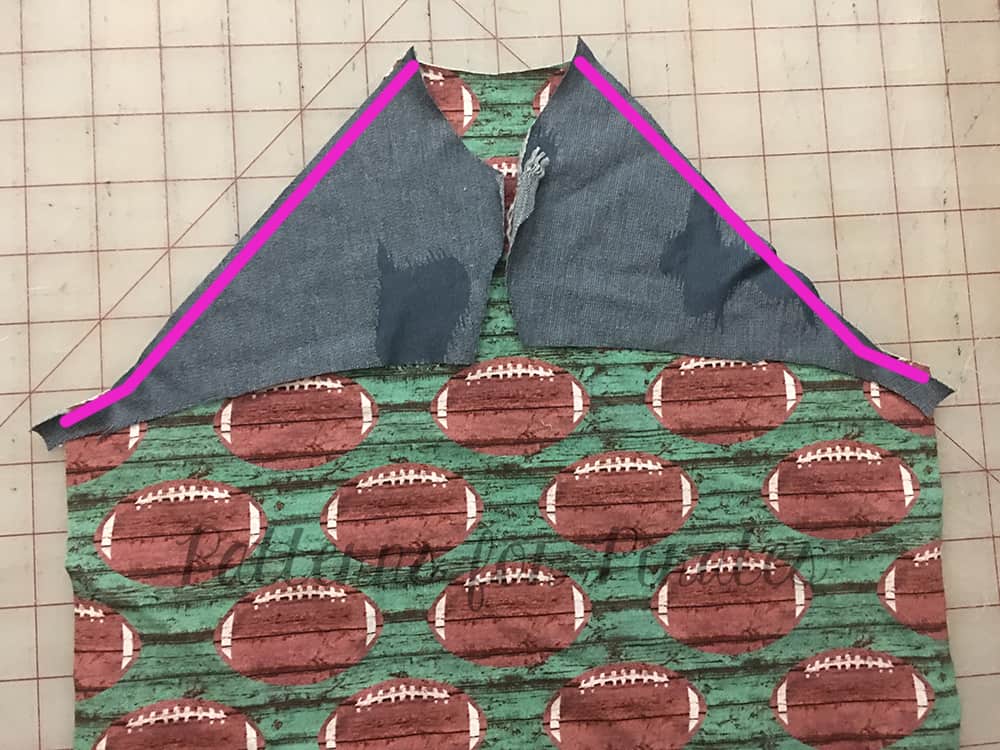
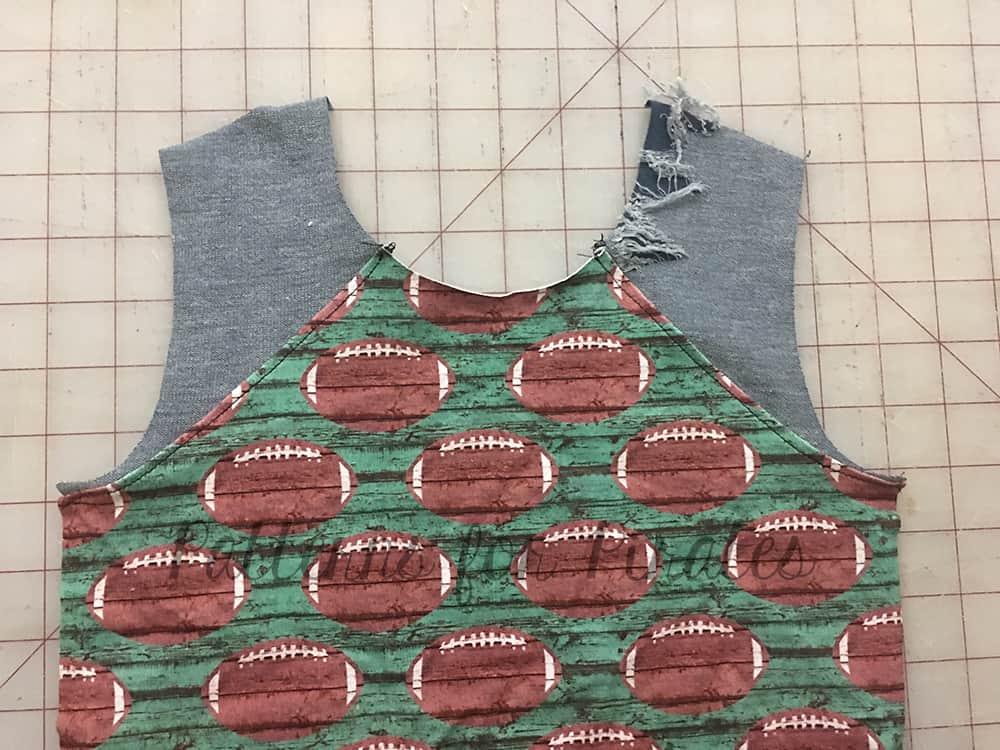
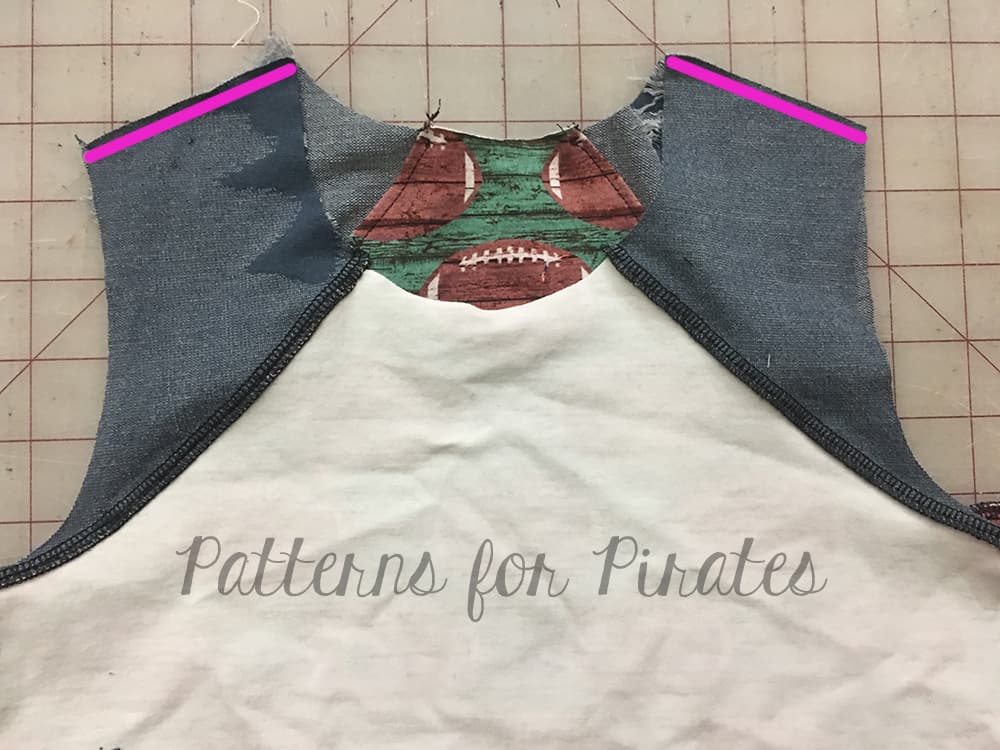
January 18: Sleeves.
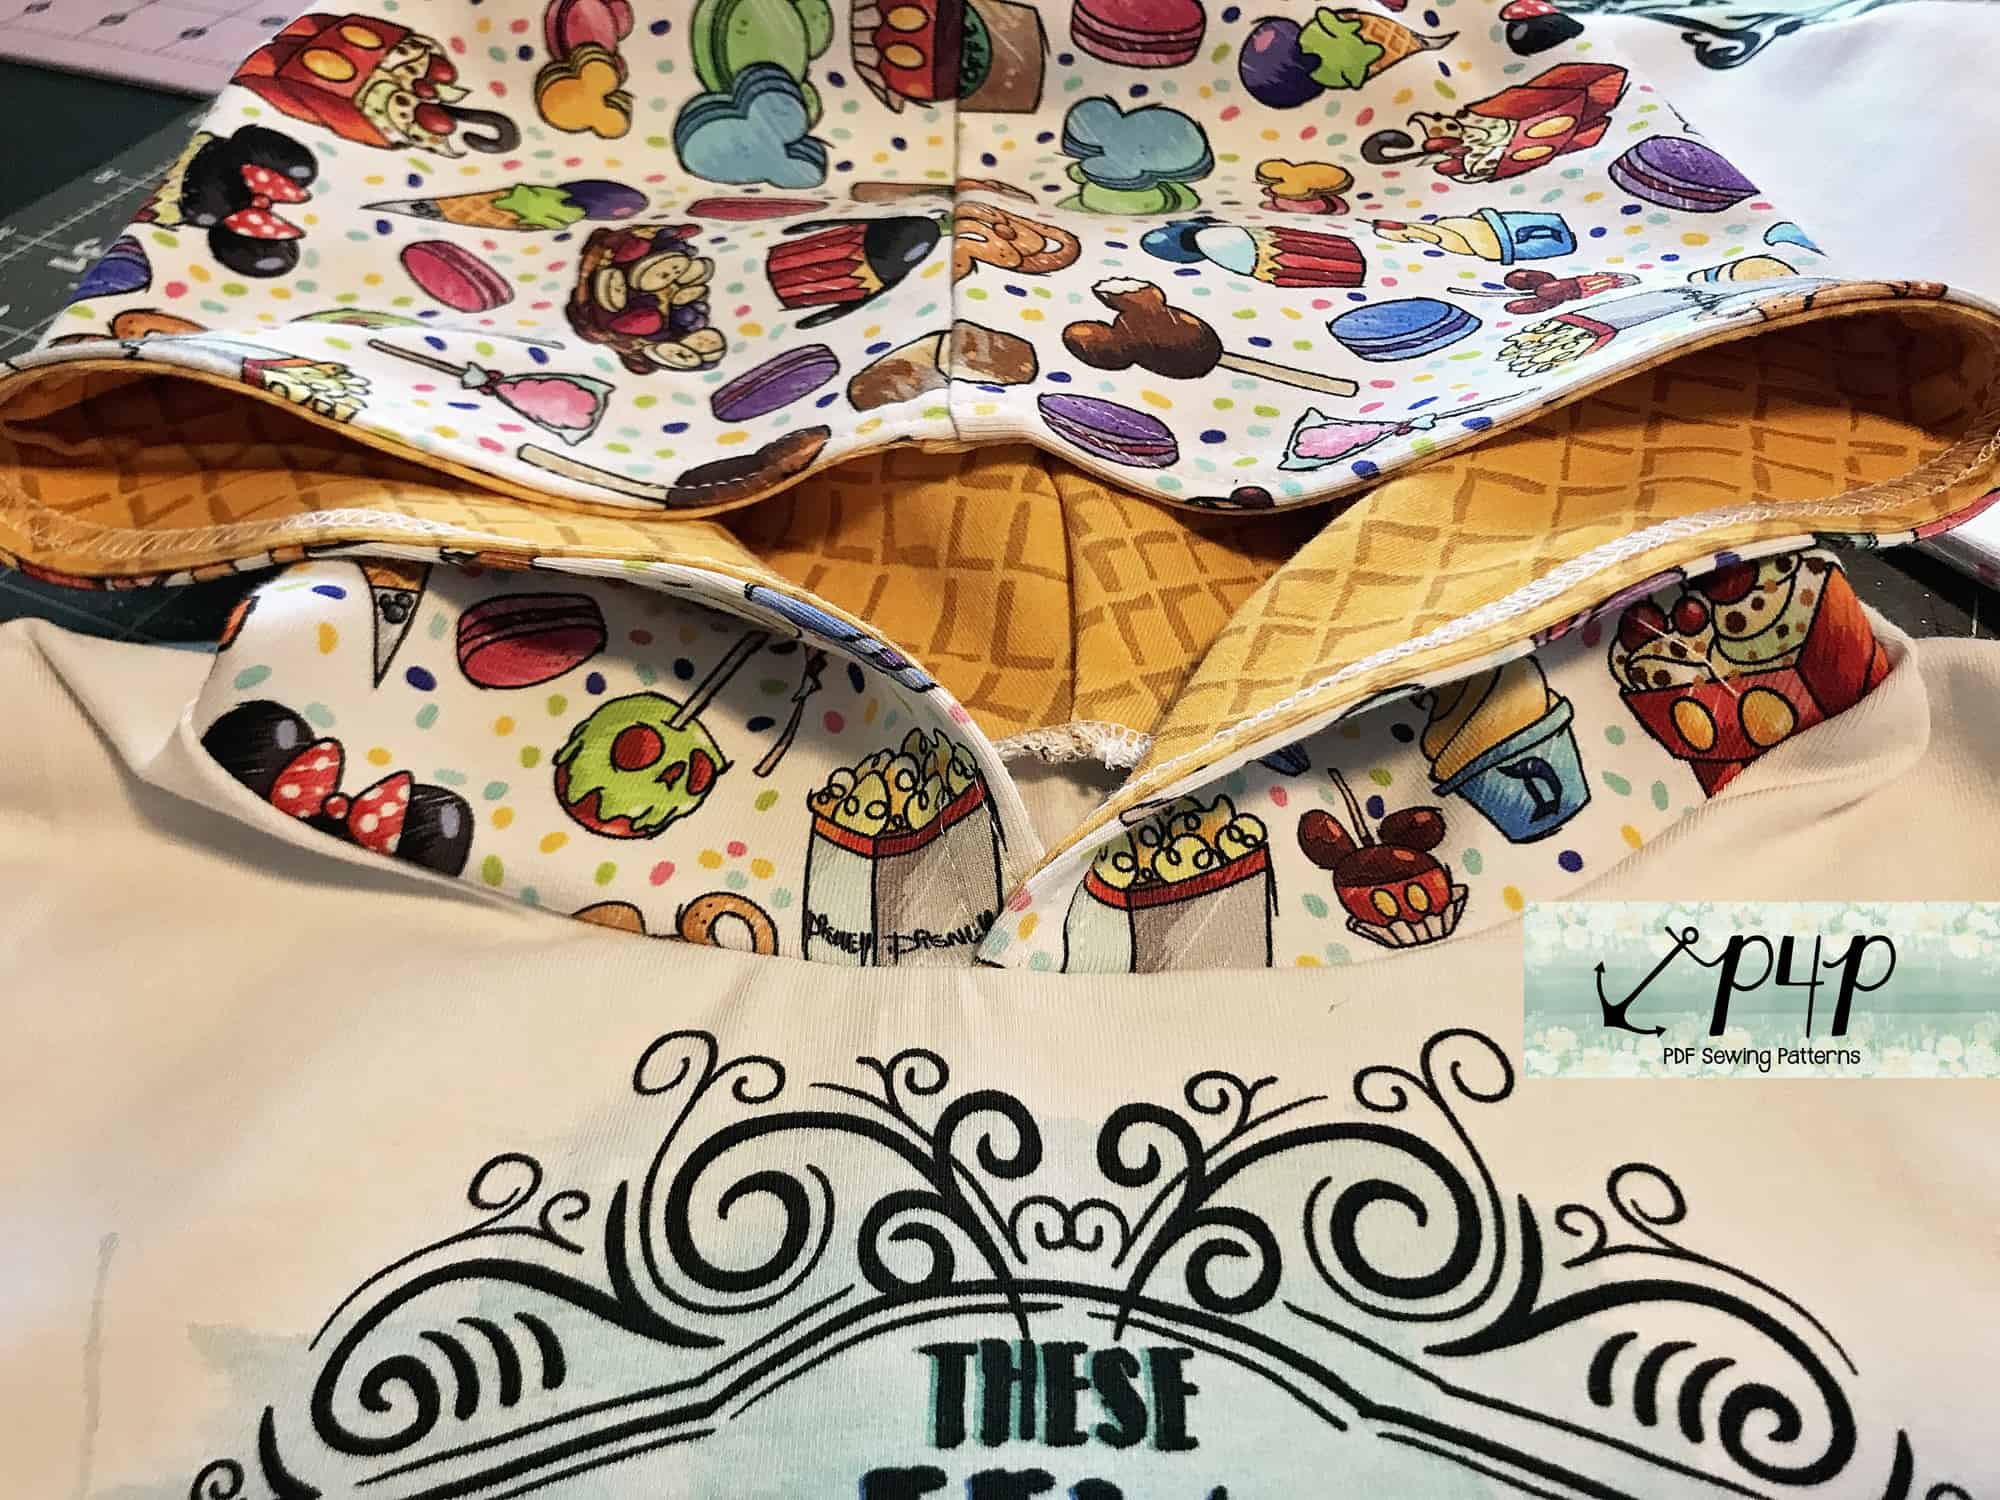
January 19: Attaching Neckband + Hood.
January 20-21: Catch-Up Days.
January 22: Recap + Winners Announced!