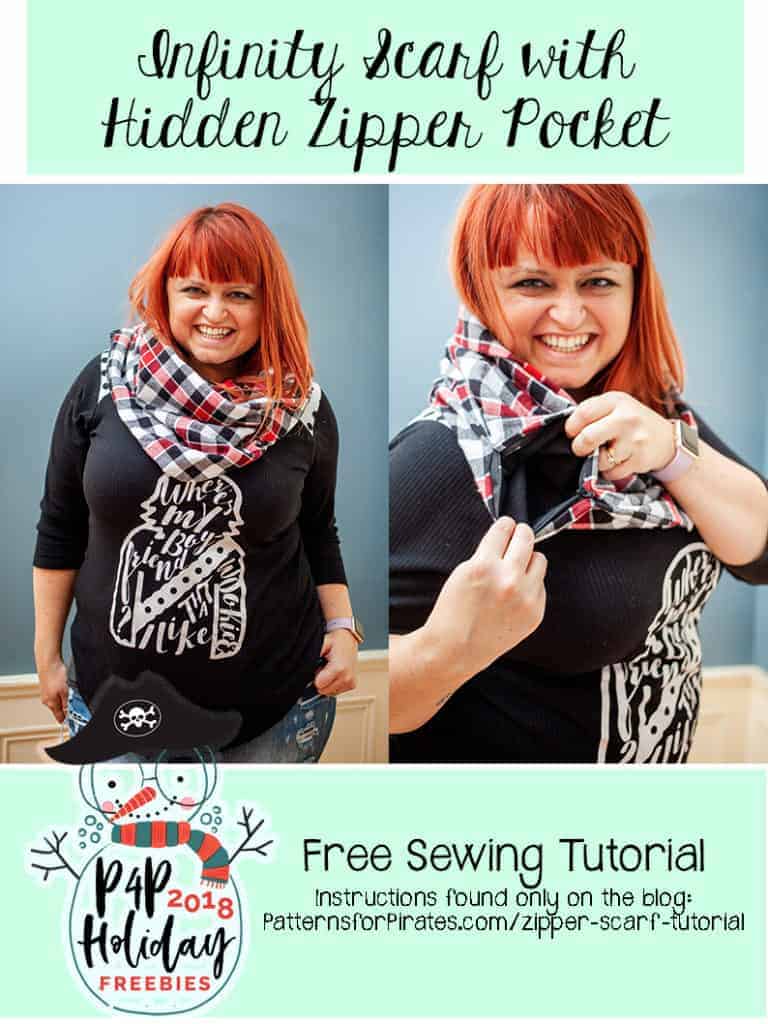
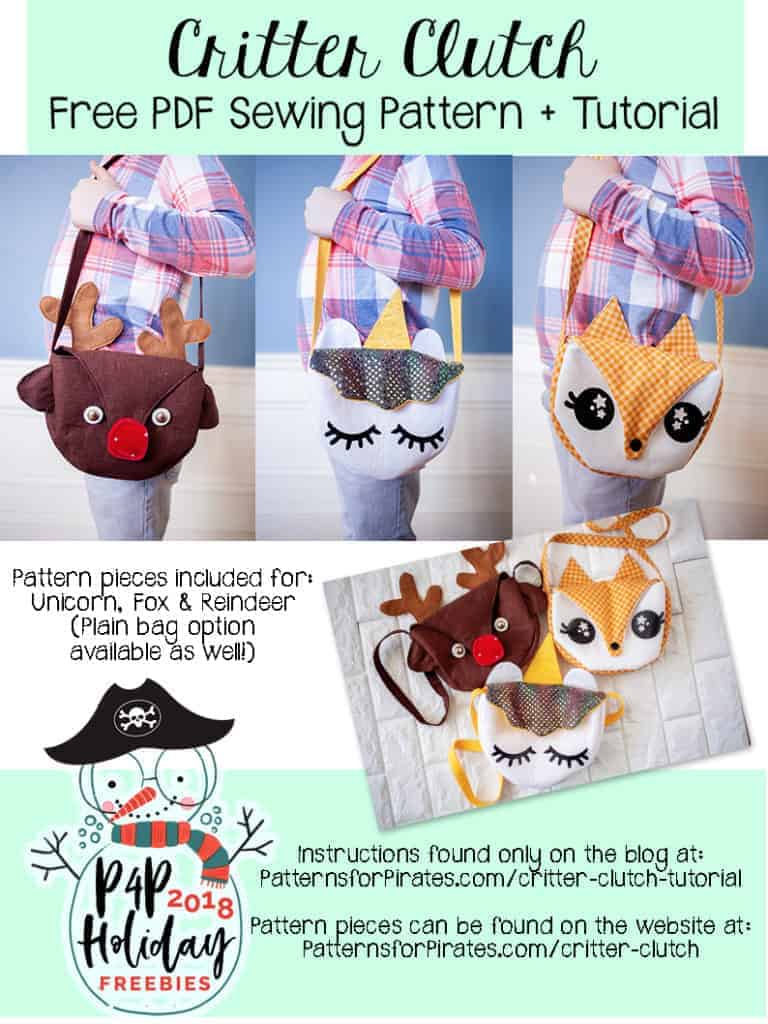
Welcome back to the second day of our P4P Holiday Freebies 2018! I’m not sure I can even handle the excitement I have over today’s free pattern. I am so happy to have this idea out of my head and finally in pattern form, to share with all of you. AND FOR FREE!
These Critter Clutches are simply adorable! They take minimal amounts of fabric, with not too much time involved in it. The hardest part is deciding which version to do first: Unicorn, Reindeer or Fox??!!
 You will need:
— Critter Clutch pattern pieces + Eye Digital Designs for HTV (found HERE)
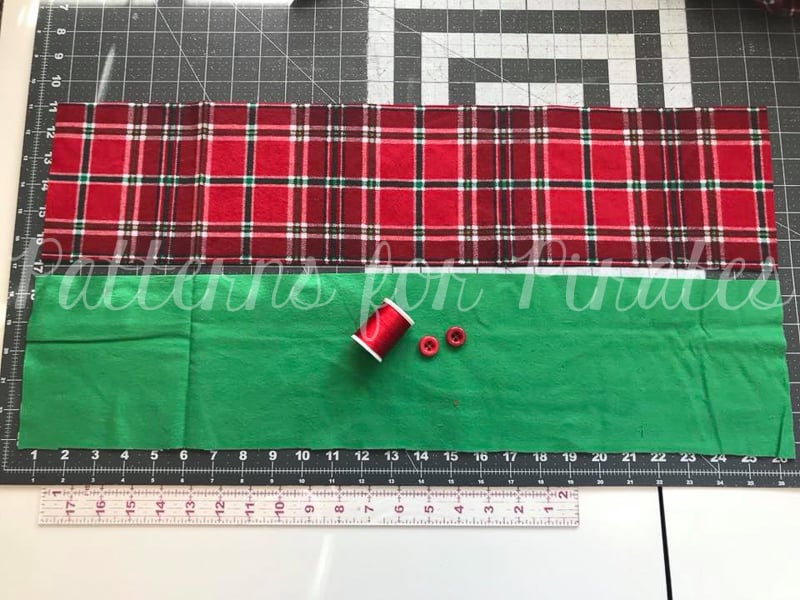
— 1/2 yard main fabric, 1/2 yard lining fabric
— Fusible Fleece: I like Pellon 987F (aff link)
— Buttons / Snaps / Velcro for eyes and closures
Recommended fabrics: quilting cotton, kona cotton, flannel, etc.
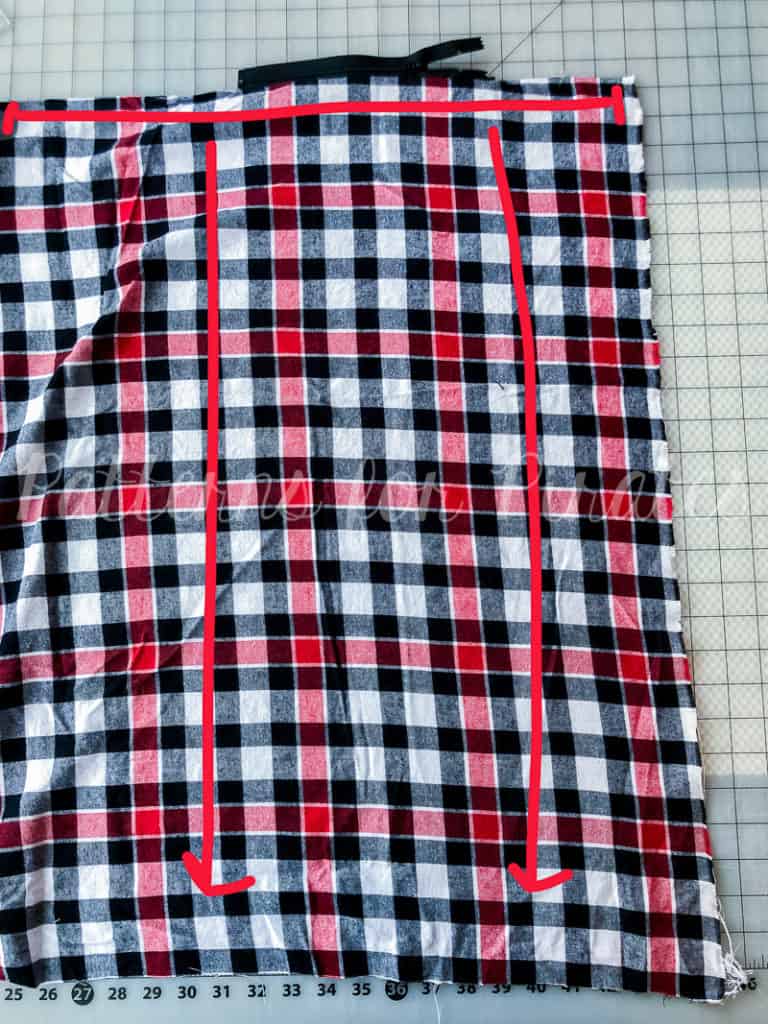
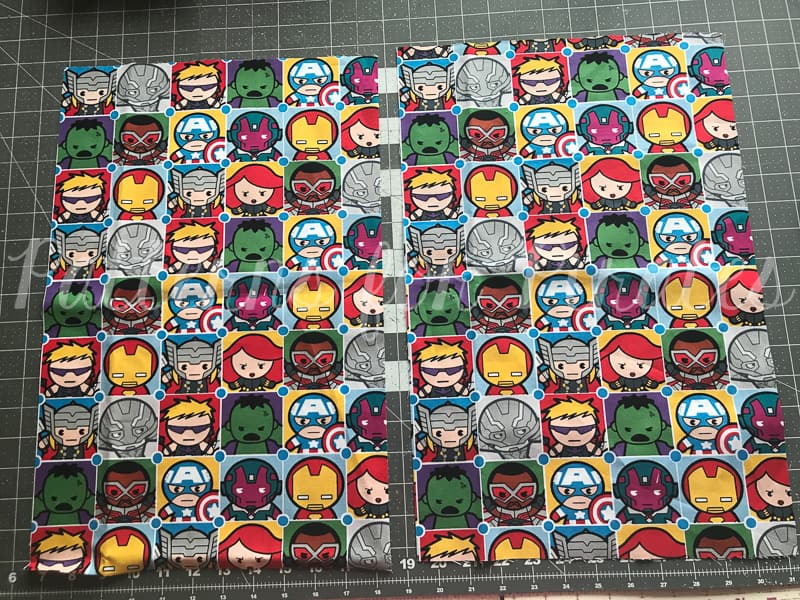
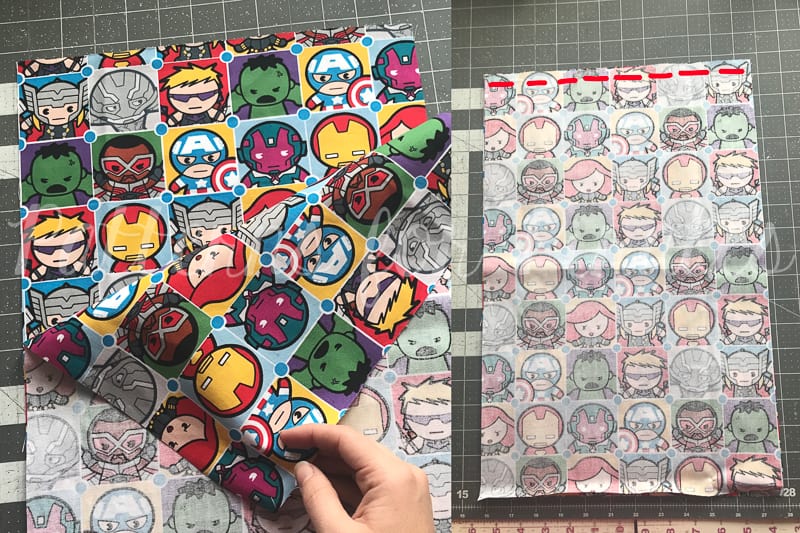
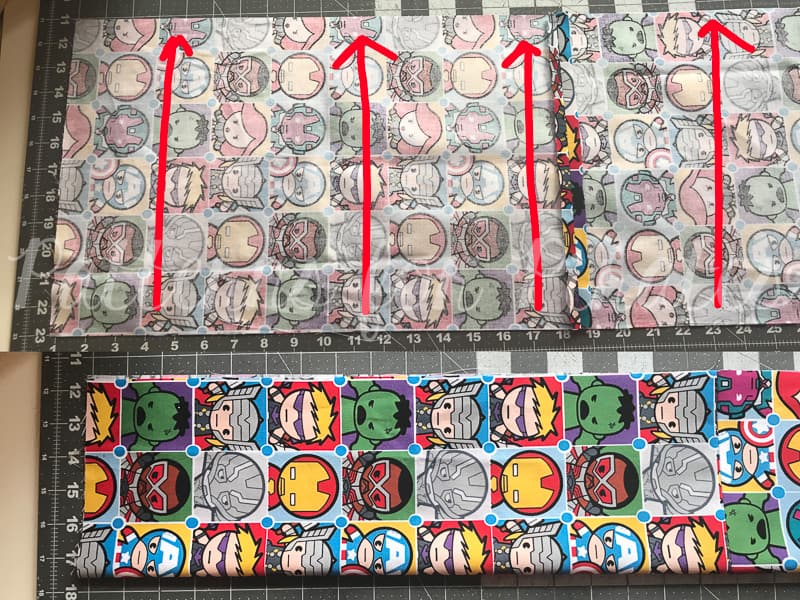
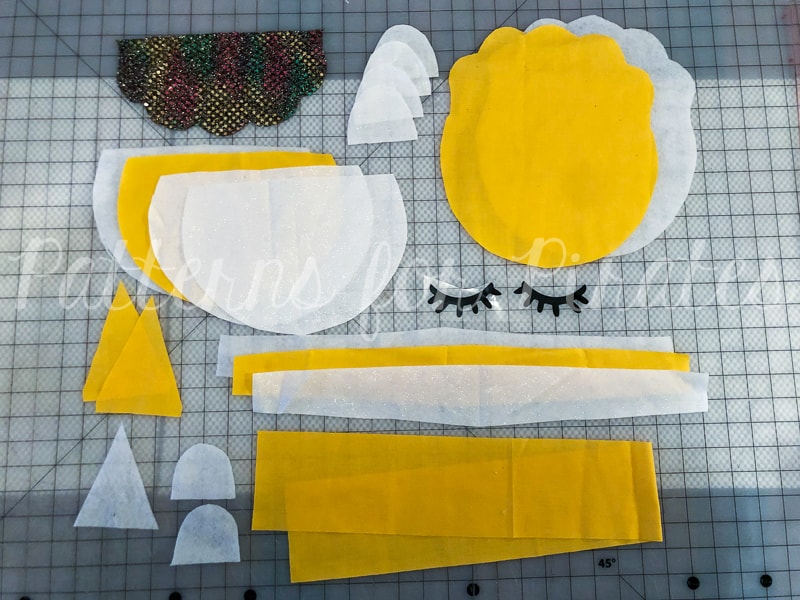
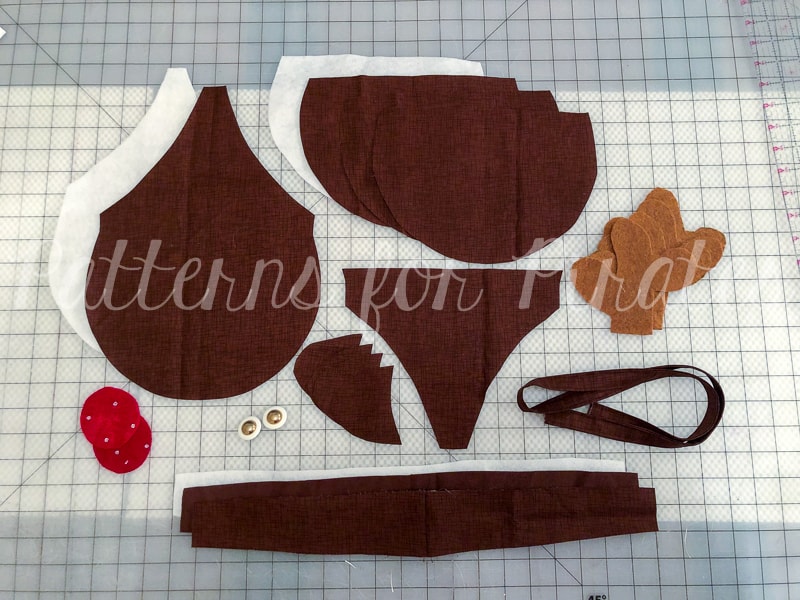
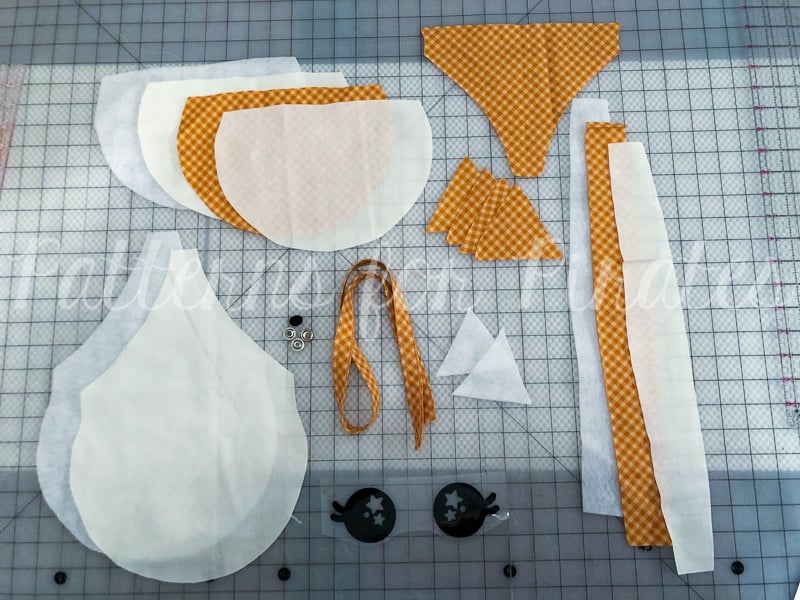
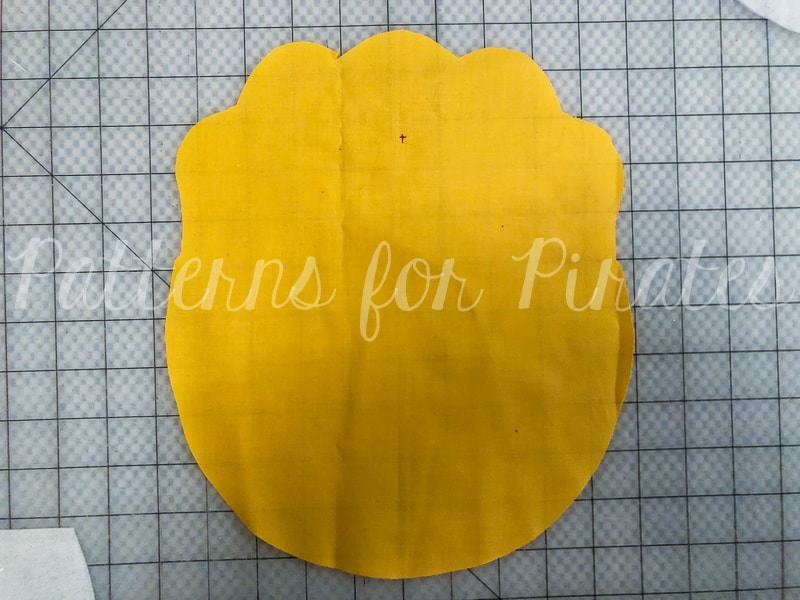
Cut out all pieces needed for your corresponding bag.
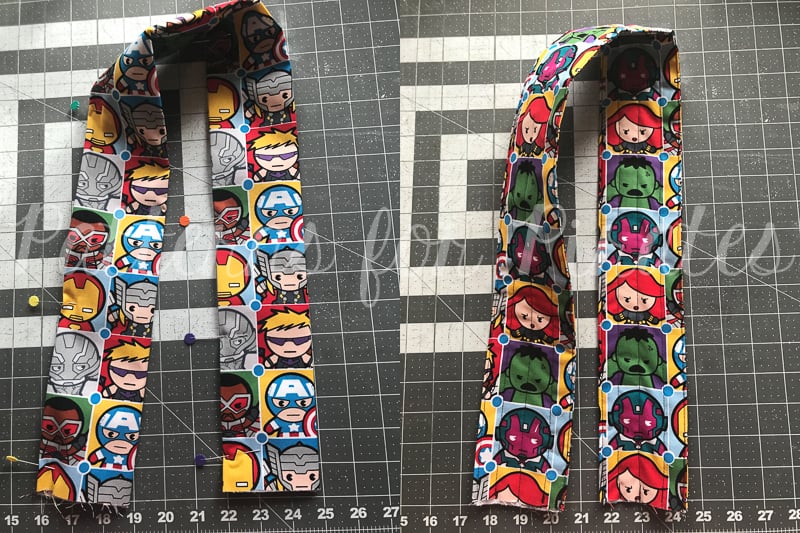
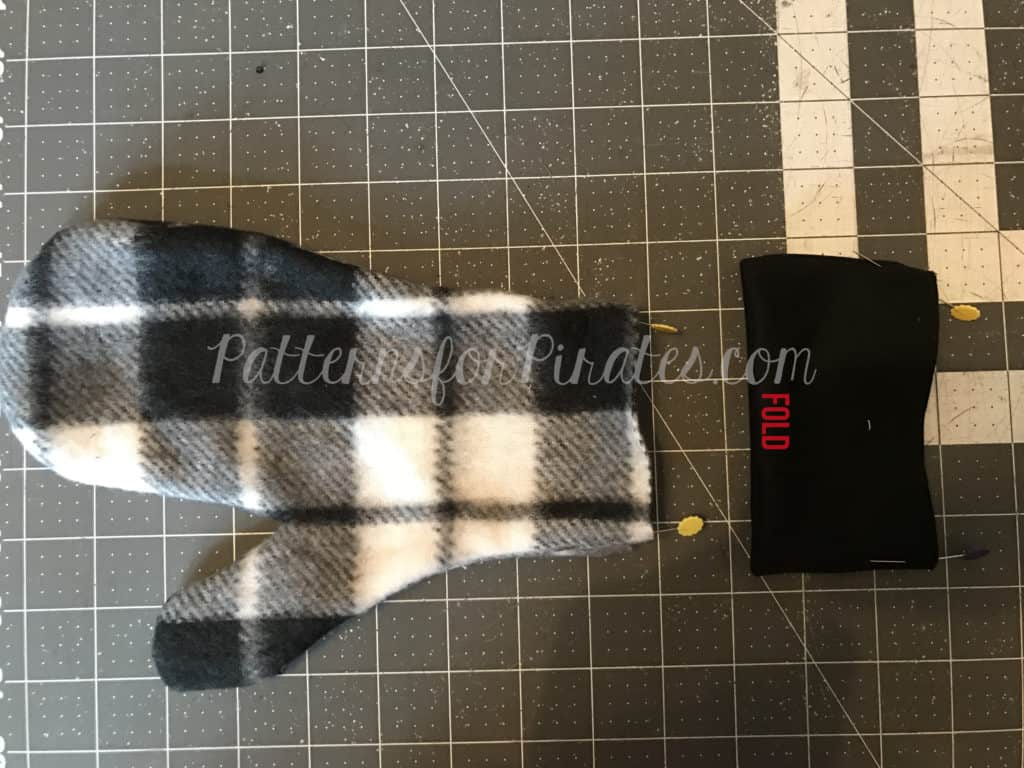
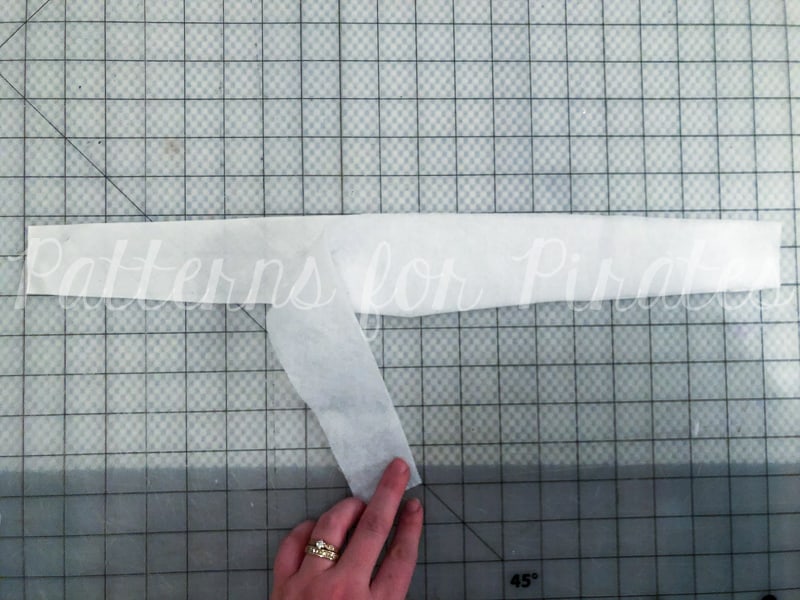
Prepping the Strap:
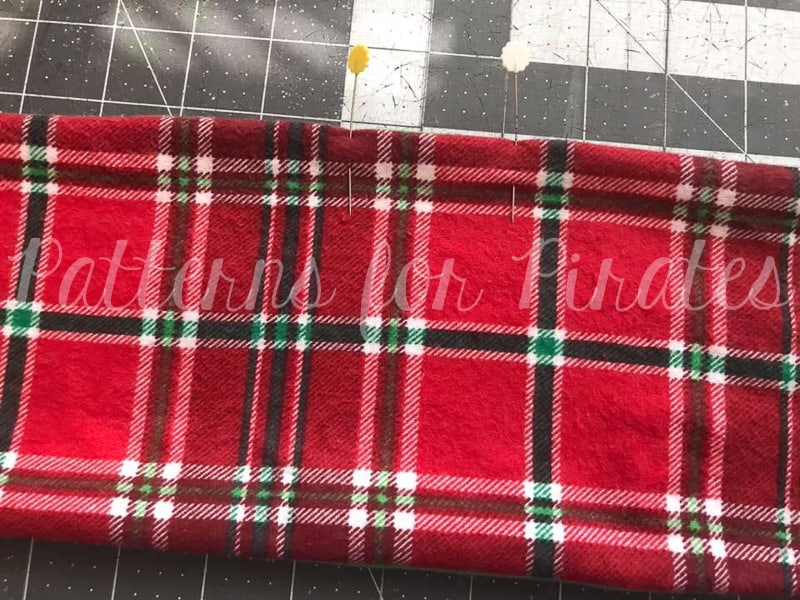
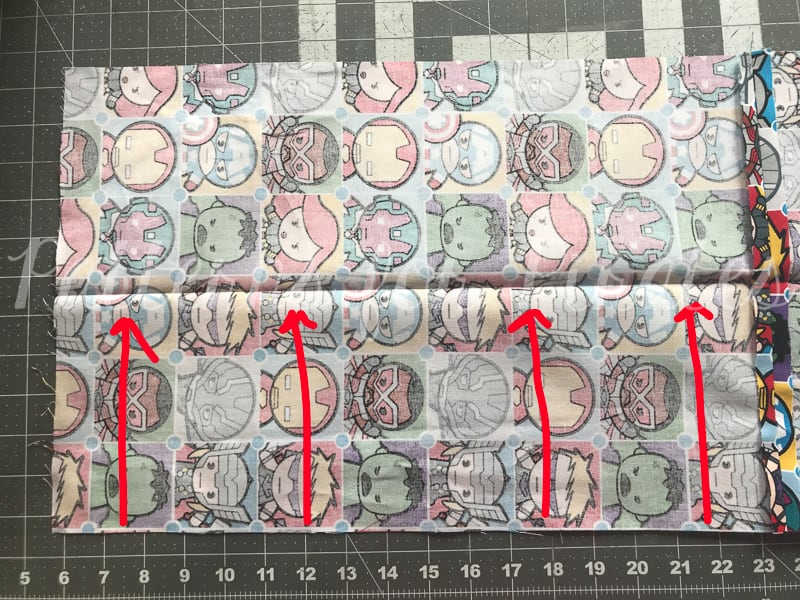
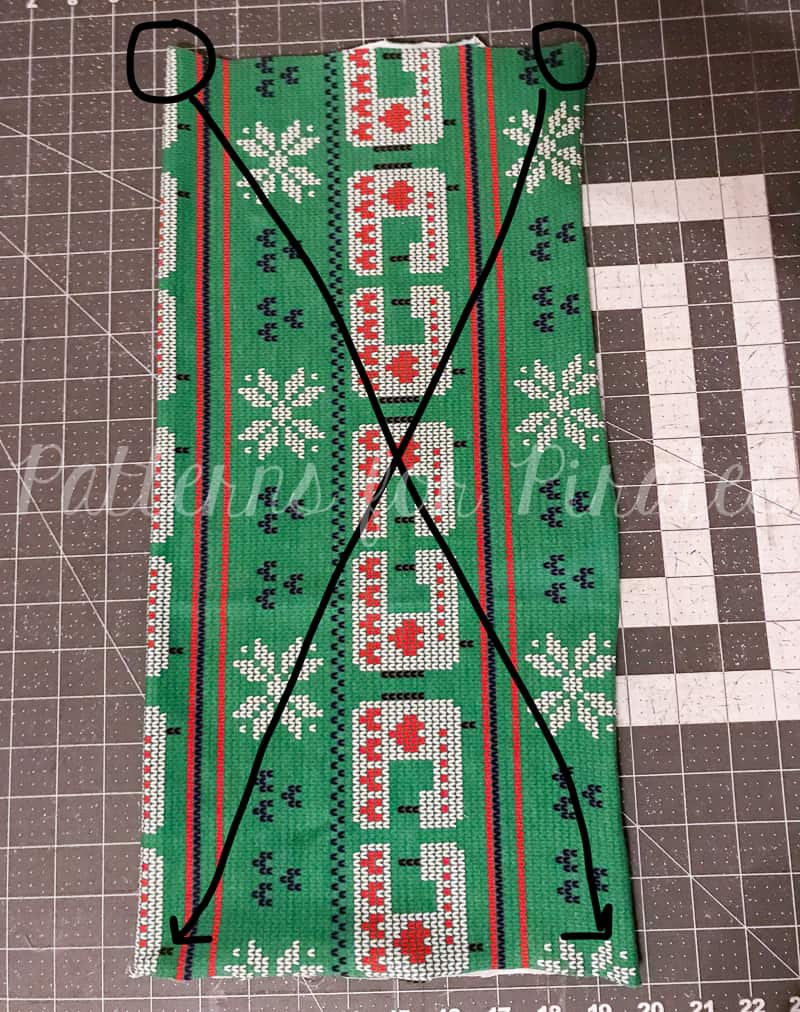
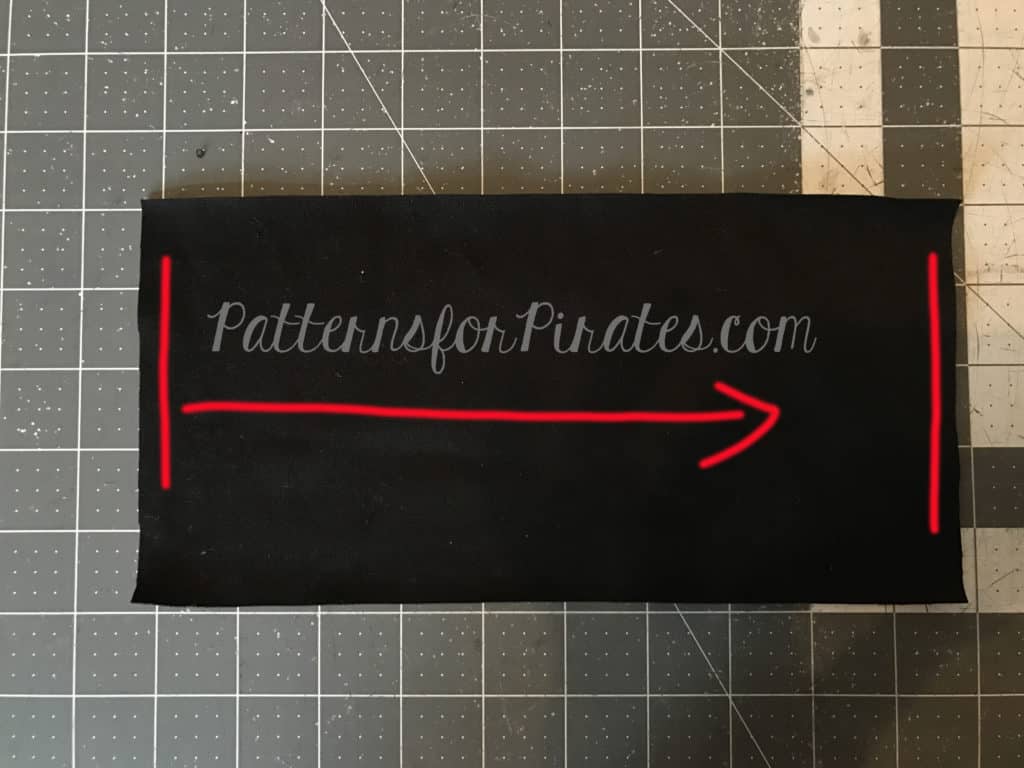
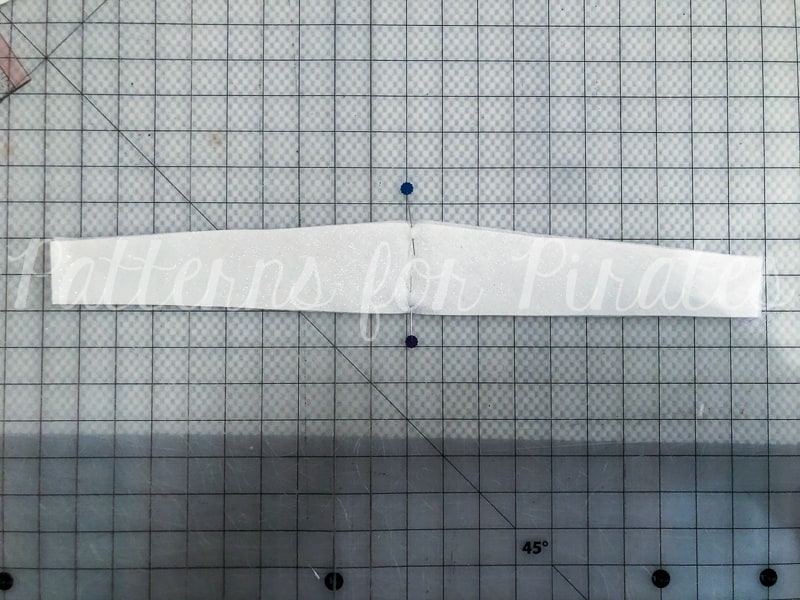
Cut 3″ long x 34″ wide strip of fabric.
**Note: Depending if you or the recipient will be wearing it cross body or straight down from one shoulder, you may want to adjust the width of this piece to your liking.
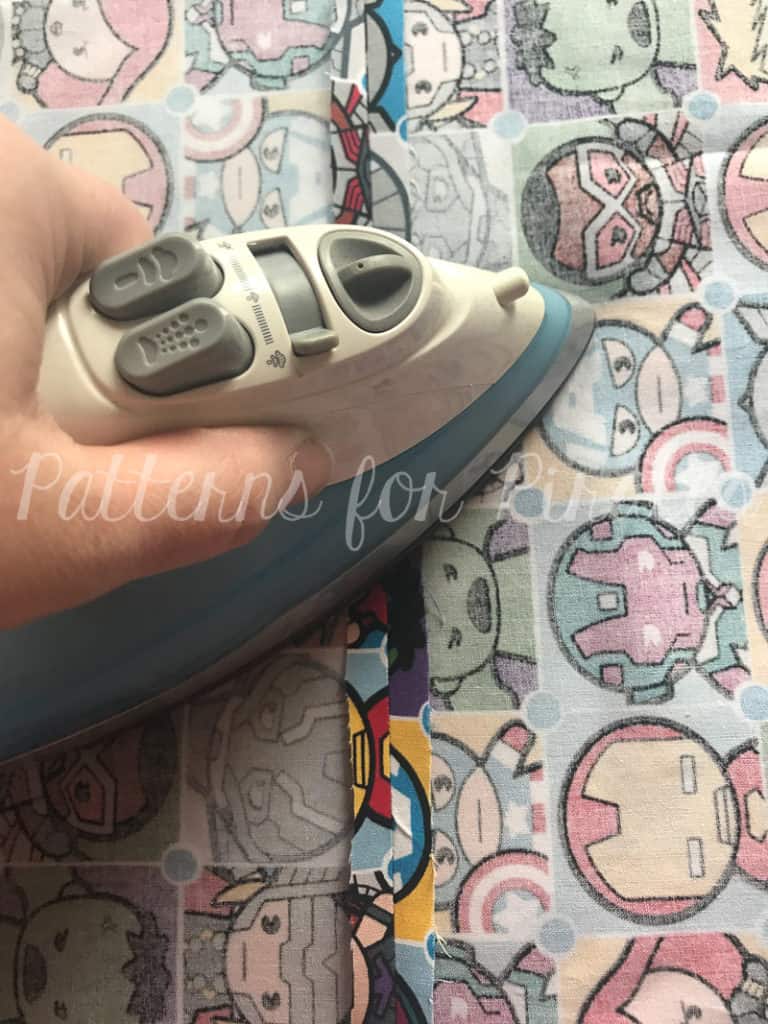
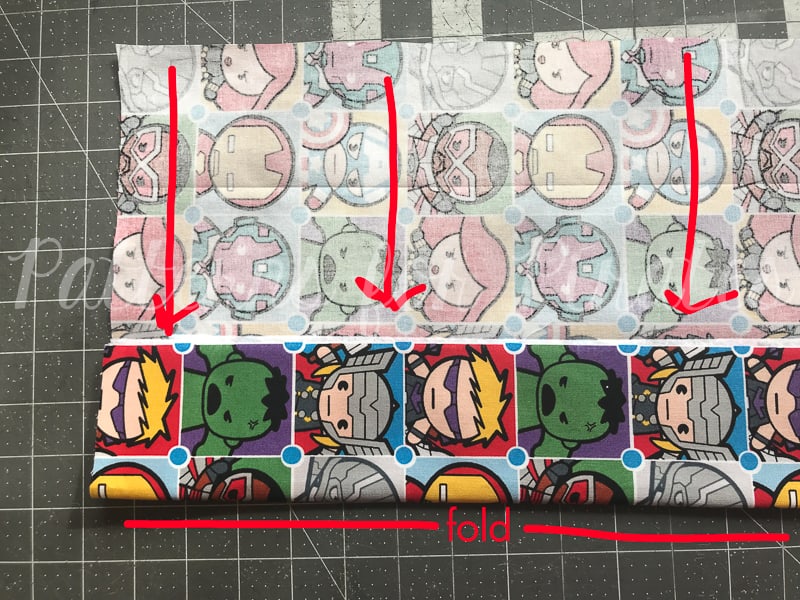
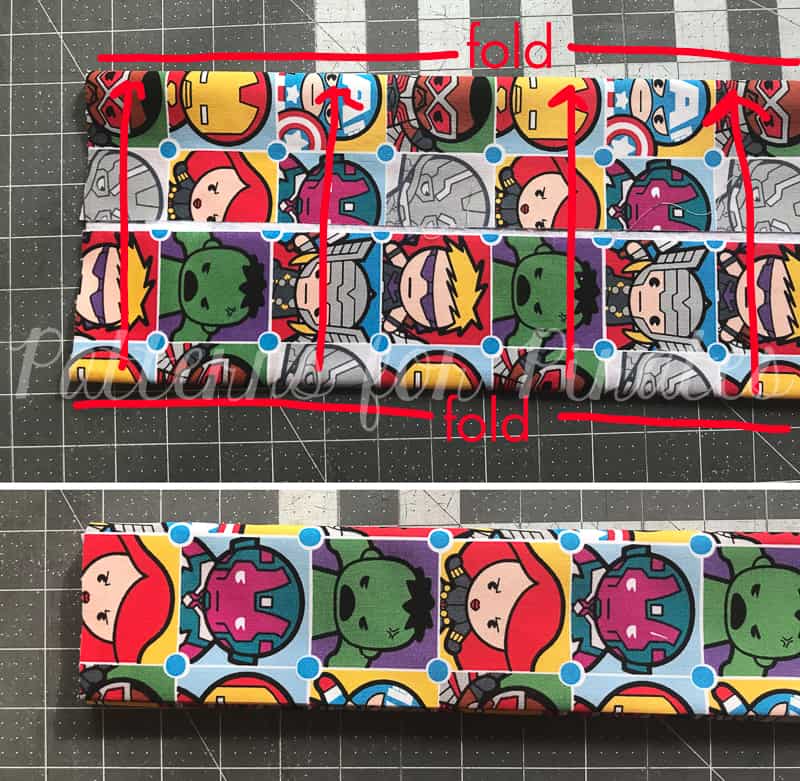
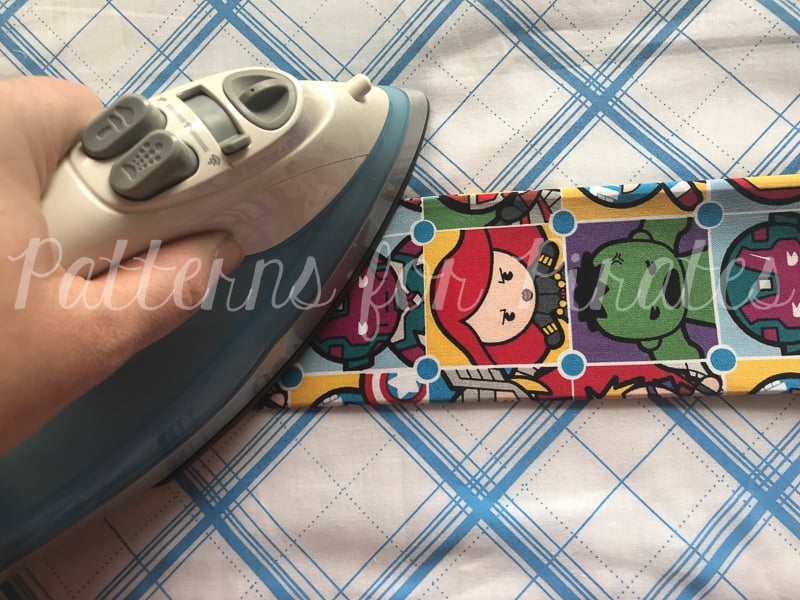
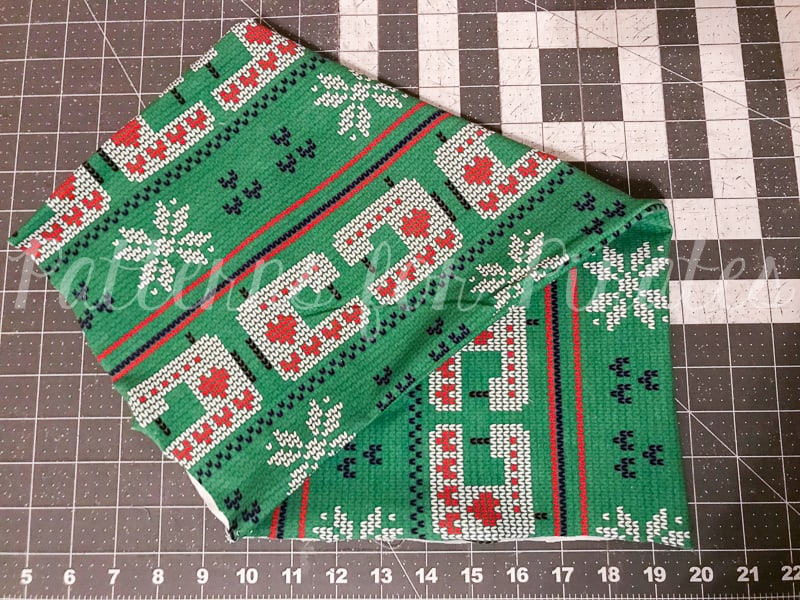
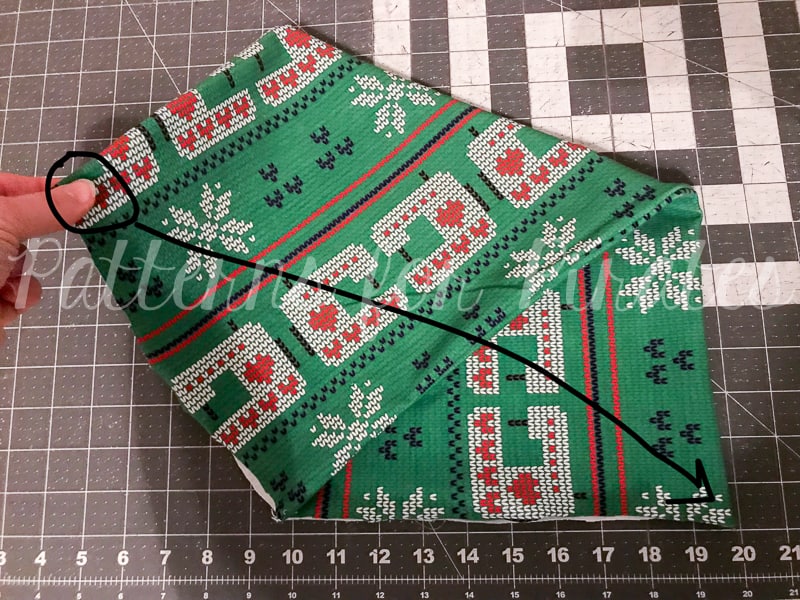
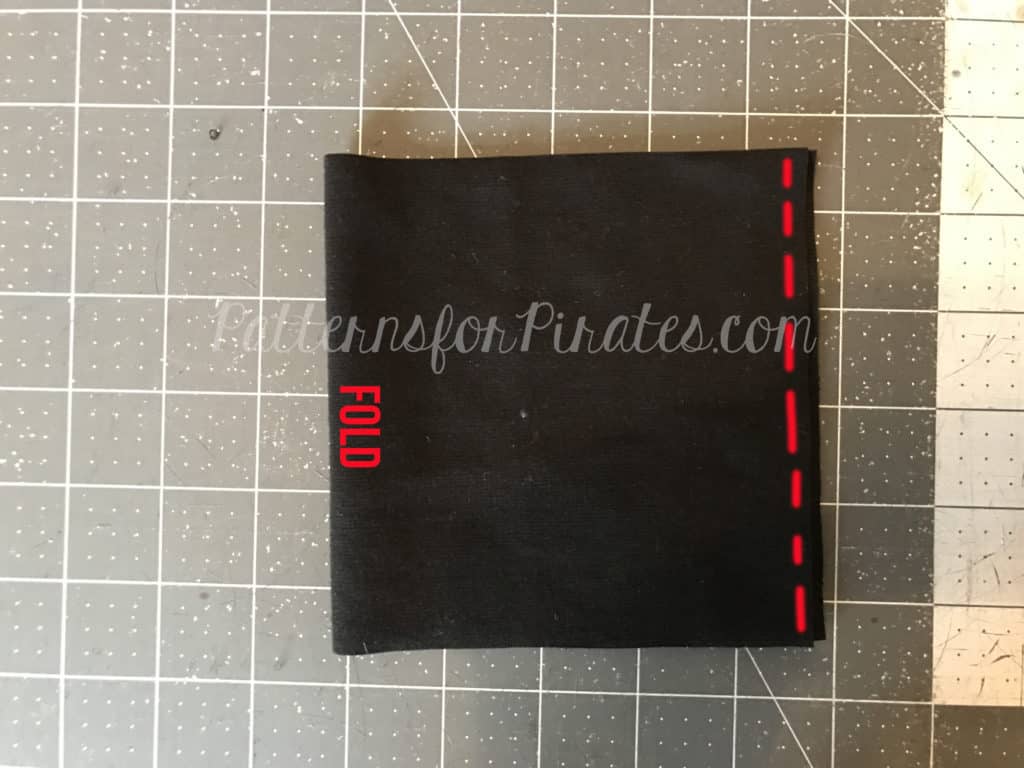
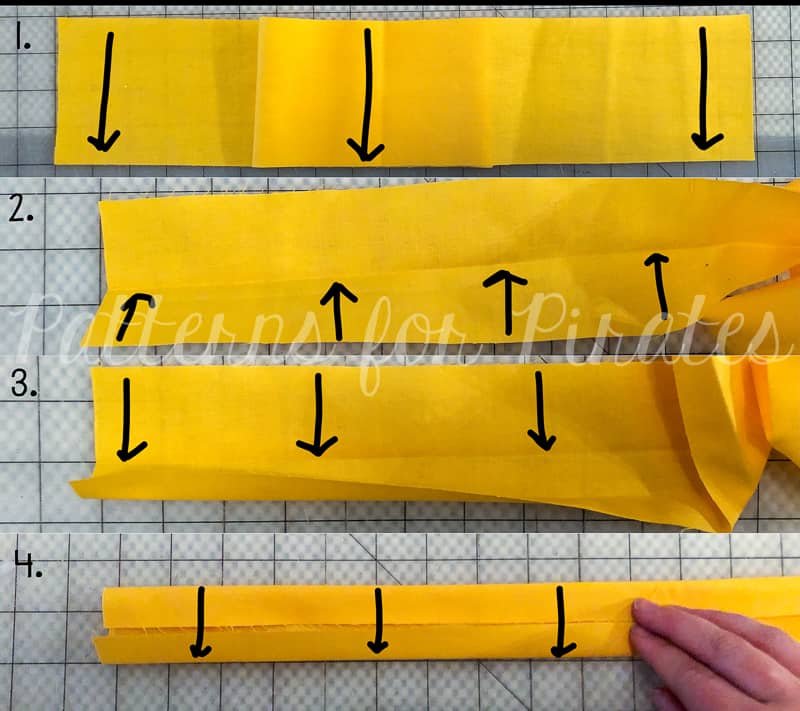 1. Fold in half, with long edges touching, wrong sides together. Press.
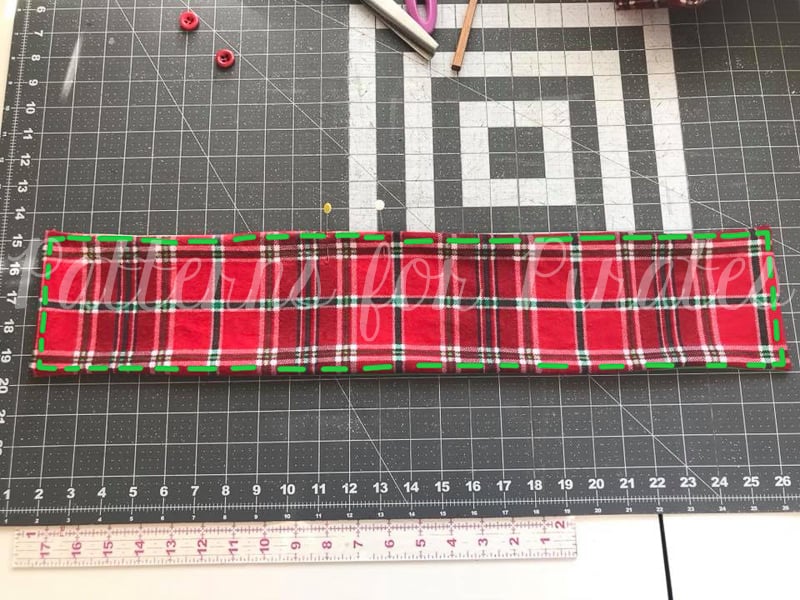
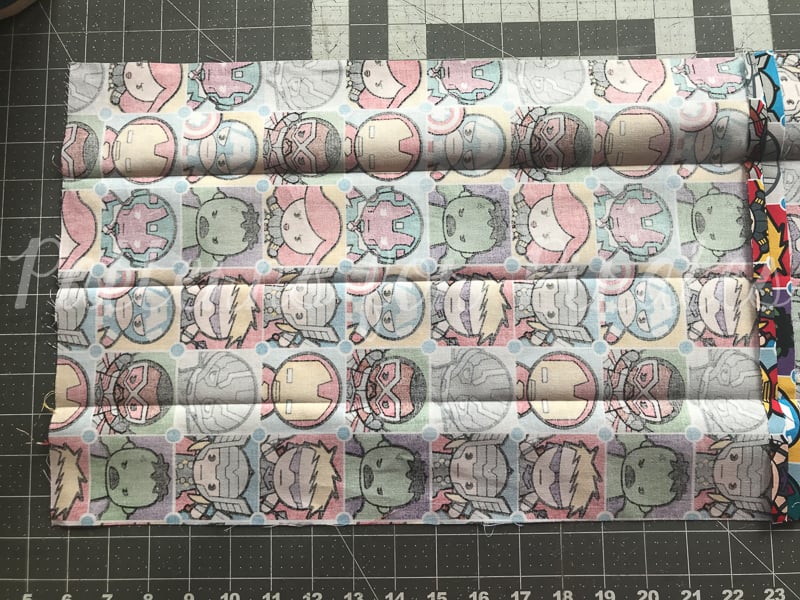
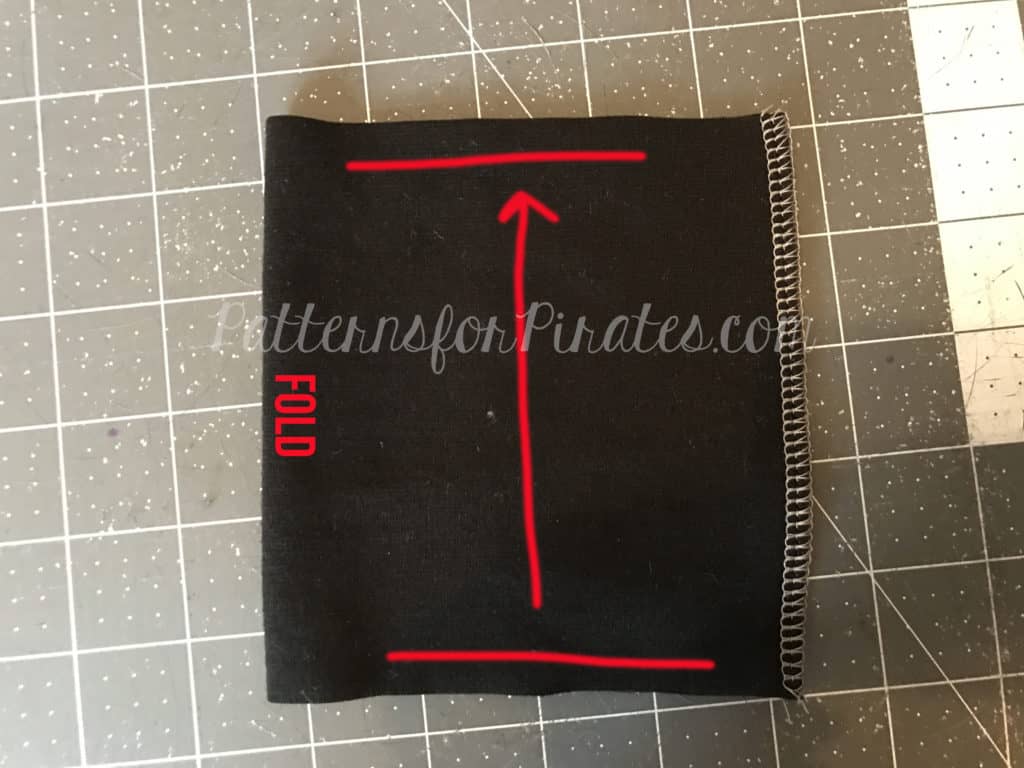
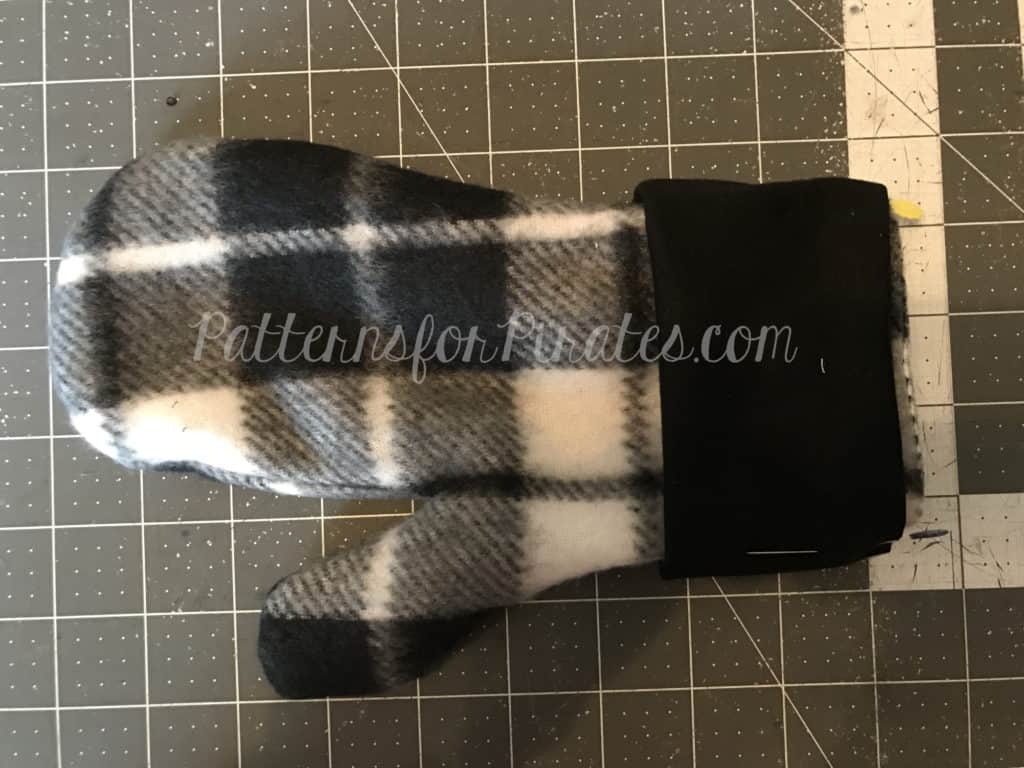
2. + 3. Open up, and fold each long edge into the crease you just created.
4. Fold, completely enclosing the raw edges.
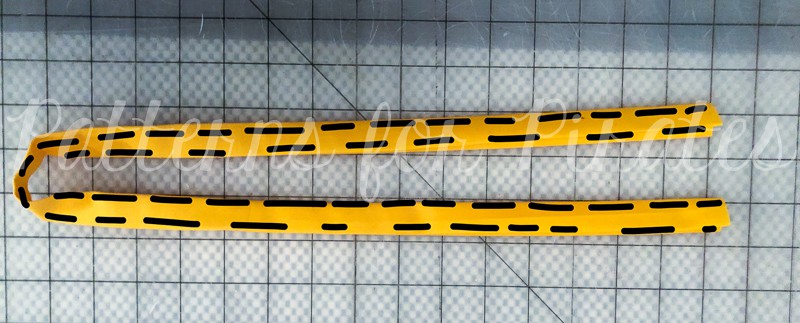
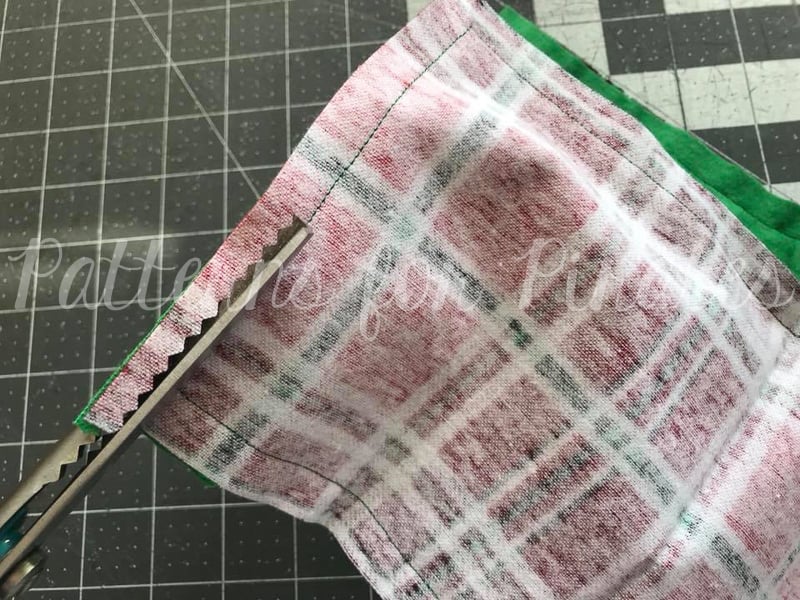
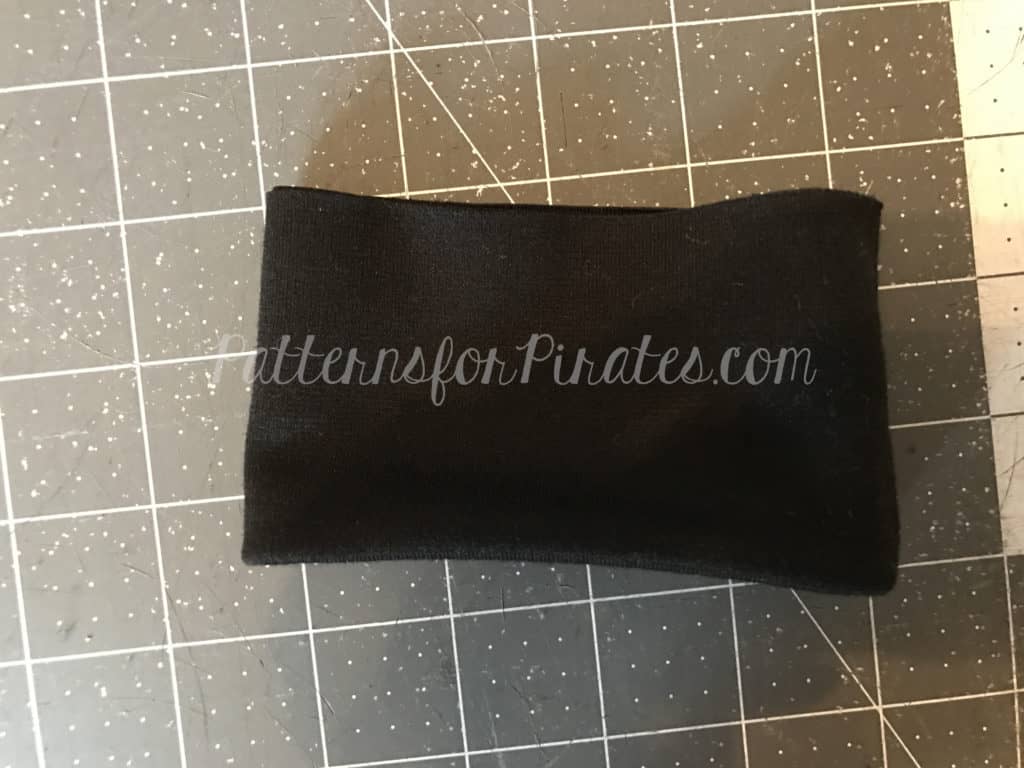
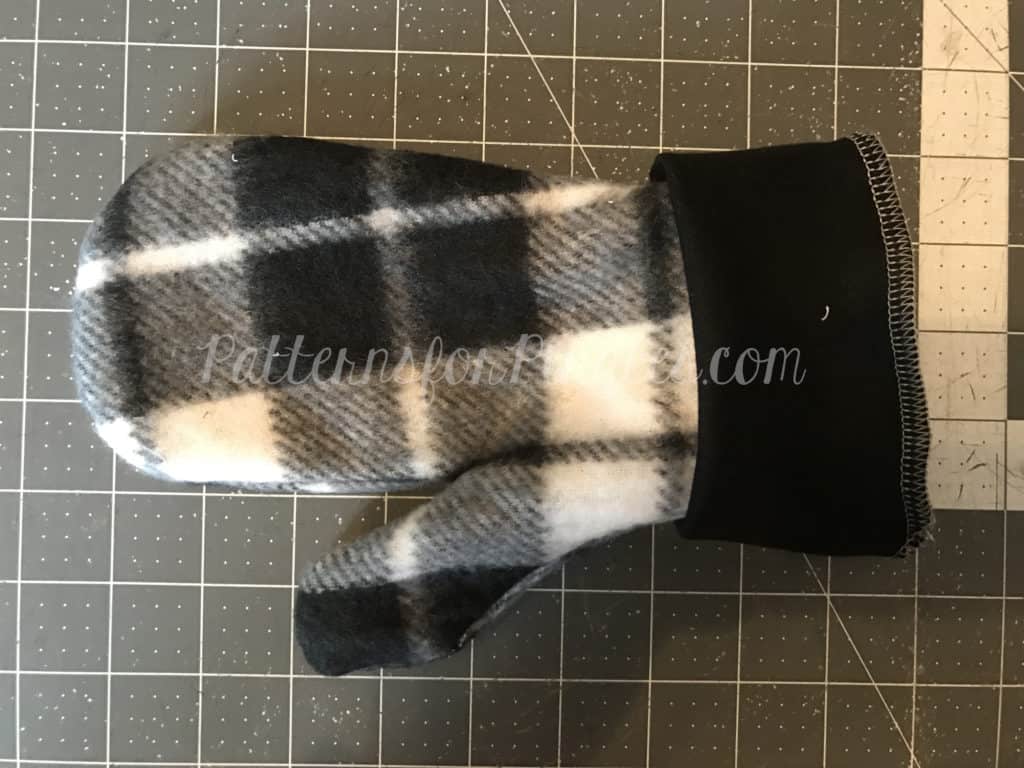
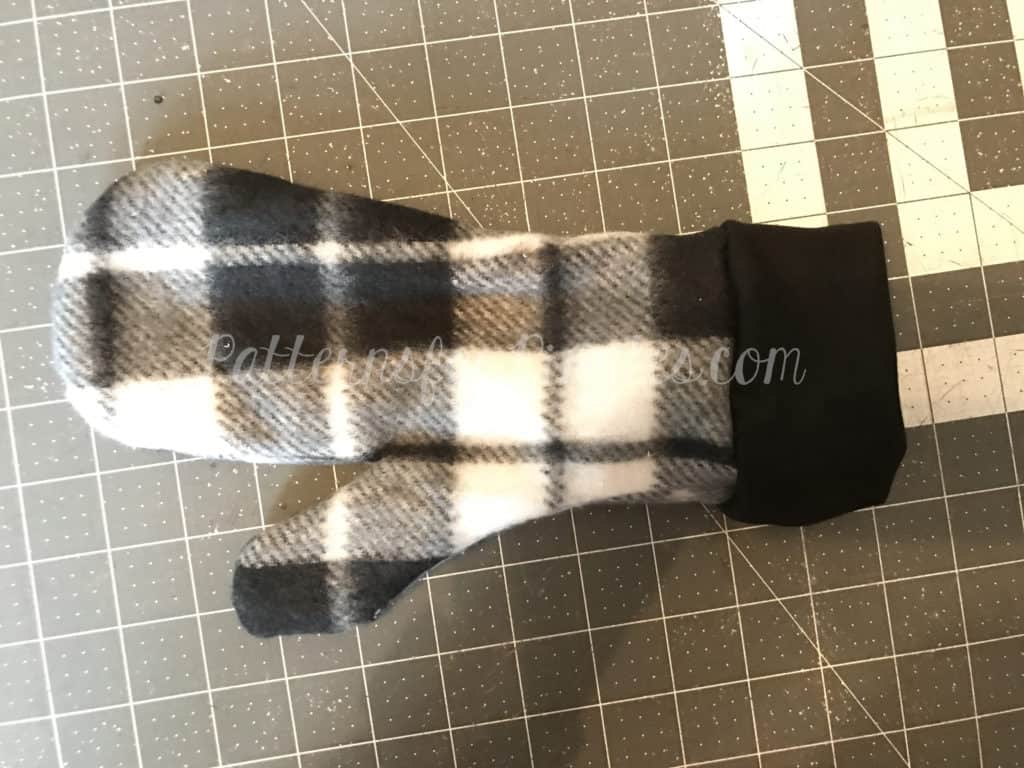
Edge stitch along both long edges. Set aside. Finished width: 3/4″.
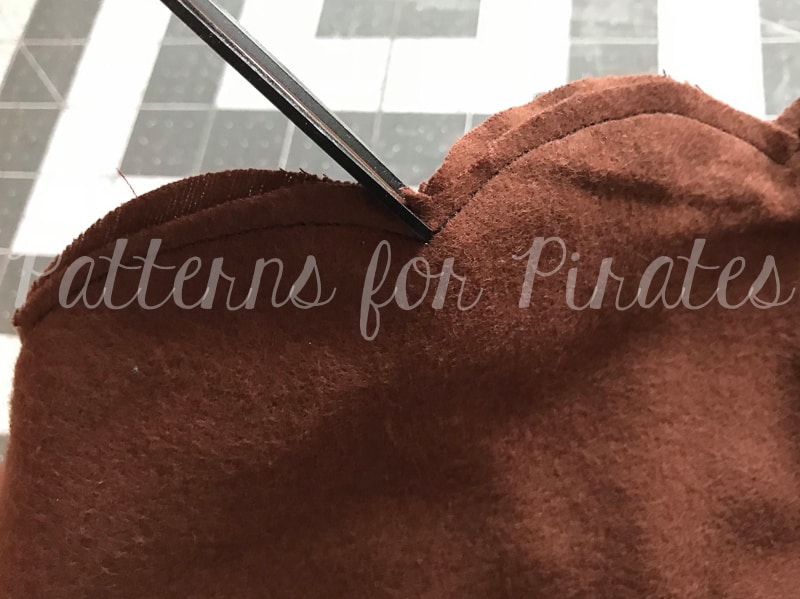
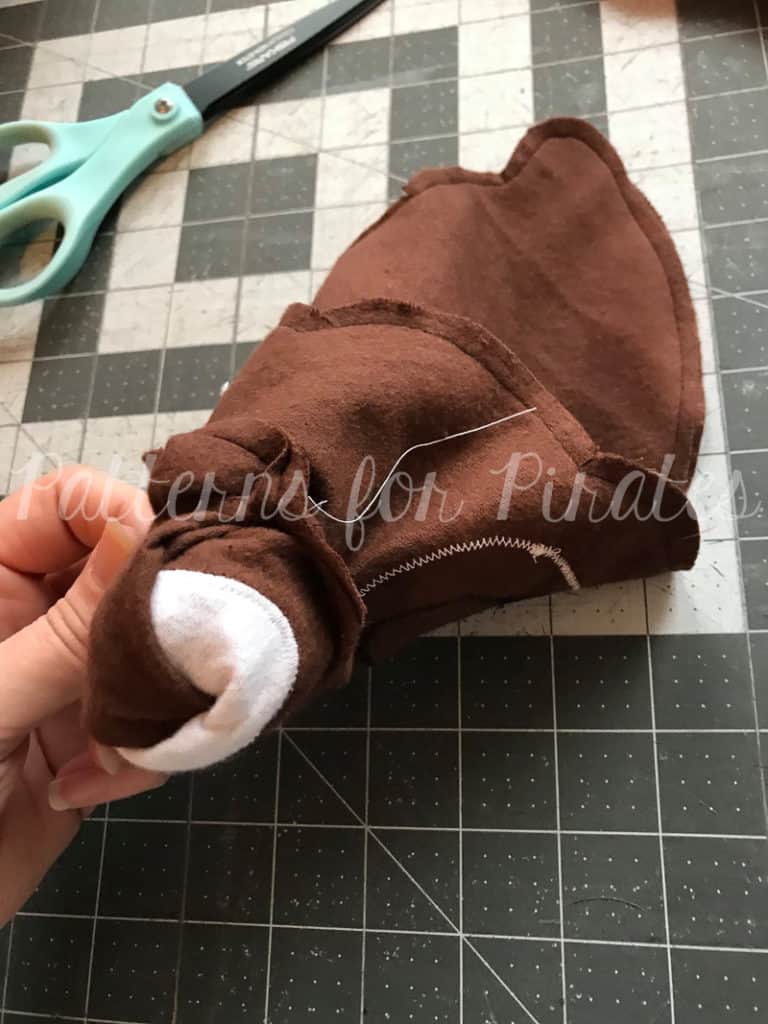
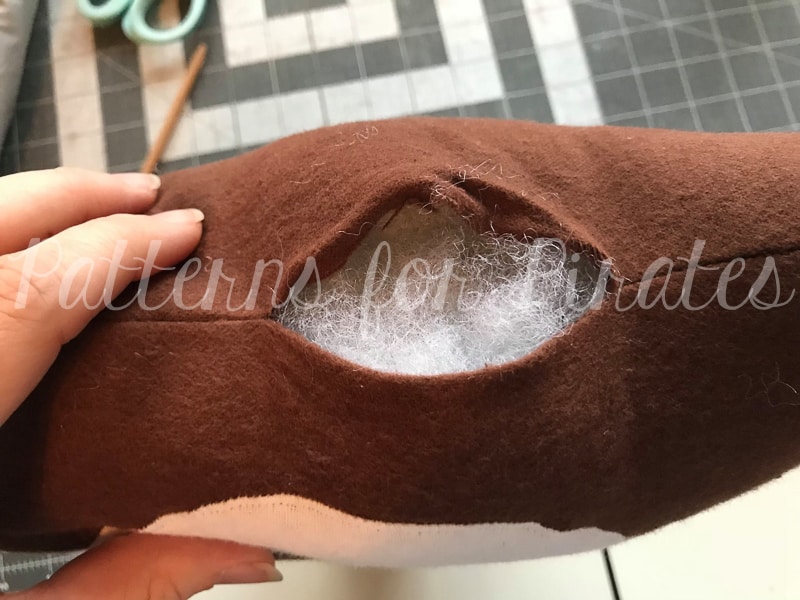
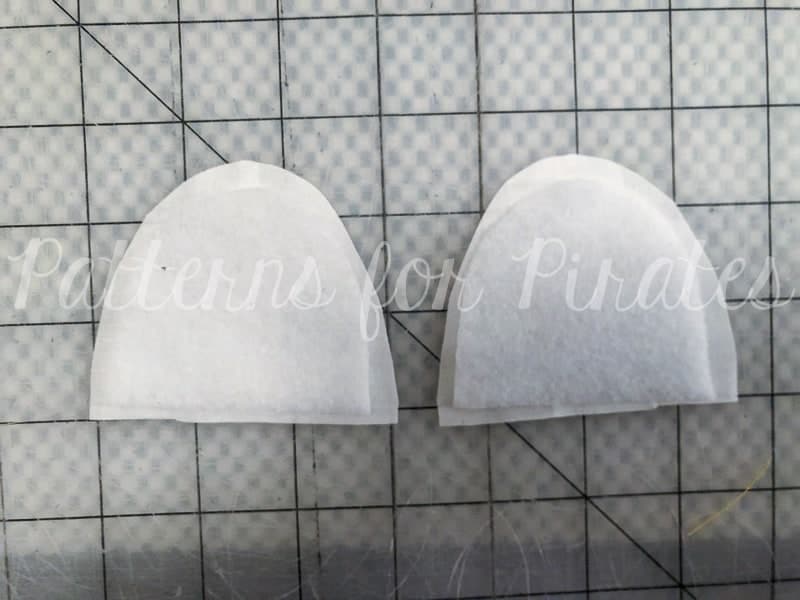
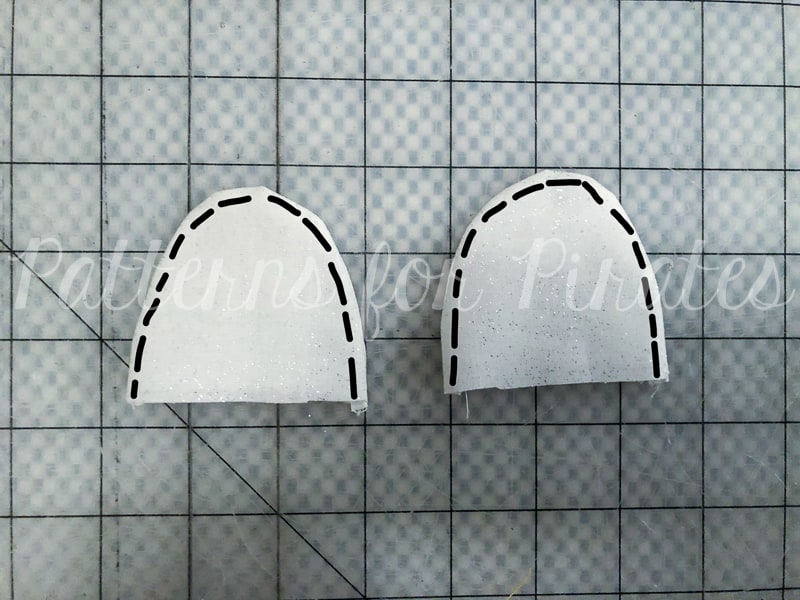
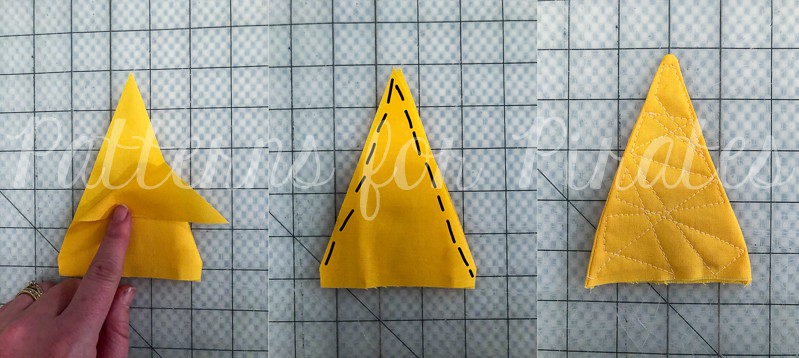
Horn / Ear / Antler / Nose Pieces:
*Tip: I added fusible fleece to these pieces to help them stand up better. Some of our testers opted to fill them with a small amount of fiberfil. Either way works!
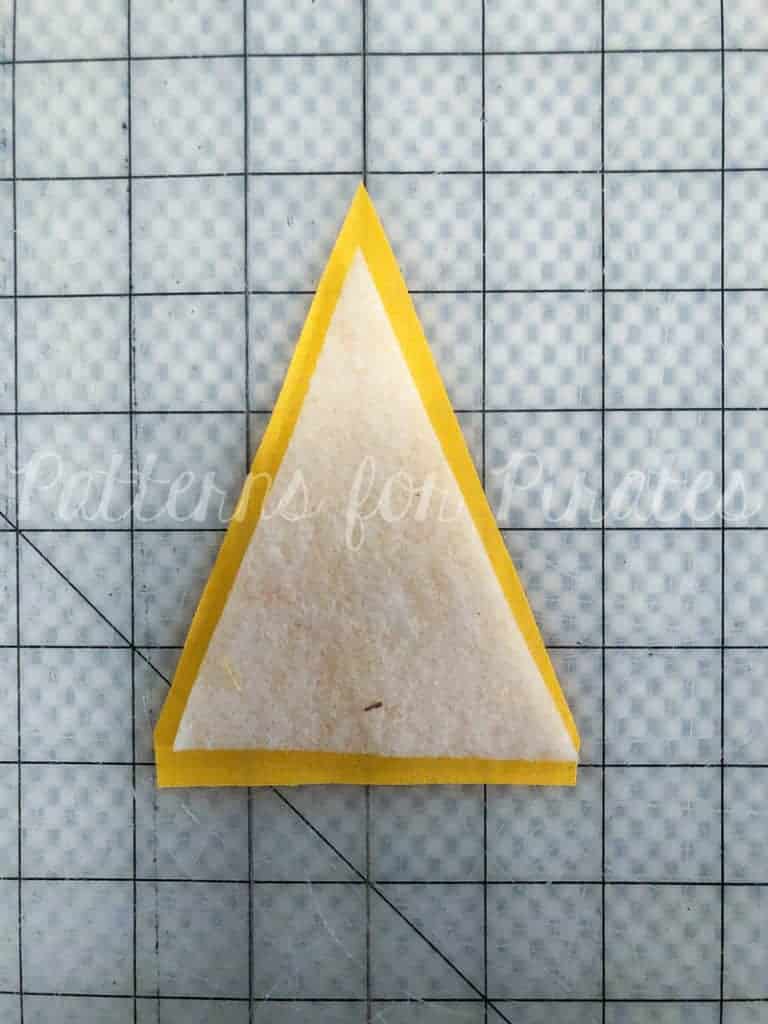
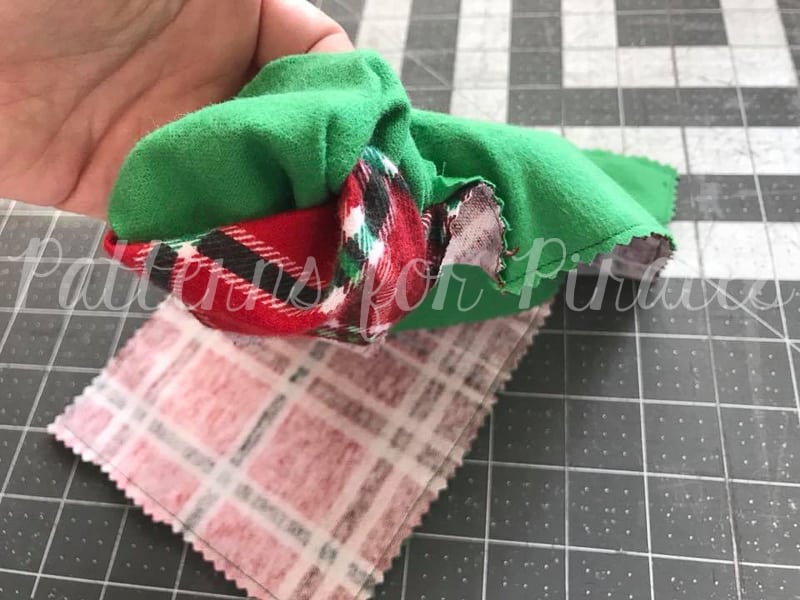
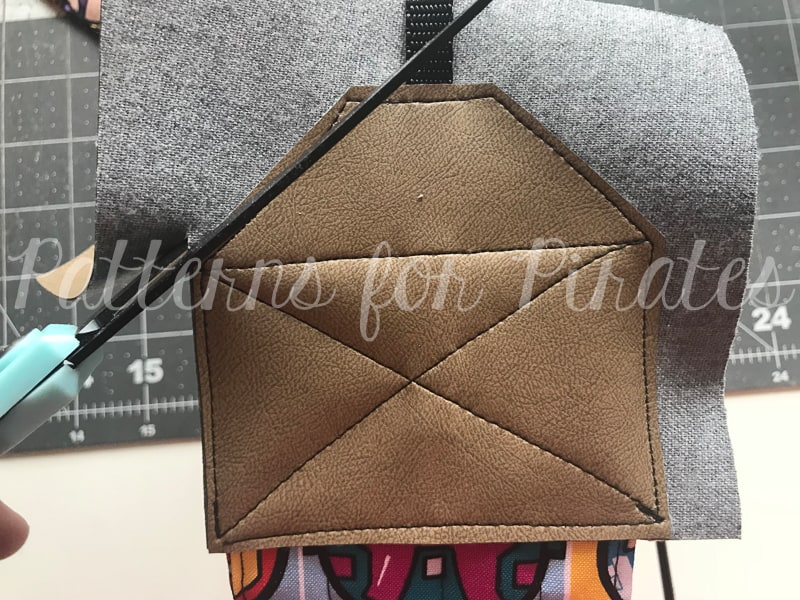
Right sides together, sew along the outer edges using 1/4″ seam allowance. Leave the bottom open for turning.
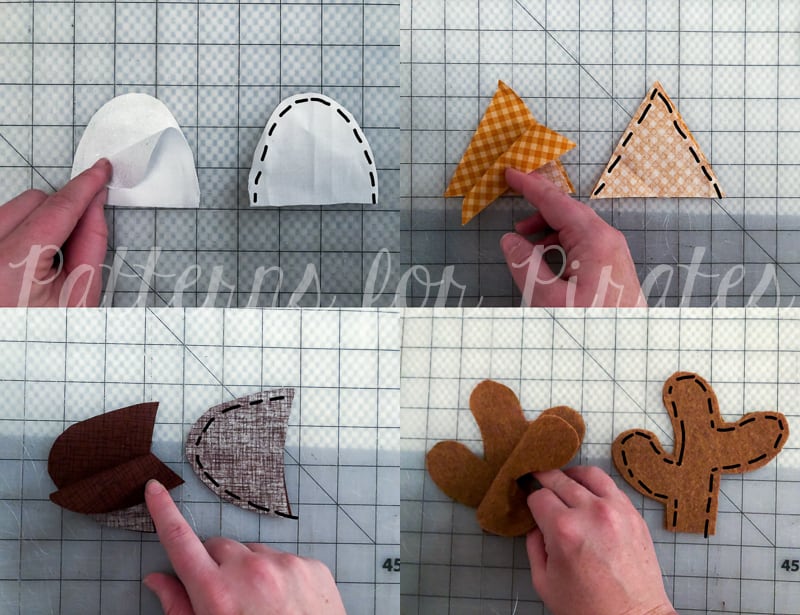
Clip corners and allowance before turning to get a crisper edge. Topstitch if desired.
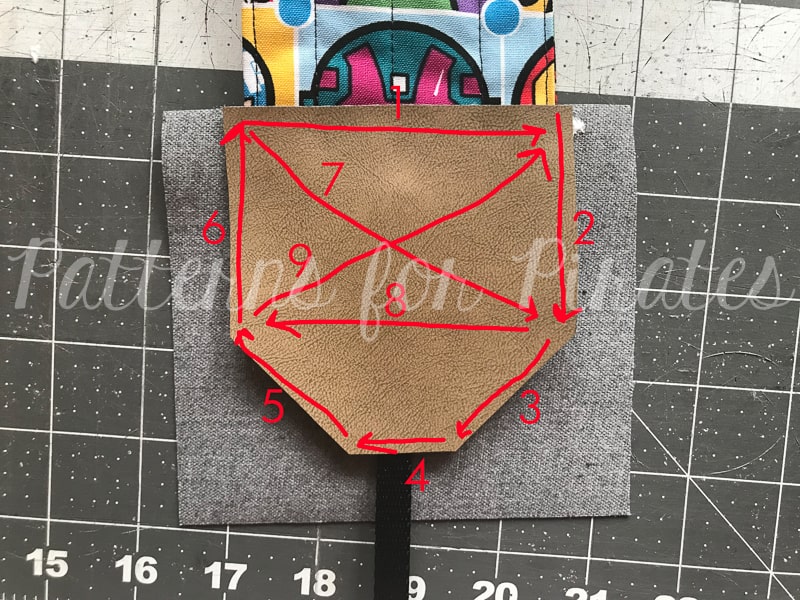
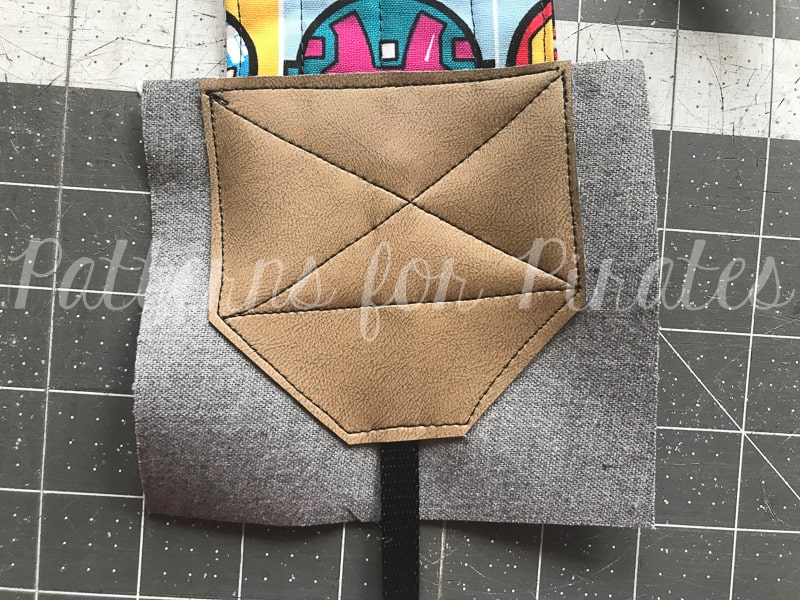
I like to get a little funky with the unicorn horn and add some decorative stitches to it. This also helps the horn’s stiffness.
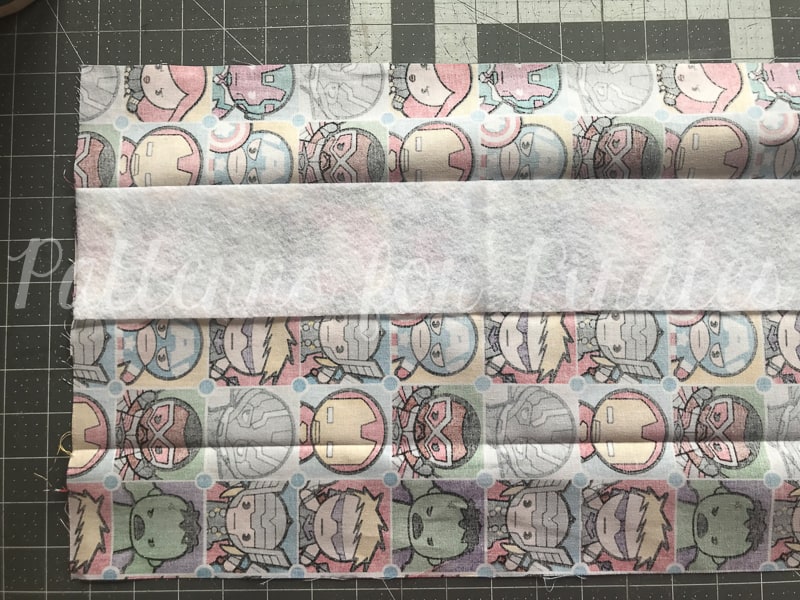
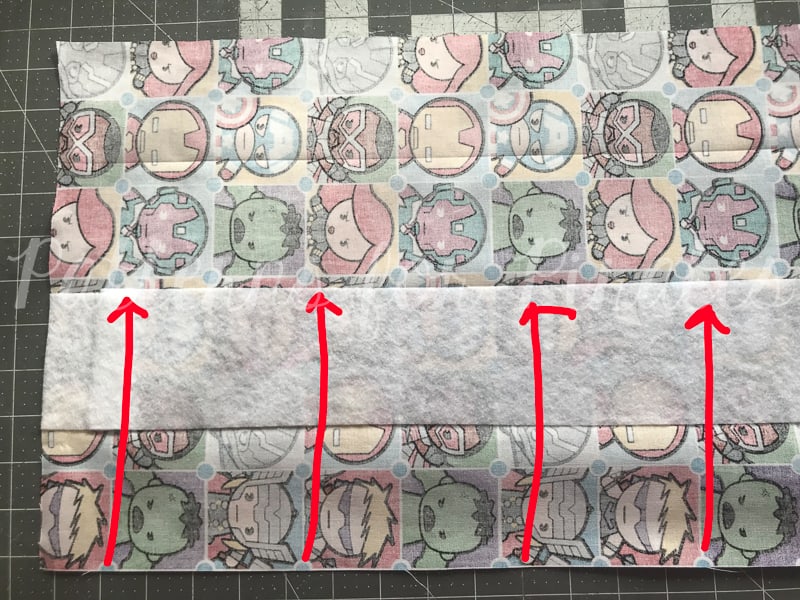
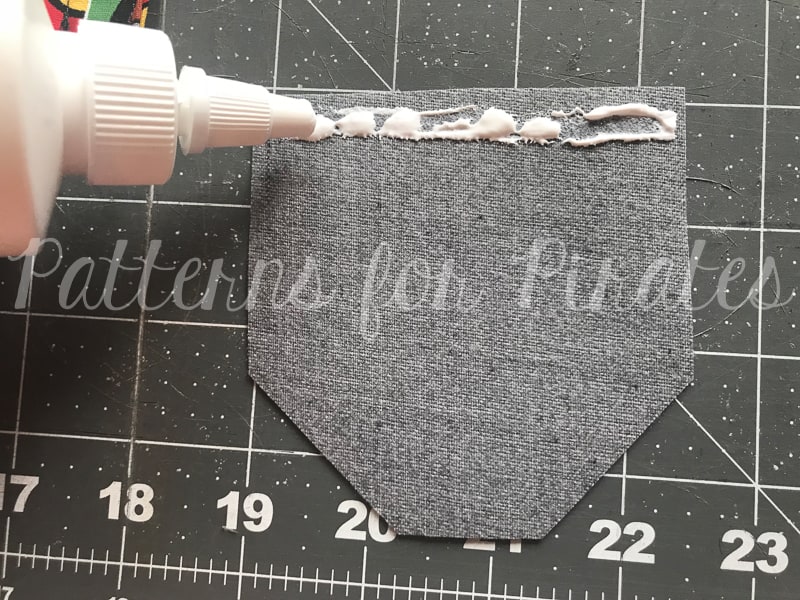
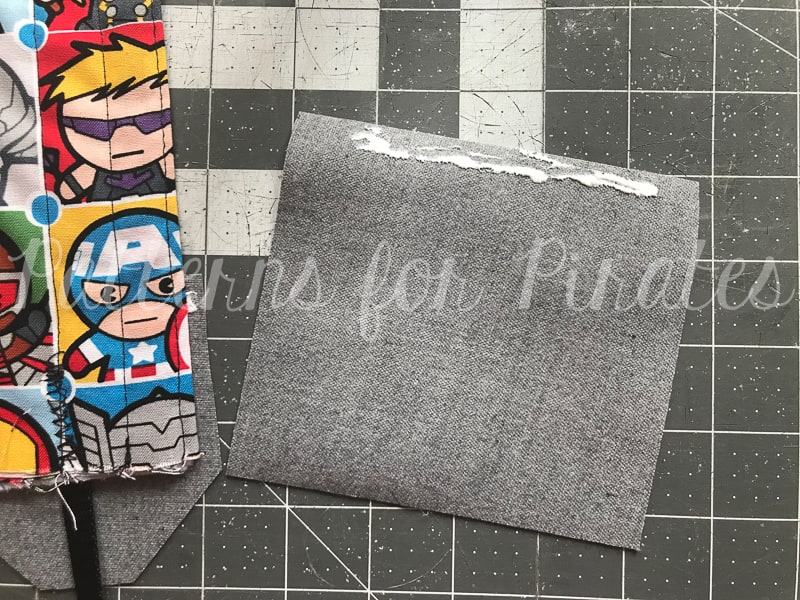
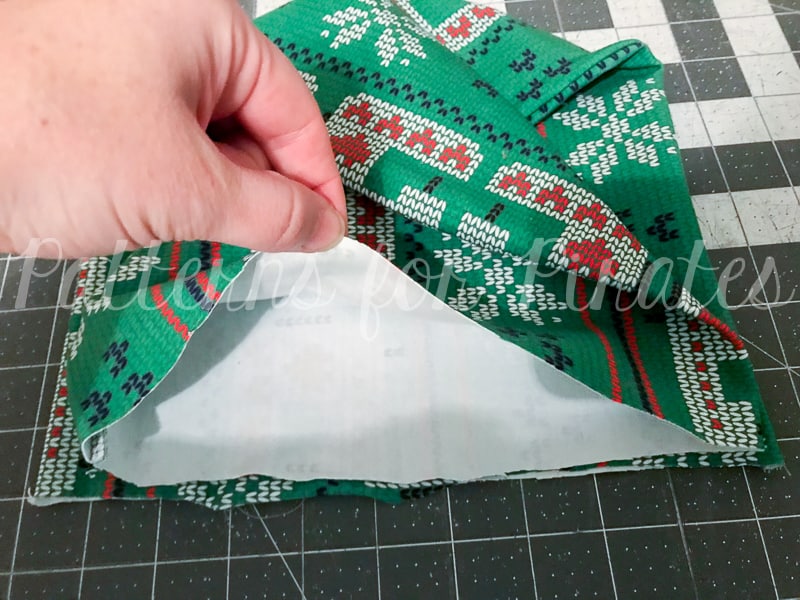
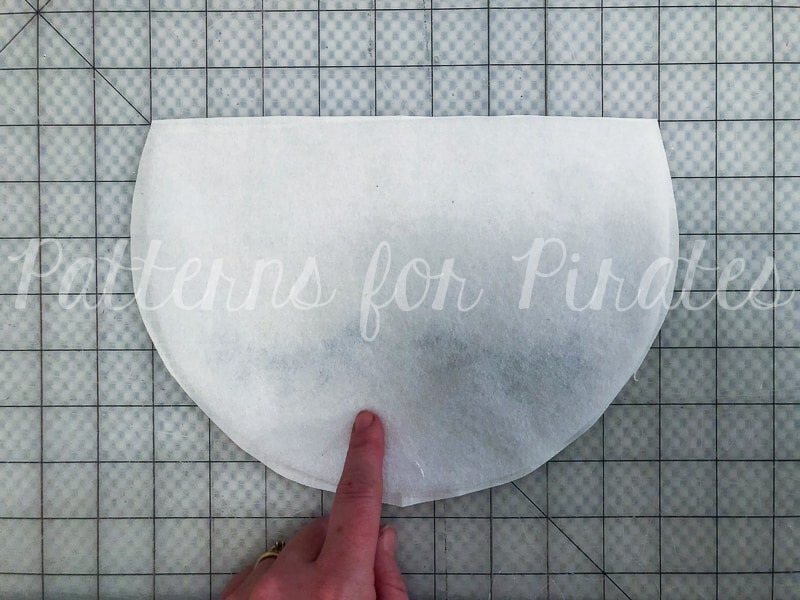
Apply Interfacing:
Carefully trim away 1/4″ from each interfacing piece, to allow for easier turning.
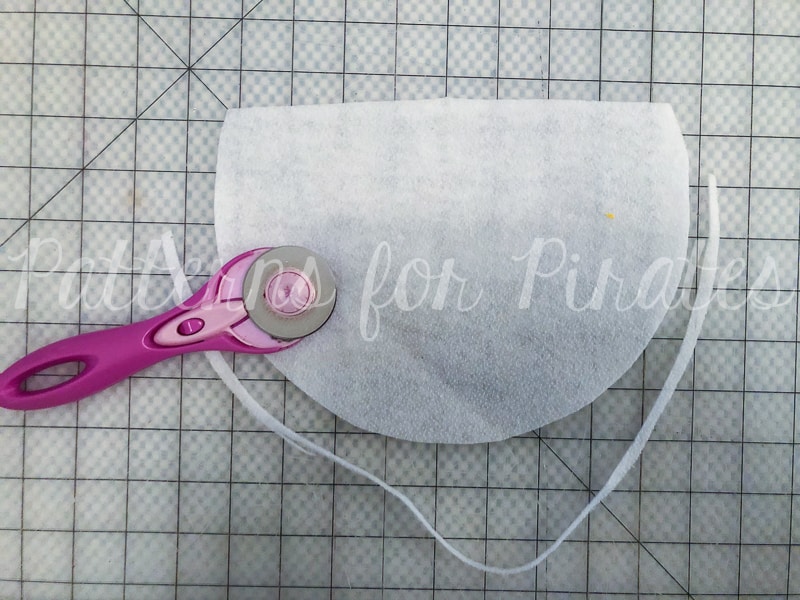
Following the instructions from the manufacturer, apply interfacing to these pieces:
- Front Main Piece
- Main Gussett
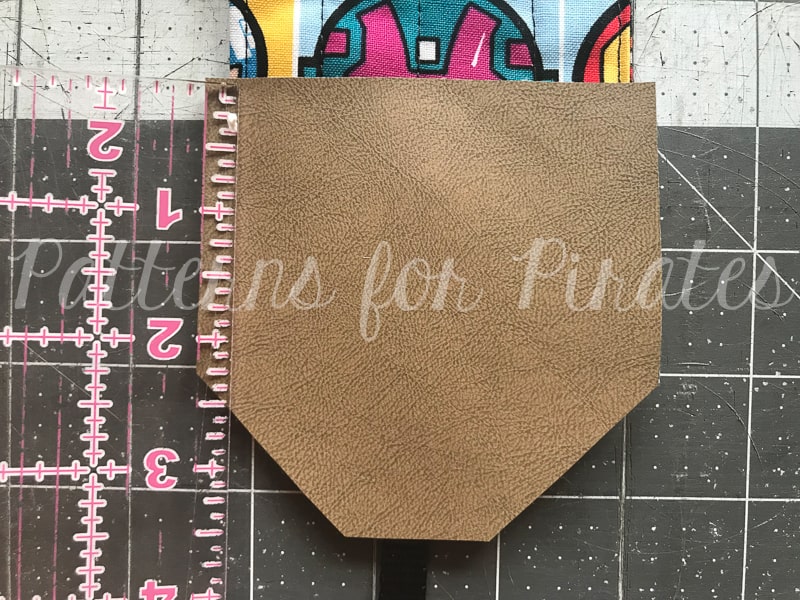
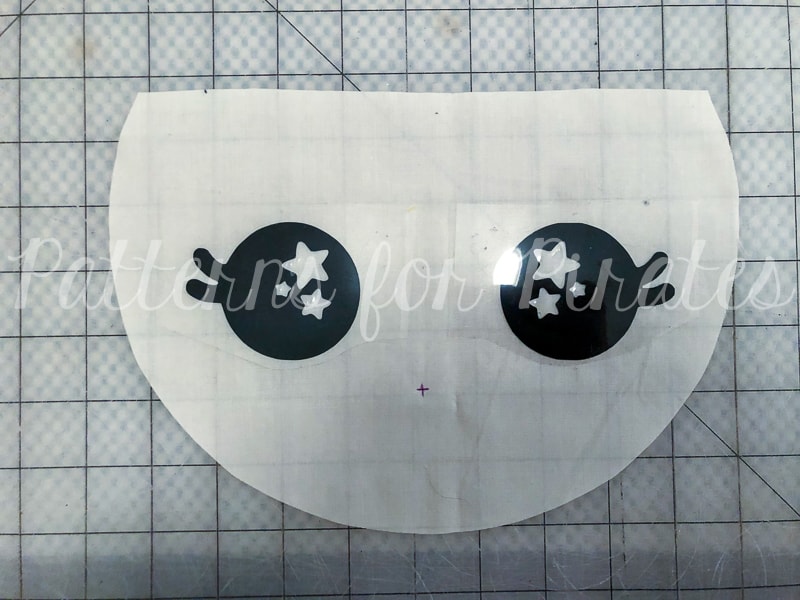
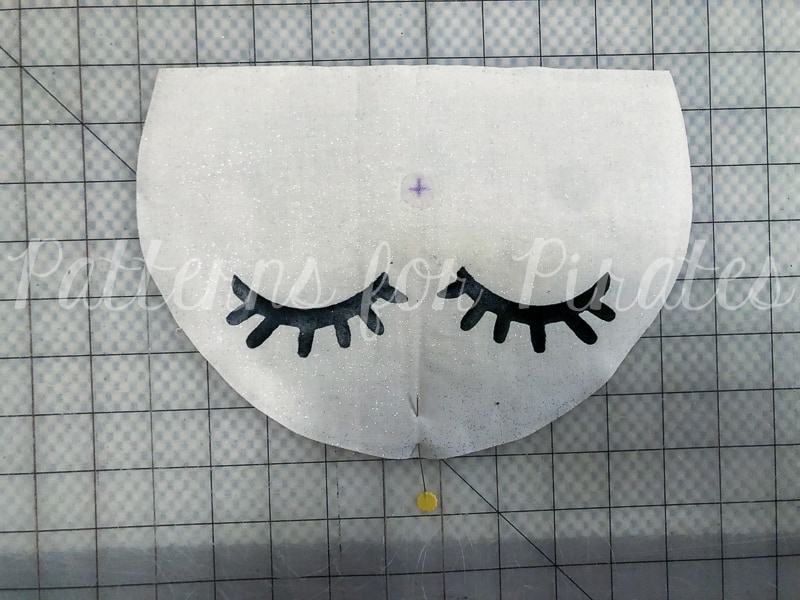
Eyes + Closures:
I personally like to add the eyes and velcro / snaps to the front main piece before we assemble the bag. It allows for all of the stitching or snaps to be enclosed inside of the bags, and it’s a lot easier to apply HTV to a flat surface. You can wait until the end if you’d like!
The Fox and Reindeer’s eyes need to be a little more wide set. And the Unicorn’s eyes work best if you apply them closer to the bottom of the bag front.
Velcro / button placement on front main piece:
- Unicorn / Plain Bag: 2″ from the top, centered (4.5″ from either side)
- Fox / Reindeer: 2″ from the bottom, centered
Velcro / button placement on Back Lining piece:
- Unicorn / Plain Bag: 2″ from the top, centered (4.5″ from either side)
- Fox / Reindeer: 1.5″ from the bottom, centered

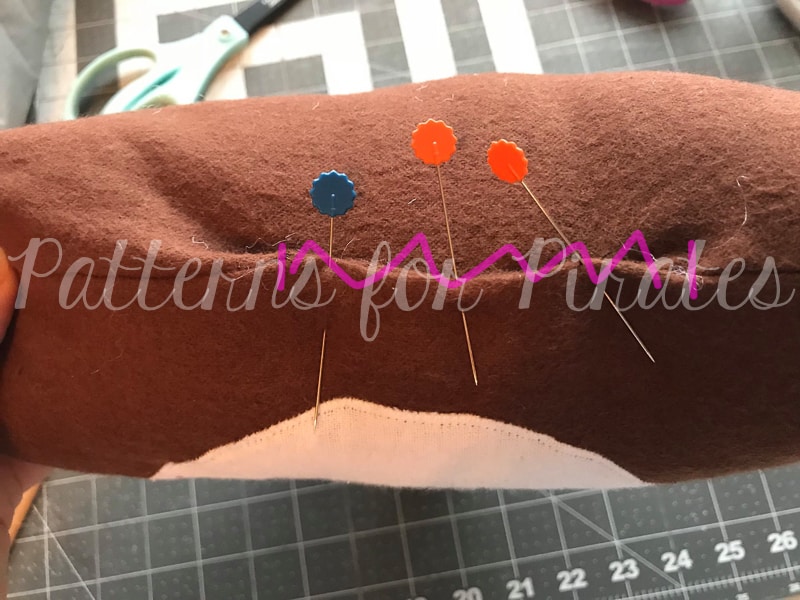
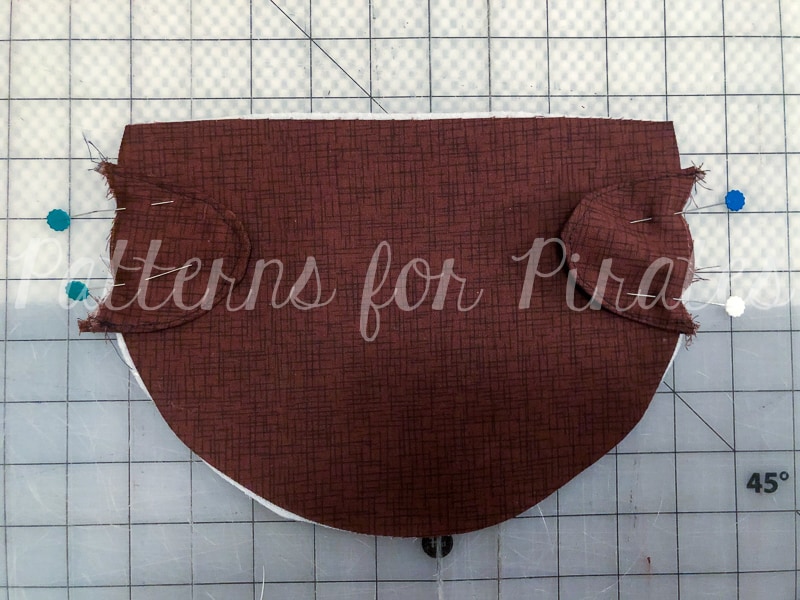
REINDEER ONLY:
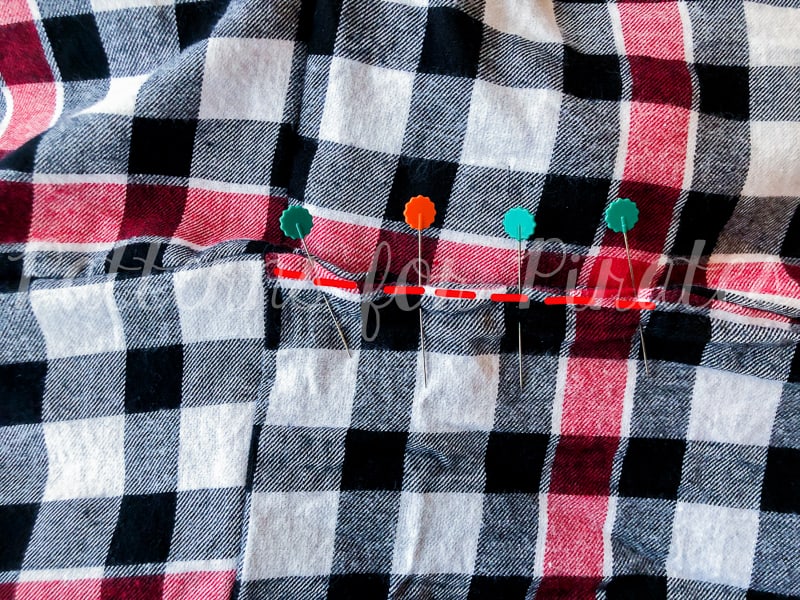
1″ from the top edge, pin and baste ears in place using 1/8″ seam allowance.
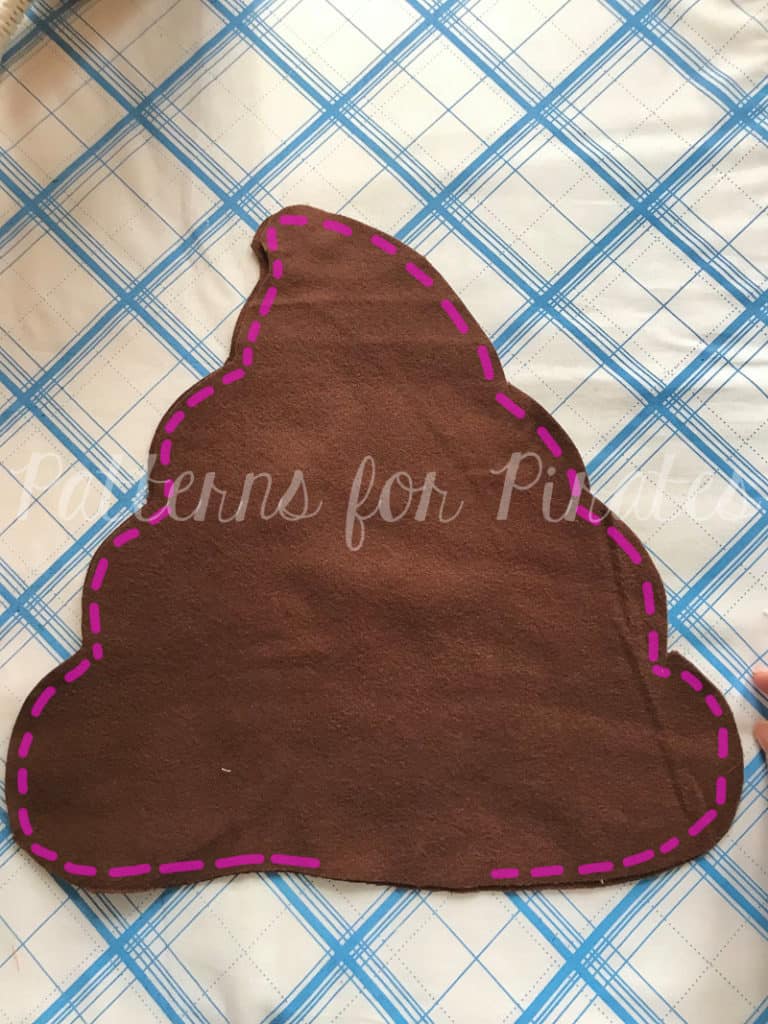
Back Main Assembly:
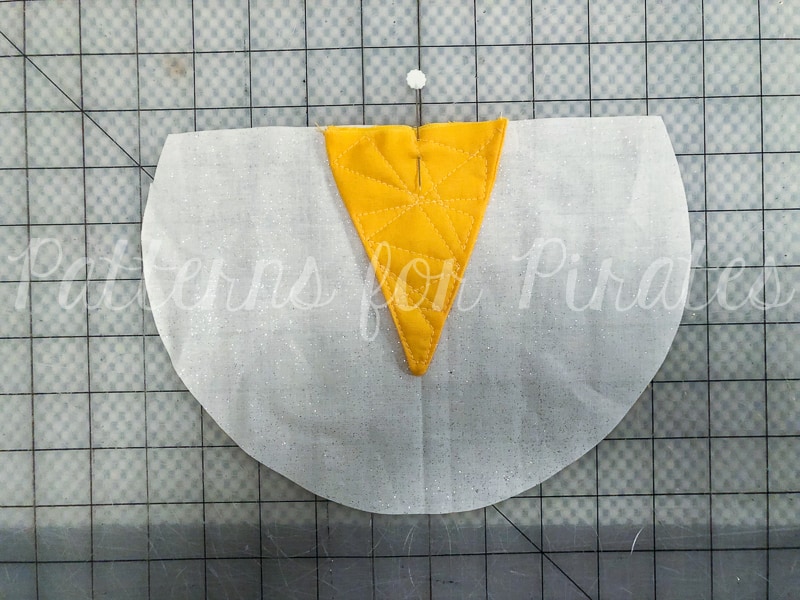
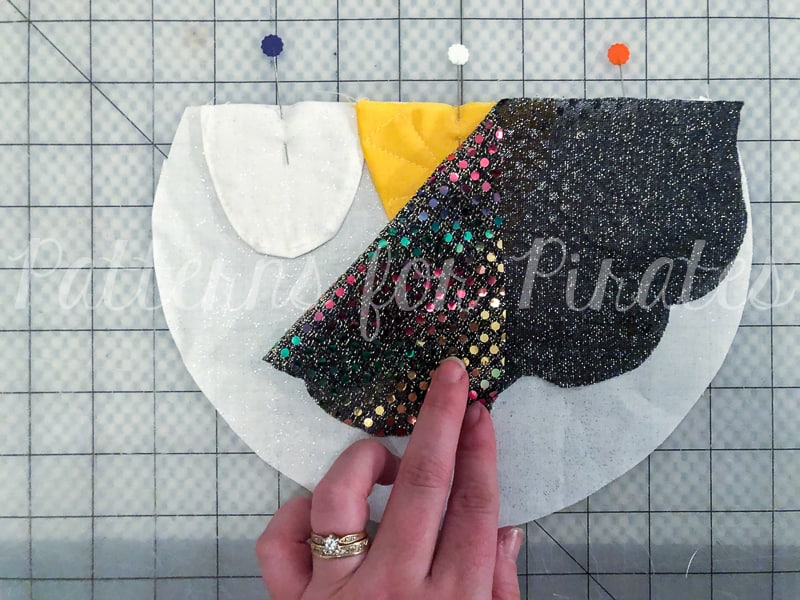
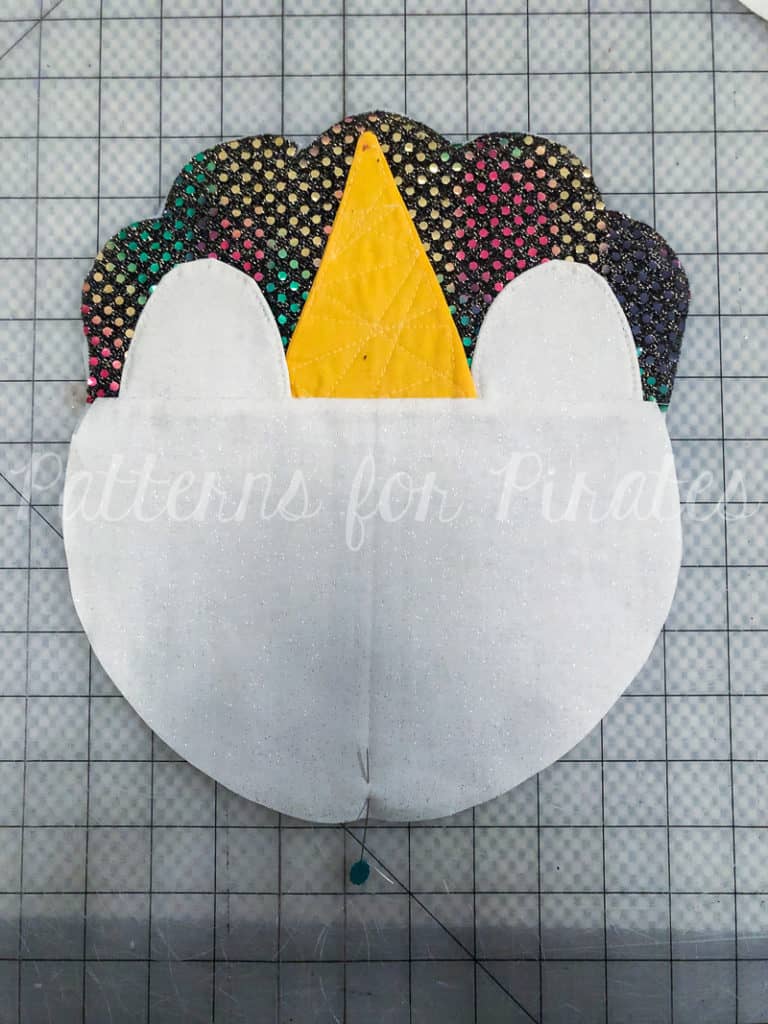
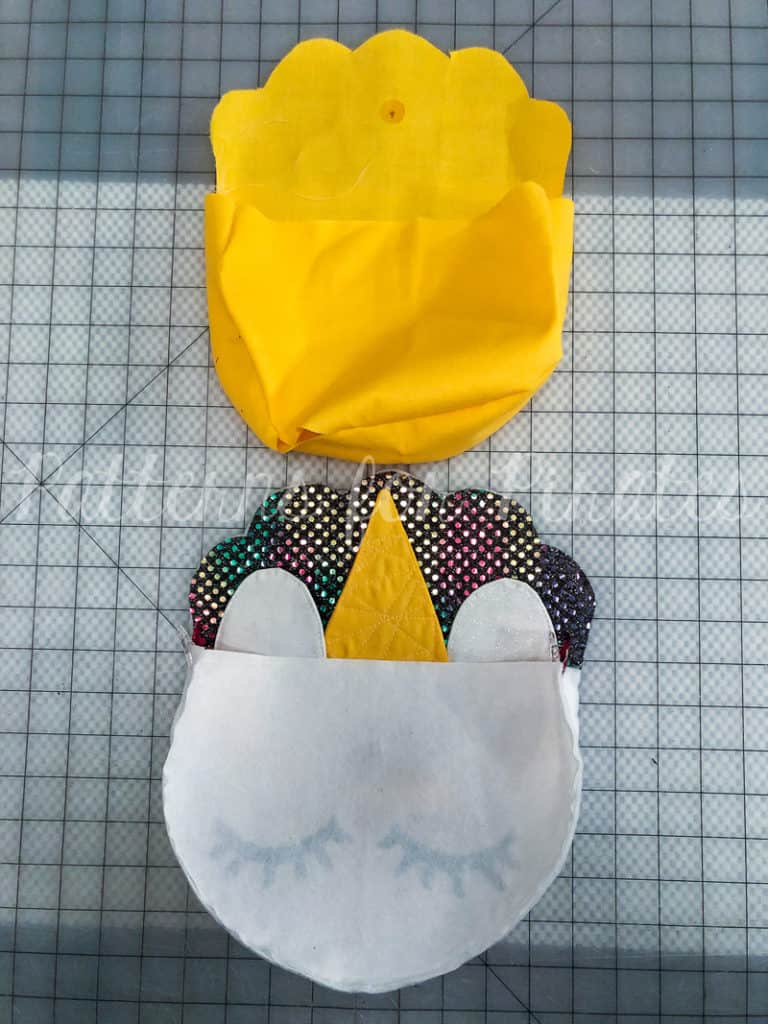
UNICORN ONLY: Take back main piece and mark the center along the top, straight edge. Mark center of horn piece.

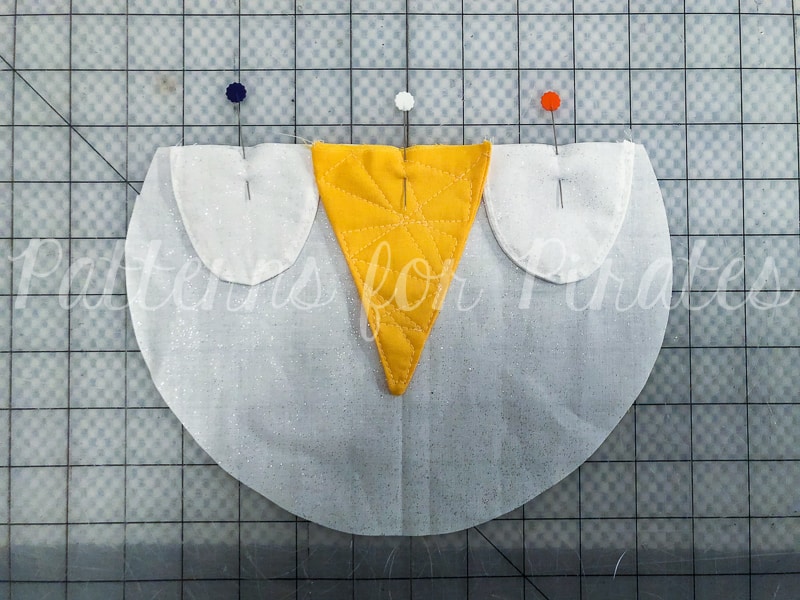
Right sides together, align and pin/clip horn in place.
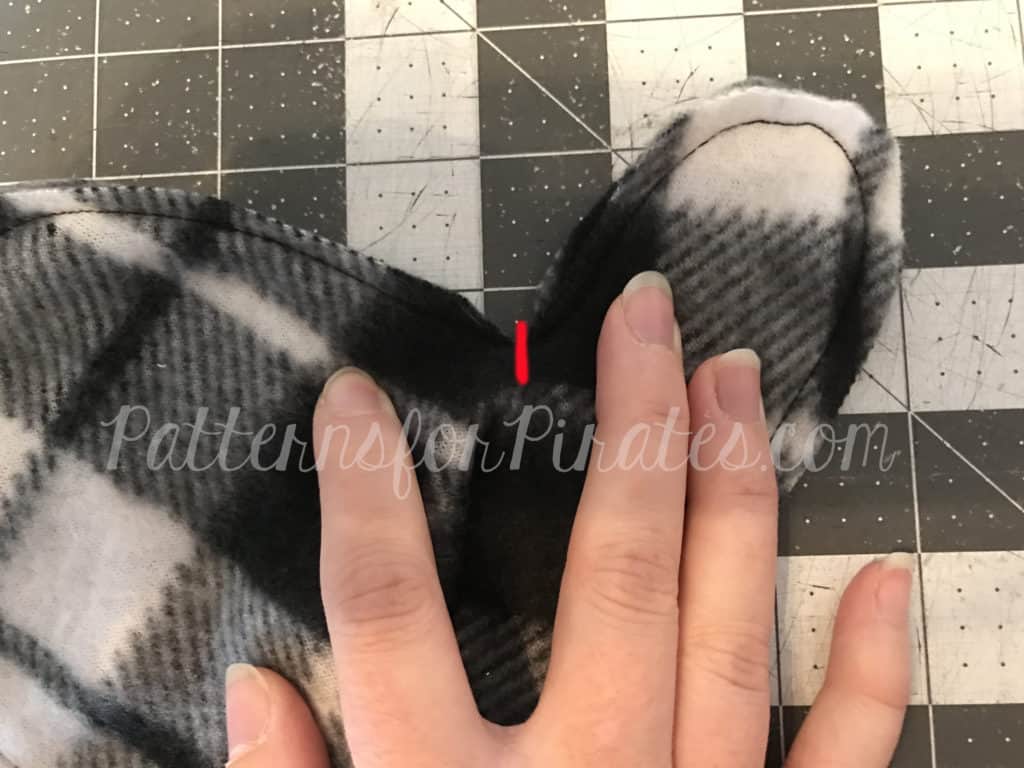
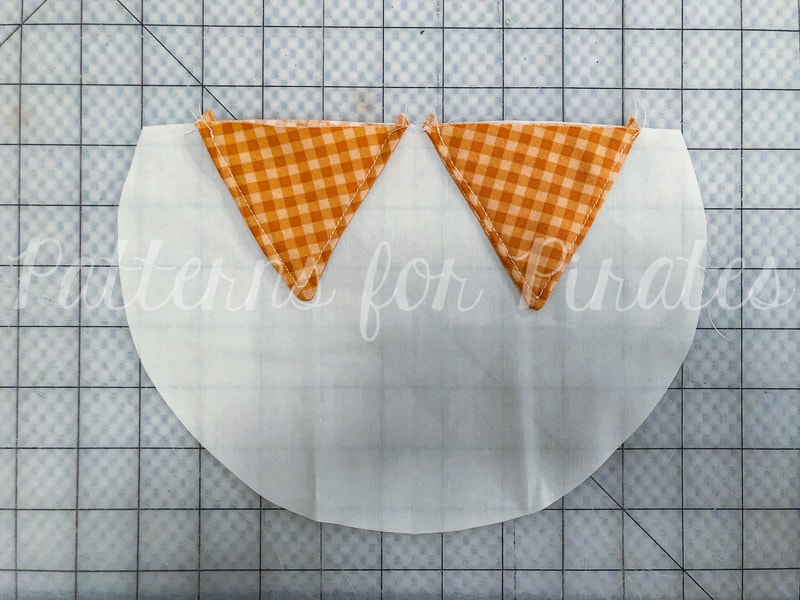
Place ears on either side of horn. **Be sure not to go outside of your seam allowance on the outer edges, or you’ll have trouble turning your bag because the ears will be stuck in the outer edges.
FOX and REINDEER ONLY:
Right sides together, place ears and antlers (not pictured) 1″ from the outer edge.
ALL ANIMAL BAGS:
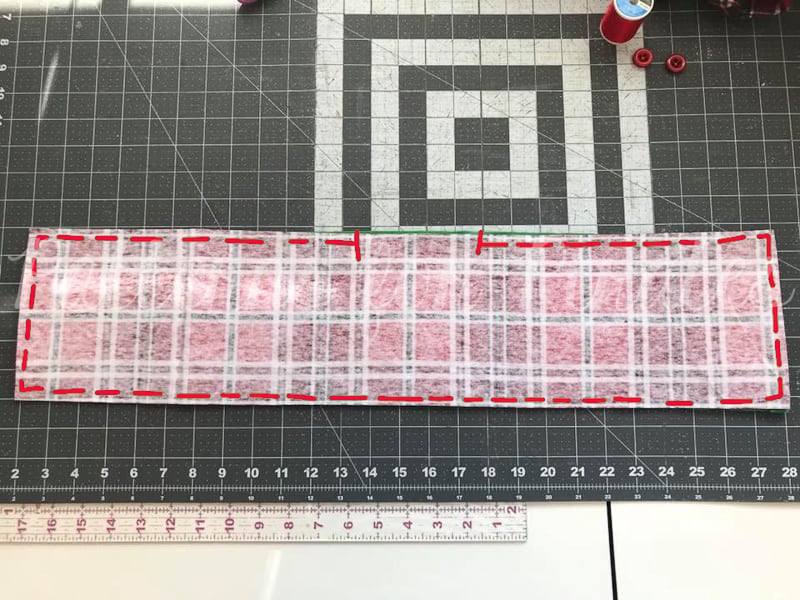
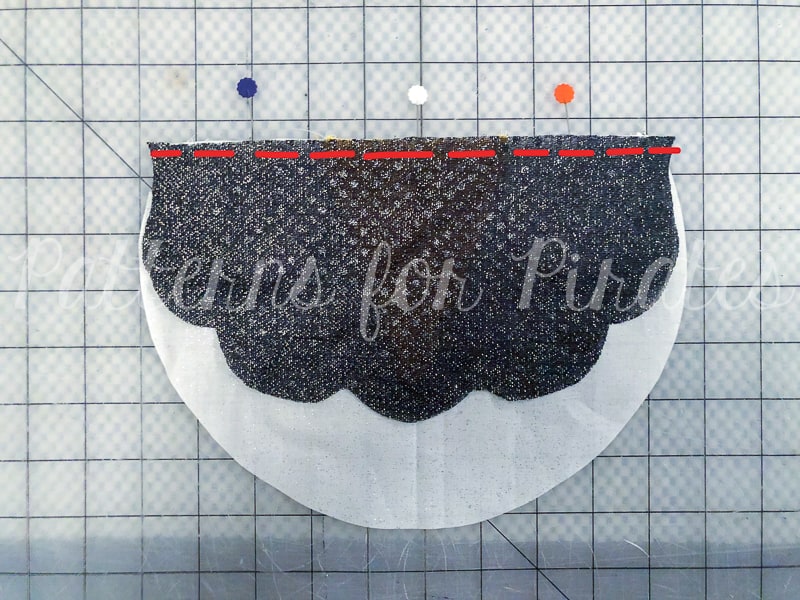
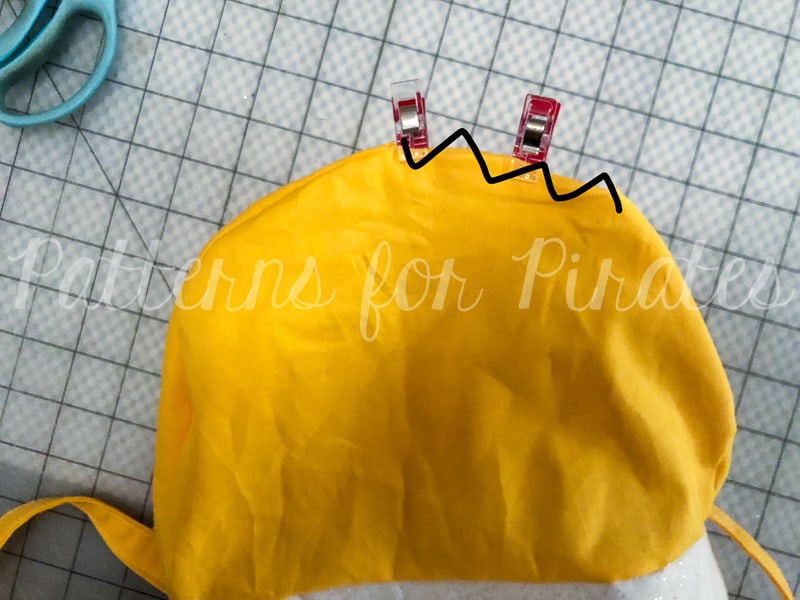
Place top piece, right sides together. Stitch with 1/4″ seam allowance.
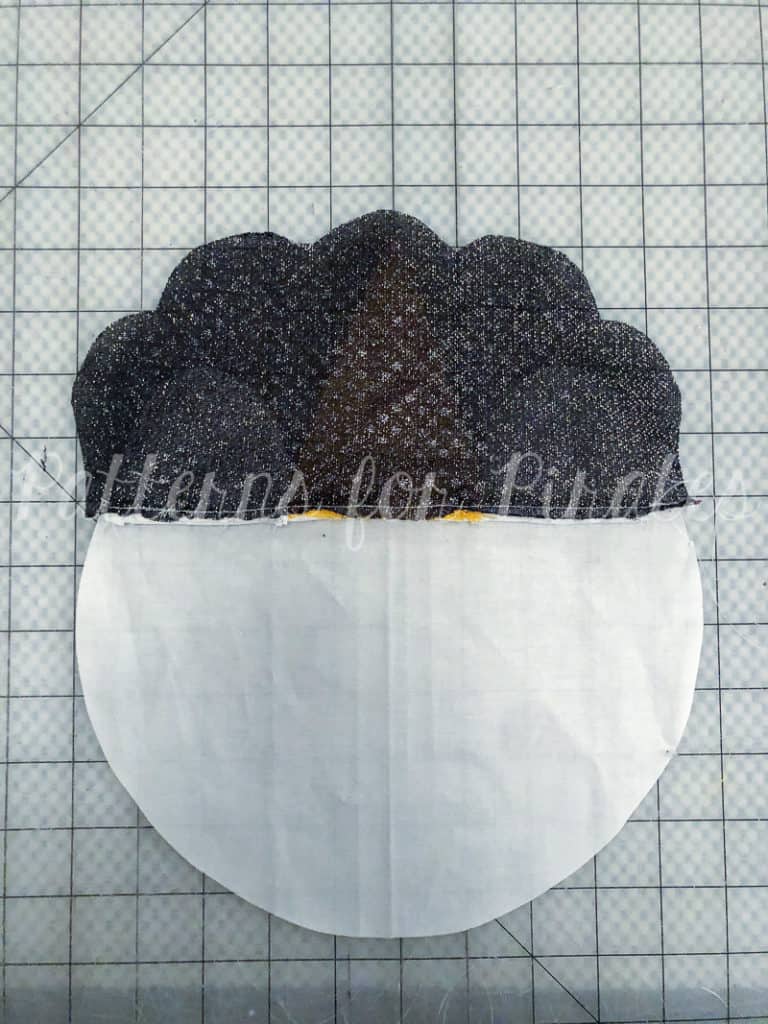
Press open, with horn, antlers and/or ears pressed toward top and seam allowance pressed down.
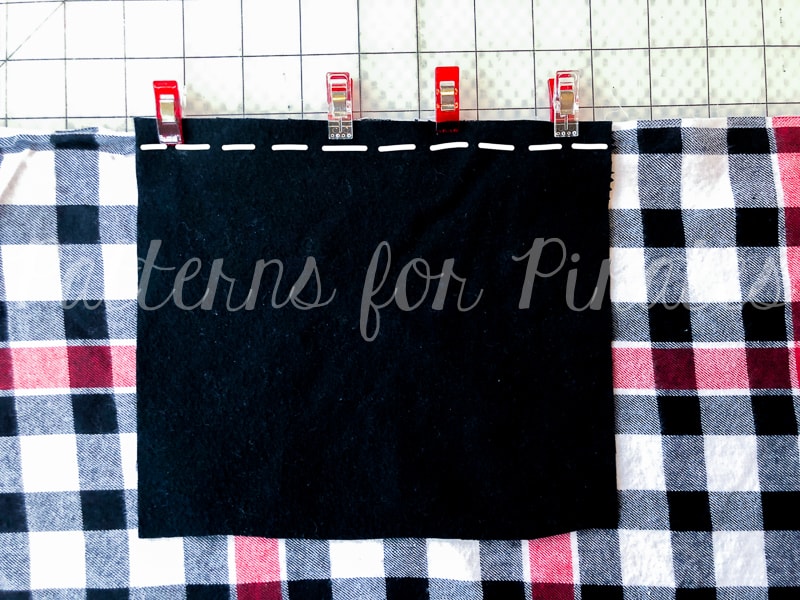
Follow the manufacturer directions and iron your fusible interfacing onto the back side of the back main piece.
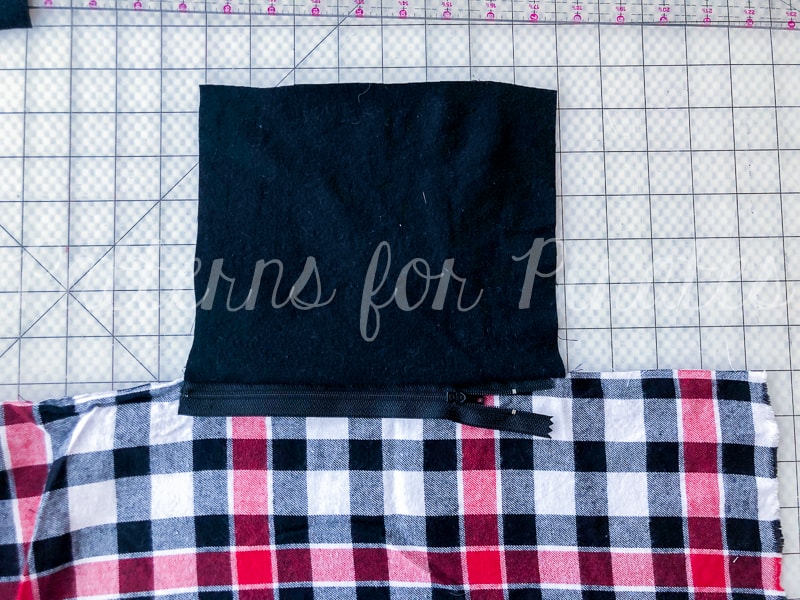
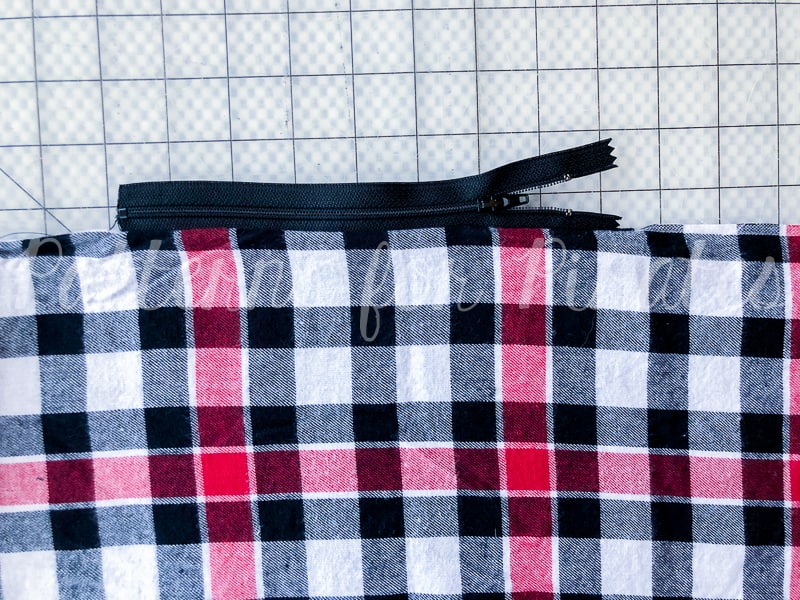
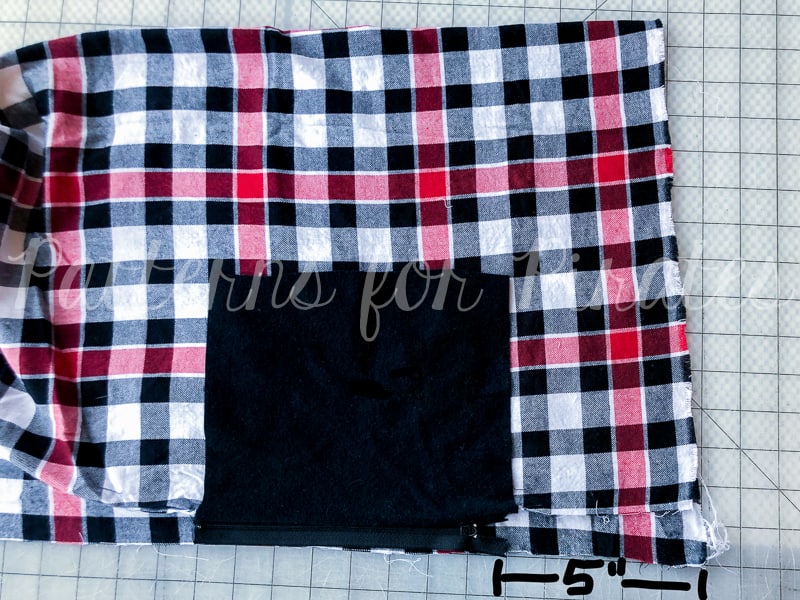
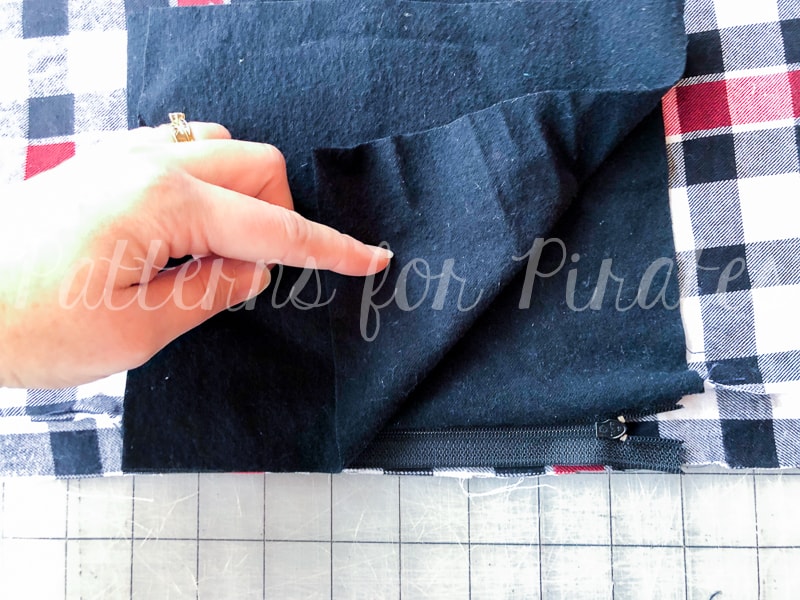
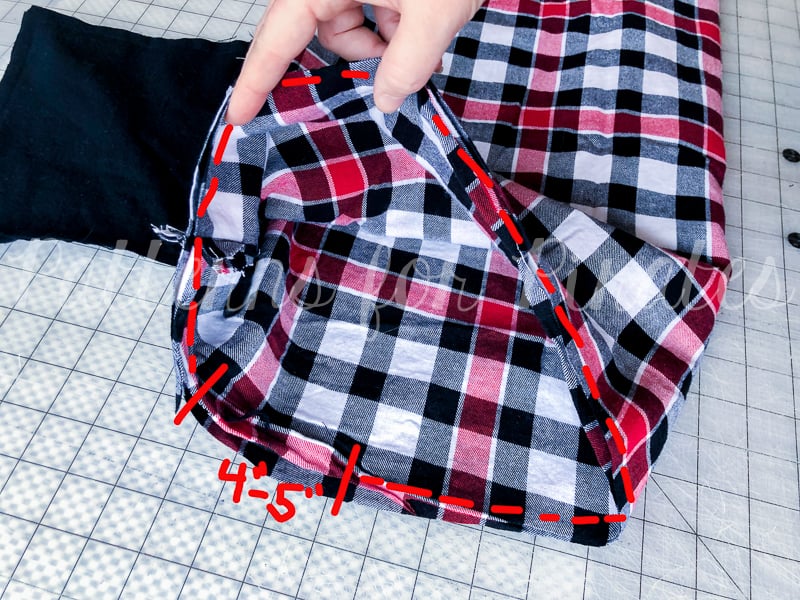
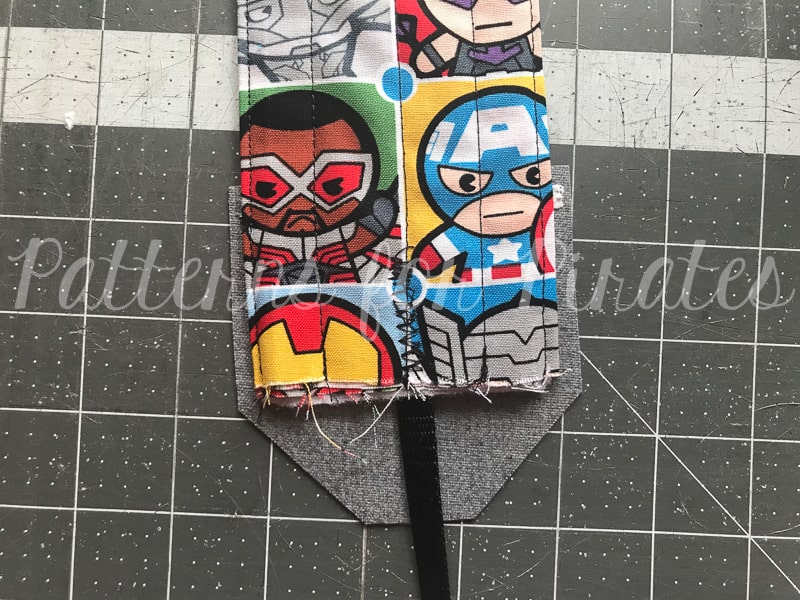
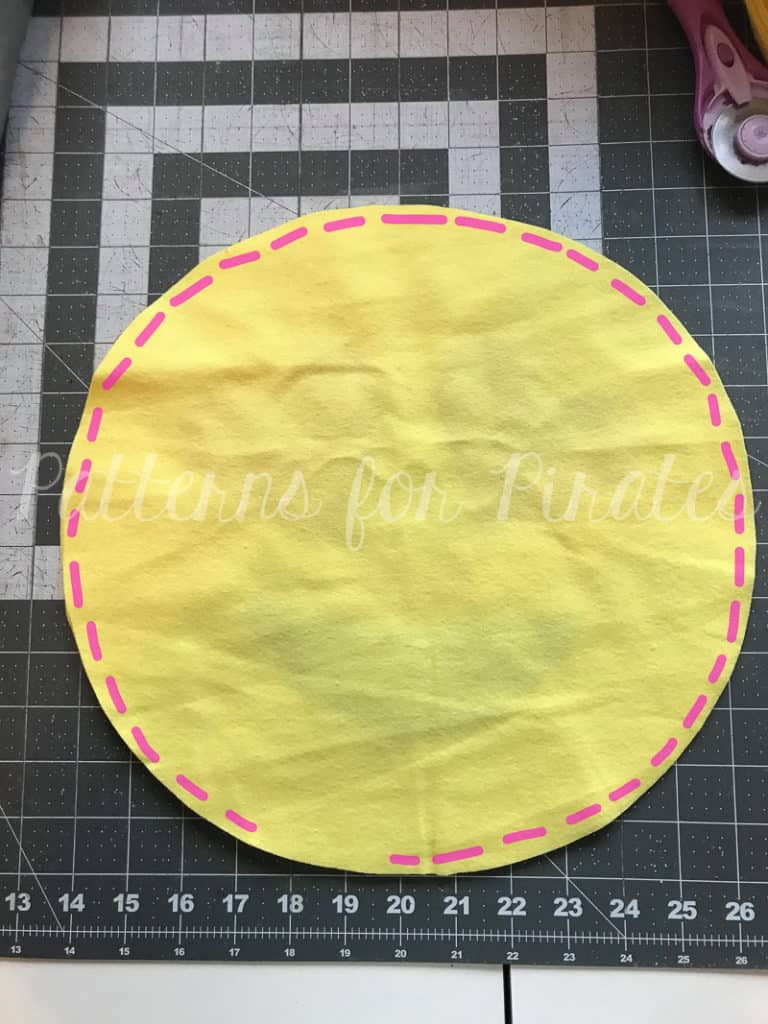
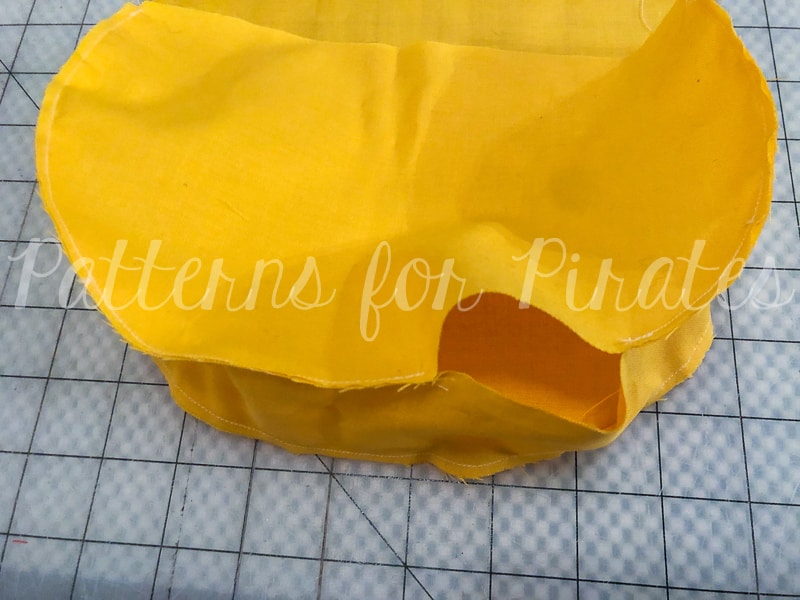
Attaching the Gusset:
Mark middle bottom of back piece and middle of both long edges of outer gusset piece.
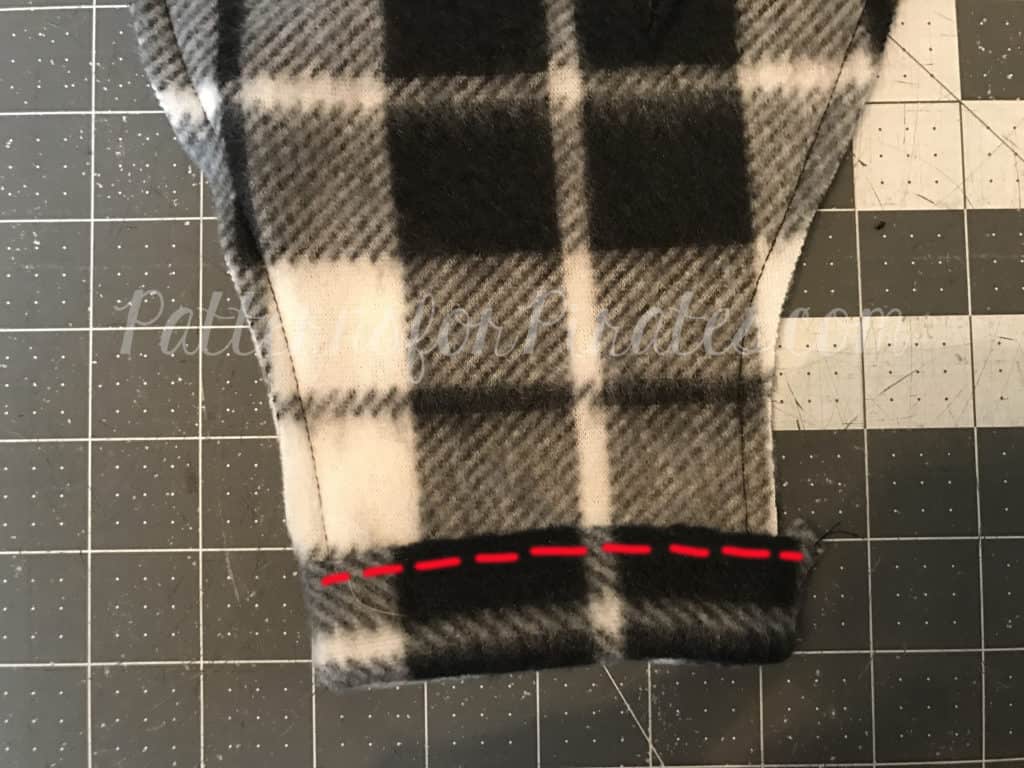
Right sides together, ease gusset around bottom edge of back piece. Sew using 1/4″ seam allowance.
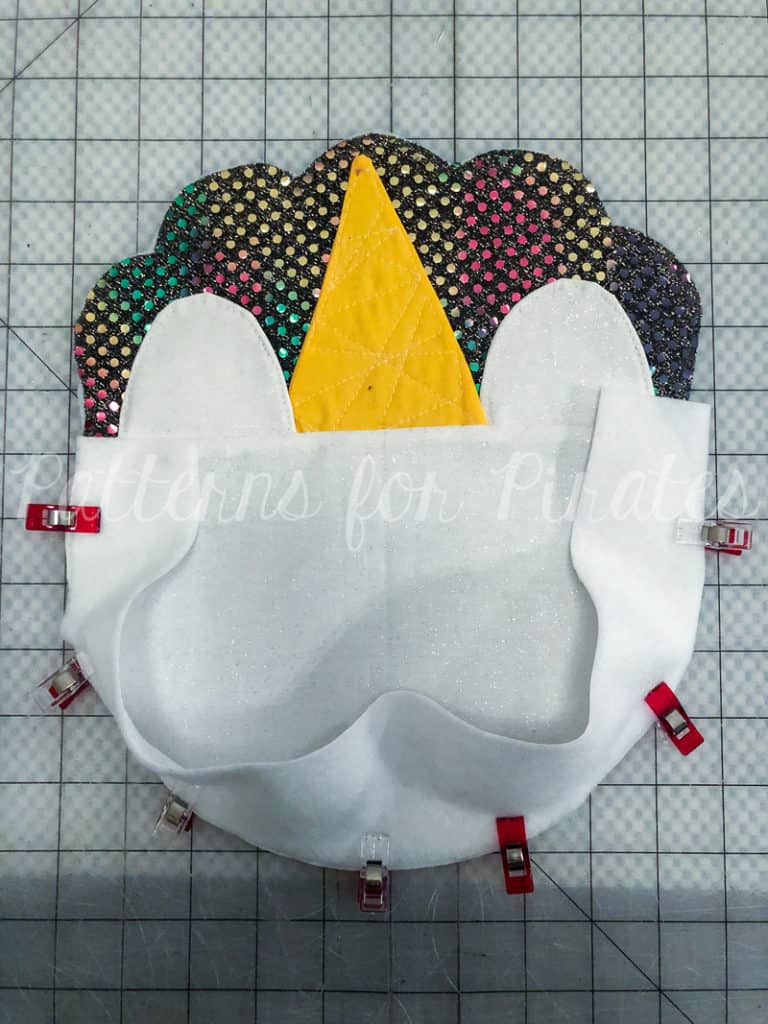
Repeat for front main piece, attaching right sides together to other edge of gusset.
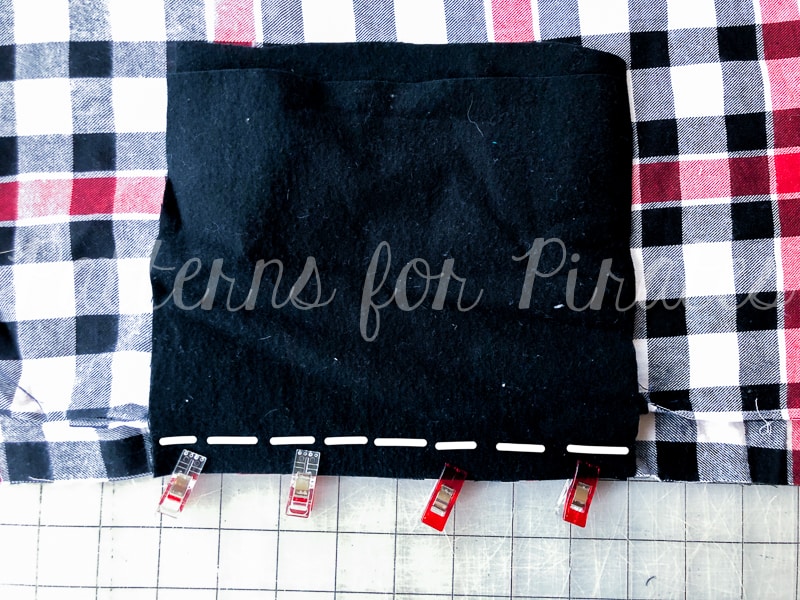
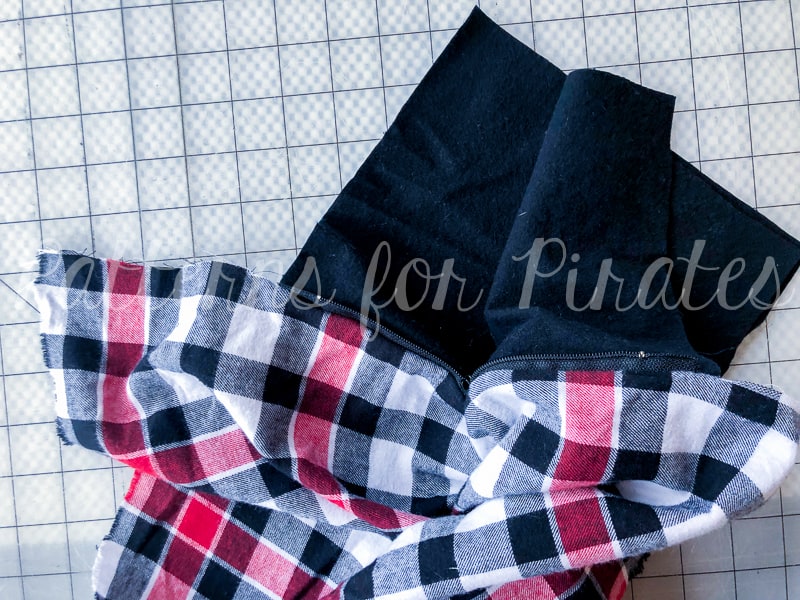
Repeat for lining pieces. Only this time, leave 4-5″ gap in one of the lining curves, to allow for turning.

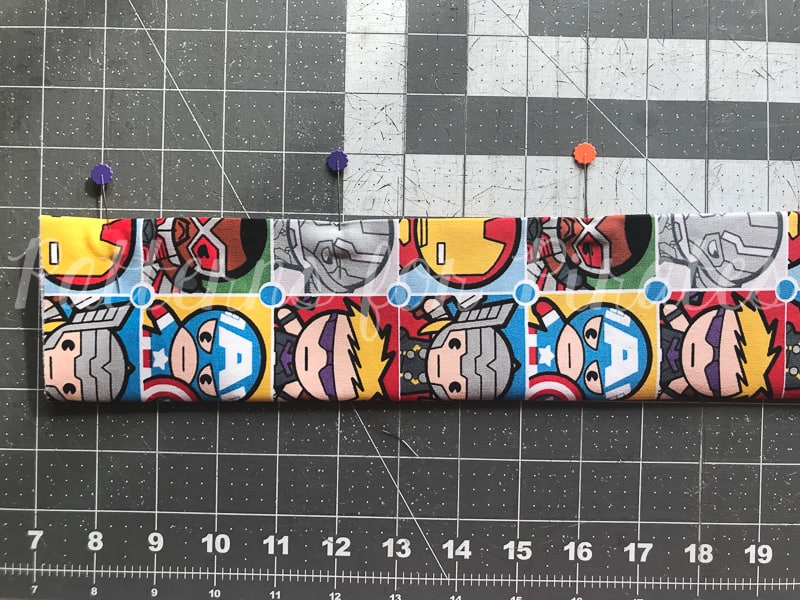
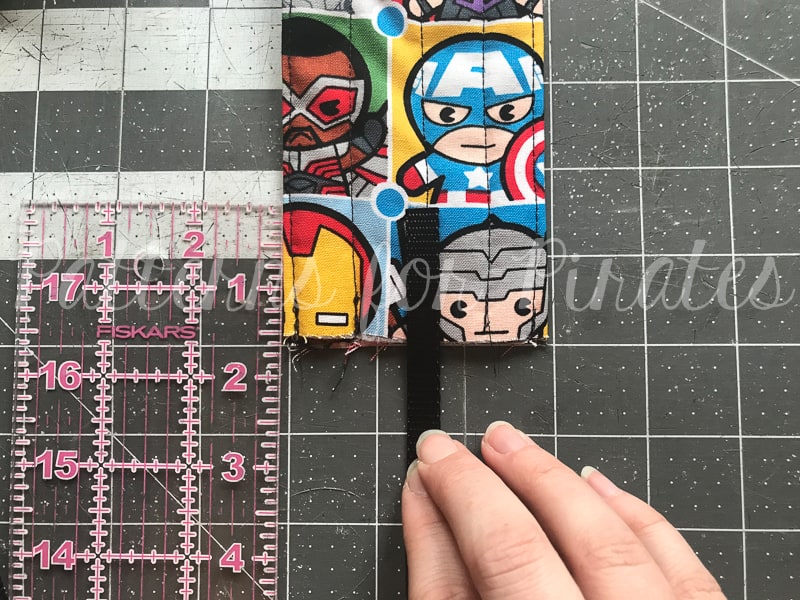
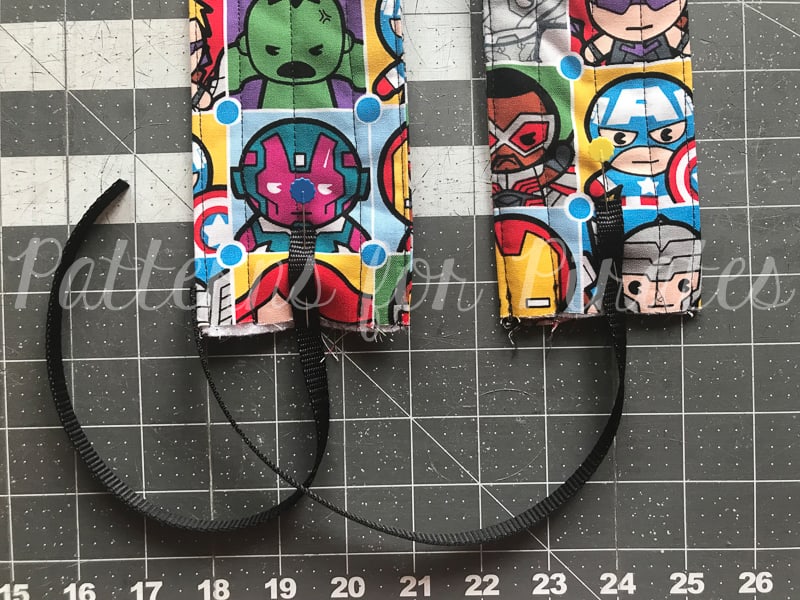
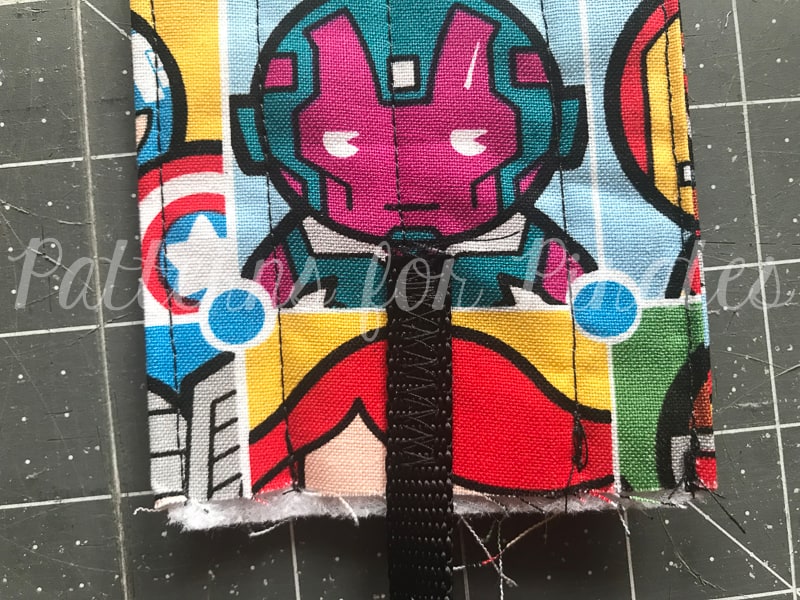
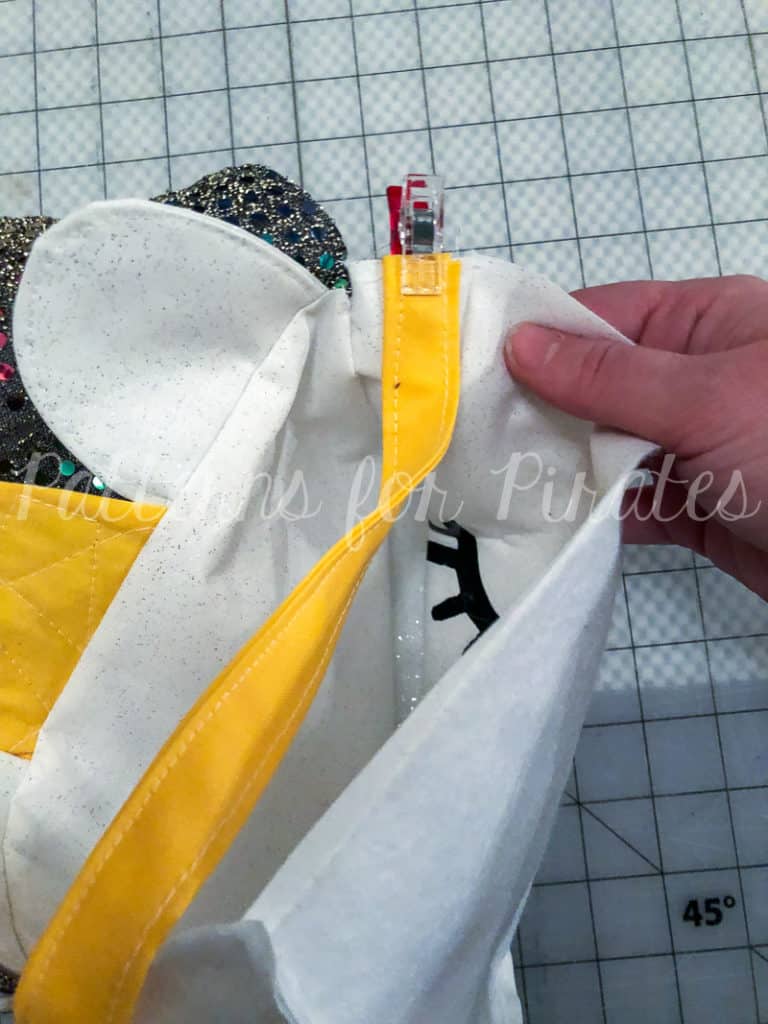
Using 1/4″ allowance, baste straps, centered, on side gusset pieces.
Final Assembly:
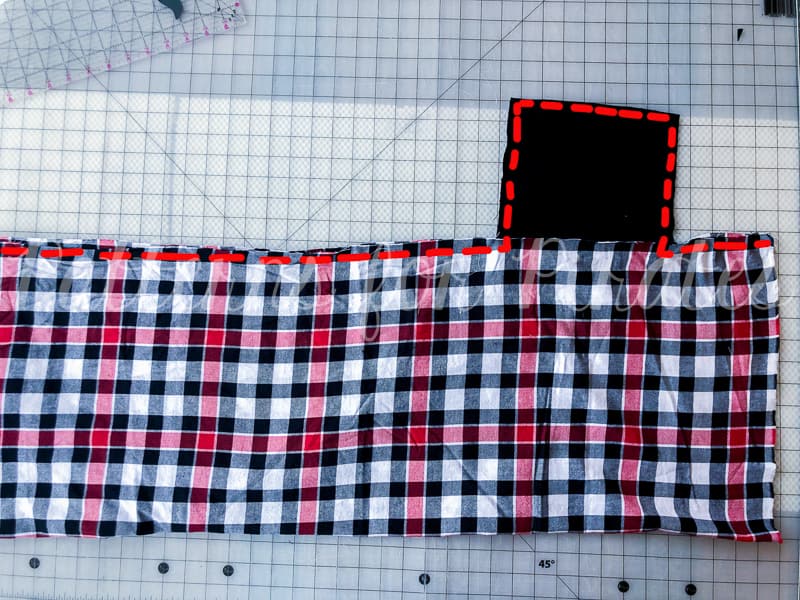
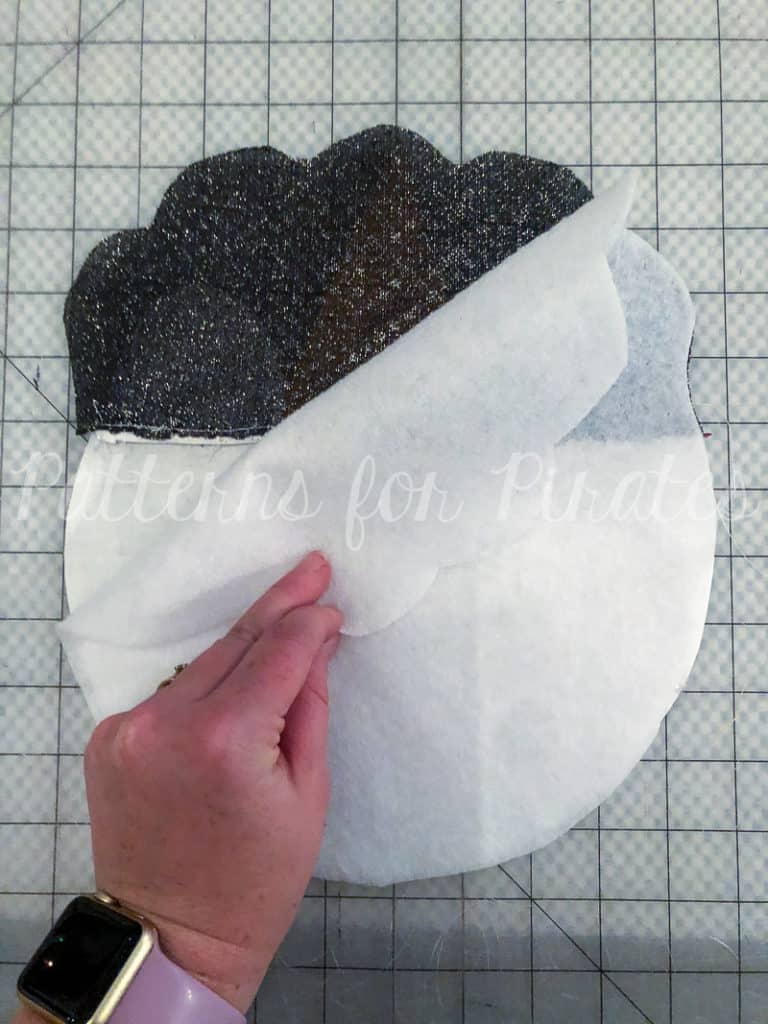
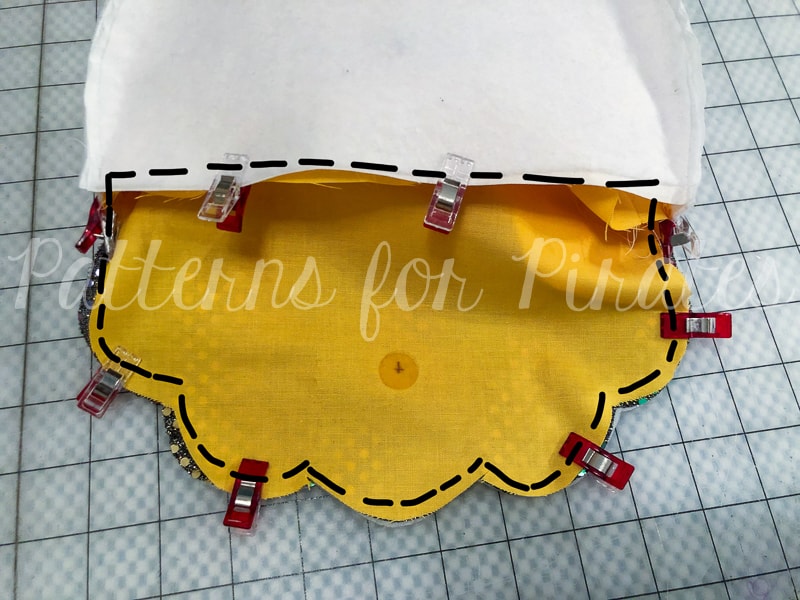
With the lining piece right sides out and the main, outer bag piece wrong sides out, slide the lining inside and align entire top edge.
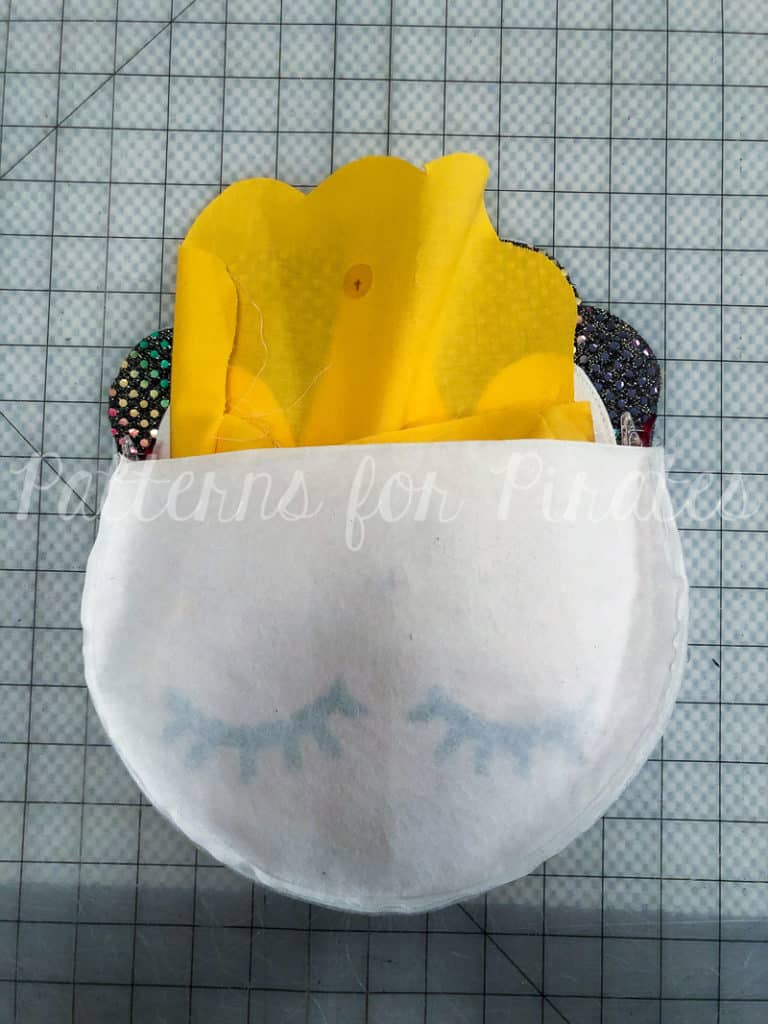
Sew with 1/4″ seam allowance. Clip all edges and curves for cleaner turning.
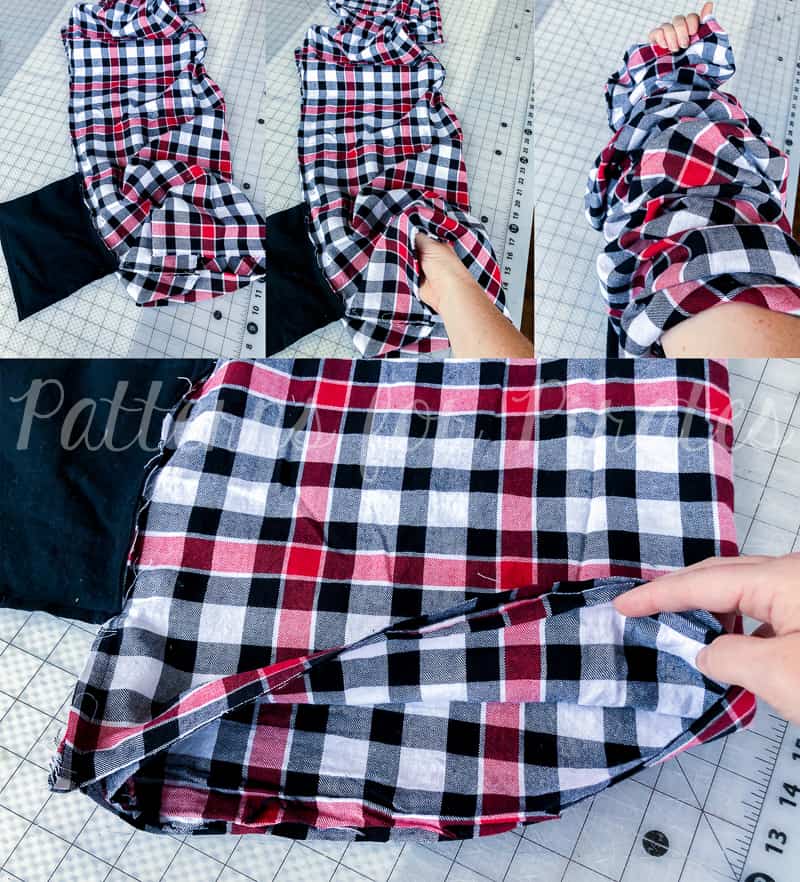
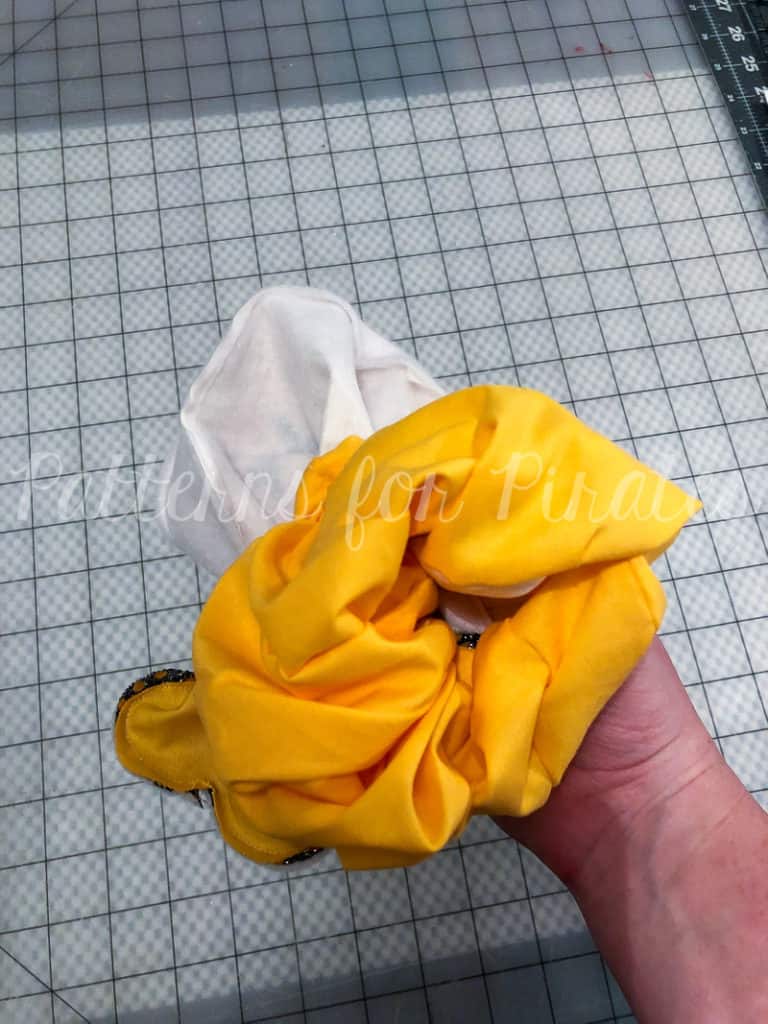
Locate the opening you’d left in the lining.
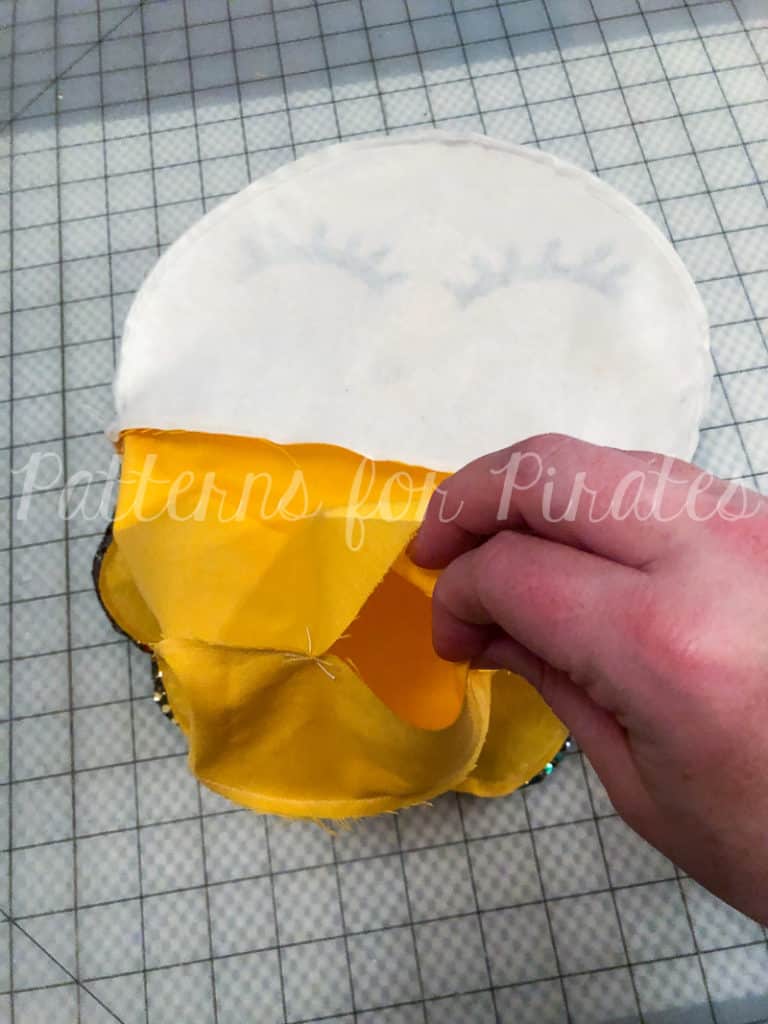
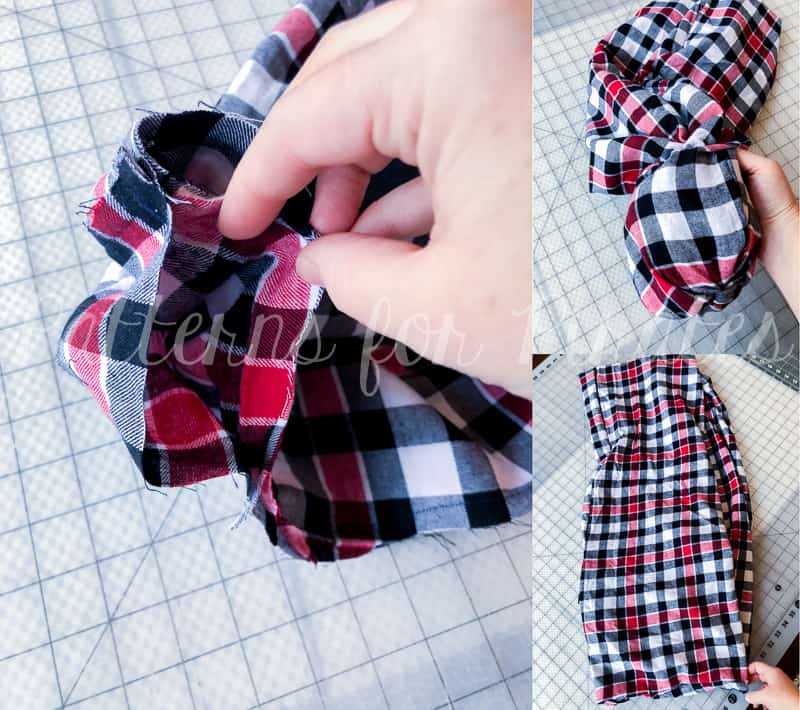
Turn bag right-side-out through opening.
Pin and sew the opening in the lining closed, using your favorite blind or ladder stitch.
Press bag. Topstitch around top edge if desired.
Reindeer Nose:
Align the nose at the very bottom of the front flap piece. Top stitch the entire circle, catching the flap in your stitches and affixing the nose to the flap piece.

YOU’RE FINISHED! DO A HAPPY DANCE!
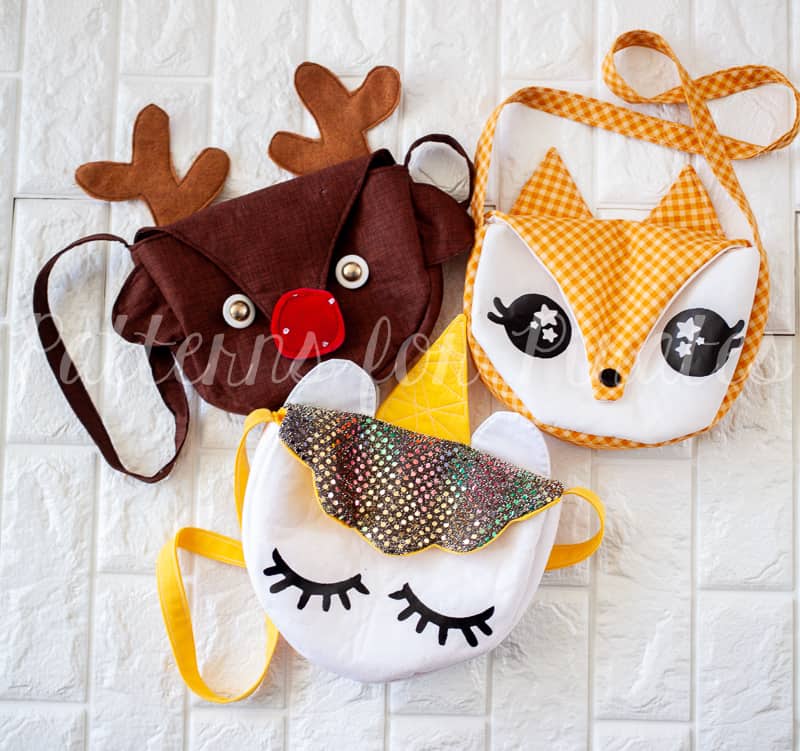
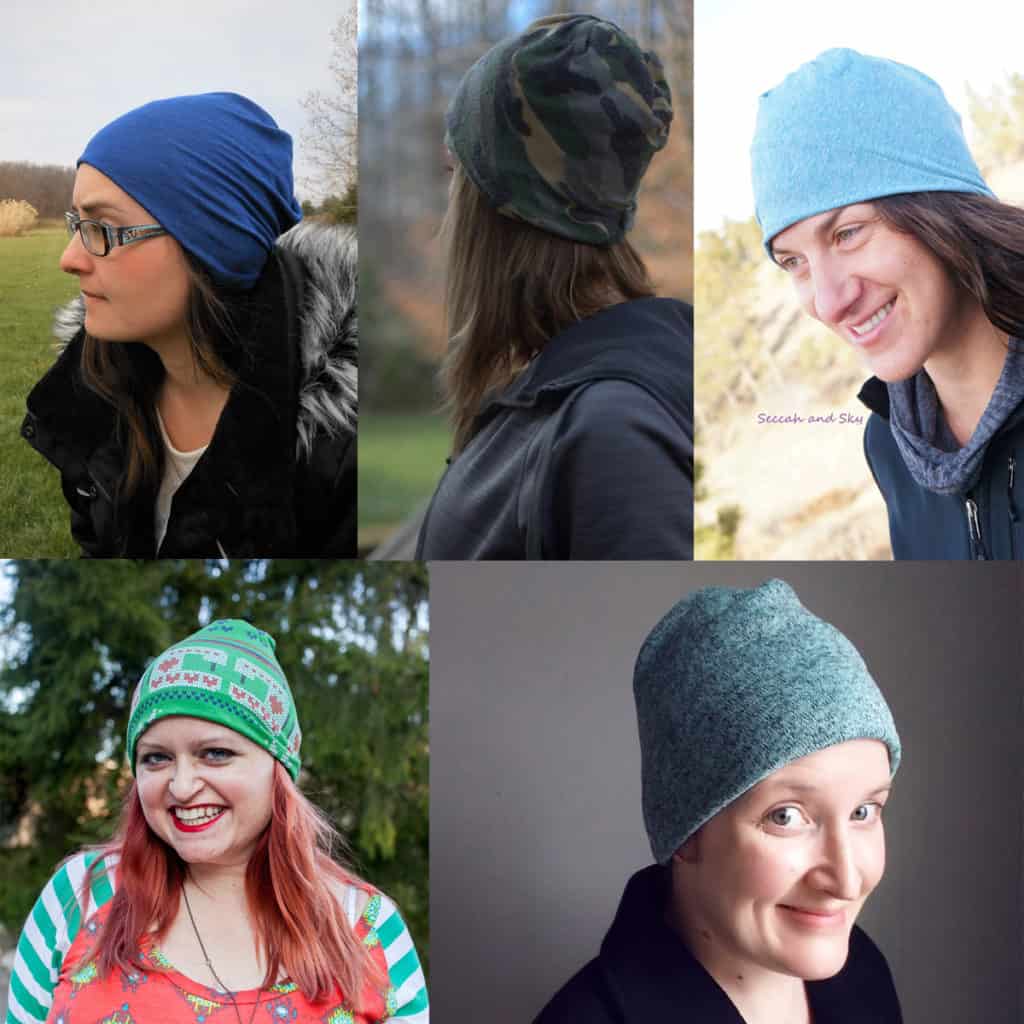
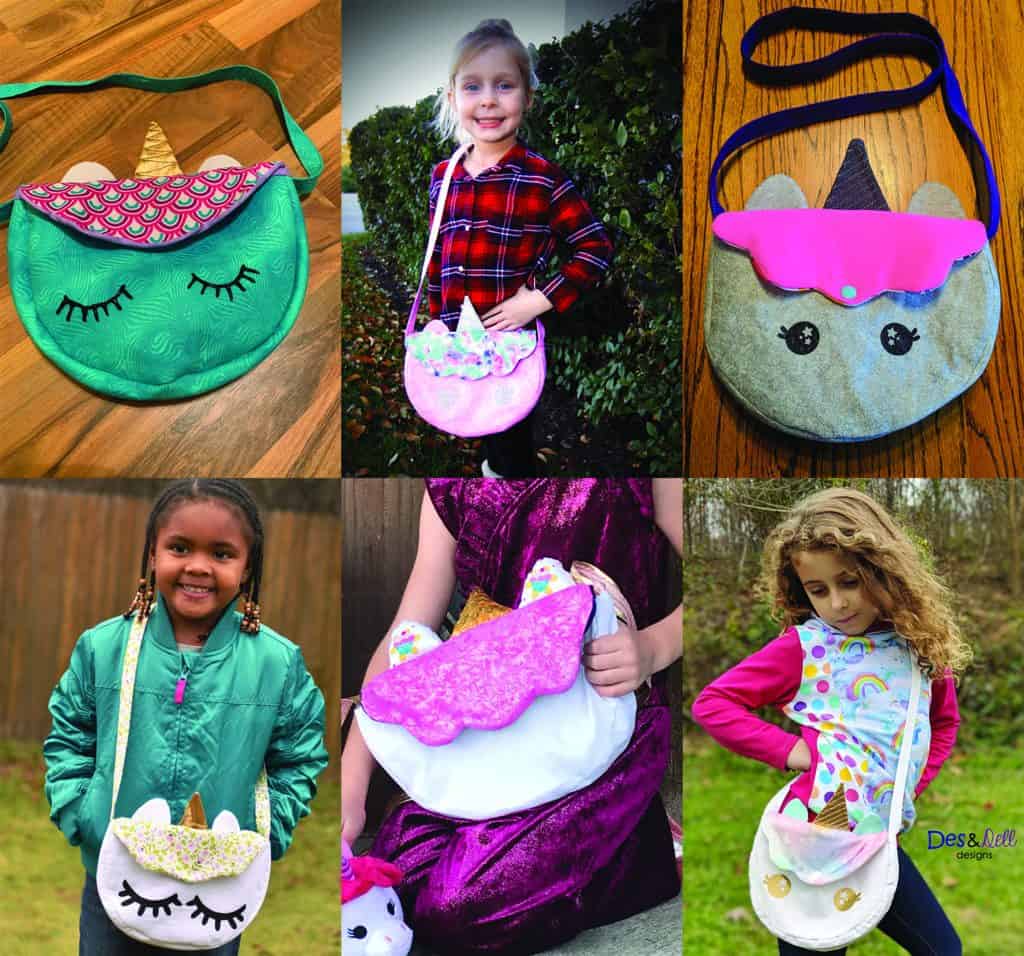
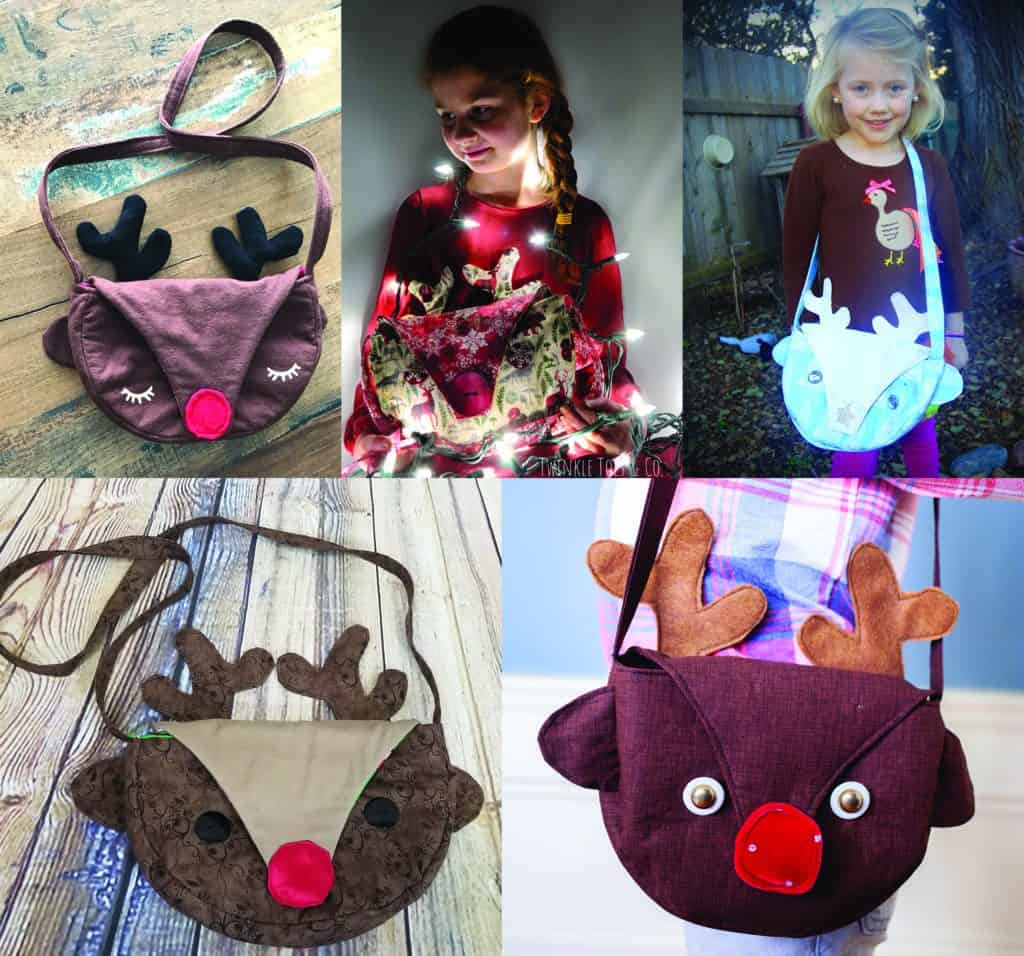
In case you needed it, here is some inspiration for the different designs sewn up by our amazing testers!
UNICORN:
REINDEER
![]()
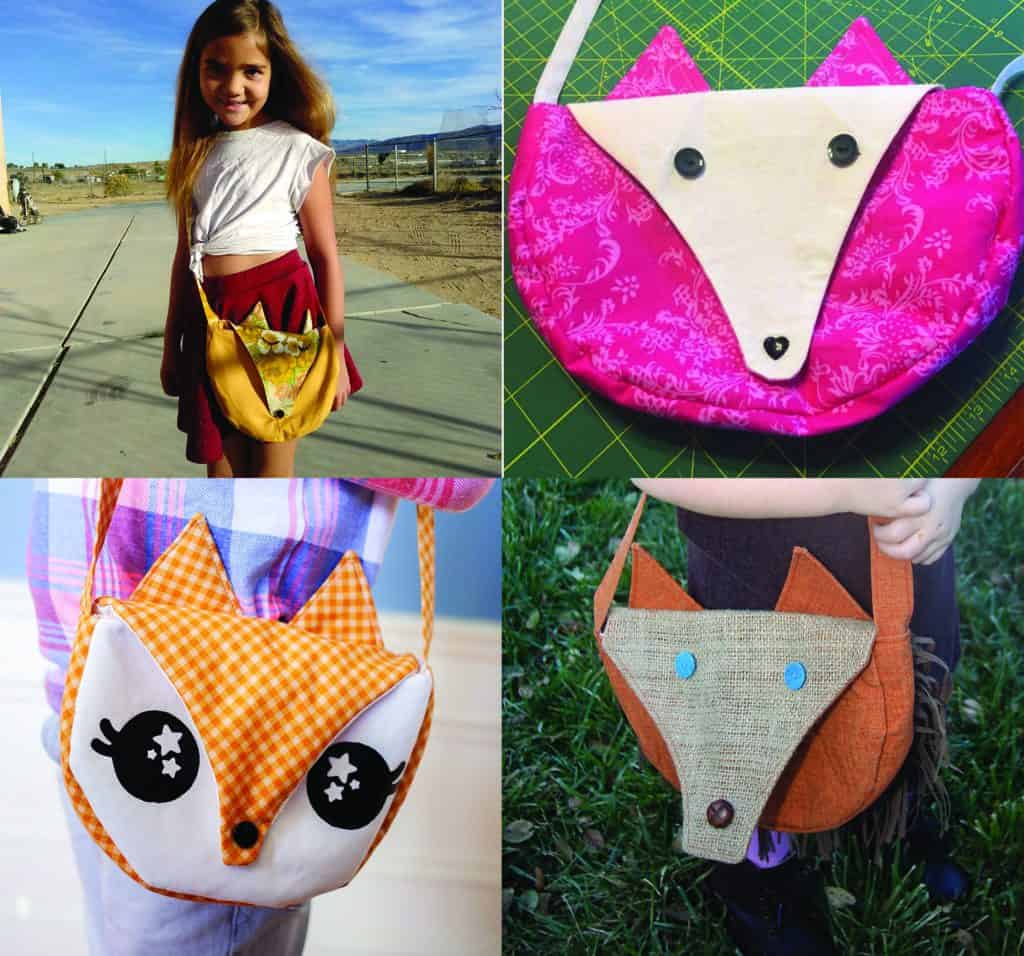
FOX
PLAIN

I hope you love these little cuties as much as I do. Don’t forget to share your finished projects in the Patterns for Pirates Facebook Group! Happy Holidays, friends!