Patterns for Pirates

P4P stylish, modern, wearable patterns

  • Home
  • Blog
    • Frequently Asked Questions
    • Pattern Releases
      • Free Patterns
    • P4P University
      • Fitting
      • Sewing with Stretch, Knit Fabrics
      • Sewing with Woven Fabrics
      • Sewing Machines
    • Sew-A-Longs
    • Fabric for Pirates
    • Pattern Hacks
    • Announcement
      • Blog Tours
      • Contest/Giveaway
  • Shop
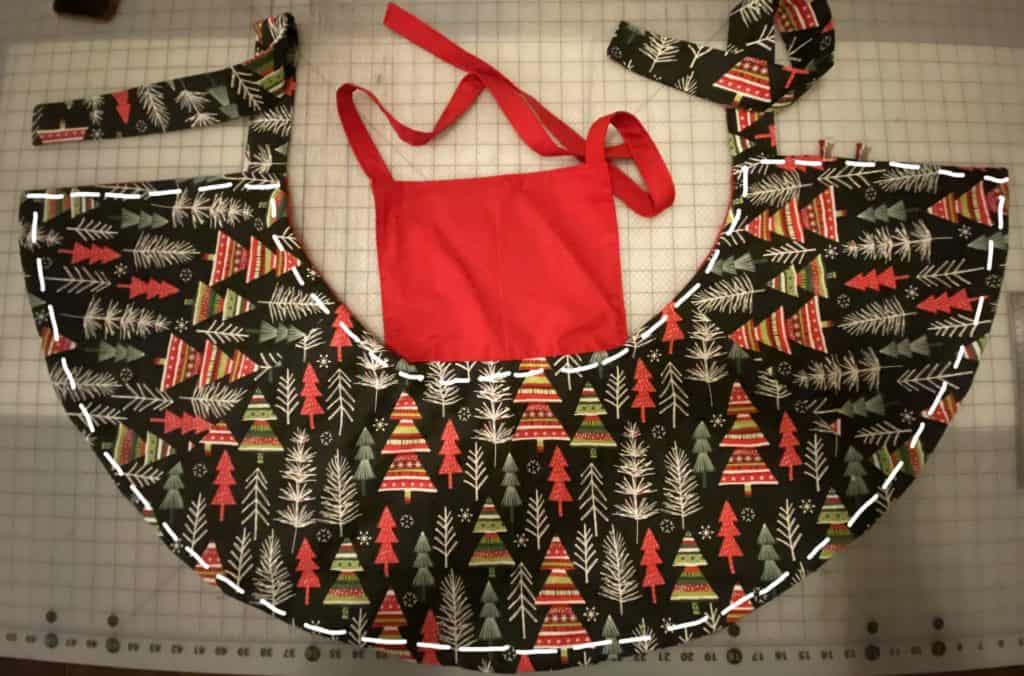
  • Bundle Discounts
  • Flash Friday
  • Gift Cards
  • My Account
  • Cart

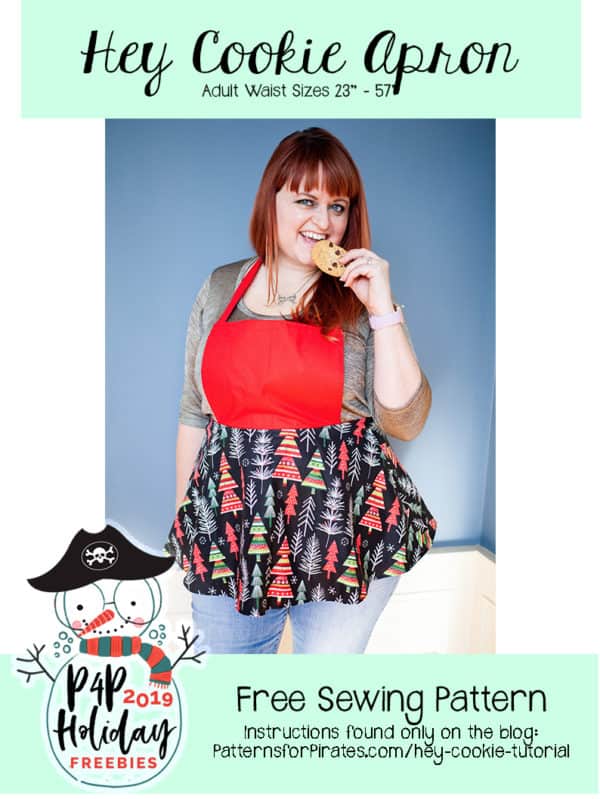
2019 Holiday Freebies :: Hey Cookie Apron

November 30, 2019

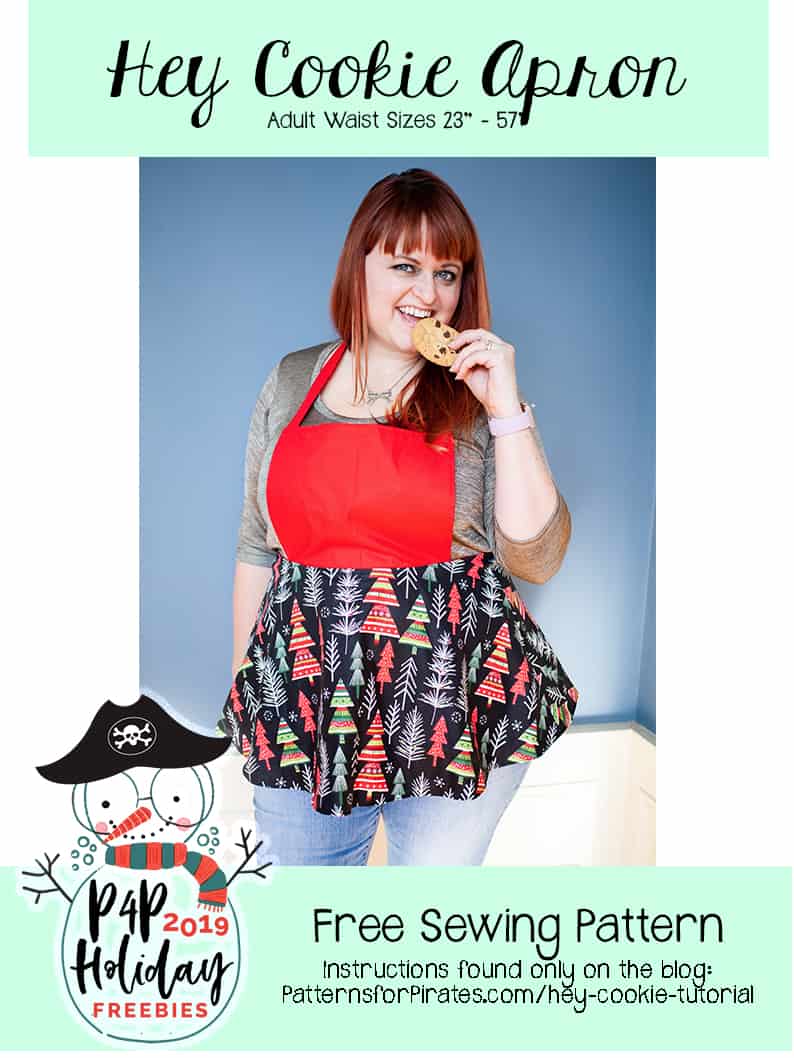
Happy December, Pirates!! I am beyond thrilled to be back again for another round of holiday freebies!  We’ve got five days worth of free sewing patterns for you…starting right now!

I have been wanting a cute circle skirt style apron for so long now, and I thought it would be the perfect time to make it happen.  Let’s kick off this incredibly fun week with our first pattern, the Hey Cookie Apron.

Hey Cookie is drafted for adults, with the waist sizes ranging from 23″ – 57″, in sizes Snickerdoodle, Chocolate Chip, Gingersnap, and Shortbread.

Grab your “HEY COOKIE APRON” pattern pieces here!

Check the size chart before sewing to know which cookie size you need to make!

Fabric Requirements (based upon 44″ quilting cottons):

  • Main Fabric: 1 3/8 yards
  • Lining/Accent Fabric: 1 7/8 yards
  • Iron-on lightweight interfacing recommended (I like Pellon PLF36 or Heat n Bond Thermoweb 3336, affiliate links) for keeping neck and waist ties crisp.  Some testers preferred it without, so it’s completely optional!

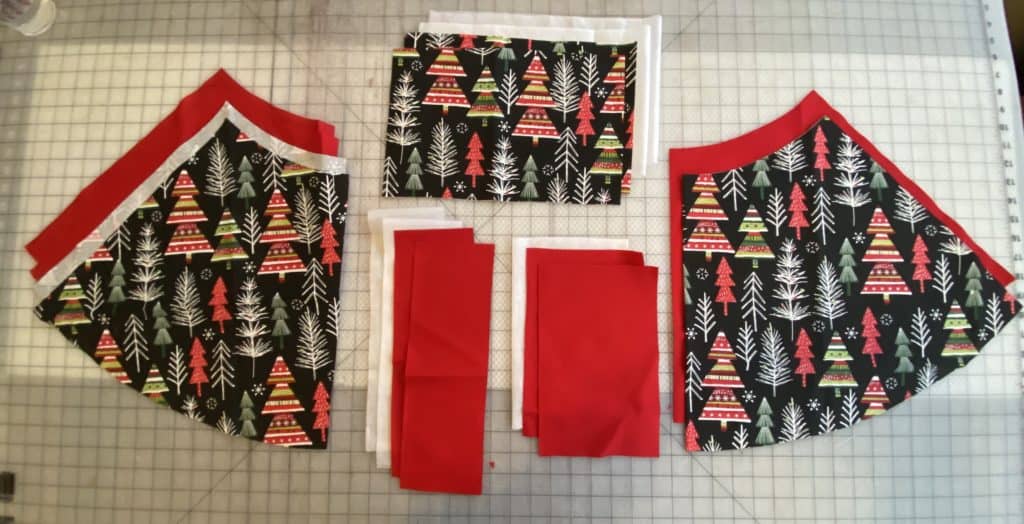
Prepare your pieces.  The seam allowance is 1/2″ throughout all of the steps.

1. If desired, iron your stabilizer onto appropriates pieces (2 neck straps, 2 waist straps, 1 bib)

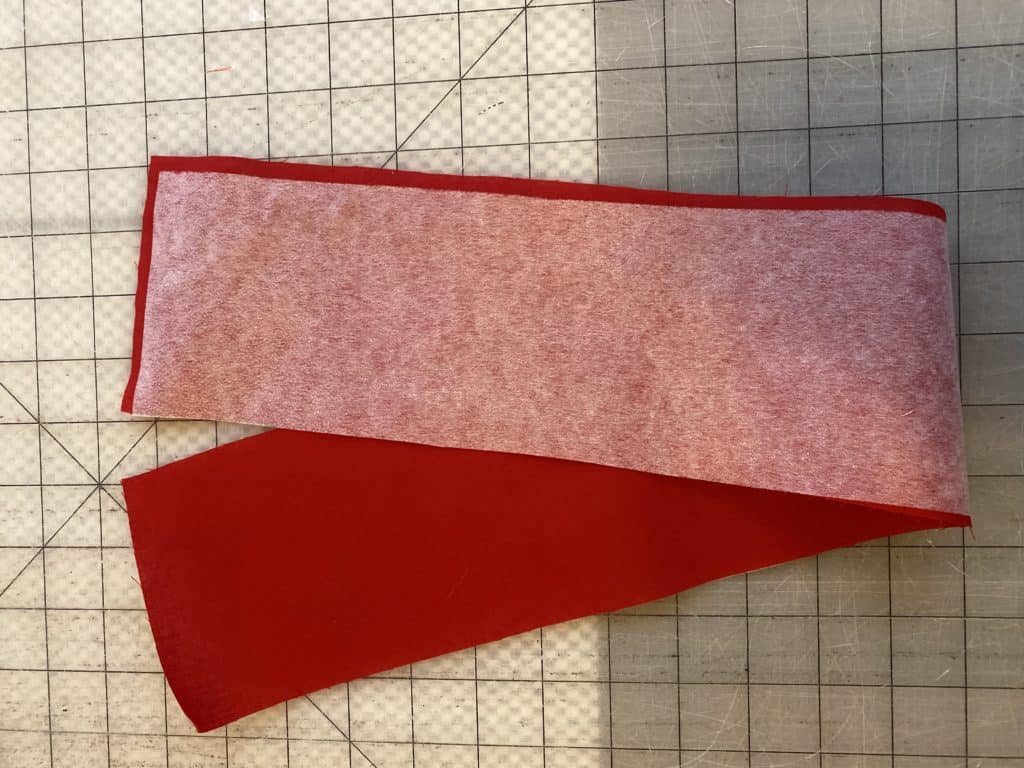
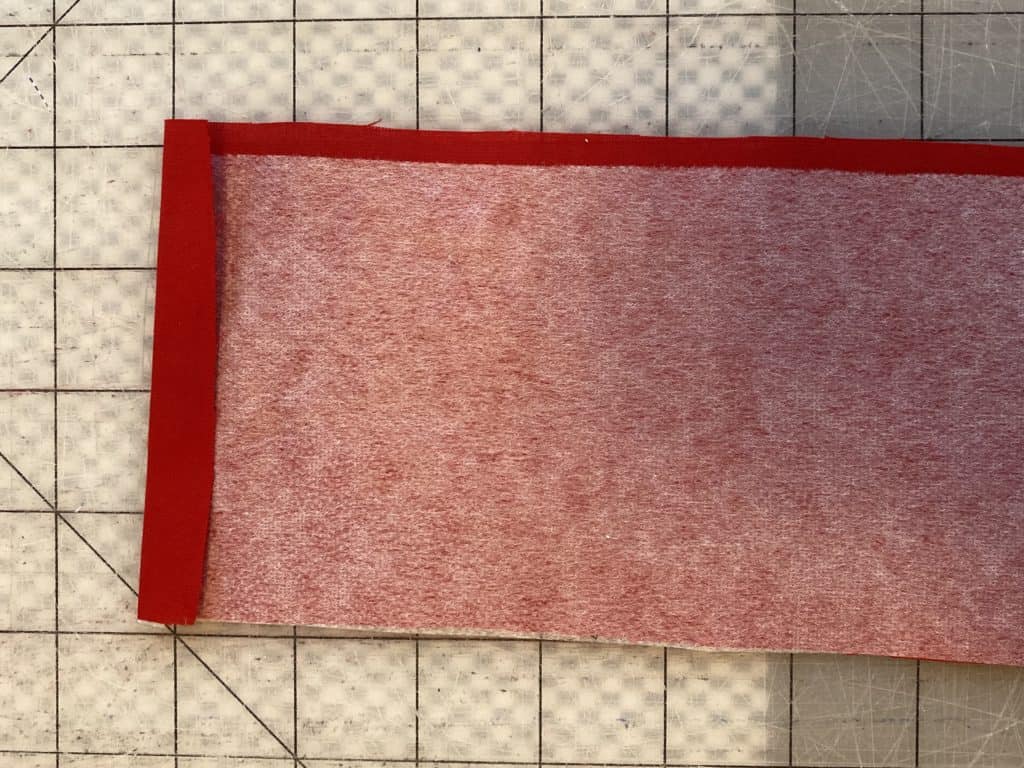
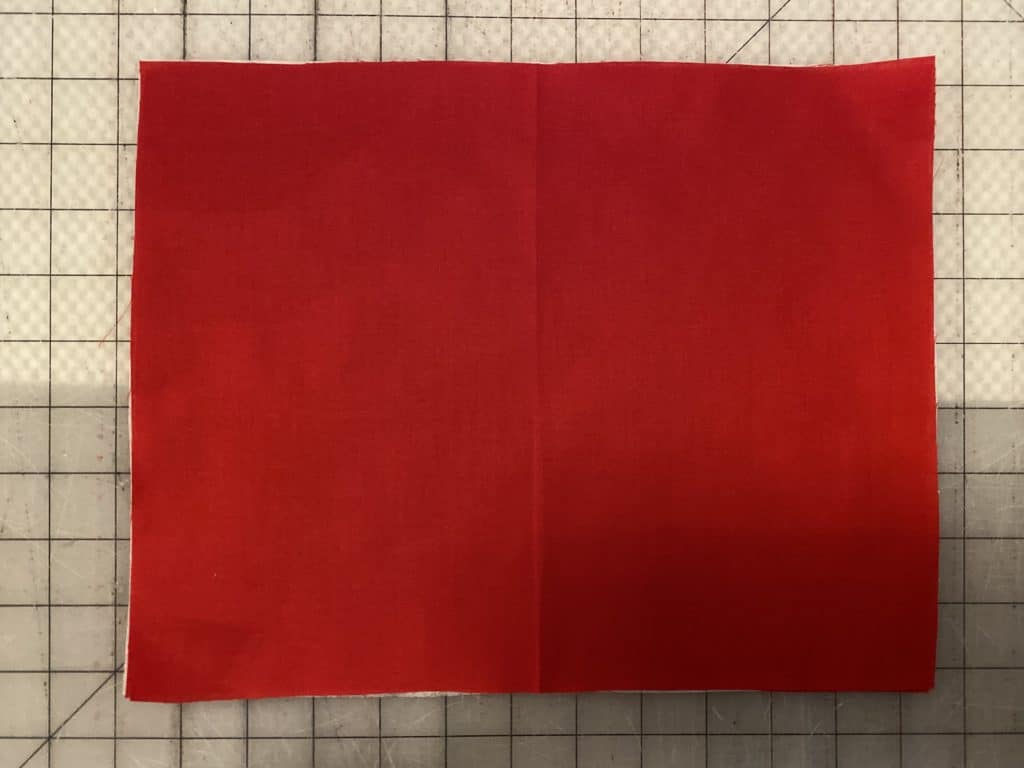
2. With one of your neck strap pieces, fold one short end 1/2″ toward wrong side and press.

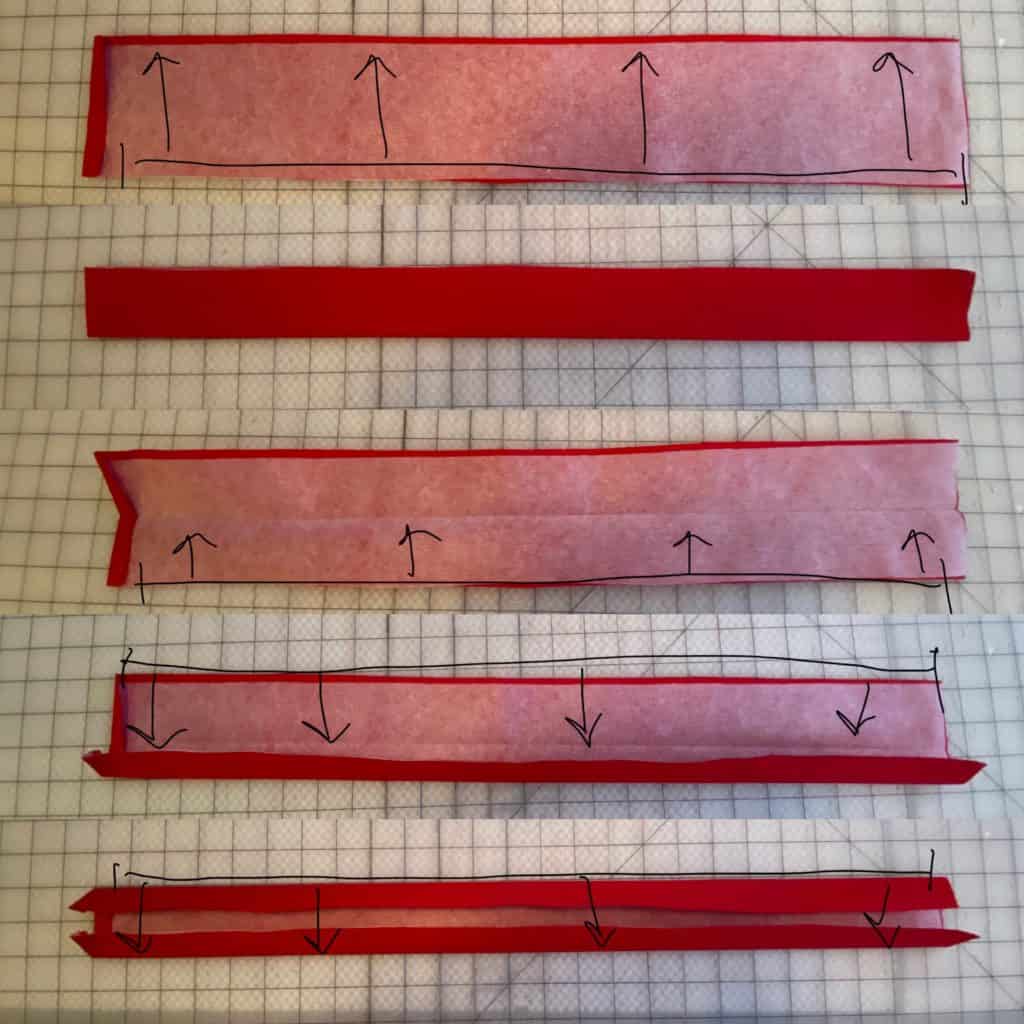
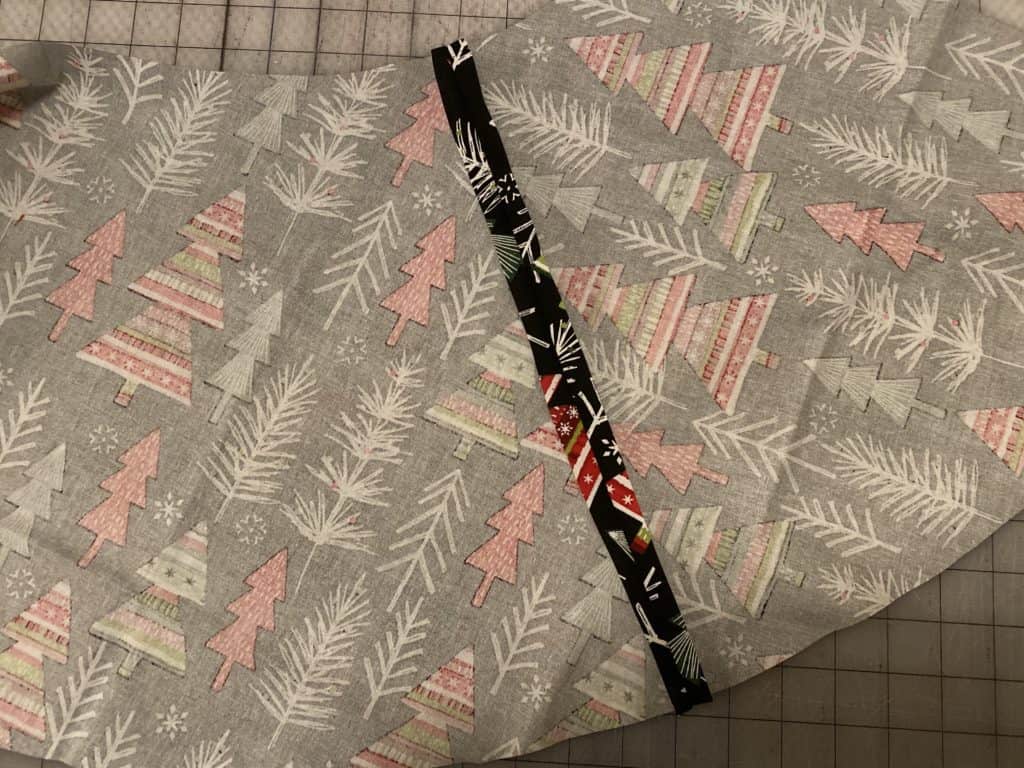
3. Lay with wrong side facing you. Fold in half, meeting the long edges together. Press.
Open up your piece and fold one of the raw edges toward the middle crease you just made.
Repeat with the second raw edge. Press.
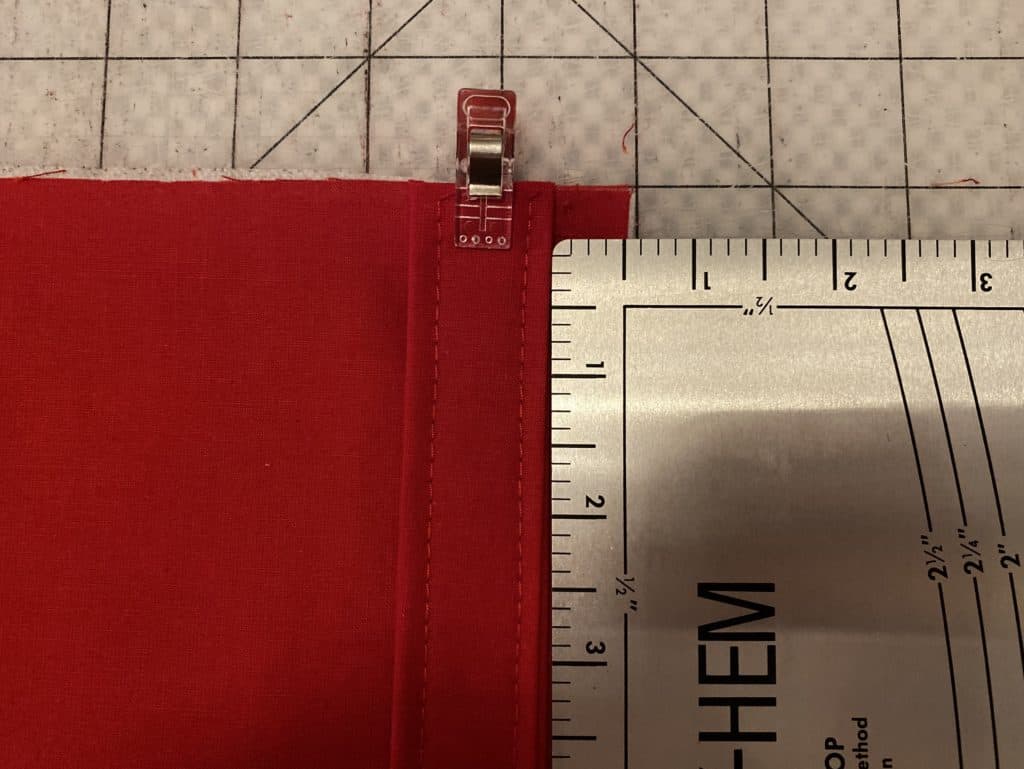
Fold along middle crease, meeting both folded edges. All of your raw edges will be fully enclosed now.

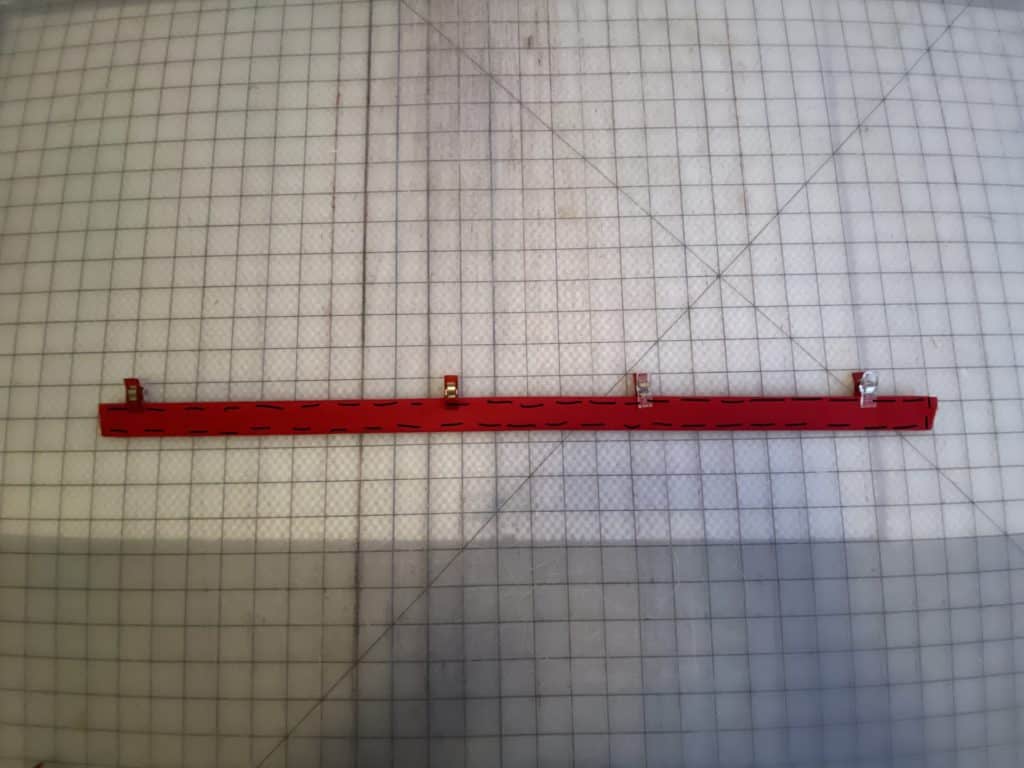
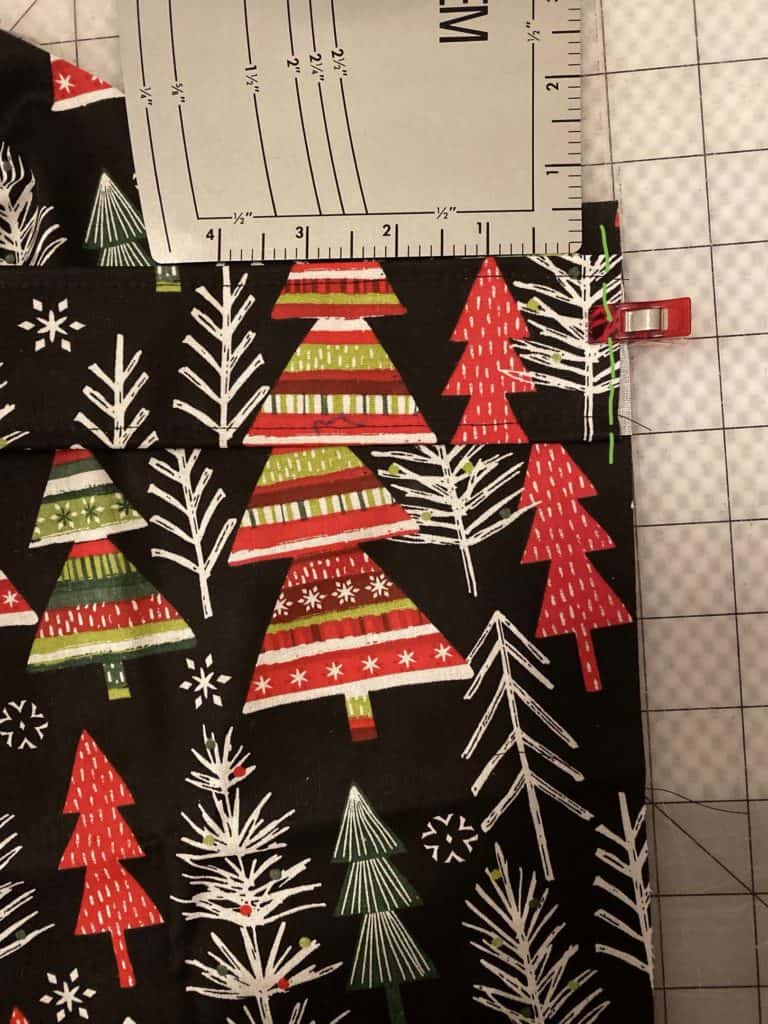
4. Press your strap piece. Edge stitch along both long, outer edges and one short edge.
**Repeat with second neck strap and both waist straps.

5. Place bib lining piece, face up.

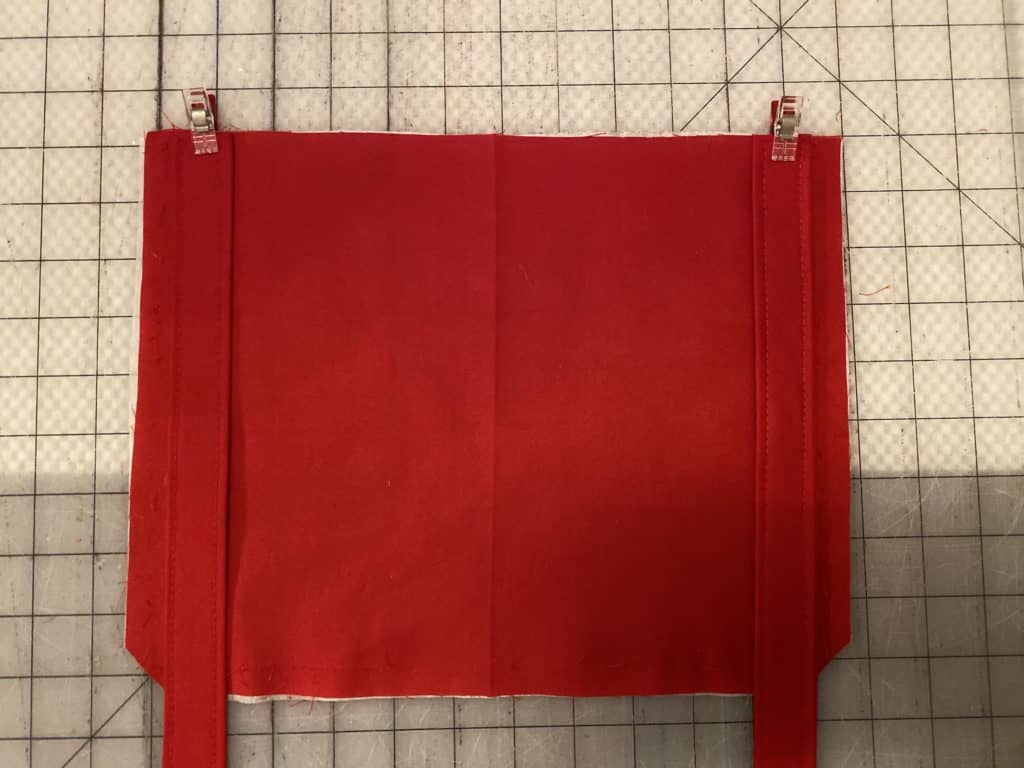
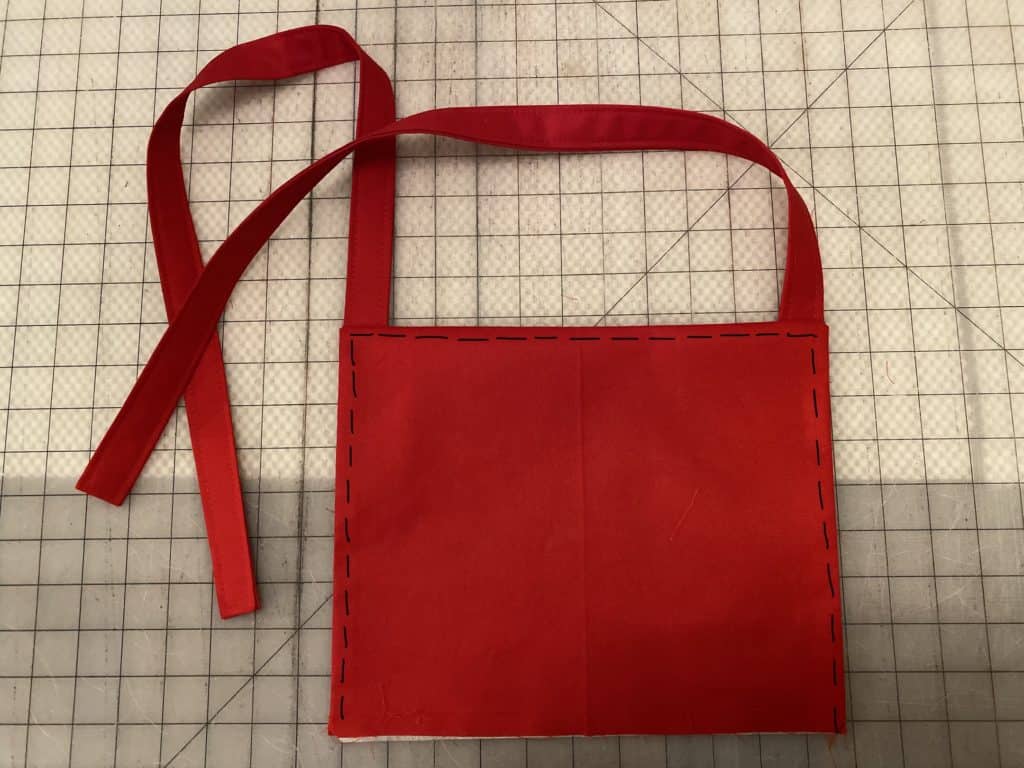
6. Place one neck strap piece 1/2″ from edge, at the top of bib piece.

7. Repeat with second neck strap, on opposite side of the bib piece. Baste in place.

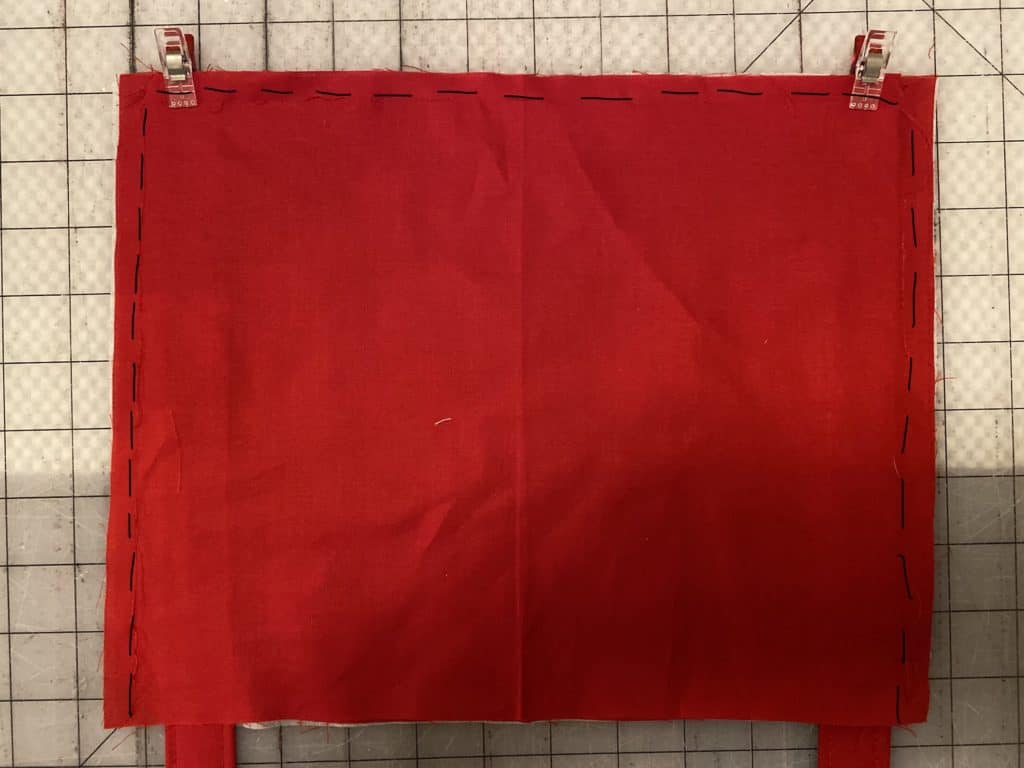
8. Place main bib piece on top, right sides together, sandwiching the neck straps between the two bib pieces. Sew along both sides and top edge.

9. Turn right side out, press. Top stitch along top and sides.

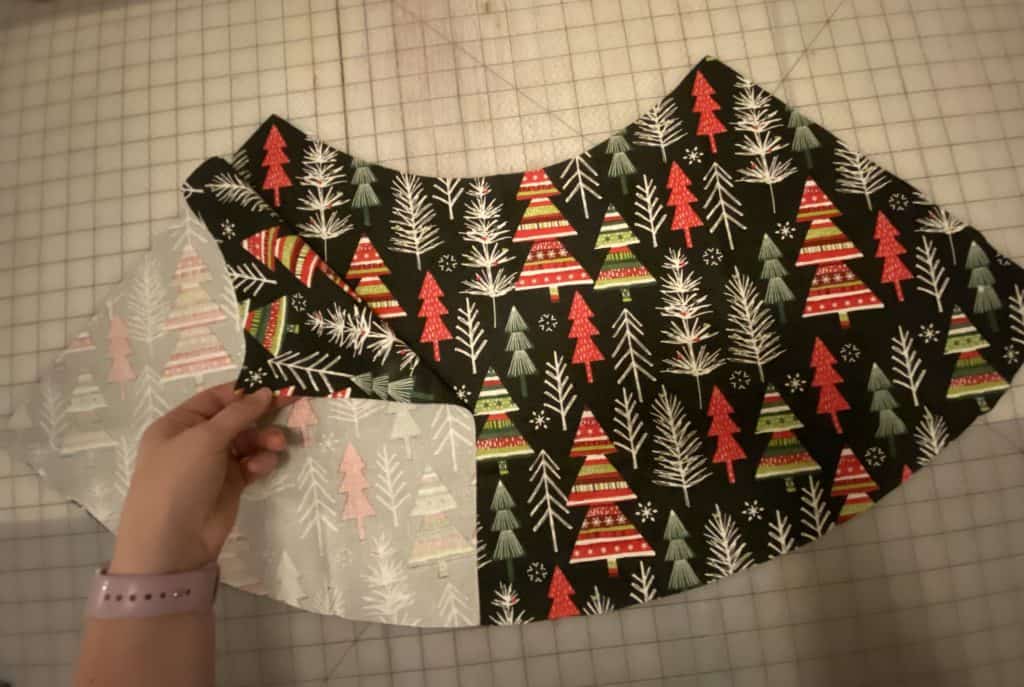
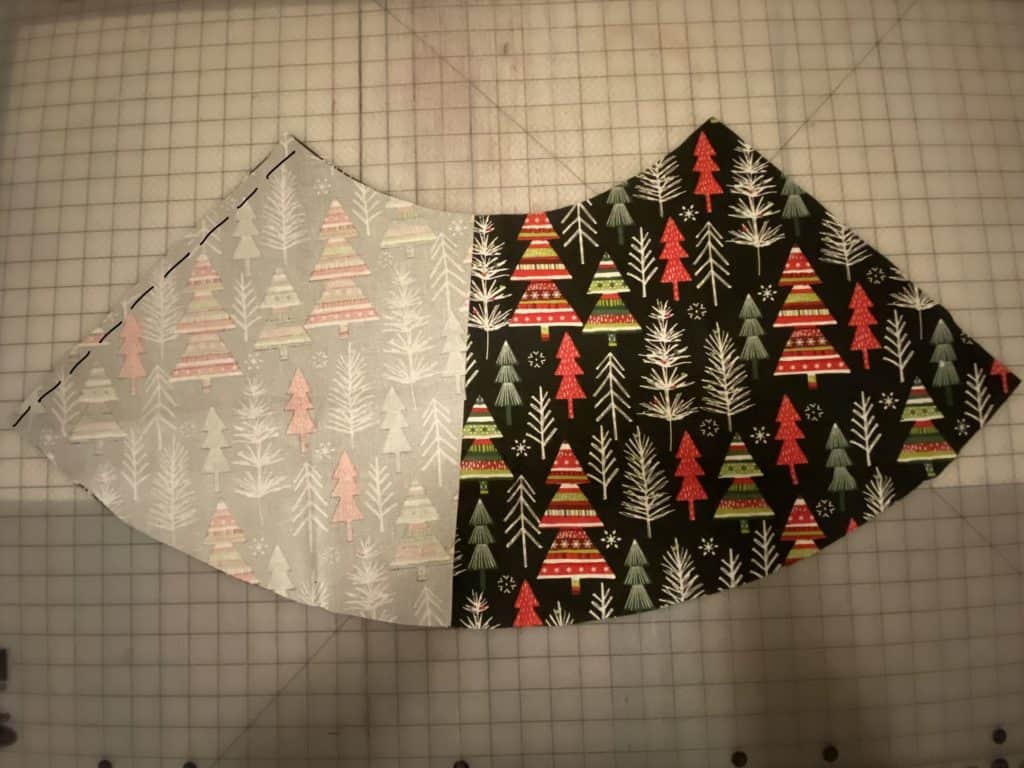
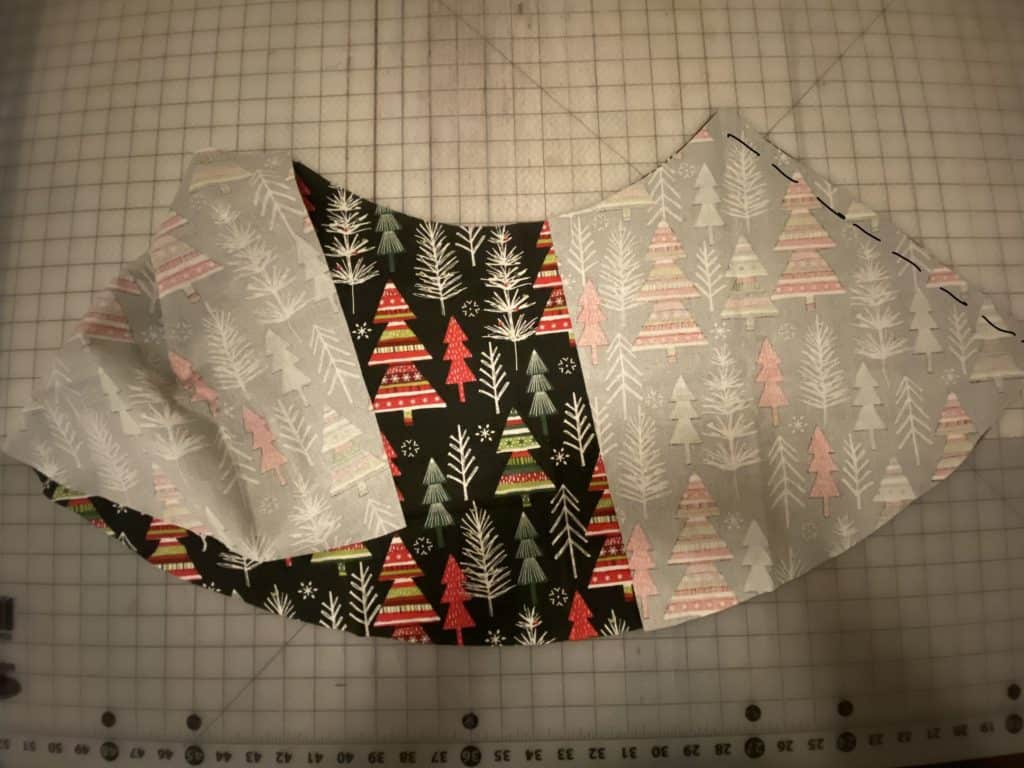
10. Place main skirt piece, right side facing you. Lay one of the side skirt pieces on top, right sides together.

11. Sew along straight edge.

12. Press seams open.

13. Repeat on opposite side.**Repeat with lining fabric.

14. Mark middle points of the bib and main skirt pieces.

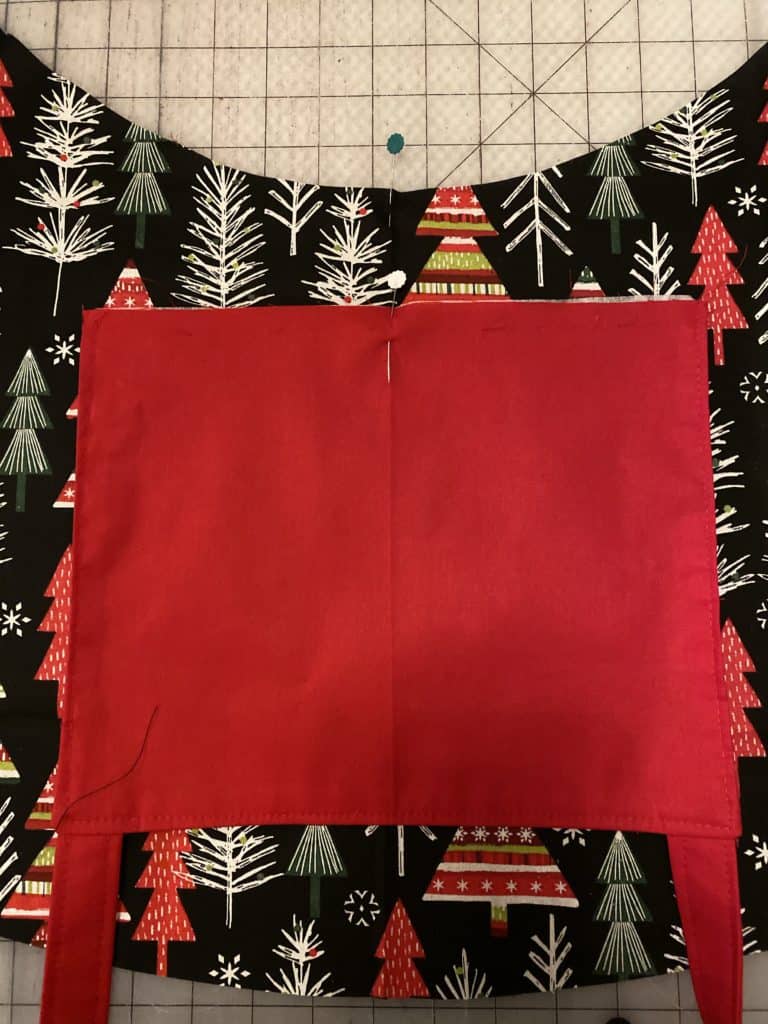
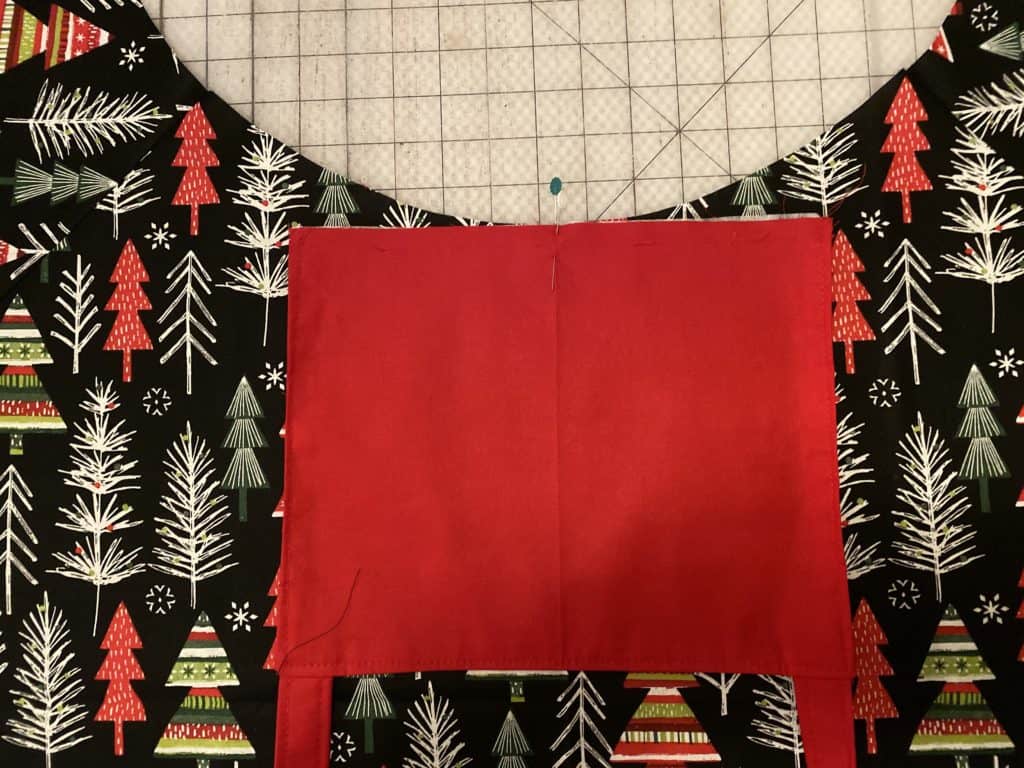
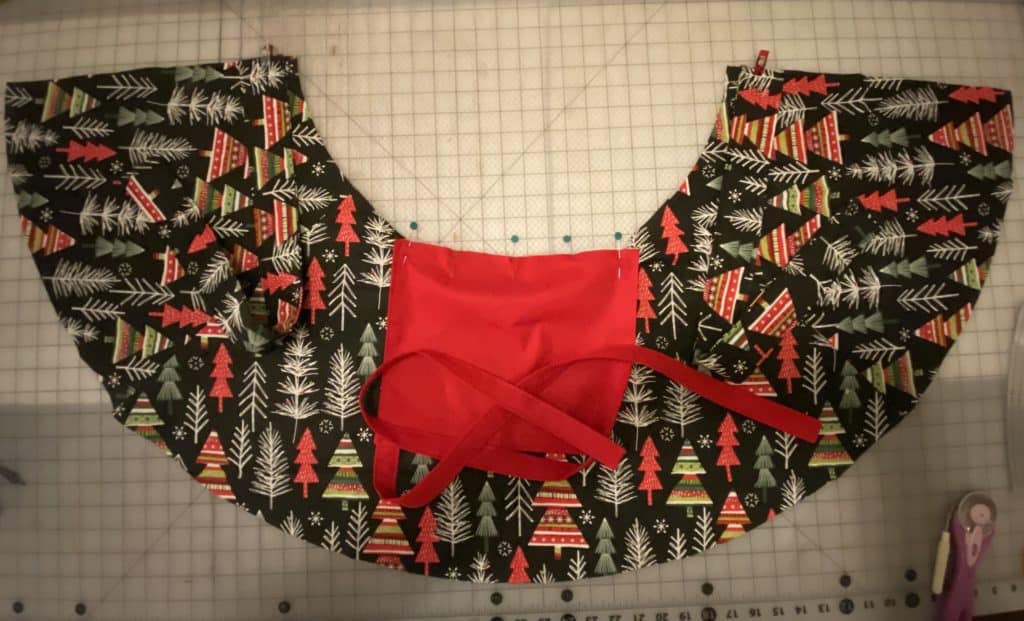
15. Right sides together, align the bib and main apron piece at their center points.

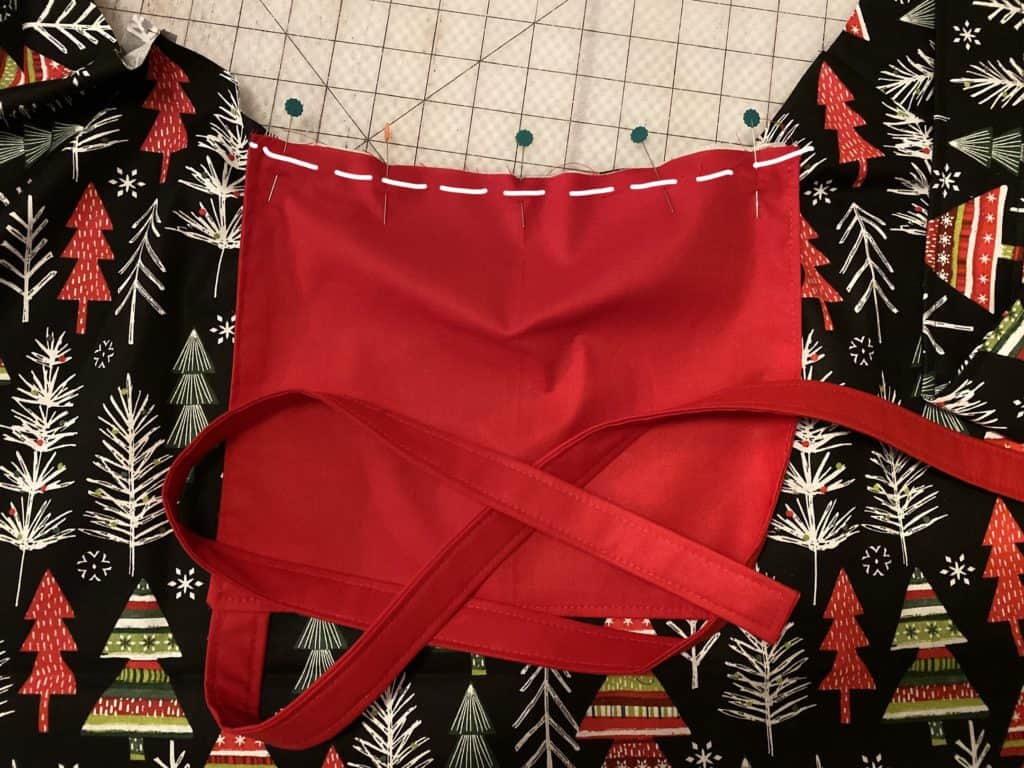
16. Ease the bib piece to the curve of the apron and baste in place.

17. Along outer skirt edge, align waist straps 1/2″ from top edge. Baste in place.

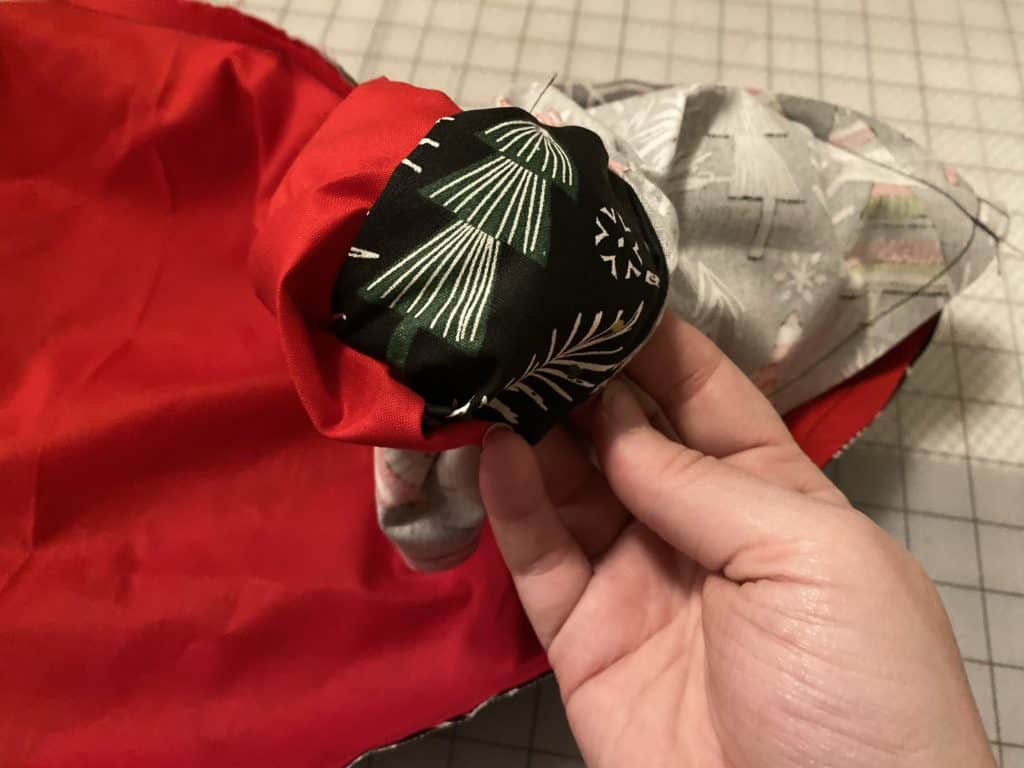
18. Lay apron with fabric facing upwards. Tuck in all straps and bib.

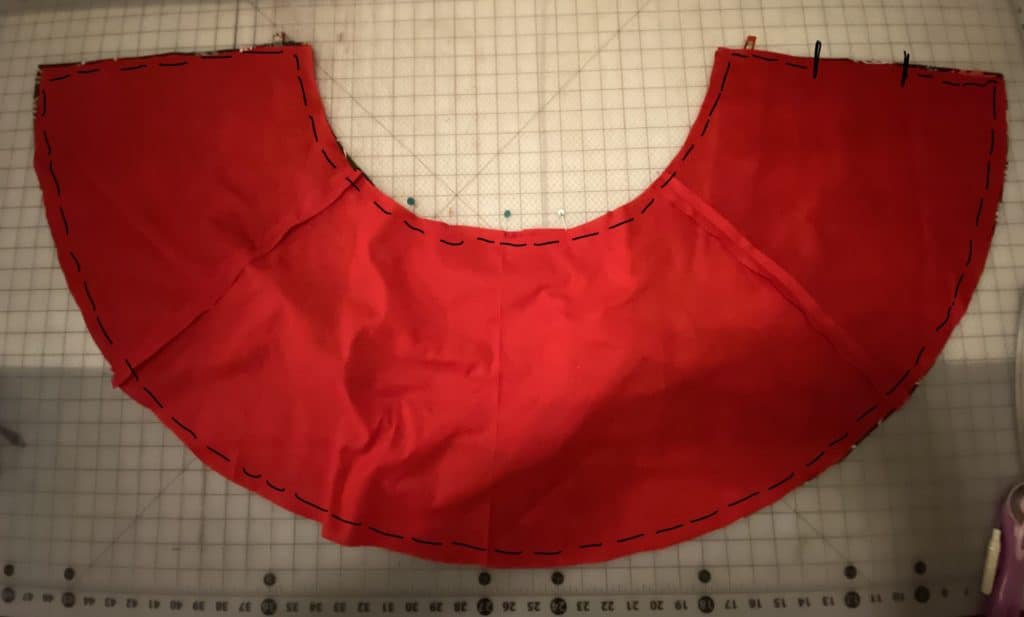
19. Lay skirt lining on top, right sides together. Sew along entire skirt, leaving 5″ opening along one straight edge for turning.

20. Turn apron right sides out through opening.

21. Press and edge stitch along entire skirt. You’re finished!

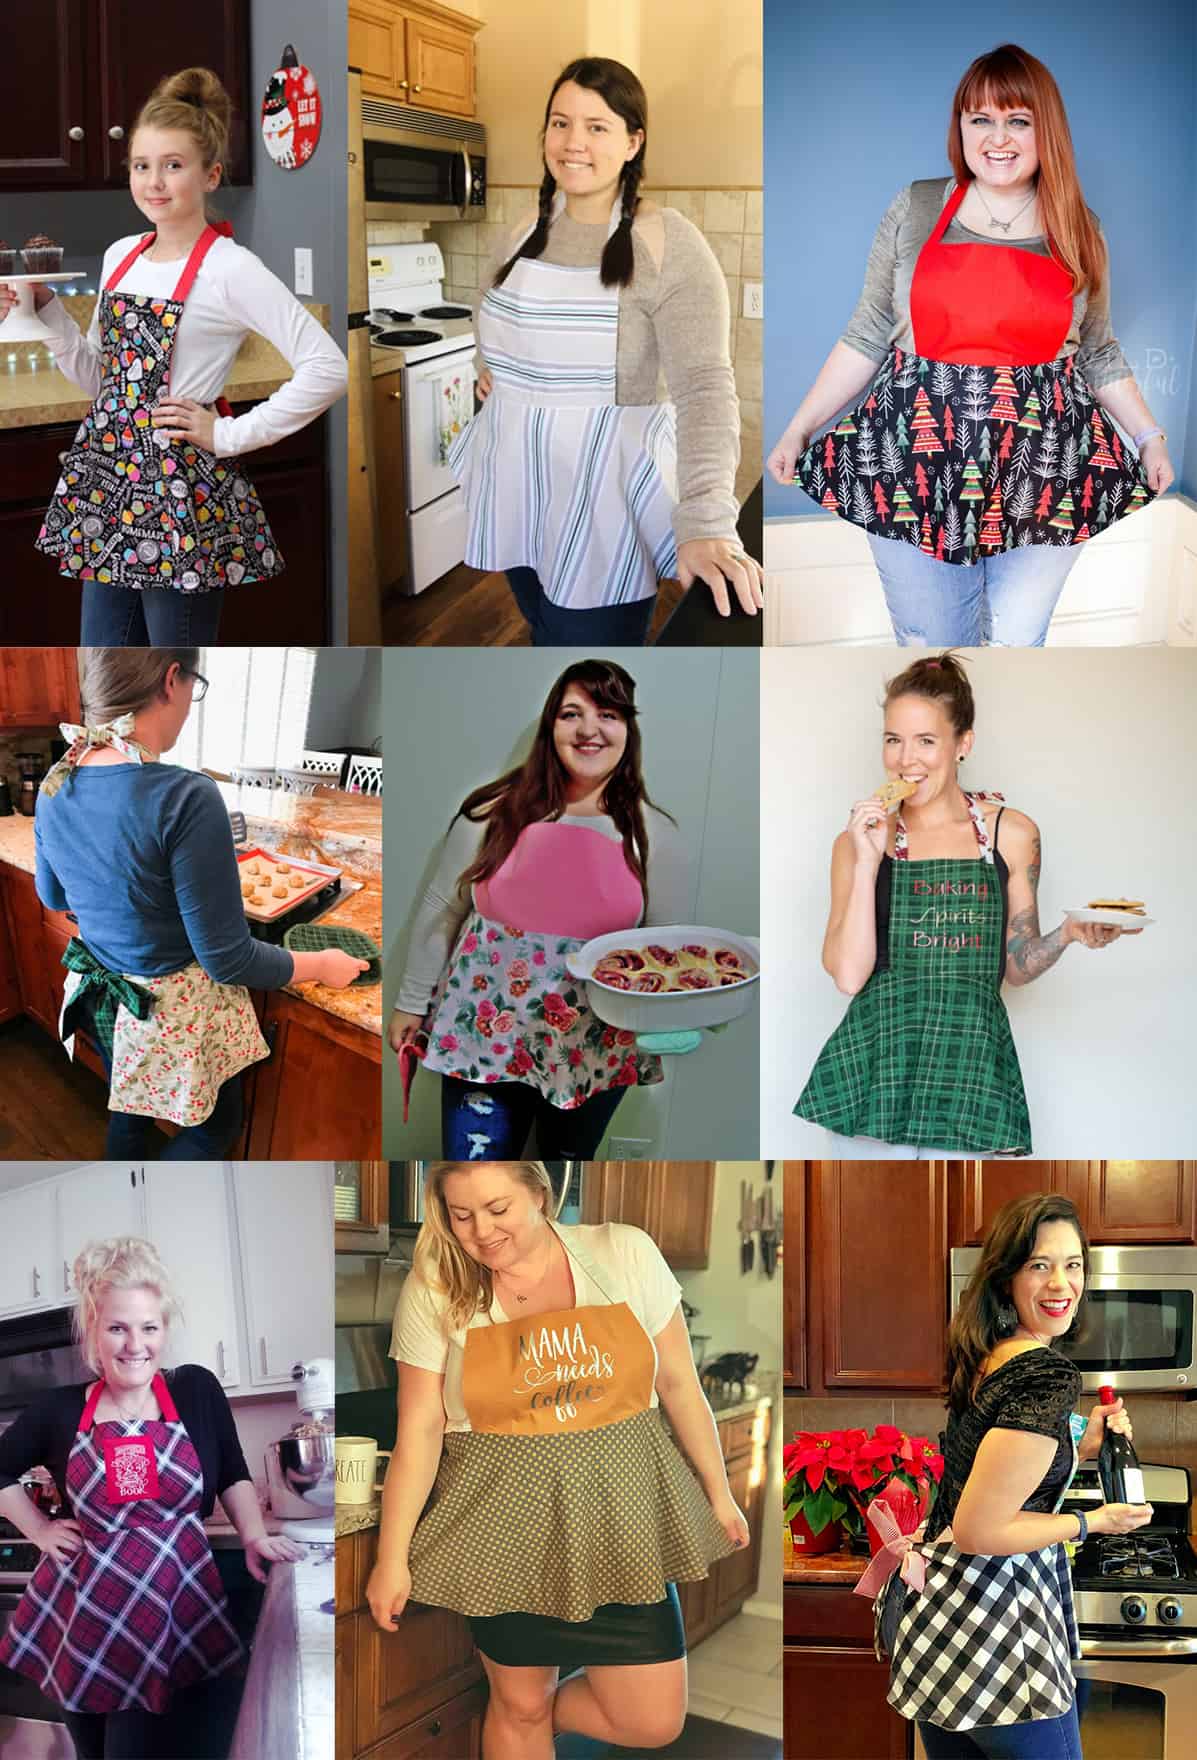
Here’s a little inspiration from our fabulous group of testers, in case you needed it.

As always, we love when you share what you’ve made with us.  Head over to the Patterns for Pirates Facebook group and show off the fabulous Hey Cookie Apron that you’ve managed to make from our freebie pattern!
Happy Holidays, friends!
 

Filed Under: Free Pattern, Pattern Release 11 Comments

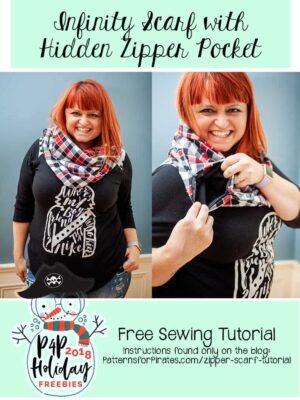
2018 Holiday Freebies :: Infinity Scarf with Hidden Zipper Pocket

December 2, 2018

Happy December, friends!!  It is my pleasure to be back again this year with an entire week of goodies for you.  AND THEY ARE ALL FREE!  That’s right, you are about to embark on a five day journey of free sewing patterns and tutorials.  I’m excited to get started!

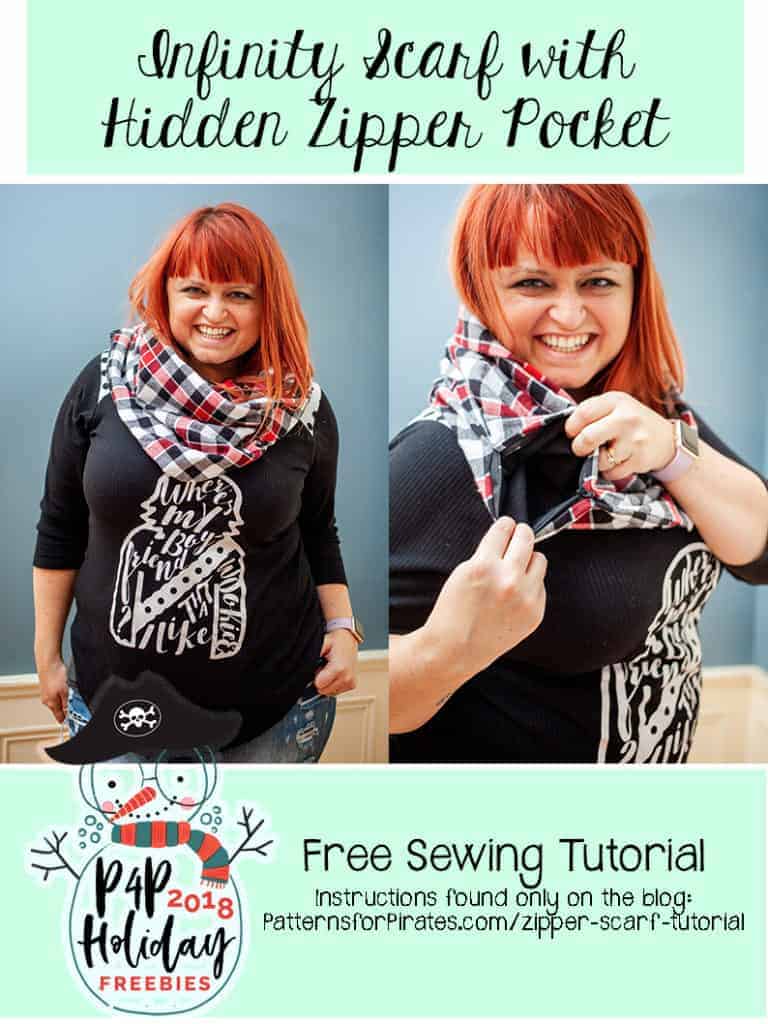
Today’s freebie is a twist on a classic infinity scarf…we added a hidden, zippered pocket to it!  It’s a perfect little space to store your phone, keys, or anything that you’d like to carry with you but don’t want to need a purse or extra hand for. It’s a super quick sew and is at the top of my gift-giving list this holiday season.

Let’s get started!

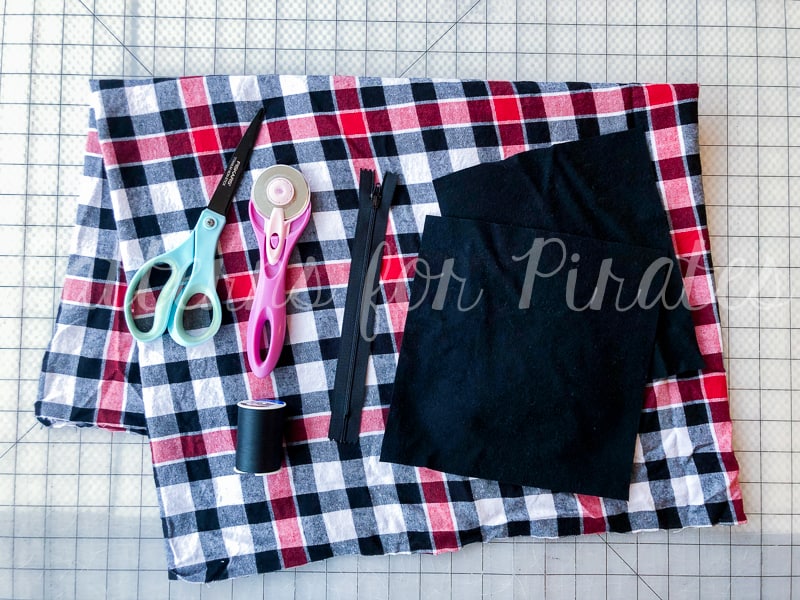
Fabric Requirements: 2 yards of knit, flannel, or a light-weight woven.

You will need:
— Main Scarf Piece: 28″ W x 72″ L (can be woven or knit. If using a knit, you may need small strips of stabilizer where you’re attaching your zipper)
— 2 pocket pieces: 9″ W x 7″ L
— 9″ Zipper **You can make the pocket bigger / smaller by adjusting the size width of your pocket pieces to match the length of your zipper.

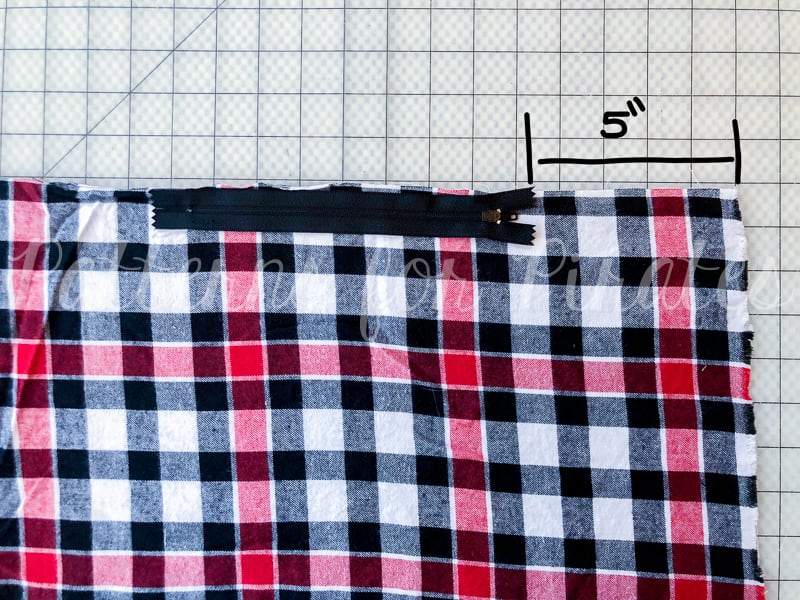
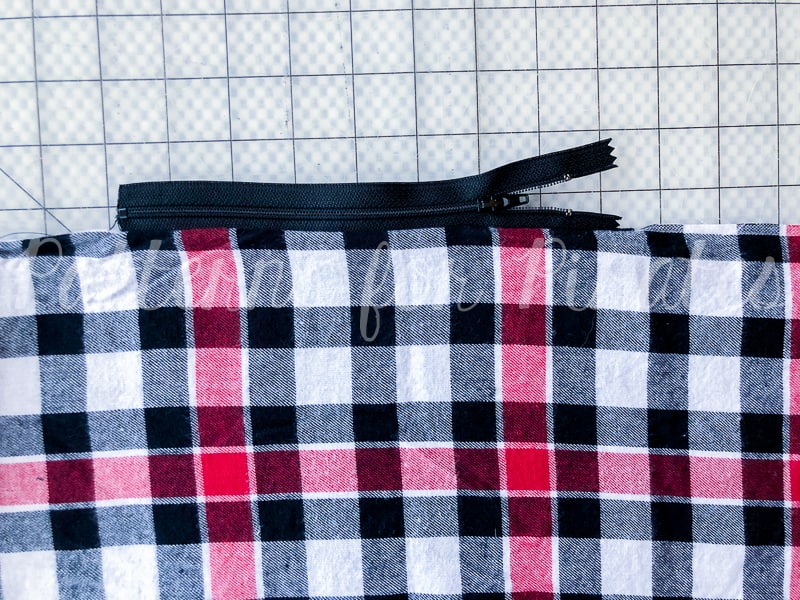
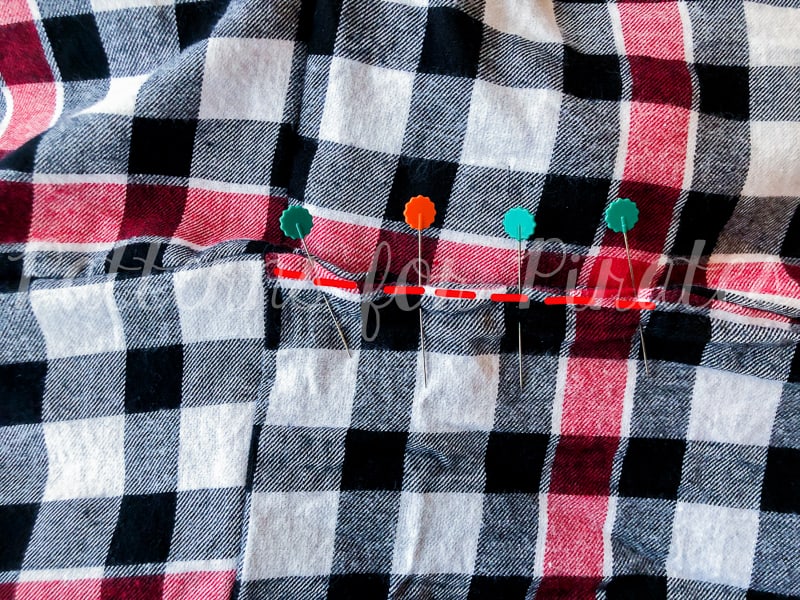
1.) With your main fabric laying RIGHT SIDE UP, lay your zipper FACING DOWNWARDS, 5″ from the edge of your fabric, along one of the long edges.

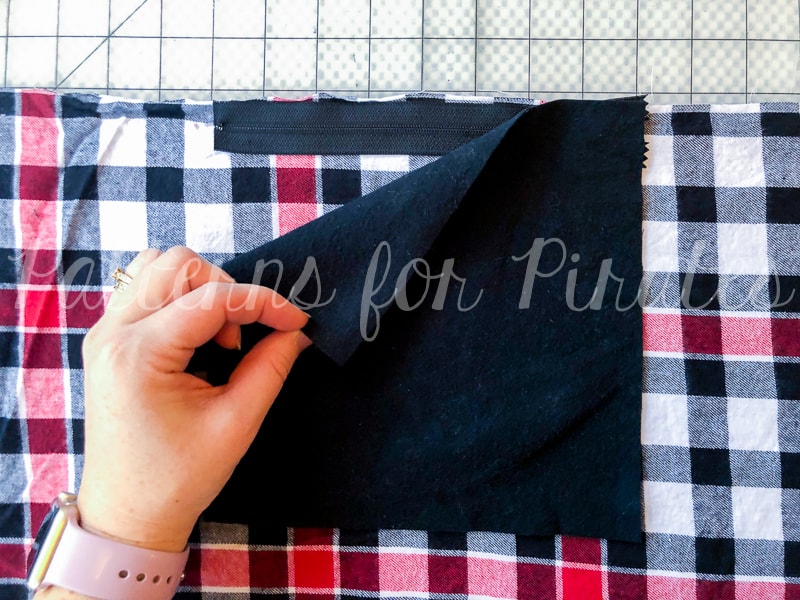
2.) Sandwich your zipper by laying a pocket piece on top, RIGHT SIDE DOWN.

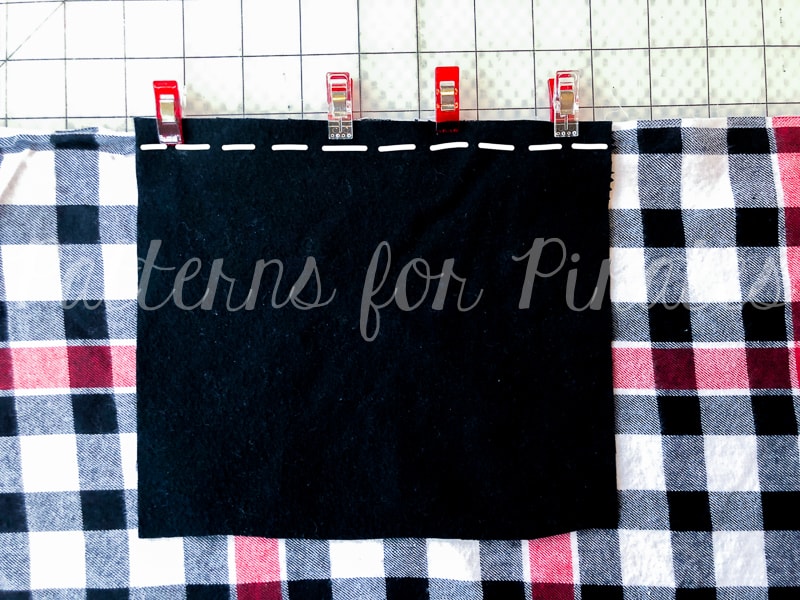
3.) Pin/clip and sew along edge, using a zipper foot to get as close to zipper as you can.

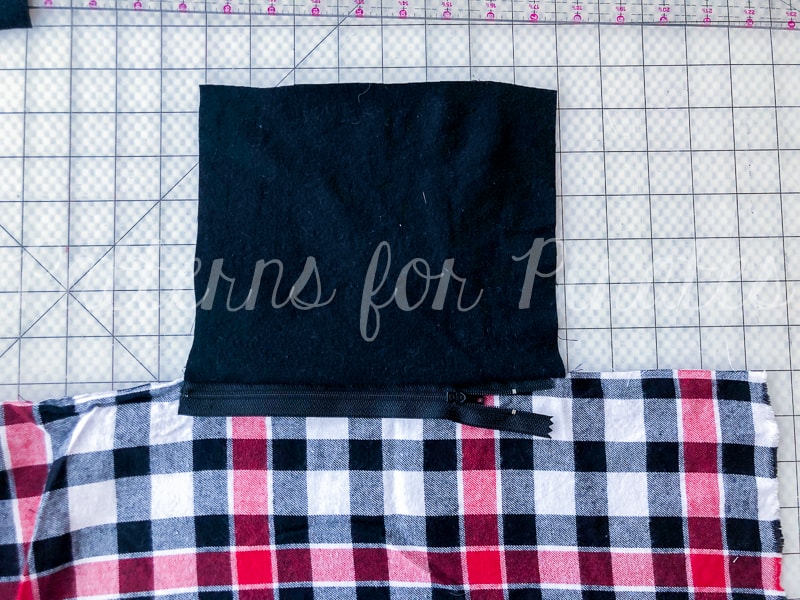
4.) Flip your pocket piece up and away from the main fabric.

5.) Fold your pocket piece under the main fabric (their wrong sides should be touching now).

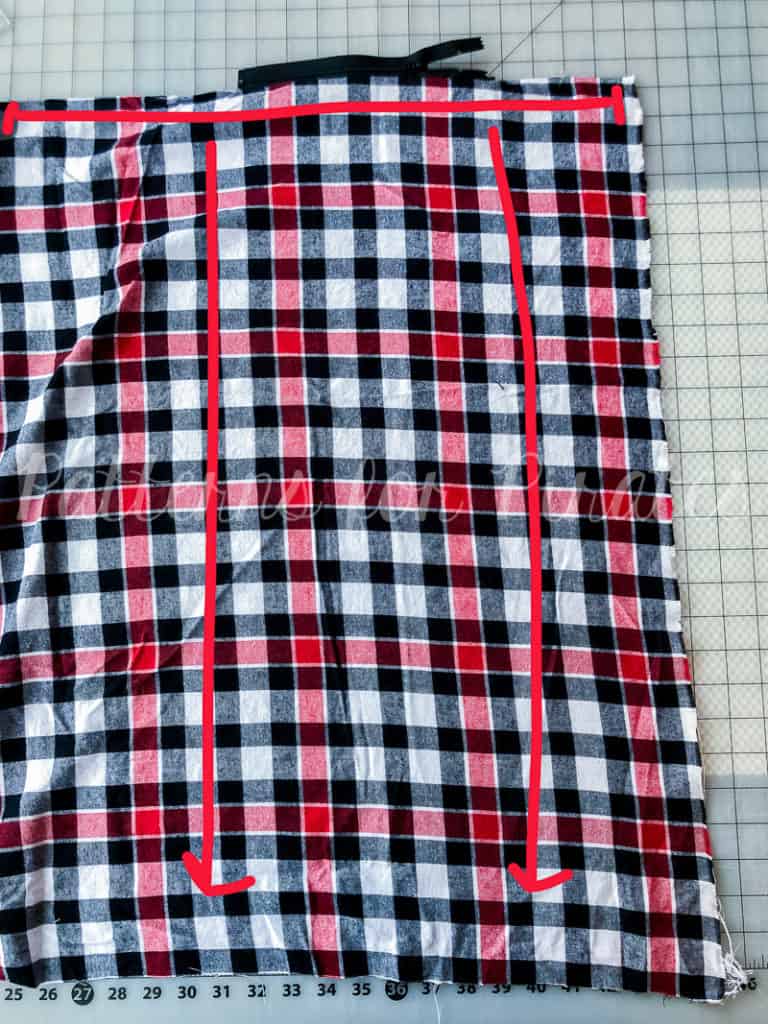
6.) Fold main fabric together, matching the long sides to each other.

7.) Making sure you’re still 5″ from the short edge, align the unsewn side of the zipper to the opposite long edge of your fabric. Once again, your zipper should be FACE DOWN.

8.) Sandwich your zipper by laying your other pocket piece on top, RIGHT SIDE DOWN.

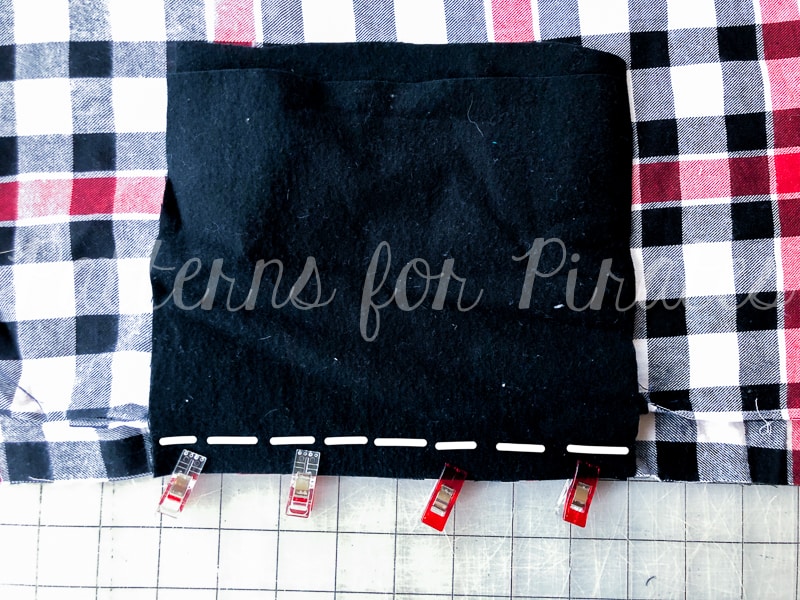
9.) Pin/clip and sew along edge.

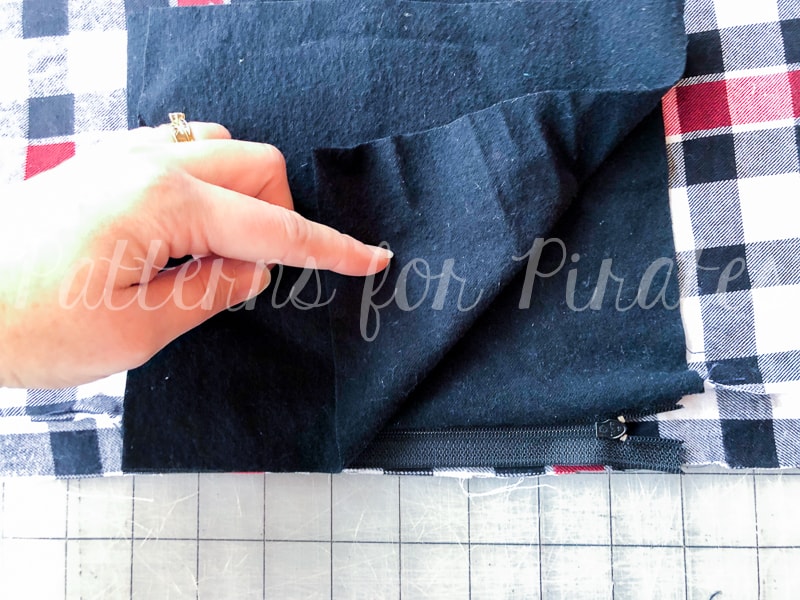
10.) For easier sewing on the next step, I like to unzip my zipper a bit, to get the pull out of the way.

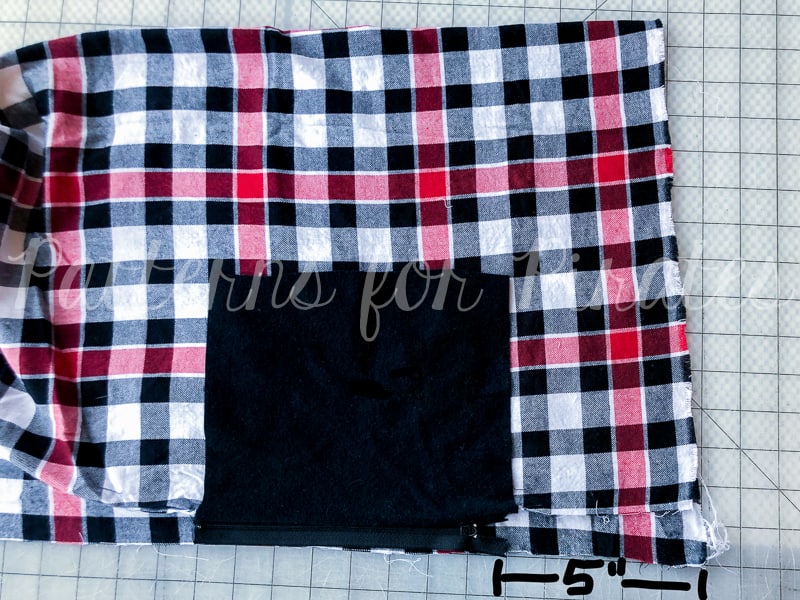
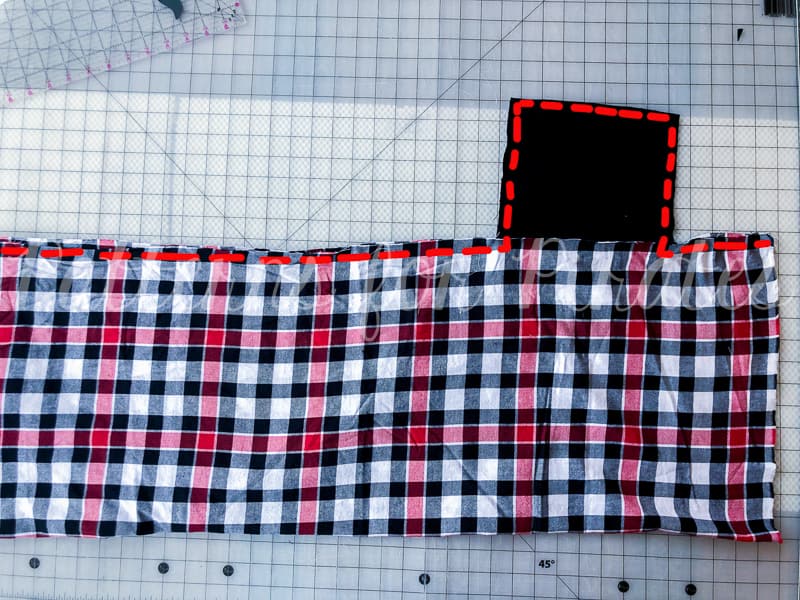
11.) With fabric still RIGHT SIDES TOGETHER, sew with 1/2″ seam allowance along long edges, and outer edges of pocket.

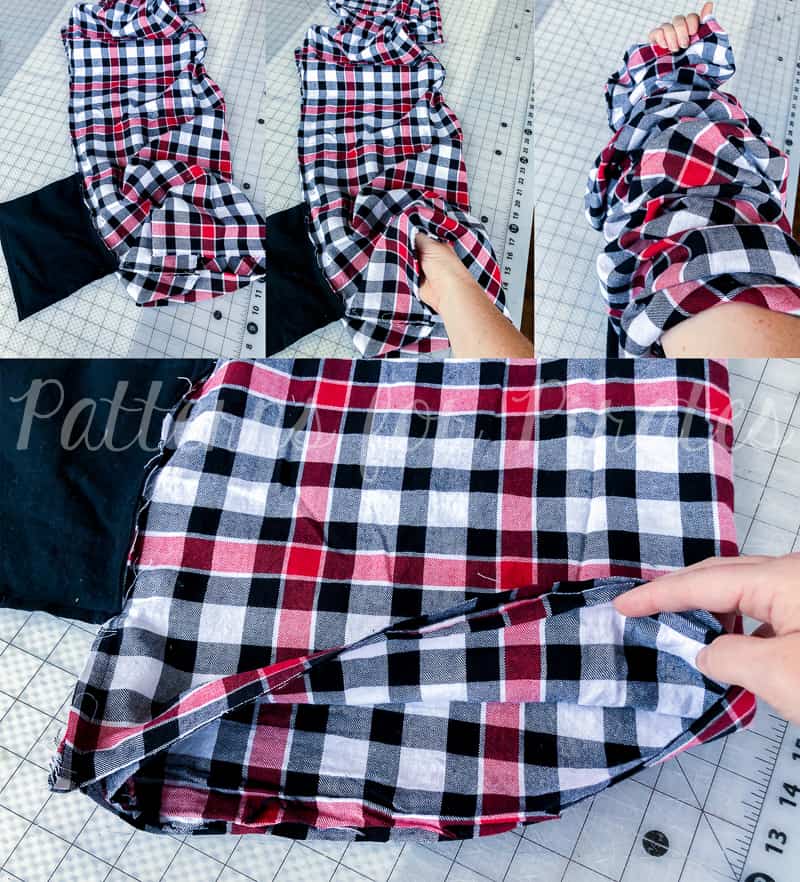
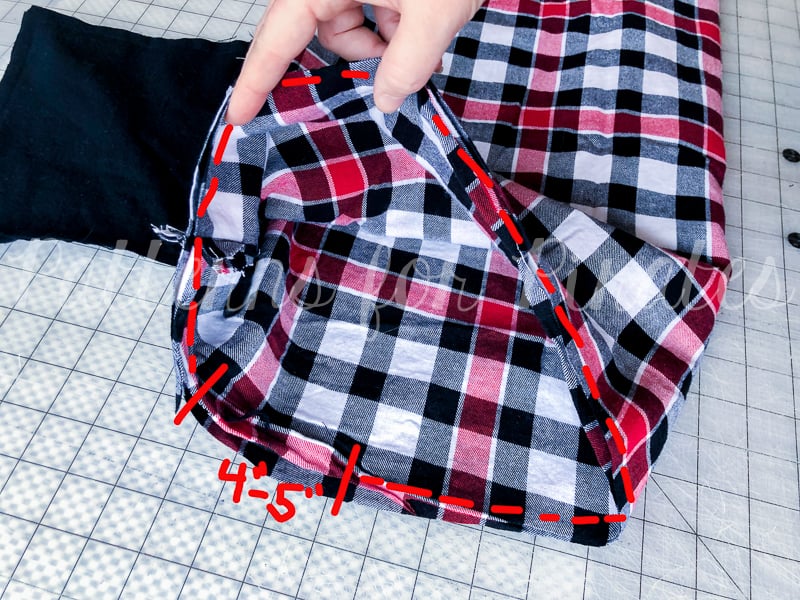
12.) This step might feel a little tricky, but it’s really not! You’re going to want to keep your fabric inside out, while folding it in half to still have right sides together, and the short edges meeting each other. I find it easiest to stick my arm all the way inside, grabbing the opposite short end, and then pulling it toward me from the inside, being careful not to twist it. Align the short edges to each other.

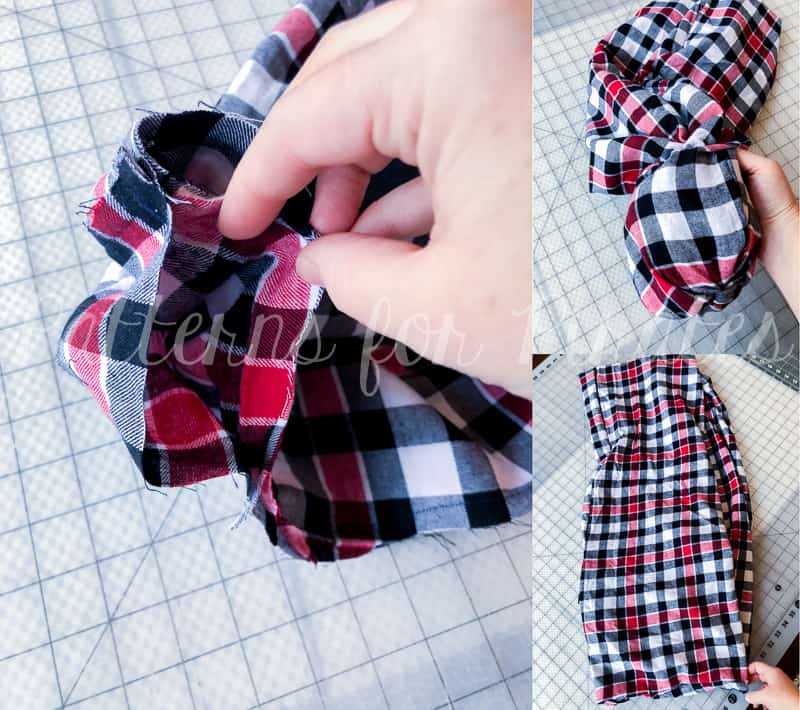
13.) Stitch the raw edges together with 1/2″ seam allowance, leaving a 4-5″ opening for turning.

14.) Turn scarf right side out, pulling the entirety of the fabric through the opening you created in the last step.

15.) Pin and close up the opening with a blind stitch. You’re finished!

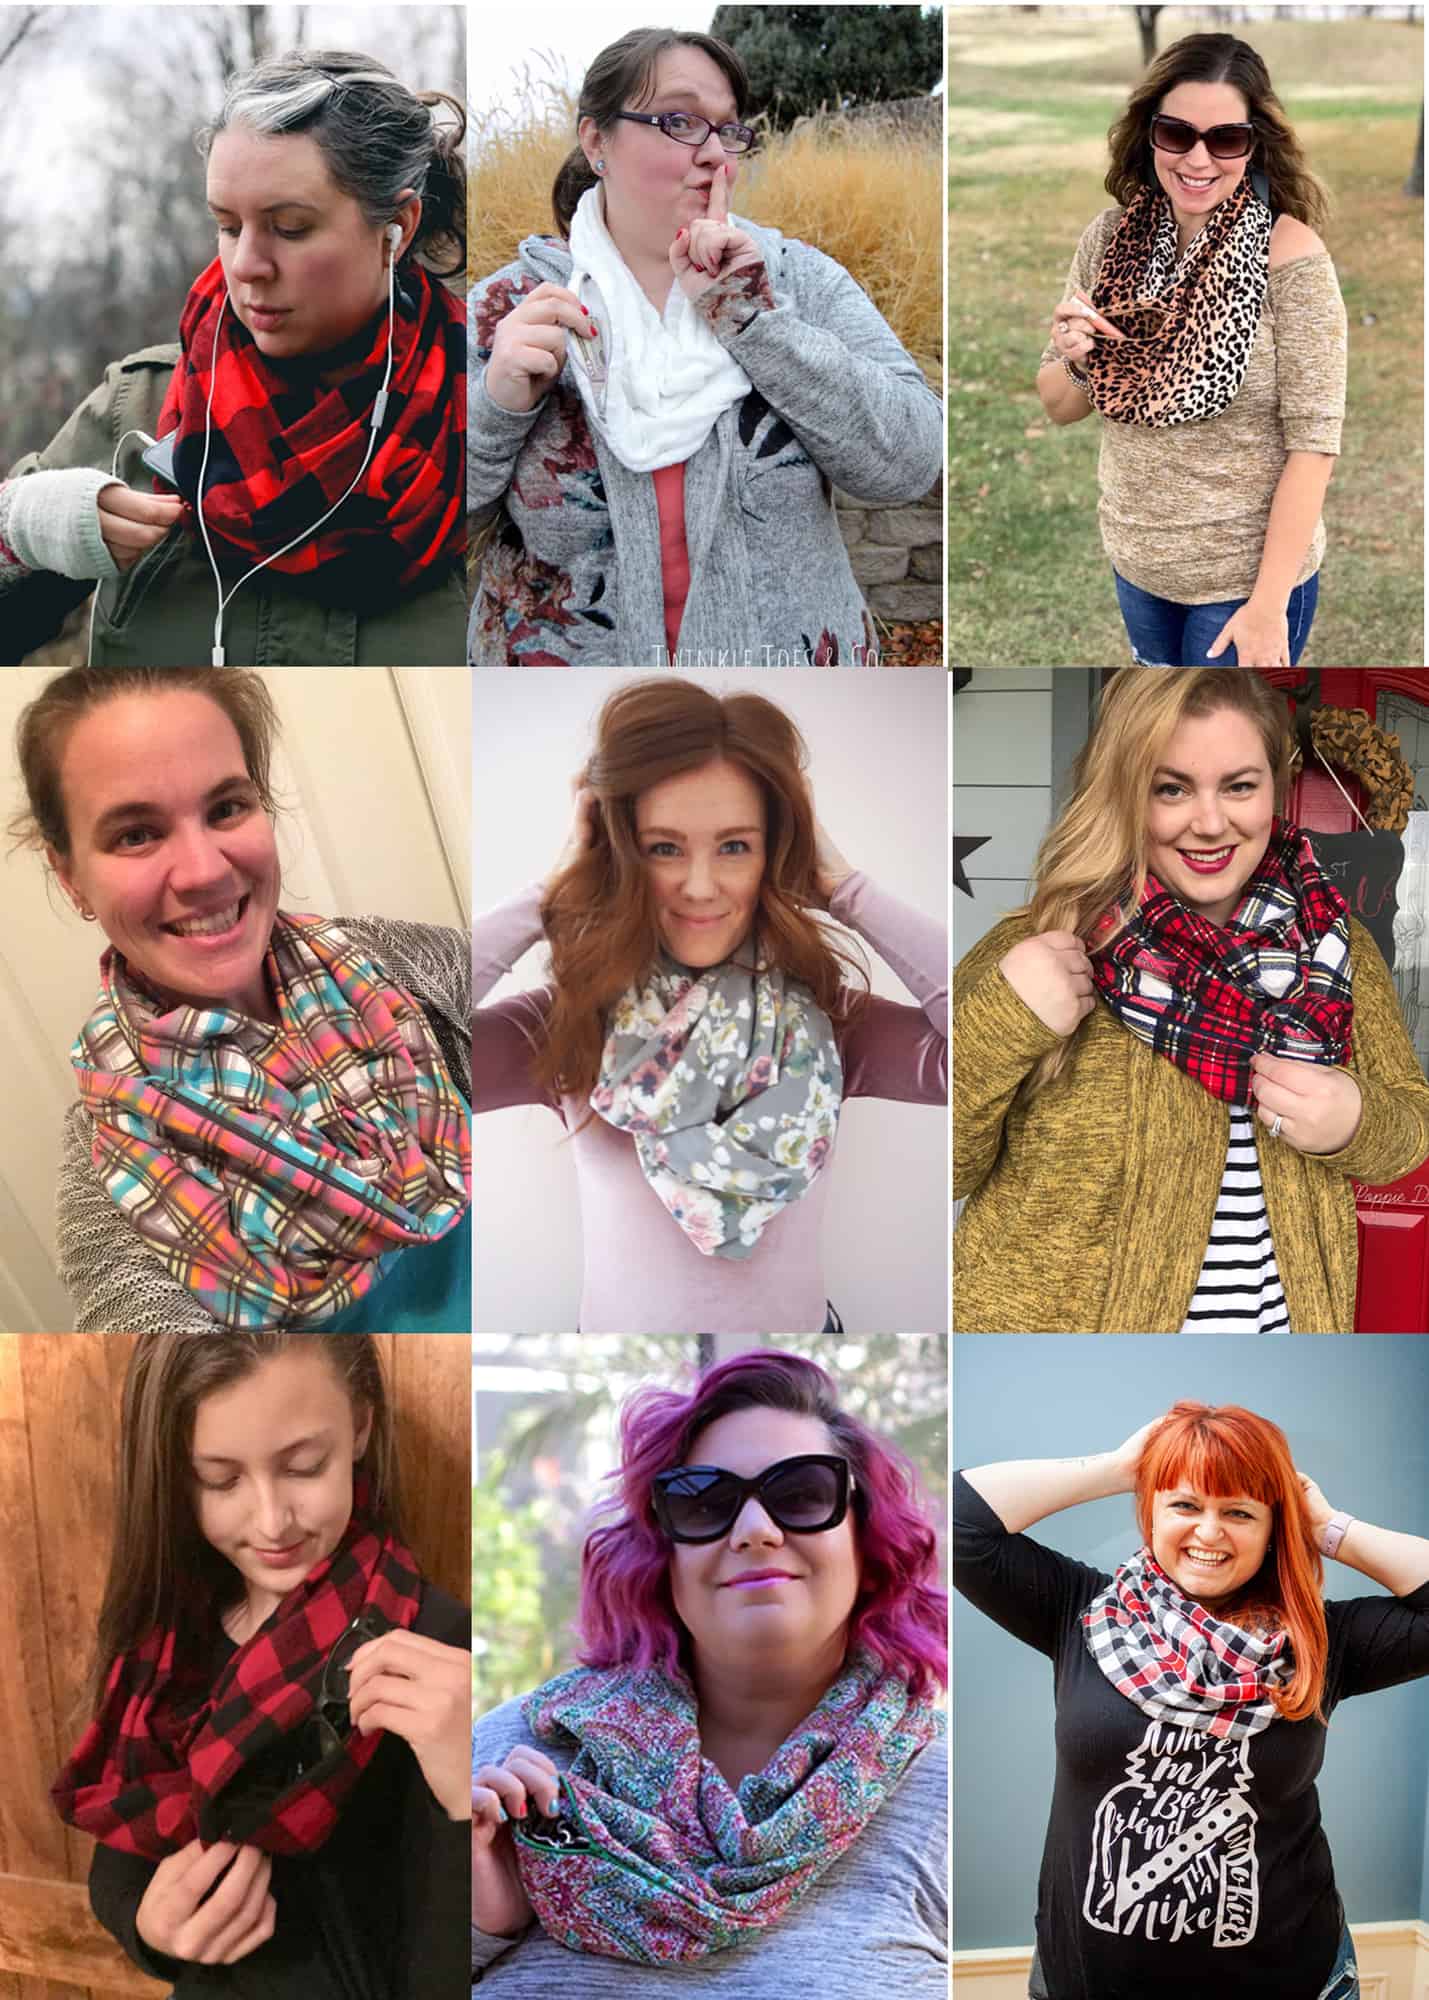
Here’s a little inspiration from our fabulous group of testers, in case you needed it.

As always, we love when you share what you’ve made with us.  Head over to the Patterns for Pirates Facebook group and show off the fabulous Infinity Scarf that you’ve managed to make from our freebie pattern!  Happy Holidays, friends!
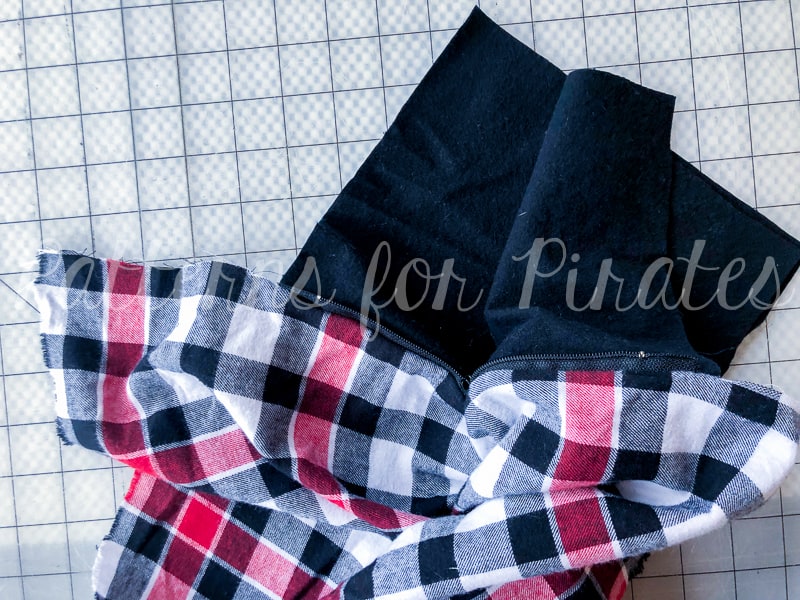
**Since there was such a high amount of requests for a video tutorial, here you go!

Filed Under: Free Pattern, Pattern Release 49 Comments

P4P Holiday Freebies Roundup

December 1, 2018

We know that November and December can be your busiest time of year….in general, but also in SEWING!  Here at P4P, we try and make it easier on you by giving you some gift-giving ideas.  (If you’re gifting these to yourself, none of us are judging you.  Not for a second.)

Here’s a quick look back at the different series of freebies we’ve given our favorite pirates!
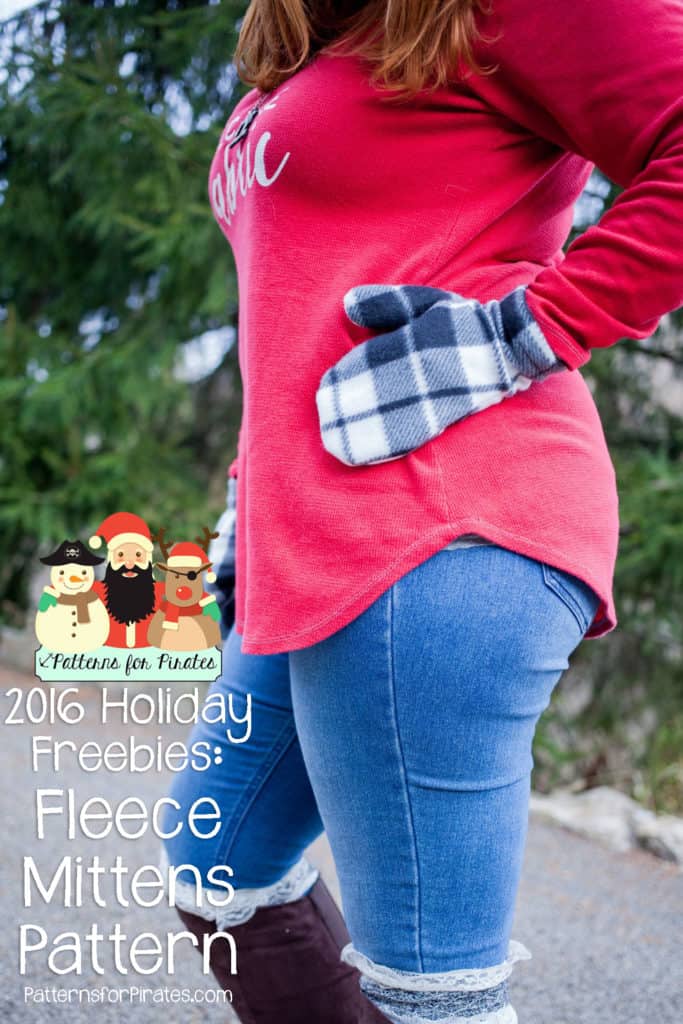
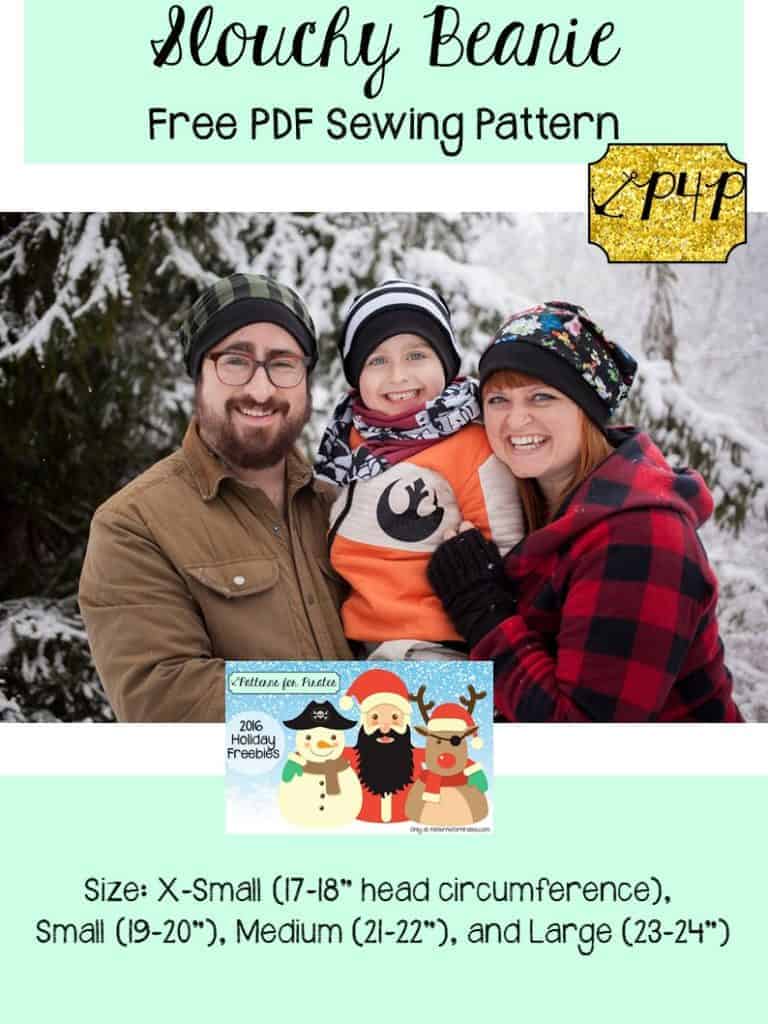
2016: FLEECE MITTENS | SLOUCHY BEANIE | BLANKET SCARF


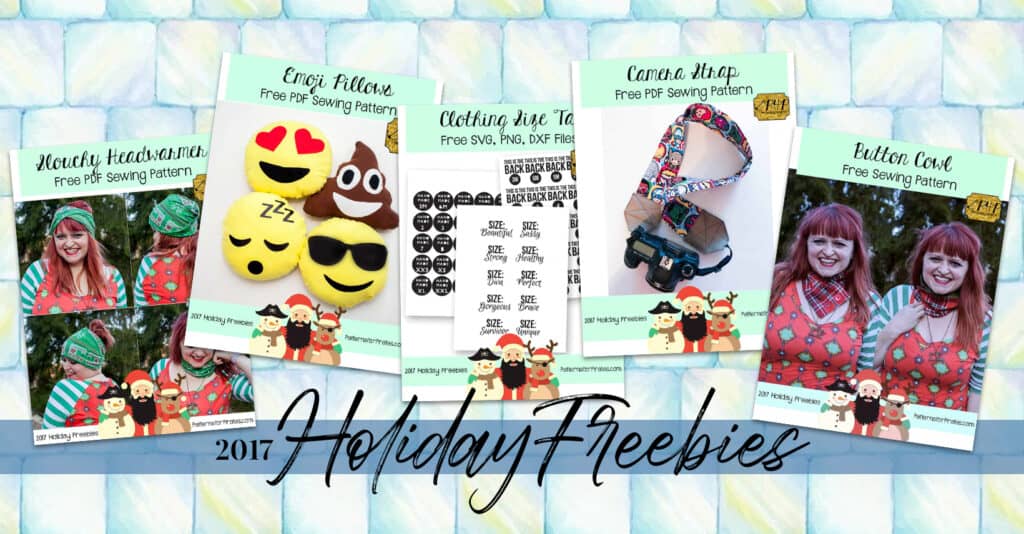
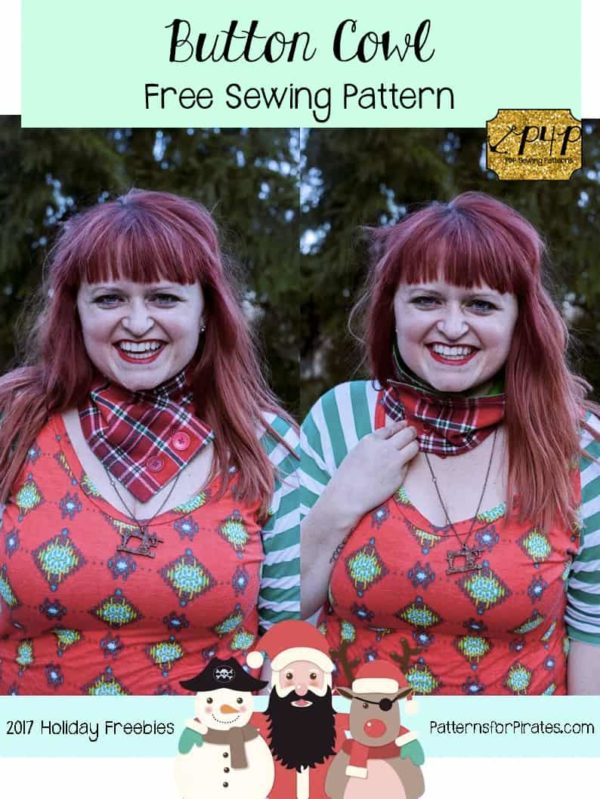
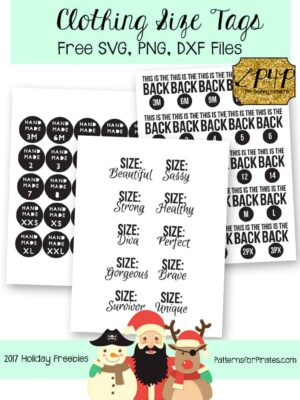
2017: SLOUCHY HEADWARMER | EMOJI PILLOWS | SIZE TAGS | CAMERA STRAP | EASY BUTTON COWL

  • Free Button Cowl
    Free Button Cowl
    Take me to the tutorial!
  • Free Size Tag Templates
    Free Size Tag Templates
    Add to cart
  • Free Camera Strap Pattern
    Free Camera Strap Pattern
    Add to cart
  • Free Emoji Pillow Pattern
    Free Emoji Pillow Pattern
    Add to cart
  • Free Slouchy Headwarmer
    Free Slouchy Headwarmer
    Add to cart

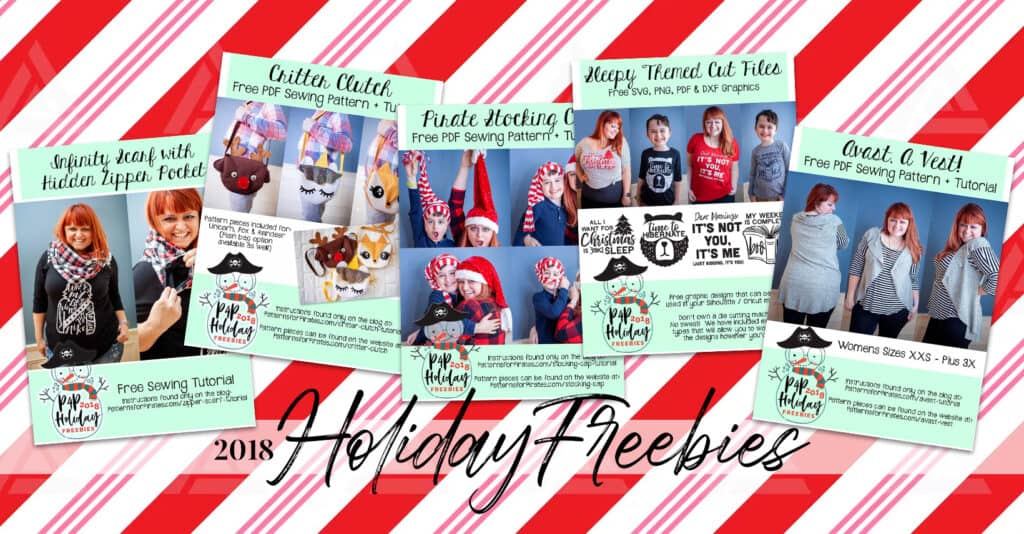
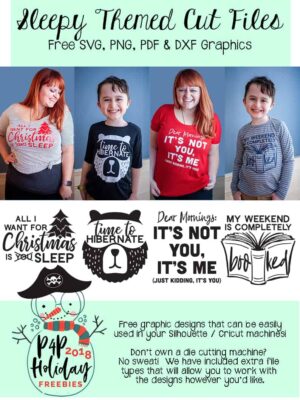
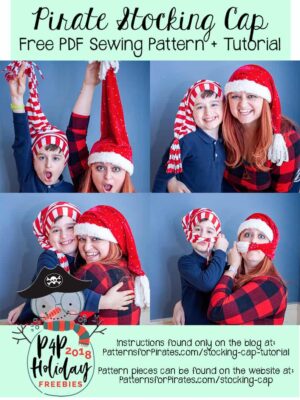
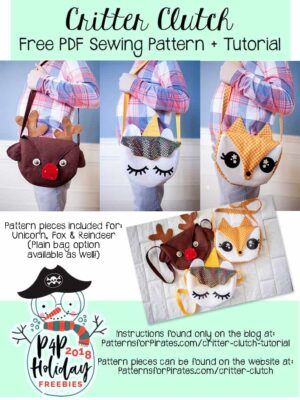
2018: INFINITY SCARF W/ZIPPERED POCKET | CRITTER CLUTCH | PIRATE STOCKING CAP | SLEEPY THEMED CUT FILES | AVAST, A VEST!

  • Free Avast, A Vest Circle Vest
    Free Avast, A Vest Circle Vest
    Add to cart
  • Free Sleepy Themed Cut Files
    Free Sleepy Themed Cut Files
    Add to cart
  • Free Pirate Stocking Cap
    Free Pirate Stocking Cap
    Add to cart
  • Free Critter Clutch Purse Pattern
    Free Critter Clutch Purse Pattern
    Add to cart
  • Free Hidden Pocket Infinity Scarf Tutorial
    Free Hidden Pocket Infinity Scarf Tutorial
    Add to cart

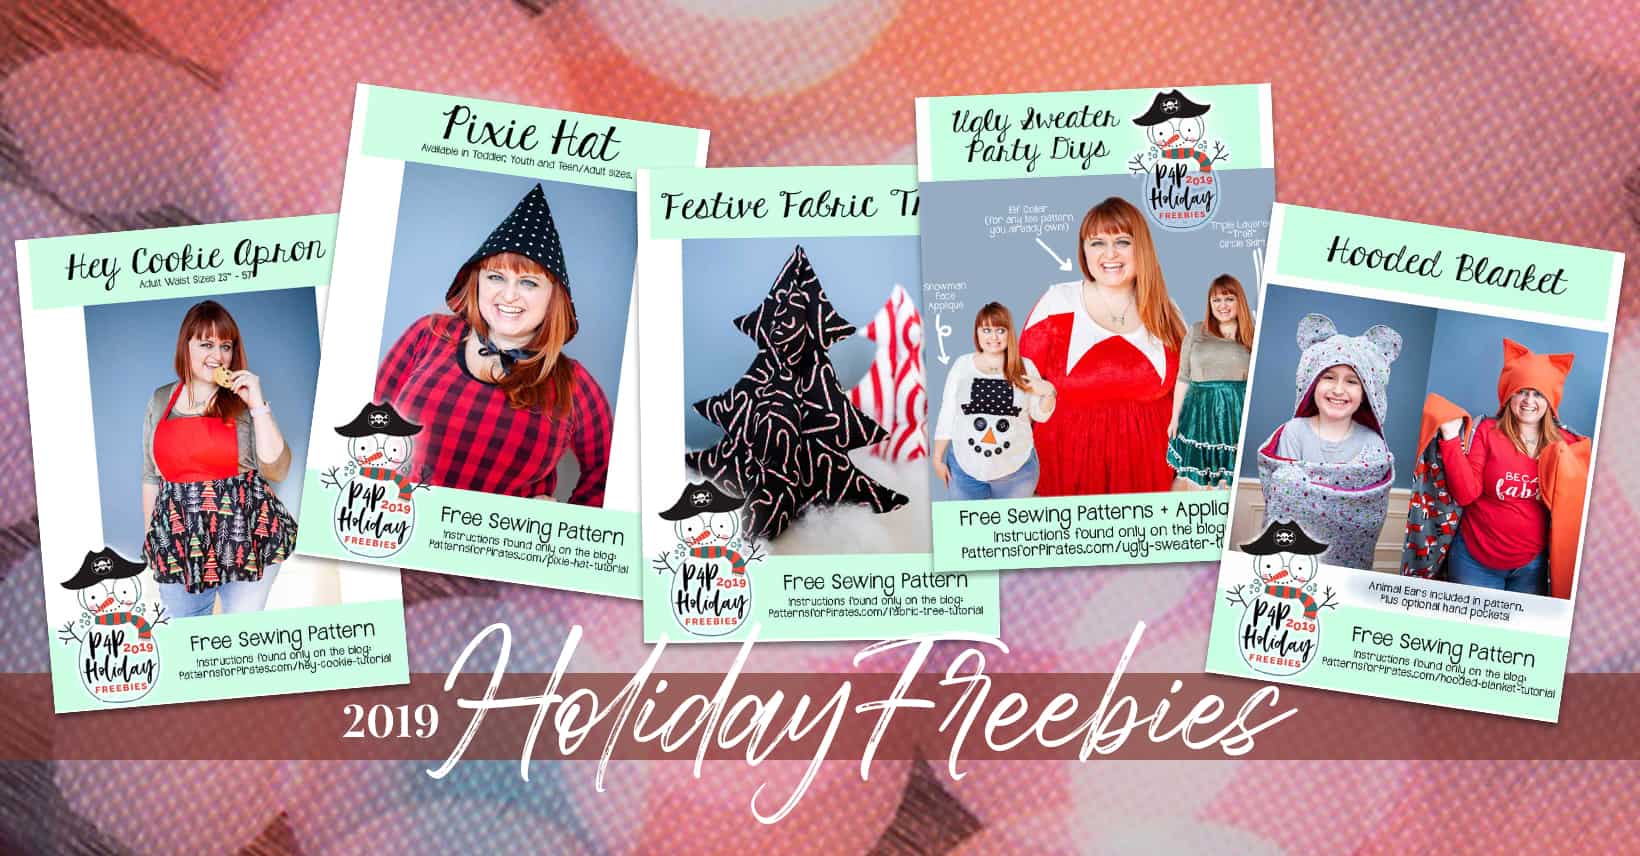
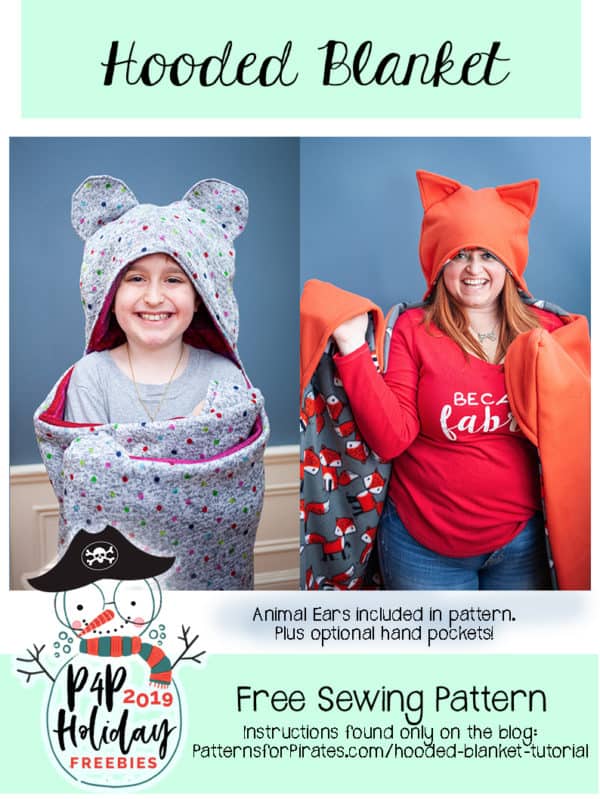
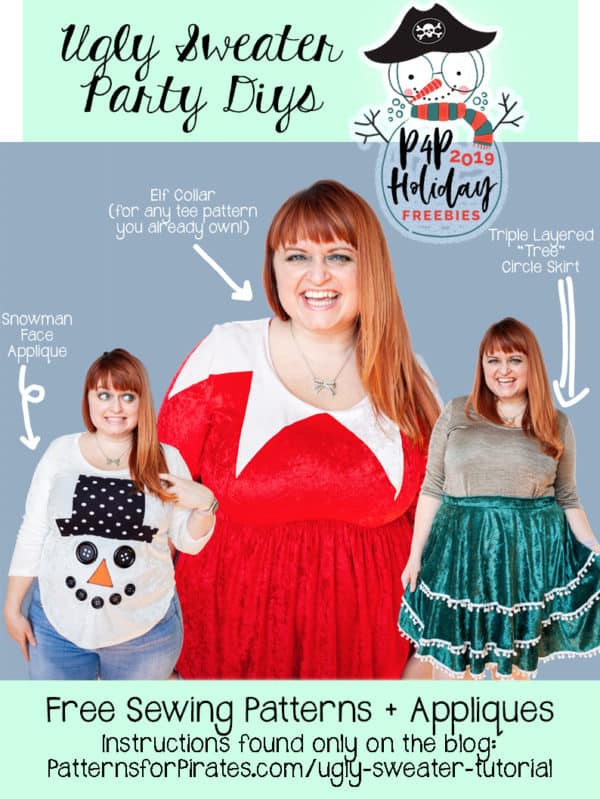
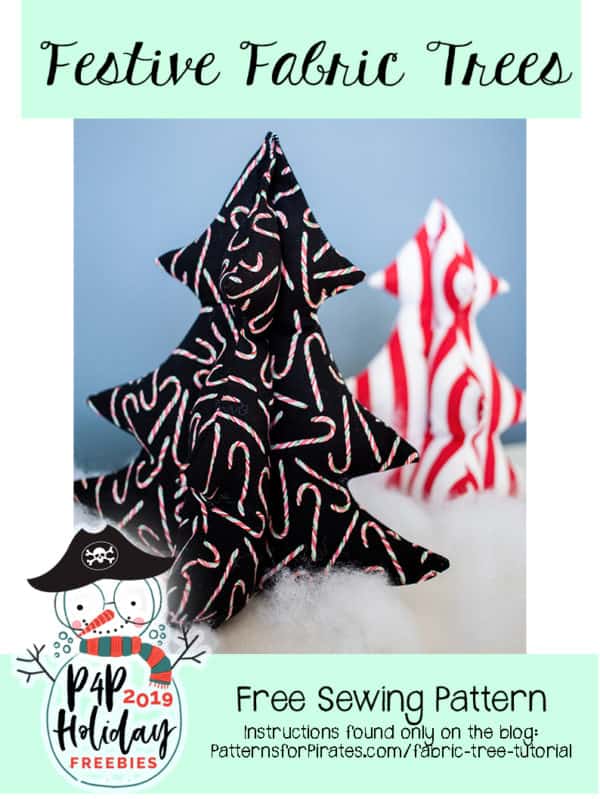
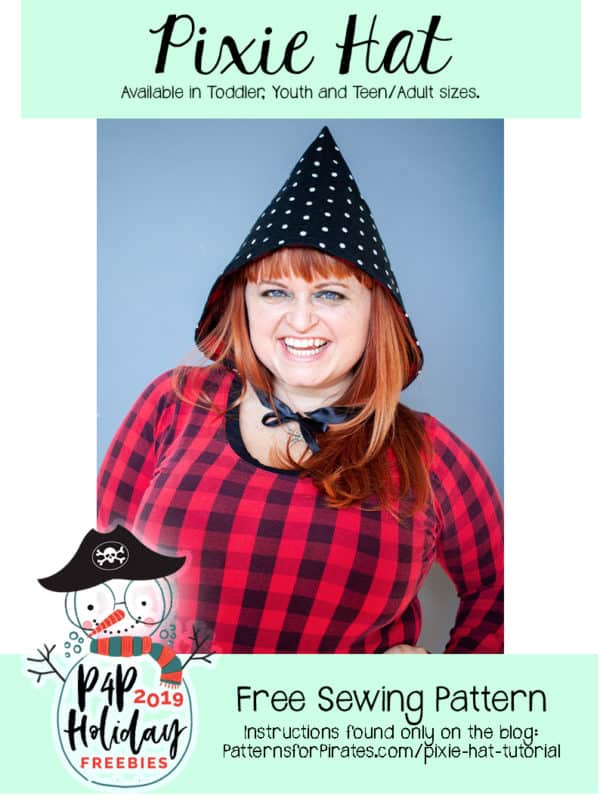
2019: HEY COOKIE APRON | PIXIE HAT | FESTIVE FABRIC TREES | UGLY SWEATER PARTY DIY | HOODED BLANKETS


  • Free Hooded Blanket
    Free Hooded Blanket
    Add to cart
  • Free Ugly Sweater Party DIY Designs
    Free Ugly Sweater Party DIY Designs
    Add to cart
  • Free Festive Fabric Trees
    Free Festive Fabric Trees
    Add to cart
  • Free Pixie Hat
    Free Pixie Hat
    Add to cart
  • Free Hey Cookie Apron
    Free Hey Cookie Apron
    Add to cart

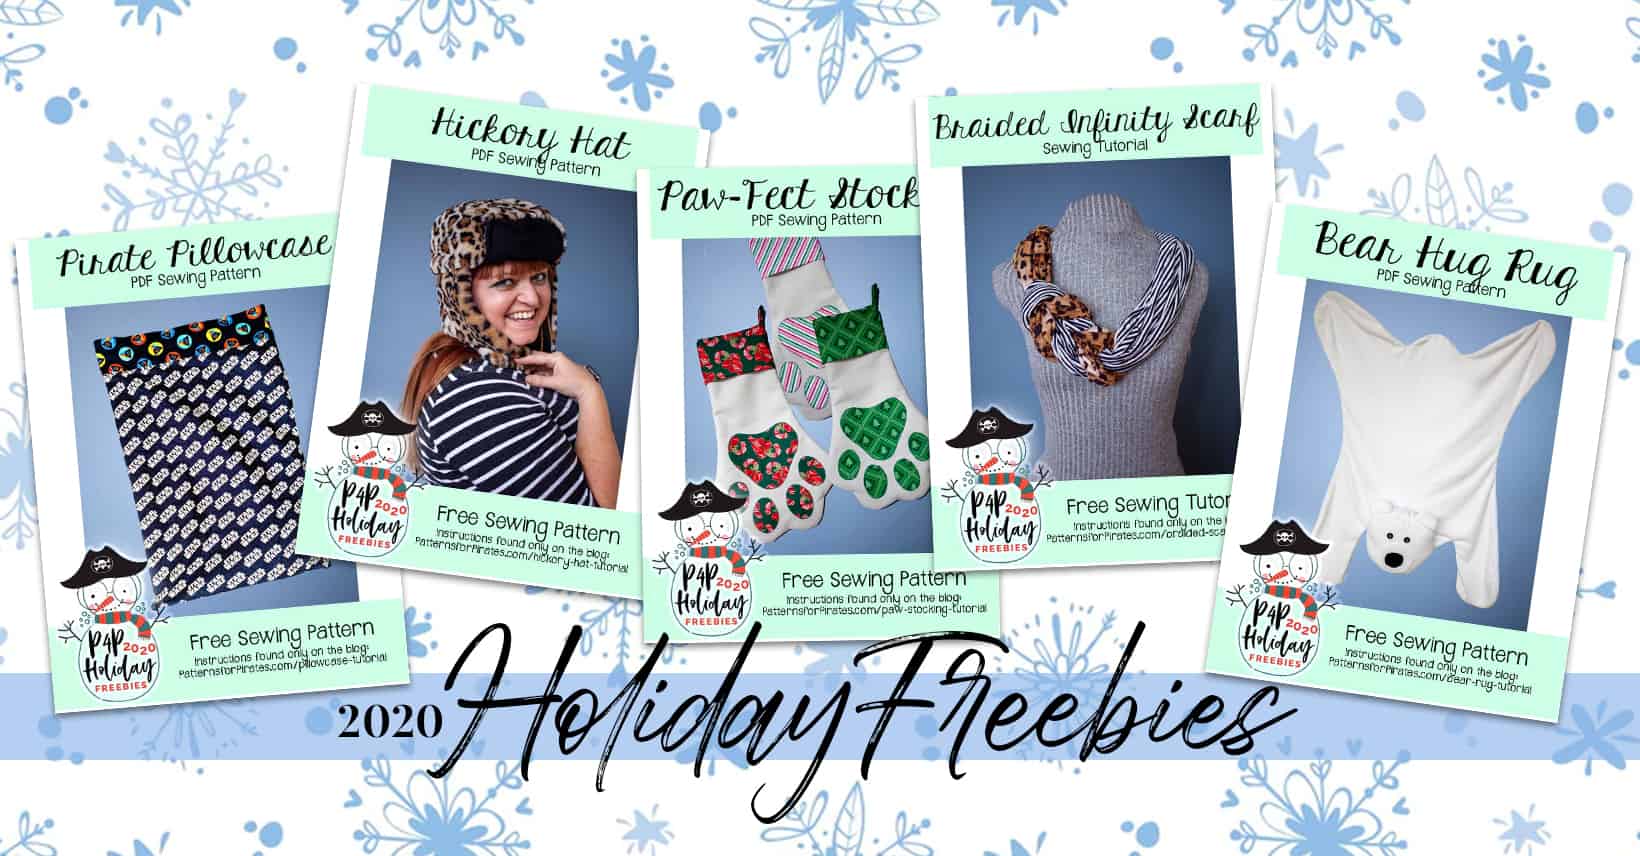
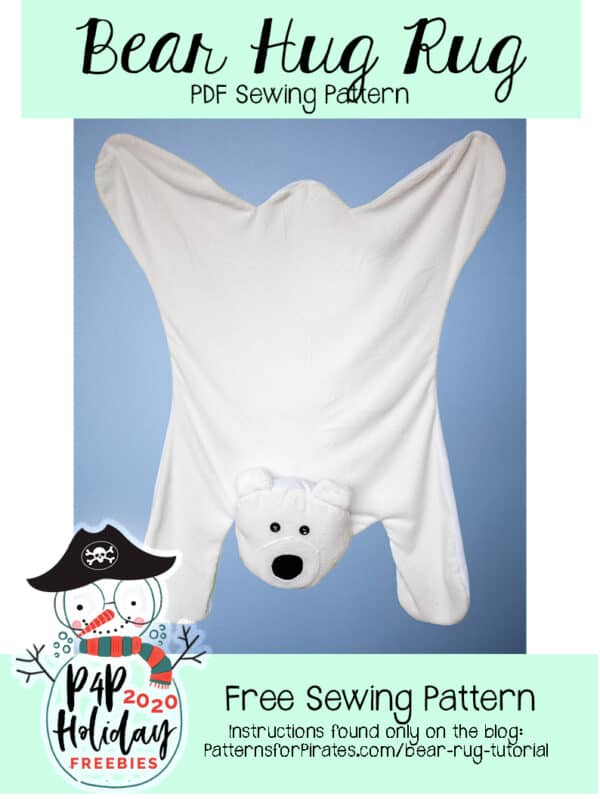
2020: PIRATE PILLOWCASE | HICKORY HAT | PAW-FECT STOCKING | BRAIDED INFINITY SCARF | BEAR HUG RUG

  • Free Bear Hug Rug
    Free Bear Hug Rug
    Add to cart
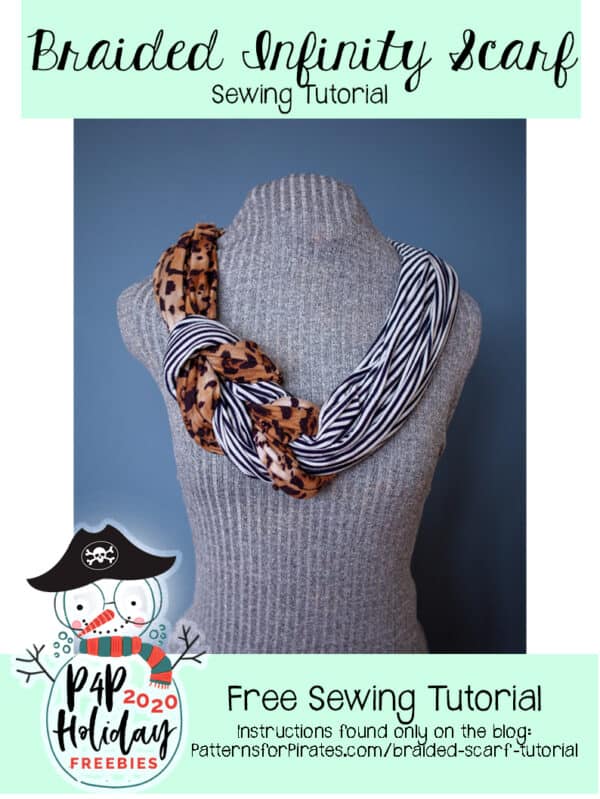
  • Free Braided Infinity Scarf
    Free Braided Infinity Scarf
    Add to cart
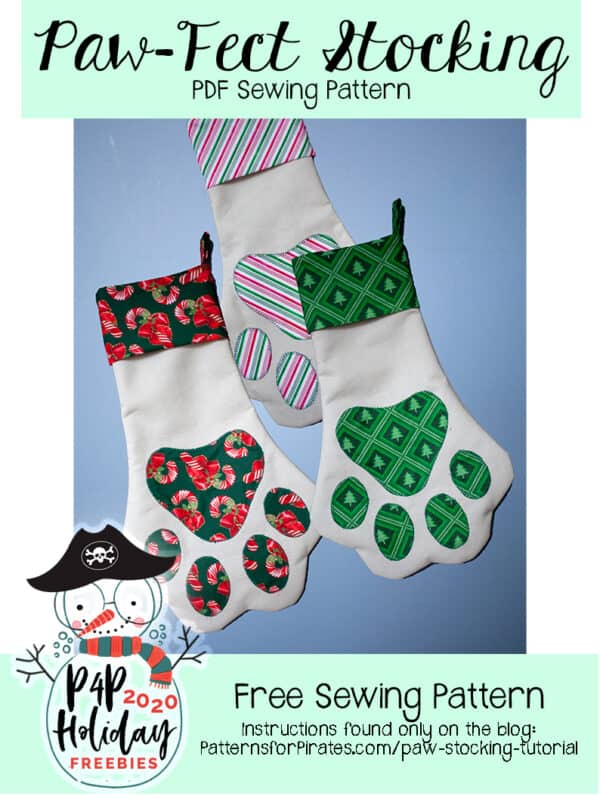
  • Free Paw-Fect Stocking
    Free Paw-Fect Stocking
    Add to cart
  • Free Hickory Hat
    Free Hickory Hat
    Add to cart
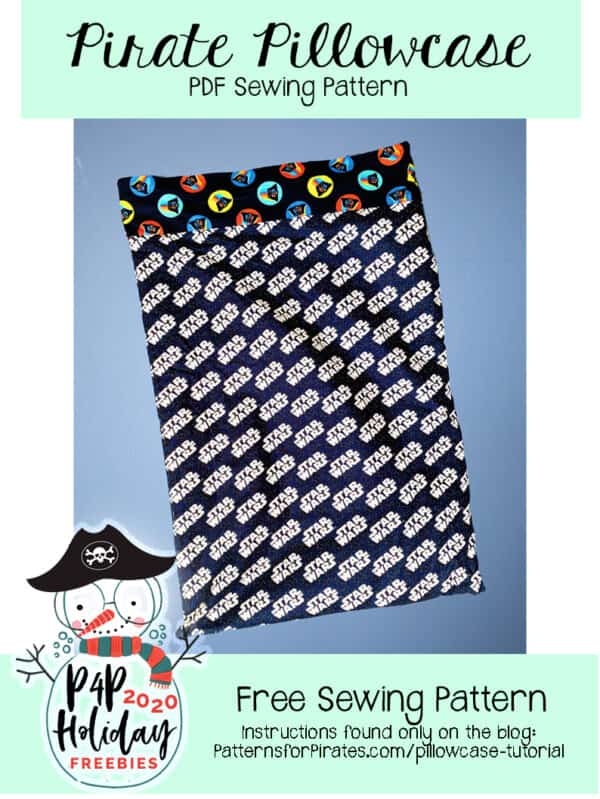
  • Free Pirate Pillowcase
    Free Pirate Pillowcase
    Add to cart

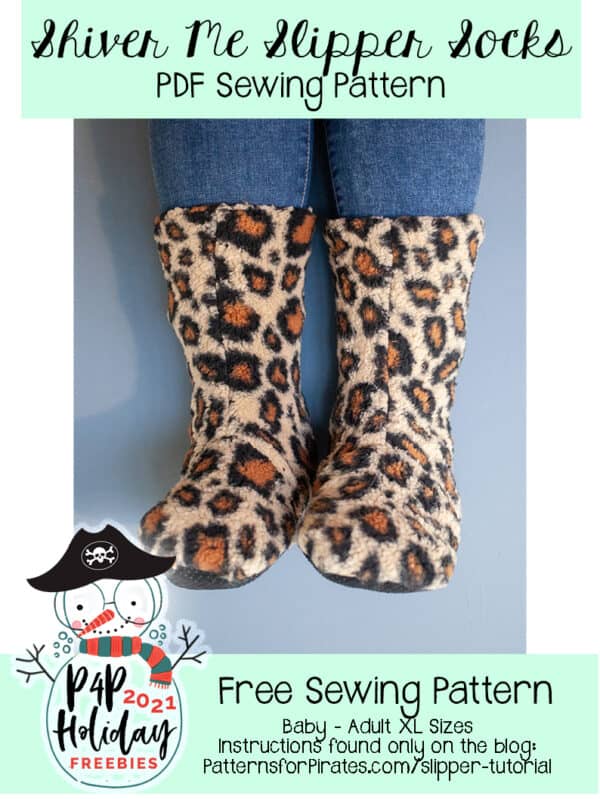
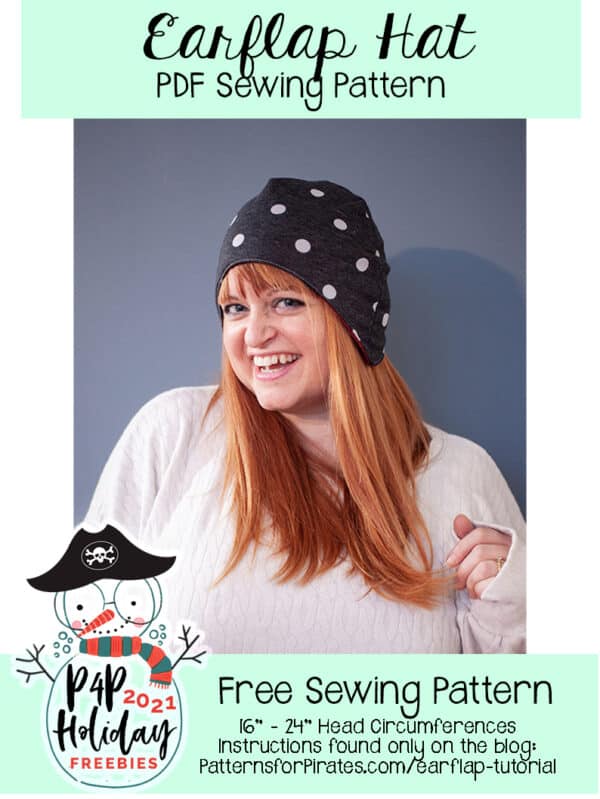
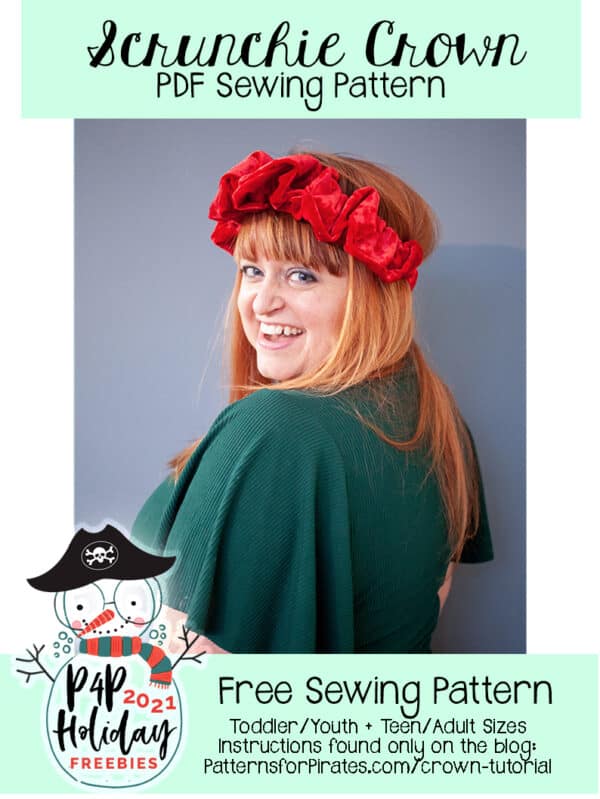
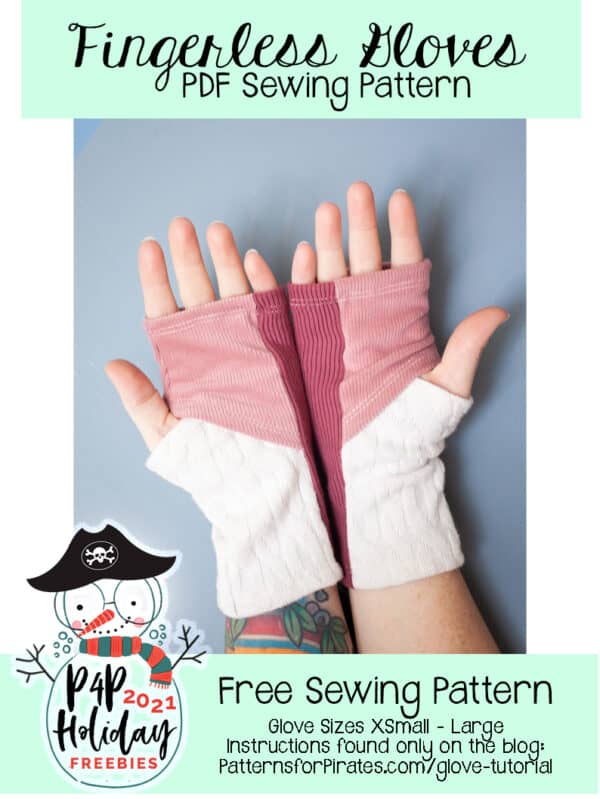
2021: FINGERLESS GLOVES| SCRUNCHIE CROWN | SHIVER ME SLIPPER SOCKS | EARFLAP HAT | CLAIRE WRAP

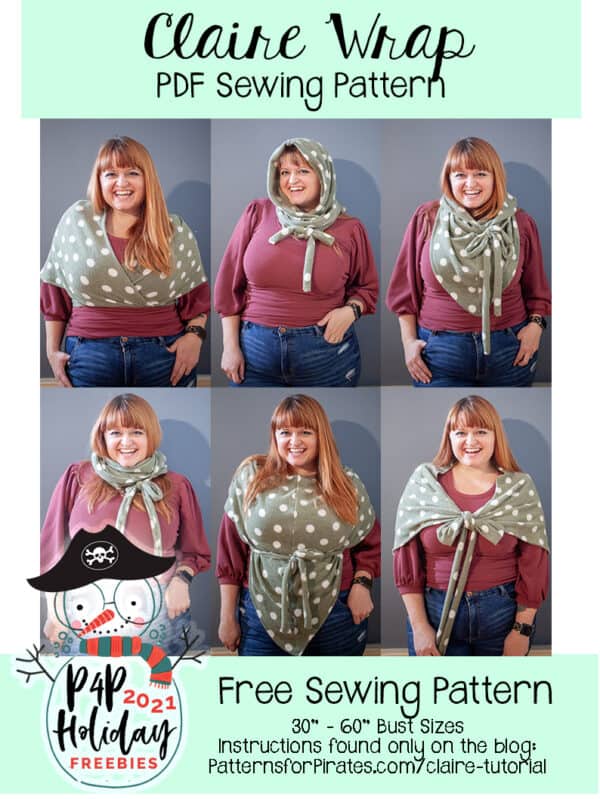
  • Free Claire Wrap
    Free Claire Wrap
    Add to cart
  • Free Shiver Me Slippers
    Free Shiver Me Slippers
    Add to cart
  • Free Ear Flap Hat
    Free Ear Flap Hat
    Add to cart
  • Free Scrunchie Crown
    Free Scrunchie Crown
    Add to cart
  • Free Fingerless Gloves
    Free Fingerless Gloves
    Add to cart

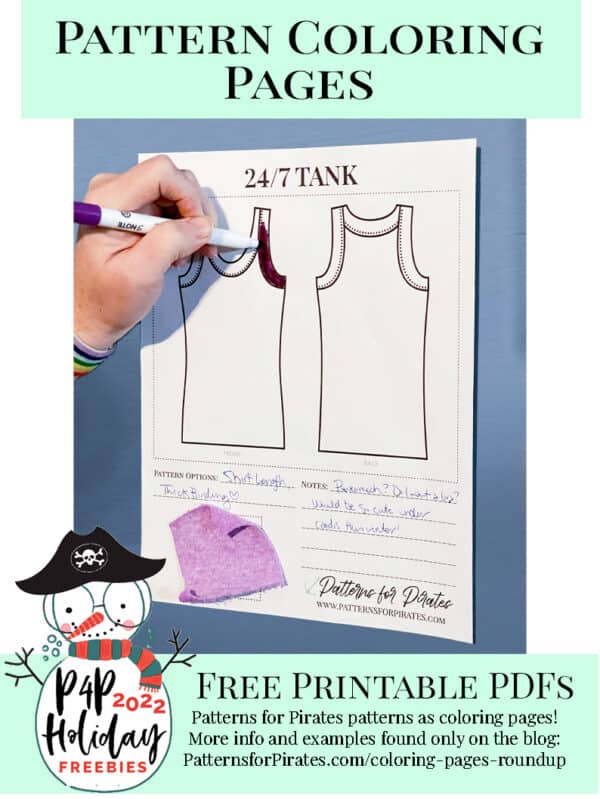
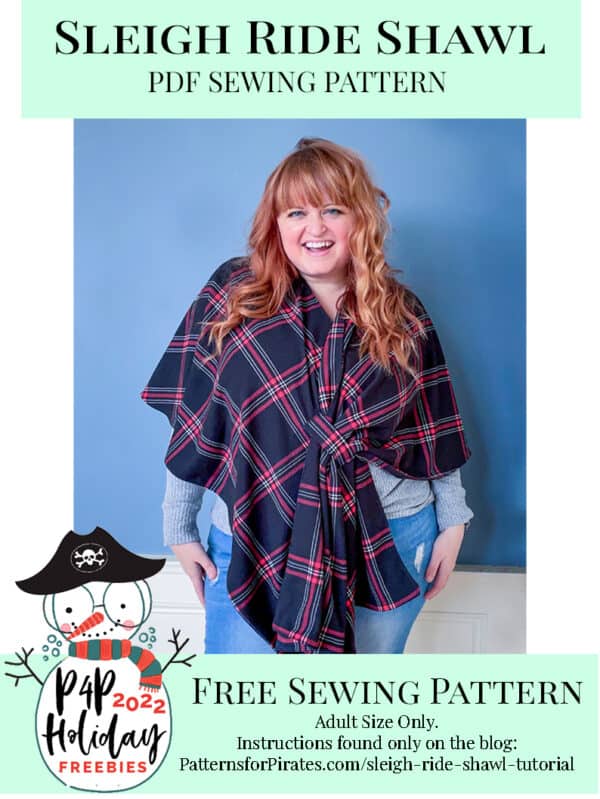
2022: SLEIGH RIDE SHAWL | PATTERN COLORING PAGES | HOLIDAY HAIR BOWS | DOGGONE RAGLAN | MERRY NAPKINS

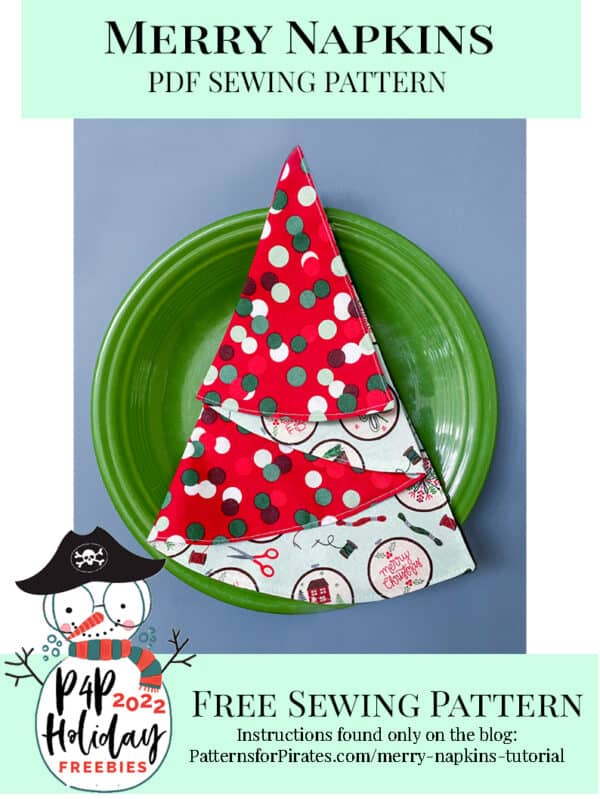
  • Free Merry Napkins
    Free Merry Napkins
    Add to cart
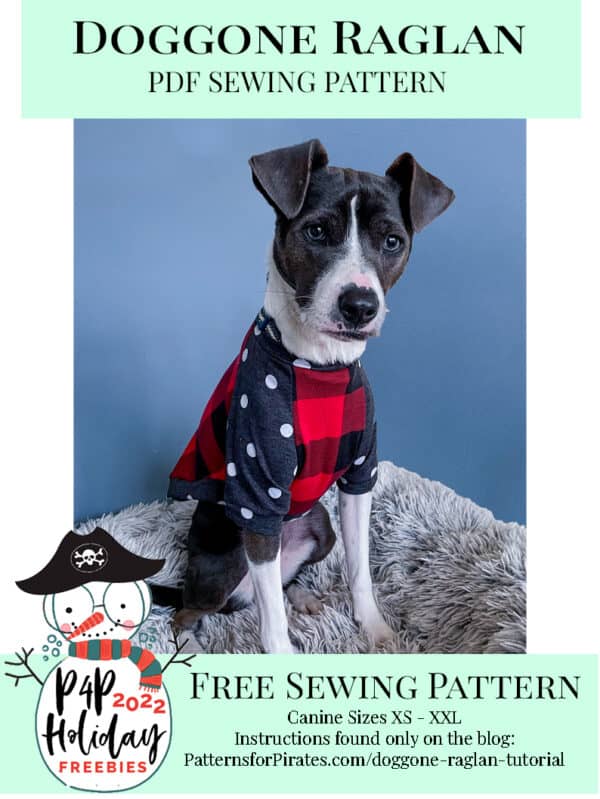
  • Free Doggone Raglan
    Free Doggone Raglan
    Add to cart
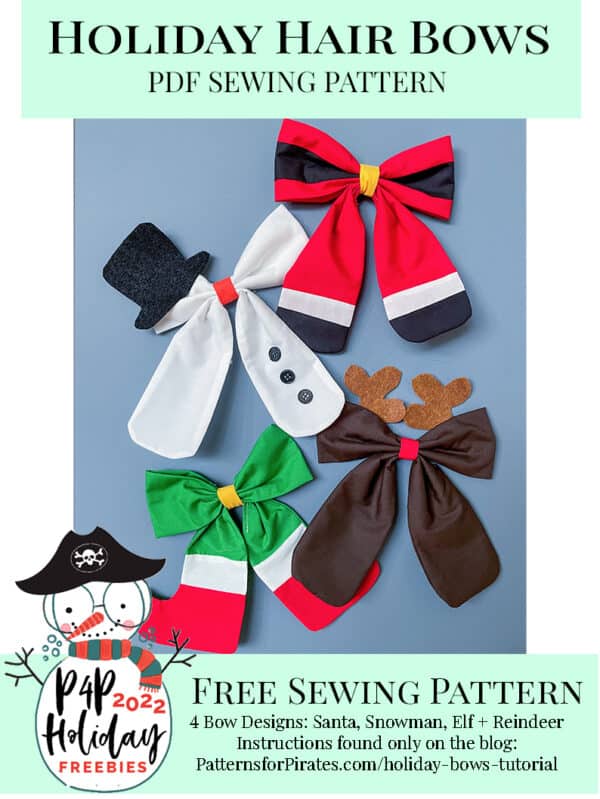
  • Free Holiday Hair Bows
    Free Holiday Hair Bows
    Add to cart
  • Free P4P Pattern Coloring Pages
    Free P4P Pattern Coloring Pages
    Buy product
  • Free Sleigh Ride Shawl
    Free Sleigh Ride Shawl
    Add to cart

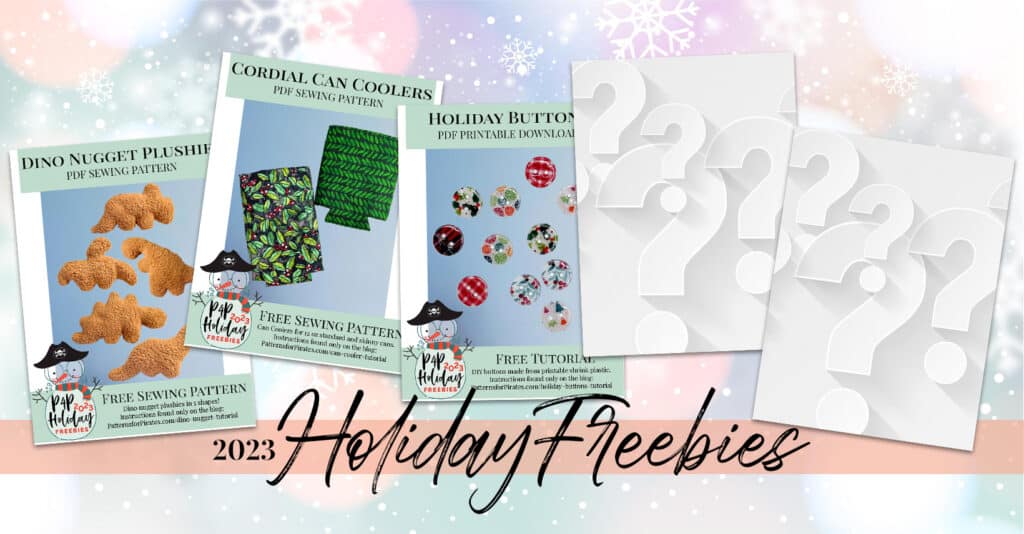
2023: DINO NUGGET PLUSHIES / CORDIAL CAN COOLERS / HOLIDAY BUTTONS / ??? / ???

  • Free Holiday Buttons
    Free Holiday Buttons
    Add to cart
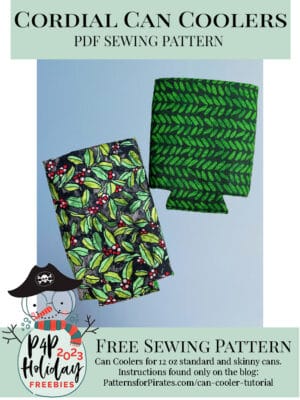
  • Free Cordial Can Coolers
    Free Cordial Can Coolers
    Add to cart
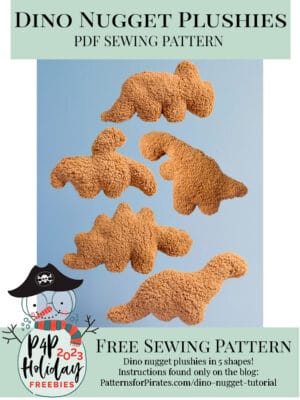
  • Free Dino Nugget Plushies
    Free Dino Nugget Plushies
    Add to cart

Filed Under: Free Pattern 2 Comments

Sew, what do I wear? Holiday Edition

November 19, 2016

swdiwlogo

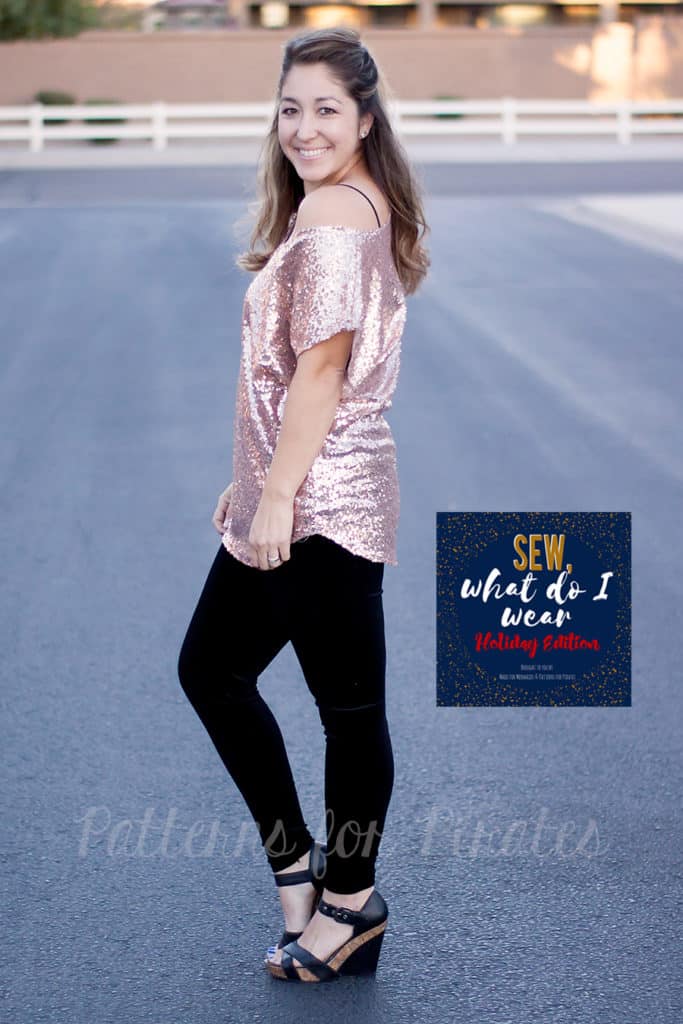
We teamed up with the Made for Mermaids ladies and have been sharing some great inspiration pieces to add to your holiday wardrobe; whether it be for family photos, dinners, or parties.   You can usually find me in some SOS Pants and a Sweet Tee or Mama Bear Joggers and a Boyfriend Tee but we have some fun holiday parties and a trip to Las Vegas coming up so decided to go all out and use some sparkly and luxurious fabrics.  My three little ones keep me pretty busy and if you’re anything like me, I tend to wait until the very last minute to sew up my items and am left running out the door, trimming my last thread.  So, with that, here’s my take on our ever famous Peg Legs  and Pumpkin Spice Dolman, two of the quickest and most beginner friendly patterns, to make them party worthy.

img_7674-2

First, let’s talk about Peg Legs.  If you haven’t heard what Pegs legs are…Check out this blog post: Peg Leg 101.   My drawer is full of basic pegs, but I didn’t want just any old pair so I decided to use stretch velvet.  While the fabric does meet the minimum stretch requirements, I opted to take a slightly smaller seam allowance just to ensure that they wouldn’t end up a little sheer at the booty and looking more like tights. I also used supplex for my waistband since I wasn’t sure if the velvet would cause the waistband to slip too much.   Changing the type and texture of the fabric took my “mom-iform” pants to luxurious!

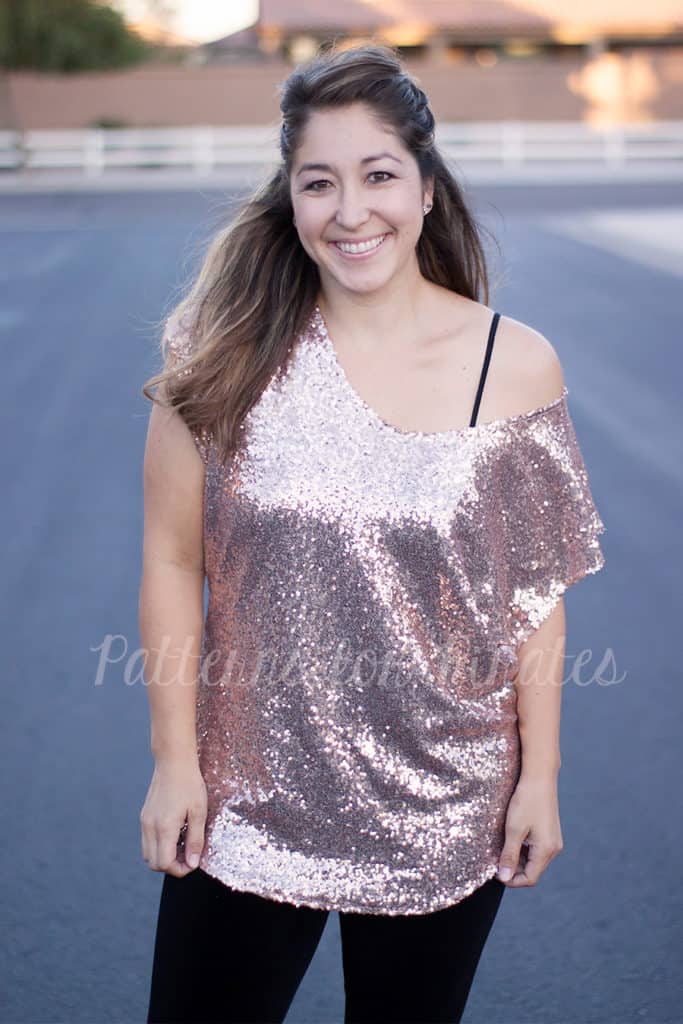
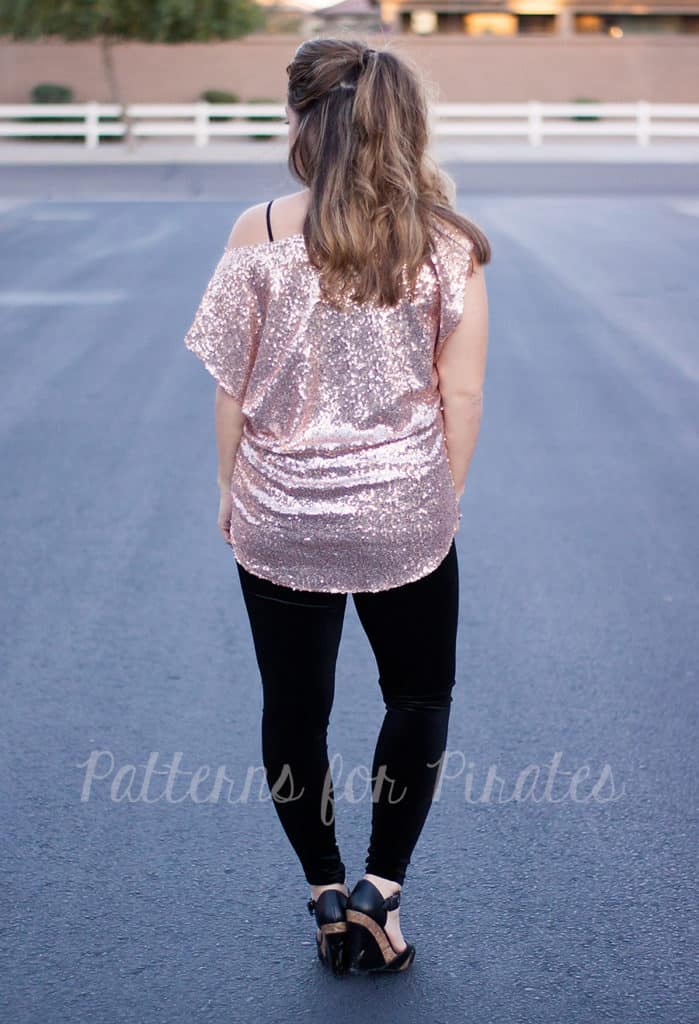
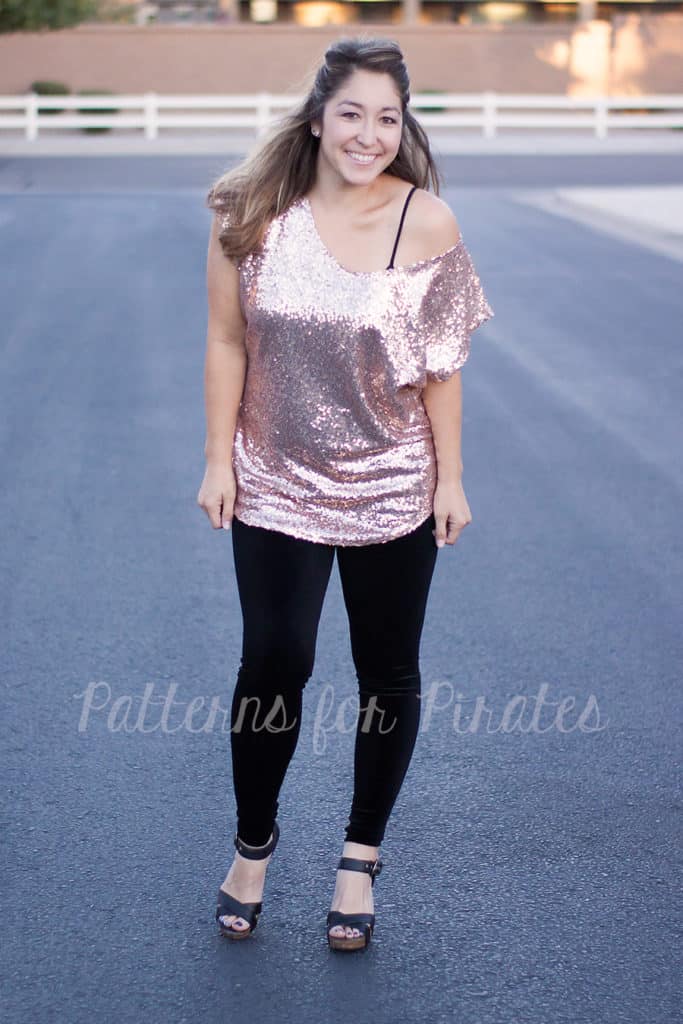
Now on to my top.  I’ve recently made a few Off -the-Shoulder Raglans using our raglan hack from a few weeks ago and am really liking the look so I thought it would be a perfect addition to the Pumpkin Spice Dolman to take it up a notch. I was also limited on my fabric and ended up using two front pattern pieces so I could use it for both the front and back.  The back pattern piece of the PSD is wider since naturally our curves (our booty and shoulders) need the extra ease but I was ok with slightly slimmer fit through the hip that I would end up with by using the same pattern piece for the front and back.

Peg Legs & Pumpkin Spice Dolman Holiday

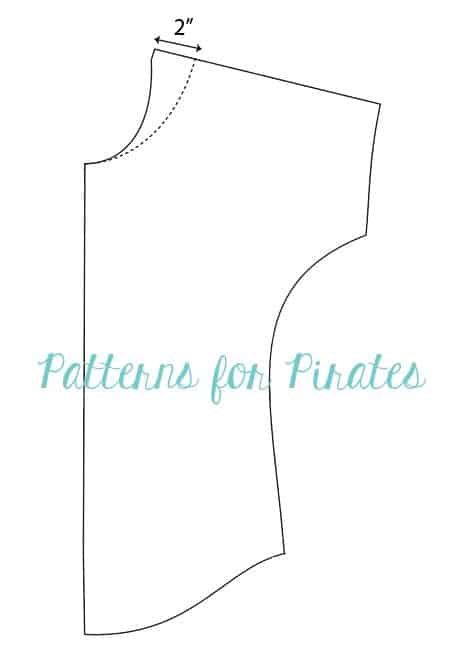
To create the off the shoulder look, I widened the neckline at the shoulder seam by removing 2″.  I also turned the edge 1/4″ and hemmed it rather than adding a neckband.

off-the-shoulder-psd

I hemmed the bottom and sleeves as well.   To be honest, my serger hated the sequins and I ended up having to do most of the construction on my sewing machine. The blade was able to handle them, but with the combination of the speed, my needles kept breaking.  So just as a cautionary tale, if you decide to use sequins, go slow!  Even with my serger issues though, I was still able to complete my entire outfit in just over an hour…yes, you read that right; an hour! Now, run and grab all the sparkly fabric you can find and shine straight into the New Year!

Peg Legs & Pumpkin Spice Dolman Holiday  Peg Legs & Pumpkin Spice Dolman Holiday

Don’t forget to check out all the amazing ladies and their makes, if you haven’t already!  There is sure to be something that inspires  you!  Have you joined in on the fun and made a P4P or M4M holiday outfit?  Join the Facebook Group and share away.  We’d love to your creations.

Nov 14 – Wild & Wanderful/ What Does She Do All Day?/ My Creative Room
Nov 15 – Sew A Piece of Joy / Red Stitch Blue Stitch/ Sewn Of A Stitch
Nov 16 – MaMoose / Rebel & Malice / On Wednesdays We Sew
Nov 17 – It’s Liesel / Stitching and Making / The Kisses Co
Nov 18 – SewSophieLynn/ I’m Just Like Mommy/ Lady and the Gents / The Crunchy Mommy


Filed Under: Blog Tours, Pattern Hacks 2 Comments

Featured Patterns

  • Loosey Goosey Loosey Goosey $12.00 Original price was: $12.00.$10.50Current price is: $10.50.
  • Loosey Goosey- Youth Loosey Goosey- Youth $10.00 Original price was: $10.00.$8.50Current price is: $8.50.
  • Loosey Goosey - Bundle Loosey Goosey - Bundle $20.00 Original price was: $20.00.$18.00Current price is: $18.00.
  • Everyday Shirt Everyday Shirt $12.00
  • Everyday Shirt- Youth Everyday Shirt- Youth $10.00
  • Privacy Policy
  • Refund Policy
  • Affliliate Program
  • Contact Us
  • About

Copyright © 2025 Patterns for Pirates

Copyright © 2025 · Genesis Framework · WordPress · Log in