Patterns for Pirates

P4P stylish, modern, wearable patterns

  • Home
  • Blog
    • Frequently Asked Questions
    • Pattern Releases
      • Free Patterns
    • P4P University
      • Fitting
      • Sewing with Stretch, Knit Fabrics
      • Sewing with Woven Fabrics
      • Sewing Machines
    • Sew-A-Longs
    • Fabric for Pirates
    • Pattern Hacks
    • Announcement
      • Blog Tours
      • Contest/Giveaway
  • Shop
  • Bundle Discounts
  • Flash Friday
  • Gift Cards
  • My Account
  • Cart

Tips and Tricks on How to Up-Cycle Jeans/Denim

June 13, 2015

Making jeans can be a little intimidating for some… and we’ve already had a post here about making jeans look more like store bought jeans with details like top-stitching thread and distressing.

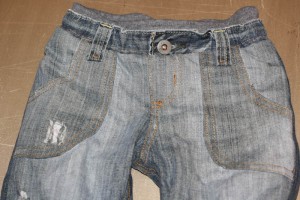
But, a really easy way to get your jeans looking professional is to use an old pair that an adult is throwing/giving away! This means a lot less work for you distressing and top-stitching if you’re smart about laying out your pattern pieces! So here it goes…my tips on using pre-existing jeans:

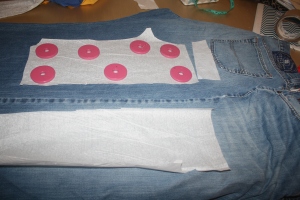
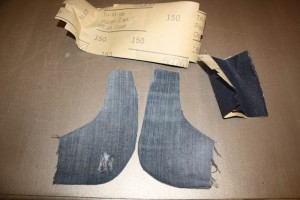
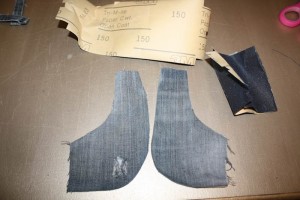
1- Making a few cuts along the seams can really make cutting your pieces much easier! I like to cut along the inside legs/crotch, cut off the waistband and beltloops, and the back pockets.

IMG_9003IMG_9001 IMG_9004

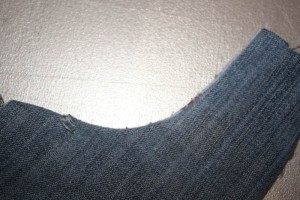
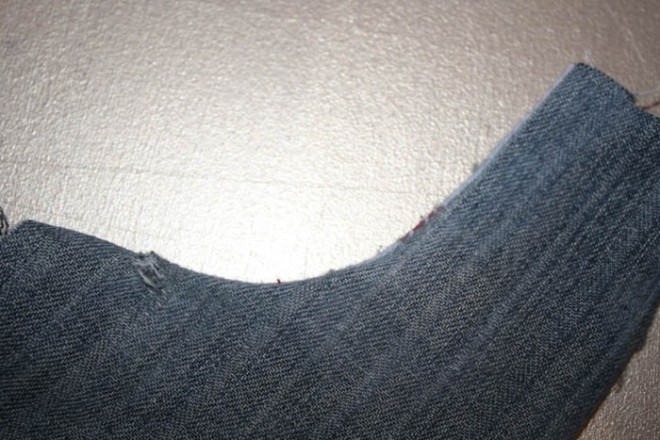
2- Be cautious about distressed/washed jeans and laying out your pattern pieces… meaning, if your jeans have a very obvious fade/wash/distress pattern on them then you need to make sure you like where it will be placed and that it will match when you sew up your jeans. For this pair, I wanted the distressed area of the original jeans, so I laid my patterns around that.  Notice that my two pieces are very close to the same area horizontally, and that the back yoke is placed above the back piece.  All of this will ensure that the distressing and wash look natural on my finished jeans.

IMG_7758

You can also use the original hem line if you prefer to get that instead. Remember to account for hem allowance. I did that with this pair, because my jeans didn’t have a very noticeable distressing.

IMG_9000

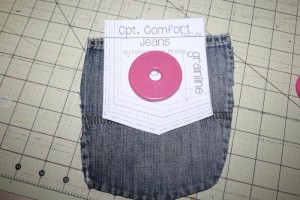
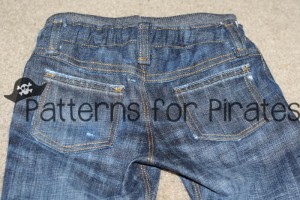
Use the back pockets when cutting your new pockets, Remember to account for the hem allowance at the top.

IMG_9005

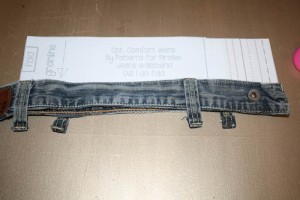
If you’d like to use the waistband and belt loops you can…. but warning, unpicking those belt loop stiches is not fun 😉

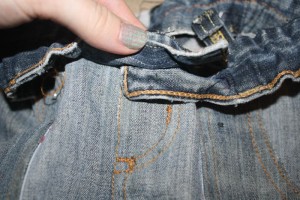
If you pattern calls for elastic in the waistband, like my Cpt. Comfort Jeans, then you will have to cut a slit on the wrong side of the waistband to slip your elastic through- I just use a wide zigzag to mend the slit after (I hide the zigzag stitches behind a belt loop!).  Make sure when overlapping that you line up your jeans button and button hole, you can see here on mine they overlapped much more then the pattern called for.  Then you will tack down the bottom of the belt loops 🙂

IMG_9006IMG_9012IMG_9213

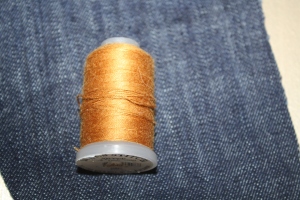
3- Now that you have your pieces cut you will continue to sew them just like the pattern calls for  matching the store bought top-stitching thread as best you can. And although they have a wash and distressing, I STILL distress along the way! That way my finished jeans will have the distressing where store bought jeans do, like along pocket lines.

IMG_7260 IMG_9009

IMG_9010

Now you have a great fitting (no plumbers crack!) pair of jeans that cost you nothing but the thread and time <3 and plus they look amazing!

IMG_9218   IMG_9422IMG_9403

Filed Under: Pattern Hacks, Sewing Techniques, Sewing with Woven Fabrics, Uncategorized 1 Comment

How to Sew “ready to wear” looking Jeans/Denim

June 13, 2015

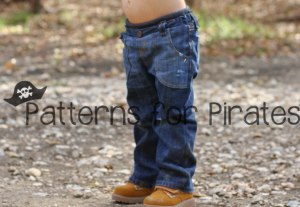
Jeans can be an intimidating sewing task, but they really aren’t that difficult and it is so great to have well fitting jeans for you or your little ones! No more plumbers crack when bending down!!!!! 😉

IMG_9403

With my recent release of the Cpt. Comfort Jeans I wanted to post about how to distress your new denim to look more like ready to wear jeans! I personally LOVE the distressed look! Although a super clean dark denim can look nice as a “dressy” pair of jeans like here:

_DSC4859

But for everyday, I just love the little distressed look… something about looking like Daddy gets me every time with my little guy!

So, lets get started on those great store bought look jeans!

You really MUST use a top-stitching thread for all your top-stiching if you want store bought look… I scoffed at my Mom the first time she told me it was a must… BUT she was right, like always!!

IMG_7260

You will use this heavier/thicker weight top-stitching thread in the top only and for top-stitching only. You will use regular thread in the bobbin and for all seams sewing the jeans together– yep, you have to rethread a lot ;). But it is absolutely worth it if you want ready to wear looking jeans! I promise!

You will also NEED a bigger needle designed for heavy weight fabric like denim or you will be breaking needles on those thick belt loops!… here is a single and double needle:

IMG_7259

Now, I only have one machine, so there is A LOT of switching threads and needles if I use the double needle. So, I will often just sew two lines with my single needle instead of switching to my double needle 😉

Now for the distressing, you will need some sandpaper! To be honest, I’m not sure the BEST kind of sandpaper to use… I asked my husband if he had some and used whatever he handed me 😉 Here is a shot of the kind I happen to use!

IMG_9008

The trick to distressing your denim is to do at WHILE you’re sewing the jeans! If you try to do it before it’s hard to gauge where the distressing needs to be. If you do if after you’ve top-stitched them then you will be breaking your top-stitching threads (ask me how I know that one 😉 ) see left top pocket with it’s broken threads :/ oops!

IMG_9422

So, I suggest sewing the jeans together with your normal thread, then distressing with sandpaper before you top-stitch. Here is my patch pocket sewn, turned right sides out, and distressed along the edges (and any other places I fancied at the moment). Then I top-stitched.

IMG_9010

Some areas are harder to distress before topstitching like back pockets, belt loops, any piece that you are top-stitching closed or onto the jean.  But I still follow the same steps.  I just fold and press, distress, then top-stitch onto the back piece.

IMG_8998

So have fun with a little distressing or A LOT! lol! I like a lot 😉 I end up with a mound of blue fuzz all my sewing room by the time I’m done!

Last is the button! I love to use “real” jeans buttons- and honestly, I always have been lucky enough to take them from my loving mother’s stash! But they are very easy to put on, just line up the two parts and hammer away! Yep, you’ll have sandpaper and a hammer in your sewing room for jeans!!

I’ve always used snaps, which are very common on ready to wear for younger children 🙂

IMG_9000 IMG_9218 IMG_9245

Filed Under: Fitting, Frequently Asked Questions, Sewing Techniques, Uncategorized 3 Comments

P4P University: Petite and Tall Fitting Adjustments

June 13, 2015

So… I’m tall… I mean… I’m TALLLLL 🙂

5’10” no shoes ha ha ha See me towering over my tiny mom?

10271502_10101467547479973_2882136477492759705_n

It makes finding RTW clothes a CHALLENGE to say the least… yes, I can pay an arm and a leg for “talls” but I want young trendy clothes!! So making my wardrobe is so rewarding for me!

I’ve already posted tips for blending sizes for children’s clothing here but this method doesn’t work well for adult patterns because all of the sizes are made to fit an average height adult, rather than differing heights on the youth patterns.

Here are some tips for adding, or taking away length to a pattern for an adult.


Our patterns are drafted to two different size charts, as well as different heights for both charts.

  • for our Hourglass Figure chart, patterns are drafted to a 5’5″ height.
  • for our V-Figure Chart, patterns are drafted to a 5’6″ (short) / 5’10” (average) / 6’2″ (tall) height.

The “rule of thumb” is to add or remove 1/2″ for every 1″ that you differ from the height that the pattern is drafted for.

For example, at 5’10” there is a 5″ difference so I would need to add 2.5″ throughout the pattern.  If I were 5’1″ then I would remove 2″ of length since there is a 4″ difference.

If you are shorter or taller you need to add/take away length throughout the whole pattern!
Just like children’s patterns I DO NOT recommend only adding to the bottom hemline. Knit patterns are much more forgiving in fit. And sure, adding only to the bottom hemline will make your garment longer. But using the method of lengthening at the bottom only will most likely not give you the desired fit.

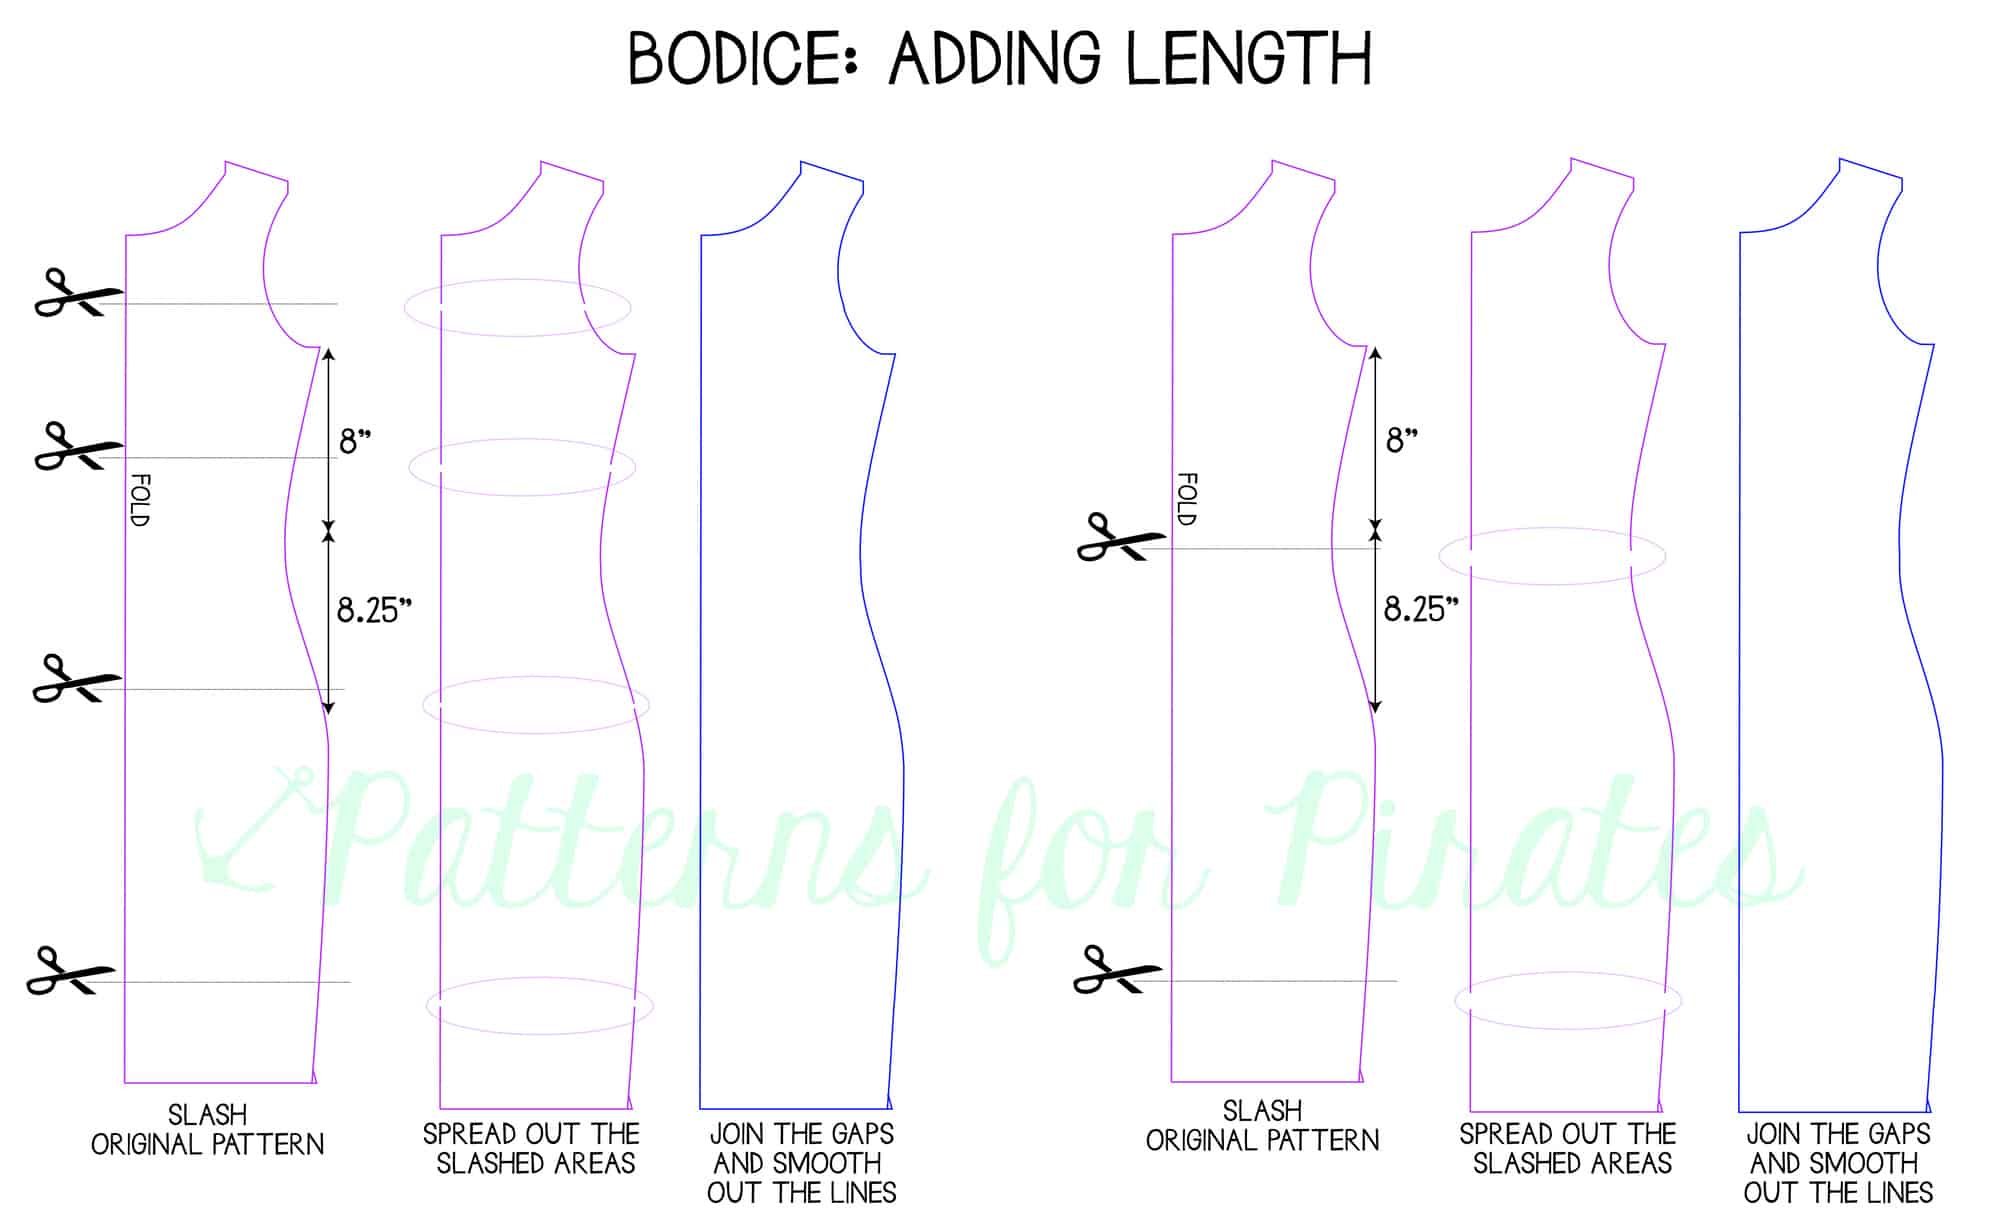
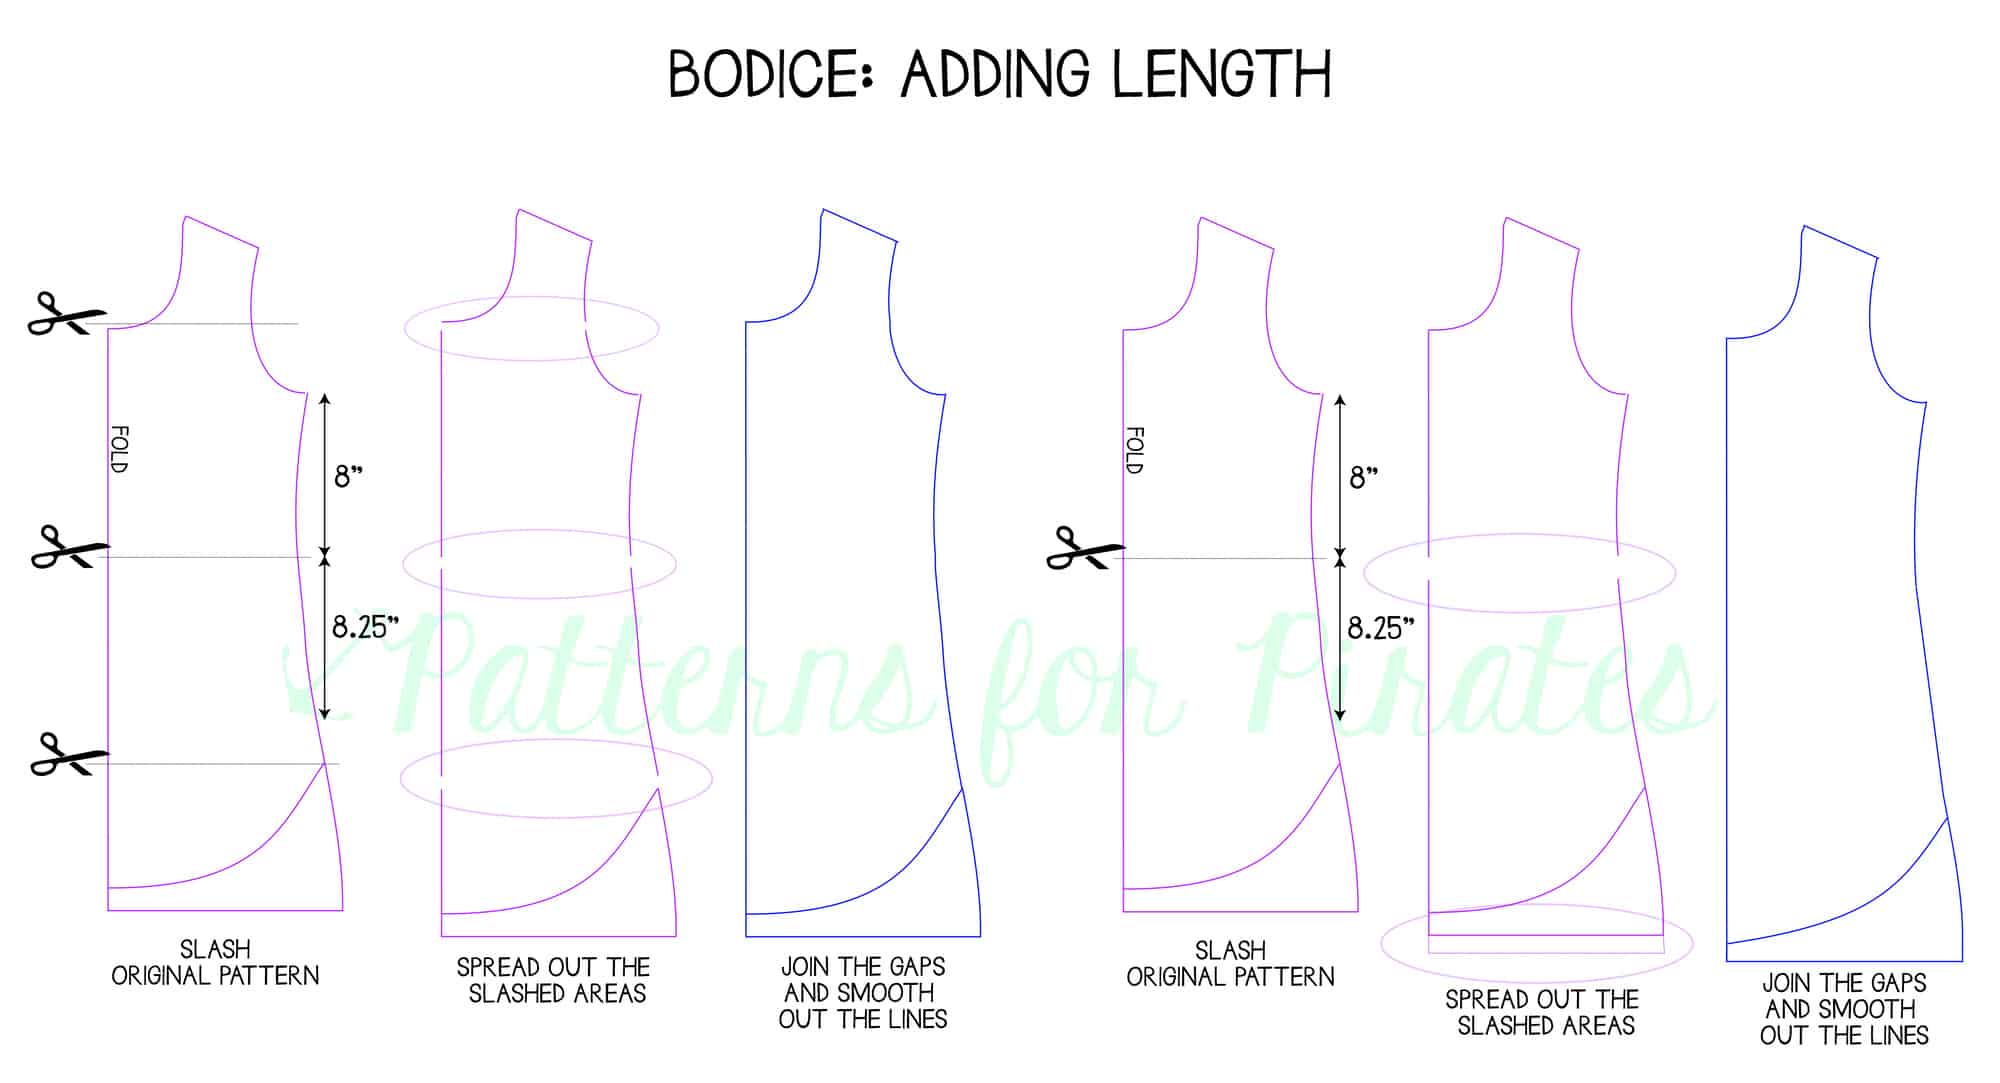
The four places I recommend adjusting for height are:

  • at the shoulder/armscye
  • just under the bust line
  • just under the waistline
  • at the bottom hemline.

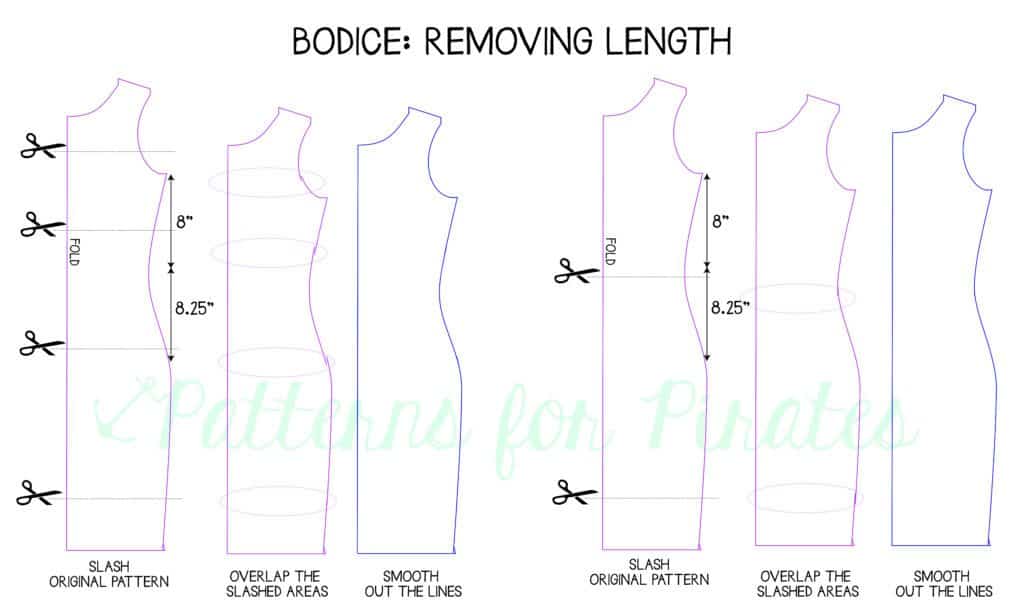
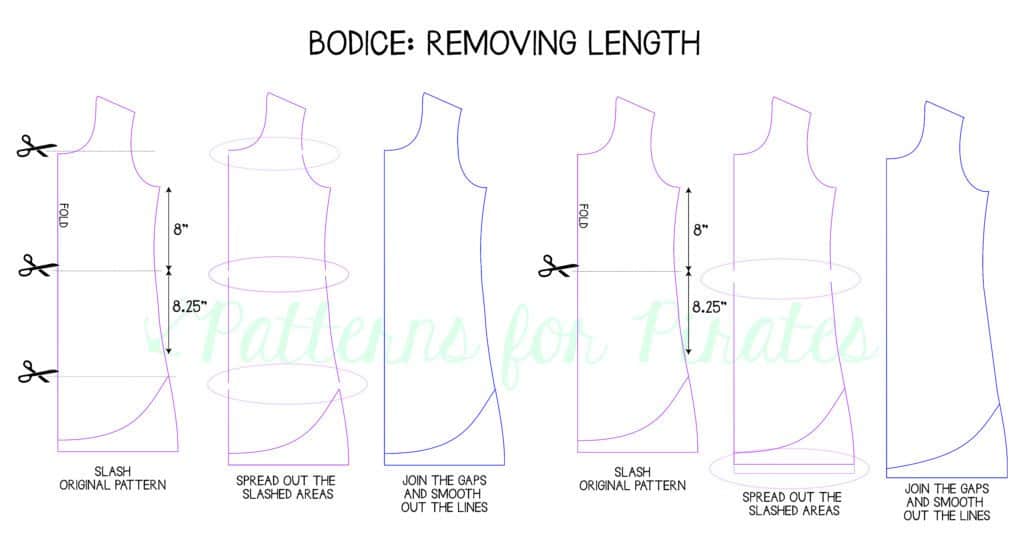
Adding throughout the pattern helps keep the bust, waist, and hip where they actually hit you. P4P uses a standard side waist length of 8″ and a waist to hip length of 8.25″ so if you know your specific length measurements between those points, you will want to add/remove the exact amount in those areas.

(Not sure where to measure yourself for garment sewing? Check out our post here.)

I have made myself enough clothing to know how much I need to add to MOST patterns designed for average height.
–  I add about 2 1/8″ to every shirt I make, or I add about 2 5/8″ to my tunic length tops
–  I even know how much I like in each spot: at my shoulders I add a scant 1/8-1/4″, at the chest and waist area I add 3/4-1″, and my bottom hems get about 1/2-1″ added to them.

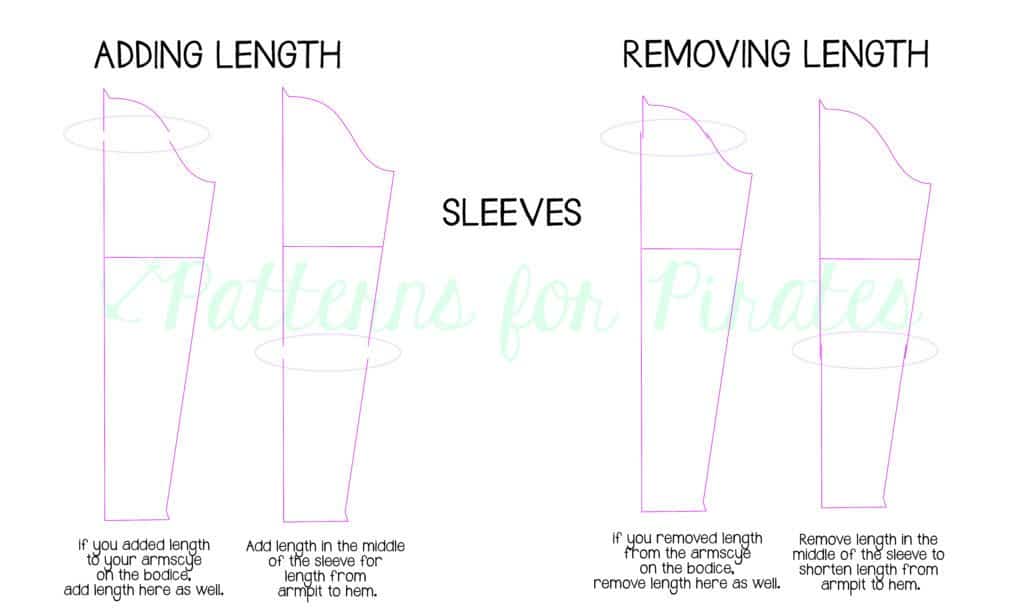
The shoulder/armscye adjustments can be tackled a couple of different ways. I personally like to take a smaller seam allowance there to add some length. But you can also splice your pattern straight across where the armsyce is and spread the pattern pieces to add length that way. I only add about 1/8-1/4″ to mine, but that tiny difference makes SUCH A HUGE difference in how a shirt fits me!

Because of how our no-trim patterns are assembled with the Letter and A4 formats, there are margins on each of the overlapped pages that make slash + spread adjustments easy as pie! For the chest and waist, I simply untape the pattern pieces, move them down (adding what I need for extra length), and then retape that section.

Or you can (with any pattern)… splice it straight across and measure what you’d like to add.

Shortening is the same method, you would just be overlapping instead of adding.

With the height adjustments you’re making, with adding or removing length, the pattern pieces won’t line up perfectly without a one extra step. All you need to do is cut out the pattern and “true up” the sides. Simply match the lines up and straighten them out the best you can to even out the adjustments made.

Repeat the process for the other pattern pieces as needed.

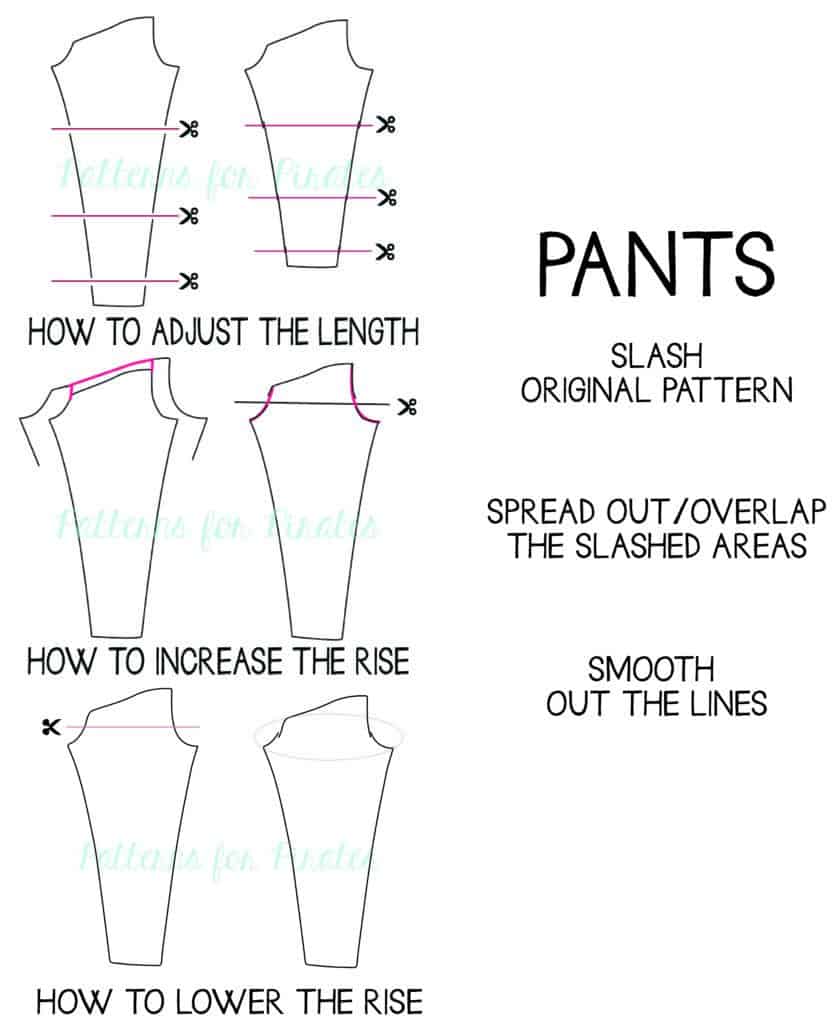
Remember: If you added length in the armscye on the bodice piece, you need to add length in the sleeve as well. Or if you changed the length of the rise on the back leg piece, you’ll need to do that same adjustment to the front leg piece.


Pants (like our Peg Legs, Vintage Jumper or Uptown Joggers) should also be shortened or lengthened throughout.  Each of the patterns include a finished inseam length.  Measure your inseam and compare to the pattern to make your length adjustments.


Ta-Da!!!! Now you have shirts and pants that will FIT you…ALL over! 🙂


Filed Under: Fitting, P4P University, Sewing Techniques 30 Comments

How to Mash Sizes for a Custom Fit!

June 13, 2015

Do you have a tall skinny minny? Or a little one who needs a bigger width then their height? This is a simple easy route to mashing sizes for children to get a better fit! No more just adding to the hem!! If your child needs length they need it throughout the whole garment, not just the hem! And vice versa if your child is shorter they need it shortened throughout the whole garment.

So here is the quick guide. You will take their overall height and match that to the size chart of your pattern… for this example I’m going to be using my niece who is 44″ tall- which matches my size 5.  Her chest and waist match a size 4. So I will be using the width of a 4 and the length of the 5 on every pattern piece!

**I’m going to note in here too that going more then 2 sizes is very hard to keep the proportion and shape of the pattern.

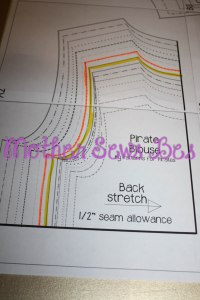
Here is a picture where I highlighted the size 4 and 5 (Size 4 in yellow and size 5 in orange). I don’t typically do this, but I did to help illustrate 🙂

IMG_5433

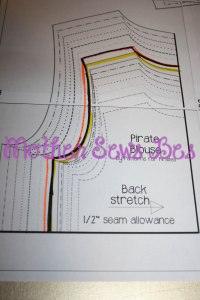
And here I drew in black to show how I followed the size 4 width overall on the piece and the size 5 length.  See how I made the armhole the size 5 length, and neck hole… these are places where your little ones fit will drastically improve with this method!

IMG_5435

And again, here is the sleeve with a 4 width and 5 length. Make sure you keep EVERY piece the same length/width and your pattern will fit together beautifully 🙂

IMG_5436

Coming from a very tall girl- if your little one needs added length they will be so much more comfortable with that longer armhole/neckhole/bodice!! I can hardly wear shirts that I don’t add that 1/8-1/4″ at my armhole… even though it seems like such a small adjustment it makes such a BIG difference in my fit! 🙂

This method can also be used with a shorter length to width— I used to do this for my little one when he was younger– he is big for age so he was in toddler sizing with a baby figure! He needed a much bigger around then his height and it worked wonderful for him!

Now go create that perfect custom fit!! 🙂


Filed Under: Fitting, Frequently Asked Questions, P4P University 6 Comments

  • « Previous Page
  • 1
  • …
  • 4
  • 5
  • 6

Featured Patterns

  • Mae Top - Bundle Mae Top - Bundle $20.00
  • Mae Bottom - Bundle Mae Bottom - Bundle $20.00
  • Loosey Goosey - Bundle Loosey Goosey - Bundle $20.00
  • Bacall Bodysuit Bacall Bodysuit $12.00
  • Privacy Policy
  • Refund Policy
  • Affliliate Program
  • Contact Us
  • About

Copyright © 2025 Patterns for Pirates

Copyright © 2025 · Genesis Framework · WordPress · Log in