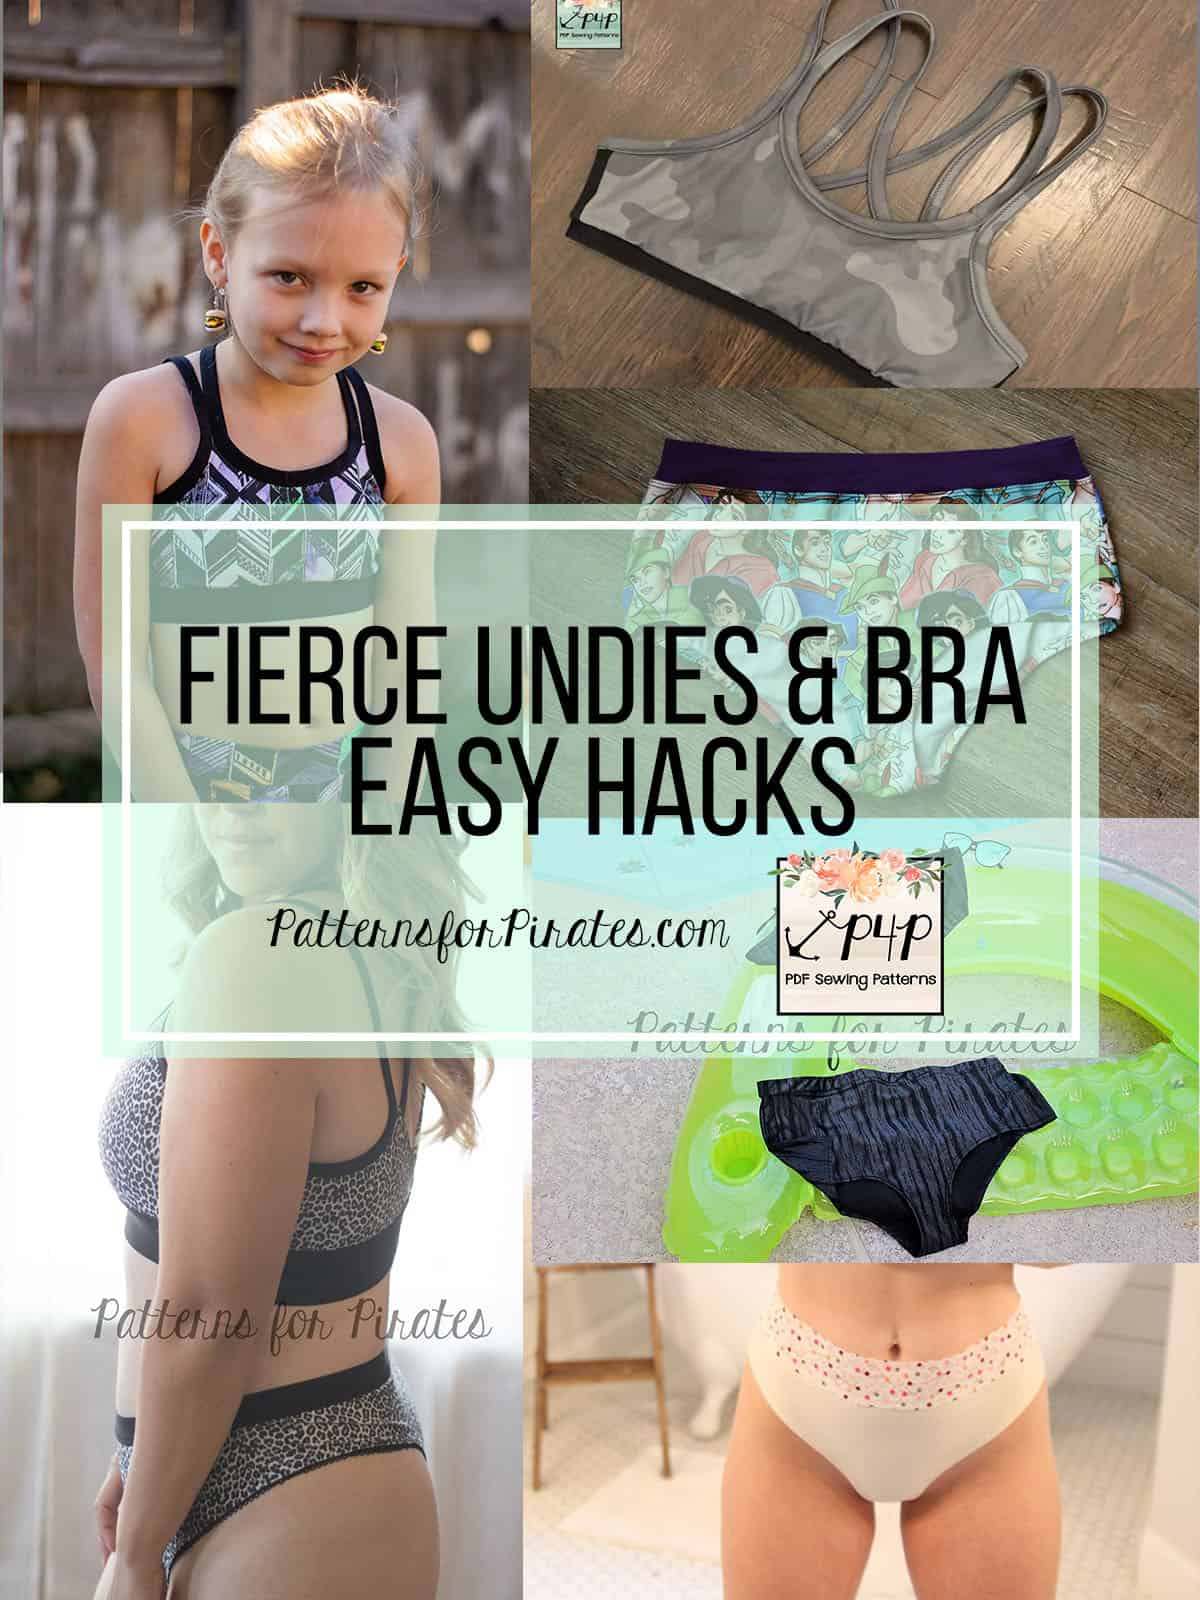
Ahoy, pirates! In true P4P fashion we could not let the DOUBLE release happen without showing you some simple hacks for your new Fierce Undies and Bra. All these simple mods can be applied to both our adult and youth pattern.
…..
Undies with bands
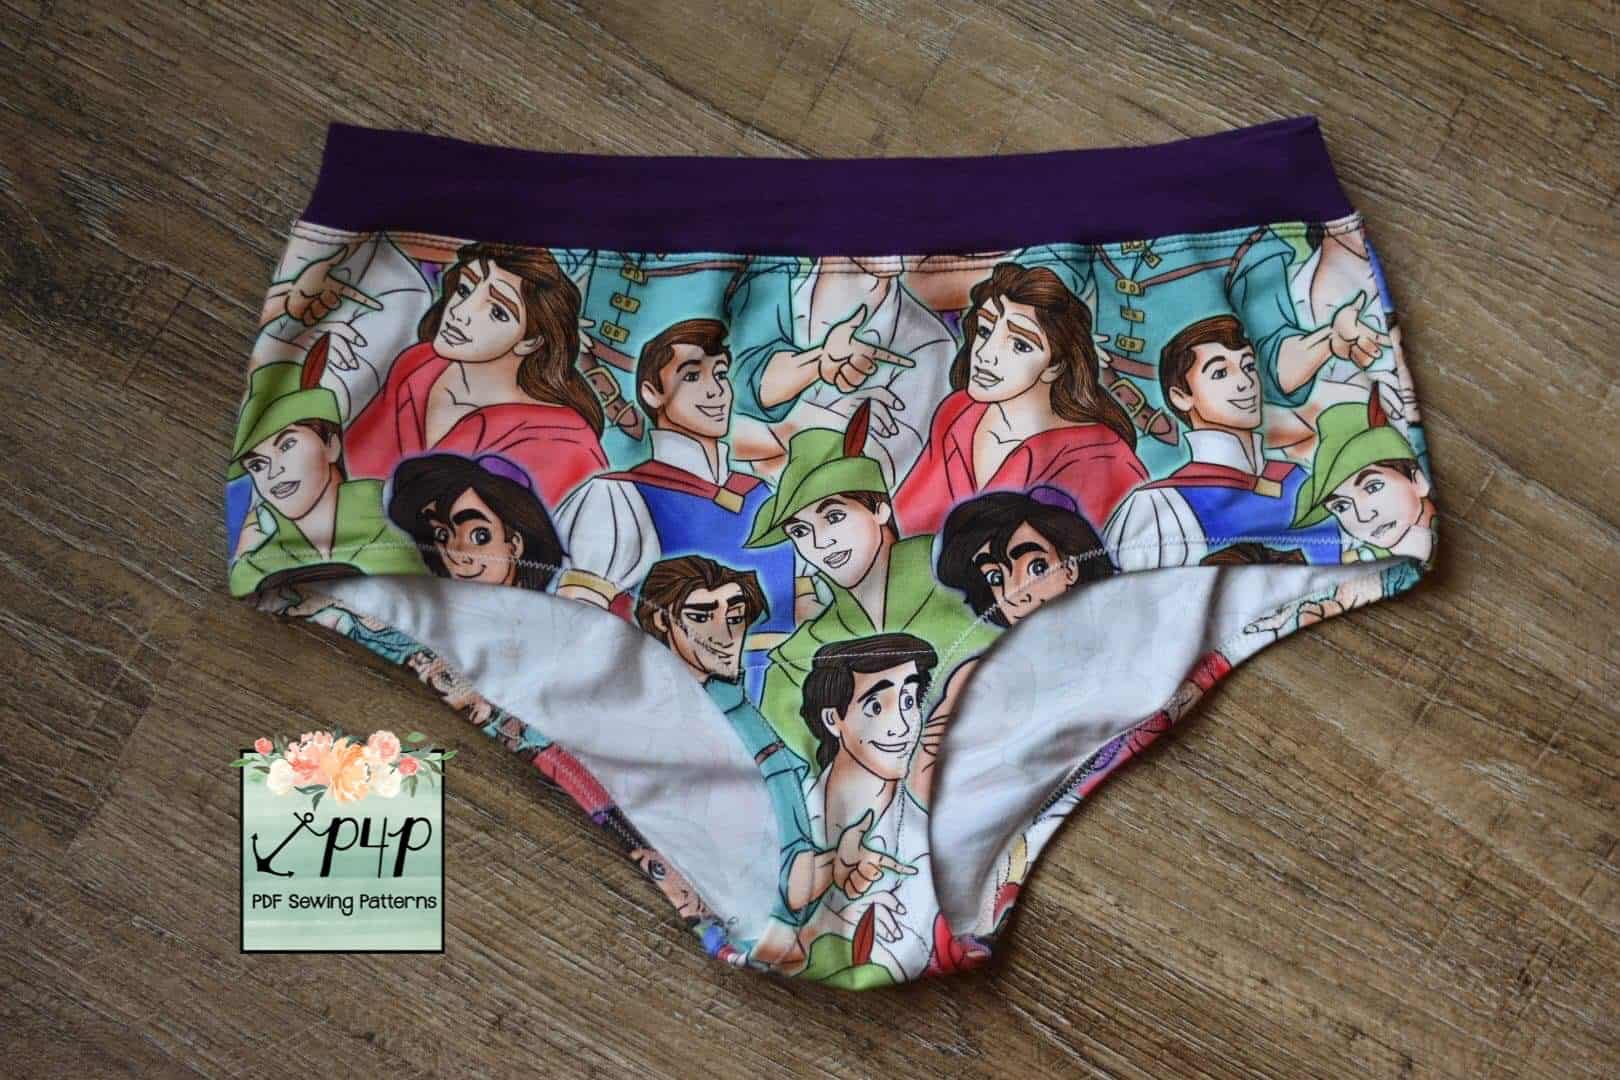
I love the new Fierce Undies. They feel so amazing! But I know sometimes I prefer a knit waistband instead of elastic. So today I will be showing you how to hack a knit waistband on the Fierce Undies.
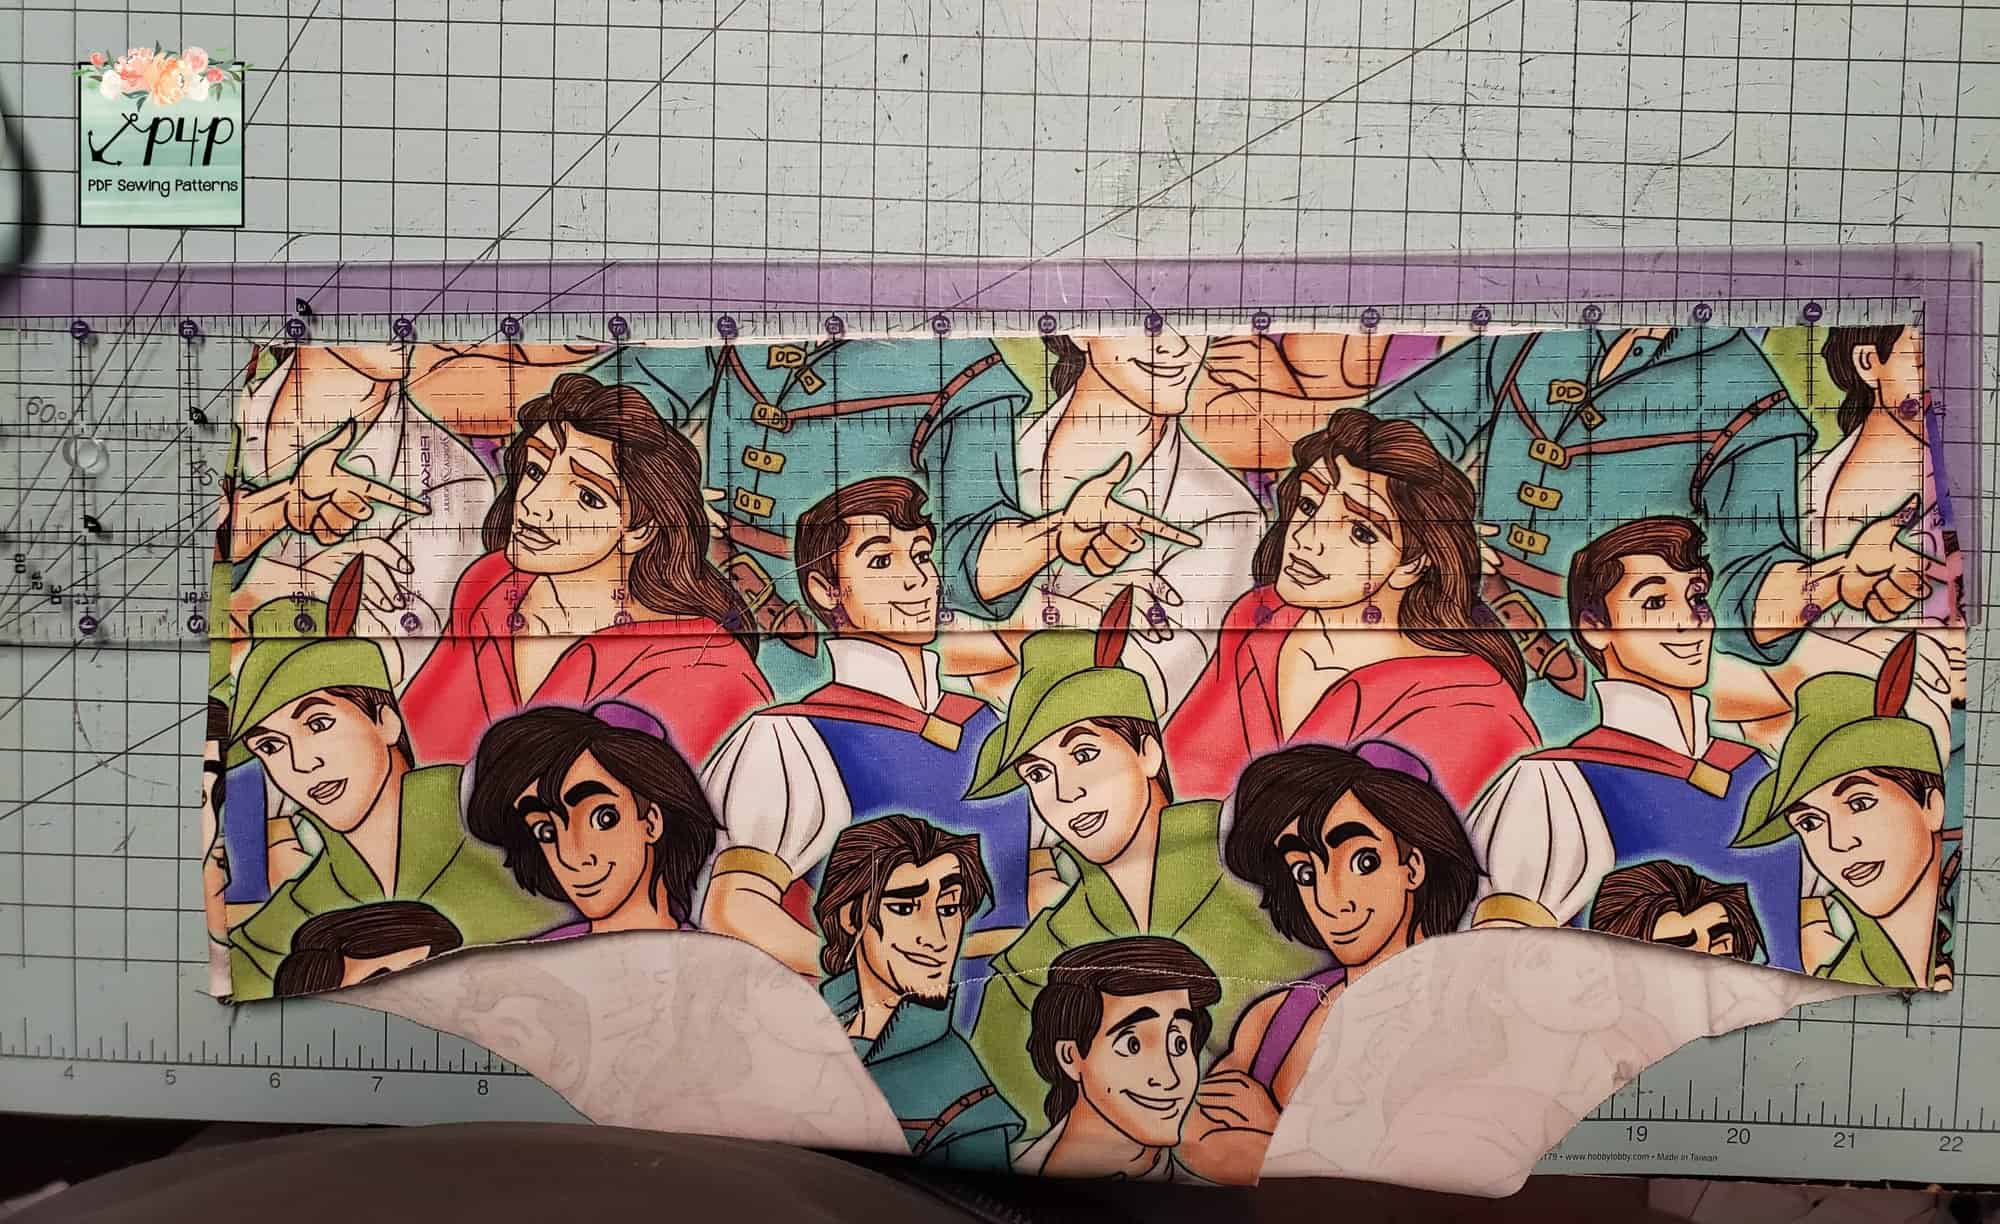
The first thing I did was cut and assemble the pattern according to the pattern. Then I measured the top of the undies to see how wide it is.
Now here is the formula I used to the band width: (undies width X 2)+1 X 80%. I like to use 80% because I like my band a little smaller but not too tight. Here is a picture of my measurements.
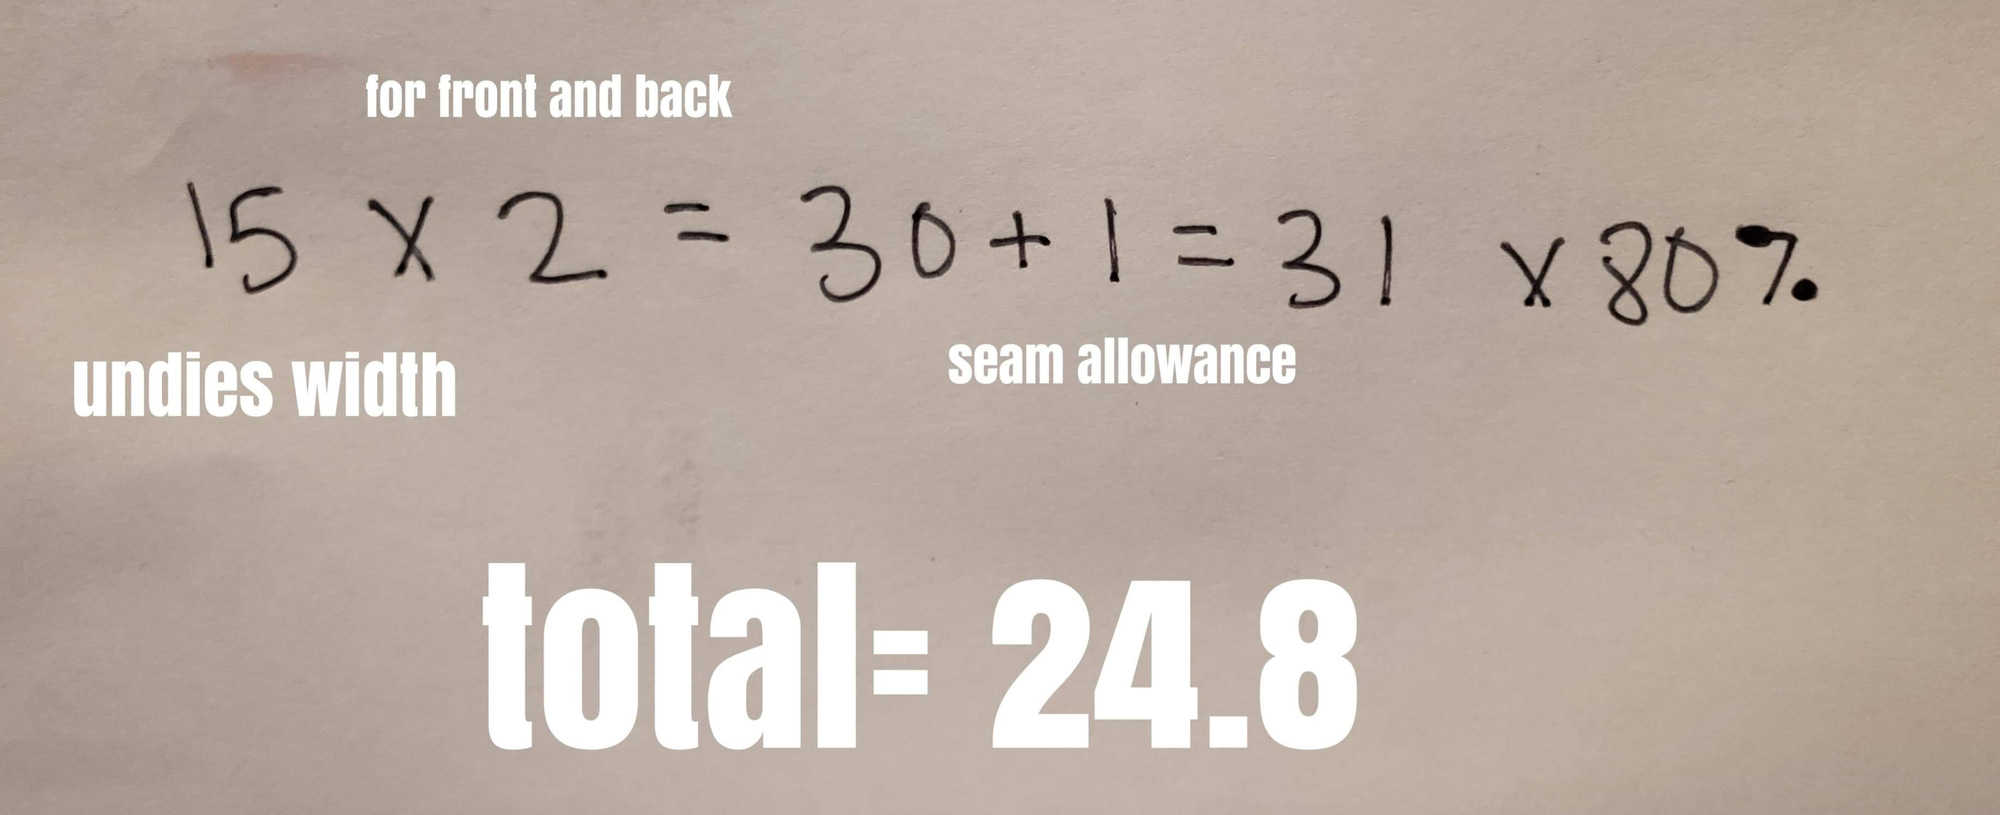
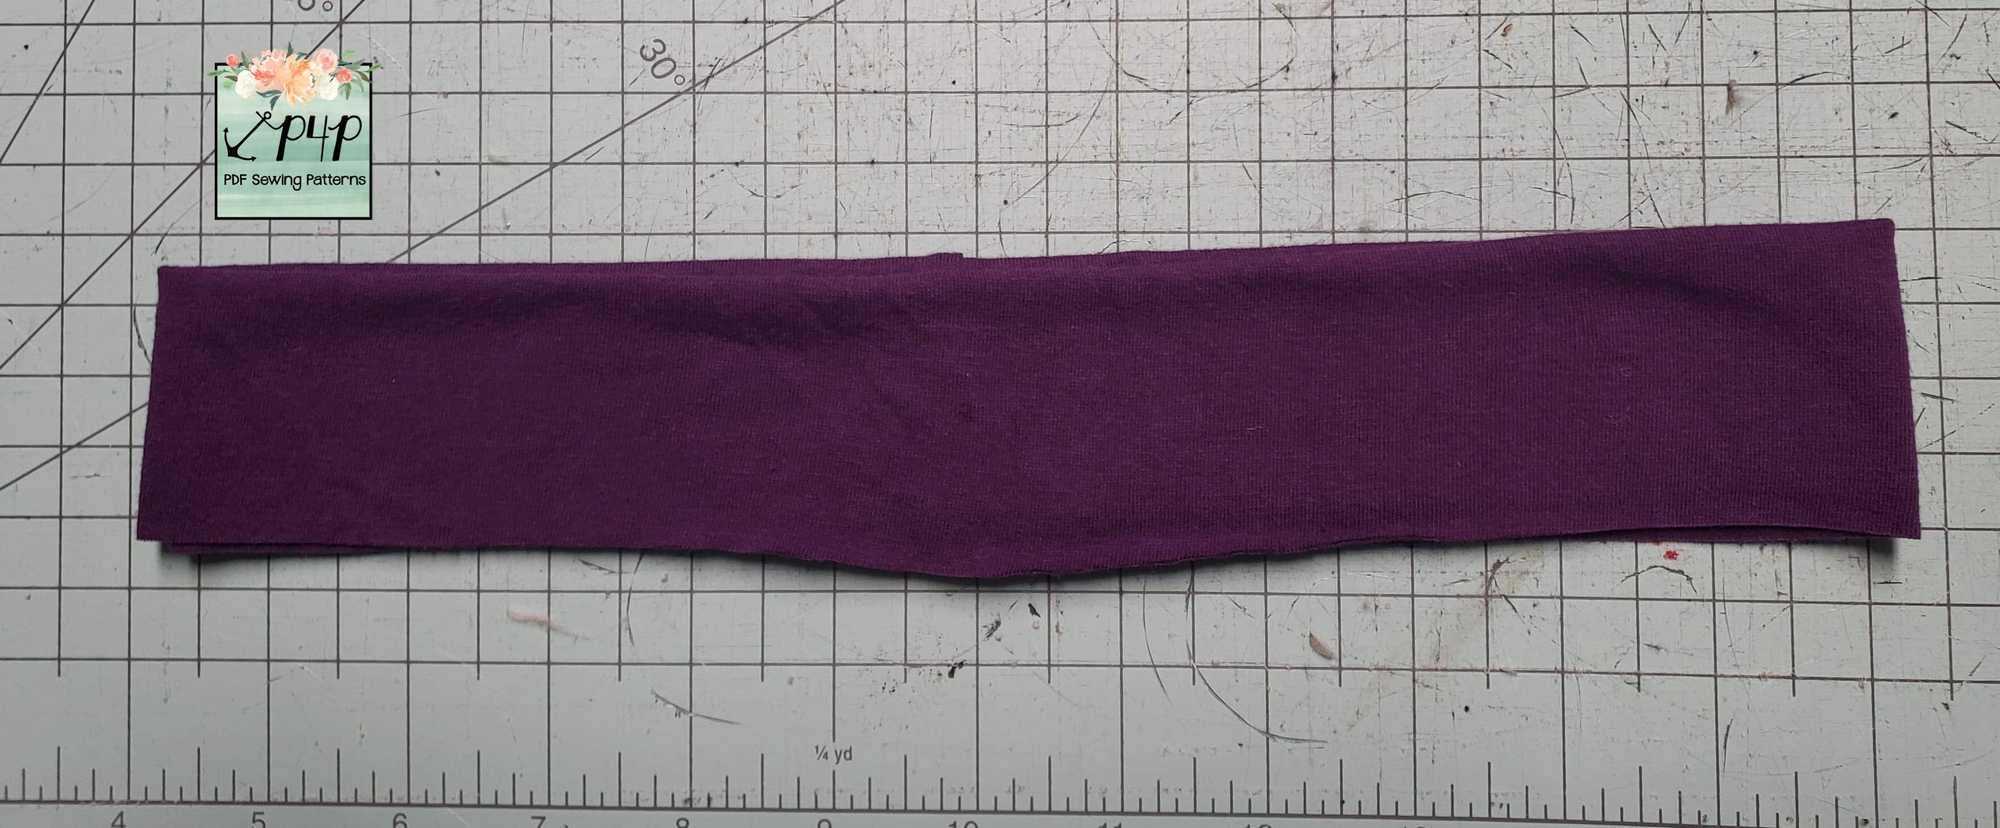
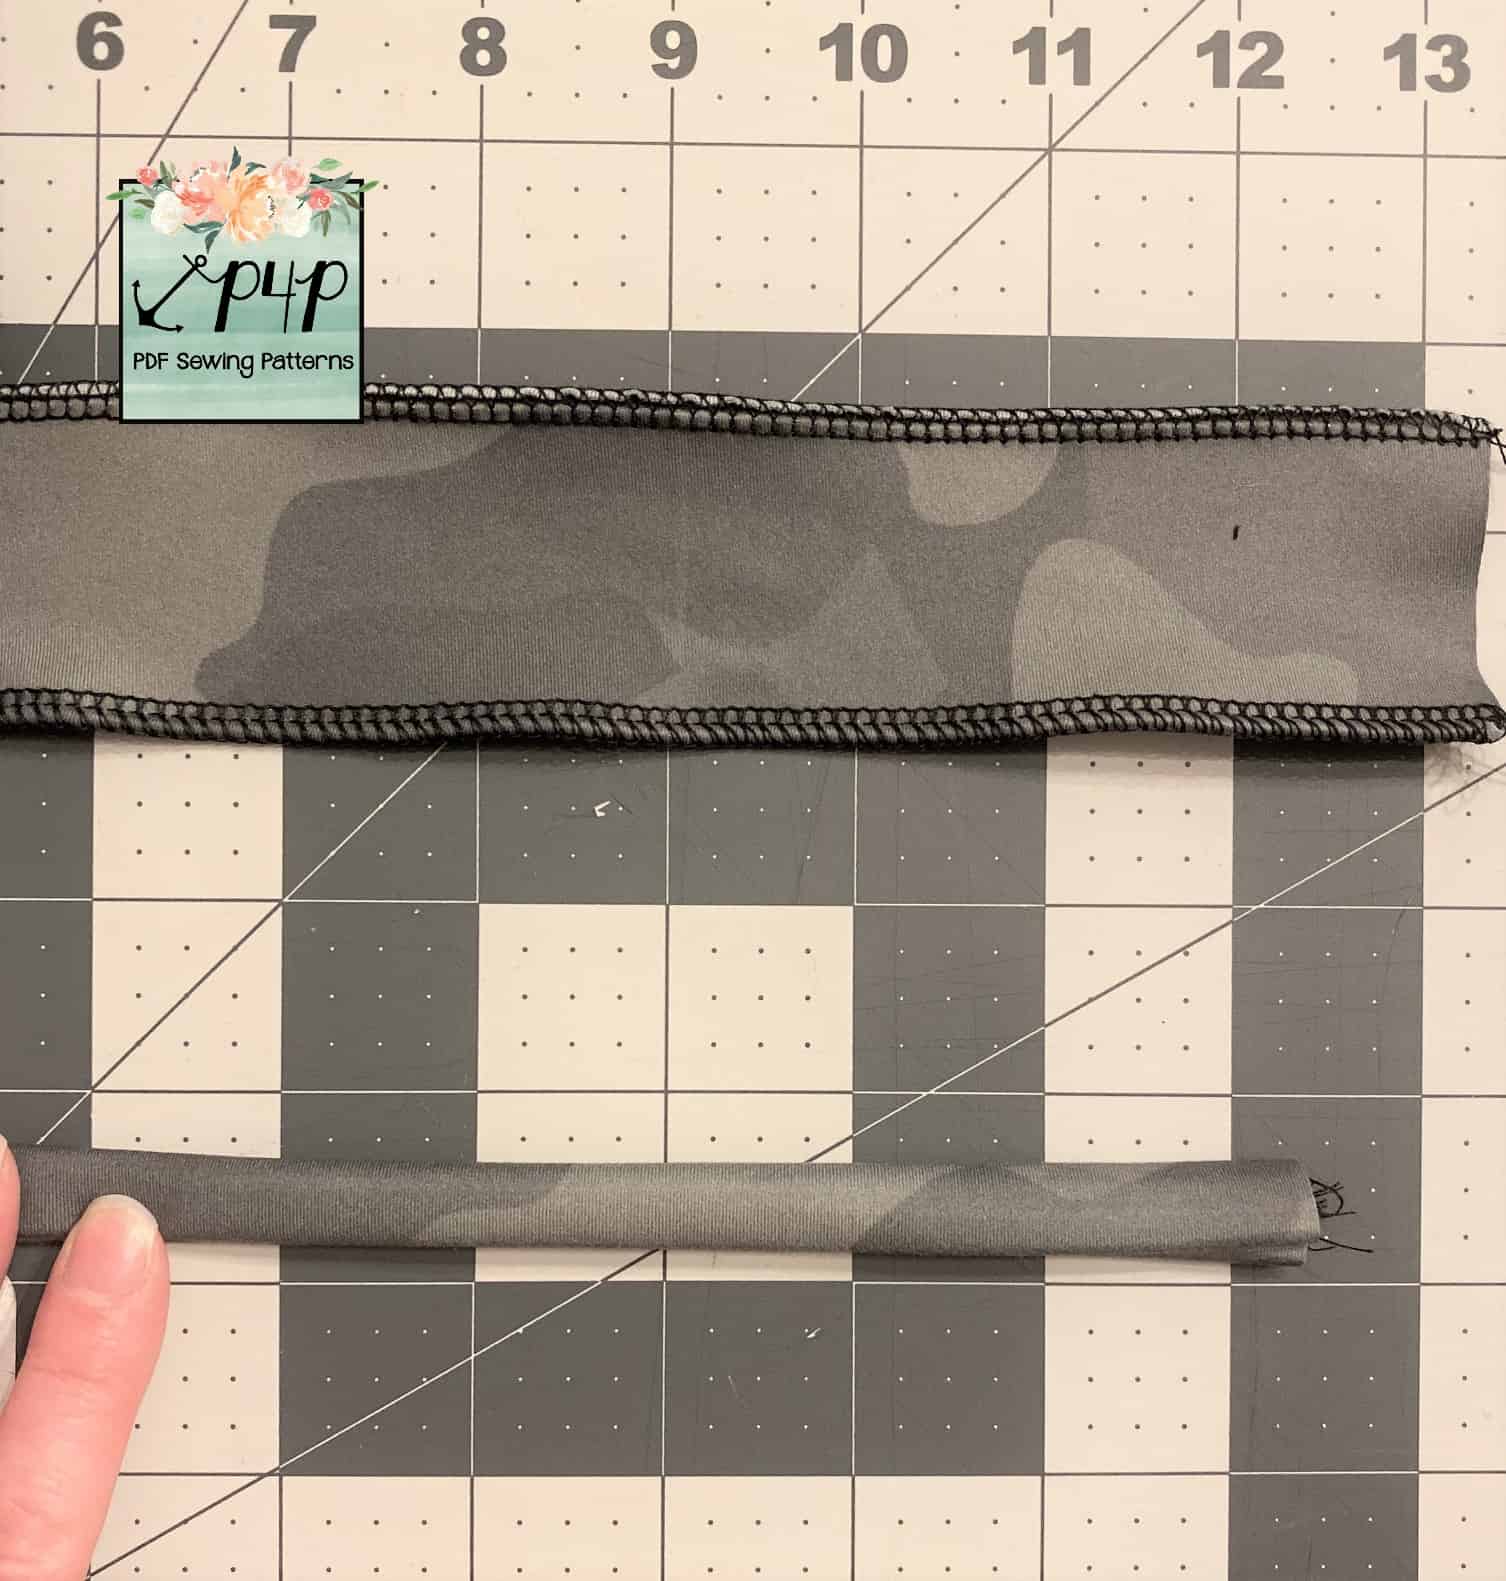
So my finished number is 24.8. So I cut my band at 4” tall and 24.8 wide. I cut my band 4” high because I like the 2” thickness. I fold my band short ends together and sew.
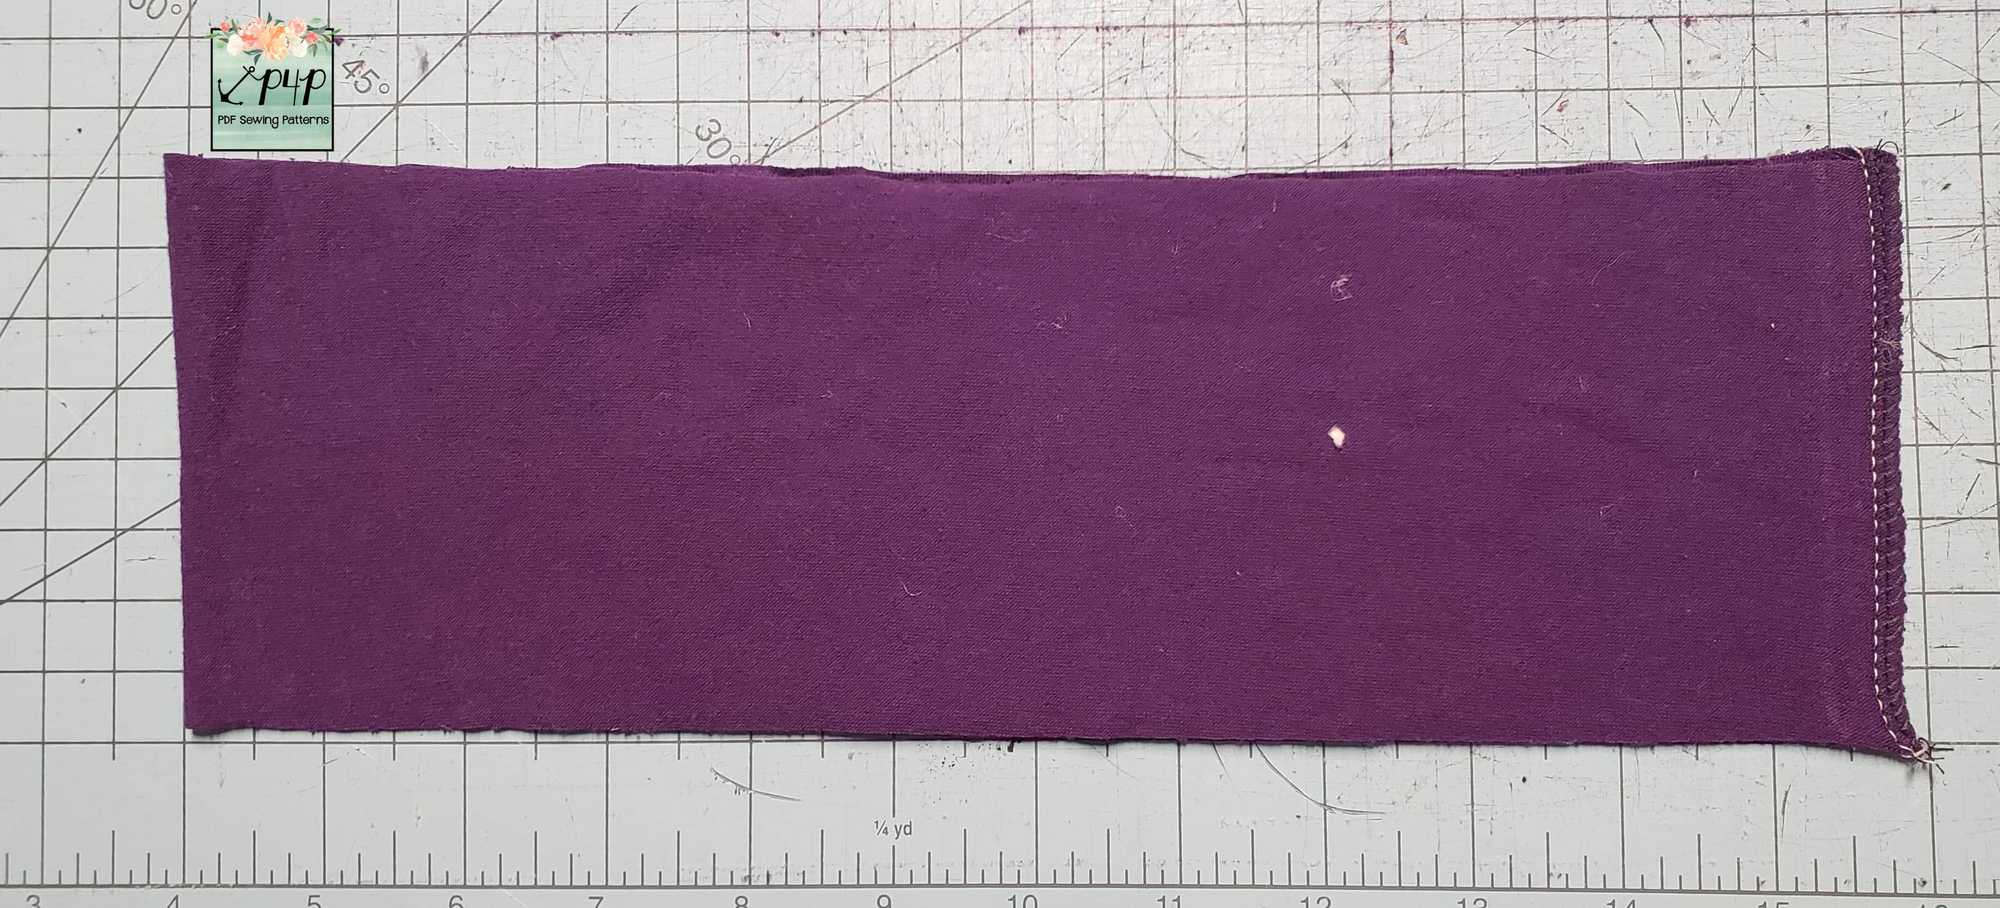
Then I fold it again raw edges together.
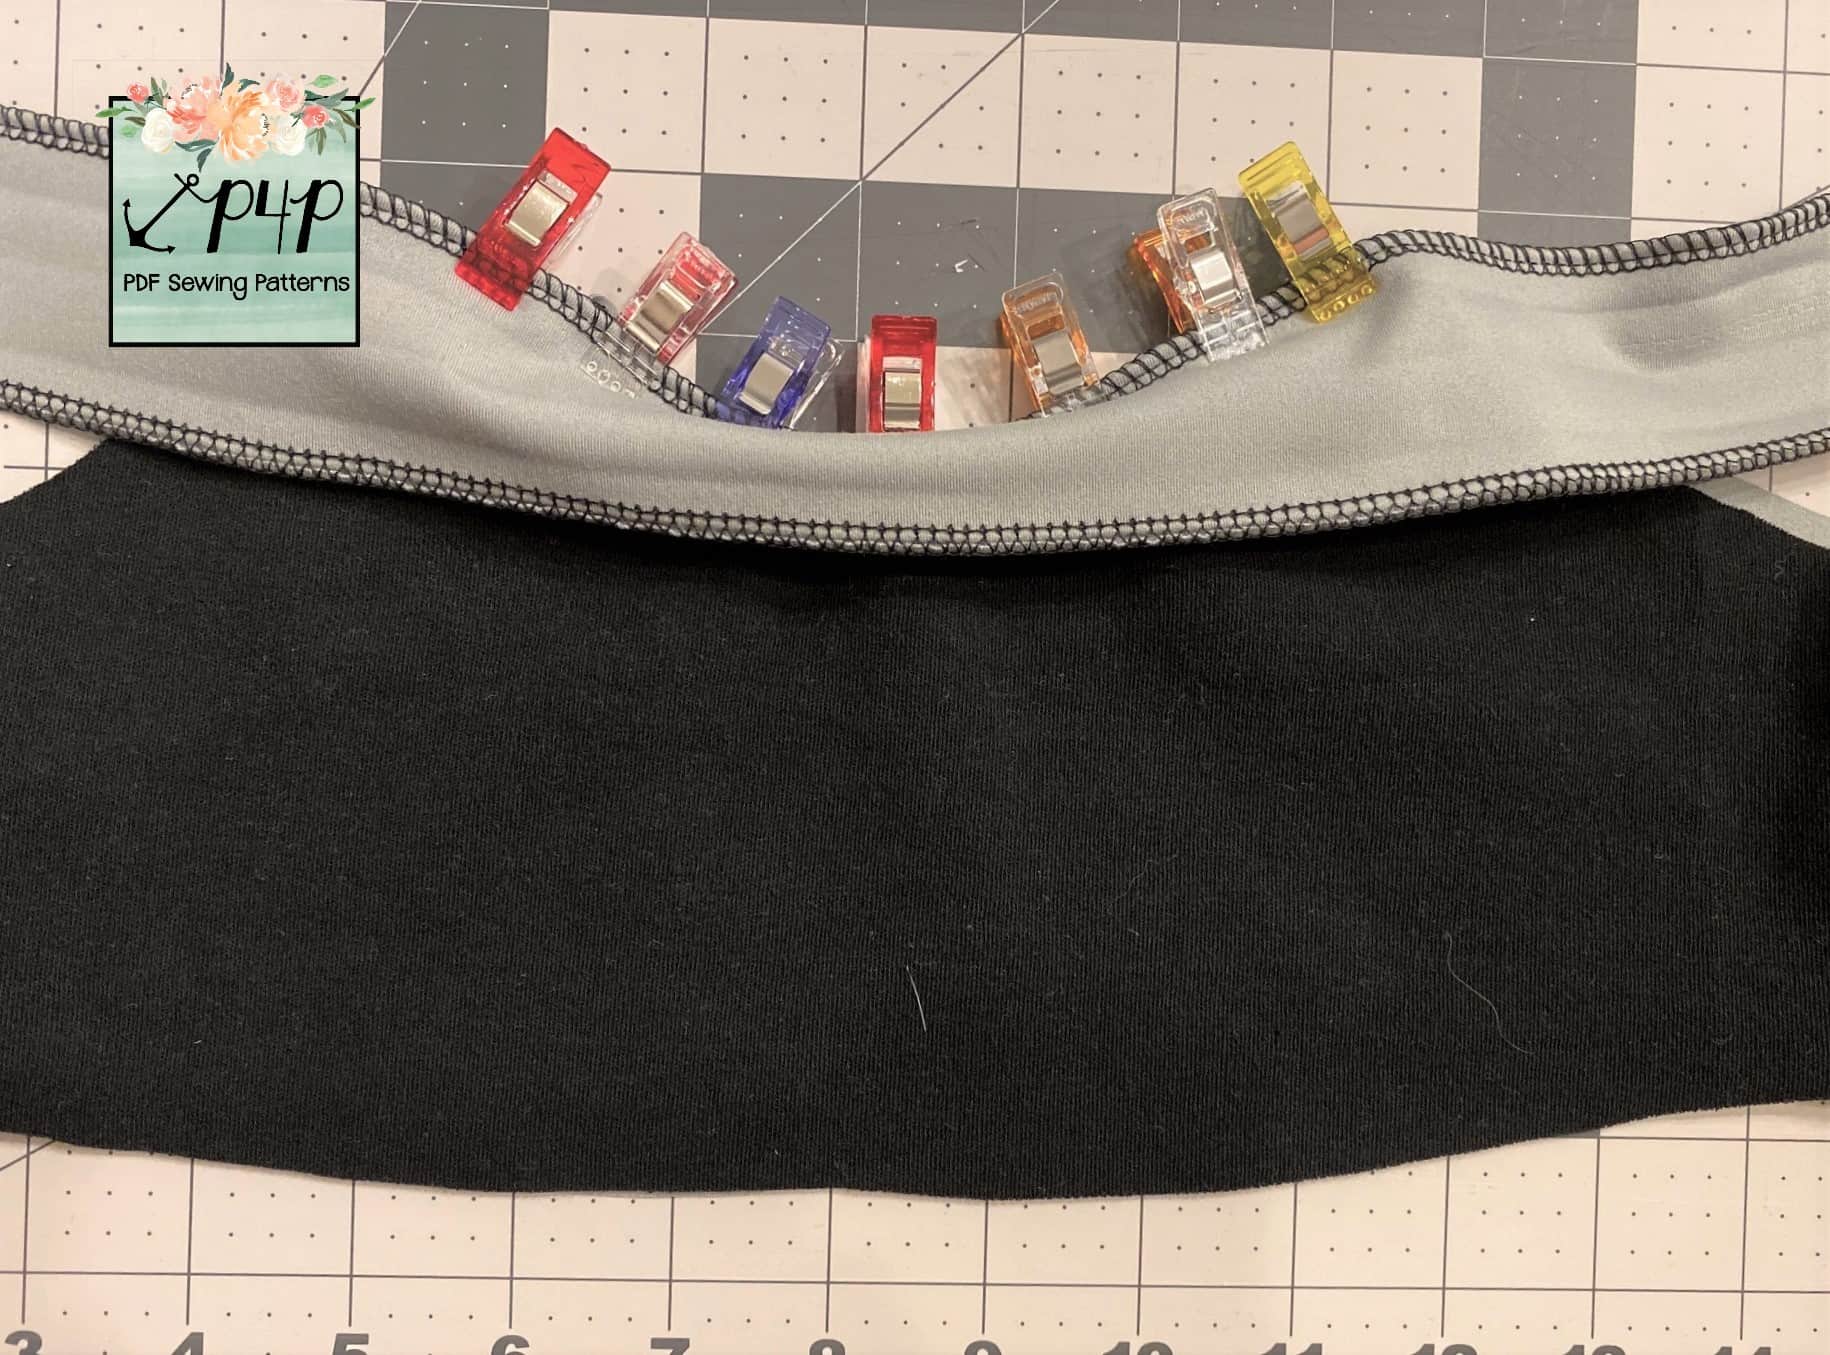
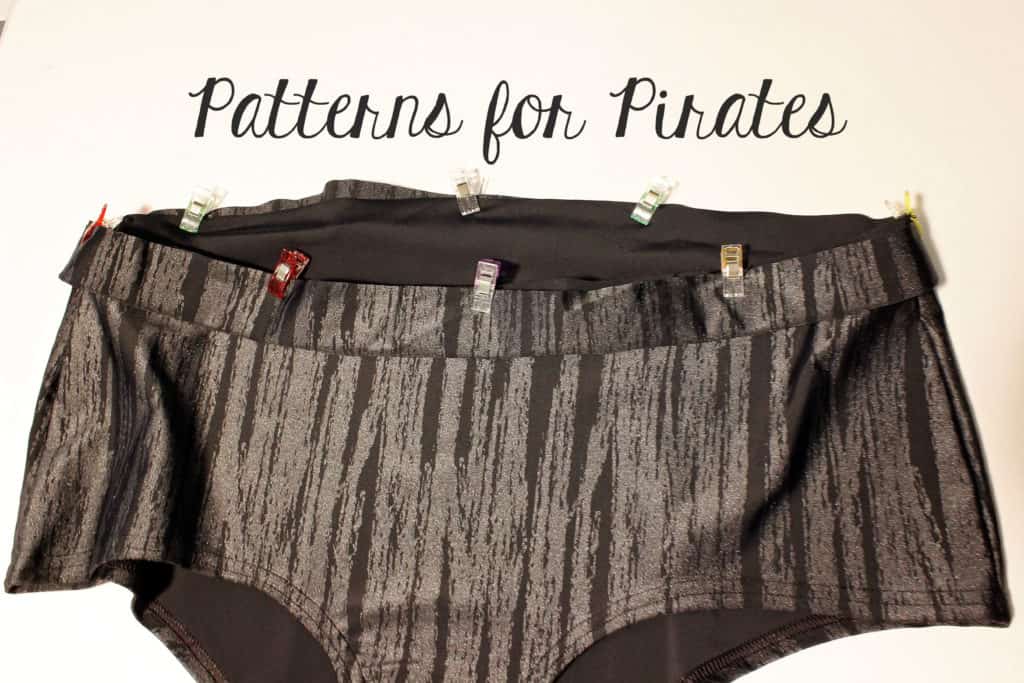
Now I quarter the band and undies, then I put the band over the undies with right sides together matching the quarter marks.
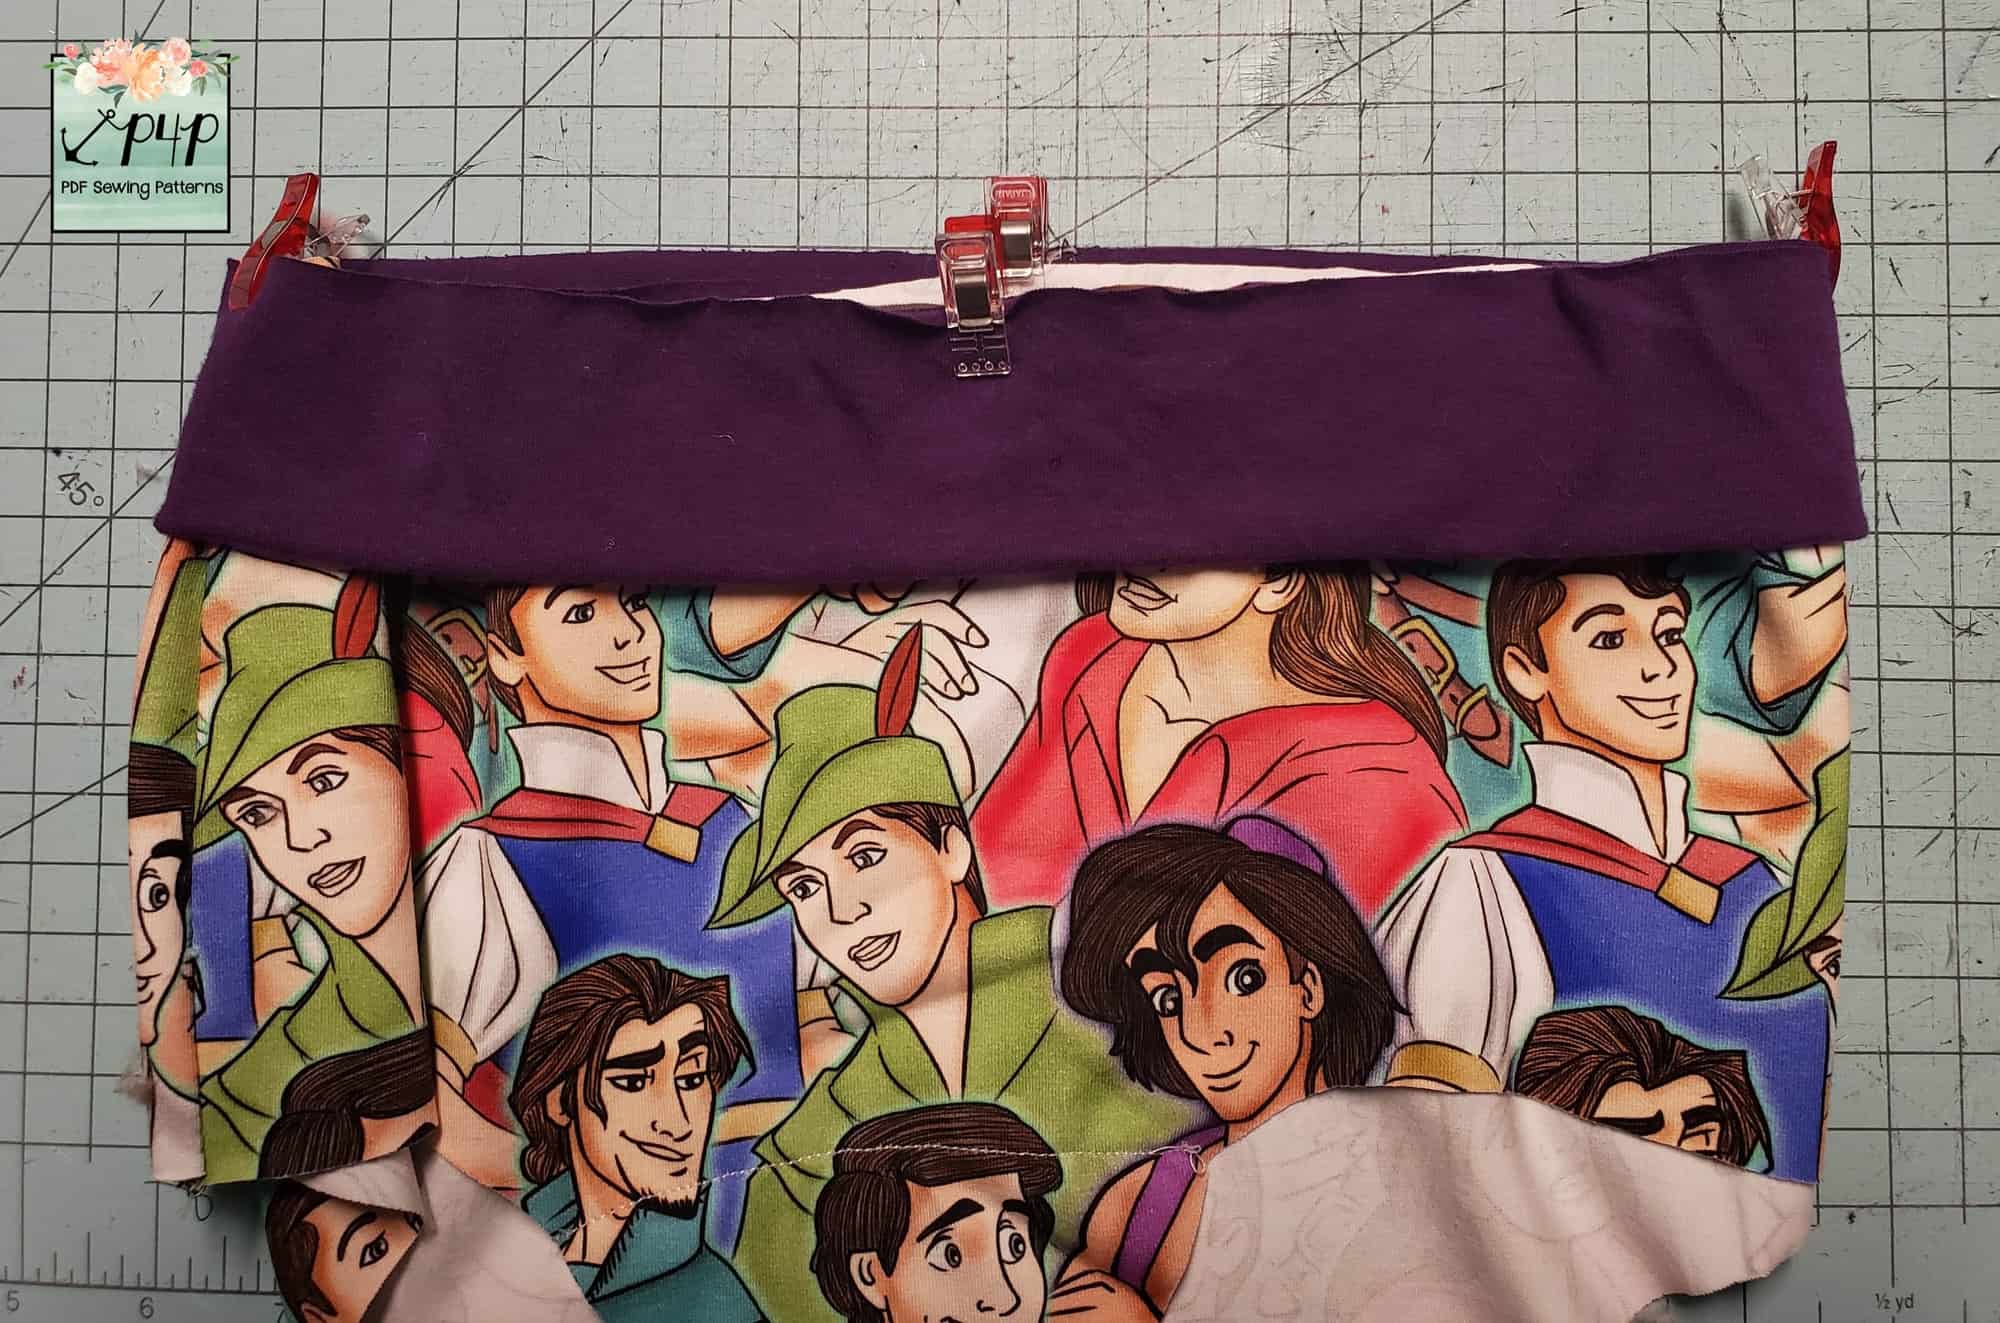
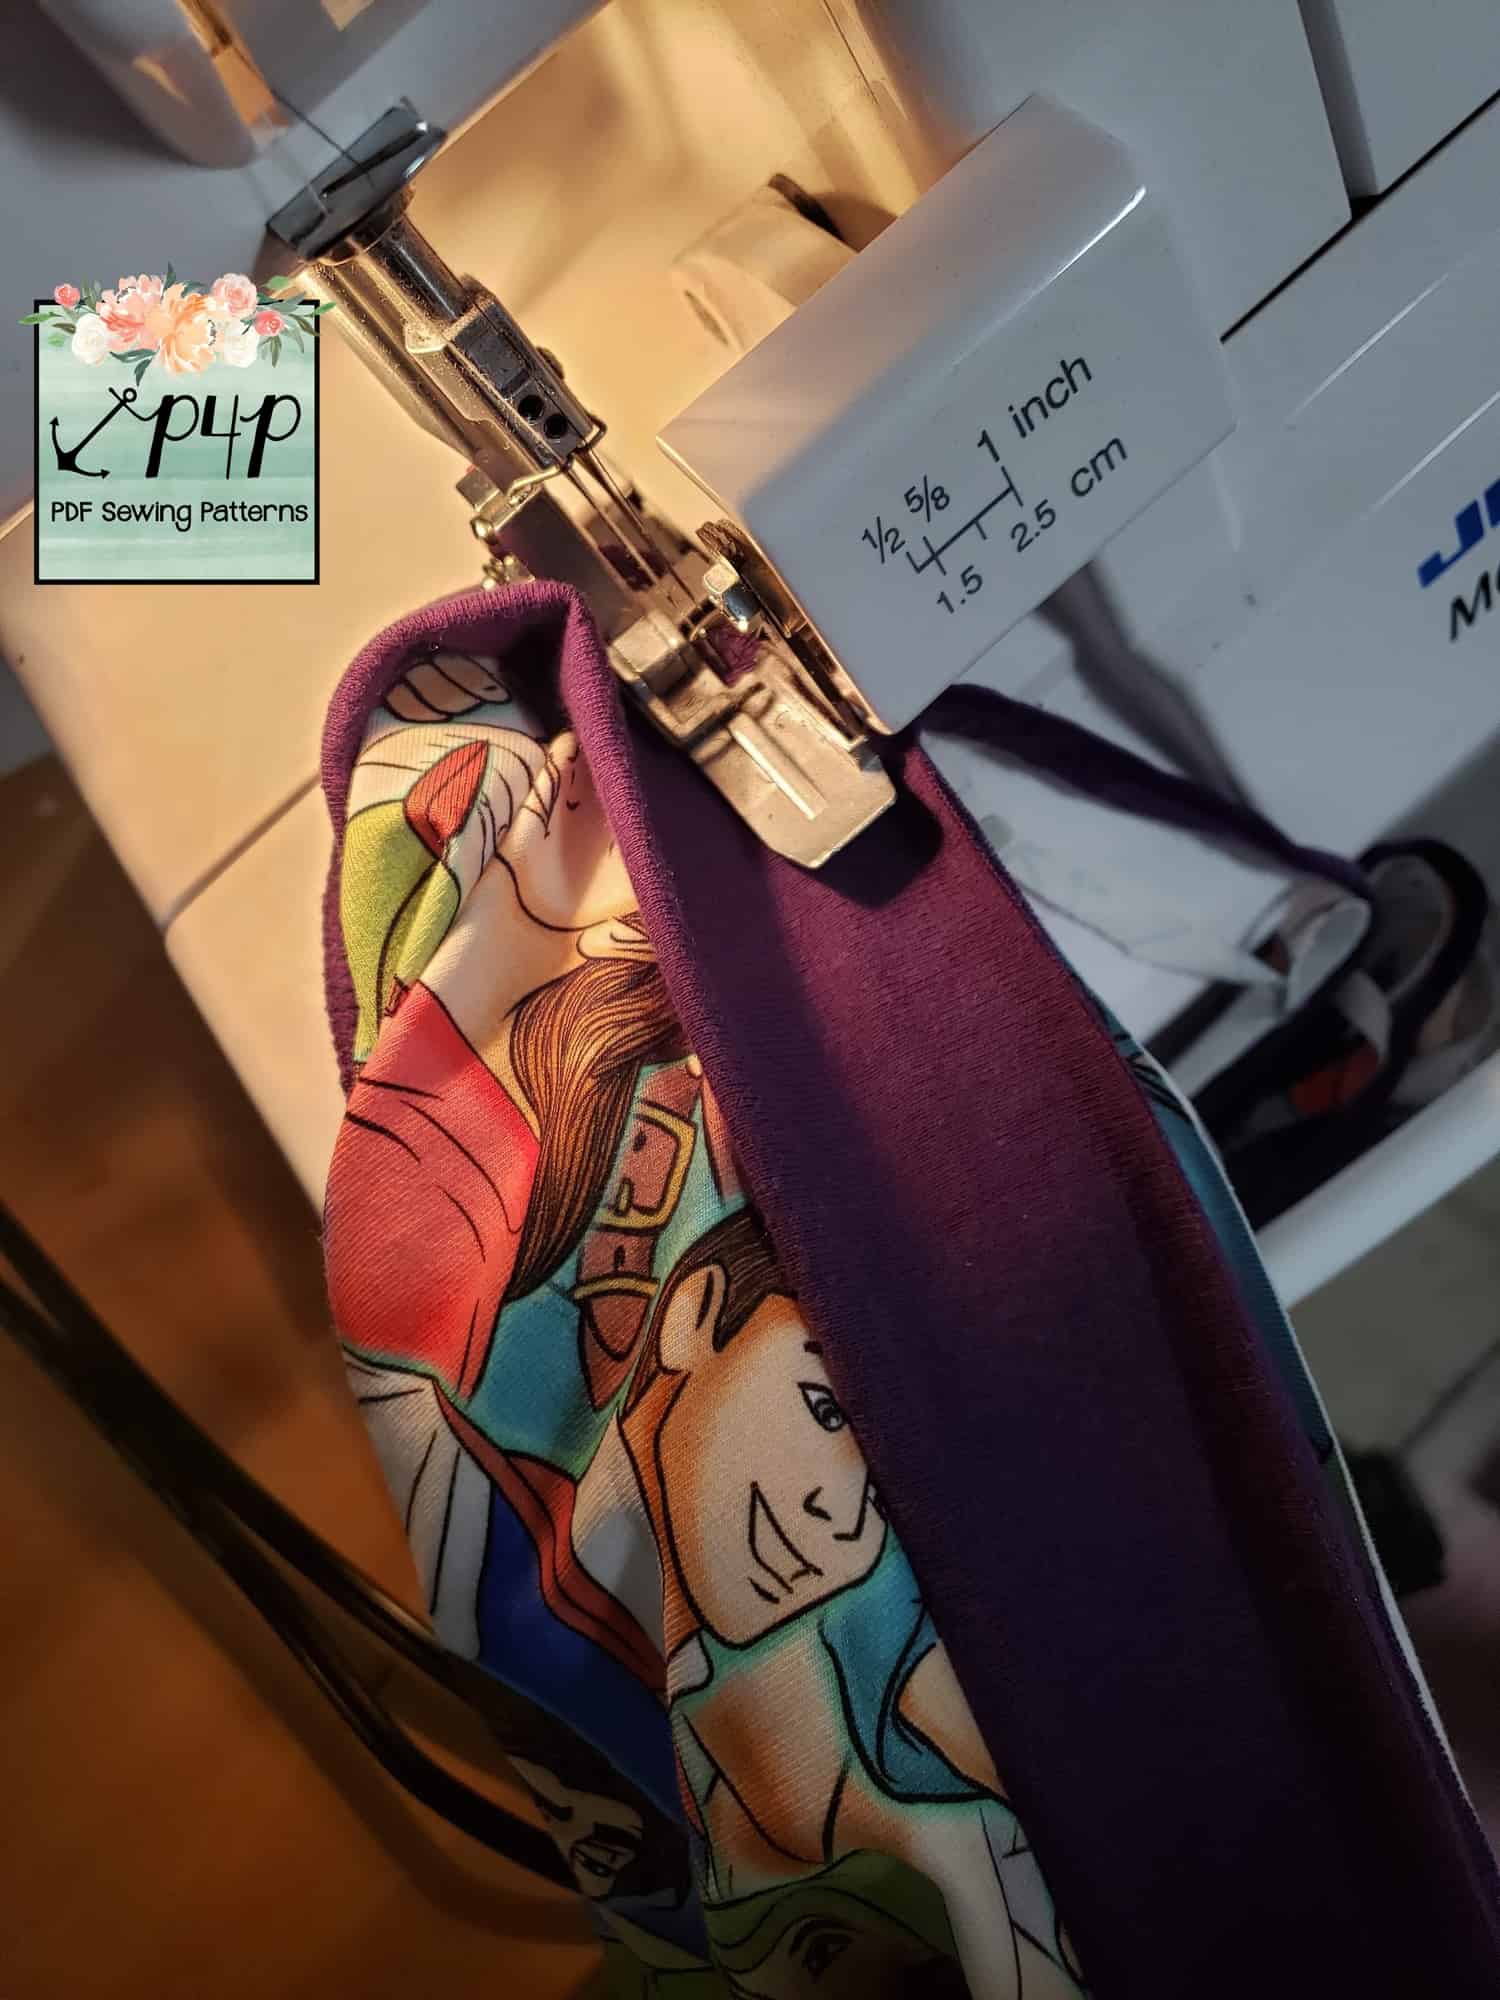
Sew the band on, top stitch if desired.
Now you have a knit and Fierce undies!
…..
Undies with picot lace
Nicole will show us how to add picot trim to the leg opening soon!
…..
Bra with knit biding
…..
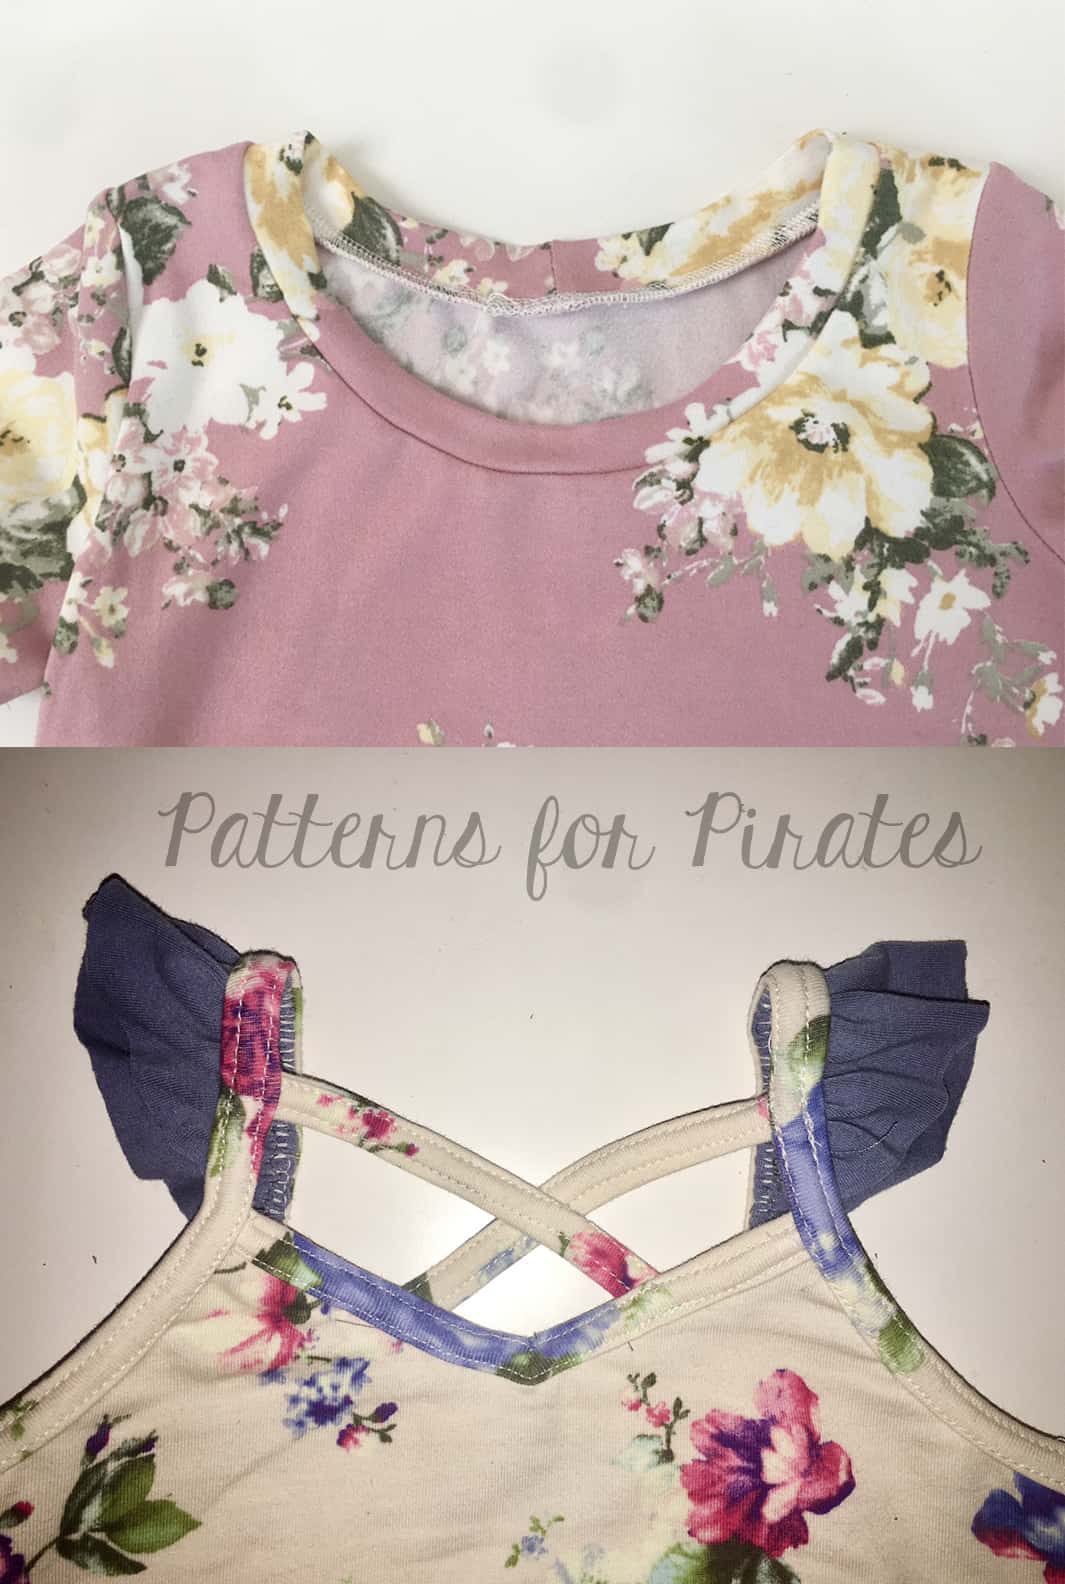
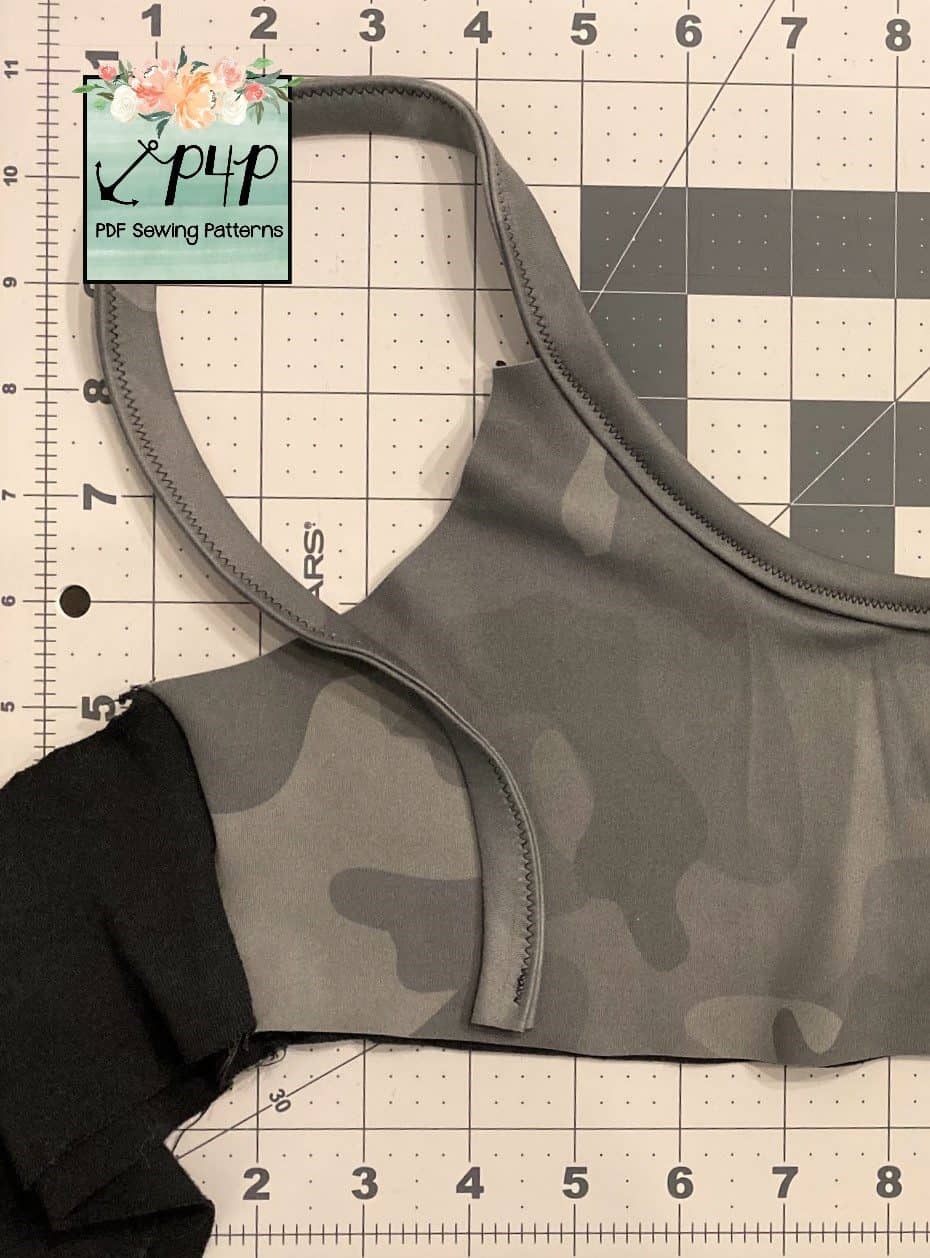
Youth bra with cups
My daughter is getting to be that age that she wants just a bit more coverage and loves all her ready to wear sports bras that come with padded cups. The first thing that she asked me about the new fierce bra is if it had cups and I said no but not to worry I could add them for her. This hack is super easy and the construction does not change at all! Let’s get started!
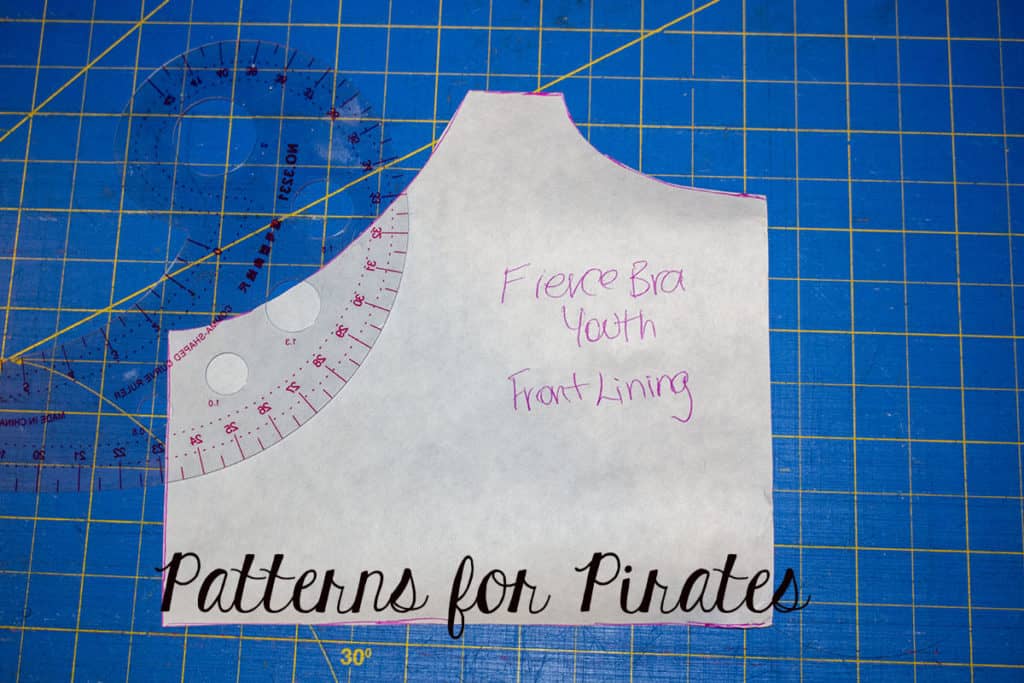
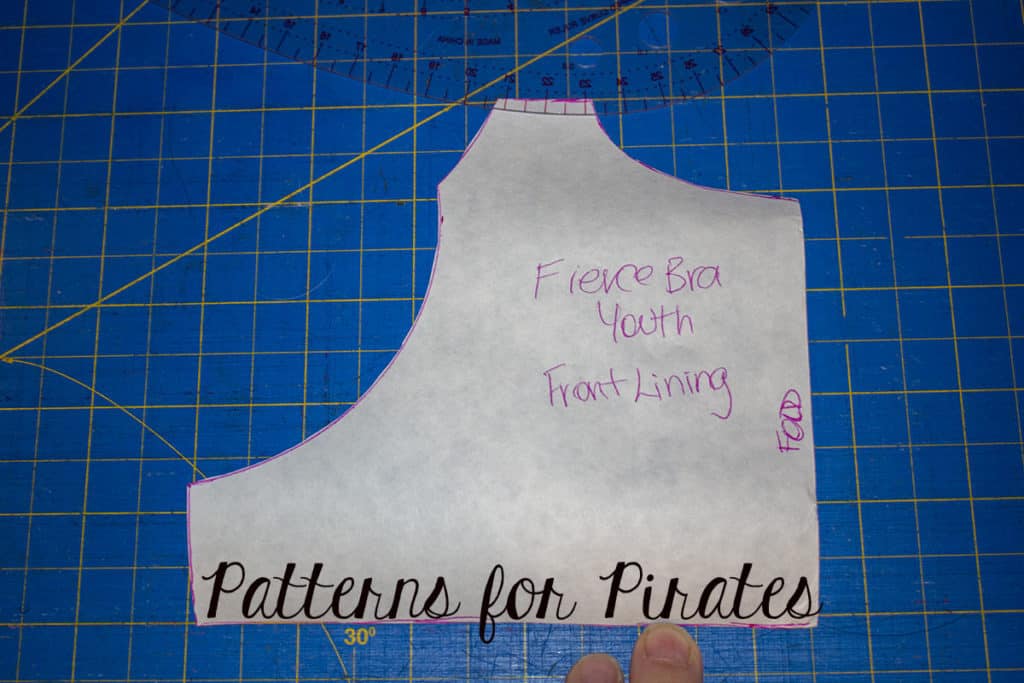
First we are going to trace off our front piece, next we need to create an opening for our cups to slide into. I used my french curve but you can certainly free hand a curve similar to what I have shown here. I just estimated how big to make it, it does not need to be to big, you want to be able to easily slide a cup in and out of it. Next cut away the line you drew on your piece, this will now be your lining piece. You will cut one main front and one lining from your newly created piece.
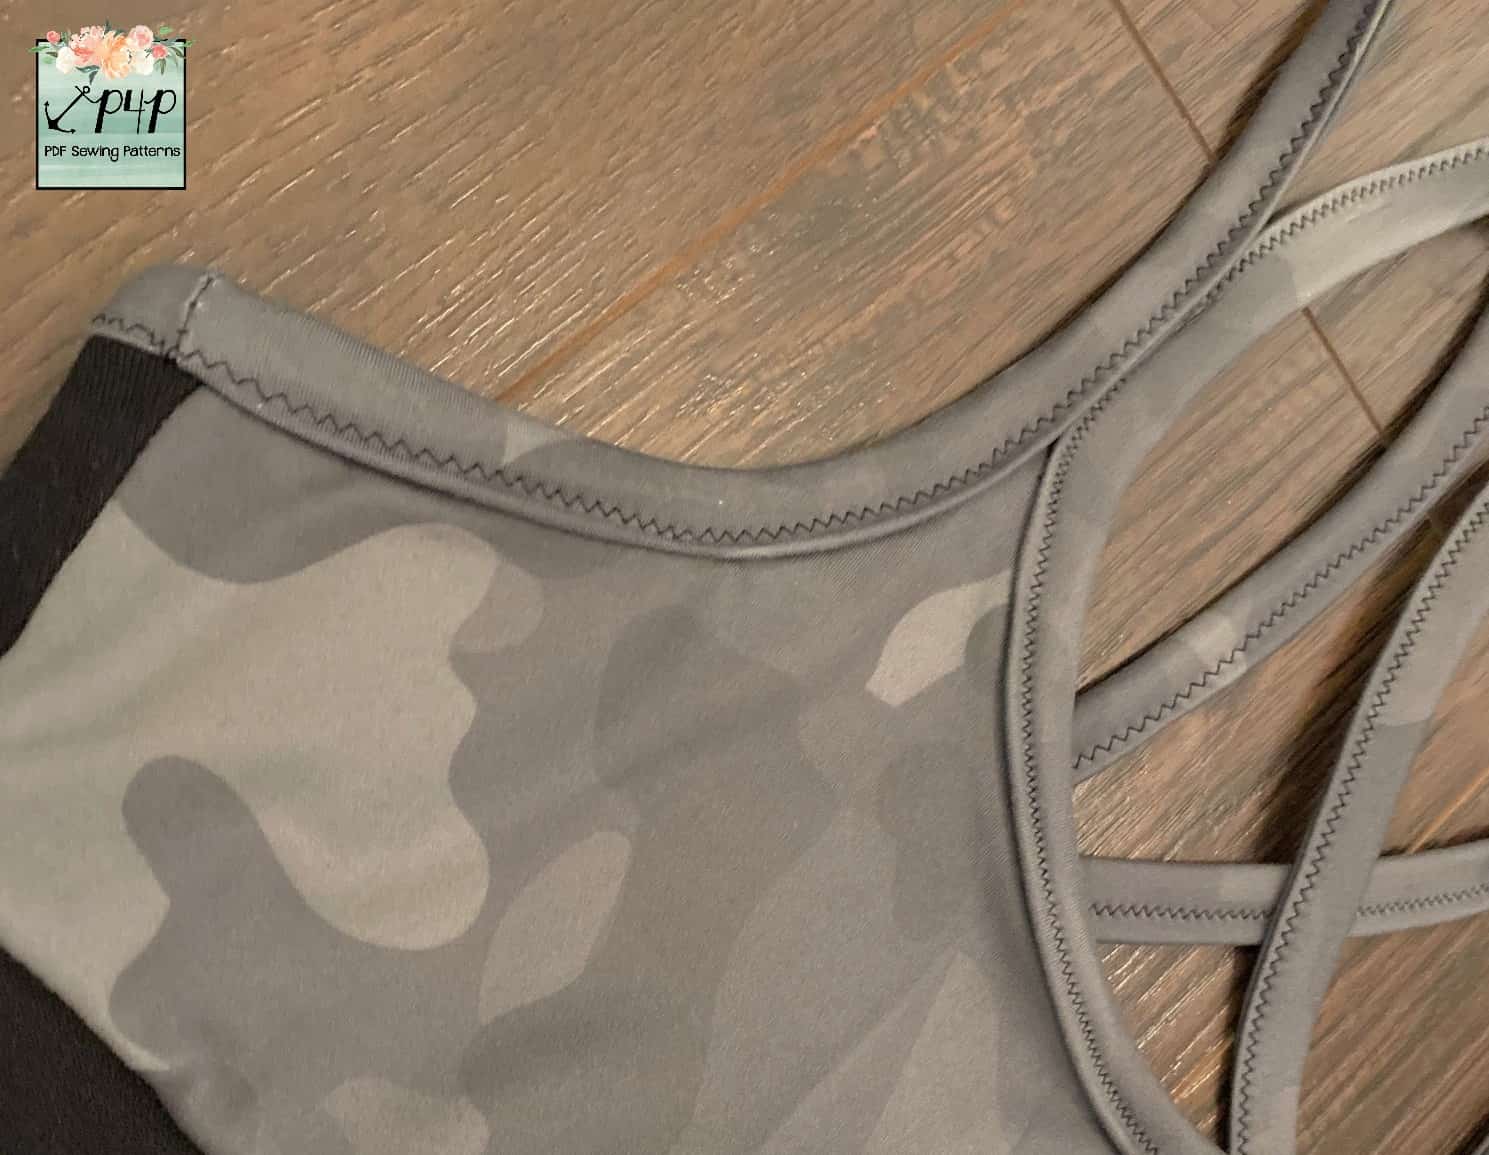
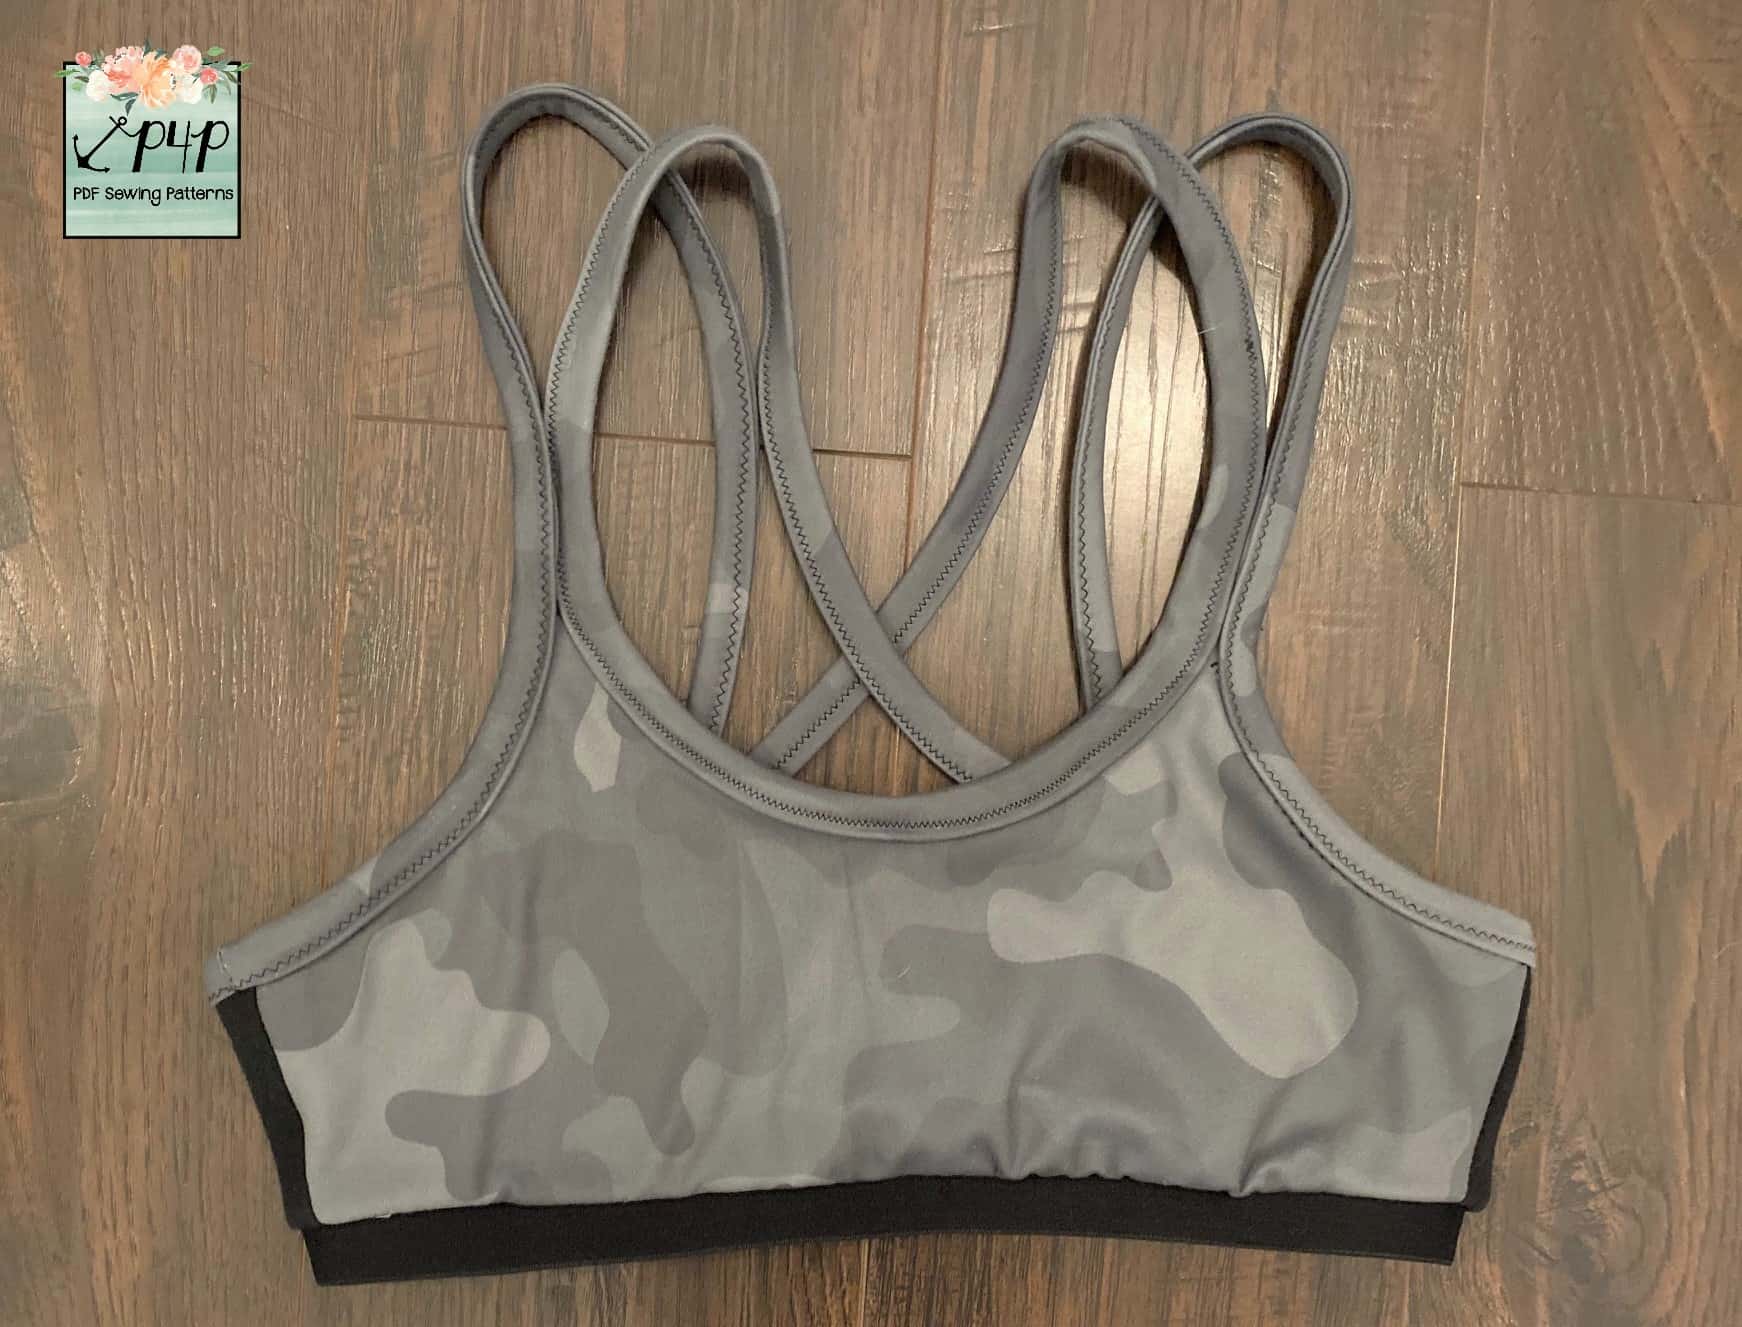
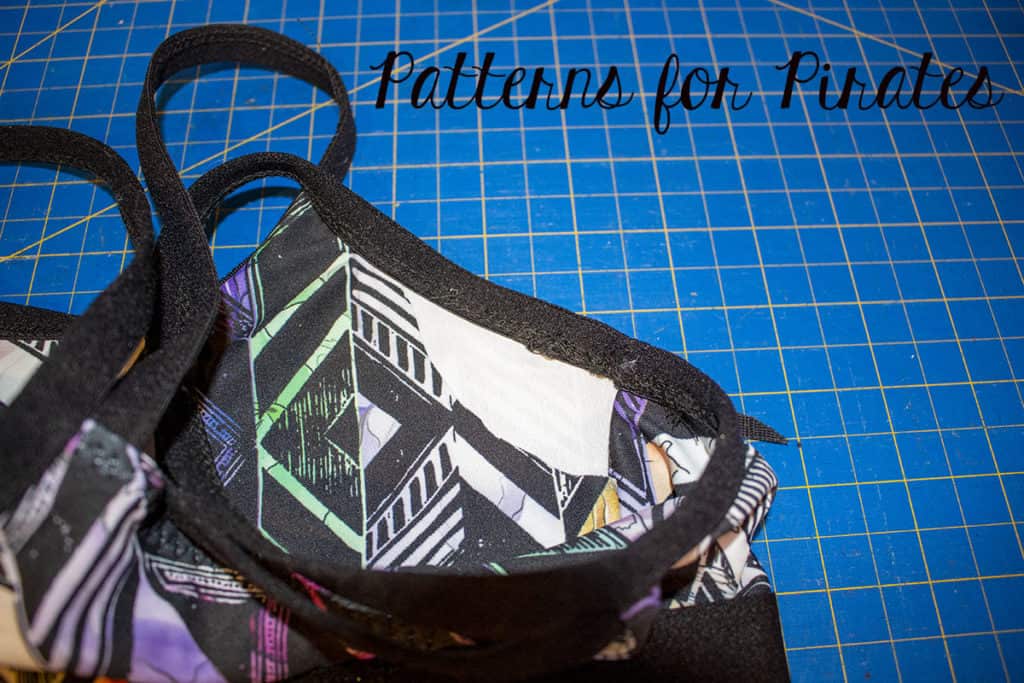
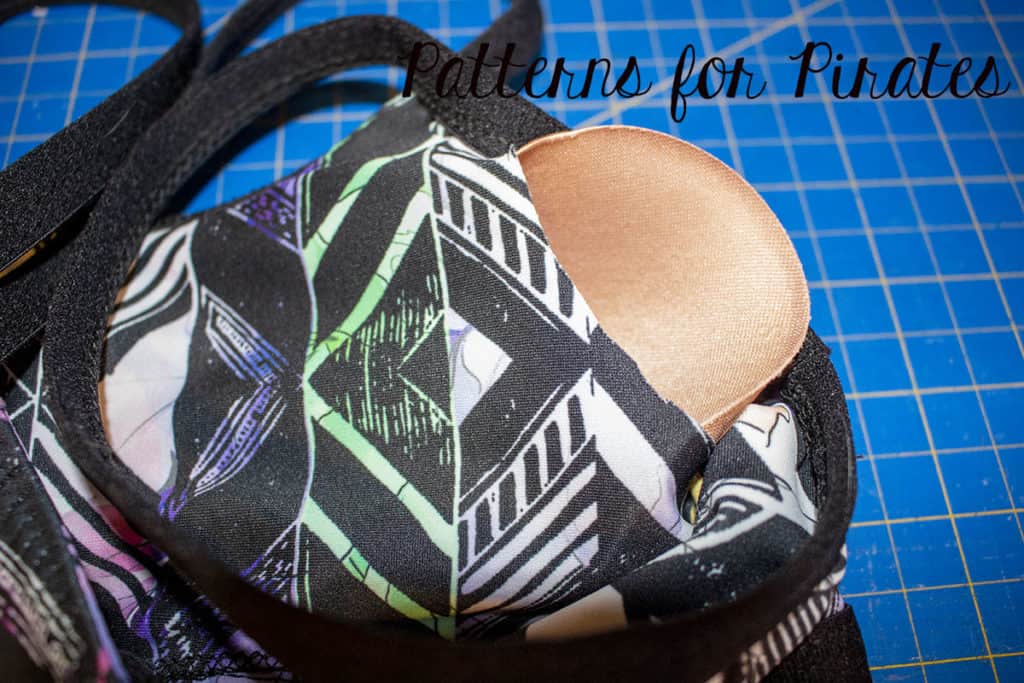
Your construction will stay exactly the same, you will just have the curves in your lining piece. I choose not to finish the edges of my curves as I was using a really nice quality athletic fabric but you can always finish that edge with your serger or with a narrow hem on your sewing machine. Once finished you will be able to slide in cups, I just grabbed a set from my daughters ready to wear bras but you can also buy bra cups and cut them down to fit. My daughter is only 10 and really doesn’t need them to add any type of support she just likes the extra coverage so really any cheap cups from Amazon will do the trick and are easy to cut to size.
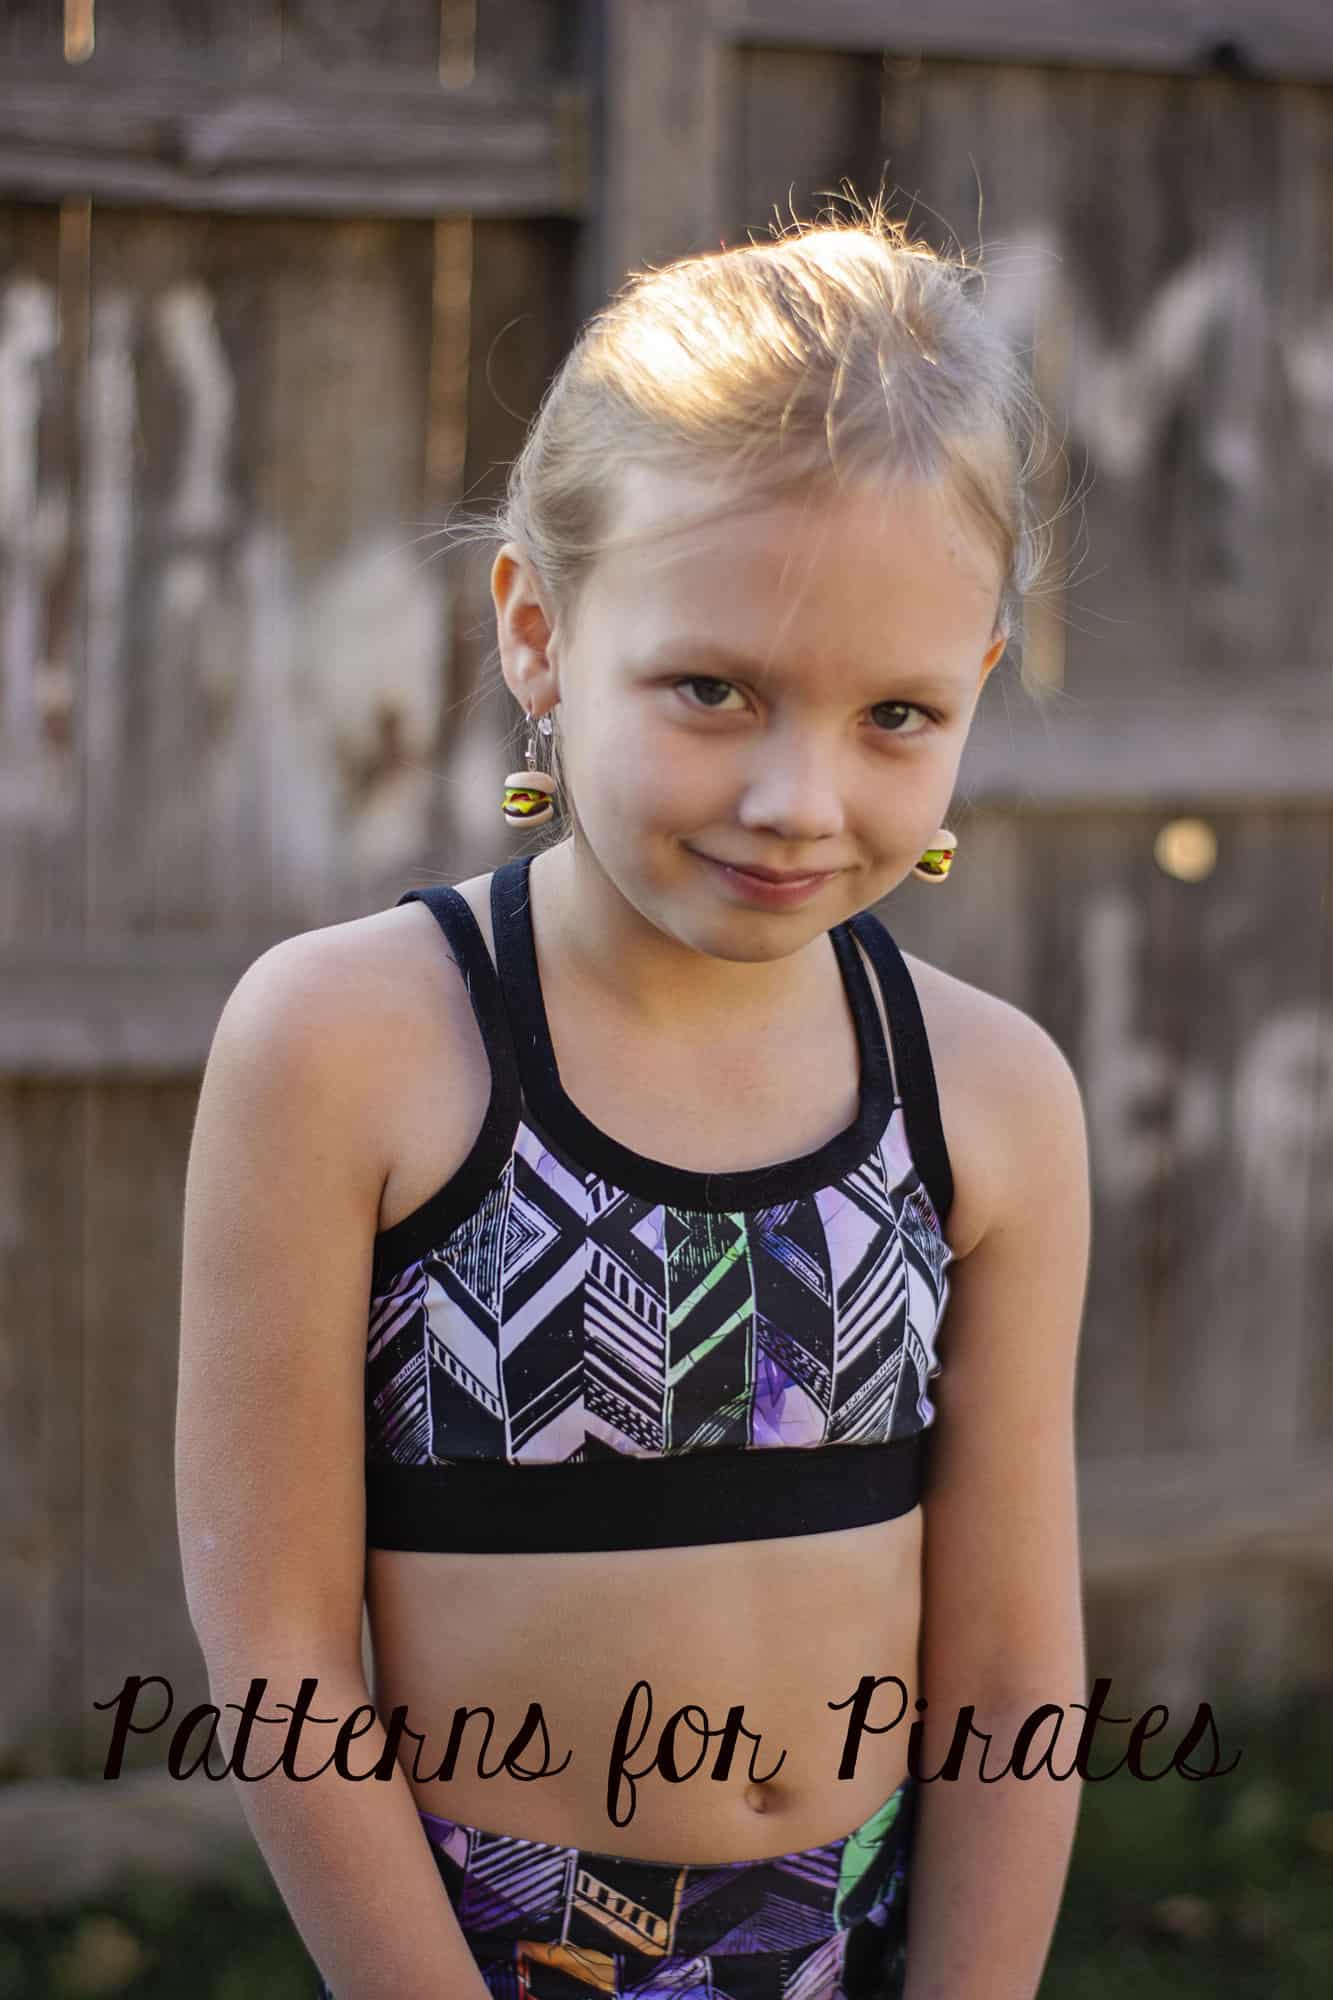
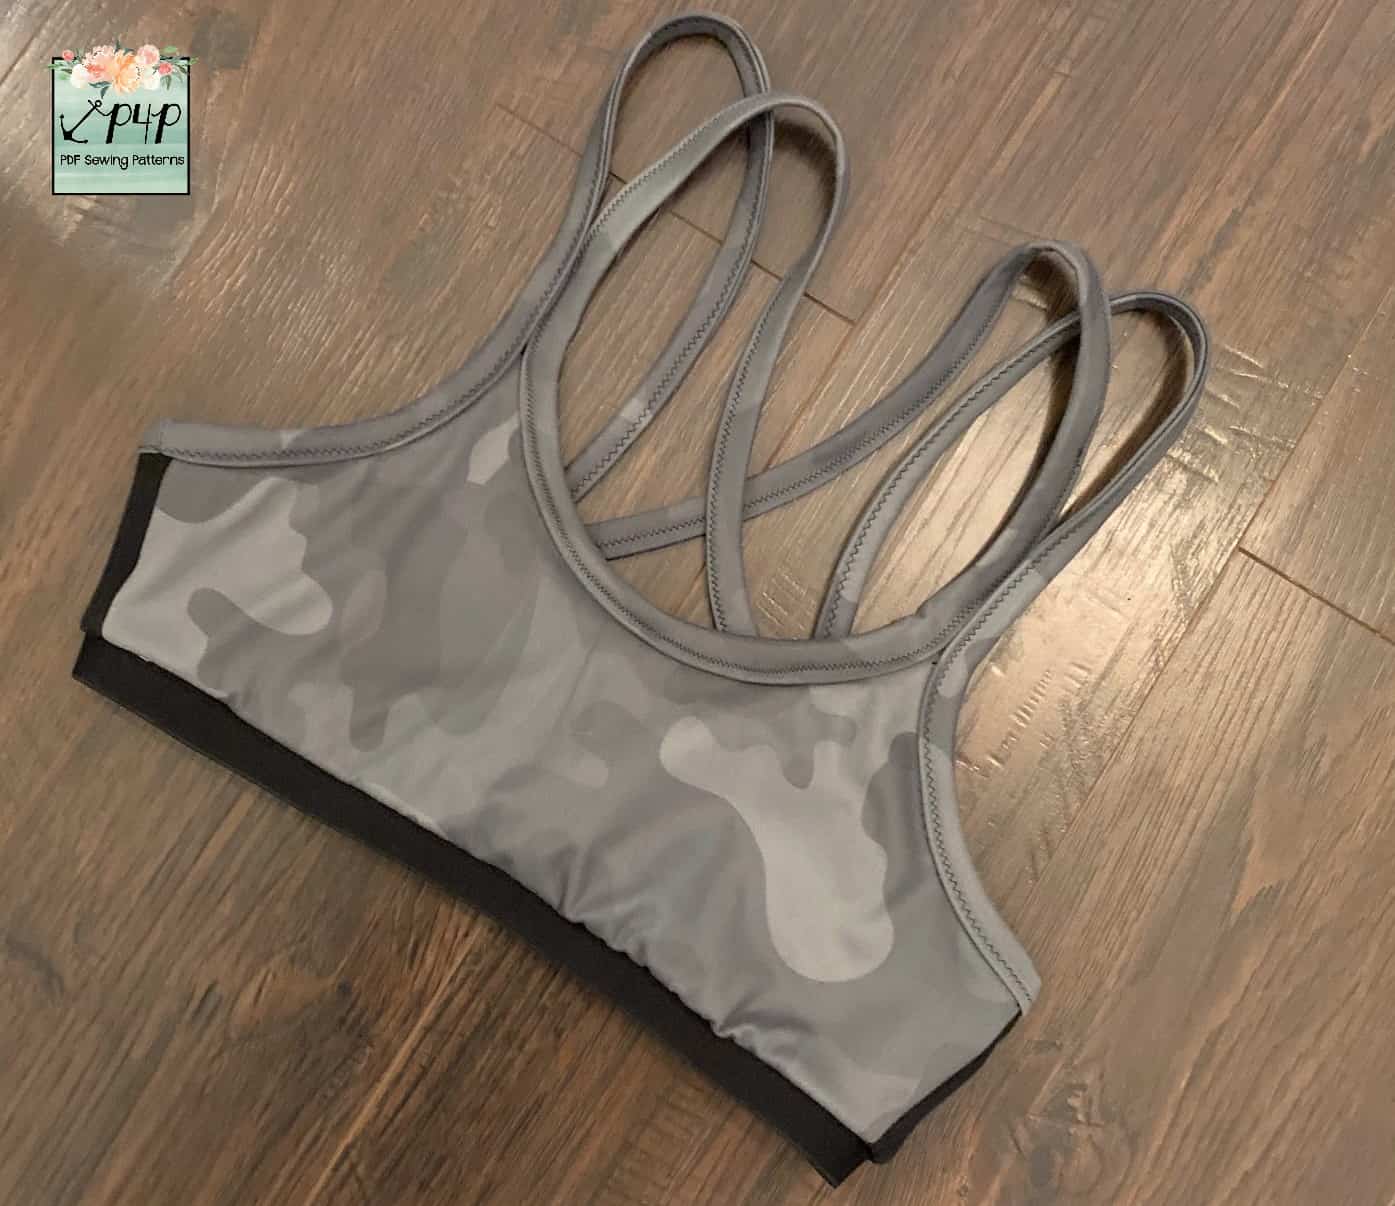
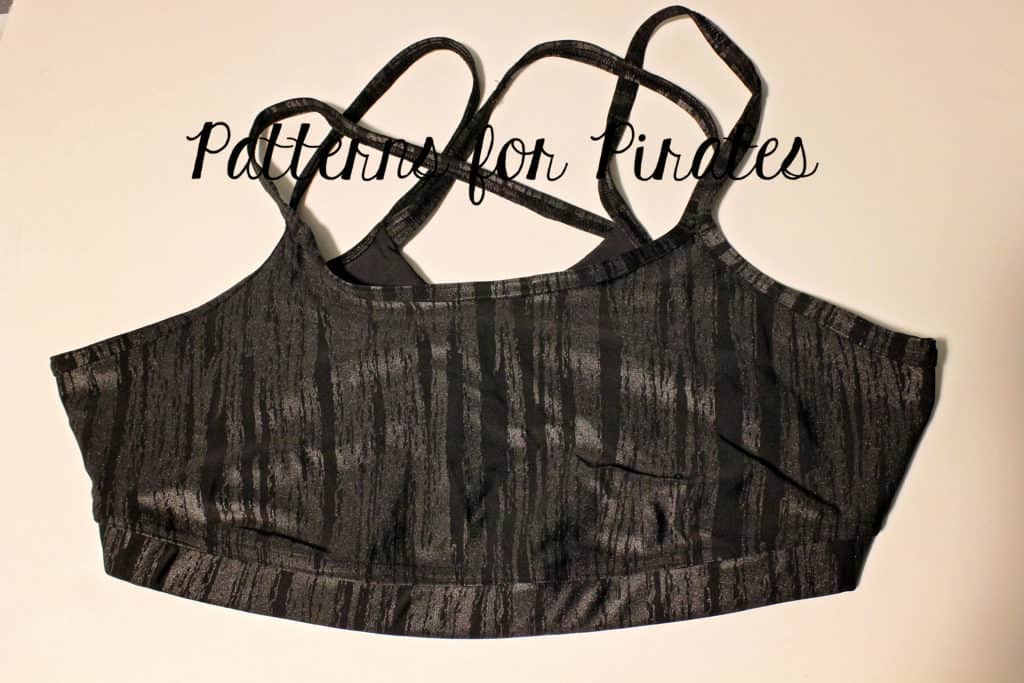
All done and my girl is happy to have a bra made to fit her perfectly
Angela
…..
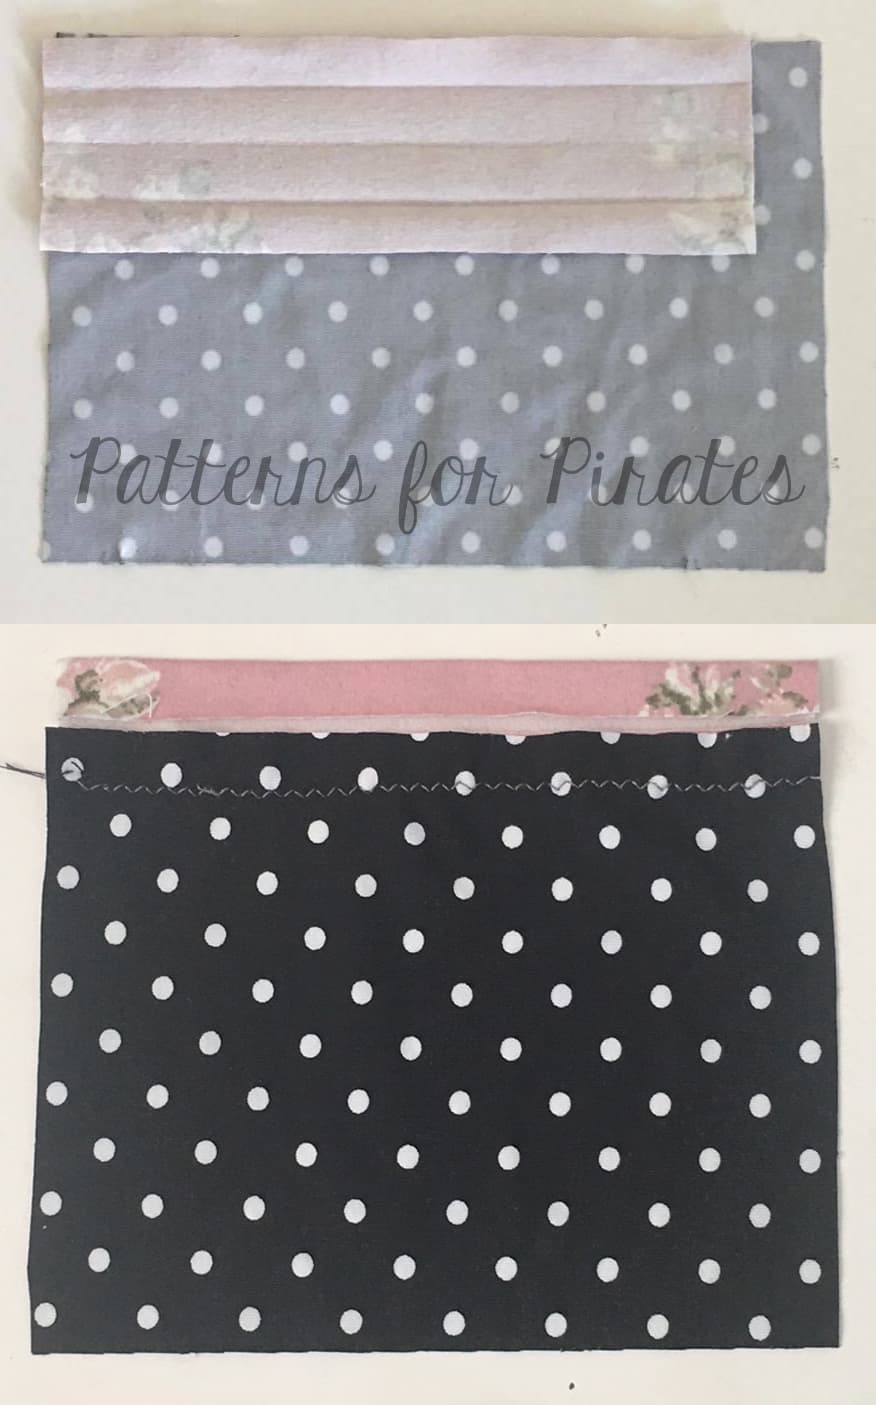
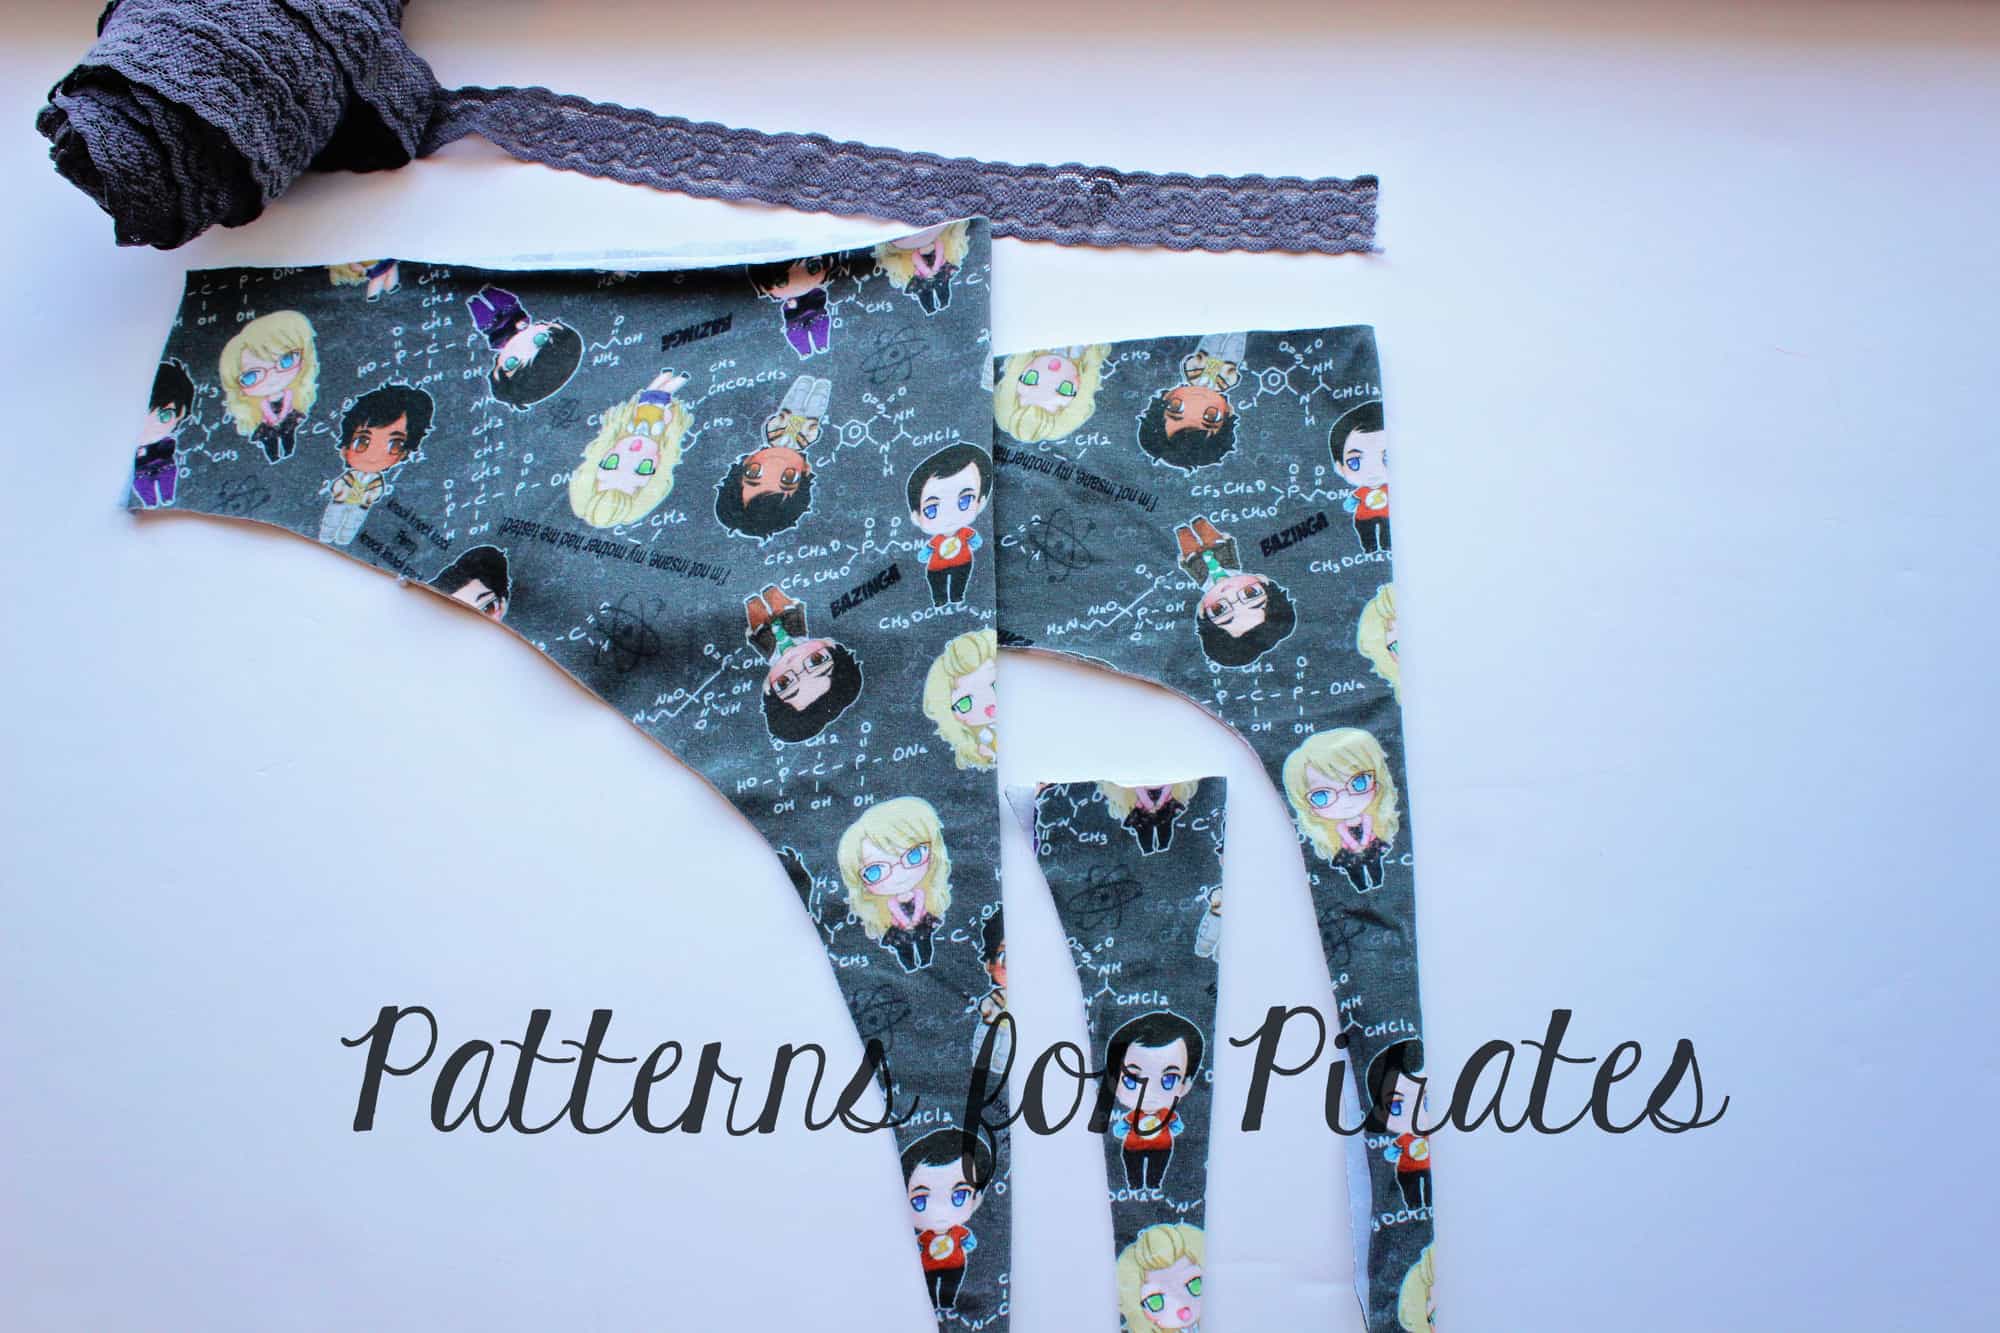
Undies with lace band

Up next I wanted to show you another way to add a waistband to the Fierce Undies. Instead of the 3/4″-1.5″ waistband elastic you can use stretch lace. I used 1″ for my example but 1.5″ would work beautifully as well. Start by cutting your pattern as instructed but cut stretch lace instead of elastic.
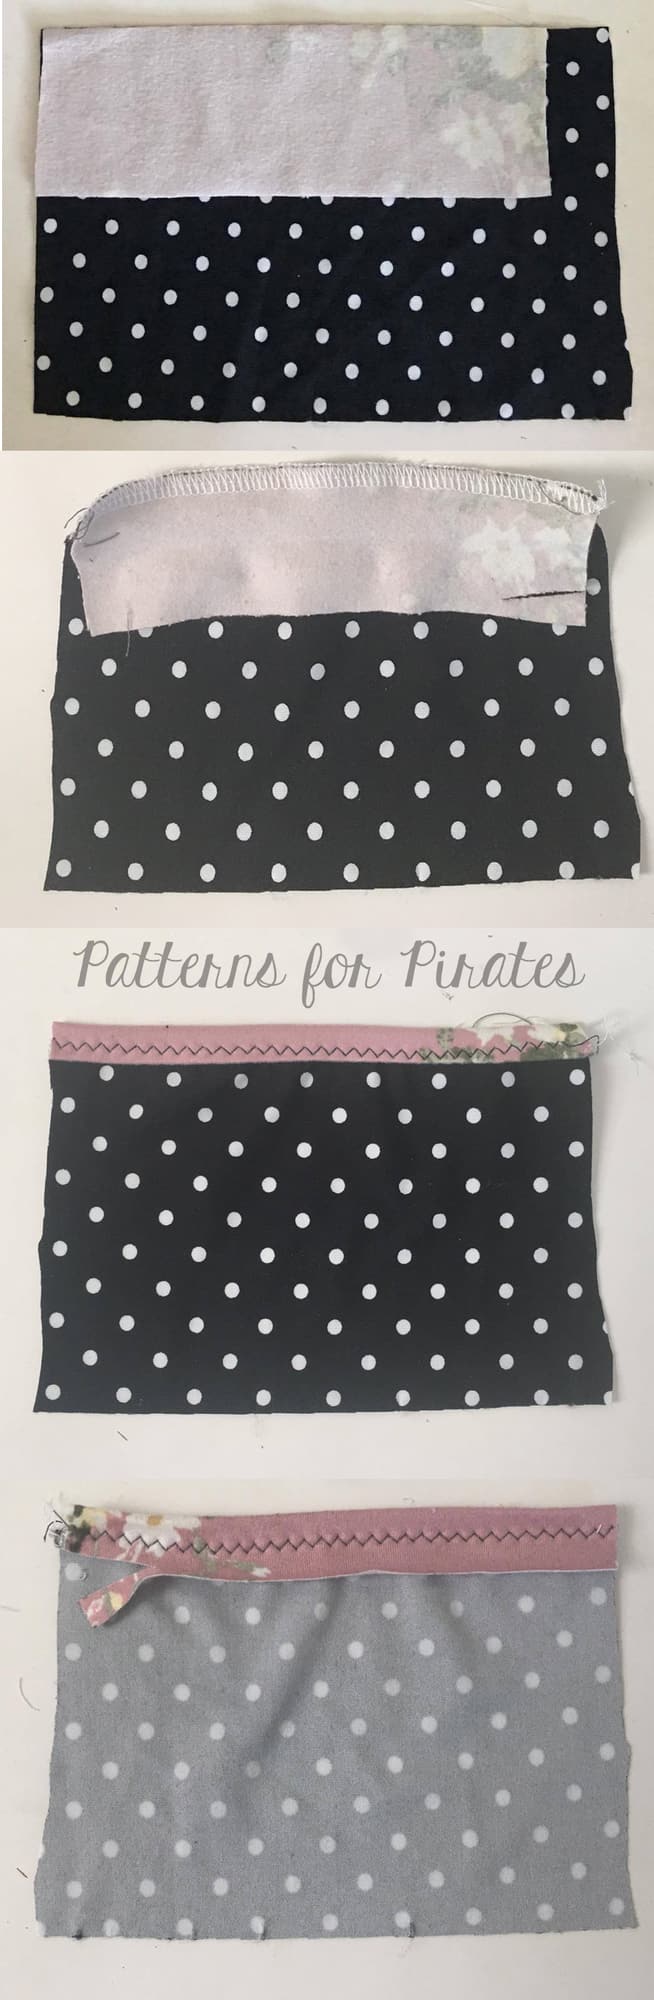
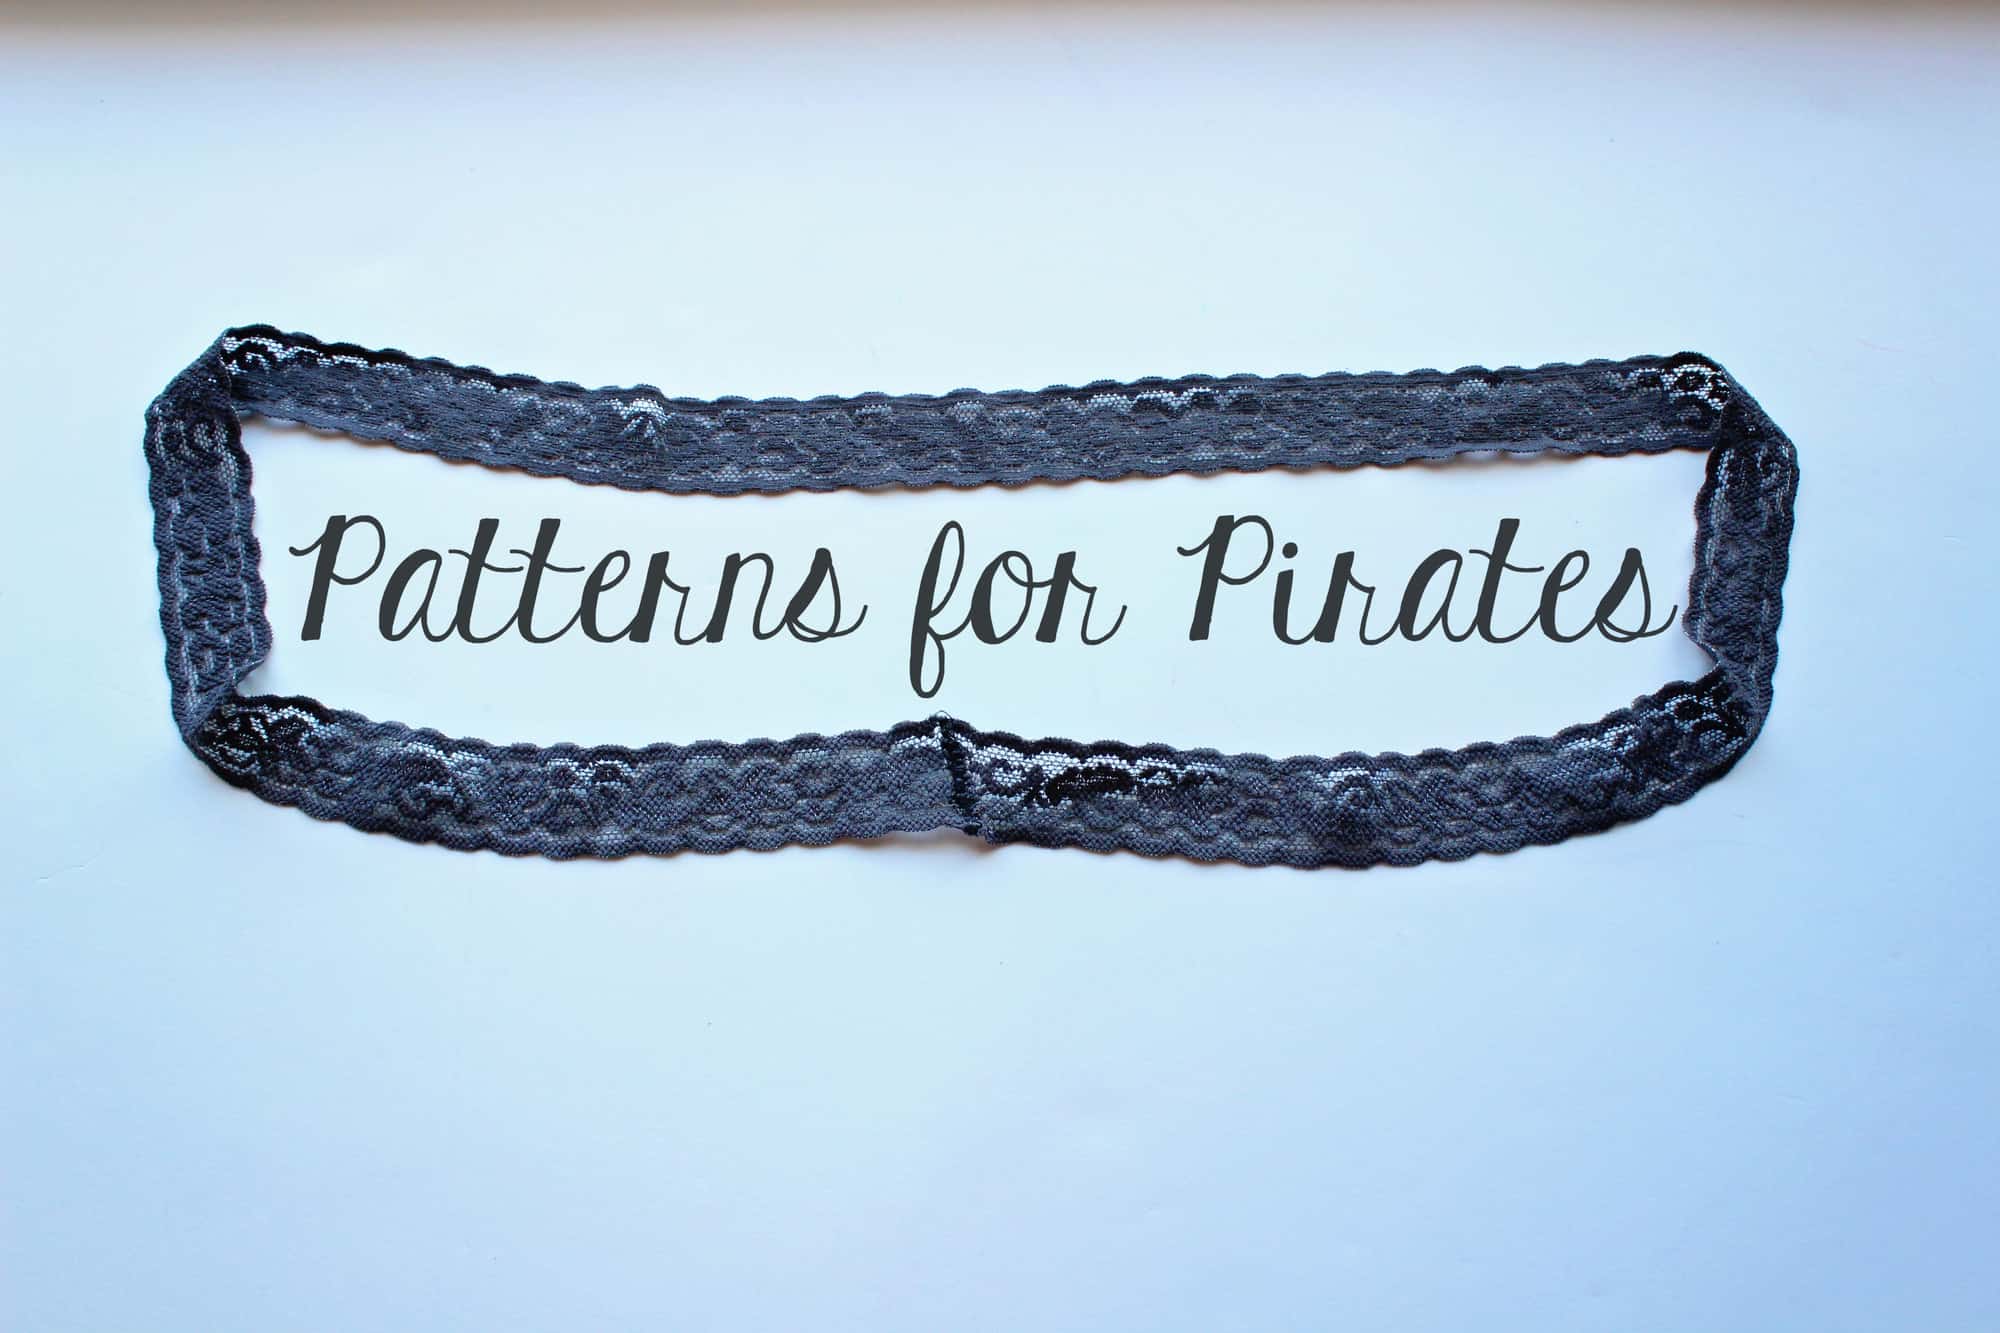
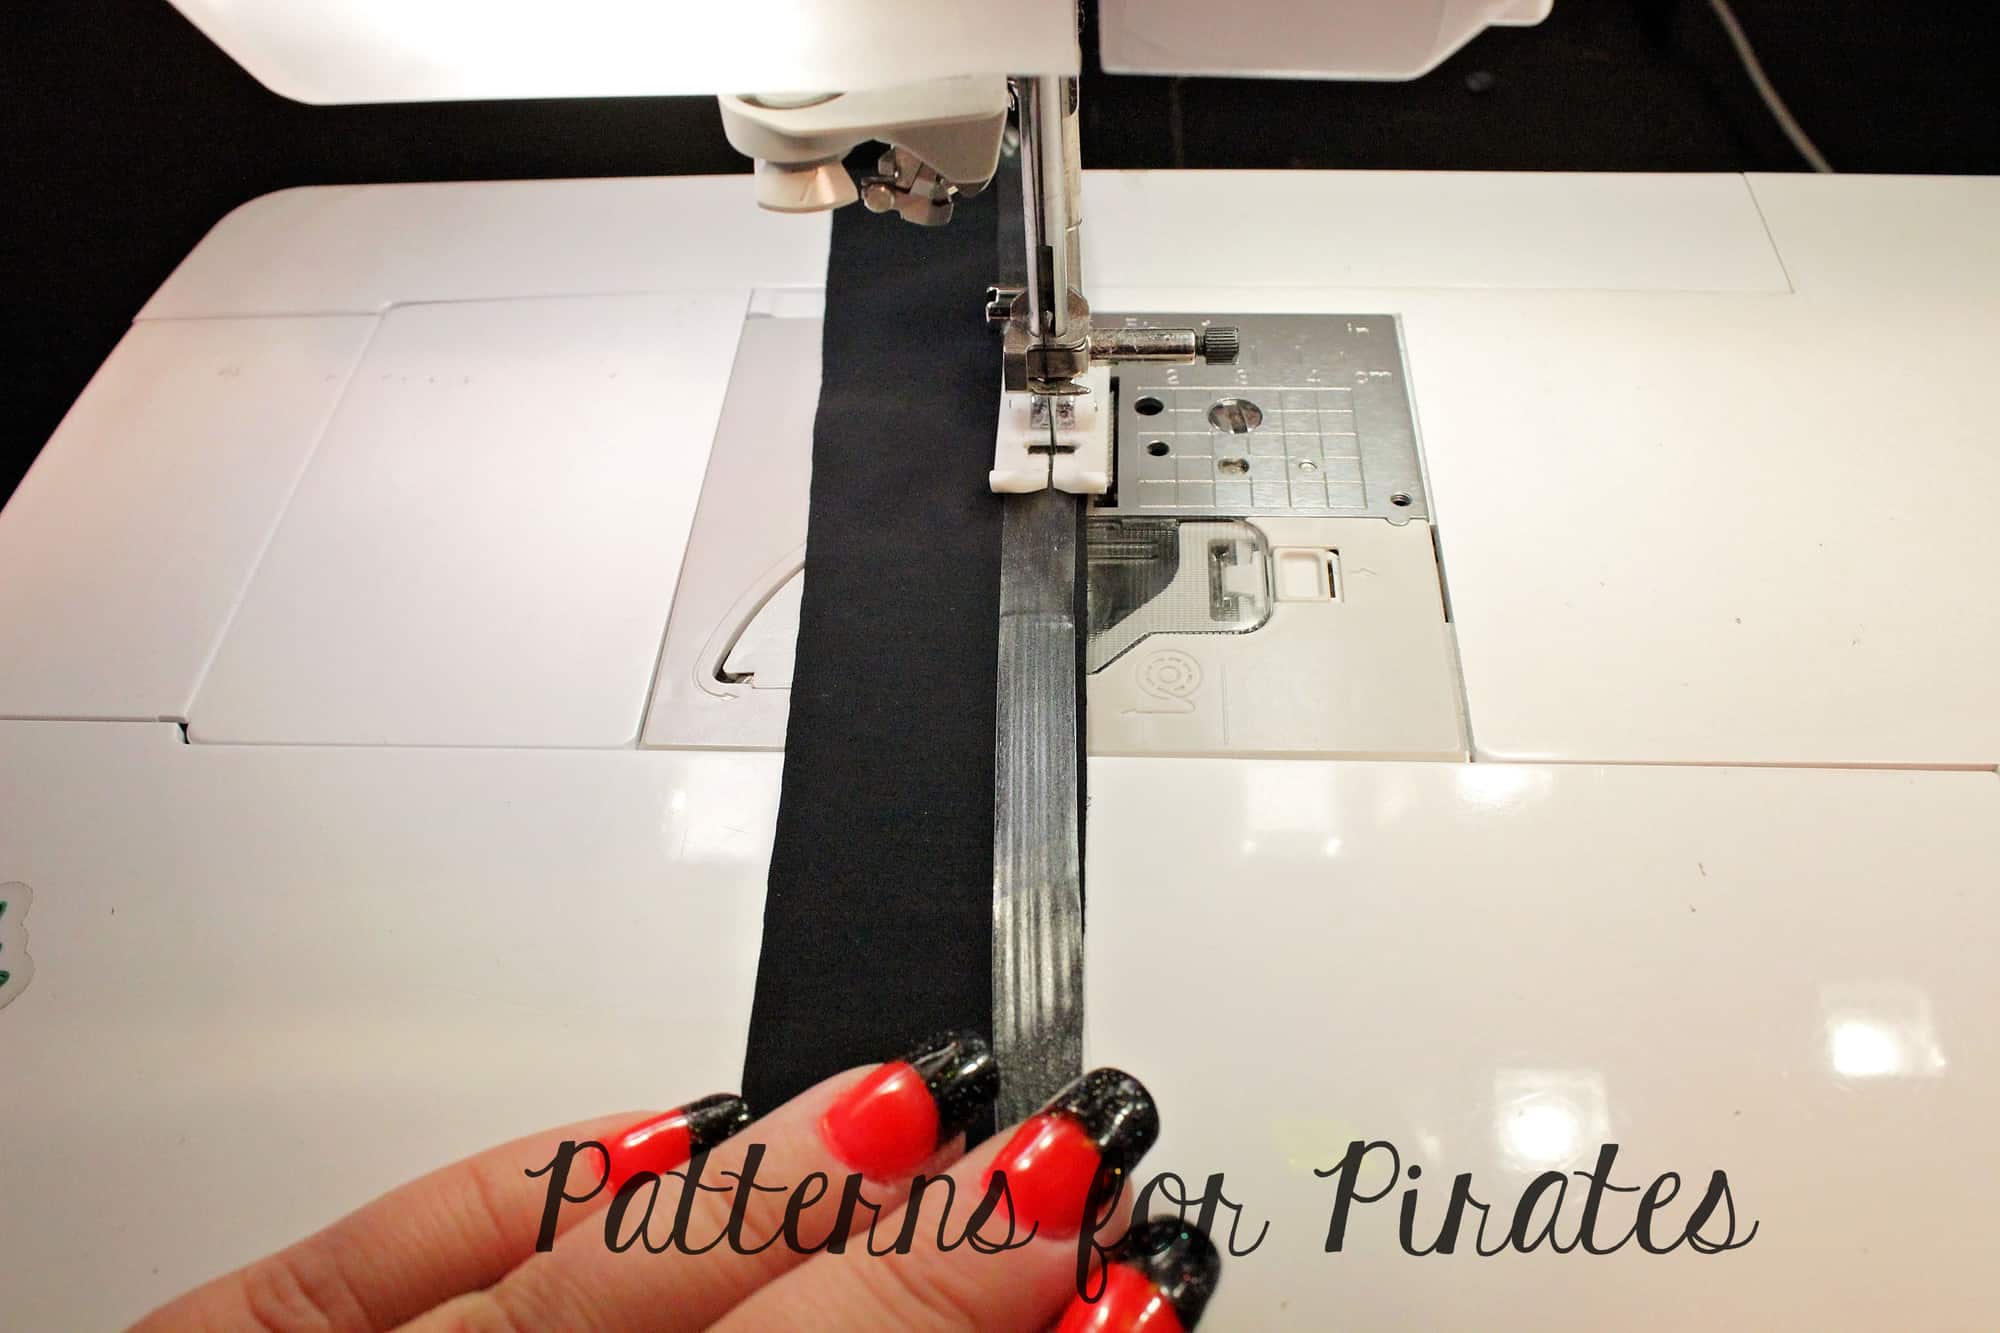
Sew the short ends of the lace to form a loop. You may find it easier to use a piece of water soluble stabilizer between the machine’s feed dogs and the lace so as to deter your machine from trying to “eat” your fabric.
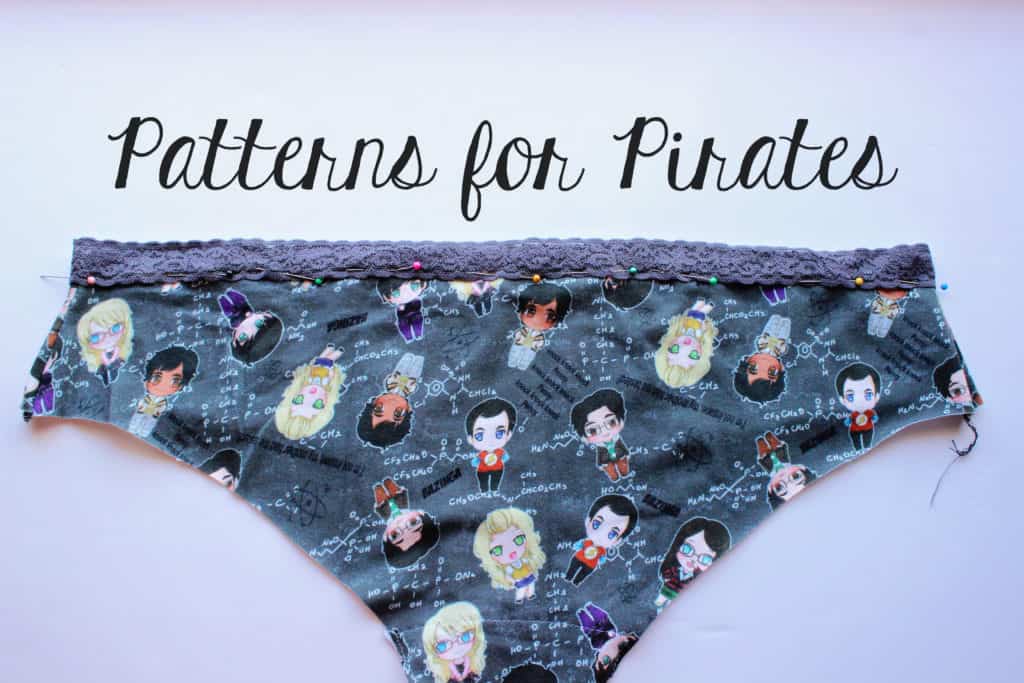
Sew the undies as instructed in the tutorial. Pin the lace at the top, overlapping 3/8″. The wrong side of the lace will be against the right side of the undies. Sew in place using a zig zag stitch of a coverstitch.
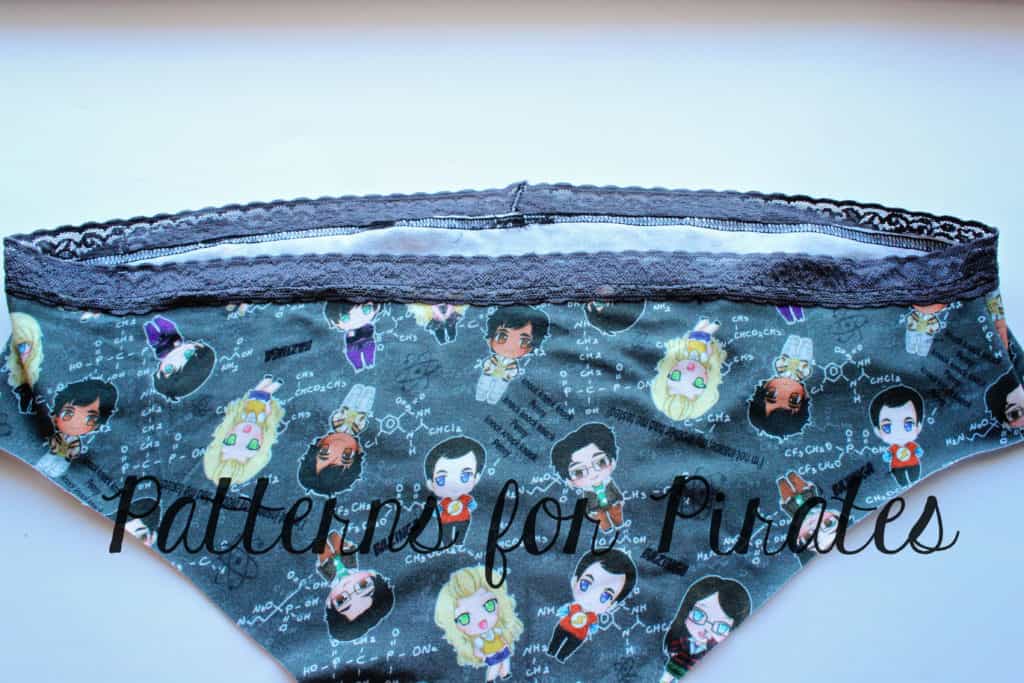
Tadah! Done! You just added one more option to the Fierce Undies.
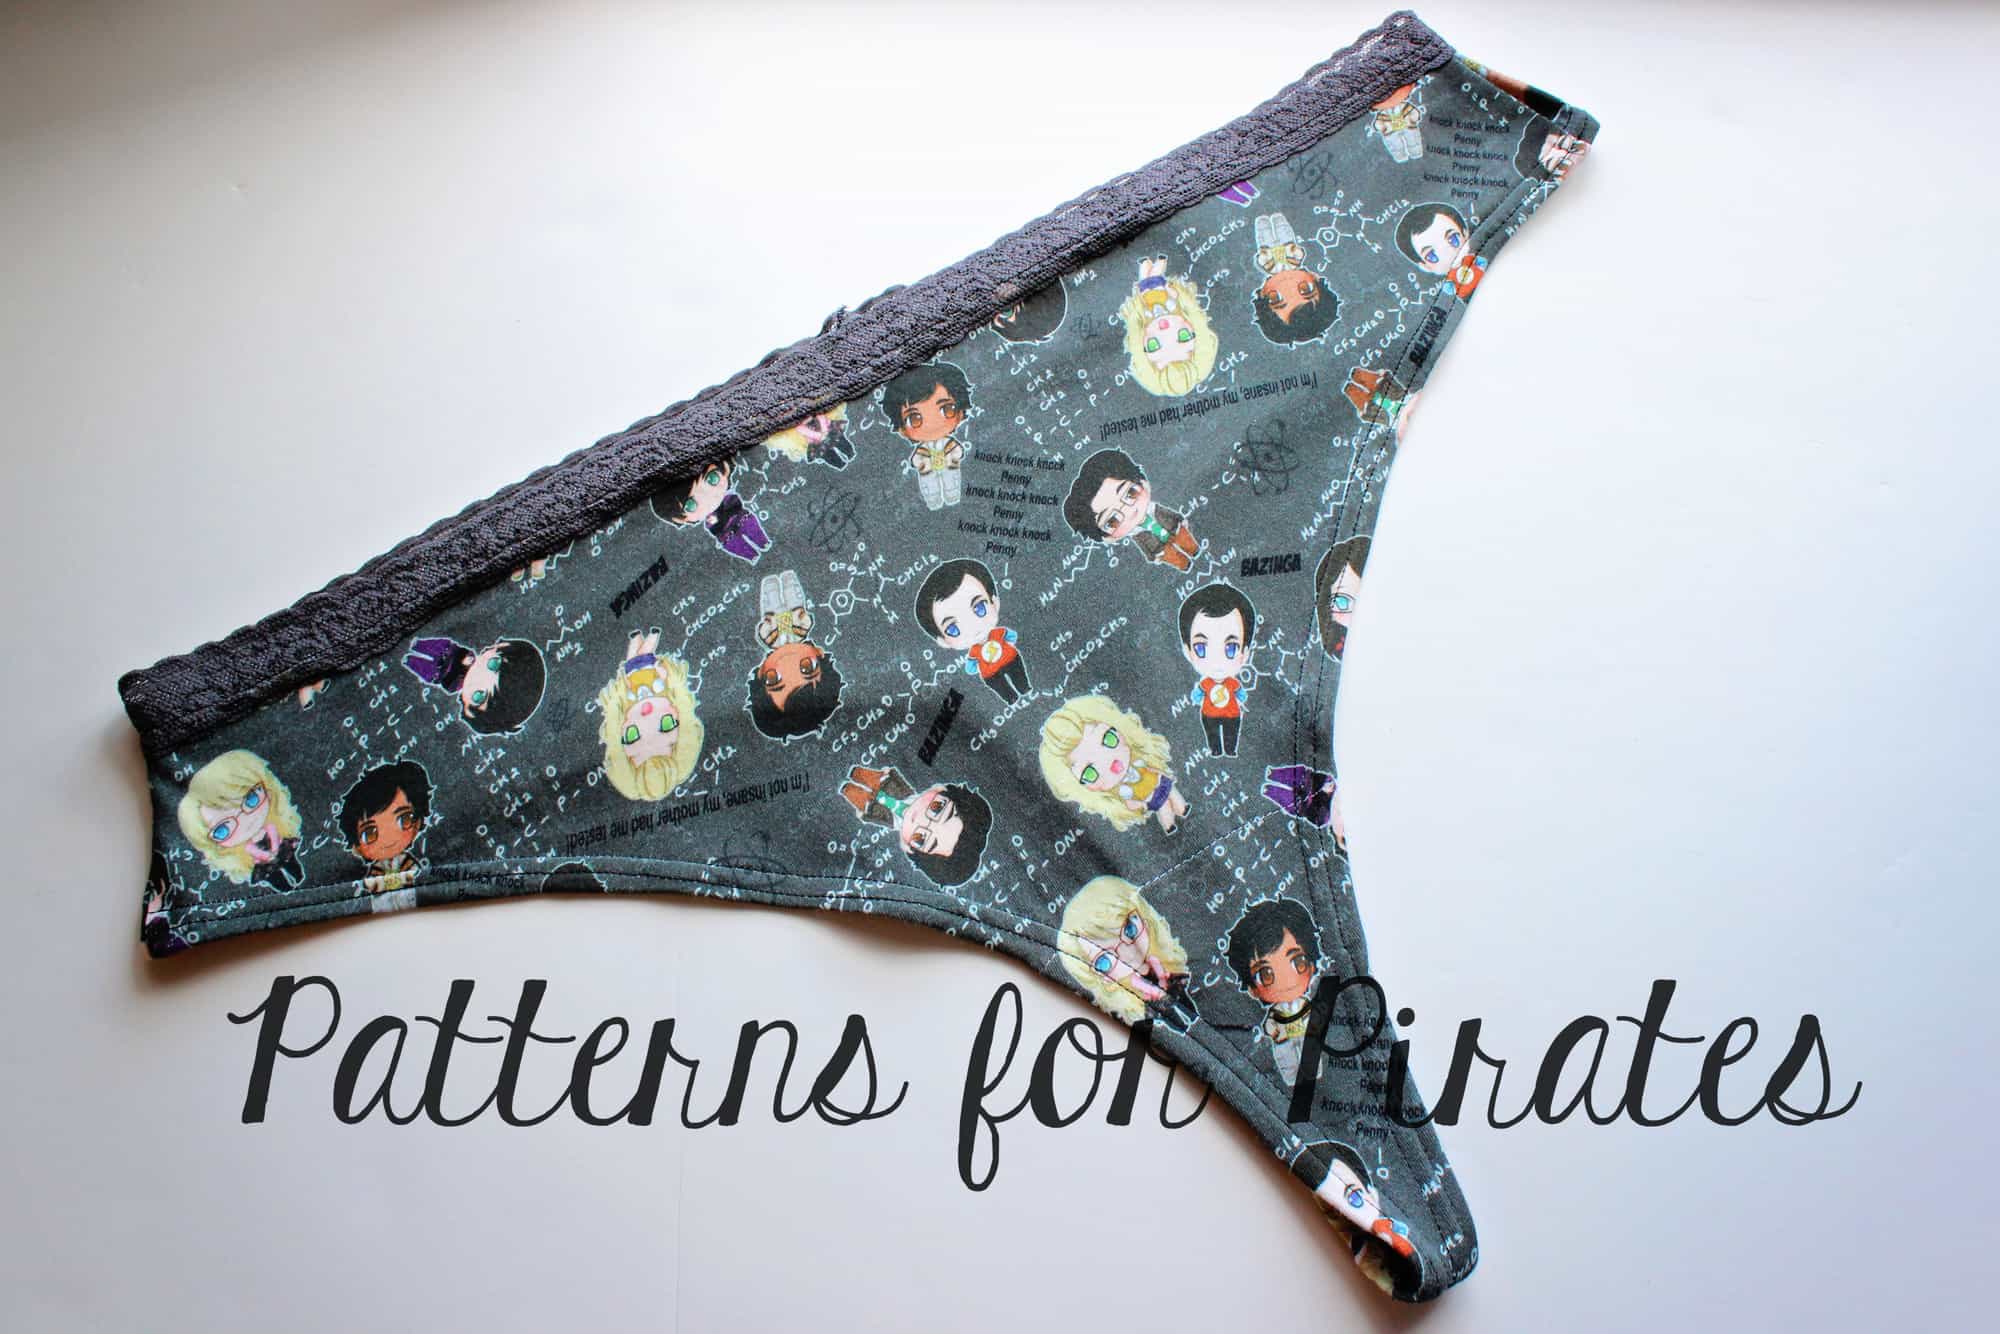

Judy is rocking a pair of Fierce Undies with a 2″ lace band.
…..
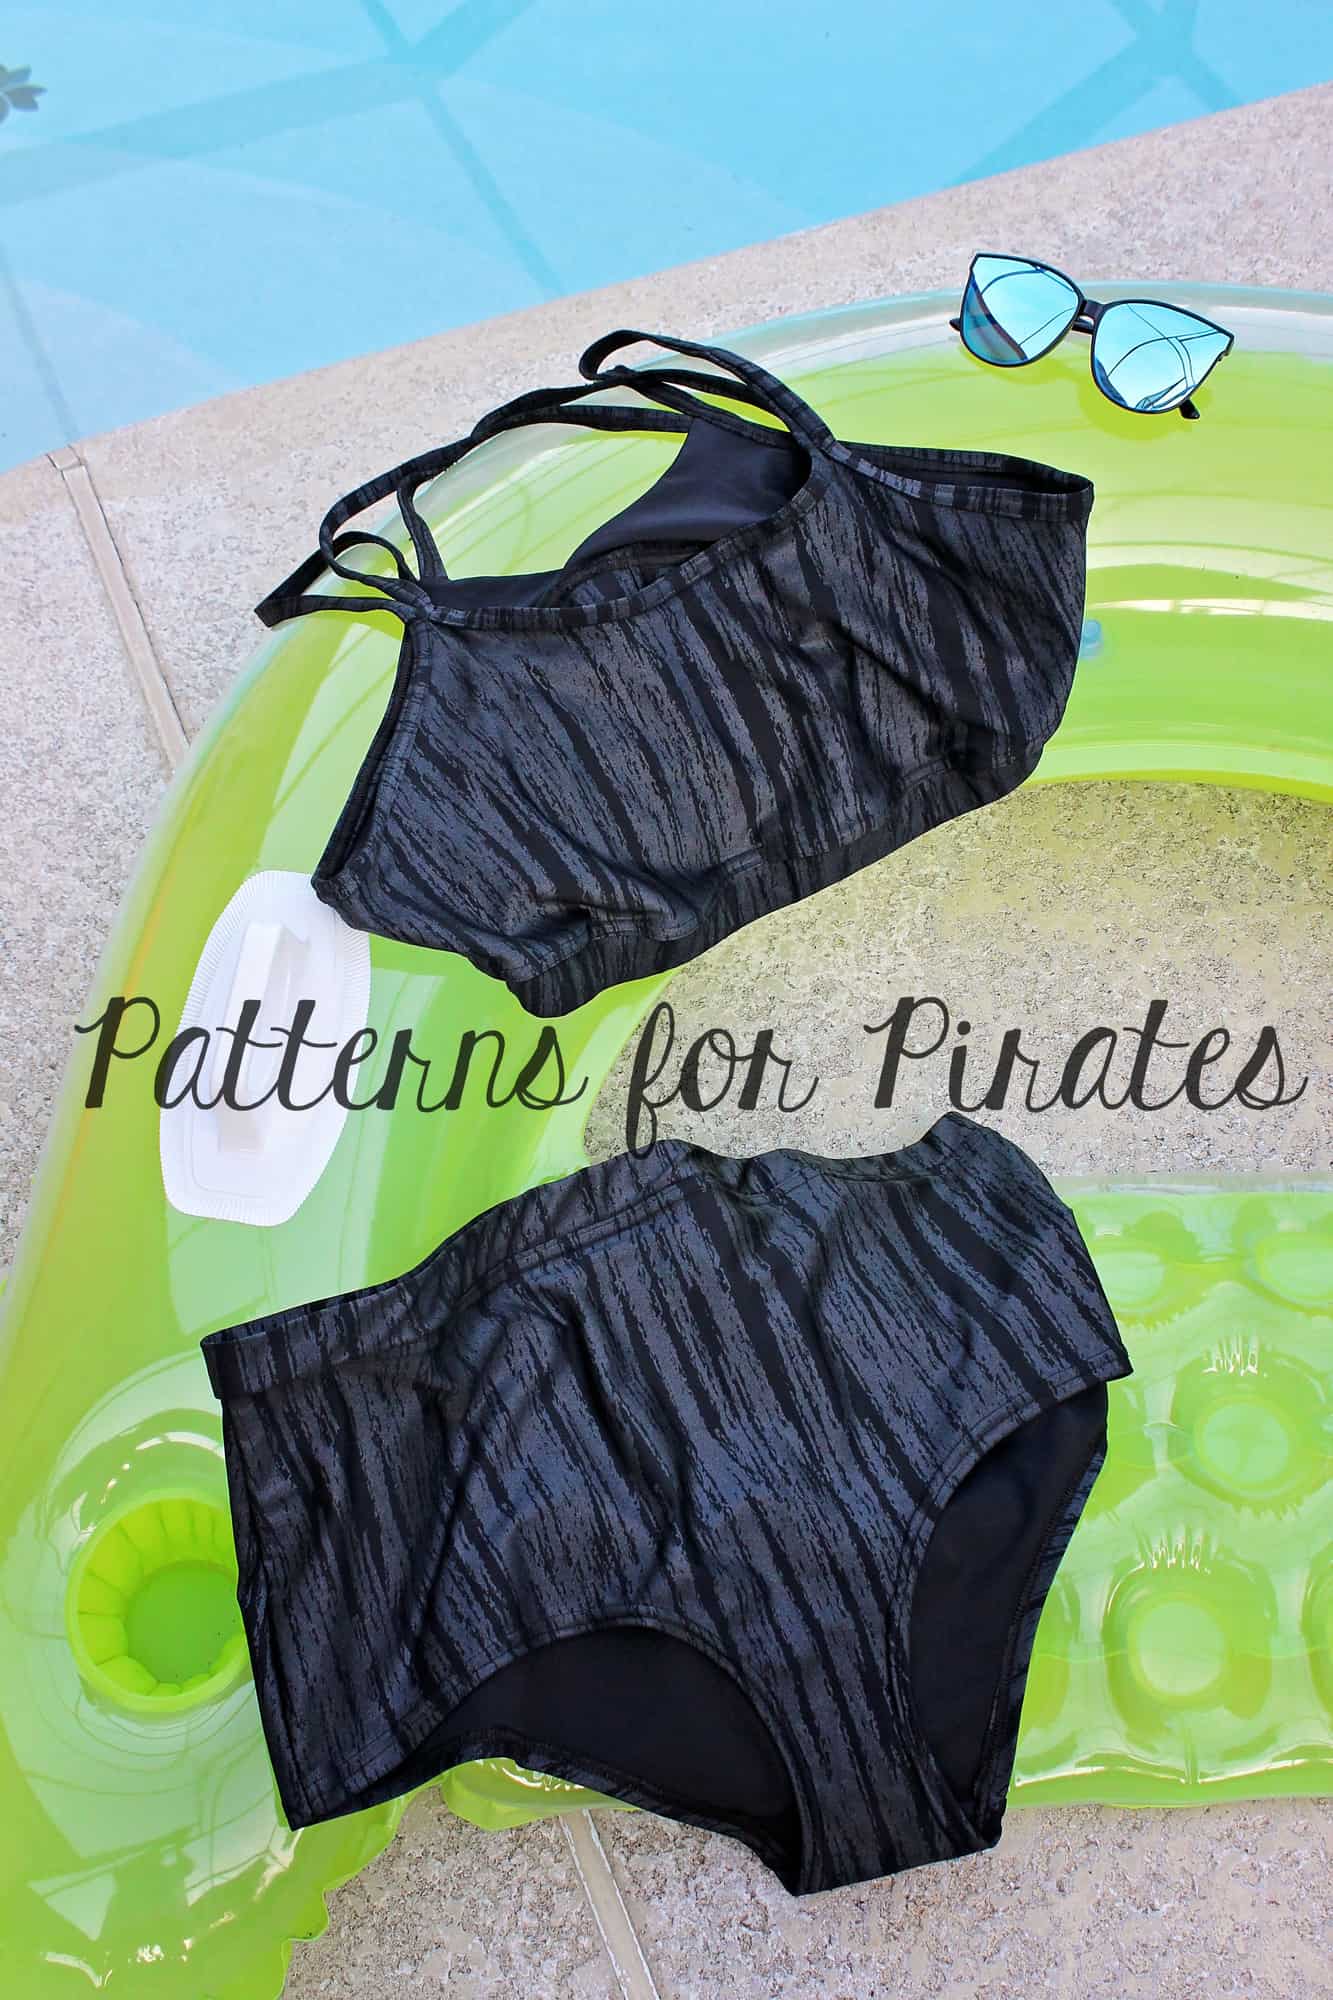
Swim suit
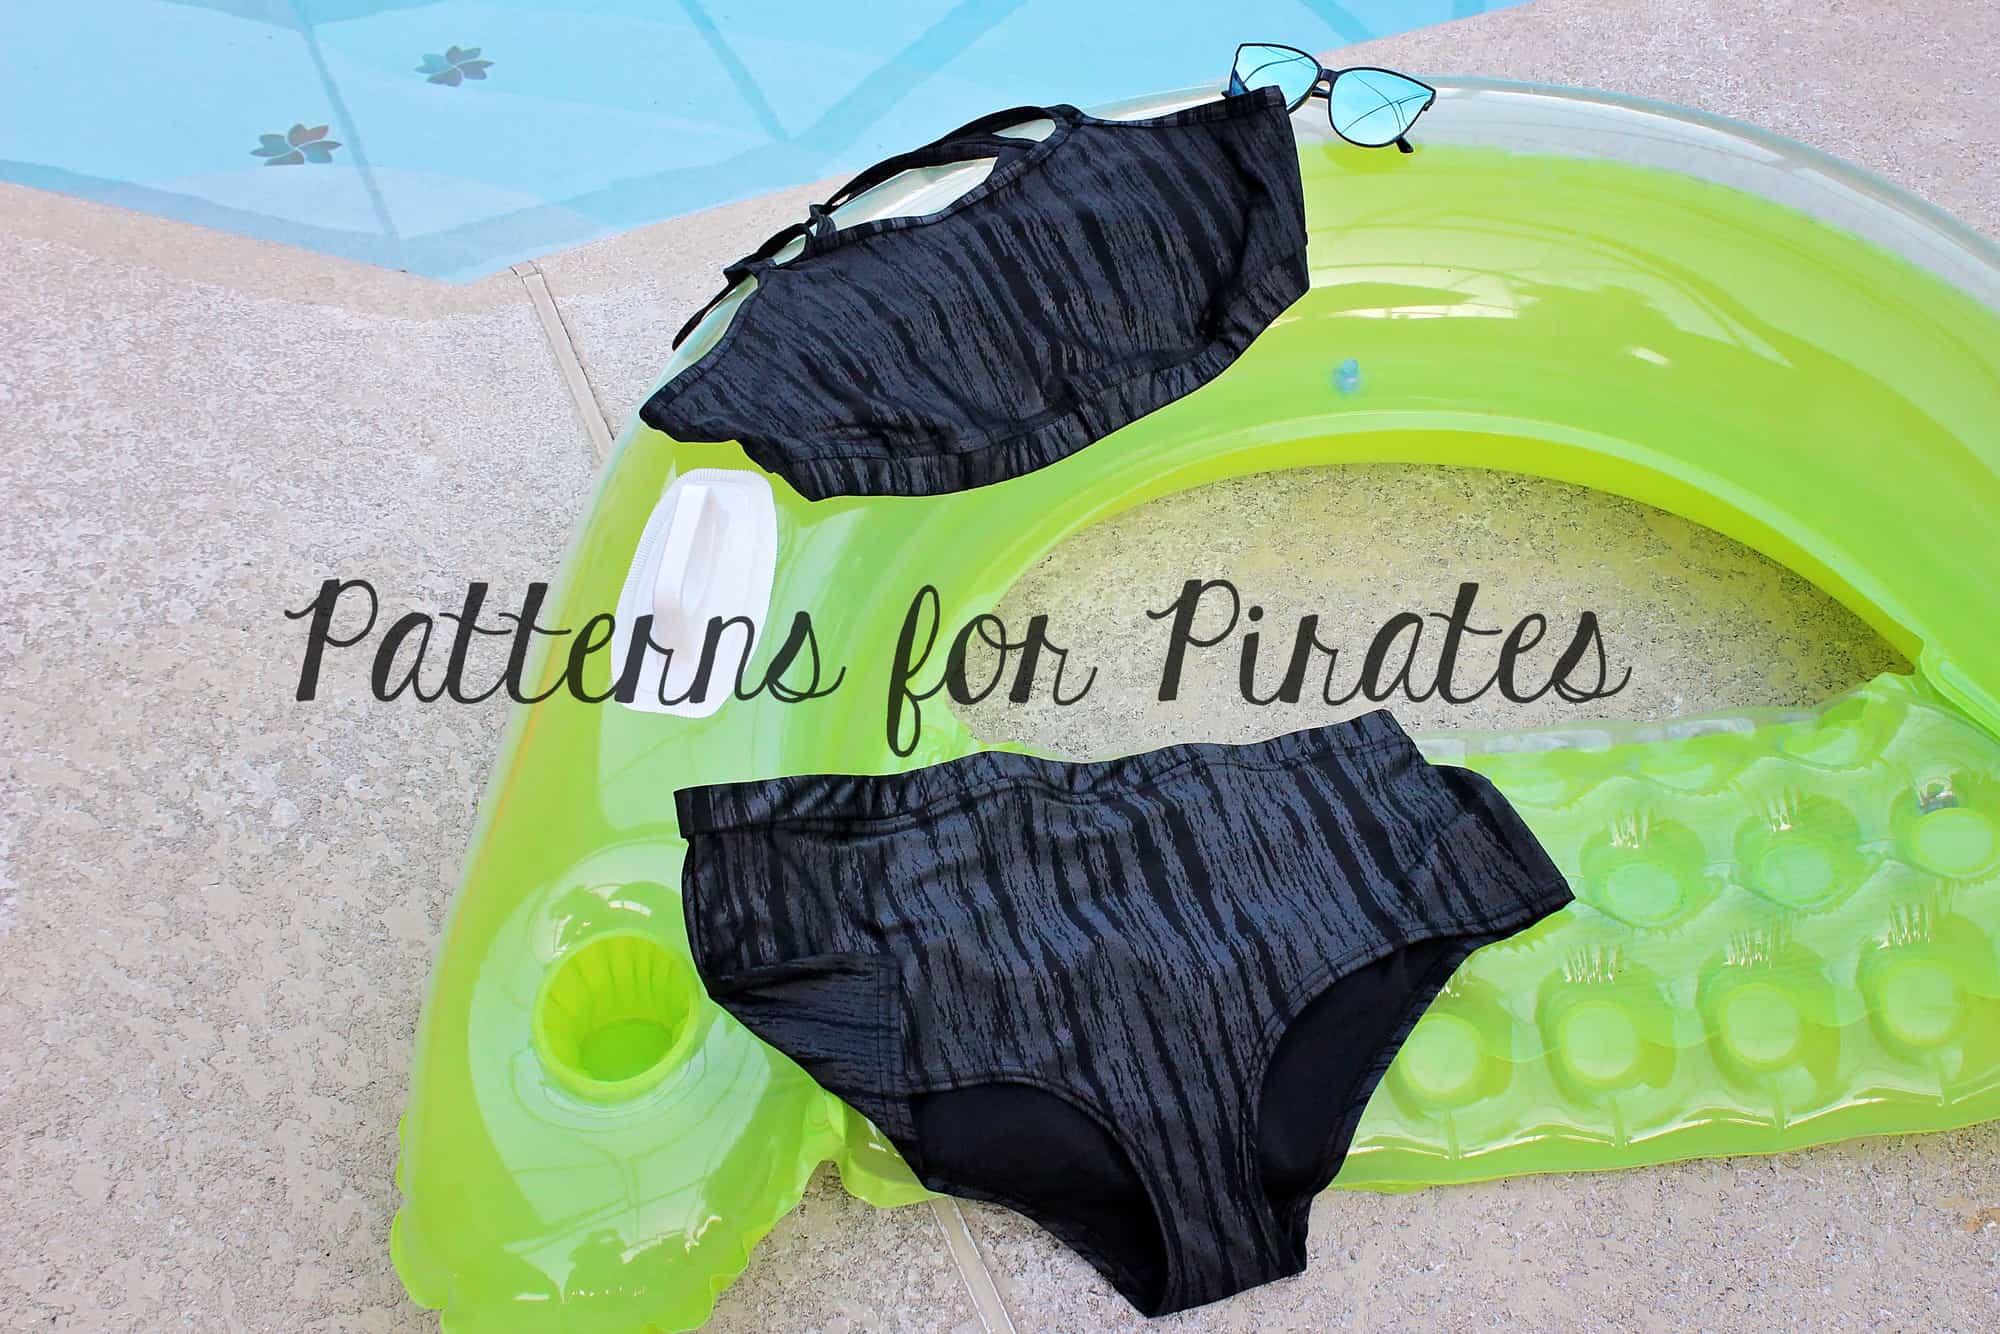
Last but certainly not least we want it to show you how easy it is to make Fierce Swimsuit. You will need:
- swim suit fabric
- swim lining (or solid swim like I used)
- 1″ swim elastic for the waistband and under bust band
- 3/8″ swim elastic for the leg openings and bra straps
- optionally power mesh and cups (I have not used them on mine)
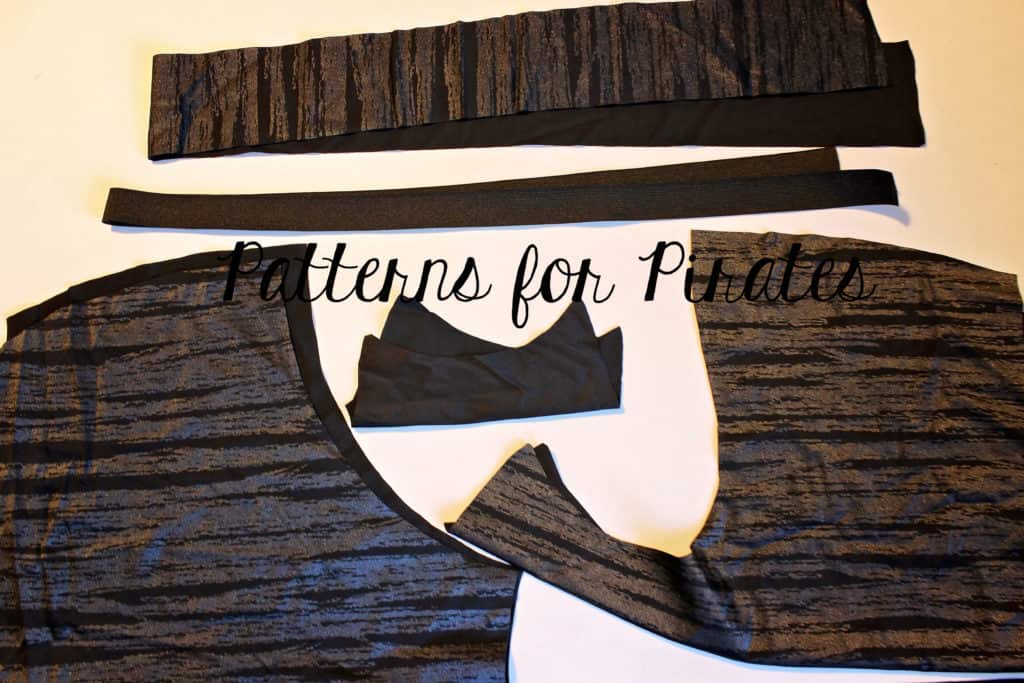
Start by cutting you undies front and back pieces from swim, the liner from solid swim or lining. Cut the waistband 3″ by the length of the waistband elastic (from the cutting chart) plus 1″ for the seam allowance. Cut the 1″ swim elastic the length of the waistband elastic from the chart. Now cut the bra pieces, making sure that the under bust band is 3″ wide by the length of the elastic plus 1″ seam allowance. You will also need to enclose swim elastic in the bra straps so you will but binding strips that are 1.5″ wide by the length of the pattern straps pieces.

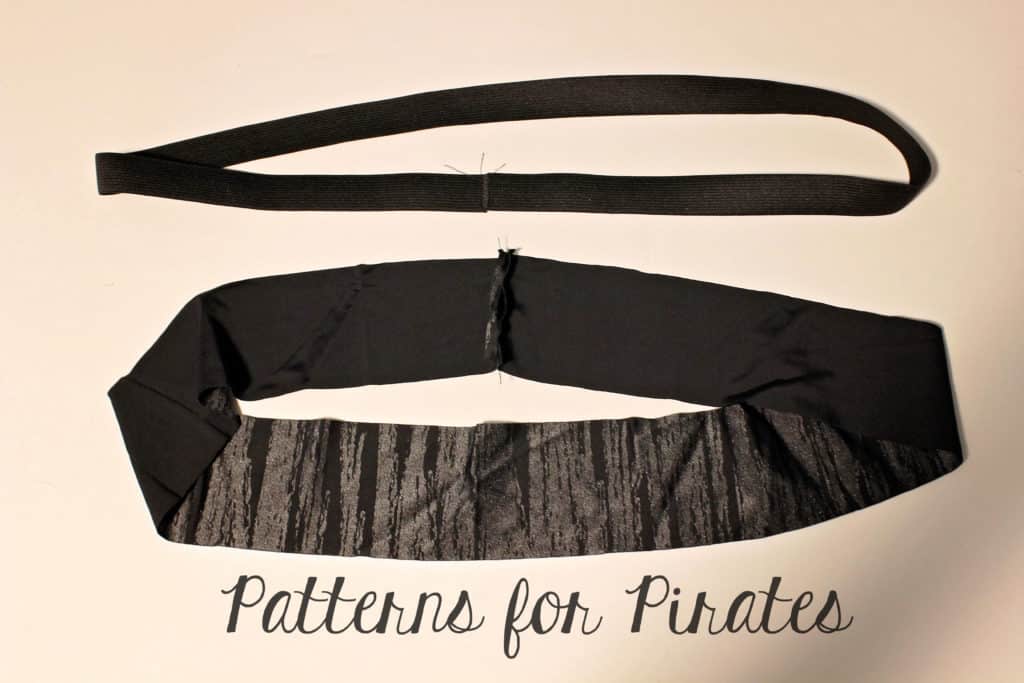
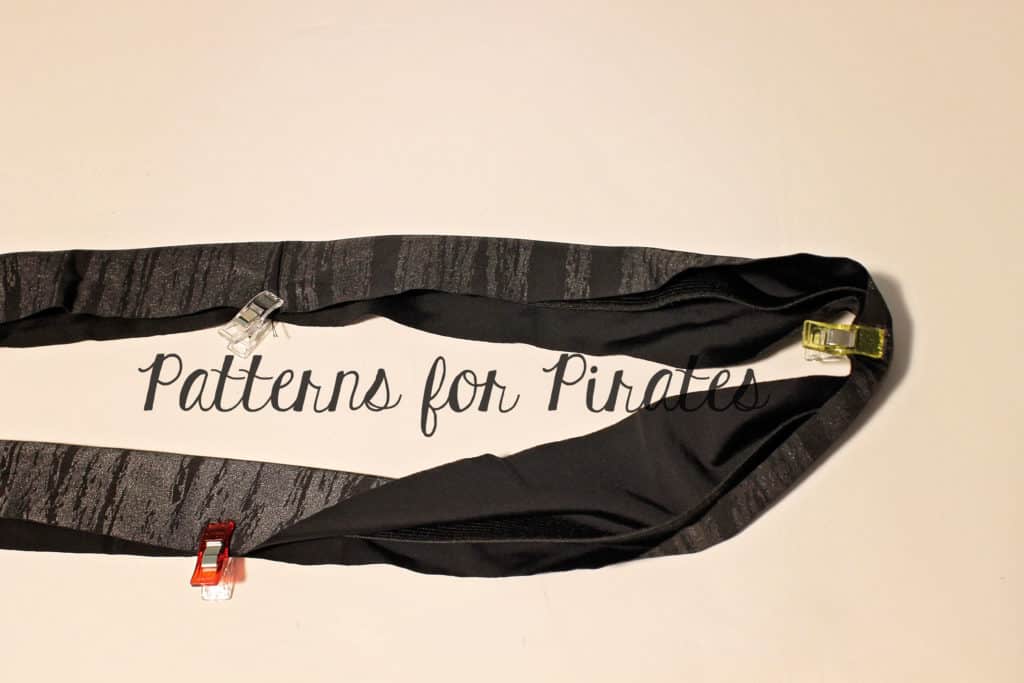
Sew the undies and side of the bra (and lining) as instructed in the tutorial. Now let’s make the waistband and the bra under bust band. Same technique…butt the ends of the elastic together and sew with a wide zig zag stitch. Overlap the band with the right sides together and sew it in a loop using 1/2″ seam allowance. Insert the elastic inside and put pins or clips at the quarter mark. Put the bands aside for now.
Hem the legs of the undies as in the pattern. The only difference will be that you will be using swim elastic for the briefs and thong, no elastic for the cheekies. Take your swim elastic and baste it to one edge of each of the bra straps.
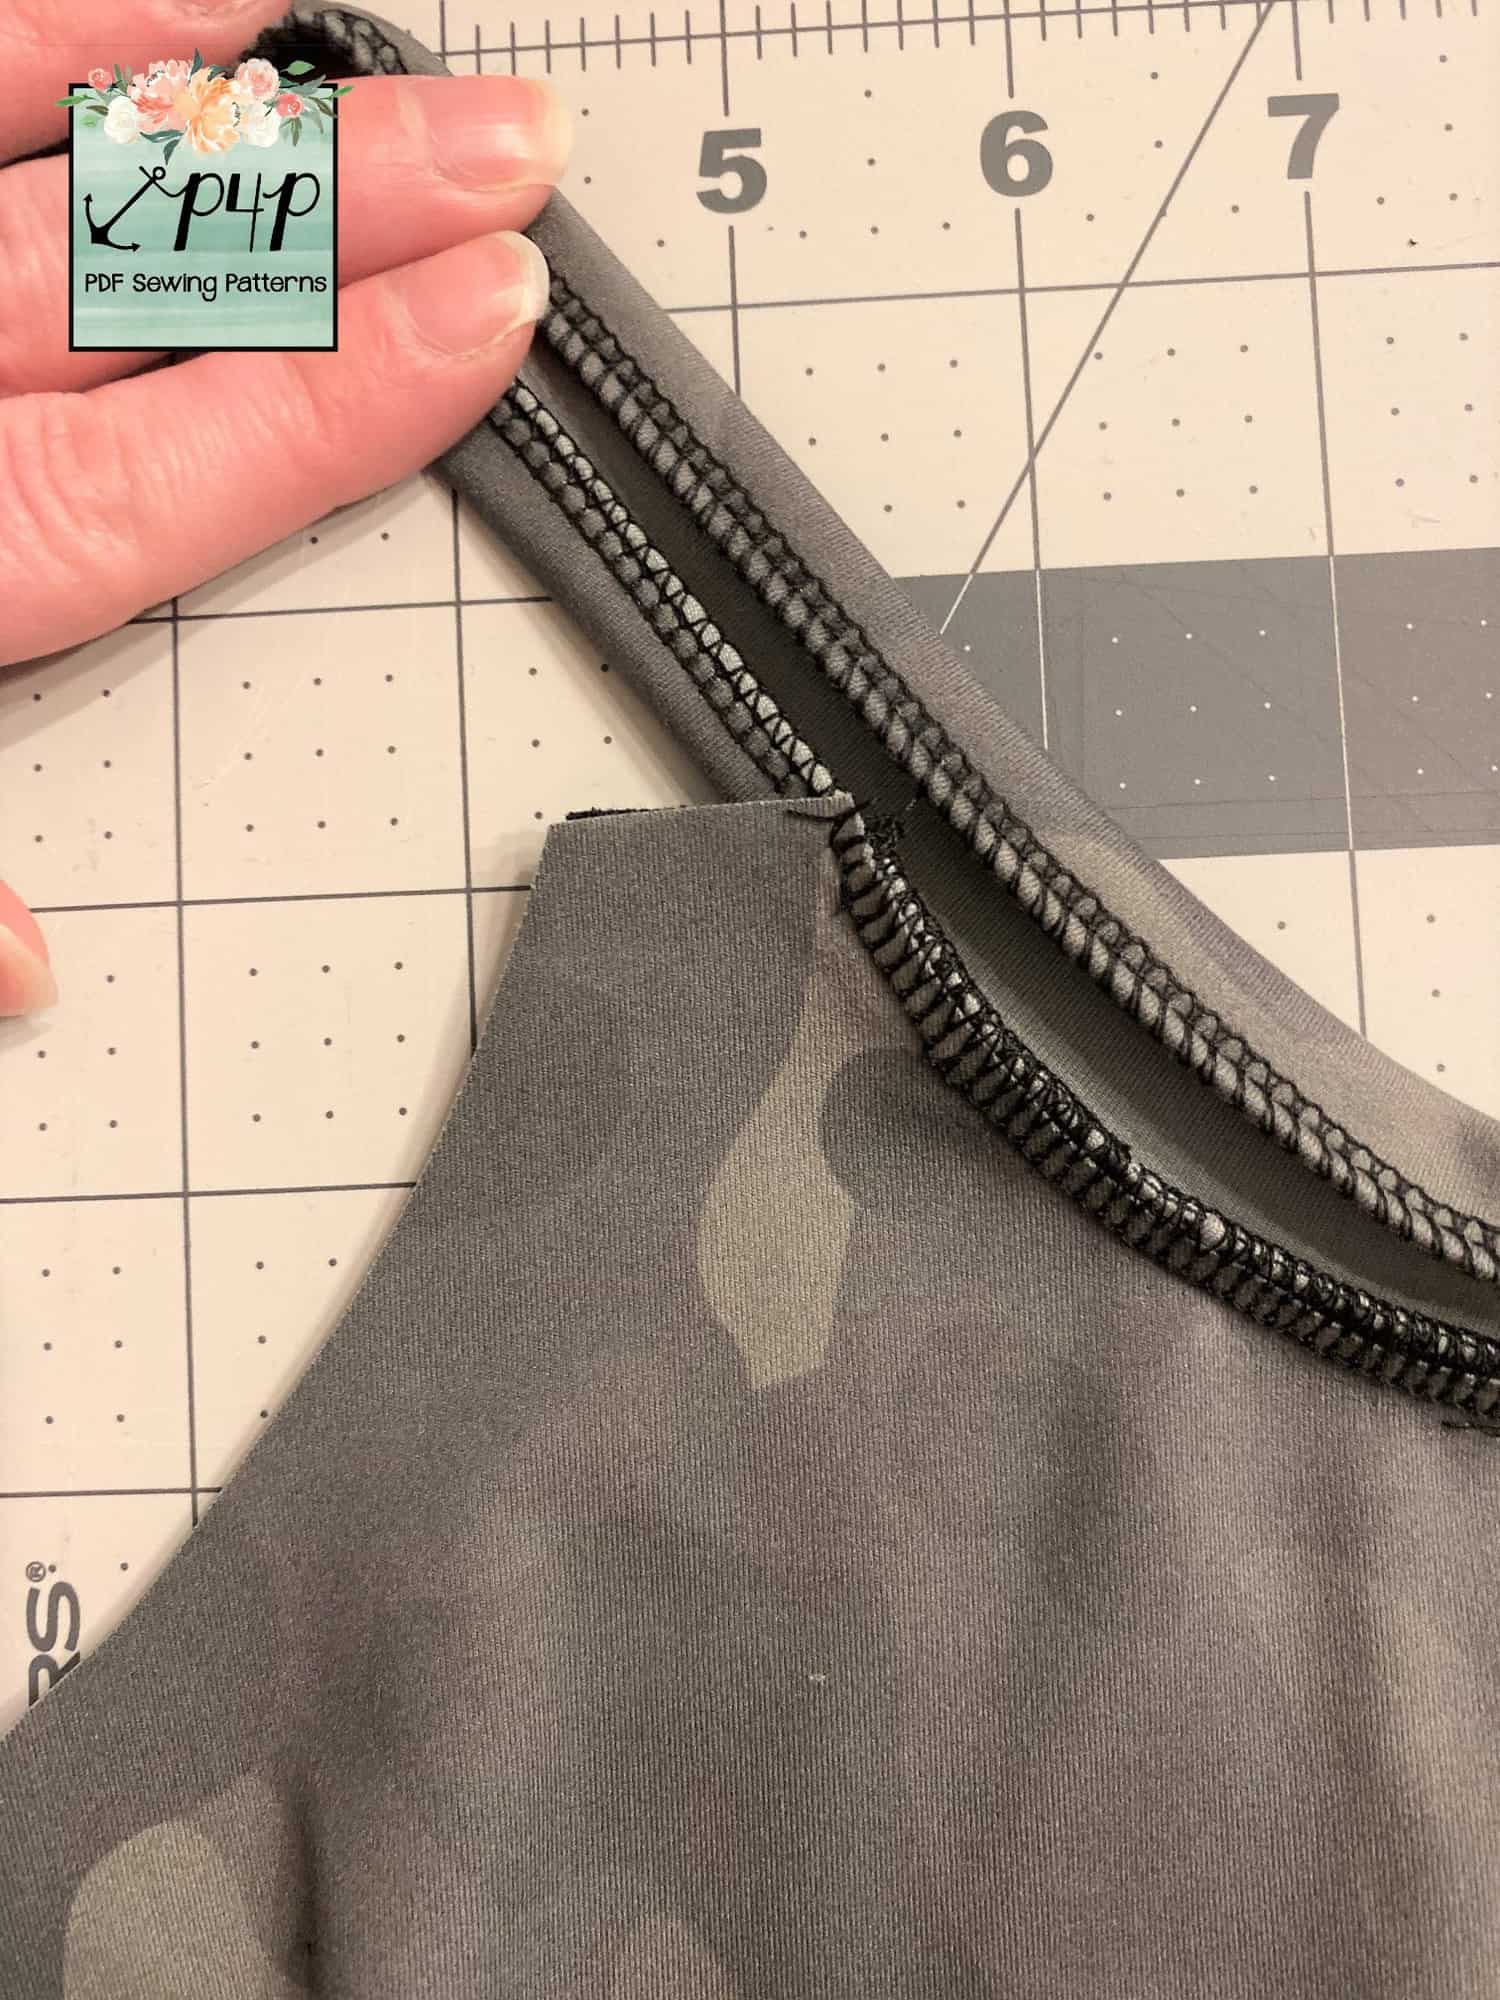
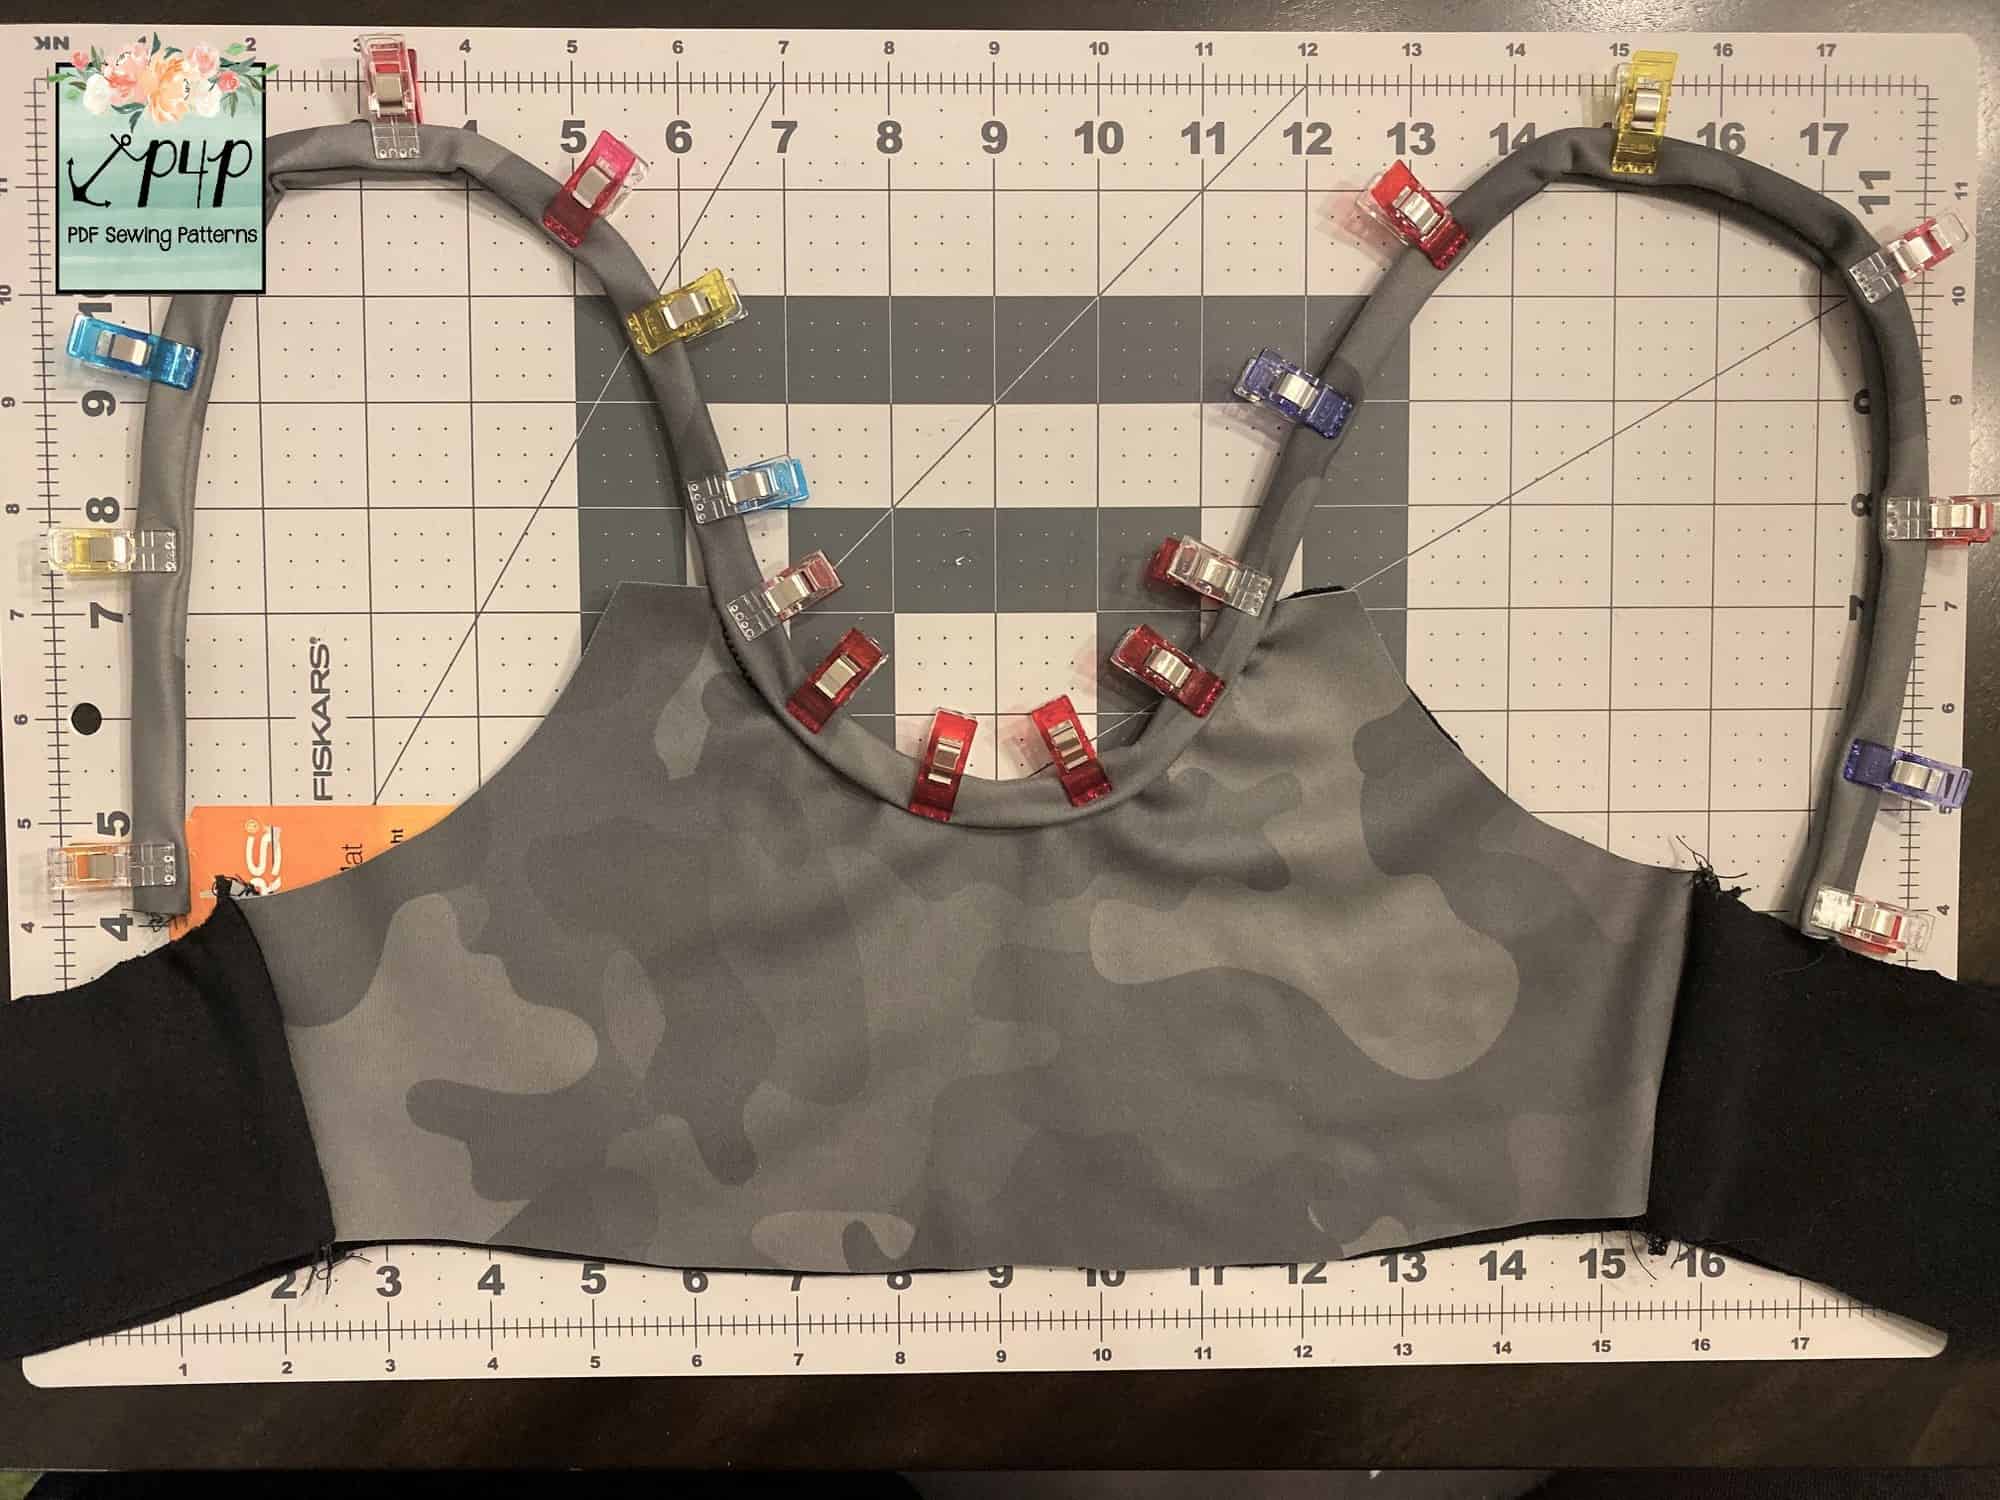
Attach the bra straps binding as Lacy is showing you in the hack above.

All you have left to do is add the waistband and under bust band that you prepared earlier. Mark the 4 quarters of the undies waist and under bust opening. Add the respective band matching the quarter points. Sew them with your serger or a triple stretch stitch. Optionally, top stitch.
All done! You just added one more swim suit to your collection. You can use the same tips for both the youth and the adult pattern.

We hope you enjoyed these spins on the new Fierce Undies and Fierce Bra pattern. Don’t forget to share your creations in the Patterns for Pirates Facebook group or tag us on Instagram @patternsforpirates.