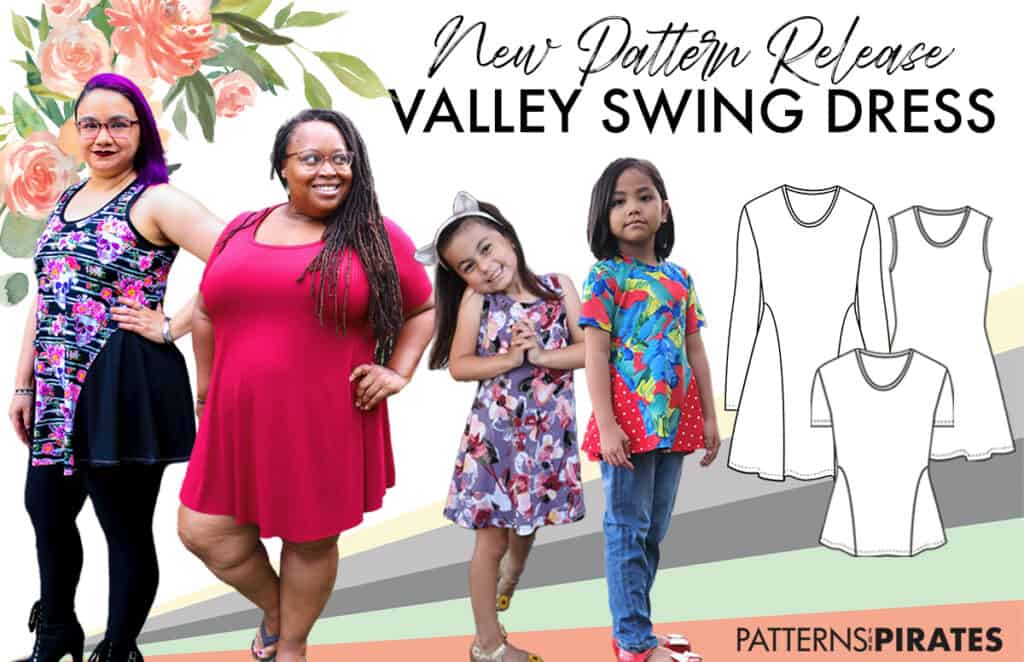
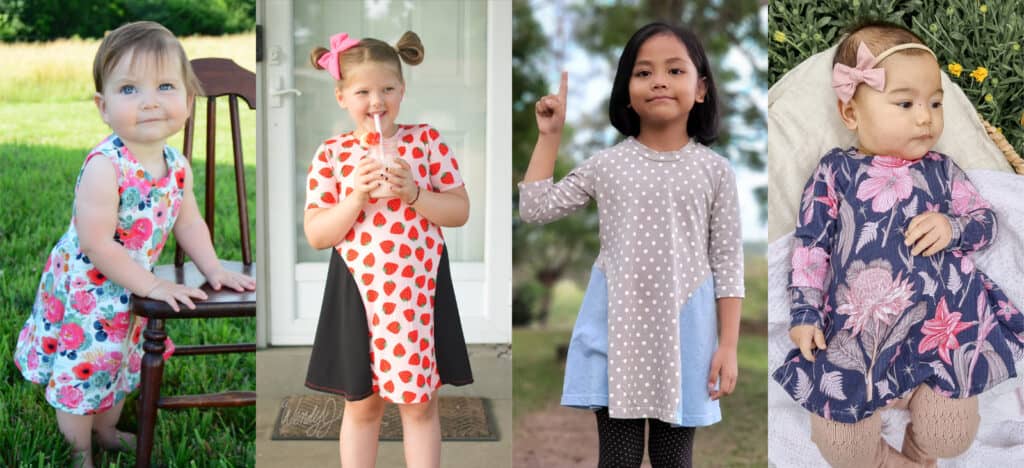
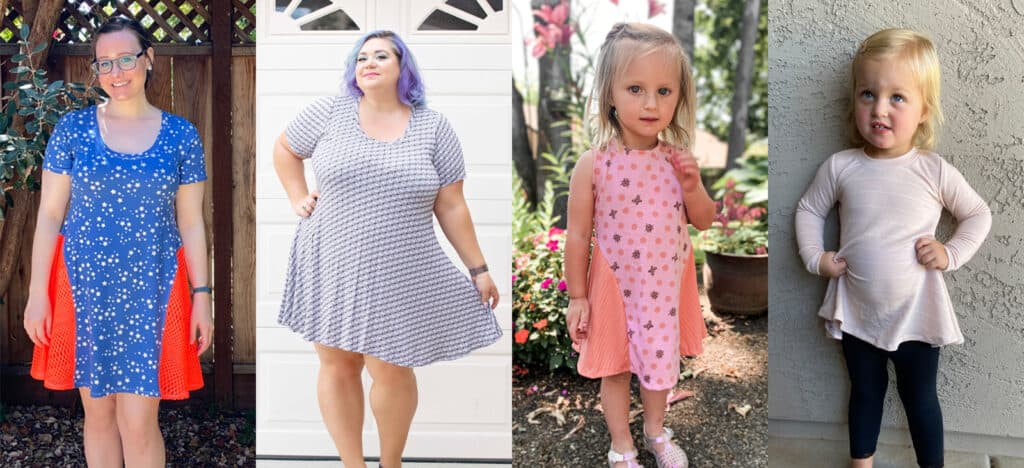
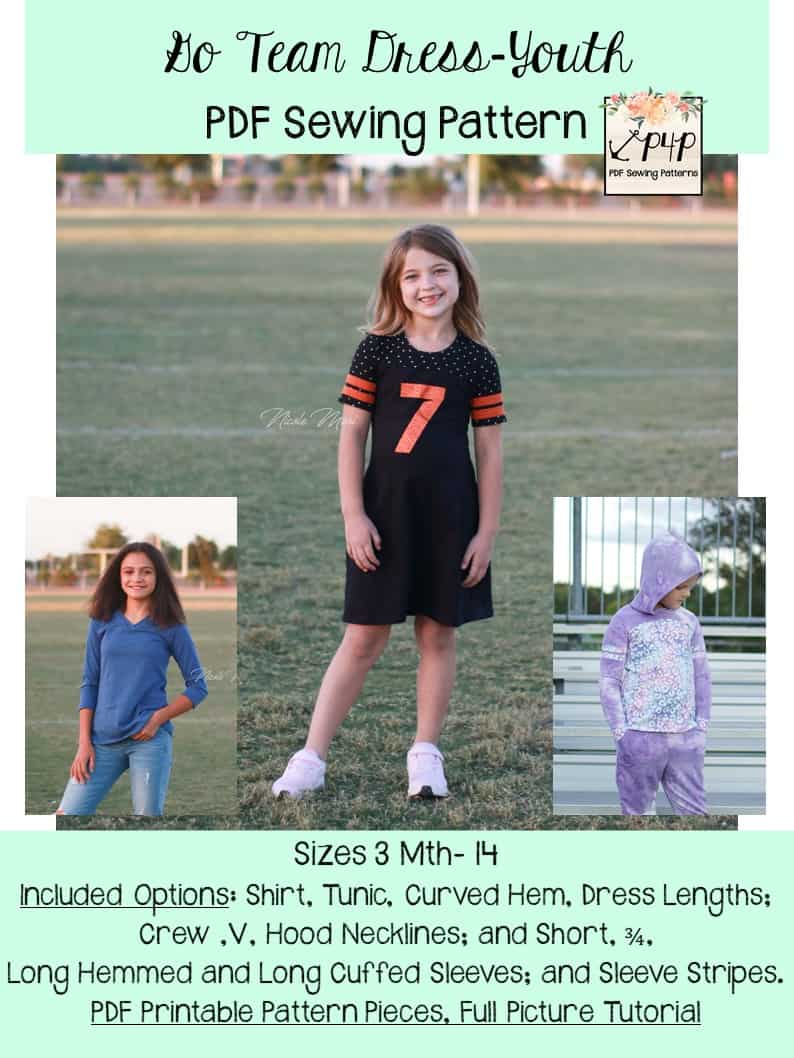
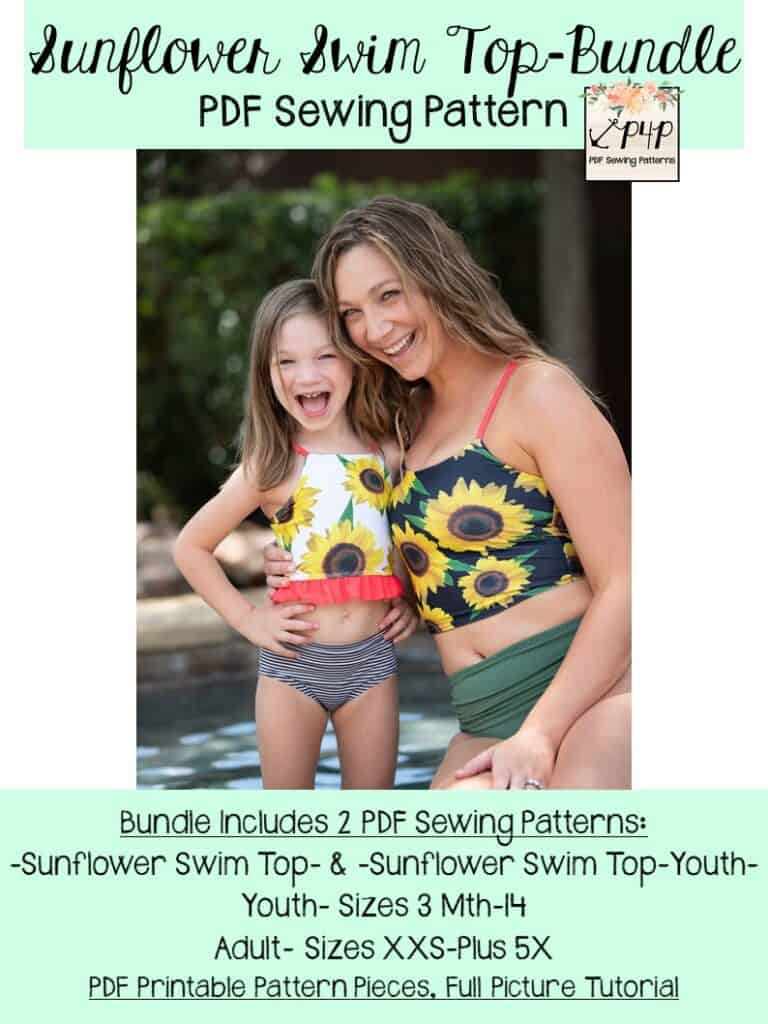
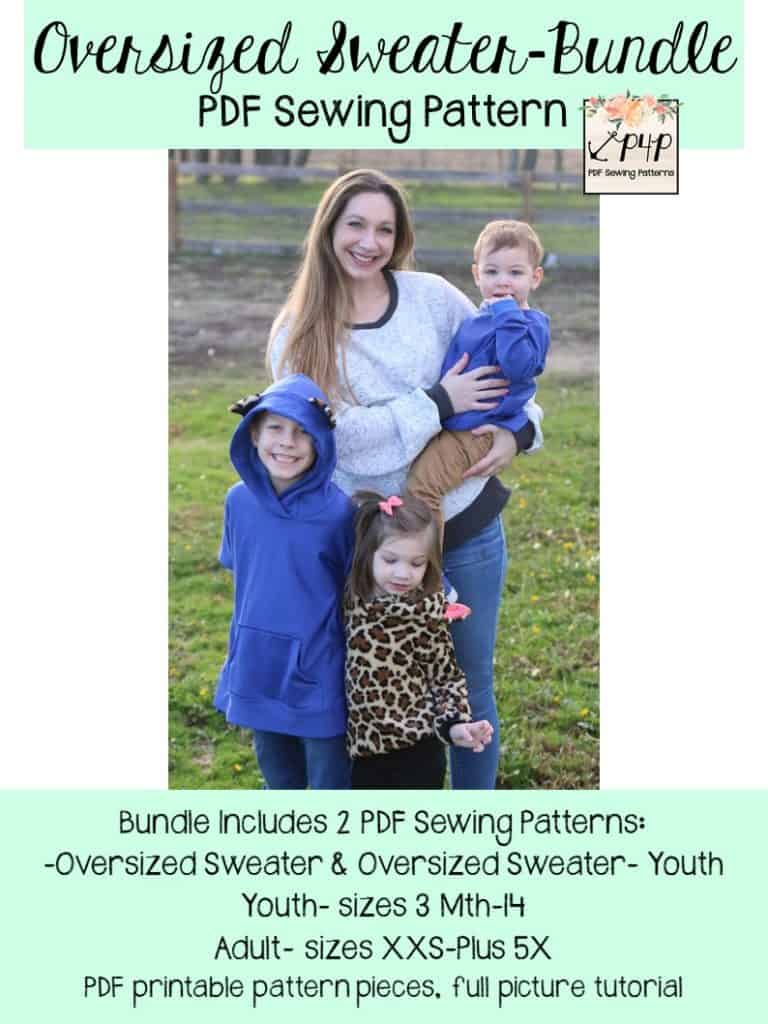
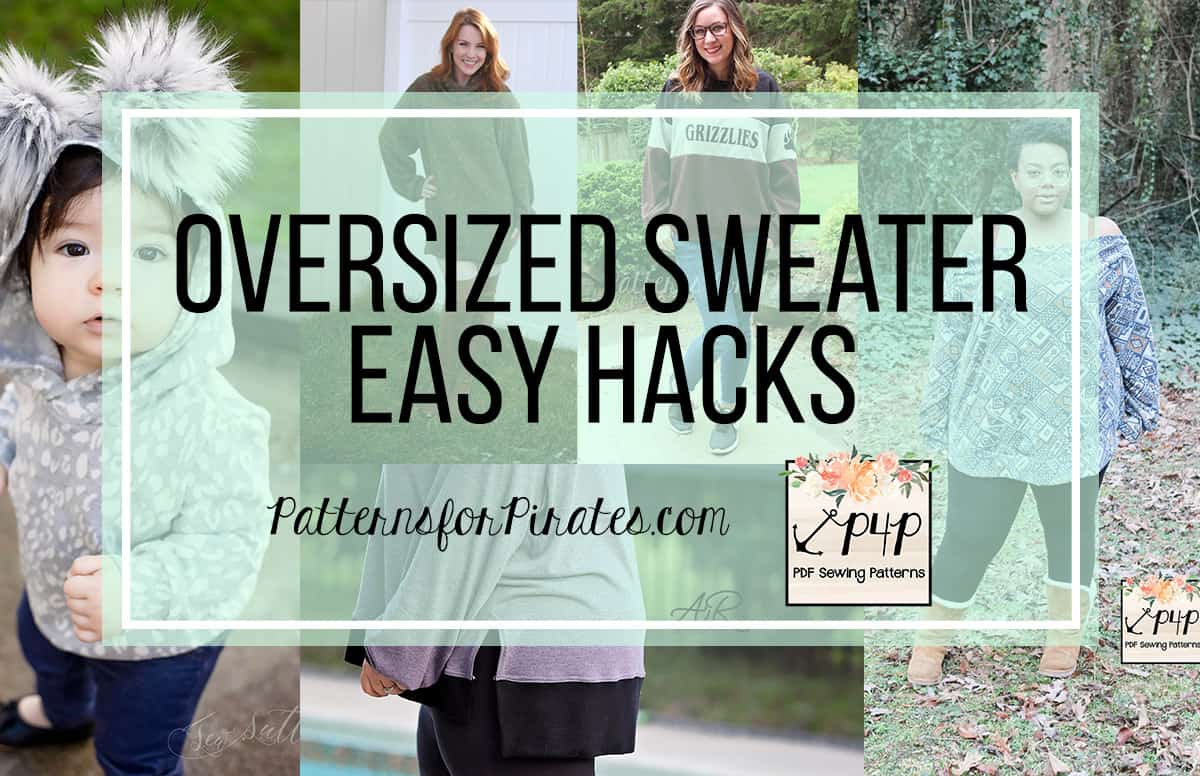
We are super excited to share that we are releasing our first pattern of the new year! Well — not just pattern (singular) but patterns…plural! The Friendly City Sweater + Friendly City Sweater – Youth are the newest designs to be added to the Patterns for Pirates catalogue and you’re going to want to hear all about it!
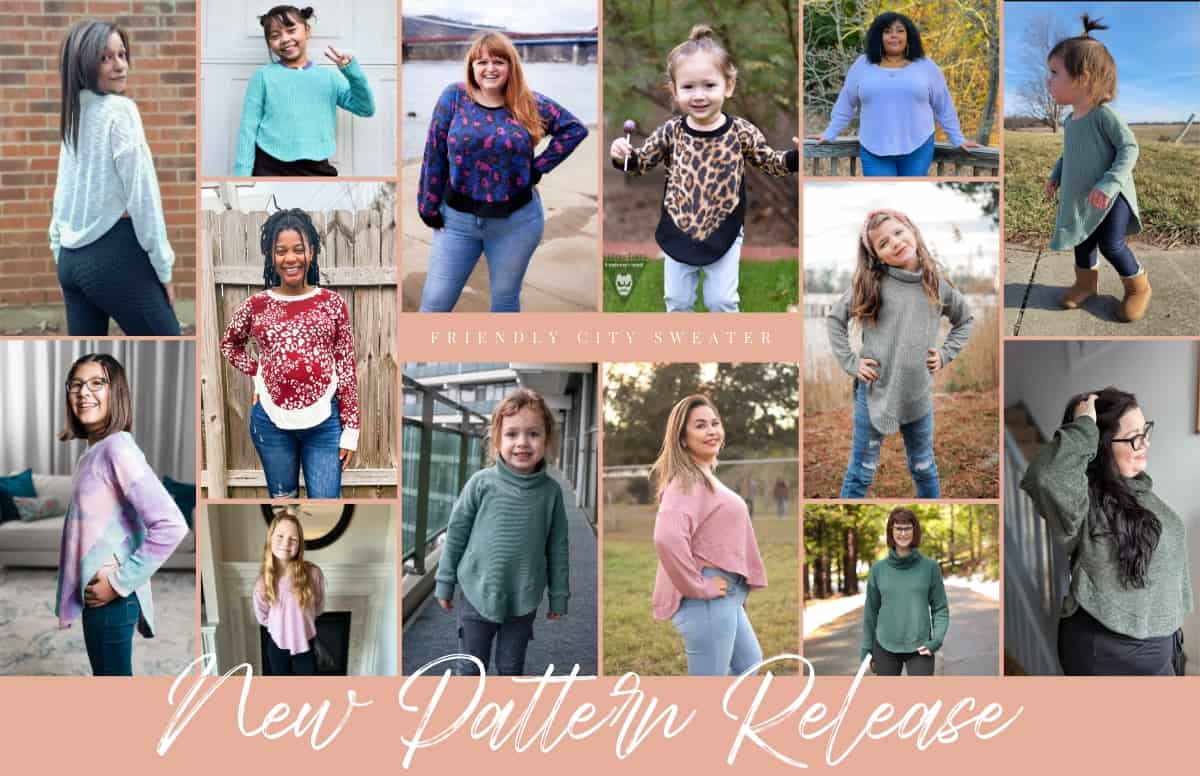
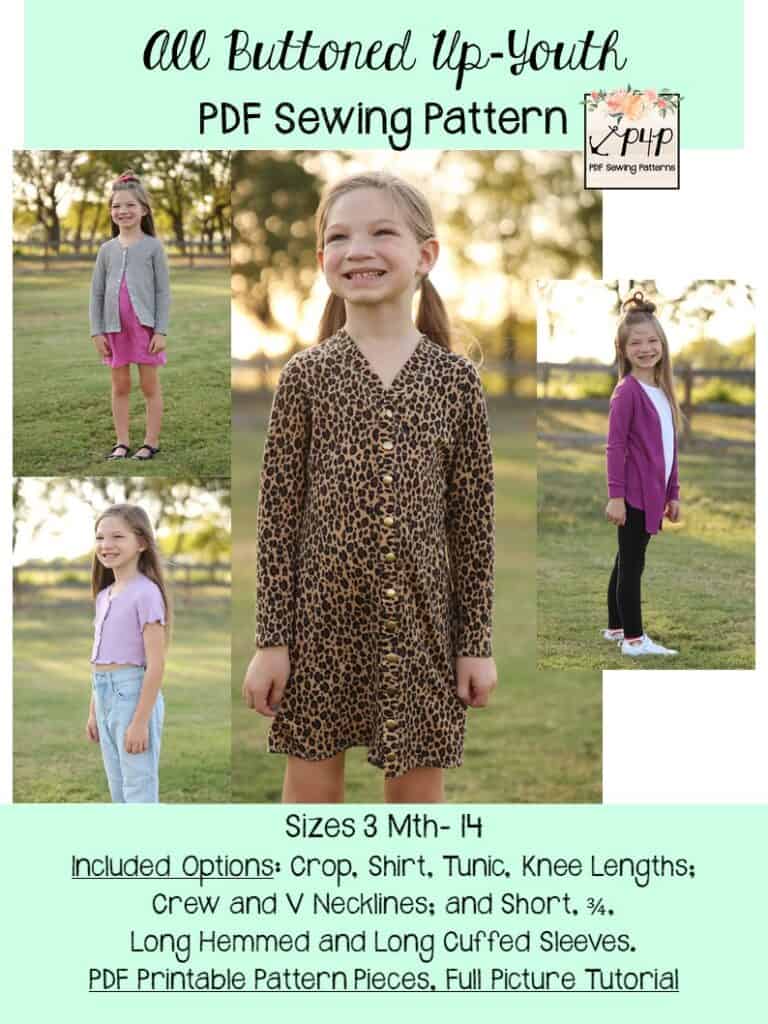
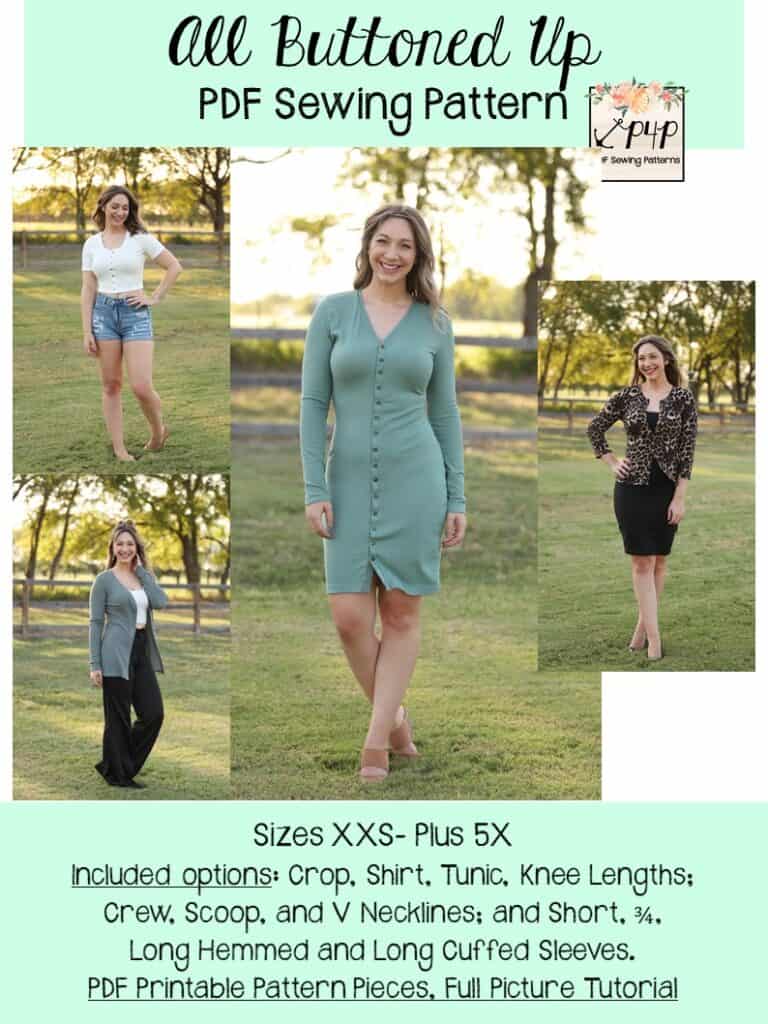
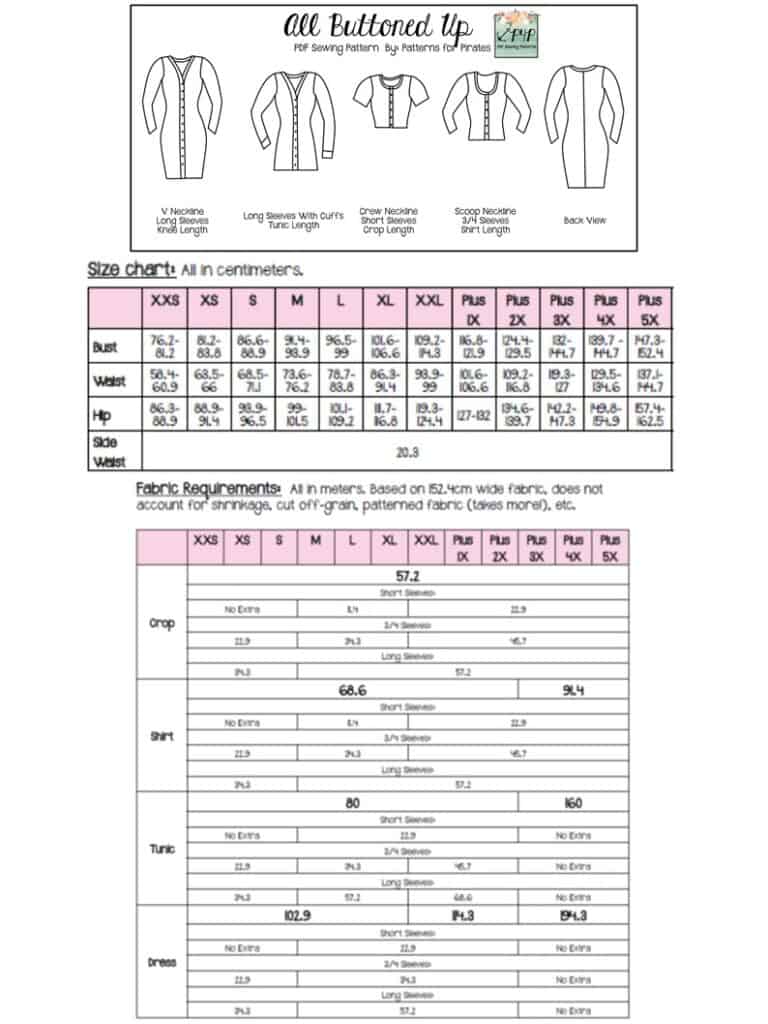
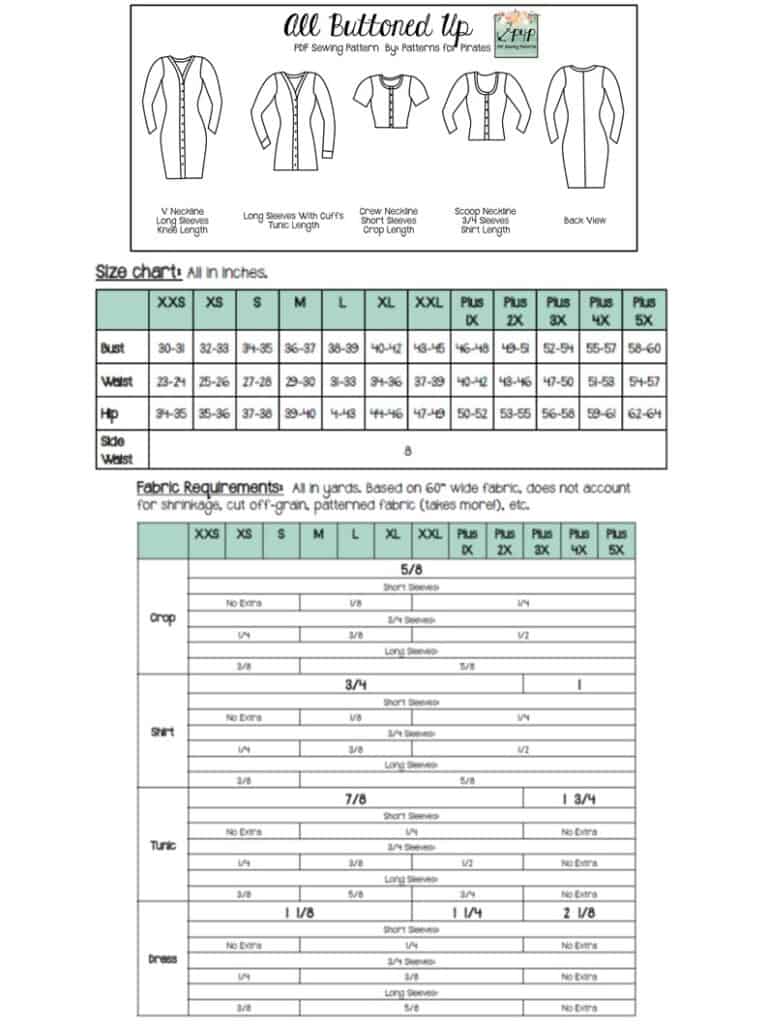
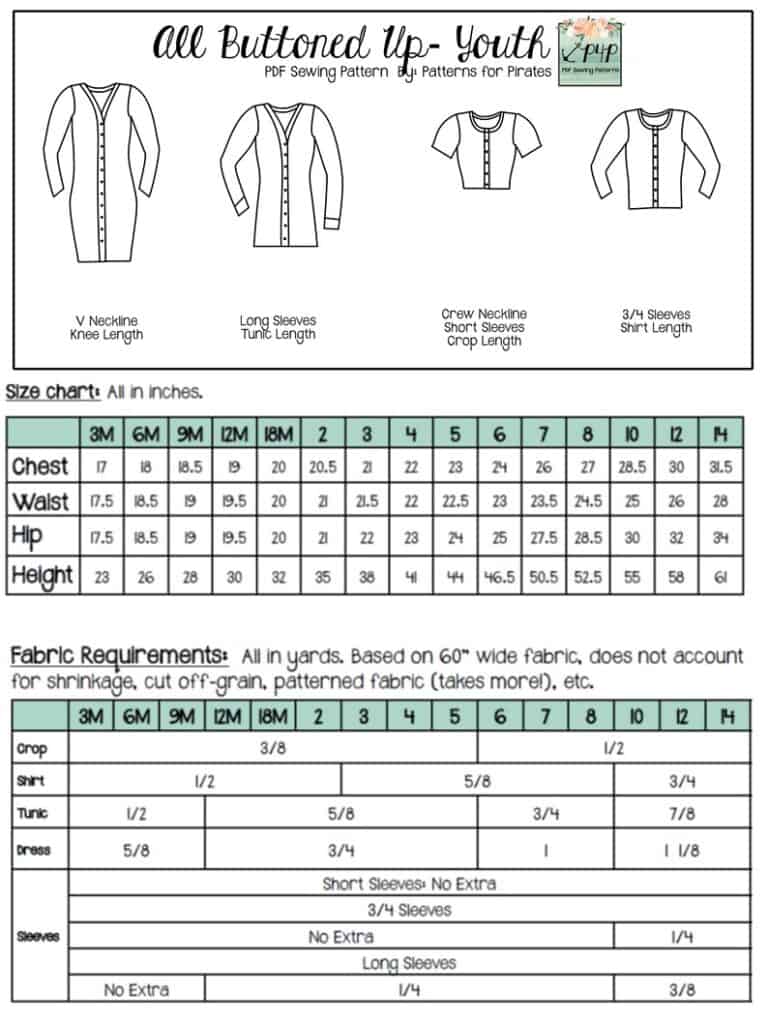
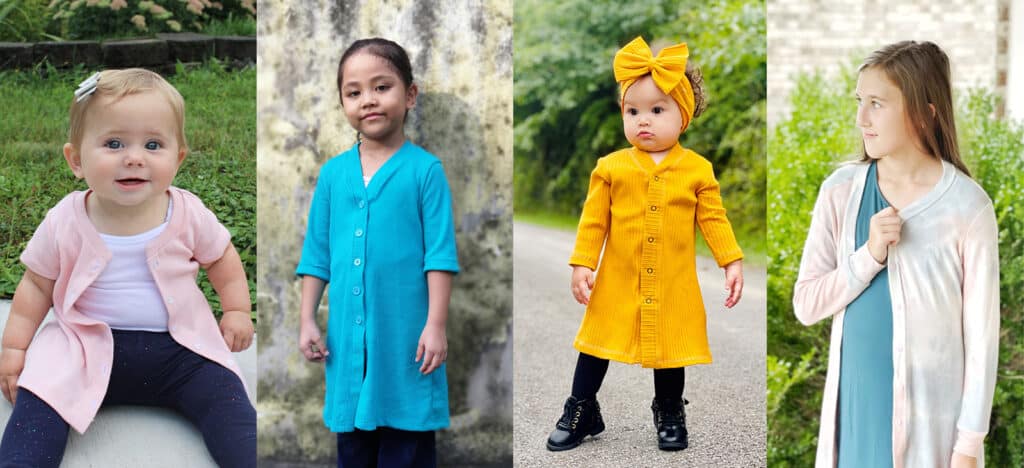
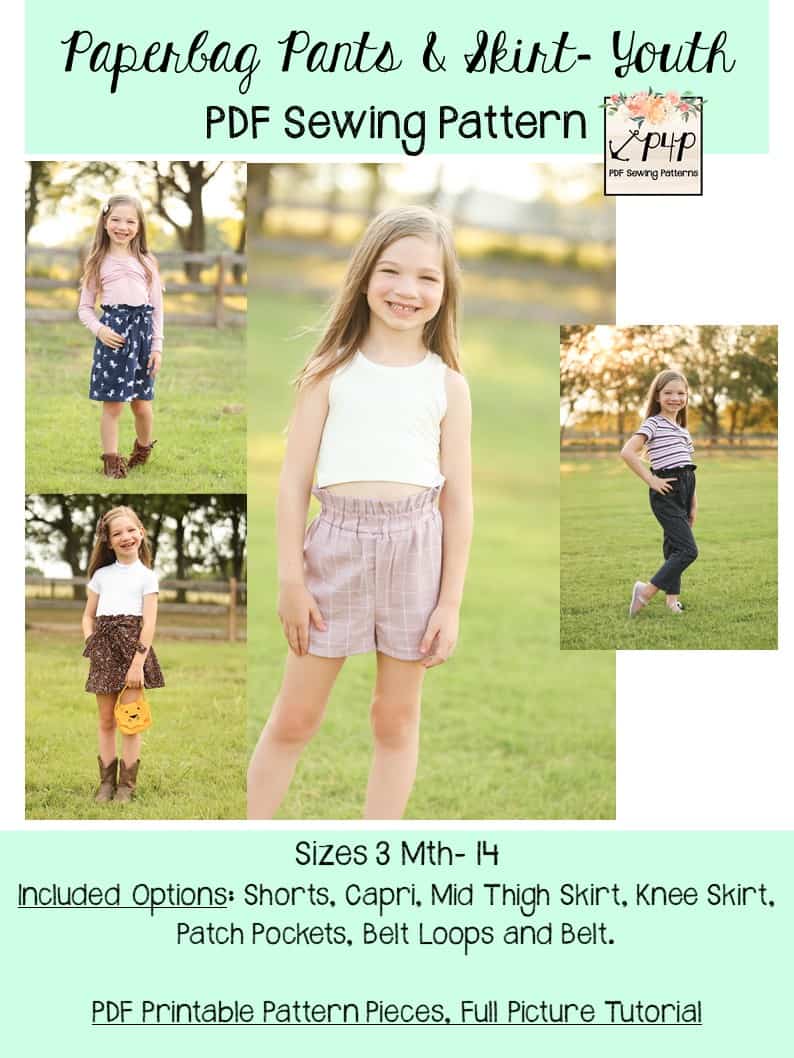
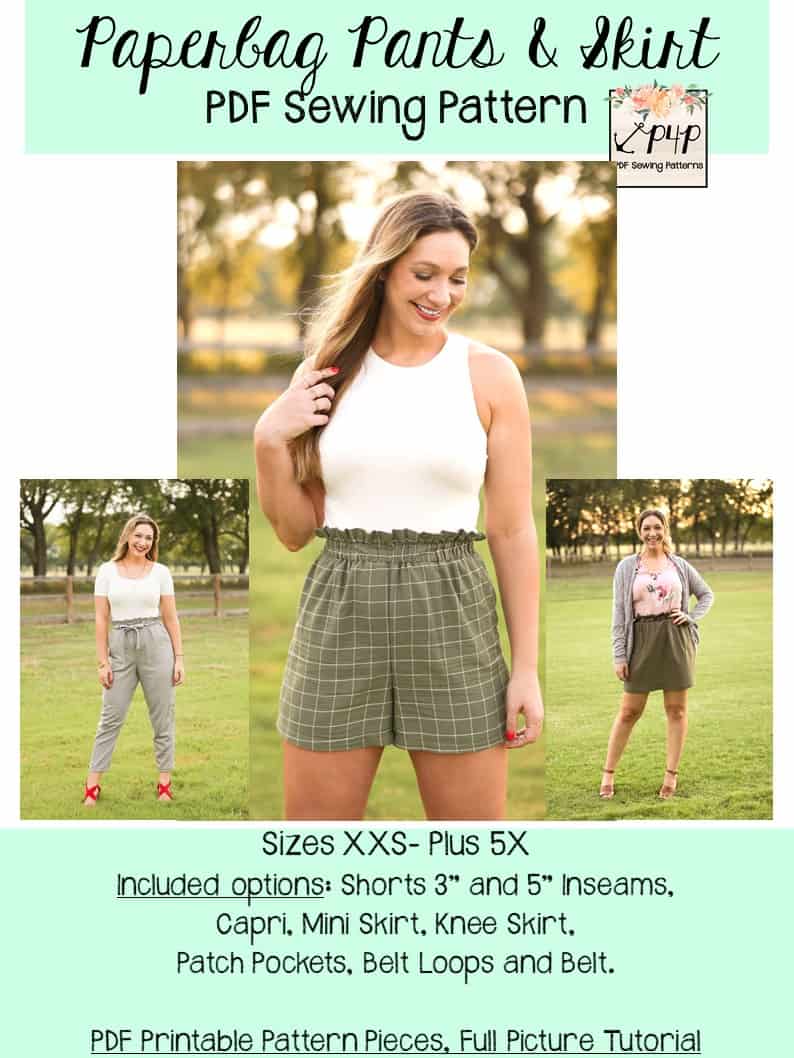
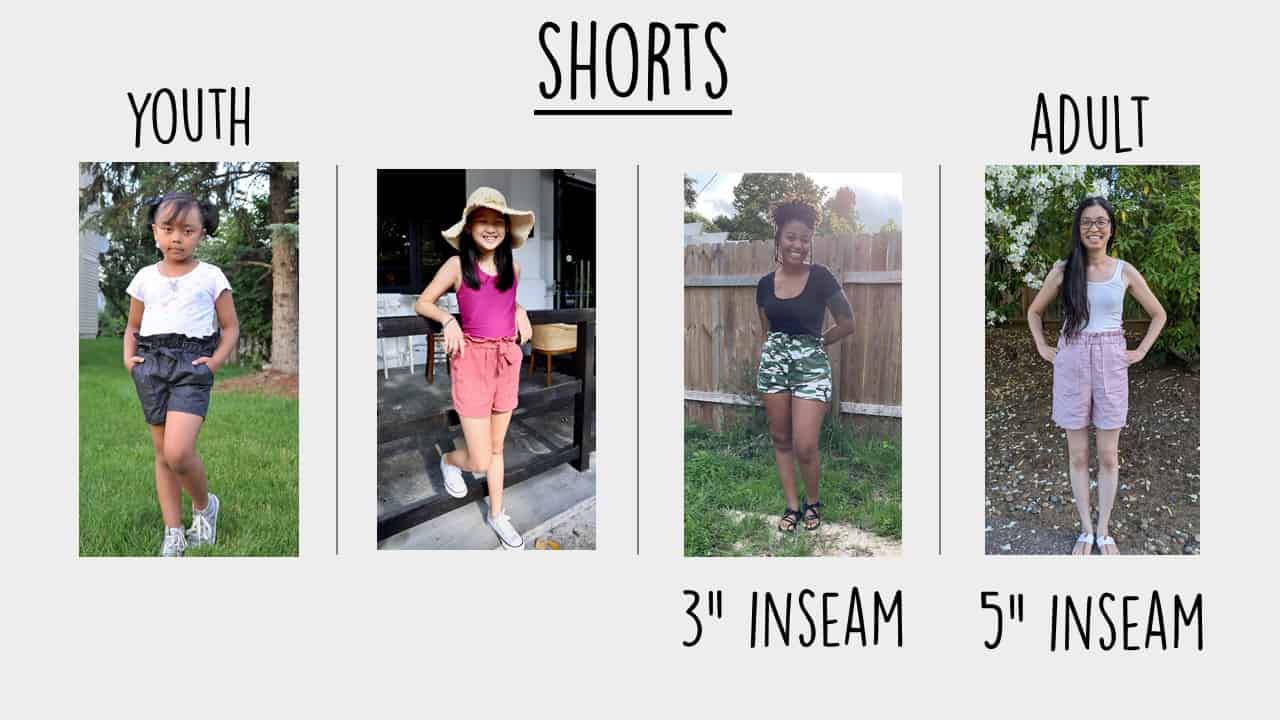
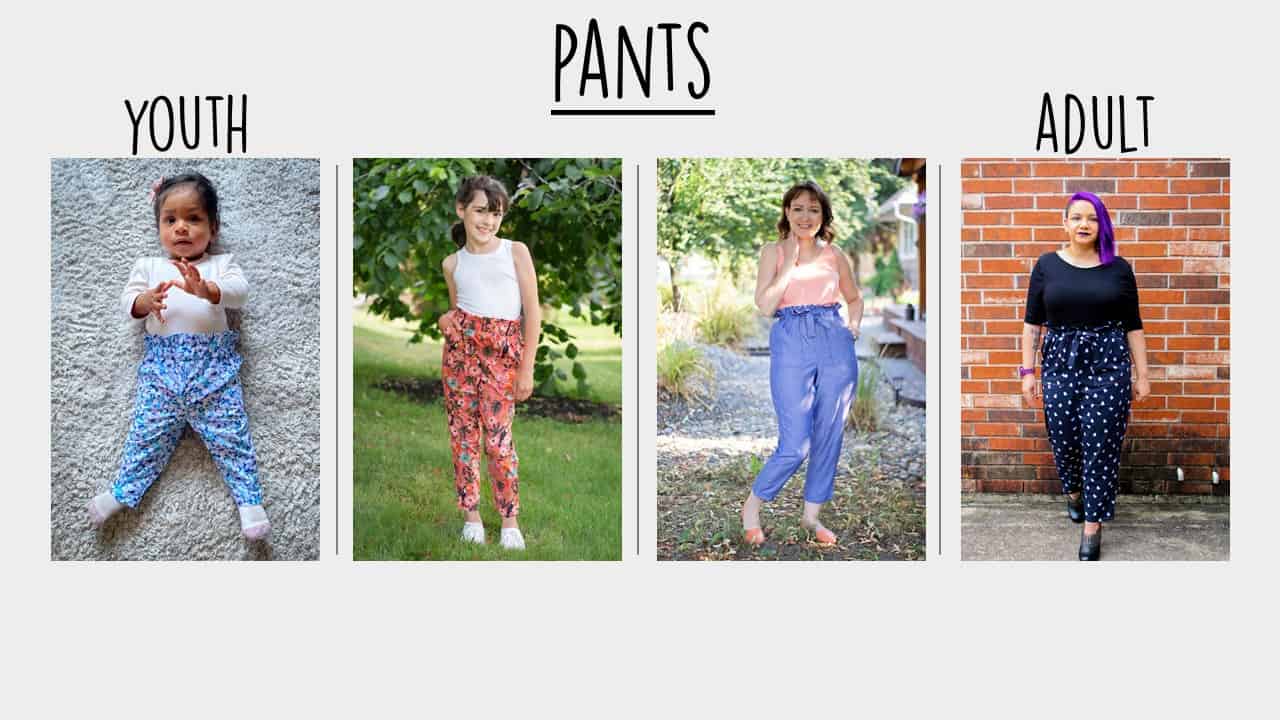
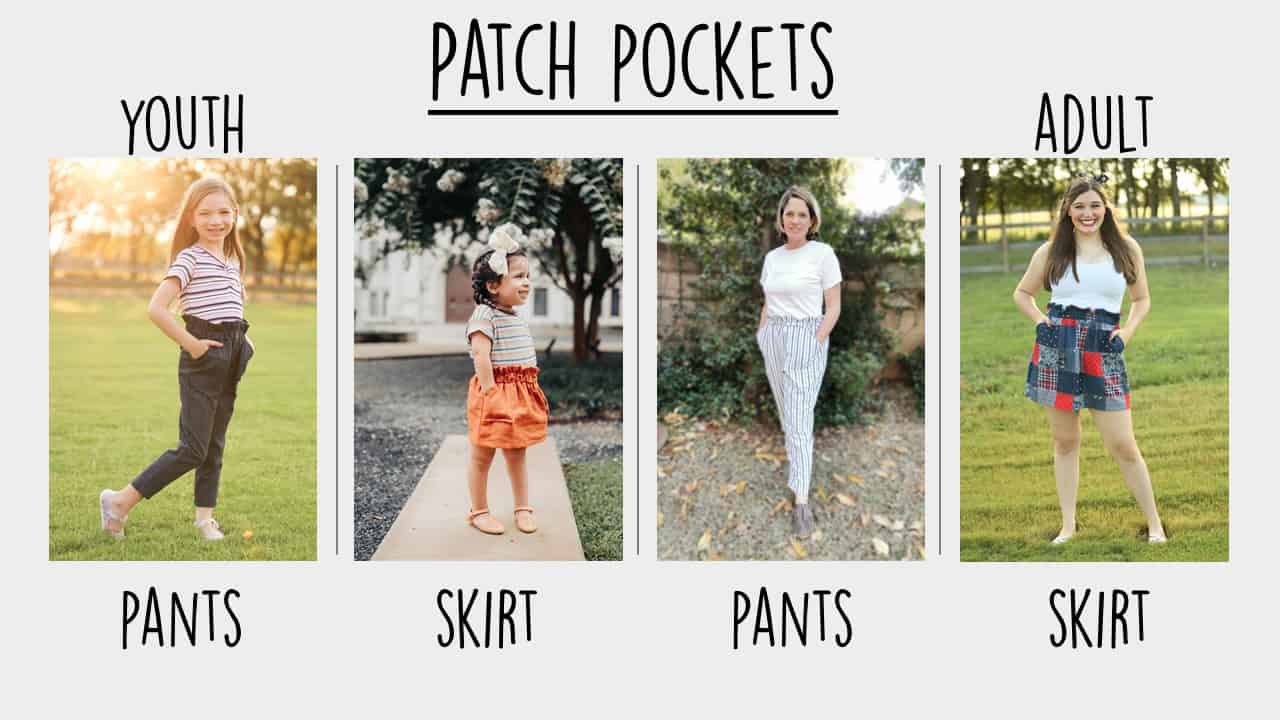
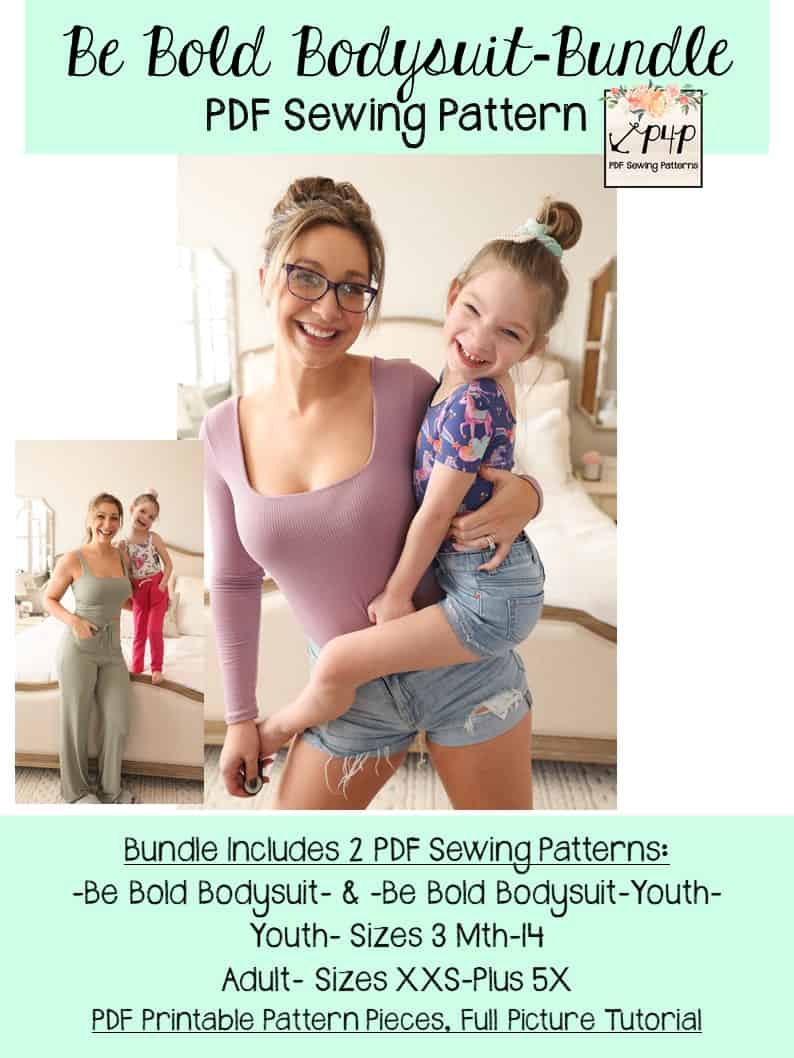
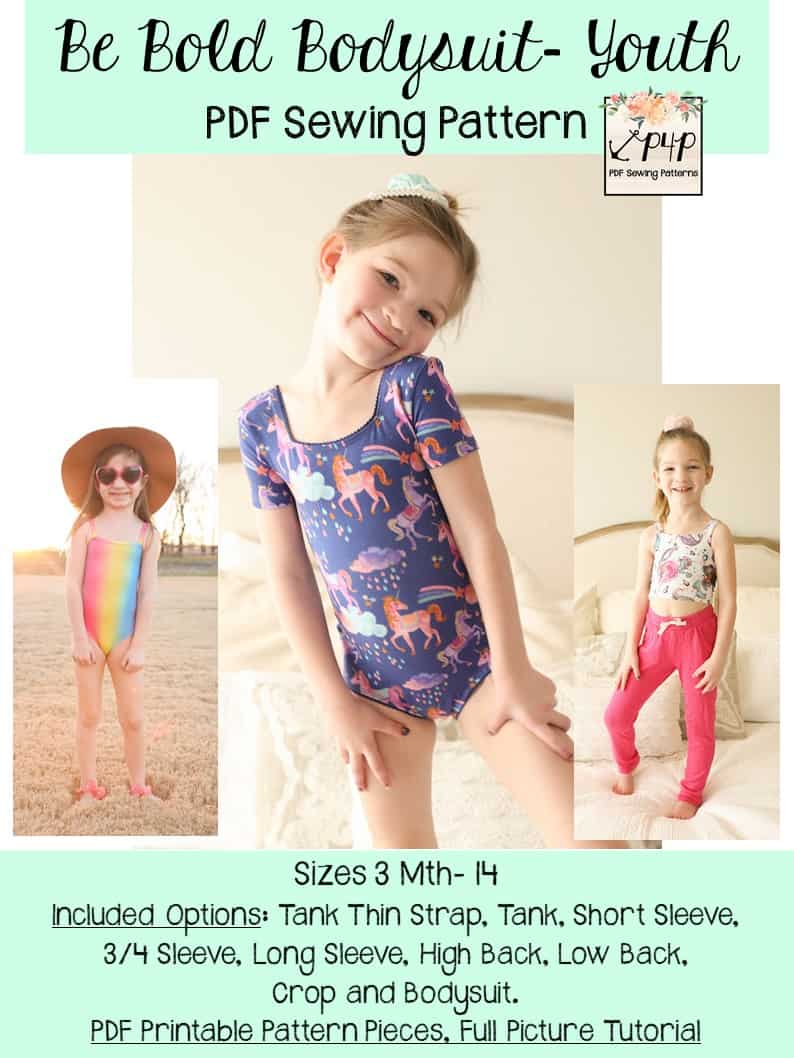
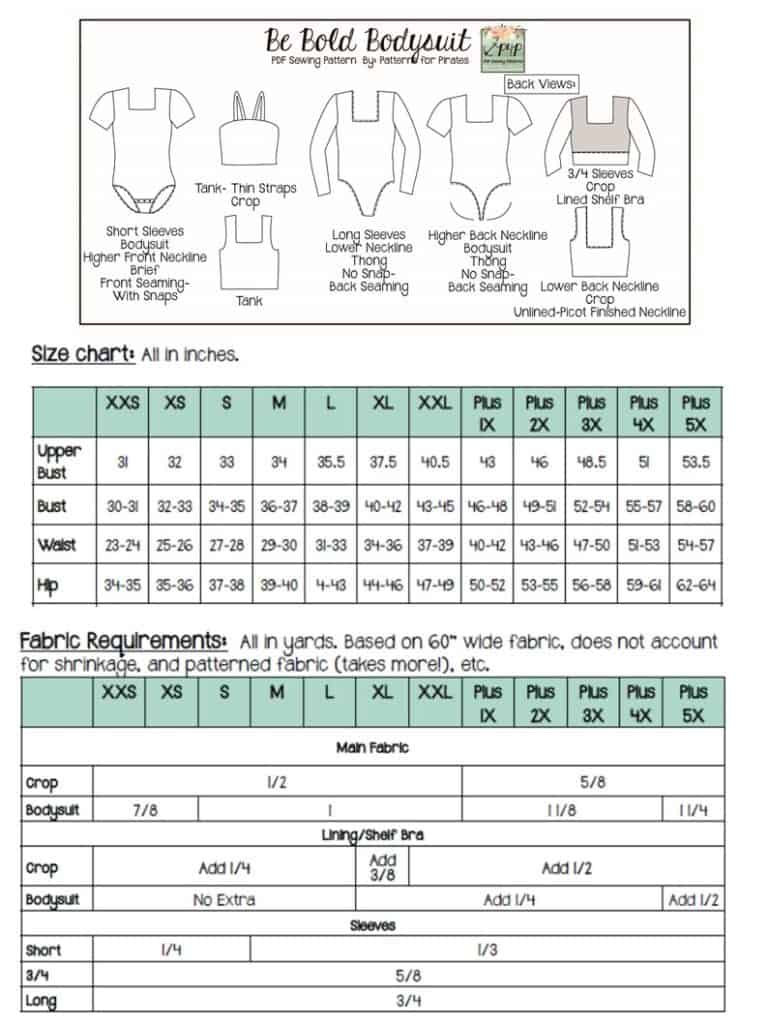
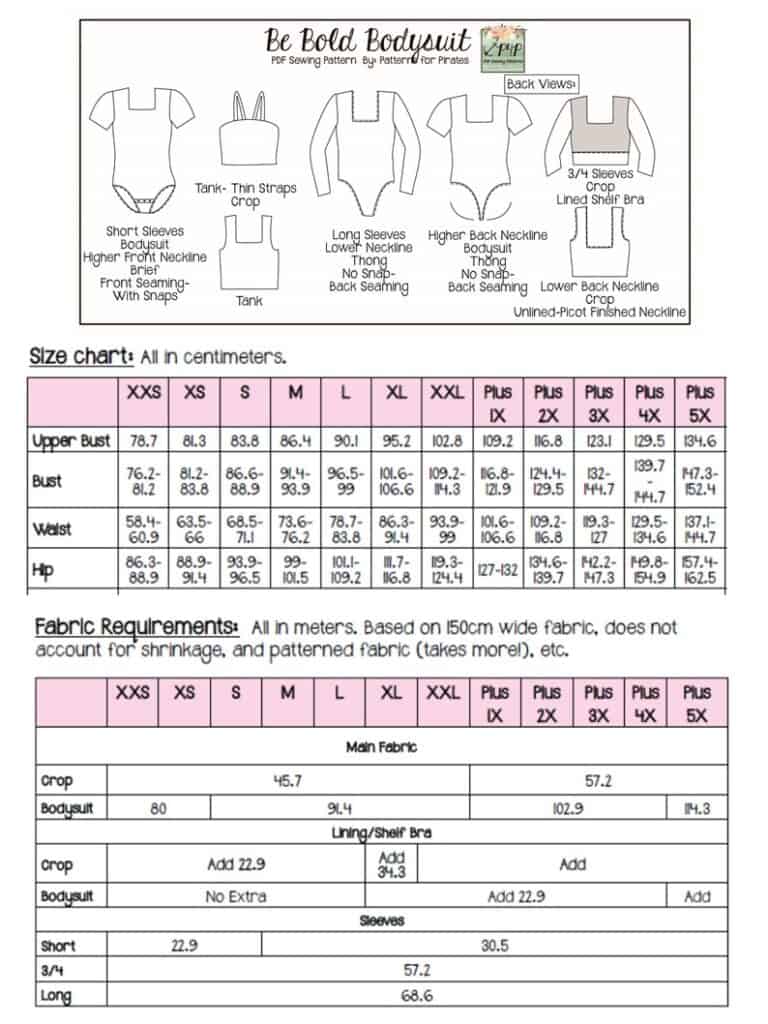
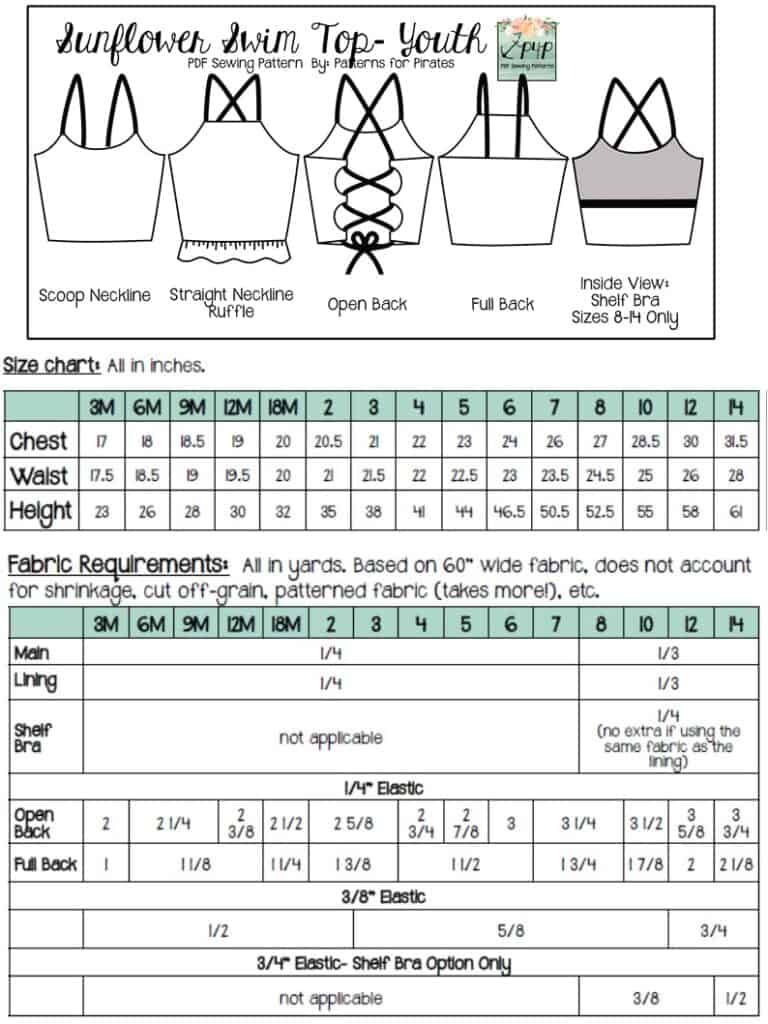
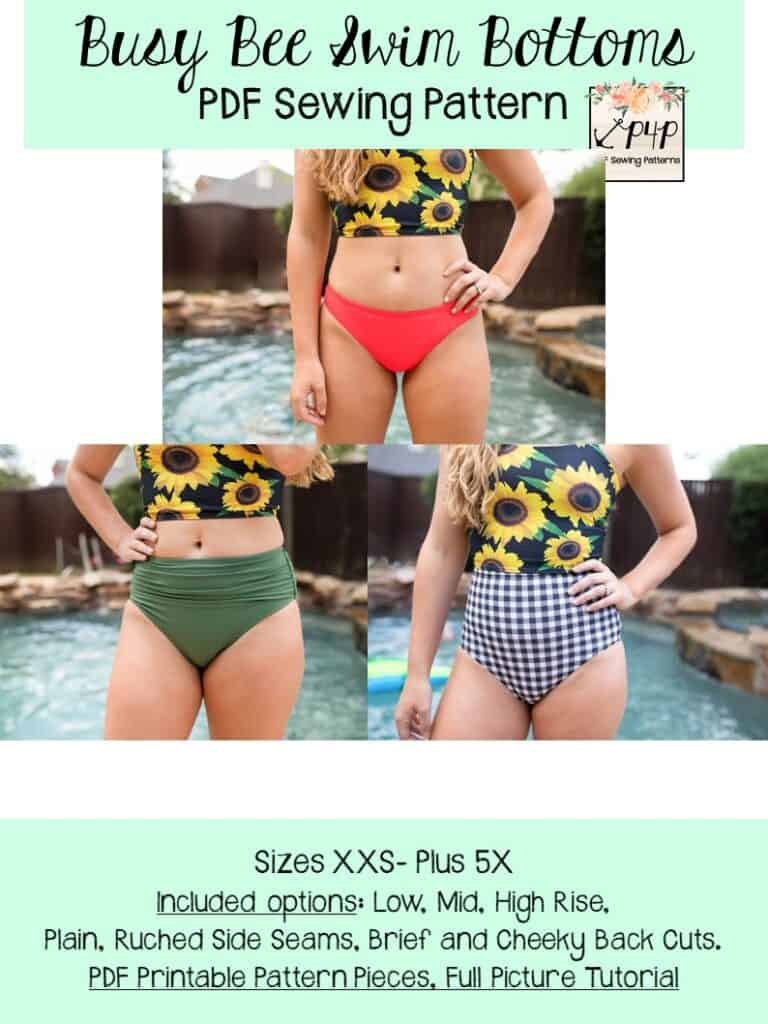
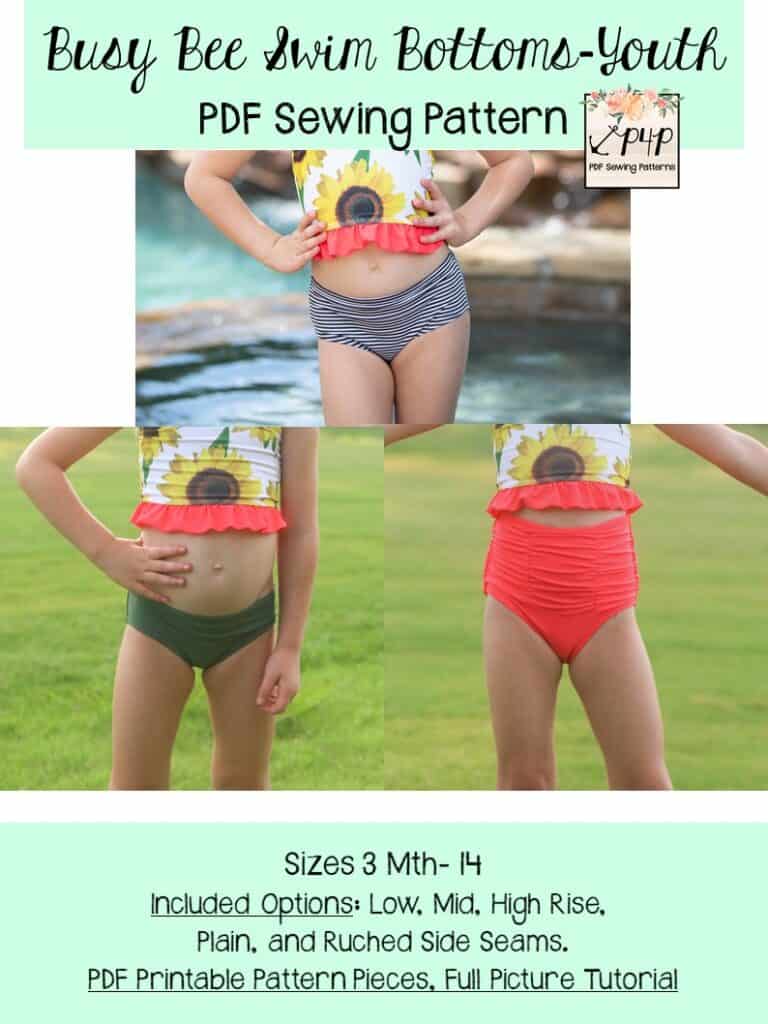
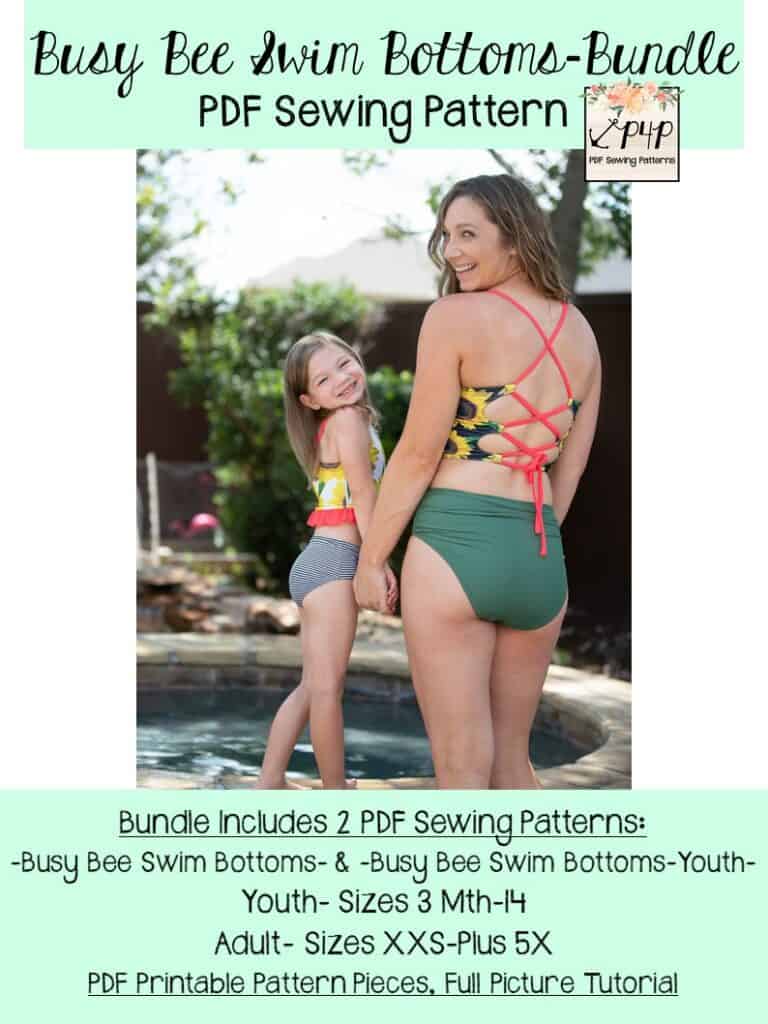
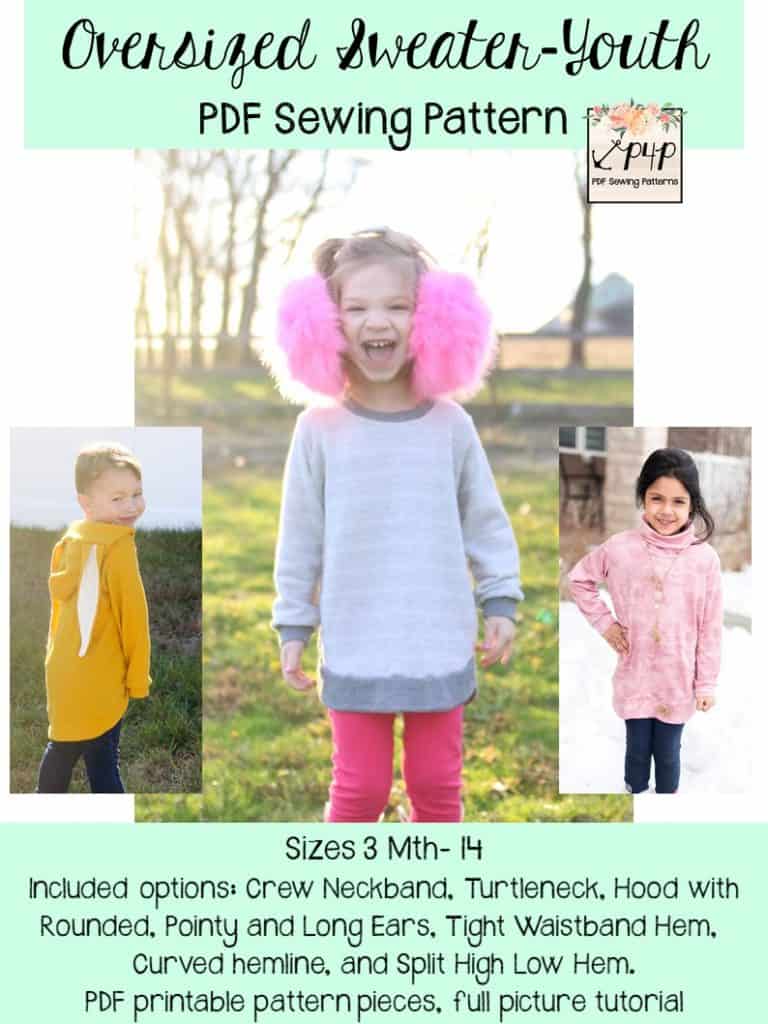
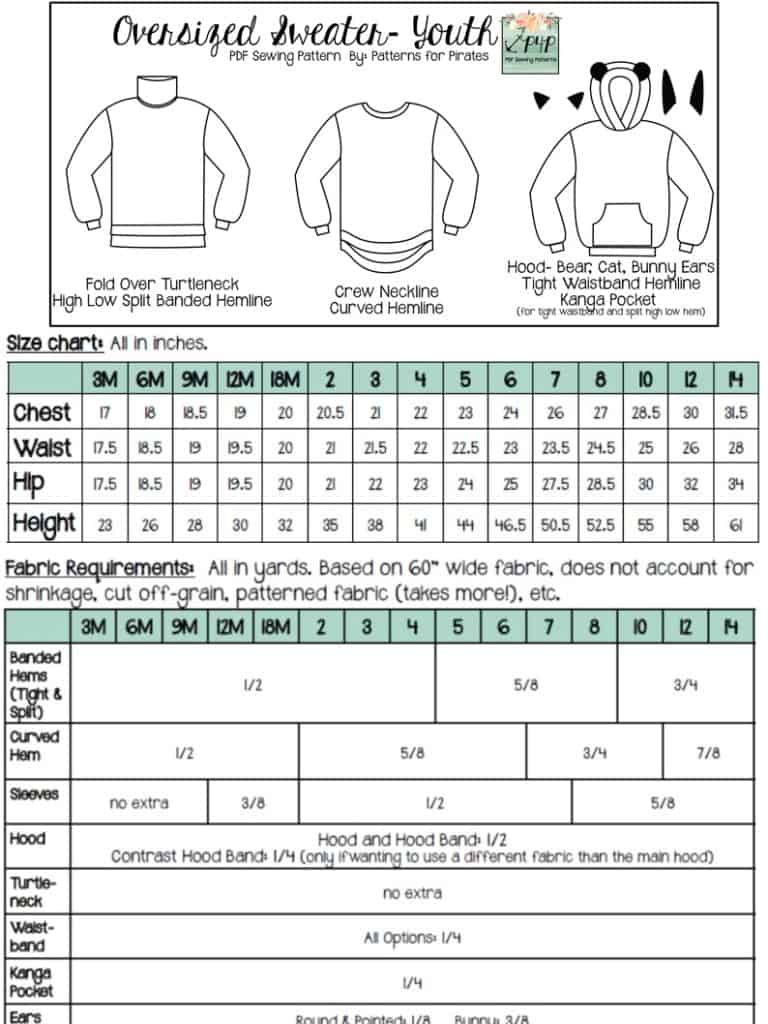
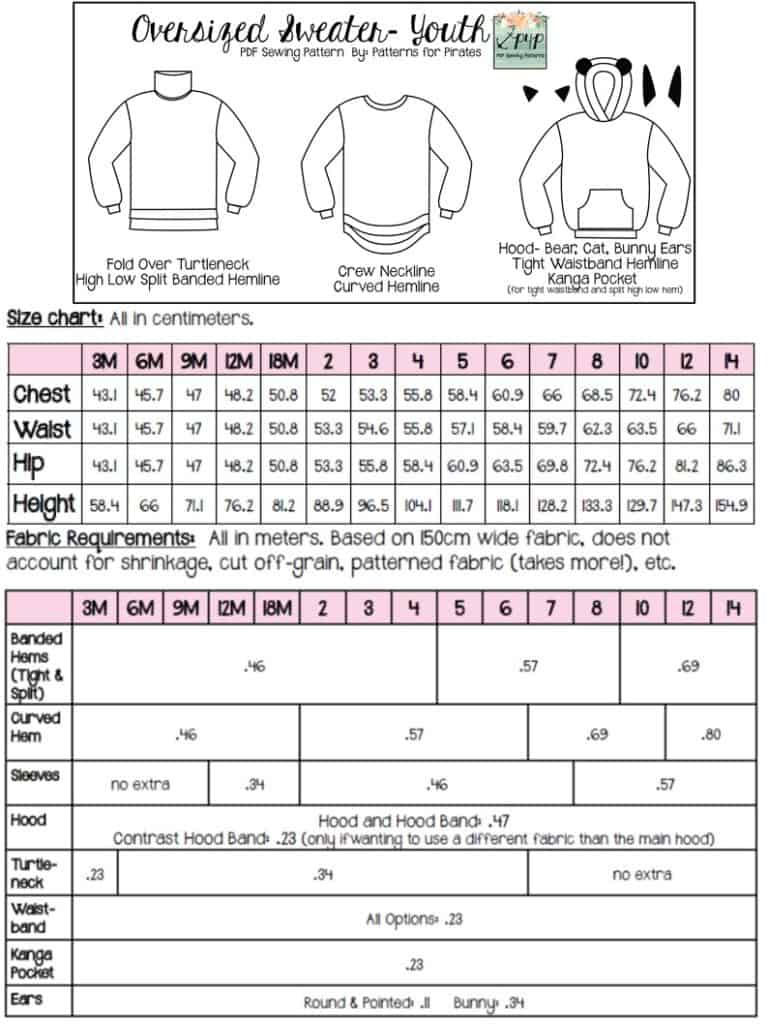
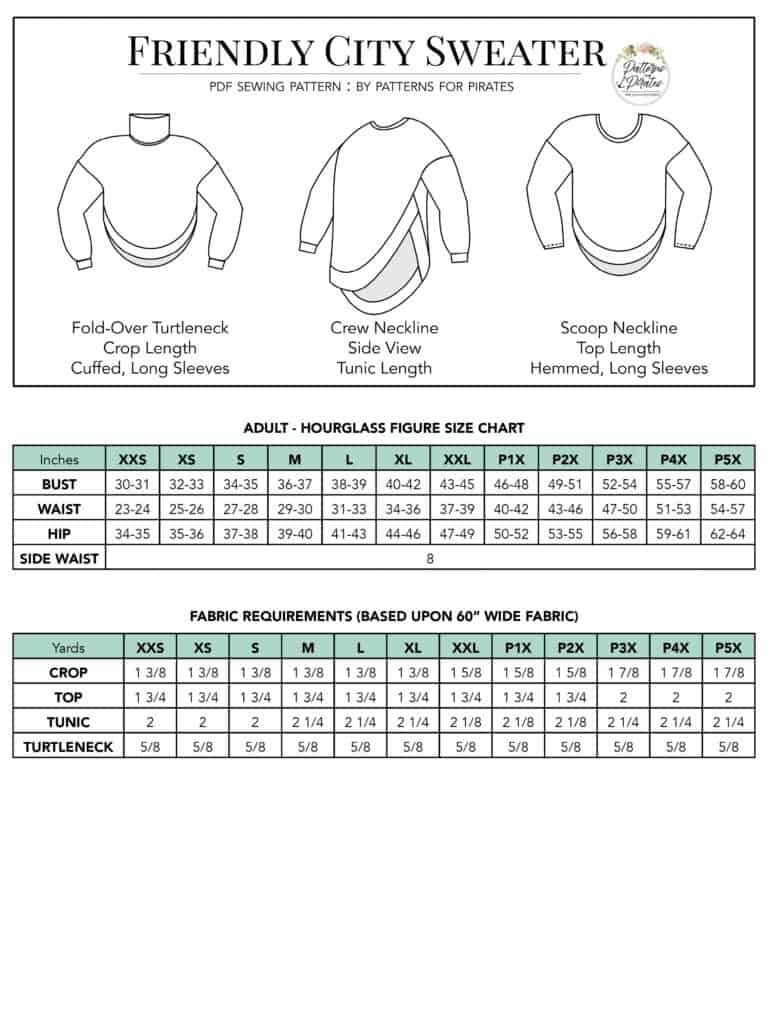
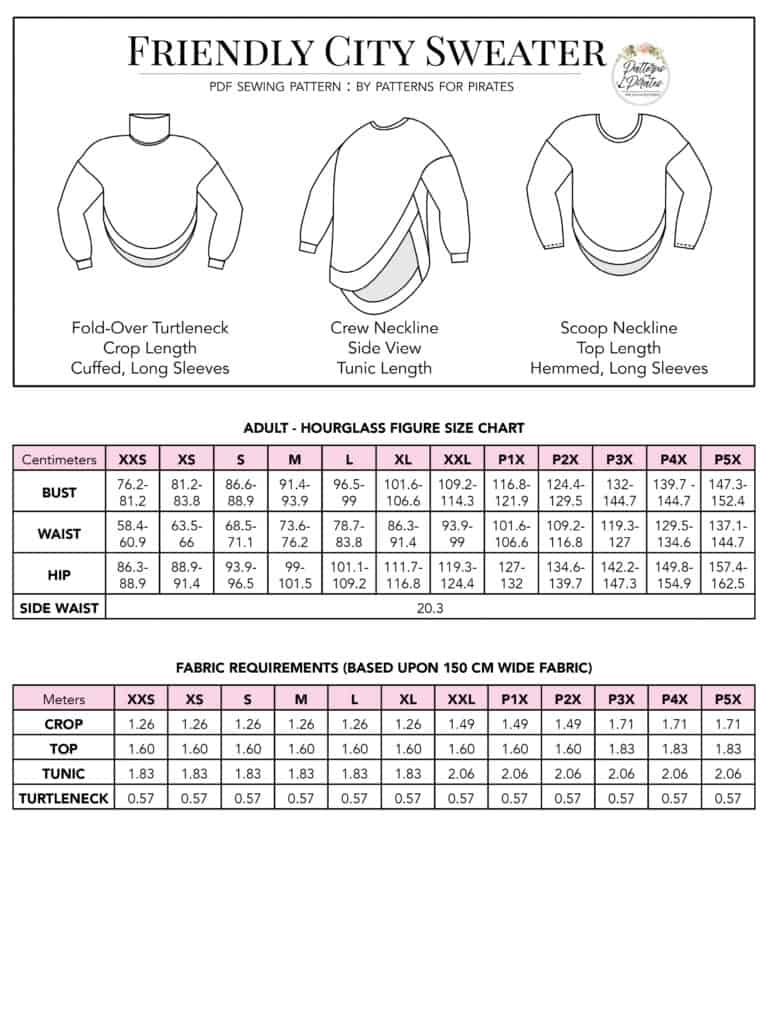
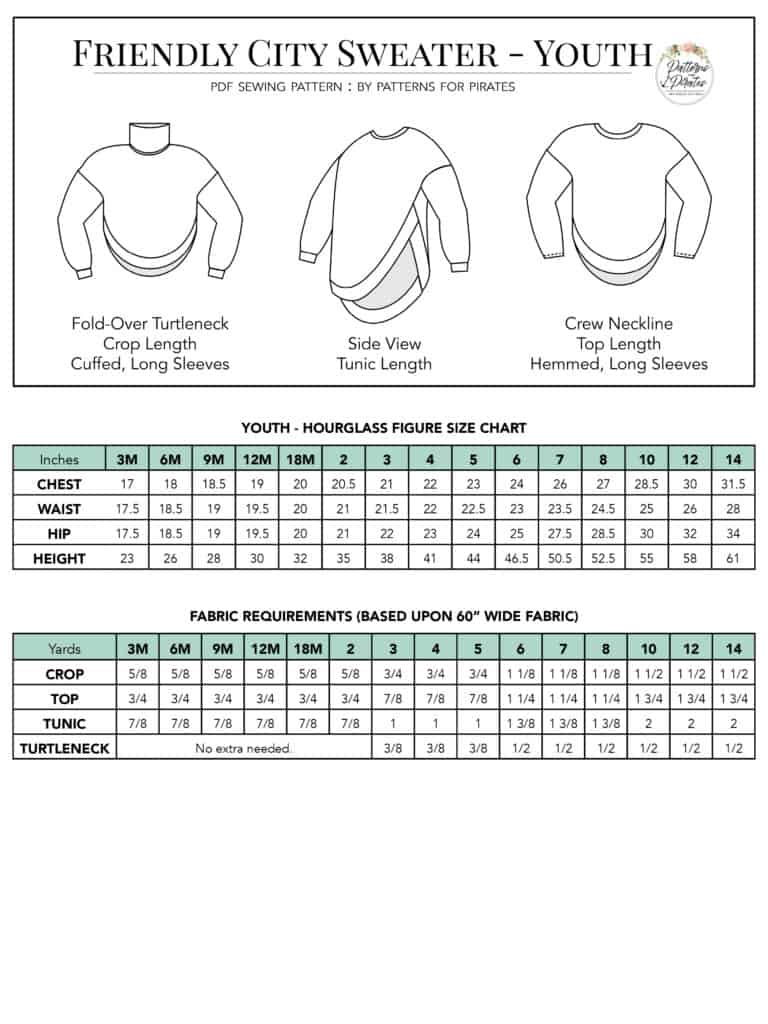
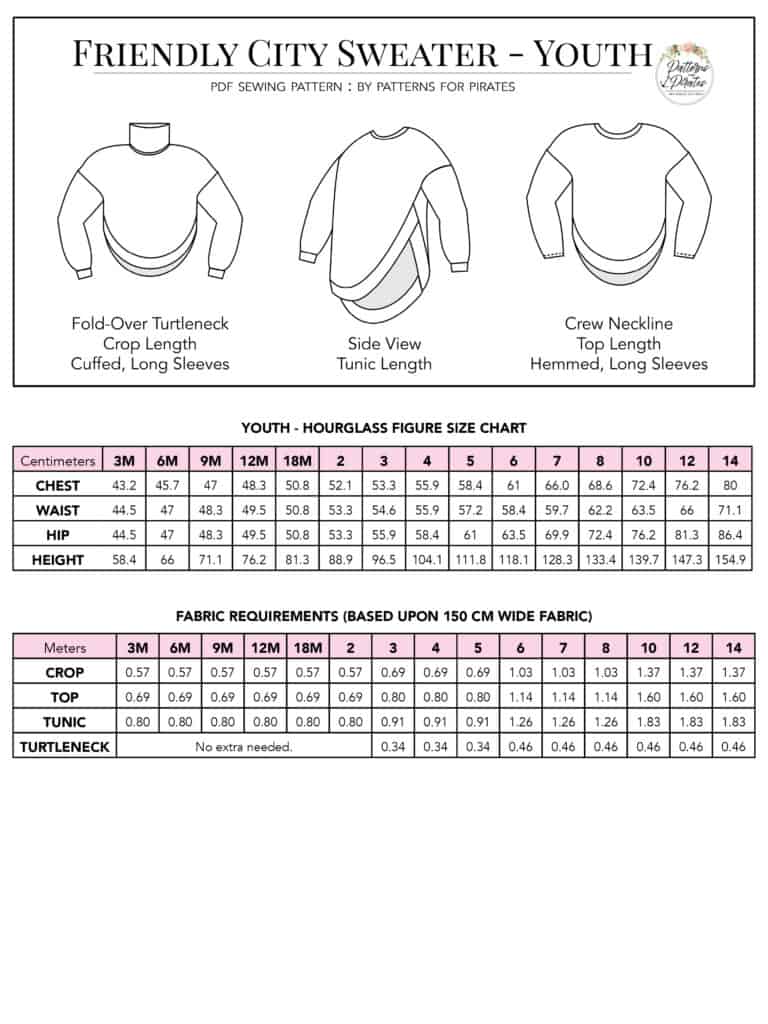
The youth sizes range from 3m – 14 and the adult sizes are for the full, newer size chart, extending from XXS – Plus 5X for the Adult Hourglass Figure.
- *Want to learn more about how to measure yourself for these pattern? We’ve got you covered with an in-depth blog HERE. And for even more helpful fun, we have a free* printable that you can use to help record your measurements as you take them.
- And in case you’re new to Patterns for Pirates and PDF patterns in general, we have a great blog full of new-user tips HERE to help you get started!
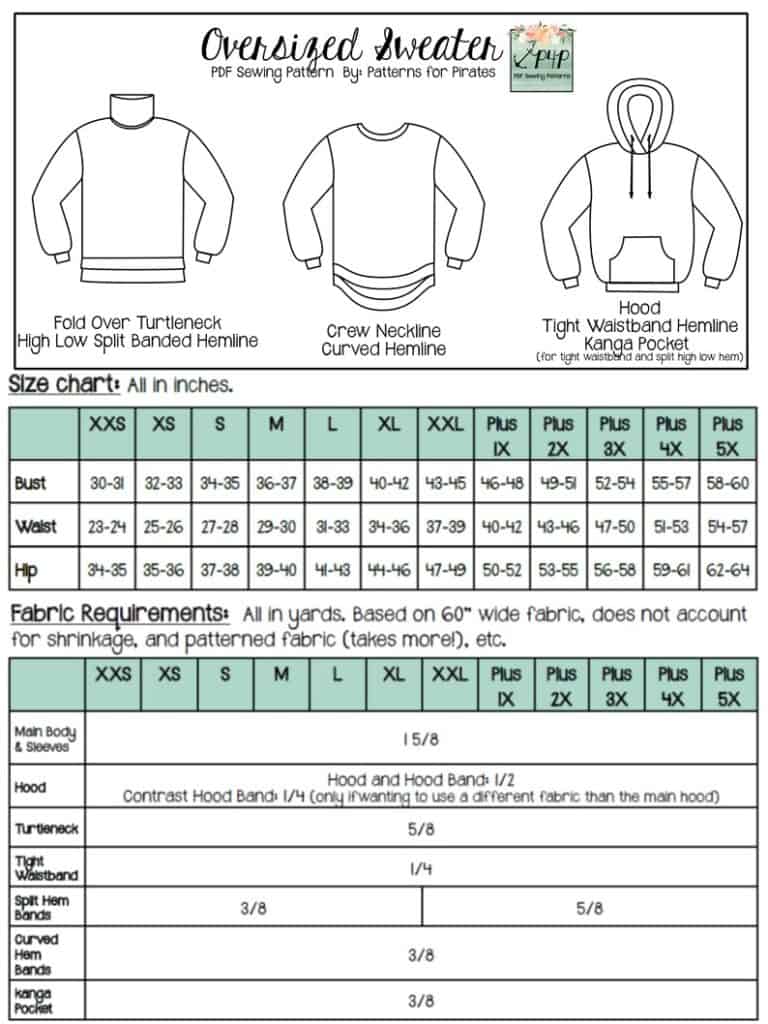
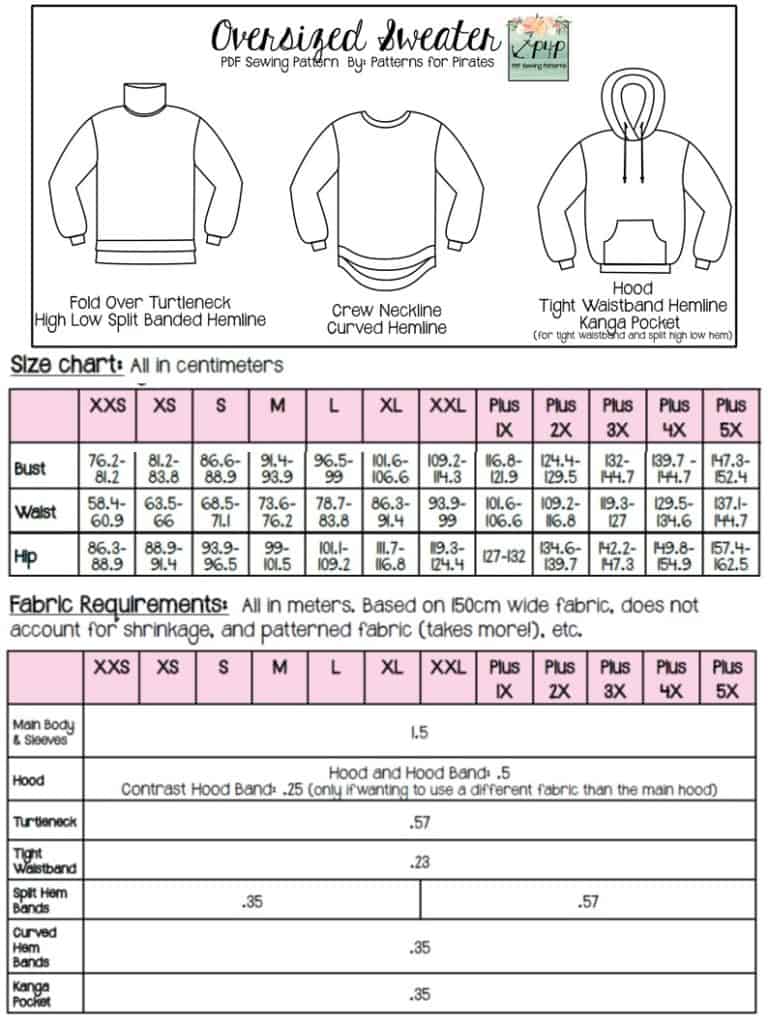
- As with all of our current releases and updates, the pdfs now include our layers feature and can be found in Letter, A4, A0 and projector sizes.
- We’ve also got an excellent planning tool for you with our Coloring Pages. It’s a resource that is updated with every new pattern addition, this pattern included!
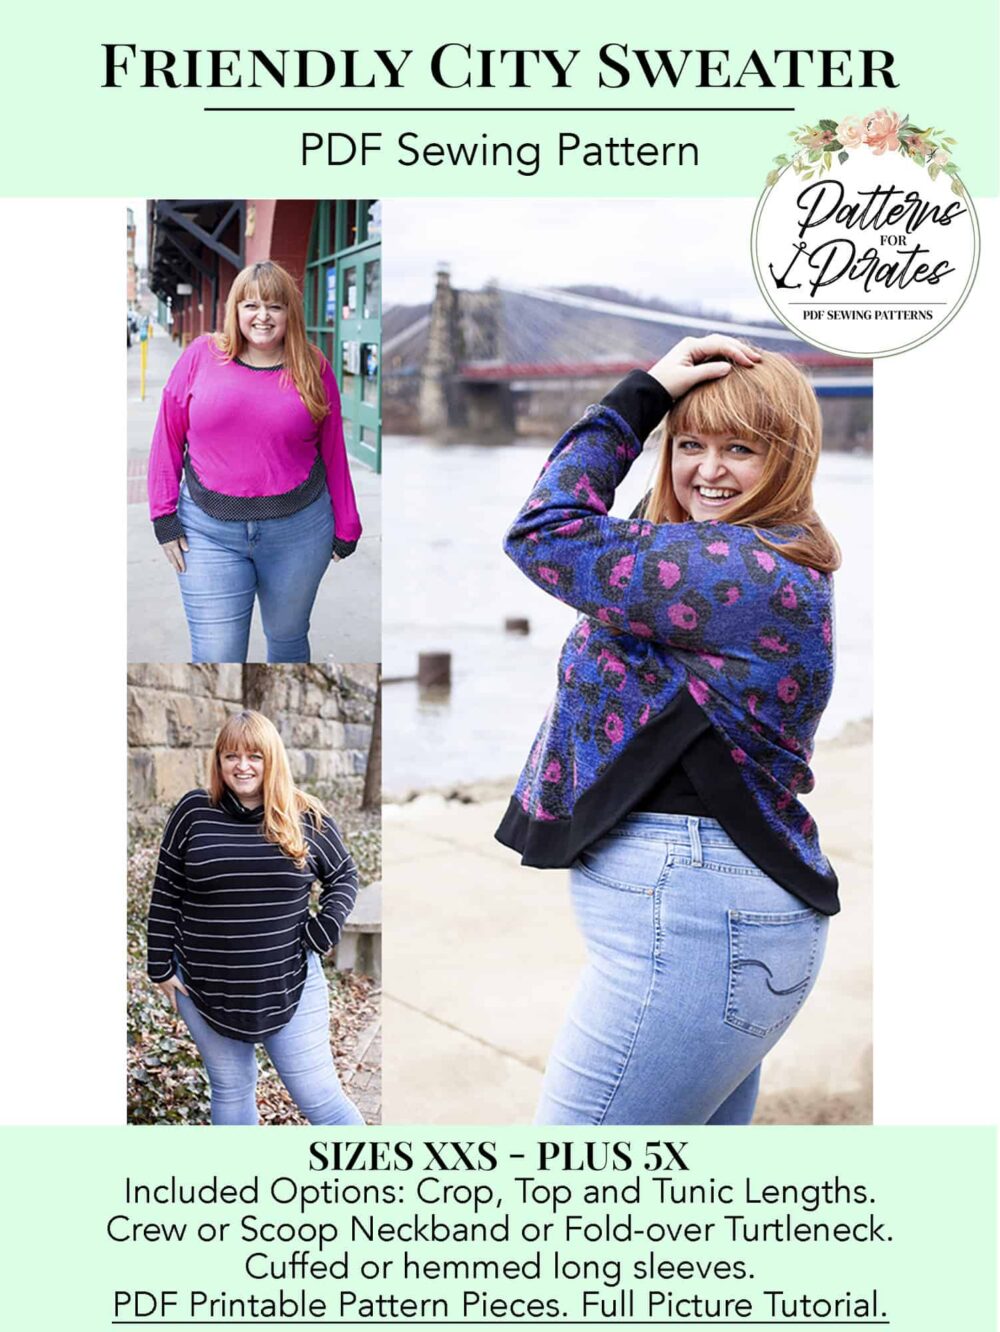
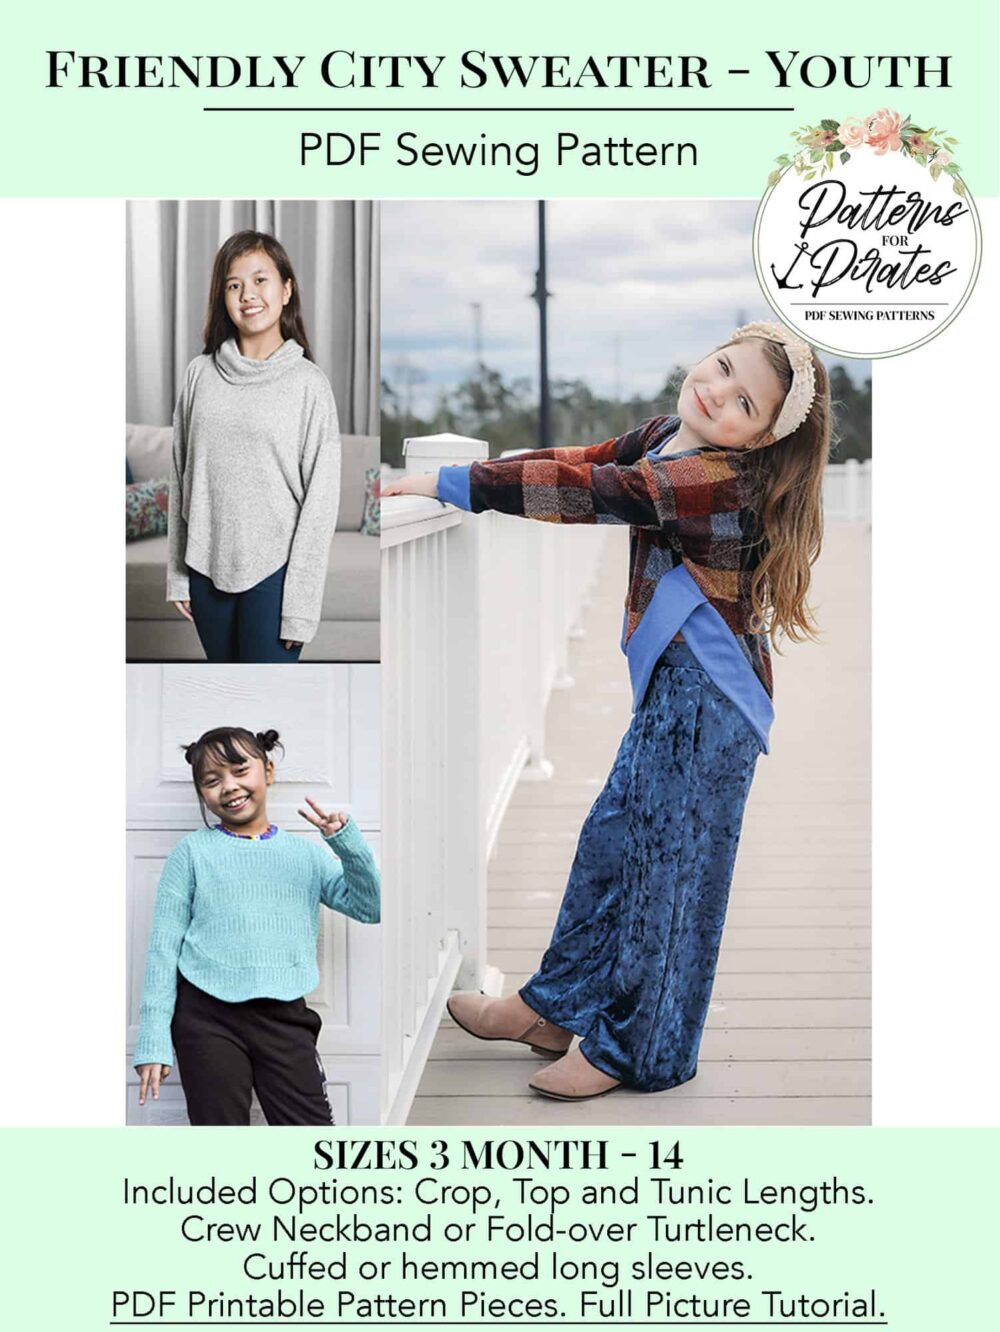
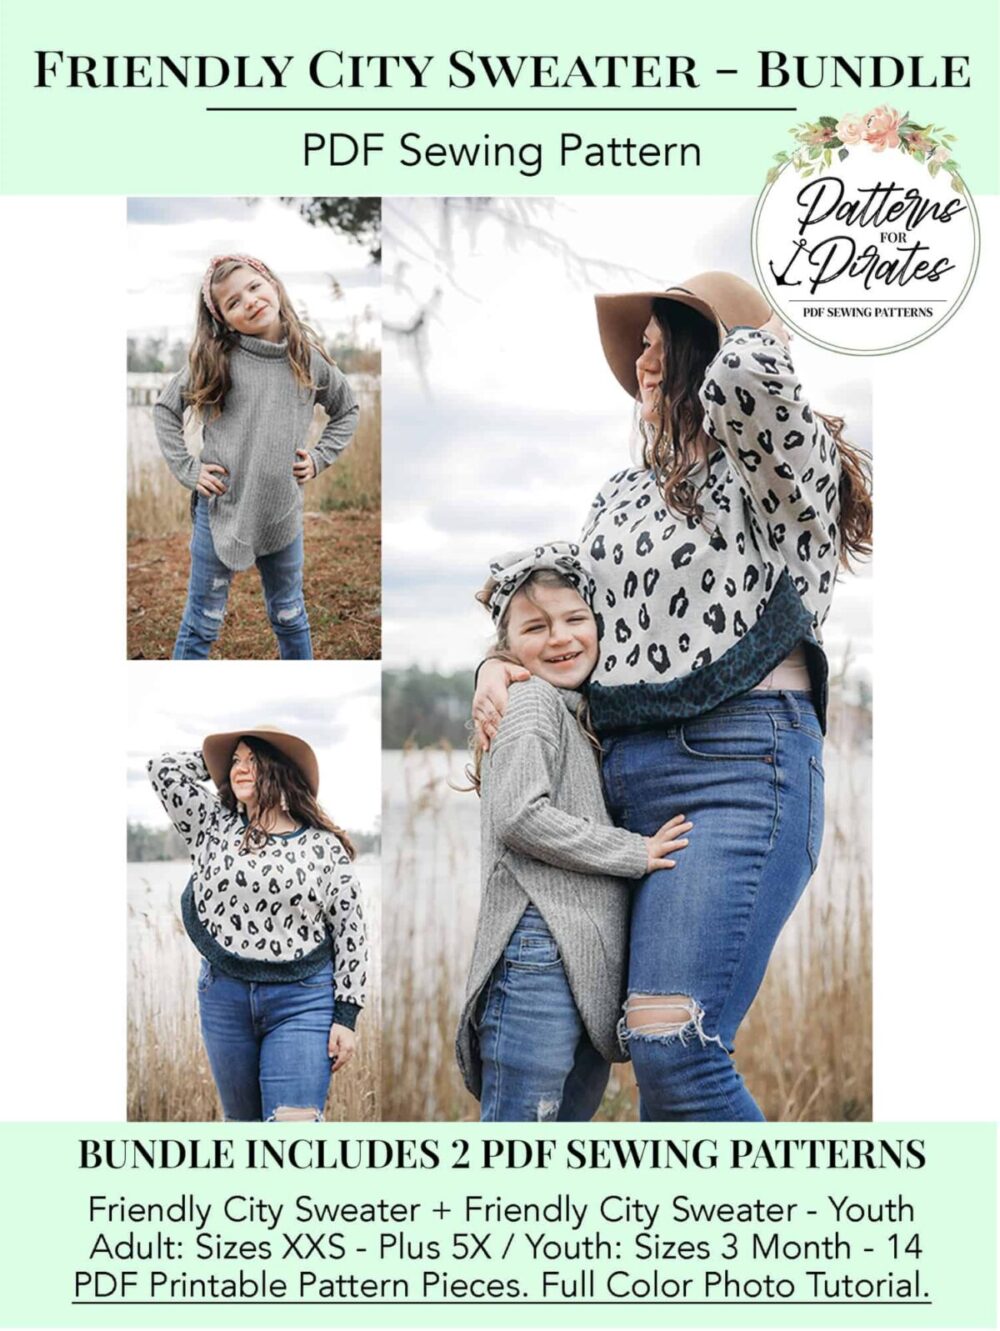
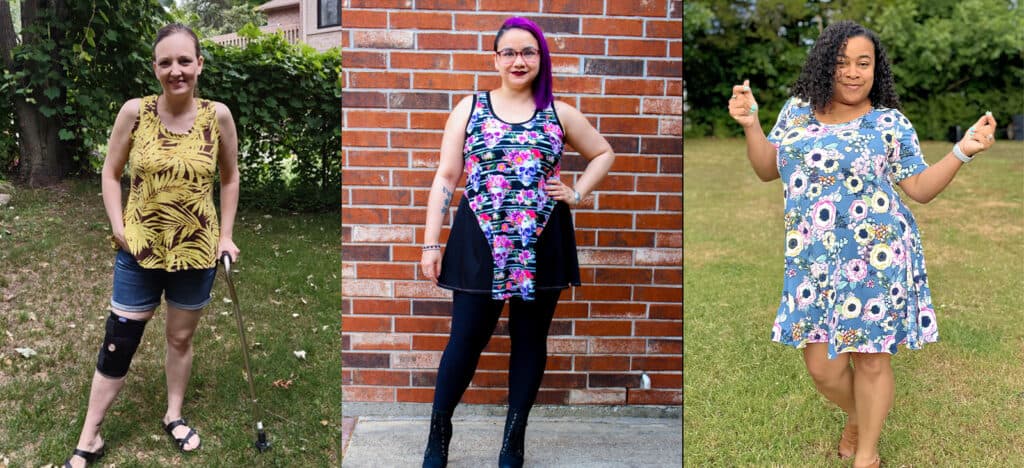
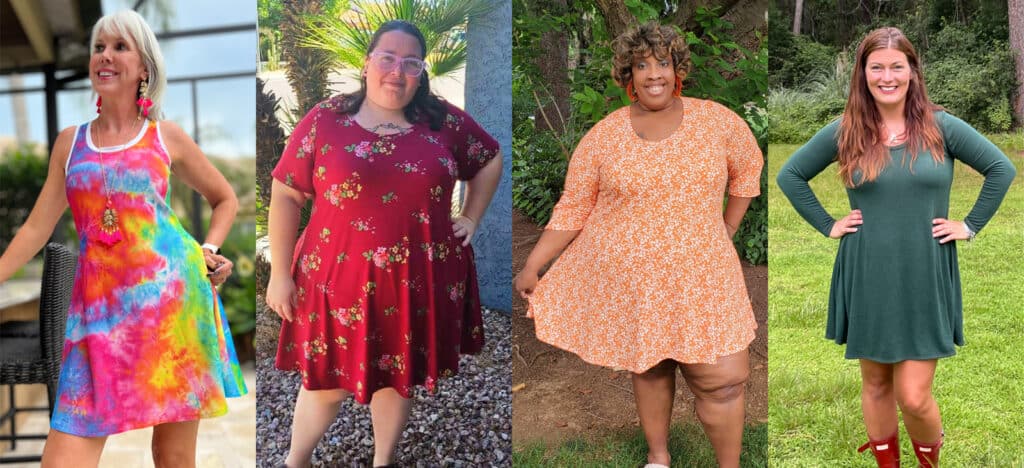
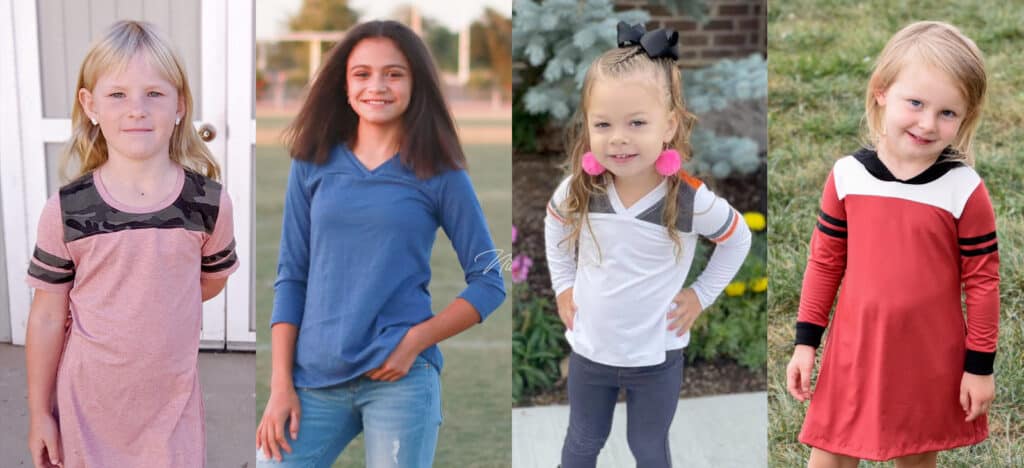
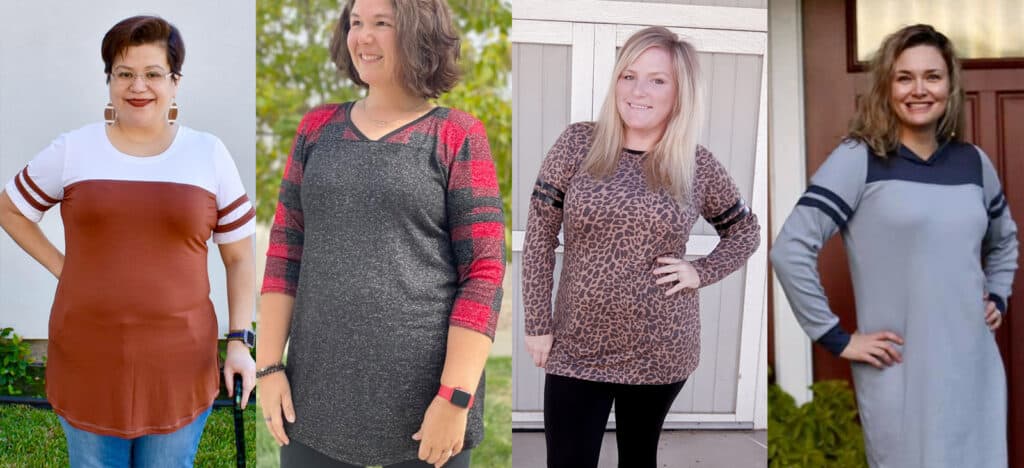
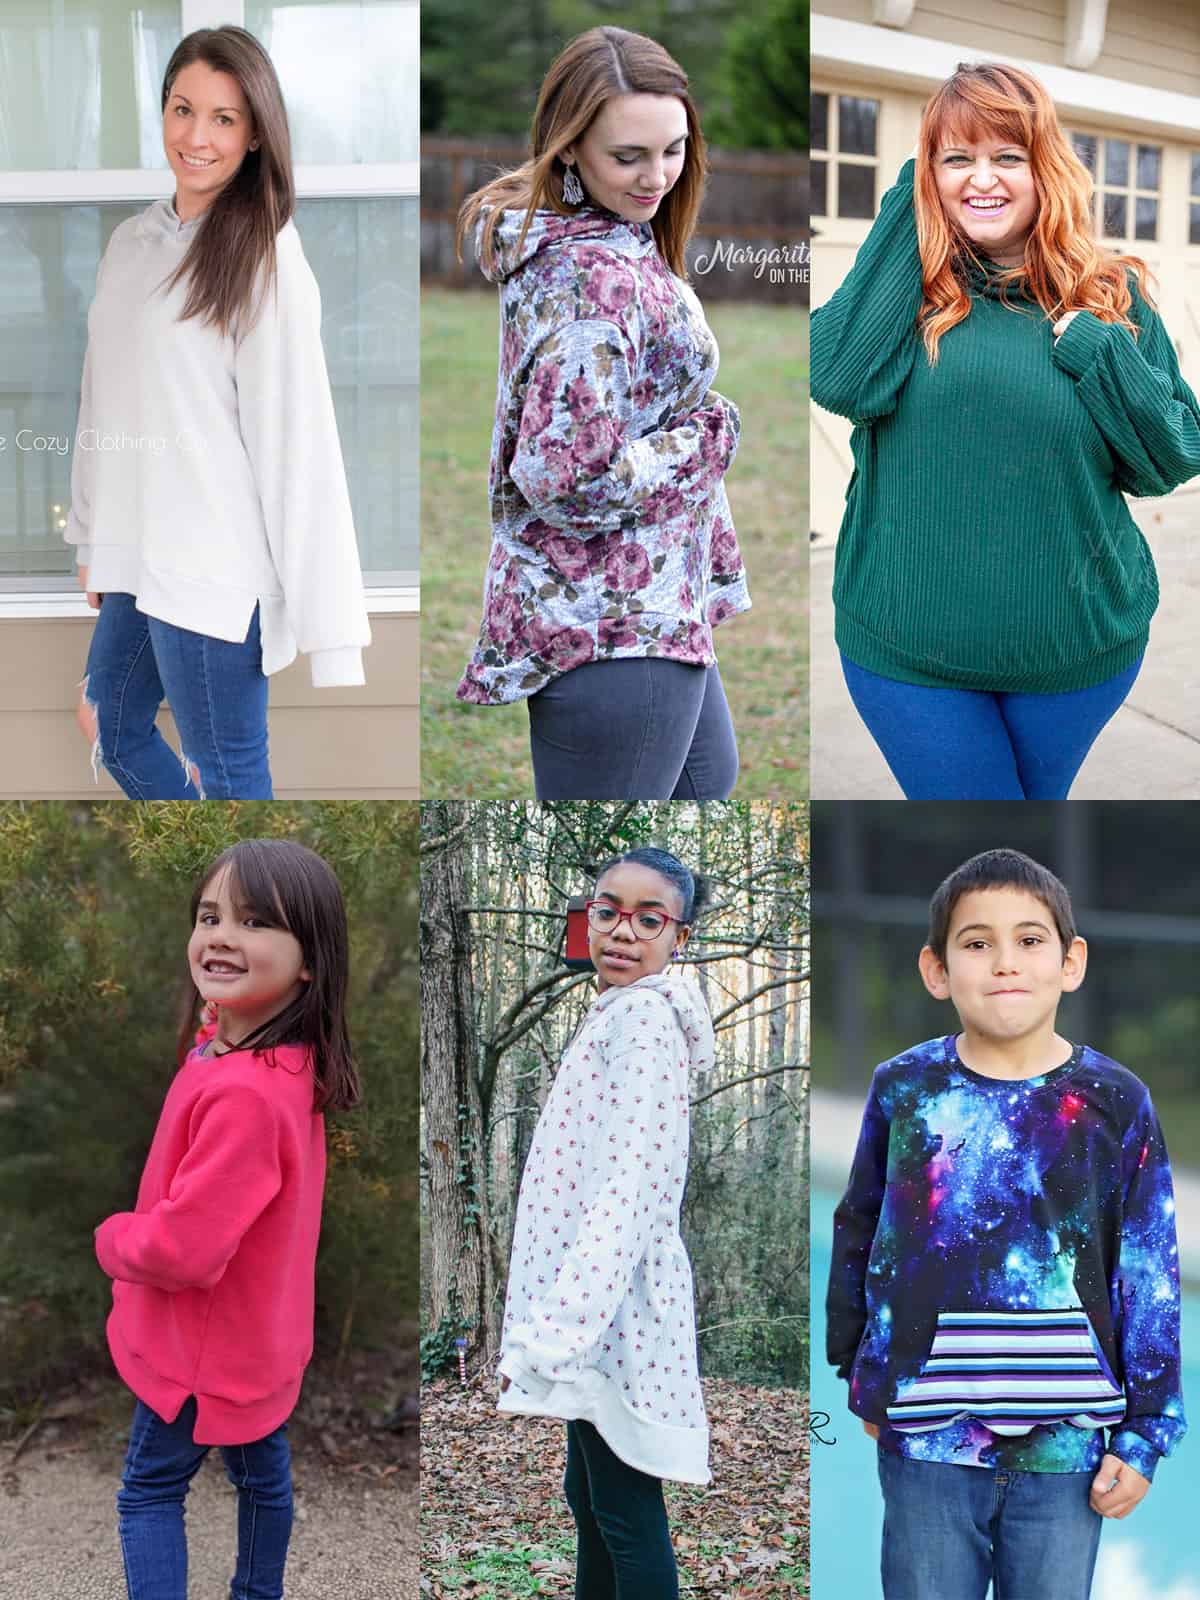
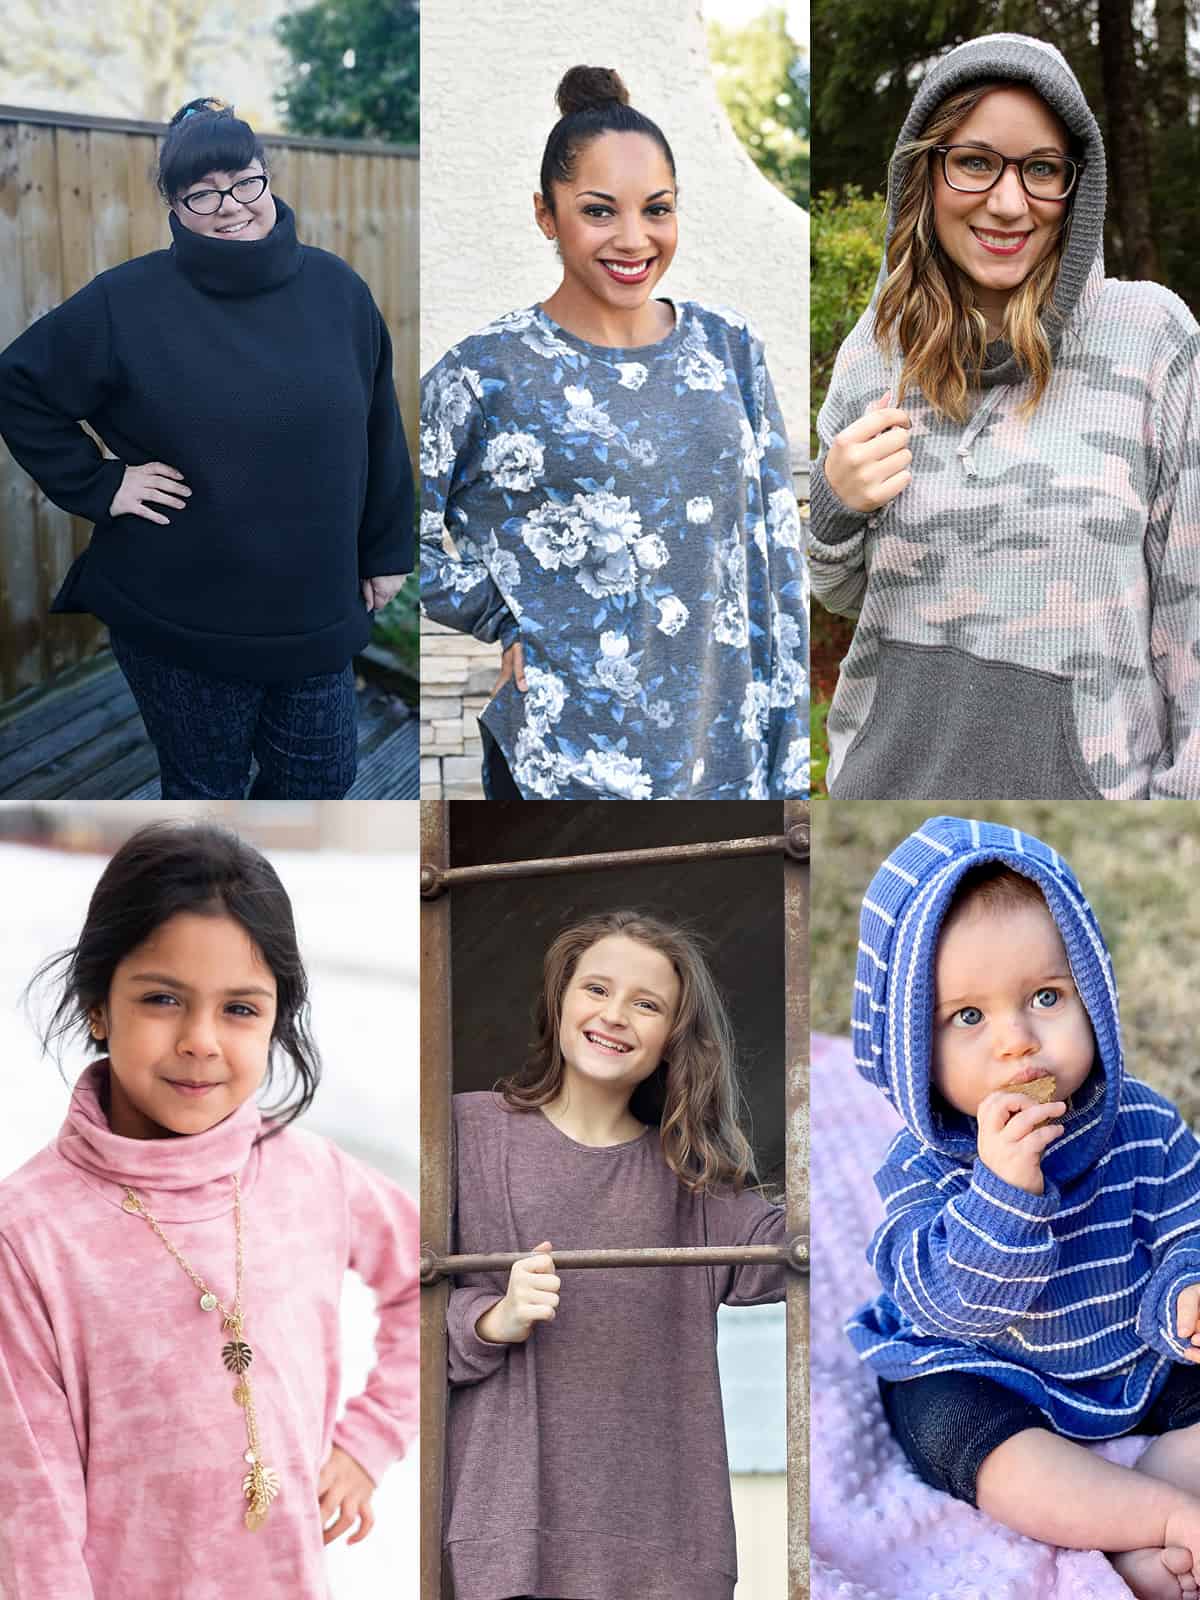
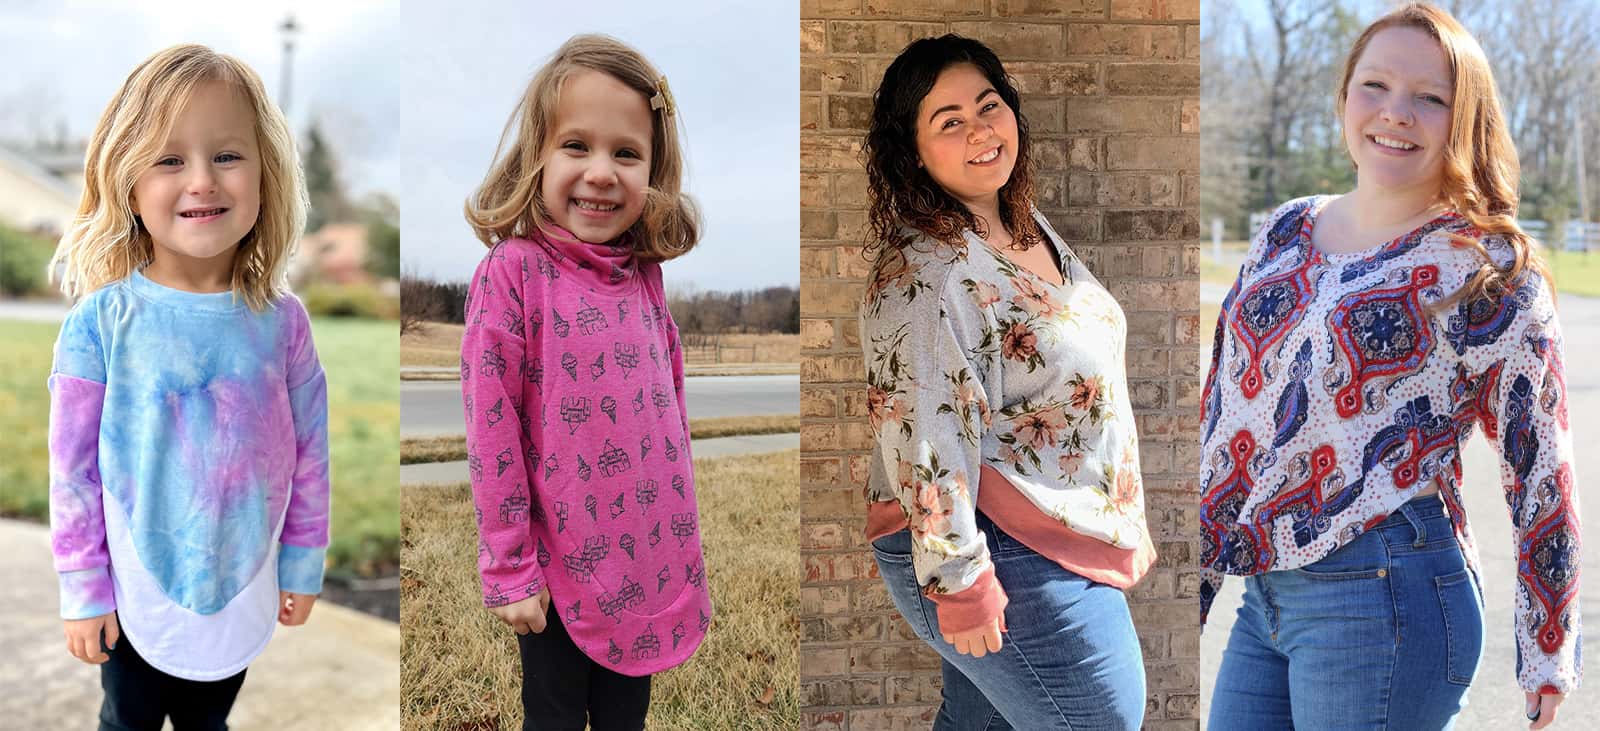
The Friendly City Sweaters are open-sided tops with a relaxed and easy-to-wear silhouette. The pattern features a dramatic, curved hemline in three lengths, all of which are finished with curved bands that nest neatly into the side seams. Designed with cozy fabrics in mind, this pattern is a fun twist on a basic sweater.
You’ll want to grab a Friendly City Sweater out of your closet on those chilly days, when you need something to help keep you warm and cozy. We included only long sleeves in the pattern, with the option of a hemmed or cuffed sleeve, and both sleeve versions fitting loosely at wrist. While there are three different hem lengths to choose from, the nested bands all meet at the same spot at your natural waist before opening up to a flattering curved bodice bottom. The crew neckline sits at a just-right height, the scooped neckline (available only on the adult pattern) gives you a slightly more open option, and the fold-over turtleneck is designed for that perfect level of coverage without being restrictive, even in thicker fabrics.
Pattern options for the Friendly City Sweaters include:
- Necklines: Crew Neckline / Scoop Neckline (adult only) / Fold-Over Turtleneck
- Hemlines: Crop / Top / Tunic Lengths
- Sleeves: Cuffed / Hemmed Long Sleeves
The Friendly City Sweater Pattern is drafted for light-to-medium weight knit fabrics. Due to the design with open sides and oversized fit…the more drape the fabric has, the better. Stiffer fabrics will most likely “tent” off of your body, whereas fabrics with a softer drape will provide for the intended silhouette.
Specific Fabric Suggestions: Brushed Ribbed Knits, Ribbed Knits, Modal Knit Blends, DBP (Double Brushed Polyester Knit), Sweater Knits, Spandex French Terry Blends, Waffle/ Brushed Waffle Knits, etc.
The nested bands are the biggest feature of the Friendly City Sweater patterns — and also might be considered the trickiest part because the construction goes outside of your typical steps when sewing a top. Not to worry! We’ve got a video walking you through the ::entire:: sewing process, including how to wrap your brain around those amazing banded bottoms!
Let’s take a look at some of the different options:
Hemlines (Crop / Top / Tunic)

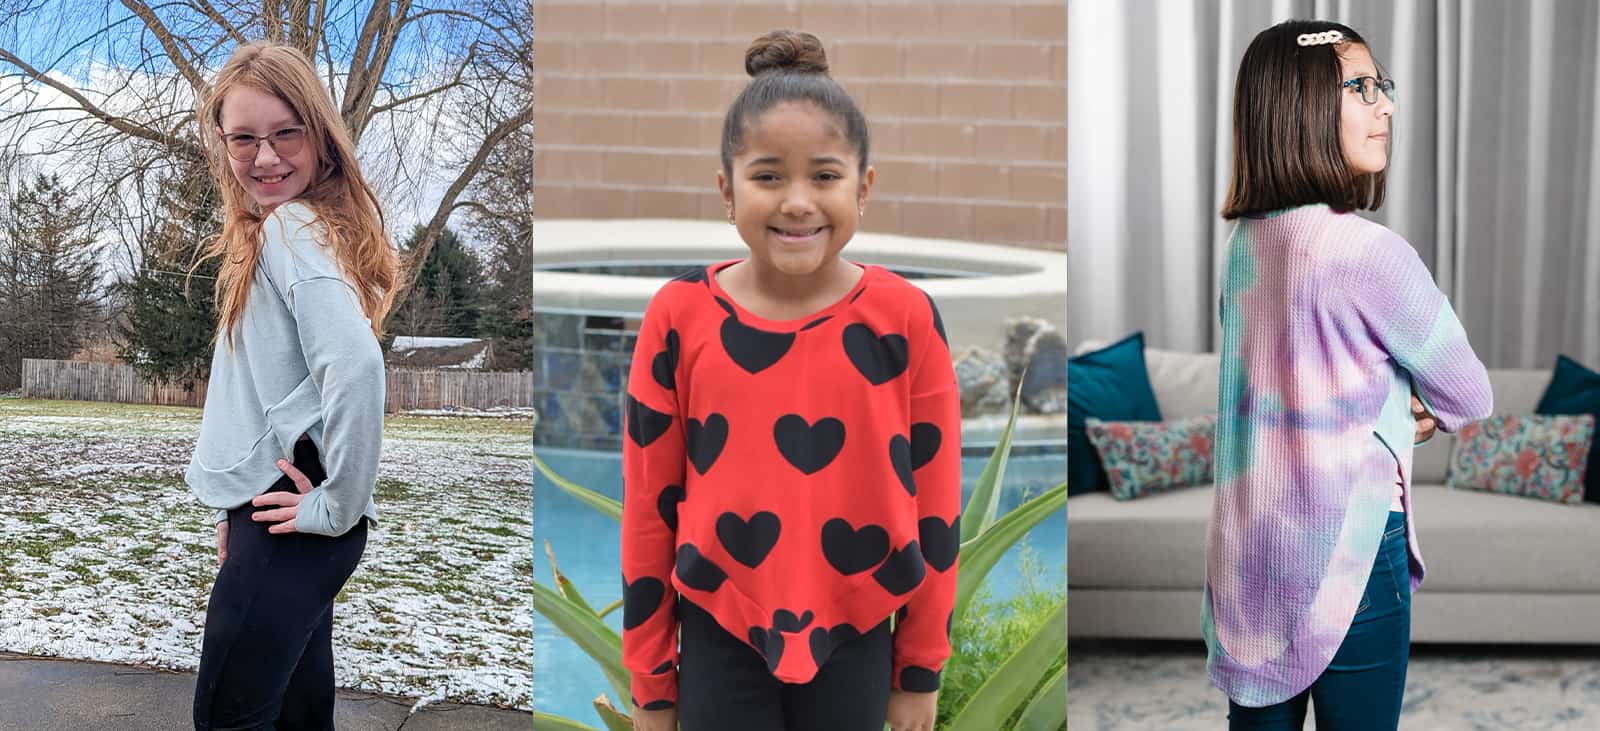
Necklines (Crew / Scoop (Adult Only) / Turtleneck)
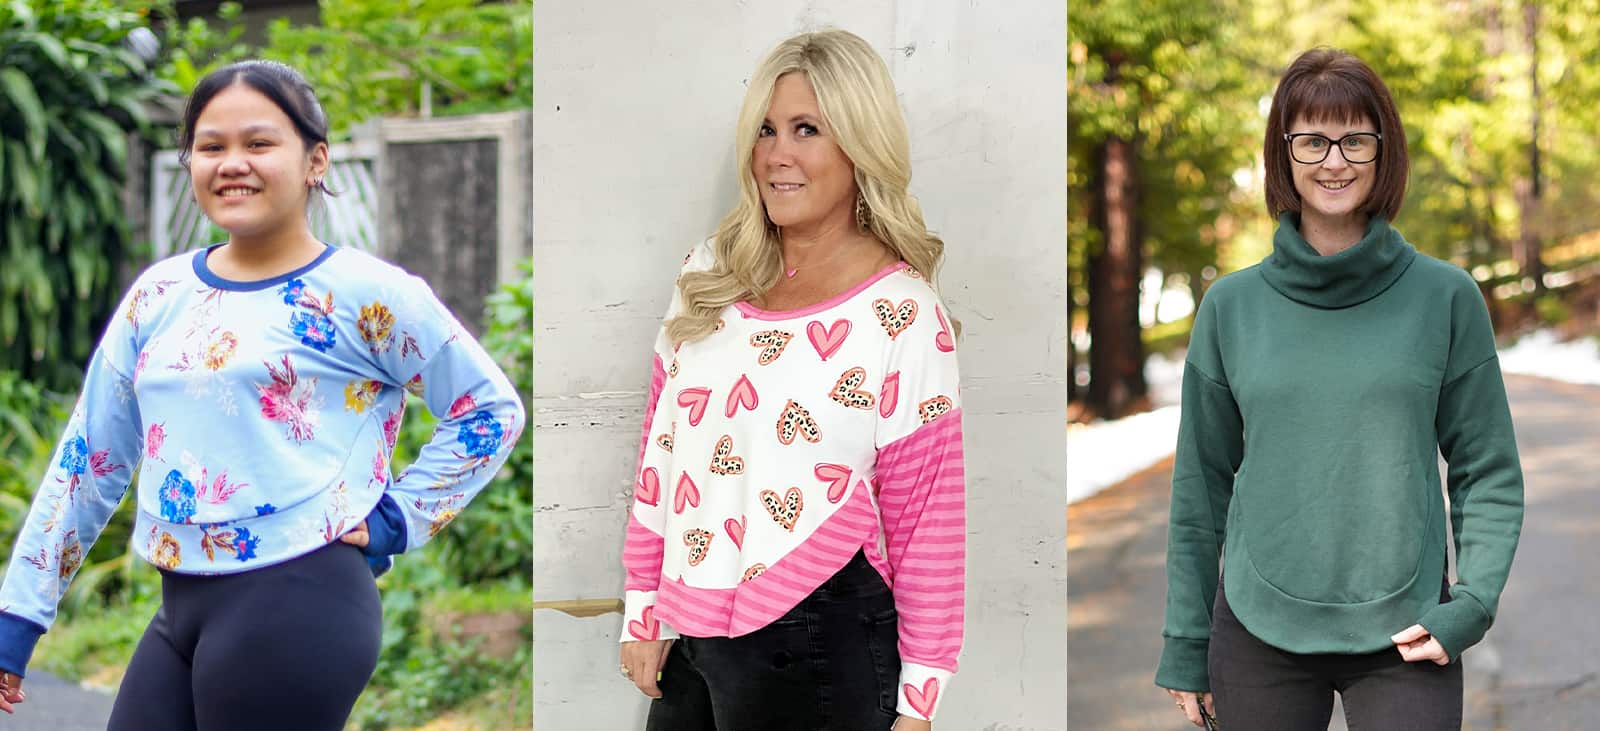
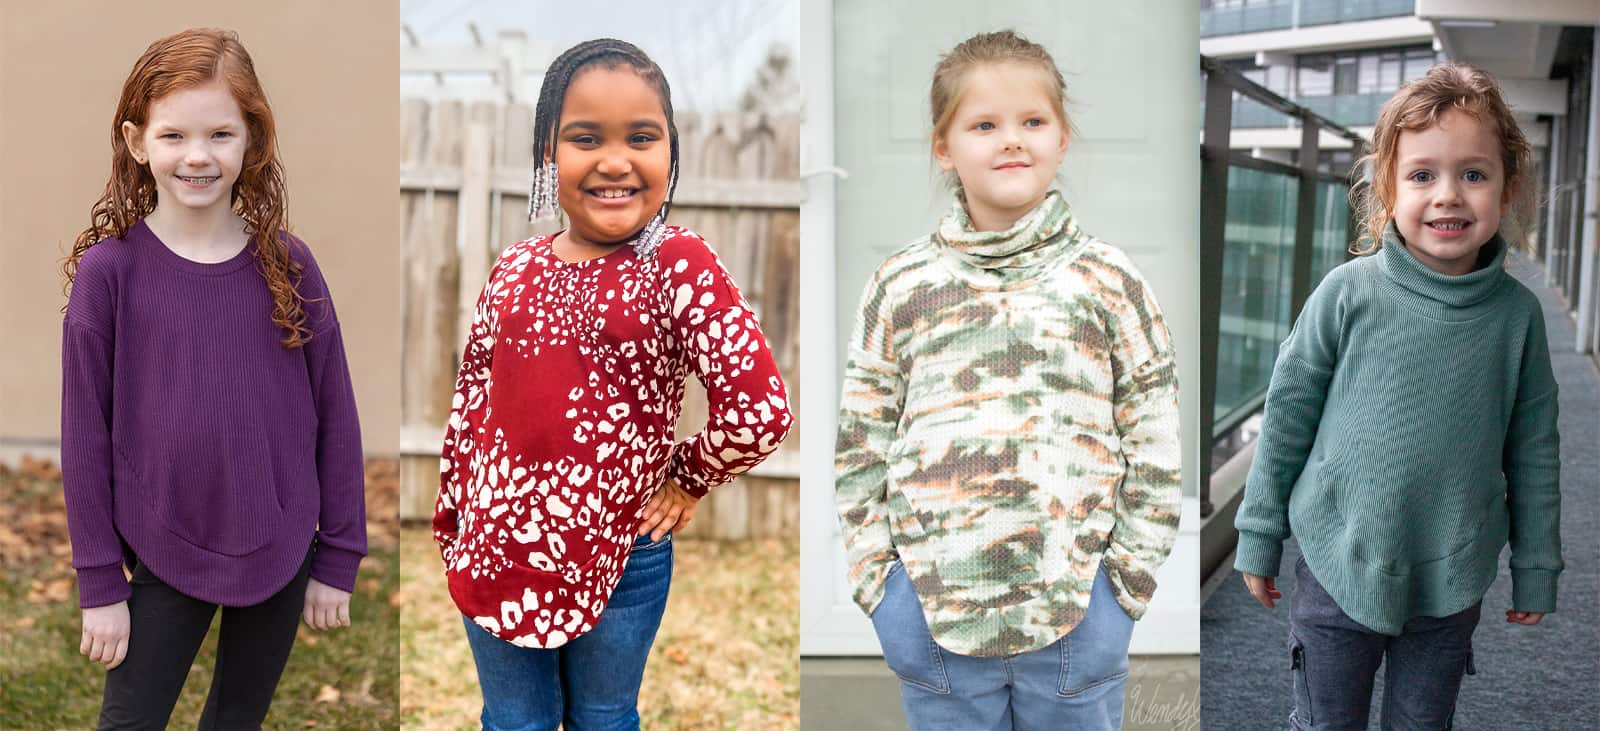
Sleeves (Cuffed / Hemmed)
We are so excited to see what you sew up with the new Friendly City Sweater patterns! Head on over to the shop, grab yourself a copy, and get to sewing! They are available on sale (no code needed) through 11:59pm CST, January 22, 2023.
Friendly City Sweater | Friendly City Sweater – Youth | Friendly City Sweater – Bundle
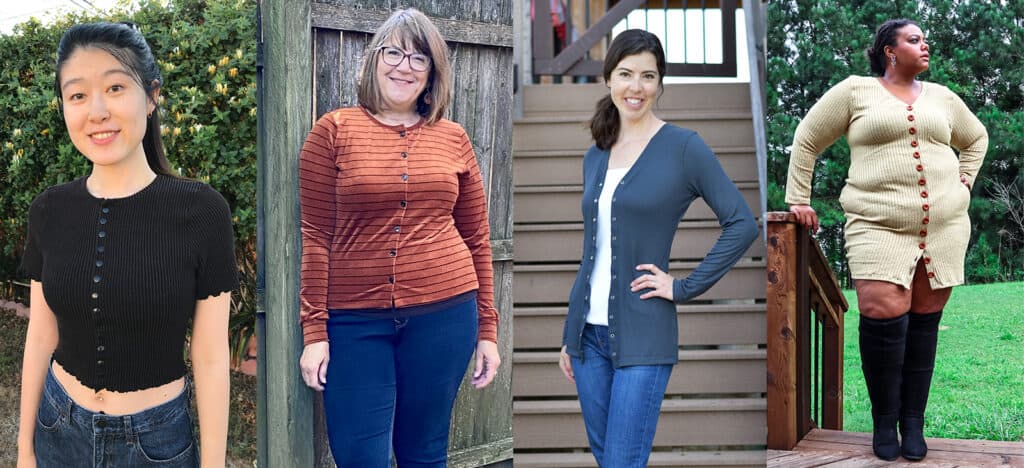
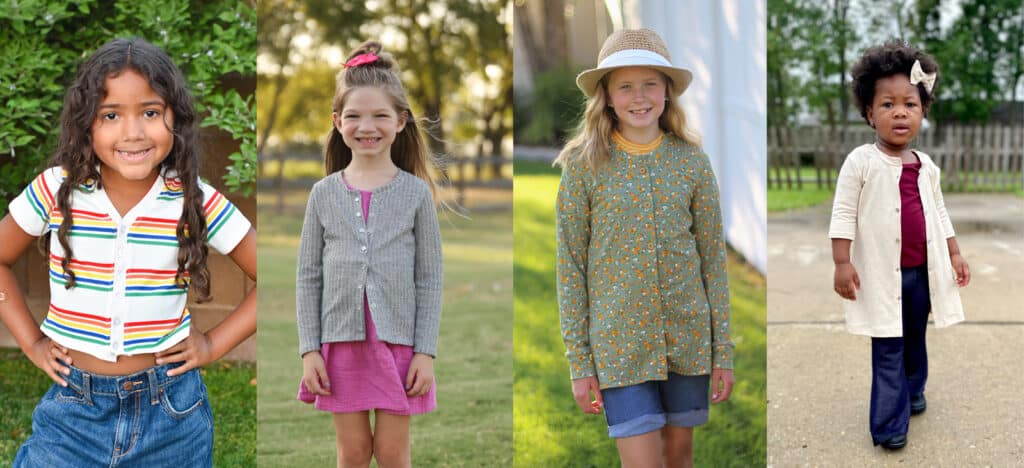
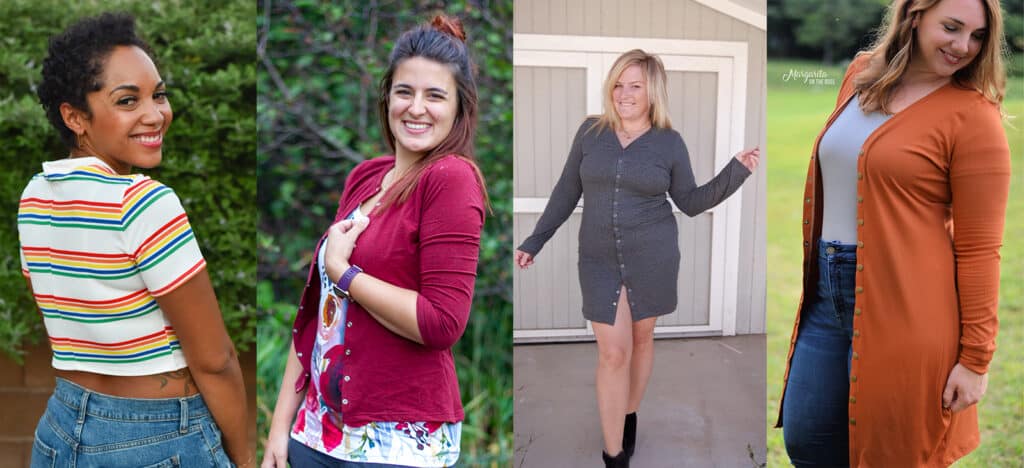
Hoping for a little inspiration before diving into some Friendly City Sweater sewing? Journey over to our Facebook group where you can see tester albums full of amazing images!
Friendly City Sweater Album | Friendly City Sweater – Youth Album