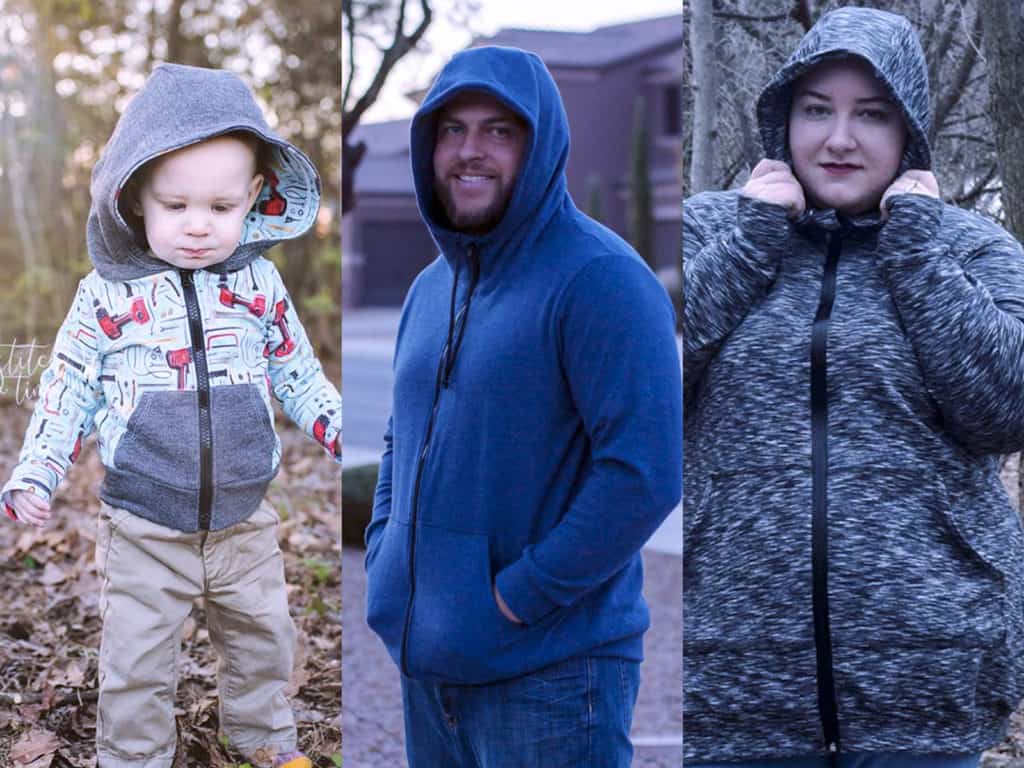
Stop the presses! P4P is releasing THREE new patterns today and we couldn’t be more excited! The Go To Jacket is available in enough sizes that you can make one for every member of your family. Because we made it for Men, Women and Kids!
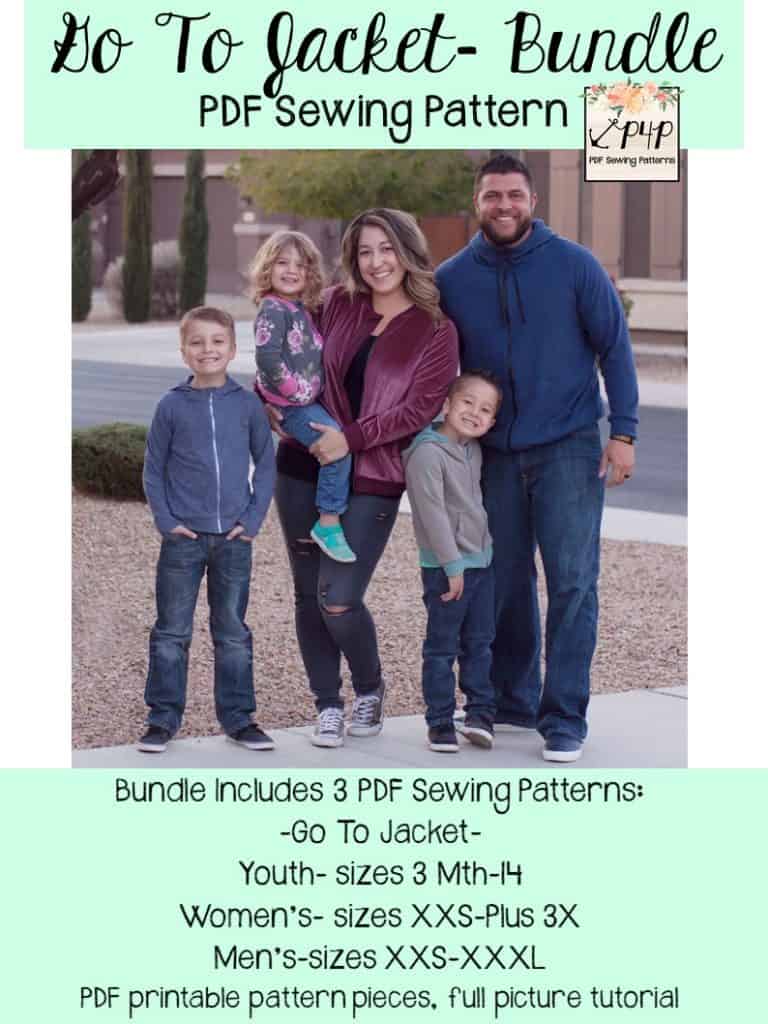
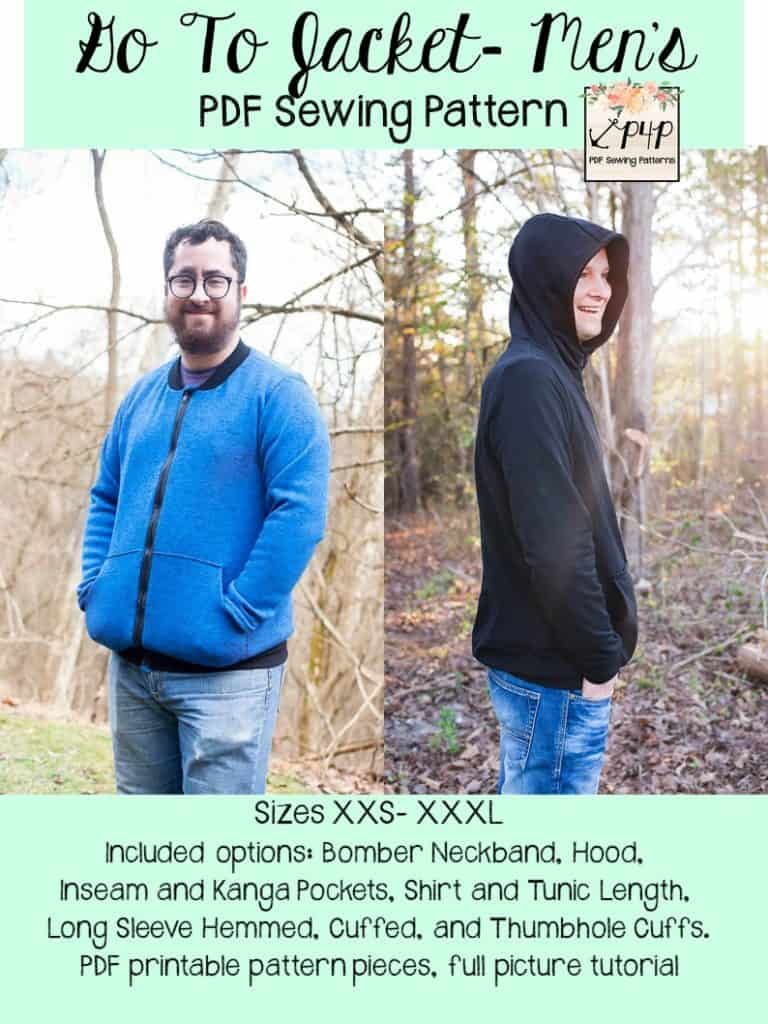
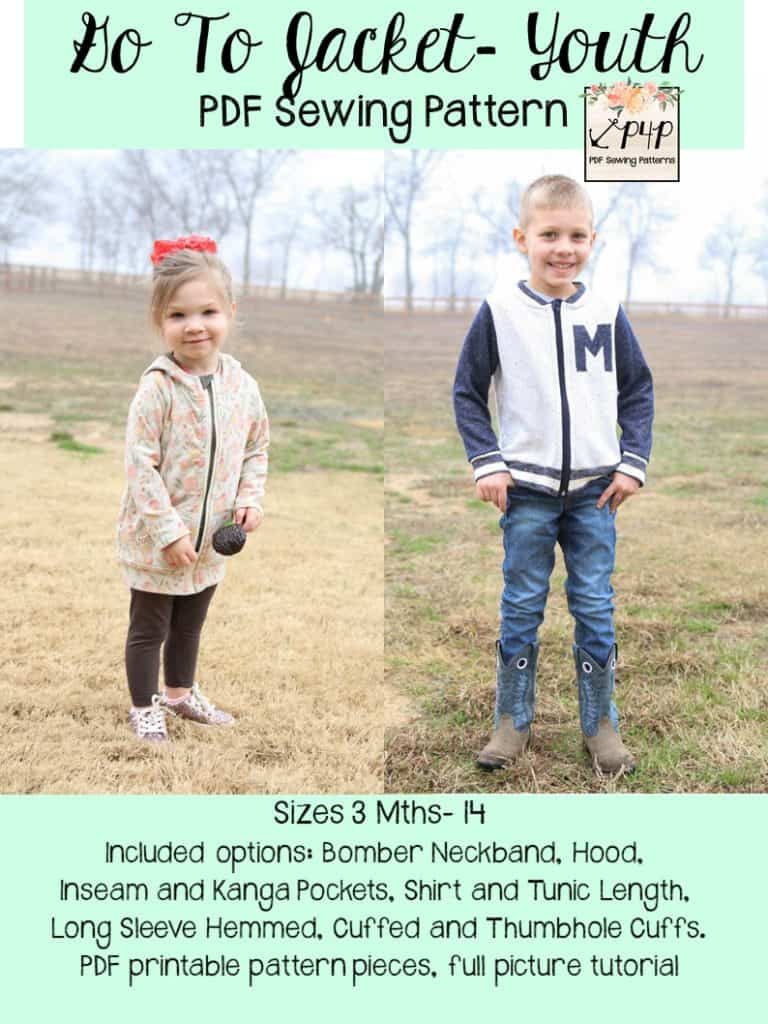
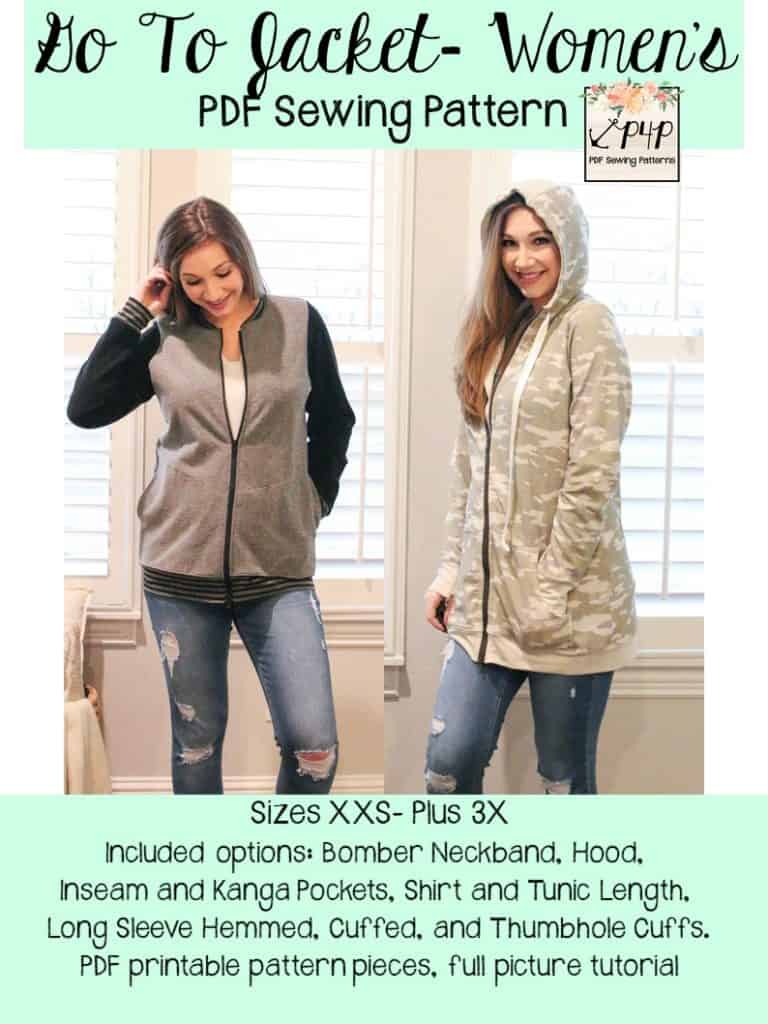
Just like the rest of our patterns, we’ve packed the Go To Jackets full of as many options as we could! It is drafted for women (sizes XXS – Plus 3X), men (sizes XXS – XXXL) and youth (3M – 14) and can be made into a bomber style, or finished with a 3-piece hood. There are two pocket options, two length options and three different sleeve hem types.
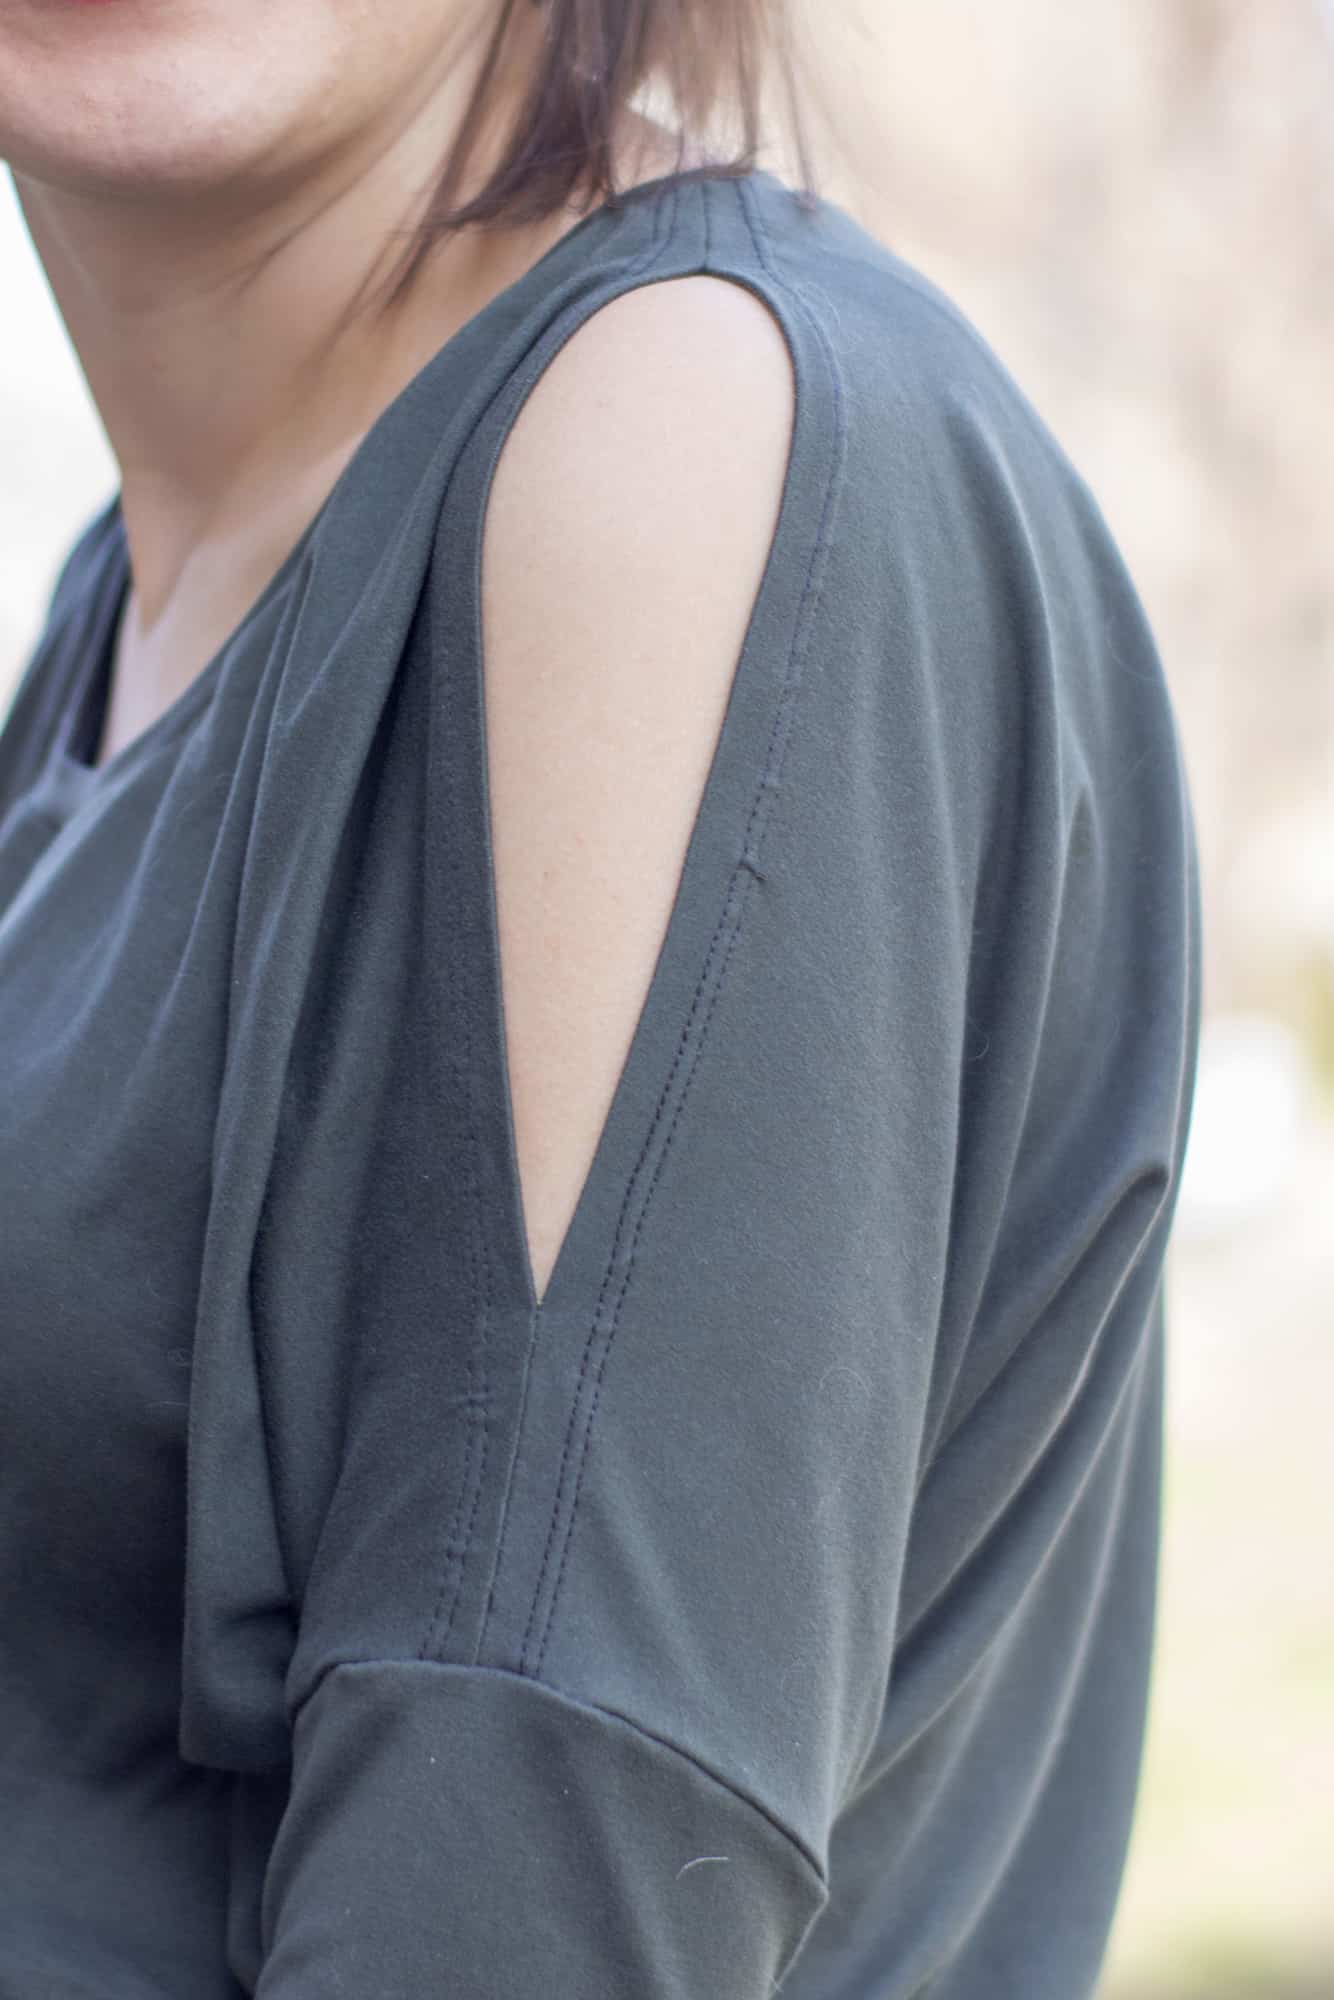
The Go To Jacket patterns were drafted for knit fabrics, which can range for lightweight fabrics to something on the heavier side, like fleece.
Don’t be scared of those zippers!! We have a couple very helpful links to walk you through them in the tutorial- you’ll be zipping ALL THE THINGS soon 😉
**Want to learn more about how to measure yourself for this pattern? We’ve got you covered with an in-depth blog HERE. And in case you’re new to Patterns for Pirates and PDF patterns in general, we have a great blog full of new user tips HERE to help you get started! And, as with all of our current releases and updates, the pdfs now include our layers feature and can be found in Letter, A4 and A0 sizes.
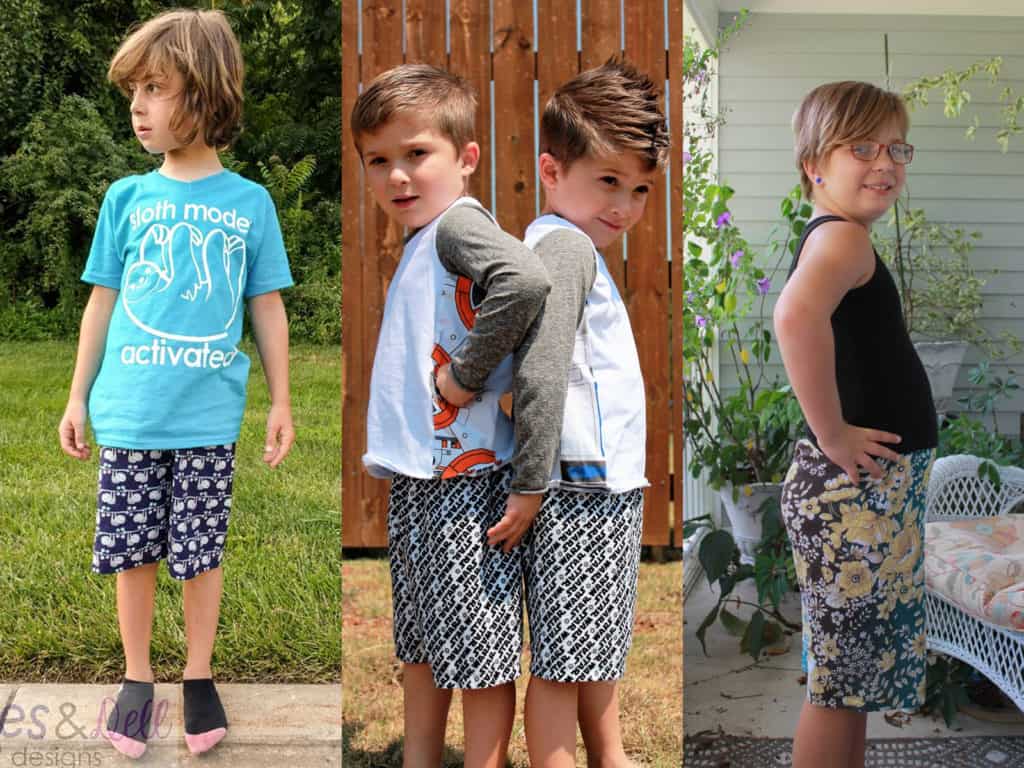
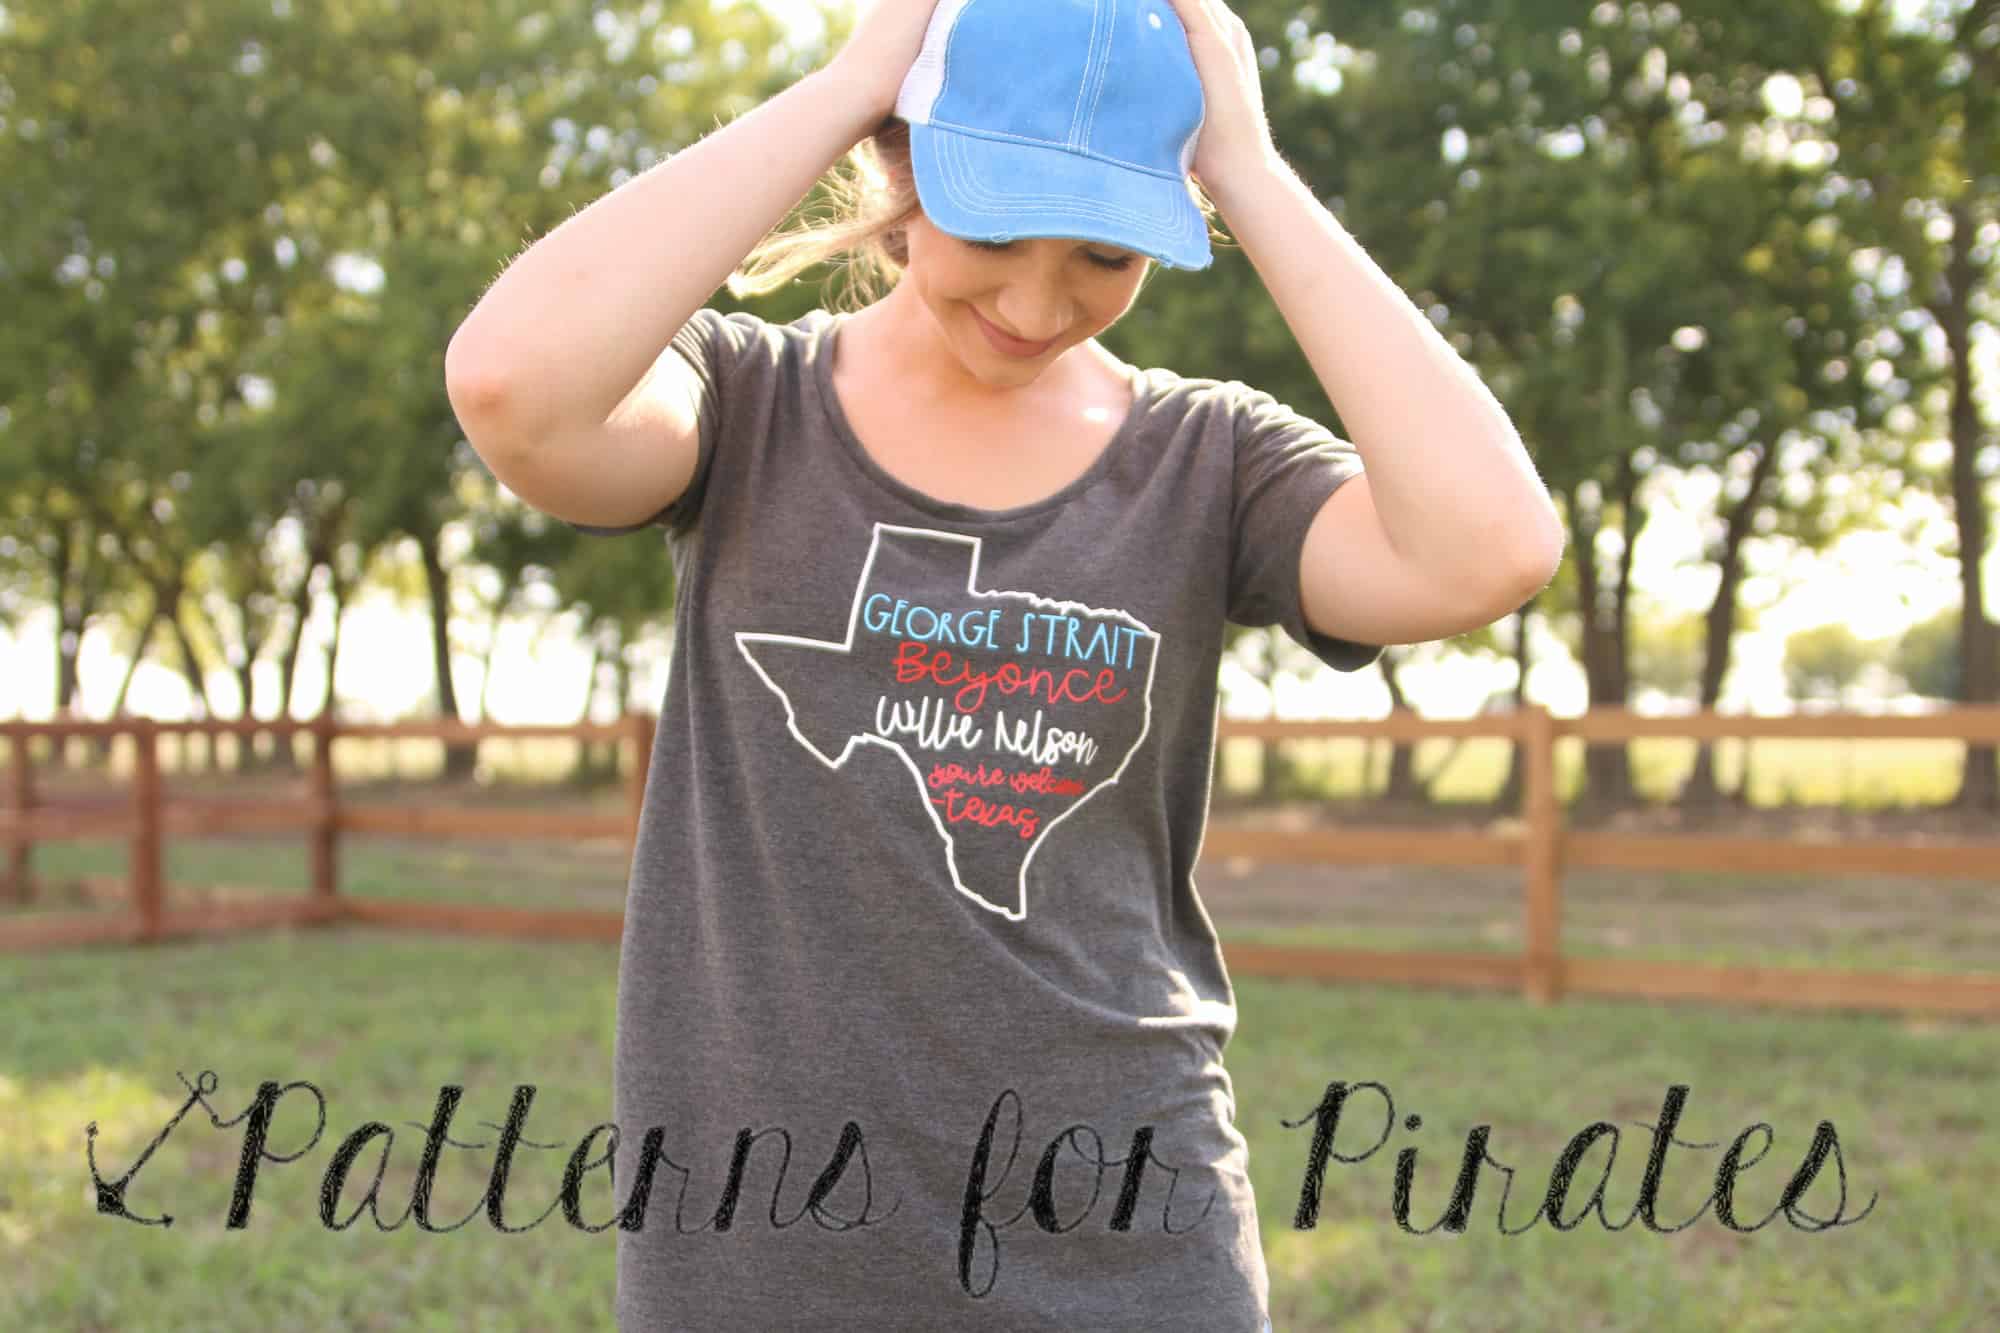
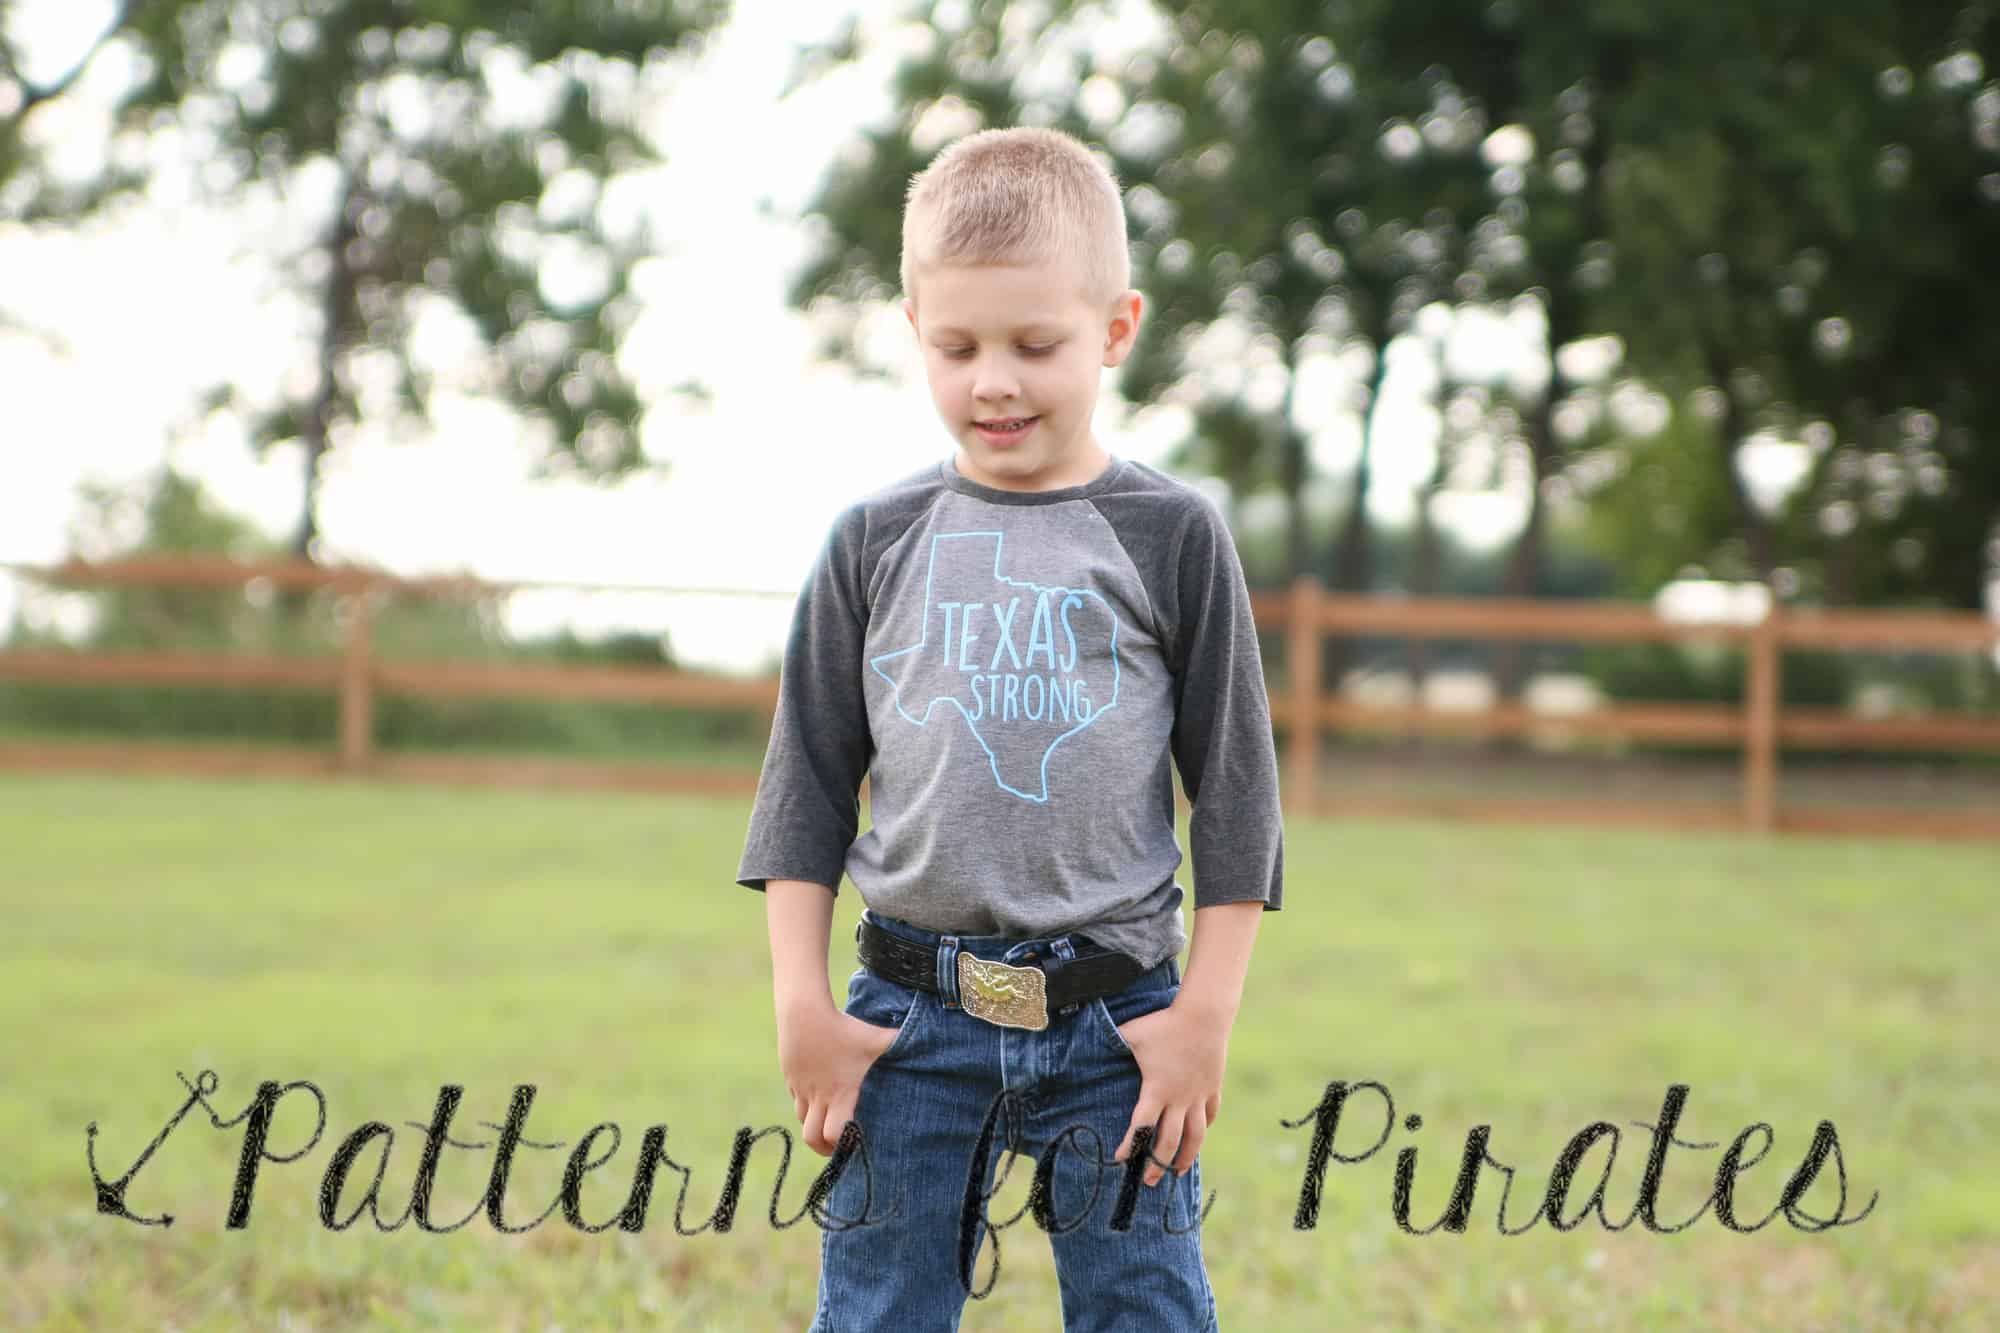
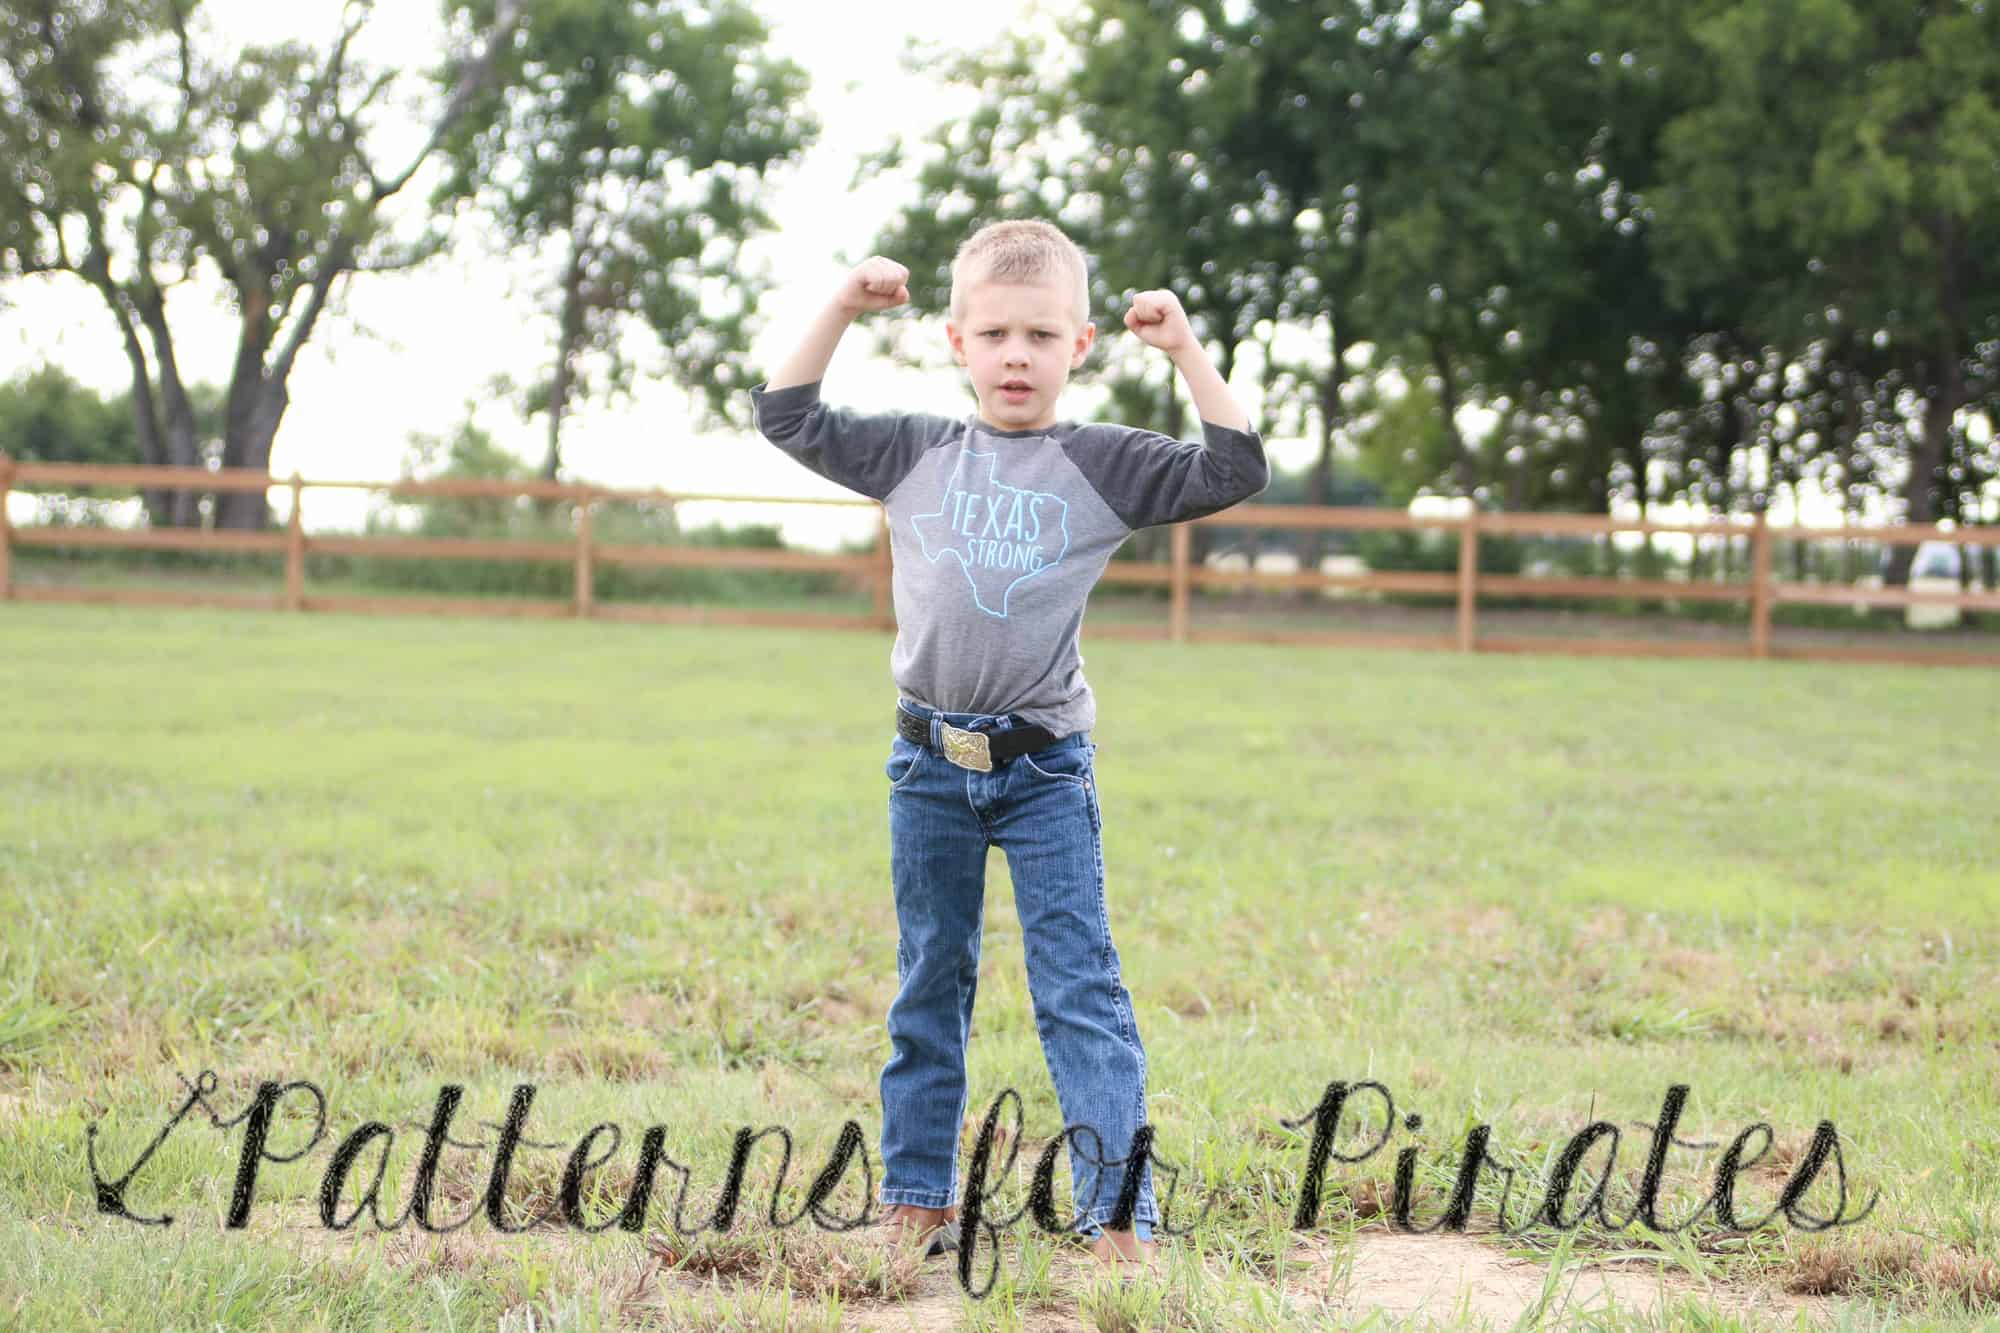
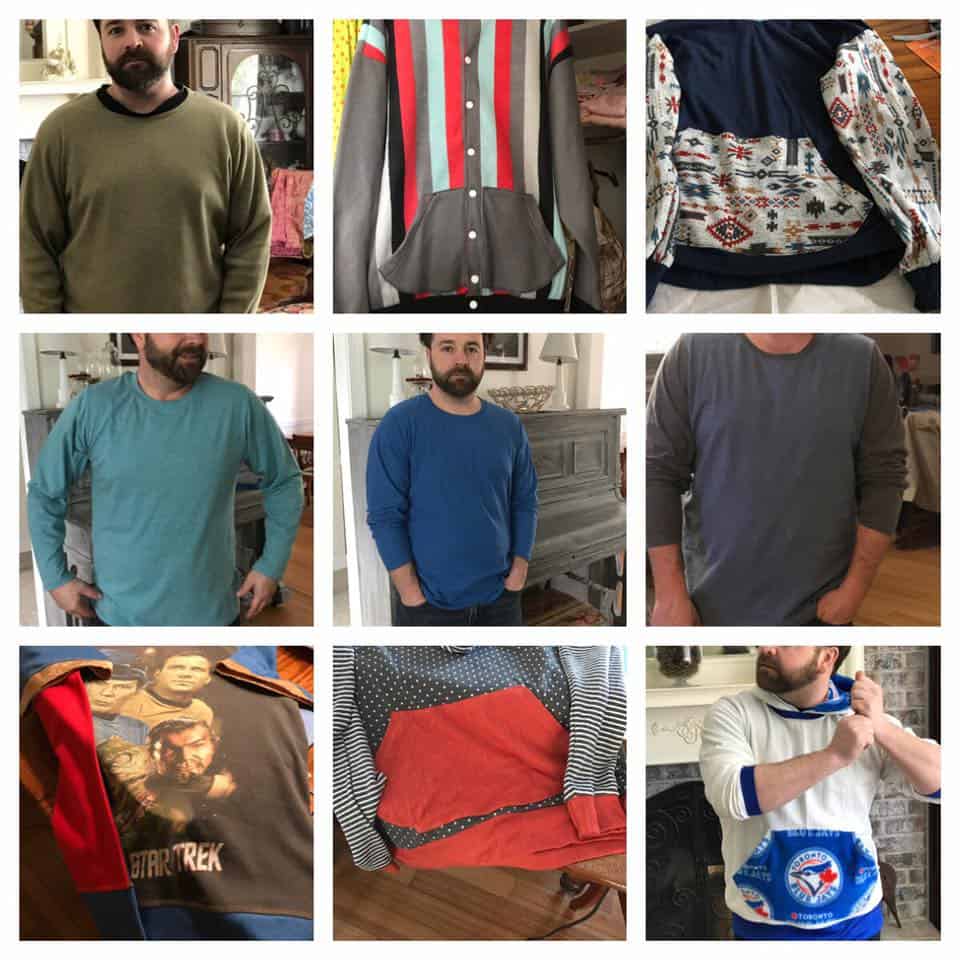
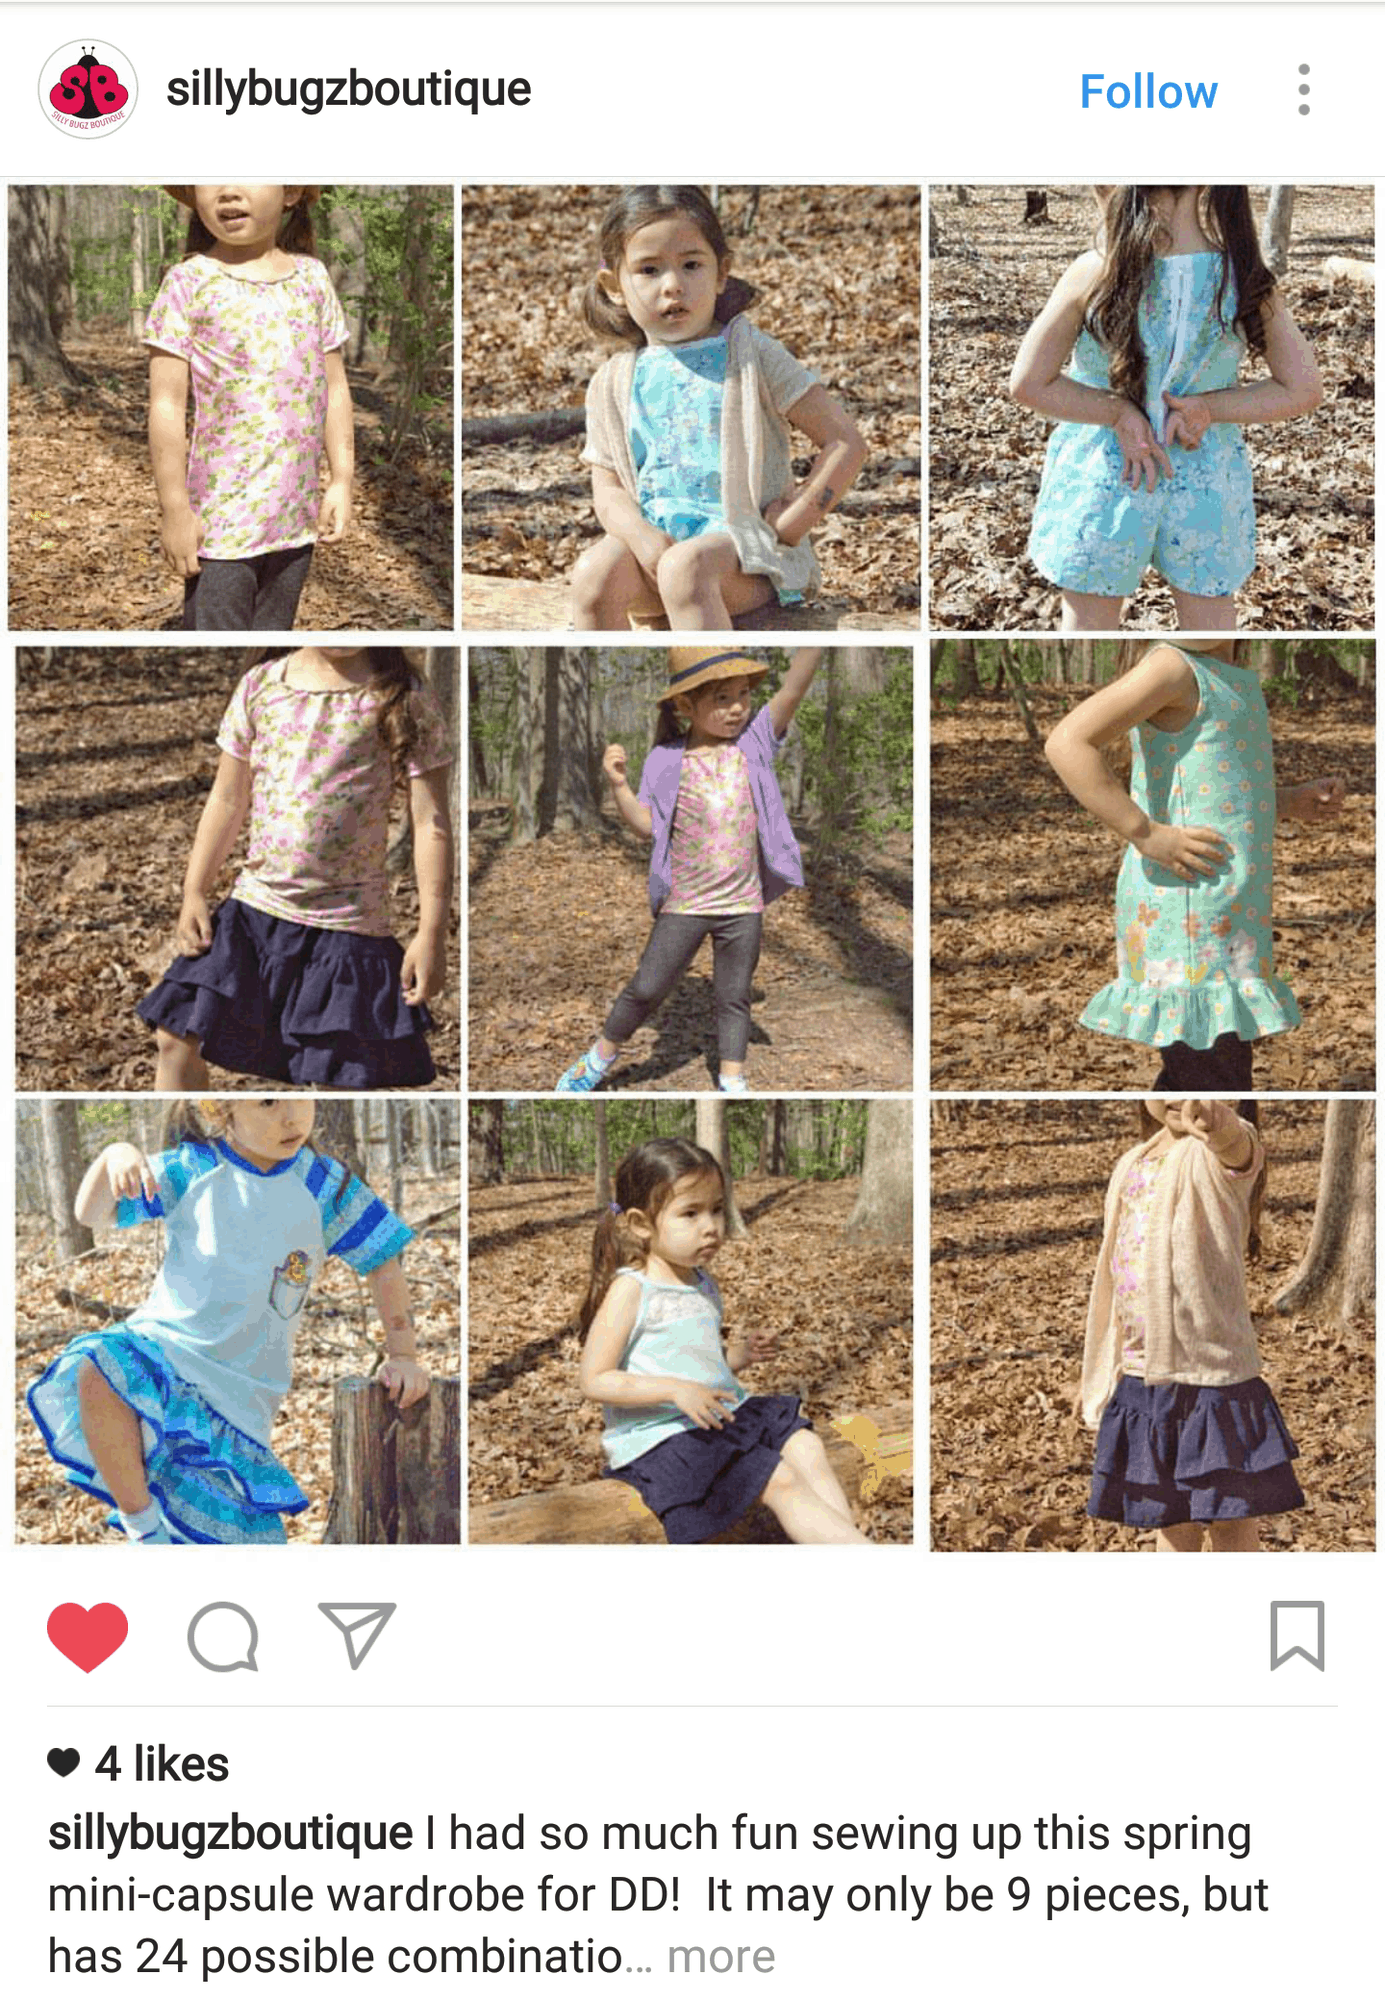
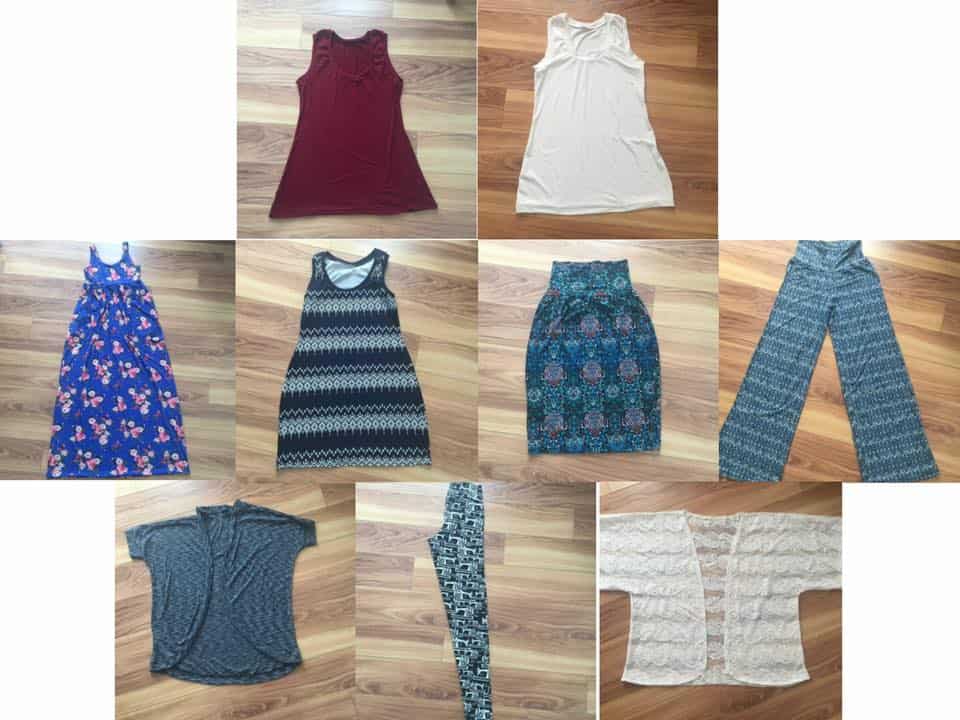
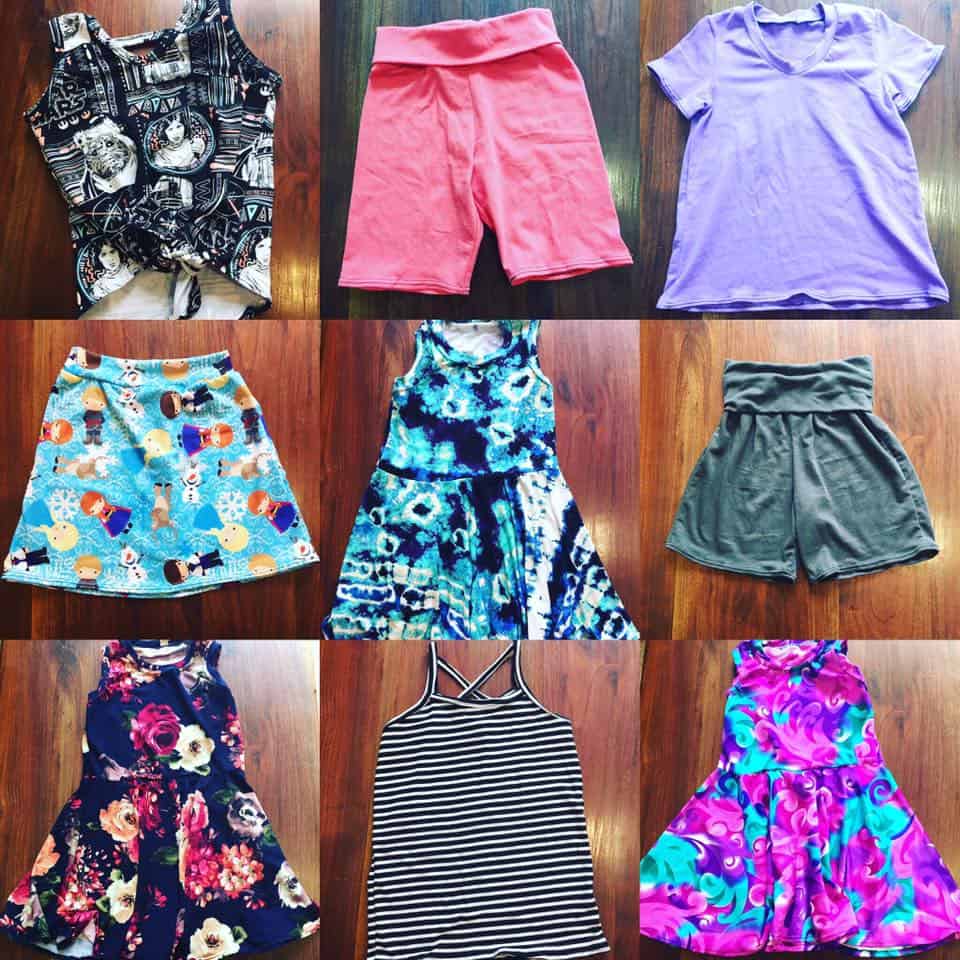
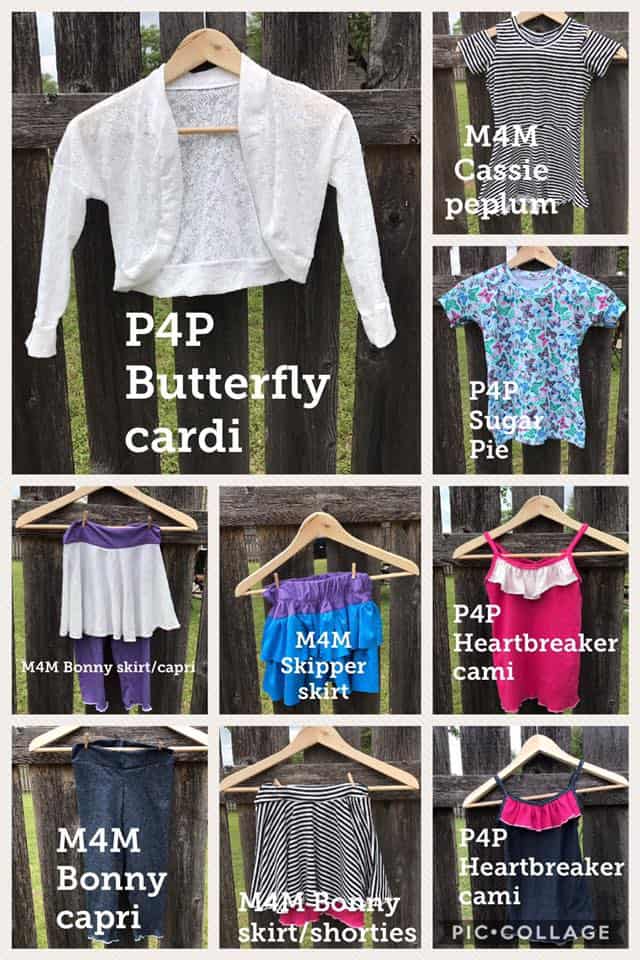
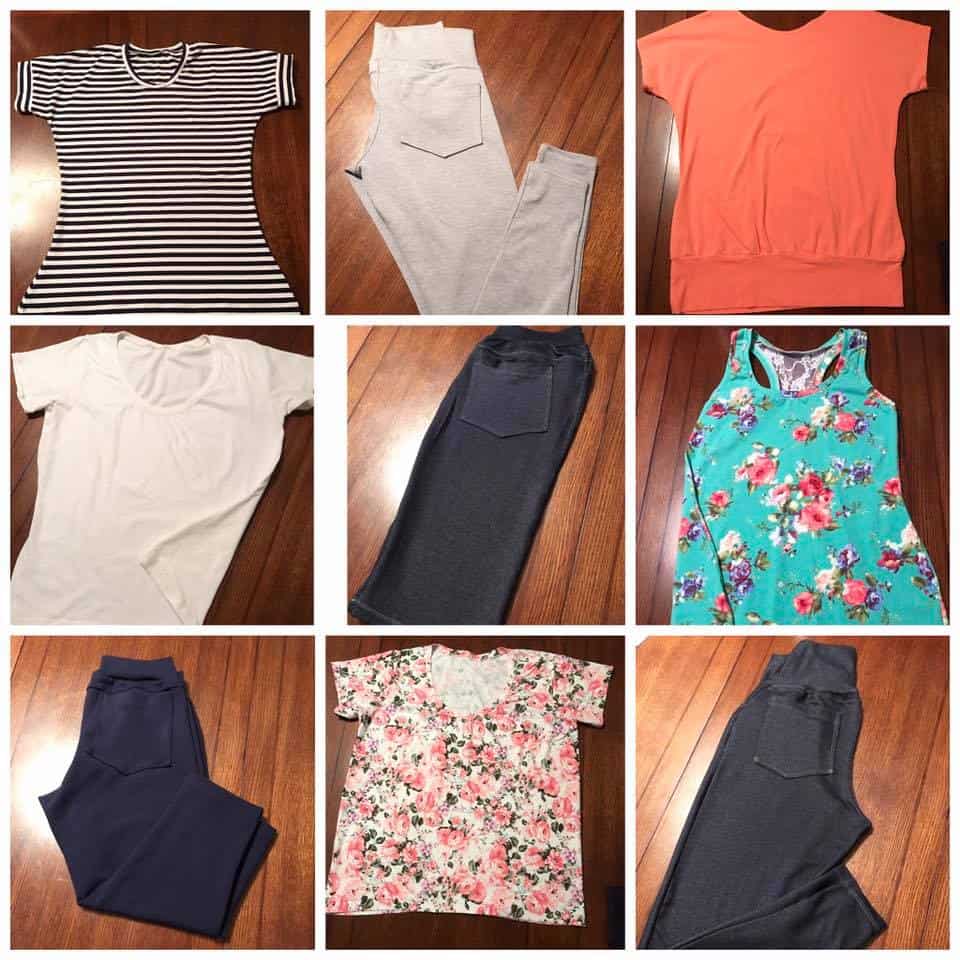
Let’s see some options in action, shall we?
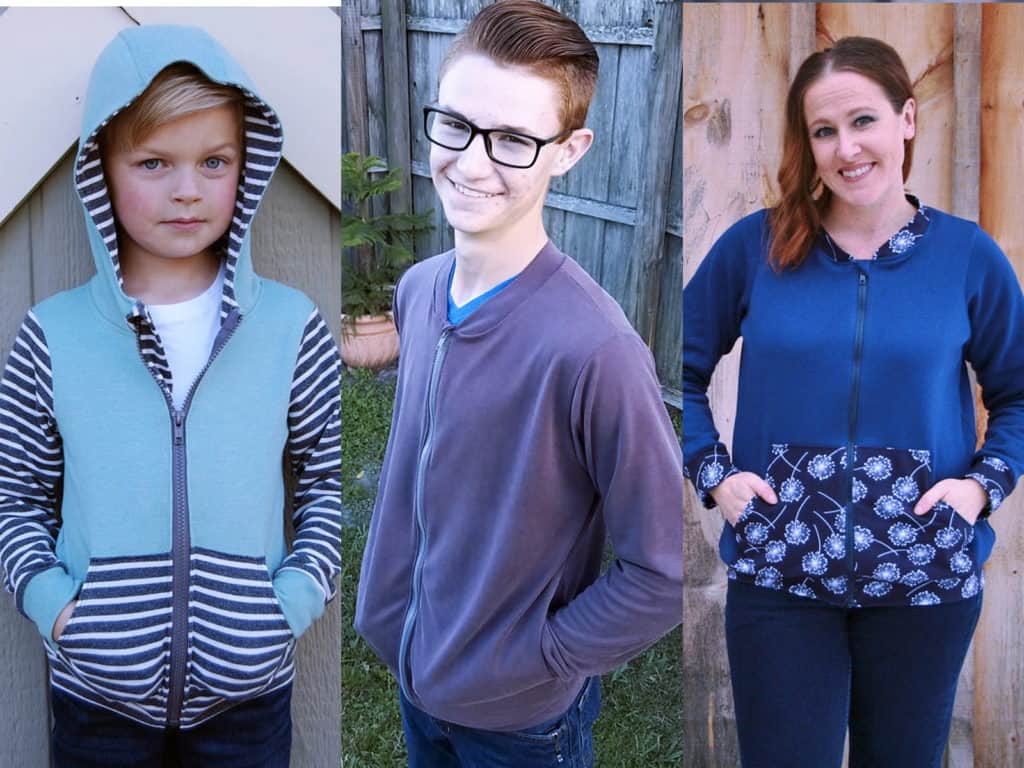
Bomber Style

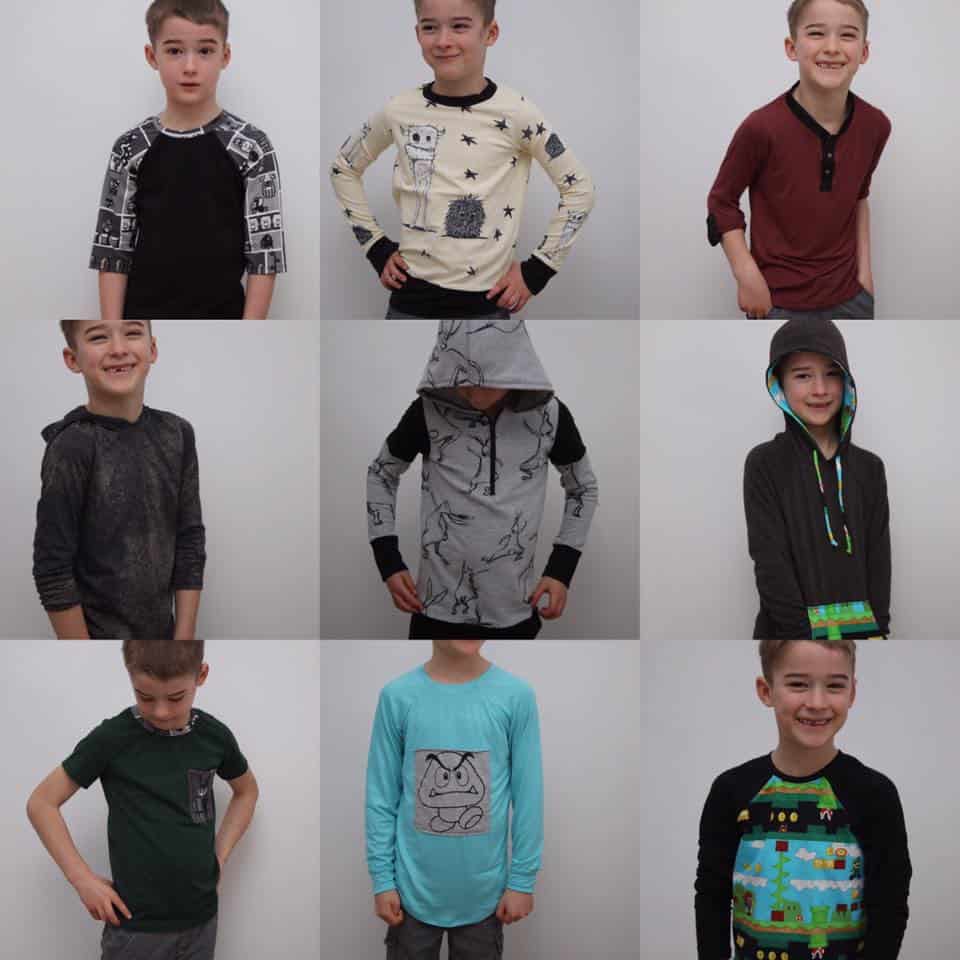
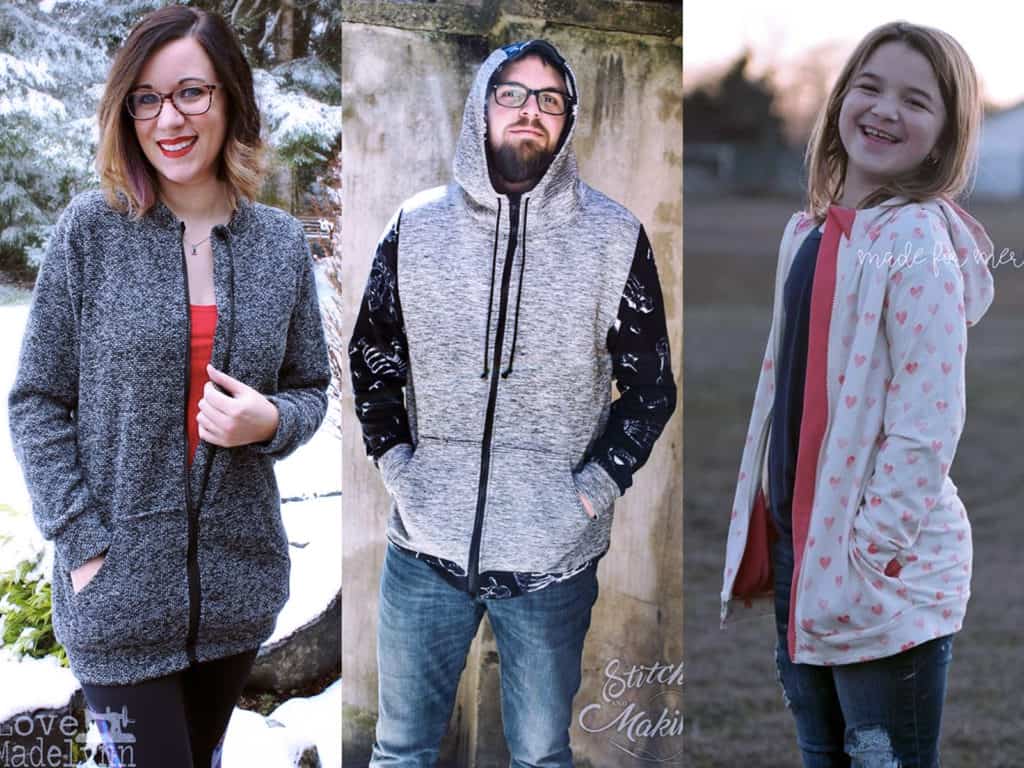
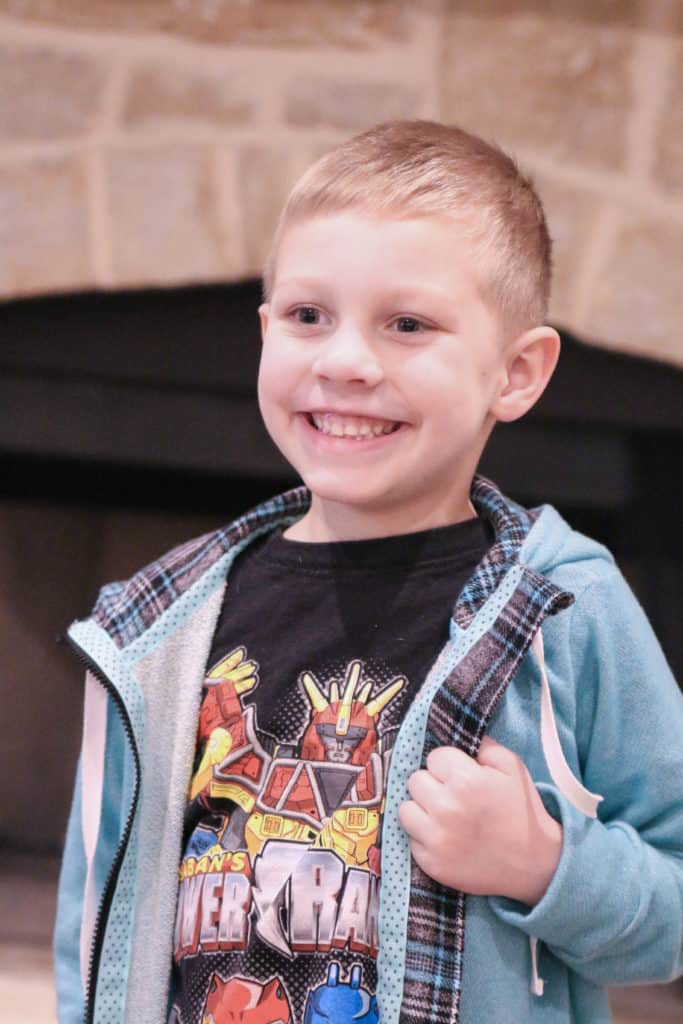
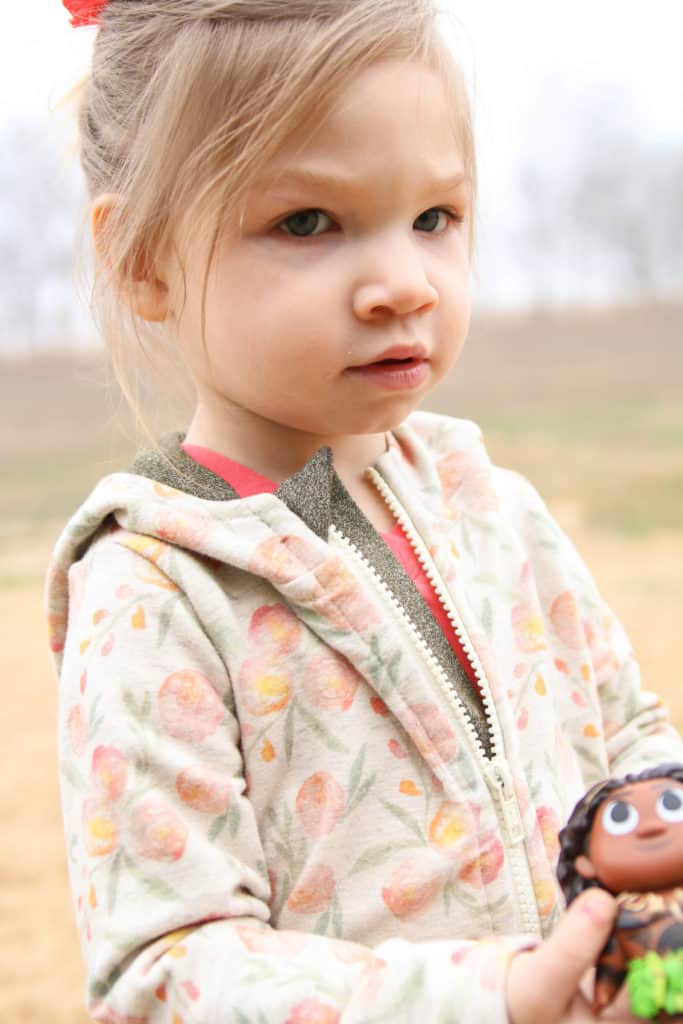
Hooded
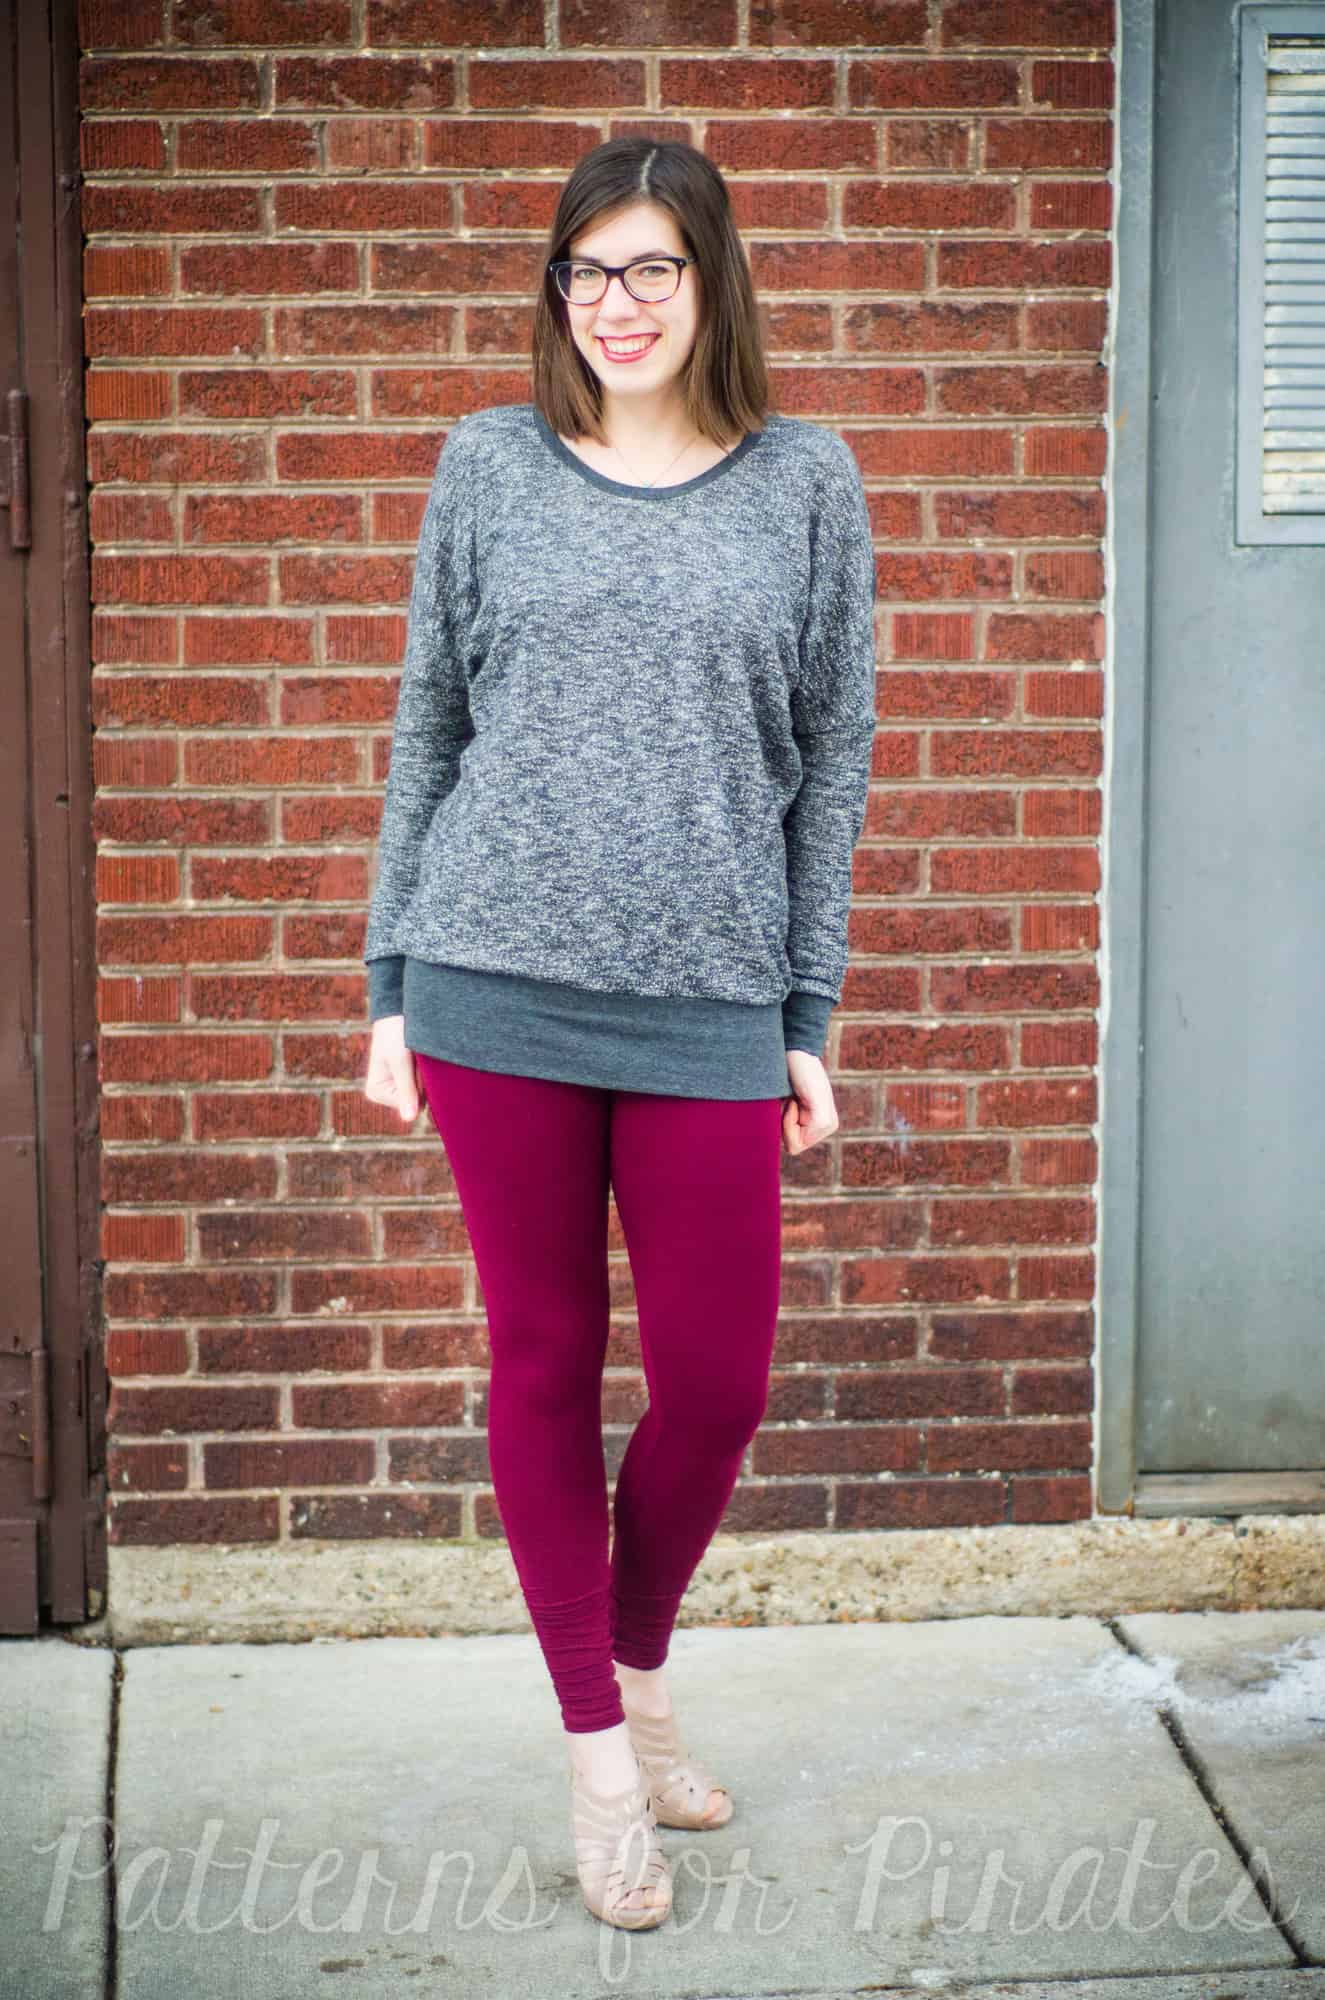
Tunic + Shirt Lengths
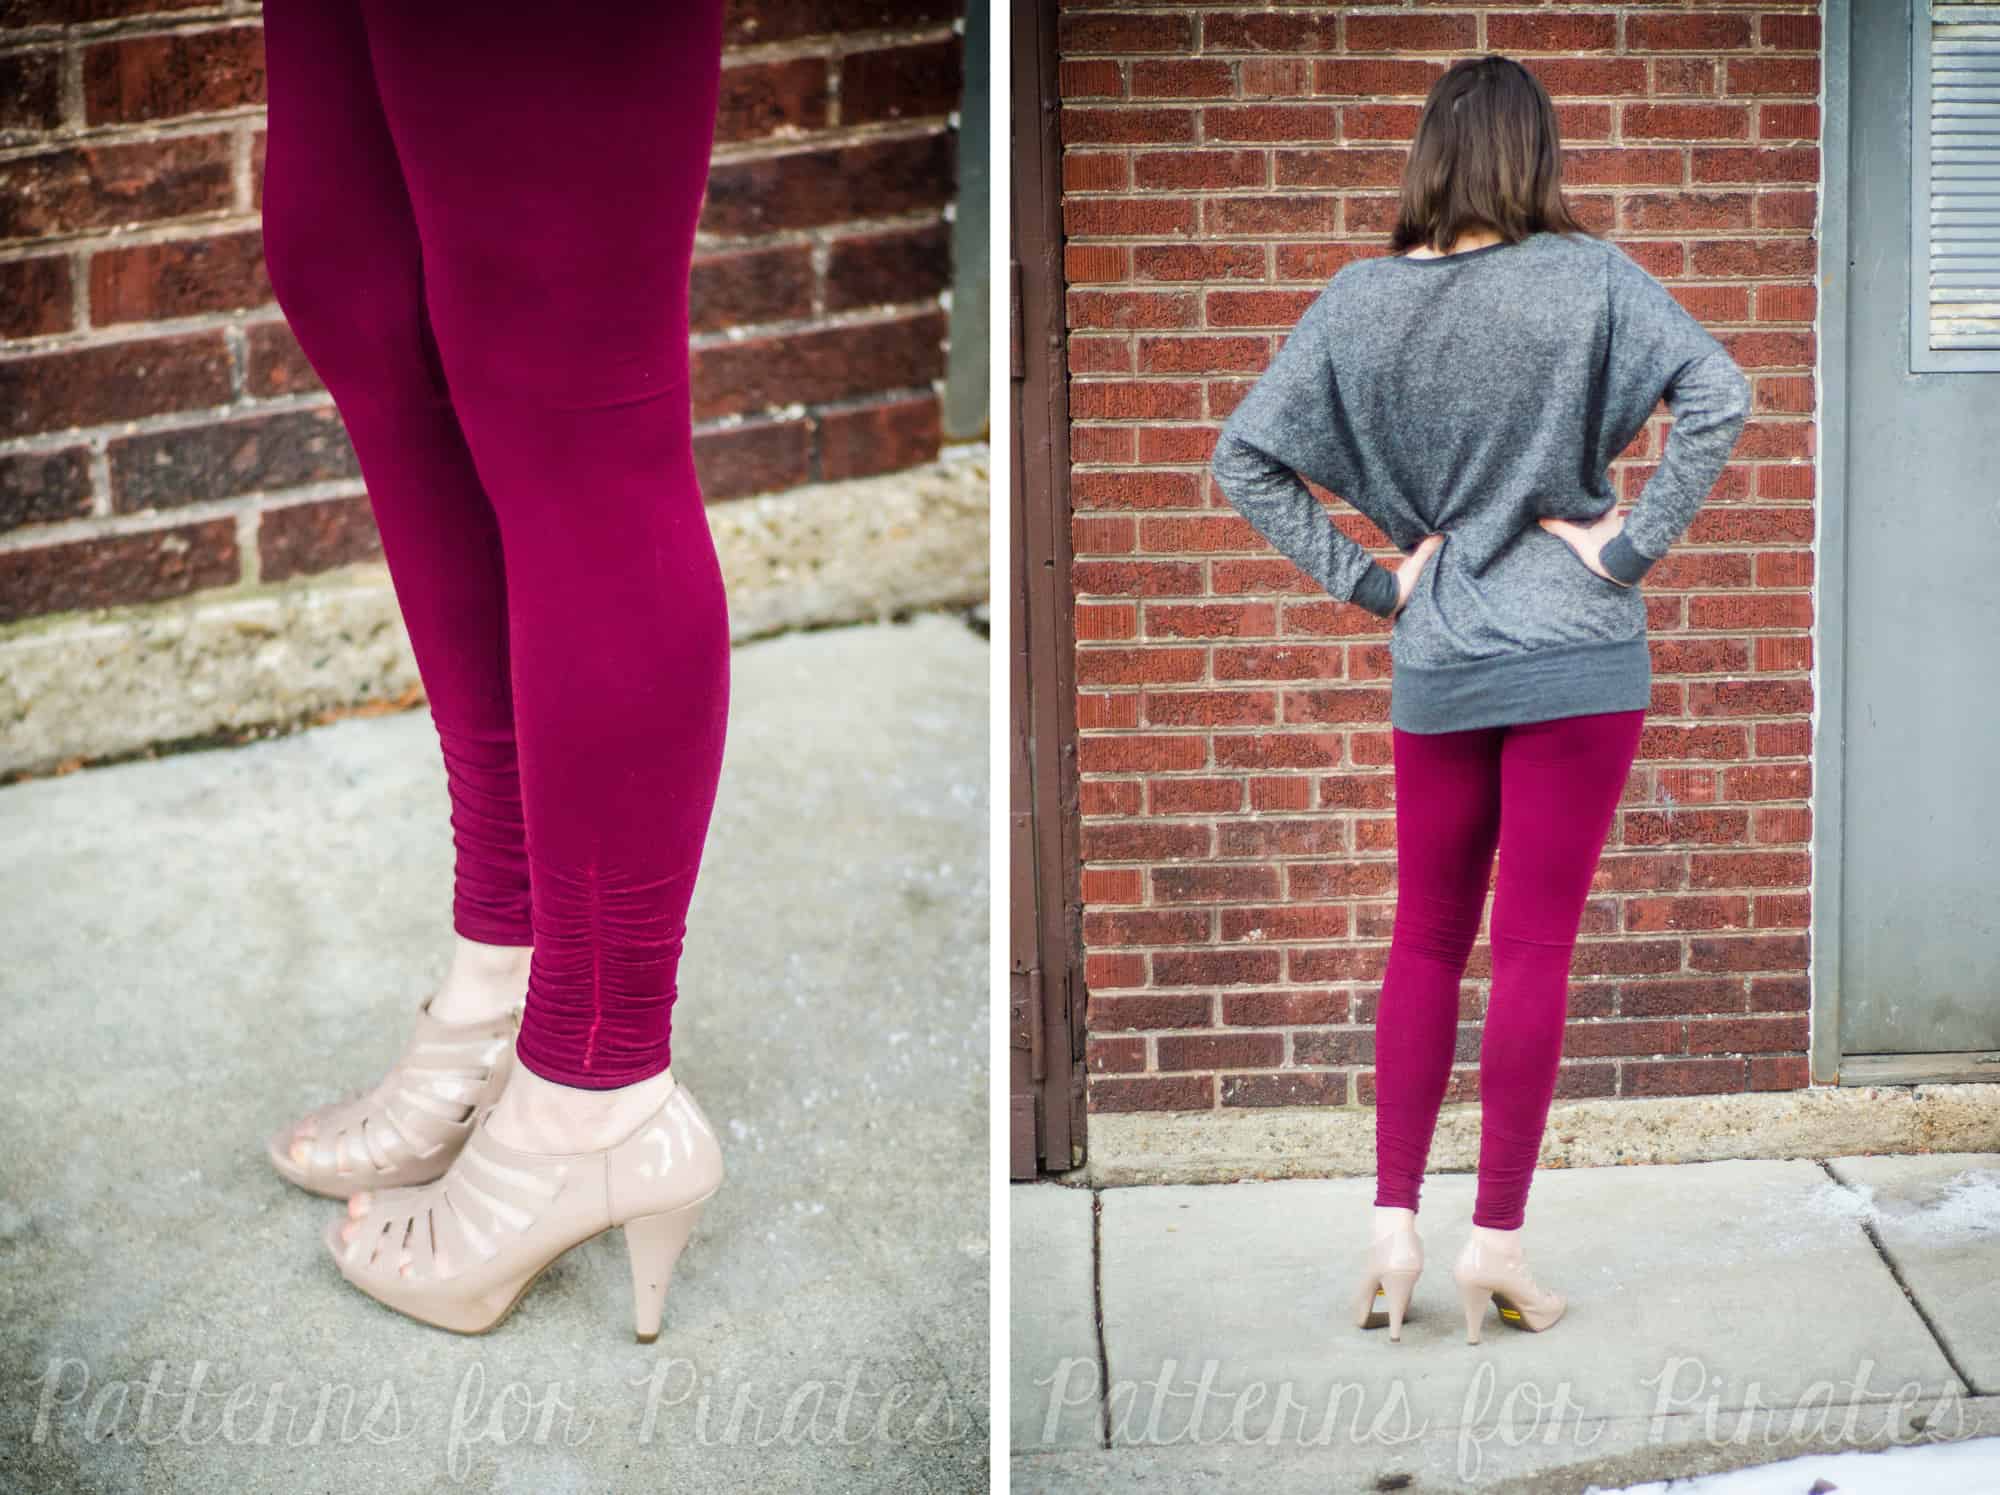
Cuffed / Hemmed / Thumbhole Sleeves

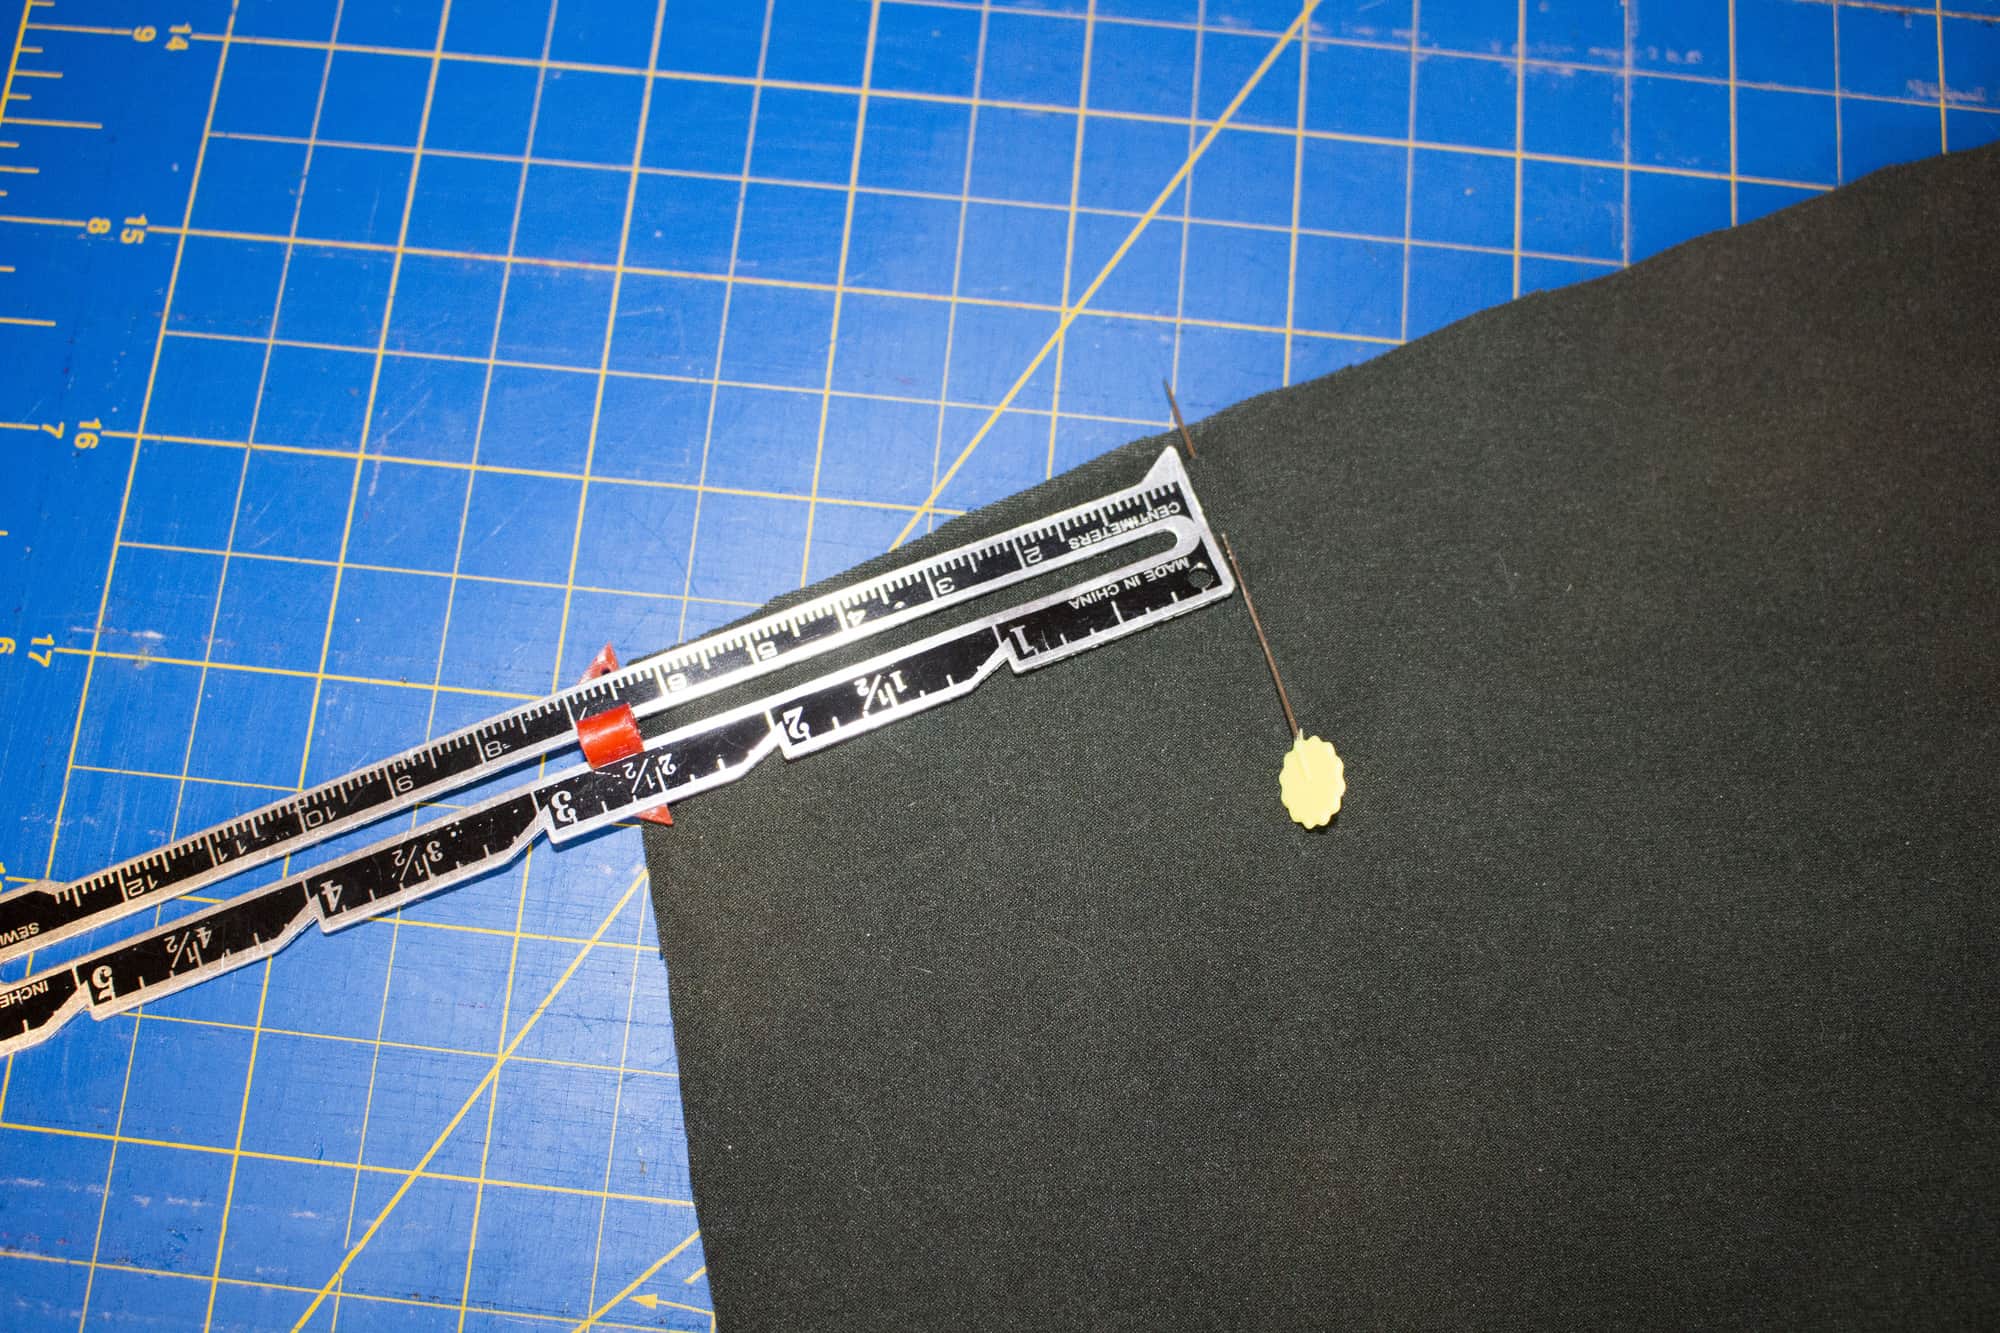
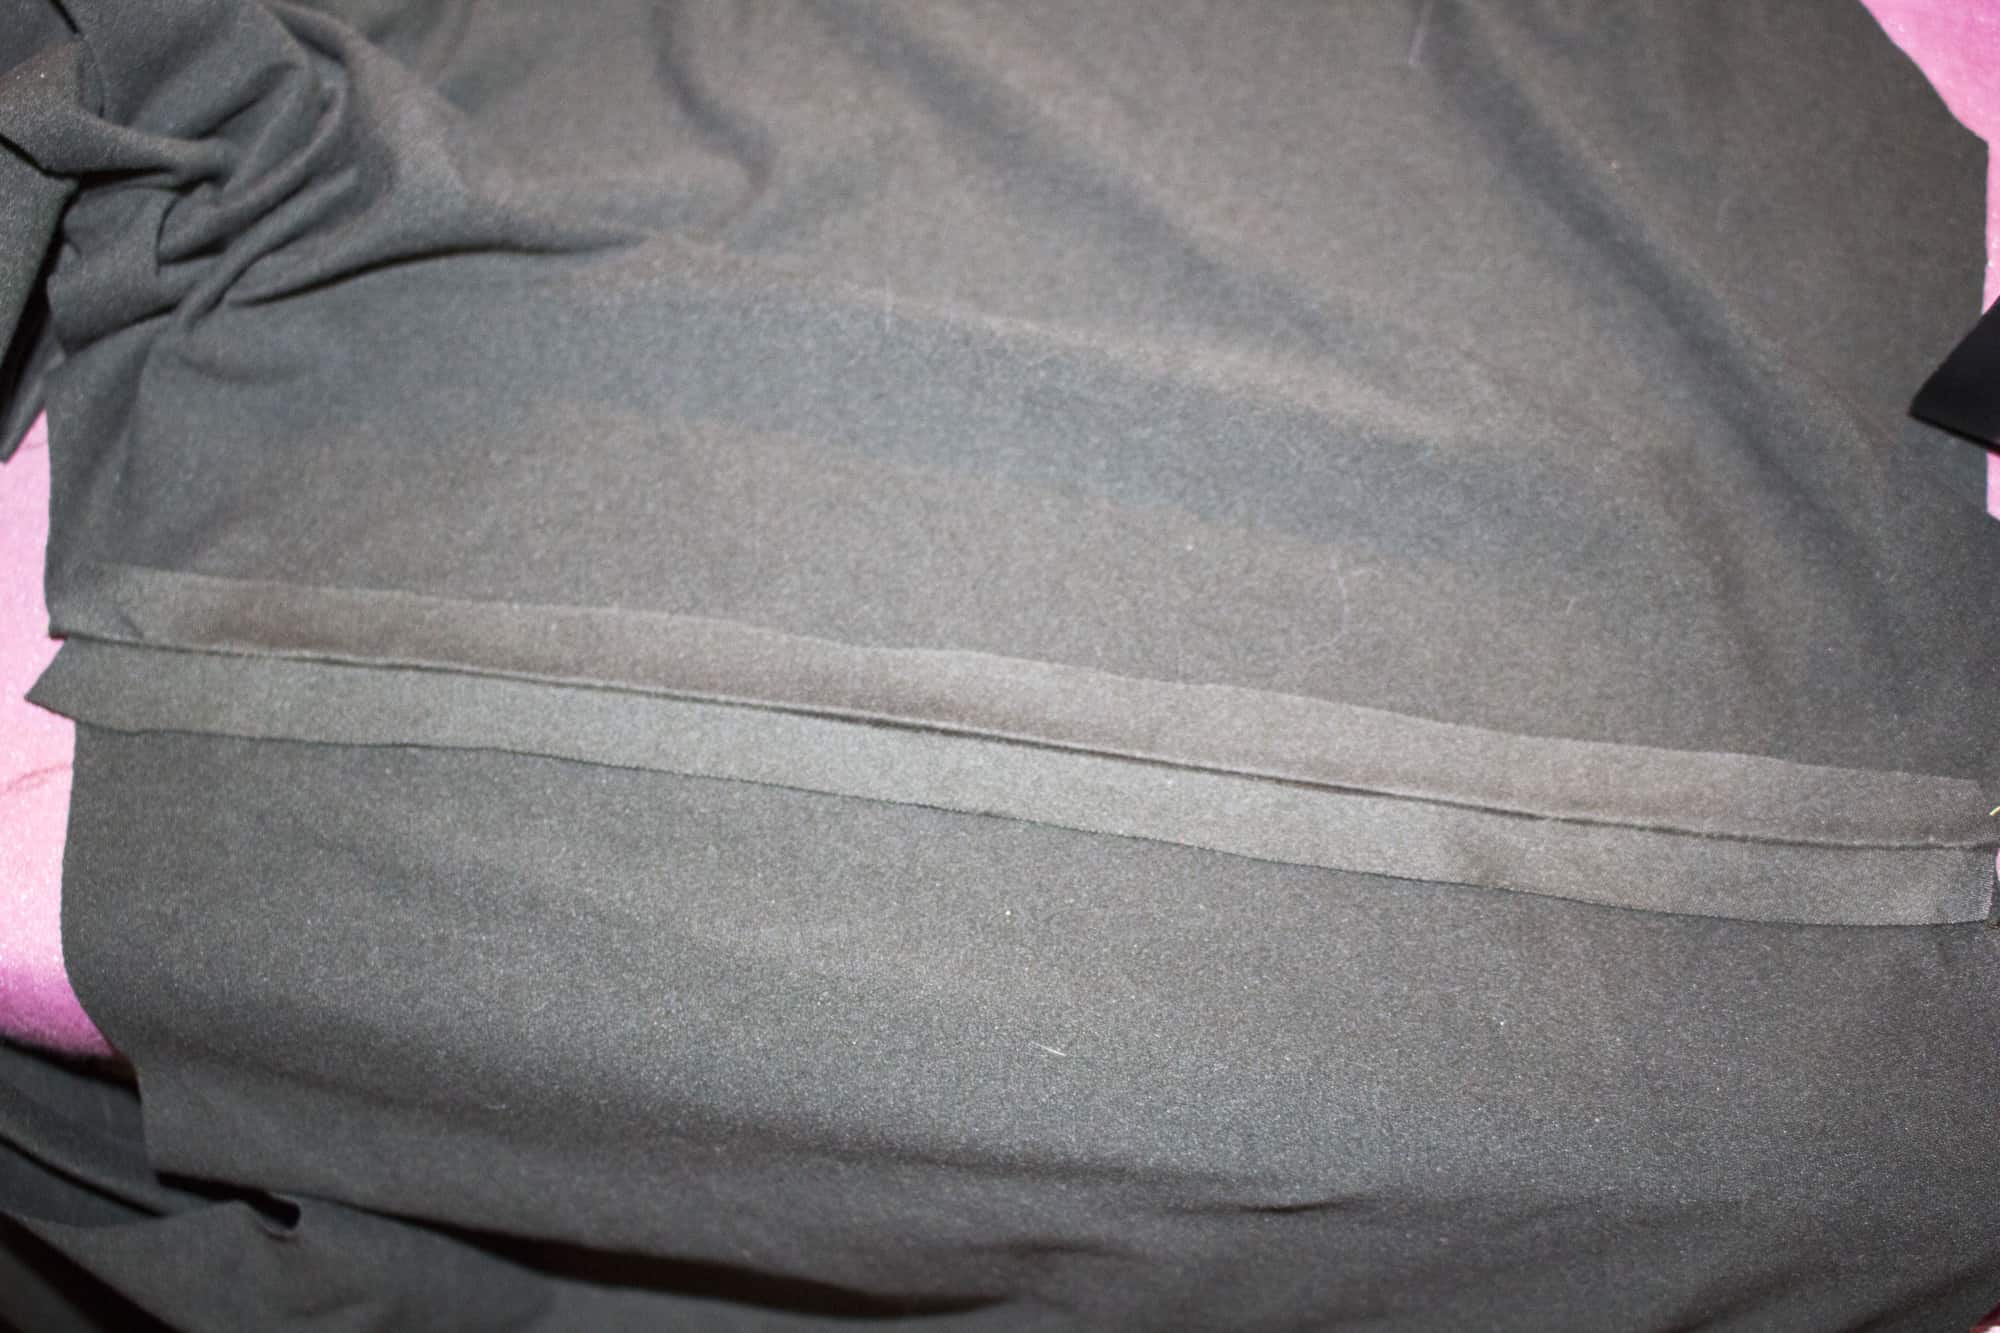
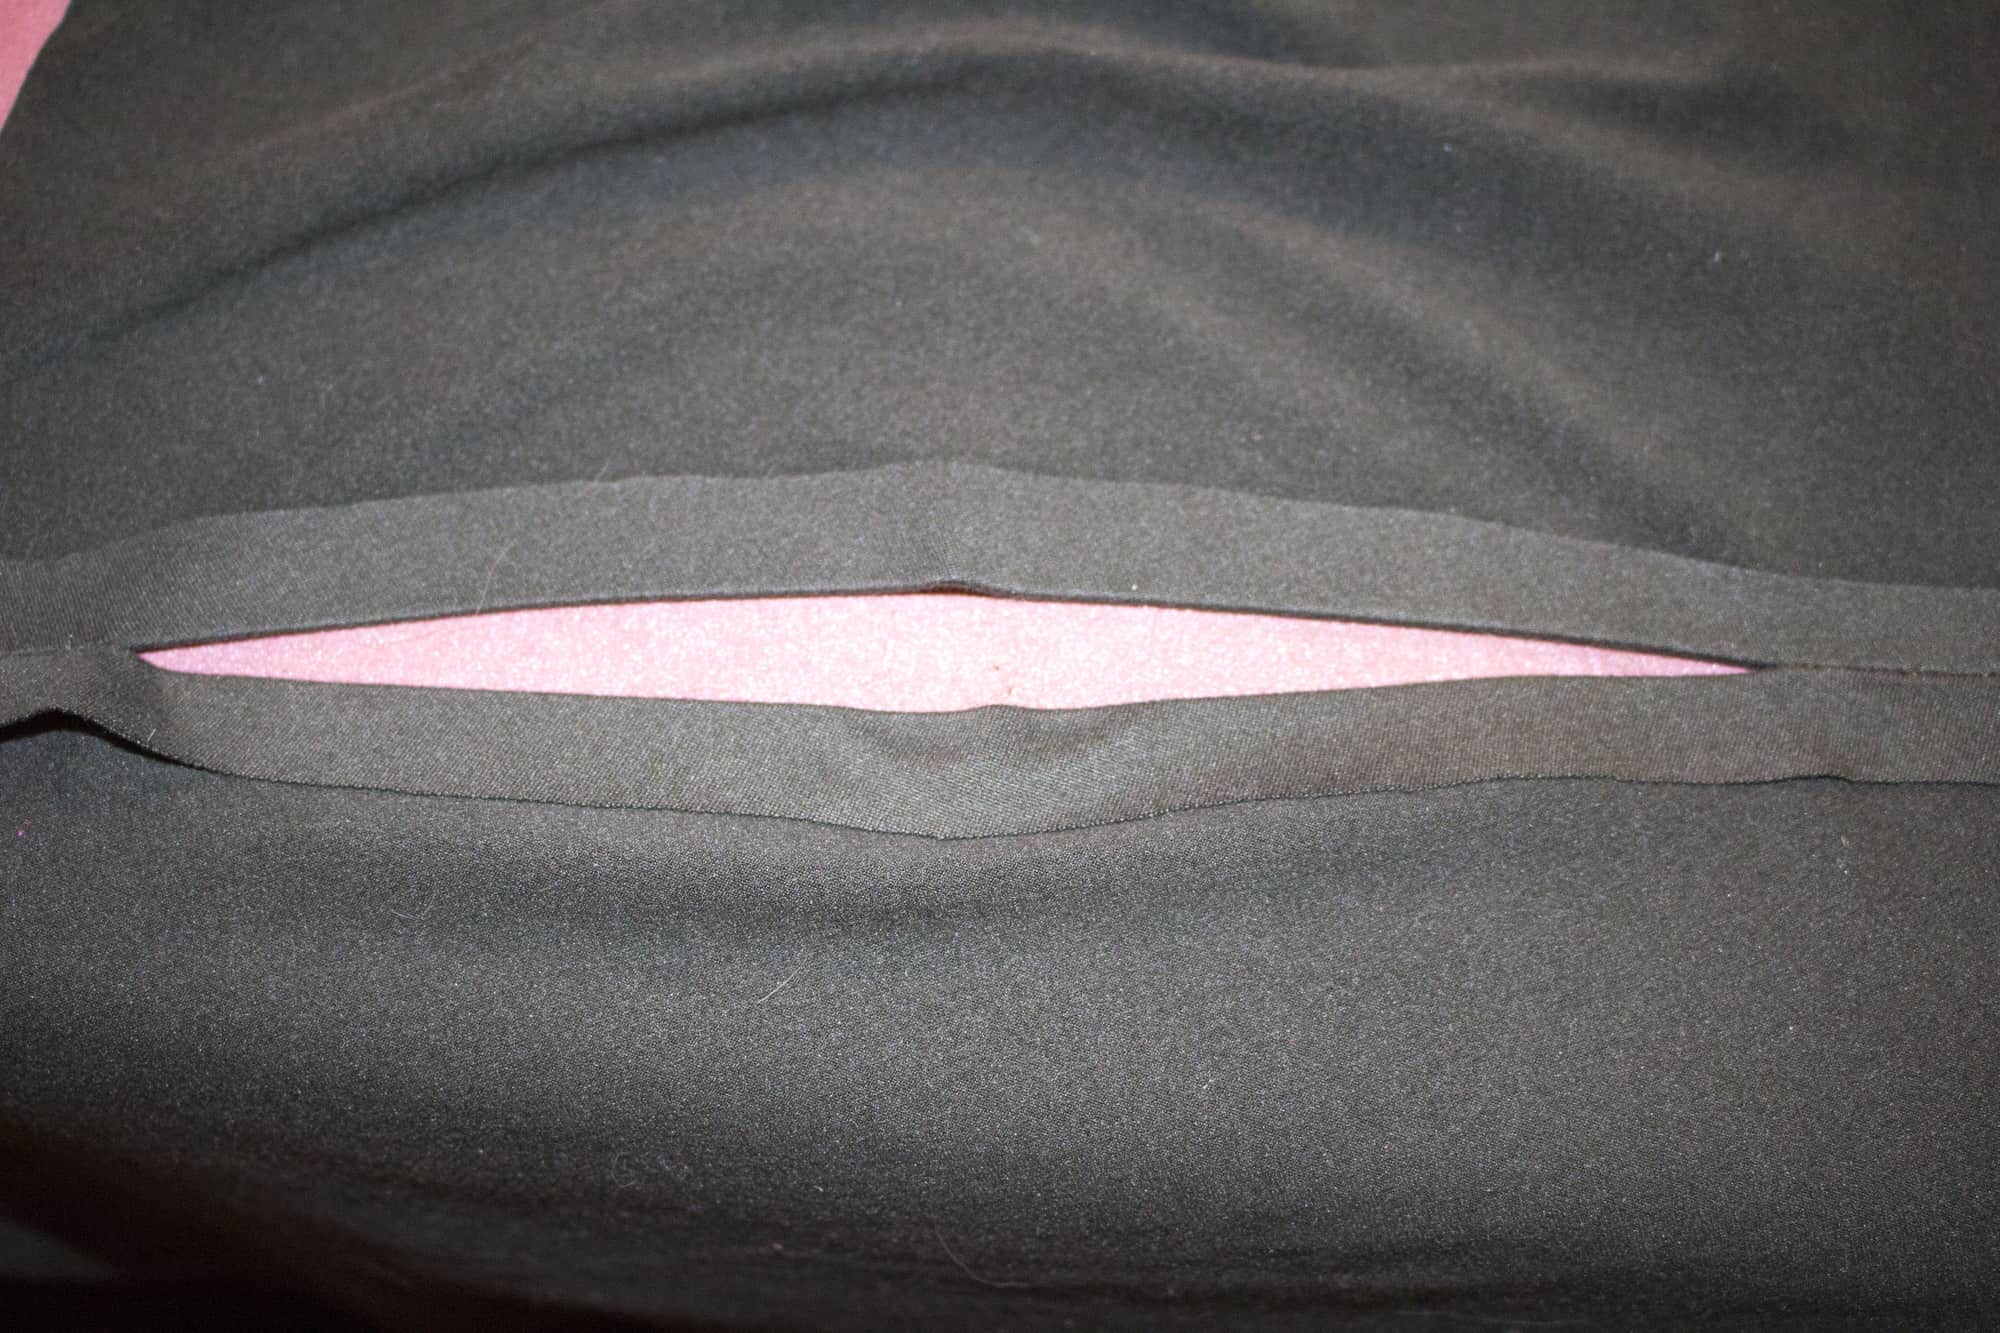
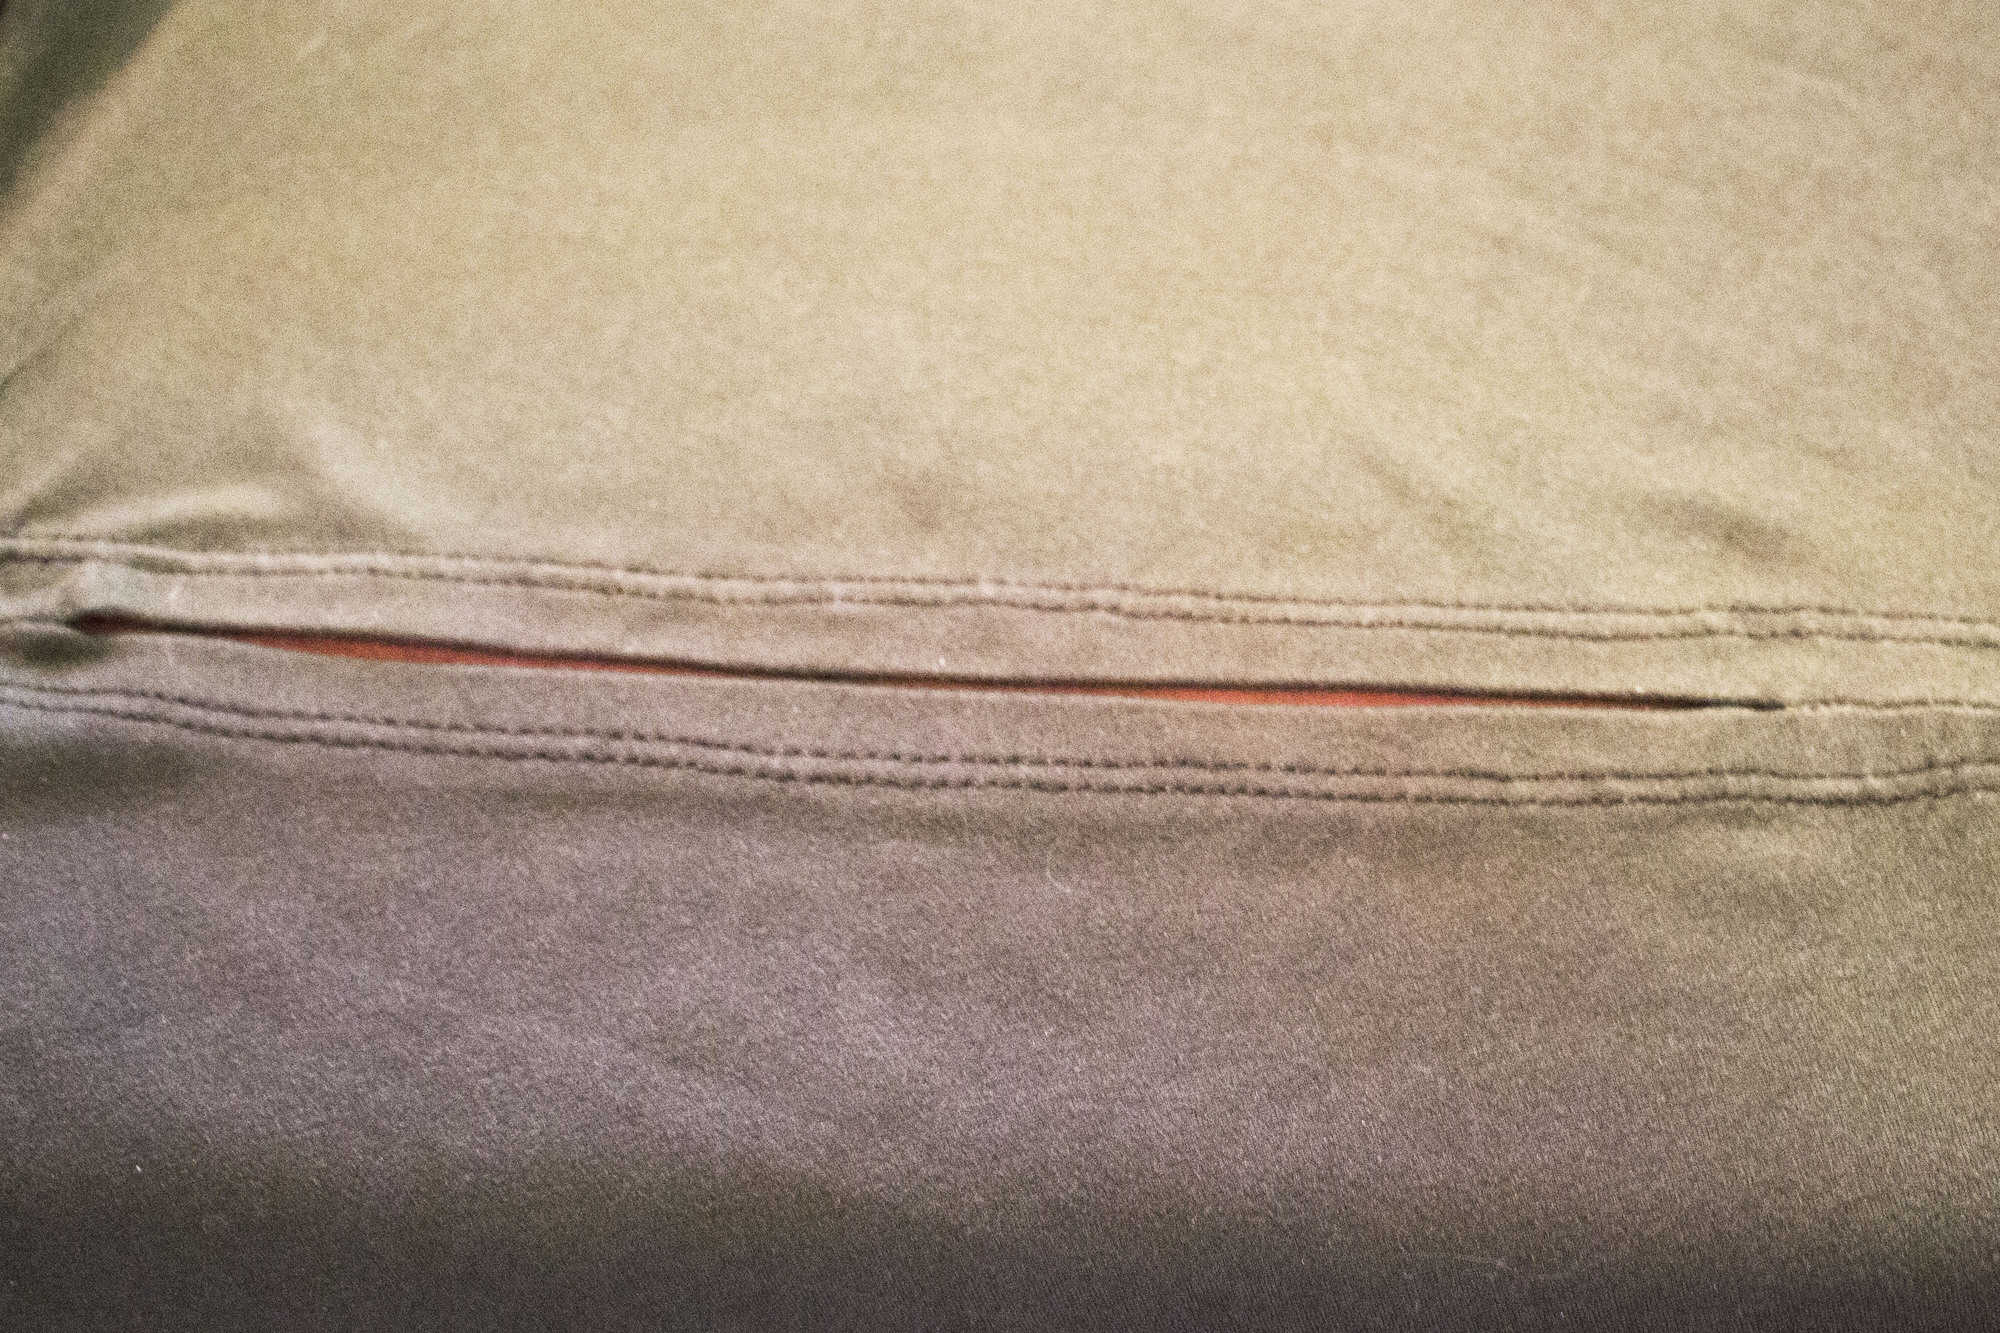
Kangaroo + Inseam Pockets
The jacket also boats a zipper/chin guard so your little one can zip up themselves and not worry about getting their little chins rubbed by the zipper all day! We also include instructions how to finish the neckline and zipper with a clean nice finish on the inside for extra gorgeous-ness!
Ready to grab your patterns? You won’t regret it!
Go To Men’s | Go To Women’s | Go To Youth | Go To Bundle
Need more convincing? Just take a look at this pattern on all of the amazing shapes and sizes of our testers, and get a look at more examples of all the options in our albums in the P4P Facebook group! Men’s Album / Women’s Album / Youth Album
The sale price will last through March 8 (11:59 PM US Central time zone) so grab it while you can at the introductory price!
And if that wasn’t enough options, make sure to check out the hacks post to help take your patterns even further. Also head over to the P4P University post to learn all about shortening zippers for your Go To Jackets!
Happy Sewing, friends!