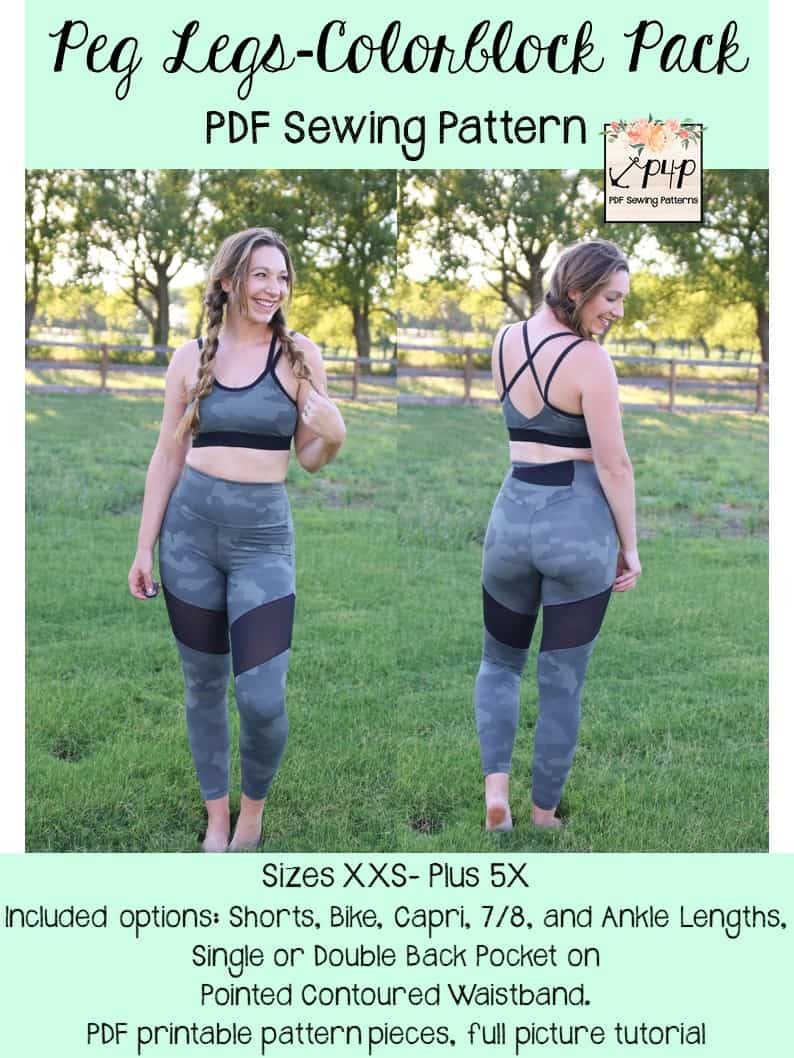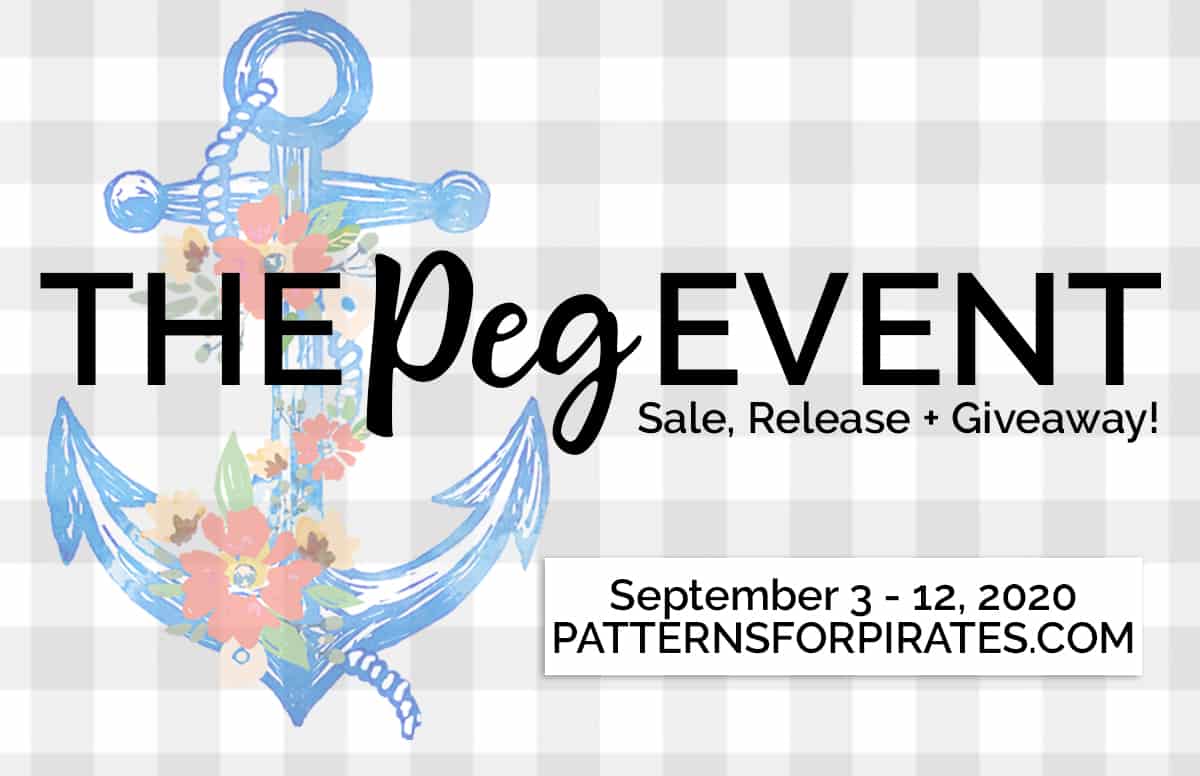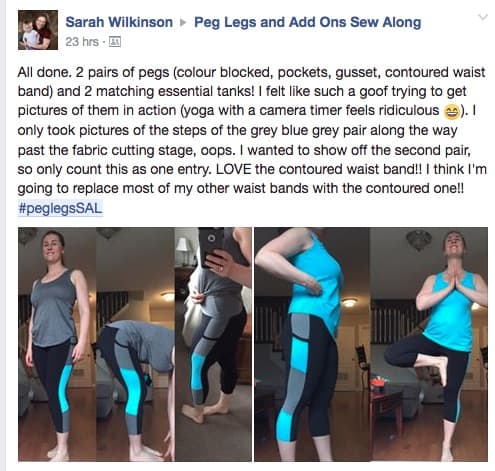
We hope y’all have had as much fun as we did during The Peg Event! It was a whirlwind of fun, sharing, and lots of Peg Leg love! Though the sale and the contest are over, today is one more day of fun because we get to announce the winners of all of the prizes!! Again, we would like to thank our sponsors for being so incredible and spoiling our Pirate family! This giveaway wouldn’t be possible without them!

Ready to see who’s walking away with some awesome new sewing swag? Let’s do it!
WANDERLUST DESIGNS – www.wanderlustcustomfabric.com
INSTAGRAM | FACEBOOK GROUP | PINTEREST
$50 Gift Card Prize goes to: Ellen Tunison Hibdon

THE STYLED MAGNOLIA – www.thestyledmagnolia.com
INSTAGRAM | FACEBOOK GROUP
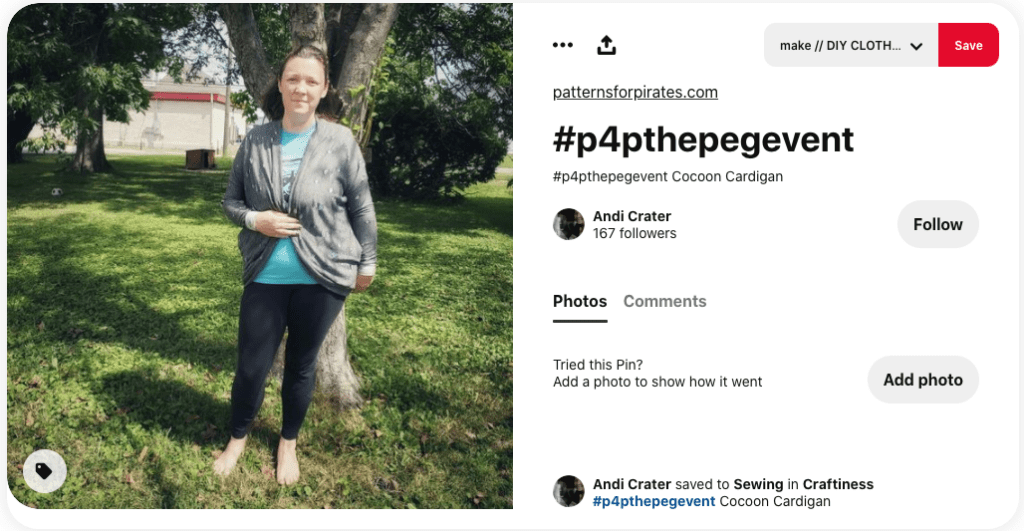
$100 Shop Credit Prize goes to: Andi Crater
SLY FOX FABRICS – www.slyfoxfabrics.com
INSTAGRAM | FACEBOOK GROUP
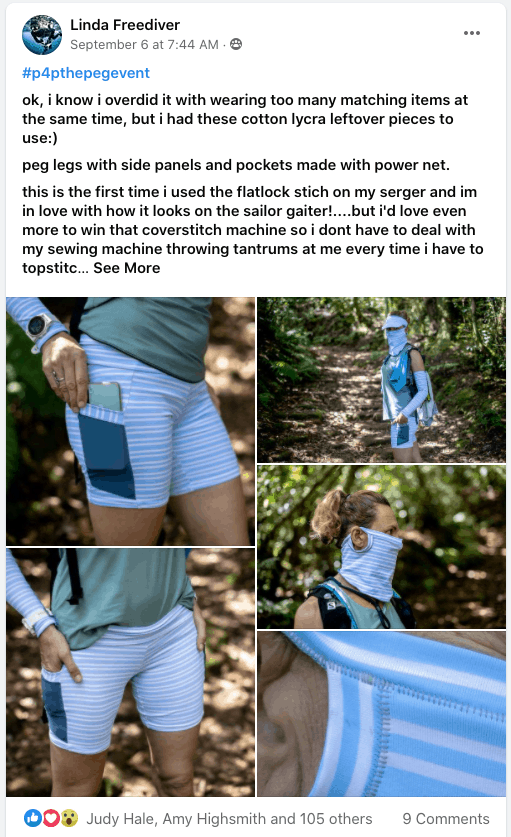
$50 Gift Card Prize goes to: Linda Freediver
OVER THE SELVAGE – www.overtheselvage.com
INSTAGRAM | FACEBOOK GROUP
$30 Shop Credit + 2 Yards of C/L Print Fabric goes to: Stephanie Ross
$15 Shop Credit + 1 Yard of C/L Print Fabric goes to: Tabetha Cloke

SEW DYNAMIC FABRICS – www.sewdynamic.com
INSTAGRAM | FACEBOOK GROUP | FACEBOOK PAGE
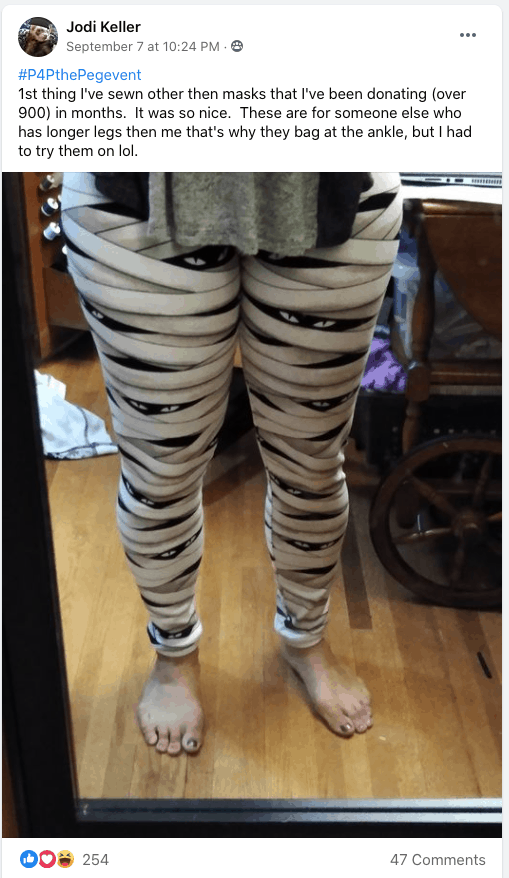
$30 Shop Credit Prize goes to: Jodi Keller
RASPBERRY CREEK FABRICS – raspberrycreekfabrics.com
INSTAGRAM | FACEBOOK GROUP | FACEBOOK PAGE
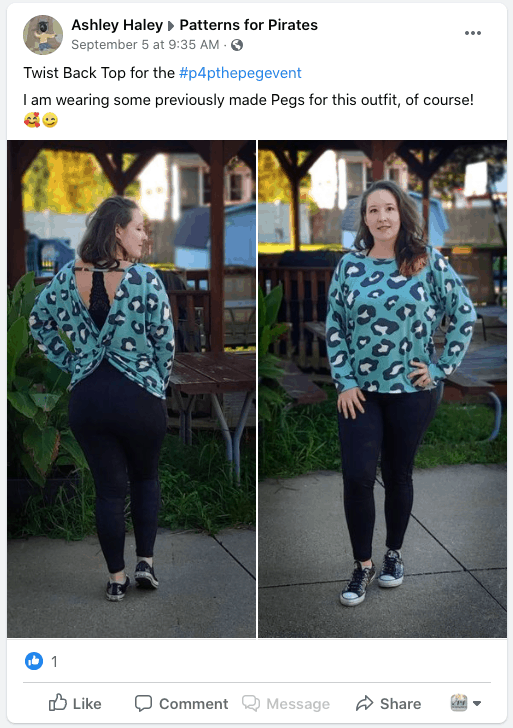
$100 Gift Certificate prize goes to: Ashley Haley
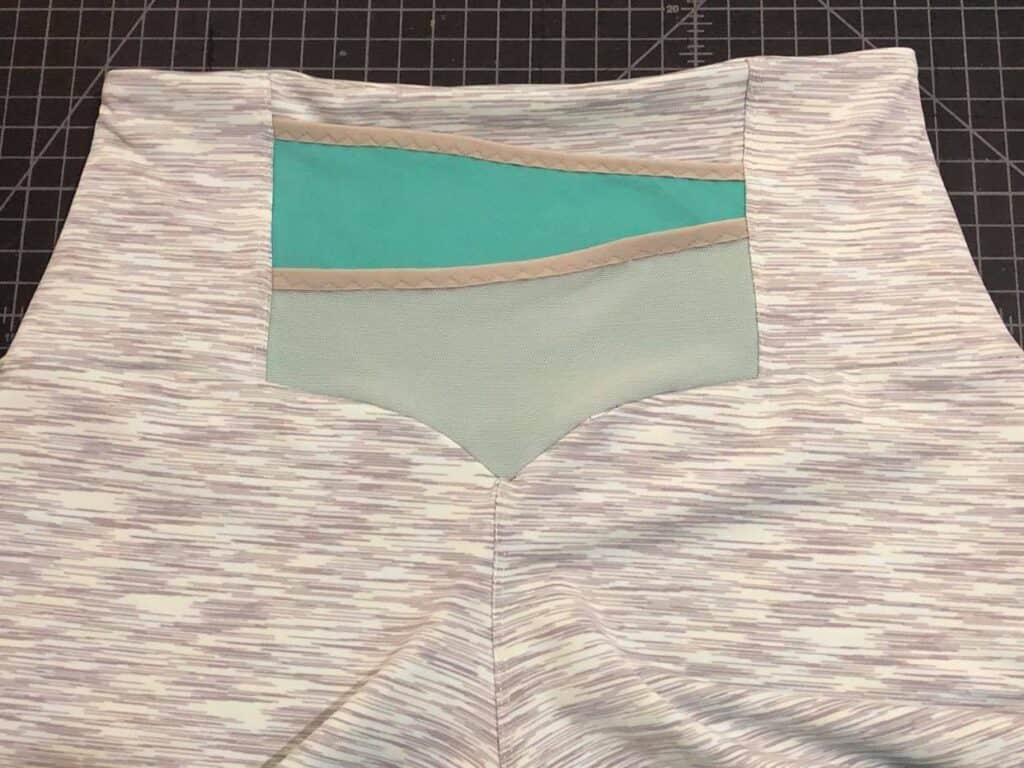
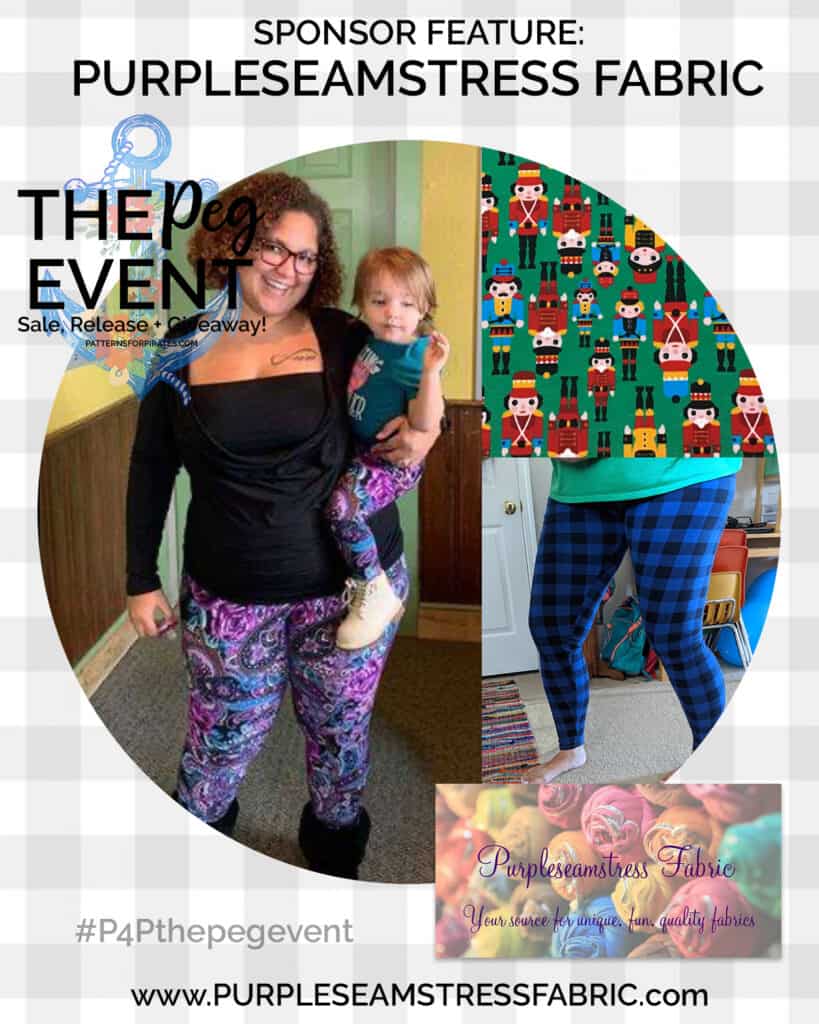
PURPLESEAMSTRESS FABRIC – www.purpleseamtressfabric.com
FACEBOOK GROUP | FACEBOOK PAGE
$75 Gift Card prize goes to: Amanda Dalton
BOW BUTTON FABRICS – www.bowbuttonfabrics.com
INSTAGRAM | FACEBOOK GROUP
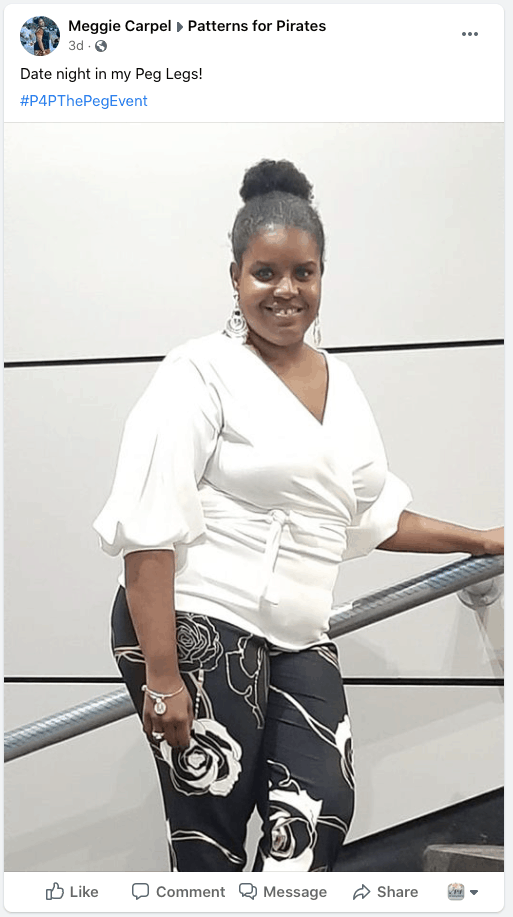
1 Yard ABP 265 gsm in Black Prize goes to: Meggie Carpel
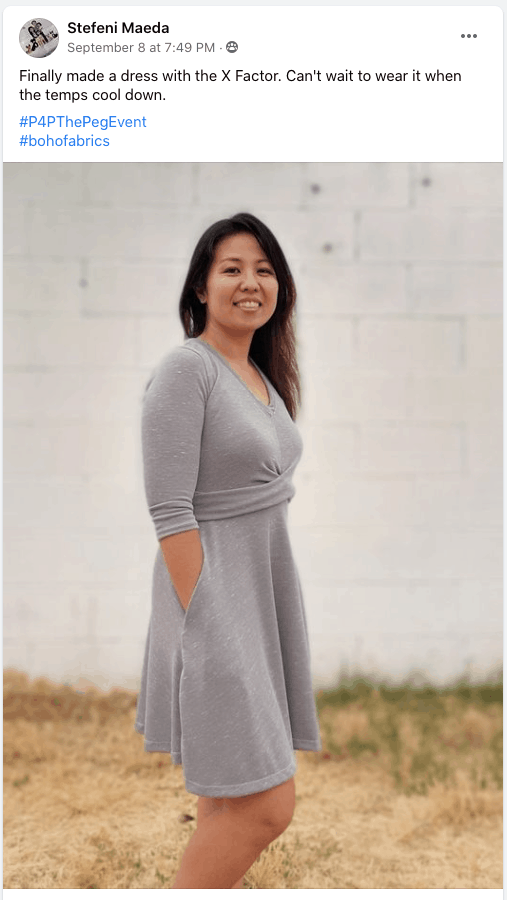
1 Yard ABP 265 gsm in Black Prize goes to: Stefeni Maeda
1 Yard ABP 265 gsm in Black Prize goes to: Kelli Tuttle

SO SEW ENGLISH FABRICS – https://sosewenglishfabrics.com/
INSTAGRAM | FACEBOOK GROUP
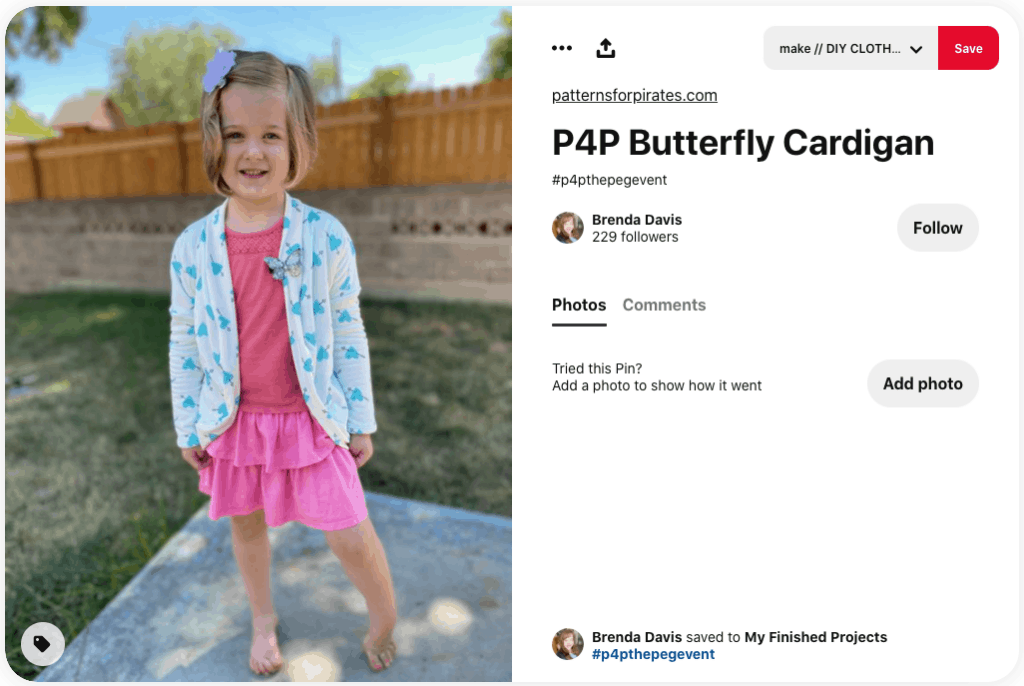
$75 Gift Card prize goes to: Brenda Davis
HISSY FIT FABRICS – www.hissyfitfabrics.com
FACEBOOK GROUP
$50 Gift Card Prize goes to: Brooke Henning
EMERALD CURTAIN FABRIC – www.emeraldcurtainfabric.com
FACEBOOK GROUP
$40 Gift Card Prize goes to: Frida Lang

KNITFABRIC.COM – knitfabric.com
INSTAGRAM | FACEBOOK GROUP | FACEBOOK PAGE
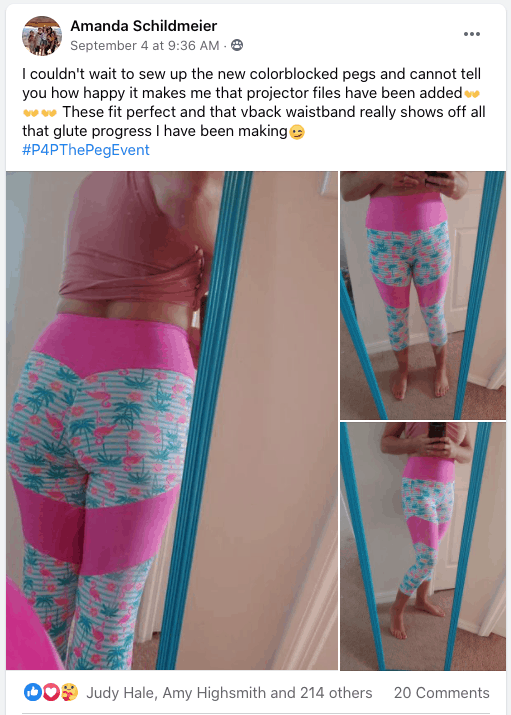
$50 Gift Card Prize goes to: Amanda Schildmeier
THE FABRIC FAIRY – www.thefabricfairy.com
FACEBOOK GROUP | FACEBOOK PAGE
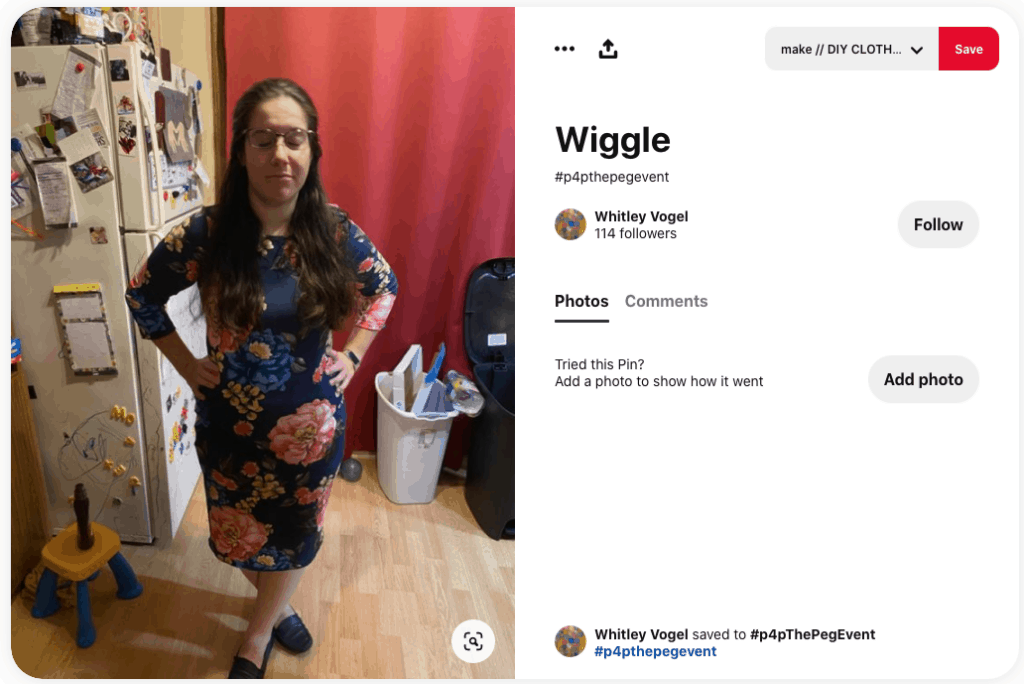
$30 Gift Card Prize goes to: Whitley Vogel
And….drumroll please……
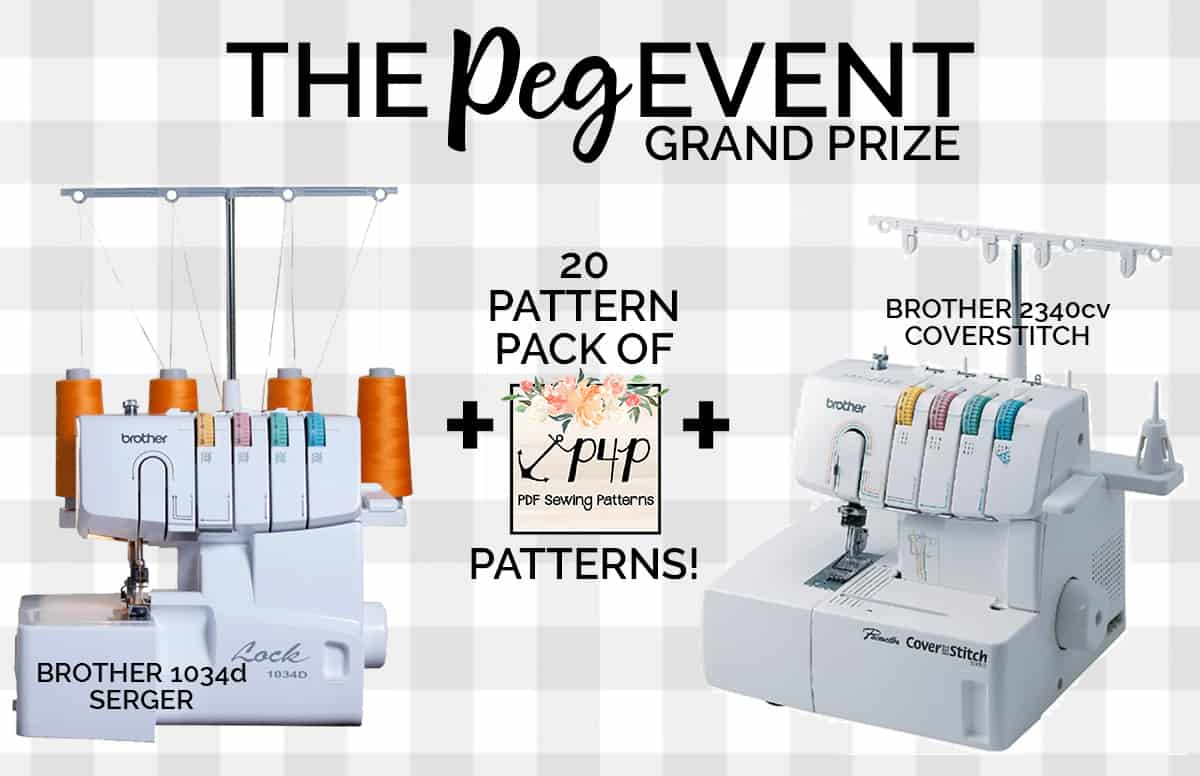
The Grand Prize Winner, sponsored by Patterns for Pirates, taking home a brand new Brother Serger + Brother Coverstitch + 20 Patterns for Pirates patterns is: Stephanie Anita

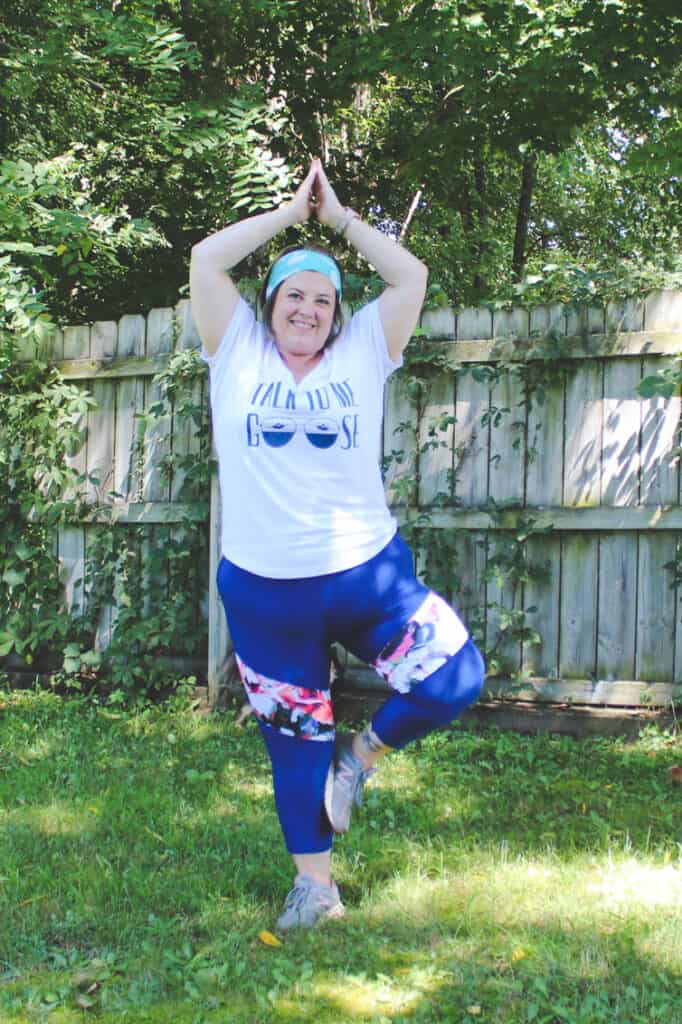
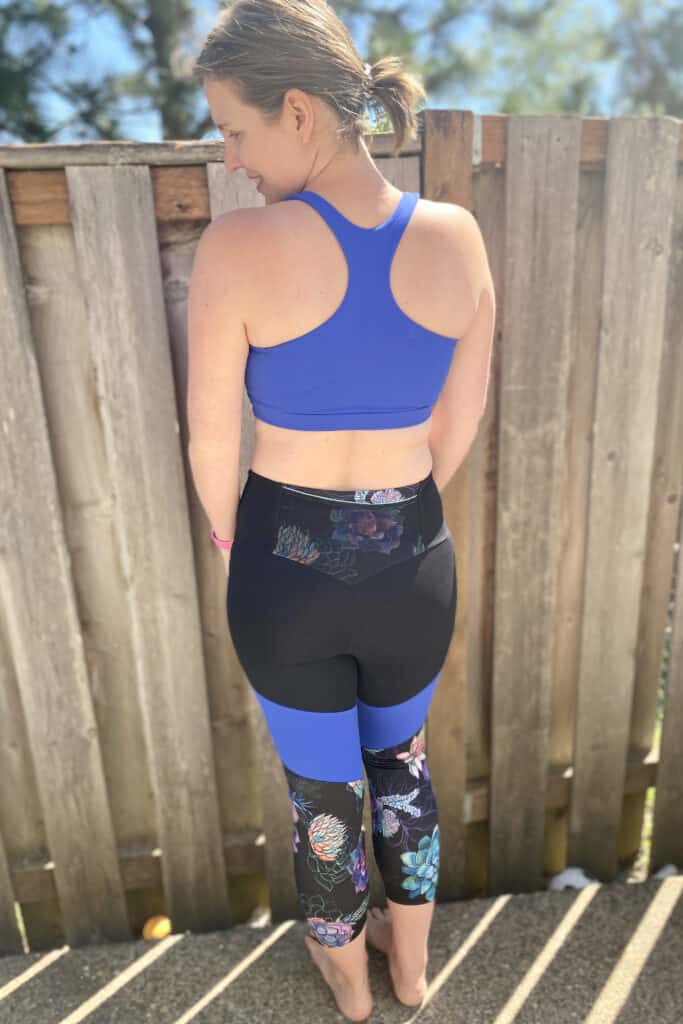
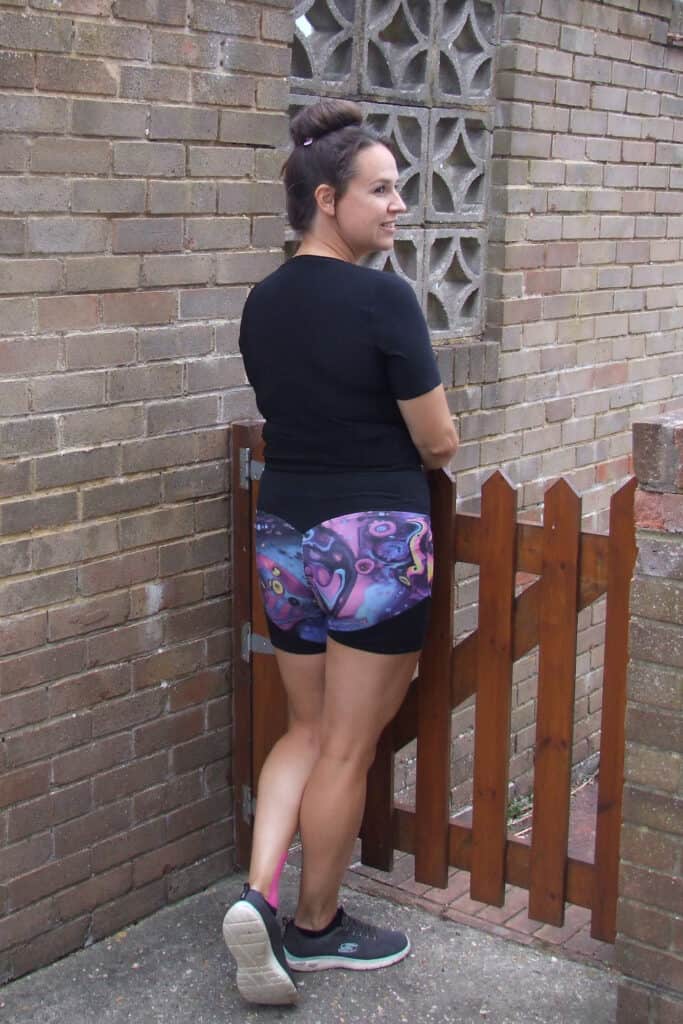
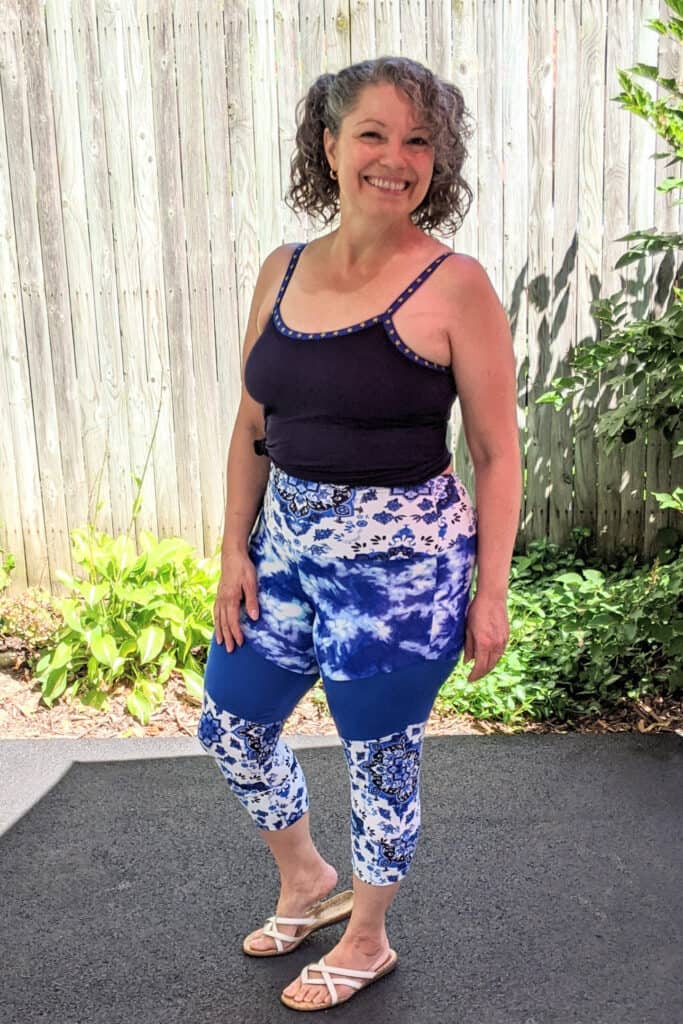
Congratulations to all of the winners! And thank you all so very much for allowing us to have such a fun filled 10-day long event where we got to celebrate sewing, our favorite leggings pattern, AND had the chance to see so many people proudly share the new items that they made for themselves and their loved ones! The Peg Event was a success, if you ask us!
If your name + photo was shared above as a prize winner, please email help@patternsforpirates.com to claim your prize.