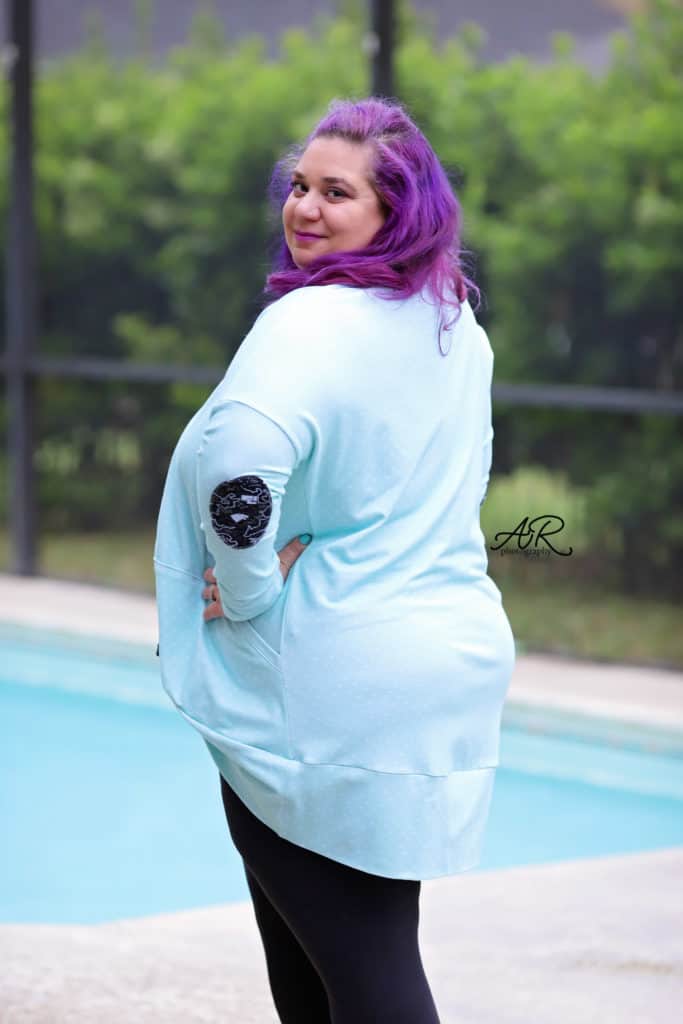
Good evening, pirates!! I know you have been waiting for the winners blog so I won’t keep you in suspense much longer. Allow me to express how proud I am of every single one of you. I have seen so many new participants as well as seasoned sewists, everyone being so encouraging and helpful. YOU ROCK!
Without further ado…. 🥁
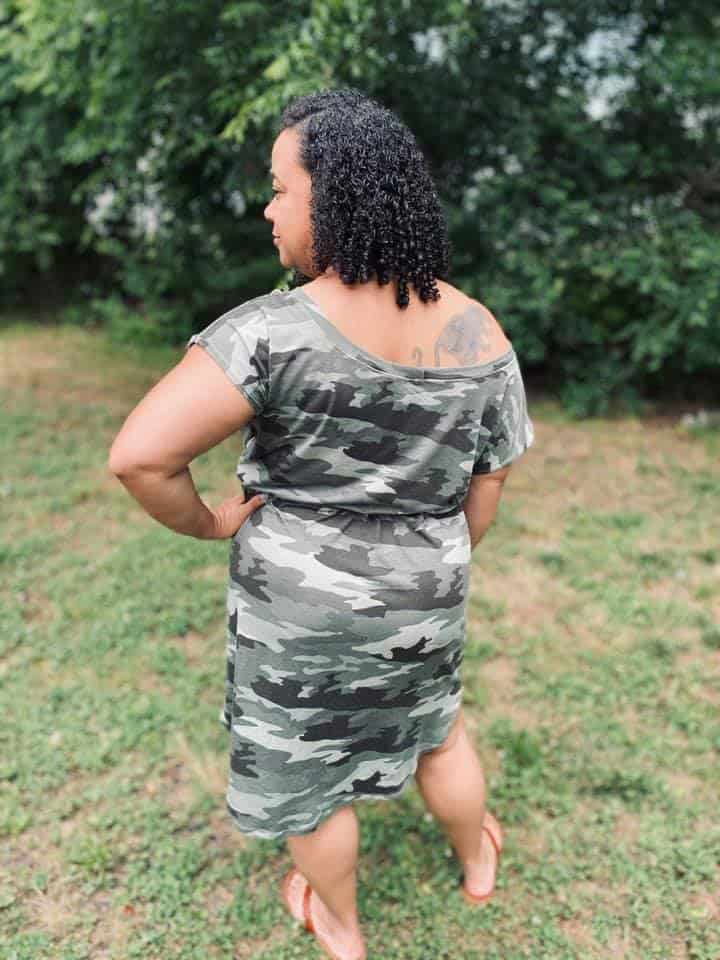
Congratulations Ashley Haley! Ashley is our first winner, her prizes include a $20 gift card for Patterns for Pirates and a mystery Bamboo Lycra PFRE from Coordiknit Nonsense Fabrics (winner pays shipping).

Our second winner is Felisha Jones! Felisha won a $20 gift card to Made for Mermaids and a free yard of fabric from Coordiknit.
A big “thank you” to our sew along sponsor! You can check them out on Facebook and on their website.
Thank you so much for joining me this past week. I’m excited to see you all back in August. In the meantime, stay tuned for the mermaids’ announcement regarding our next sew along.
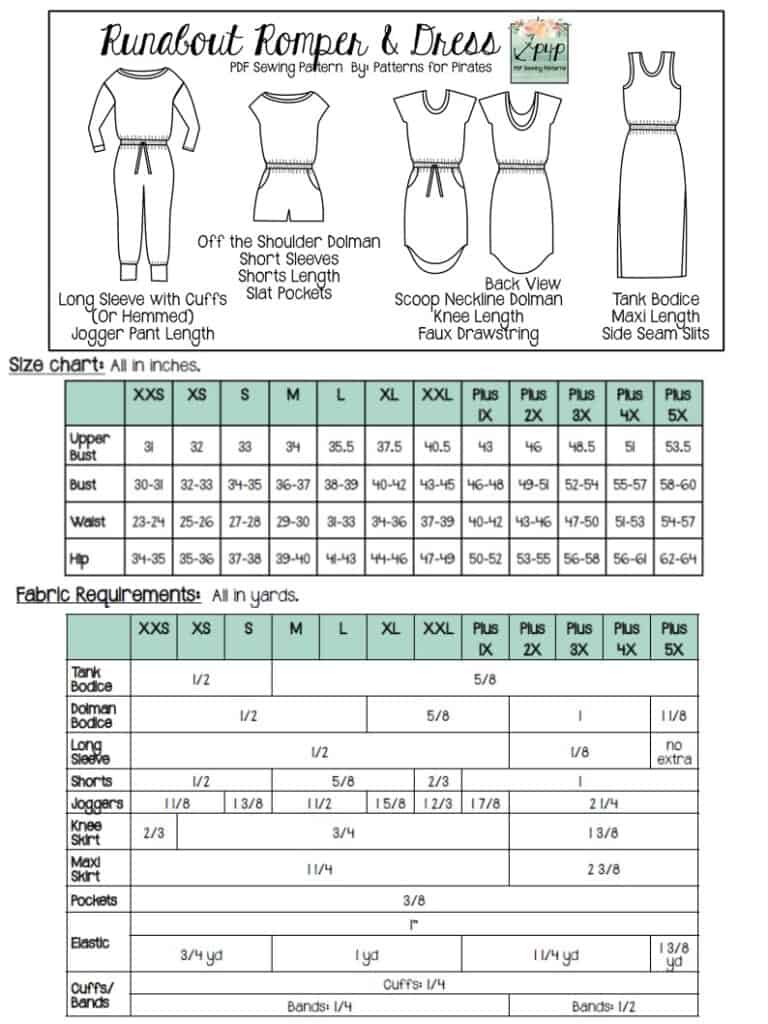
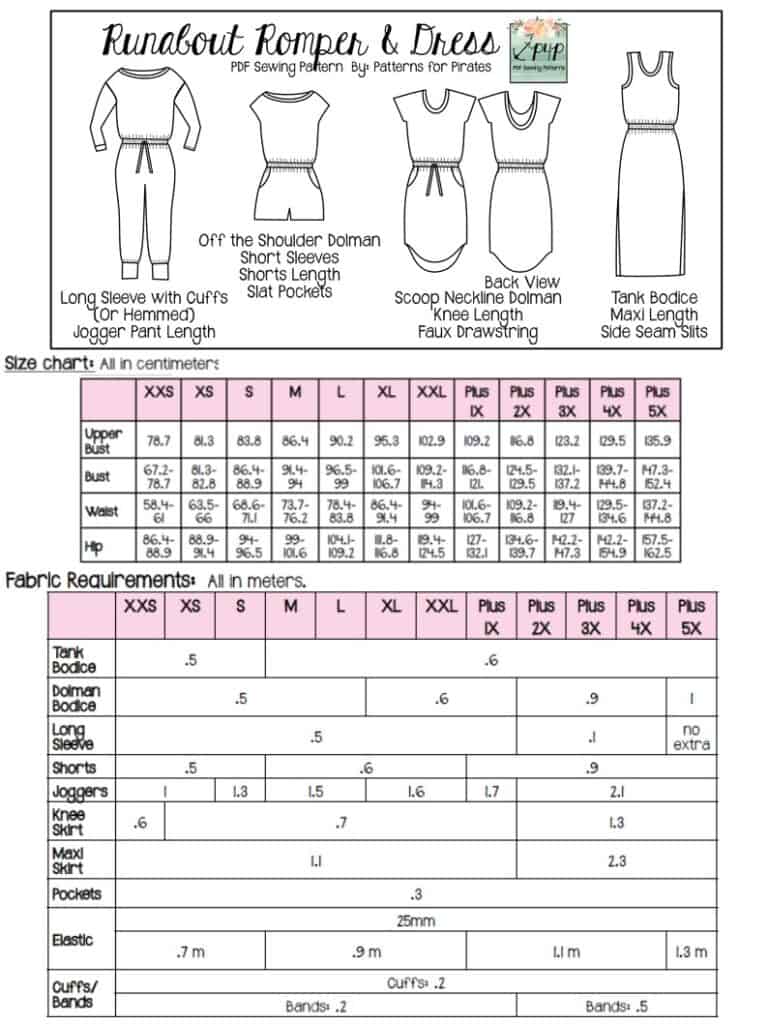
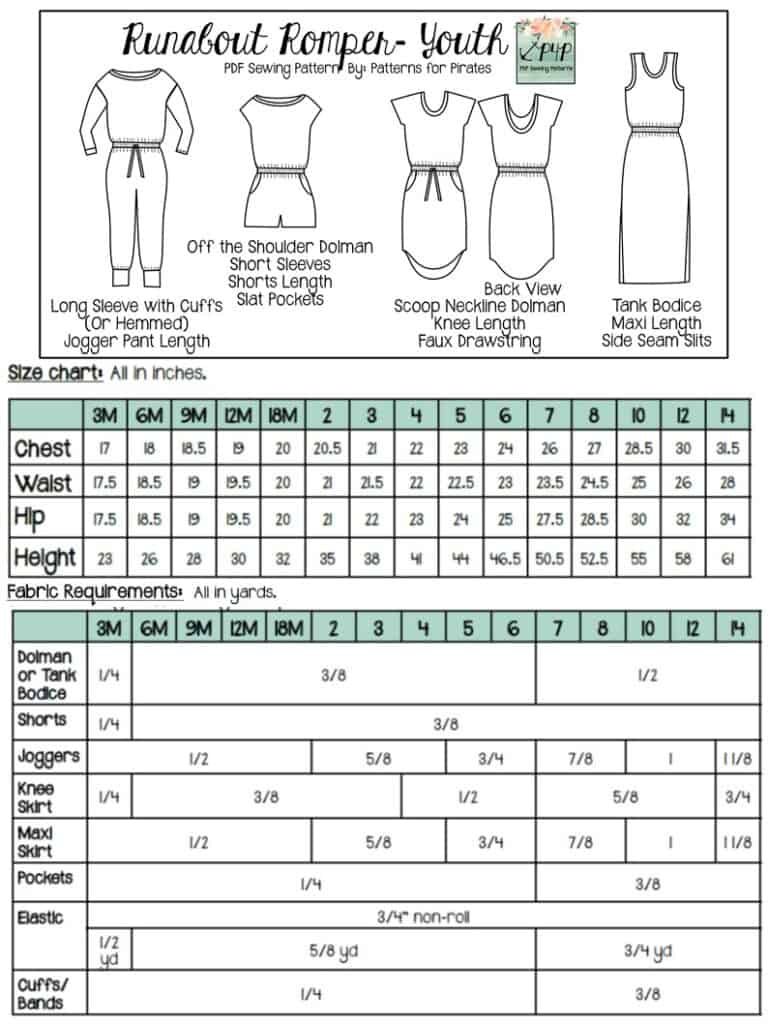
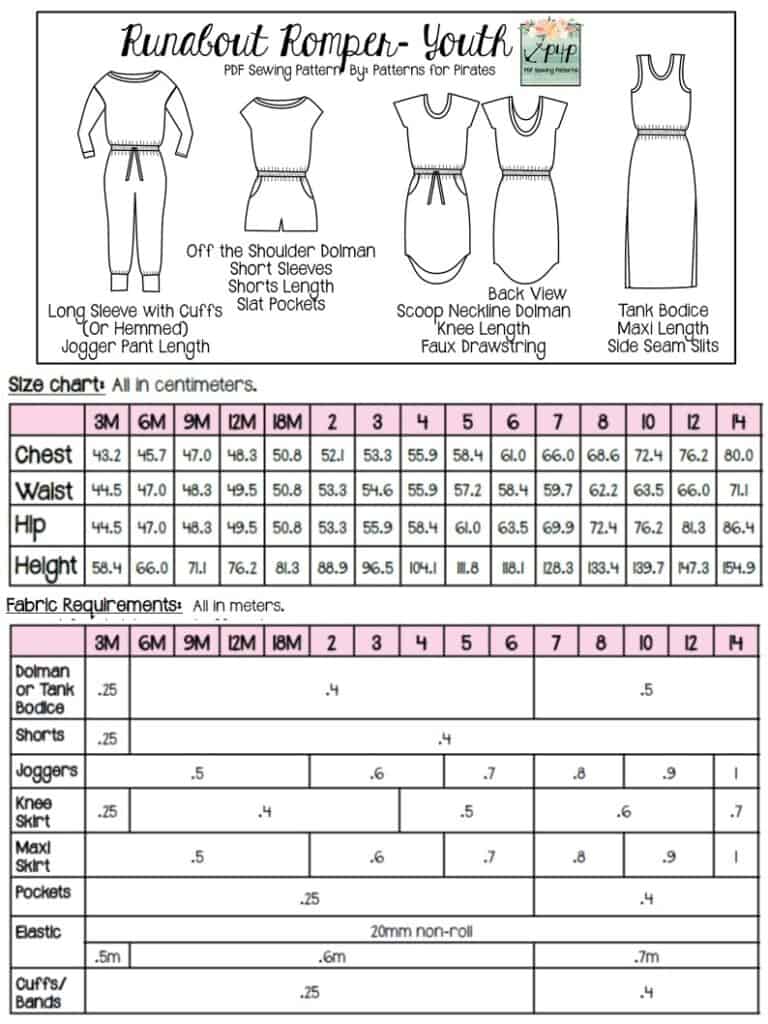
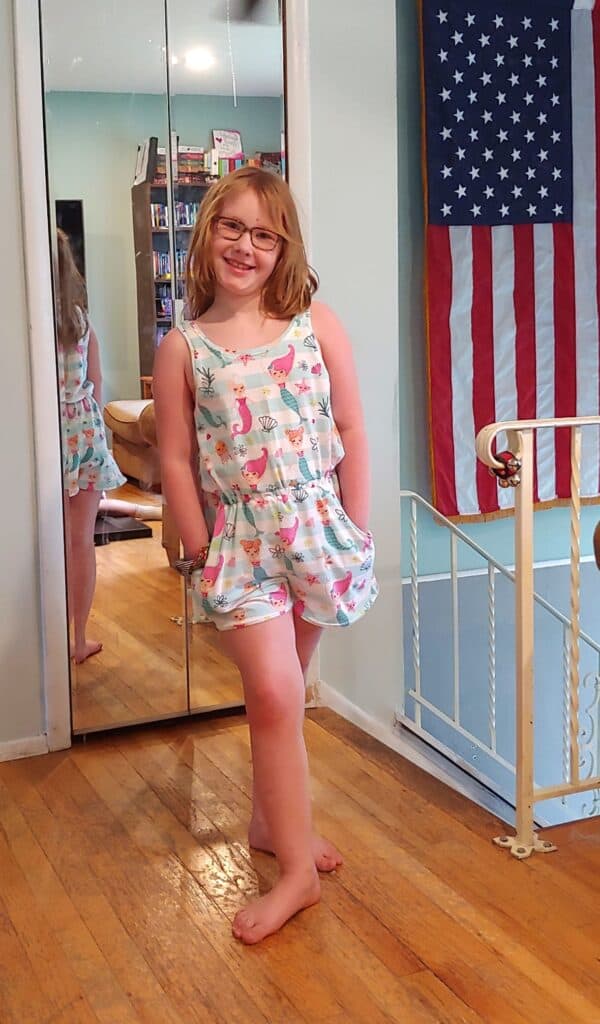
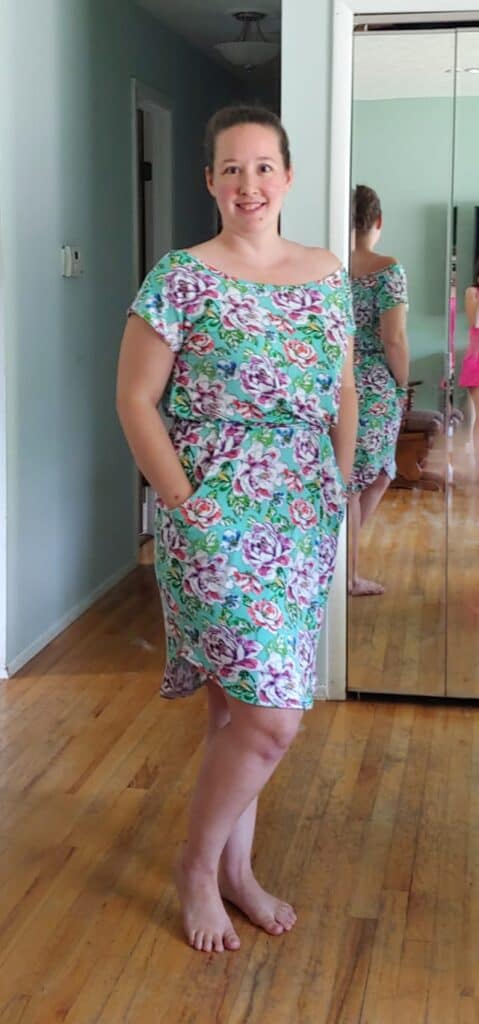
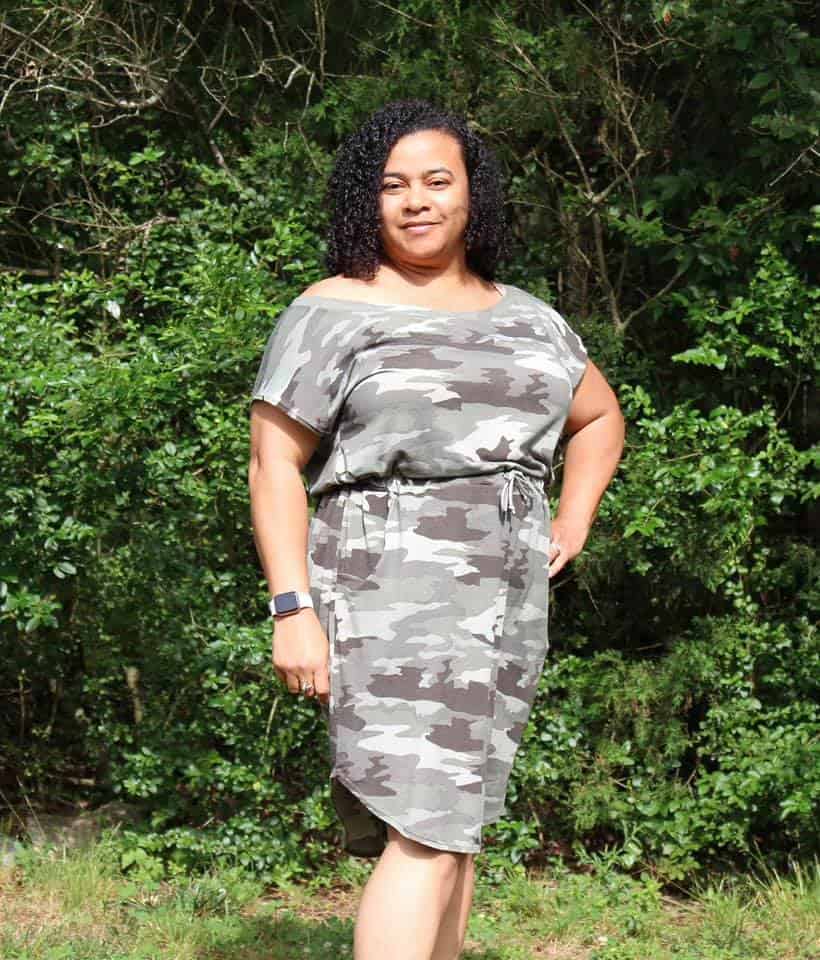
Runabout Romper & Dress SAL day 1 | Print pattern and cut fabric
Runabout Romper & Dress SAL day 2 | Add chest pocket, sew shoulder seams and add neckband
Runabout Romper & Dress SAL day 3 | Sew side seams and add tank armband/dolman sleeves
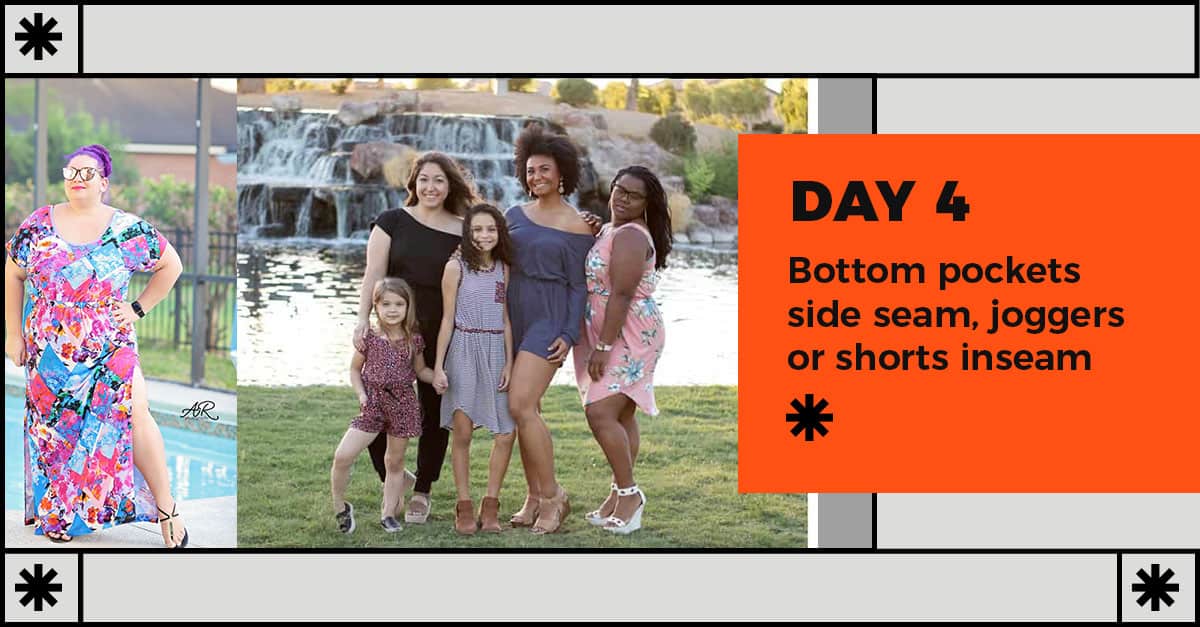
Runabout Romper & Dress SAL day 4 | Add pockets, side seam skirt or shorts/joggers and inseam
Runabout Romper & Dress SAL day 5 | Hem skirt/shorts or add cuffs to joggers
Runabout Romper & Dress SAL day 6 | Add waistband and show off your creations
Runabout Romper & Dress SAL day 7 | Winners announcements