Patterns for Pirates

P4P stylish, modern, wearable patterns

  • Home
  • Blog
    • Frequently Asked Questions
    • Pattern Releases
      • Free Patterns
    • P4P University
      • Fitting
      • Sewing with Stretch, Knit Fabrics
      • Sewing with Woven Fabrics
      • Sewing Machines
    • Sew-A-Longs
    • Fabric for Pirates
    • Pattern Hacks
    • Announcement
      • Blog Tours
      • Contest/Giveaway
  • Shop
  • Bundle Discounts
  • Gift Cards
  • My Account
  • Cart

Sporty Piko Sew Along – day 7 (winners announcement)

November 3, 2020

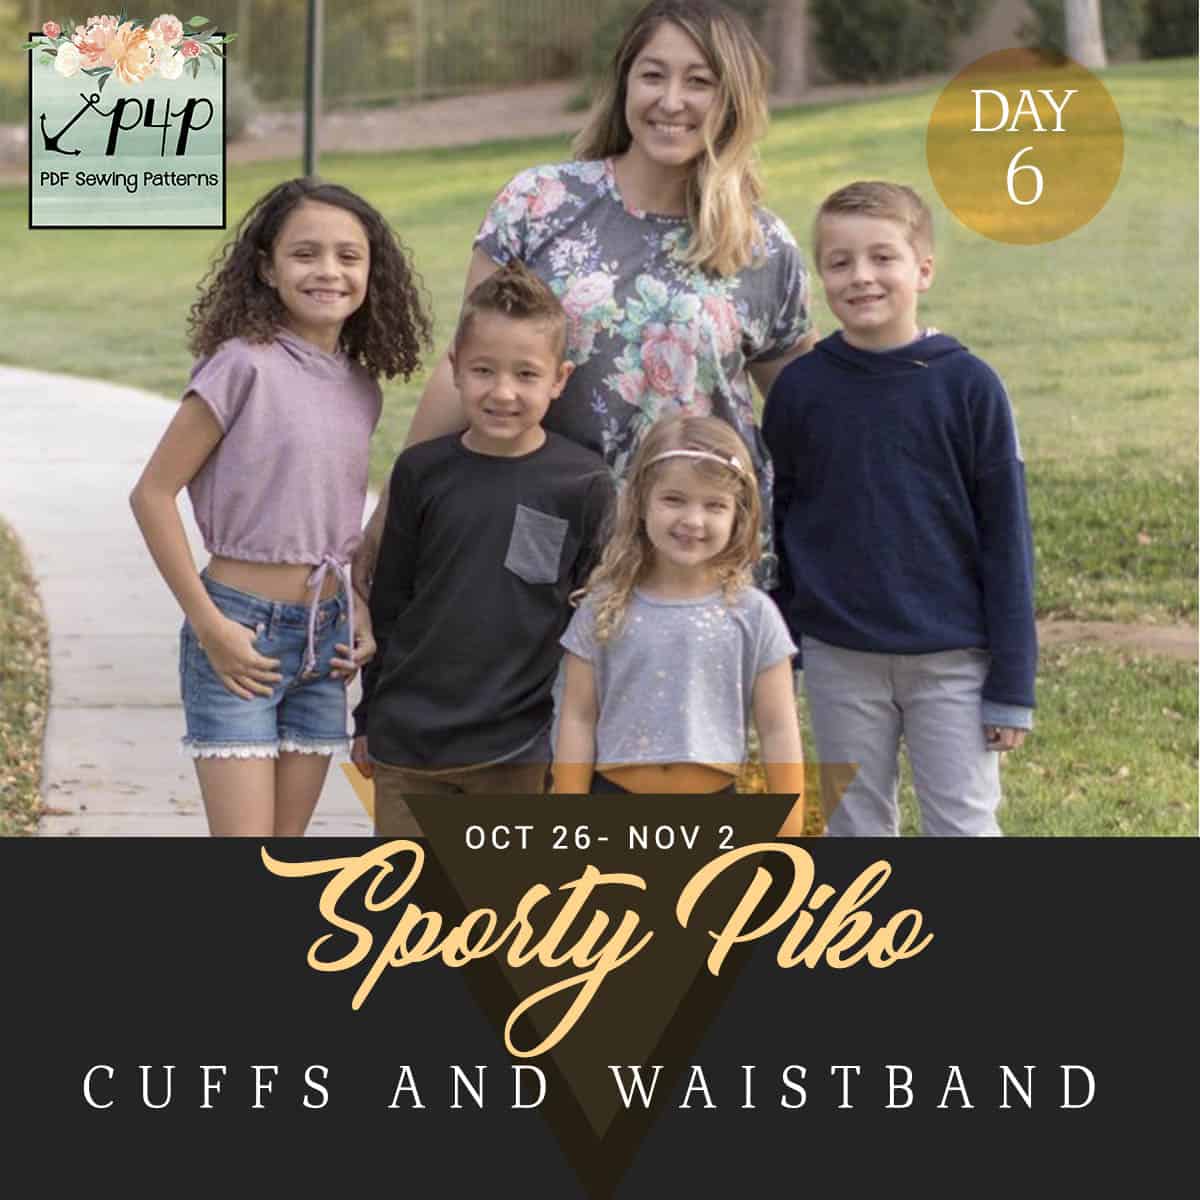
Ahoy, pirates! Thank you so much for joining me last week in our last Sew Along of 2020. I absolutely loved watching you sew all the Sporty Piko, littles and adults. There were so many beautiful entries, we had a hard time picking the two winners.

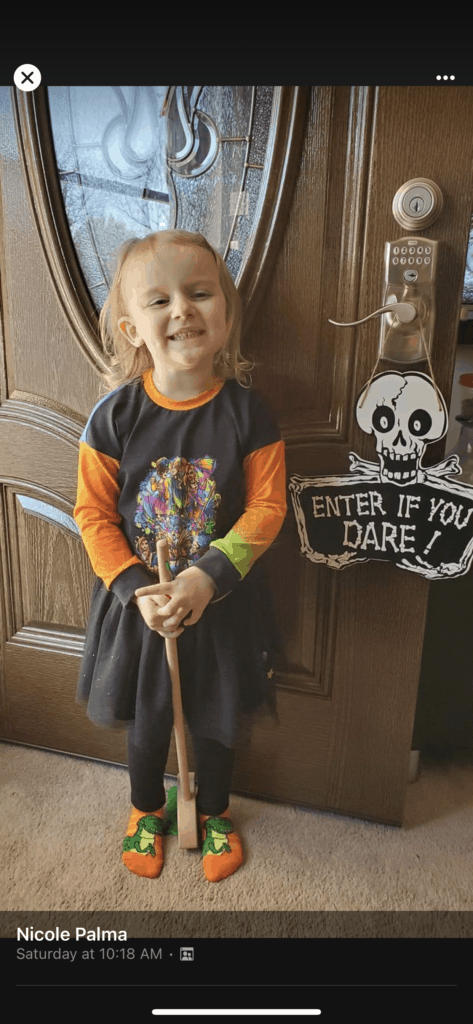
Congratulations Nicole Palma! You are our first winner. Nicole won a $20 gift card to Patterns For Pirates and a $25 gift card from Hapa Fabrics. 


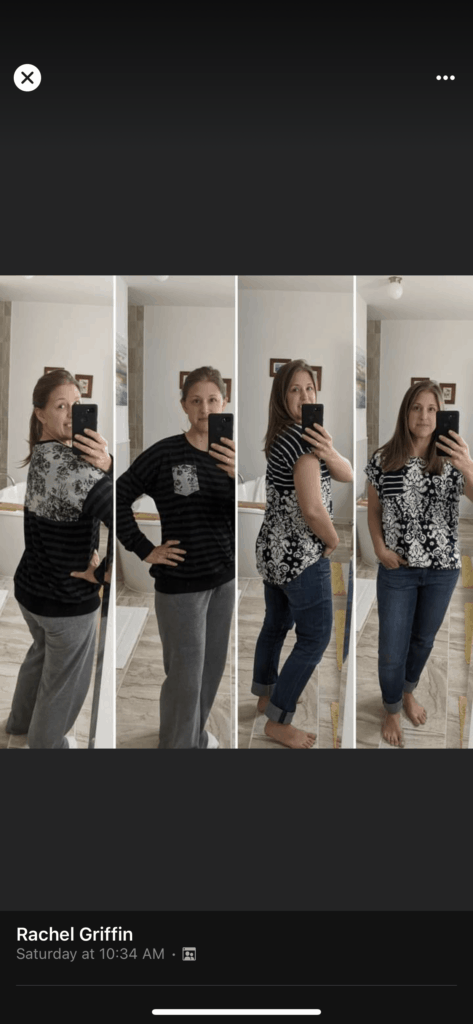
We chose a second winner as well. Congratulations Rachel Griffin! You won a $20 gift card to Made for Mermaids. 


Huge thank you to Hapa Fabrics who kindly sponsored this sew along. 


I look forward to sewing along with you back here in January! The Mermaids are sewing their Carli pattern this month. In the meantime, don’t forget to share you beautiful Pikos in the Patterns for Pirates Facebook group too. You did fantastic! 

Sporty Piko SAL | day 1

Sporty Piko SAL | day 2

Sporty Piko SAL | day 3

Sporty Piko SAL | day 4

Sporty Piko SAL | day 5

Sporty Piko SAL | day 6

Sporty Piko SAL | day 7

Filed Under: Frequently Asked Questions, Sew-A-Long, Uncategorized Leave a Comment

Sporty Piko Sew Along – day 6 (cuffs and waistband)

October 31, 2020

We made it to the last day of the sew along. Today we add the cuffs to the long sleeves and waistband to the shirt option. If you opted for the crop, tunic and short sleeves you finished yesterday so today you just admire your creation. 

When creating the cuffs and waistband it’s highly important to press the wrong sides together lengthwise. Stitch each cuff and the waistband, right sides together to create a loop. Take a look over our P4P University Knit Cuffs blog to get some tips and tricks for beautiful cuffs. When adding the waistband, remember to mark the quarter points on both the raw edge of the waistband and bottom of the shirt. Dana talks about waistbands in the P4P University blog. I highly recommend giving it a look. 


That’s it!! Great job! All you have to do now is post a picture of the completed Sporty Piko in the comments of DAY 6 sew along album in the SAL group. We will select the winners from the pictures in the comments there. Meet us back here on Monday evening for the winners blog. 

Sporty Piko SAL | day 1

Sporty Piko SAL | day 2

Sporty Piko SAL | day 3

Sporty Piko SAL | day 4

Sporty Piko SAL | day 5

Sporty Piko SAL | day 6

Sporty Piko SAL | day 7

Filed Under: Frequently Asked Questions, Sew-A-Long, Uncategorized Leave a Comment

Sporty Piko Sew Along – day 5 (hood and hems)

October 30, 2020

Good morning! Today we create and add the hood as well as hem the short sleeves and crop/tunic length. The hood can be lined or not. My personal preference is lining the hood as it gives it more structure. If you like a more loose hood, definitely go for the unlined option. You will just hem the front before overlapping. I opted for the lined hood so you will see the process in the video below. 

My little one’s Sporty Piko will be the banded shirt style. I will show you how to add those tomorrow.

If you are sewing the tunic , you can hem it using your sewing machine’s twin needles option or your coverstitch. Before you start, take a look over our Hemming blog because we have a few tips for easy and successful hemming. If you are finishing the bottom hem using twin needles, a good refresher blog is the P4P University Twin Needles Tips. The crop style hem includes a drawstring and grommets. Be sure to check out our P4P University Grommets blog. Rachel gives you great tips for using them. Katy shows you how to add  elastic in the crop hem and skip the drawstring. Read all about it here. 

Once you complete today’s steps, snap a photo of your progress and add it to the comments of day 5 photo of the sew along album. See you back here tomorrow! 

Sporty Piko SAL | day 1

Sporty Piko SAL | day 2

Sporty Piko SAL | day 3

Sporty Piko SAL | day 4

Sporty Piko SAL | day 5

Sporty Piko SAL | day 6

Sporty Piko SAL | day 7

Filed Under: Frequently Asked Questions, Sew-A-Long, Uncategorized Leave a Comment

Sporty Piko Sew Along – day 4 (side seams and neckband)

October 29, 2020

Another easy day in the Sporty Piko sew along, but let’s face it…they are all pretty easy. All of us will be sewing the side seams first. Pin the seam, right sides together, matching the under arm, sleeve ends and bottom. Sew with a stretch stitch, or your serger, following a 1/2 ” seam allowance. 

If you are making the hooded option, like I am, you are pretty much done for today. Snap your picture and check in by commenting on the day 4 photo of the sew along album. If you are sewing the neckband option, you will add that now. Take a look over our P4P University Neckbands 101 blog post. The key to a beautiful neckband is using fabric with excellent recovery and quartering the neck opening. If you followed previous sew alongs here on the blog, you have seen how I like to add the neckband to various P4P patterns. By the way, did you know all P4P blogs and videos stay up forever? Check out our YouTube Channel!

Great job so far! Don’t forget to check in for today so you qualify for the prizes!

Sporty Piko SAL | day 1

Sporty Piko SAL | day 2

Sporty Piko SAL | day 3

Sporty Piko SAL | day 4

Sporty Piko SAL | day 5

Sporty Piko SAL | day 6

Sporty Piko SAL | day 7

Filed Under: Frequently Asked Questions, Sew-A-Long, Uncategorized Leave a Comment

Sporty Piko Sew Along – day 3 (shoulder seams and sleeves)

October 28, 2020

Welcome to day 3 of our Sporty Piko Sew Along. Today’s steps include sewing the shoulder seams and adding the sleeves. Remember, the pattern follows a 1/2″ seam allowance snd it’s highly important to keep that constant. 

Tip: Add clear elastic to the shoulder seams to strengthen them and make sure the shoulders don’t stretch throughout the day. 

When attaching the sleeves start by pinning the center of the raw edge to the shoulder seams, then pin the sides. You will be easing the sleeves in the sleeve opening. Optionally you can top stitch the seam allowance.

I have posted today’s video below. As always, you will be checking in with your progress photo in the day 3 picture comments of the Sporty Piko Sew Along album. 


Sporty Piko SAL | day 1

Sporty Piko SAL | day 2

Sporty Piko SAL | day 3

Sporty Piko SAL | day 4

Sporty Piko SAL | day 5

Sporty Piko SAL | day 6

Sporty Piko SAL | day 7

Filed Under: Frequently Asked Questions, Sew-A-Long, Uncategorized Leave a Comment

Sporty Piko Sew Along – day 2 (chest pocket, back colorblocking)

October 27, 2020

Good morning, pirates! Today we start sewing our Sporty Piko shirts. First step is to add the optional chest pocket. It is optional but I wouldn’t skip it, it adds a little extra something to the front….plus, you can hide your little treasures in it 😉


The key to getting a nice pocket is pressing! Yes, I know, I know… I say that all the time but it’s true. If you have a favorite woven you would like to use instead of knit, you can do that for the pocket. 

Next and final step of the day is to create the back piece by sewing the top and bottom together. Simply match the center point and pin in place. The two edges are 1:1 ratio so they will match perfectly, no stretching.

Tip: if you plan on adding any embellishments to the top back piece (like HTV, sublimation, iron ons, etc) do that before you sew the pieces together. 


You can see the day 2 video below. Once you complete these steps, post a picture of your progress in the comments of day 2 photo of the sew along album. You can find this album in our SAL group. 


Sporty Piko SAL | day 1

Sporty Piko SAL | day 2

Sporty Piko SAL | day 3

Sporty Piko SAL | day 4

Sporty Piko SAL | day 5

Sporty Piko SAL | day 6

Sporty Piko SAL | day 7

Filed Under: Frequently Asked Questions, Sew-A-Long, Uncategorized Leave a Comment

Sporty Piko Sew Along – day 1 (print pattern and cut fabric)

October 26, 2020

Welcome to the Sporty Piko Sew Along!

I am happy to sew with you a Sporty Piko this week. The pattern comes in Youth and Adult and you can of course get the bundle and save. If you are still undecided which style to make, our Round Up blog will give you a glance at all options included, from sleeve lengths to necklines. You can also use the Easy Hacks blog for added options.

Let’s start by taking the measurements needed for the best fit. P4P has an amazing blog that gives you tips for accurately taking your measurements. You can read all about it here. If your measurements put you in a different size for chest/waist/hips be sure to check out our P4P University blog and grade to achieve the perfect fit. The Sporty Piko patterns include videos as well. On page 3 you will notice an active button that will take you to the video about adding or removing length. Please refer to it if you are taller or shorter than 5’5″.


Unsure about which knit type will work best for your desired look? Take a look over our P4P University Knit Types blog. We also included a cheat sheet that you can print. If you are like me and sometime are just keen on using a specific print for a specific pattern, read our Different fabric, different fit blog post before you cut your fabric.

The Sporty Piko patterns include a crop, shirt and tunic length. If you would like to make a dress length simply add 8-10 inches length. The simplest way to do that is to cut both the back and the front pattern pieces at the crop cut line, add the extra length there and tape the remainder of the pattern to it. You can see in the video below how to do that. This is my dress hack made with bamboo lycra.


This pattern is drafted from light to medium weight fabrics with 20-30% stretch. The Sporty Piko has an oversized, relaxed fit so using thicker fabric like cotton lycra, french terry or sweatshirt fleece will give you a bulkier, more rectangle look. It would work great for the youth option, though. For my Sporty Piko I will be using a cute custom cotton lycra from Hapa Fabrics. Hapa is this sew along’s sponsor so be sure to check them out and show them some love in their Facebook group.


You can see the day 1 below, including how I use my projector  with the A0 file. Once you cut the fabric, post a picture of your pretty pile in the comments of DAY 1 photo of the Sporty Piko album in the M4M & P4P Sew Along Group.

Sporty Piko SAL | day 1

Sporty Piko SAL | day 2

Sporty Piko SAL | day 3

Sporty Piko SAL | day 4

Sporty Piko SAL | day 5

Sporty Piko SAL | day 6

Sporty Piko SAL | day 7

Filed Under: Frequently Asked Questions, Sew-A-Long, Uncategorized Leave a Comment

Newest Patterns

  • Uptown Joggers - Youth $10.00 $8.50
  • Uptown Joggers $12.00 $10.50
  • Uptown Joggers - Bundle $20.00 $18.00
  • Notch Top & Dress $12.00
  • Notch Top & Dress - Youth $10.00
  • Privacy Policy
  • Refund Policy
  • Affliliate Program
  • Contact Us
  • About

Copyright © 2023 Patterns for Pirates

Copyright © 2023 · Genesis Framework · WordPress · Log in