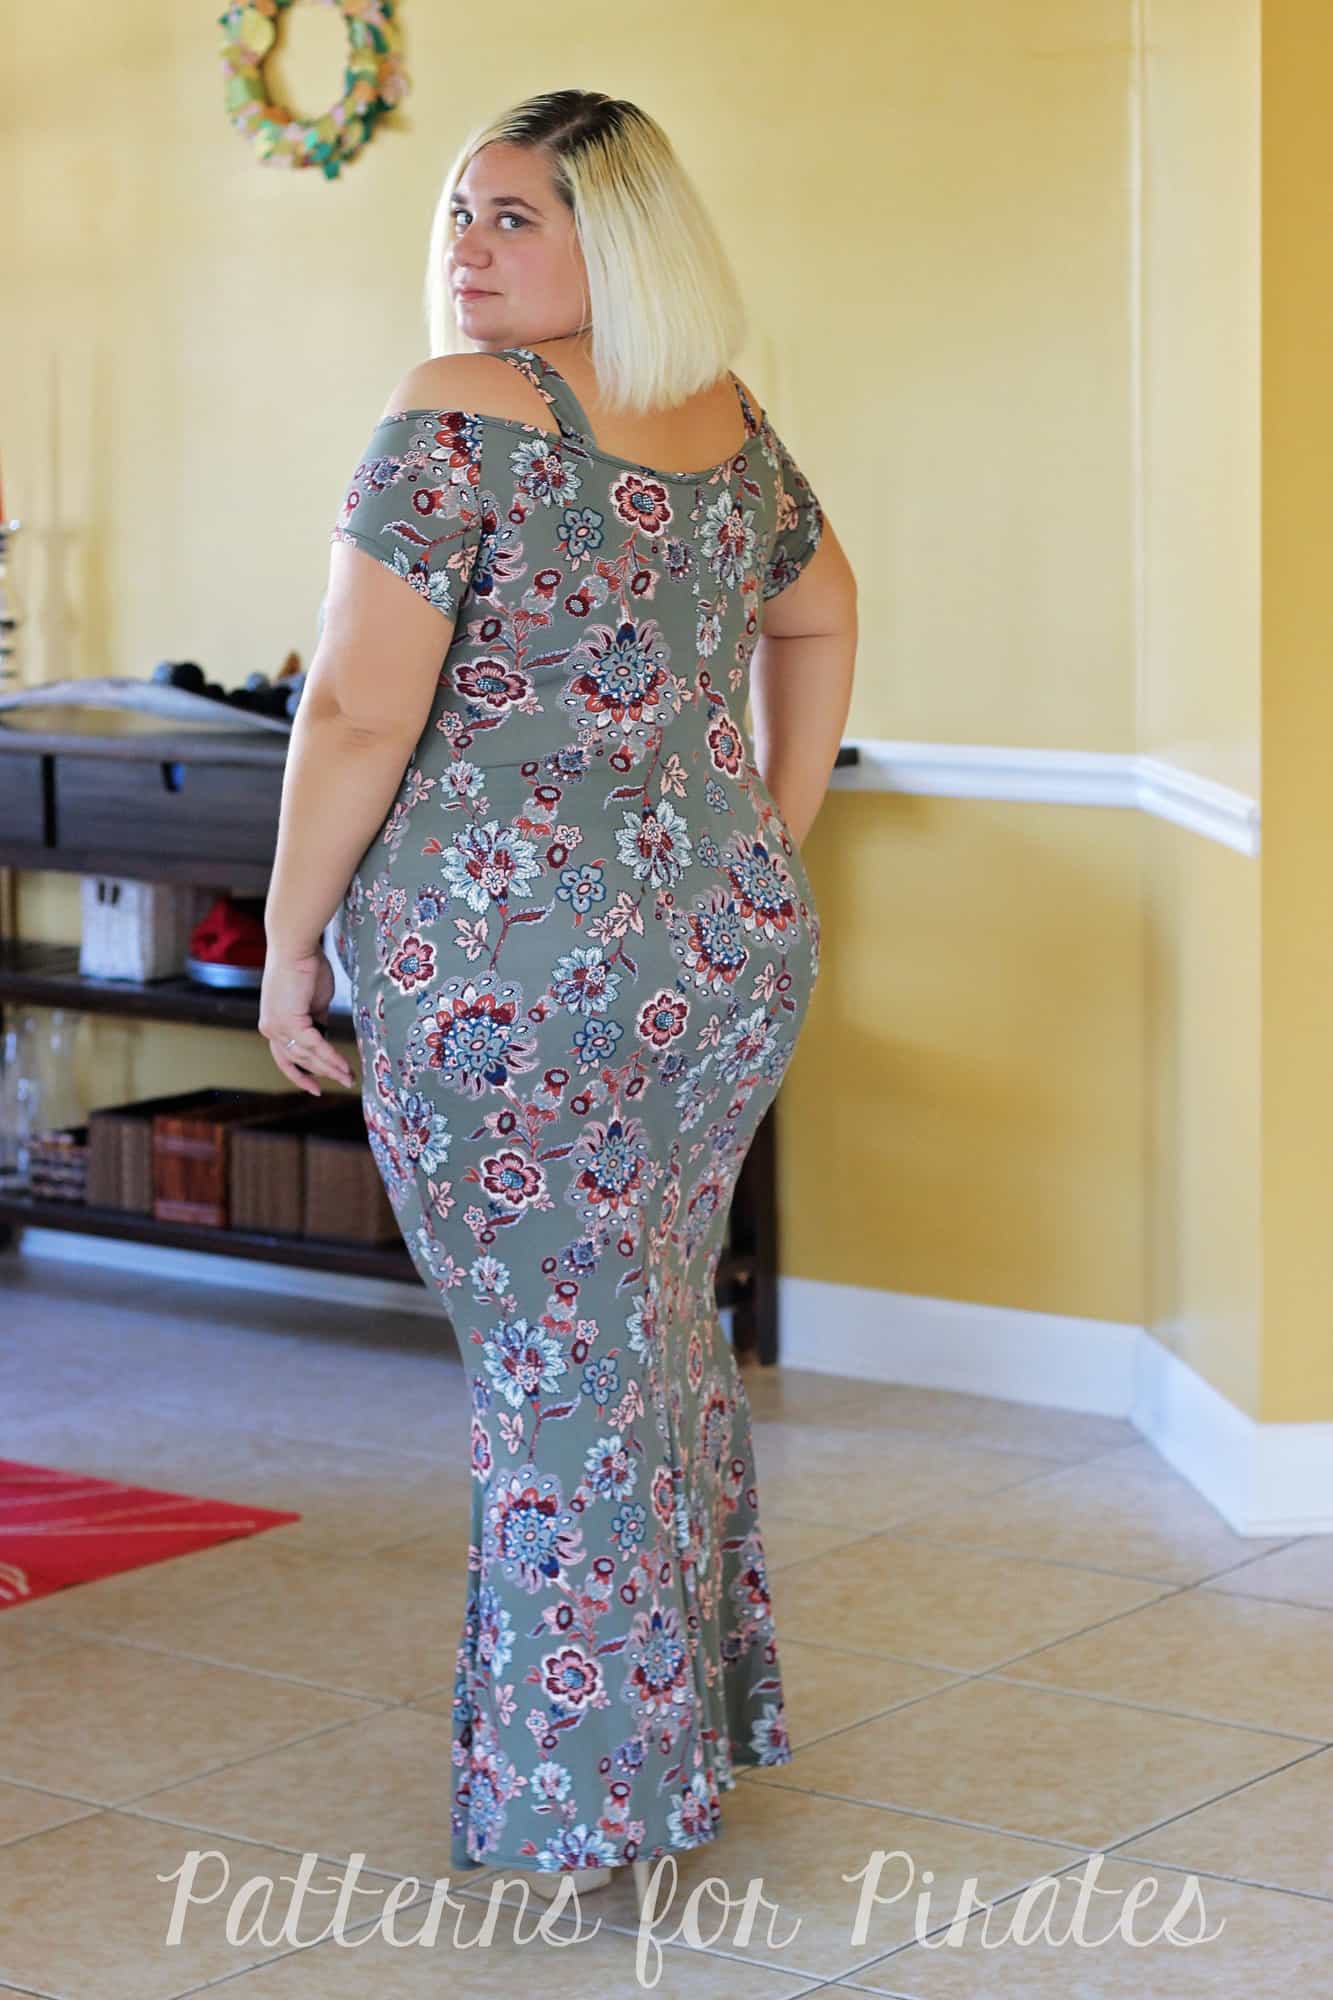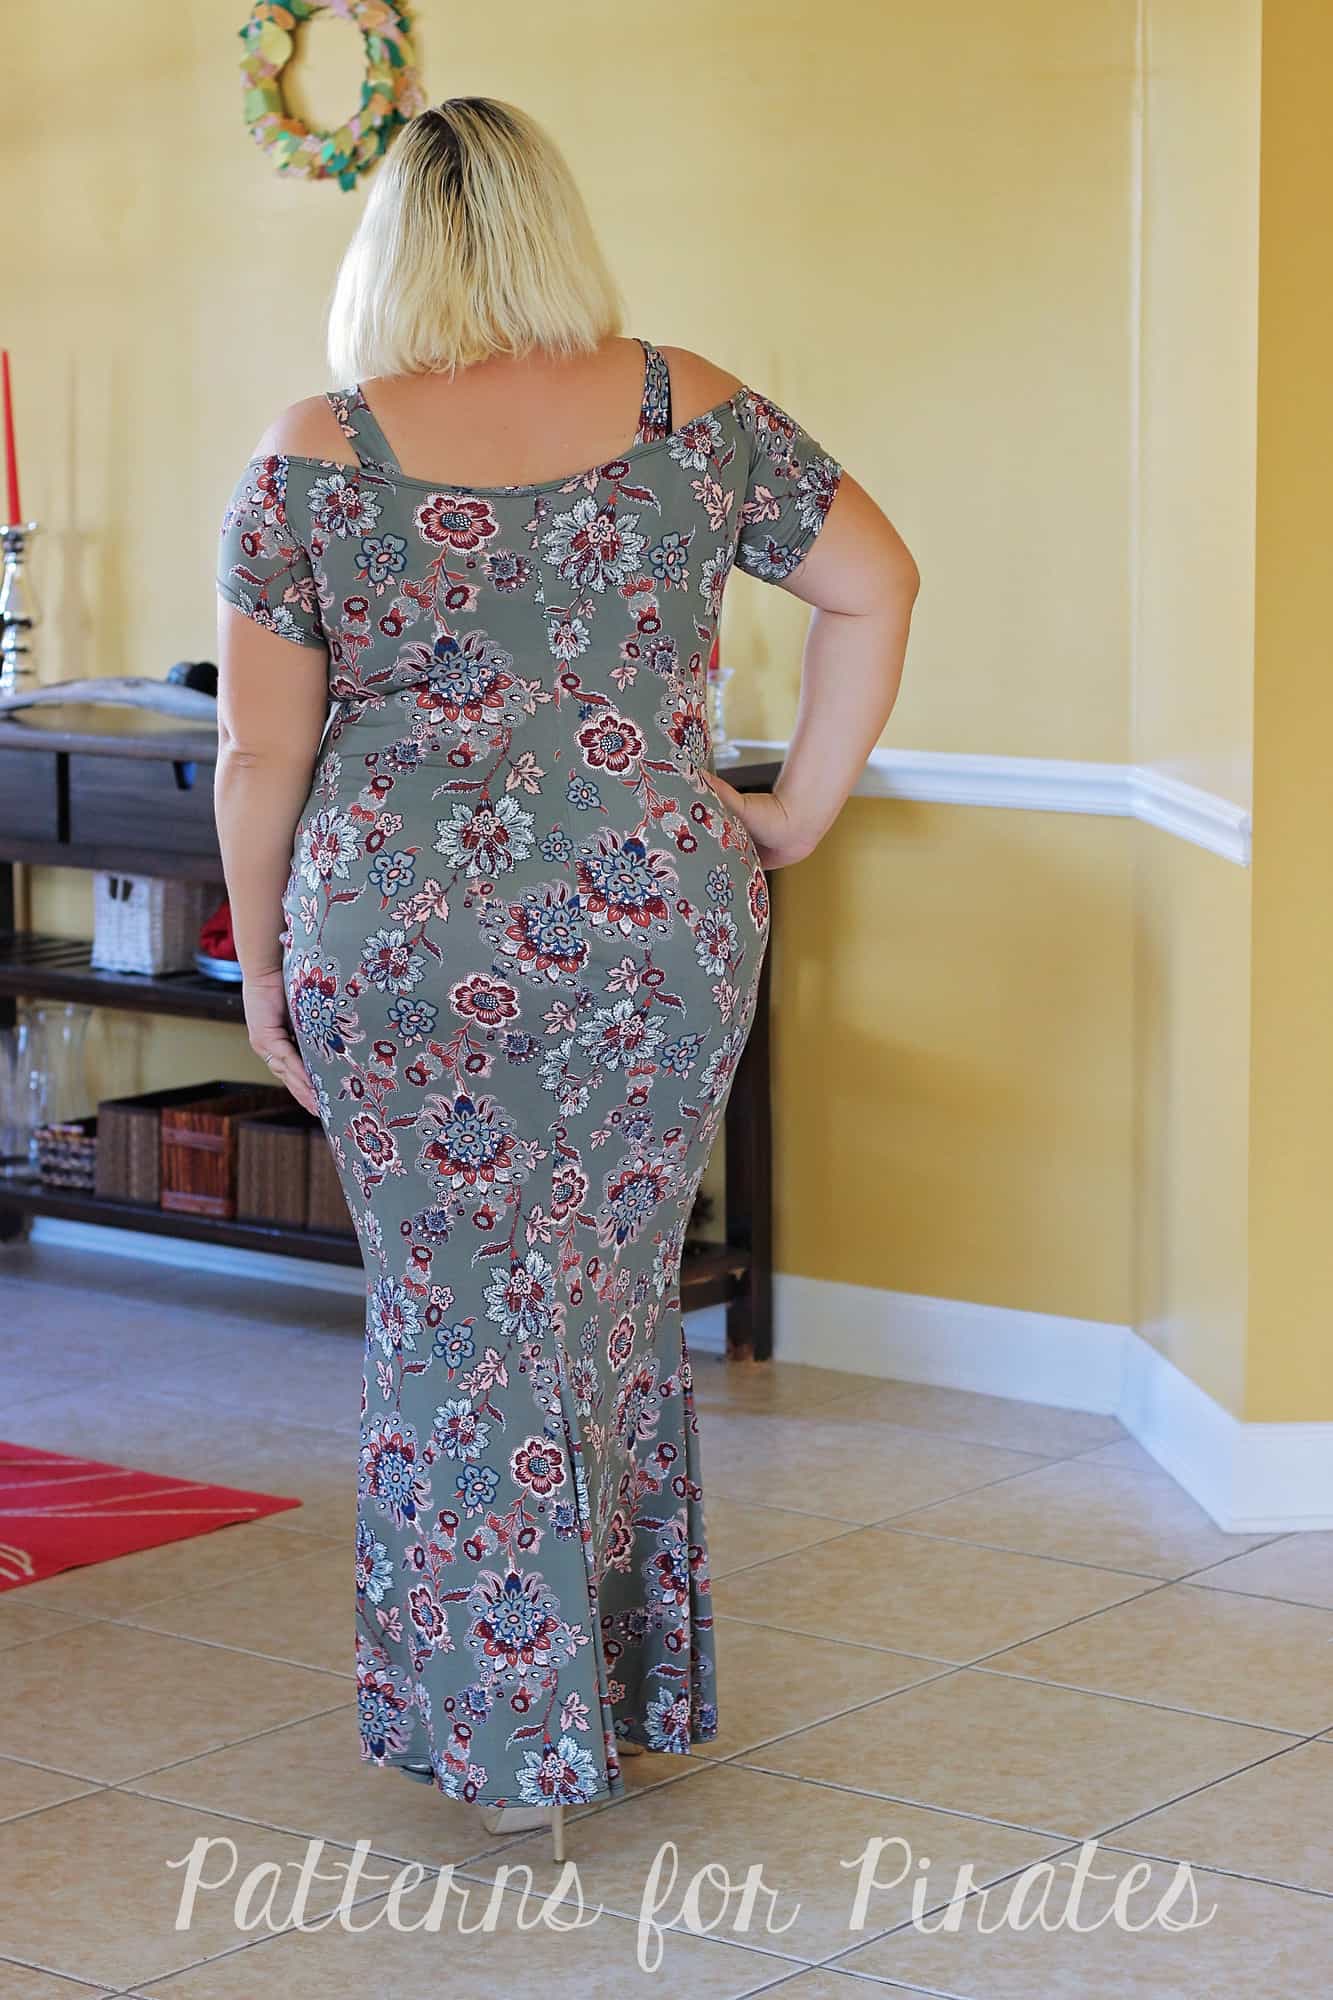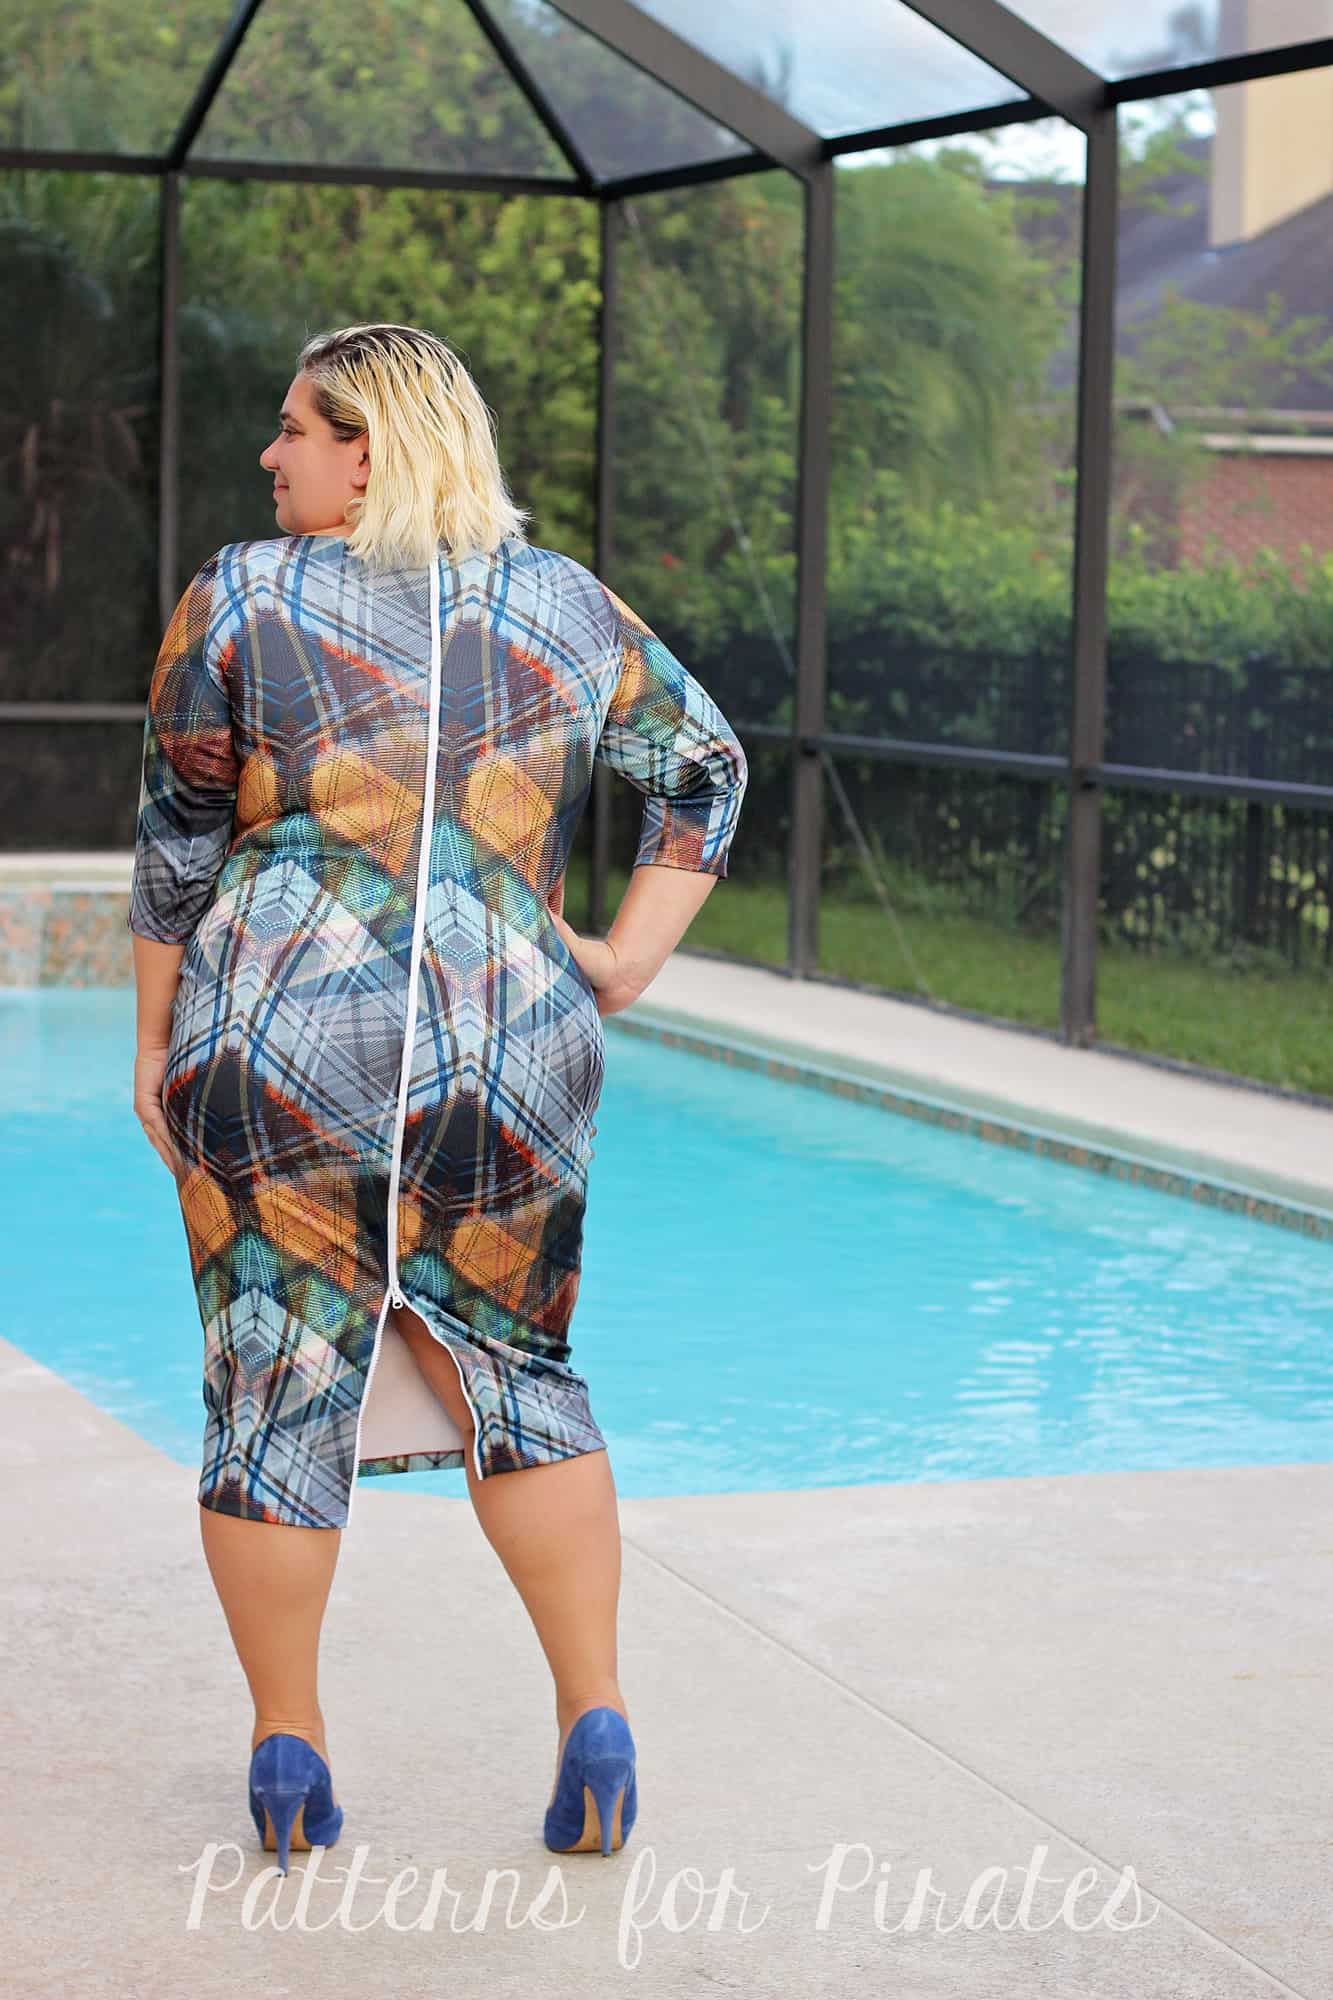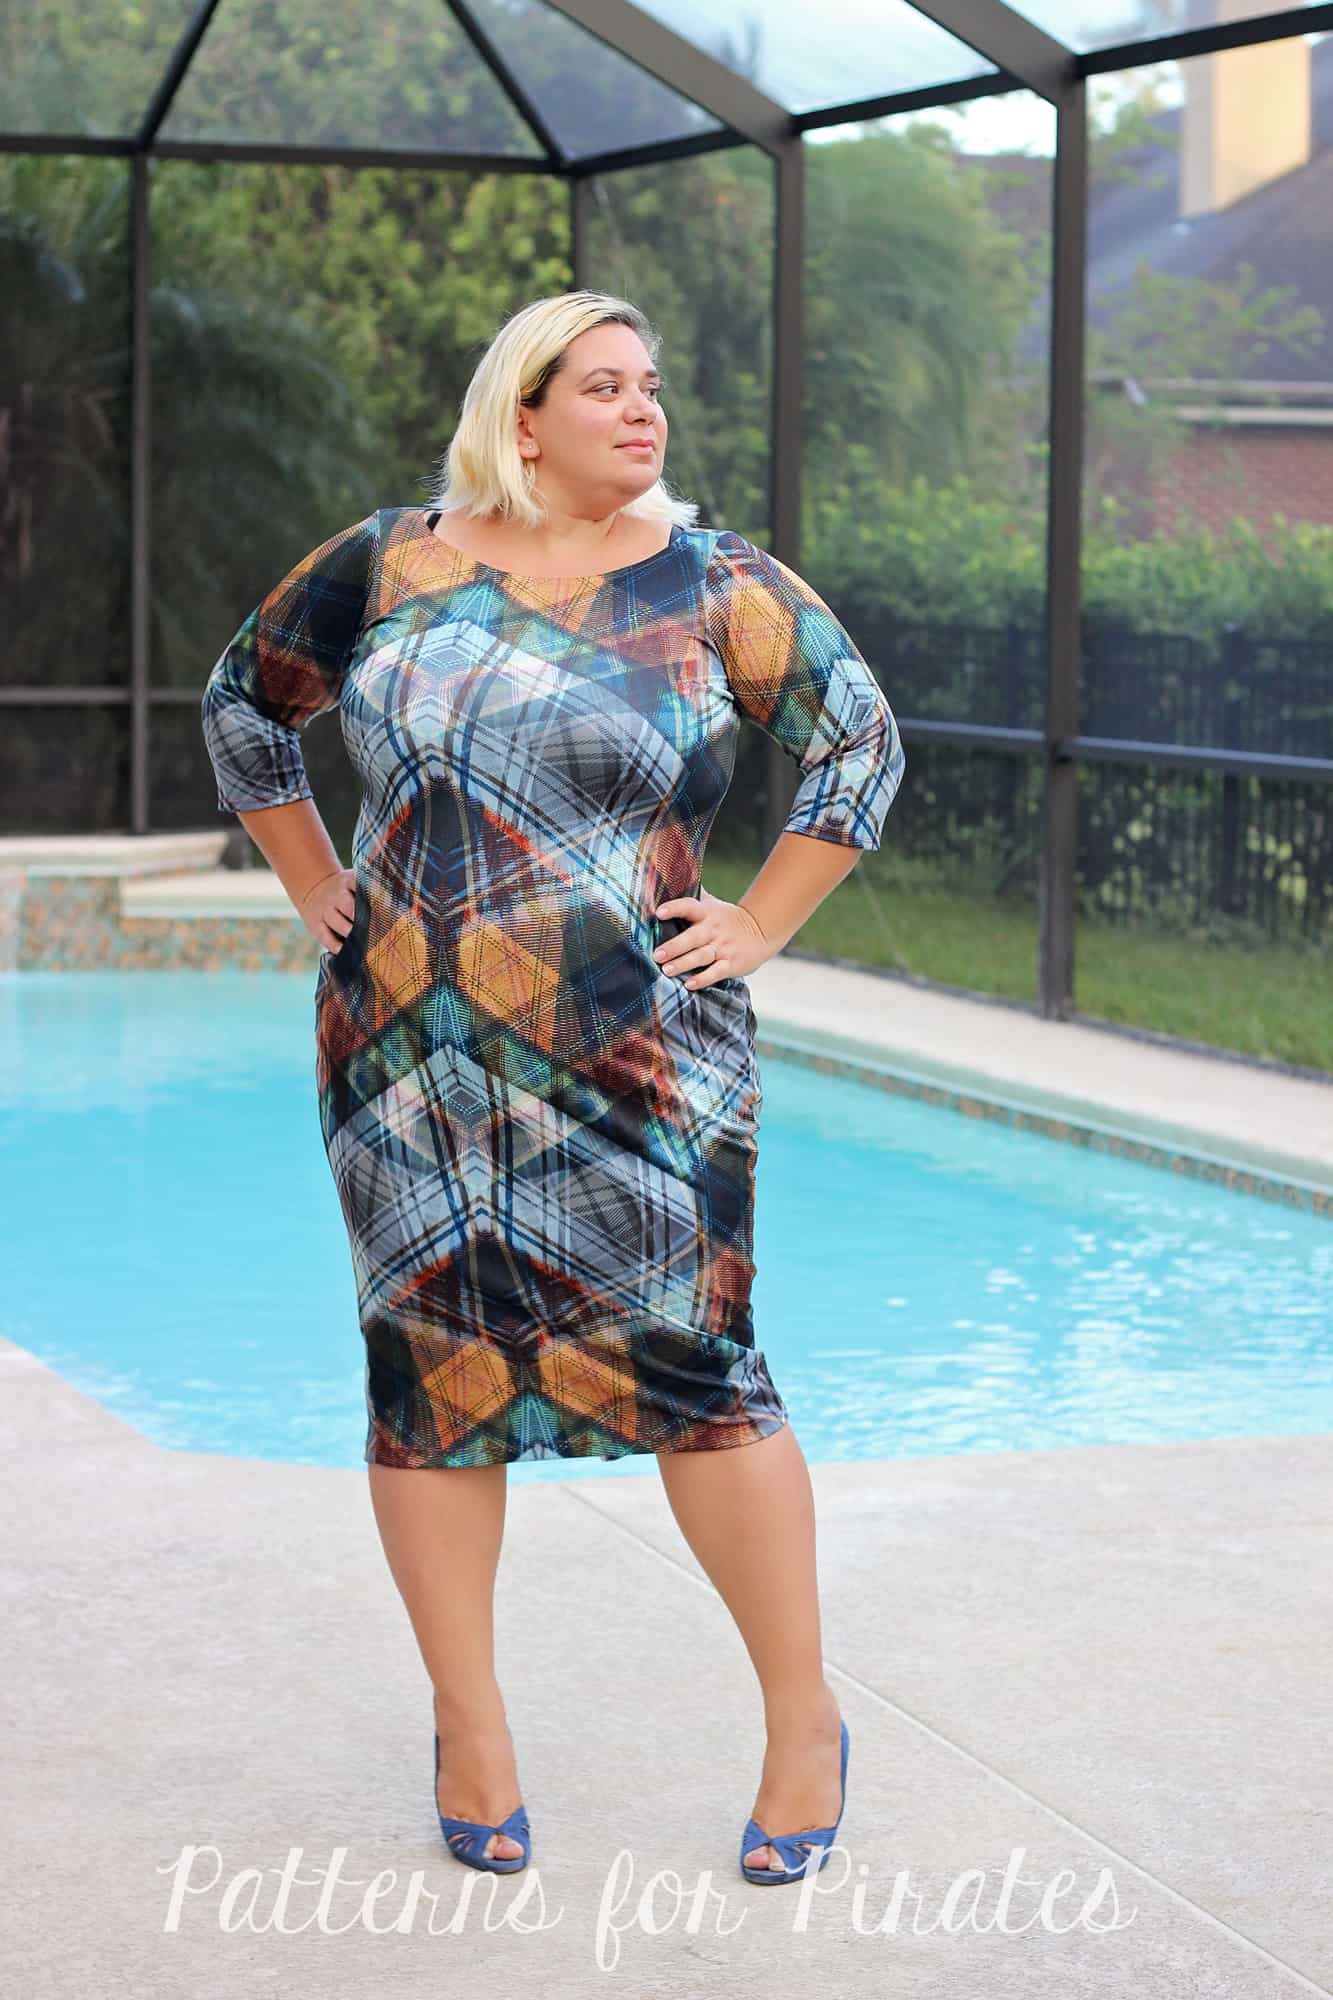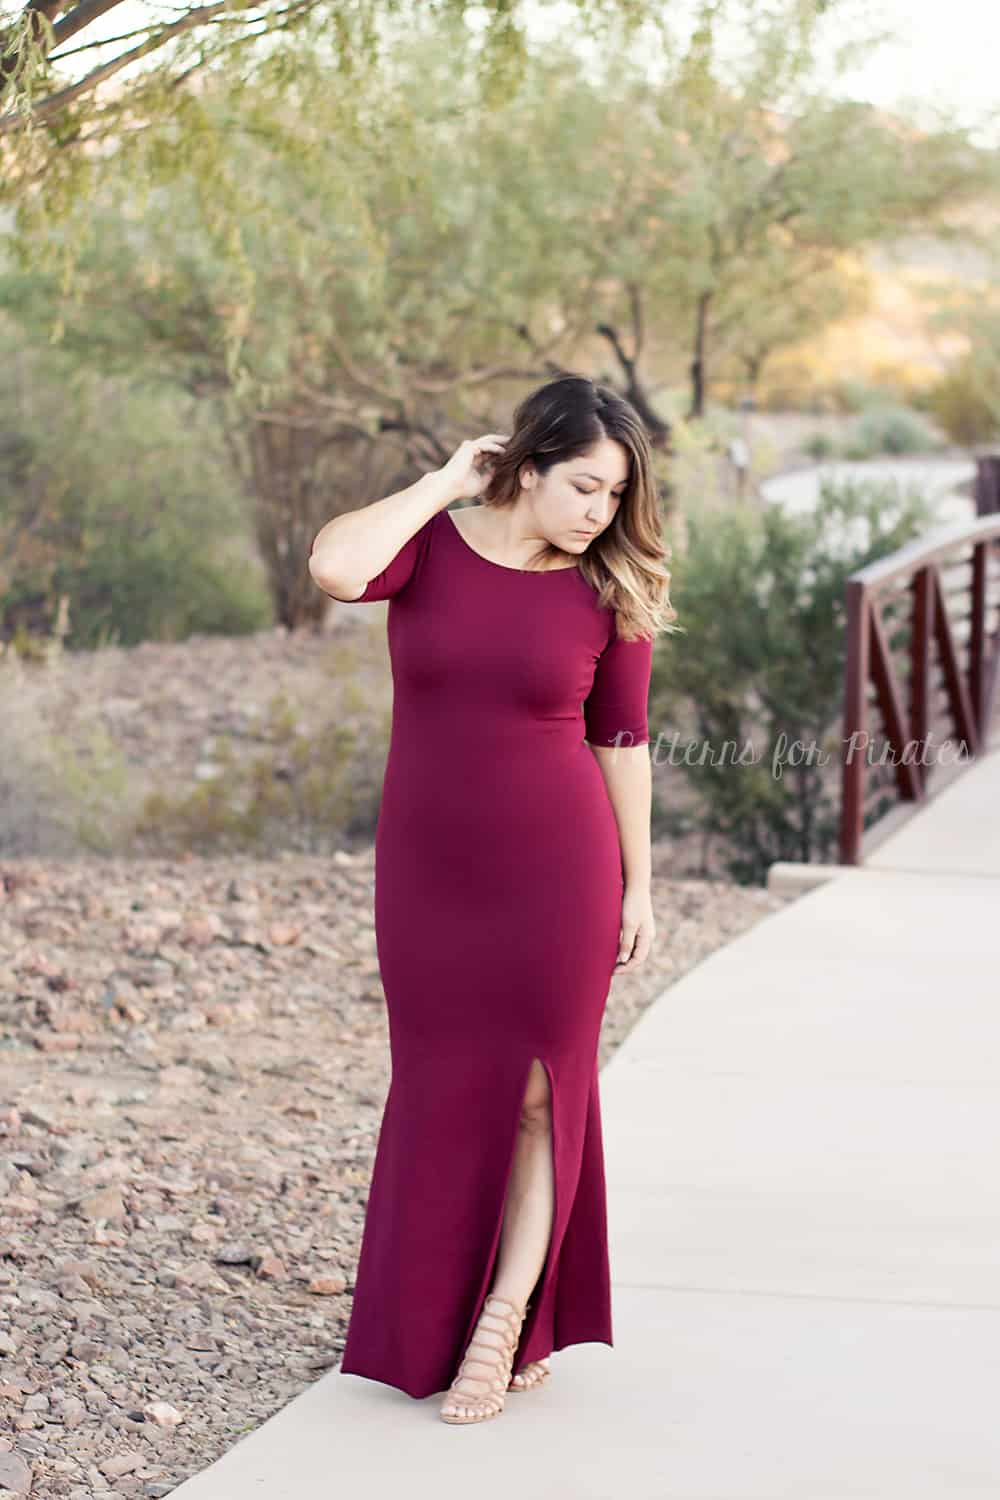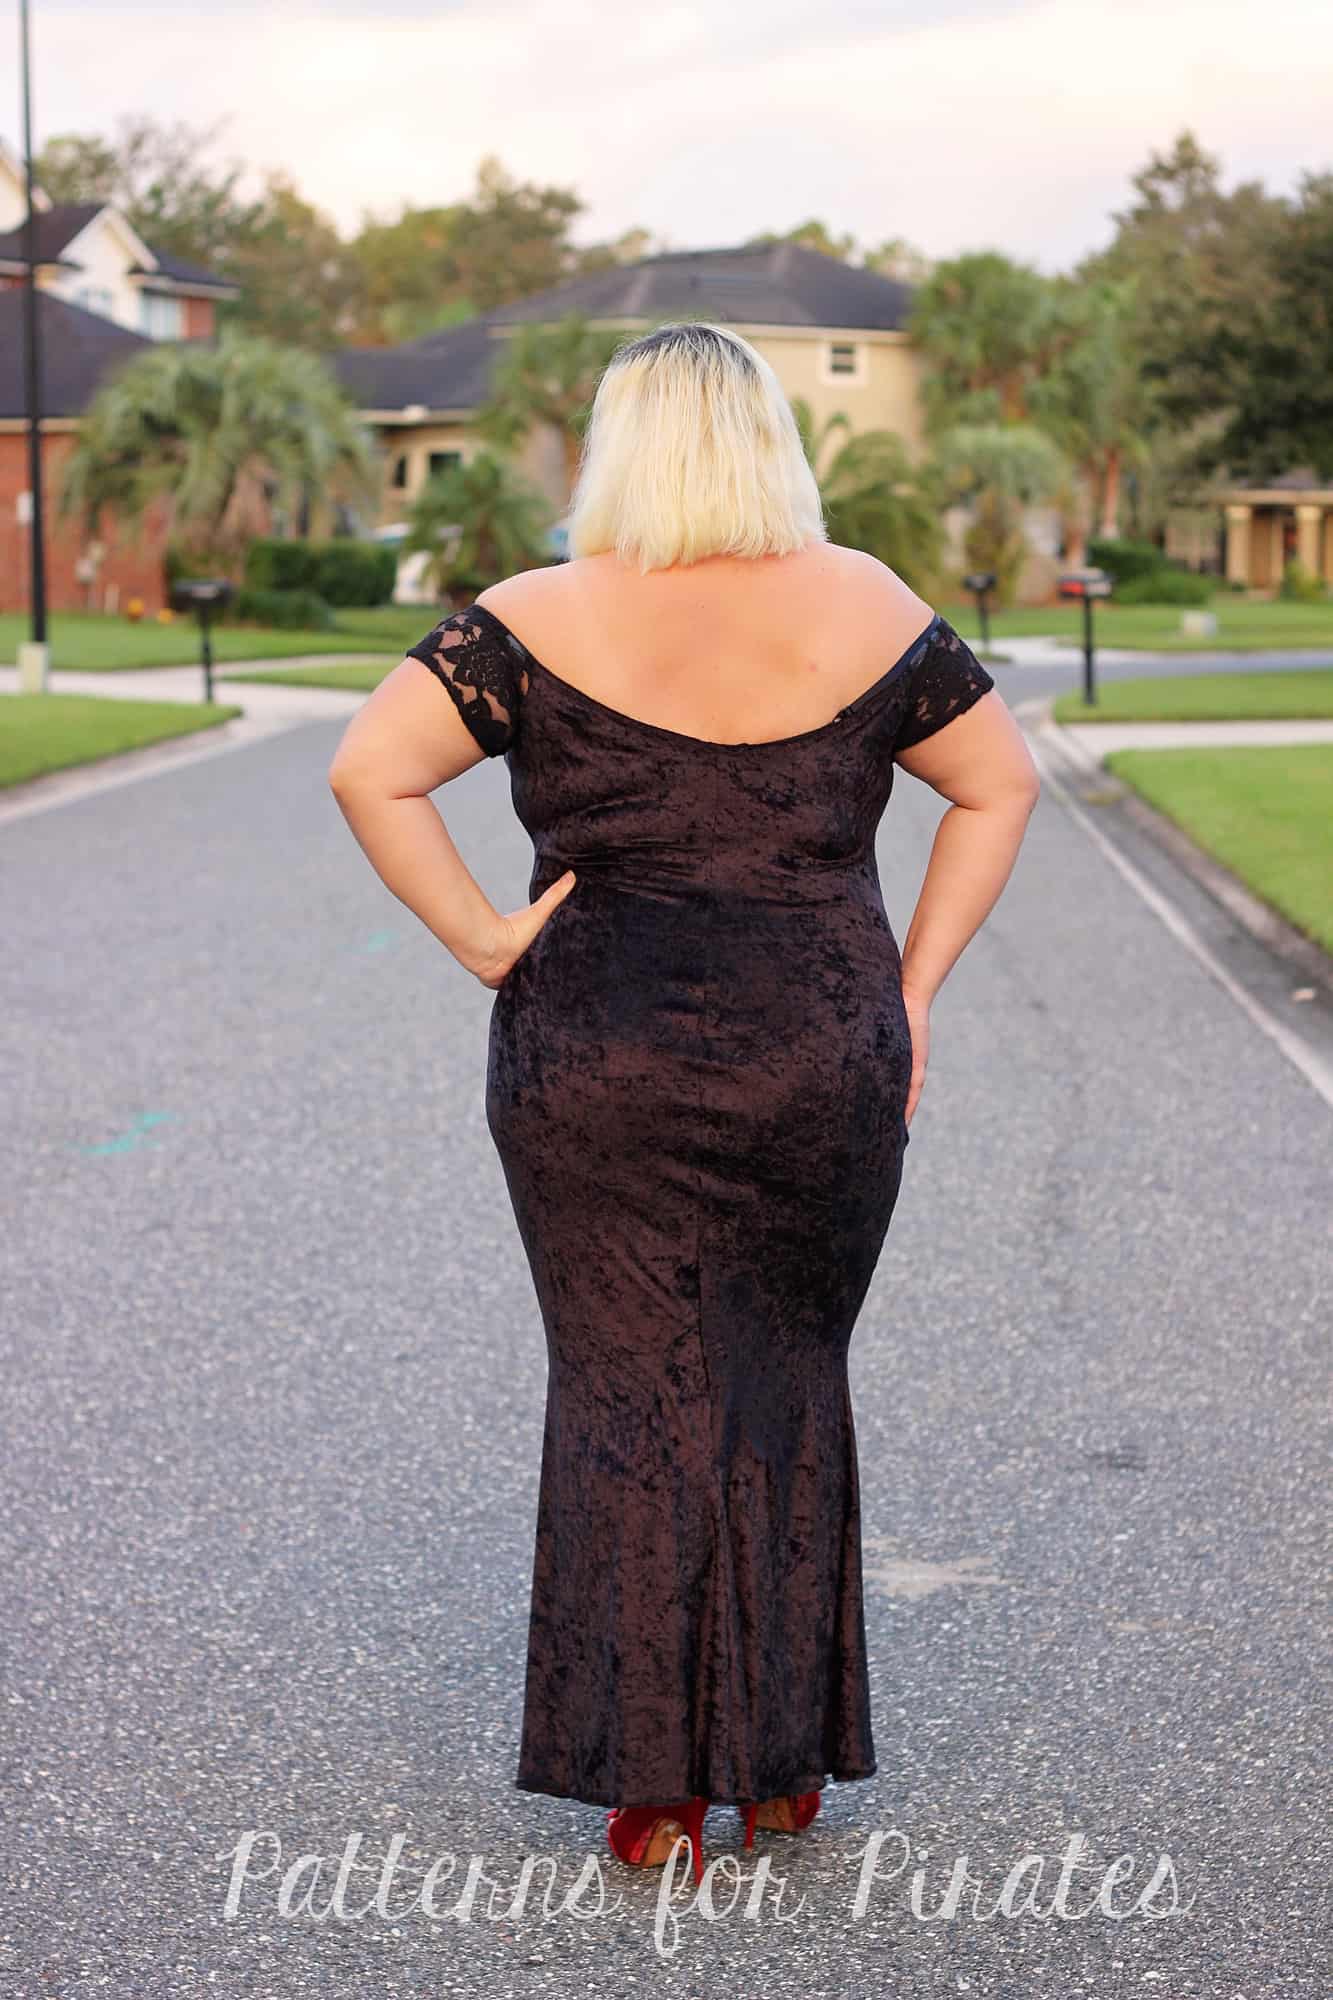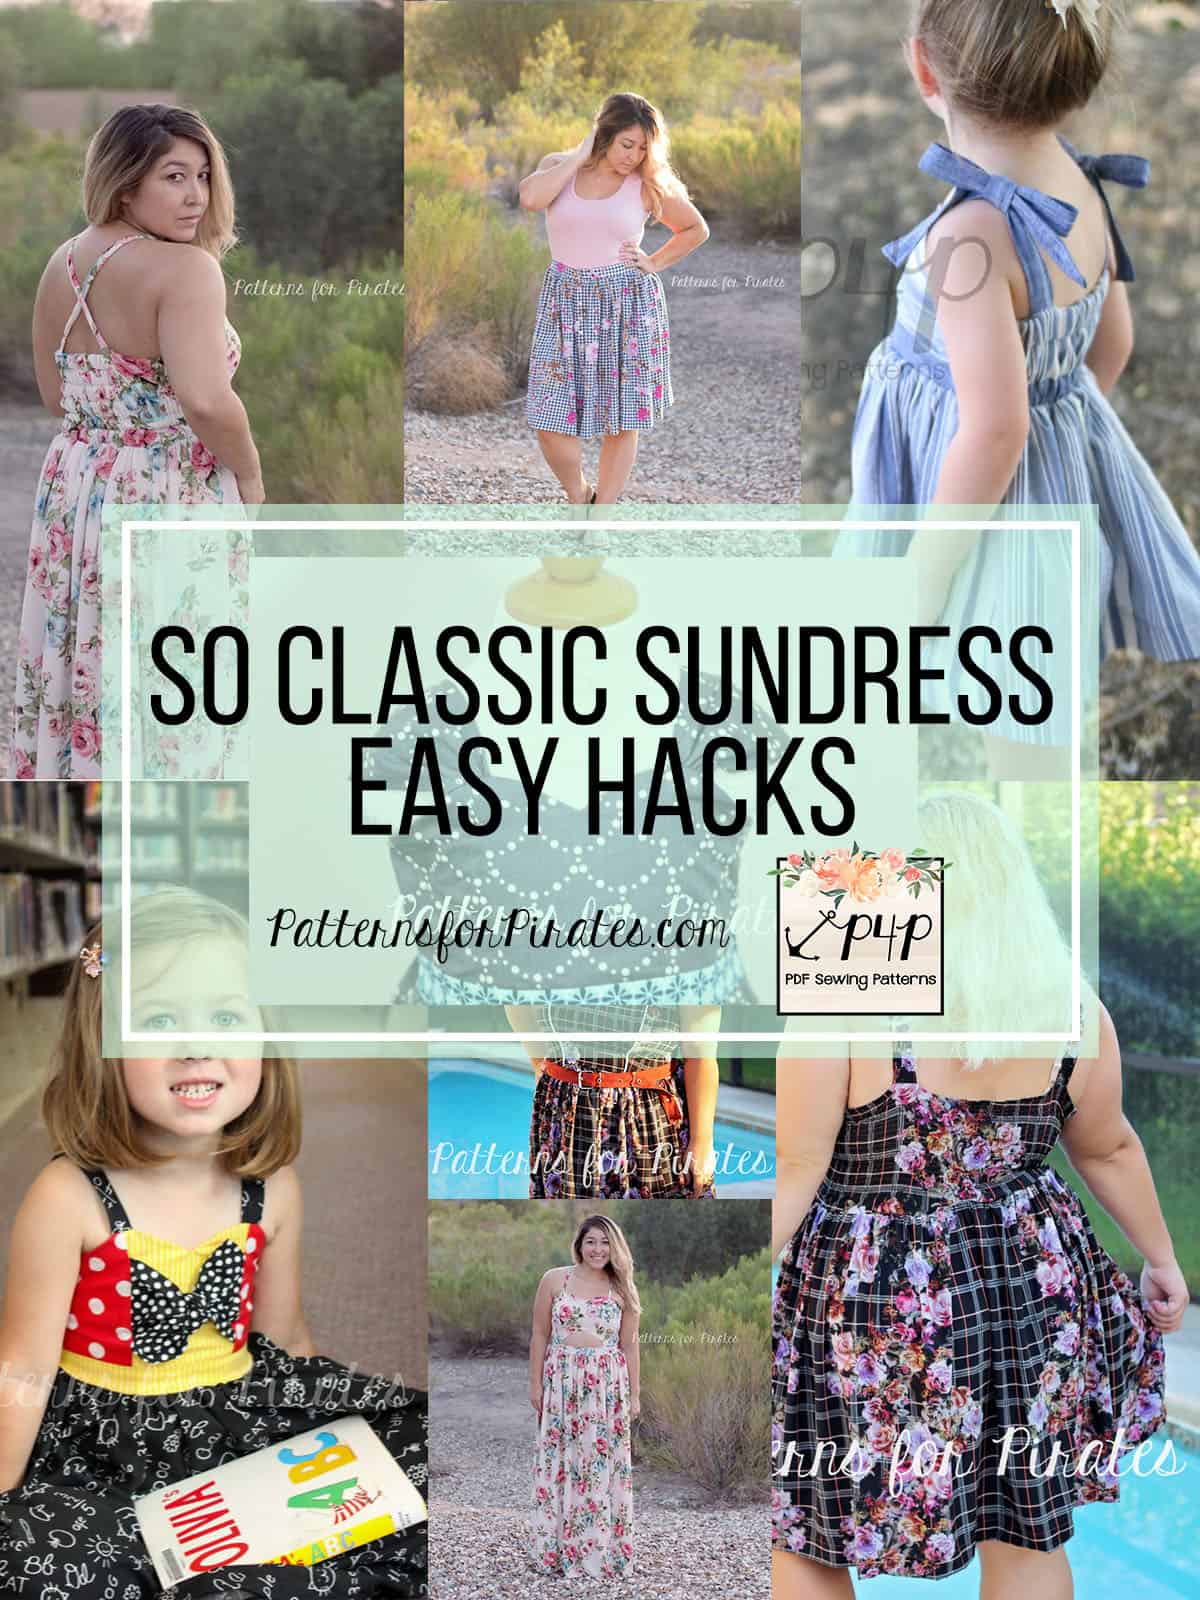
The So Classic Sundress has released so grab your favorite wovens and sew yourself or your little ones a pretty dress. In true P4P fashion we have gathered some easy hacks that you can make to the So Classic Sundress that will give you even more options than the many included in the pattern.
…..
Gathered Thick Straps

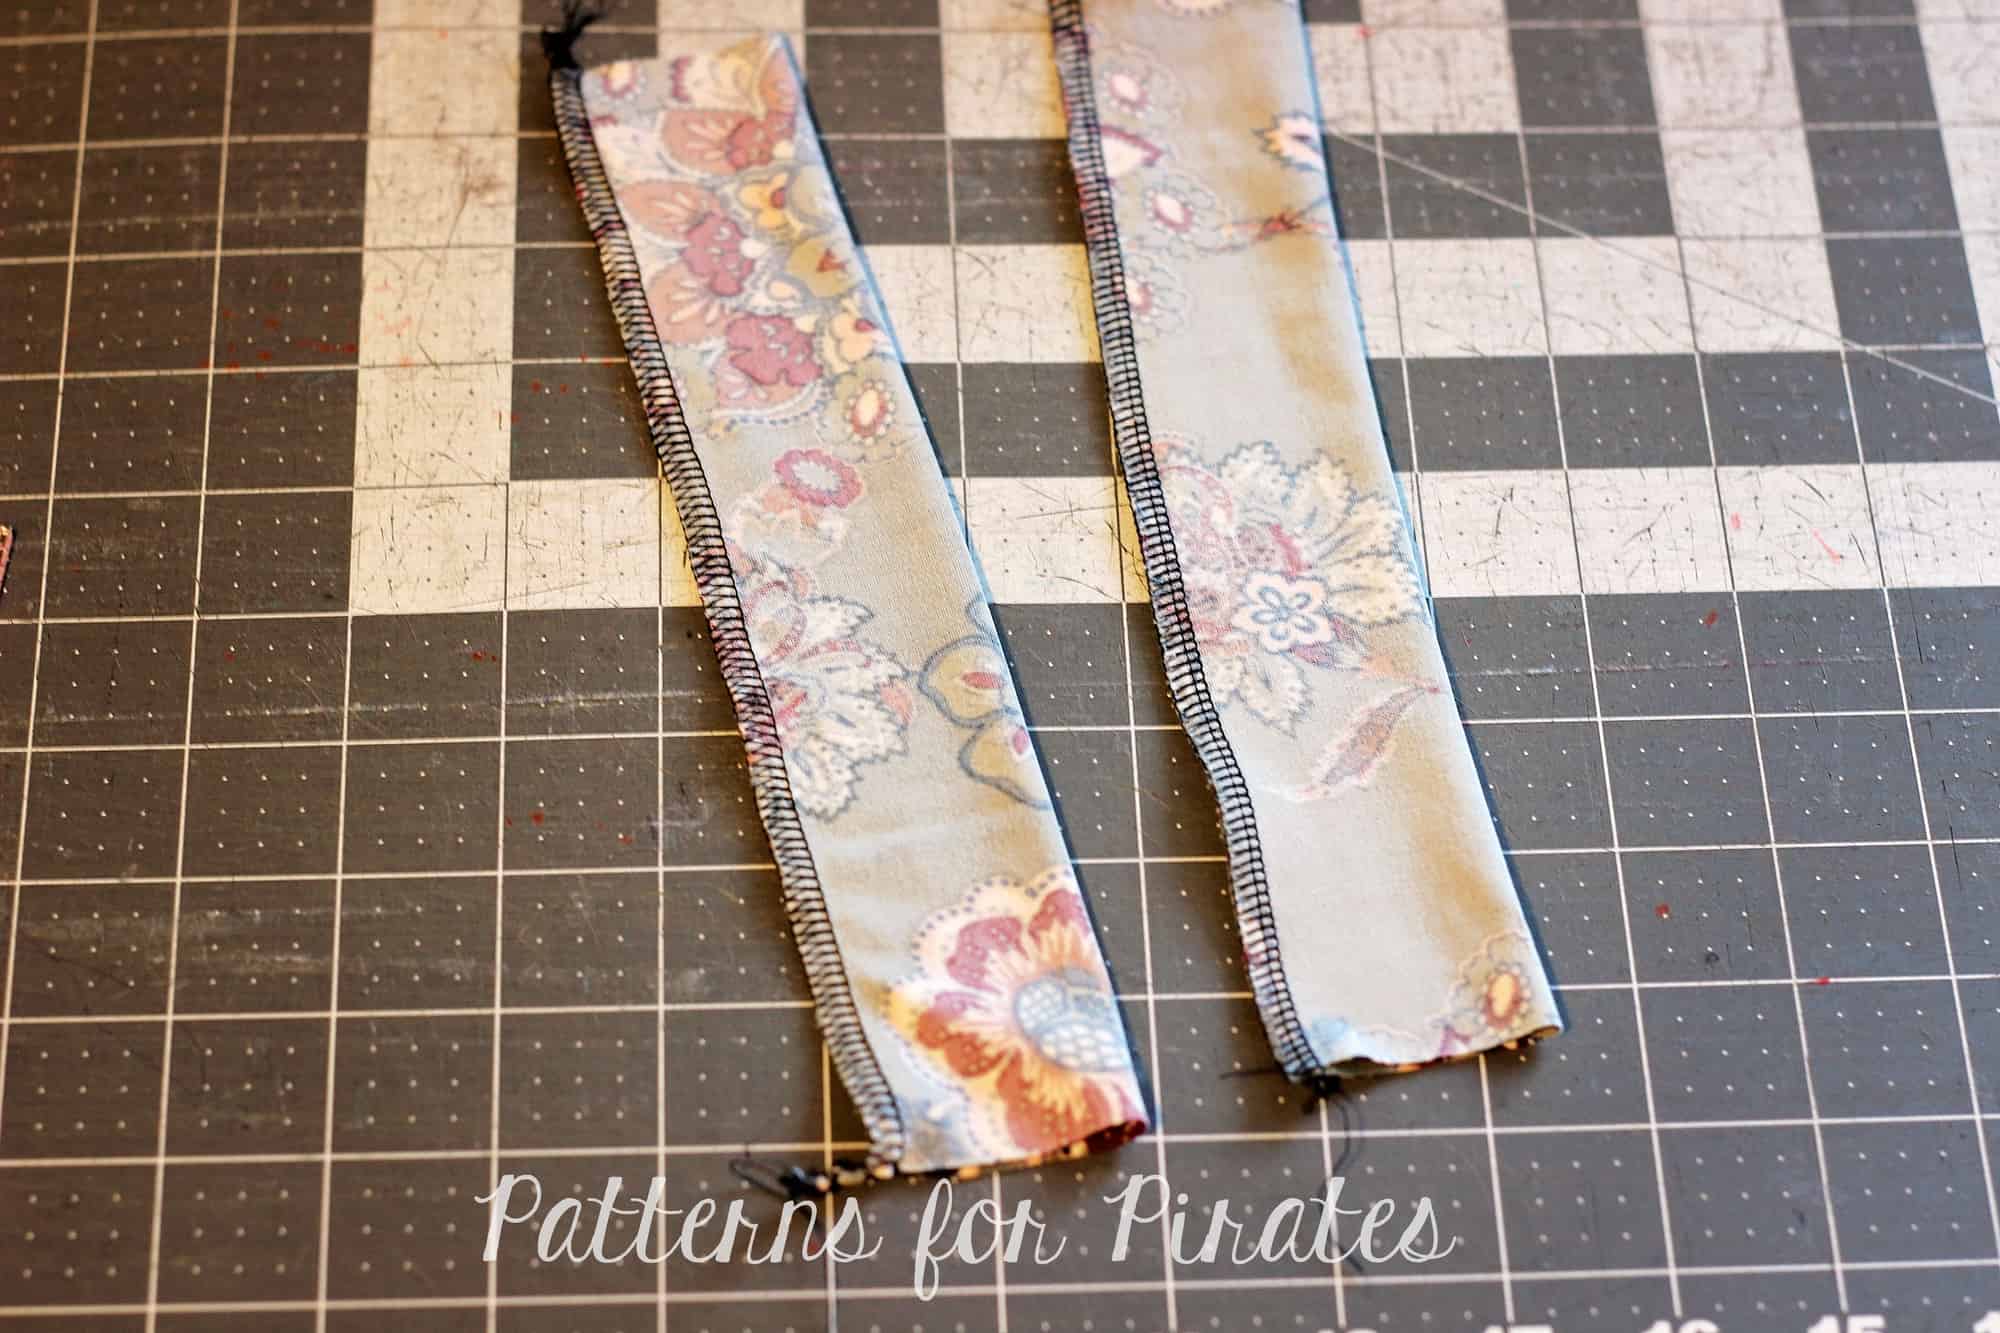
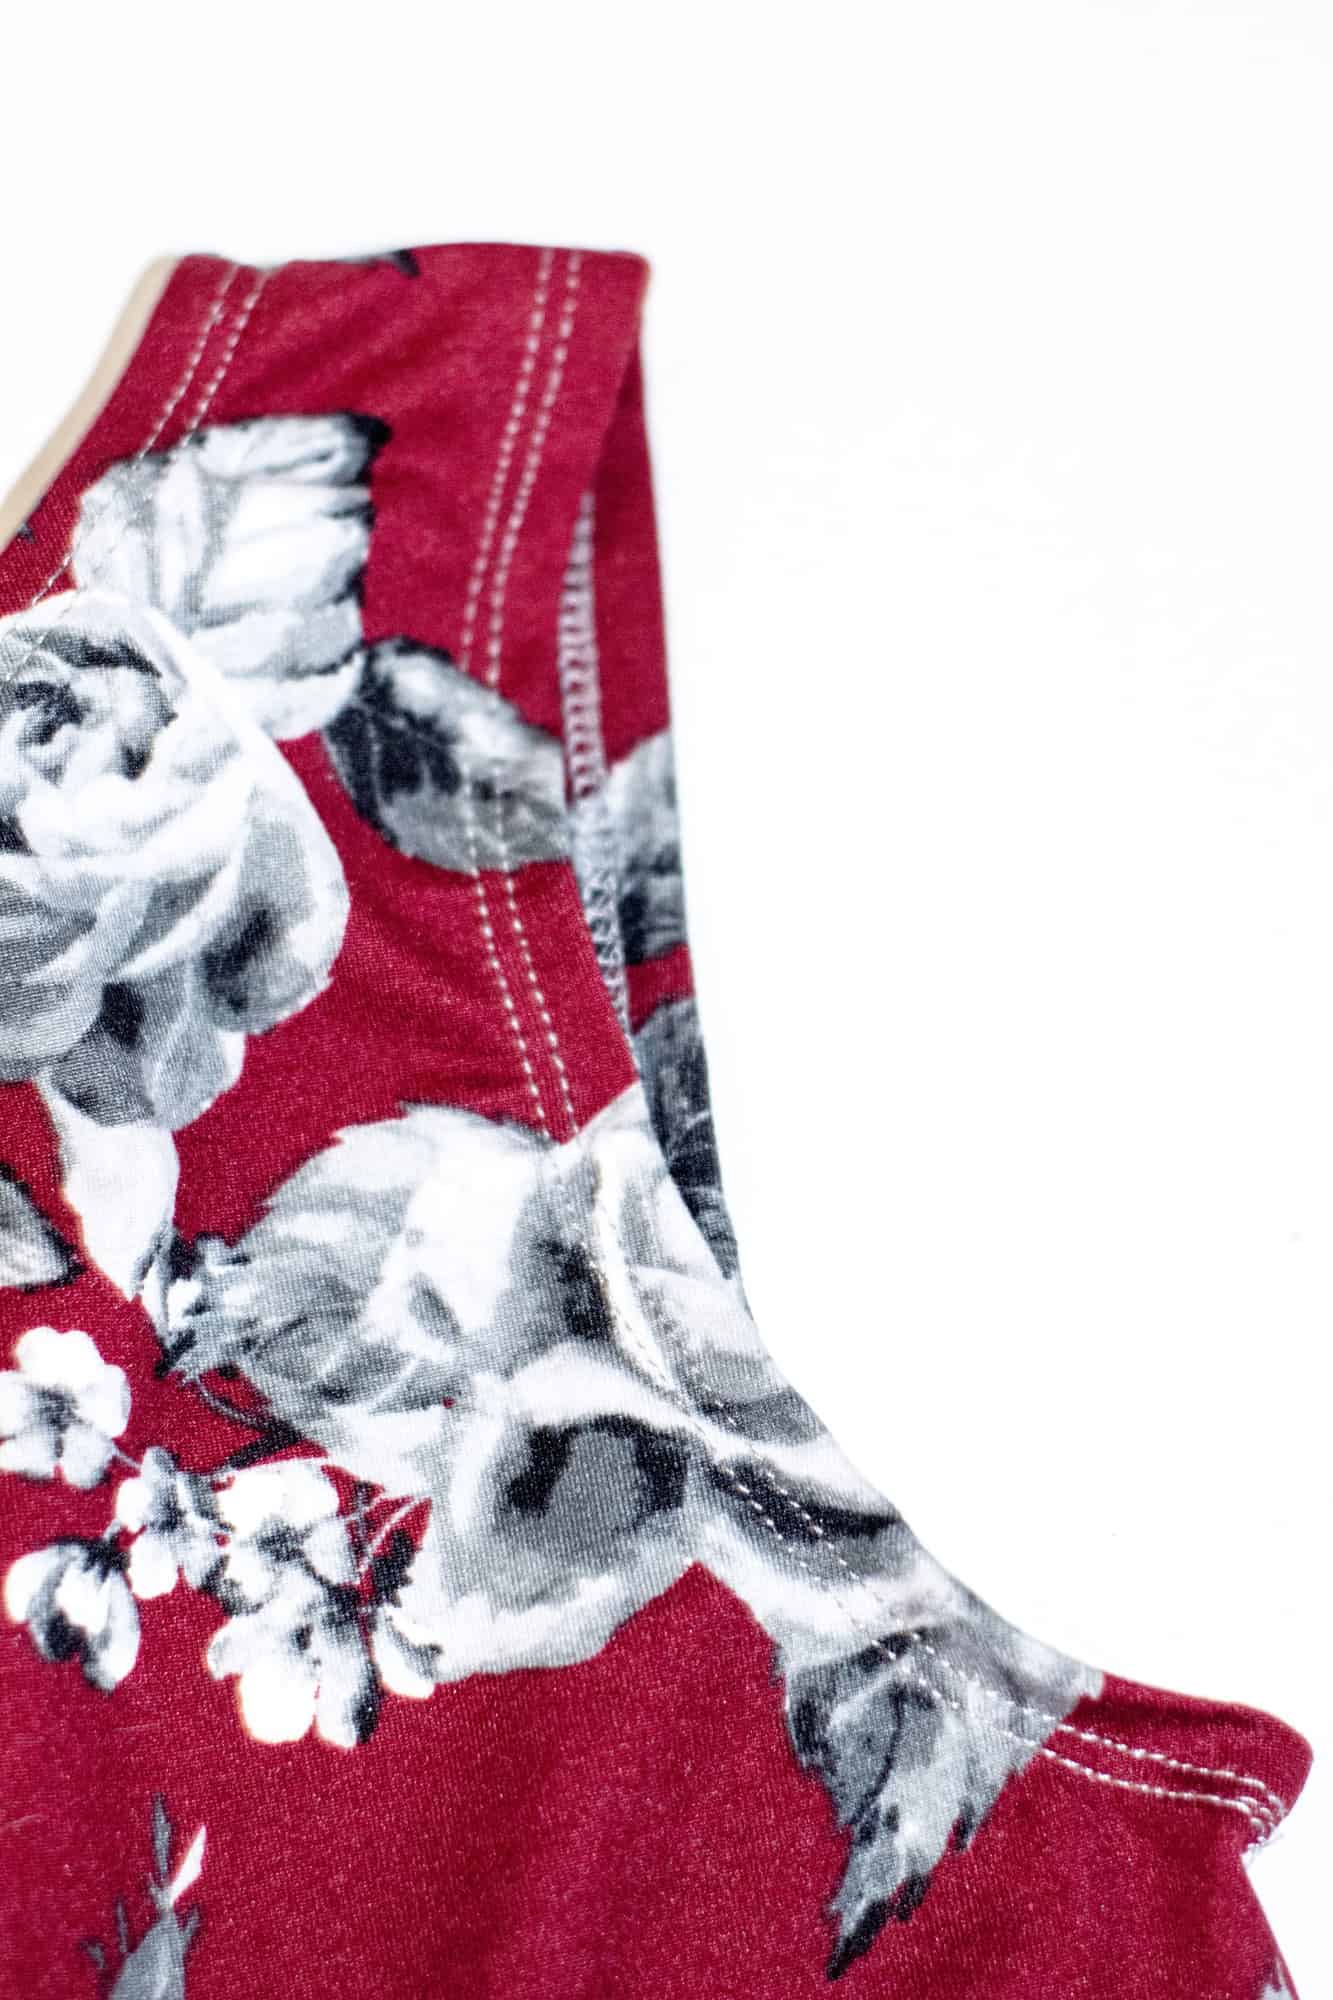
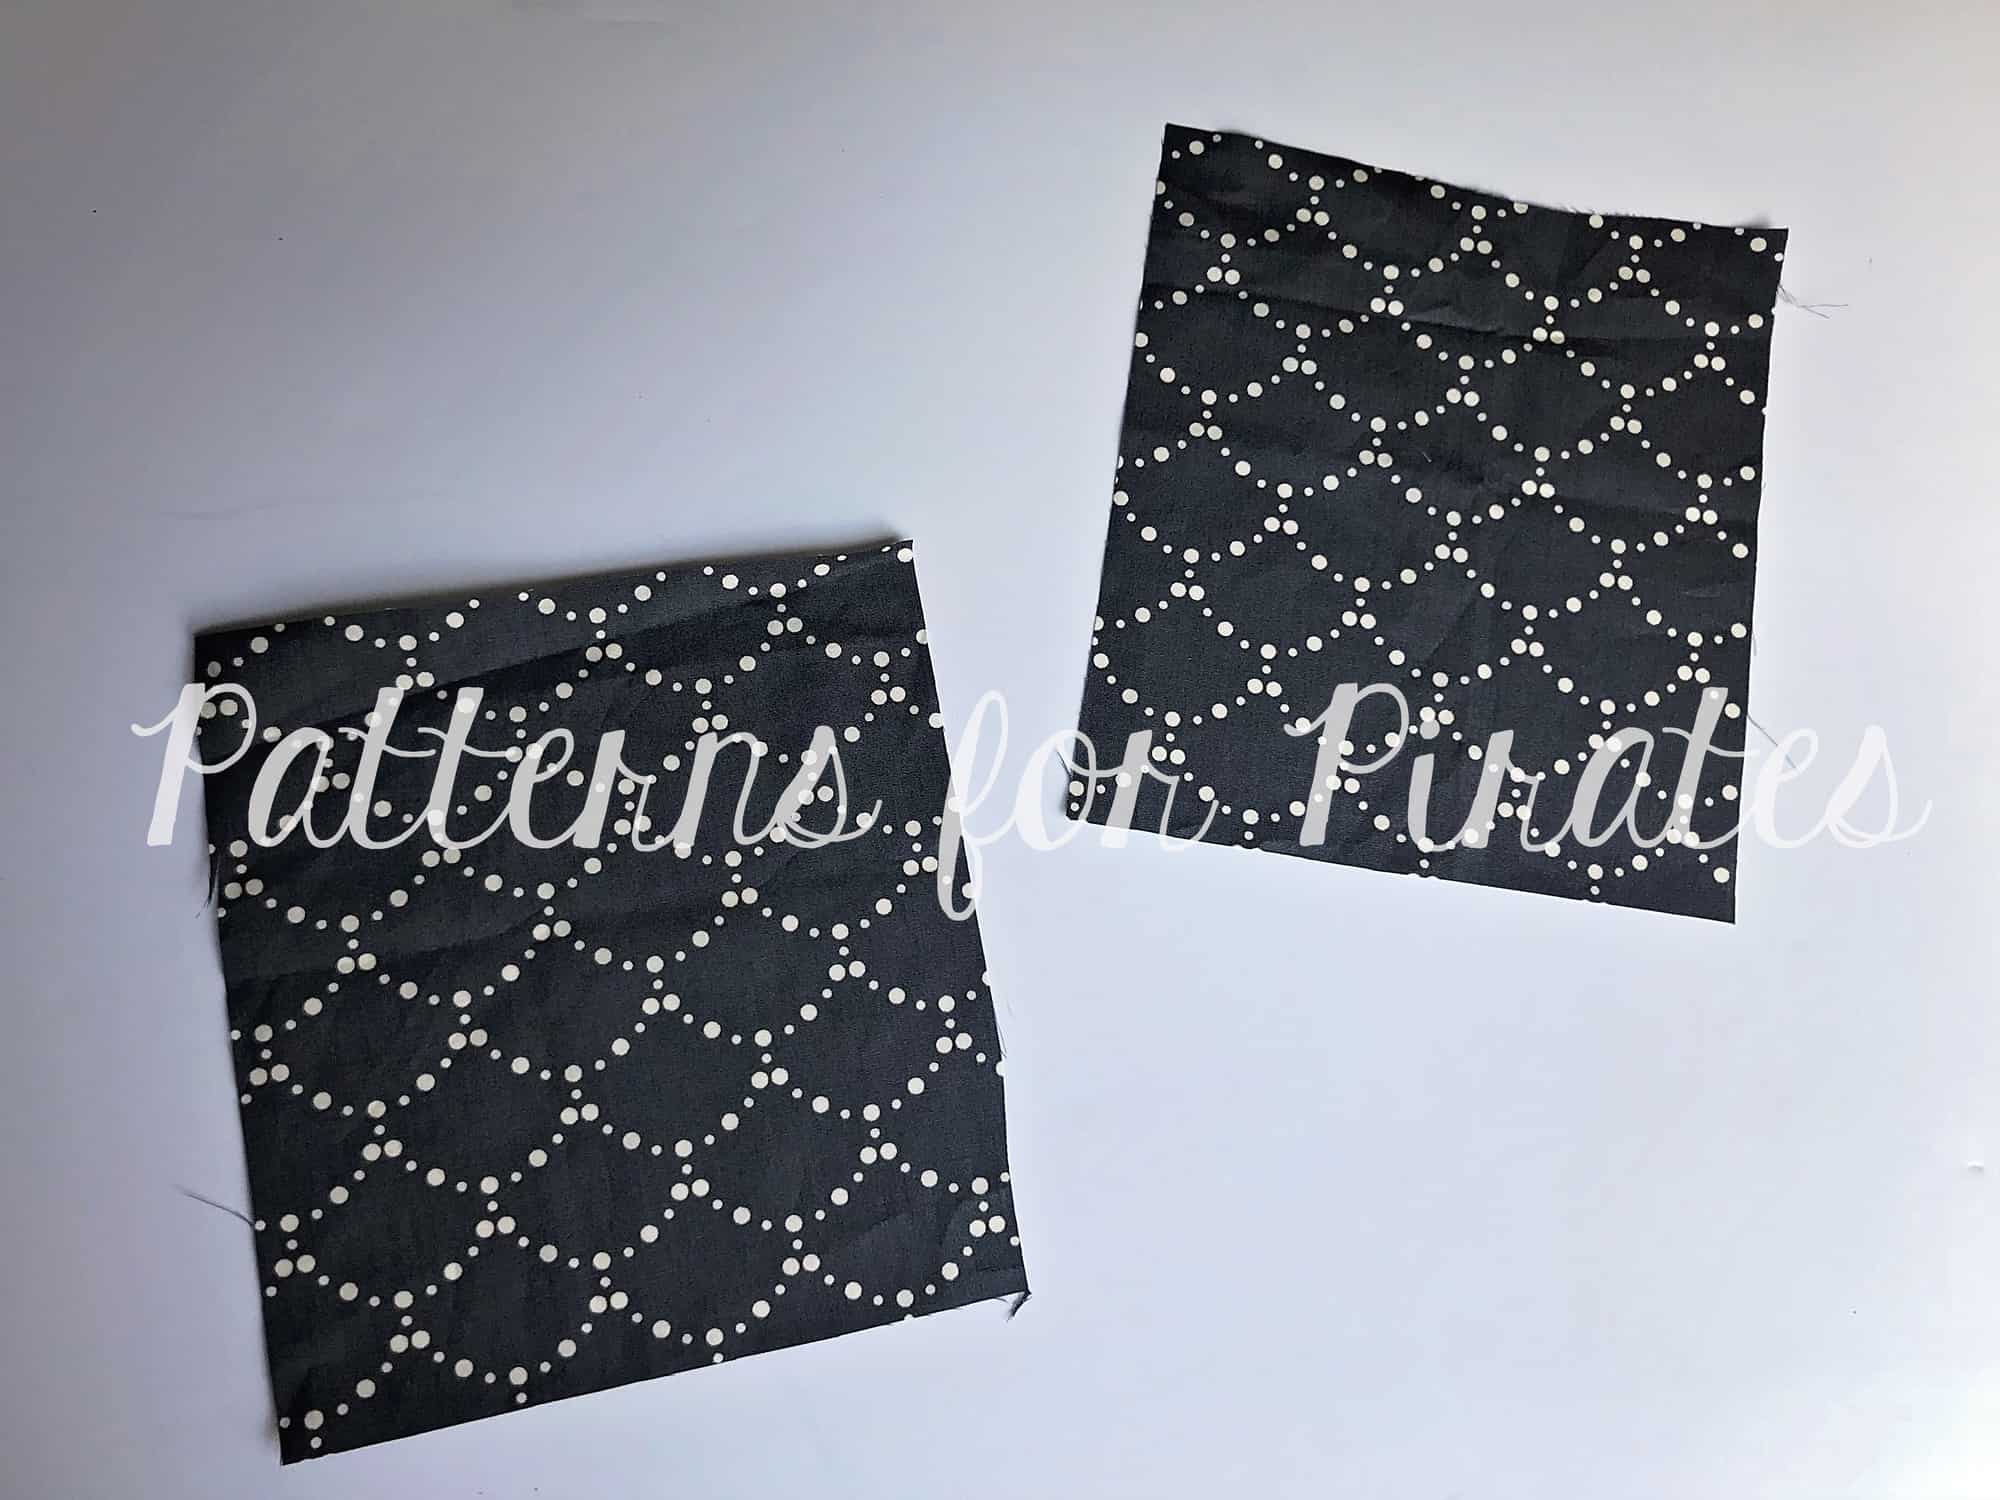
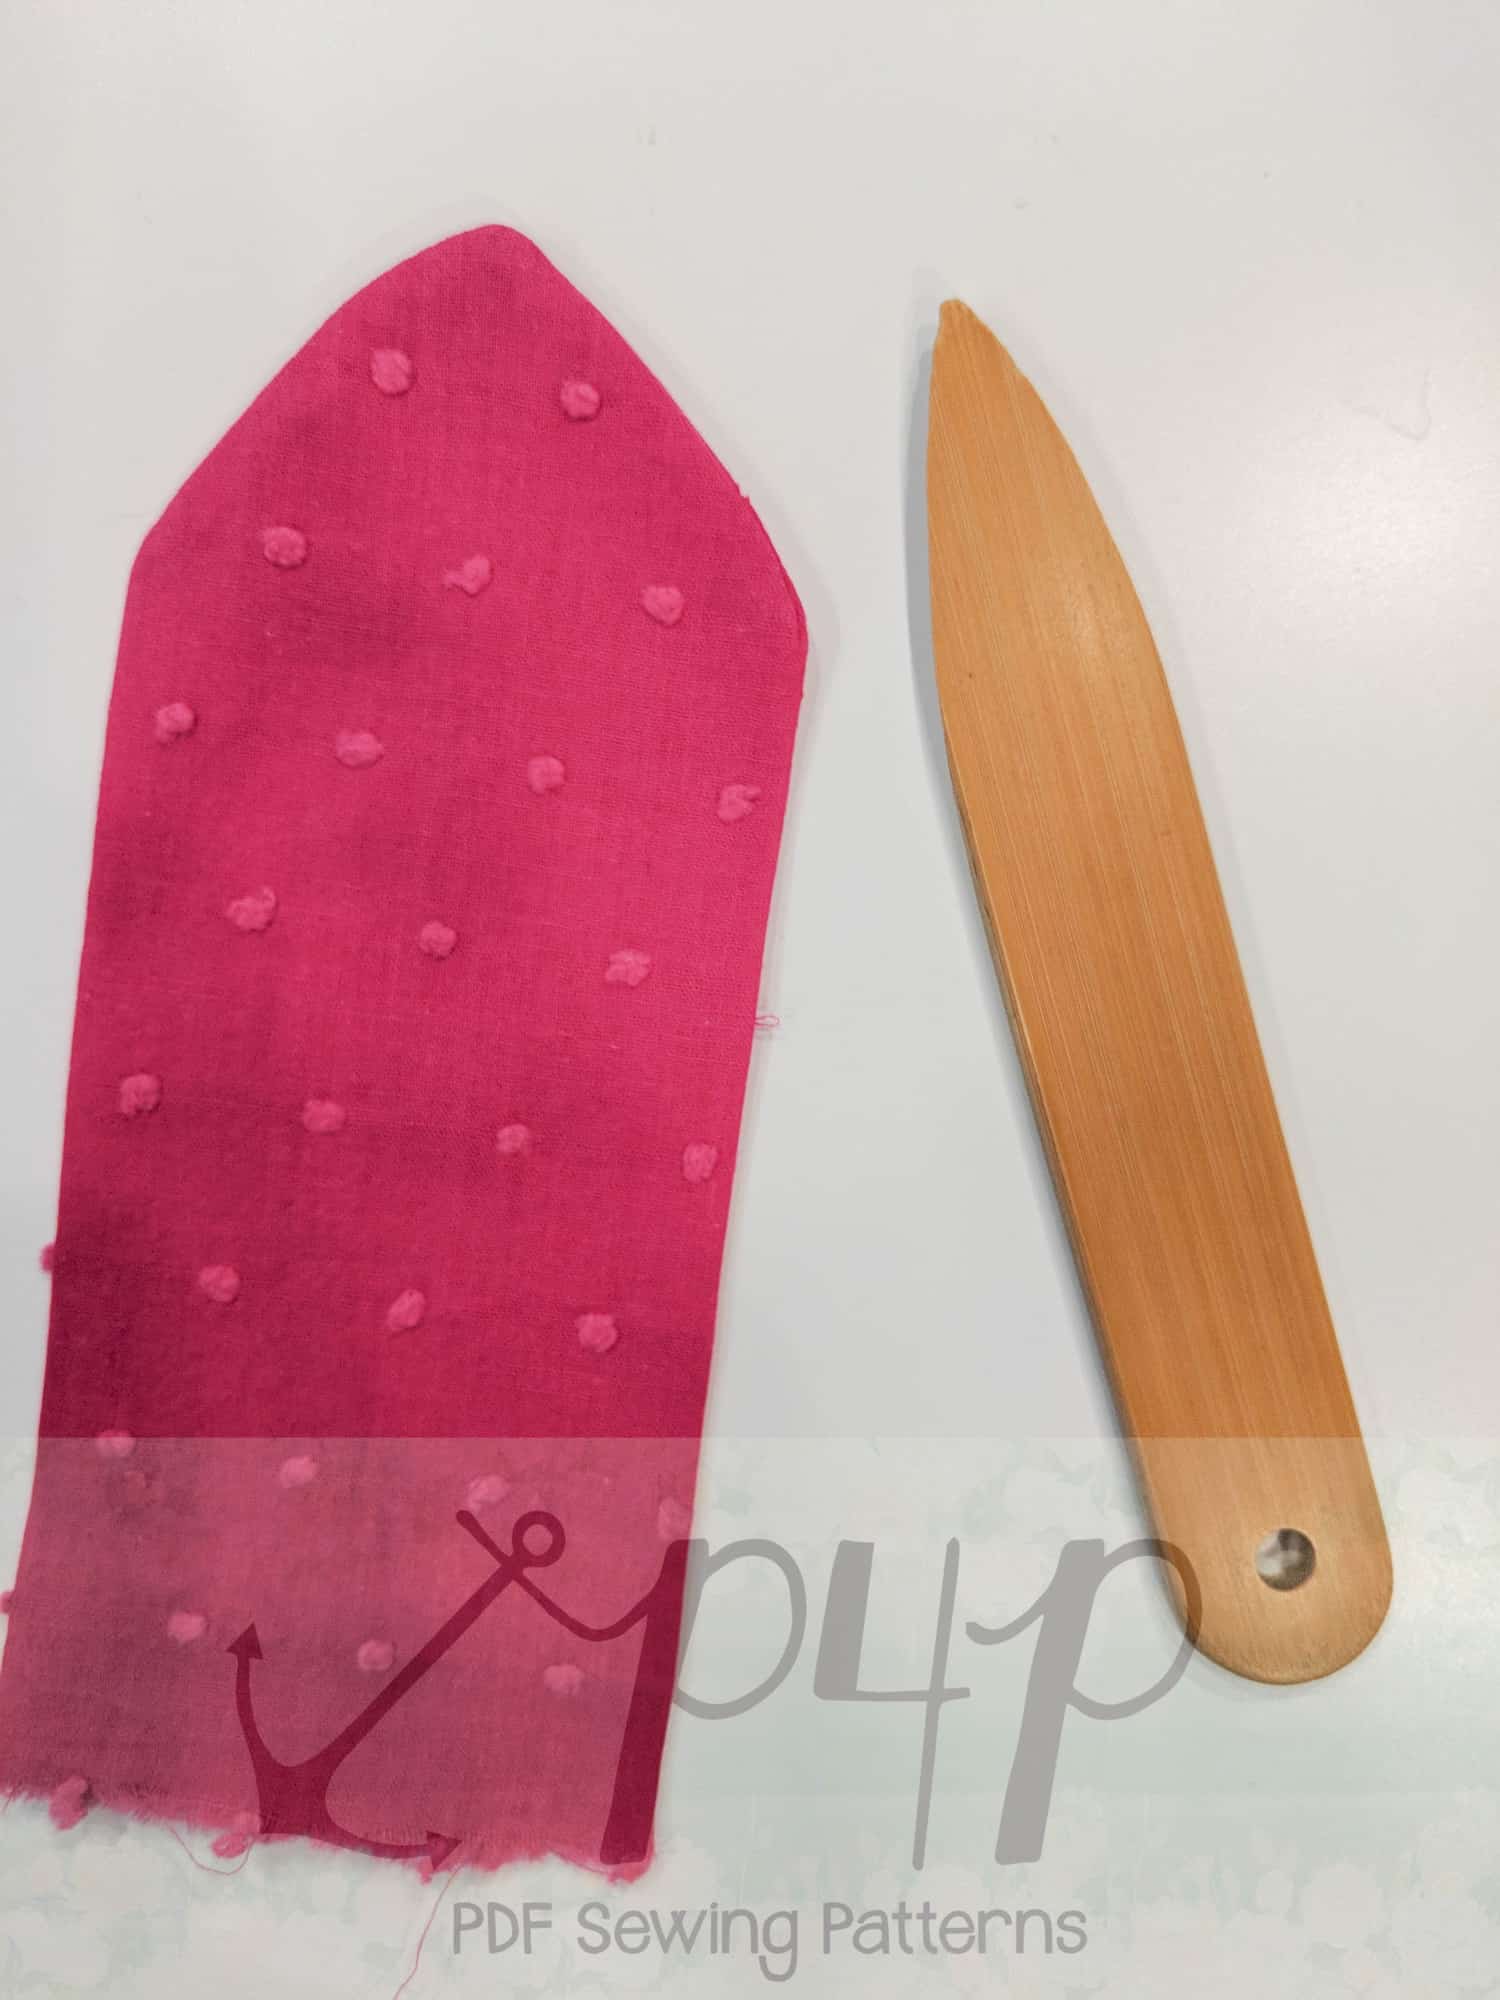
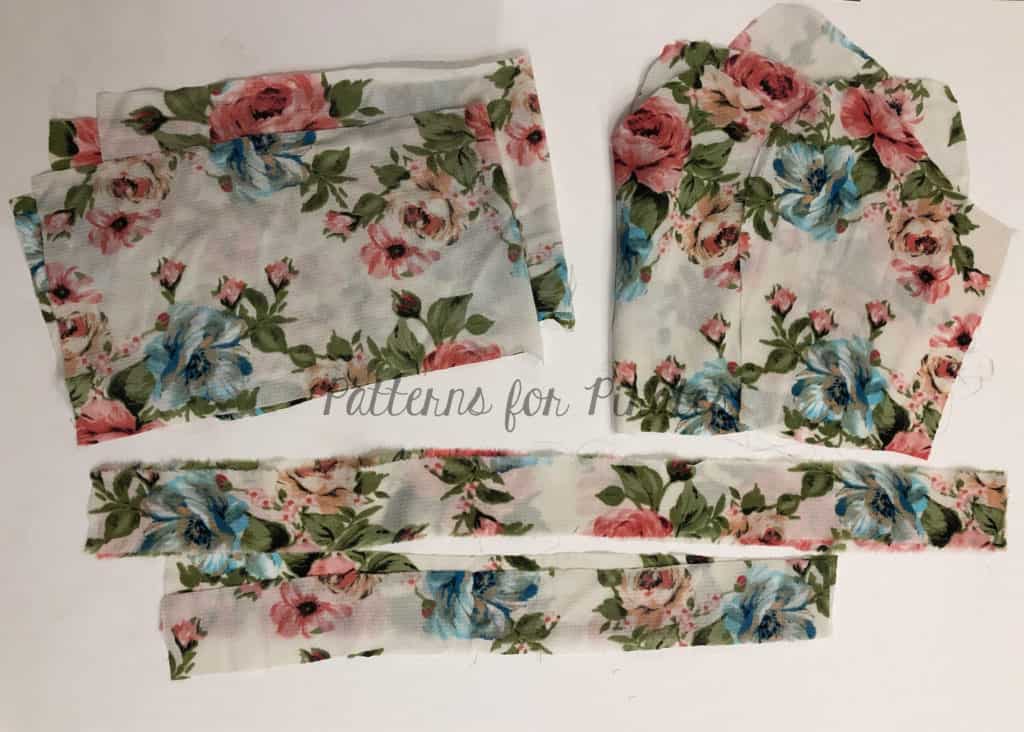
The first hack we have for you is a gathered strap. If you would like a little more shoulder coverage or just want a fun new option, this hack is for you. Cut your dress as per the pattern instruction and simply cut the straps wider. For youth 3M to 4 you will be cutting the straps 7″ wide by the length given in the pattern. For 5 to 14, your straps will be 8″ by the length. If you are making this hack for the women’s dress then your new width will be 8″ (XXS-S), 9″ (M-XXL) and 10″ (1x-3x). The length will be the one listed in the tutorial.
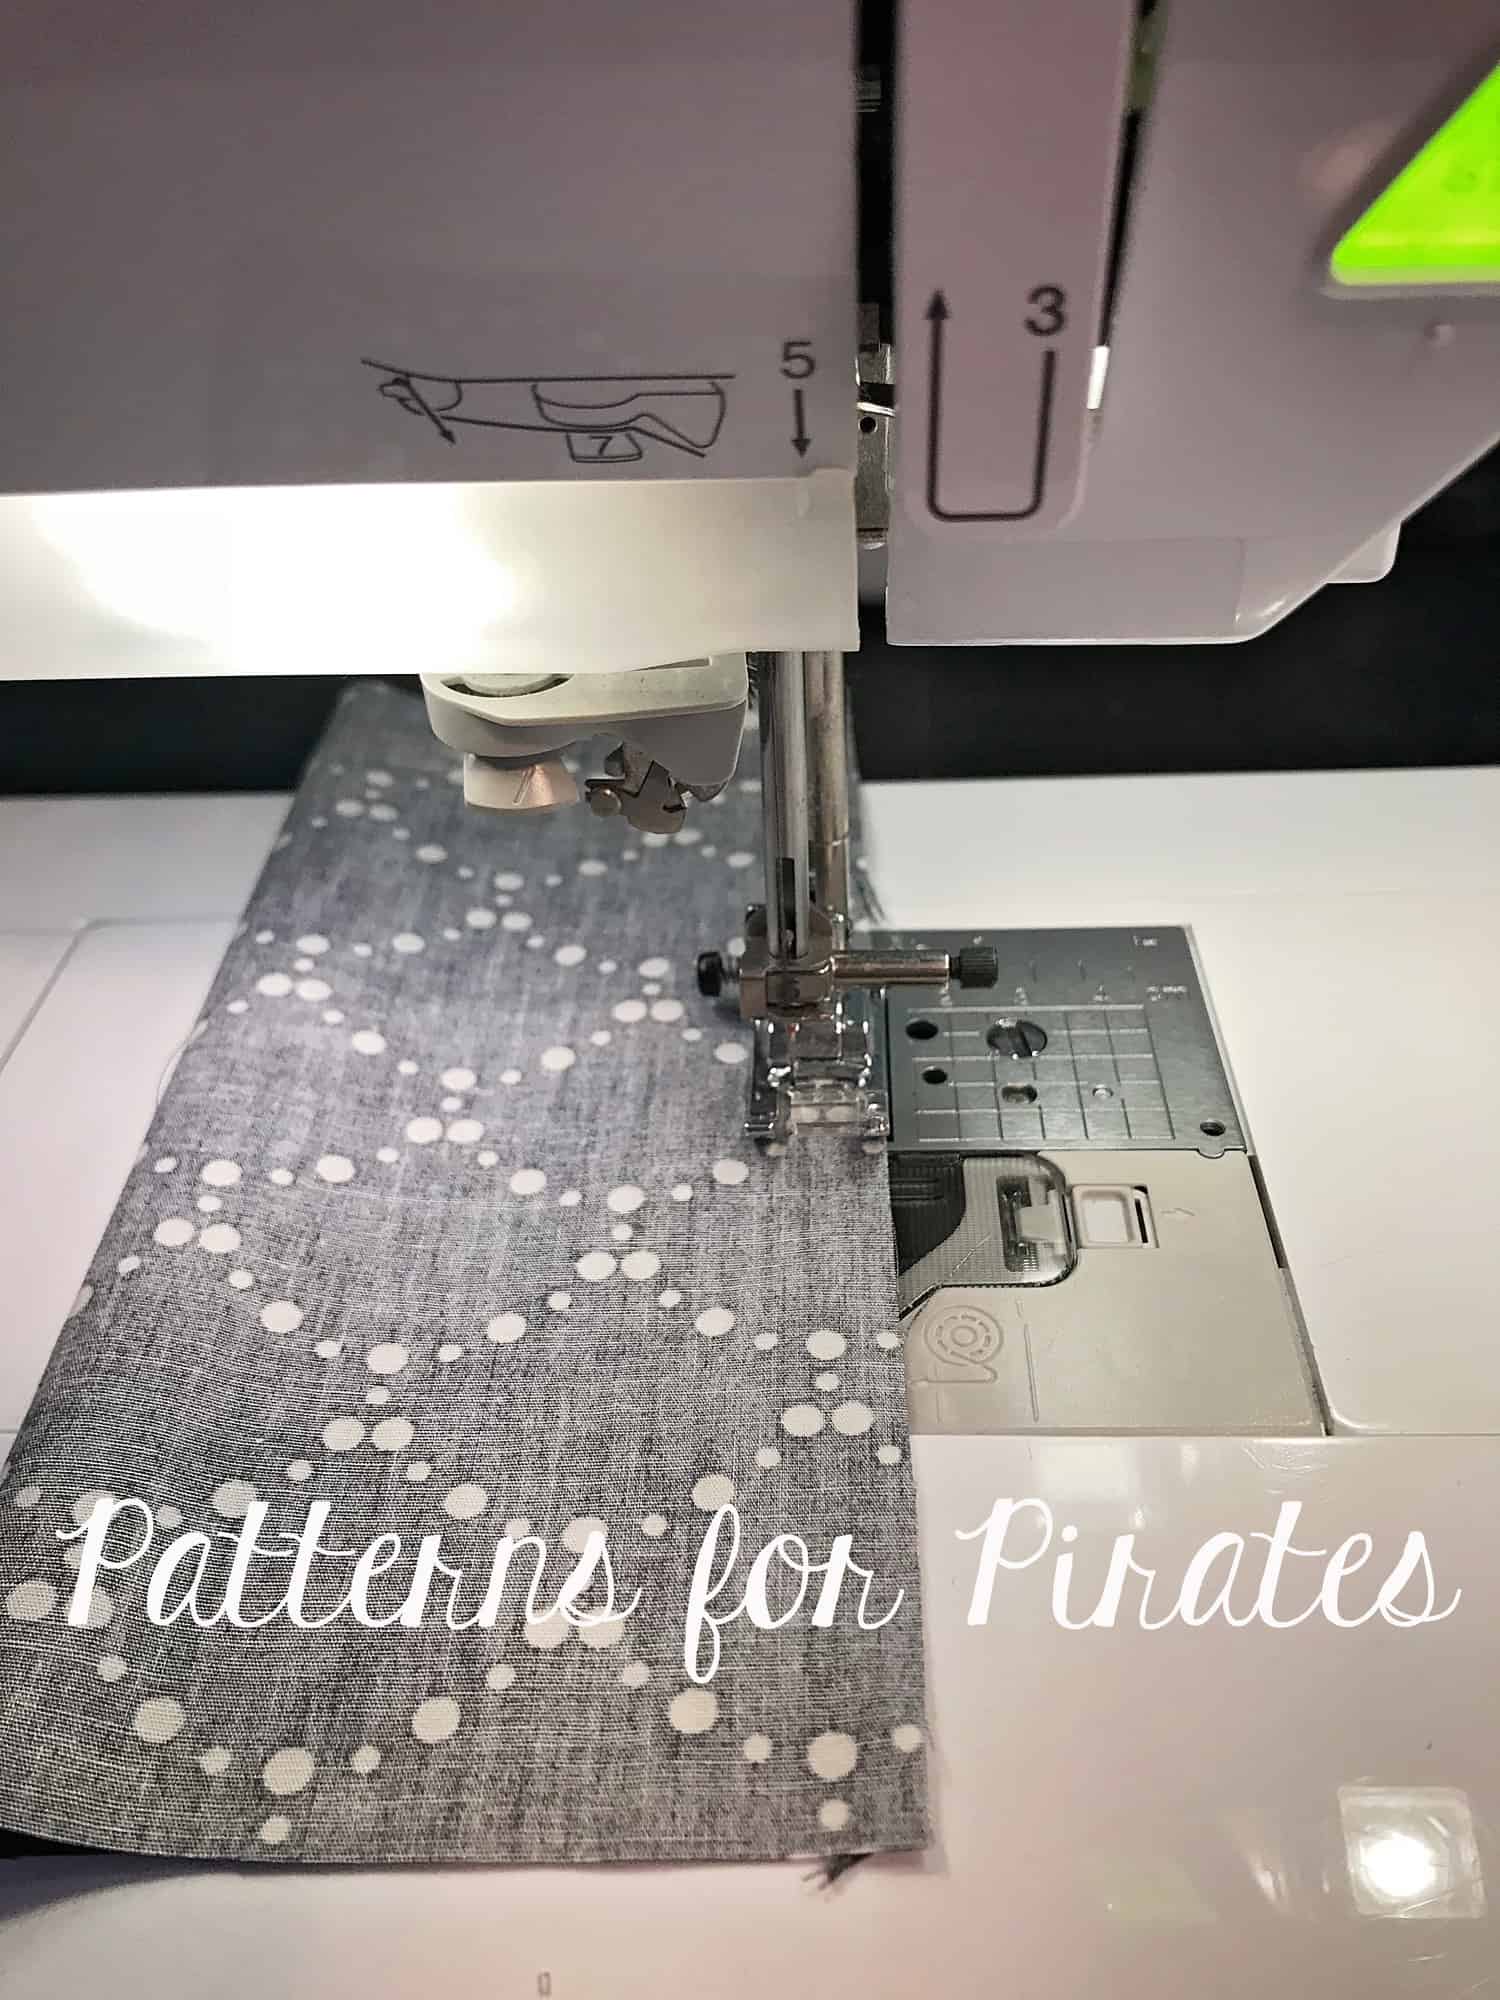
Fold the straps lengthwise, right sides together and stitch with a 1/2″ seam allowance. Trim the SA to 1/4″, press open and turn the straps inside out. Press and optionally top stitch.
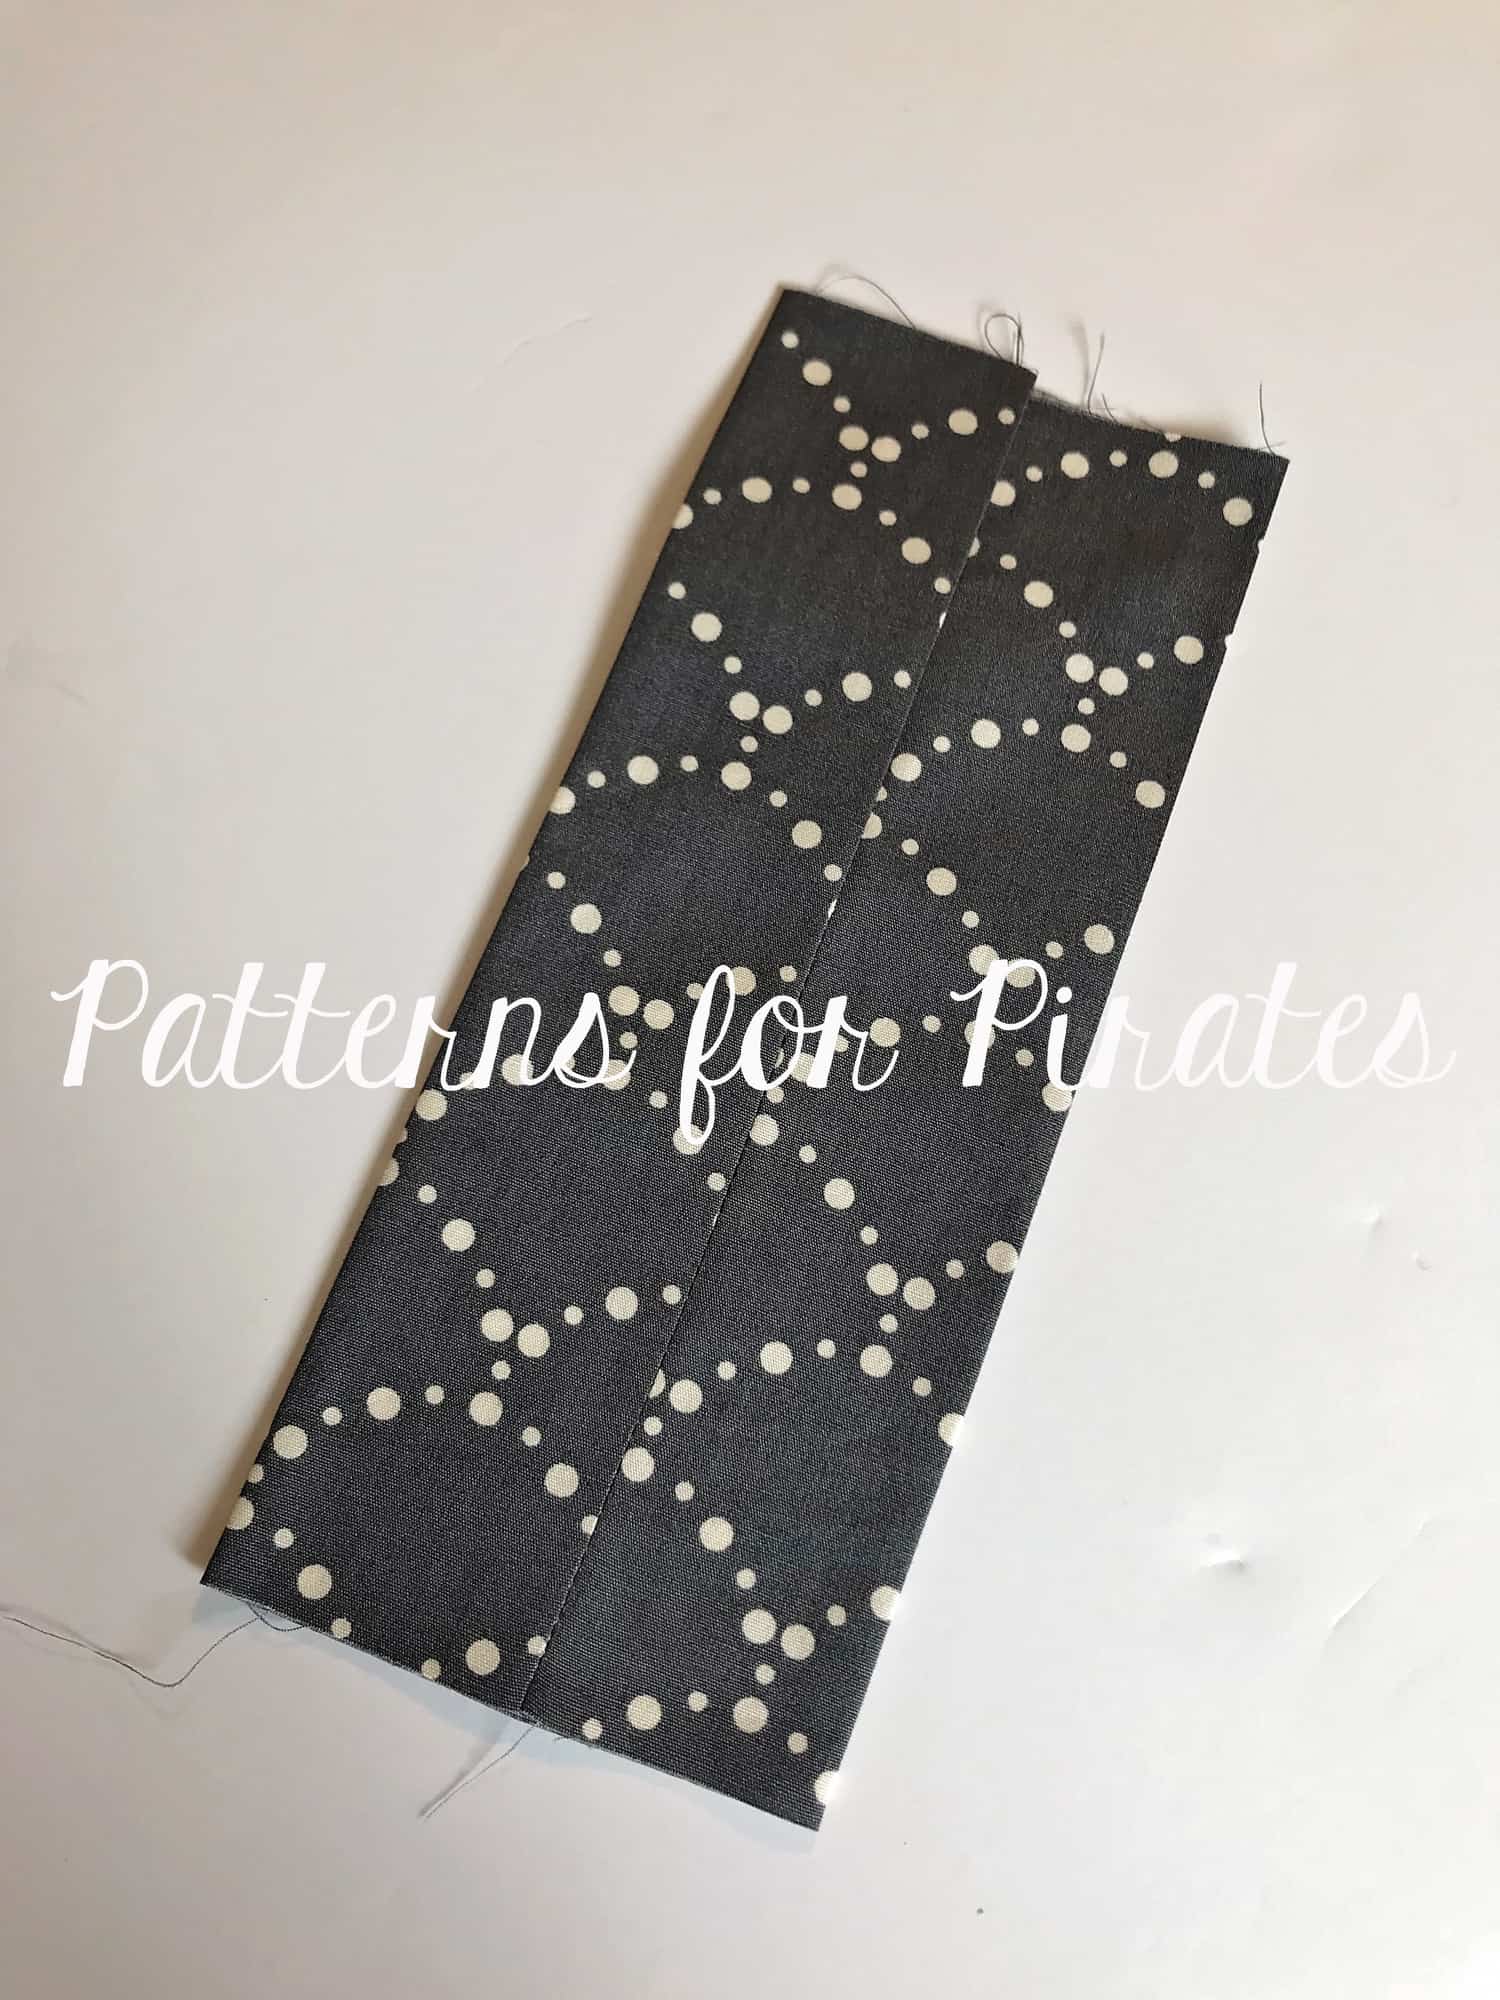
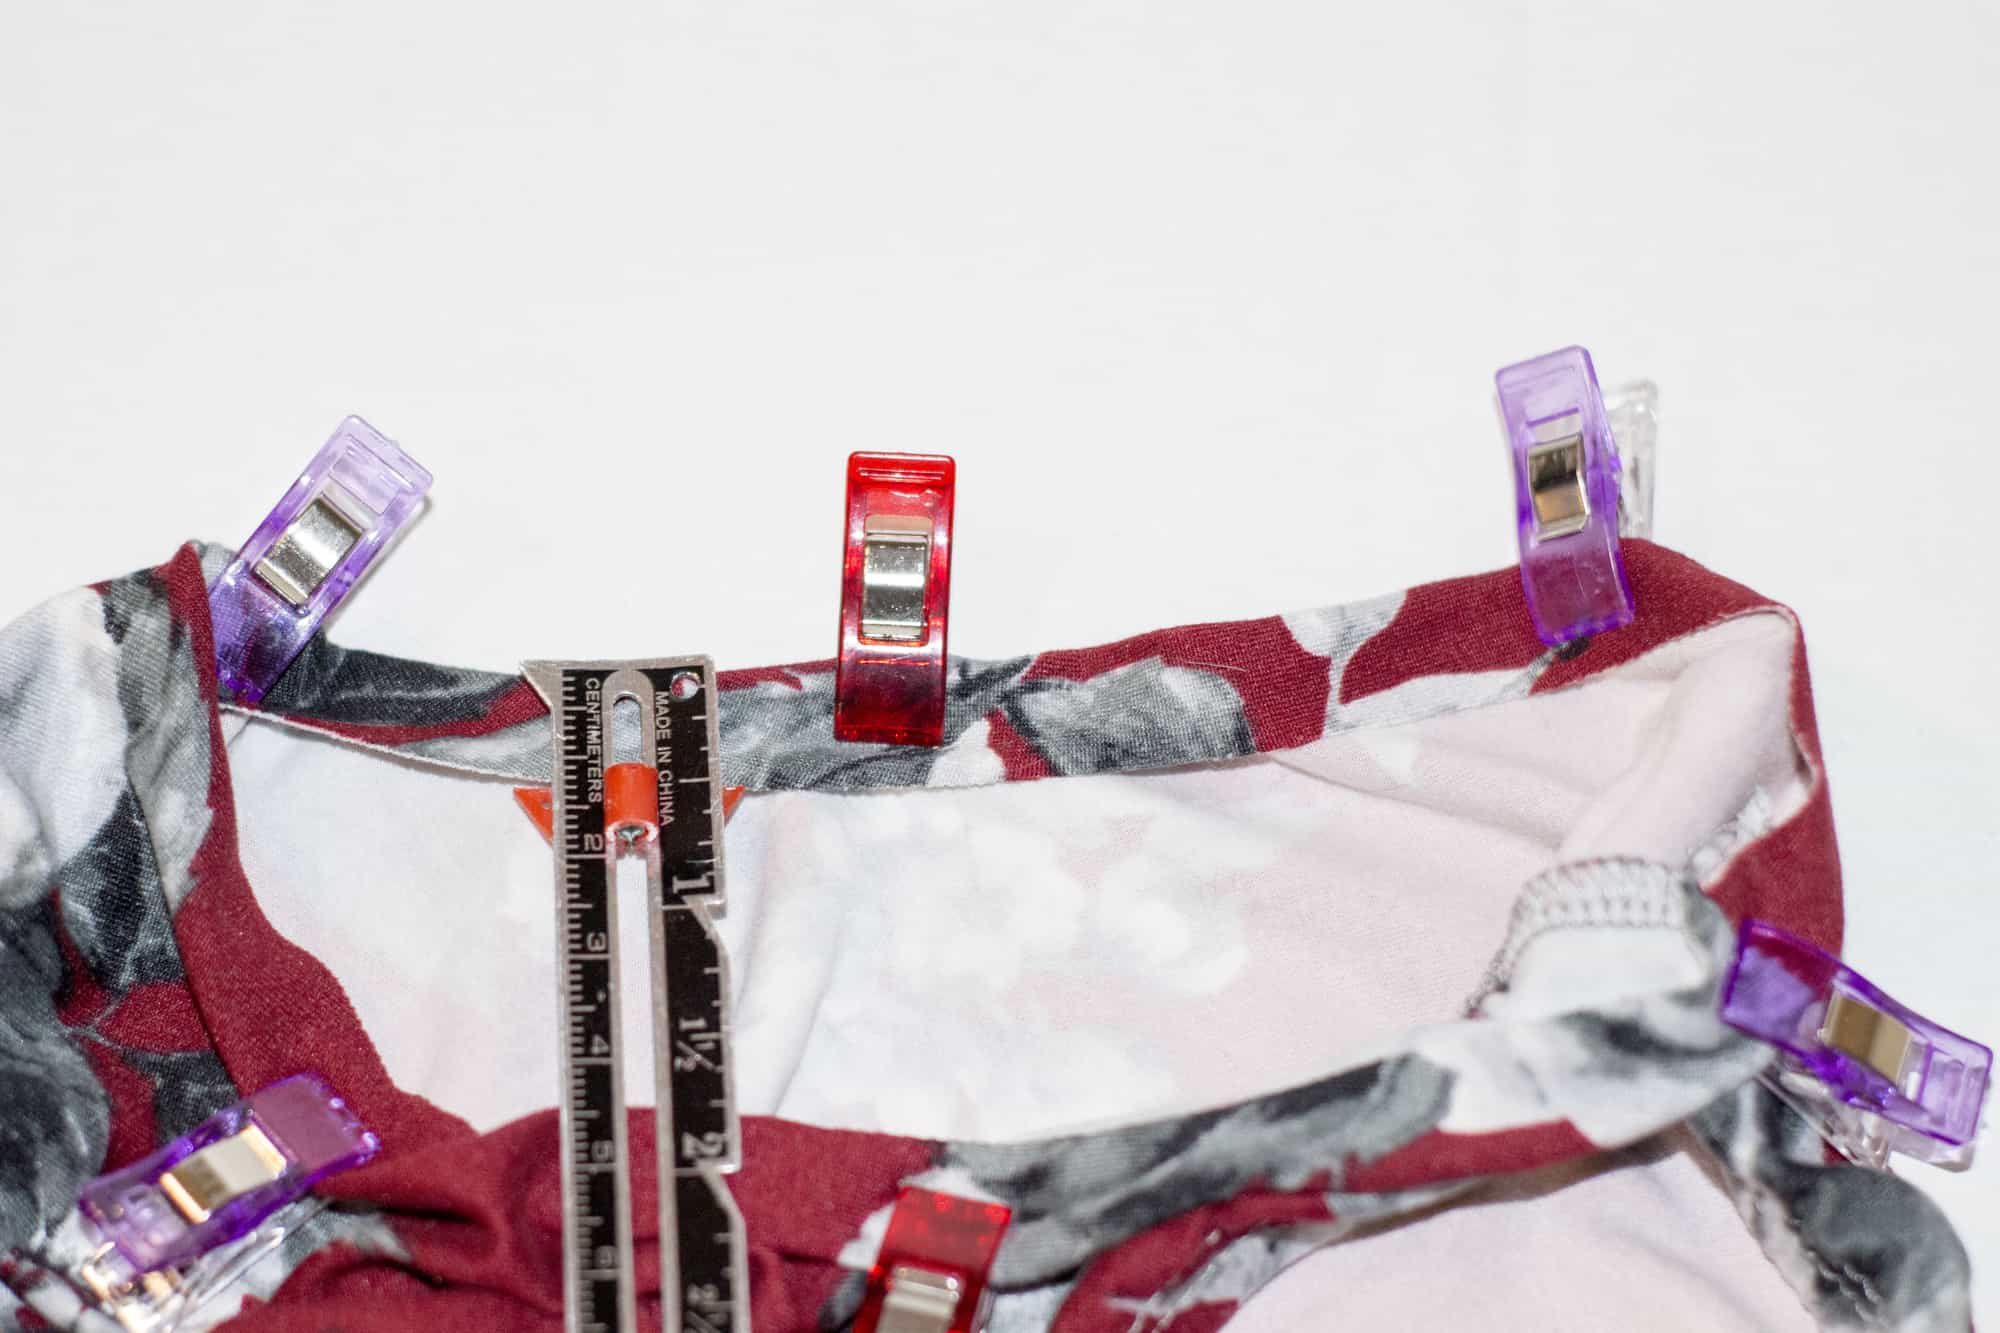
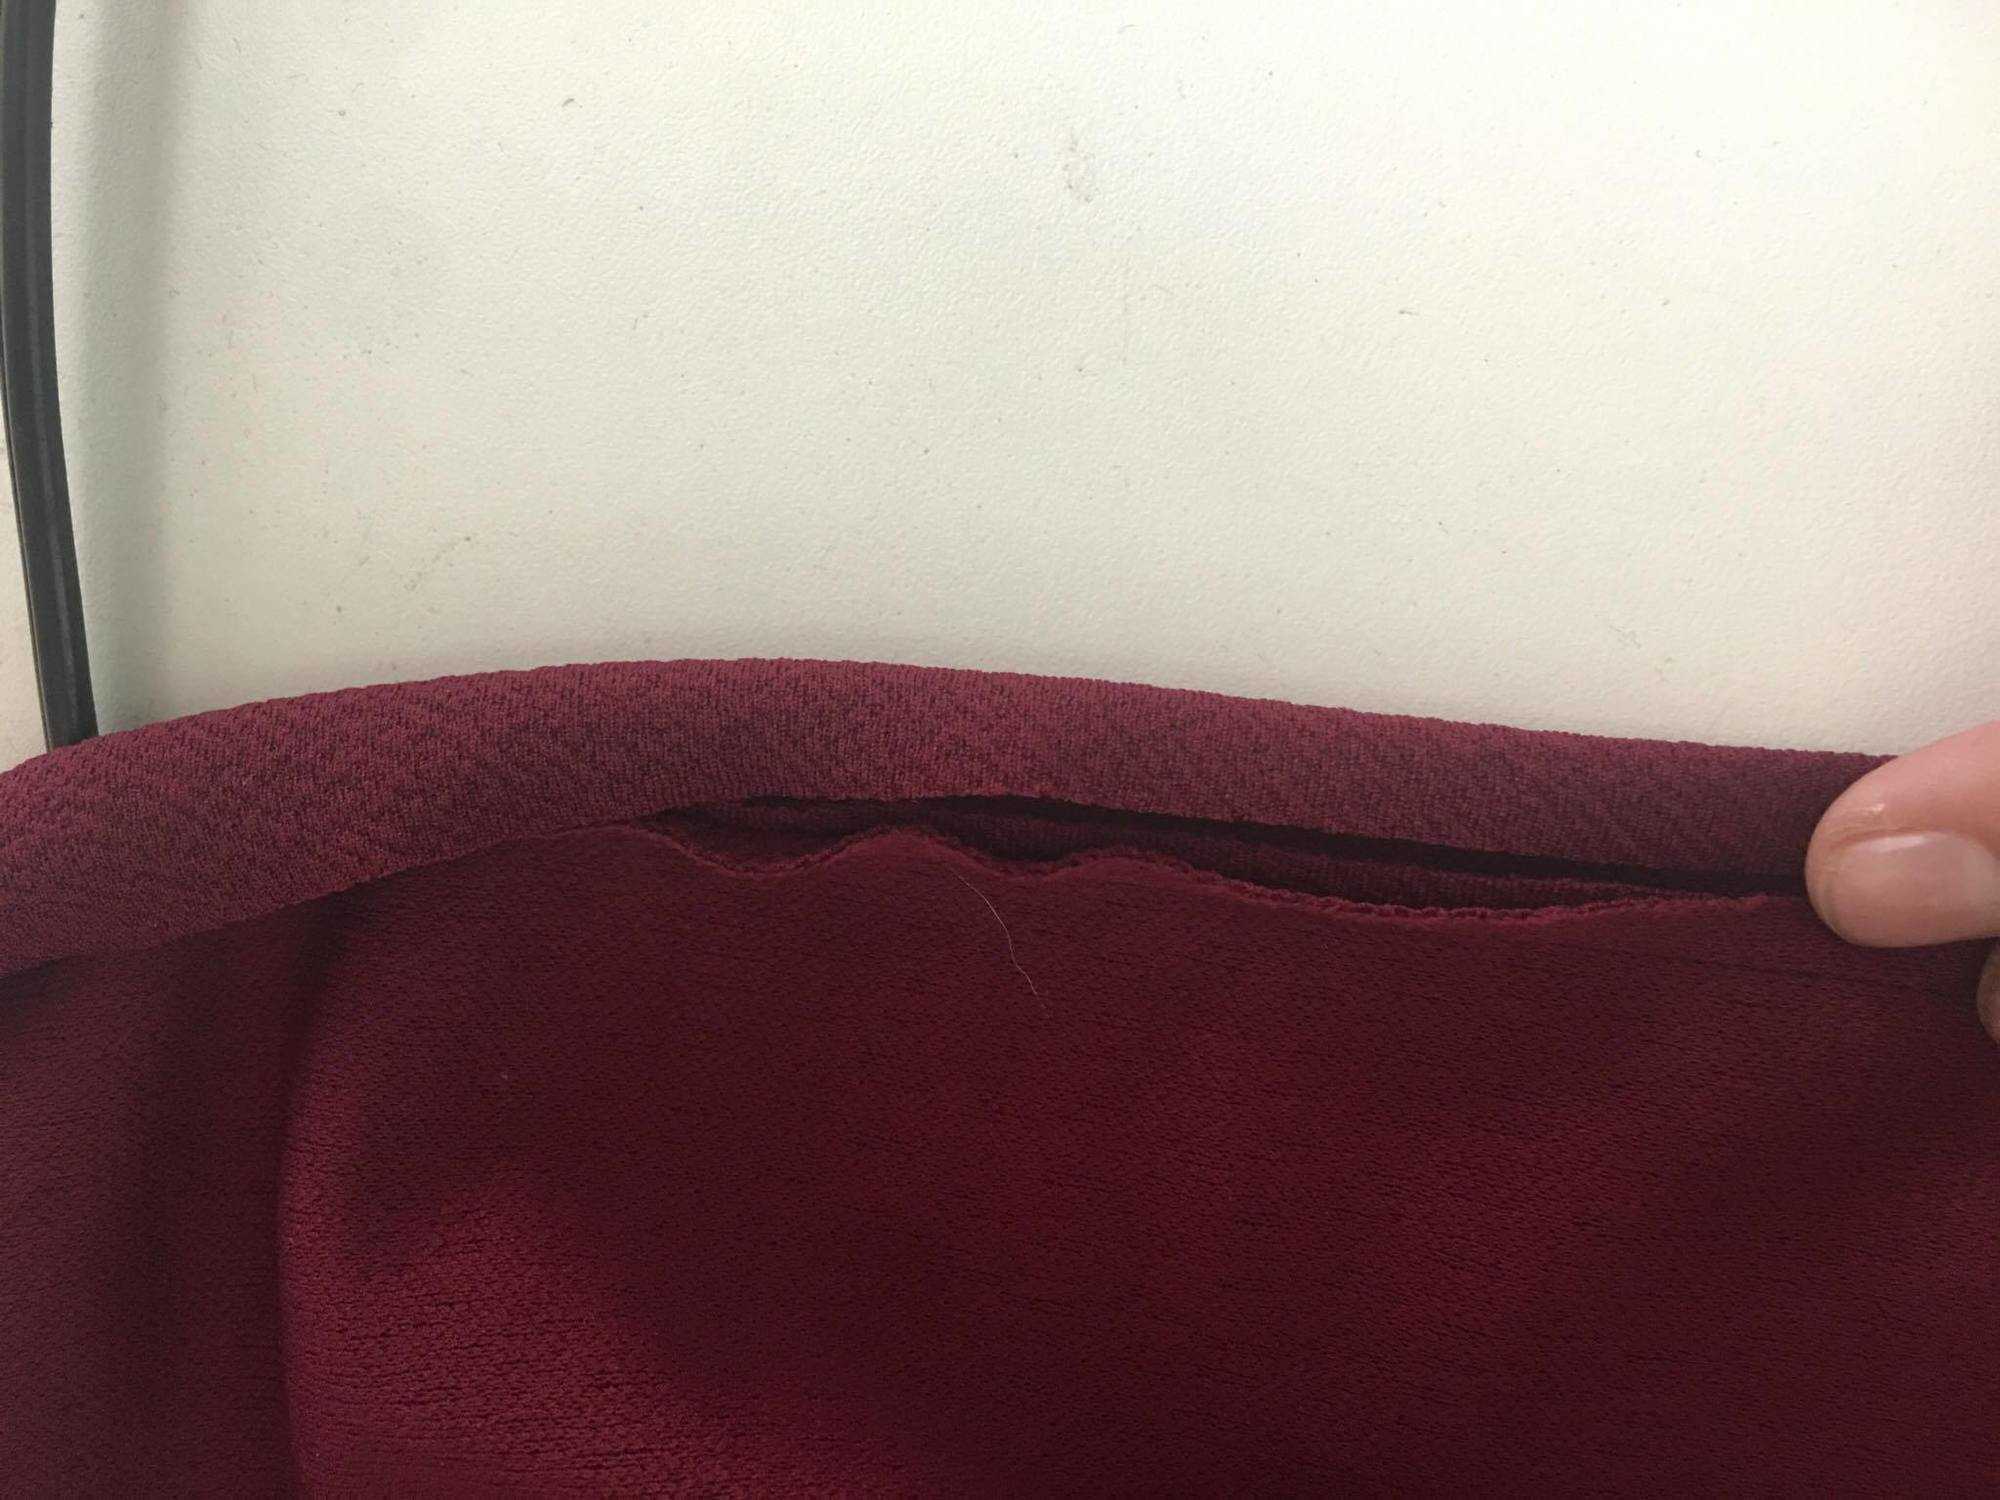
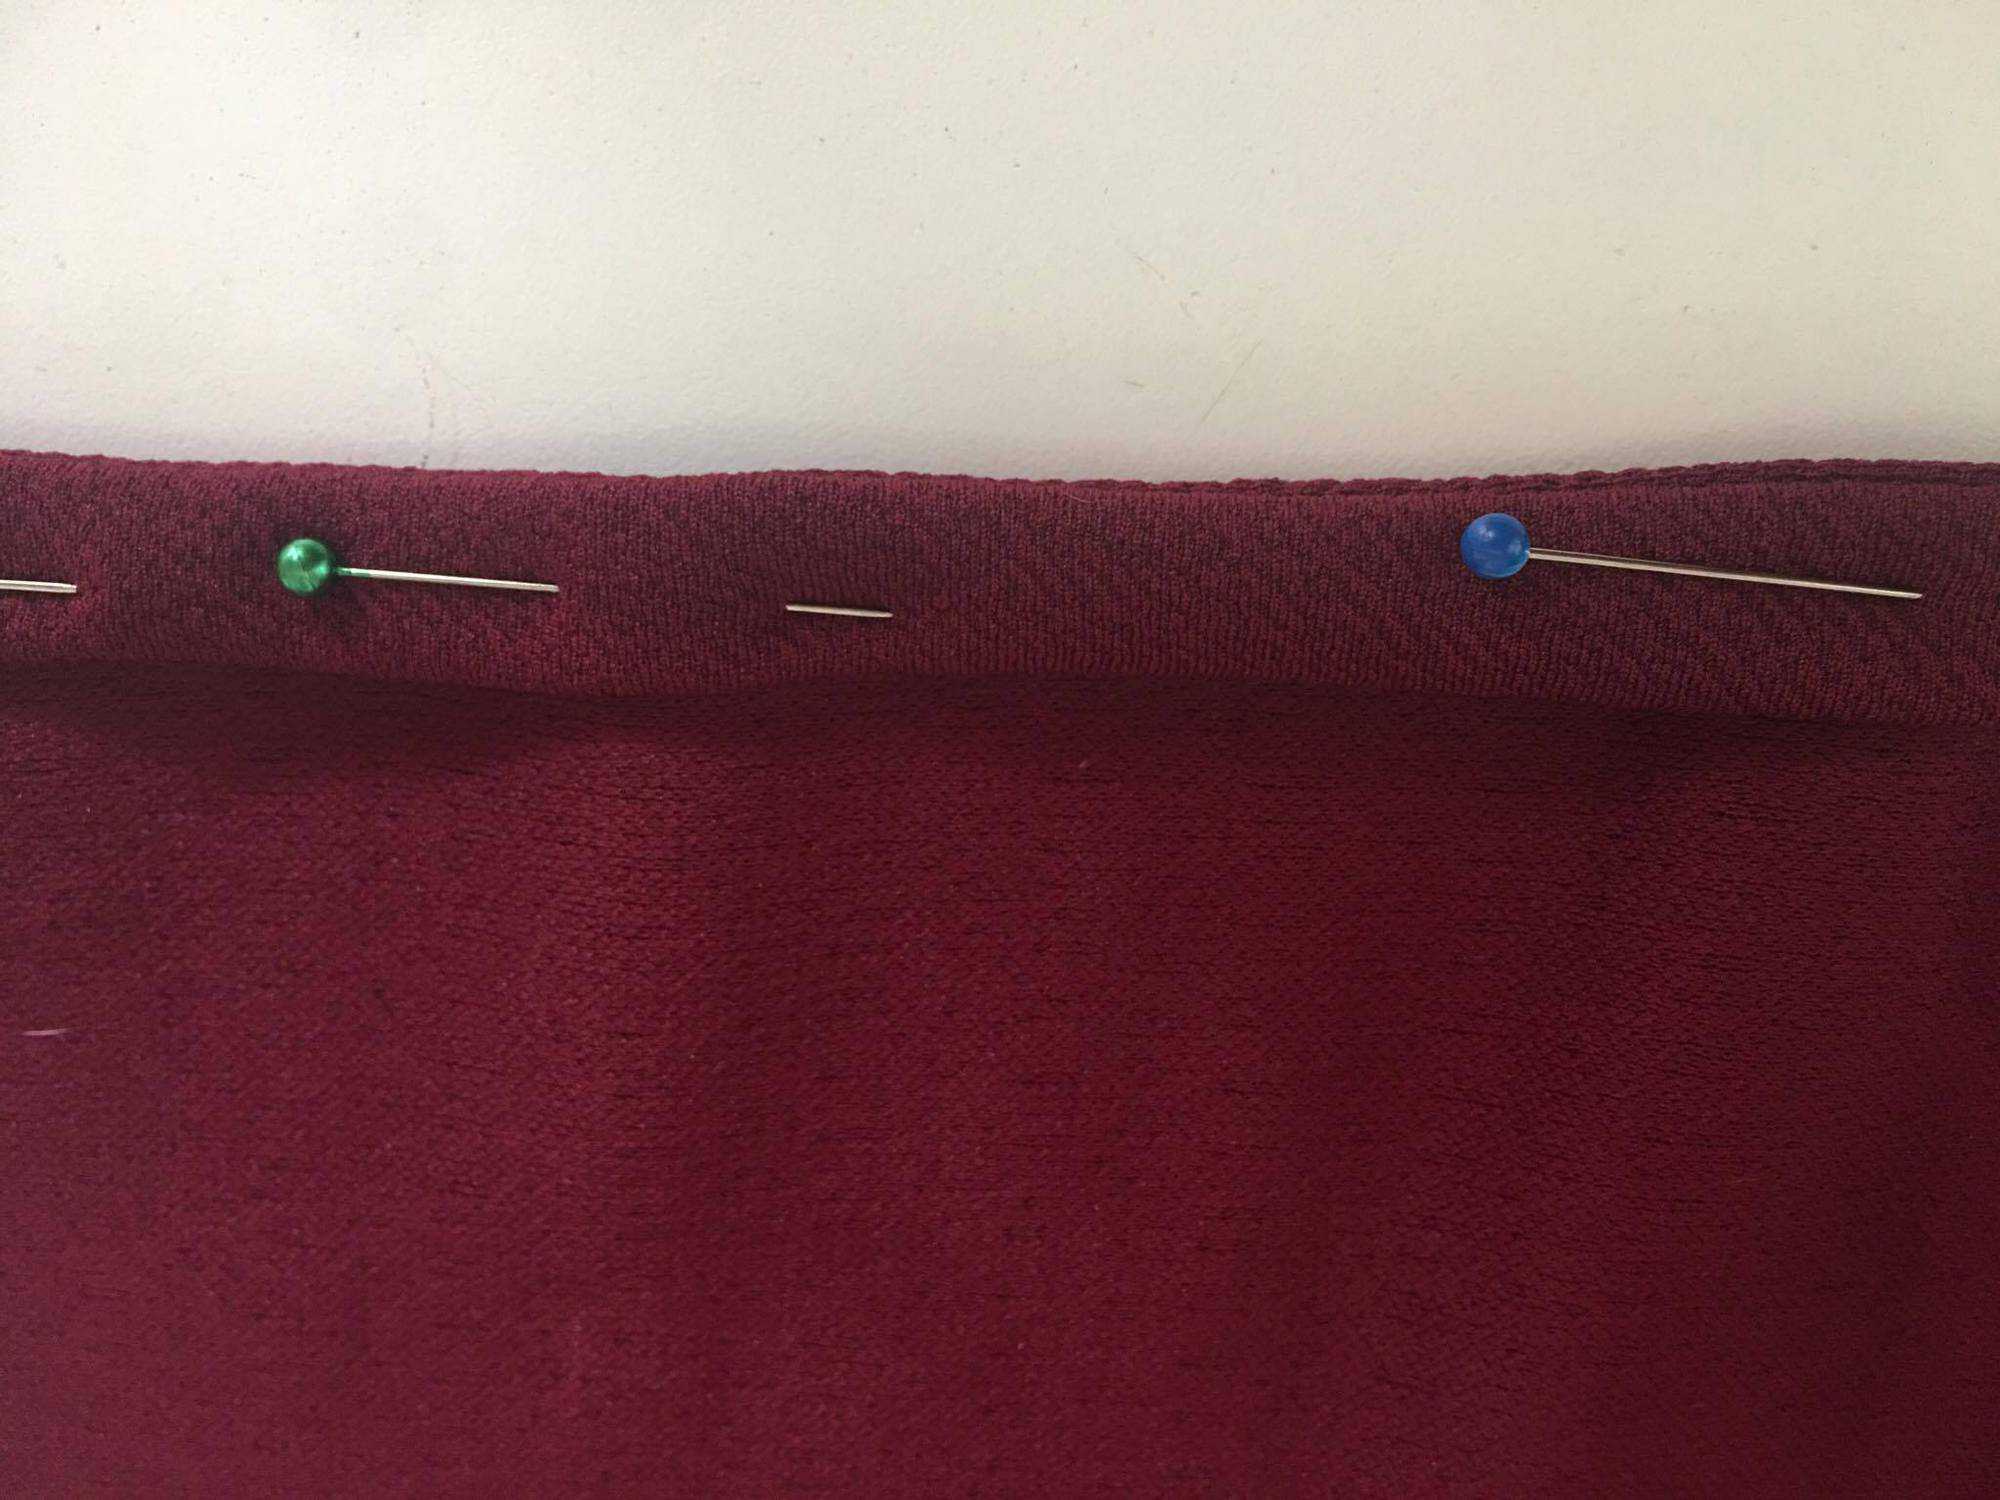
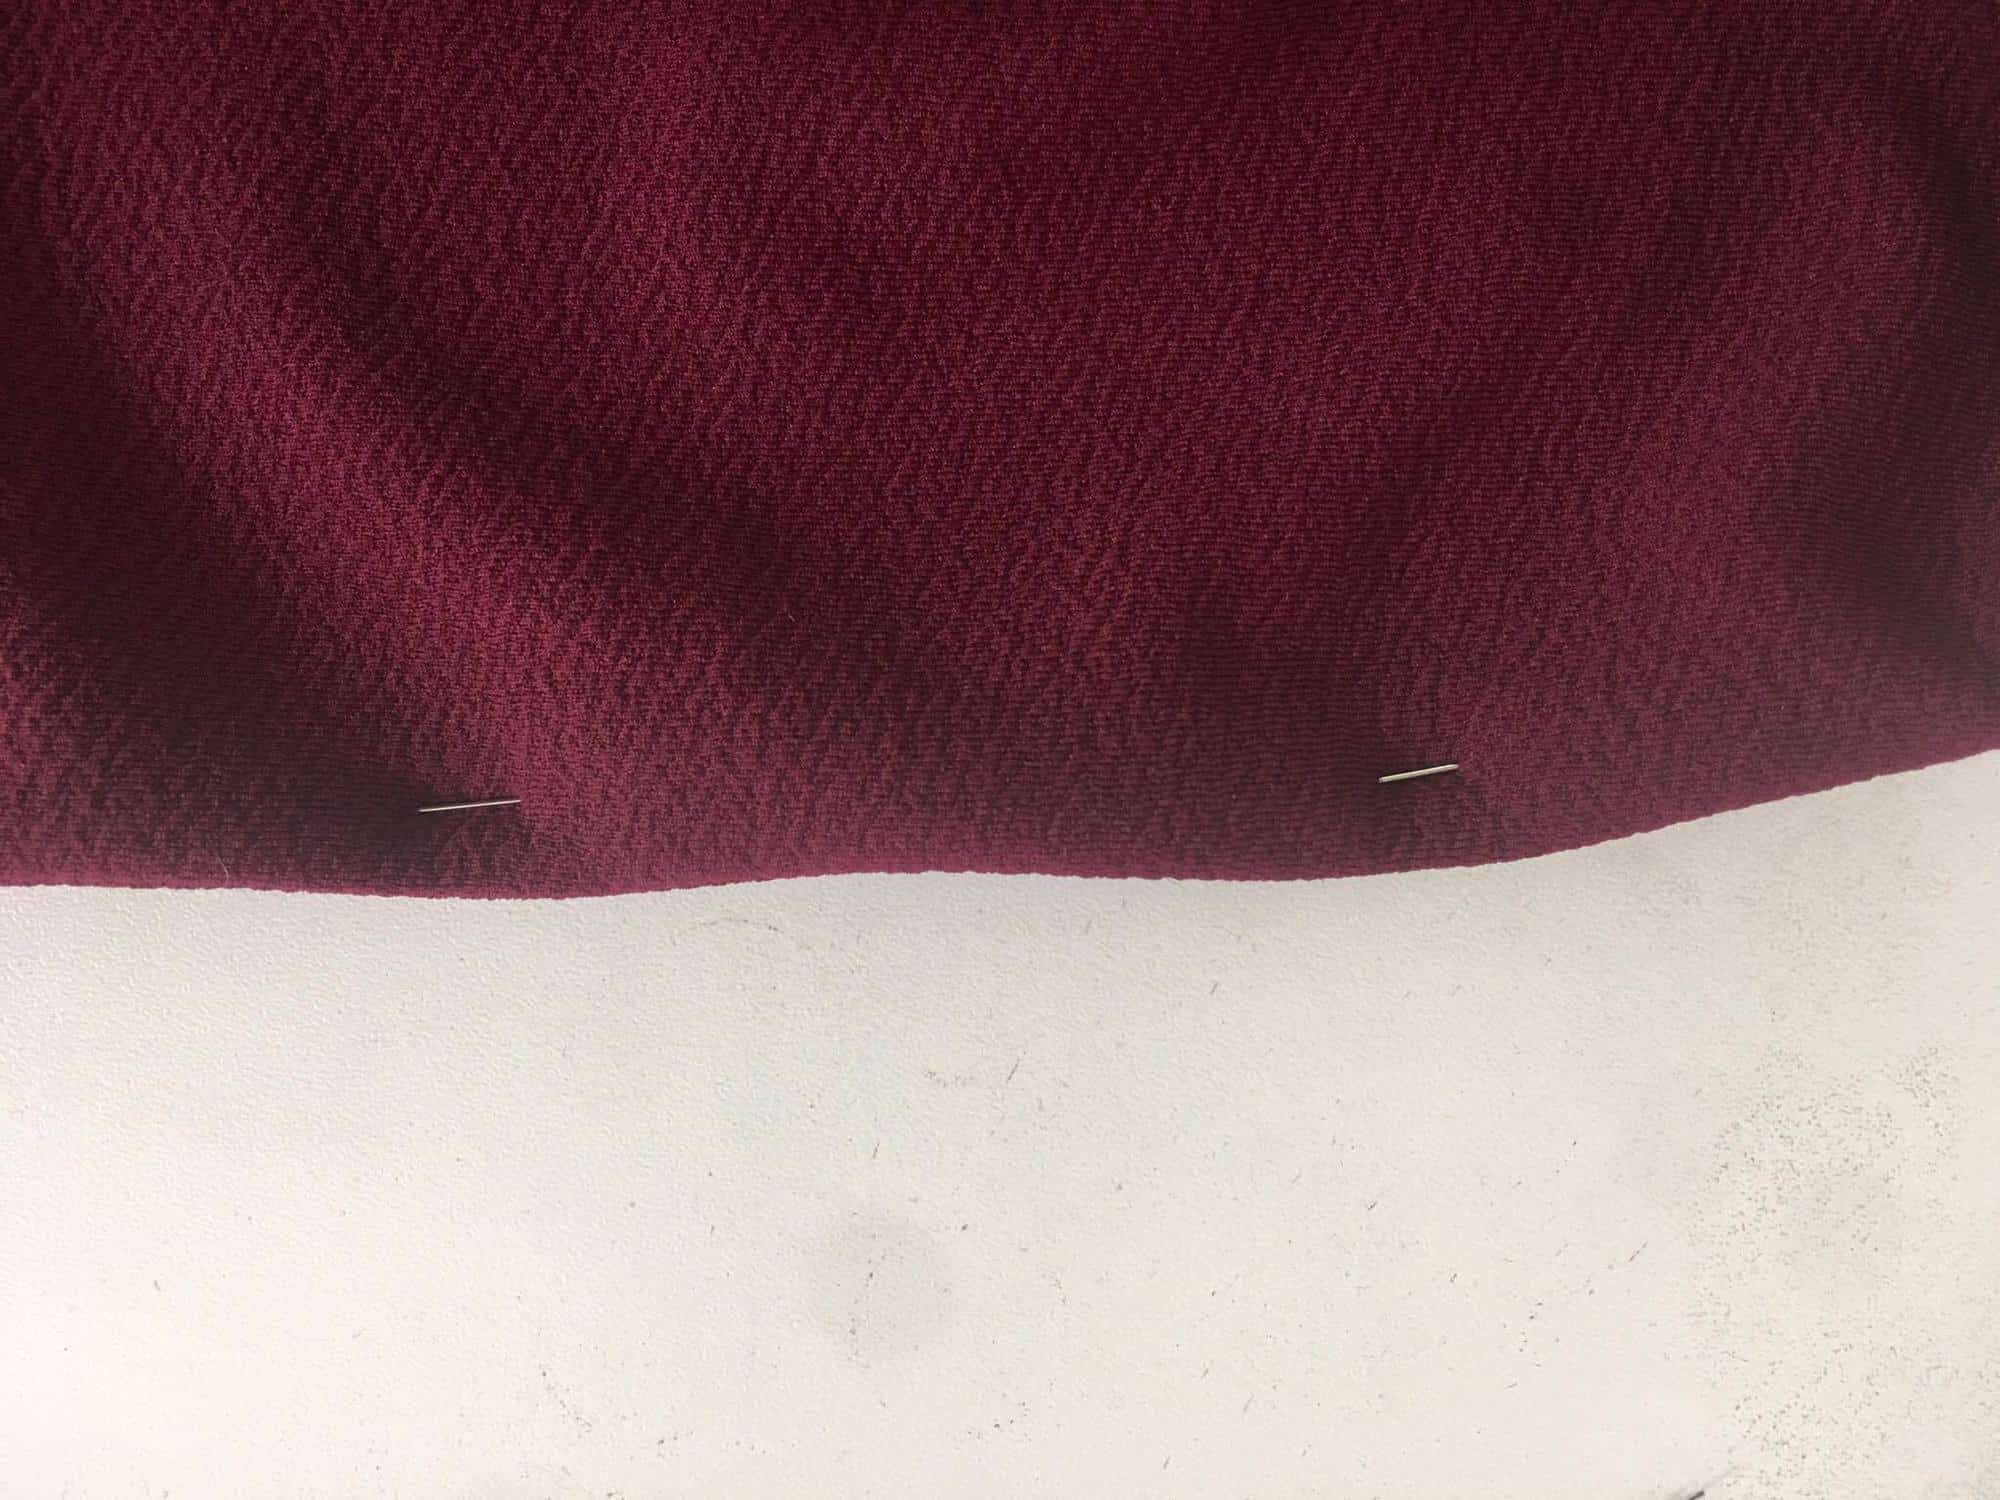
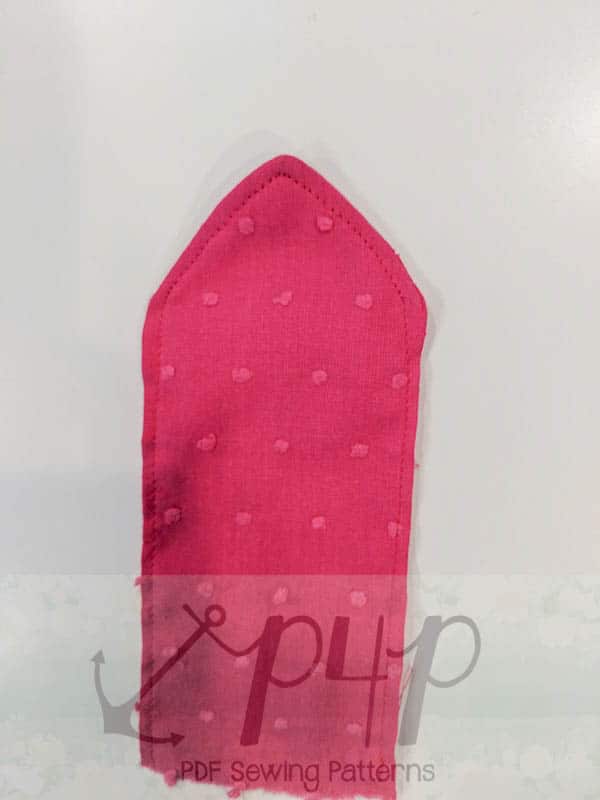
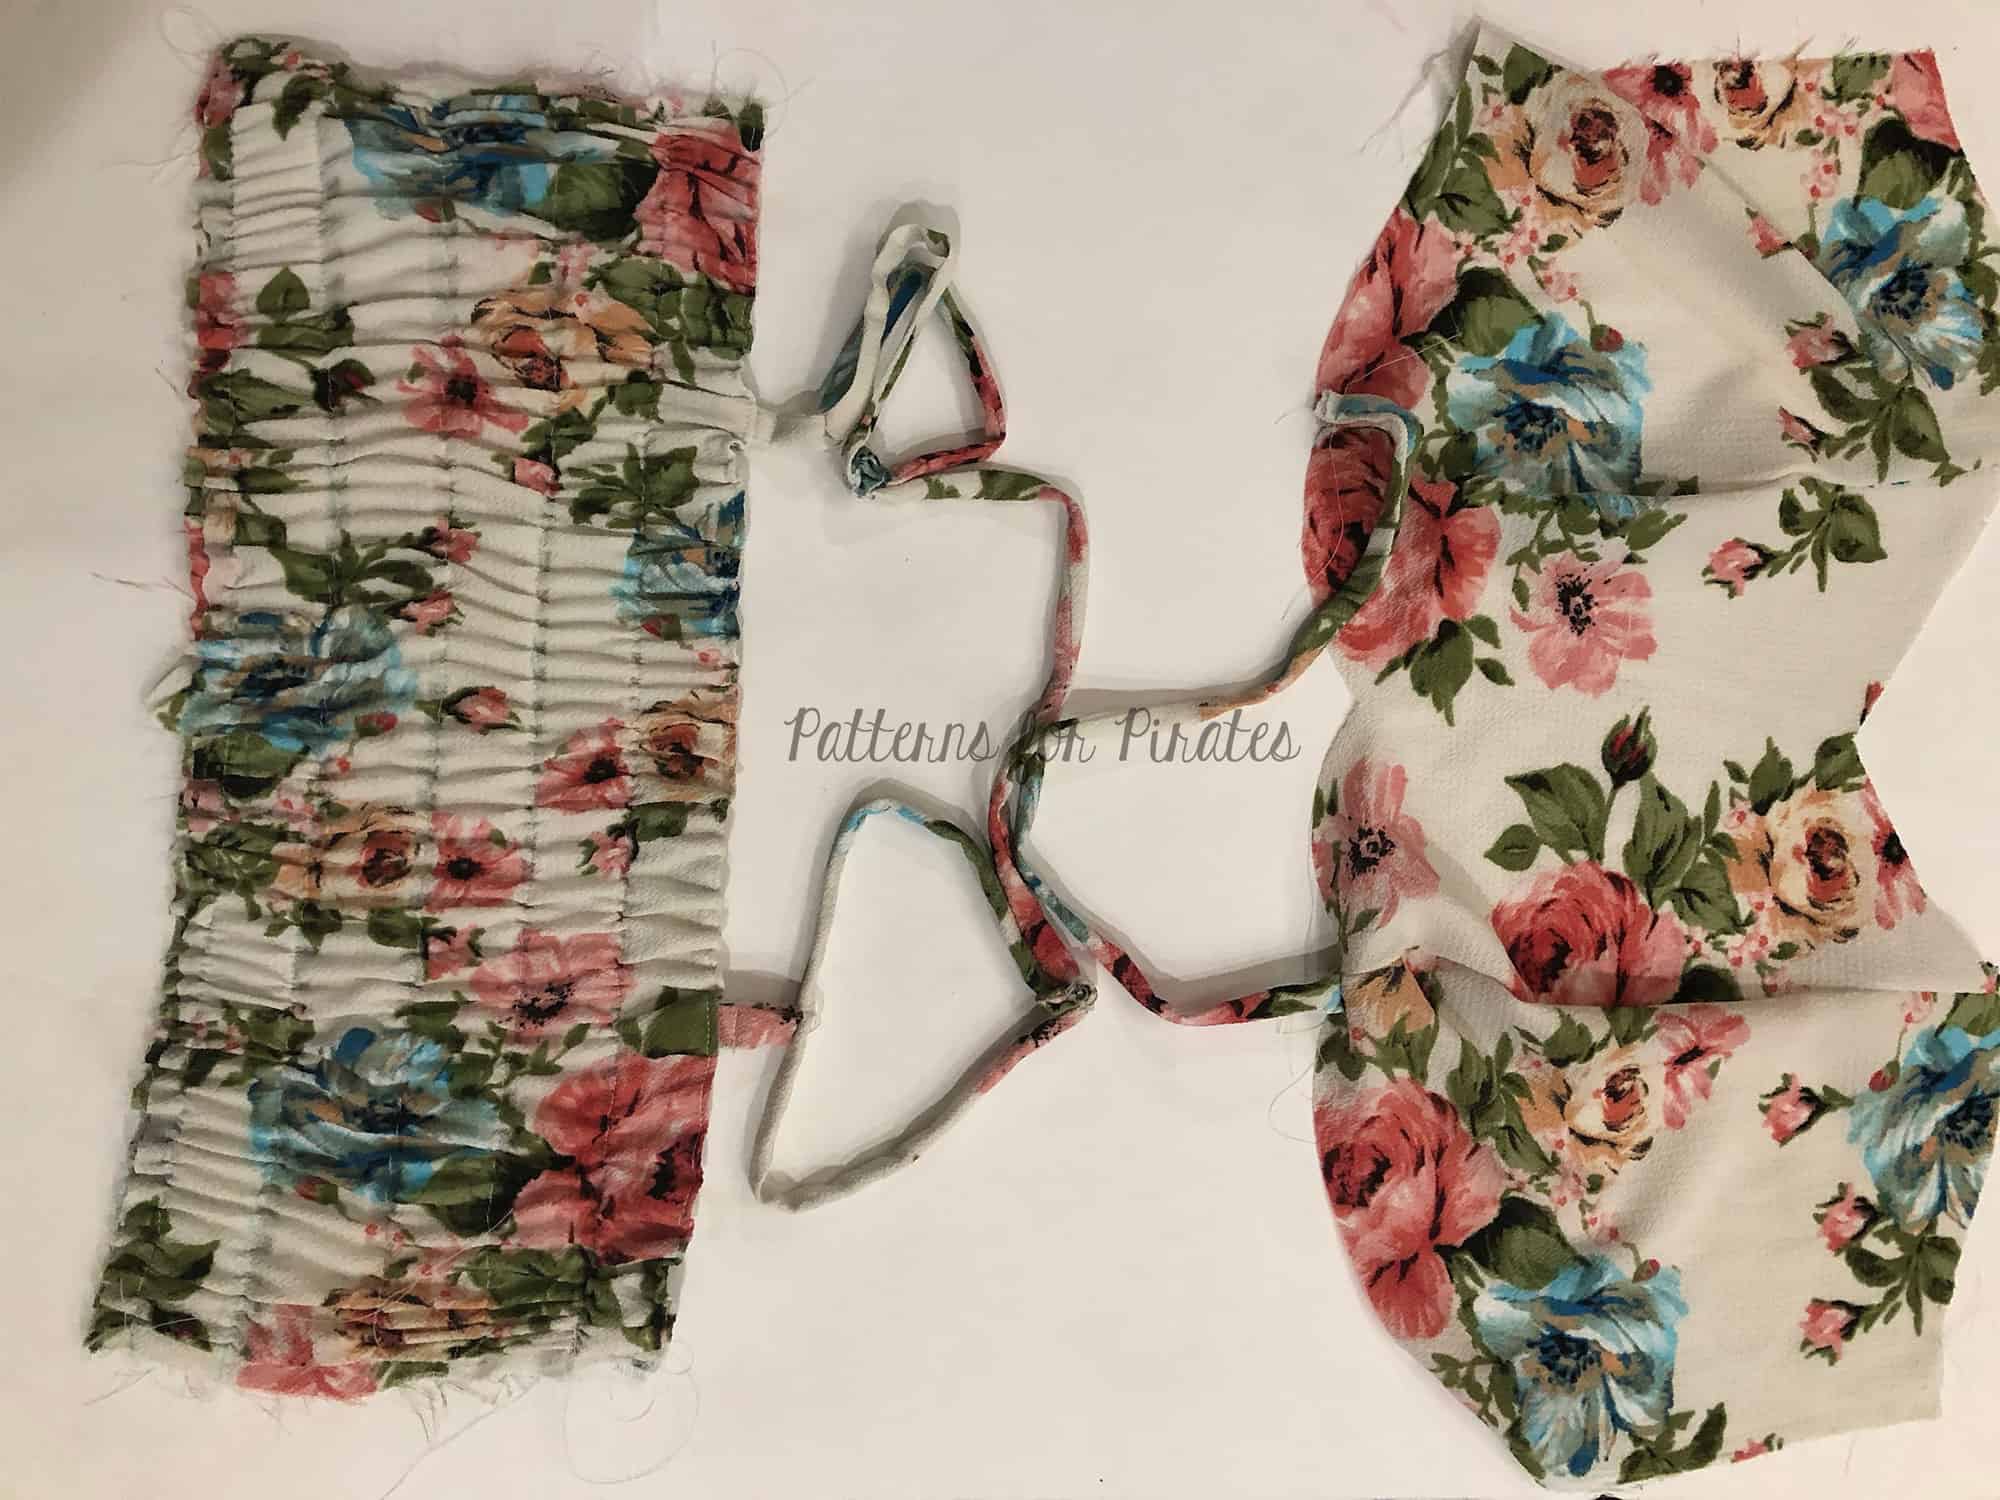
Sew two gathering stitches at the top and bottom of the straps. One should be about 1/4″ away from the raw edge and the other 5/8″ away.
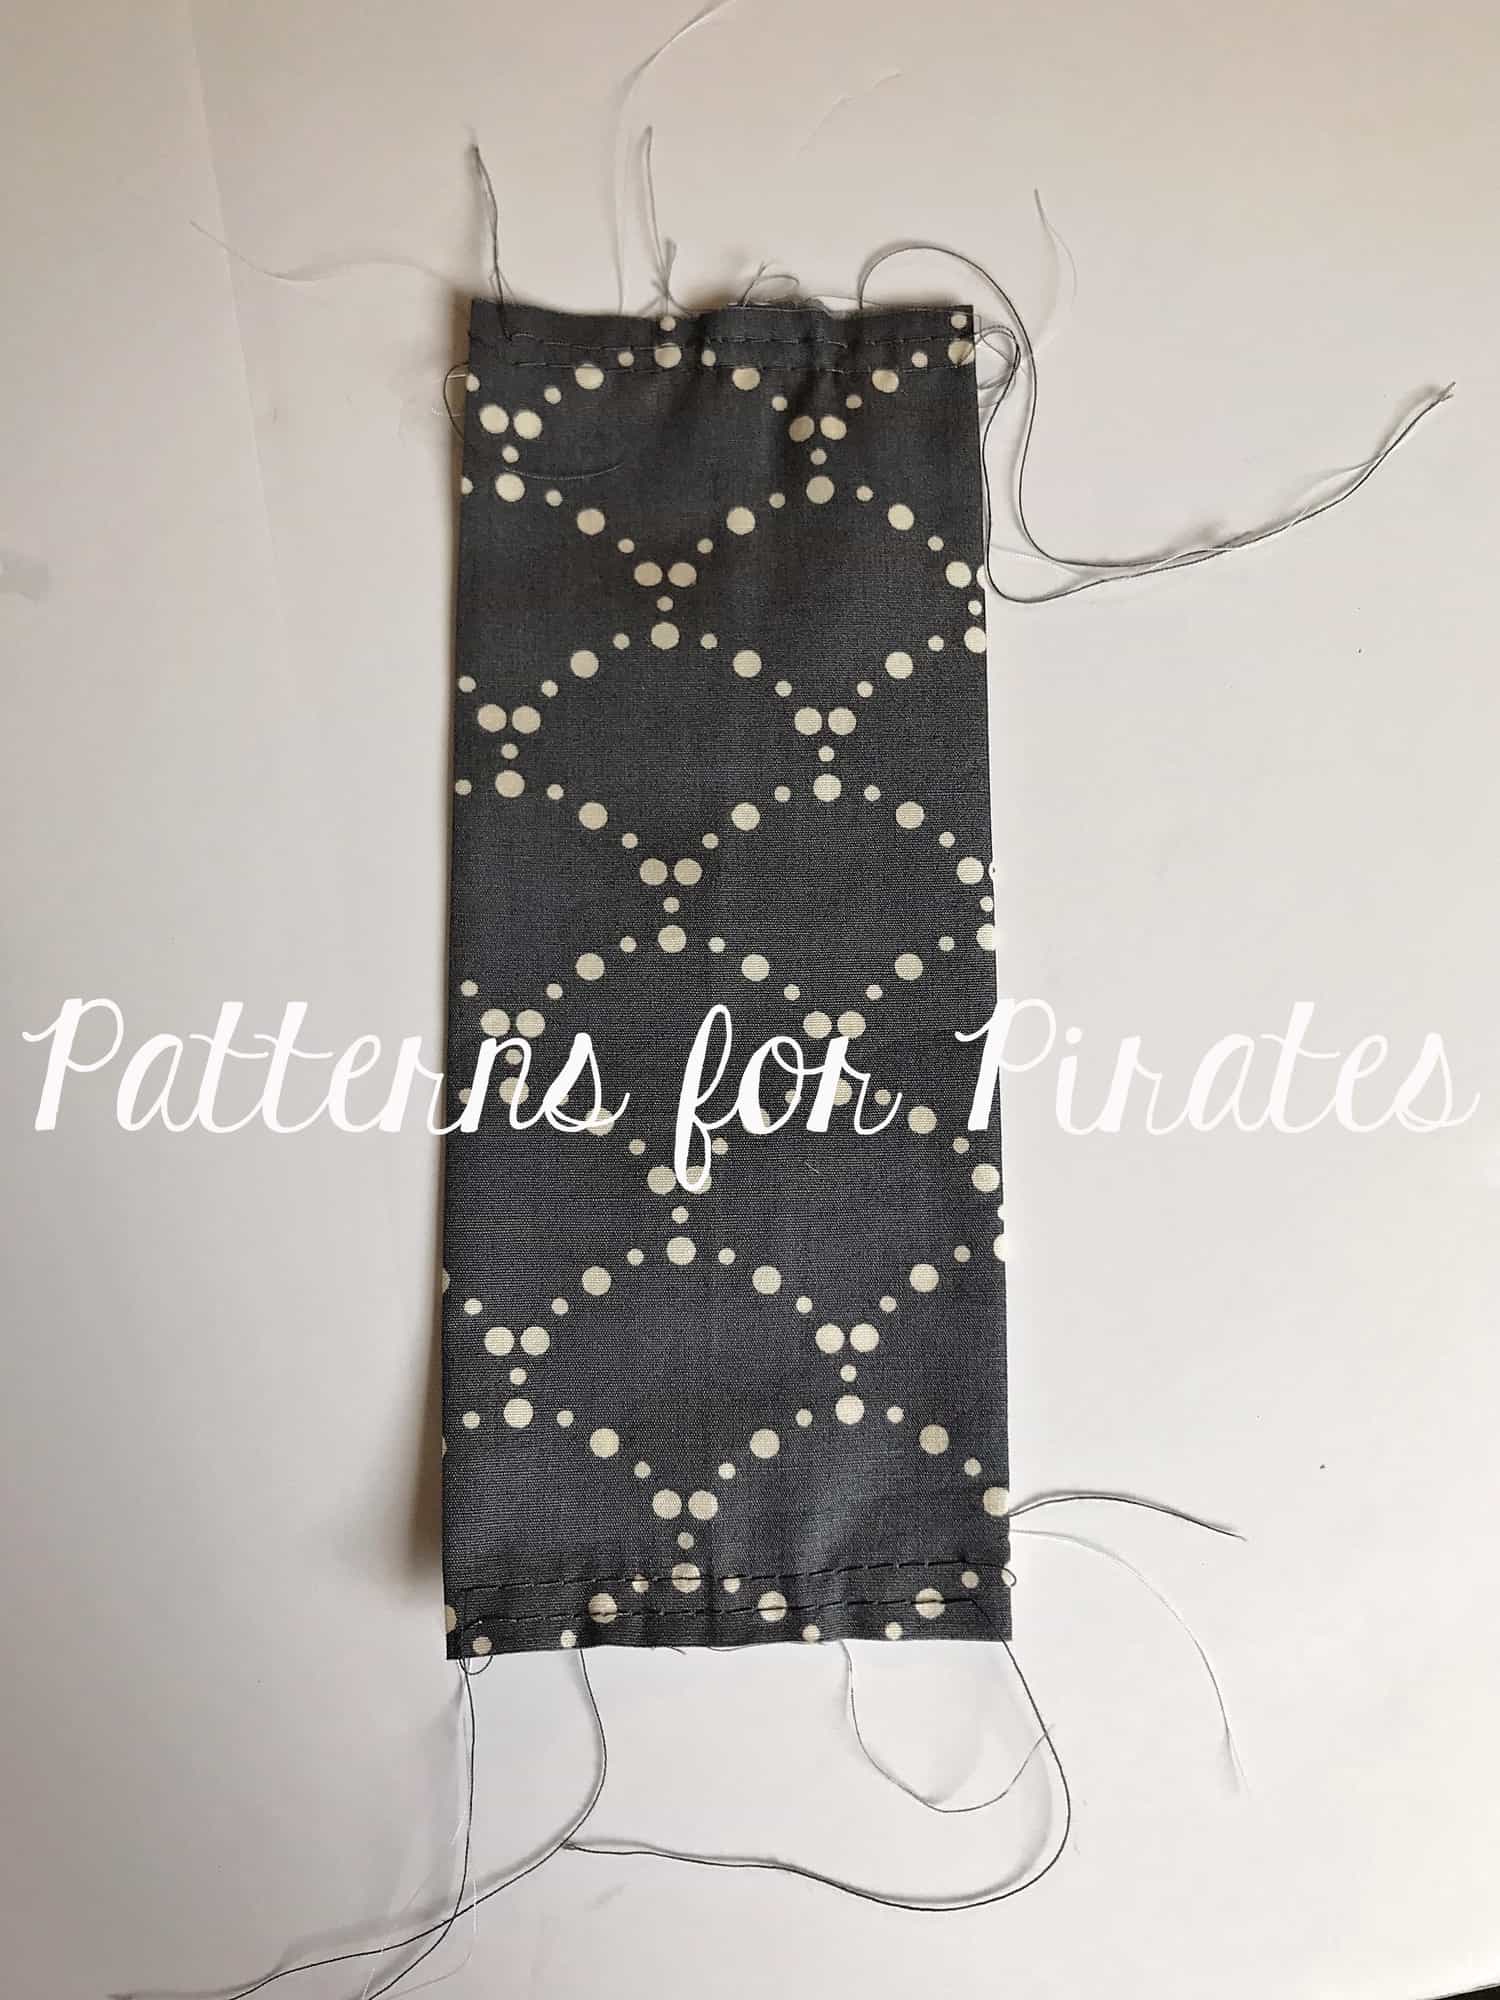
Pull the gathering stitches so the straps are 3/4″ wide for sizes 3m to 4. Your finished gathered straps will be 1″ ( for 5-12 and xxs – xs), 1.25″ (m – xxl) and 1.5″ (1x-3x).

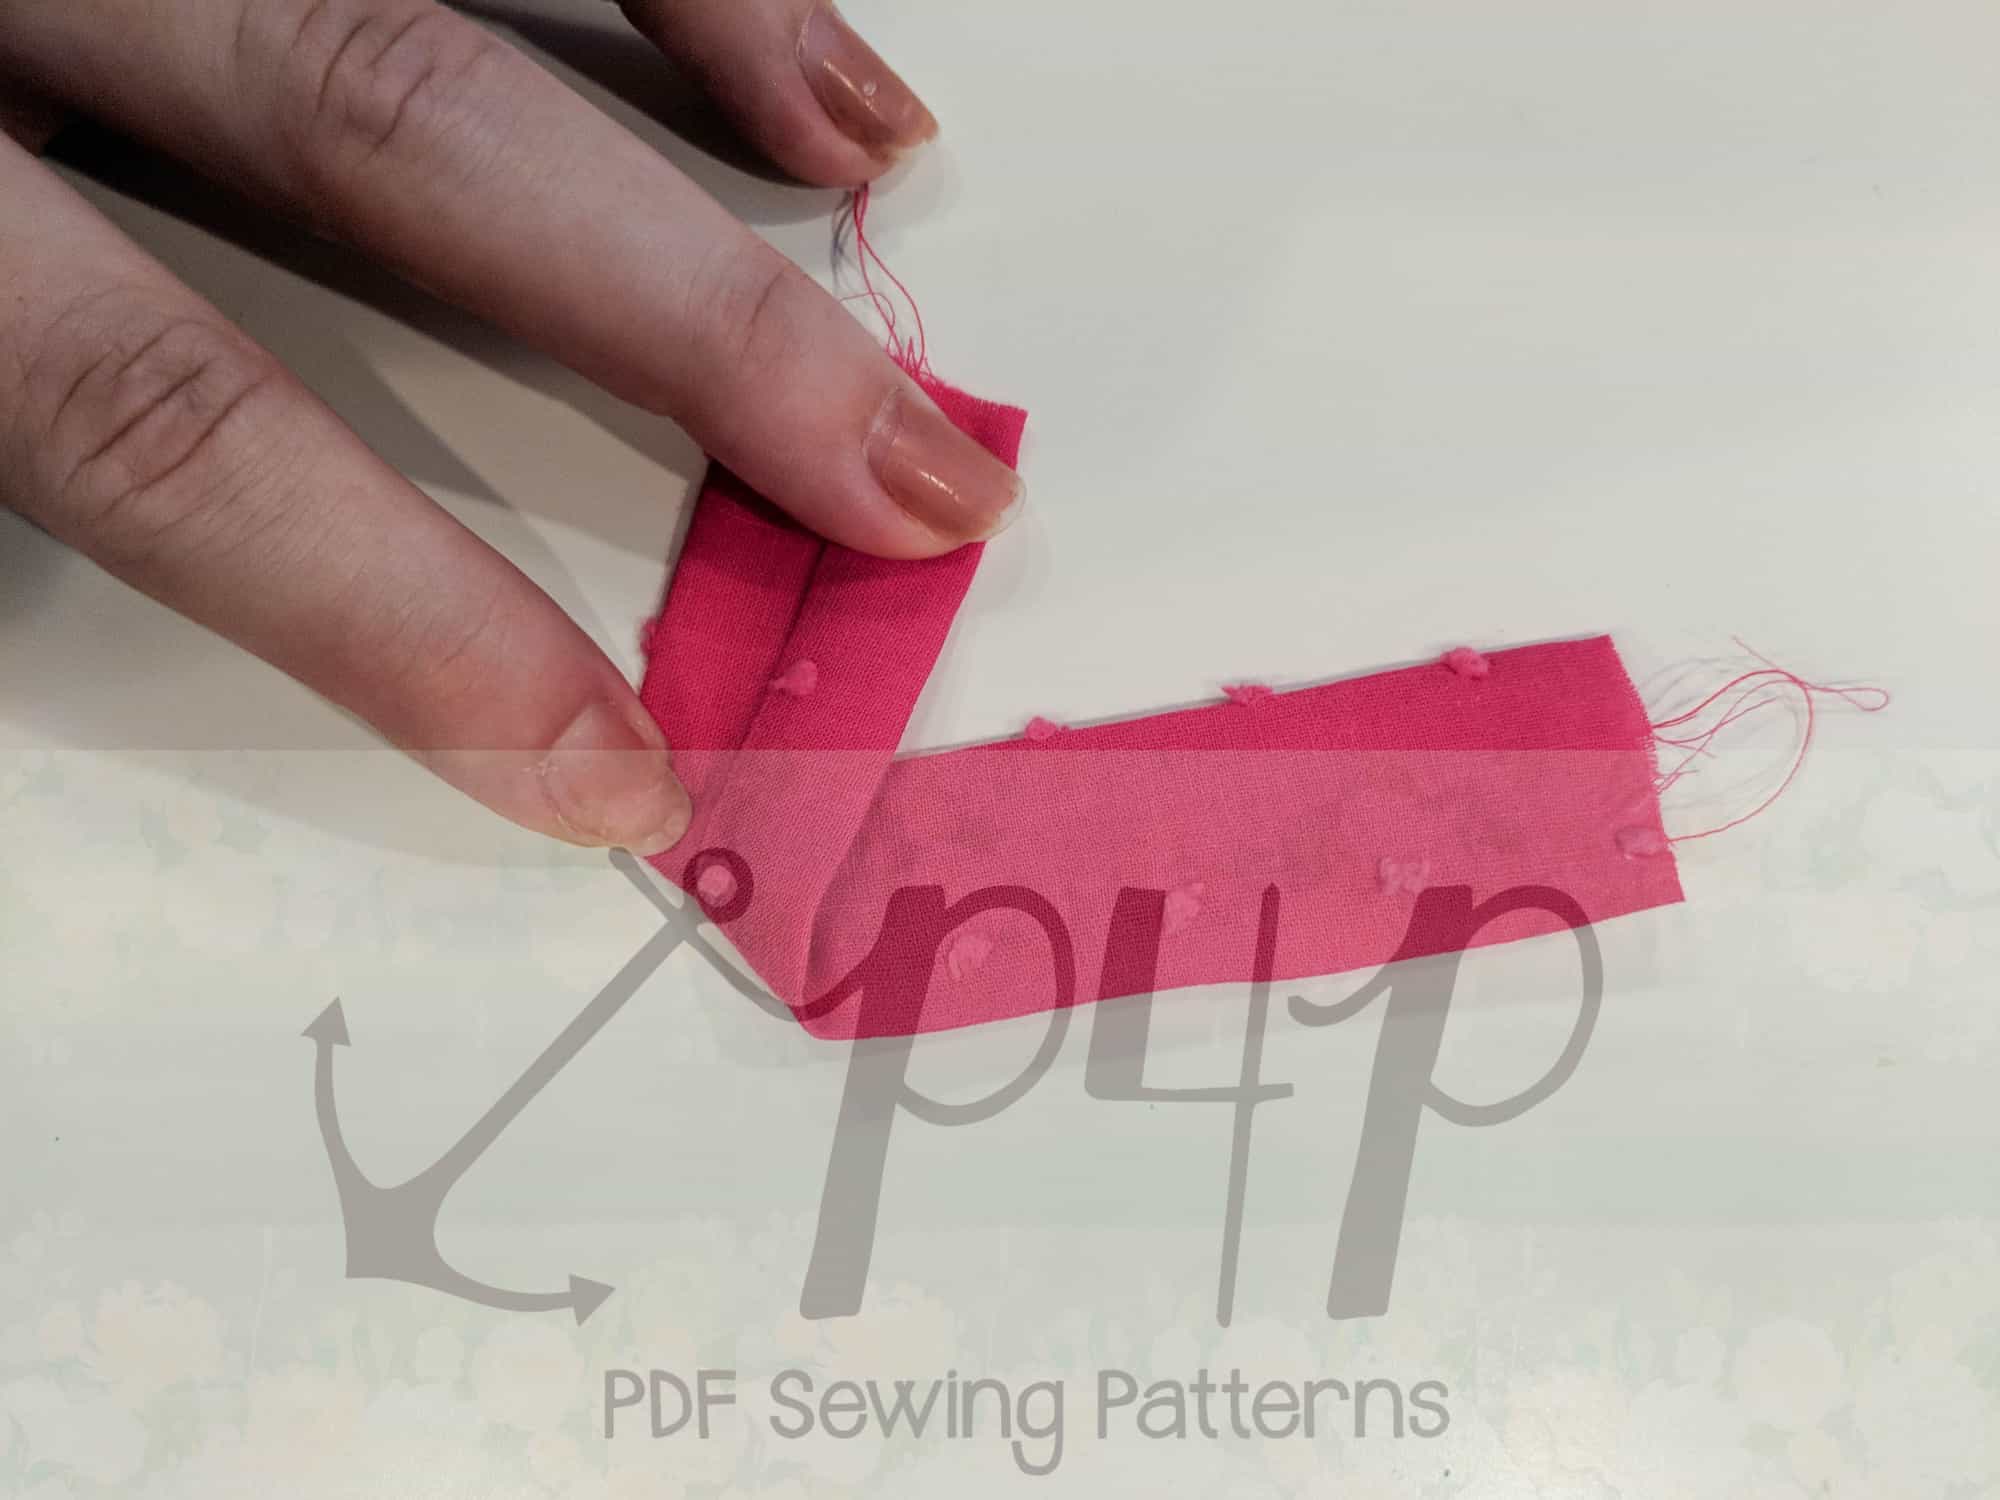
Repeat this step for all raw edges of the straps.

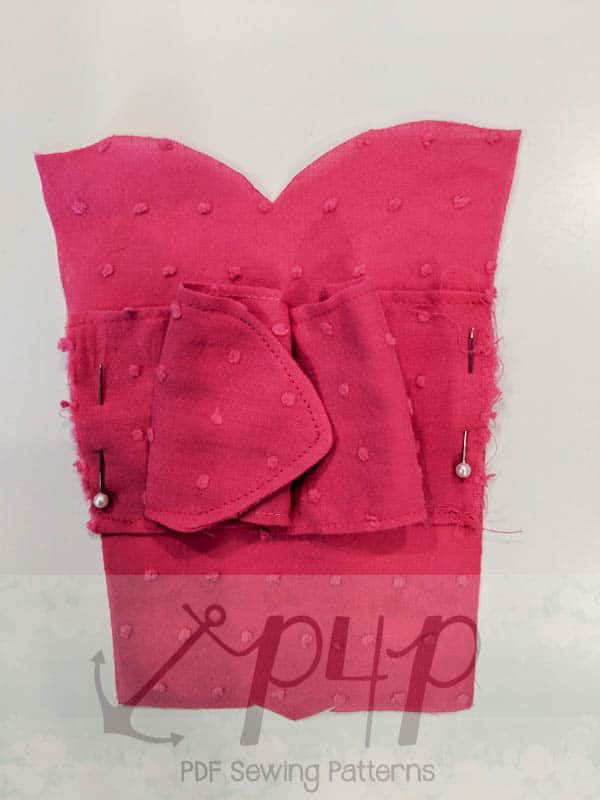
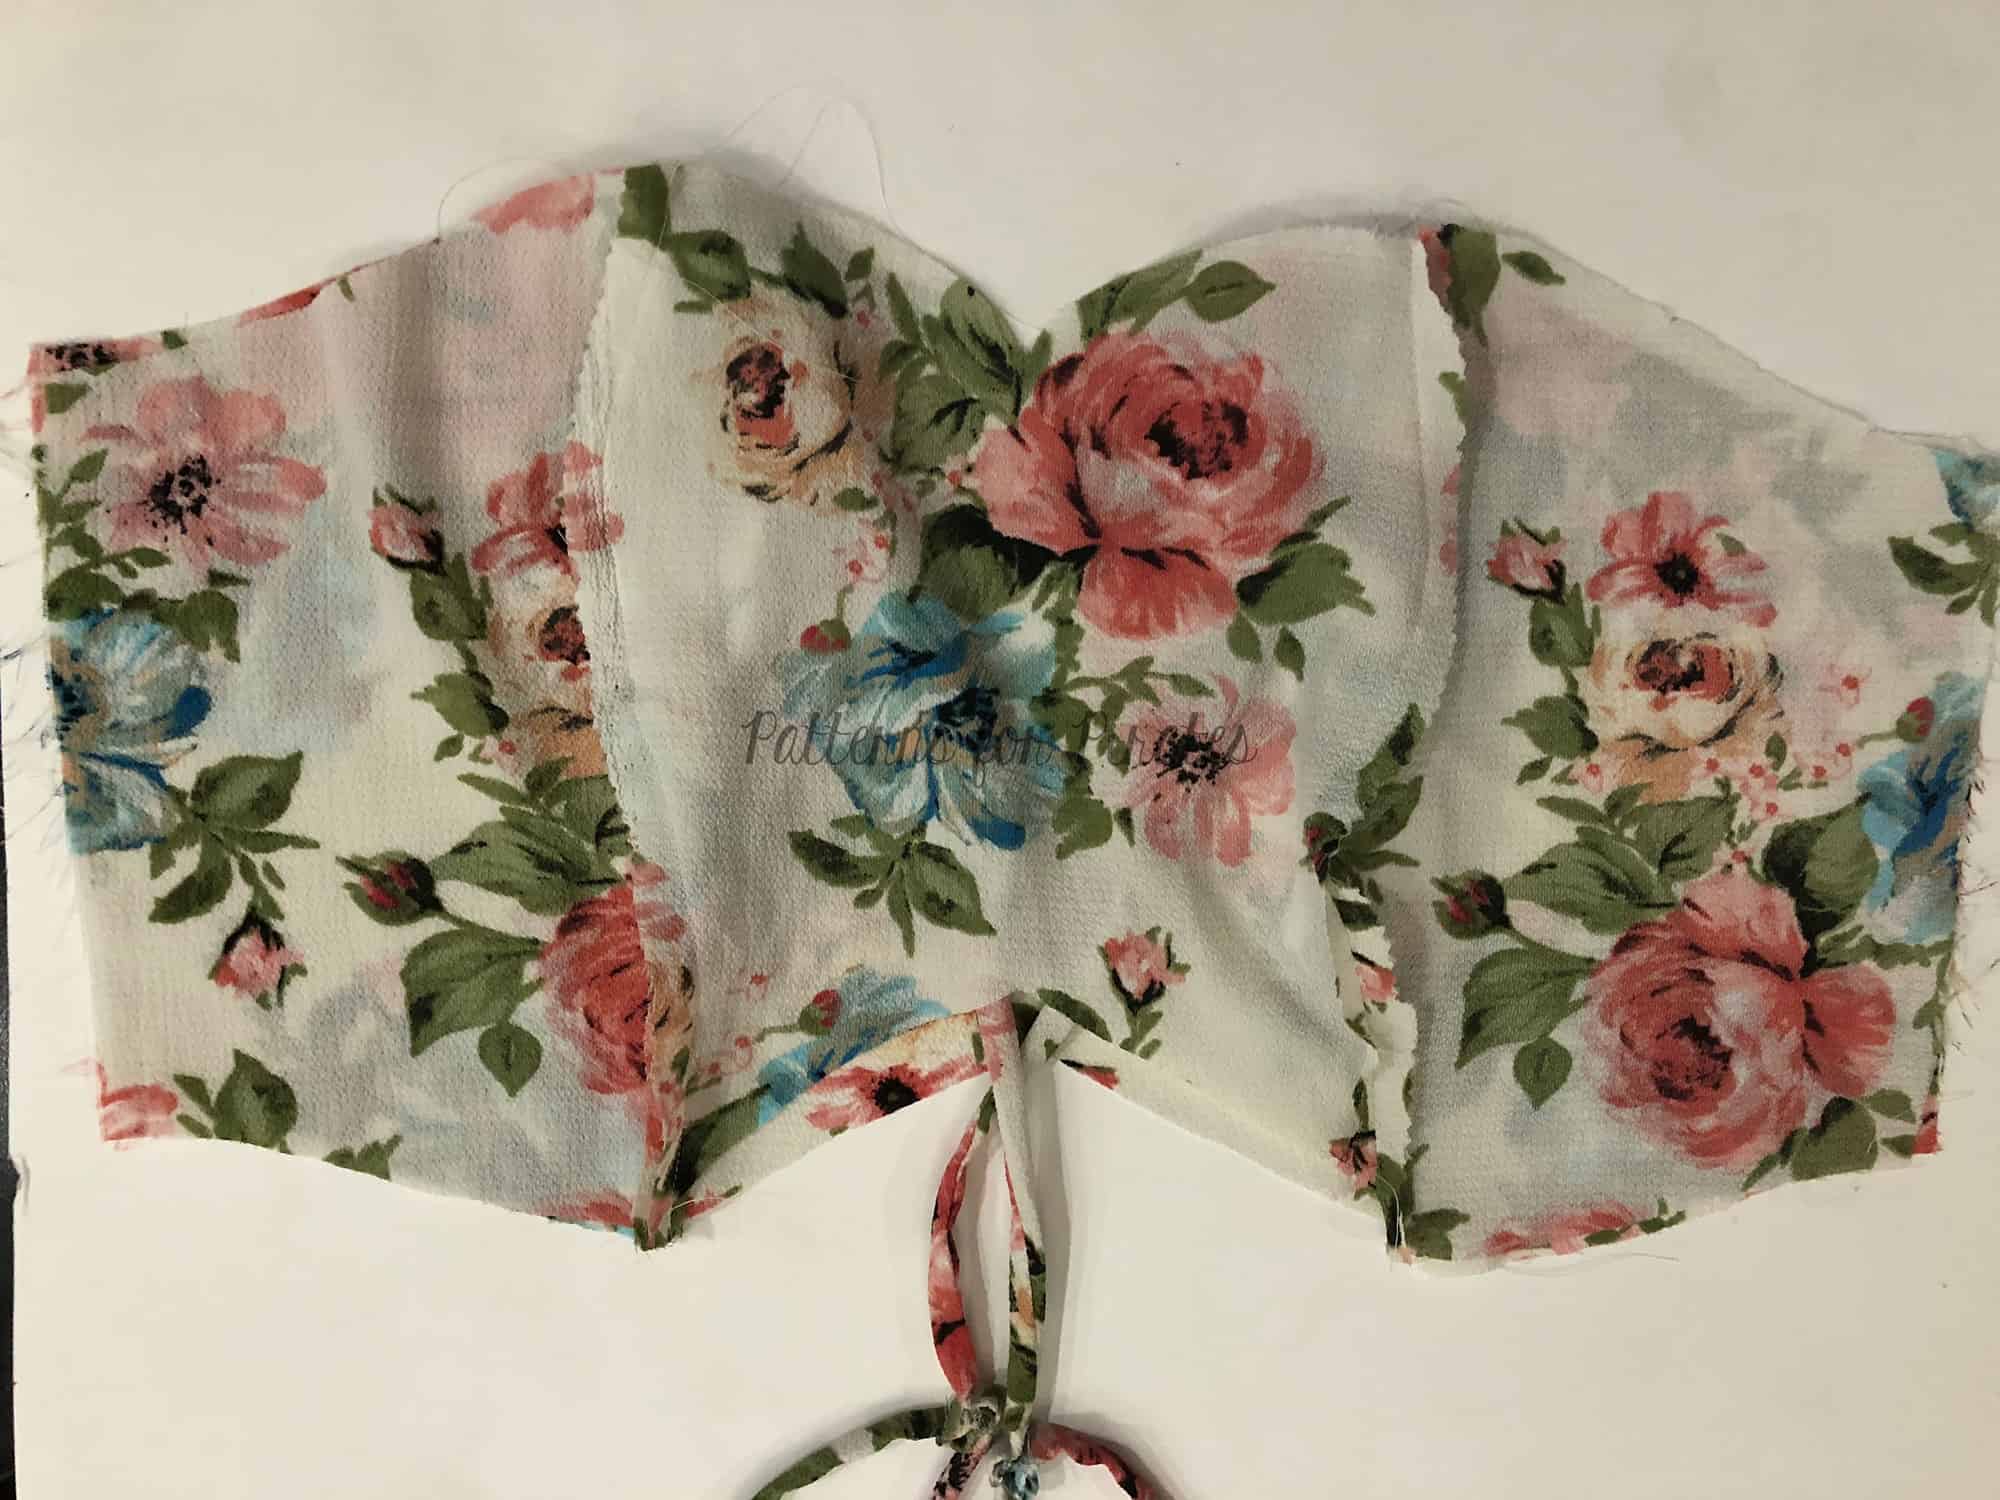
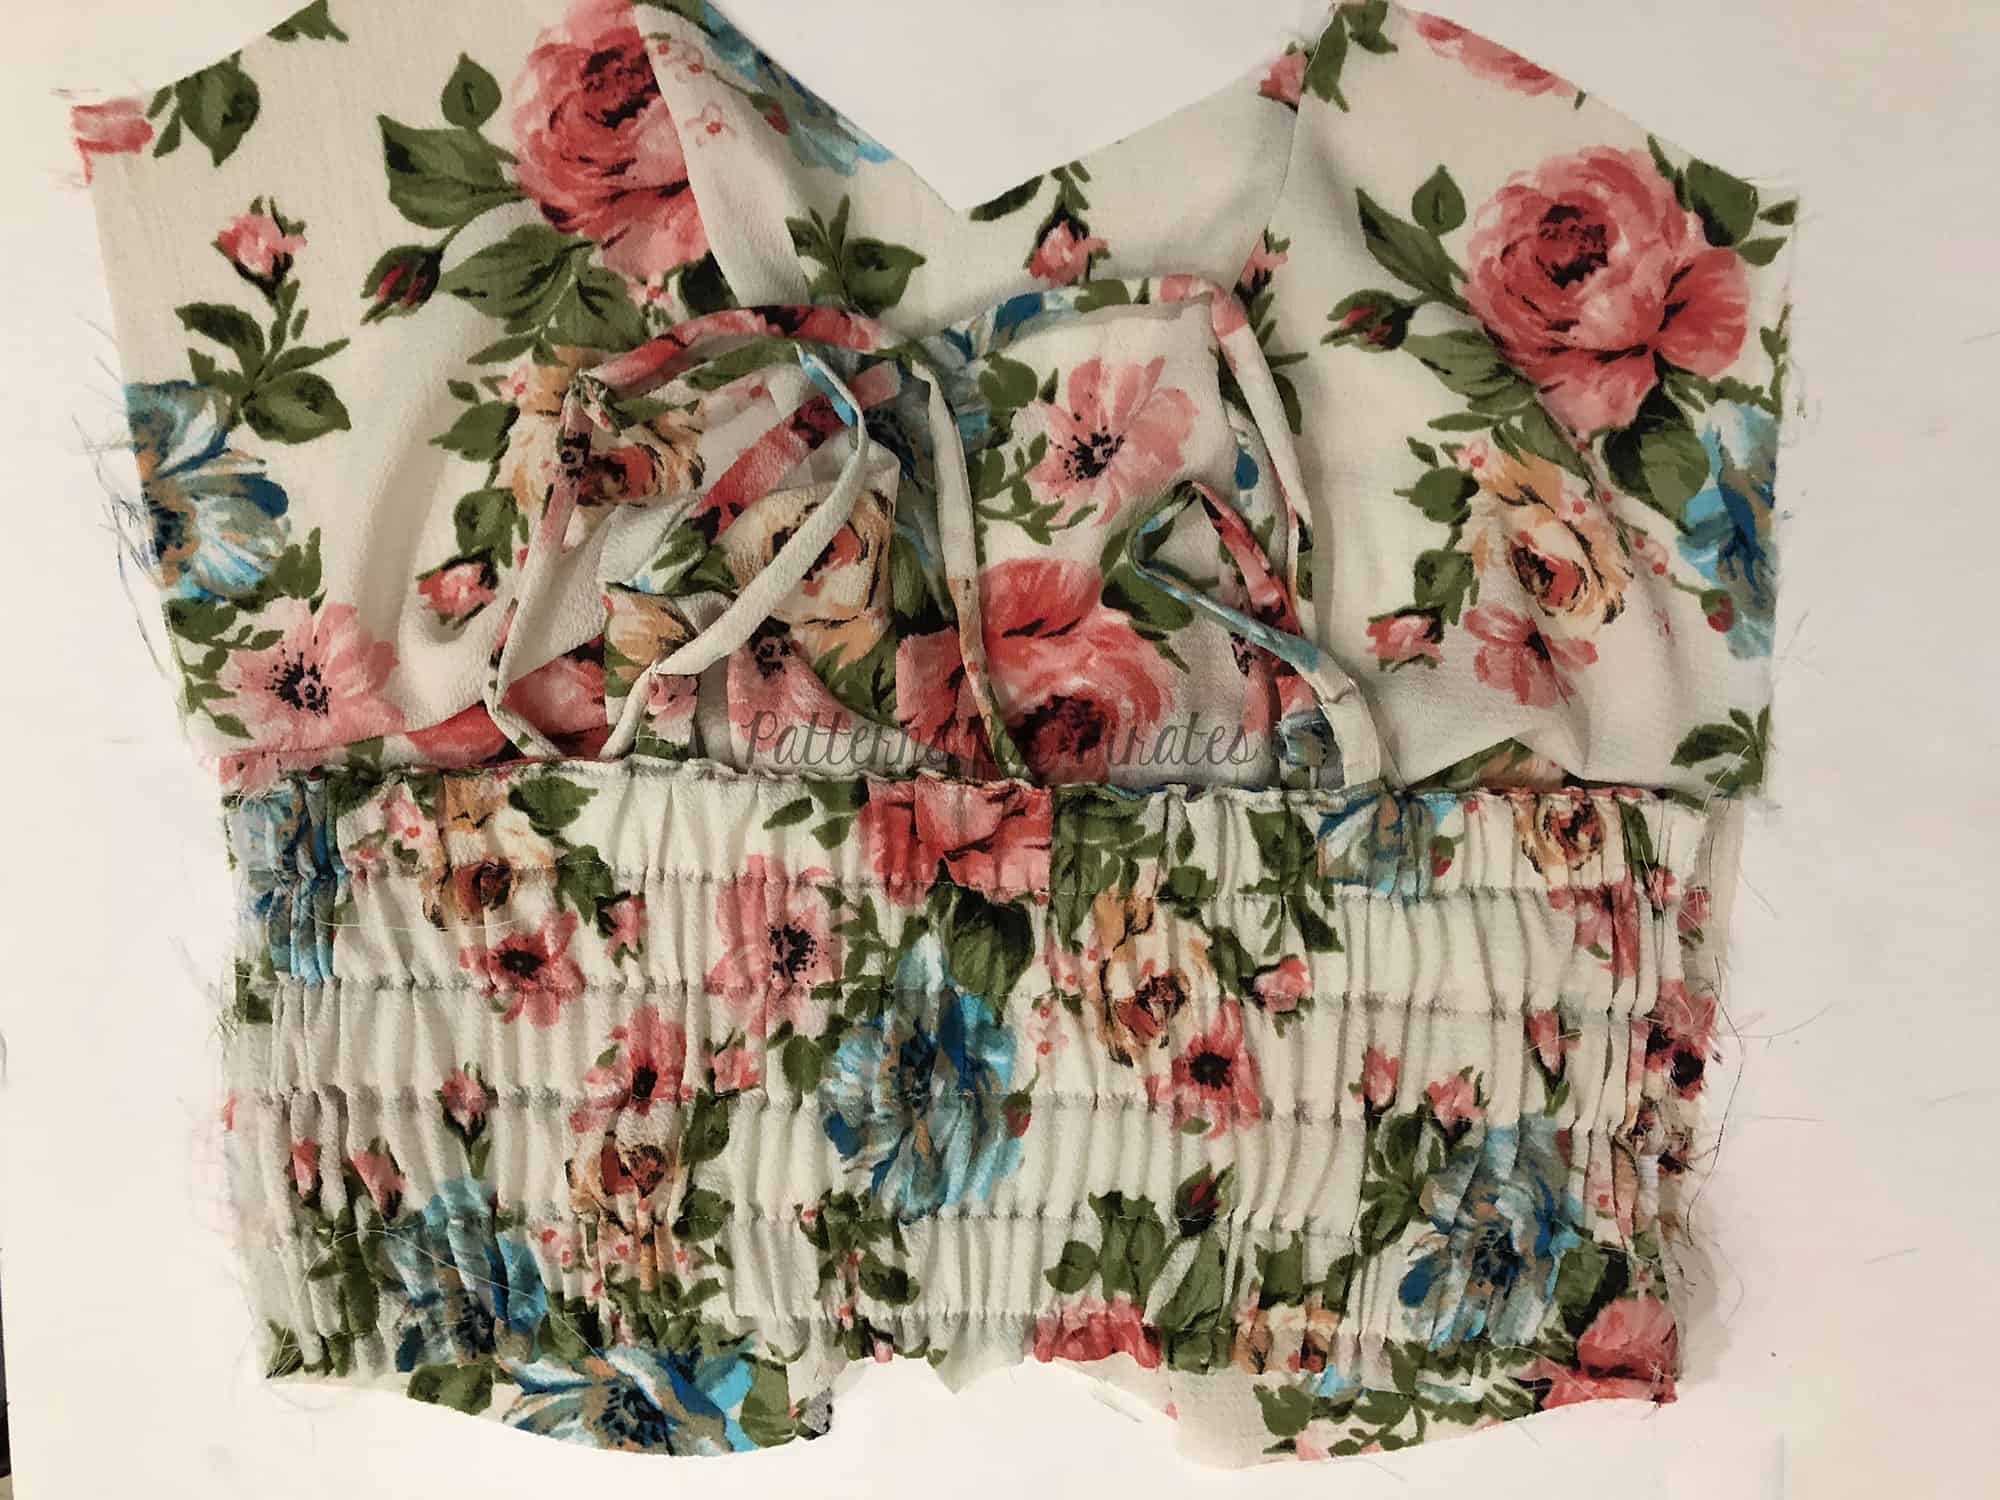
Continue sewing the dress as shown in the tutorial. Tadah! you have a brand new option added to the So Classic Sundress repertoire.

…..
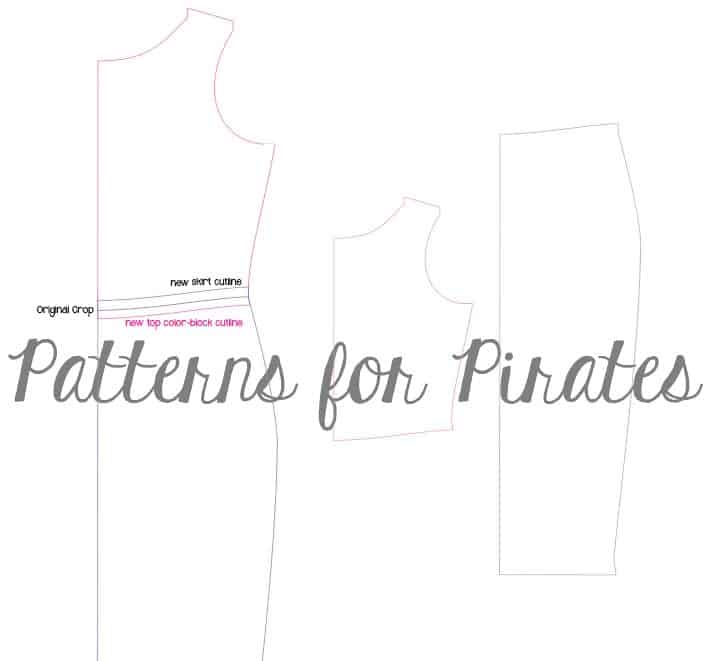
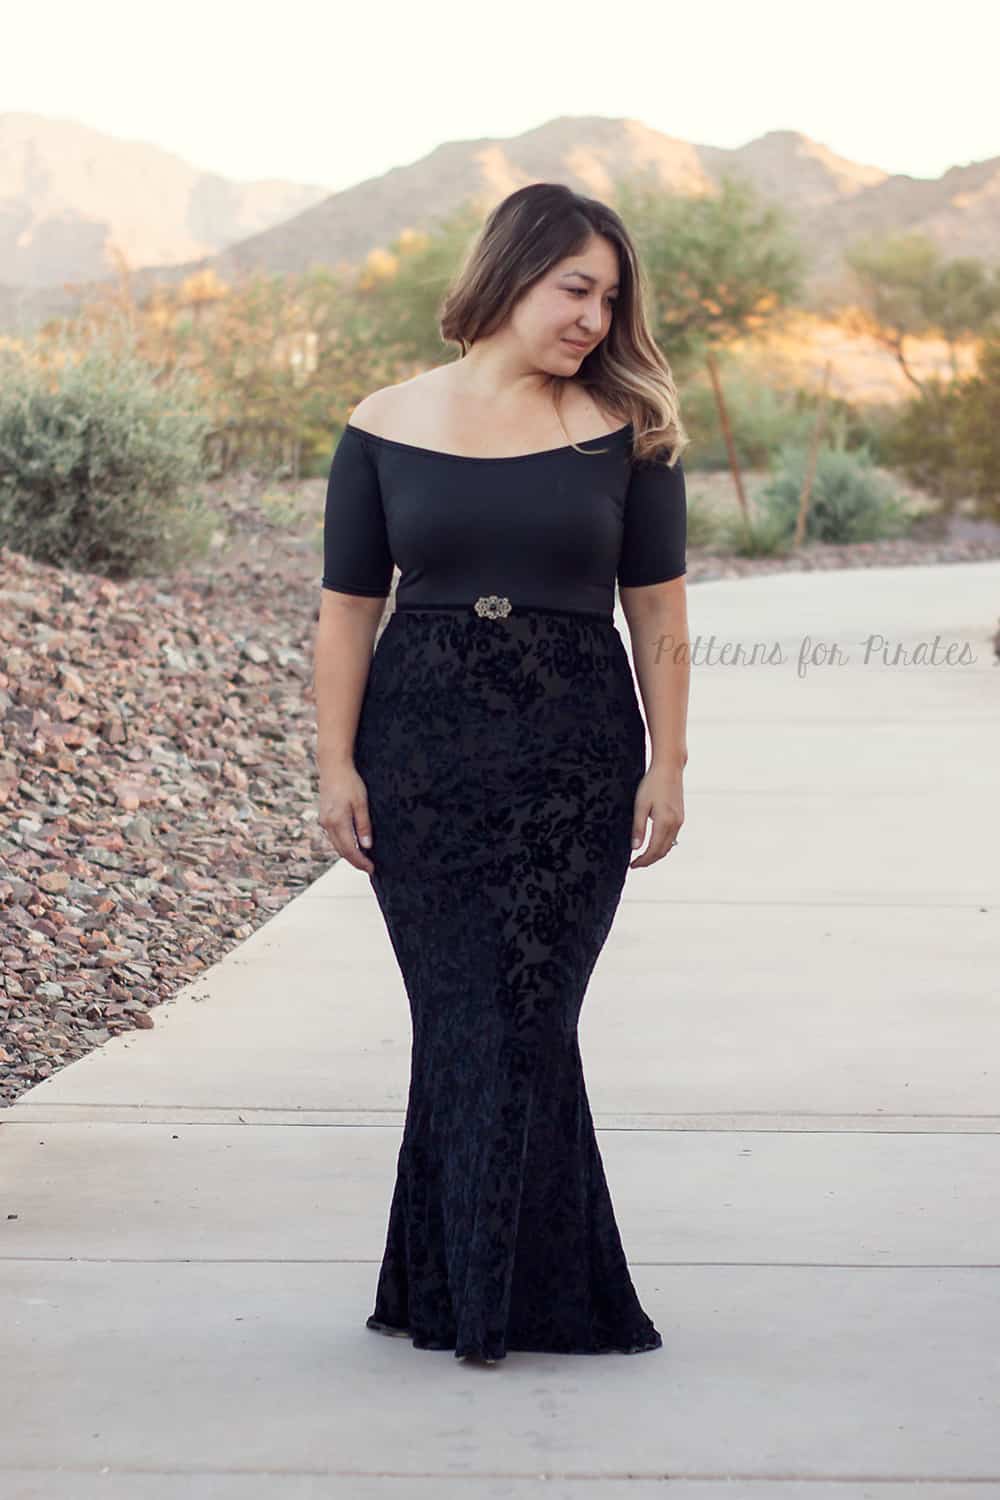
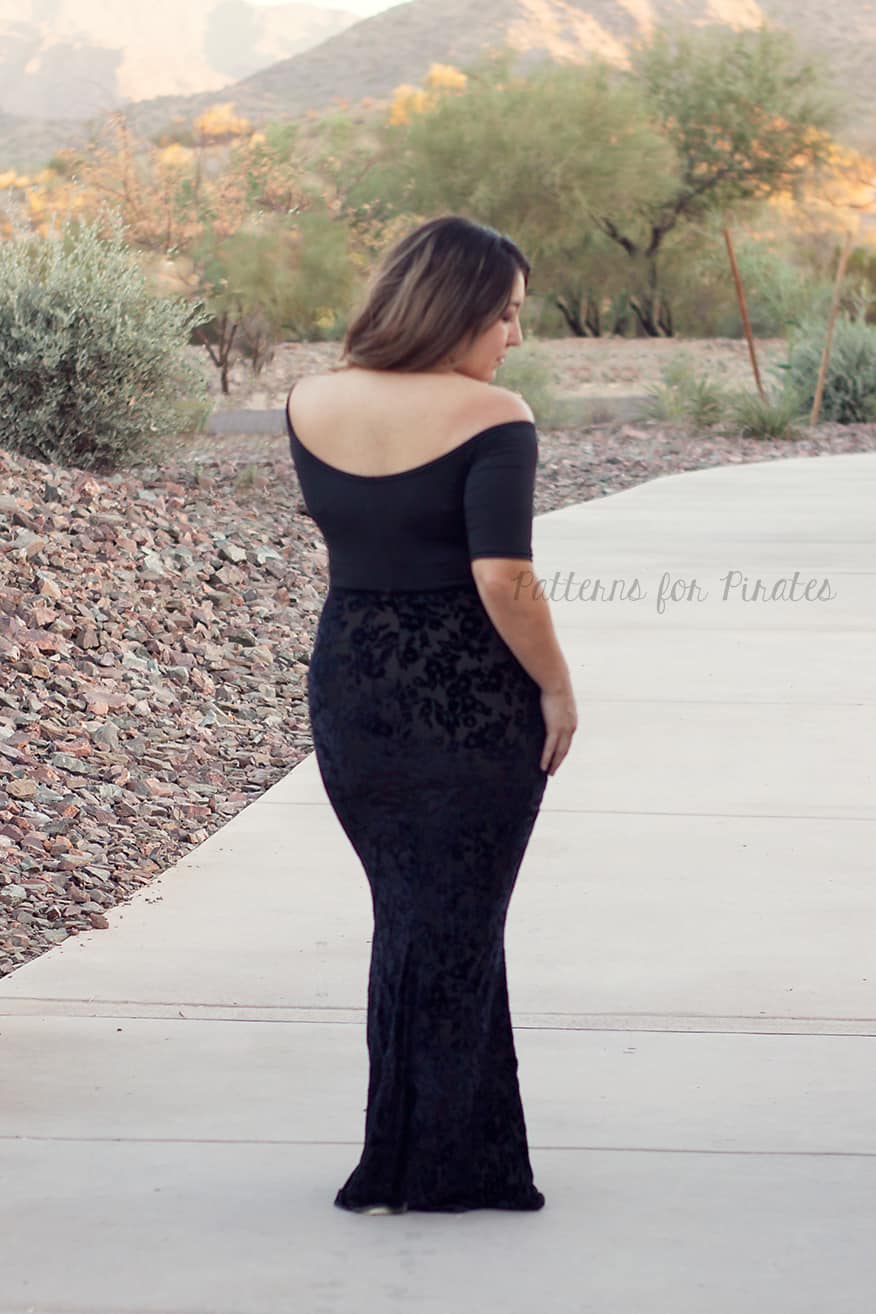
Skirt
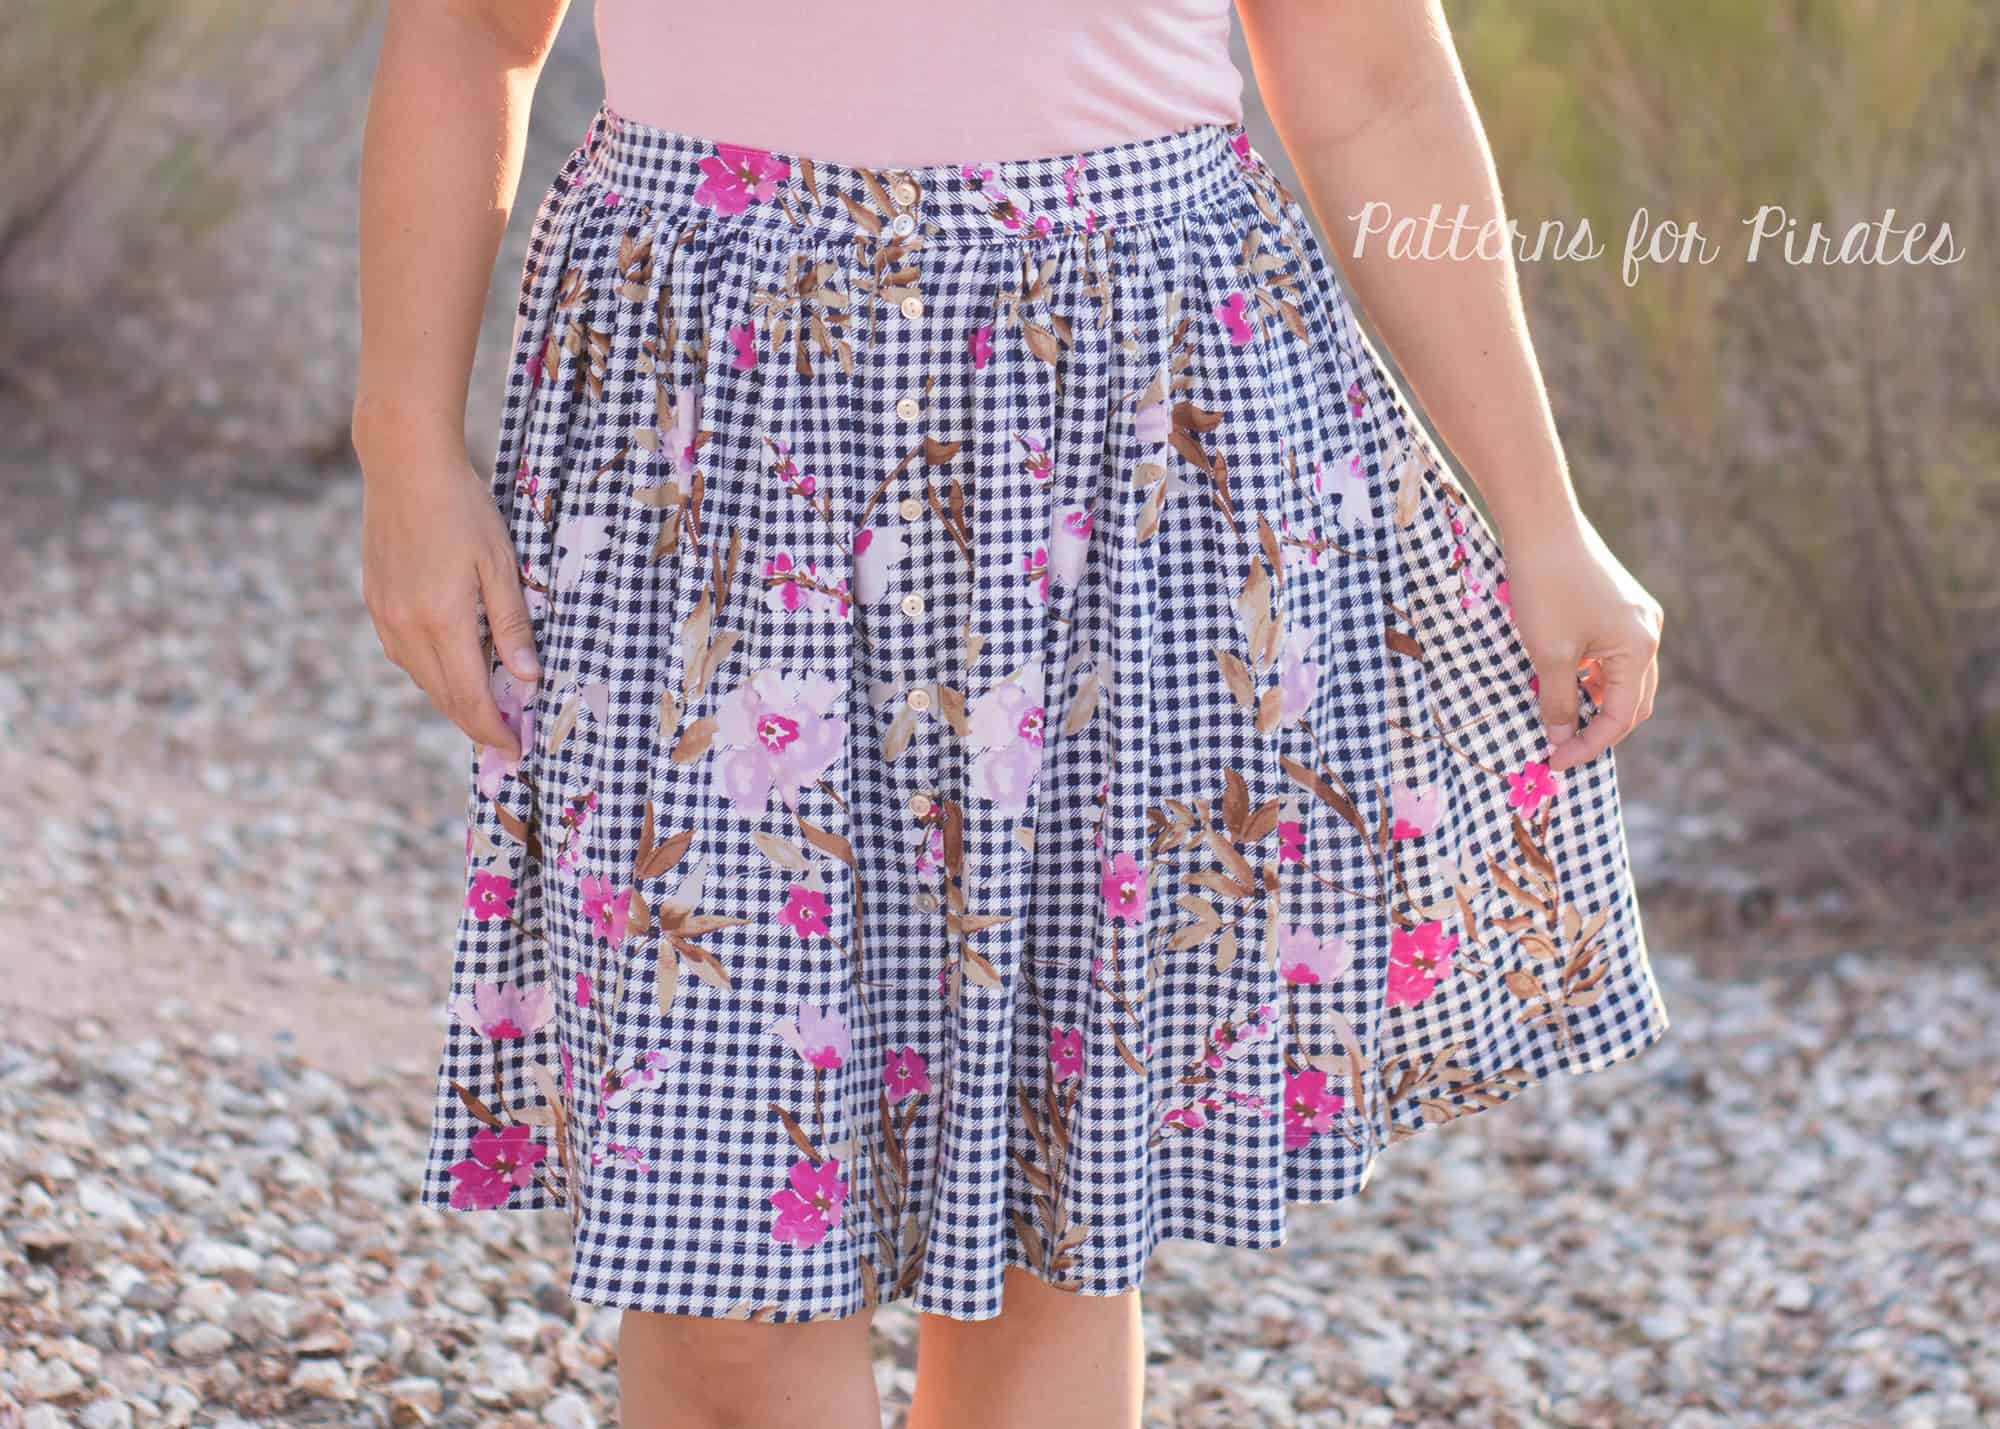
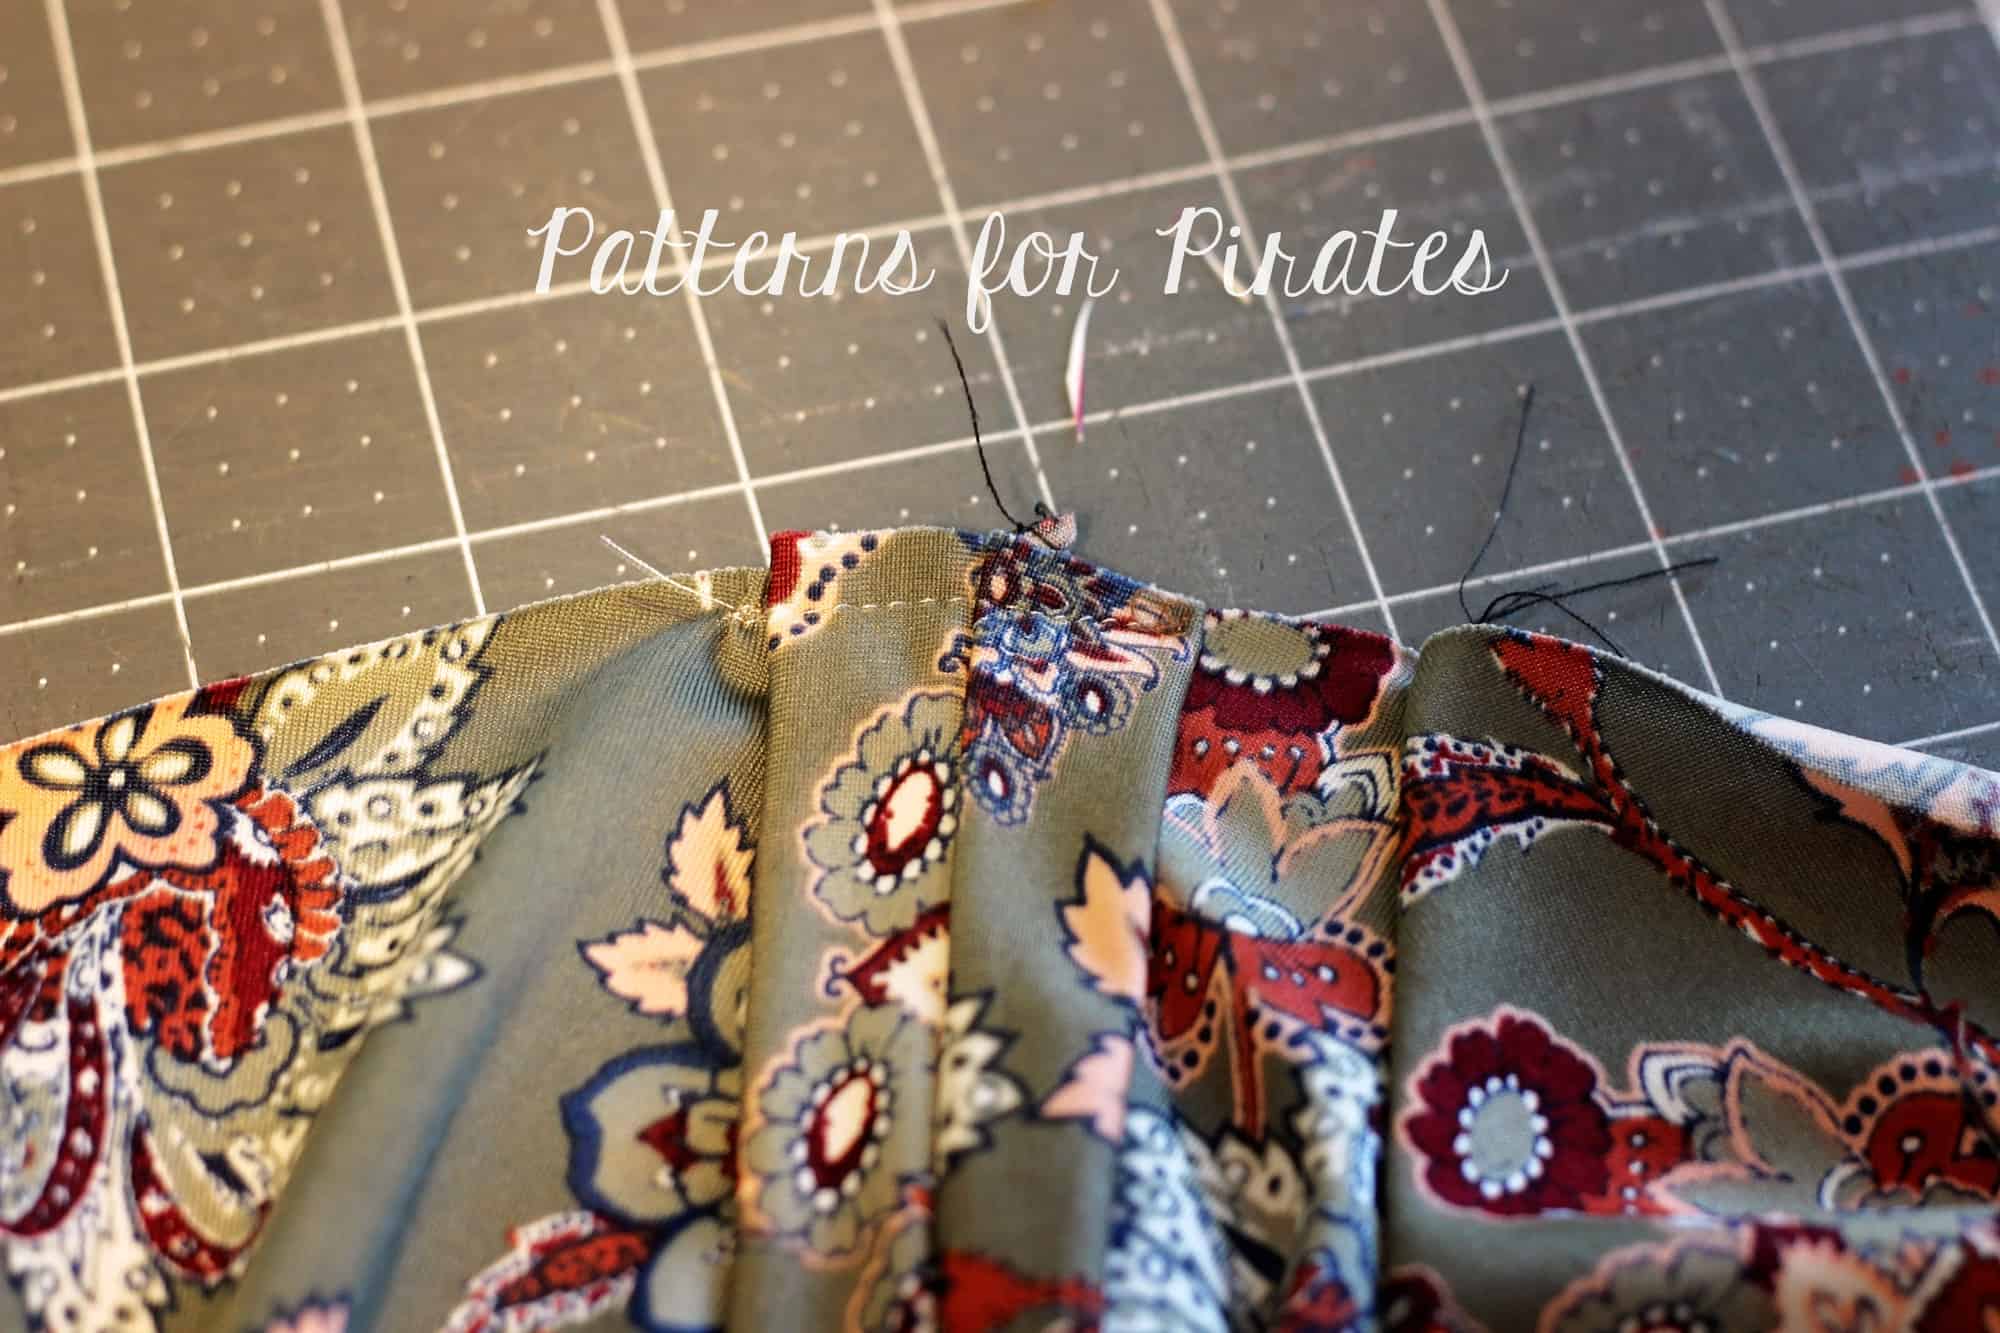
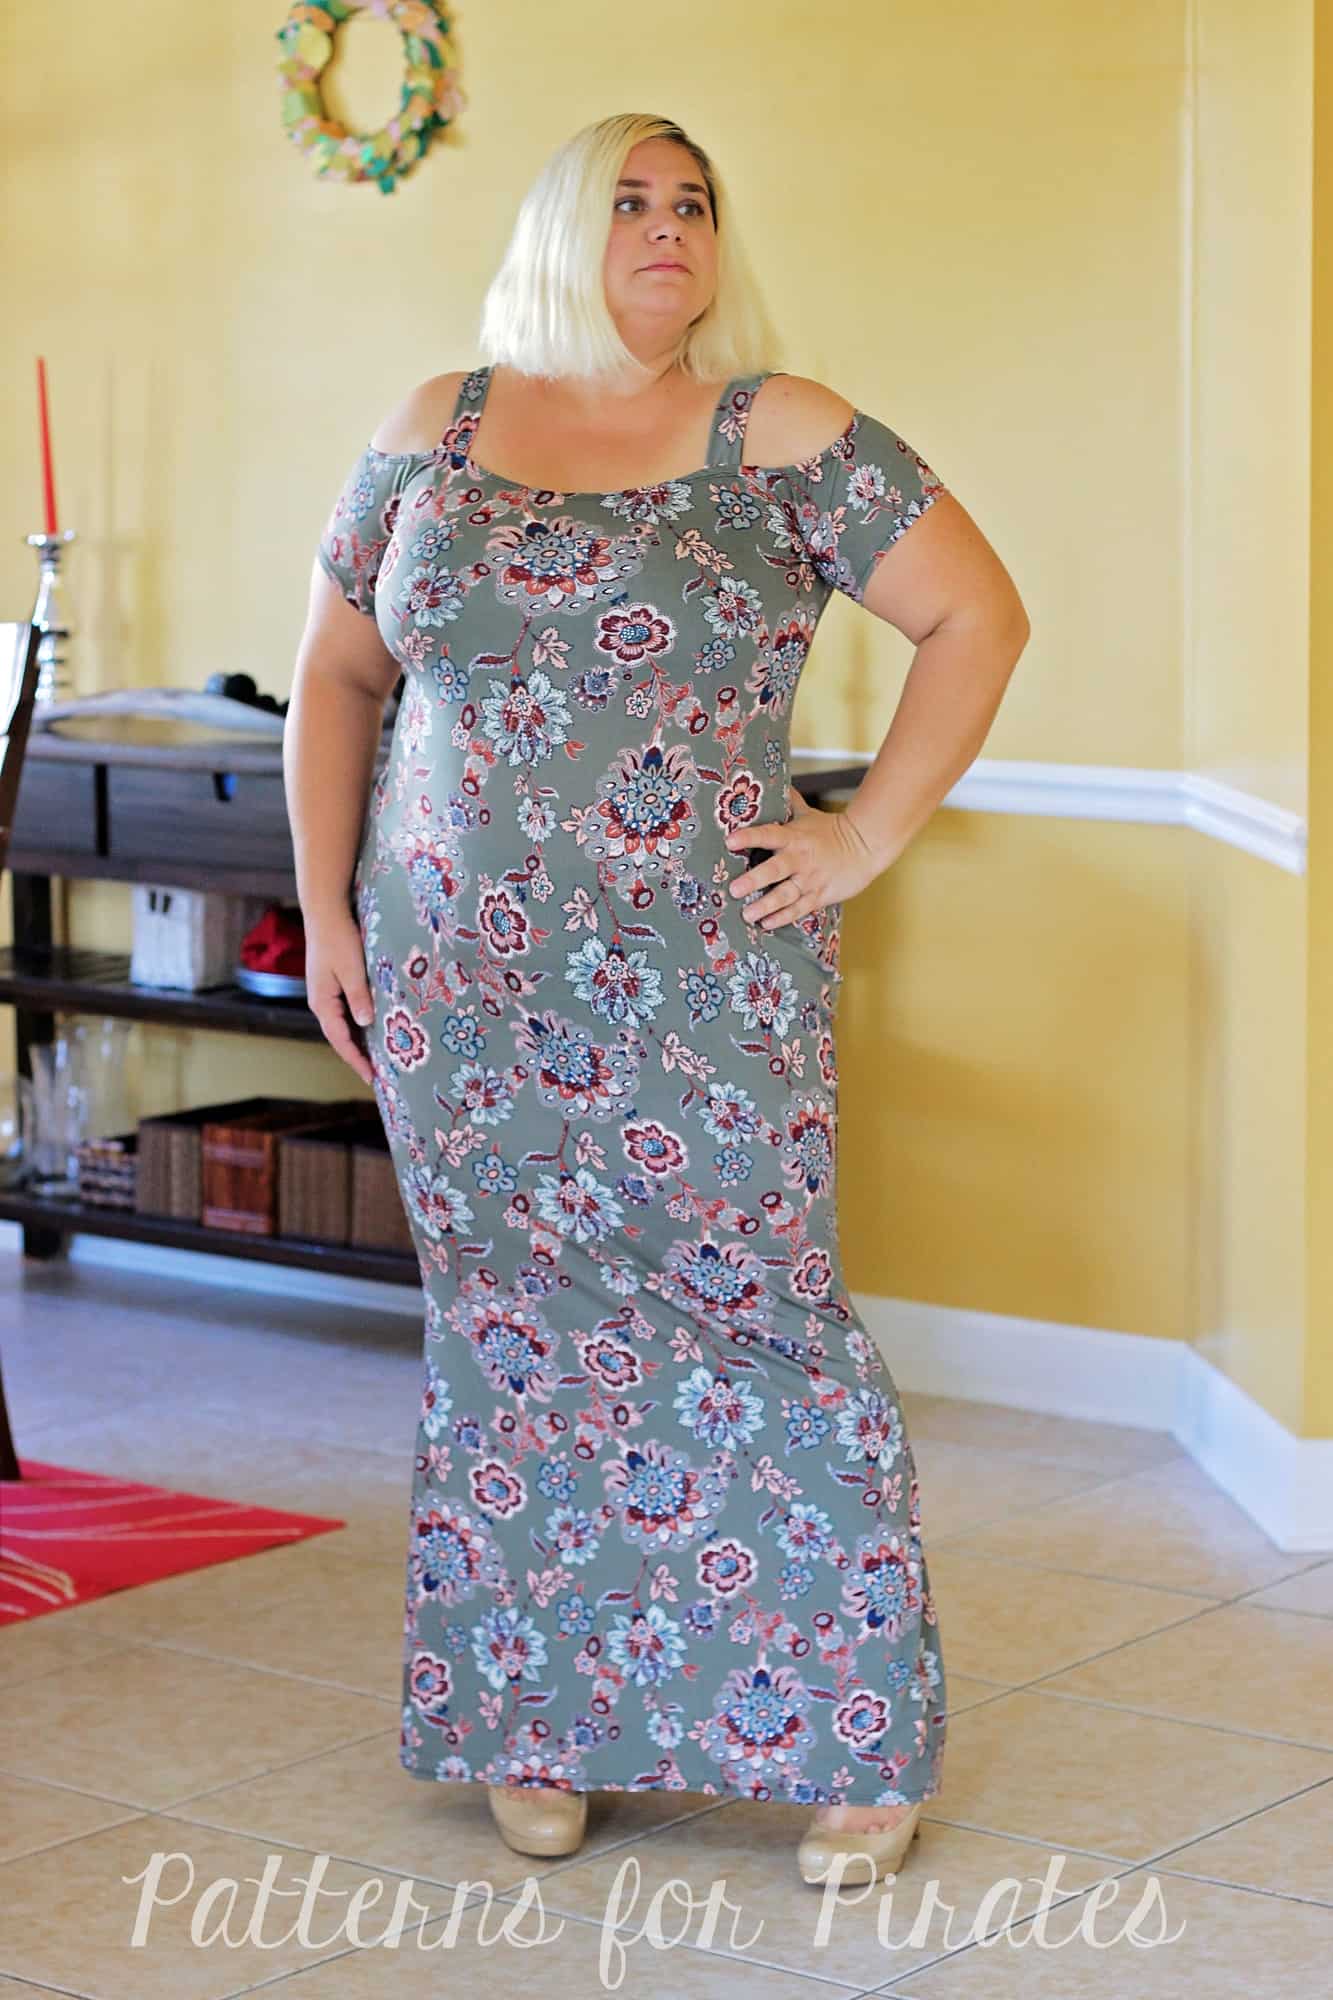
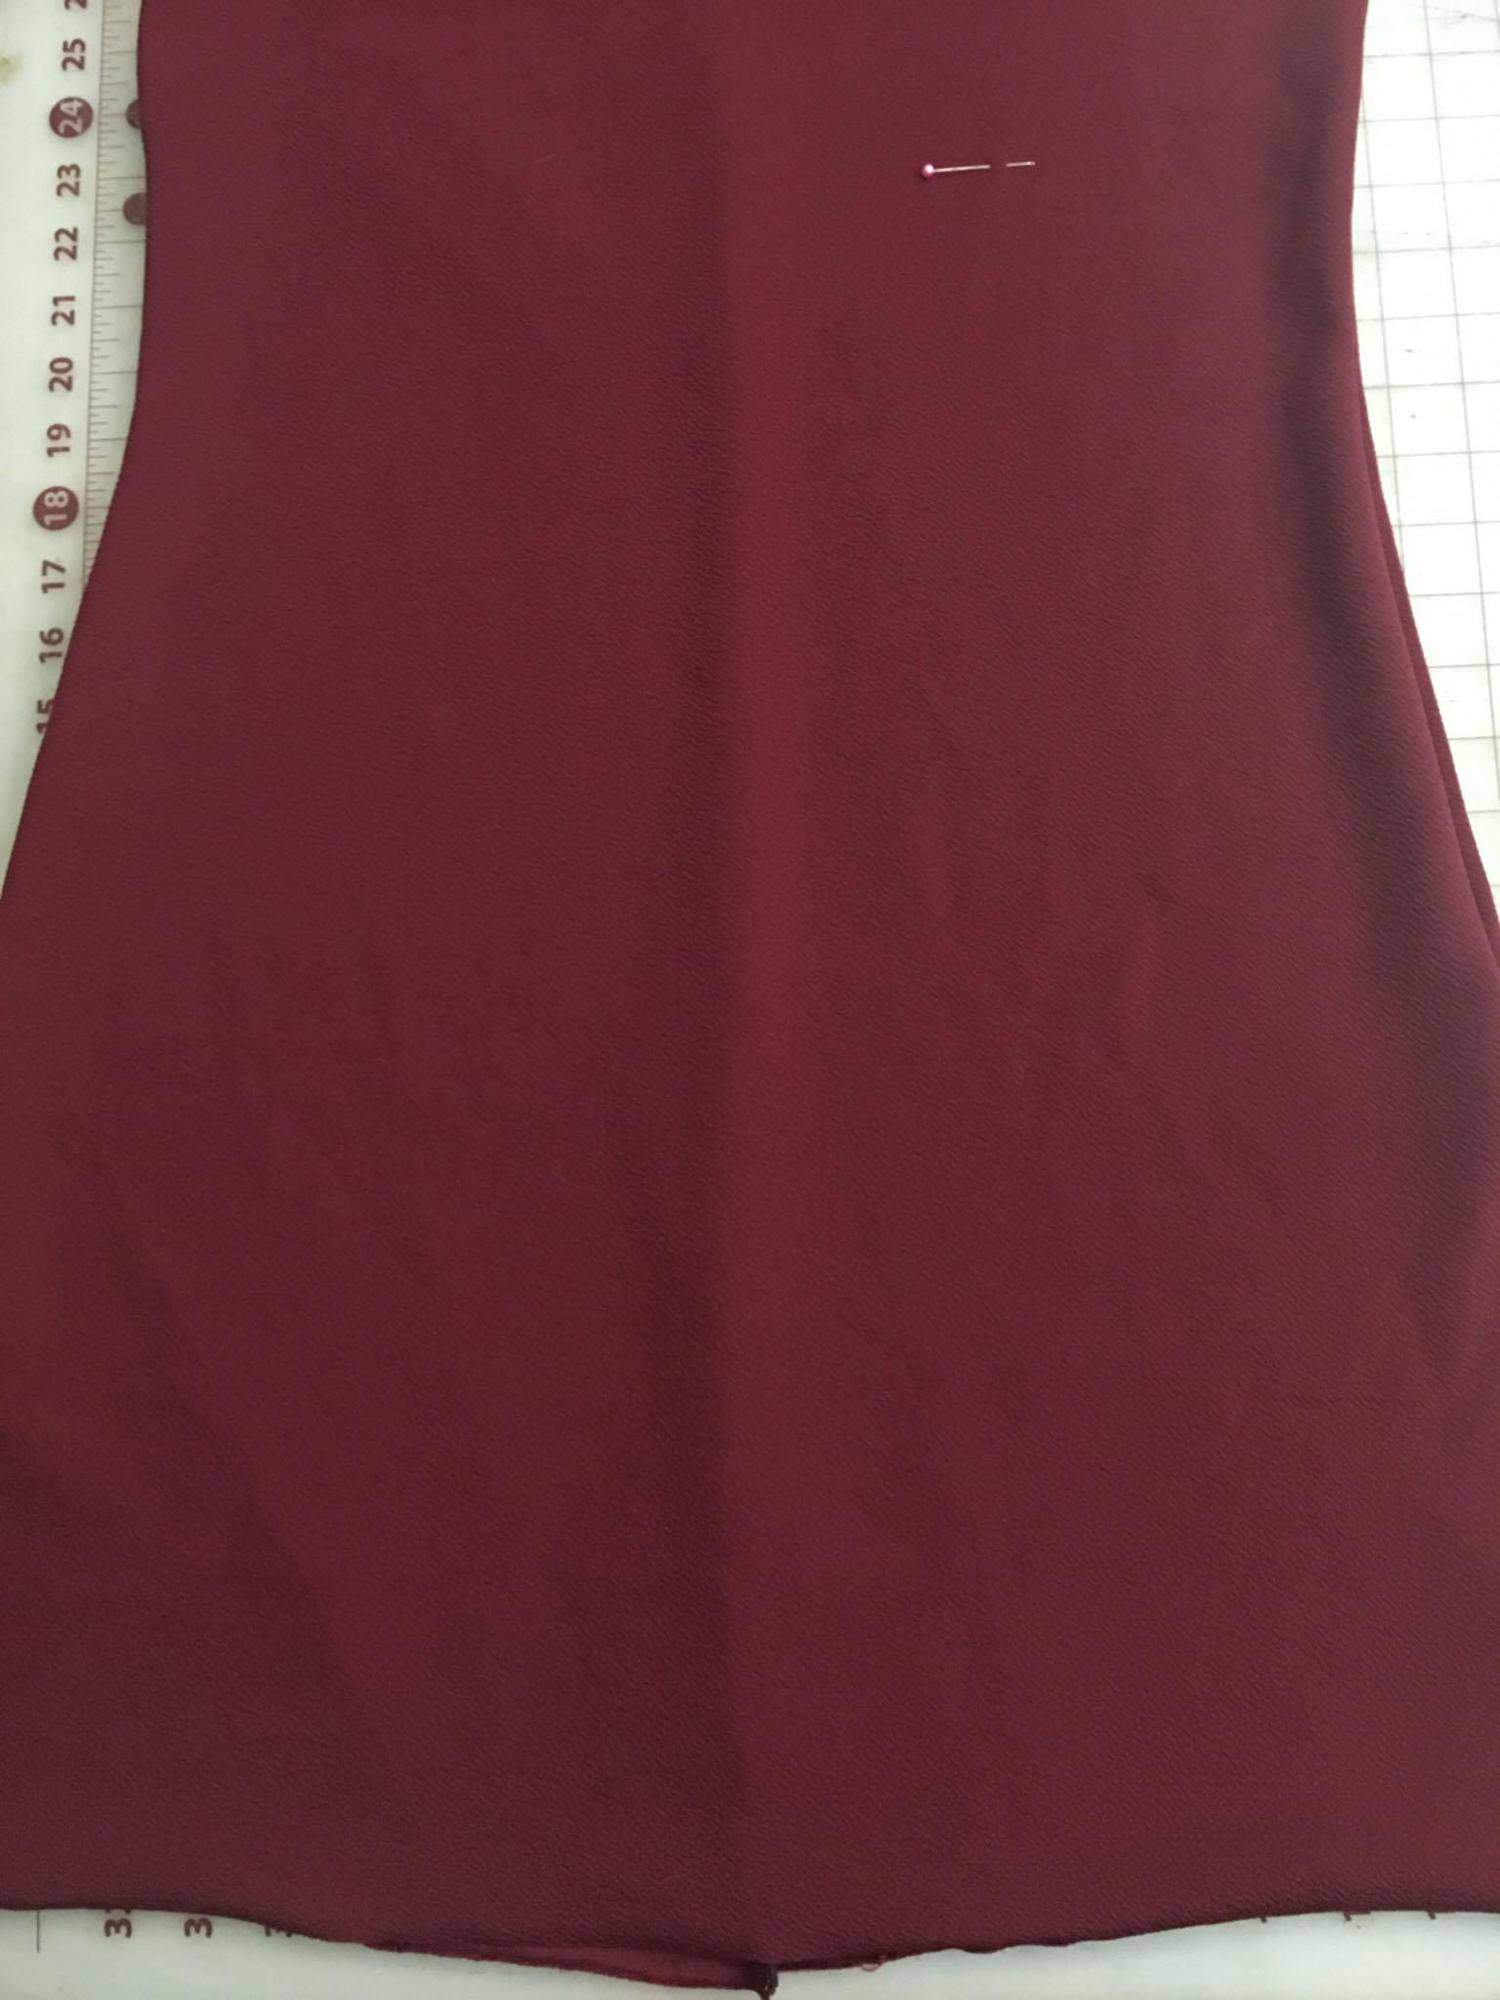
For this hack, we’re going to do something that we love to do to our dresses- create separates. In this case, we’re creating a classic style woven skirt using the bottom portion of your So Classic Sweetheart dress. This is a great hack for everyday wear or more professional look as well.
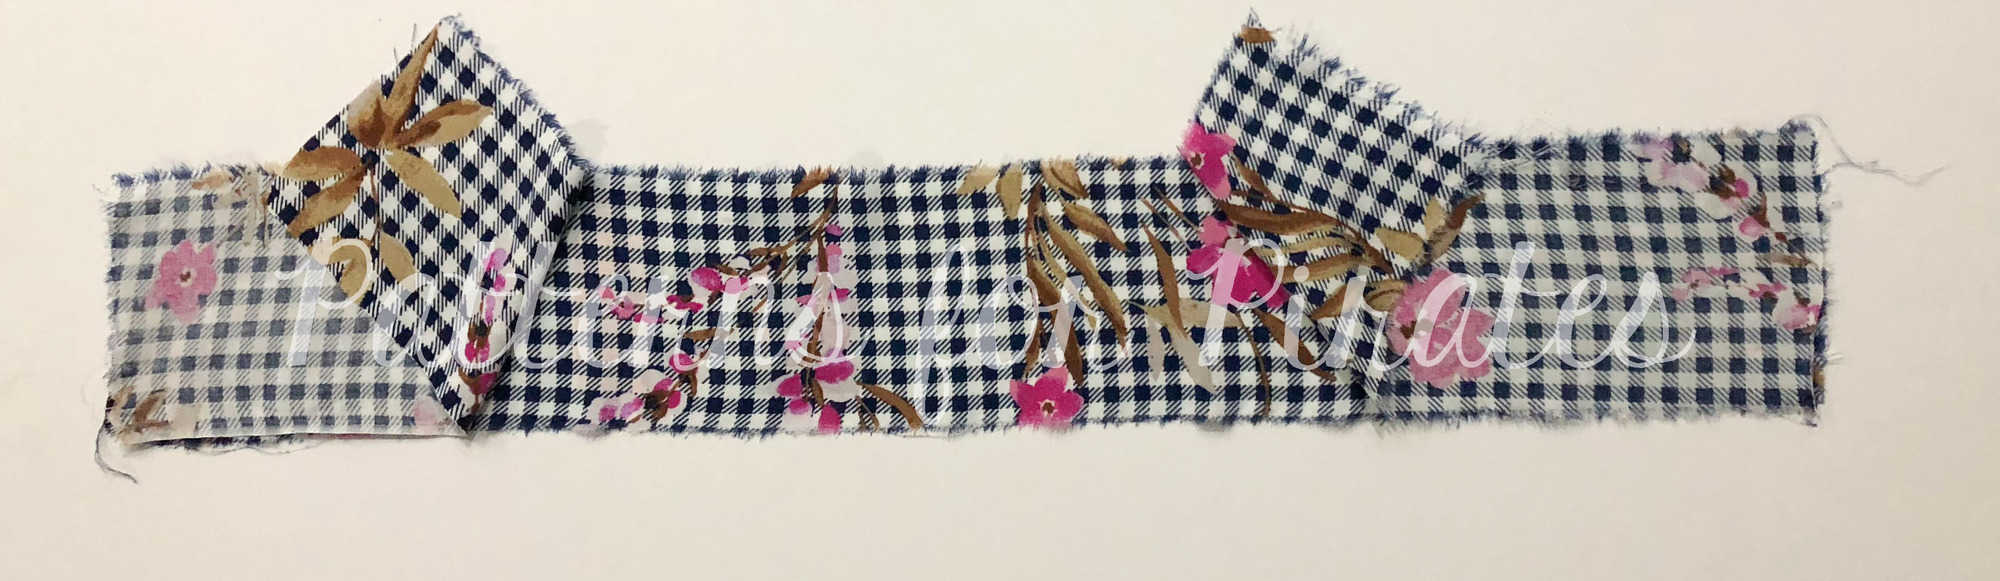
To begin, you will want to decide which version of the skirt you would like, plain front or button up, along with length. Once you’ve decided, you will want to cut out your skirt pieces as given in the tutorial chart. The only change you will need to make is to your waistband. You will want to double the length when cutting it out.
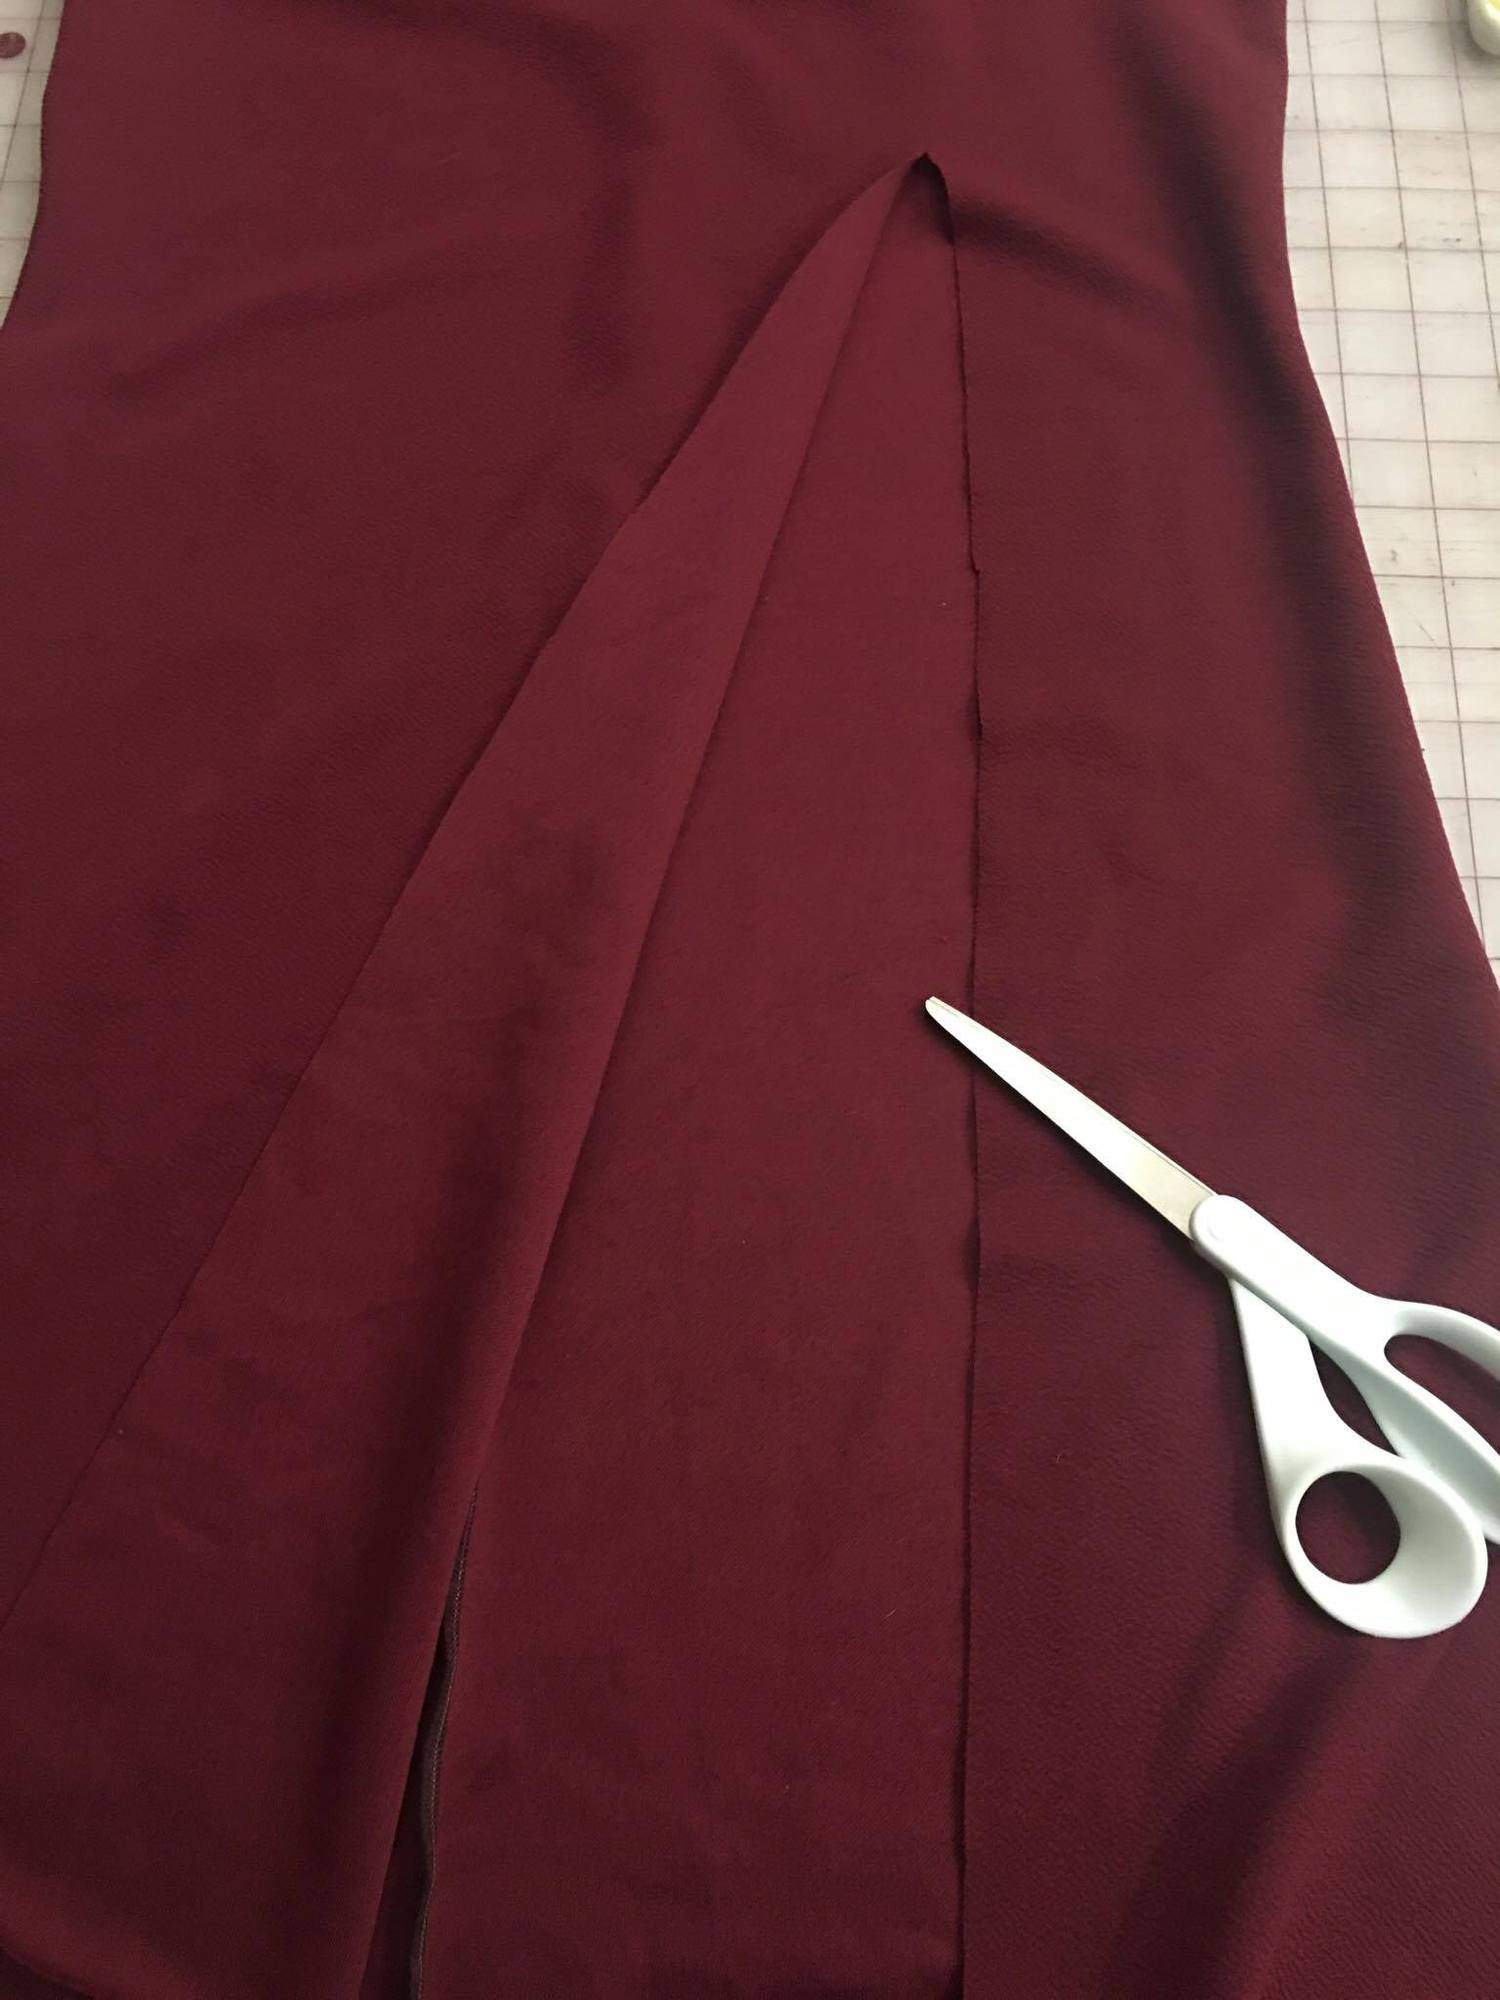
To assemble the waistband, begin by stitching your waistband pieces together using a 1/2″ seam allowance.
If you are making the button placket, you will now have a long waistband piece, that is constructed in the following order: front waistband, back waistband, front waistband. If you are making the plain front, you should have a tube. Trim seams and press open.

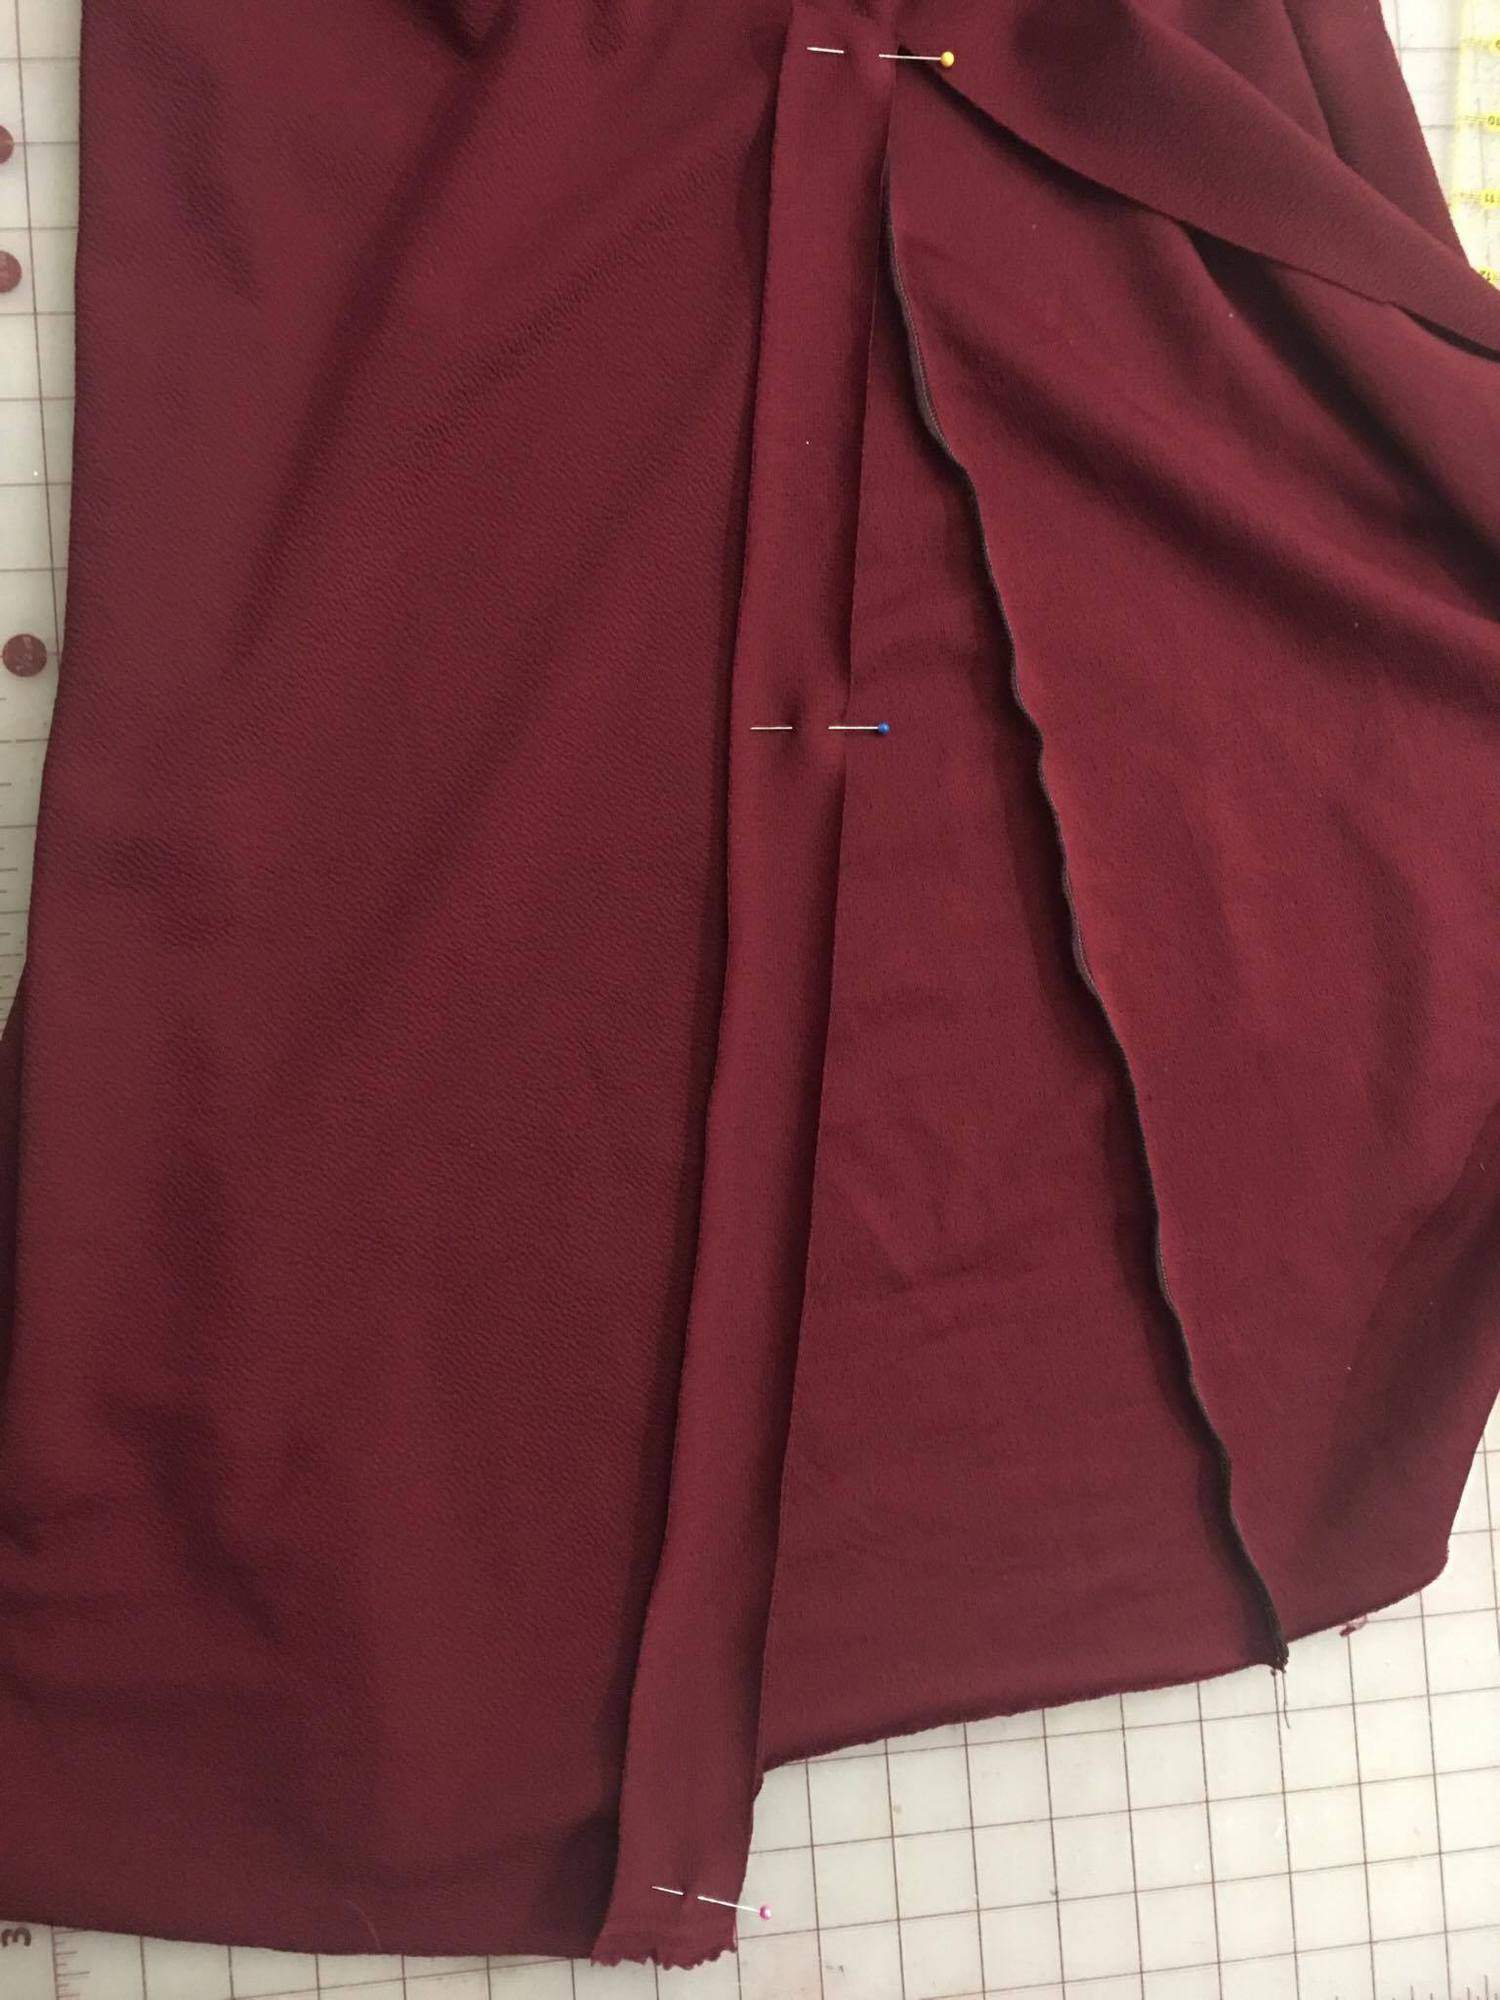
Fold waistband in half lengthwise, with wrong sides together. If desired, you can top stitch 1/8″ from top of waistband. Baste only your back waistband piece together.

Cut your piece of elastic to the appropriate length given in the tutorial chart. Using a safety pin or other tool, pull your elastic through the back waistband casing.
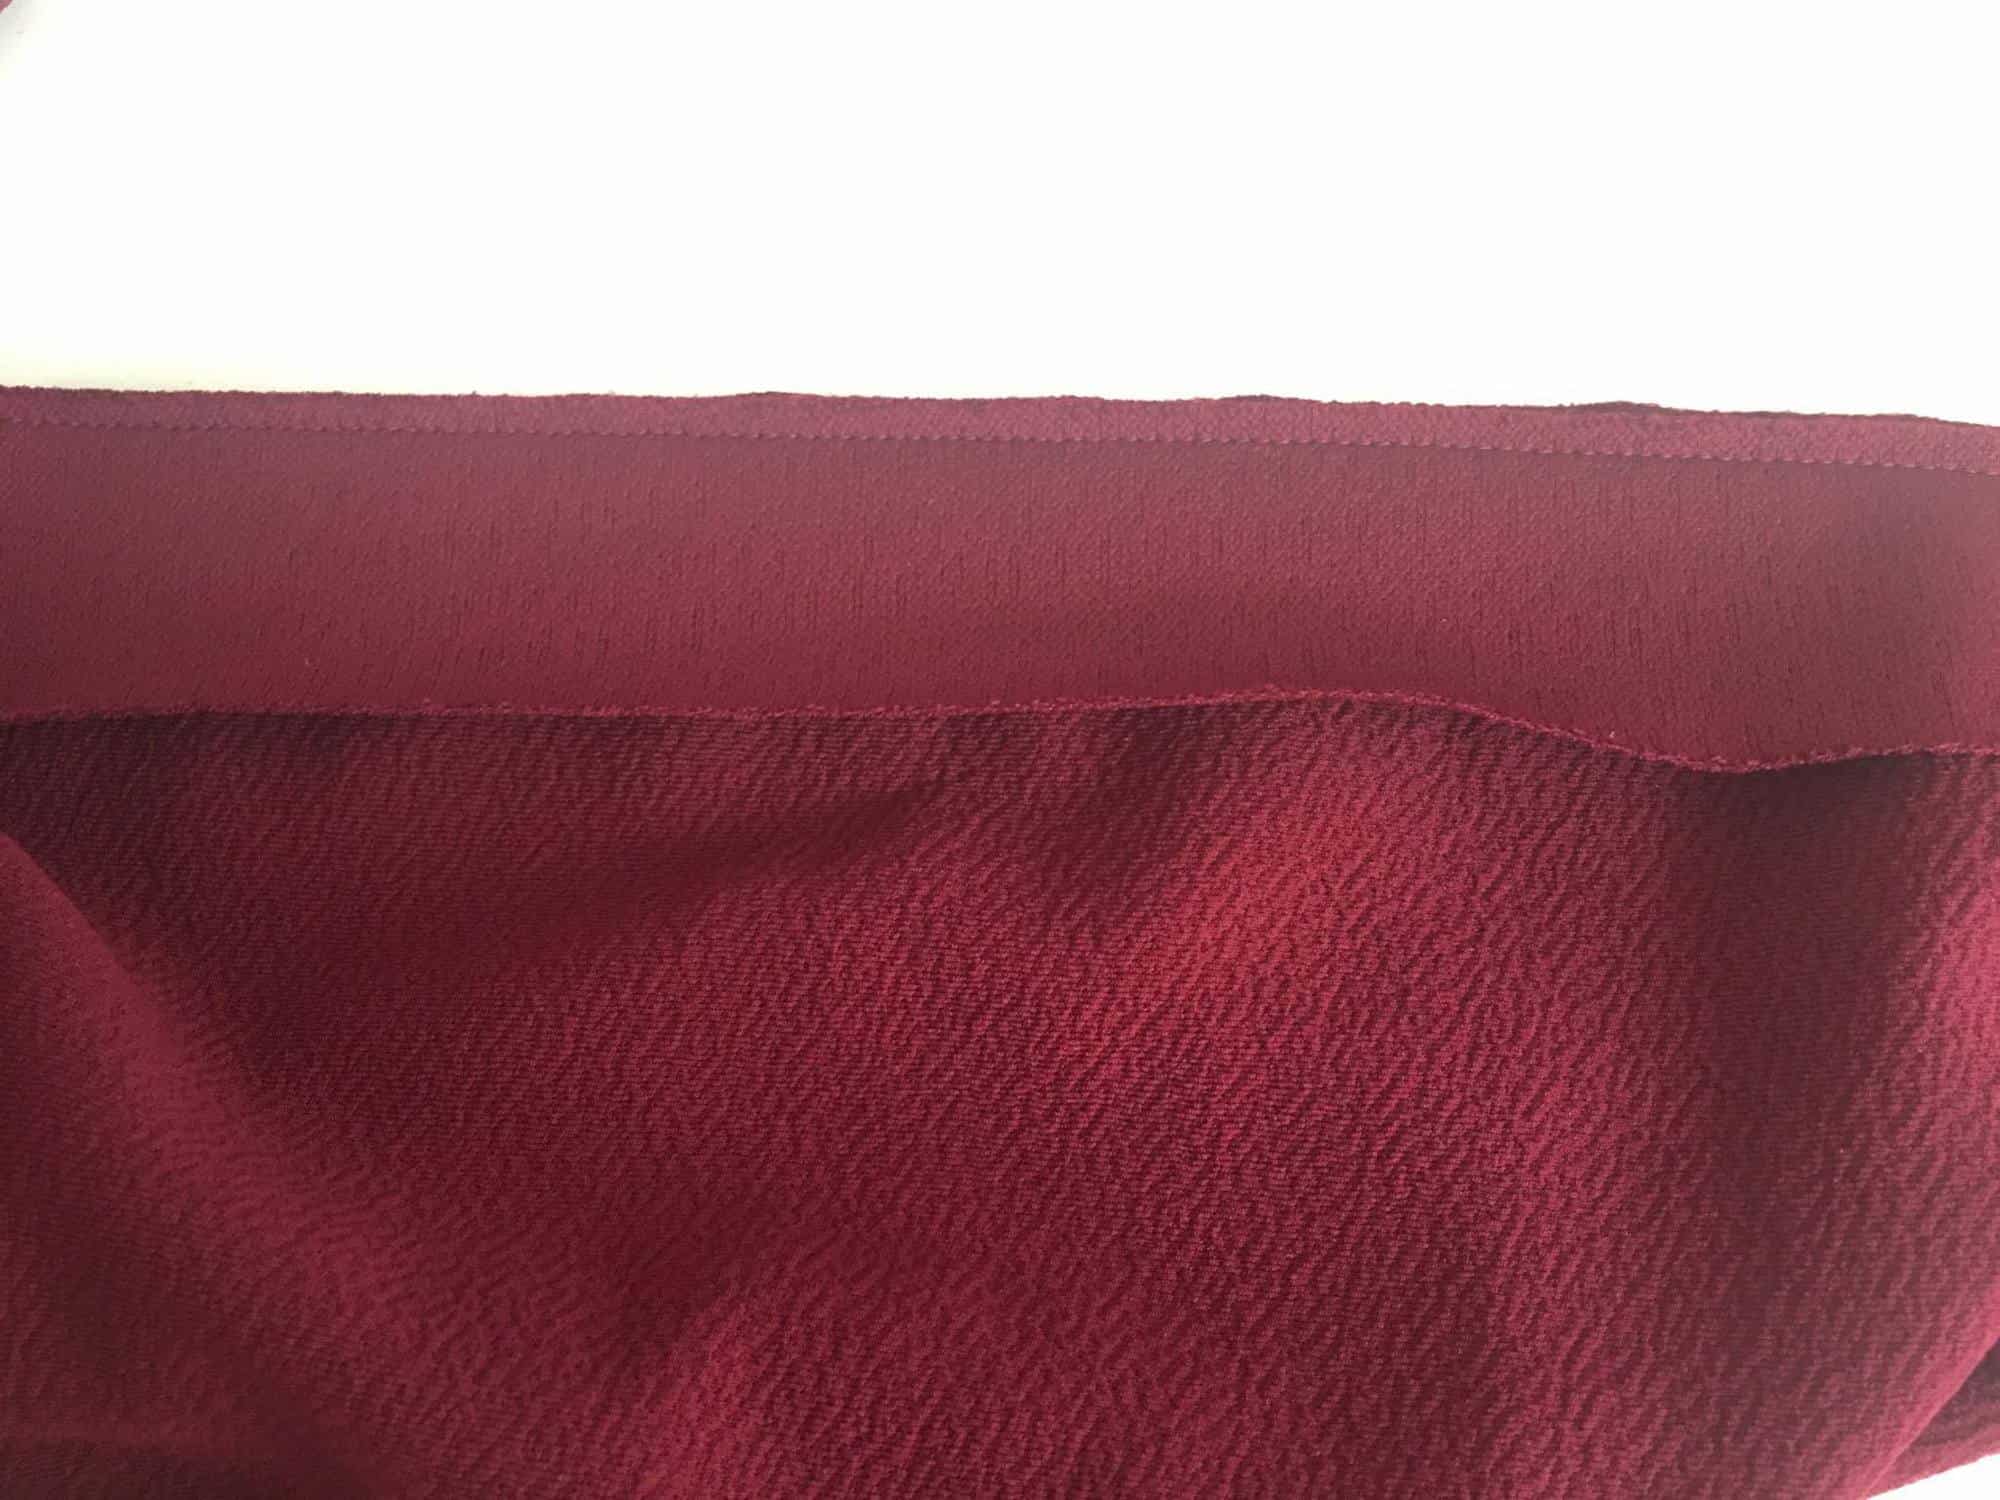
You will now stitch in the ditch at the waistband seams to hold elastic in place.
Your waistband is now ready to be attached to the skirt! Follow the directions as given in the tutorial and begin to enjoy that gorgeous skirt you just created!
~ Nicole and Erinn
(Nicole is wearing the button placket skirt and Erinn is wearing the plain front version)
…..
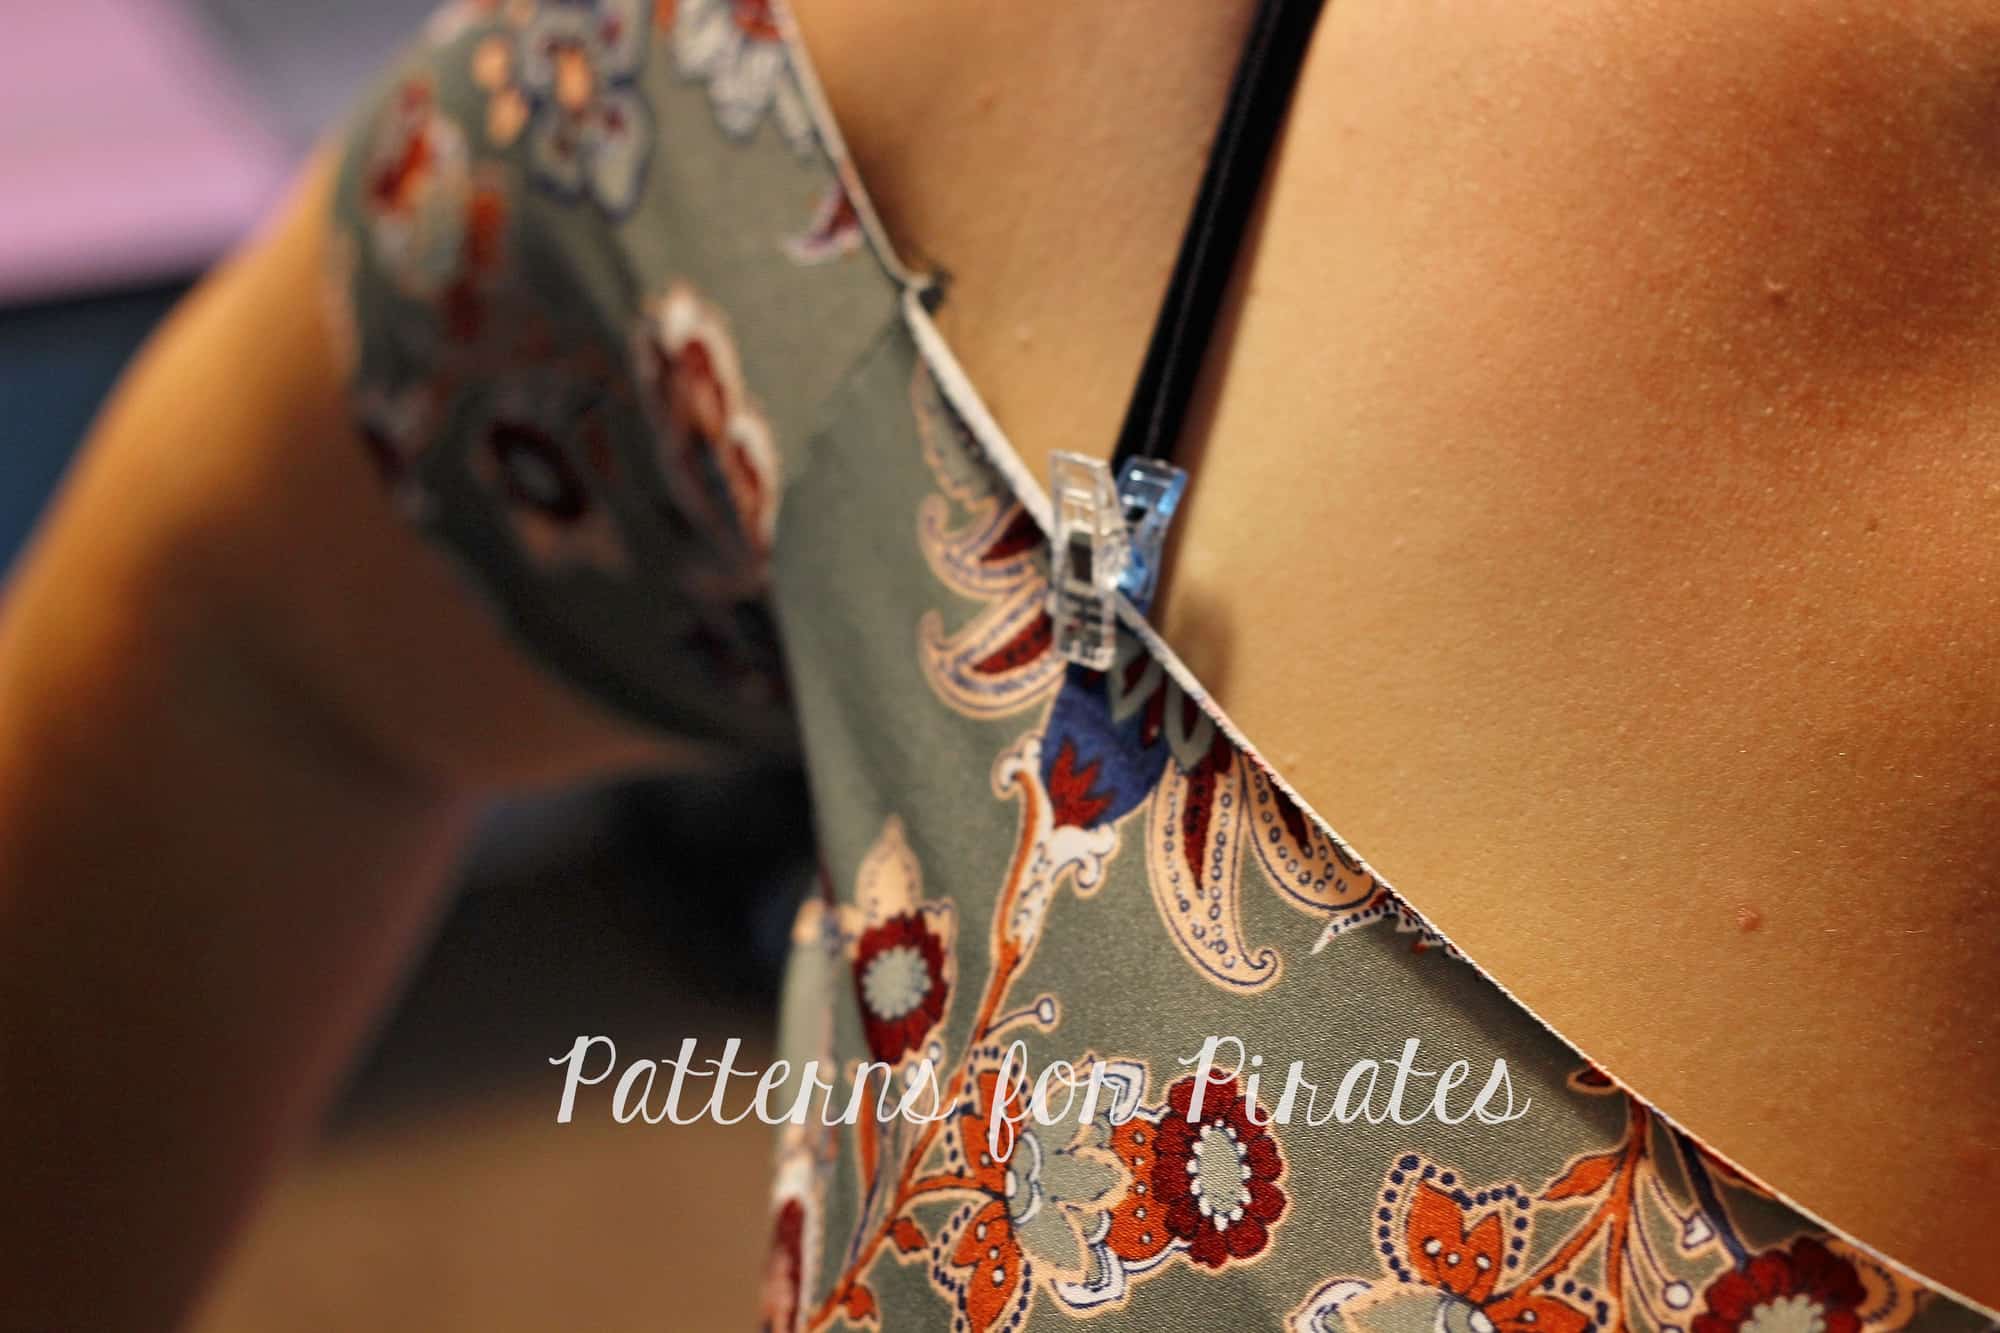
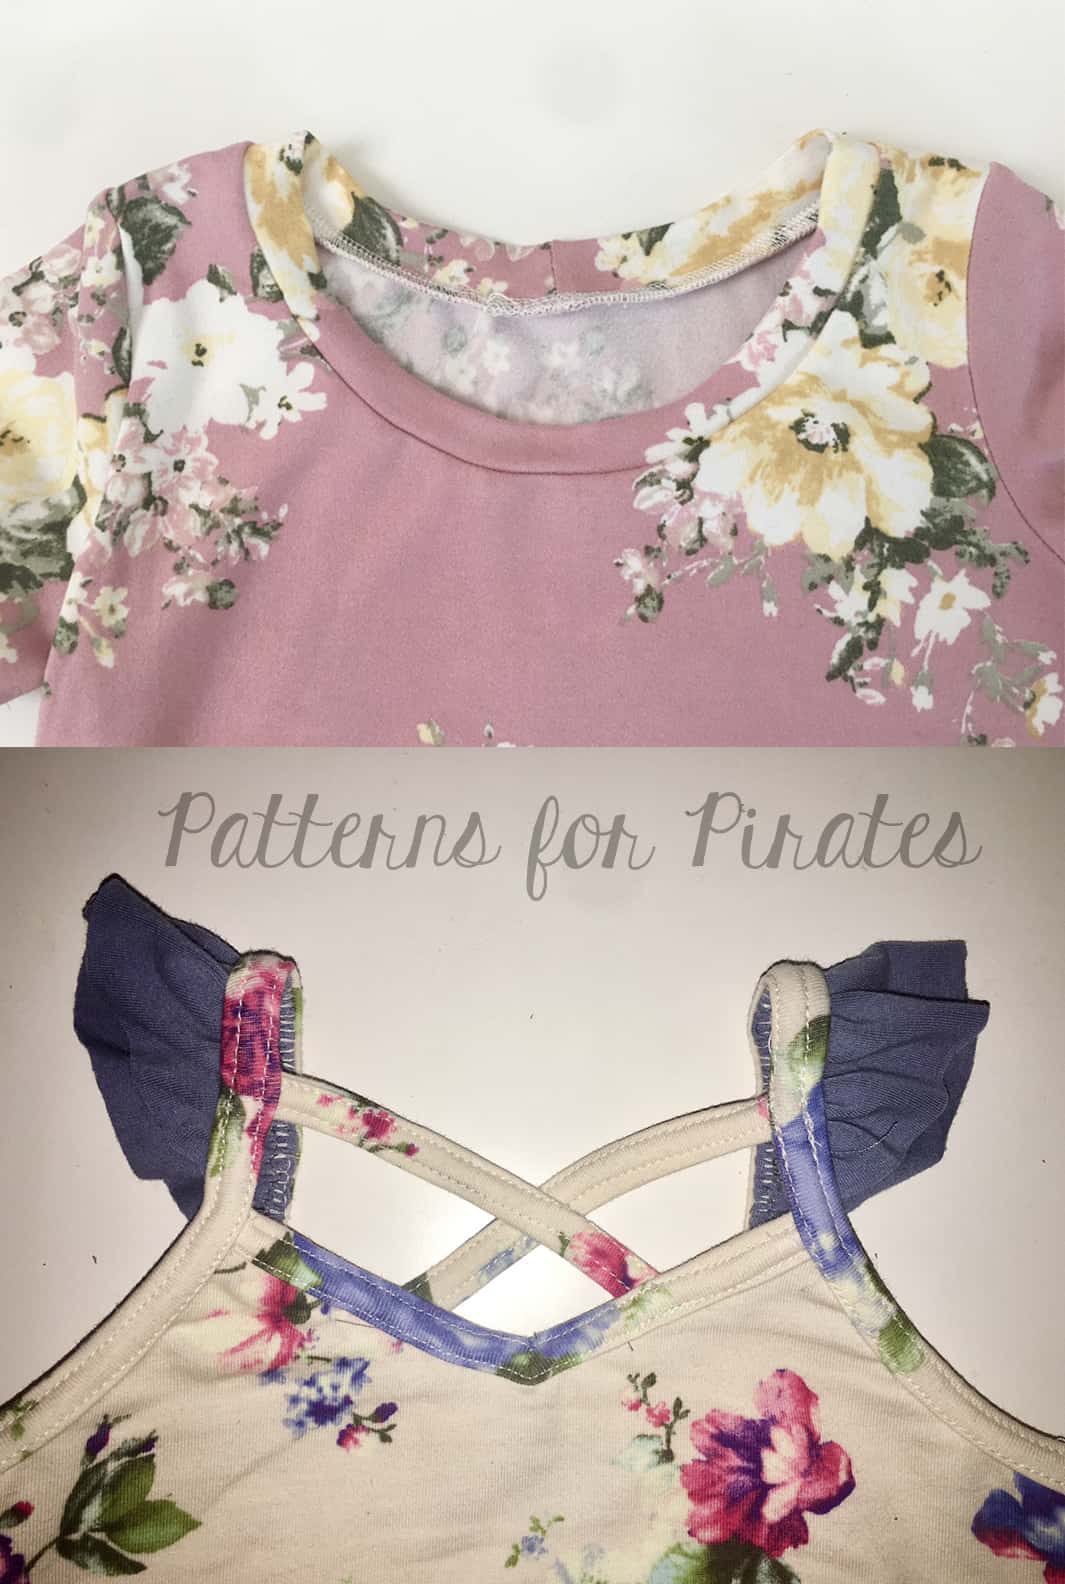
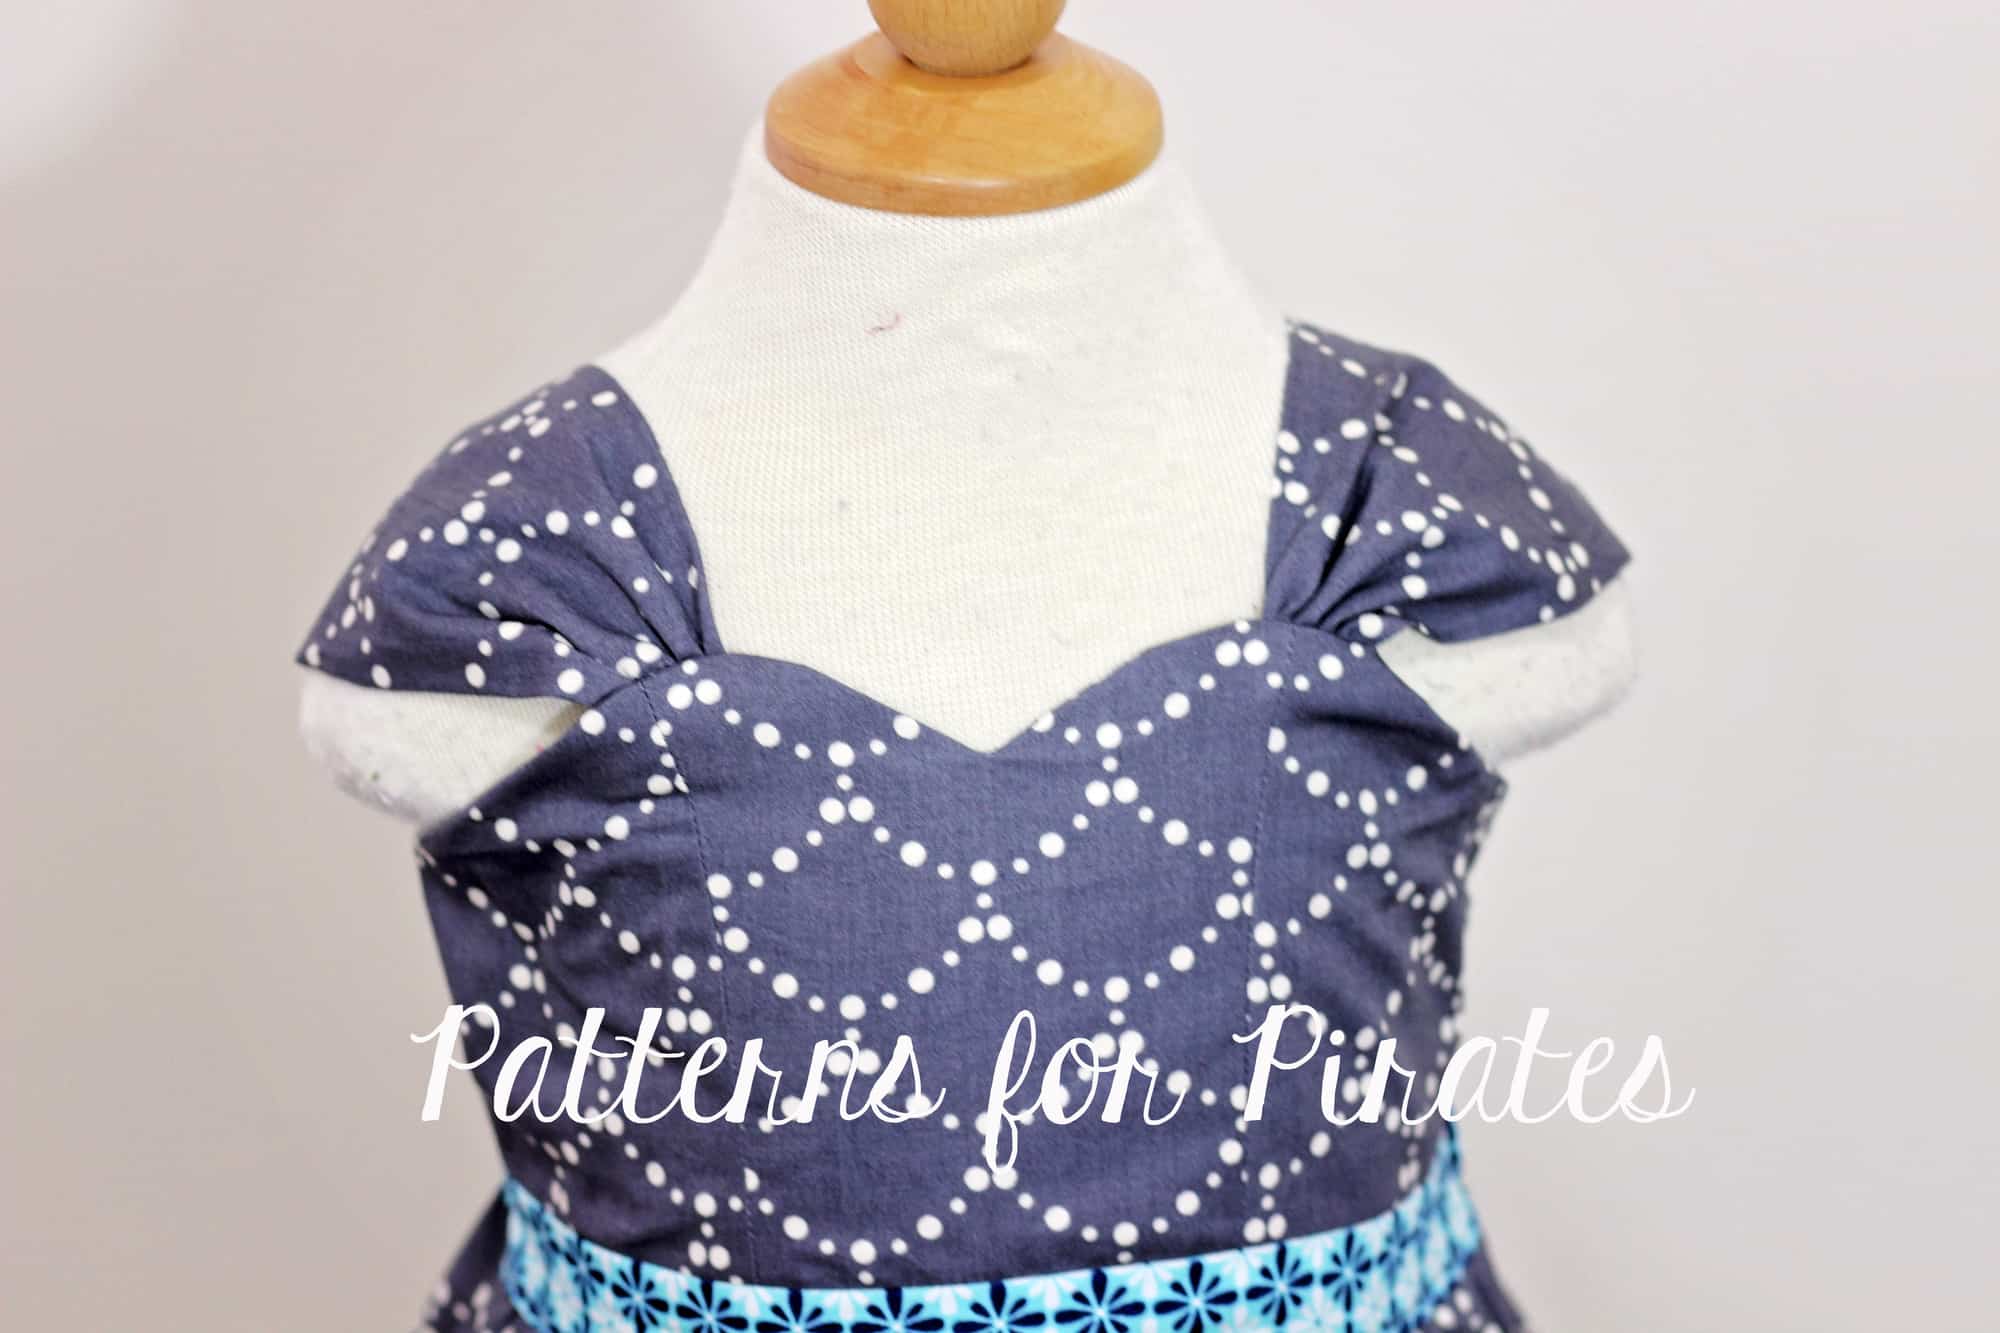
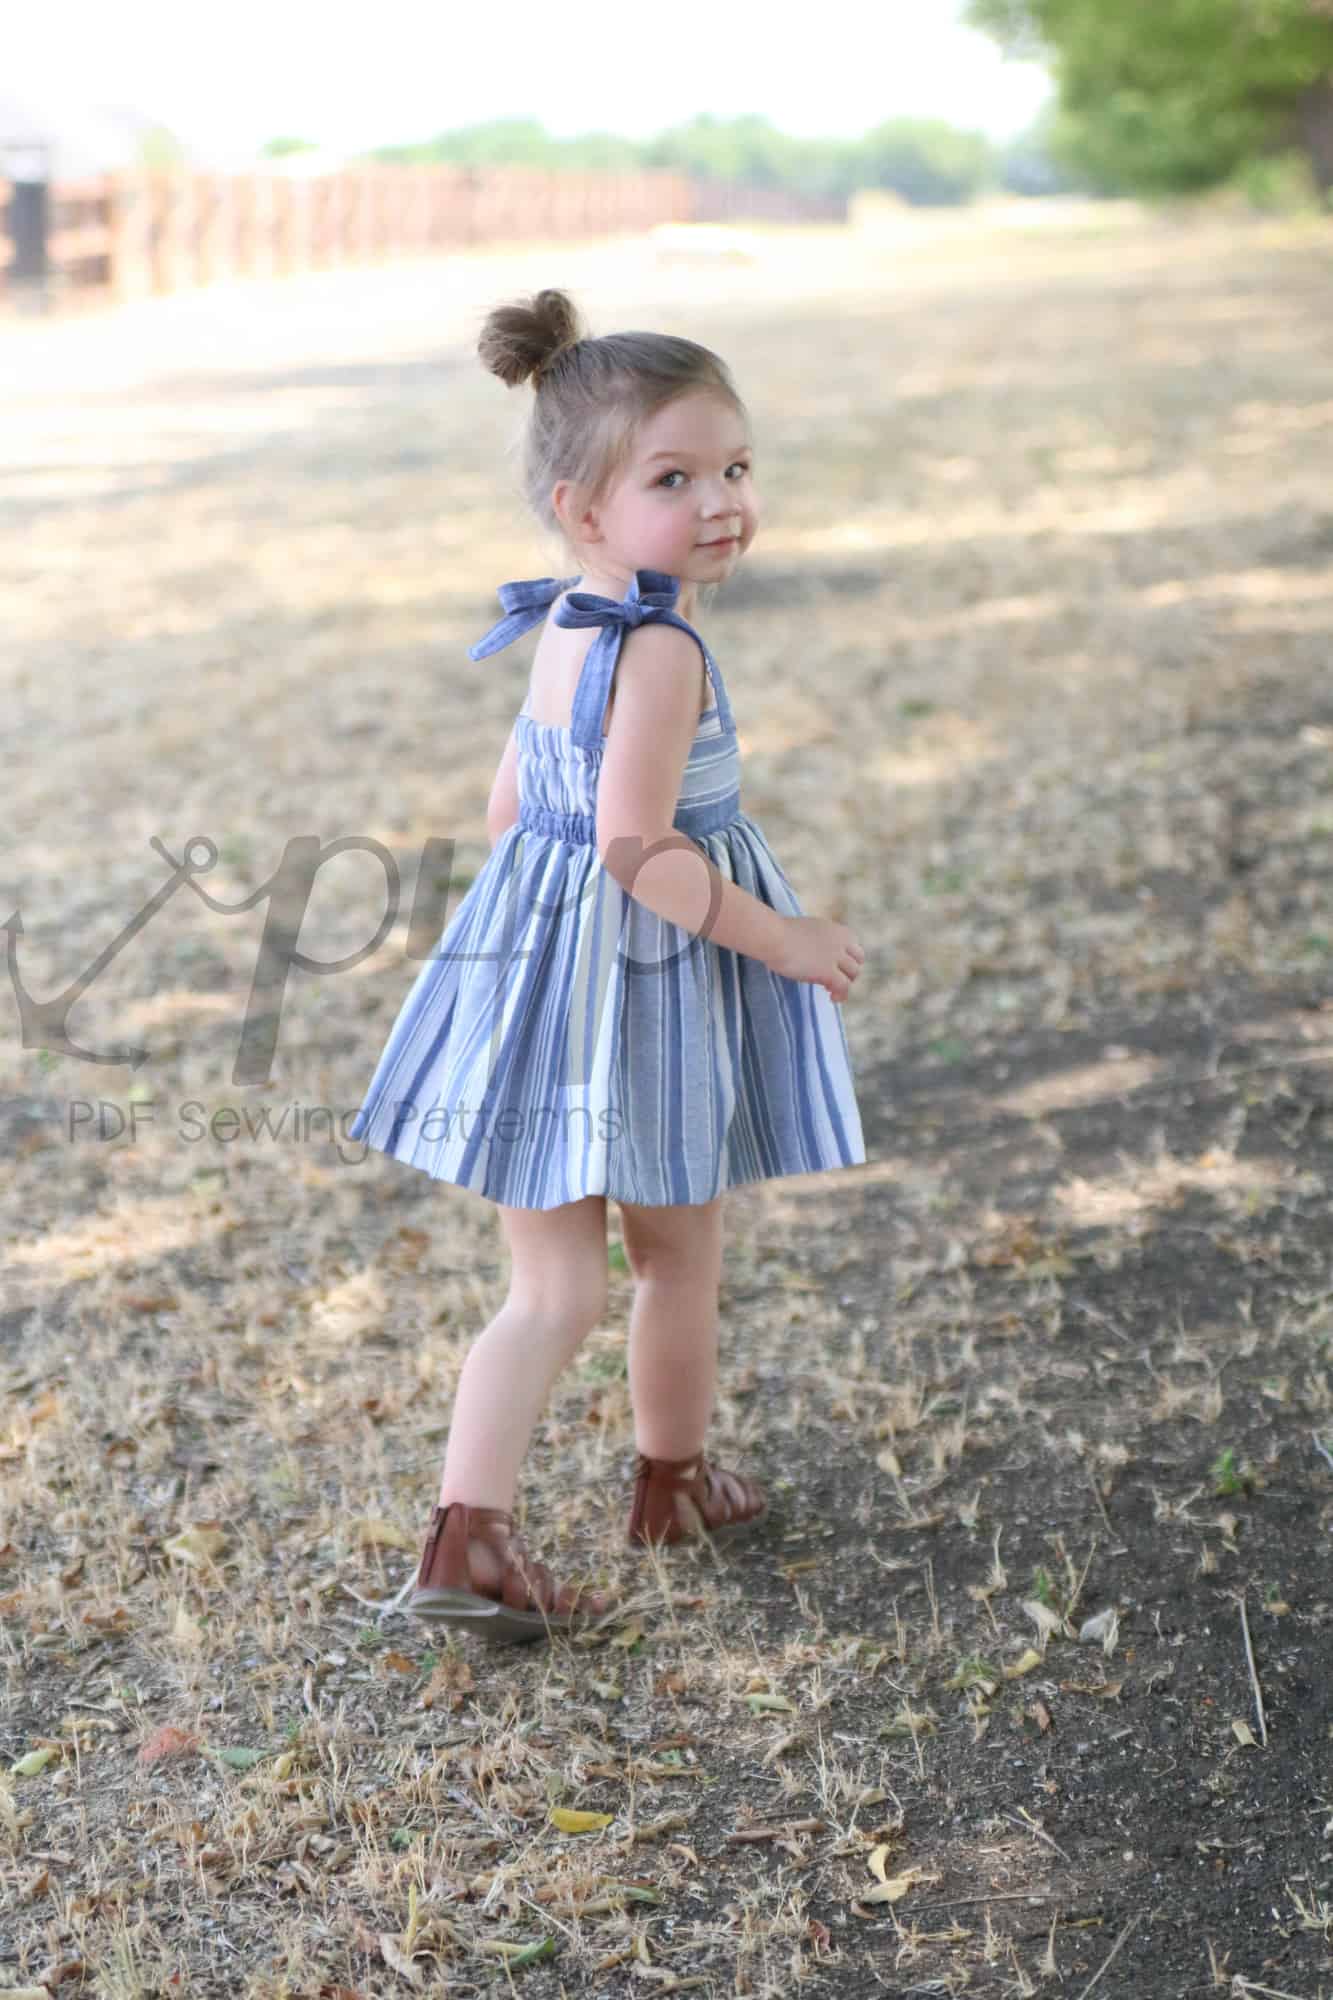
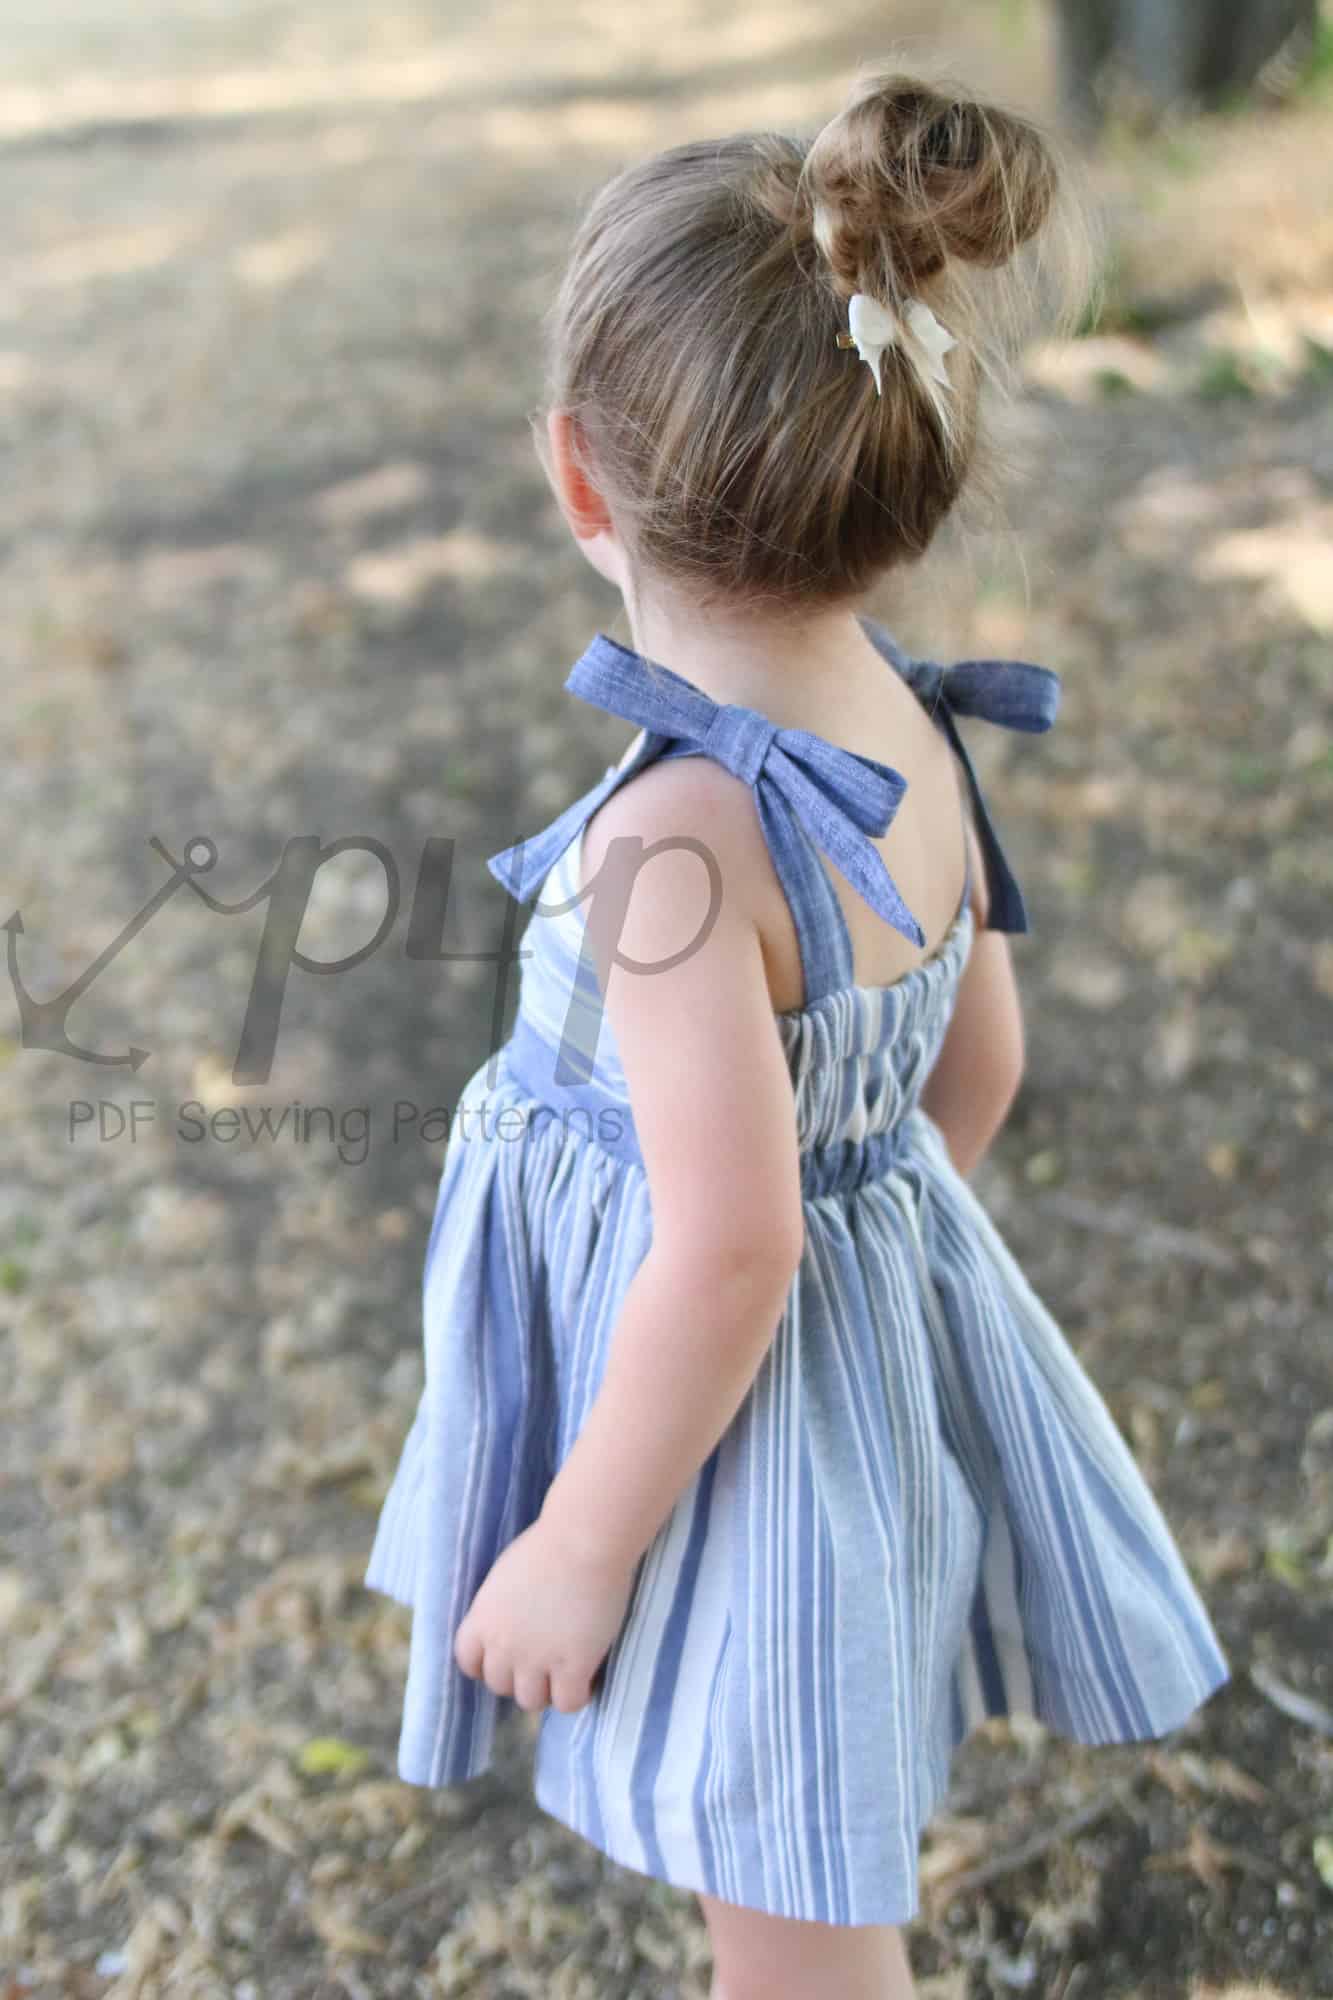
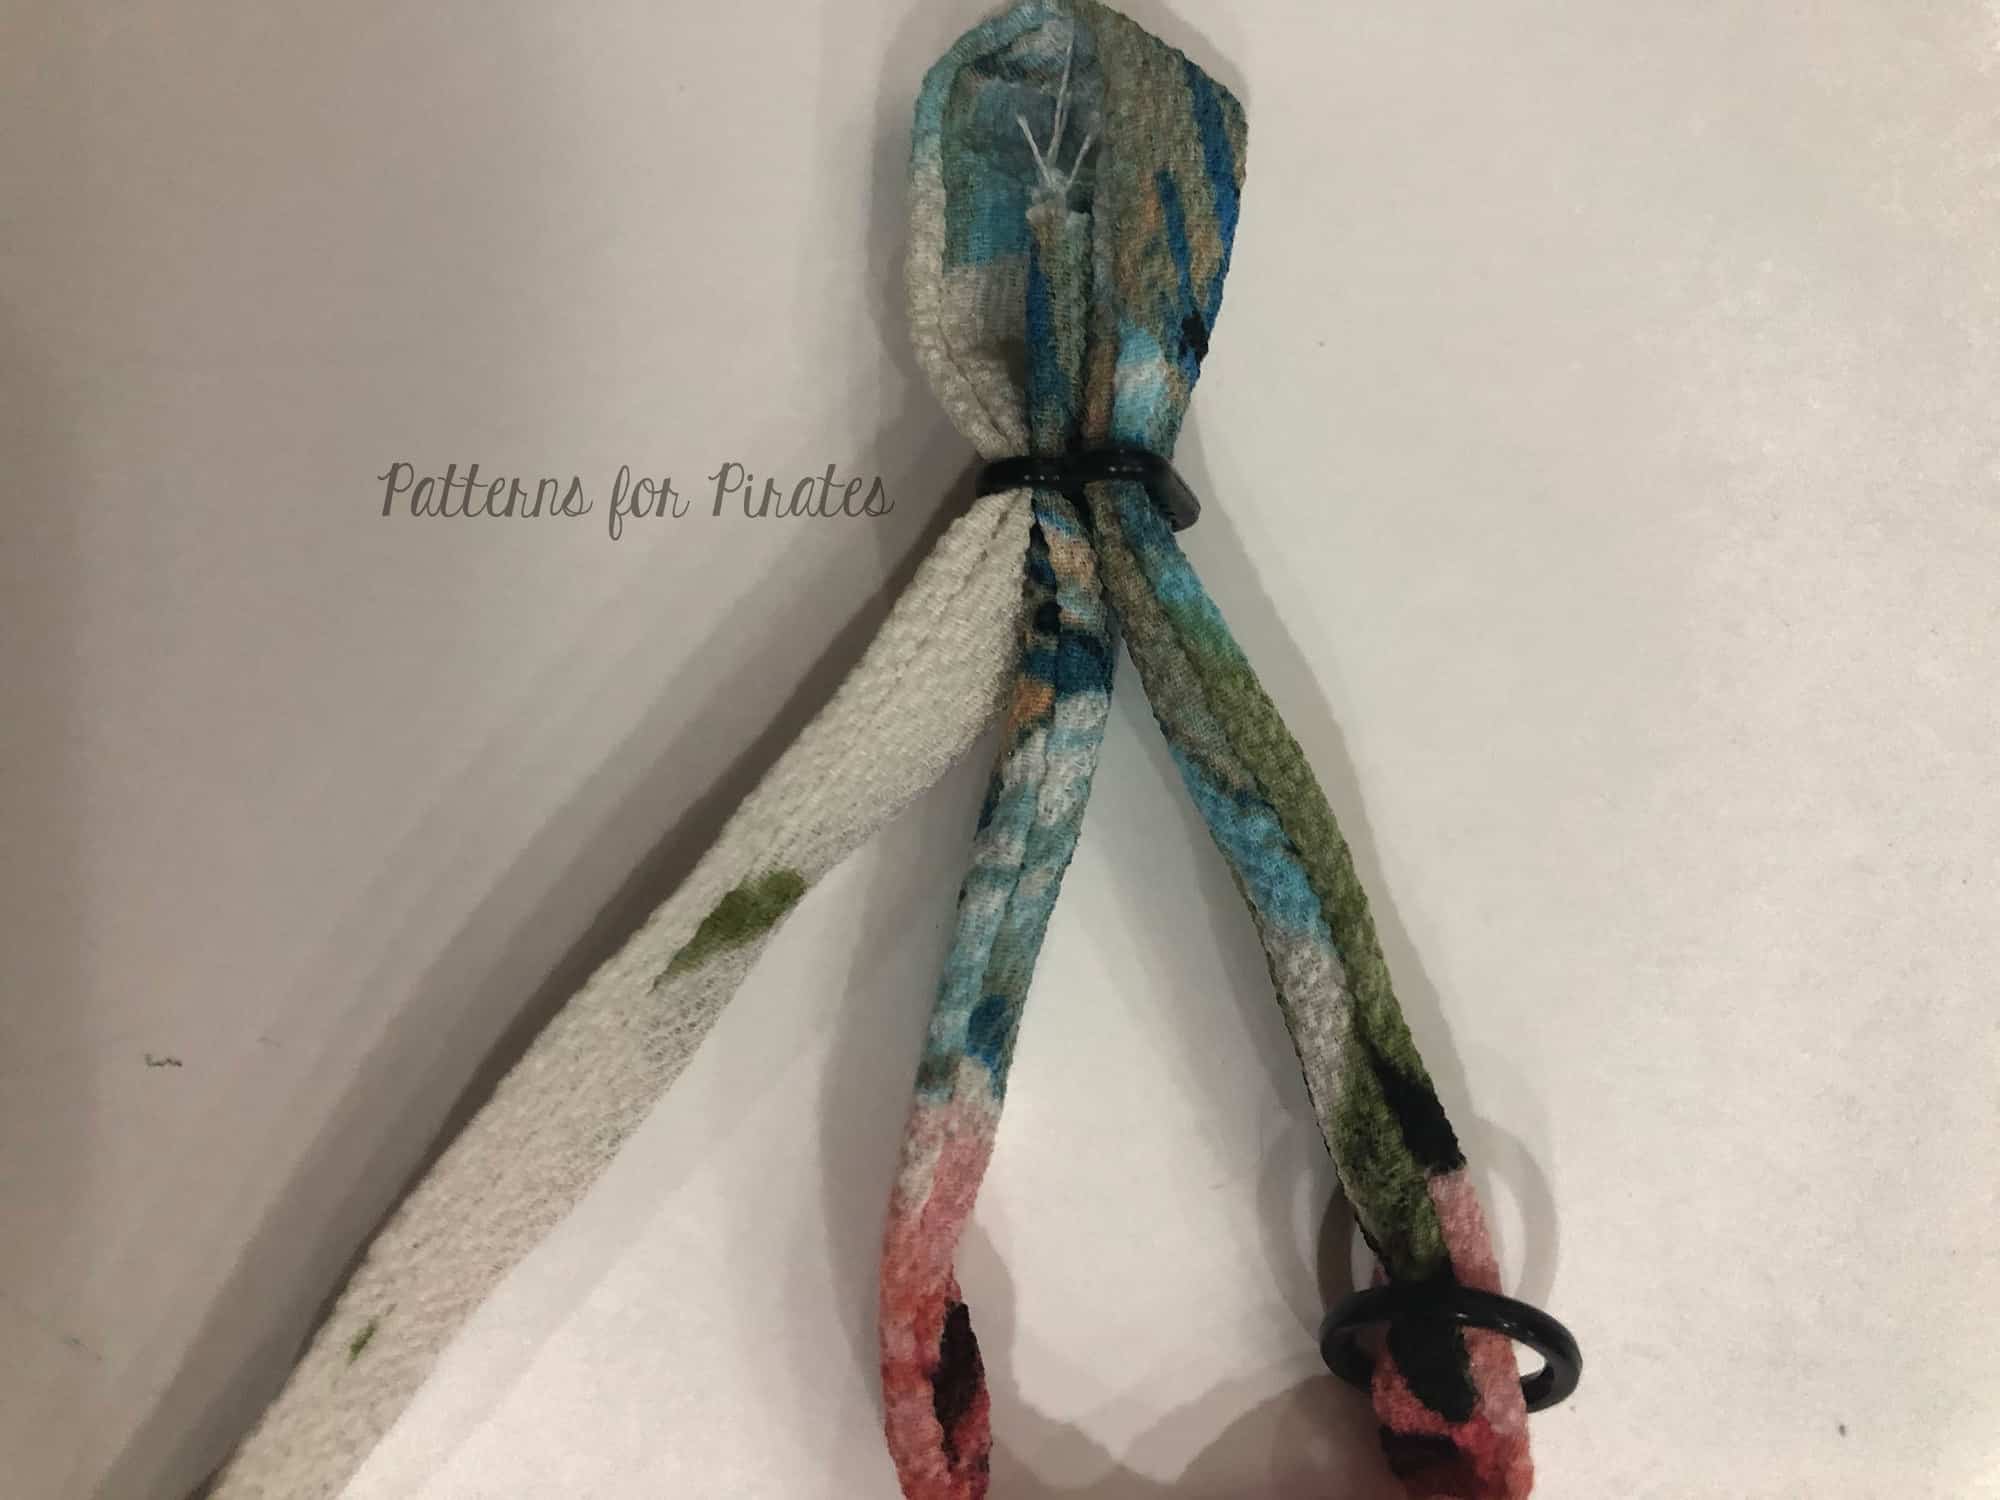
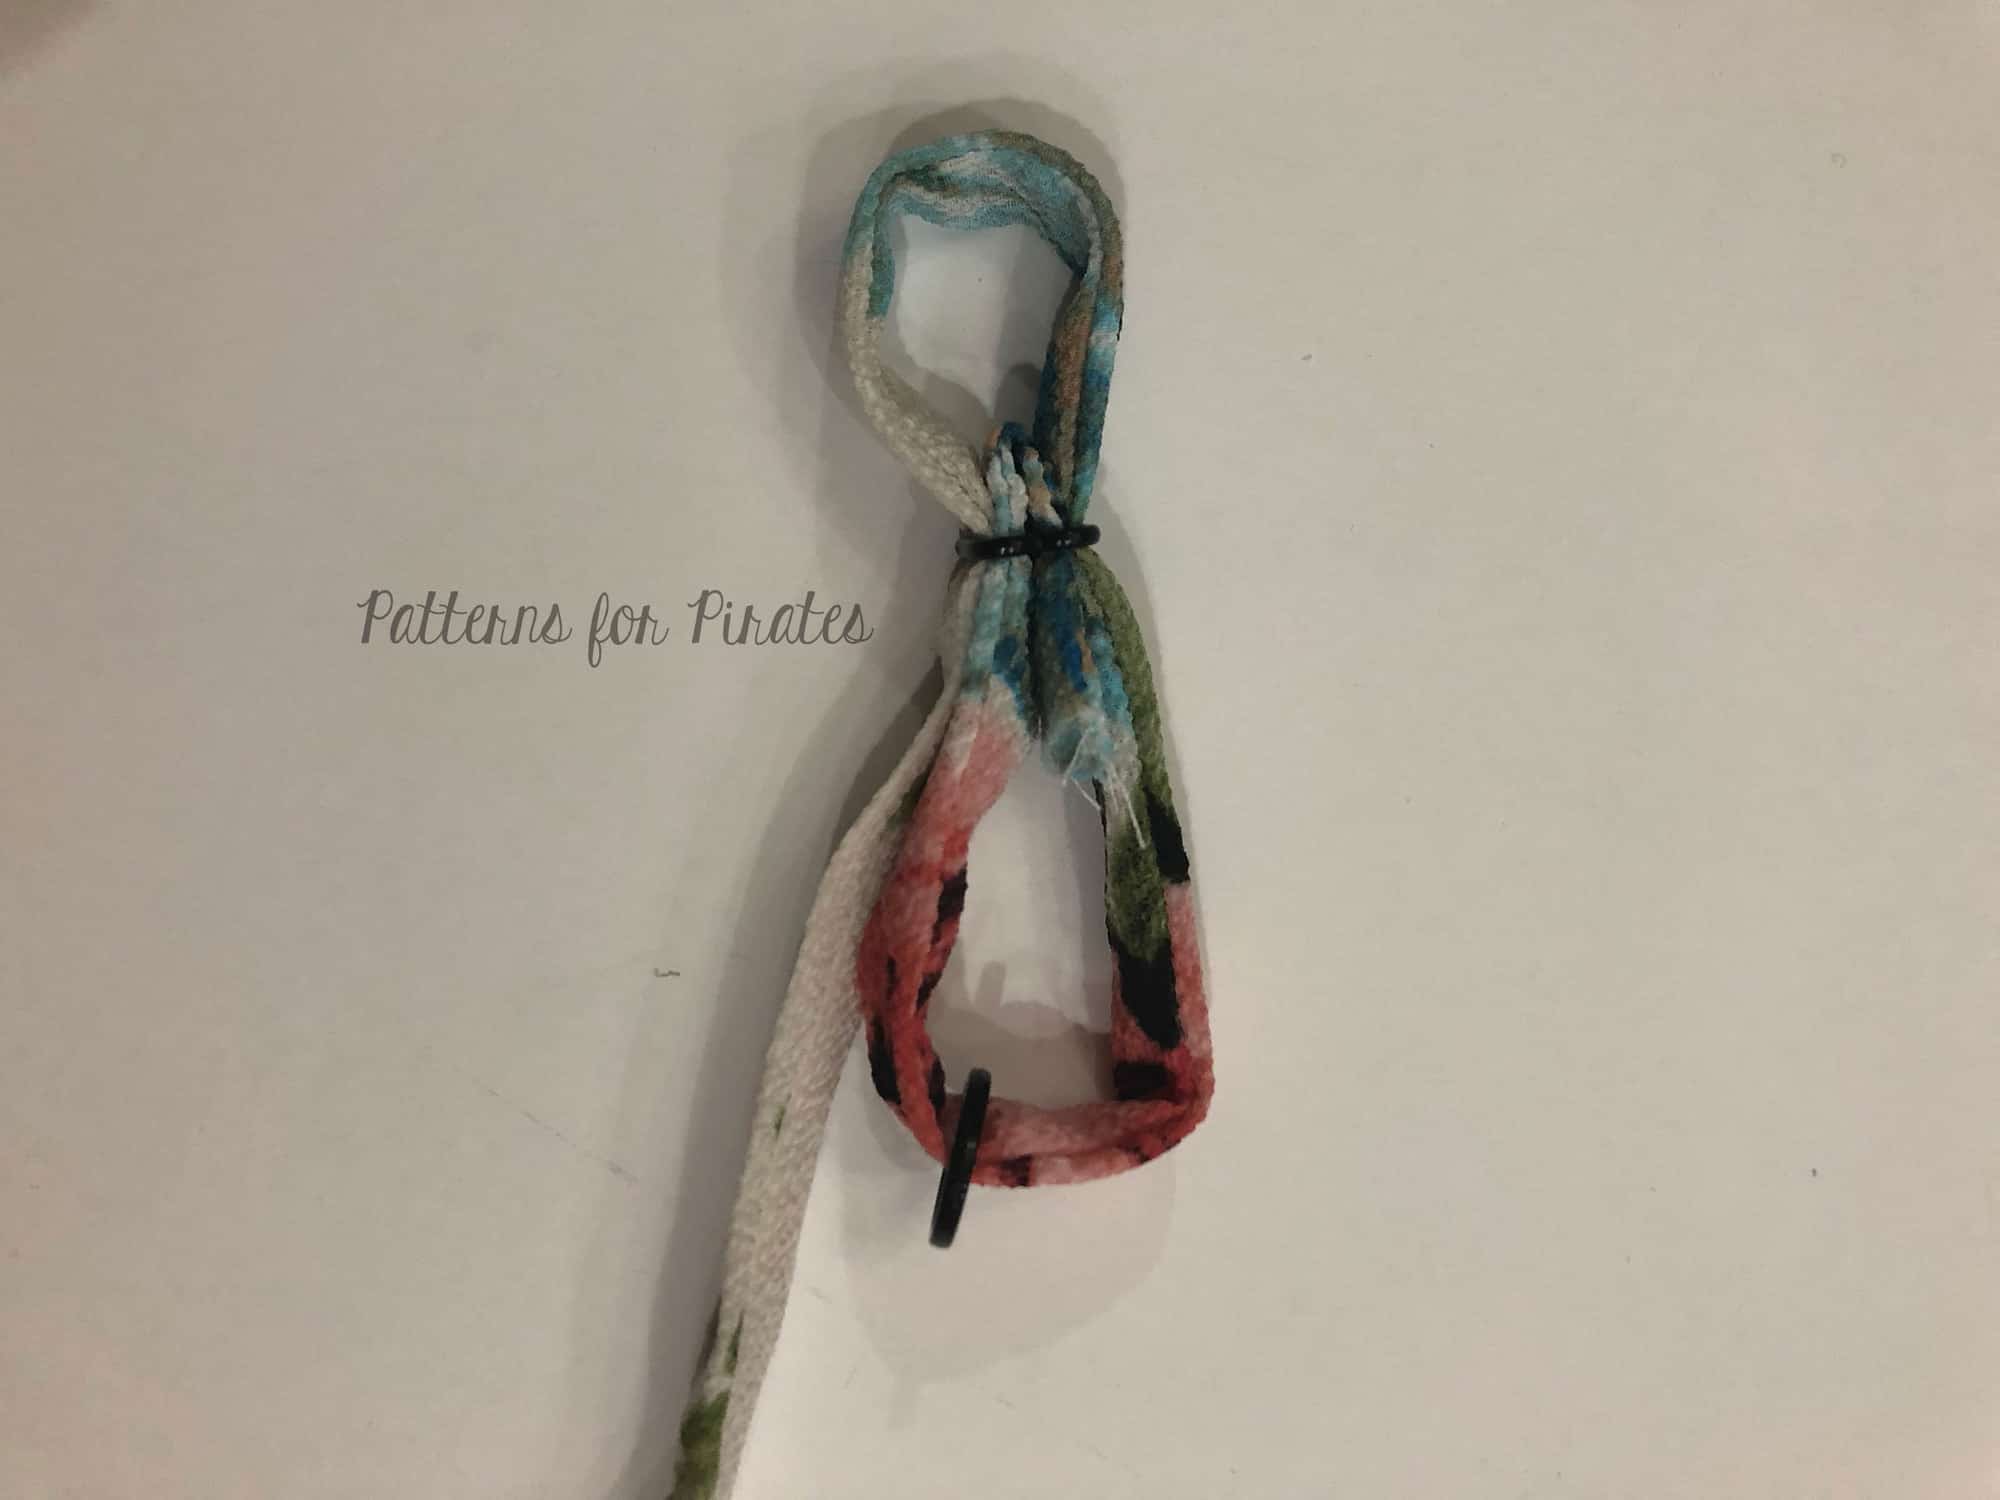
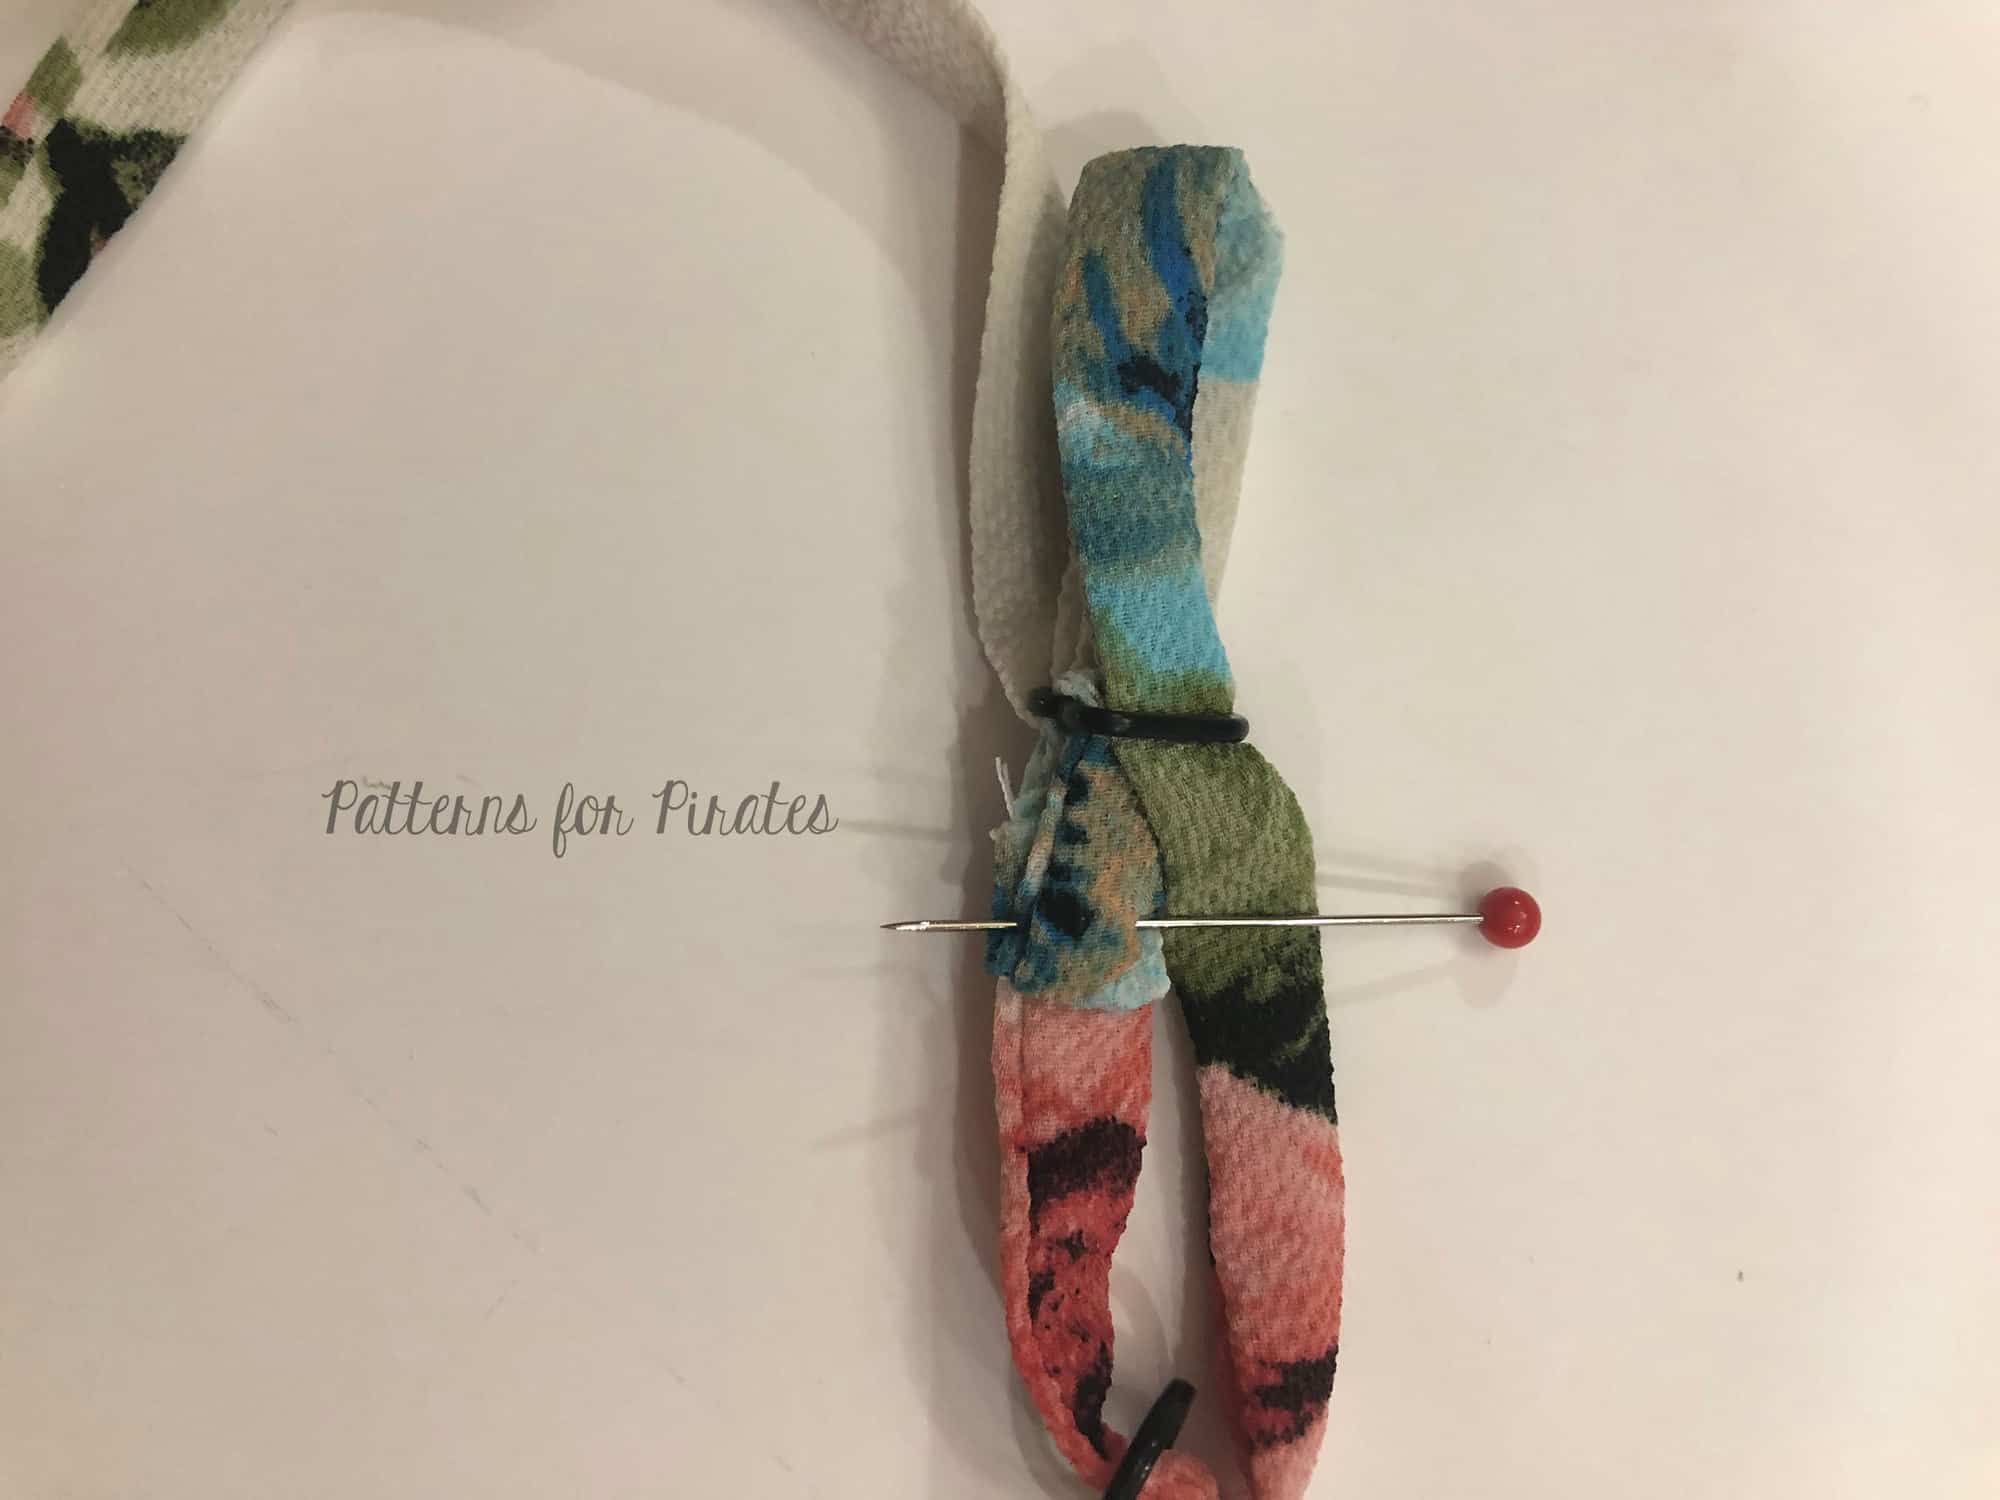
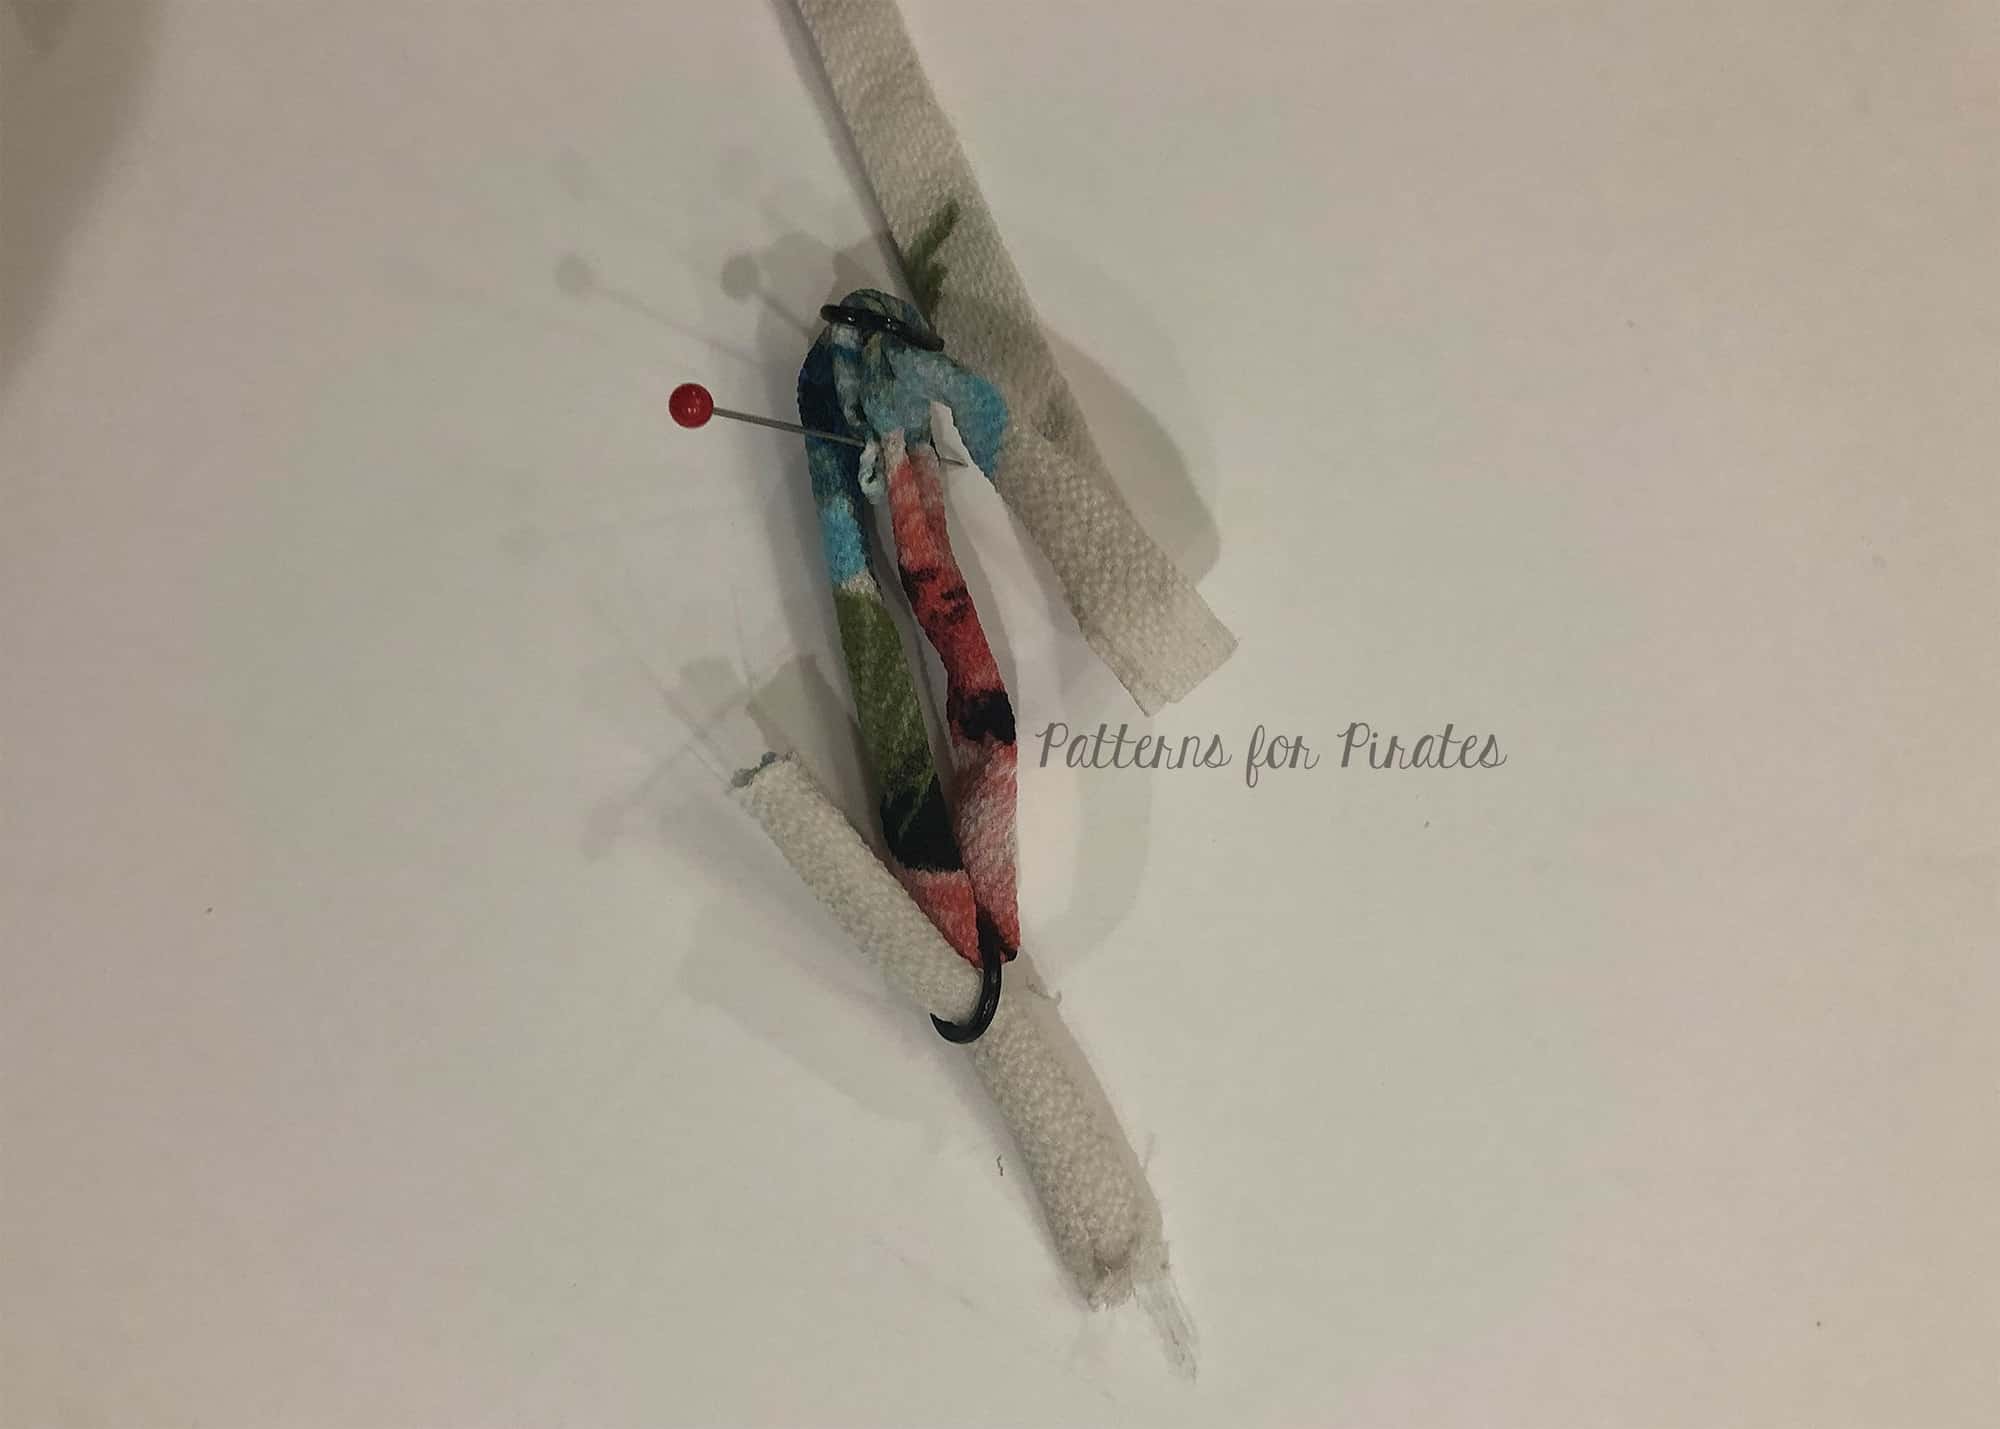
Ties Straps
I’m here to show you a super simple tie strap hack! This hack is great for tiny babies who are more difficult to get dressed, a grow with me length of strap that is super quick and easy, a way to get the perfect strap length every time, and of course, just another adorable detail to change the look up a bit.

Start by cutting 4 halter straps rather than just 2.
Follow the tutorial to finish the straps just as the halter straps are finished.

For placement use the suggested placement for the regular/traditional straps.
Finish constructing bodice and dress just as the tutorial instructs.
Enjoy the adorable bows on the shoulders!
Judy
…..
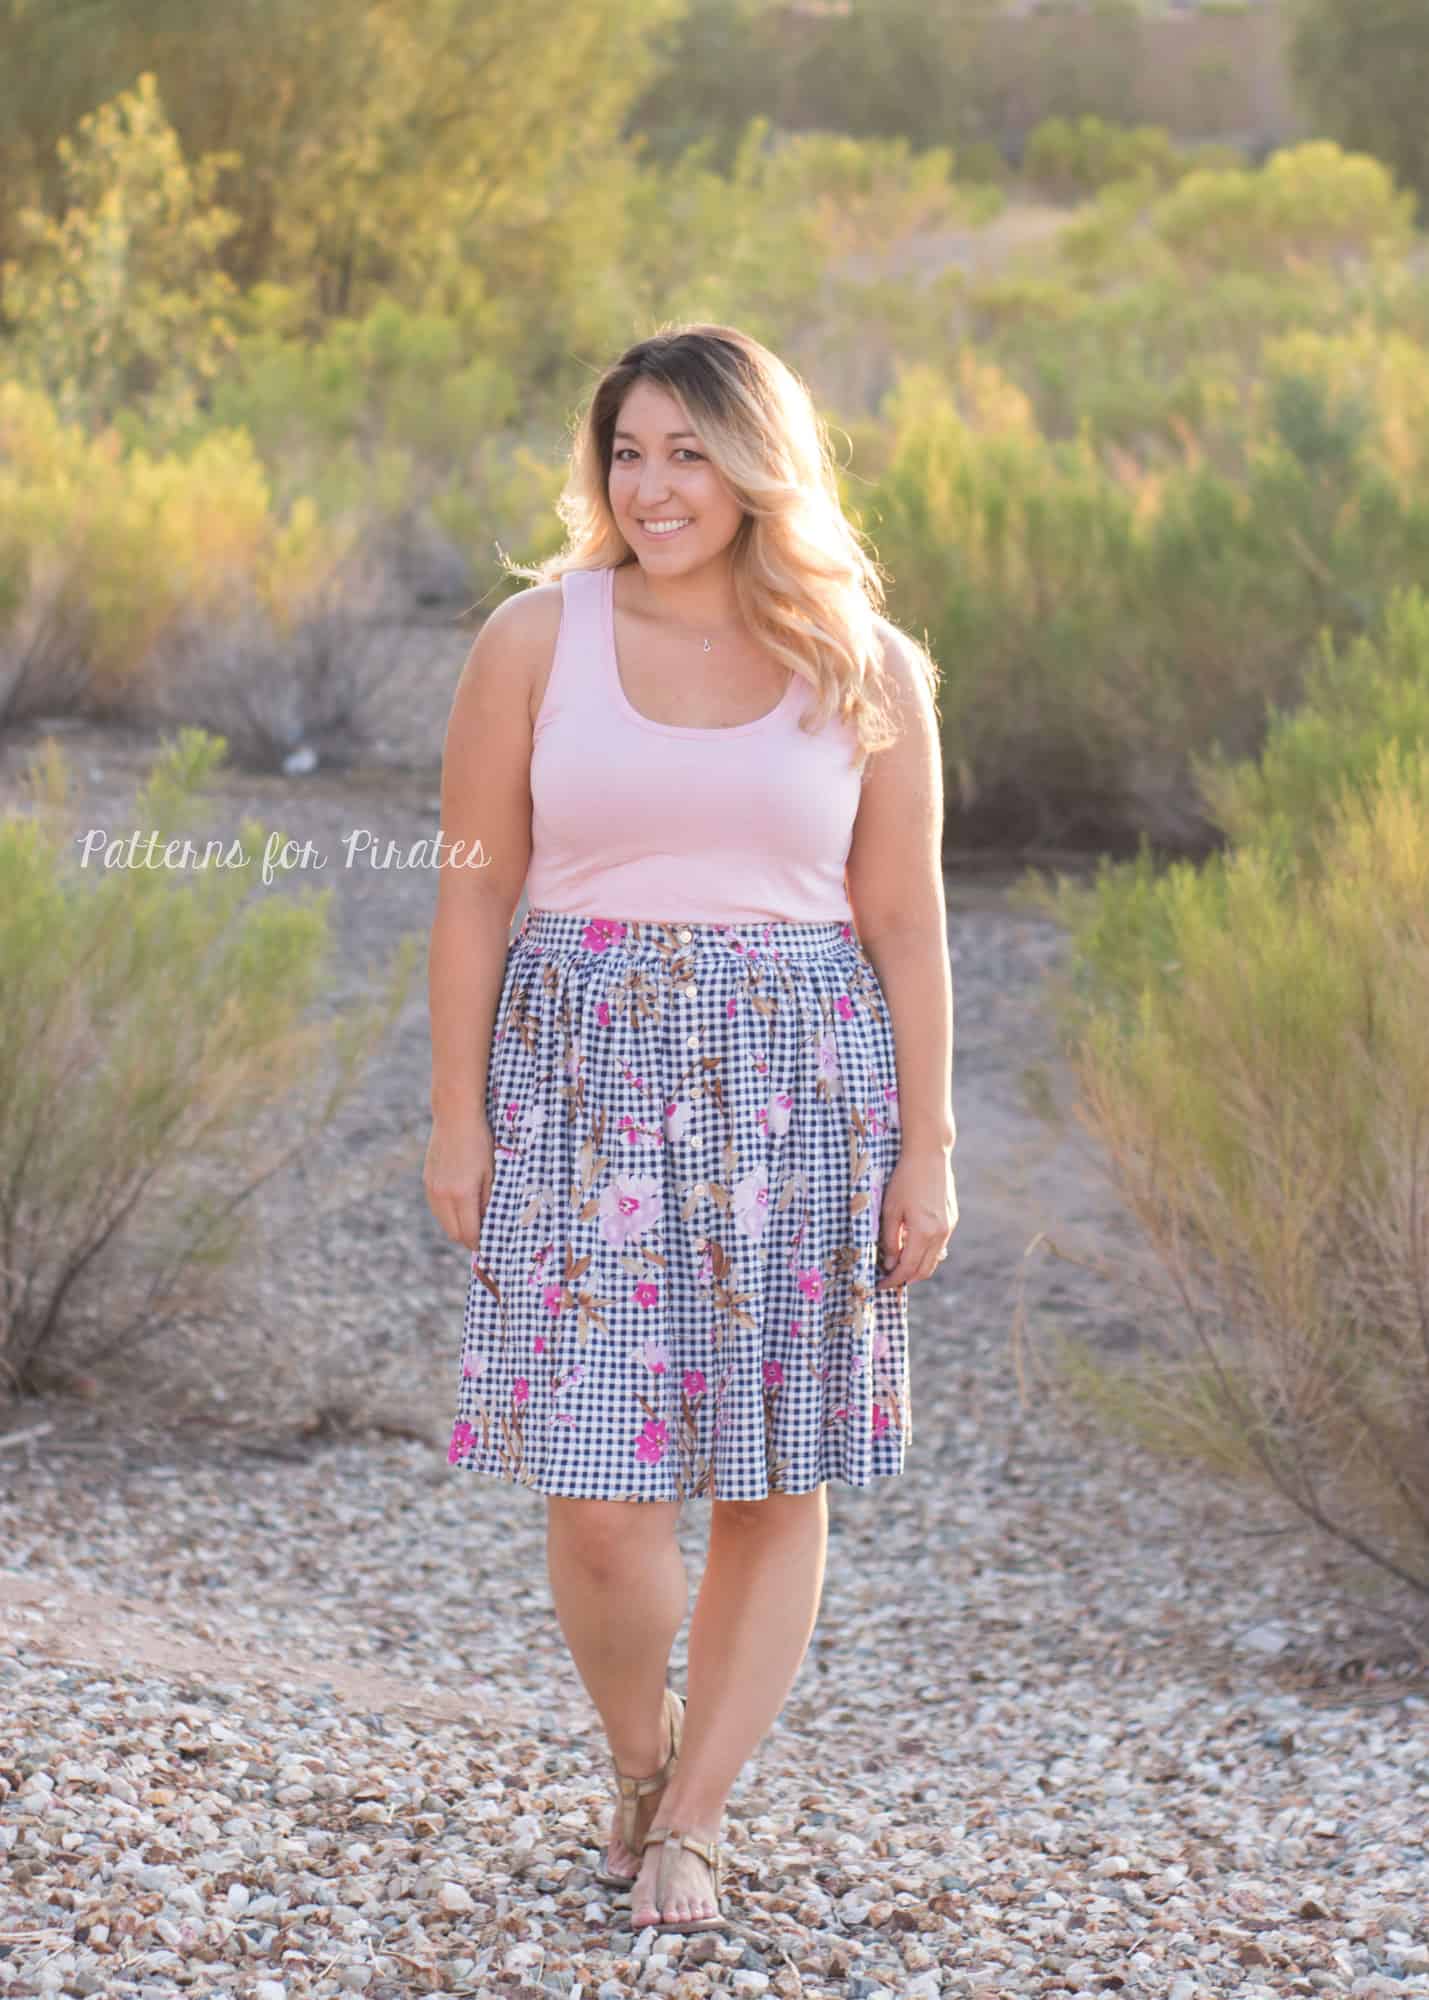
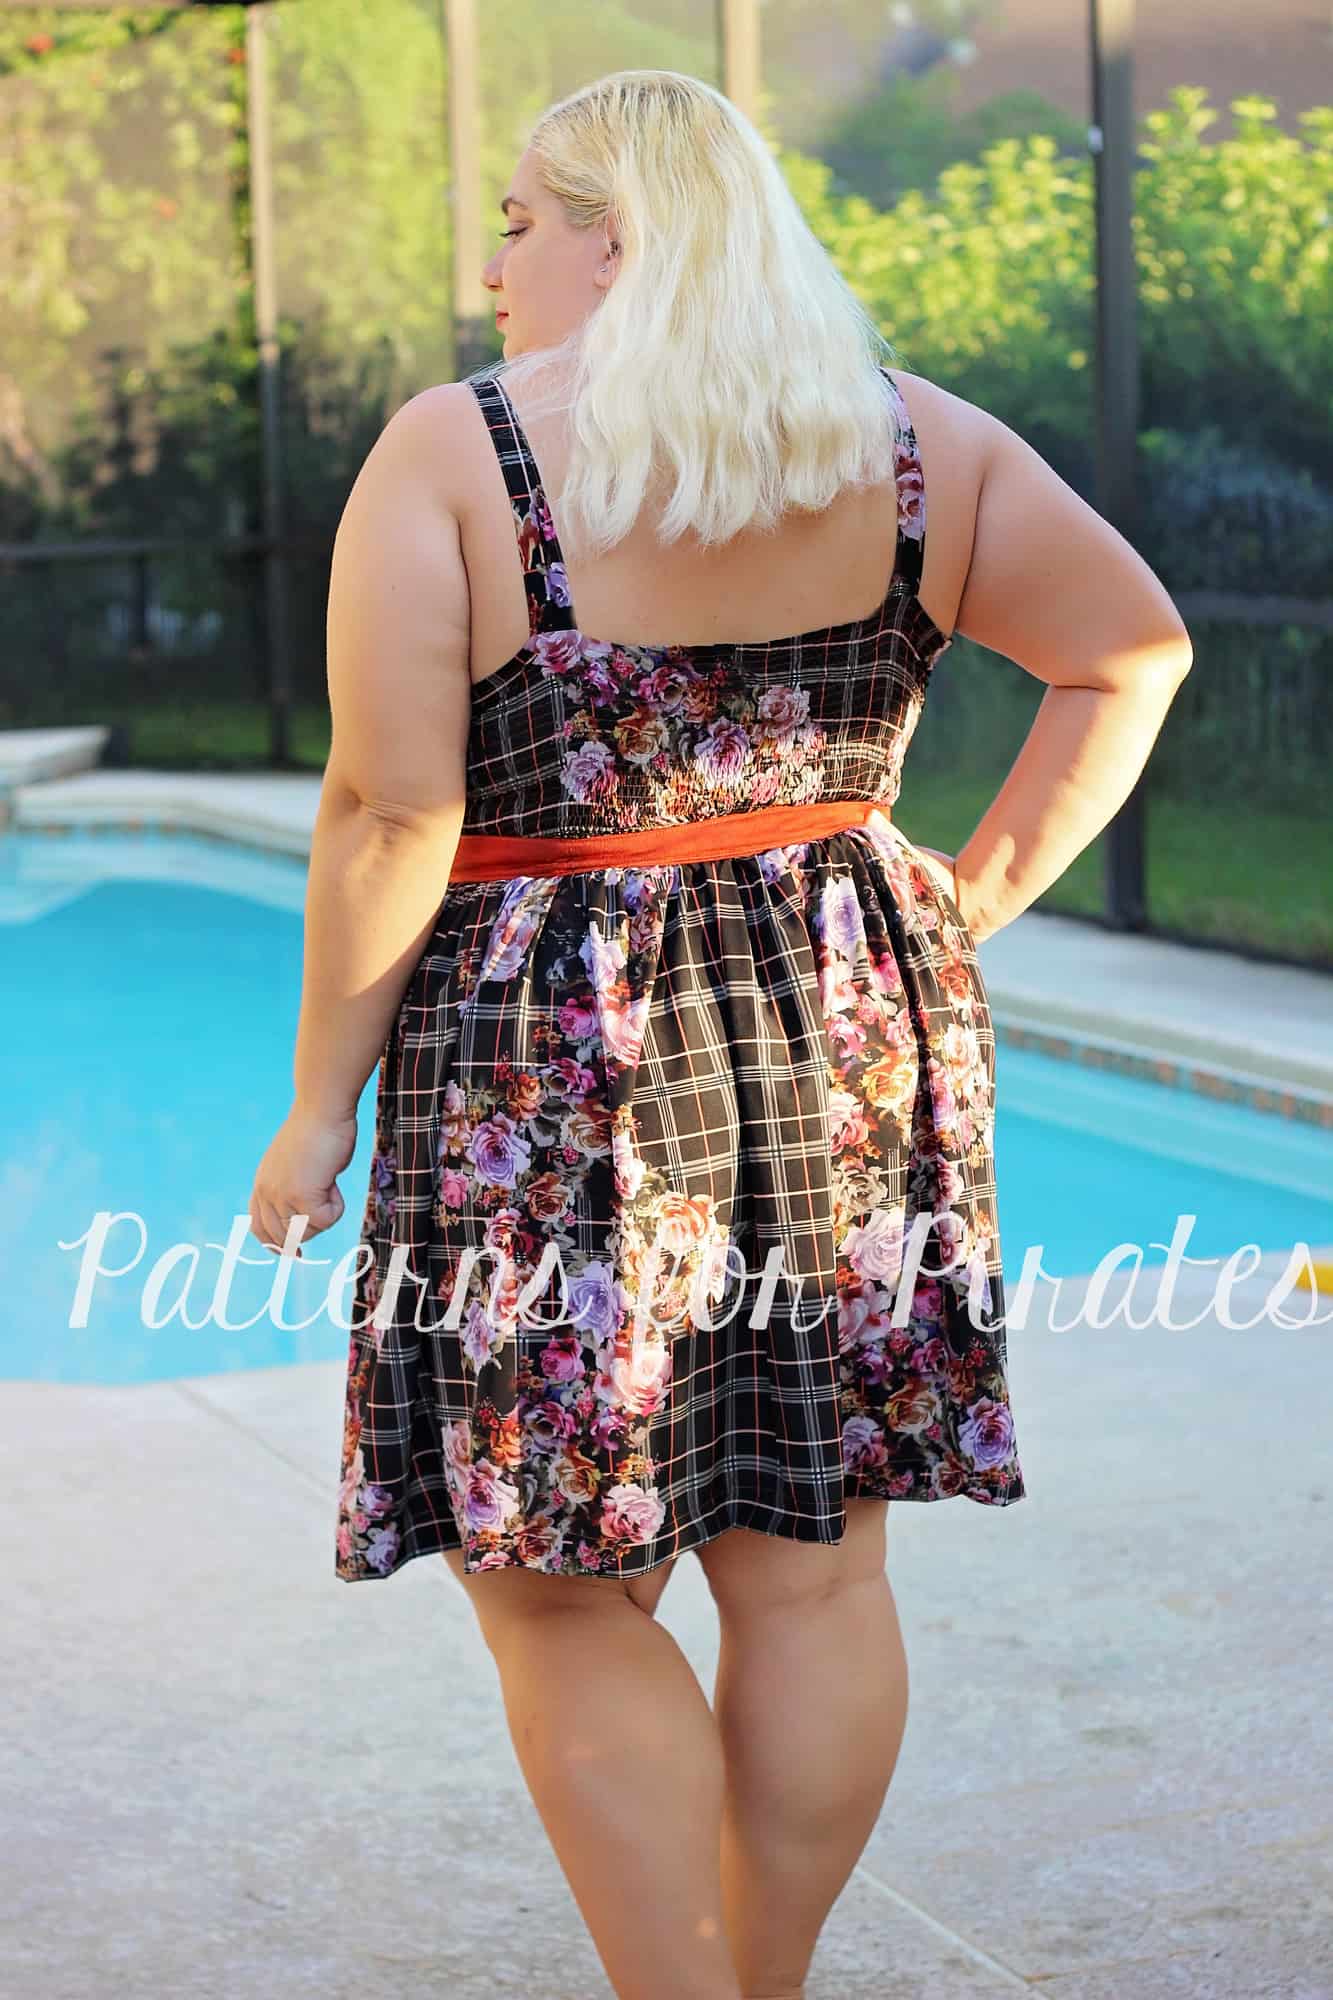
Simple Belt
While browsing Pinterest I saw a dress very similar to the So Classic Sundress that featured a real belt instead of a waistband so I knew I had to make a simple one and show you how to make your own belts.
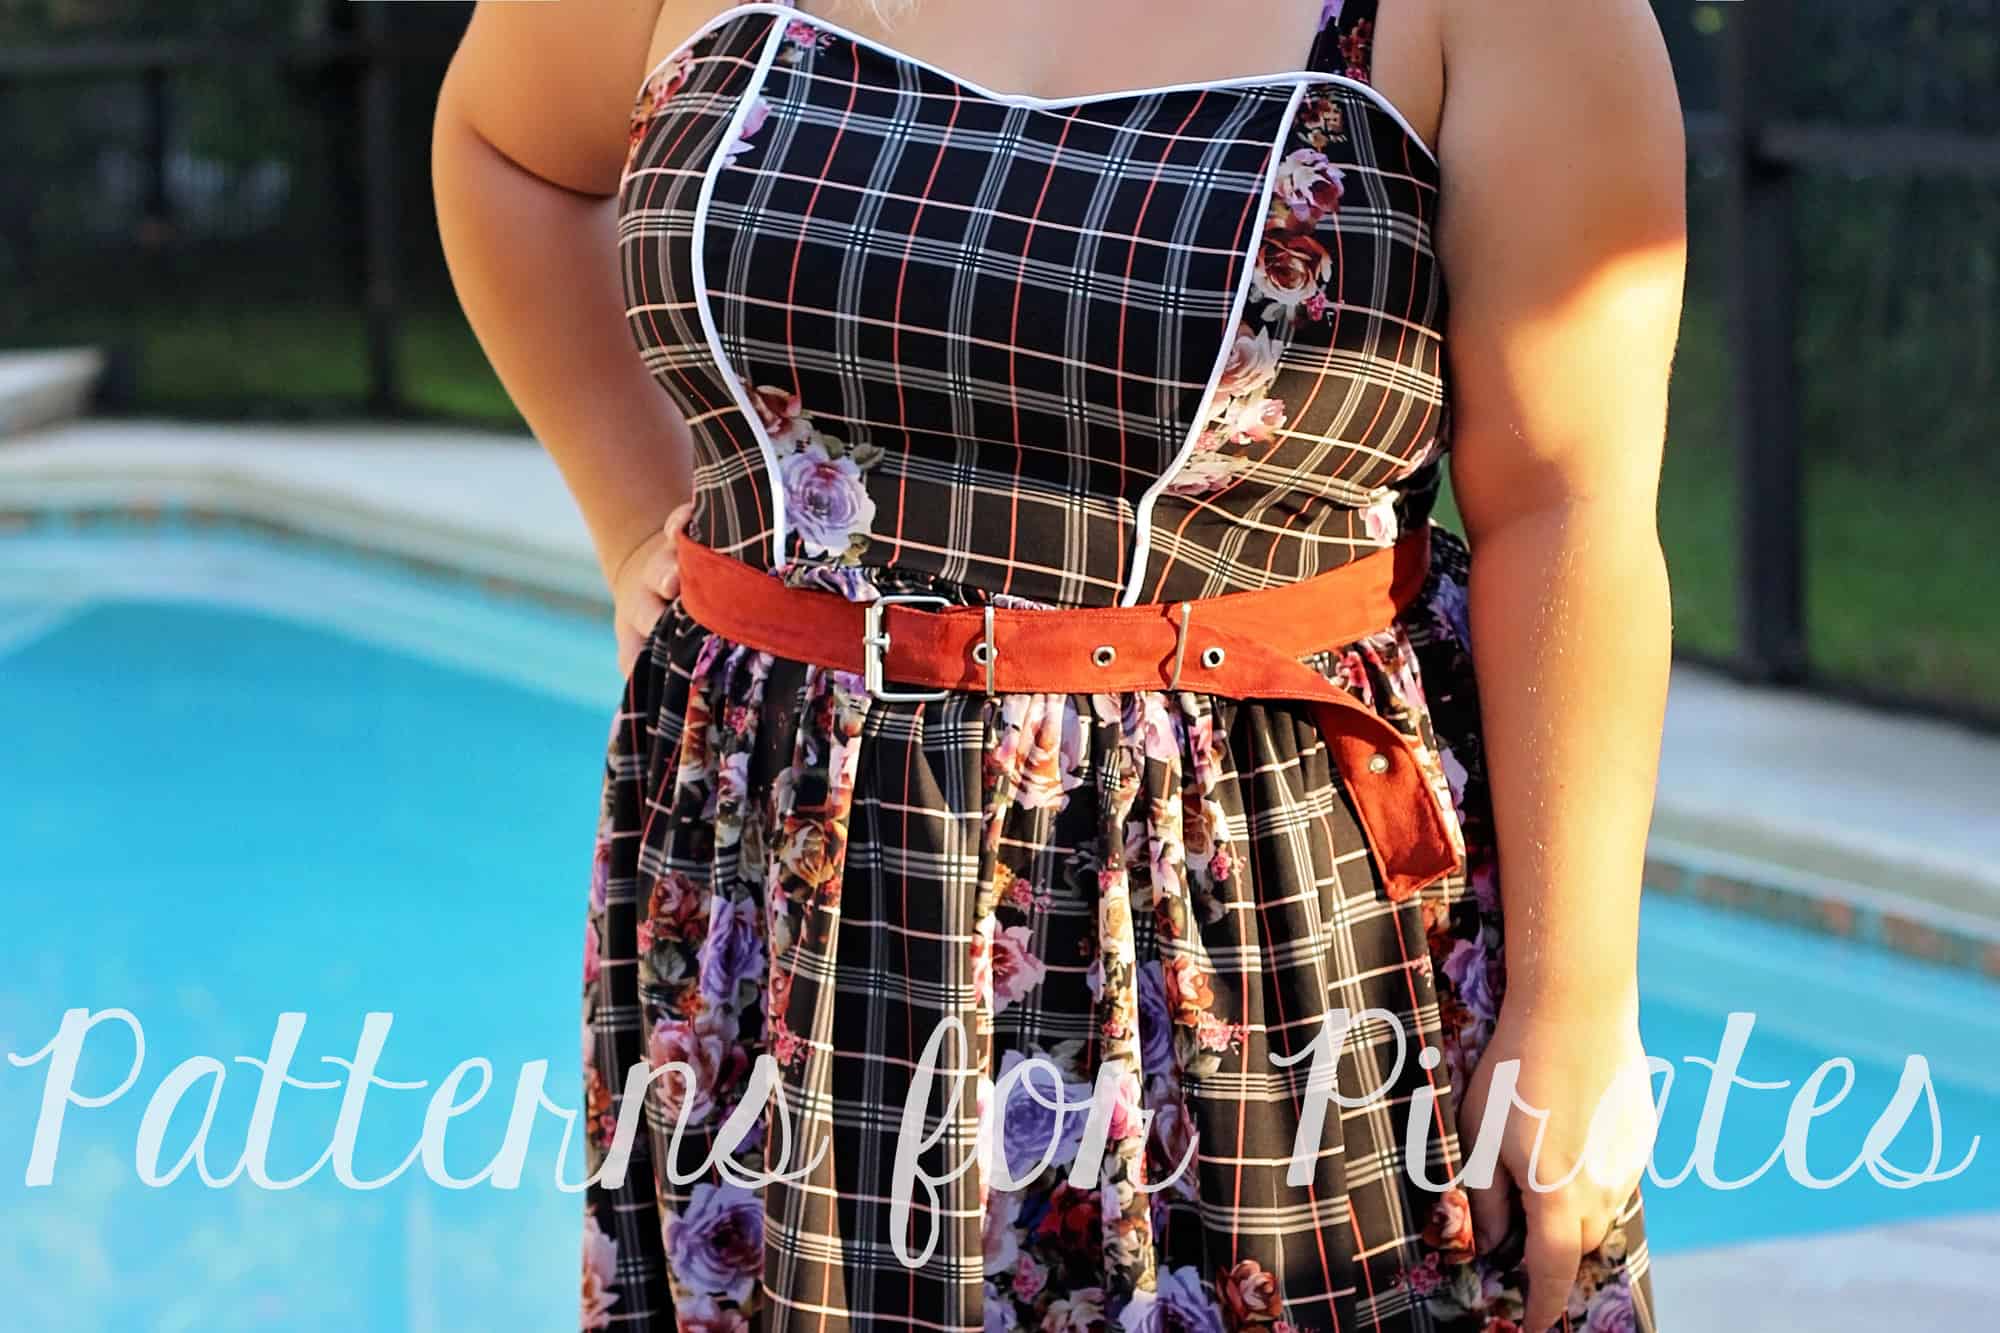
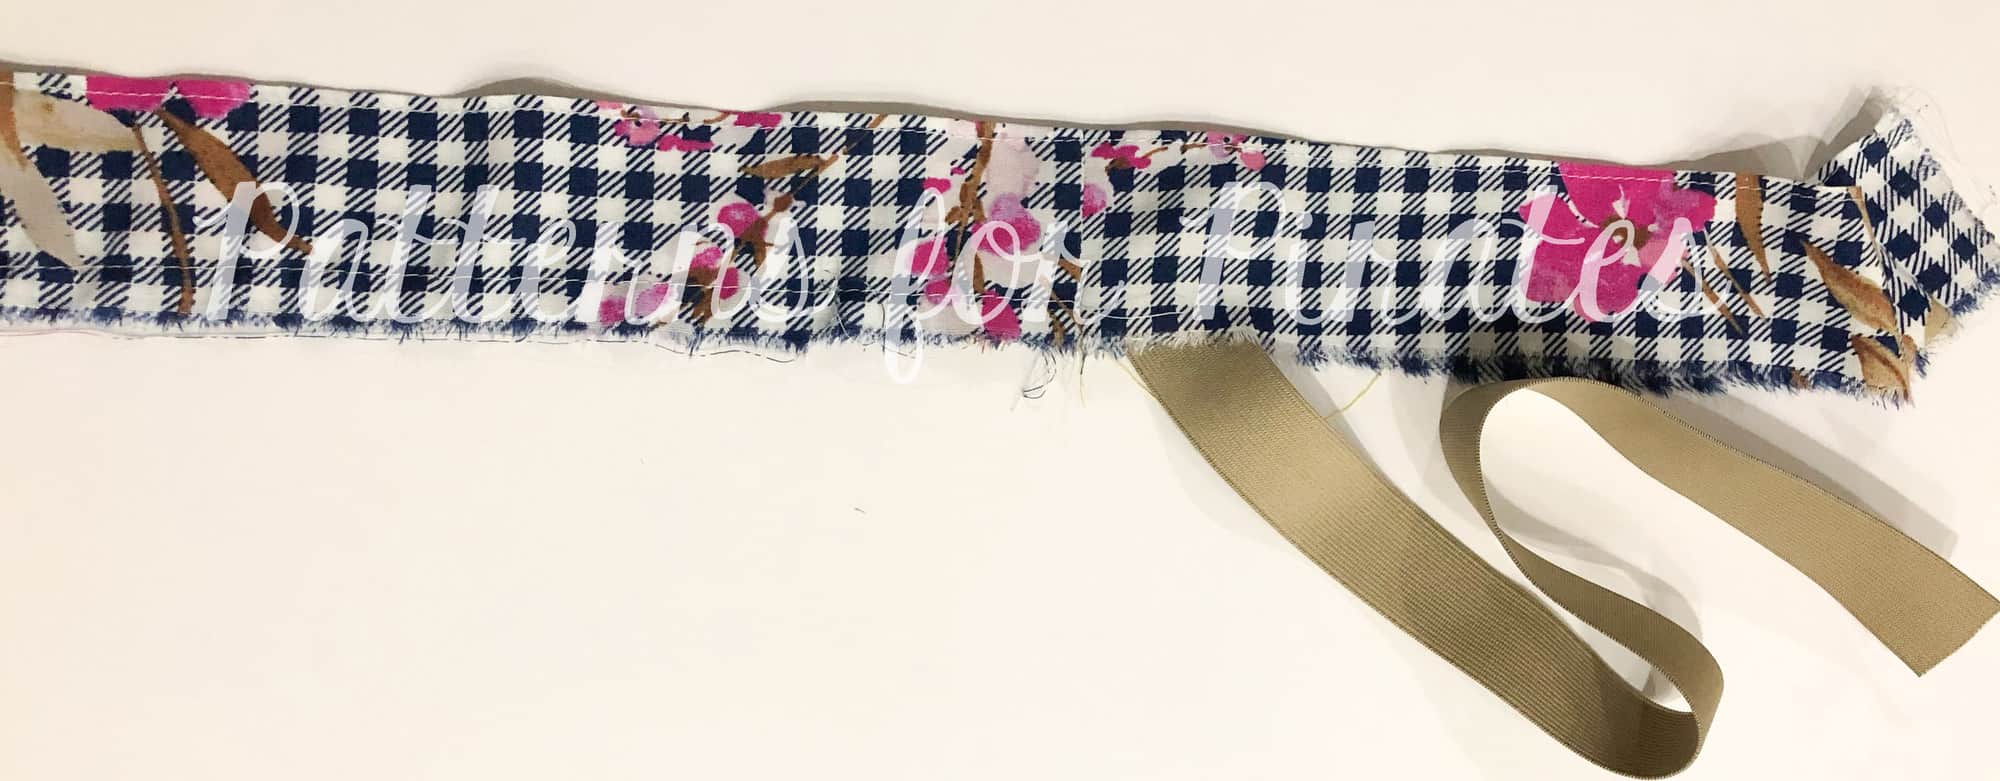
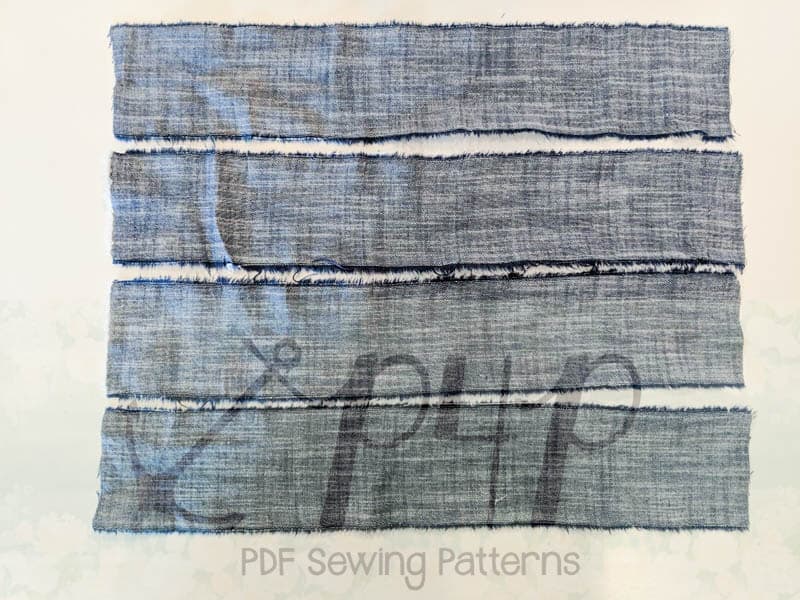
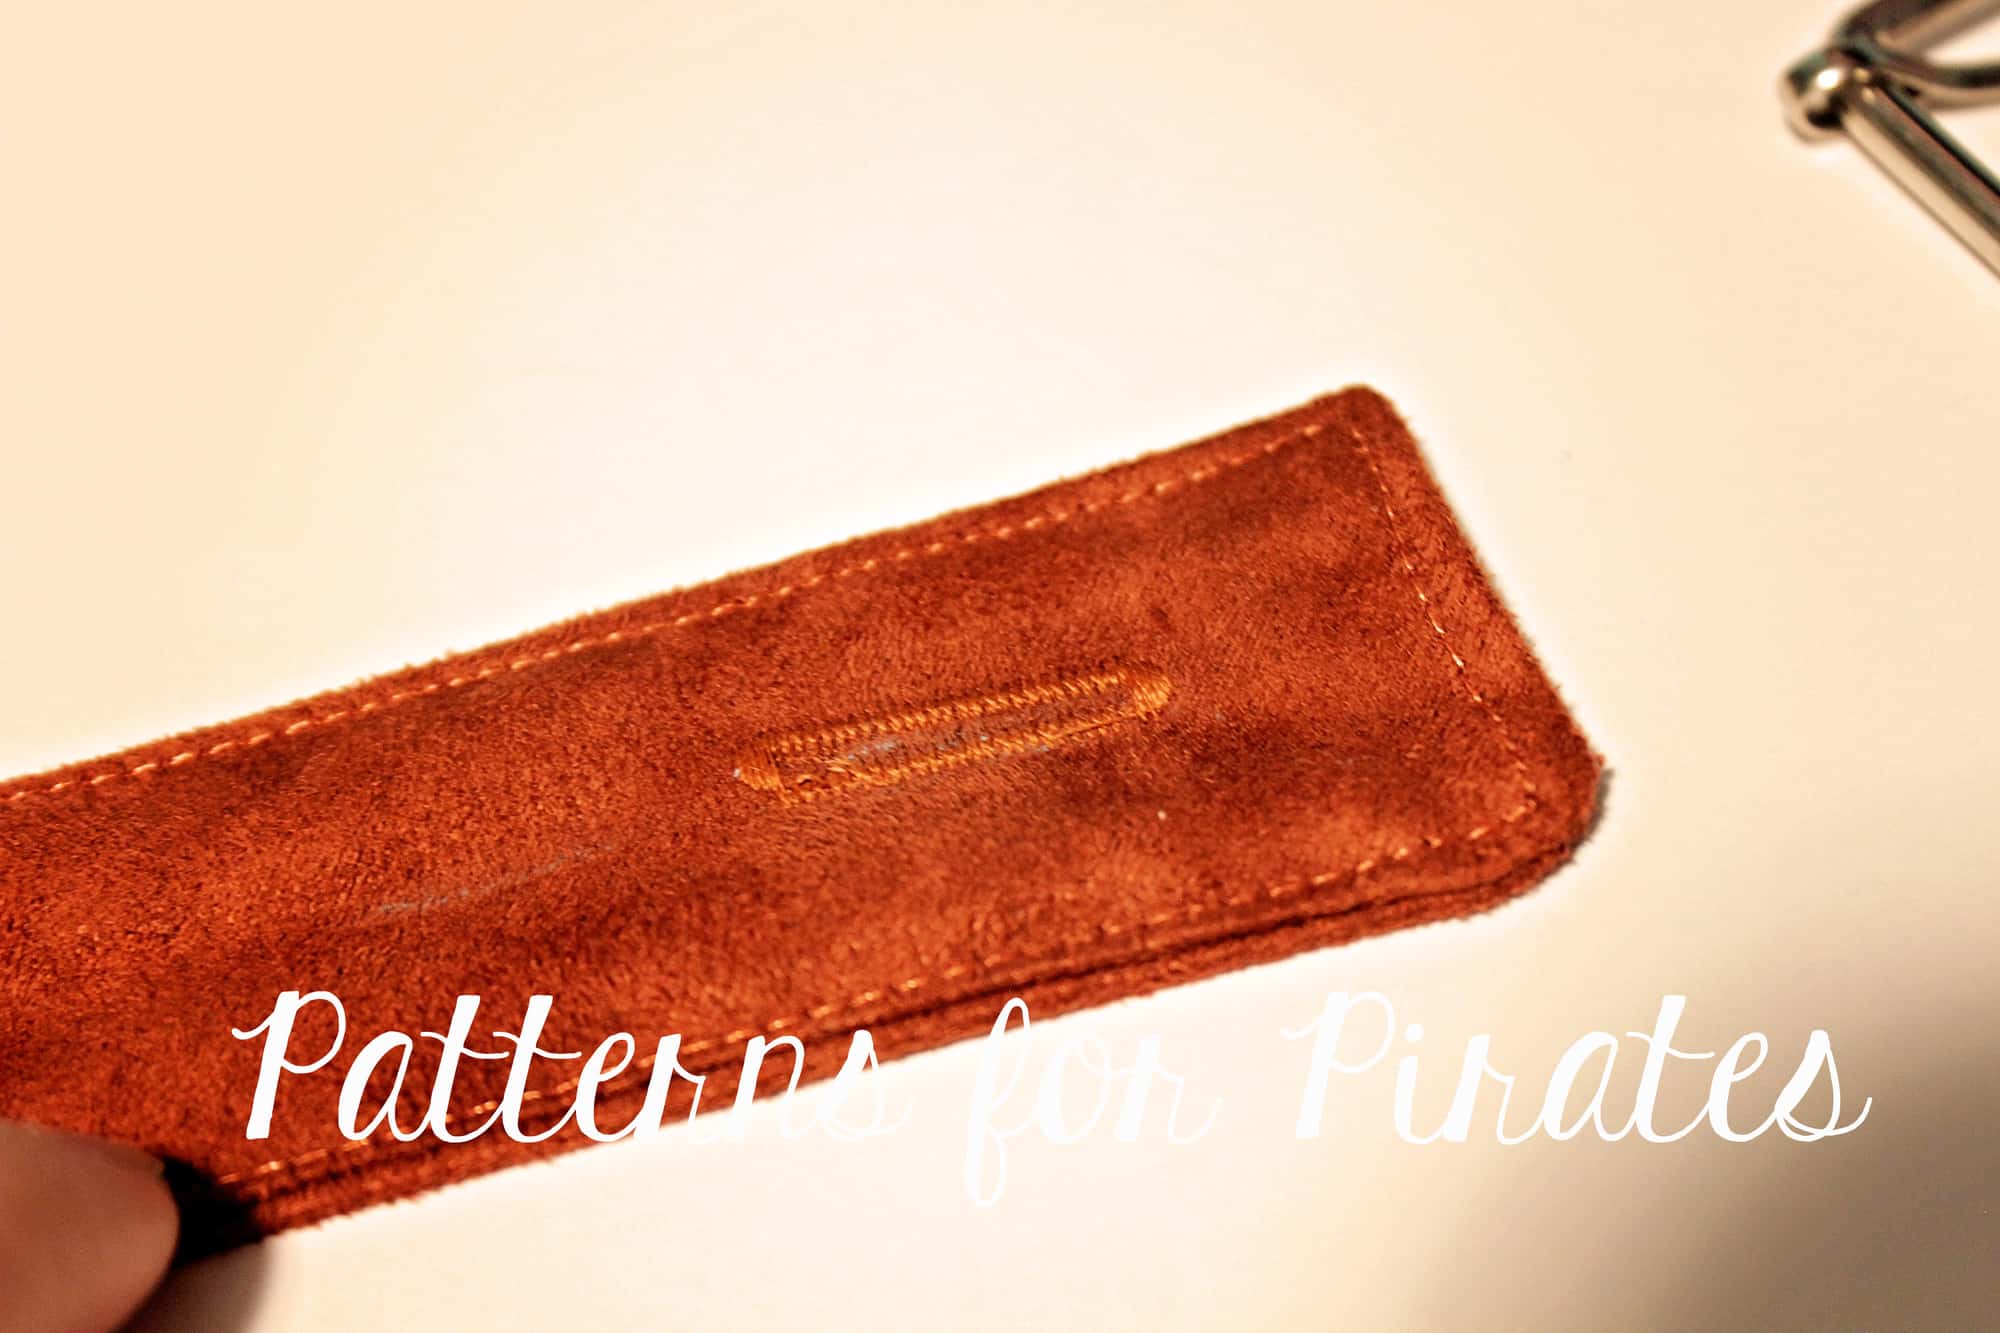
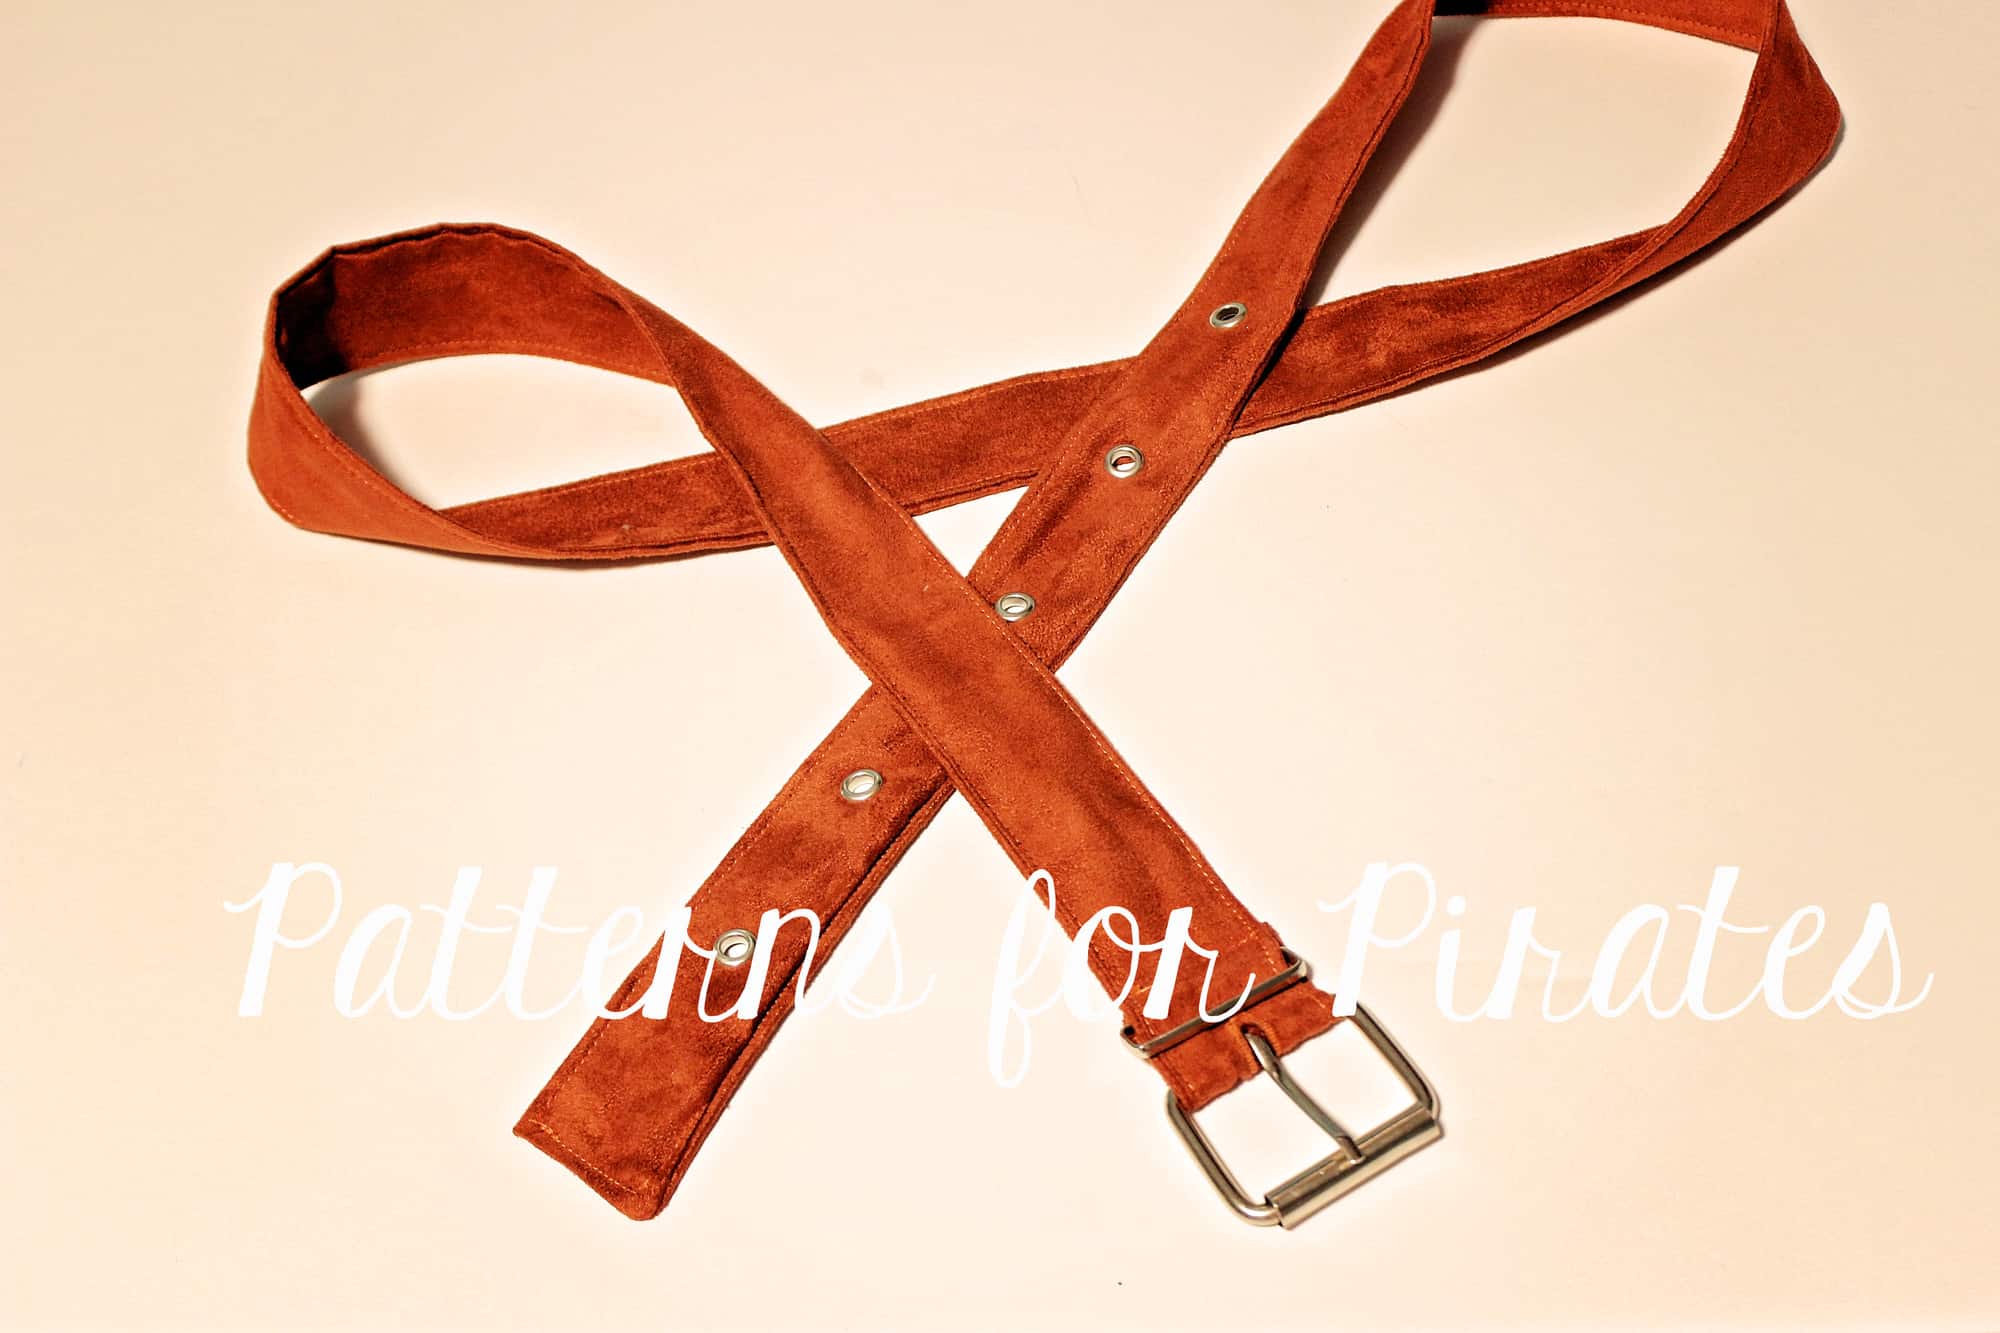
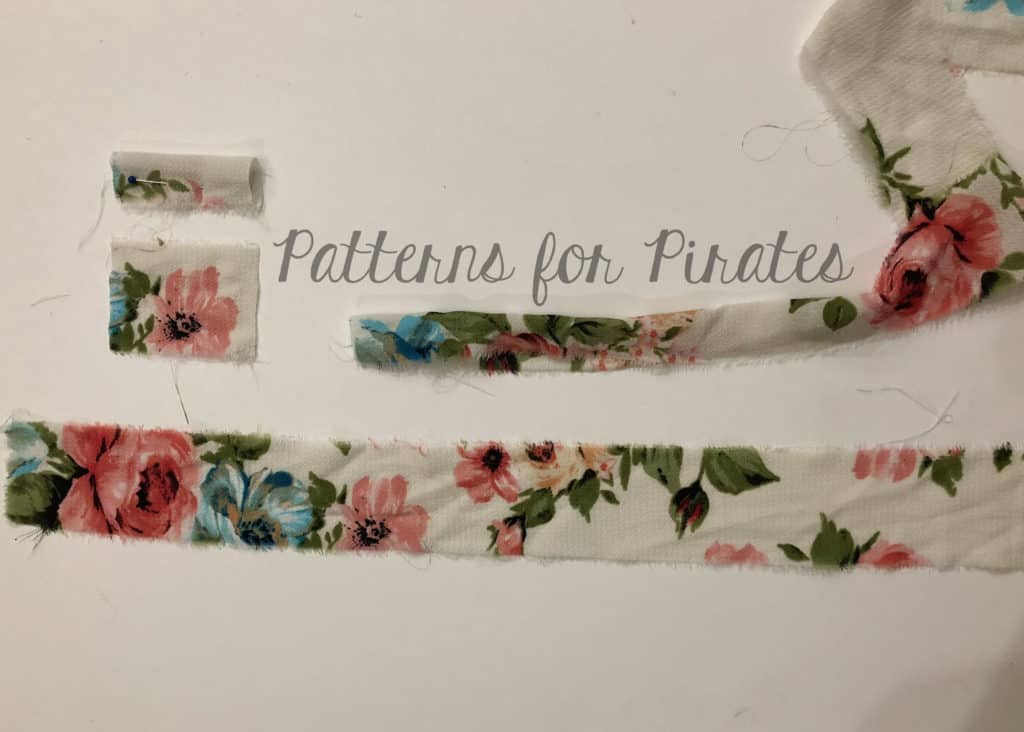
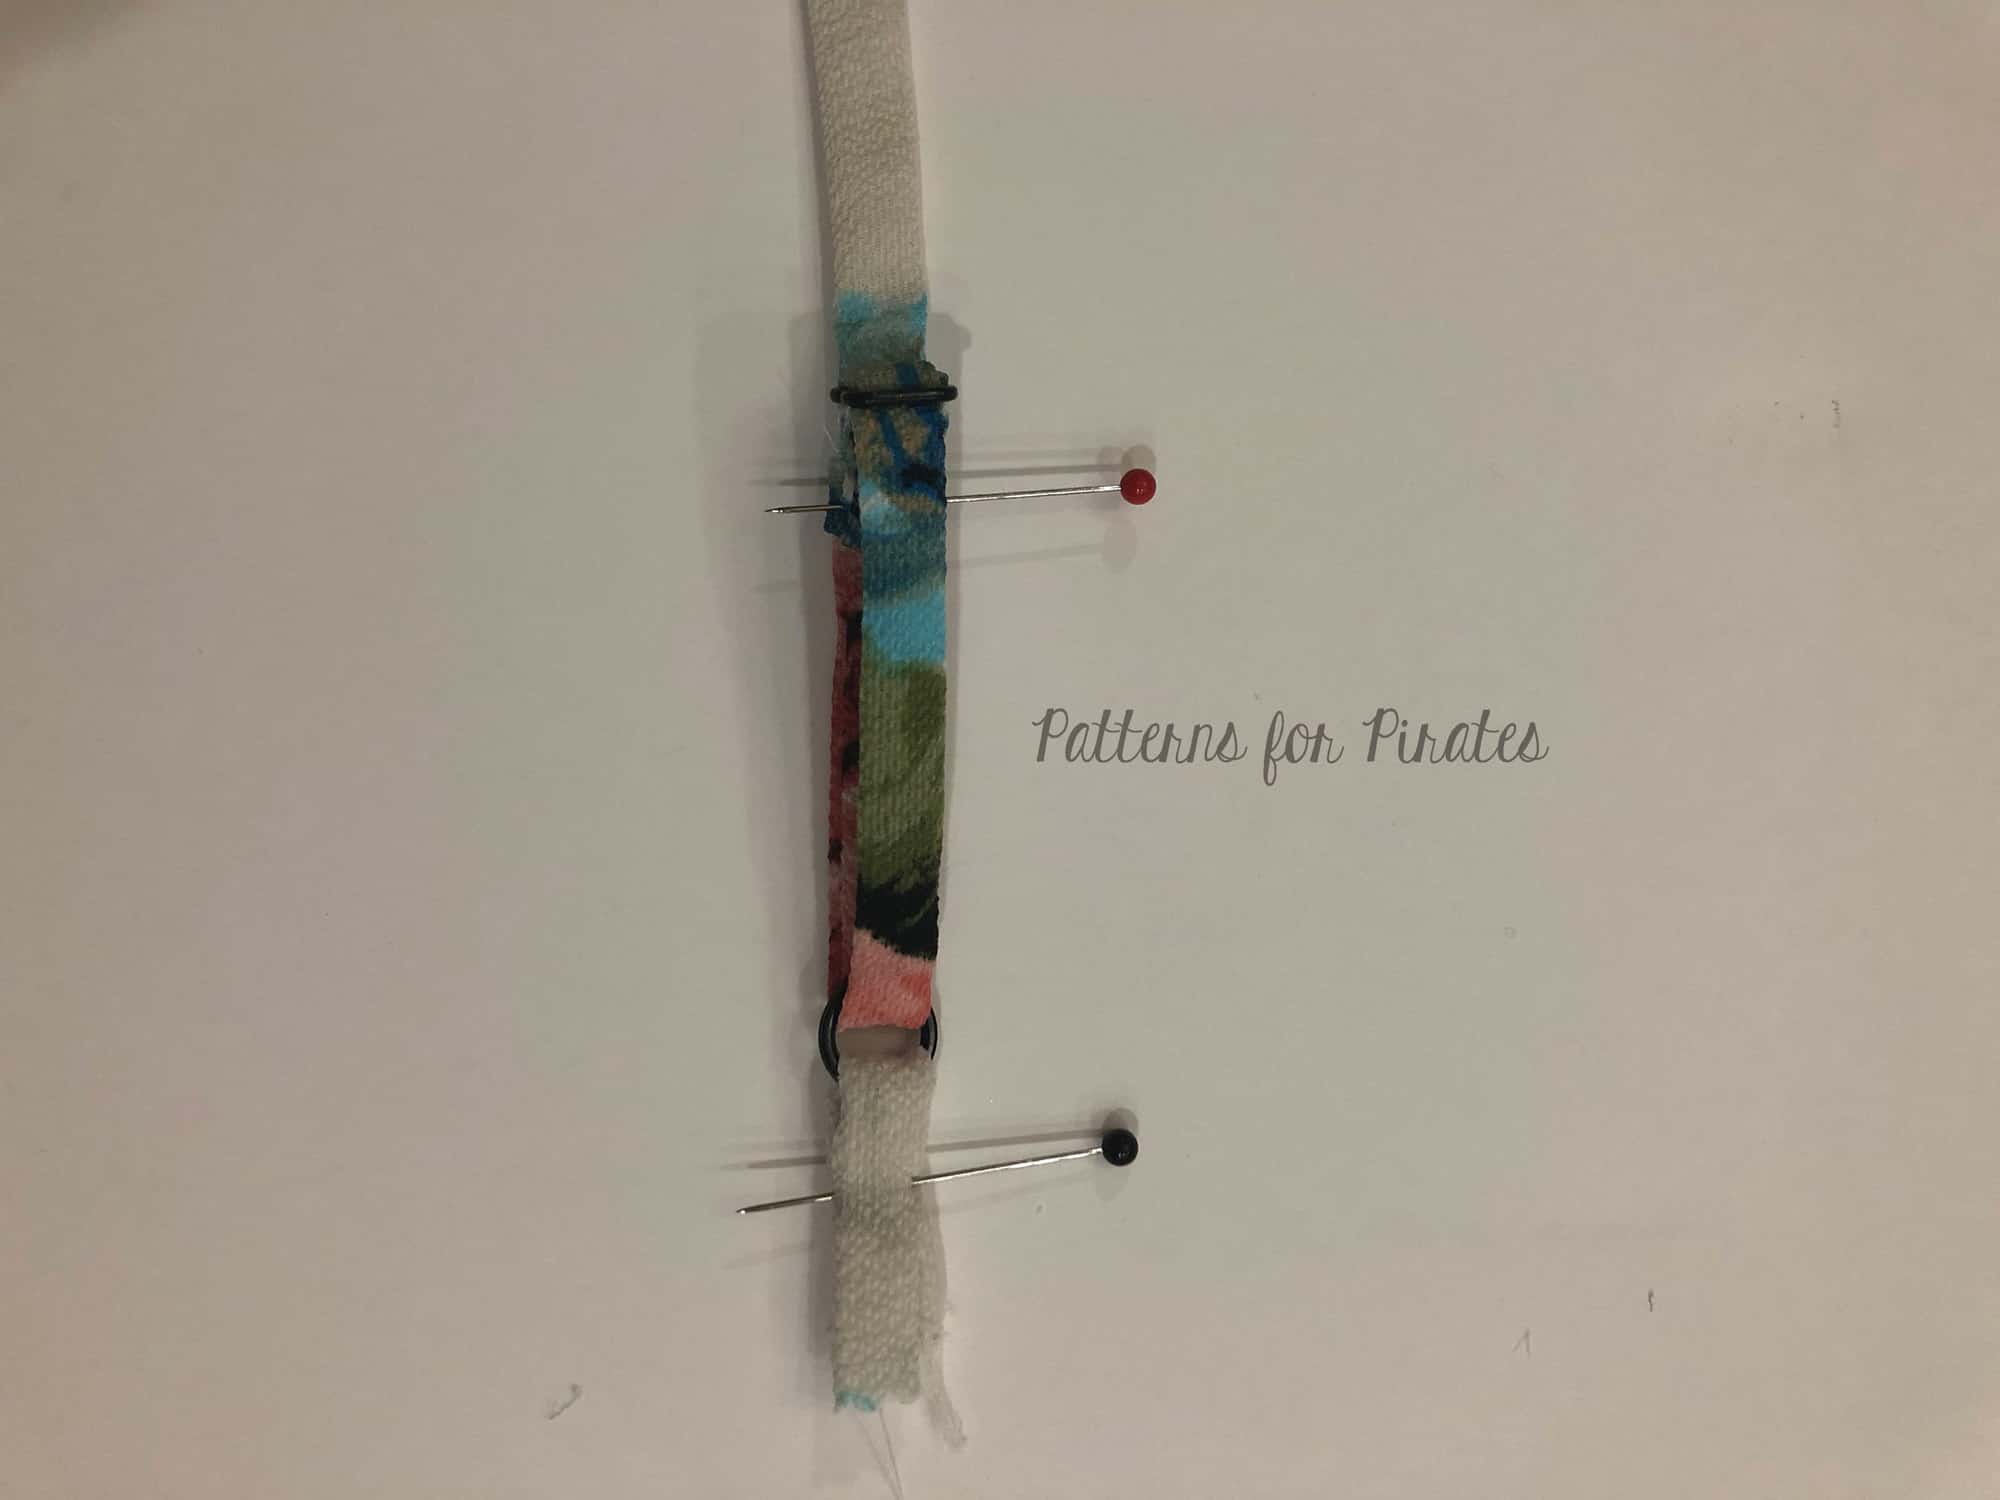
Start by gathering your supplies. You will need fabric, any woven fabric will work, belt hardware (that I actually upcycled from an old one) and grommets.

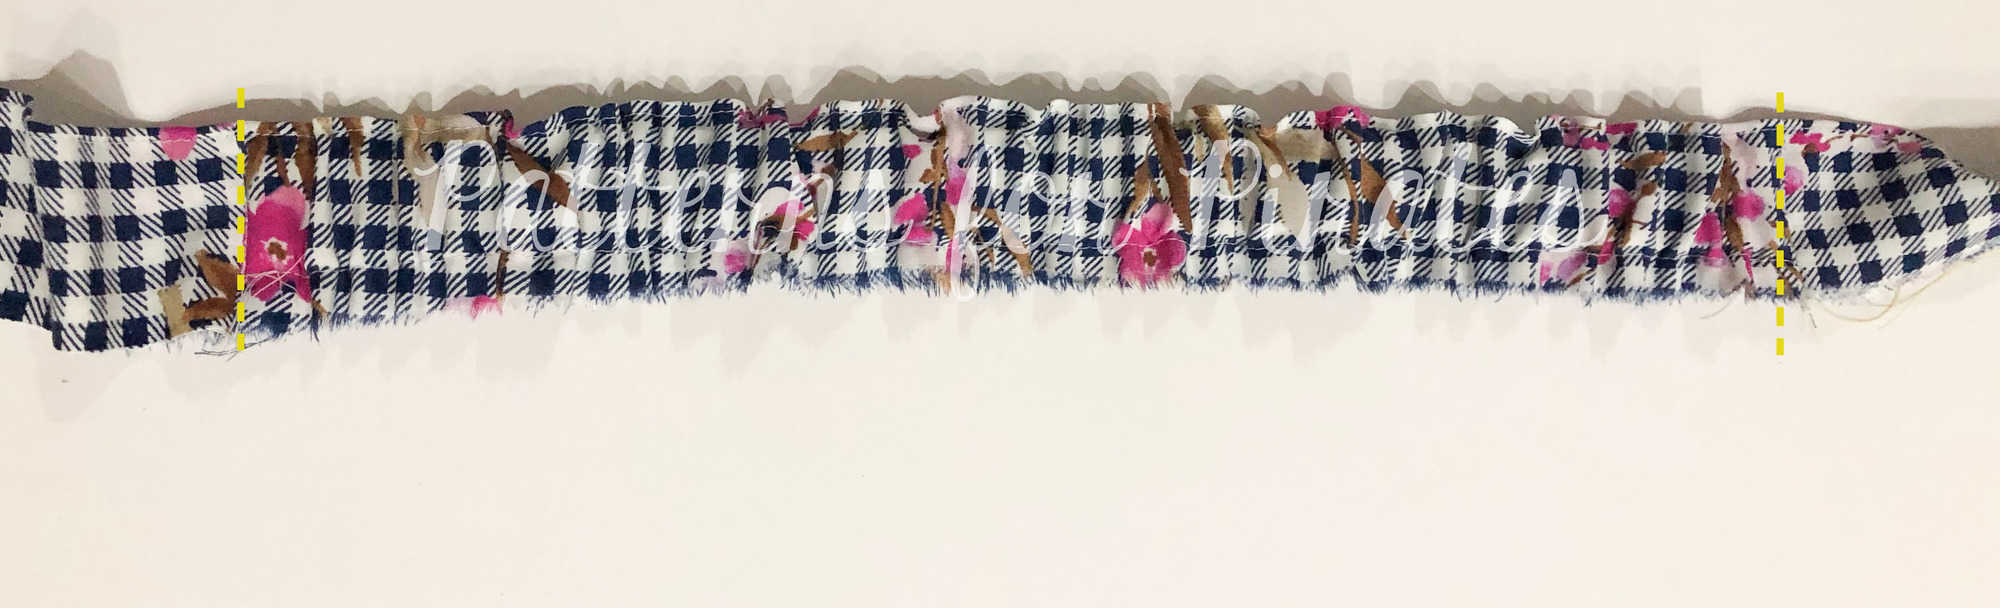
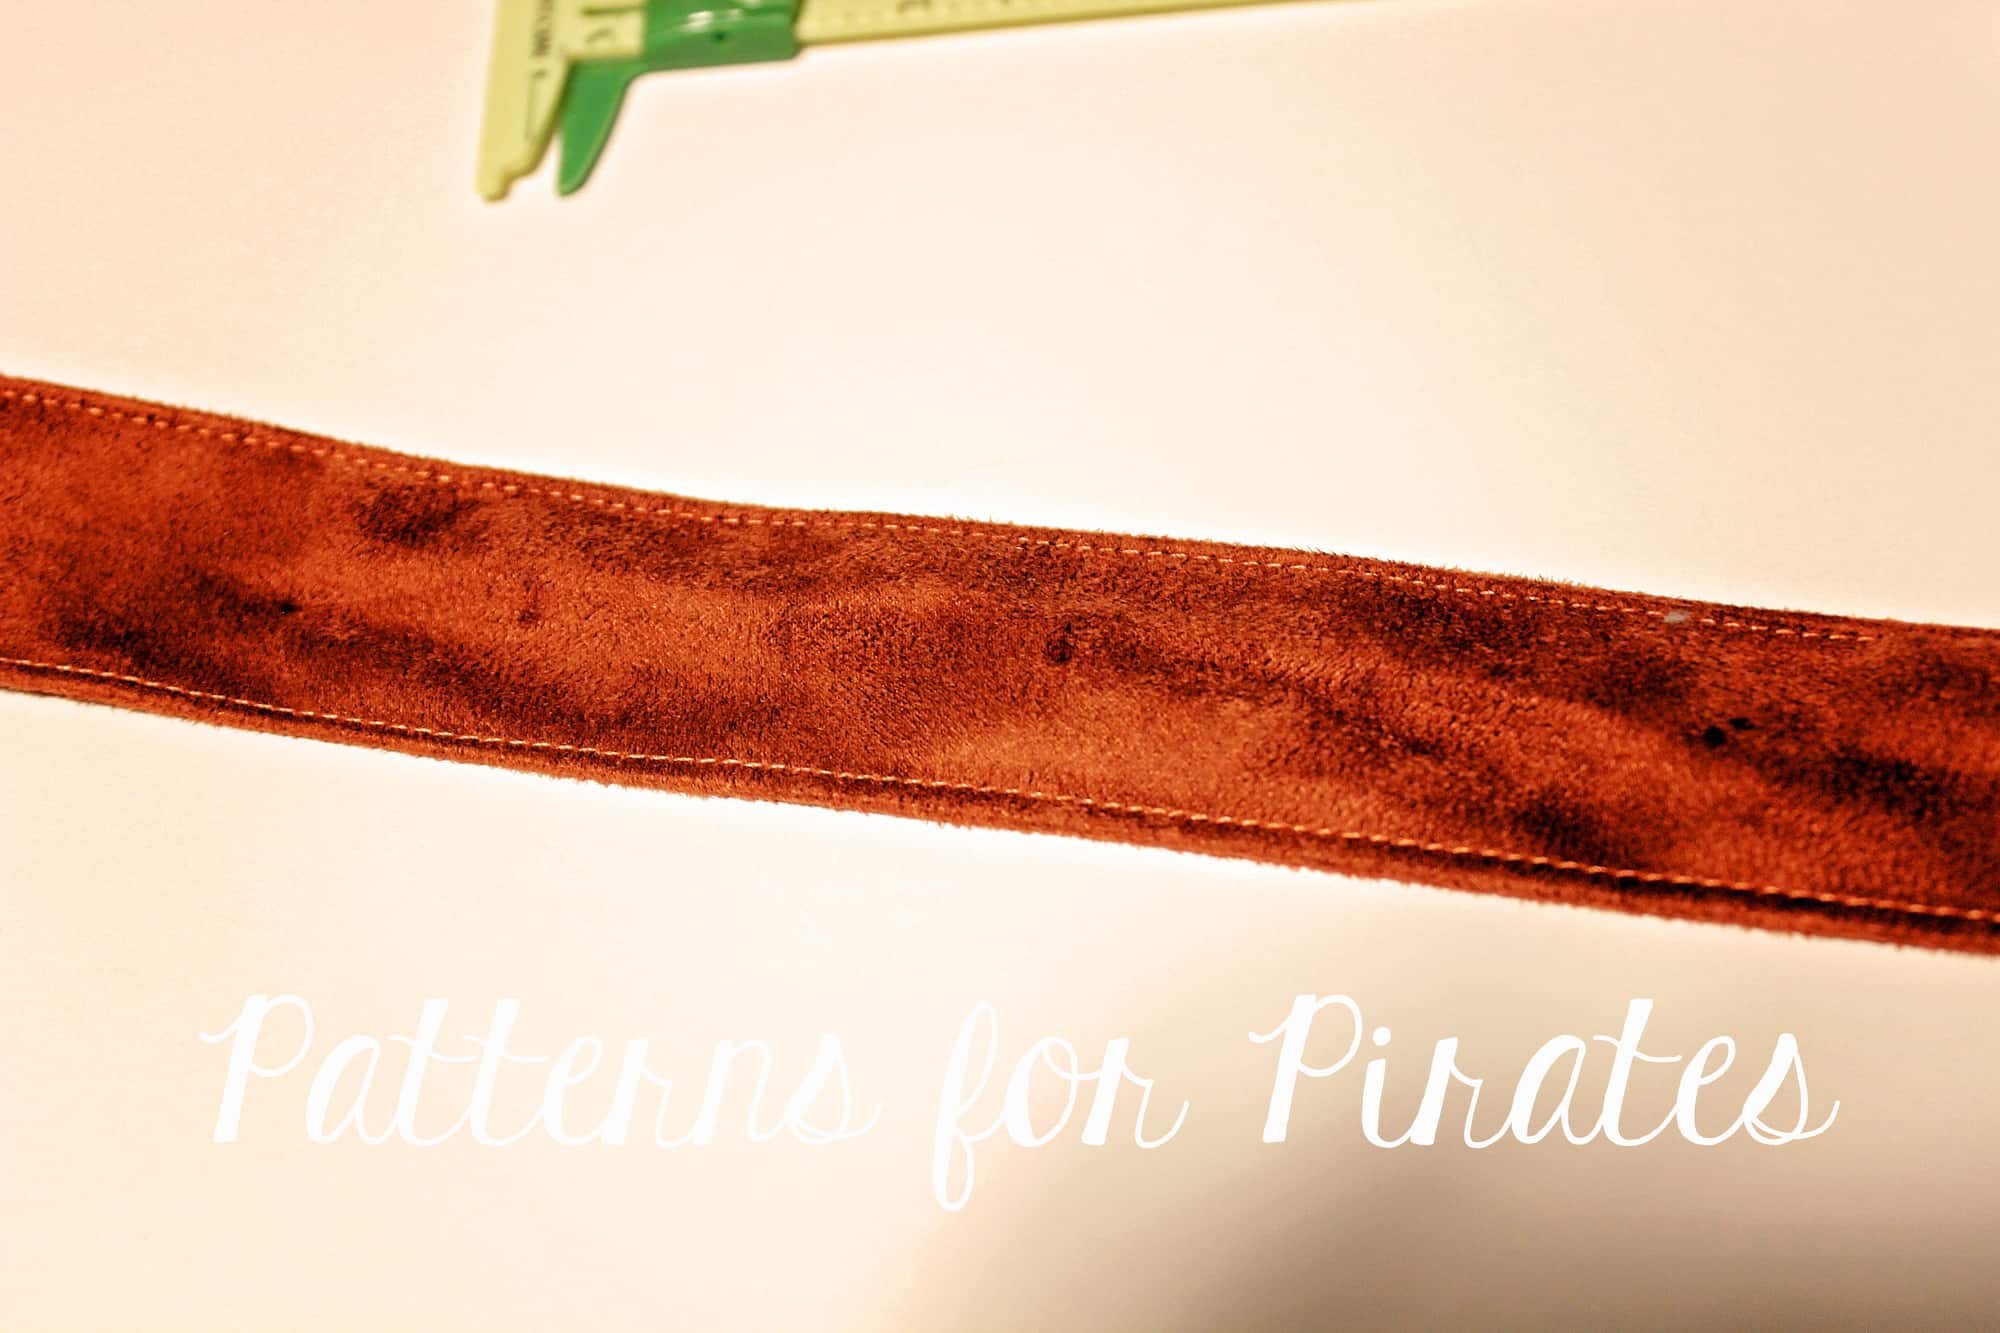
Cut a strip of fabric 4 inches wide by 50-60″ long depending on the size you’re making.

Fold the fabric lengthwise with the right sides together and sew around the raw edge leaving a 2-3″ opening. Turn the belt with the right side out, topstitch around the edges so you close the opening and give it sturdiness.
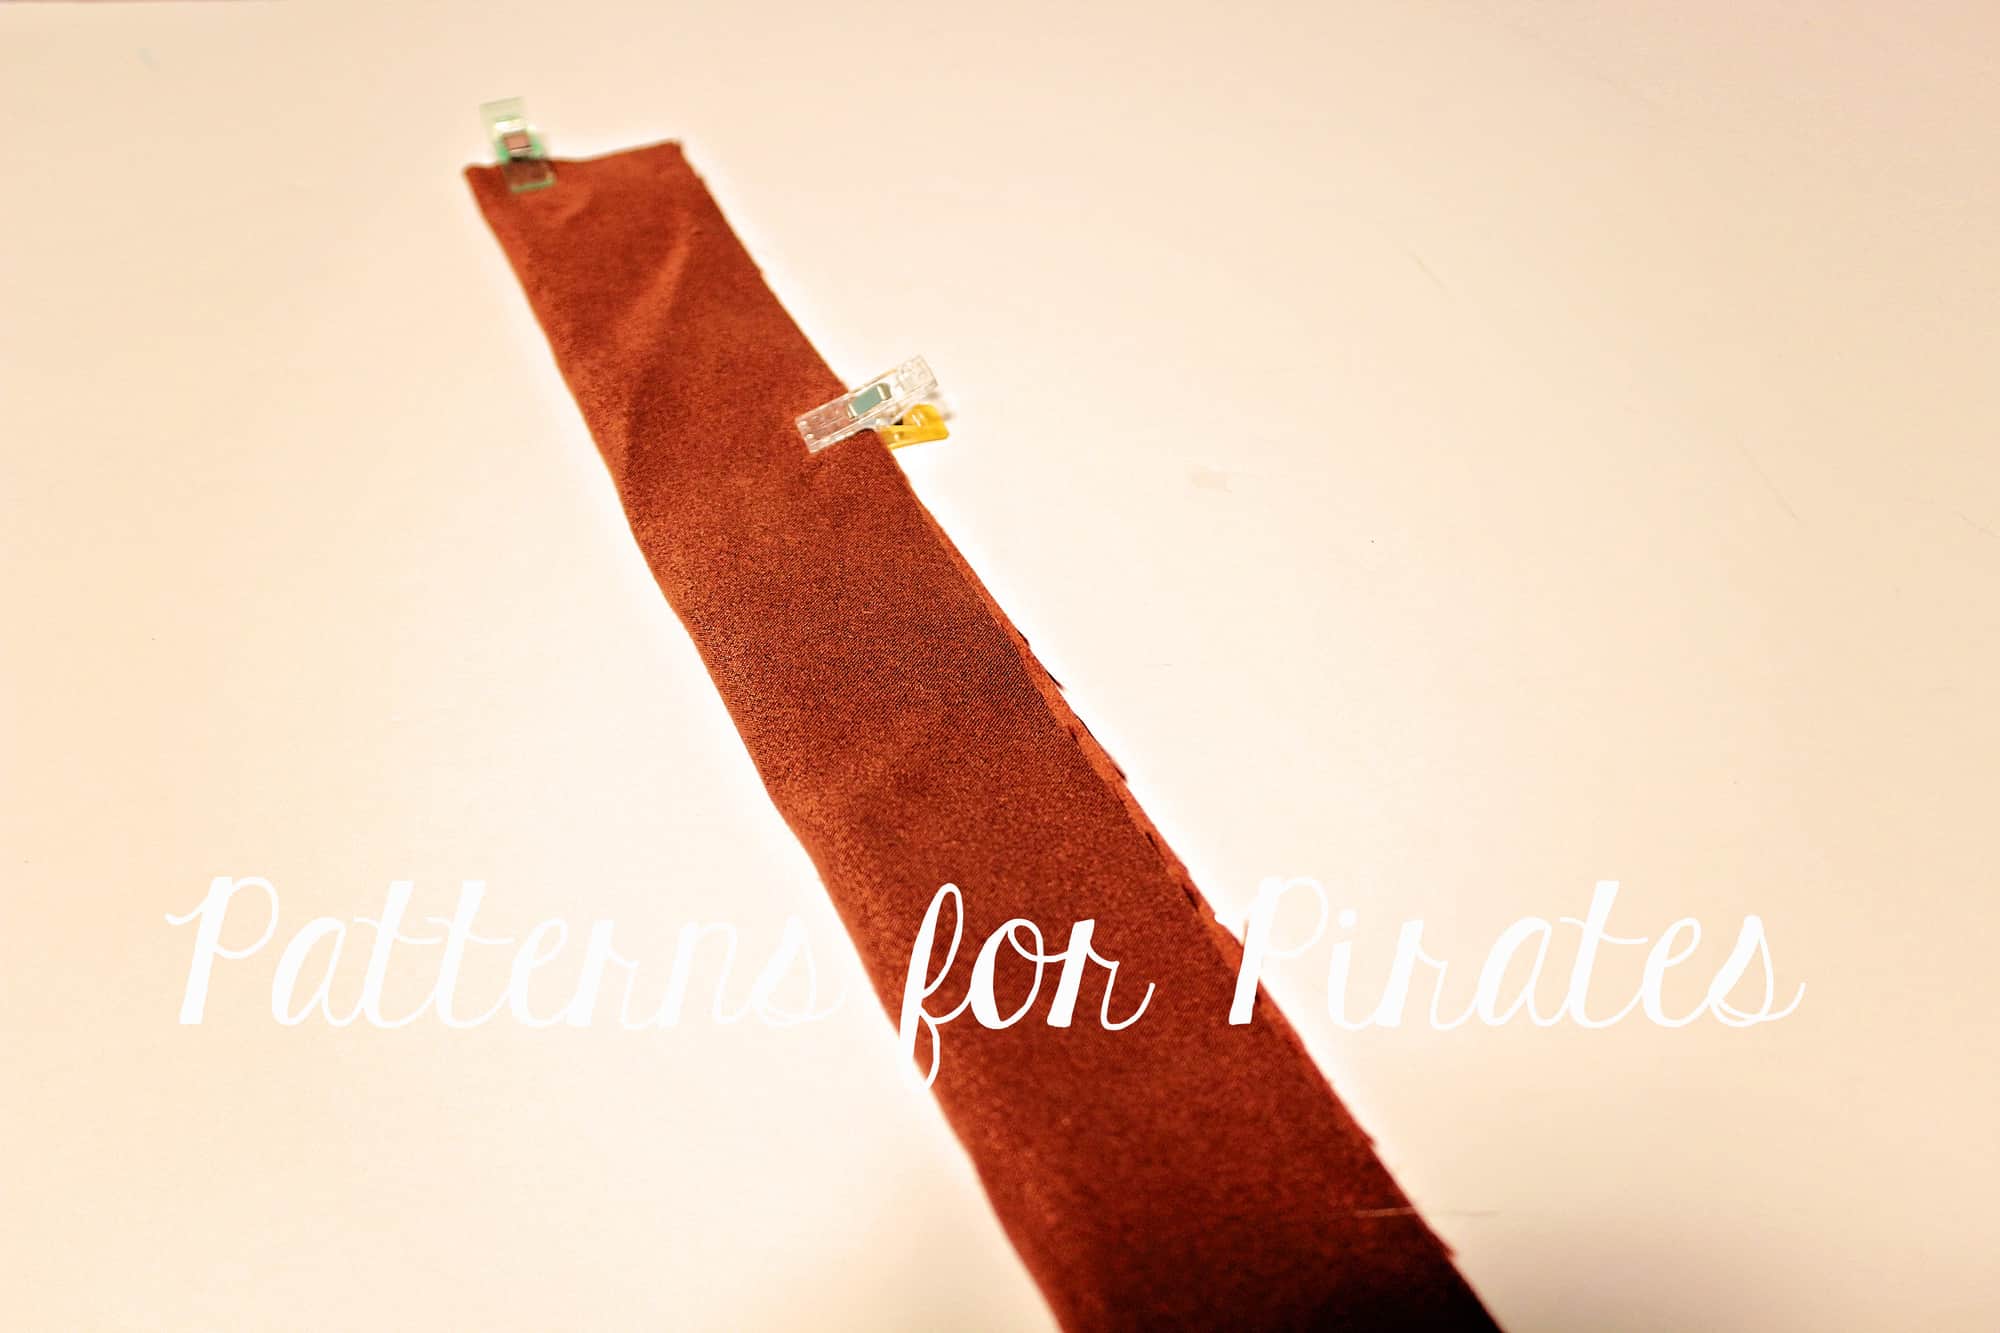
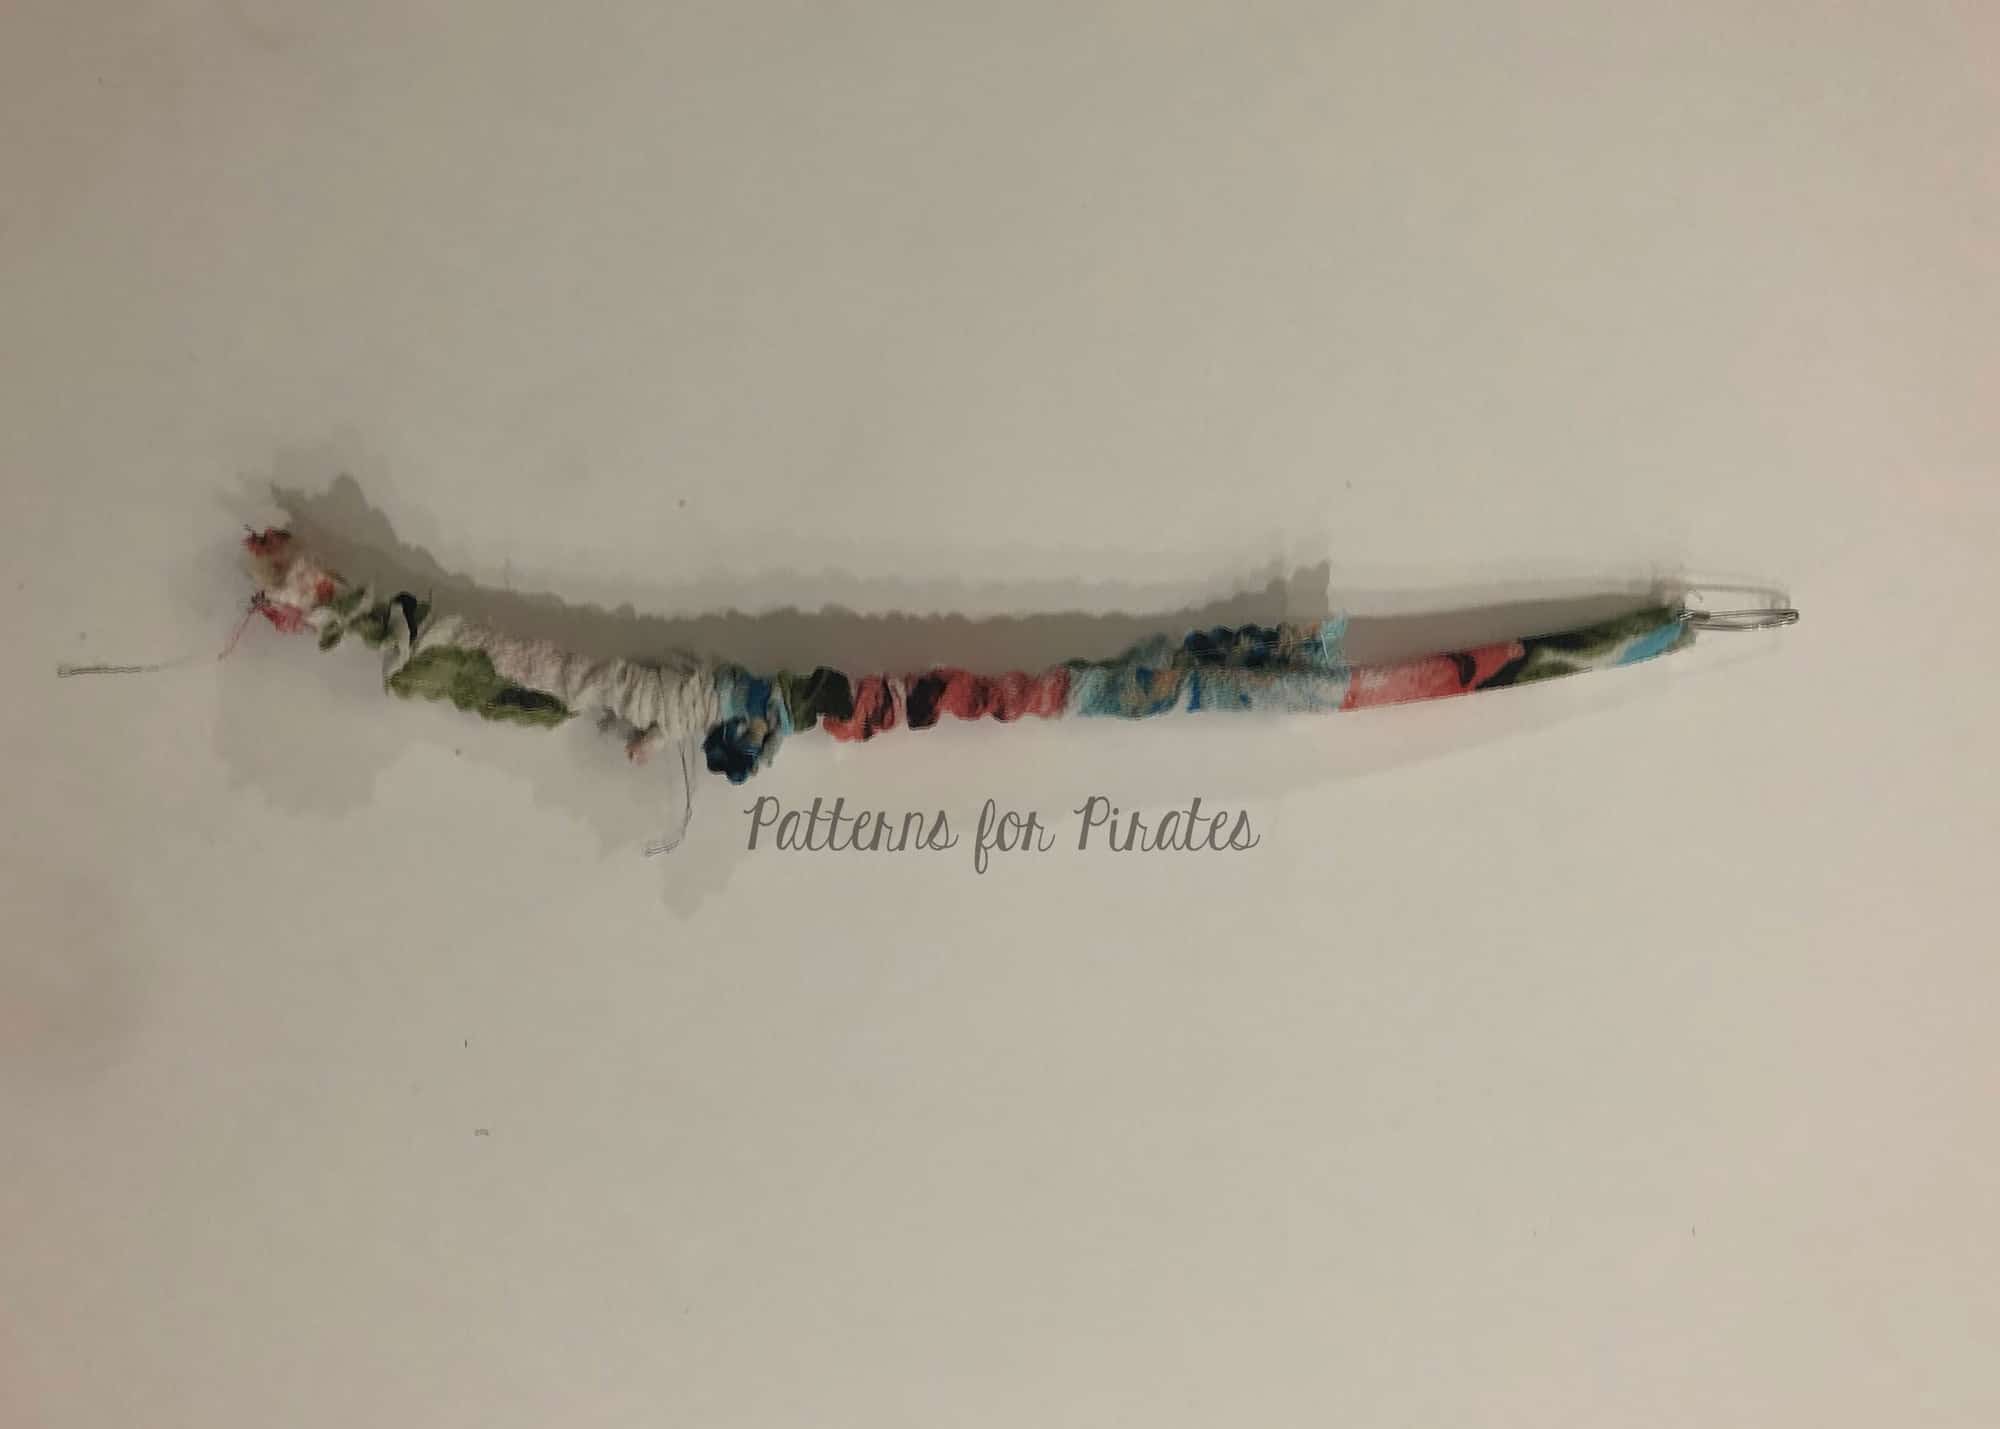
Using a fabric marker or chalk, draw a 3/4″ line about 1.5″ away from the edge. This will be your buttonhole marking.

Sew a buttonhole using your buttonhole attachment. If you need a refresher on buttons and button holes check out the P4P University blog here.
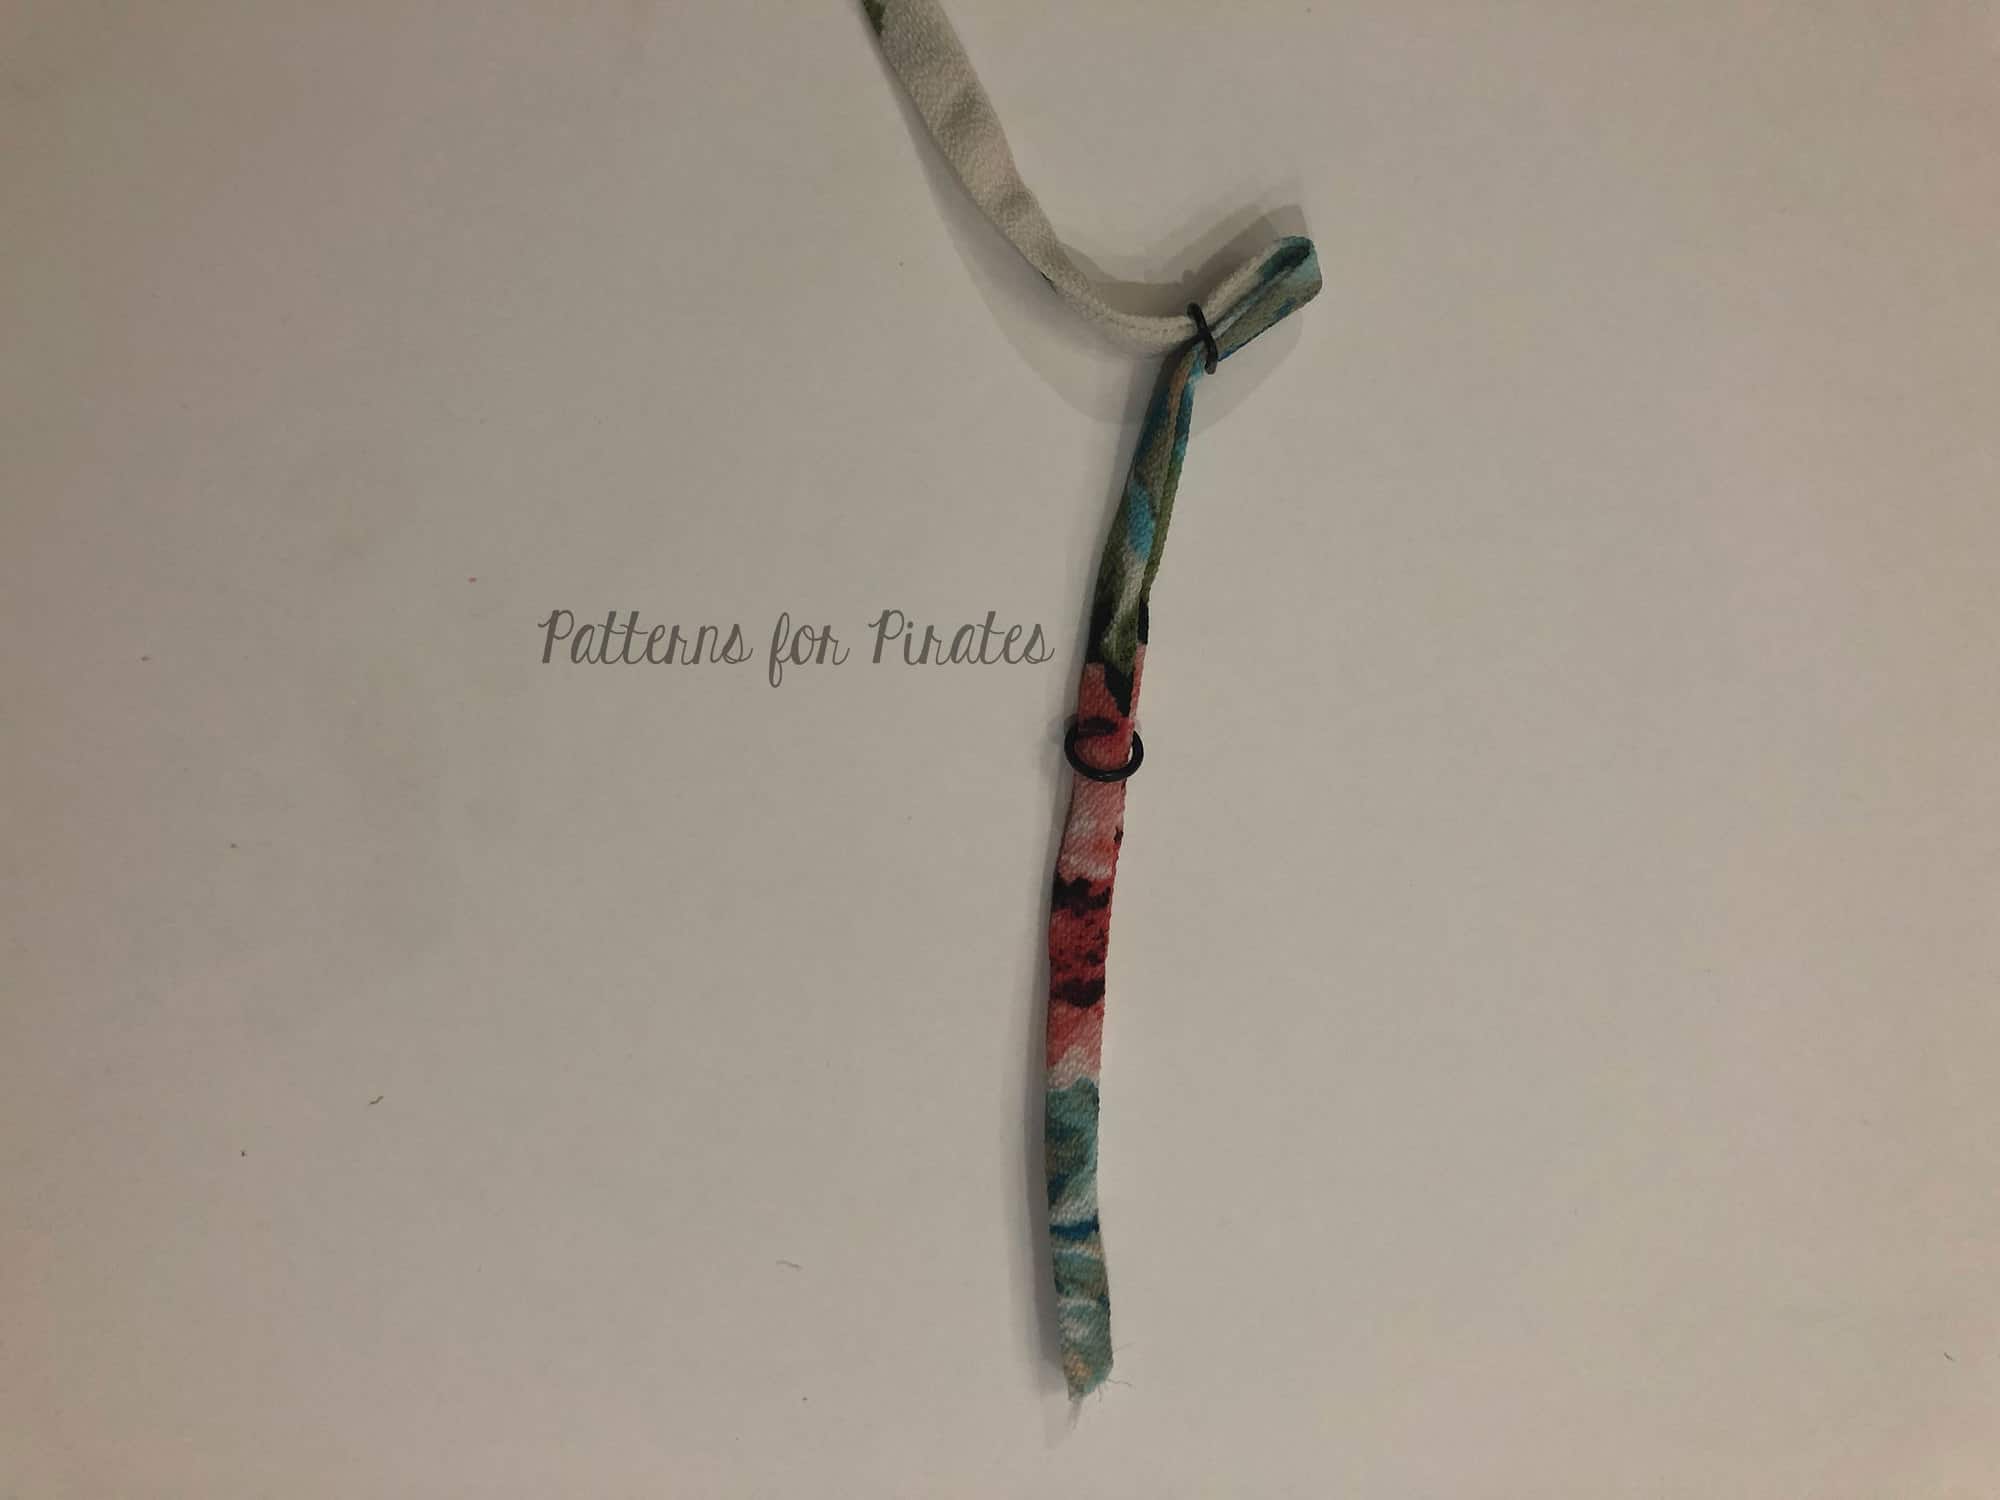
Add the belt hardware as shown in the pictures below and sew in place. Optionally you can slide one additional metal belt loop on the belt.


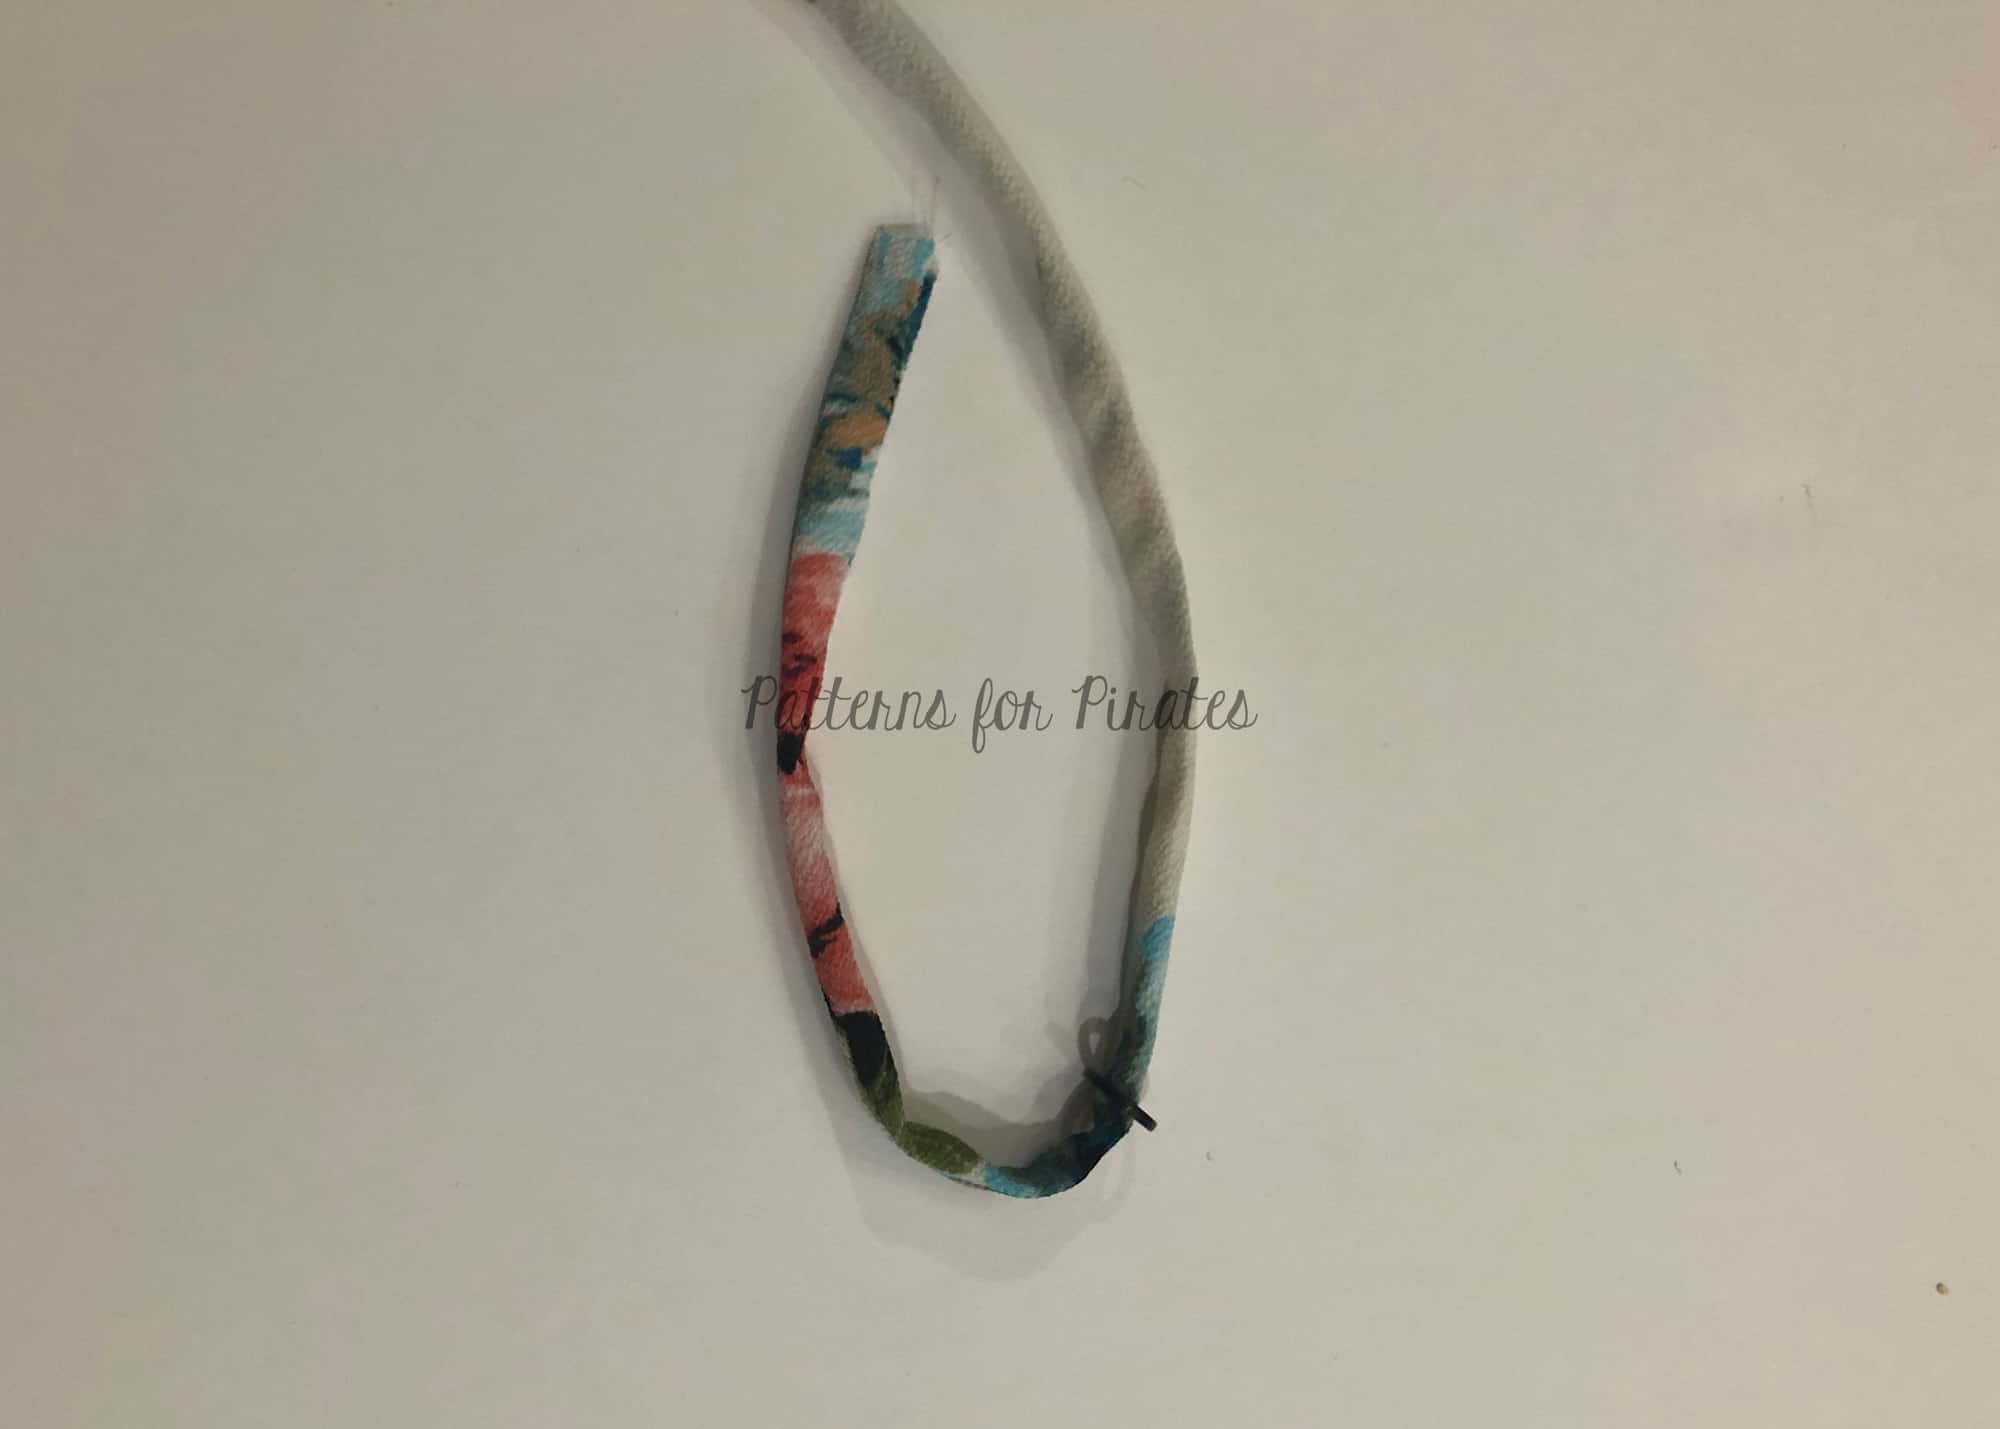
Take the other side of the belt and mark your grommets positions. Make sure that you add your grommets to the right side of the belt so it matches the other end. I like mine spaced 2″ apart. Try the belt on to see if you need to add any additional grommets.
There you have it! You made your very own belt. Now think about all the fabric possibilities! 🙂

…..
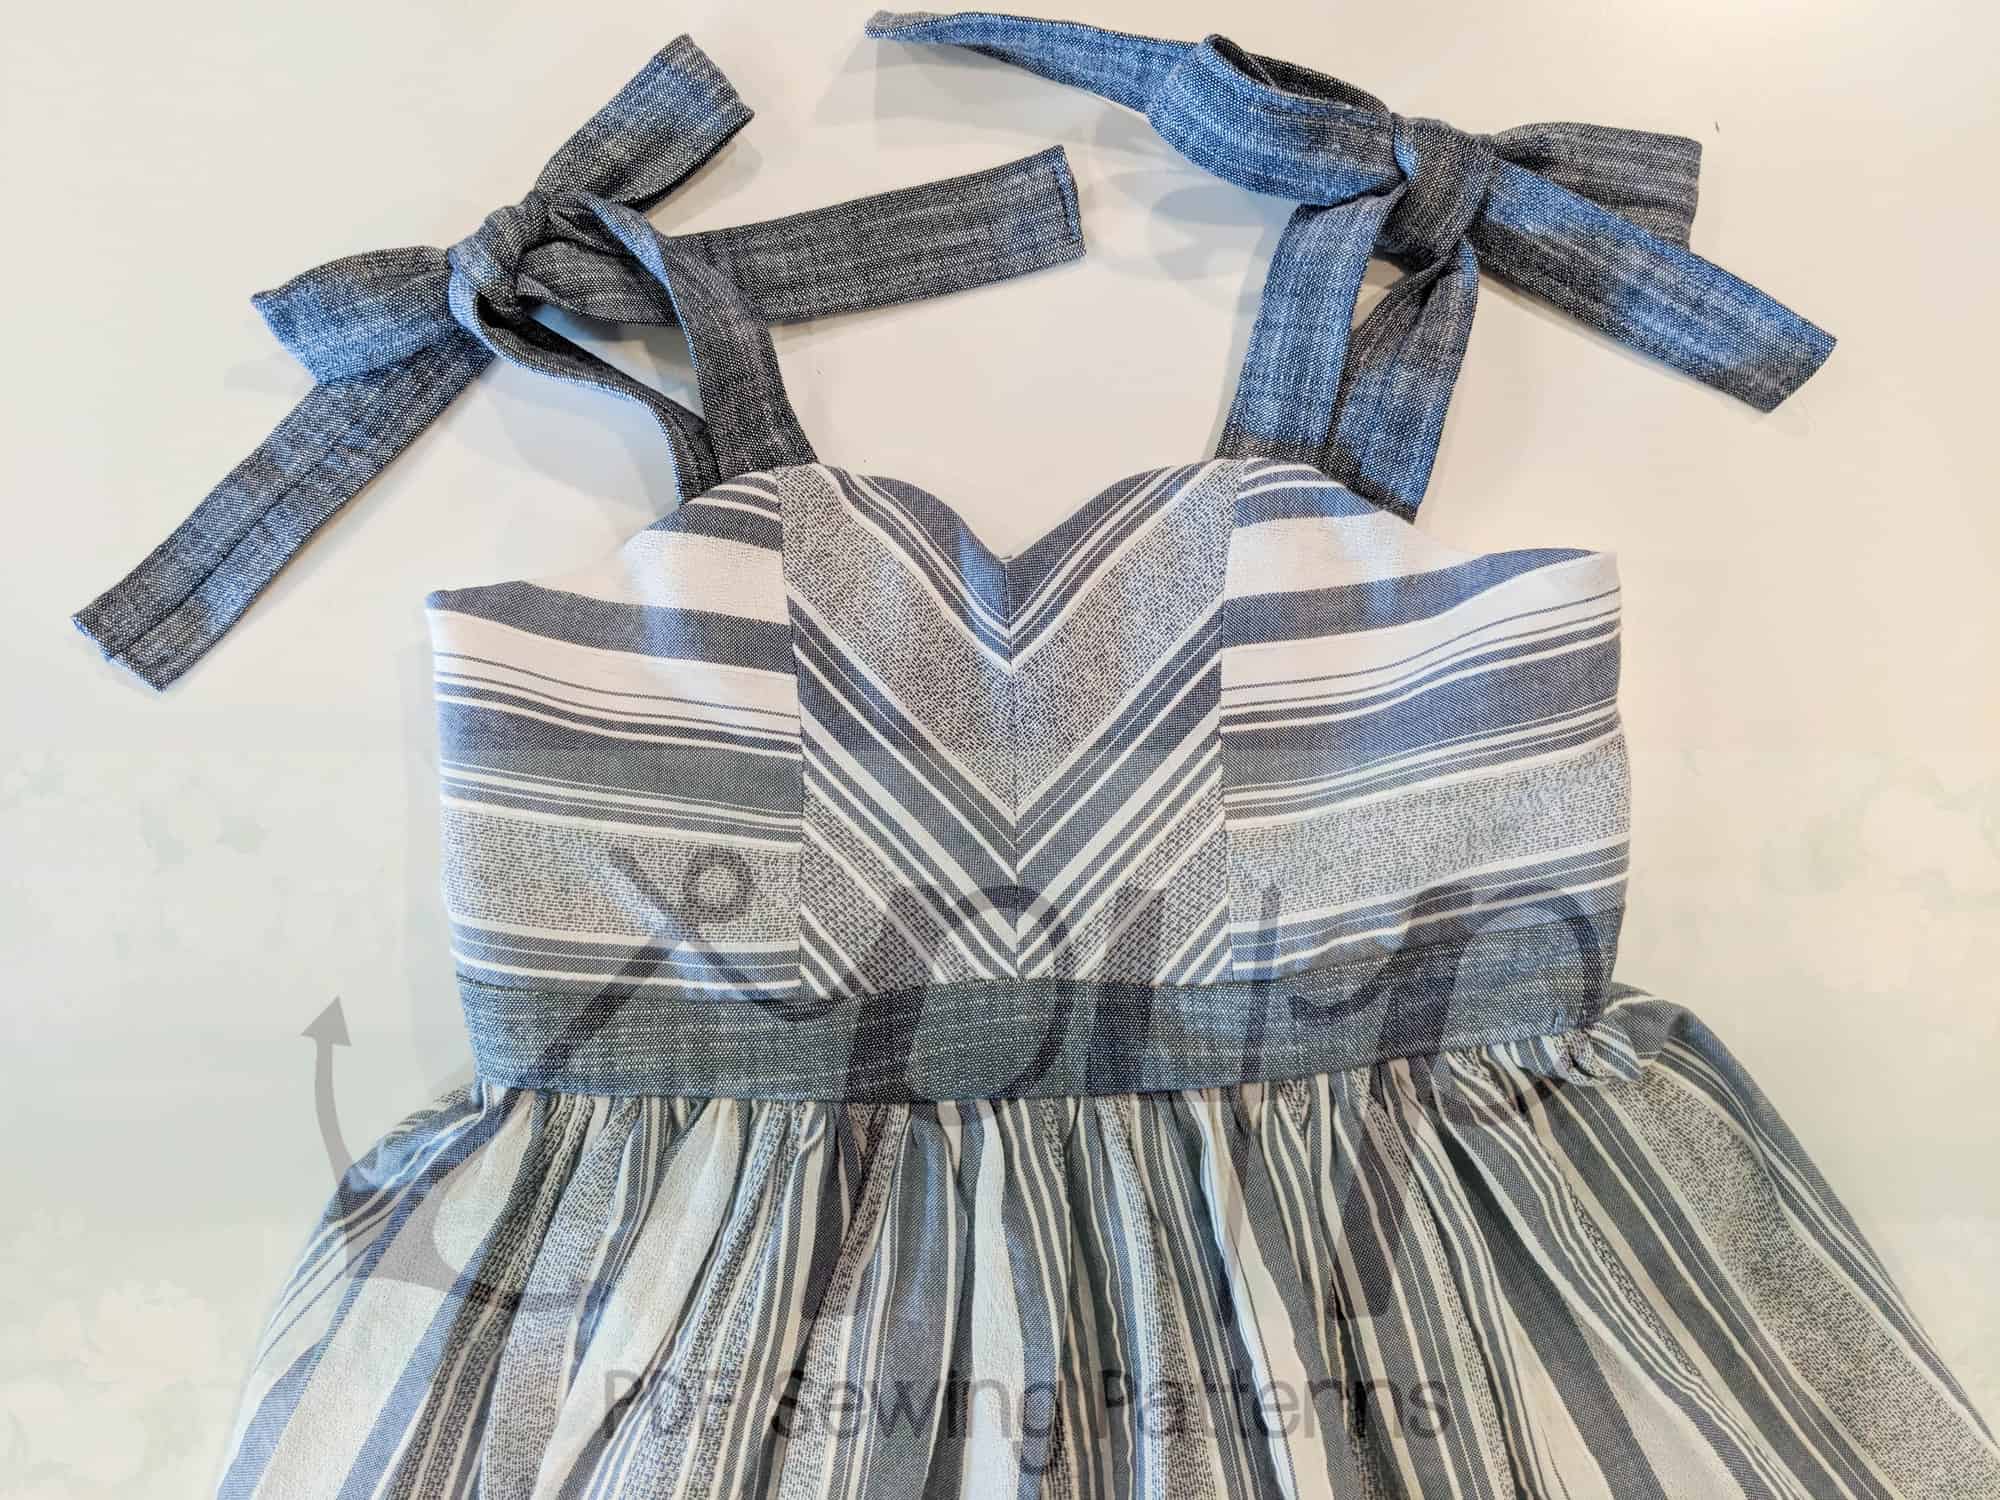
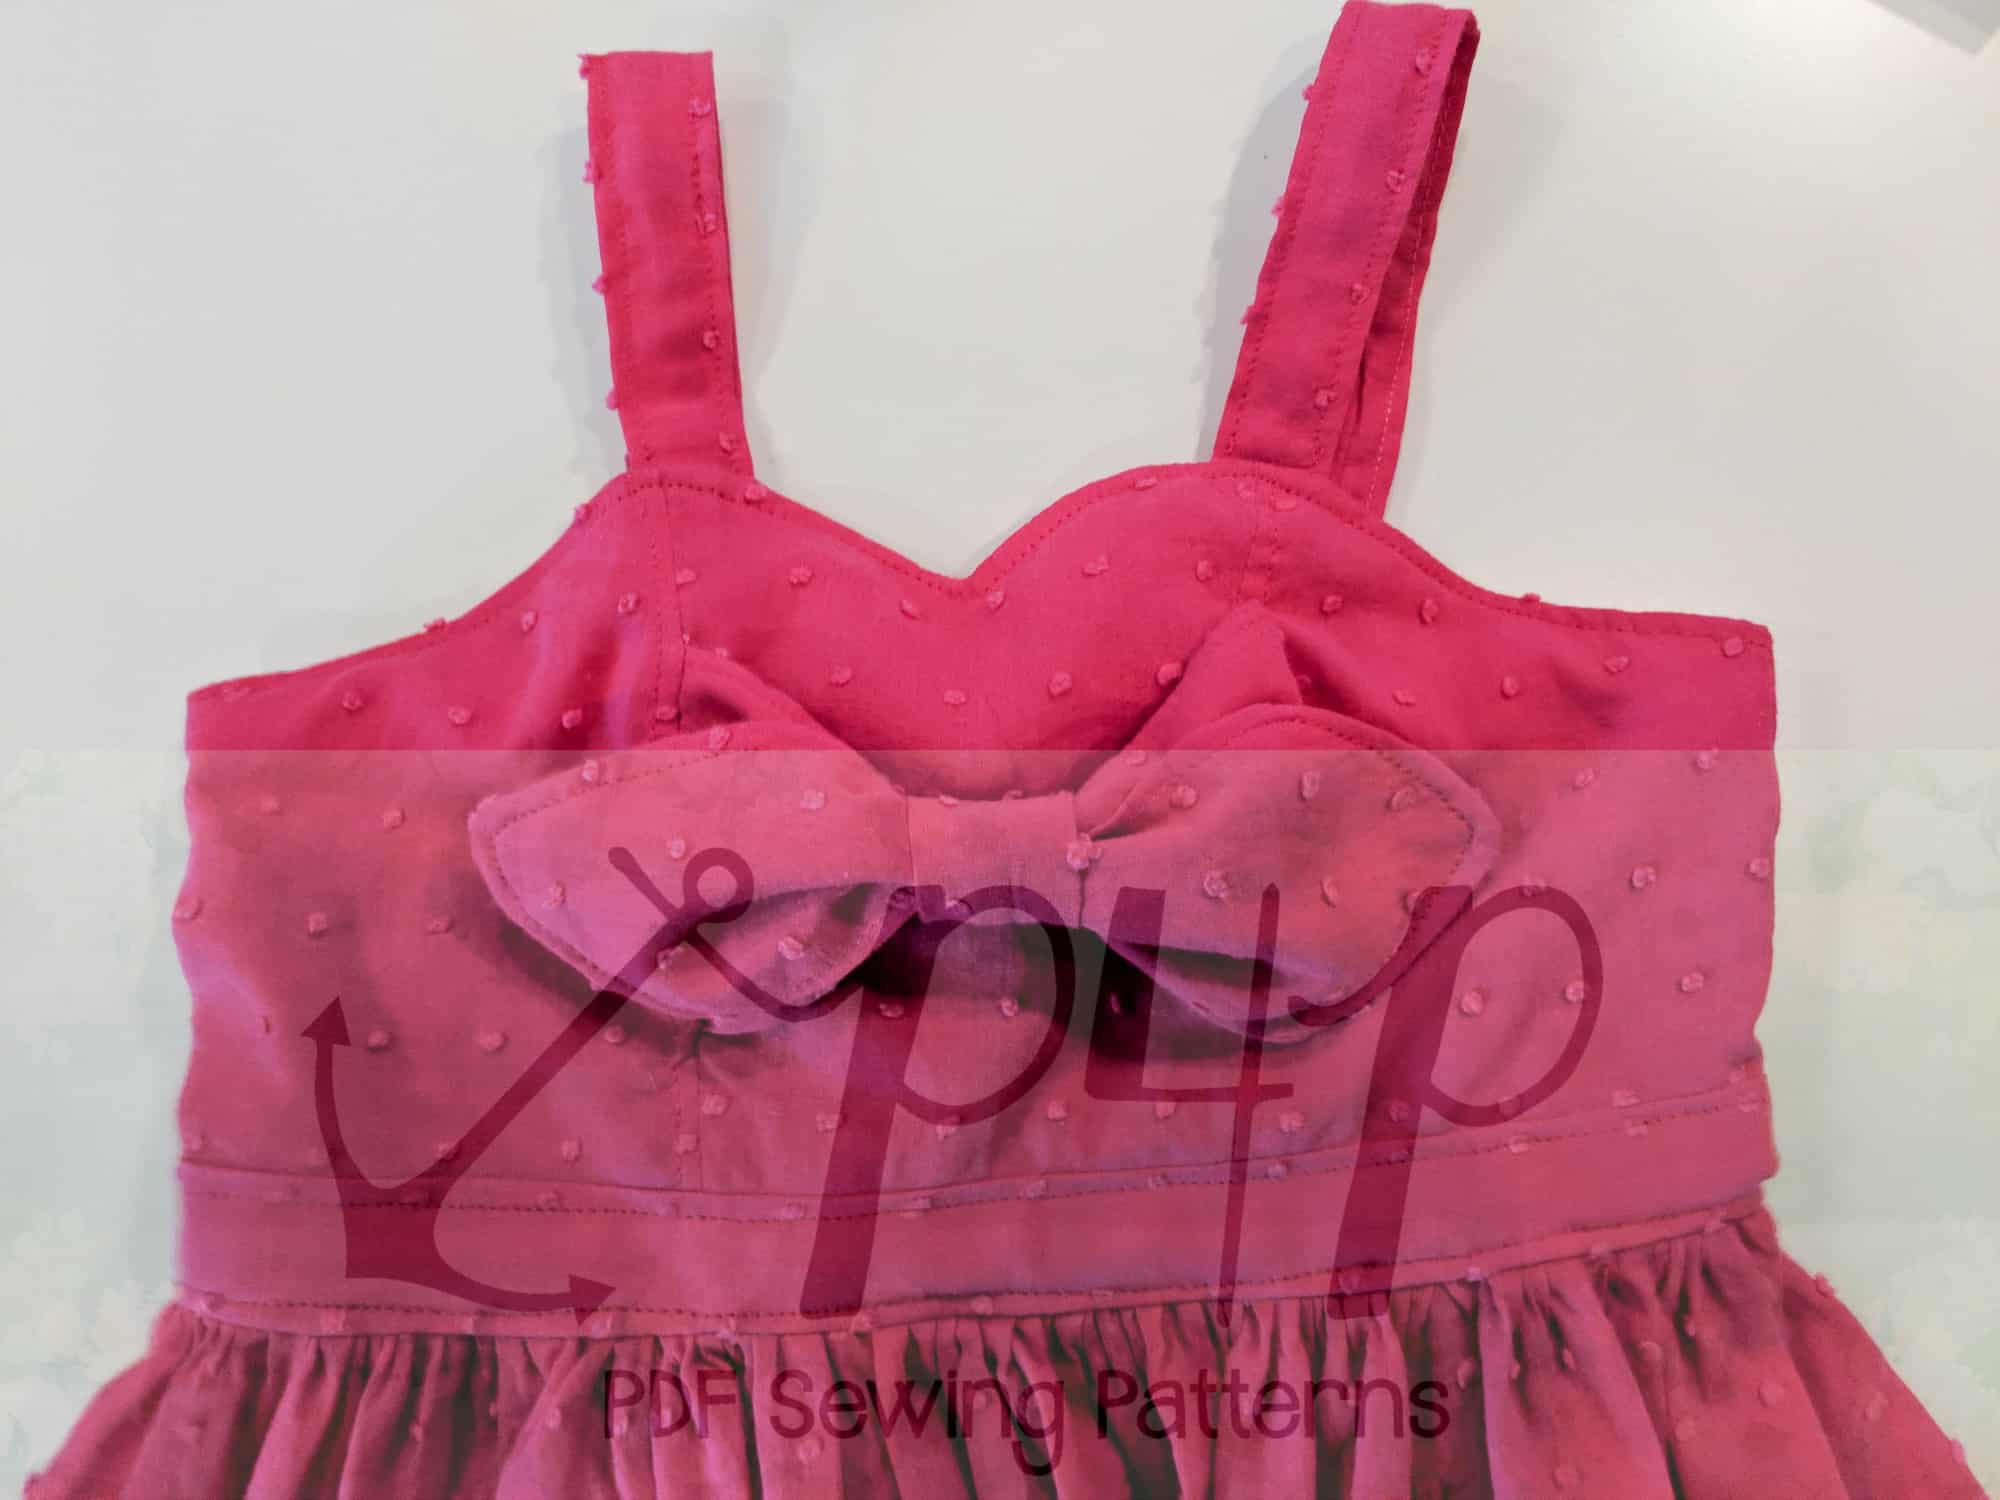
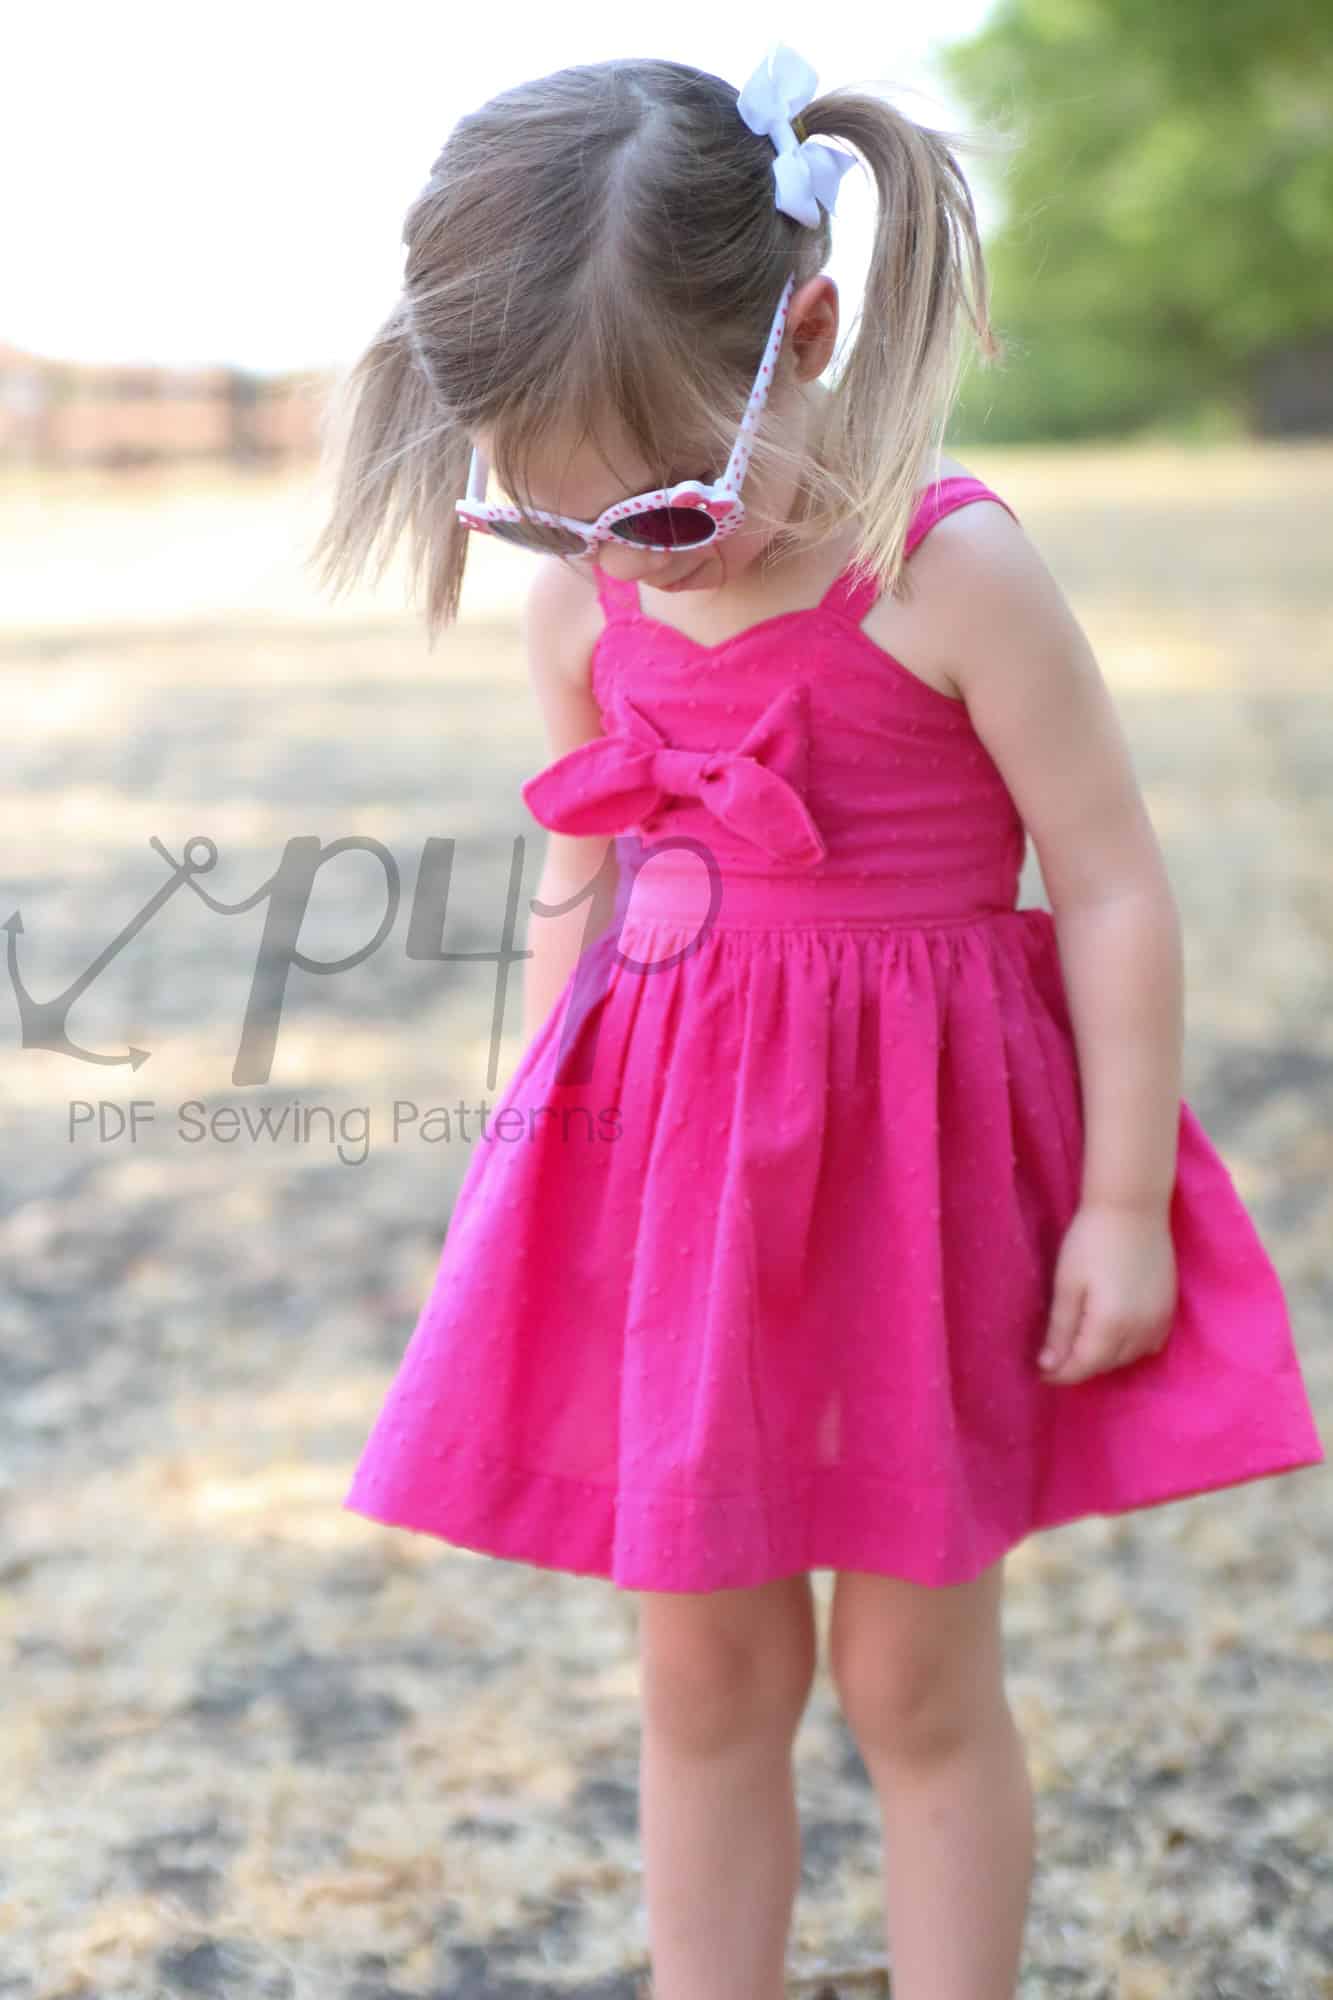
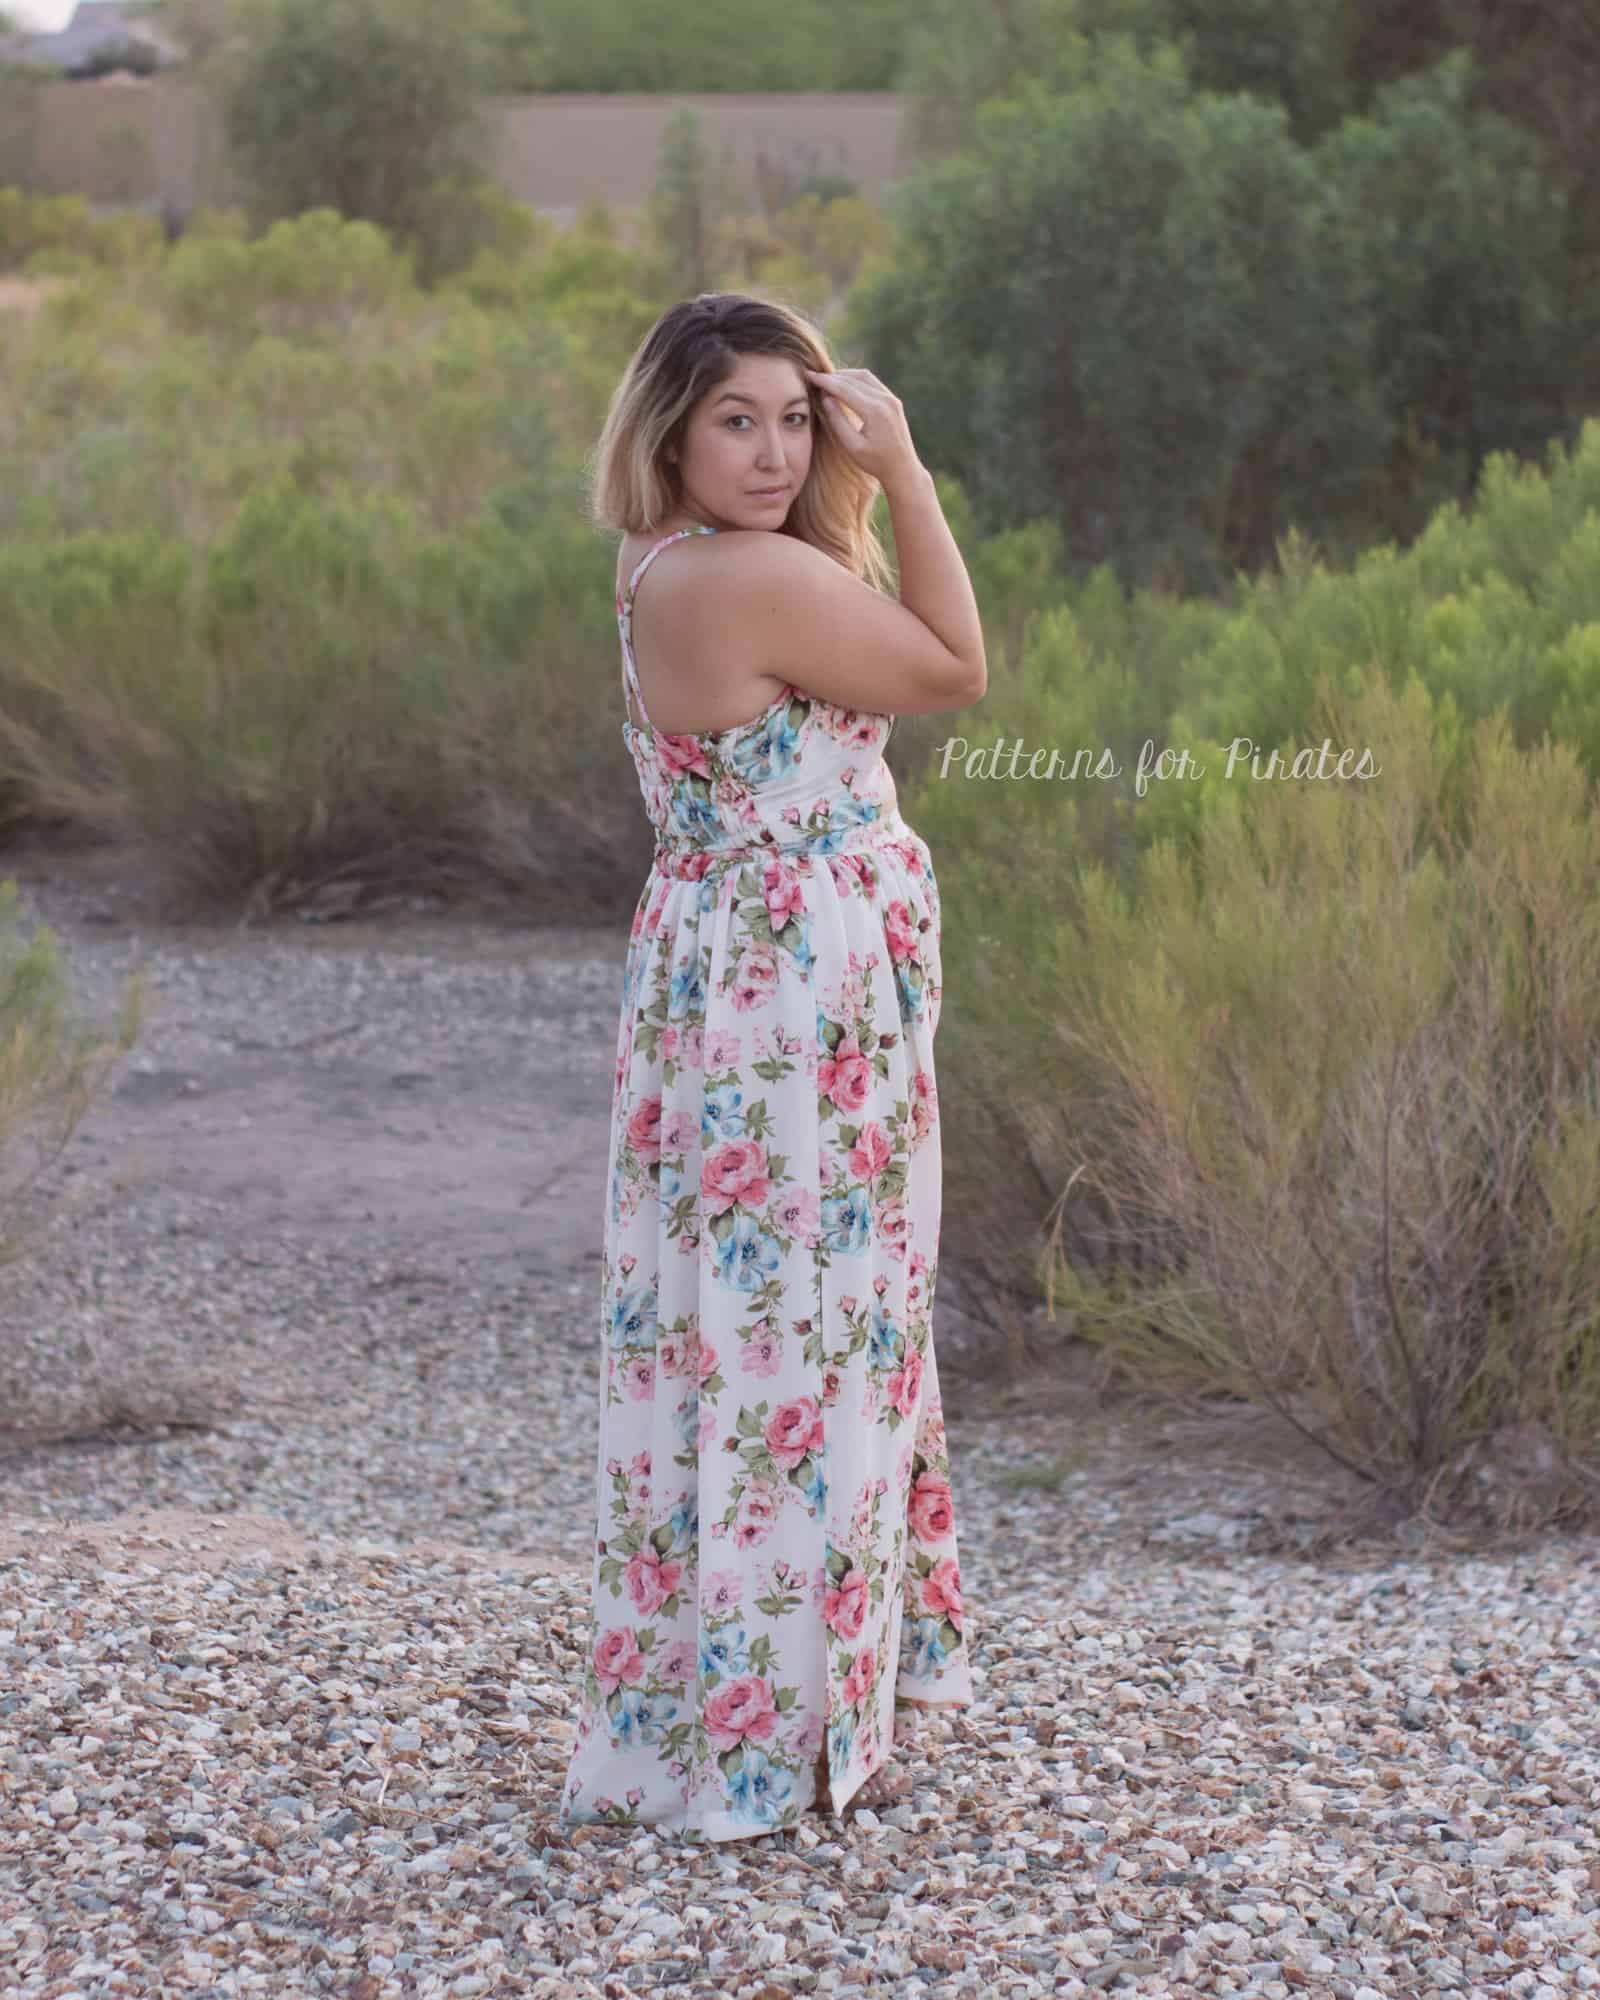
Bow front
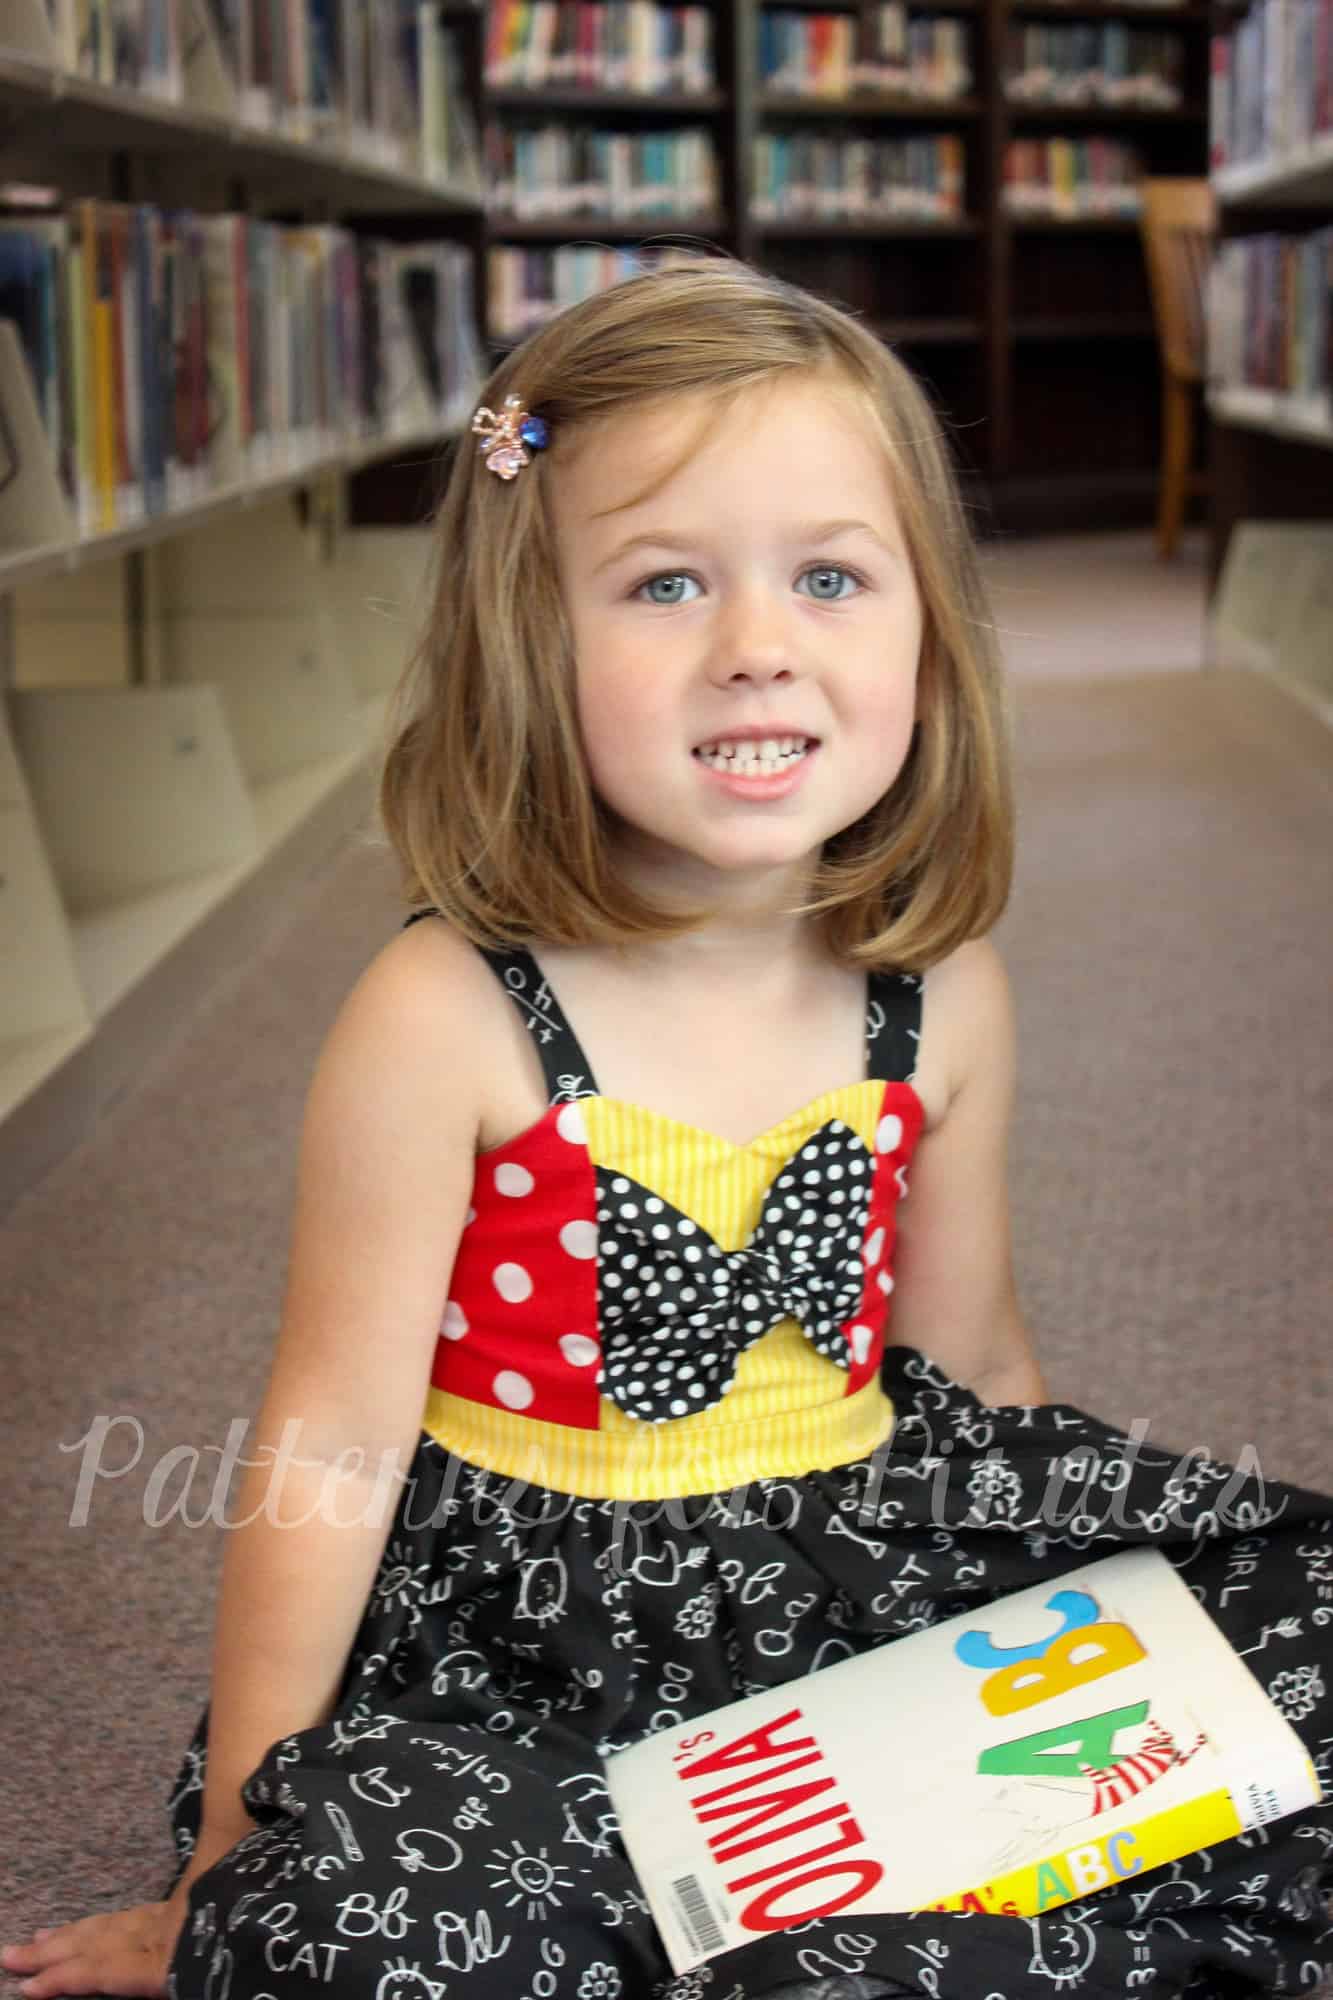
Adding a bow can be another way to add a pop of color or a cute detail to your dress. We’ve shown it here for the girls, but you could easily add this to the women’s as well using the same methods.
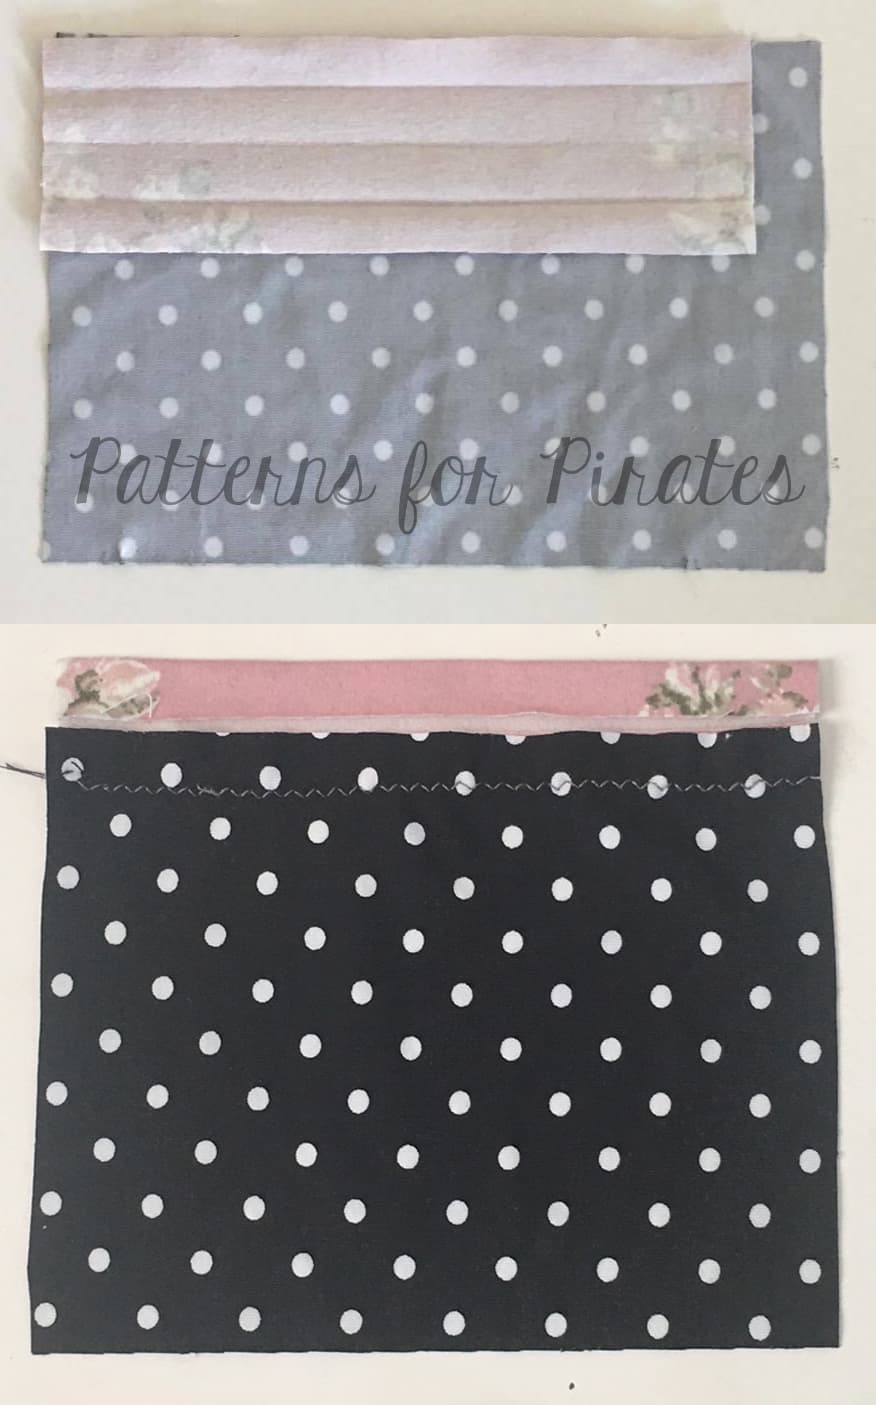
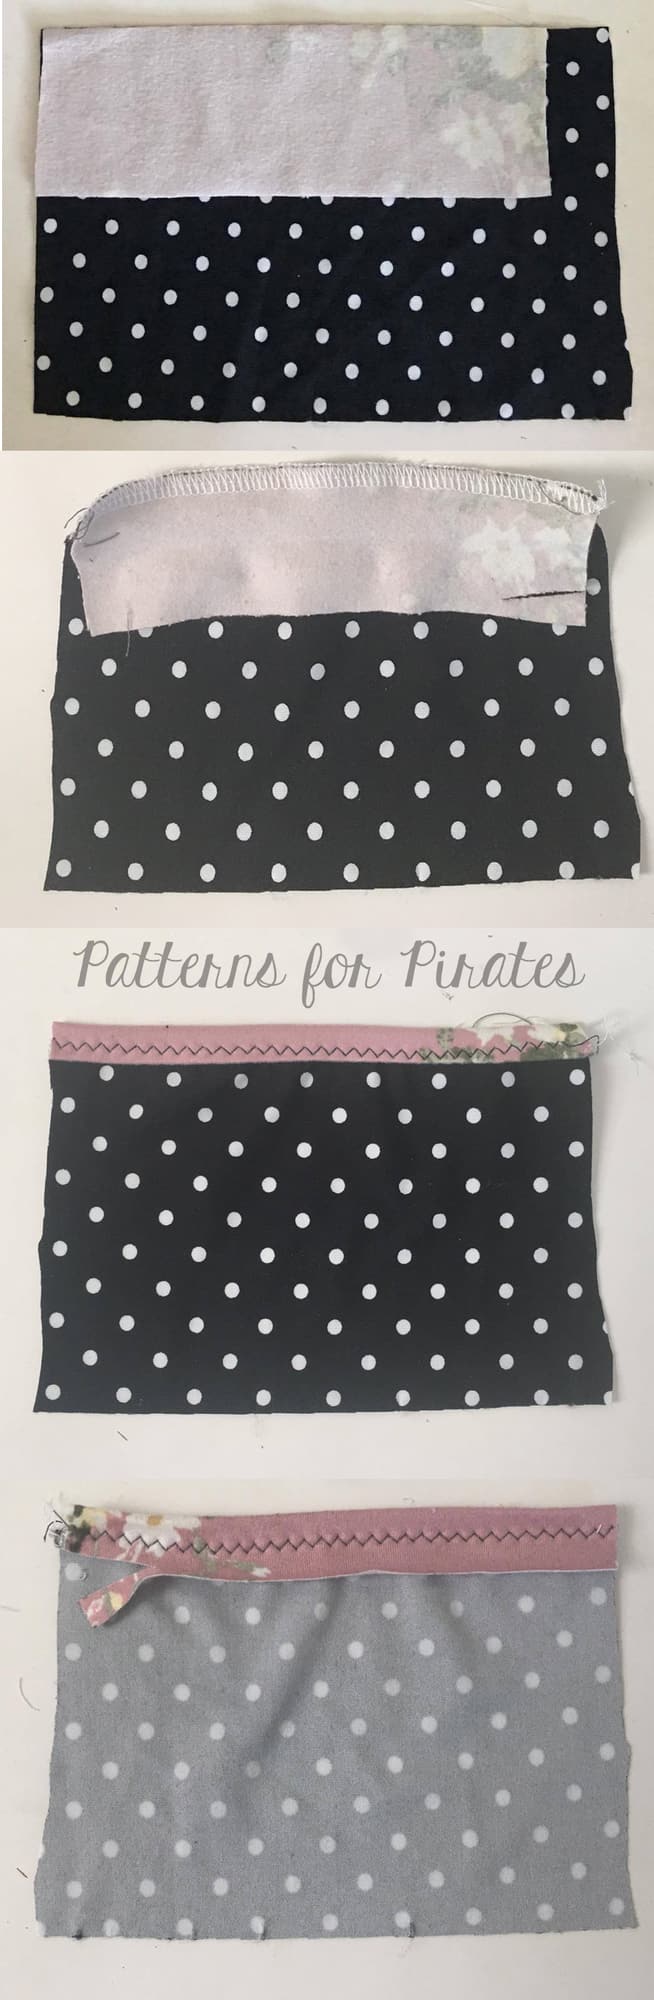
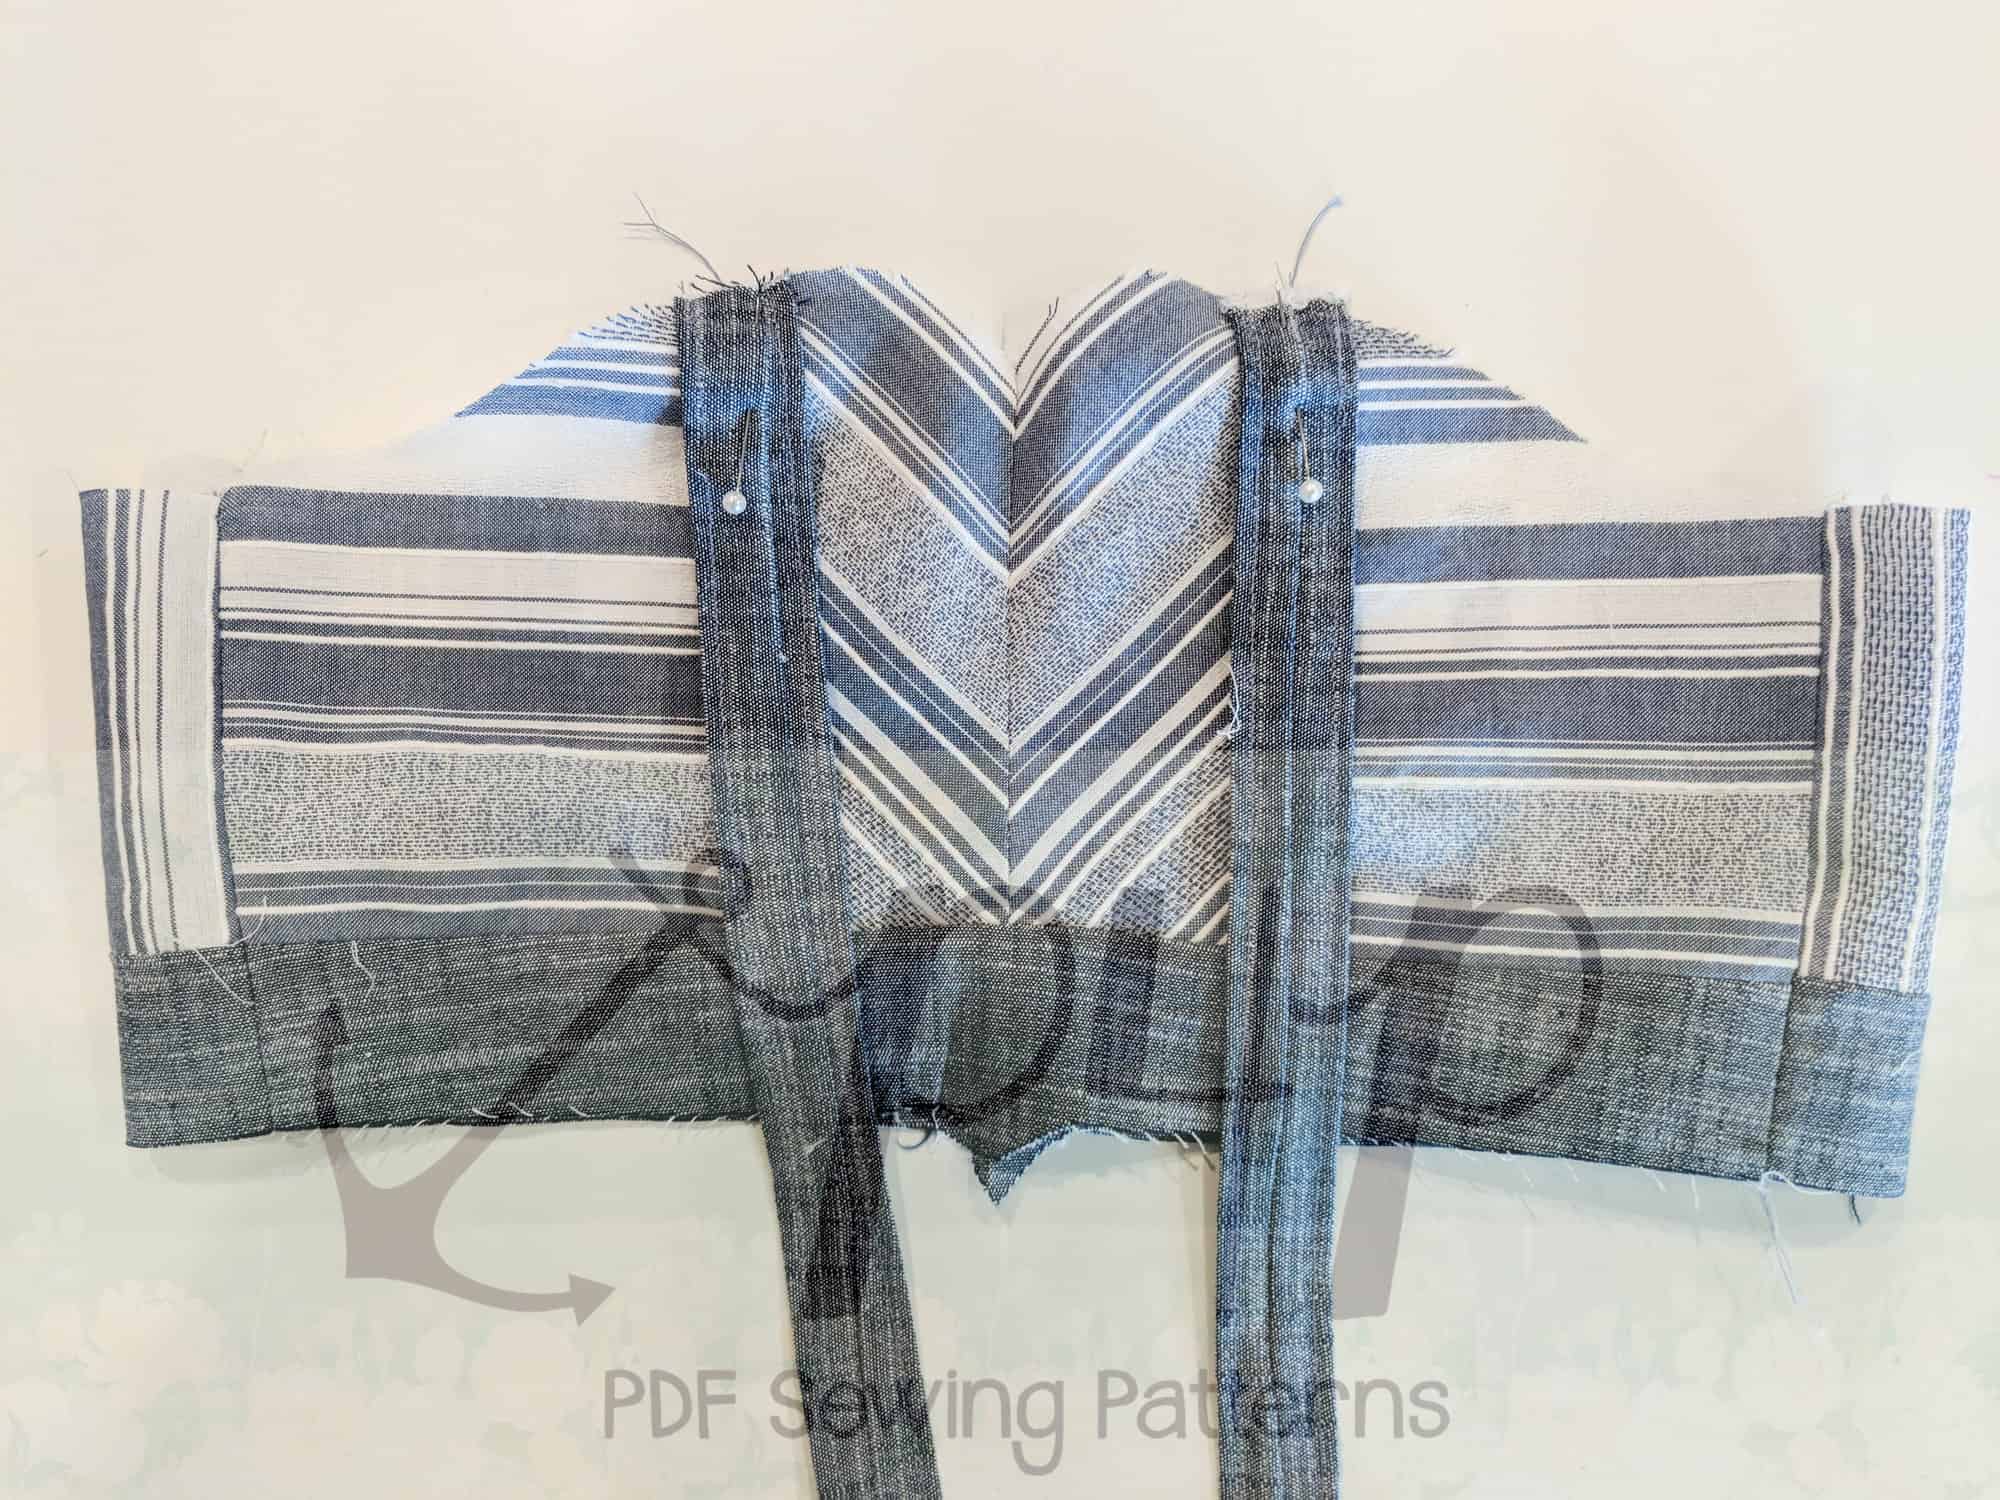
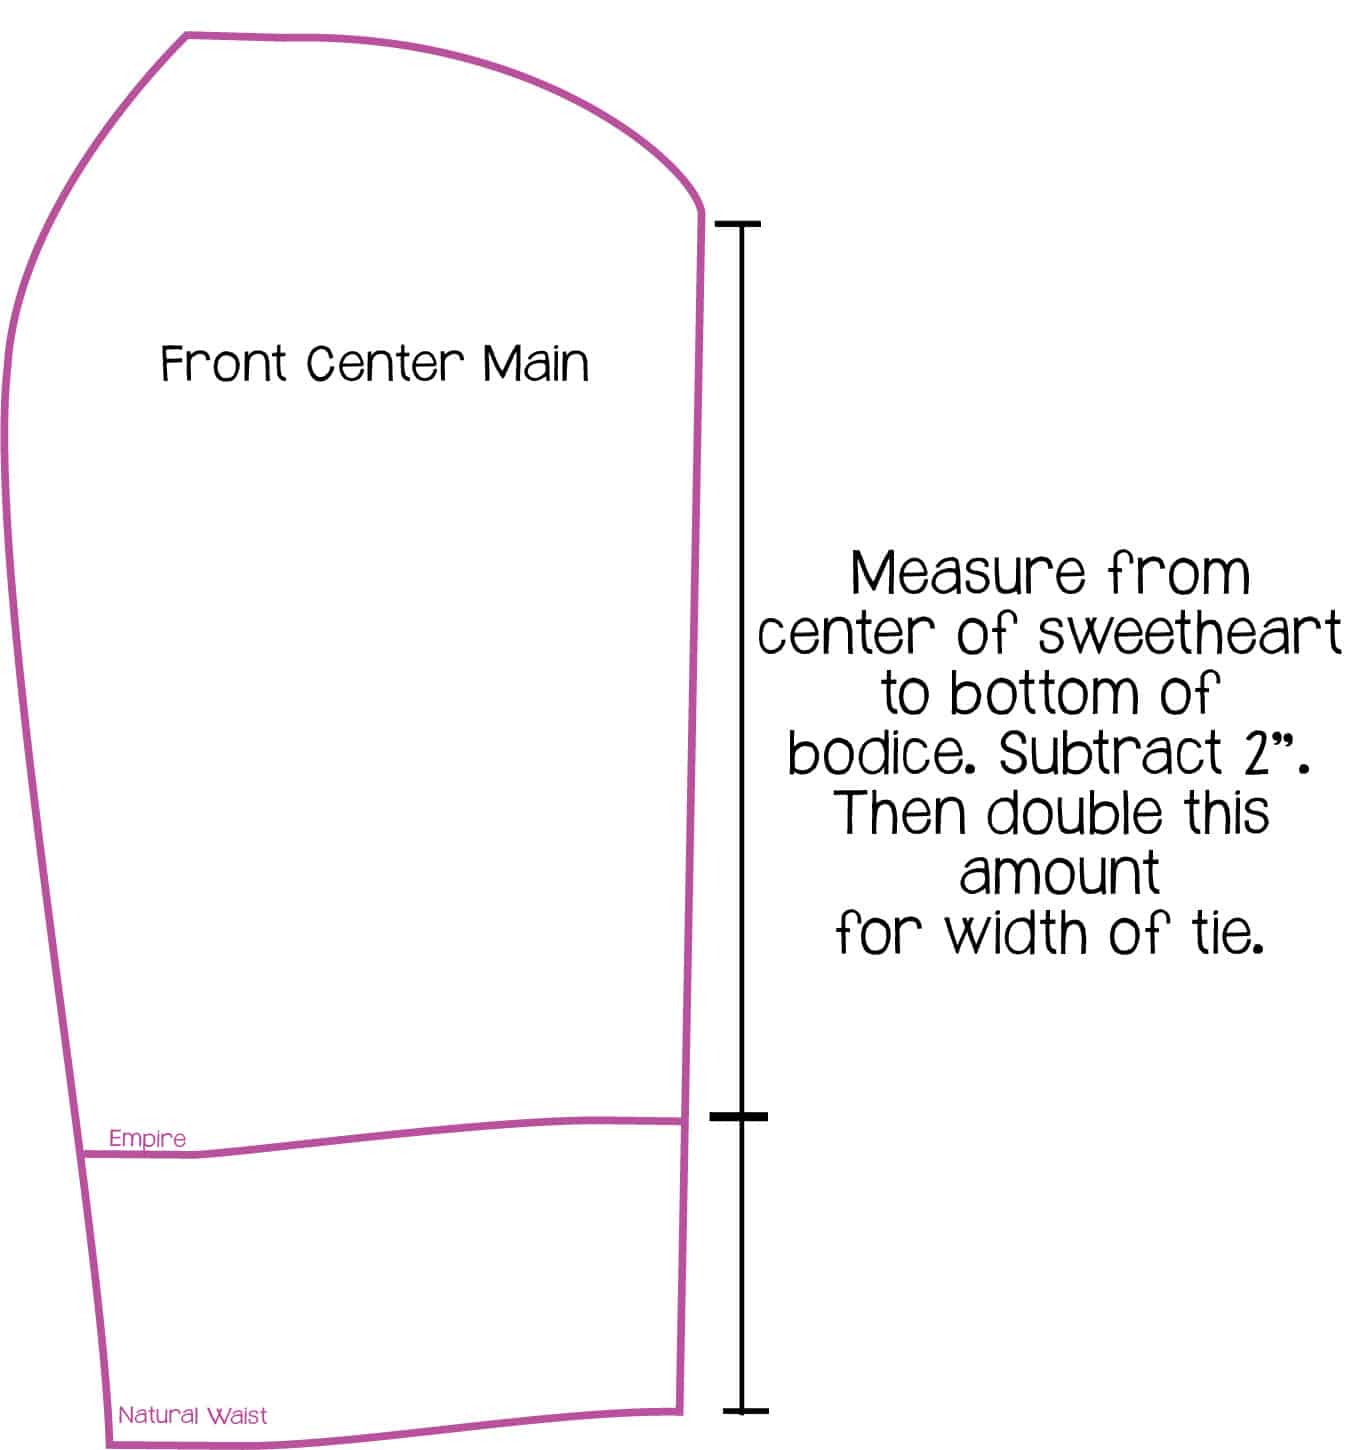
You will want to begin by cutting your rectangular bow pieces. You will need two rectangles. To determine the width, follow the graphic below (this is just a guide, you can make your bow wider or narrower, based on preference). For the length, you will want to make sure that it is wide enough to tie and fit across the bodice piece. It’s ok if it is too long, as you can always trim it down later.
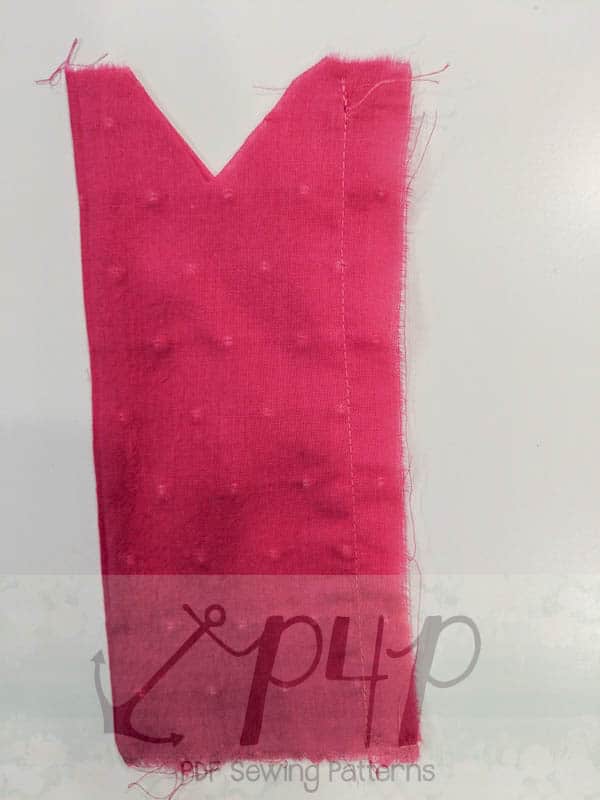
Taking one of your rectangles, fold it in half with right sides together. Stitch, using a 1/2″ seam allowance. Repeat with other bow. Next, cut a “v” notch from the top of each piece, as shown below. Press seam allowance open.
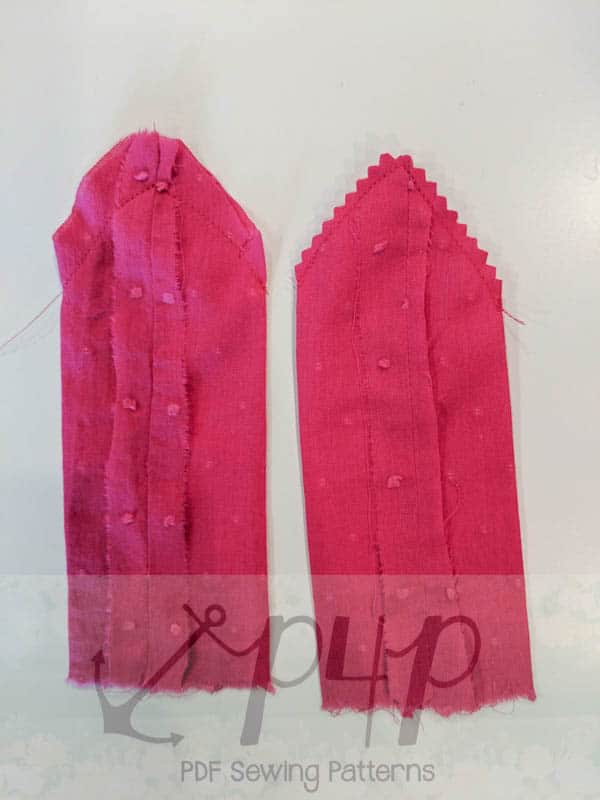
Holding the bow slightly open, it should create a tube. You will want to align the stitched edge with the opposite side now, to create the curved edges of your bows (the seam should now be in the middle rather than the edge). Stitch around the curve, using a 1/2″ seam allowance. Repeat on other bow.
Trim along the curve’s seam allowance using either pinking sheers or scissors.
* If using scissors, make small cuts into the seam allowance, making sure to not cut through stitches. This will help your curve to lay smoother.
Using your favorite turning tool, turn bows inside out, smoothing out the edges and press. Top stitch if desired.
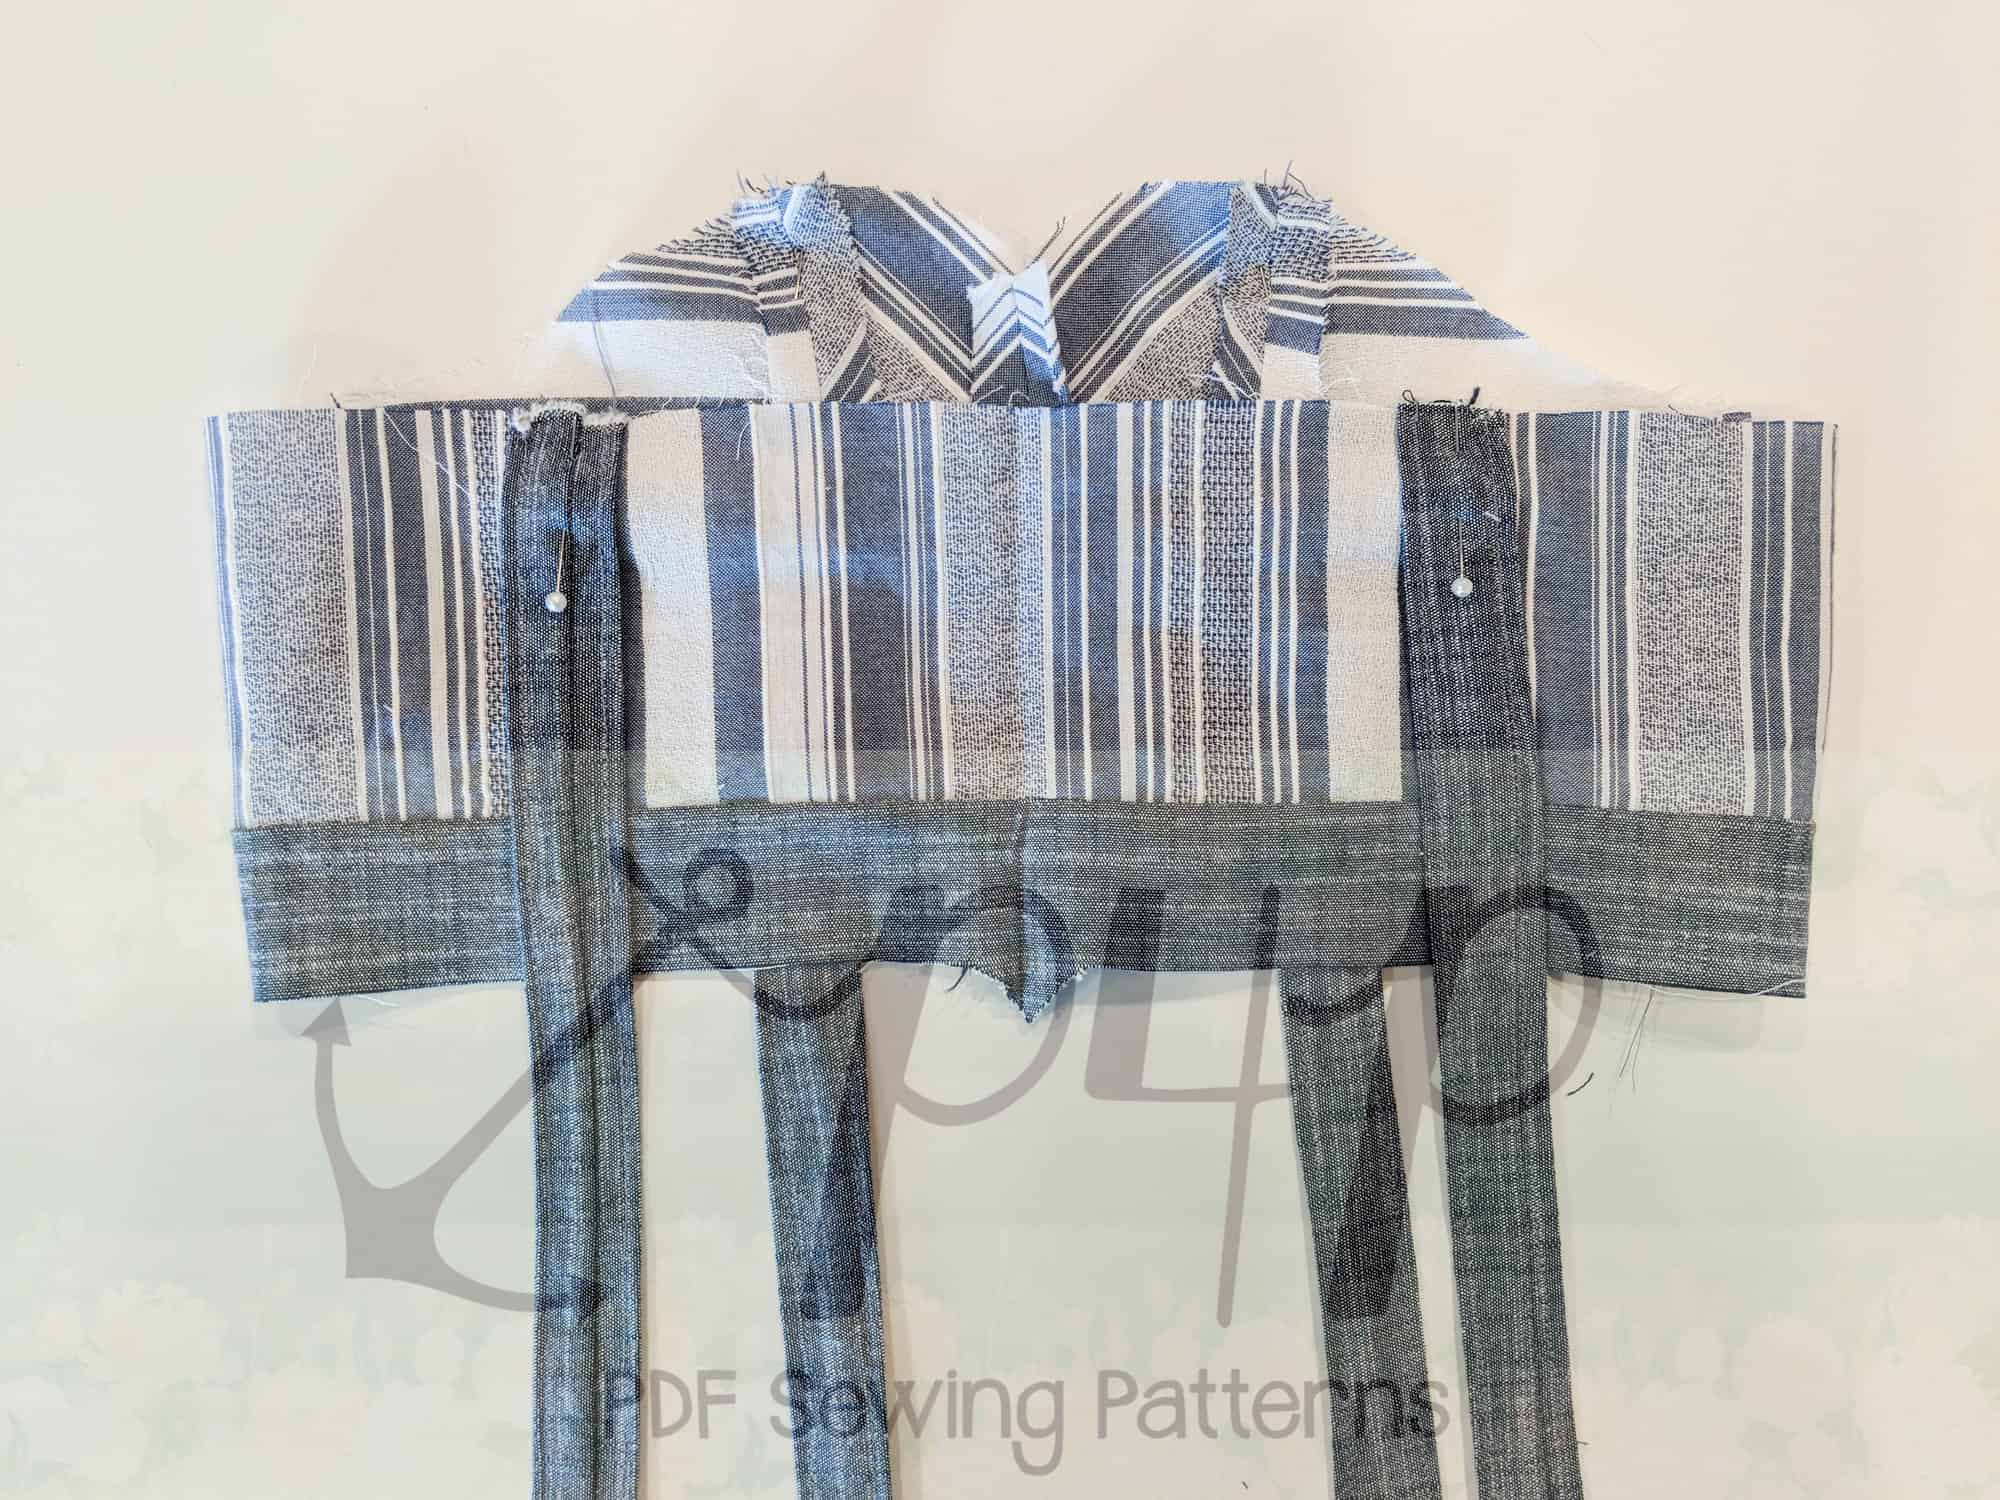
Taking your center bodice piece, position each bow and baste into place (make sure to leave enough length to tie the bow, as shown in the next step!). Trim any excess length. Attach side pieces as directed in tutorial.
You now have two options- You can either tie the bow in a simple knot, like this. 
Or, another option is to create a center tie to hold the bows together. If using this method, you will not need as much length when you baste your bows.
You will want to begin by creating a small tube. Cut a rectangular piece 2″ width and approximately 6″ long. Fold in half, right sides together, and stitch using a 1/2″ seam allowance. Press seam allowance open and turn tube right sides out. Press, making sure that the seam is in the middle back of the tie.

Overlap your bows and wrap the center piece around them.
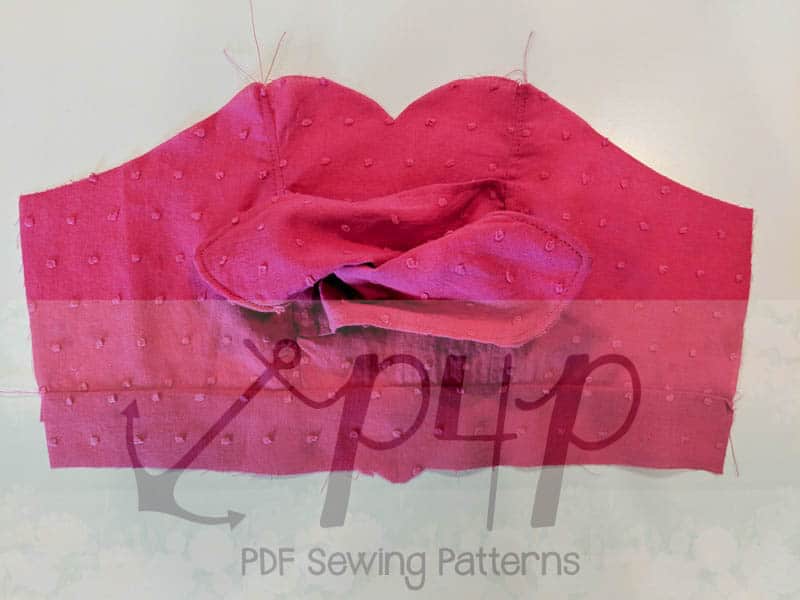
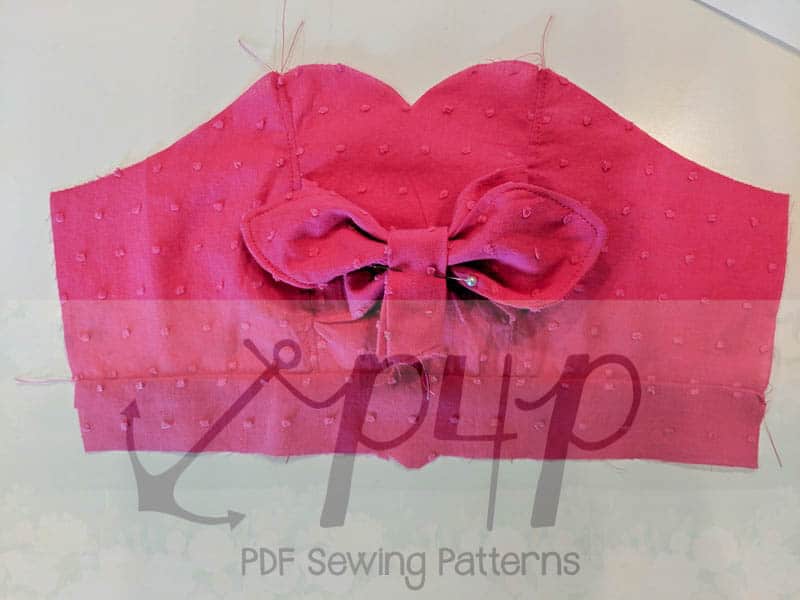
Stitch across the center piece to create a loop (as shown where pin is placed above). Trim any extra length that you might have and rotate the seam to behind the bow. Finish dress as per tutorial.
~ Erinn
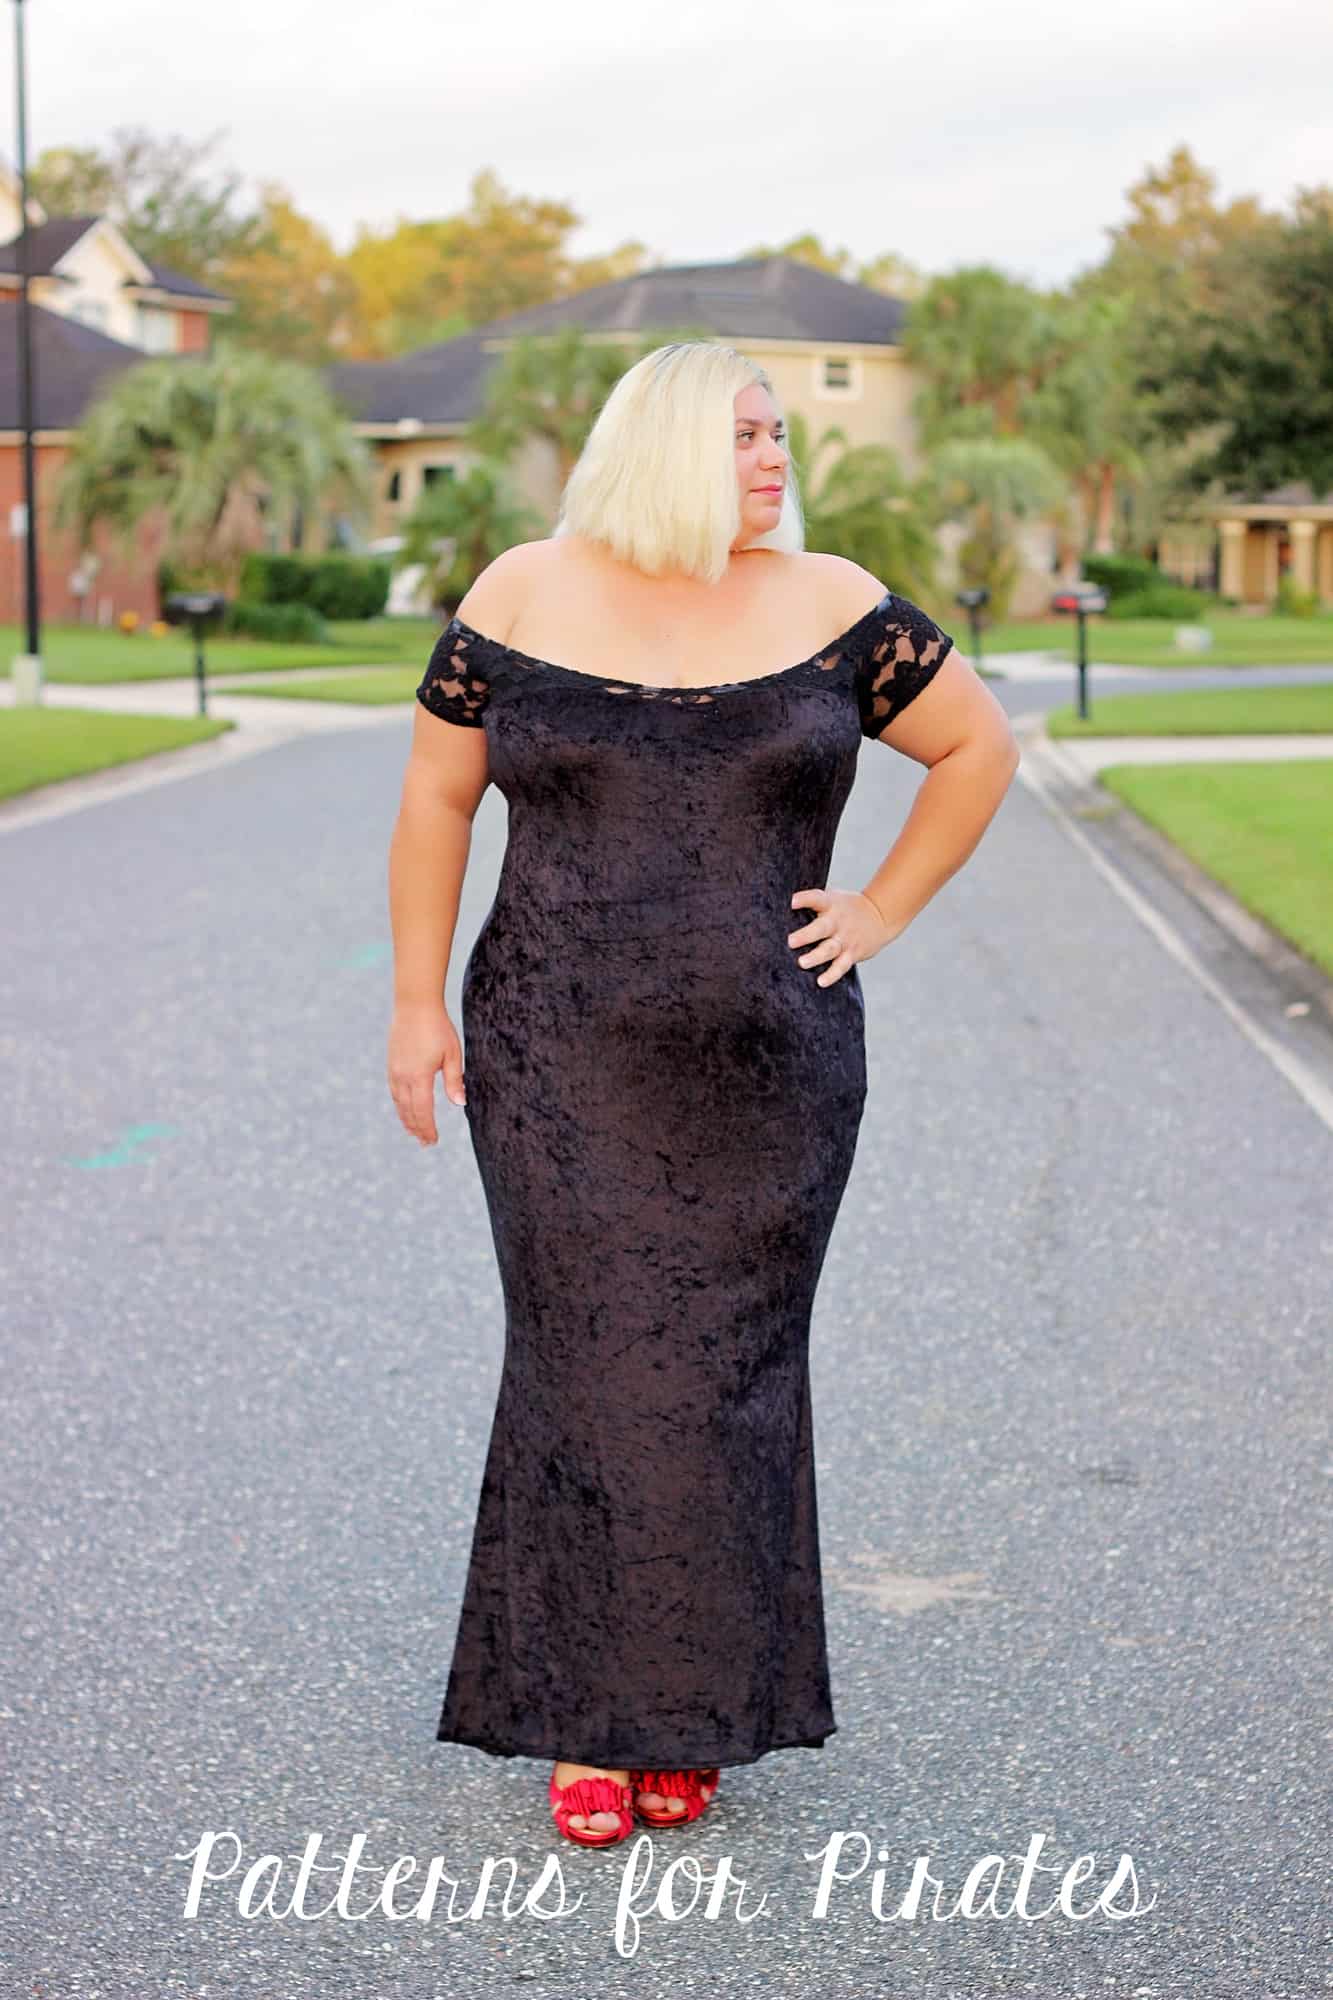
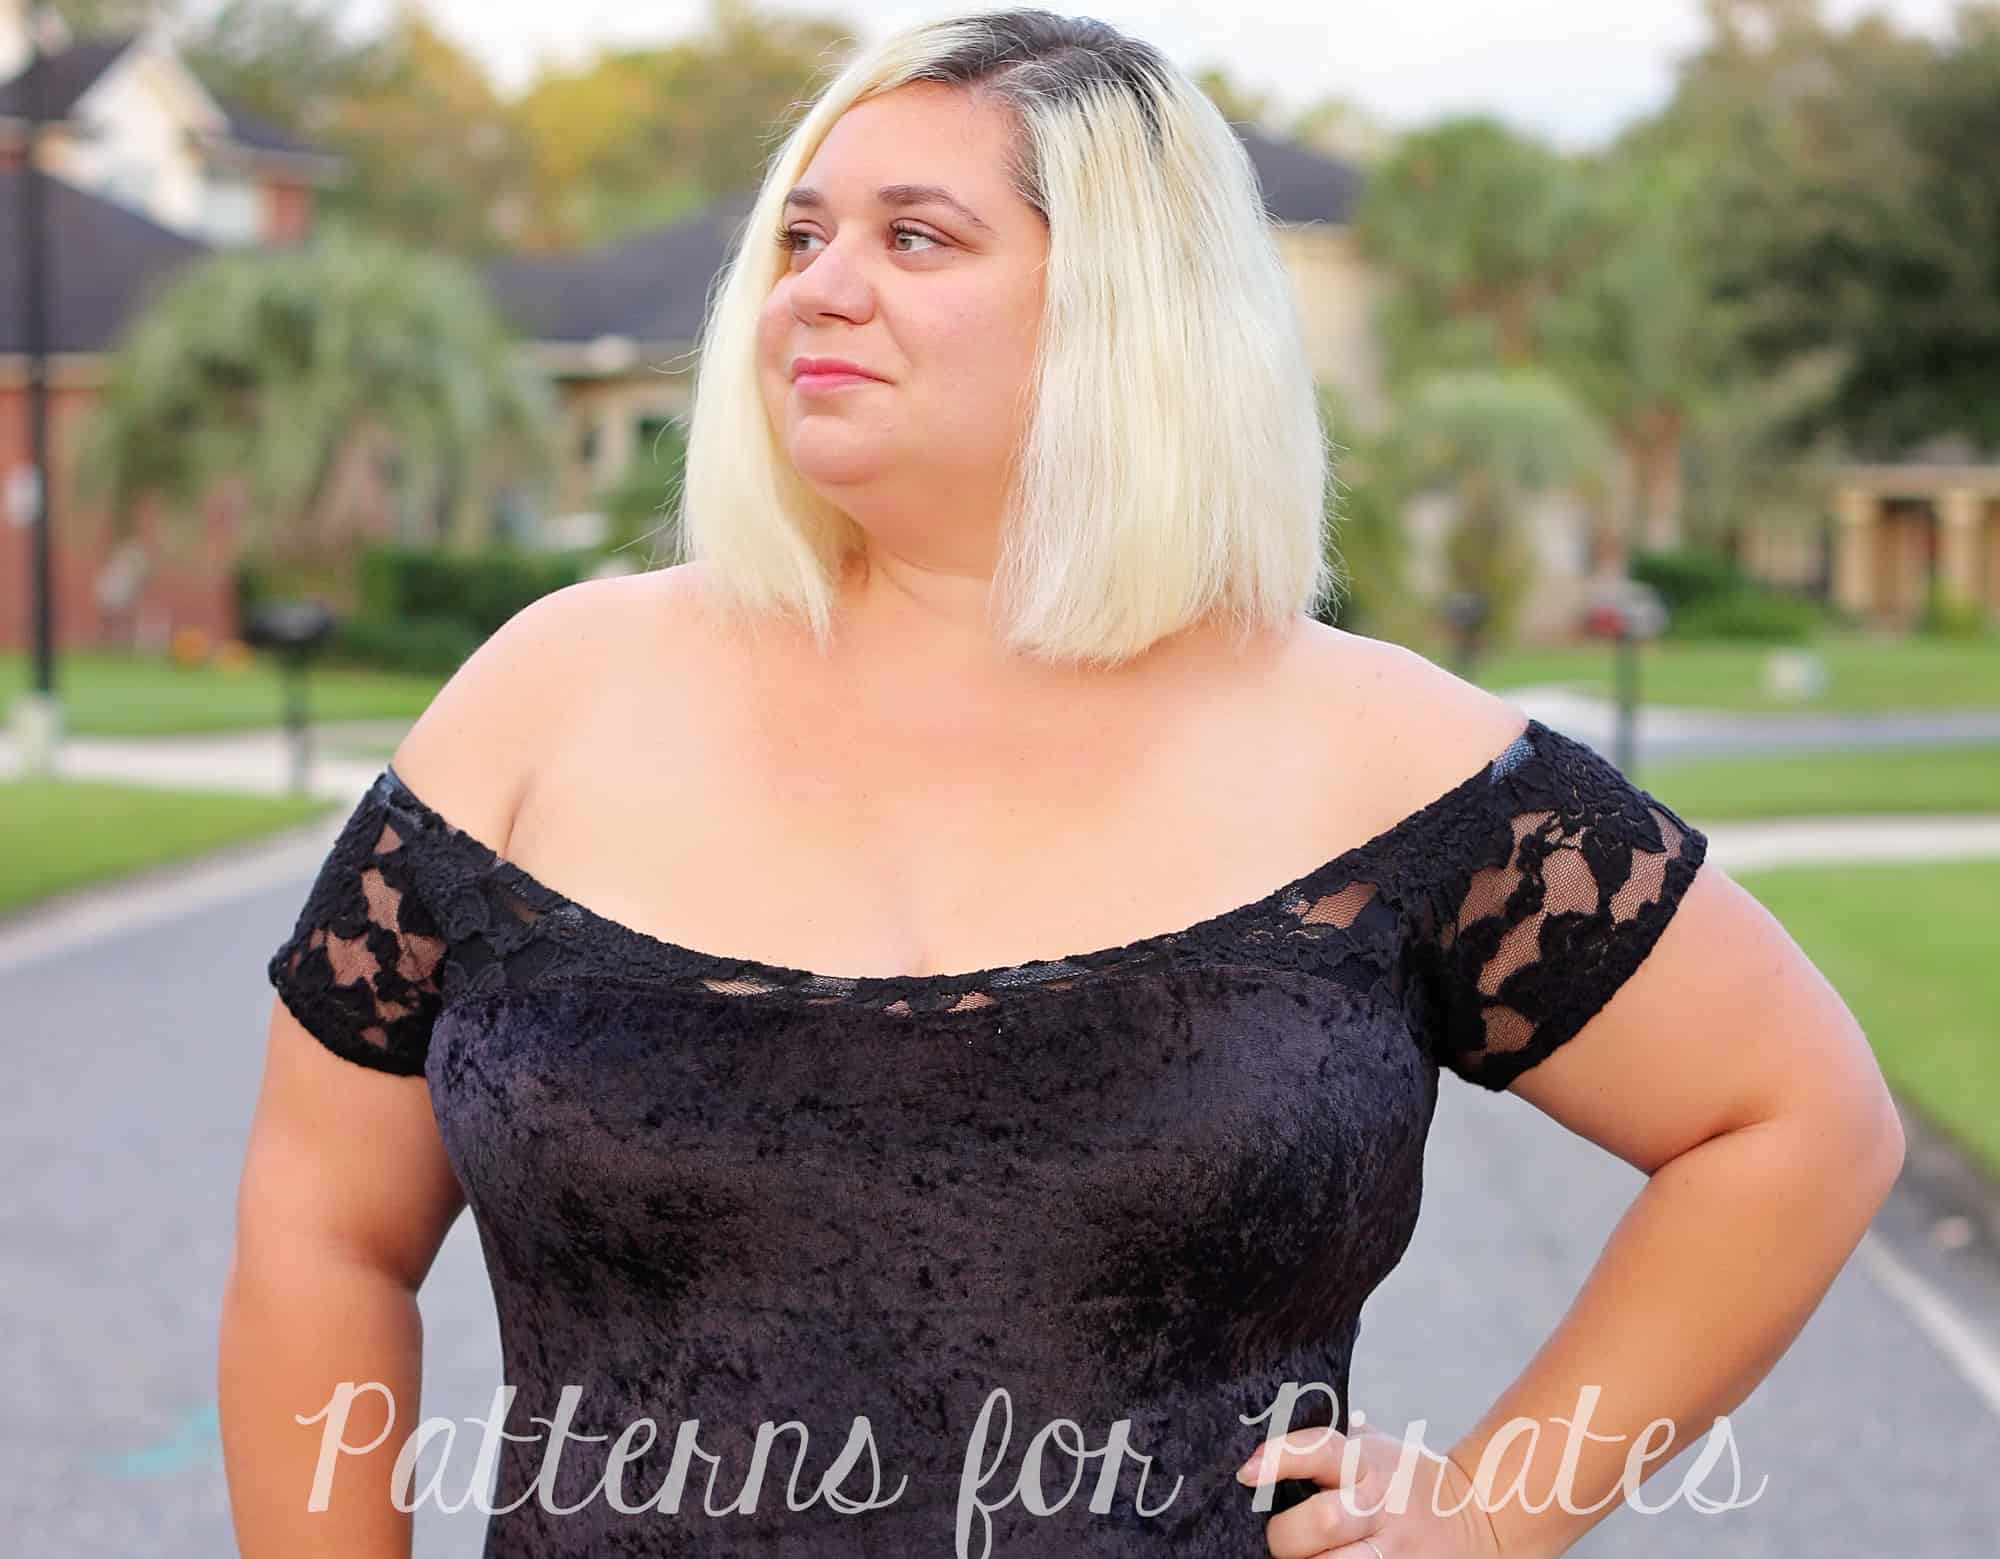
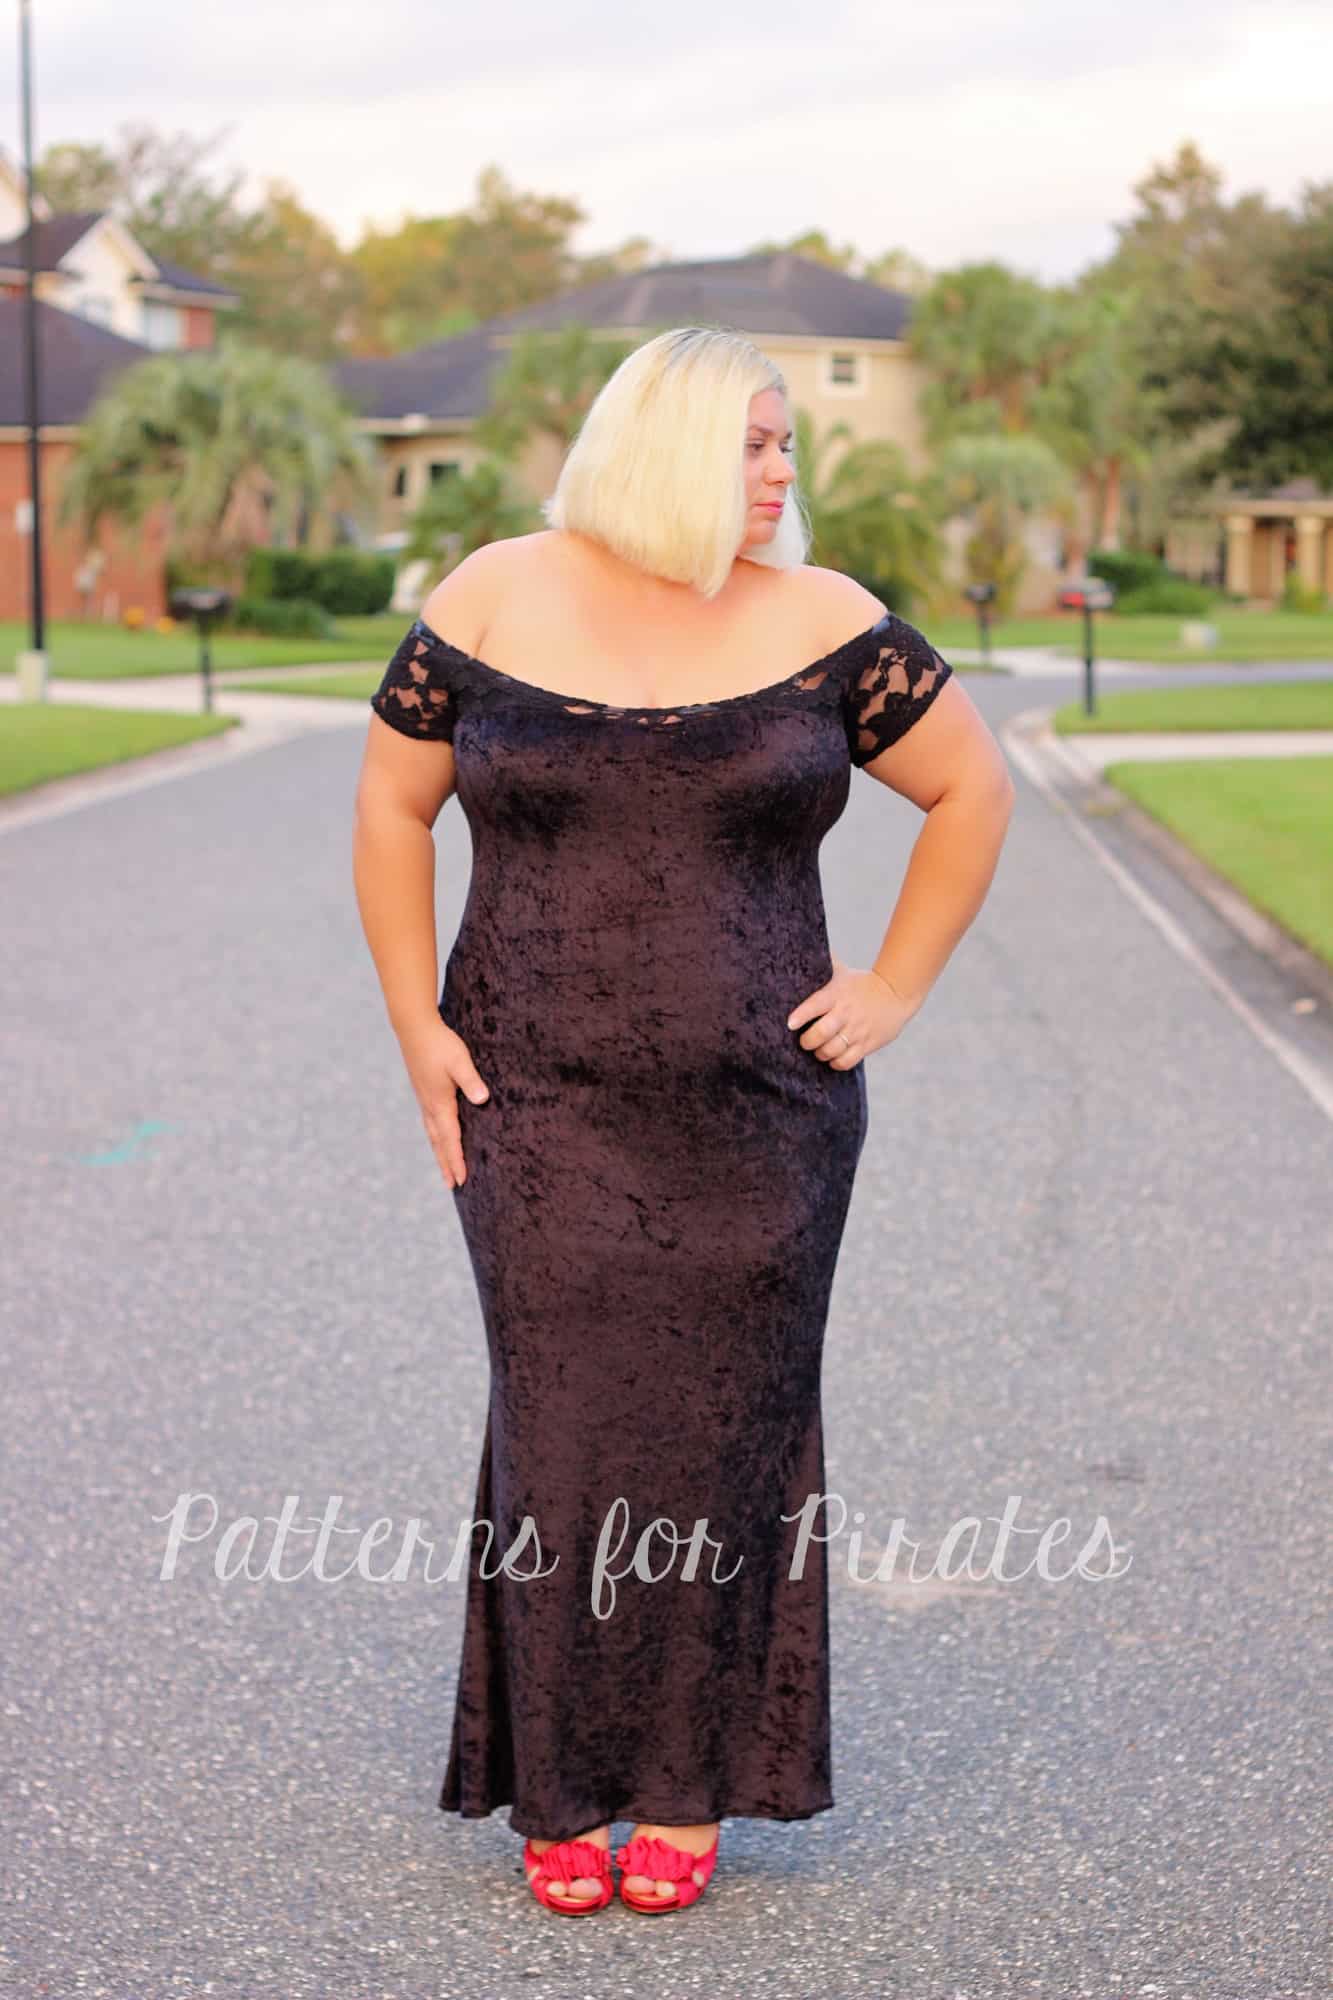
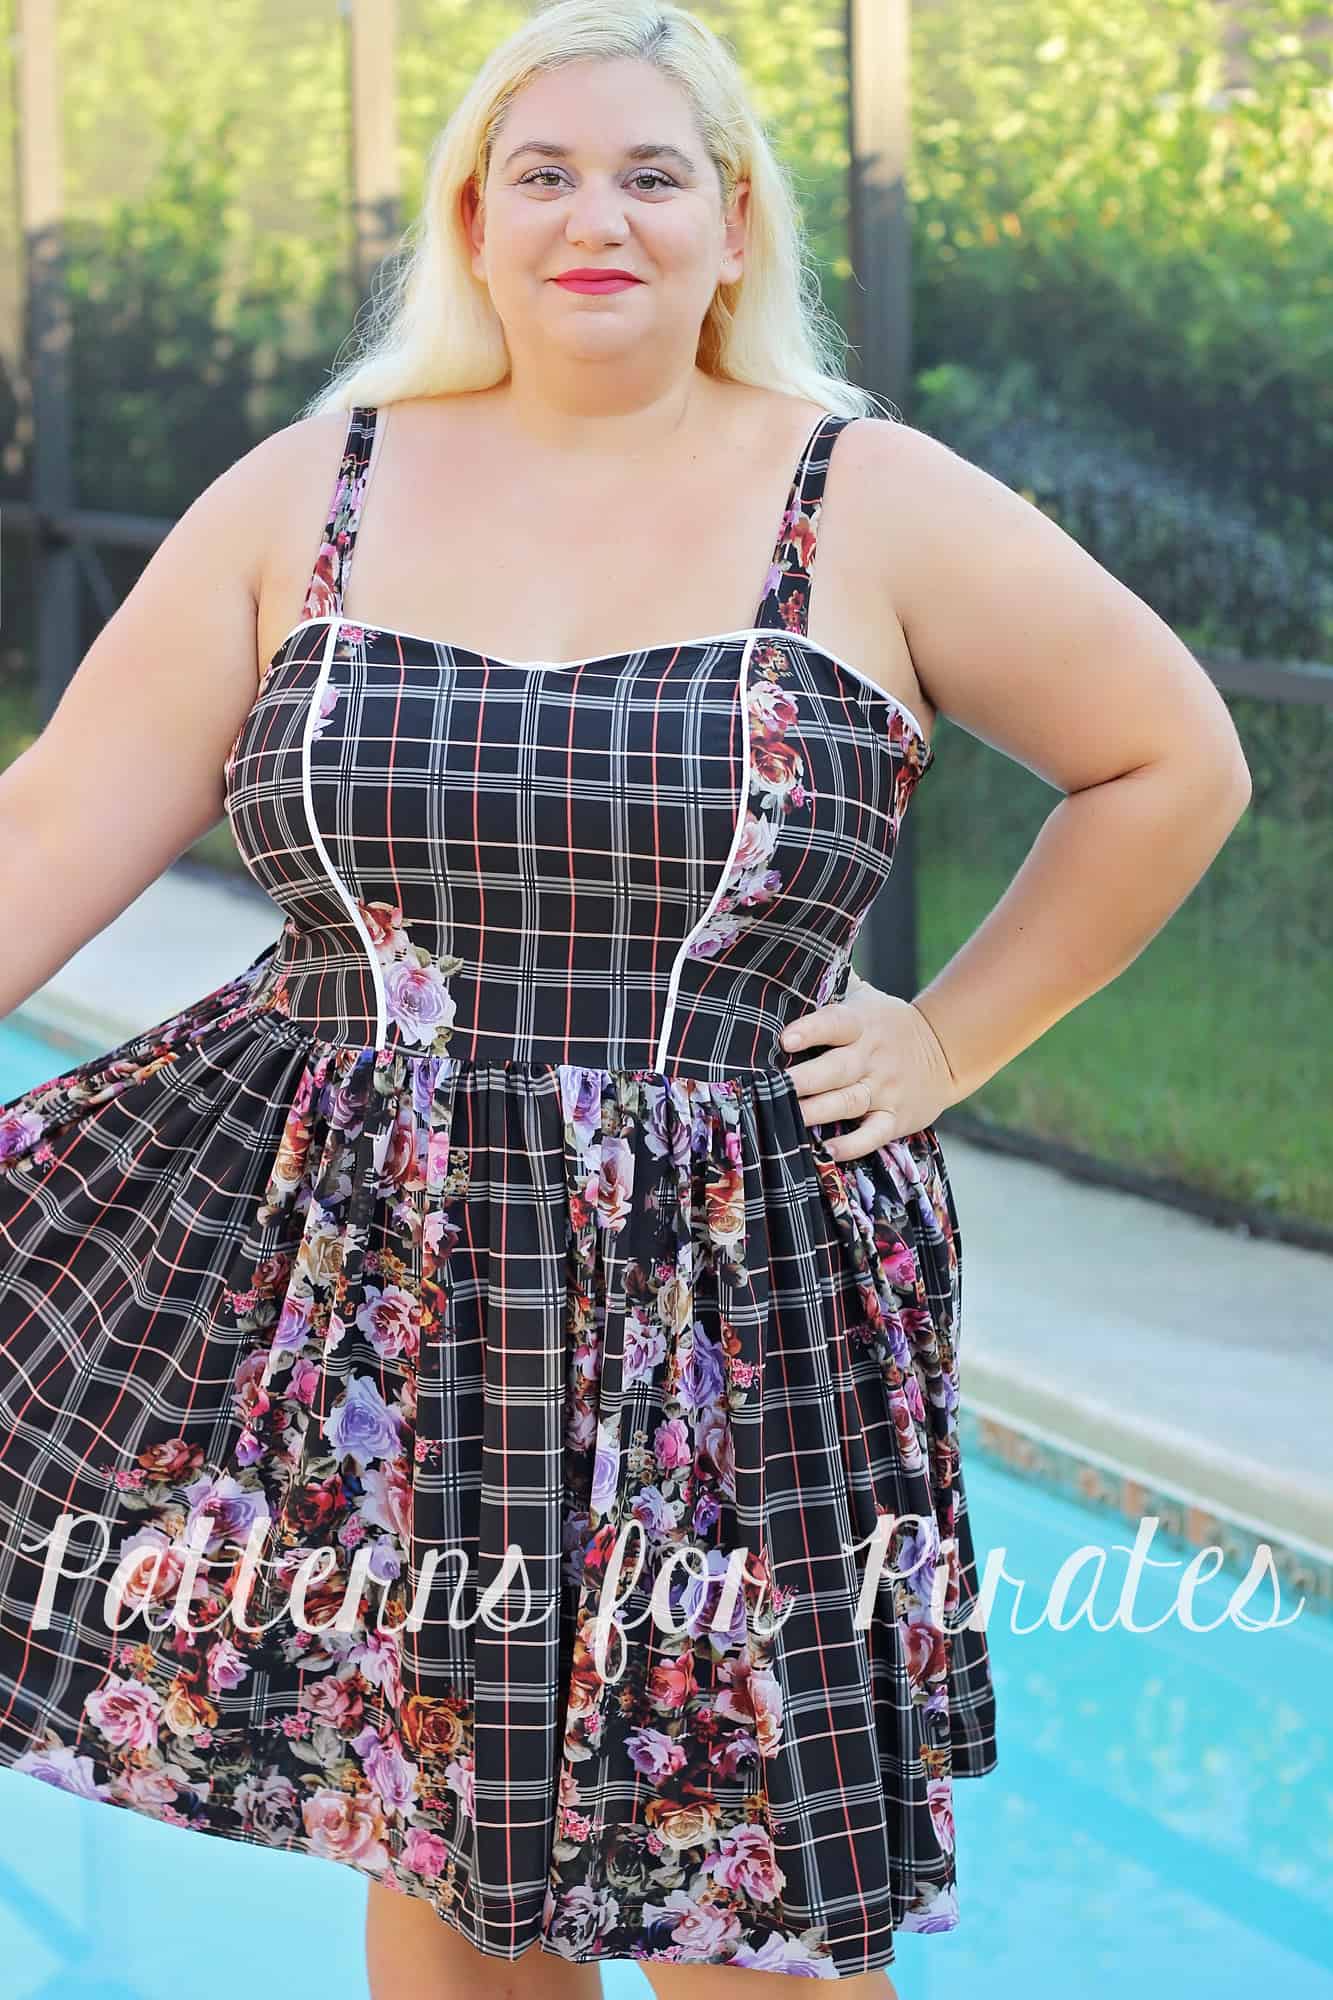
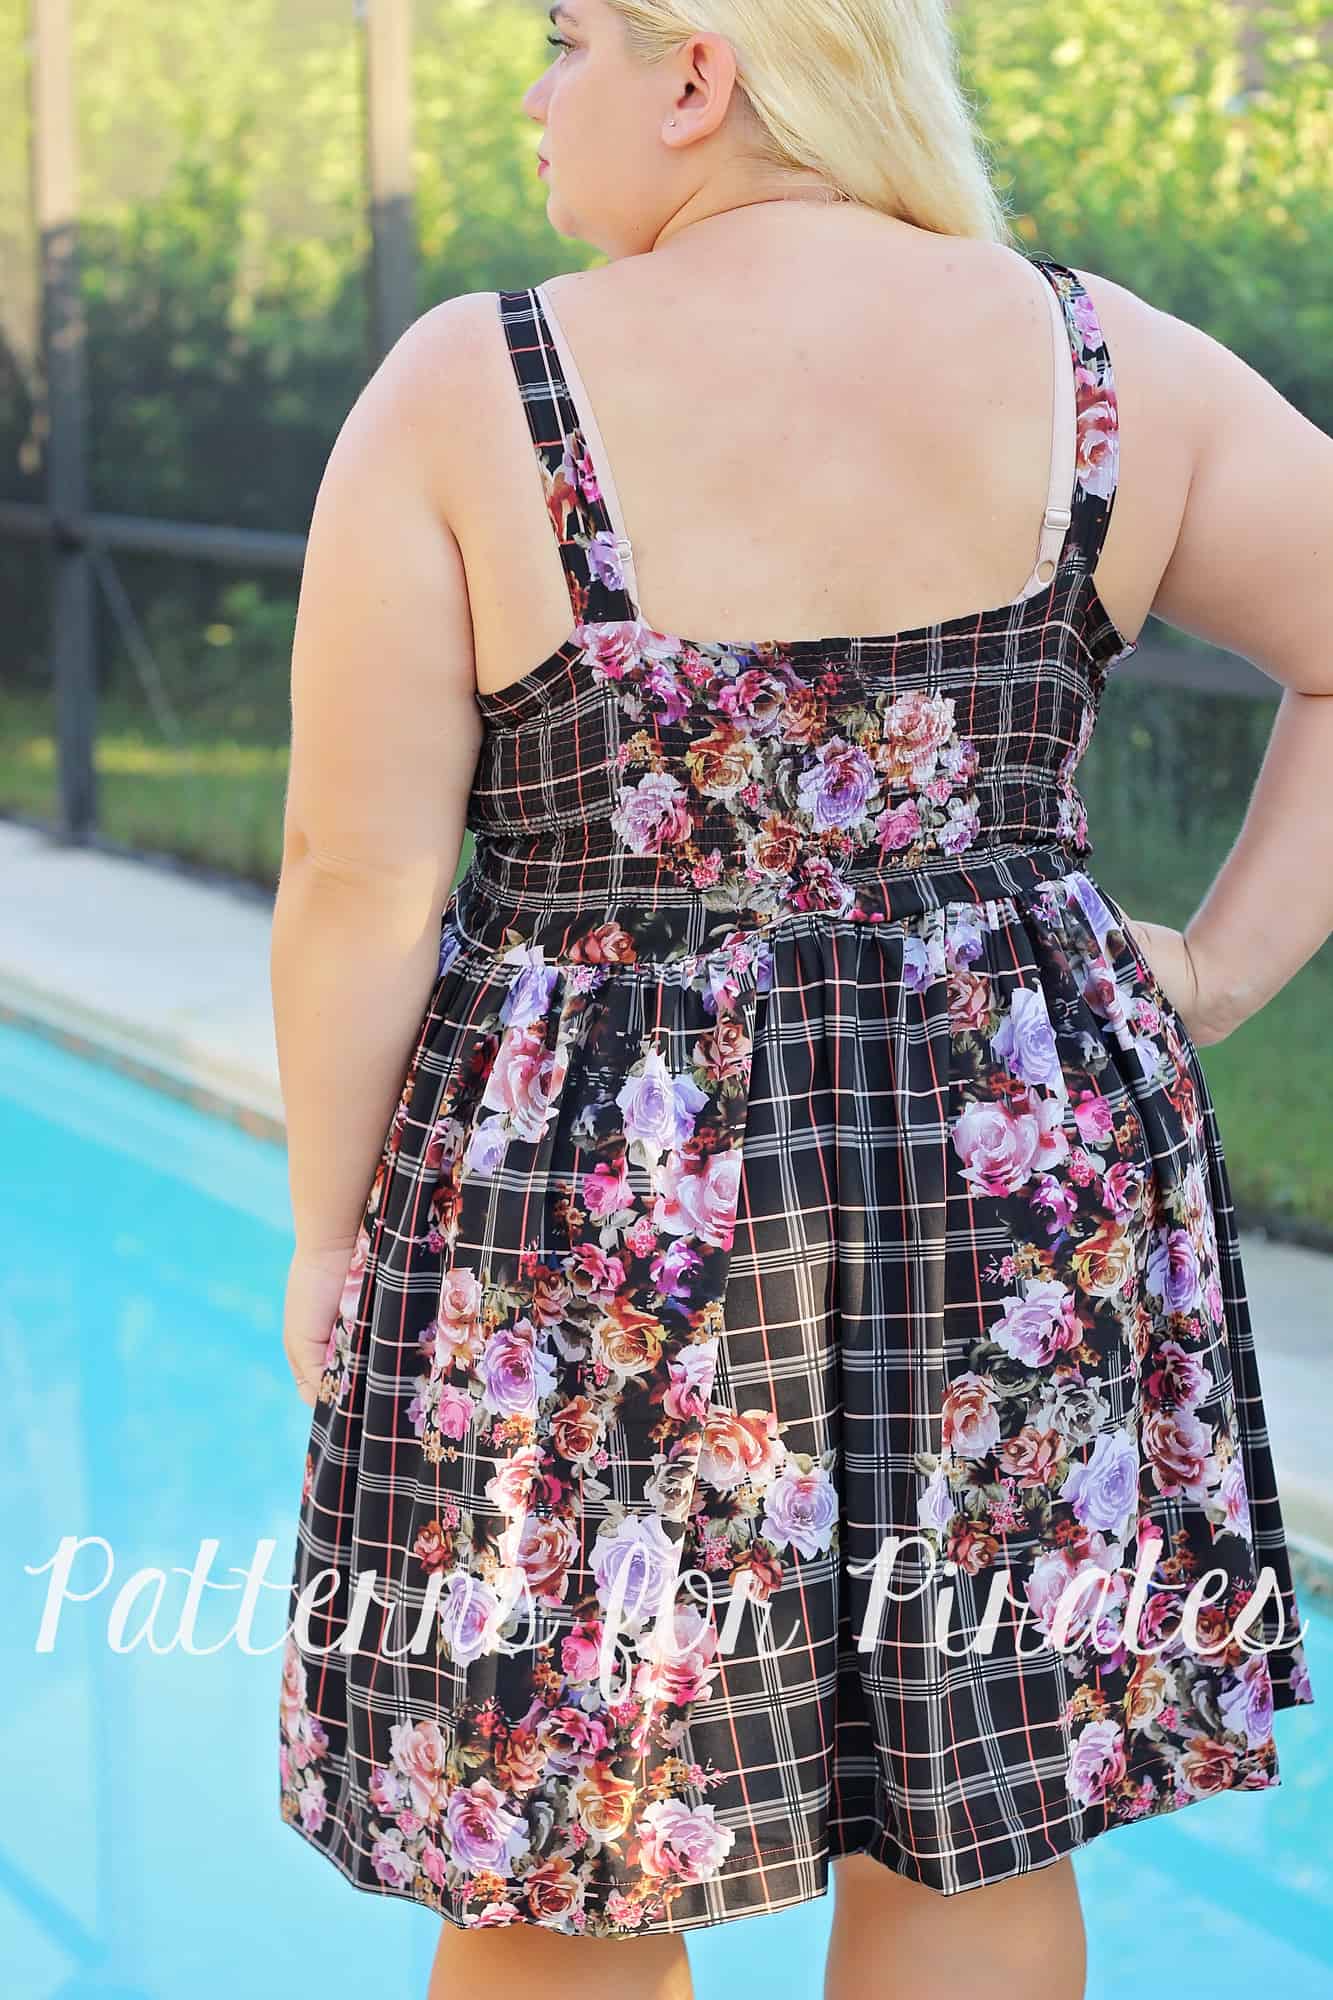
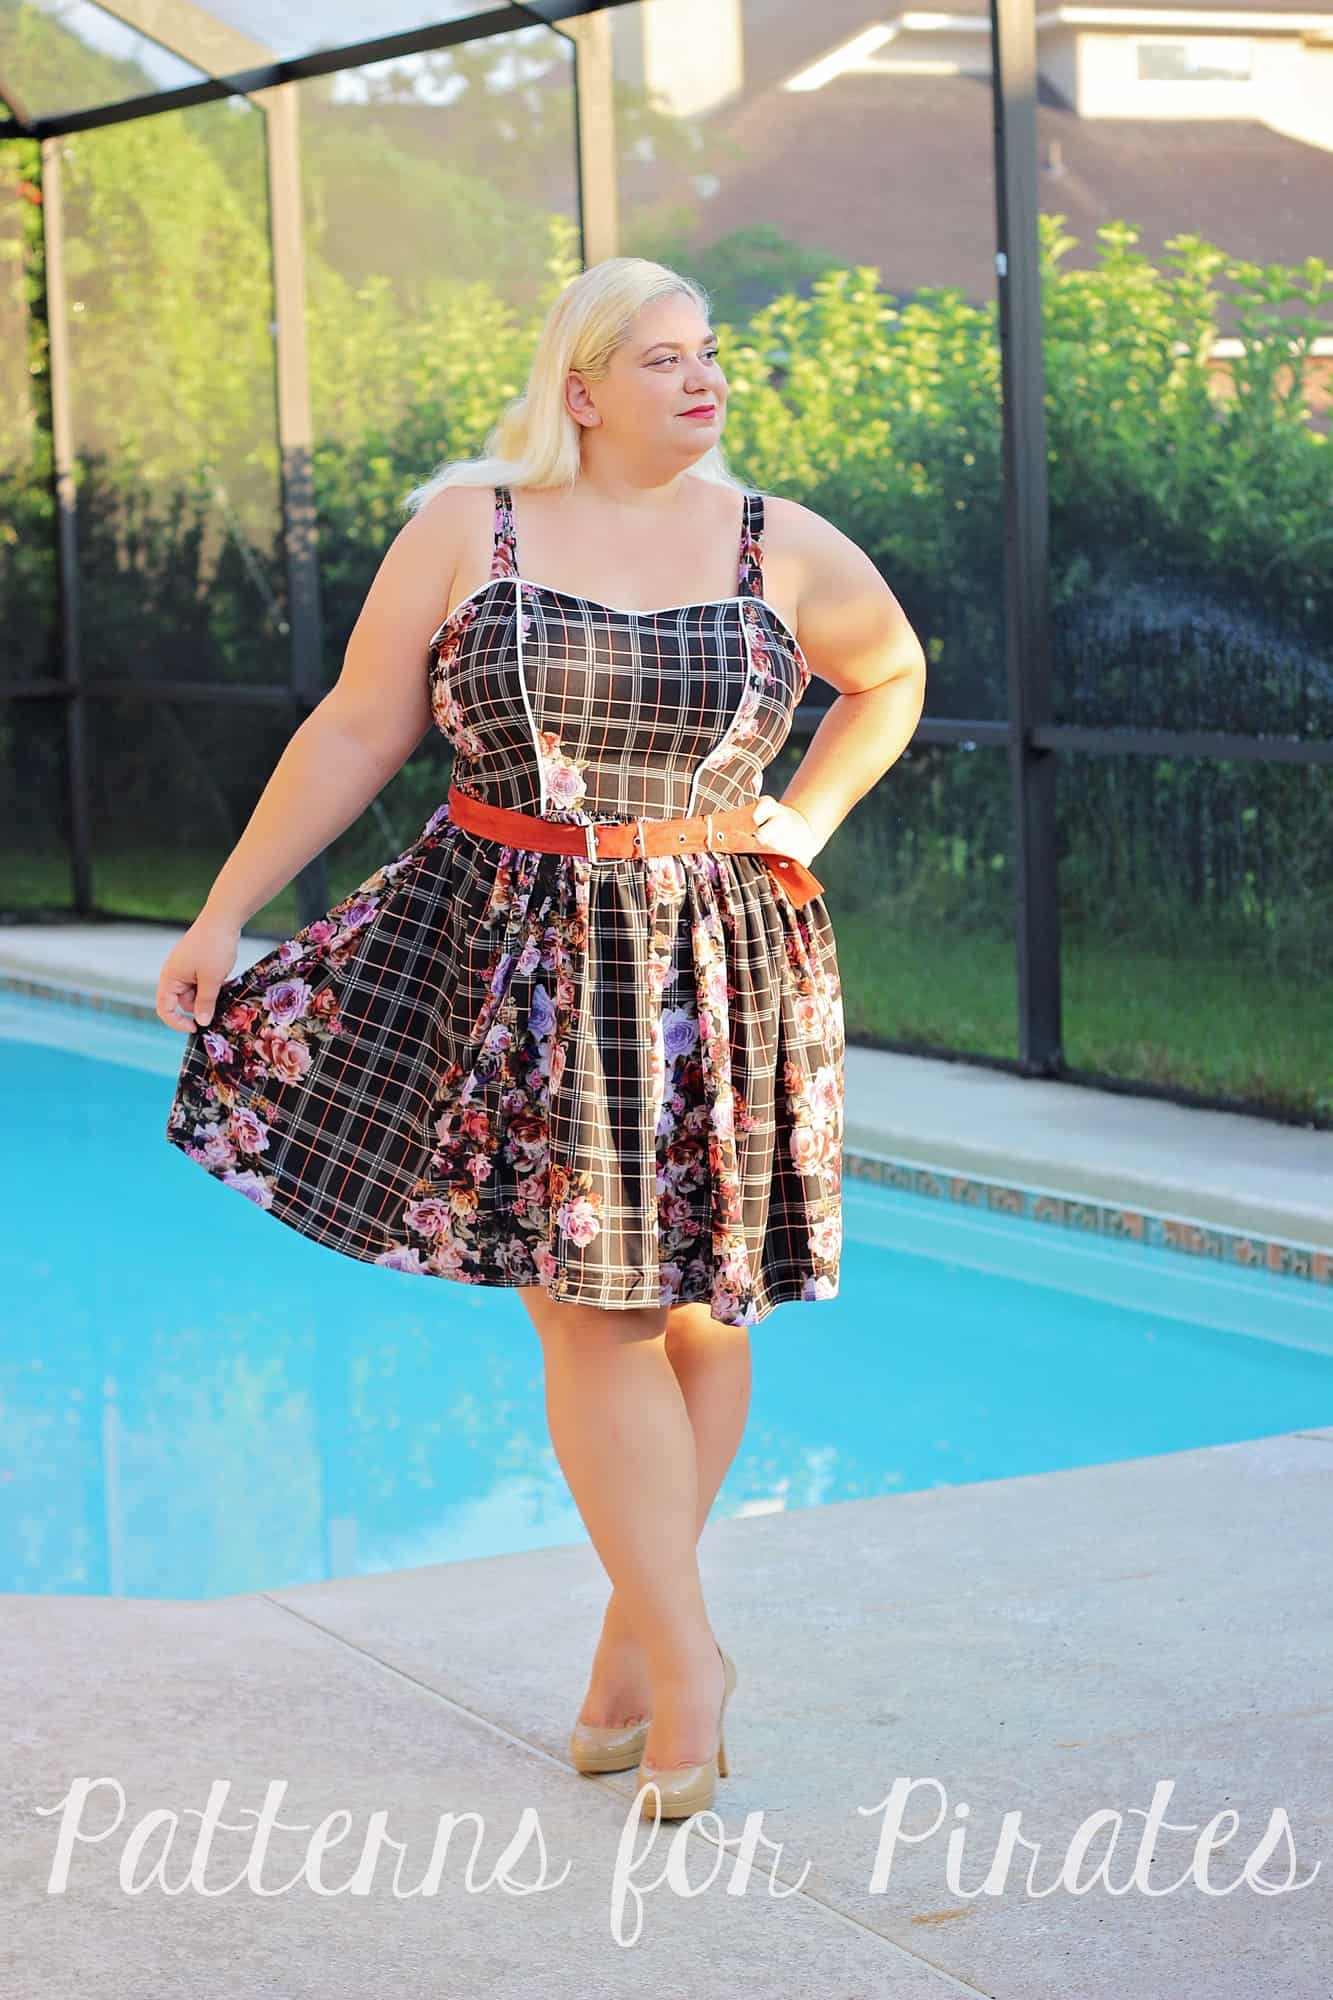
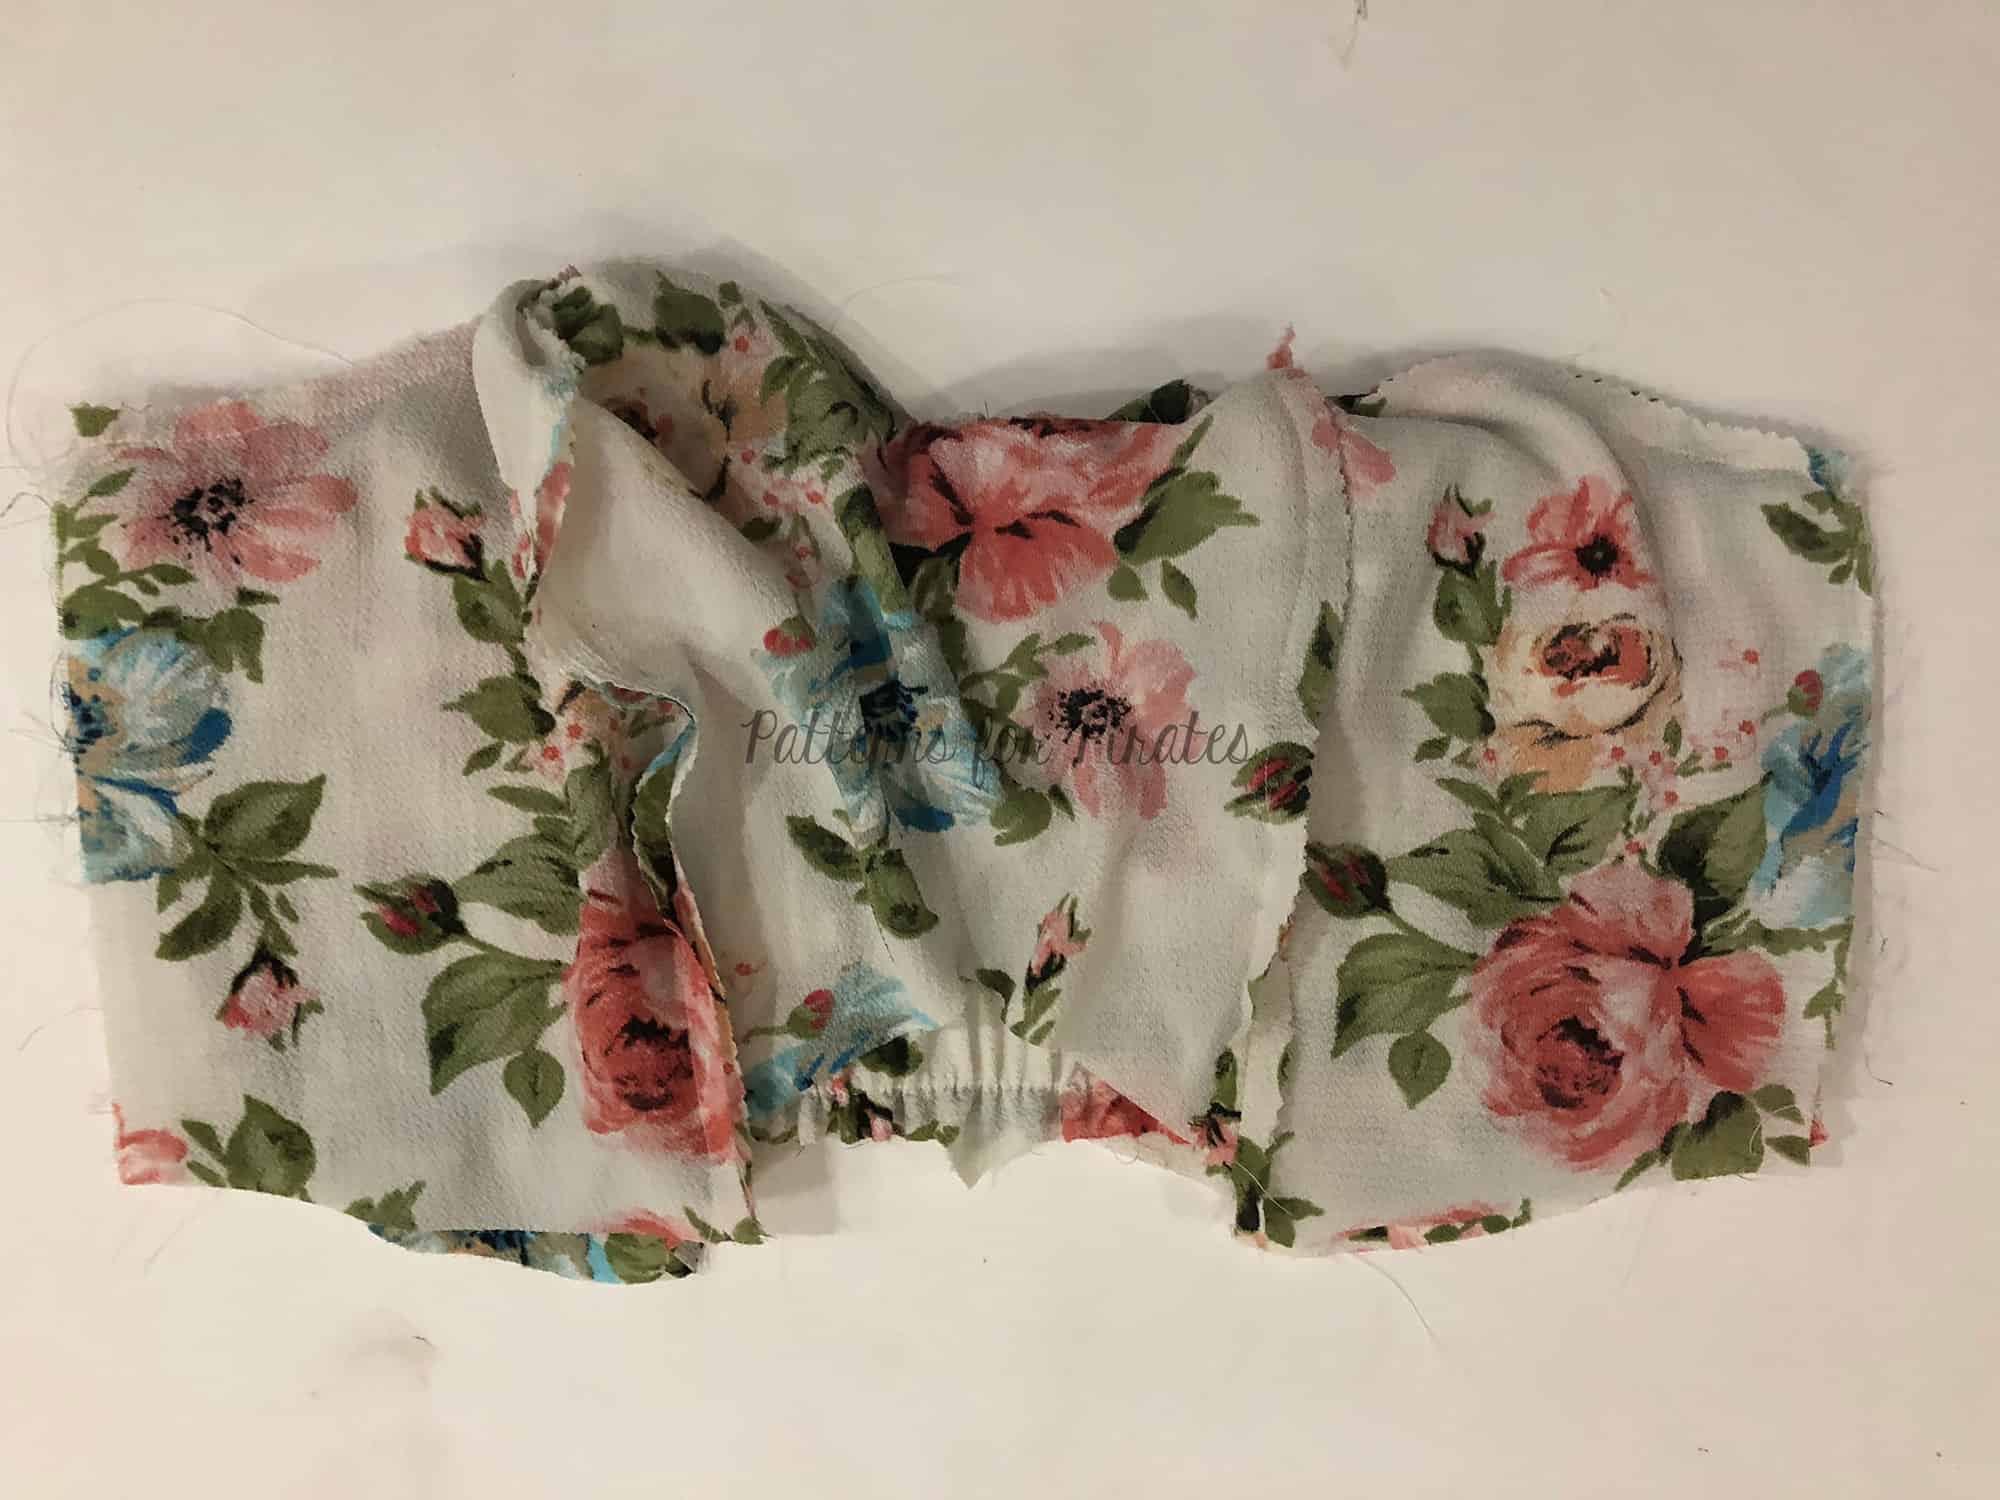
Piping
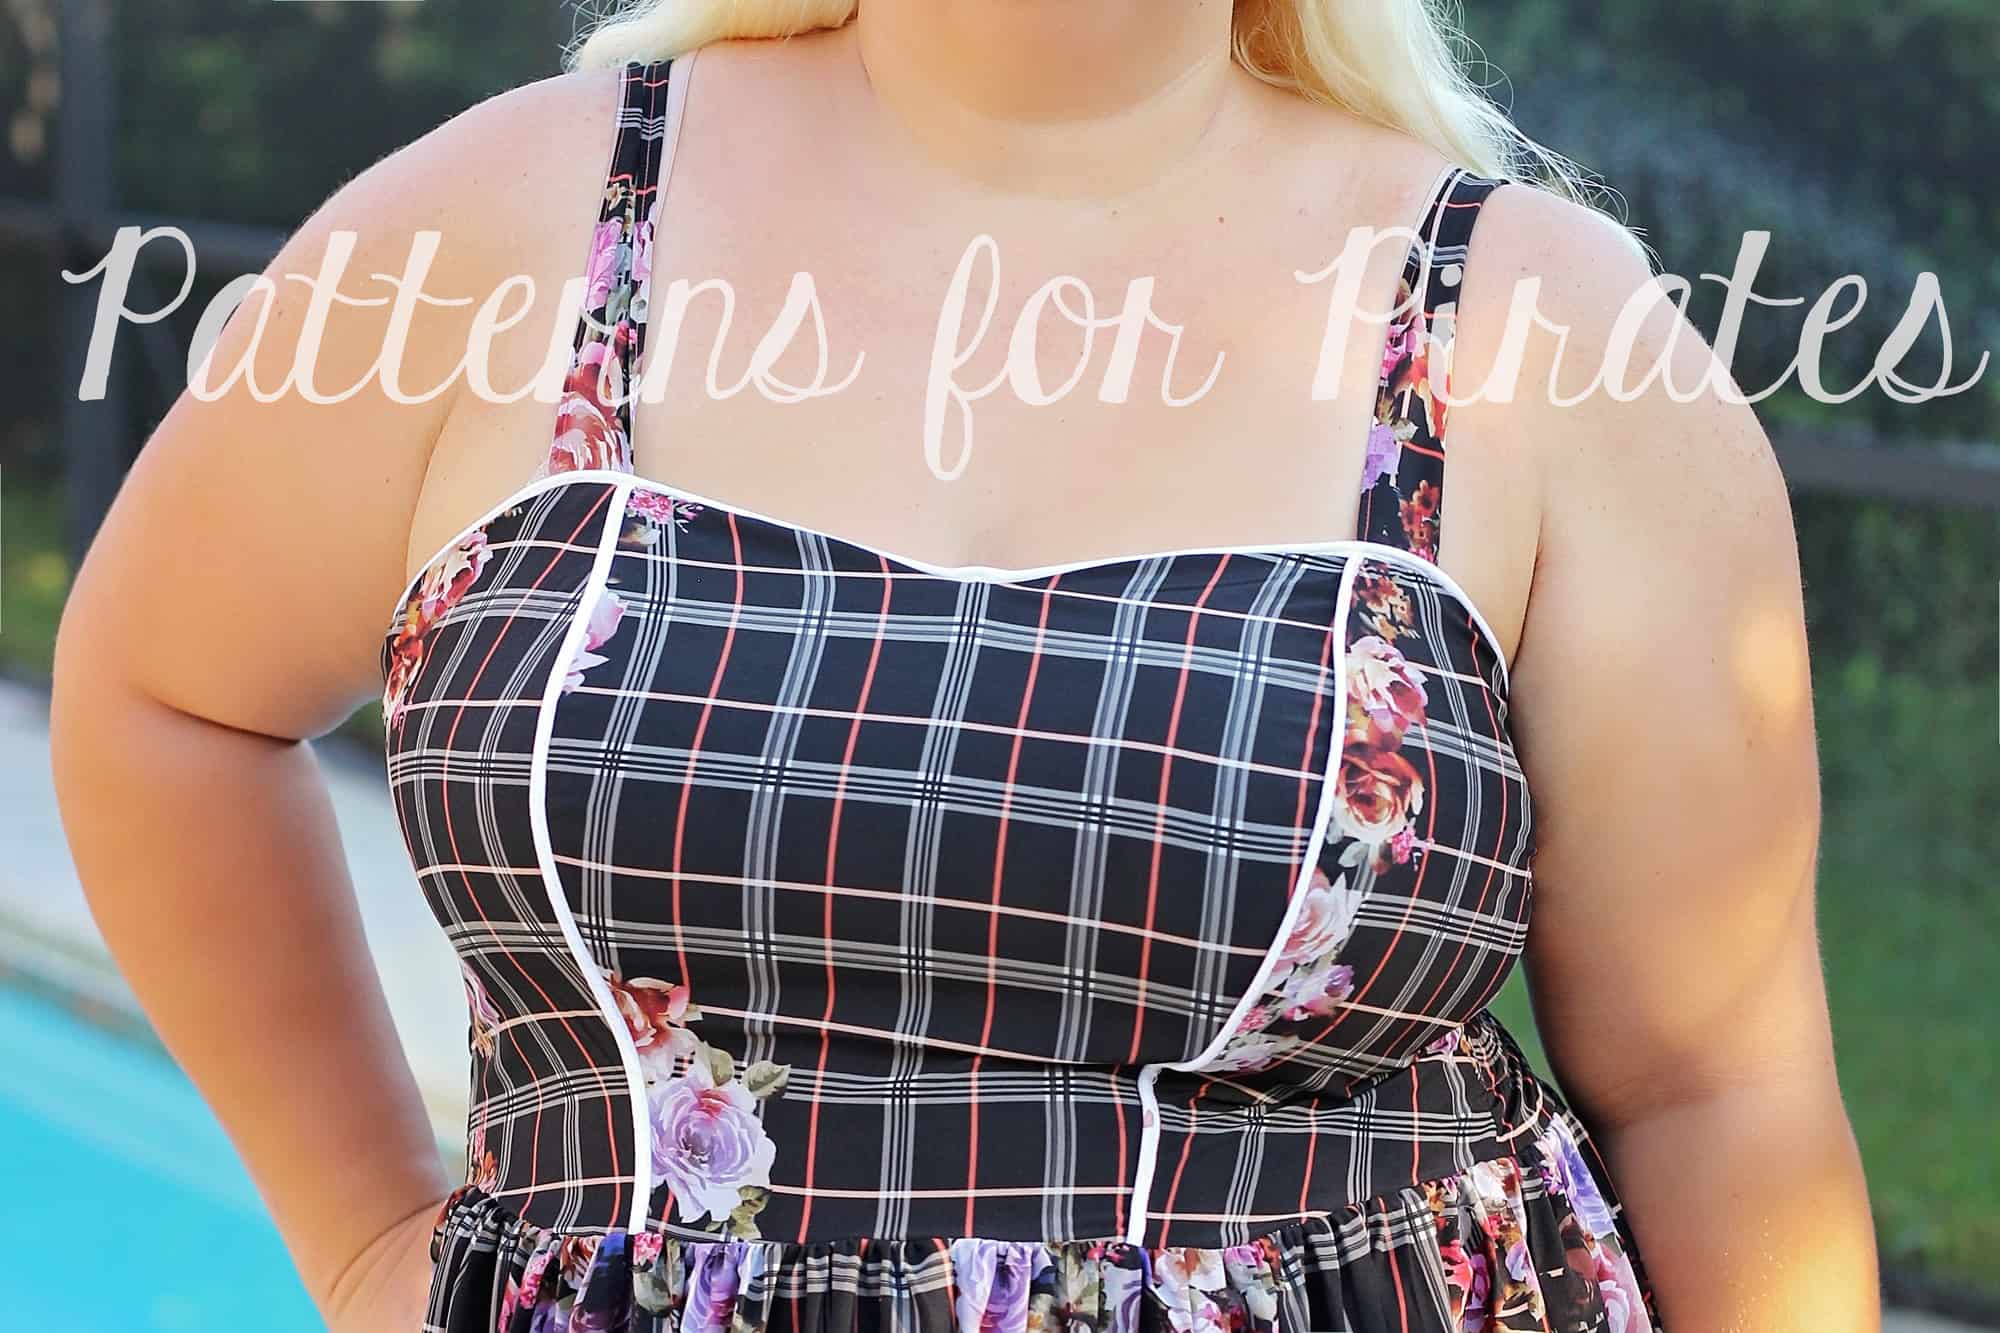
If you know me you know I’m a huge piping fan, store bought piping that is. If I can add it to a dress I will, so it is only normal that I added it to the So Classic Sundress.
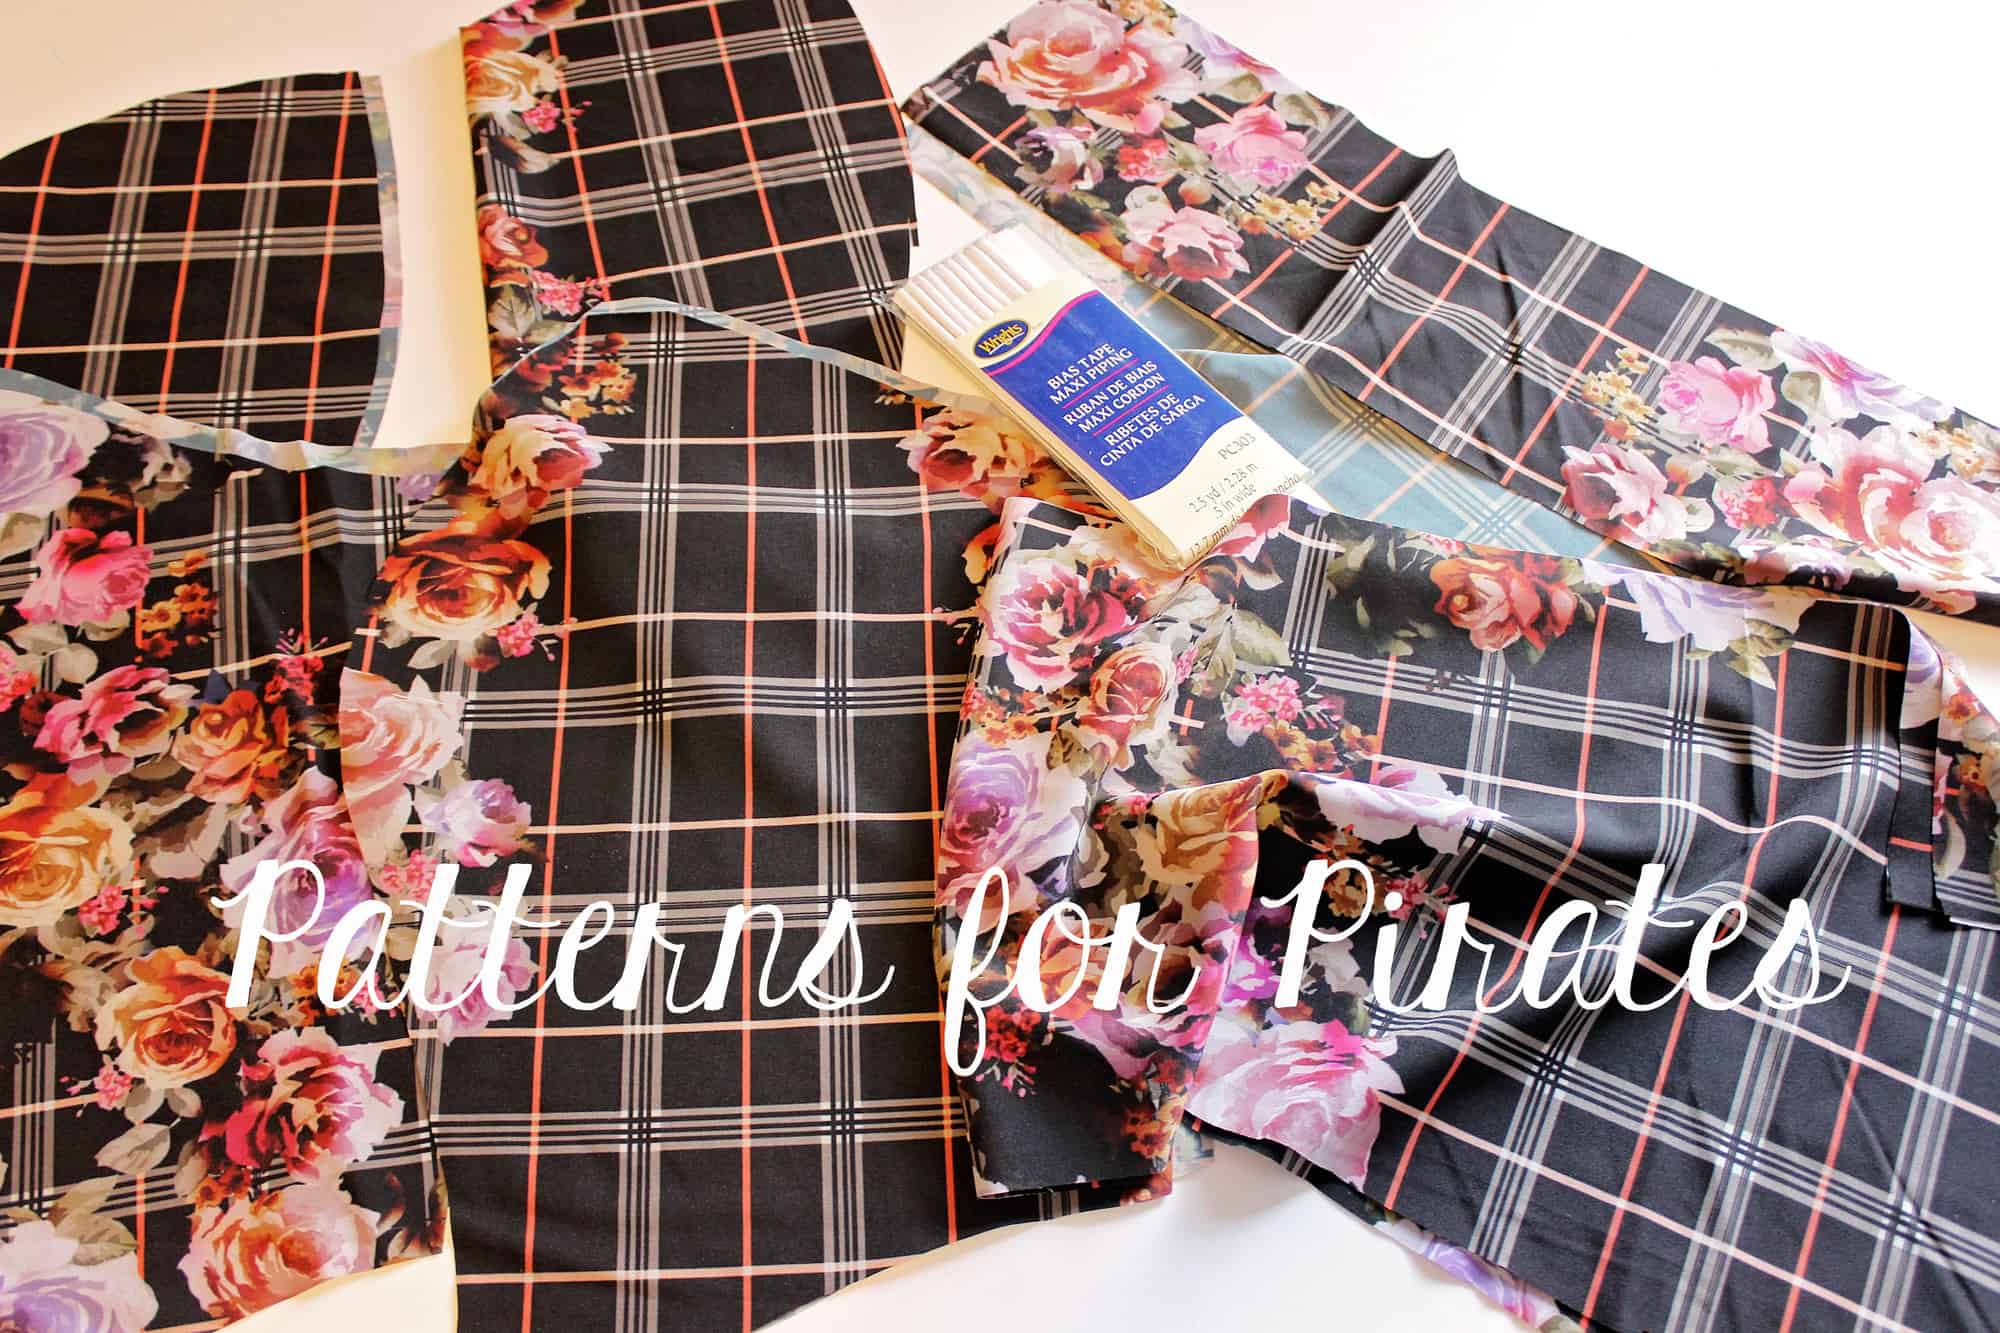
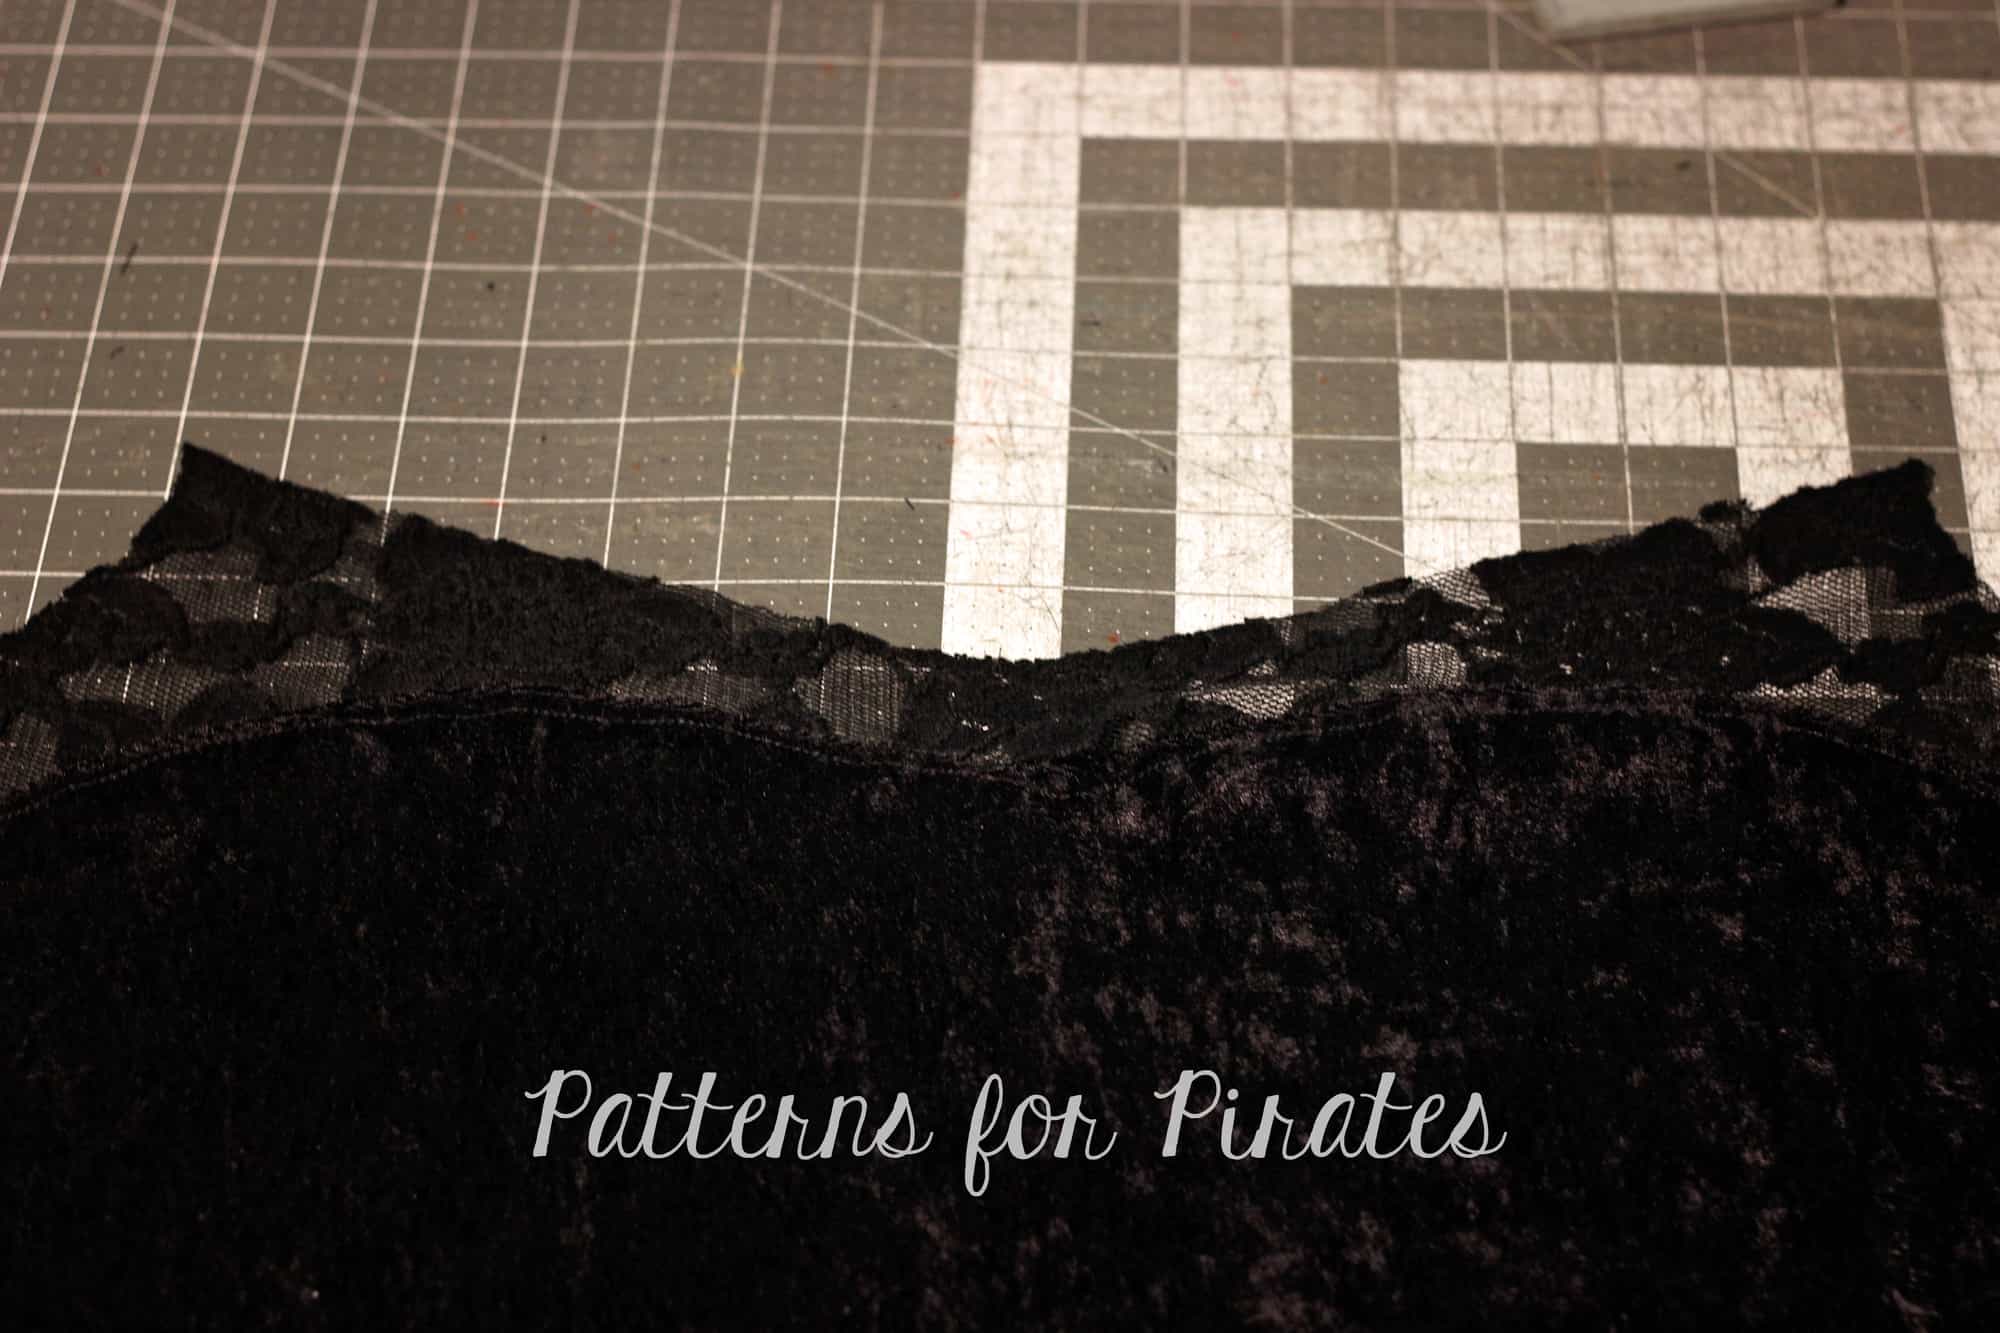
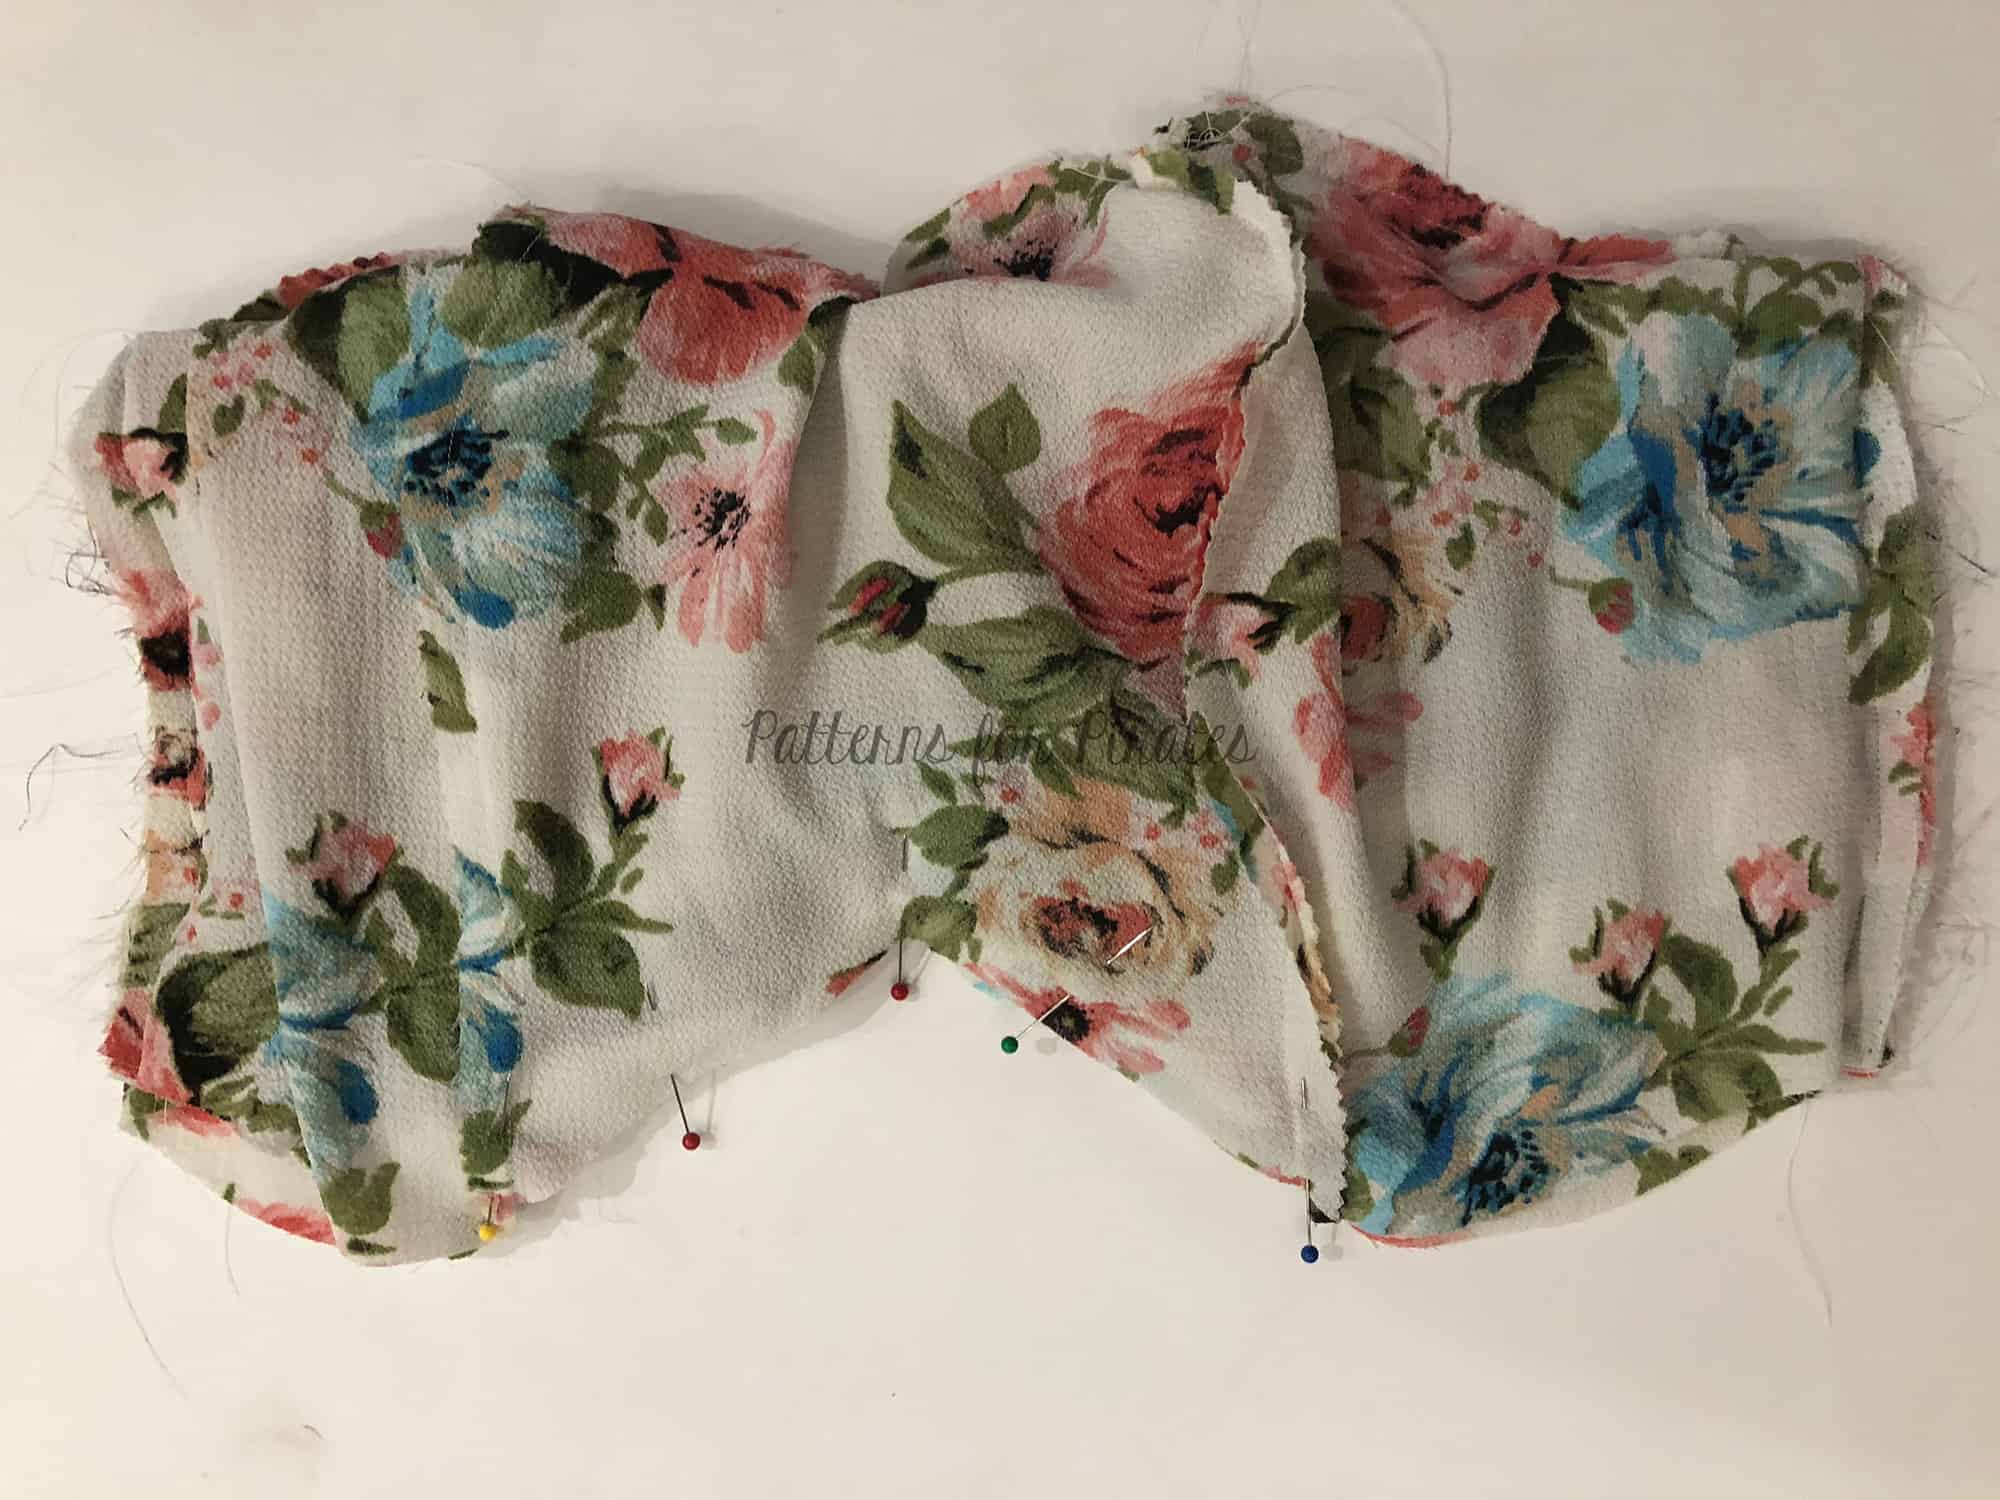
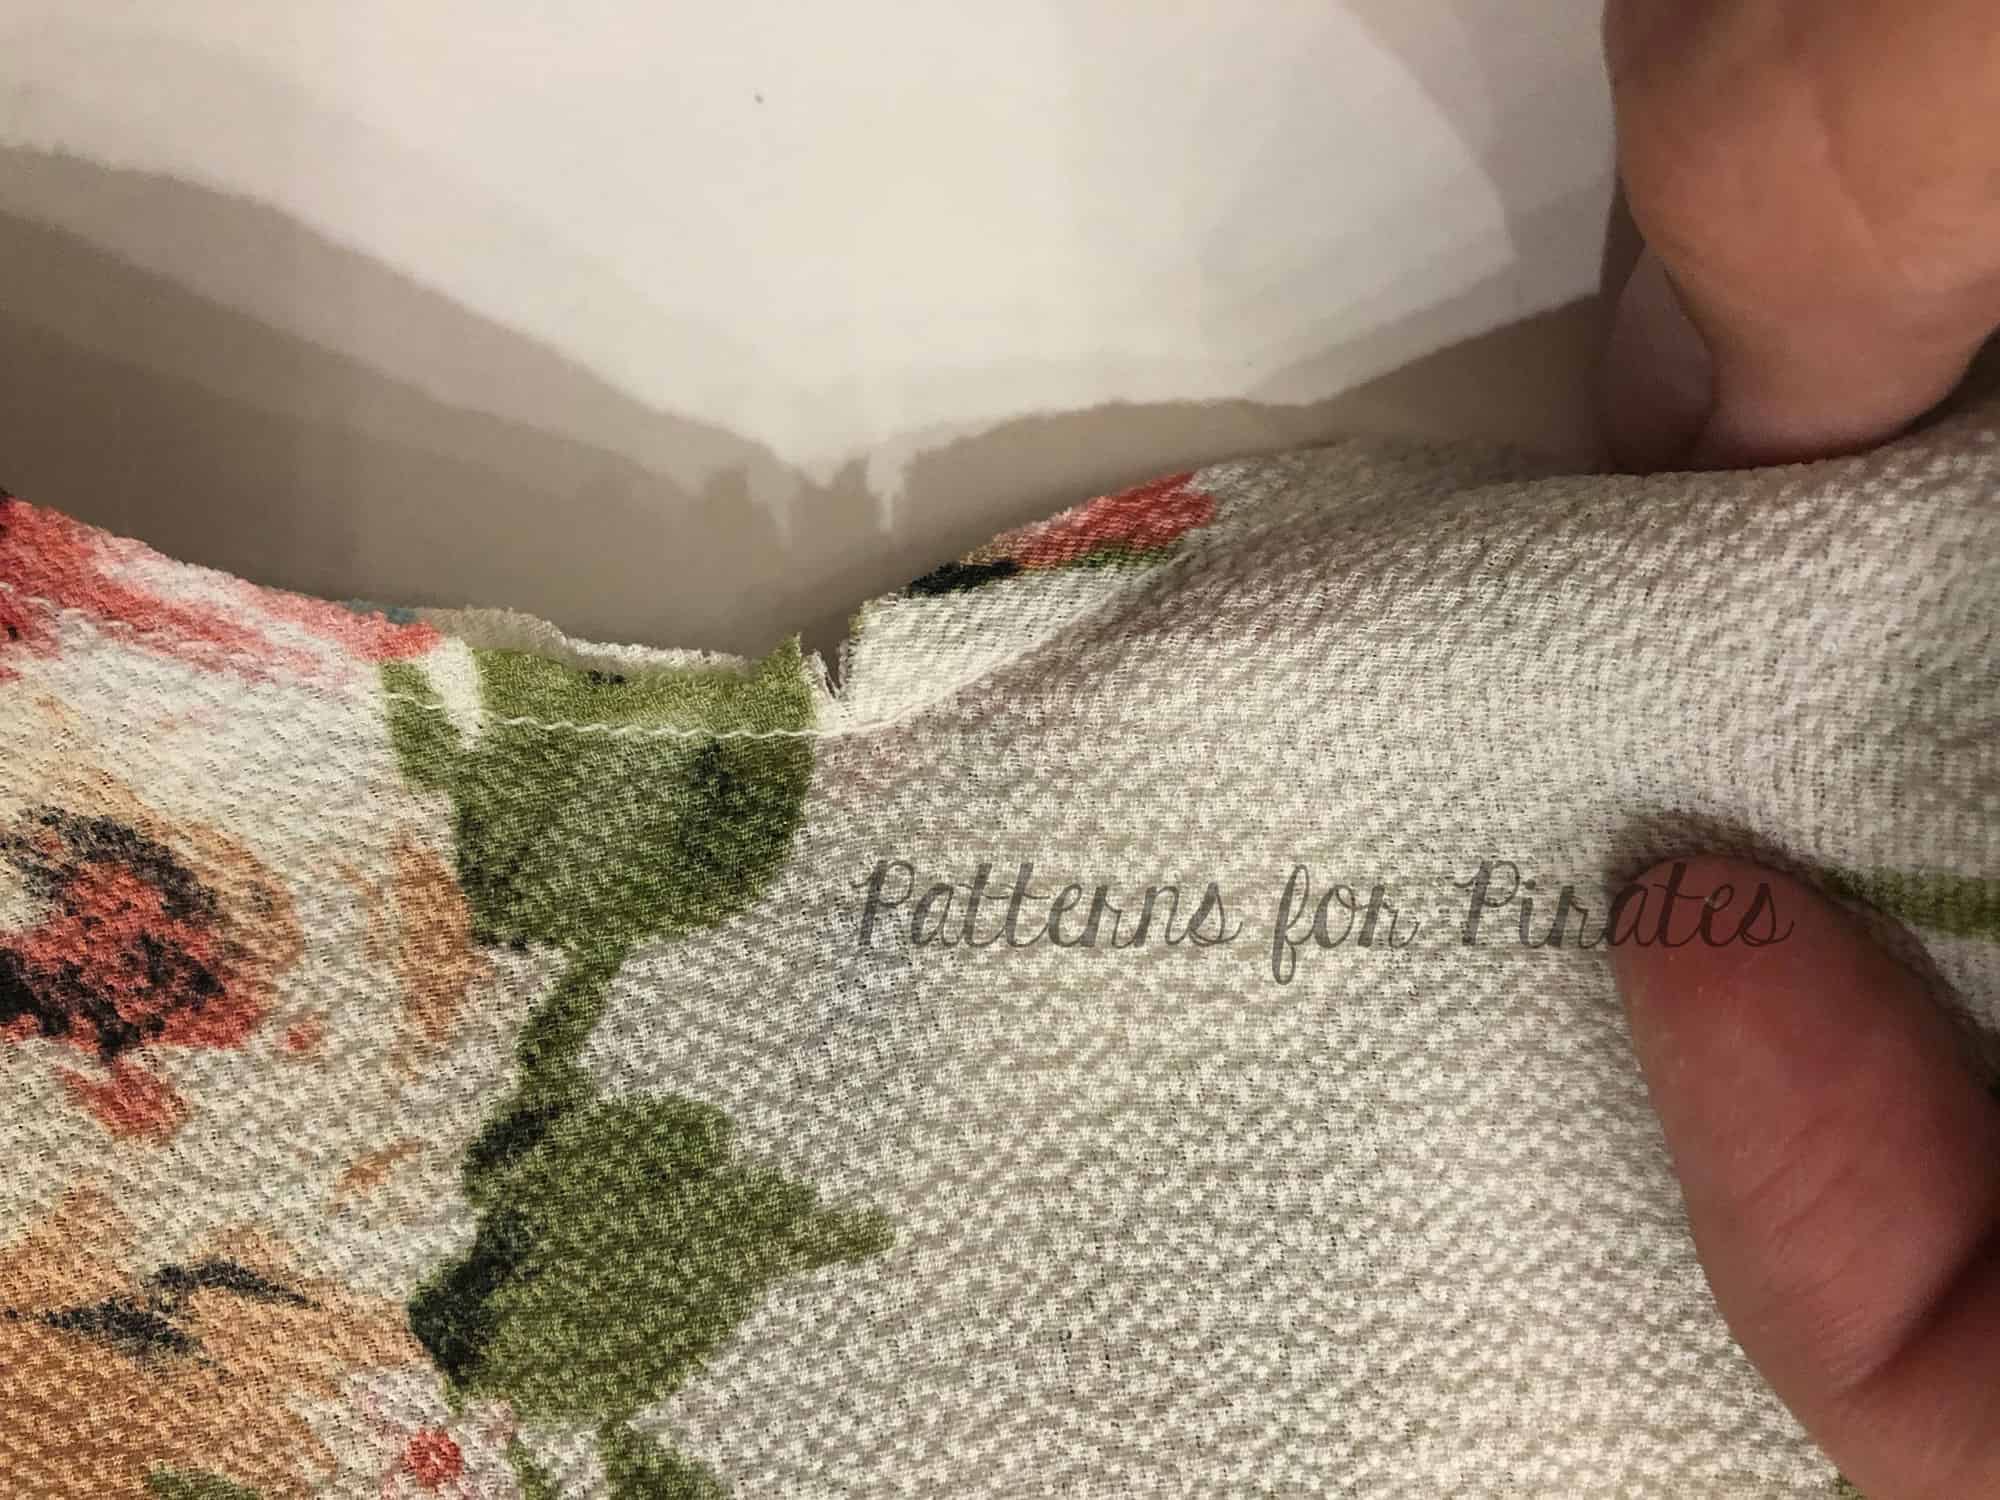
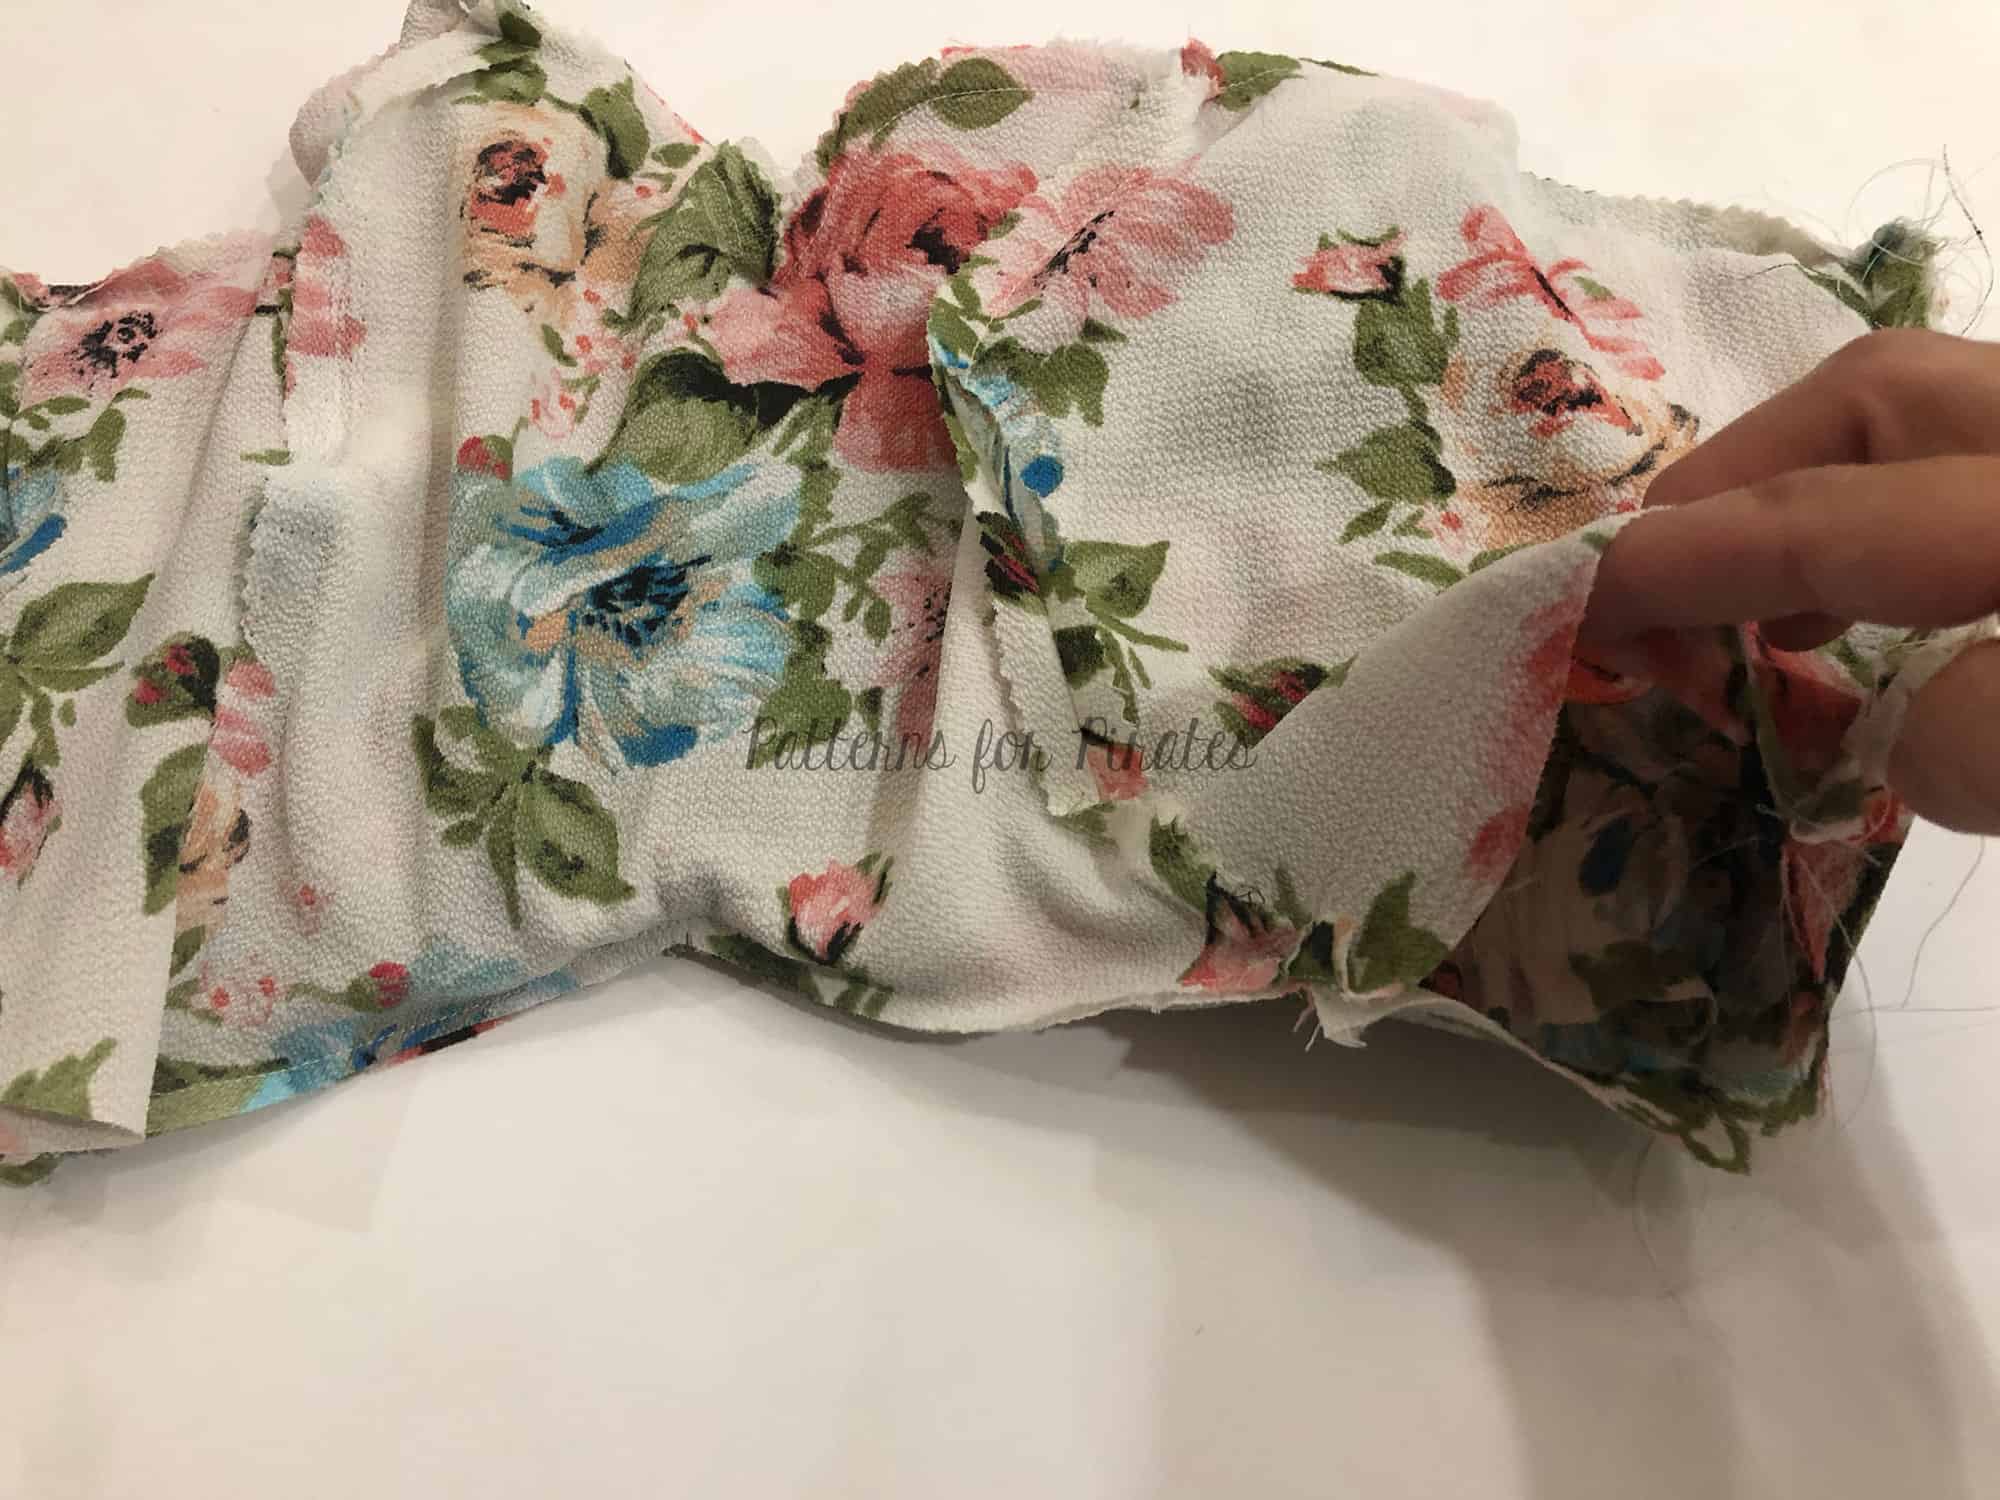
After cutting your pattern pieces as instructed you will add the piping to the desired seams. I love it at the princess seams and the sweetheart neckline. You could add piping to the straps, the waistband and even the bottom hem if you’d like. I would not recommend adding piping to the back as piping doesn’t look nice gathered.
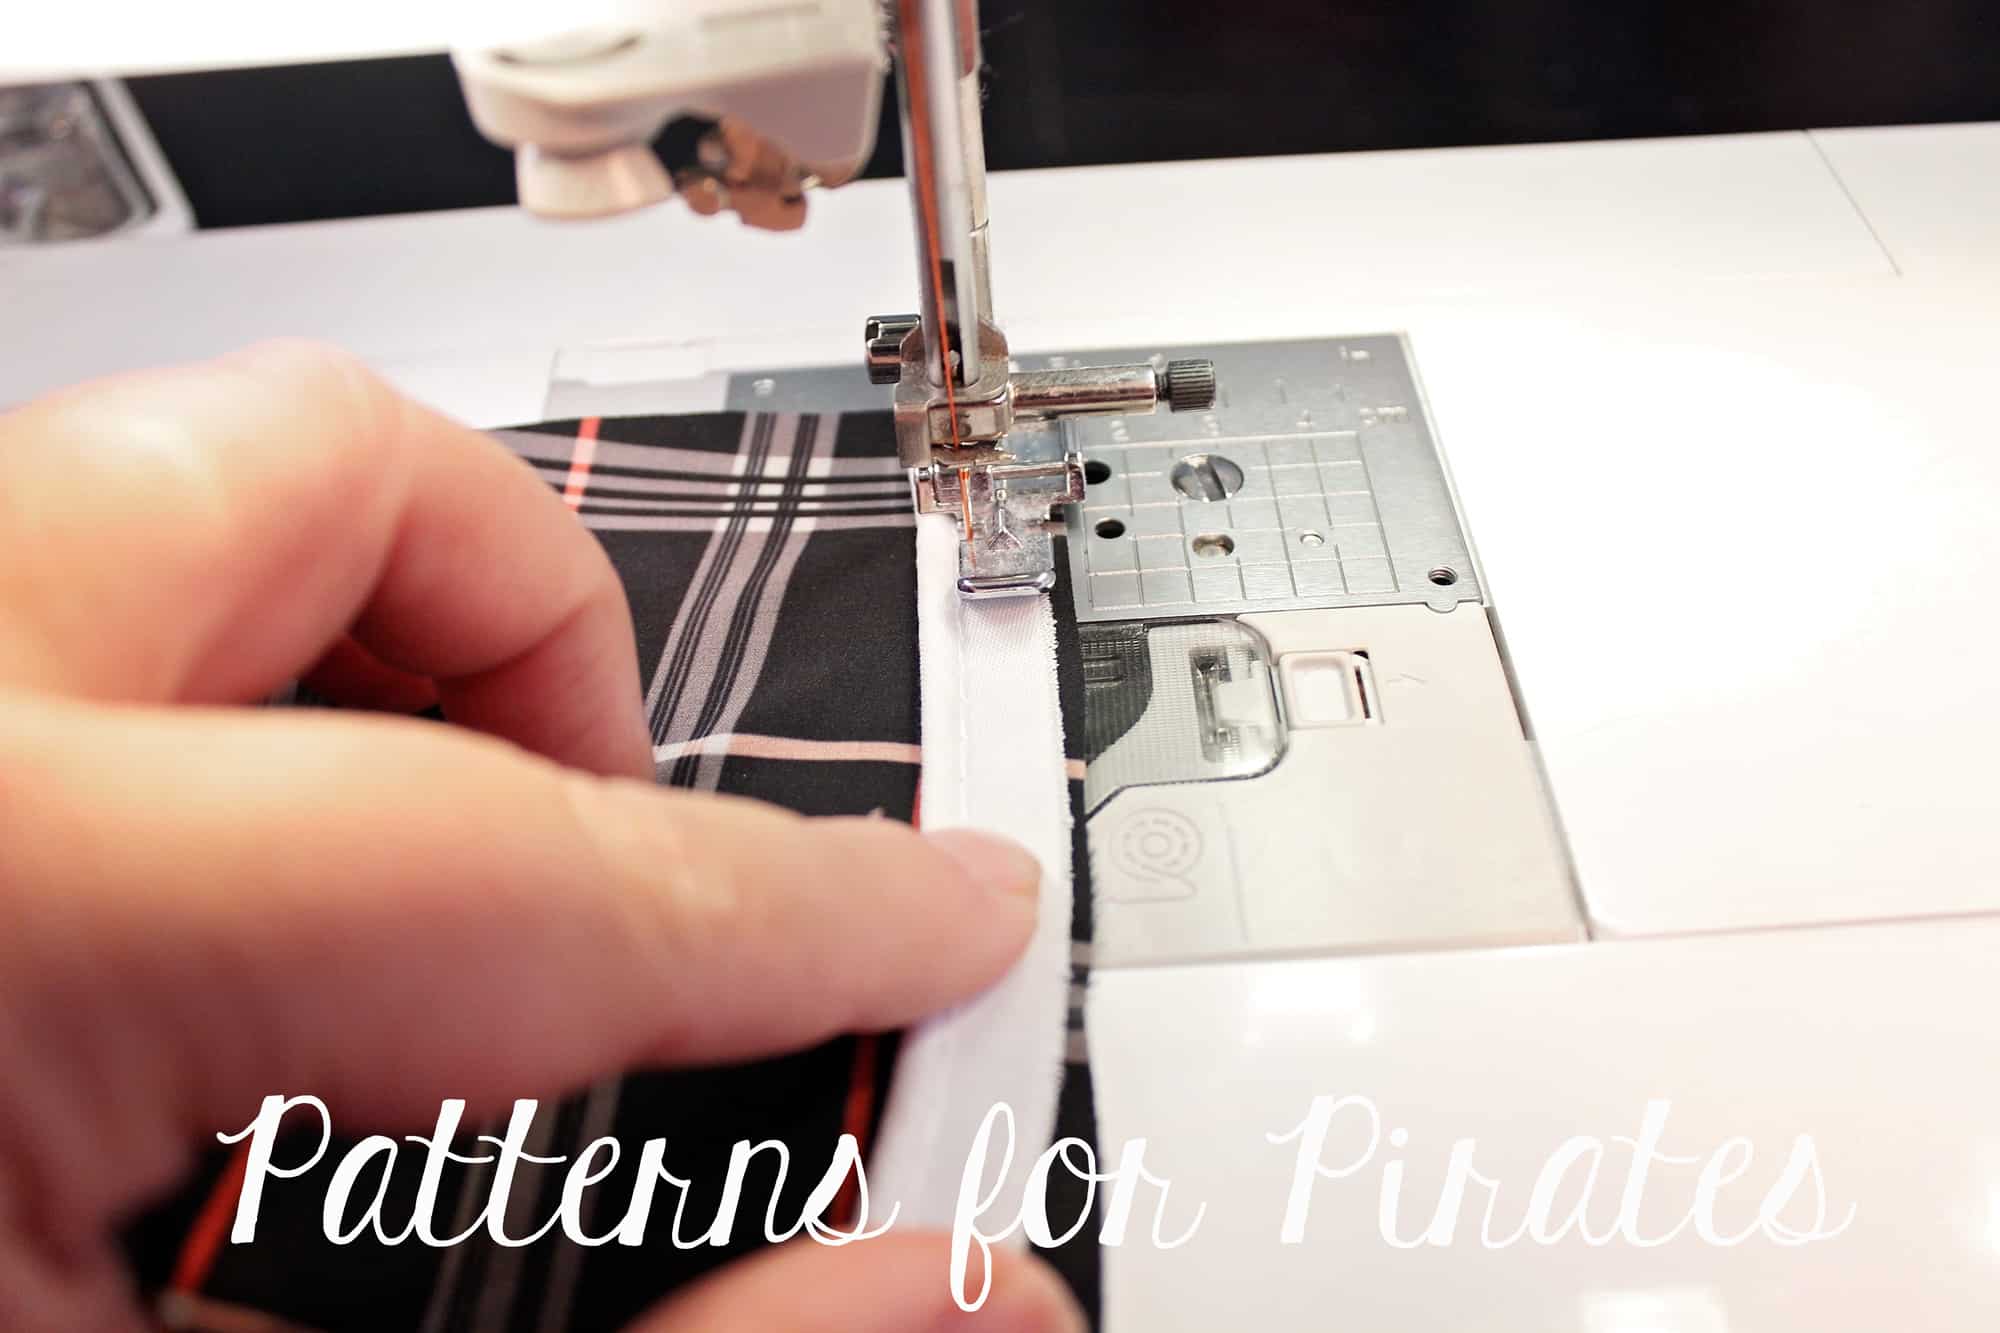
Sew the piping to the center princess seams using a zipper foot. Store bought piping are smaller than the 1/2″ SA included in the pattern so place it a little bit away from the edge.
Sew the princess seams with a 1/2″ seam allowance.
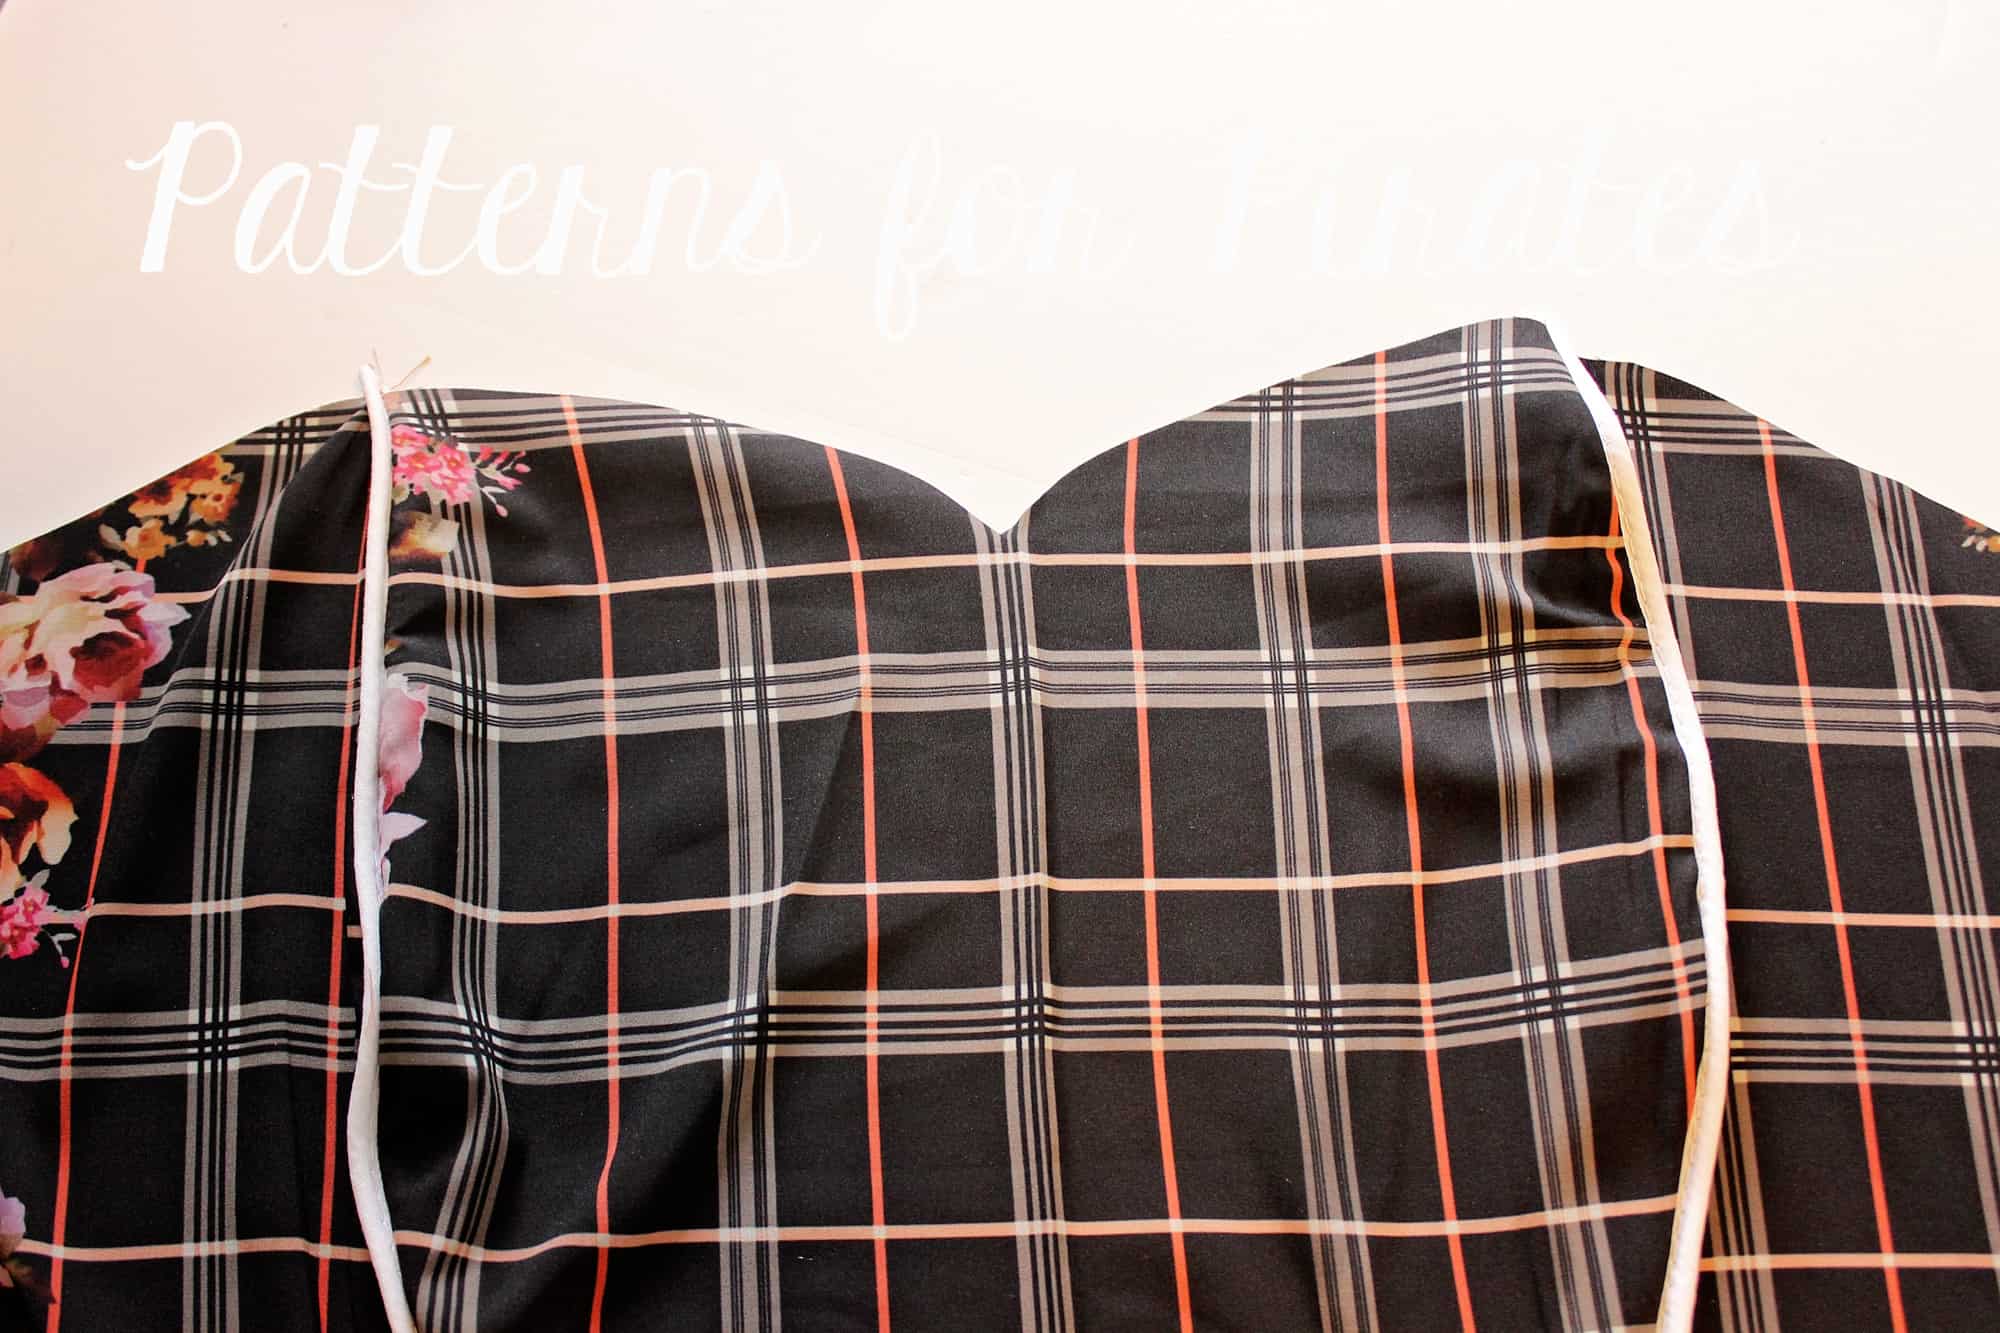
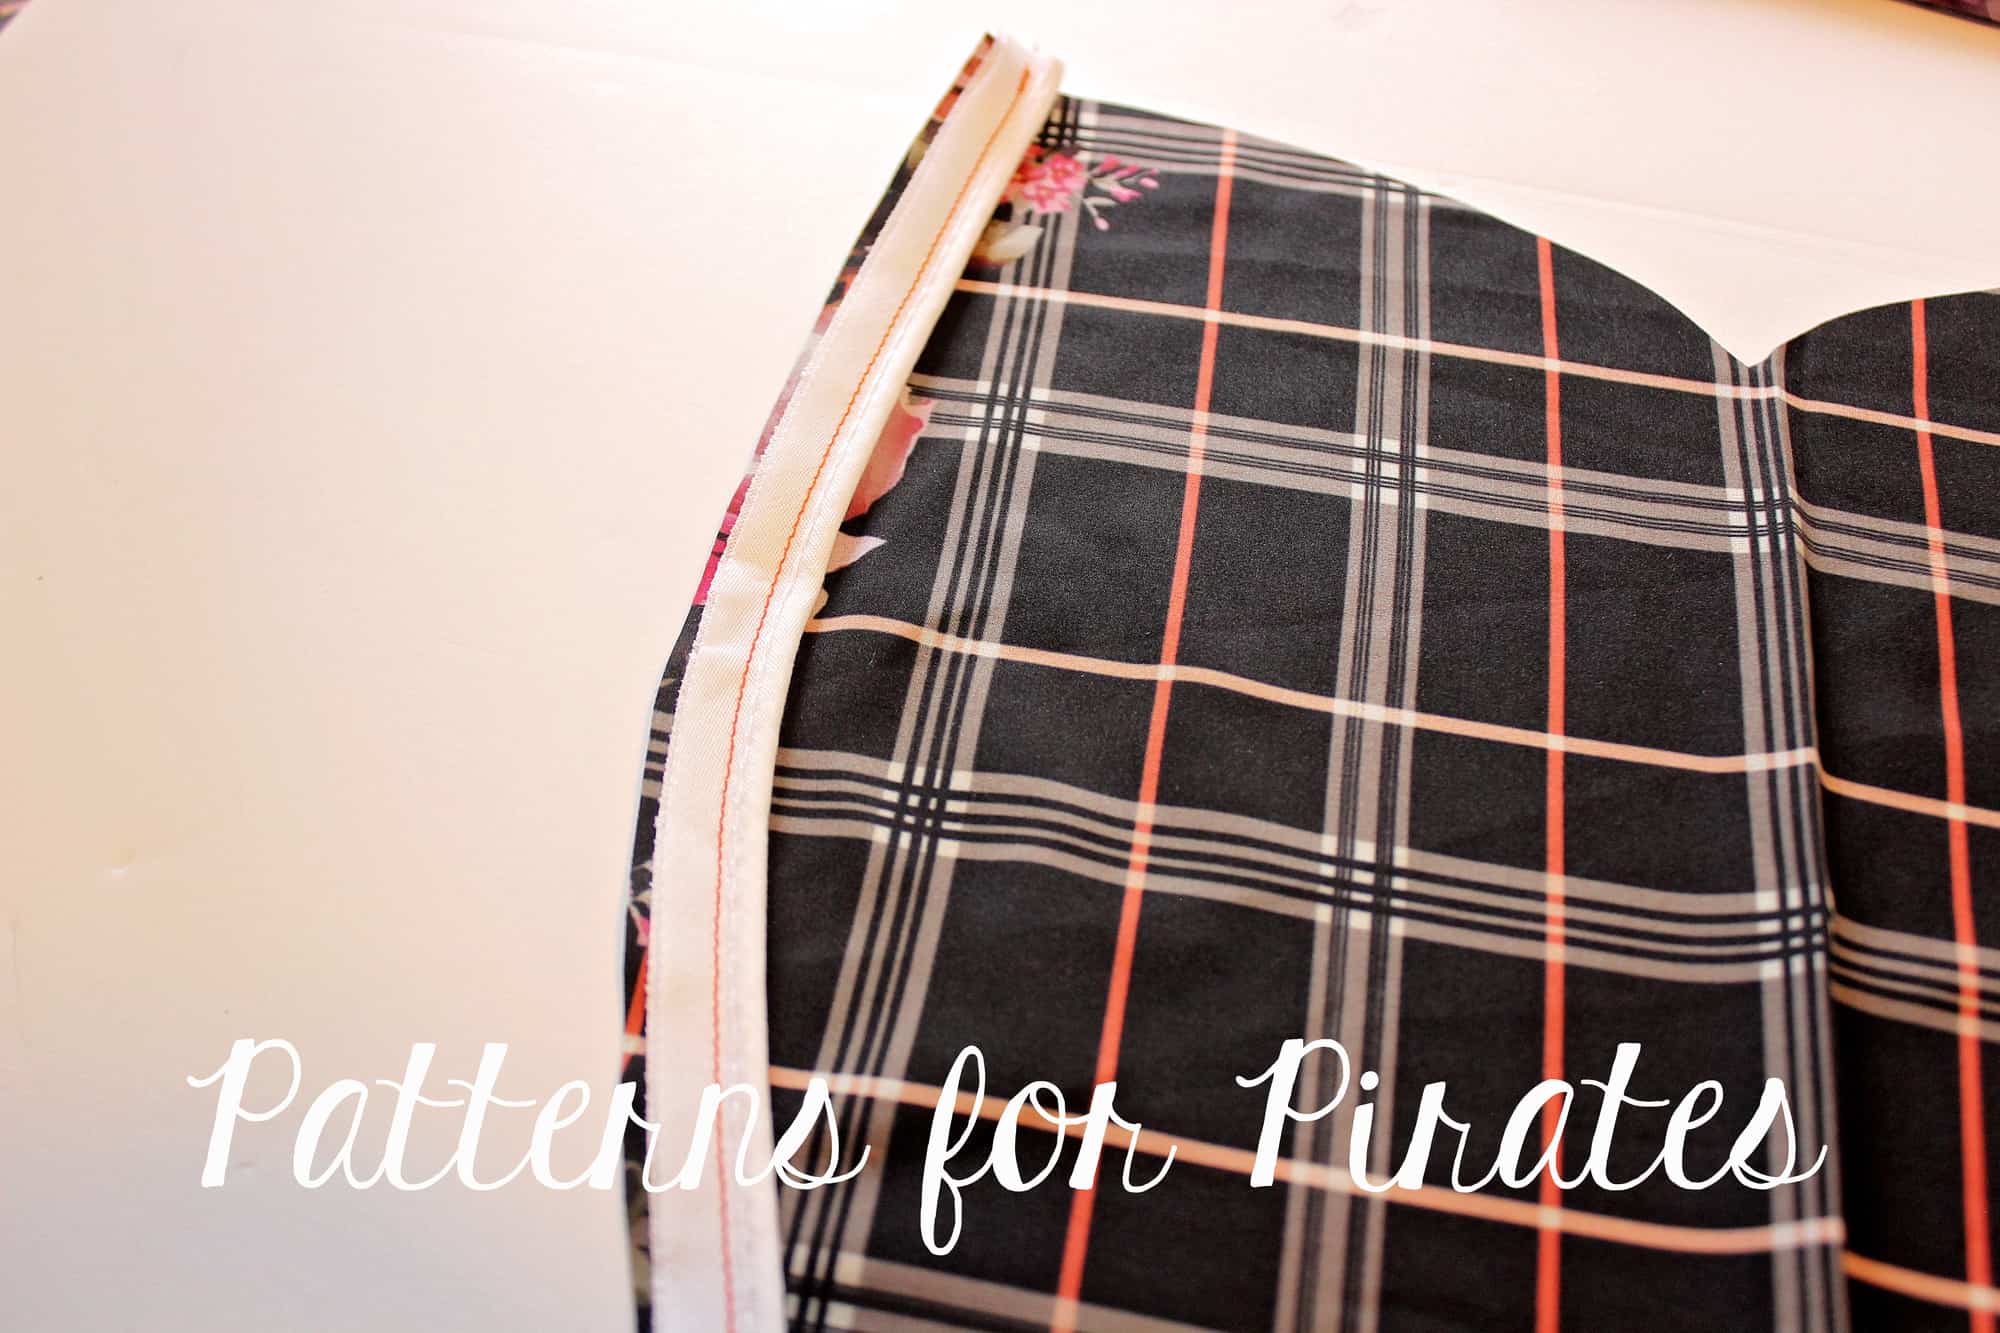
Take the front of the bodice and pin in place the piping at the raw edge. Start 1/2″ away from the side seam and stop 1/2″ away for the other side seam as shown below.
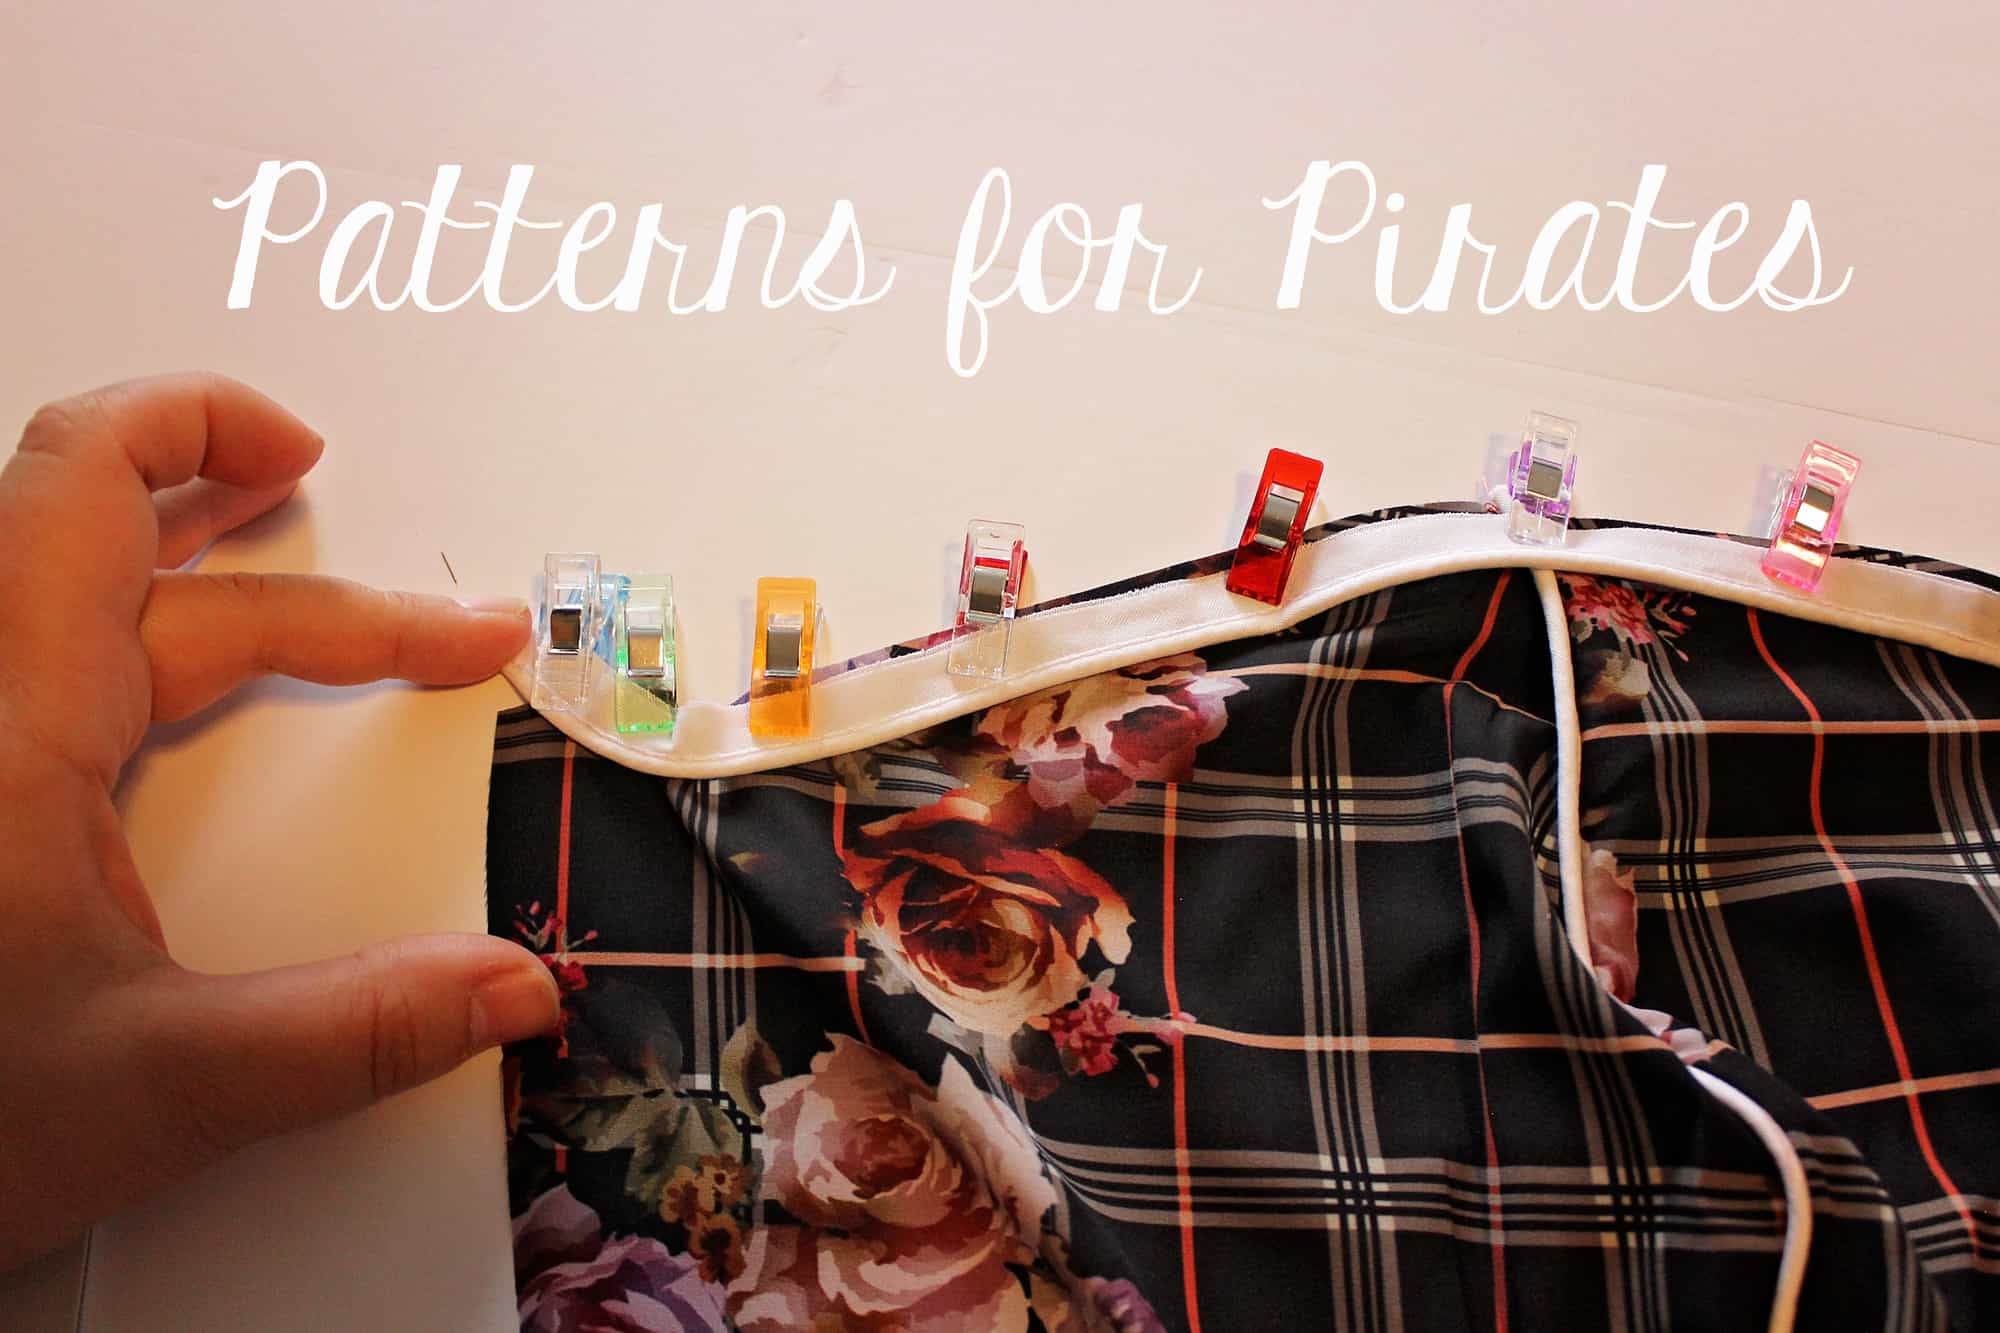
Sew in place and continue the dress construction as per the tutorial.
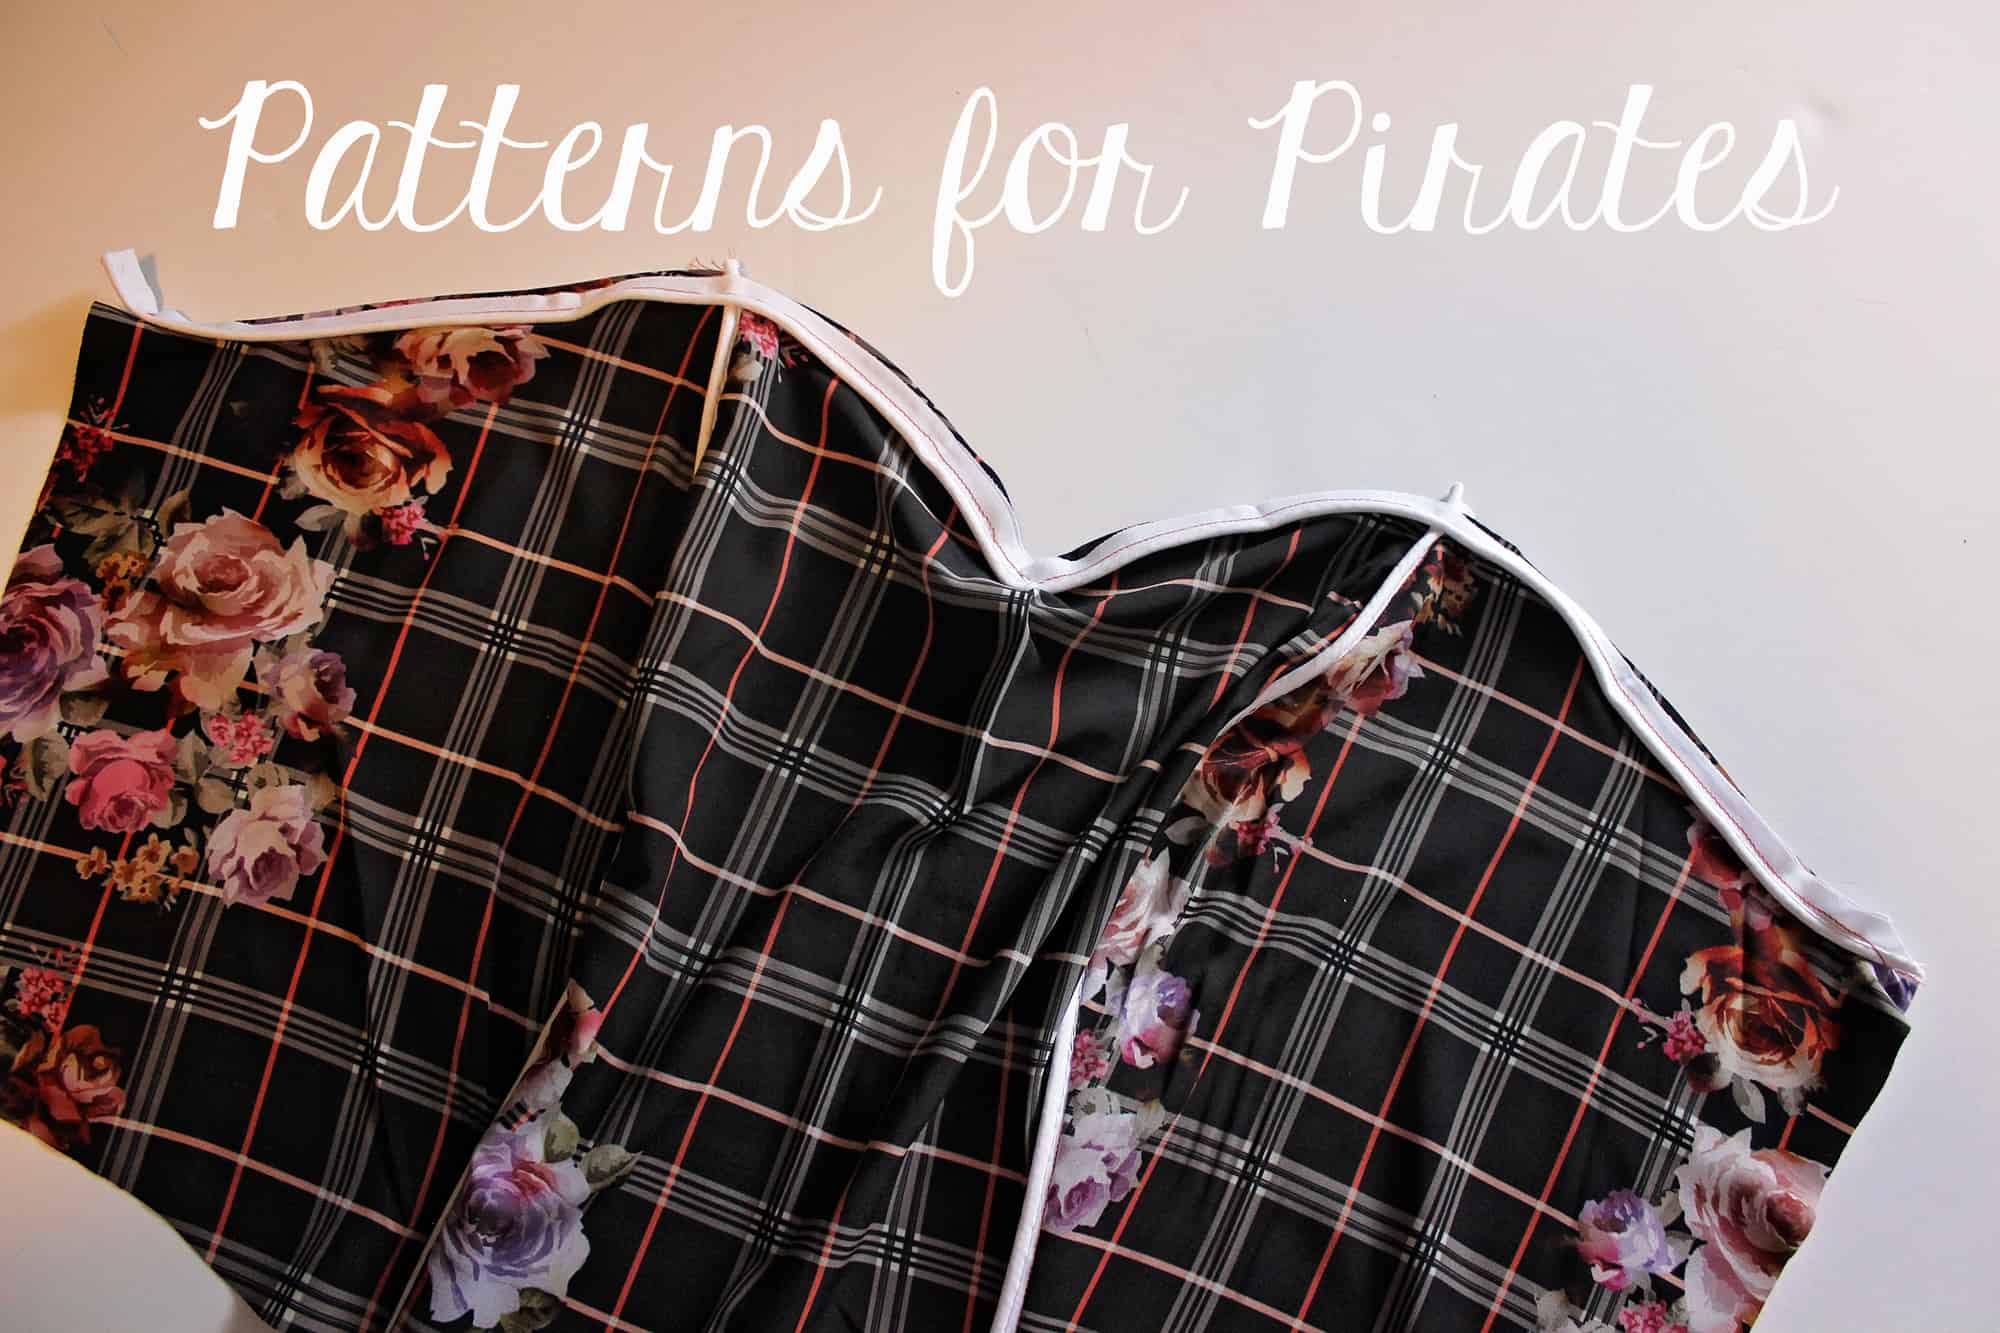

Such a fun detail and so easy to add!
…..
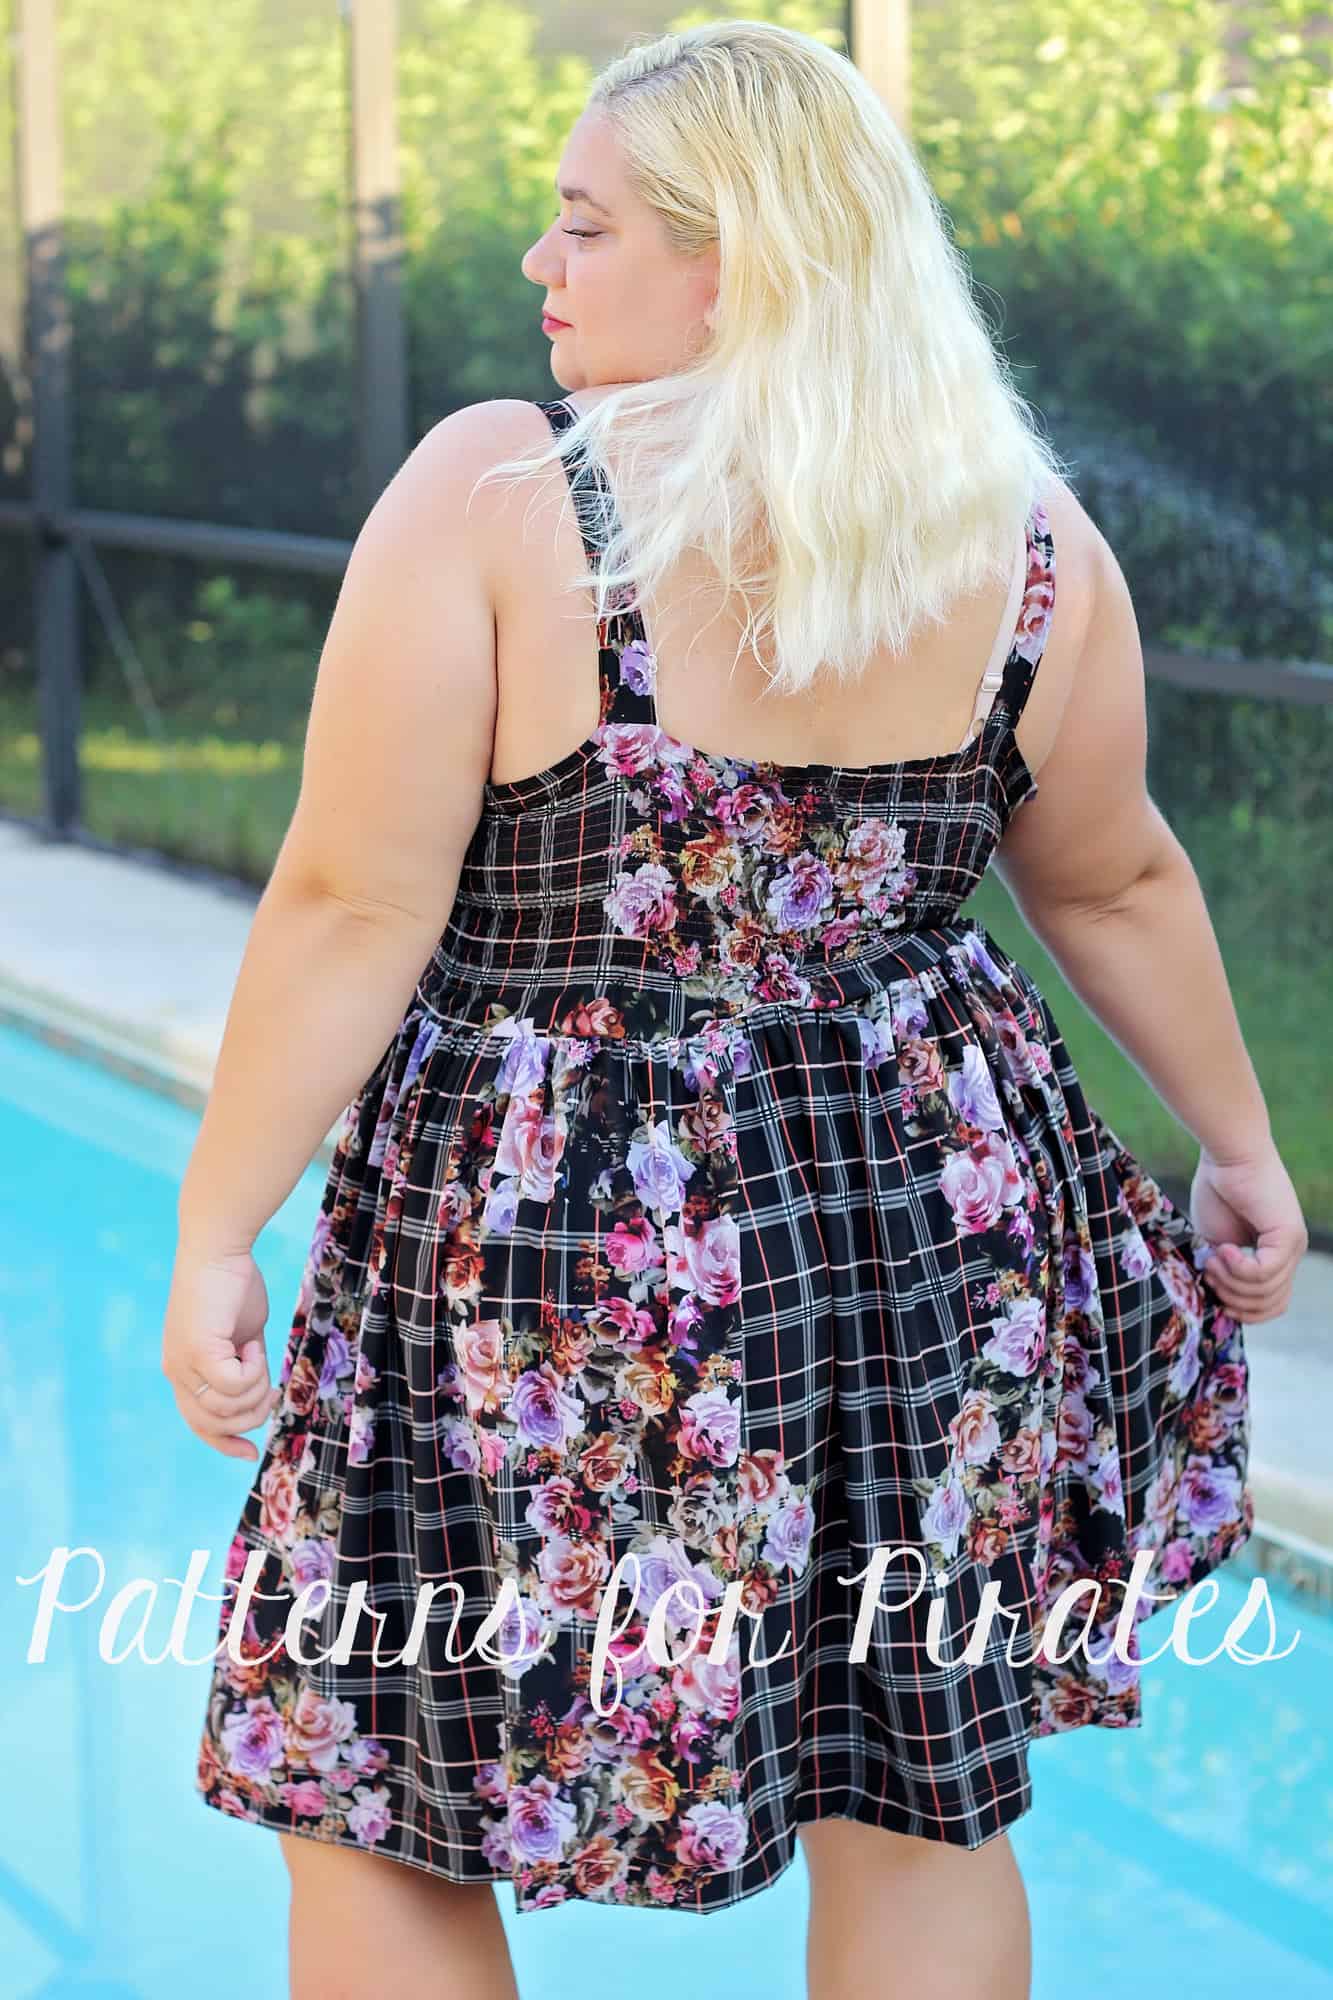
No Waistband
You might have noticed above that I skipped the waistband piece on the bodice. This is such an easy hack. All you have to do is use the lining pieces as the main piece. So you will be cutting two front linings (one in the main fabric and one in the lining), four front side linings (2 sets of mirrored pieces with the lining fabric and two with the main fabric) and two back lining pieces (one in the lining and one in the main fabric).
You can make this hack for all straps options and for both women and girls. 🙂

….
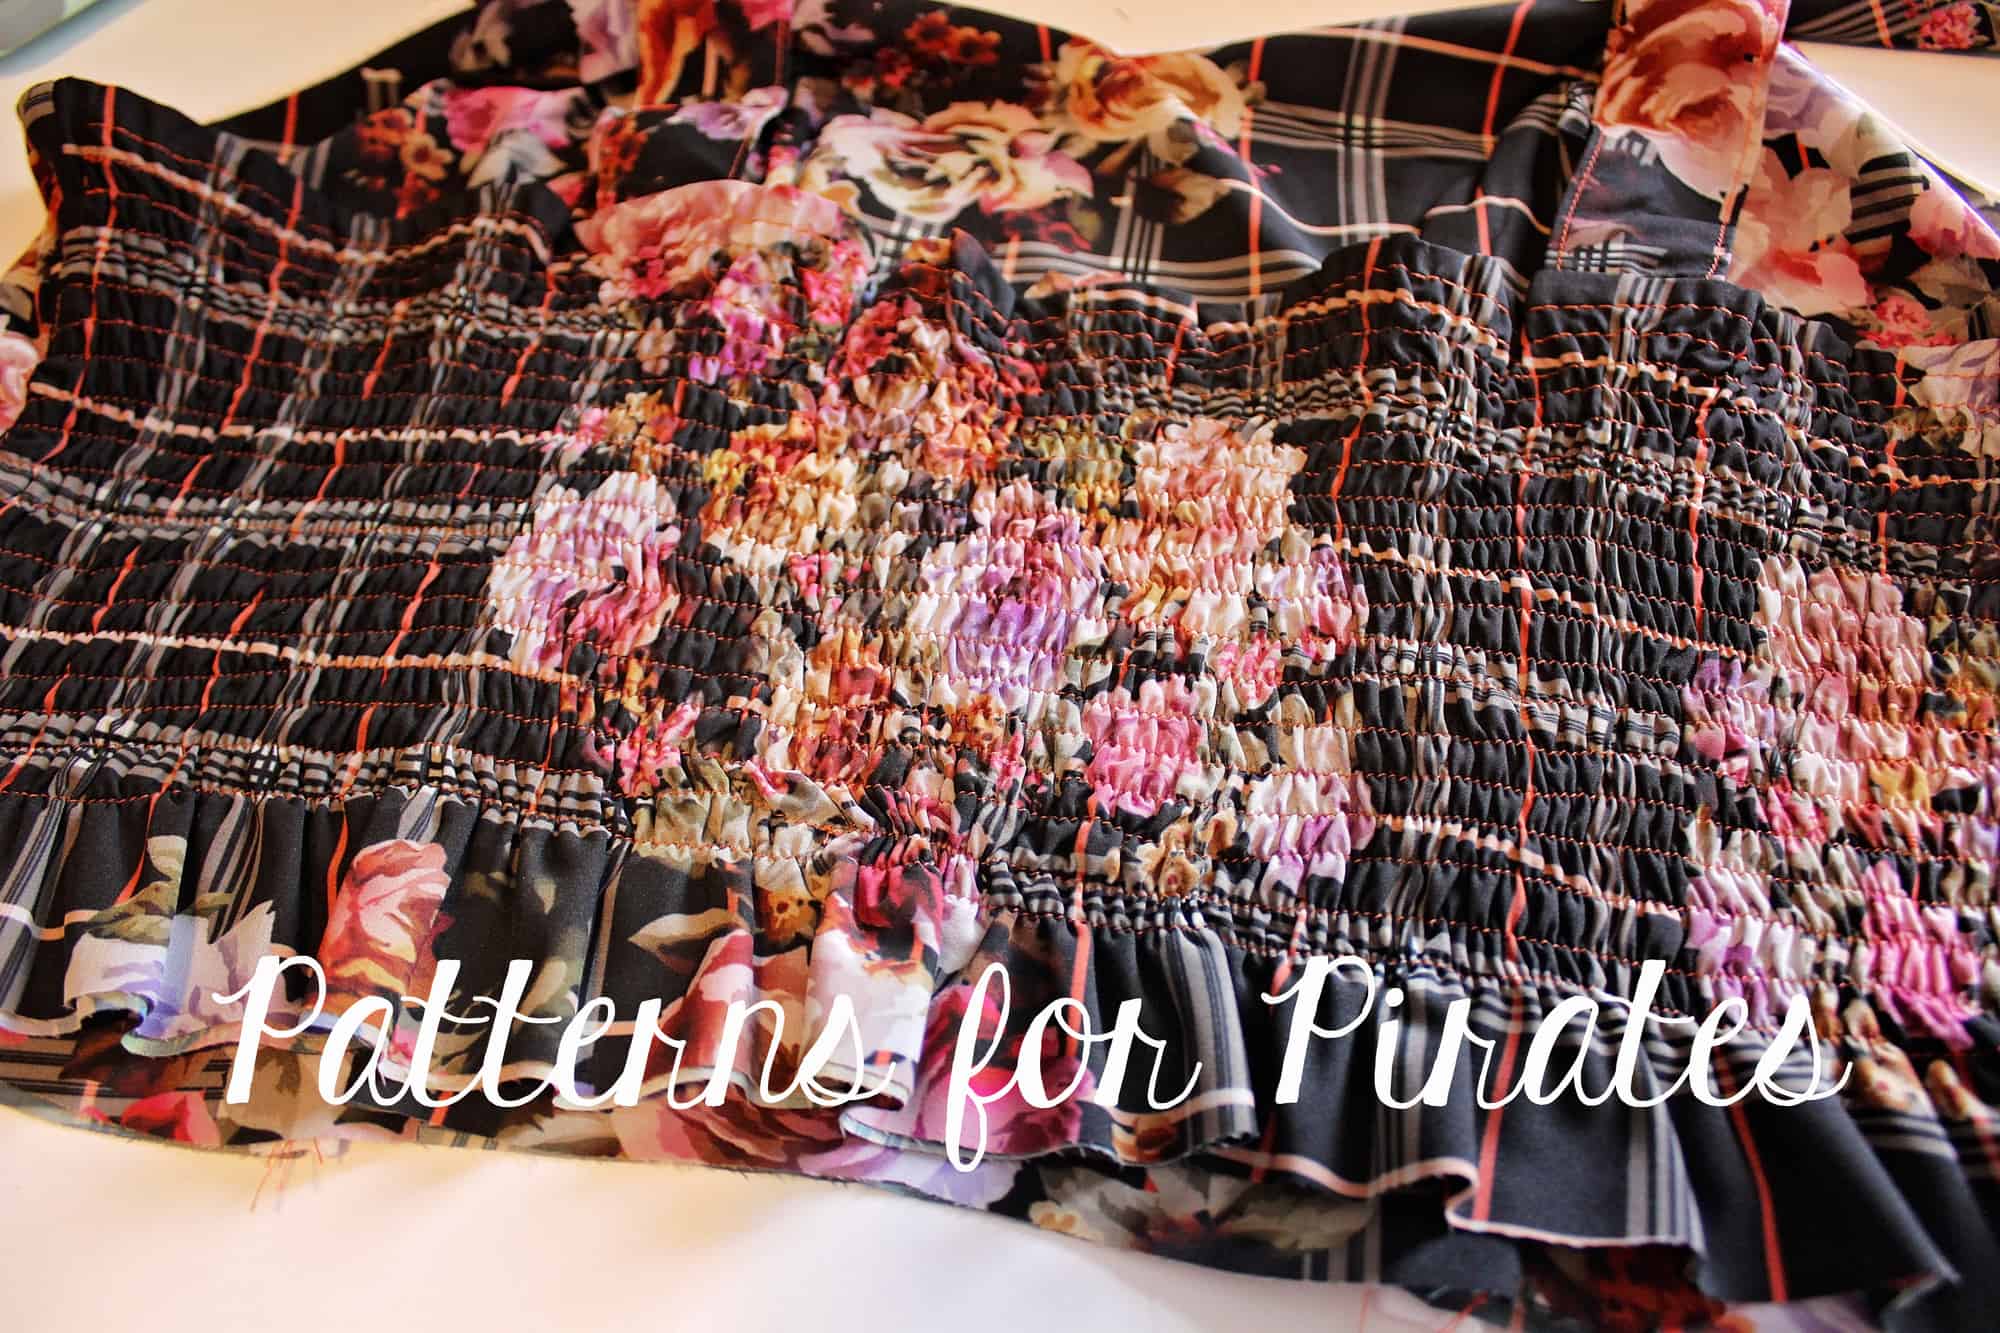
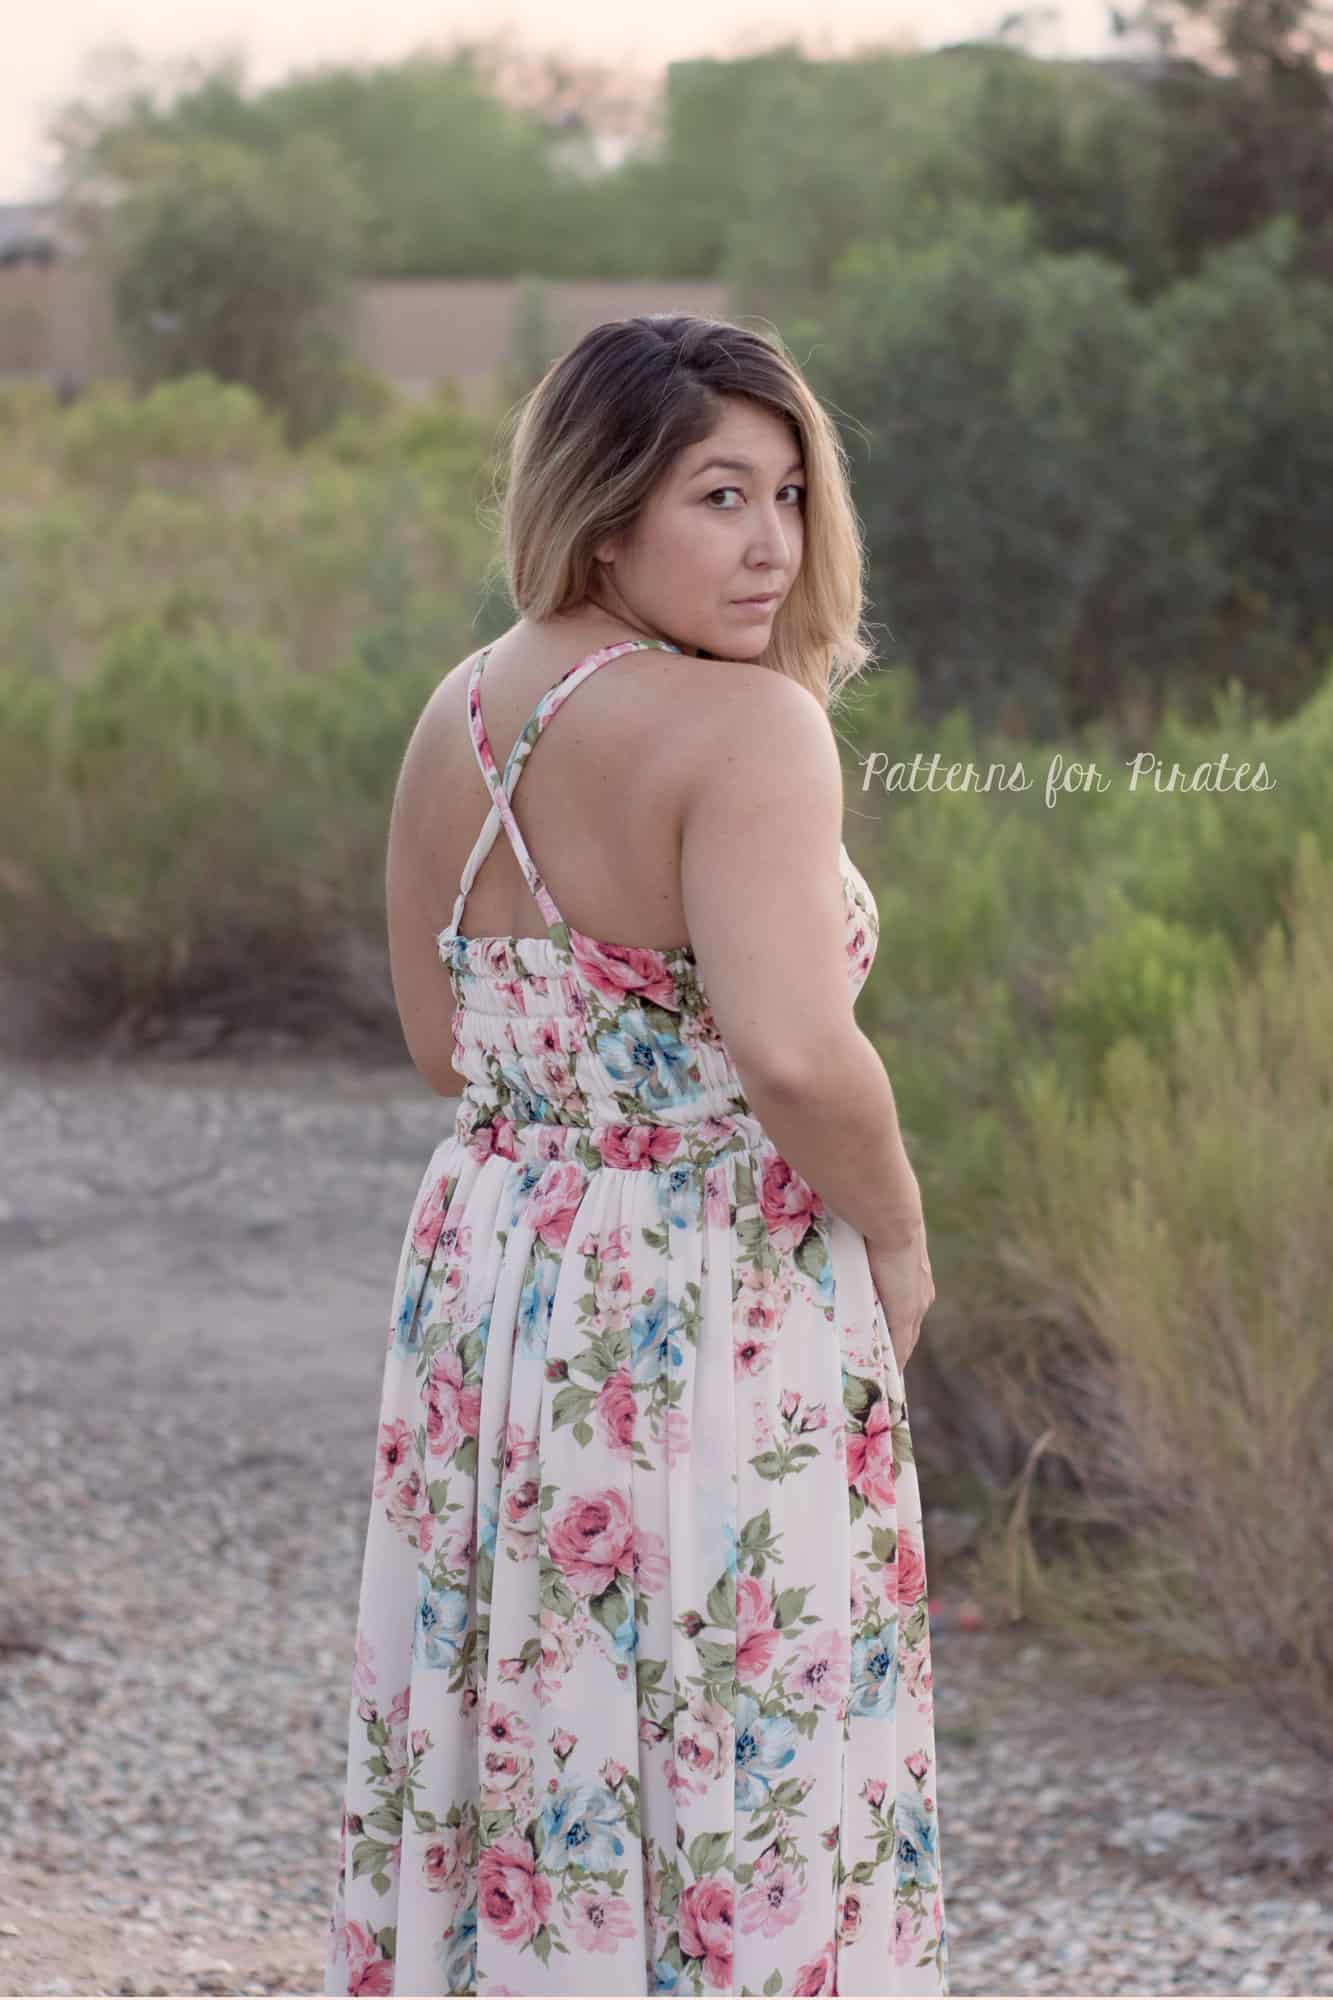
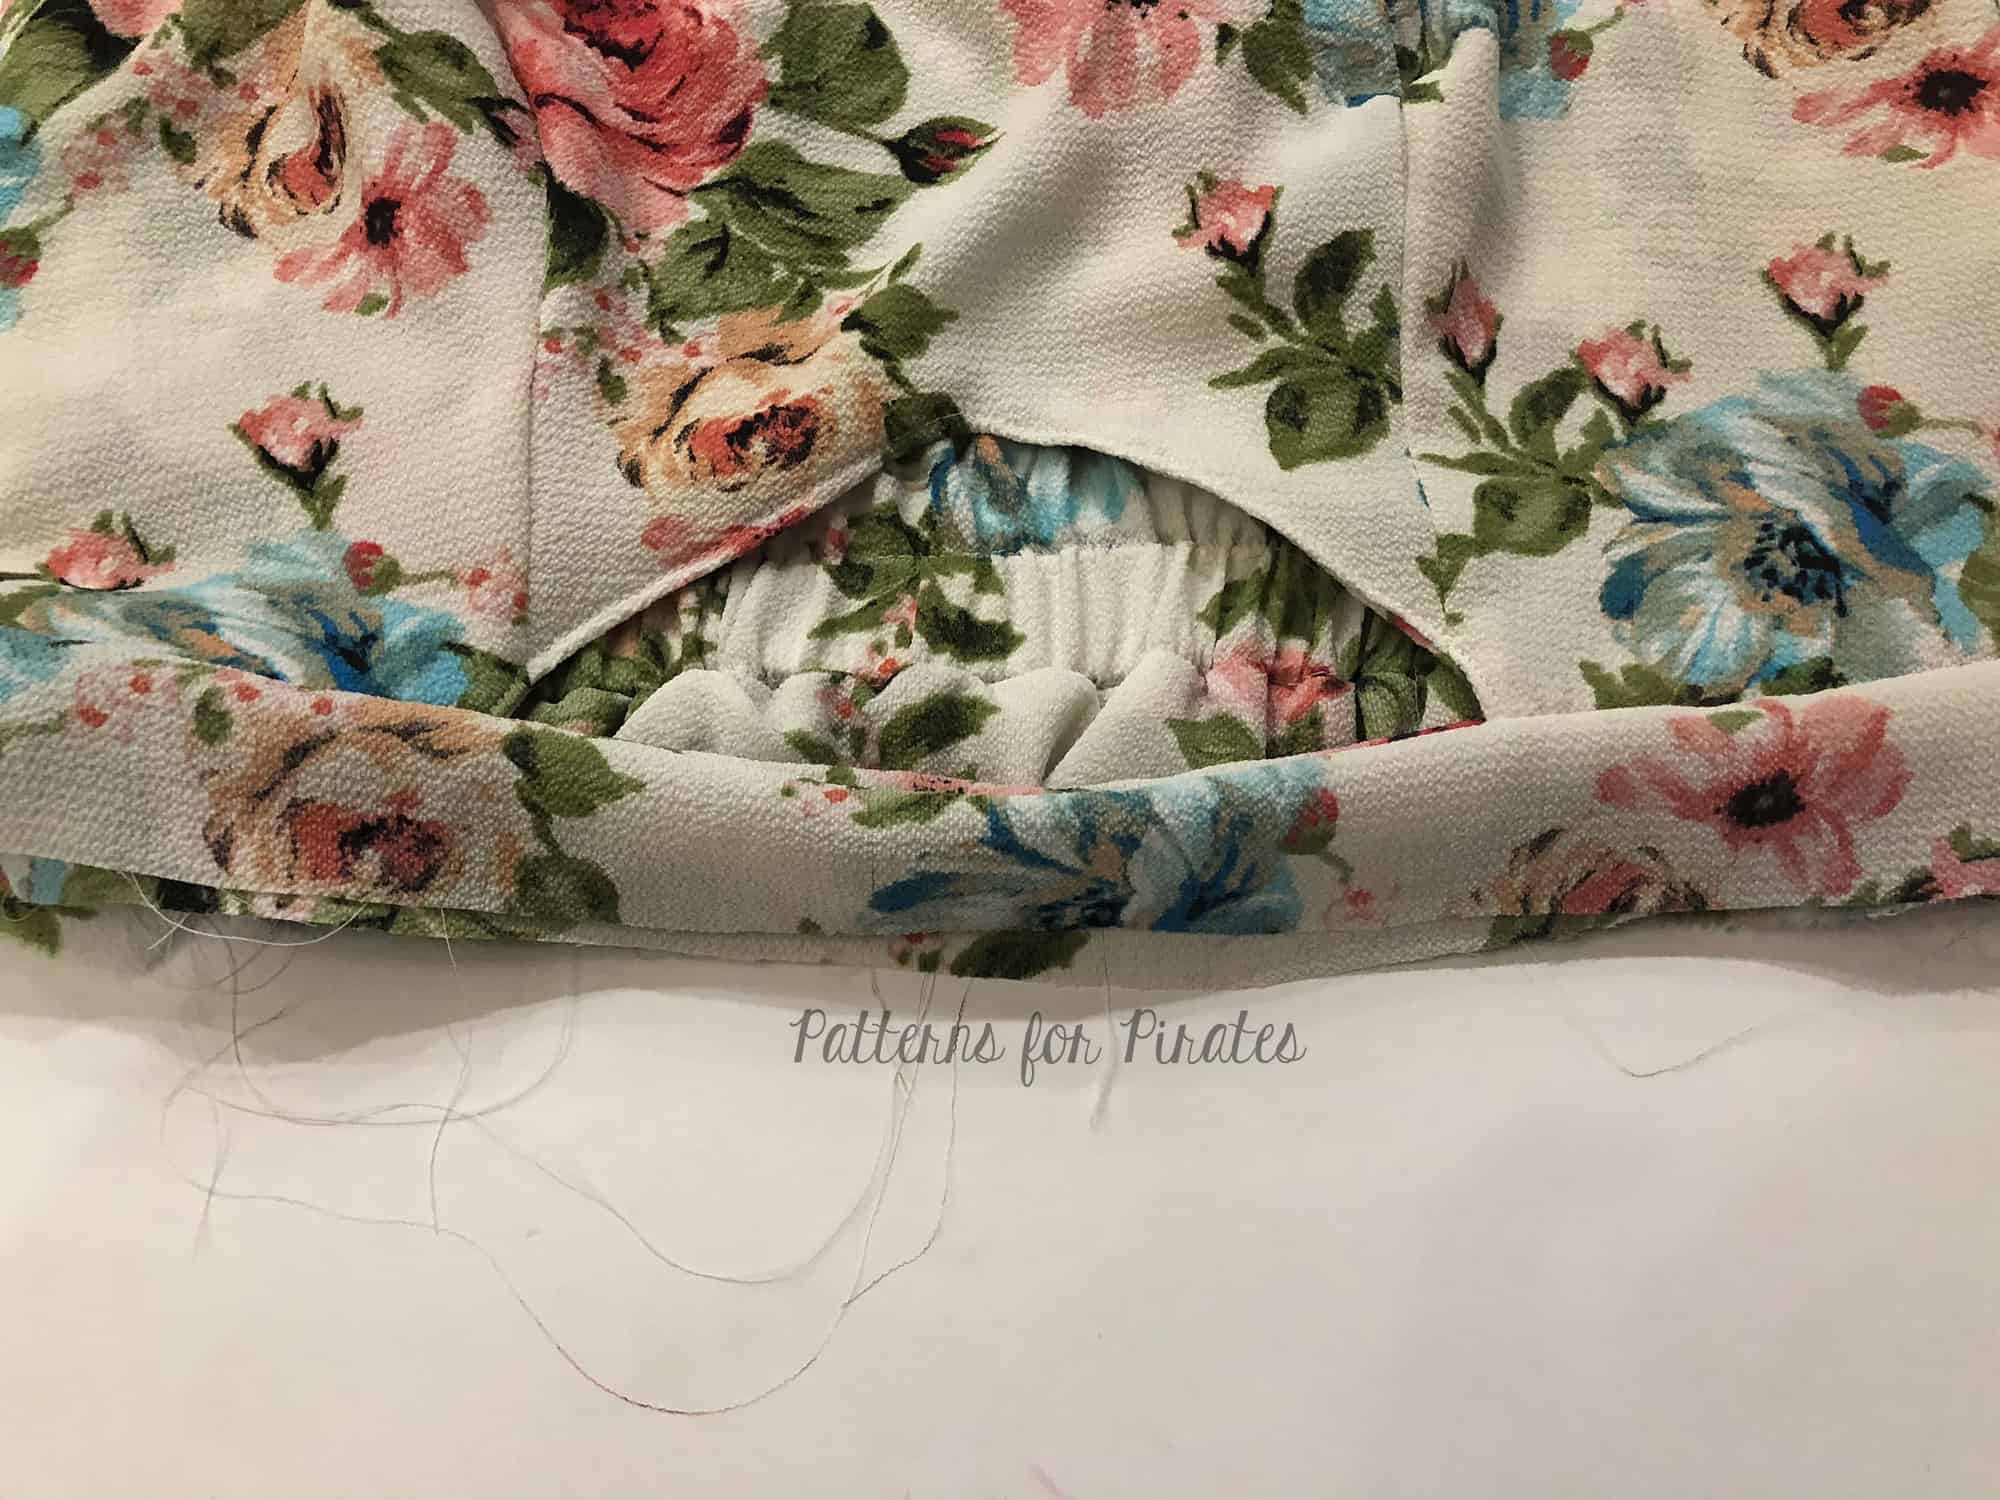
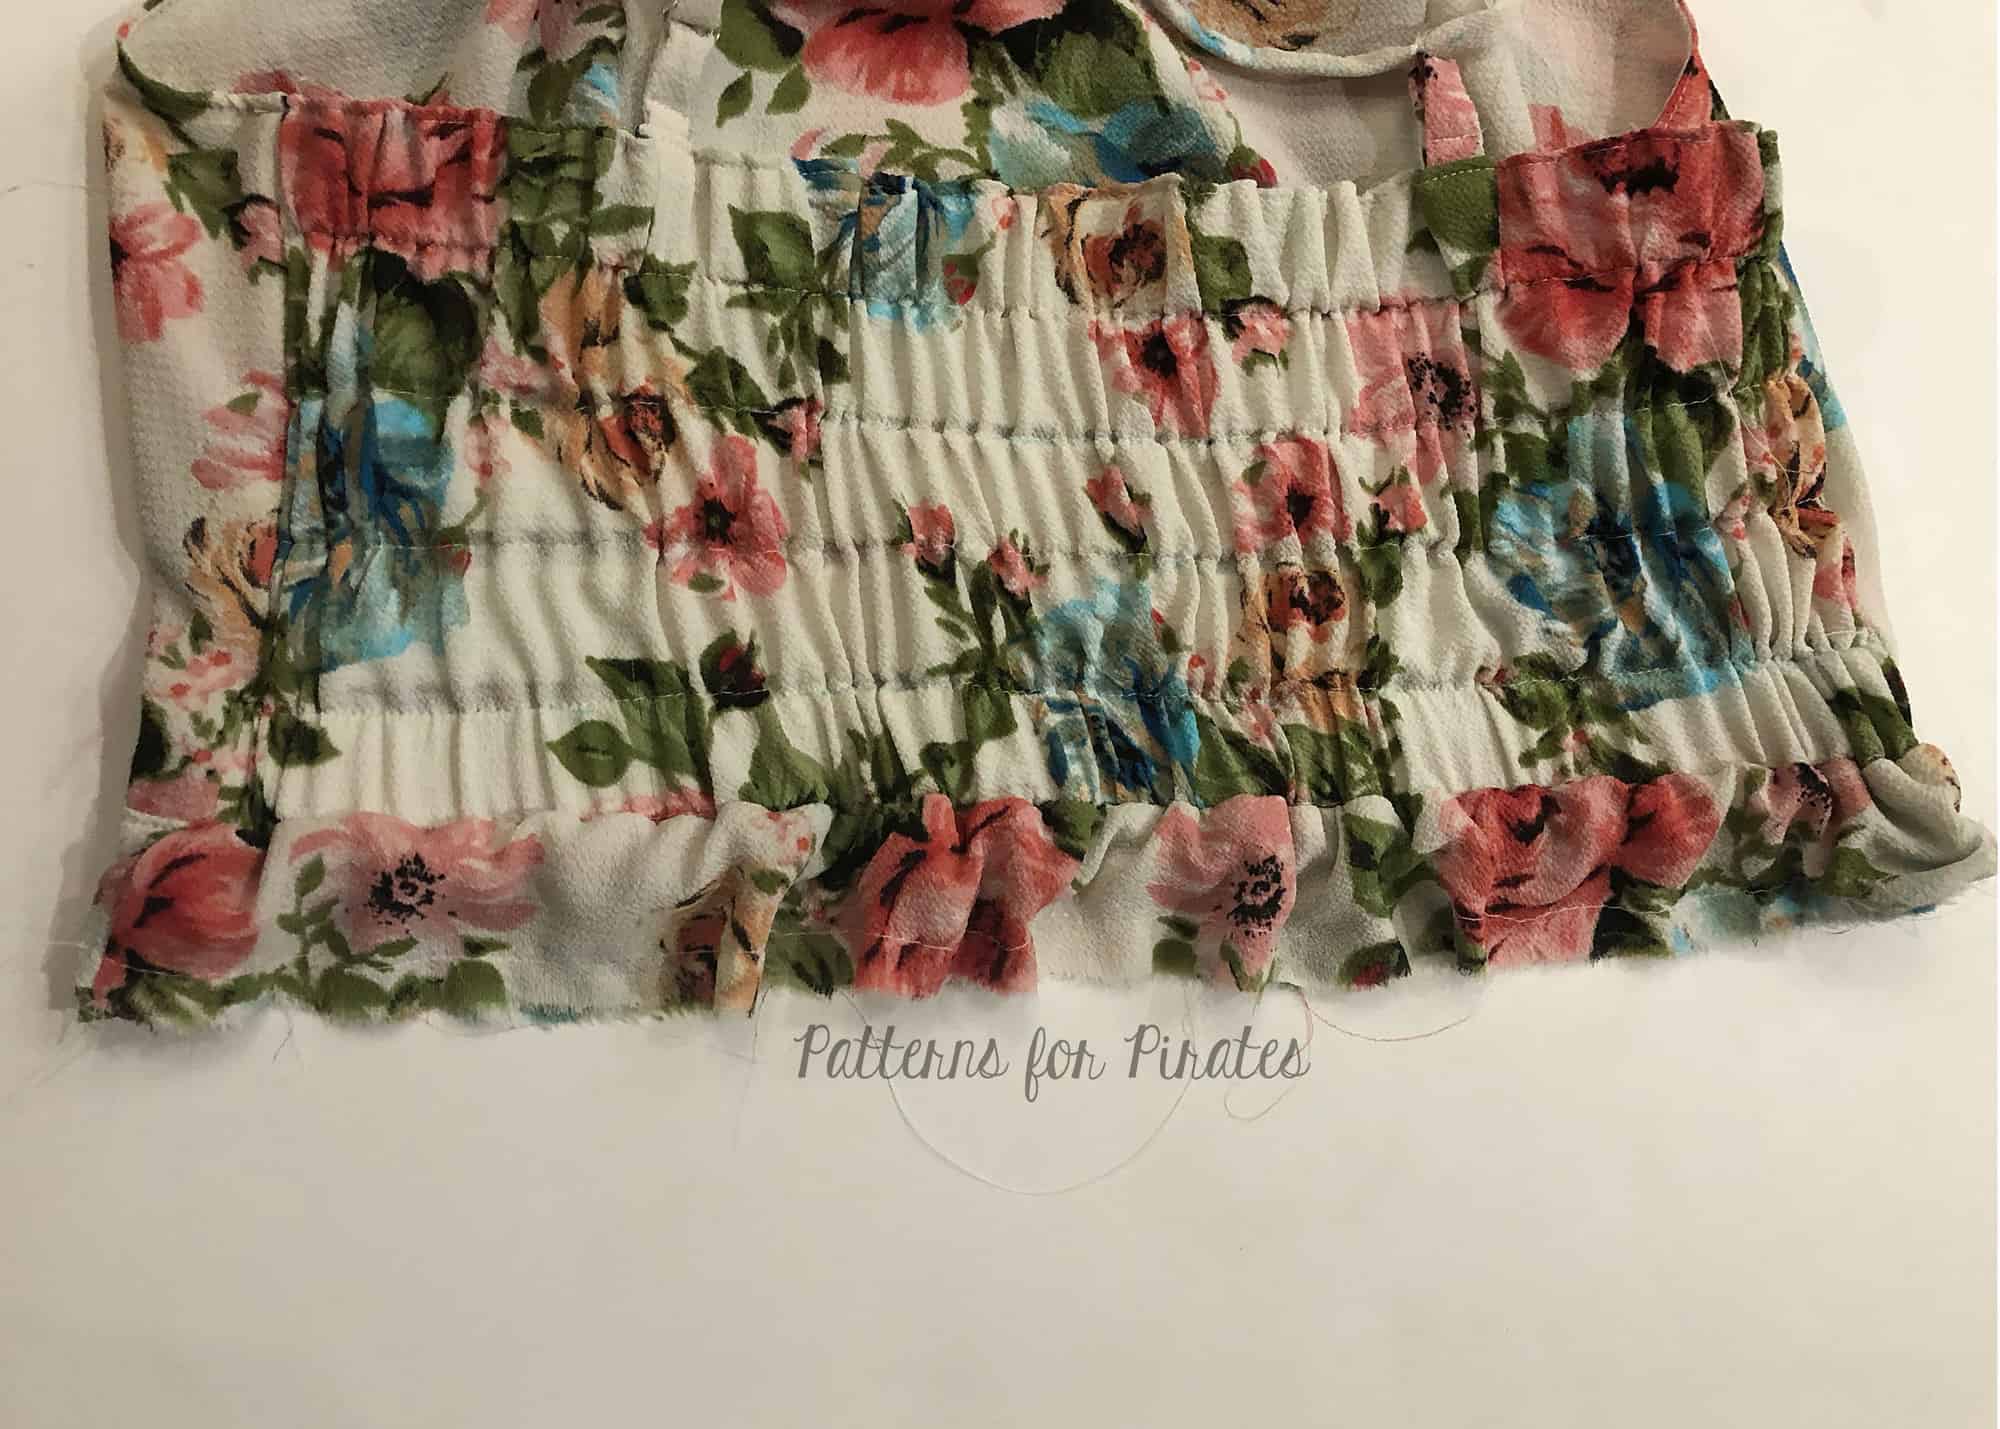
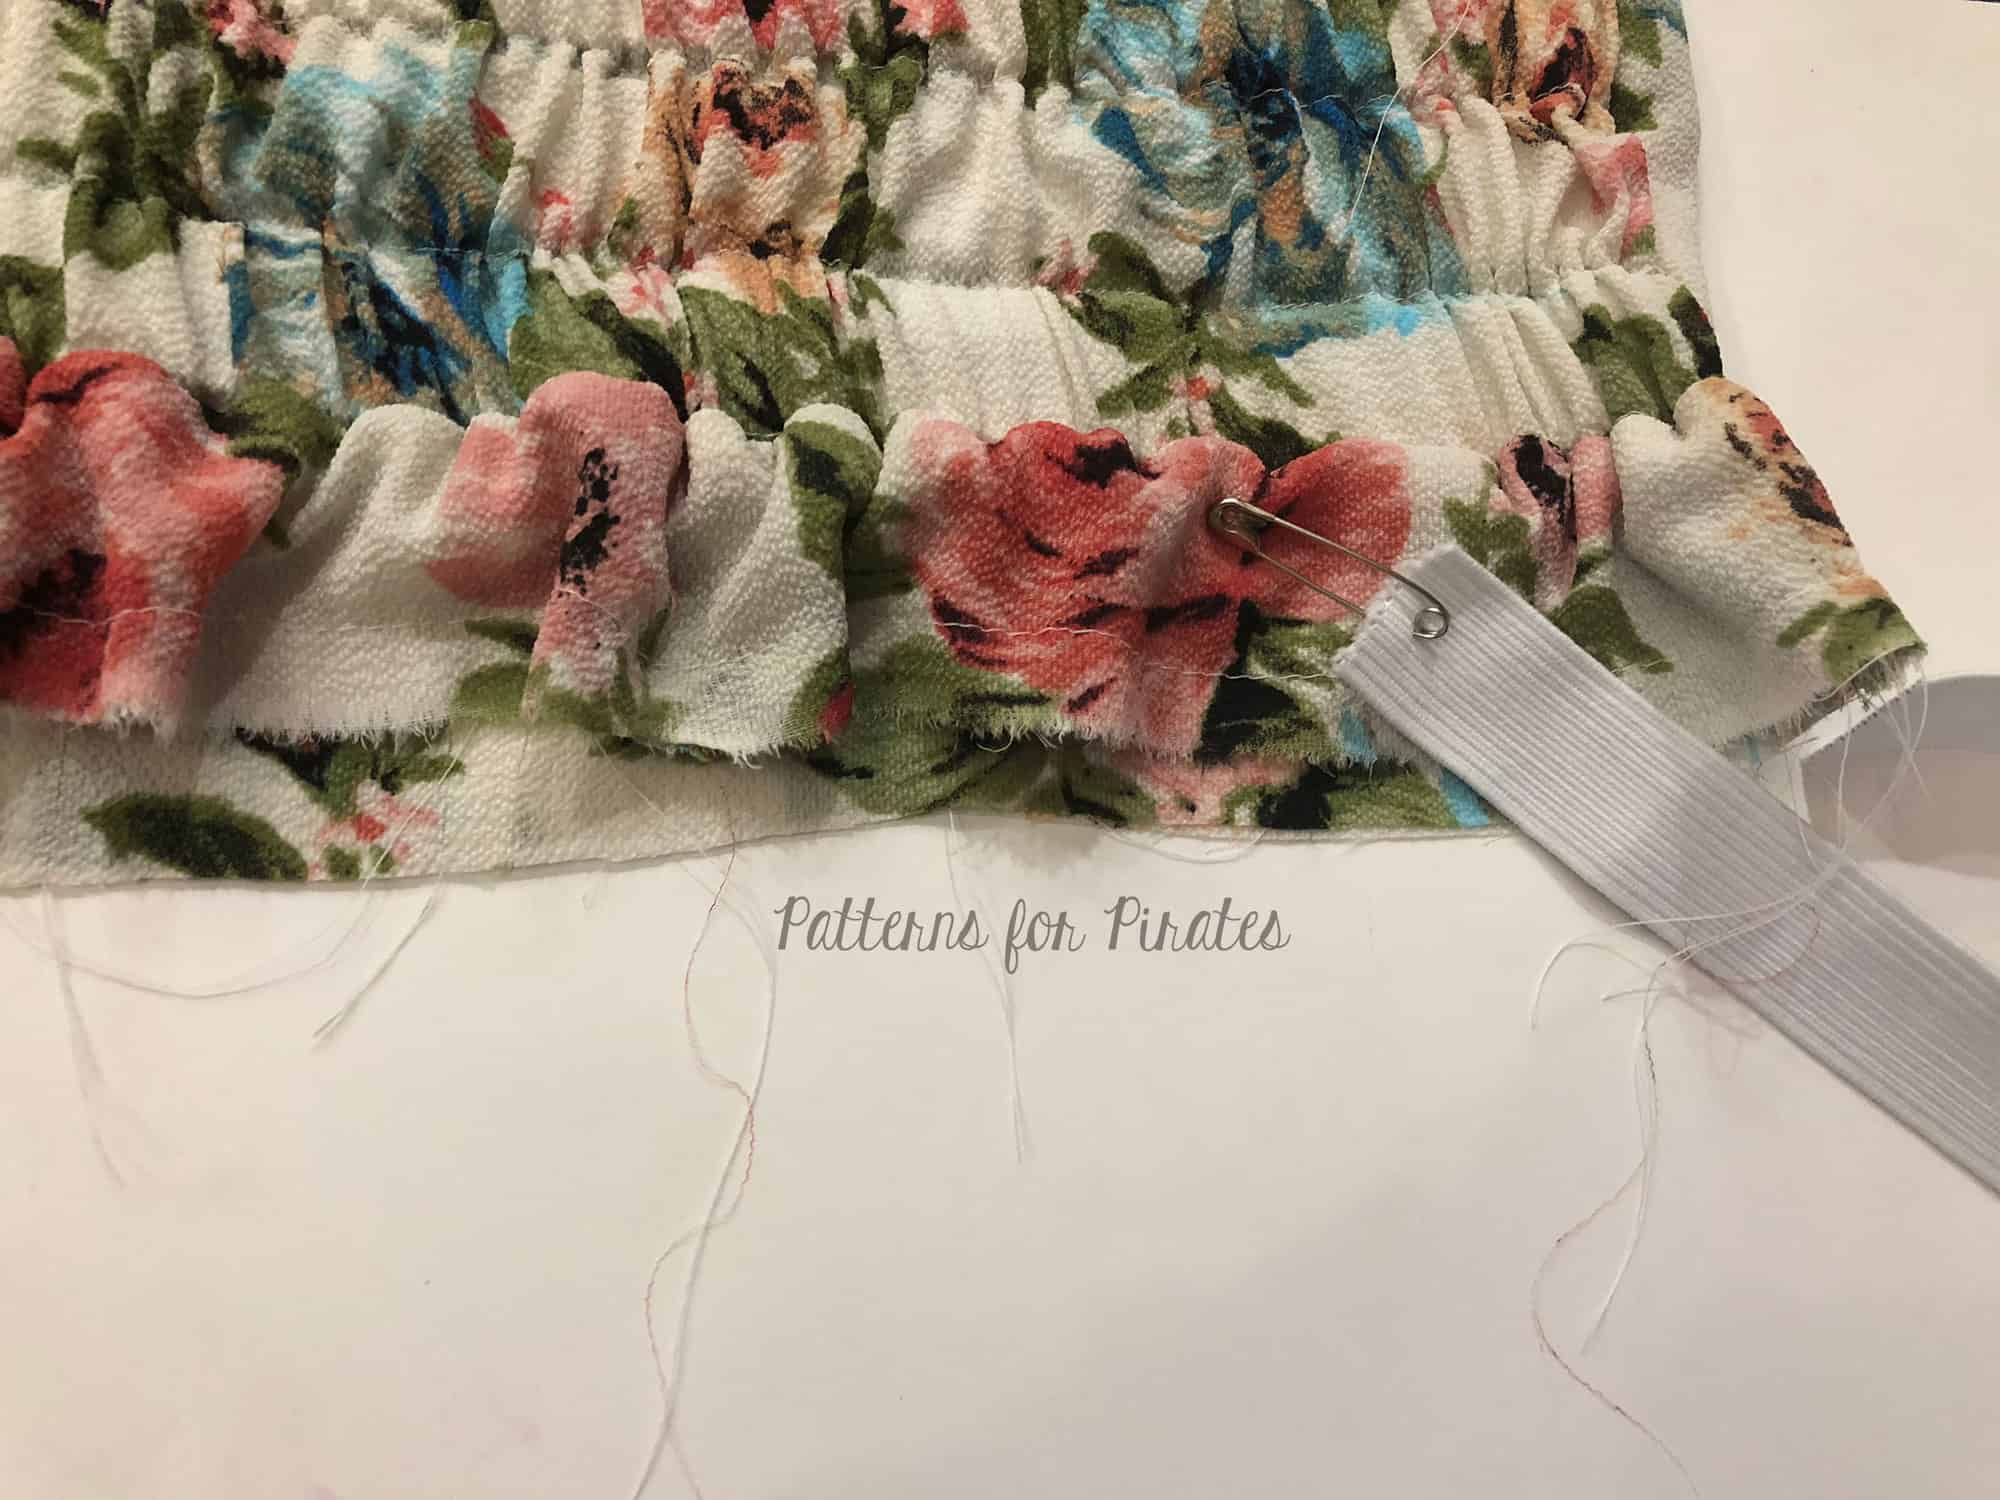
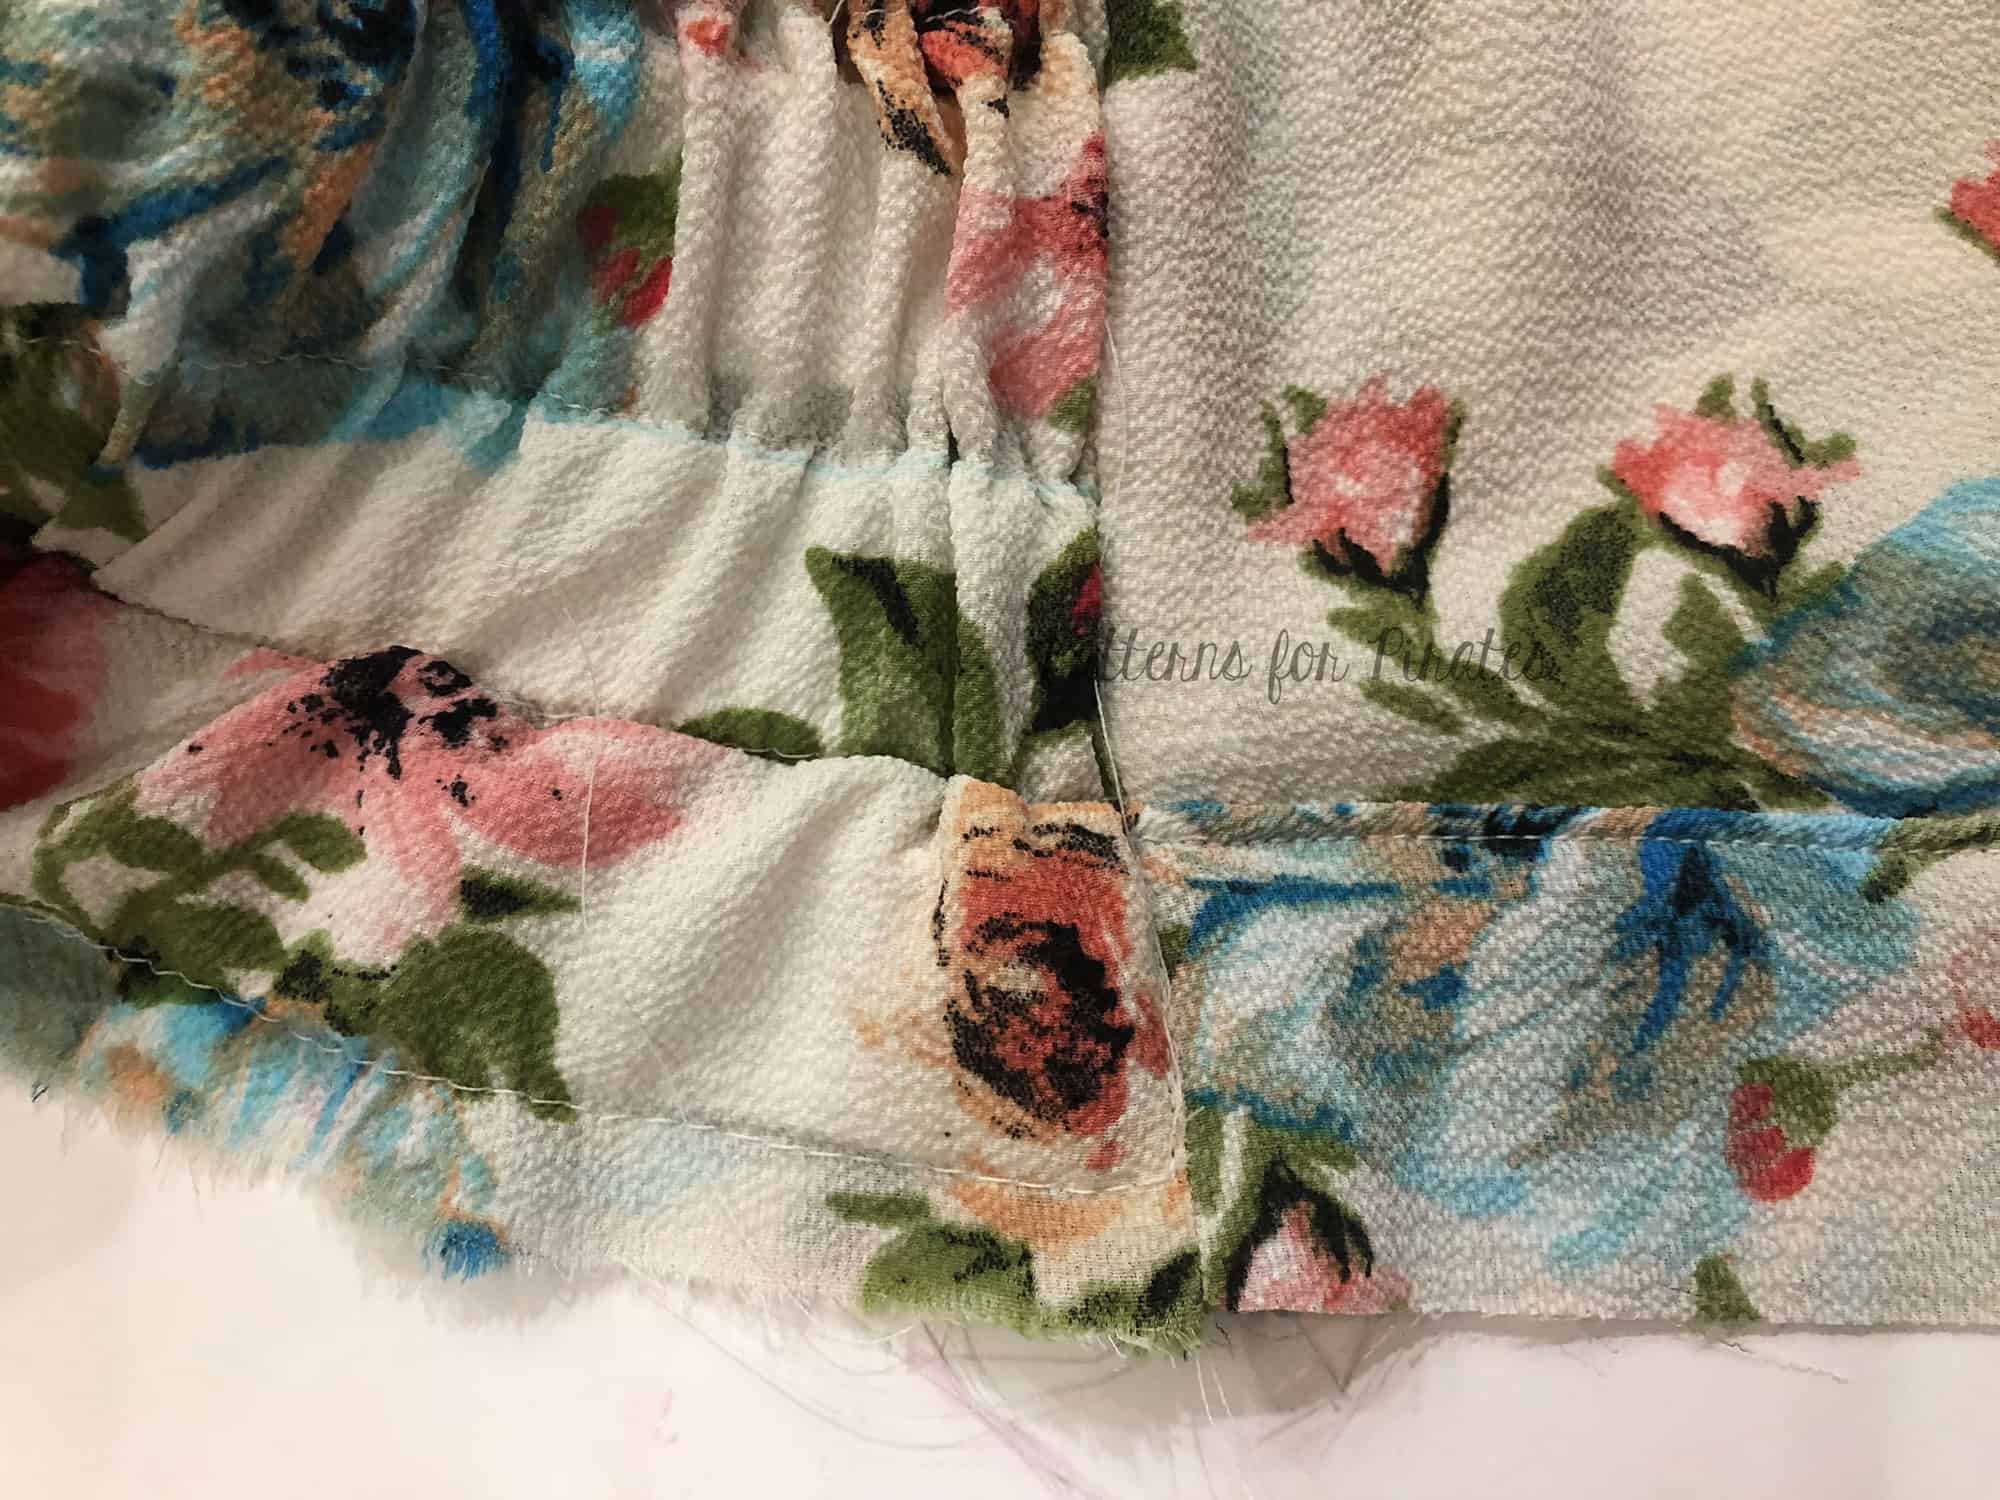
Shirred back
The So Classic Sundress feature elastic casing at the back bodice but if you or your little one prefer the feel of shirring or would just like an extra option you can do that so easily. Construct the bodice as shown in the pattern and skip cutting the elastic pieces. and creating the casings and replace with shirring.
All you have left to do now is shirr the back using elastic thread. Follow the tips in the Shirring 101 blog we have for you as part of our P4P University. Easy peasy!
….
Adjustable Straps
The pattern includes standard or suggested strap lengths, but some may prefer to have adjustable straps. I adjusted the width of my straps to do spaghetti style and used “lingerie” sliders from Joann Fabrics. There are wider width sliders and rings available from various shops (such as Bra-Makers Supply) if you prefer to keep a wider strap to cover your bra straps.
Cut 2 longer straps (these will be the adjustable section ) and then 2 short straps (this will be attached to the back portion of the bodice).
My straps were 1.75″ x 28″ (the length of the halter straps in the pattern). In retrospect I think adding about 8″ to the shoulder strap lengths in the pattern would be sufficient enough. My sliders ended up on top of my shoulders and I really didn’t need all that extra length. The short strap is 1.75″ x 3″.
Fold each strap in half lengthwise right sides together and stitch. Trim and press seam allowances open.
-

- Turn straps right side out.
-
- Pull end of strap through one side of slider. Note – the right side of your strap will be facing up. The middle bar of the slider will be on the wrong side of the strap.
-

- Feed strap through opposite side of the slider and then slide the ring through the end of the strap.
-
- On the wrong side of the strap, feed the strap end through the top opening of the slider.
-
- Fold the strap down and continue to feed it through the bottom opening of the slider.
-
- Fold strap end under and stitch.
-
- Feed shorter strap section through ring.
-
- Fold in half and baste in place.
Now you have a completed set of adjustable straps. Treat them as a single strap and attach to the bodice as shown in the tutorial. The shorter strap side should be attached to the back bodice. I also chose to do a criss-cross, so instead of placing them parallel, cross them over to create an X when attaching them to the front and back bodice.

….
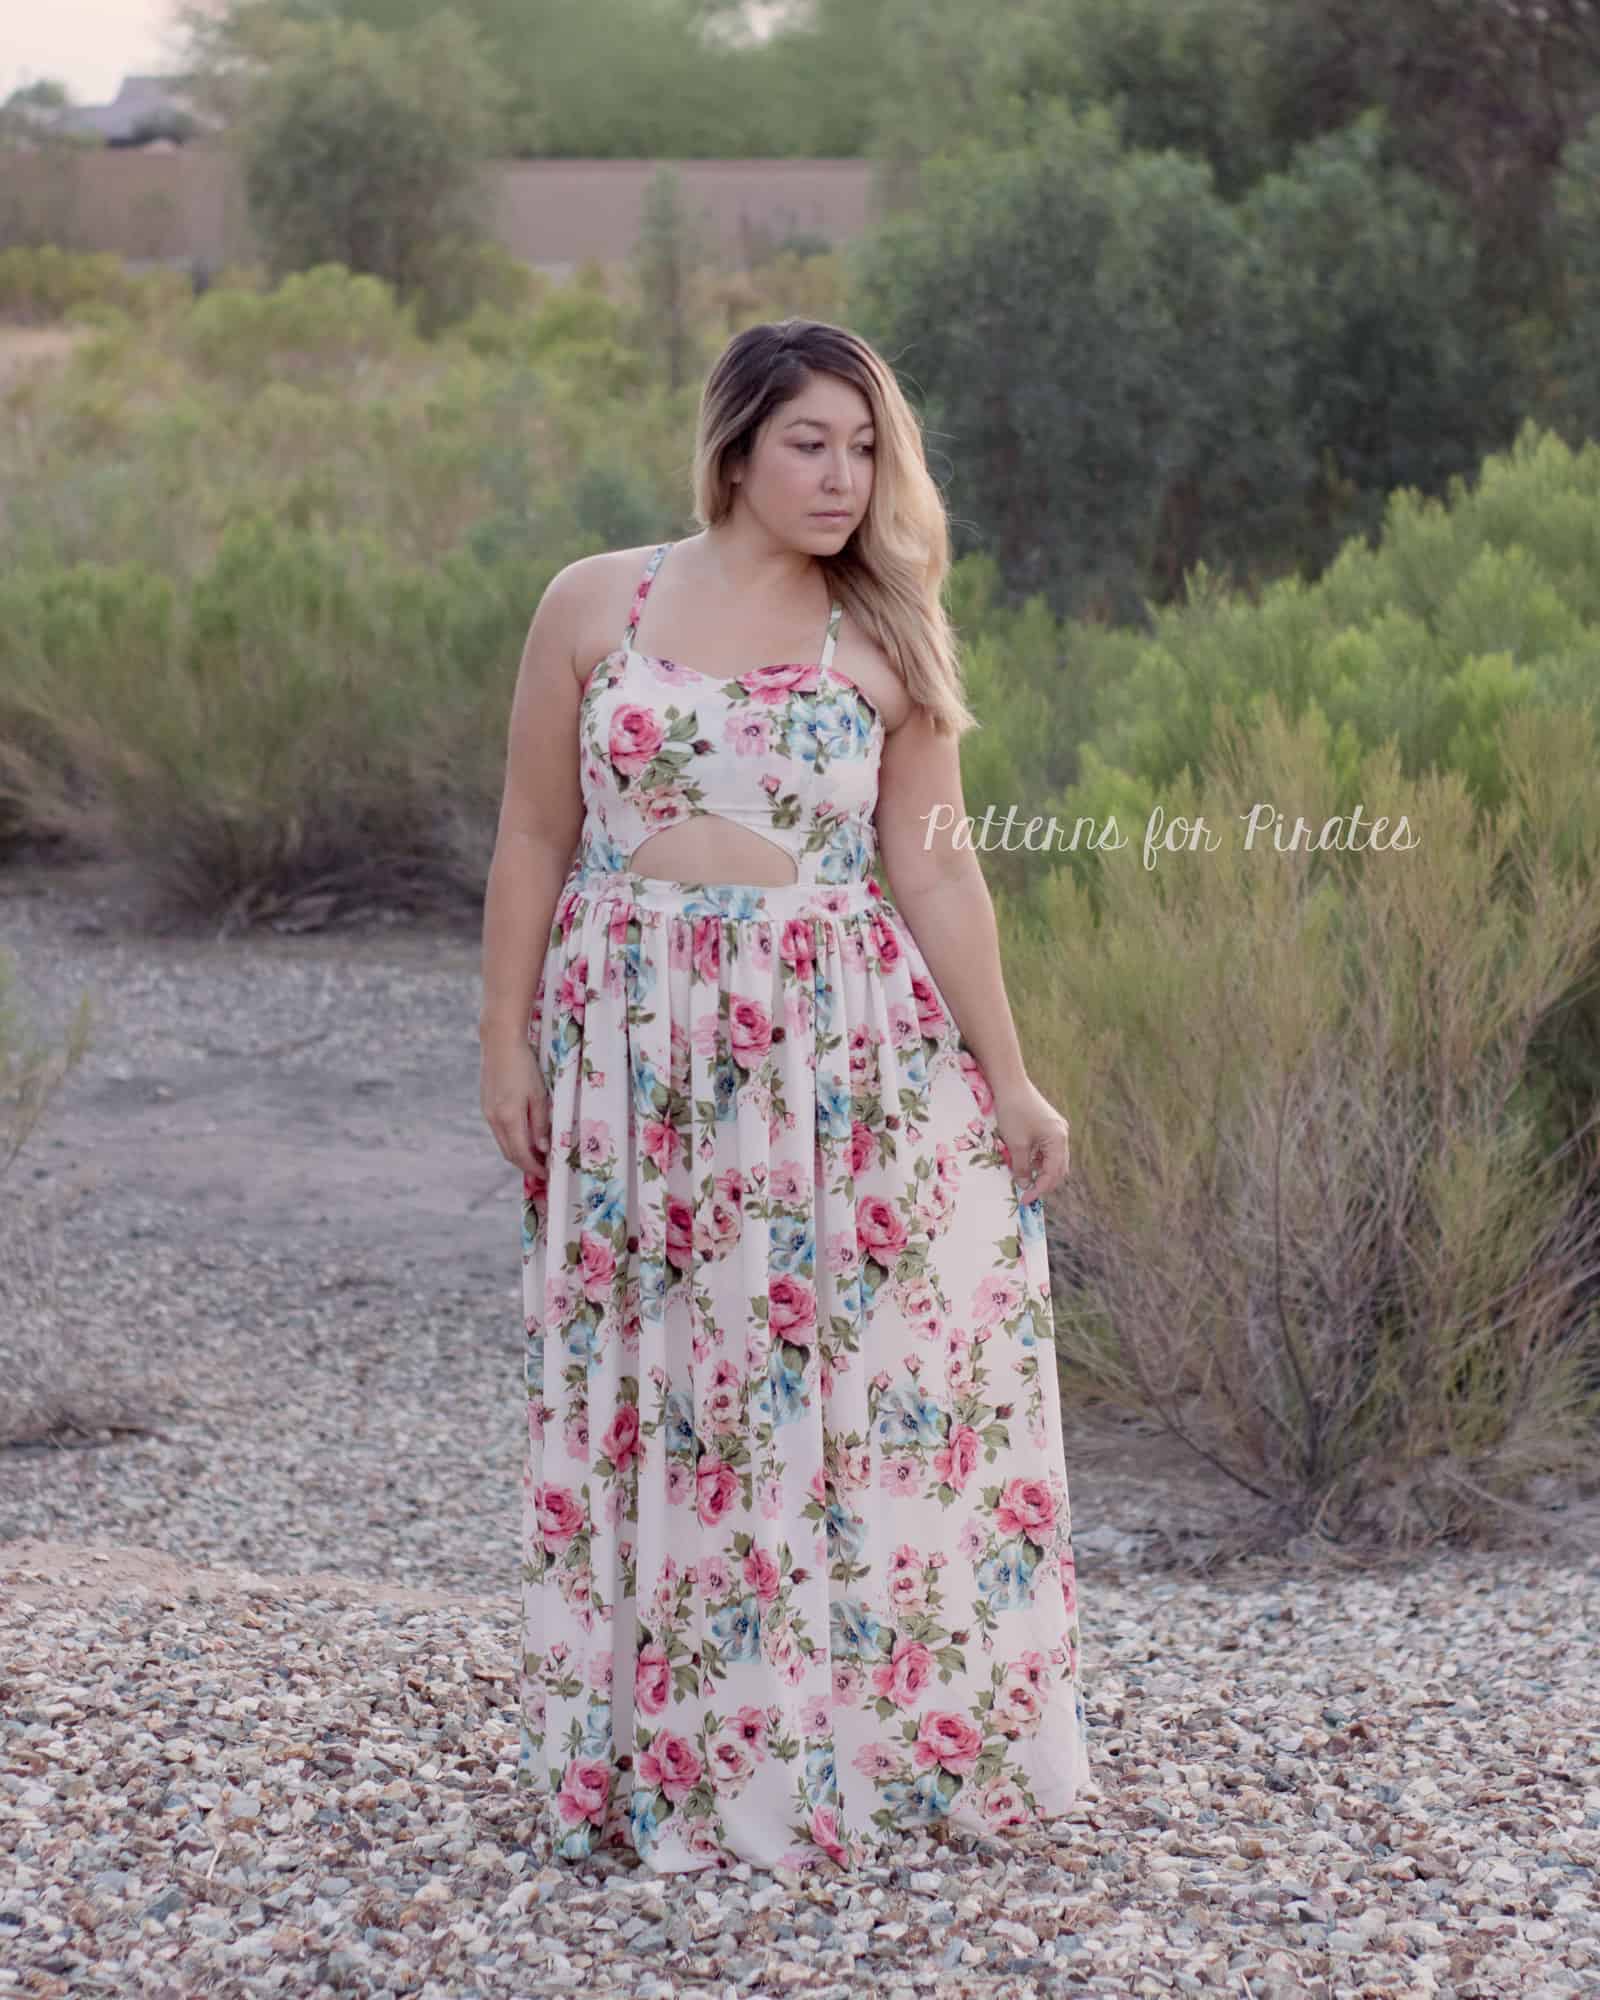
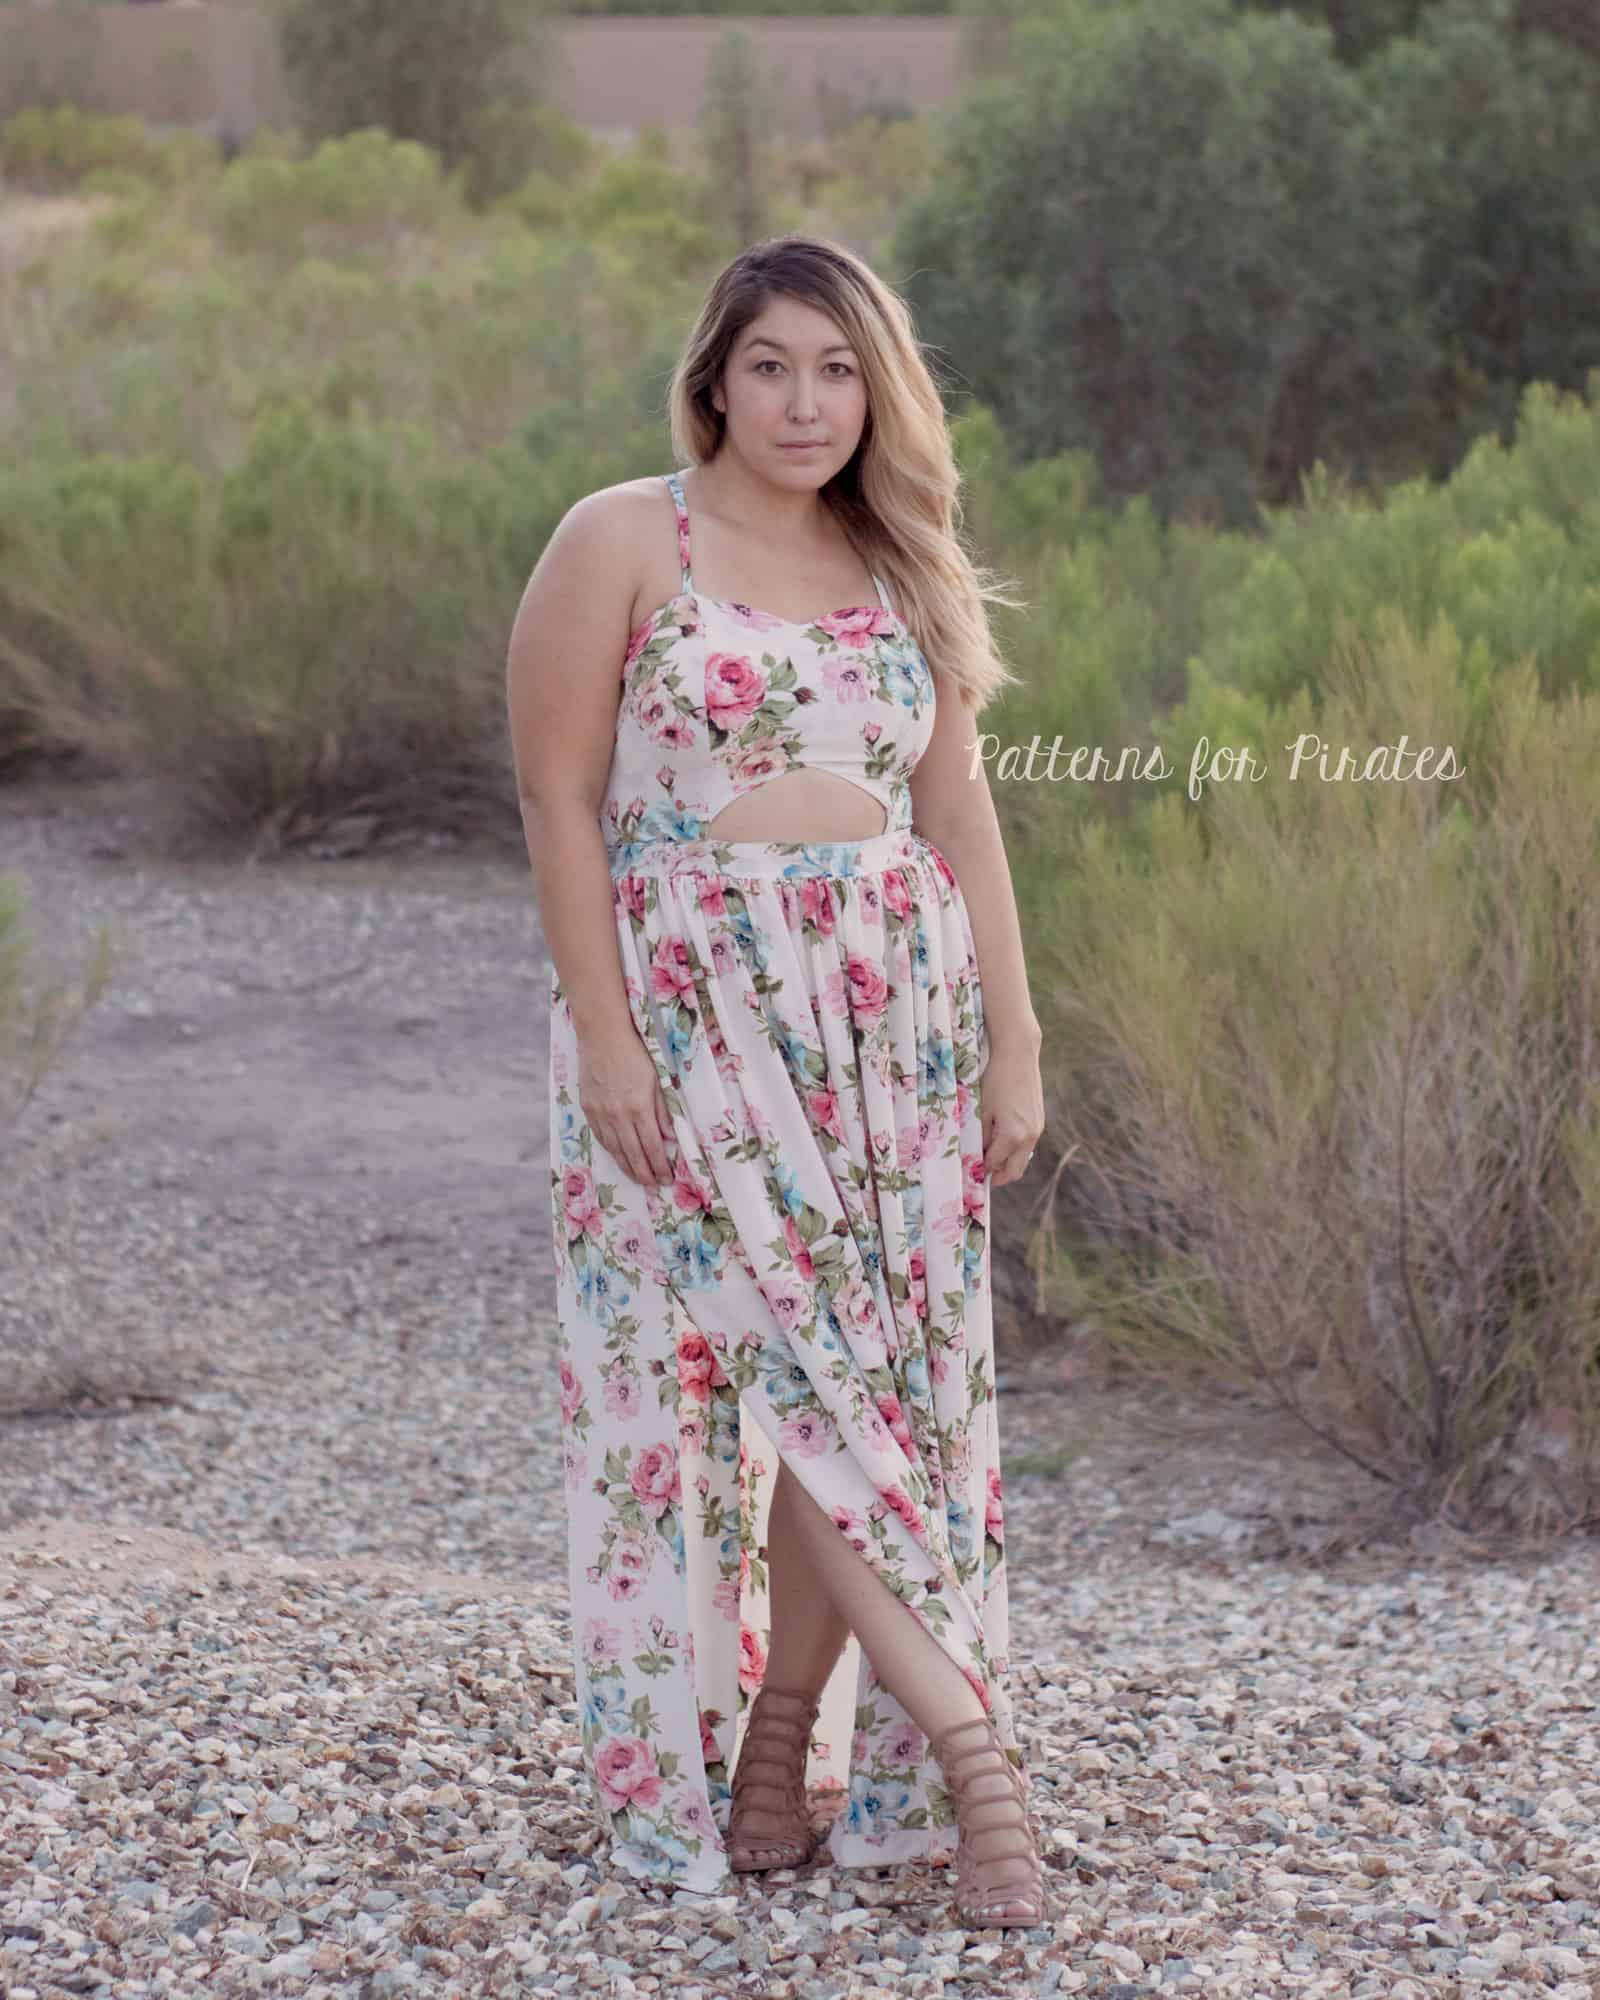
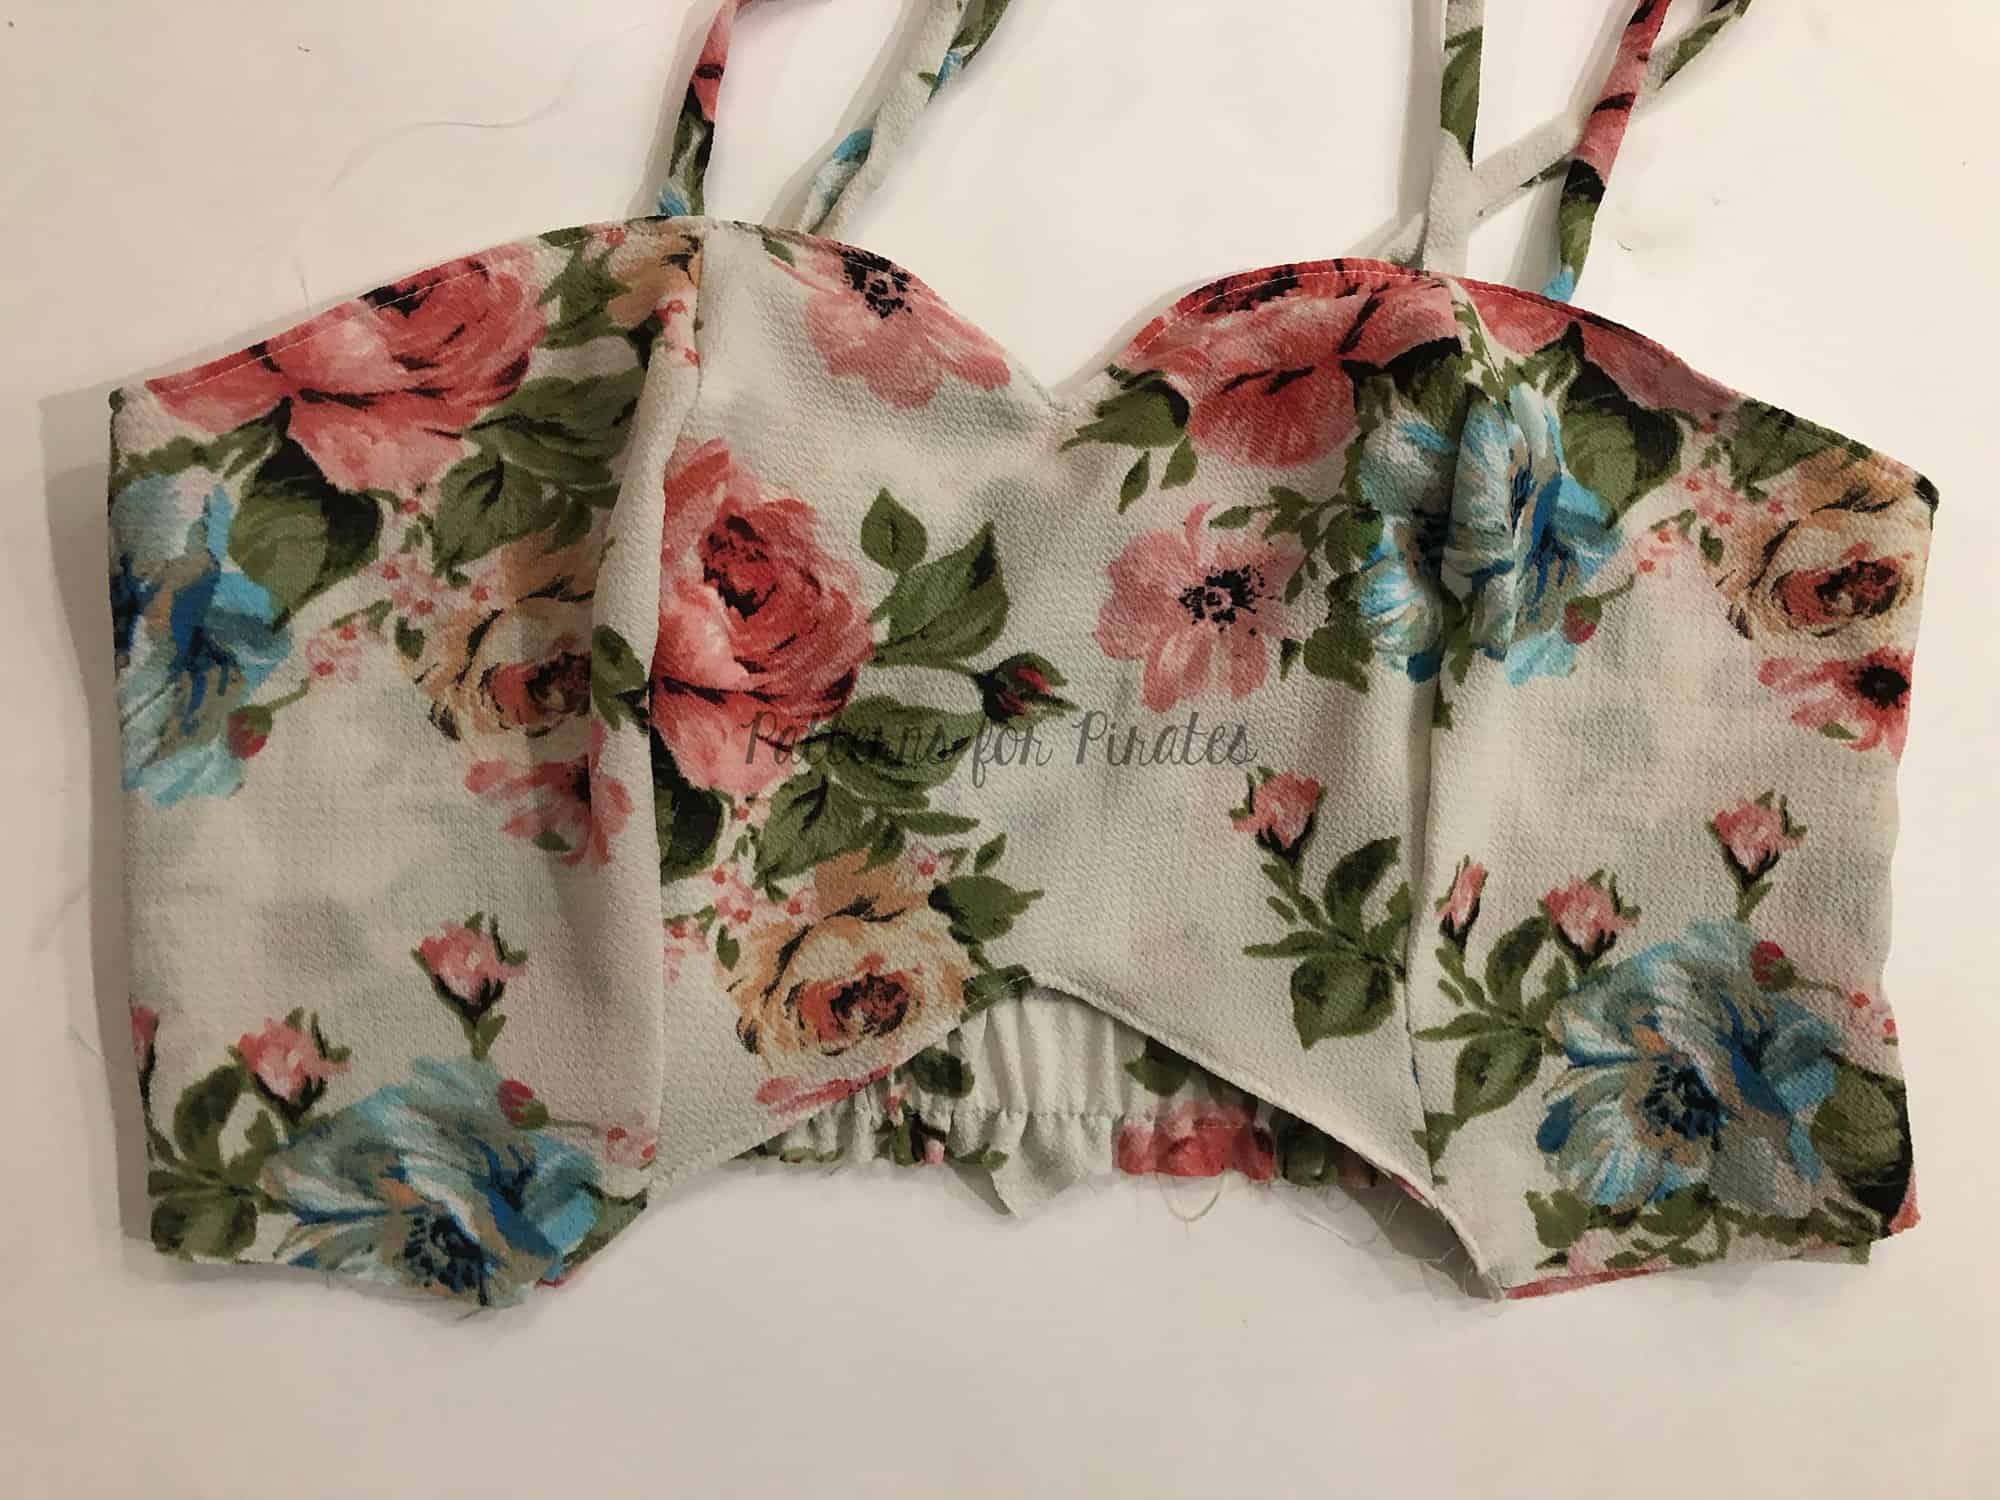
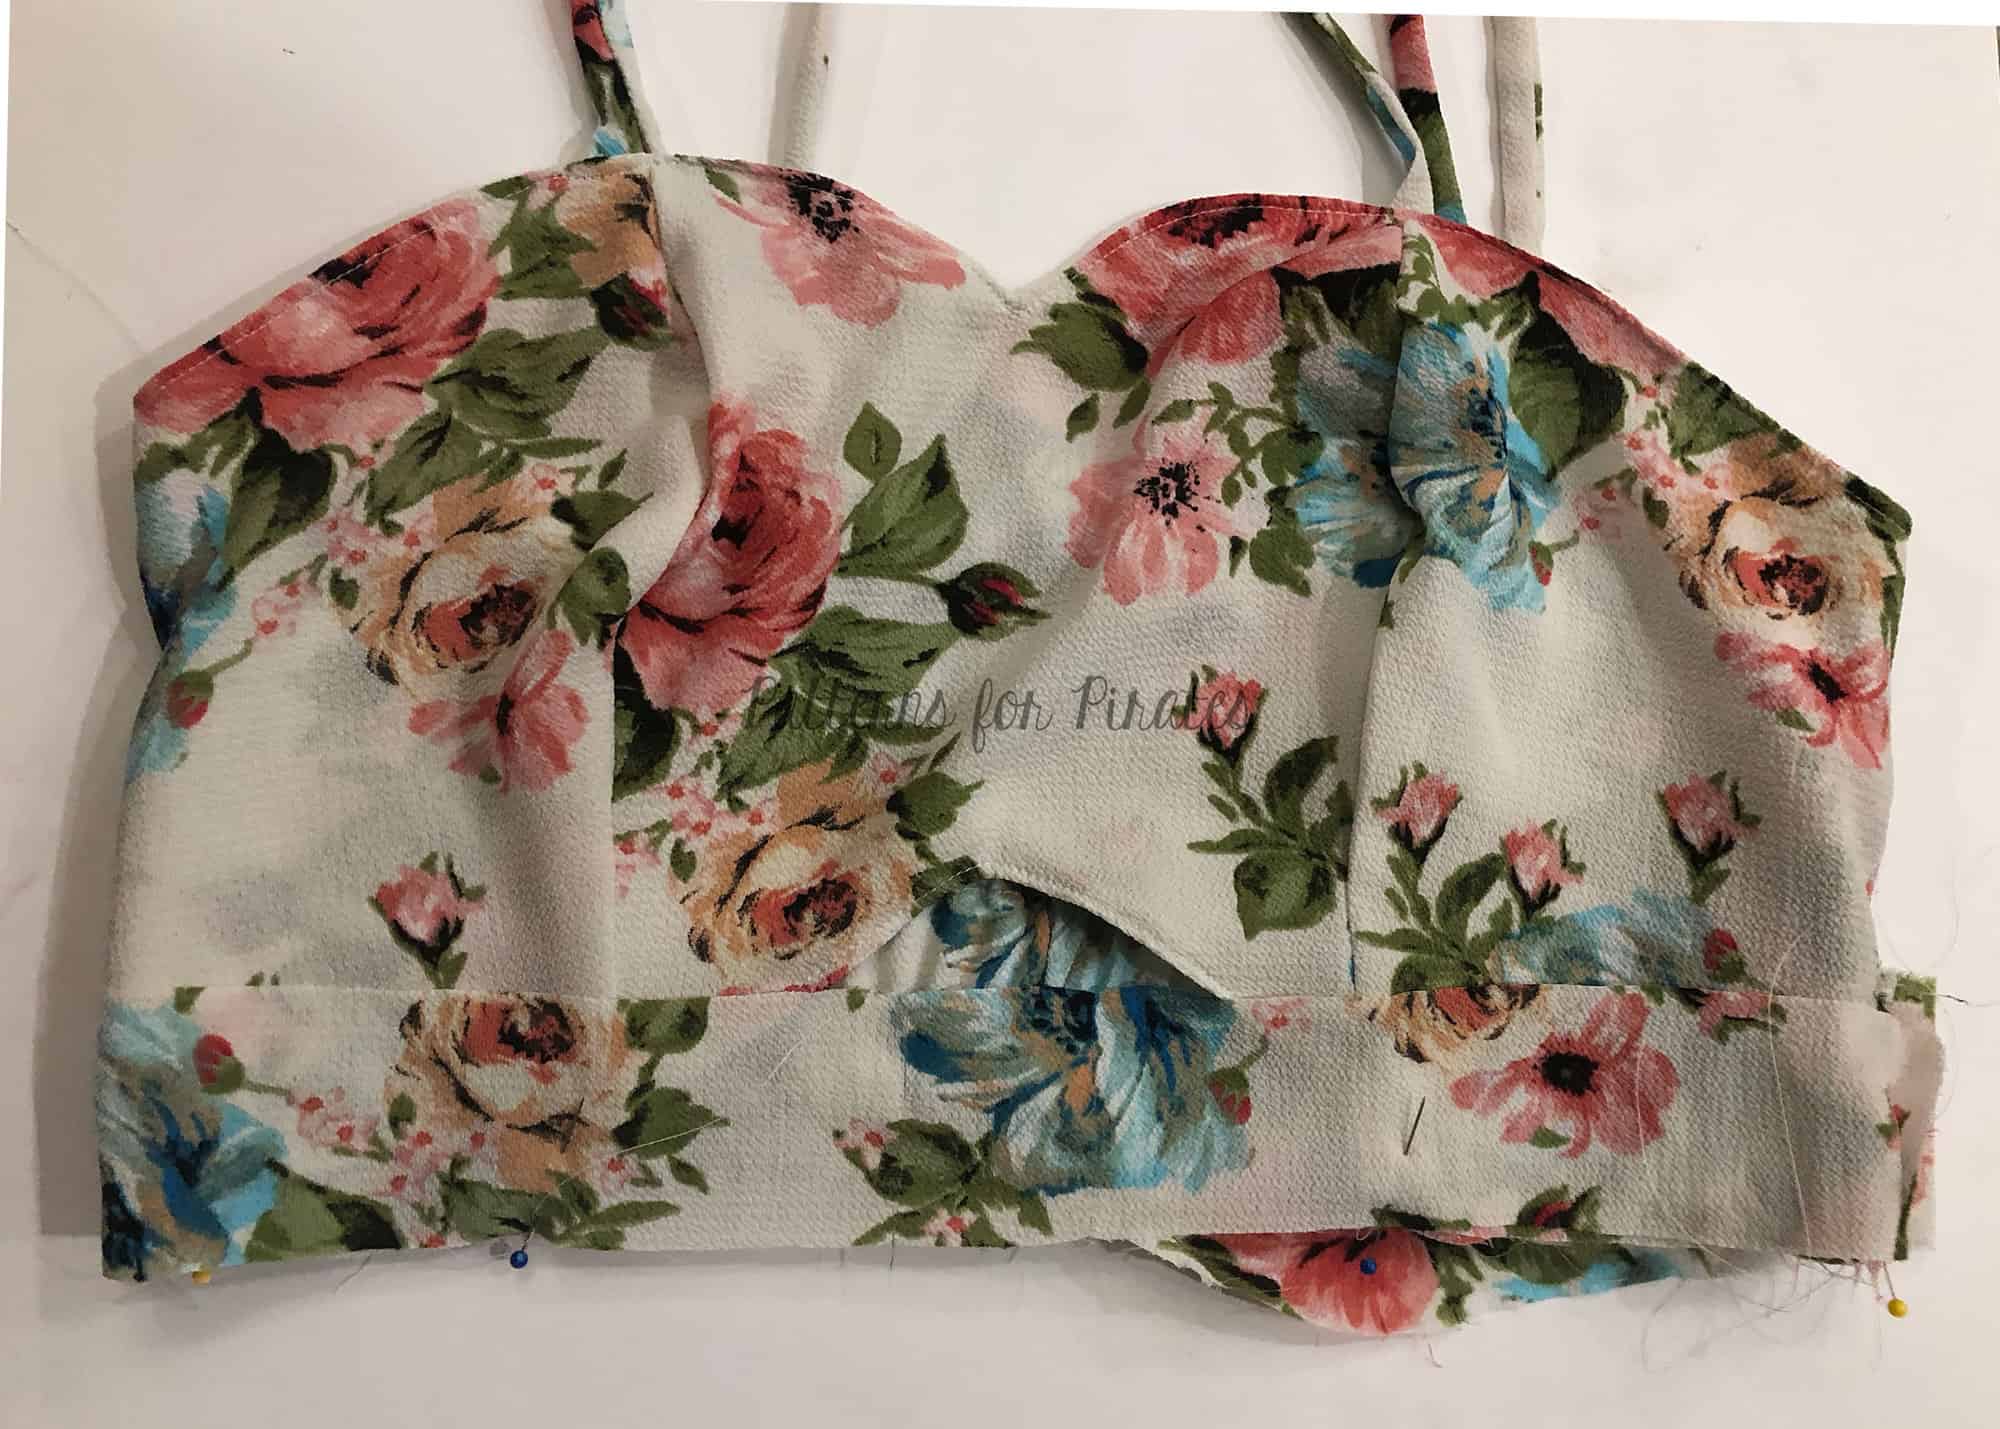
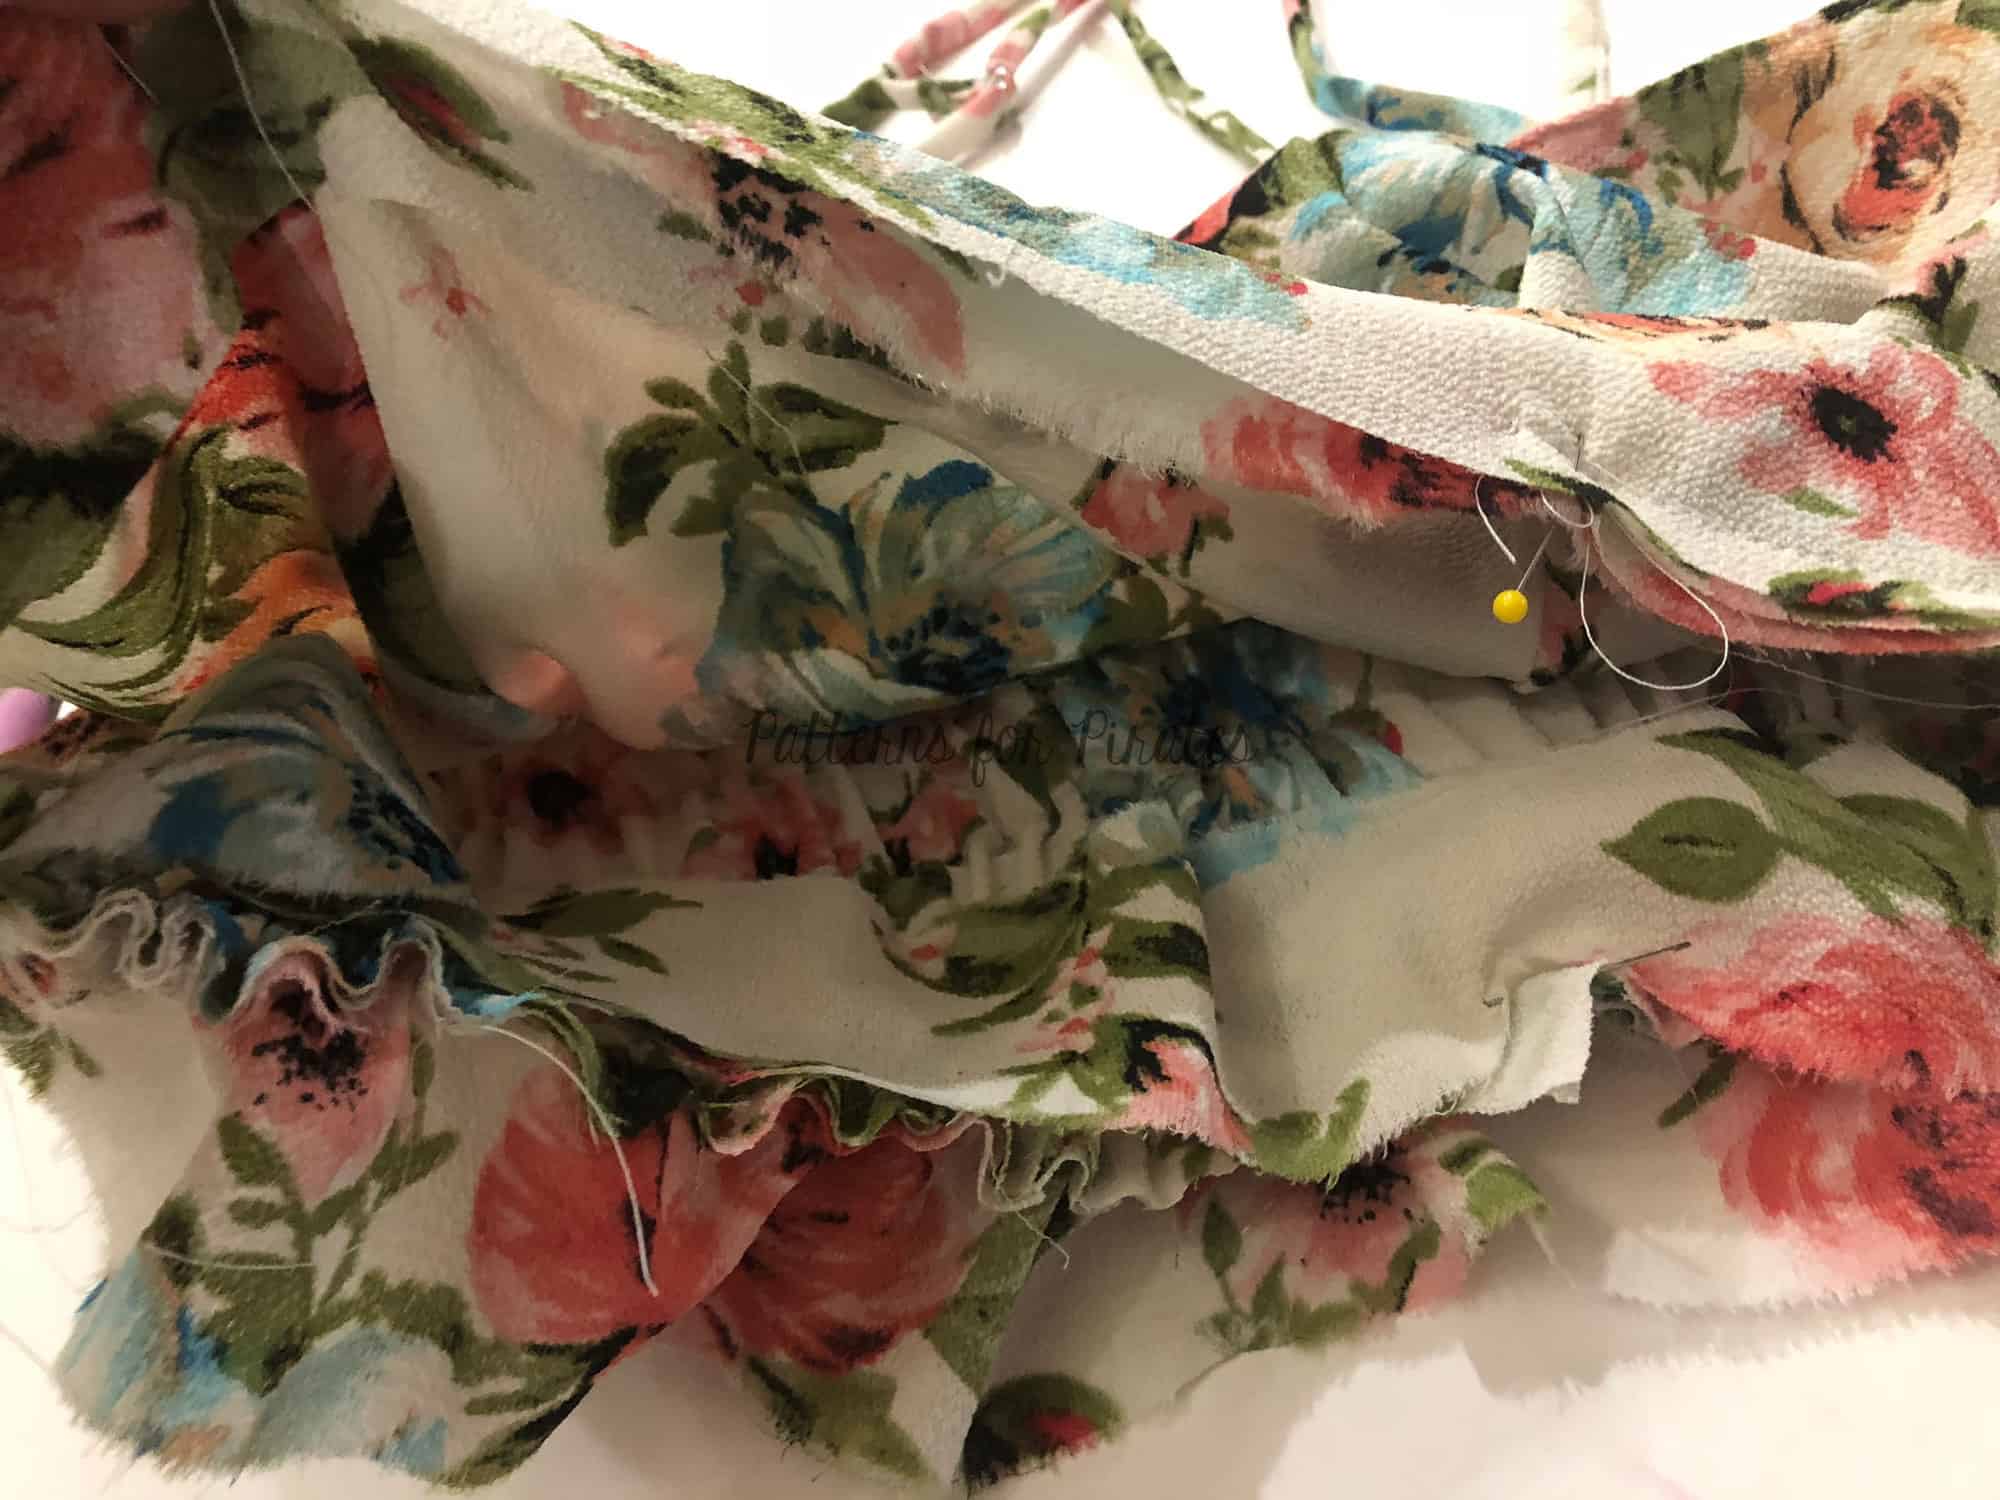
Front Bodice Cut-Out
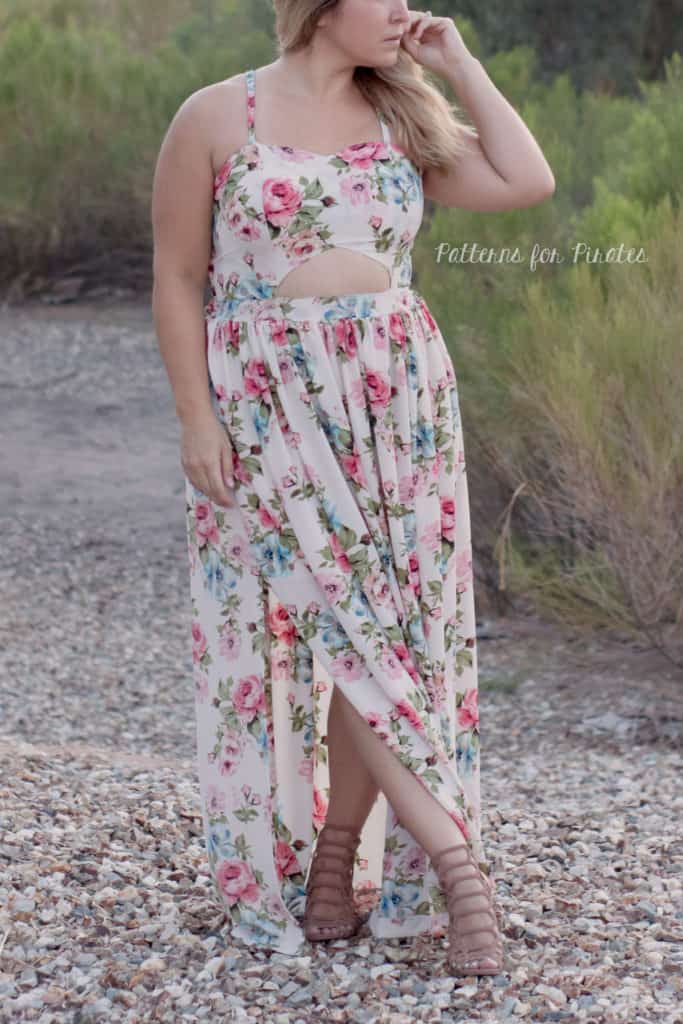
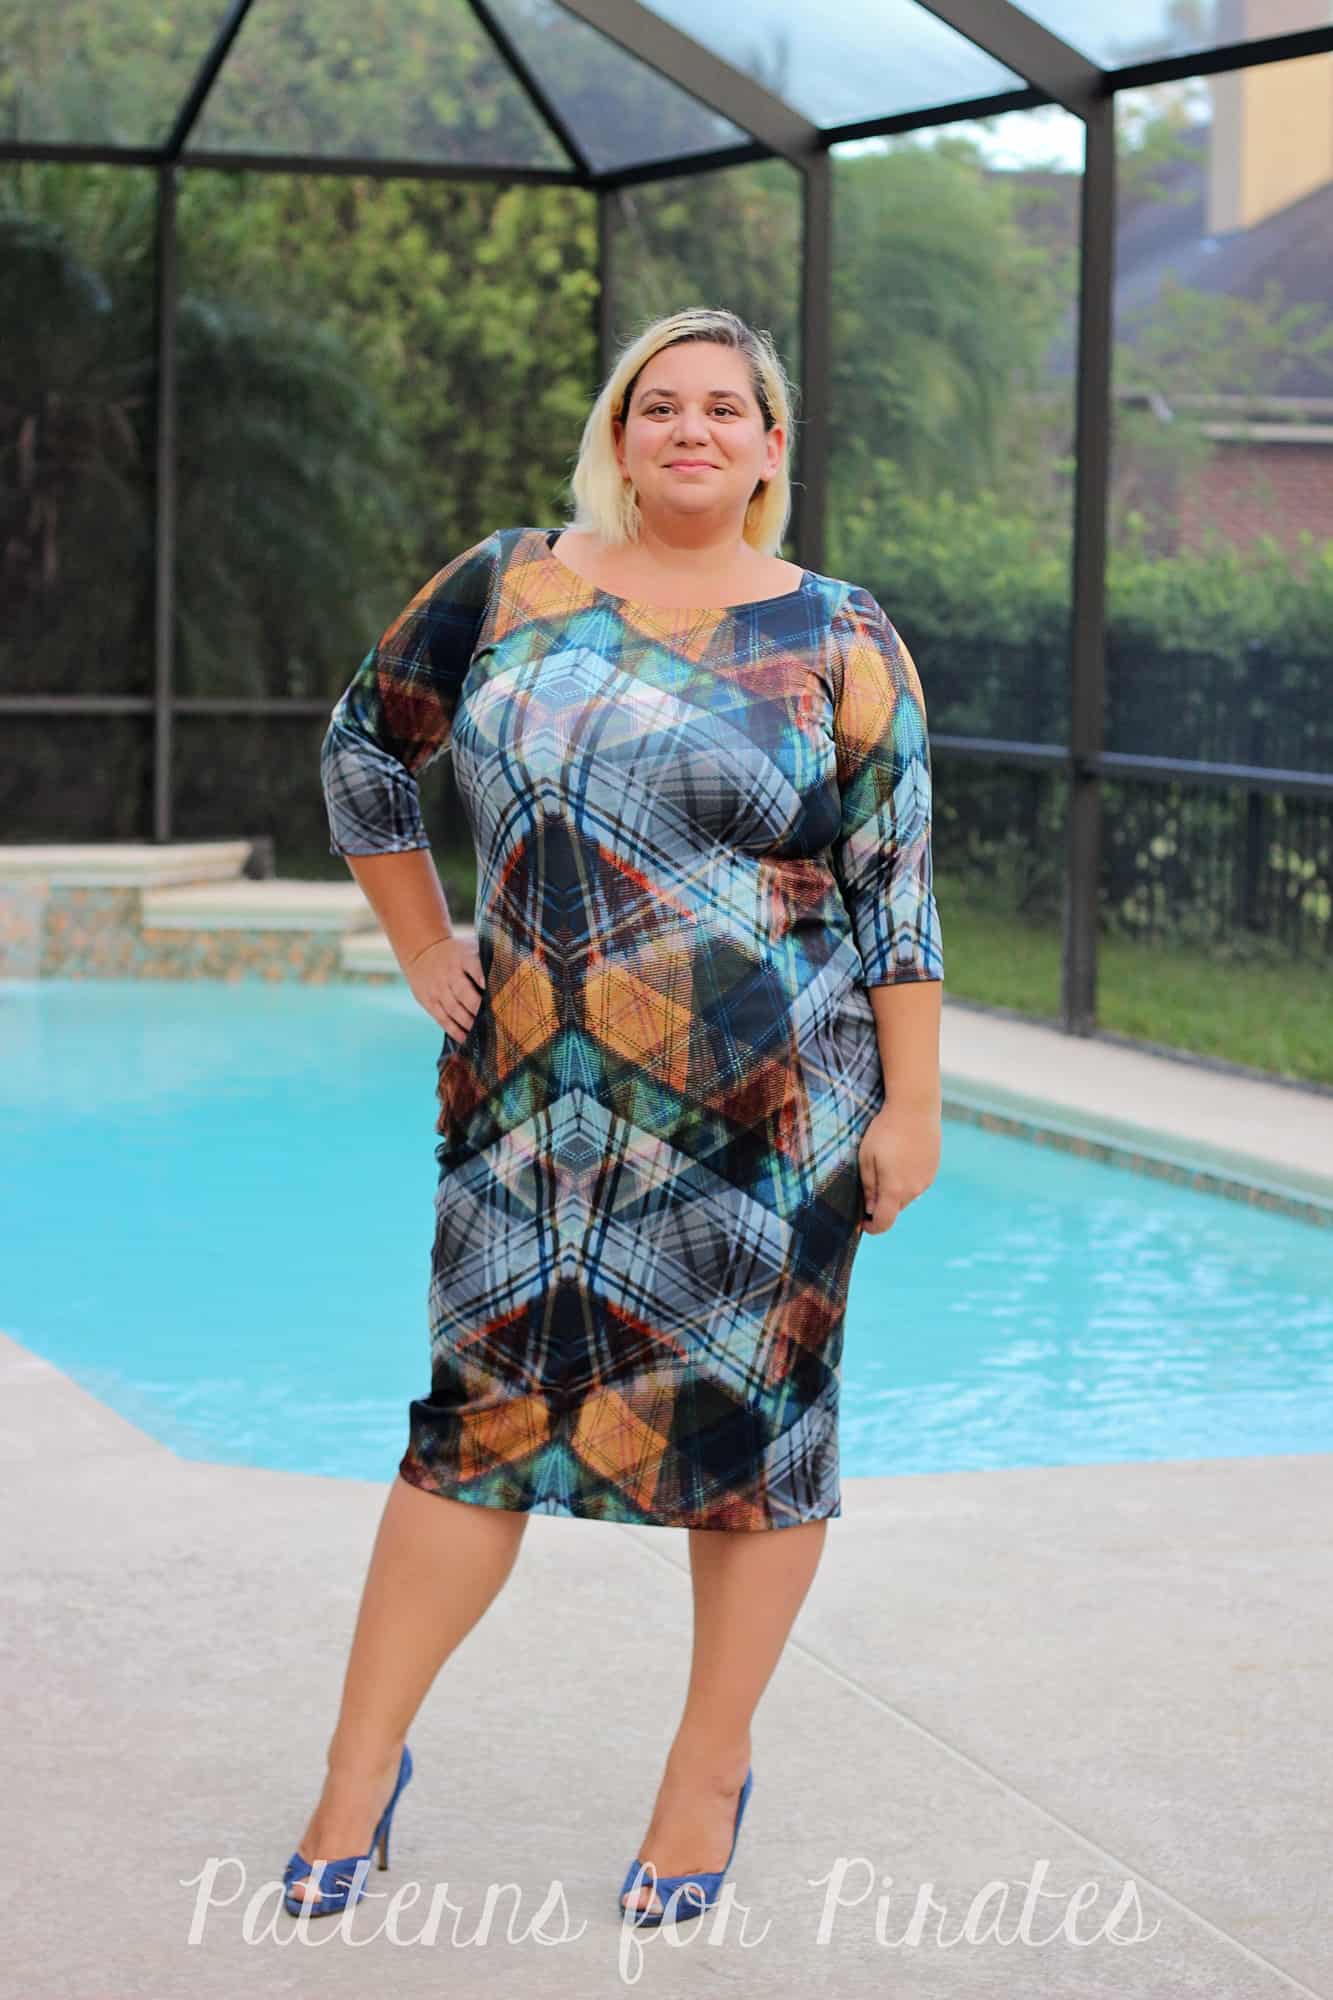
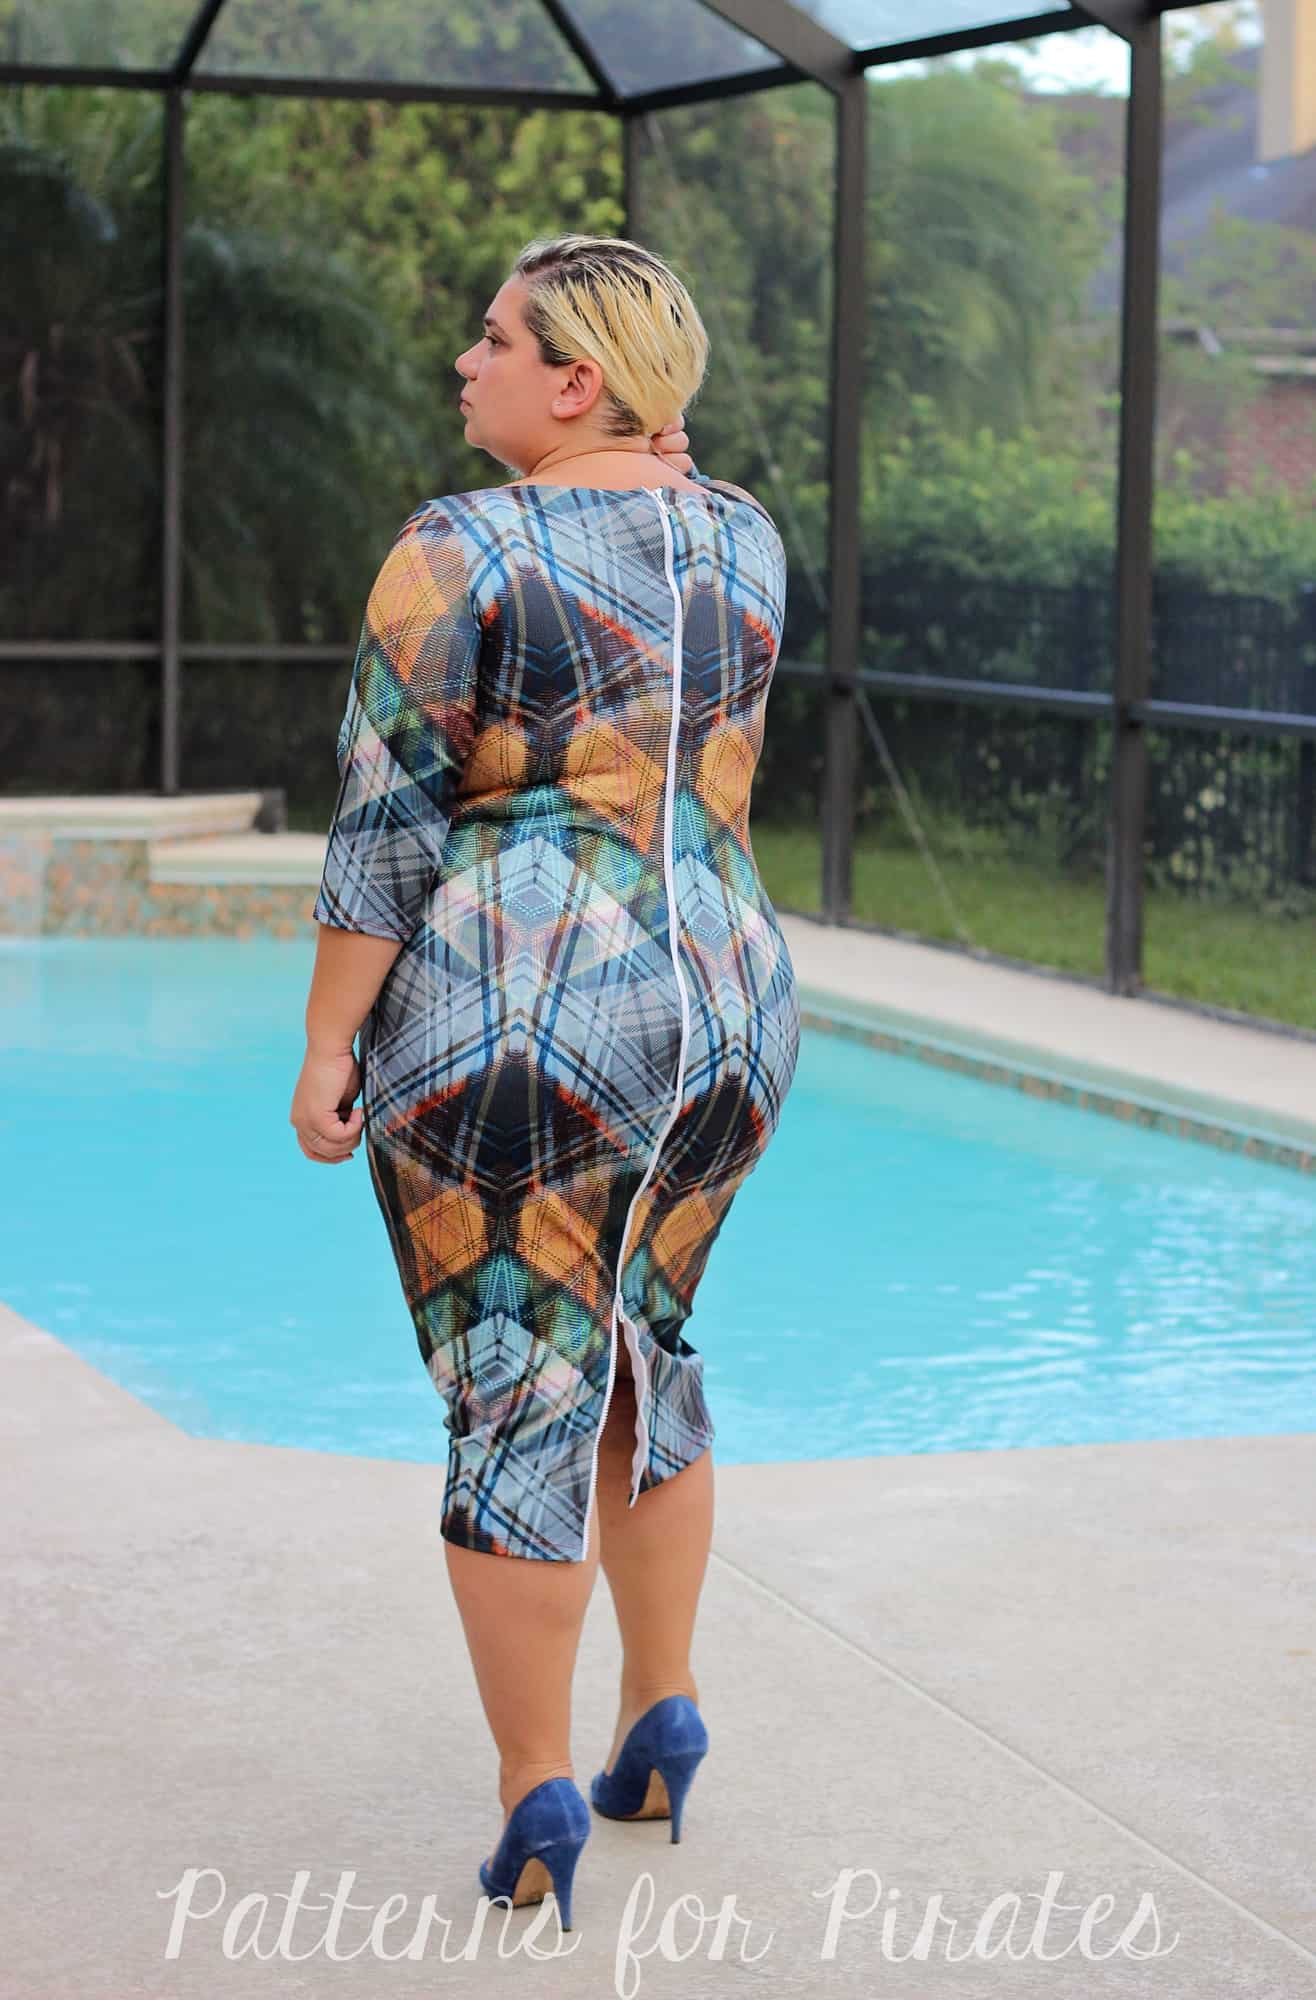
The So Classic Sundress is a classic, vintage style but with this slight modification, you can make it edgy and on trend. You can adjust the size of the cut-out to your preference but I used the empire and princess seam as a guide as to where to place mine.
![]()
Construction is slightly different and since we will be enclosing our front bodice in the waistband you will not use the lining pieces in the pattern. Instead, cut out 2 (mirror image) of all the main front bodice, main back bodice and front and back waistband pieces.
-
- Construct your front and back bodice per pattern instructions and attached your straps.
-
- With right sides together , place lining on main front bodice and stitch along the entire top edge. (just as the pattern instructs).
-
- Open bodice from lining. With right sides together, place back bodice in side front bodice. (just as the pattern instructs).
-
- Fold main bodice so that it is right sides facing with the lining, sandwiching the back bodice in between the layers. Stitch side seams. (just as the pattern instructs).
-
- Moving the back bodice out of the way, pin the bottom raw edge of the front bodice along the V cut-out. Stitch with a 1/4″ seam allowance. Note – do not stitch along the side bodice section.
-
- Clip the center of the V up to but not through the seam-line.
-
- Open bodice and pull the back bodice out to turn the entire bodice right sides out.
-
- Press and top-stitch along top edge and V cut-out.
Now we will move on to construct and attach the waistband and skirt.
-
- With right sides together sew front waistband to back waistband at side seams (short ends), creating a circle.
-
- With right sides together, slip waistband over bodice. Baste in Place.
-
- With right sides together, slip lining waistband inside bodice. The bodice should be sandwiched between the main and lining waistband. Stitch.
-
- Fold and press waistband wrong sides together.
-
- Baste back waistband along bottom raw edge. Do not stitch the front waistband yet.
-
- Insert elastic in waistband.
-
- Stitch in the ditch (along the side seam) to hold elastic in place.
-
- Top-stitch front waistband and baste along bottom raw edge. Attach your skirt as per pattern instructions.