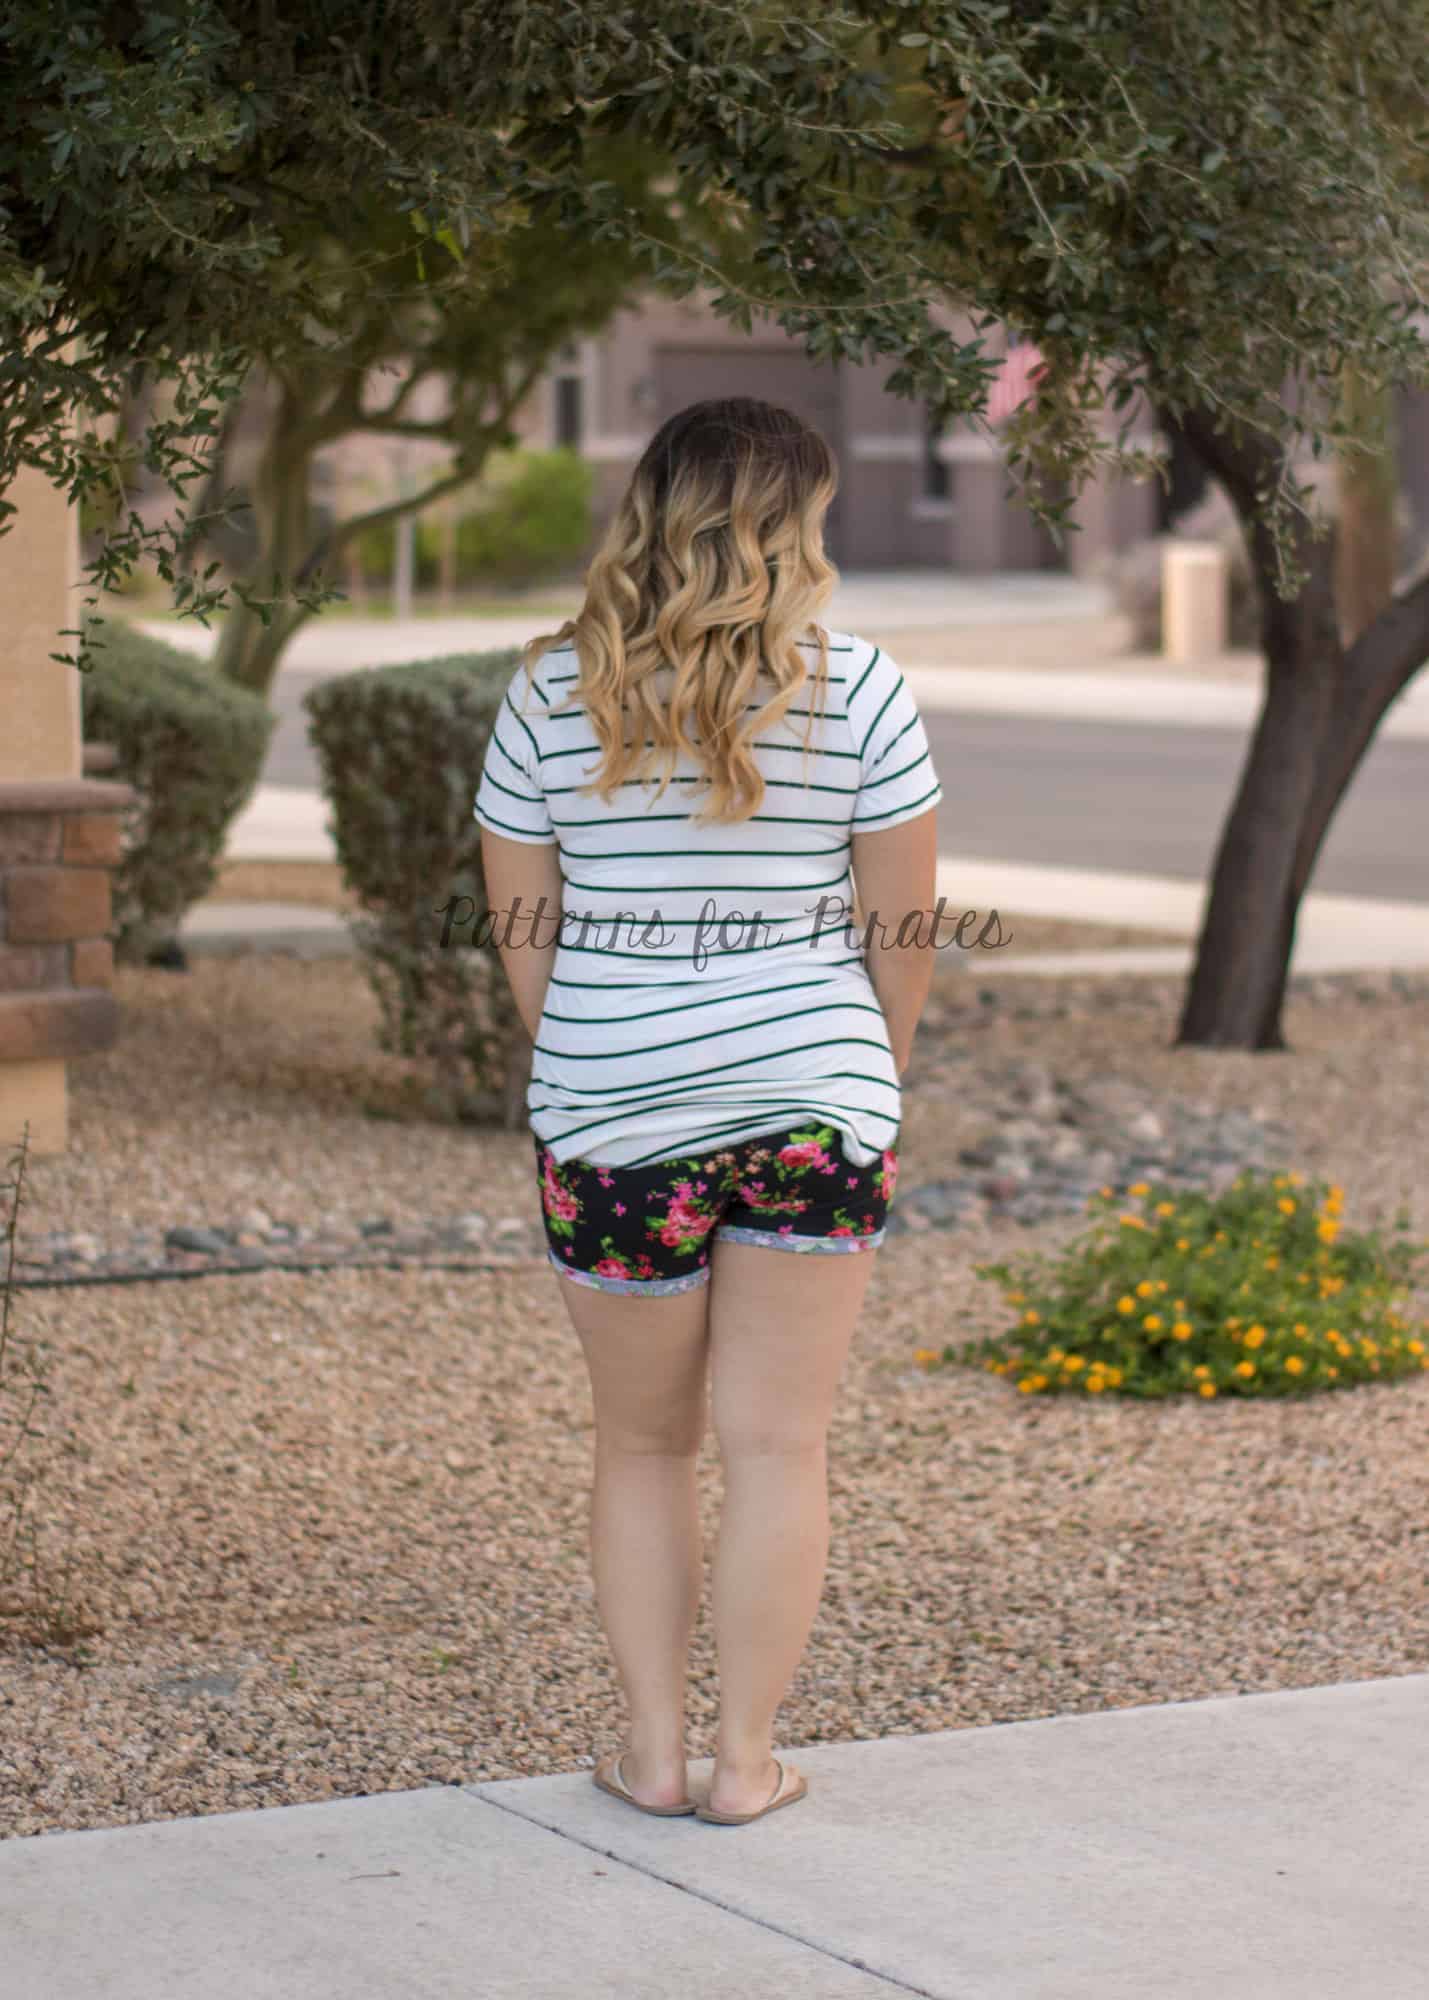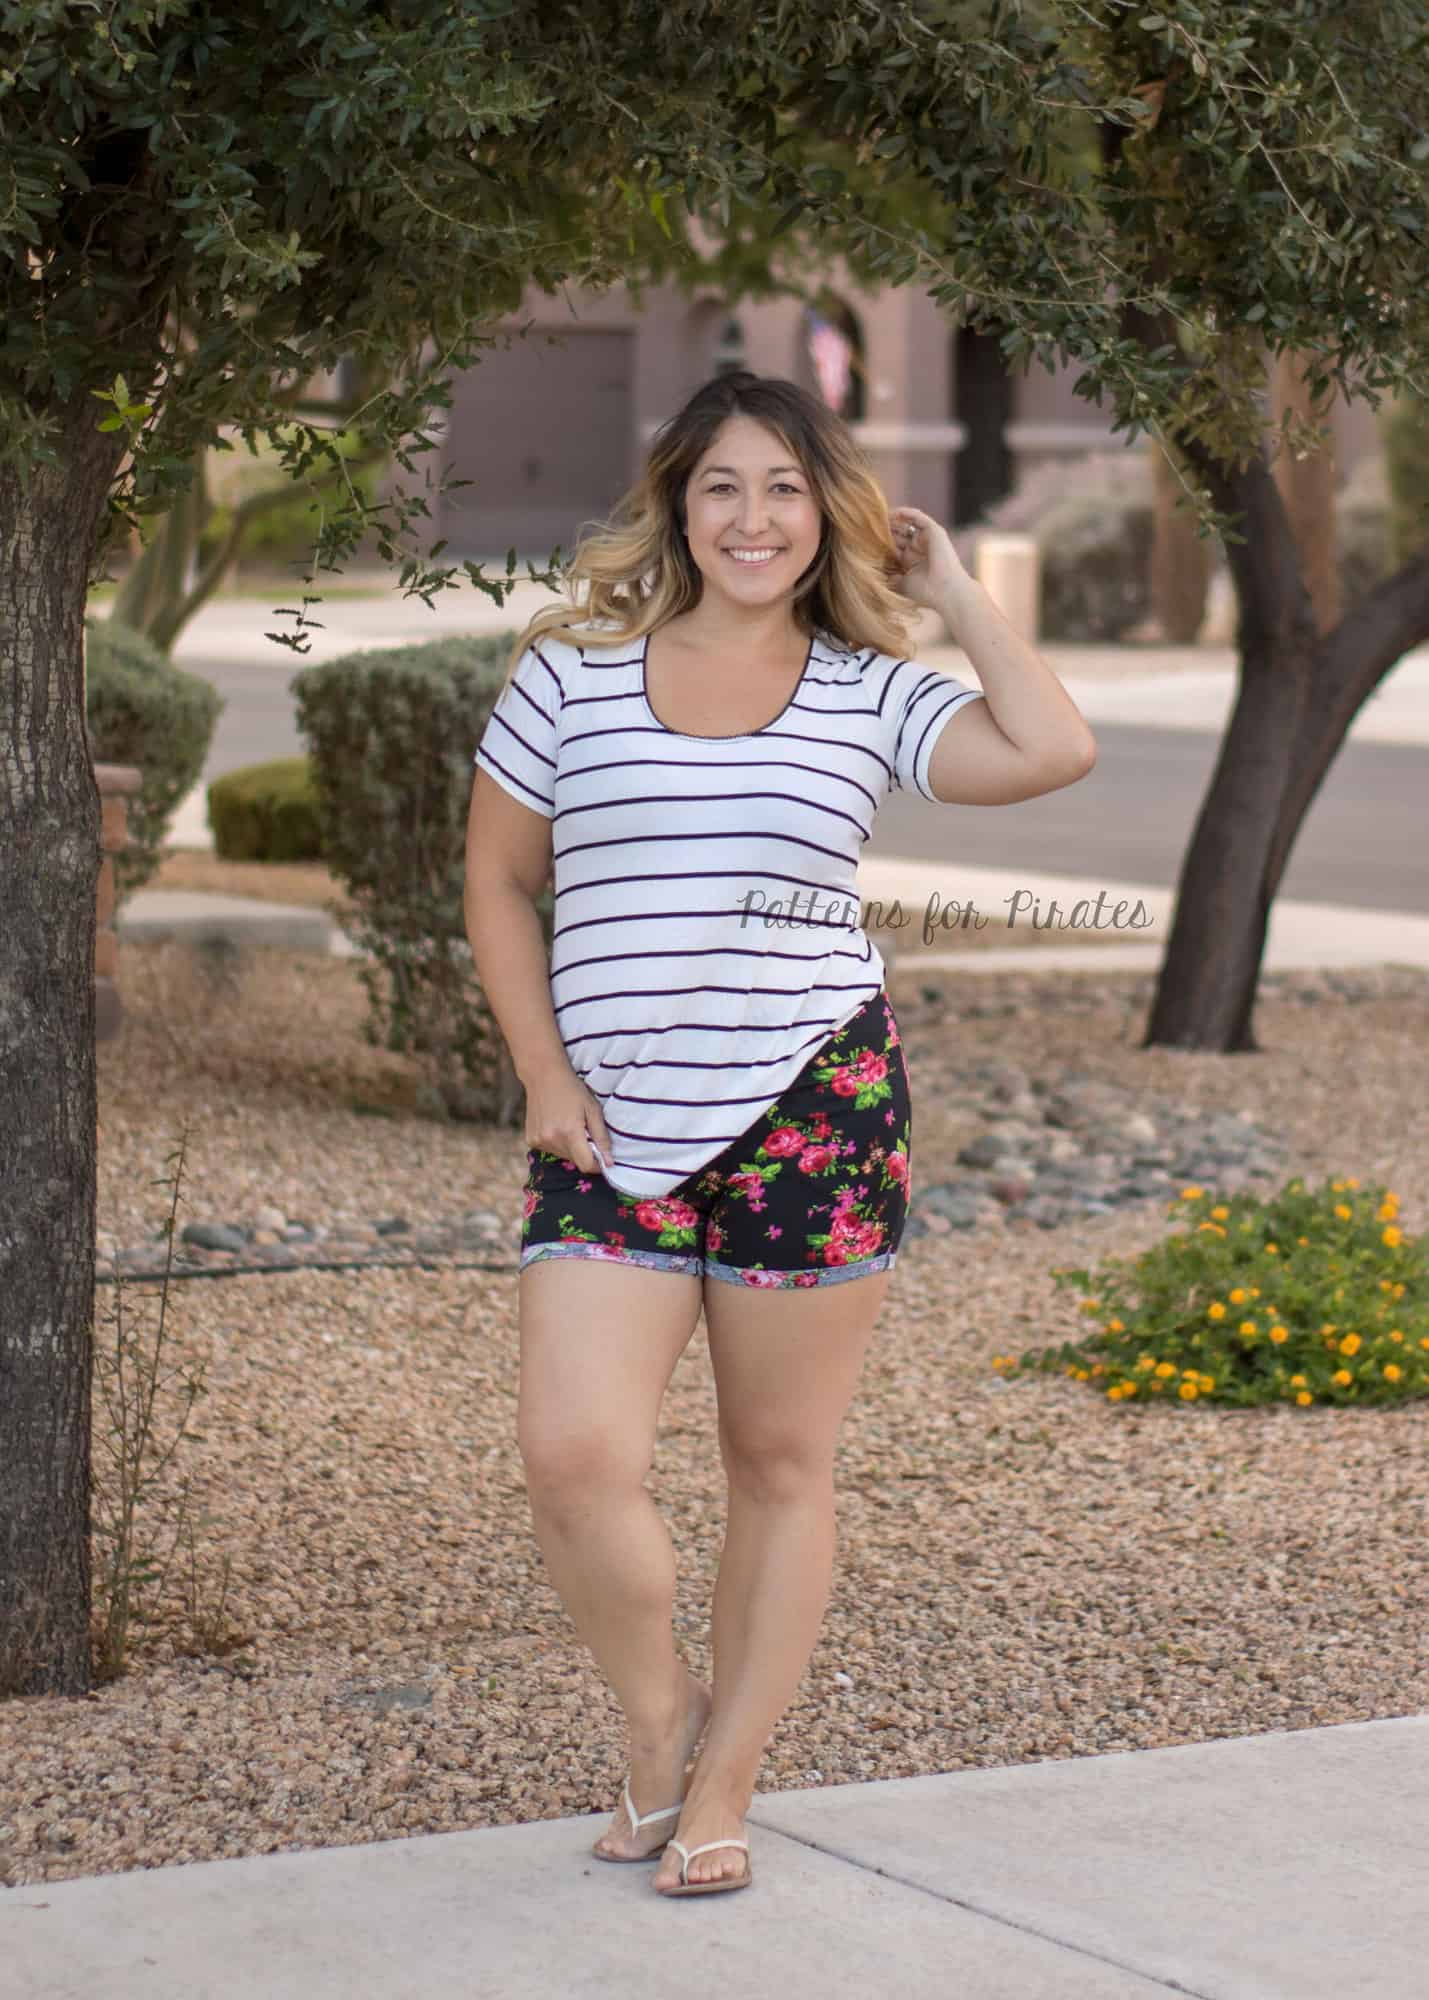
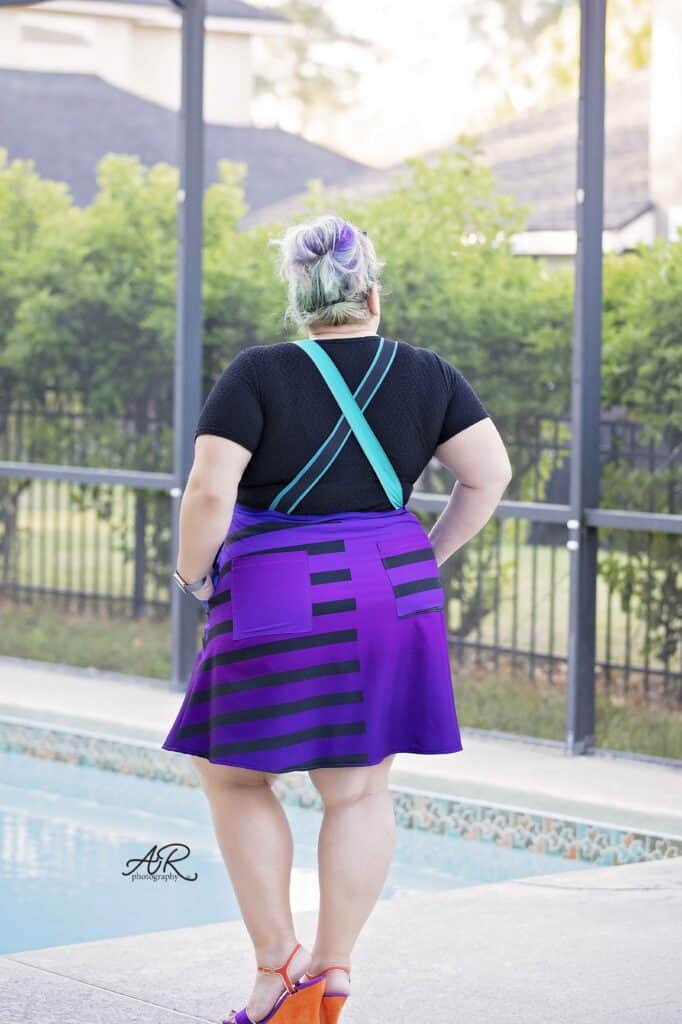
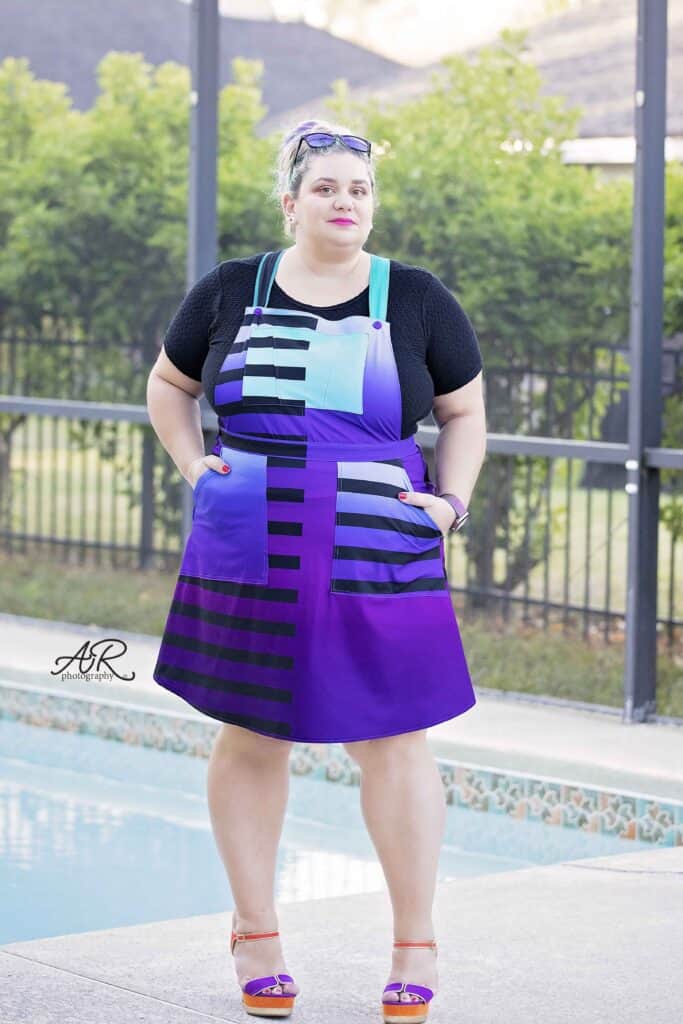
Thank you all for joining me last week for the Vintage Jumper Sew Along. I loved seeing all the beautiful jumpers being created. I know you have been waiting for this post so I won’t keep you in suspense any longer.
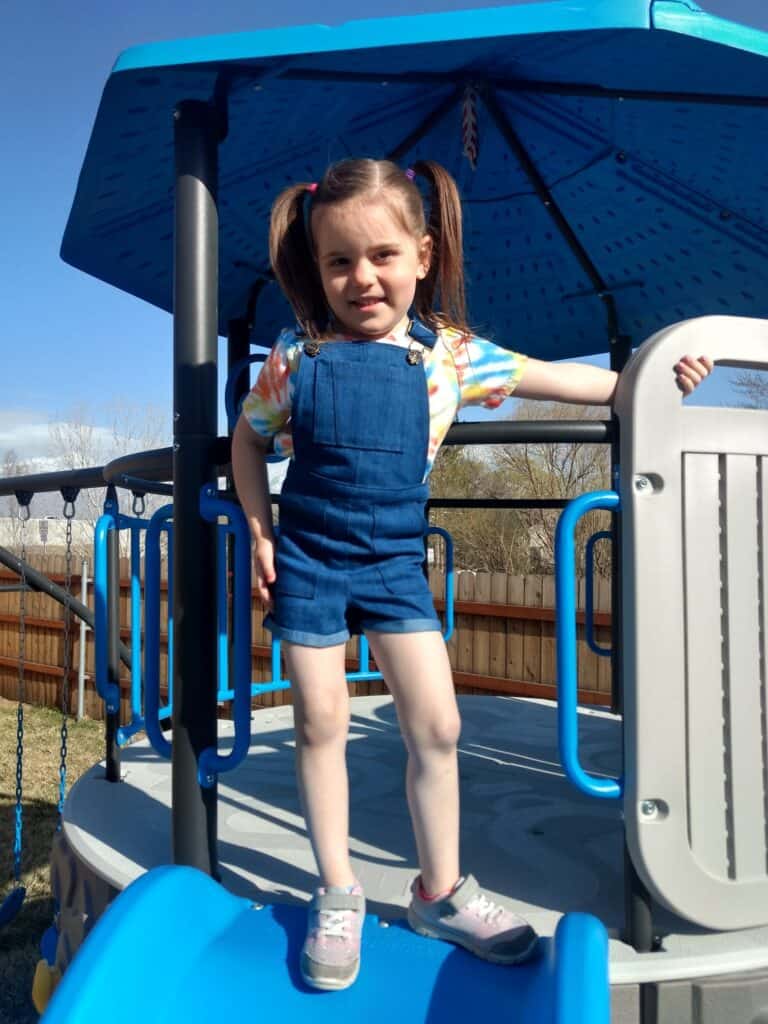
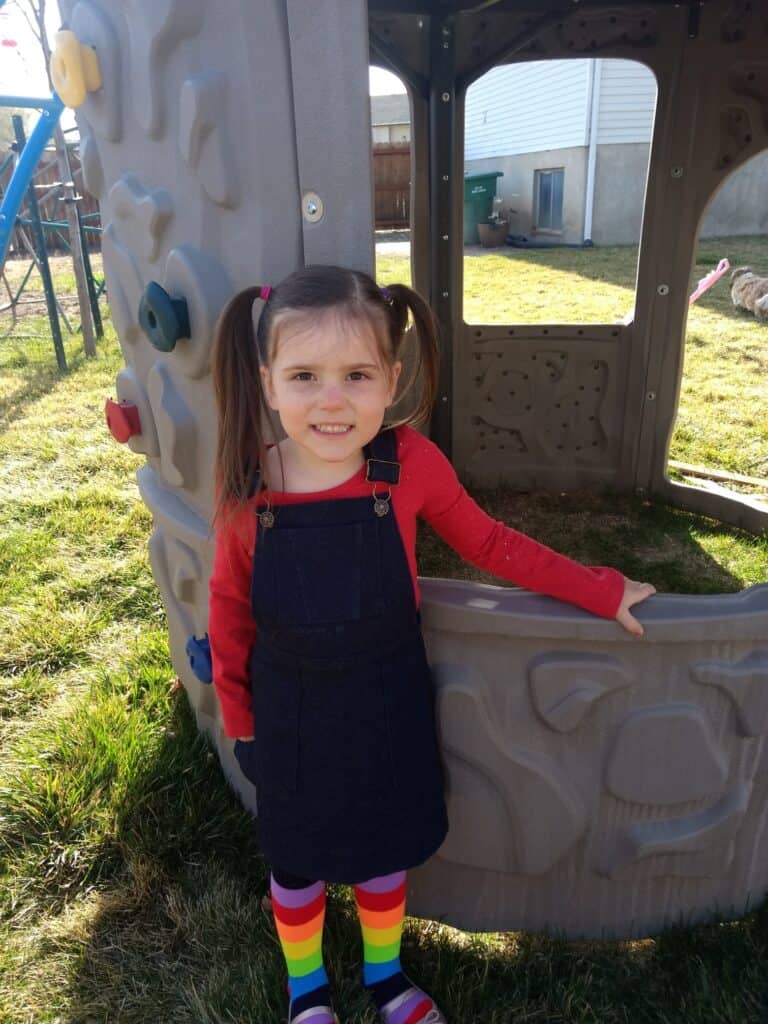
Our sew along winner is: Brianna Lynn! Brianna sewed not one, not two but THREE Vintage jumpers for her beautiful little one. What an outstanding job! Brianna won a $20 gift certificate to Patterns for Pirates and a $50 gift card to The Styled Magnolia Custom Fabrics.

We have a runner up winner to announce too. Congratulations, Darci Friberg! Darci will receive a $20 gift card from Made for Mermaids.
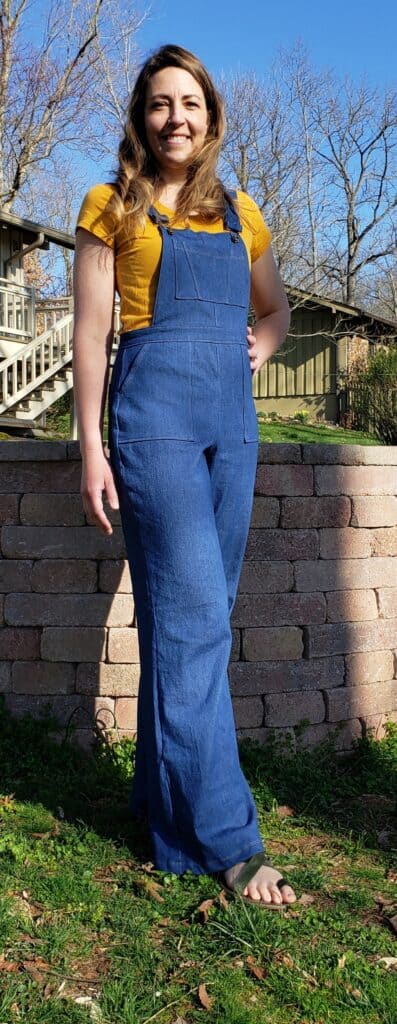
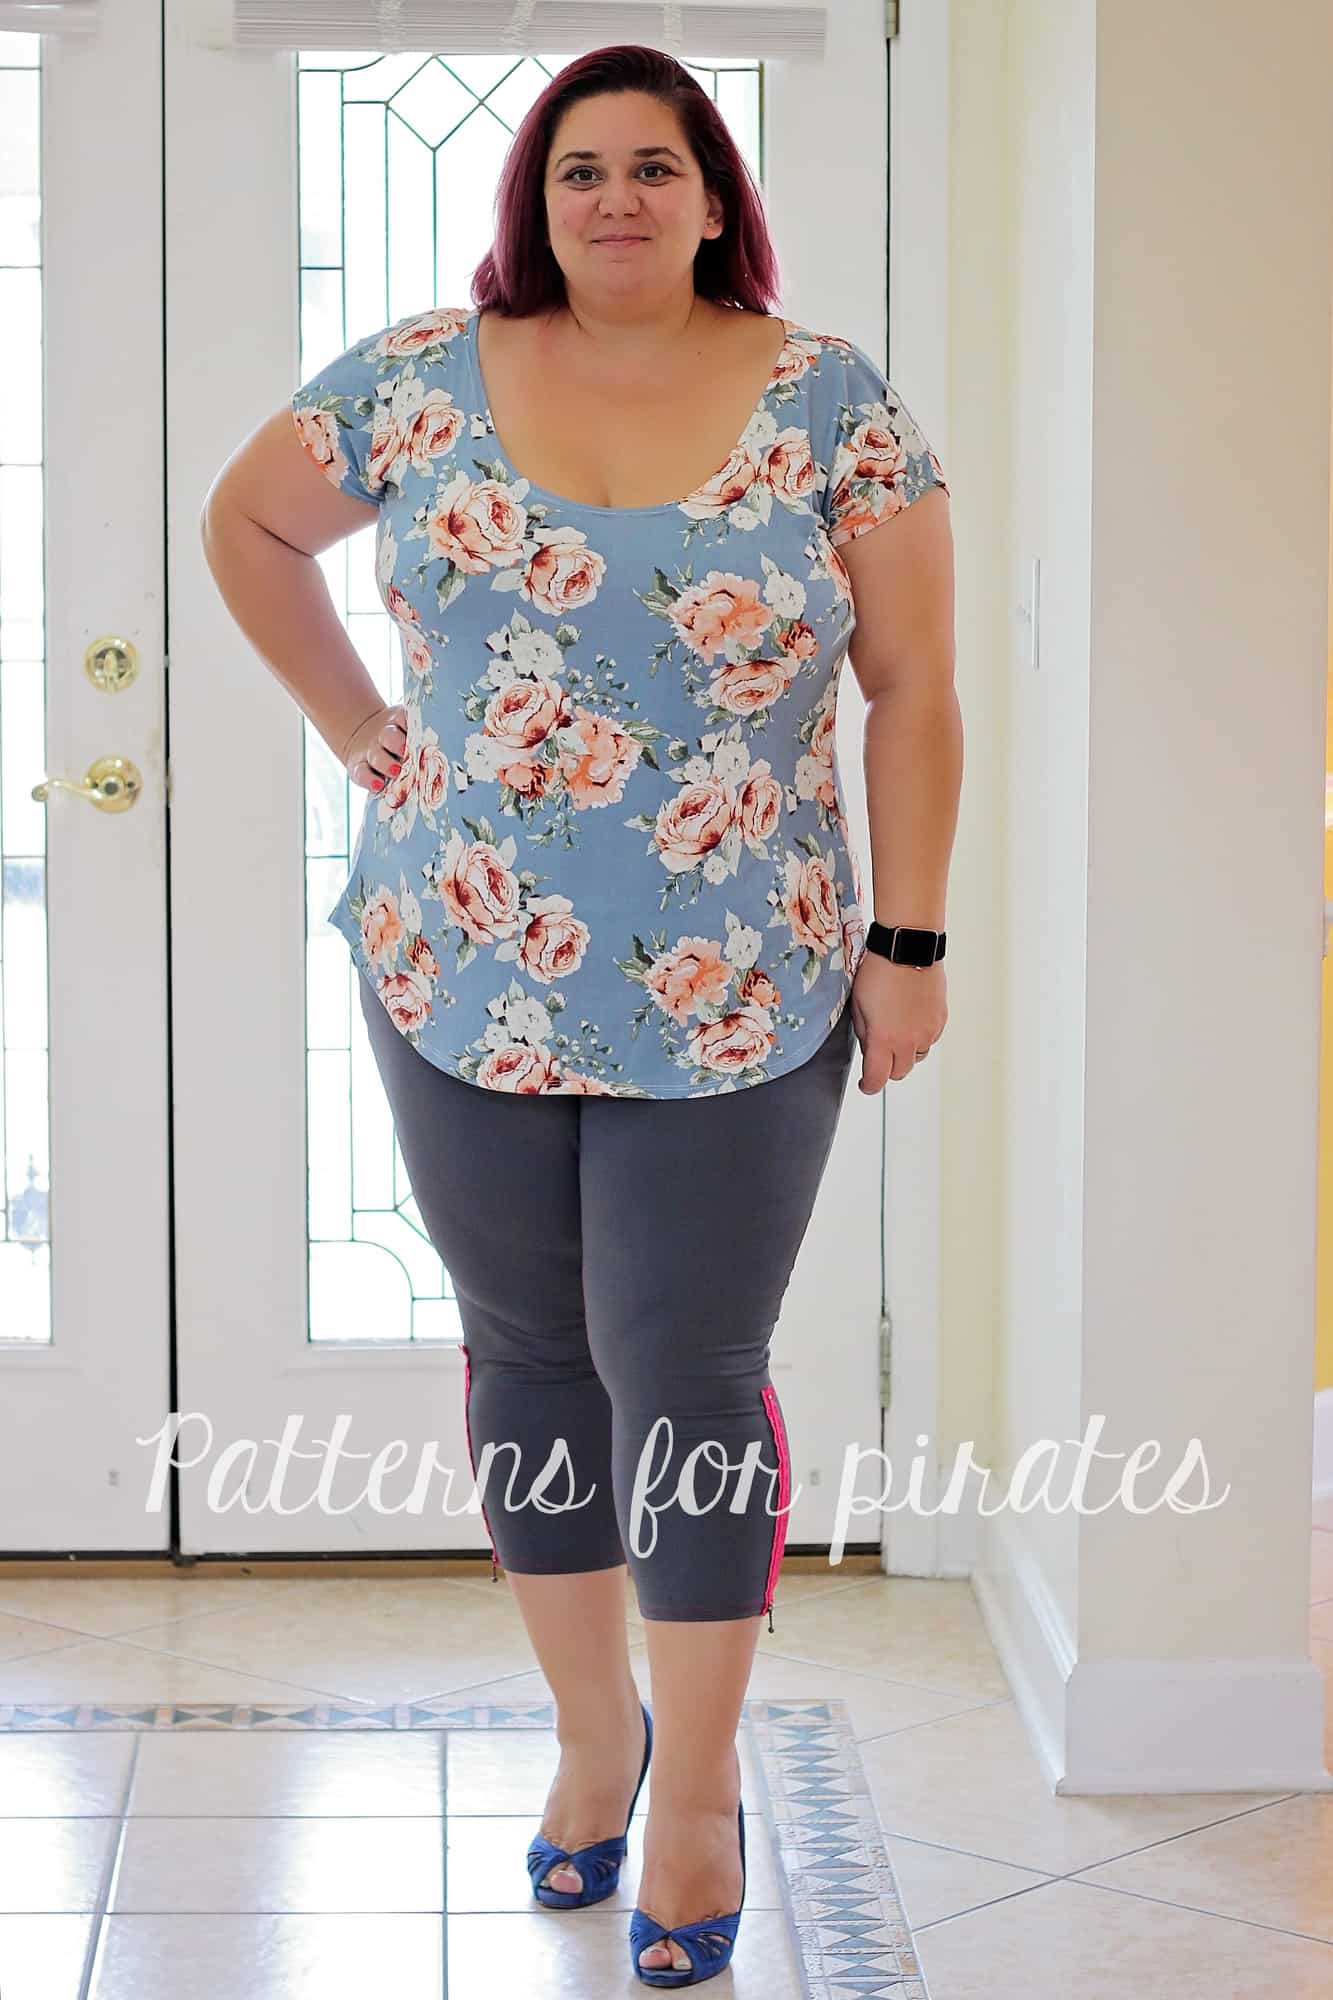
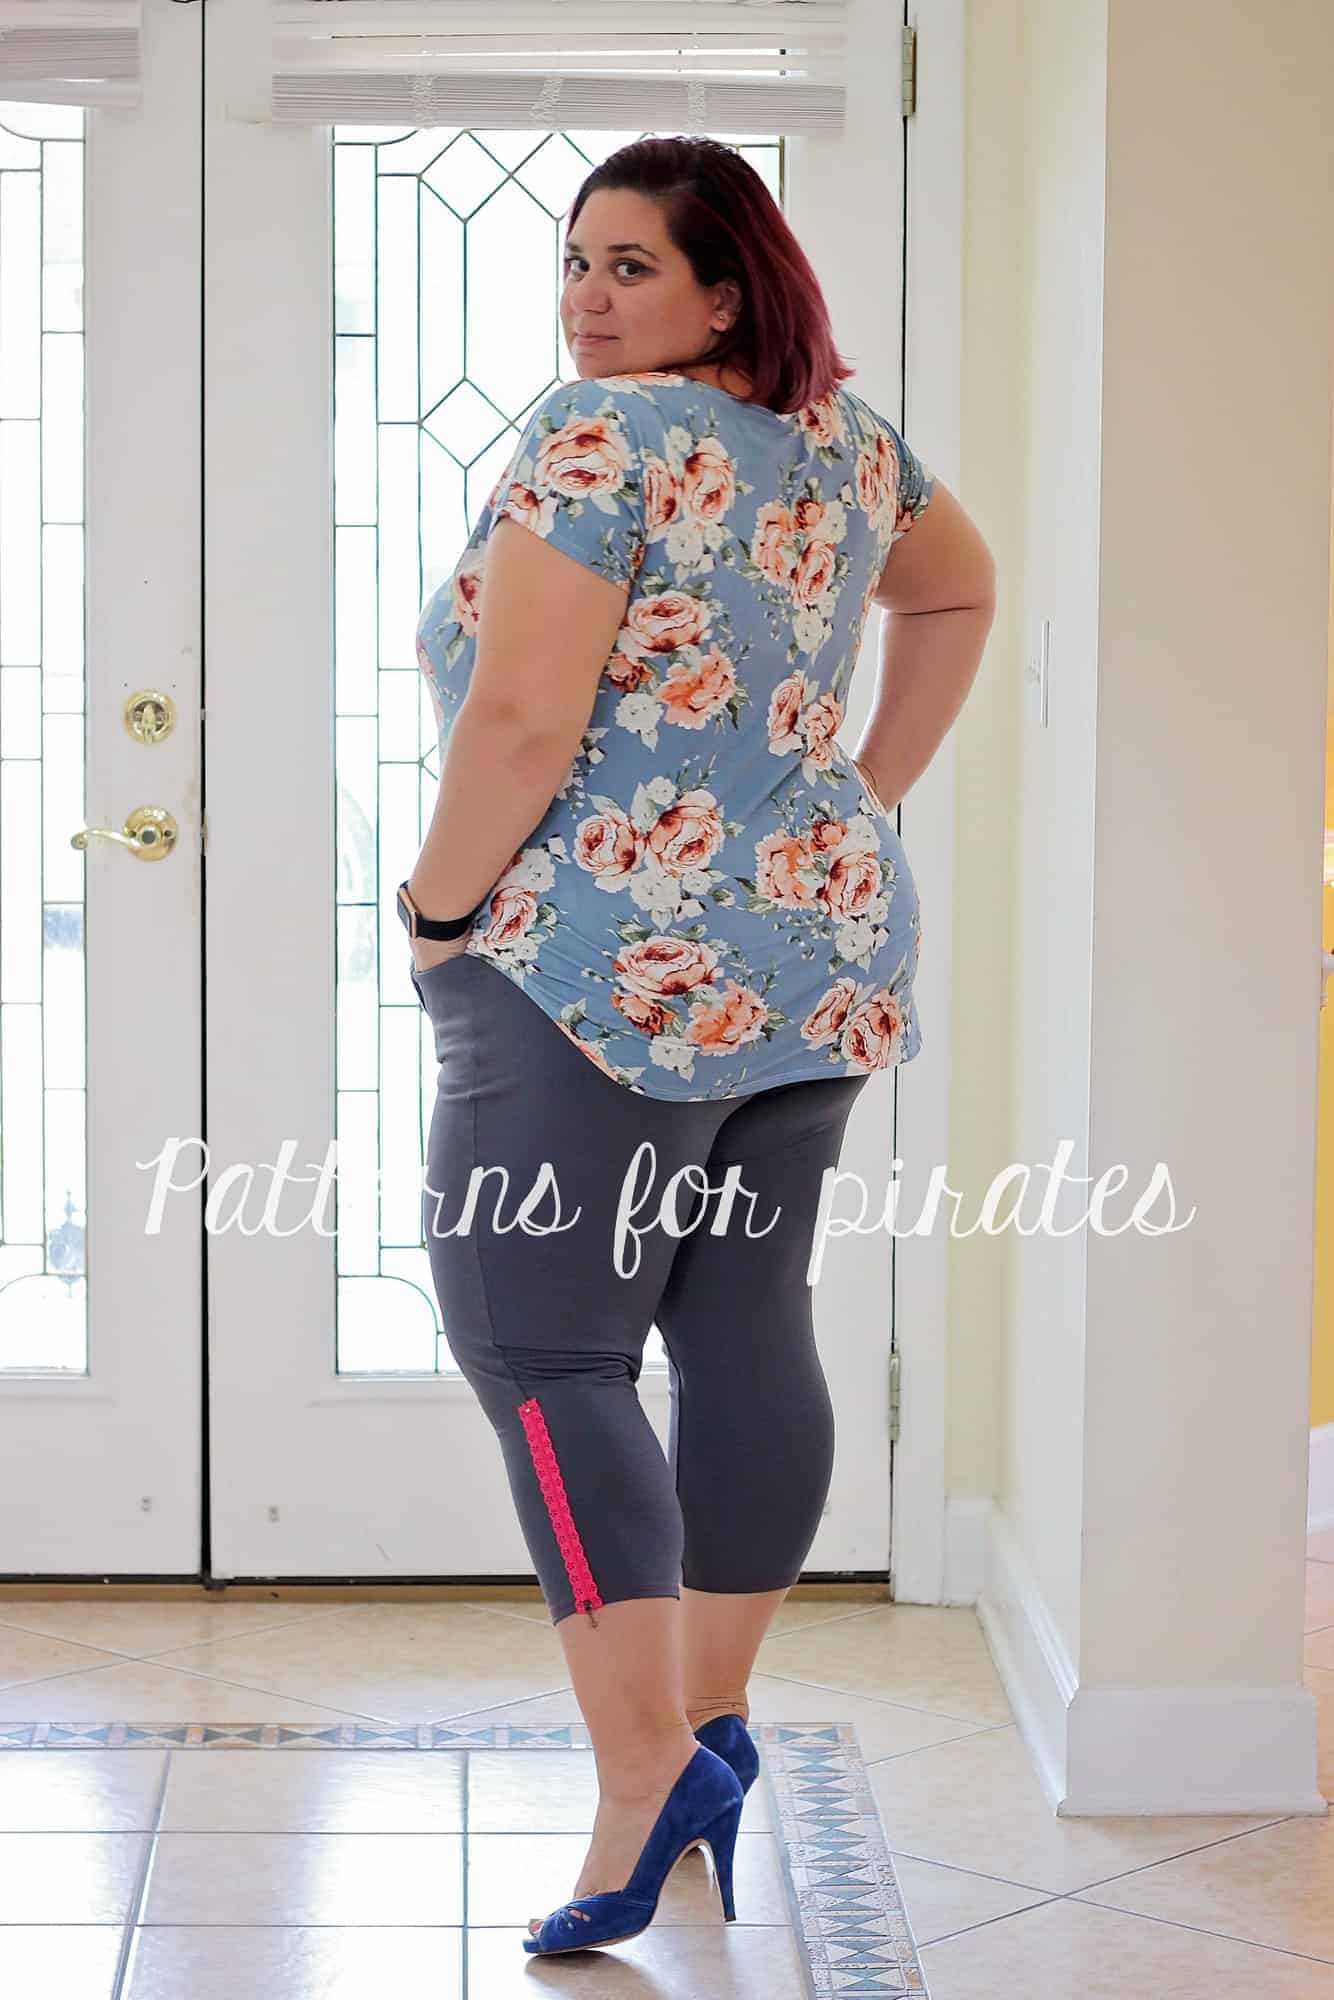
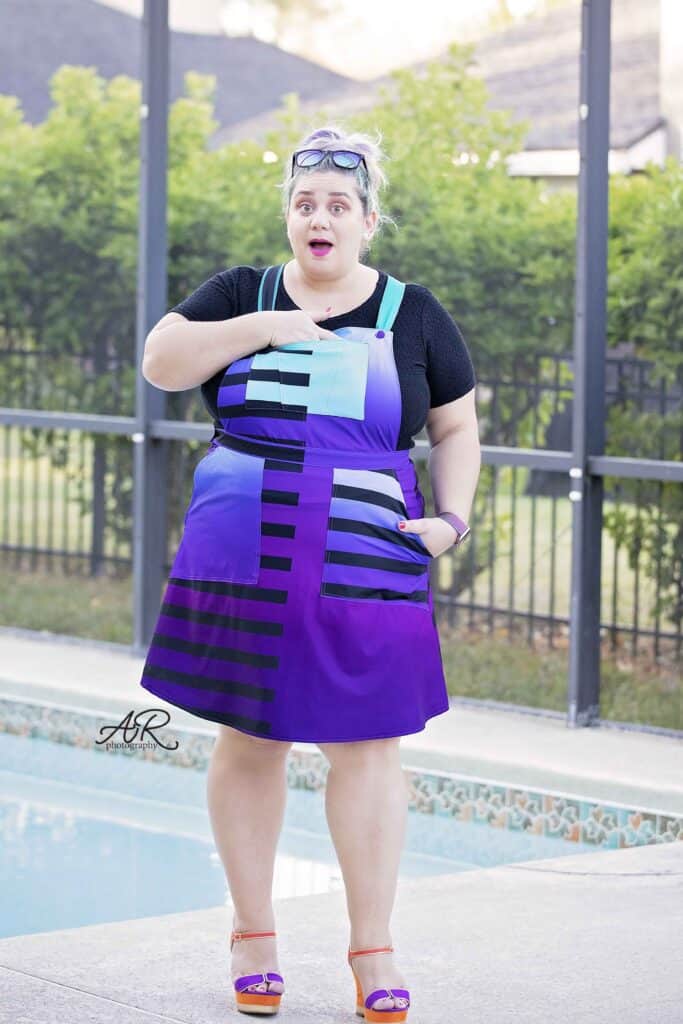
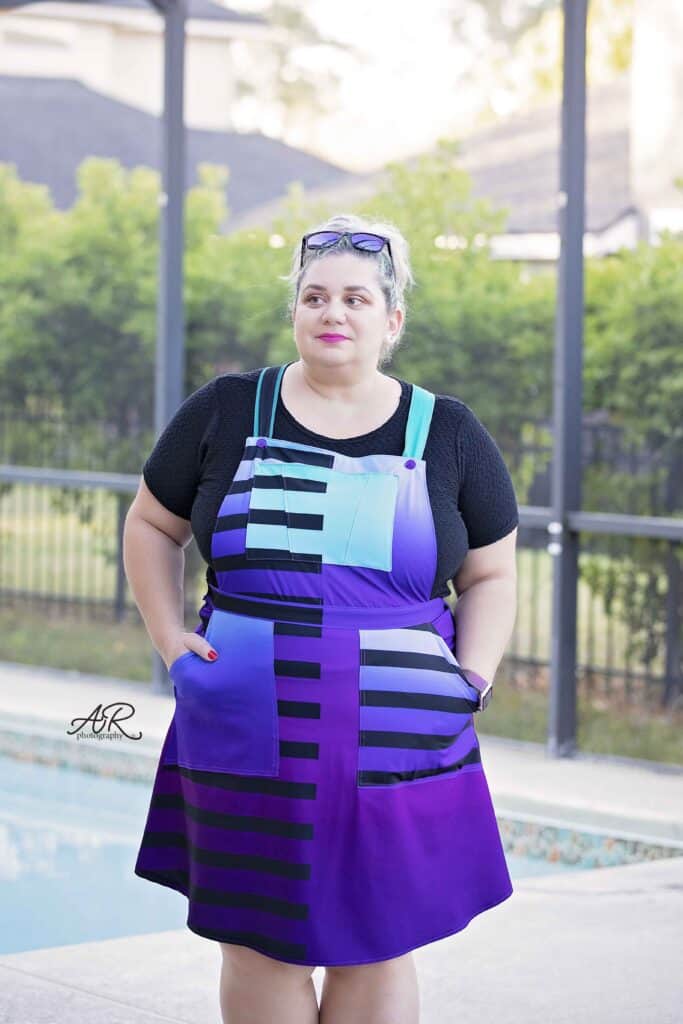
Huge THANK YOU to our Sew Along sponsor for not only providing the prize but also the fabric I used for my own Vintage Jumper.
As I pass the baton to Colleen from M4M, I wanted to remind you about the Spring Sale and Capsule Contest going on right now on both the P4P and the M4M sites. See you back for our next sew along in May!
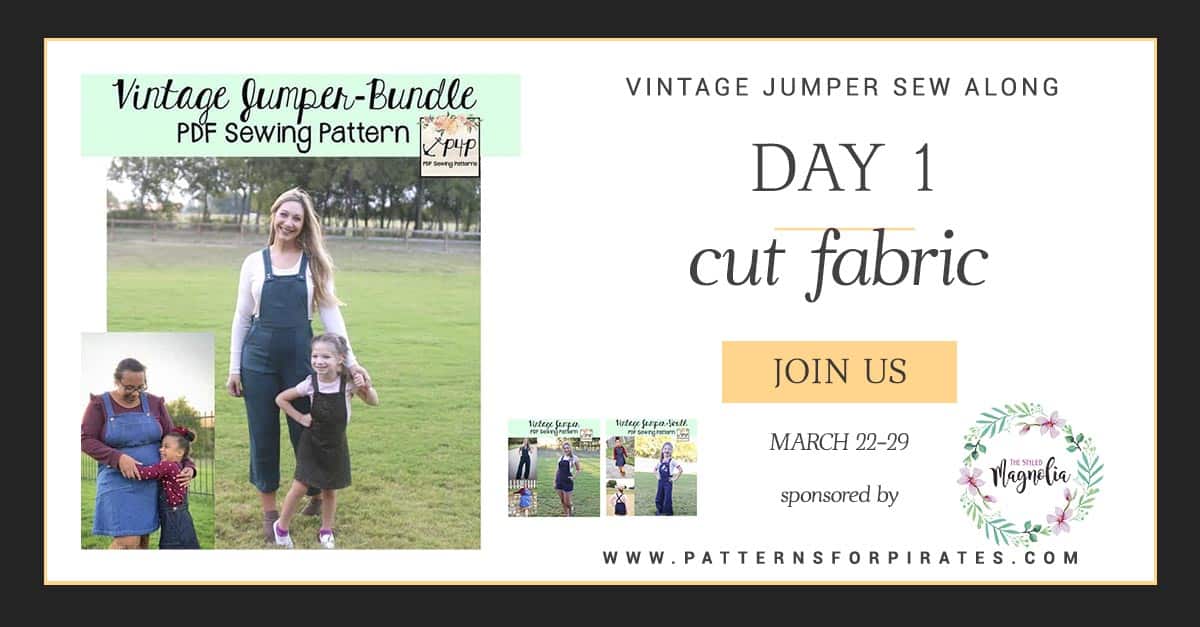
Vintage Jumper SAL | DAY 1 (cut fabric)
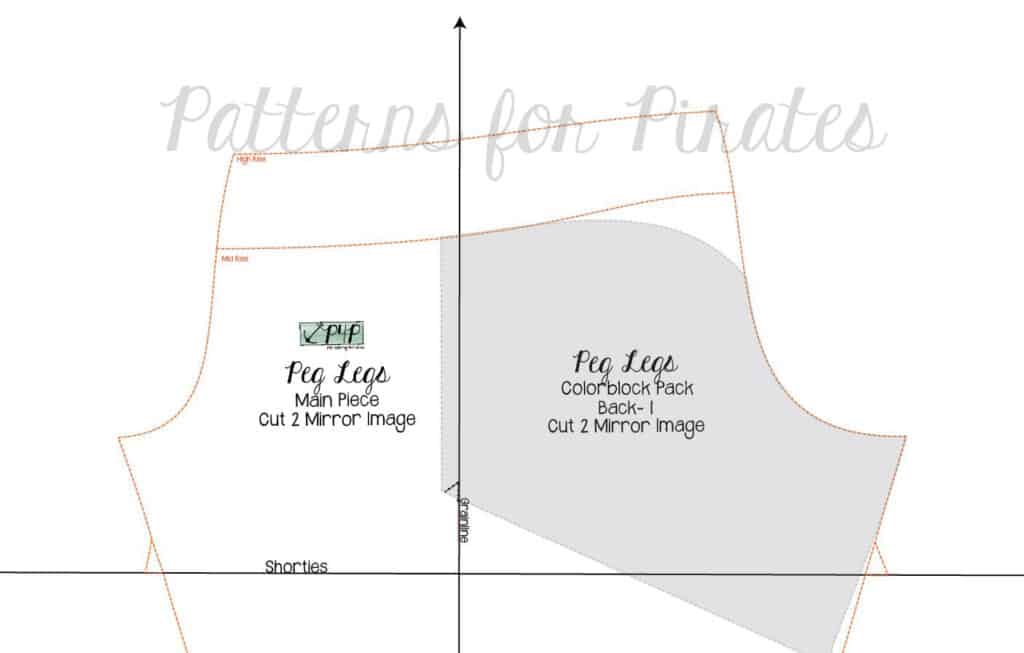
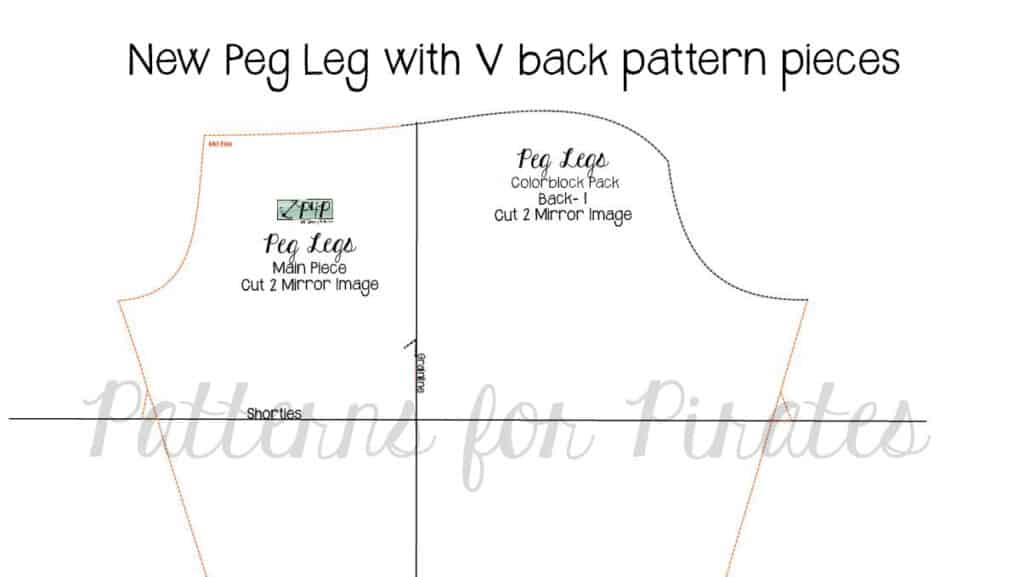
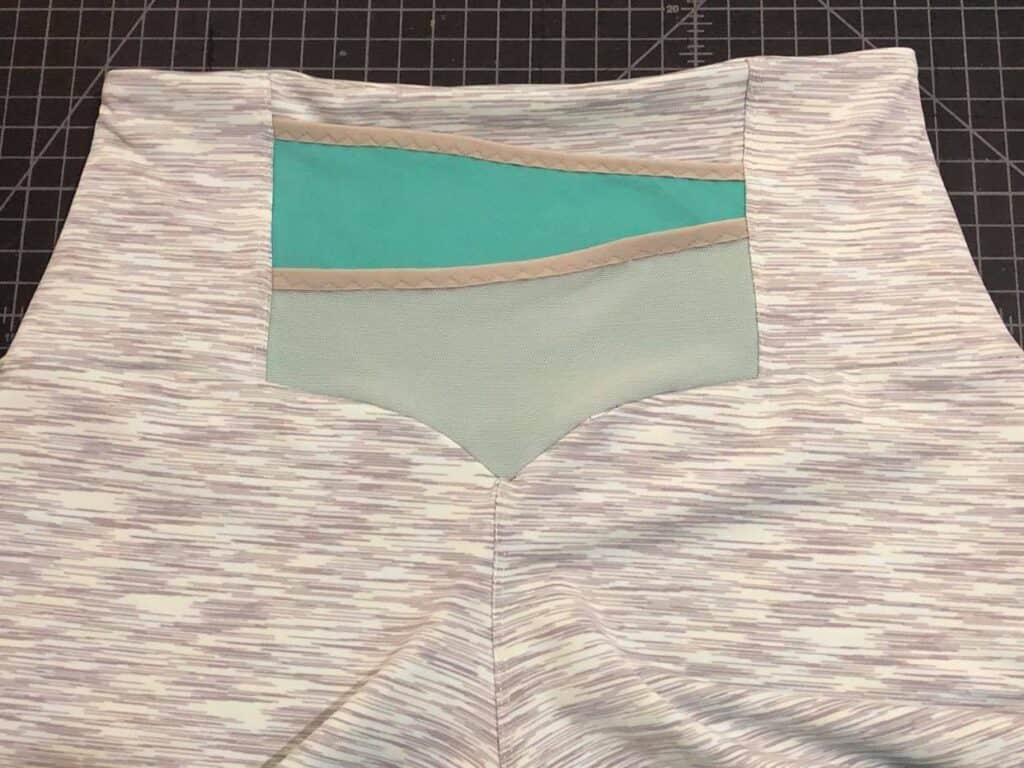
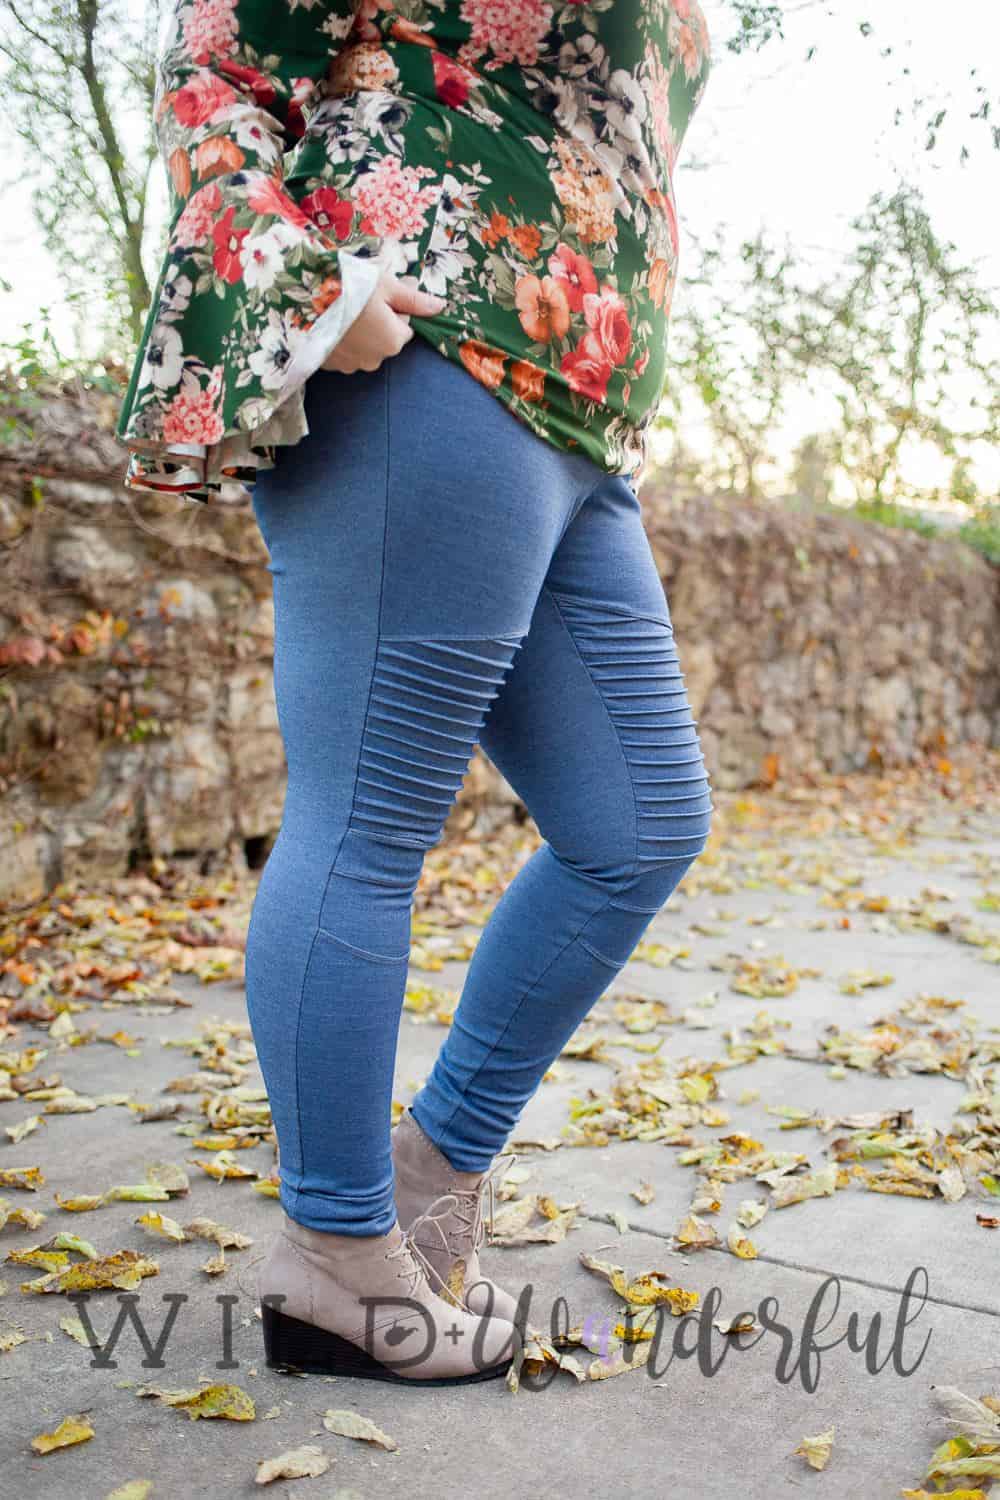
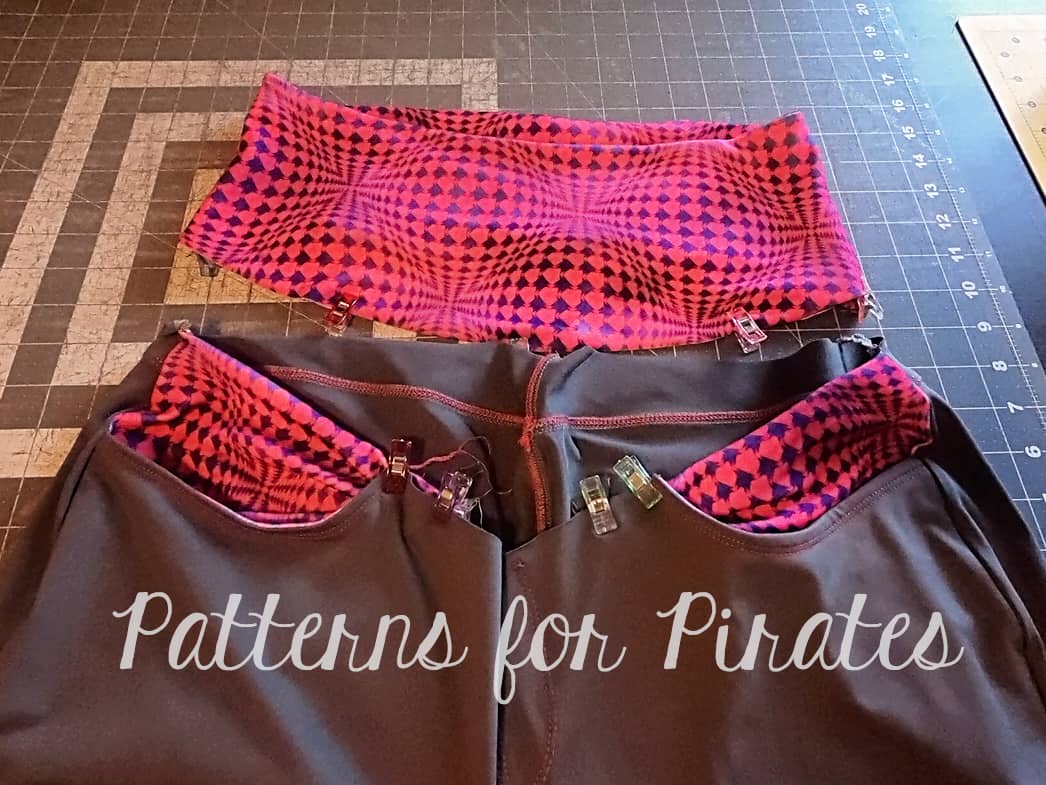
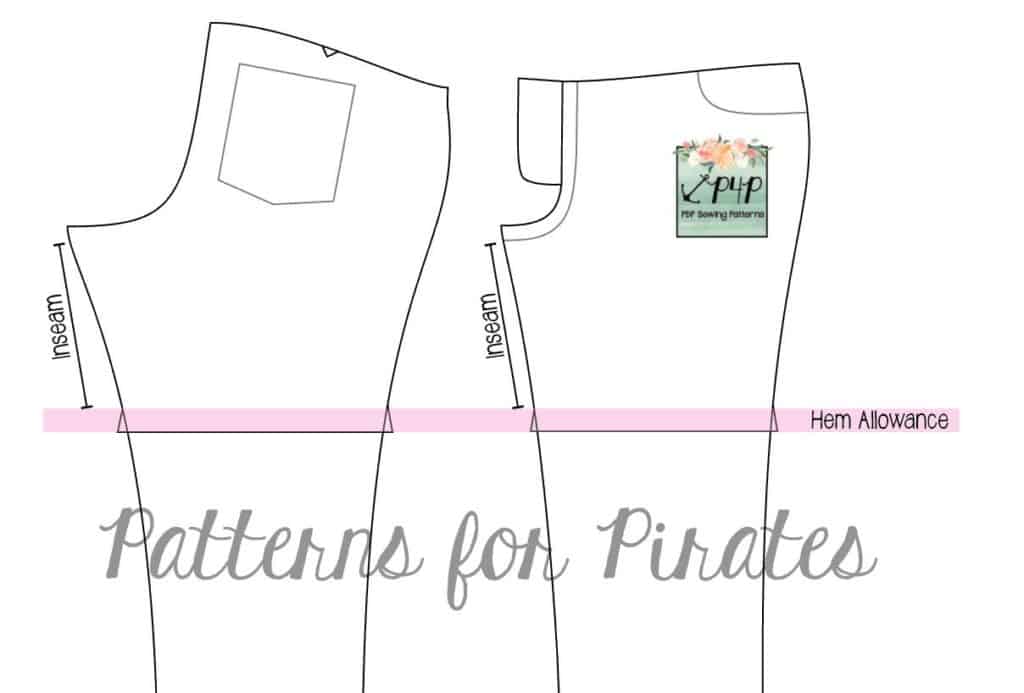
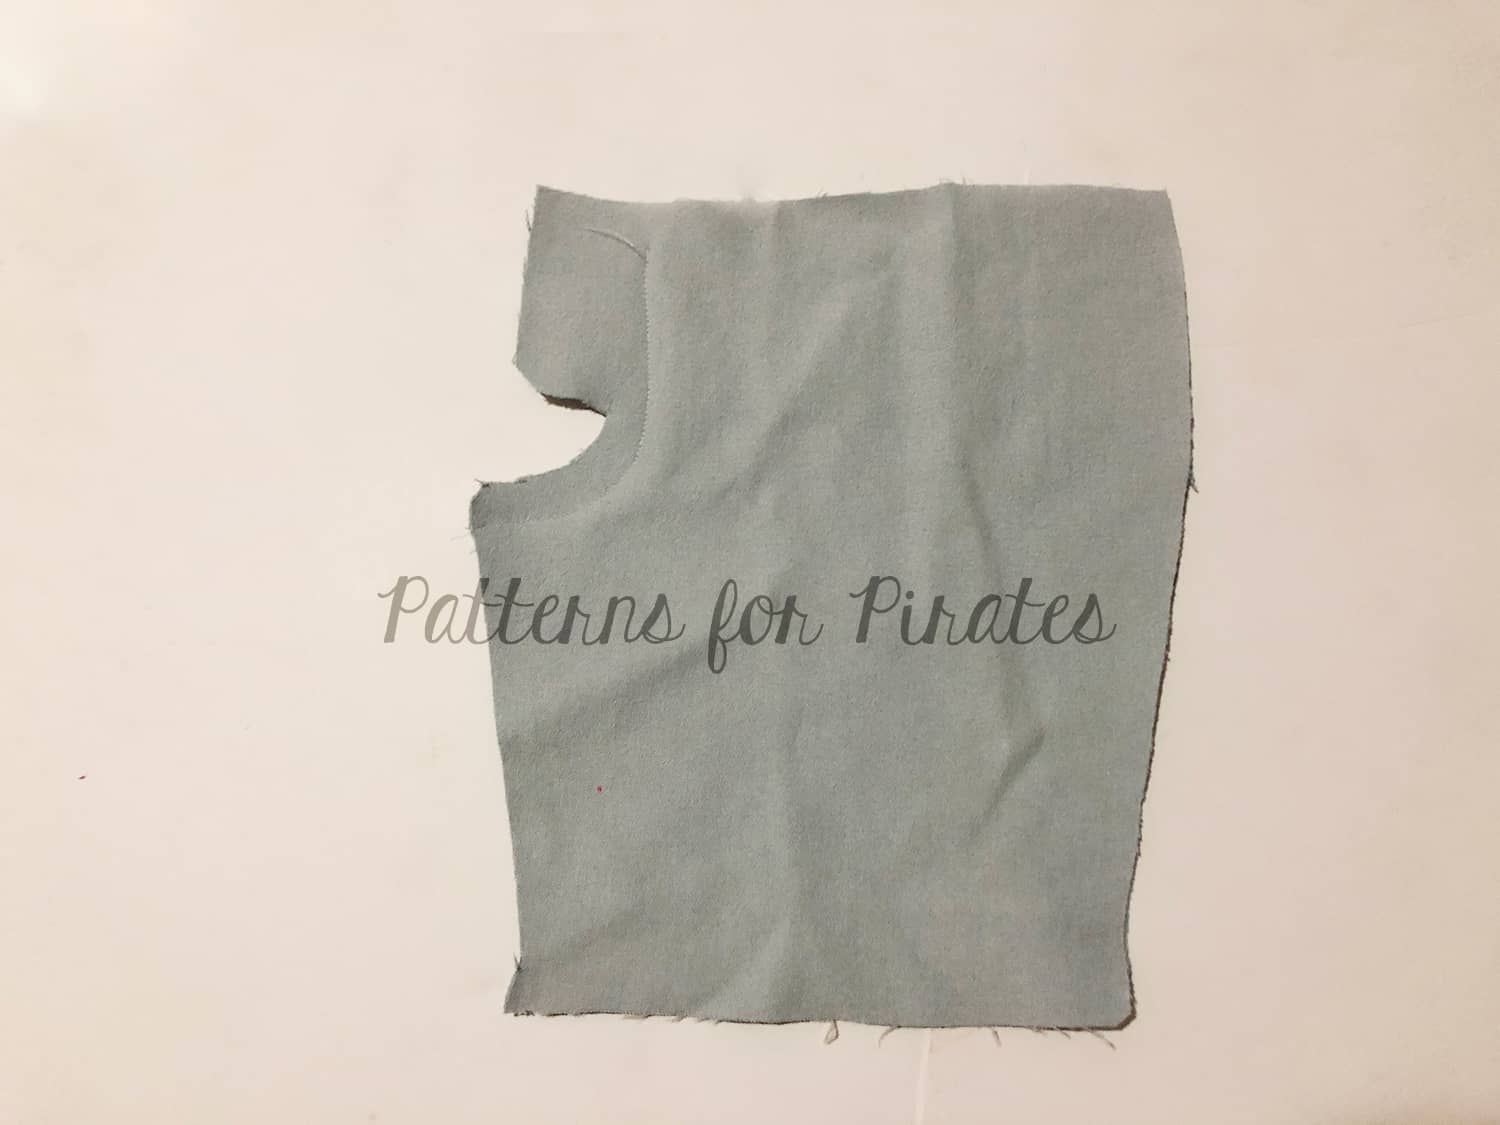
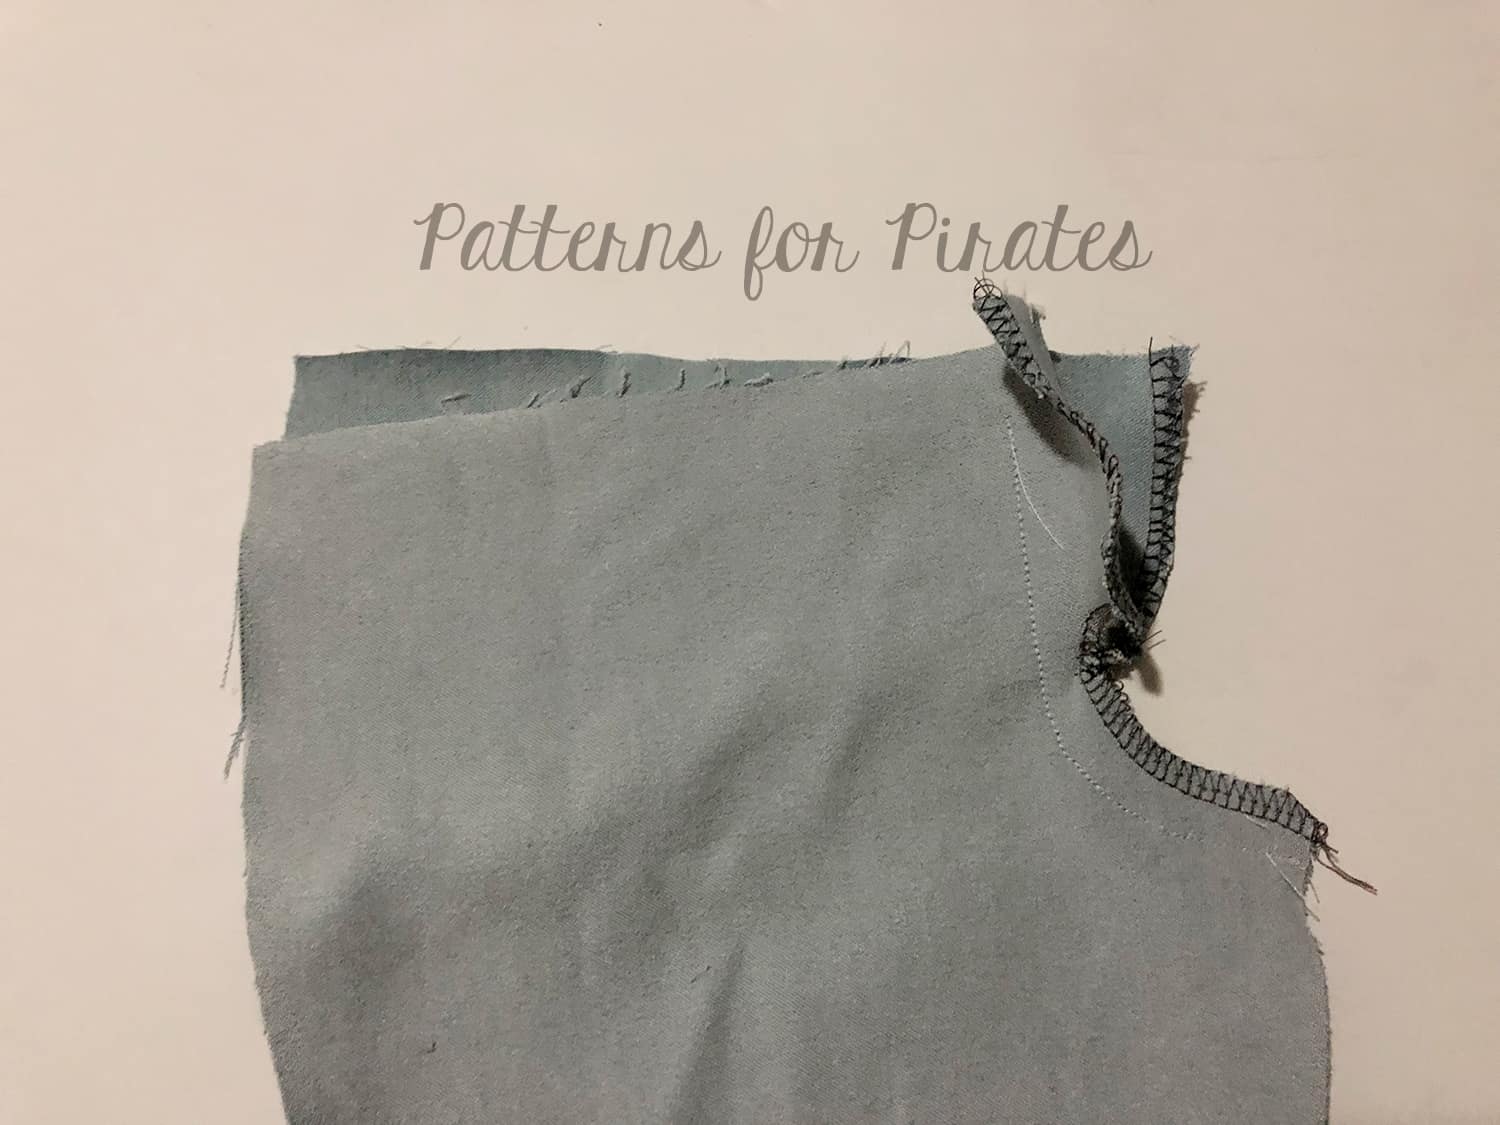
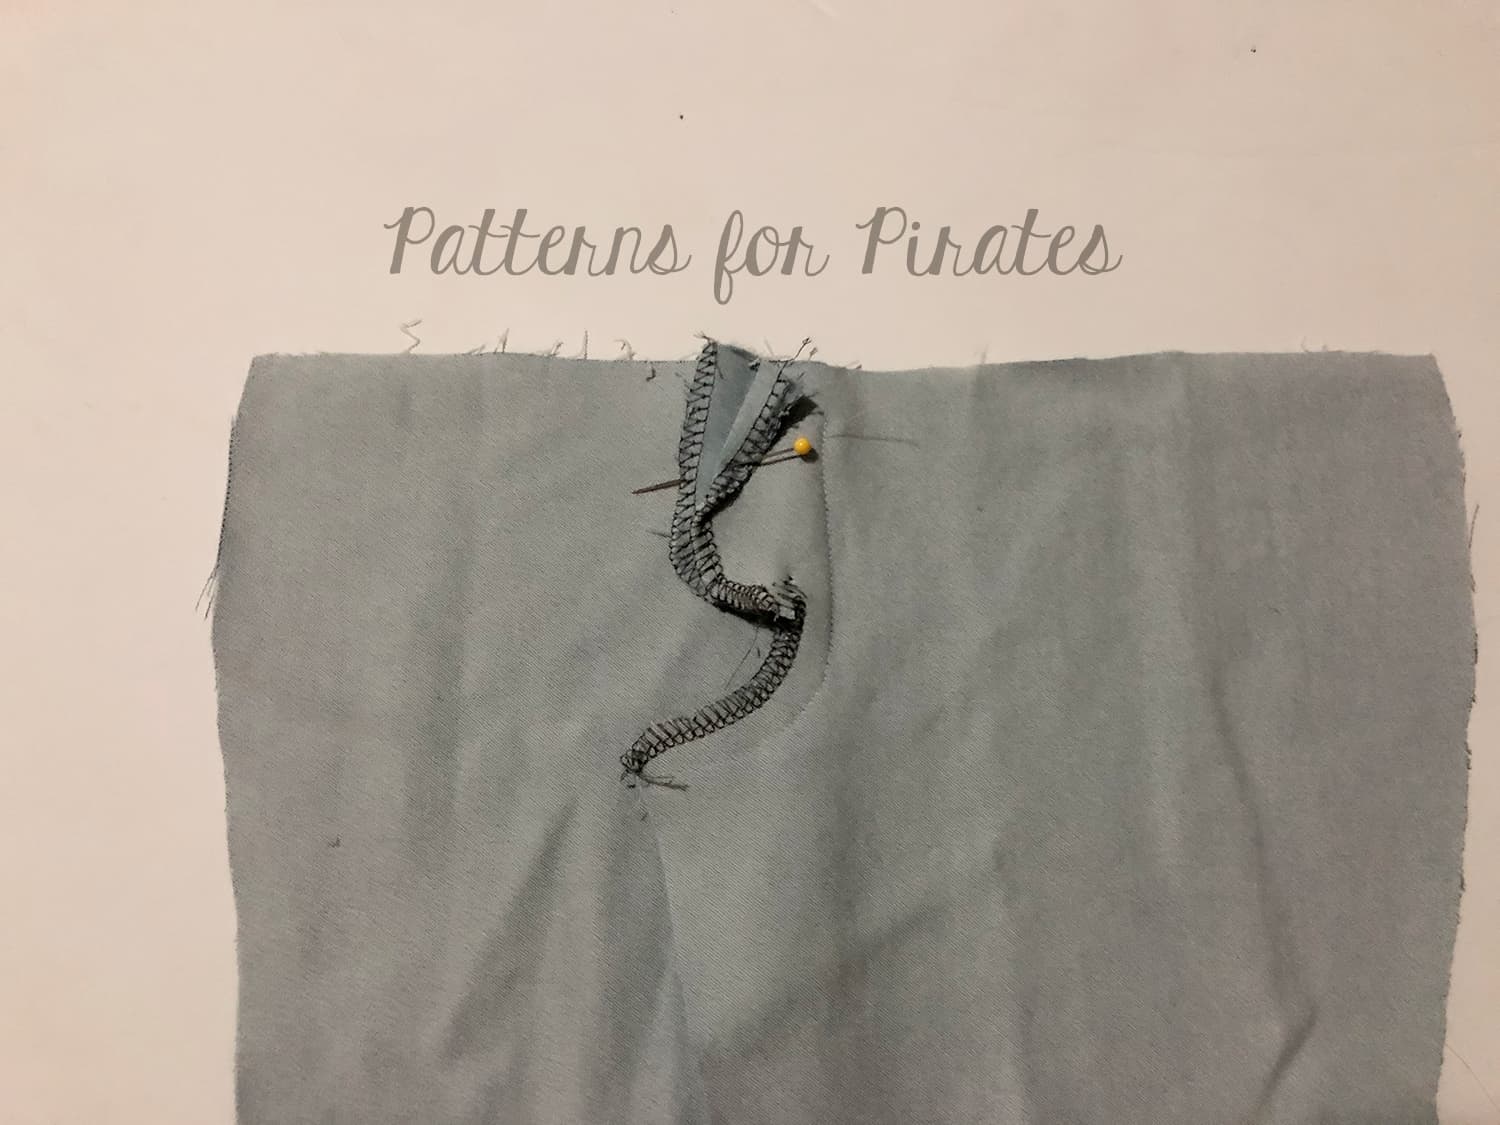
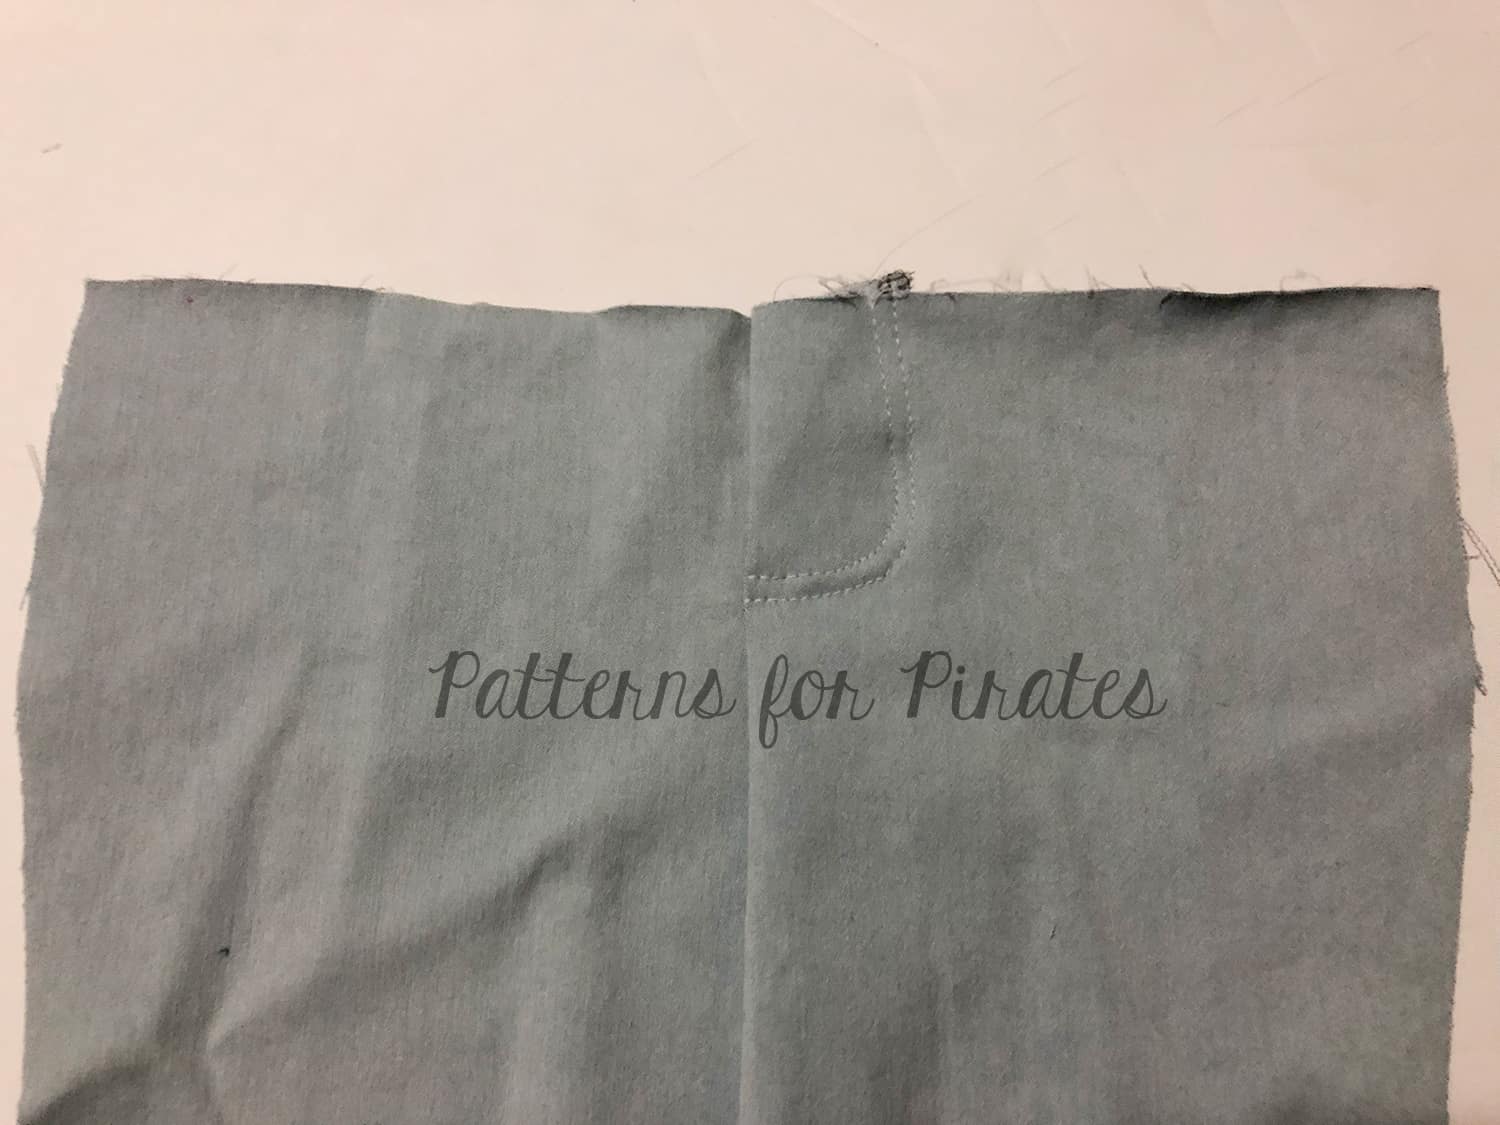
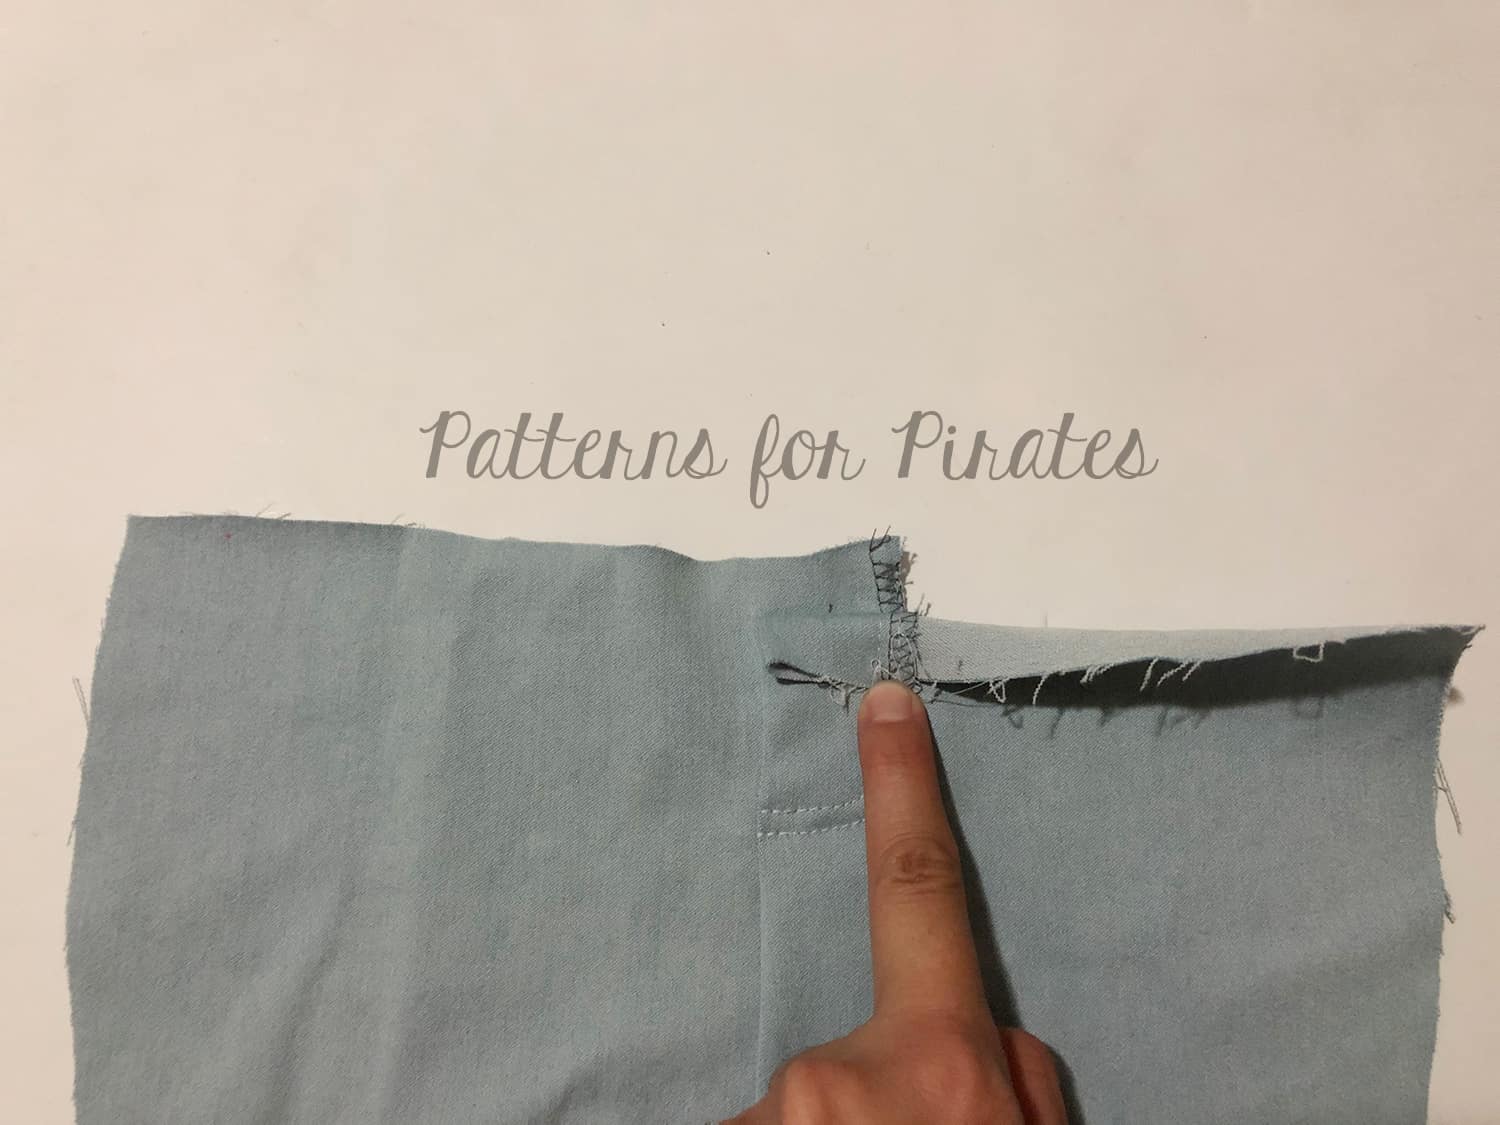
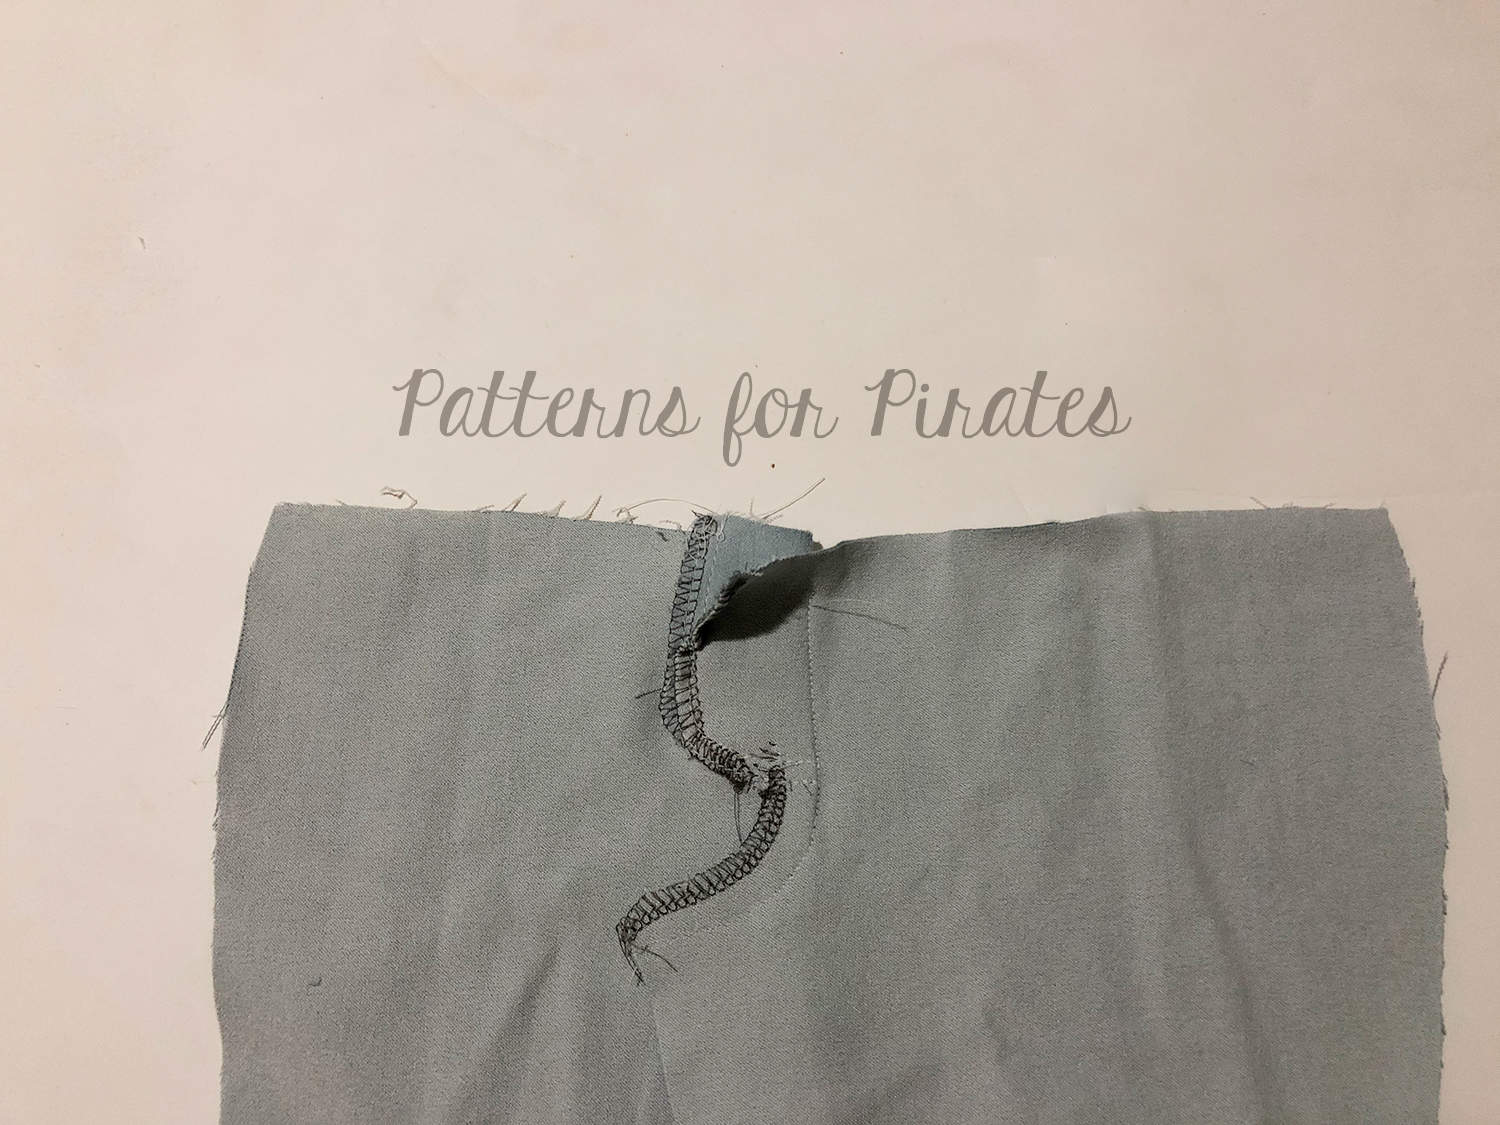
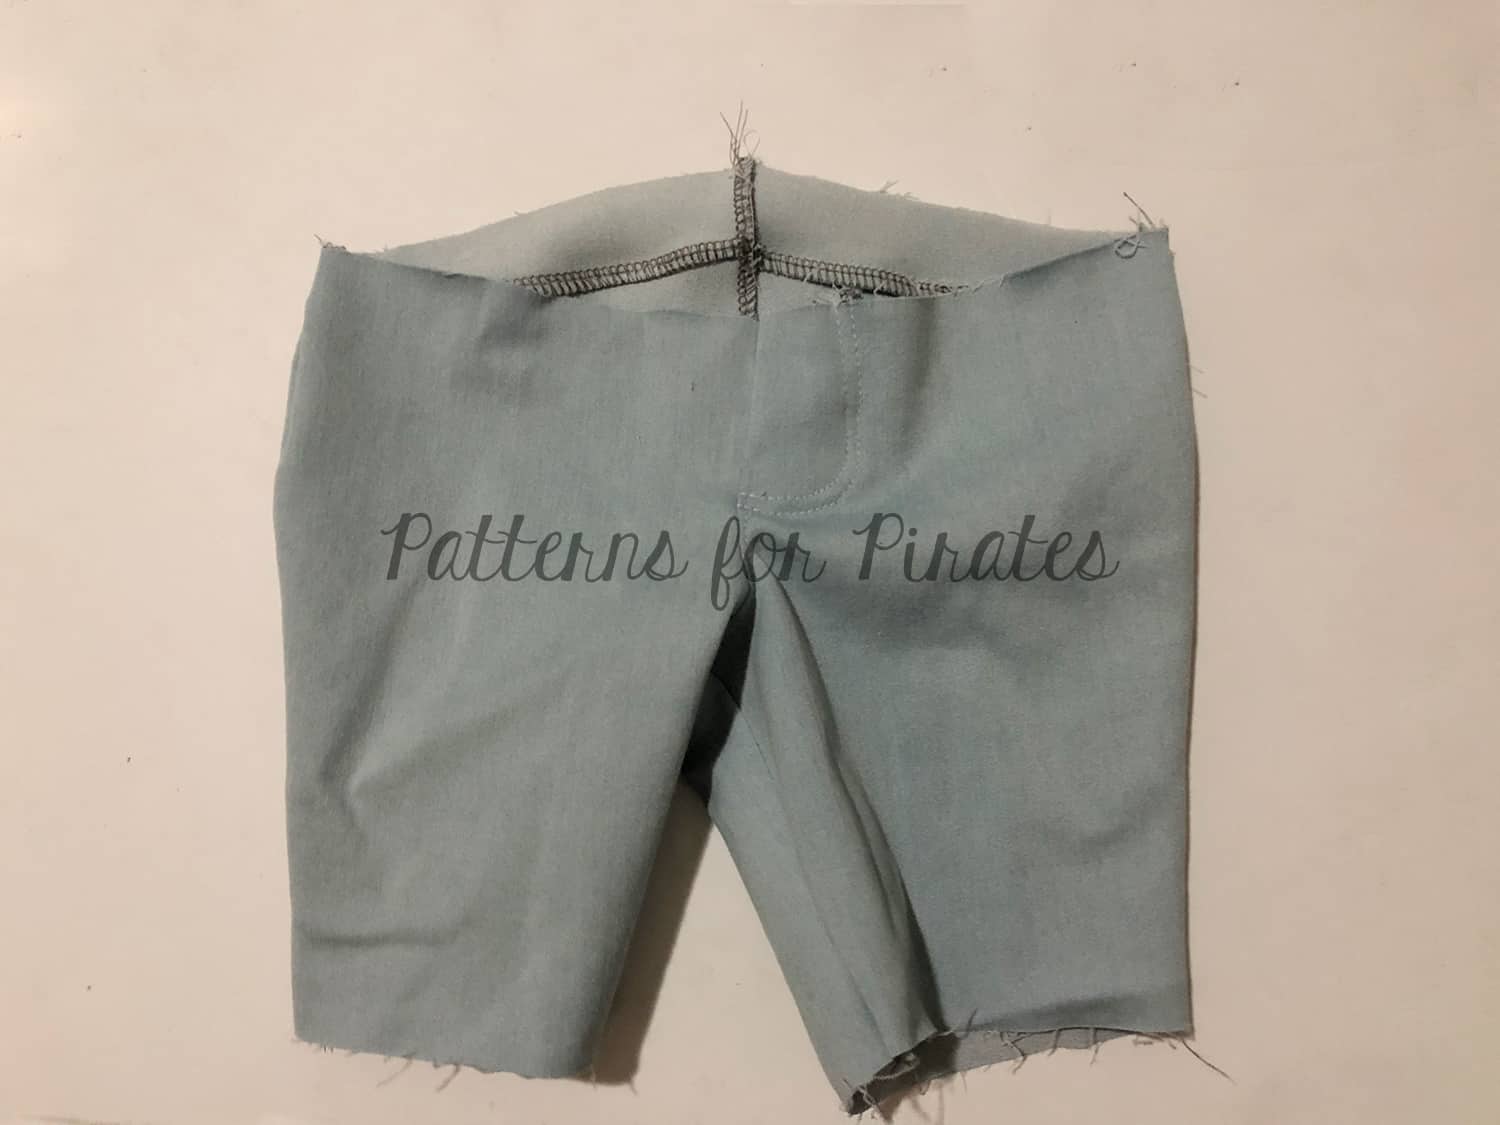
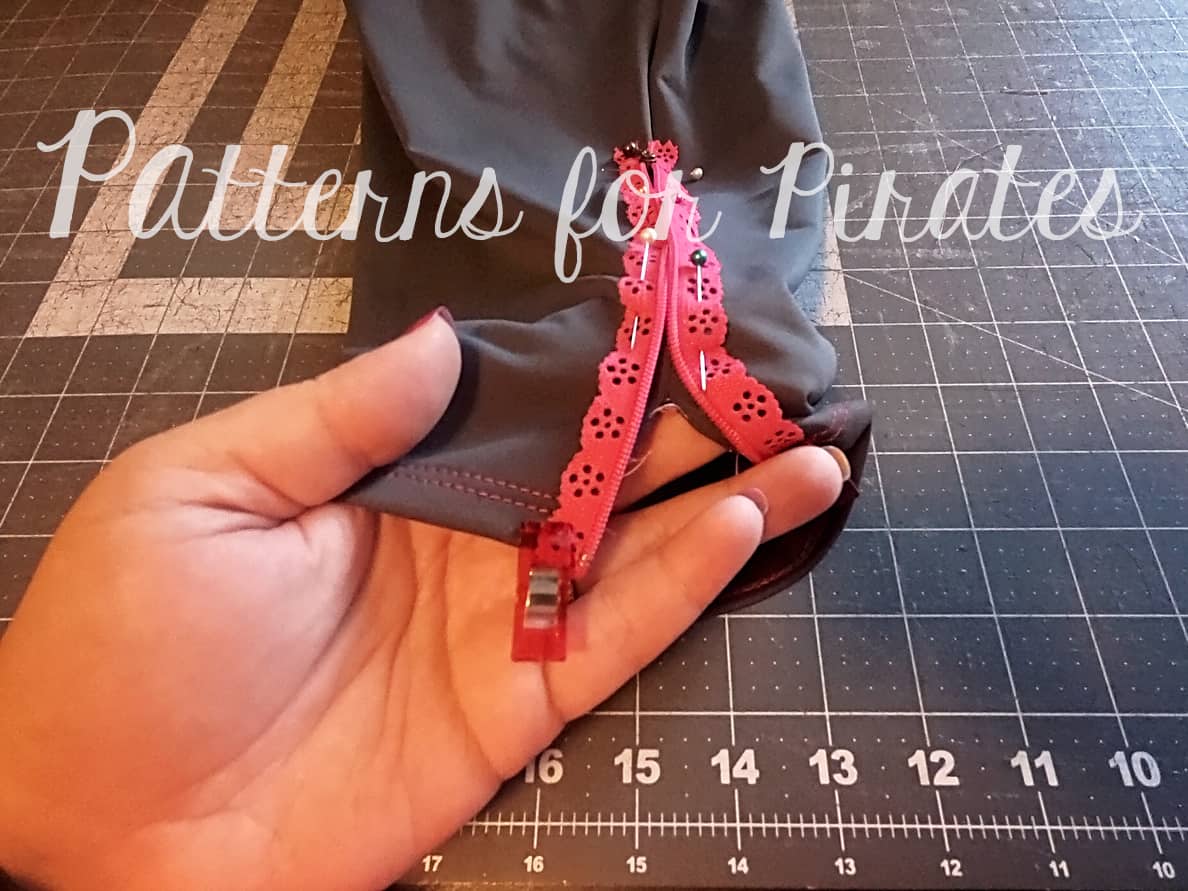
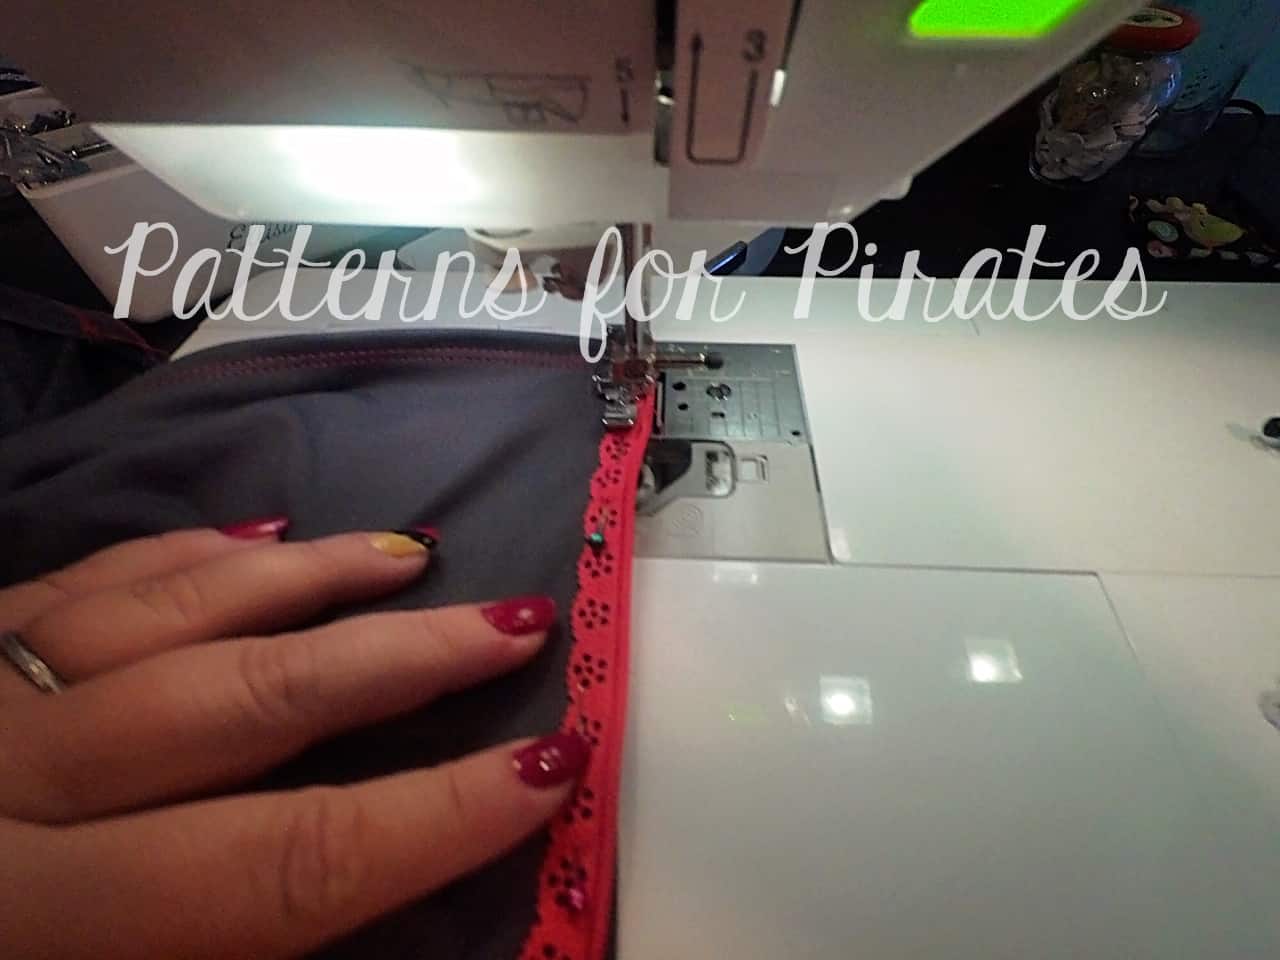
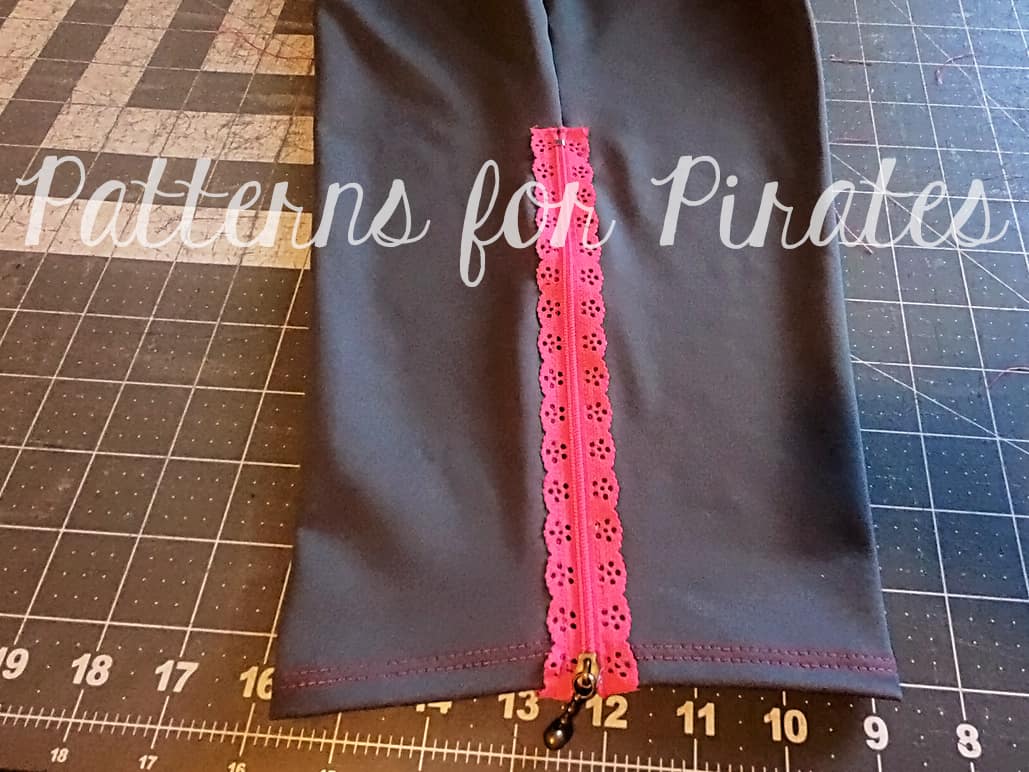
Vintage Jumper SAL | DAY 2 (Back darts, front & back pockets, crotch & in seam)
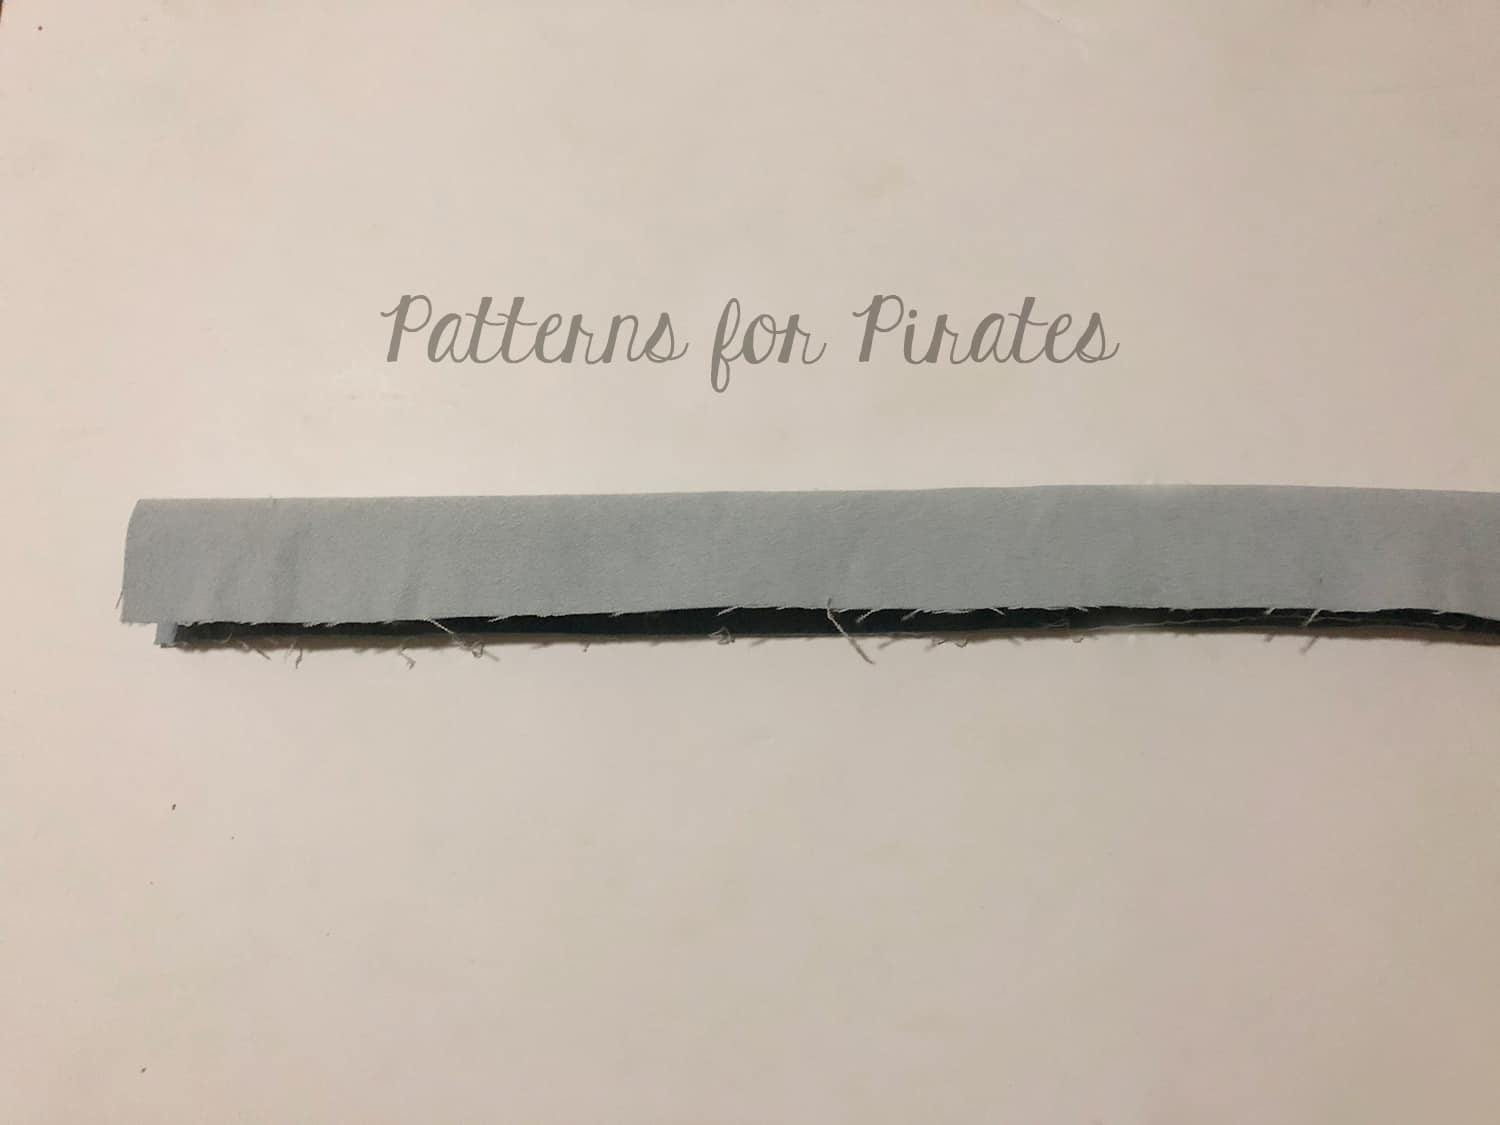
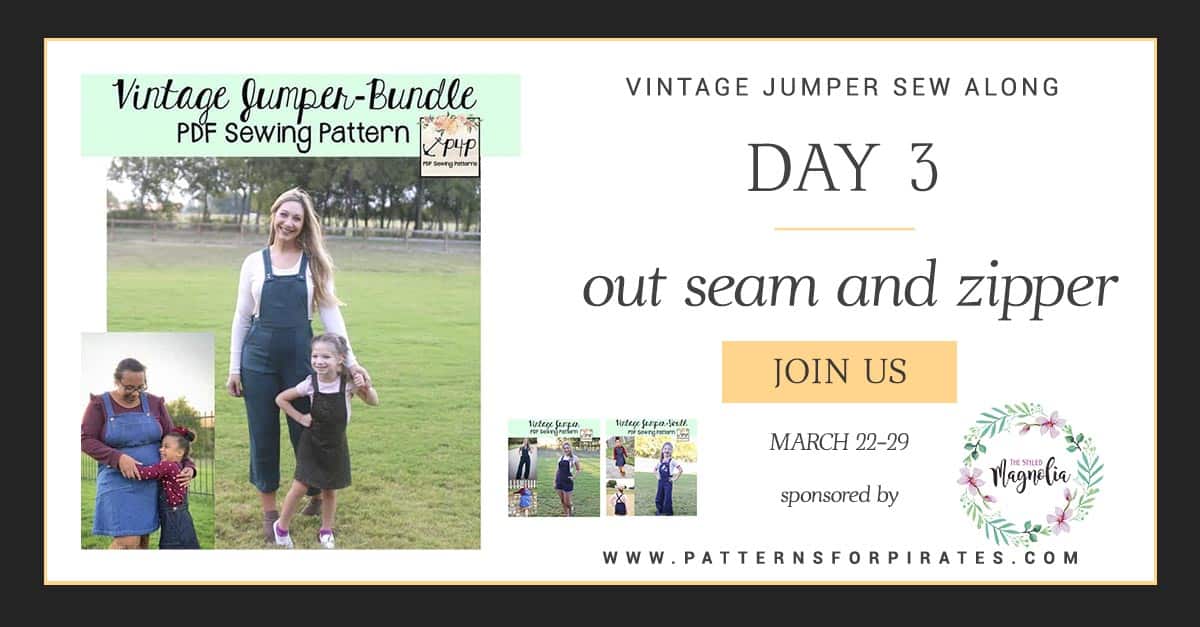
Vintage Jumper SAL | DAY 3 (out seam)
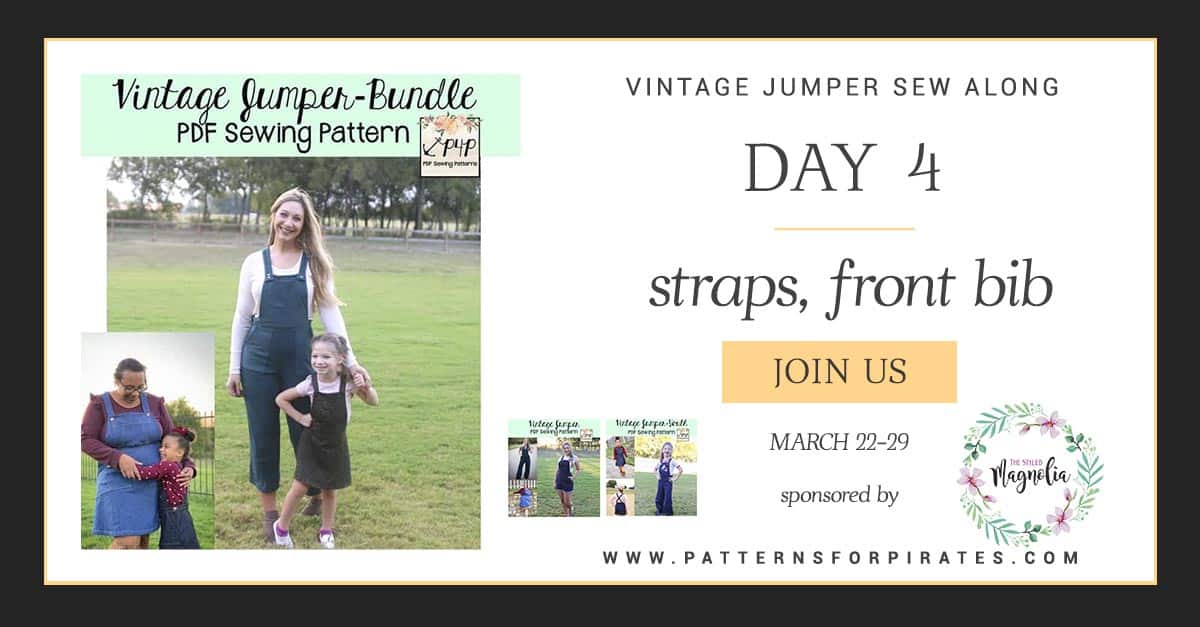
Vintage Jumper SAL | DAY 4 (straps, front bib)
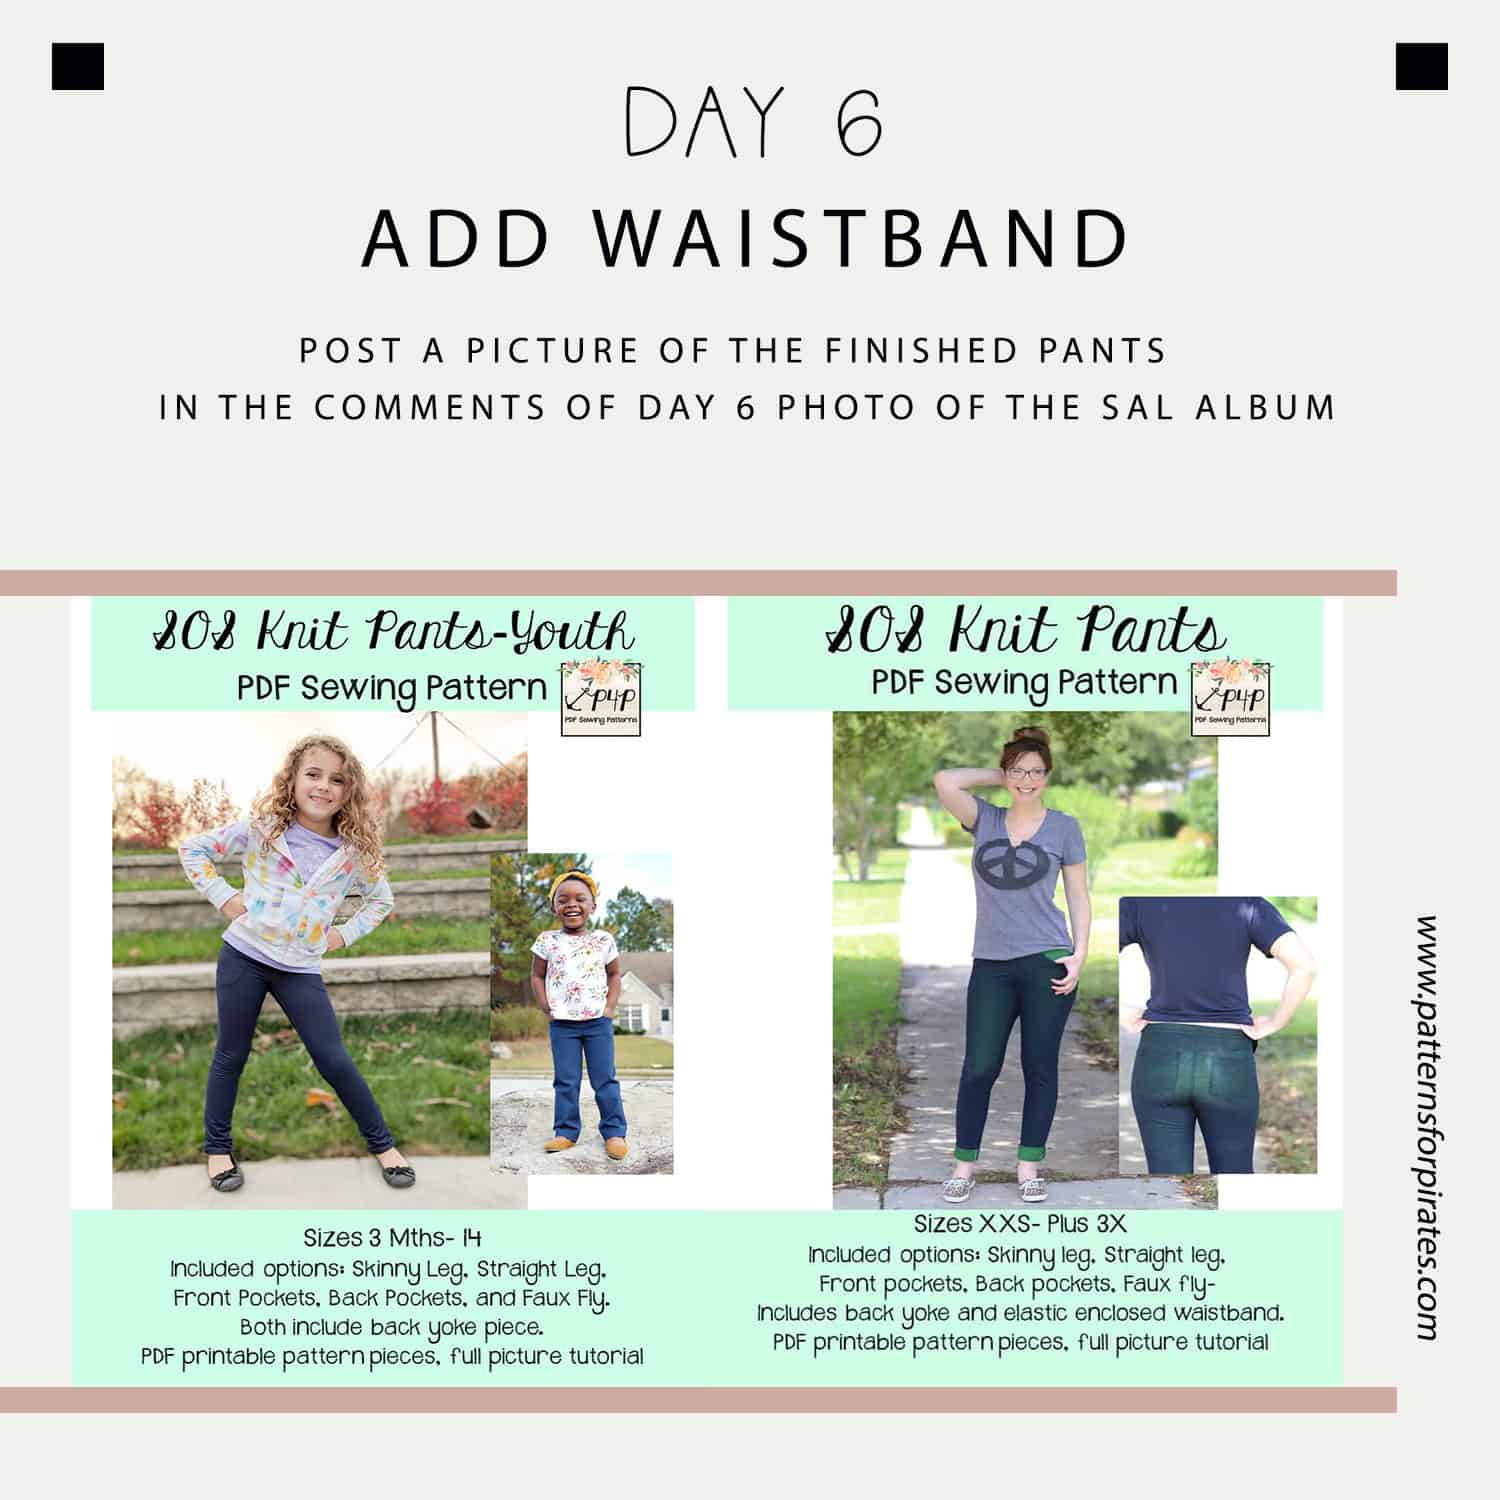
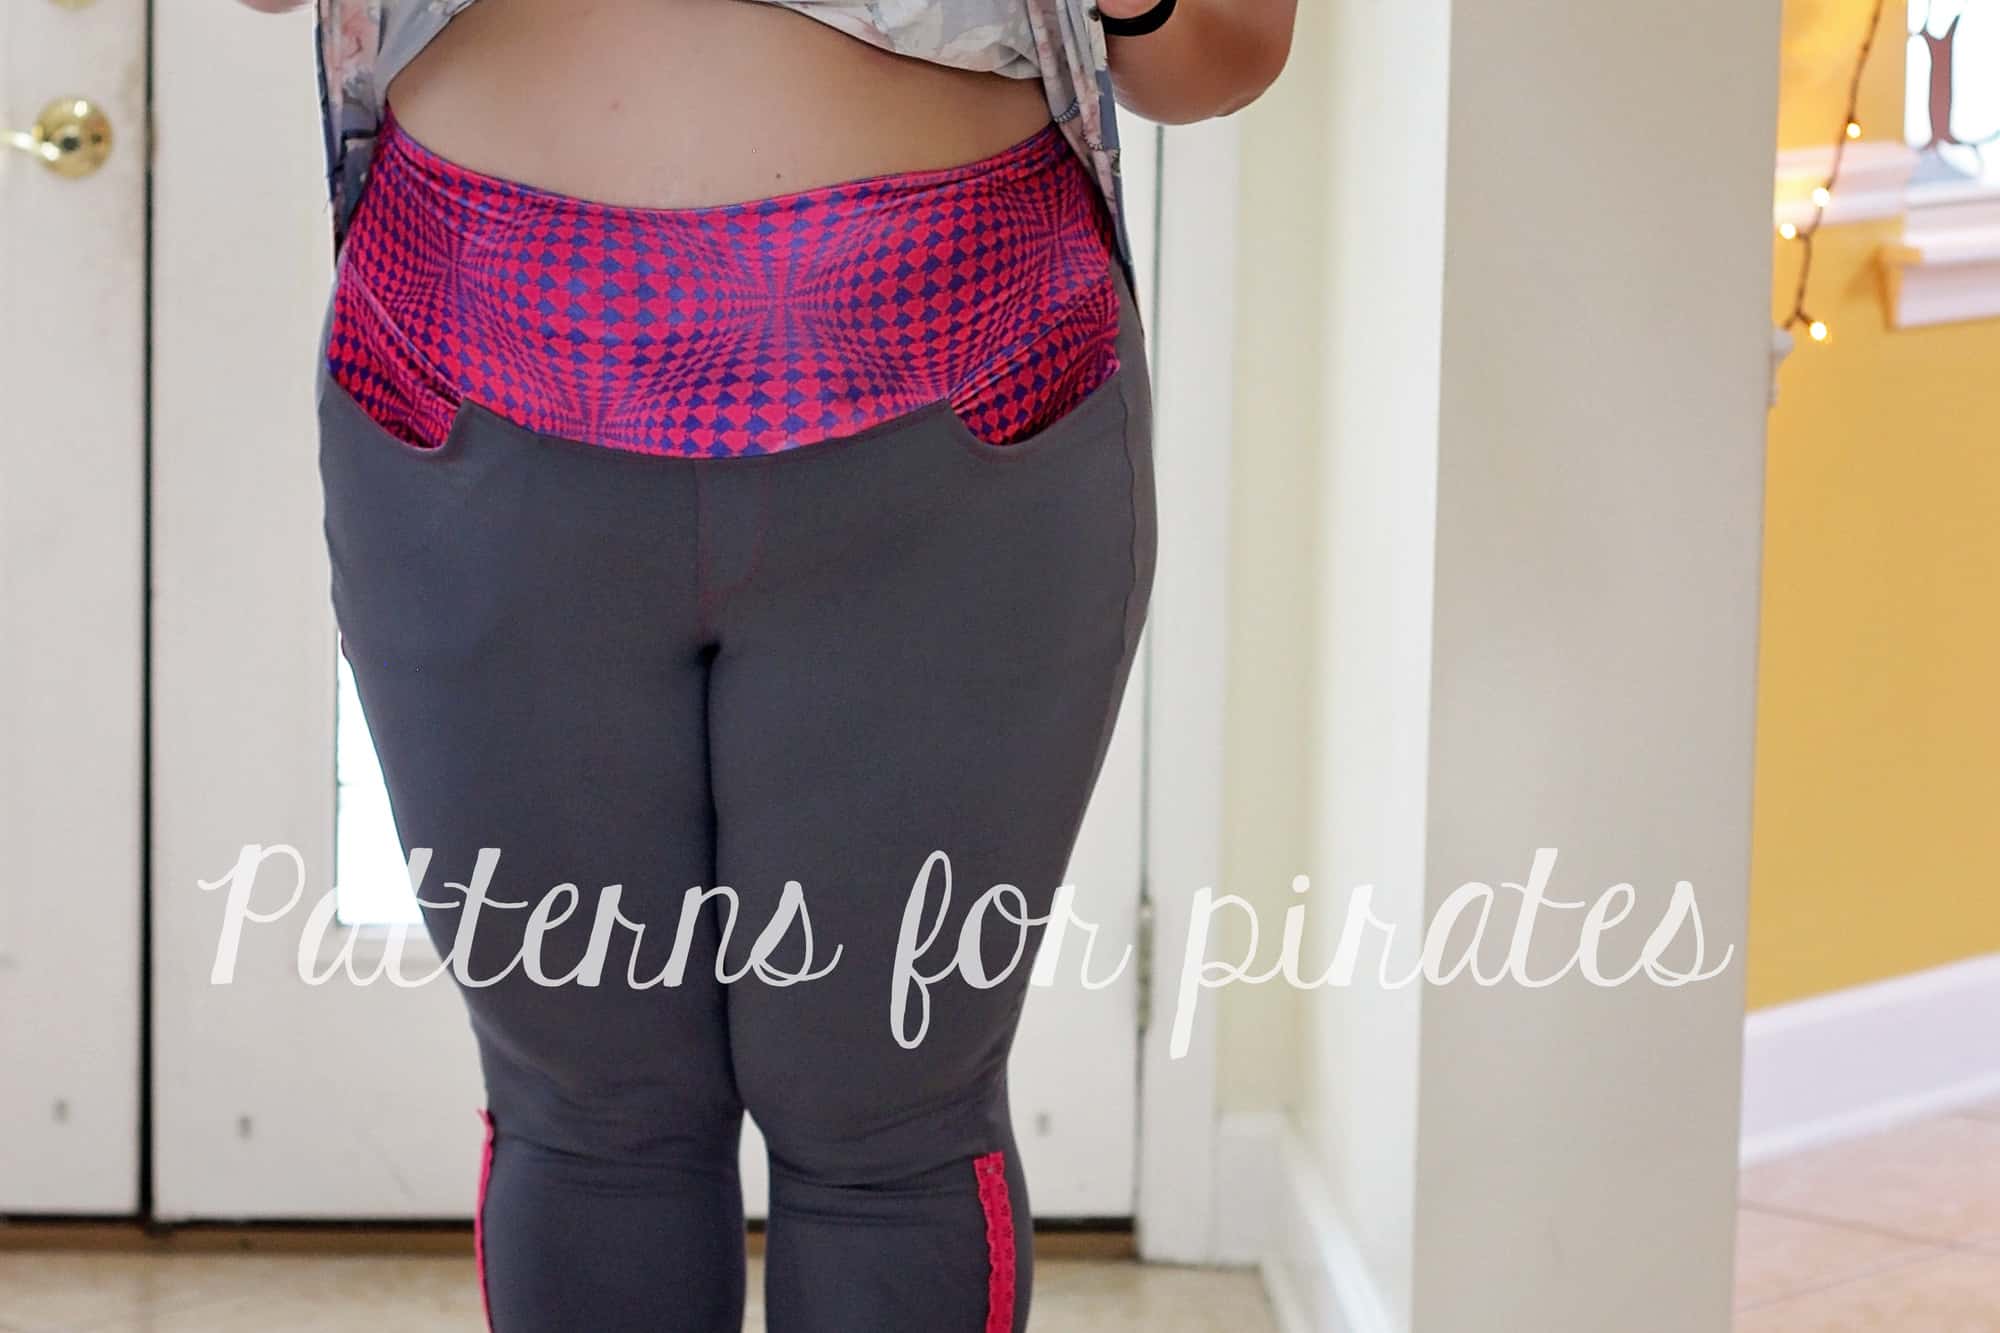
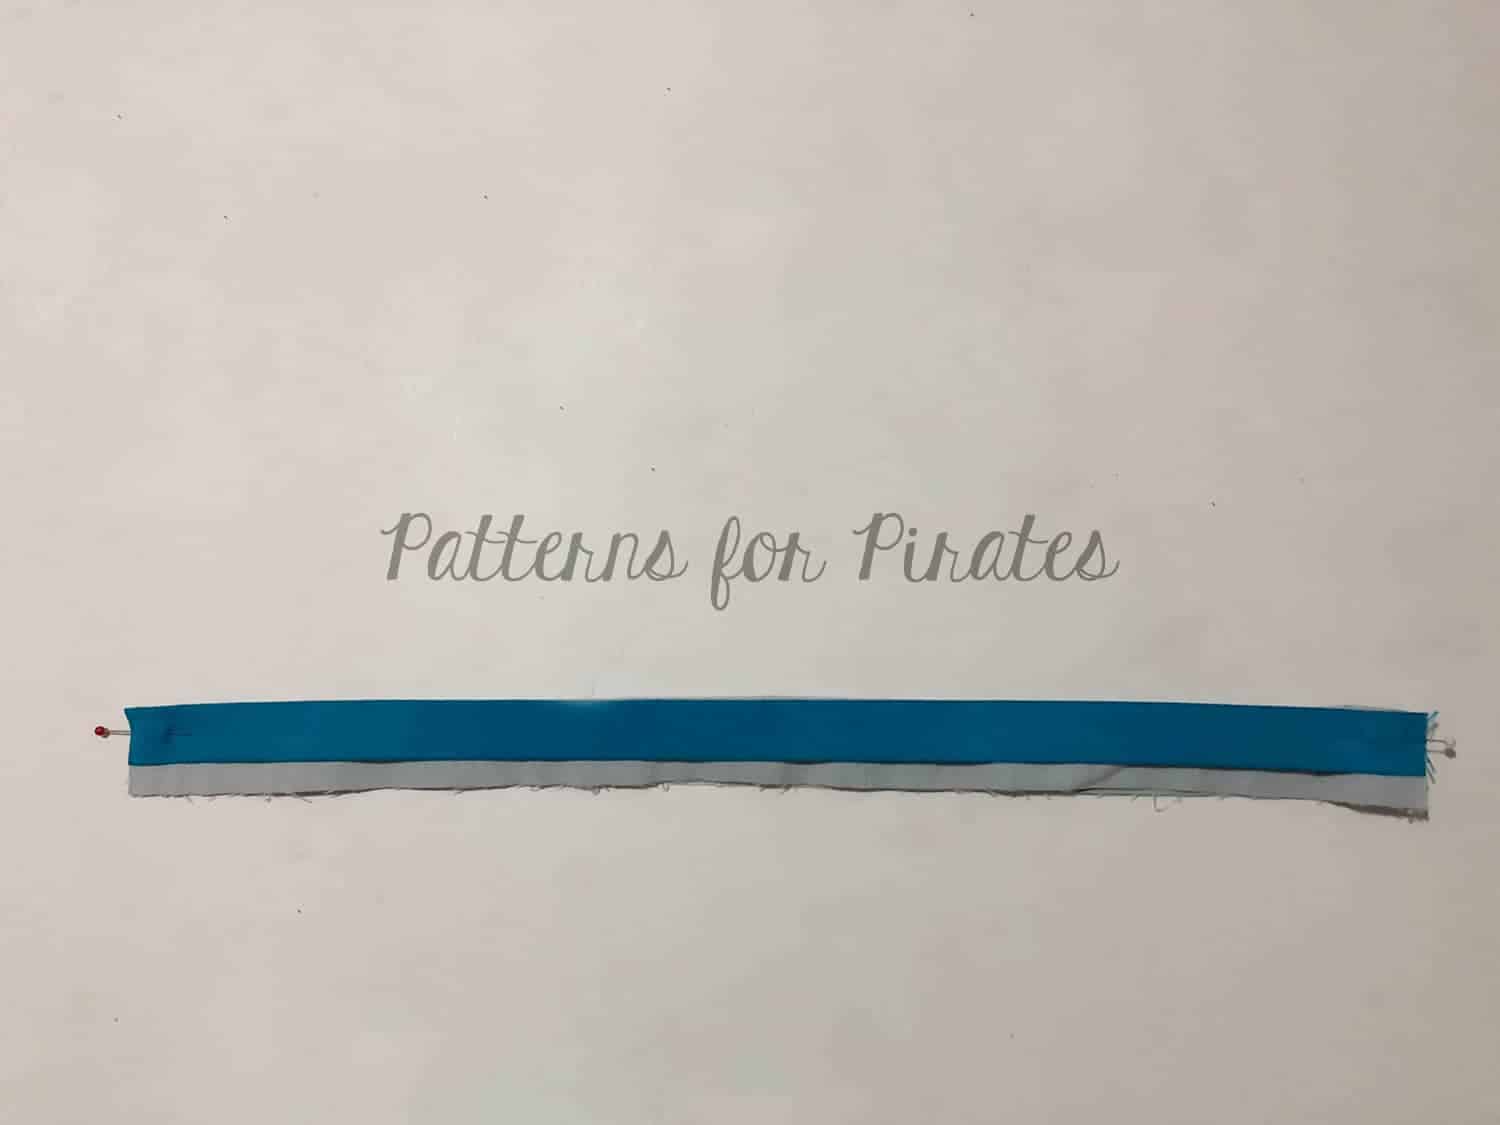
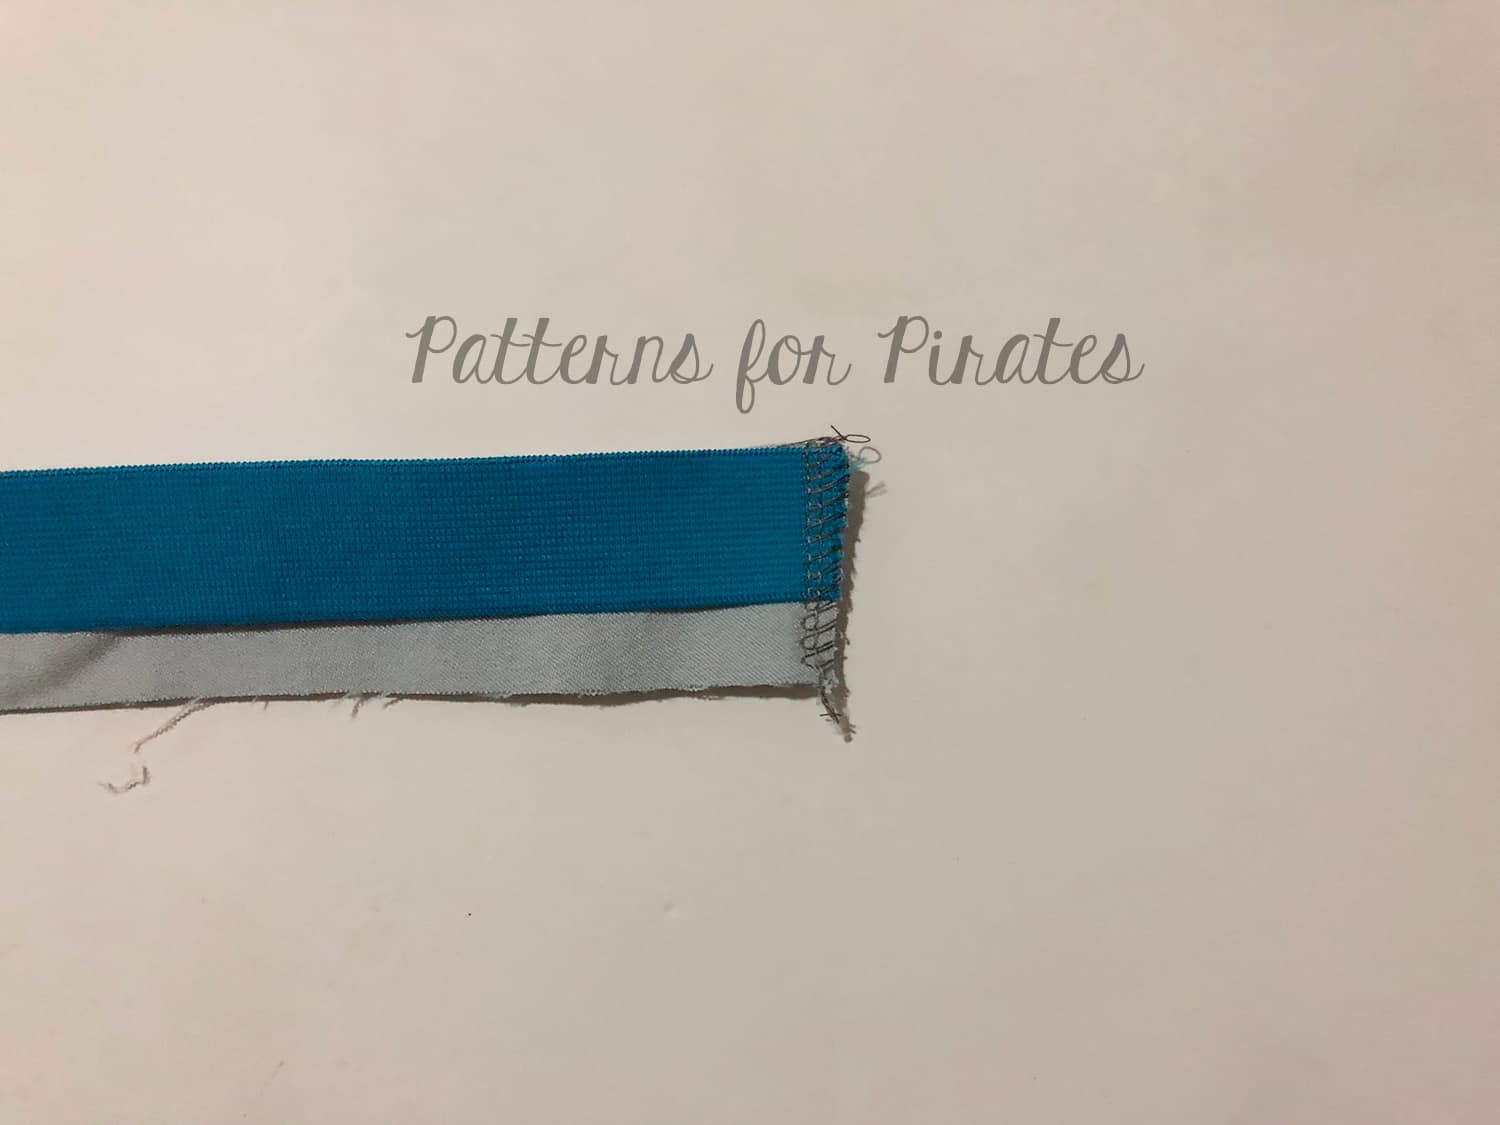
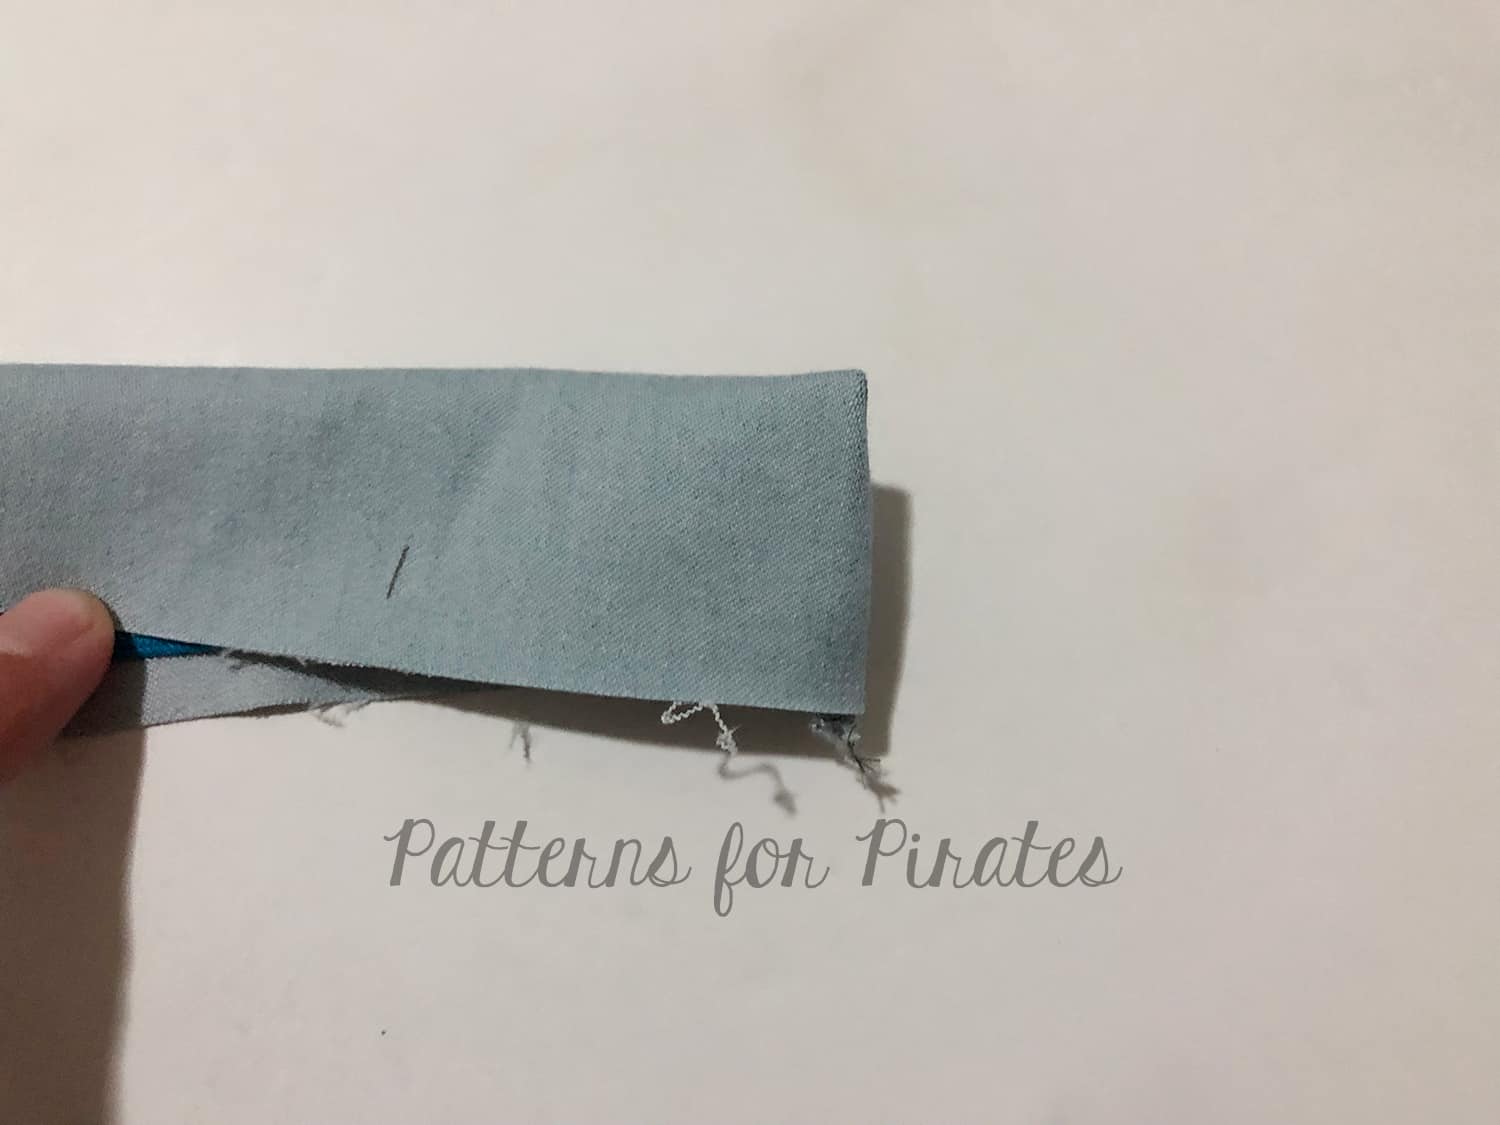
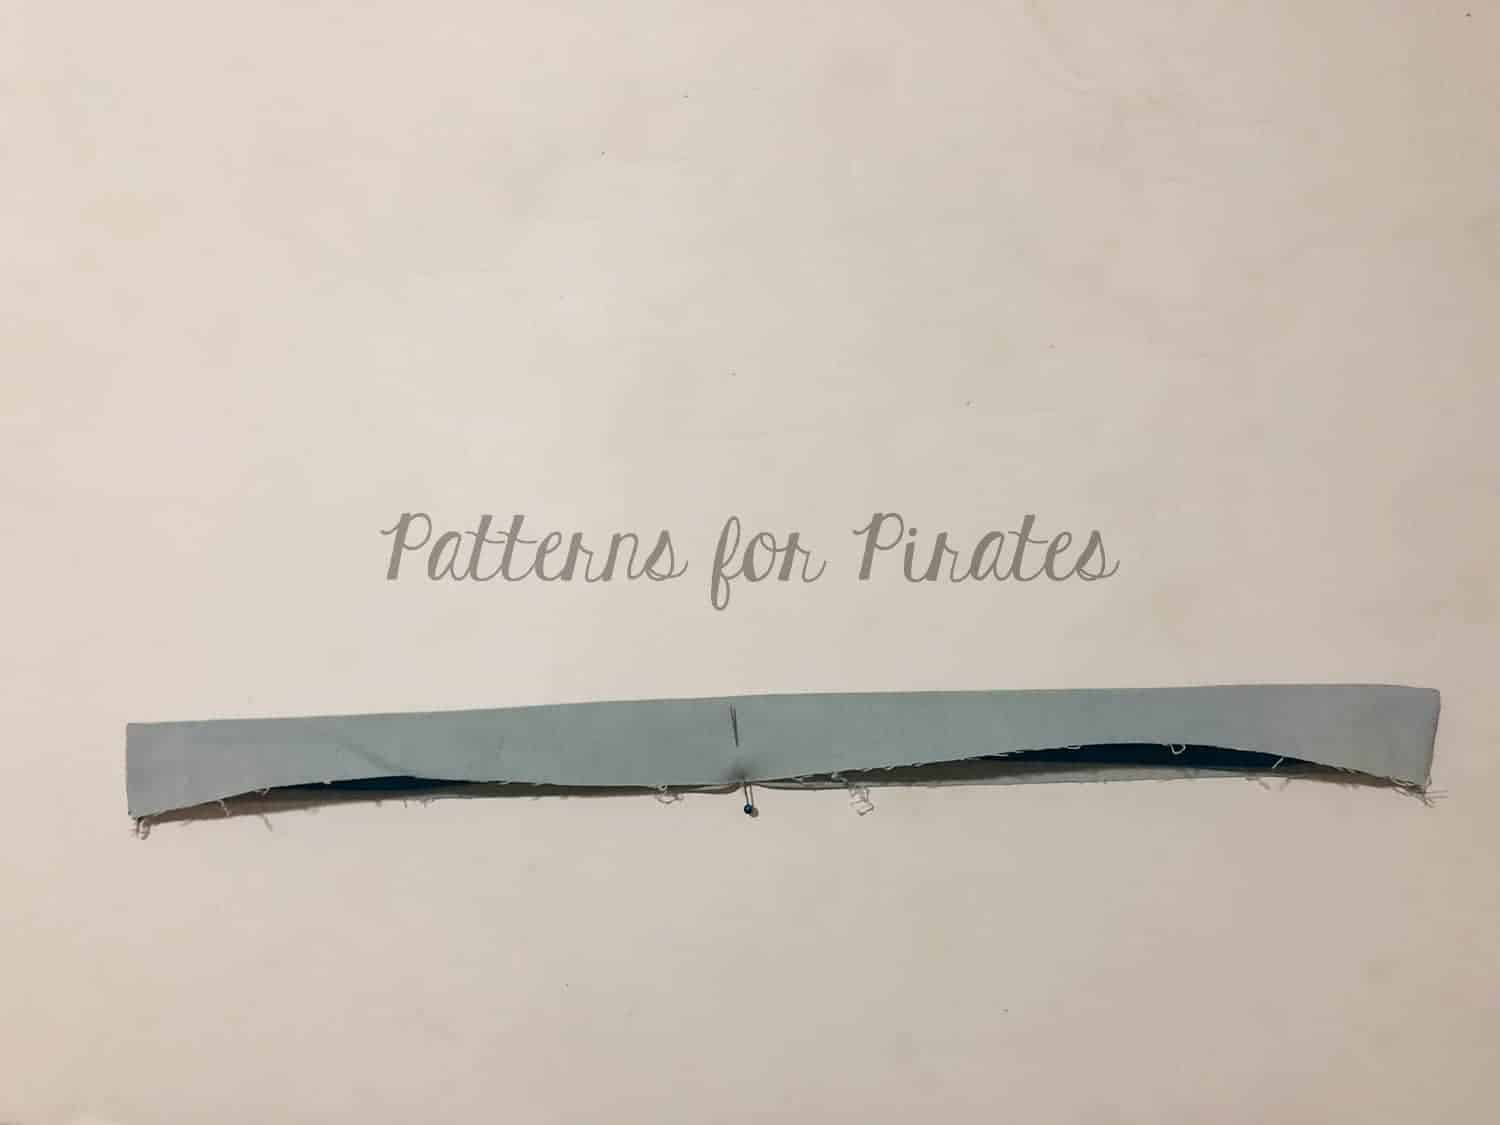
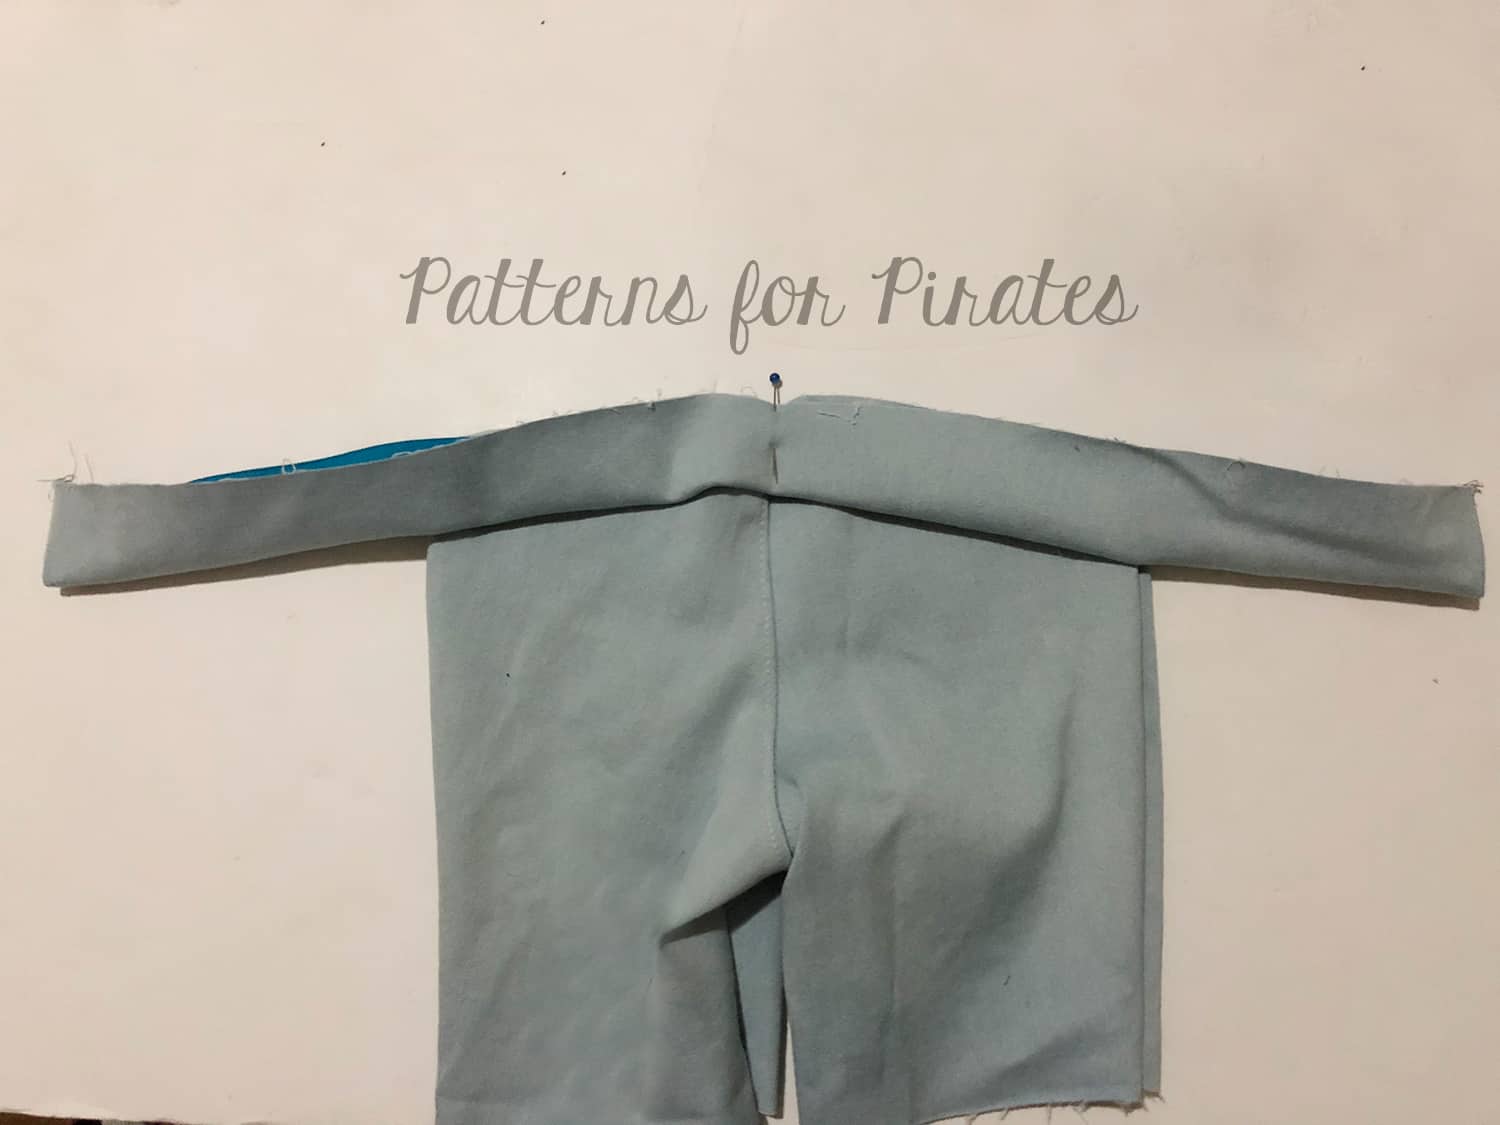
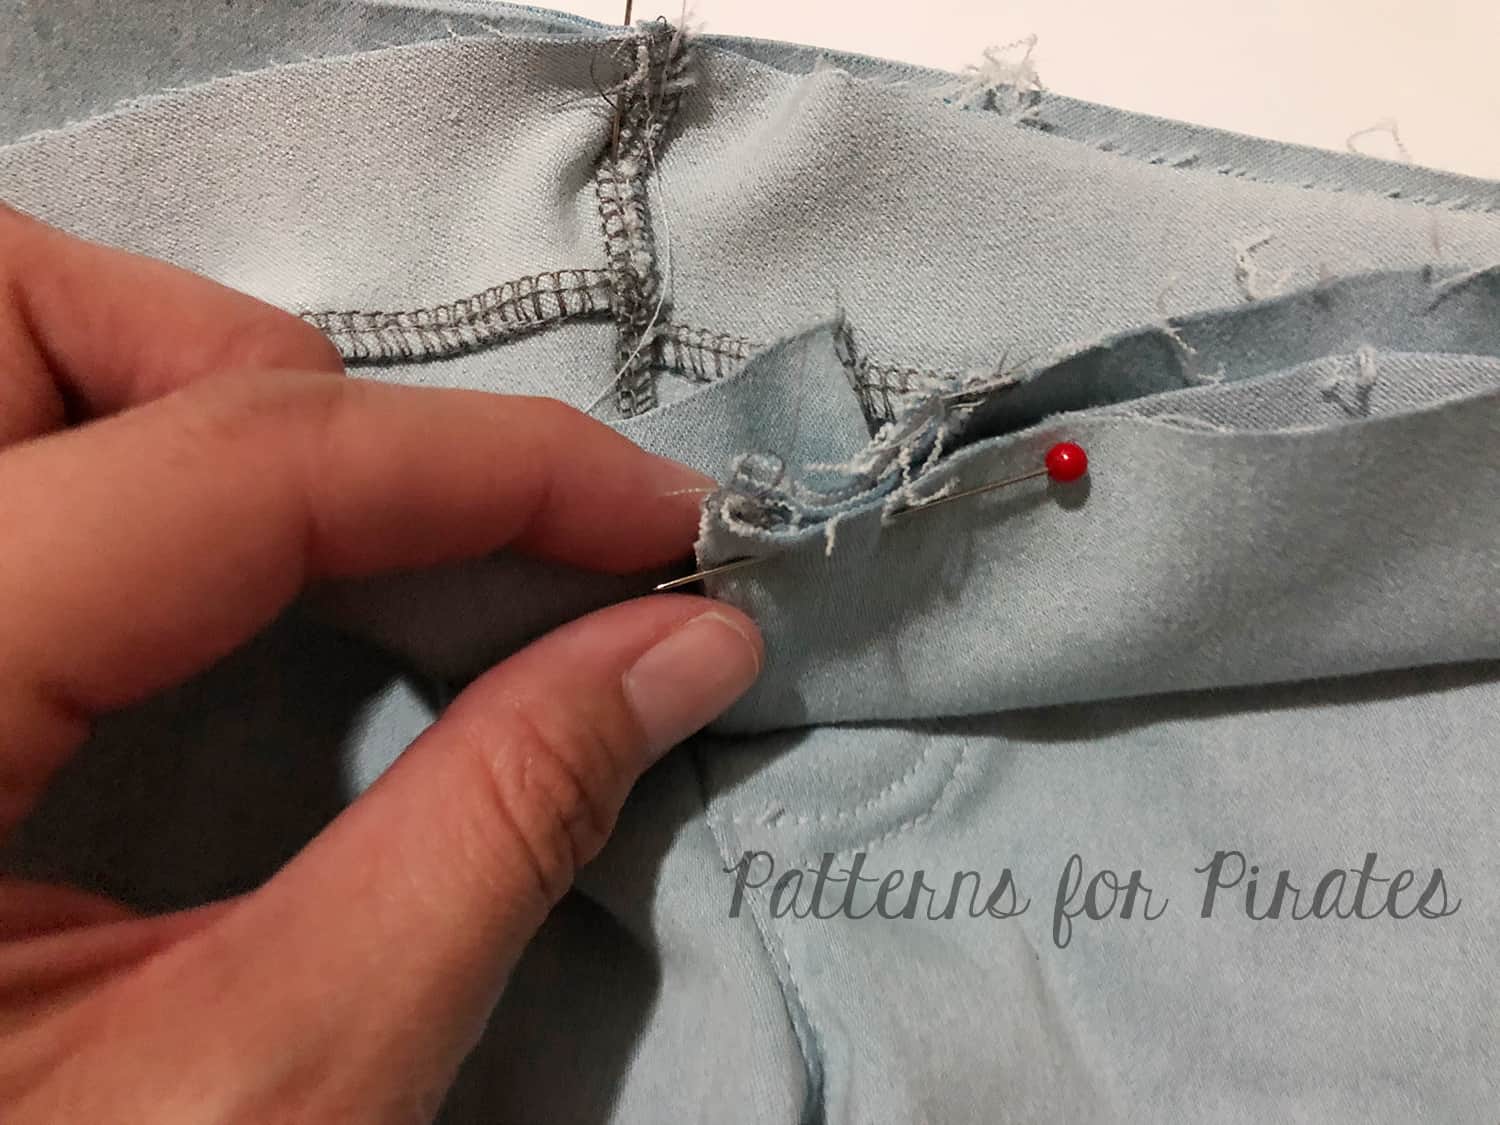
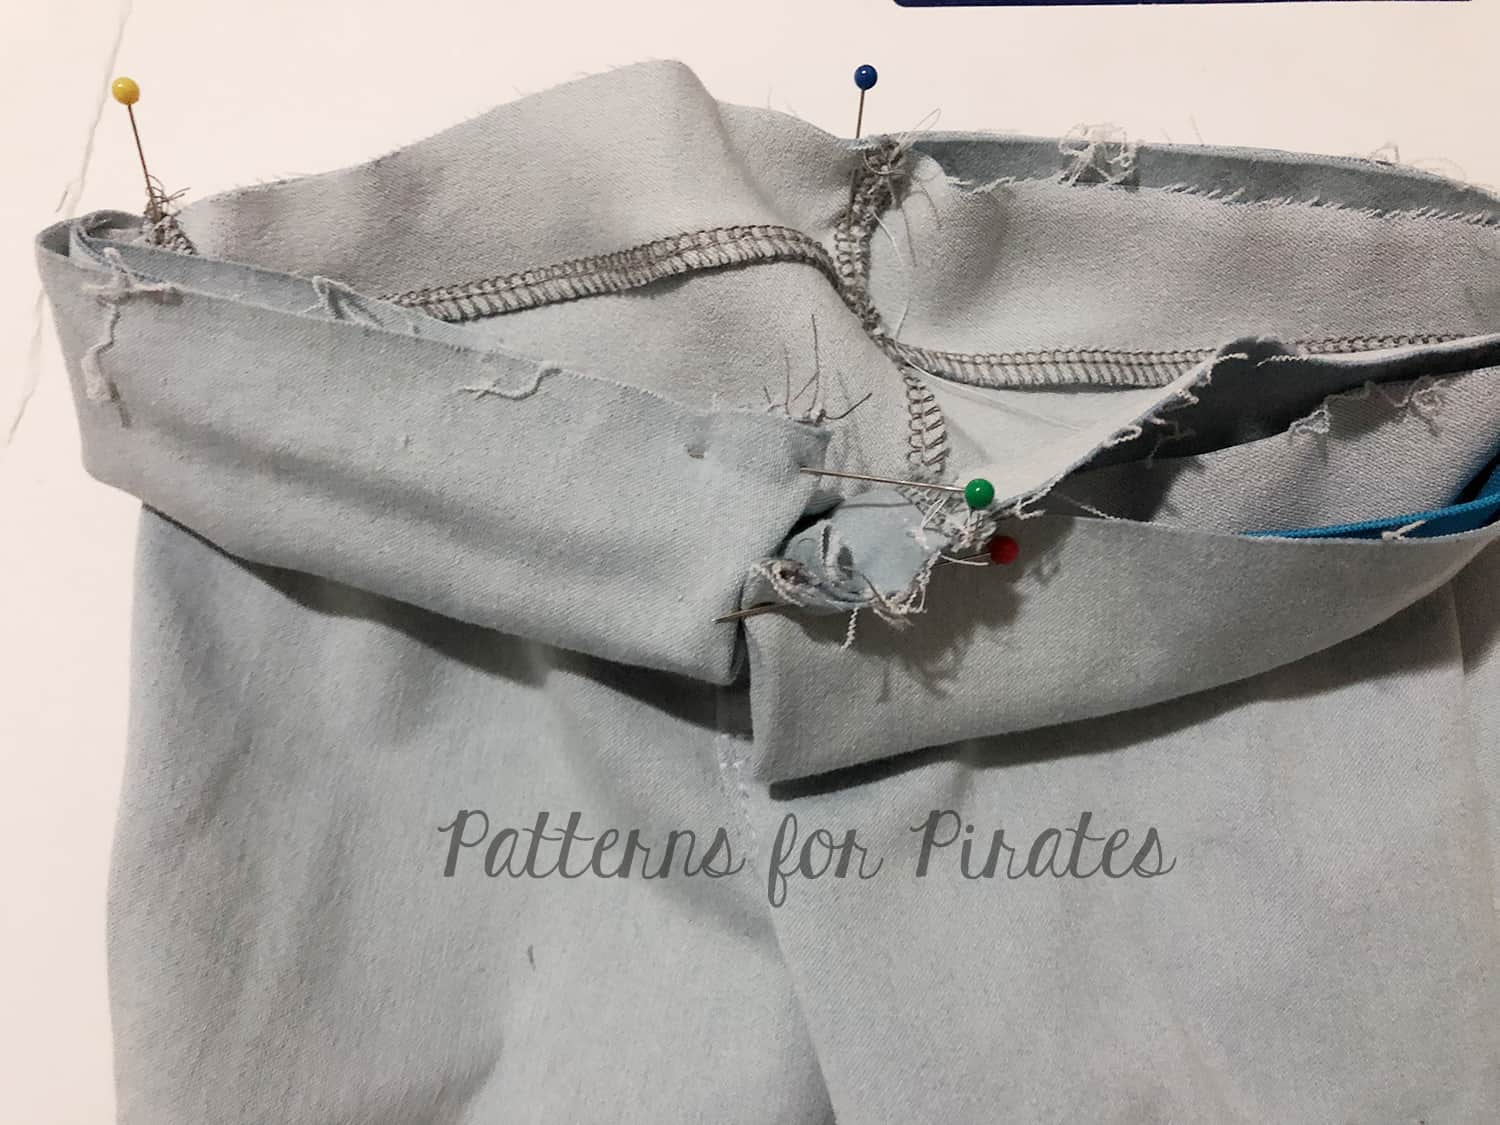
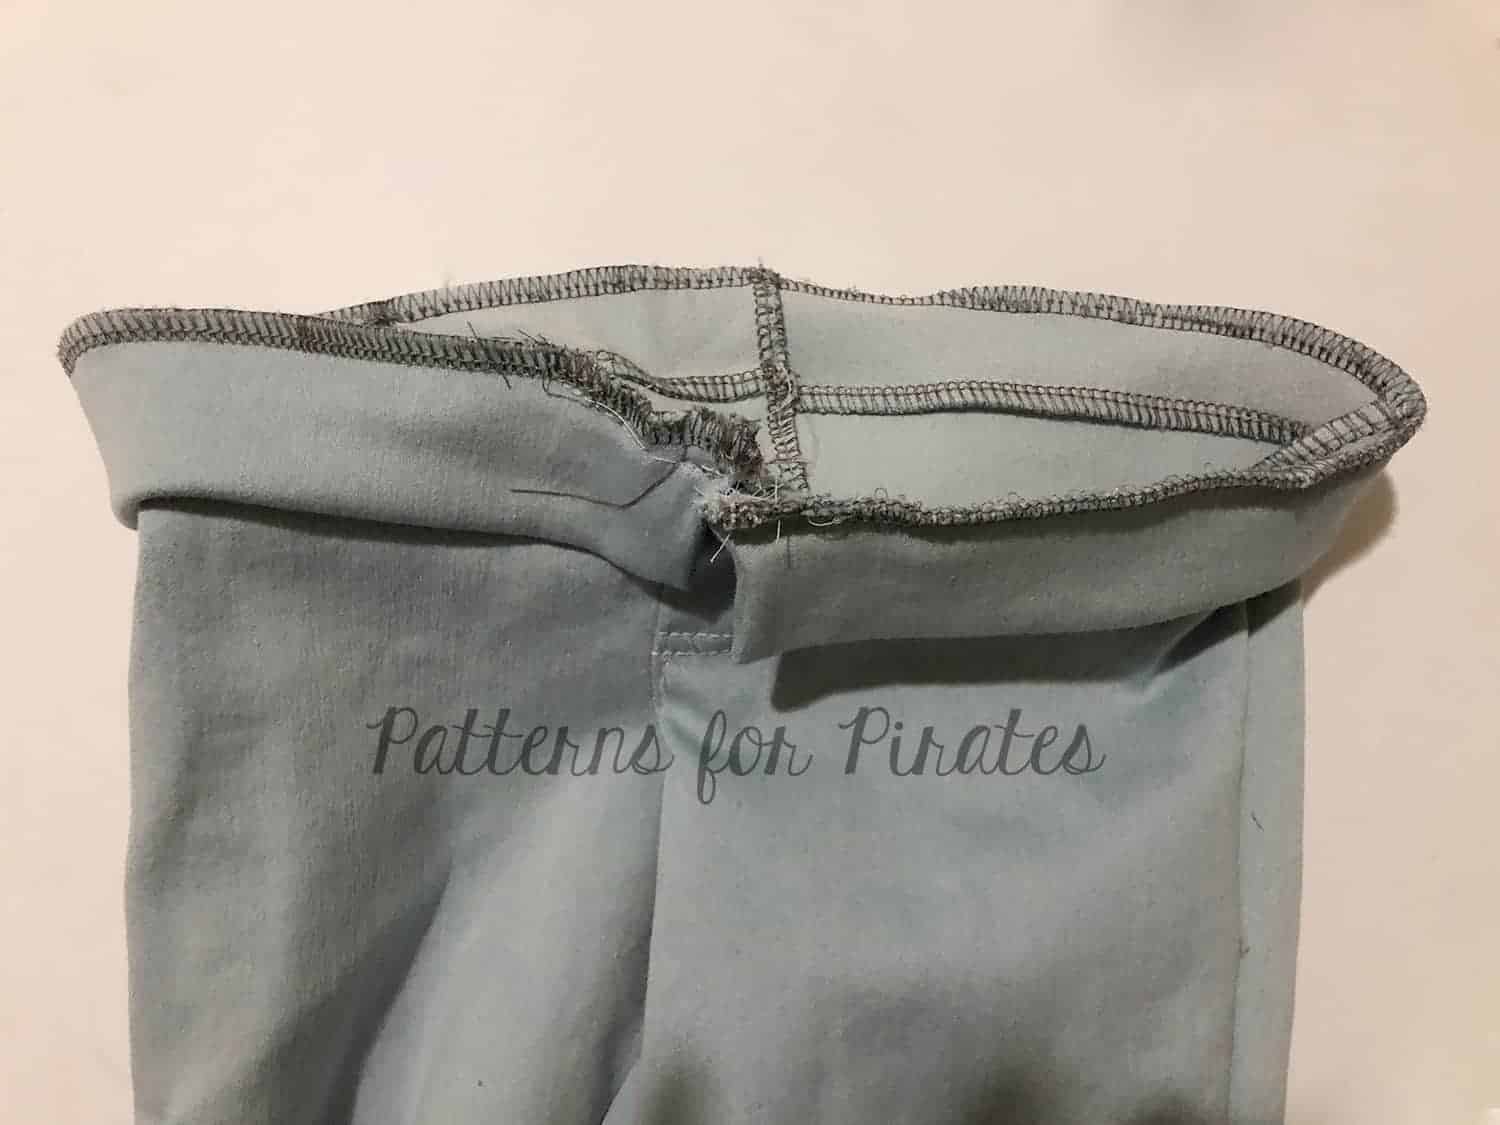
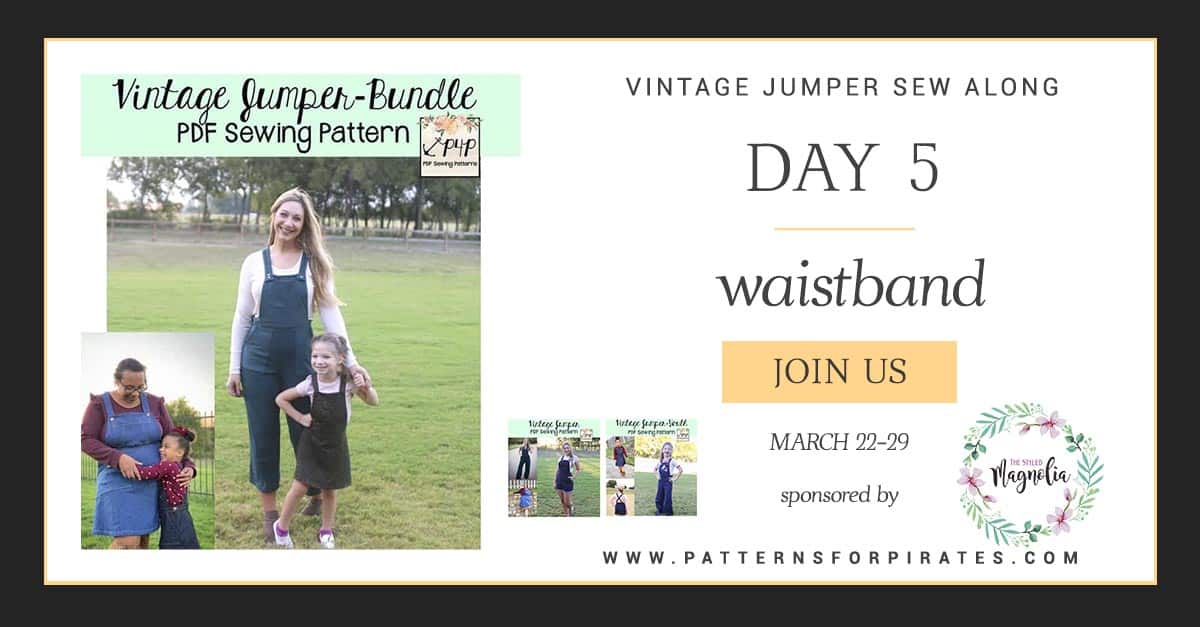
Vintage Jumper SAL | DAY 5 (waistband)
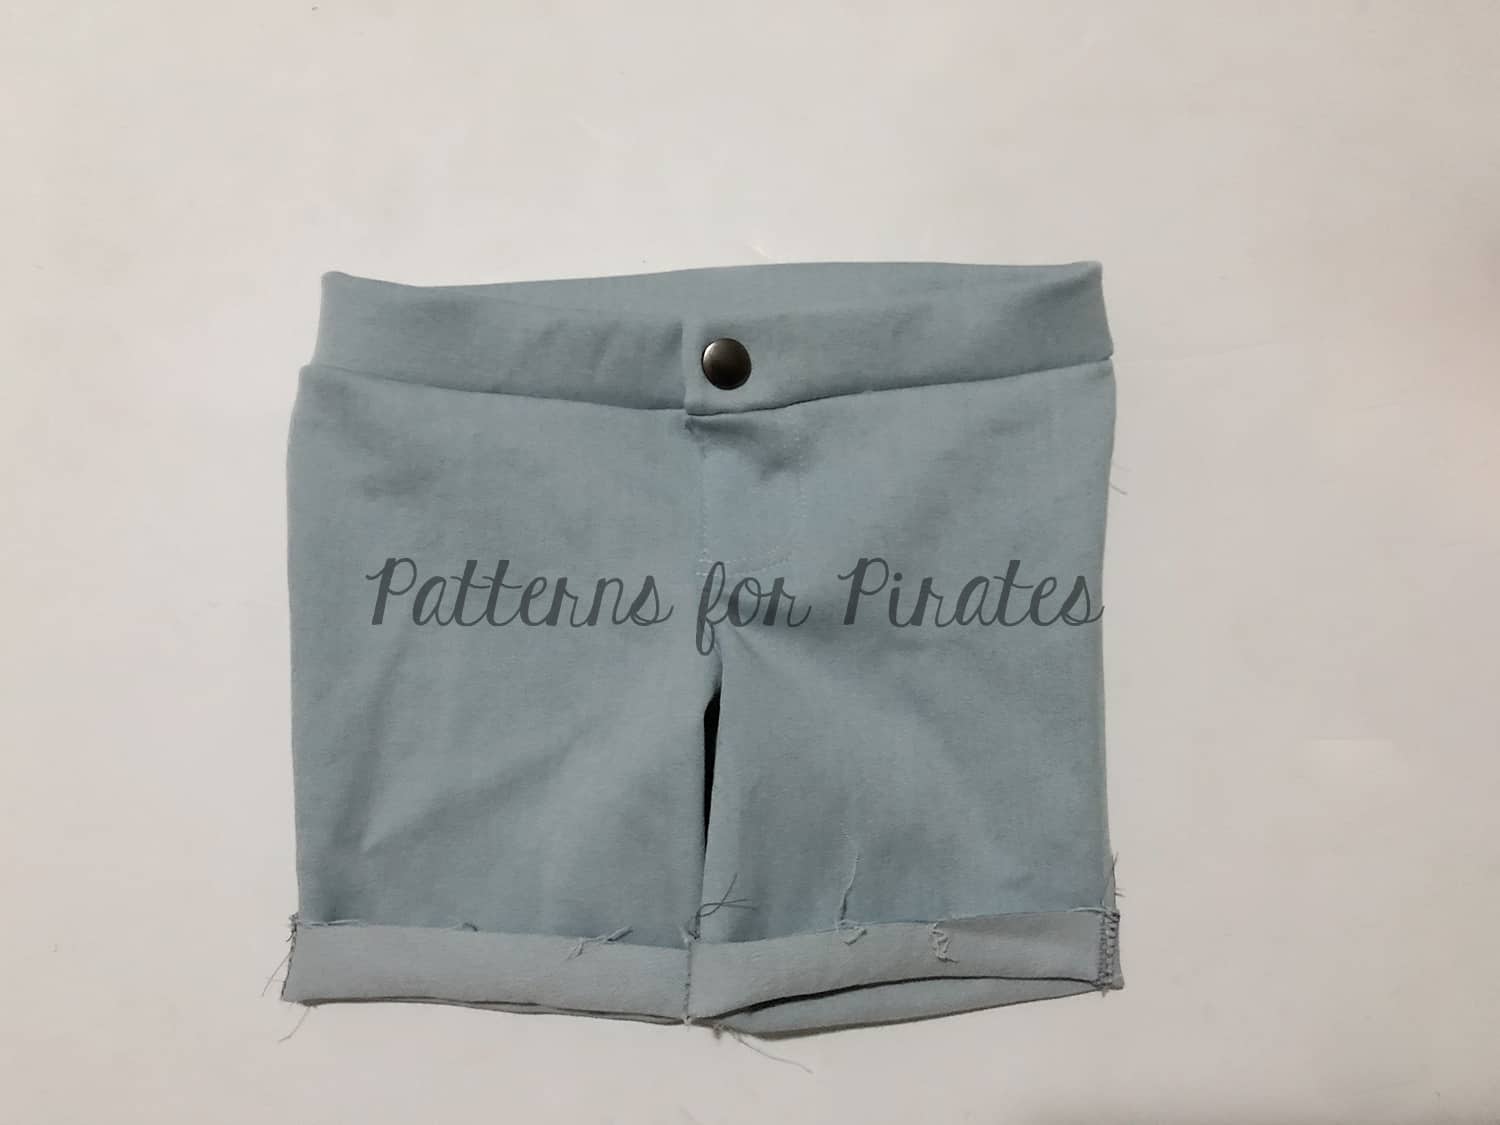
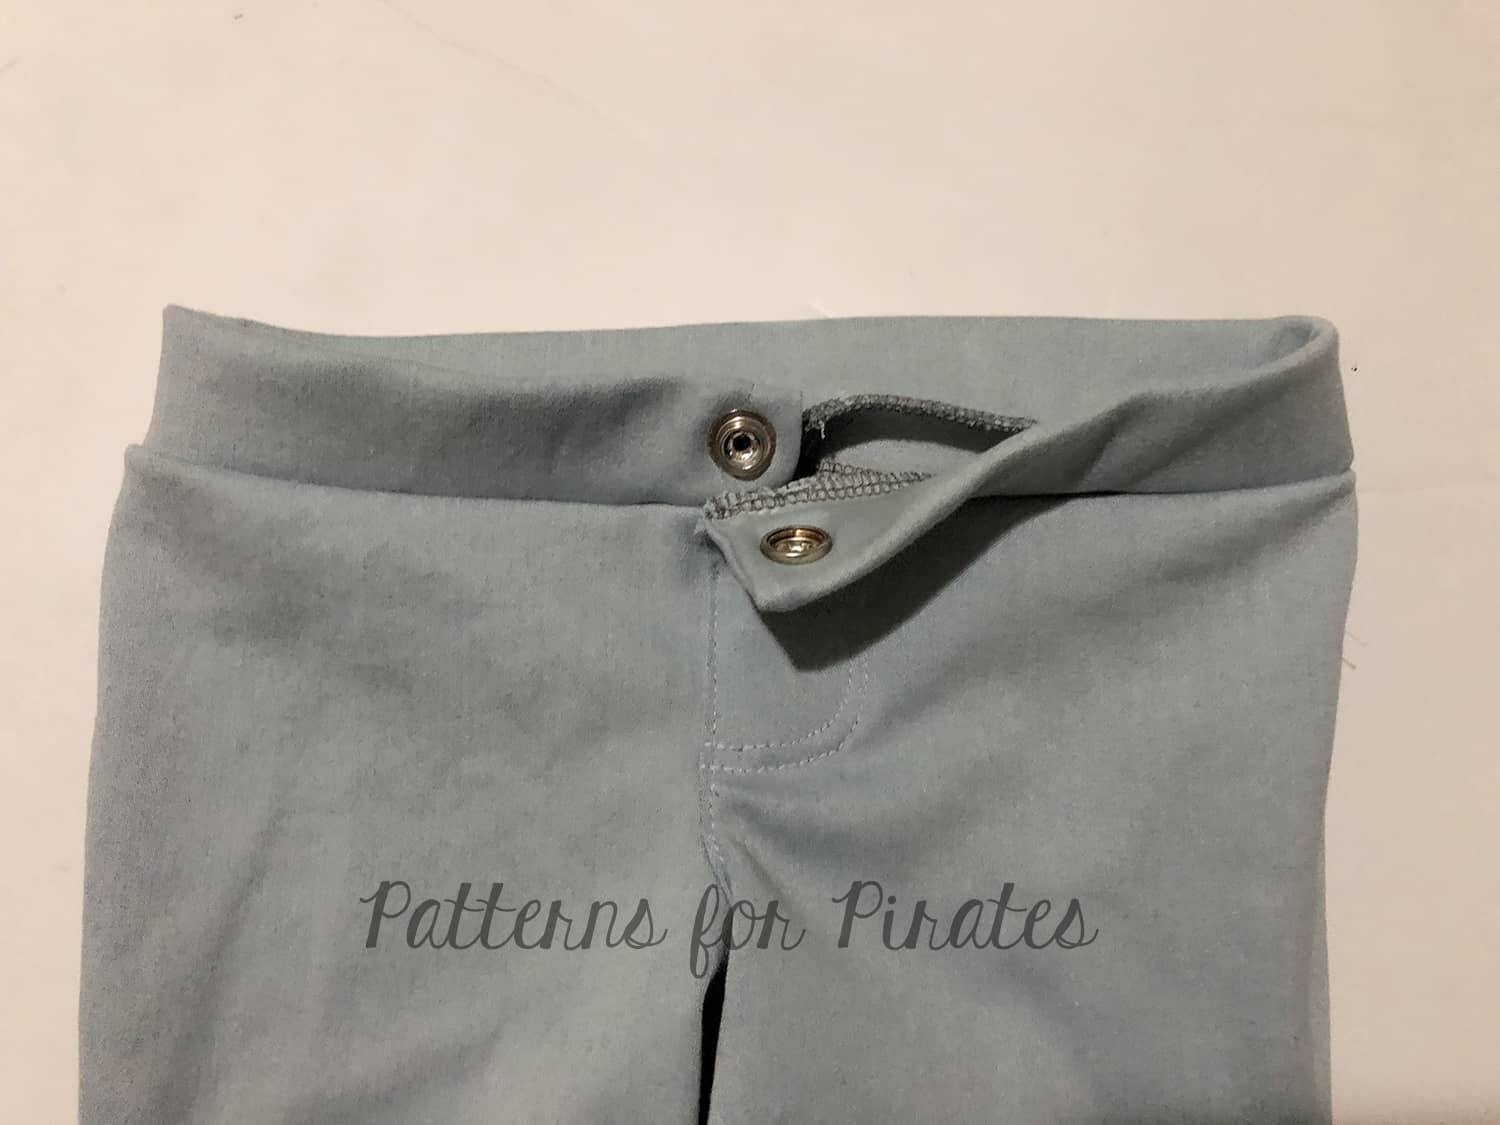
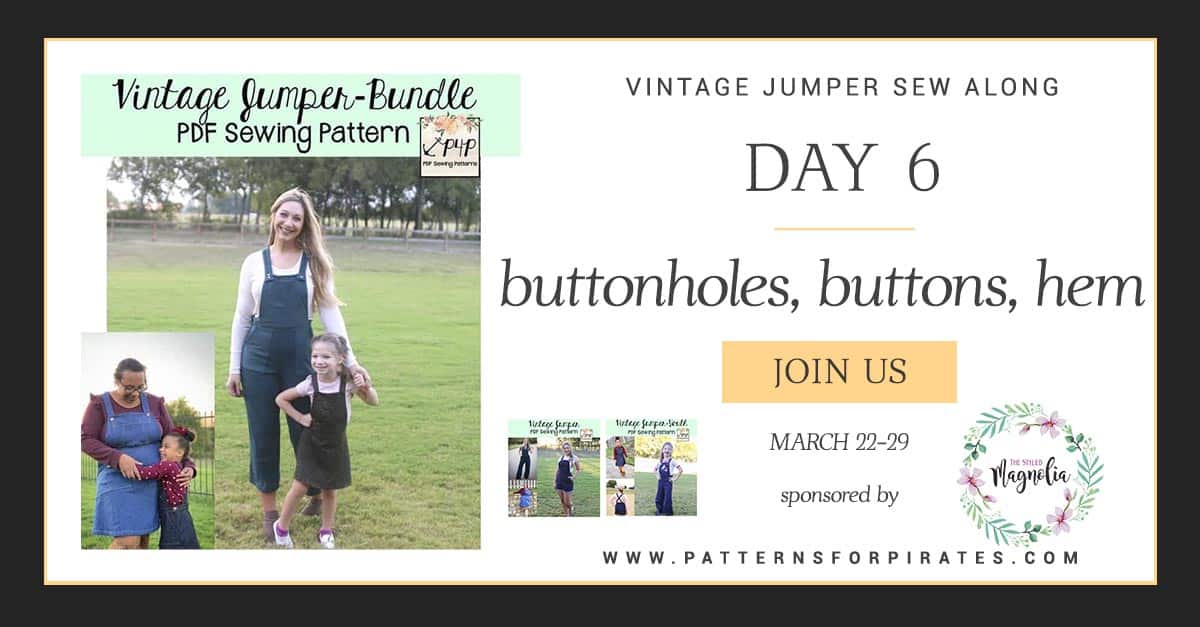
Vintage Jumper SAL | DAY 6 (button holes, buttons and hem)
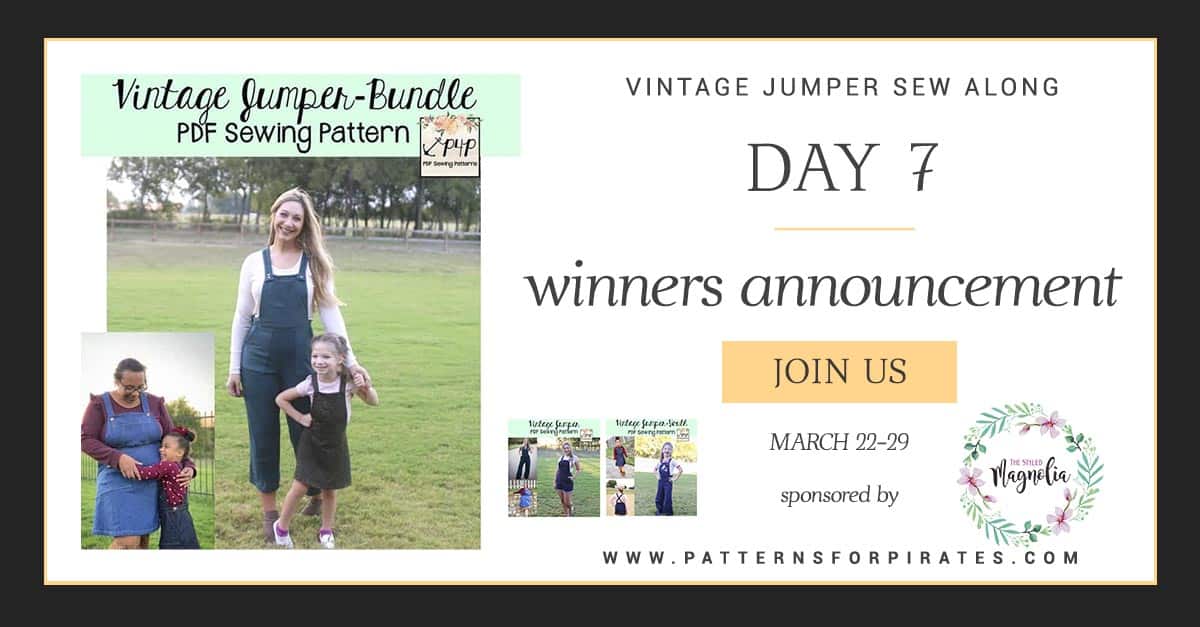
Vintage Jumper SAL | DAY 7 (winners announcement)

 \
\