I’m excited to share the newest P4P pattern with everyone! Right now, so many of us are trying to find a little more peace of mind. Trust us, we are too. So we thought it would be the perfect time to add some stylish “secret pajamas” to everyone’s closets. Who doesn’t love being comfortable and also love feeling cute too?! The Runabout Romper & Dress will give you both with a quick easy sew.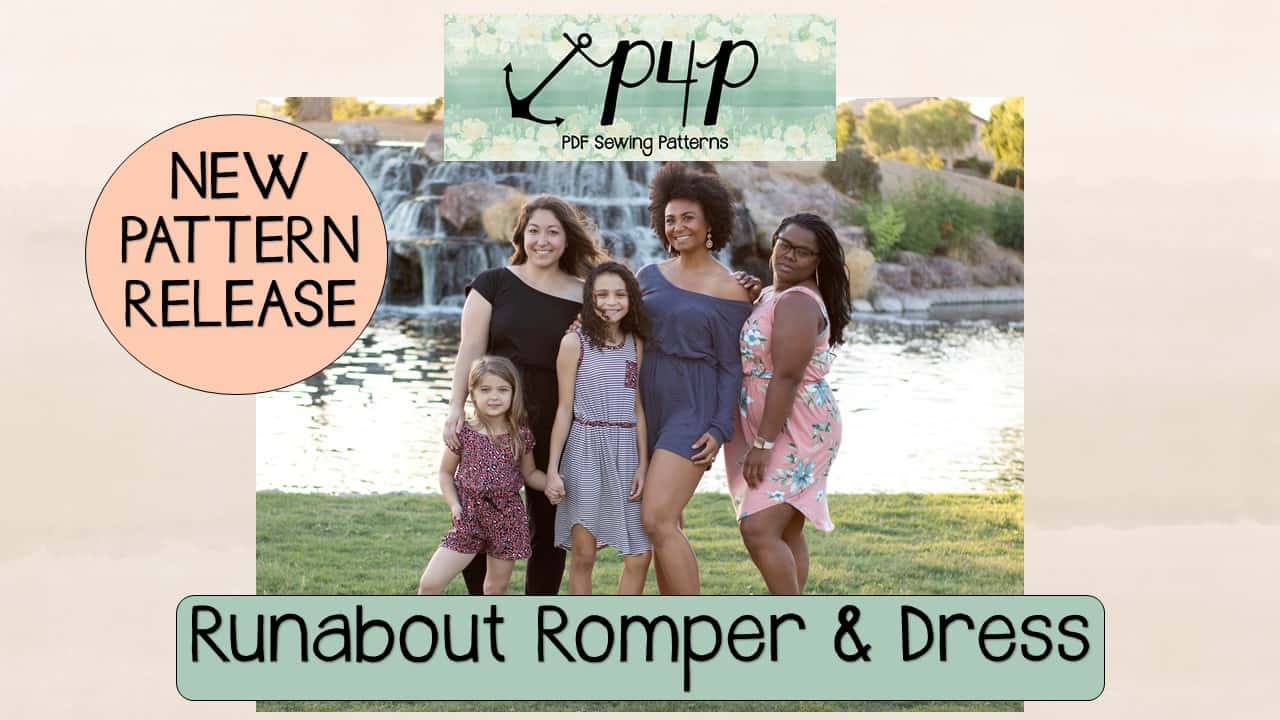
With this loose, slouchy fit, you’ll be comfortable all day. But we made sure to mix in some extra style with off-the shoulder looks, high/low skirts, slitted maxi lengths, and elastic cinched waistlines that will leave you feeling pretty darn good! There are so many options that you can make a huge stack and no one will ever know you’re sewing the same pattern, on repeat!
Consider yourself to be more of a visual person? Listen, friend. We’ve got you covered there as well. Our tutorial is packed full of videos, covering topics like fabric choice, sizing, mashing sizes, sewing the waistband and even a complete sew up video from start to end with with our Pirate Captain Judy!
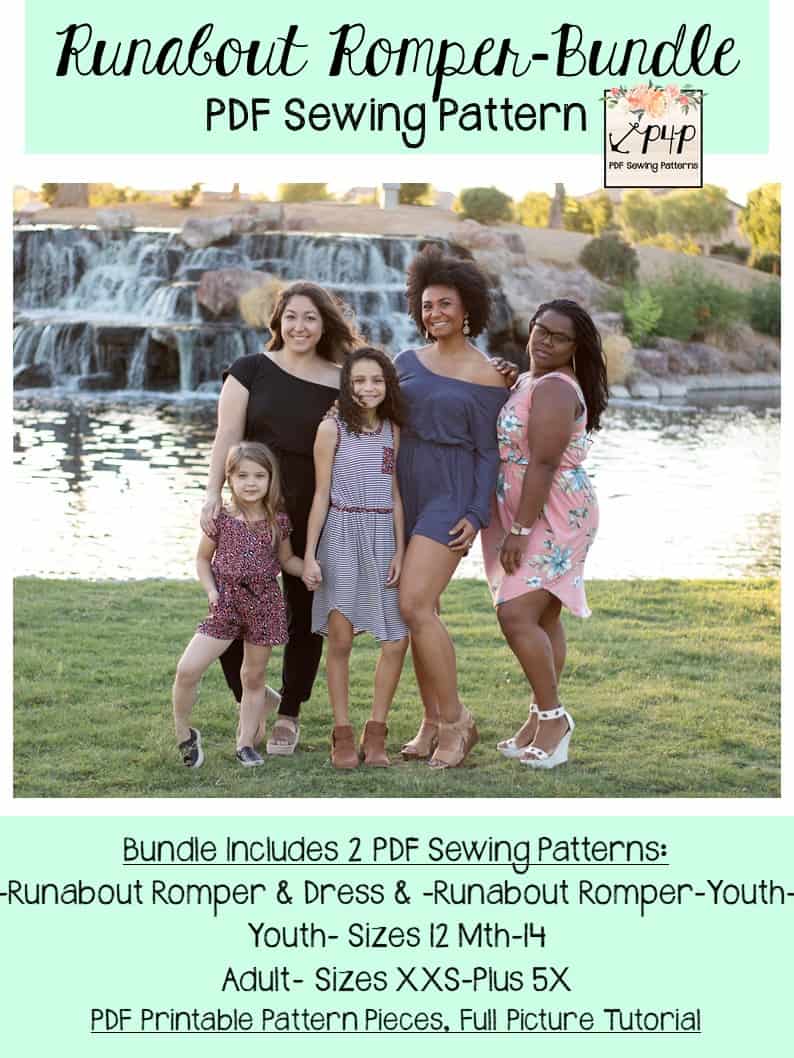
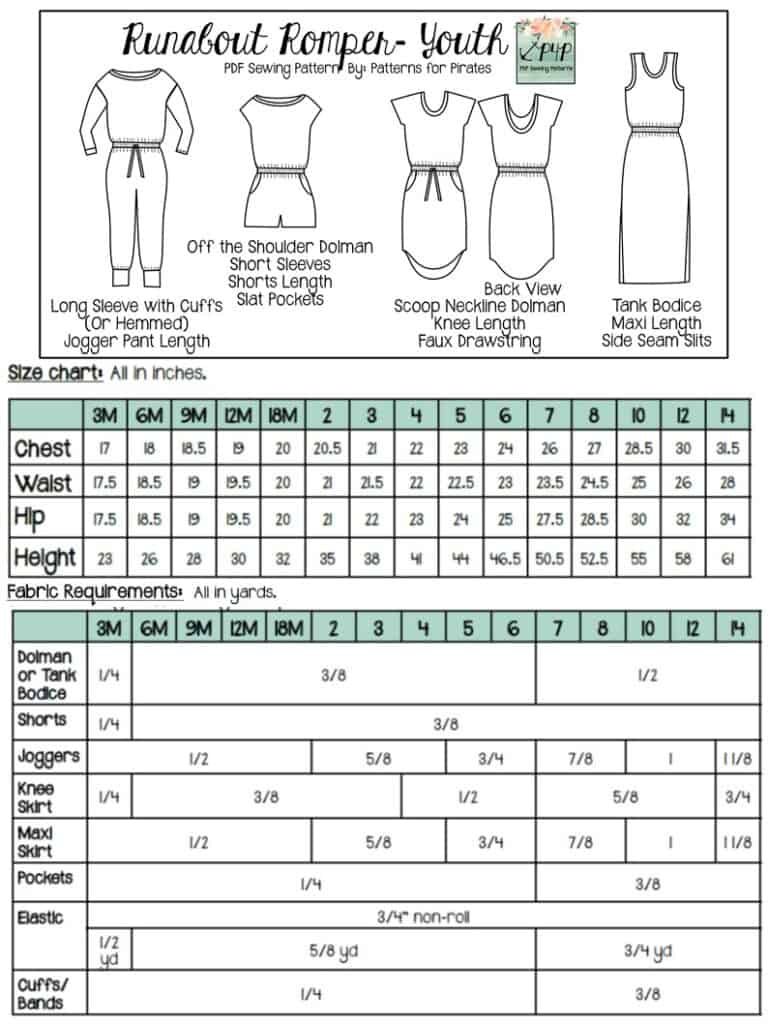
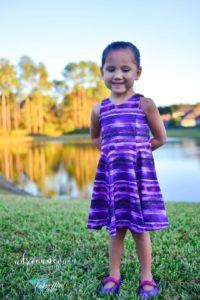
RUNABOUT ROMPER | RUNABOUT ROMPER YOUTH | RUNABOUT ROMPER – BUNDLE
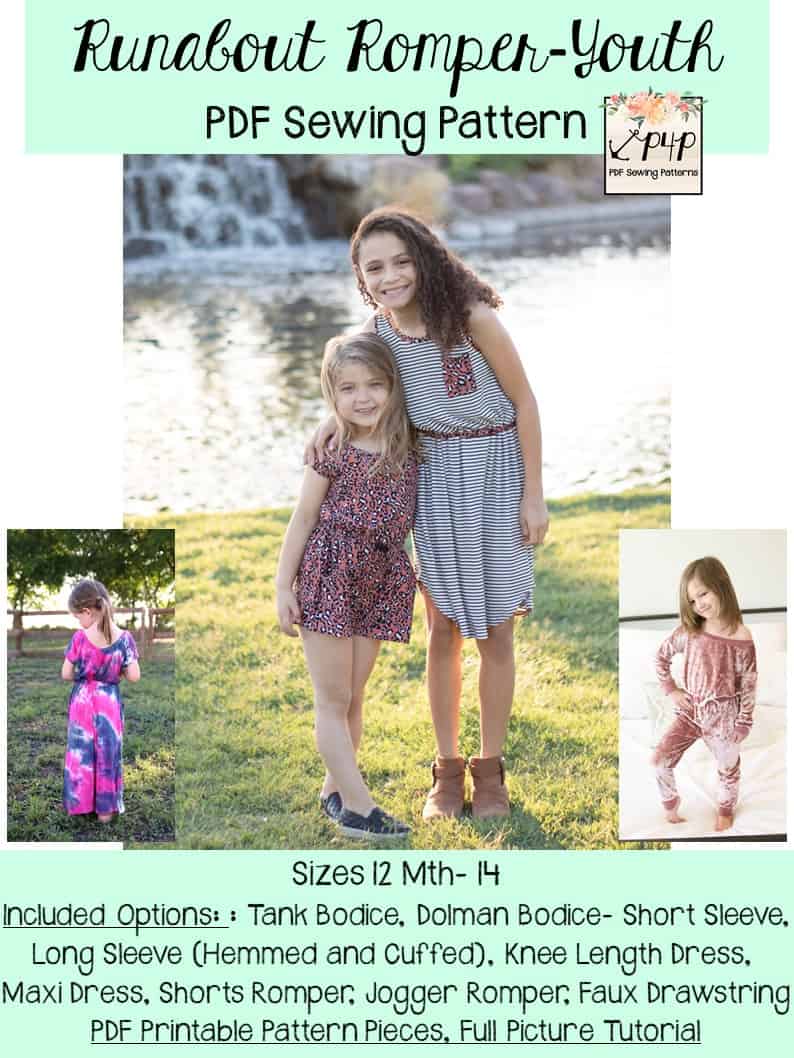
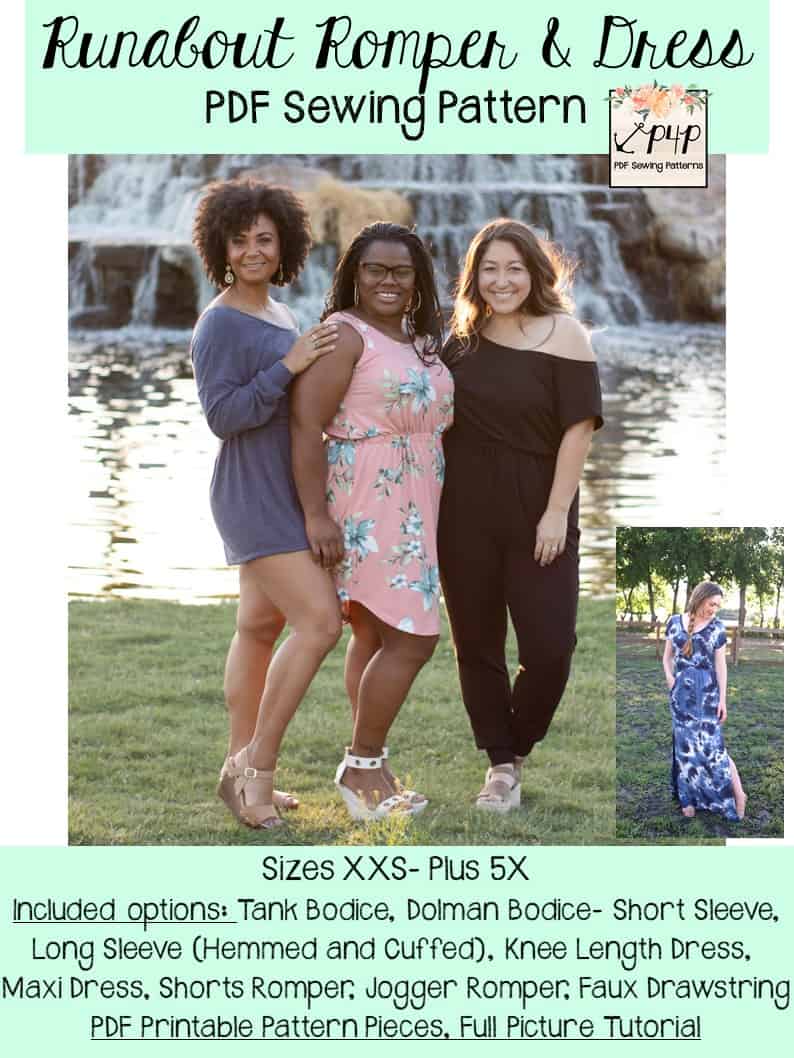
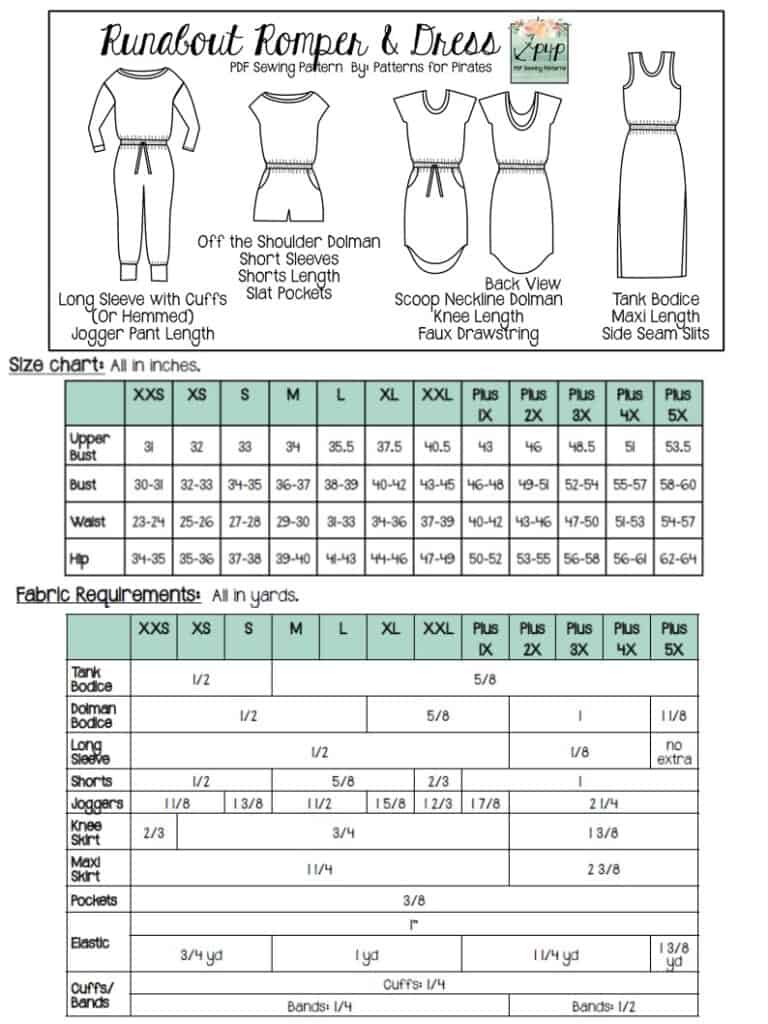
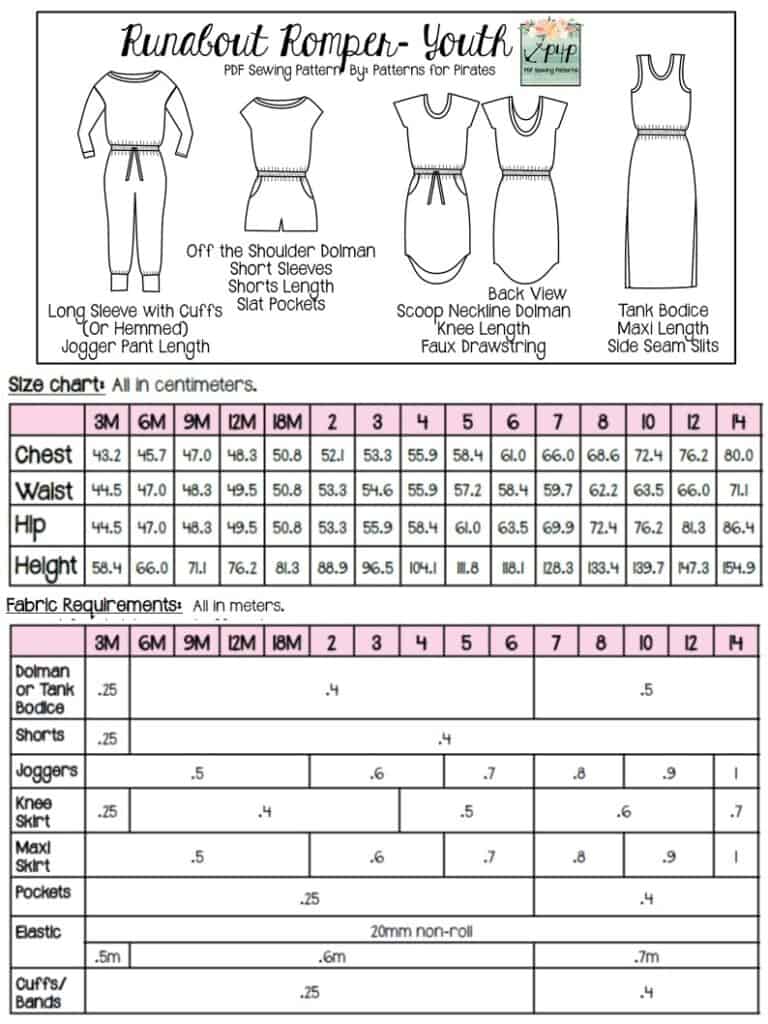
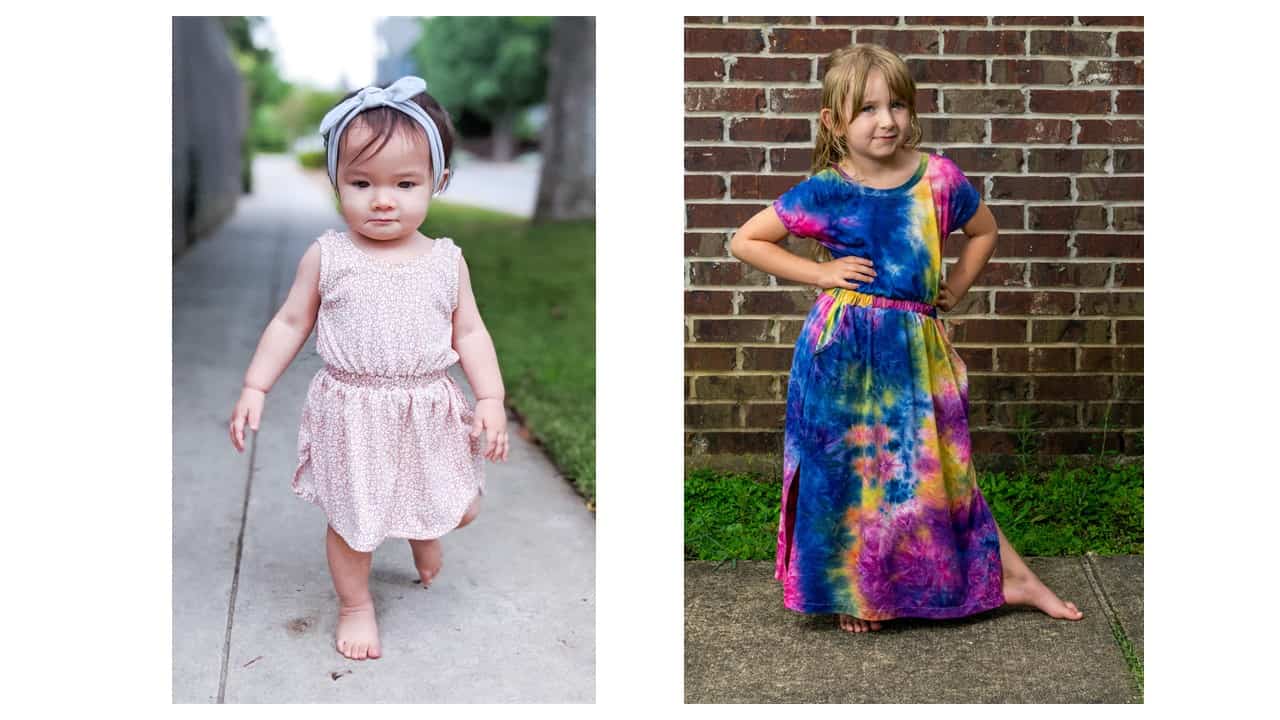
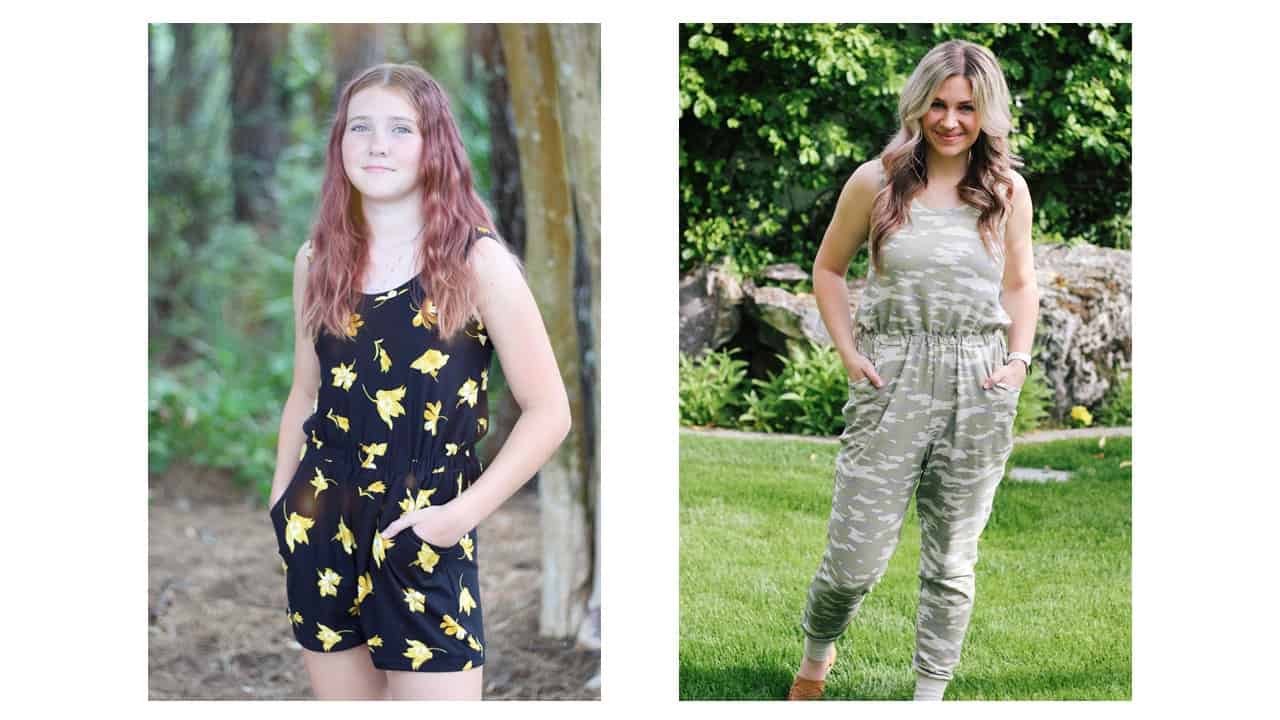
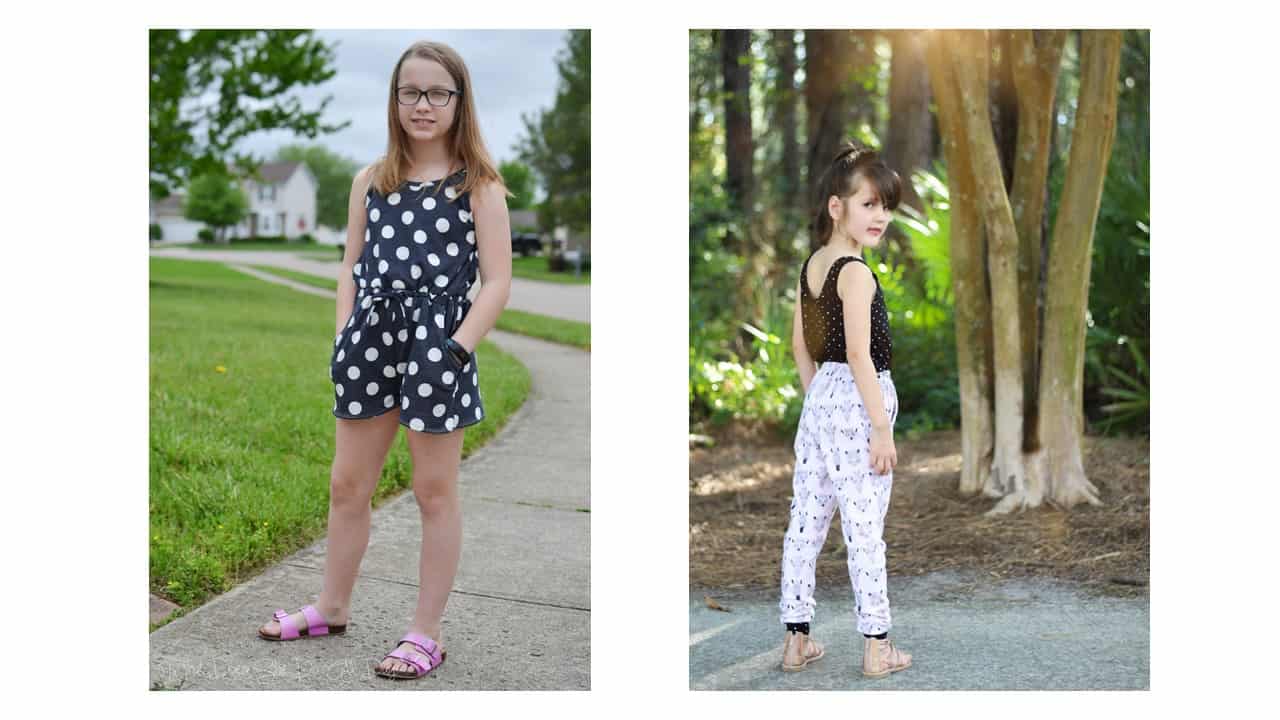
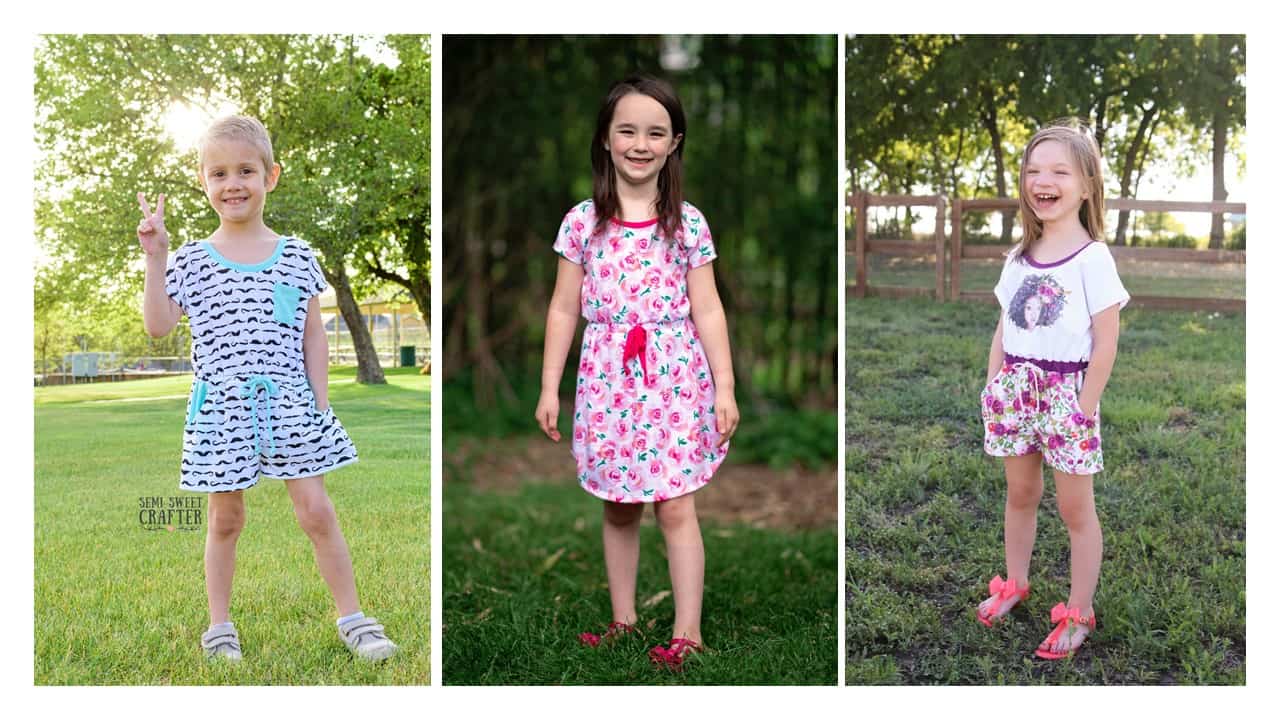
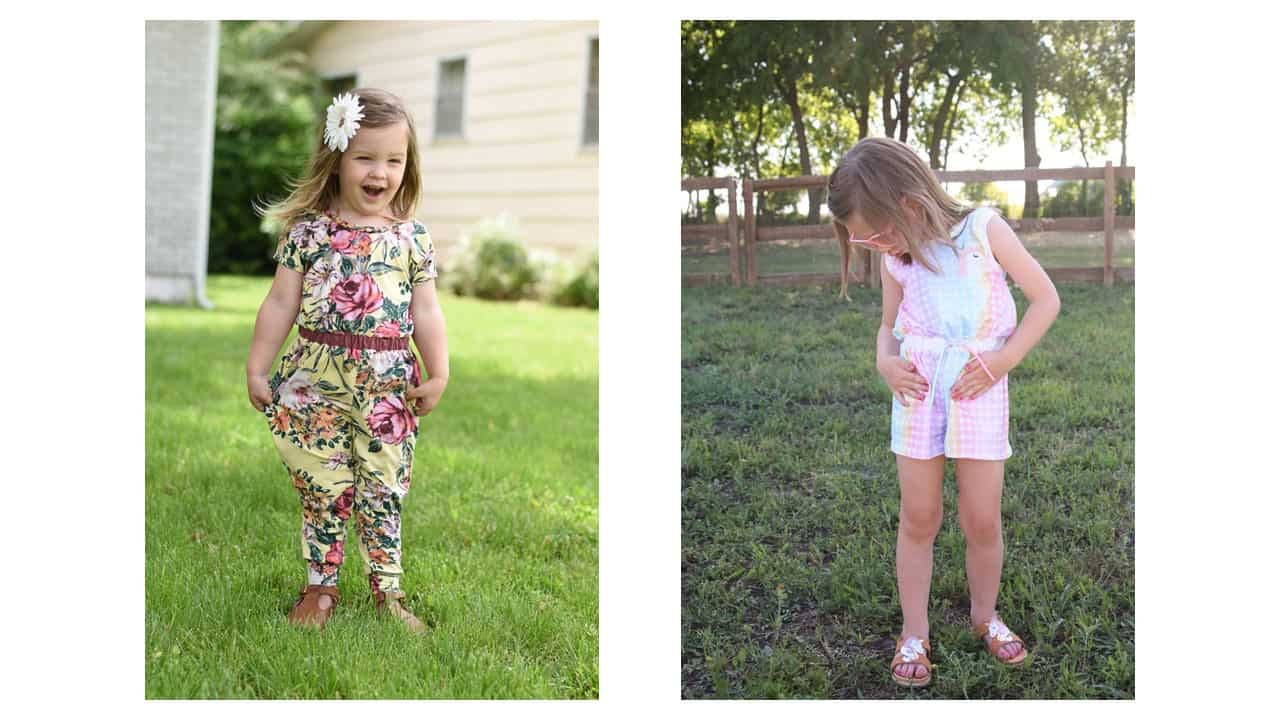
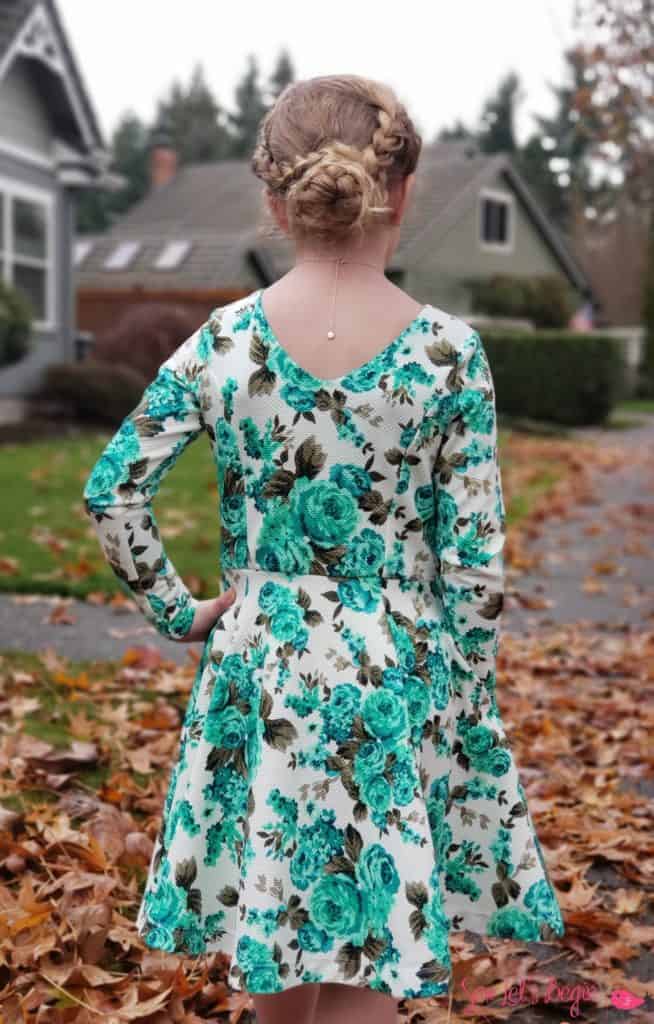
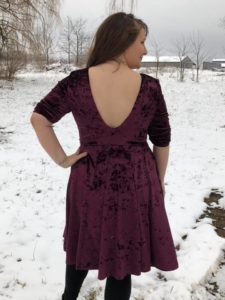
There are multiple sleeve options. You can pick tank, dolman short sleeve, or dolman long sleeve…depending on weather. There are also a ton of bottoms to pair with your bodice. Enjoy choosing between a curved knee length skirt, maxi length skirt with side seam slits, a looser-fitted shorts romper, or trendy jogger romper bottoms. With all of these options, you can add a cute faux drawstring, chest pocket, and/or slat pockets. Trust us on the pockets — we make sure they’re “real” pockets and you can actually fit things inside of them.
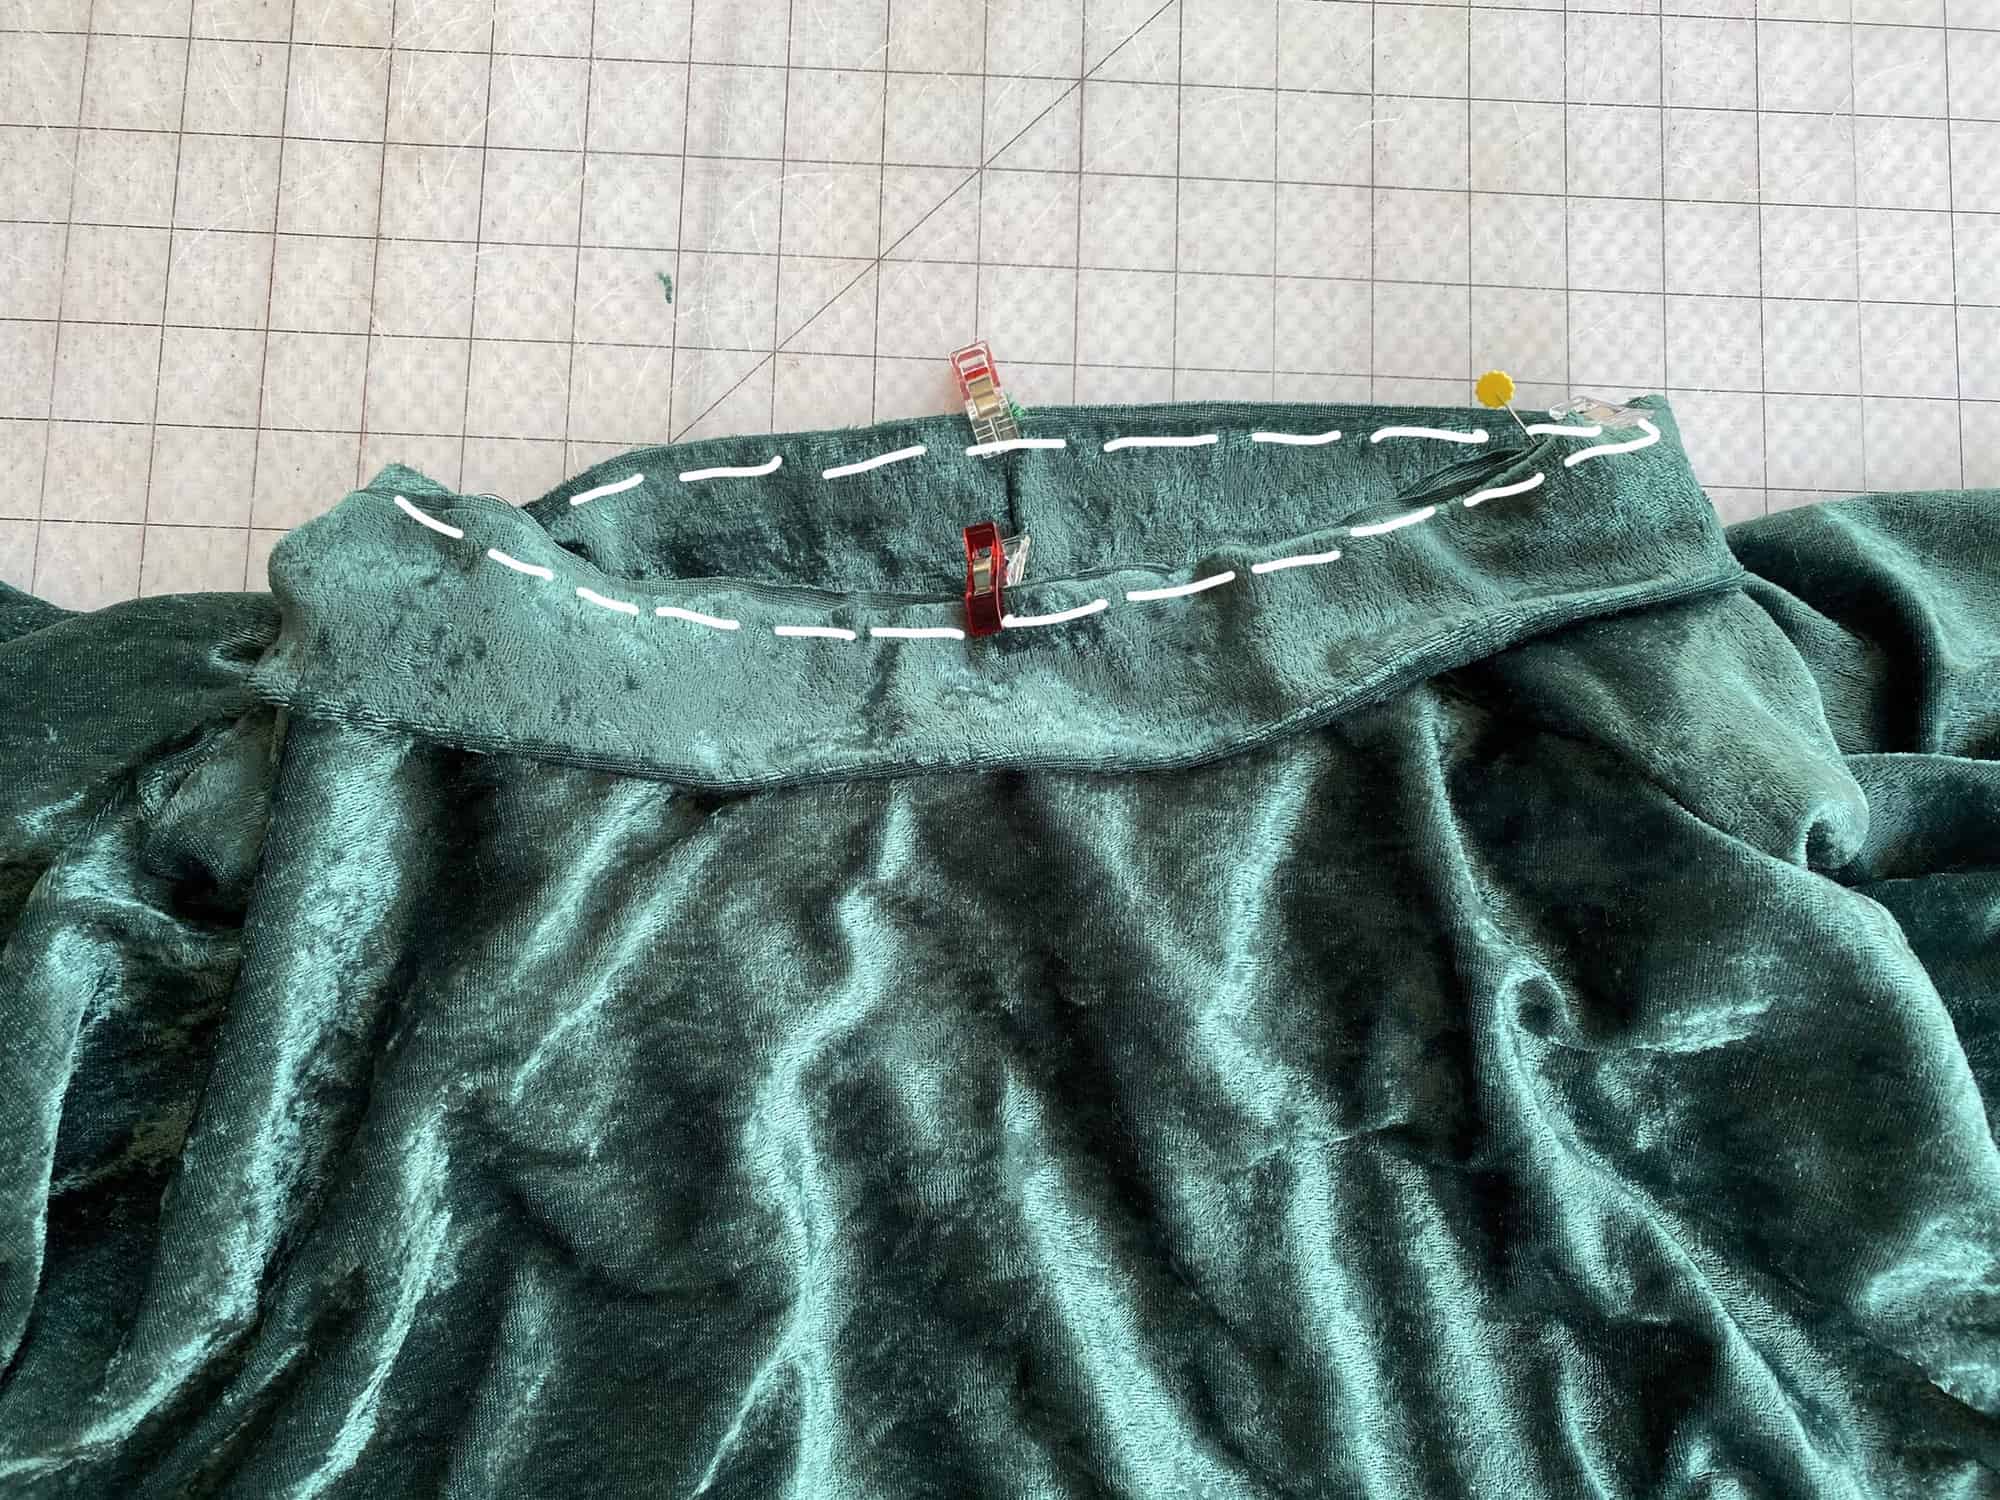
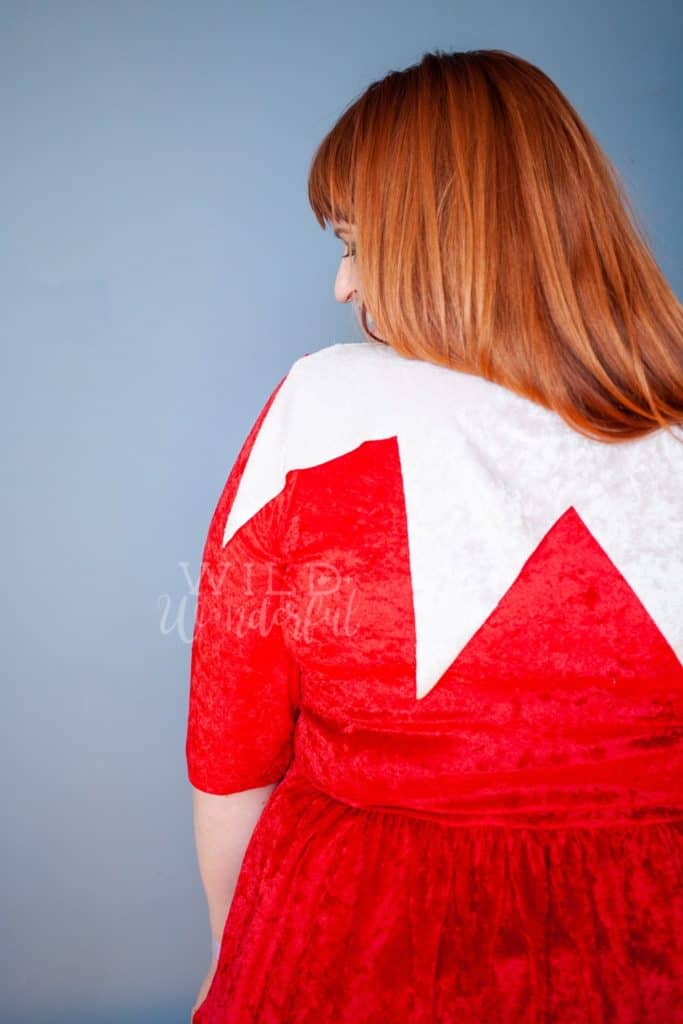
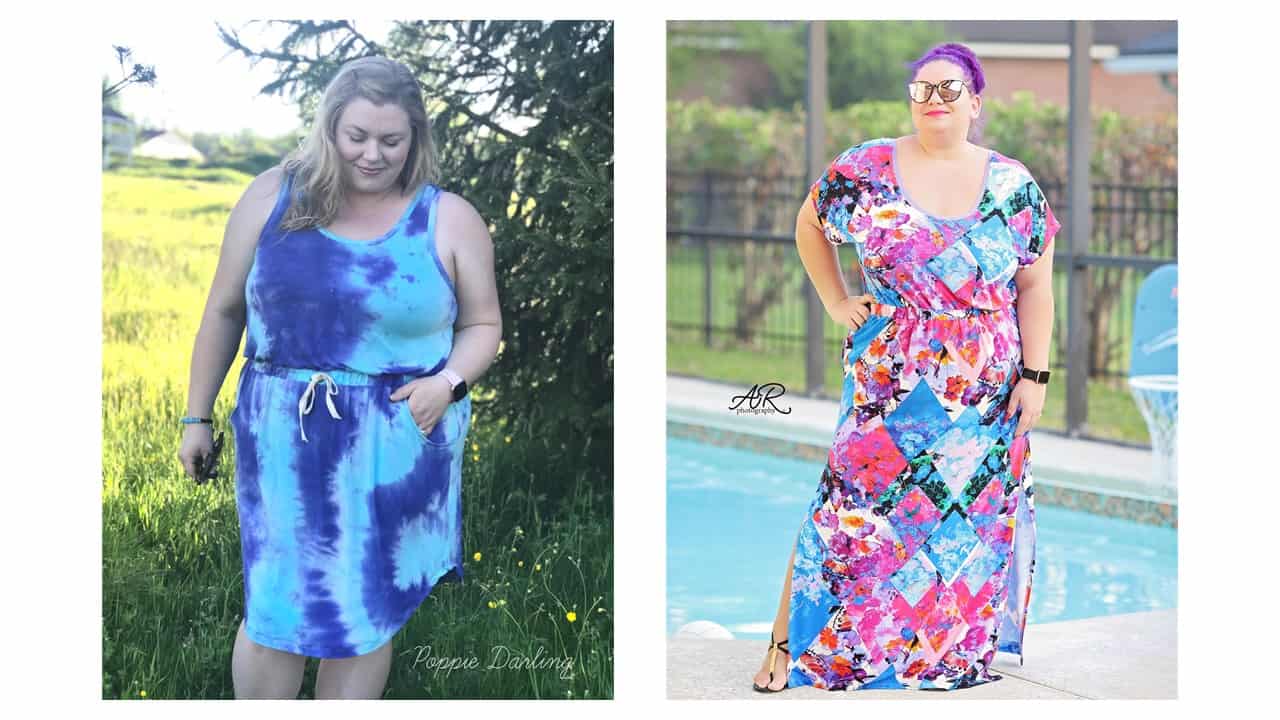
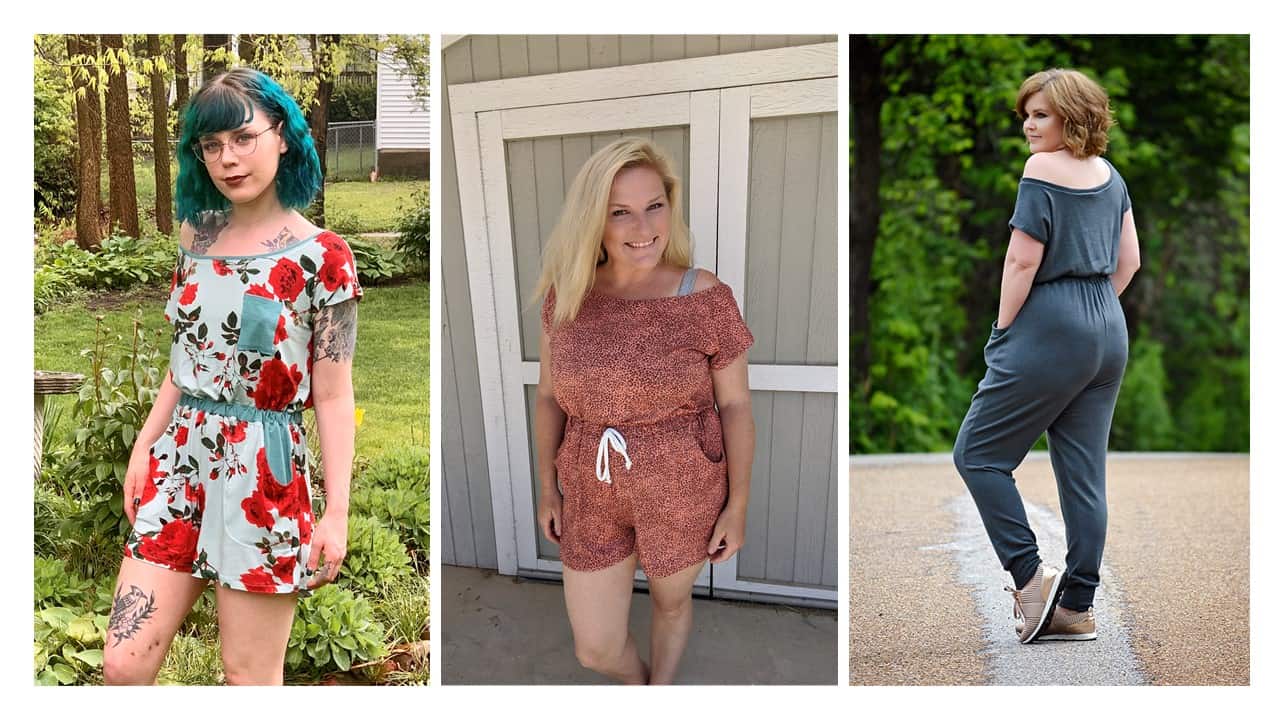
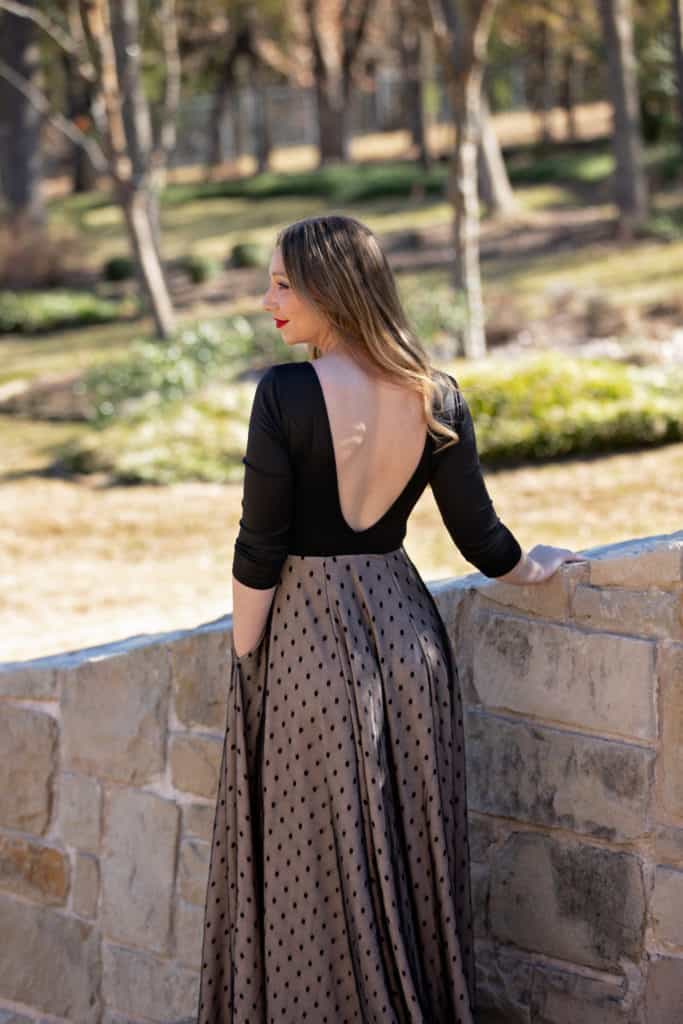
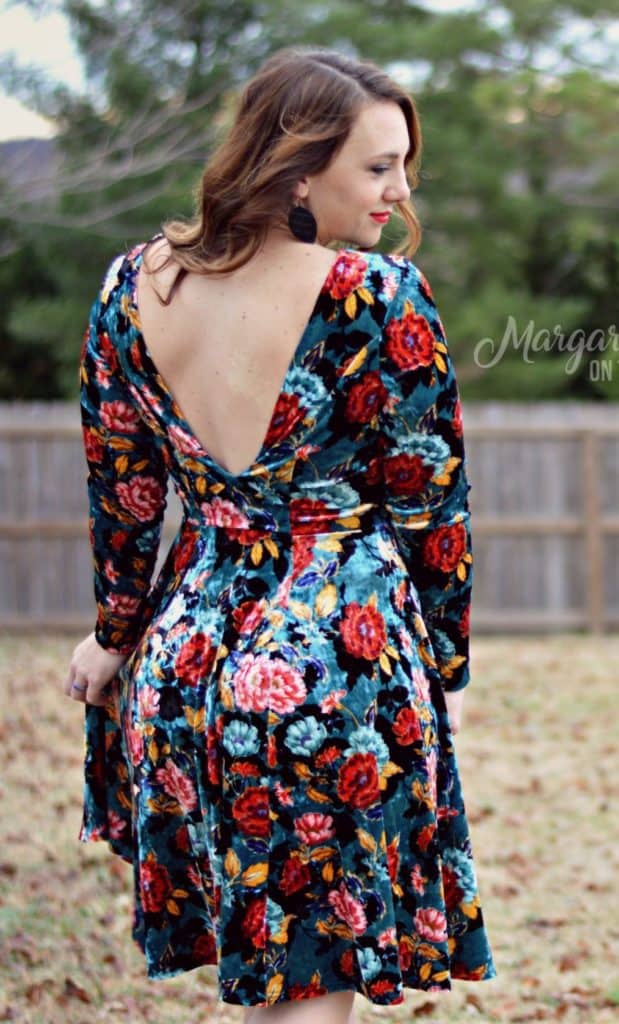
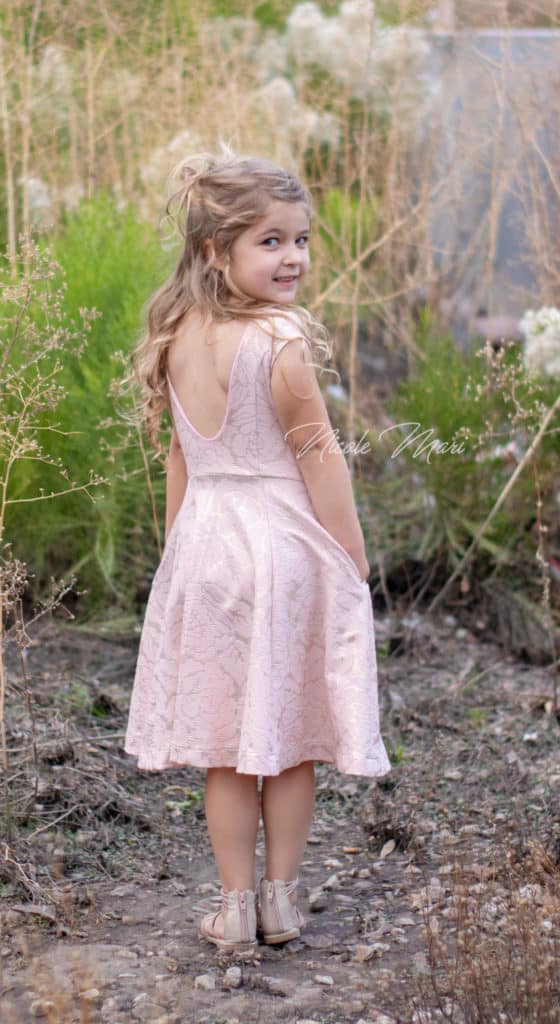
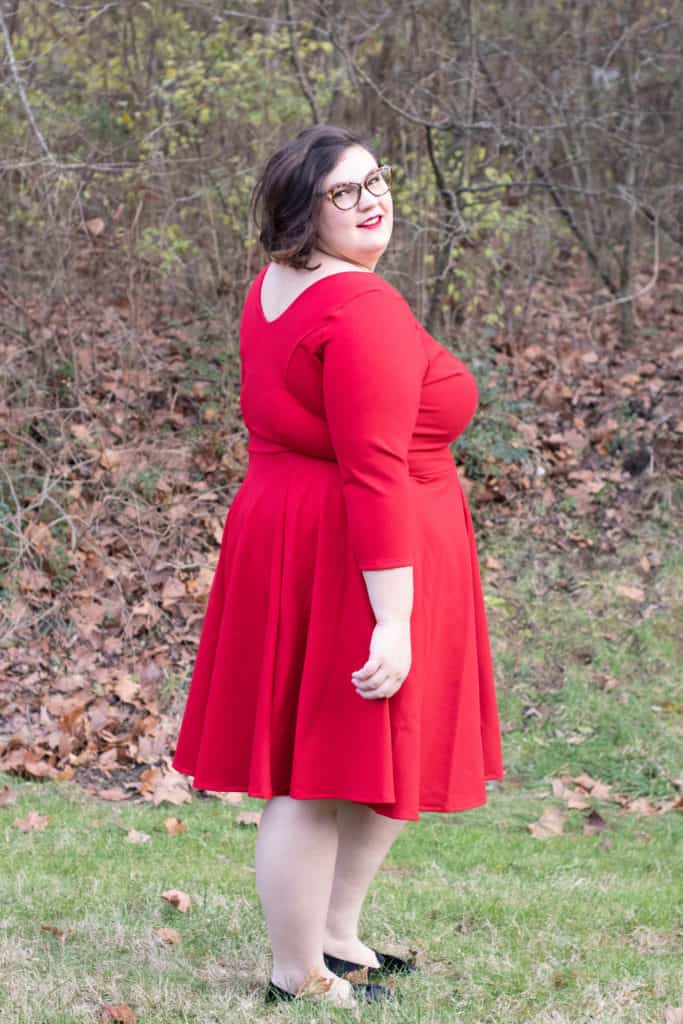
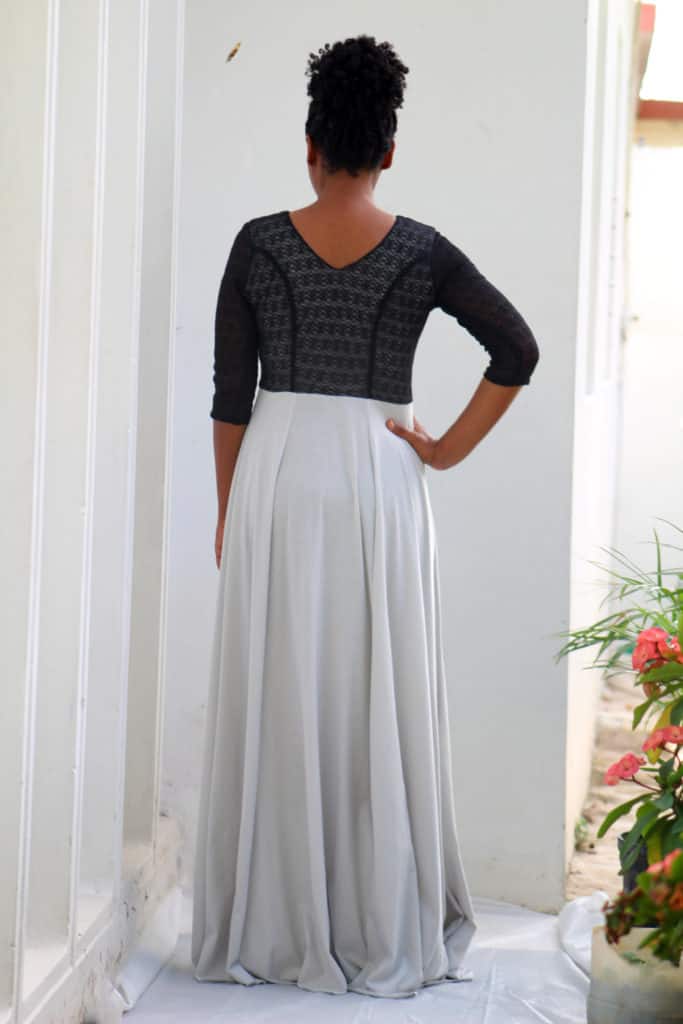
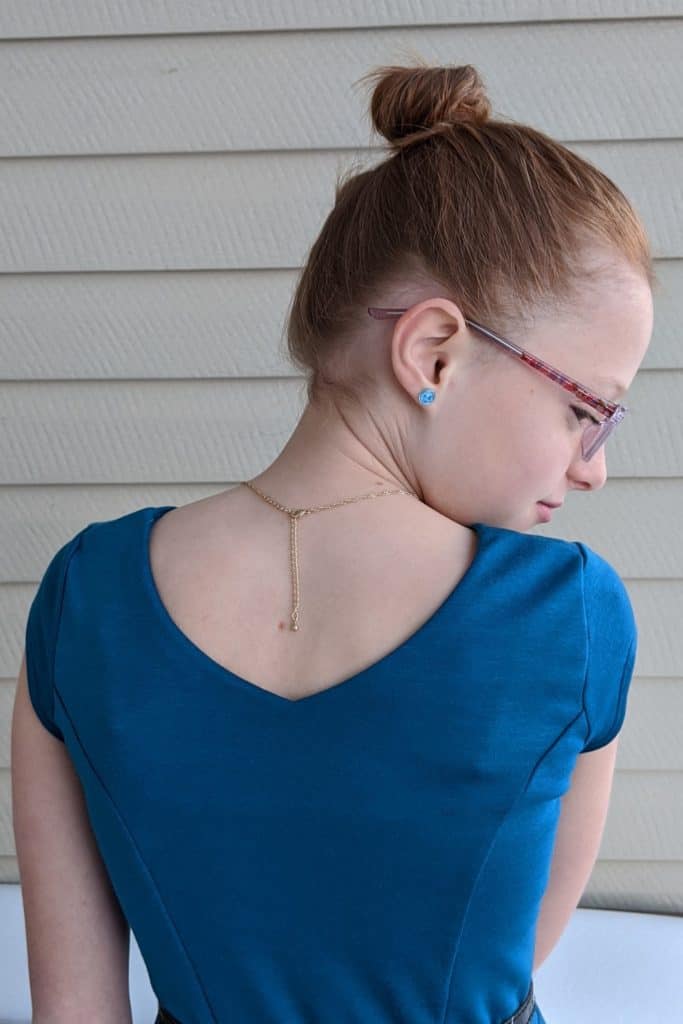
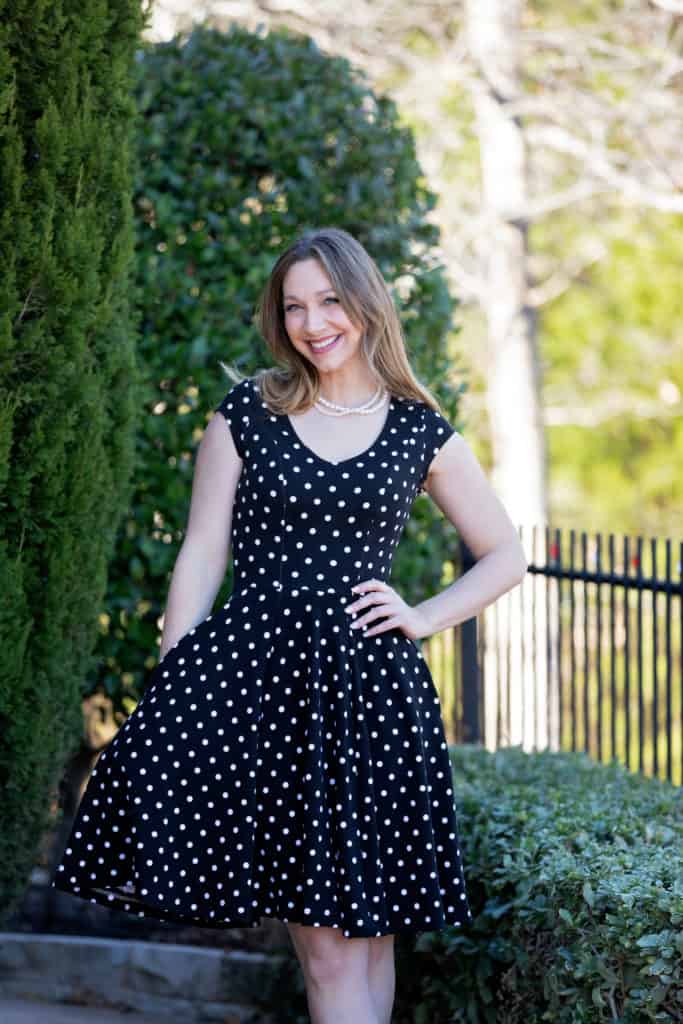
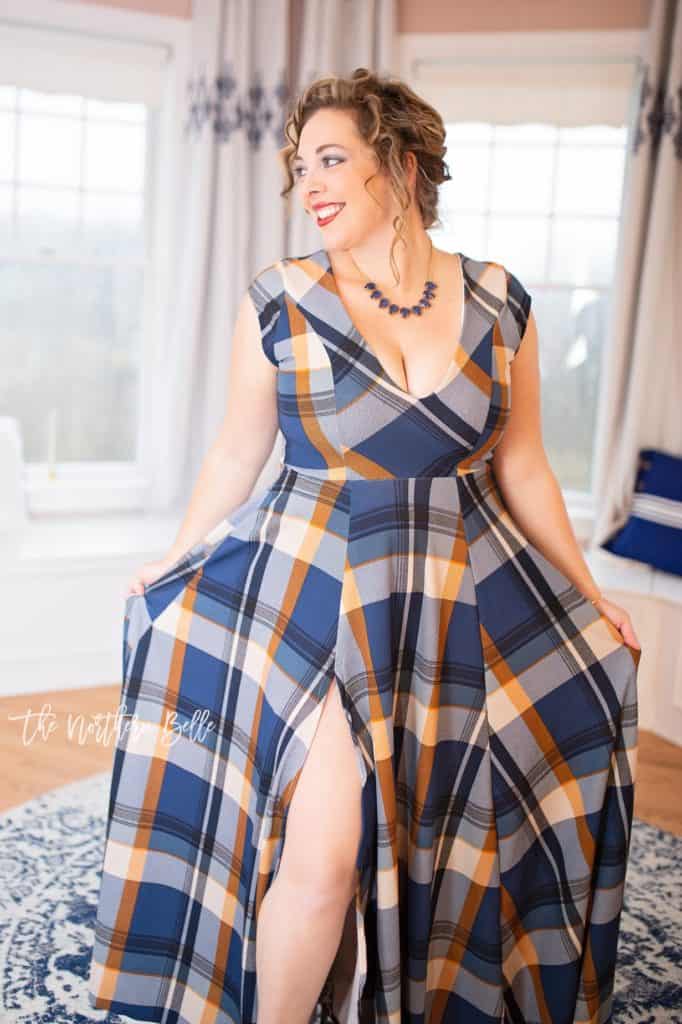
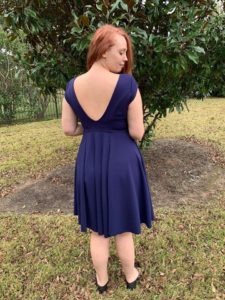
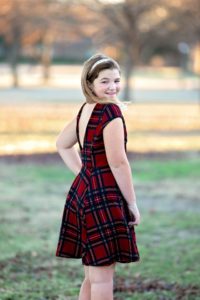
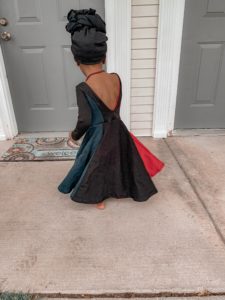
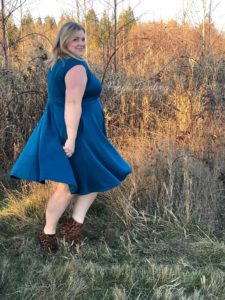
The dolman bodice includes a scoop neckline with a bit lower back (which still safely covers bras) and a super fun off-the-shoulder style neckline. The elastic waistband on every pattern option hits right at the natural waistline, allowing for a flattering silhouette.
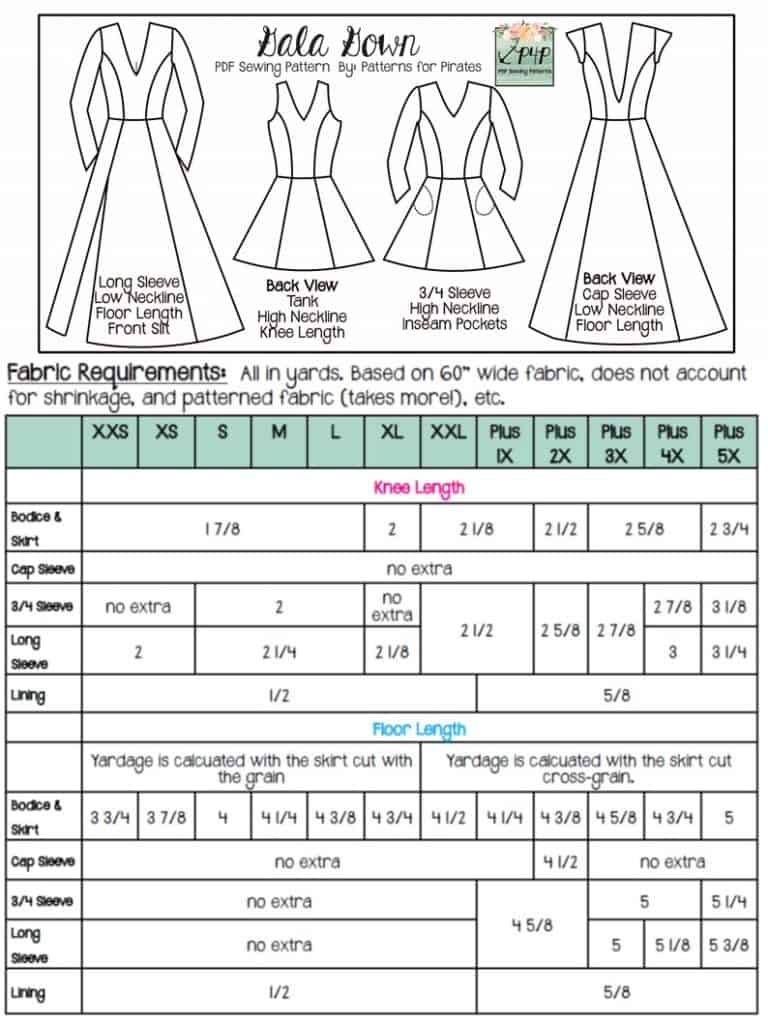
We suggest using knits that are light-to-medium weight and have a softer drape. Think: double brushed polyester, rayon blends, sweater knits, modal spandex blends, bamboo blends, tri-blends, french terry/rayon blends, ribbed knits, and lightweight cotton blend jerseys.
**Want to learn more about how to measure yourself for this pattern? We’ve got you covered with an in-depth blog HERE. And in case you’re new to Patterns for Pirates and PDF patterns in general, we have a great blog full of new-user tips HERE to help you get started! As with all of our current releases and updates, the pdfs now include our layers feature and can be found in Letter, A4 and A0 sizes. And for even more helpful fun, we have a *free* printable that you can use to help record your measurements as you take them.
Let’s take a quick look at the different options and features!
BODICE OPTIONS: TANK, SHORT SLEEVE DOLMAN, LONG SLEEVE DOLMAN
DOLMAN NECKLINE OPTIONS: SCOOP AND OFF THE SHOULDER
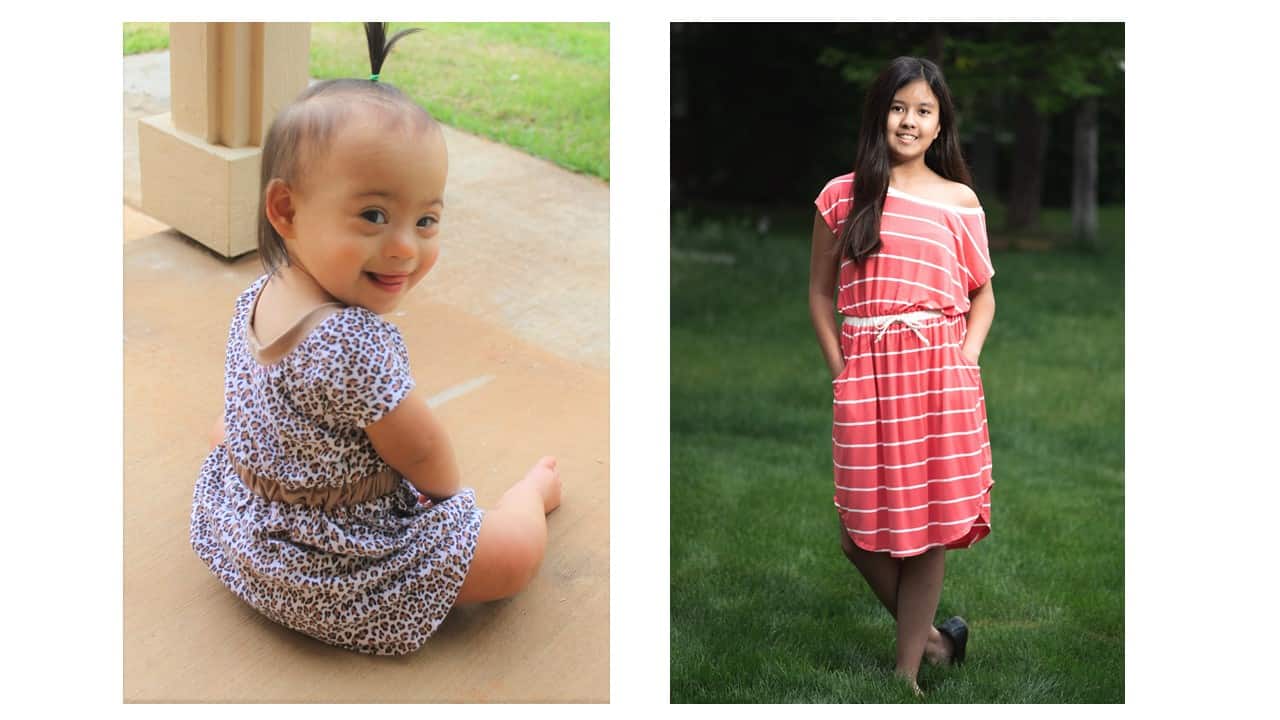
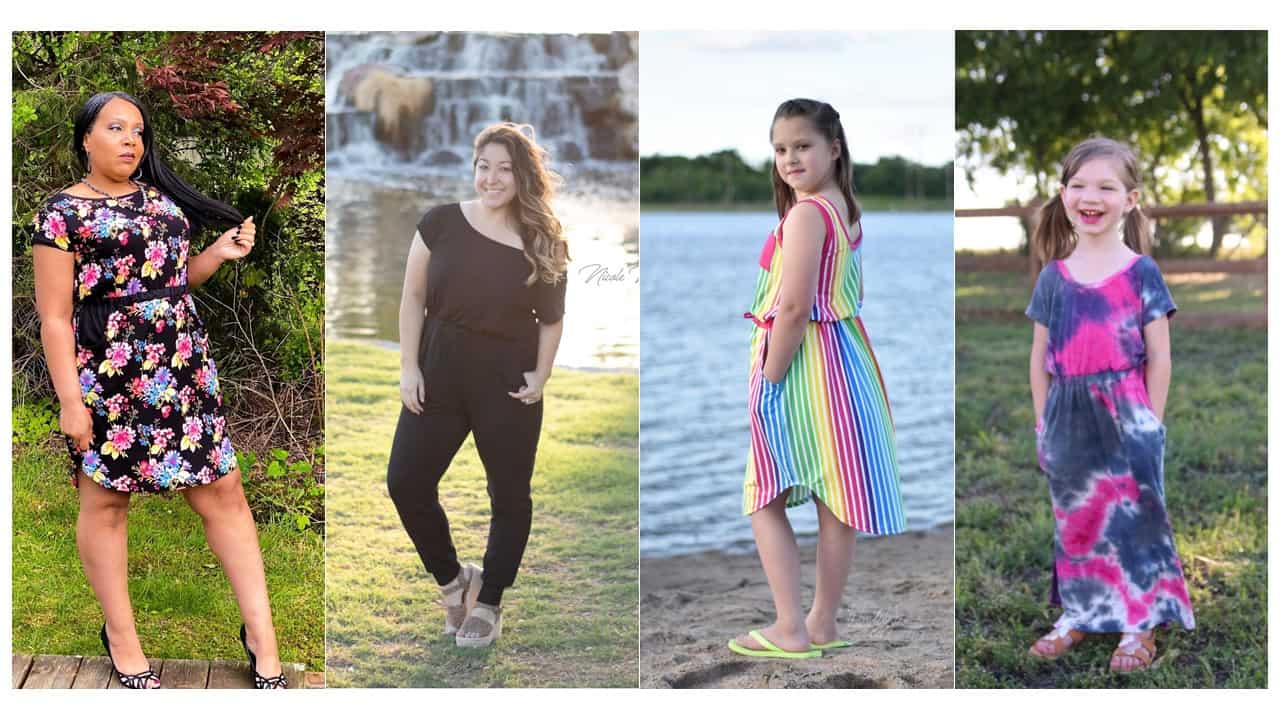
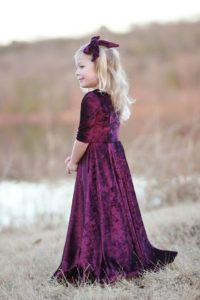
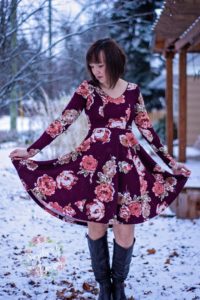
DRESS OPTIONS: KNEE LENGTH AND MAXI LENGTH
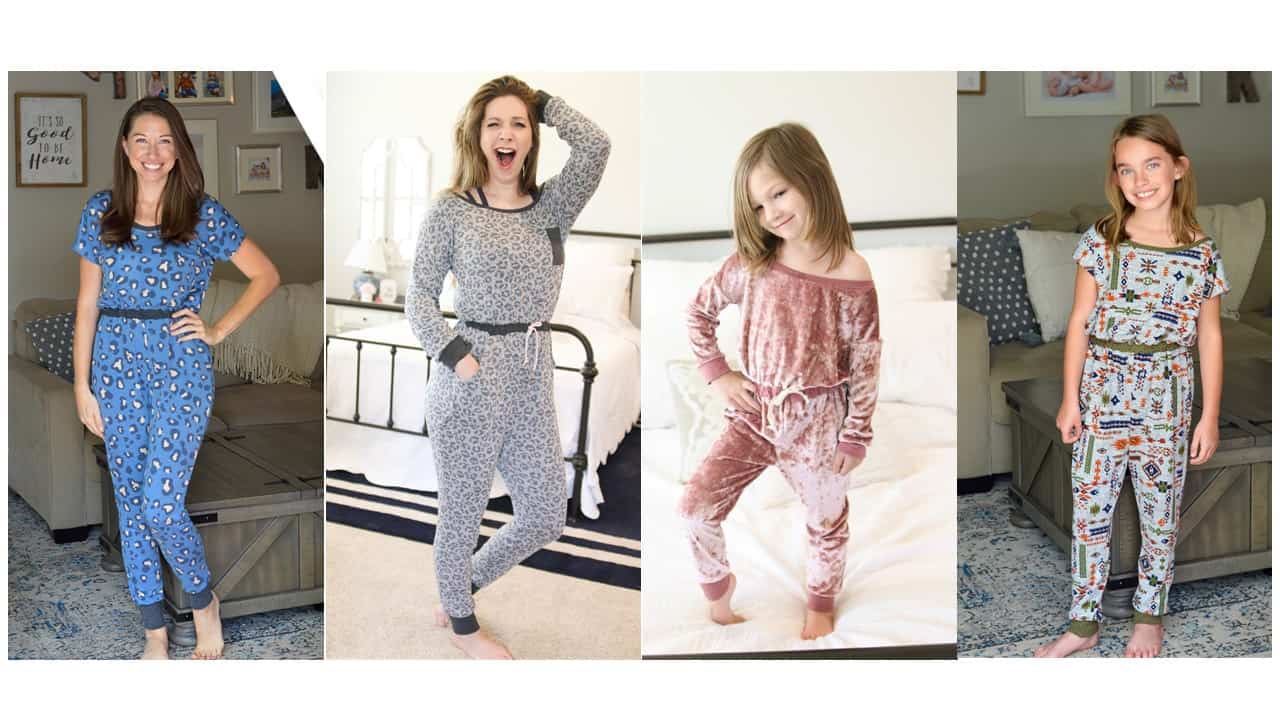
ROMPER OPTIONS: SHORTS AND JOGGERS
EXTRAS: CHEST POCKET, FAUX DRAWSTRING, AND SLAT POCKETS
Whatever you do… DON’T FORGET THE POCKETS!
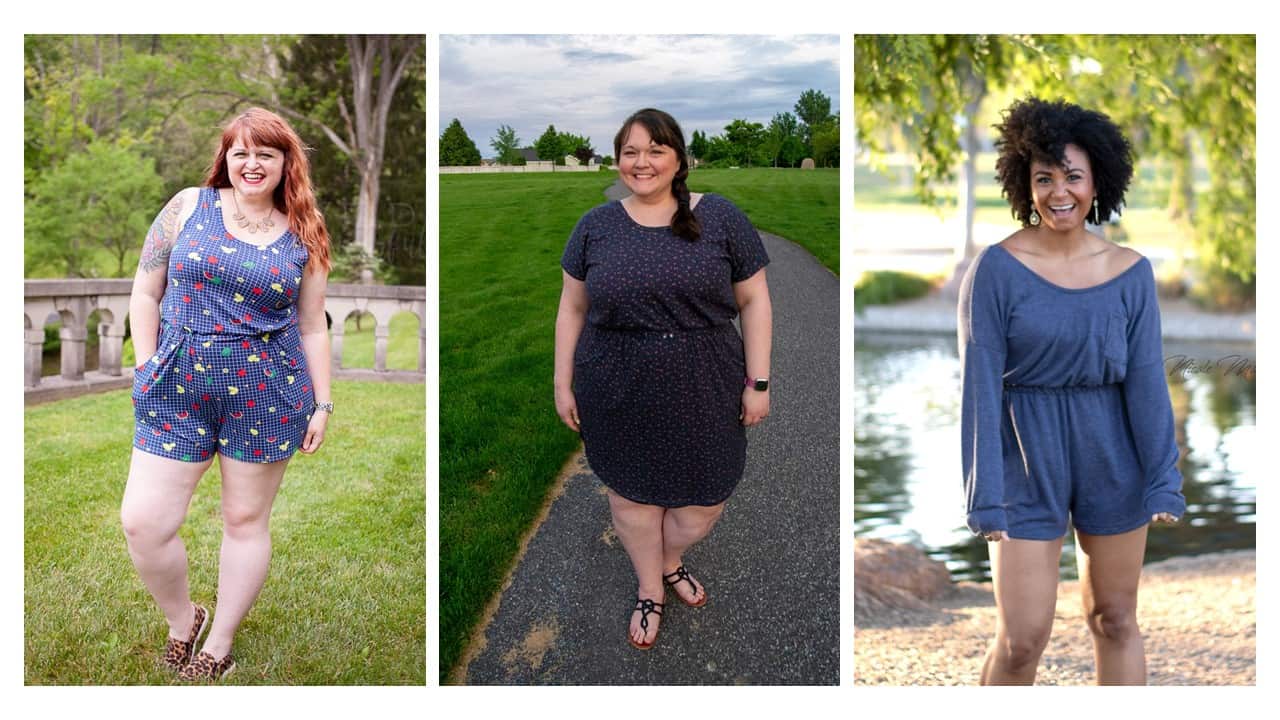
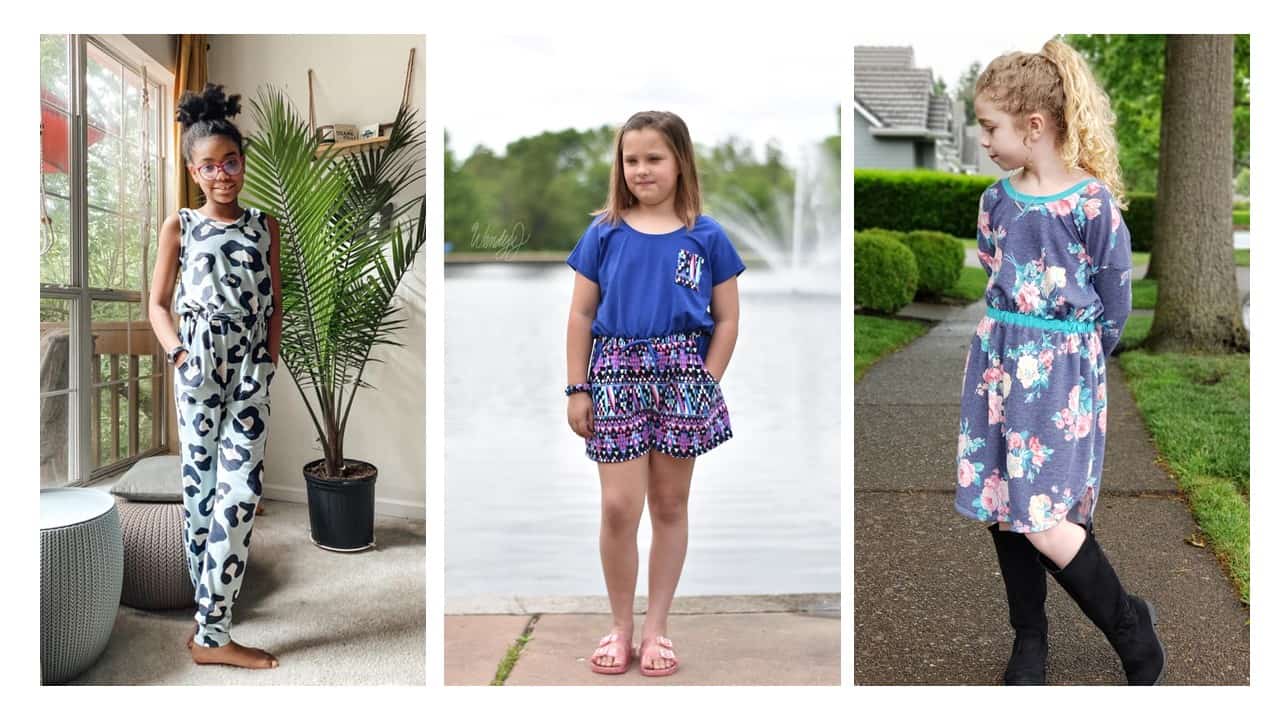
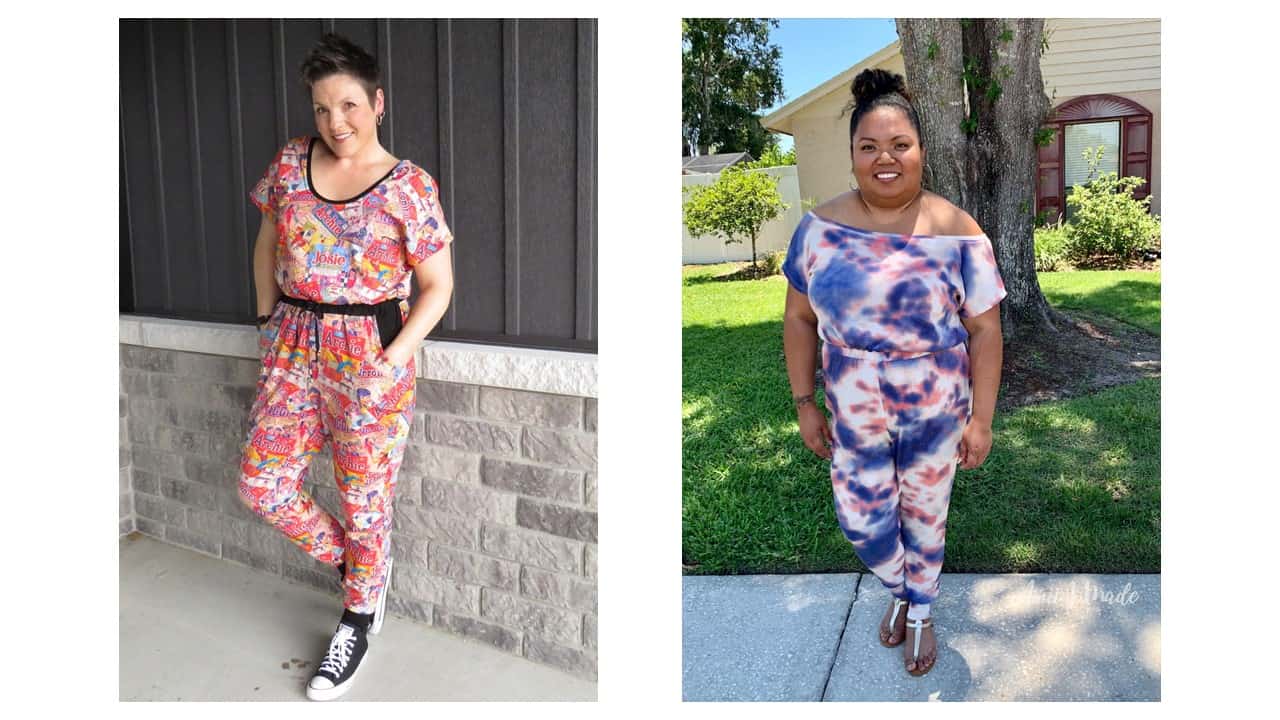
Whether you’re looking to lounge about in complete comfort:
Or dress it up to go out:
Ready to runabout the town house in your new digs? Grab the patterns now!
RUNABOUT ROMPER | RUNABOUT ROMPER YOUTH | RUNABOUT ROMPER – BUNDLE
Maybe hoping for a little more inspiration before you make the purchase? Head over to our Facebook group where you can see a Runabout Romper + Runabout Romper – Youth album full of images of our amazing testers!
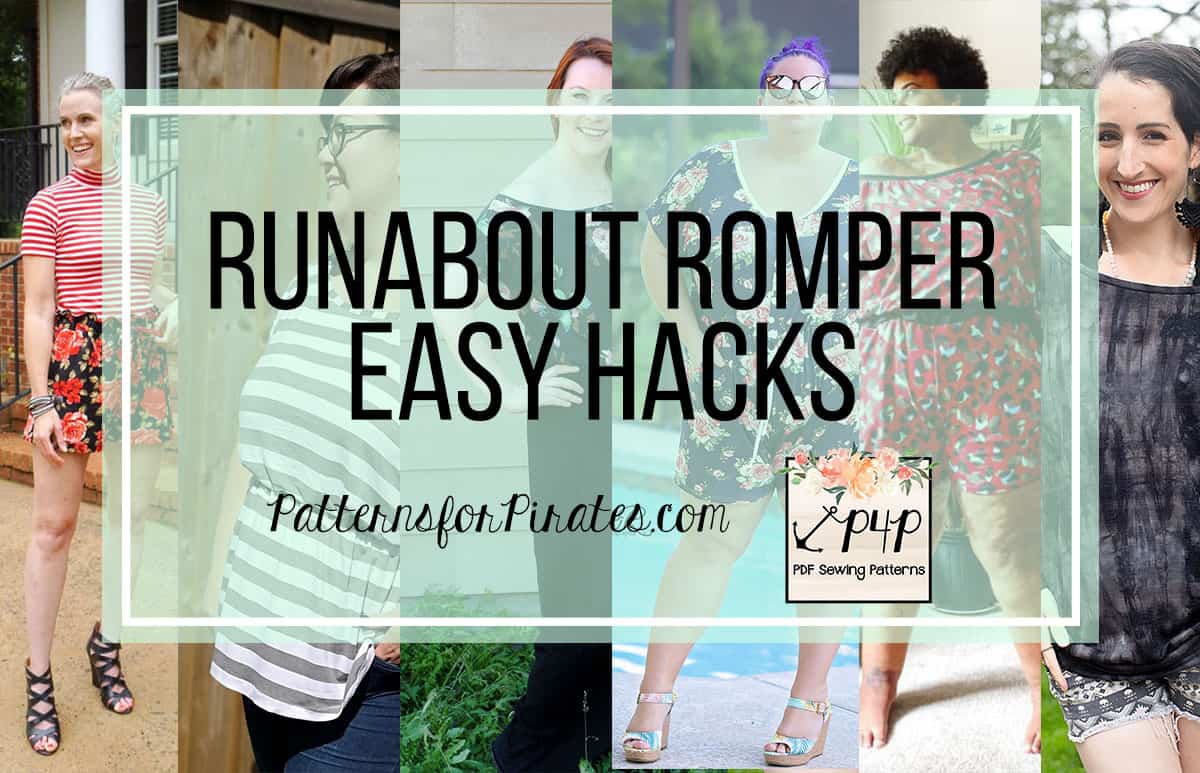
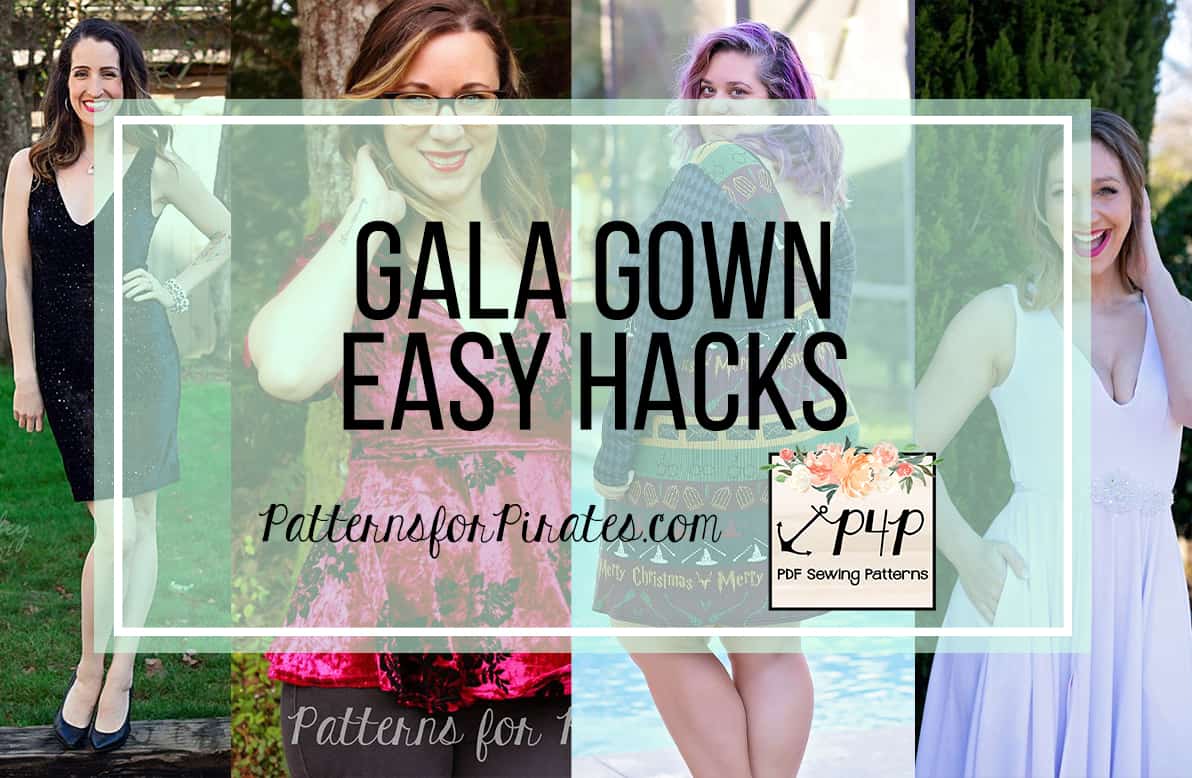
The Runabout Romper & Dress has you covered! If you’re hoping for even more options, we show you a few more ways you can use this pattern in our Runabout Romper Easy Hacks Blog Post! I hope everyone out there is staying healthy and happy. The Runabout Romper & Dress will be on sale (no code needed) through Friday May 29th.
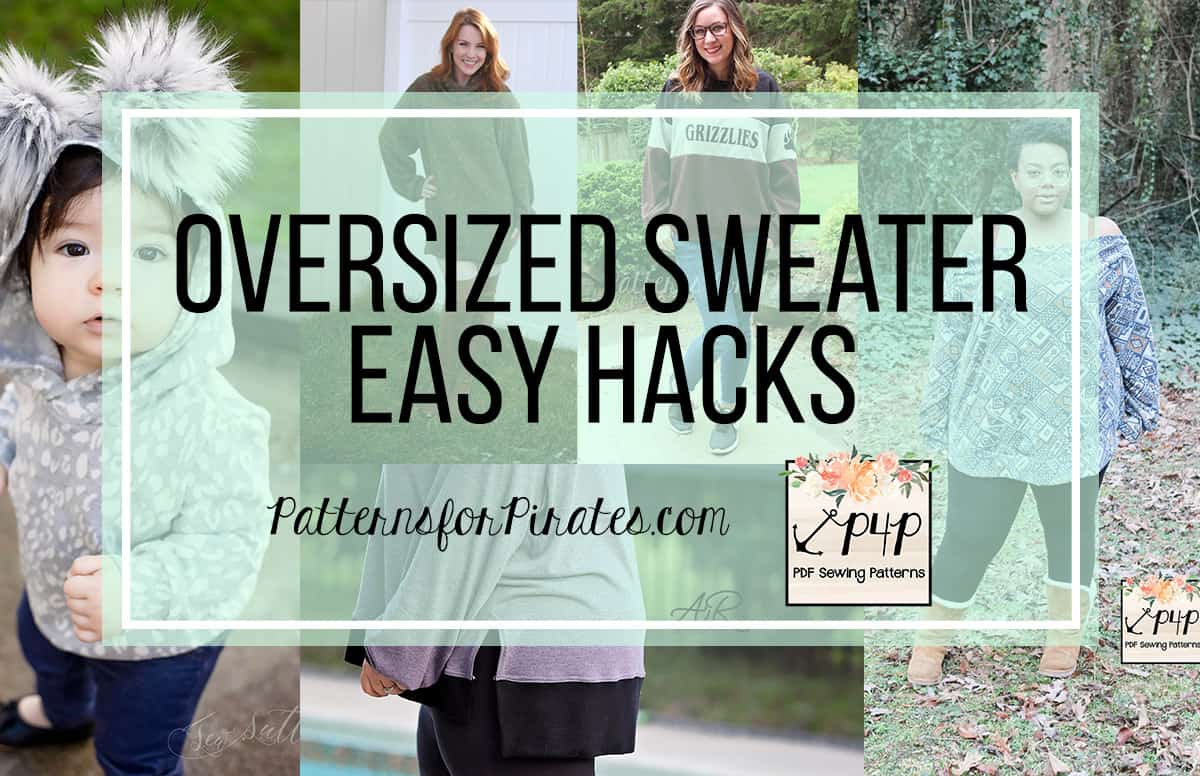
And if our pattern alone doesn’t provide enough options for you, we’ve also included a blog post that will help take the Runabout Rompers to the next level! Go check out our Easy Hacks Post to see how to make some slight alterations to the original pattern, to customize it even further!


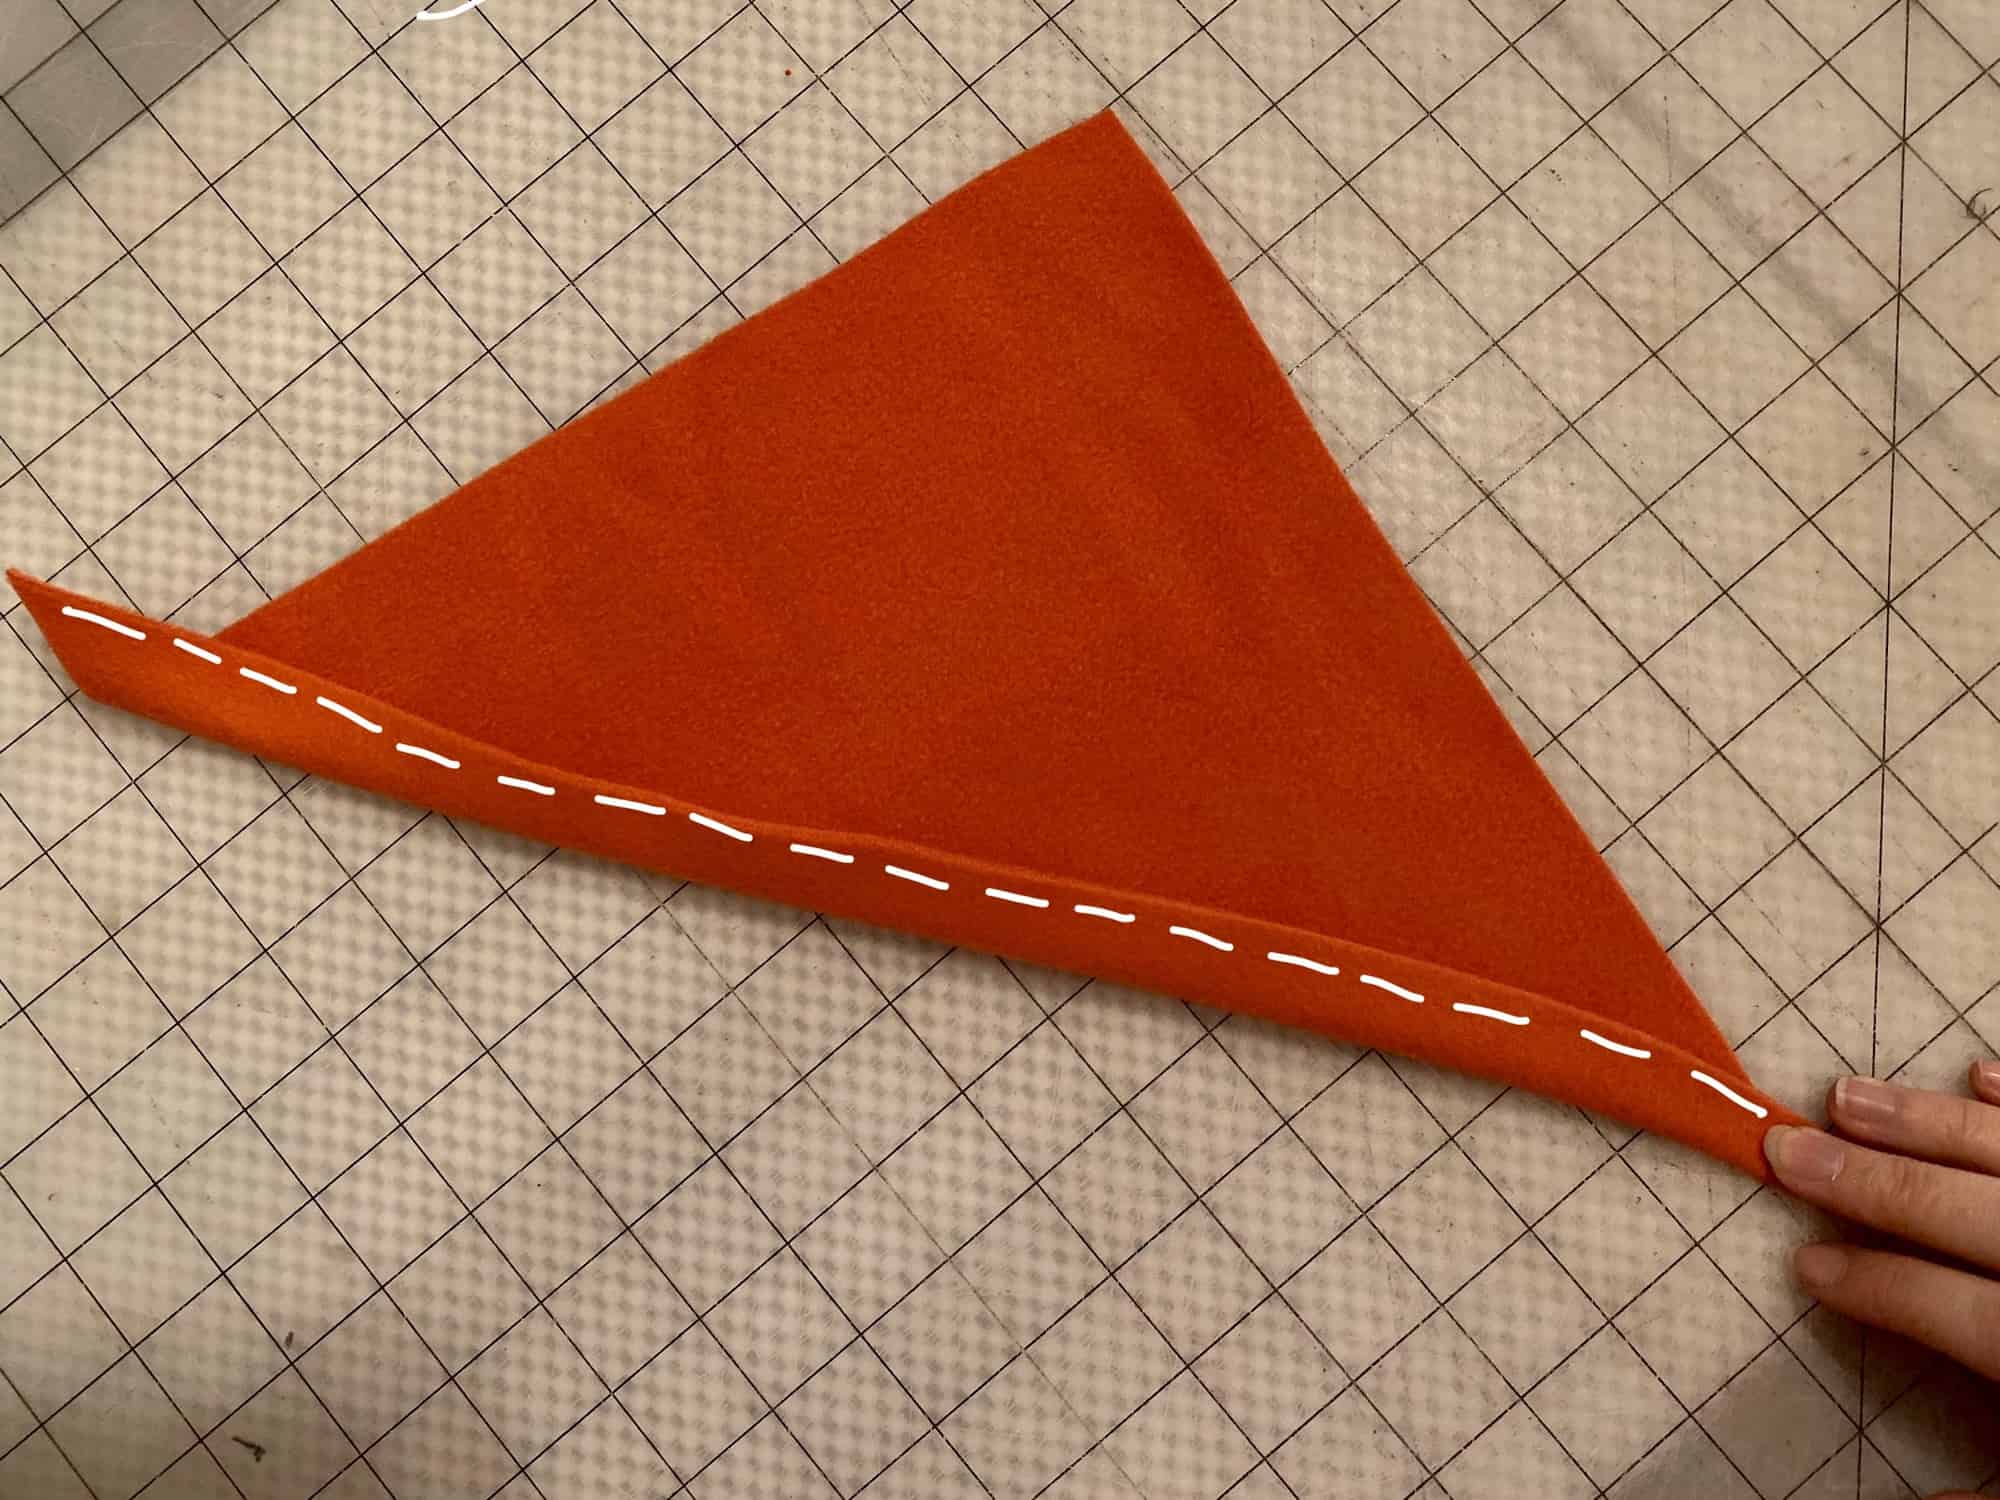
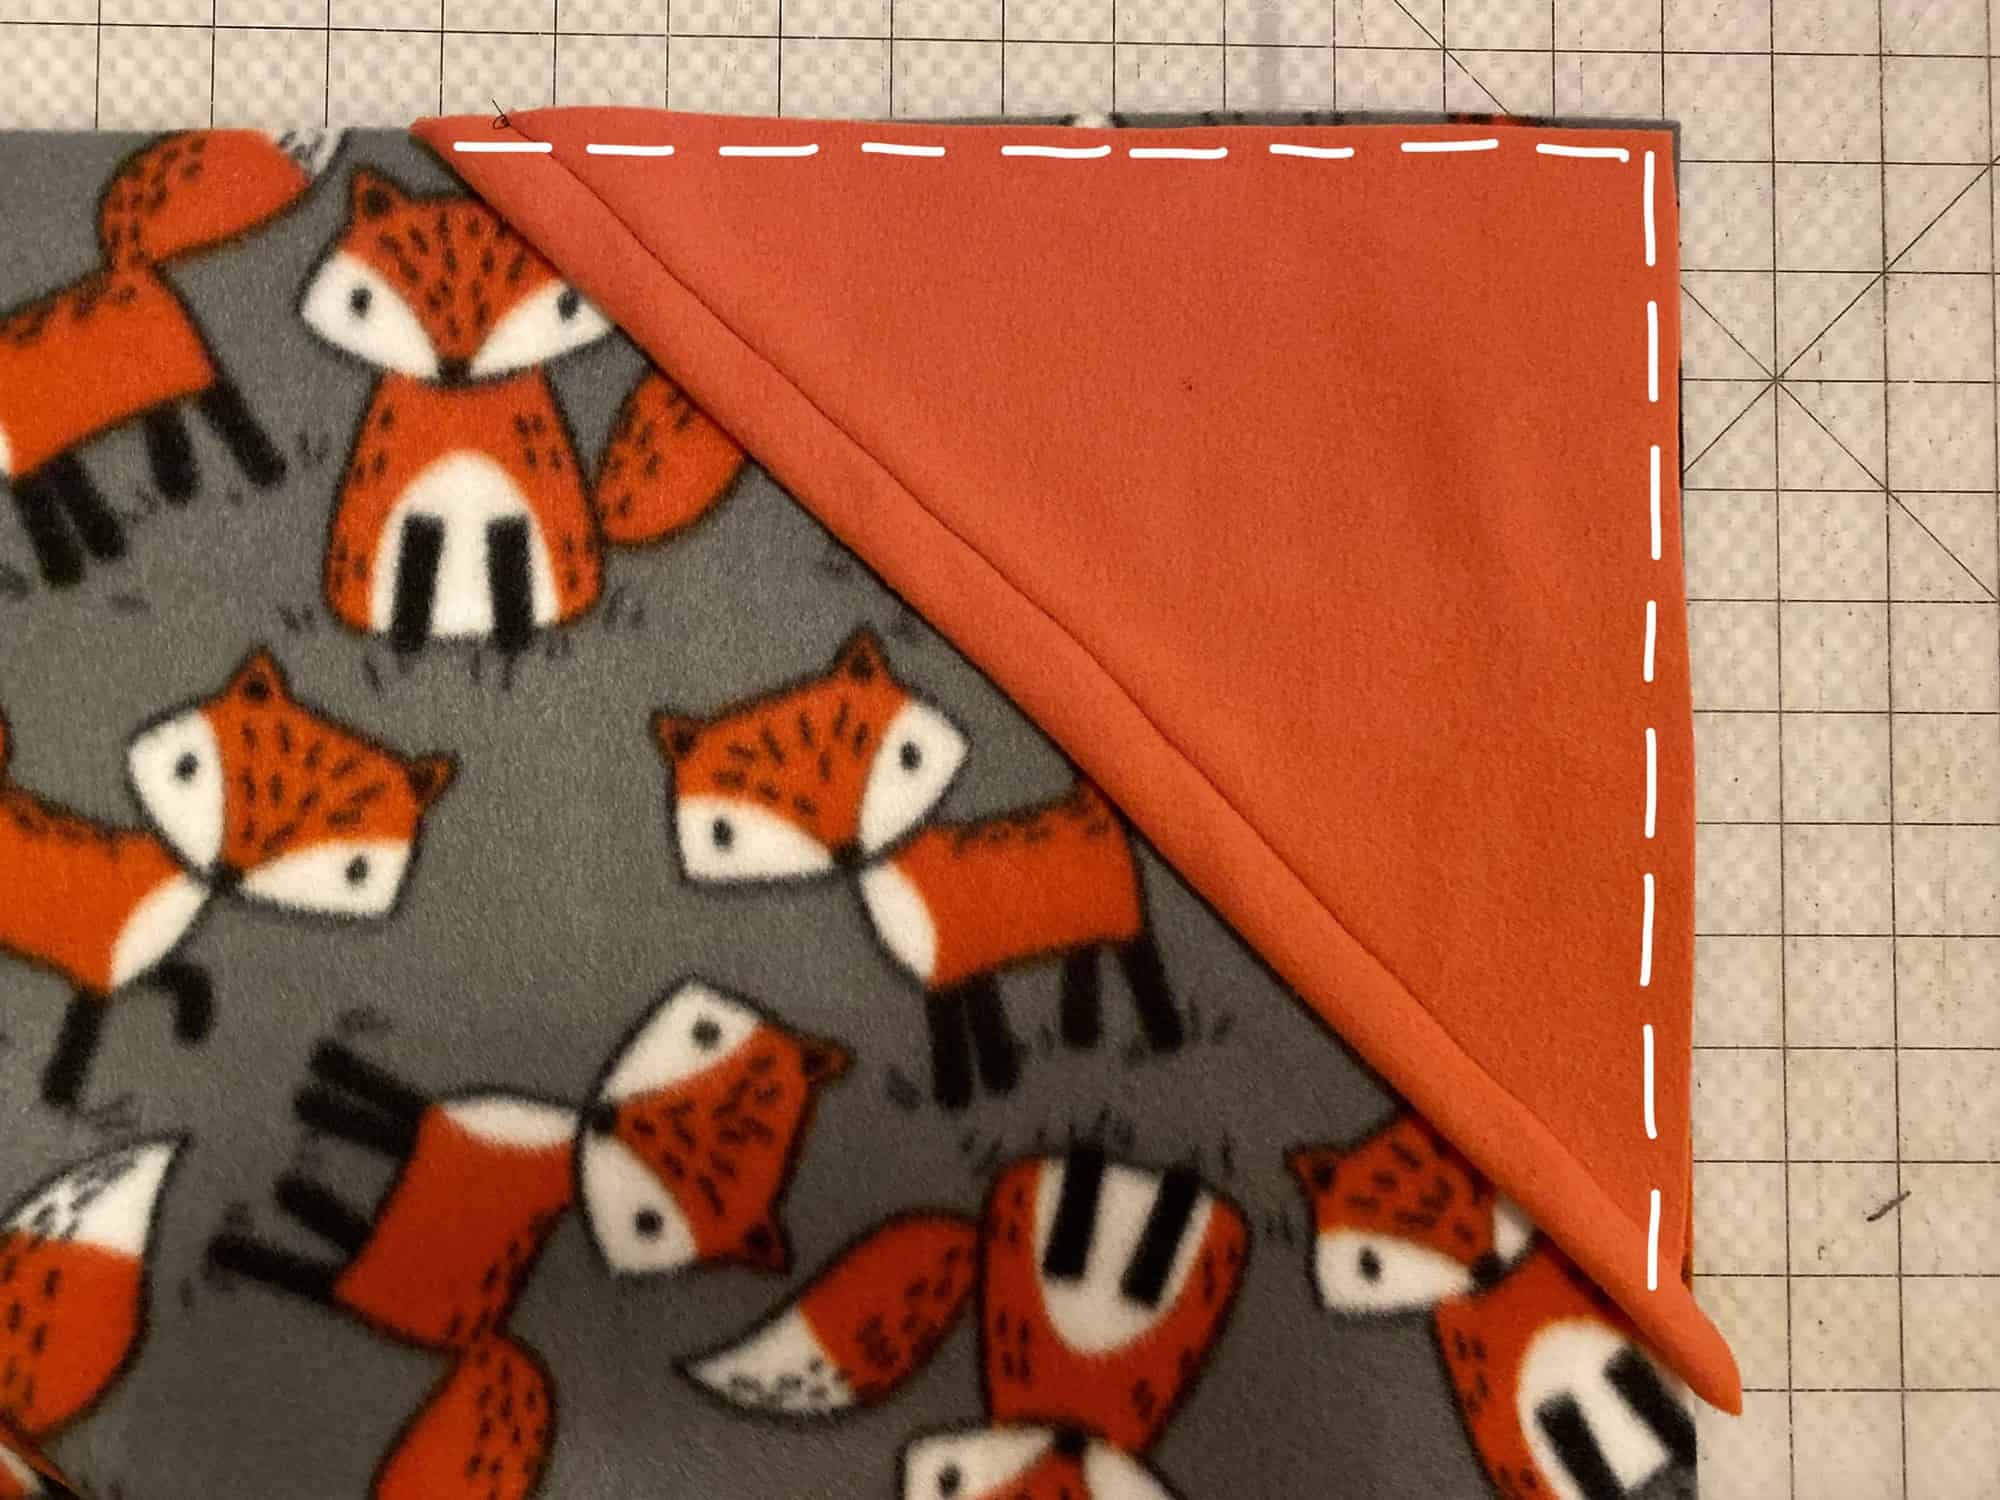

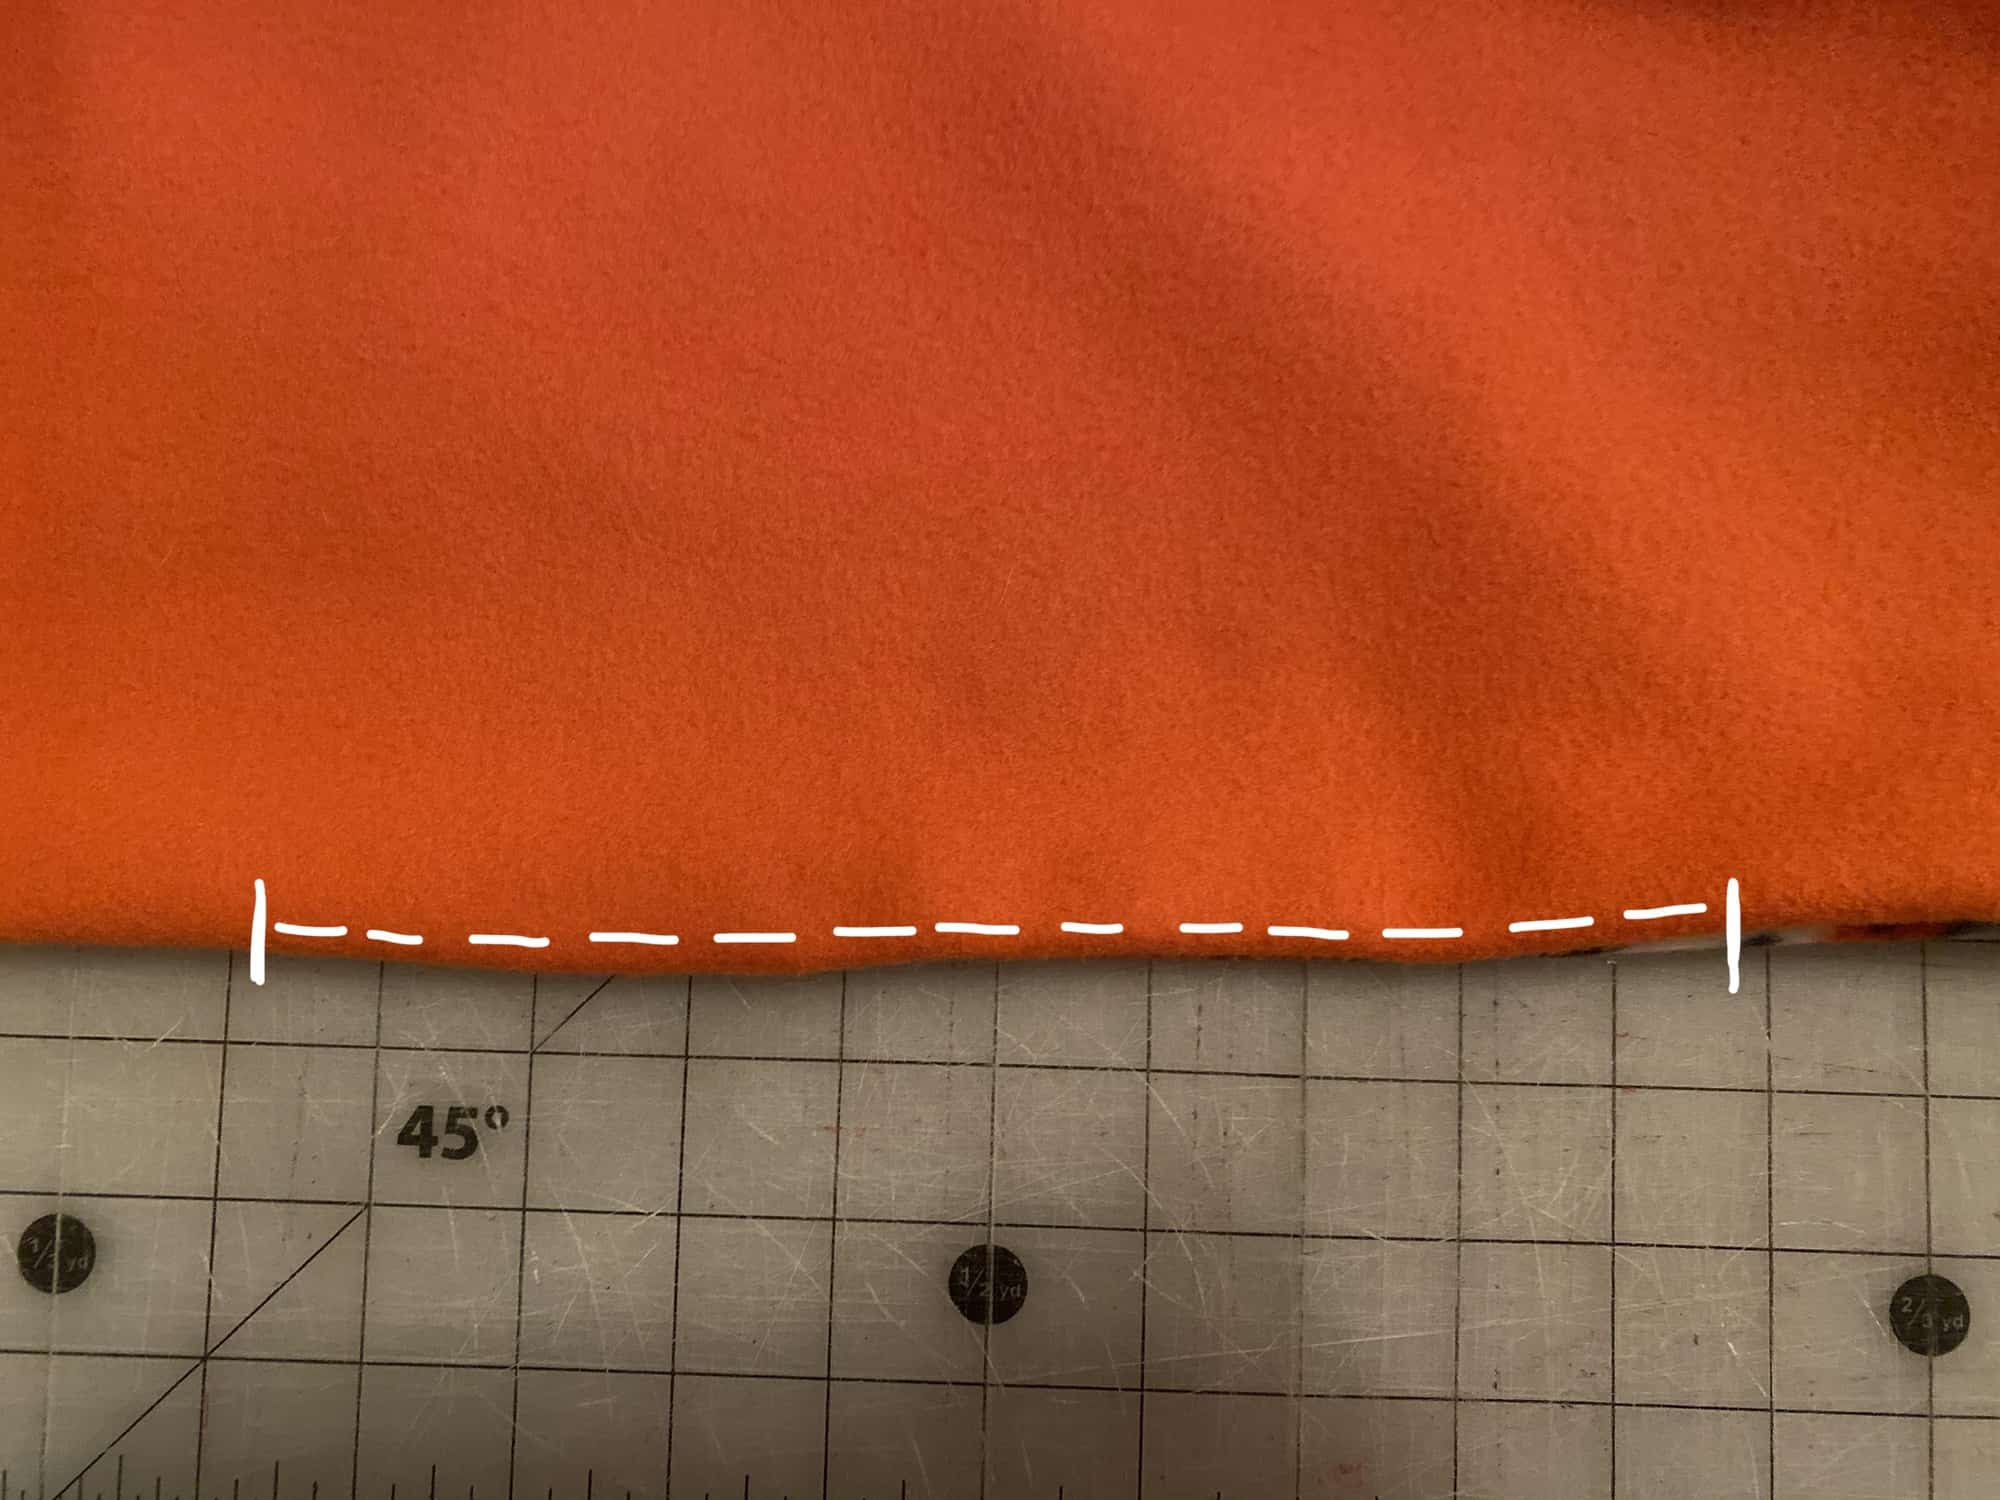

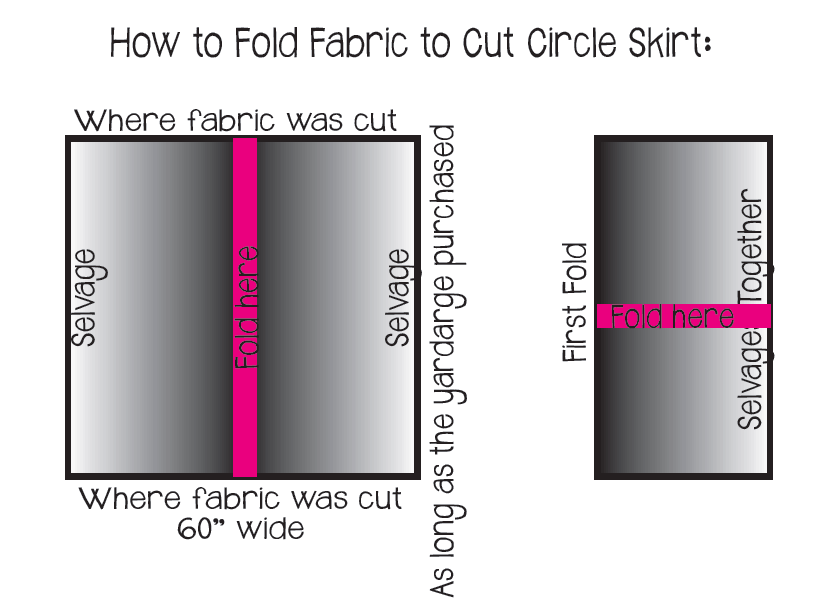
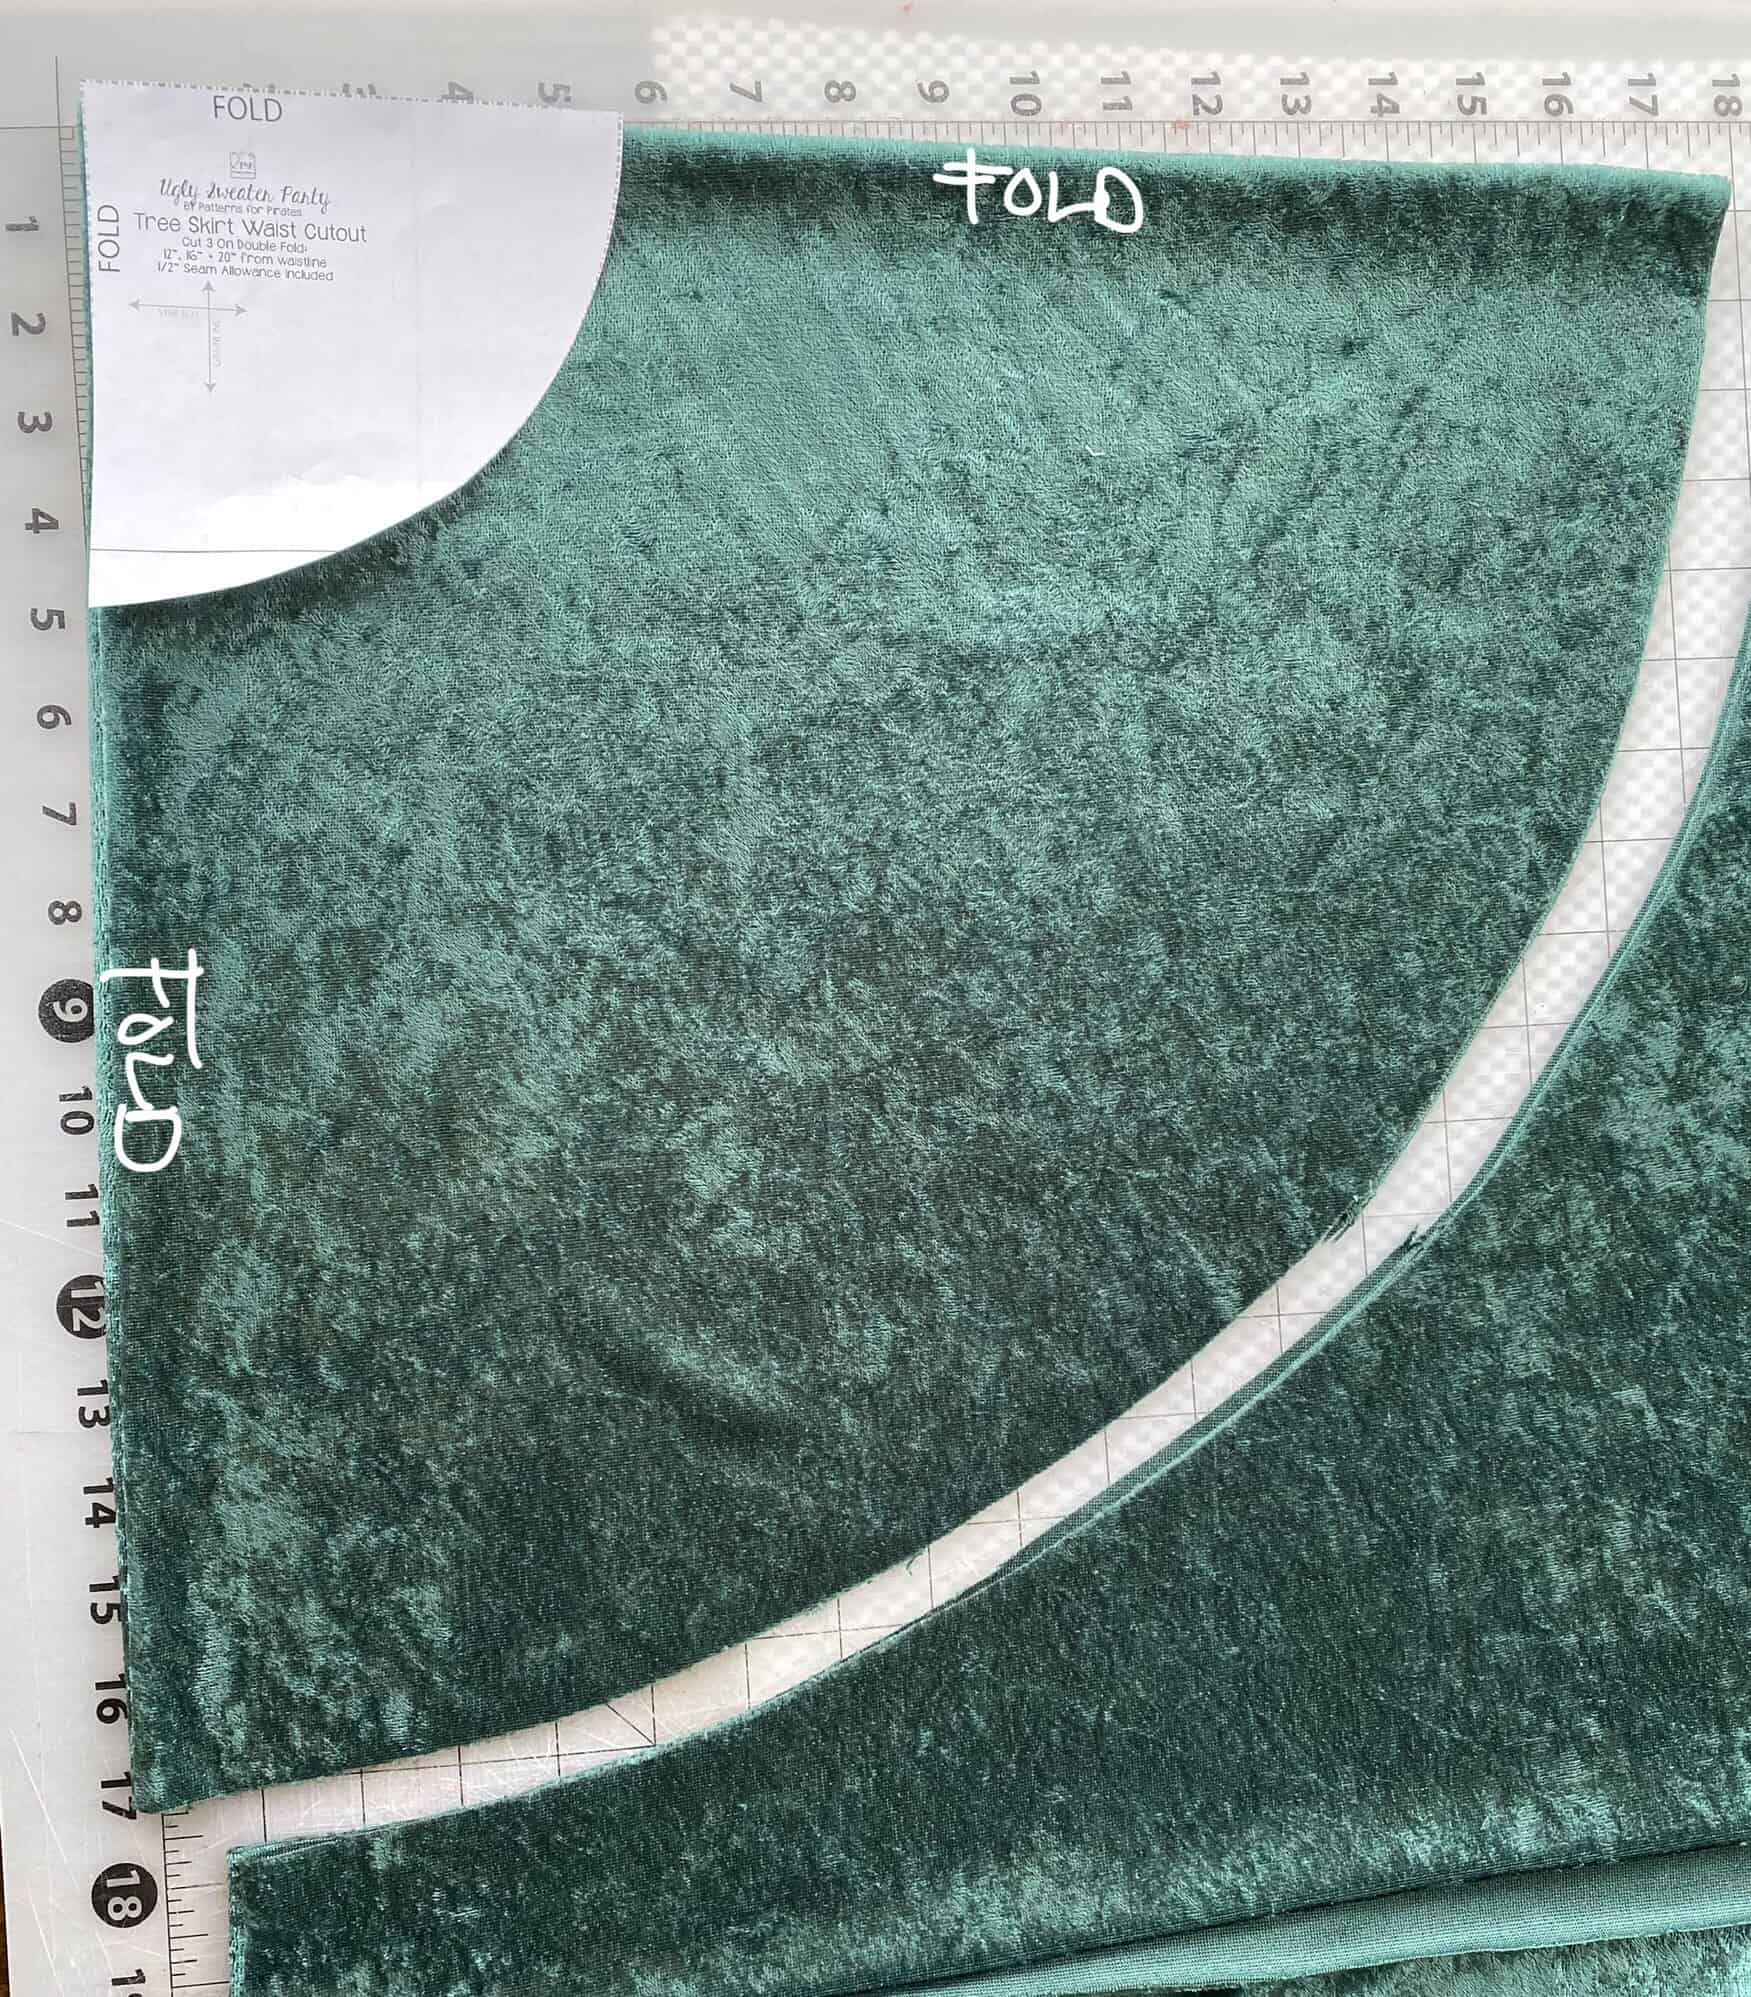
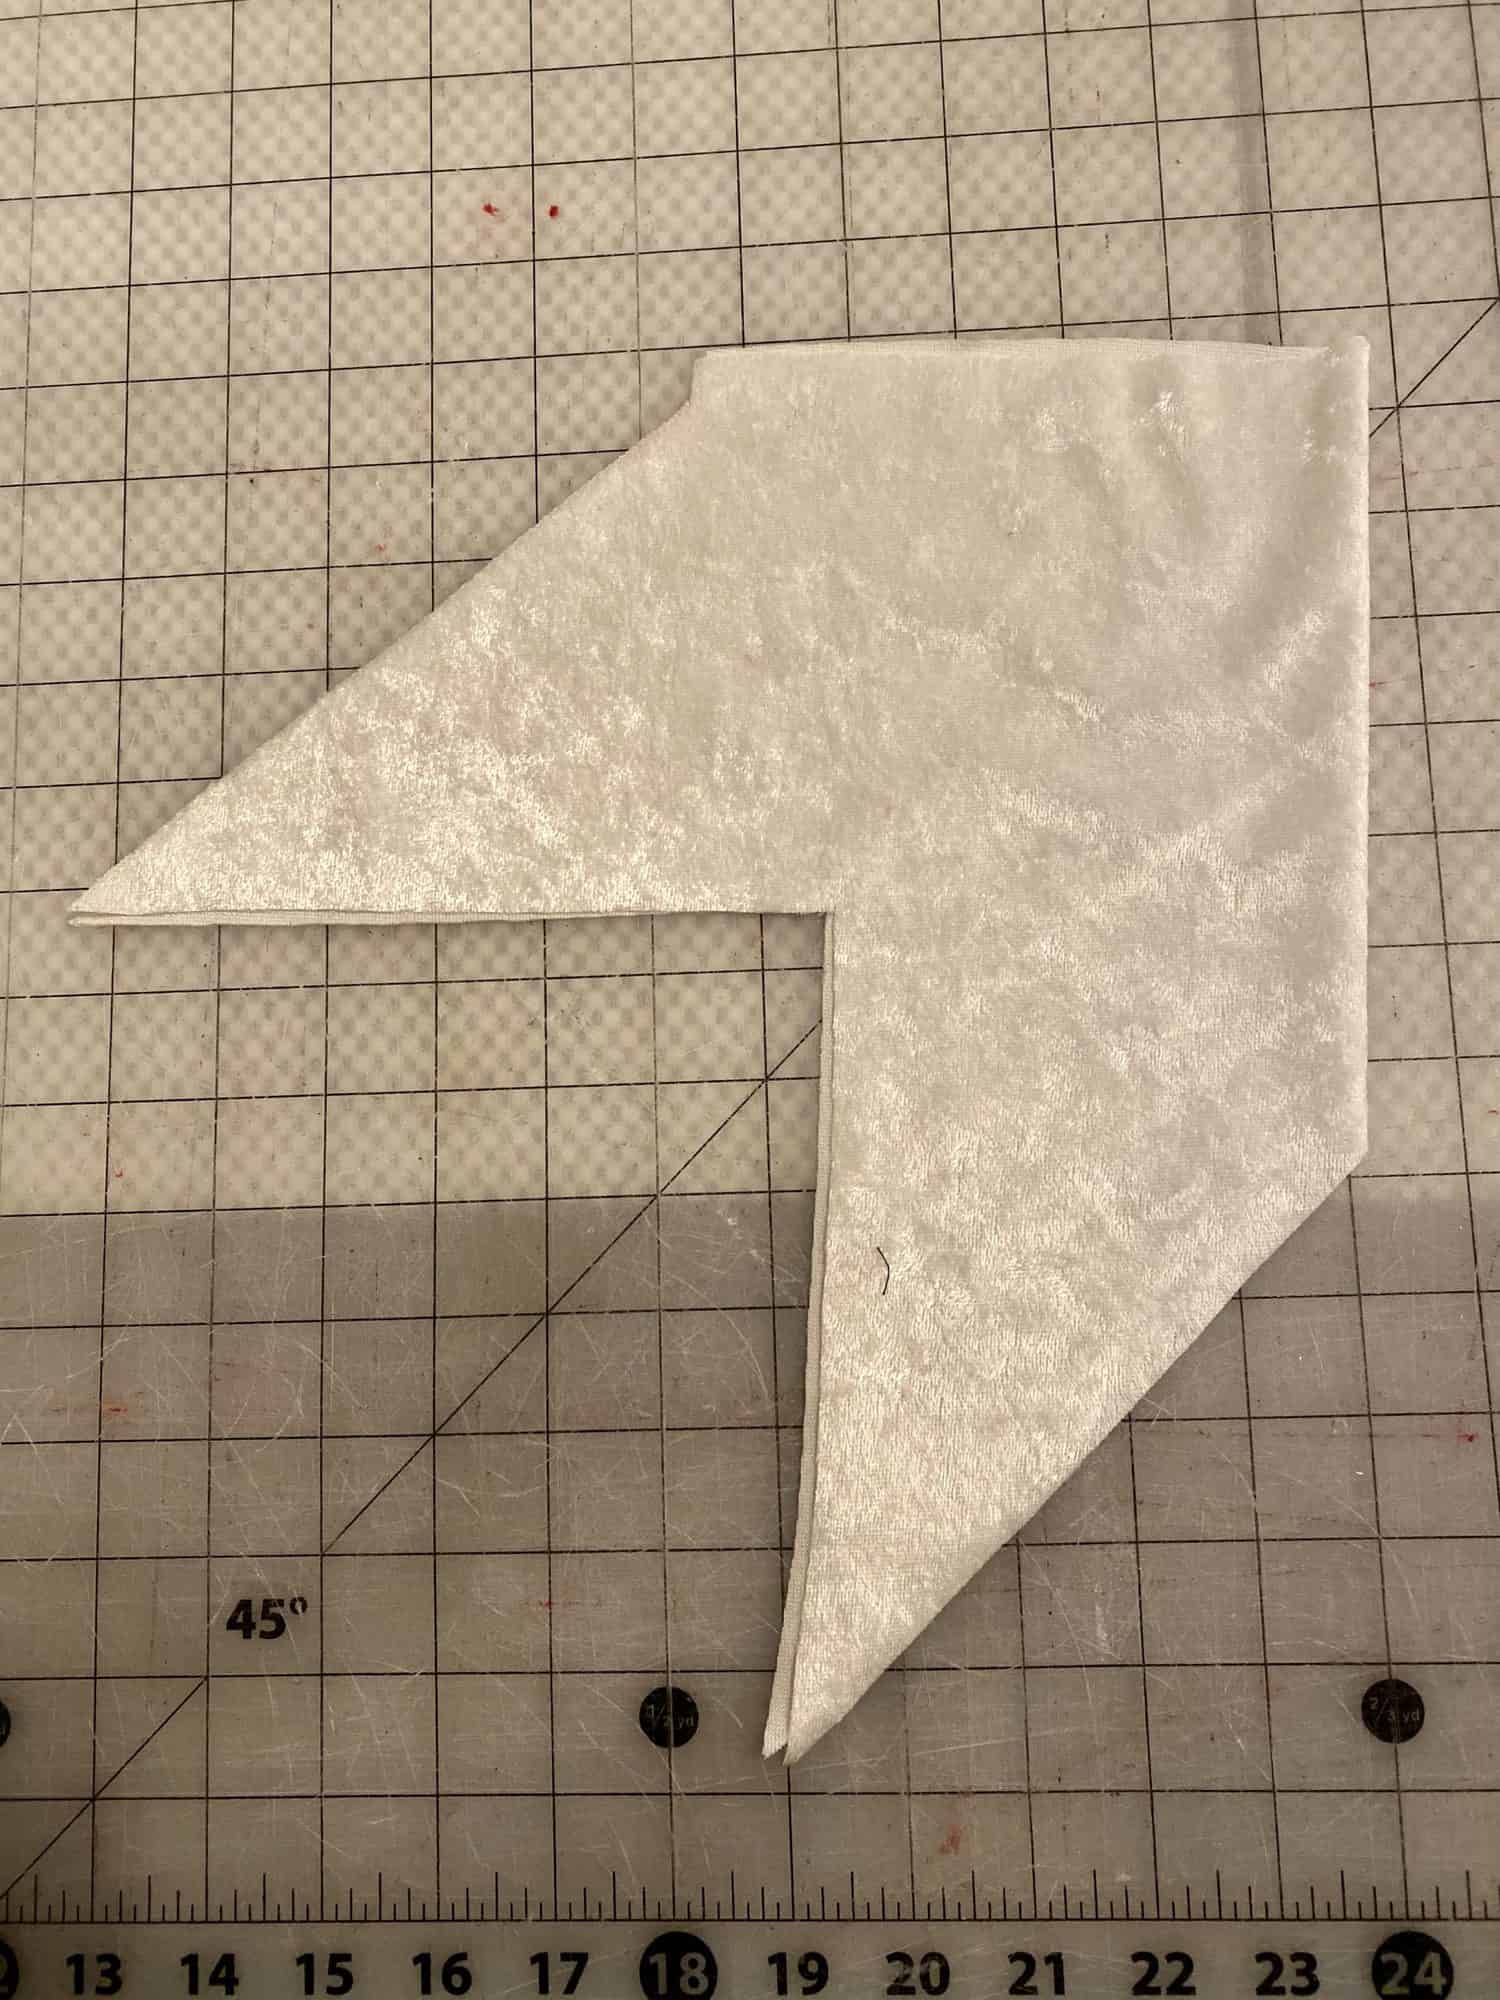
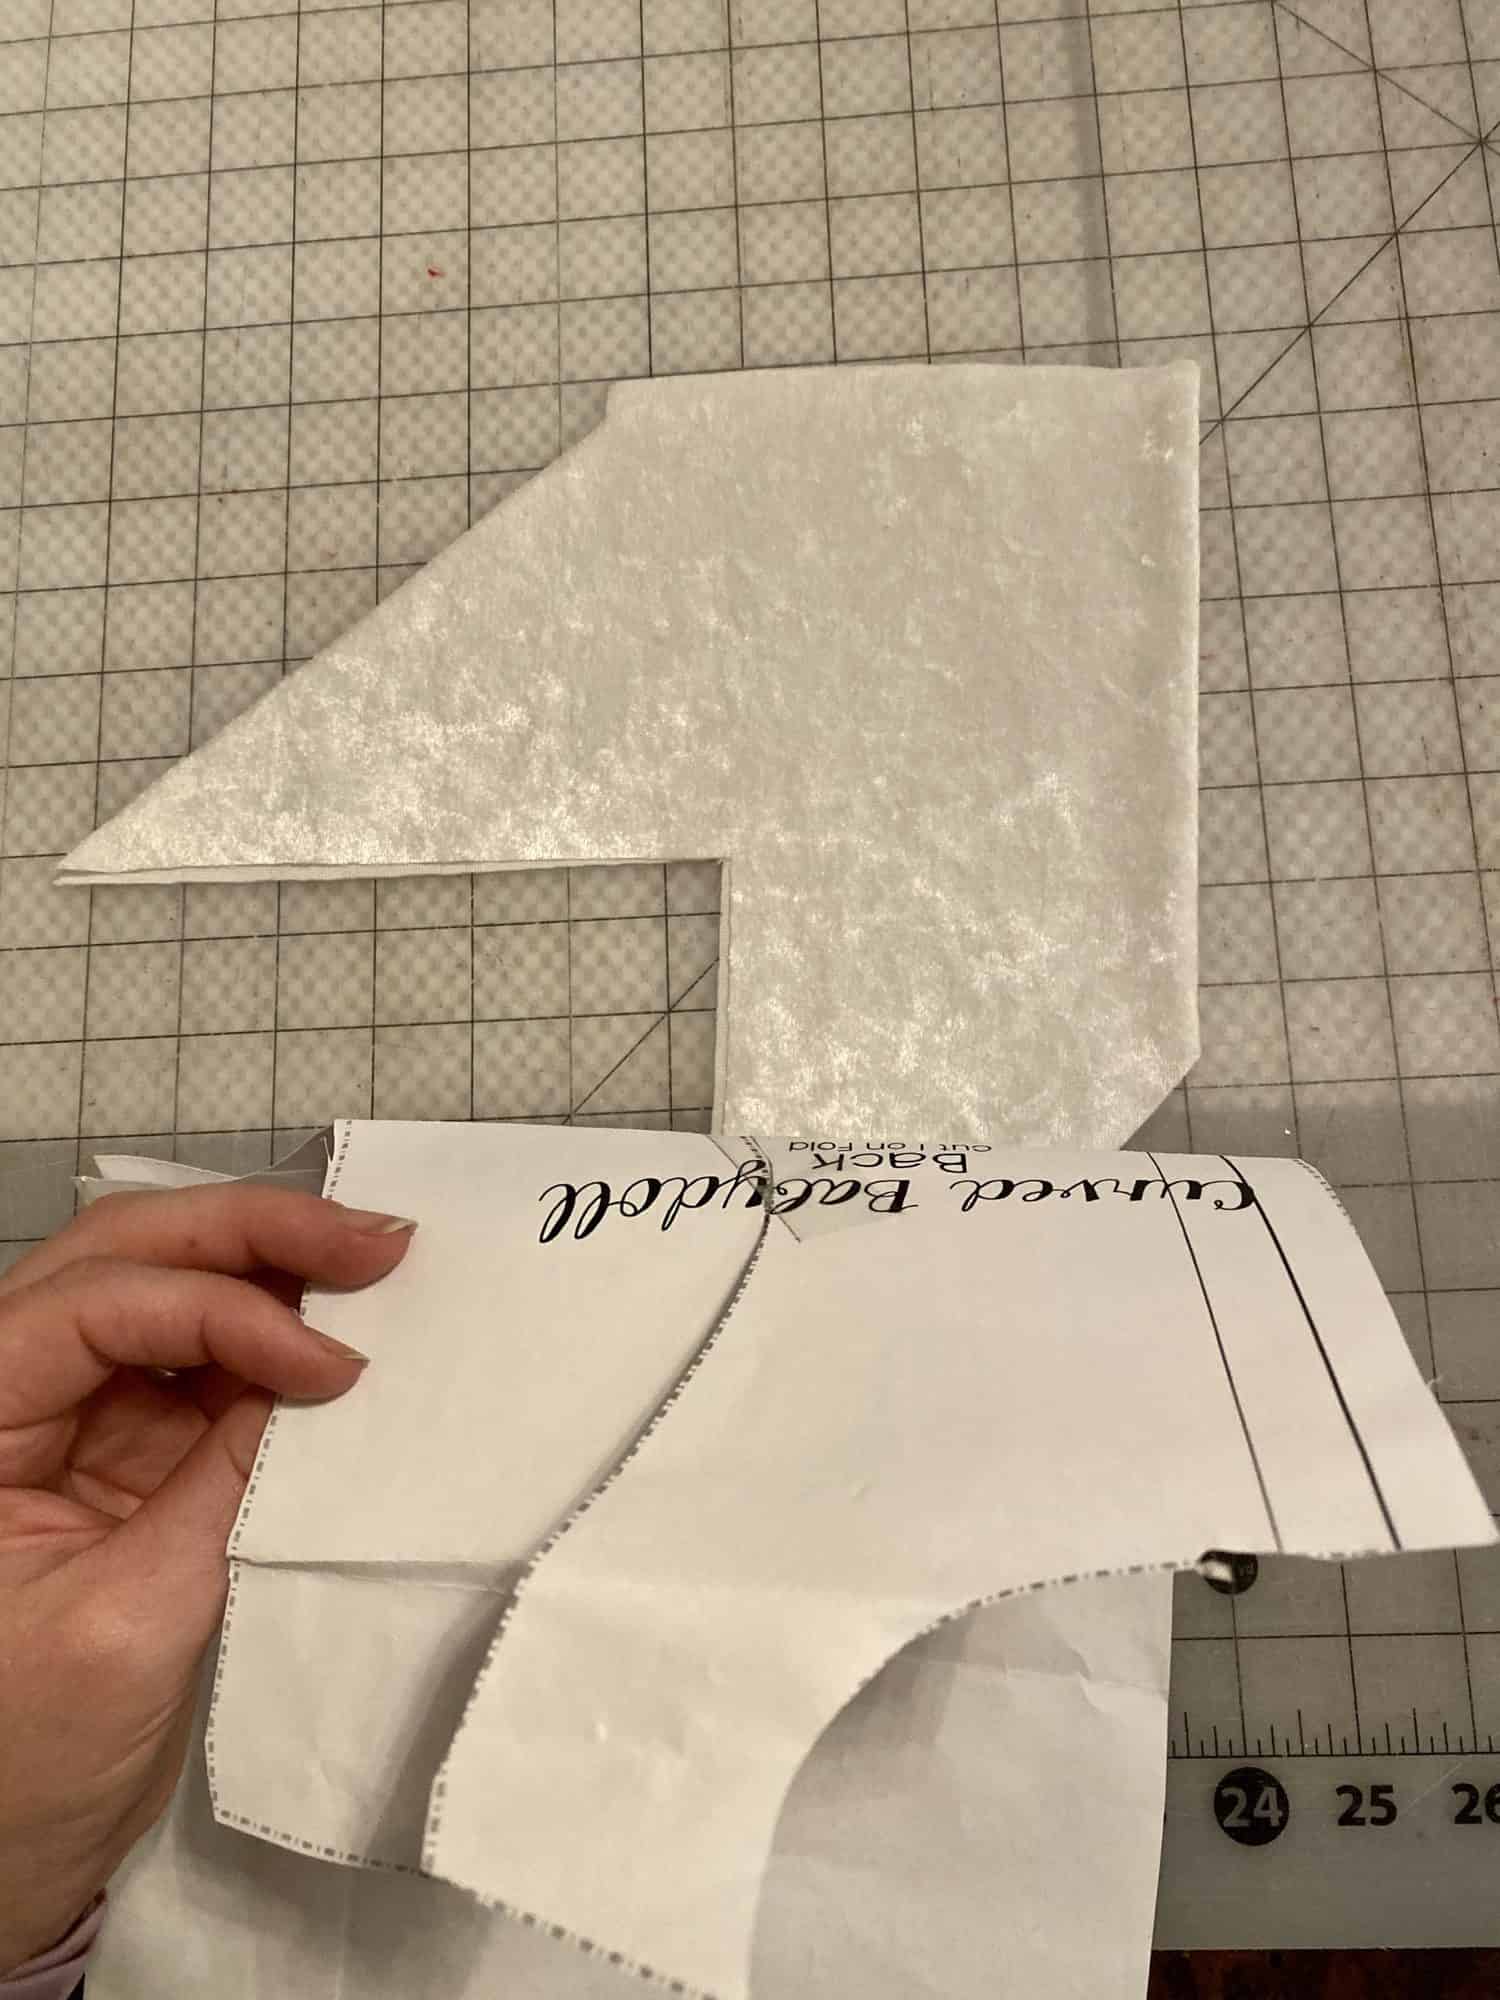
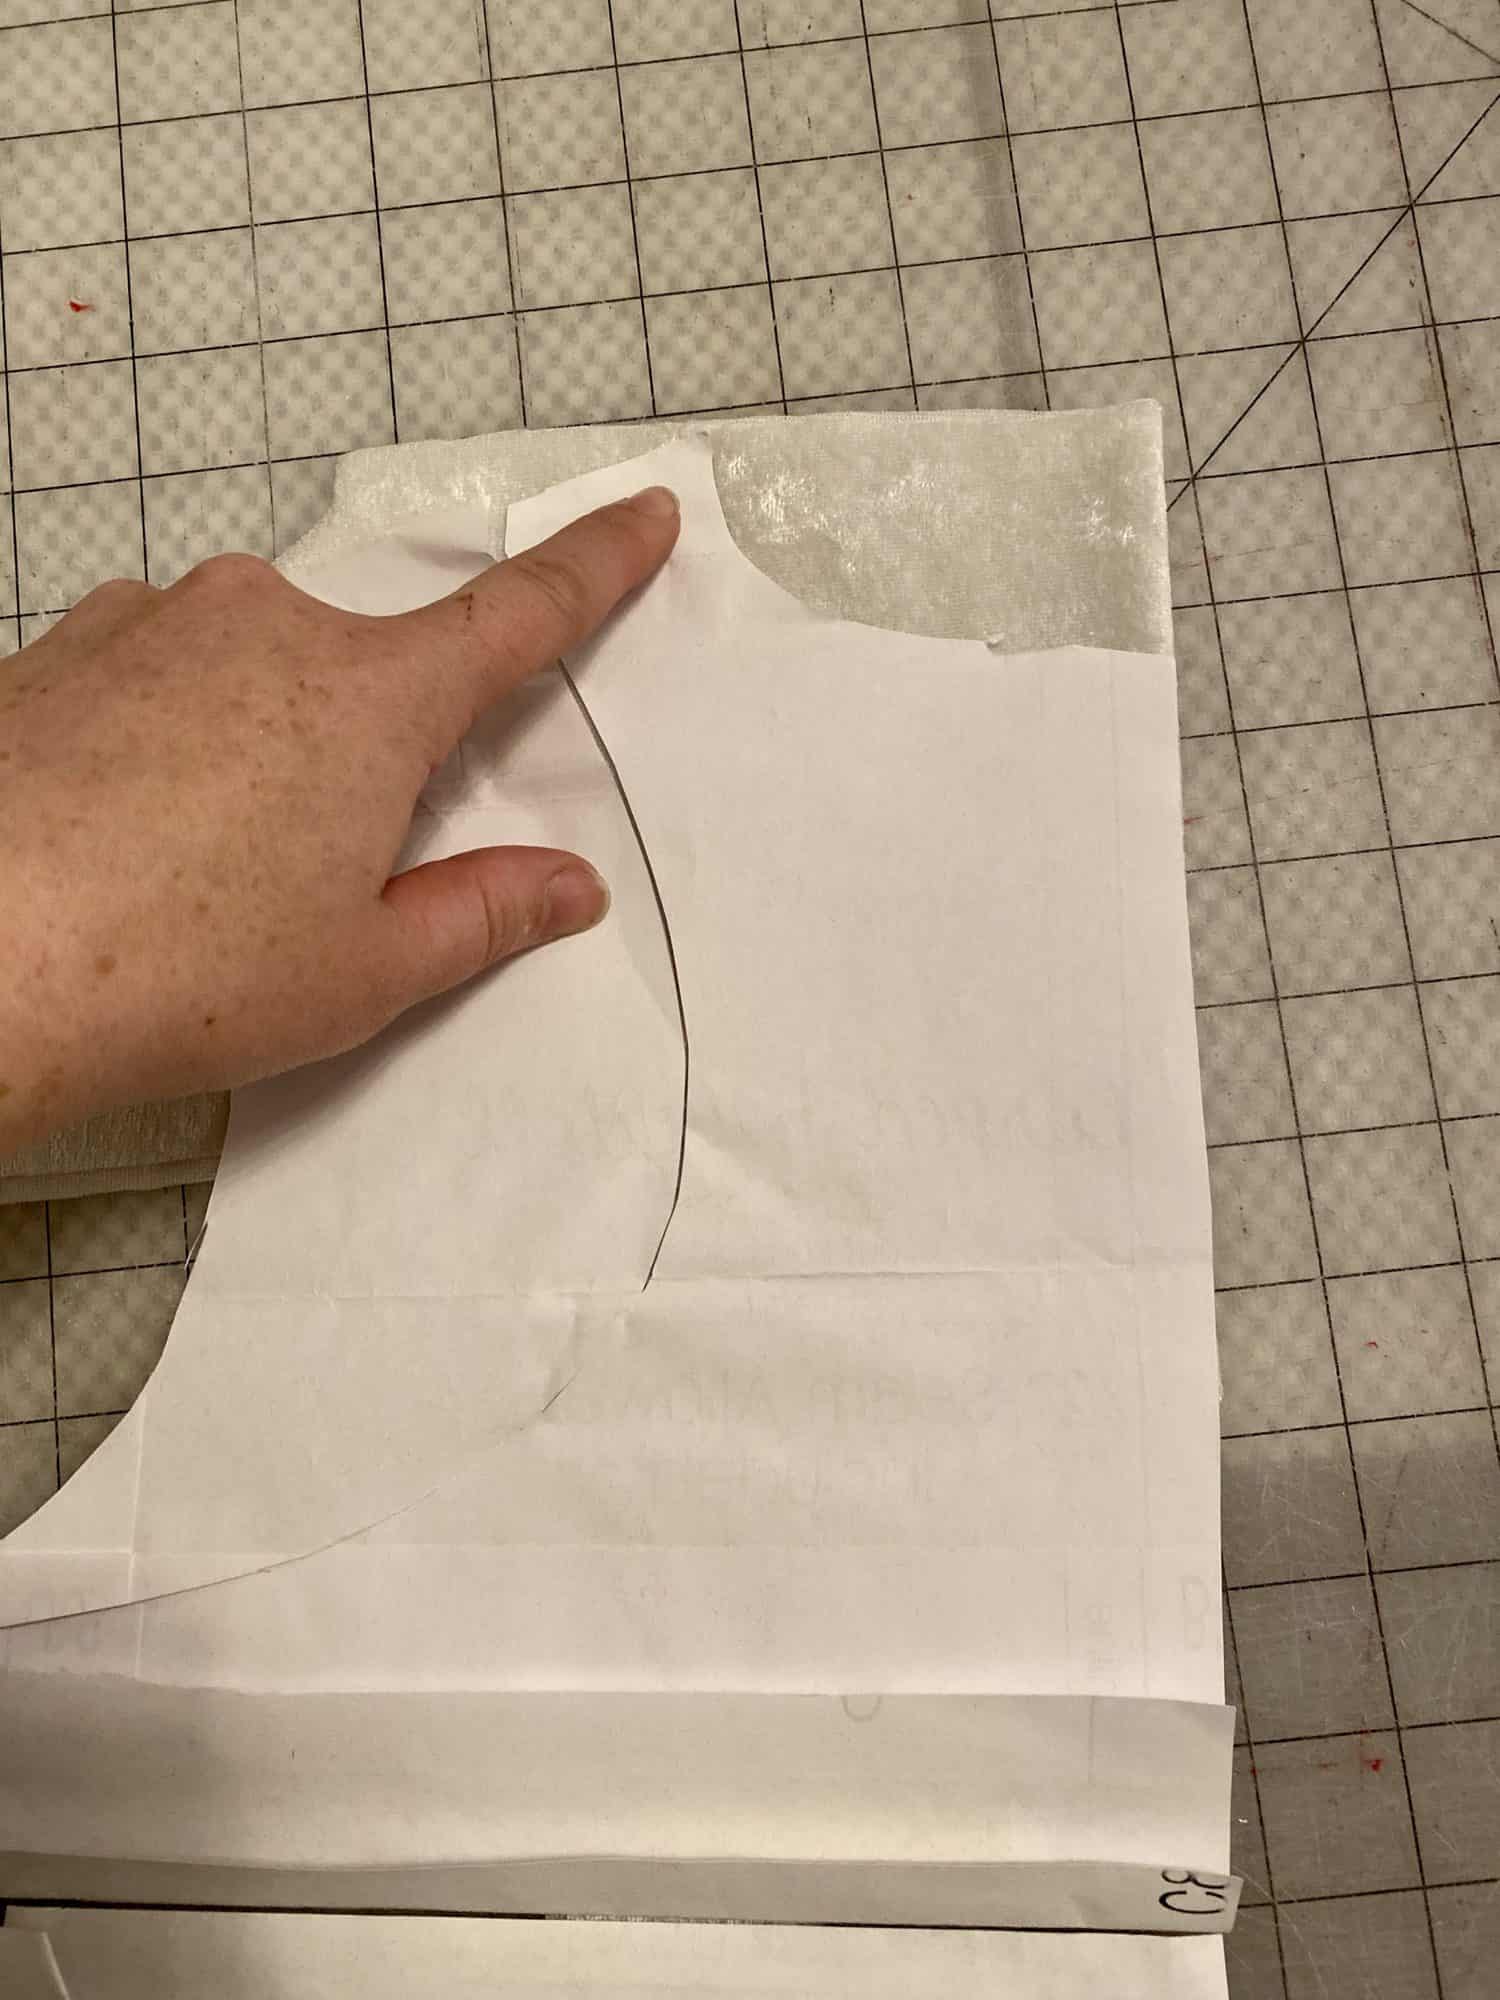
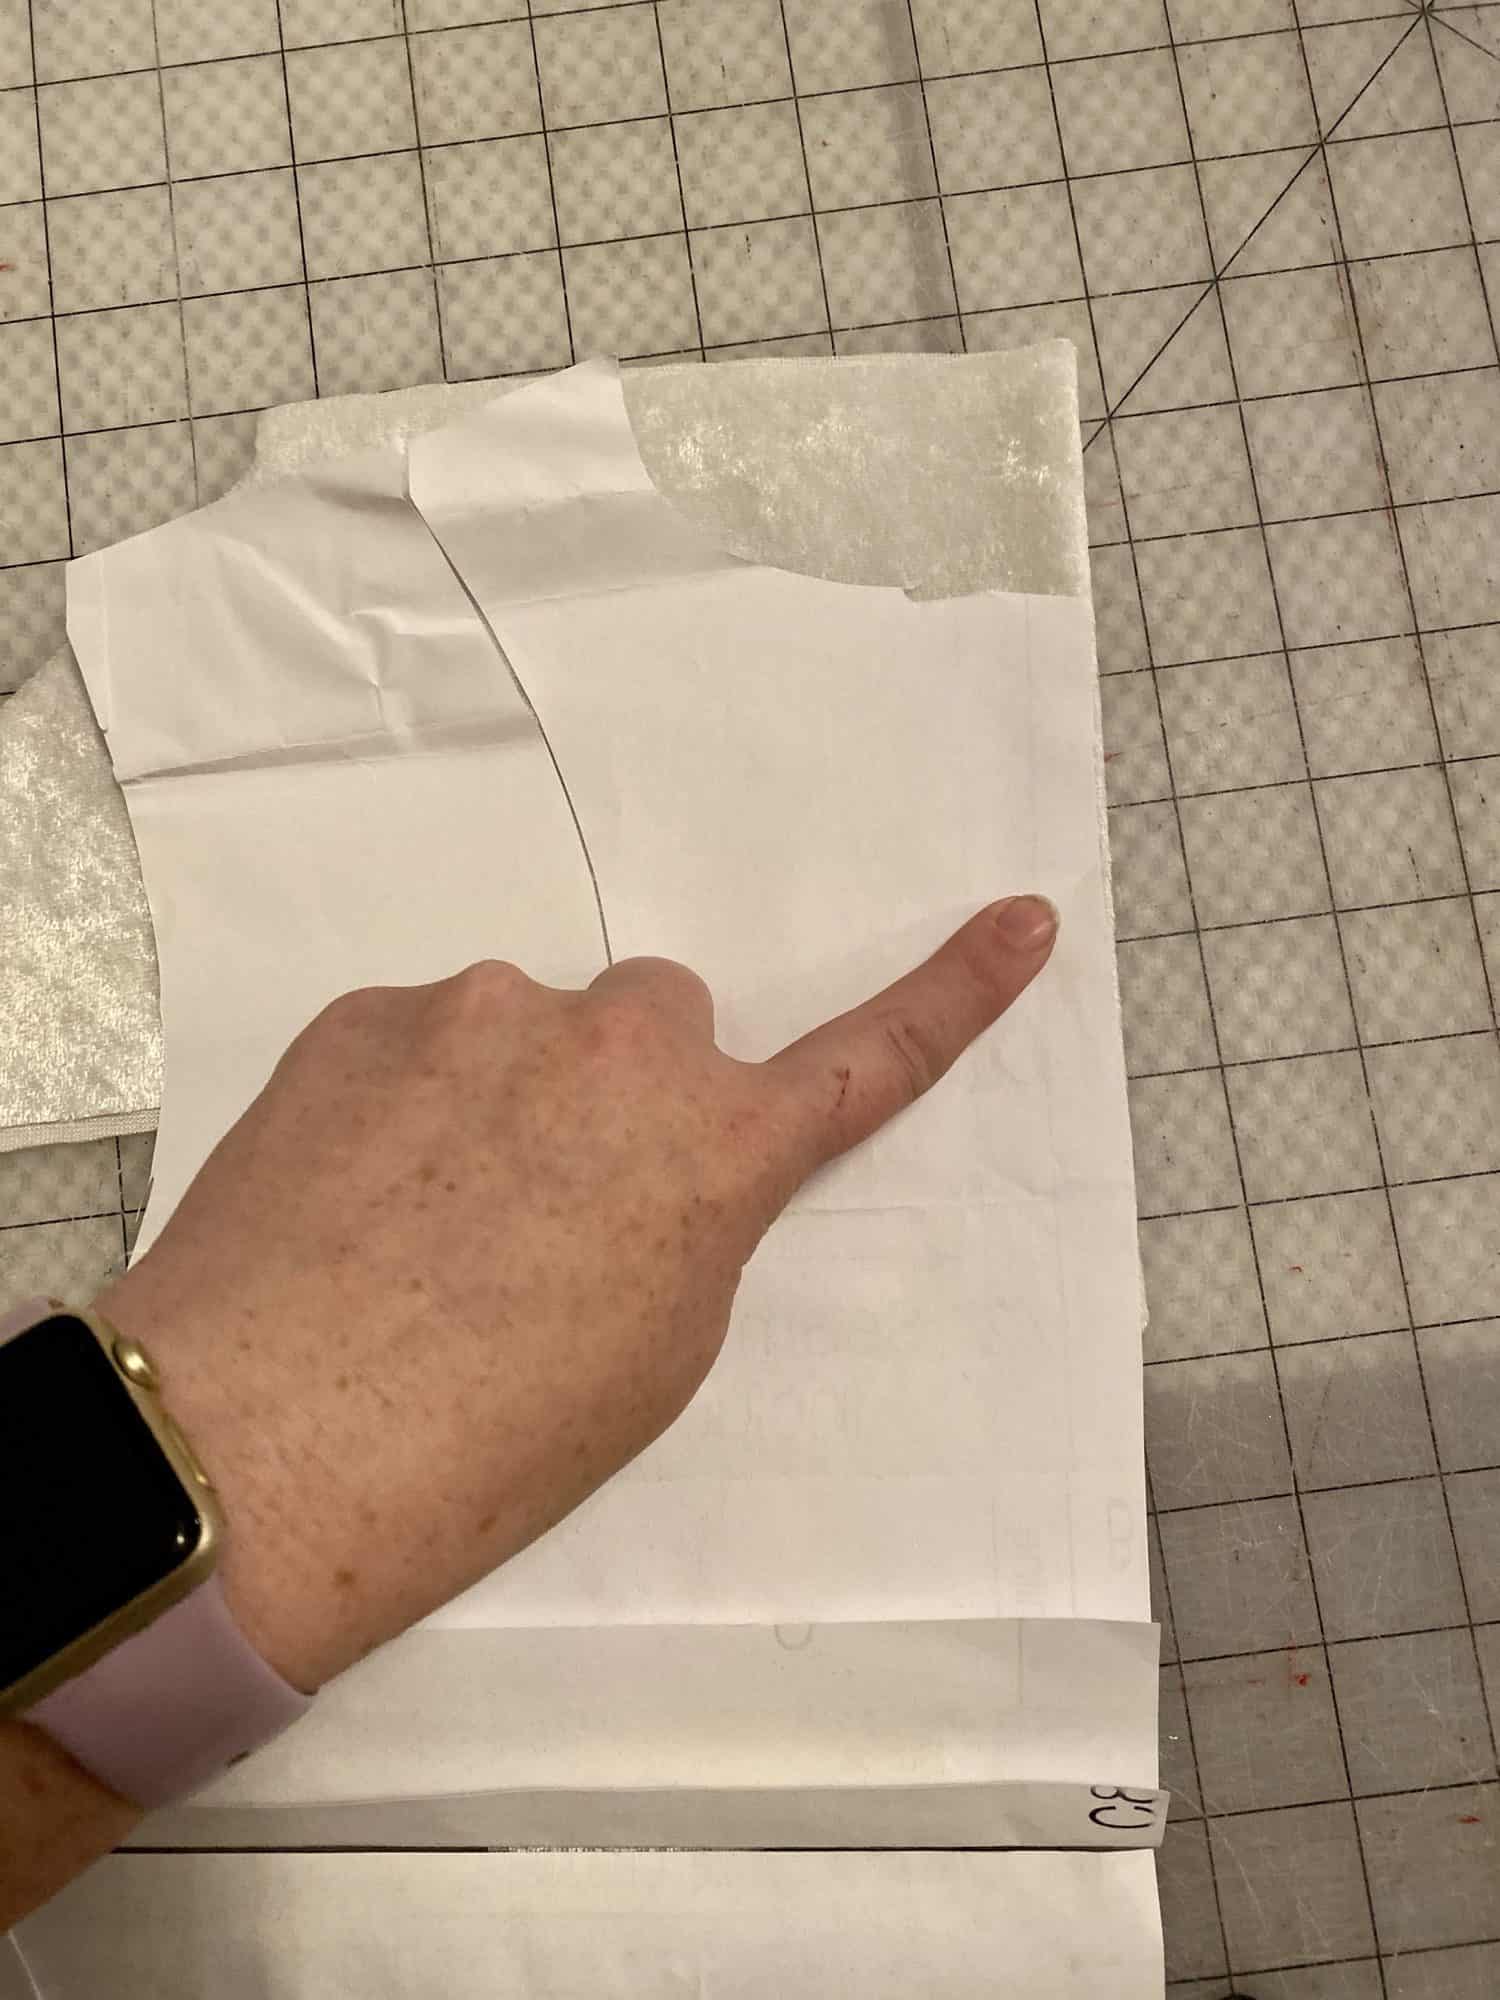
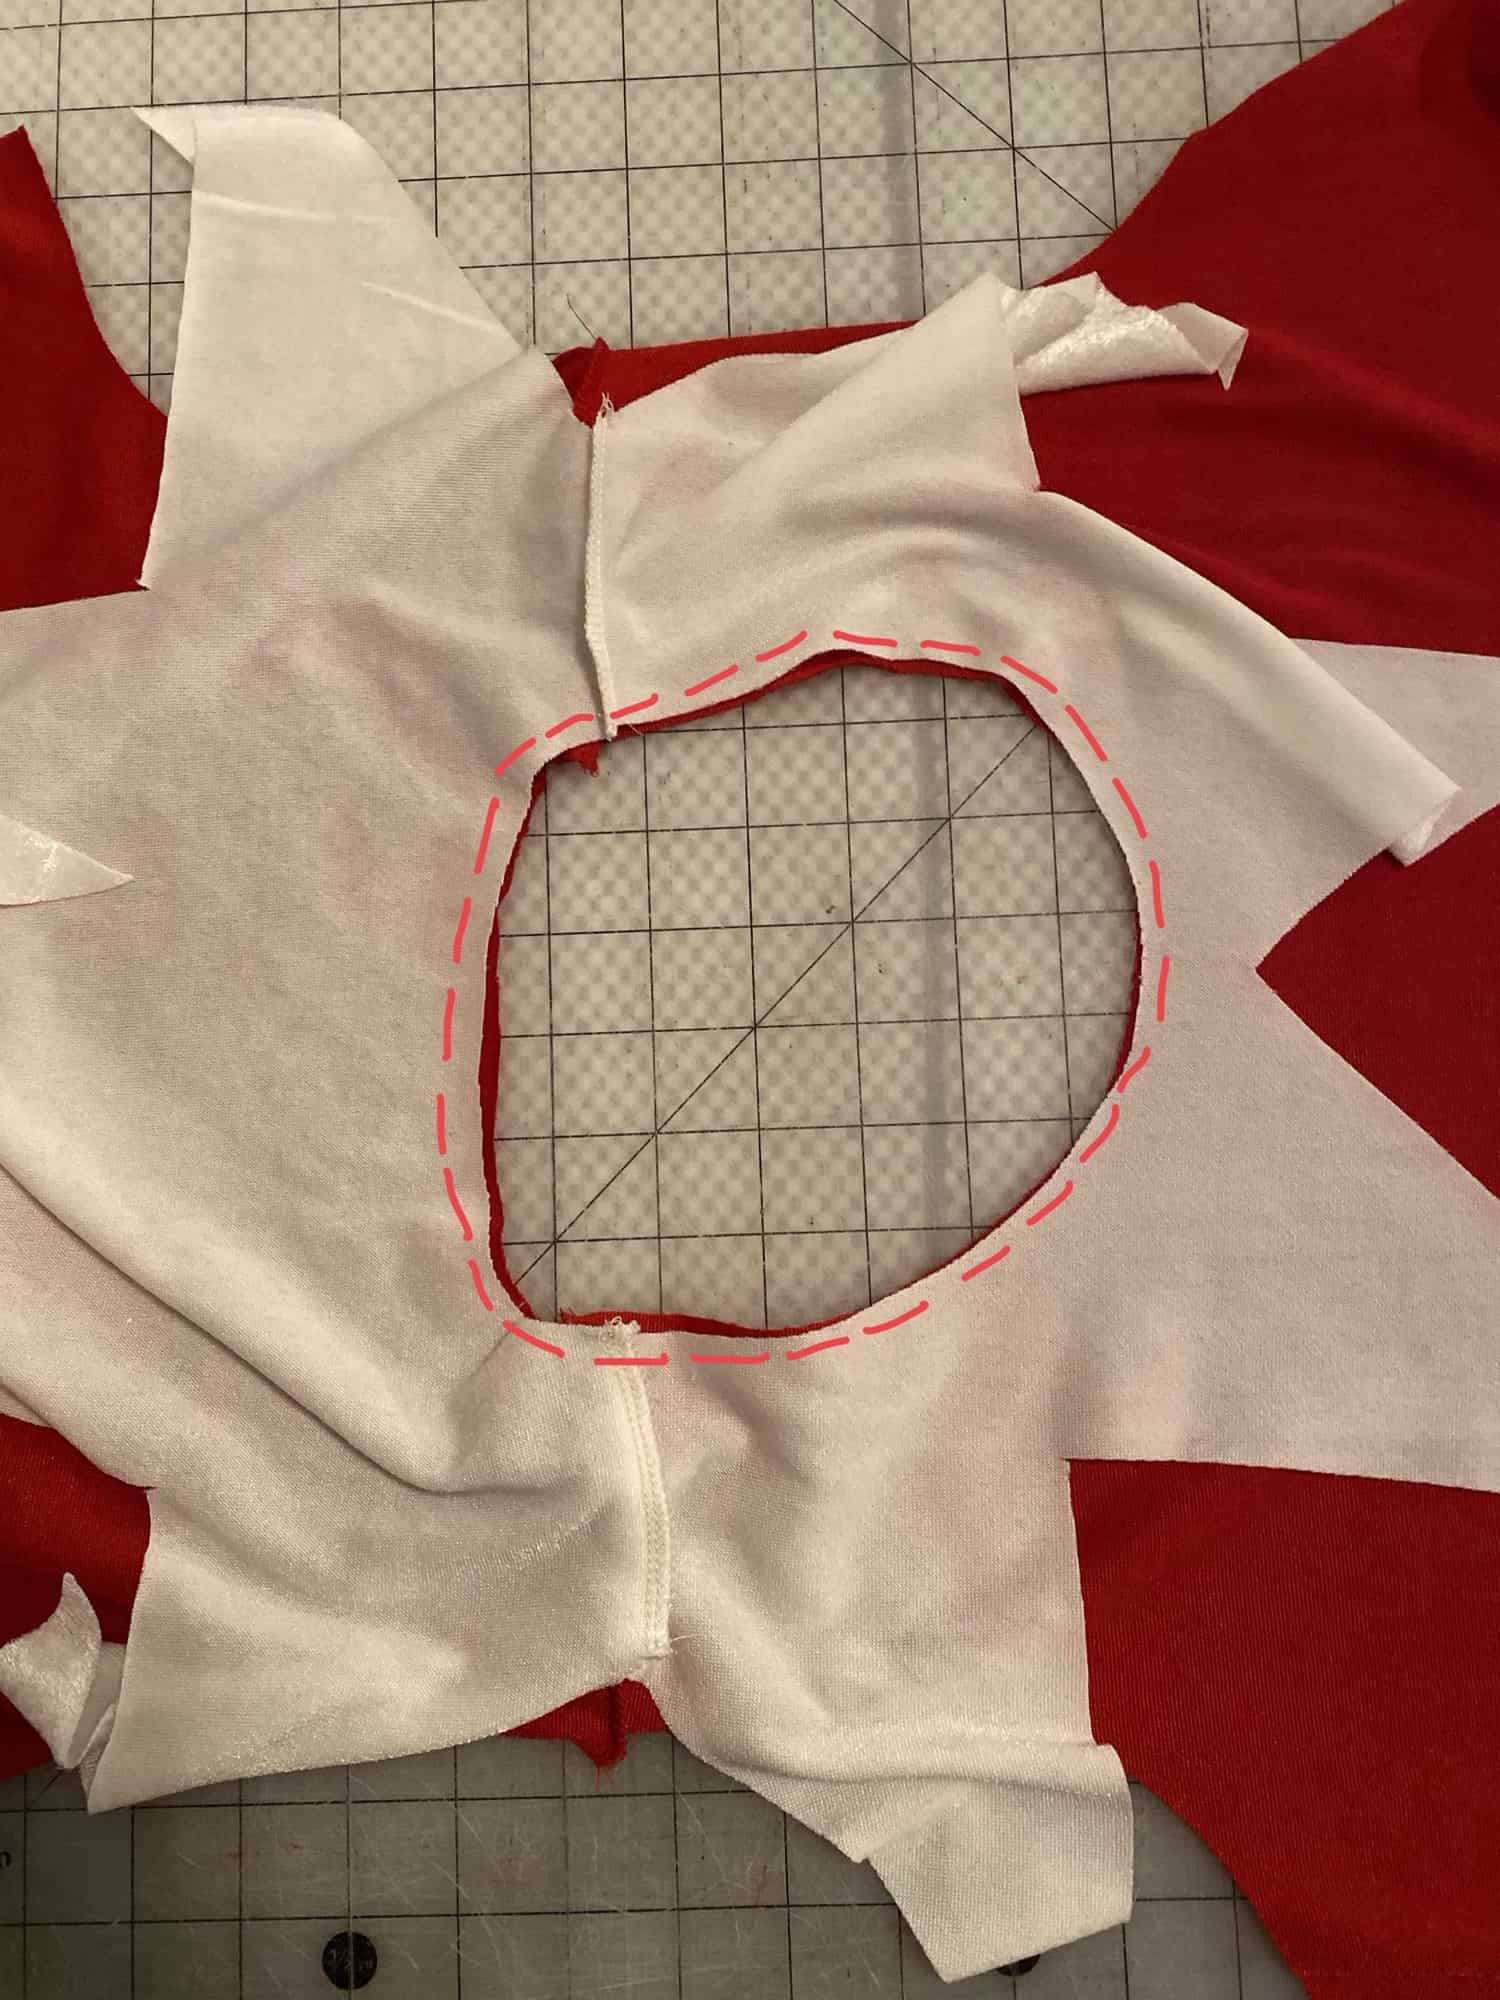
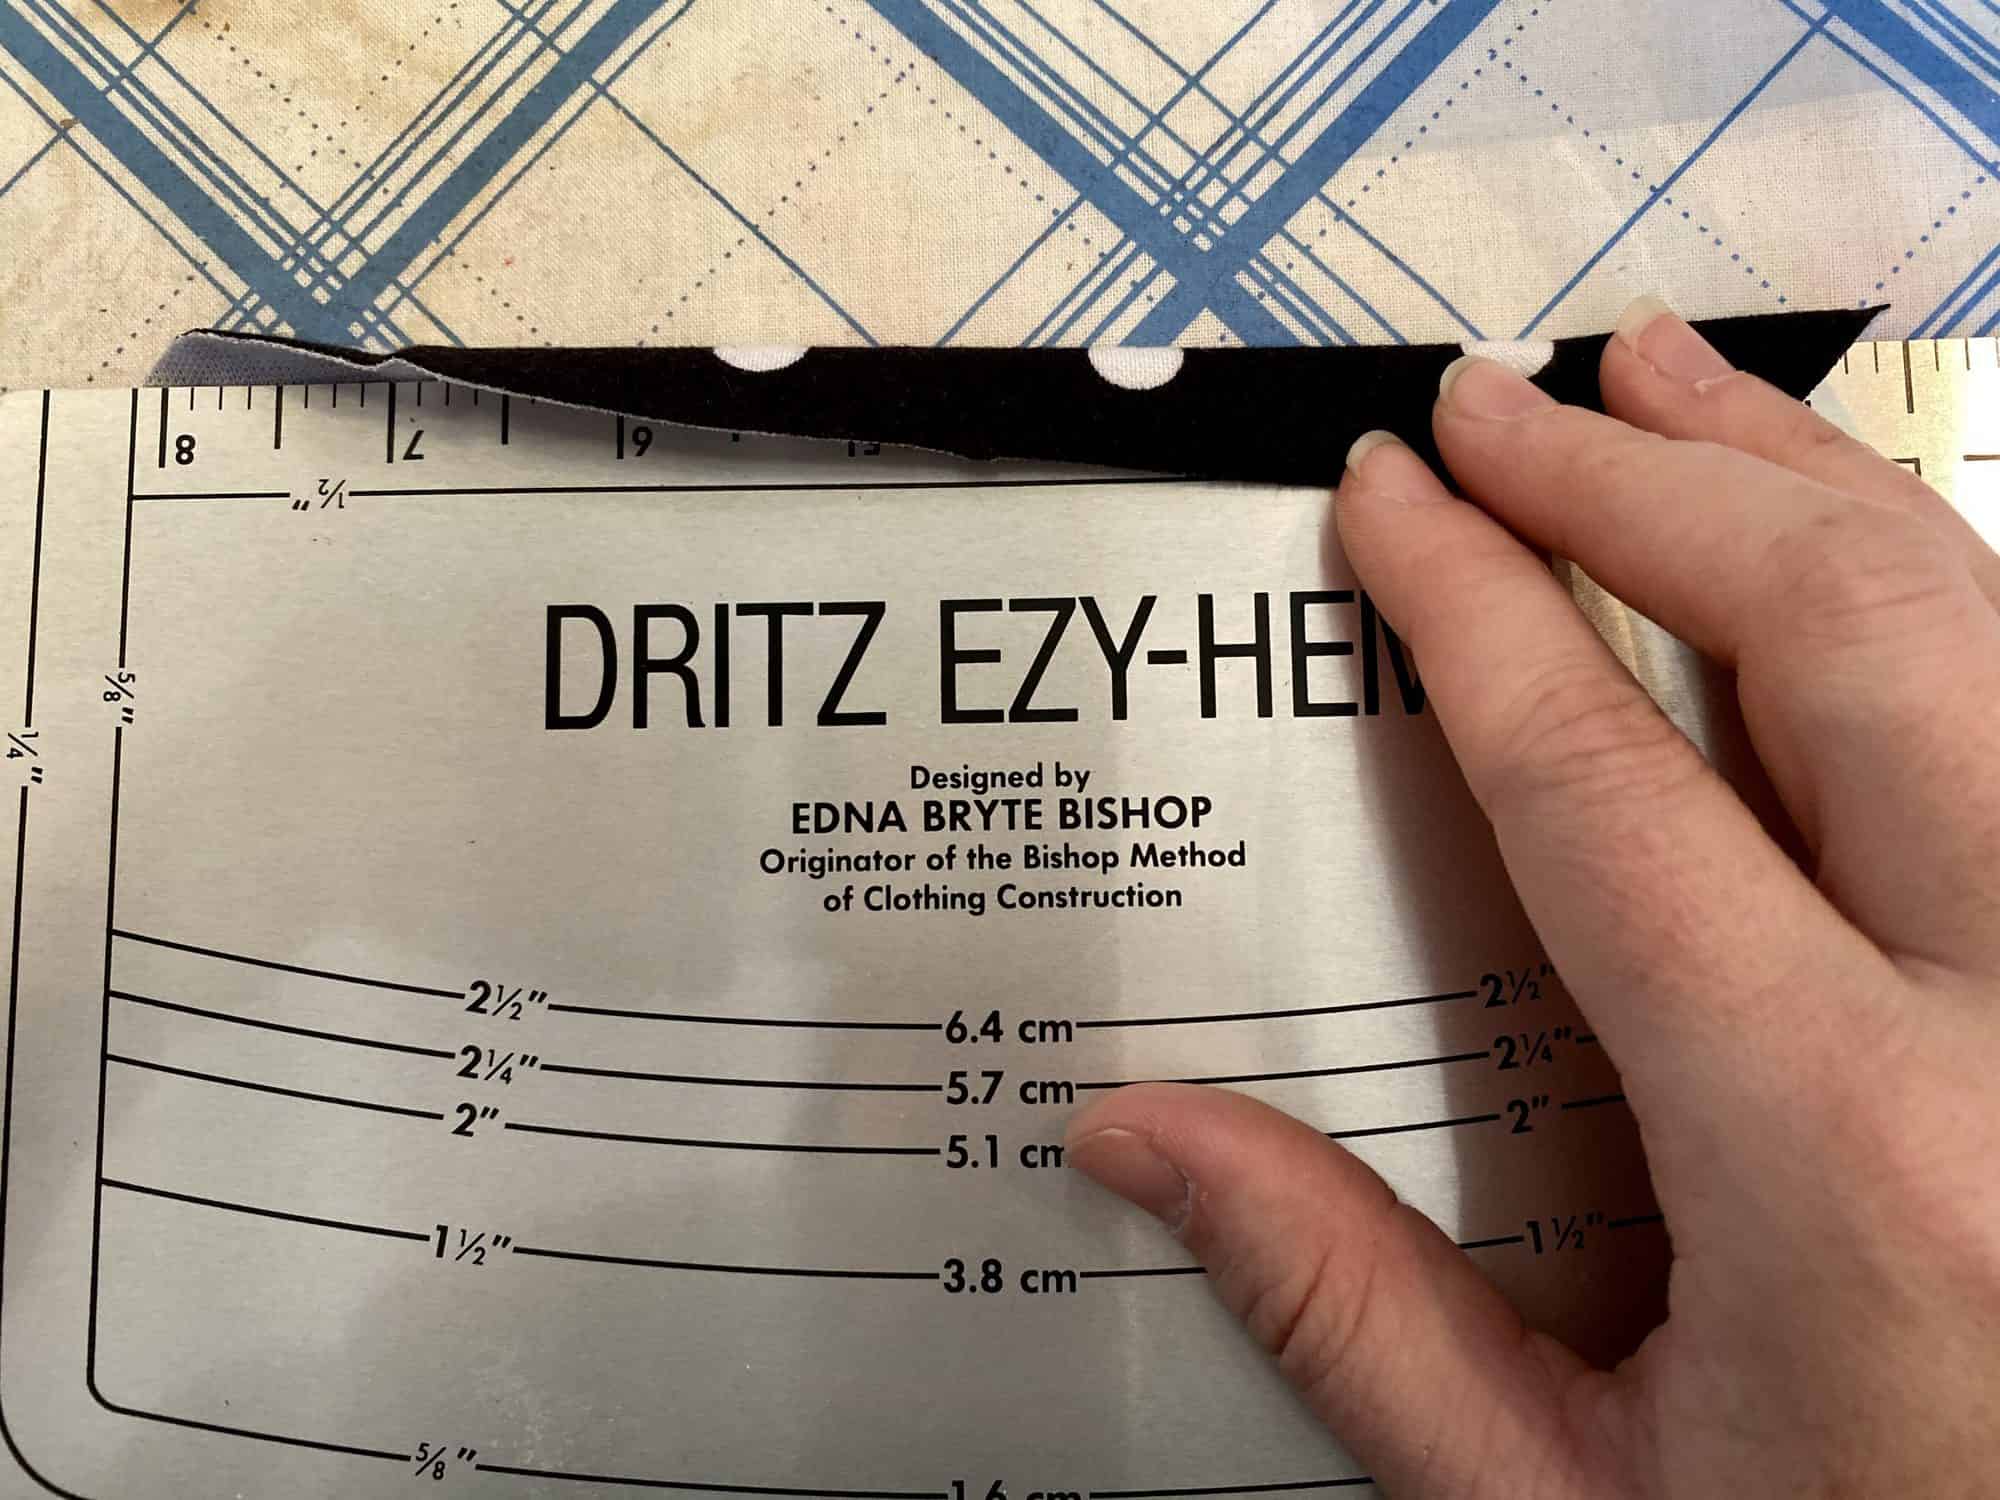
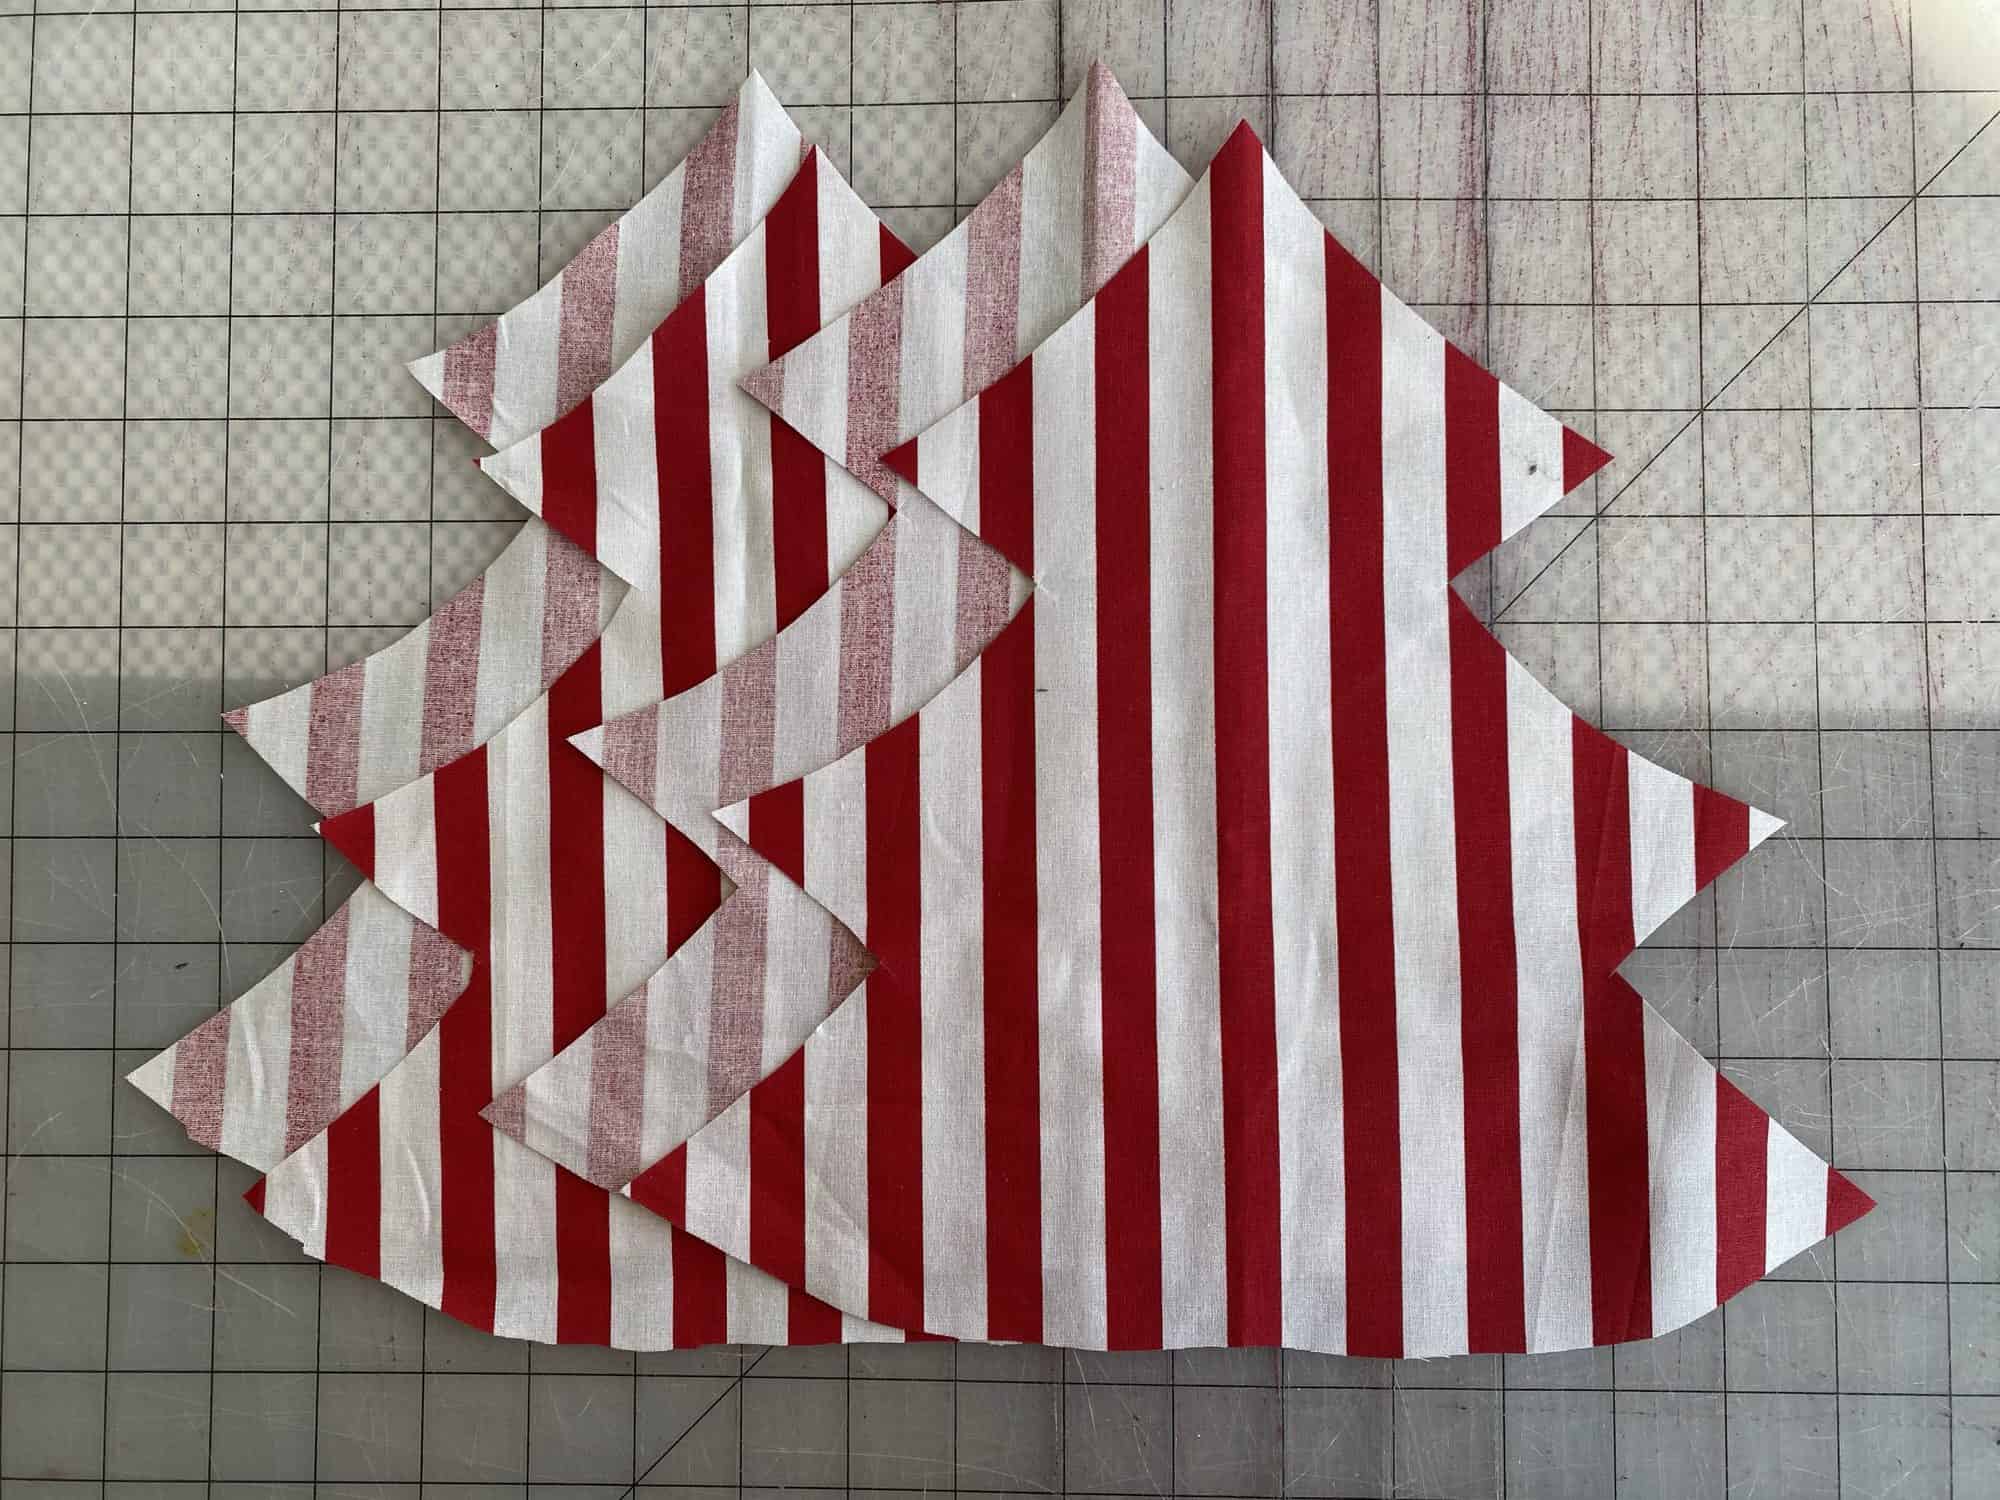
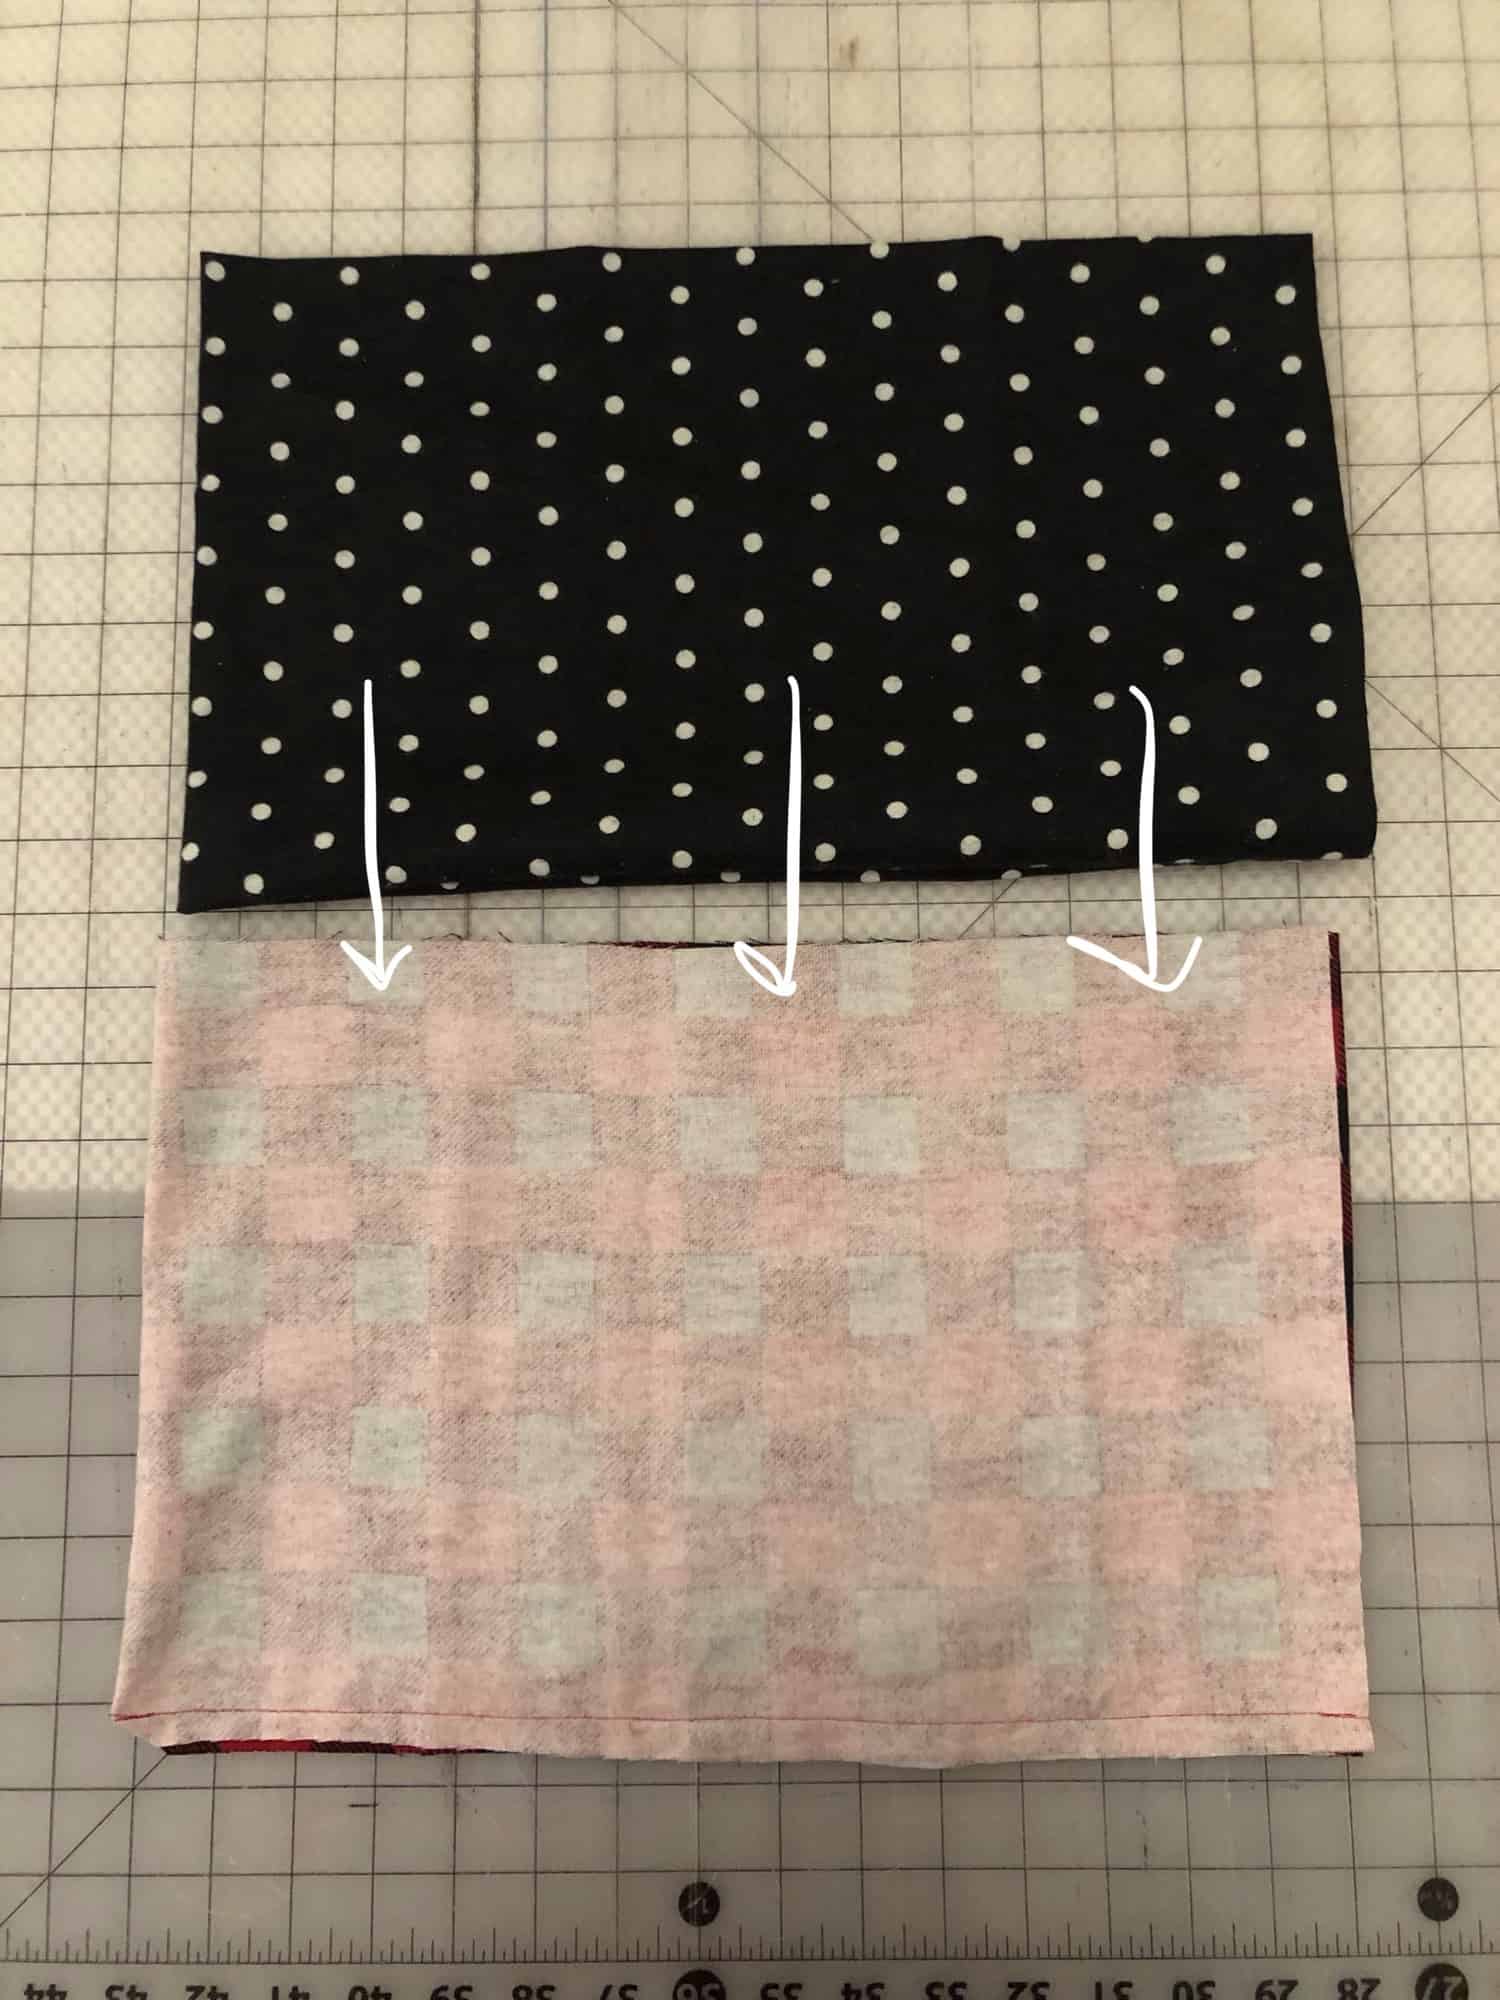
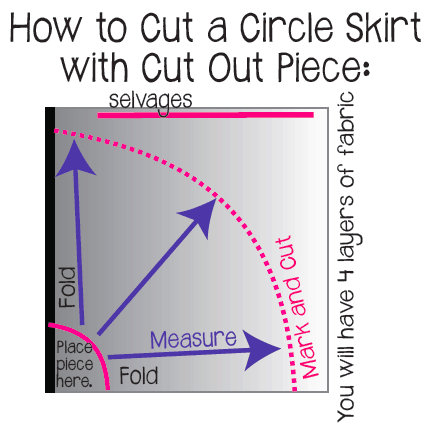 1. Place the cutout piece in between both of folds. Measure the distance from bottom of the cutout piece. First for 12″, then for 16″ and then another circle at 20″.