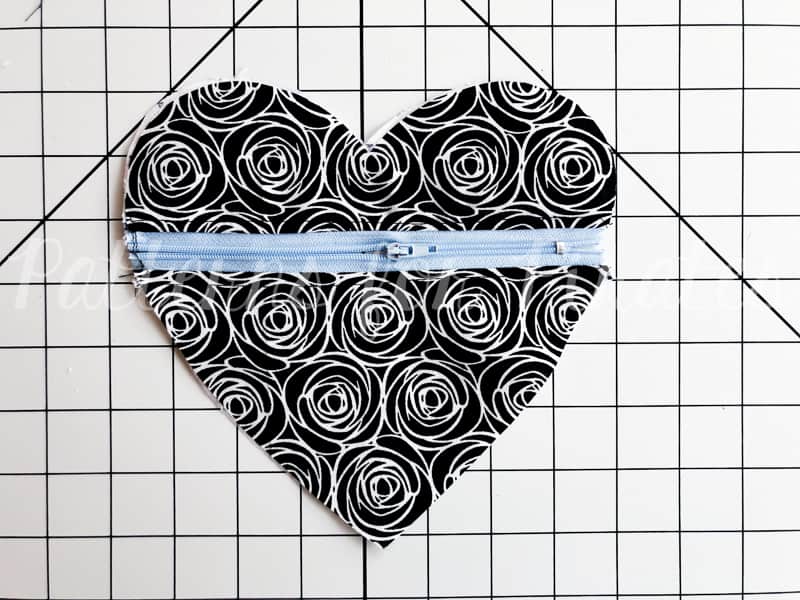
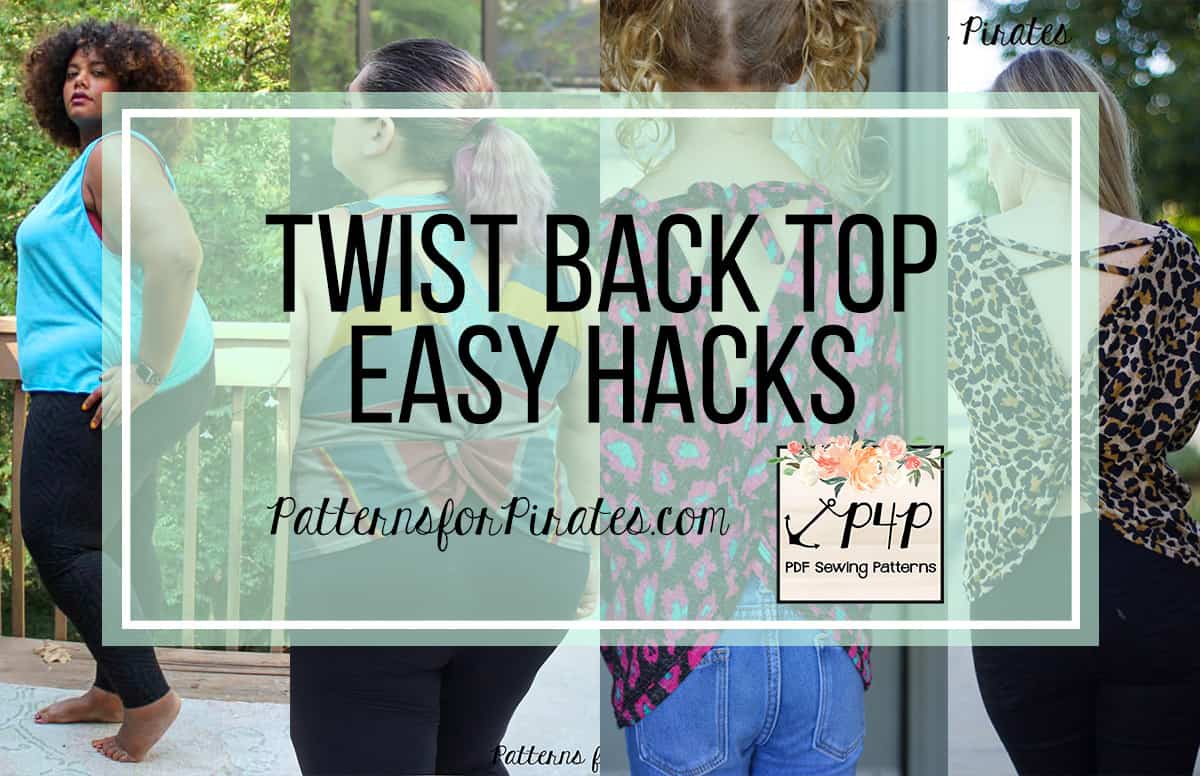
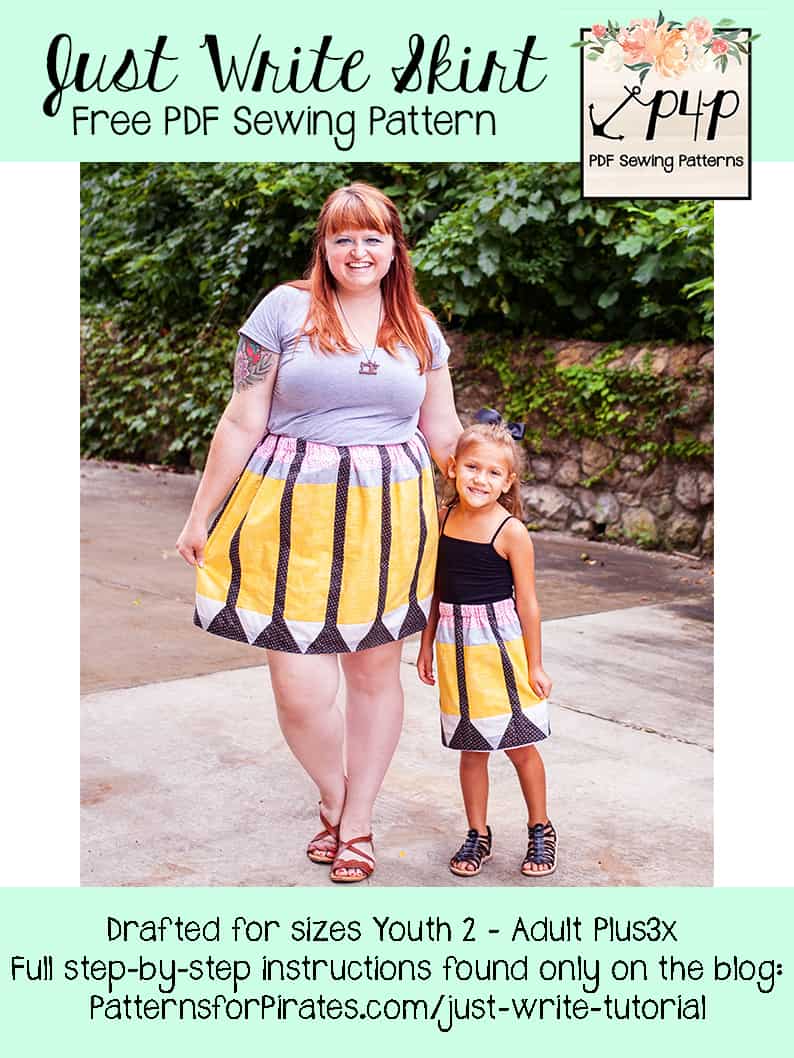
Happy December, Pirates!! I am beyond thrilled to be back again for another round of holiday freebies! We’ve got five days worth of free sewing patterns for you…starting right now!
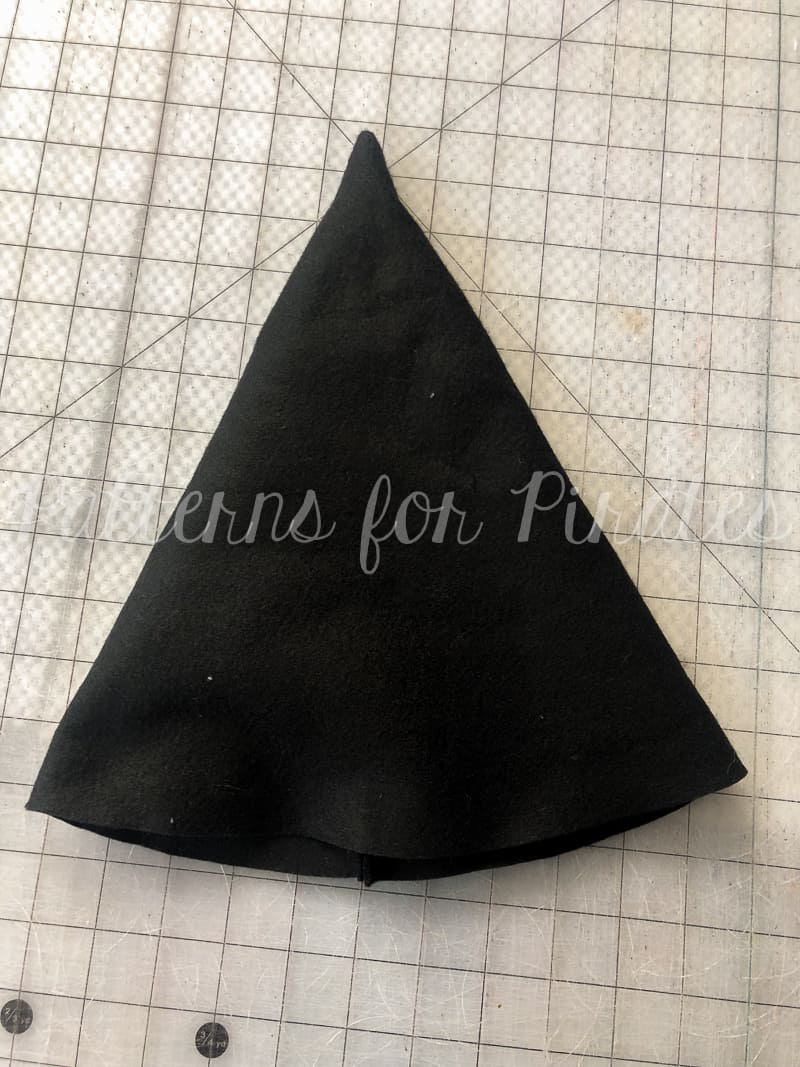
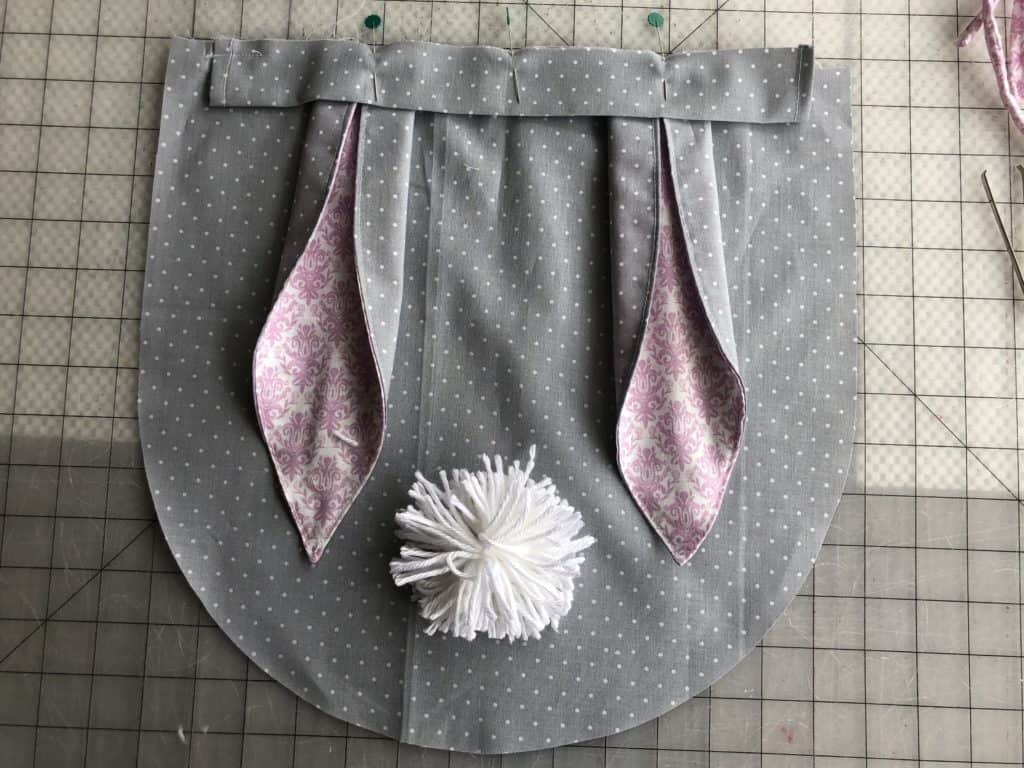
I have been wanting a cute circle skirt style apron for so long now, and I thought it would be the perfect time to make it happen. Let’s kick off this incredibly fun week with our first pattern, the Hey Cookie Apron.
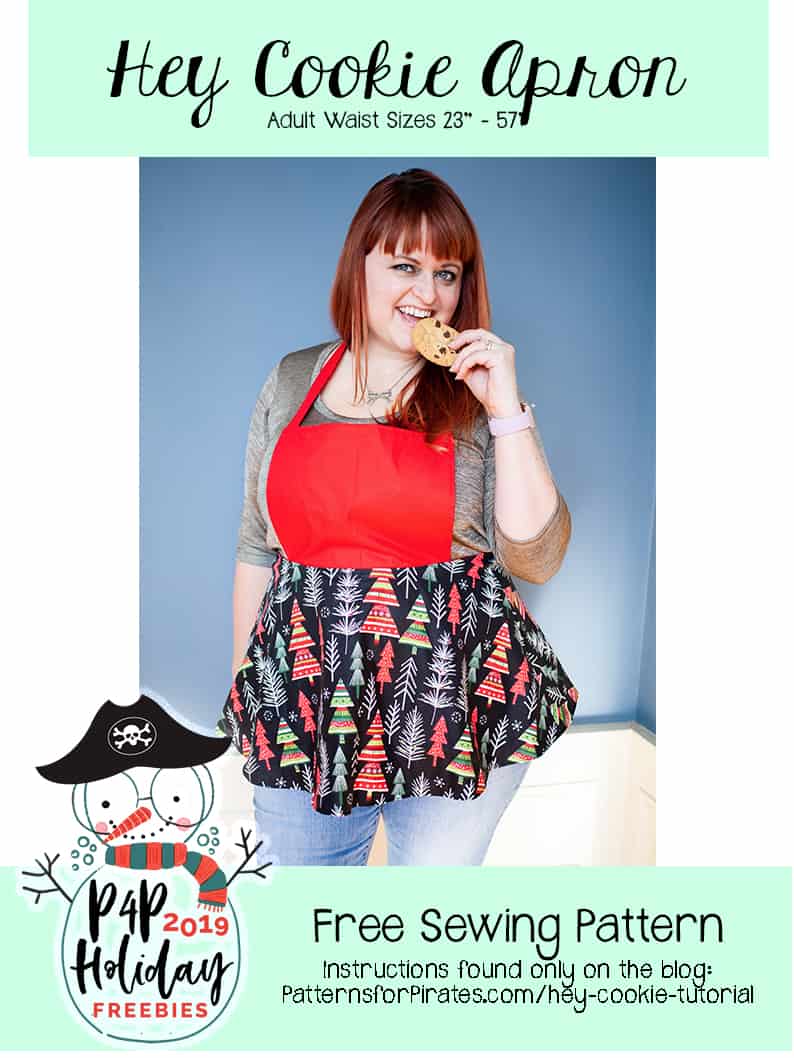
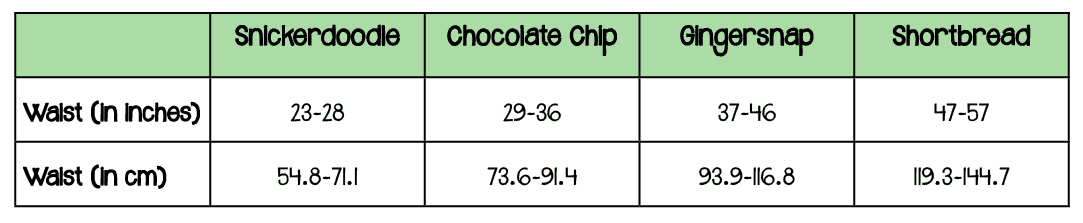
Hey Cookie is drafted for adults, with the waist sizes ranging from 23″ – 57″, in sizes Snickerdoodle, Chocolate Chip, Gingersnap, and Shortbread.
Grab your “HEY COOKIE APRON” pattern pieces here!
Check the size chart before sewing to know which cookie size you need to make!
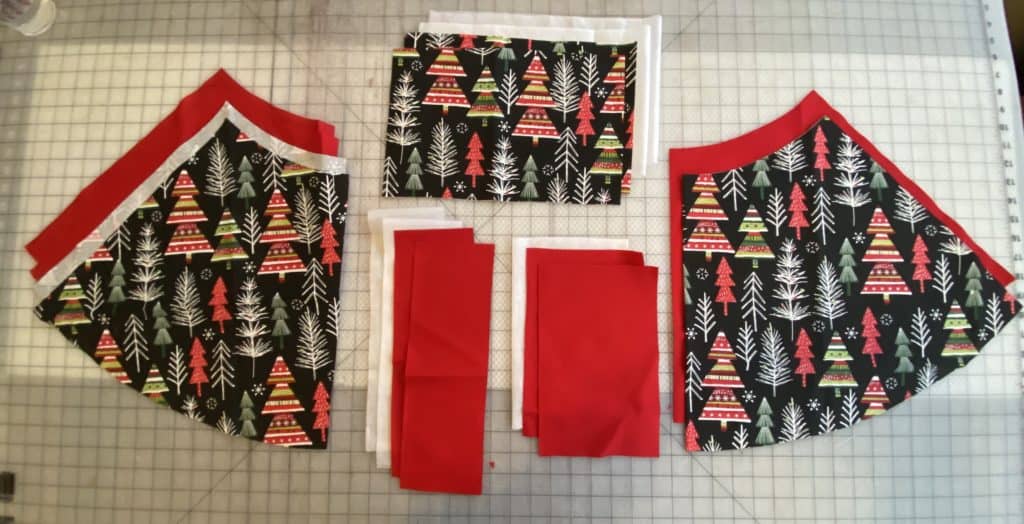
Fabric Requirements (based upon 44″ quilting cottons):
- Main Fabric: 1 3/8 yards
- Lining/Accent Fabric: 1 7/8 yards
- Iron-on lightweight interfacing recommended (I like Pellon PLF36 or Heat n Bond Thermoweb 3336, affiliate links) for keeping neck and waist ties crisp. Some testers preferred it without, so it’s completely optional!
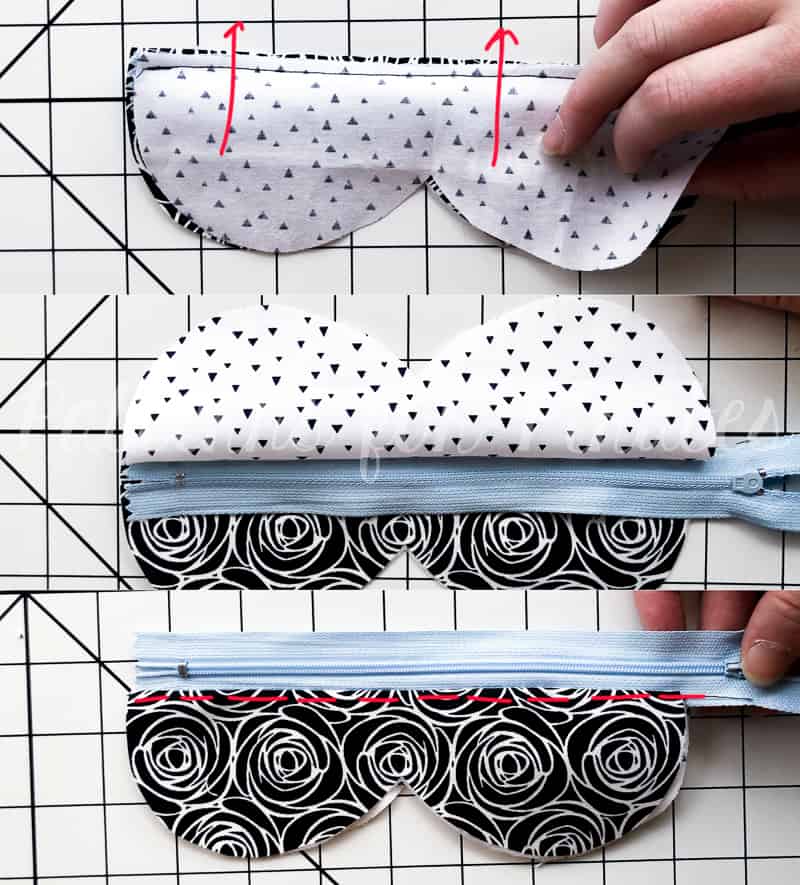
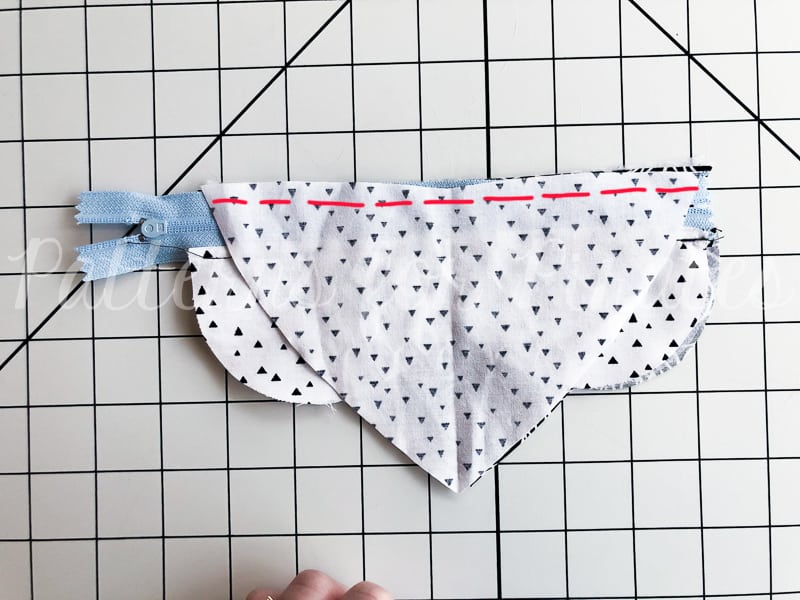
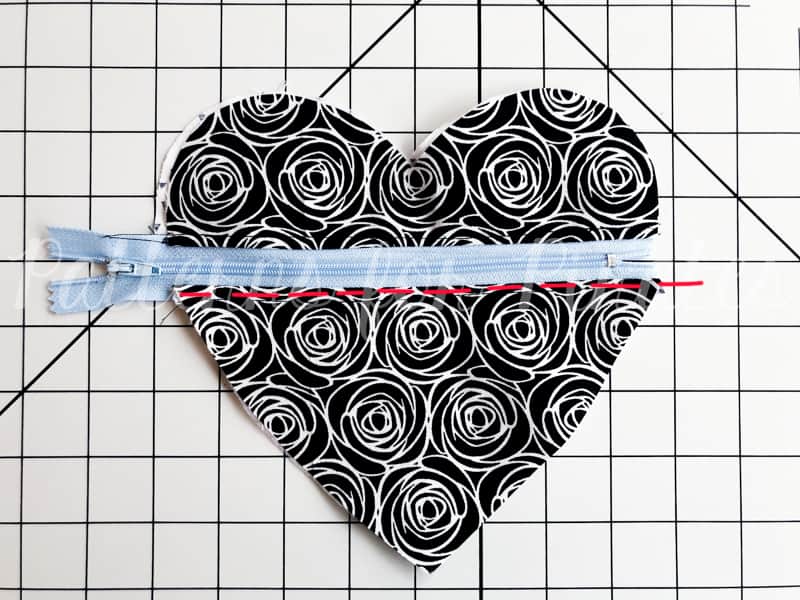
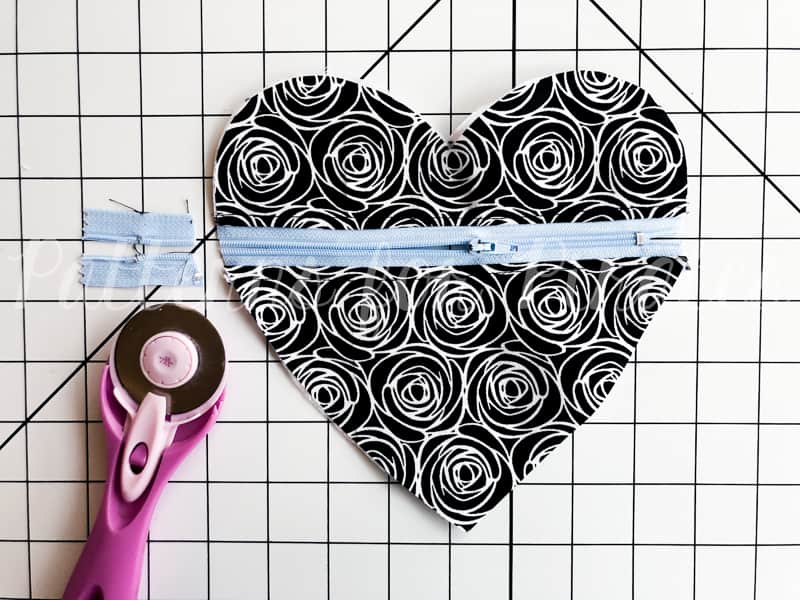
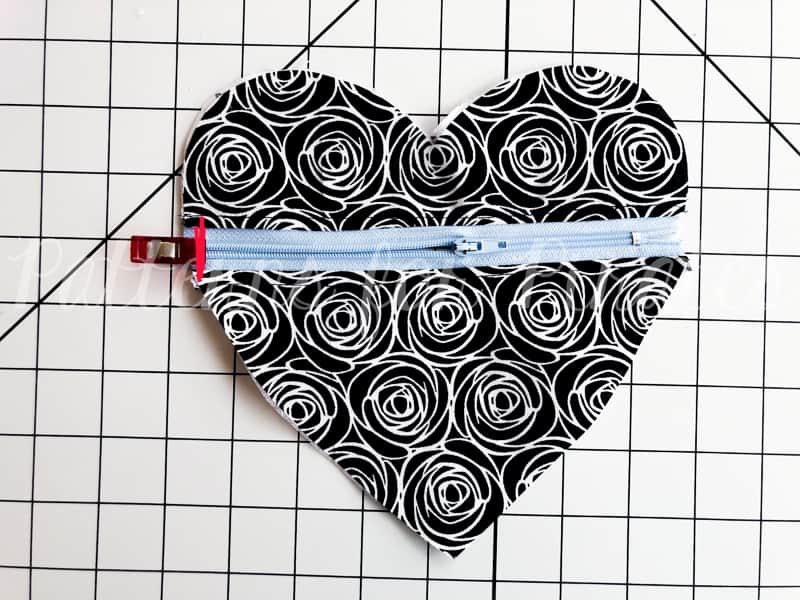
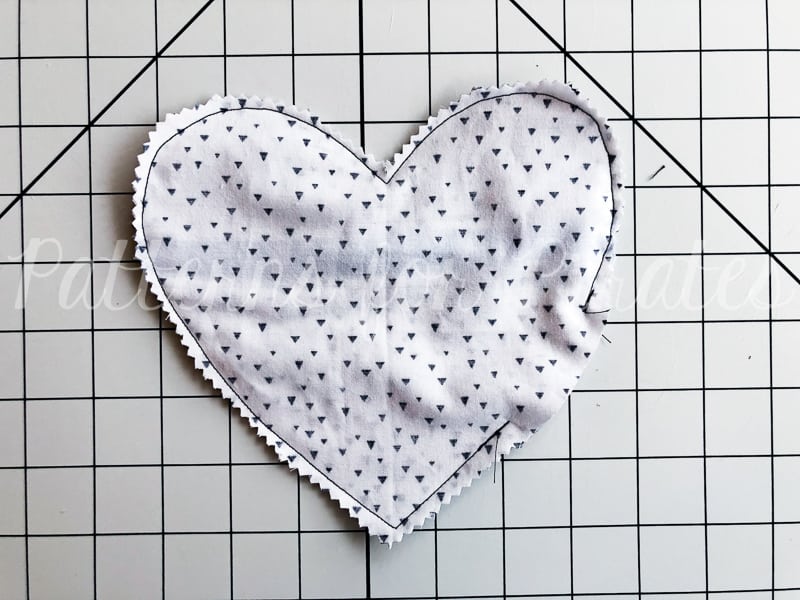
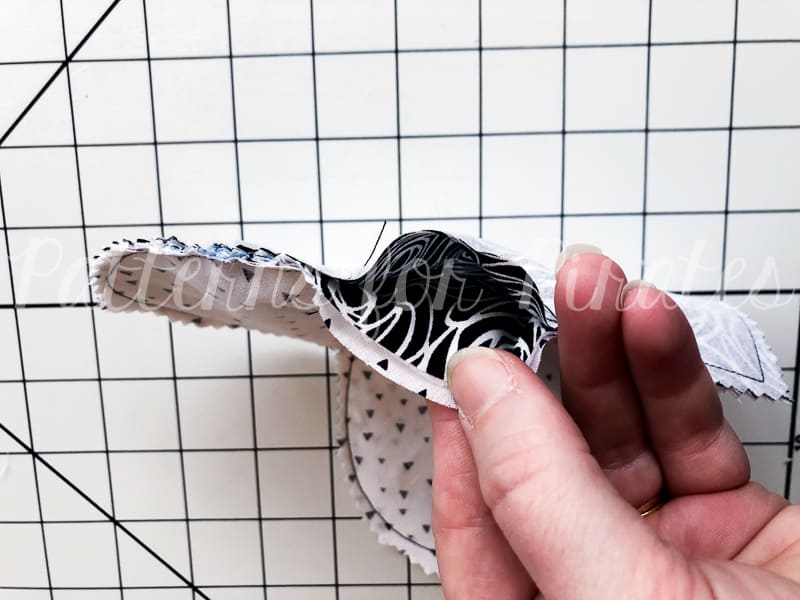
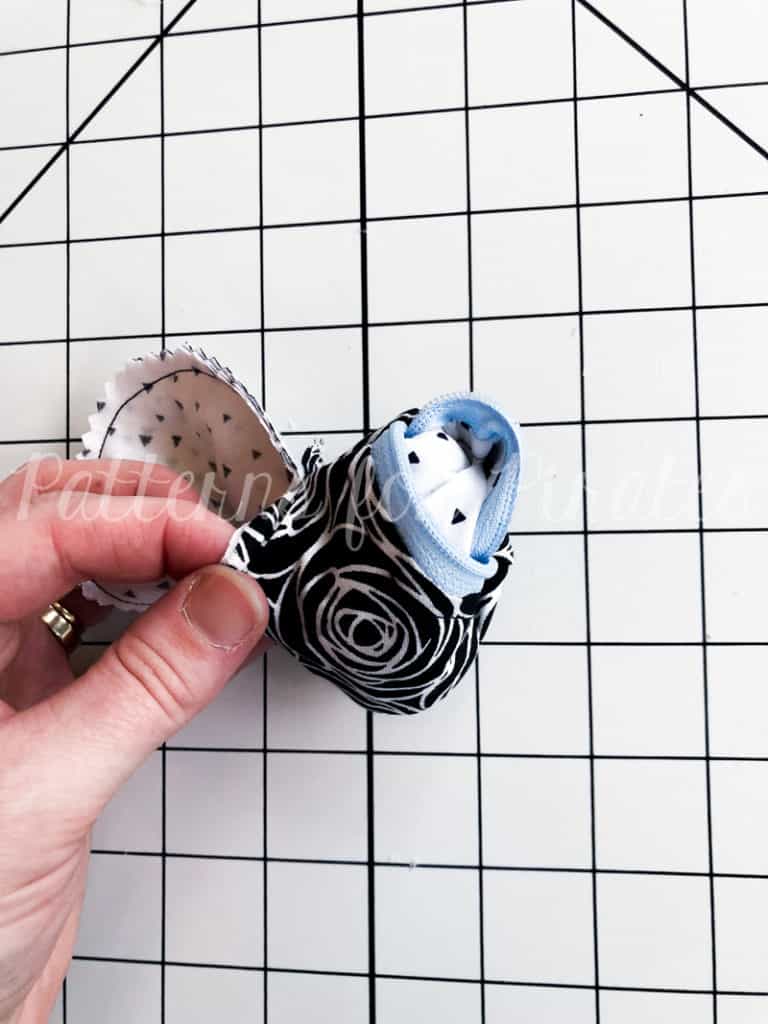
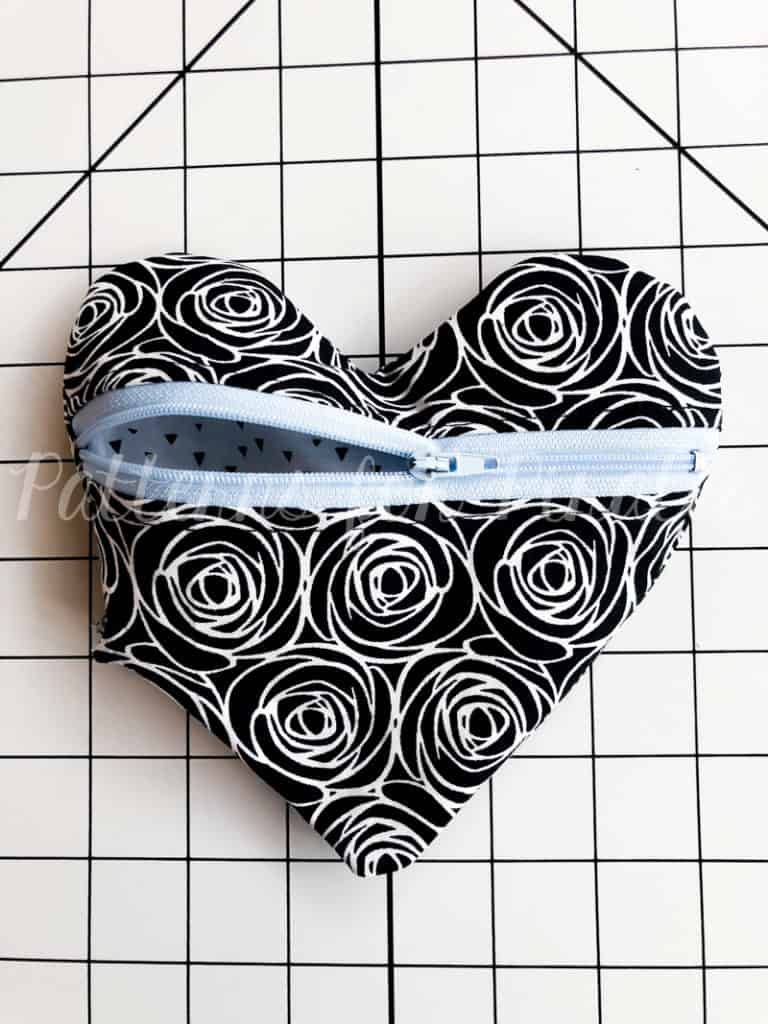
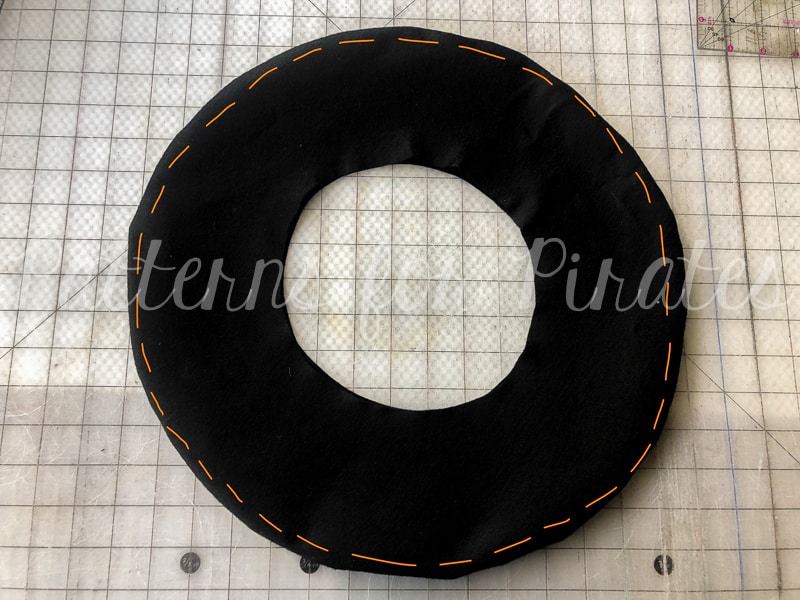
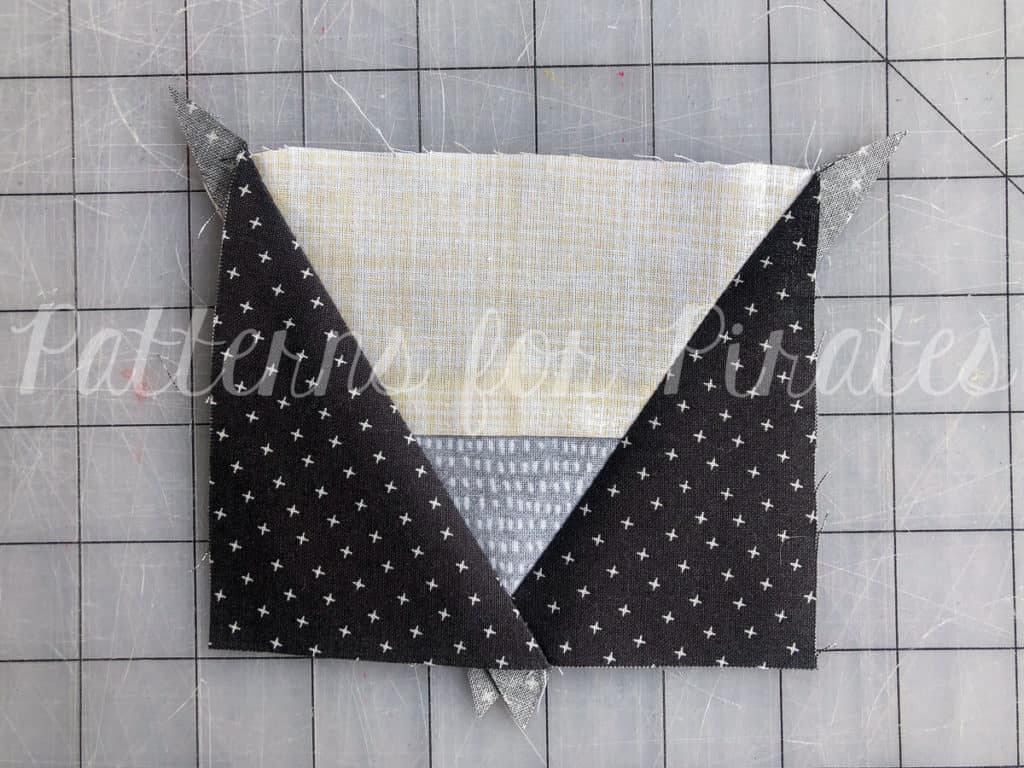
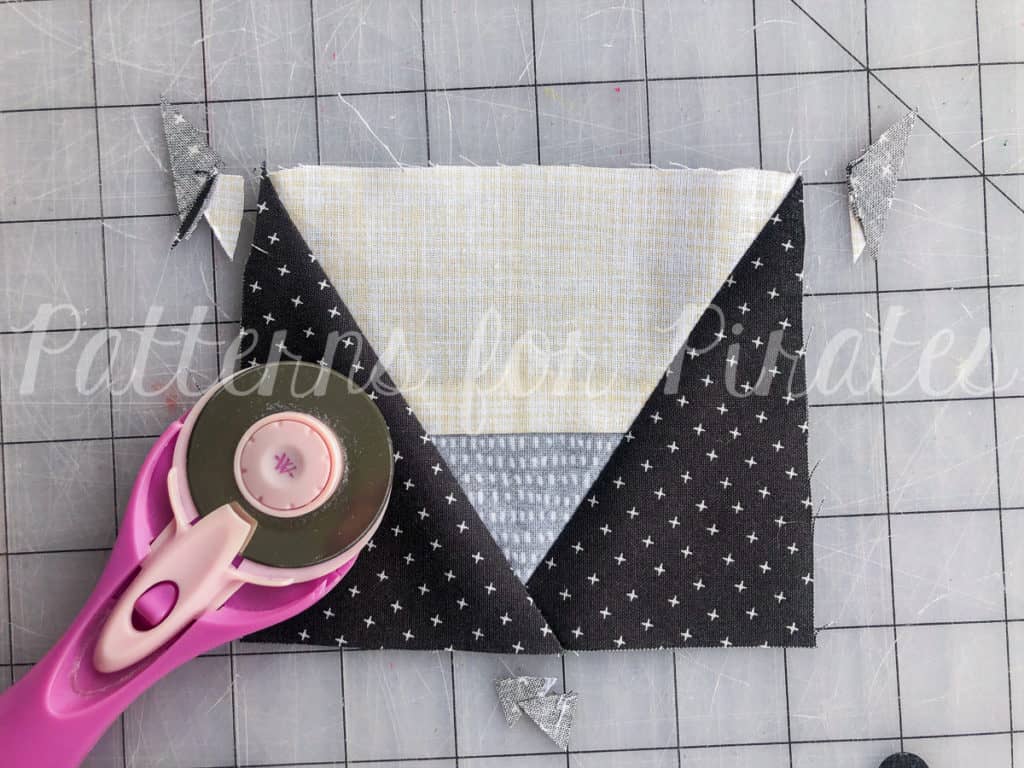
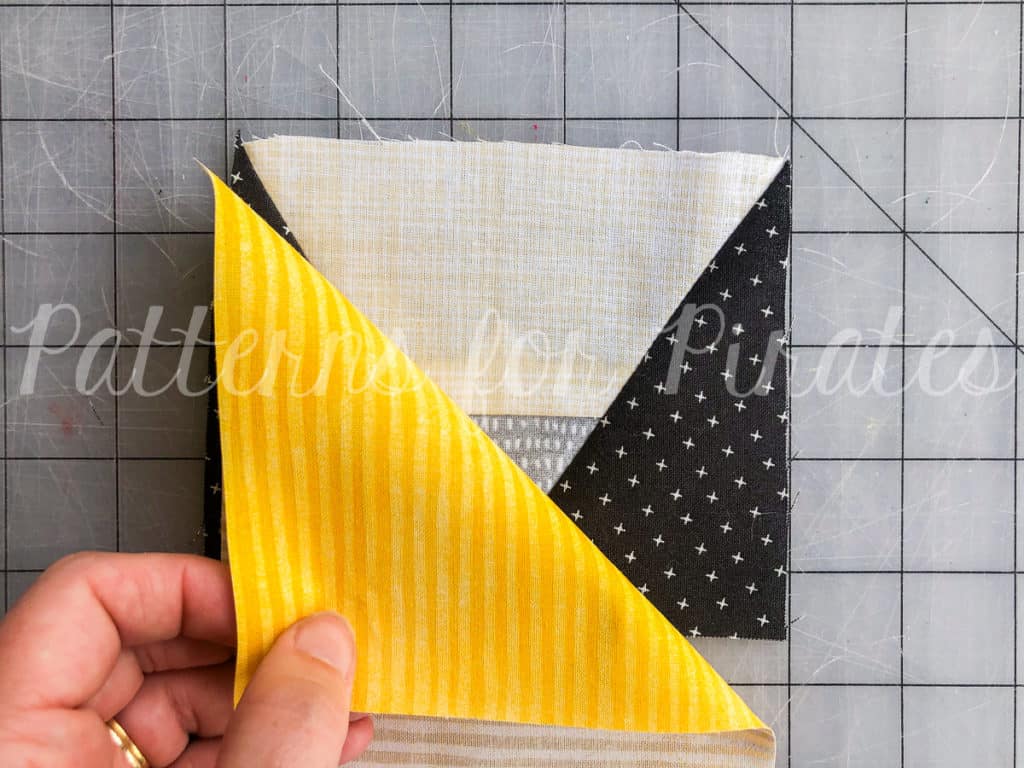
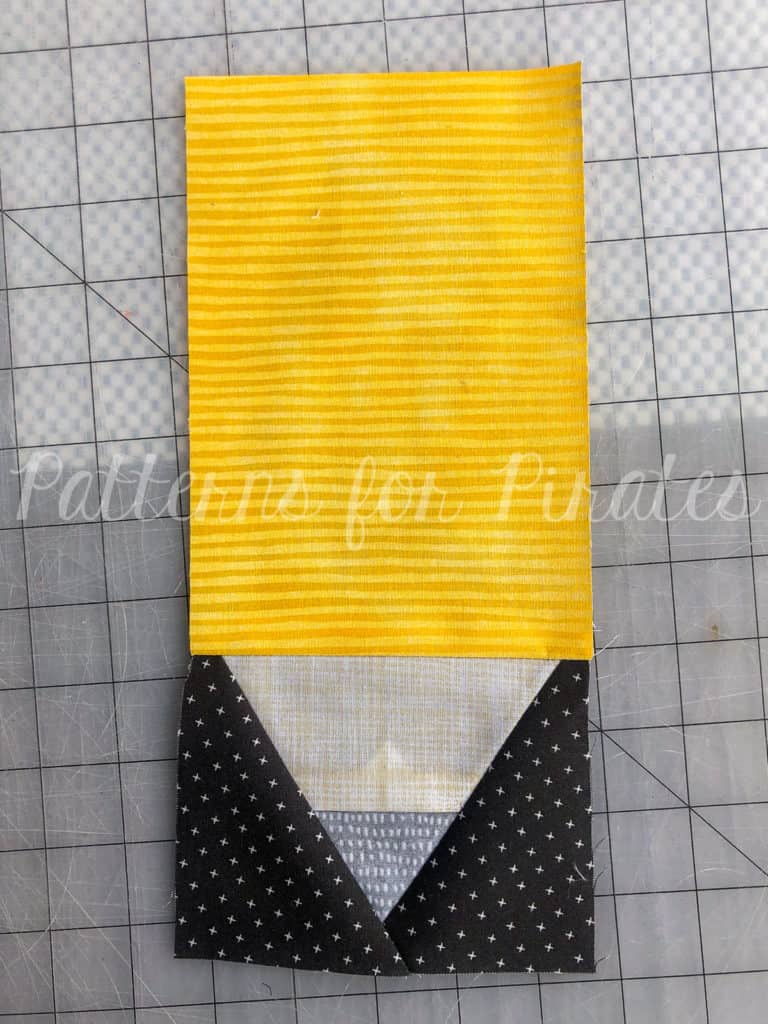
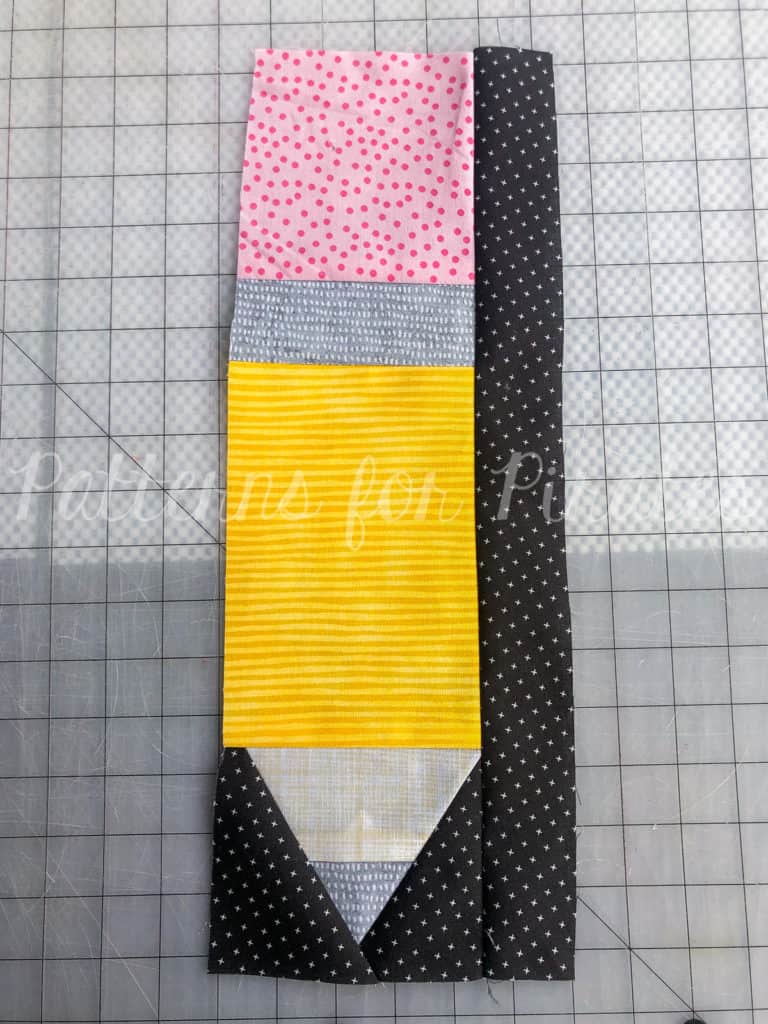
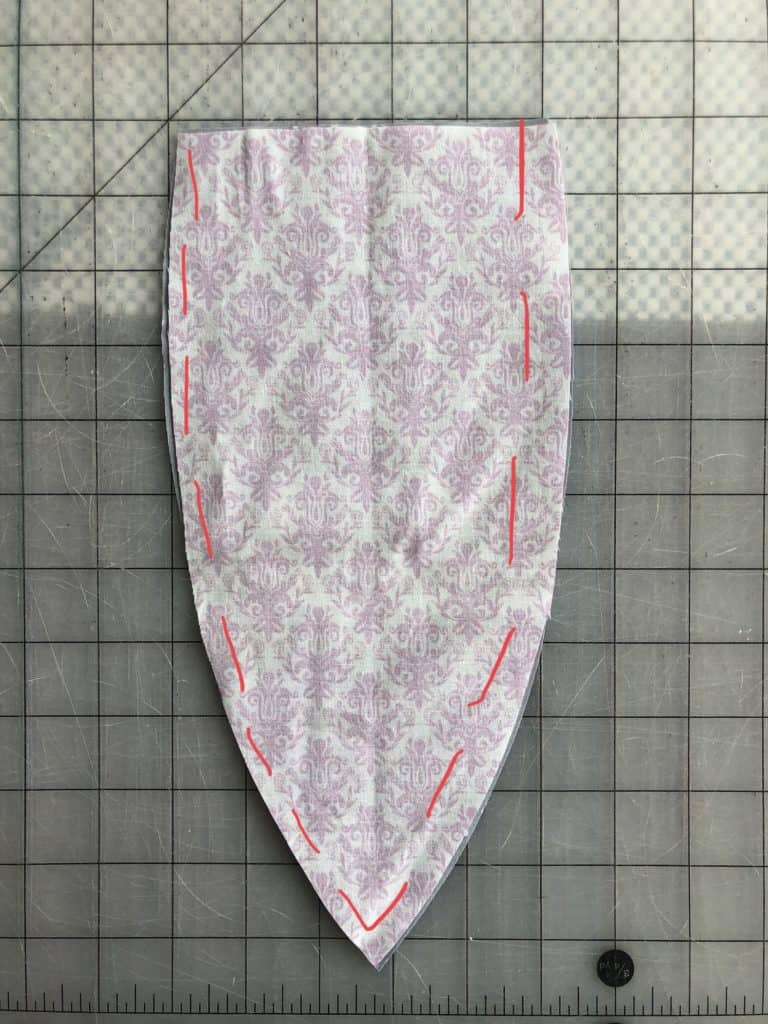
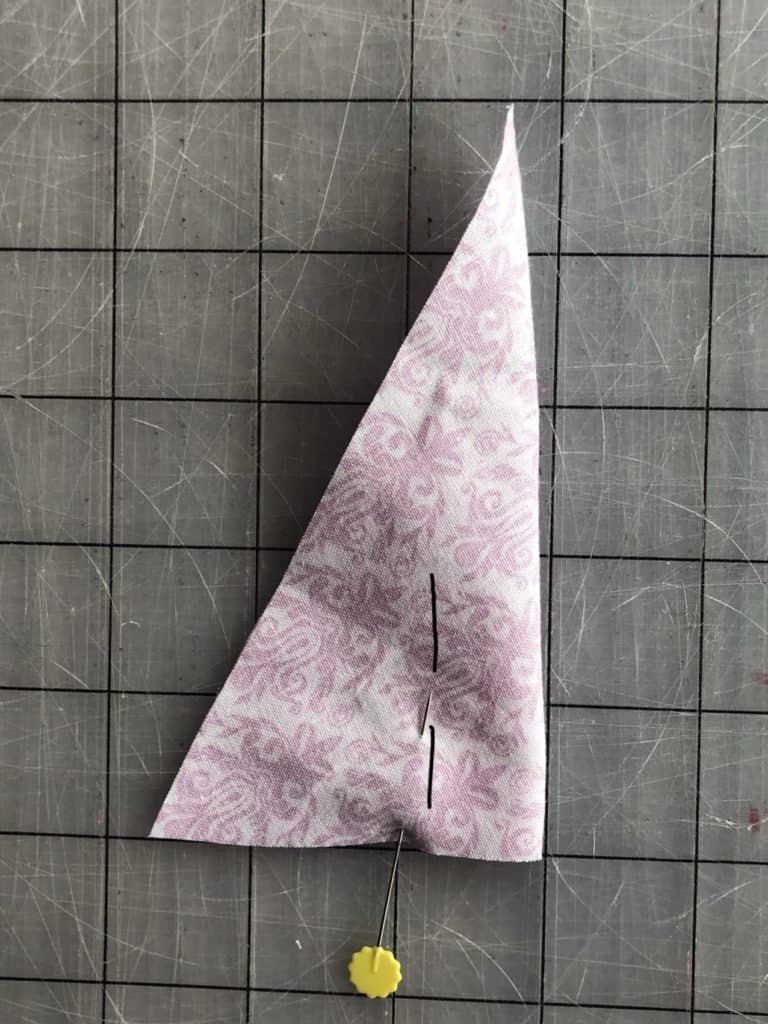
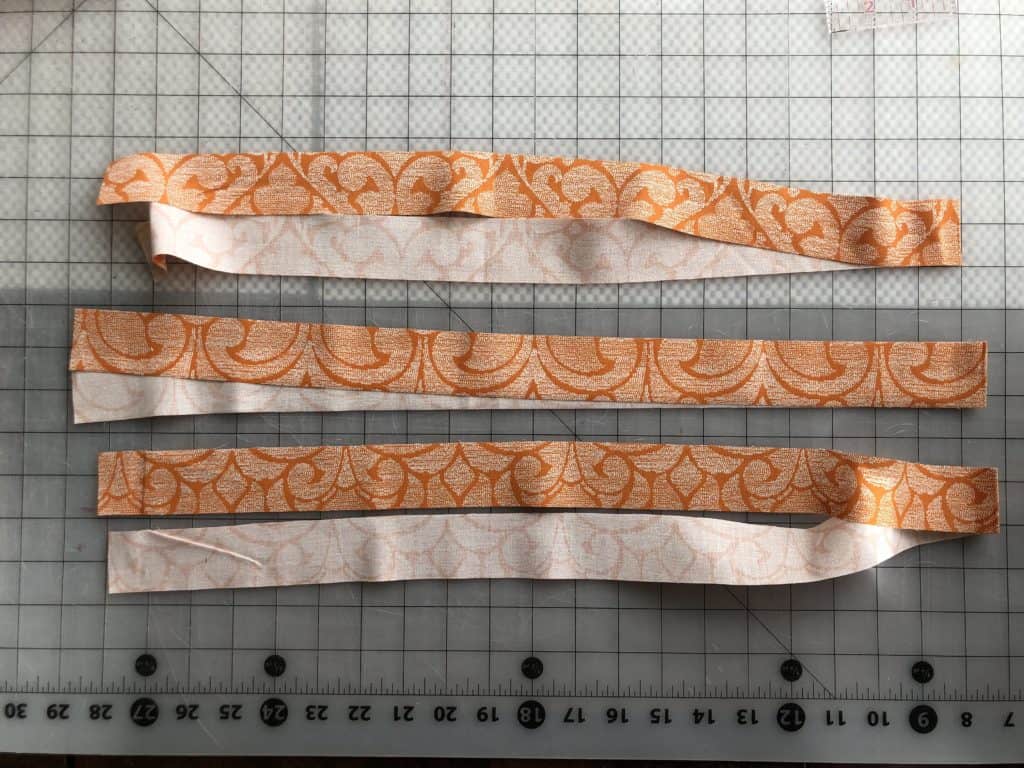
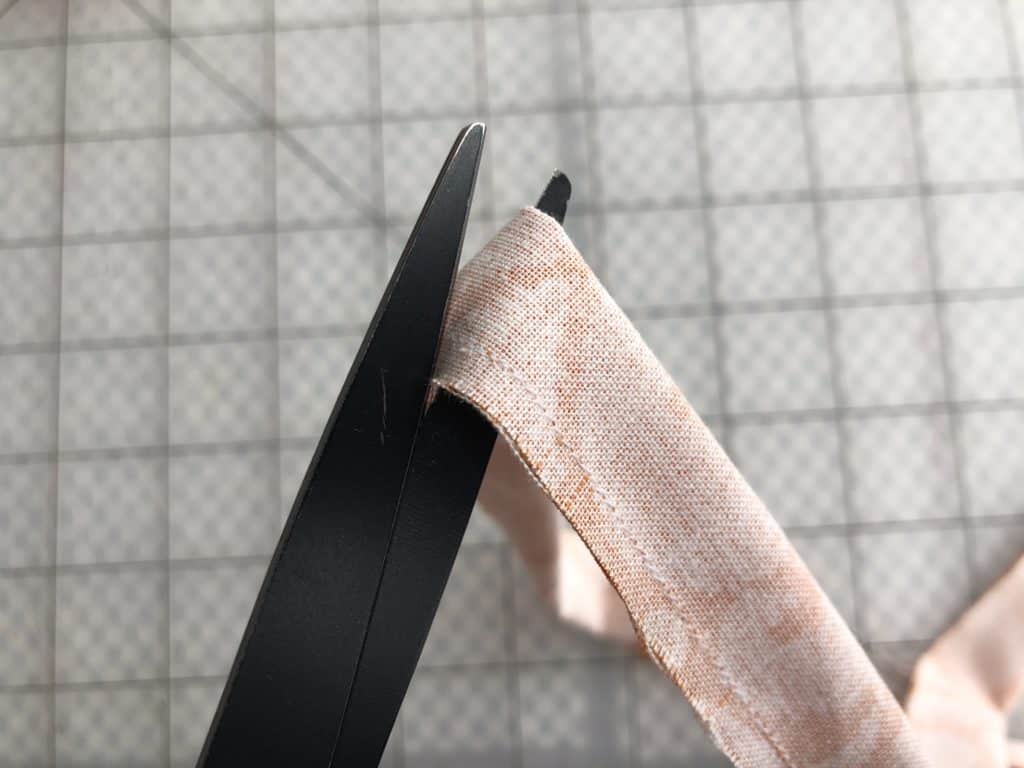
Prepare your pieces. The seam allowance is 1/2″ throughout all of the steps.
1. If desired, iron your stabilizer onto appropriates pieces (2 neck straps, 2 waist straps, 1 bib)

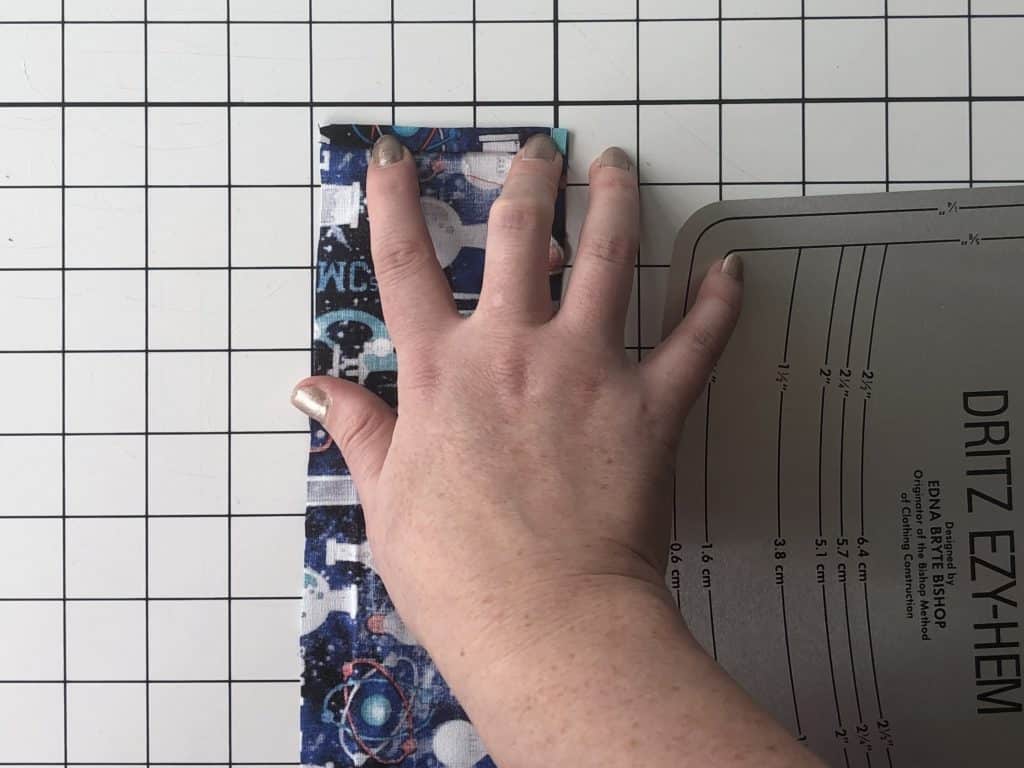
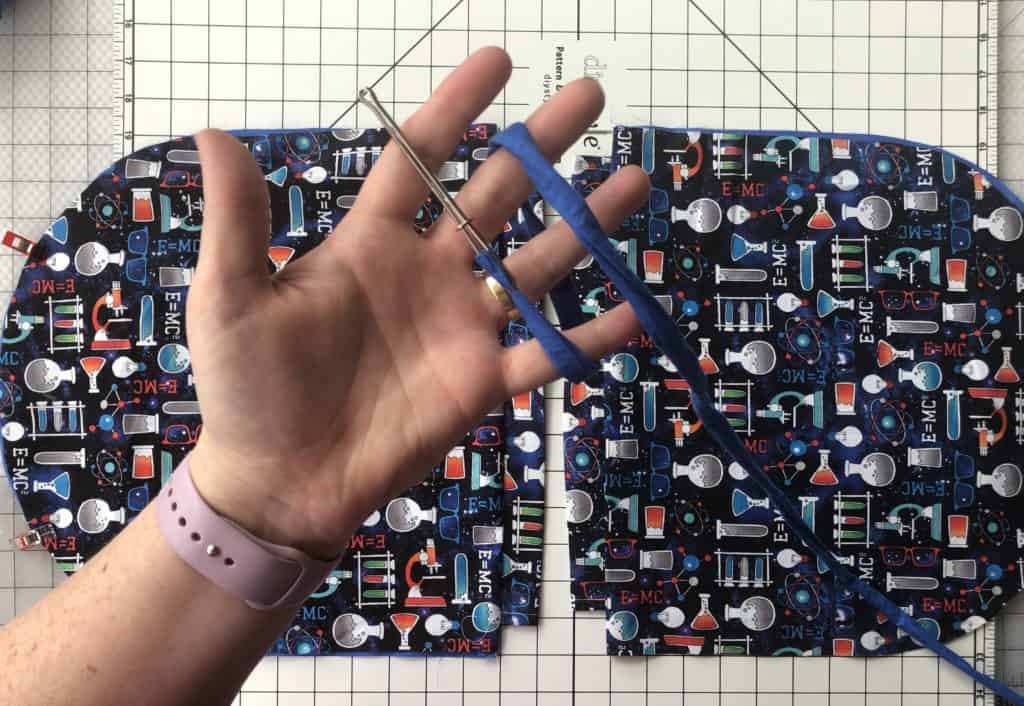
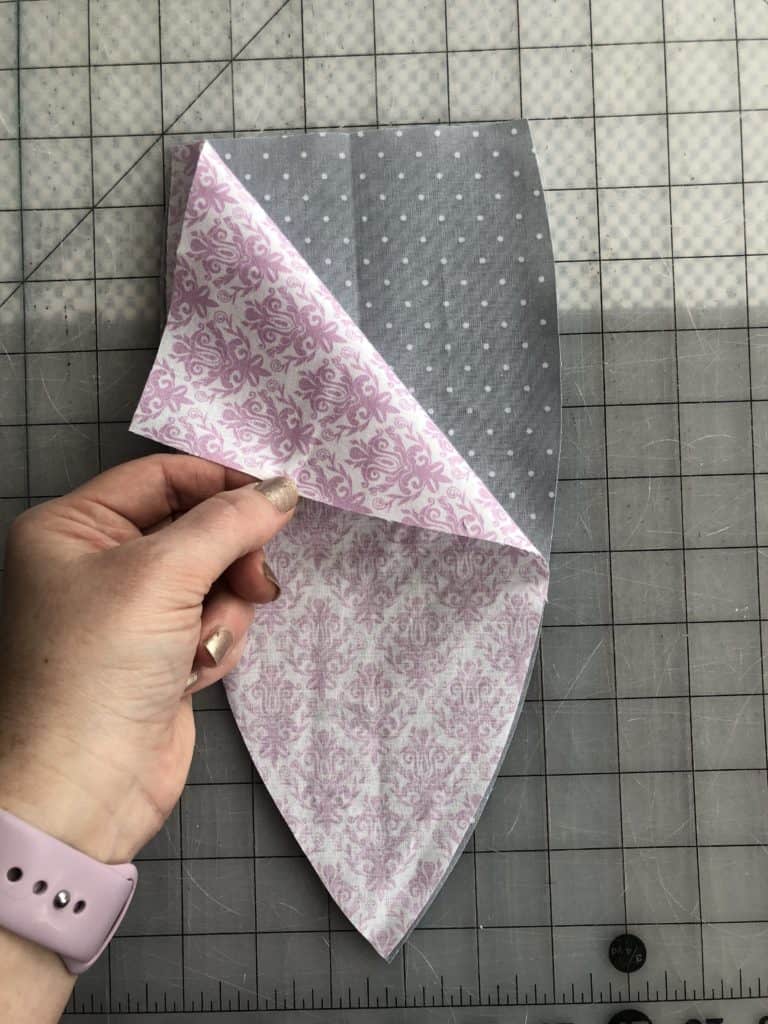
2. With one of your neck strap pieces, fold one short end 1/2″ toward wrong side and press.
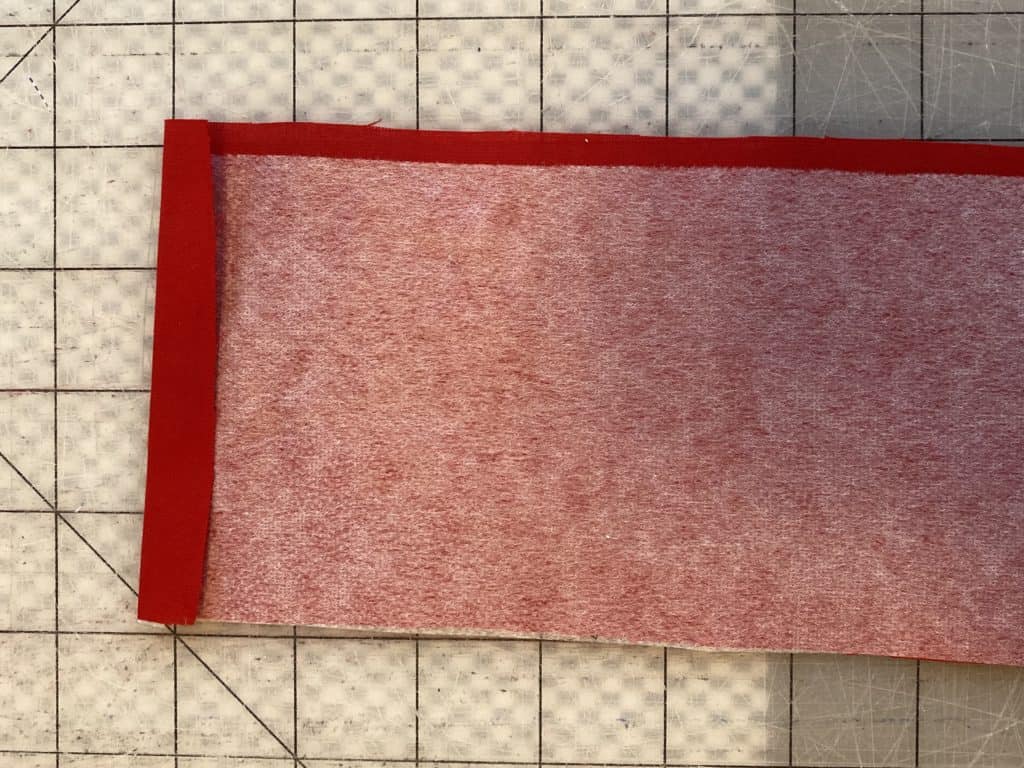
3. Lay with wrong side facing you. Fold in half, meeting the long edges together. Press.
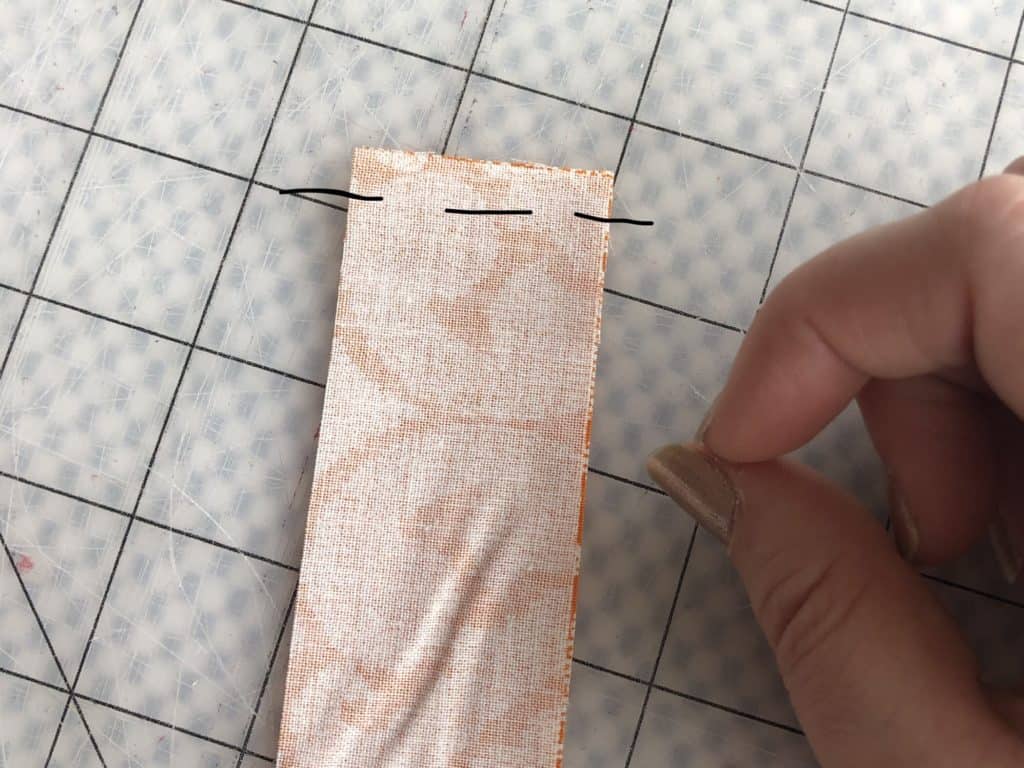
Open up your piece and fold one of the raw edges toward the middle crease you just made.
Repeat with the second raw edge. Press.
Fold along middle crease, meeting both folded edges. All of your raw edges will be fully enclosed now.
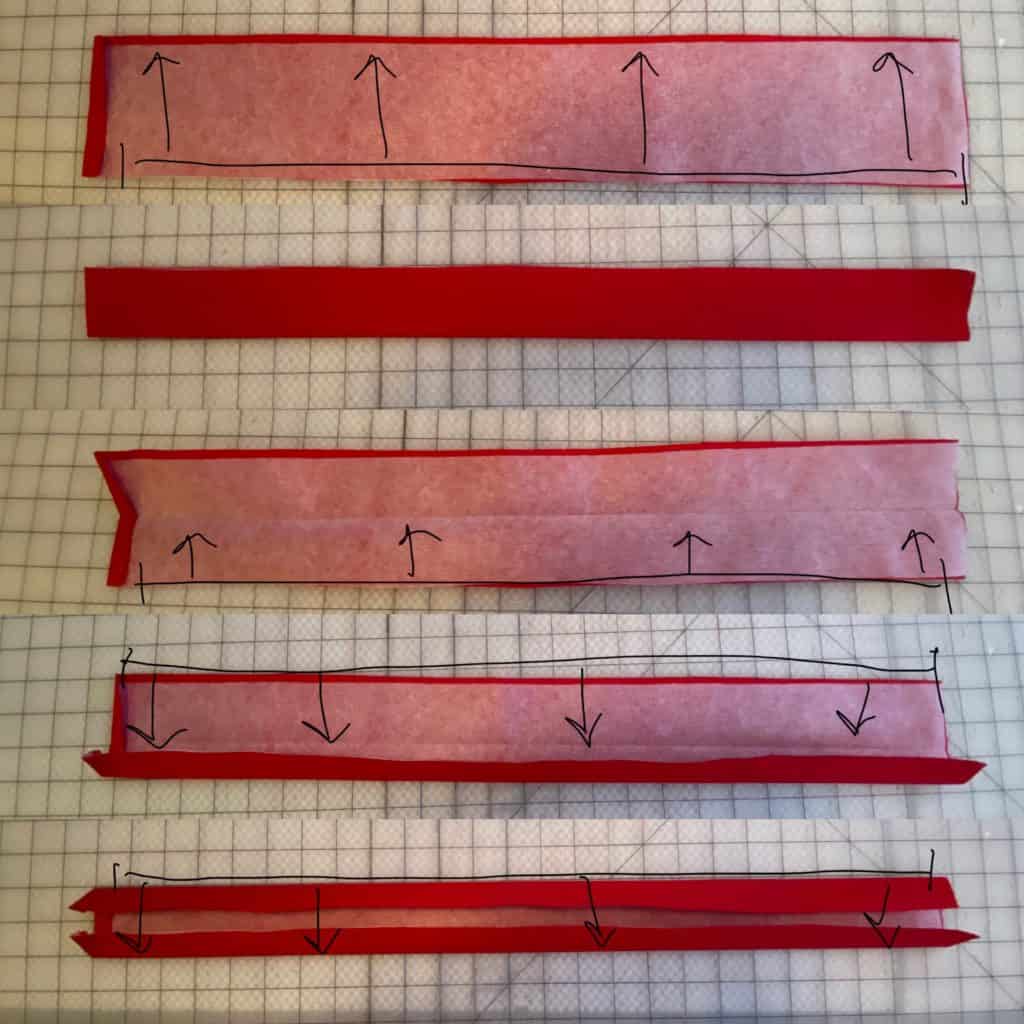
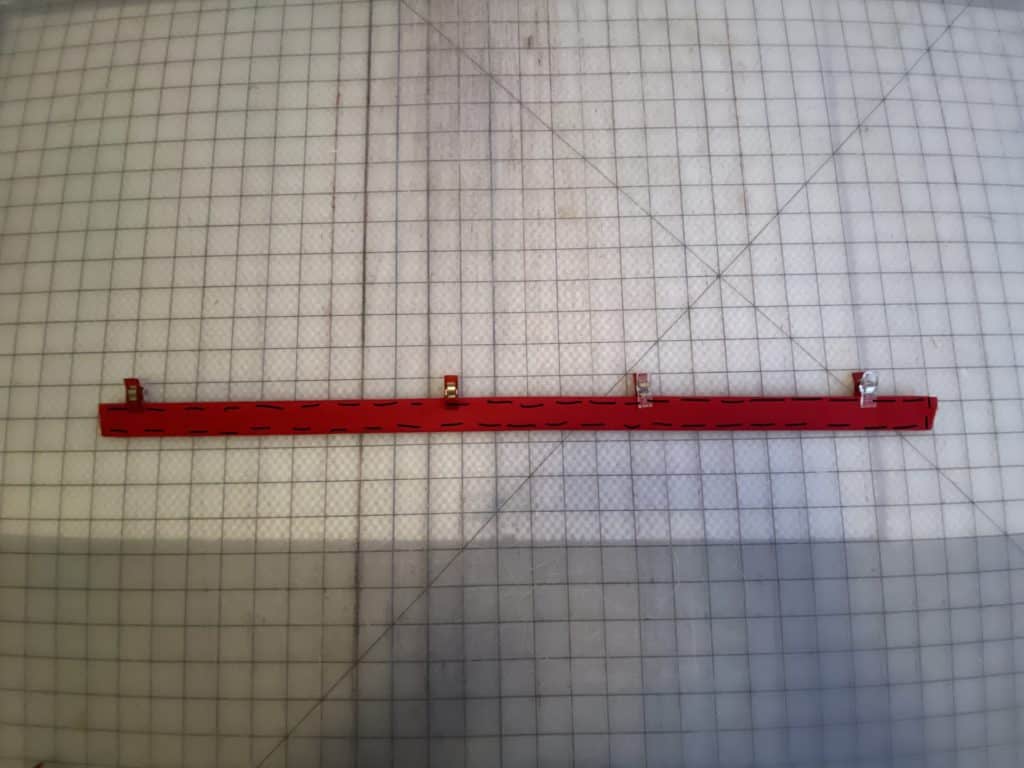
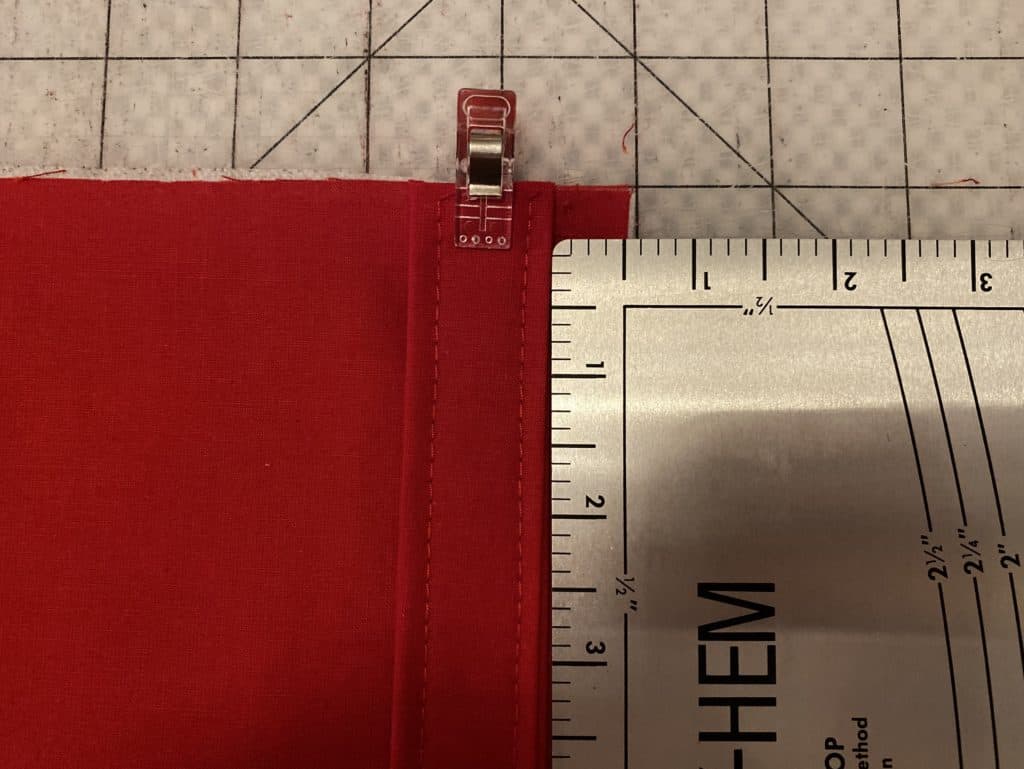
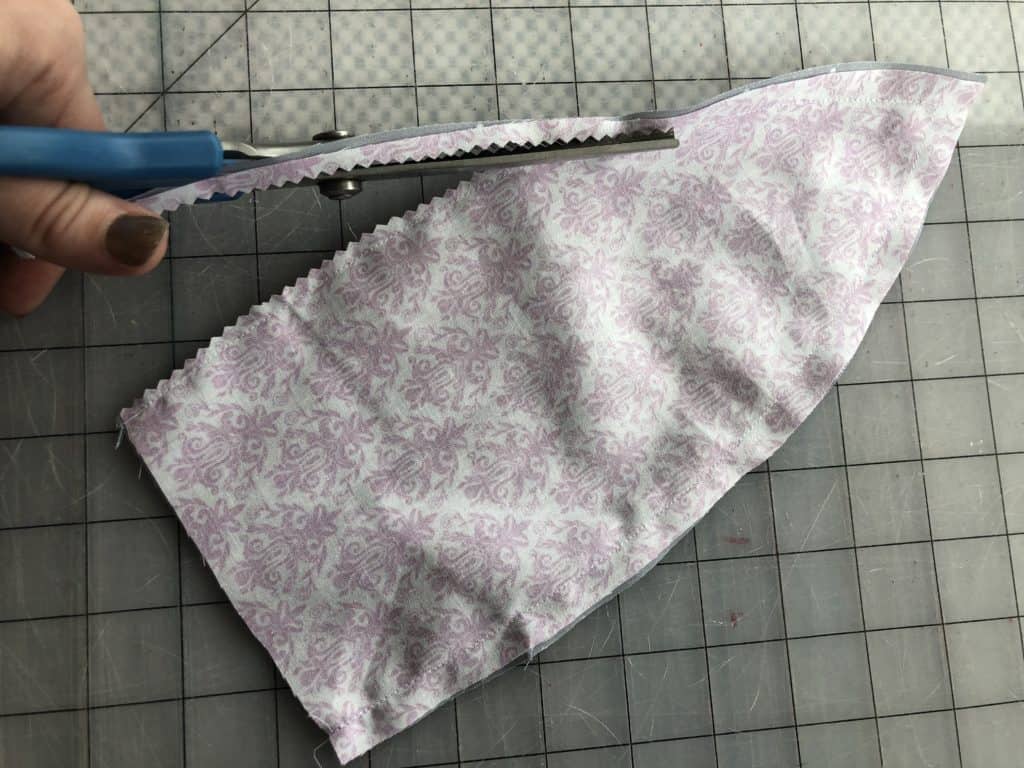
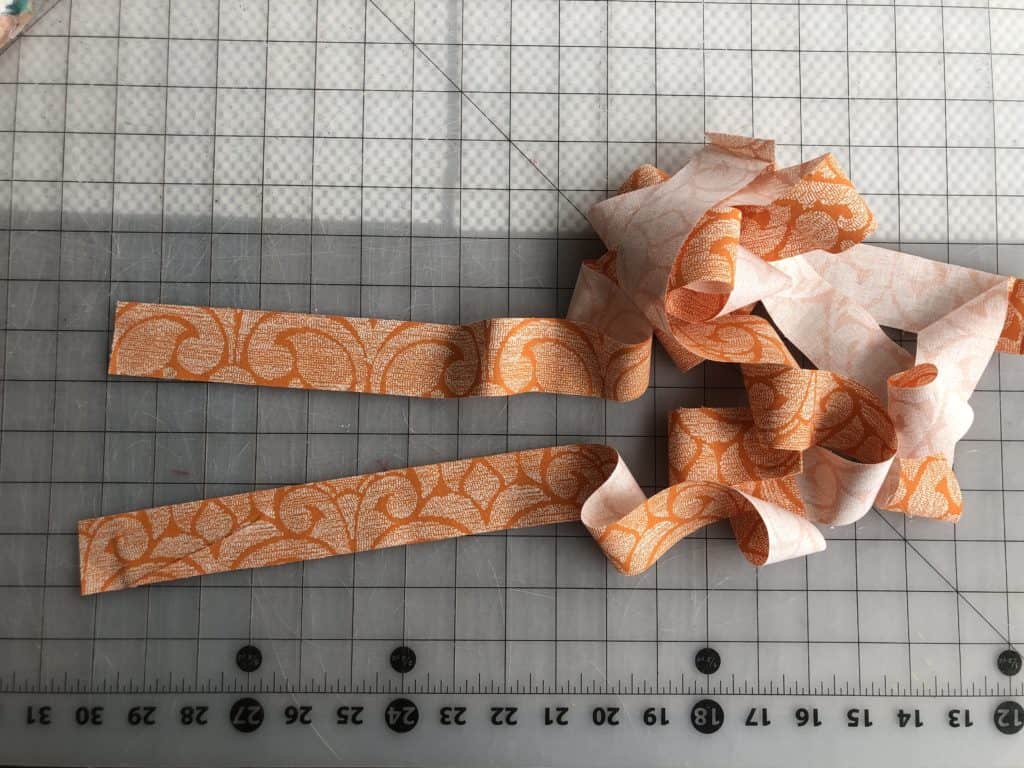
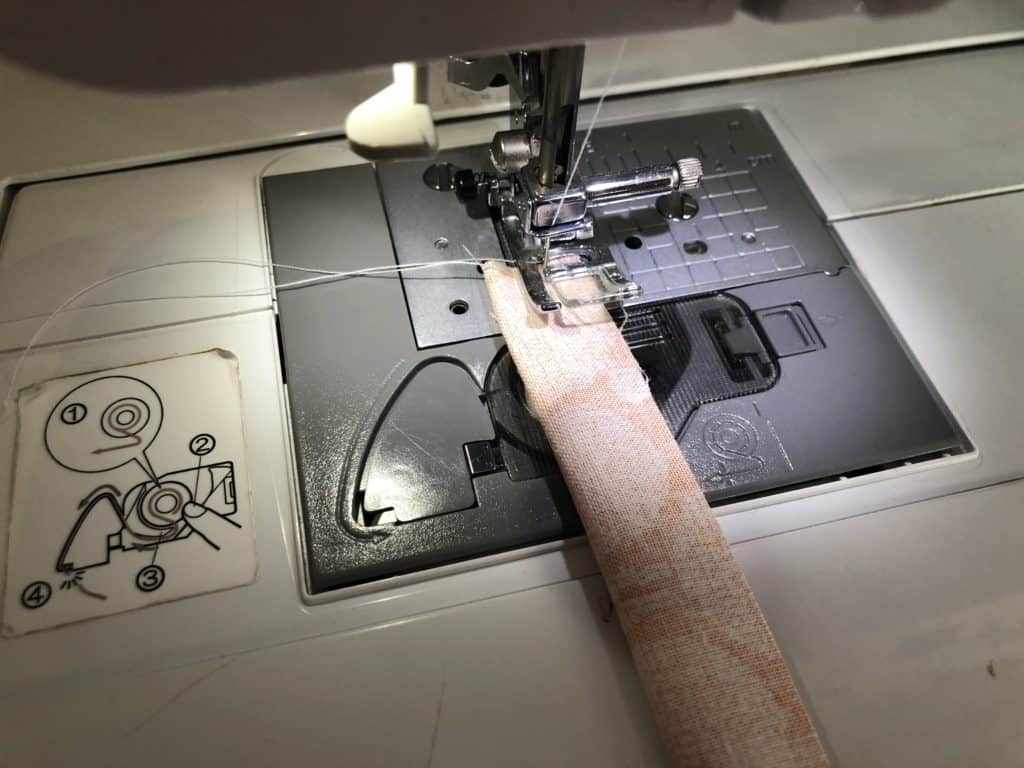
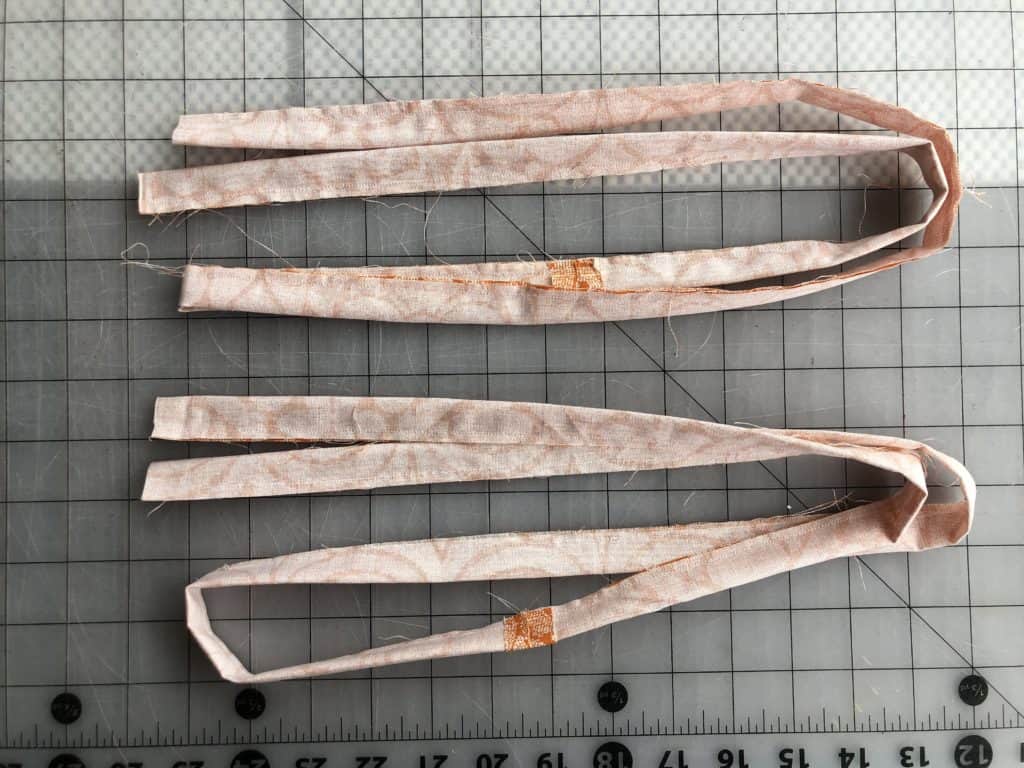
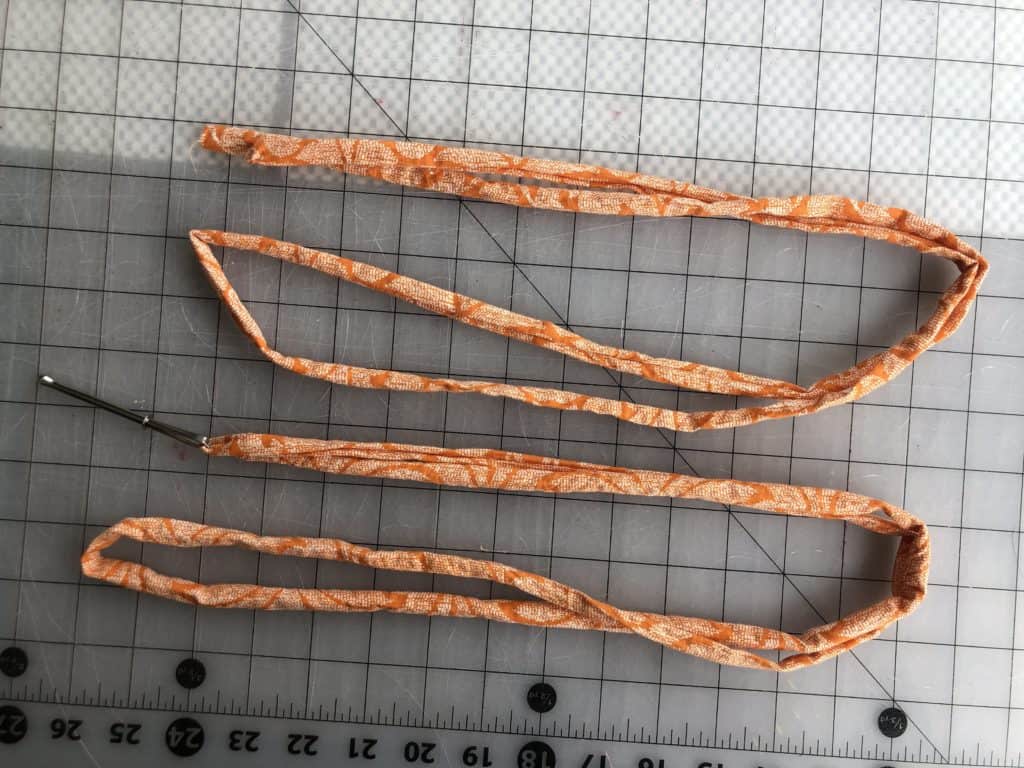
4. Press your strap piece. Edge stitch along both long, outer edges and one short edge.
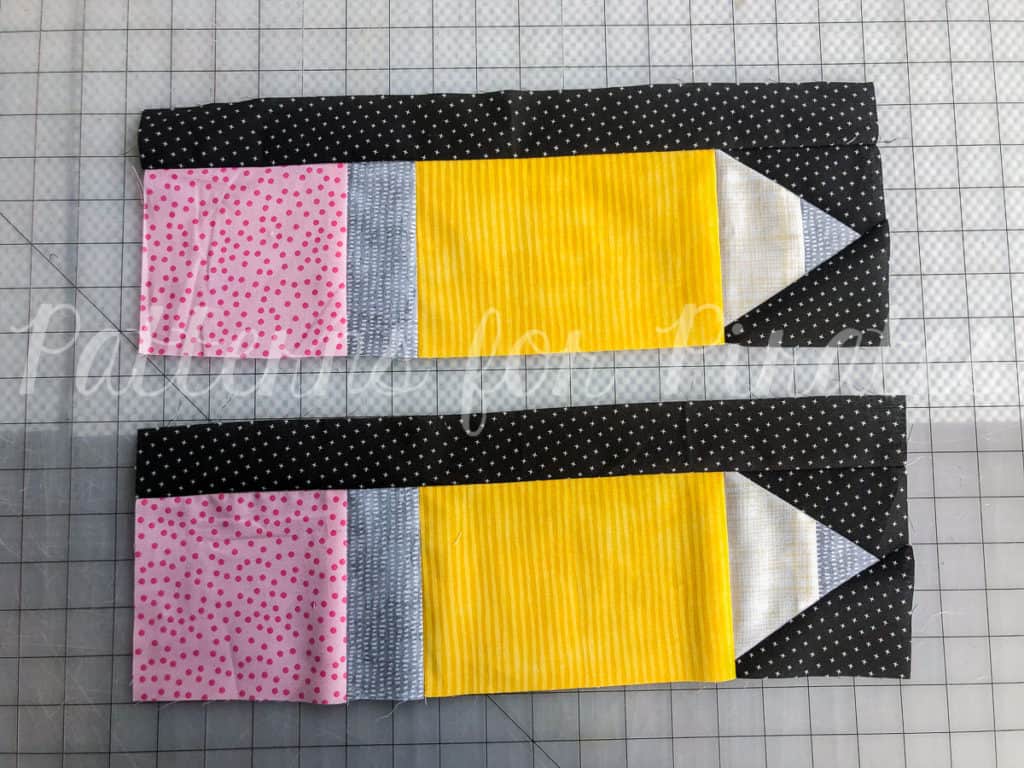
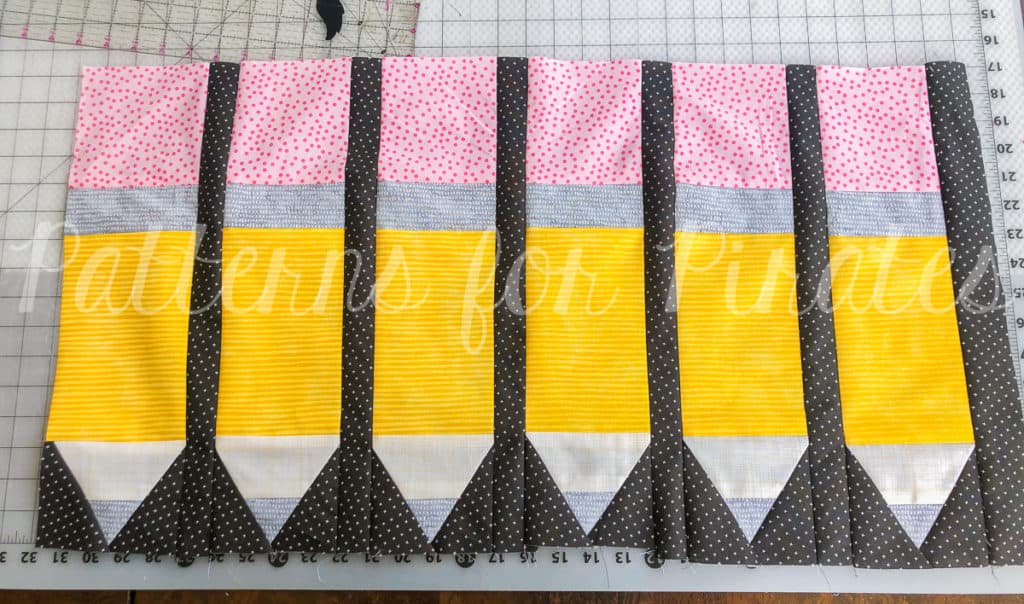
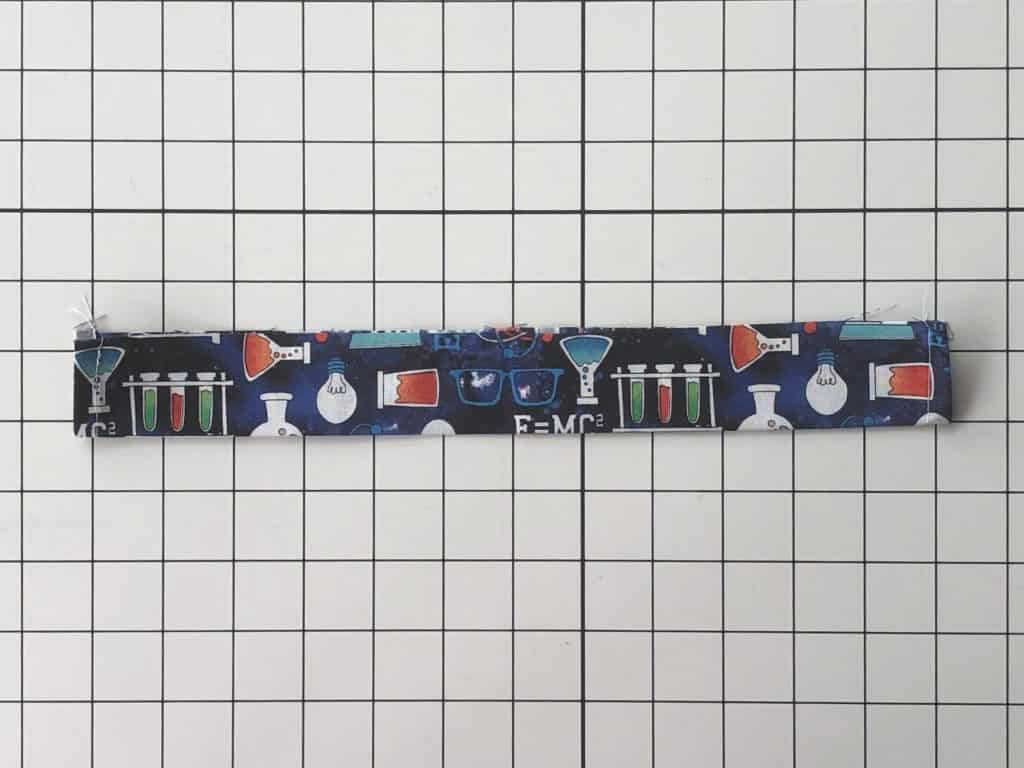
**Repeat with second neck strap and both waist straps.
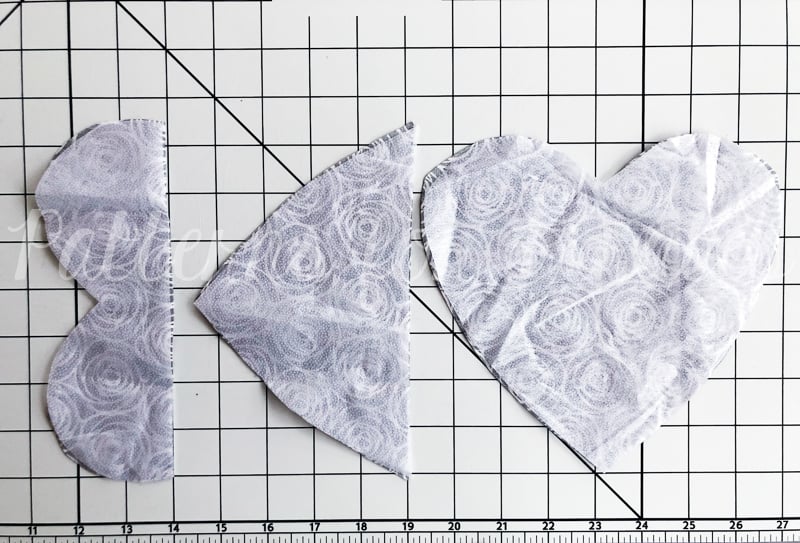
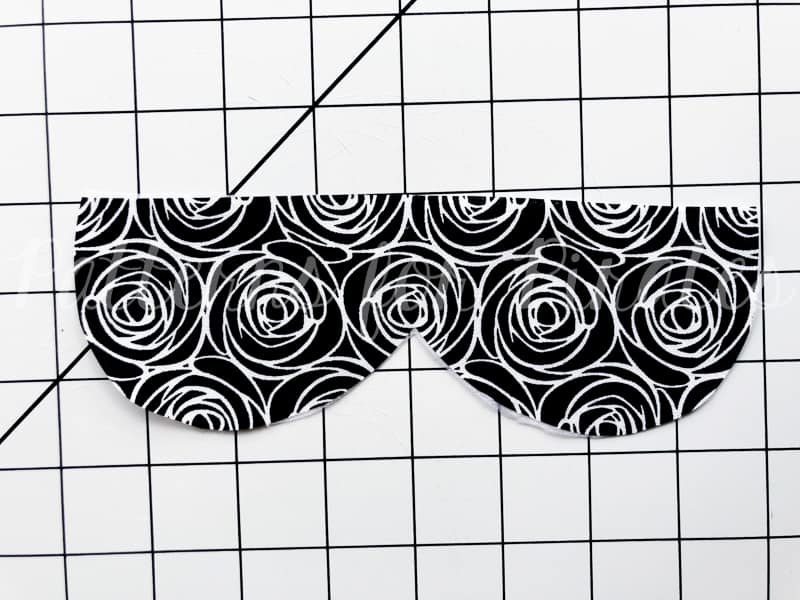
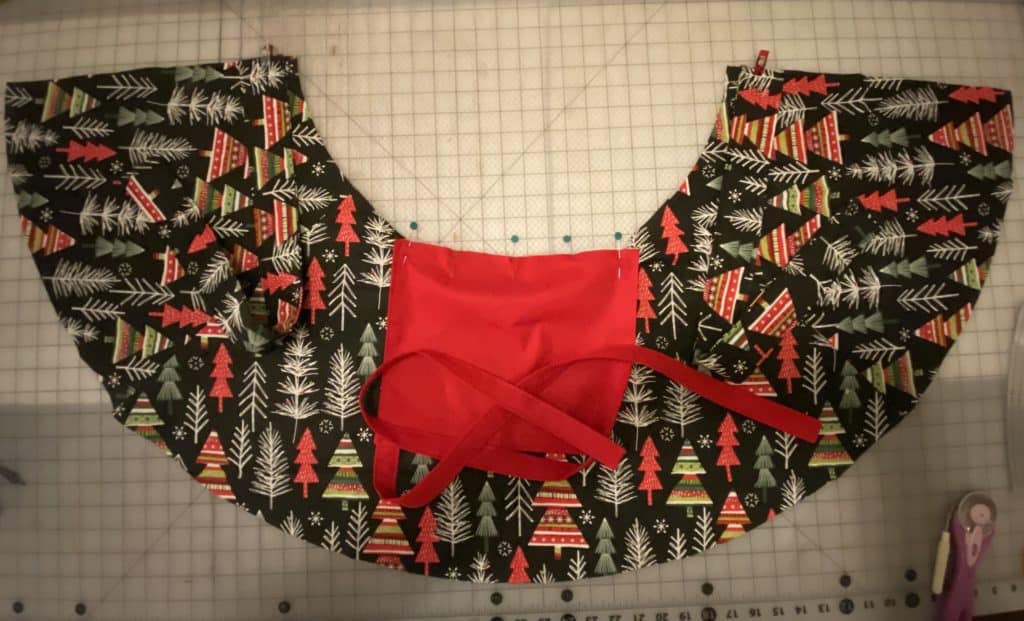
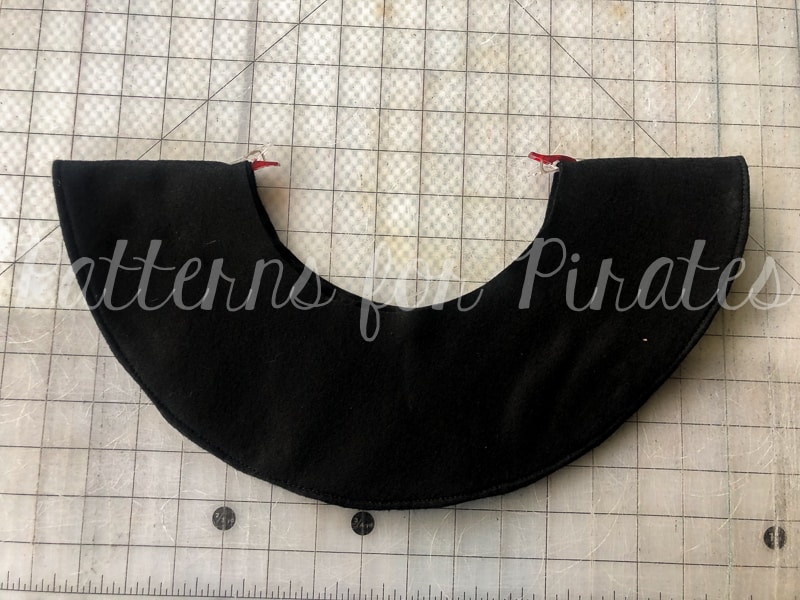
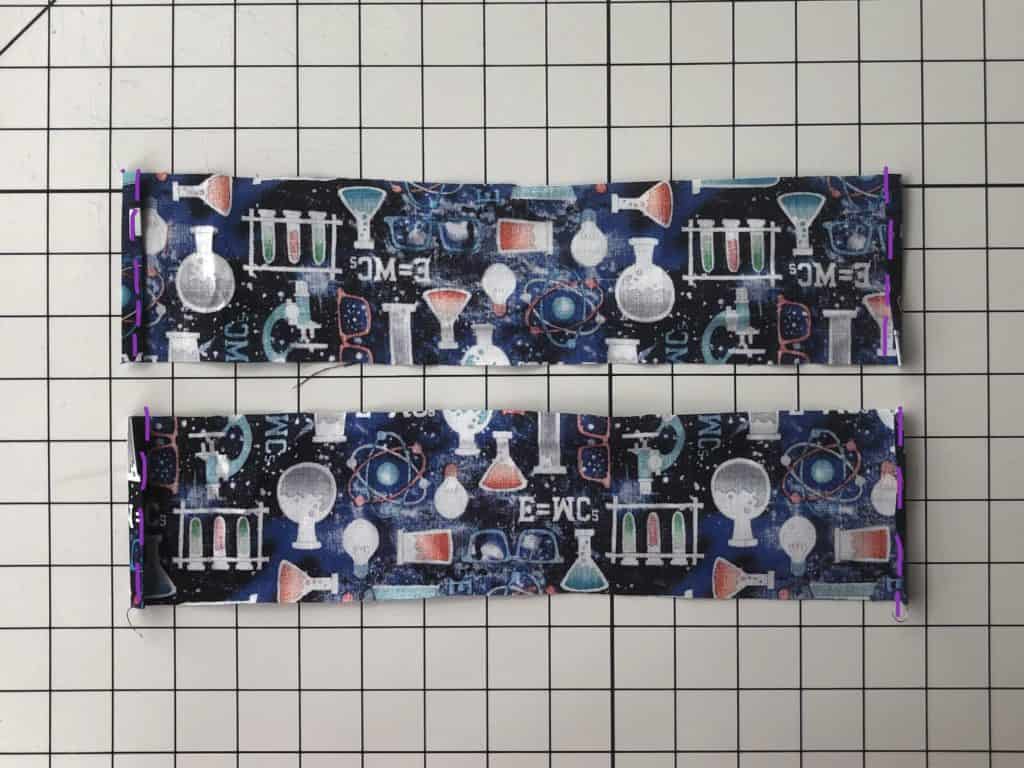
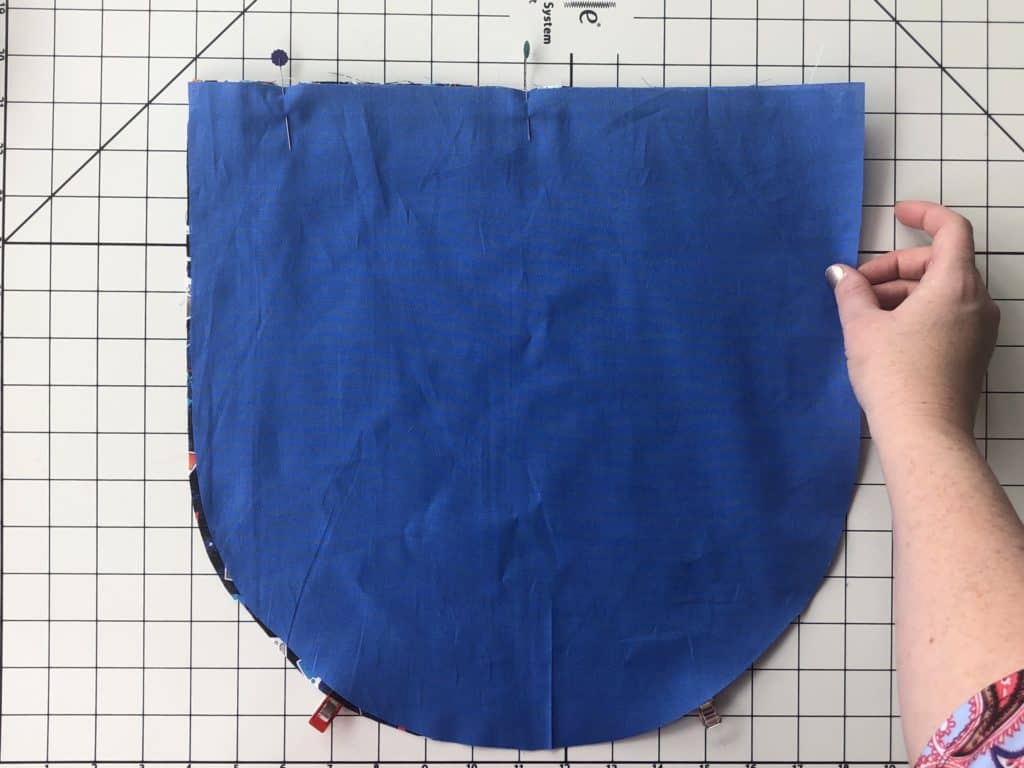
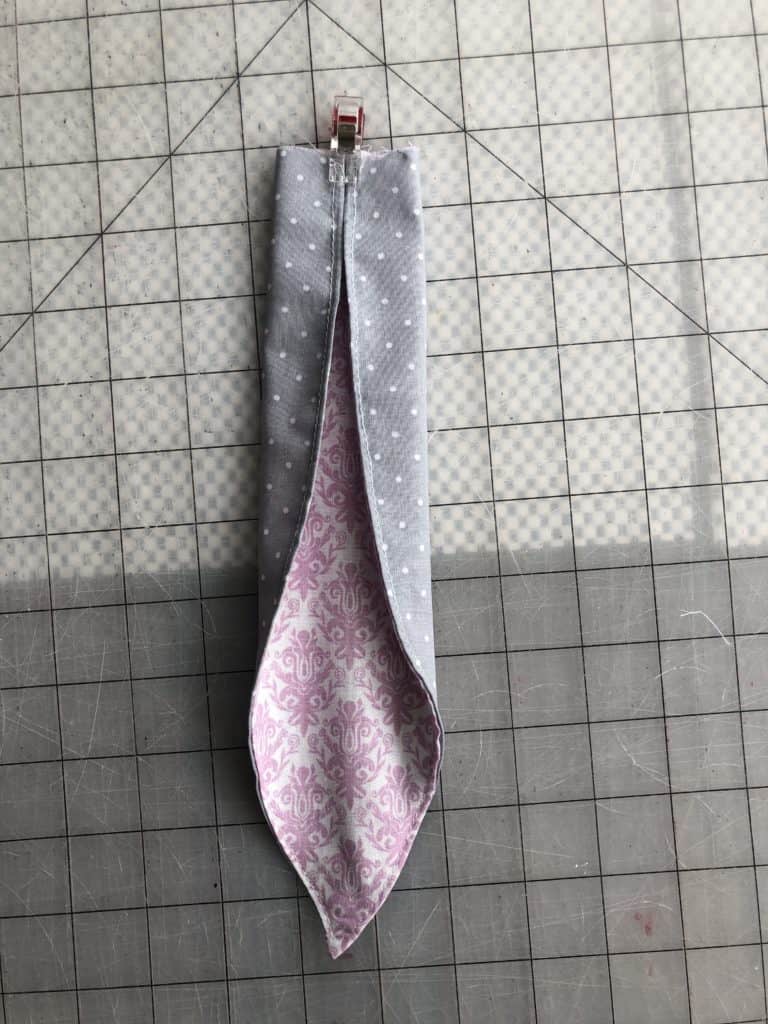
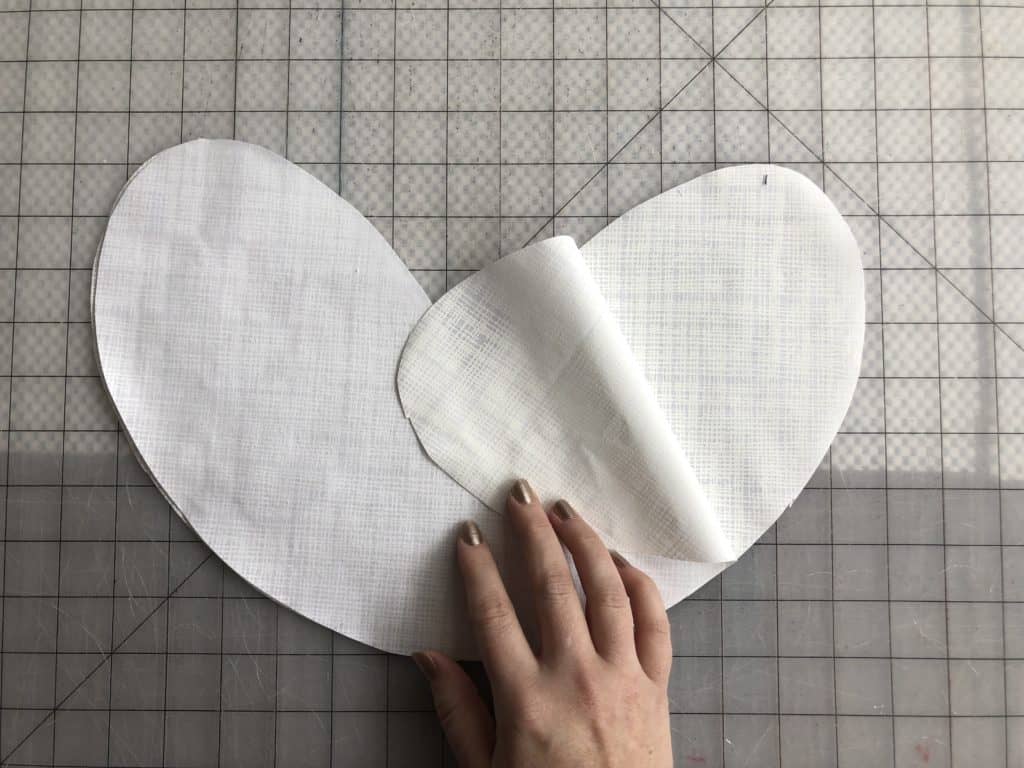
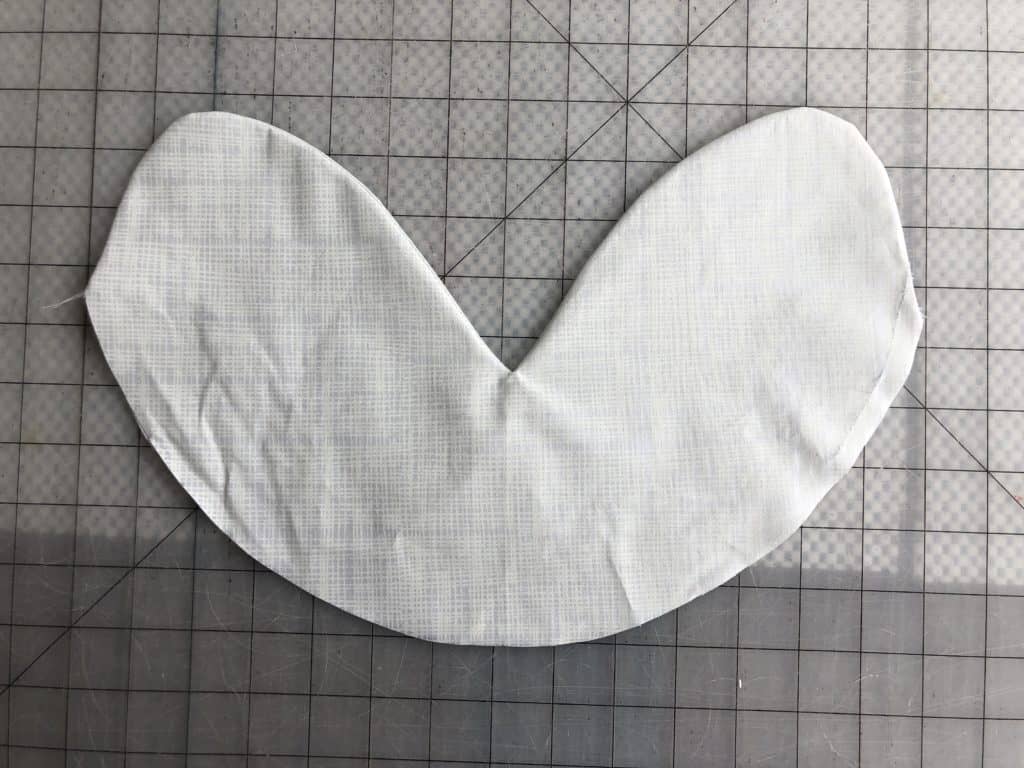
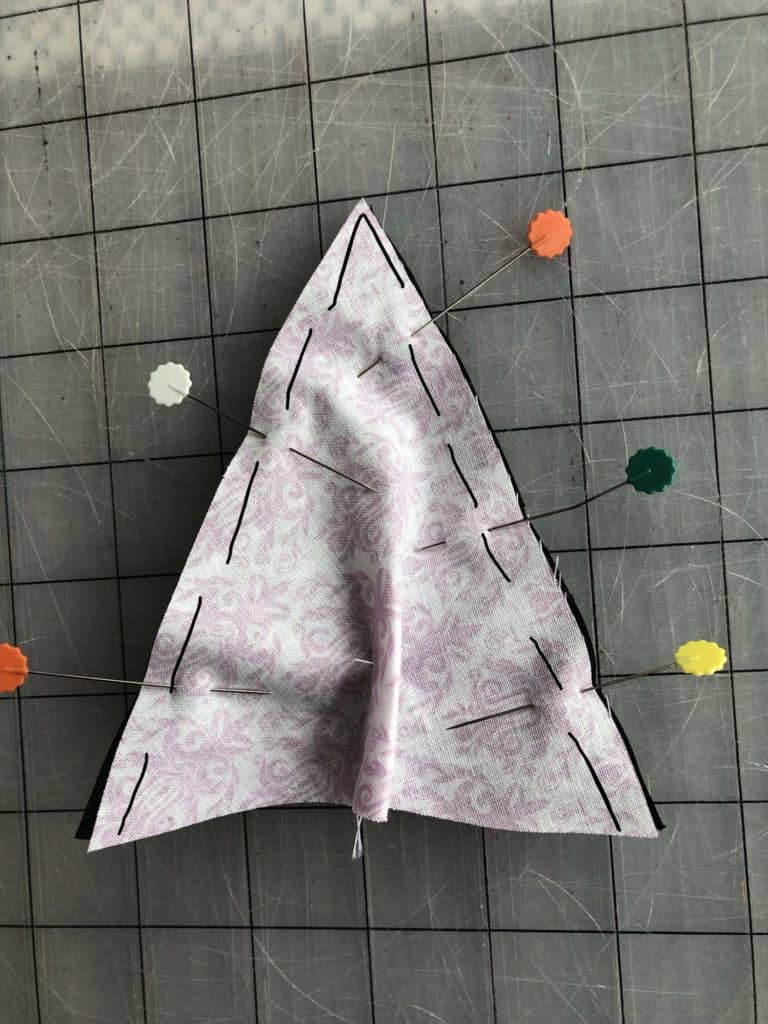
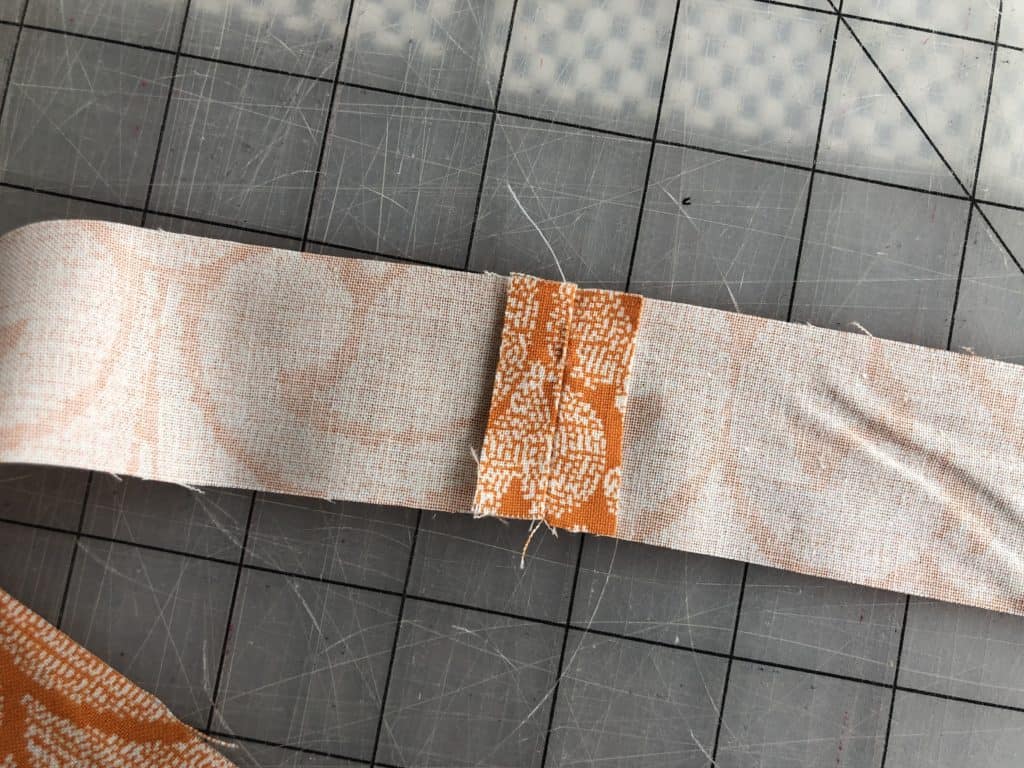
5. Place bib lining piece, face up.
6. Place one neck strap piece 1/2″ from edge, at the top of bib piece.
7. Repeat with second neck strap, on opposite side of the bib piece. Baste in place.
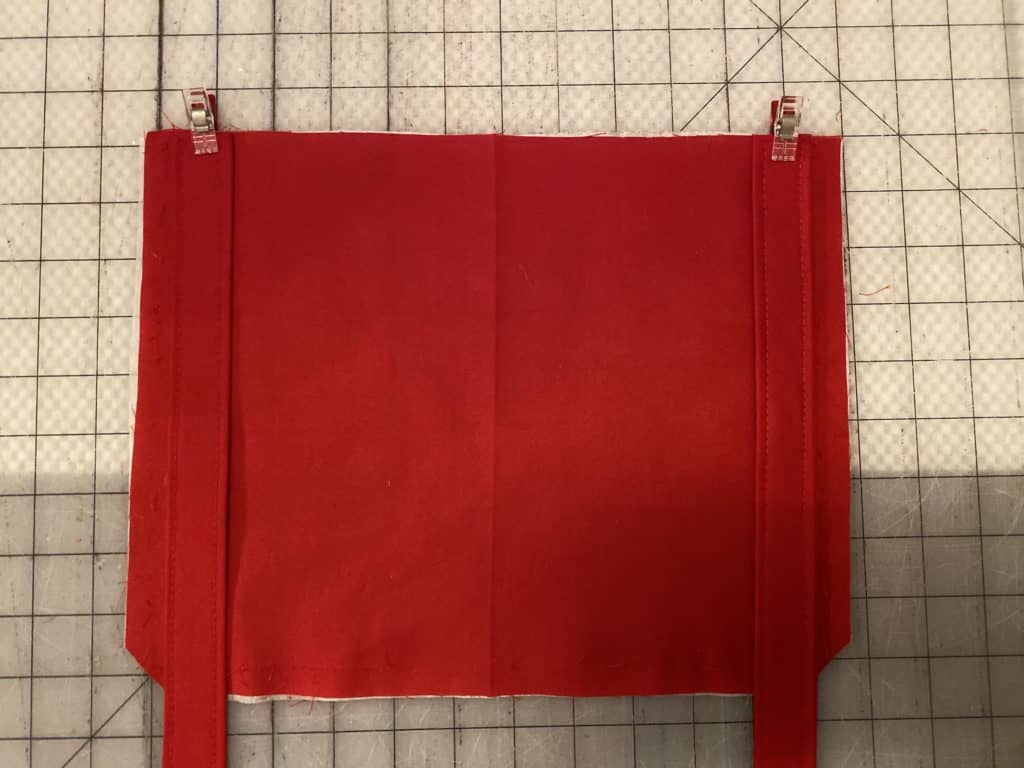
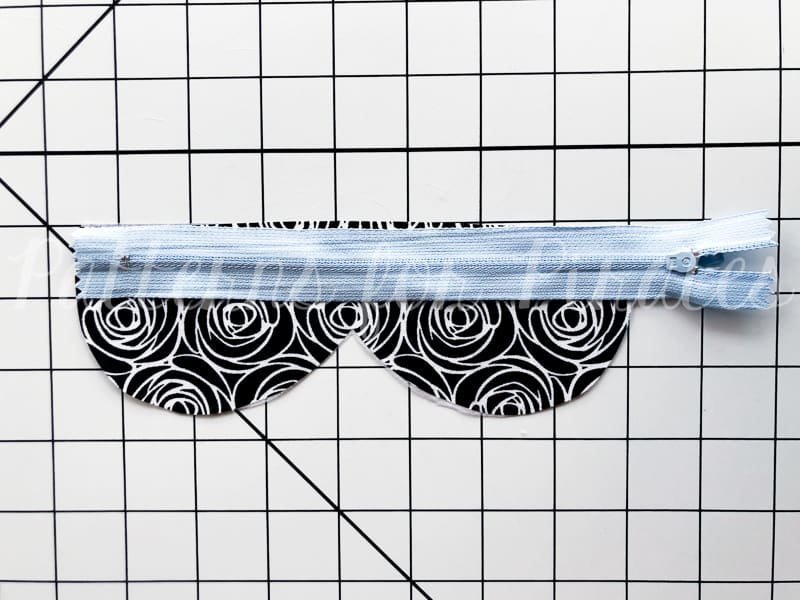
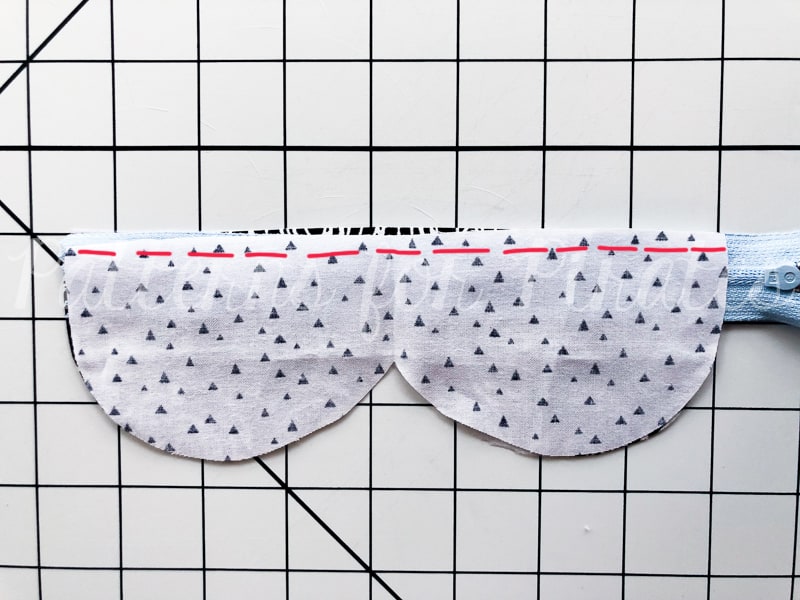
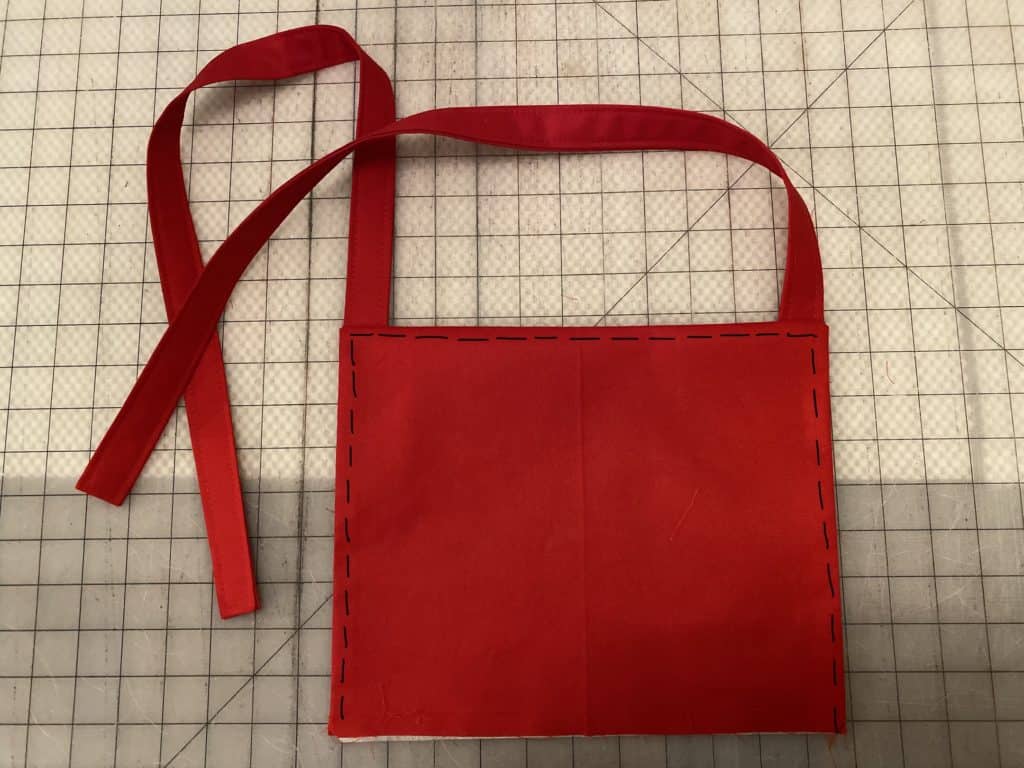
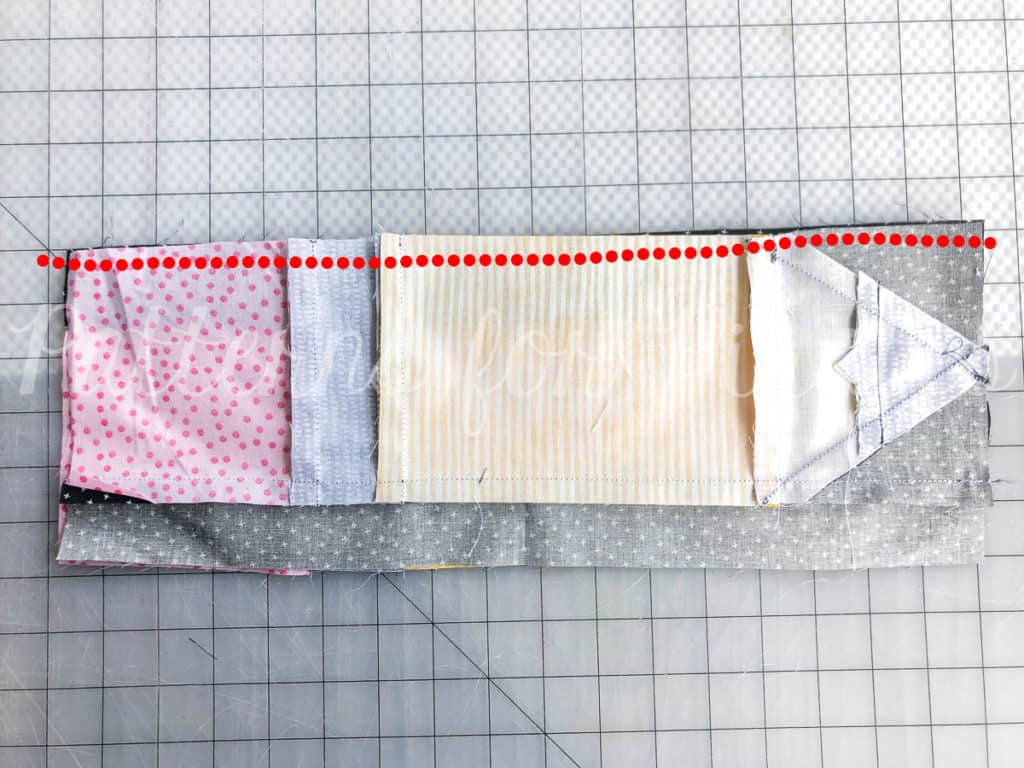
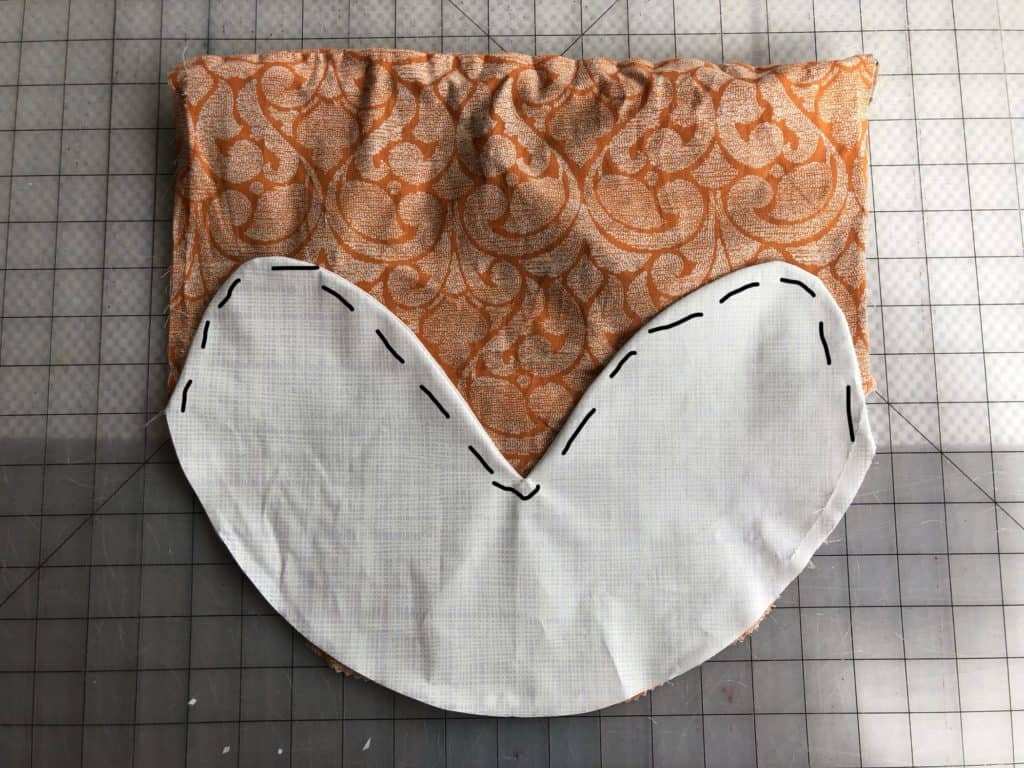
8. Place main bib piece on top, right sides together, sandwiching the neck straps between the two bib pieces. Sew along both sides and top edge.
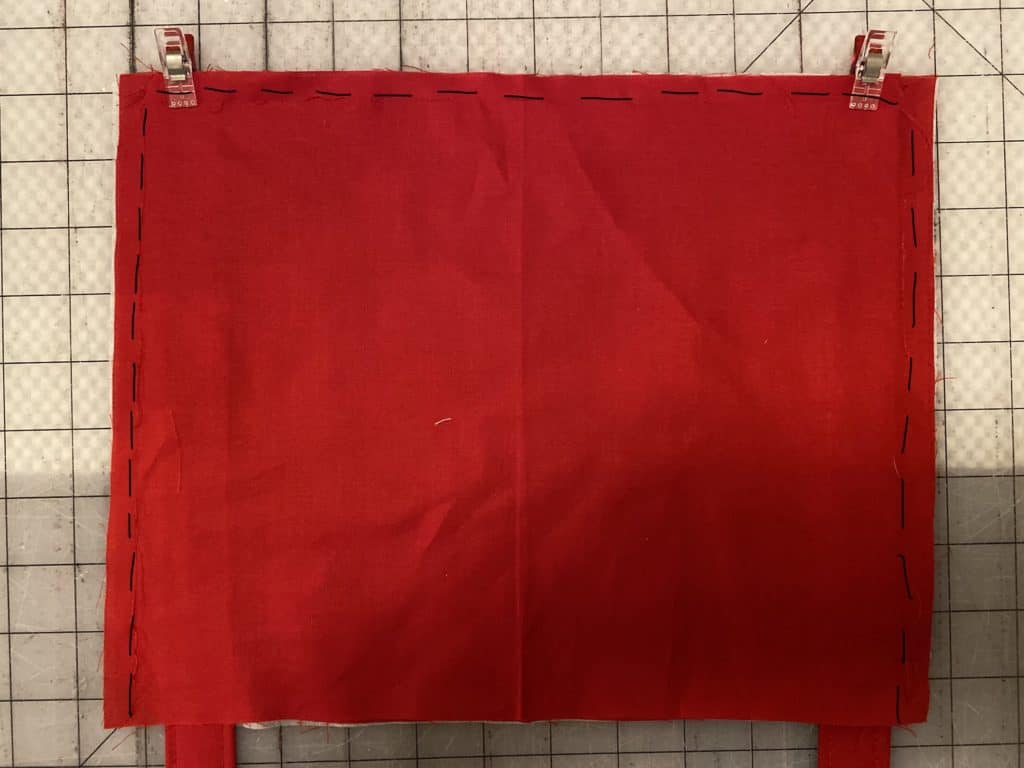
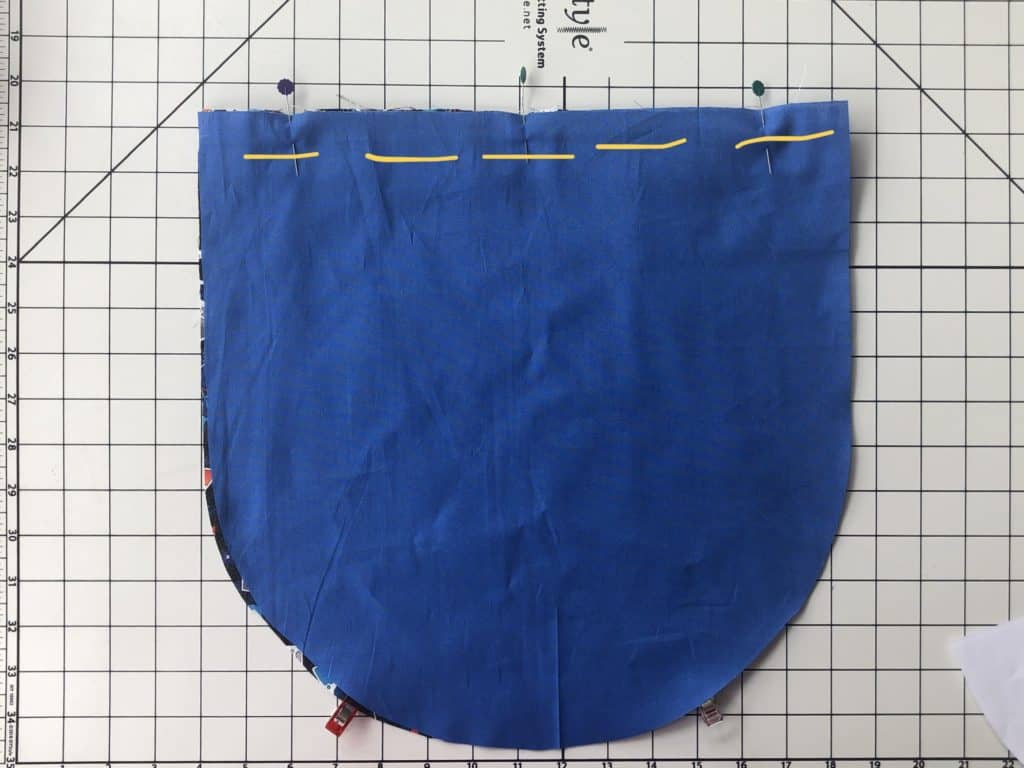
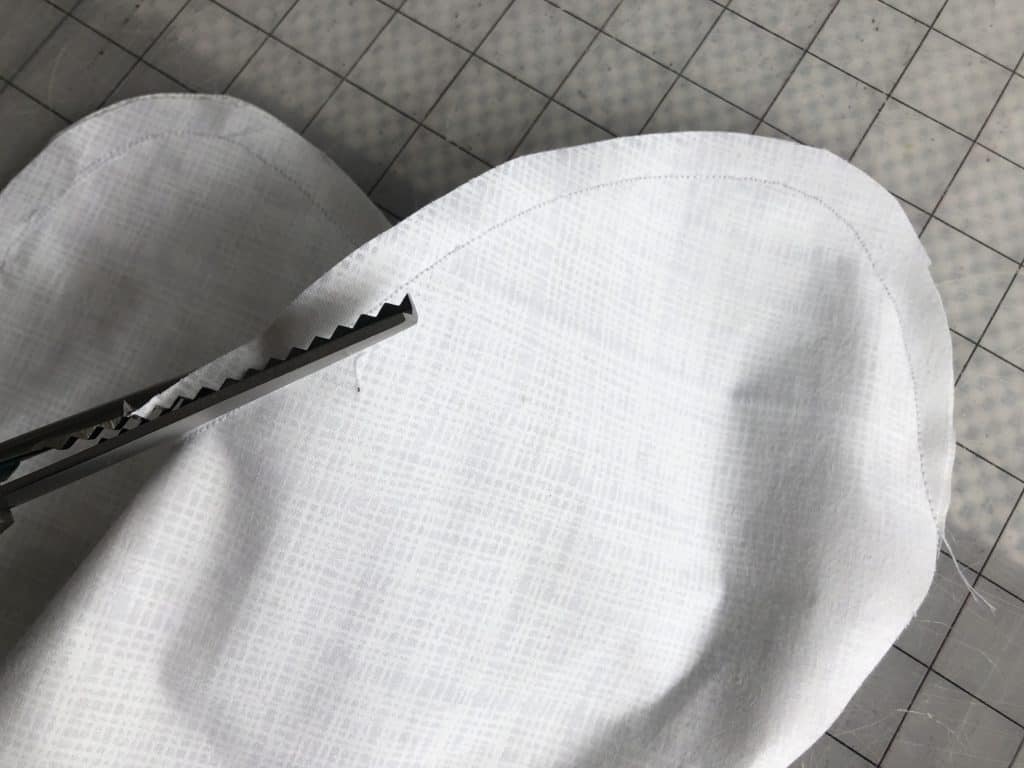
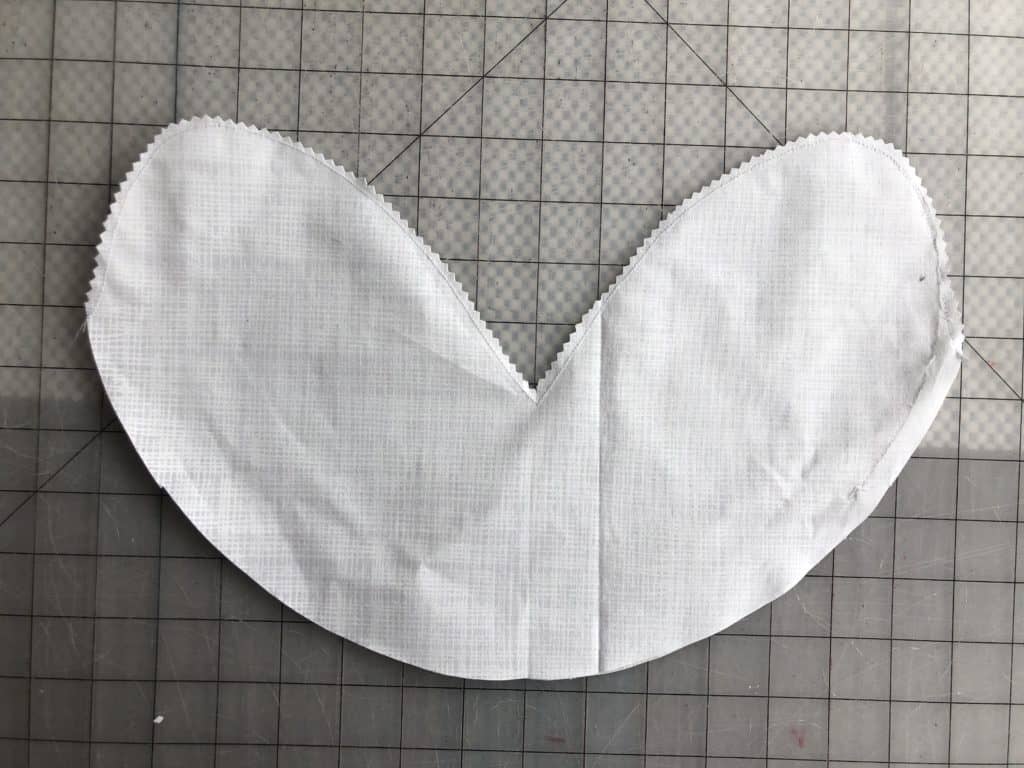
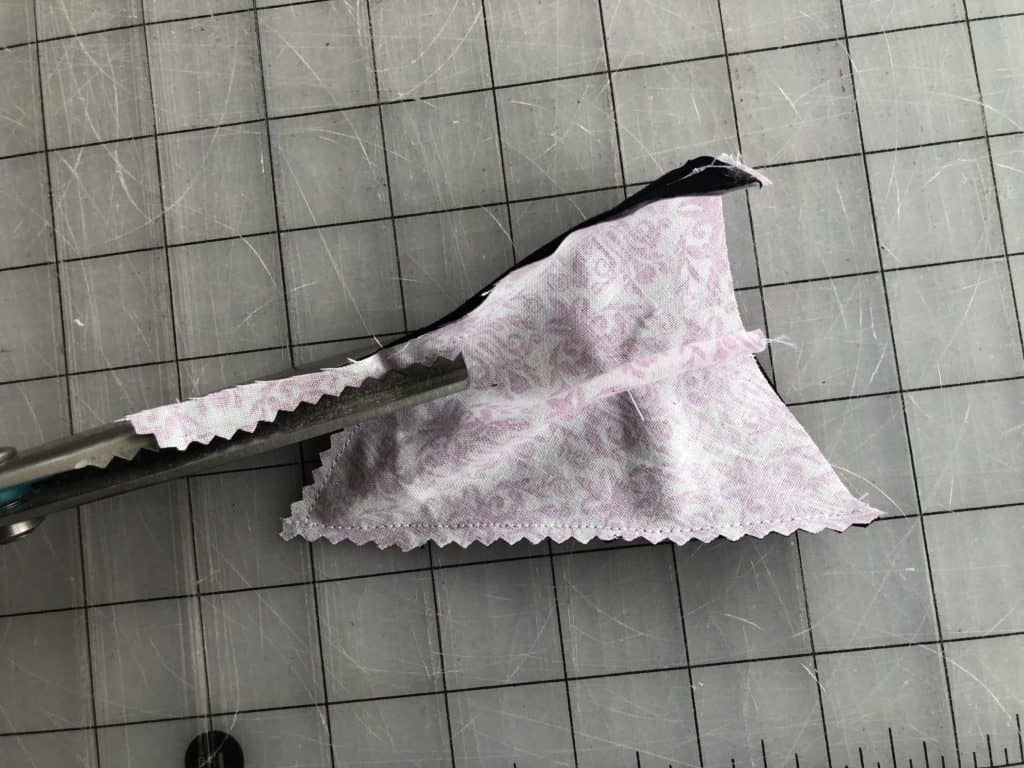
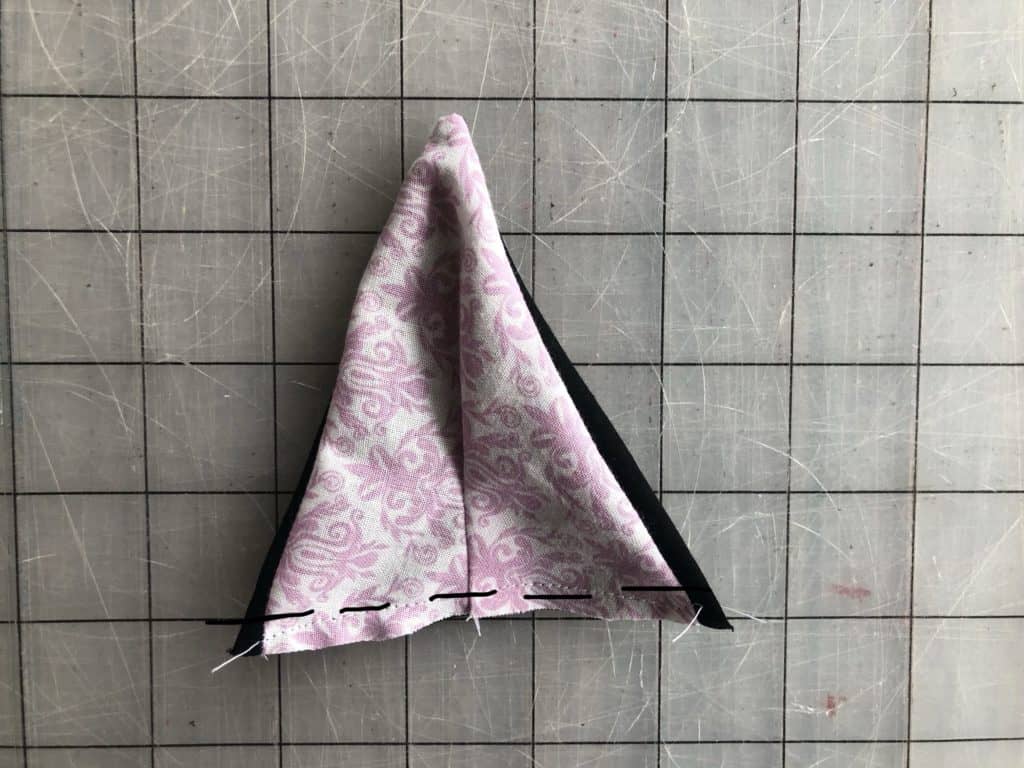
9. Turn right side out, press. Top stitch along top and sides.
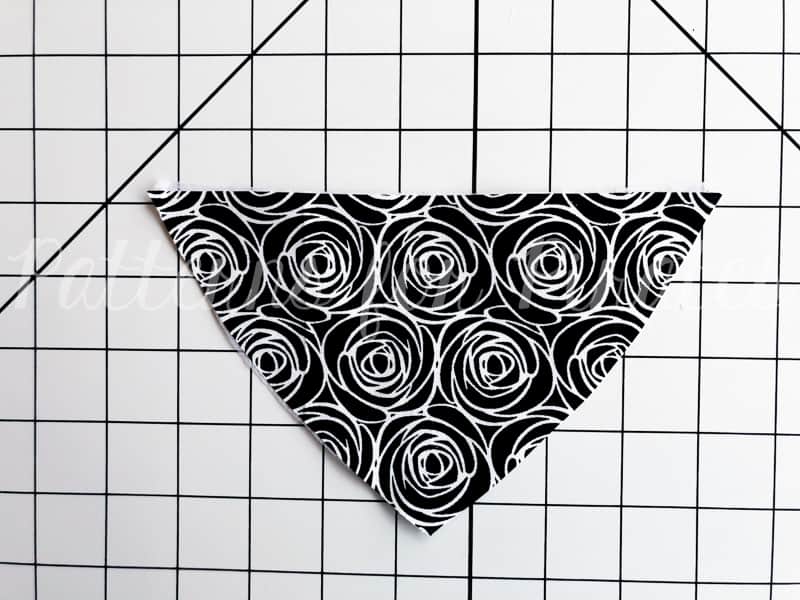
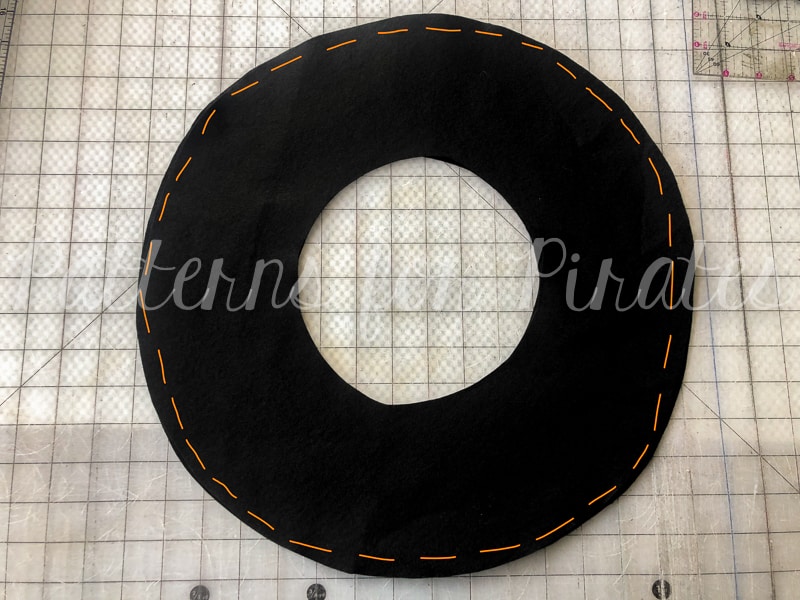
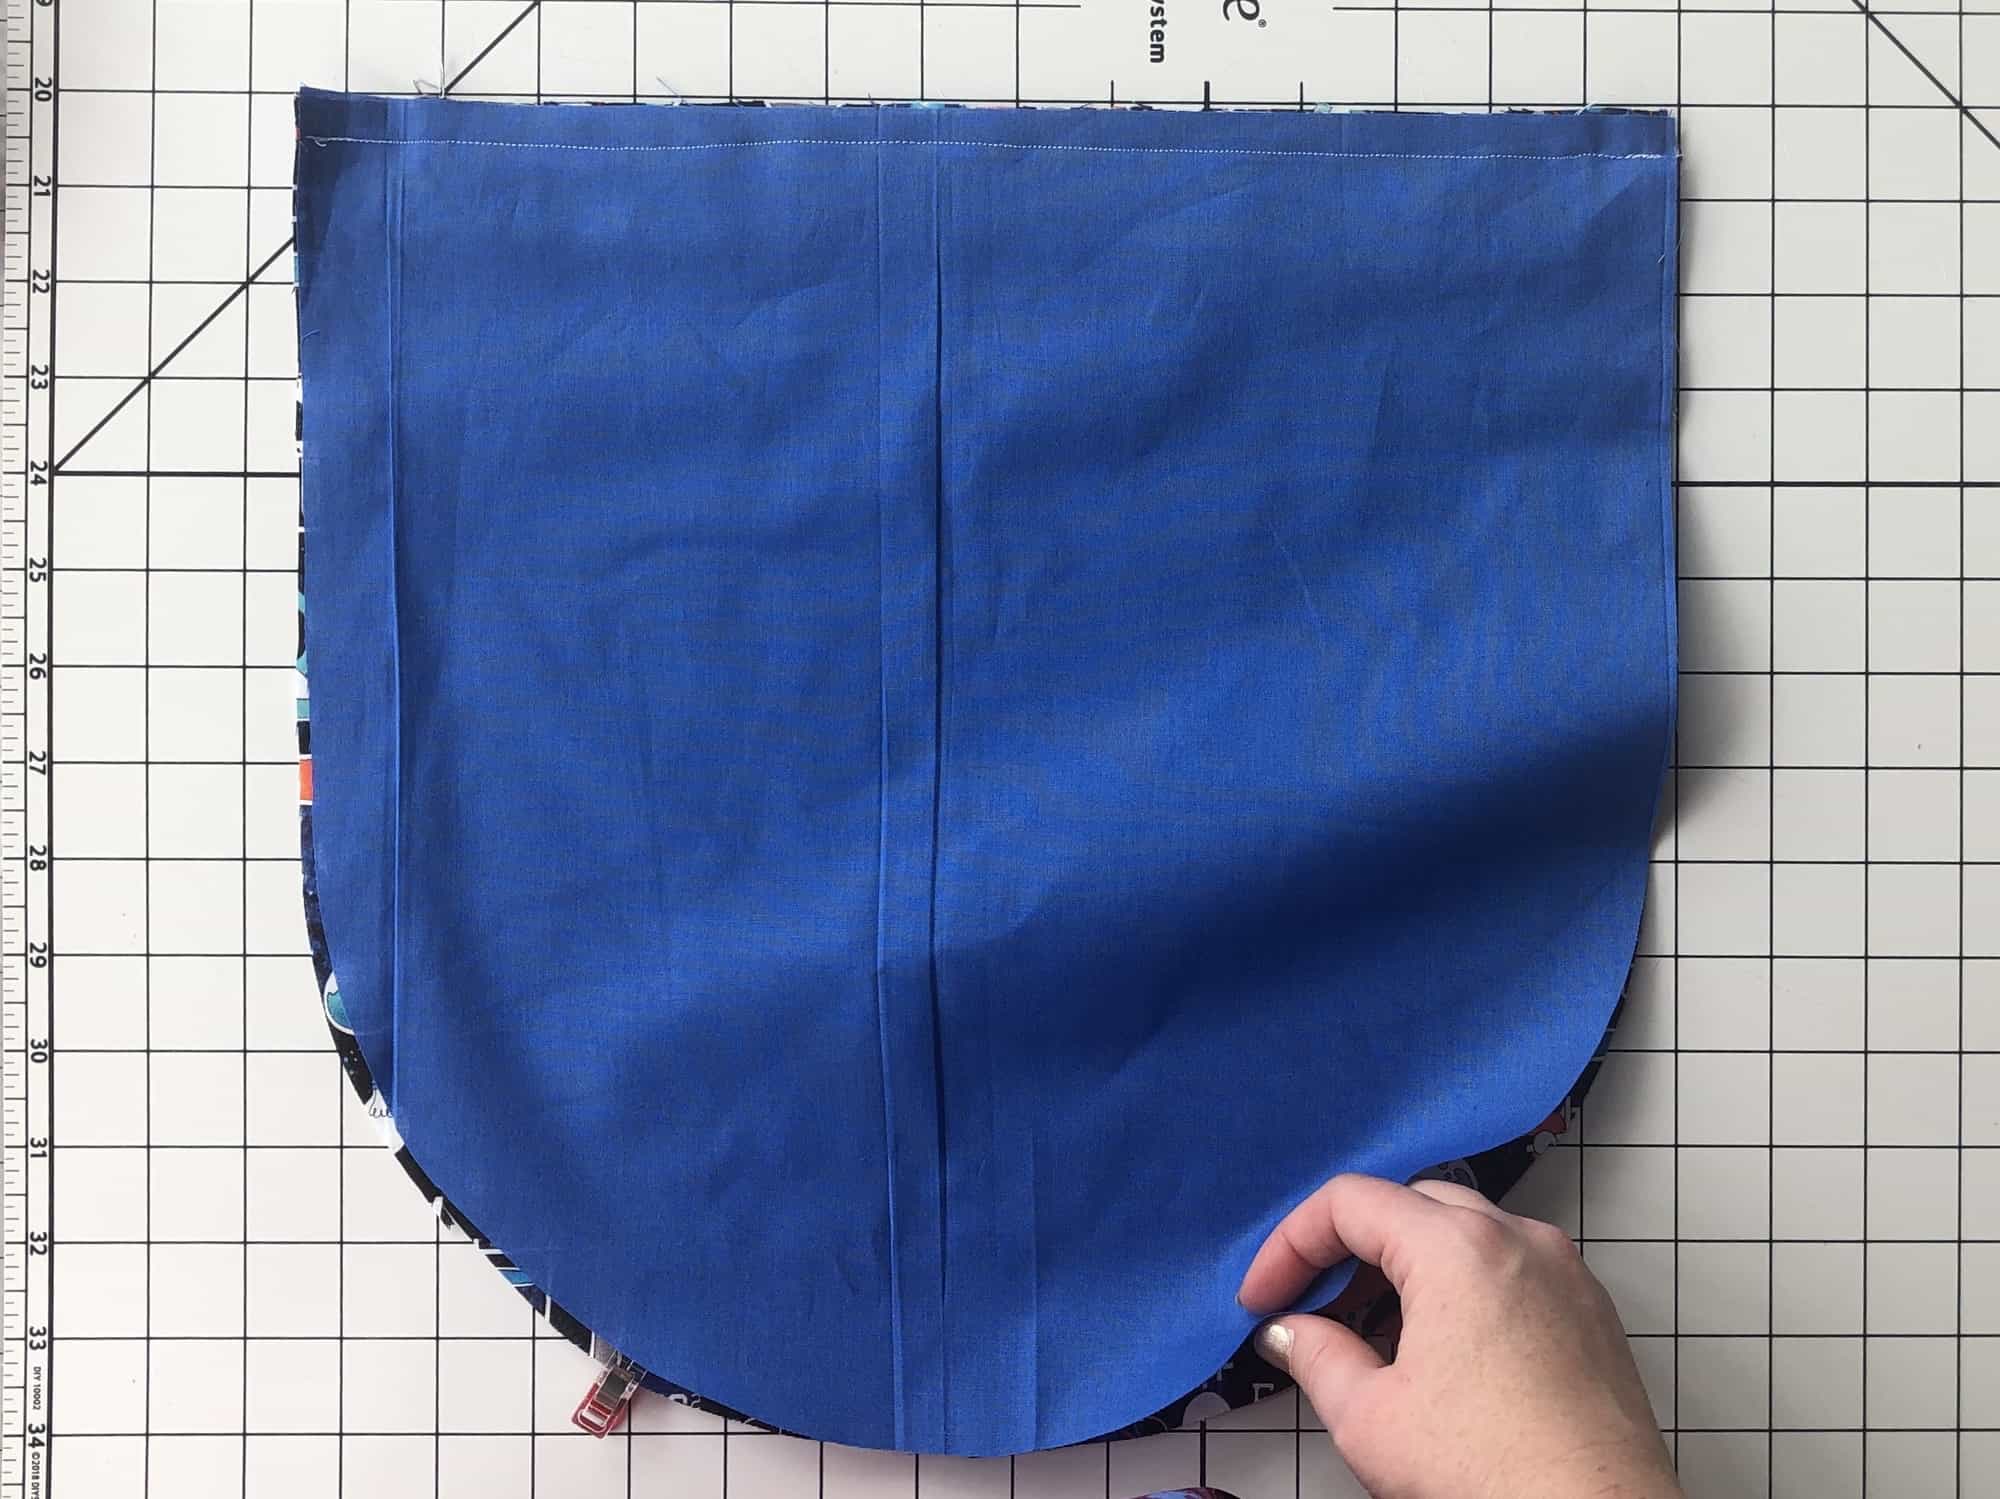
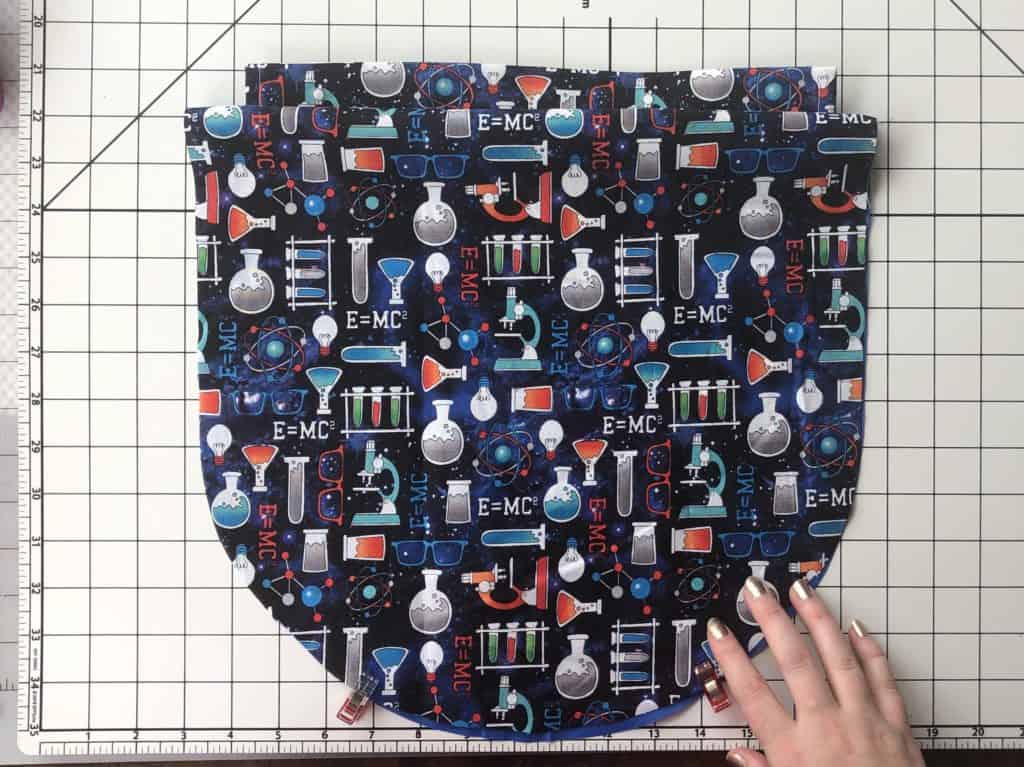
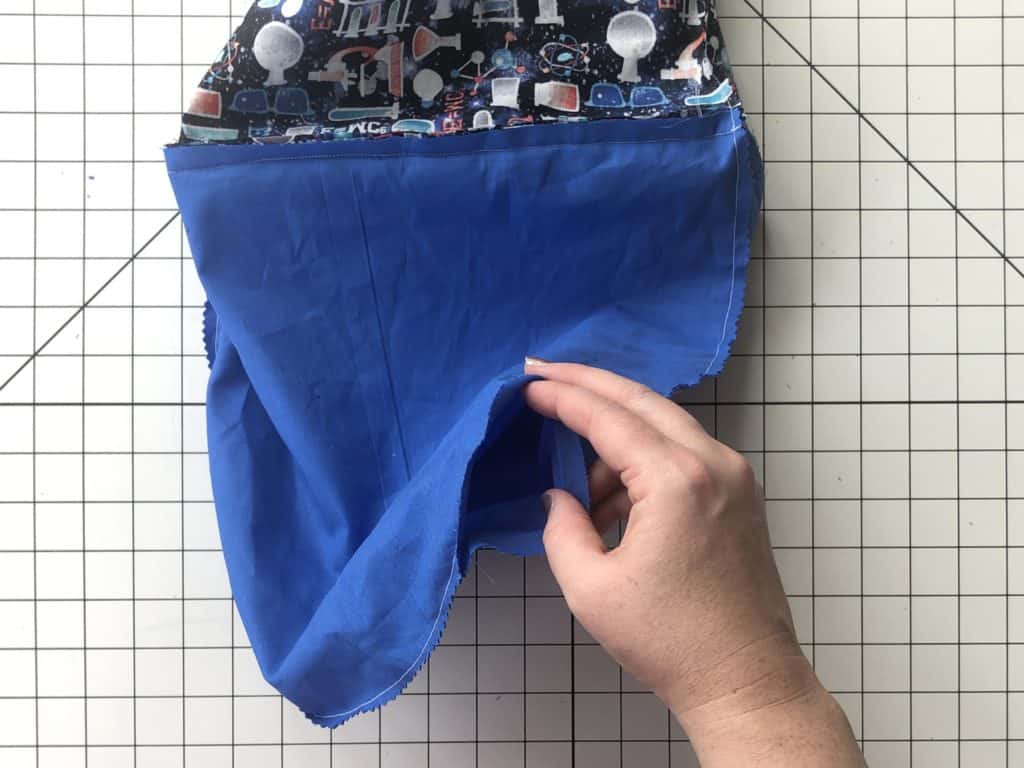
10. Place main skirt piece, right side facing you. Lay one of the side skirt pieces on top, right sides together.
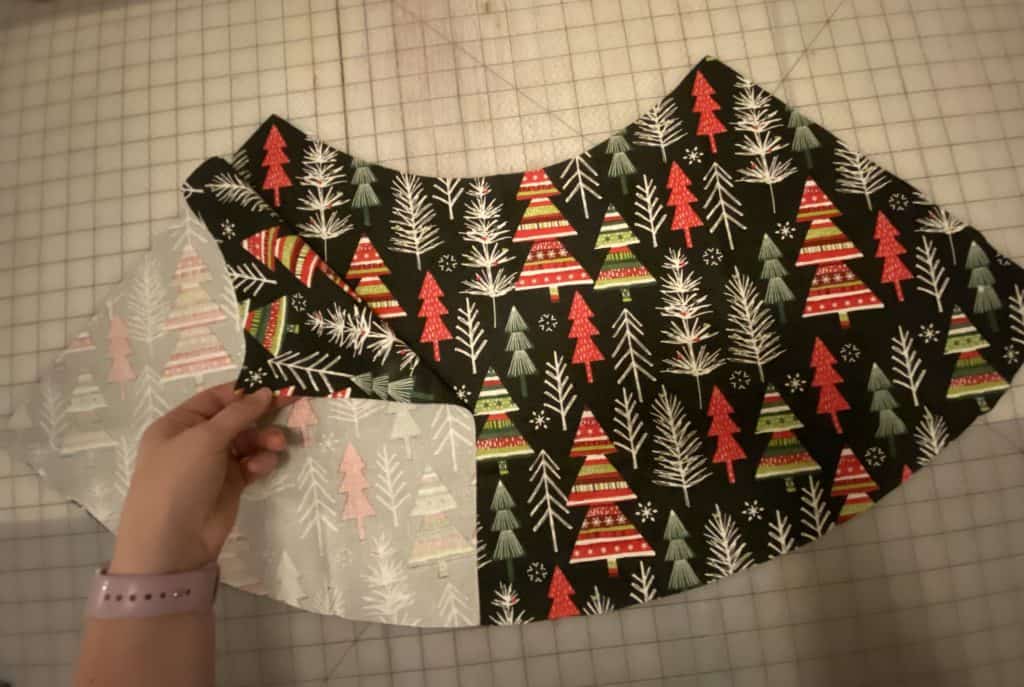
11. Sew along straight edge.
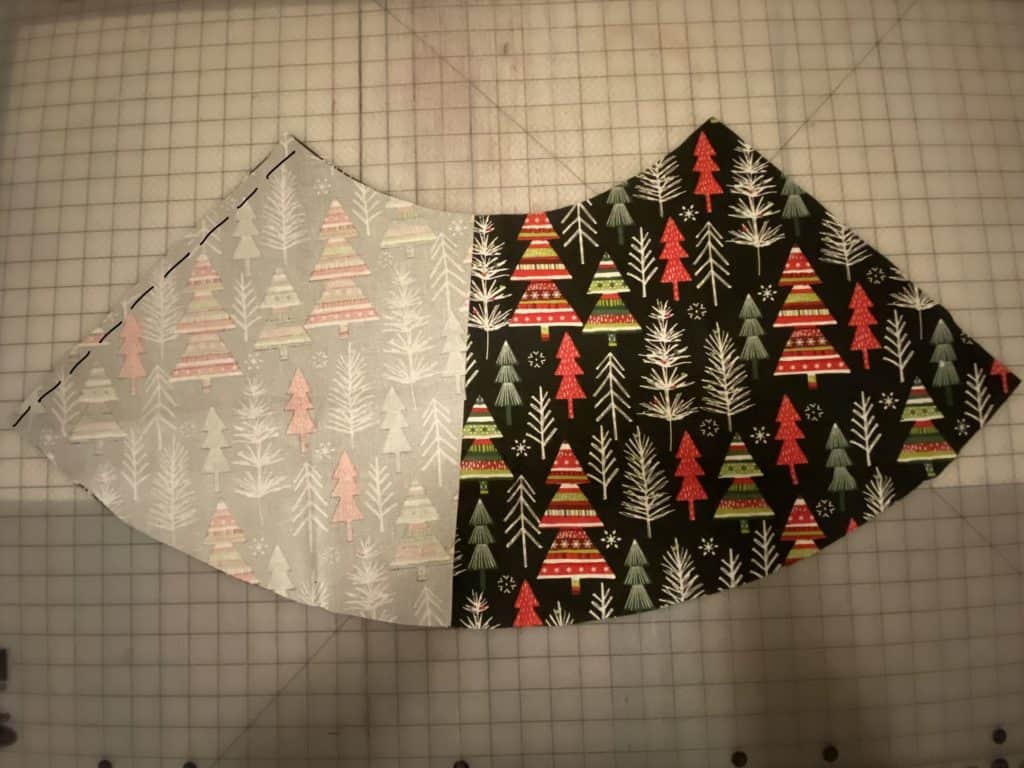
12. Press seams open.
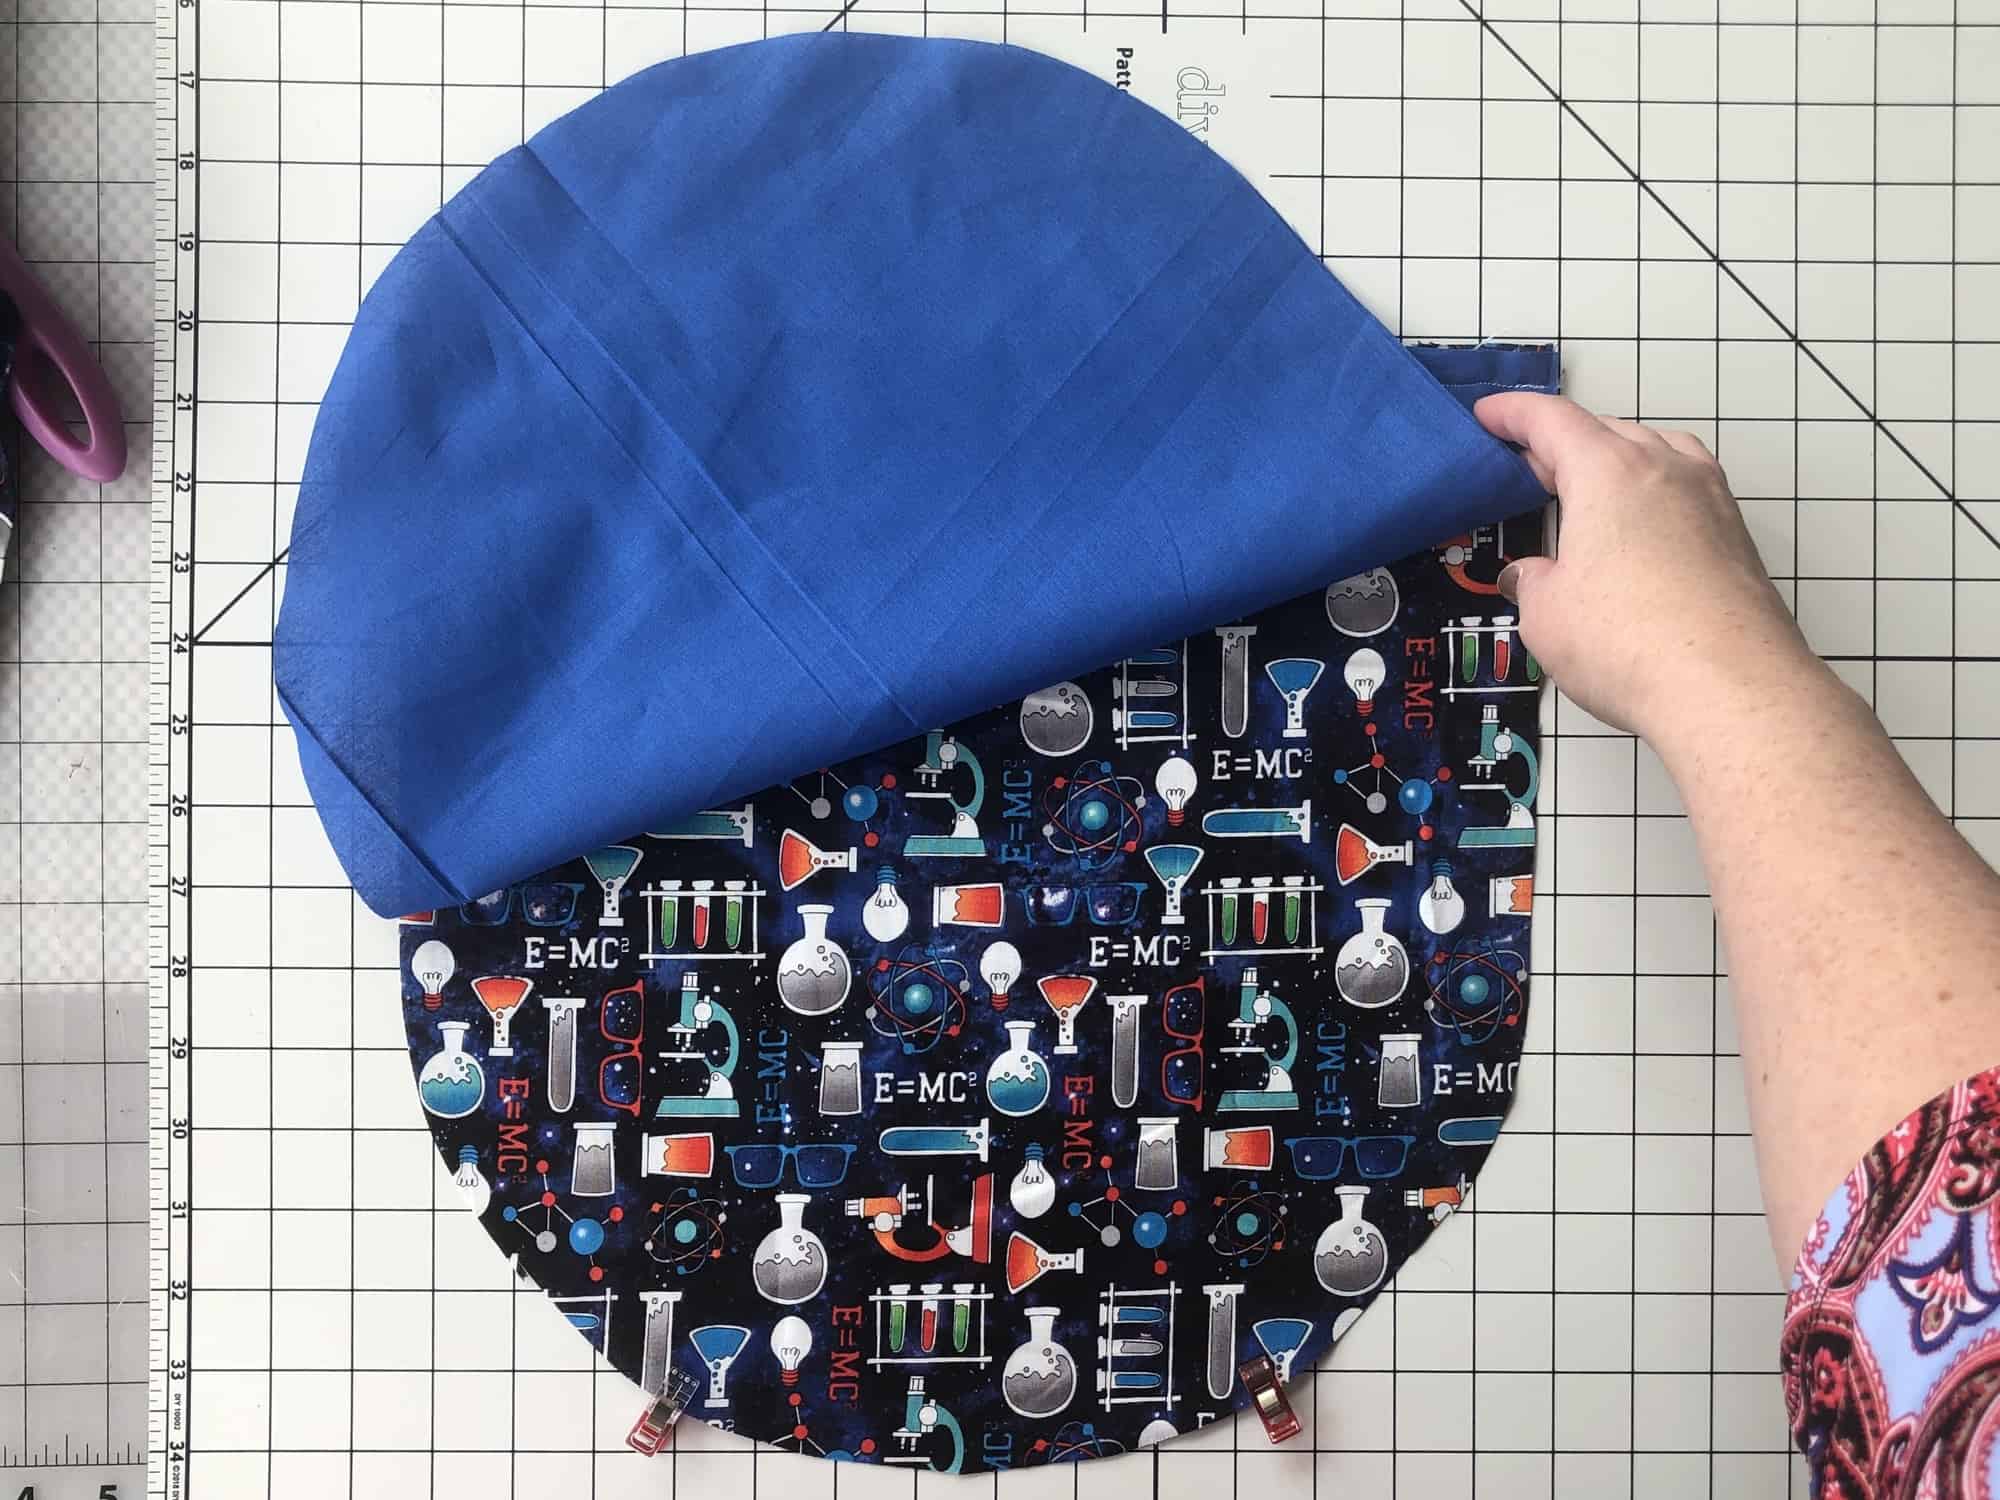
13. Repeat on opposite side.**Repeat with lining fabric.
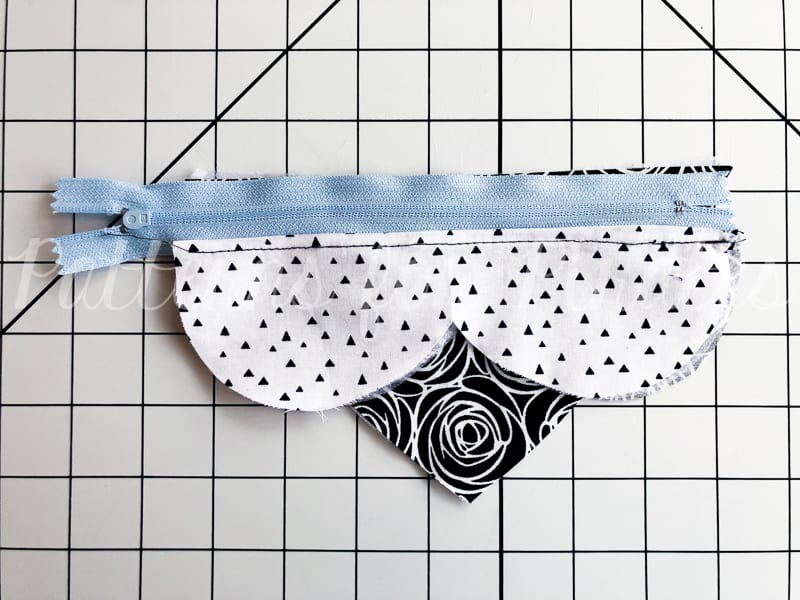
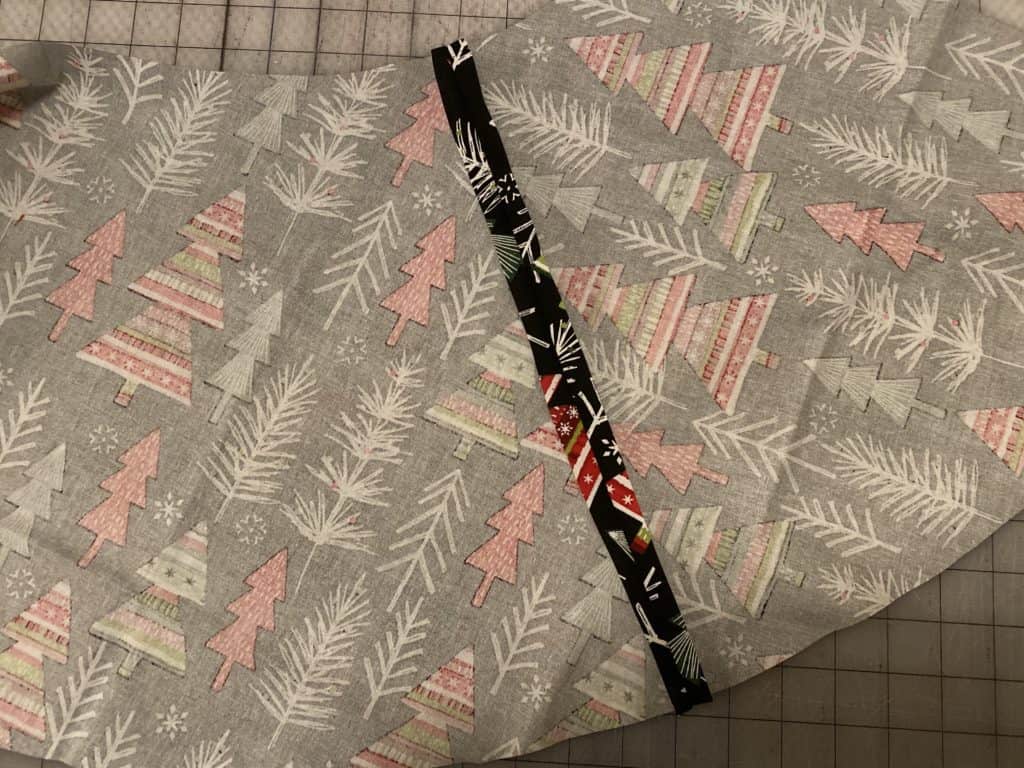
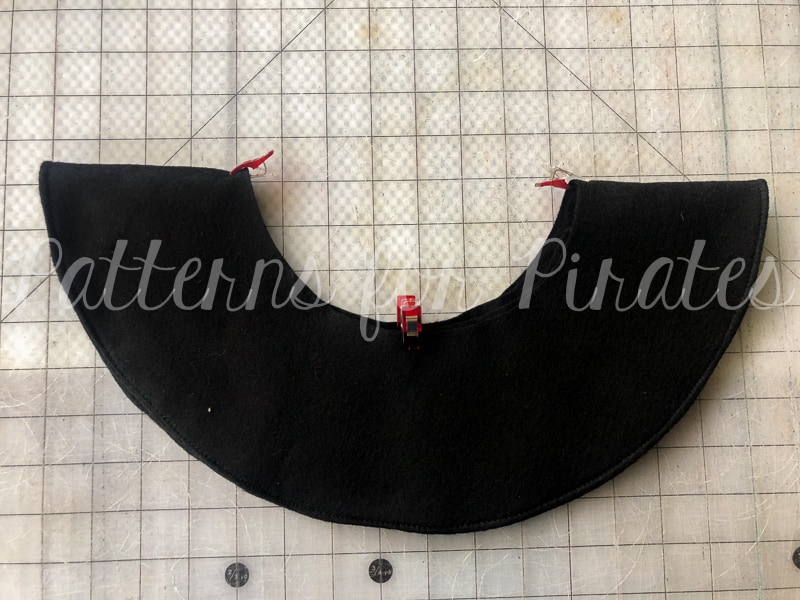
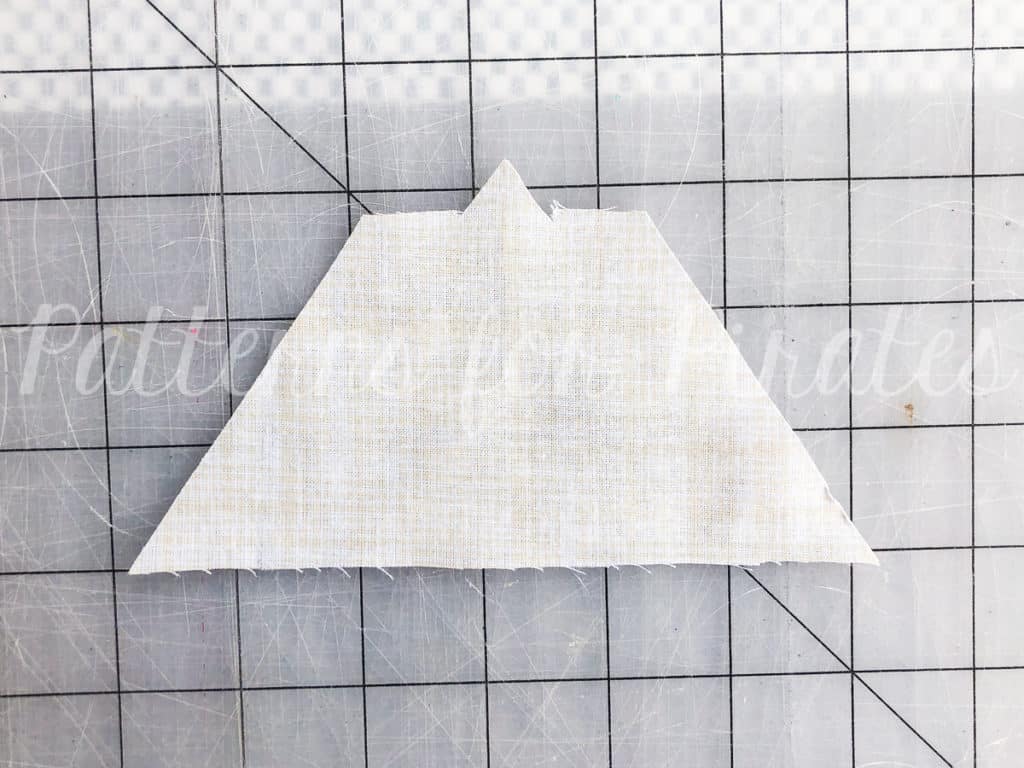
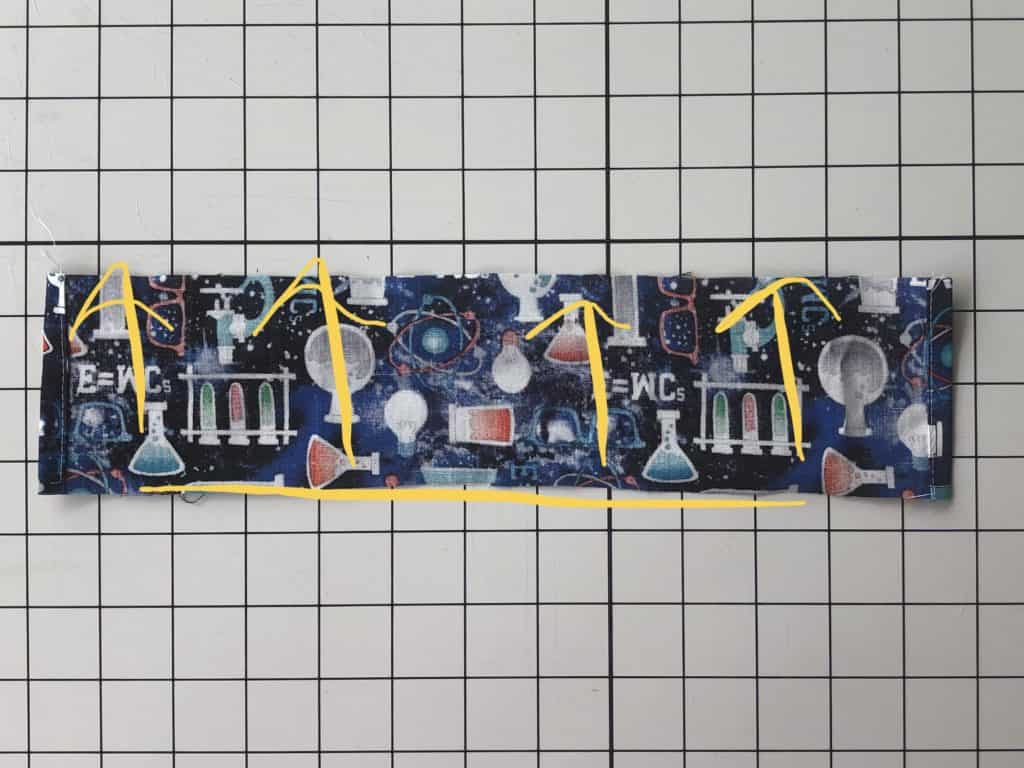
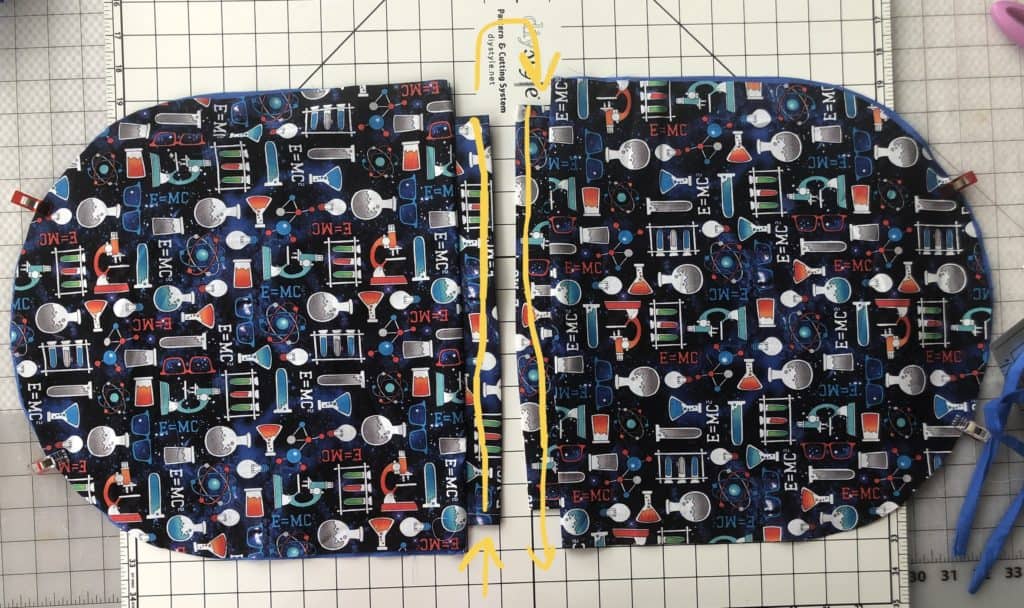
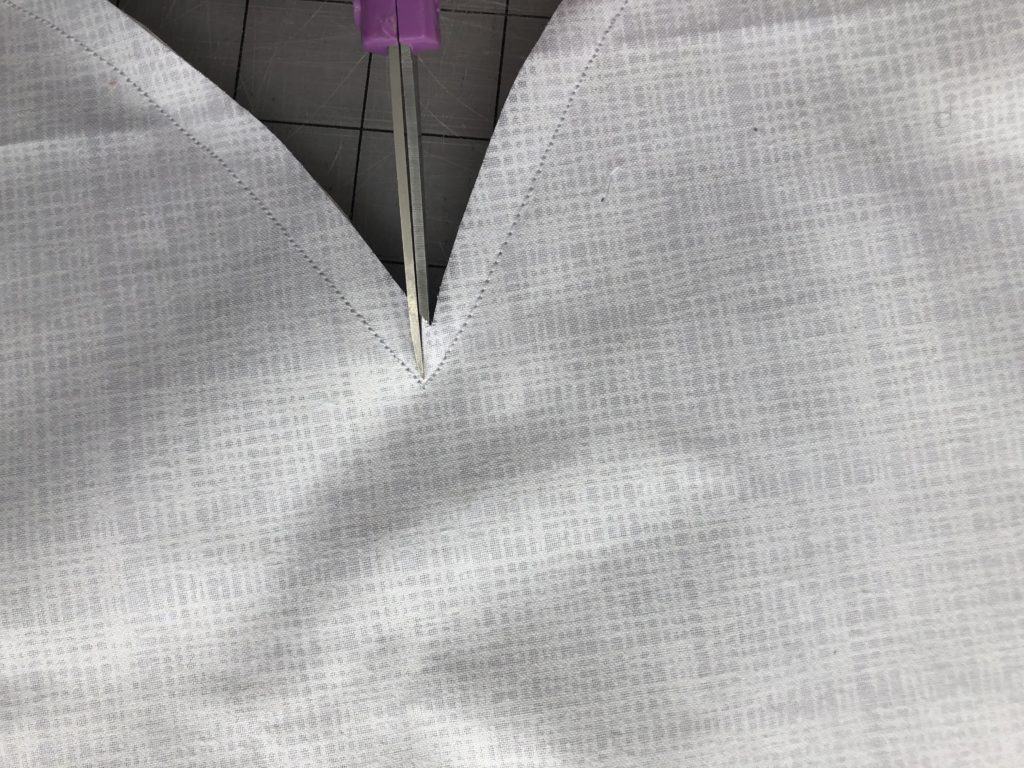
14. Mark middle points of the bib and main skirt pieces.
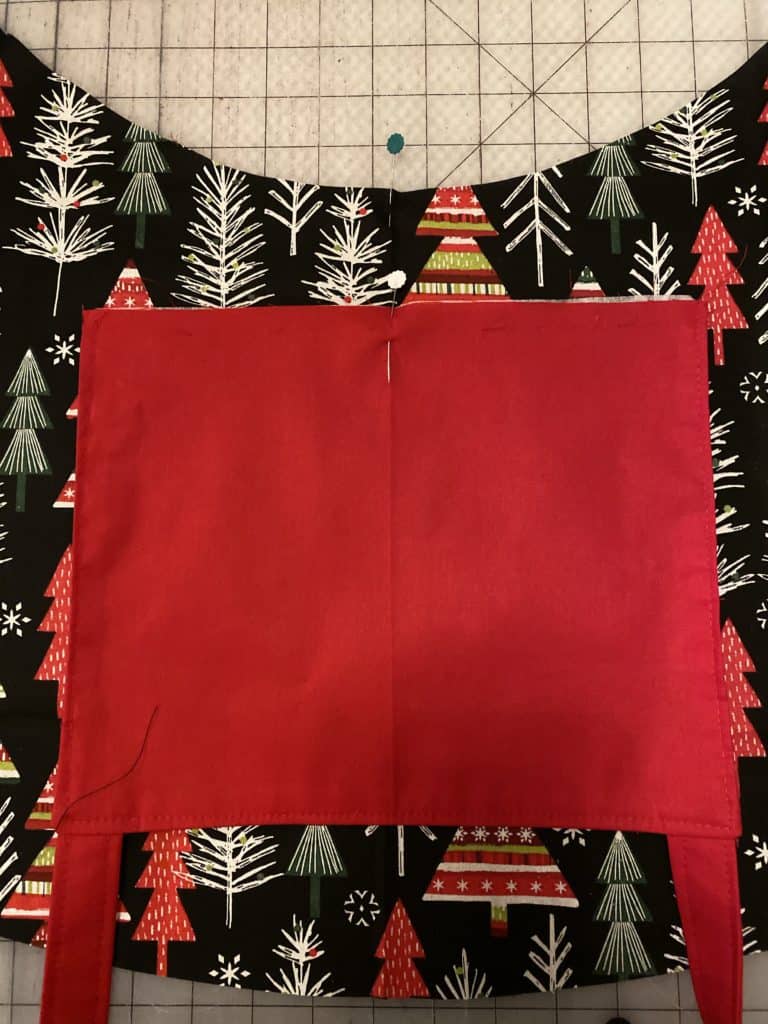
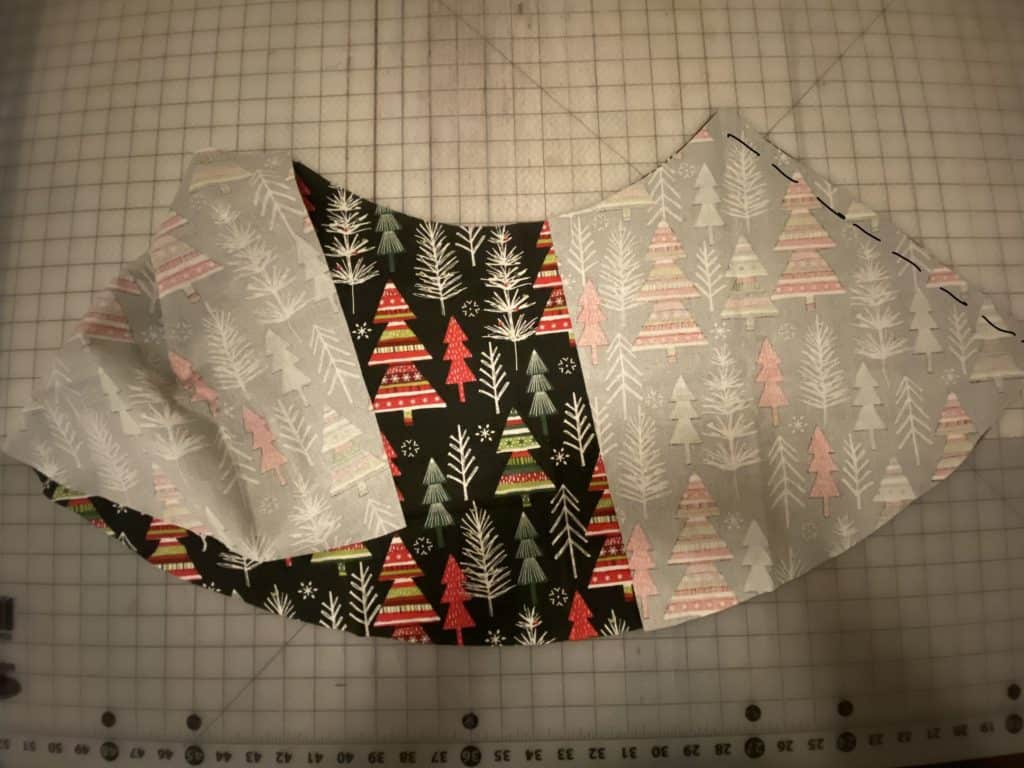
15. Right sides together, align the bib and main apron piece at their center points.
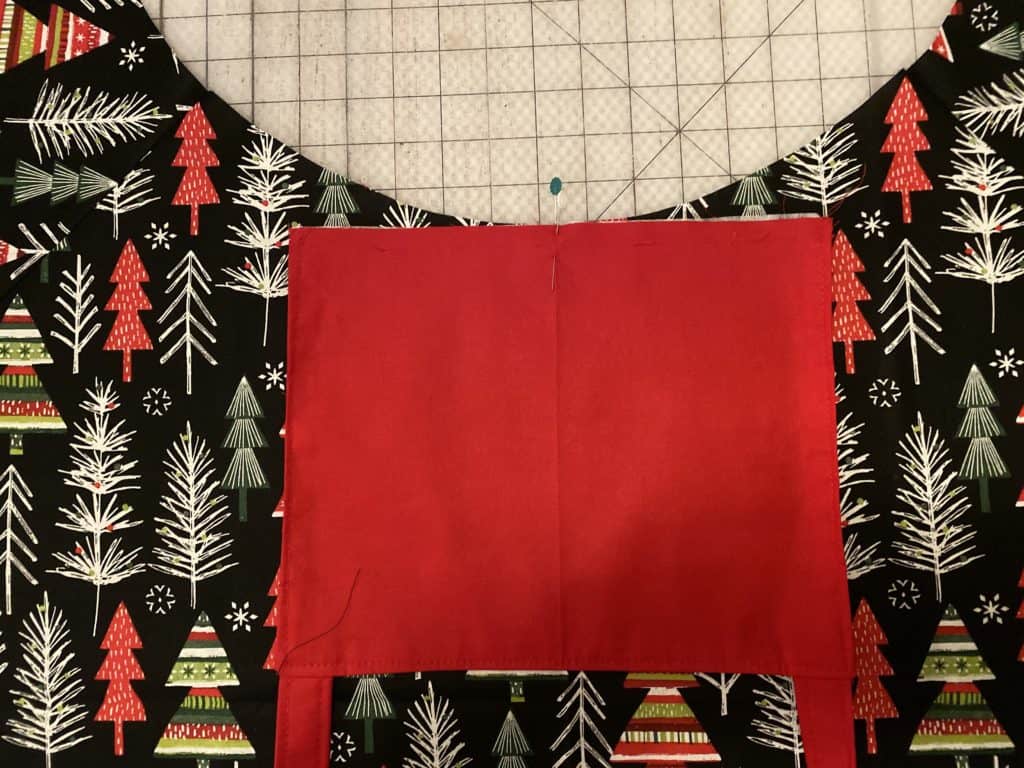
16. Ease the bib piece to the curve of the apron and baste in place.
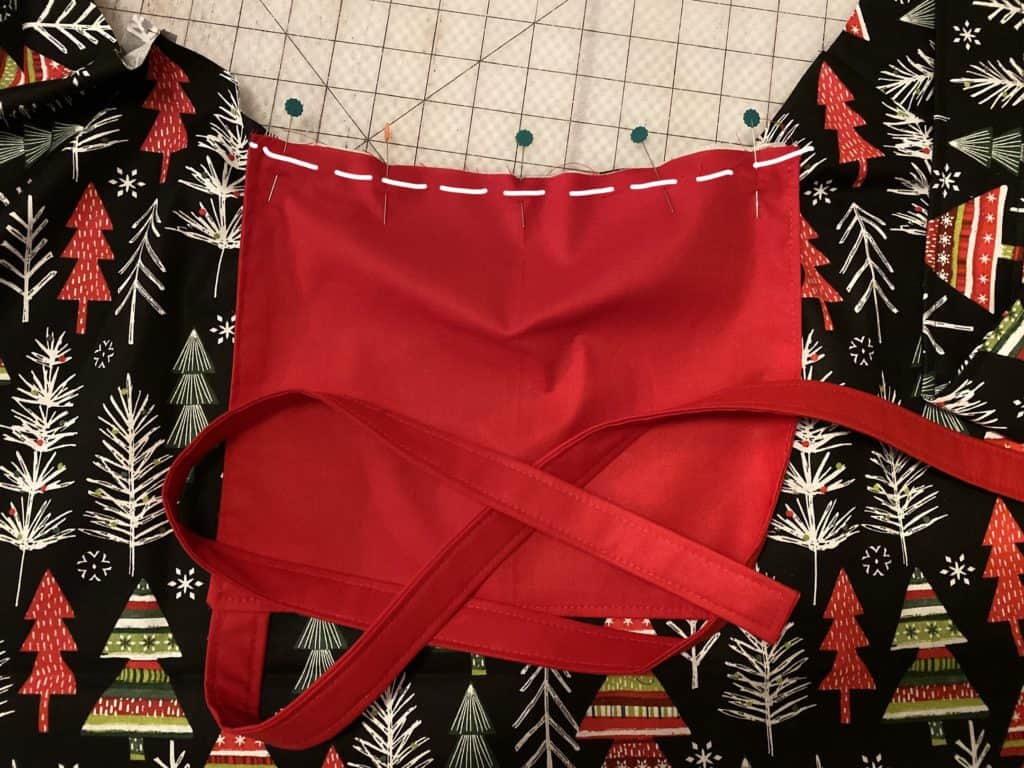
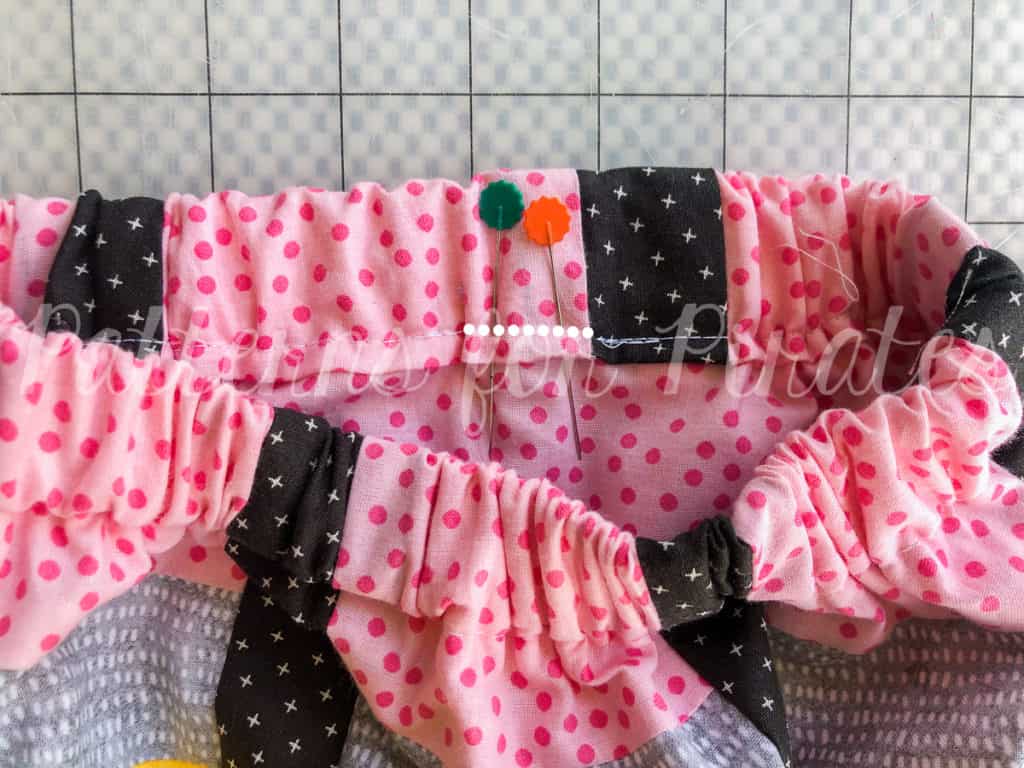
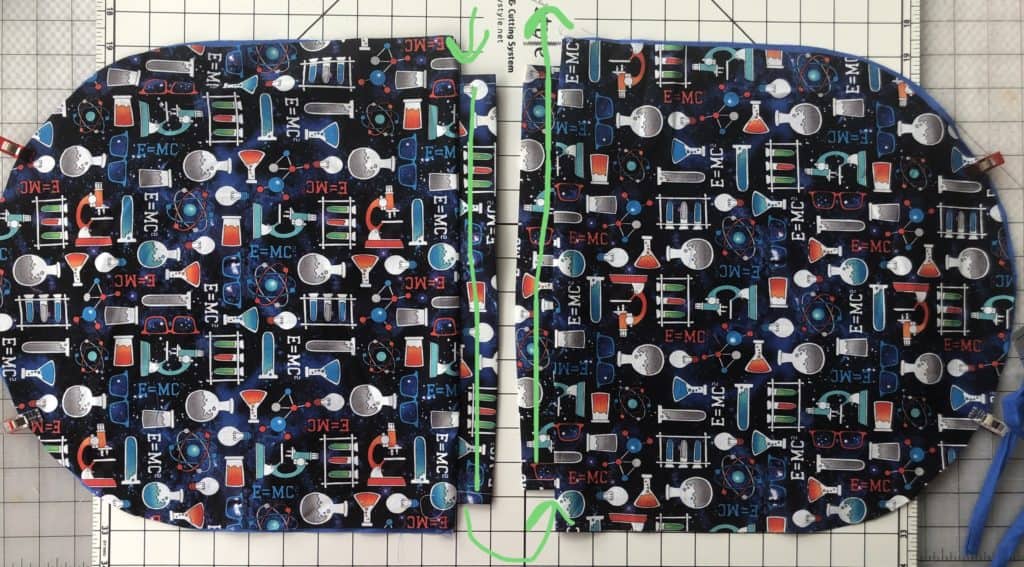
17. Along outer skirt edge, align waist straps 1/2″ from top edge. Baste in place.
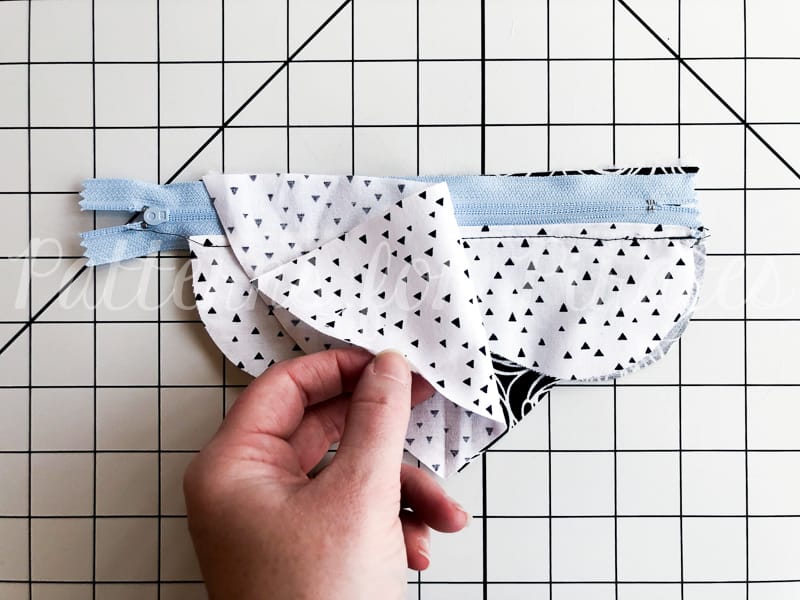
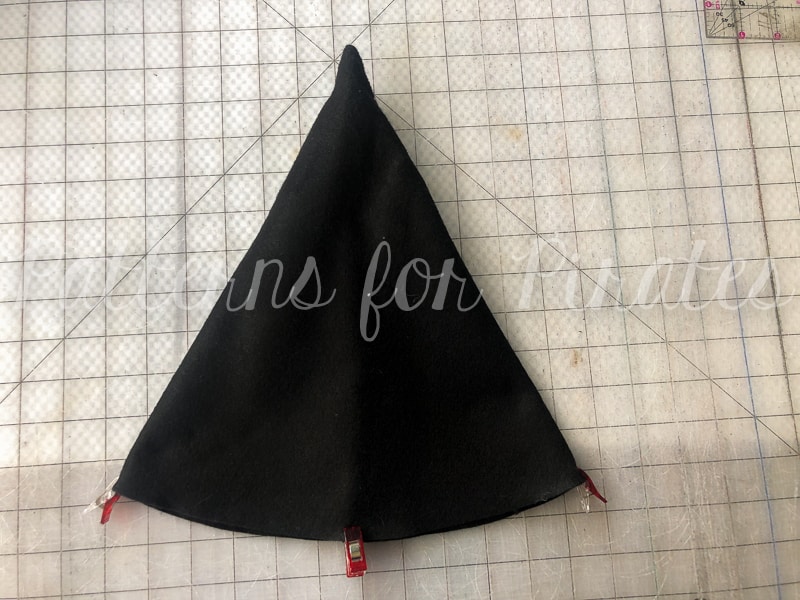
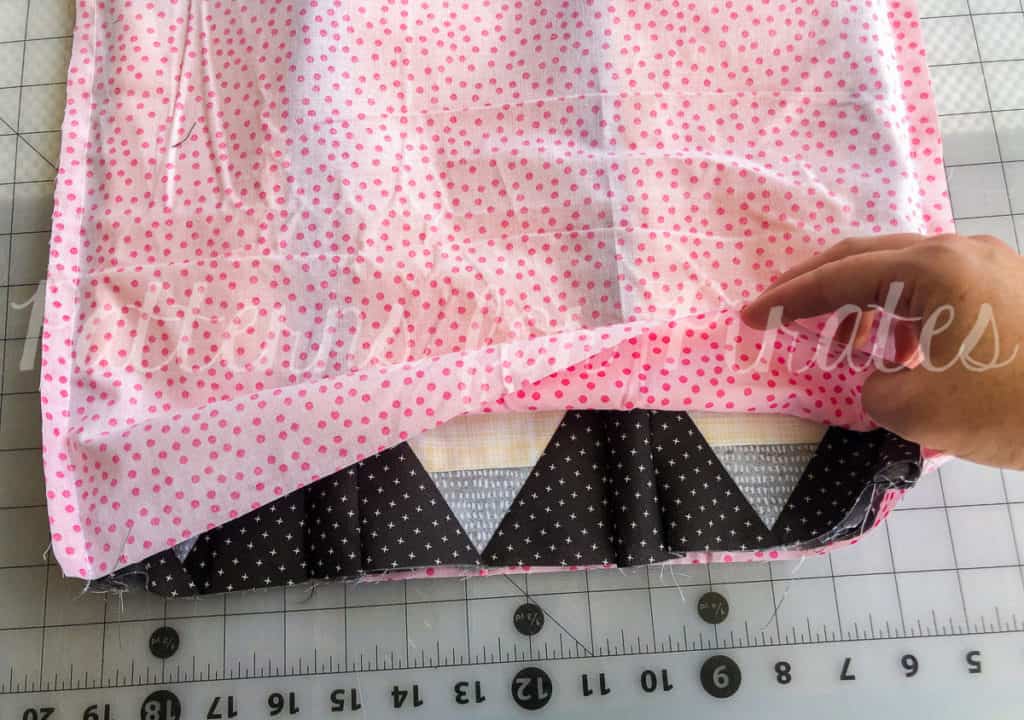
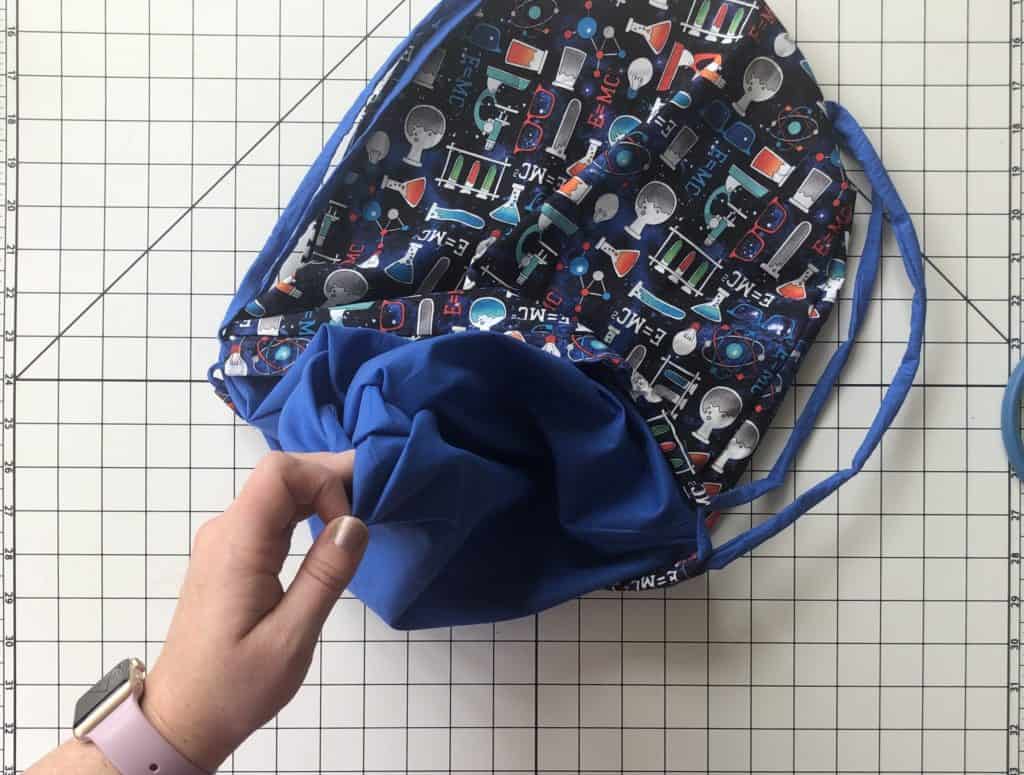
18. Lay apron with fabric facing upwards. Tuck in all straps and bib.
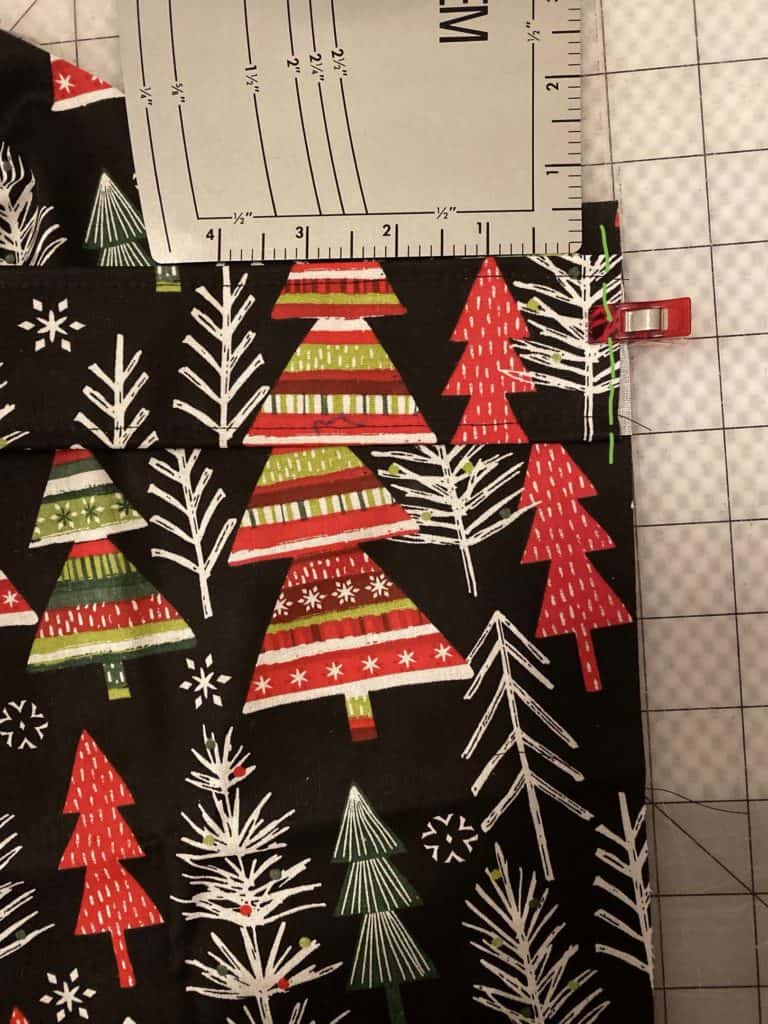
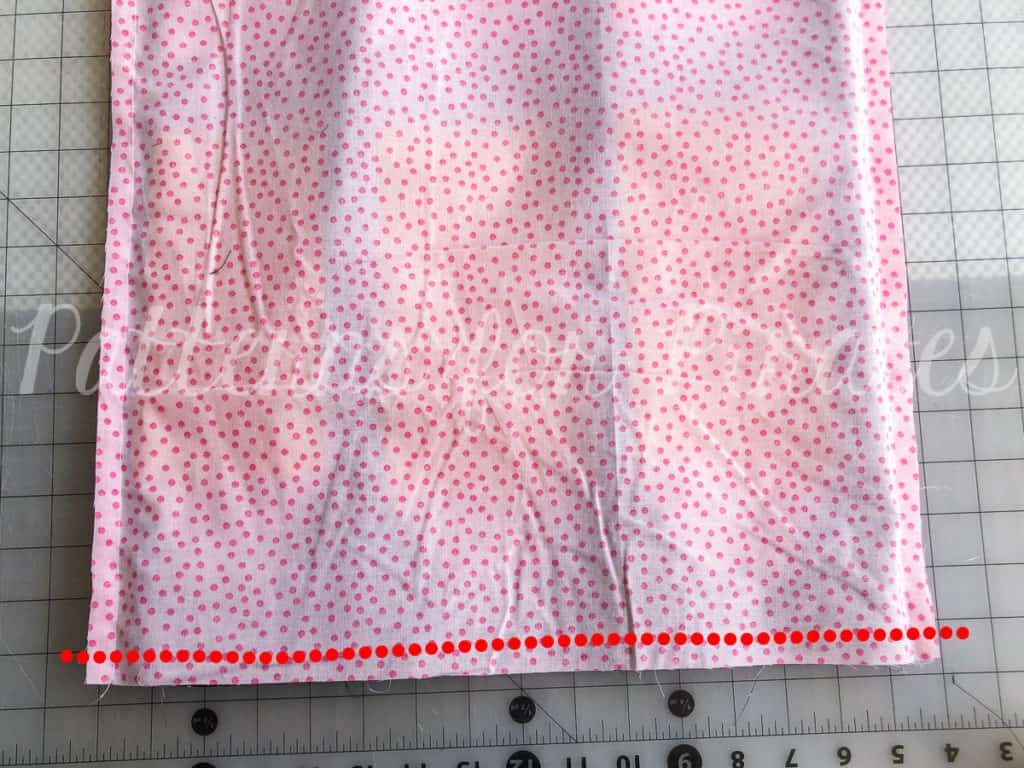
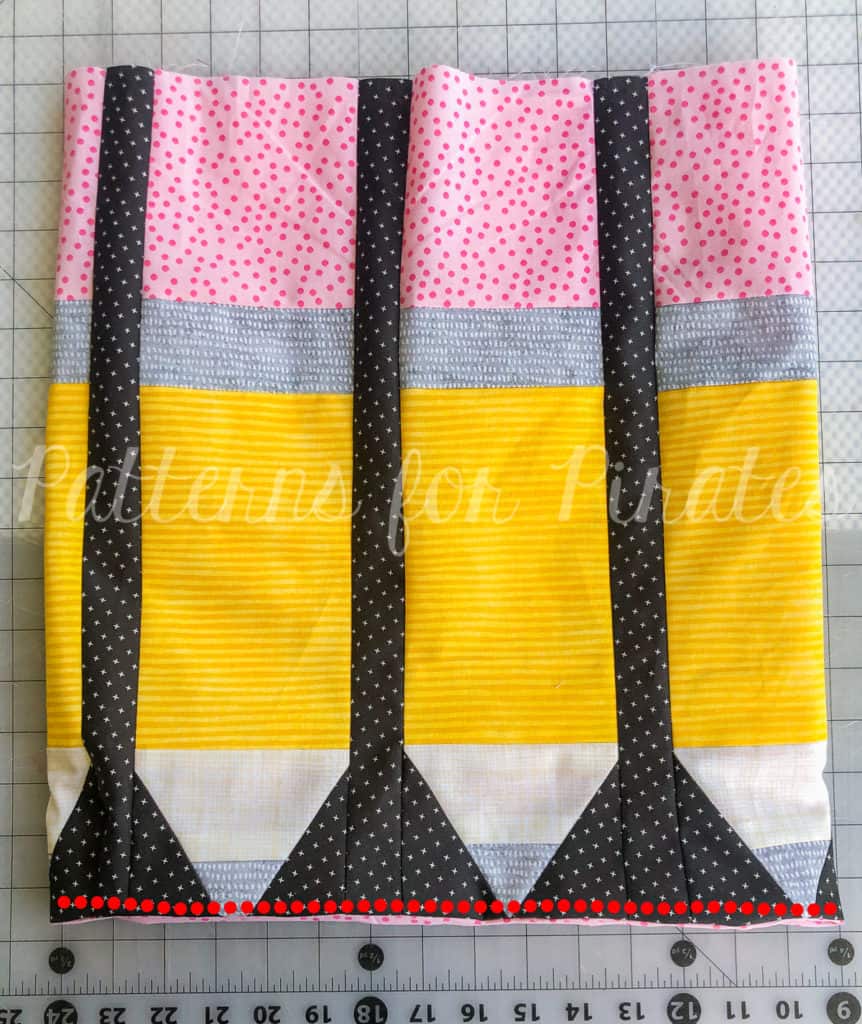
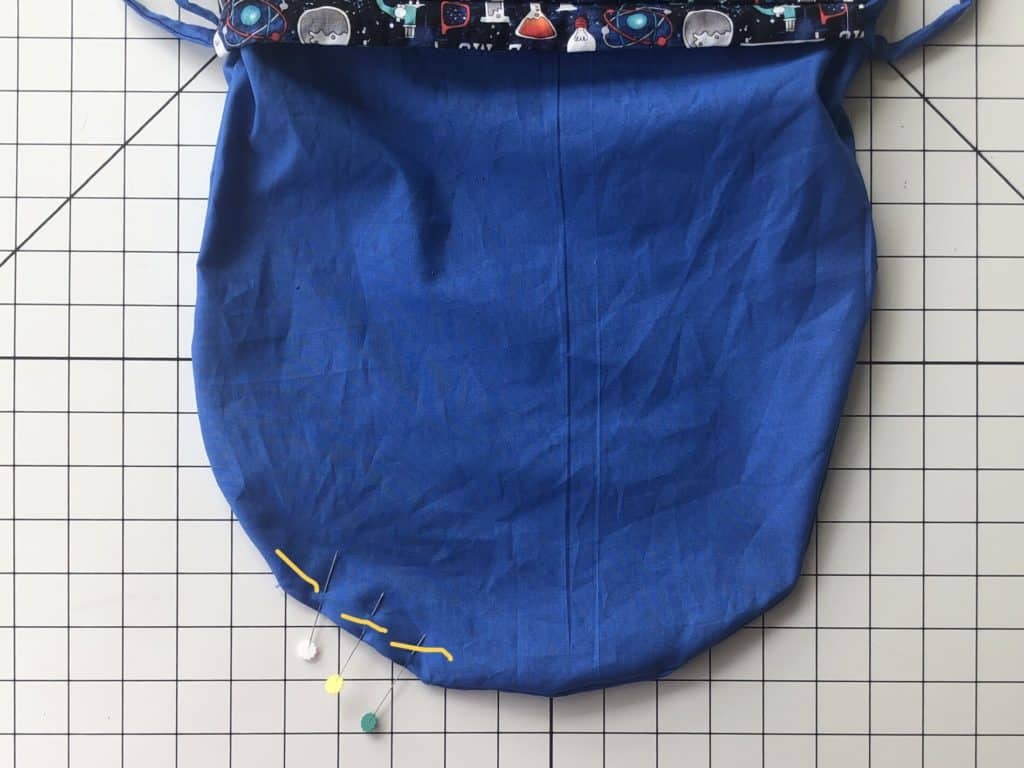
19. Lay skirt lining on top, right sides together. Sew along entire skirt, leaving 5″ opening along one straight edge for turning.
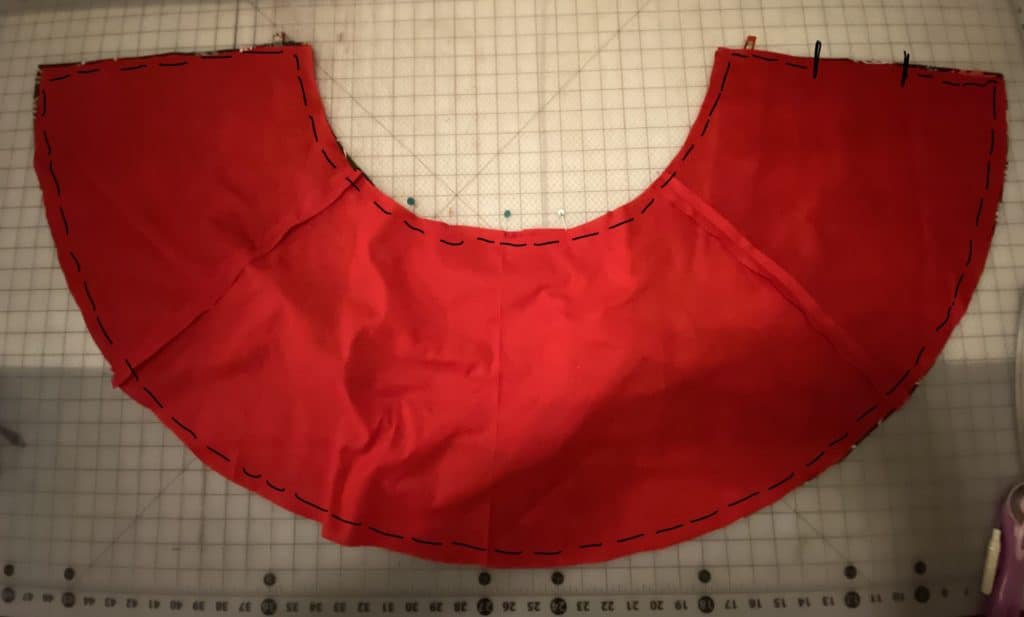
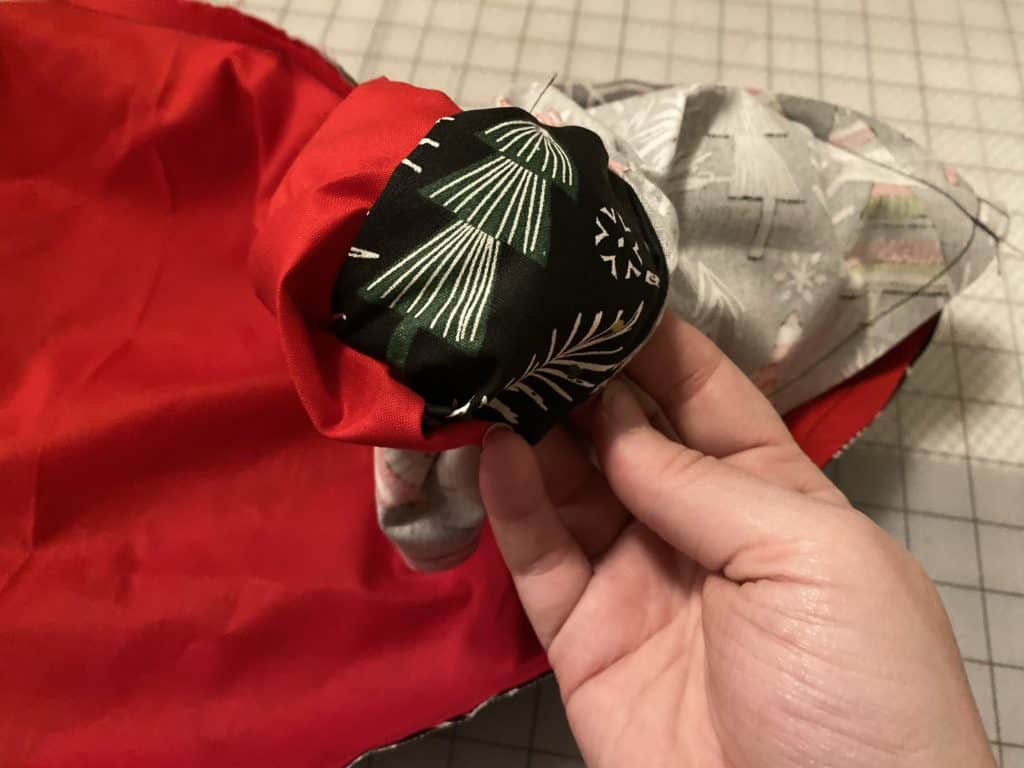
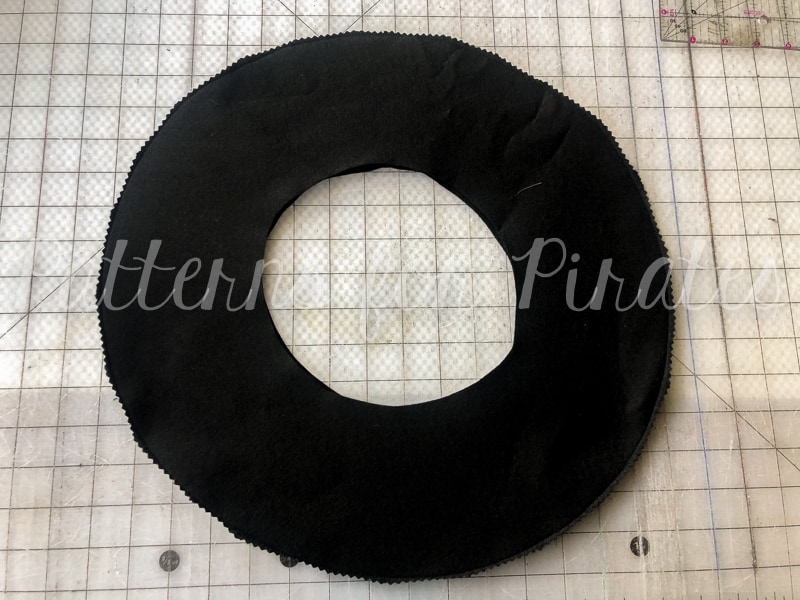
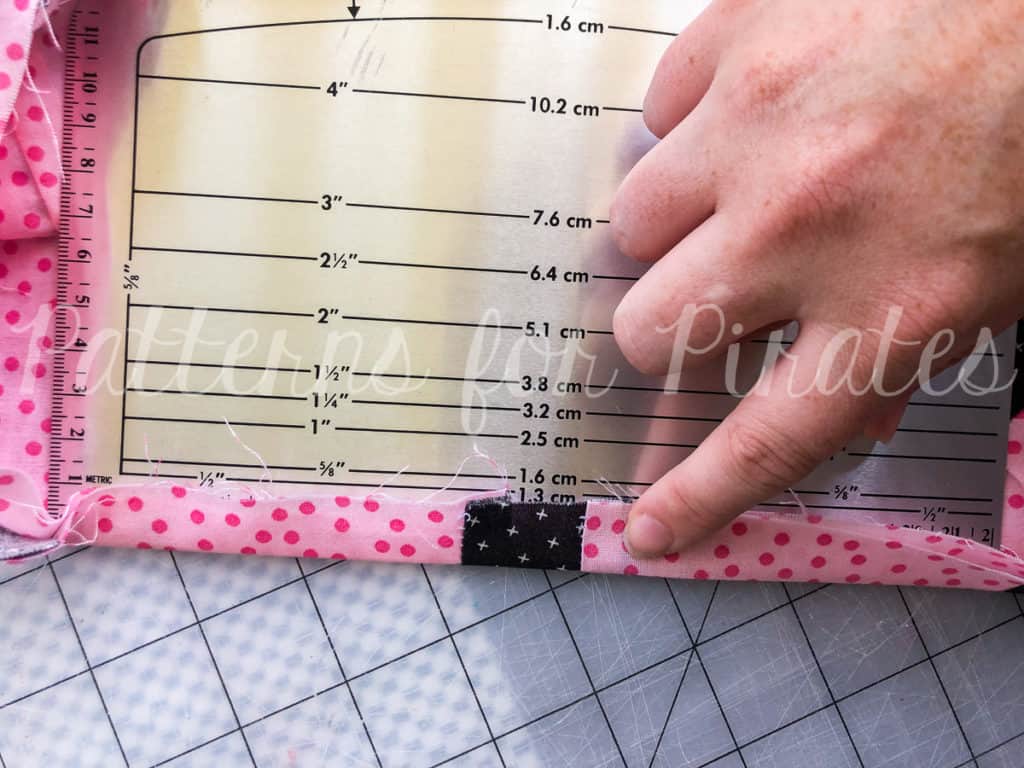
20. Turn apron right sides out through opening.
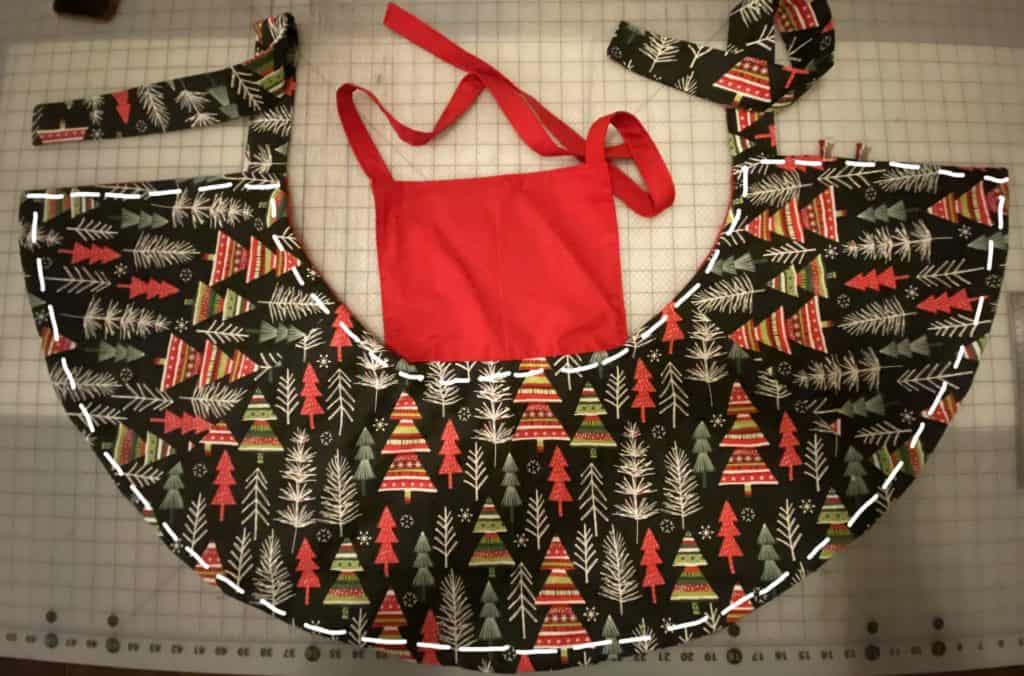
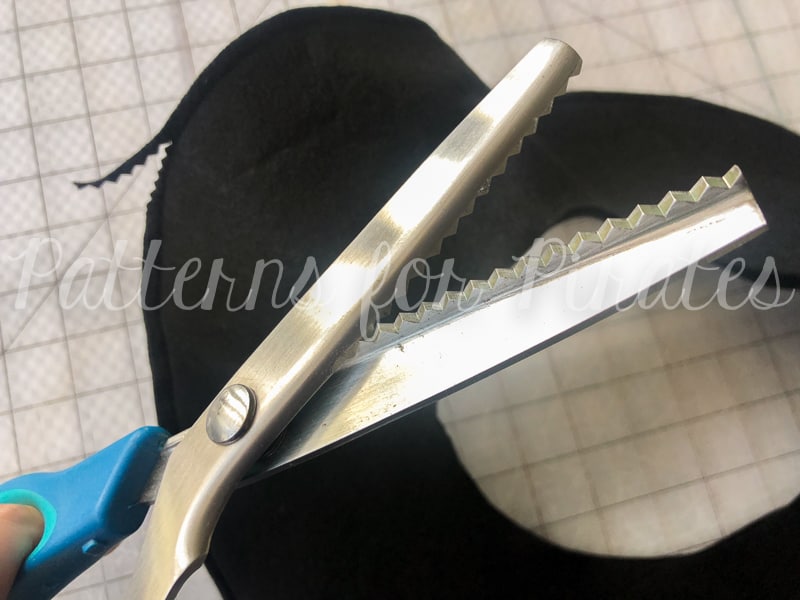
21. Press and edge stitch along entire skirt. You’re finished!
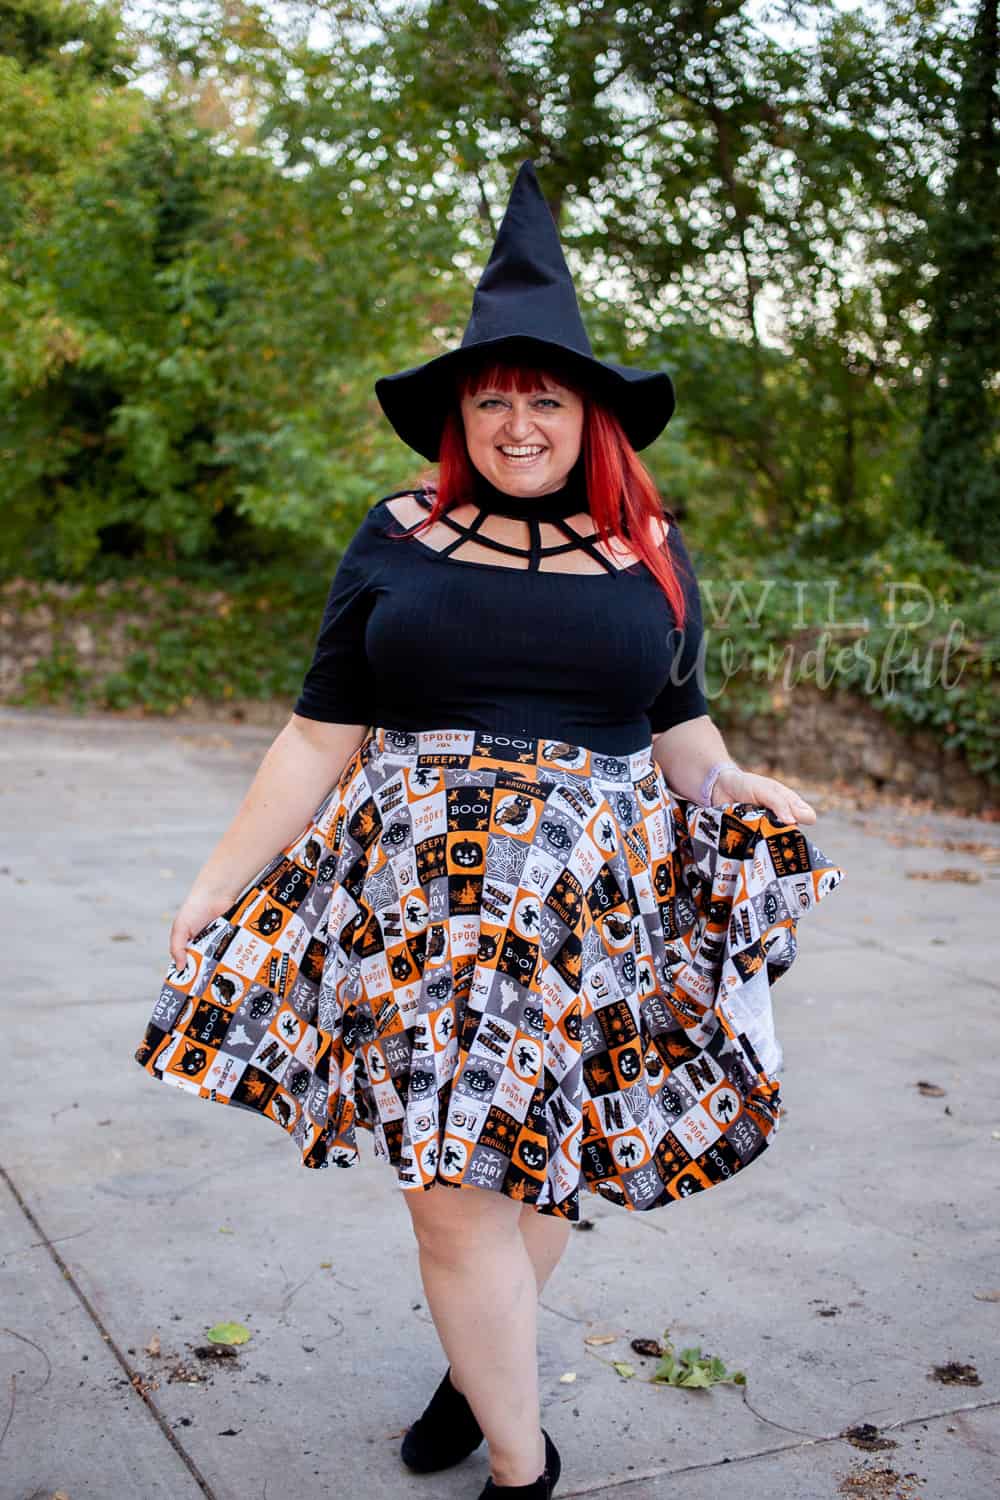
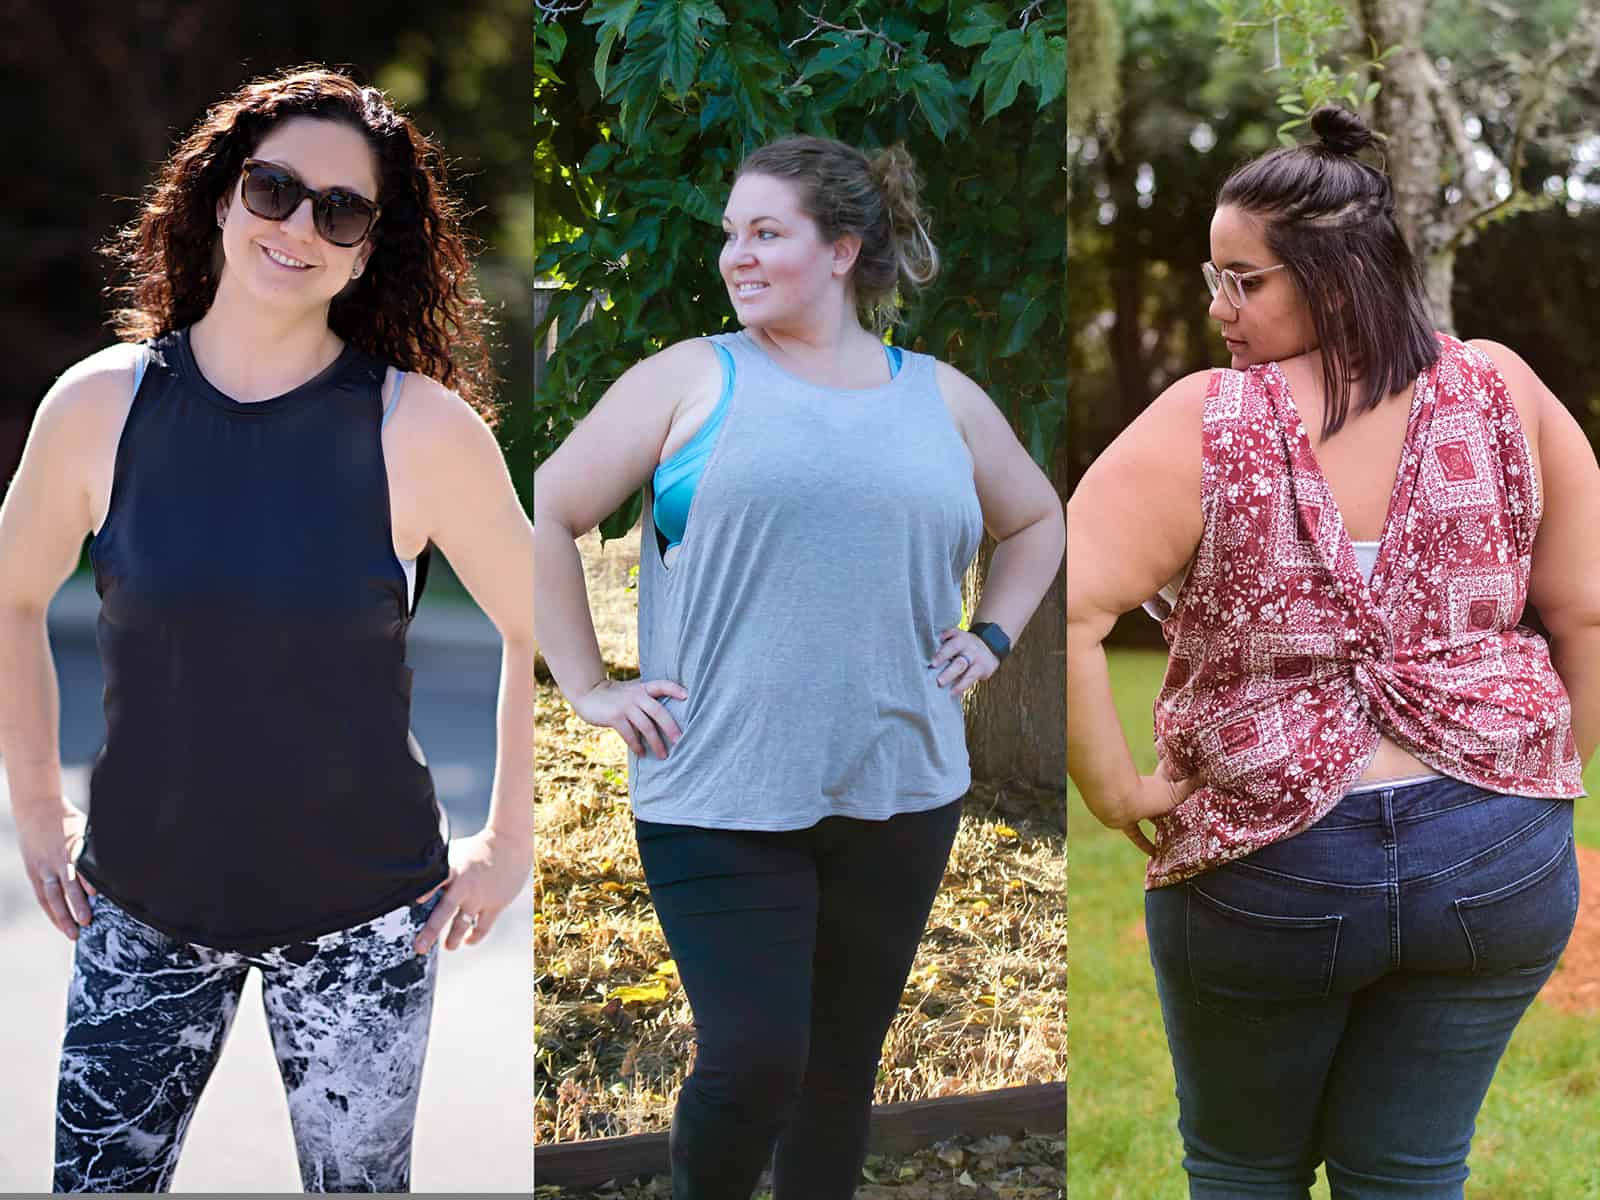
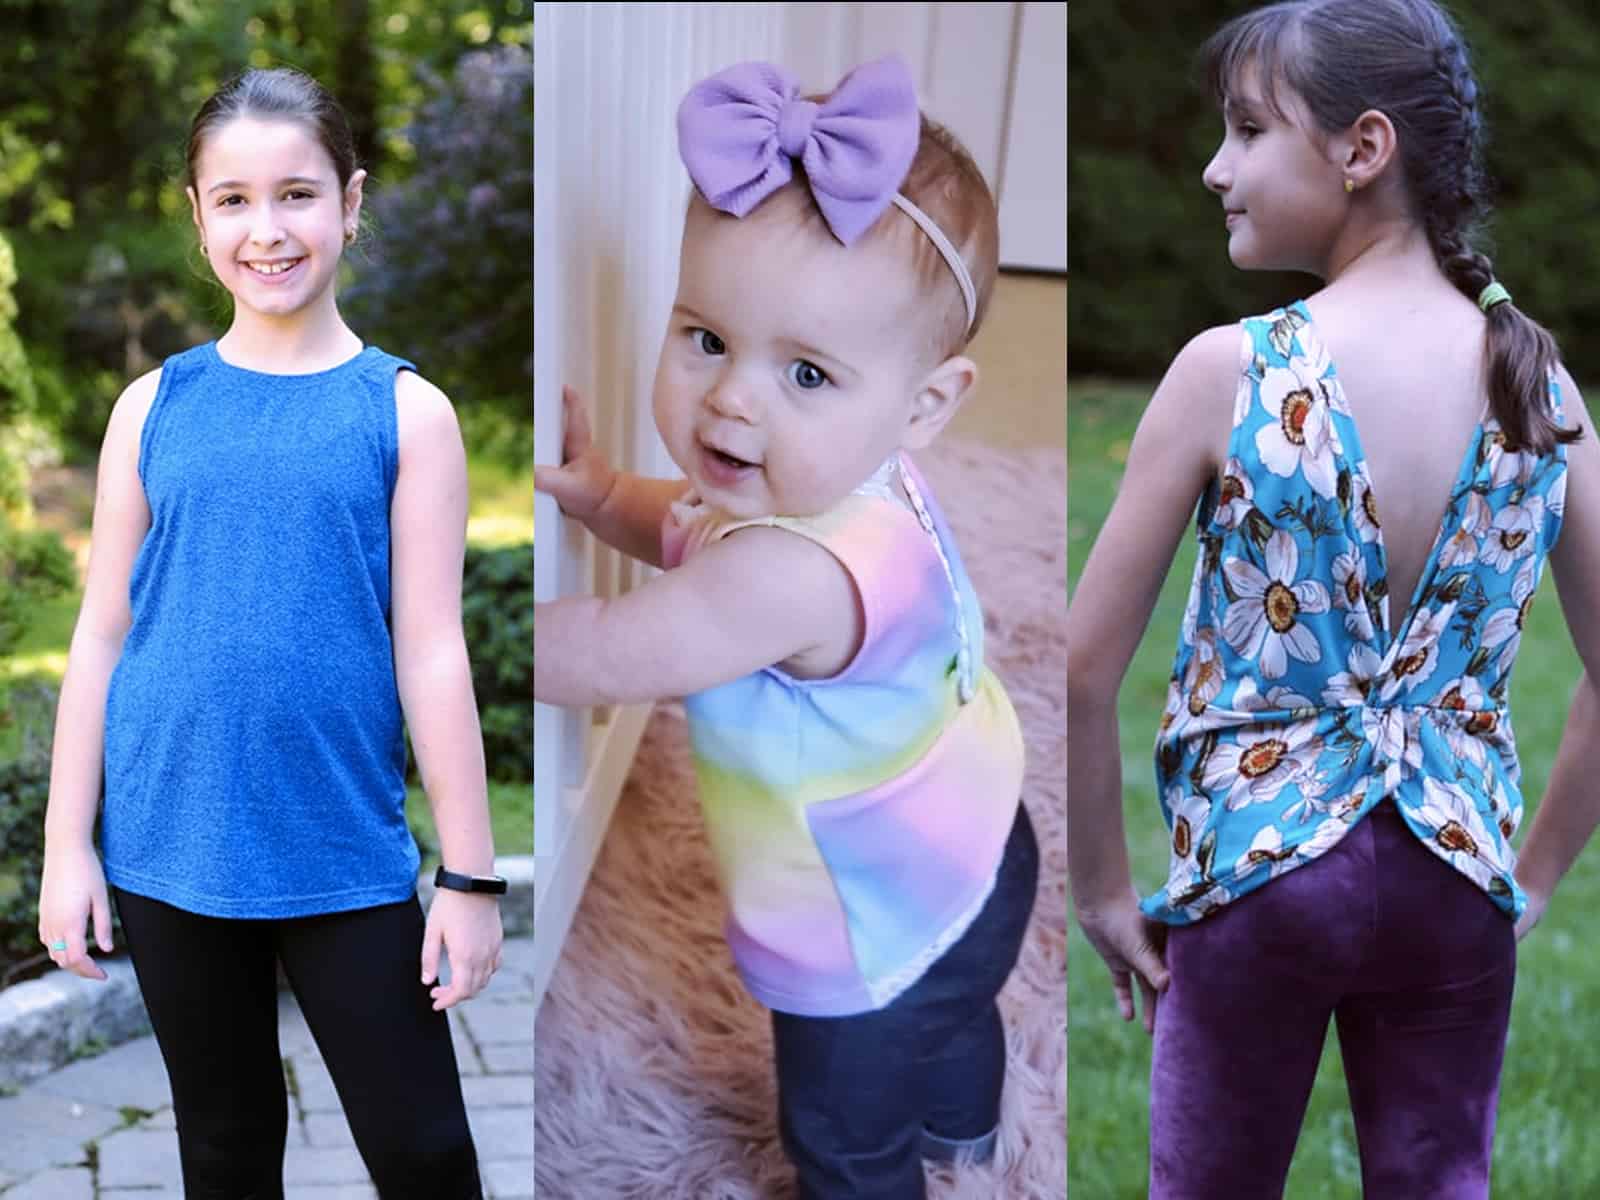
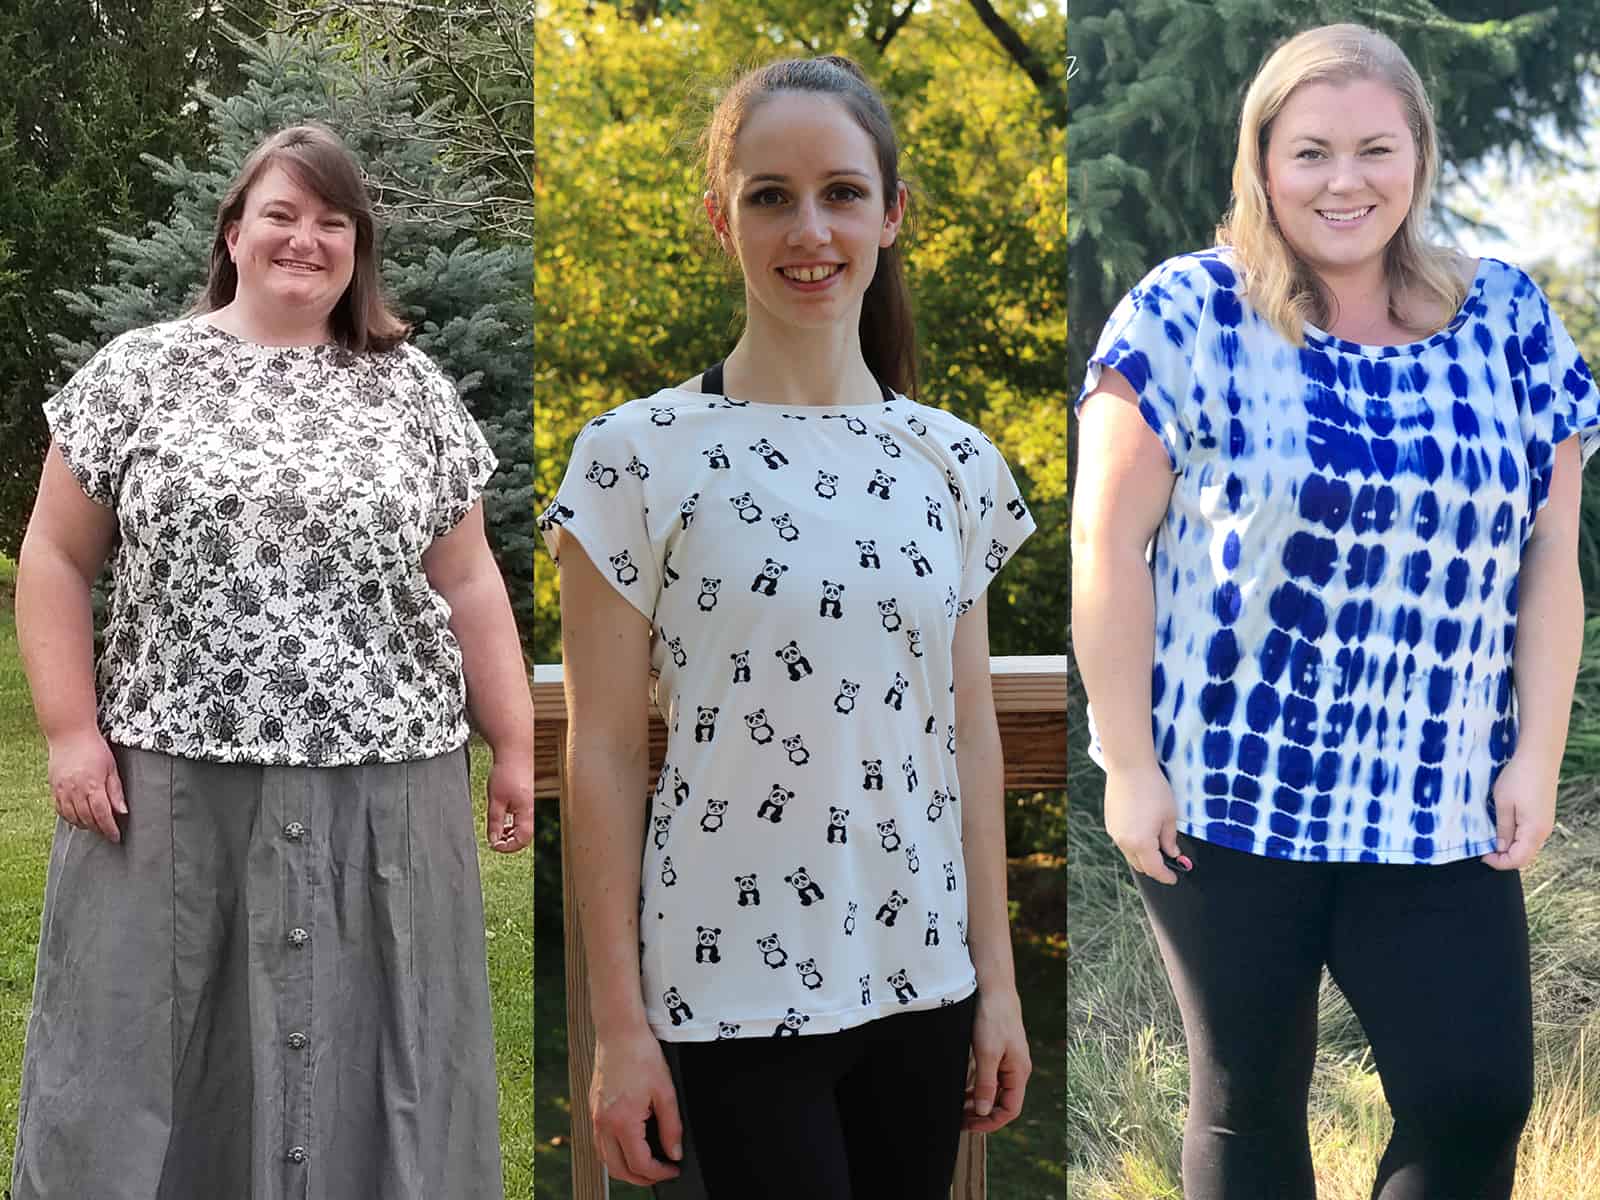
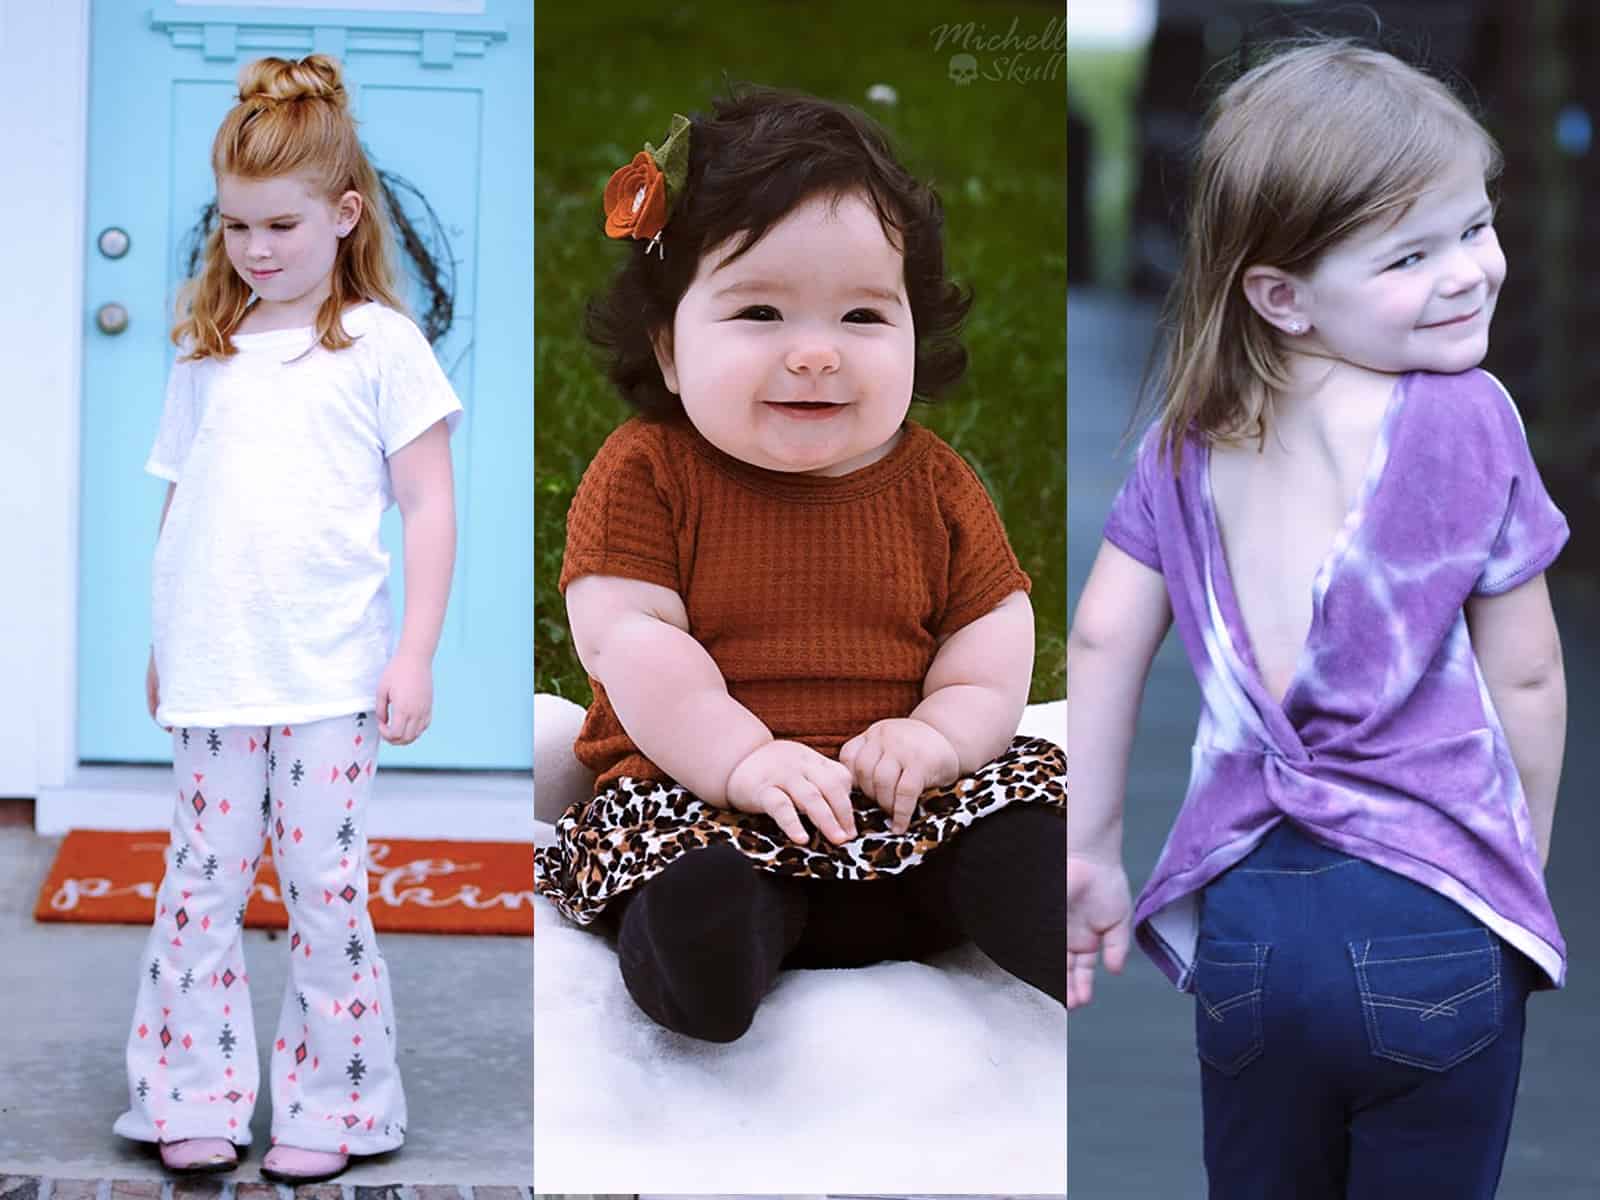
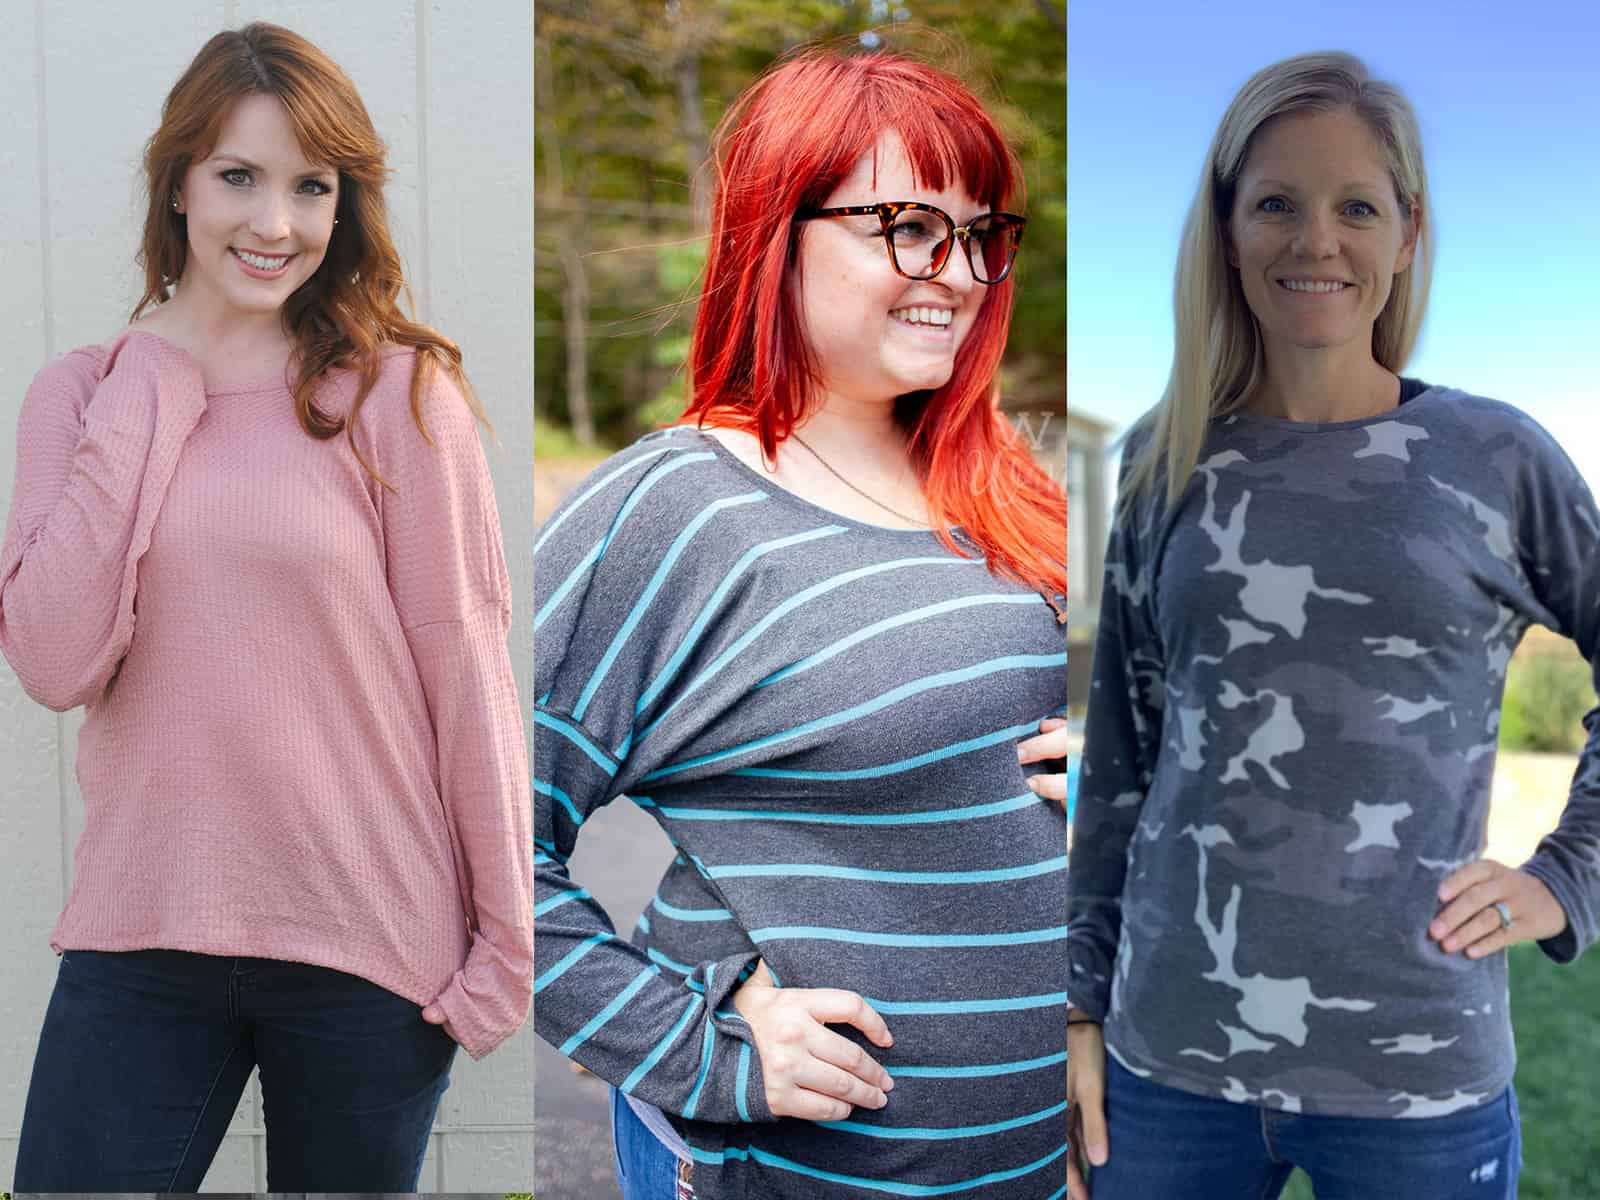
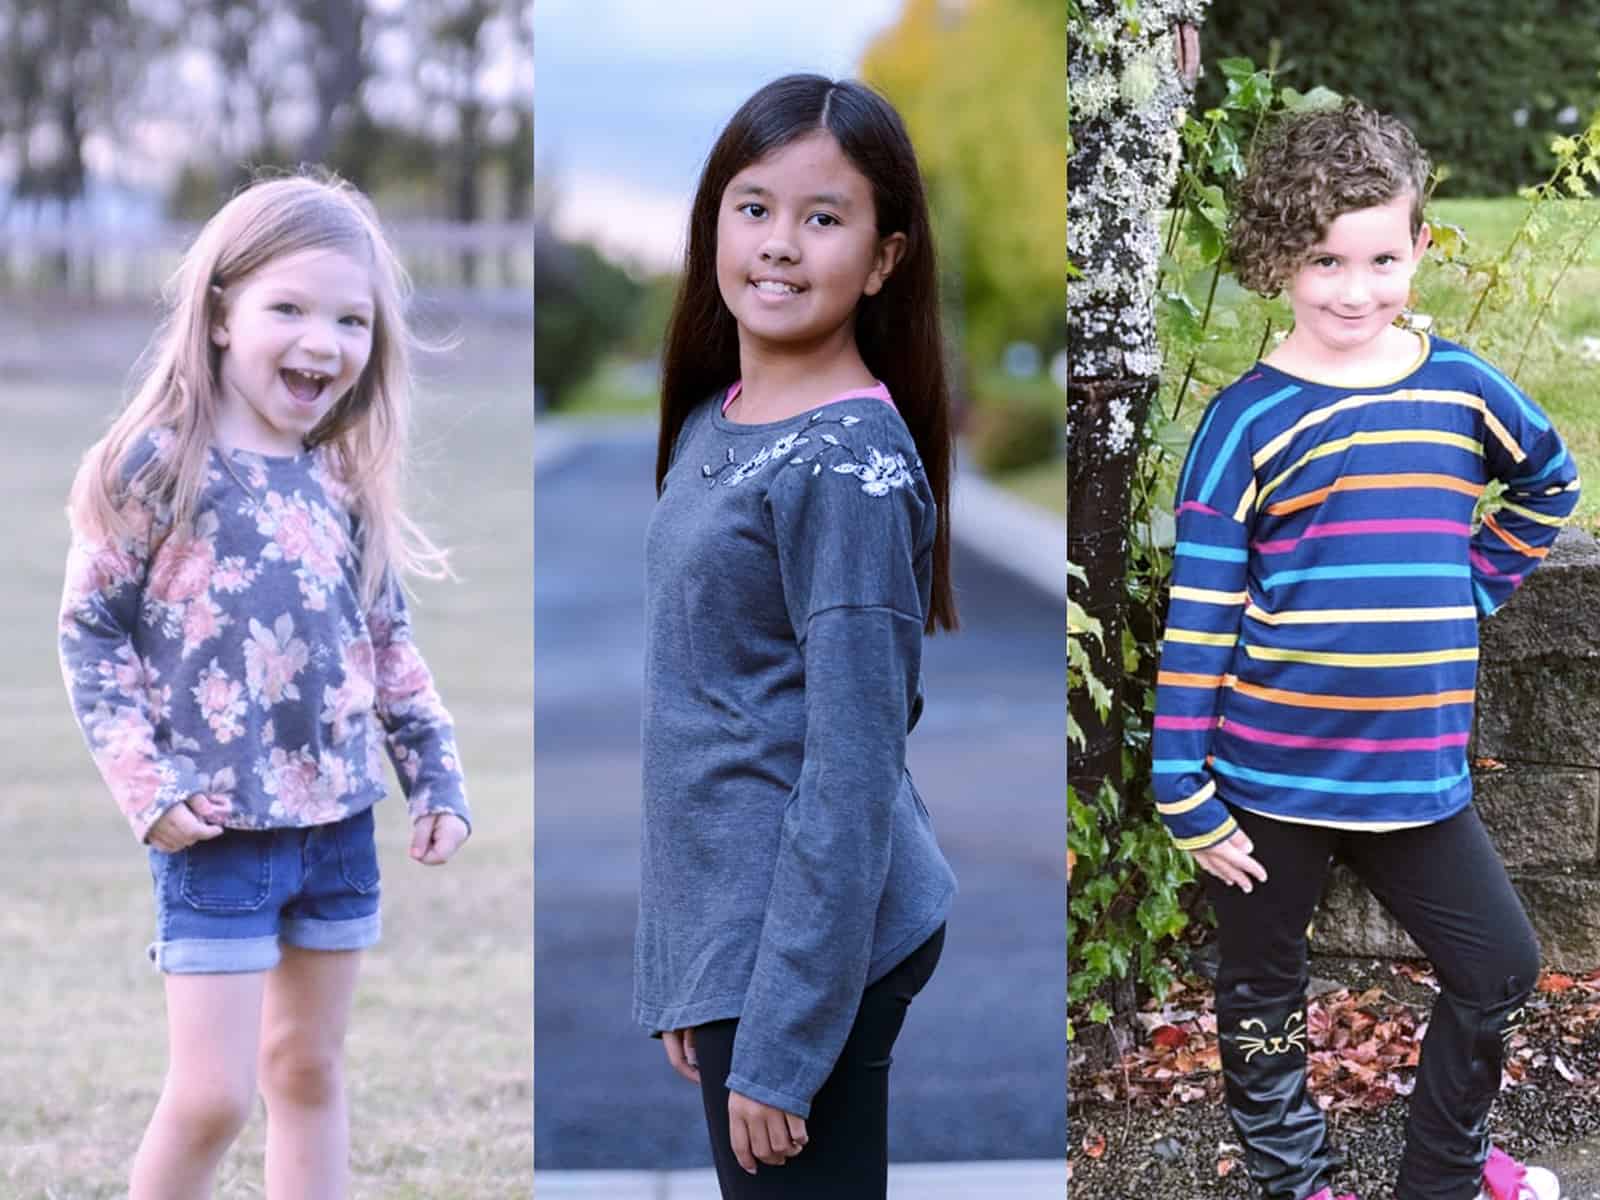
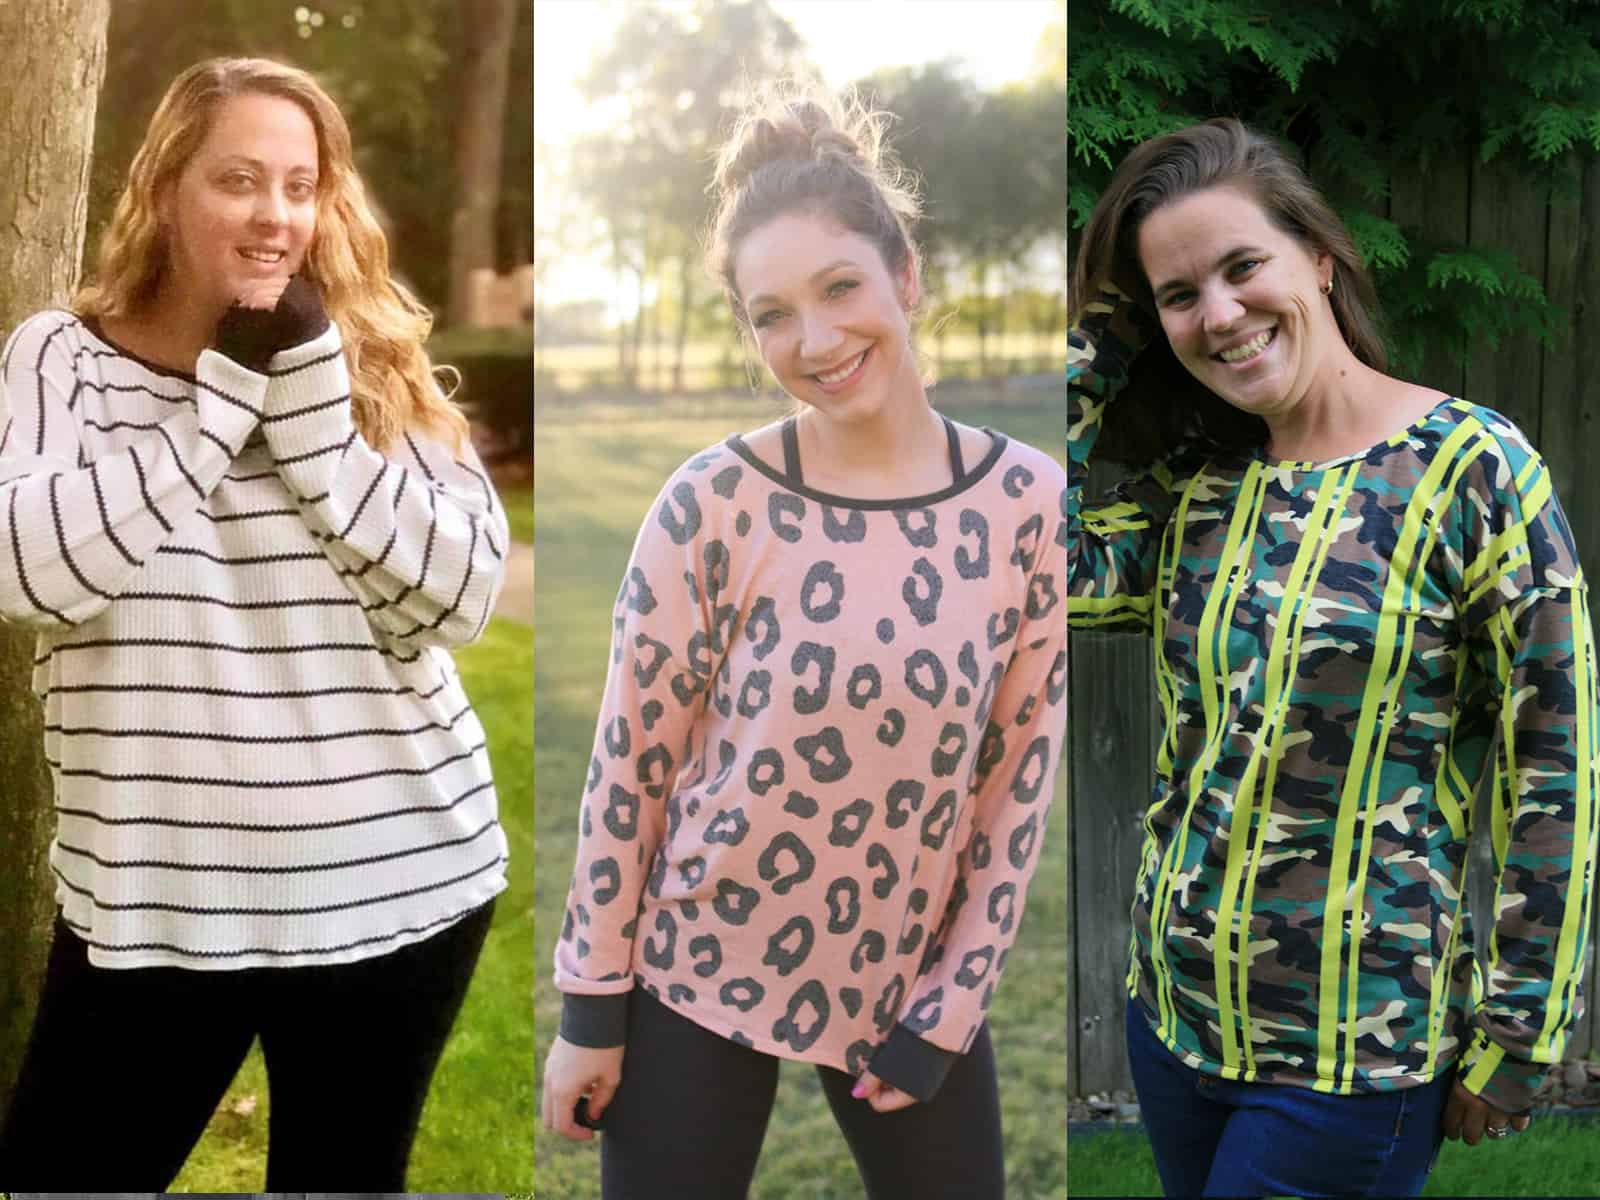
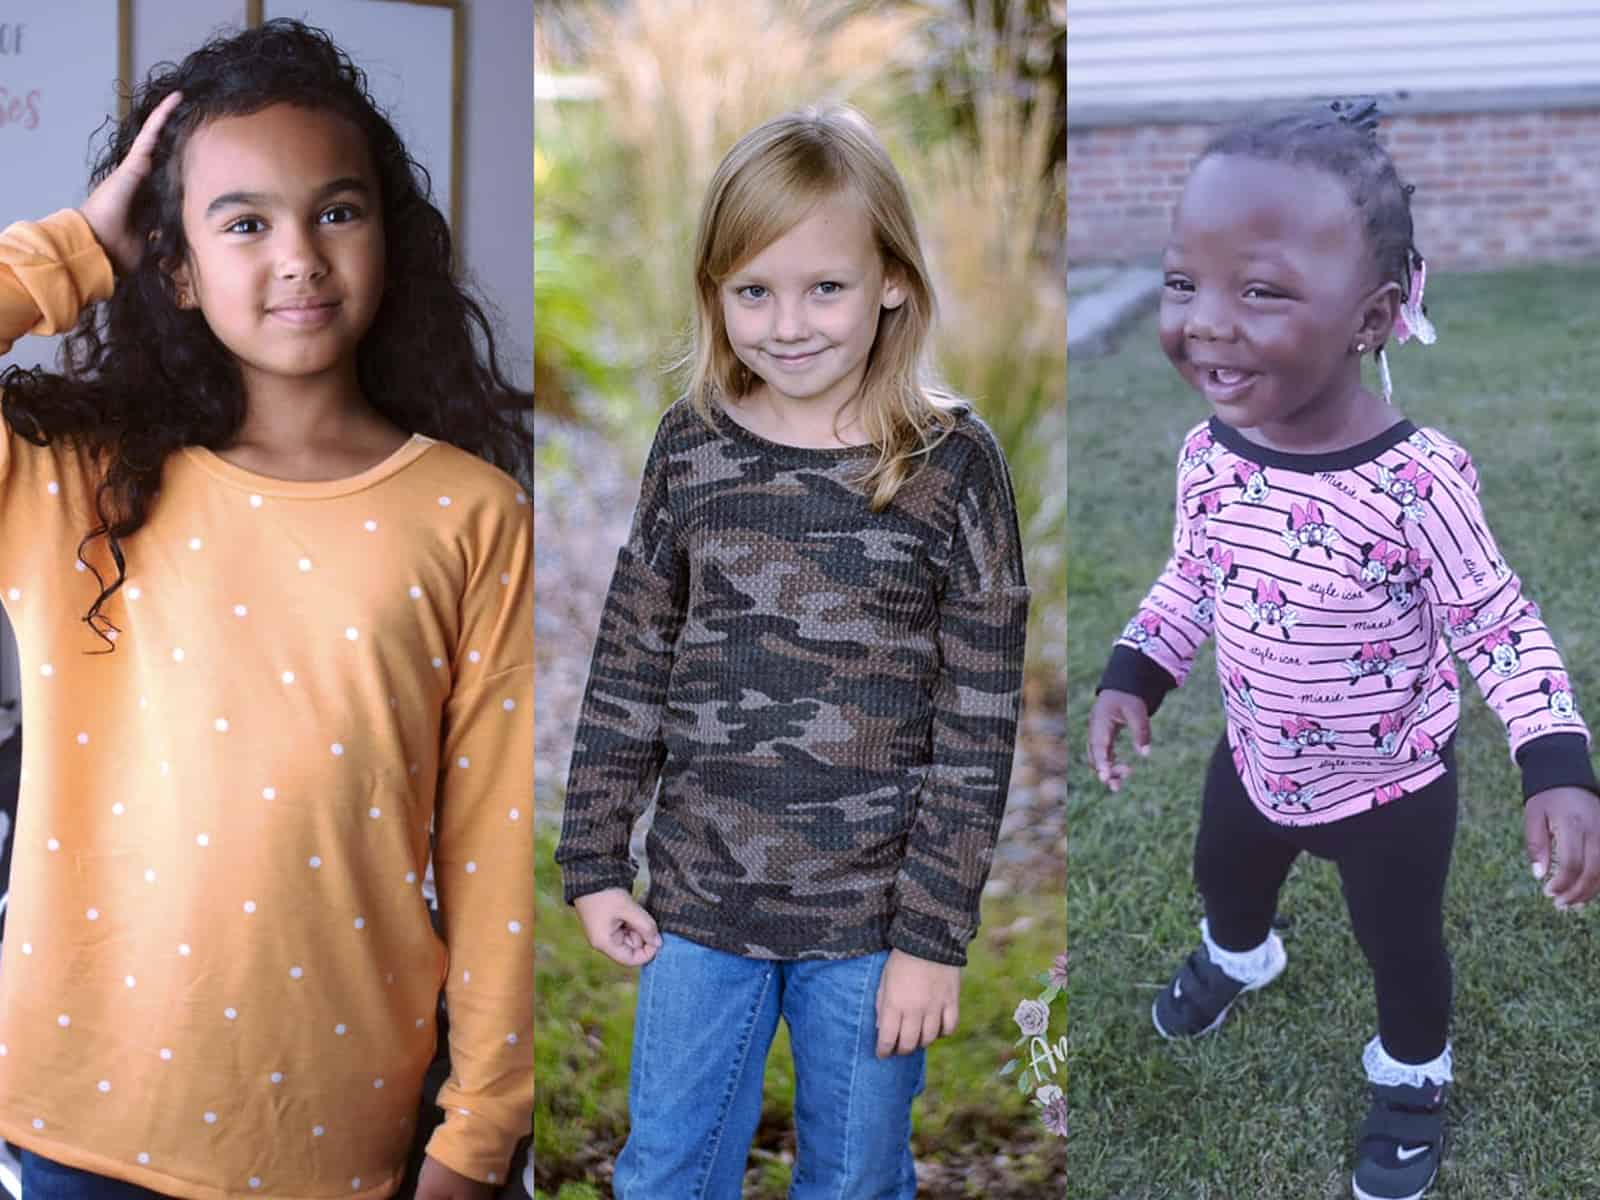
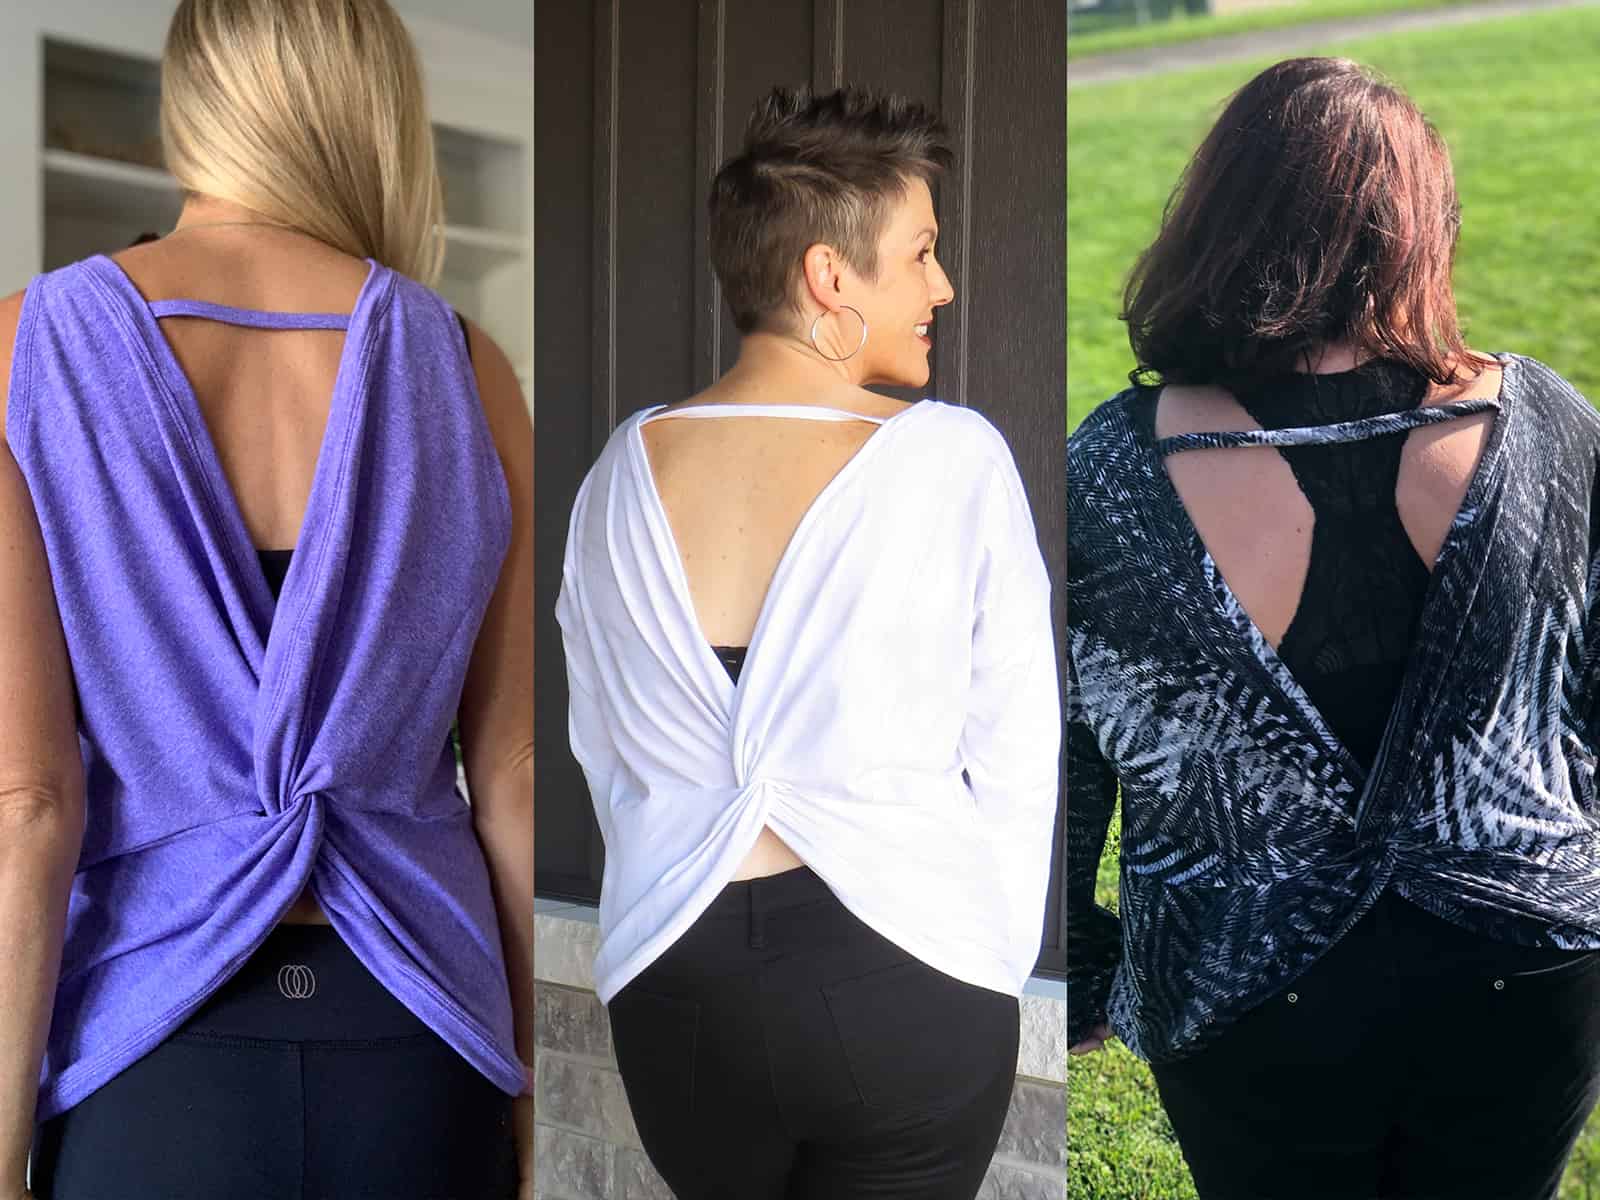
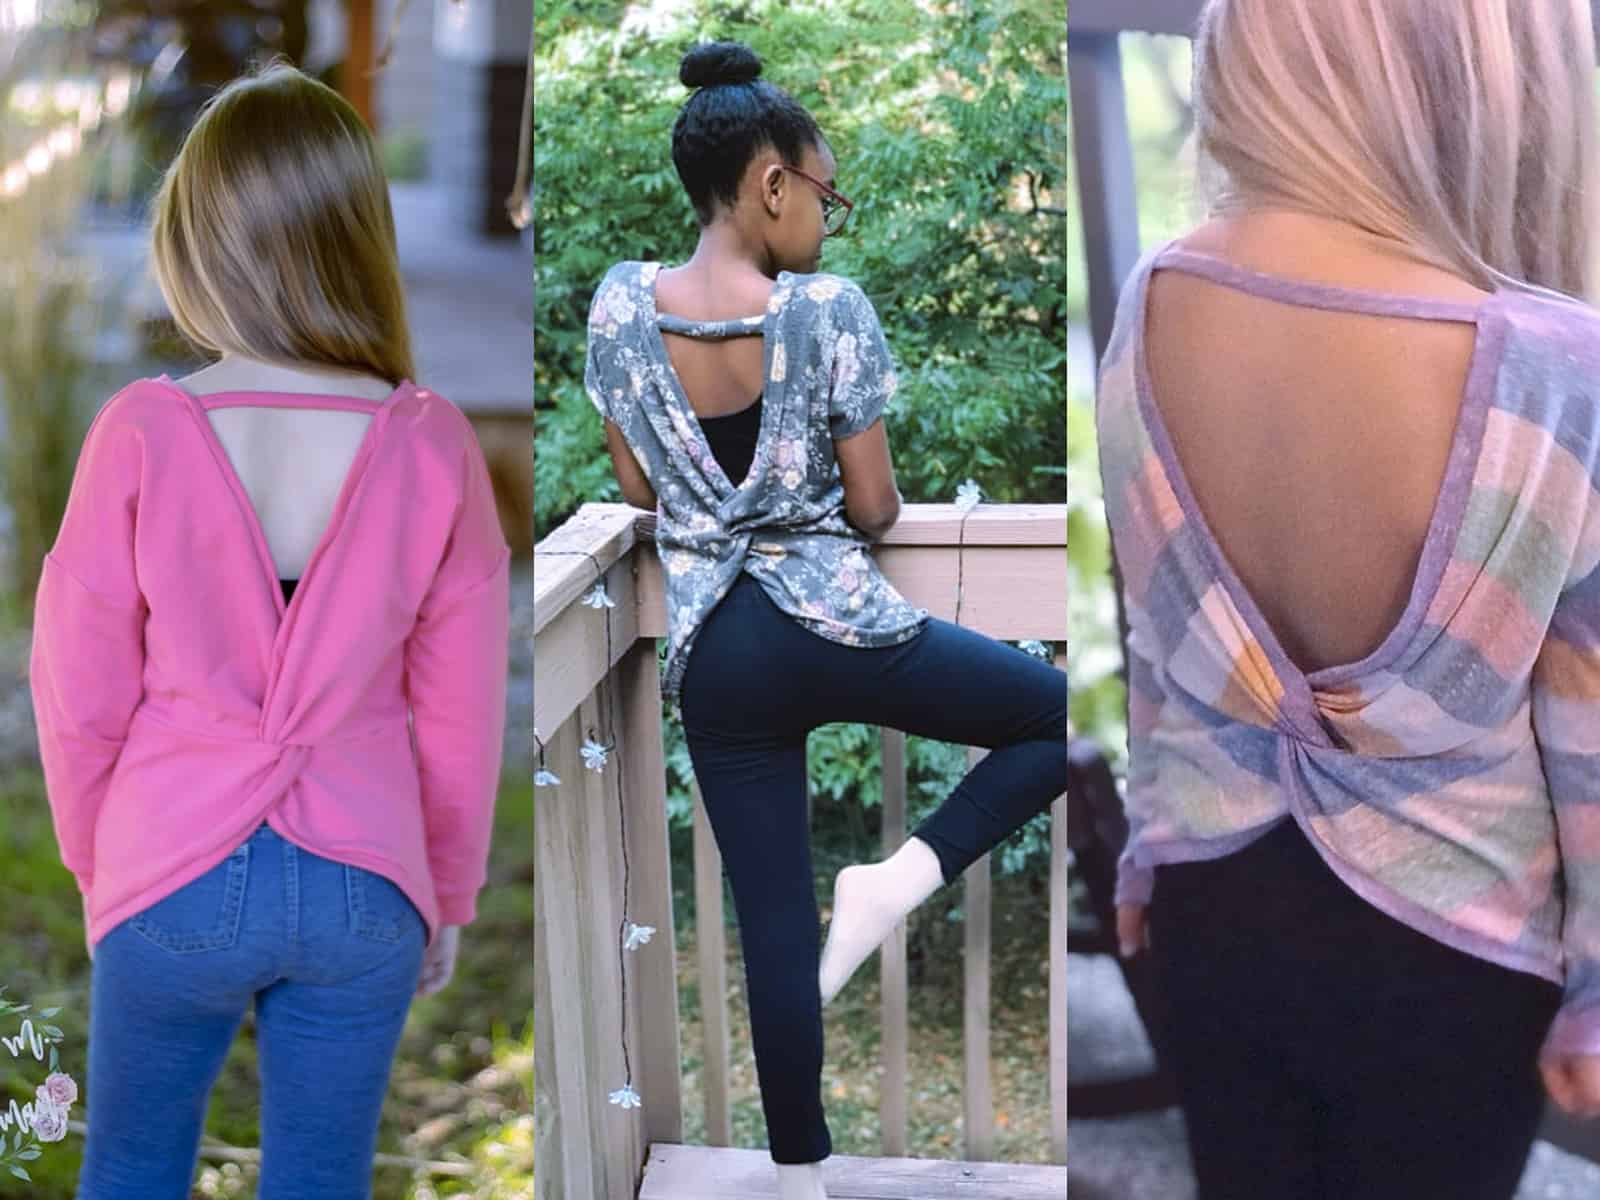
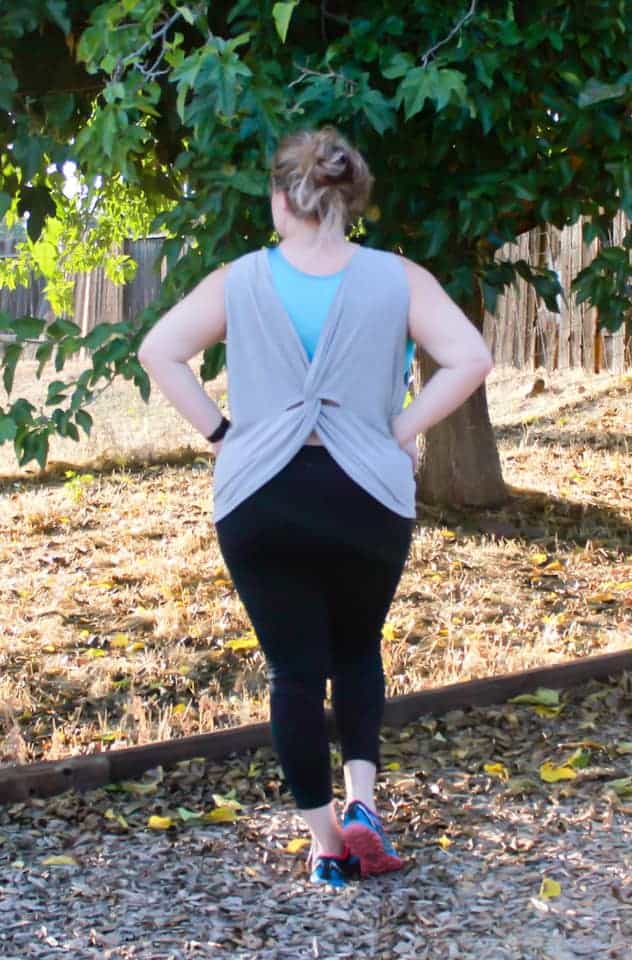
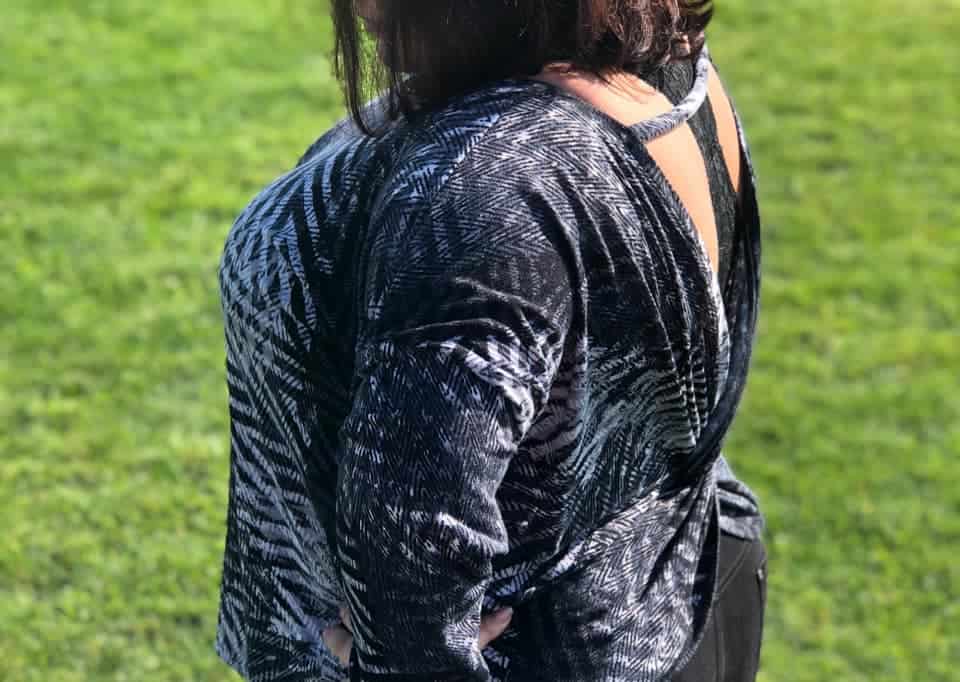
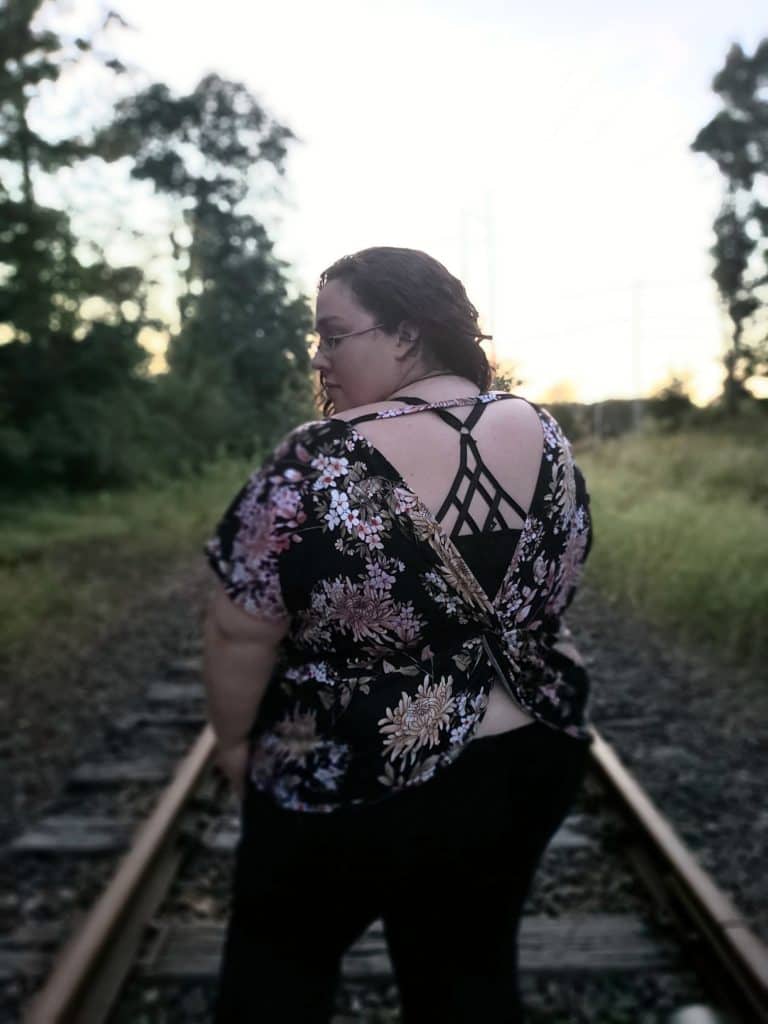
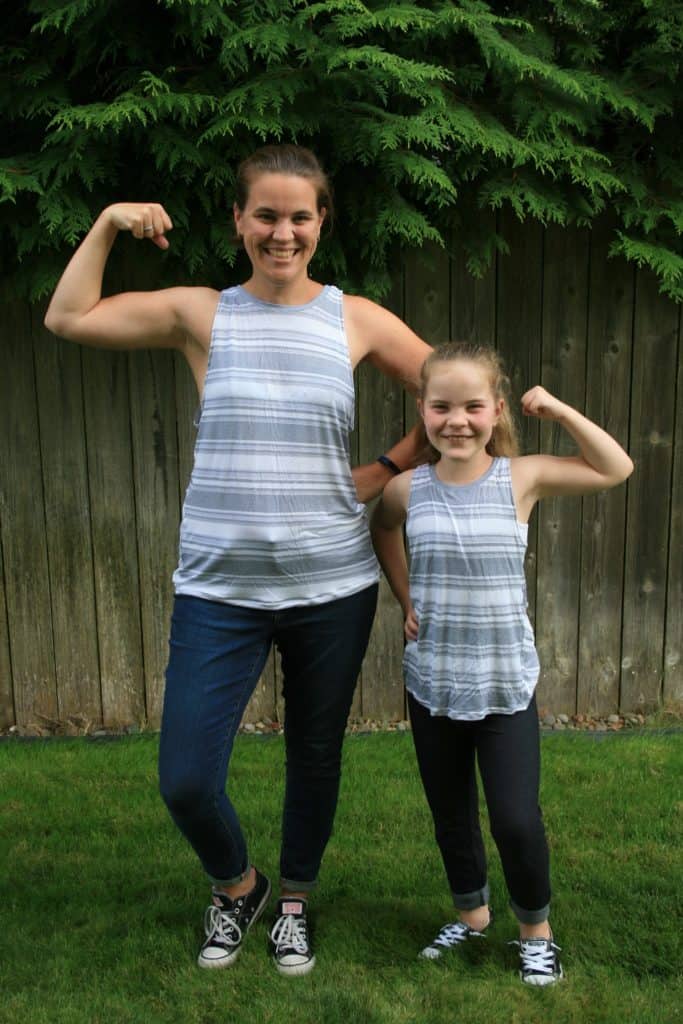
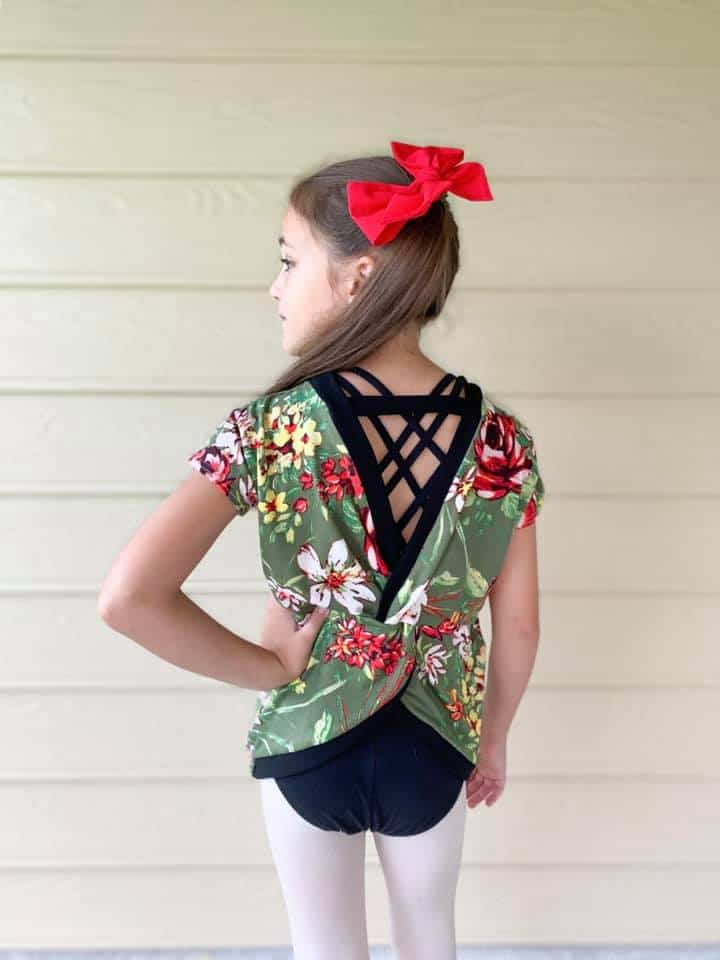
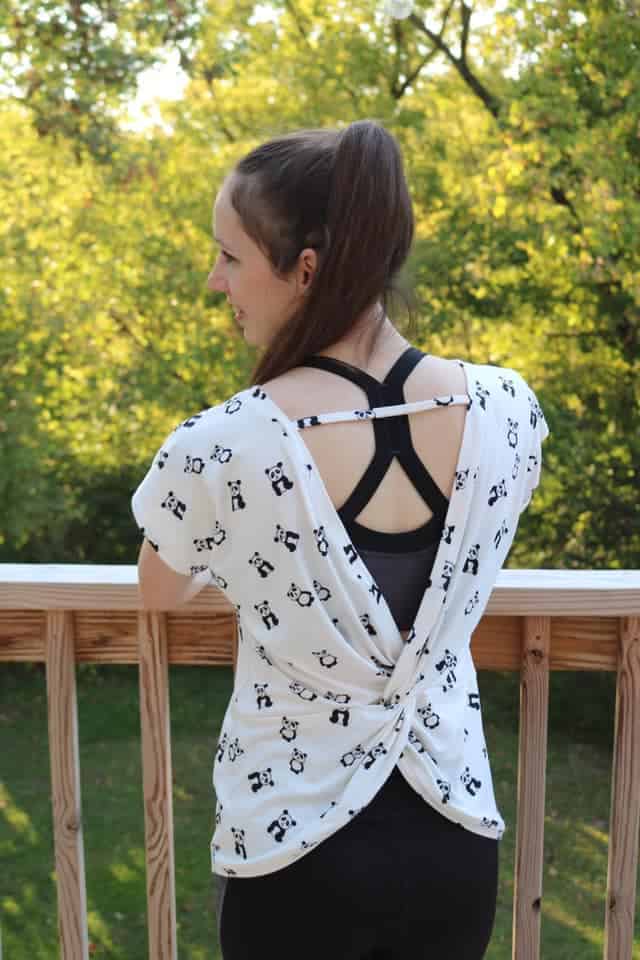
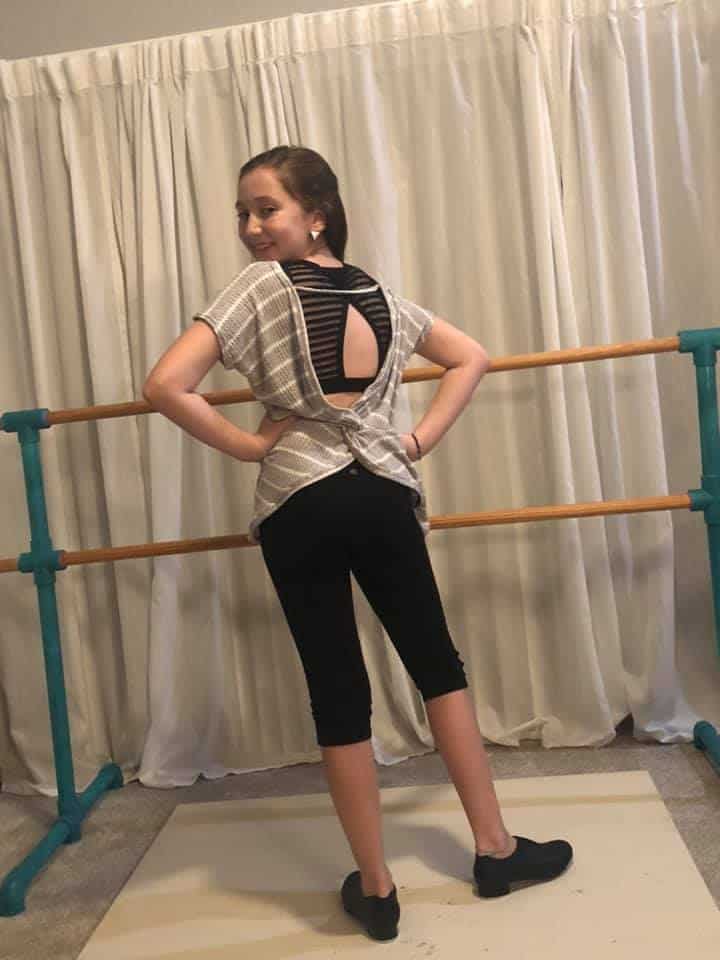
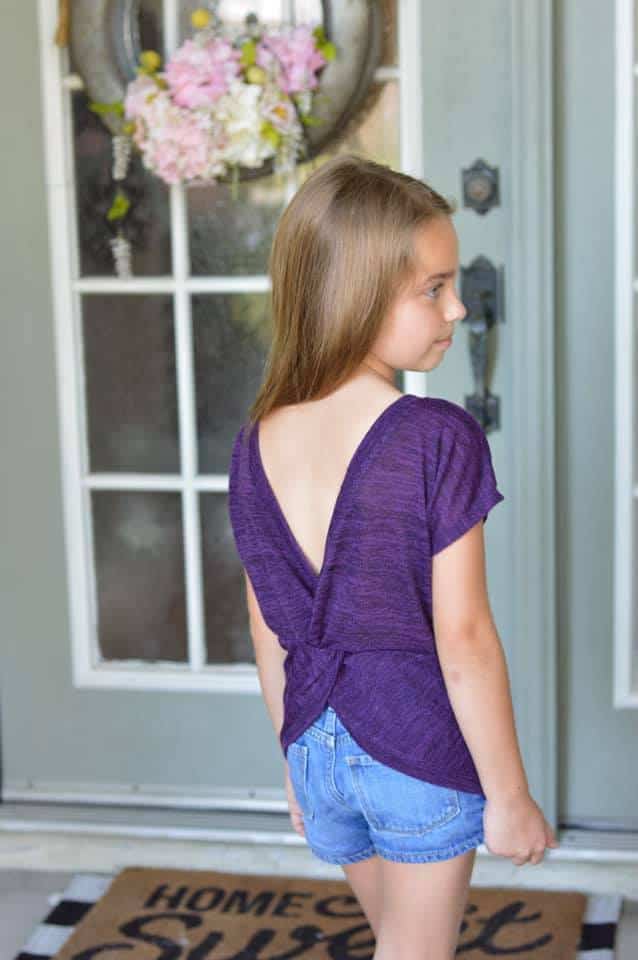
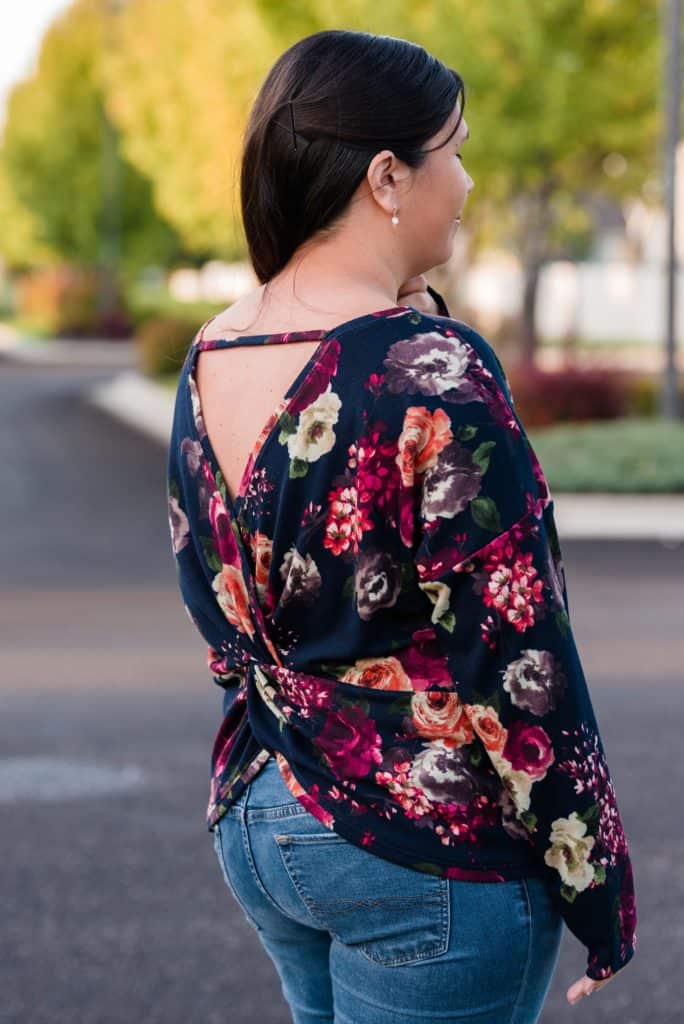
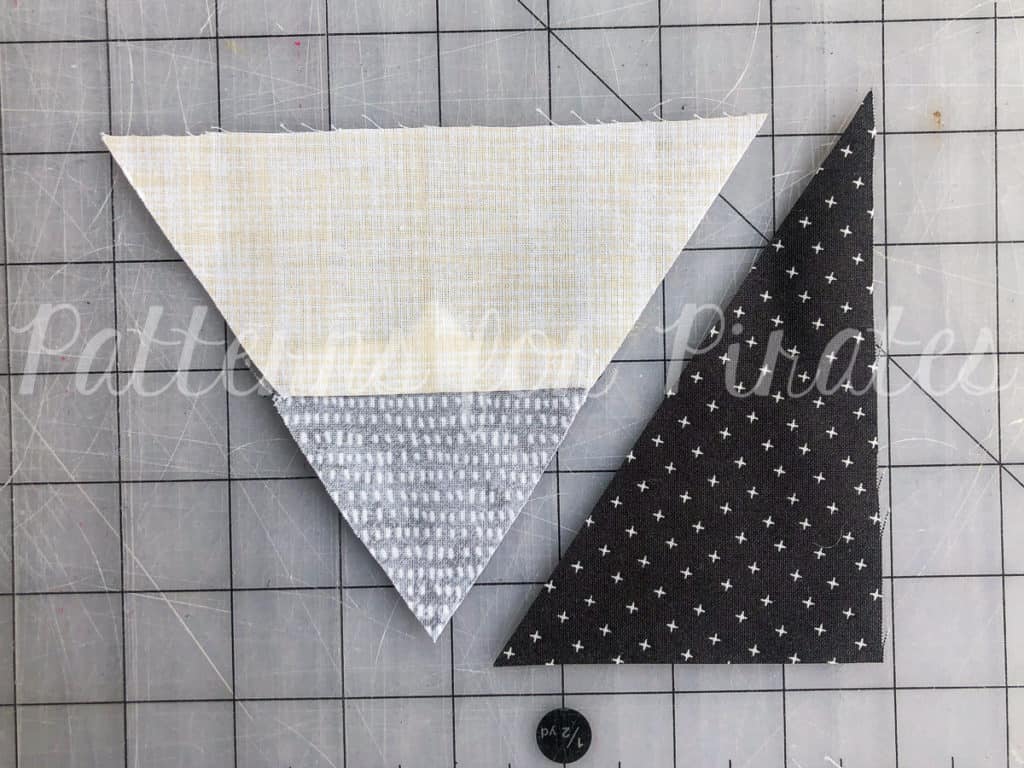
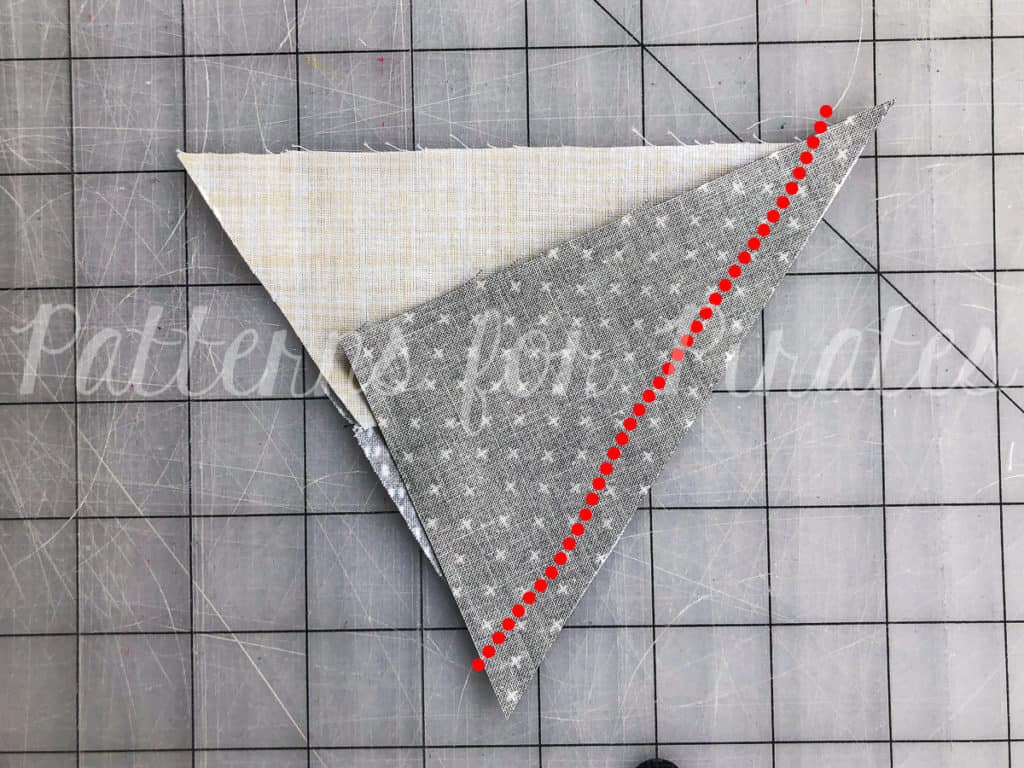
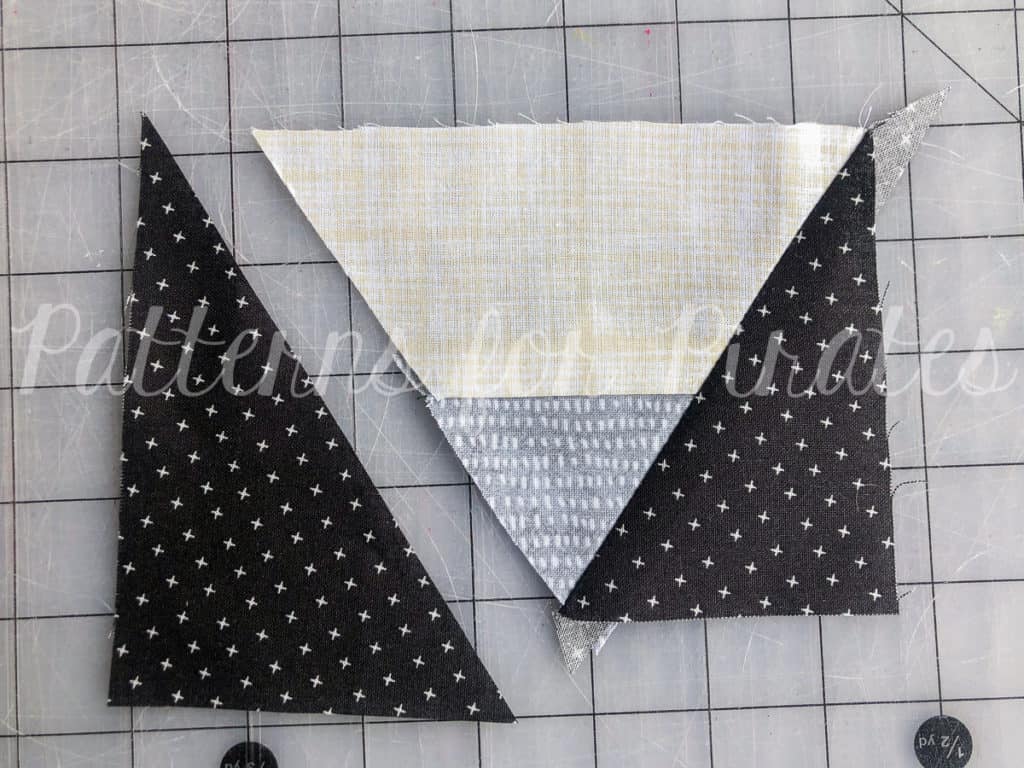
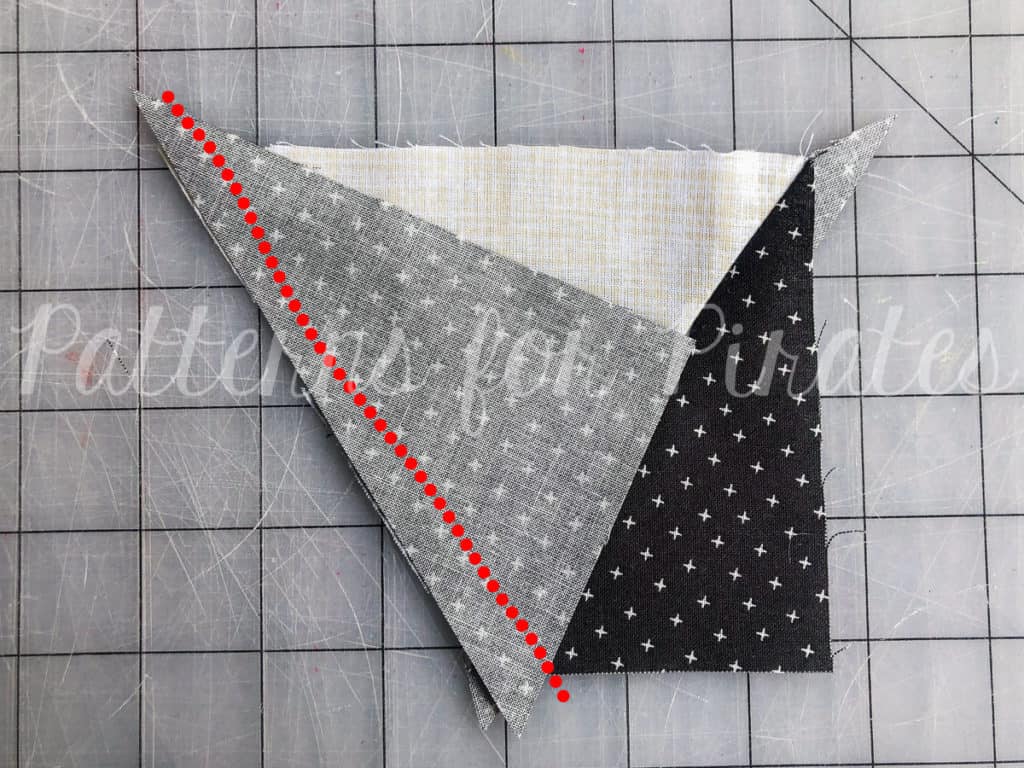
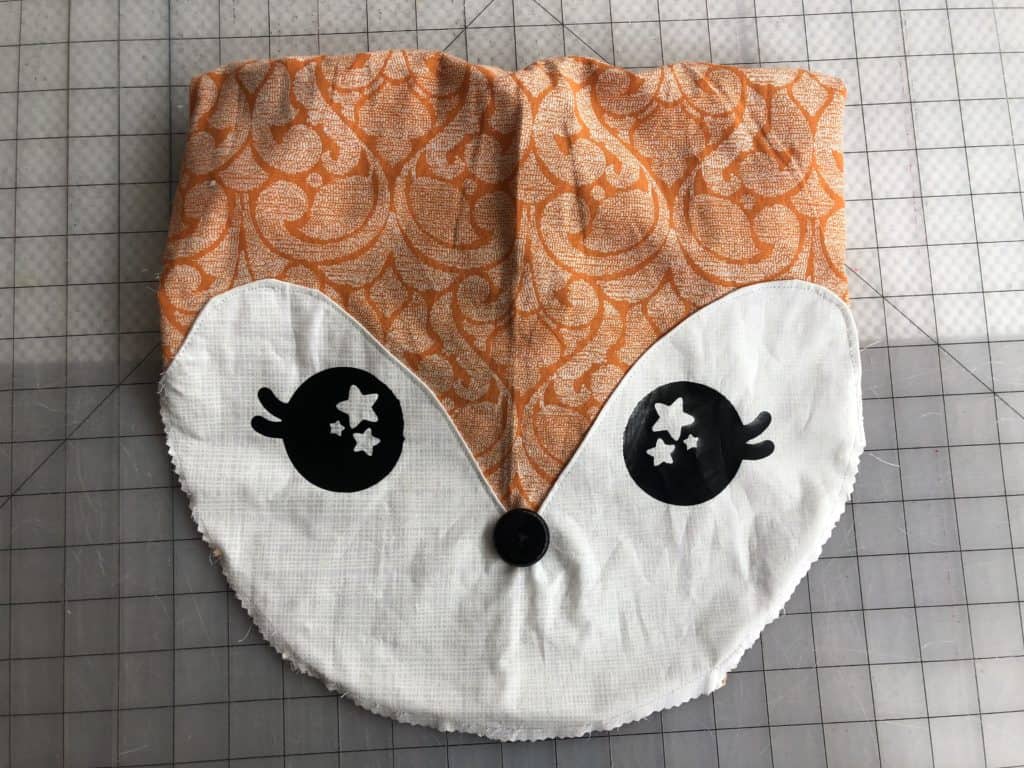
Here’s a little inspiration from our fabulous group of testers, in case you needed it.
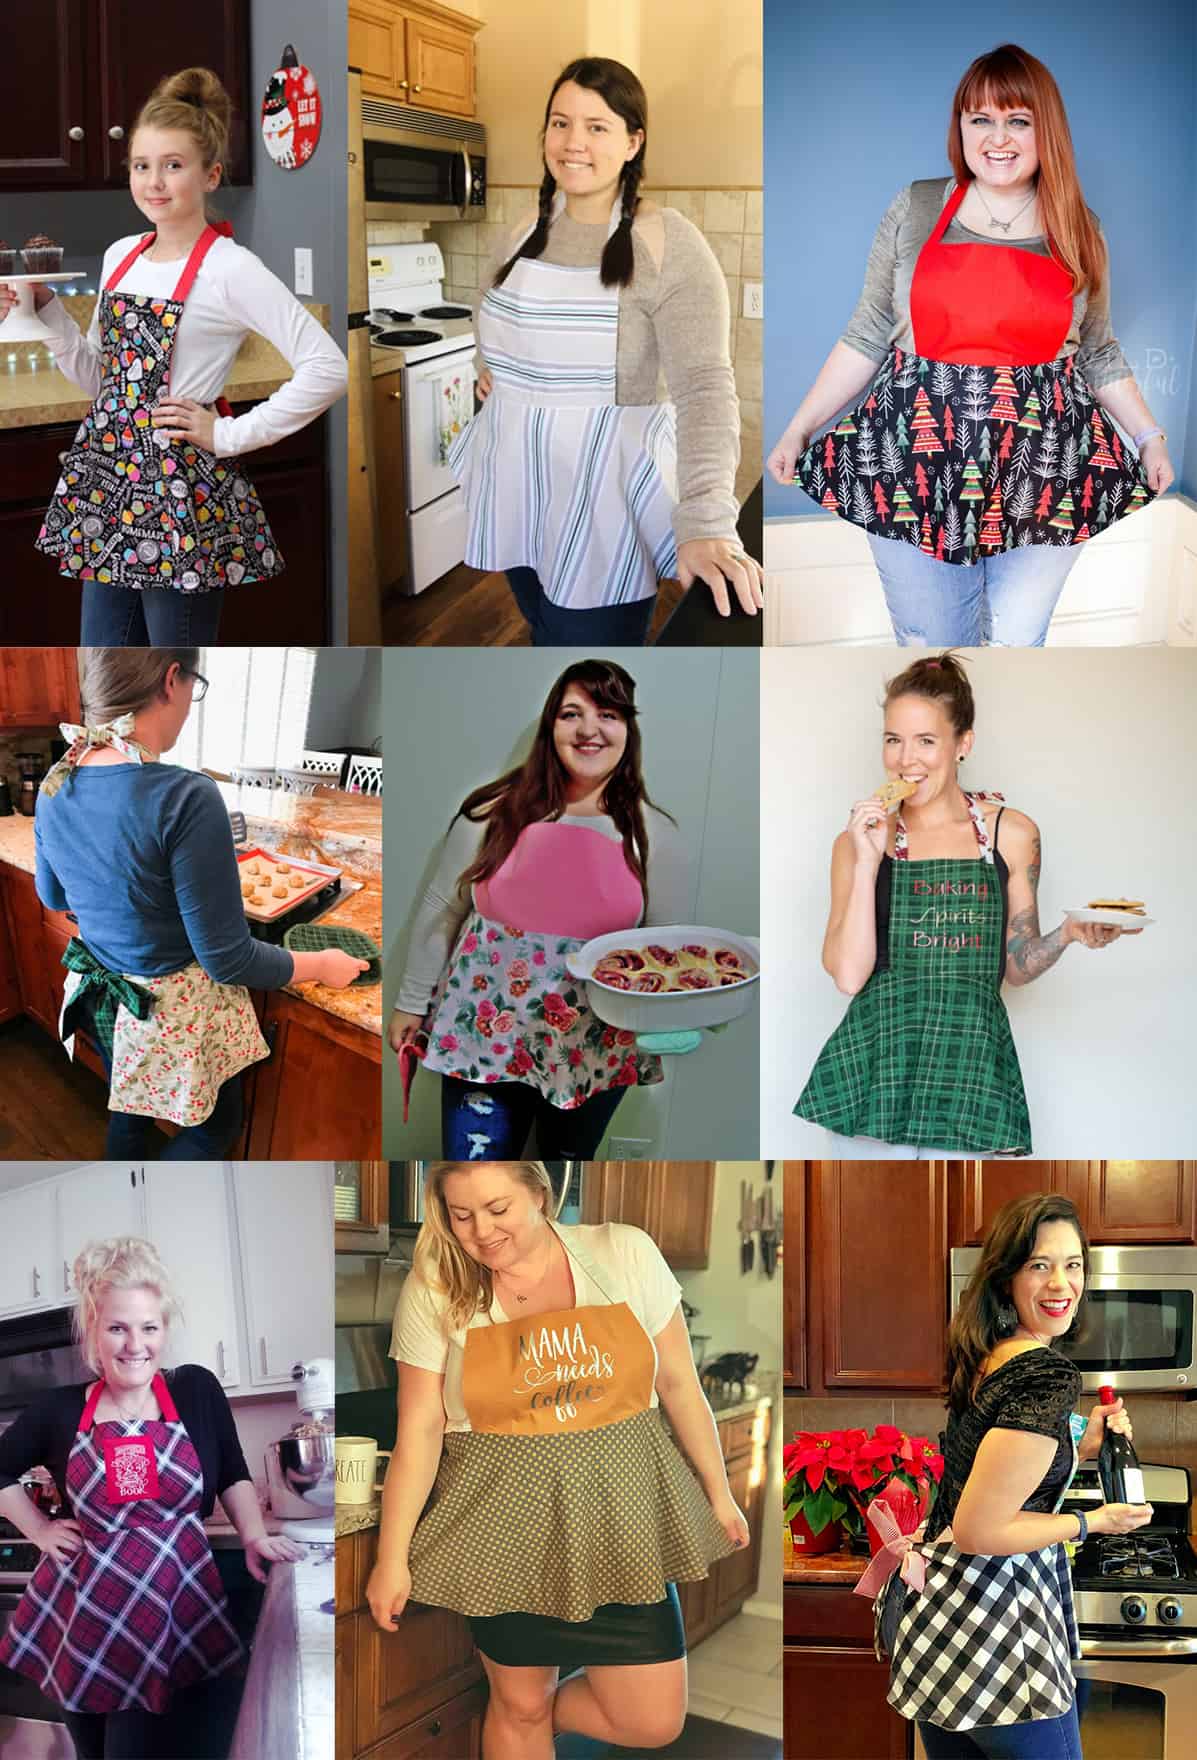
As always, we love when you share what you’ve made with us. Head over to the Patterns for Pirates Facebook group and show off the fabulous Hey Cookie Apron that you’ve managed to make from our freebie pattern!
Happy Holidays, friends!


 And now, onto the tutorial!
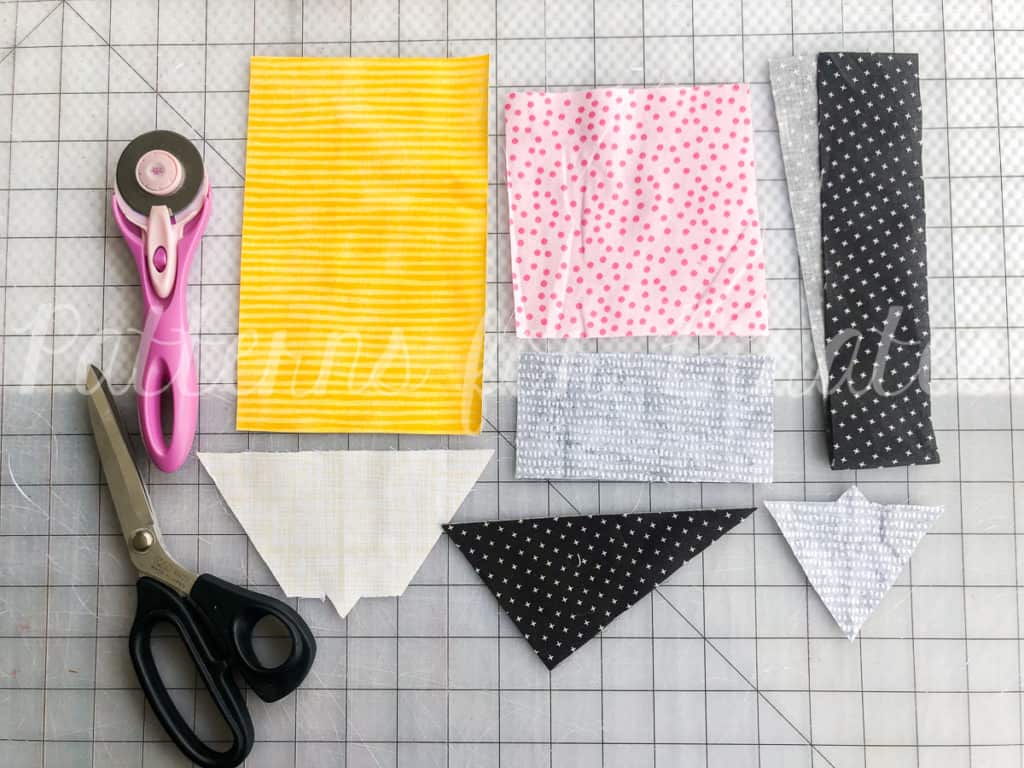


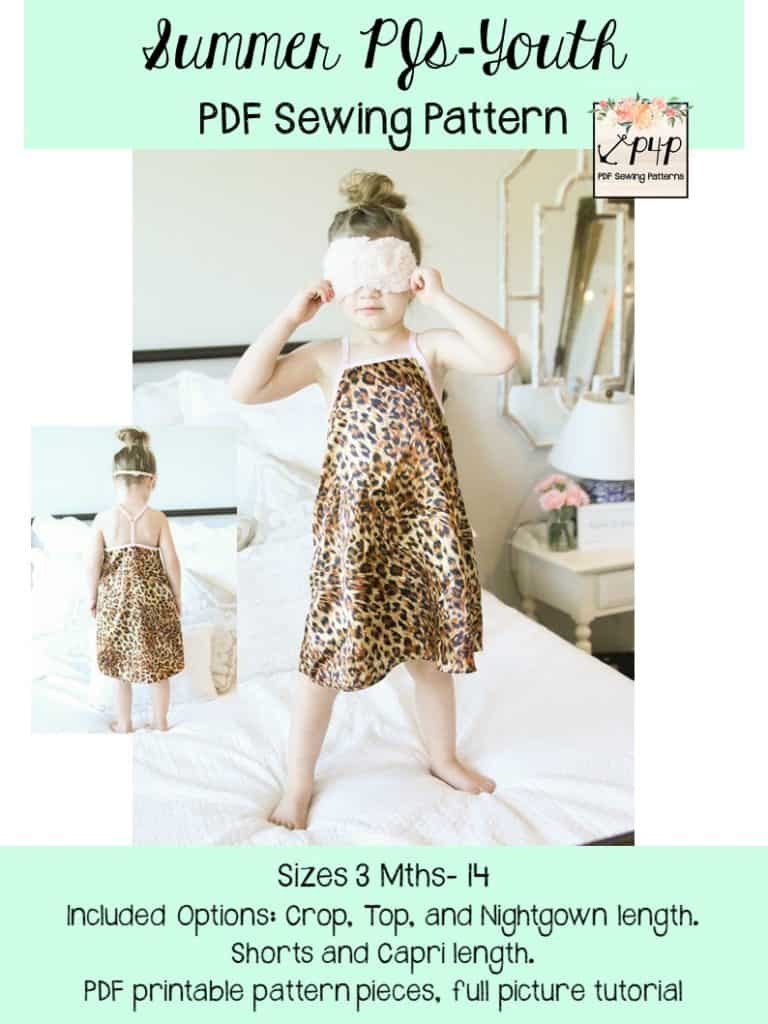
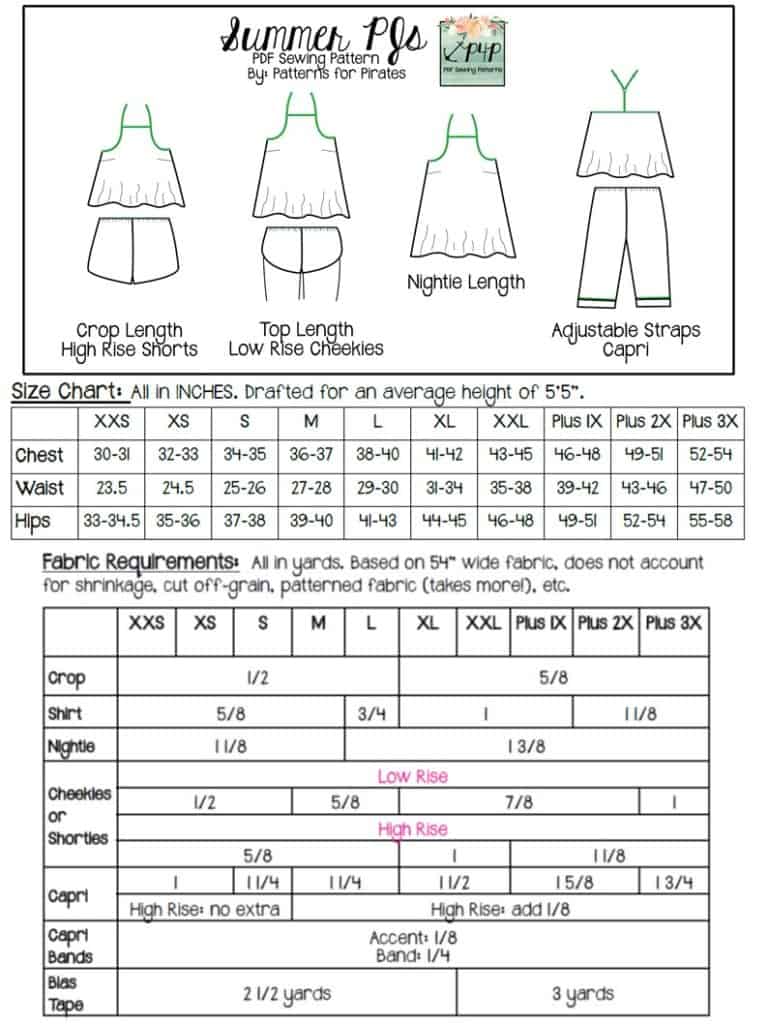
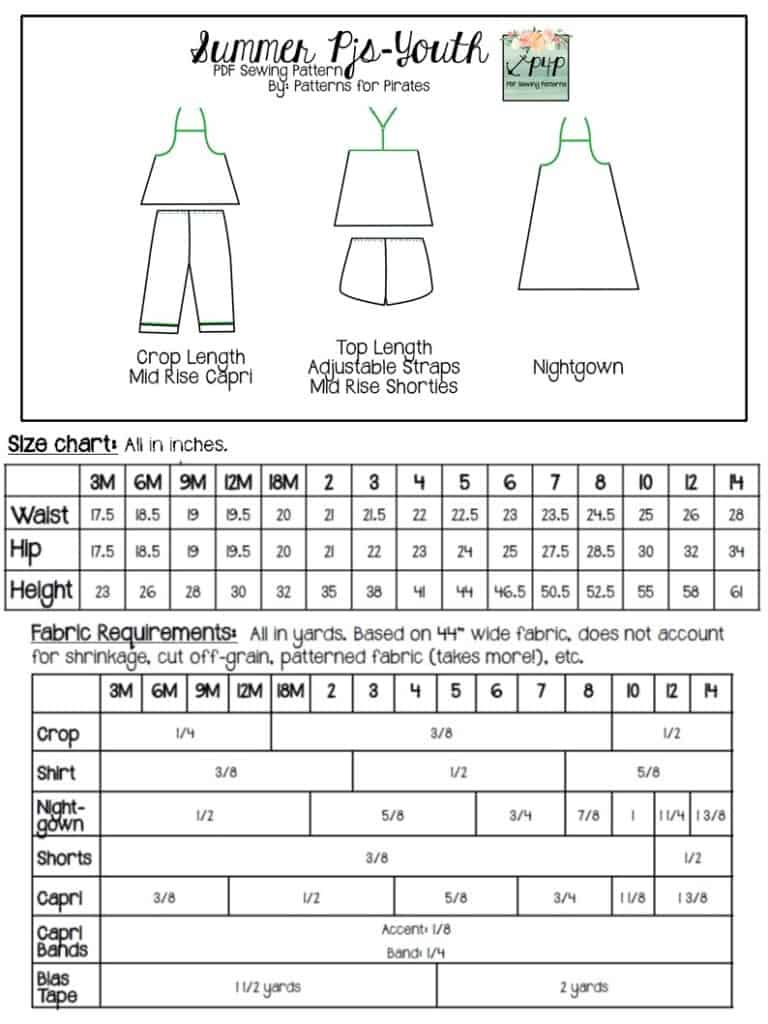
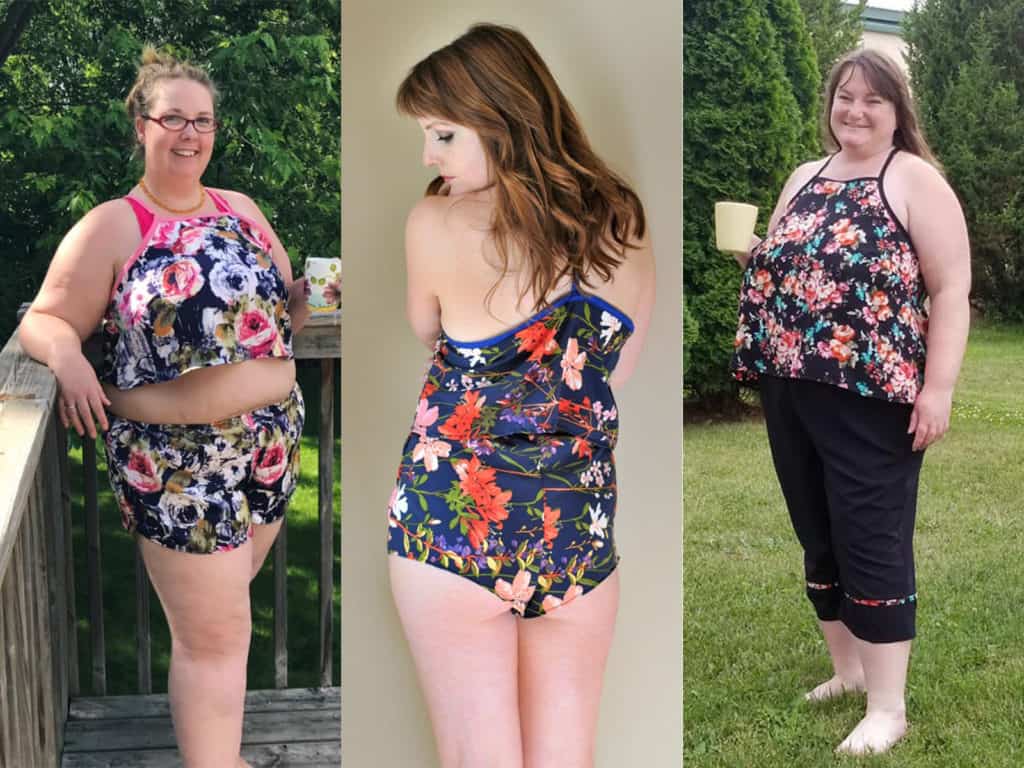


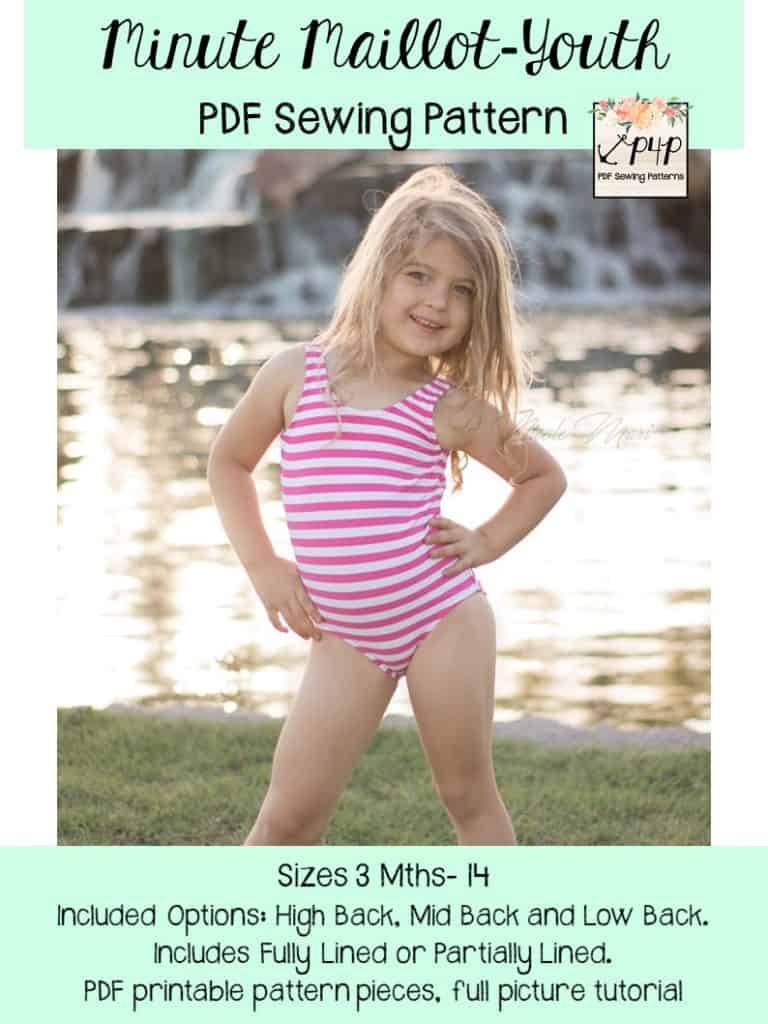


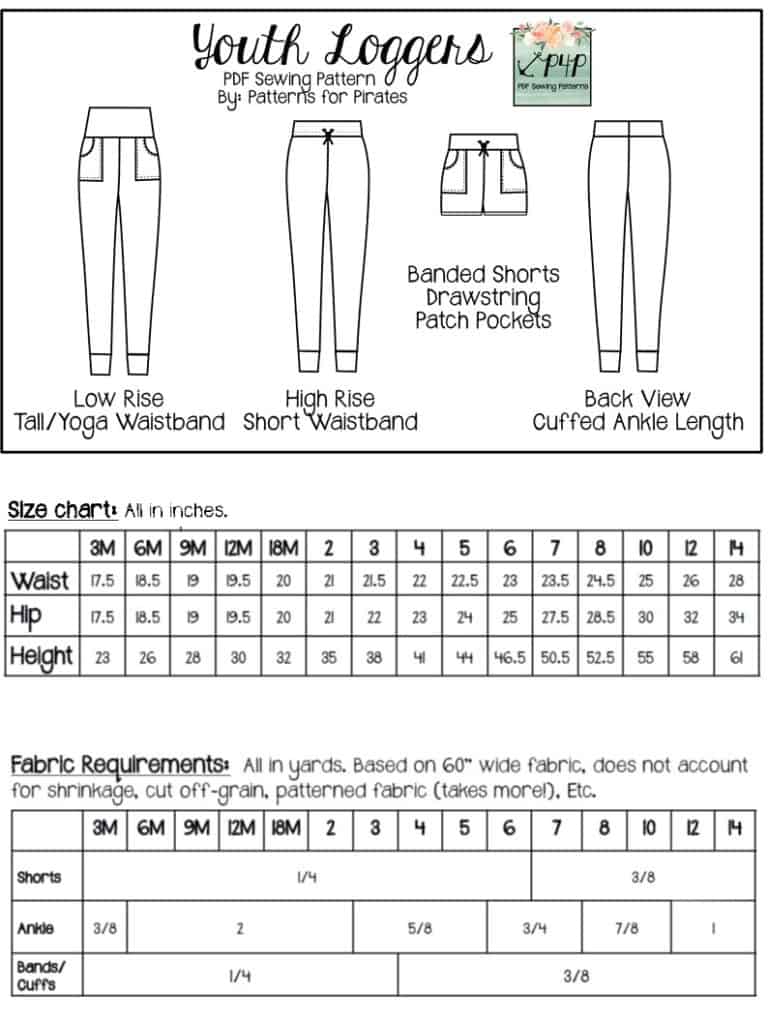
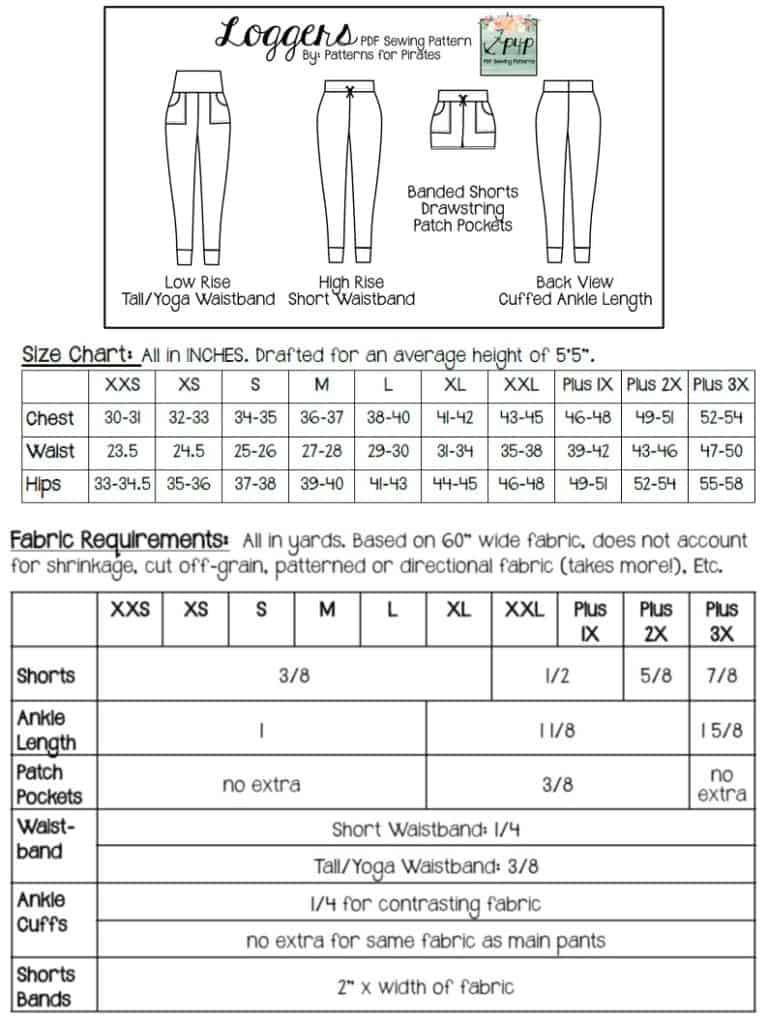
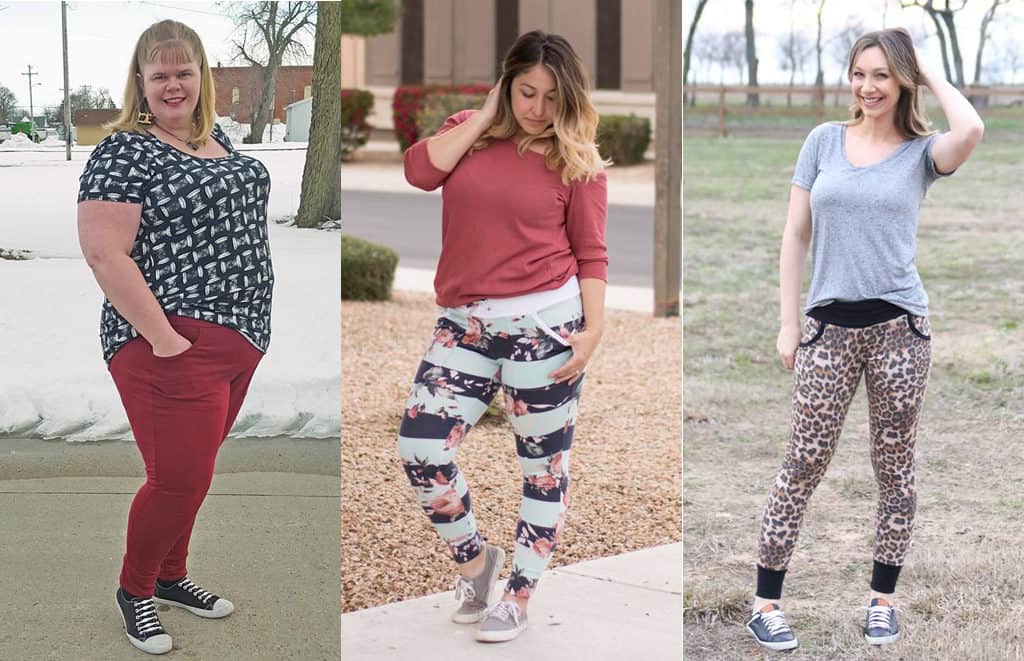
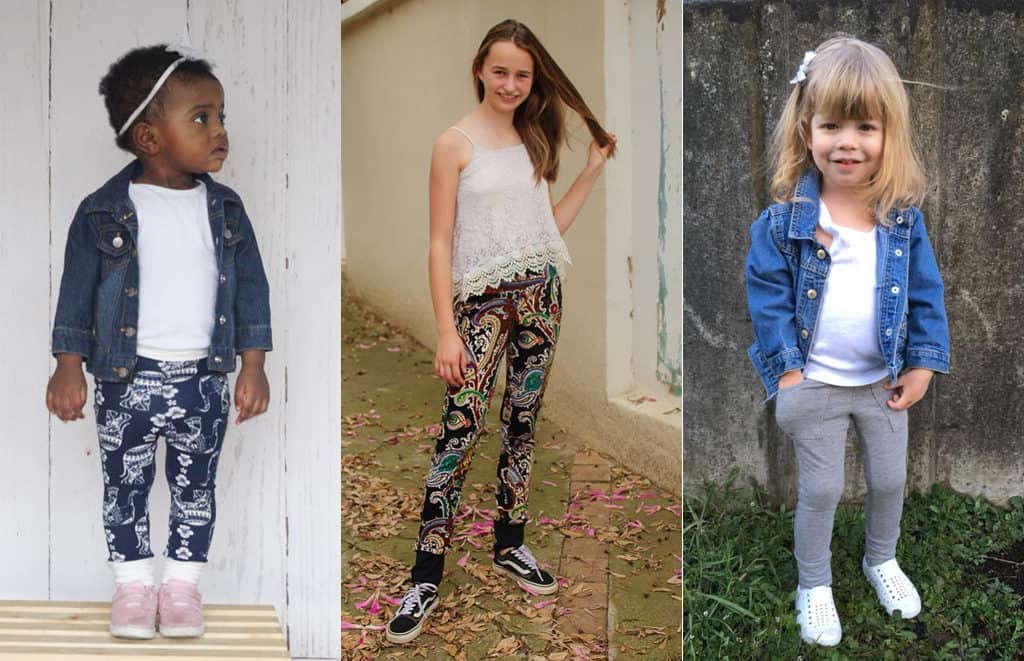
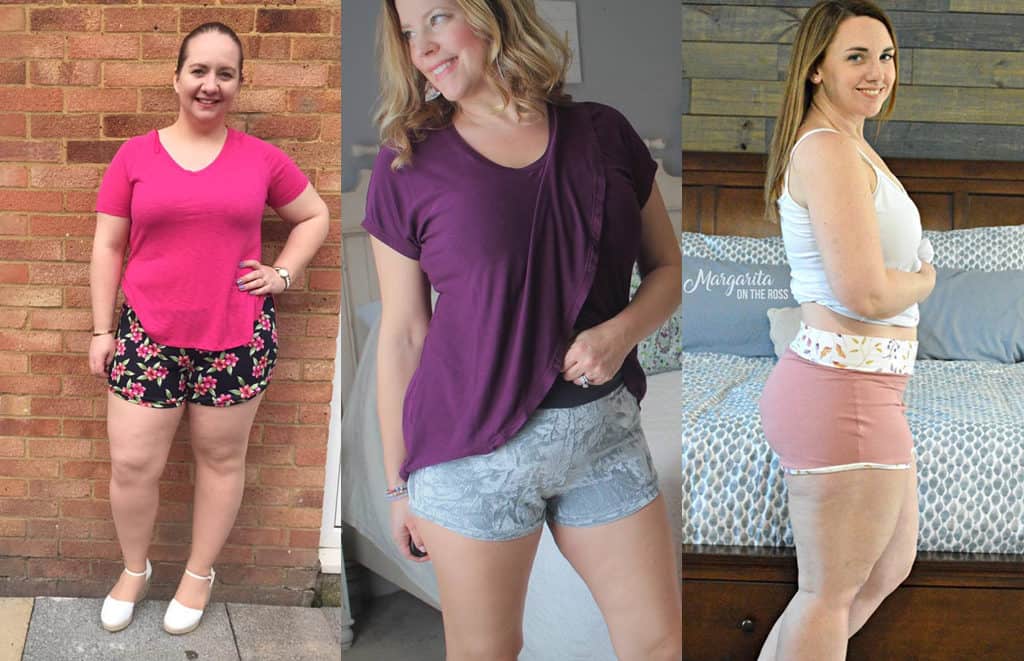
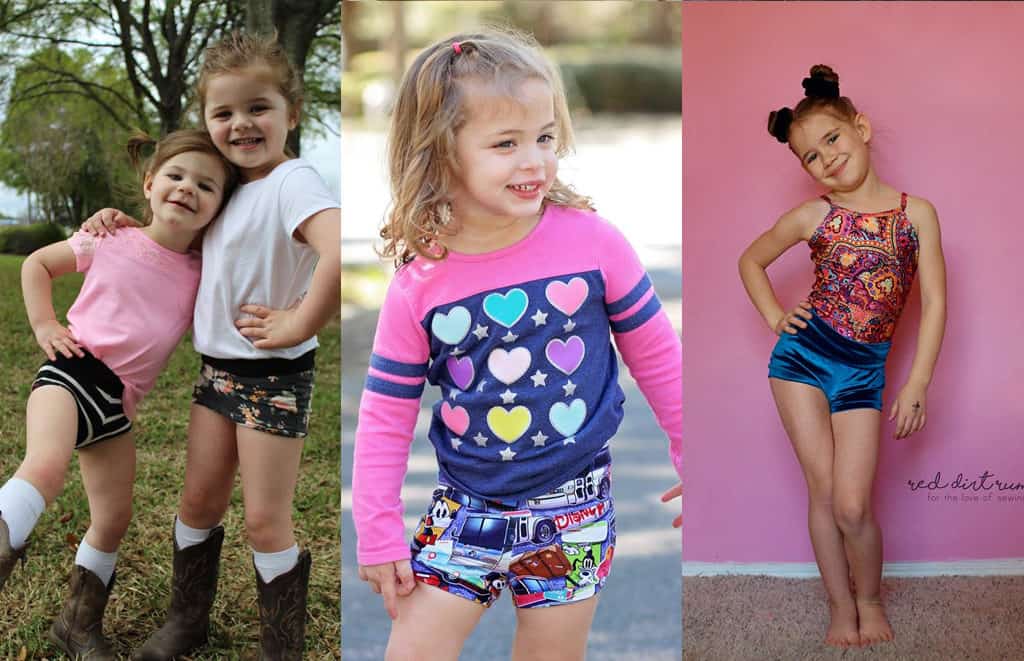
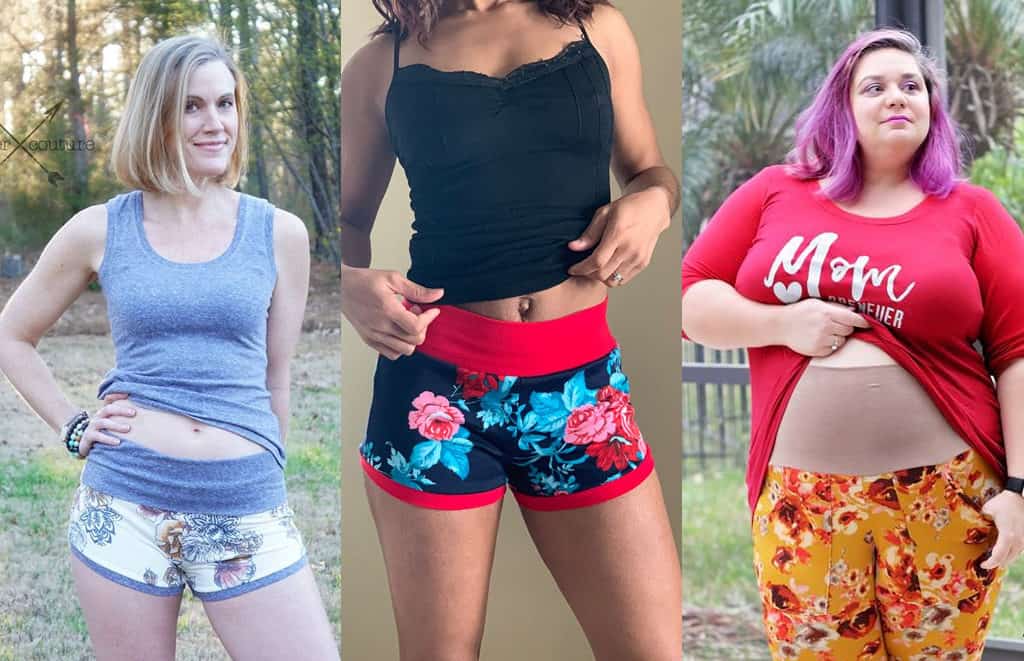
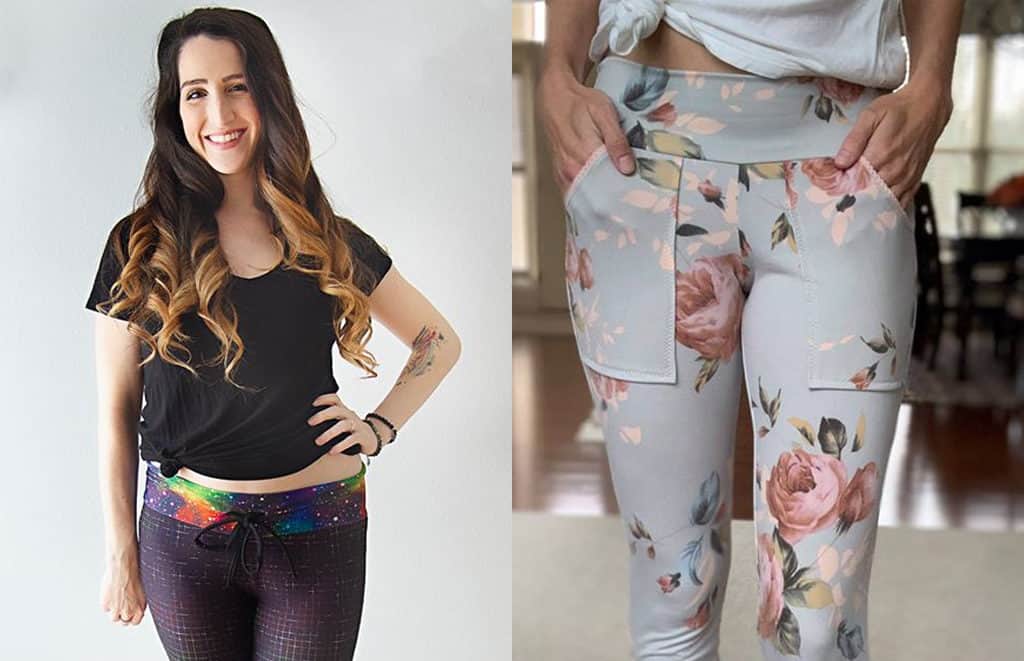
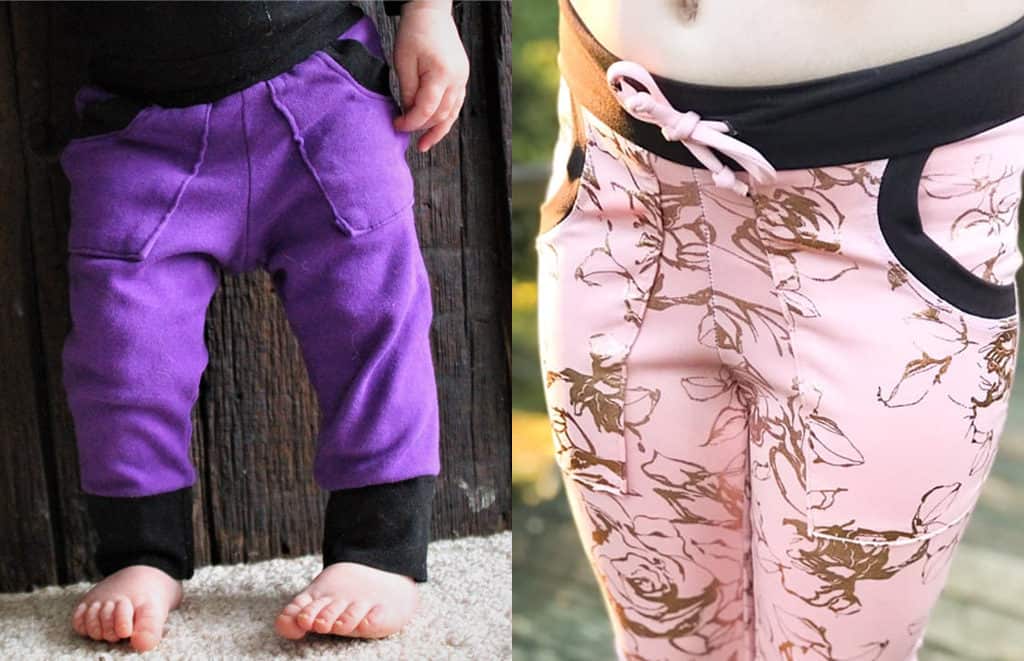
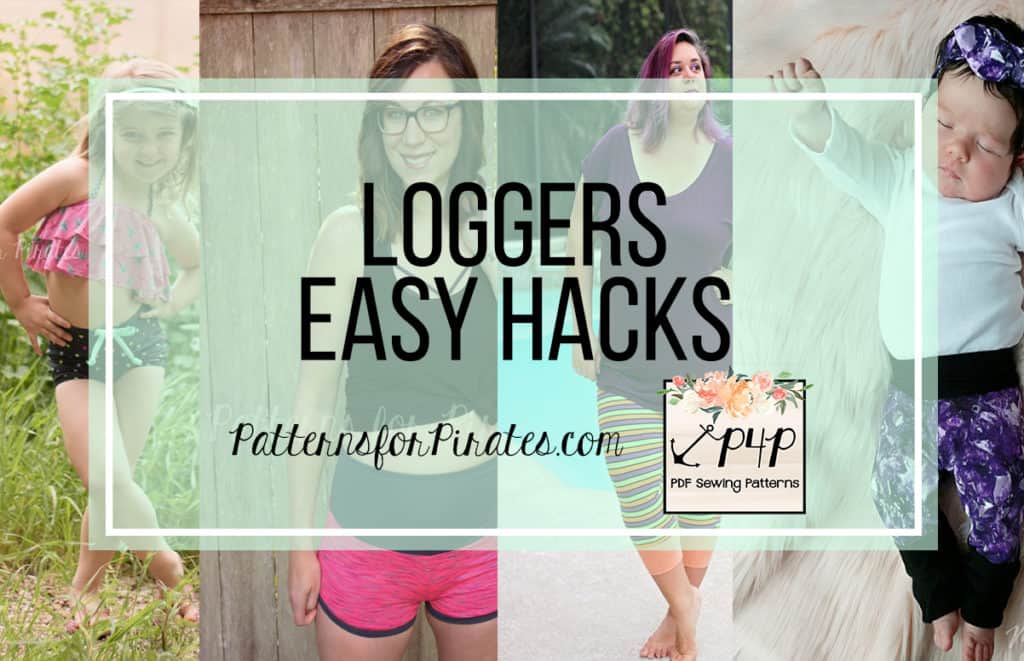
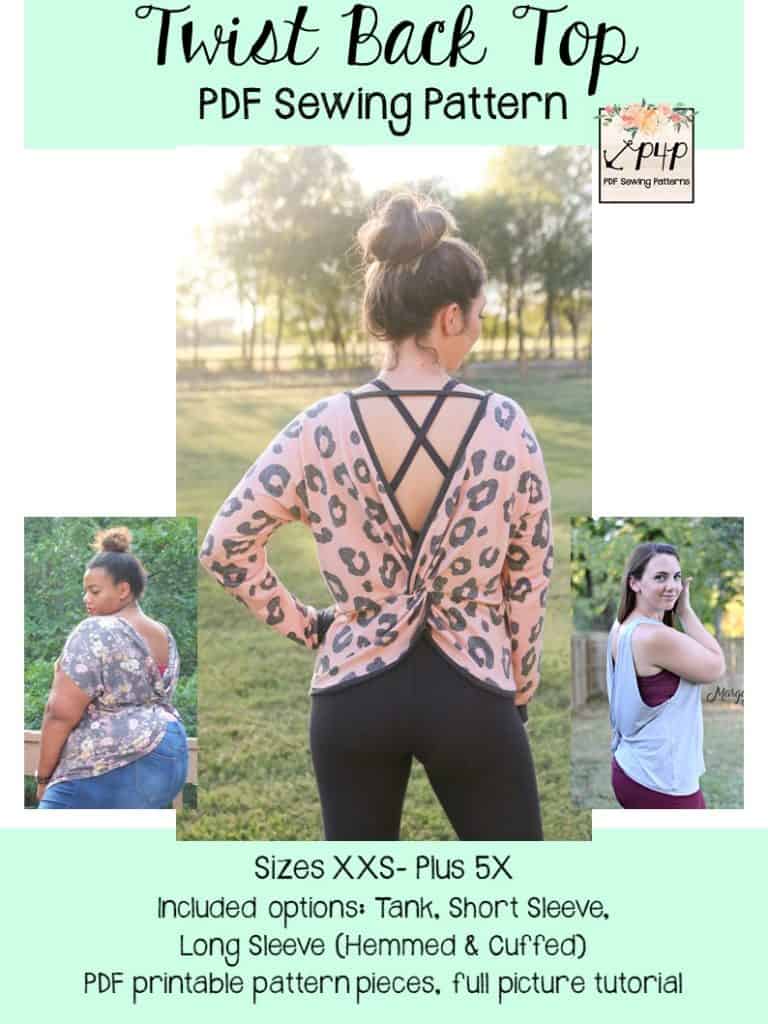
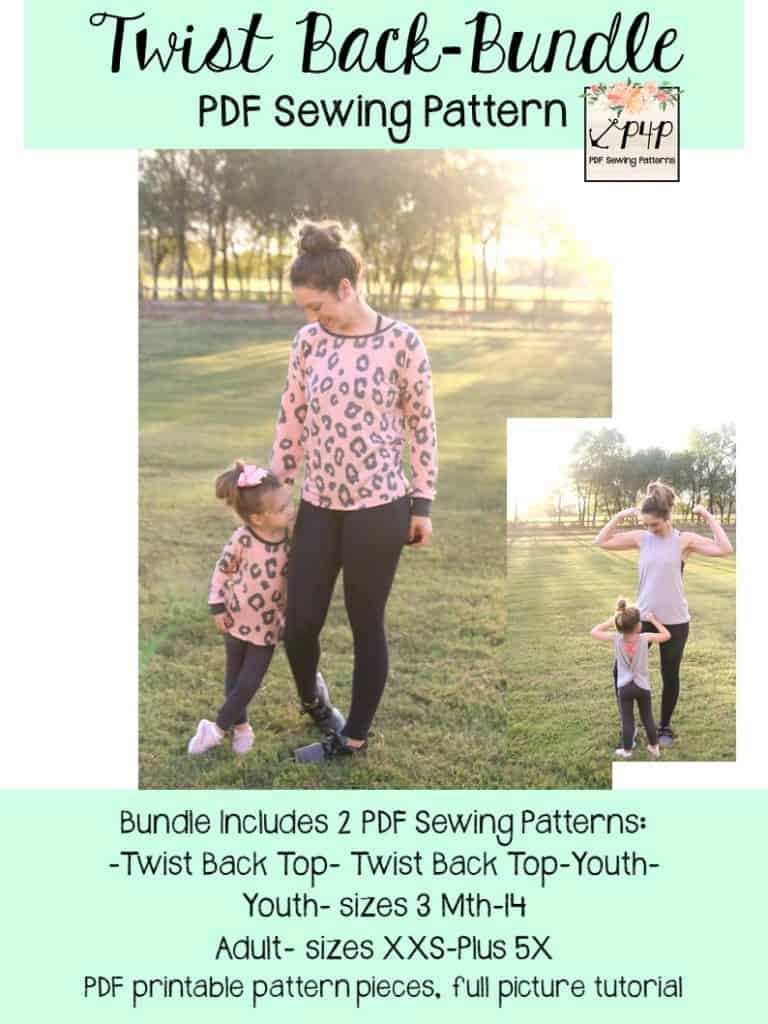
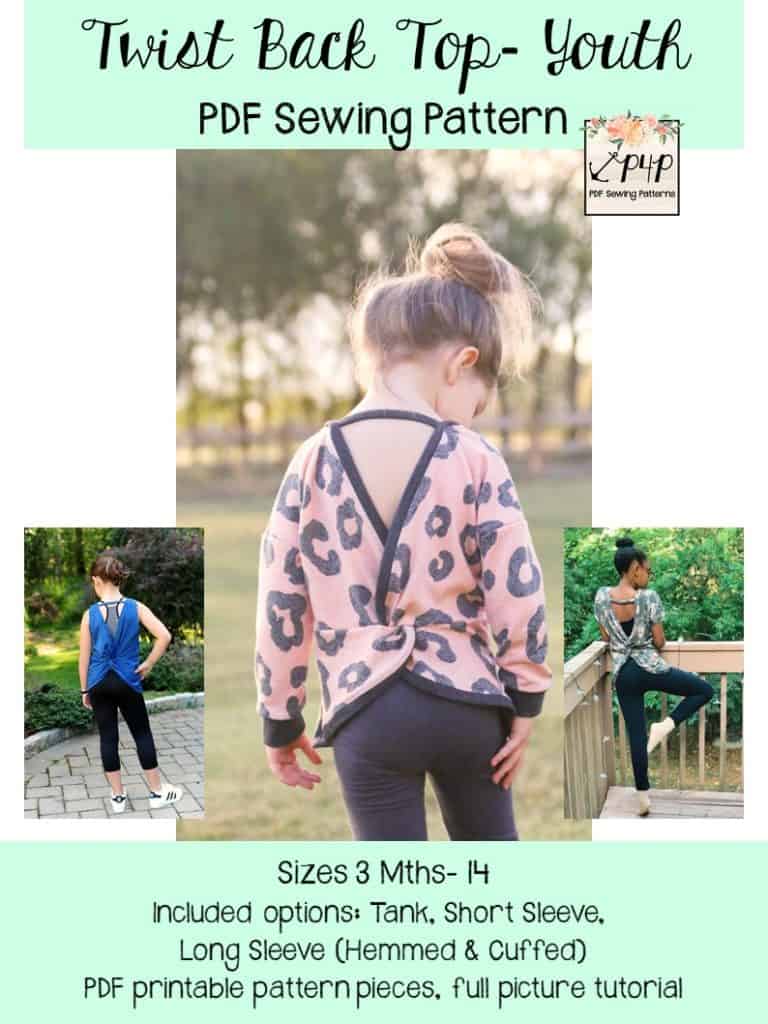
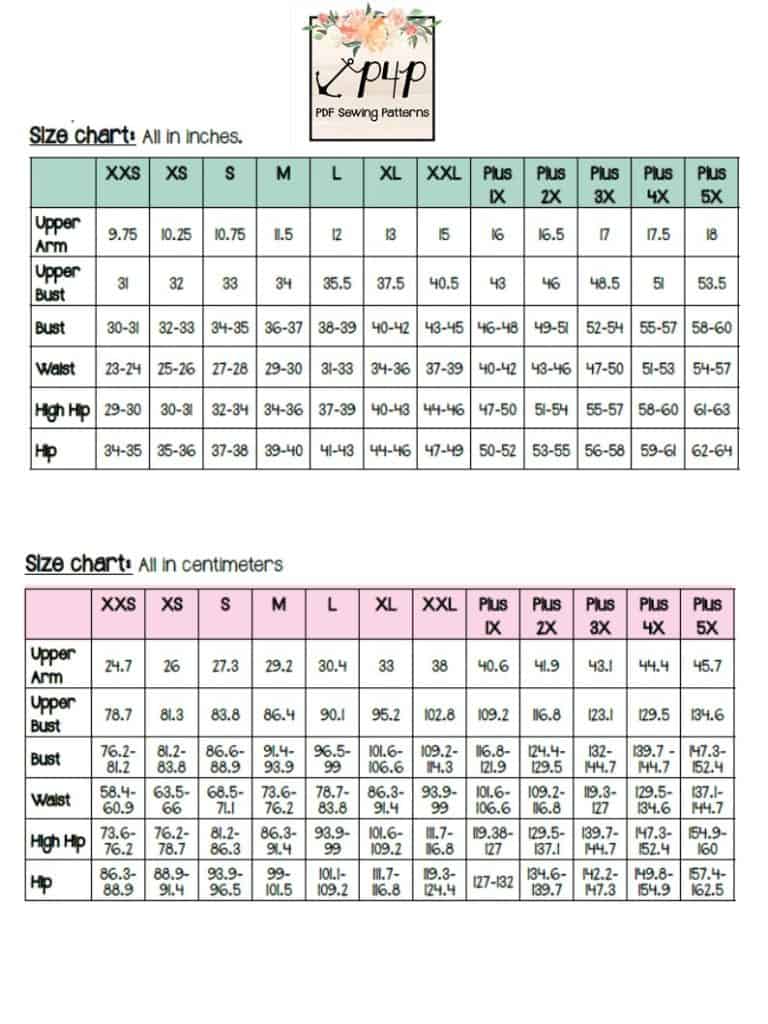
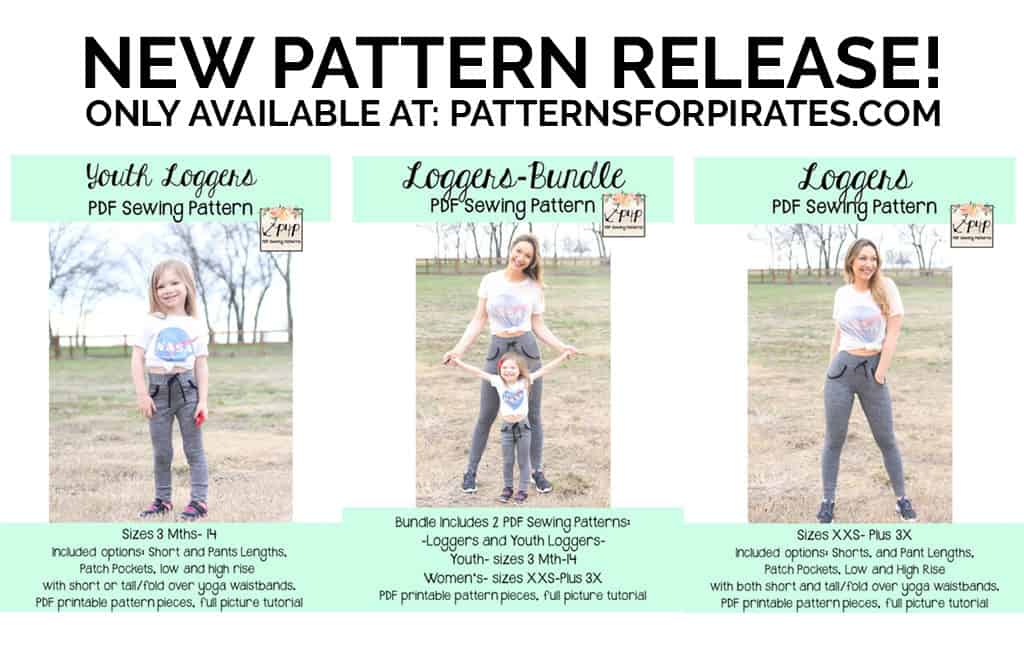 These patterns are drafted for a stretch knit fabric with a 40-50% horizontal stretch, and you will want some vertical stretch for wearing comfort. Both the adult and youth versions feature a tighter pant with cuffs and optional pockets on the pant length. They are drafted in two lengths (shorts and pants), a large size range (XXS – Plus 3X in women’s and 3M – 14 in youth), have two rises (high and low), two waistbands (short or tall/fold over yoga) as well as an optional drawstring.