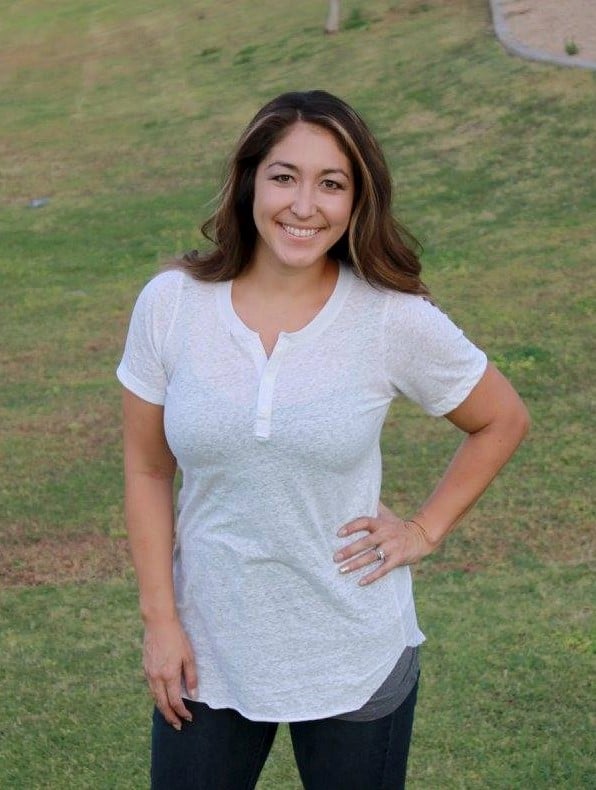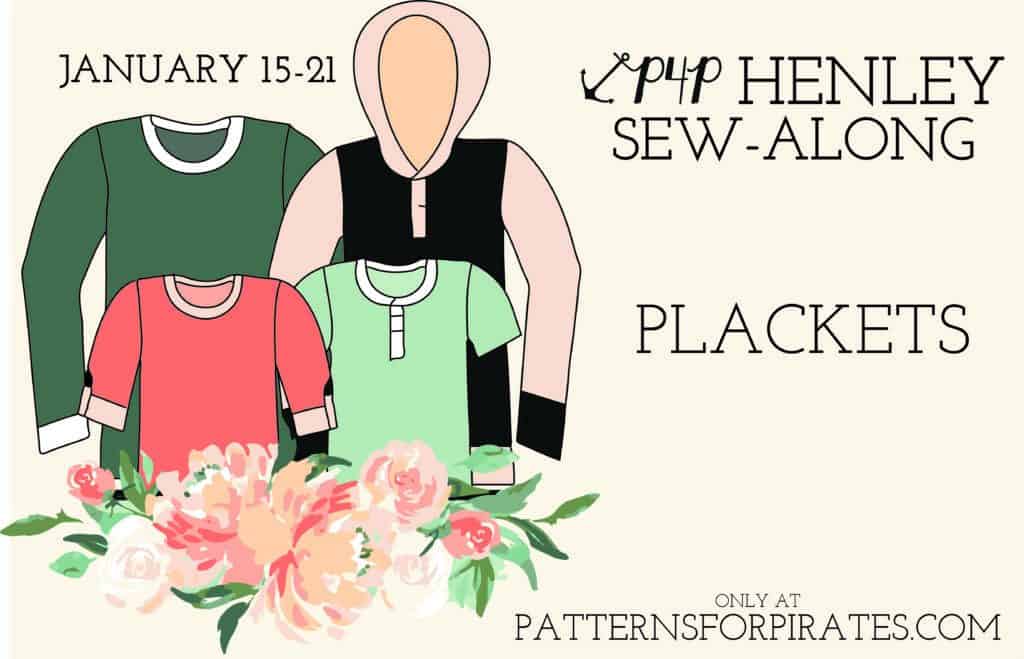
Dun, dun, dun! Today is placket day! But please don’t let this step scare you away, I promise that once it clicks you’ll be a pro at sewing them. (On the other hand, if you have decided that you want to skip the placket on this version of your henley, the patterns already include a neckband measurement for a basic tee option. Easy as that!)
Lucky for you, Alex has already given us an incredibly in-depth hand holding on making plackets work for you. If you head over to her blog post, you’ll find some info on what they are, if interfacing is necessary or not, and THREE wonderful videos taking you through each step of the way.
P4P University – Plackets
Have more questions or as stuck on a step? Or maybe you just want to share your progress so far? Feel free to post in the Sew-Along event group! There are always helpers in there! And, if you are sewing along with us, be sure to tag @PatternsforPirates and #P4PHENLEYSAL on Instagram.
**The links won’t be active until the scheduled date.
January 14: Announcement.
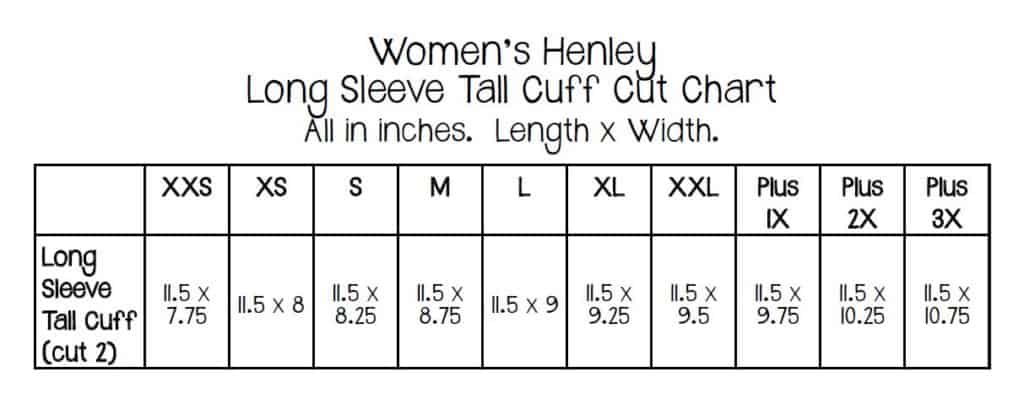
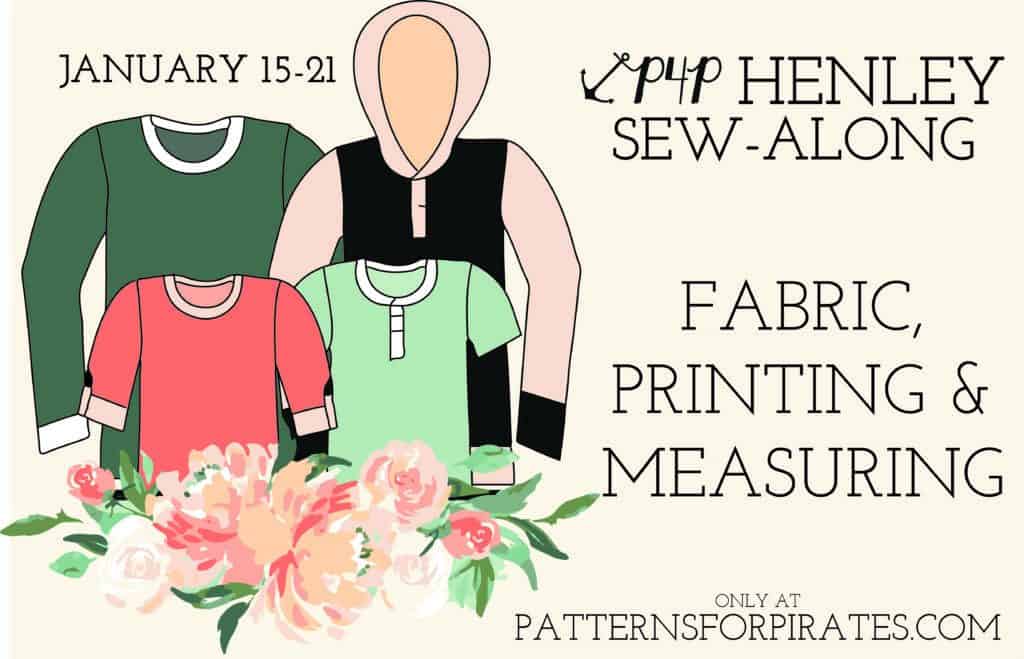
January 15: Choosing Your Fabrics, Printing + Measuring.
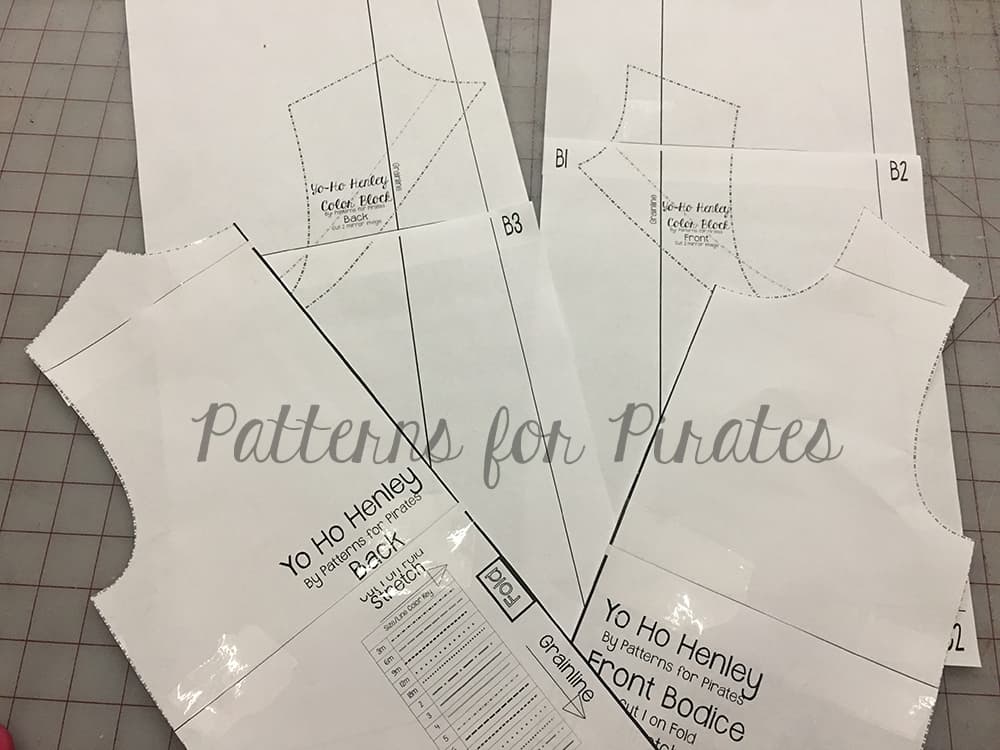
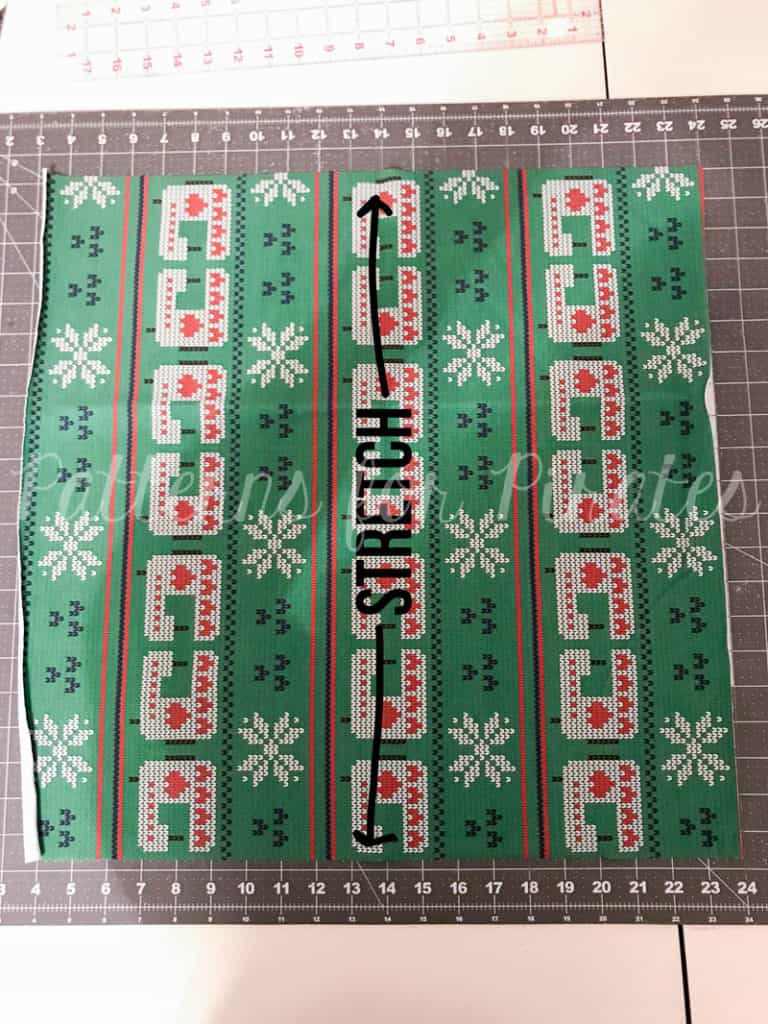
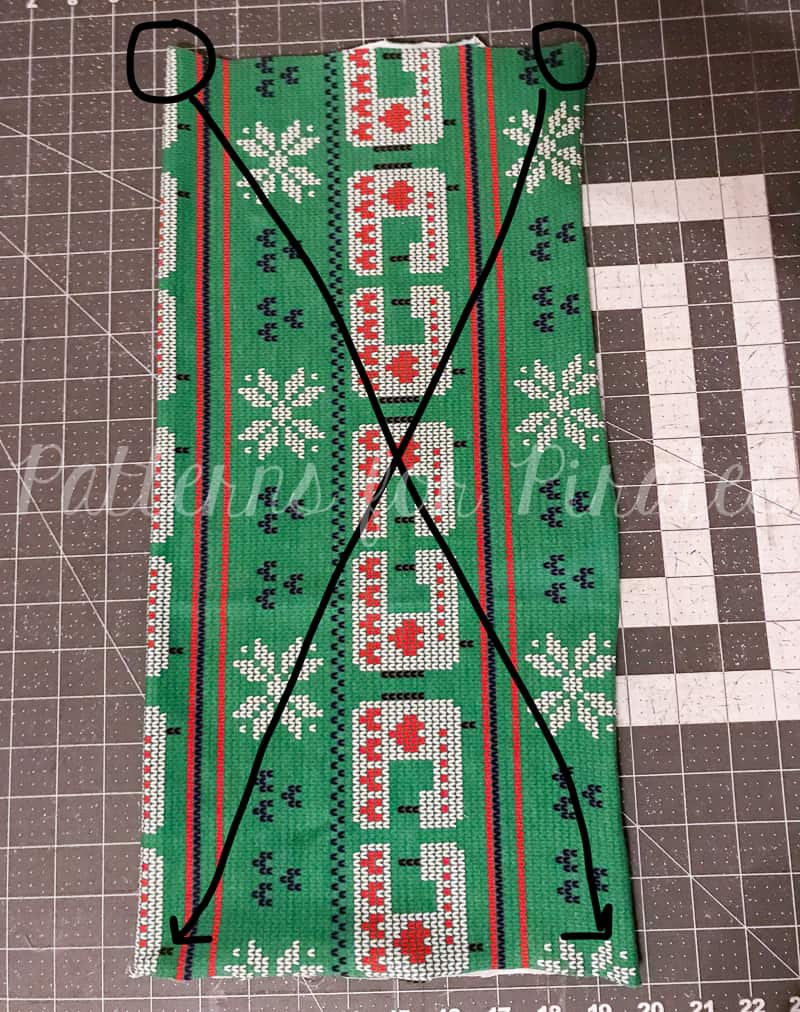
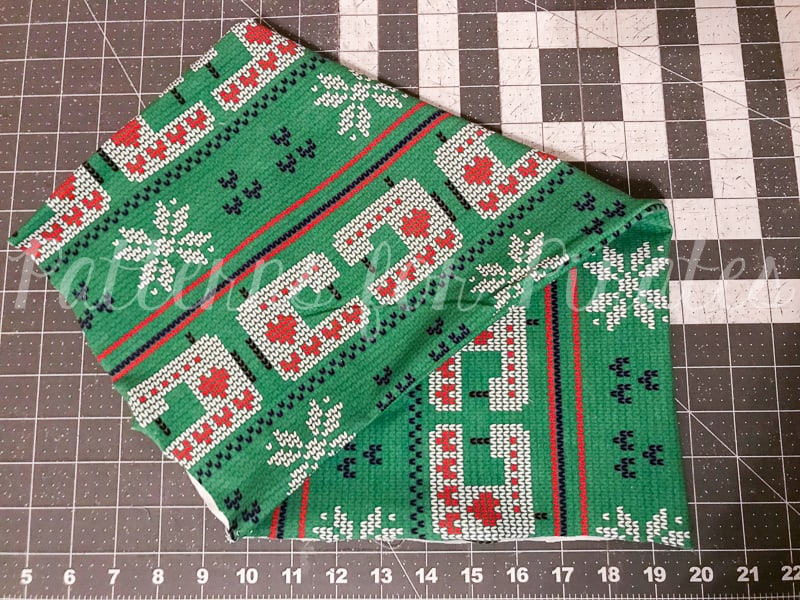
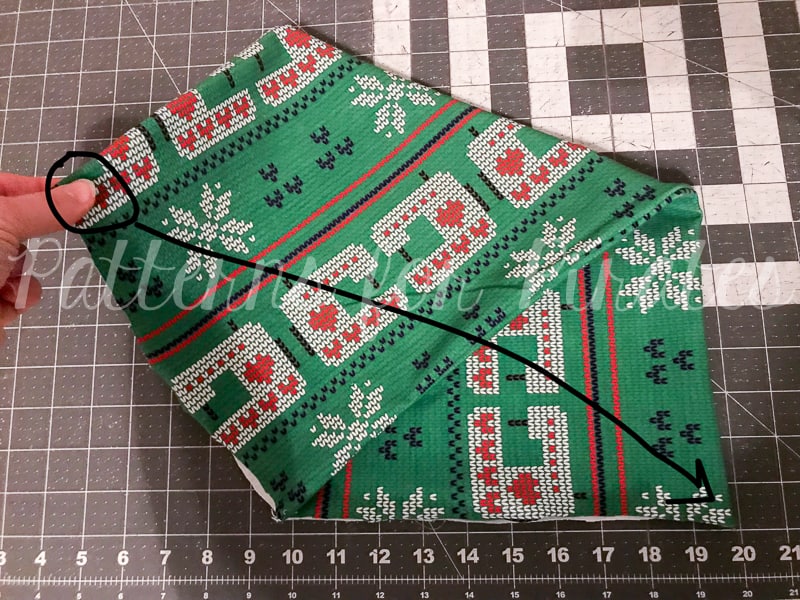
January 16: Cutting Fabric.
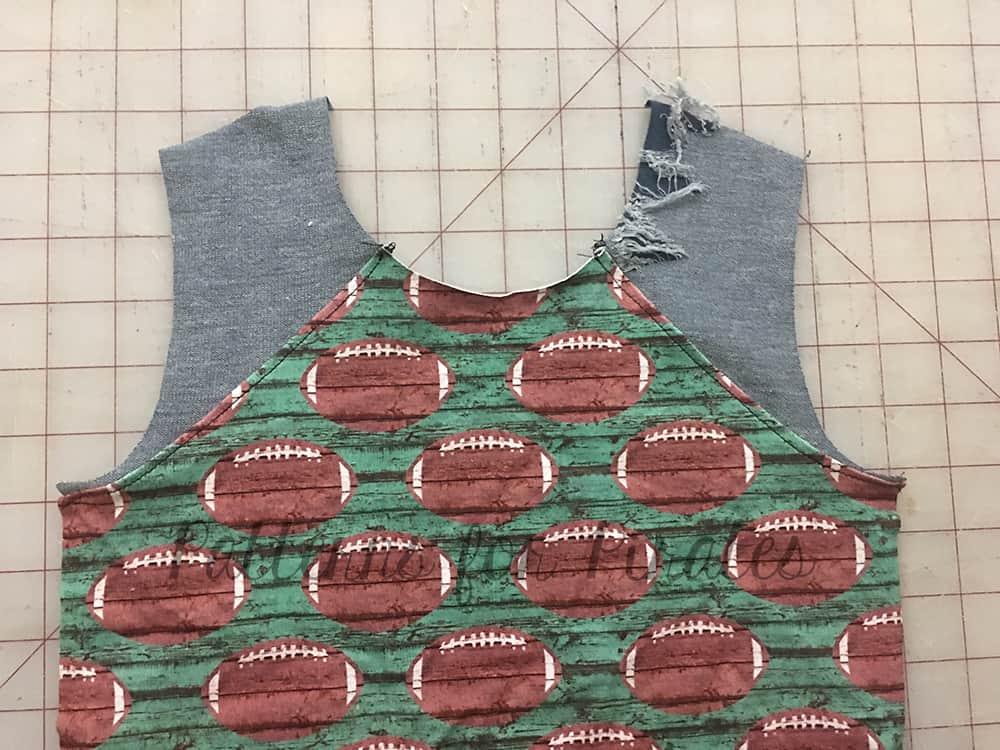
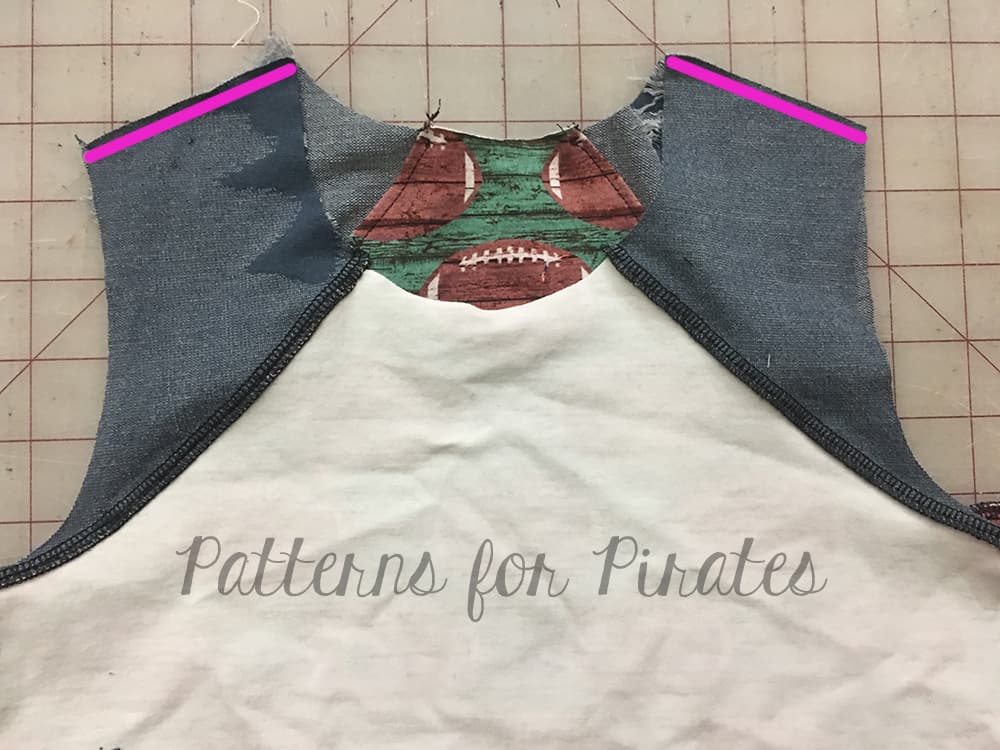
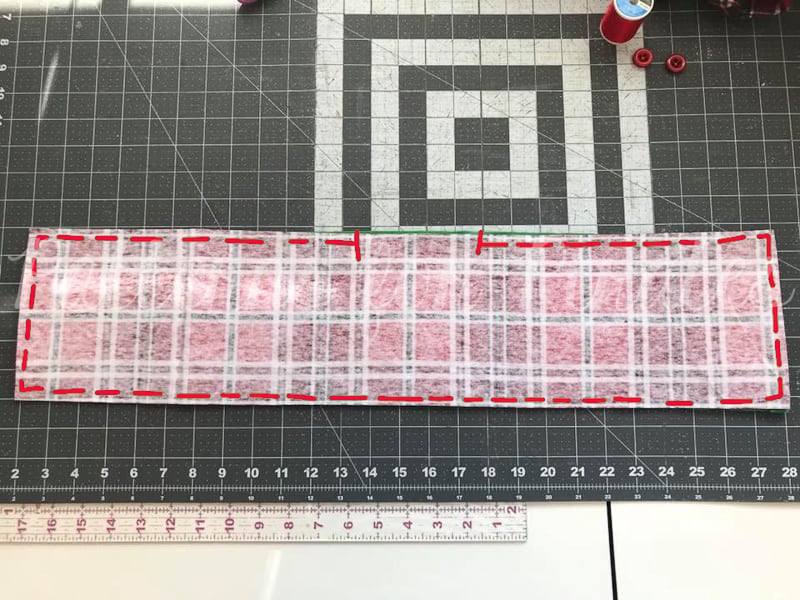
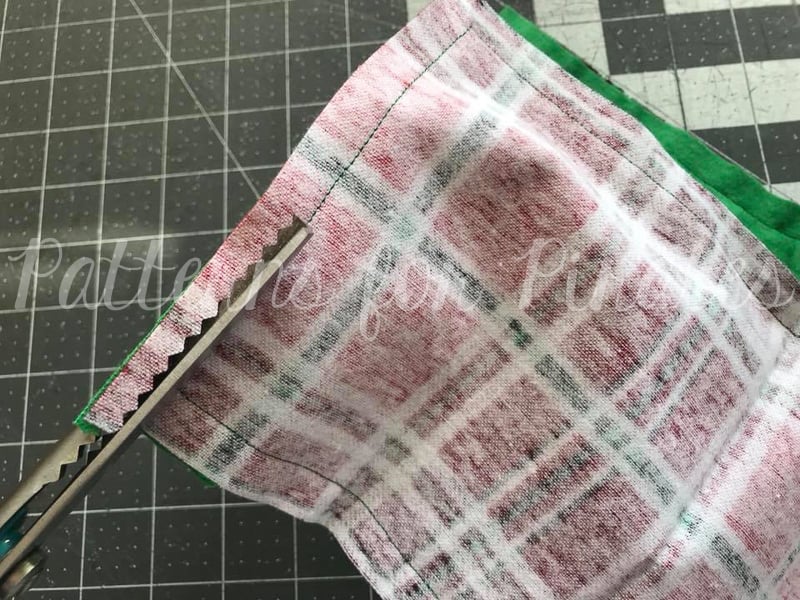
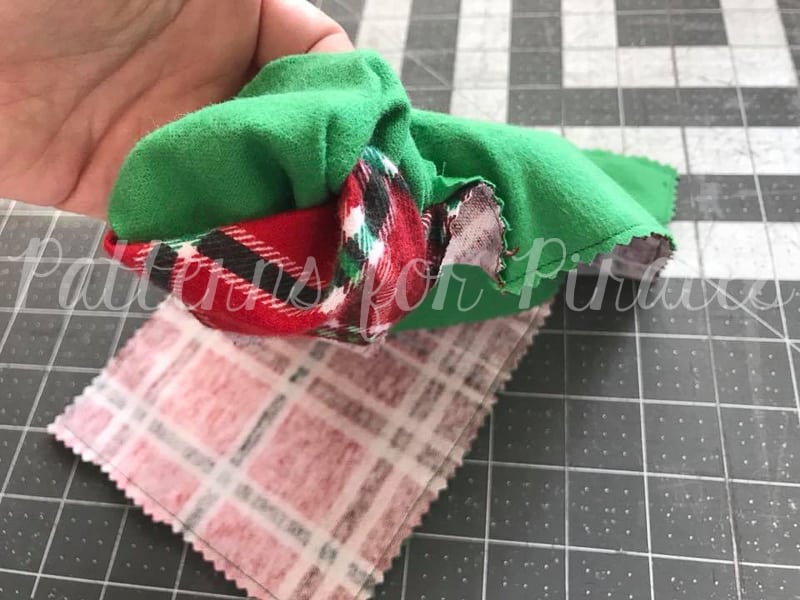
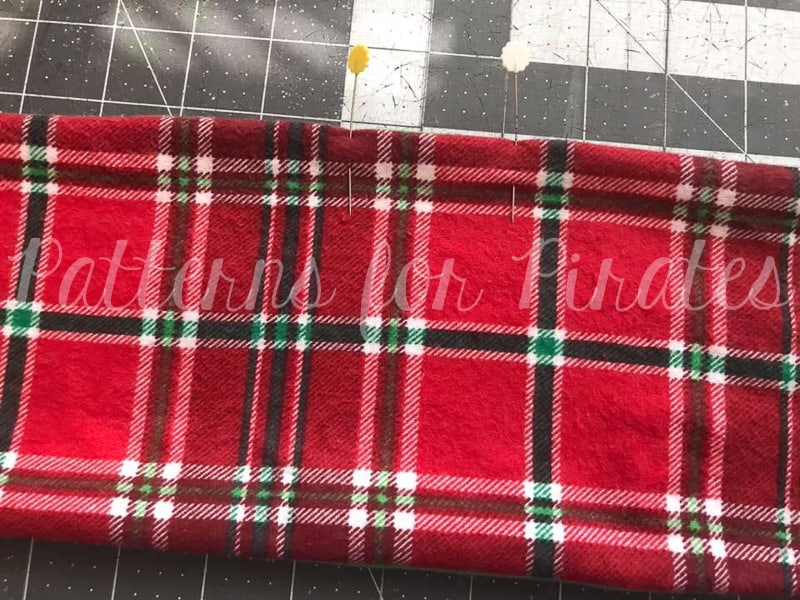
January 17: Placket.
January 18: Sleeves.
January 19: Attaching Neckband + Hood.
January 20-21: Catch-Up Days.
January 22: Recap + Winners Announced!