Patterns for Pirates

P4P stylish, modern, wearable patterns

  • Home
  • Blog
    • Frequently Asked Questions
    • Pattern Releases
      • Free Patterns
    • P4P University
      • Fitting
      • Sewing with Stretch, Knit Fabrics
      • Sewing with Woven Fabrics
      • Sewing Machines
    • Sew-A-Longs
    • Fabric for Pirates
    • Pattern Hacks
    • Announcement
      • Blog Tours
      • Contest/Giveaway
  • Shop
  • Bundle Discounts
  • Flash Friday
  • Gift Cards
  • My Account
  • Cart

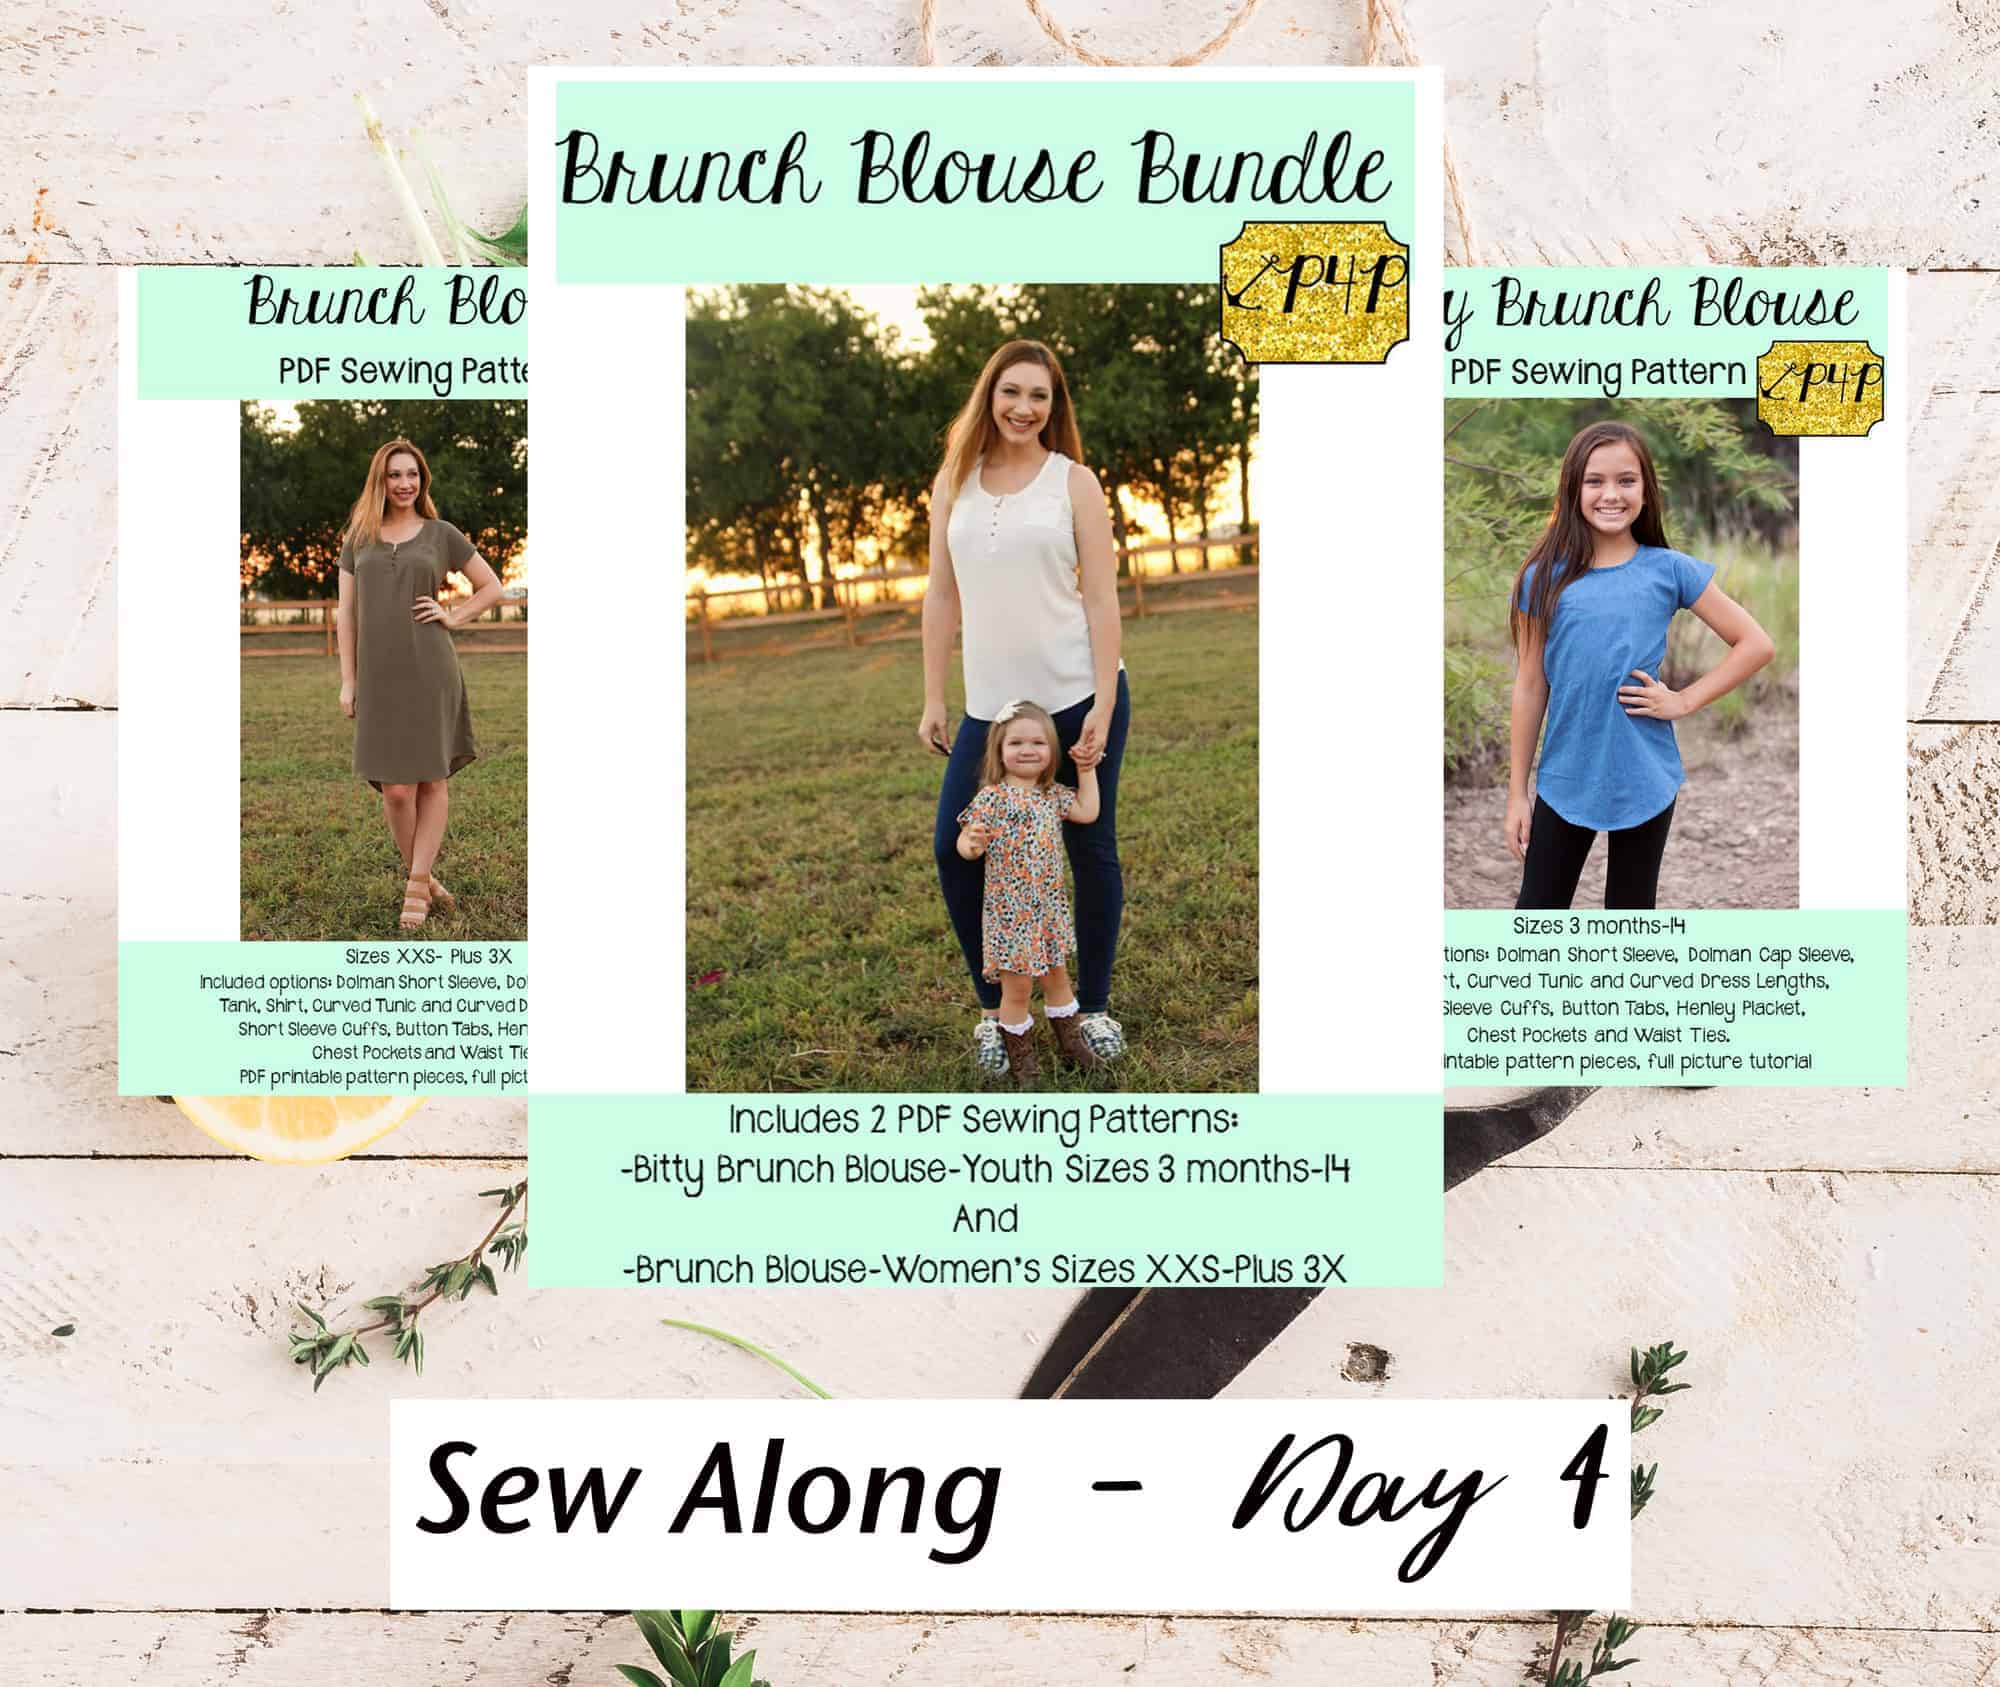
Brunch Blouse|Bitty Brunch Blouse SAL day 4 (pocket/waist ties/back seam)

March 14, 2019

Good morning, pirates! Today we will be focusing on the pocket(s), waist ties and back seam. The pocket and waist ties and optional so if you are skipping them, you would only sew the back seam. Easy peasy!

You can add two pockets or just one, both would look just as cute. I personally like one contrasting pocket on the left side but I also like the look of two pockets from the same fabric.
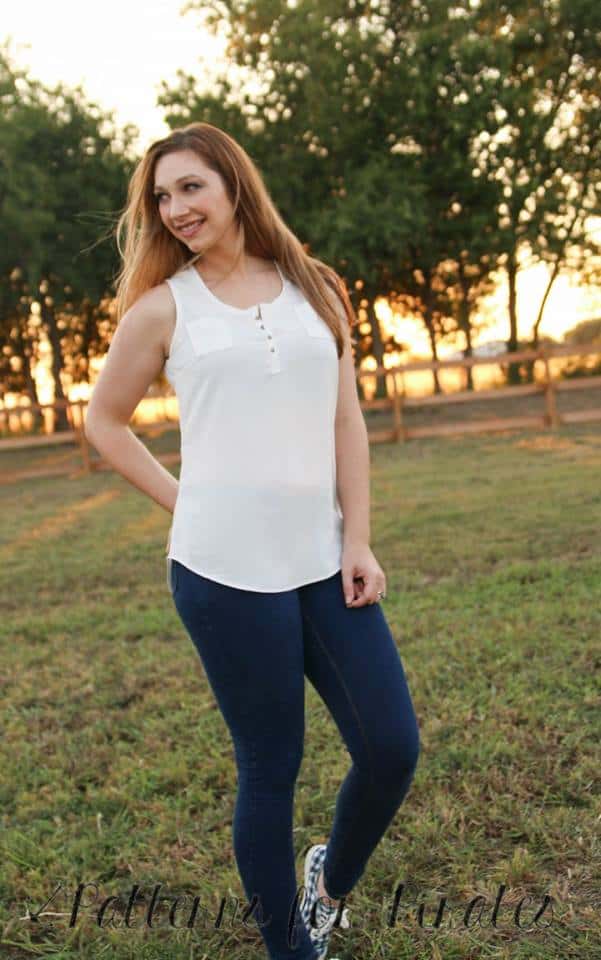
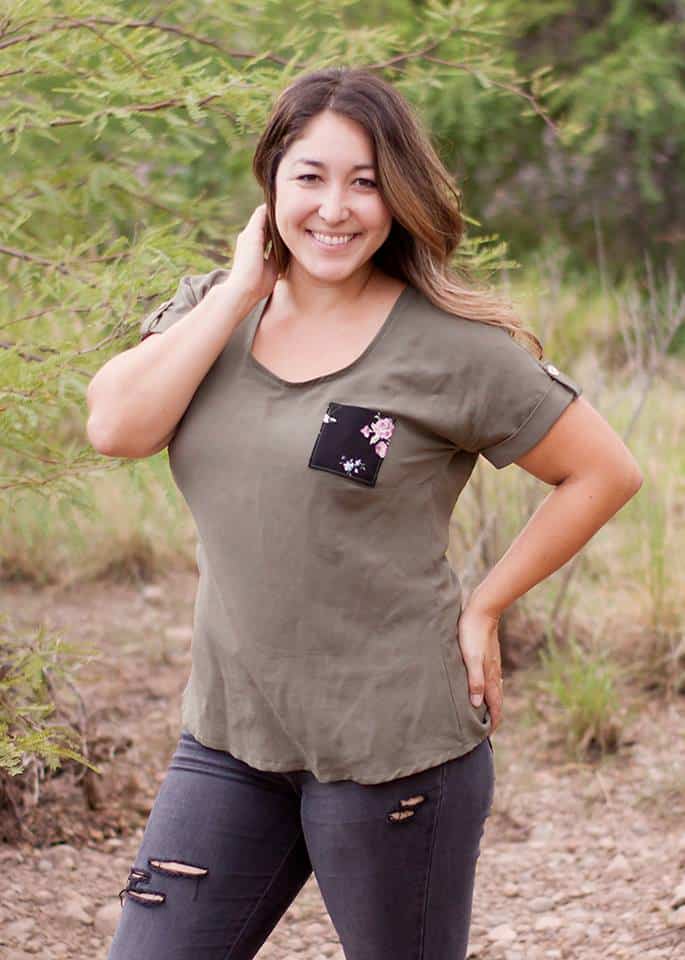
The Brunch Blouse is a relaxed fit throughout the waist so the ties will help “cinch” you in, if you are going for an hour glass look. I absolutely love the shape of the ties and that you can tie them in the front or the back.
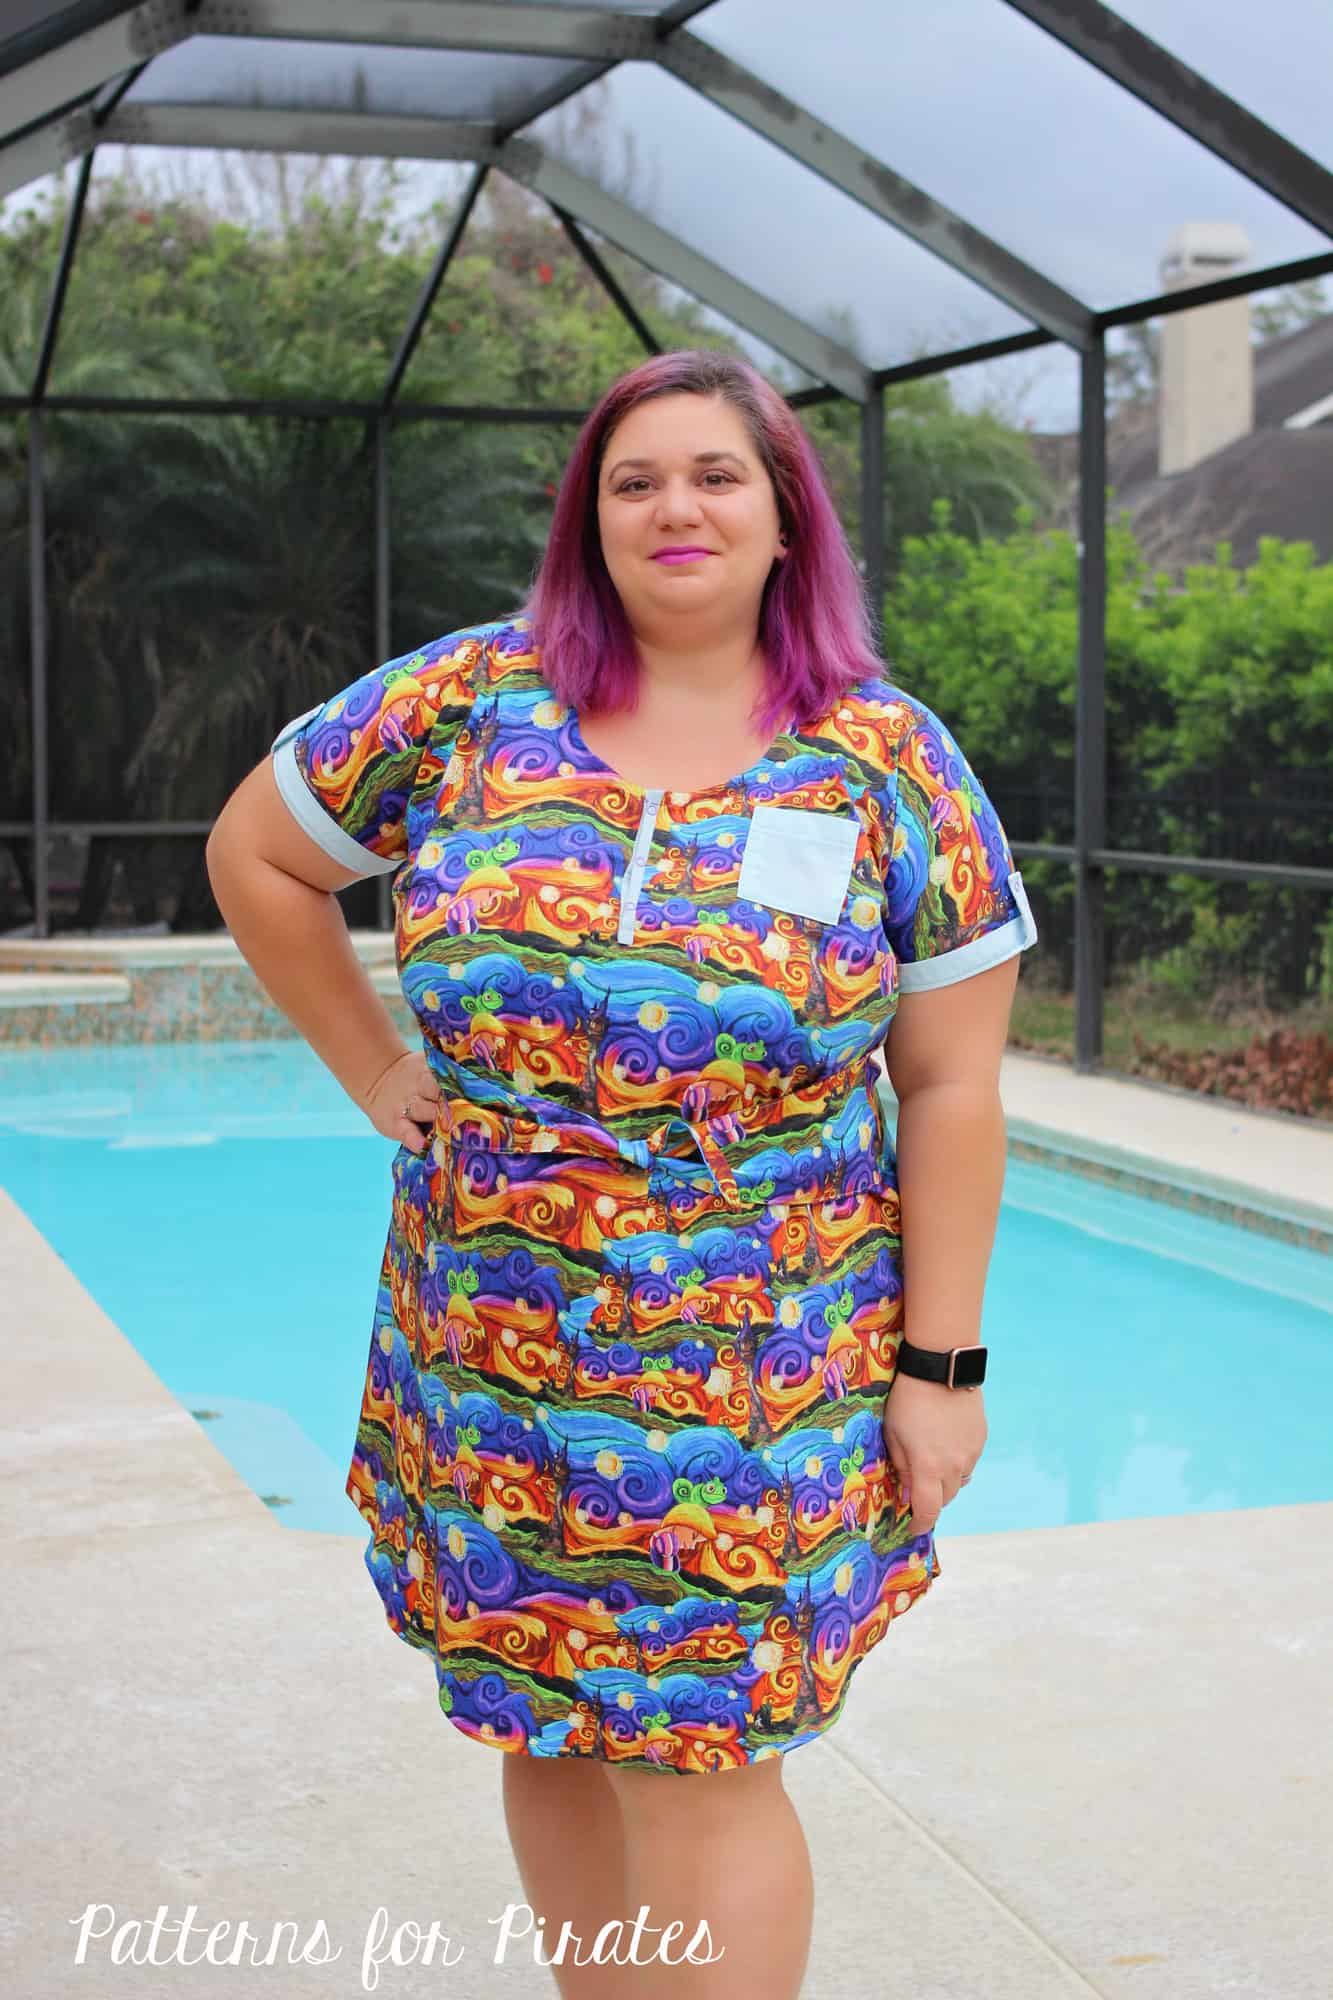
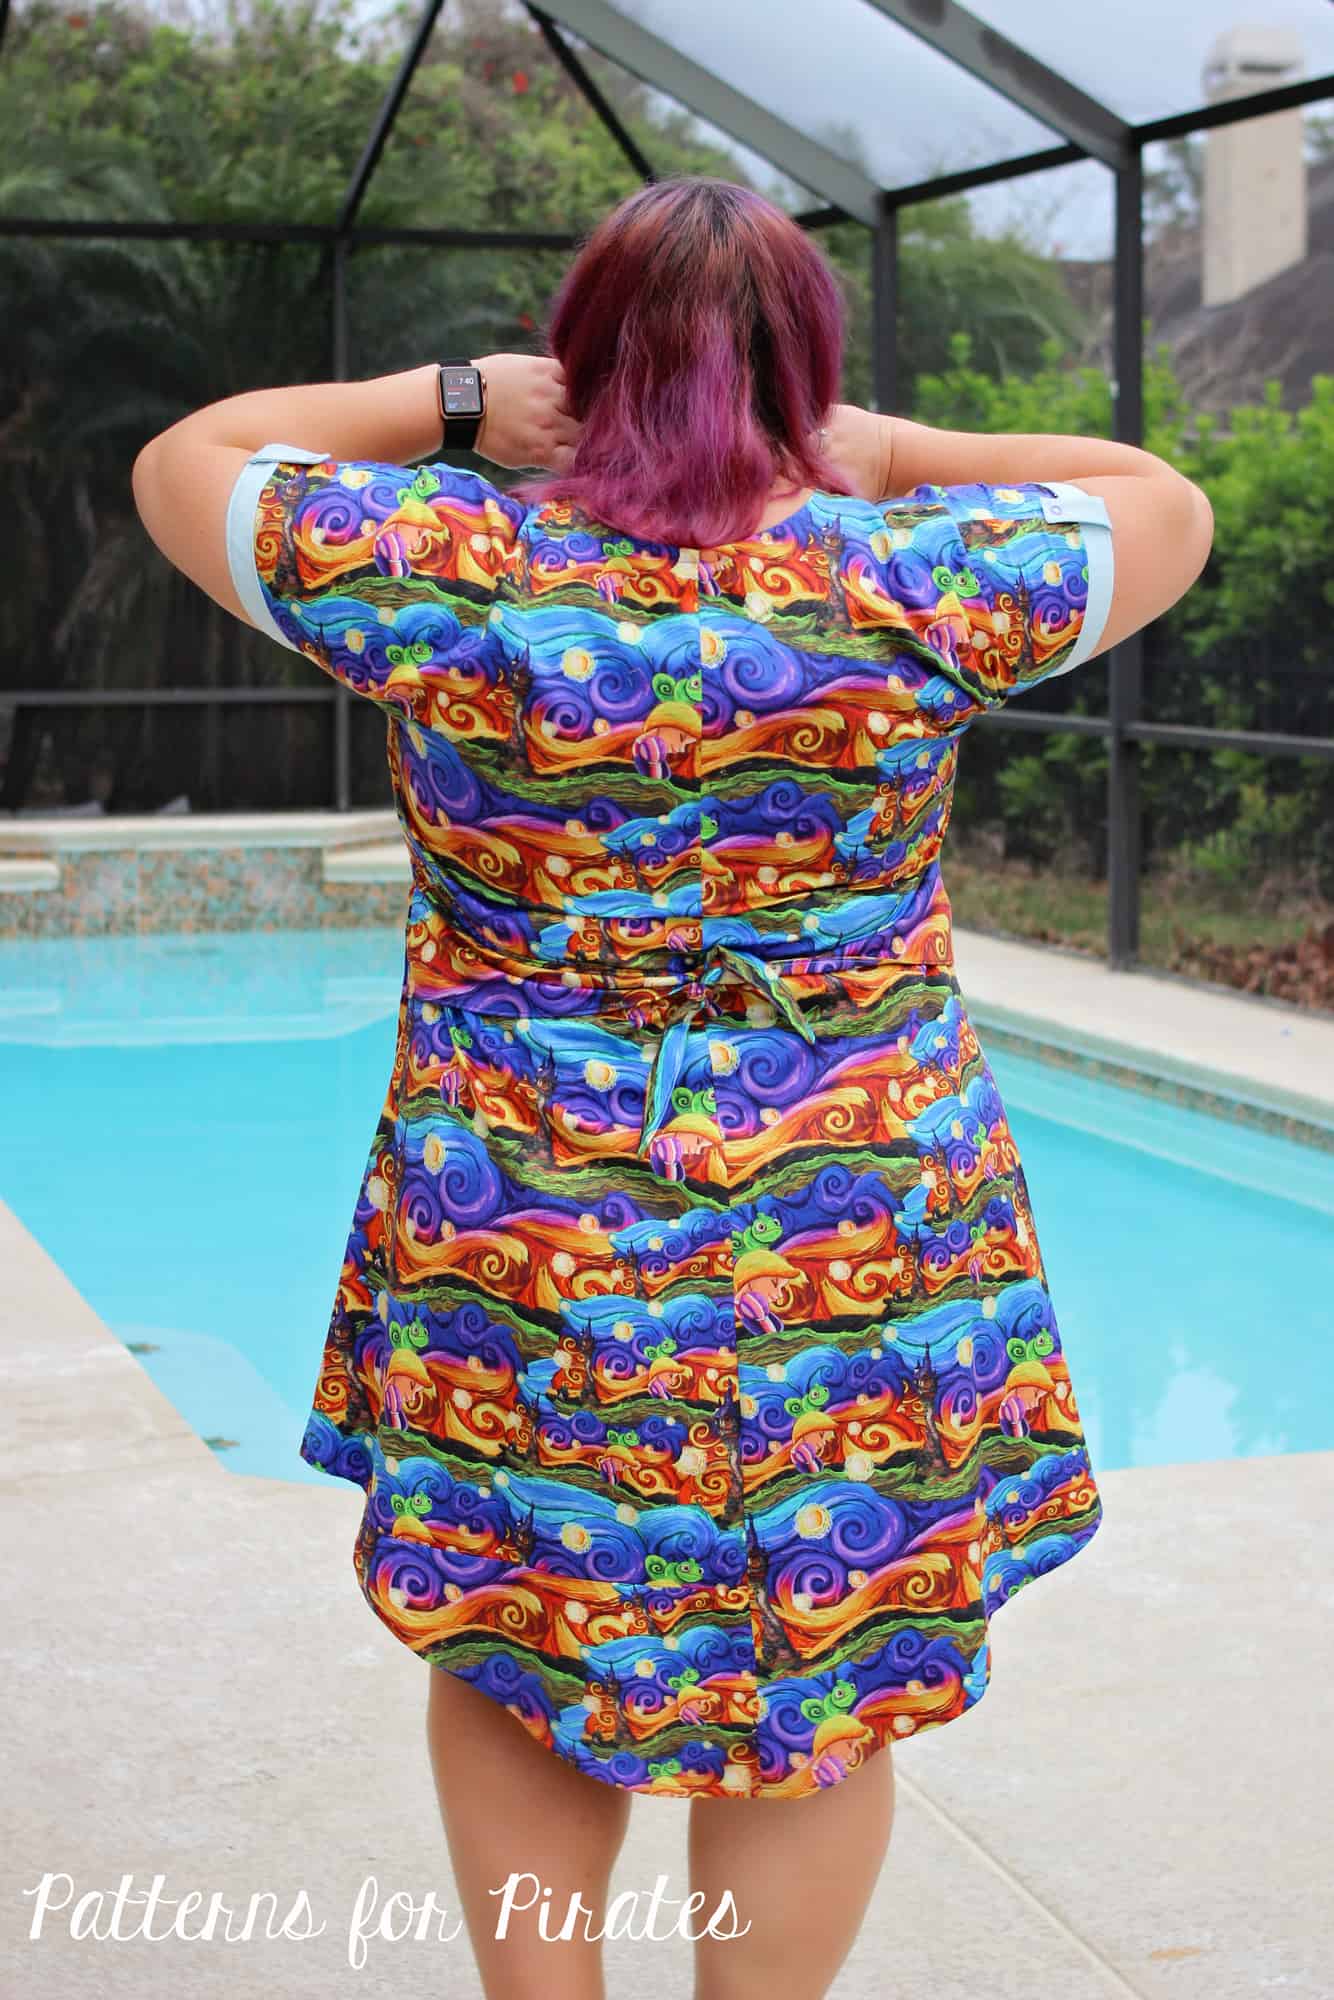
When you sew the back seam, remember to follow the 1/2 inch seam allowance and to stitch with your sewing machine. I know temptation to use just your serger is big but remember that a serger stitch is not as resilient to wear as a sewing machine straight stitch. Use your serger, but to finish the raw edges!

Take a look over today’s video and once you finish sewing post a picture of your progress in the comments of the Day 4 photo of the BB/BBB sew along album in the M4M & P4P Sew Along group.

Brunch Blouse|Bitty Brunch Blouse SAL day 1 (print pattern)

Brunch Blouse|Bitty Brunch Blouse SAL day 2 (cut fabric)

Brunch Blouse|Bitty Brunch Blouse SAL day 3 (darts and placket)

Brunch Blouse|Bitty Brunch Blouse SAL day 4 (pocket/waist ties/back seam)

Brunch Blouse|Bitty Brunch Blouse SAL day 5 (shoulder/side seams)

Brunch Blouse|Bitty Brunch Blouse SAL day 6 (neckband)

Brunch Blouse|Bitty Brunch Blouse SAL day 7 (finish sleeves/hem)

Brunch Blouse|Bitty Brunch Blouse SAL day 8 (winners announcement)

Filed Under: Frequently Asked Questions, Sew-A-Long, Uncategorized 2 Comments

Brunch Blouse|Bitty Brunch Blouse SAL day 3 (darts and placket)

March 13, 2019

Welcome to day 3 of our Brunch and Bitty Brunch sew along. Today we will be focusing on the darts (if you are sewing the women top or dress) and the placket.

Make sure that you transfer the dart marking from the pattern to the fabric’s wrong side. I love using water soluble marking pen because I know the lines with disappear once I stem it. Another tip I have for you when sewing darts is to press the dart before AND after you sew. Ironing it will help keep the fabric in place while stitching.

Second part of the day is dedicated to the henley style placket. This is a step that may scare first time henley makers but trust me when I say it, if you go slow and you press frequently, you will see that it is not as a daunting task as you thought. Before you get started, take a look over our Placket 101 blog. The videos I have in the P4P University blog are actually of the Brunch Blouse placket so you can certainly refer to it.

Below is a link to the Day 3 sew along video which includes both the dart and placket construction. Once you complete today’s steps, be sure to post a picture of your progress in the comments of day 4 photo of the Brunch/Bitty Brunch sew along album.


Brunch Blouse|Bitty Brunch Blouse SAL day 1 (print pattern)

Brunch Blouse|Bitty Brunch Blouse SAL day 2 (cut fabric)

Brunch Blouse|Bitty Brunch Blouse SAL day 3 (darts and placket)

Brunch Blouse|Bitty Brunch Blouse SAL day 4 (pocket/waist ties/back seam)

Brunch Blouse|Bitty Brunch Blouse SAL day 5 (shoulder/side seams)

Brunch Blouse|Bitty Brunch Blouse SAL day 6 (neckband)

Brunch Blouse|Bitty Brunch Blouse SAL day 7 (finish sleeves/hem)

Brunch Blouse|Bitty Brunch Blouse SAL day 8 (winners announcement)
Filed Under: Frequently Asked Questions, Sew-A-Long, Uncategorized Leave a Comment

Loggers – easy hacks

March 12, 2019

The new P4P Loggers (available in women and youth) are here! Needless to say the P4P team and blog contributors were very excited to show you these easy hacks that you can do to the Loggers in order to have even more options. Let’s get started!

…..

Peg Waistband

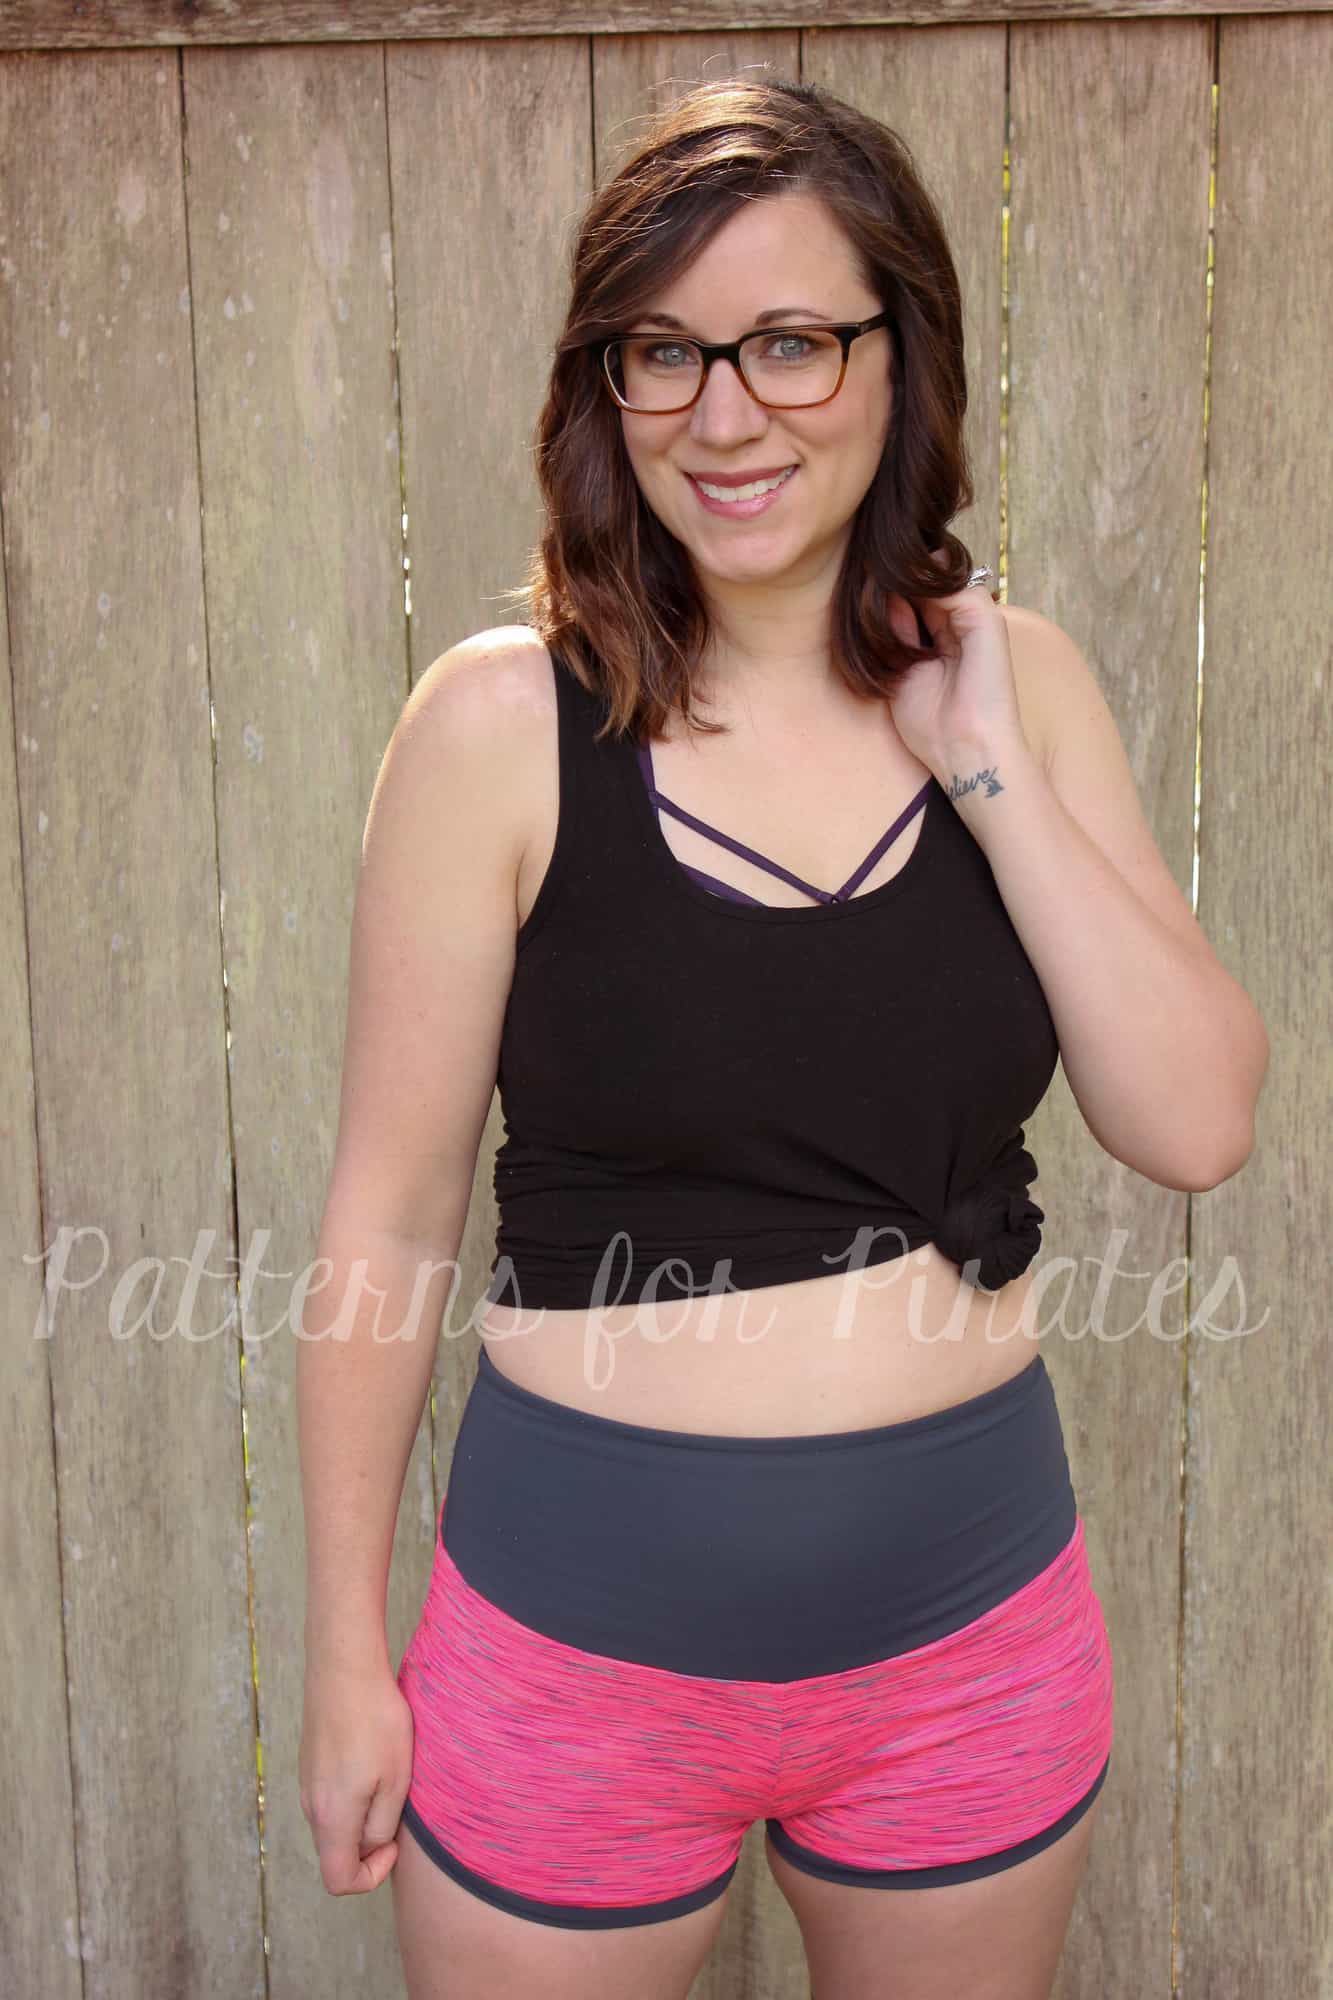
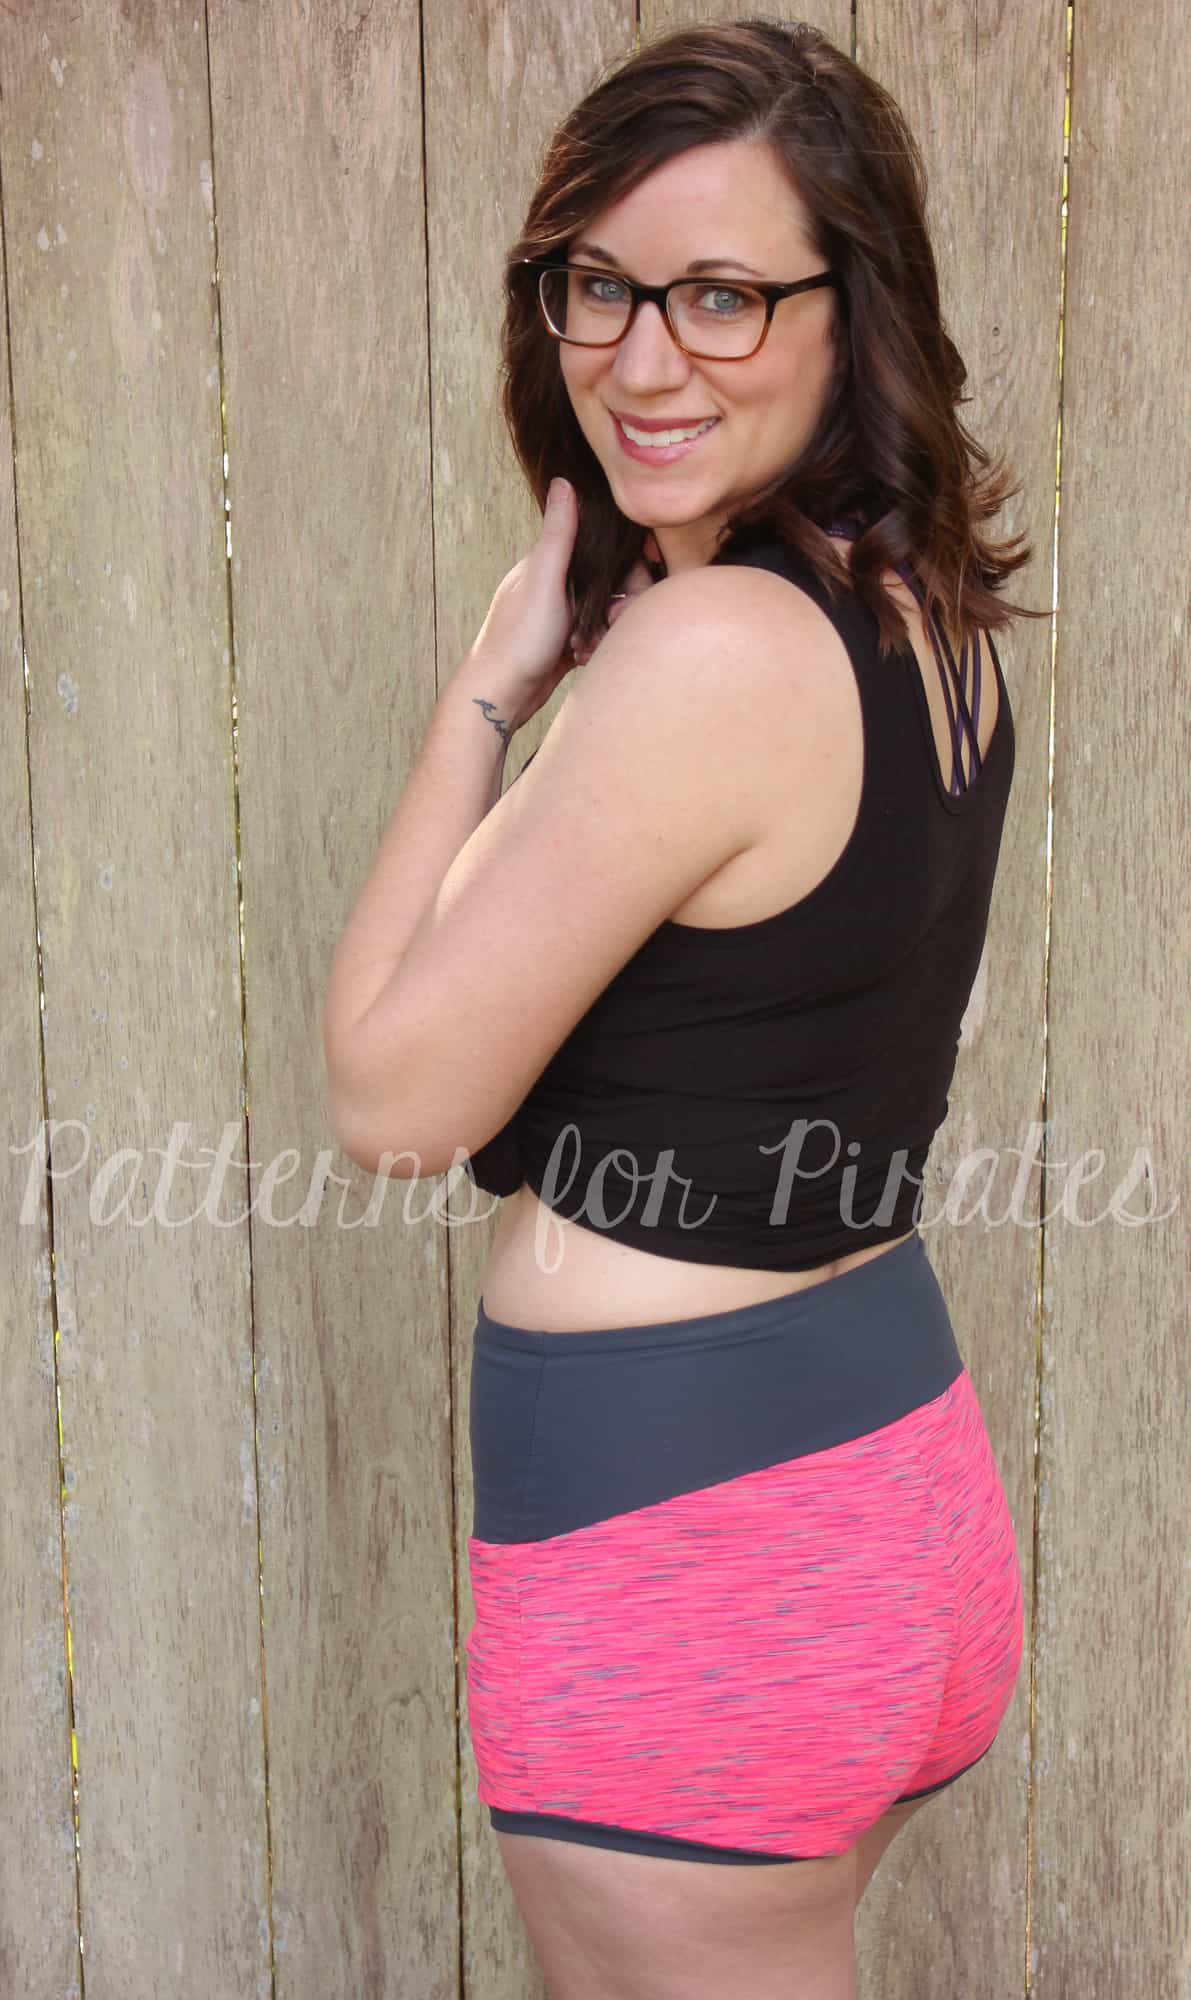
First comes the Pegs. Then comes the Logger… Up next, a Peg and Logger mash made in Heaven! Ever since the release of the Peg Leg add-on pack, I have been obsessed with the contoured waistband (What? You haven’t tried it yet? Grab a copy of it for FREE right here). Luckily, the Logger Pattern is another perfect way to show off and use the contoured waistband.

To create this look, you will need both the Logger and the contoured waistband pieces. One of the advantages to the Loggers is that you can use fabrics with just a small amount of vertical stretch. However, for the Pegs, 50% stretch is needed in both directions. So when choosing your fabric for the contoured waistband, it is KEY to make sure that it meets these requirements or else it won’t fit!

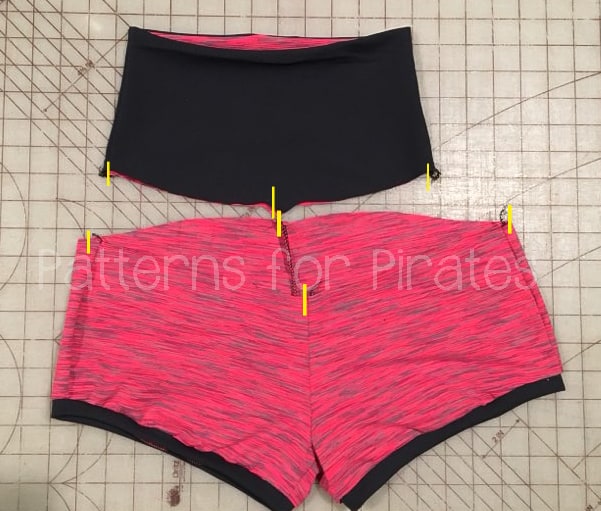
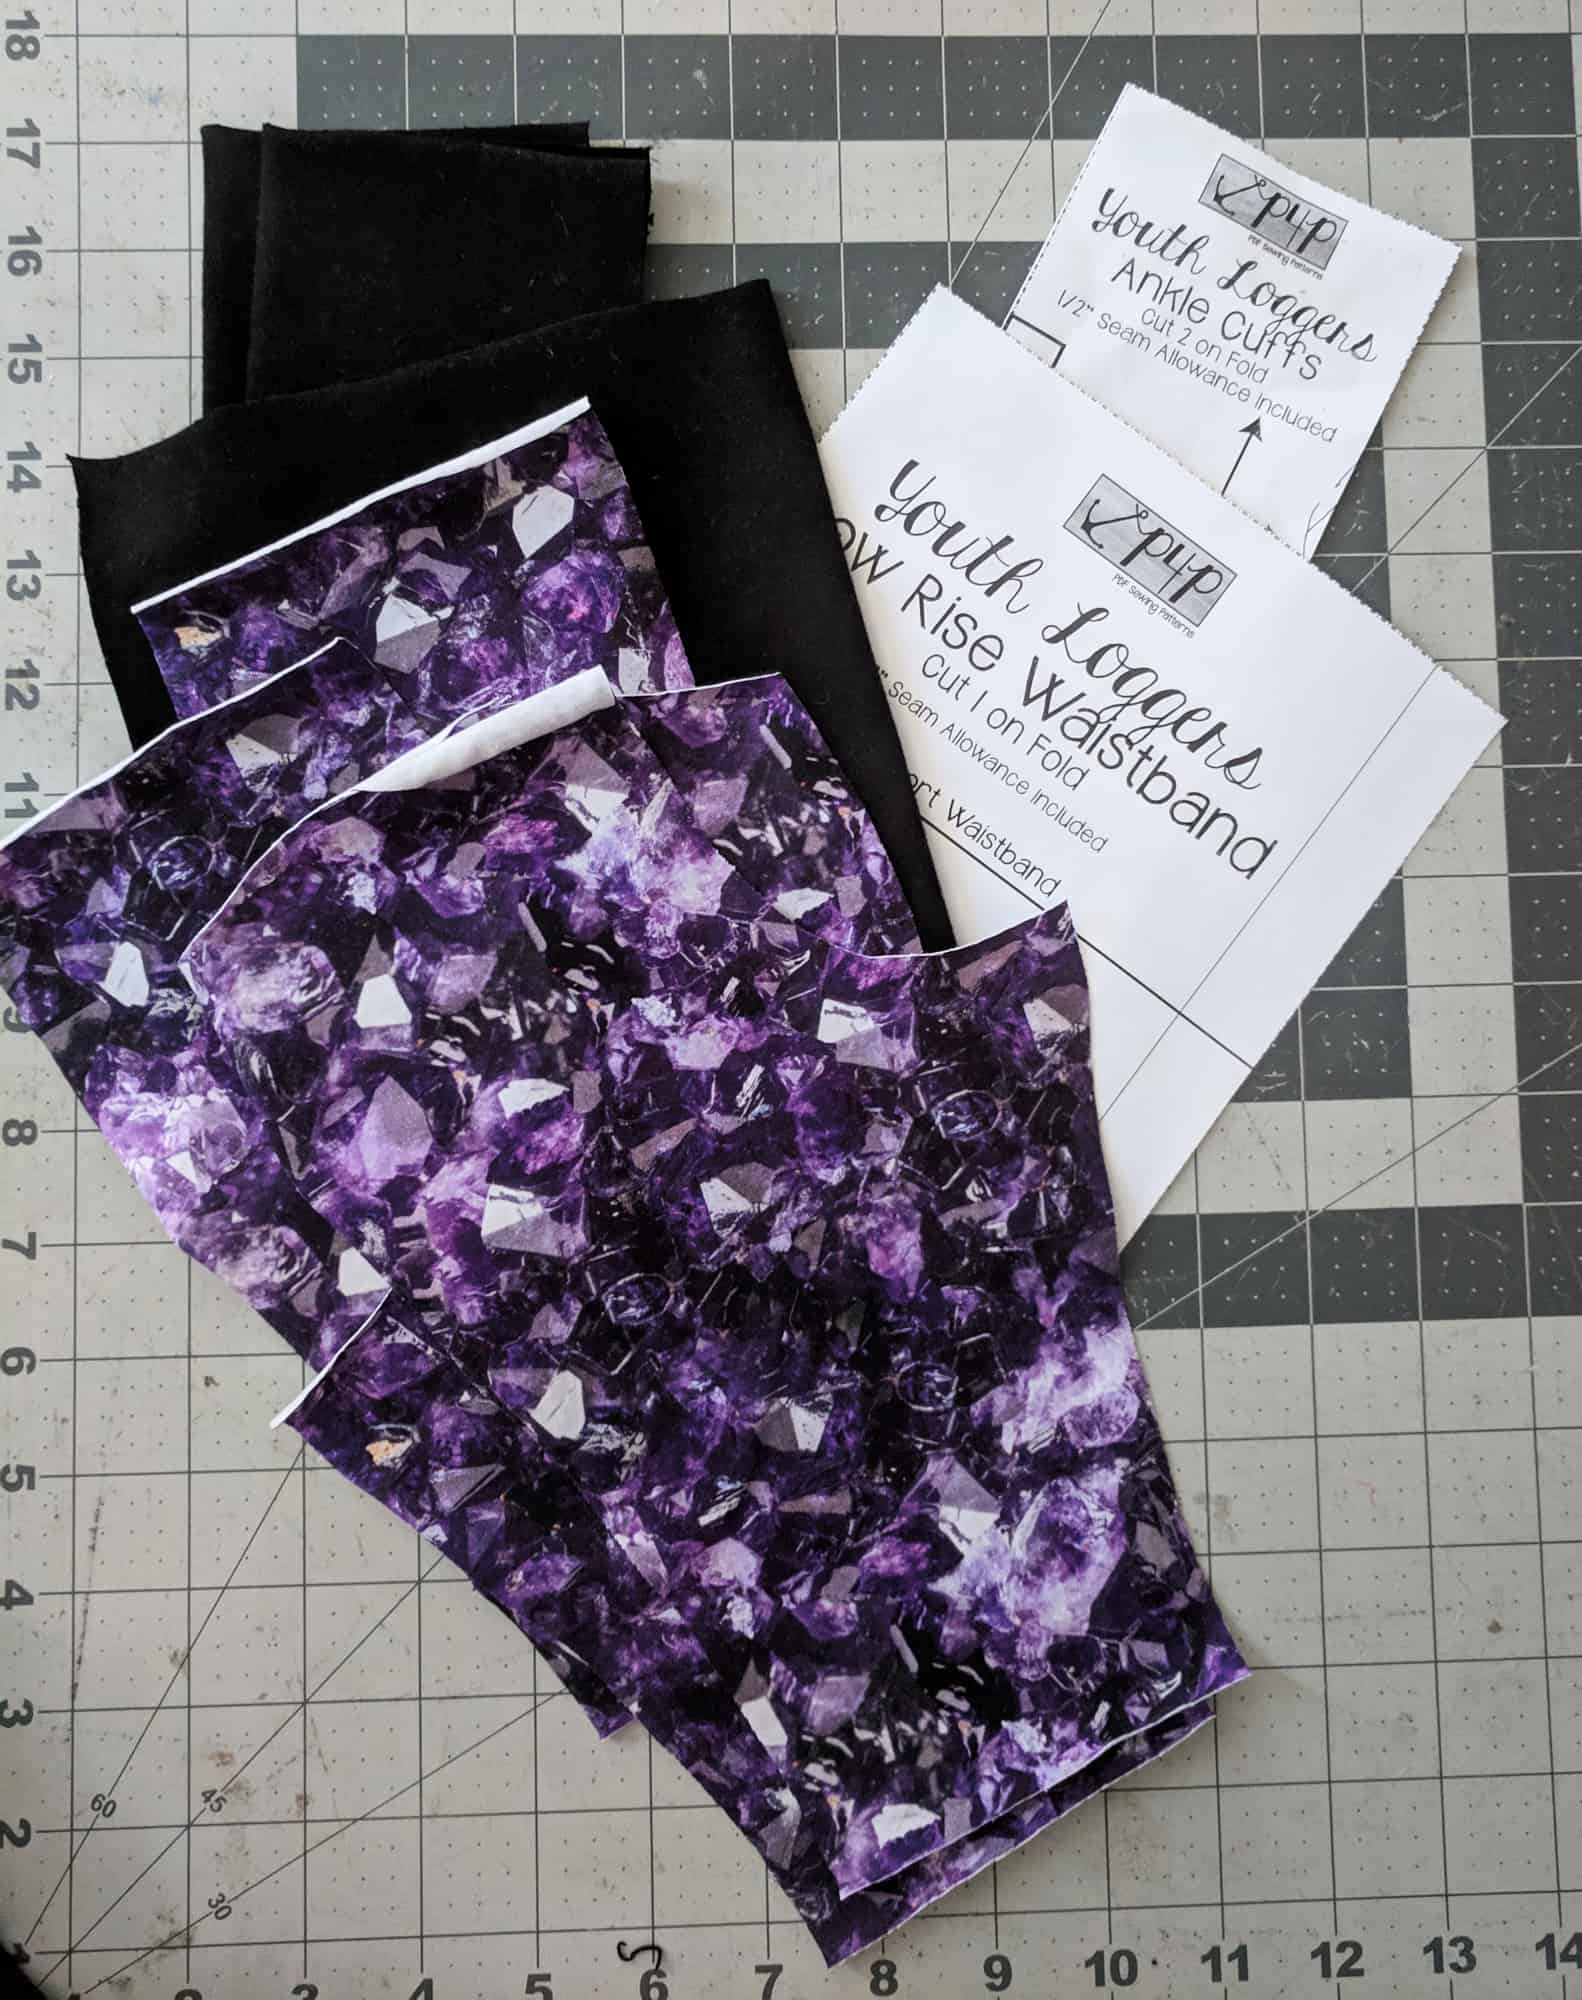
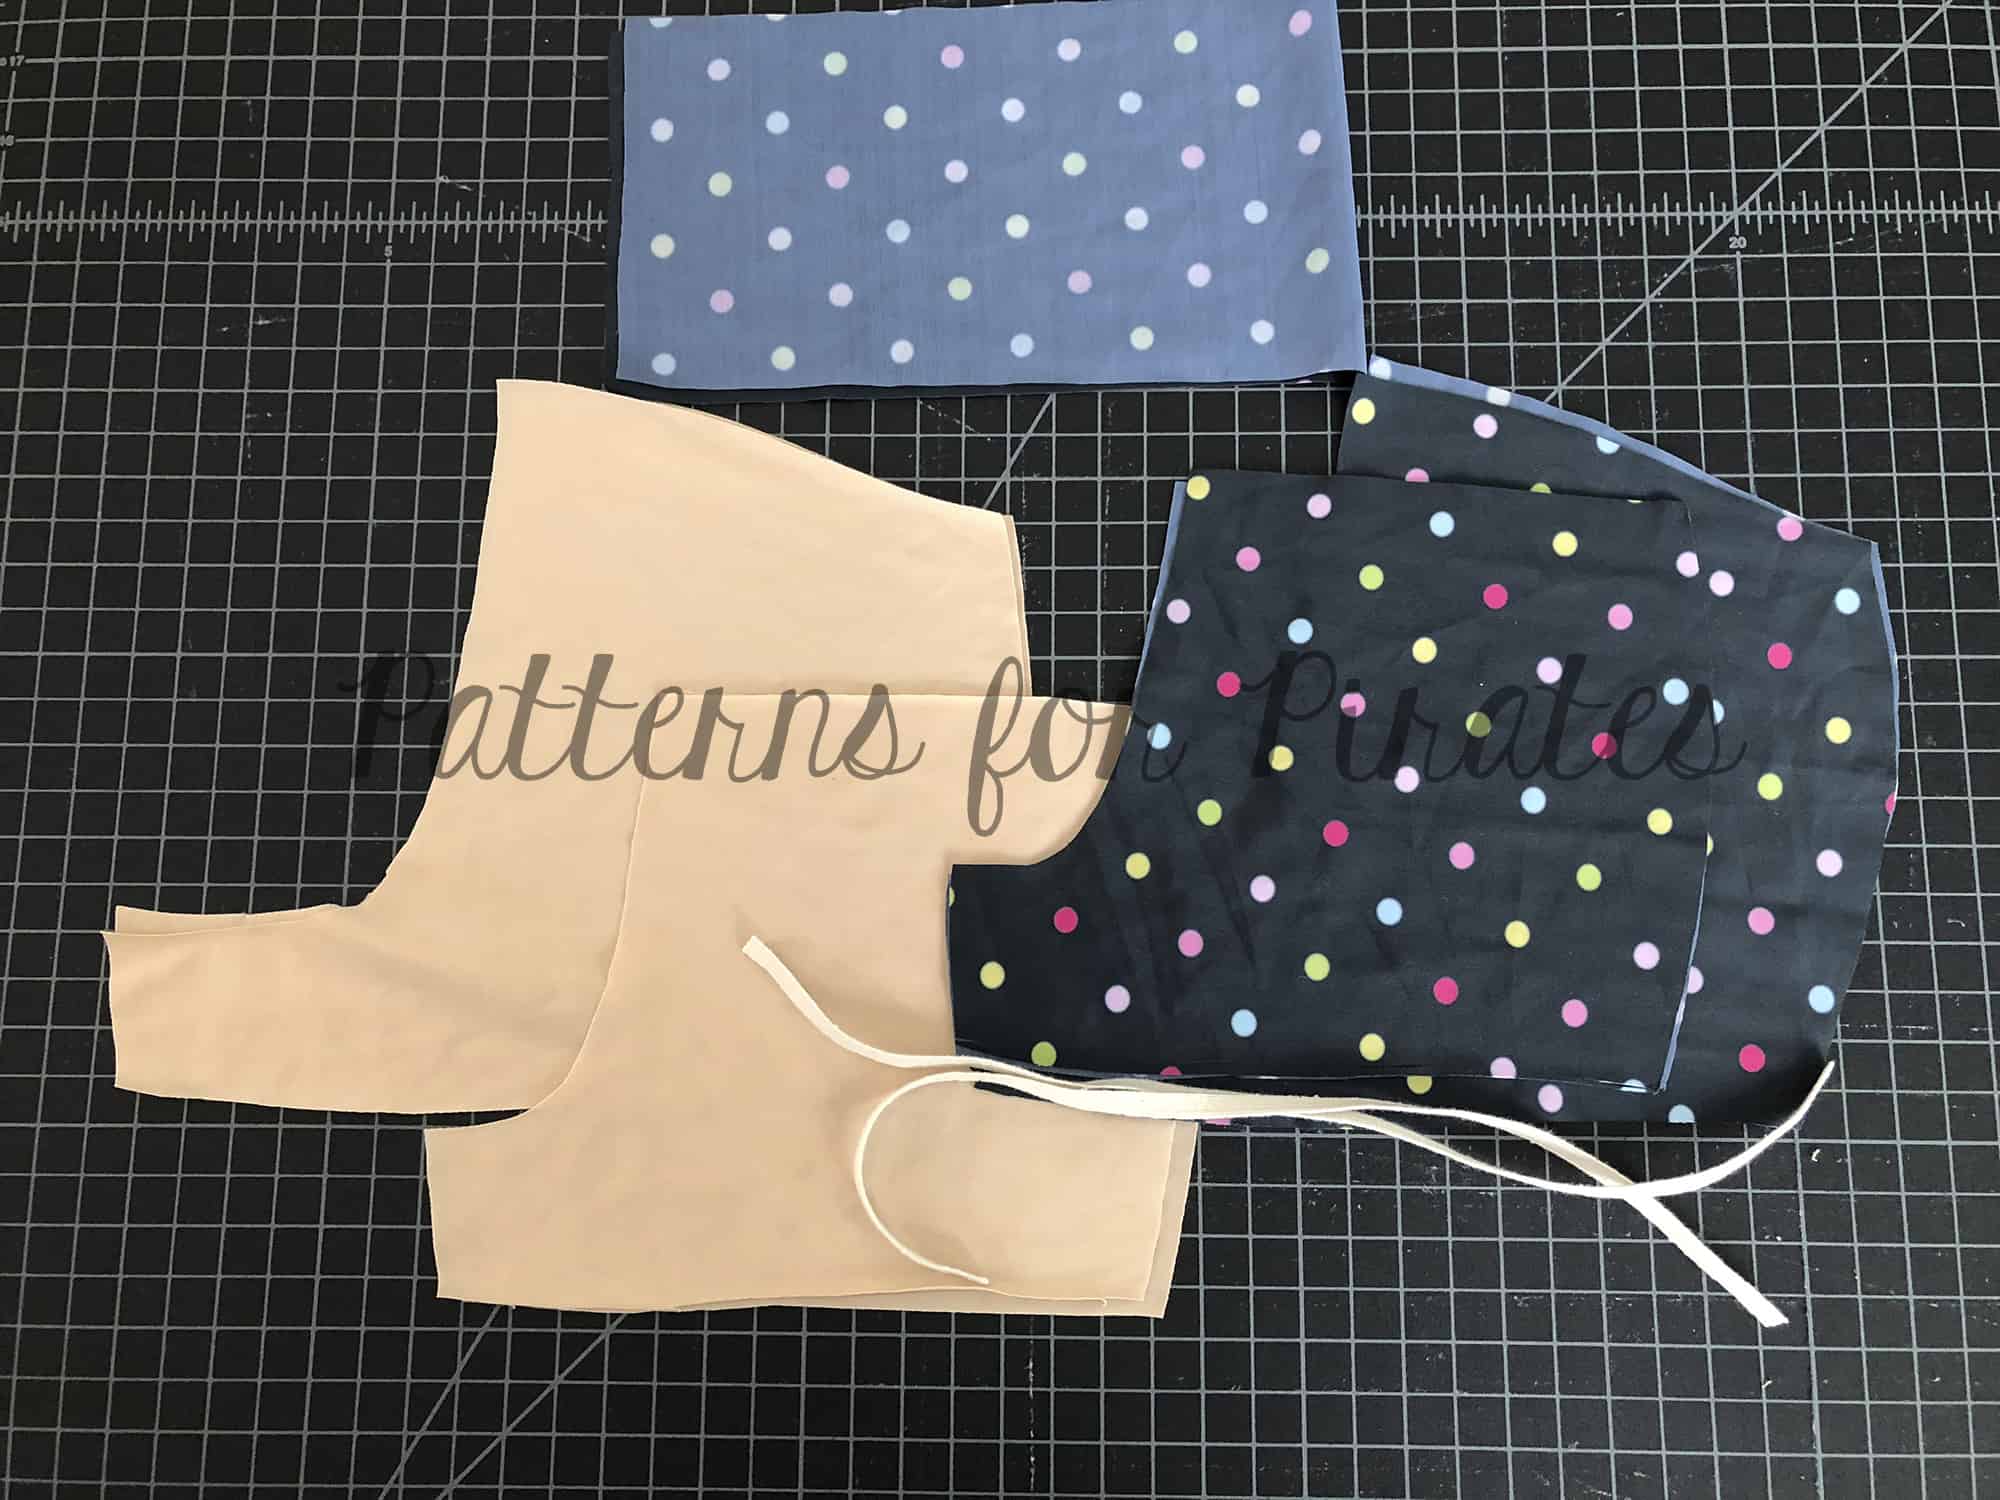
Begin by cutting out the necessary pieces. For the waist on your Logger, cut on the lower rise. As you can see in the picture below, I have have my Logger shorts with bands and then my pieces needed for the contoured waistband.

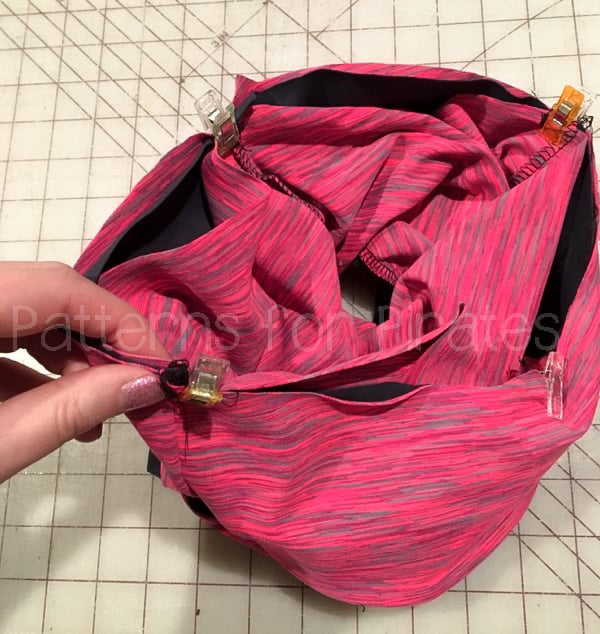
Next, assemble all pieces as written in the tutorials, including the waistband. Quarter both your Loggers and waistband. Slip your waistband over the Loggers, matching right sides together.

Attach your waistband, being sure to stretch the waistband only and NOT the Loggers. All finished! You have now created one of the most comfortable pair of pants with the most comfortable waistband that you will ever own! ~Erinn


…..

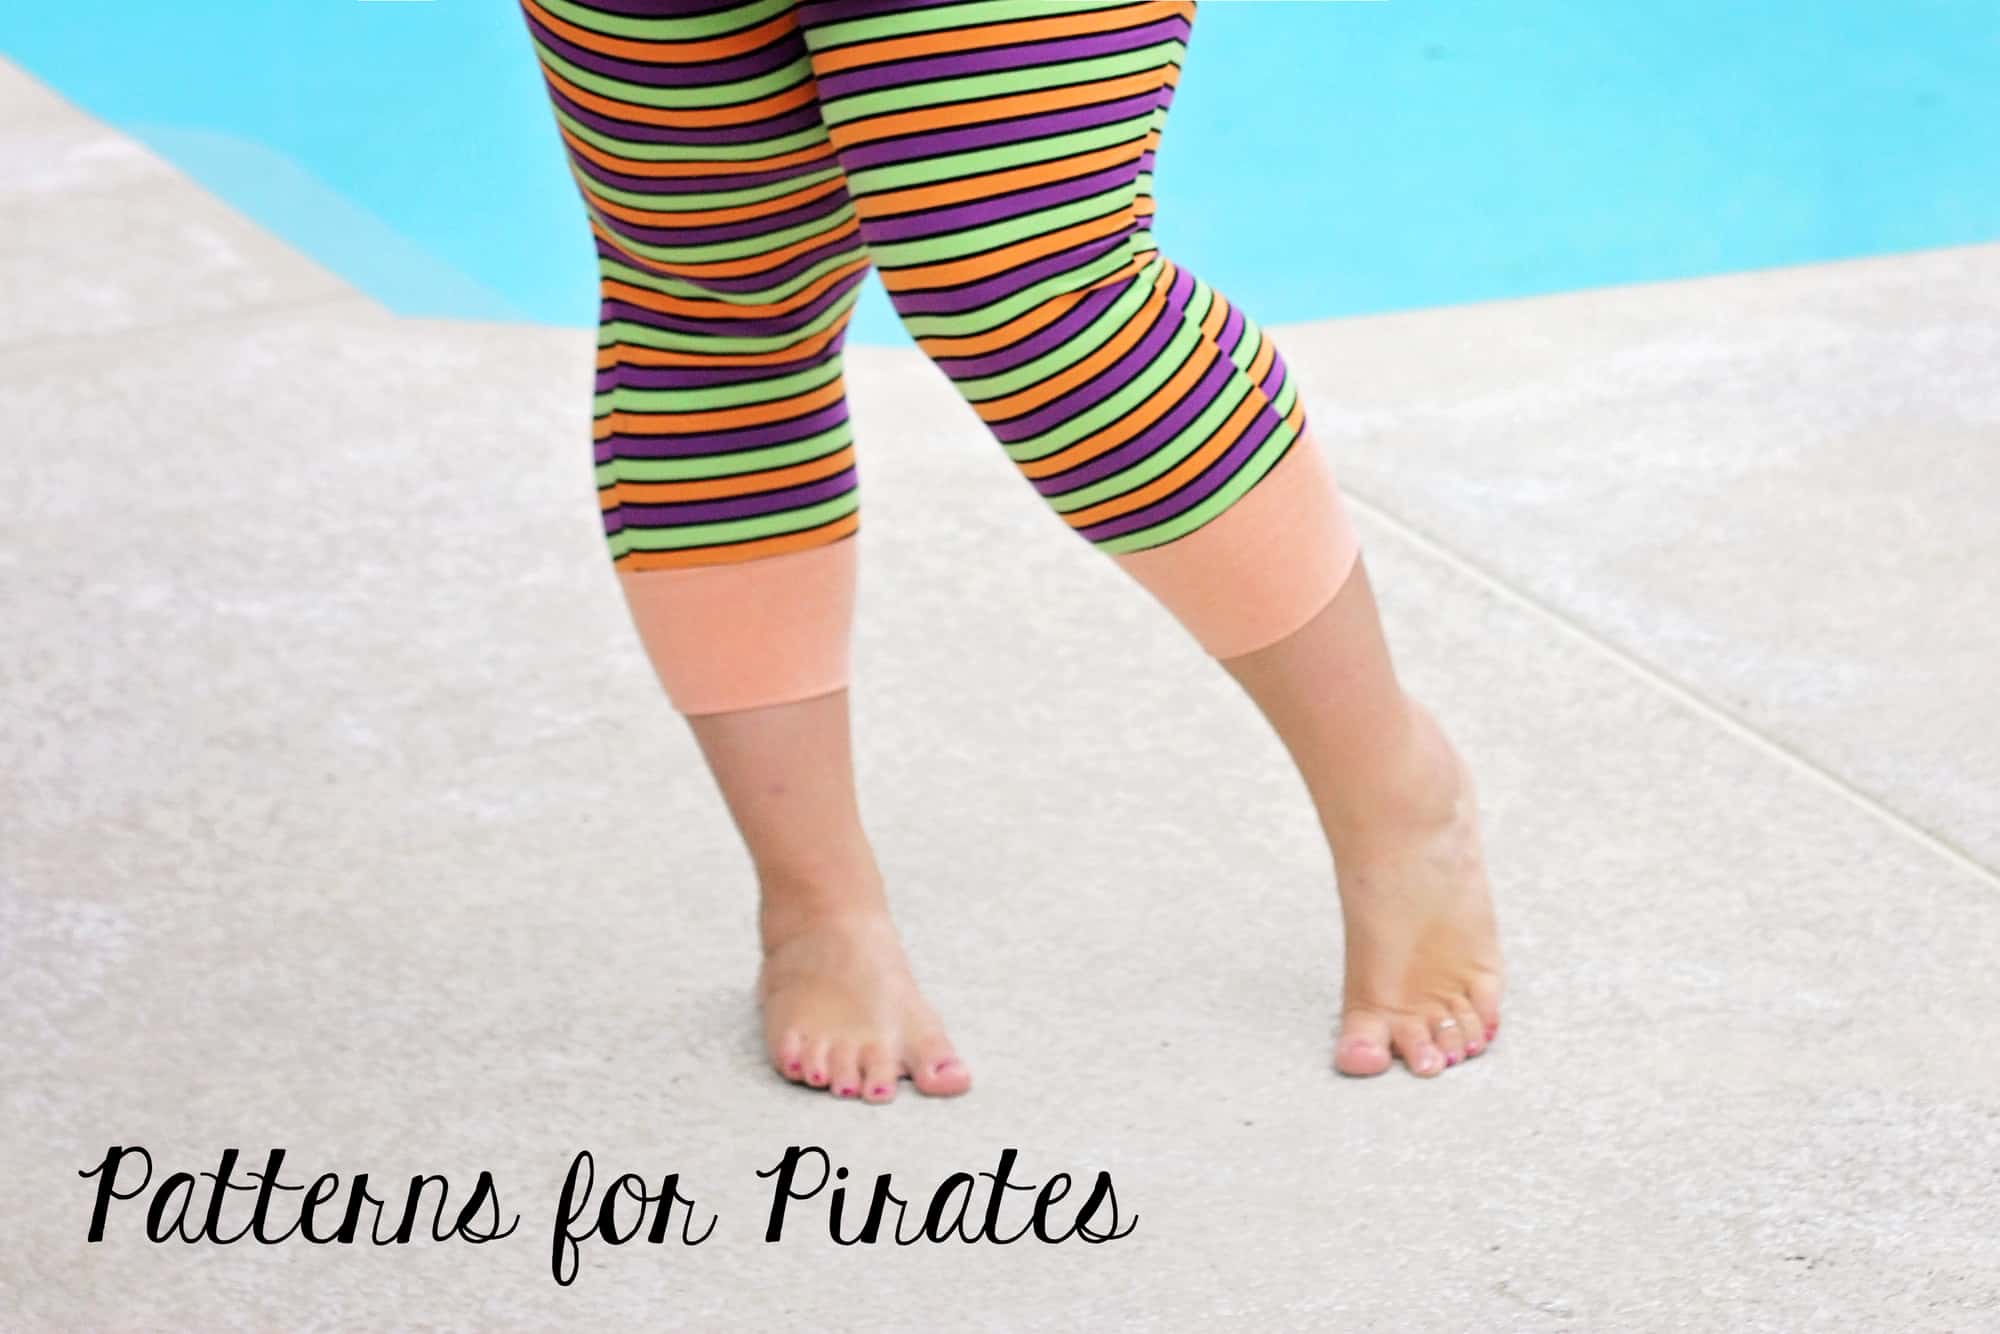
Capri Loggers

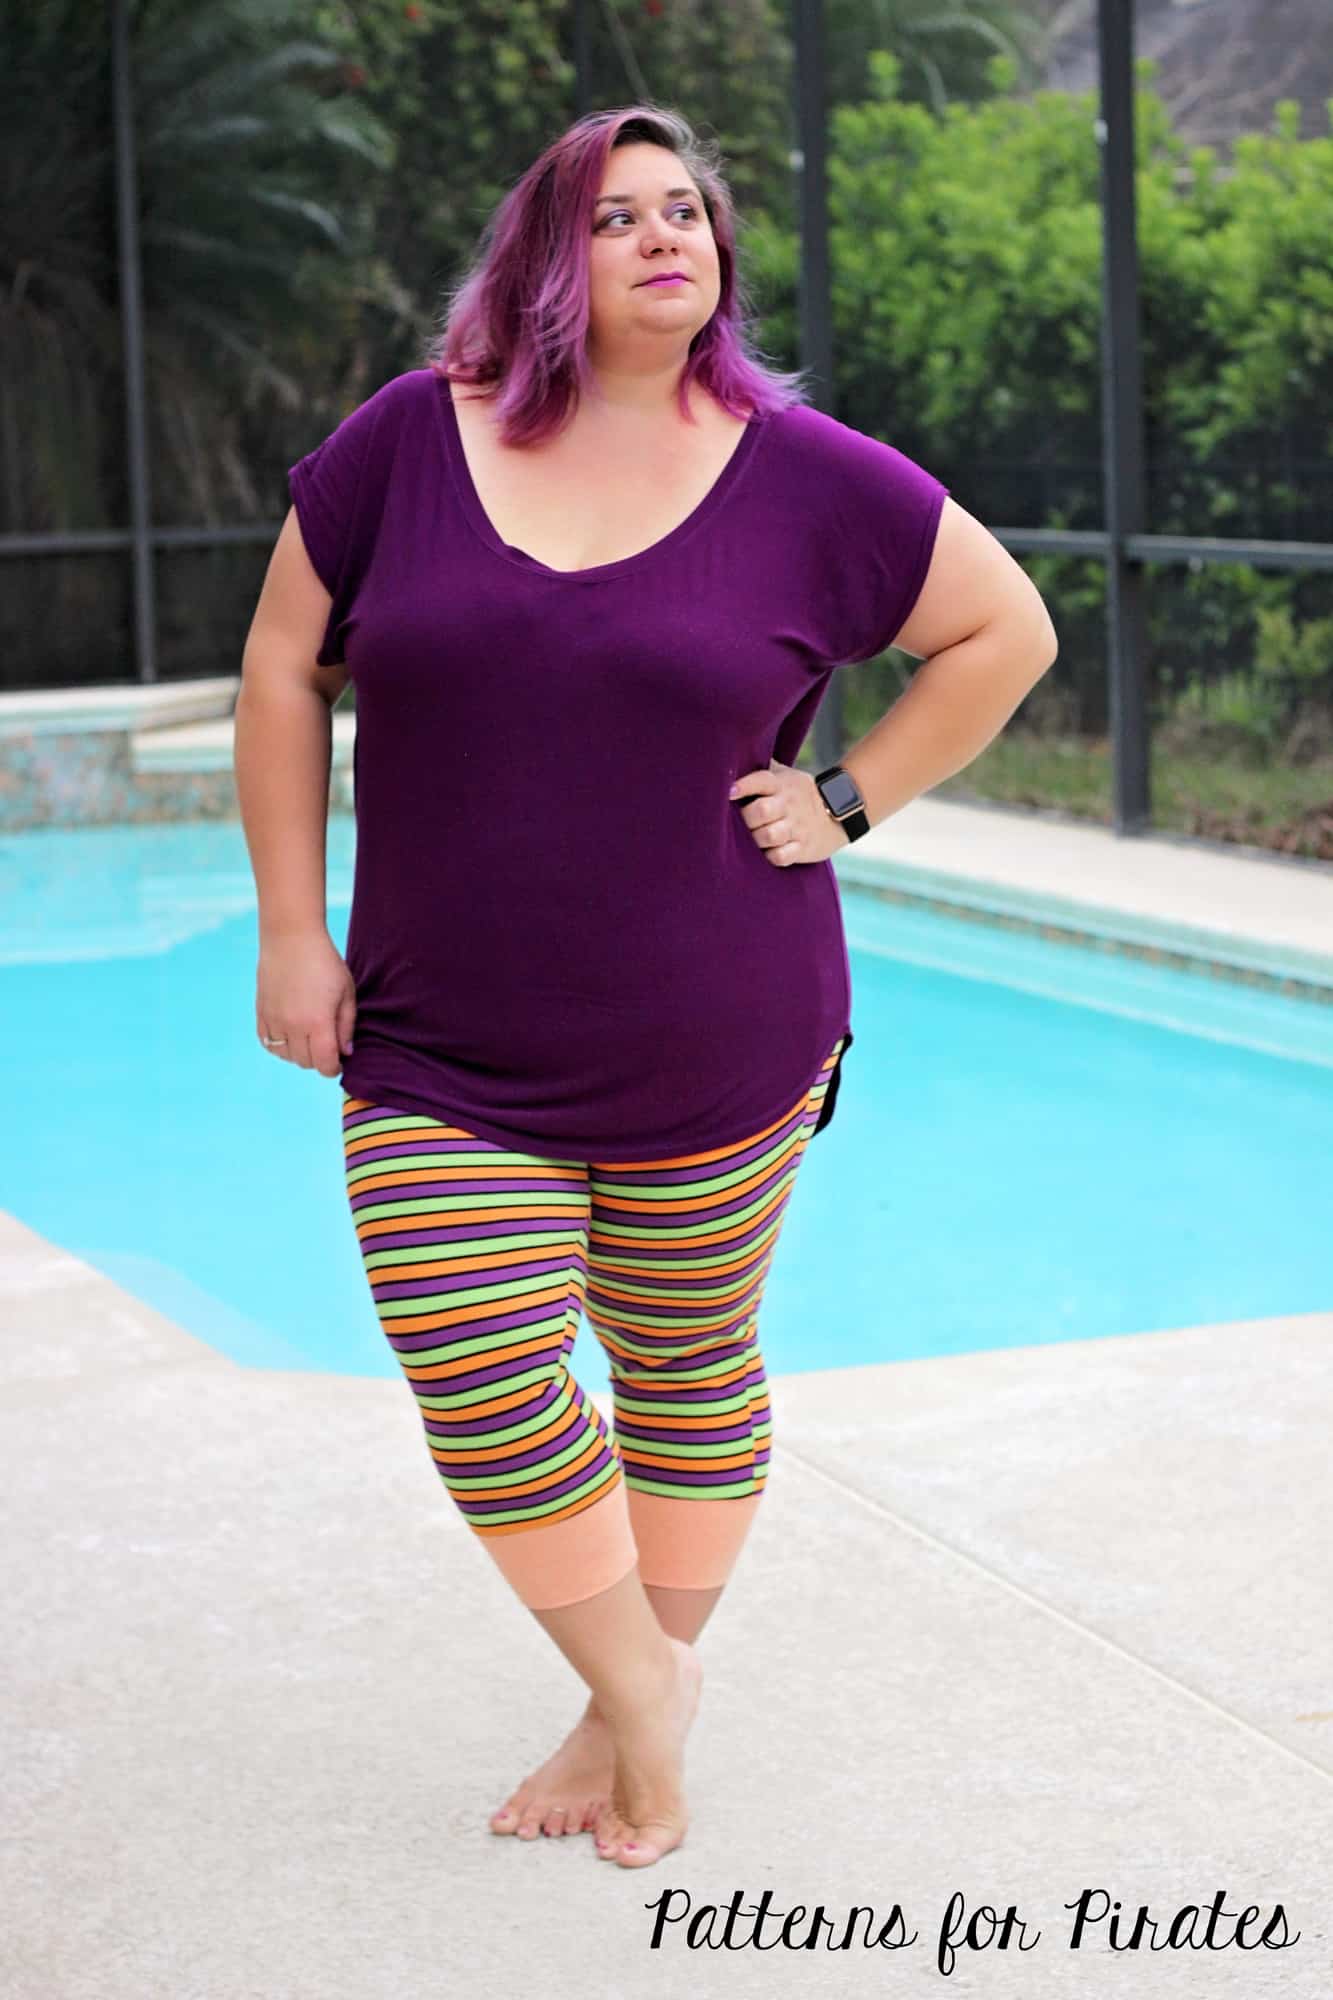
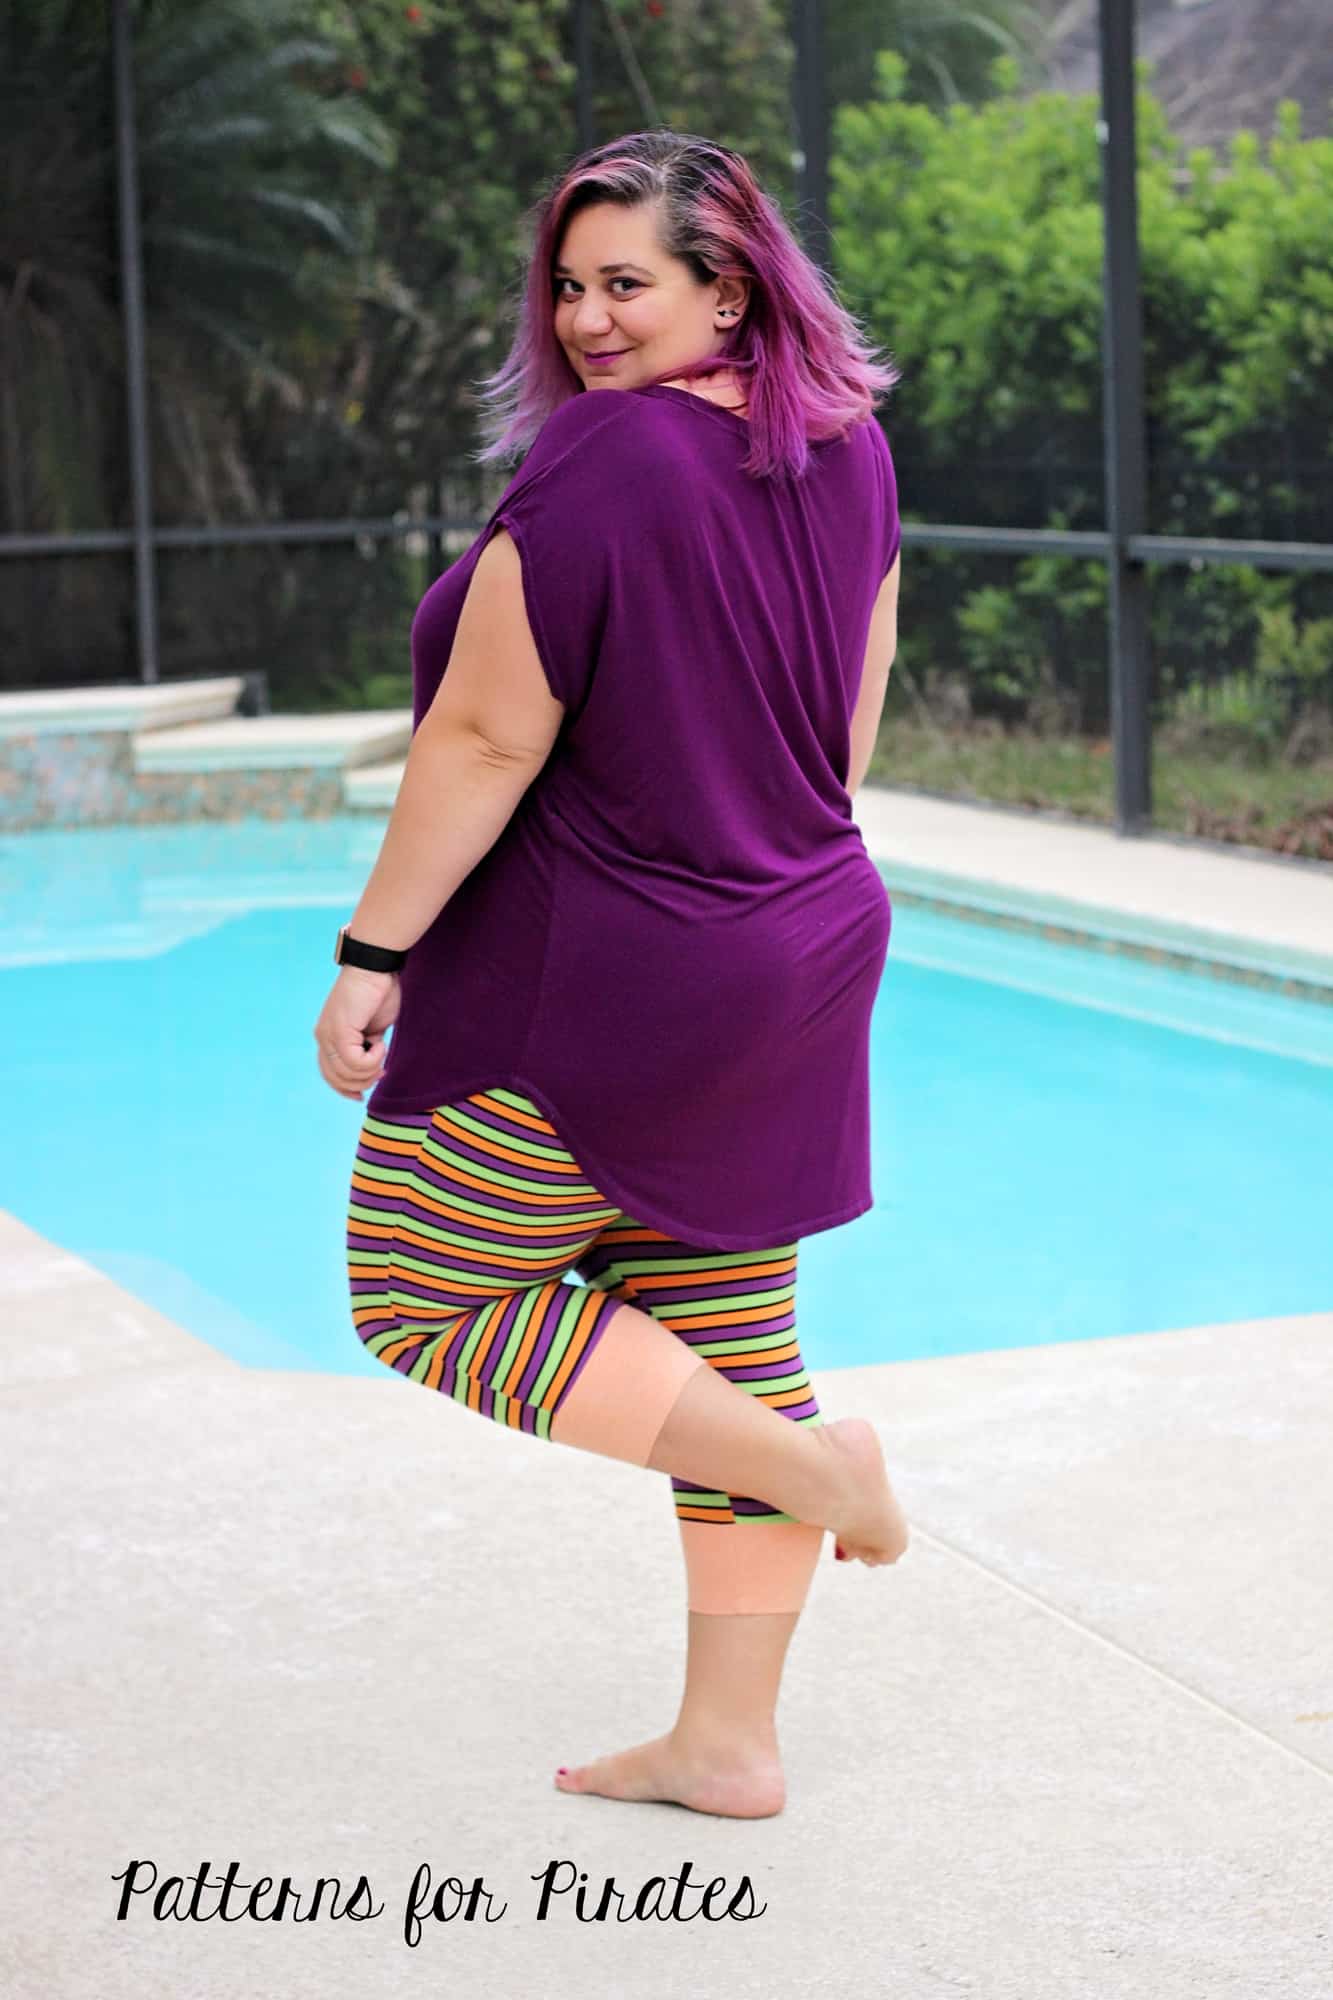
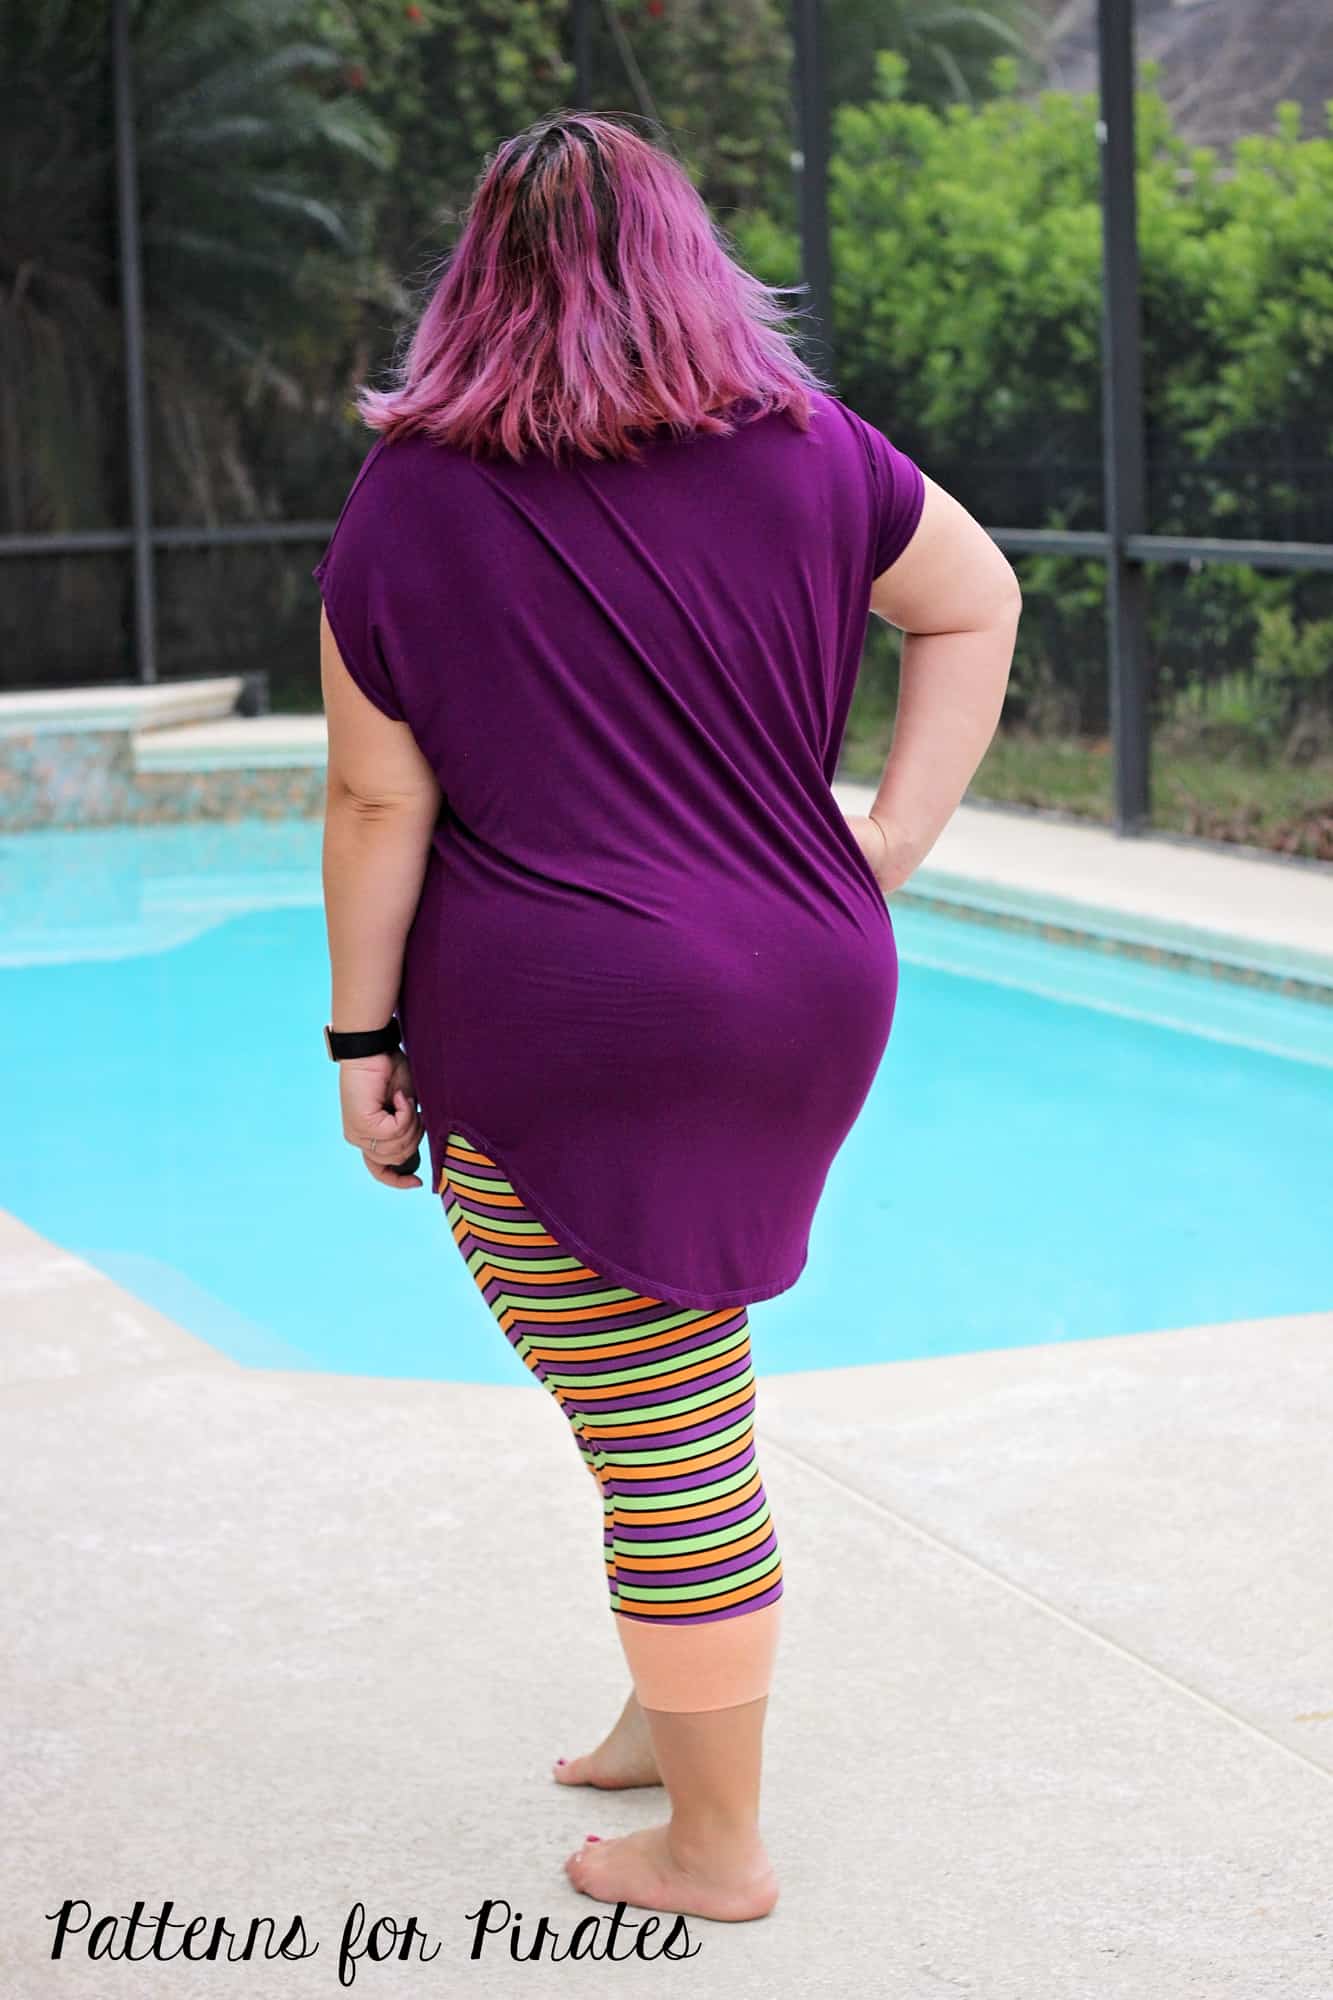
The Loggers patterns include 2 length, ankle and shorts. So let’s add a third. I personally love capri length leggings and joggers when biking so I knew I needed capri loggers too. Such an easy hack!

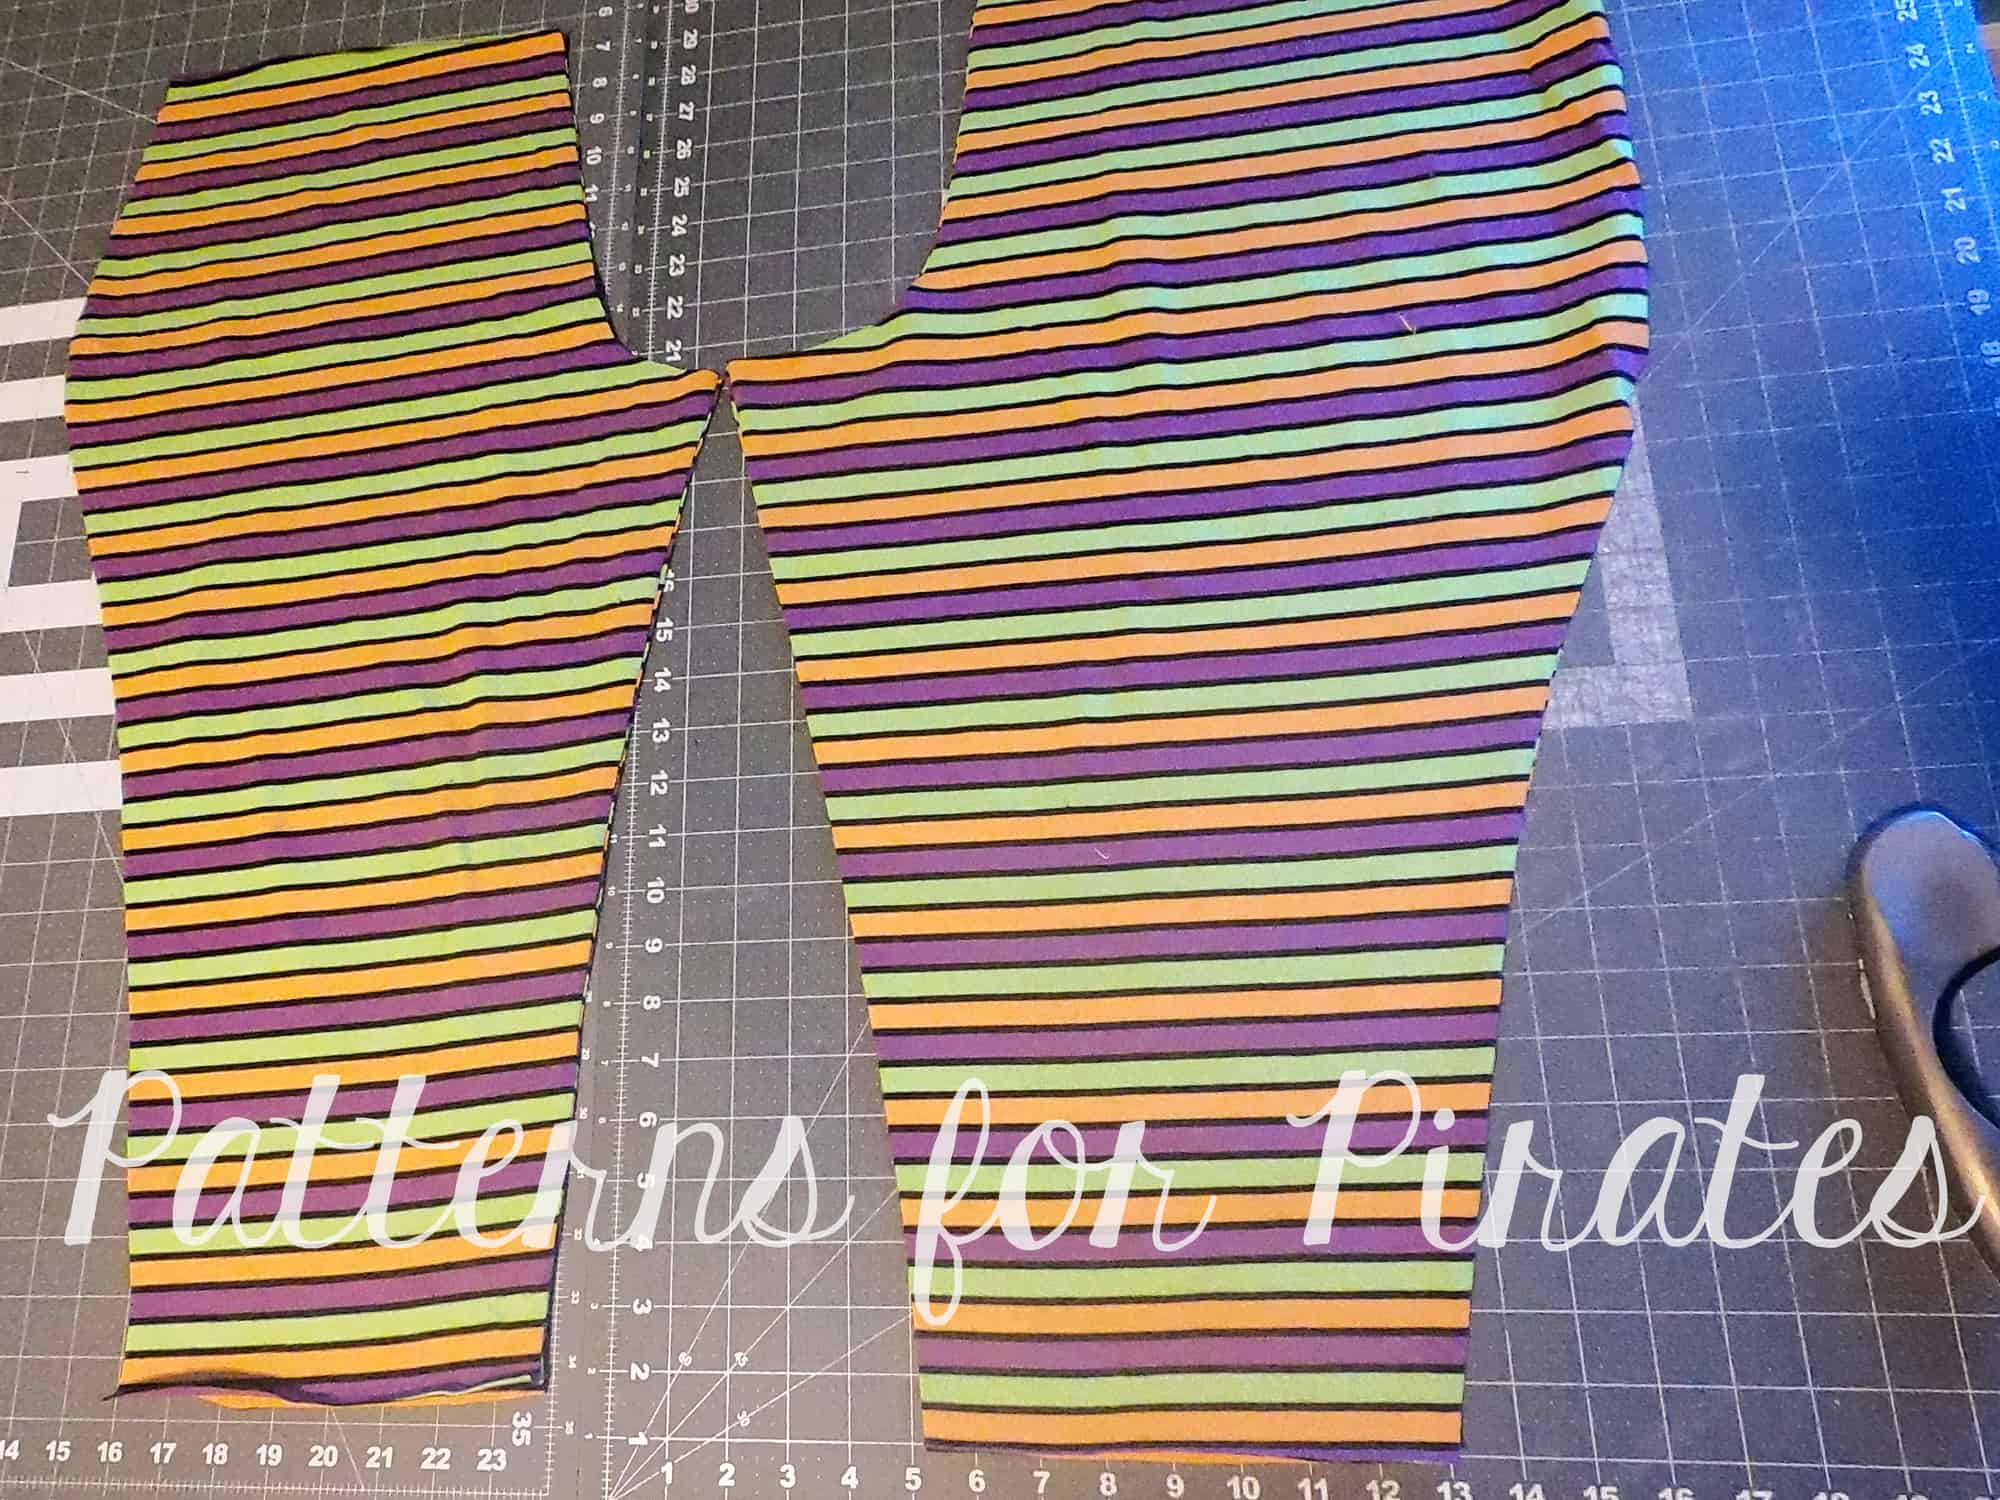
All you have to do is remove some length on both leg pieces. For the adult loggers I recommend removing about 7″ but you can go a little less or a little more. If you are not able to measure them you can use the Peg Legs capri length as a guide, just remember that the Pegs are hemmed while the Loggers have cuffs so make sure you accommodate for that.

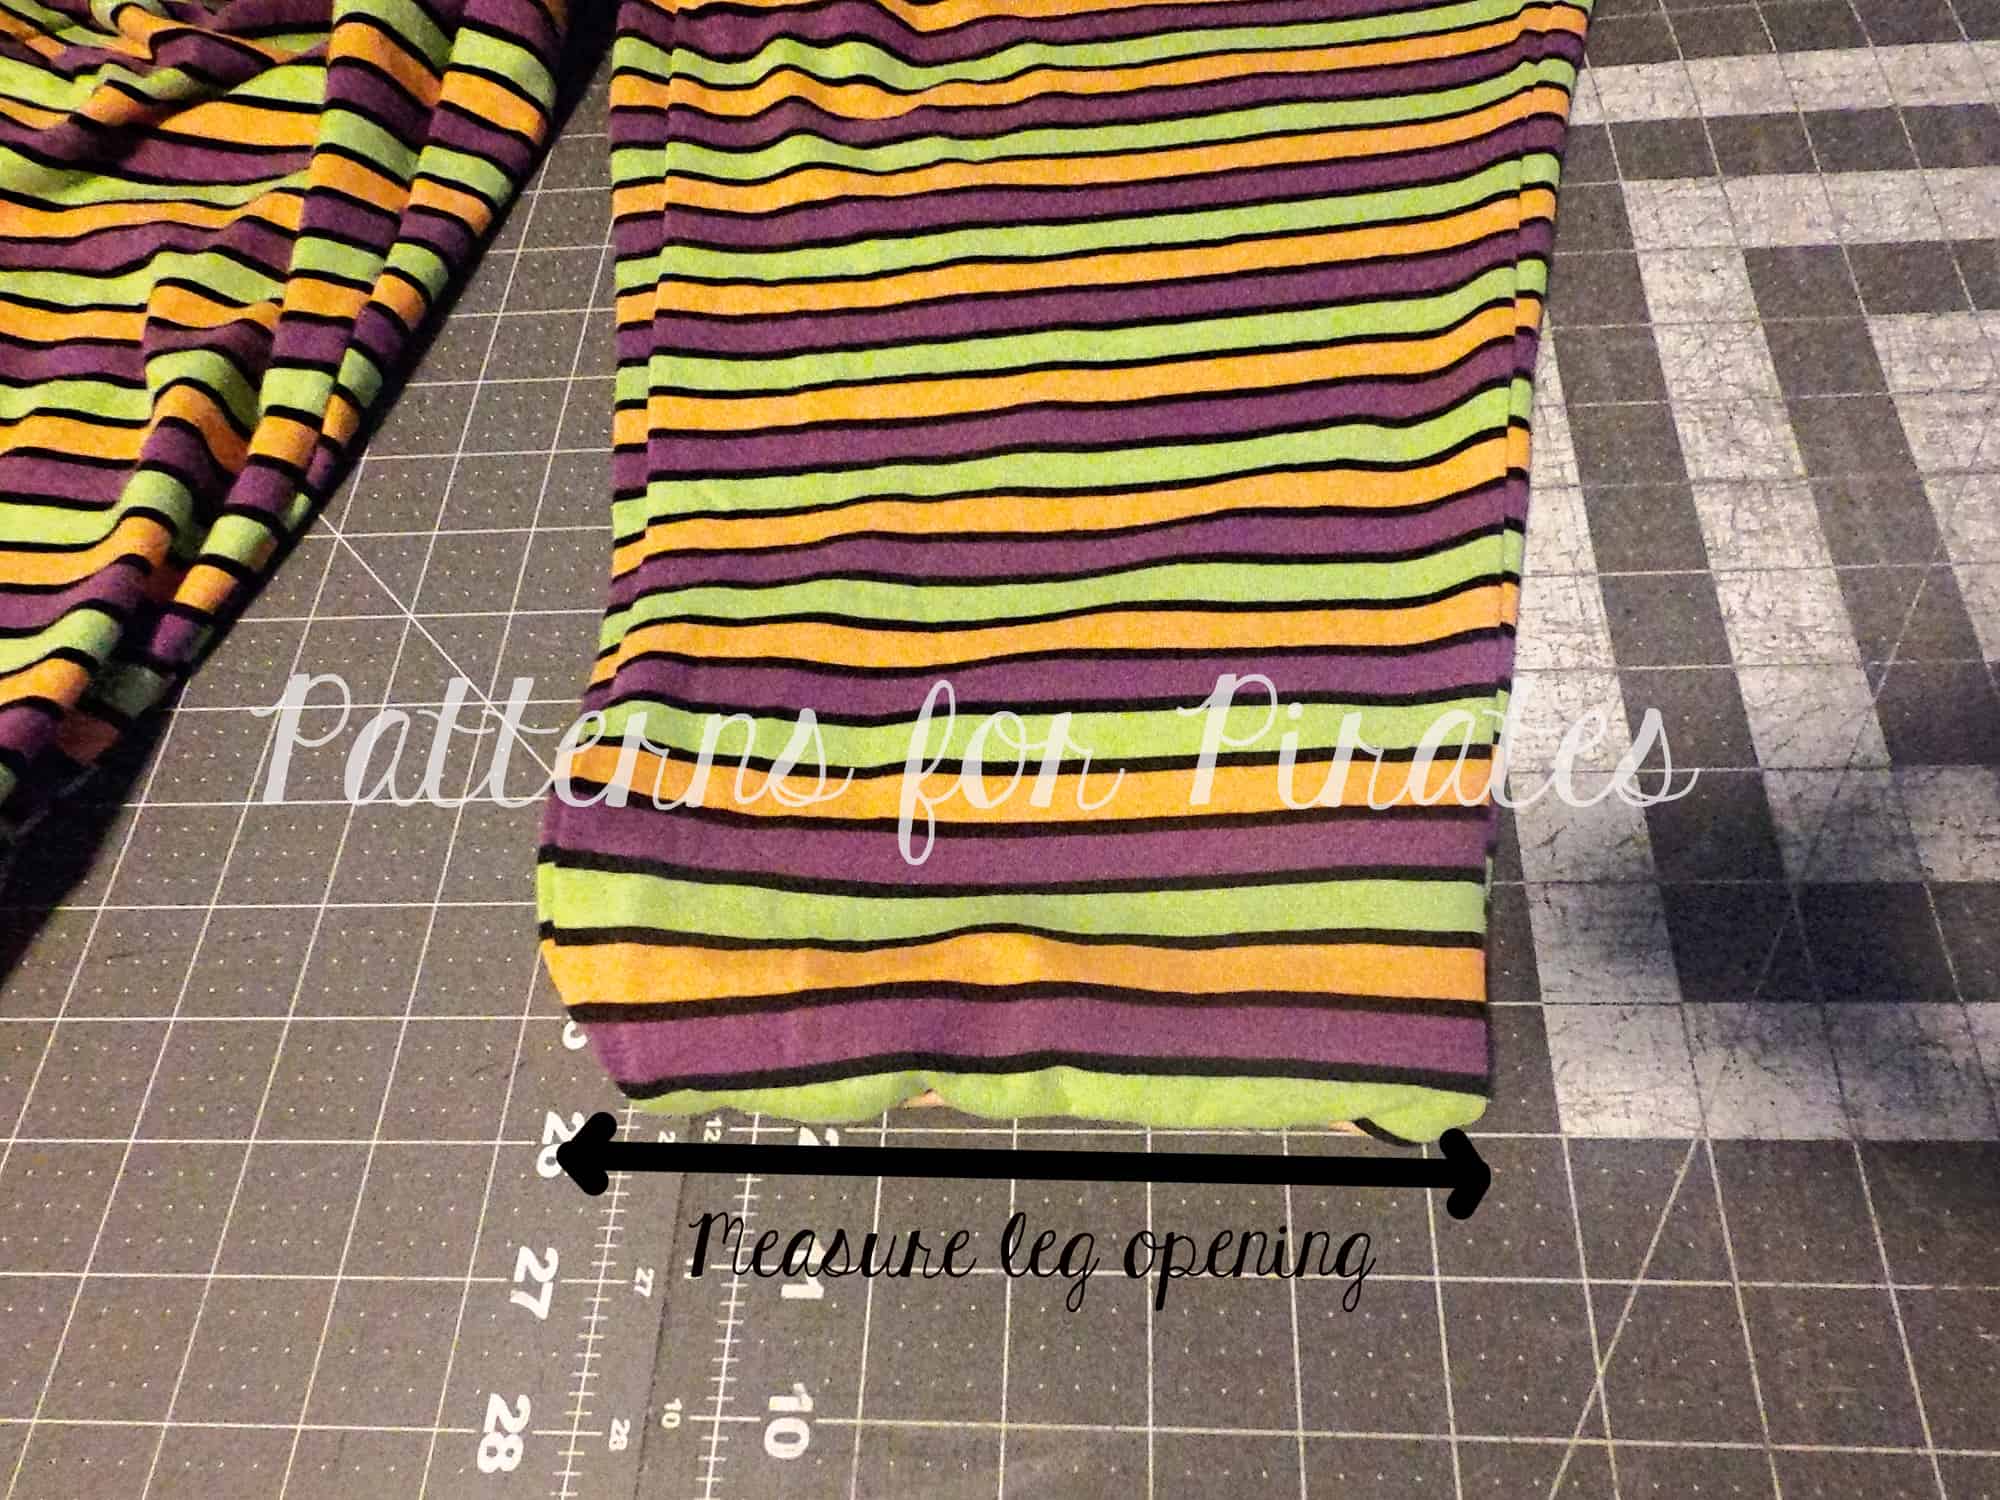
Once you cut your fabric continue sewing them as per the tutorial. The only change left to do is in the cuffs width. Measure the leg opening and multiply that by 0.90 and add 1″ for the seam allowance. Keep the height of the cuffs pattern as is.

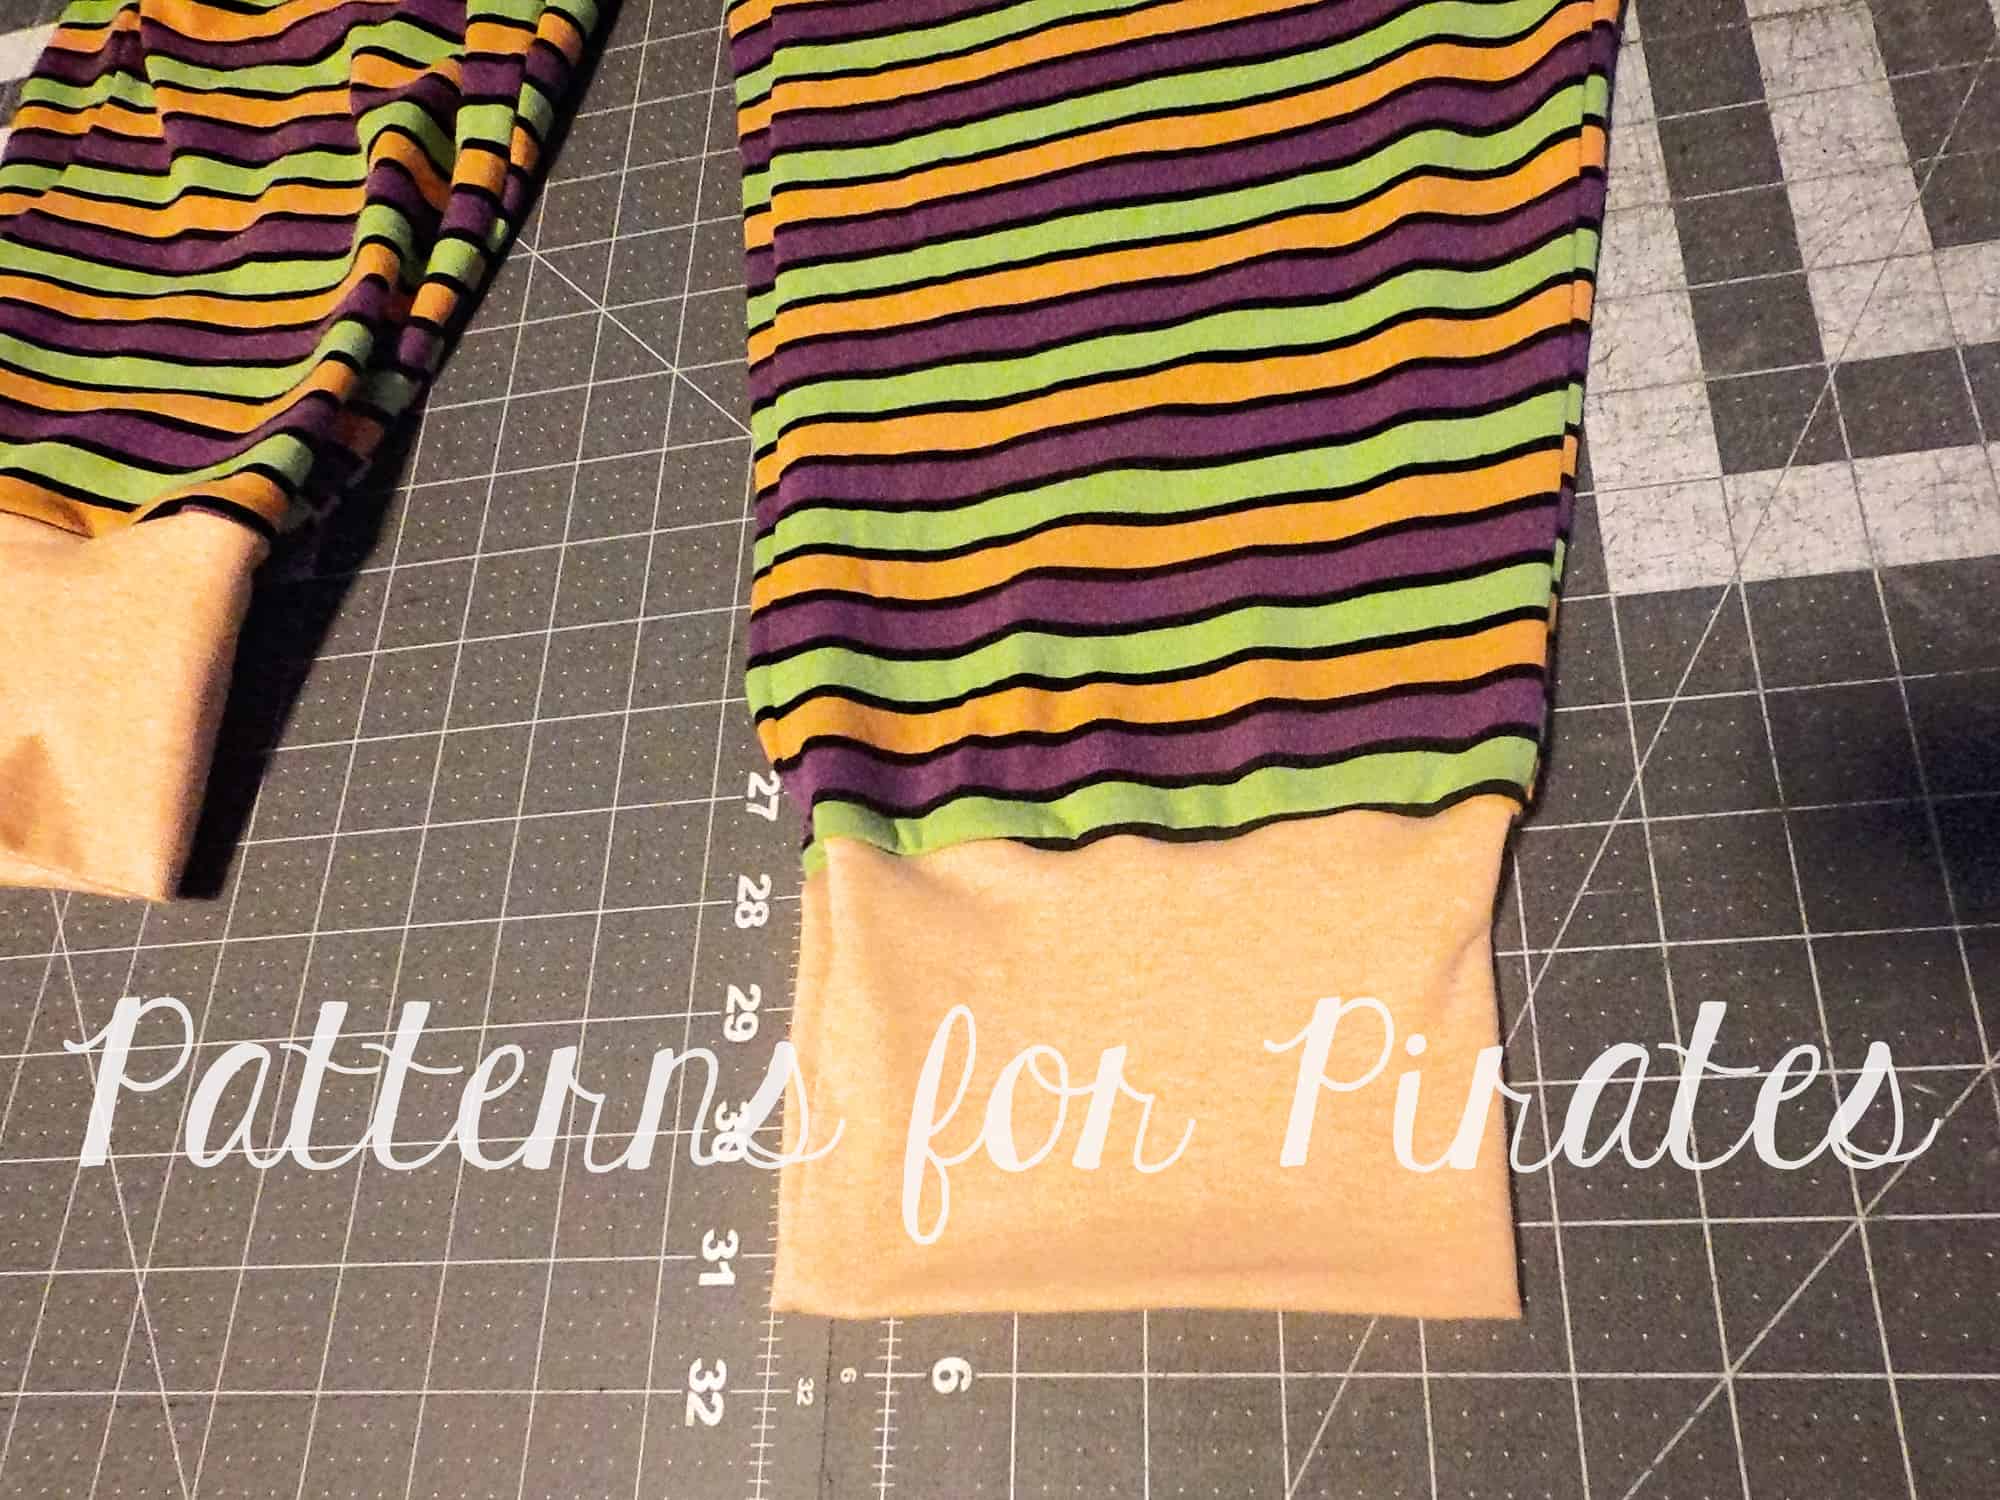
All you have left to do is add the cuffs to the legs following the same instructions in the tutorial. As always, press, press, press!

Shhh! Want to know a little secret? For my pair of capri loggers I actually used the exact cuffs from the pattern. Since my loggers are 100% cotton spandex with great stretch and recovery I could do that. Something to keep in mind, but do not do this if you are using French Terry or other knit with not so great recovery.

That’s it! Super easy, capri loggers to add to your lounging or workout gear.

…..

Swim Bottoms

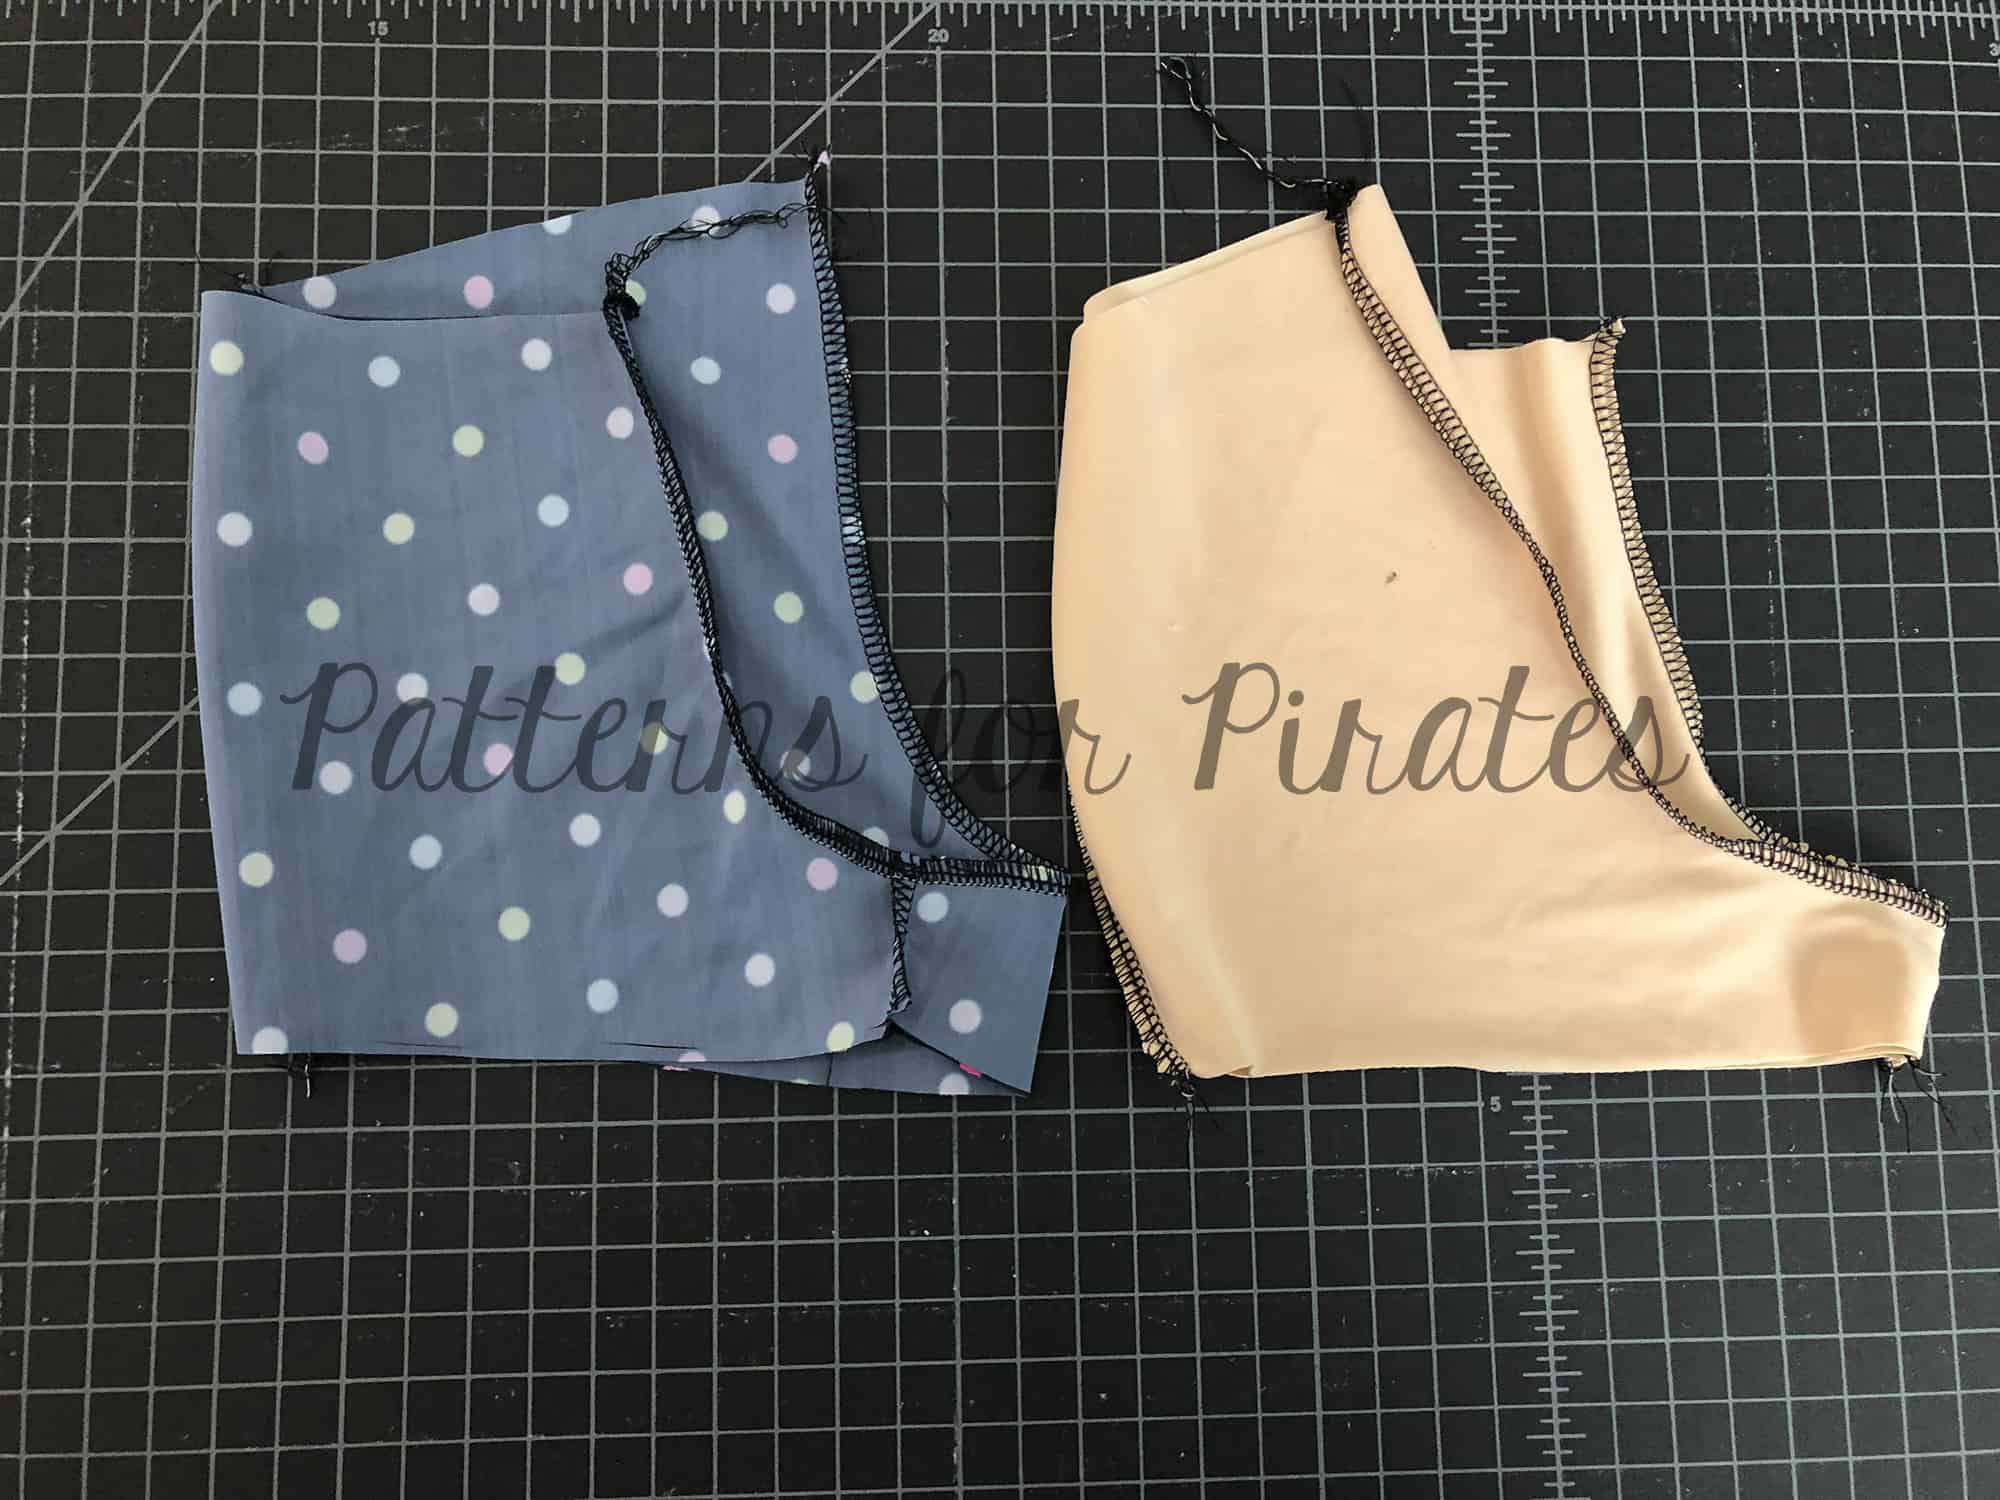
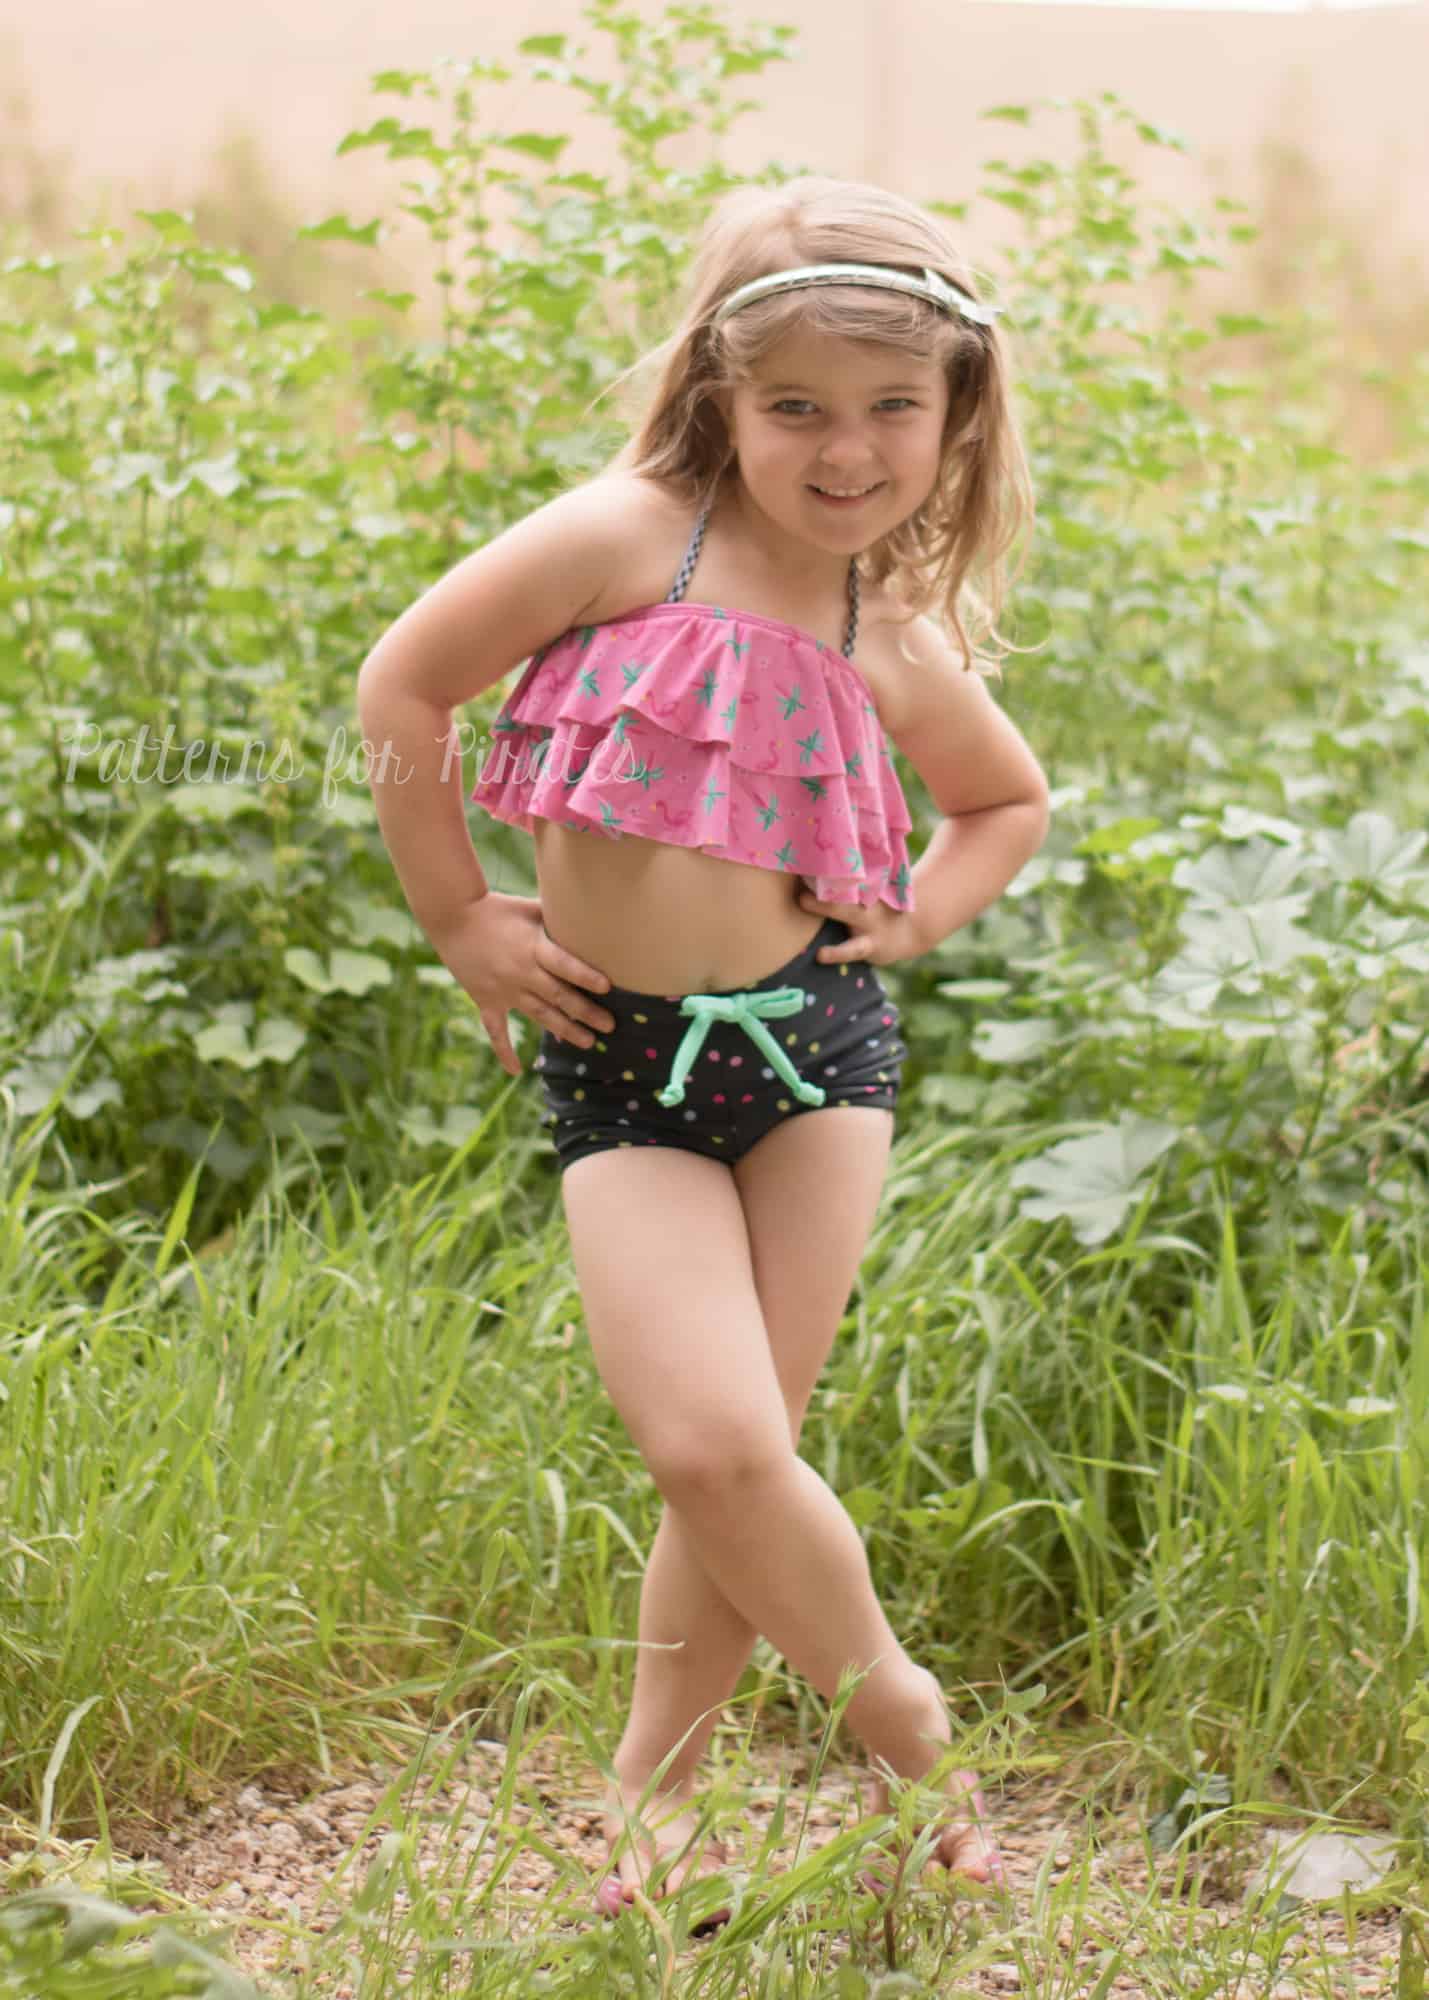
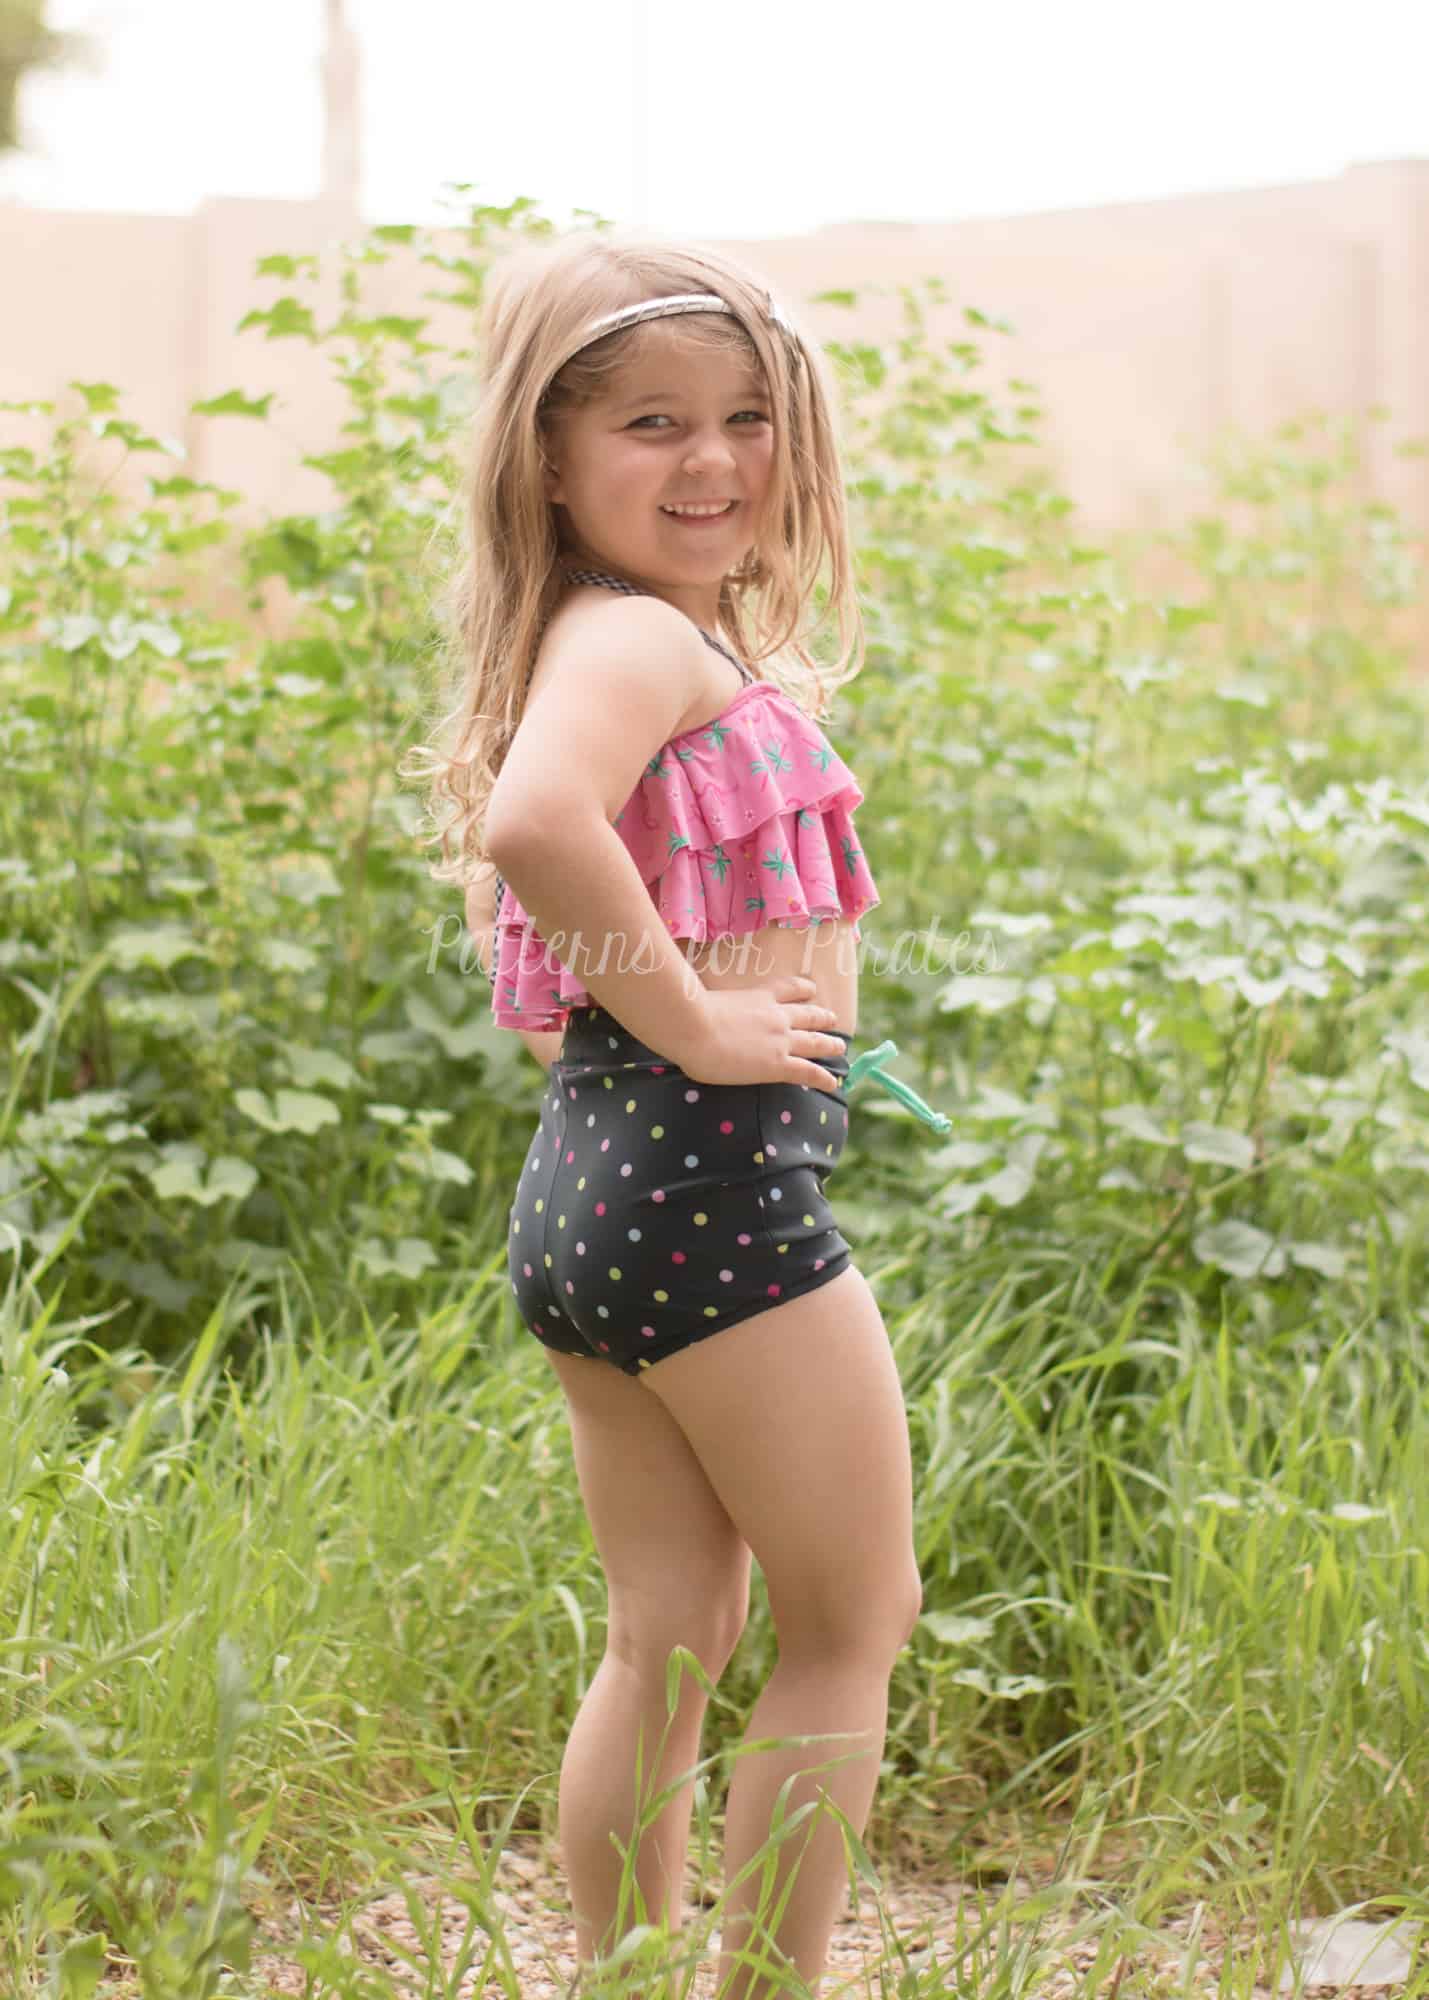
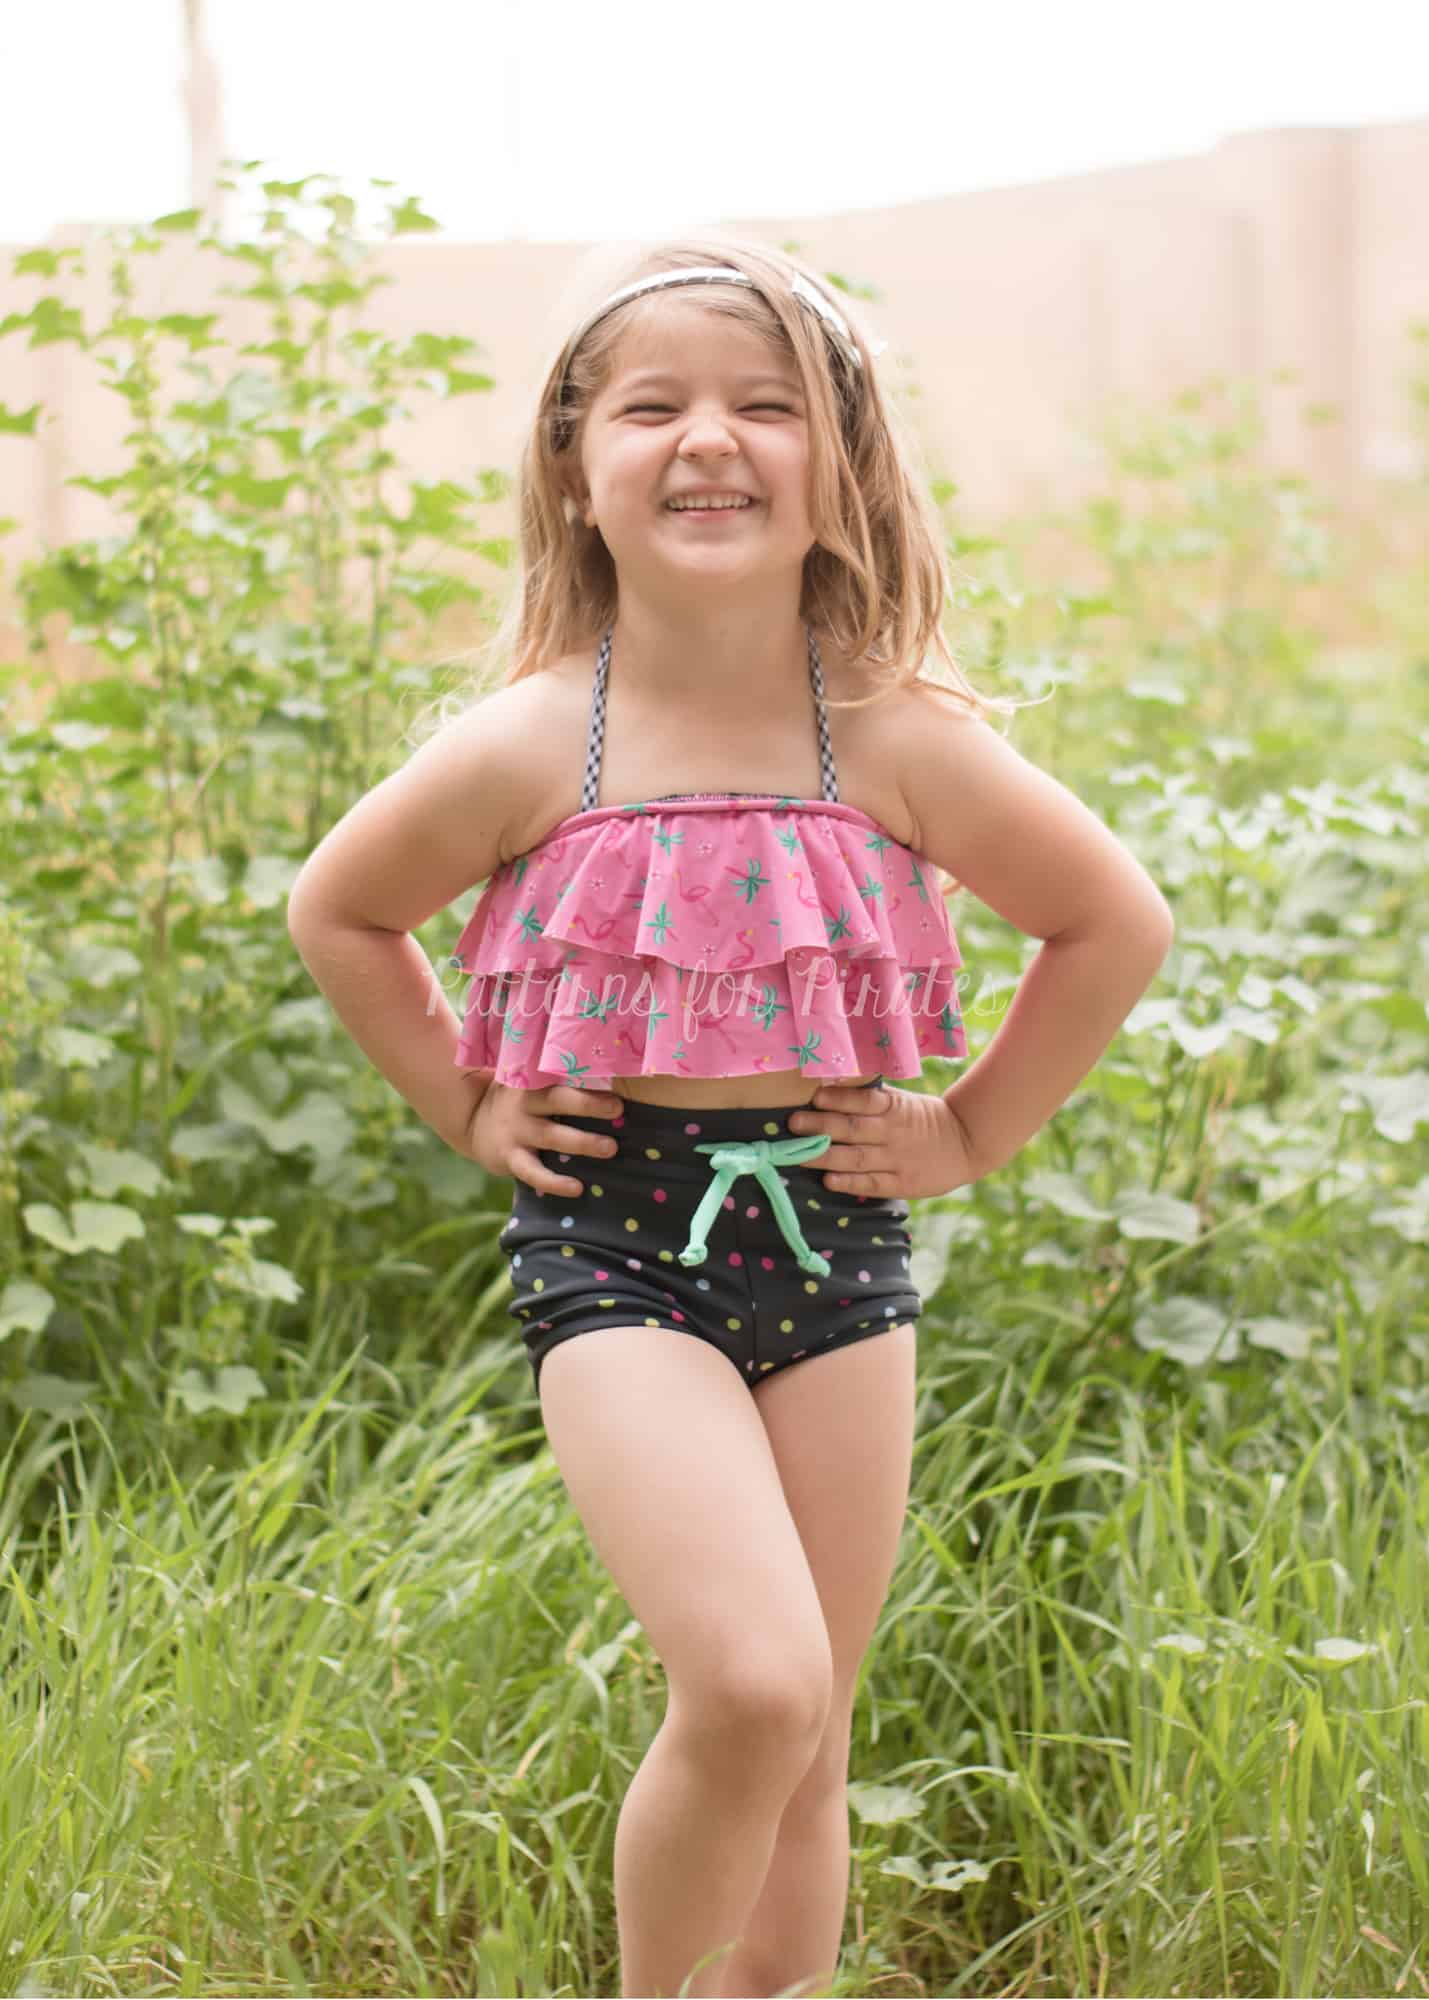
The shorts version of the Loggers makes for the perfect swim short!  I used the youth version here for my girl but you can easily do the same for the women’s.  Construction is more or less the same, but I chose to line them with swim lining and did elastic vs the bands.  You can also adjust the inseam to your preference if you want them a little longer as they will finish a tiny bit shorter if adding swim elastic, or even keep the bands as shown in the original pattern.

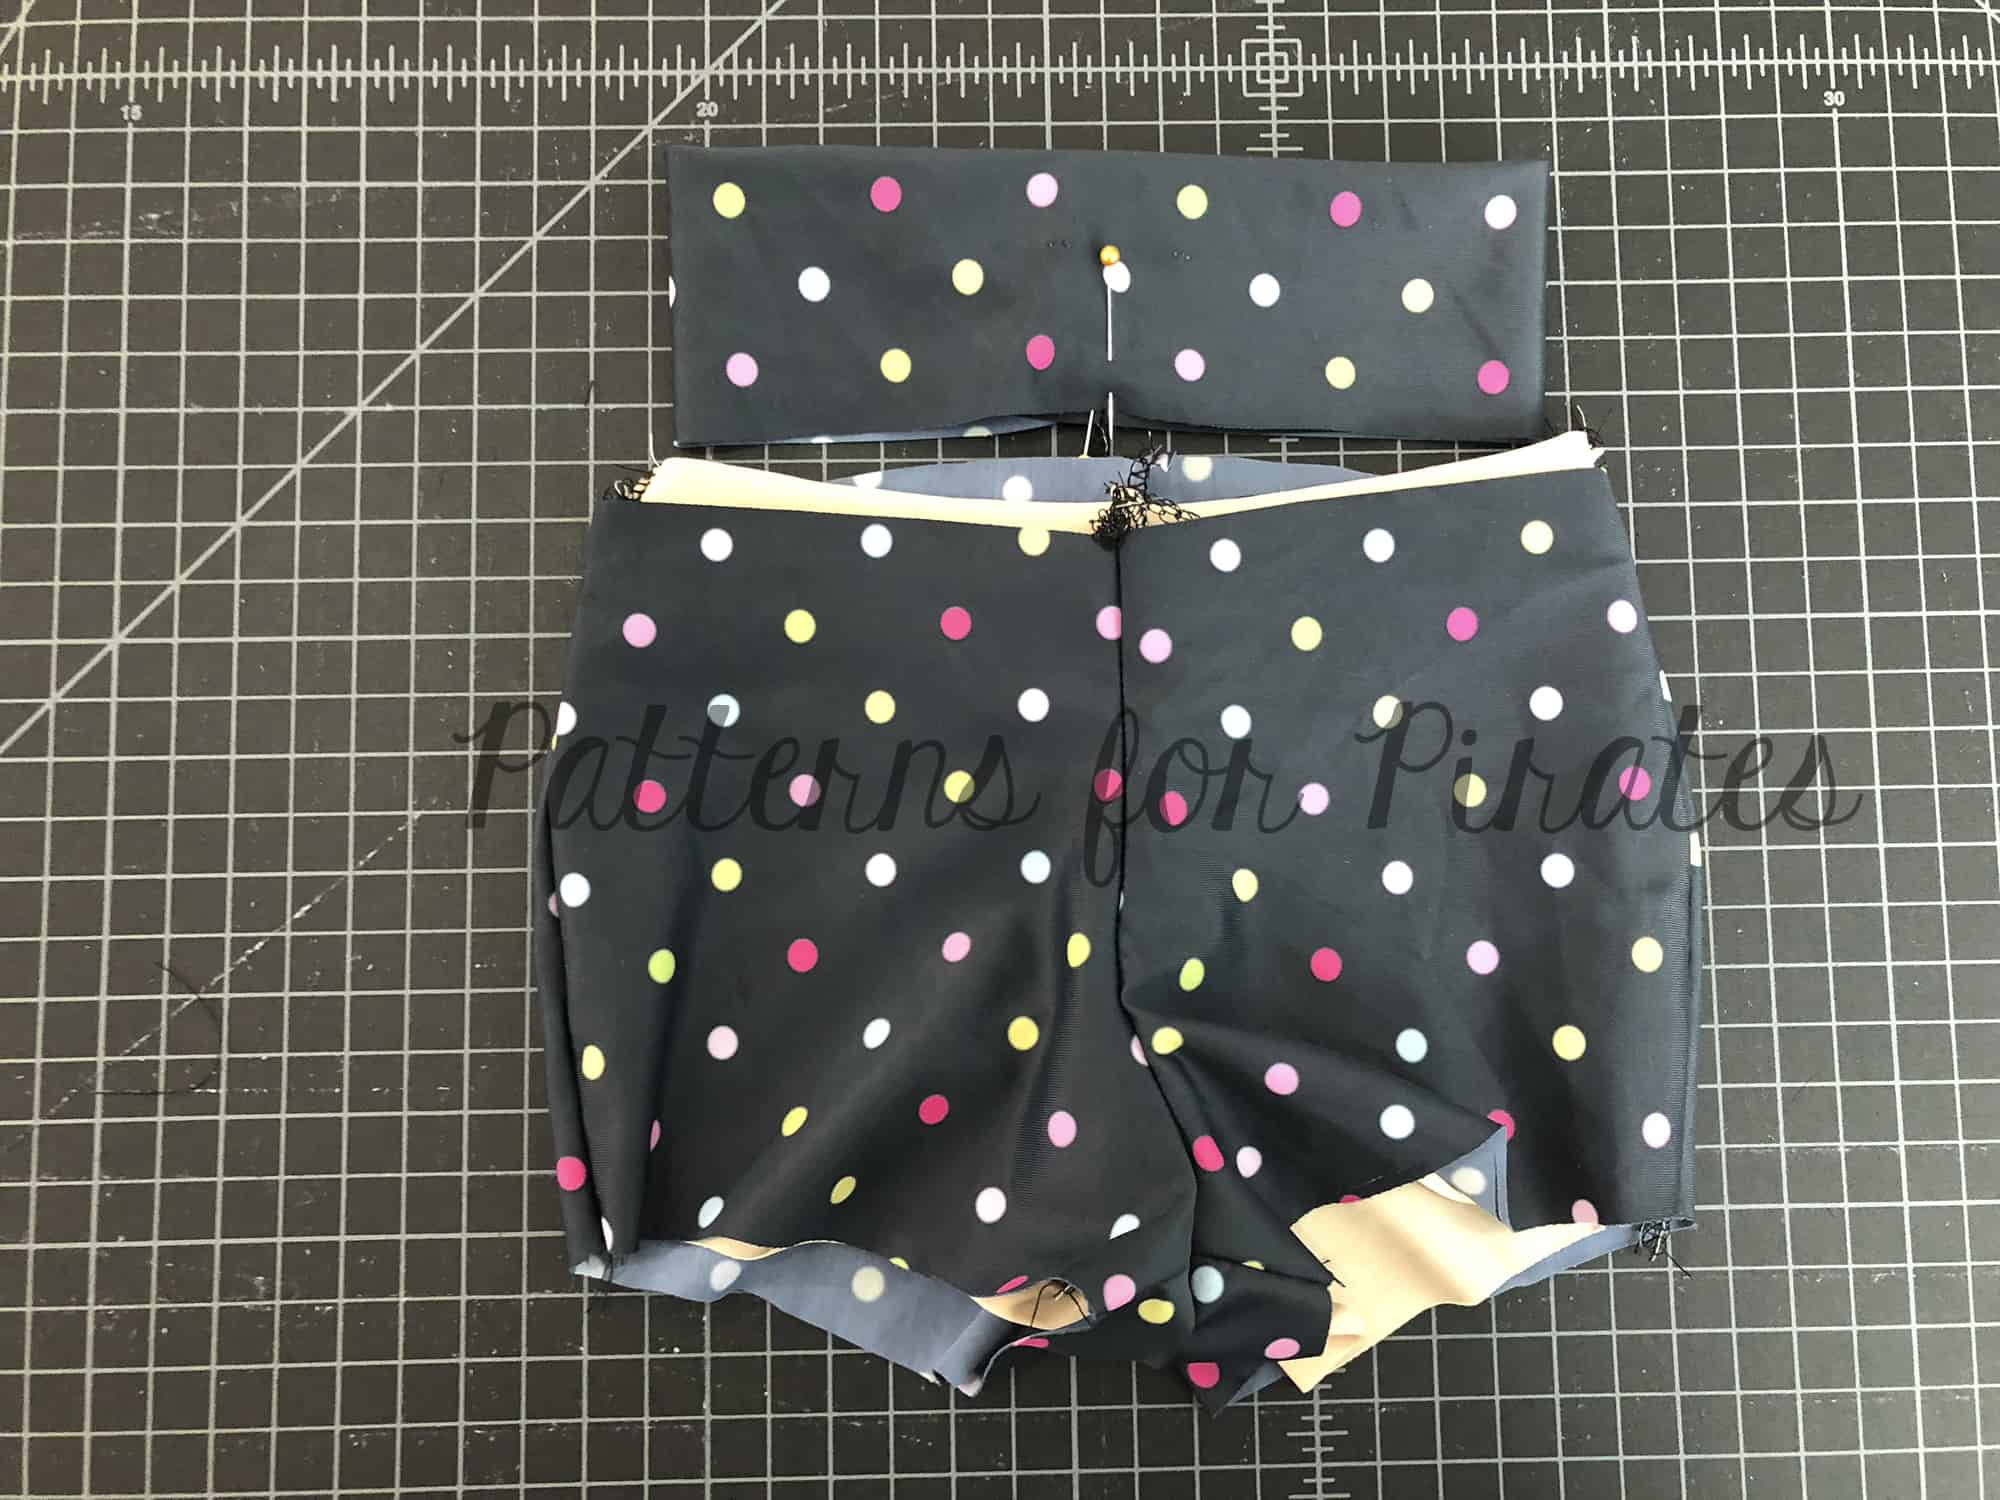
Cut 1 Main, 1 Lining and 1 waistband. I used 1/4″ swim elastic cut 1/2″ shorter than the measurement in the pattern for the bands. (I would recommend, measuring the leg openings and cutting the elastic 80% as swim will expand in water)
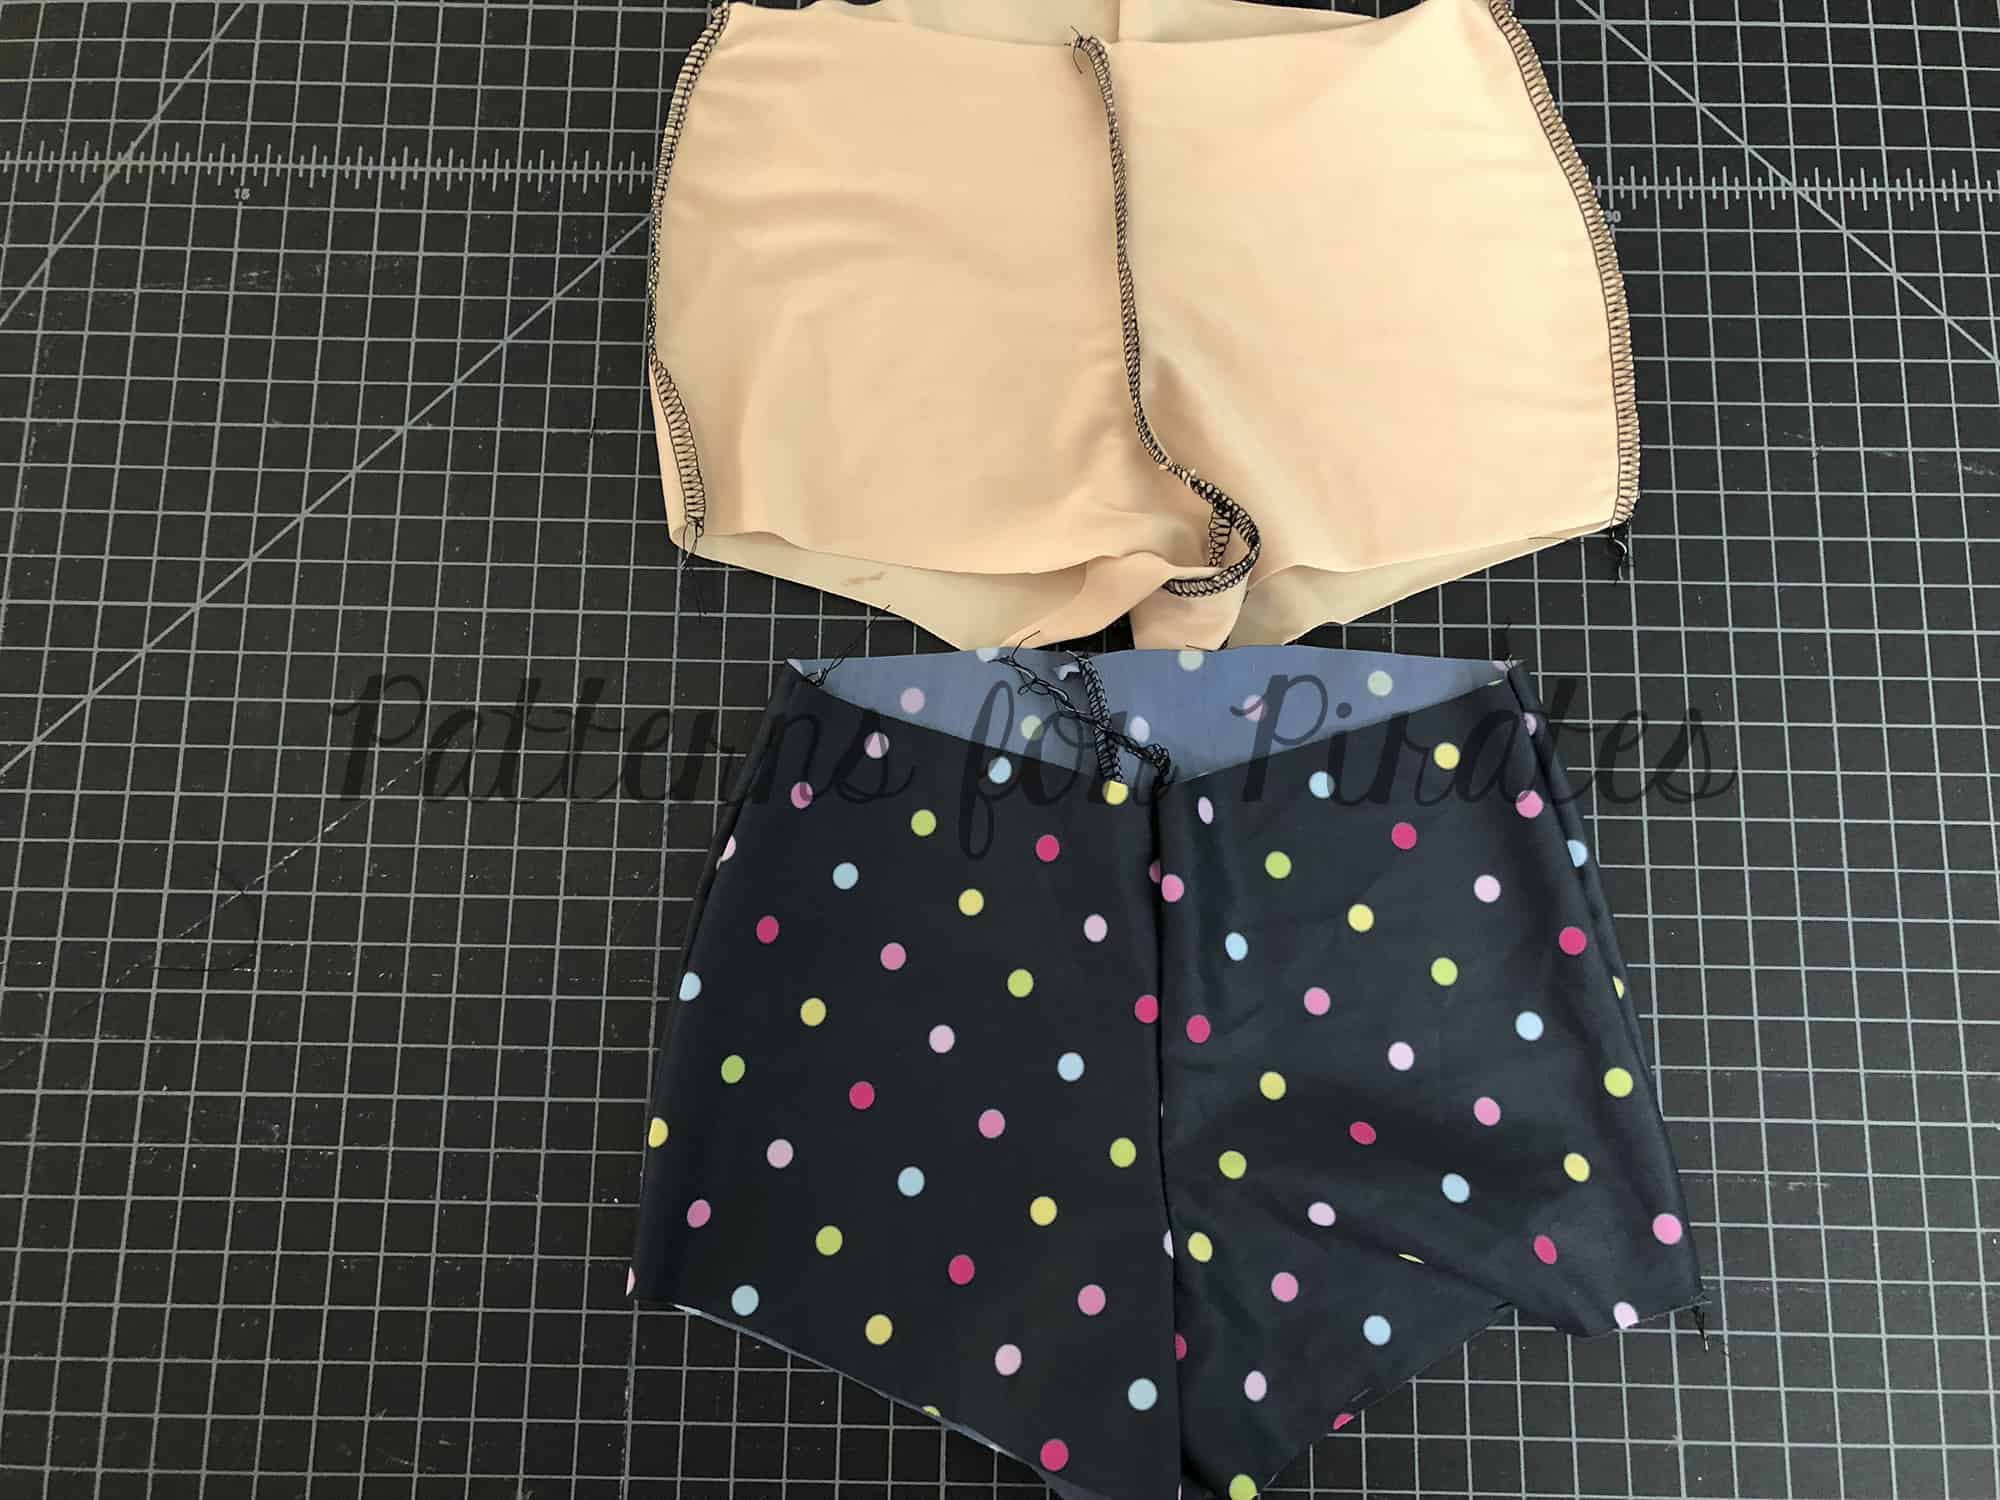
Sew up each pair of shorts (1 main and 1 lining) separately as show in the tutorial.
Turn main right sides out and lining wrong sides out. With wrong sides together slip lining into main shorts.

With right side of waistband to right side of shorts, attach your waistband (as shown in the tutorial). You will sew through 4 layers (1 lining, 1 main and 2 for your waistband.) Tip: Baste around the waist opening of the shorts to keep the layers from slipping and treat as one fabric.
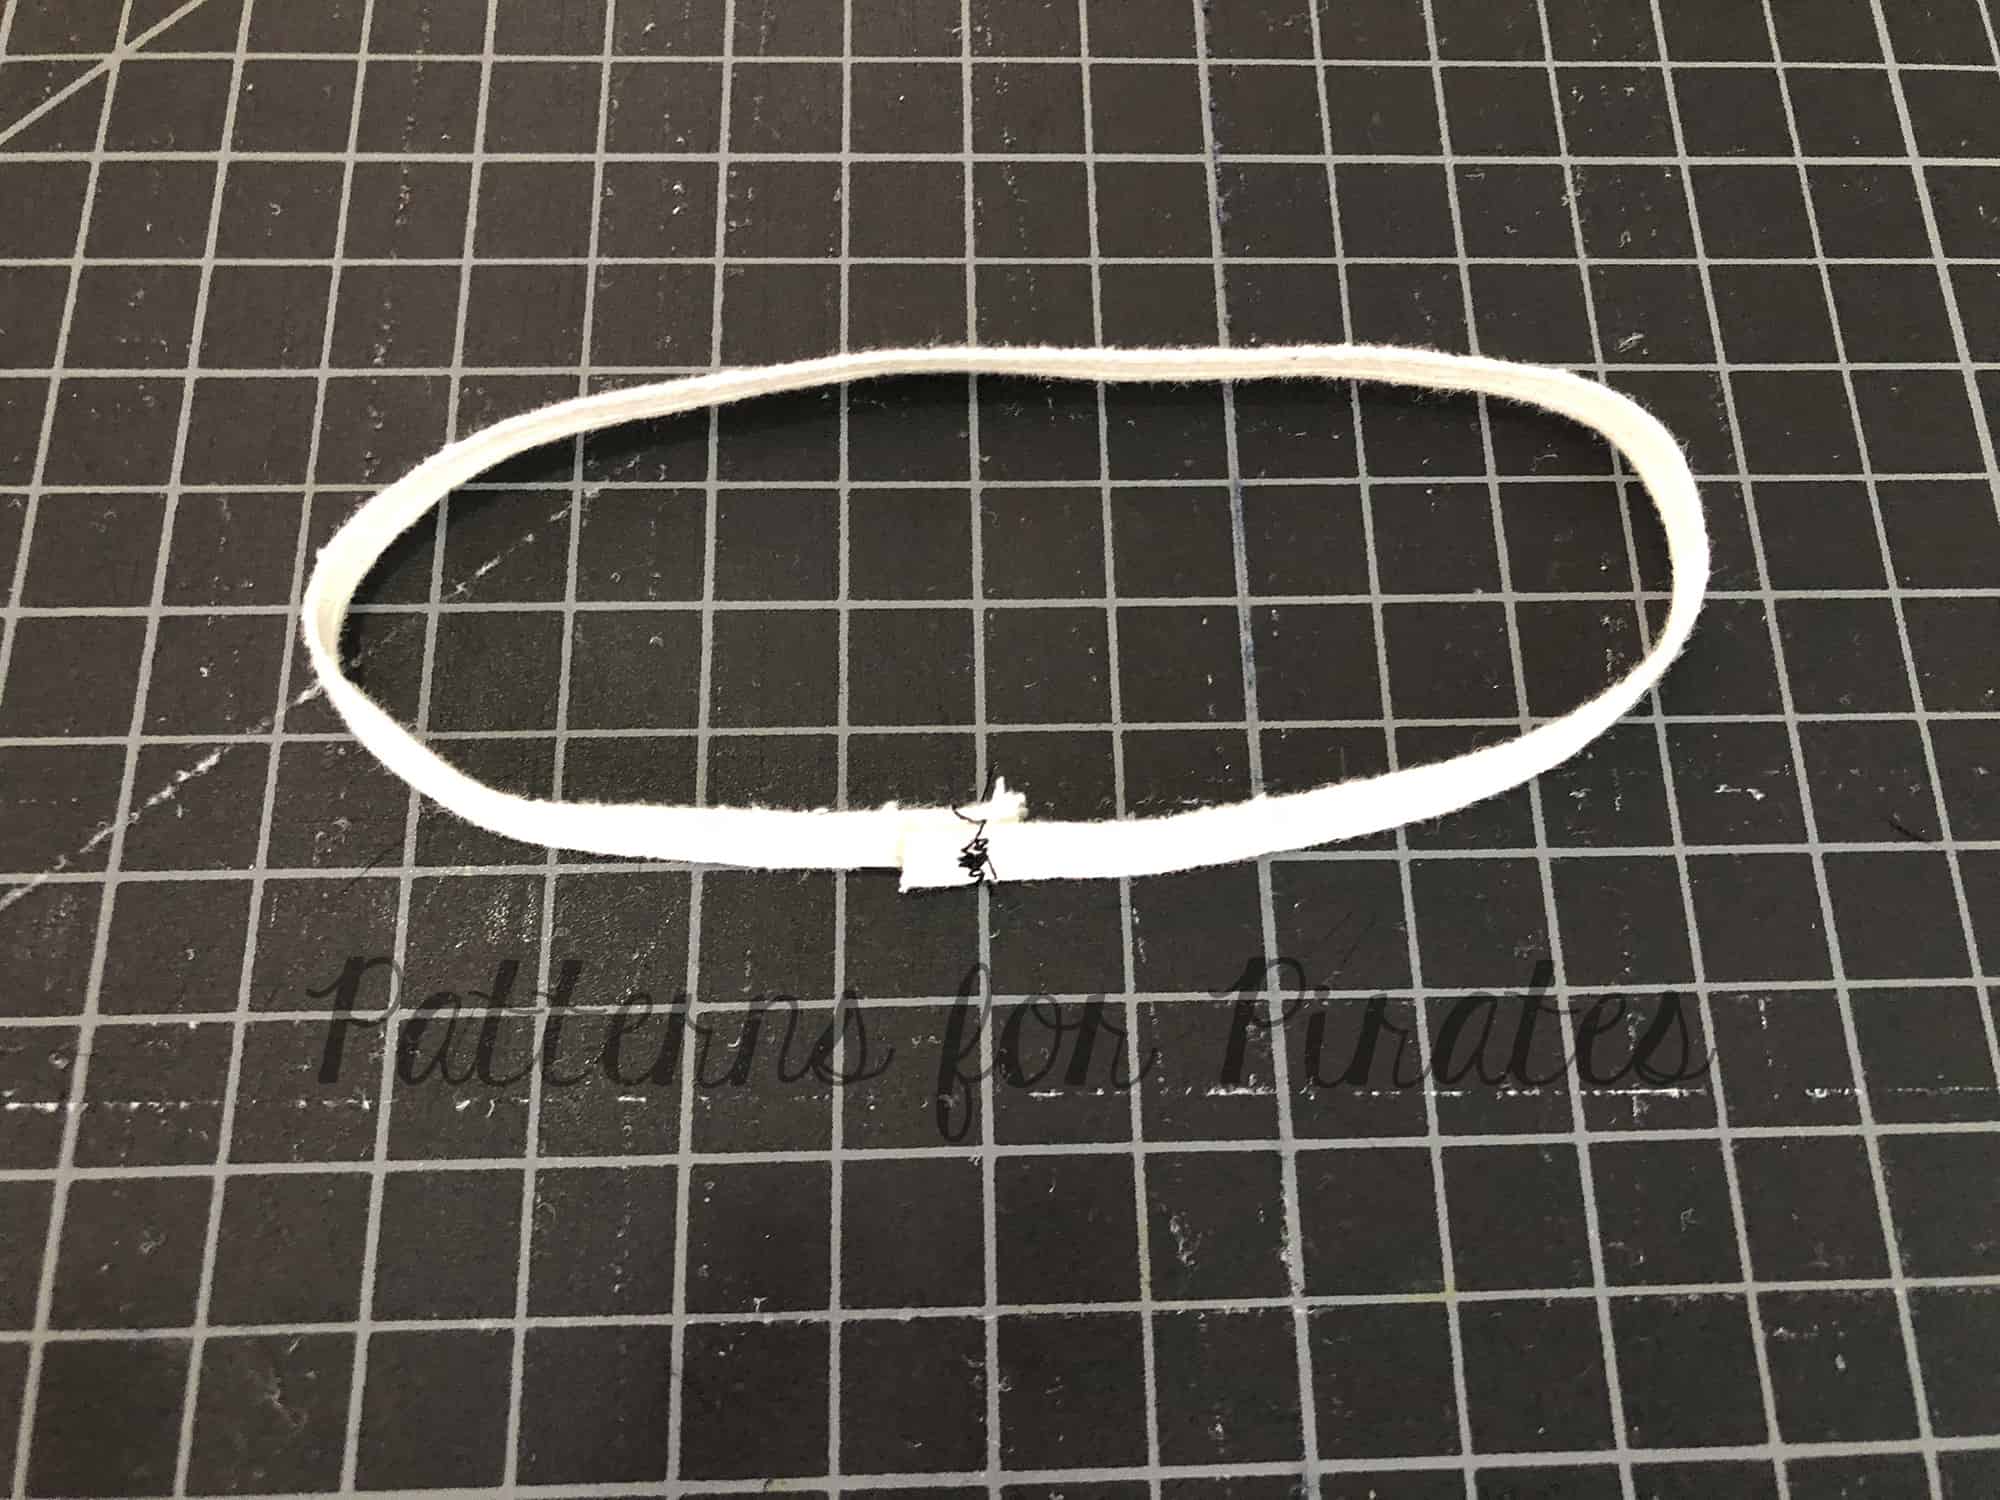
Overlap the ends of the elastic and stitch with a zigzag stitch, creating a circle.
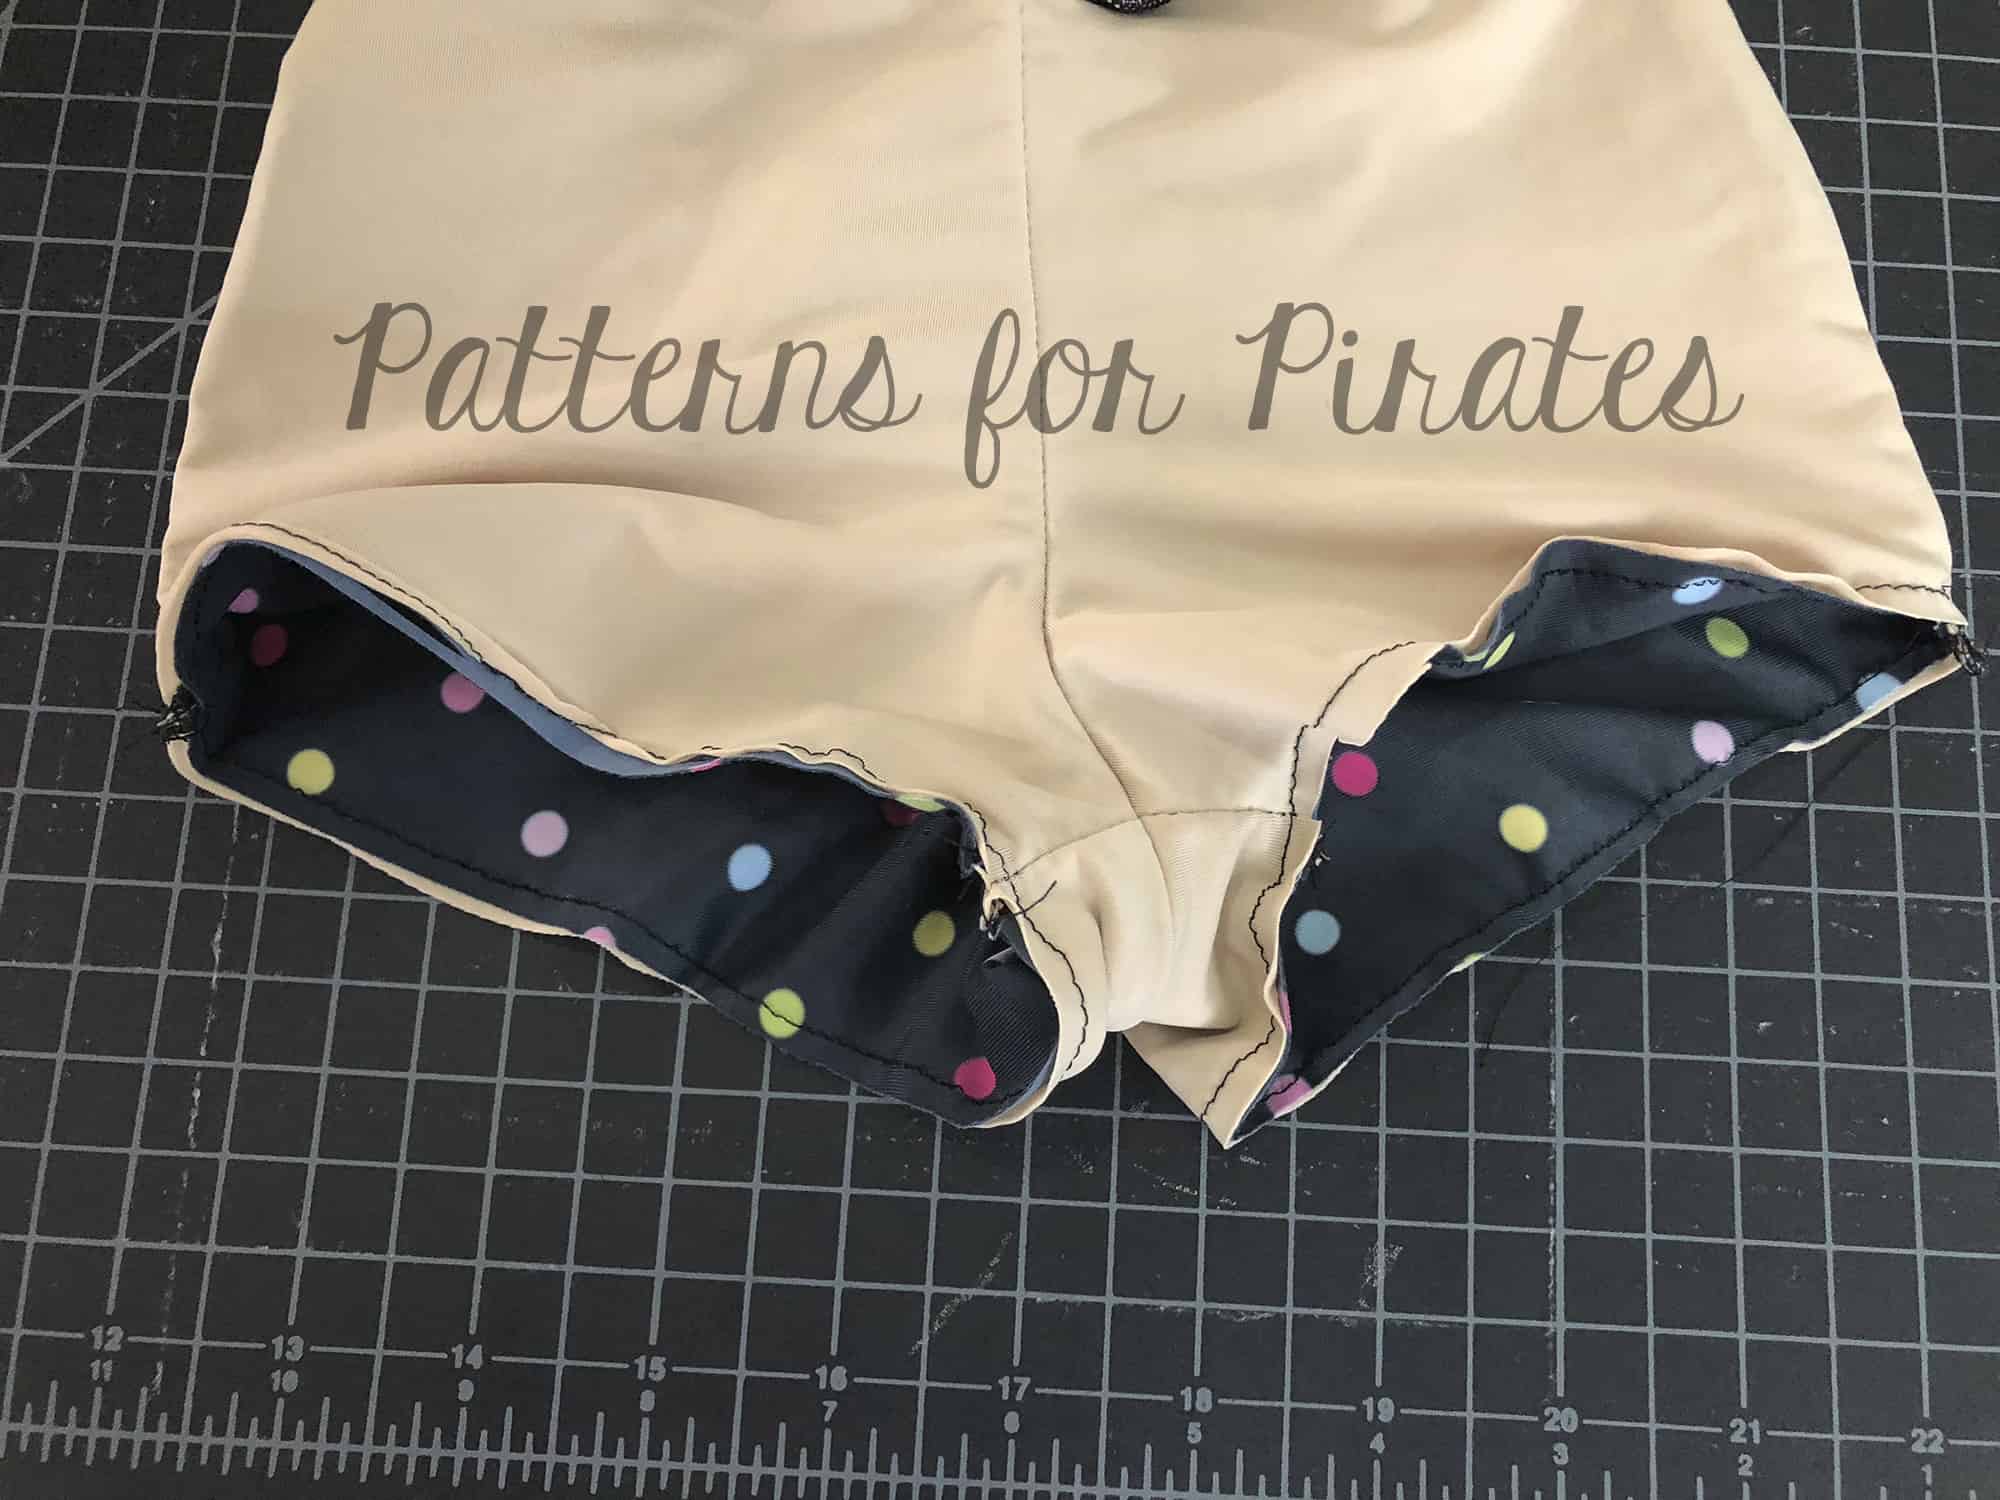
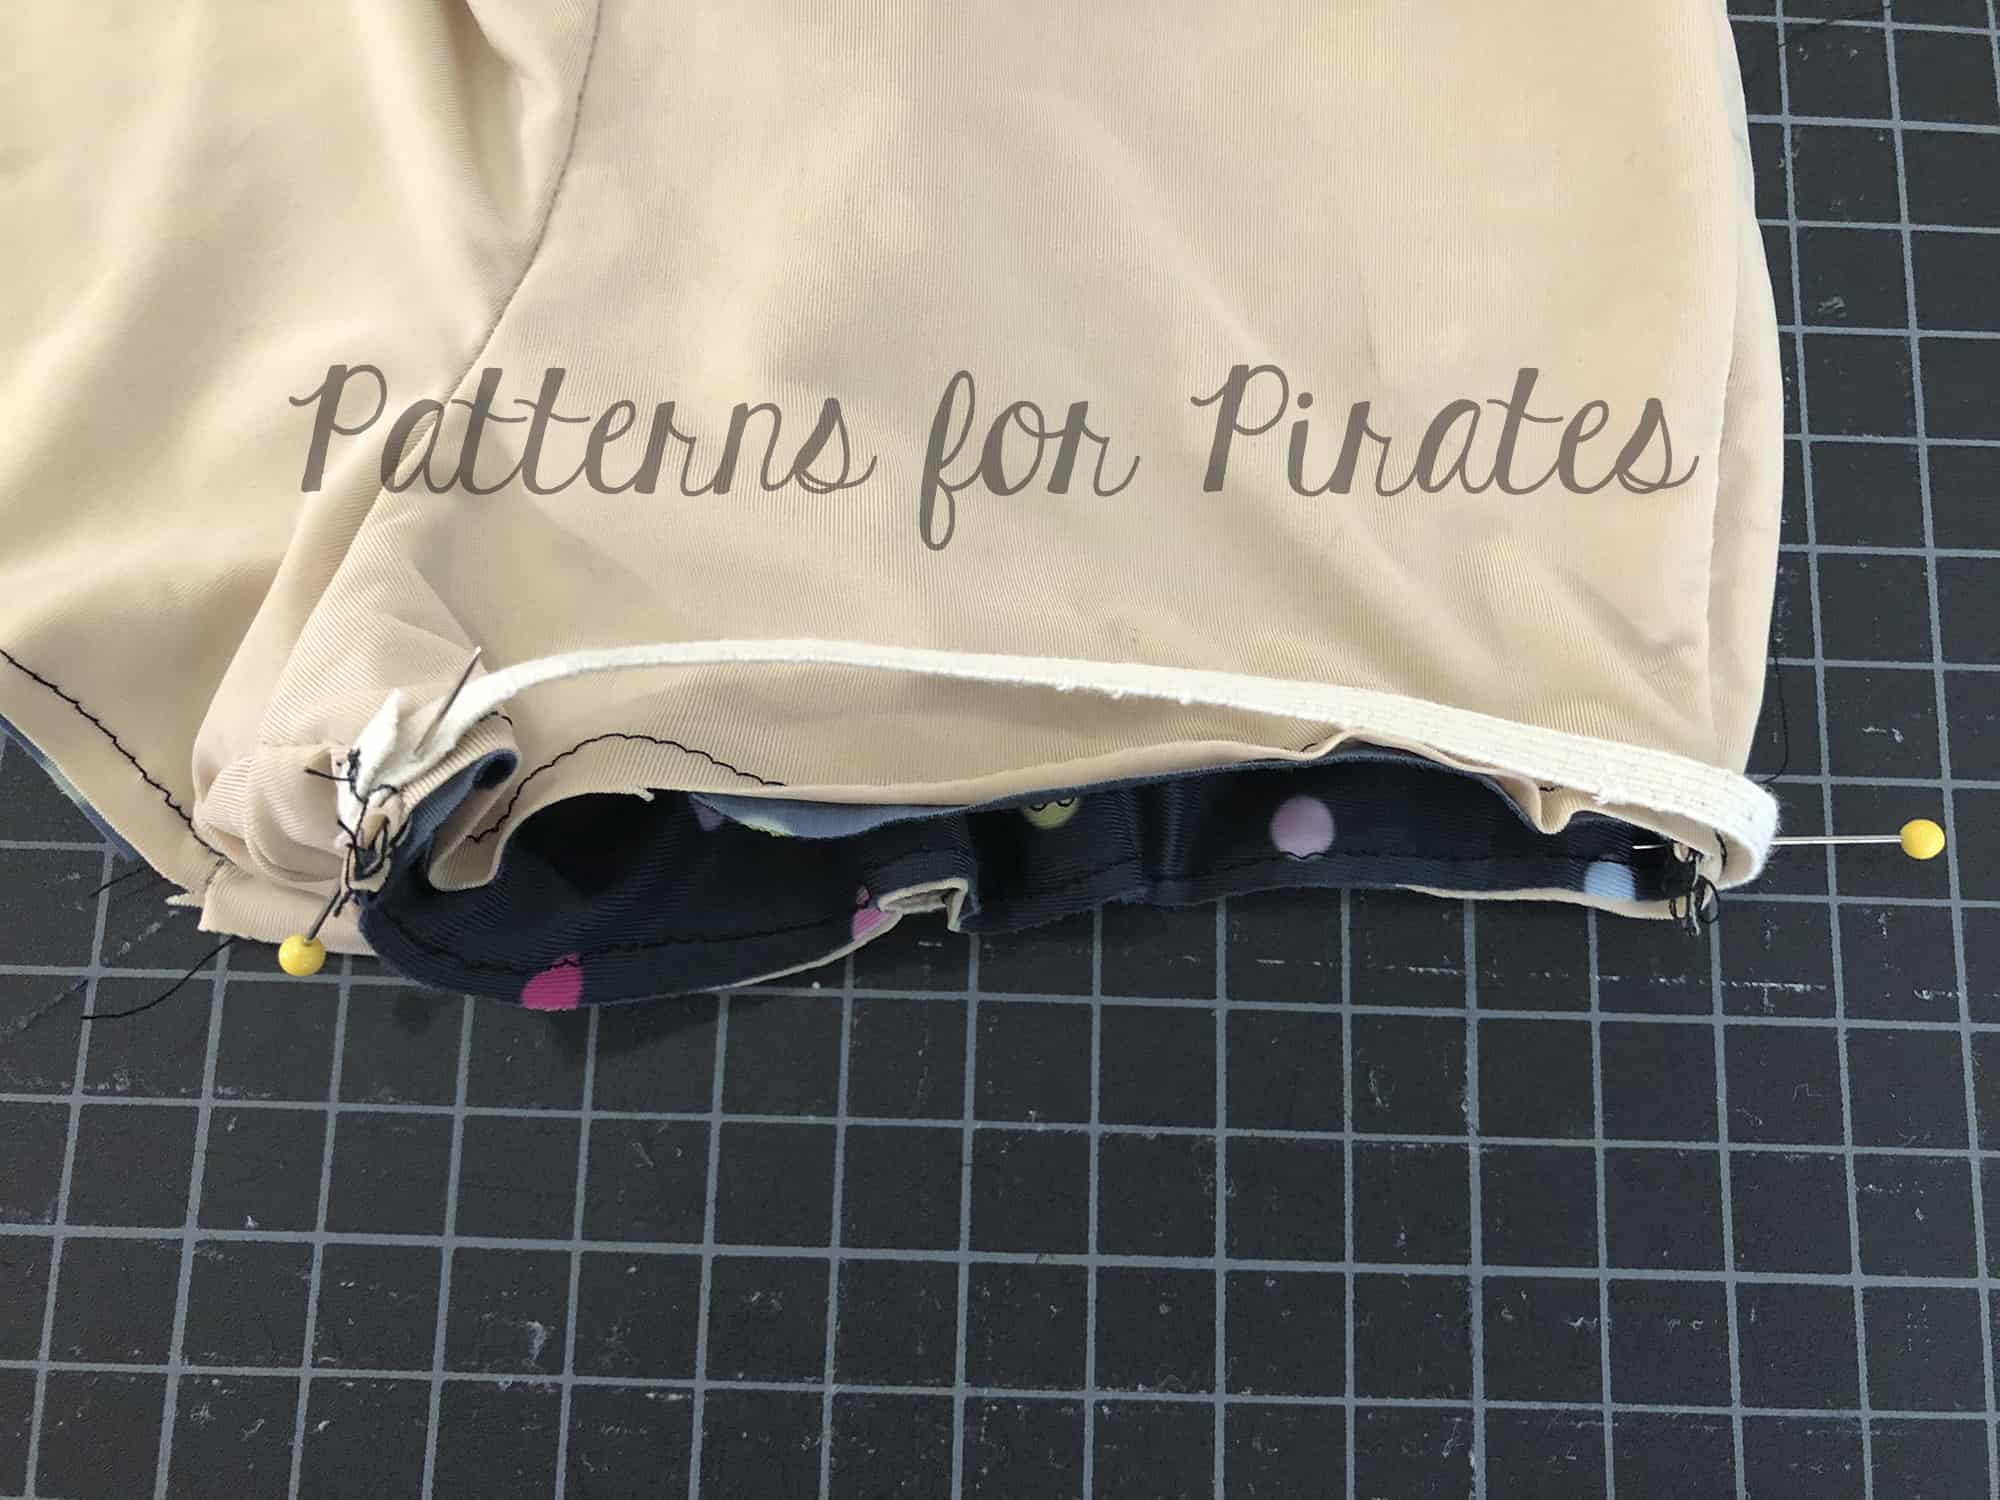
Baste around the leg openings to keep the lining and main fabric from slipping.

Mark halfway points on elastic and shorts. Pin or clip elastic to the wrong side (lining side) of the shorts matching halfway points.
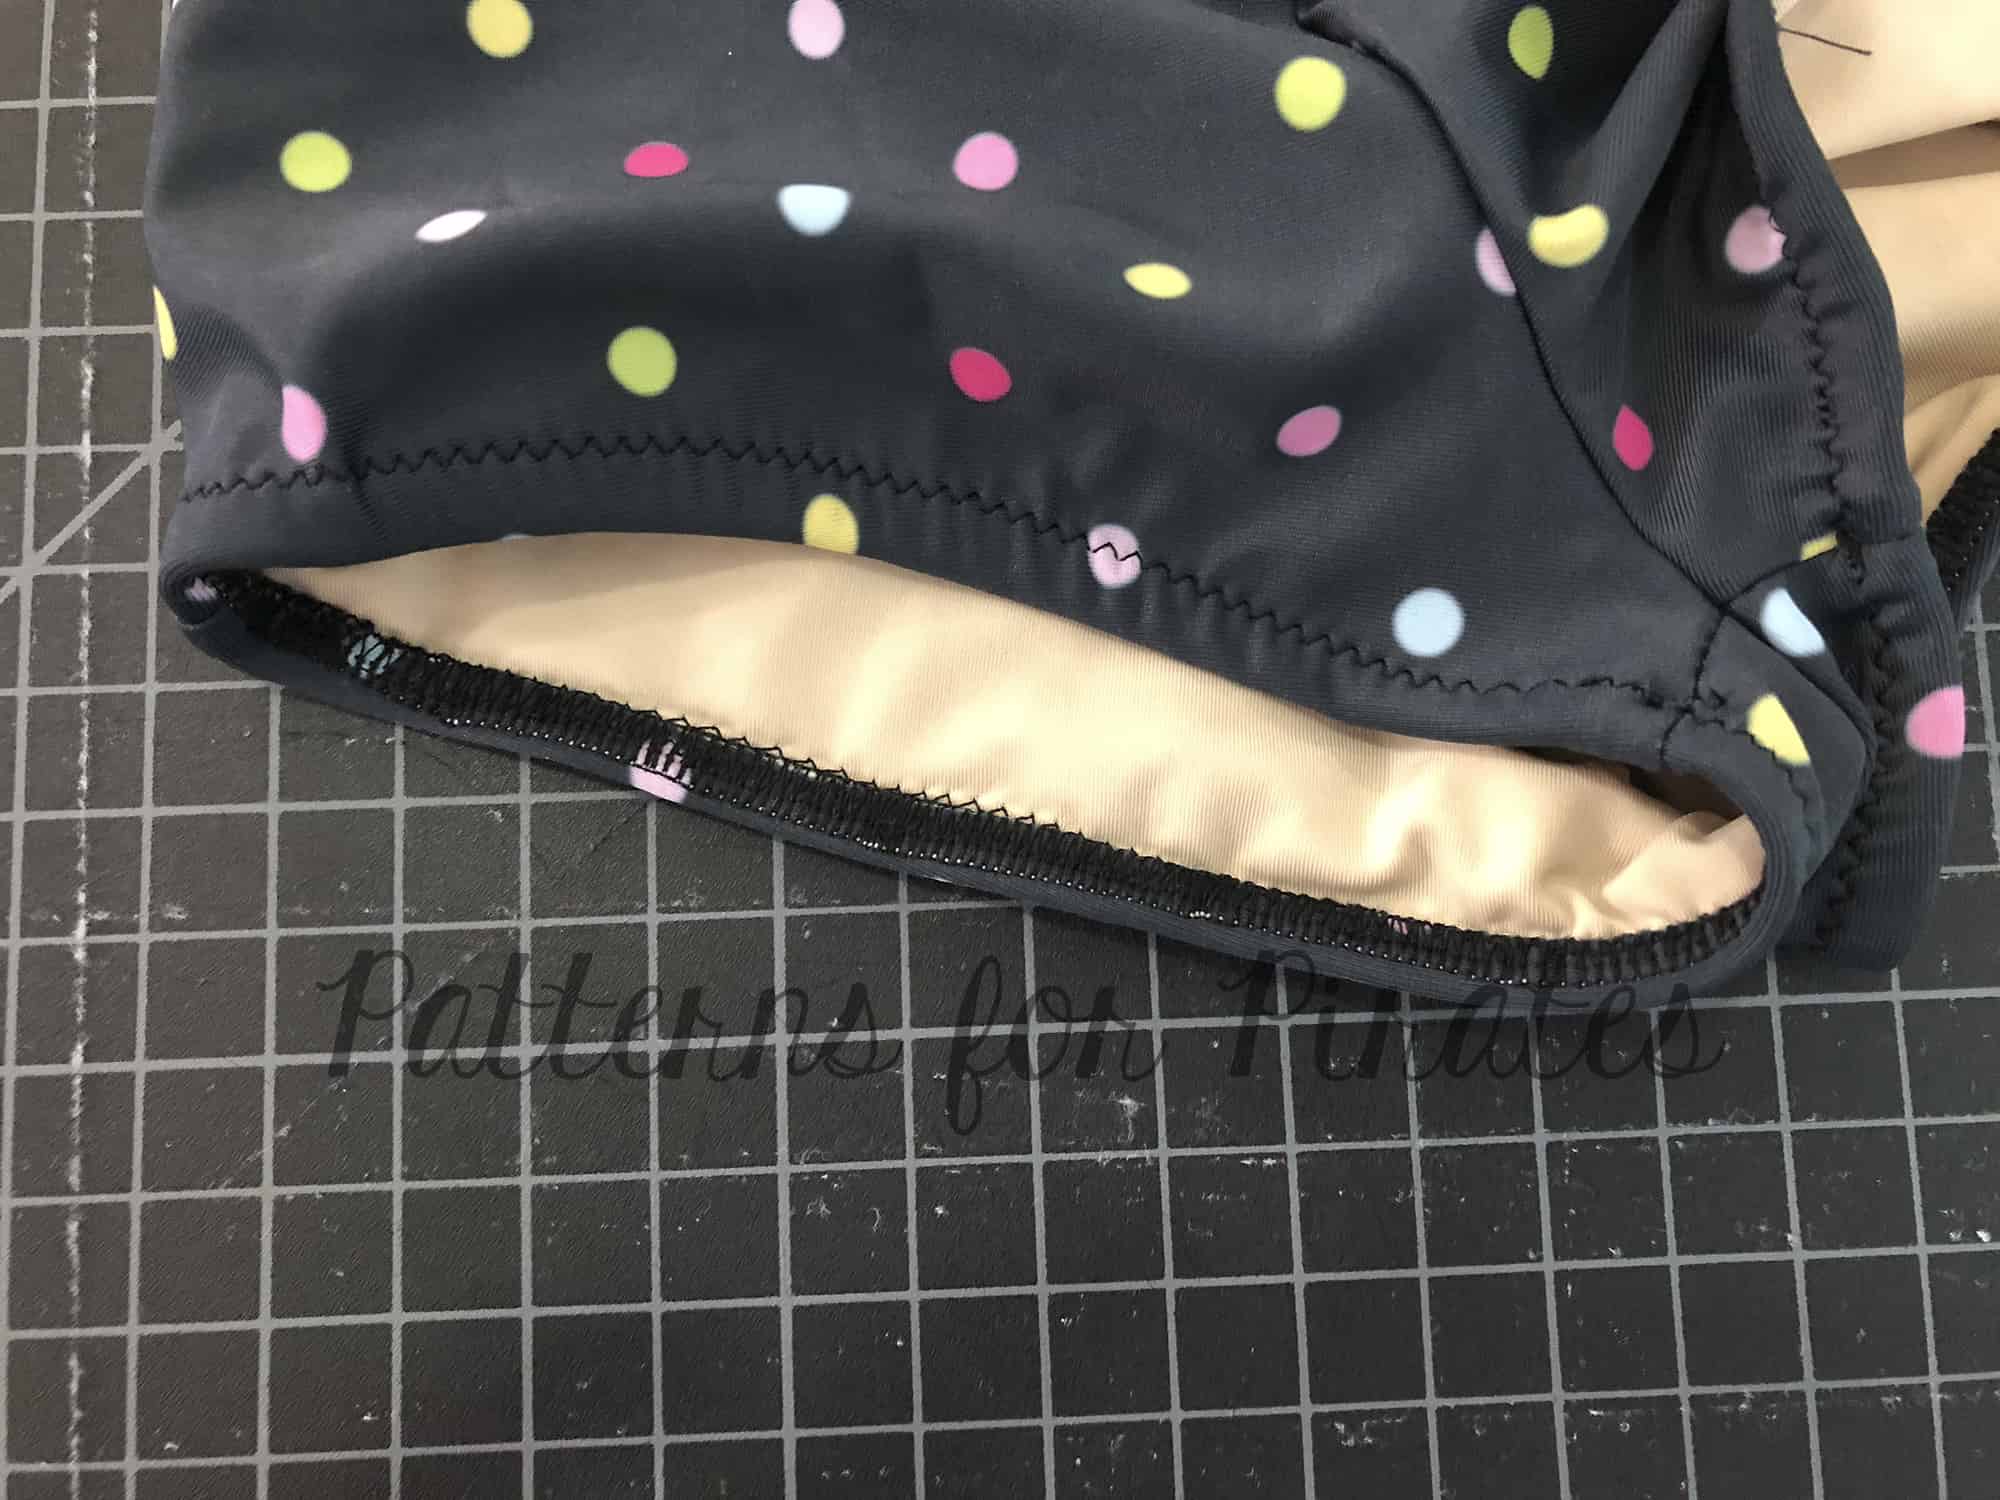
Aligning raw edges, stitch elastic to shorts. If using a serger, do not cut off any fabric.the elastic will butt up to the raw edge of the fabric.
Fold elastic to the lining side of the shorts and top-stitch using your favorite stretch stitch. Tip: I like to use a narrow zigzag for swimwear.


…..

Grow With Me Loggers

One of the hardest things about sewing for our kiddos is how fast they outgrow items we spend hours making.  Well, here is a quick and easy way to make your little one’s Loggers last a bit longer.

You’ll start off by choosing the next size up for your pants.  Now print and cut out your pattern pieces making sure to use the yoga style waistband. I went with a low rise for this set but you can choose high rise as well.

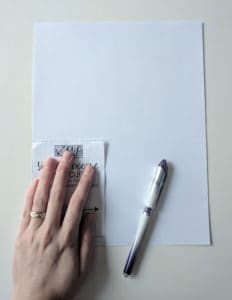
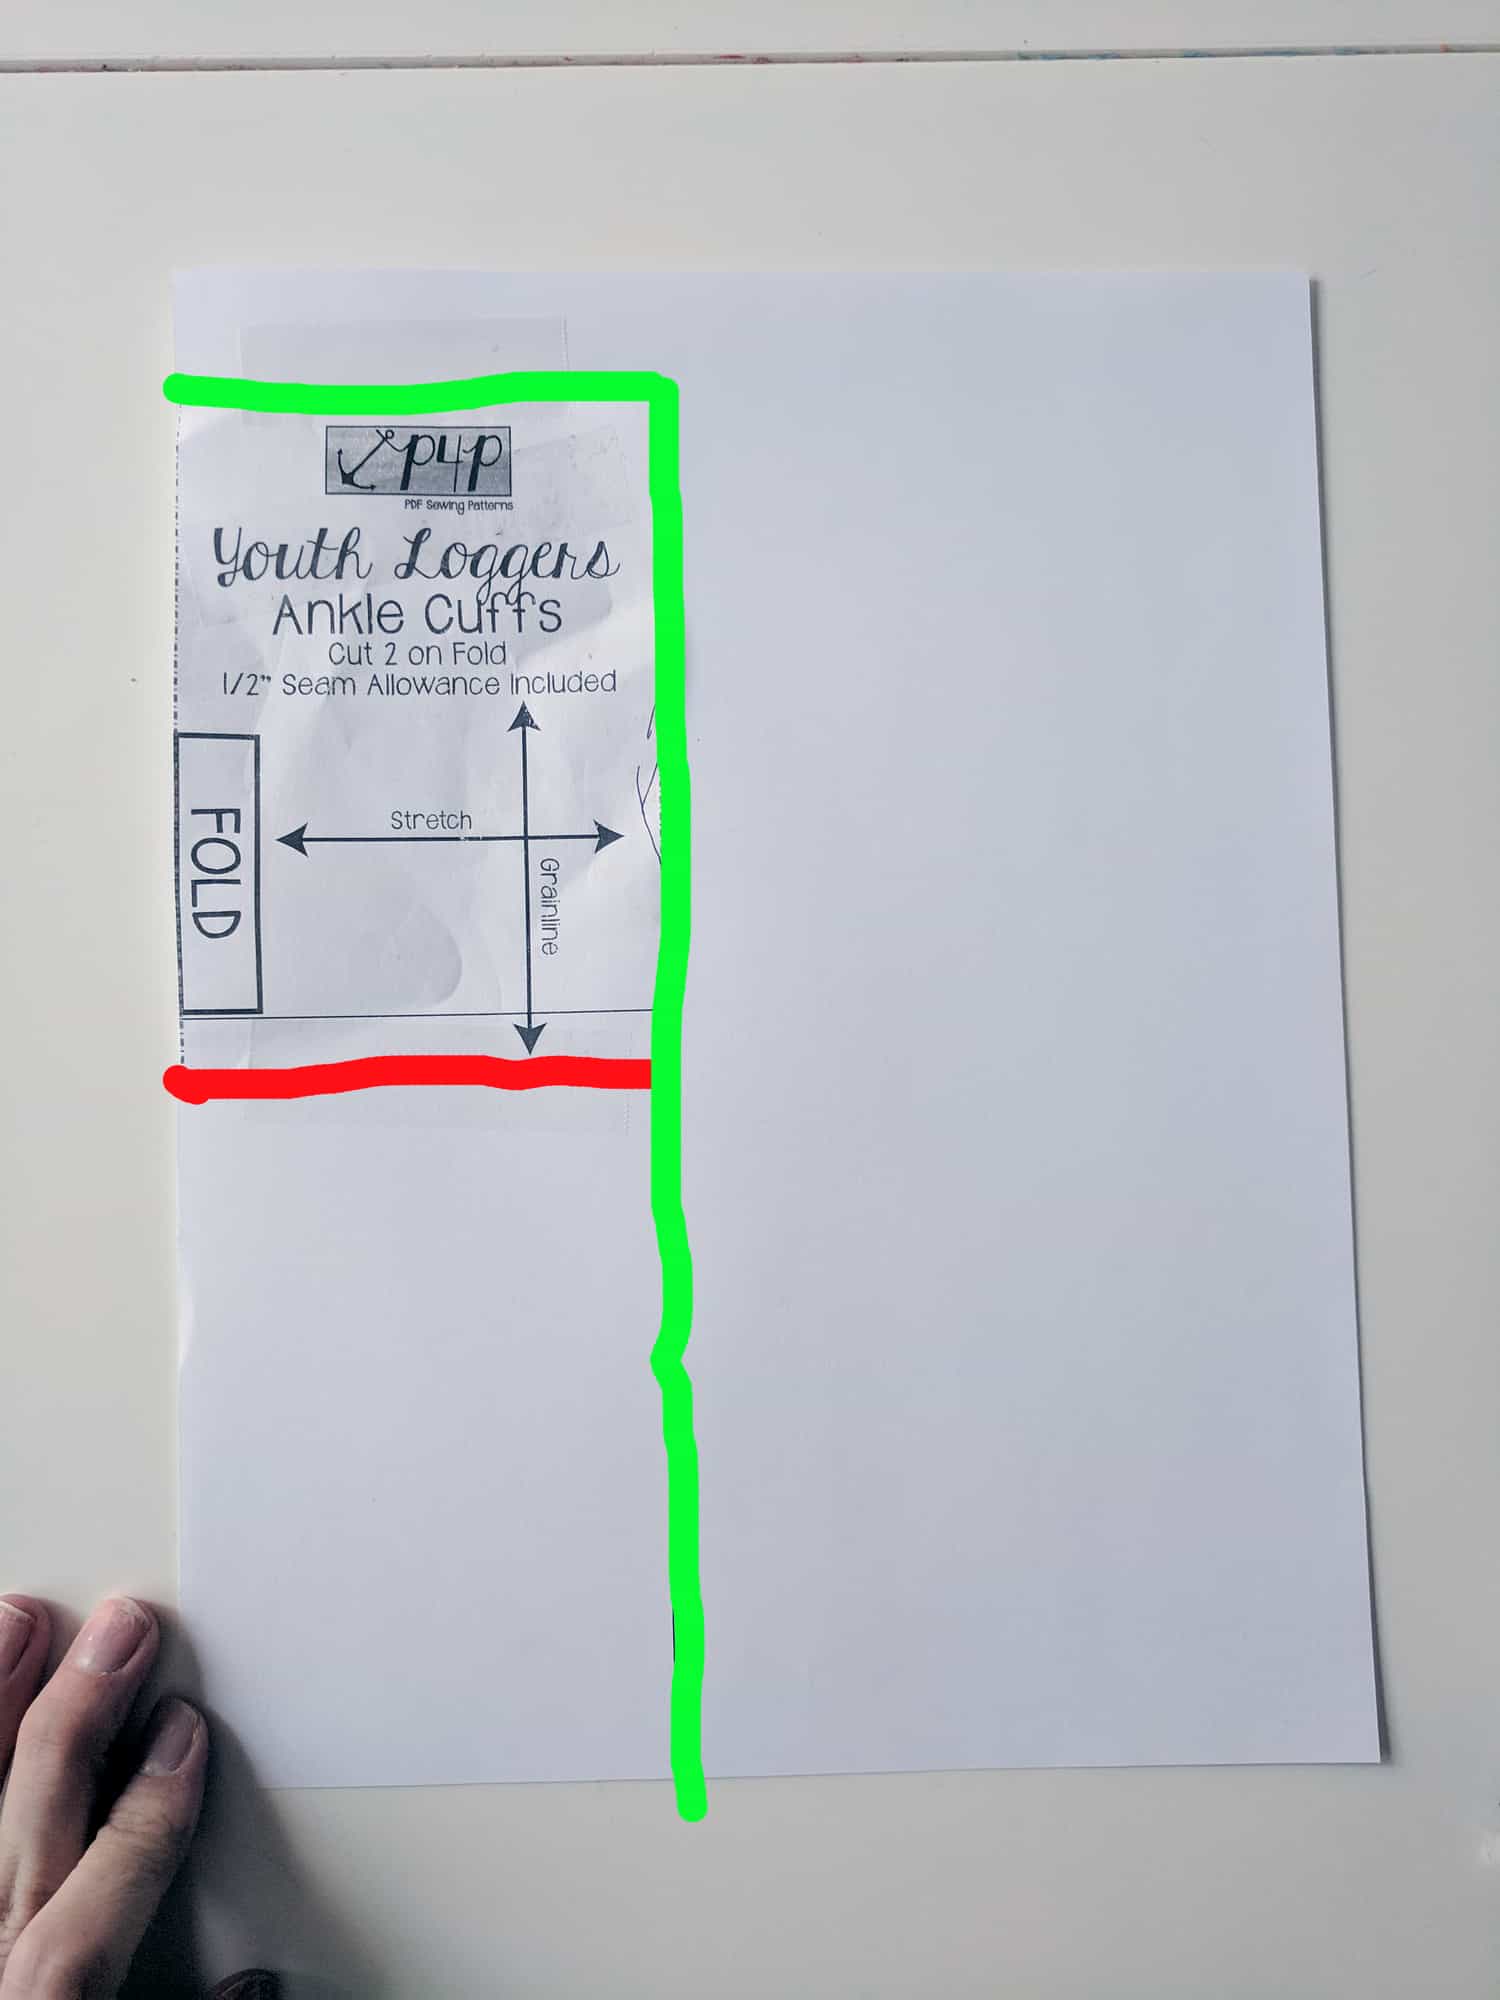
Now go ahead and grab your ankle cuff piece because we are going to be doubling the height of that.  I did this by first tracing it on to a blank piece of paper. Then you’ll place it alongside your line edge shown in red so it’s doubled in size but still has the same fold line.  Tape it down and then cut out the entire piece as one shown by the green line.

Now cut all your fabric pieces out just as directed!

From here you’ll sew up exactly how it’s said to in the tutorial.  When it comes to wearing you simply roll the bands to best fit your child. Here is an example of it fully rolled and extended. As you can see my little needs it fully rolled but now she’ll be able to wear them much longer!

Don’t forget to share your creations in our facebook group! We can’t wait to see all your makes!

Michelle

Now that you purchased your Loggers and reviewed all of our easy hacks, time to start sewing. Make yourself or a loved one a pair and don’t forget to show it off in the Patterns for Pirates Sewing Group on Facebook. 


The P4P blog team! 

Filed Under: Frequently Asked Questions, Pattern Hacks, Pattern Release, Uncategorized 3 Comments

Brunch Blouse|Bitty Brunch Blouse SAL day 2 (cut fabric)

March 12, 2019


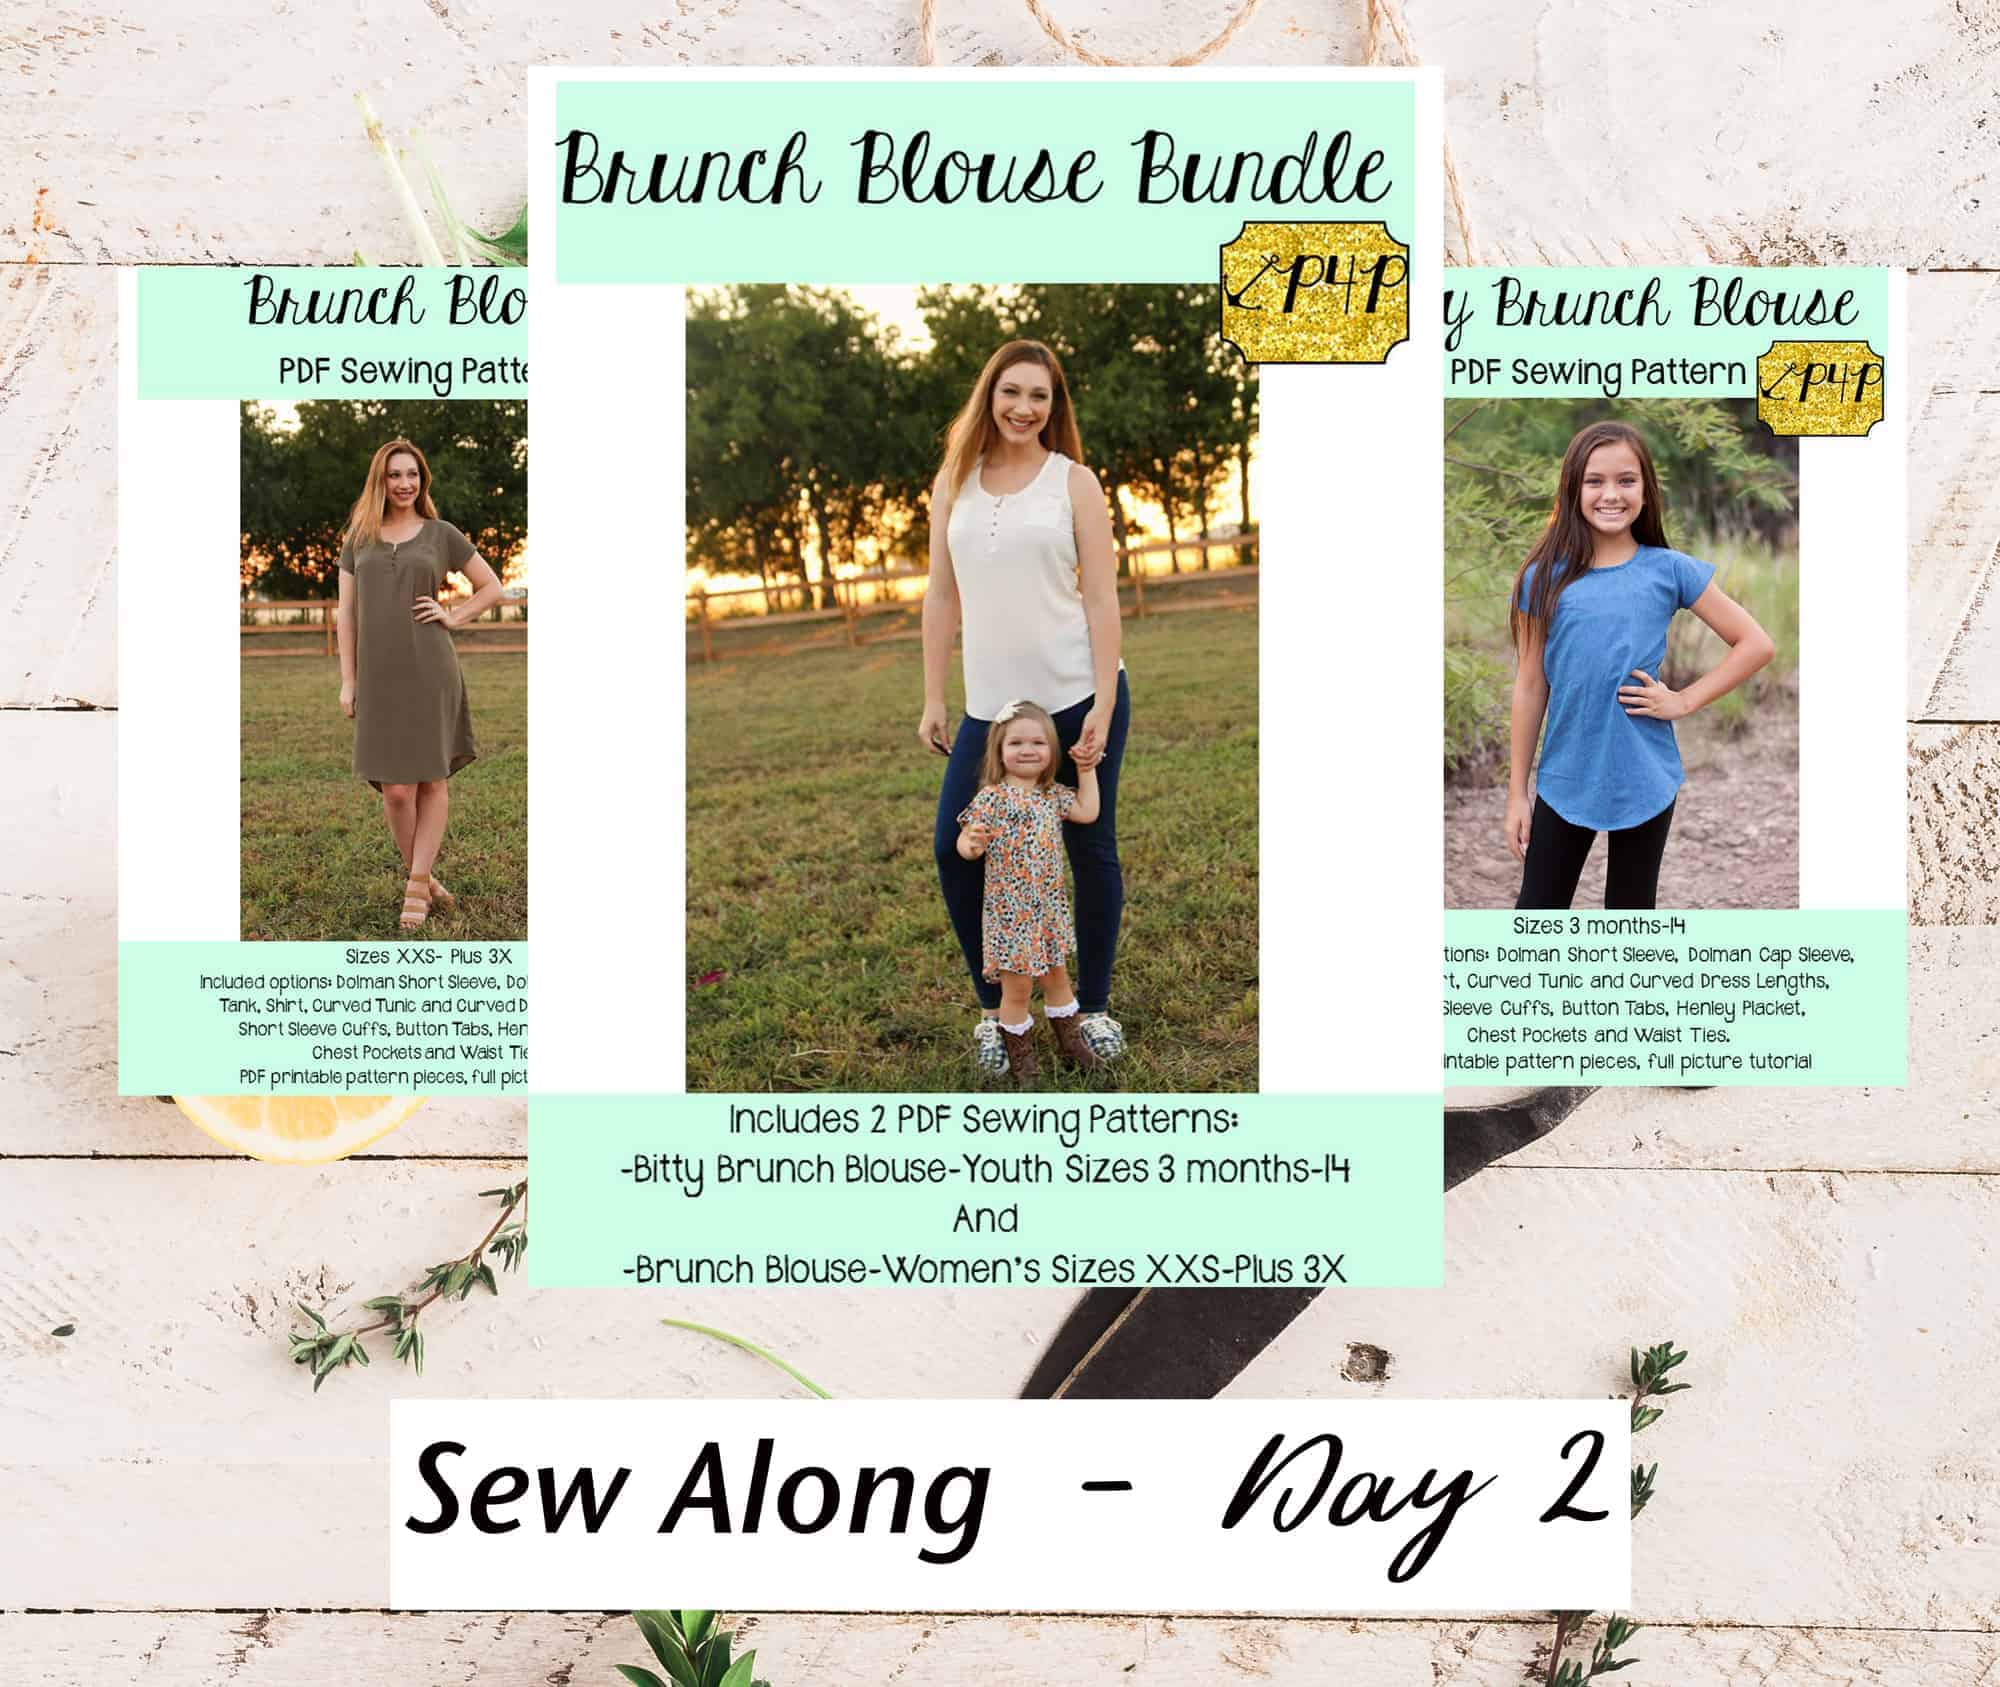
Welcome to day 2 of our Brunch and Bitty Brunch  sew along. Today we will be choosing the fabric, cutting it and gathering all necessary notions and accessories. You should have your pattern pieces ready from yesterday.

But first let’s talk a little about the right fabric for this pattern. As you can see in the video below I am using a gorgeous woven from Backstitch Fabrics for my Brunch Blouse. This woven is custom printed and the perfect weight. For the women’s blouse I absolutely love rayon fabric and chiffons. I highly encourage you to avoid quilter cottons because they do not have the necessary drape to make the top or dress flattering….and we all want that, am I right? You can get away with good quality quilter cotton for the Bitty Brunch though.


Backstitch SoFlo is this sew along’s sponsor too, so one of you will be getting a $50 Gift Card to the shop shop so you can treat your to some gorgeous custom printed woven fabric. Our second winner will receive a $25 gift card to Backstitch SoFlo too.

If you picked the henley style option you will also need buttons or snaps. My recommendation for buttons or snaps is smaller size ones. The placket finished width is aprox 1/2 inch so your buttons must be smaller than this.

The Day 2 video is posted below. Check it out and once you are done cutting your fabric post a picture of your prepped fabric in the comments of the Day 2 photo of the Brunch Blouse/Bitty Brunch Blouse SAL album in the M4M & P4P Sew Along group.

Brunch Blouse|Bitty Brunch Blouse SAL day 1 (print pattern)

Brunch Blouse|Bitty Brunch Blouse SAL day 2 (cut fabric)

Brunch Blouse|Bitty Brunch Blouse SAL day 3 (darts and placket)

Brunch Blouse|Bitty Brunch Blouse SAL day 4 (pocket/waist ties/back seam)

Brunch Blouse|Bitty Brunch Blouse SAL day 5 (shoulder/side seams)

Brunch Blouse|Bitty Brunch Blouse SAL day 6 (neckband)

Brunch Blouse|Bitty Brunch Blouse SAL day 7 (finish sleeves/hem)

Brunch Blouse|Bitty Brunch Blouse SAL day 8 (winners announcement)
Filed Under: Frequently Asked Questions, Sew-A-Long, Uncategorized Leave a Comment

Brunch Blouse|Bitty Brunch Blouse SAL day 1 (print pattern)

March 11, 2019


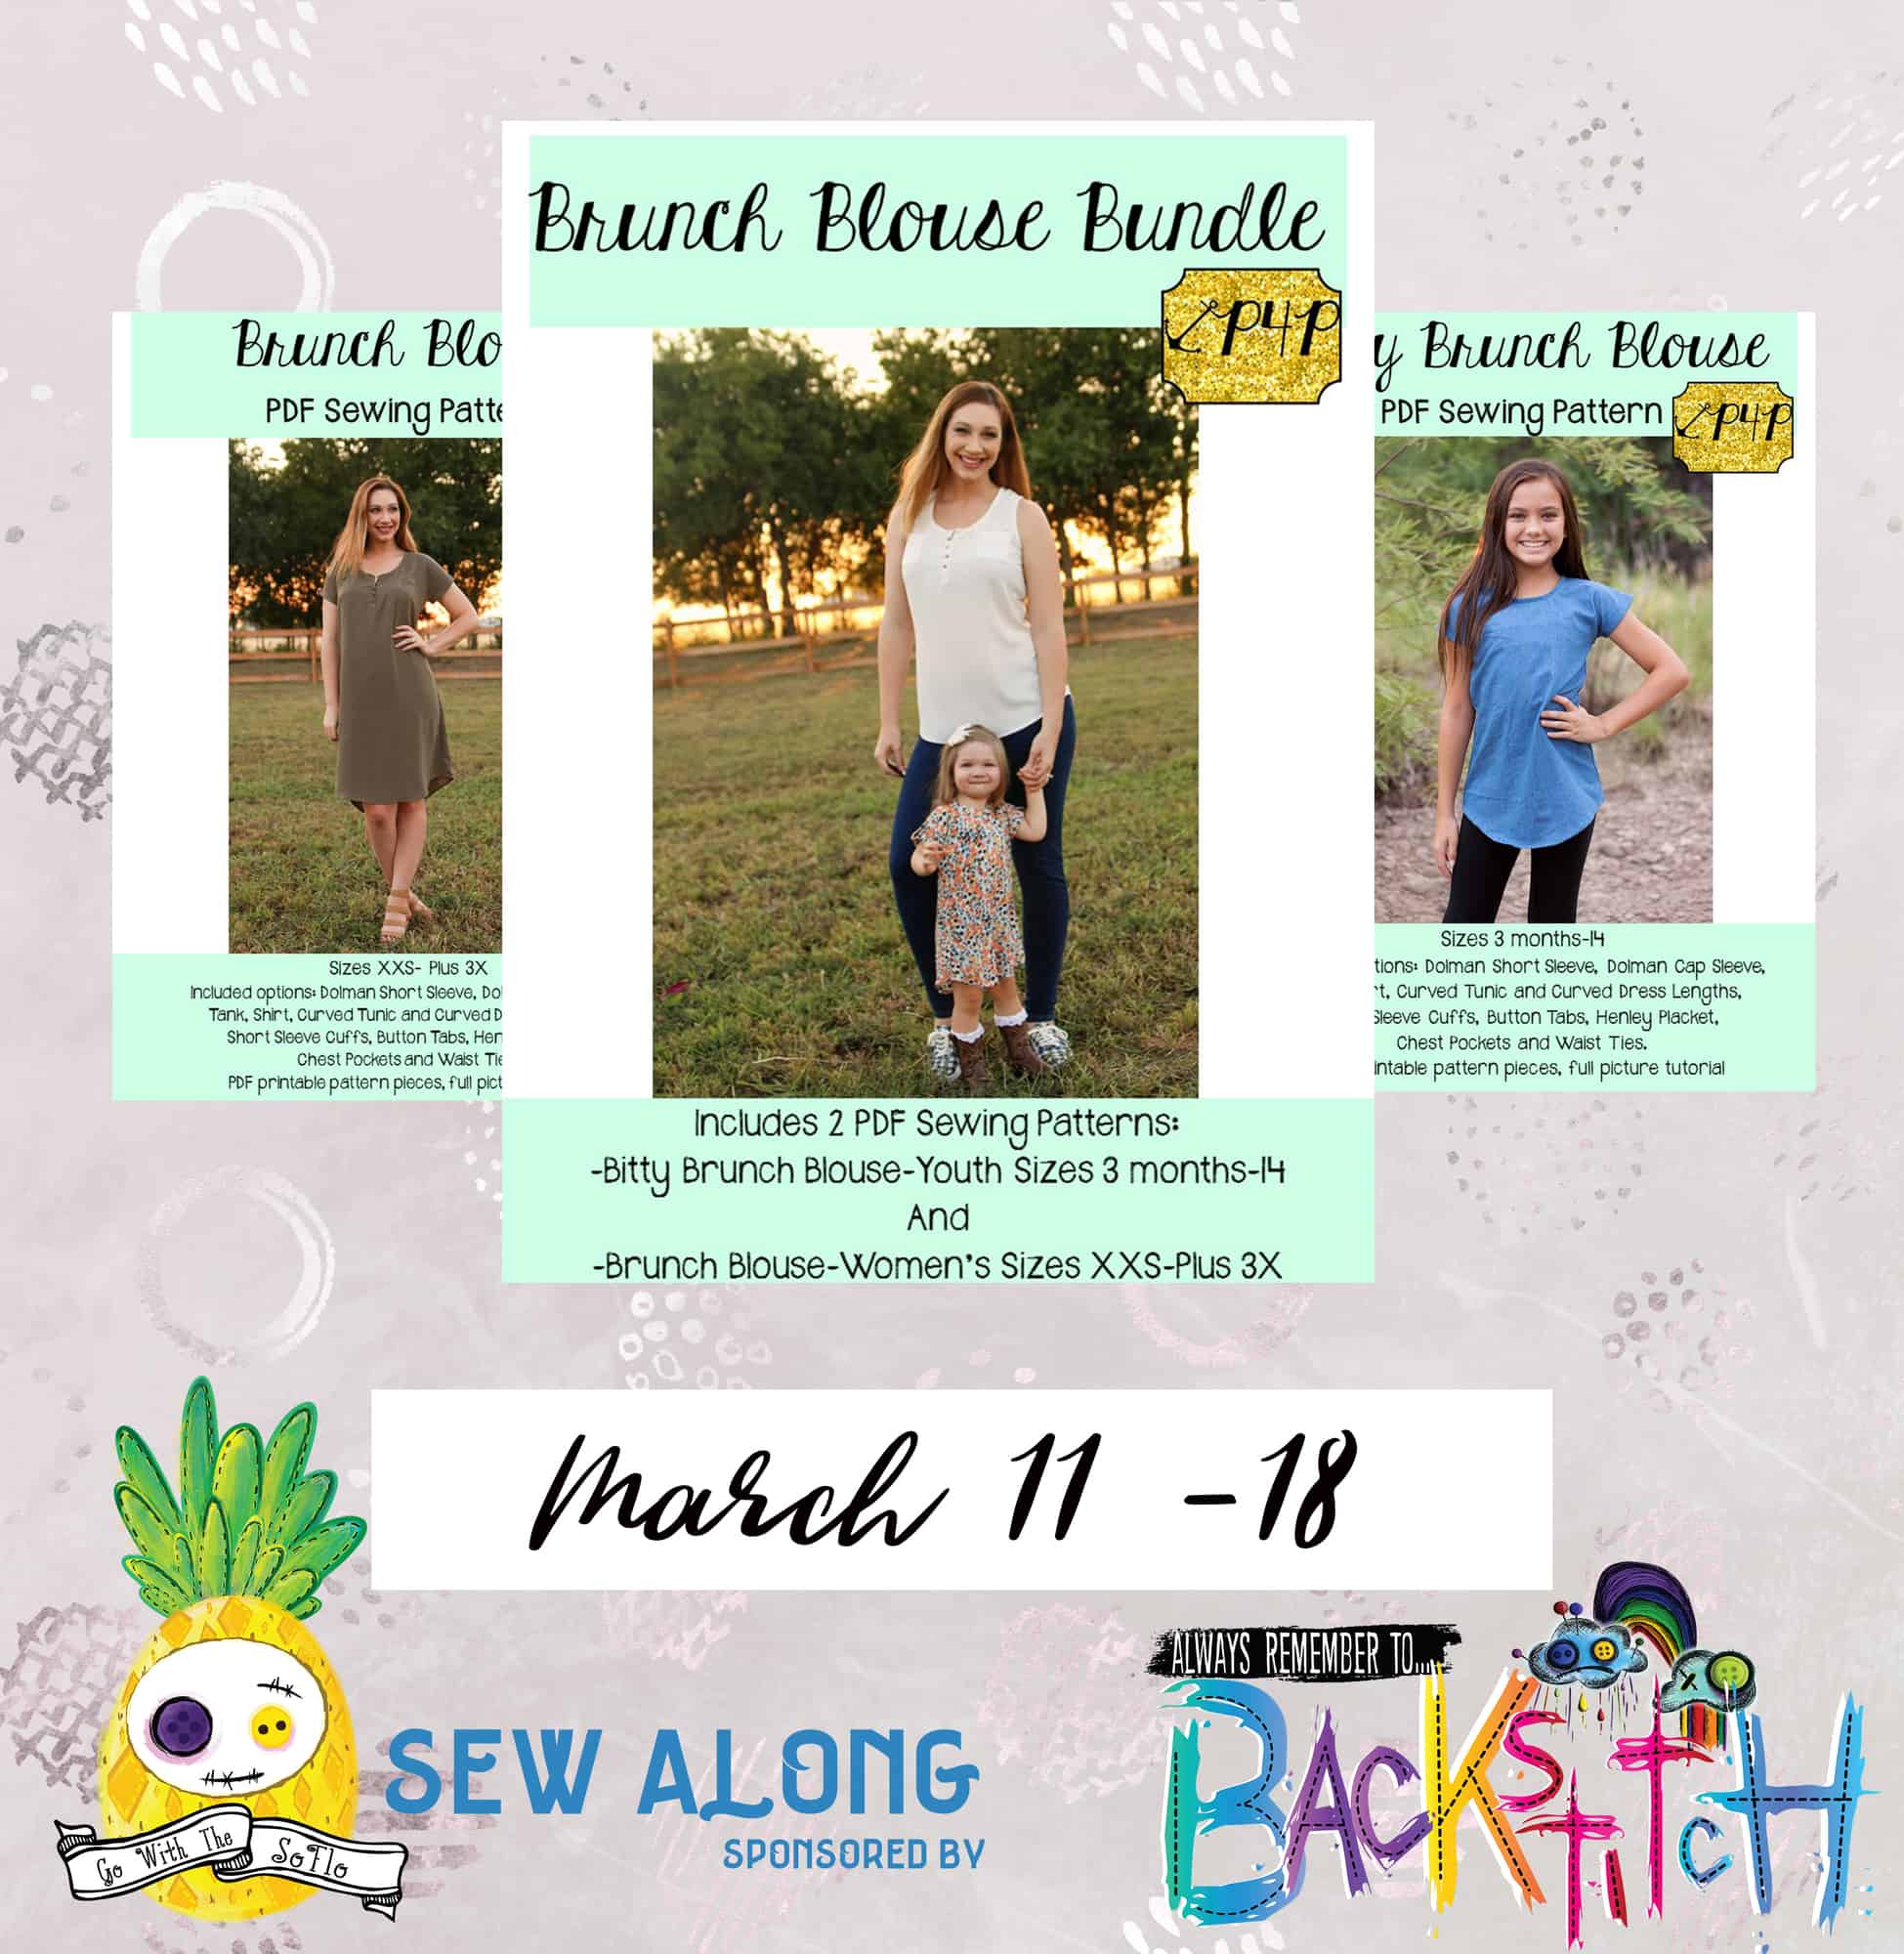
Welcome to the Brunch Blouse and Bitty Brunch Blouse

Sew Along!

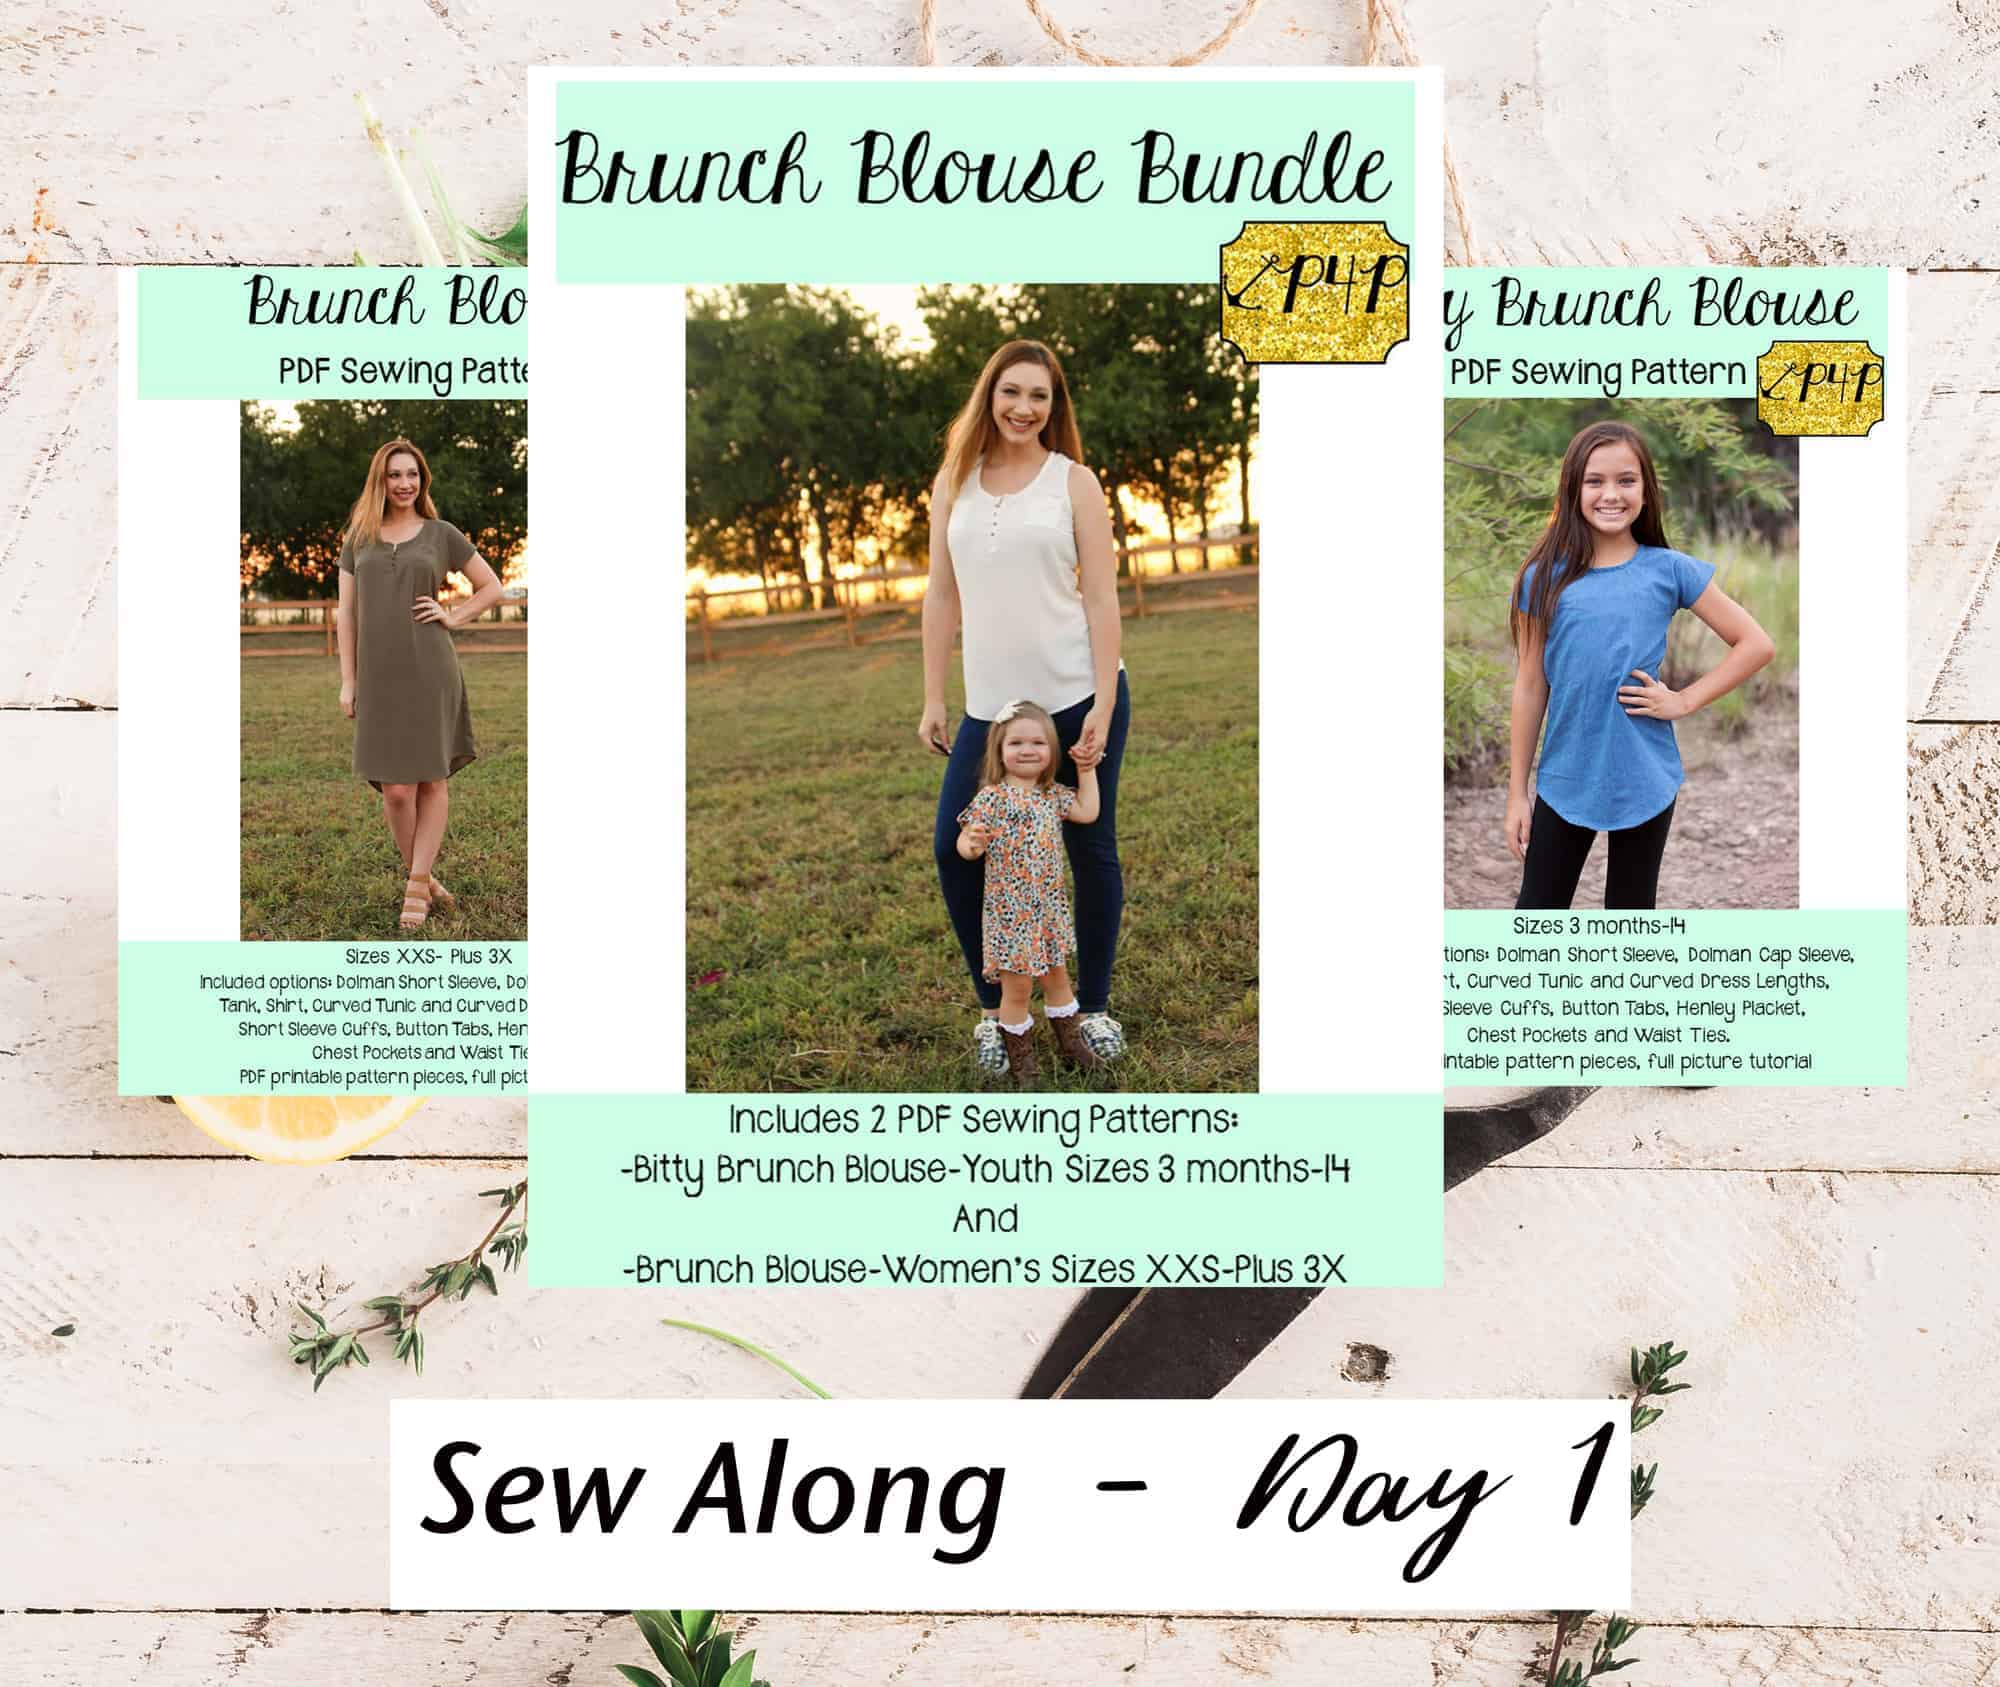
Day One is reserved to purchasing the patterns, printing and cutting the size(s) you need. If you plan on sewing for yourself you can get the Brunch Blouse here, if you’re sewing for your little girl, the Bitty Brunch Blouse can be purchased here and if you’re sewing for both of you (just think of the mommy and me matching outfits!) you can get the bundle.

This Sew Along will take place in our M4M & P4P Sew Along group so be sure to join the group not only for the exclusive discount code available for the patterns but also to post your progress this week. As always all daily blog posts will be here on the blog but you’ll be checking in with your completed steps in the group.

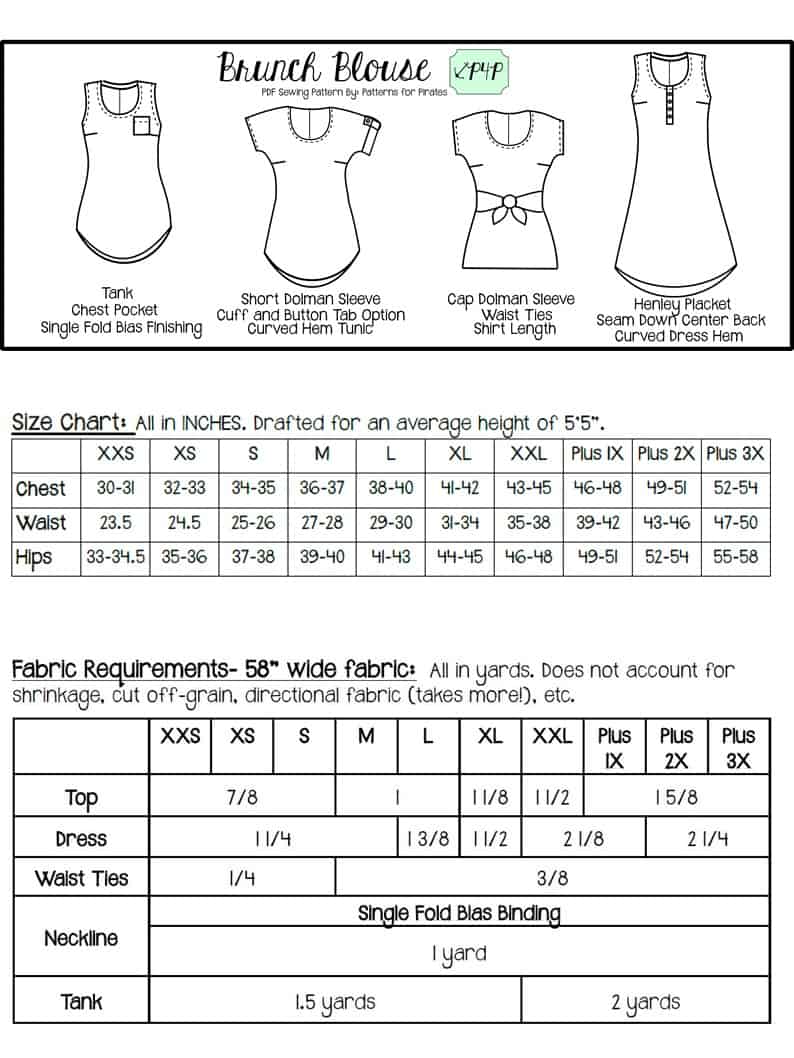
Now that you purchased the pattern(s), print the size needed. In order to do that it is very important that you take your most accurate measurements. The Brunch Blouse and Bitty Brunch Blouse are drafted for woven fabric (no stretch) so if you need to grade for multiple sizes, please do not skip this step.

You will need your waist, hips and chest measurements in order to choose the correct blouse size. P4P has an amazing blog that gives you tip for accurately taking your measurements. You can read all about it here. If your measurements put you in a different size for chest/waist/hips be sure to check out our P4P University blog and grade to achieve the perfect fit.

Check out the day 1 video below and then comment “done” on the Day 1 picture of the Brunch/Bitty Brunch Blouse SAL album in the sew along group. We don’t allow pictures of the pattern pieces so this will count as your day 1 check in. Let’s get started!

Brunch Blouse|Bitty Brunch Blouse SAL day 1 (print pattern)

Brunch Blouse|Bitty Brunch Blouse SAL day 2 (cut fabric)

Brunch Blouse|Bitty Brunch Blouse SAL day 3 (darts and placket)

Brunch Blouse|Bitty Brunch Blouse SAL day 4 (pocket/waist ties/back seam)

Brunch Blouse|Bitty Brunch Blouse SAL day 5 (shoulder/side seams)

Brunch Blouse|Bitty Brunch Blouse SAL day 6 (neckband)

Brunch Blouse|Bitty Brunch Blouse SAL day 7 (finish sleeves/hem)

Brunch Blouse|Bitty Brunch Blouse SAL day 8 (winners announcement)
Filed Under: Frequently Asked Questions, Sew-A-Long, Uncategorized 4 Comments

All P4P today winners

January 31, 2019

Welcome to the 2019 #allP4Ptoday winner circle! I will be adding each monthly winner here so be sure to check out the blog often. You can get the contest details here.

DECEMBER

Happy New Year! We hope everyone had a lovely holiday season. It’s time to announce our last 2019 #allp4ptoday winner:

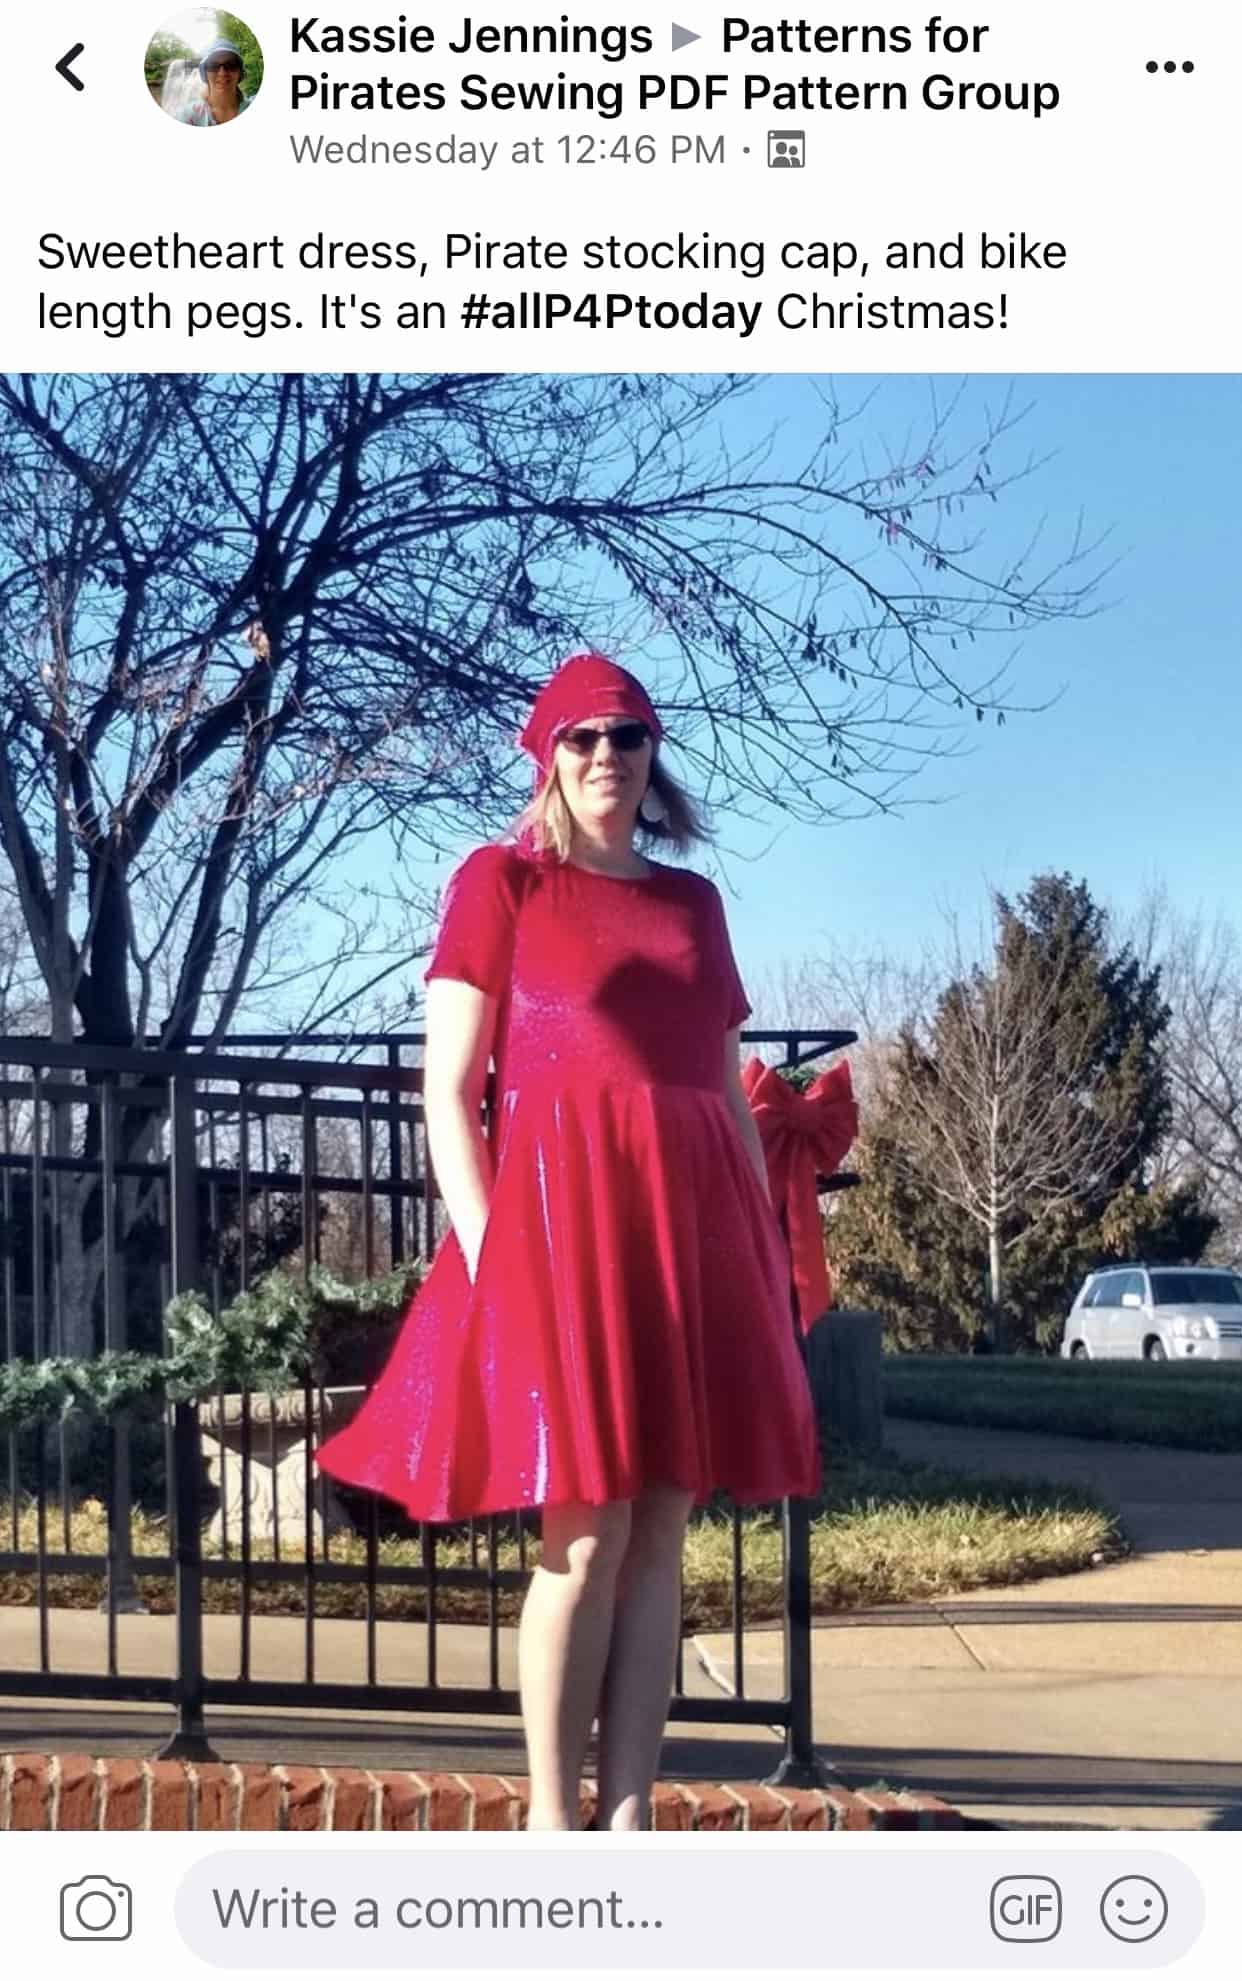
Congratulation Kassie Jennings! Kassie is looking stunning in her Sweetheart dress and Pirate Stocking Cap. Did you know that our Stocking cap pattern is free?

Hope 2020 brings you all lots of health, happiness and full bobbins! ❤️

NOVEMBER

Happy 1st of December, pirates! November has been full of beautiful P4P makes shared in our Facebook group. Thank you for brightening our days!
It’s time to announce the November #allp4ptoday winner.

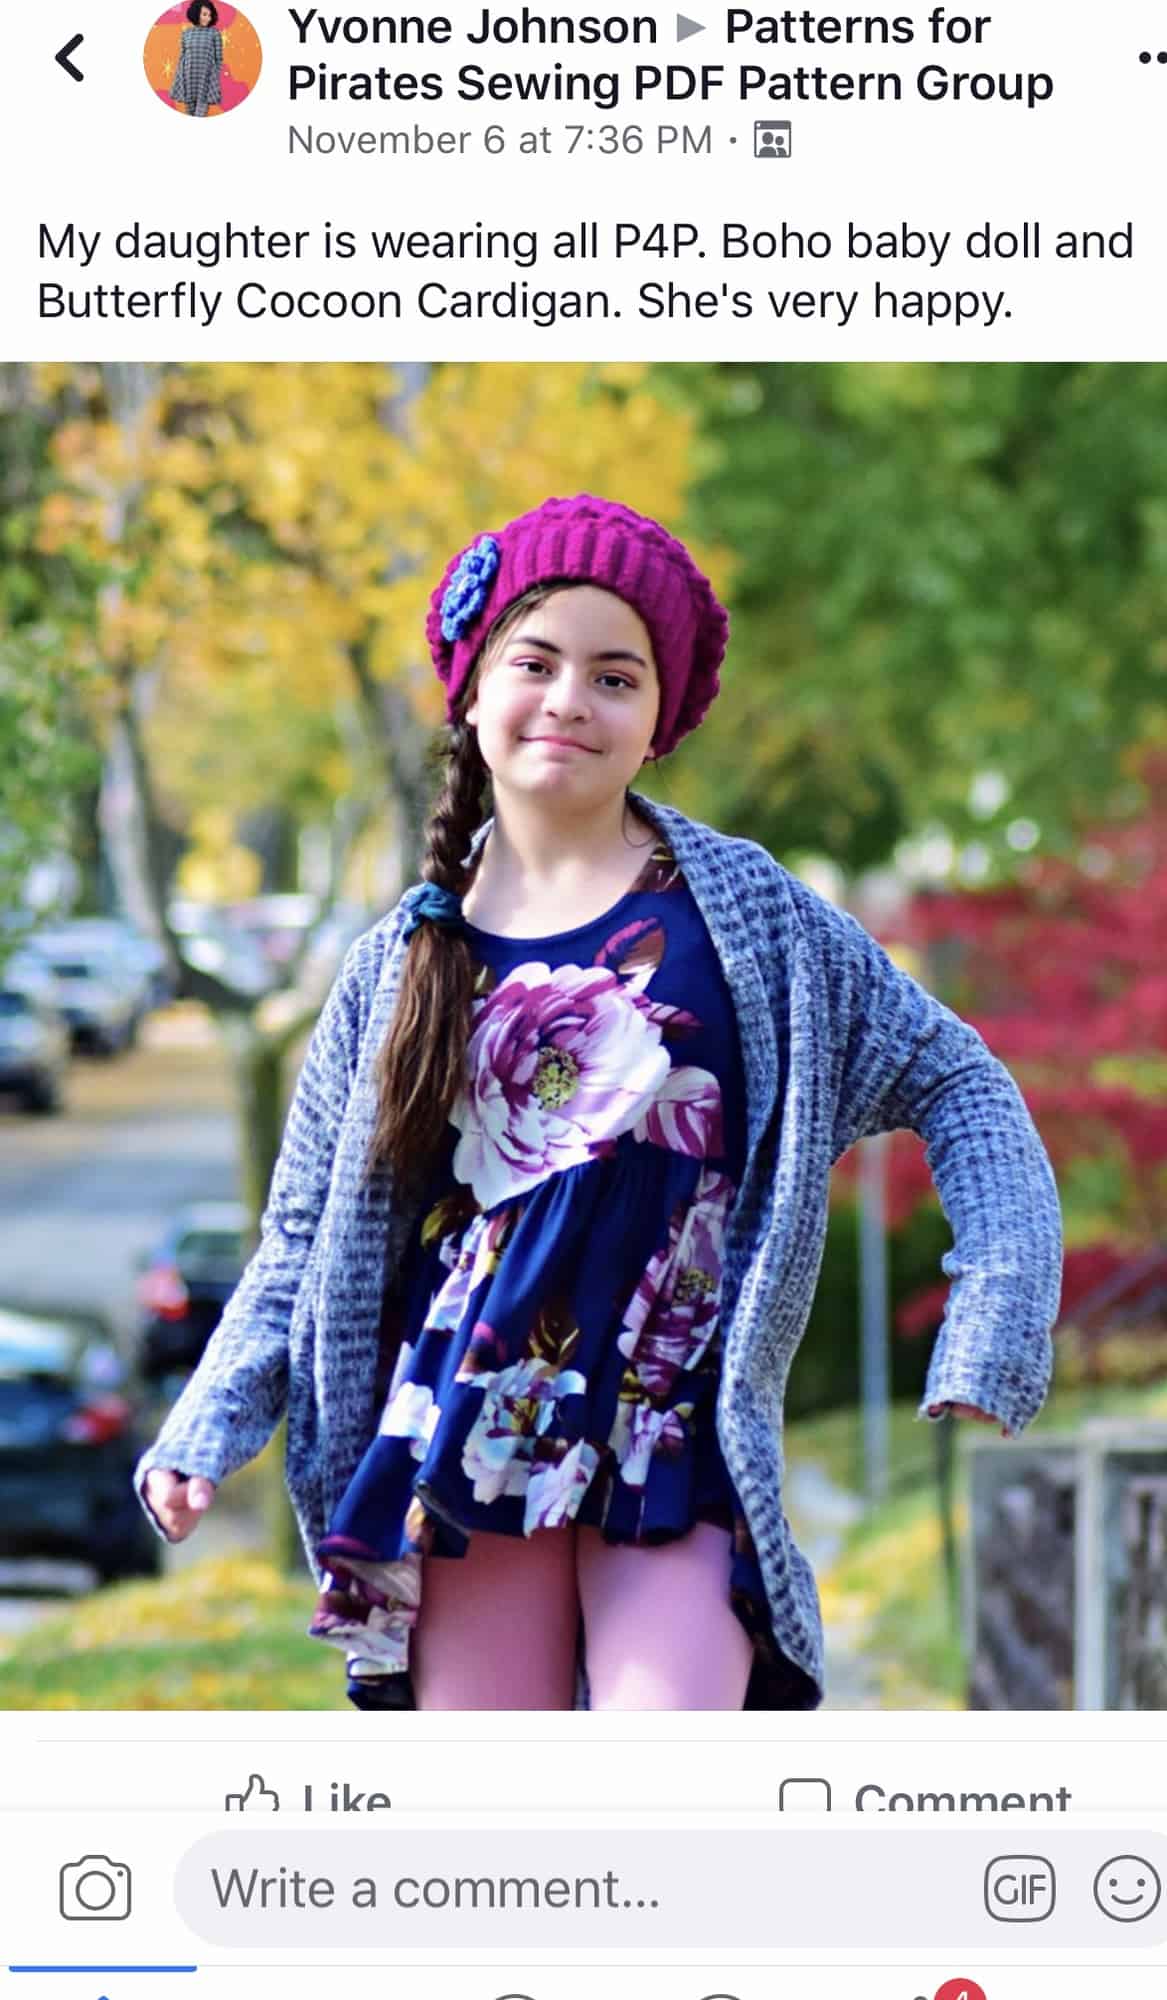
Congratulations Yvonne Johnson!!

Yvonne’s beautiful daughter is wearing one of my favorite P4P pattern combinations, the Boho and the Butterfly (Cocoon) Cardigan.


OCTOBER

Boo! 👻 The month of ghosts and ghouls couldn’t end without announcing the October #allP4Ptoday winner.

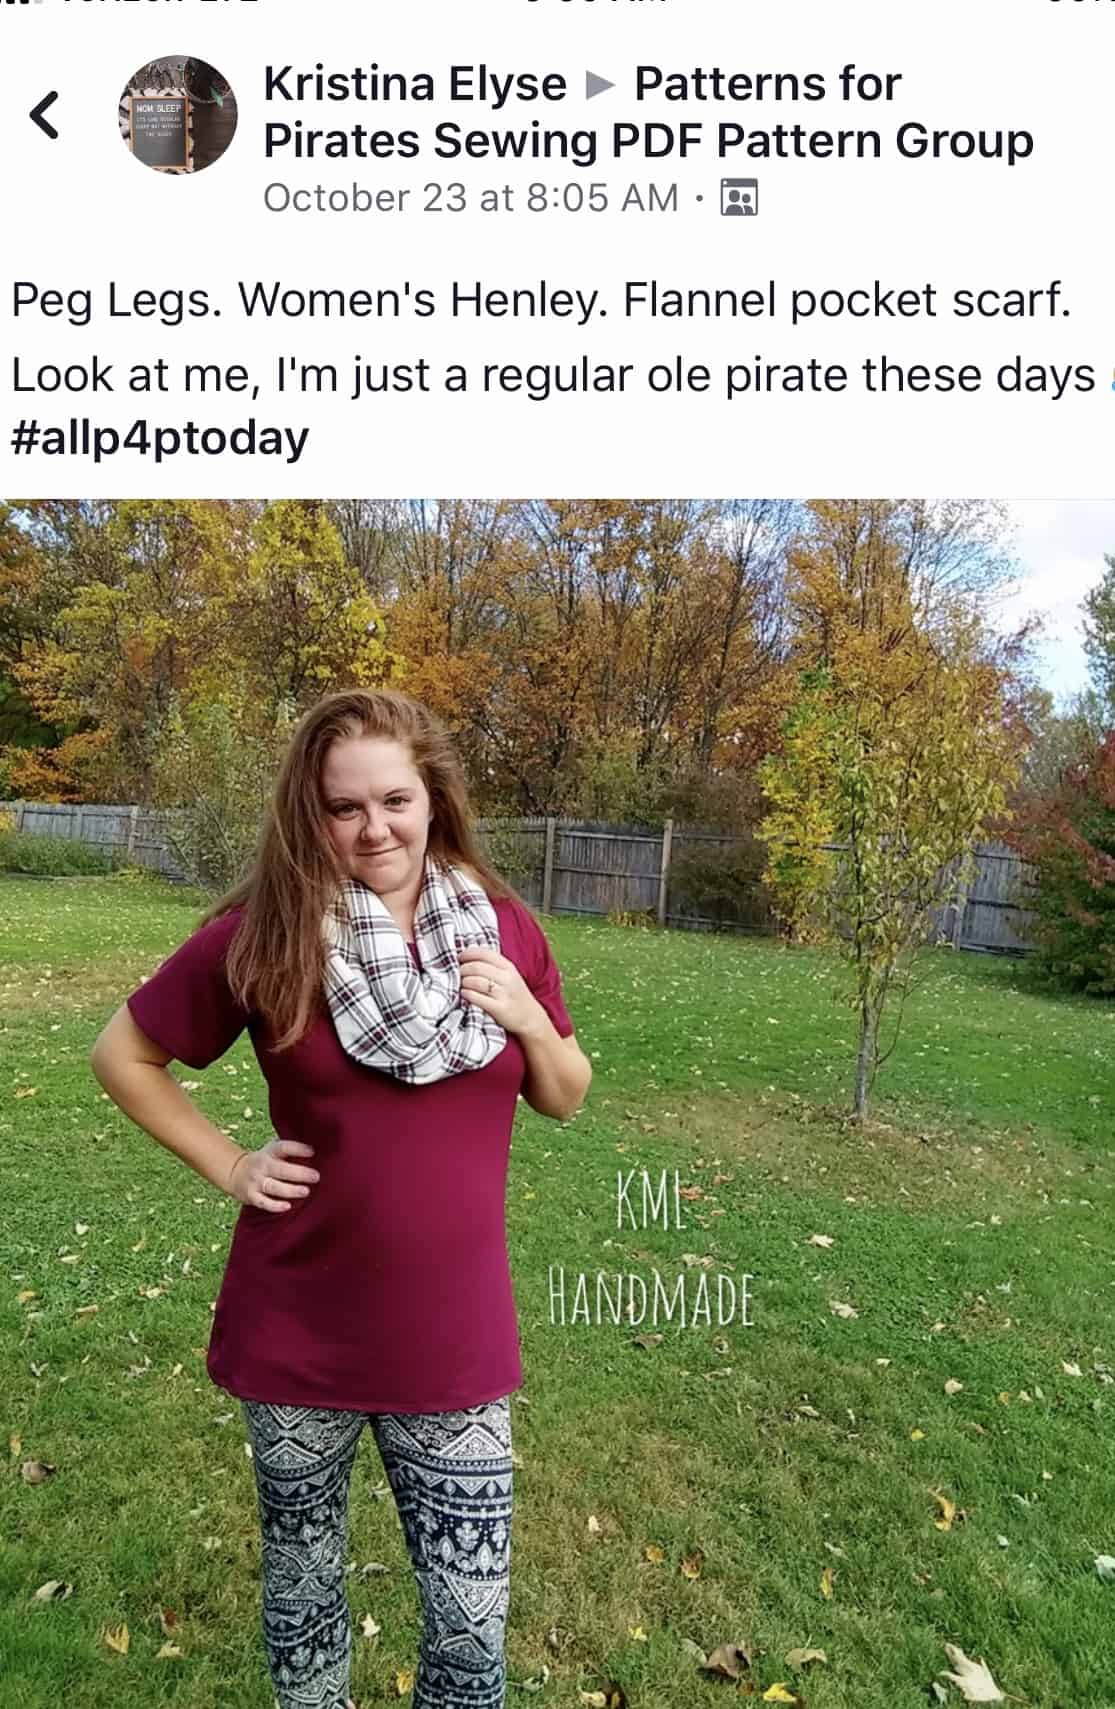
Congratulations Kristina Elyse!!

Kristina won a pattern of choice from P4P! The team absolutely loved the fall feel of this outfit. Ahoy, pirate!

We can’t wait to see what you create during turkey month.


SEPTEMBER

Blink and bam! It’s fall! Don’t get me wrong, I am looking forward to cardi weather and crisp mornings. Well till that time comes, let’s give away a free pattern of choice to our #allP4Ptoday winner for the month of September.

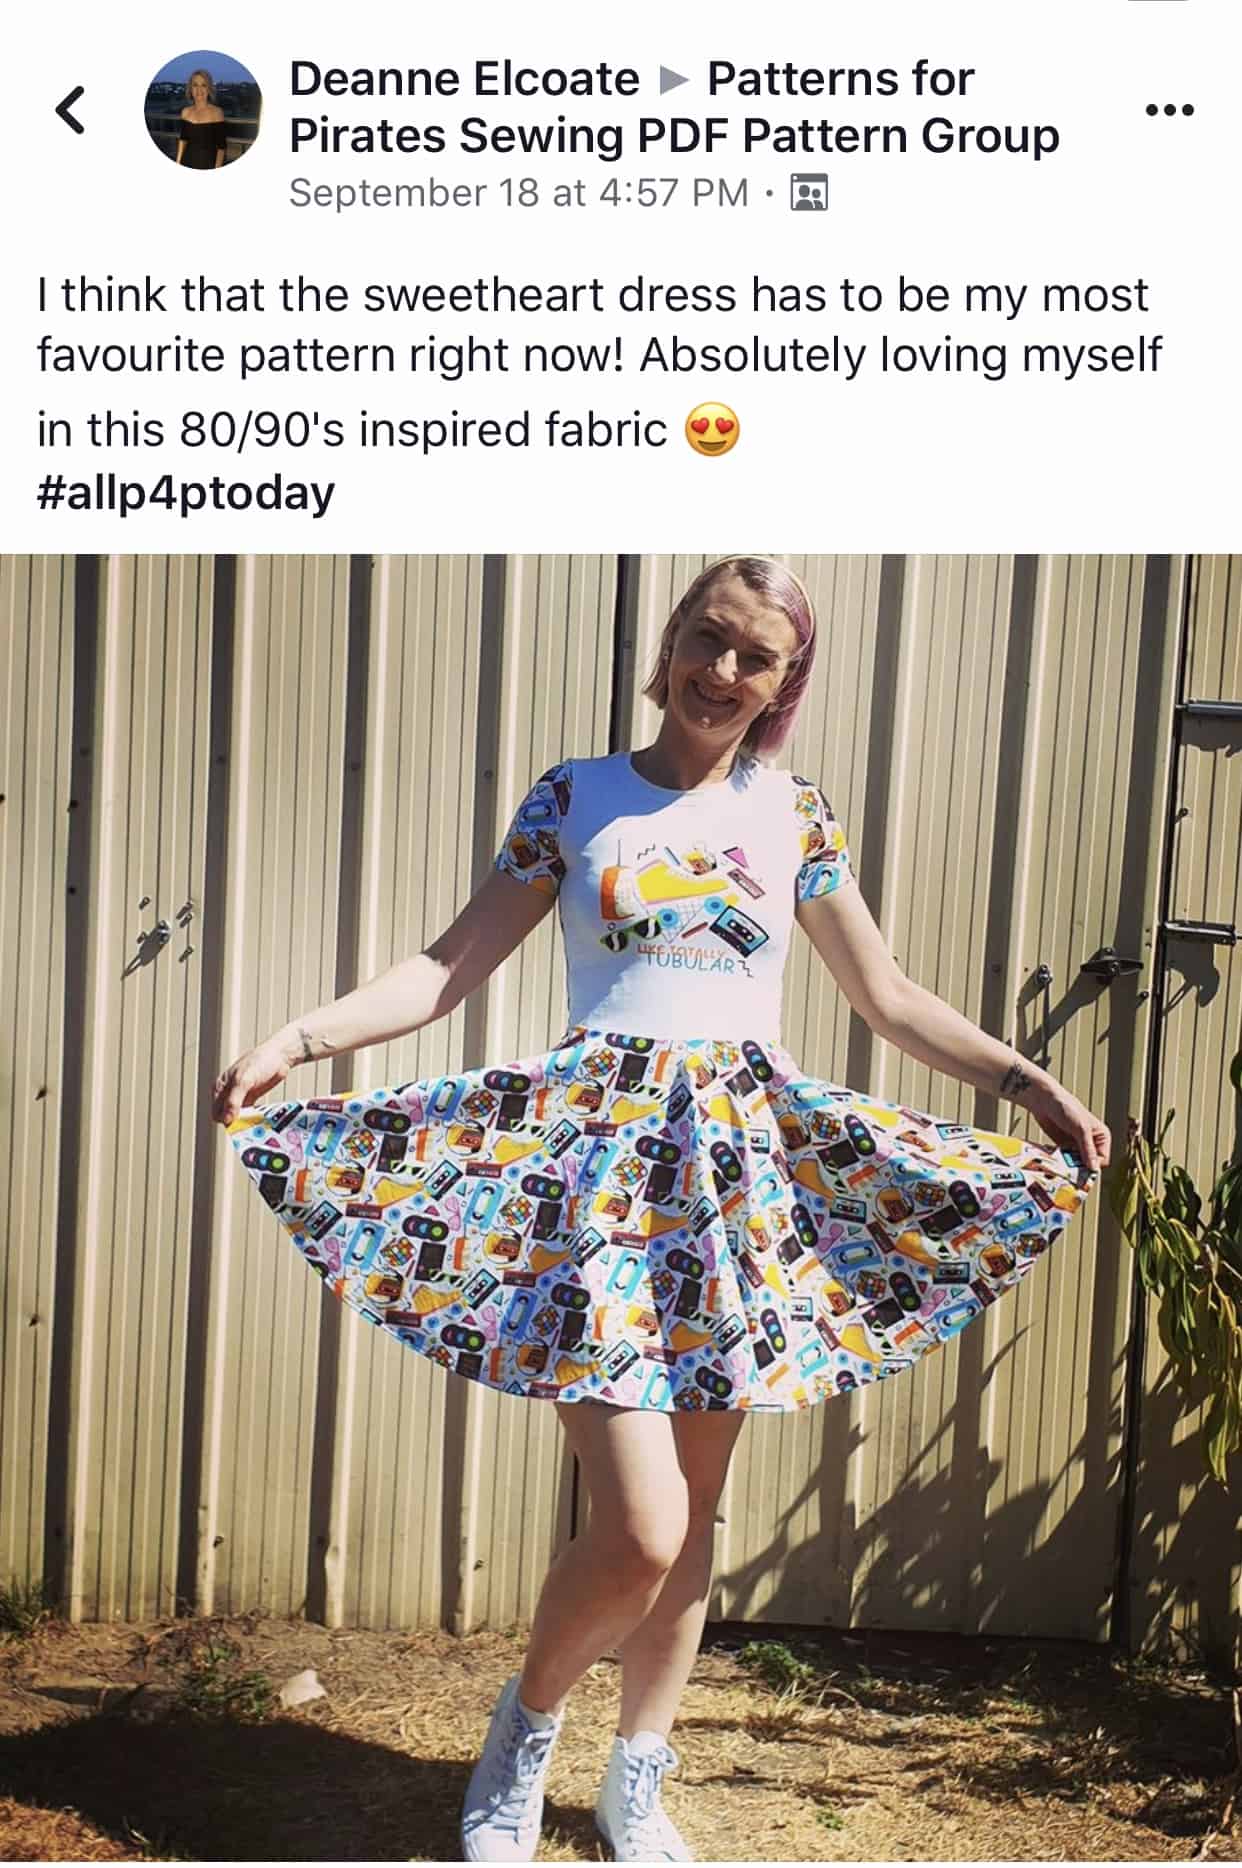
Congratulations Deanne Elcoate!

Deanne is absolutely adorable in her 80s Sweetheart dress! I am really inspired to make one for me too now.

See you back here in a month for our October winner!

AUGUST

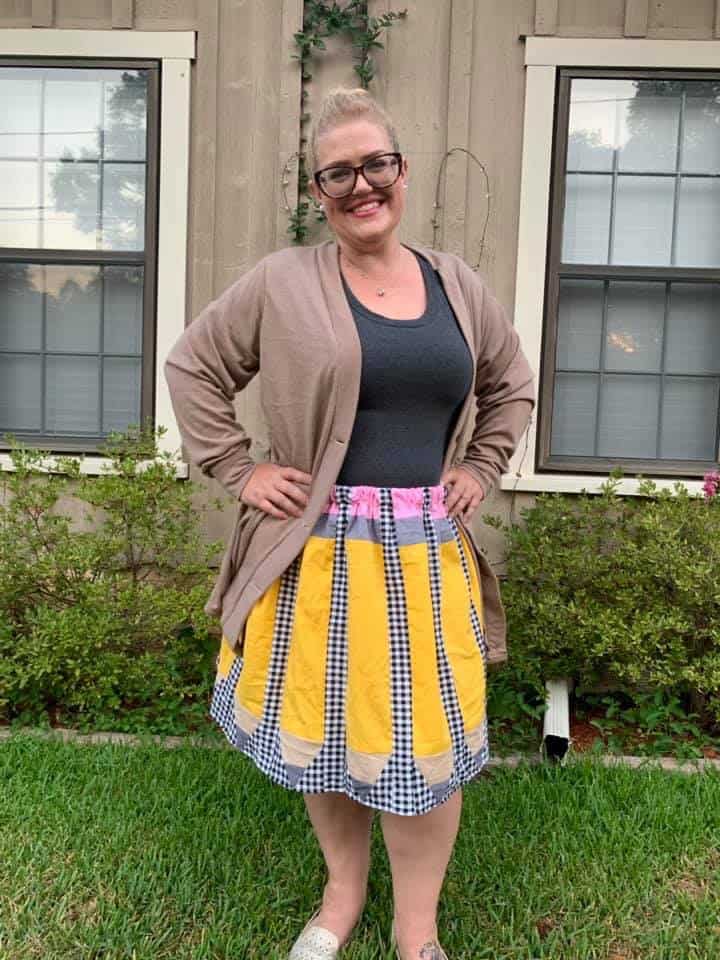
Summer is almost over and most out our young ones are already heading back to school. The P4P team was “awwwing” over this teacher outfit that much that we had to choose it the August #allP4Ptoday winner.

Congratulations Jenny Sherman Richards!!

Jenny is looking adorable in he Just Write skirt, Layer Me Up shirt and Grandpa Cardi! Perfect first day of school outfit if you ask me!

We are so excited to see what you create in September!

JULY

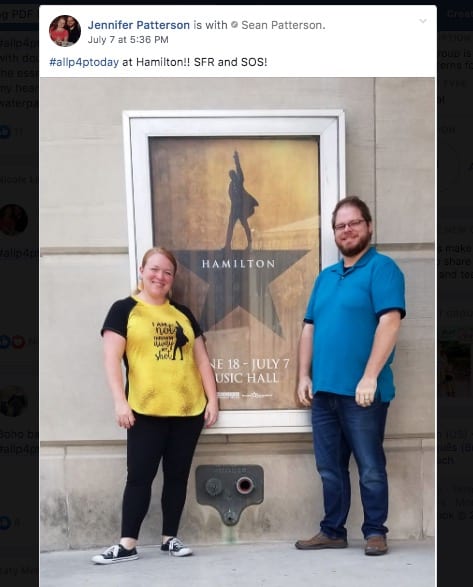
It’s the end of the month so that means, a new #allp4ptoday winner. I have to admit, this winner’s post made me a little jealous 😉

Congratulations Jennifer Patterson! 

Her Slim Fit Raglan and SOS pants look so comfortable for a night out. Thank you for sharing and inspiring!

See you back here at the end of August! In the meant time…don’t forget the #… #allp4ptoday!

JUNE

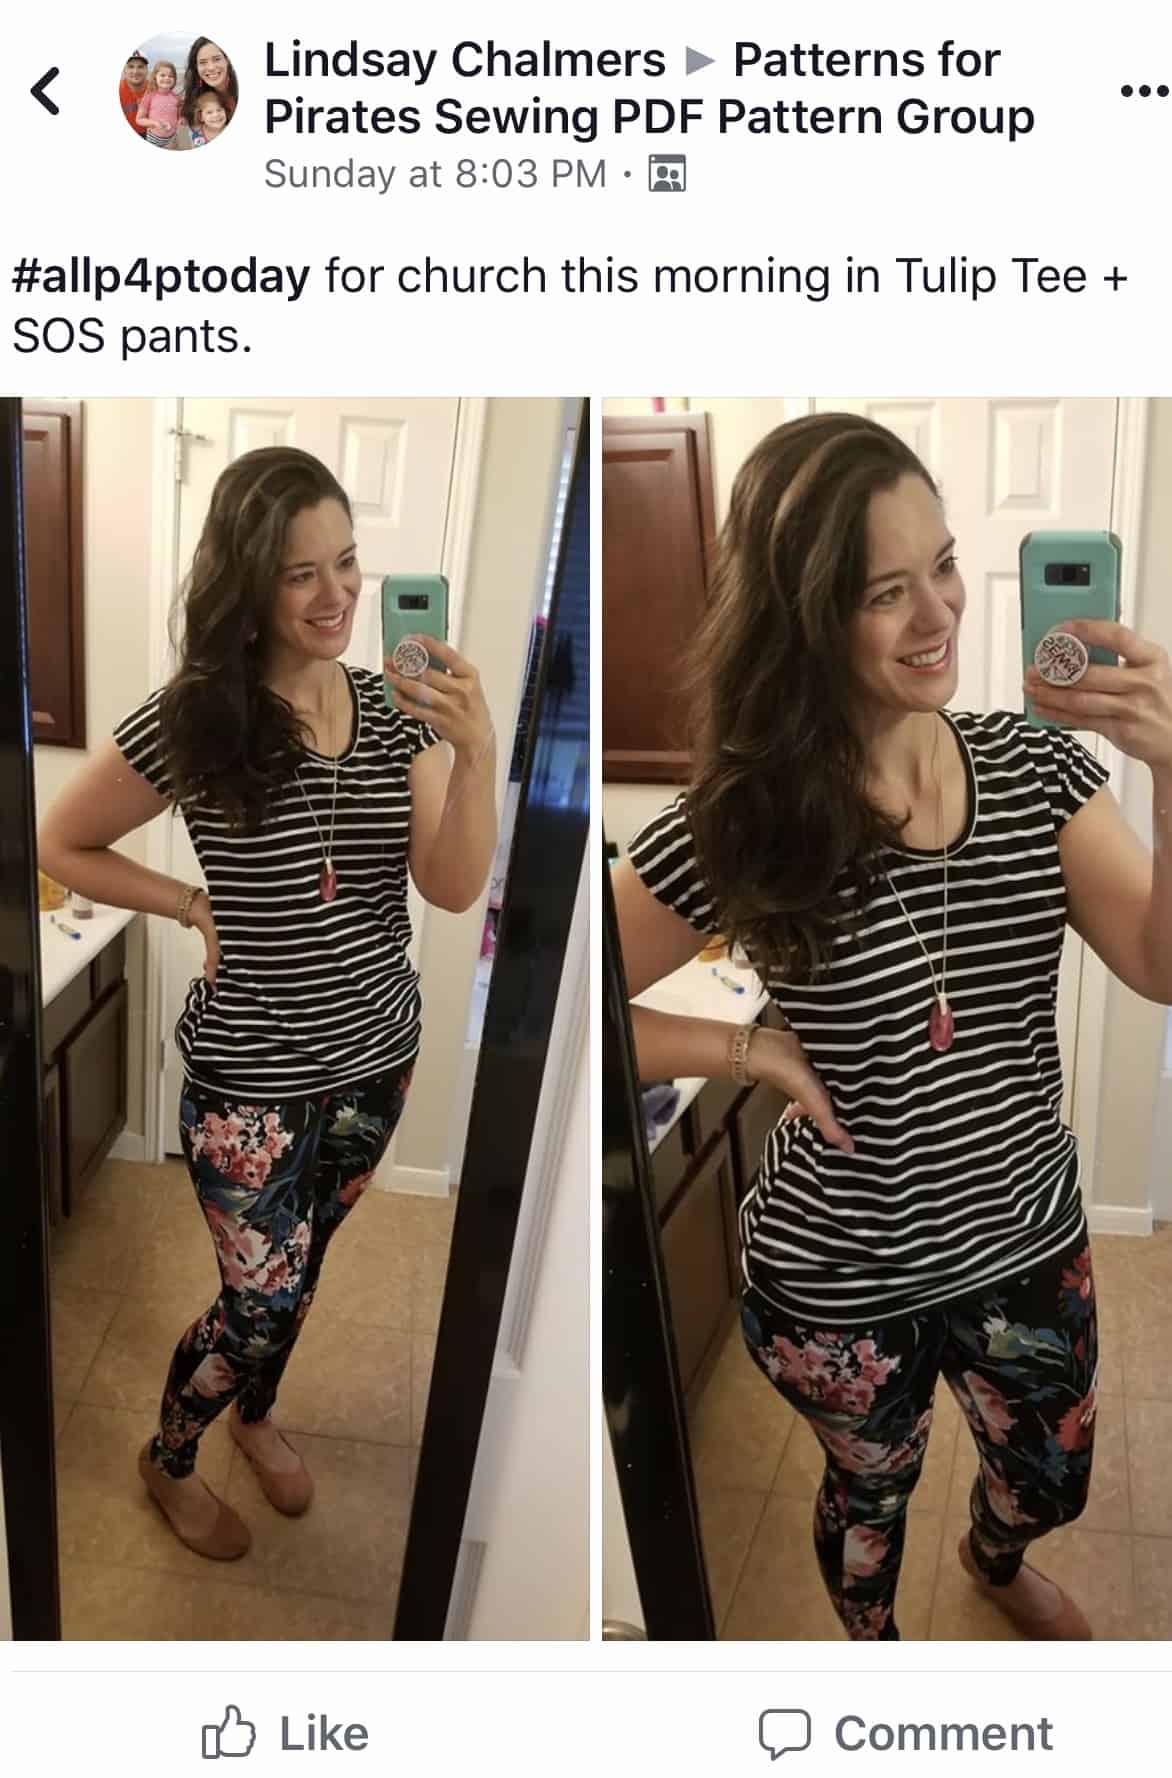
It’s that time again!! Let’s give a pattern of choice to our June #allP4Ptoday winner. Congratulations…

Lindsay Chalmers!

Doesn’t Lindsay look just radiant in her SOS pants and Tulip Tee? Absolutely gorgeous!

Remember to hashtag your posts #allP4Ptoday if you are sporting Patterns for Pirates pretties so we can enter you in the monthly pattern giveaway.

MAY

Happy Summer!!! I’m am so looking forward to dresses, tanks and shorts season. We couldn’t let May end without announcing the month’s #allP4Ptoday winner.

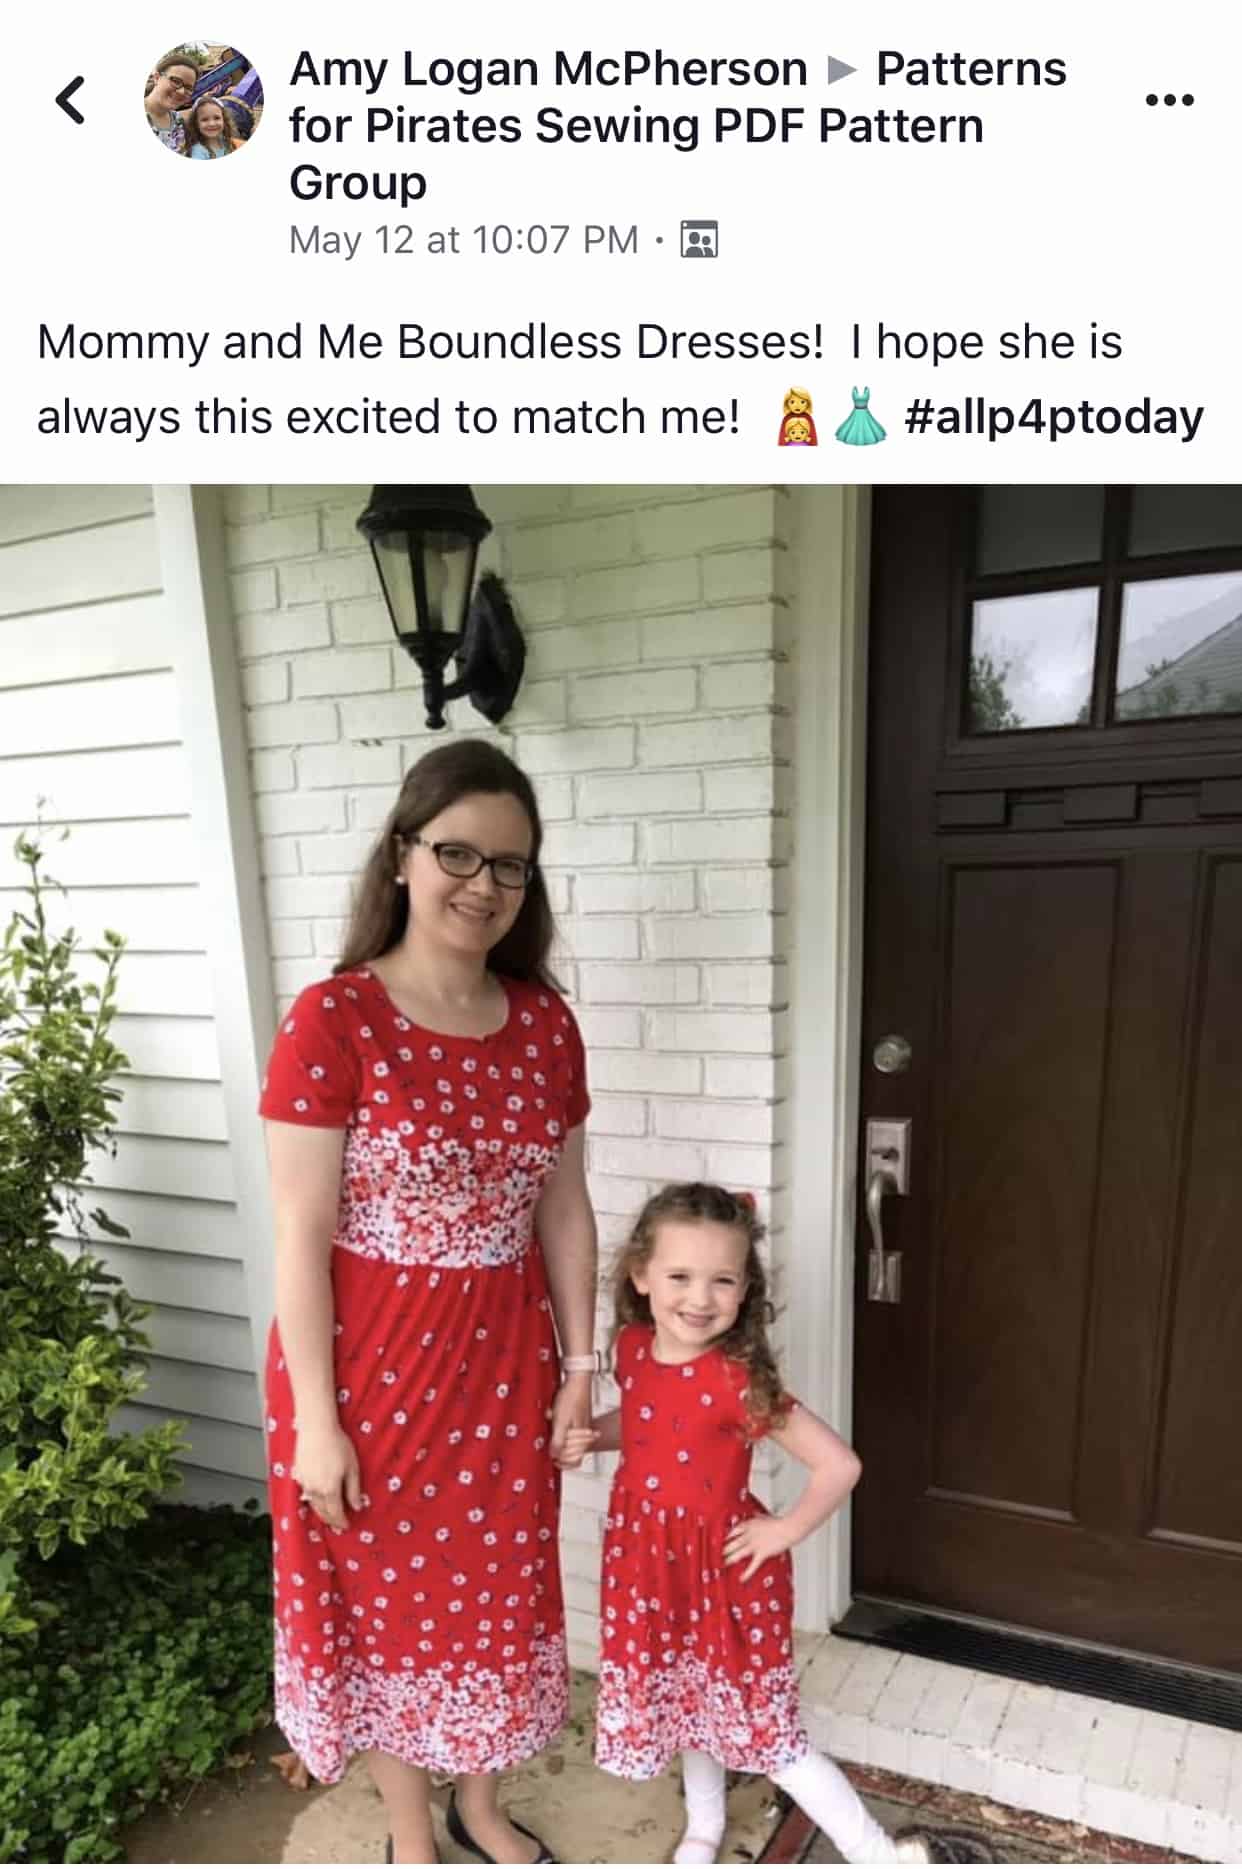
Congratulations Amy Logan McPherson!

You and your little lady are our May winners. Both of you look absolutely gorgeous in your matching Boundless dresses. ❤️

See you all back here in June!


APRIL 

What a beautiful first full spring month we had. We have seen you glowing in P4P patterns and couldn’t be more proud!

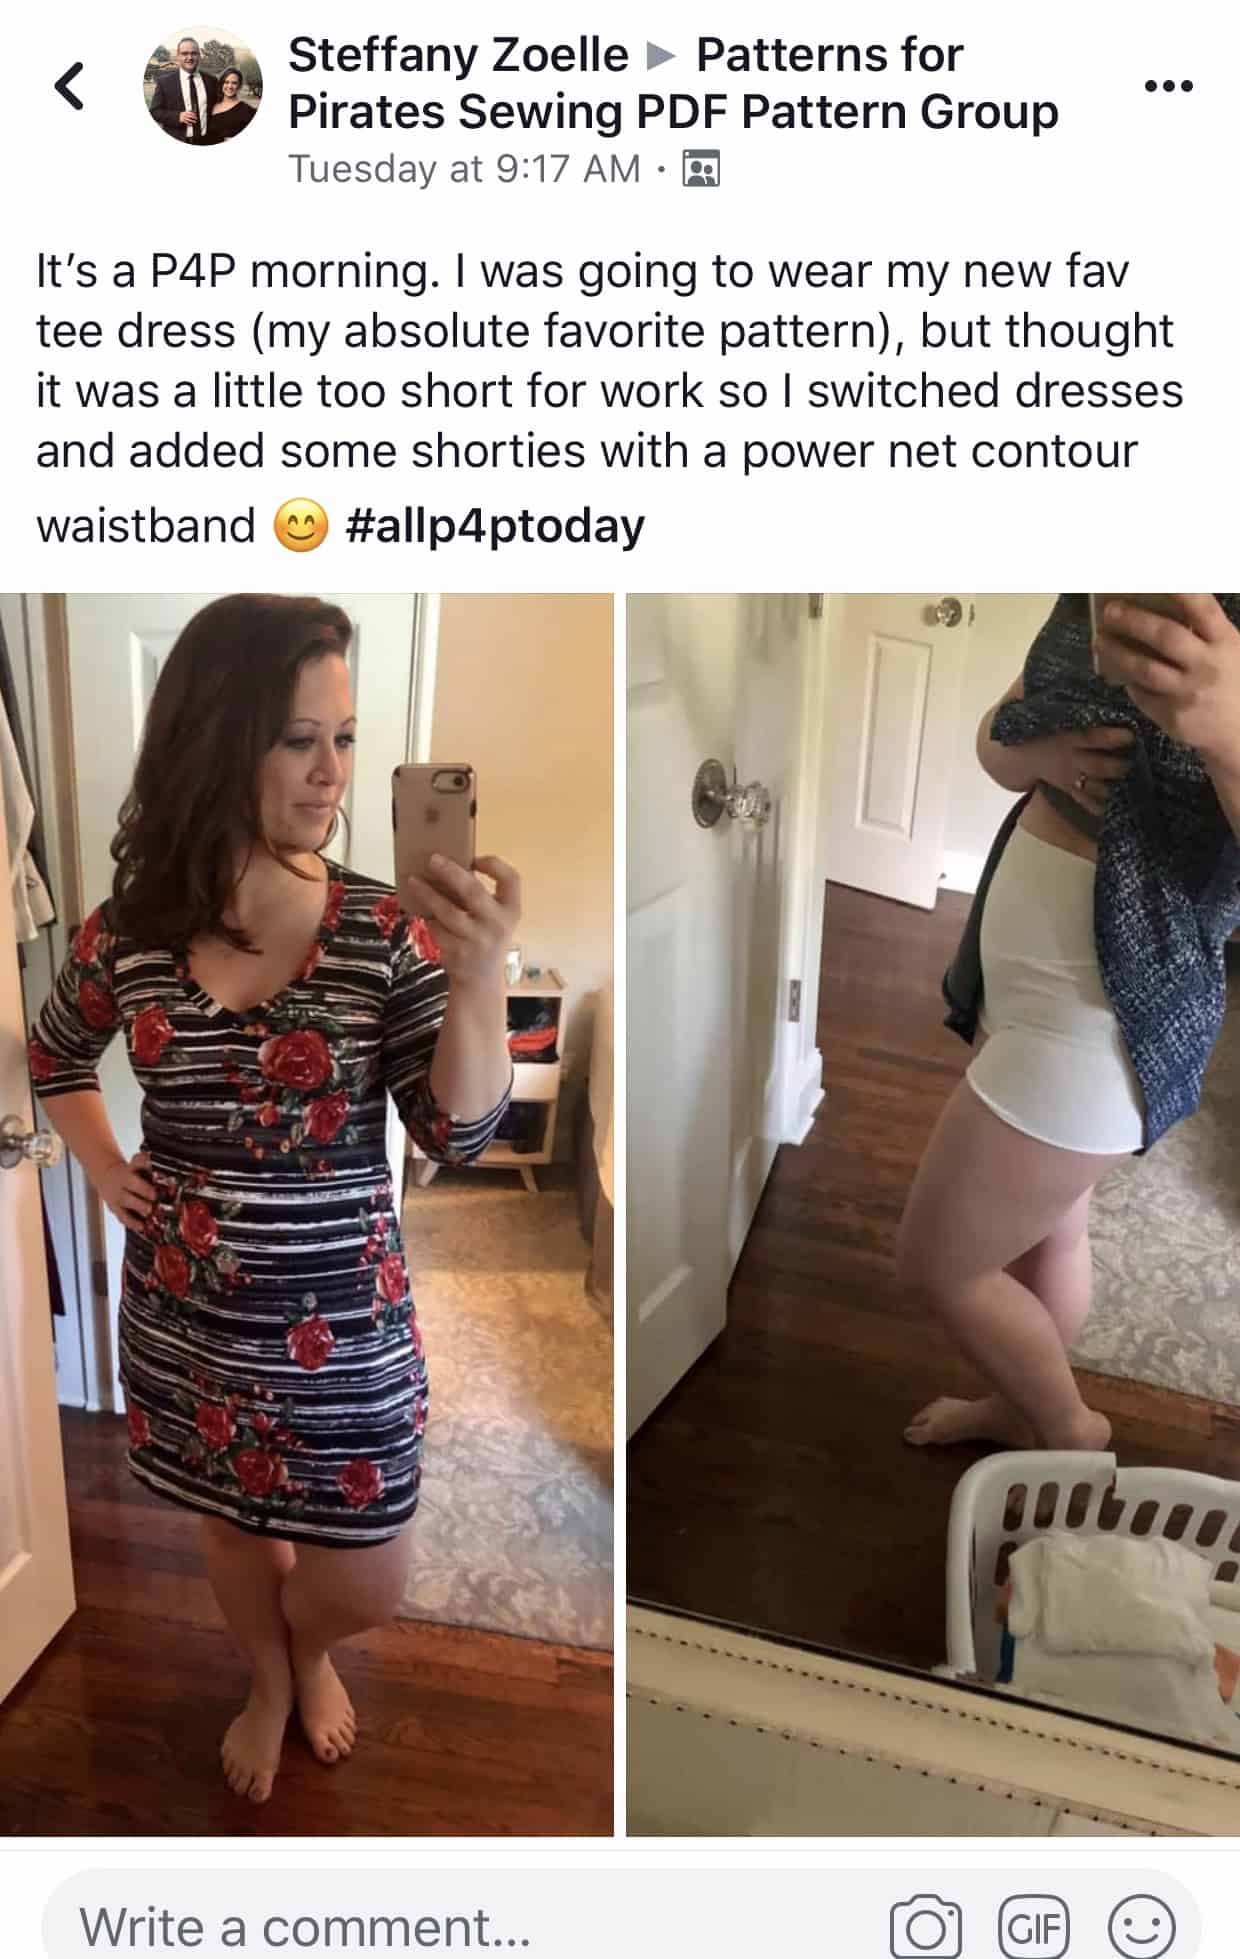
Our April winner is Steffany Zoelle!

Steffani looks gorgeous in her Favorite Tee dress, that’s my favorite also 😉

We can’t wait to see what #allP4Ptoday you will be rocking in May.

MARCH

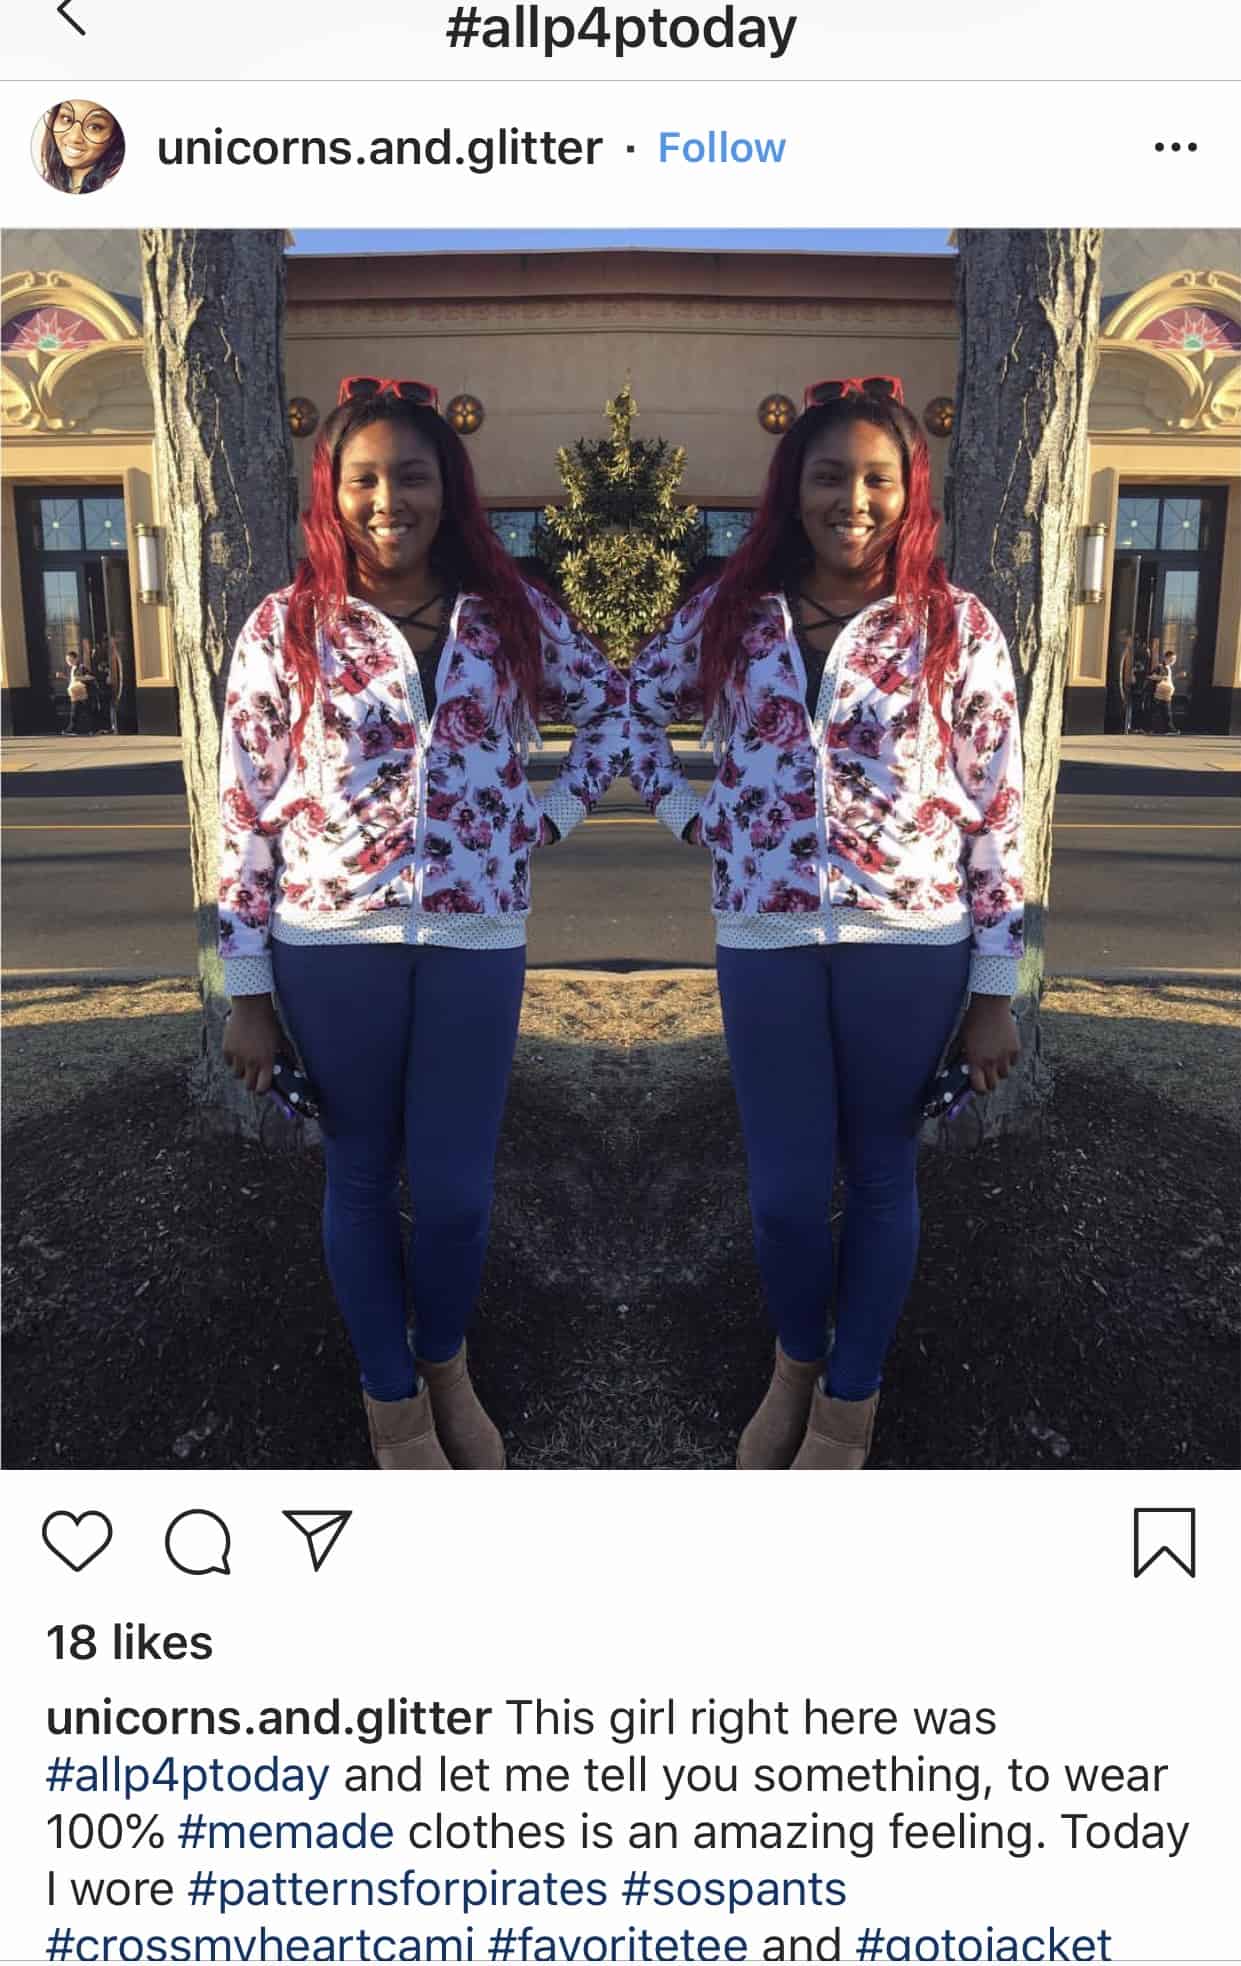
Woohooo!! Spring is here! I bet most of you are happy to put away the heavy coats and bring out the cardigans and dresses. Or…how about the Go To Jacket, SOS pants and the Cross my Heart Cami like Stephanie?

Our March #allP4Ptoday winner is @unicorns.and.glitter (on IG)

Stephanie looks absolutely gorgeous in her spring P4P attire. We look forward to seeing what she creates next!

I will see you back here at the end of April for our next month’s #allp4ptpday winner.

FEBRUARY

The shortest month of the year brought so many beautiful #allP4Ptoday posts both in our Facebook group as well as Instagram. Keep them coming, we see you!

February’s winner is…

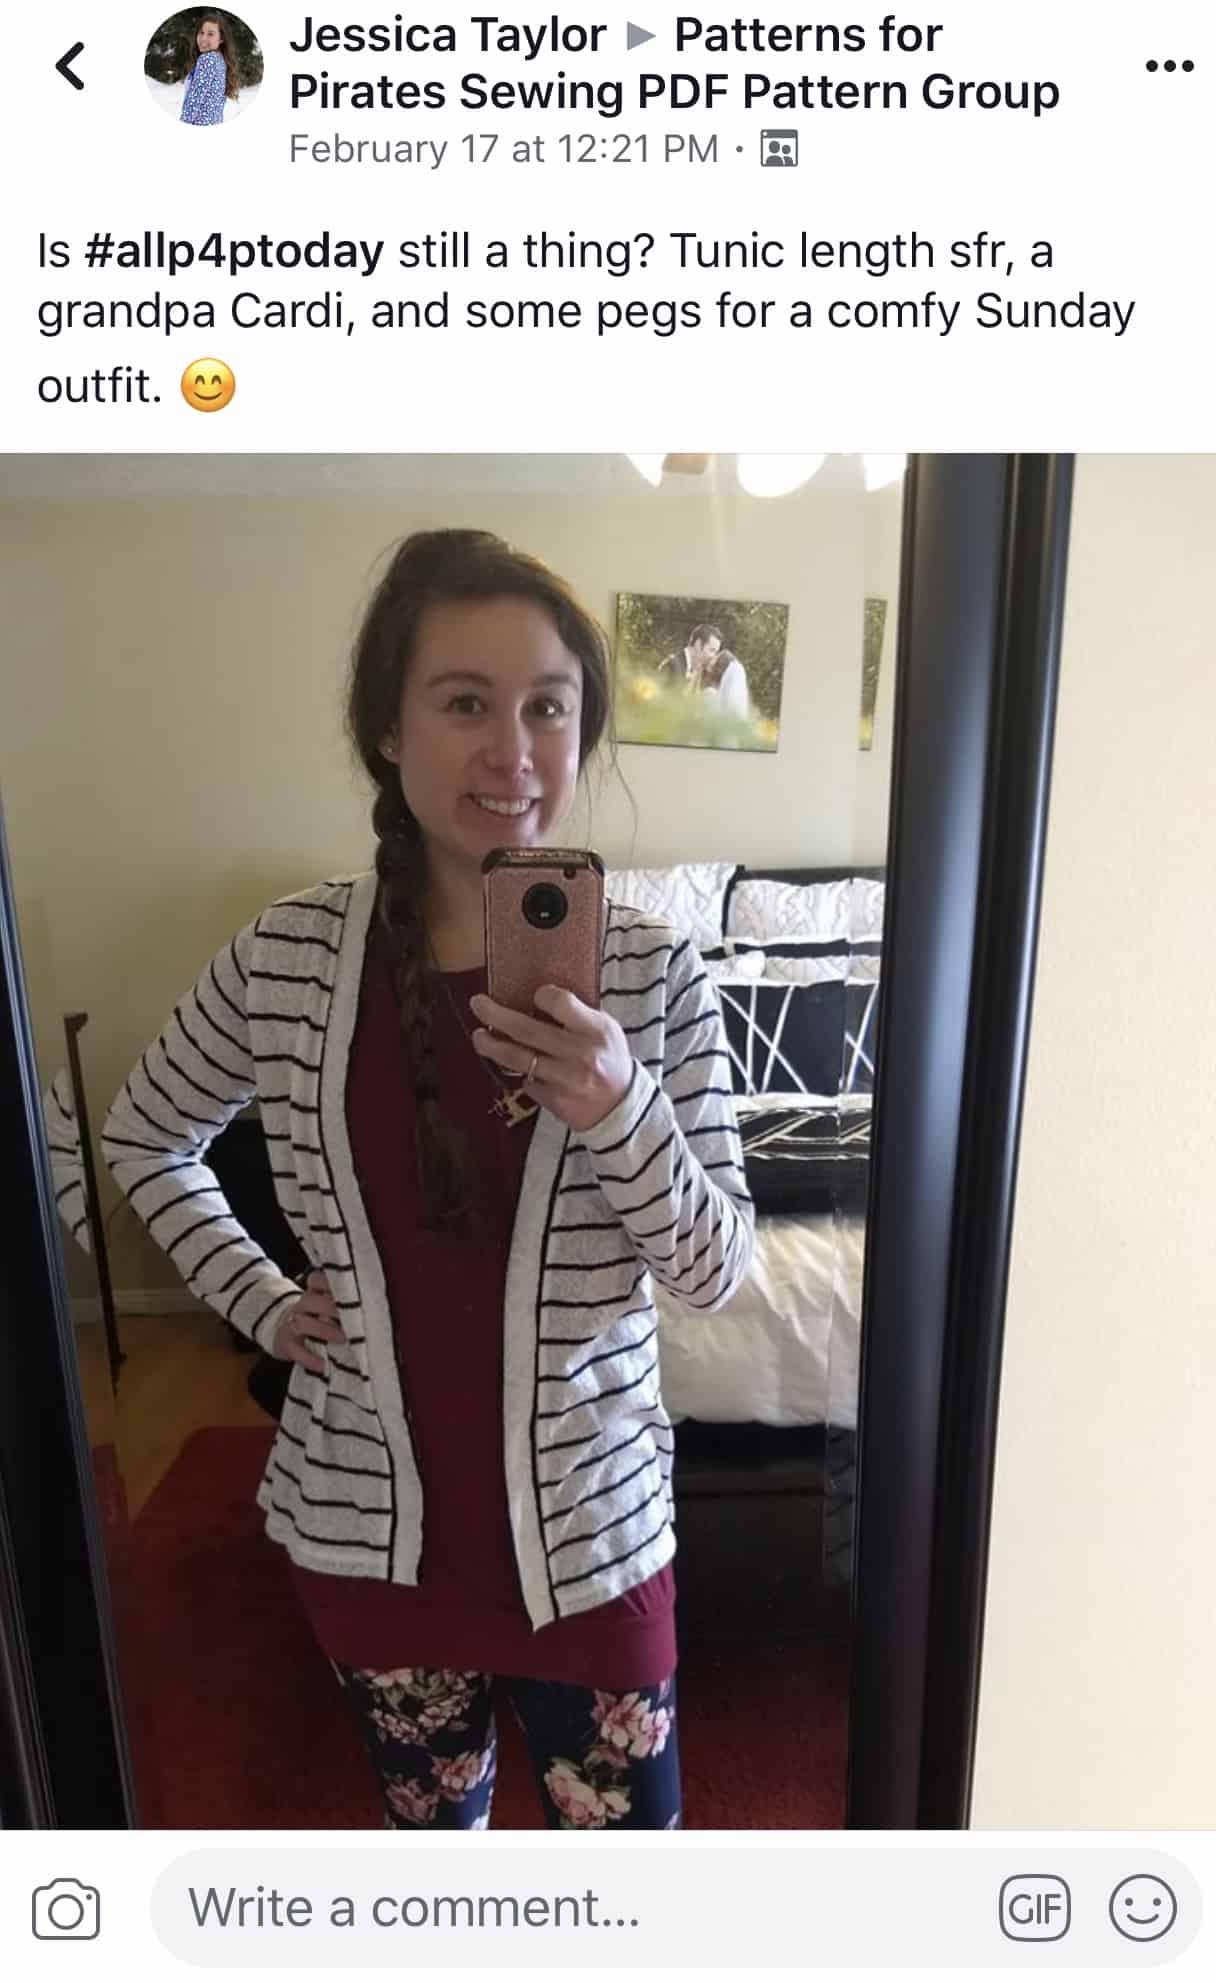
Jessica Taylor!


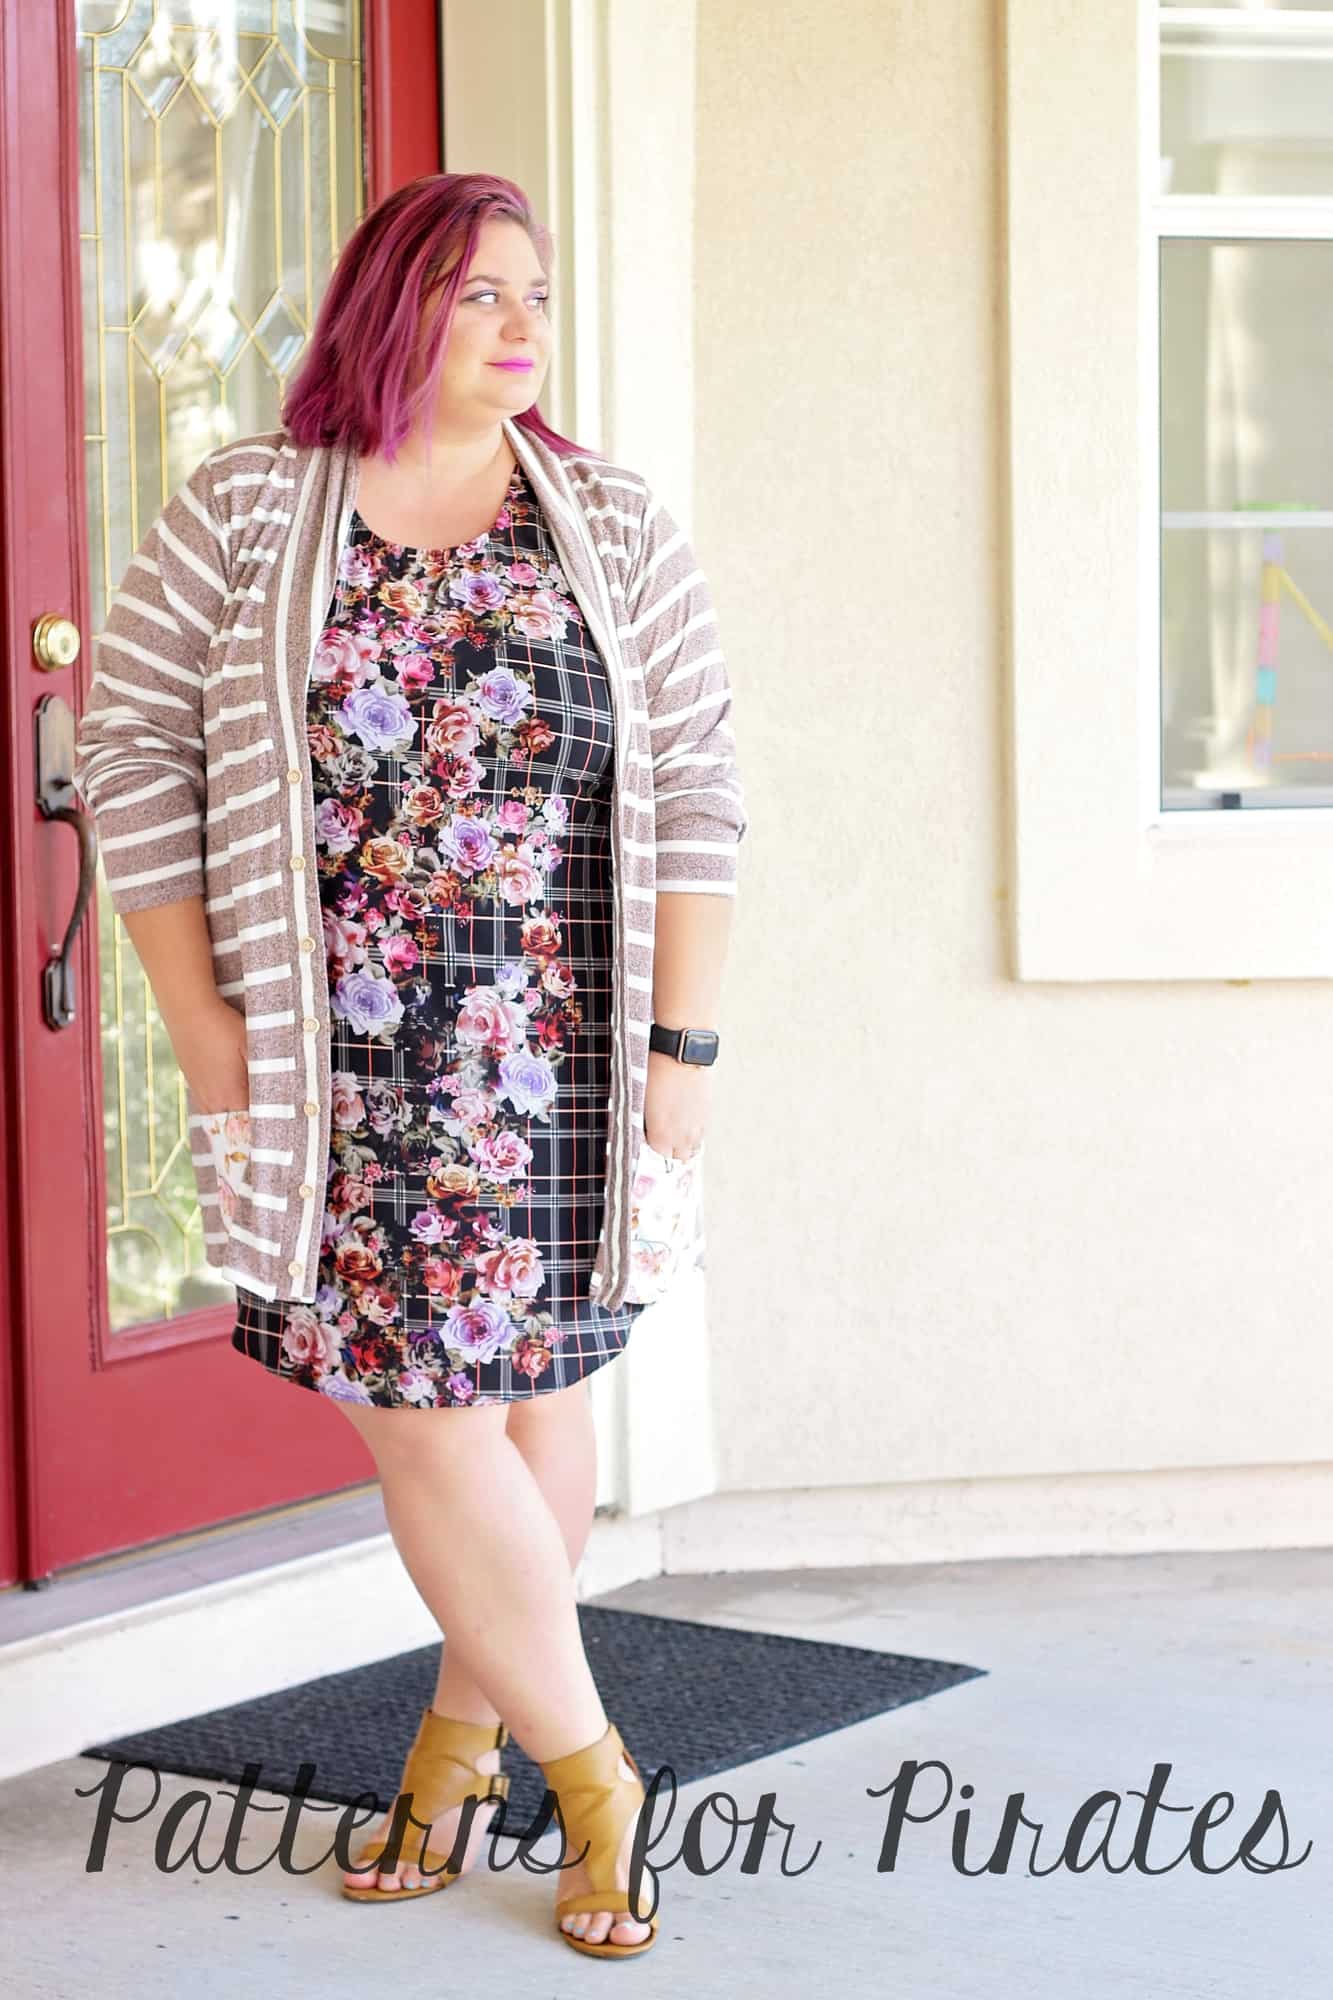
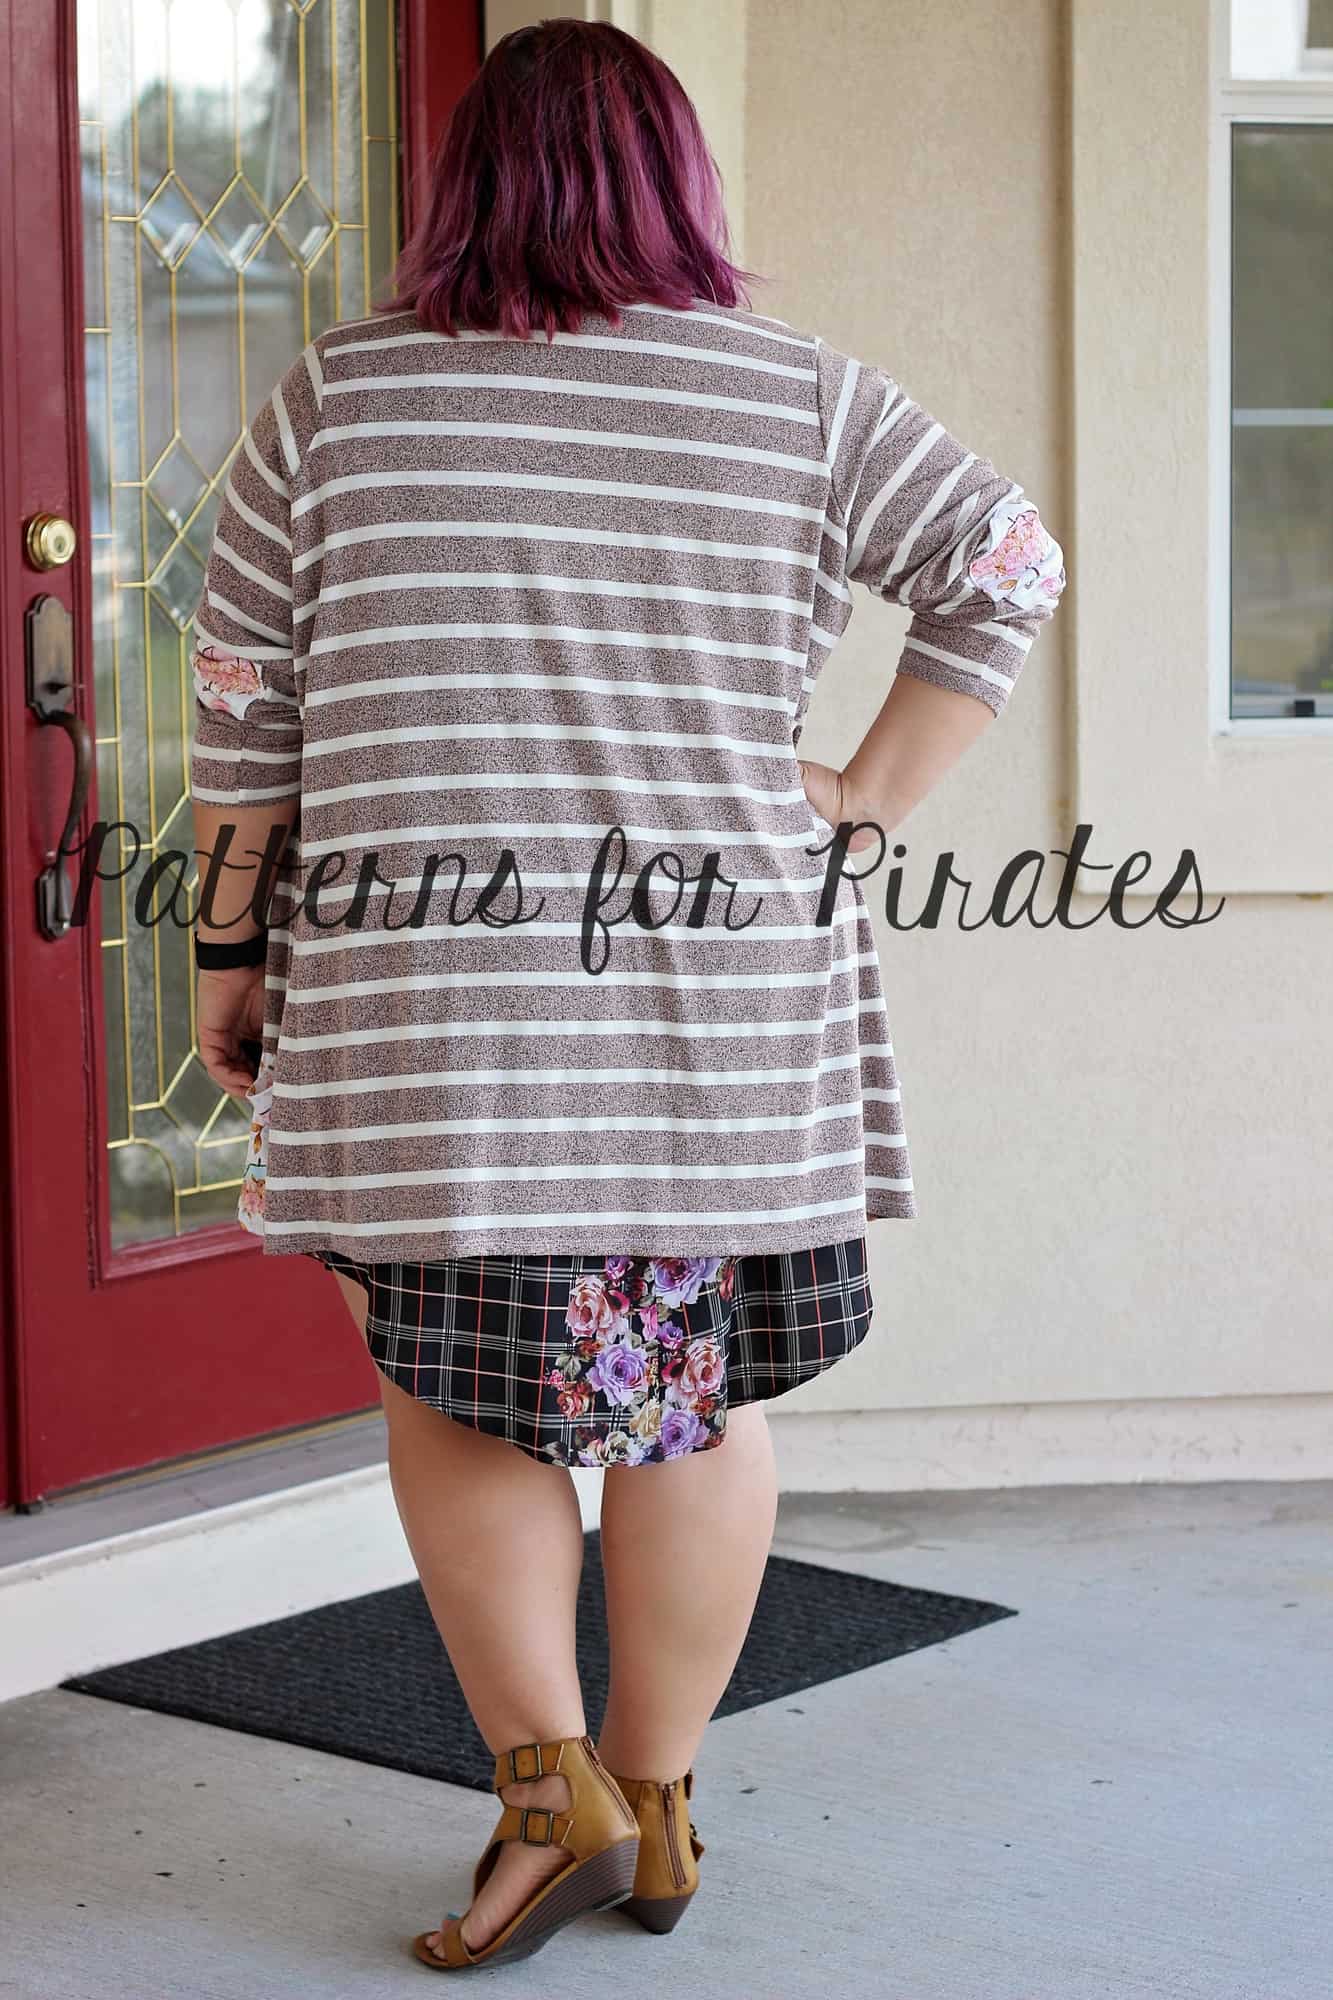
Jessica is looking super adorable in her Slim Fit Raglan, Grandpa Cardi and pegs. Thank you for sharing and being an inspiration for other floral/stripes lovers.


JANUARY

Happy New Year! Time for a brand new blog that will feature the 2019 lucky #allP4Ptoday winners of the month. Let’s start off with an Instagram post that caught our eye this month.

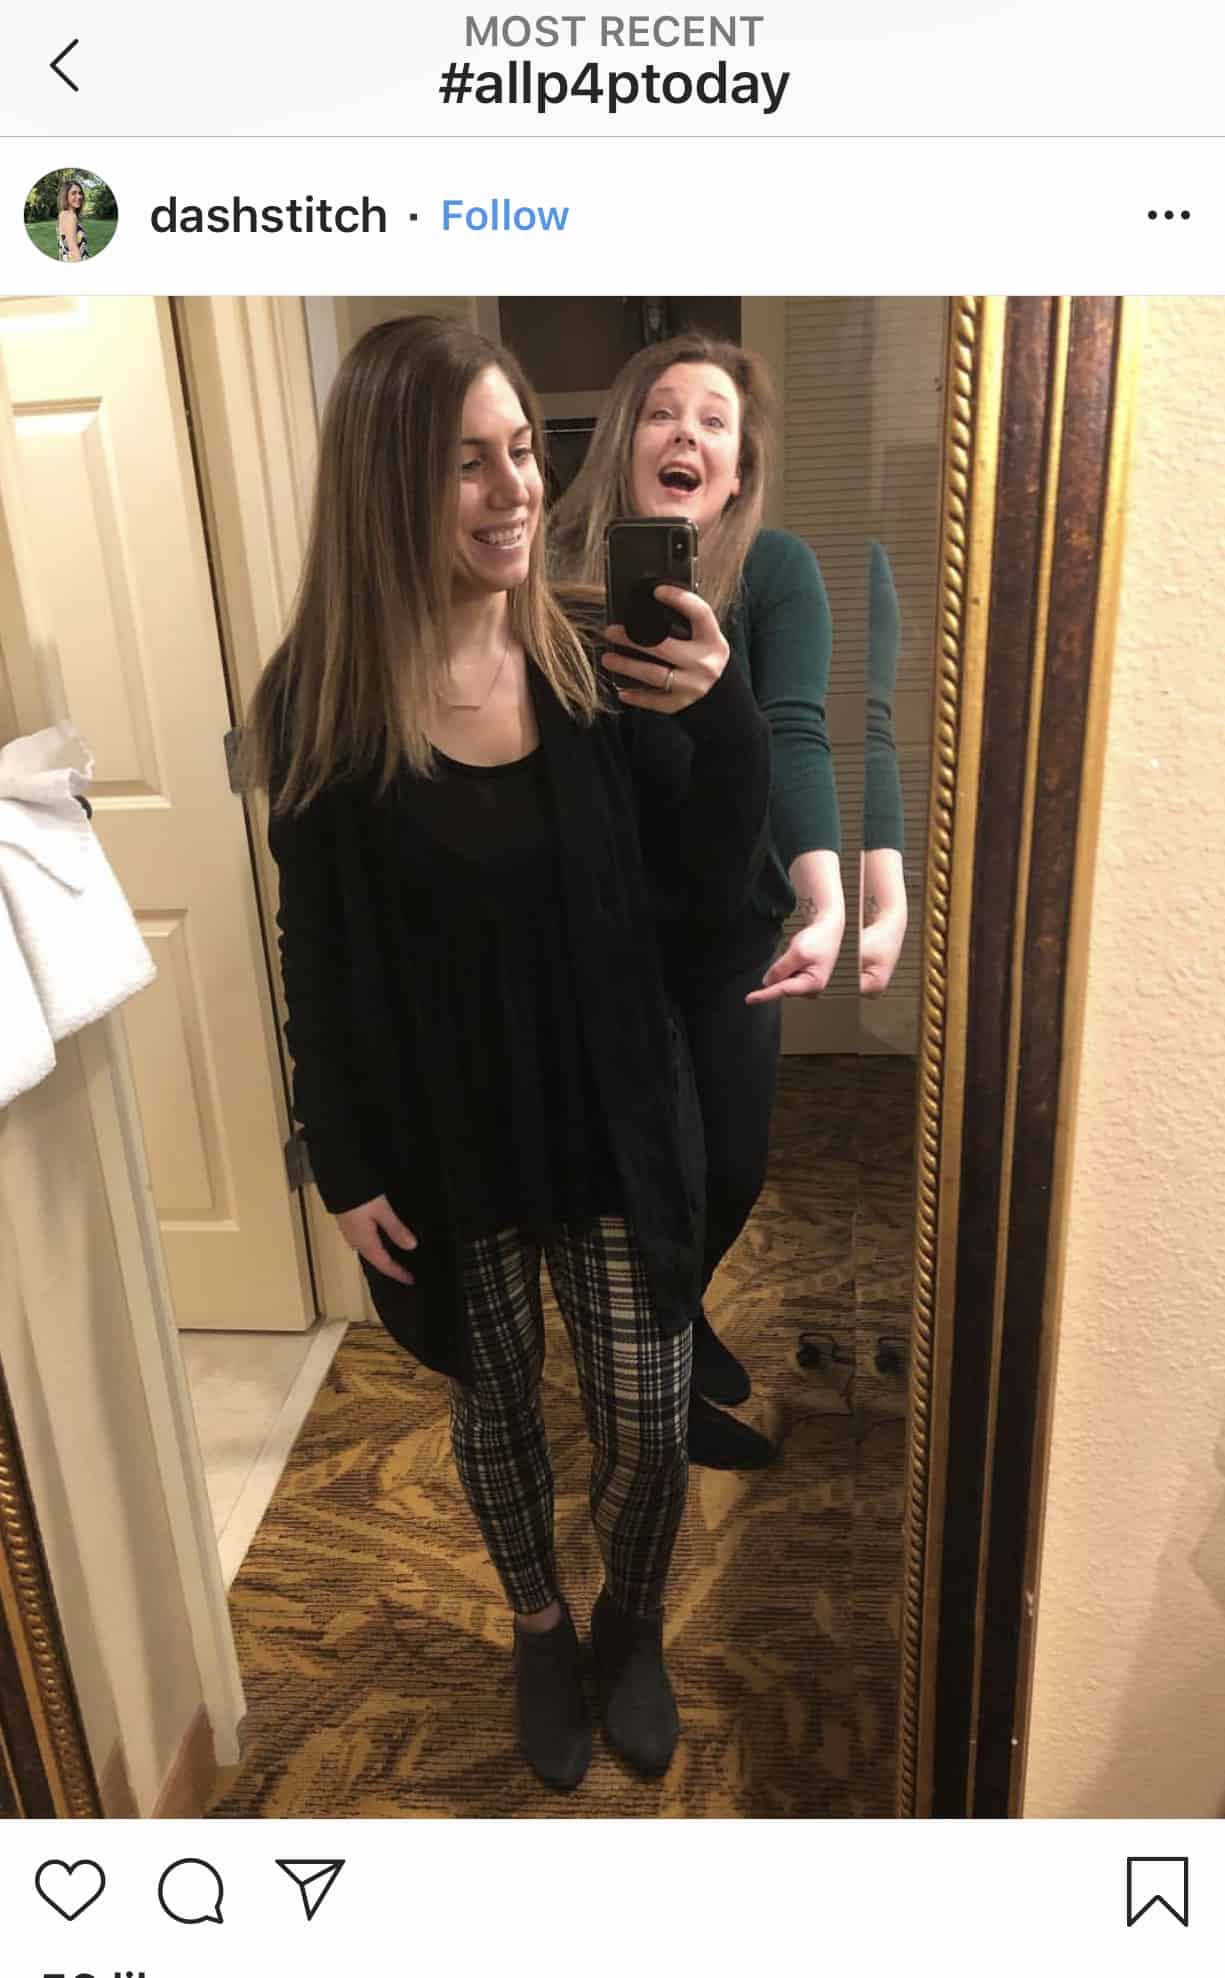
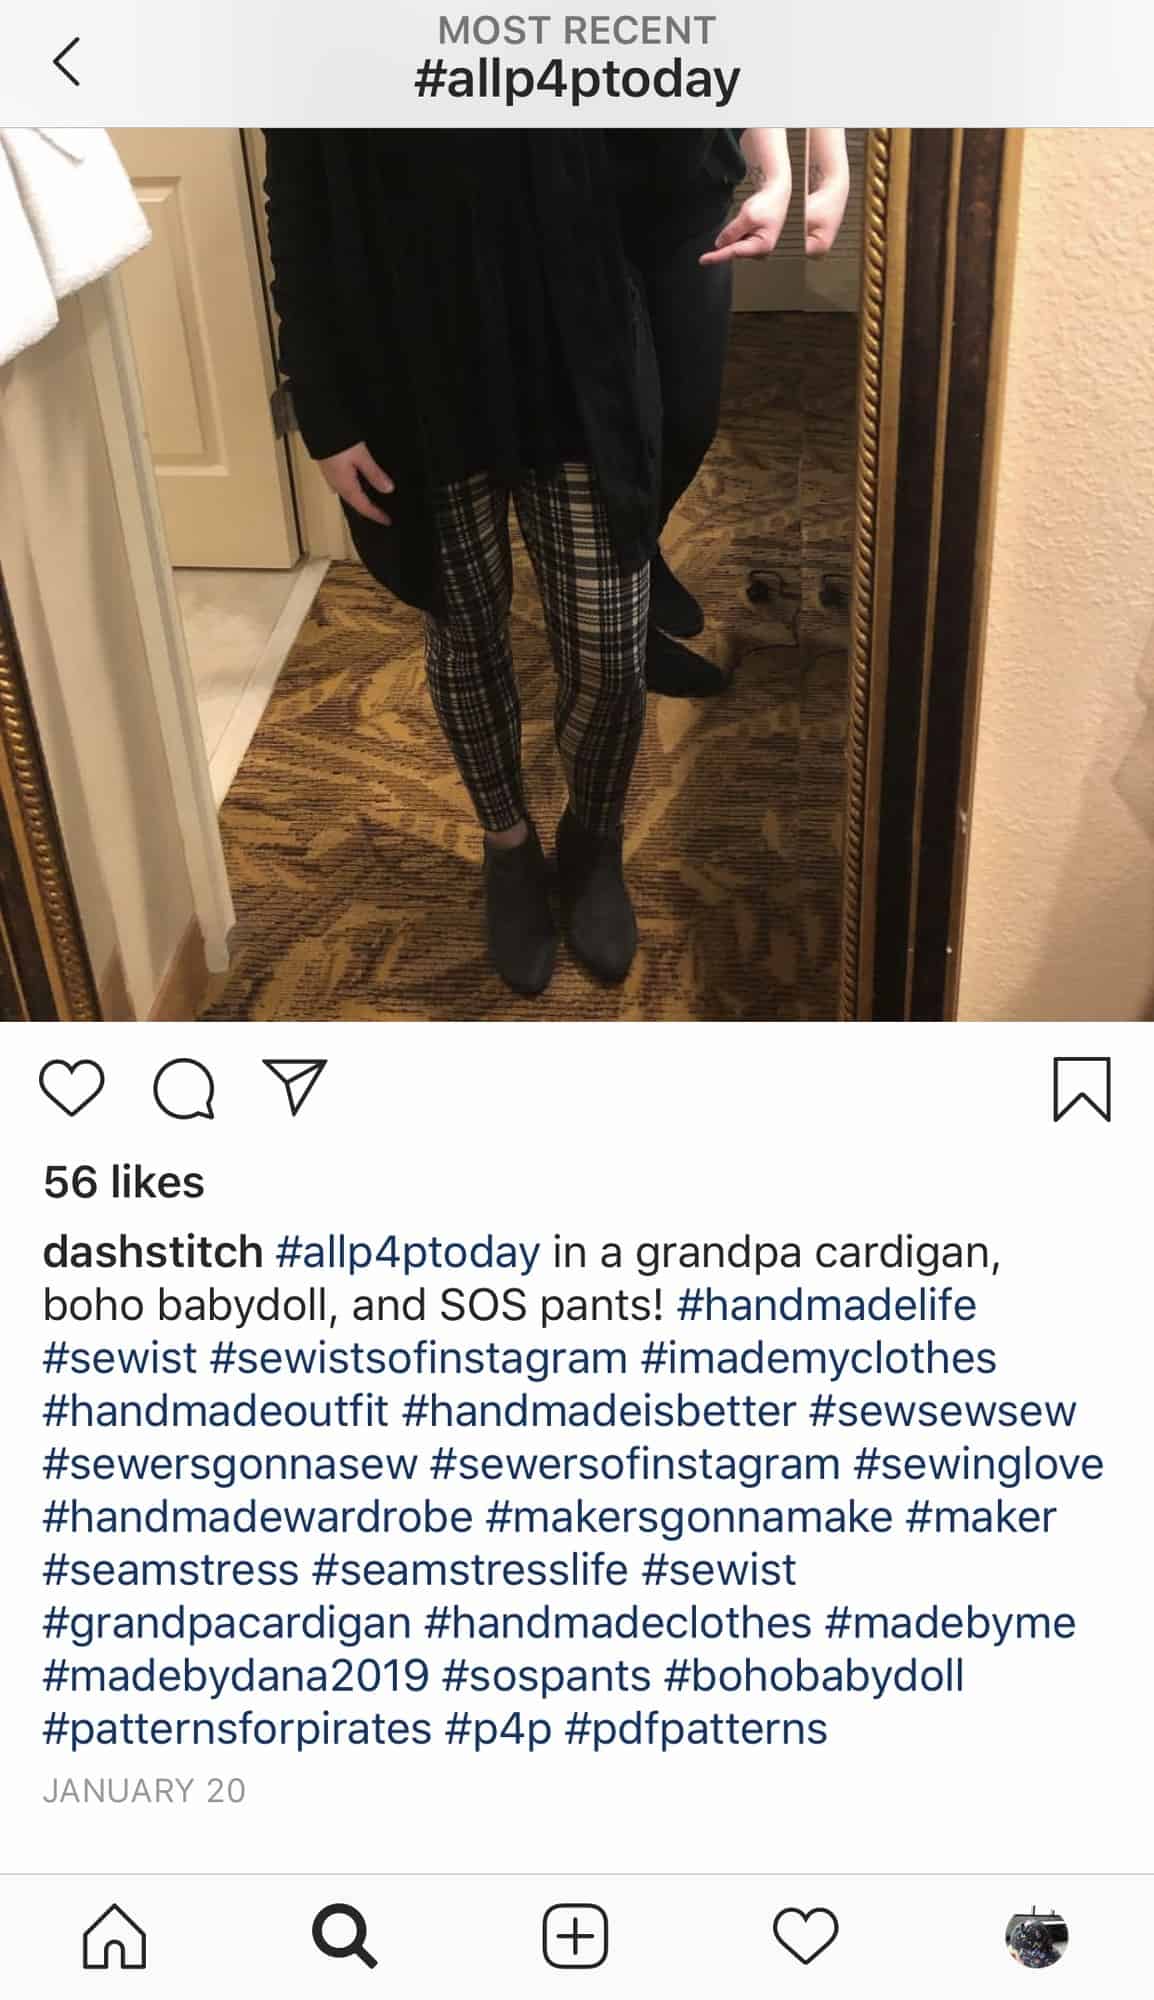
Congratulations @dashtitch (Dana Shann) !

Who doesn’t need plaid SOS pants? I know I do. You won a P4P pattern of choice to add to your collection.

Keep on hashtagging (is that a verb?) your posts in the Patterns For Pirates FB group and on Instagram. We will be looking for our next winner in February!

Filed Under: Contest/Giveaway Leave a Comment

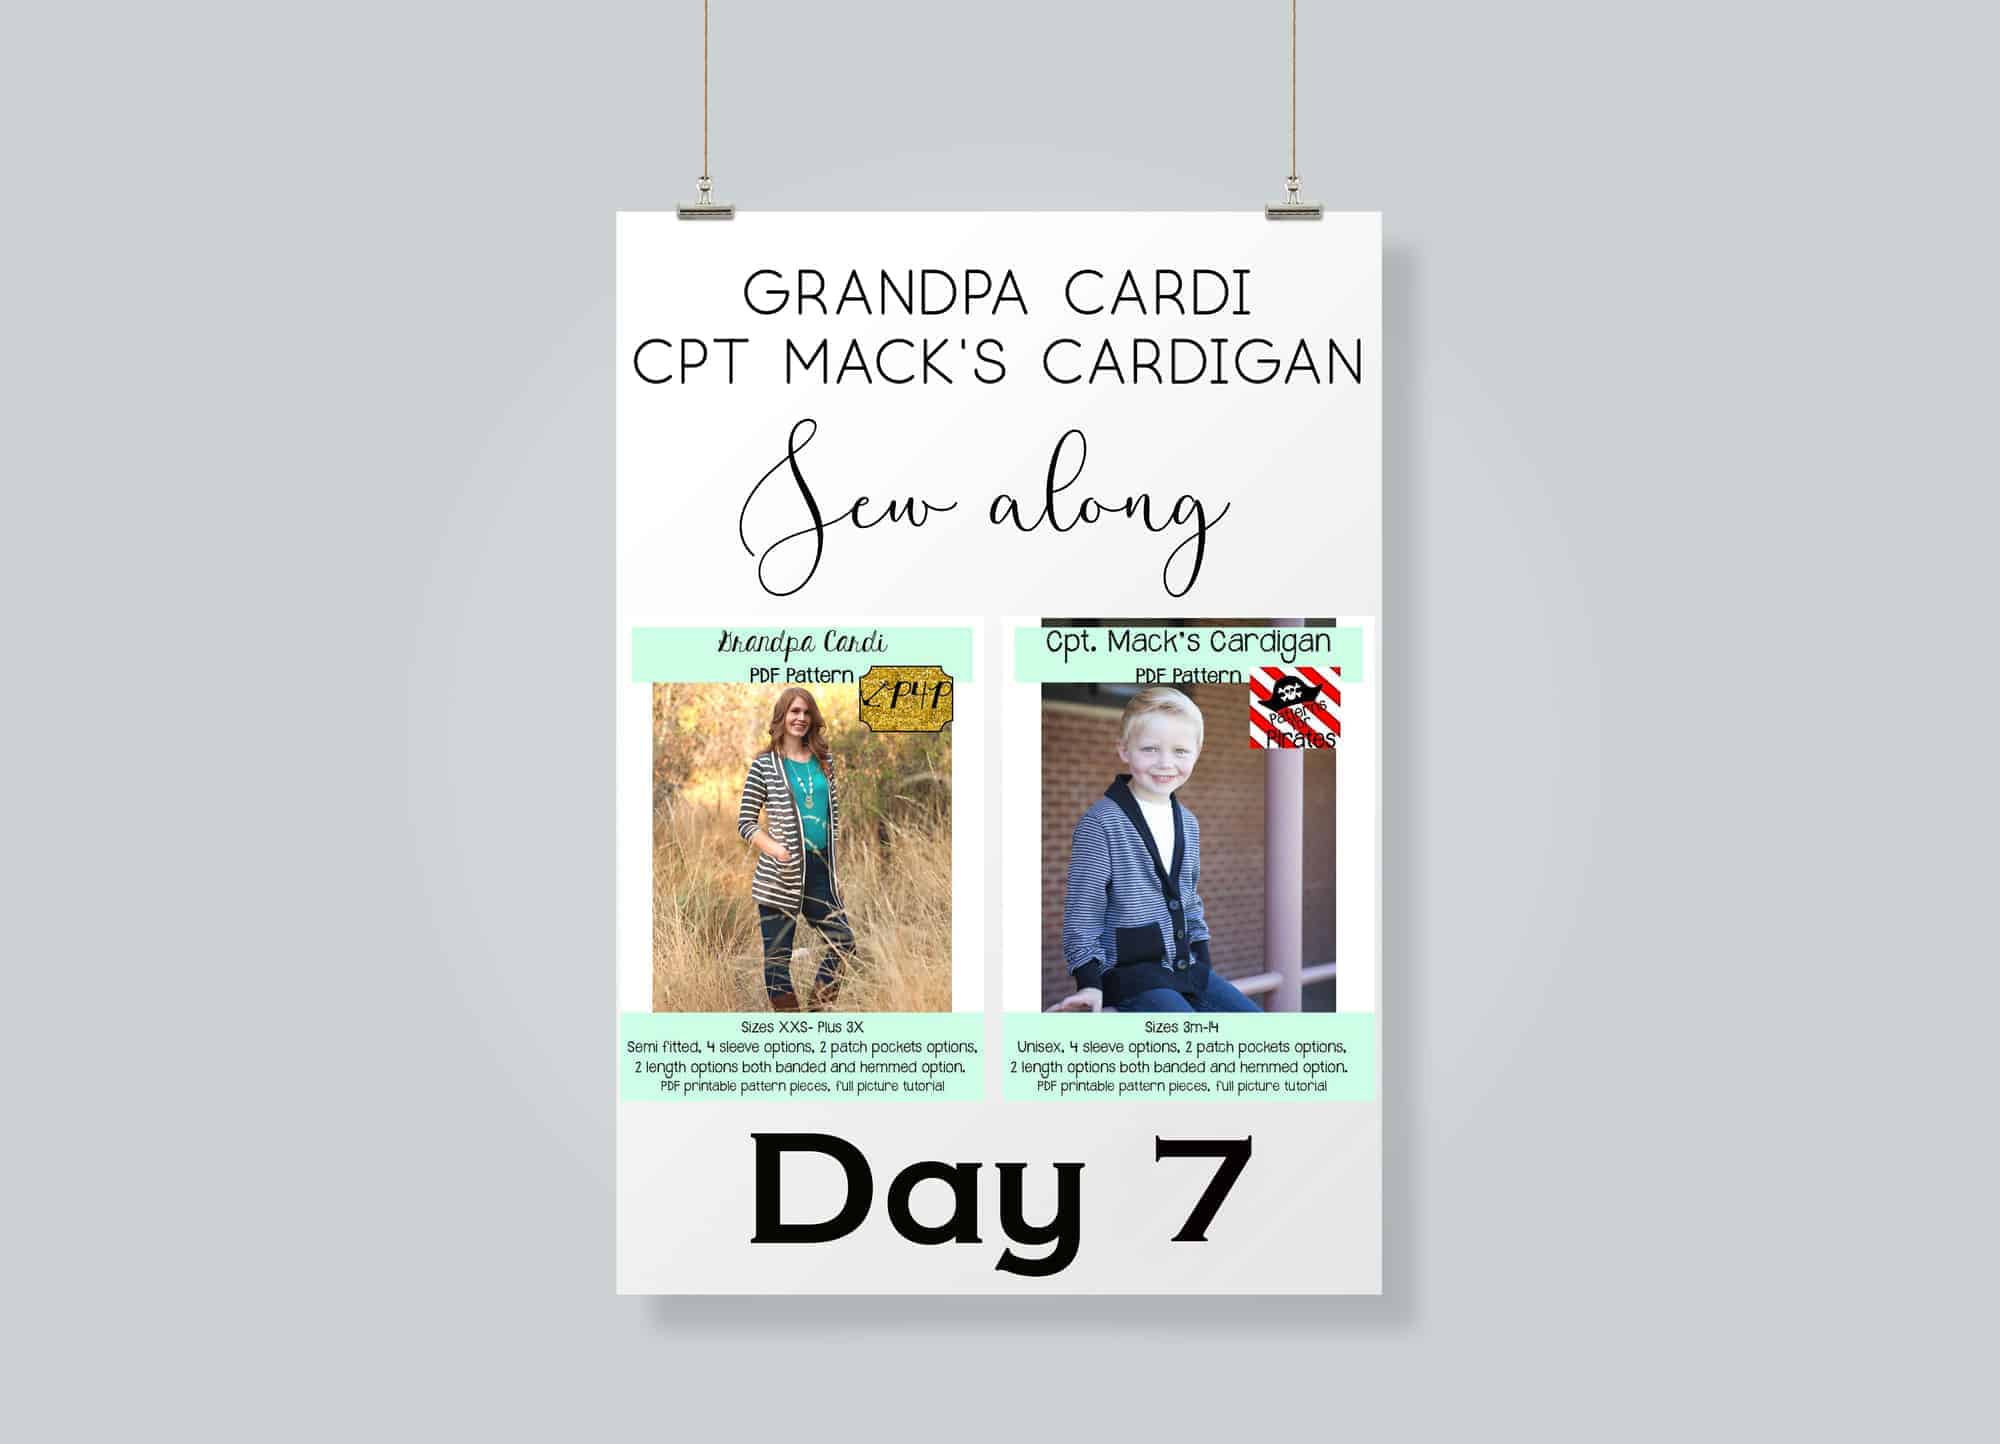
Grandpa Cardi/Cpt Mack’s Cardigan SAL – day 7 (winners announcement)
January 22, 2019

Thank you for joining me last week for the January sew along. We absolutely loved seeing your daily progress and your finished cardigans! Don’t forget to show them off in the main Patterns for Pirates group too so everyone can ohhh and ahhhh at them 🙂

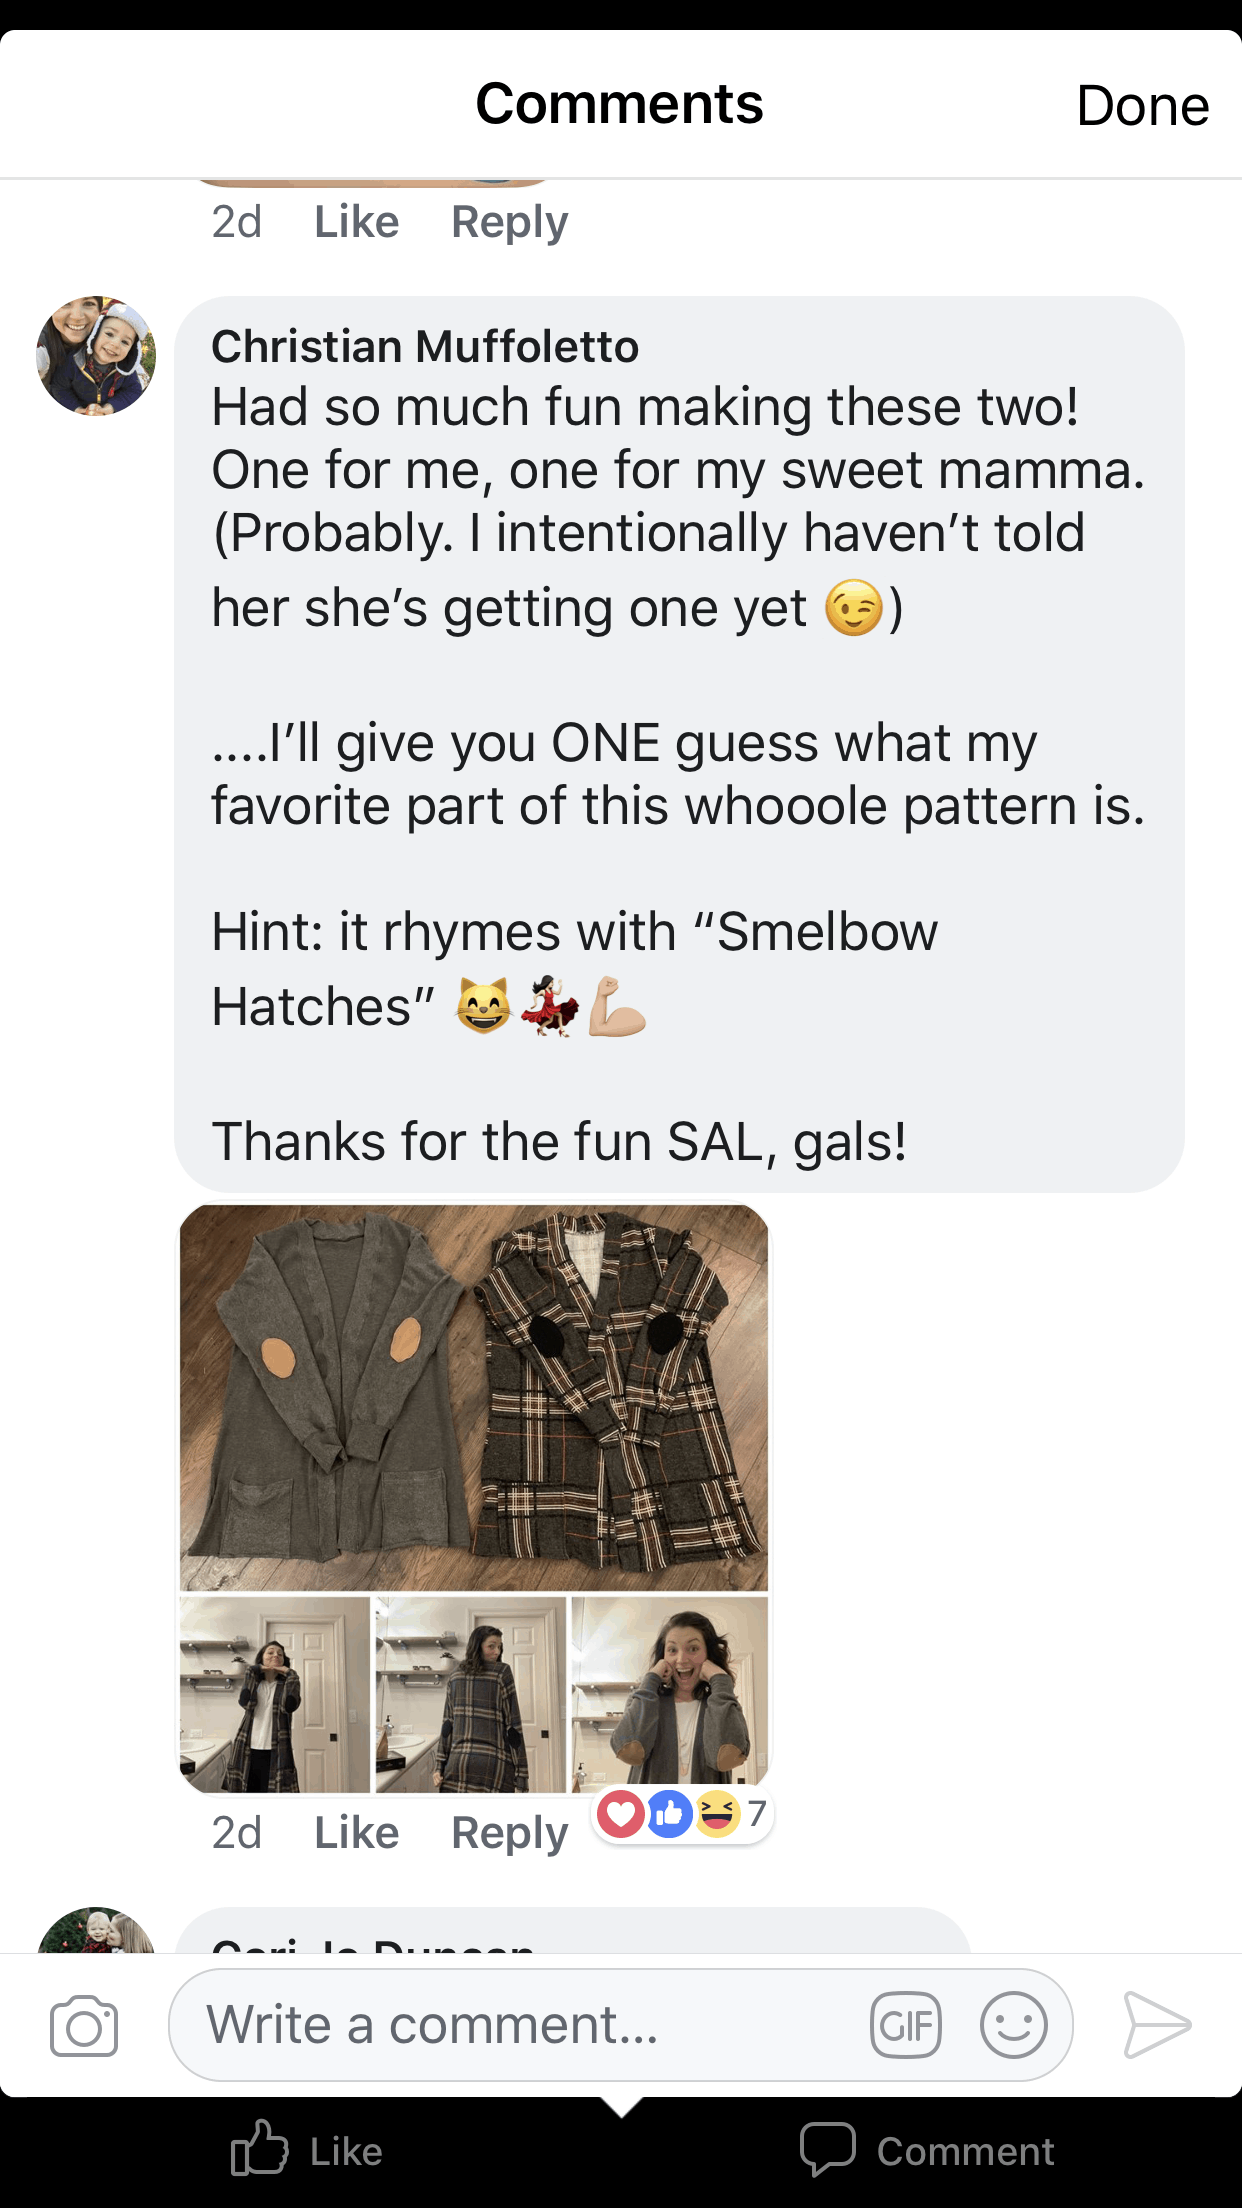
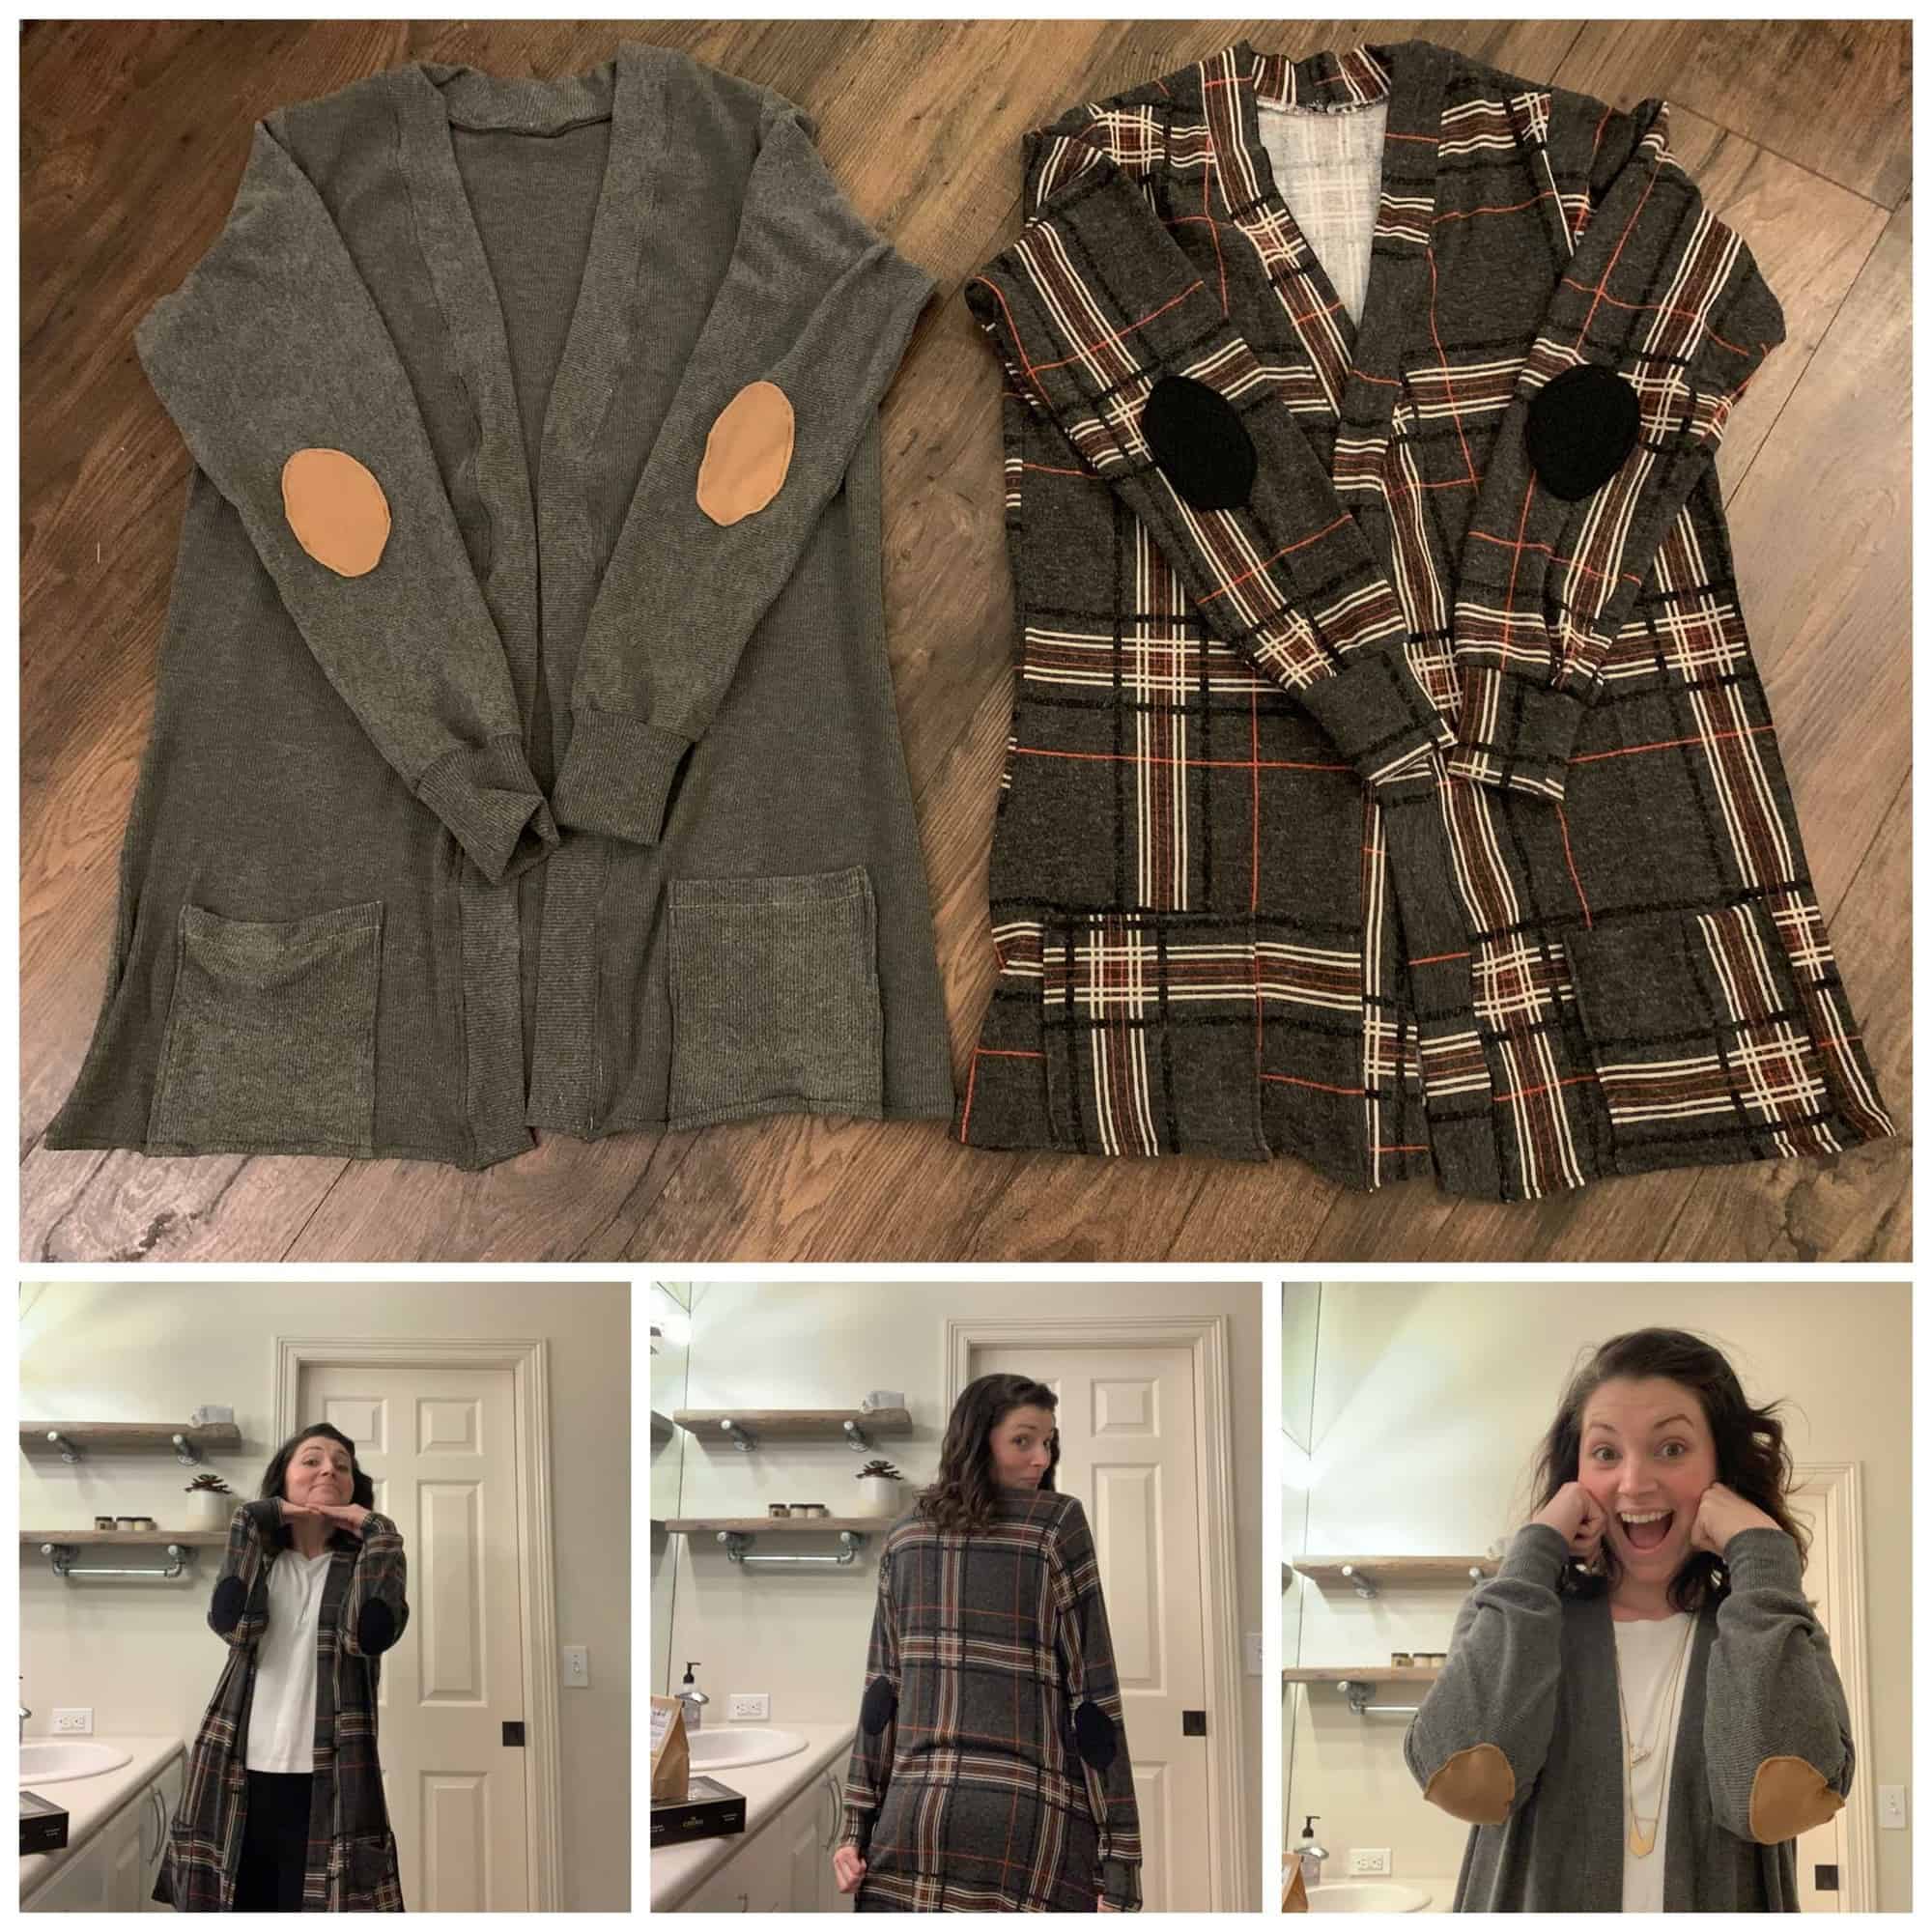
Without further ado…the SAL winner is: Christian Muffoletto

.

Congratulations, Christian! You won a $50 gift card to Sincerely Rylee Fabrics and a $20 store credit to Patterns for Pirates.

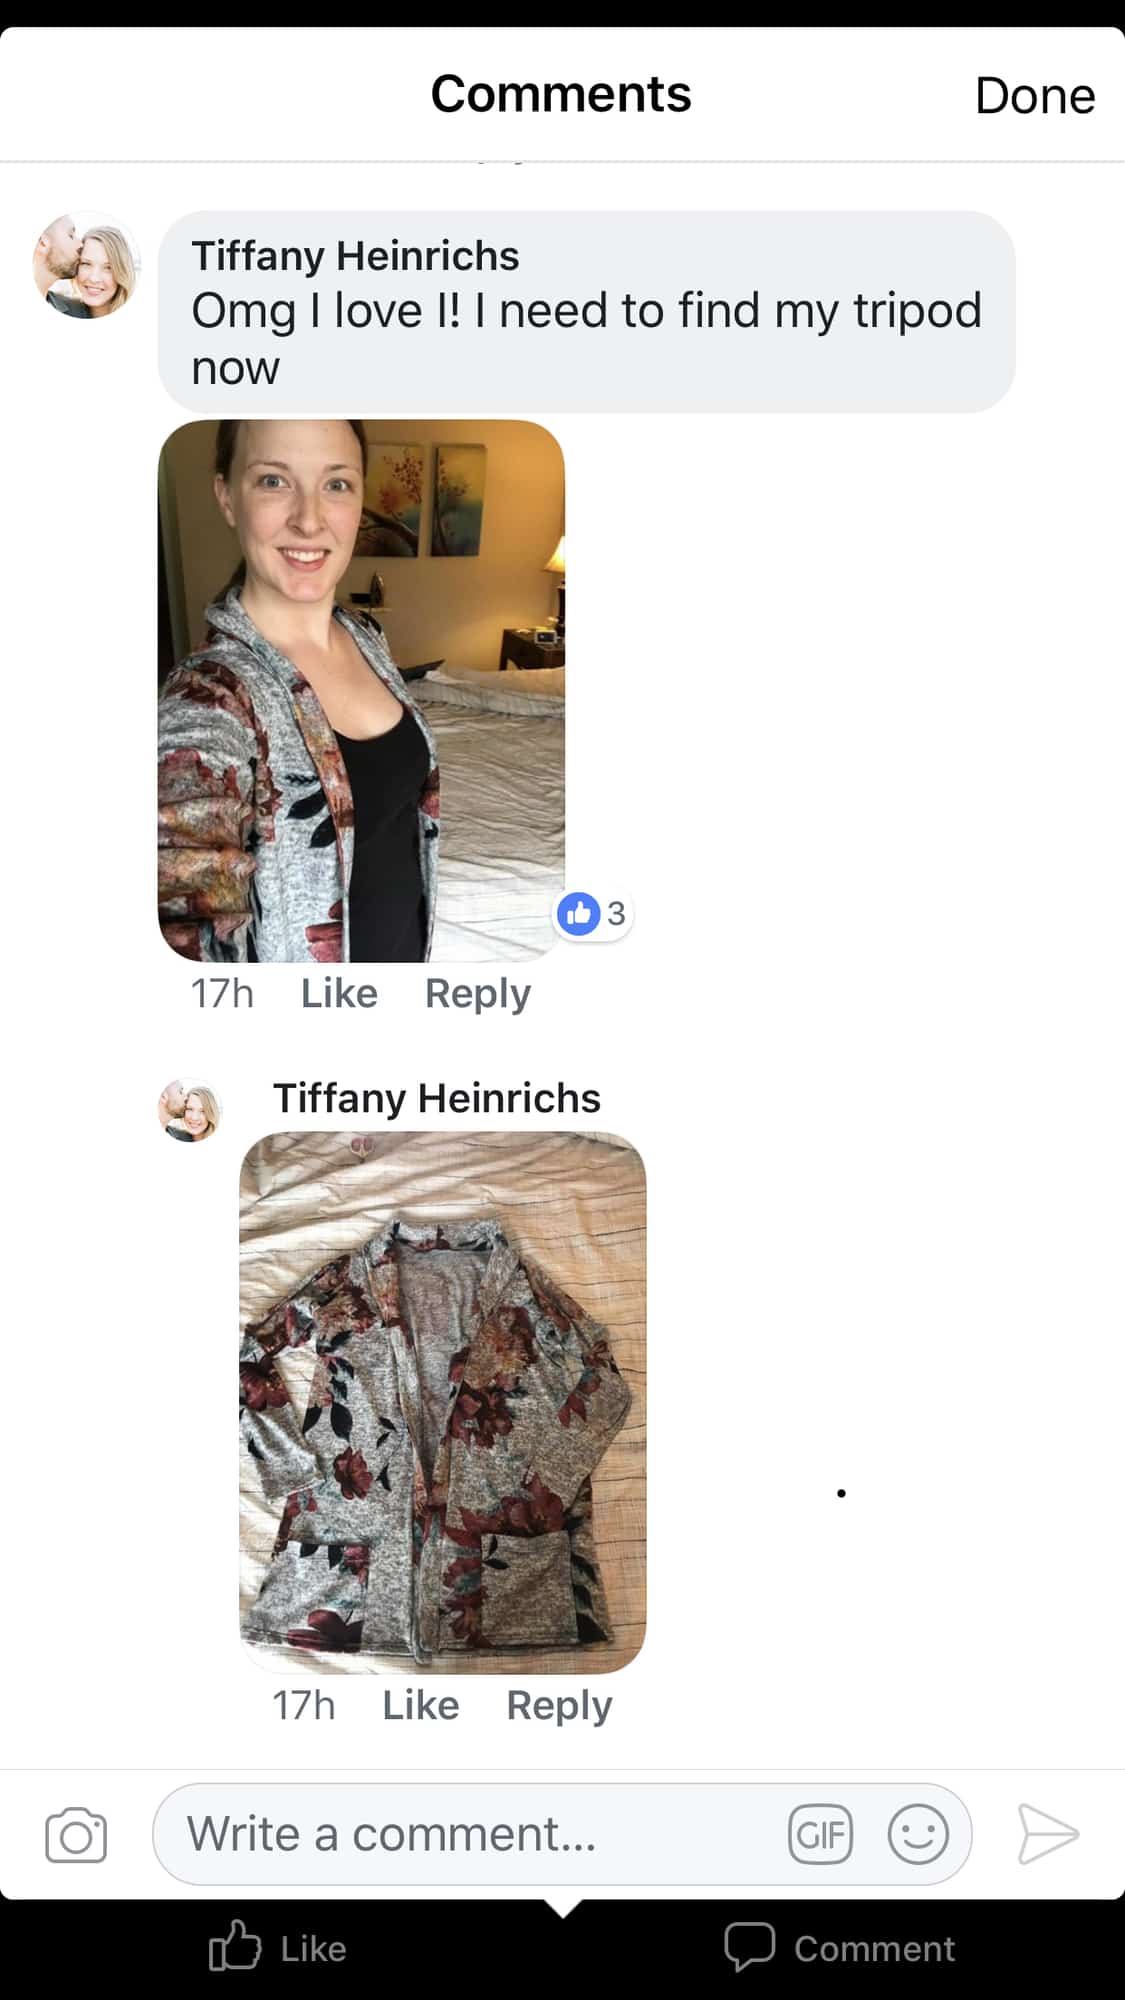
We picked a second winner too. Congratulations Tiffany Heinrichs! You won a $20 gift card to Made for Mermaids.

A huge thank you to our sew along sponsor, Sincerely Rylee who provided the fabric I used for the Grandpa Cardi as well as the prize.

Stay tuned for our February sew along announcement! The Mermaids have planned an amazing SAL for you in the M4M & P4P sew along group.

Grandpa Cardi | Cpt Mack’s Cardigan Sew along  – Day 1 (Print & cut pattern)
Grandpa Cardi | Cpt Mack’s Cardigan Sew along  – Day 2 (choose and cut fabric)

Grandpa Cardi | Cpt Mack’s Cardigan Sew along  – Day 3 (pockets and elbow patches)

Grandpa Cardi | Cpt Mack’s Cardigan Sew along  – Day 4 (shoulder seams and add sleeves)

Grandpa Cardi | Cpt Mack’s Cardigan Sew along  – Day 5 (finish sleeves and bottom edge)

Grandpa Cardi | Cpt Mack’s Cardigan Sew along  – Day 6 (collar/shawl and buttons)

Grandpa Cardi | Cpt Mack’s Cardigan Sew along  – Day 7 (winners announcements)

Filed Under: Sew-A-Long, Uncategorized Leave a Comment

Grandpa Cardi/Cpt Mack’s Cardigan SAL – day 6 (add neckband/shawl and optional buttons)

January 19, 2019

Ahoy, pirates!! We made it to the last steps of this sew along. What a fantastic week! All we have left to do now is add the neckband or the shawl and the optional buttons/snaps. I am adding the shawl option to my cardigan so I will have 4 pieces vs only two for the neckband option.

If you plan on adding buttons or snaps I highly recommend interfacing the front with light weight knit interfacing. In a pinch ultra light weight woven one will work too. It’s very important that you cut the neckband or shawl according to the grainline and stretch direction. Take a look over the video below to see how I attached the shawl neckband.


I decided to add buttons to my cardigan’s front to I also did a quick video of those steps. Grab your seam ripper, marking pens and let’s get started on this last finishing touch. Our P4P University – buttons/buttonholes blog post covers a lot of useful tips to conquer this somewhat scary task.

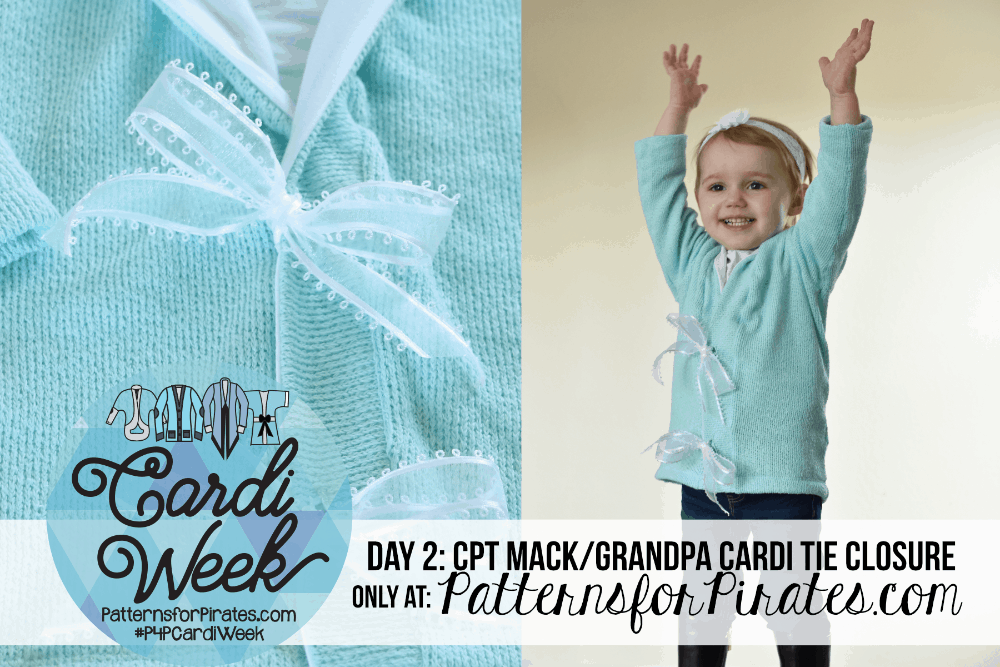
We have some fun hacks to the Grandpa cardi and Cpt Mack’s on the blog as part of the #P4Pcardiweek we had a couple of years ago. One of these hacks shows you how to add ribbon tie closures to the cardigan instead of buttons. Read all about it here.

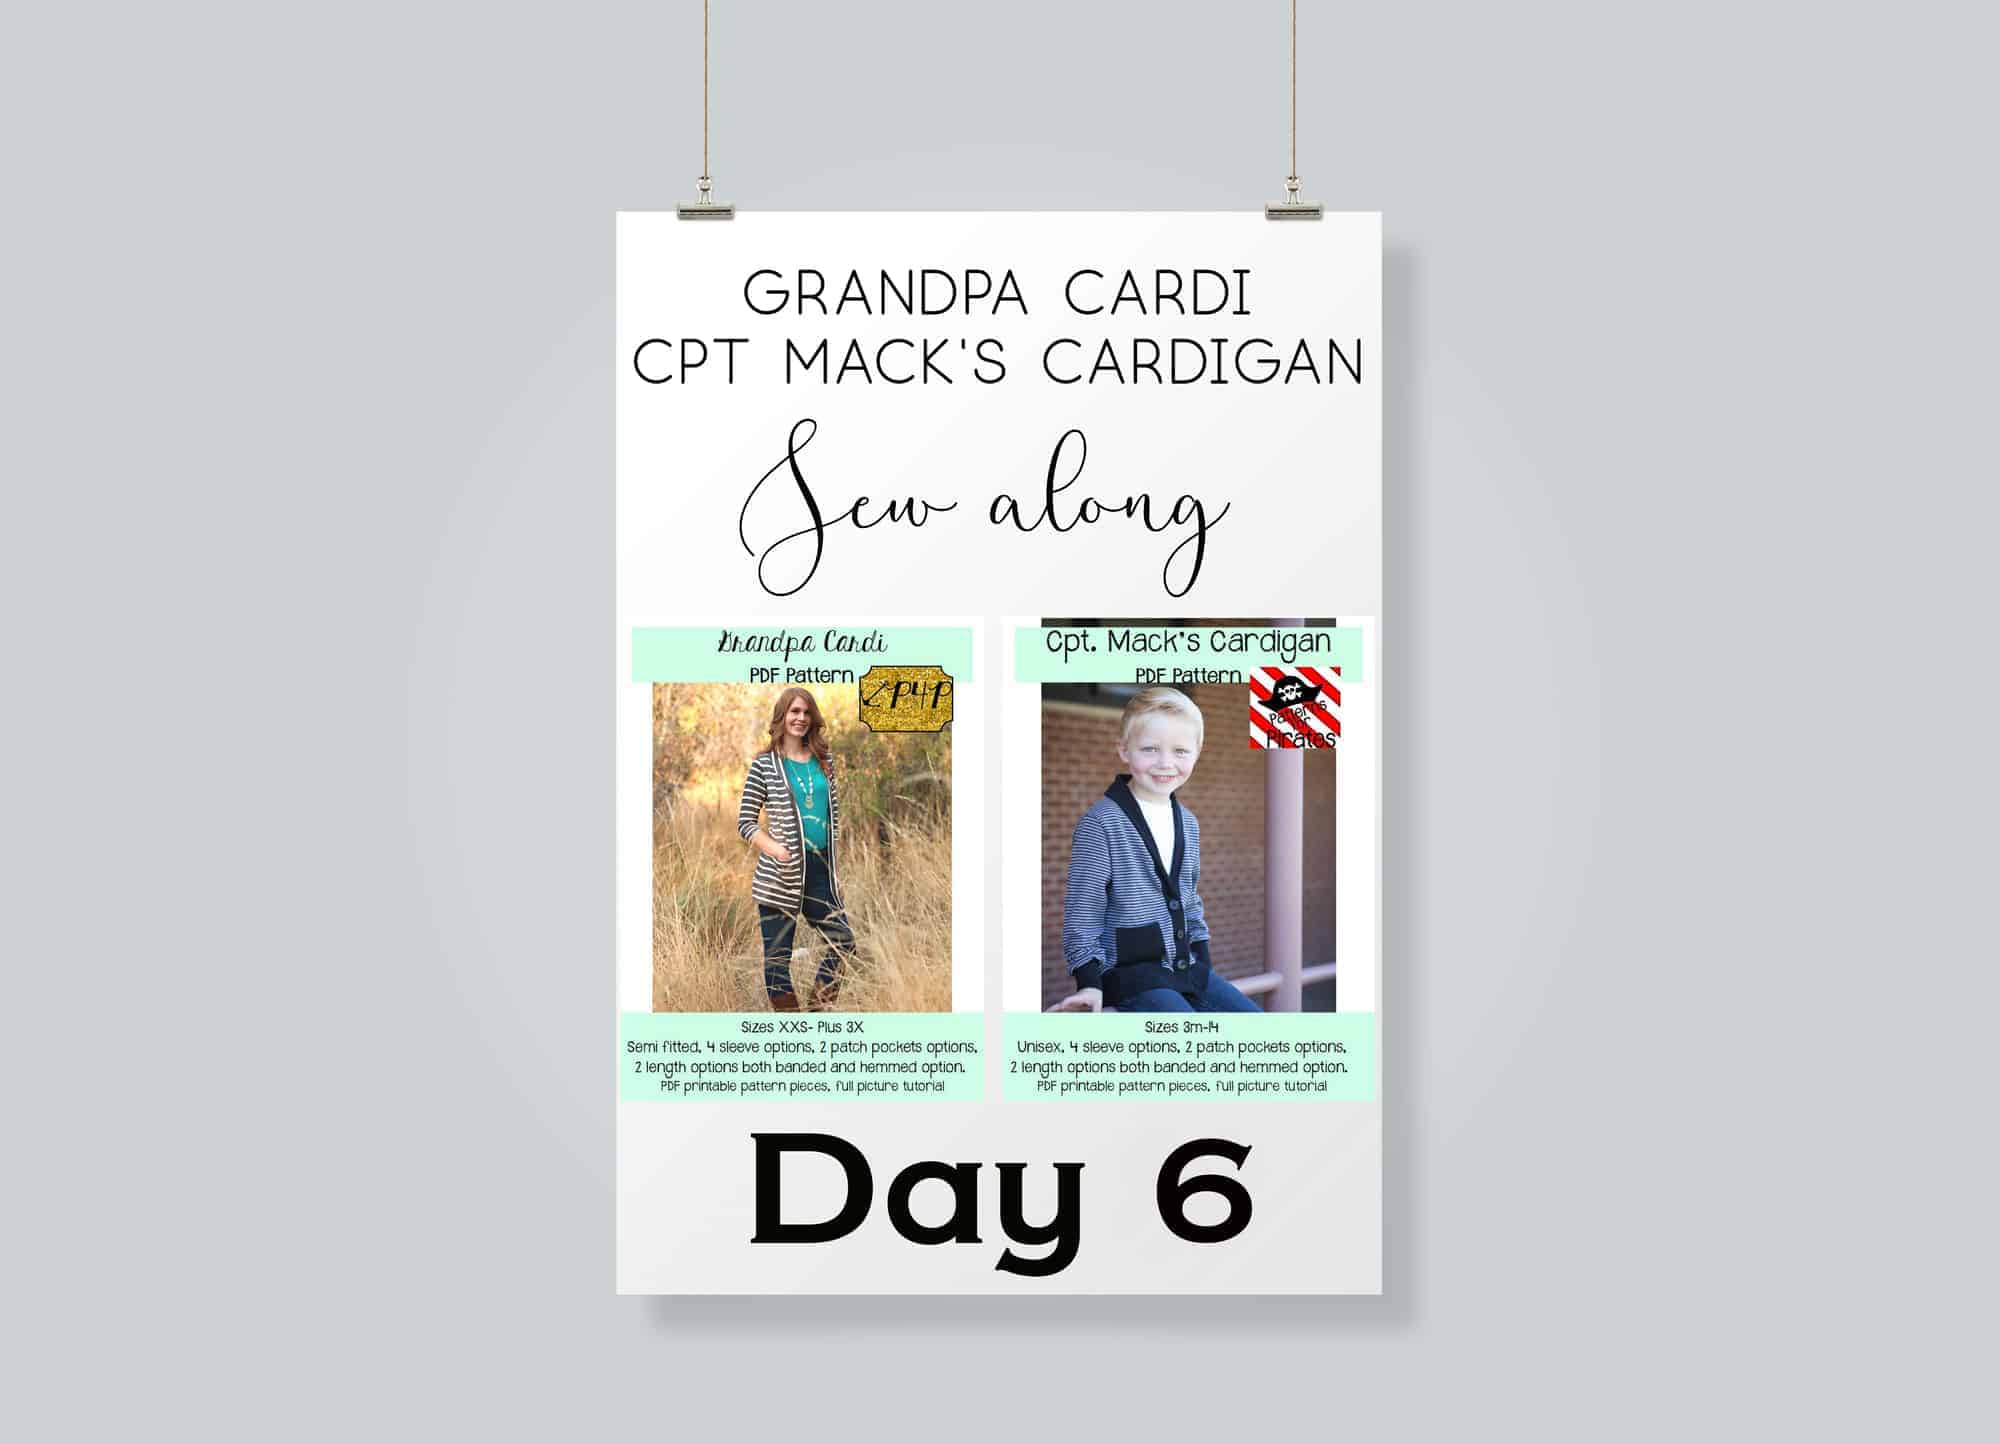
All done!! Great work, everyone! Remember to add a picture of your completed cardigan in the day 6 comments of the Grandpa Cardi/Cpt. Mack’s Cardigan SAL photo album in the SAL group. Tomorrow is catch up day and on Monday evening we will announce the winners here on the blog.


Grandpa Cardi | Cpt Mack’s Cardigan Sew along  – Day 1 (Print & cut pattern)

Grandpa Cardi | Cpt Mack’s Cardigan Sew along  – Day 2 (choose and cut fabric)

Grandpa Cardi | Cpt Mack’s Cardigan Sew along  – Day 3 (pockets and elbow patches)

Grandpa Cardi | Cpt Mack’s Cardigan Sew along  – Day 4 (shoulder seams and add sleeves)

Grandpa Cardi | Cpt Mack’s Cardigan Sew along  – Day 5 (finish sleeves and bottom edge)

Grandpa Cardi | Cpt Mack’s Cardigan Sew along  – Day 6 (collar/shawl and buttons)

Grandpa Cardi | Cpt Mack’s Cardigan Sew along  – Day 7 (winners announcements)

Filed Under: Frequently Asked Questions, Sew-A-Long, Uncategorized Leave a Comment

Grandpa Cardi/Cpt Mack’s Cardigan SAL – day 5 (finish sleeves and bottom edge)

January 18, 2019

FriYAY! One more sewing day left and we’ll be all done. Today we focus on finishing the sleeves and the bottom hem. Both the women and youth cardigans include options for a banded or hemmed bottom edge finish as well as cuffs or hemmed sleeves. My cardigan is a tunic length with hemmed sleeves.

If you are sewing a banded cardigan your waistband lengthwise, wrong sides together before you attach it, press  and steam it after too!

If you went for the hemmed sleeves all you have to do is hem them 1/2″ allowance using either a zig zag stitch, a triple stretch stitch or your coverstitch. Remember that memory hem we did a few days ago? It makes hemming so easy now.

If you chose the sleeves cuffs take a look over our Knit Cuffs 101 blog post and once again, don’t forget to press. In this video I am hemming both the sleeves and the bottom edge. Once you finish, post your progress in the day 5 picture comments of the Cardigan Sew Along album in the M4M & P4P Sew Along group.

Grandpa Cardi | Cpt Mack’s Cardigan Sew along  – Day 1 (Print & cut pattern)

Grandpa Cardi | Cpt Mack’s Cardigan Sew along  – Day 2 (choose and cut fabric)

Grandpa Cardi | Cpt Mack’s Cardigan Sew along  – Day 3 (pockets and elbow patches)

Grandpa Cardi | Cpt Mack’s Cardigan Sew along  – Day 4 (shoulder seams and add sleeves)

Grandpa Cardi | Cpt Mack’s Cardigan Sew along  – Day 5 (finish sleeves and bottom edge)

Grandpa Cardi | Cpt Mack’s Cardigan Sew along  – Day 6 (collar/shawl and buttons)

Grandpa Cardi | Cpt Mack’s Cardigan Sew along  – Day 7 (winners announcements)

Filed Under: Frequently Asked Questions, Sew-A-Long, Uncategorized Leave a Comment

Grandpa Cardi/Cpt Mack’s Cardigan SAL – day 4 (sew shoulder seams and add sleeves)

January 17, 2019

And just like that we made it to day 4! Today we sew the shoulder seams, add the set in sleeves and sew the side seam. By the end of today your project will look like a cardigan 😉  When attaching the sleeves it is very important to match the notch to the shoulder seam, pin in place and then match the side seams and pin in place.

TIP: If you’re doing a hemmed sleeve now would be a good time to press your memory hem. This will make it so much easier to hem later on. 

The Grandpa Cardi and Cpt. Mack’s Cardigan patterns follow a 1/2″ seam allowance so be sure to not deviate from it when you sew the shoulder seams RST or when you attach the sleeves.

Watch the day 4 video below and be sure to post a picture of today’s progress in the day 4 photo comments of the Cardigan SAL album in the M4M & P4P Sew Along Group.

Grandpa Cardi | Cpt Mack’s Cardigan Sew along  – Day 1 (Print & cut pattern)

Grandpa Cardi | Cpt Mack’s Cardigan Sew along  – Day 2 (choose and cut fabric)

Grandpa Cardi | Cpt Mack’s Cardigan Sew along  – Day 3 (pockets and elbow patches)

Grandpa Cardi | Cpt Mack’s Cardigan Sew along  – Day 4 (shoulder seams and add sleeves)

Grandpa Cardi | Cpt Mack’s Cardigan Sew along  – Day 5 (finish sleeves and bottom edge)

Grandpa Cardi | Cpt Mack’s Cardigan Sew along  – Day 6 (collar/shawl and buttons)

Grandpa Cardi | Cpt Mack’s Cardigan Sew along  – Day 7 (winners announcements)

Filed Under: Frequently Asked Questions, Sew-A-Long, Uncategorized 2 Comments

  • « Previous Page
  • 1
  • …
  • 13
  • 14
  • 15
  • 16
  • 17
  • …
  • 23
  • Next Page »

connect with me

  • Email
  • Facebook
  • Instagram
  • Pinterest
  • YouTube
Privacy & Cookies: This site uses cookies. By continuing to use this website, you agree to their use.

To find out more, including how to control cookies, see here: Cookie Policy
  • Privacy Policy
  • Refund Policy
  • Contact Us
  • About

Copyright © 2026 Patterns for Pirates

Copyright © 2026 · Genesis Framework · WordPress · Log in