Patterns for Pirates

P4P stylish, modern, wearable patterns

  • Home
  • Blog
    • Frequently Asked Questions
    • Pattern Releases
      • Free Patterns
    • P4P University
      • Fitting
      • Sewing with Stretch, Knit Fabrics
      • Sewing with Woven Fabrics
      • Sewing Machines
    • Sew-A-Longs
    • Fabric for Pirates
    • Pattern Hacks
    • Announcement
      • Blog Tours
      • Contest/Giveaway
  • Shop
  • Bundle Discounts
  • Flash Friday
  • Gift Cards
  • My Account
  • Cart

Go To Jacket – SAL day 4 (sew shoulder seams and add sleeves)

October 11, 2018

Day 4 is here! Today we sew the shoulder seams (easy peasy!) and add the set in sleeves. When attaching the sleeves it is very important to match the notch to the shoulder seam, pin in place and then match the side seams and pin in place.

TIP: If you’re doing a hemmed sleeve now would be a good time to press your memory hem. This will make it so much easier to hem later on. 

The Go To Jacket pattern follows a 1/2″ seam allowance so be sure to not deviate from it when you sew the shoulder seams RST or when you attach the sleeves.

Watch the day 4 video below and be sure to post a picture of today’s progress in the day 4 photo comments of the Go To Jacket album in the M4M & P4P Sew Along Group.

Go To Jacket Sew Along

Day 1: Print + Cut Pattern

Day 2: Choose + Cut Fabric

Day 3: Sew Pockets

Day 4: Sew Shoulder Seams + Attach Sleeves

Day 5: Attach Neckband / Hood

Day 6: Add waistband + Finish Sleeves

Day 7: Add Zipper

Day 8: Recap + Catch Up

Day 9: Winners Announcement

Filed Under: Frequently Asked Questions, Sew-A-Long, Uncategorized Leave a Comment

Go To Jacket – SAL day 3 (sew pockets)

October 10, 2018

Welcome to day 3 of the Go To Jacket Sew along! Today is dedicated to adding pockets. The pattern features two styles, patch and inseam. I will be sewing the inseam one on my kids’ jacket and the kanga on my women one. The inseam pockets will have two openings, one at the side seam and a cool hidden one on the inside of the jacket. Today’s steps are pretty easy and as always, be sure to post in the SAL group if you have any questions.

Watch the videos below for and  post a picture of your pockets in the day 3 photo comments of the Go To Jacket SAL album.

Inseam pockets:

Kanga pockets:

Go To Jacket Sew Along

Day 1: Print + Cut Pattern

Day 2: Choose + Cut Fabric

Day 3: Sew Pockets

Day 4: Sew Shoulder Seams + Attach Sleeves

Day 5: Attach Neckband / Hood

Day 6: Add waistband + Finish Sleeves

Day 7: Add Zipper

Day 8: Recap + Catch Up

Day 9: Winners Announcement
Filed Under: Frequently Asked Questions, Sew-A-Long, Uncategorized 2 Comments

Go To Jacket – SAL day 2 (choose and cut fabric)

October 9, 2018

On day 2 we pick our favorite fabrics for the jacket. The pattern is drafted for medium stretch knit with at least 20% stretch like thicker performance knit, French Terry, fleece with stretch, sweatshirt knit, squish (aka cloud, cush, double brushed stretch minky), even thicker cotton spandex. For the pockets, chin guard, neckband and hood lining we recommend lighter fabric like cotton spandex. You will also need a separating zipper. The zipper length will depend on the size and style jacket you are making.

If you are unsure about which knit type will work best for your desired look, take a look over our P4P University Knit Types blog. Judy also included a cheat sheet that you can print. If you are like me and sometime are just keen on using a specific print for a specific pattern, read our Different fabric, different fit blog post before you cut your fabric.

For this SAL I am going to be sewing a youth Go To Jacket made with Vintage Lace French Terry and a Women’s GTJ with RockerbyeDestash Fabrics.

The Day 2 video is posted below. Check it out and once you are done cutting your fabric post a picture of it in the comments of the Day 2 photo of the Go To Jacket SAL album in the M4M & P4P Sew Along group.

Go To Jacket Sew Along

Day 1: Print + Cut Pattern

Day 2: Choose + Cut Fabric

Day 3: Sew Pockets

Day 4: Sew Shoulder Seams + Attach Sleeves

Day 5: Attach Neckband / Hood

Day 6: Add waistband + Finish Sleeves

Day 7: Add Zipper

Day 8: Recap + Catch Up

Day 9: Winners Announcement
Filed Under: Frequently Asked Questions, Sew-A-Long, Uncategorized Leave a Comment

Go To Jacket – SAL day 1 (print and cut pattern)

October 8, 2018

Welcome to our Go To Jacket Sew Along!

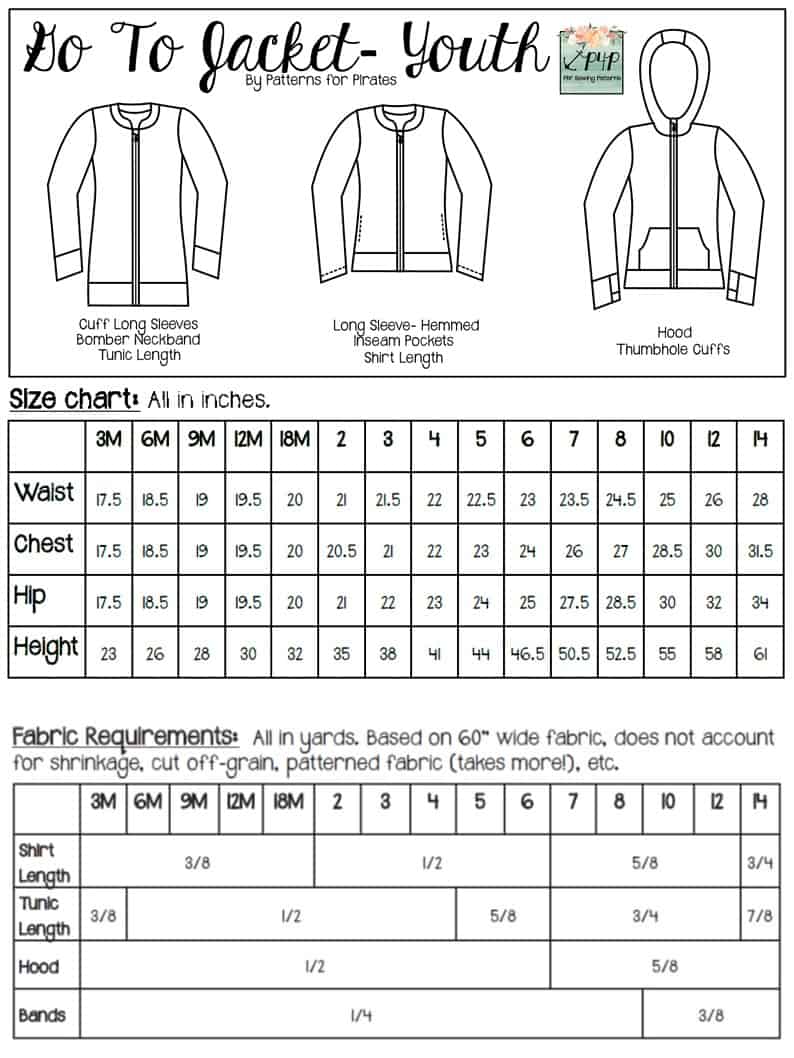
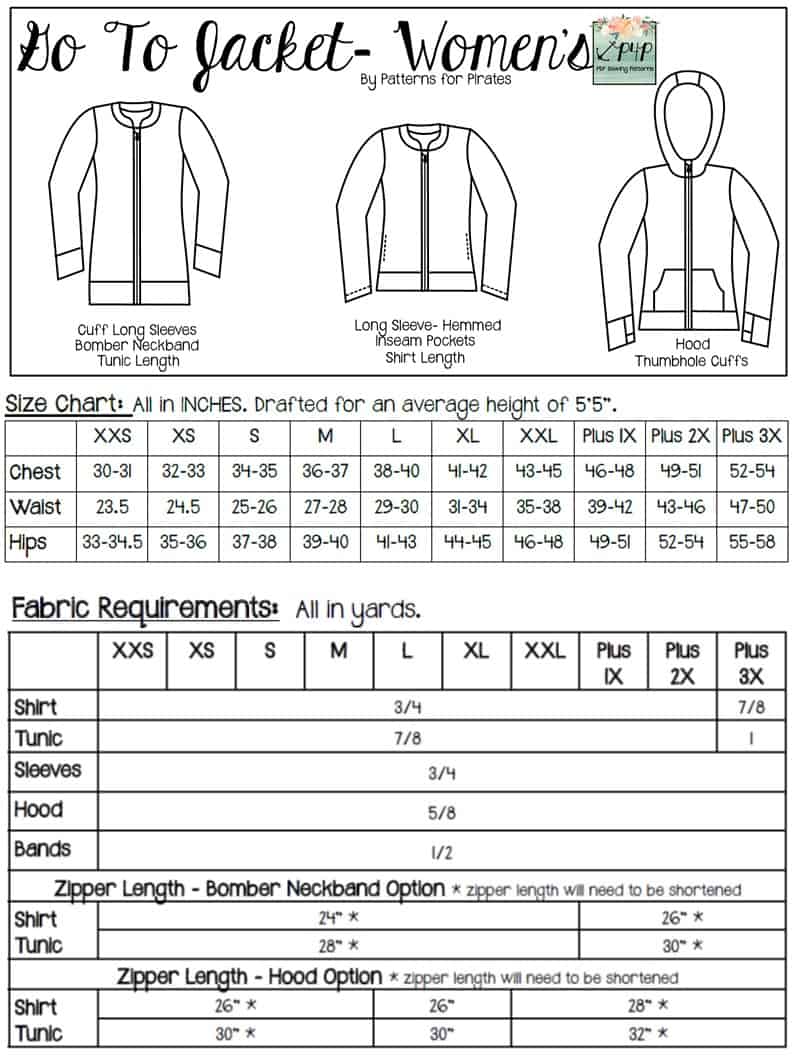
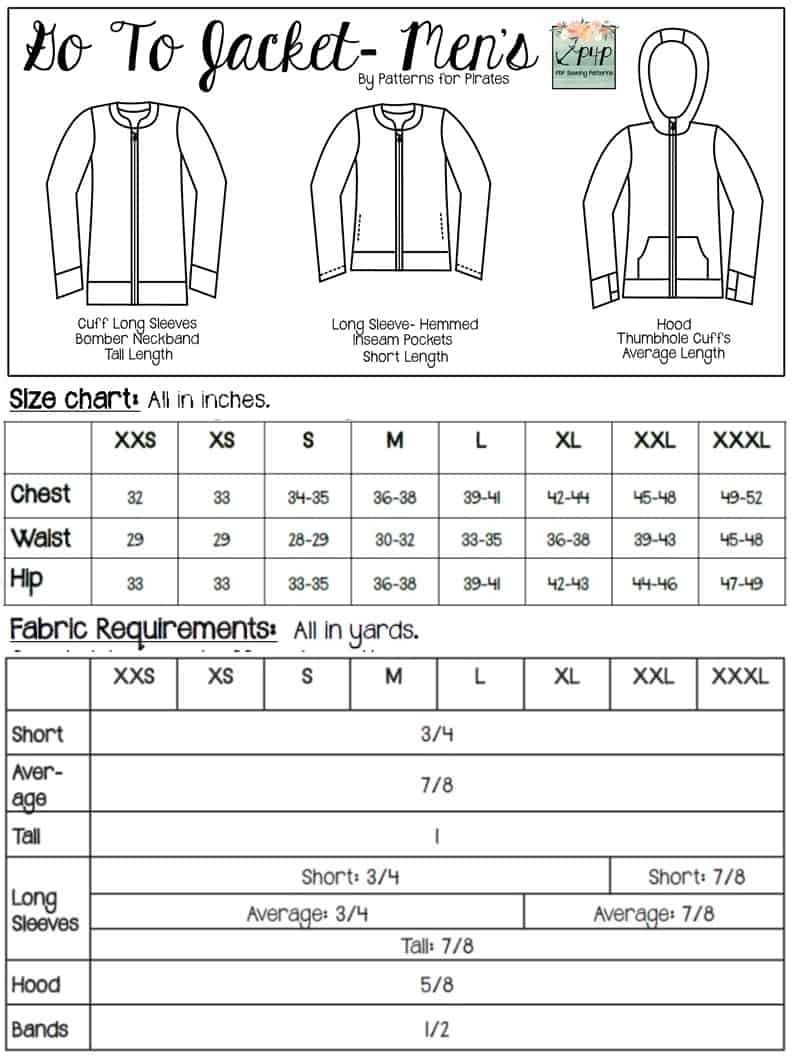
Day 1 is reserved to purchasing the pattern, printing and cutting the size(s) you need. If you plan on sewing for yourself you can get the Women Go To Jacket or Men Go To Jacket here, if you’re sewing for your little one, youth GTJ can be purchased here and if you’re sewing for the family, grab the bundle!

This Sew Along will be hosted in the new M4M & P4P Sew Along group so be sure to join the group not only for the exclusive discount code available for the Go To Jacket patterns, fabric code but also to post your progress this week. Don’t forget to check out the blog daily for videos and tips!

Now that you purchased the pattern(s), print the size needed. In order to do that it is very important that you take your most accurate measurements.

You will need your waist, hips and chest measurements in order to choose the correct Go To Jacket size. Patterns for Pirates has an great blog post that gives you tips for accurately taking your measurements. You can read all about it here. If your measurements put you in a different size for chest/waist/hips be sure to check out our P4P University blog and grade to achieve the perfect fit.

Check out the day 1 video below and then leave a comment on the Day 1 picture of the Go To Jacket SAL album in the M4M & P4P Sew Along Group. Tell us who will receive the Go To Jacket you’re sewing. We don’t allow pictures of the pattern posted so this will be your day 1 check in.

Go To Jacket Sew Along

Day 1: Print + Cut Pattern

Day 2: Choose + Cut Fabric

Day 3: Sew Pockets

Day 4: Sew Shoulder Seams + Attach Sleeves

Day 5: Attach Neckband / Hood

Day 6: Add waistband + Finish Sleeves

Day 7: Add Zipper

Day 8: Recap + Catch Up

Day 9: Winners Announcement

Filed Under: Frequently Asked Questions, Sew-A-Long, Uncategorized 5 Comments

Tulip Tee Easy Hacks + 100k Sale-A-Bration Day 6!

September 15, 2018

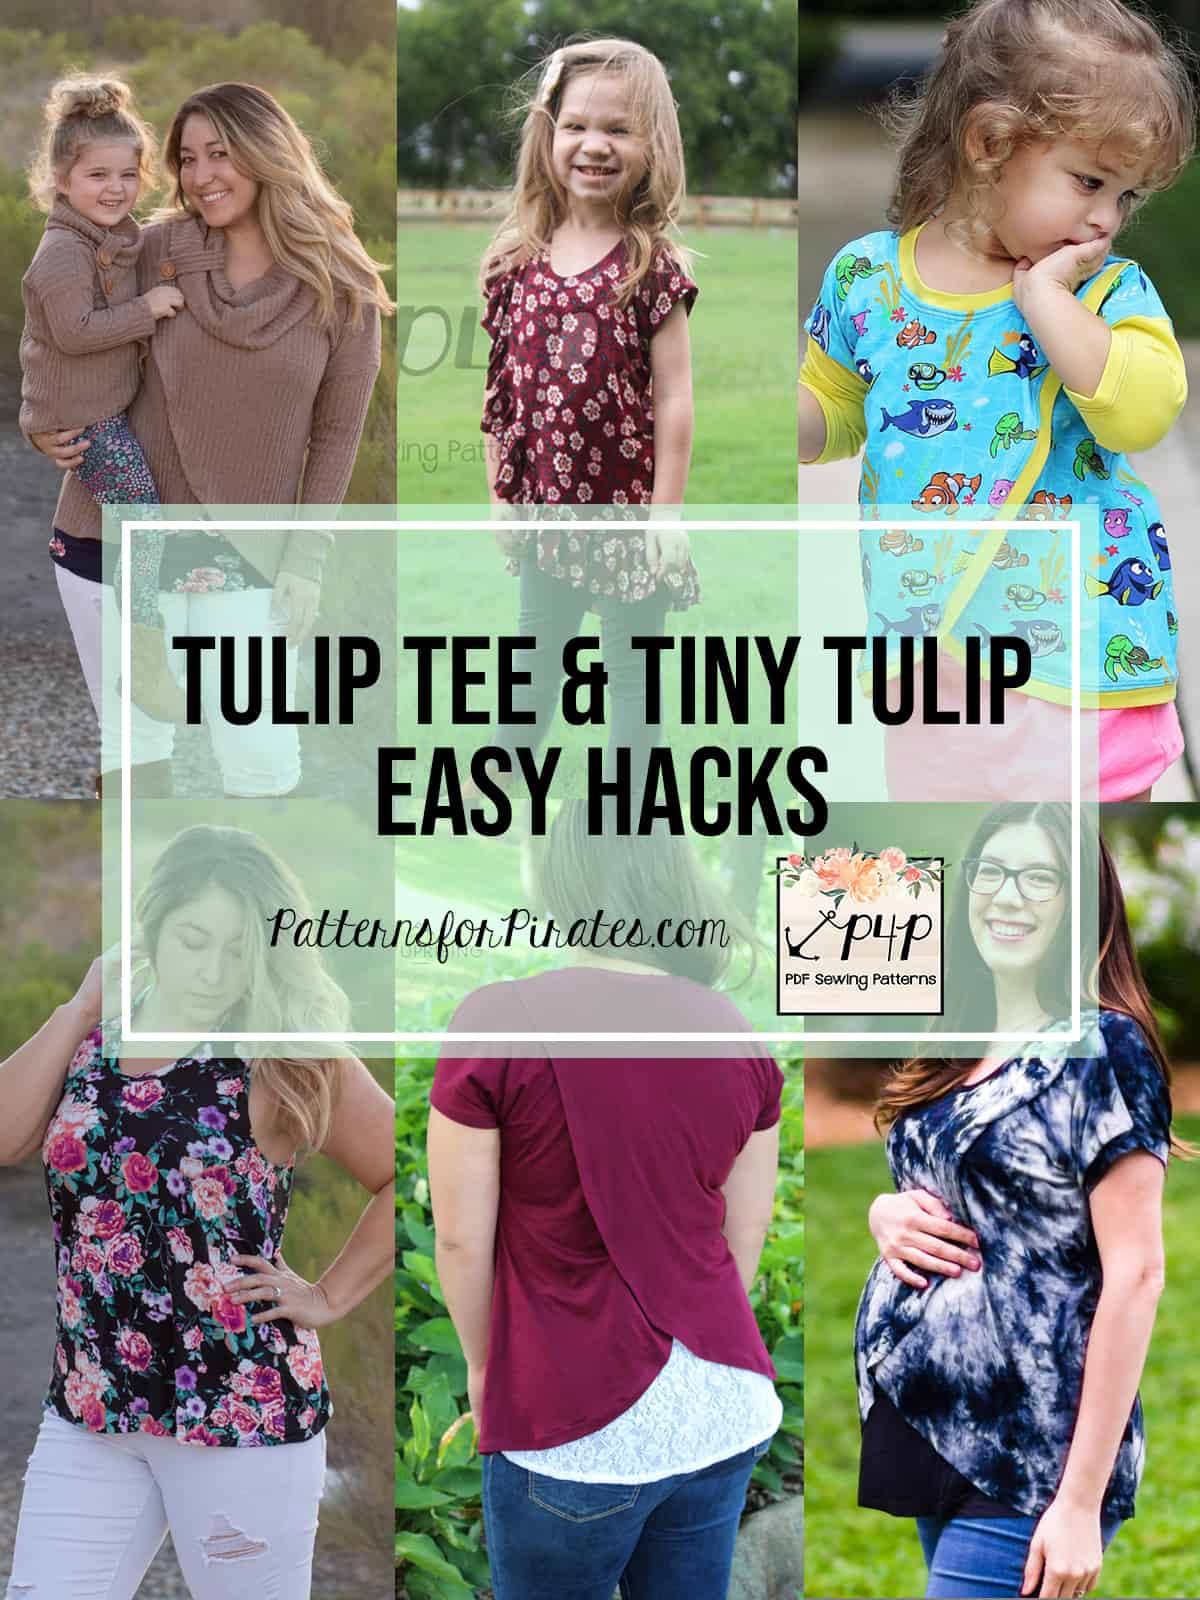
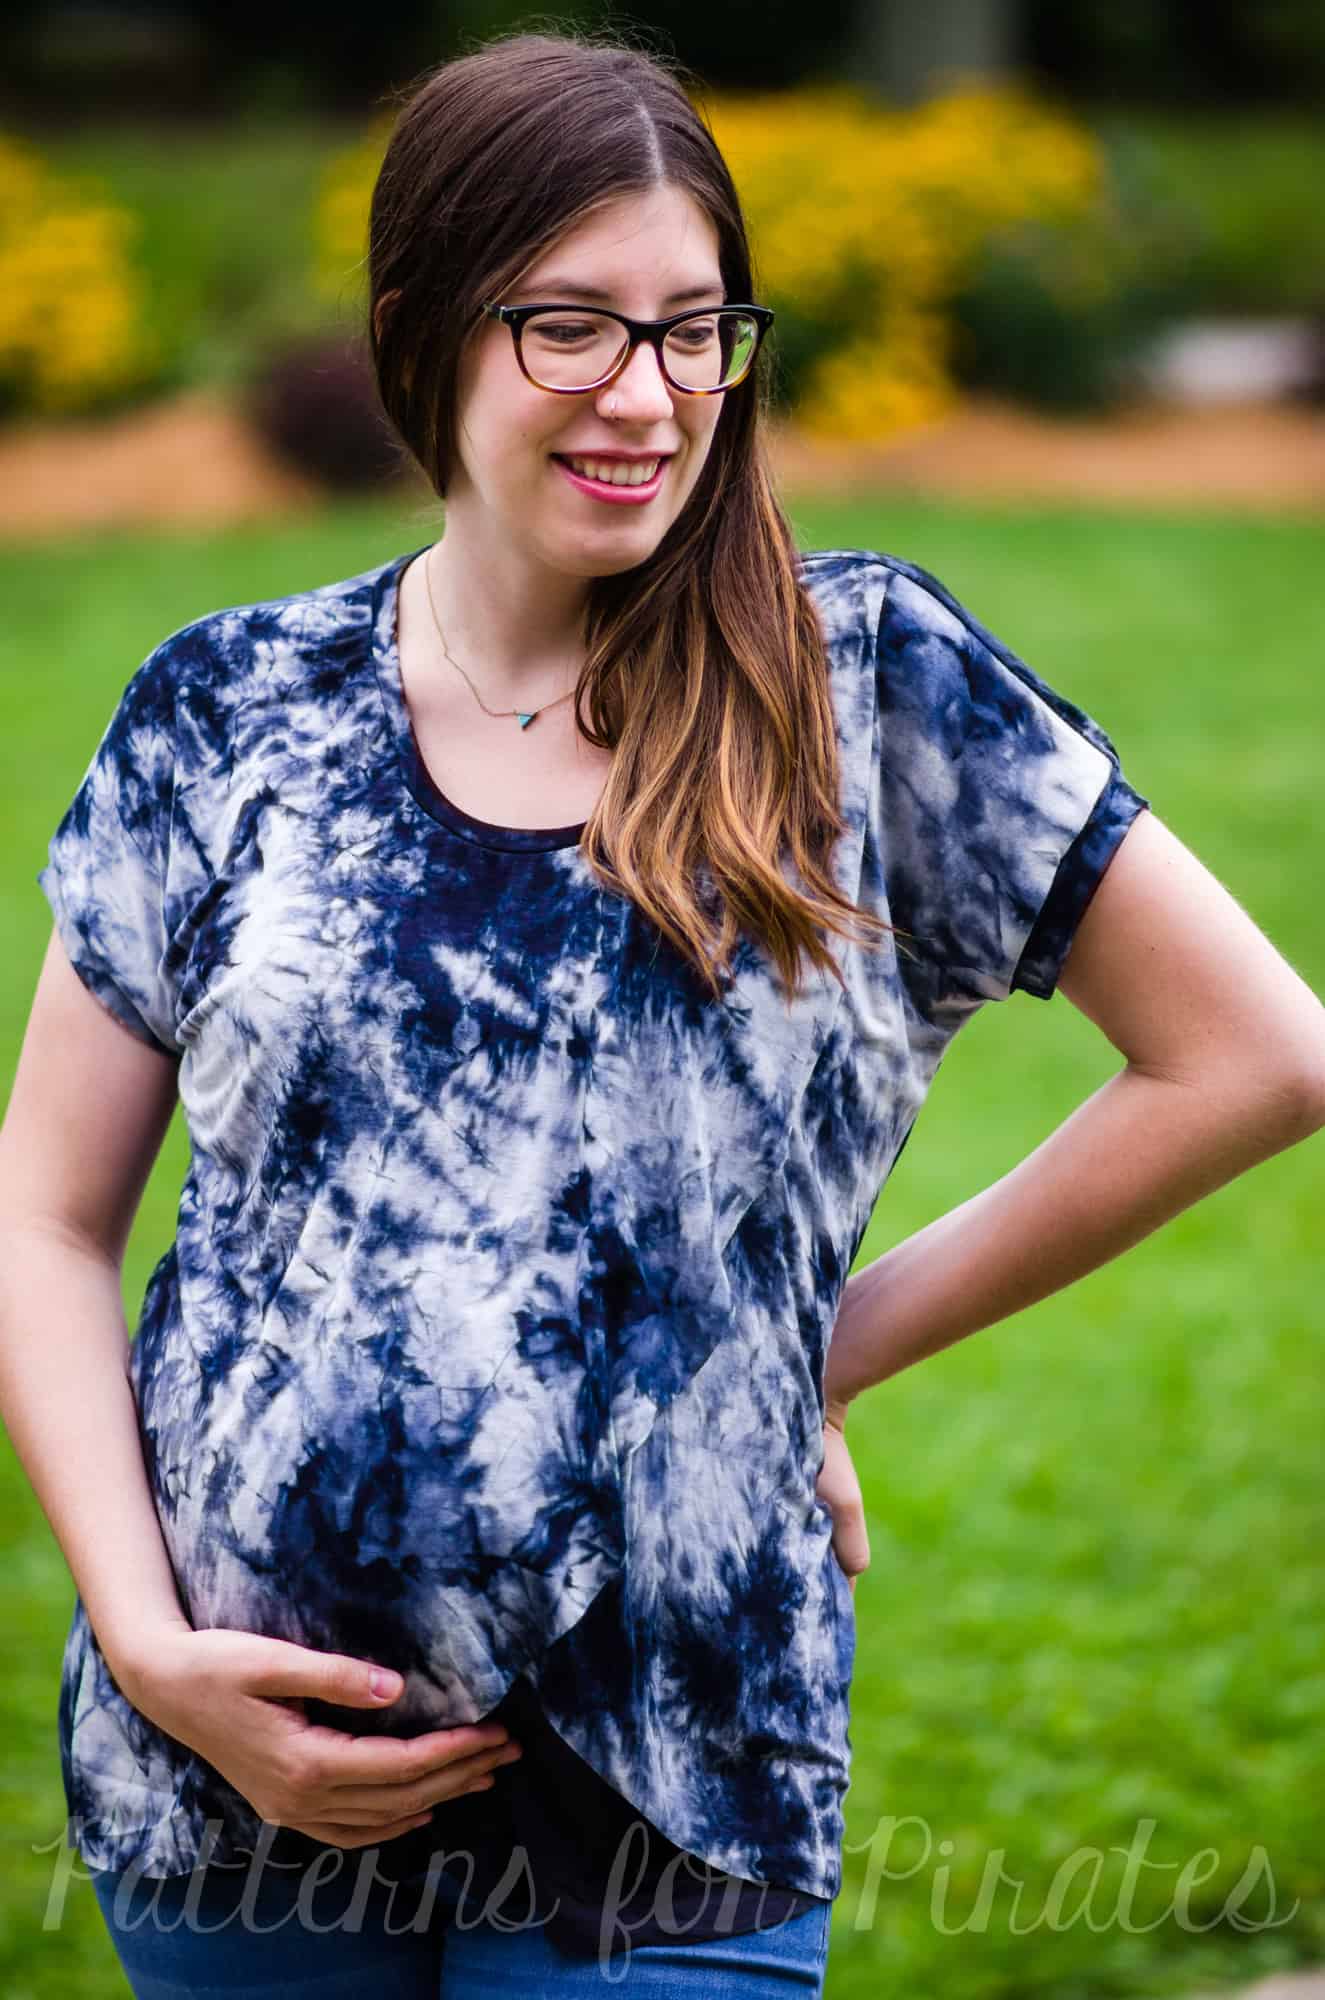
The Tiny Tulip and the Tulip Tee are not only free but also packed with options. Well that didn’t stop the P4P blog contributors team to show you some easy hacks that will give you even more looks.

…..

Ruffle on girls tee

Adding a ruffle is so easy and gives such a cute look! The tulip is a long hemline to add one, so keep that in mind when picking how wide and gathered you’re making it.  I choose to make mine just one layer (not folded) with a raw edge so keep it from being heavier on her. I also wish I would’ve not gathered the under tulip section in hindsight! So, learn from me and do the top section that hides under not gathered 🙂 to keep it flatter underneath and lighter as well.

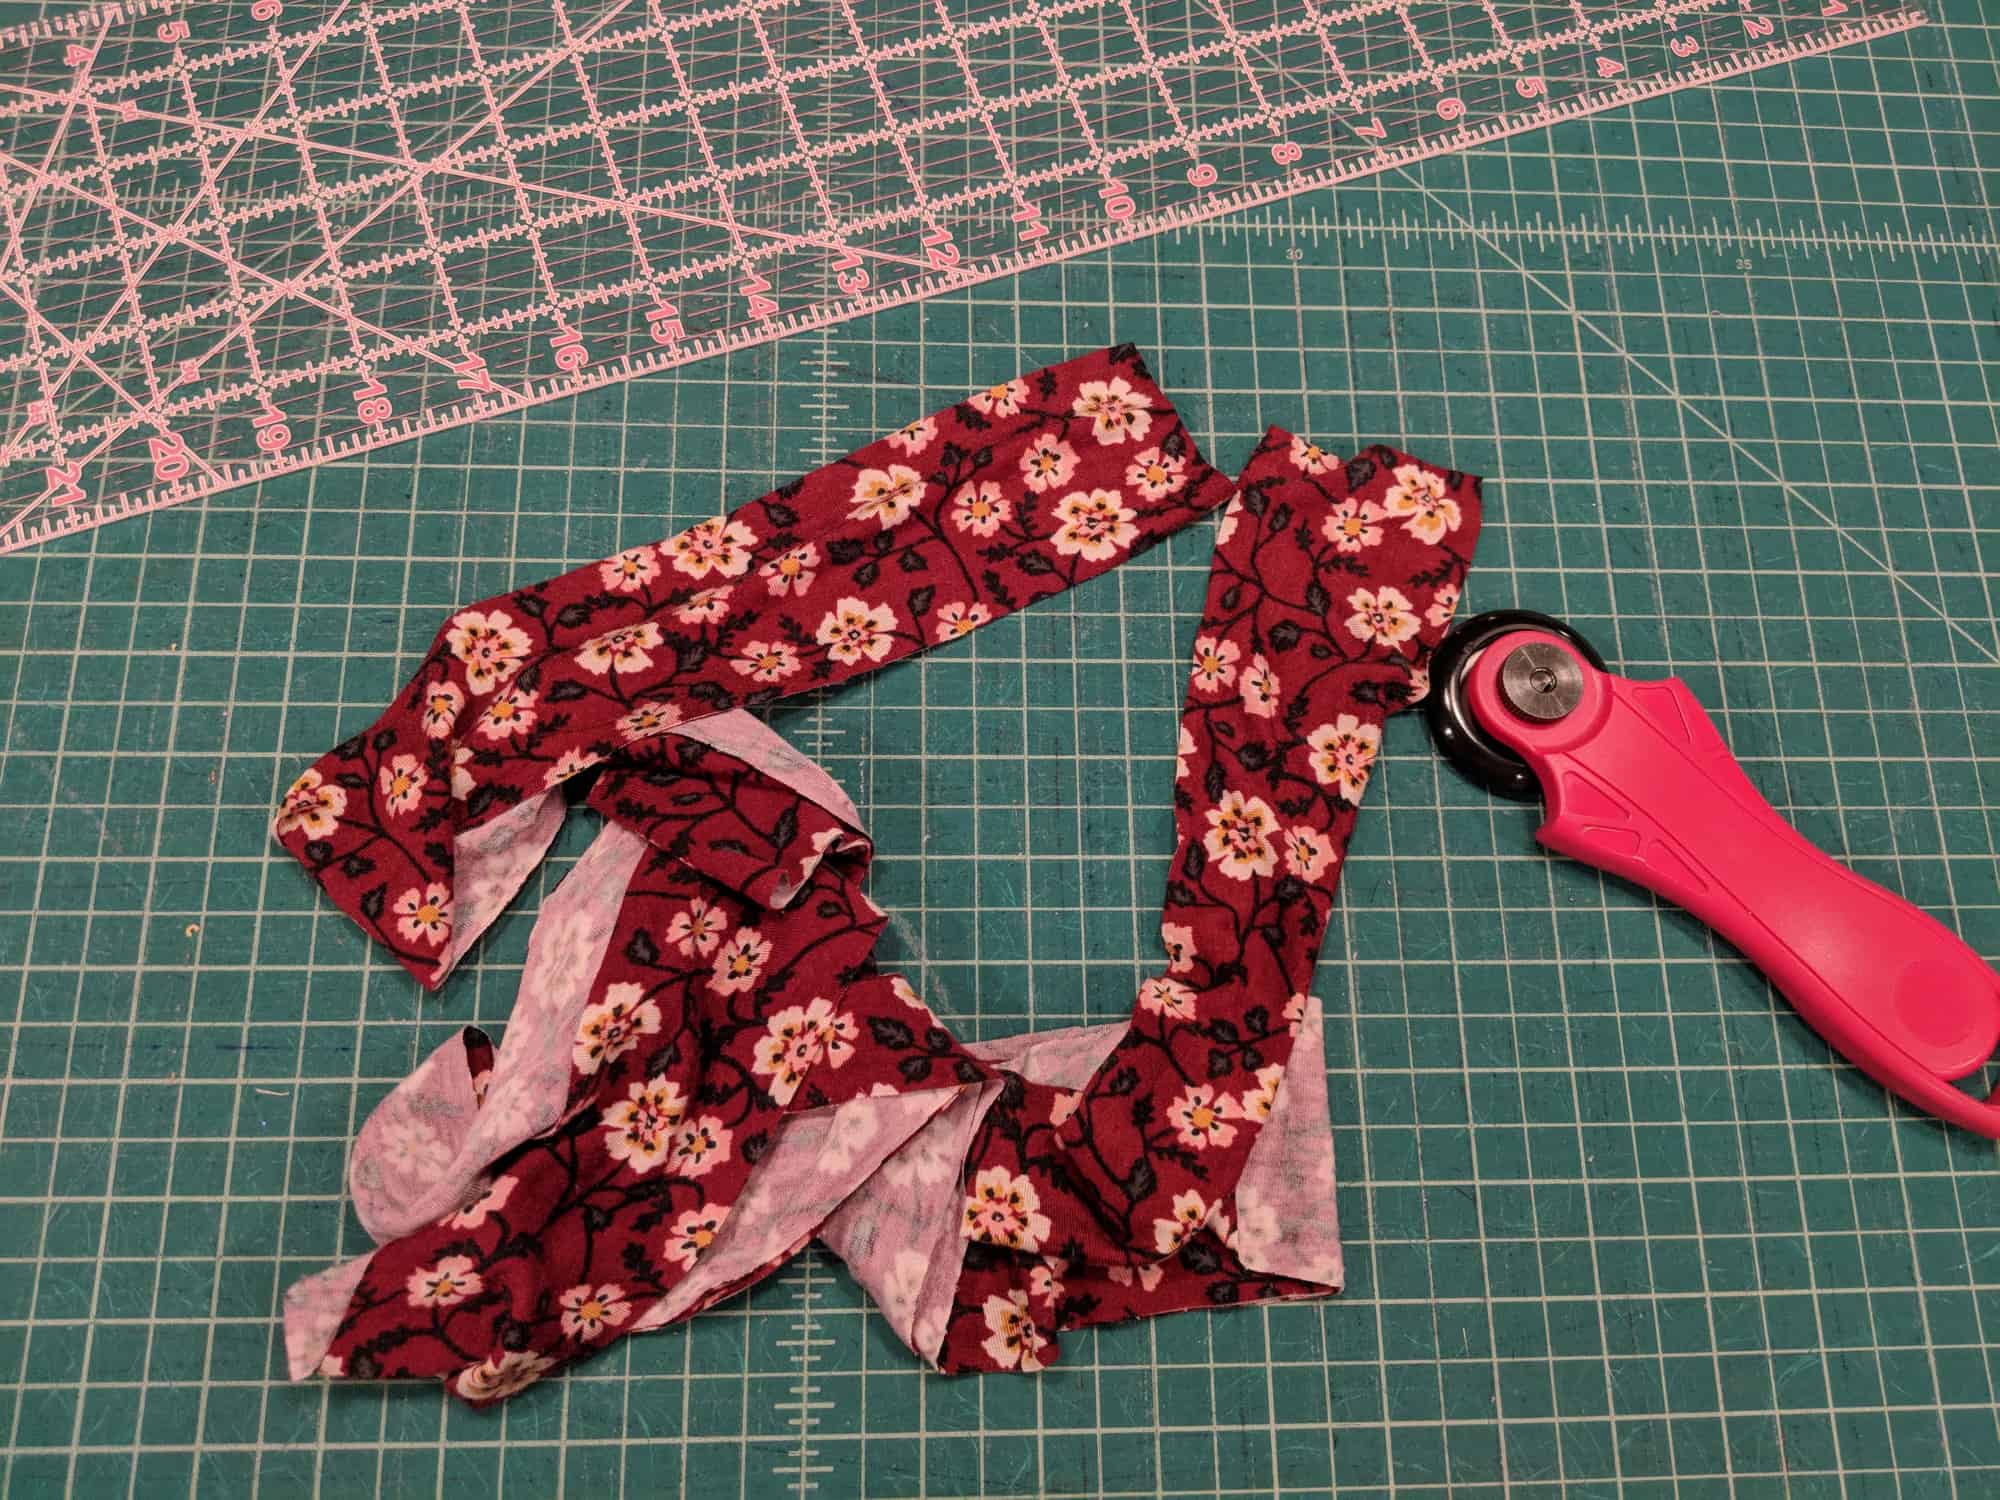
I quickly measured my hemline and doubled, plus a bit extra for wiggle room.  I cut a few strips to that length and the width I wanted. Another thing to think about is how wide the ruffle will be on the shoulder (you don’t want it wider than the shoulder piece once attached).  Mine is about 2″ finished.

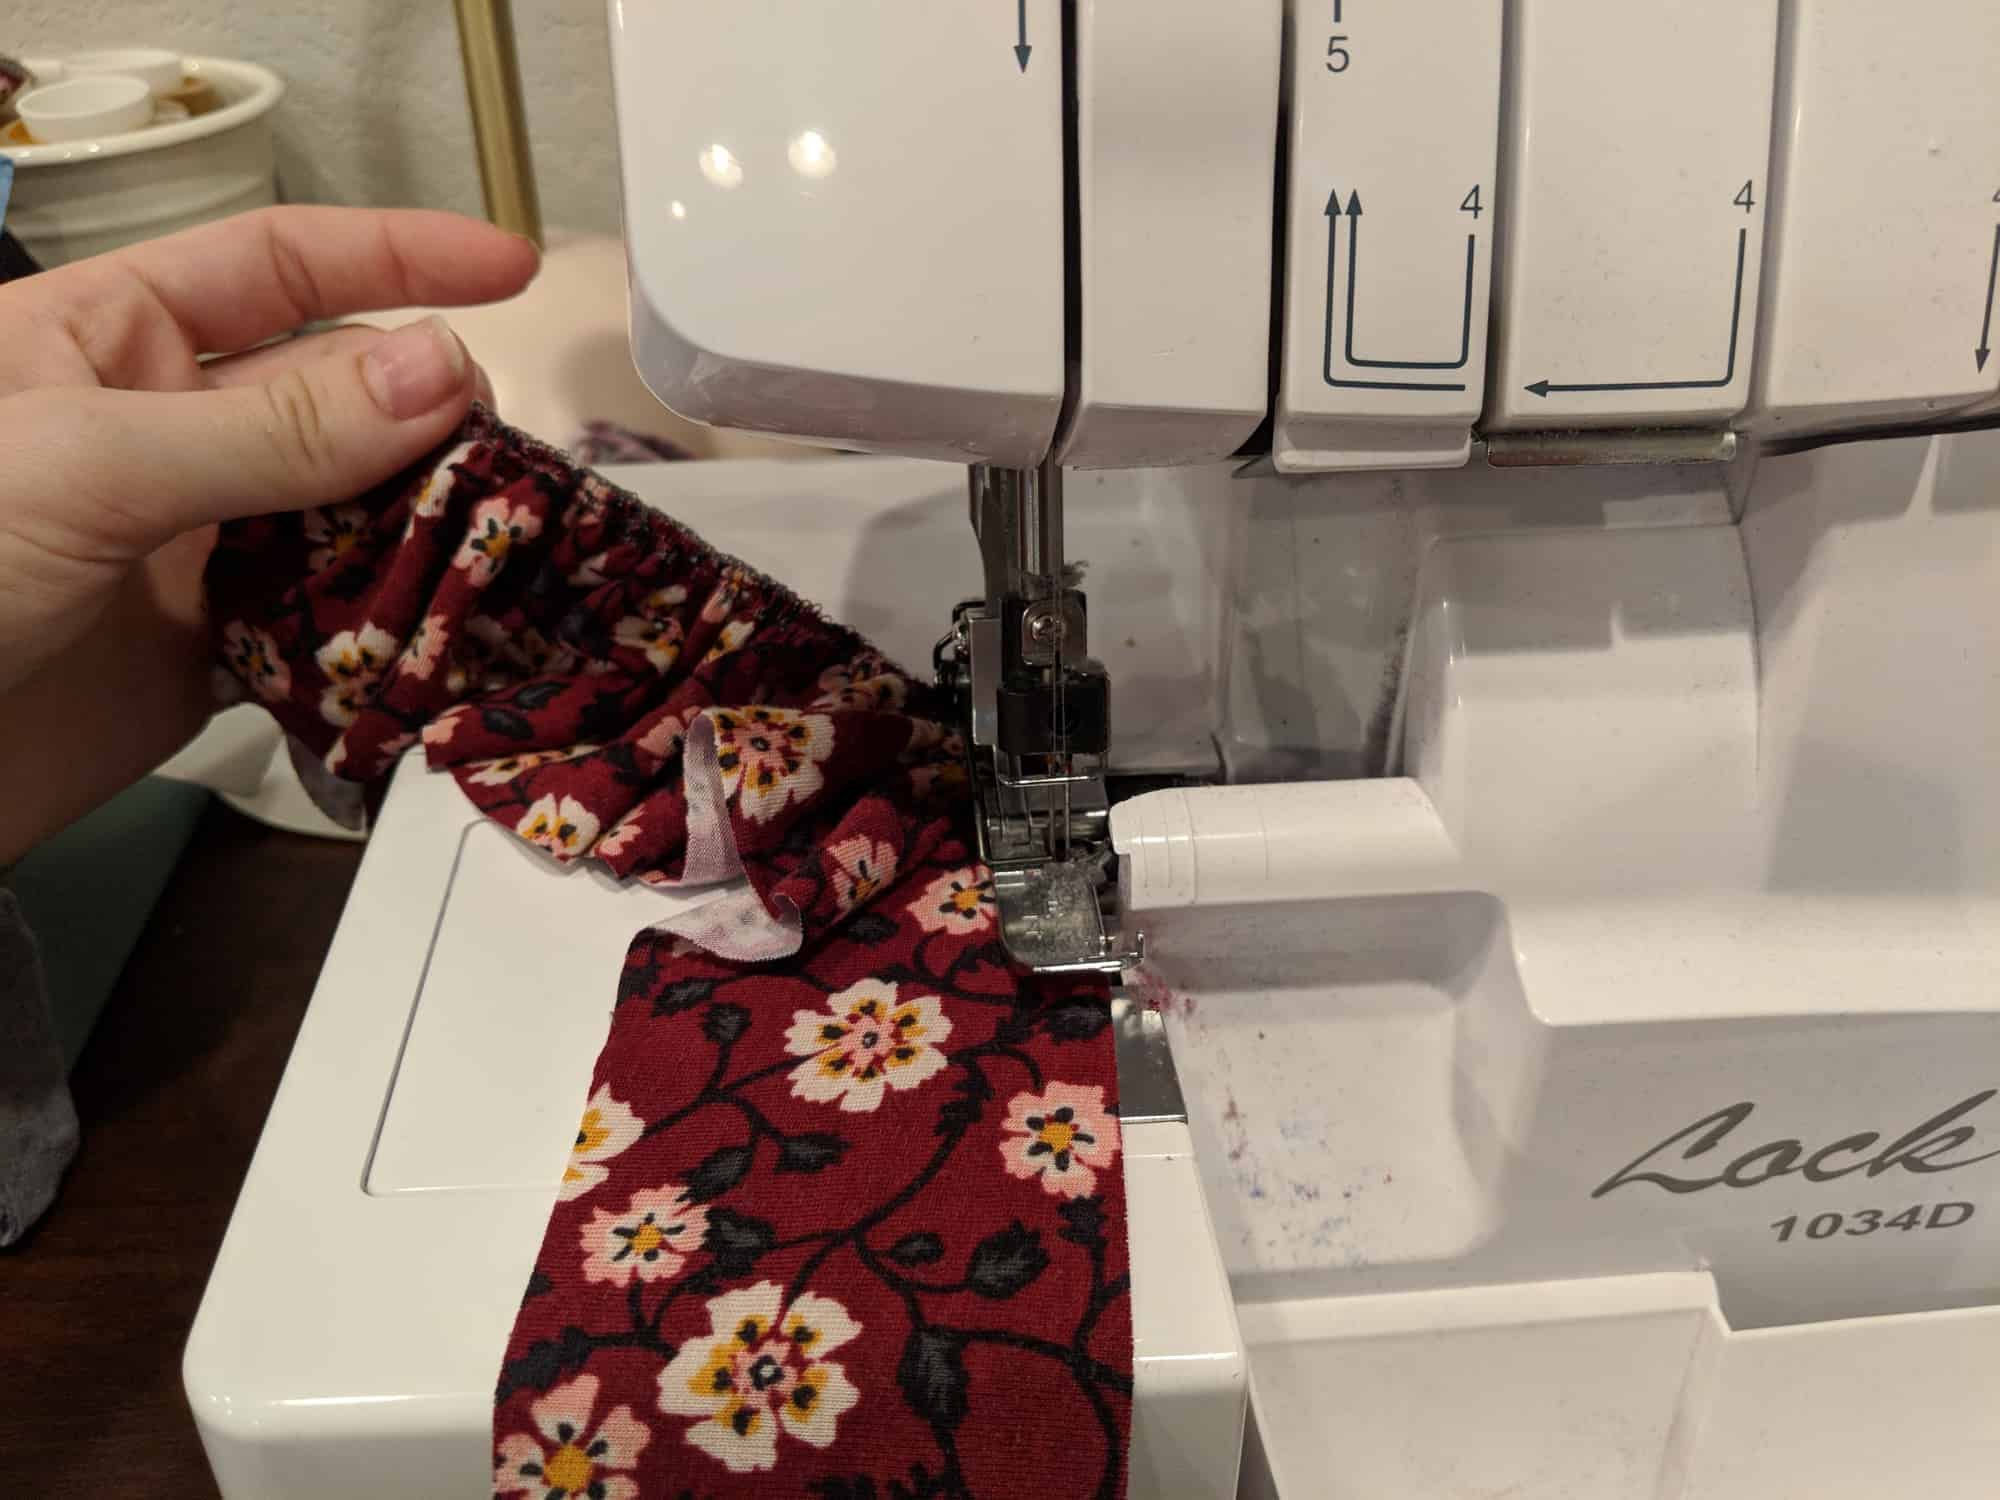
Seam the strips together and gather using your favorite gathering method.  If you need more guidance in gathering here is our blog post with a few ways we like to gather: www.patternsforpirates.com/easy-gathering-methods .  I used my serger to gather this time.

With right sides together, pin the ruffle to the hemline of the shirt. This is where I would advice to pull the ruffle flat along the top edge of one tulip piece so that it is flat on the under layer instead of completely ruffled like mine.

Stitch on.  You can top-stitch if you prefer; I didn’t only to keep from adding anymore weight to the top since I was using a light weight rayon spandex.


Complete the shirt as the tutorial instructs.  Take some cute pictures!

…..

Banded tulip option

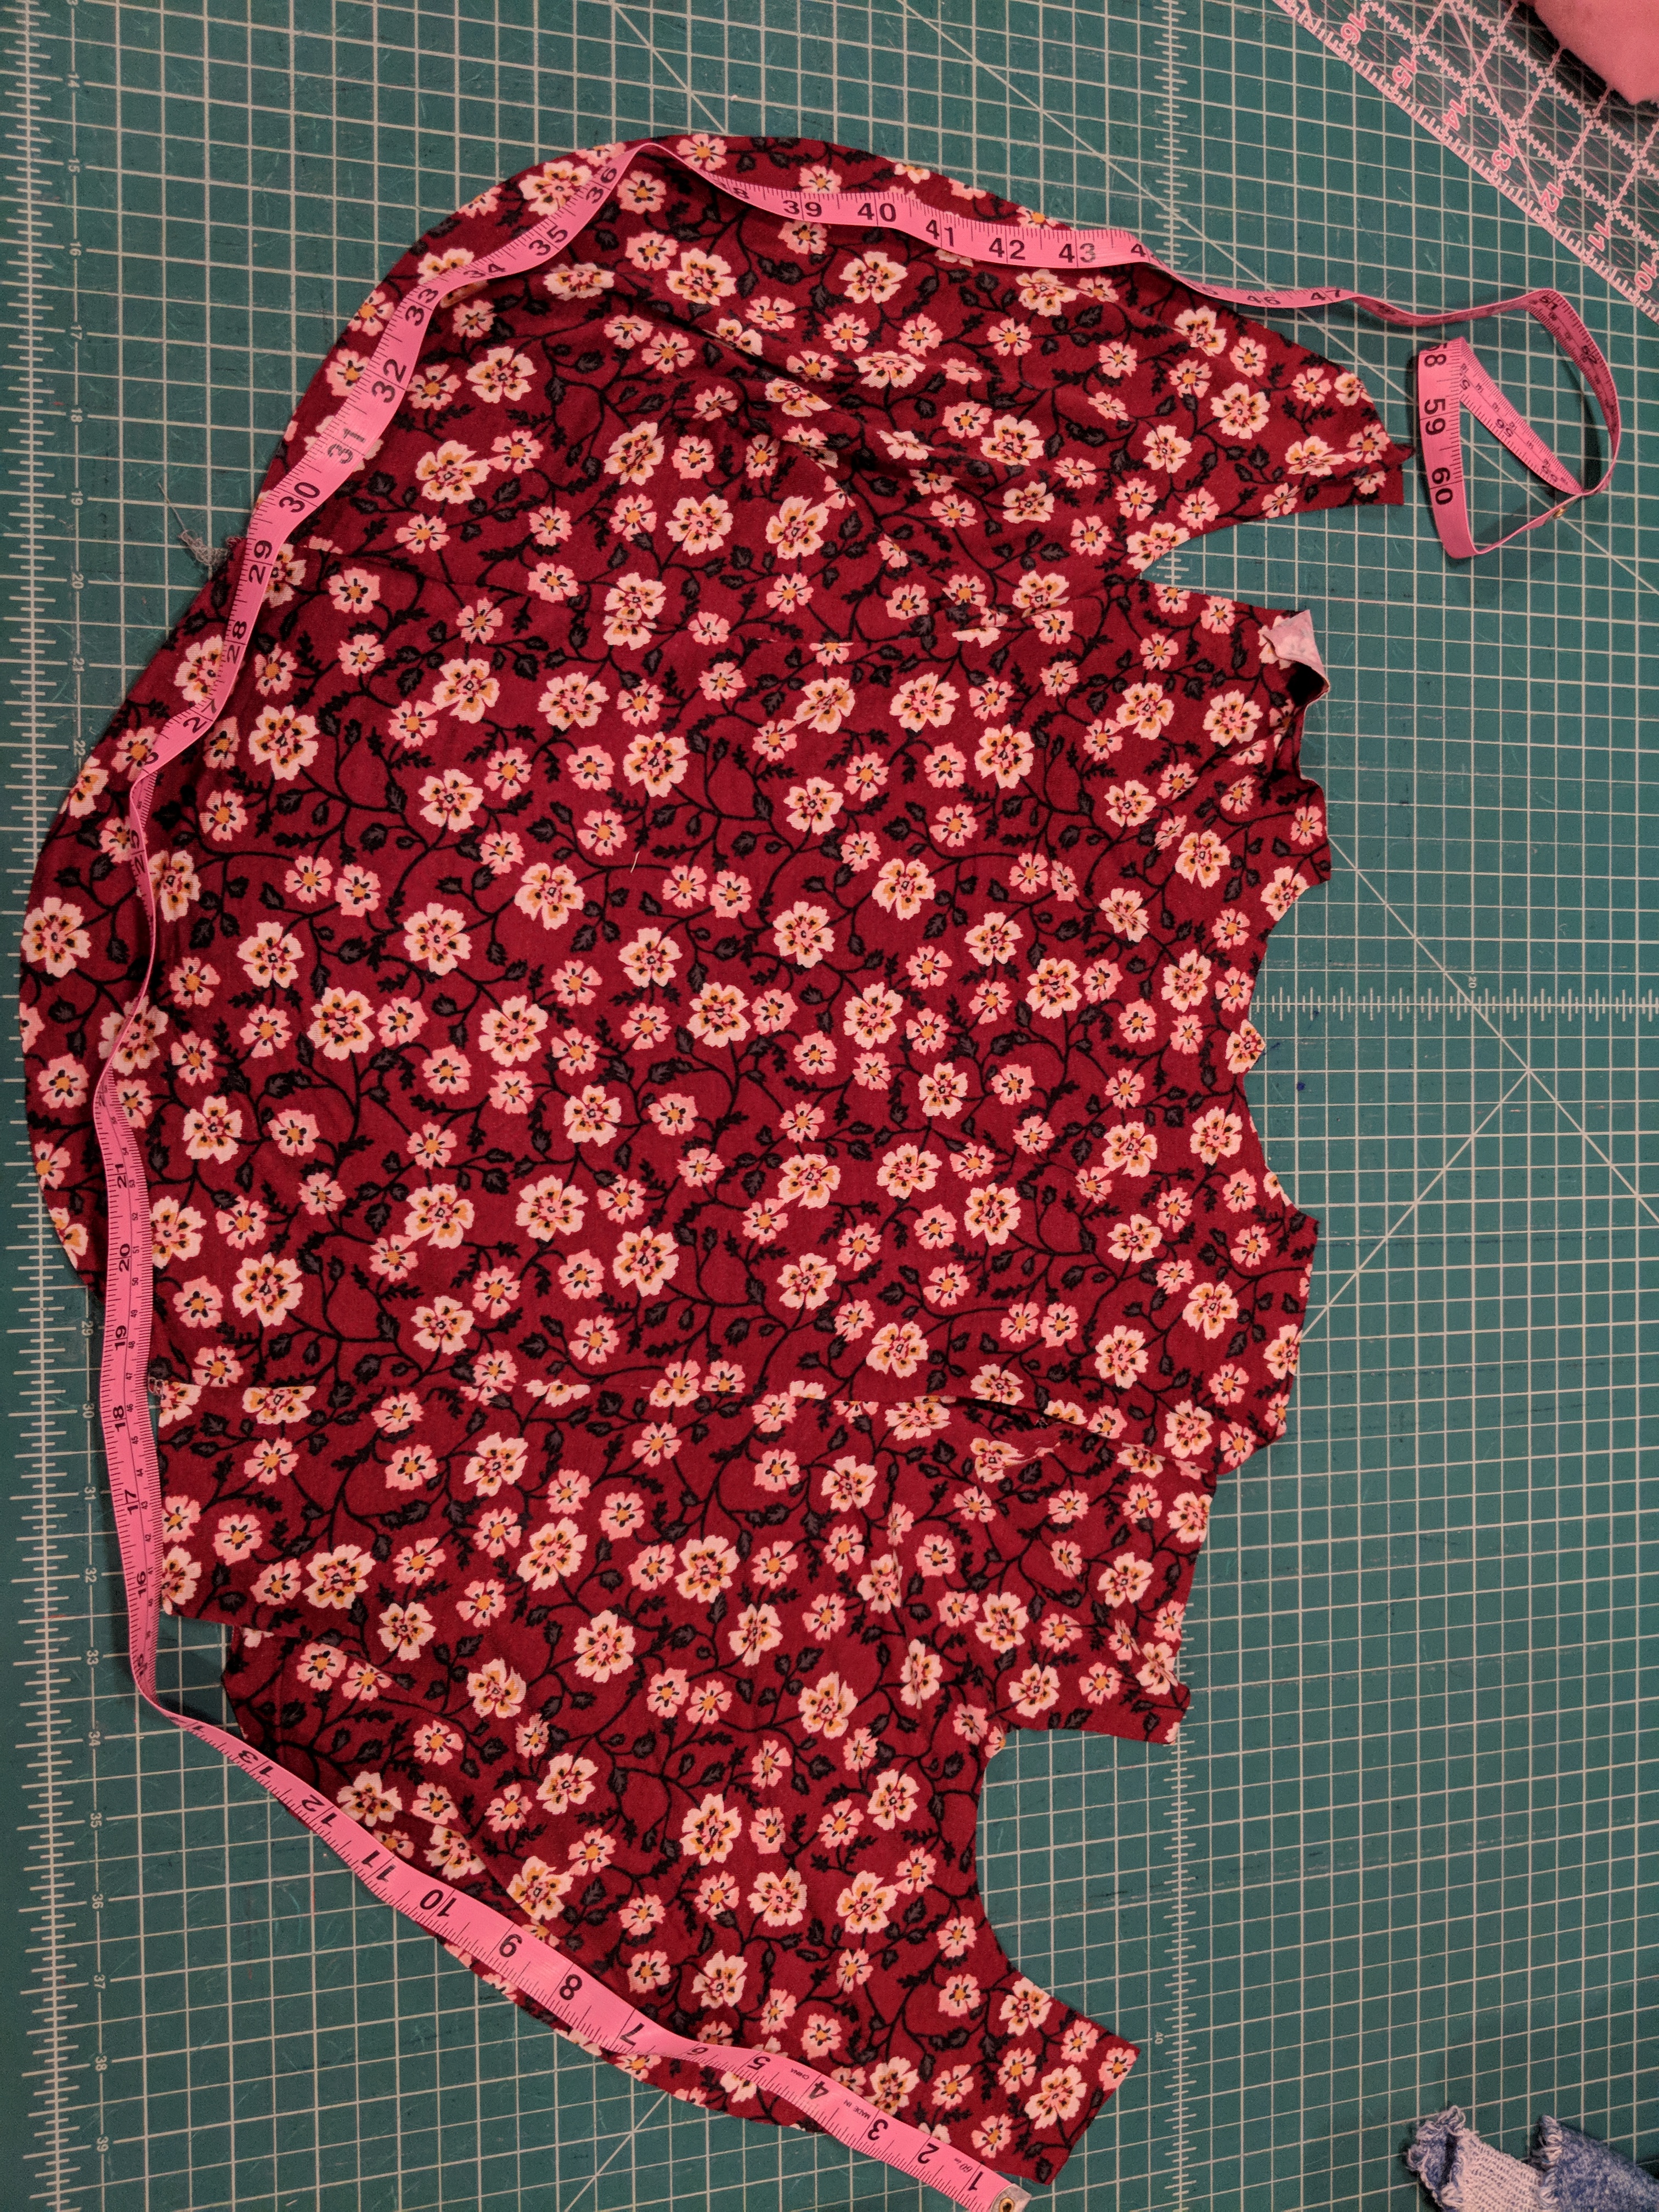
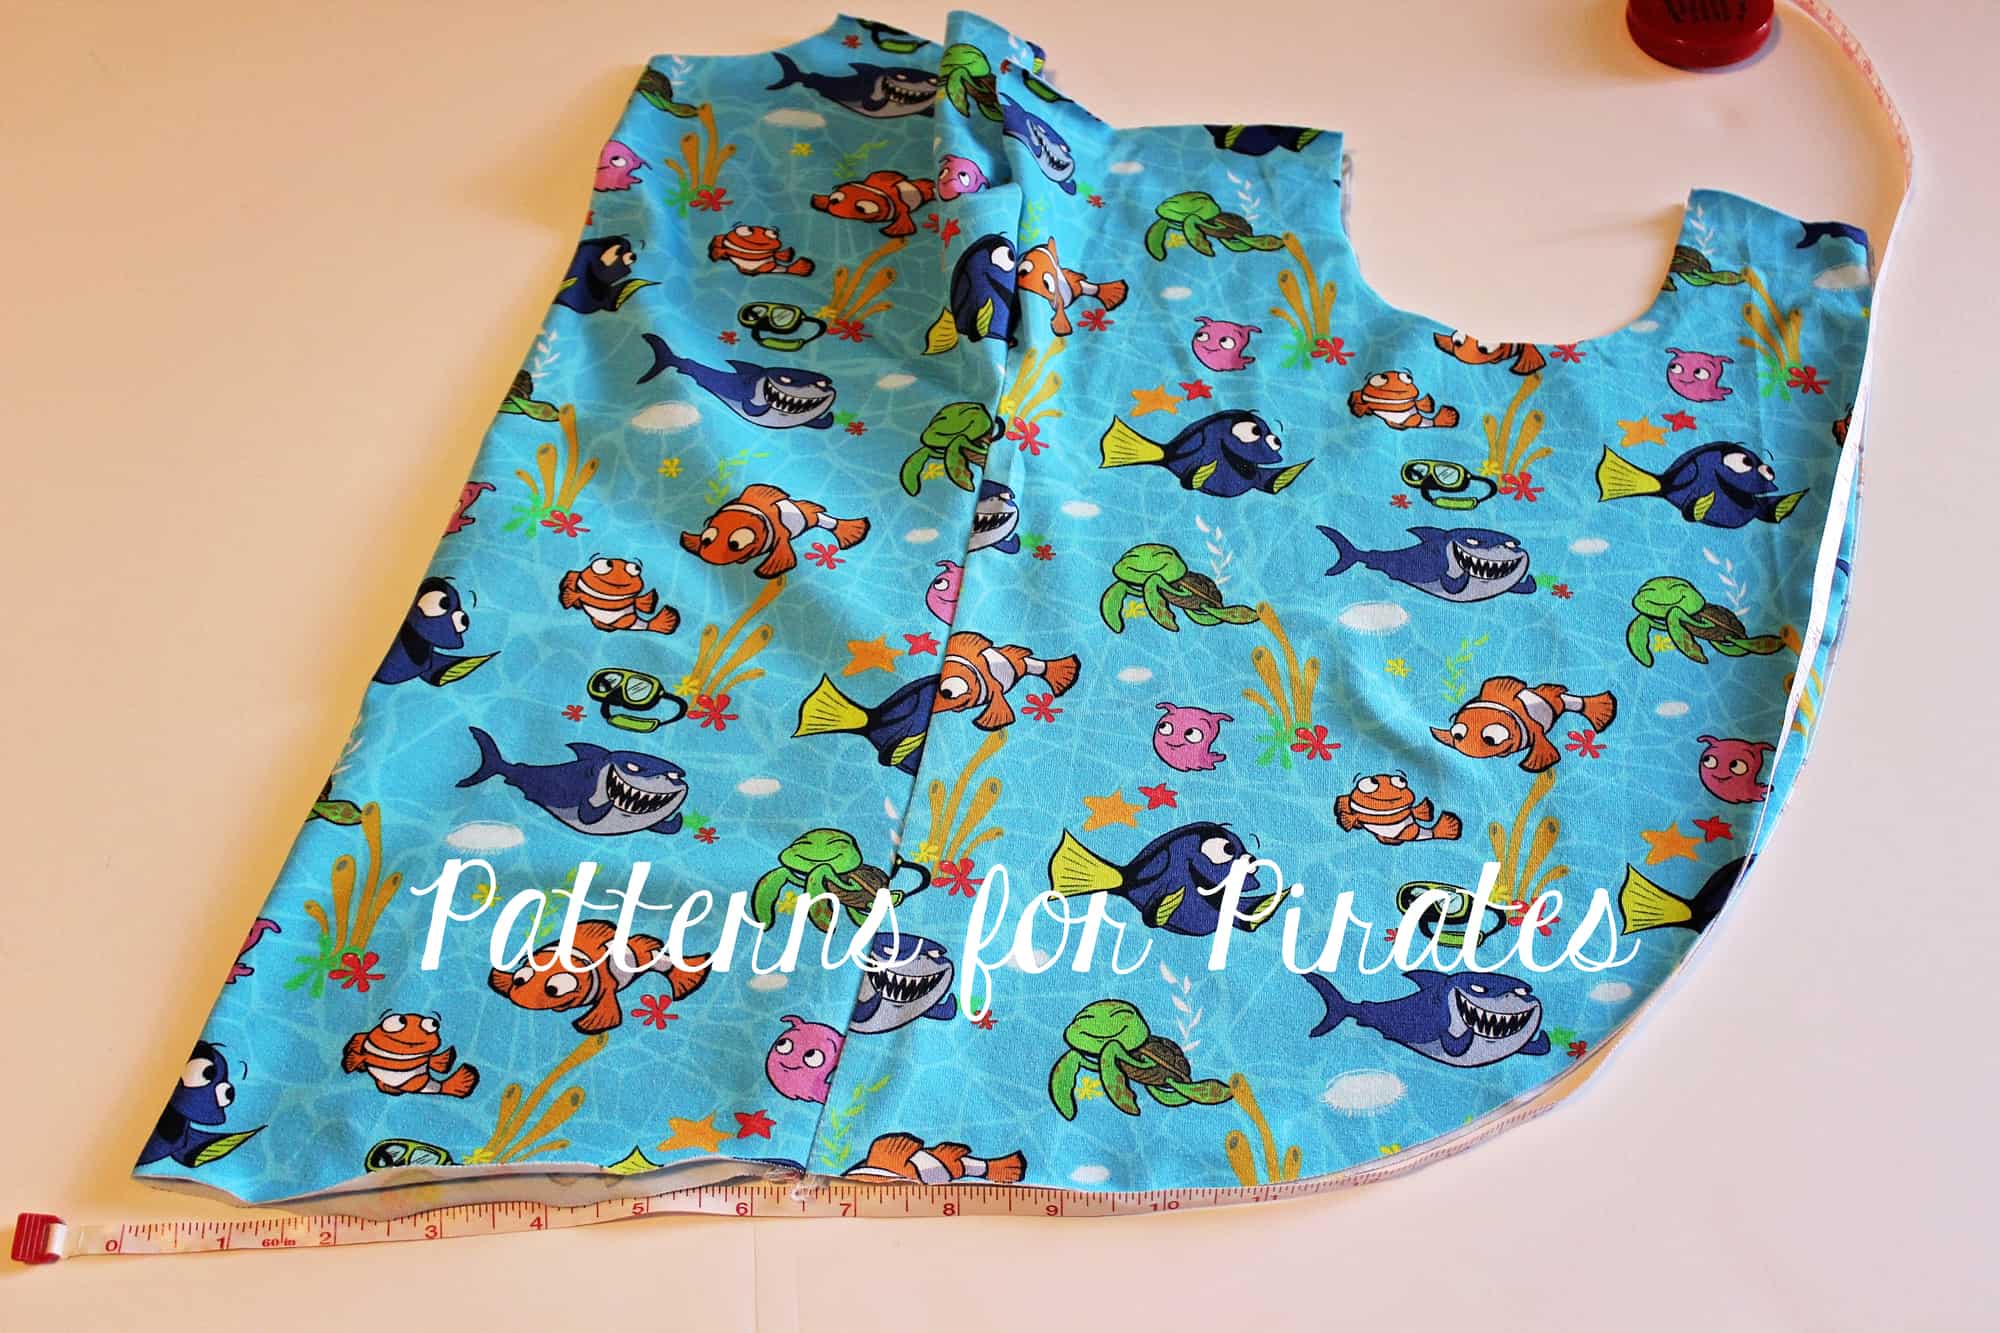
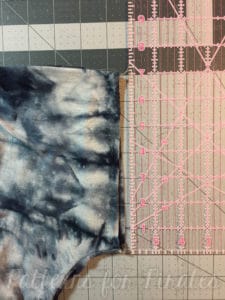
We know some of you are not be fans of hemming 😉 so I wanted to show you how easy it is to add a band to the Tulip Tee. Simply sew the side seams as instructed and then measure the bottom raw edge.

It is easier to fold the shirt along the back fold and measure as shown below then multiply by two.

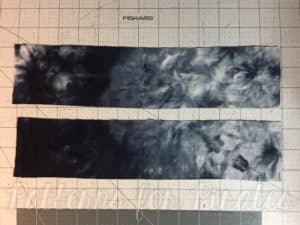
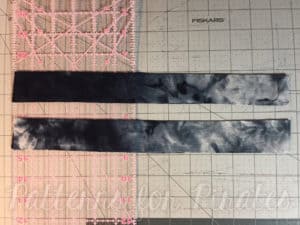
You will cut the band 2″ by the length of the raw edge. For sizes 4T and smaller you may get away with only one band out of the width of fabric. For bigger sizes, including the women ones you will need to cut the 2-3 band pieces. You can either cut two pieces plus seam allowance and have a seam on the center back or you can cut 3 band pieces, 2″ by the length of the tulip raw edge and one 2″ the length of the back bottom raw edge.

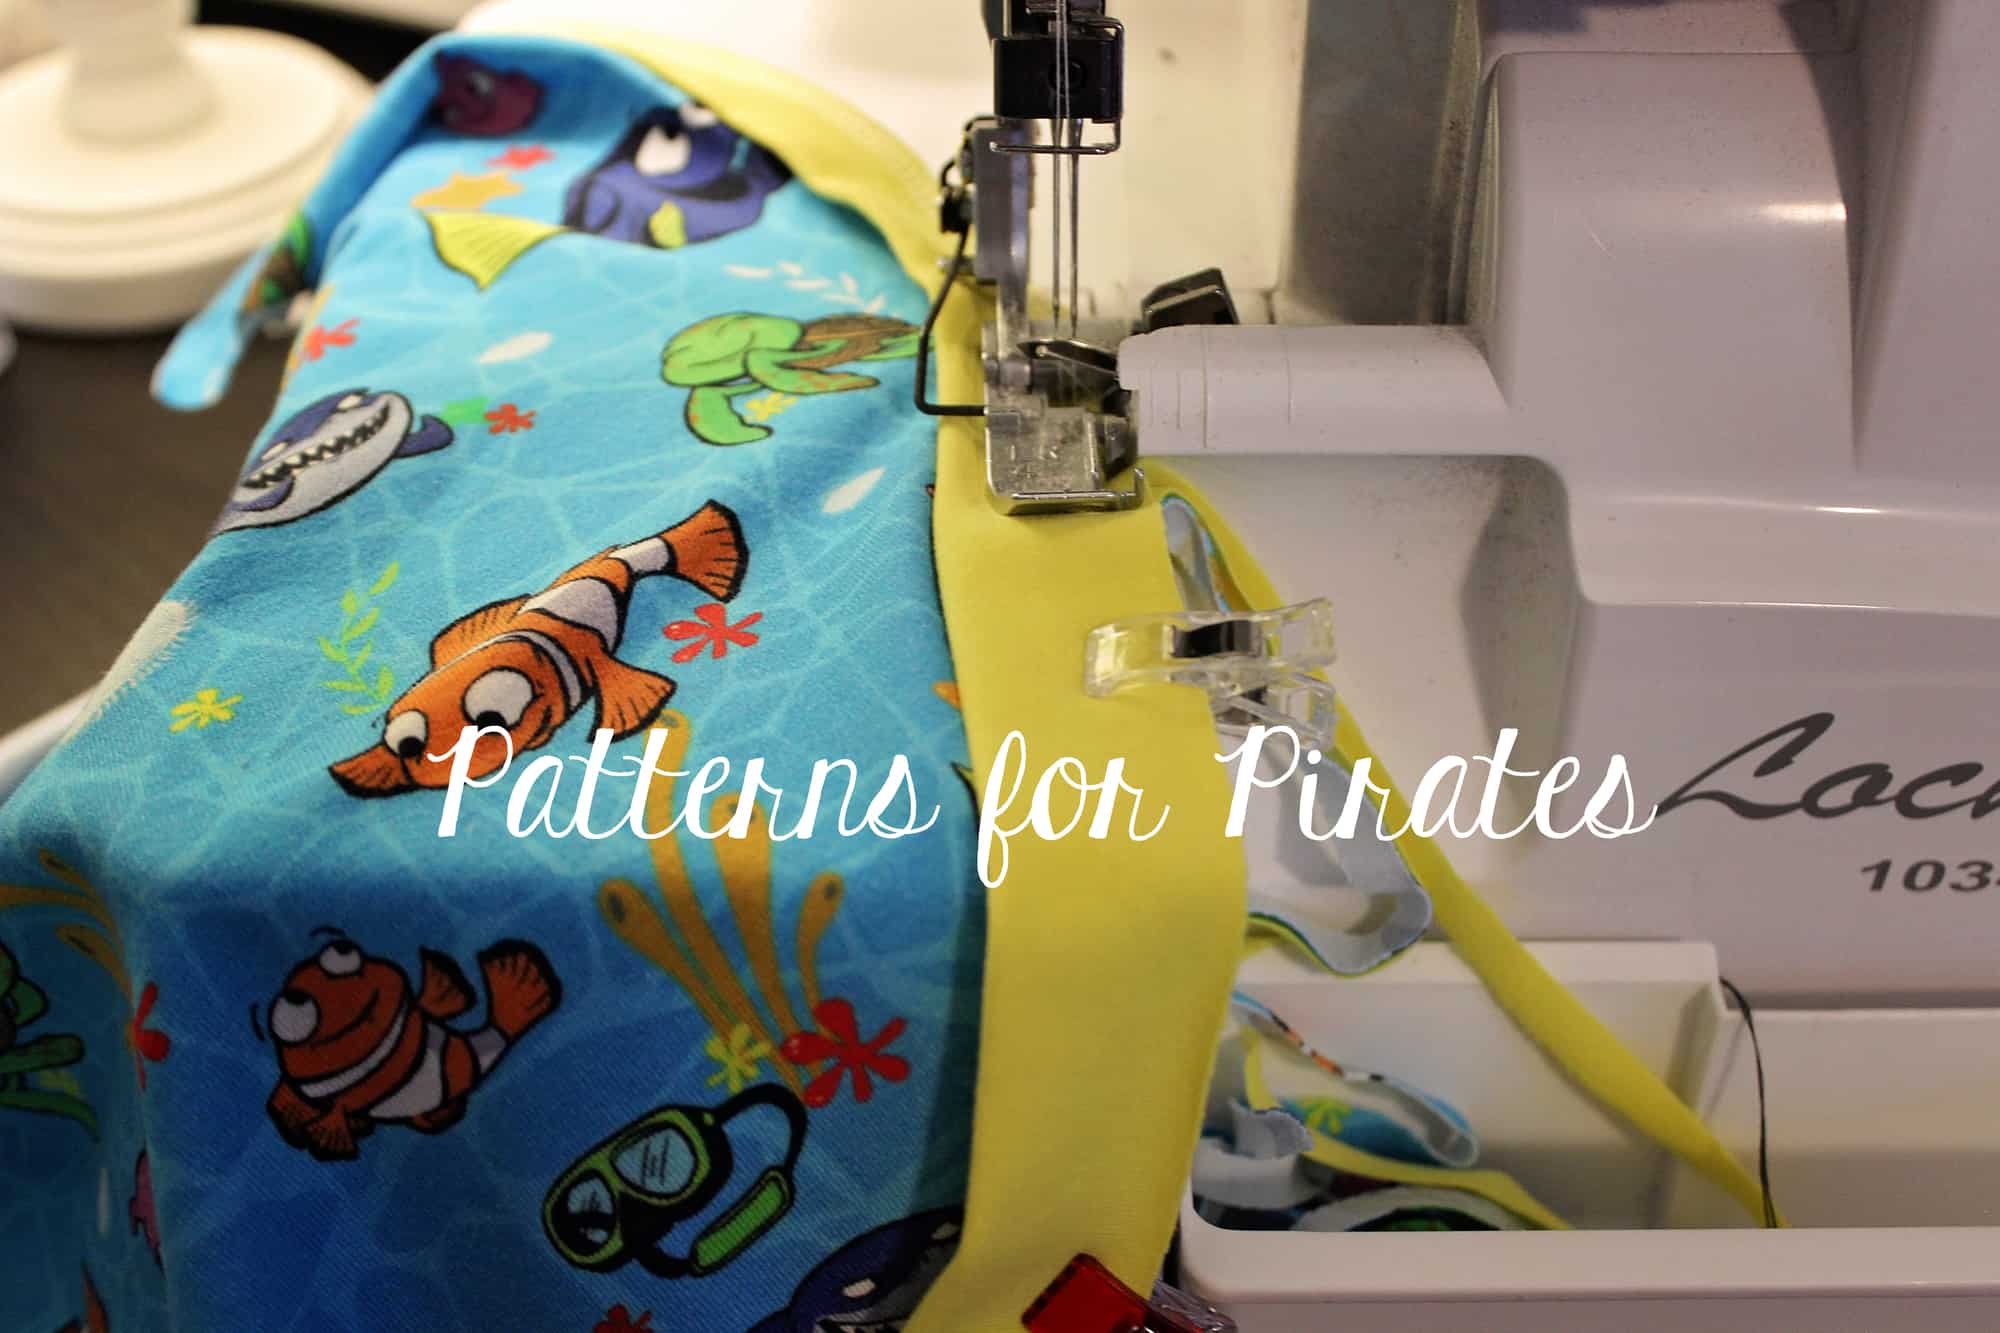
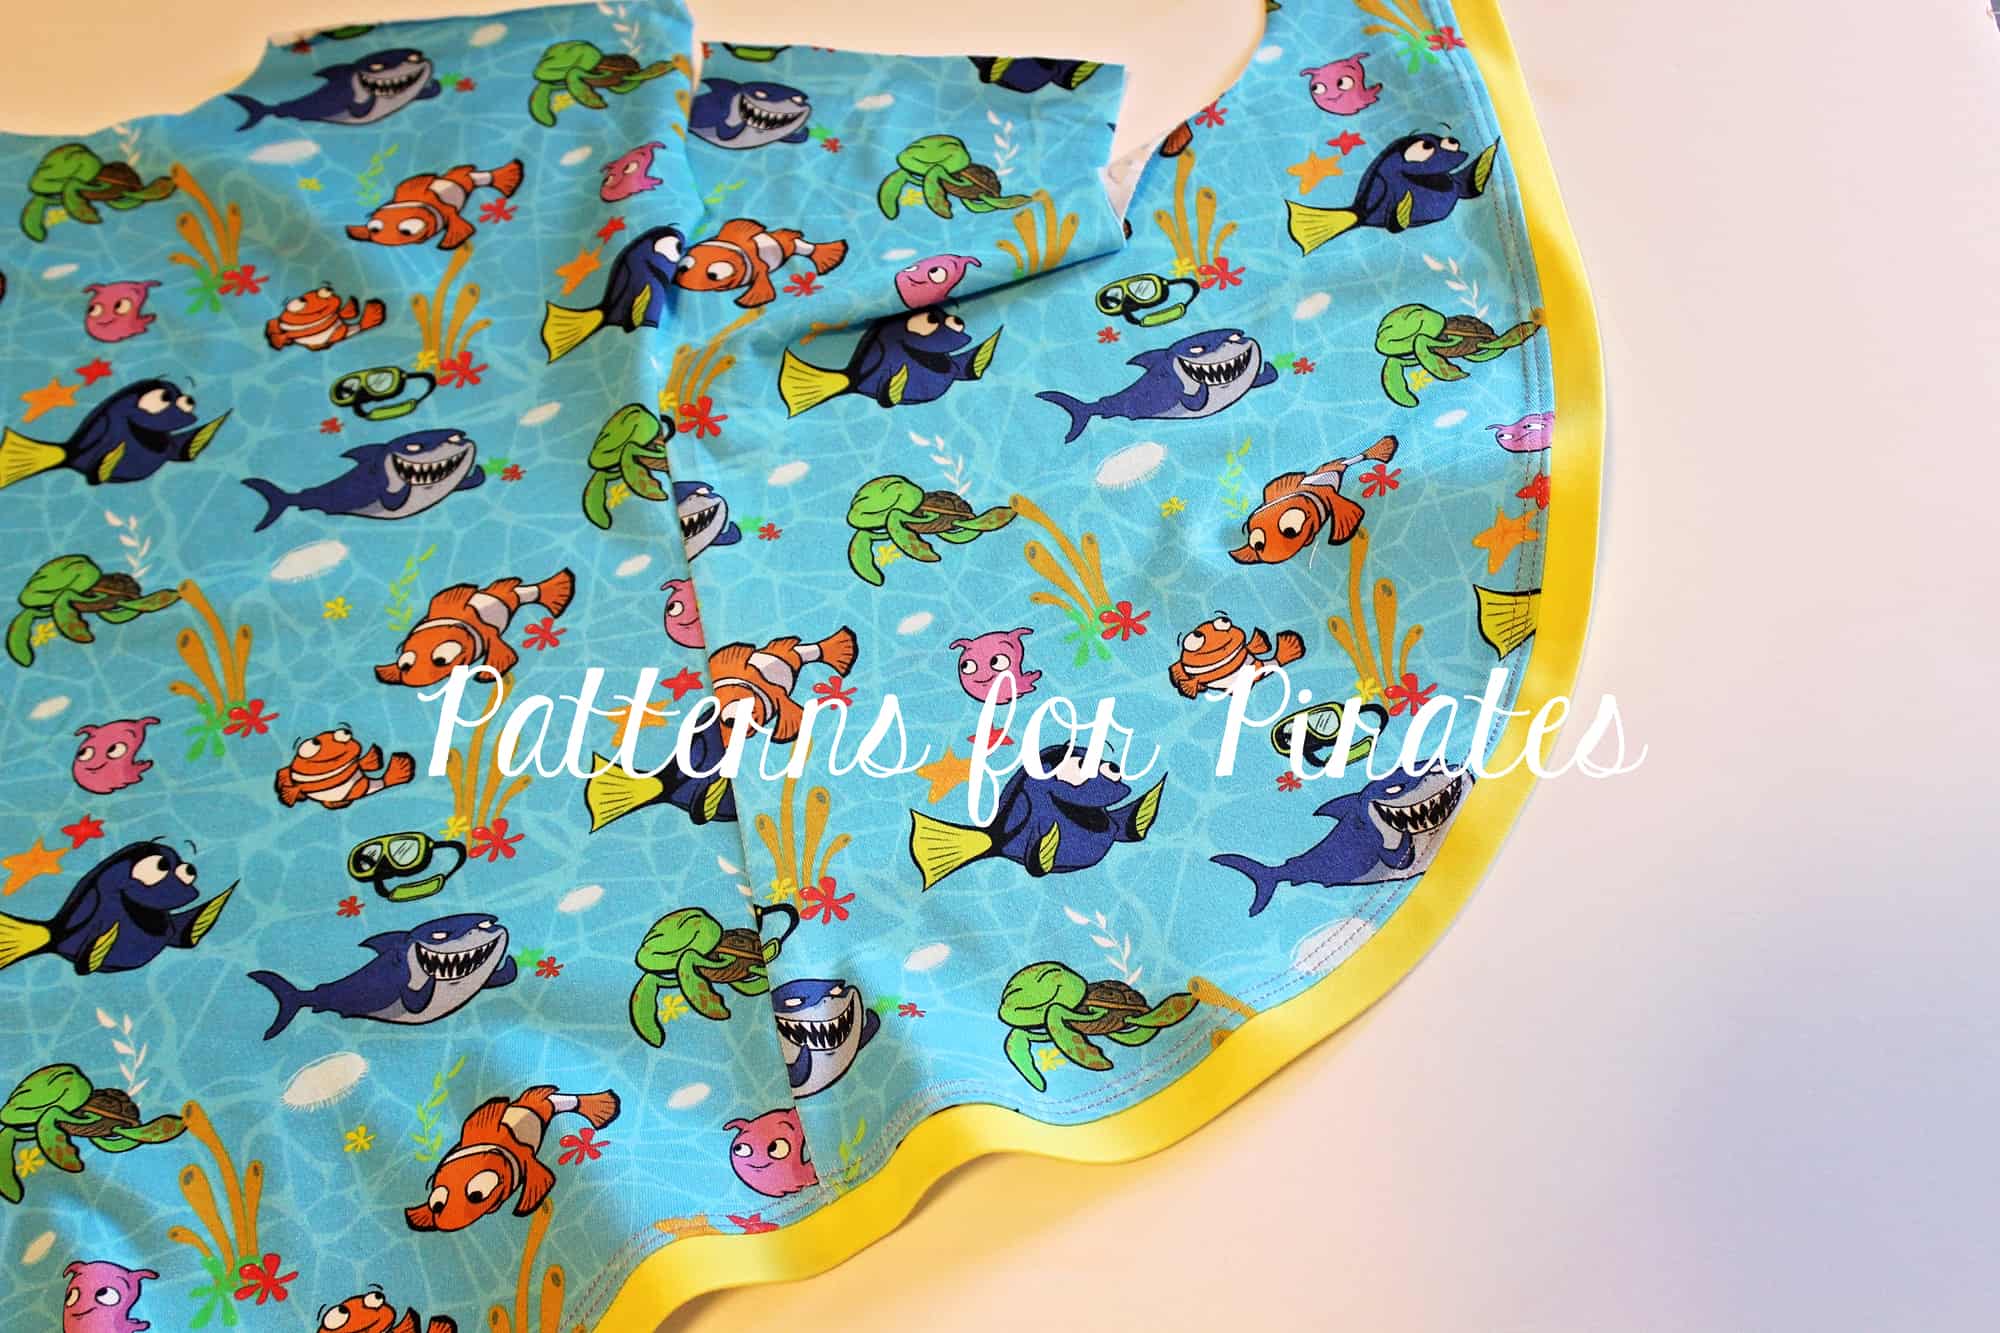
Fold the band length wise, wrong sides together and press. Pin in place the band along the raw edge of the tulip and back bottom. Sew or serge in place with a 1/2″ seam allowance.

Optionally top stitch. Press and steam iron and continue sewing as per the tutorial.

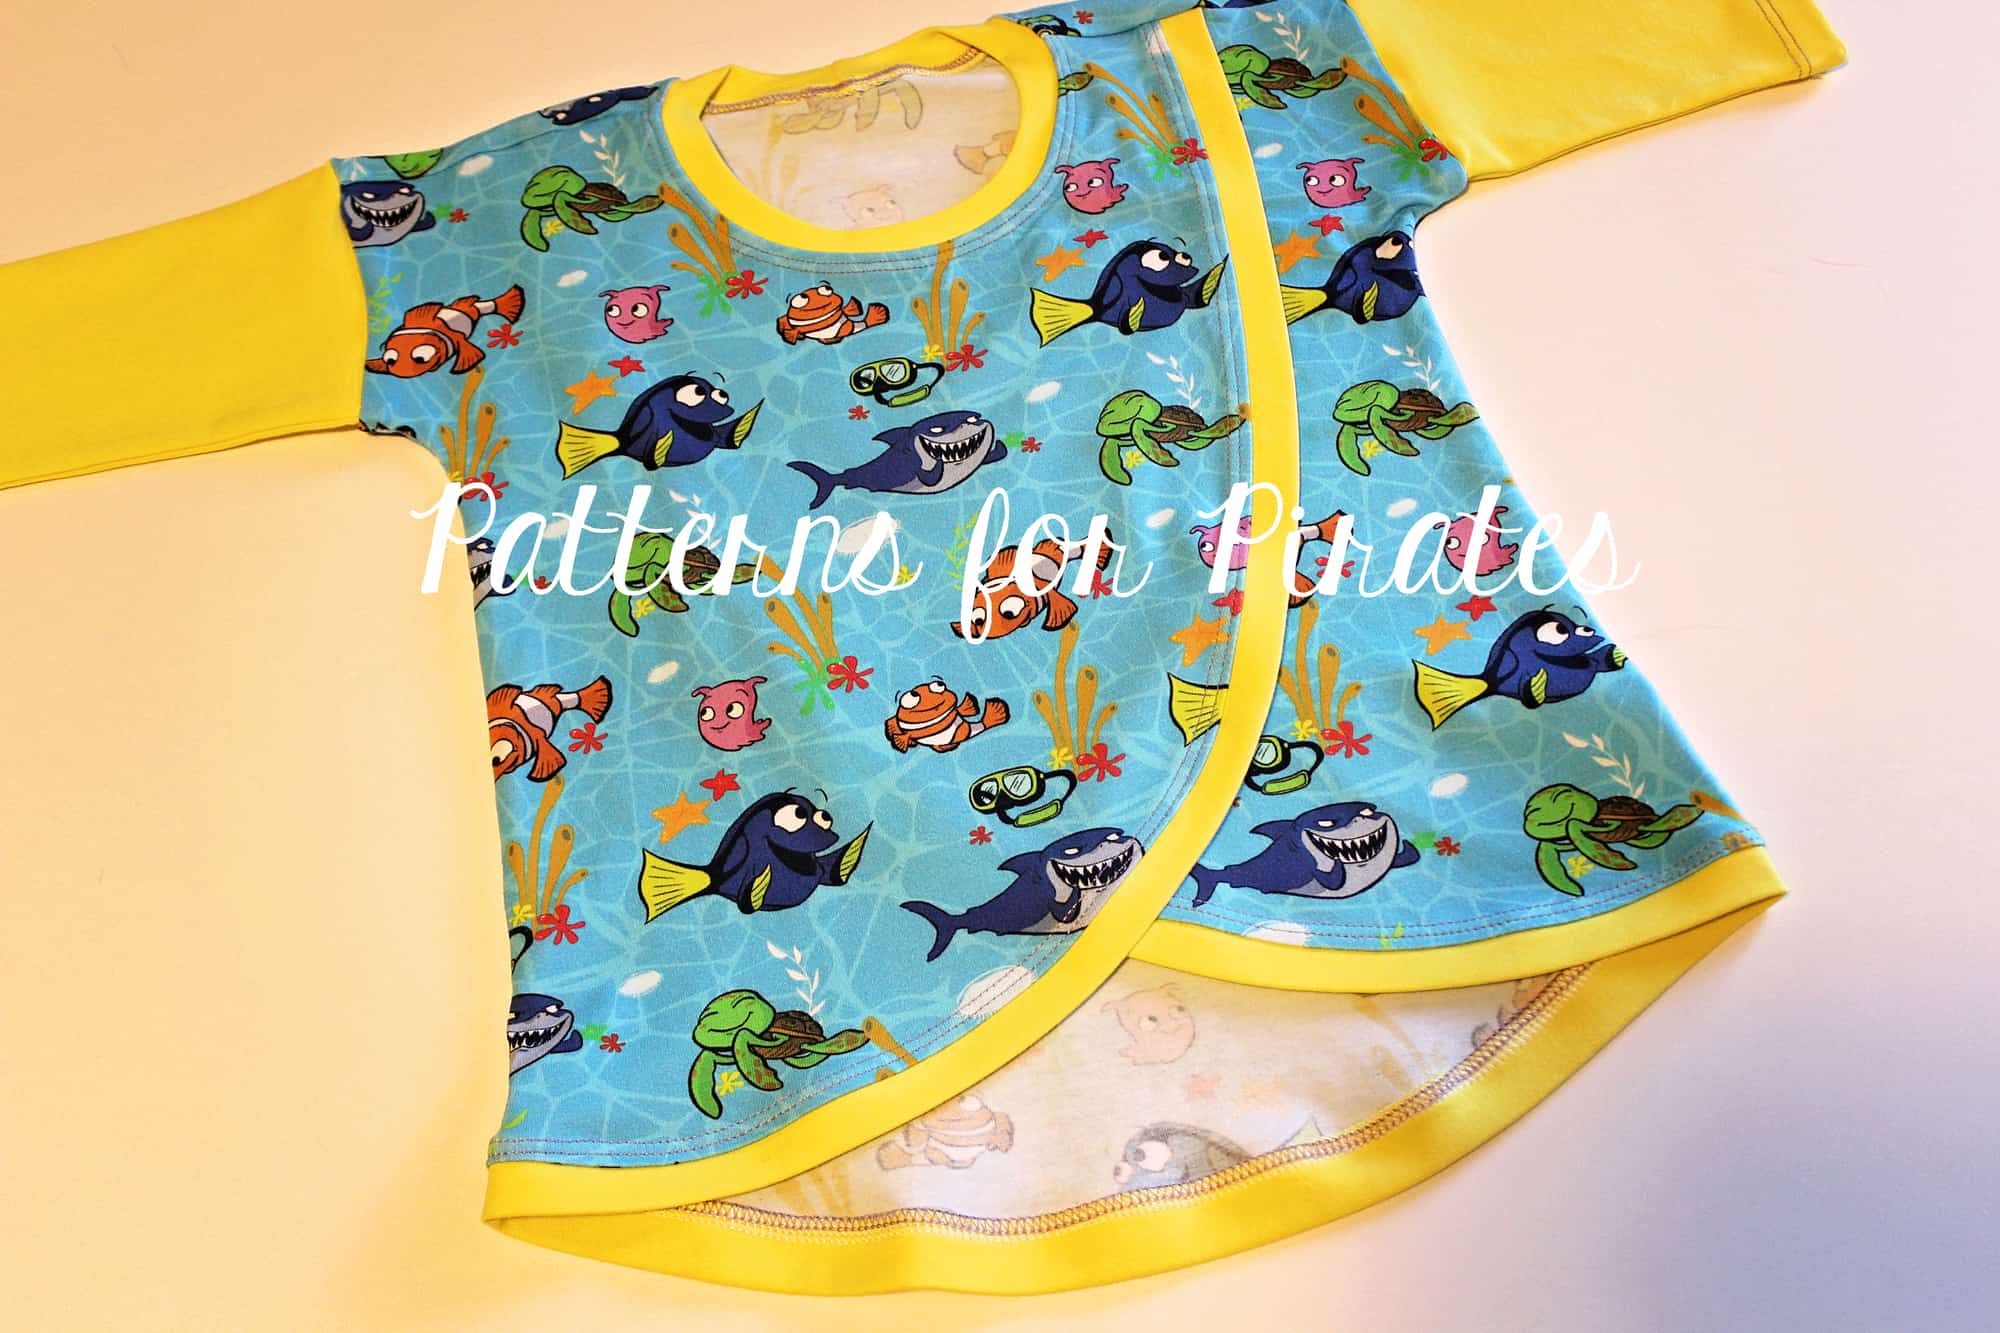
All done! Super easy, right? Please note that this method will yield a shirt that is 1/2″ longer than the original length.

…..

Bands on short sleeves

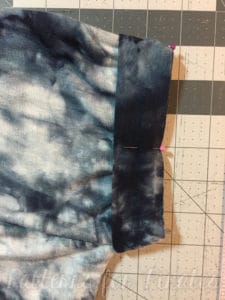
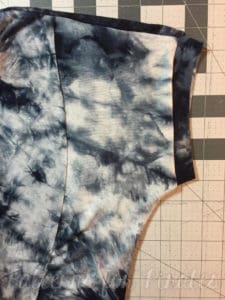
Hate hemming?  Then this hack is for you!  Adding bands instead of hemming is a great alternative way to finish raw edges.  If you’ve sewn other shirts you’ve likely done this technique before; it’s very easy to calculate on your own.


Measure your raw sleeve opening. Mine is 7″. Now multiply by 2 – mine is 14″. Multiply by .85 for 85% of the opening. Now add 1 for your 1/2″ seam allowance. My result is 12.9.
Cut two bands the width you calculated, and the height around 3″. The stretch should be going the long ways across.

Fold in half wrong sides together and then press. Open up the fold and sew the short ends together to make a loop, right sides together.
Quarter the loop and mark with pins. Quarter the sleeve and mark with pins, then slip over the sleeve matching the pins, raw edges together, the fold edge towards the neckline.

Sew along the edge, then flip around to the right side. You can topstitch the seam if you’d like. Repeat for other sleeve. That’s it!


You’re done!  No hemming needed. 🙂

…..

Faux cami layer

Love the look of wearing a camisole under your tulip tee but don’t want to wear and another layer? Adding a faux cami to the tulip back option is an easy hack that offers a little more coverage and takes only a few quick minutes.


For this easy hack you will need to cut both the two tulip back pieces and a plain back piece. Begin by taking the plain back piece and pressing raw edge of bottom hem 1/2” up to wrong side. Hem.

With right sides together, place one tulip bodice on the plain bodice. Pin or clip in place. Repeat with opposite side tulip bodice. Place the plain back piece right side down on top of the front/tulip pieces, matching side seams.

Pin or clip in place. Stitch side seams and then continue on finishing your top as instructed in the pattern tutorial. That’s the whole hack, simple as that!

…..

Tank


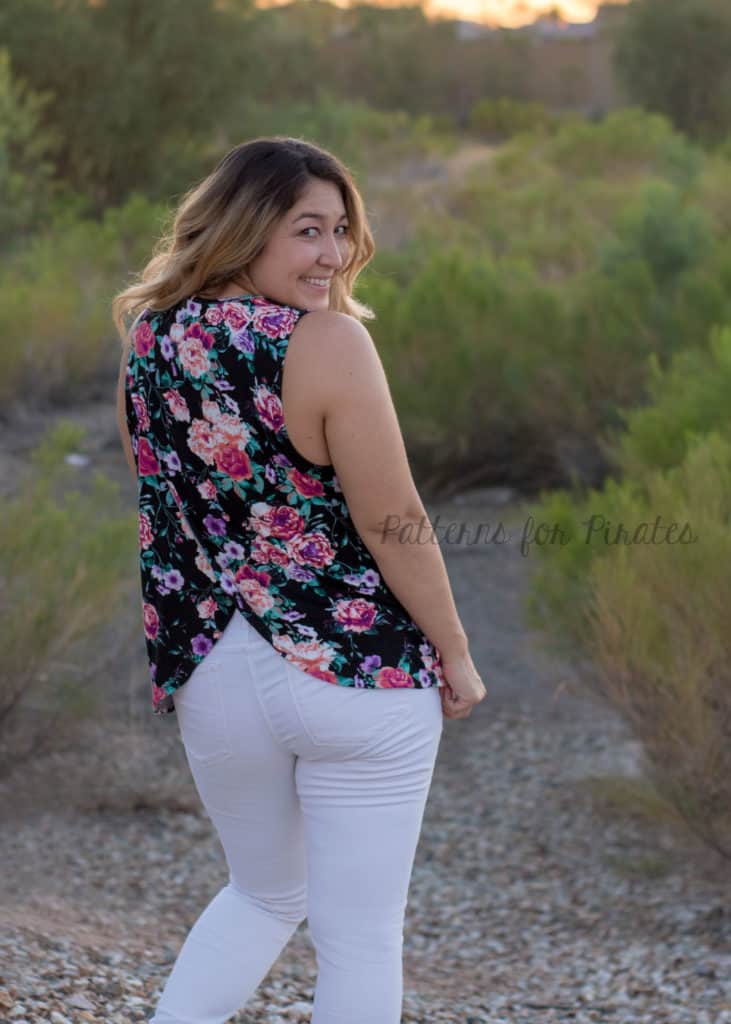
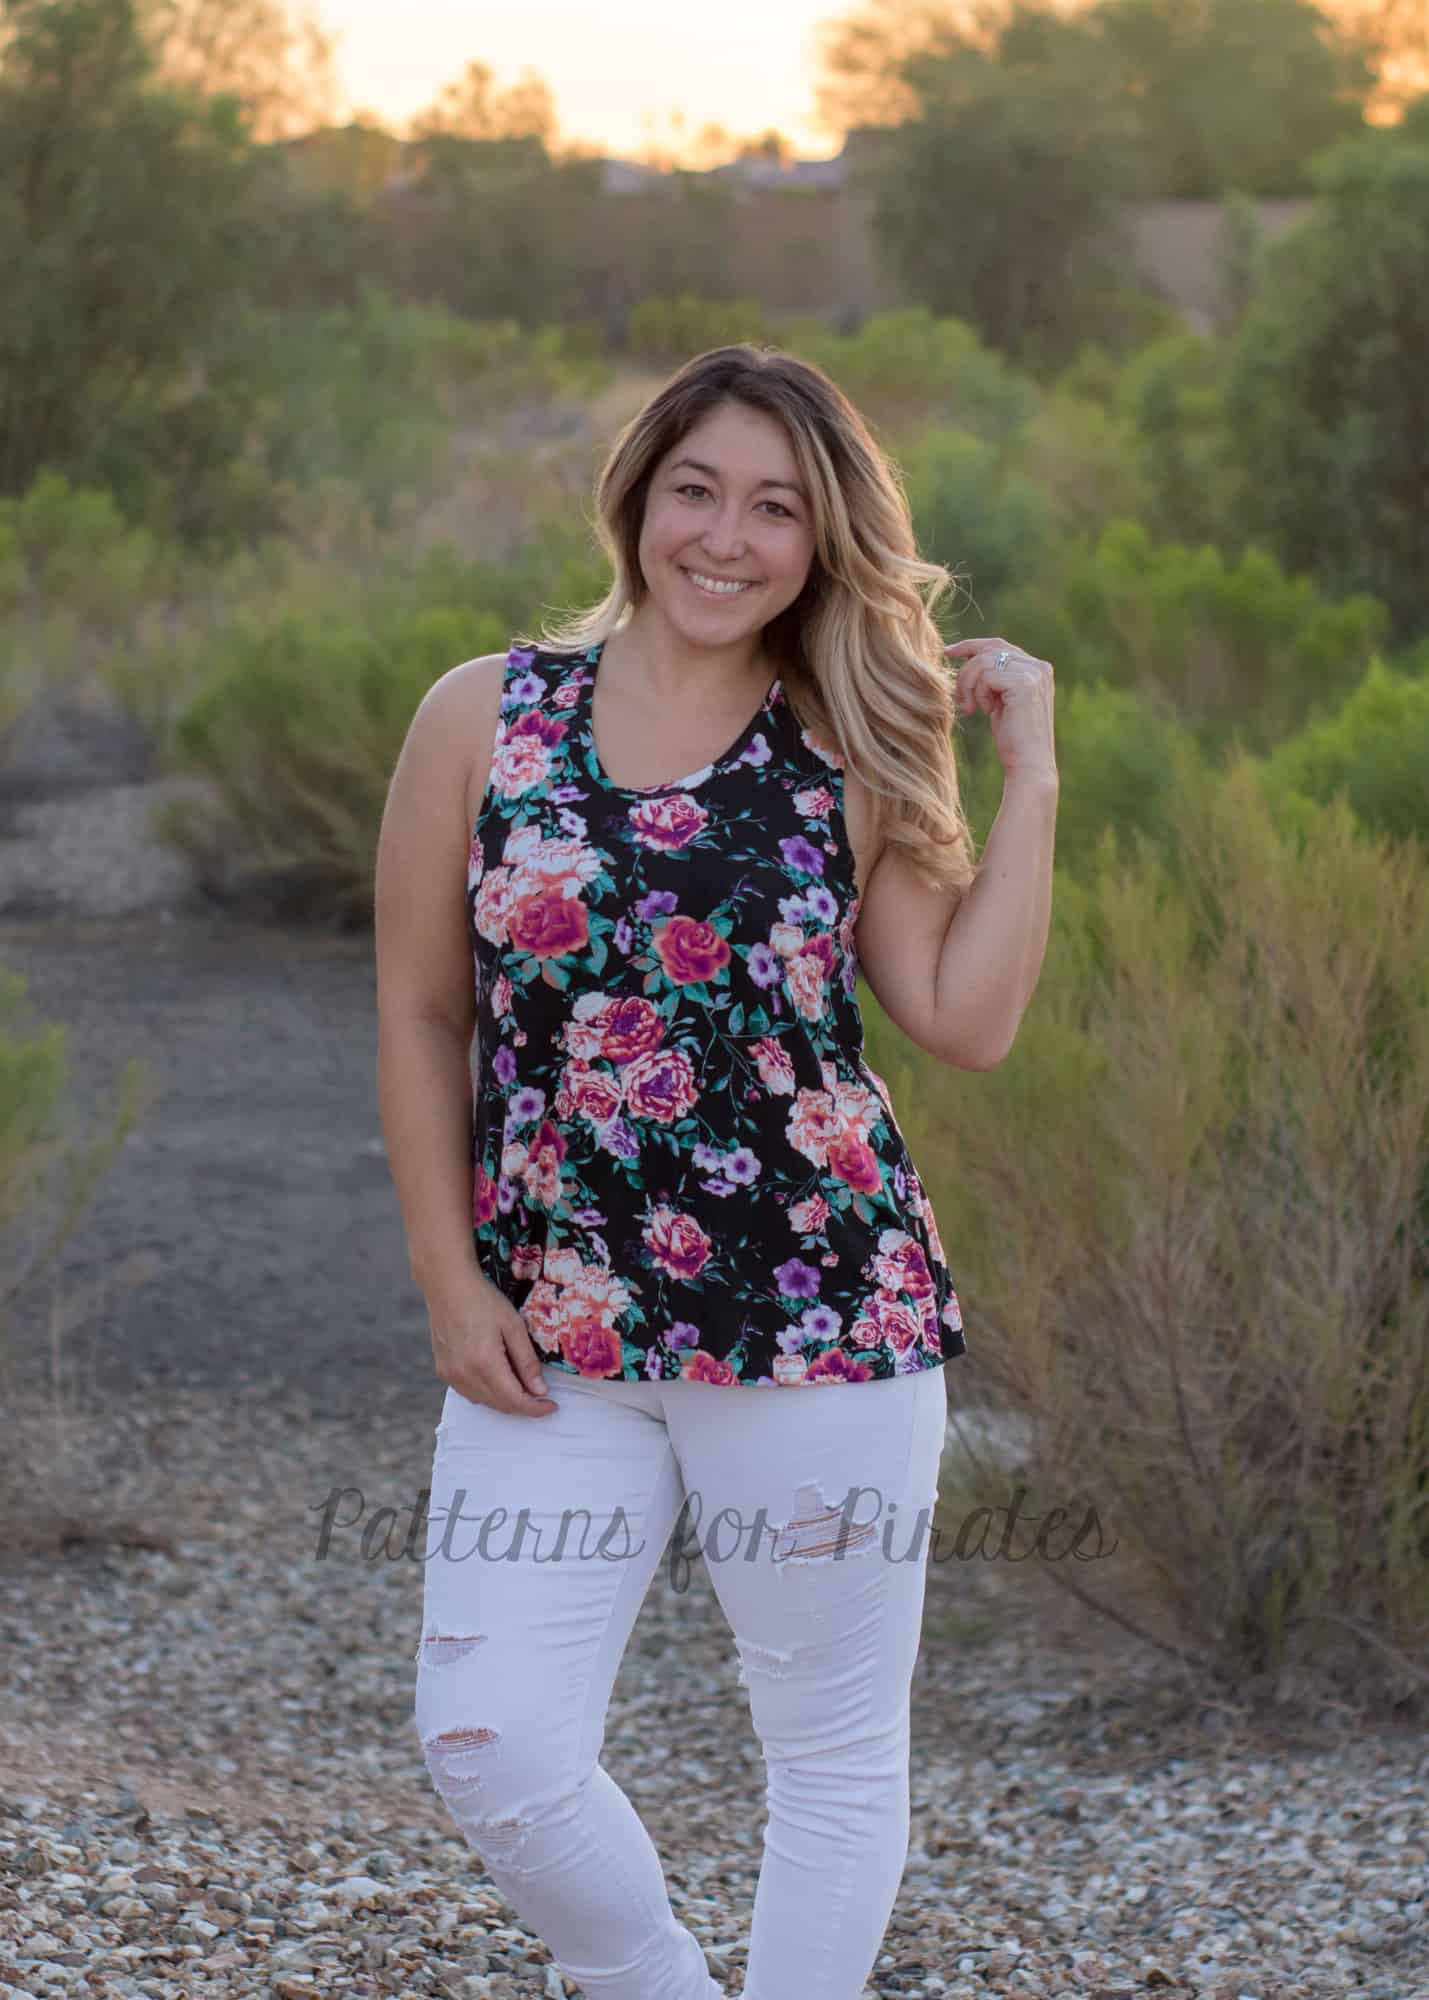
With a couple of small modifications, you can turn the Tulip Tee in to a Tank.


Using the tulip crossover piece as a guide for the shoulder width, mark and draw a vertical line to the bottom of the dolman sleeve opening and then draw a horizontal line from the bottom of the dolman sleeve opening to your previously drawn line (shown in red).  Next, using a french curve, draw the armscye from the shoulder seam to the bottom of the dolman sleeve, but stopping at the side seam to remove the “wing” of the dolman. (shown in blue).   Sew up your top as per the tutorial.  To finish the armholes, I chose to hem 1/2″.  This will give you a more open and lower armhole.  If you prefer to band them, use the same method Elisabeth did above, when adding bands to the short sleeve. (Armband = 2″ by .085 of the opening +1″ seam allowance).


…..

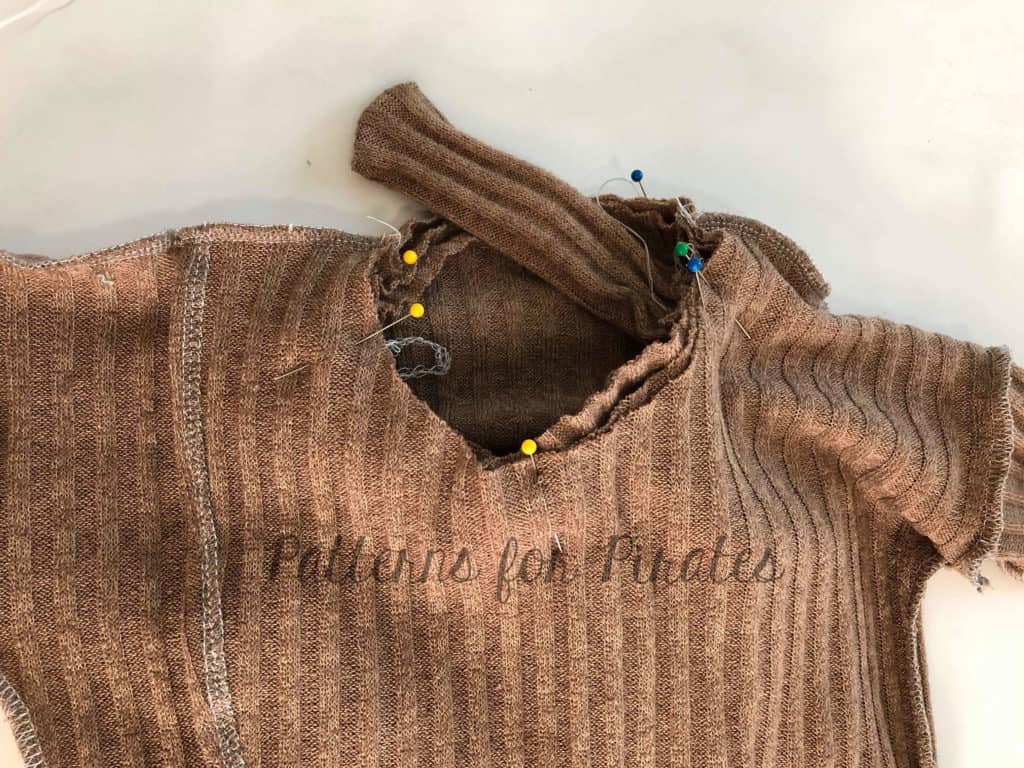
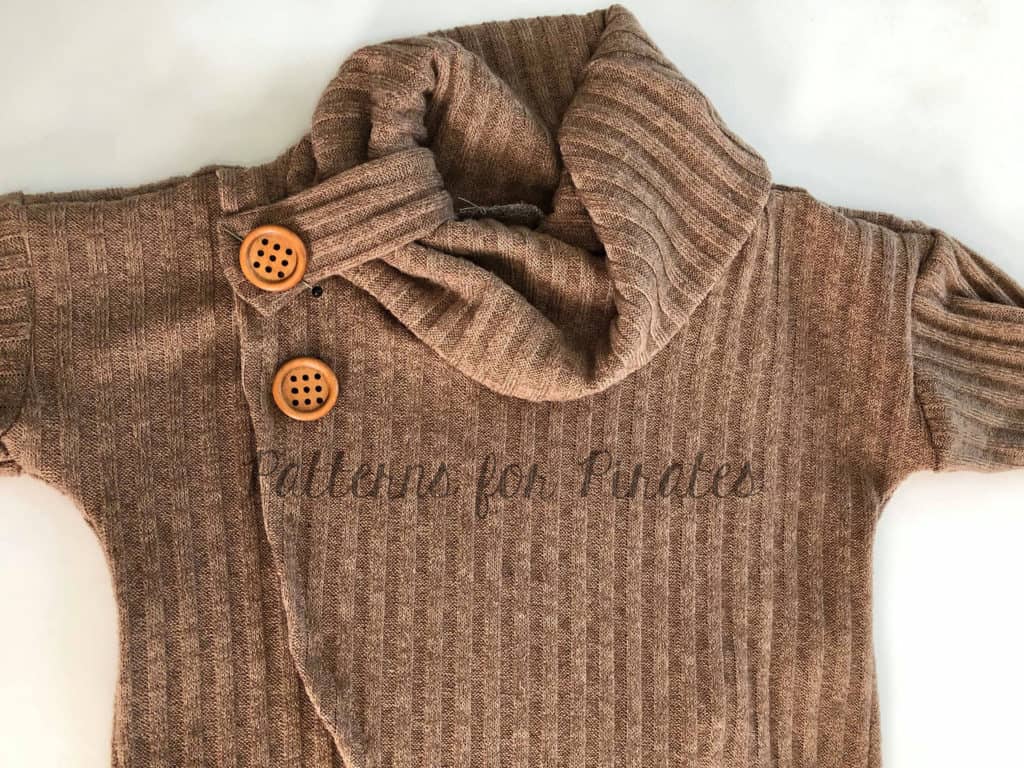
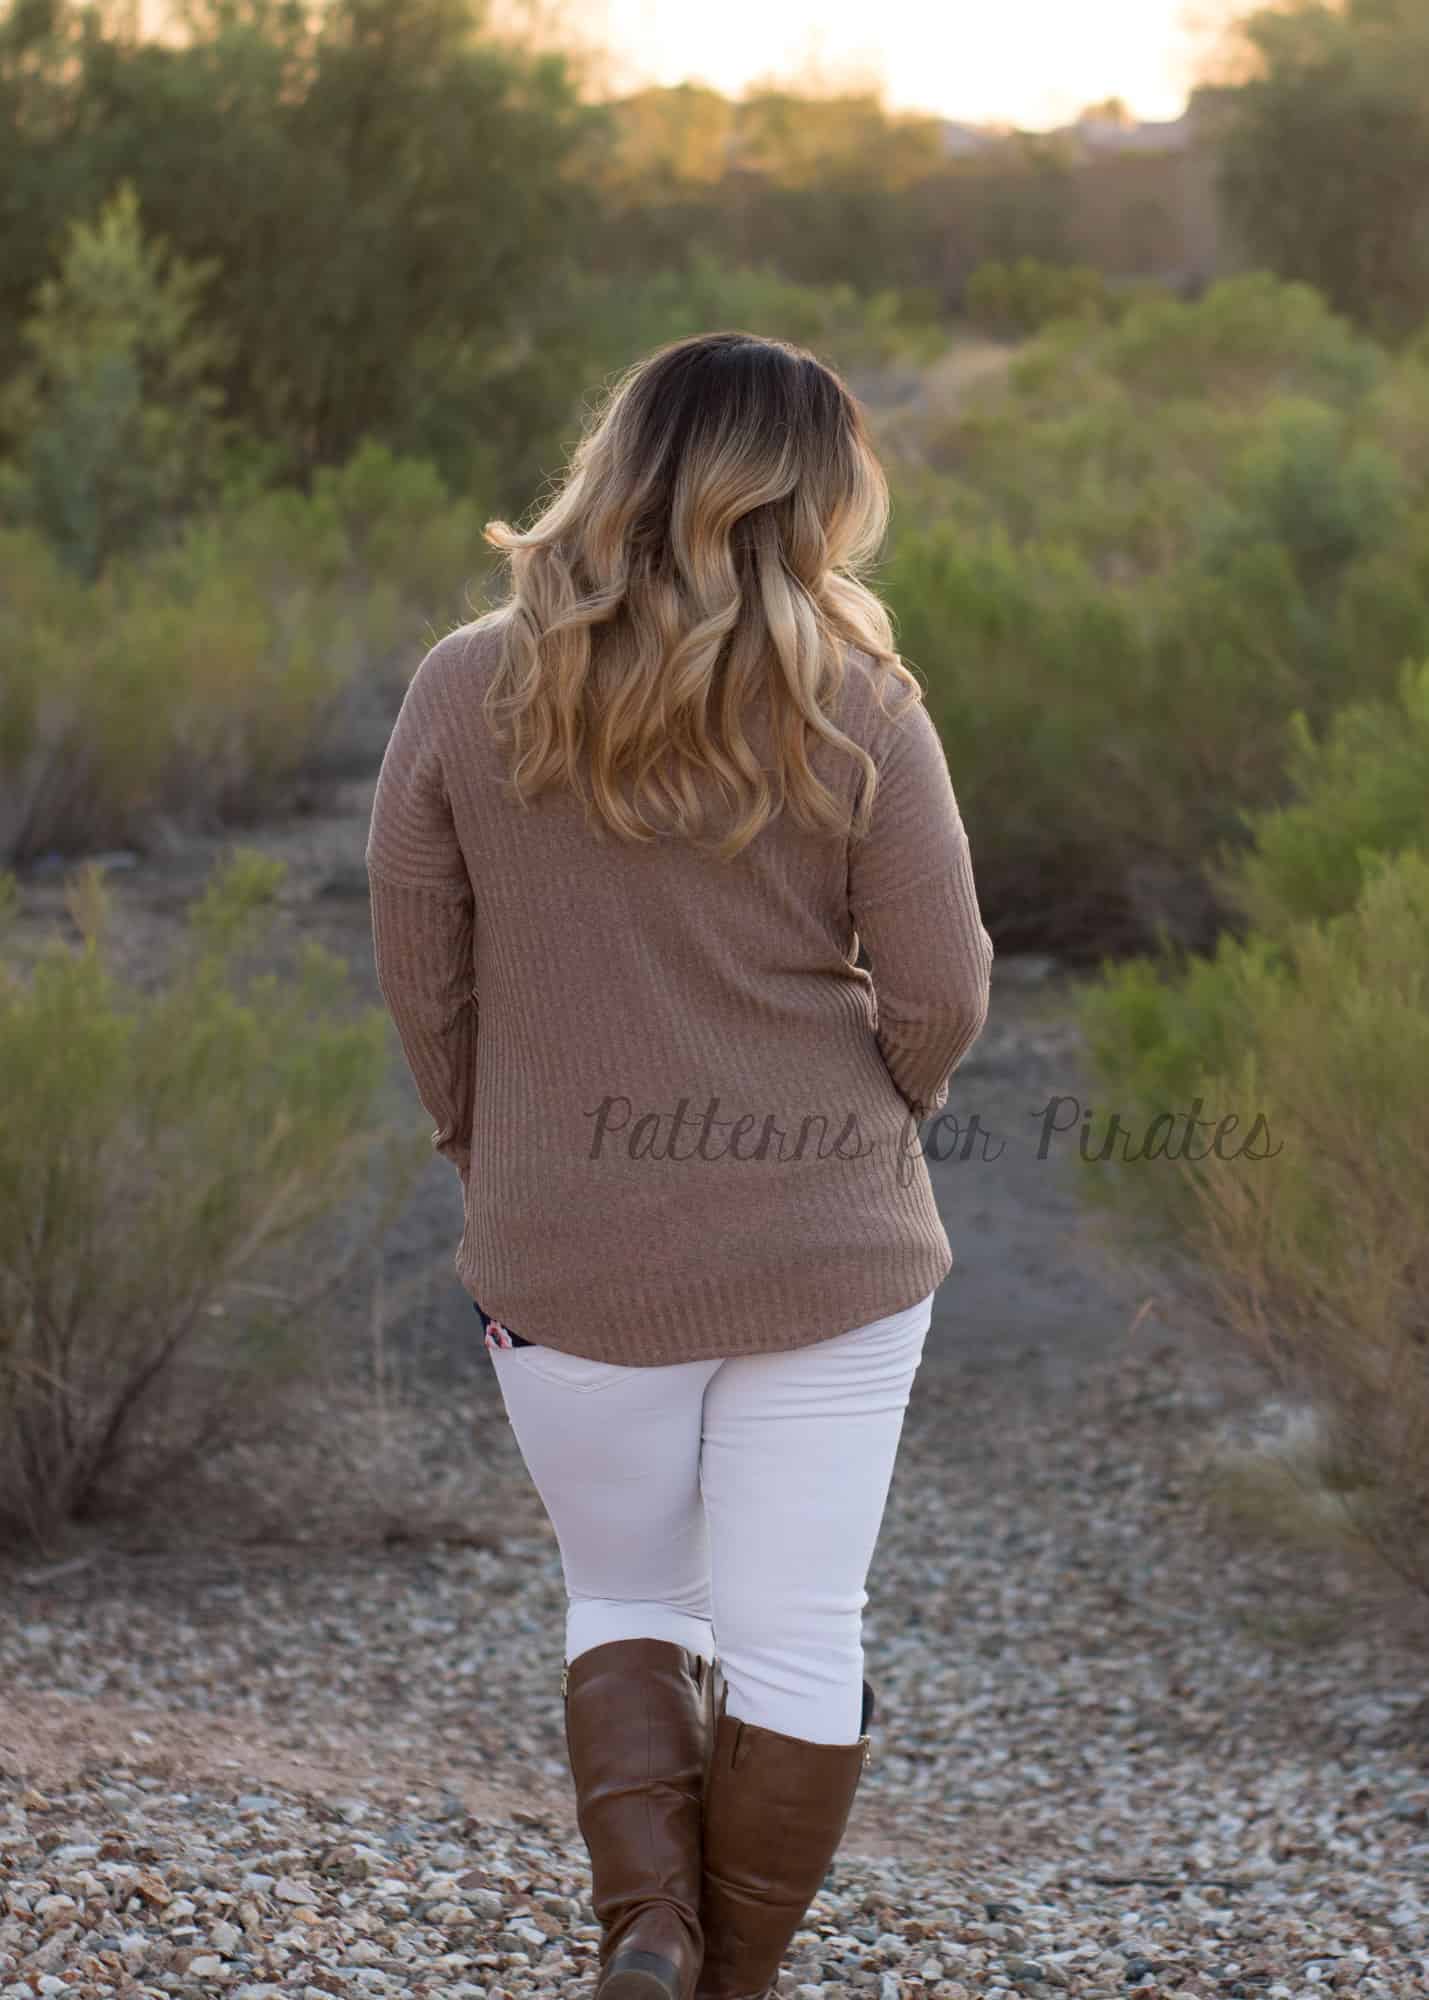
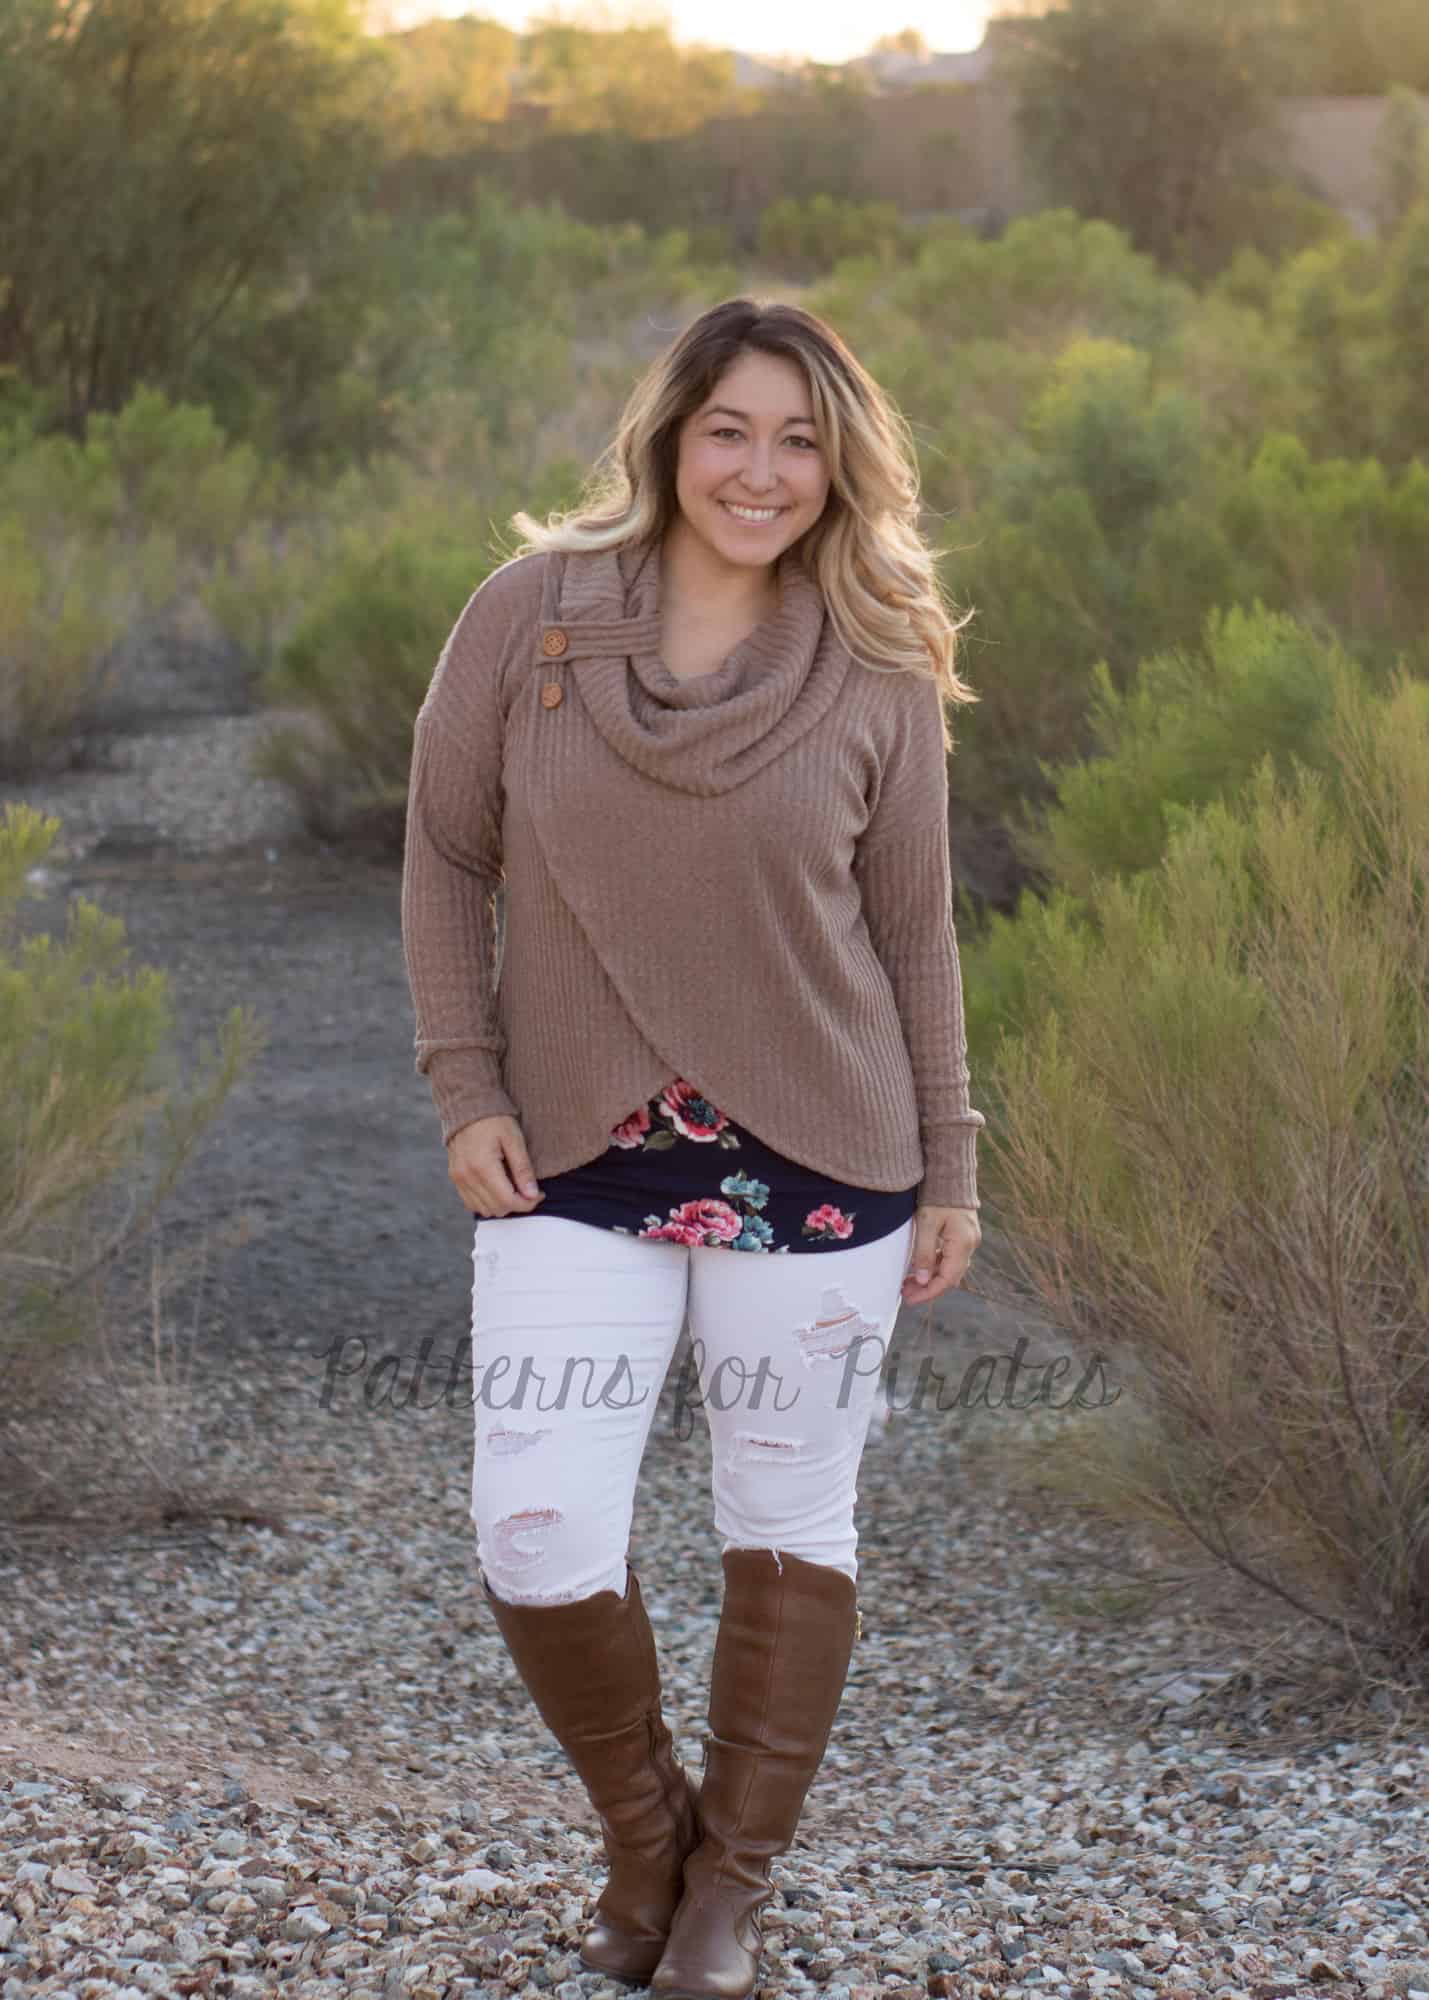
Tulip Cowl 

We all love a cozy sweater and I couldn’t resist replicating this boutique style top that has been circulating the sewing groups lately. Our Tulip Tee and Tiny Tee were the perfect base. For the Cowl piece I used our Raglan Add-On Cowl and Jolly Roger Add-On Cowl pieces.  I did not make any changes here for the size Large or Size 4 youth, but just throwing caution in the wind, check your pieces so that the neckline of the Tulip body and the cowl equal one another before cutting in to your beloved sweater knits.  I did not check each size to confirm they all fit exactly.

Sew up both the tulip top and Cowl pieces as instructed in their respective tutorials.

Women’s Tab Piece: 11″ x 3″

Youth Tab Piece: 7″ x 3″ (Note: I made a size 4, so you may need to adjust the length of the tab. Subtract 1″ from the height of the cowl pattern piece to determine the length.  You can adjust it longer or shorter depending how tight you want the tab around the cowl)

With right sides together, fold tab in half legnth-wise and stitch.
Open tab so that seam is centered and stitch short end. Turn right side out.
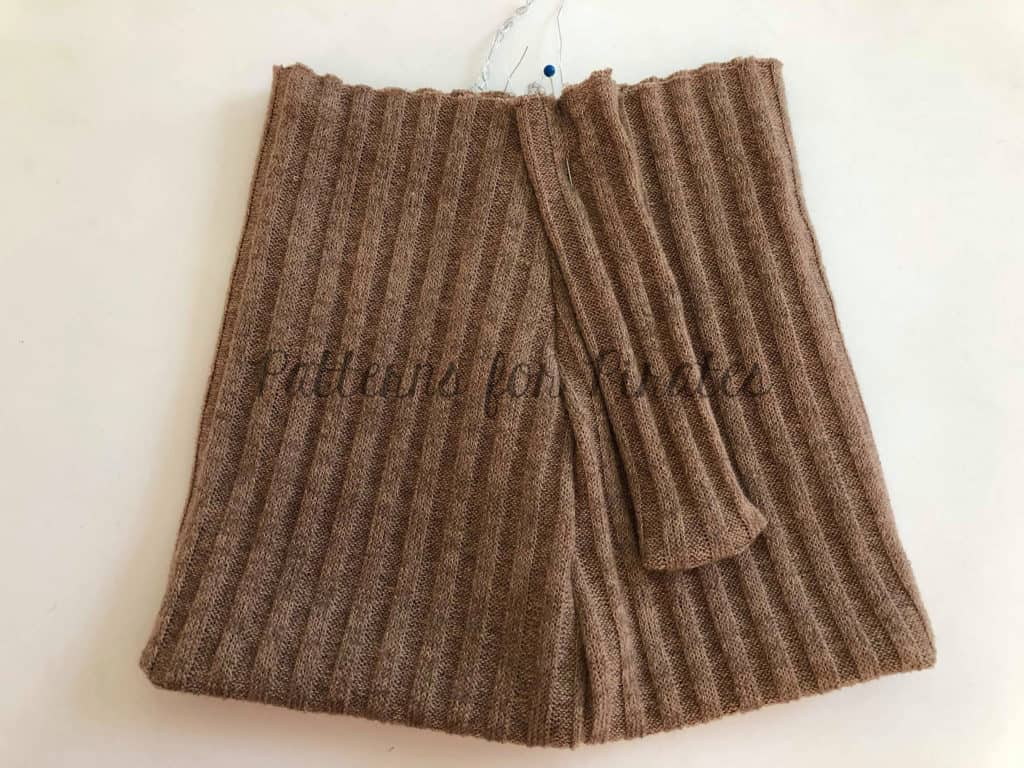
With wrong sides together, pin tab in place on the wrong side of the cowl, aligning raw edges and to the front of the side seam.

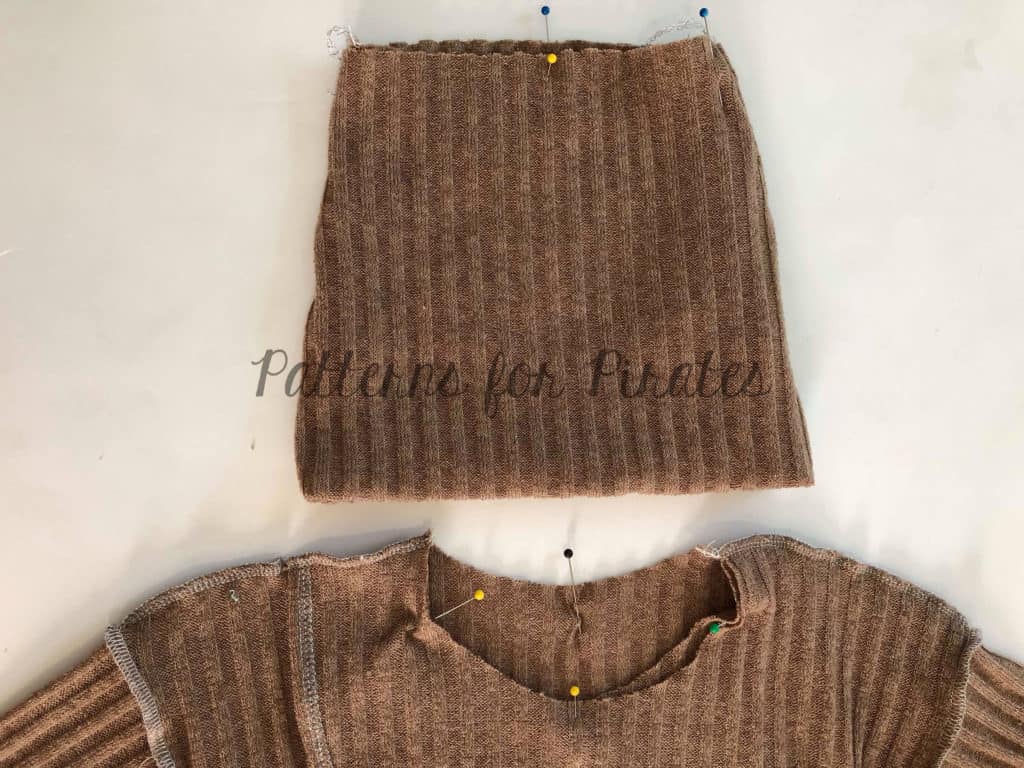
Turn Cowl right side out. Mark quarter points on cowl and neckline.
With right sides together and matching quarter points, slip cowl inside neckline. Note: the tab should be opposite of the tulip cross over side.
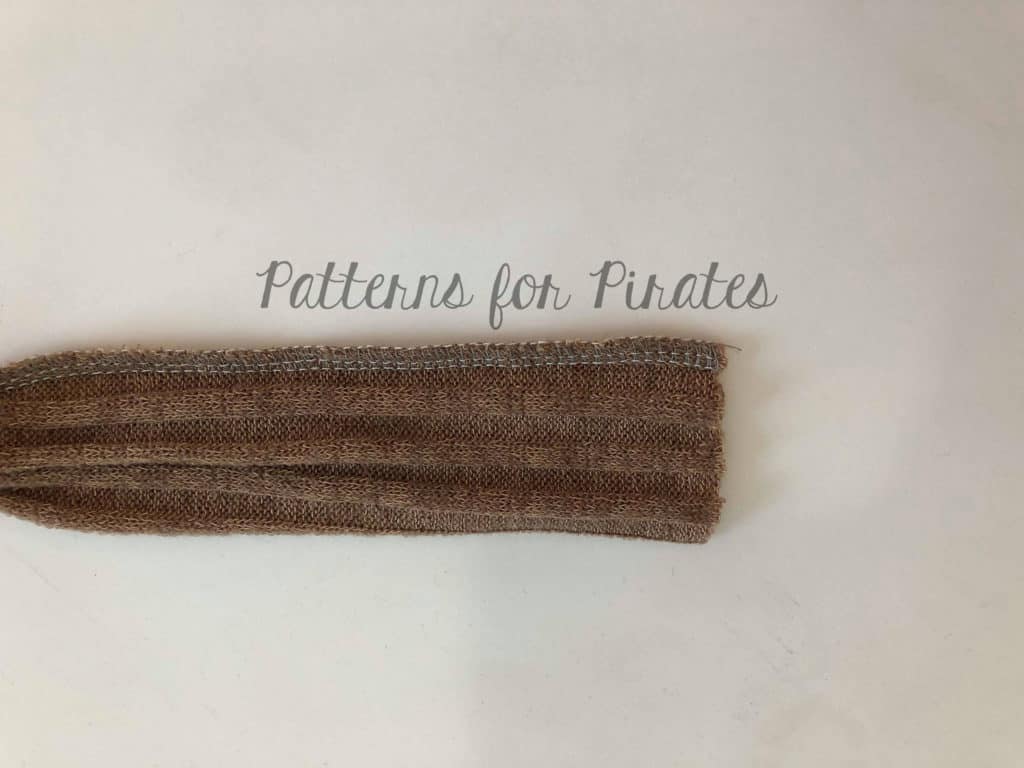
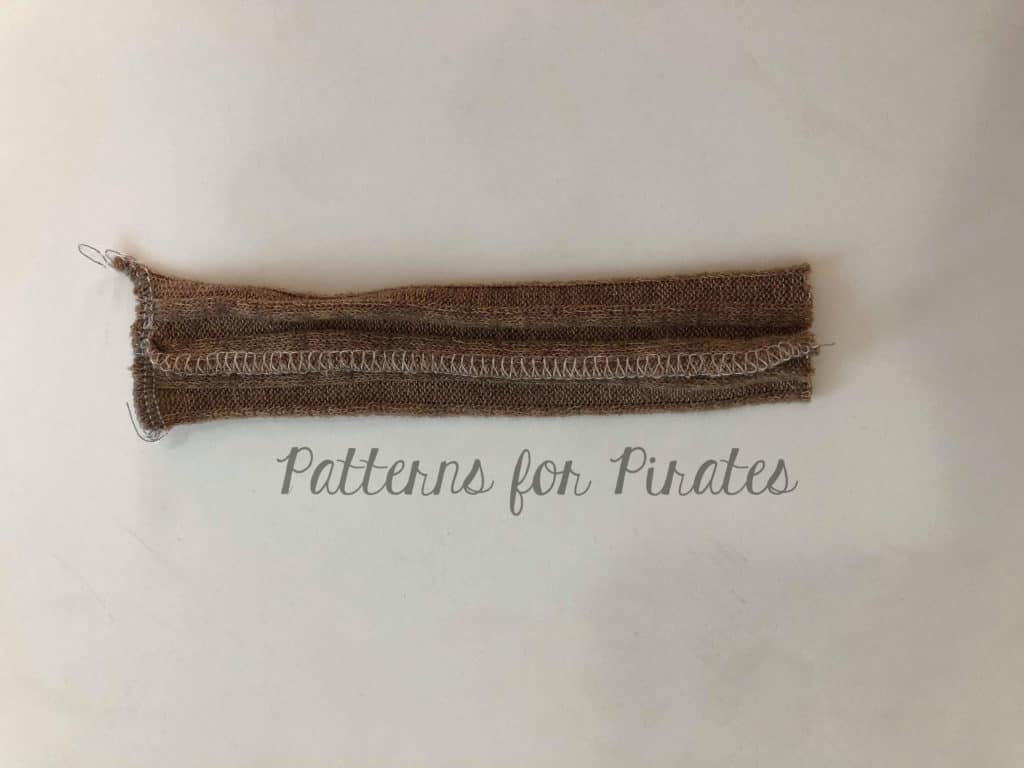
Add buttons!

Tadah!


If you love our Tulip Hacks as much as we do, be sure to hop on over to our Facebook Group and share with us!


Filed Under: Pattern Hacks, Pattern Release, Uncategorized 14 Comments

Favorite/Fav Tee SAL – day 7 (winners announcement)

August 13, 2018

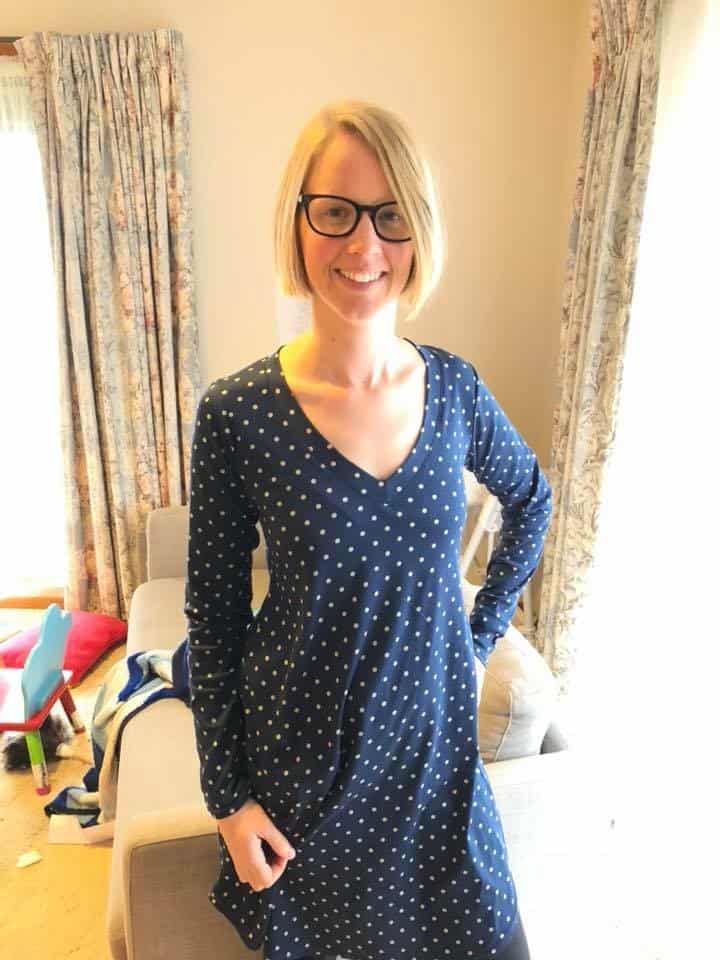
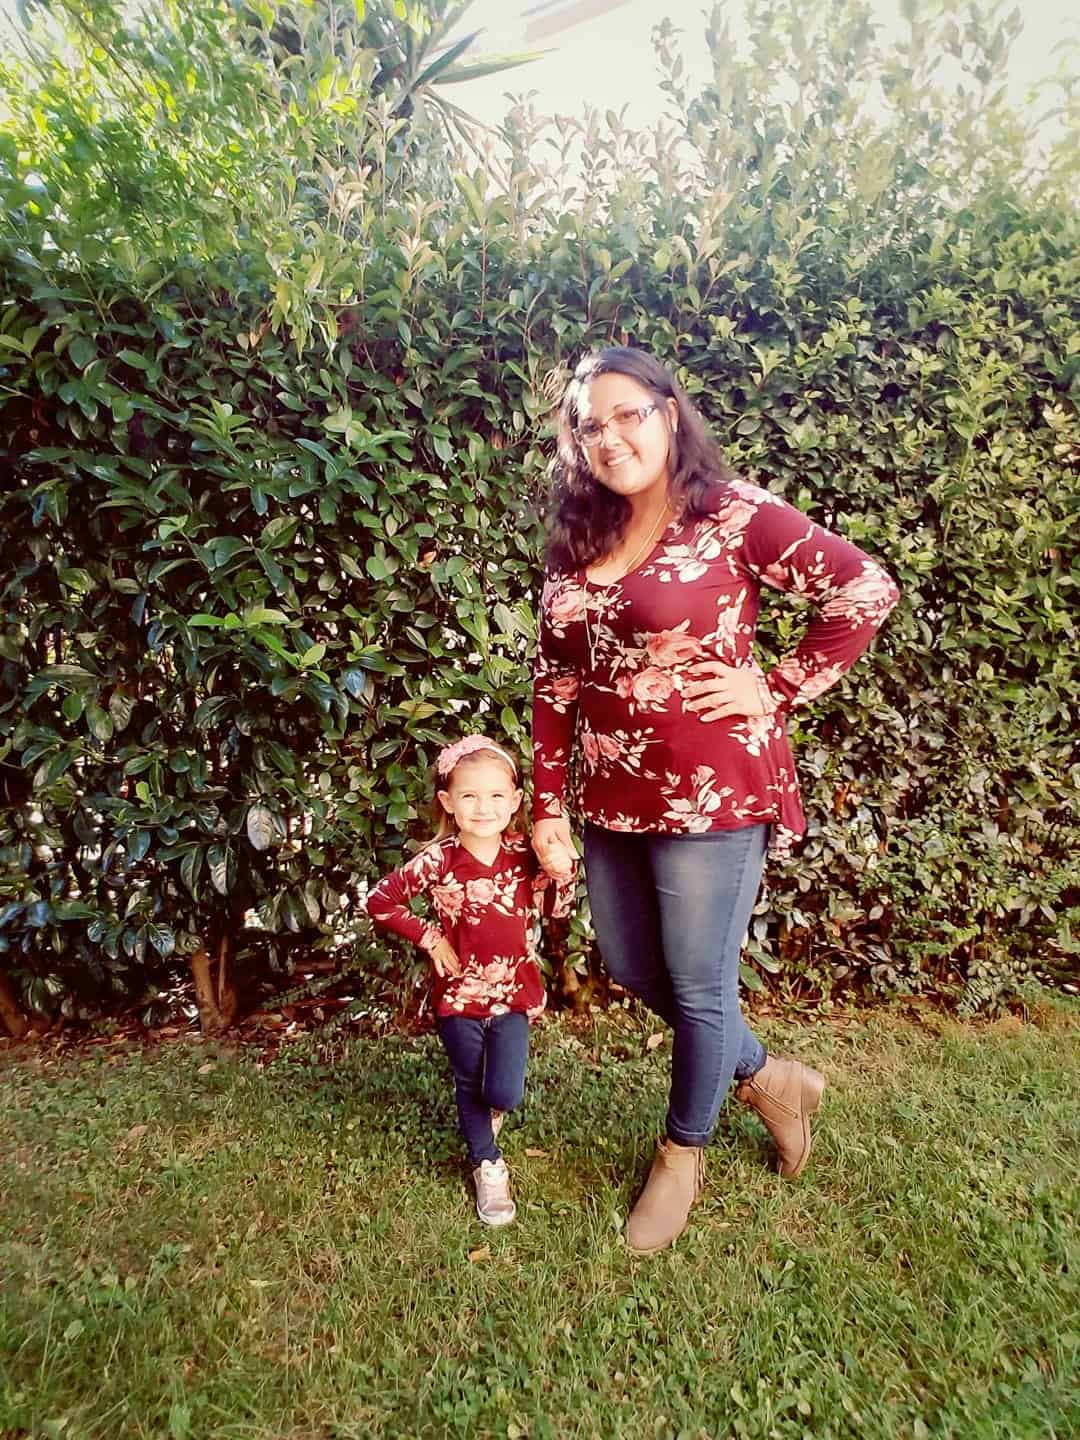
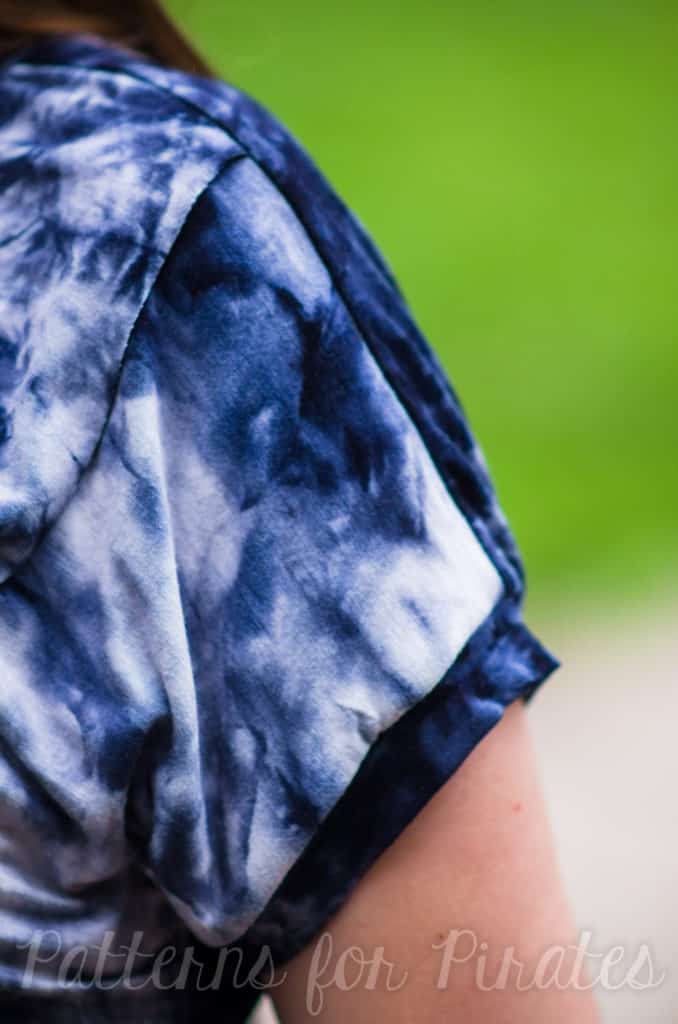
What an amazing last week we had! I am so proud to see all the beautiful Favorite Tees and Fav Tees you have sew during the sew along. So many mommy and me sets too! <3

. . . . .

And the moment you all have been waiting for is here!! Our first M4M/P4P Group Sew Along winners are:

  • Kylie Watson … You won a $20 store credit to Patterns for Pirates so you can stock up on your favorite patterns, a sewing machine necklace from Thread and Grain that will compliment your Favorite tee beautifully and a MFRB full of Fabric Anthropology fabric.

  • Alaura Sproles … Your big prize includes a $20 store credit to Made for Mermaids who will be hosting the next group SAL so perfect timing 😉 , a beautiful sewing machine necklace courtesy of Katy from Thread and Grain and a $50 gift card to Fabric Anthropology which offers gorgeous prints on lots of bases (including Bamboo Lycra)

A huge thank you to our amazing sponsors!

Favorite Tee & Fav Tee SAL

Day 1: print + cut pattern

Day 2: chose + cut fabric

Day 3: shoulder seam + attach sleeves

Day 4: side seam + hem sleeves

Day 5: hem bottom or add band

Day 6: neckband

Day 7: winner announcement 
Filed Under: Contest/Giveaway, Sew-A-Long 1 Comment

Favorite/Fav Tee SAL – day 6 (add neckband)

August 11, 2018

We made it to the last sewing day! Hooray! Today we’re adding the neckband, pressing and showing off our creations. My favorite part! 🙂

If you chose the scoop neckline, take a look over our P4P University Neckbands 101 before you start sewing. The blog includes a video of the Favorite Tee as well. If you picked the V neckline like I did, check out our P4P University V-neckbands 101 and the video below.

How easy was that? All done! You all did great! Now show off your work in the groups and don’t forget to post your final picture in the comments of the day 6 photo of the Favorite /Fav Tee SAL album. The P4P/M4M team will pick the two lucky winners on Monday and we will announce them here on the blog.

Favorite Tee & Fav Tee SAL

Day 1: print + cut pattern

Day 2: chose + cut fabric

Day 3: shoulder seam + attach sleeves

Day 4: side seam + hem sleeves

Day 5: hem bottom or add band

Day 6: neckband

Day 7: winner announcement 

Filed Under: Frequently Asked Questions, Sew-A-Long Leave a Comment

Favorite/Fav Tee SAL – day 5 (hem bottom/add waistband)

August 10, 2018

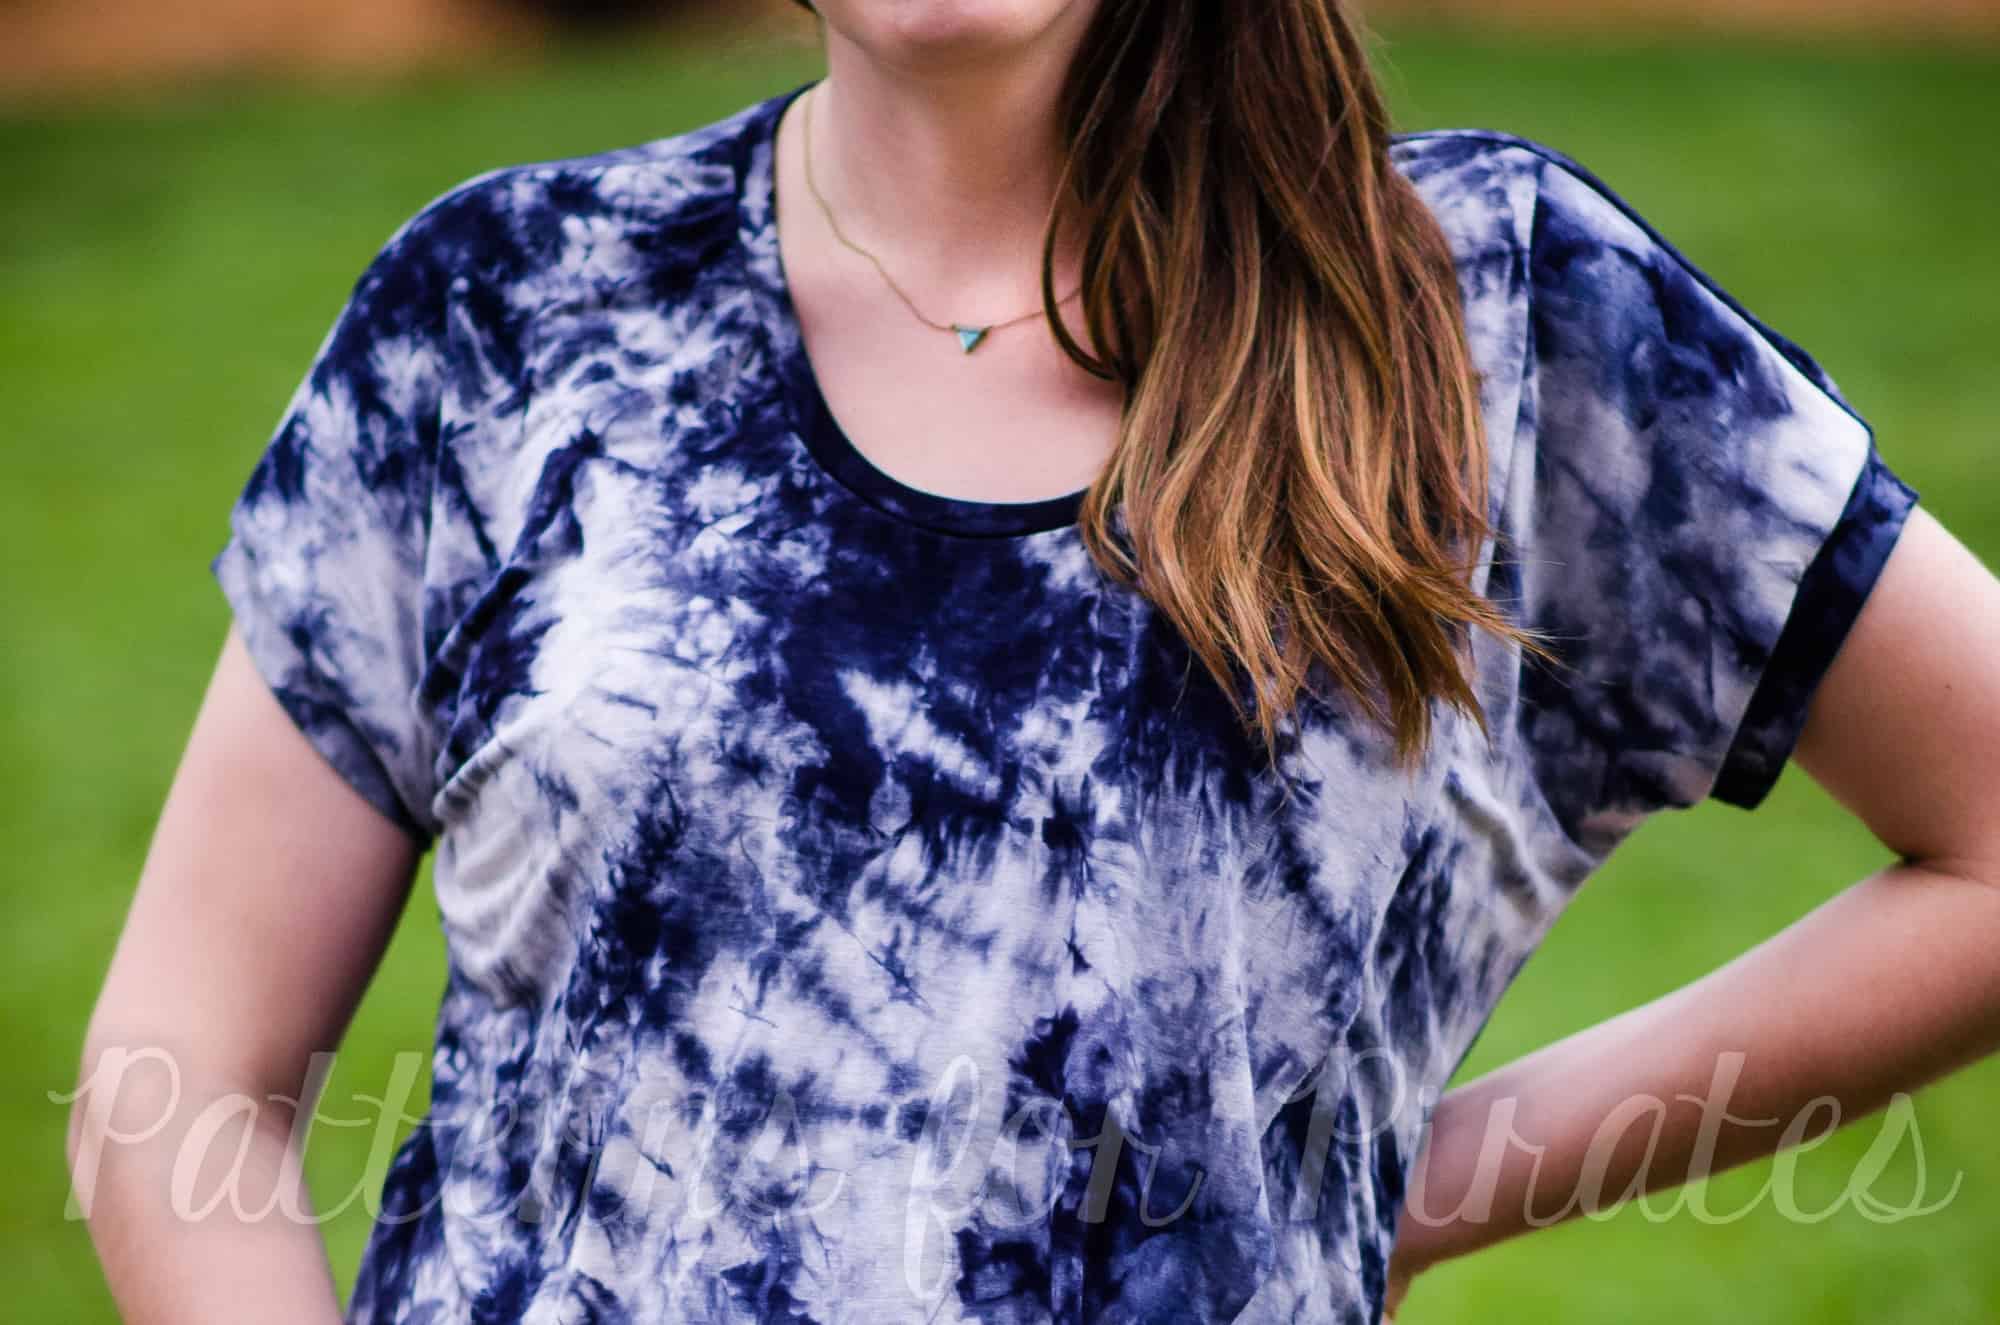
Ahoy, Pirates! Welcome to day 5 of our Favorite Tee and Fav Tee Sew along. Today we’ll be hemming the bottom or adding the bottom band if you’re doing that option.

As you remember from day 2, the bottom band has 4 pieces for sizes 1x to 3x and 2 pieces (cut on fold) for sizes xxs to xxl. Construct and add your band according to the tutorial, making sure you add all necessary notches!

If you chose the hemmed option, you can do that using your sewing machine, twin needles or your coverstitch as I have. Before you start, take a look over our Hemming blog because we have a few tips for easy and successful hemming. If you are finishing the bottom hem using twin needles, a good refresher blog is the P4P University Twin Needles Tips.

In the Day 5 video below I am showing you how easy it is to hem the curved dress option. Check it out and once you finish your day 5 steps, be sure to post a picture of your progress in the comments of the Day 5 picture. Can’t wait to see!


Favorite Tee & Fav Tee SAL

Day 1: print + cut pattern

Day 2: chose + cut fabric

Day 3: shoulder seam + attach sleeves

Day 4: side seam + hem sleeves

Day 5: hem bottom or add band

Day 6: neckband

Day 7: winner announcement 
Filed Under: Sew-A-Long 1 Comment

Favorite/Fav Tee SAL – day 4 (sew side seams and hem sleeves)

August 9, 2018


We made it to the half way mark of our Favorite Tee & Fav Tee sew along! That was fast! Today we’ll be sewing the side seams and hemming the sleeves.

When sewing the side seams, pin the front to the back of the shirt, right sides together. I like to pin the armpit first, then the end of the sleeve and the bottom and finally add a few pins or clips in between. Whether you are making the shirt or dress, long sleeve, 3/4 or short sleeves (like I am) the technique is the same.

Next we will be hemming the sleeves. You can do this using your sewing machine’s stretch stitch or zig zag stitch, a twin needle or your coverstitch like I am. If you use your twin needles be sure to check out our P4P University Twin Needles blog for great tips!

In the video below I show you how to sew the side seams and hem the sleeves using a coverstitch machine. When you finish these steps be sure to post a picture of your progress in the comments of the Day 4 photo  (album is in the M4M & P4P Sew along group)

Favorite Tee & Fav Tee SAL

Day 1: print + cut pattern

Day 2: chose + cut fabric

Day 3: shoulder seam + attach sleeves

Day 4: side seam + hem sleeves

Day 5: hem bottom or add band

Day 6: neckband

Day 7: winner announcement 

Filed Under: Frequently Asked Questions, Sew-A-Long Leave a Comment

Favorite/Fav Tee SAL – day 3 (sew shoulder seams and sleeves)

August 8, 2018

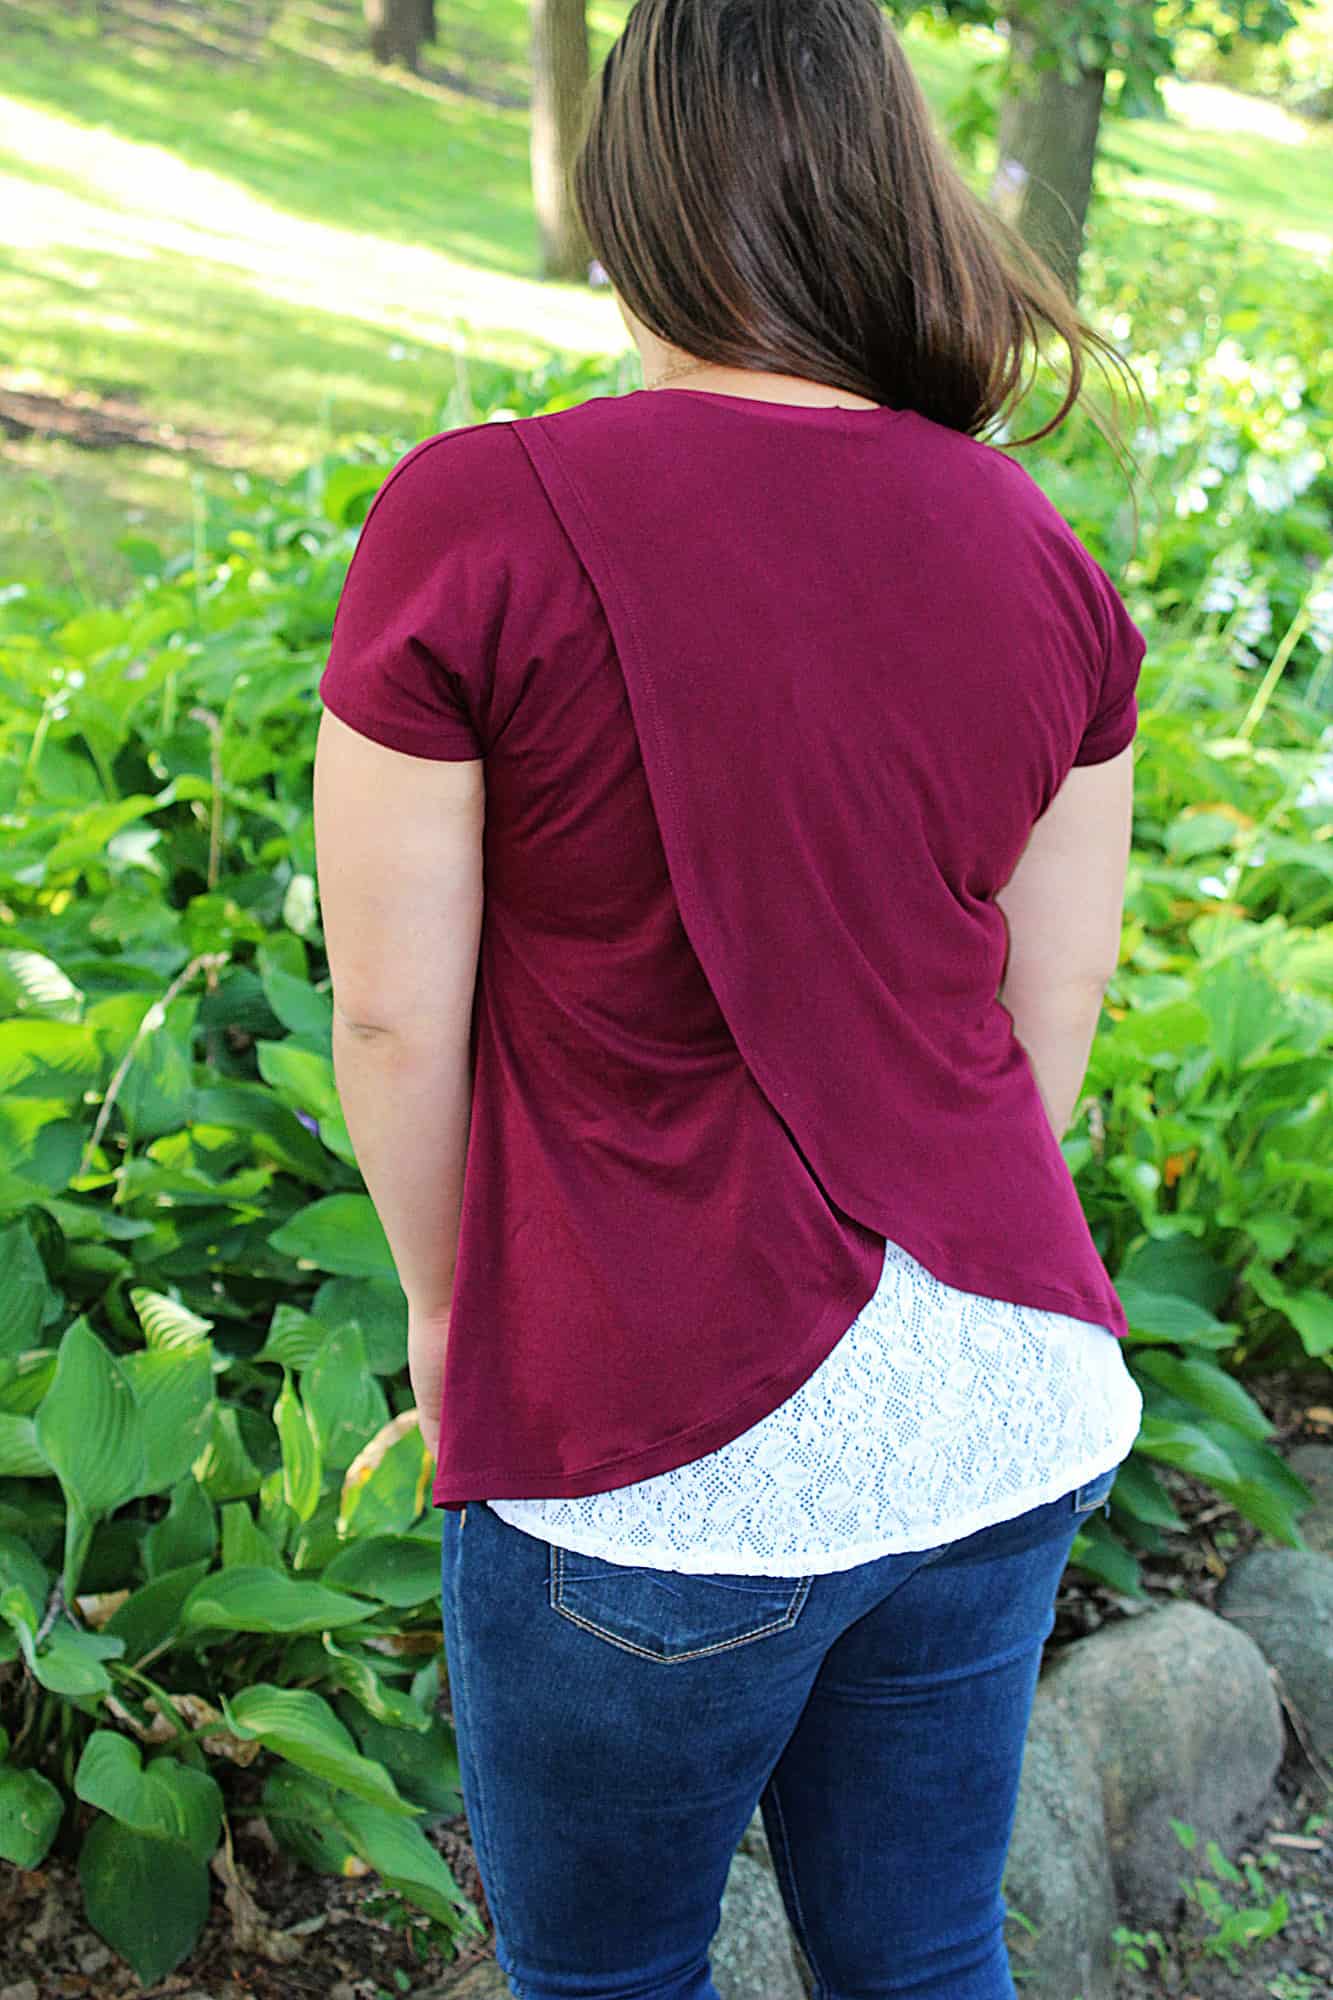
Day 3 – lets start sewing! Today we sew the shoulder seams (easy peasy!) and add the set in sleeves. When attaching the sleeves it is very important to match the notch to the shoulder seam, pin in place and then match the side seams and pin in place.

The Favorite Tee and the Fav Tee follow a 1/2″ seam allowance so be sure to not deviate from it when you sew the shoulder seams RST or when you attach the sleeves.

Watch the day 3 video below and be sure to post a picture of today’s progress in the day 3 photo comments of the Favorite/Fav Tee album in the M4M & P4P Sew Along Group.


Favorite Tee & Fav Tee SAL

Day 1: print + cut pattern

Day 2: chose + cut fabric

Day 3: shoulder seam + attach sleeves

Day 4: side seam + hem sleeves

Day 5: hem bottom or add band

Day 6: neckband

Day 7: winner announcement 
Filed Under: Frequently Asked Questions, Sew-A-Long 1 Comment
  • « Previous Page
  • 1
  • …
  • 15
  • 16
  • 17
  • 18
  • 19
  • …
  • 23
  • Next Page »
connect with me

  • Email
  • Facebook
  • Instagram
  • Pinterest
  • YouTube
Privacy & Cookies: This site uses cookies. By continuing to use this website, you agree to their use.

To find out more, including how to control cookies, see here: Cookie Policy
  • Privacy Policy
  • Refund Policy
  • Contact Us
  • About

Copyright © 2026 Patterns for Pirates

Copyright © 2026 · Genesis Framework · WordPress · Log in