Happy Holidays, Pirate Friends! We are excitedly back for another year and another round of holiday freebies to share with you! Over the years, we’ve compiled different tutorials and patterns that we think would make *perfect* gifts for your friends and family. Curious about what we’ve already released in the way of holiday freebies? Head right here to see all of them: Holiday Freebies Roundup.
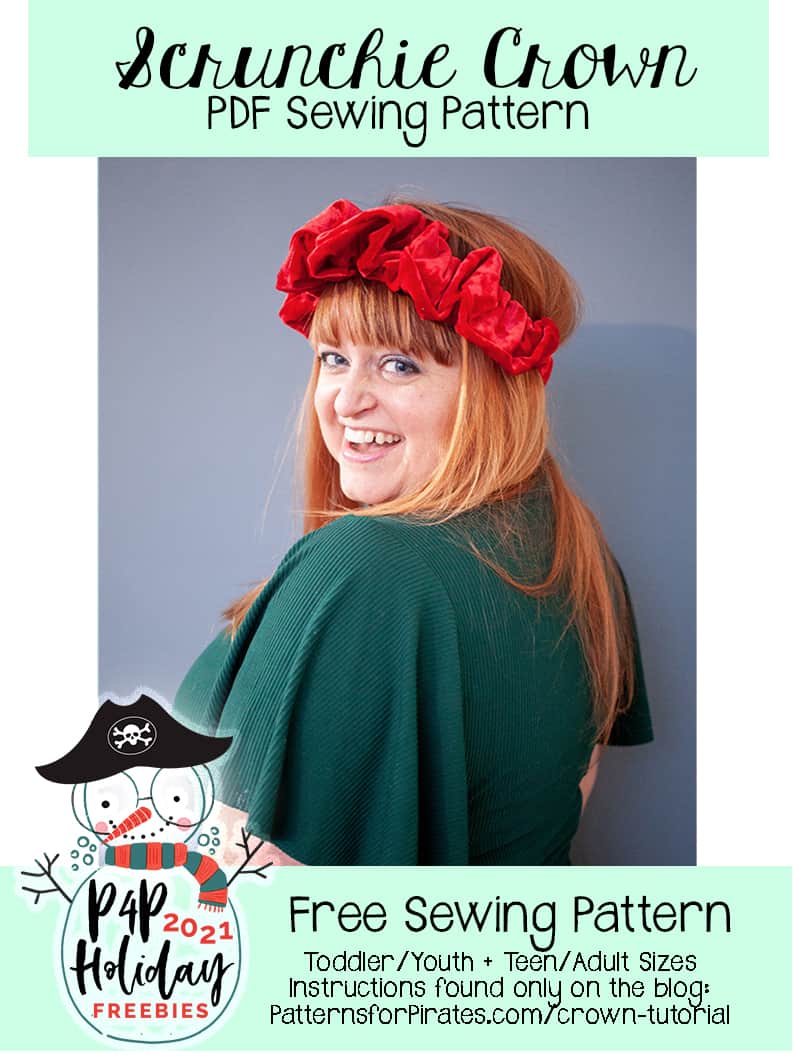
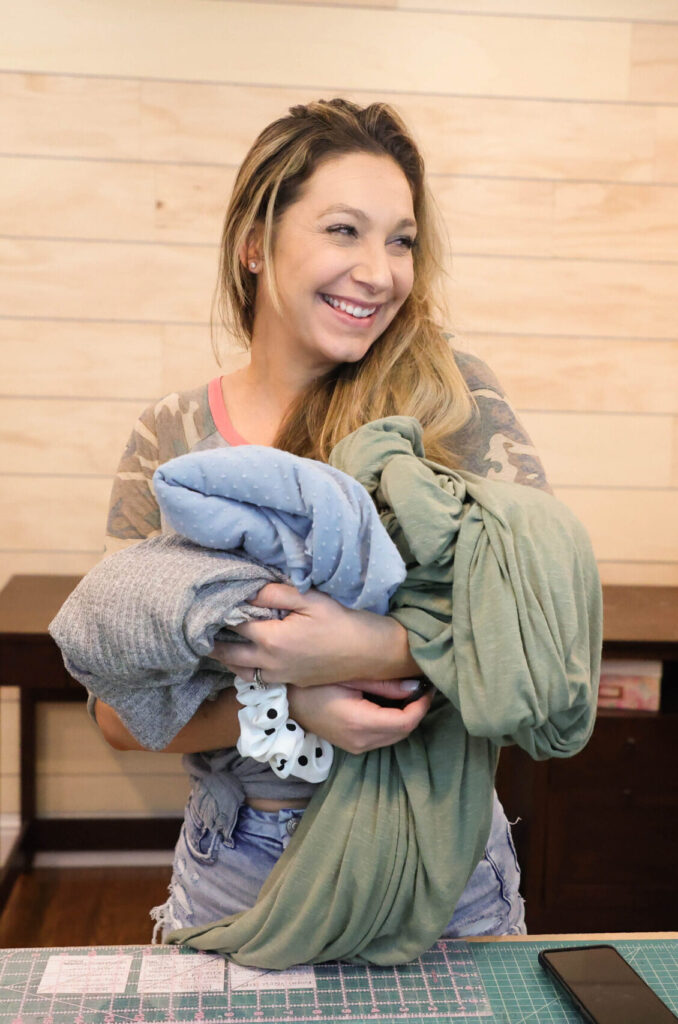
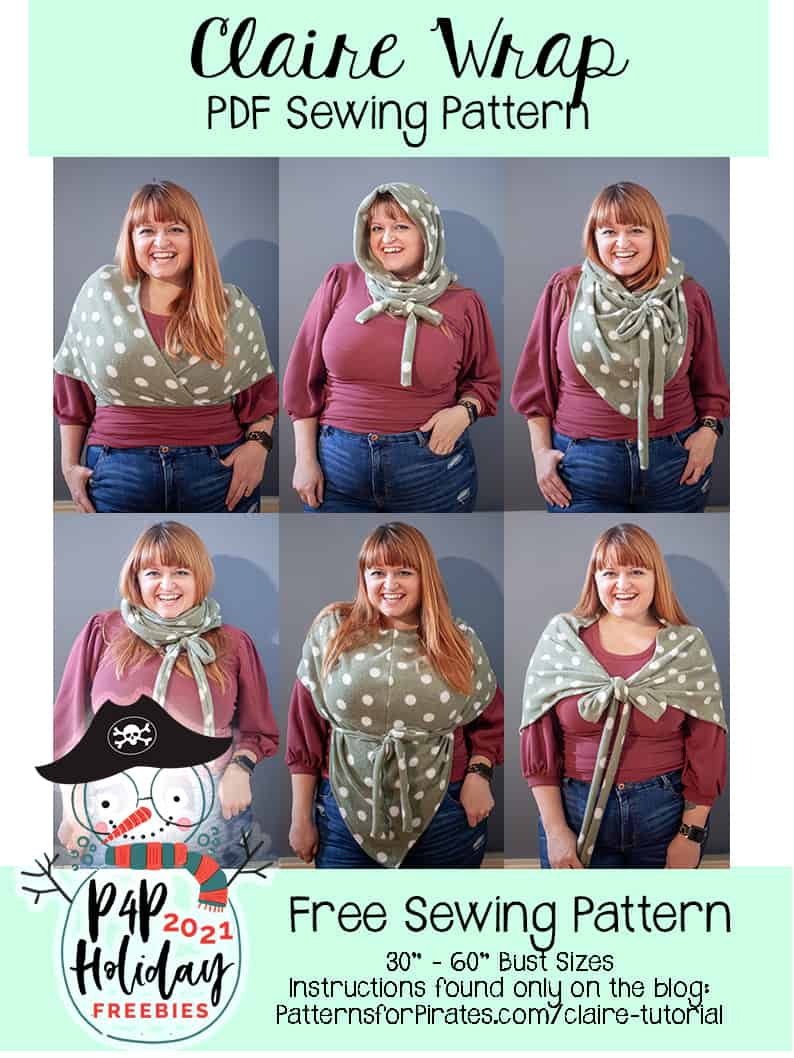
Today, we are bringing you the: Claire Wrap!
This wrap is inspired by no other than Claire Fraser from the show Outlander. I’ve not personally seen the show, but I have plenty of people in my life that watch it religiously. I saw a wrap Claire was wearing in an image from the show and felt like it’d be such a great accessory to have for myself!
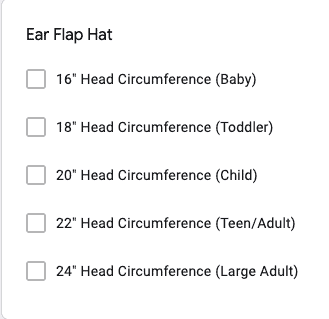
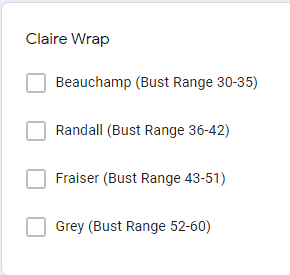
As there are four sizes, it felt right to name them like this. 😉
Supplies Needed:
- Claire Wrap pattern pieces
- 2 Yards Knit Fabric
**A wide range of knit fabrics can be used for this. I recommend something with a little bit of stretch, so when it’s being worn over the shoulder it moves more easily with you.
TUTORIAL

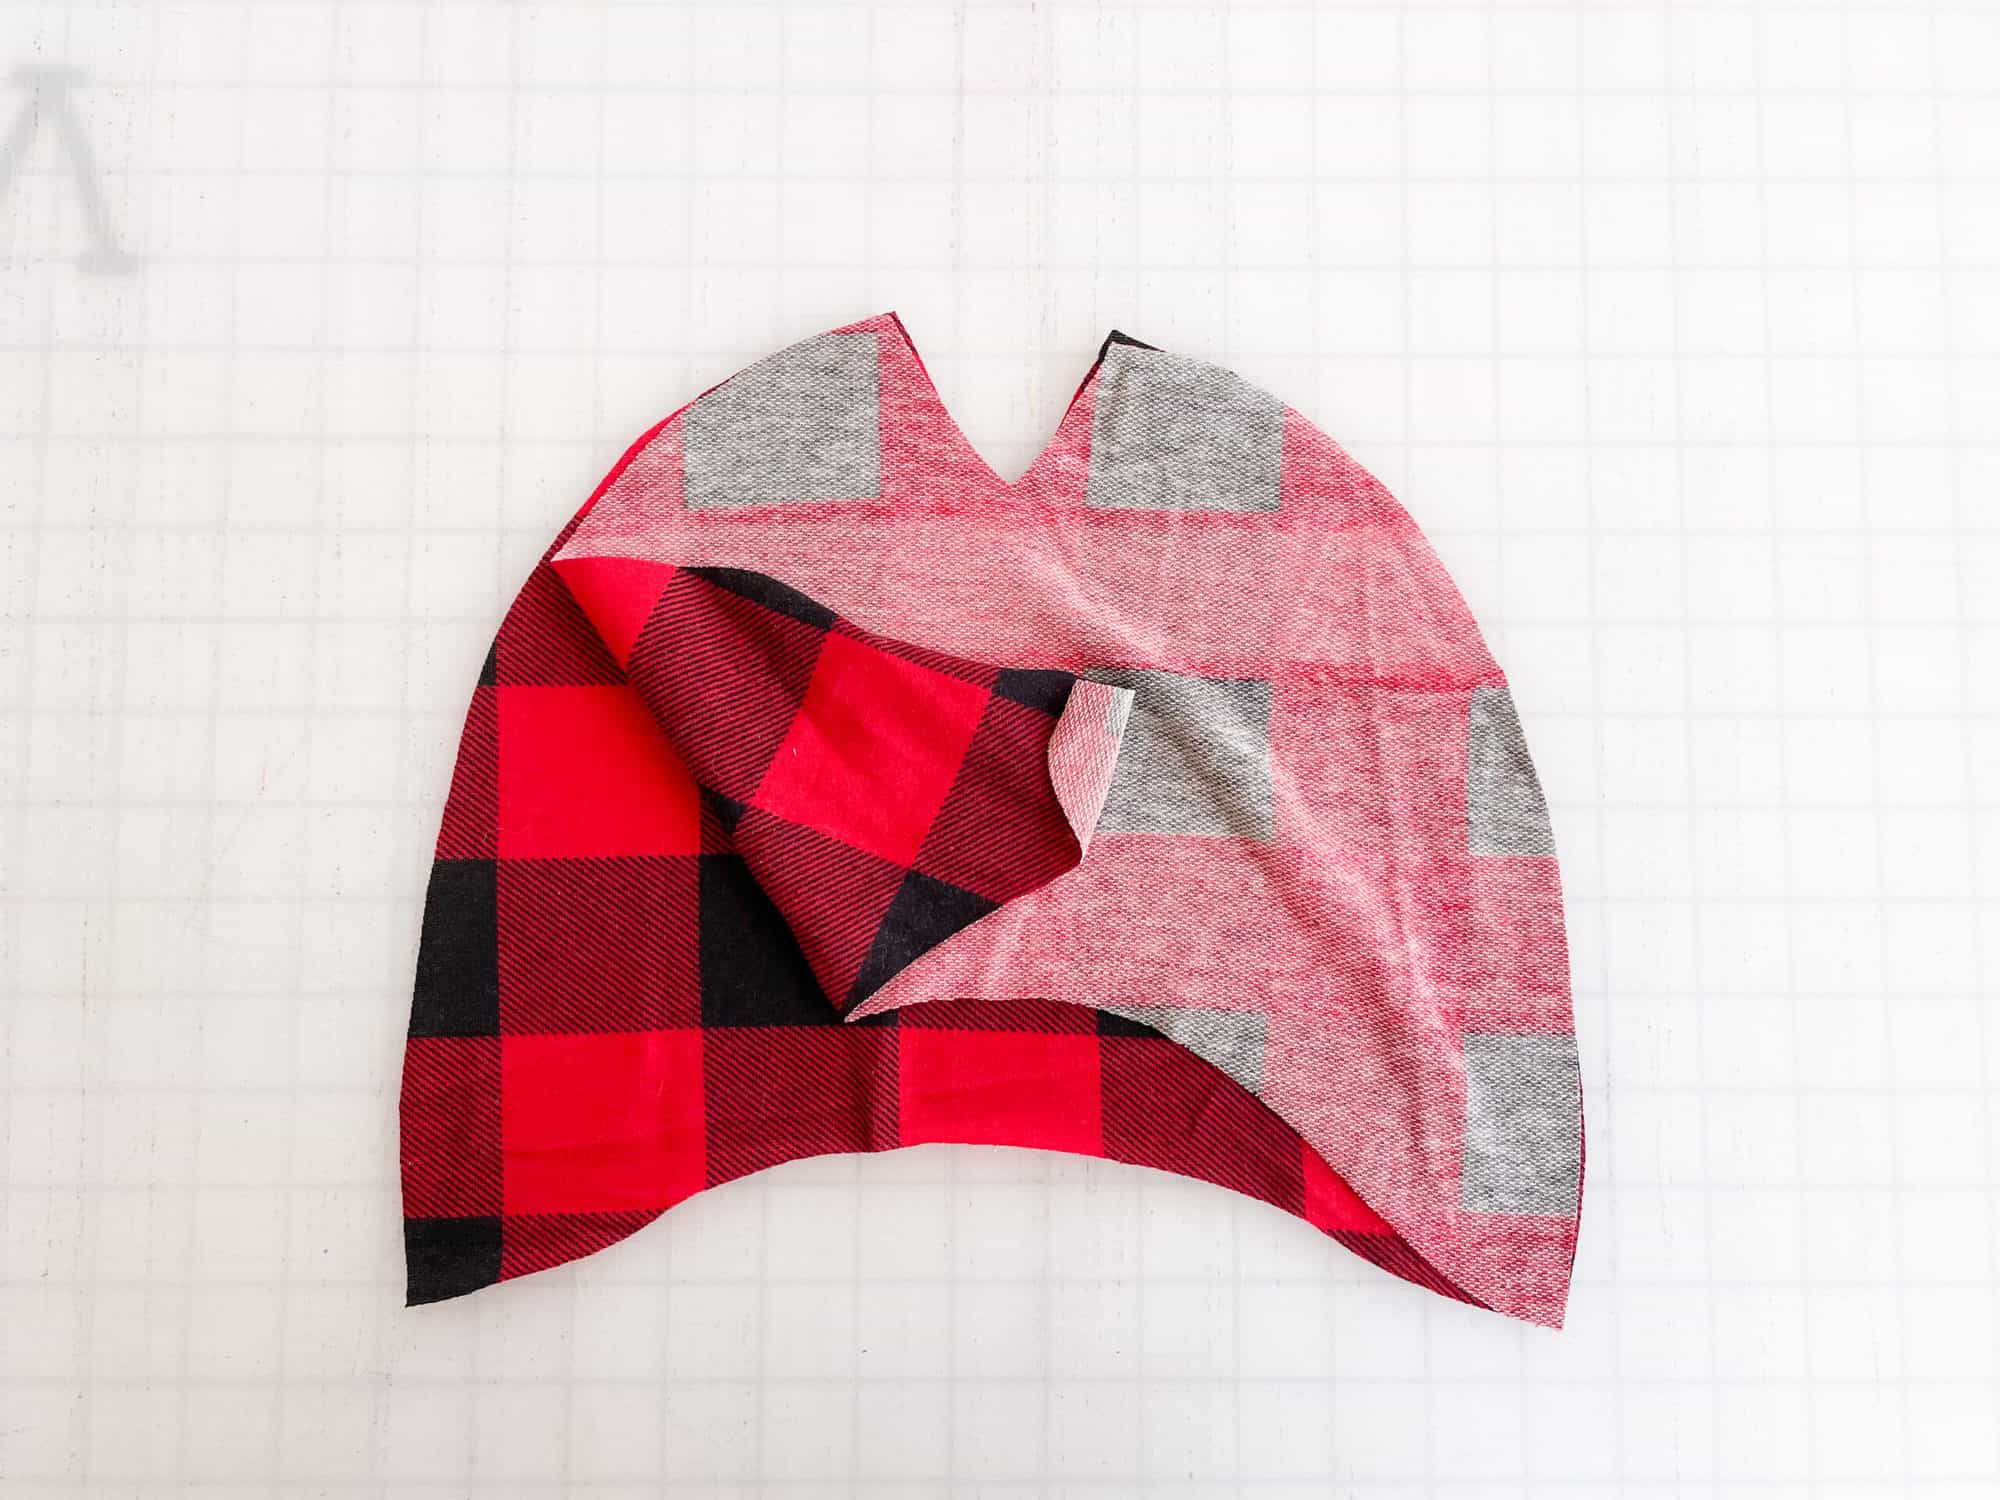
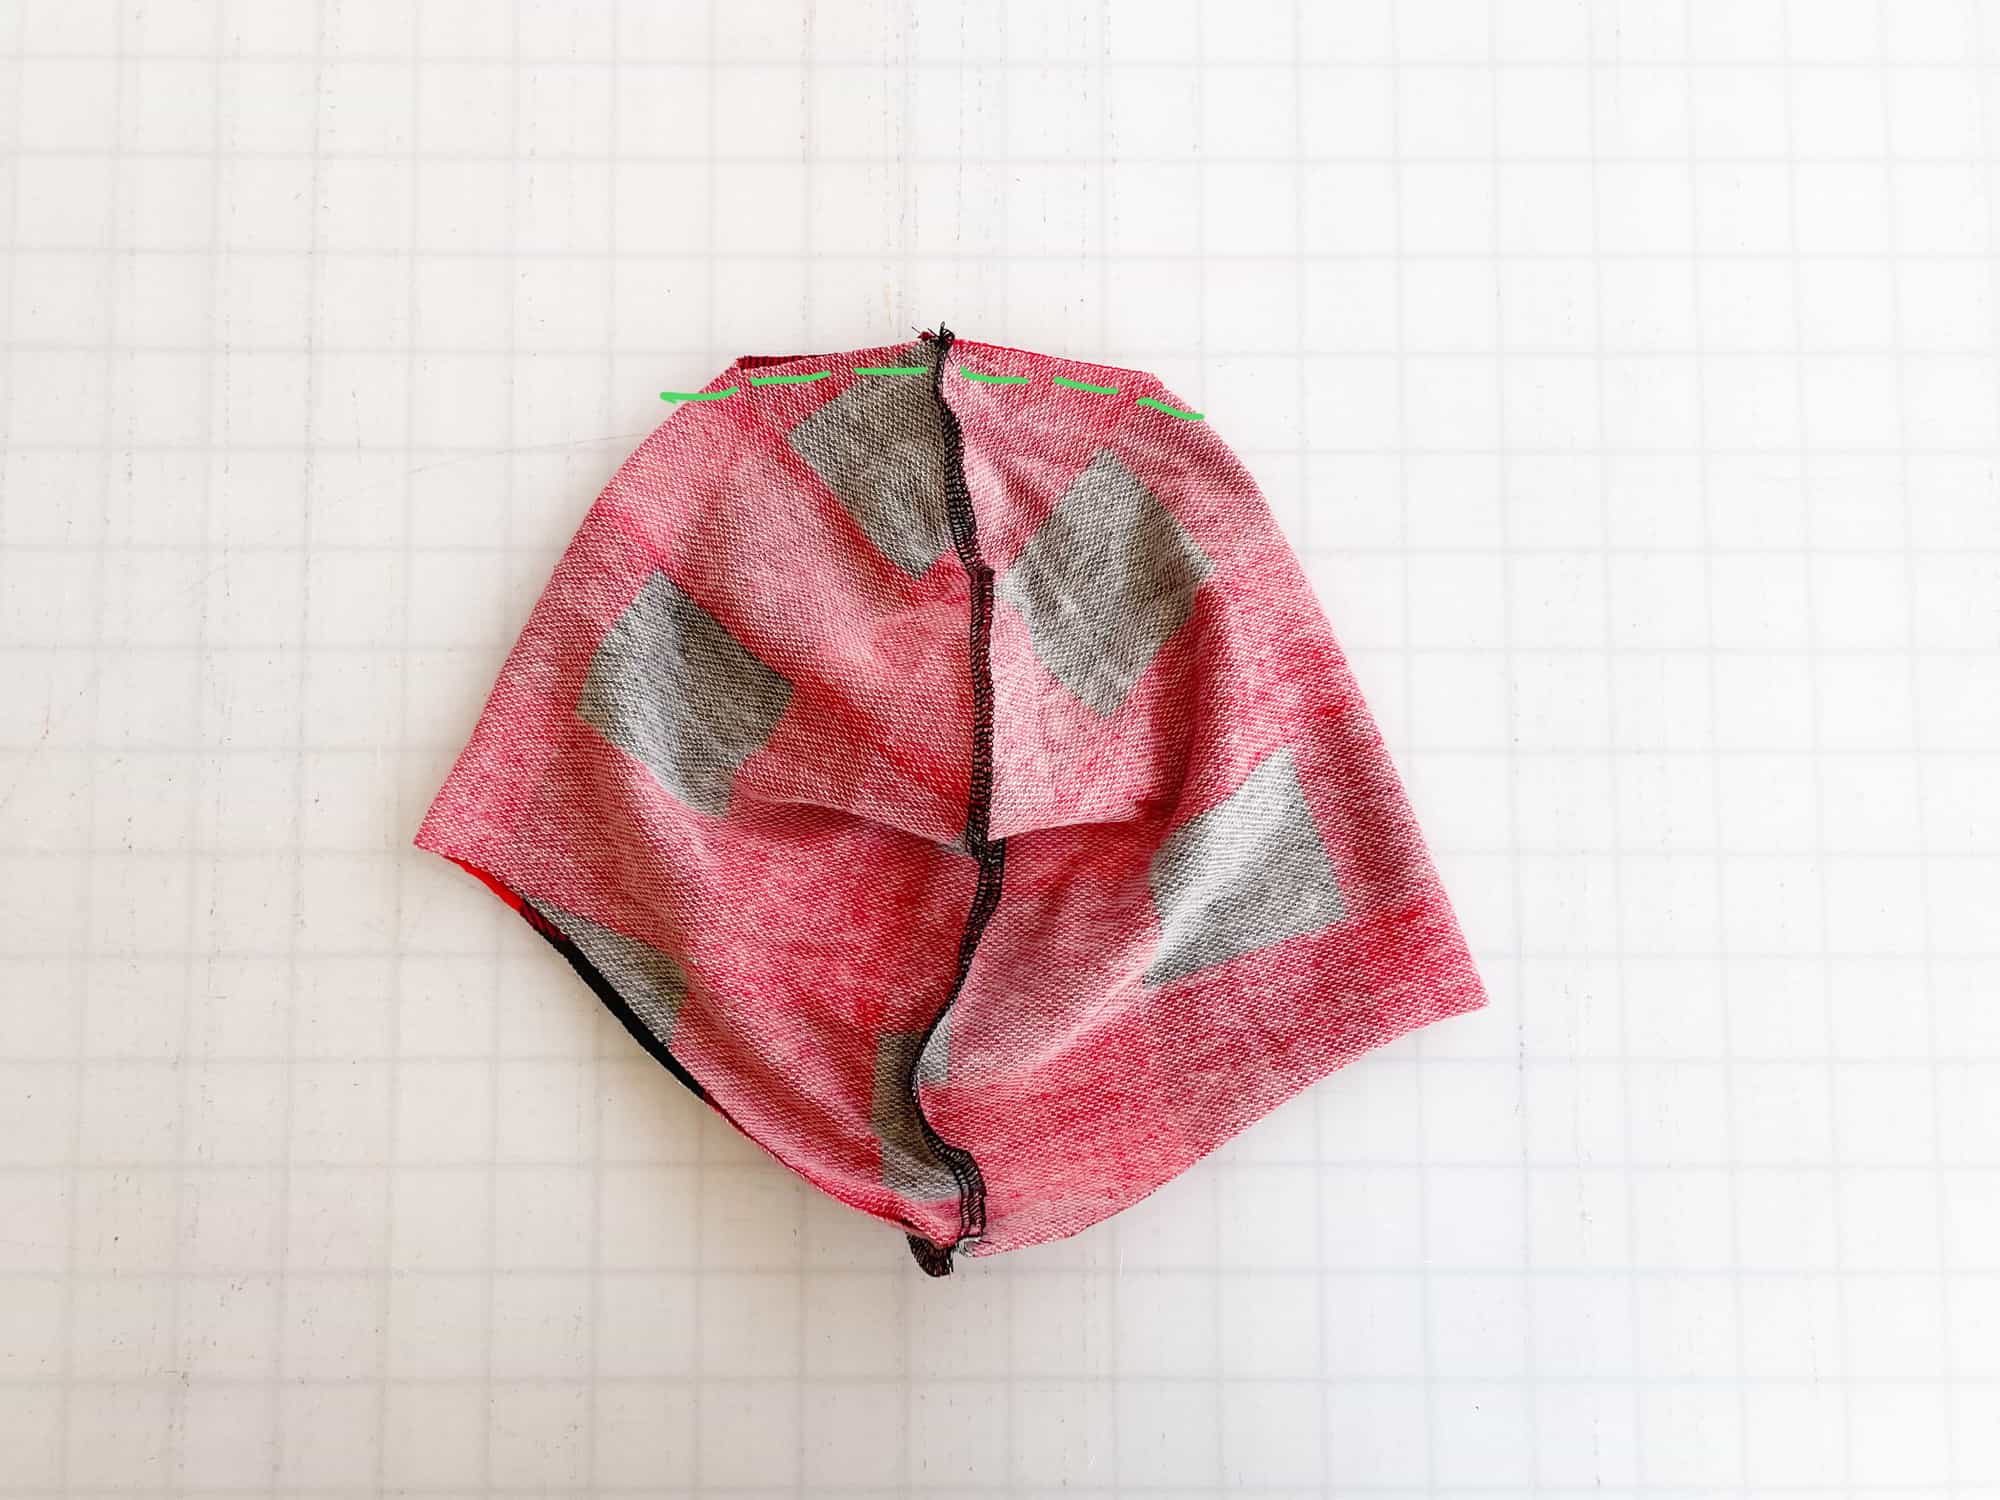
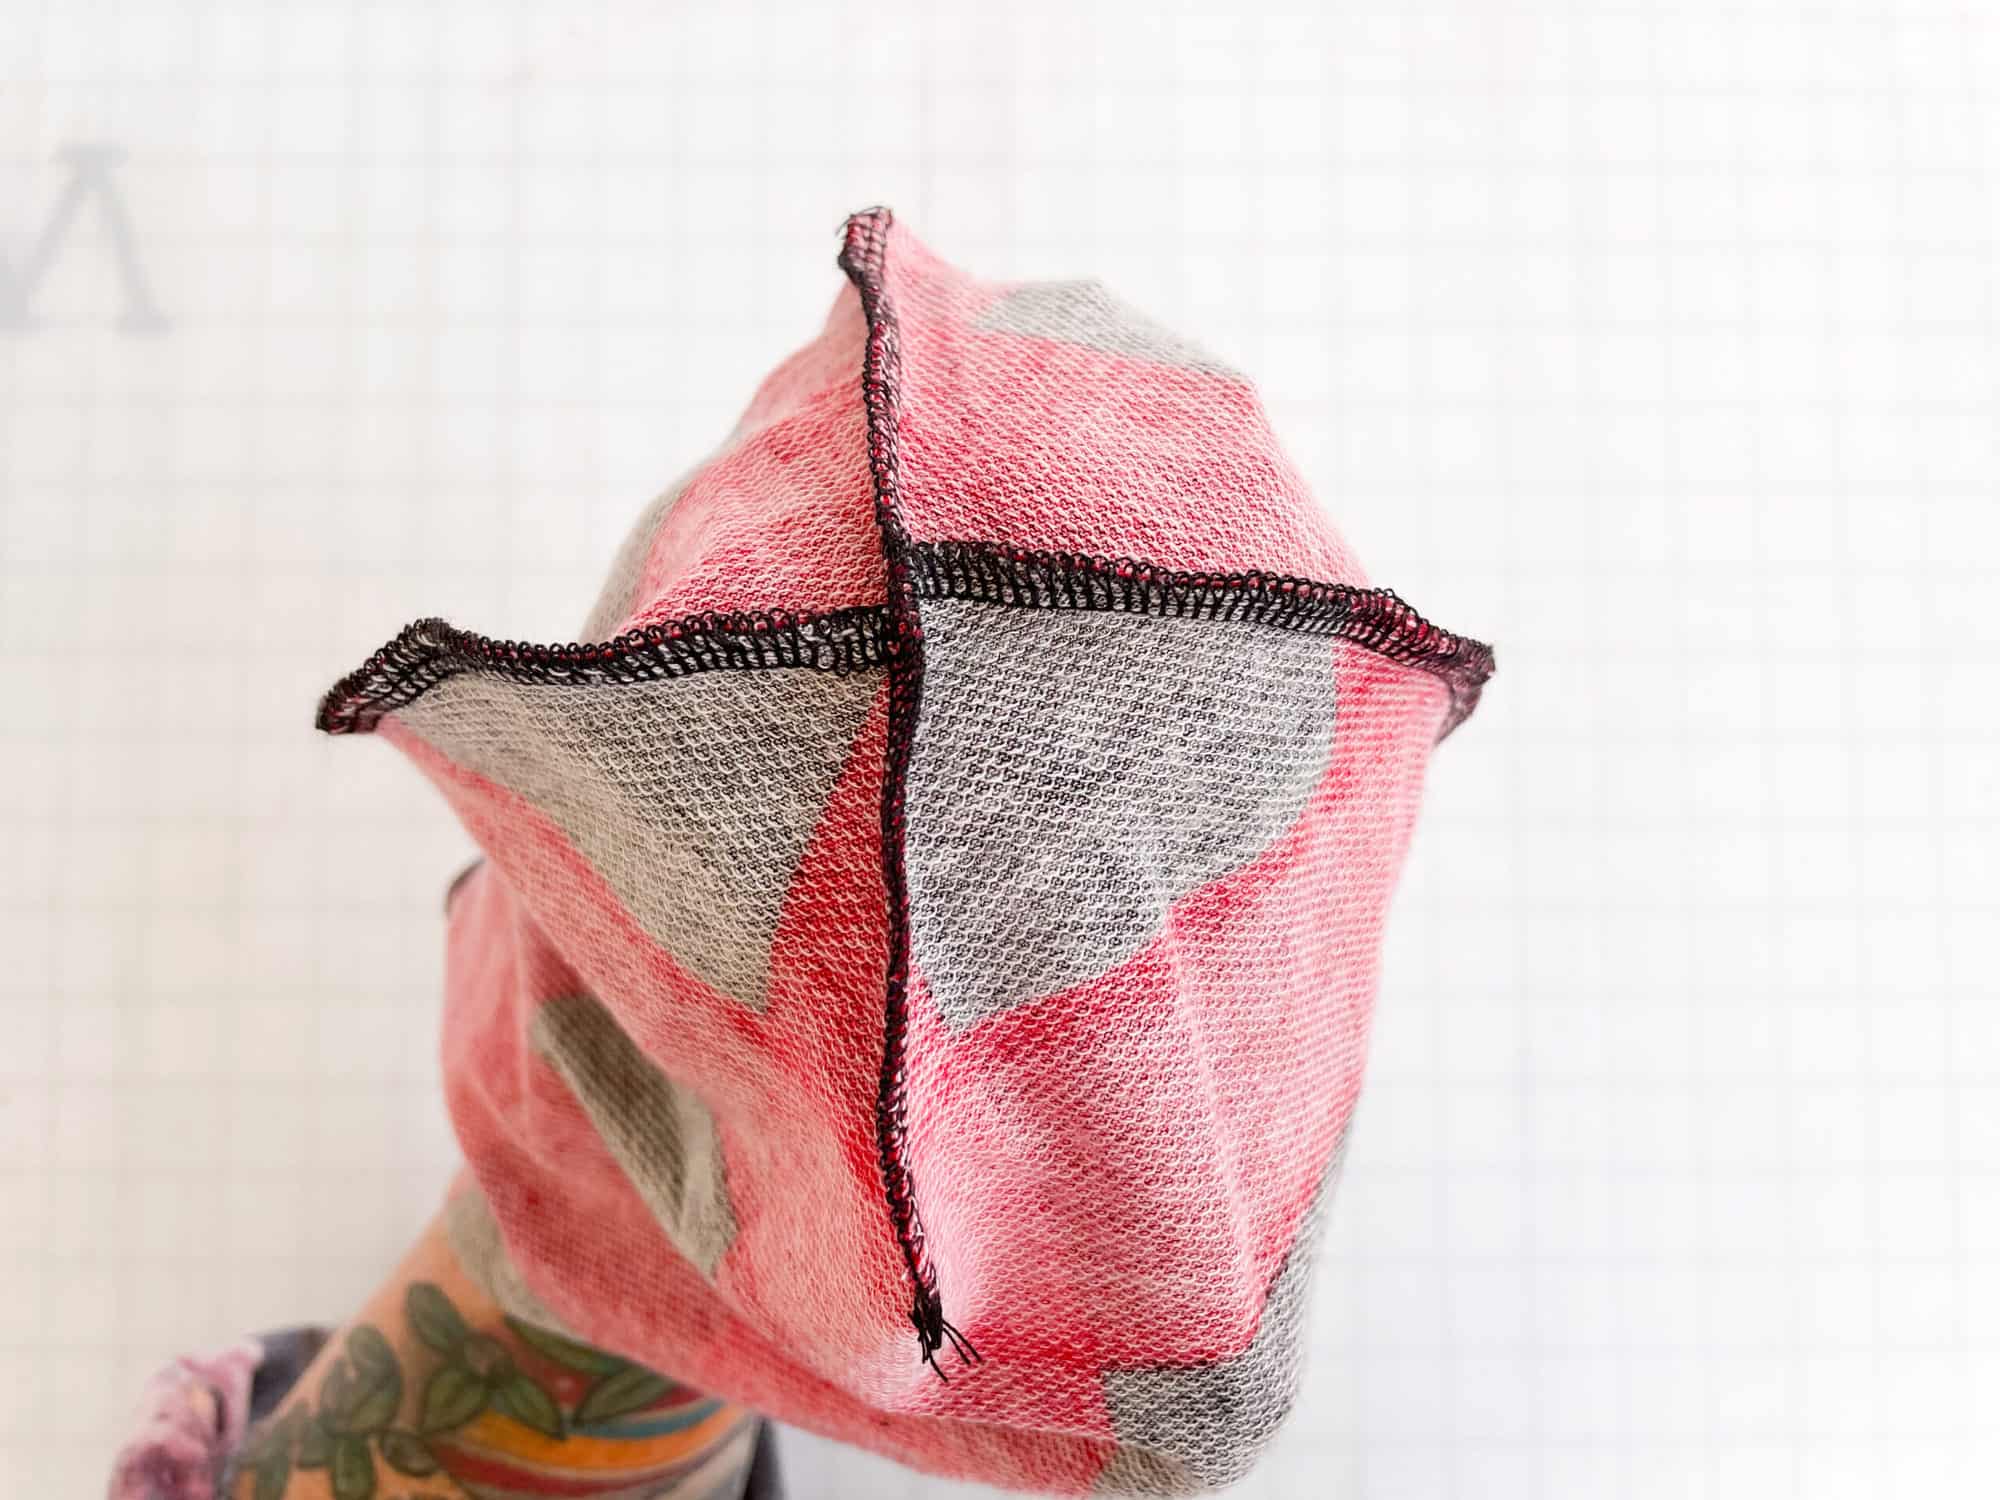
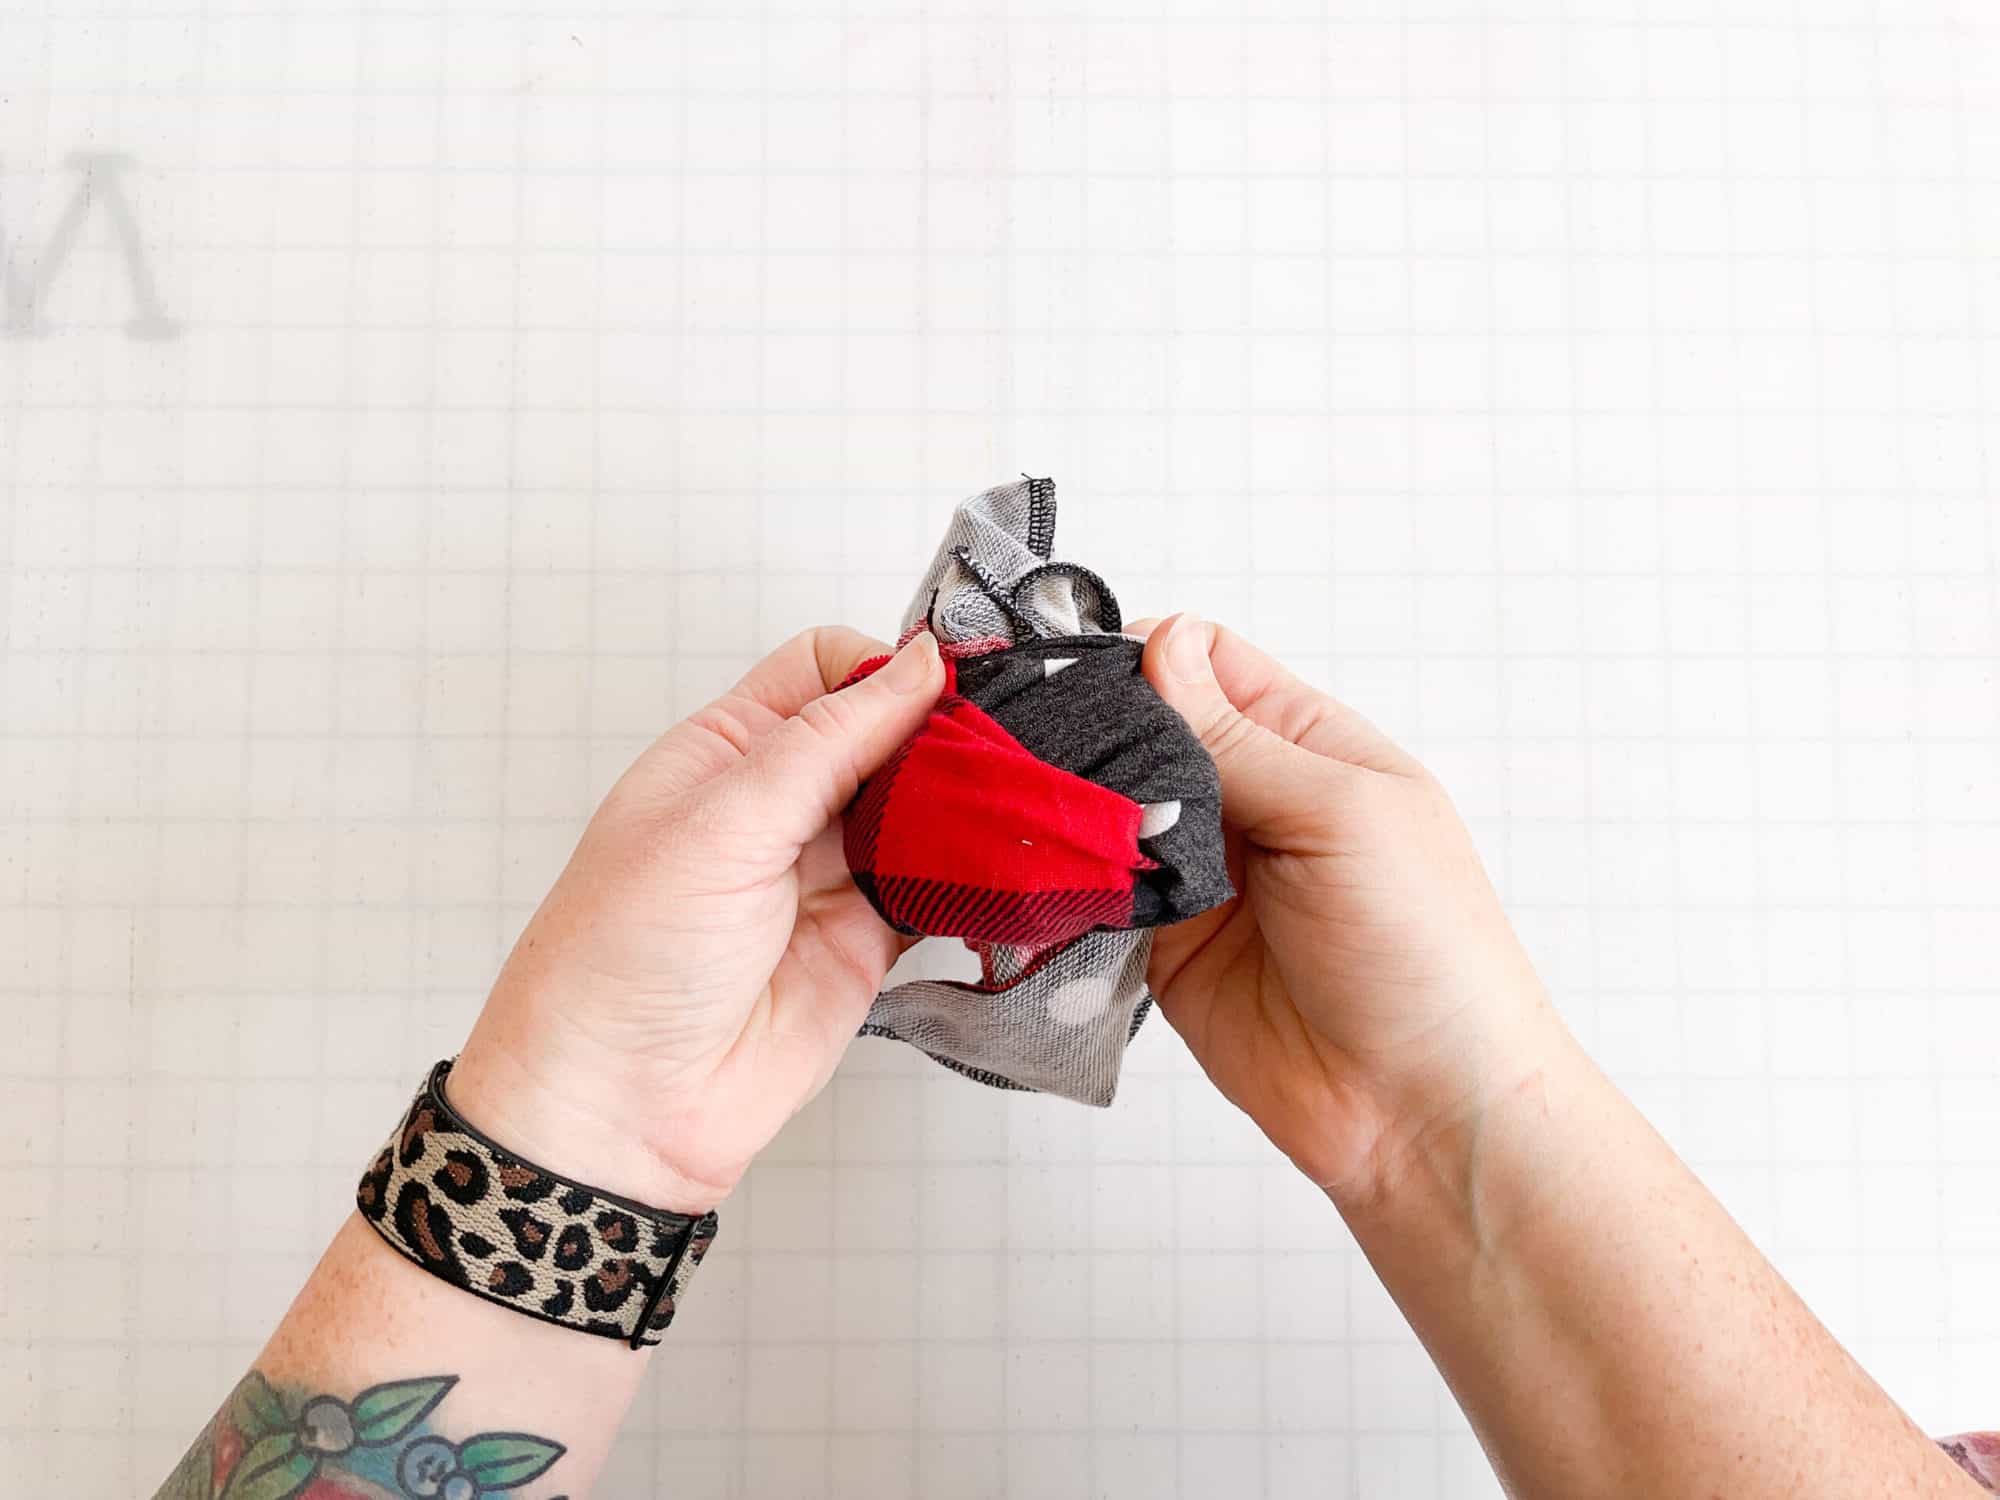
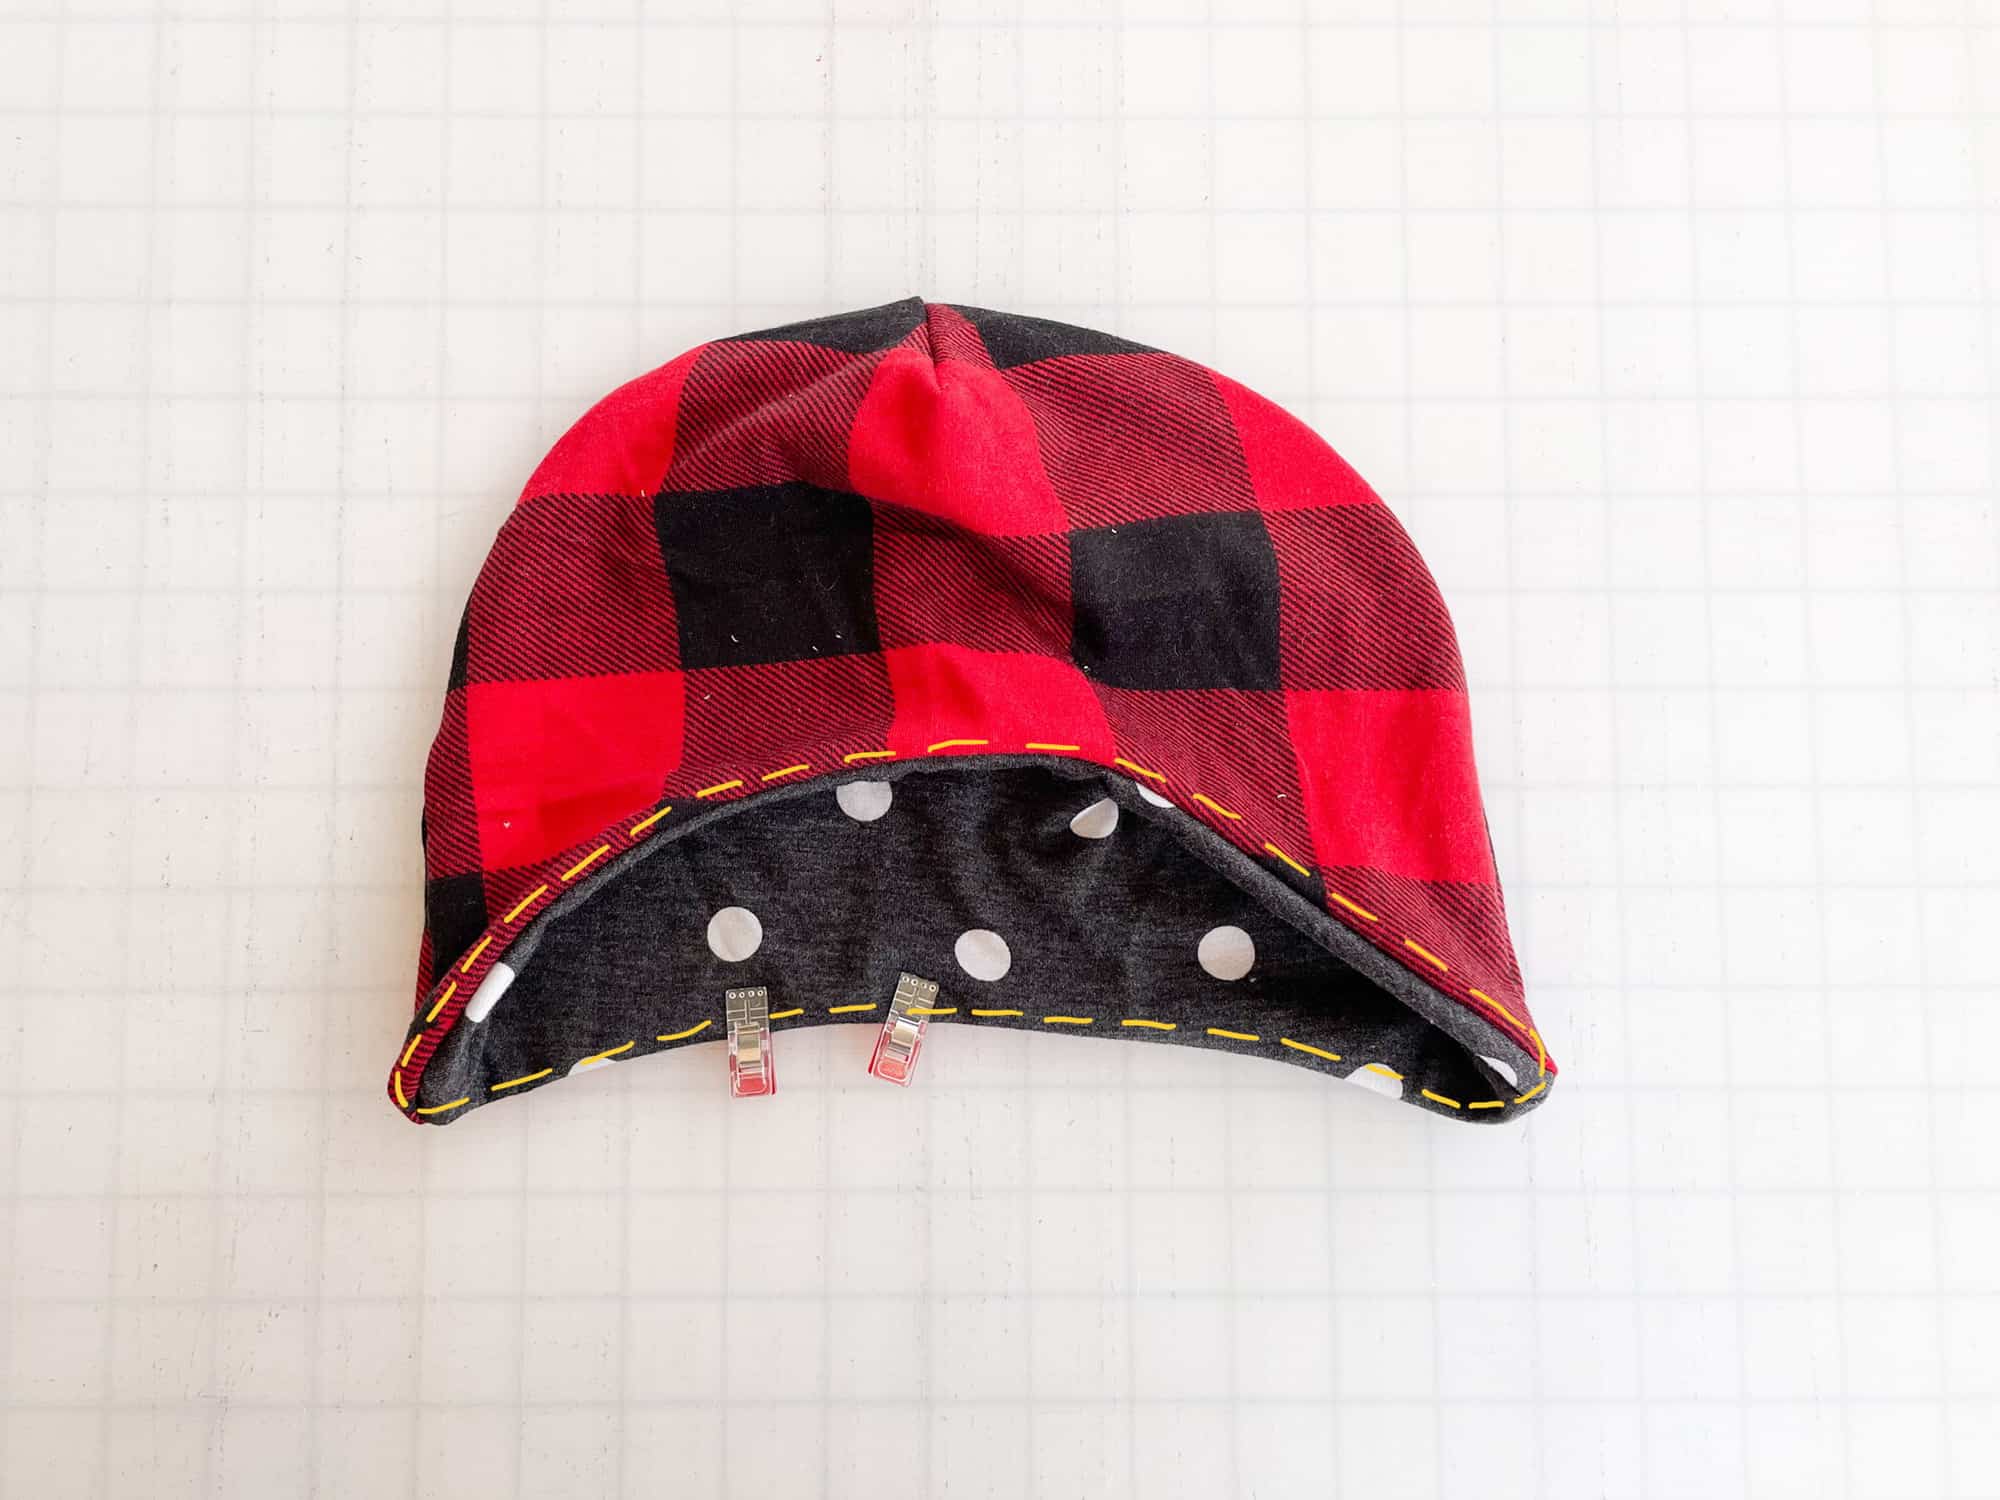
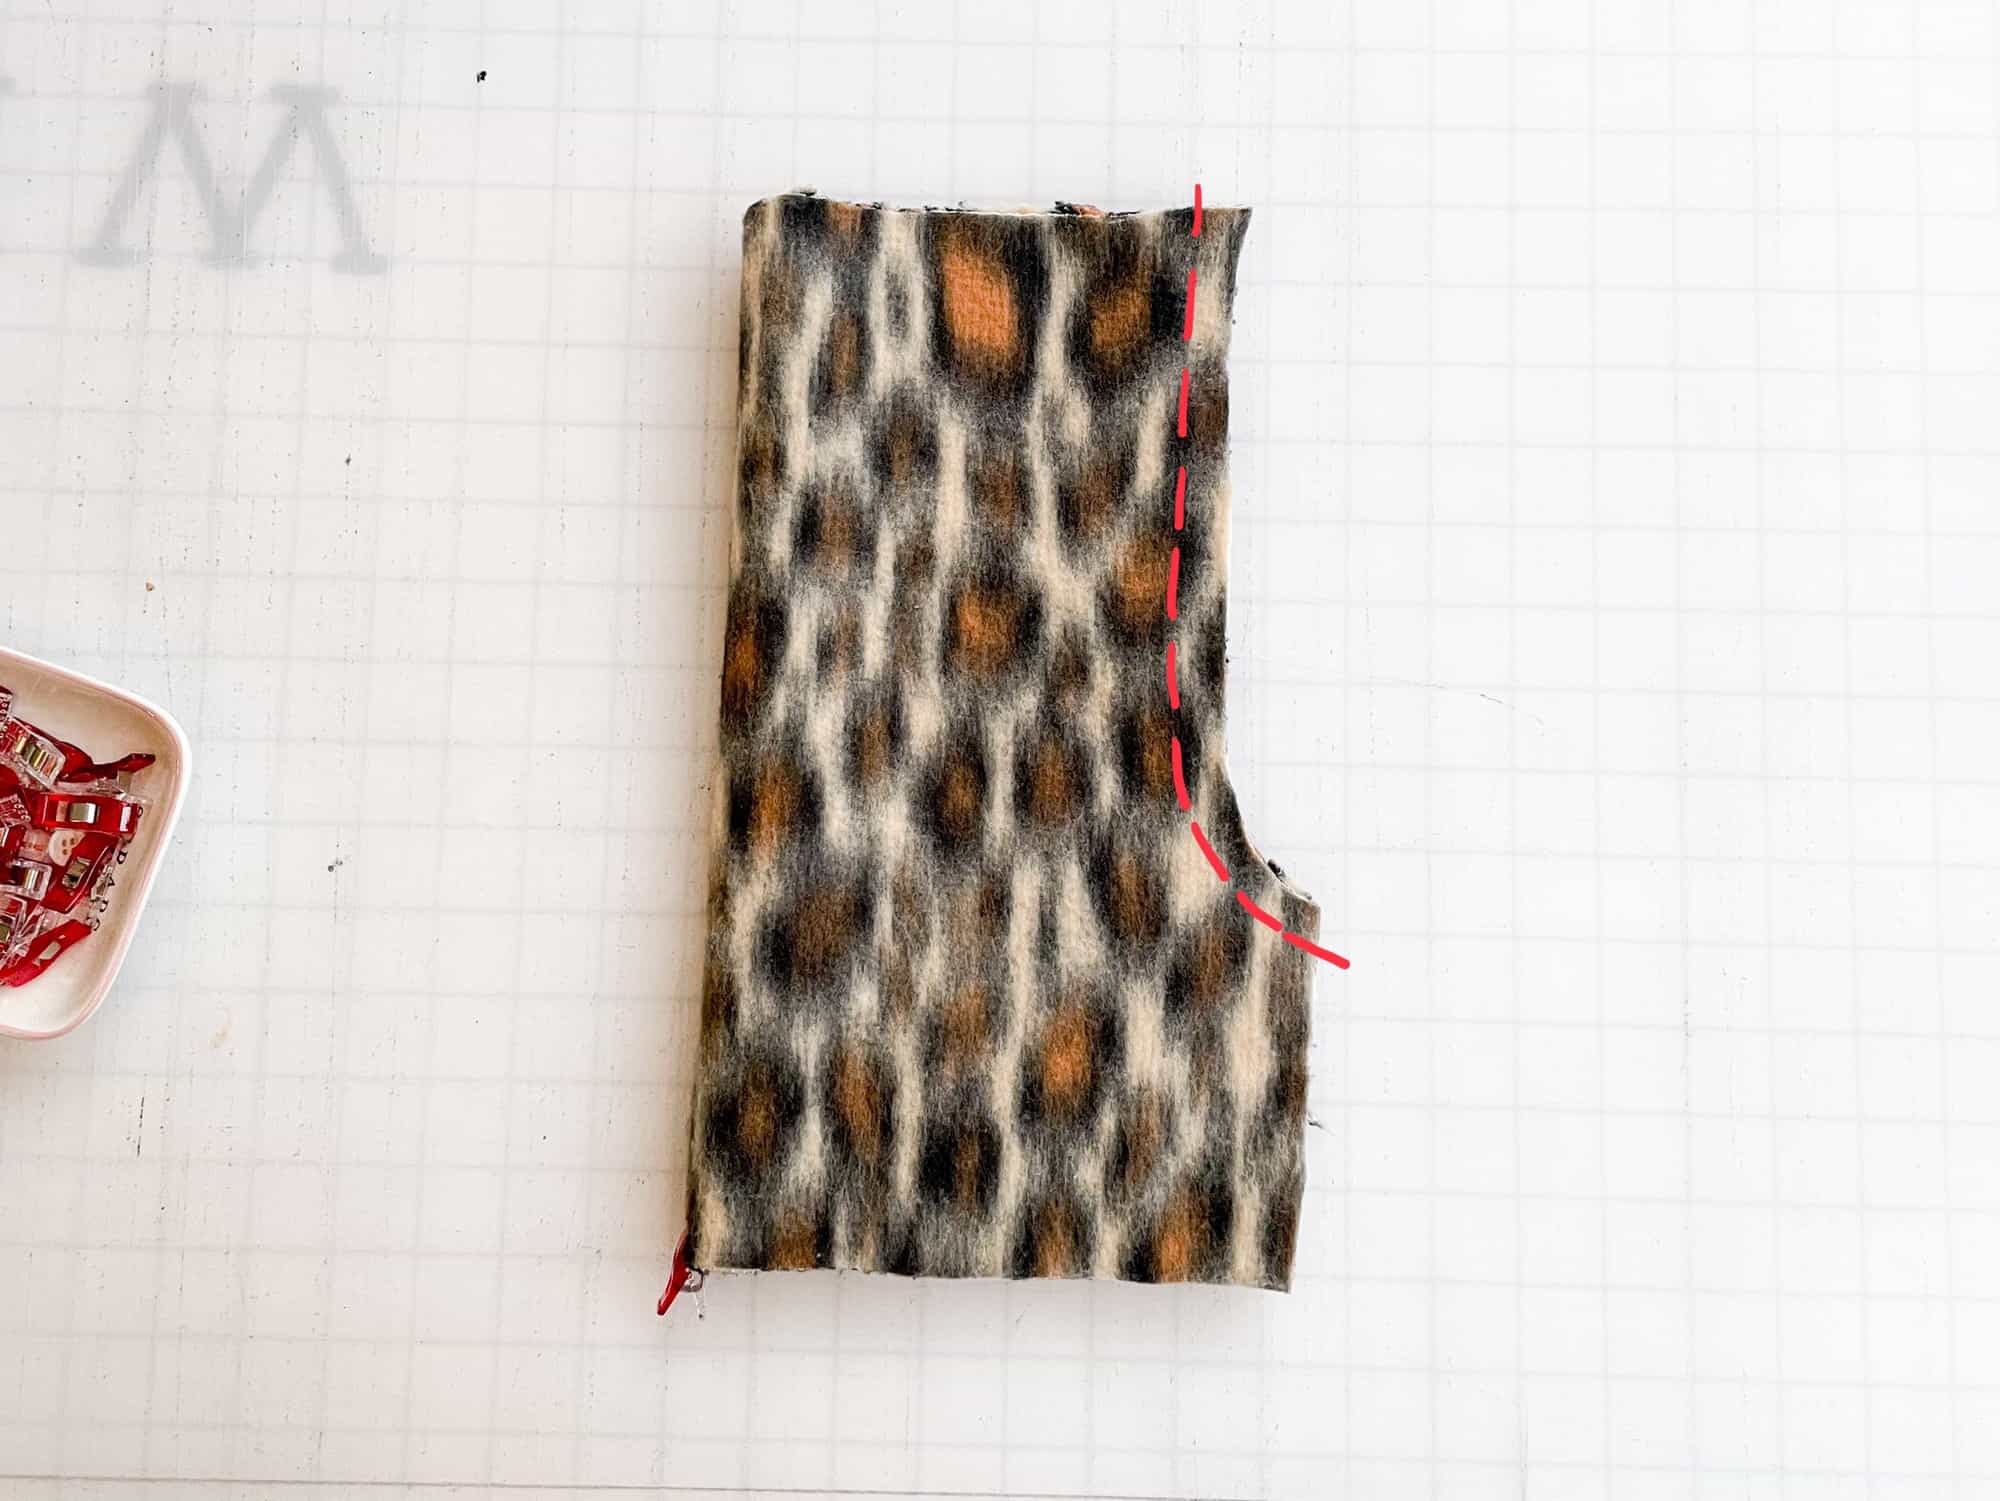
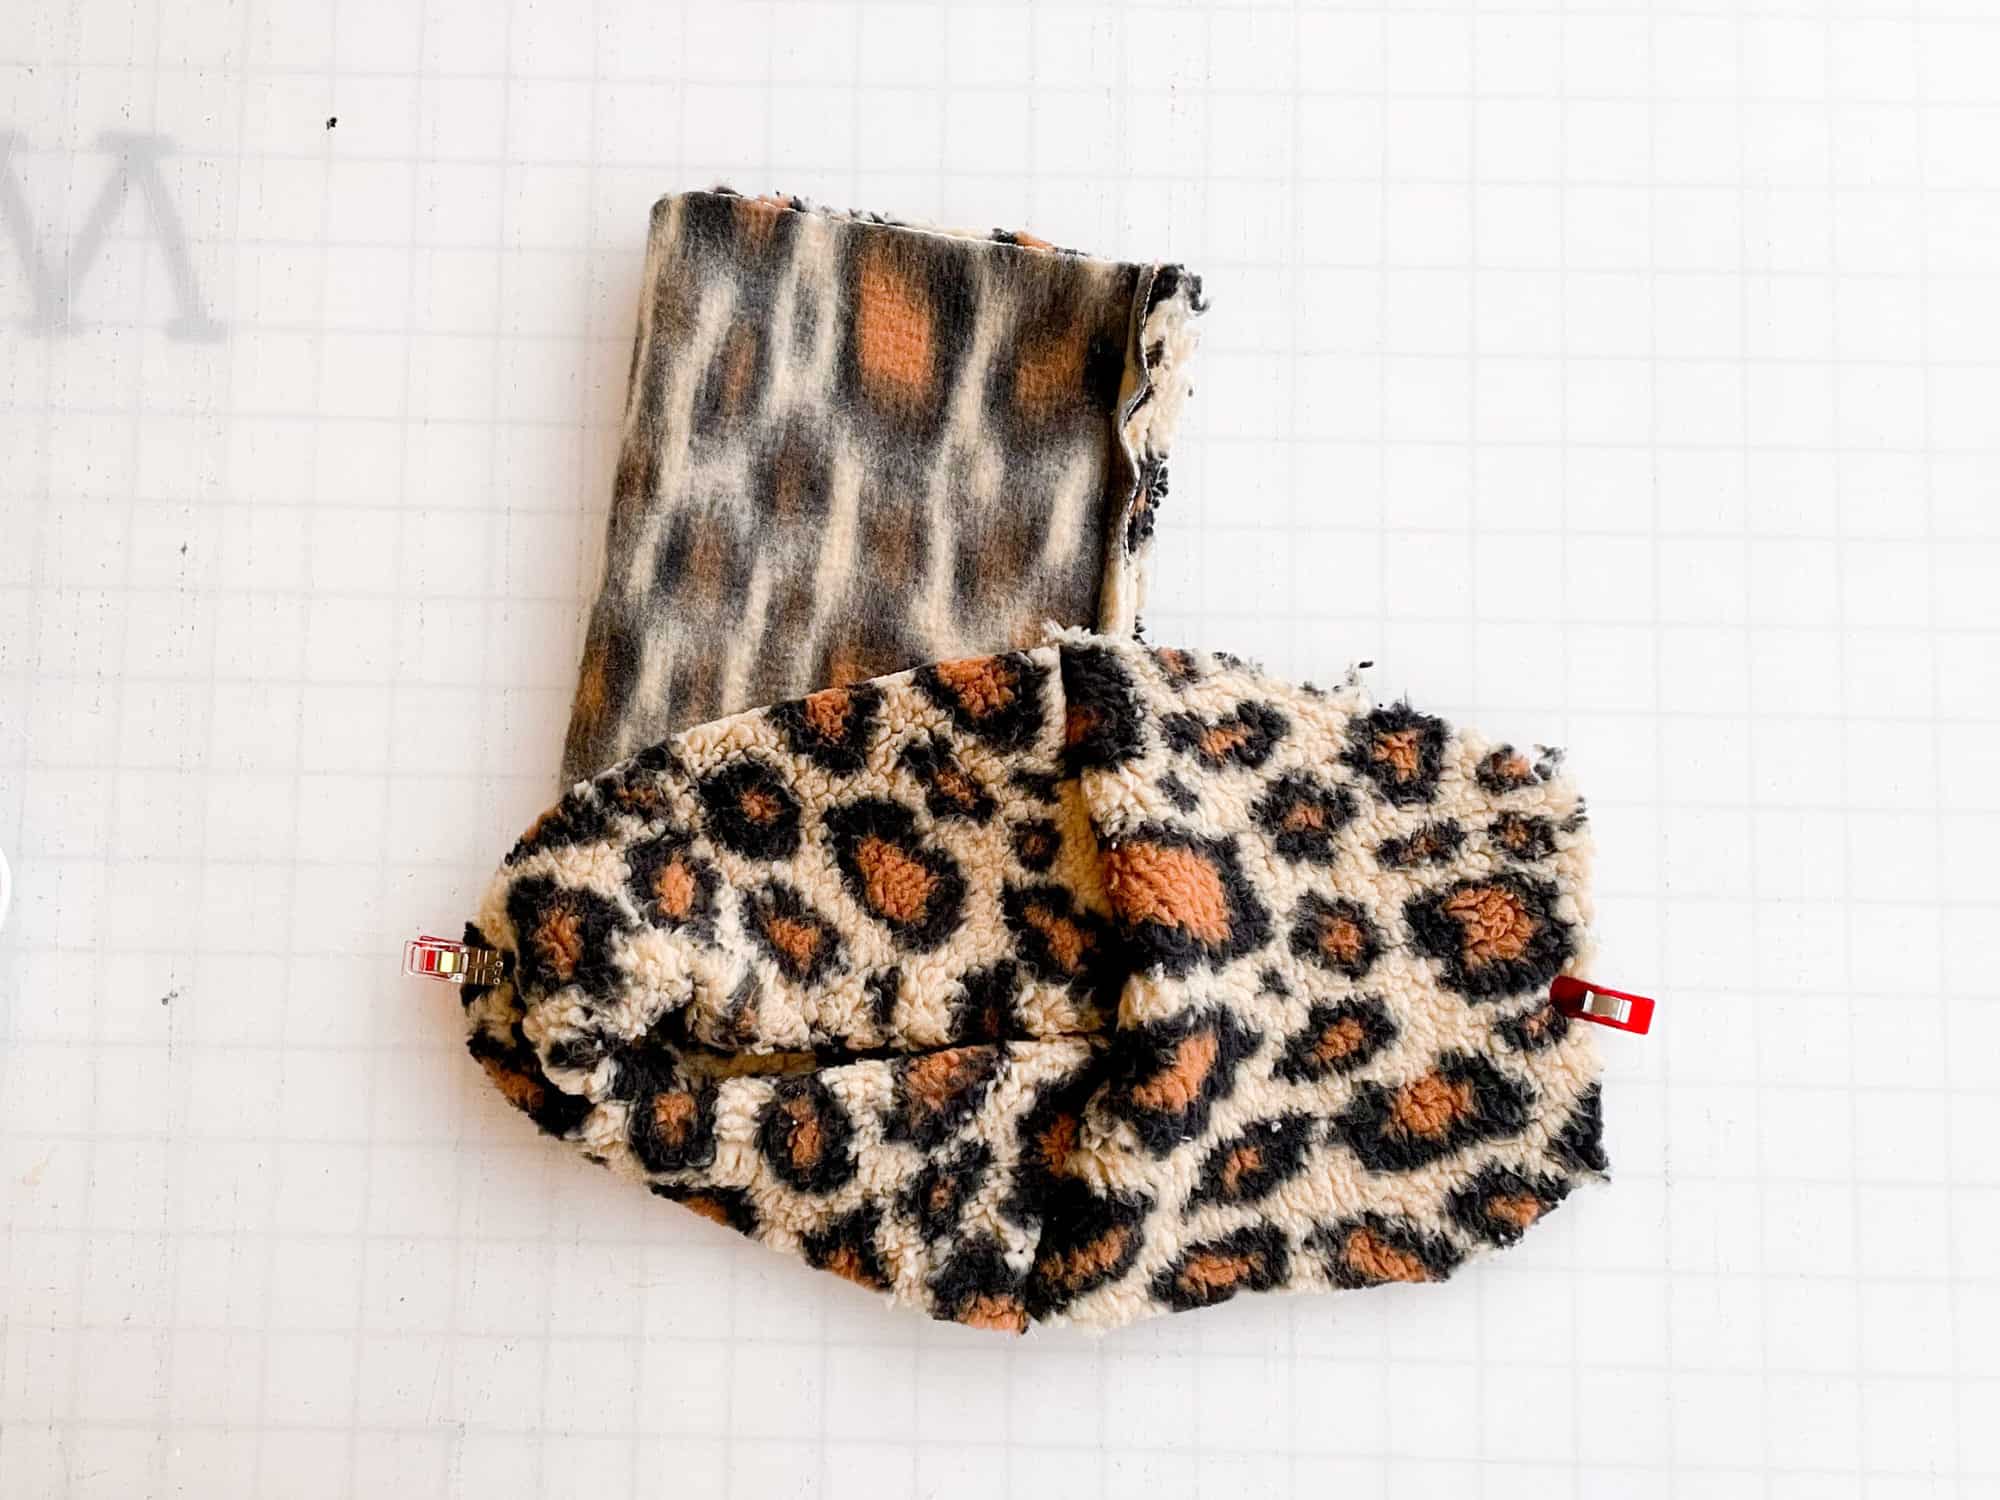
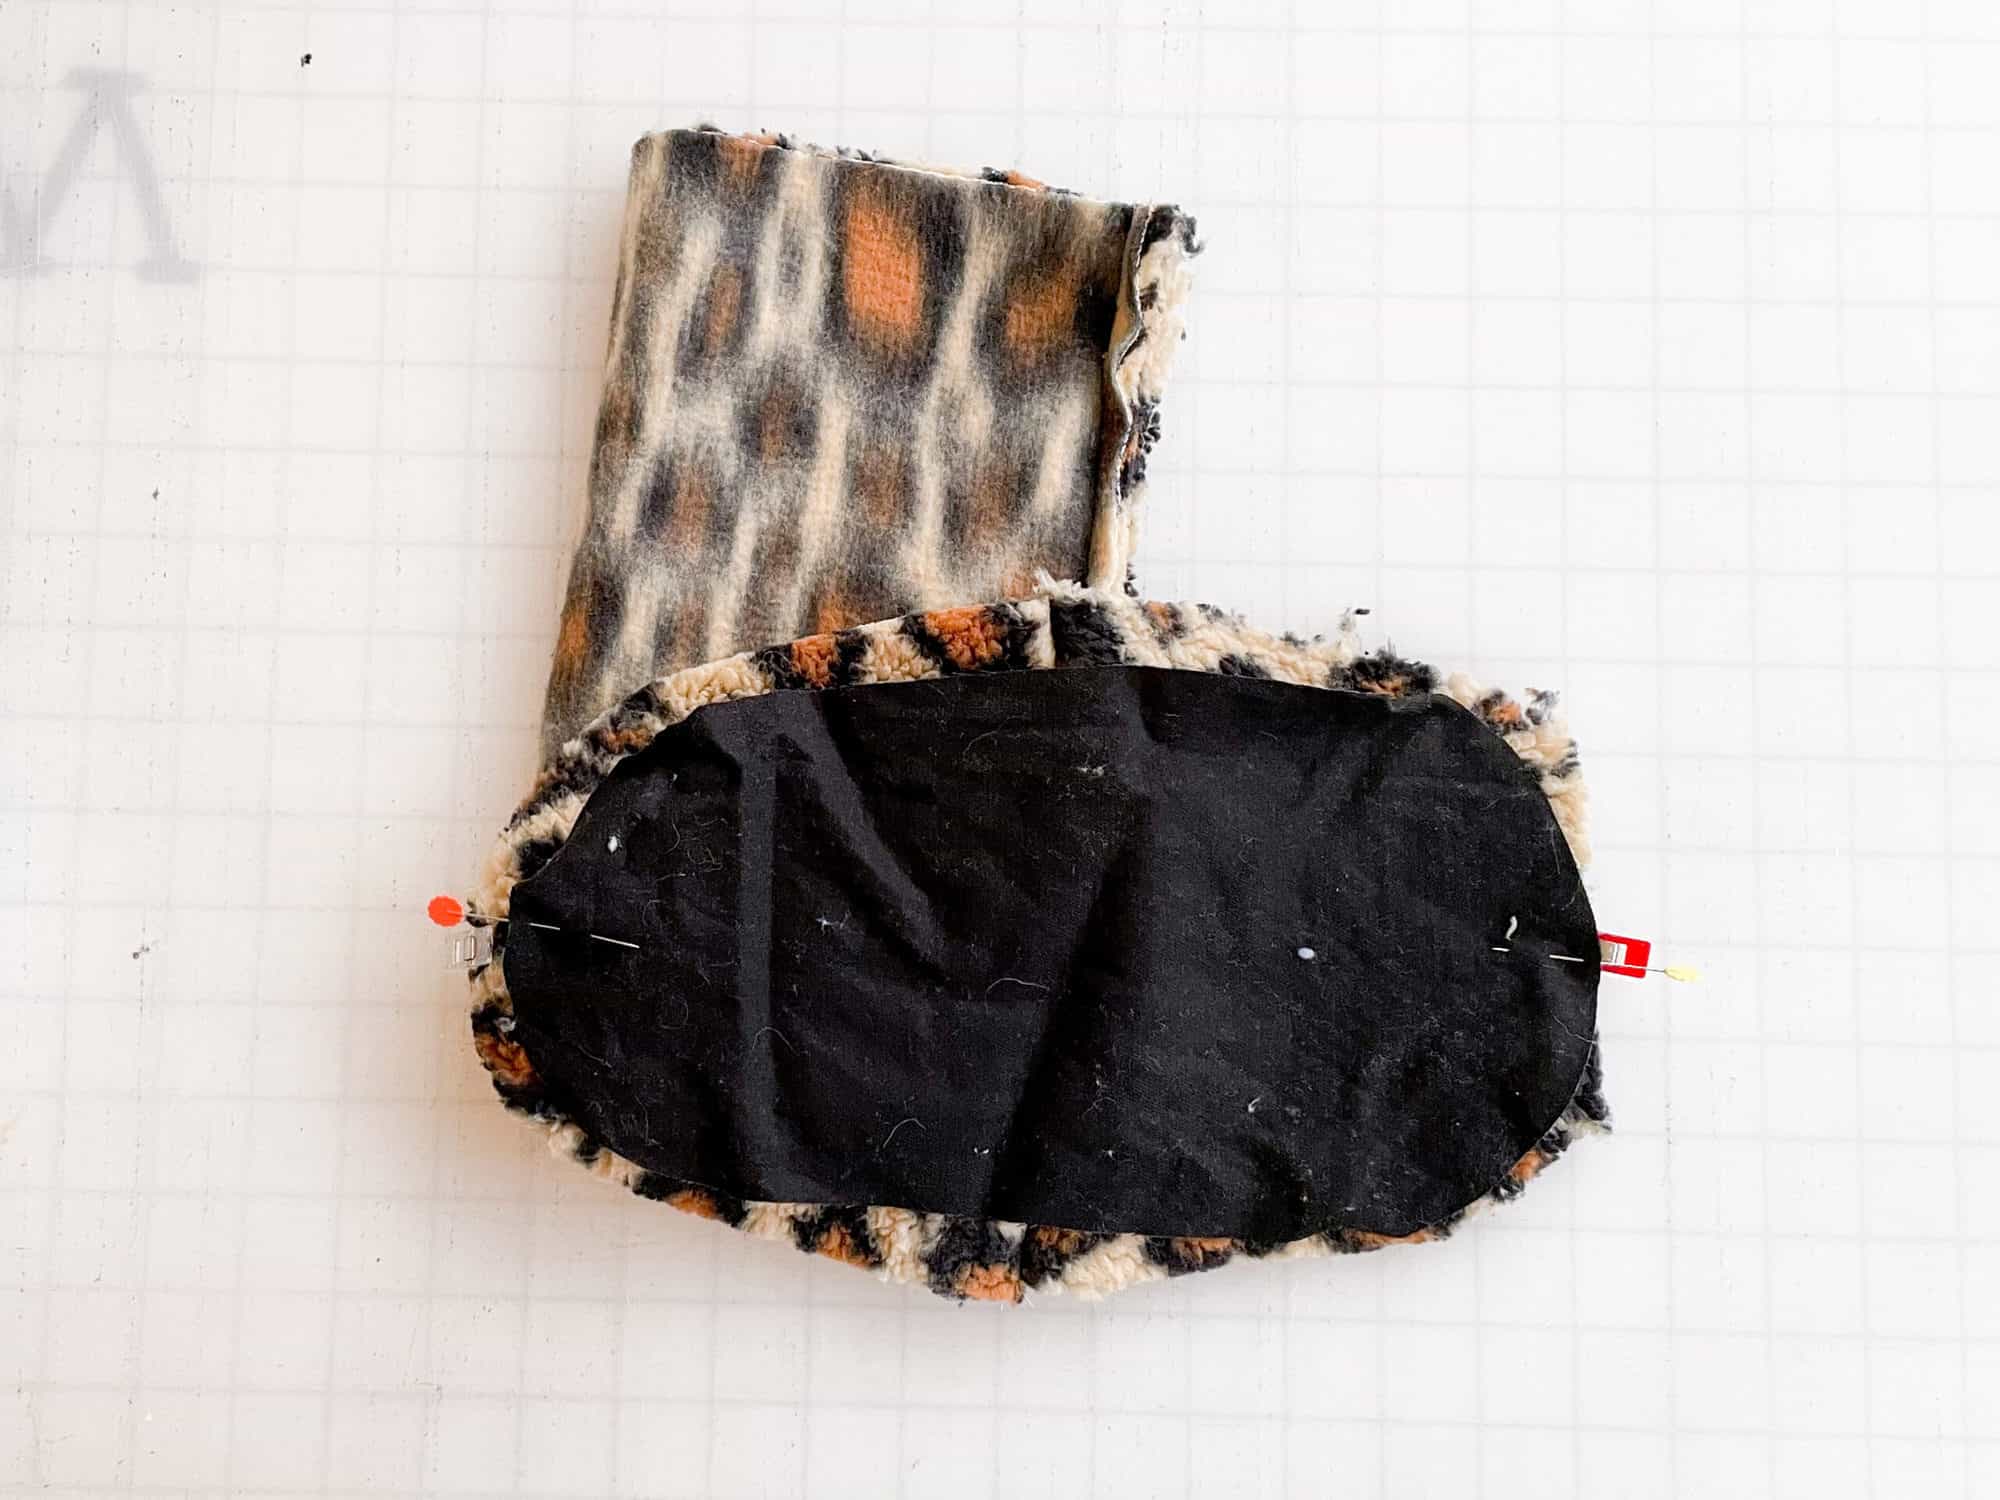
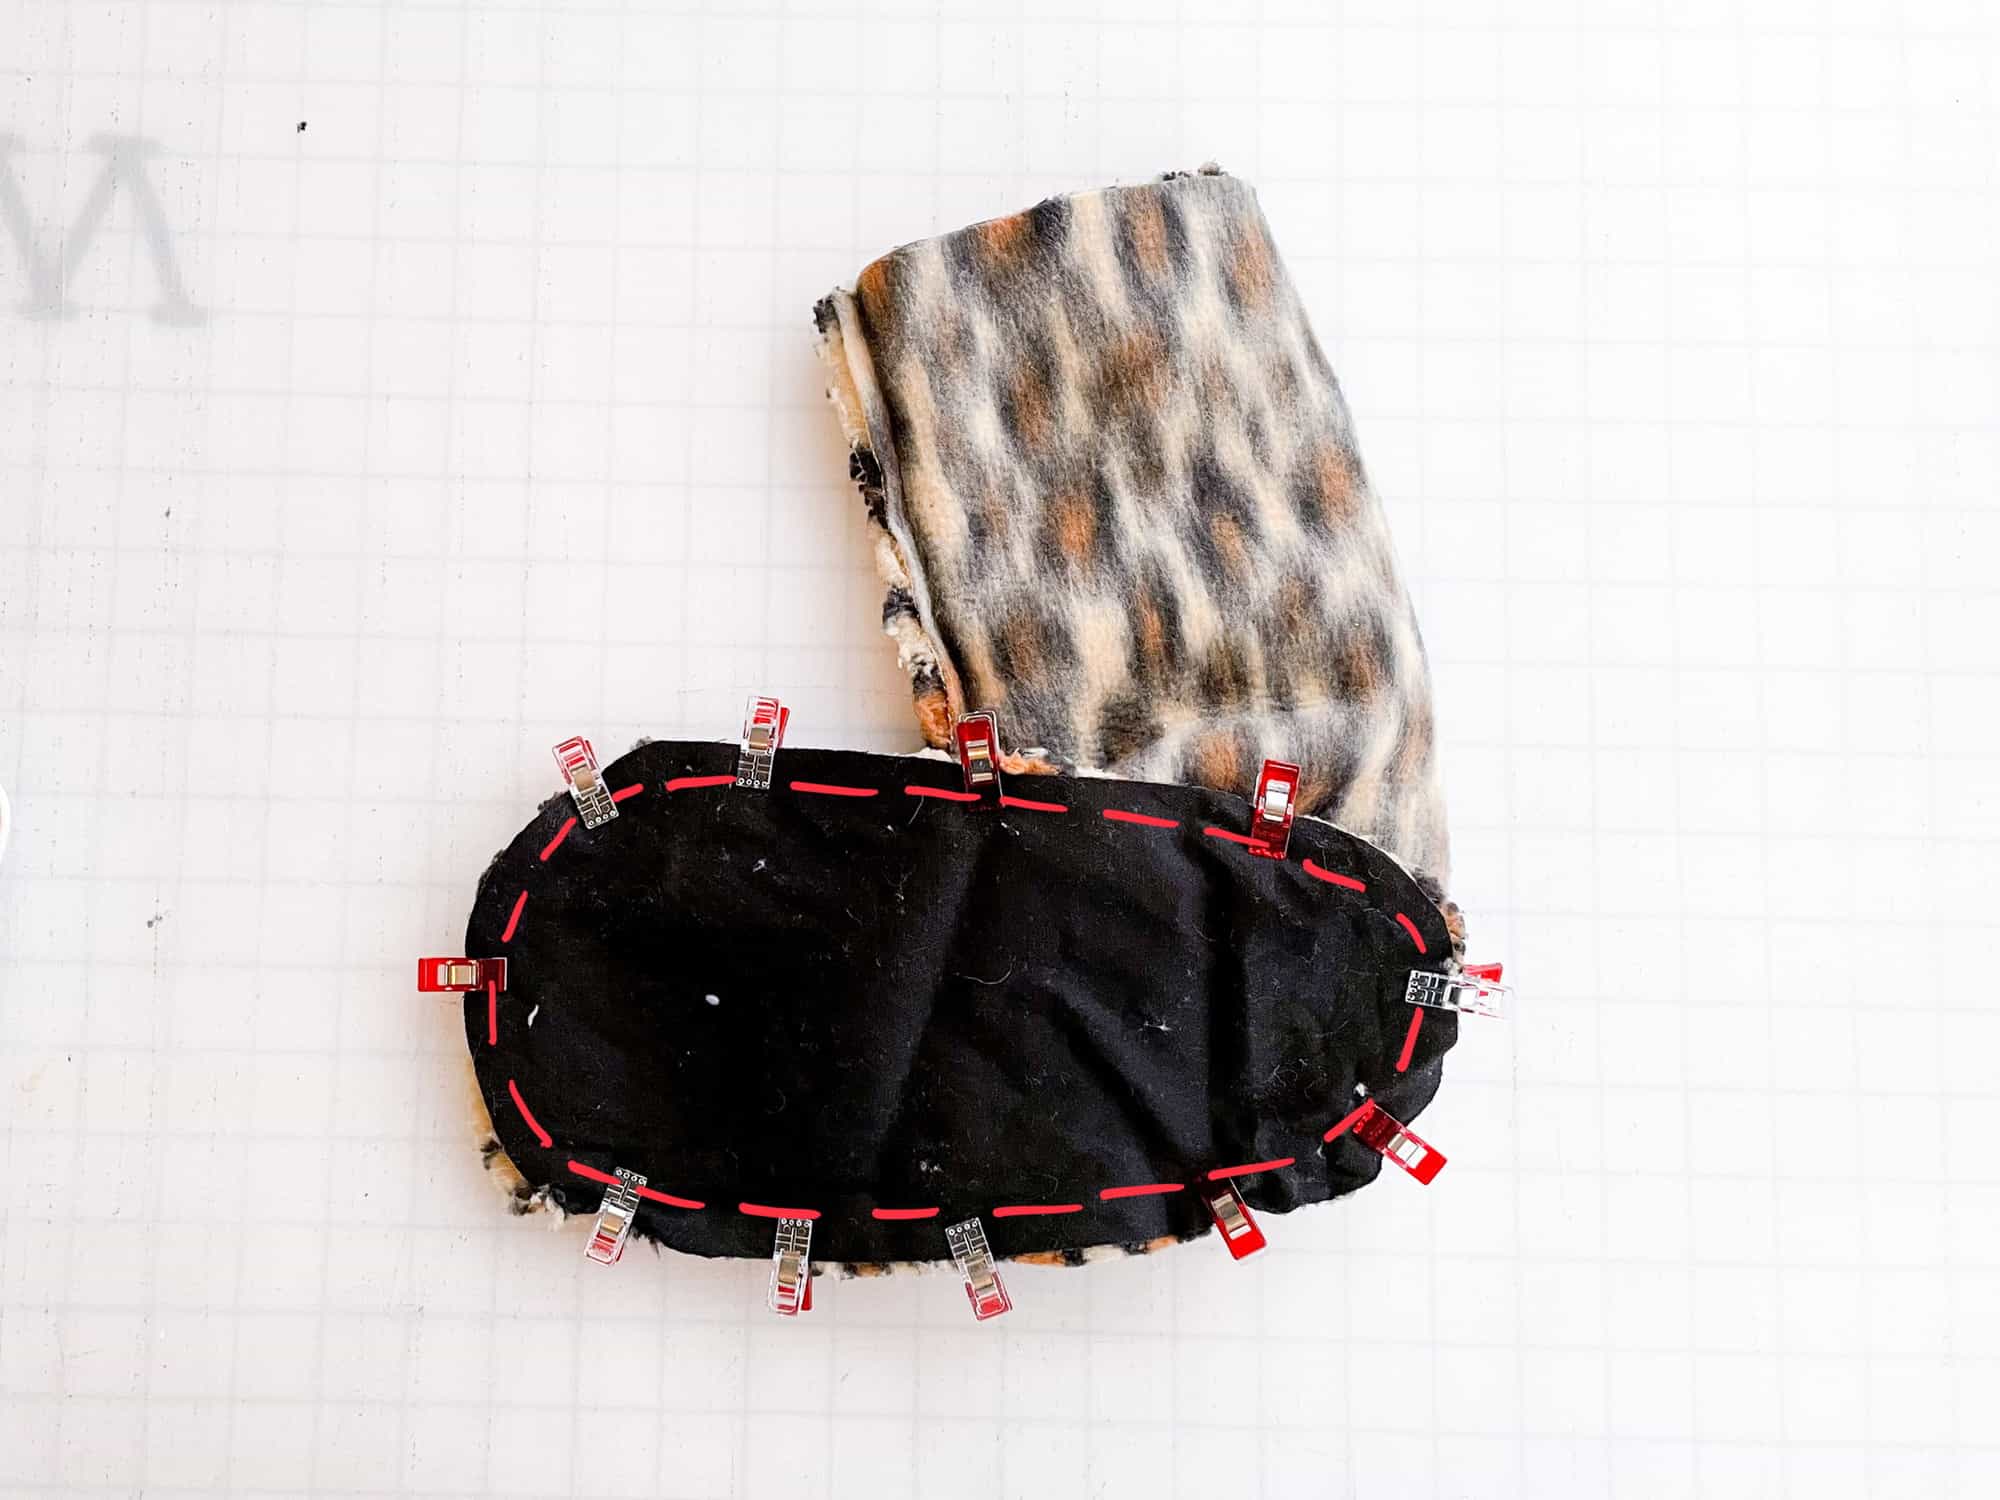
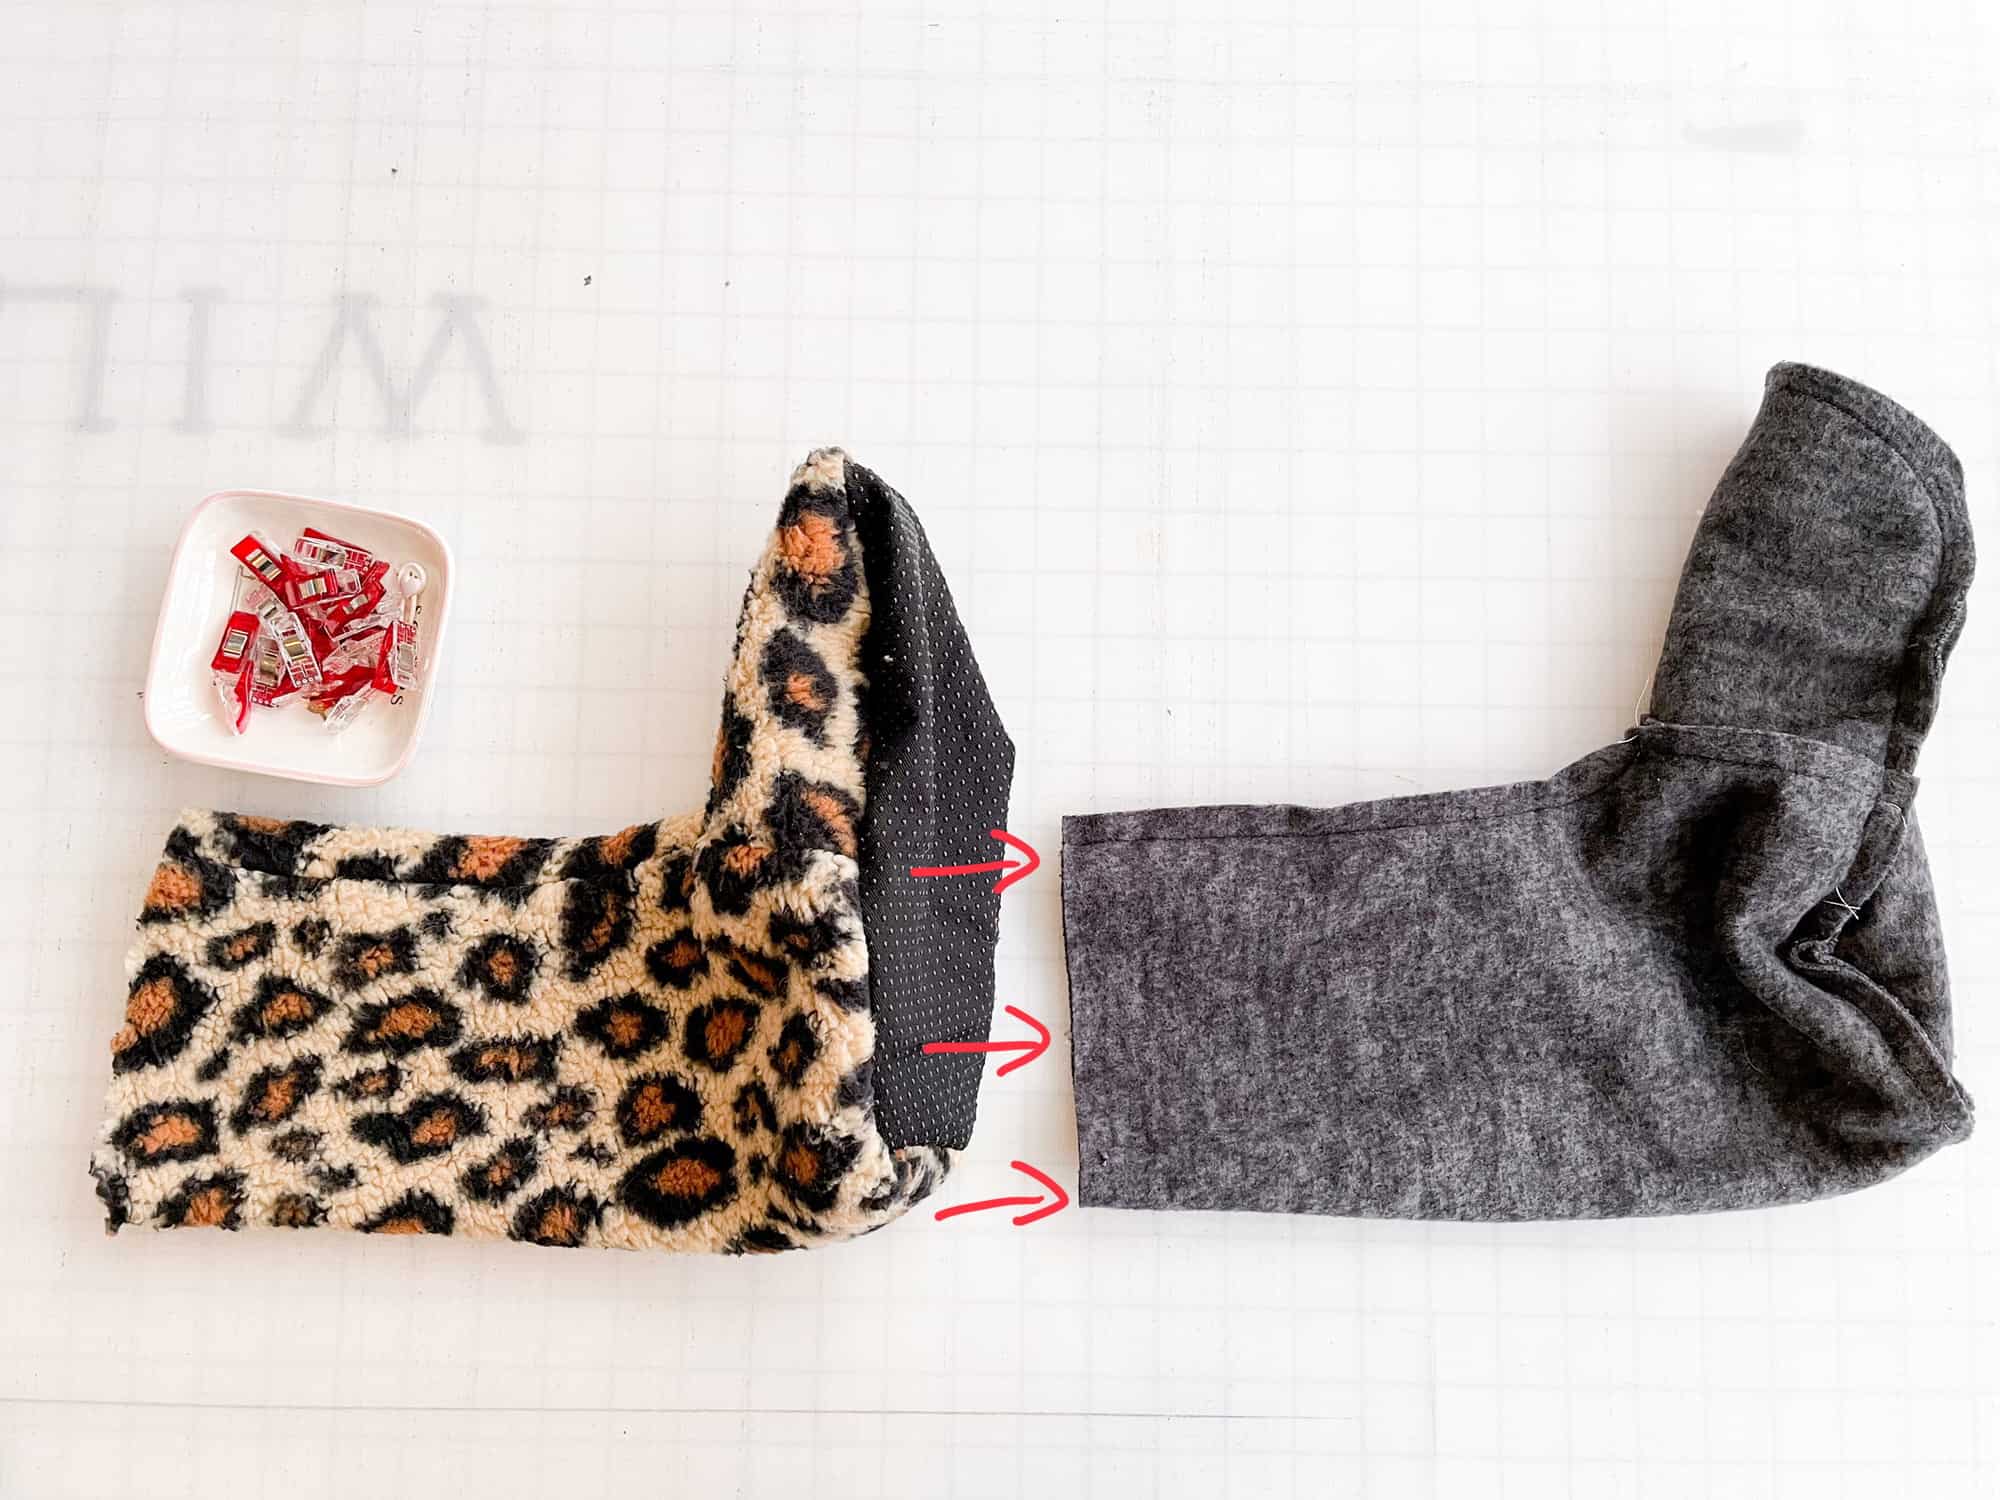
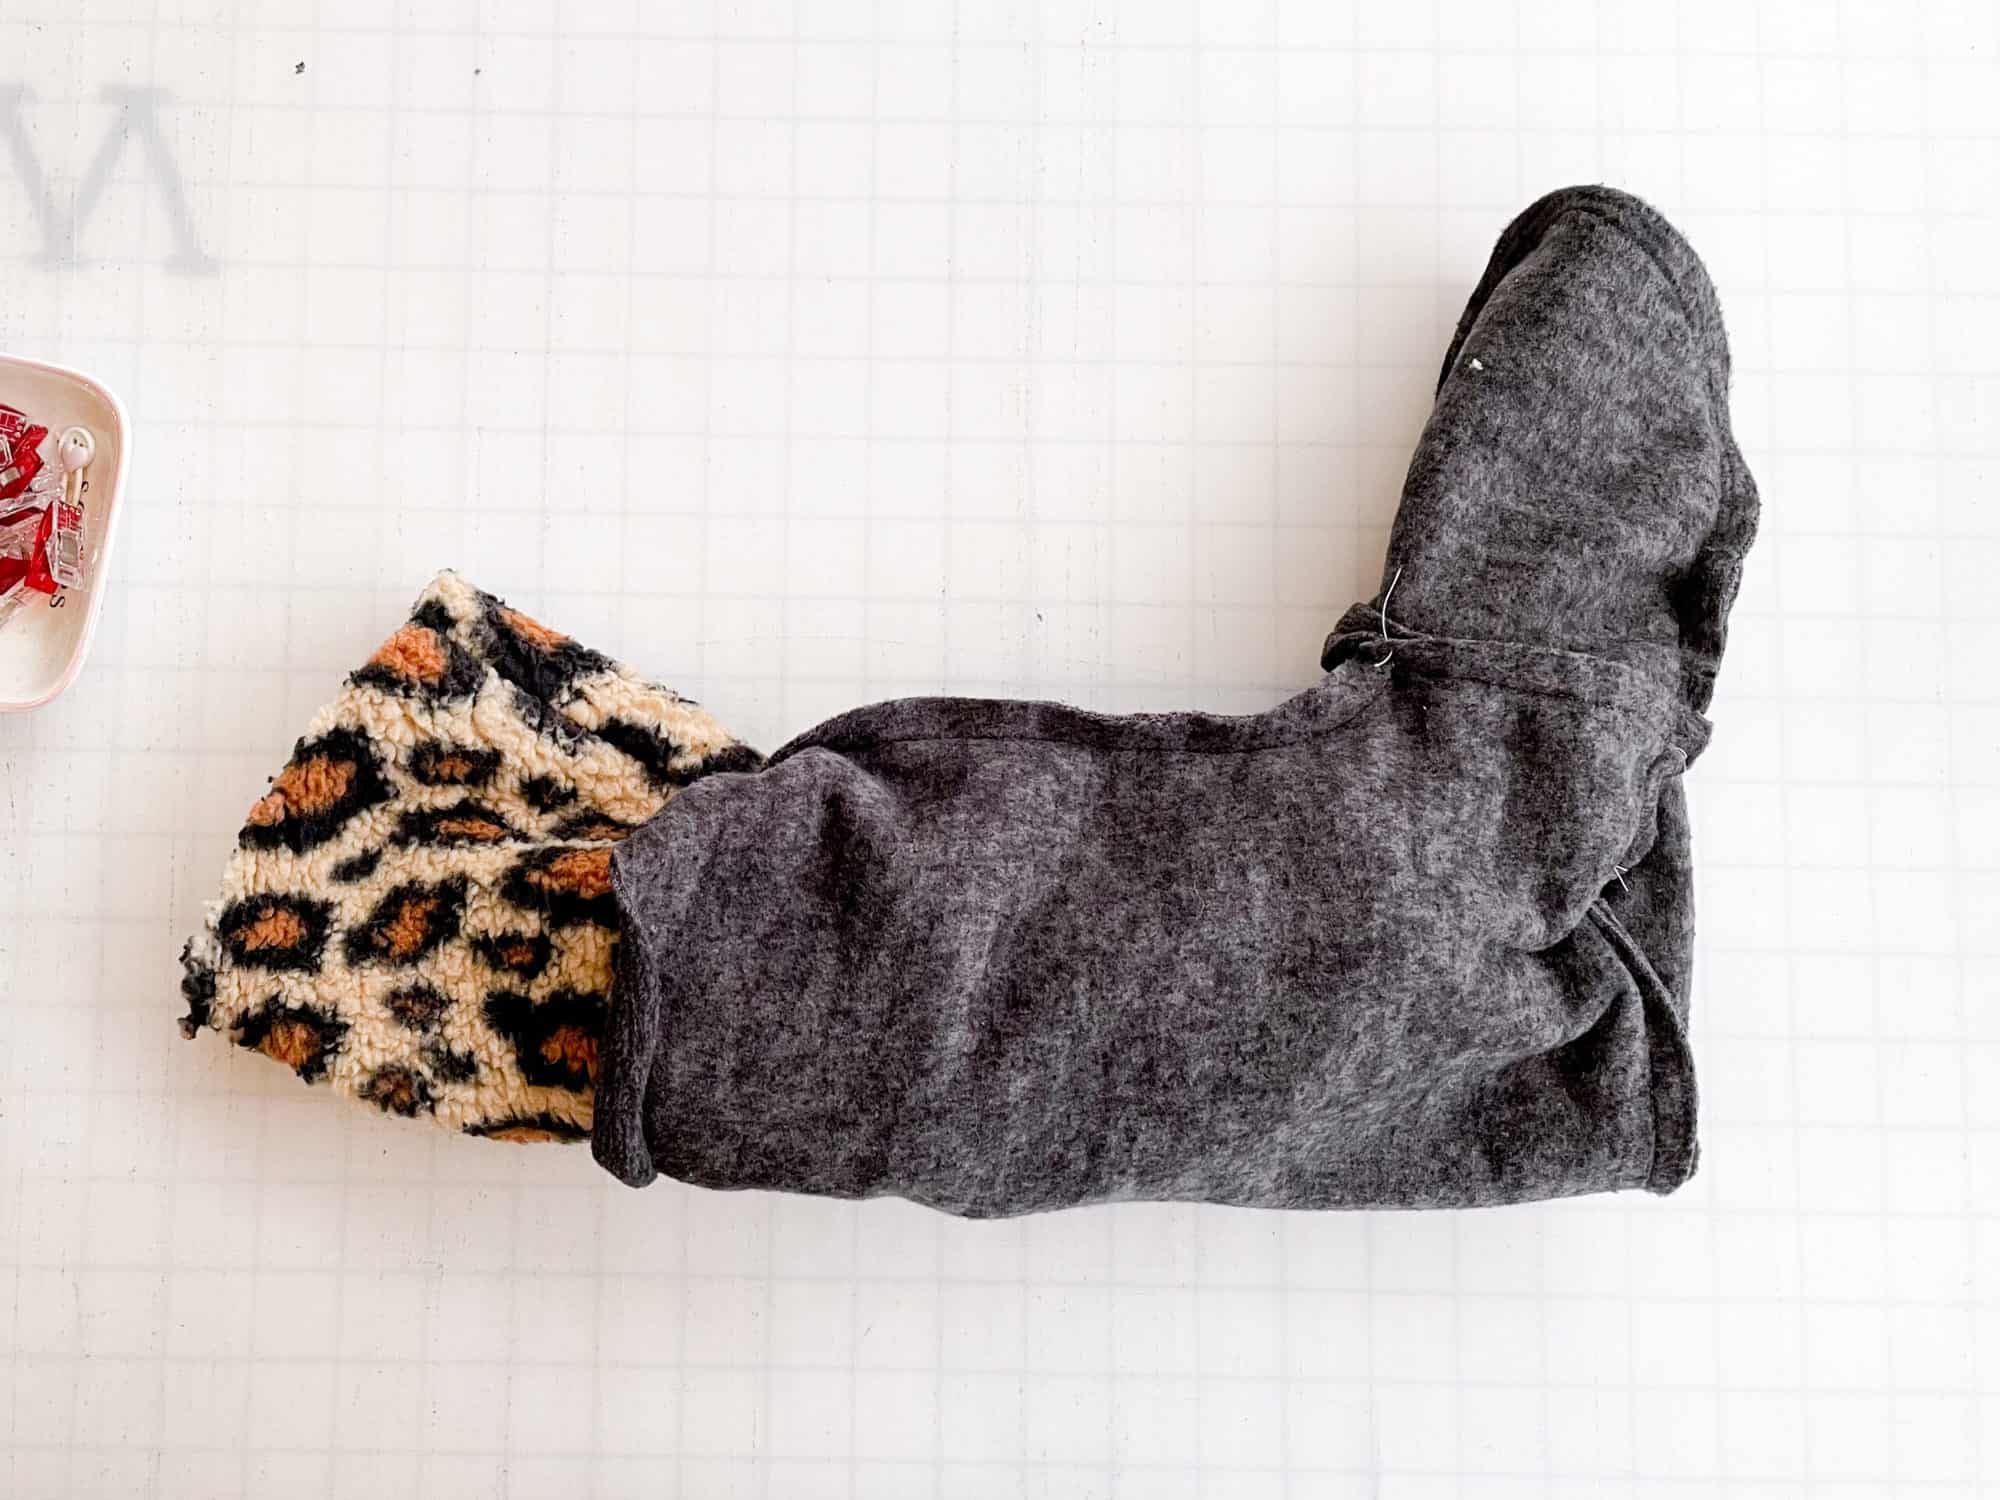
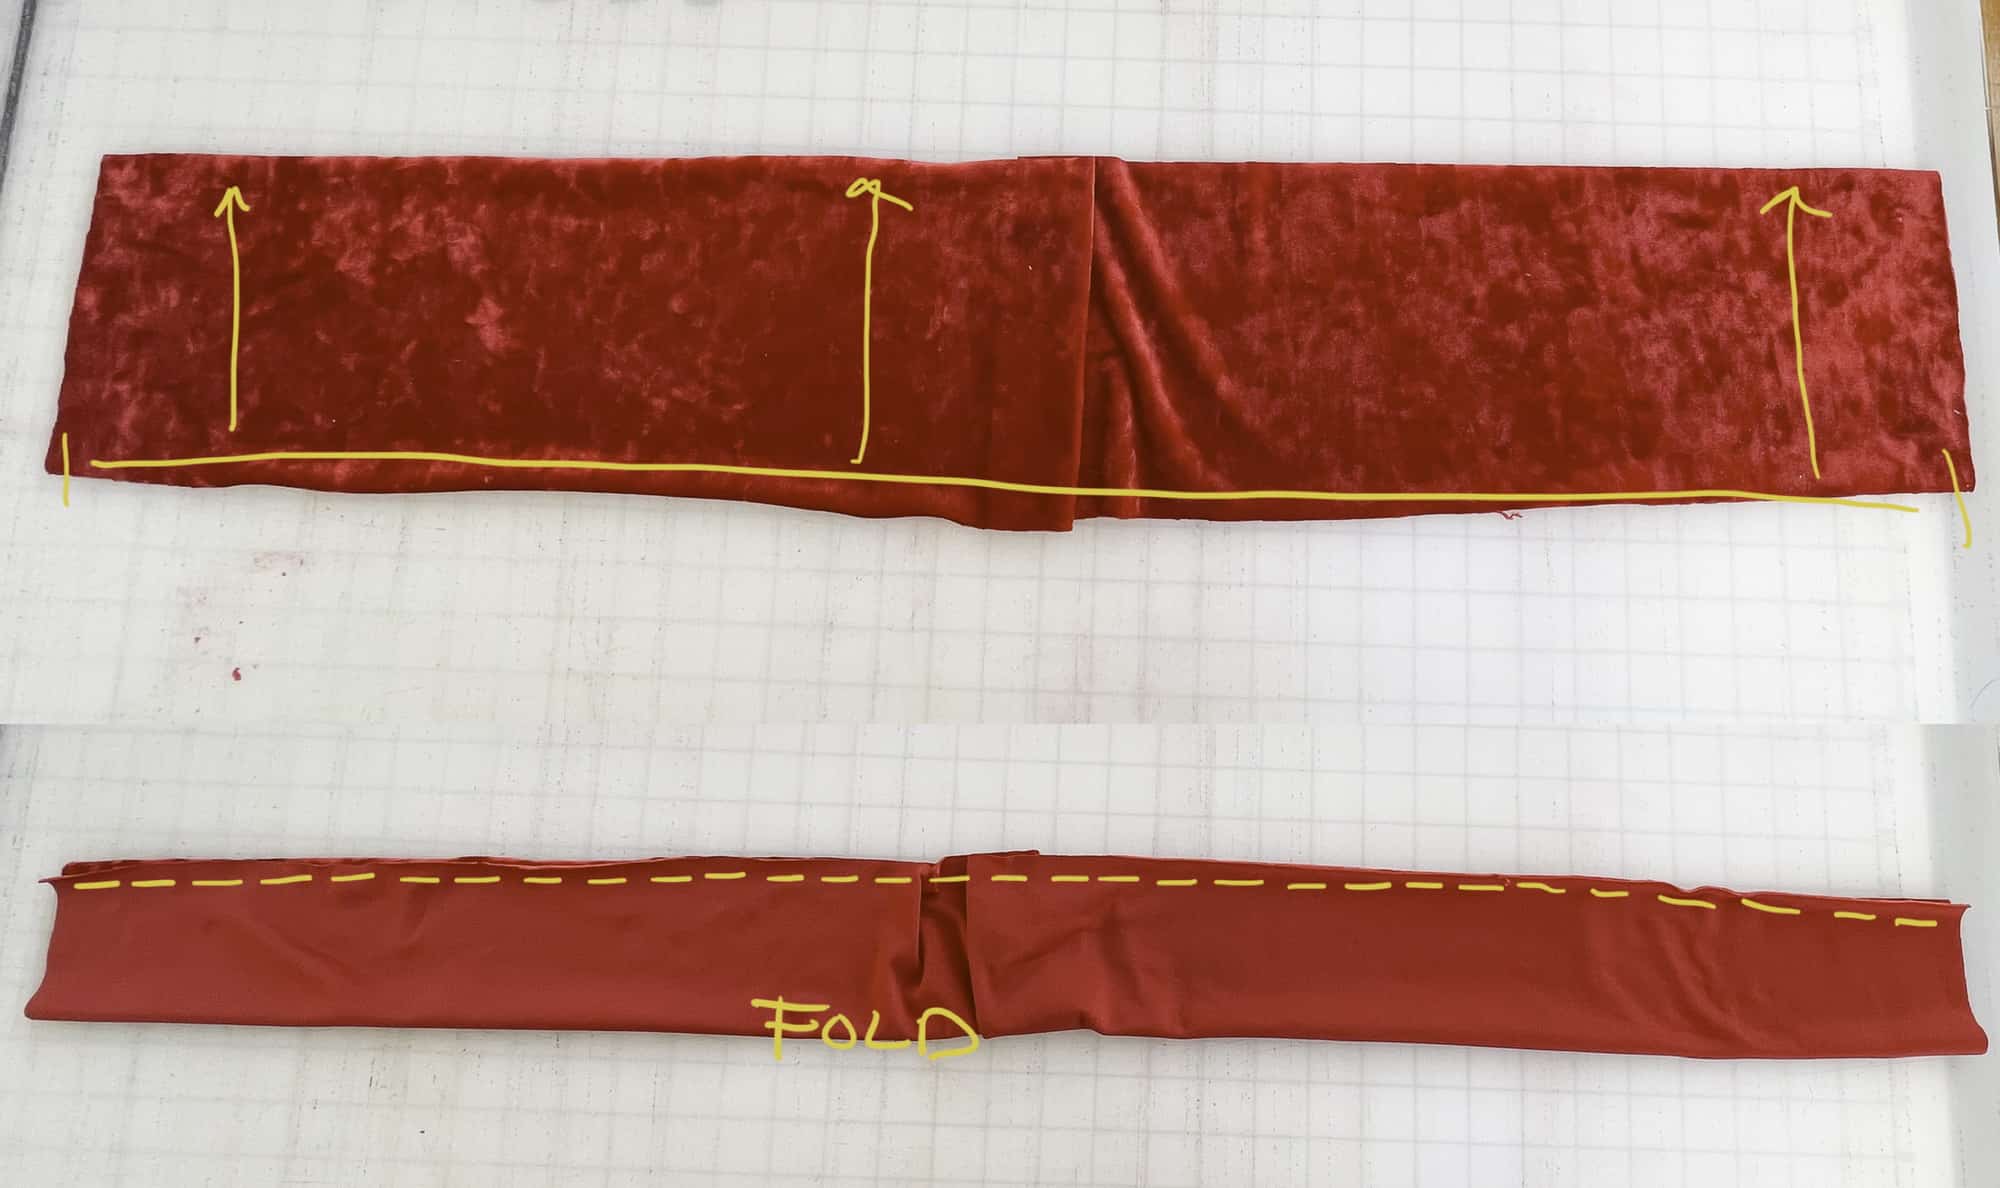
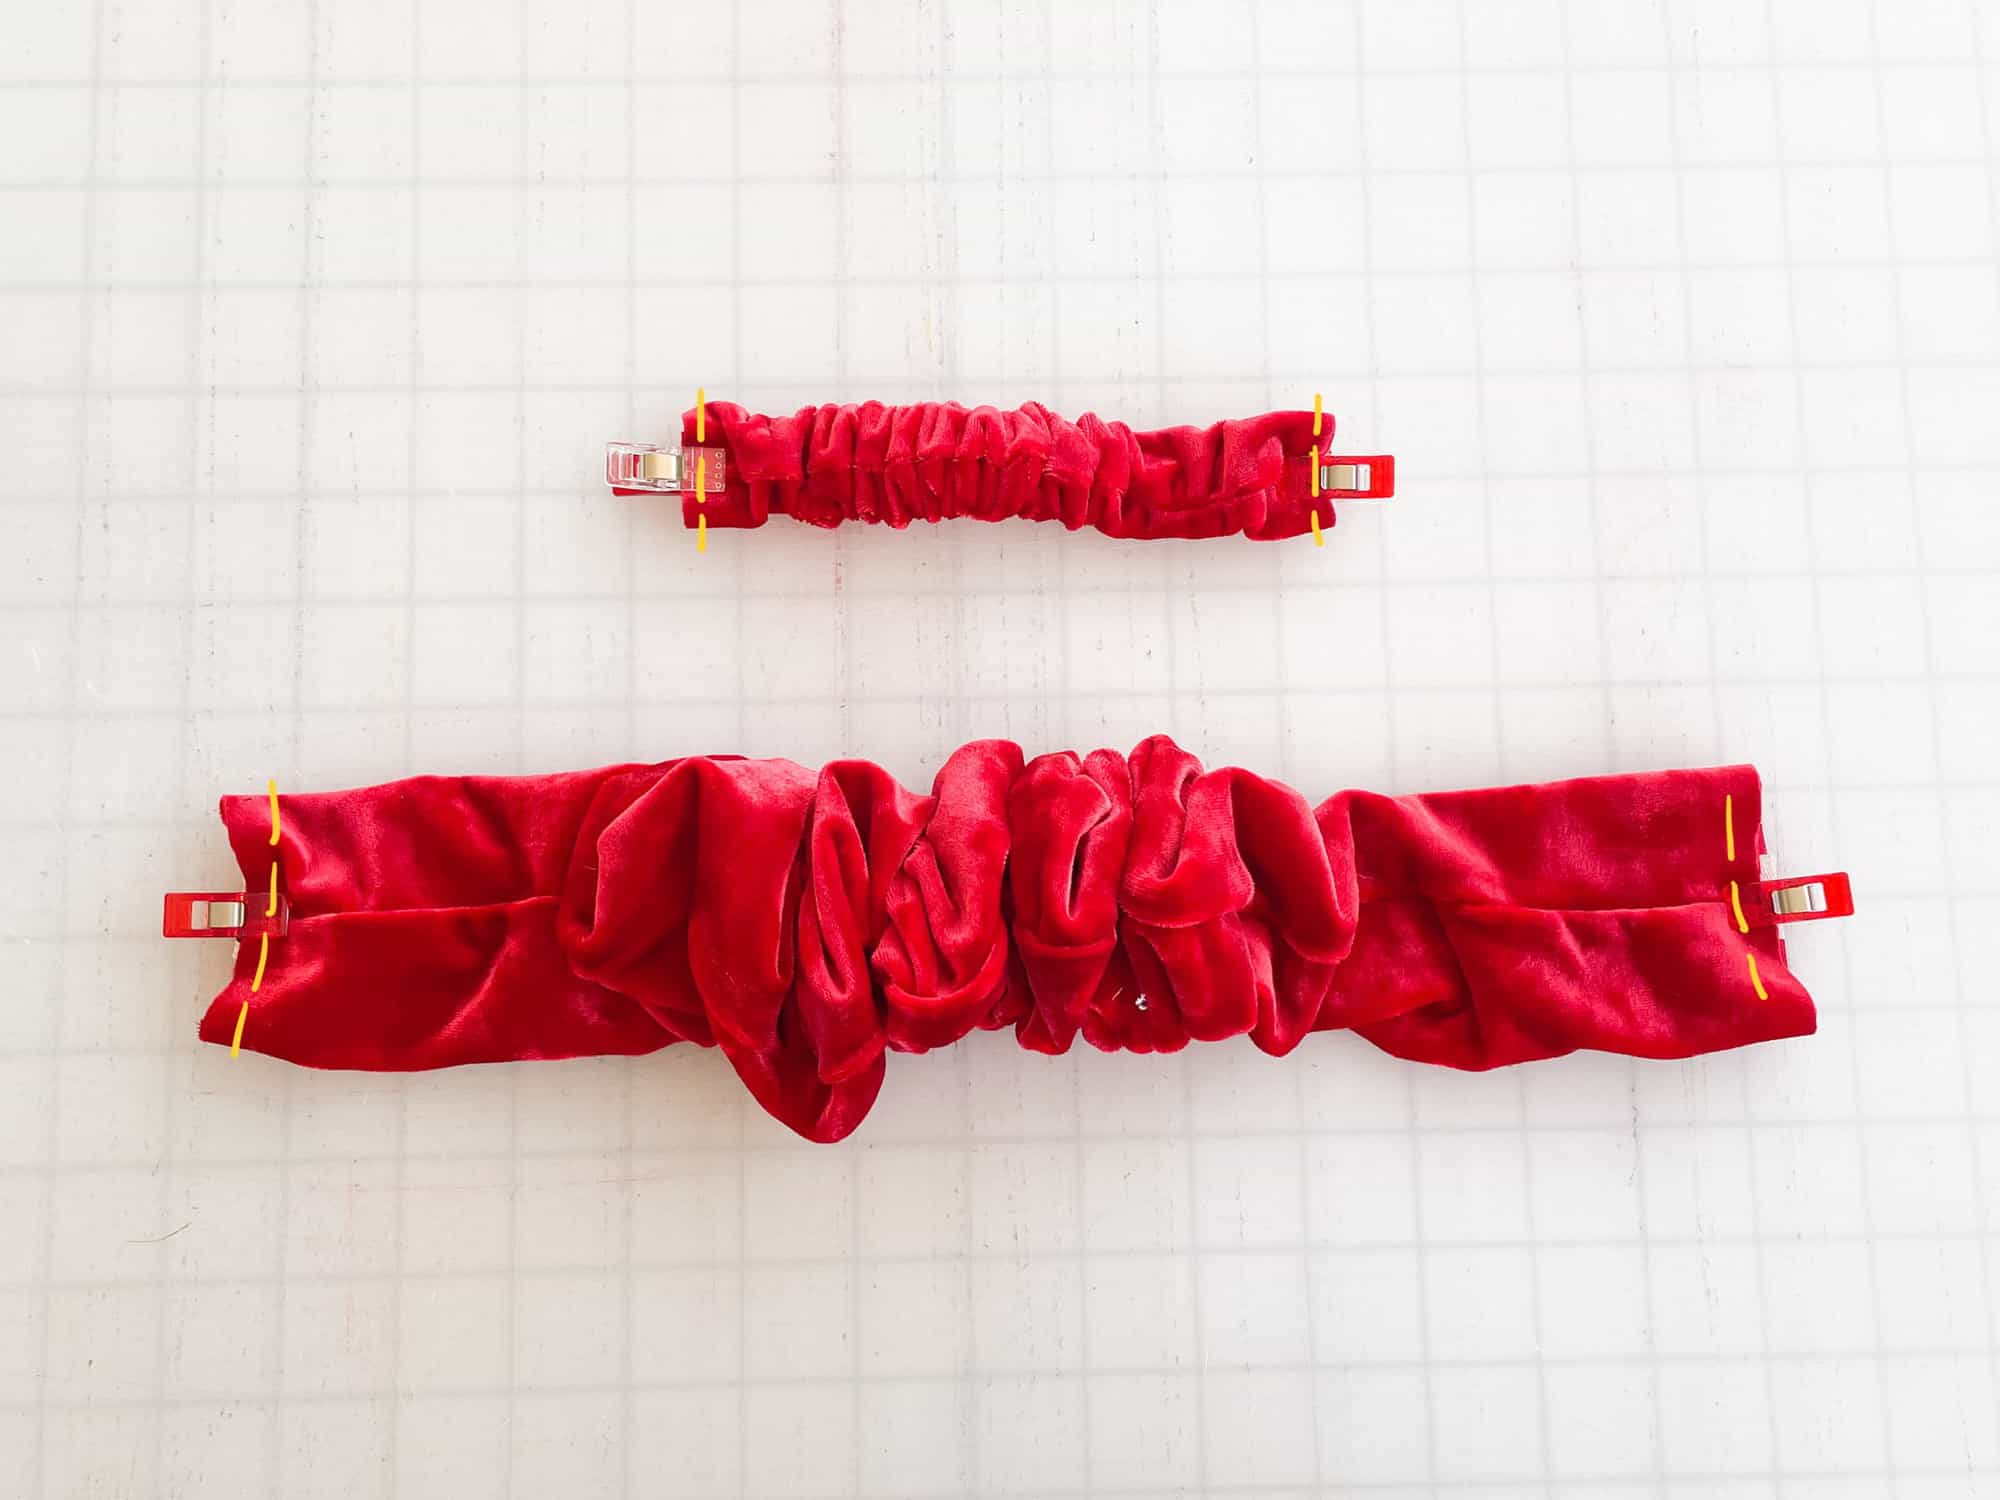
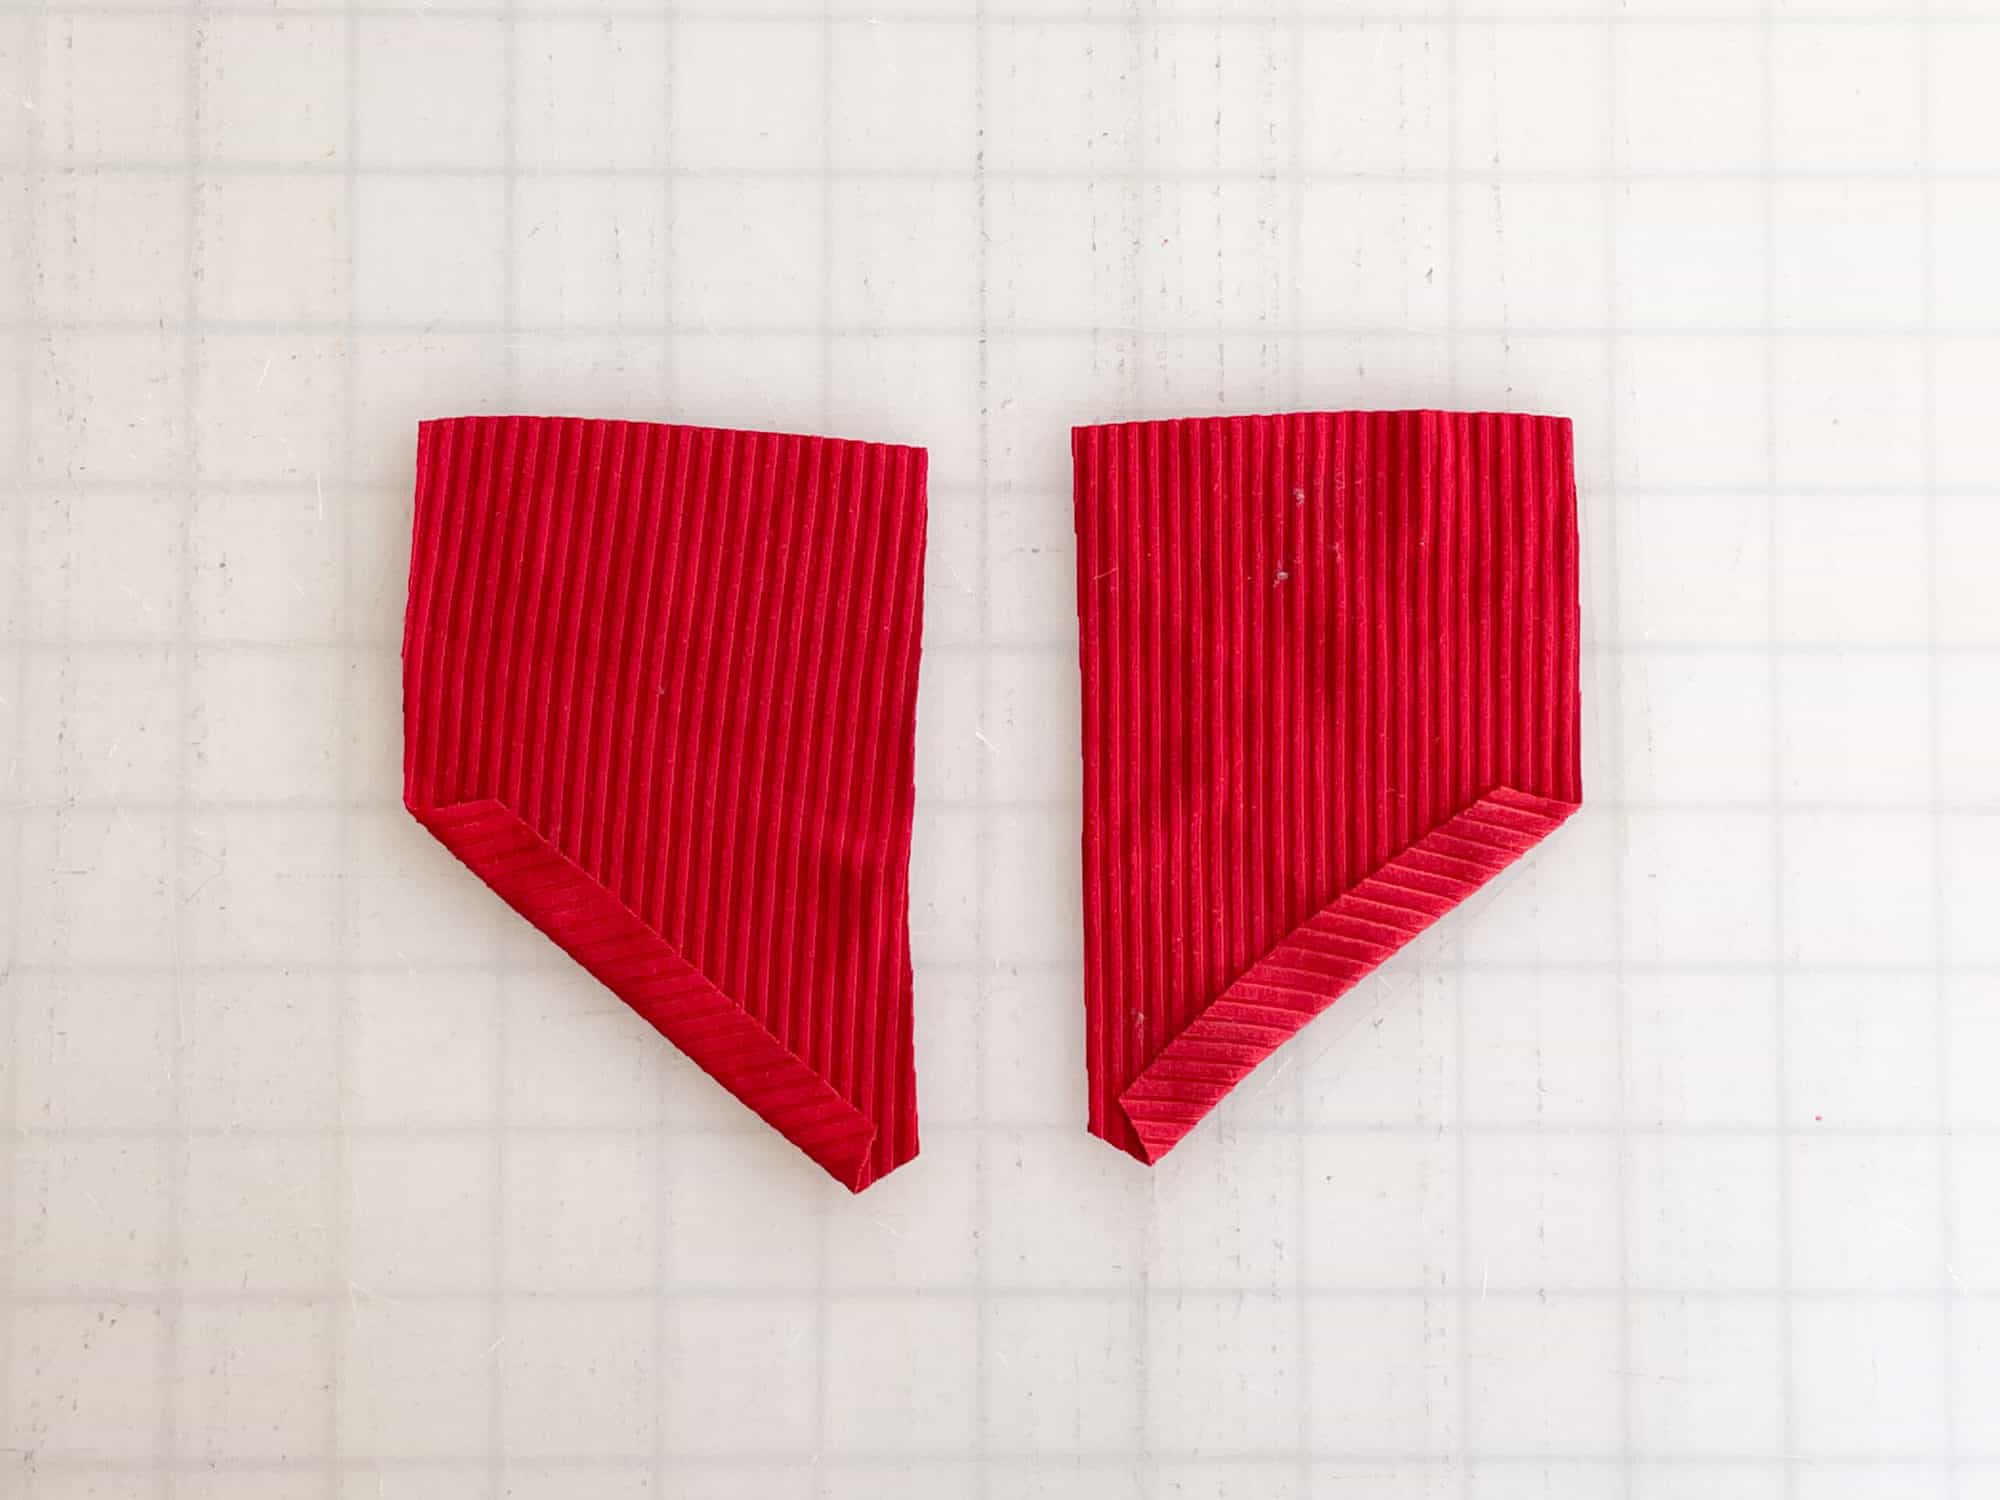
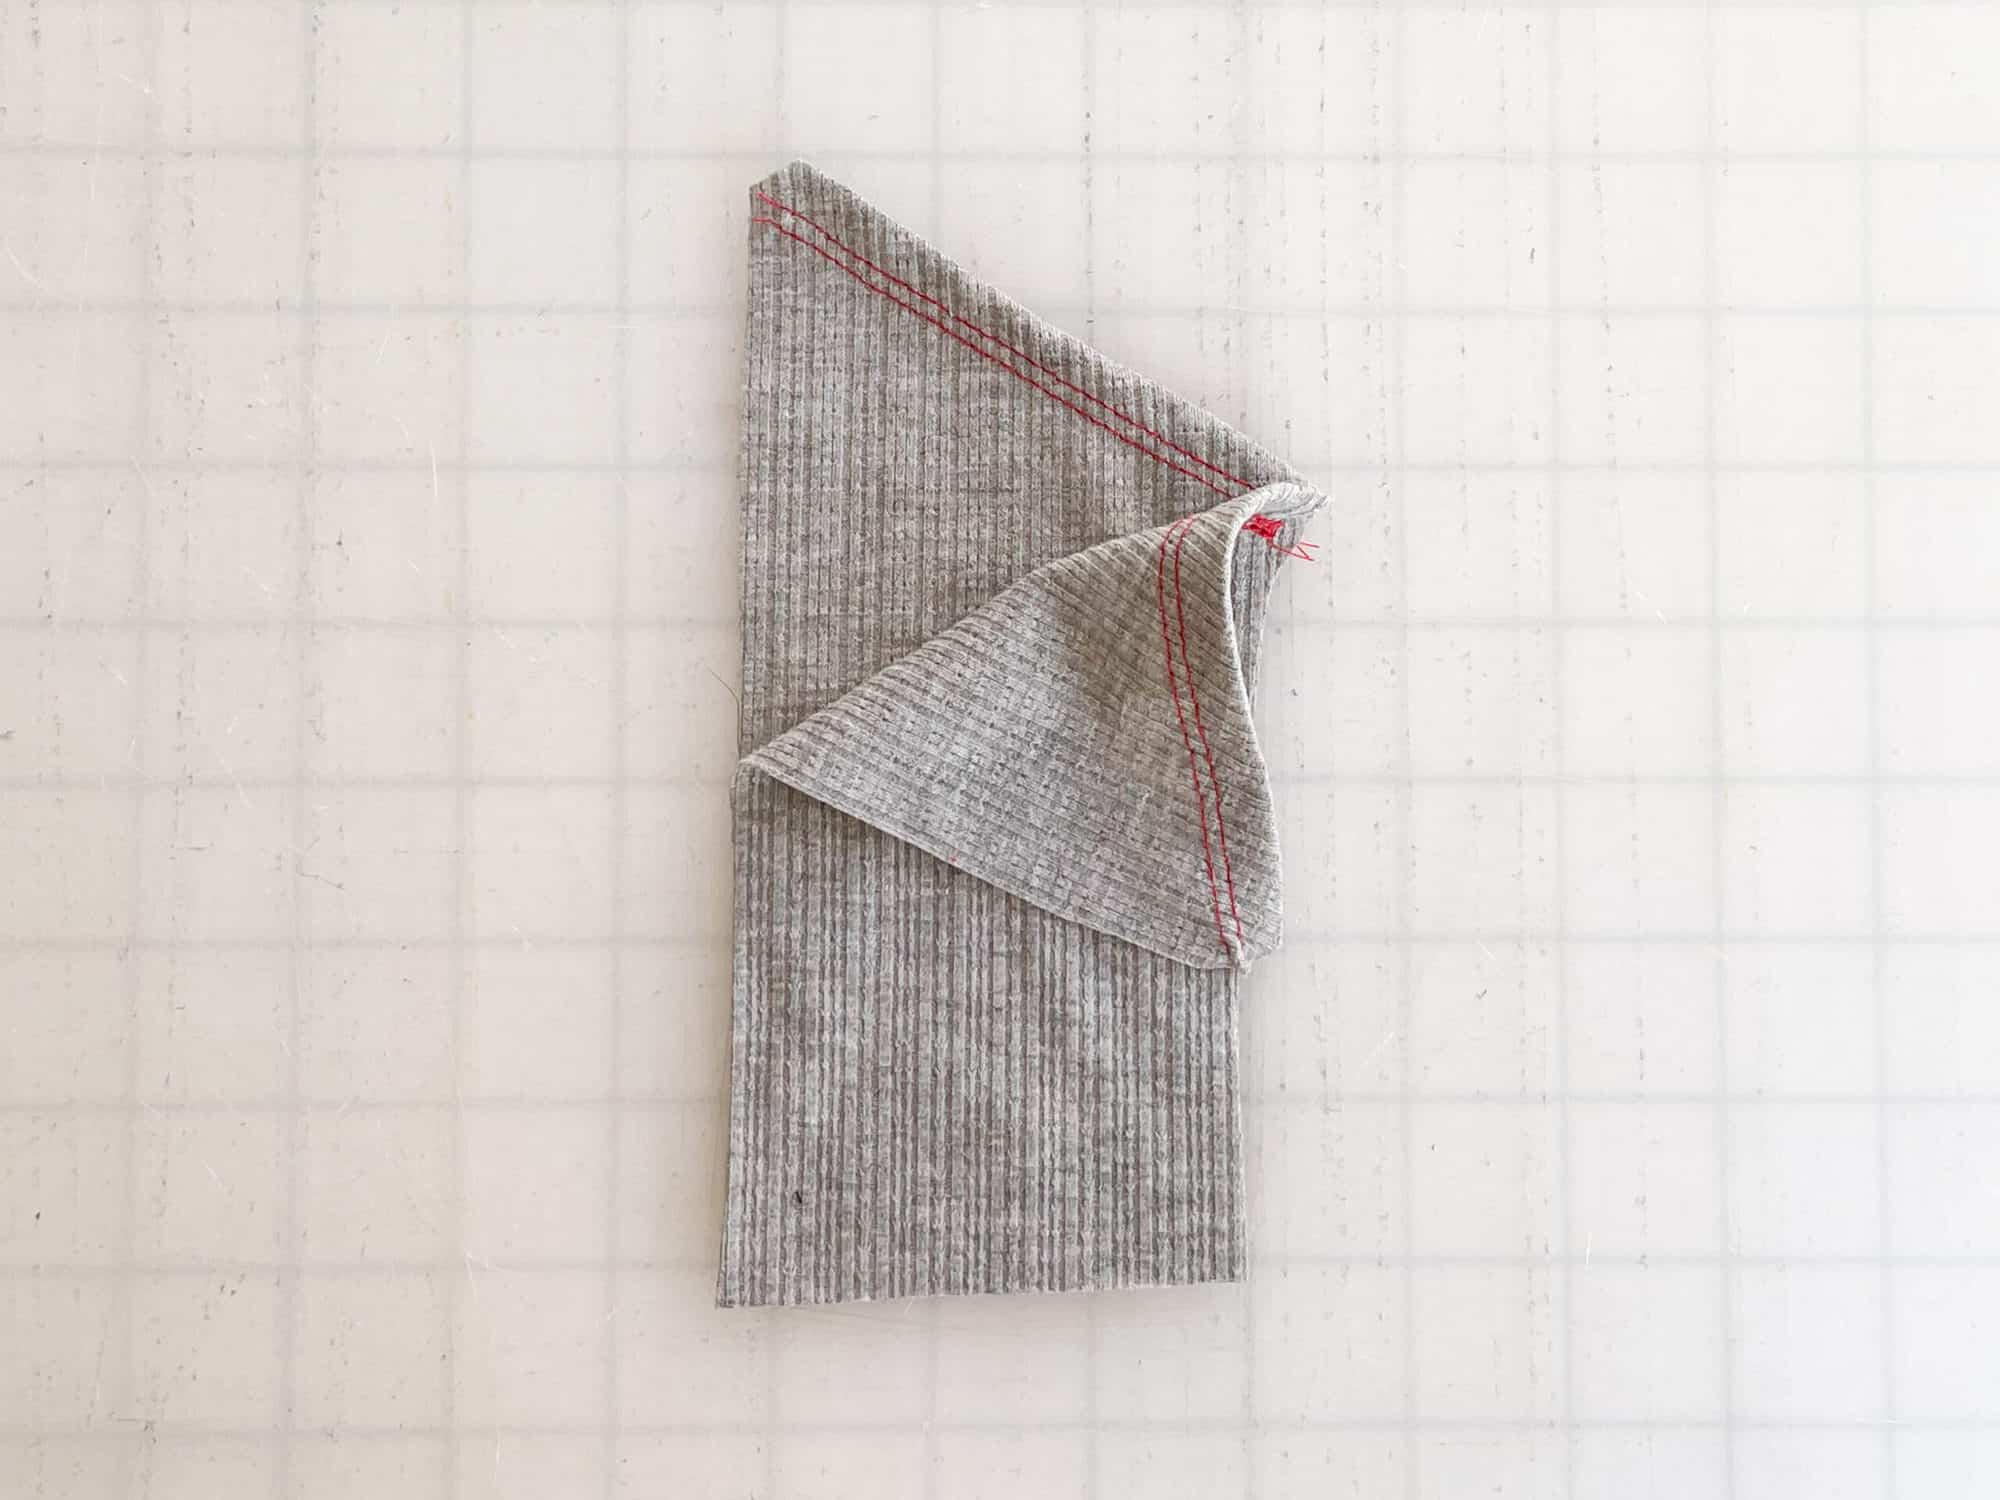
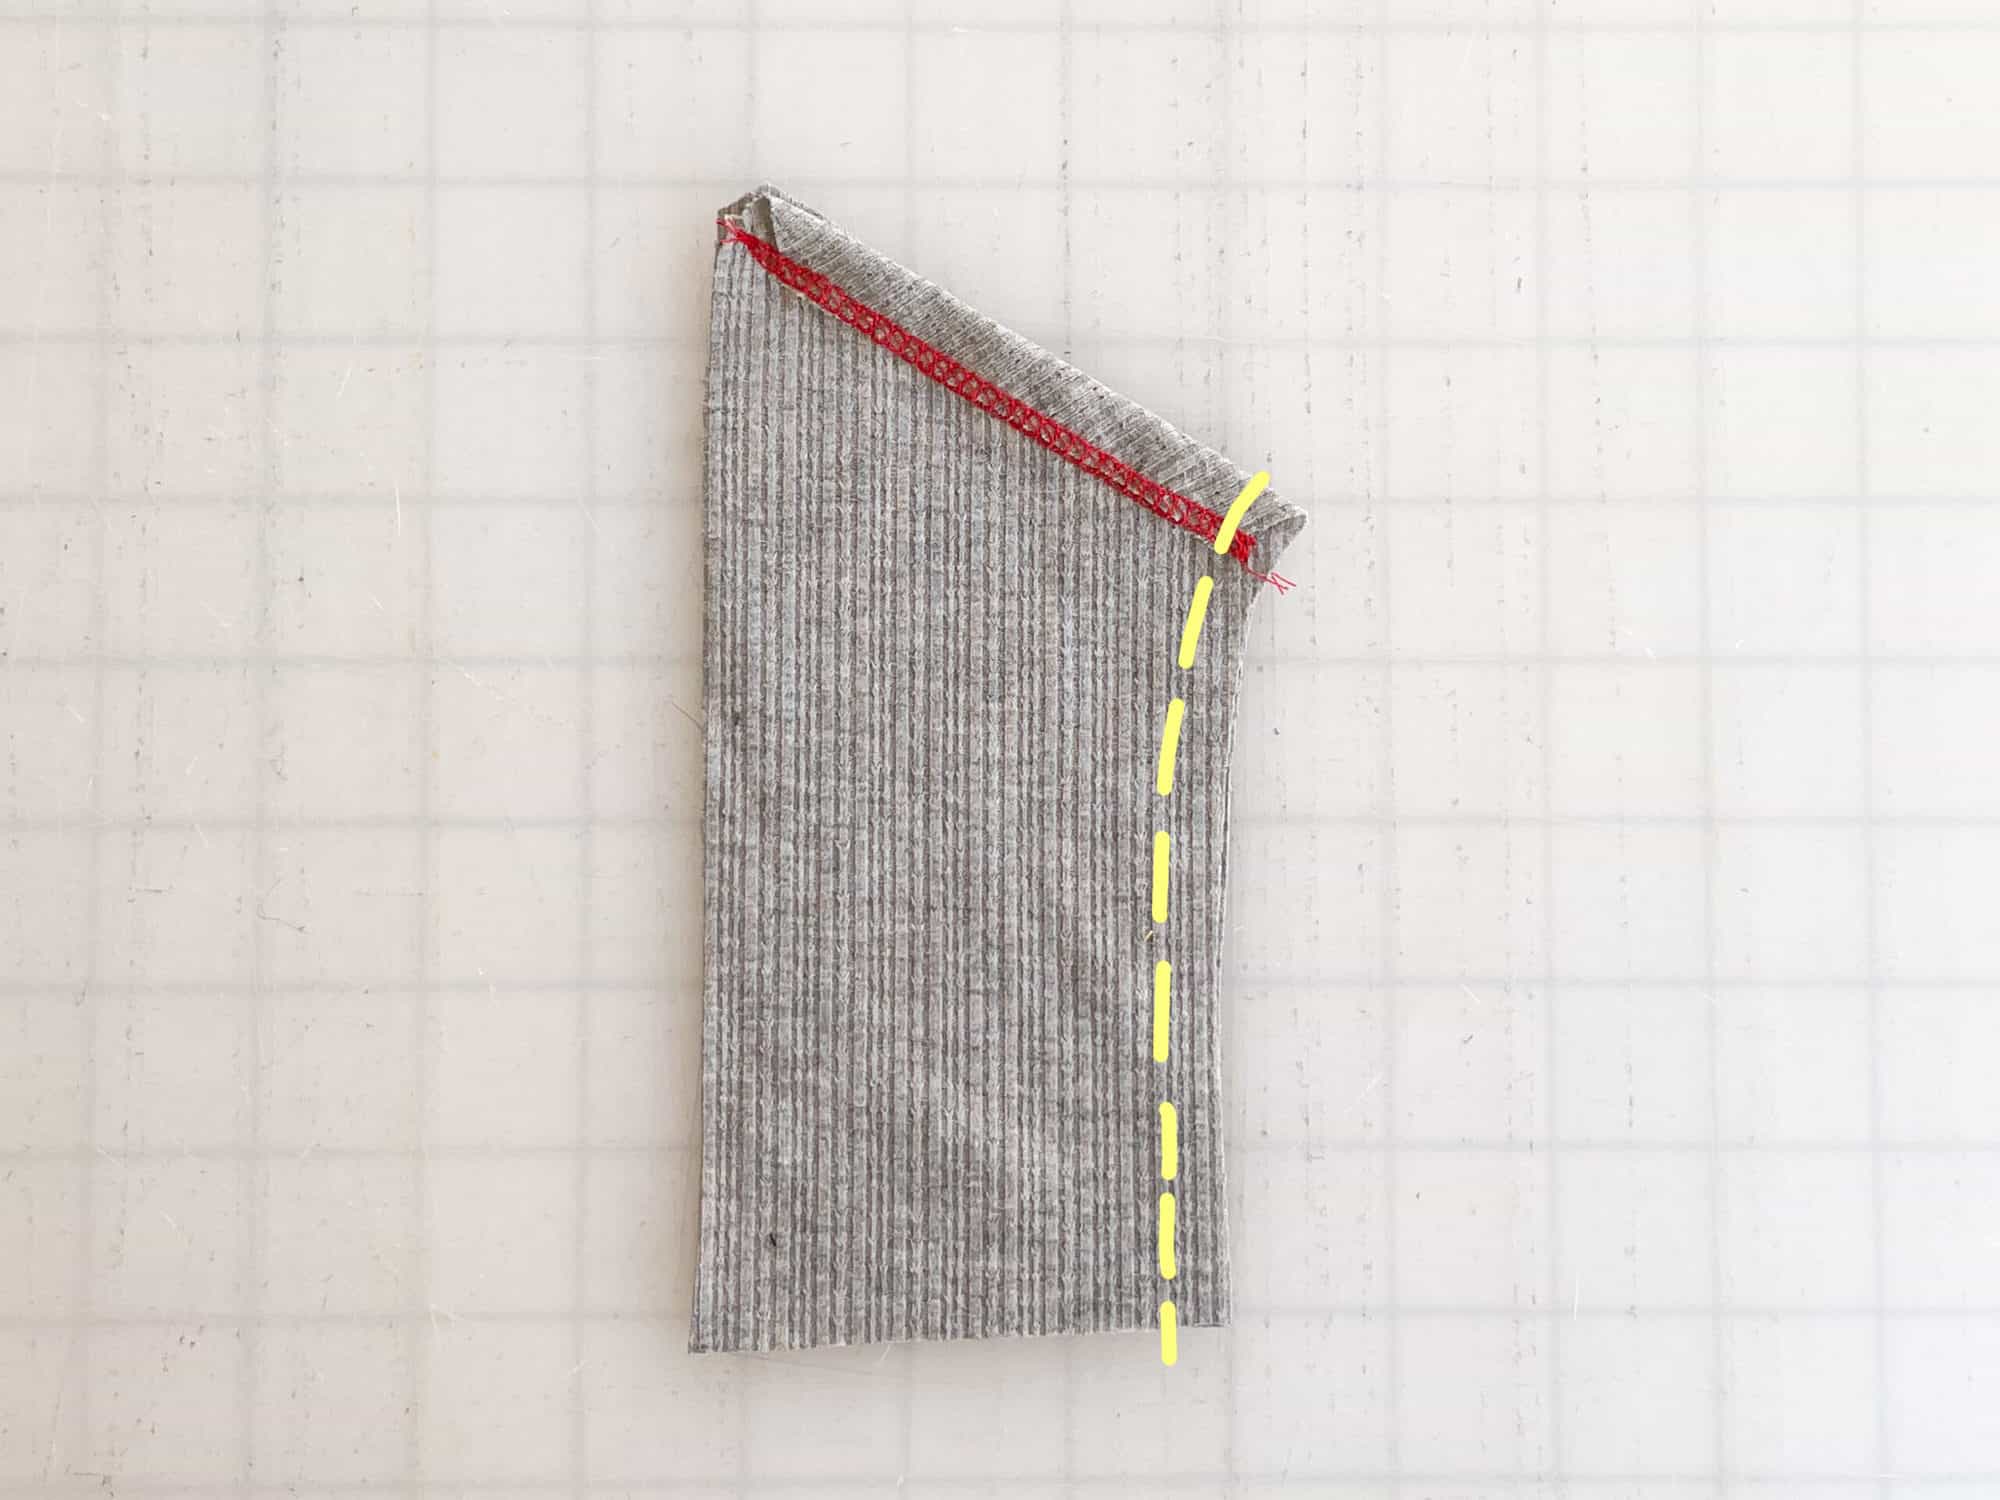
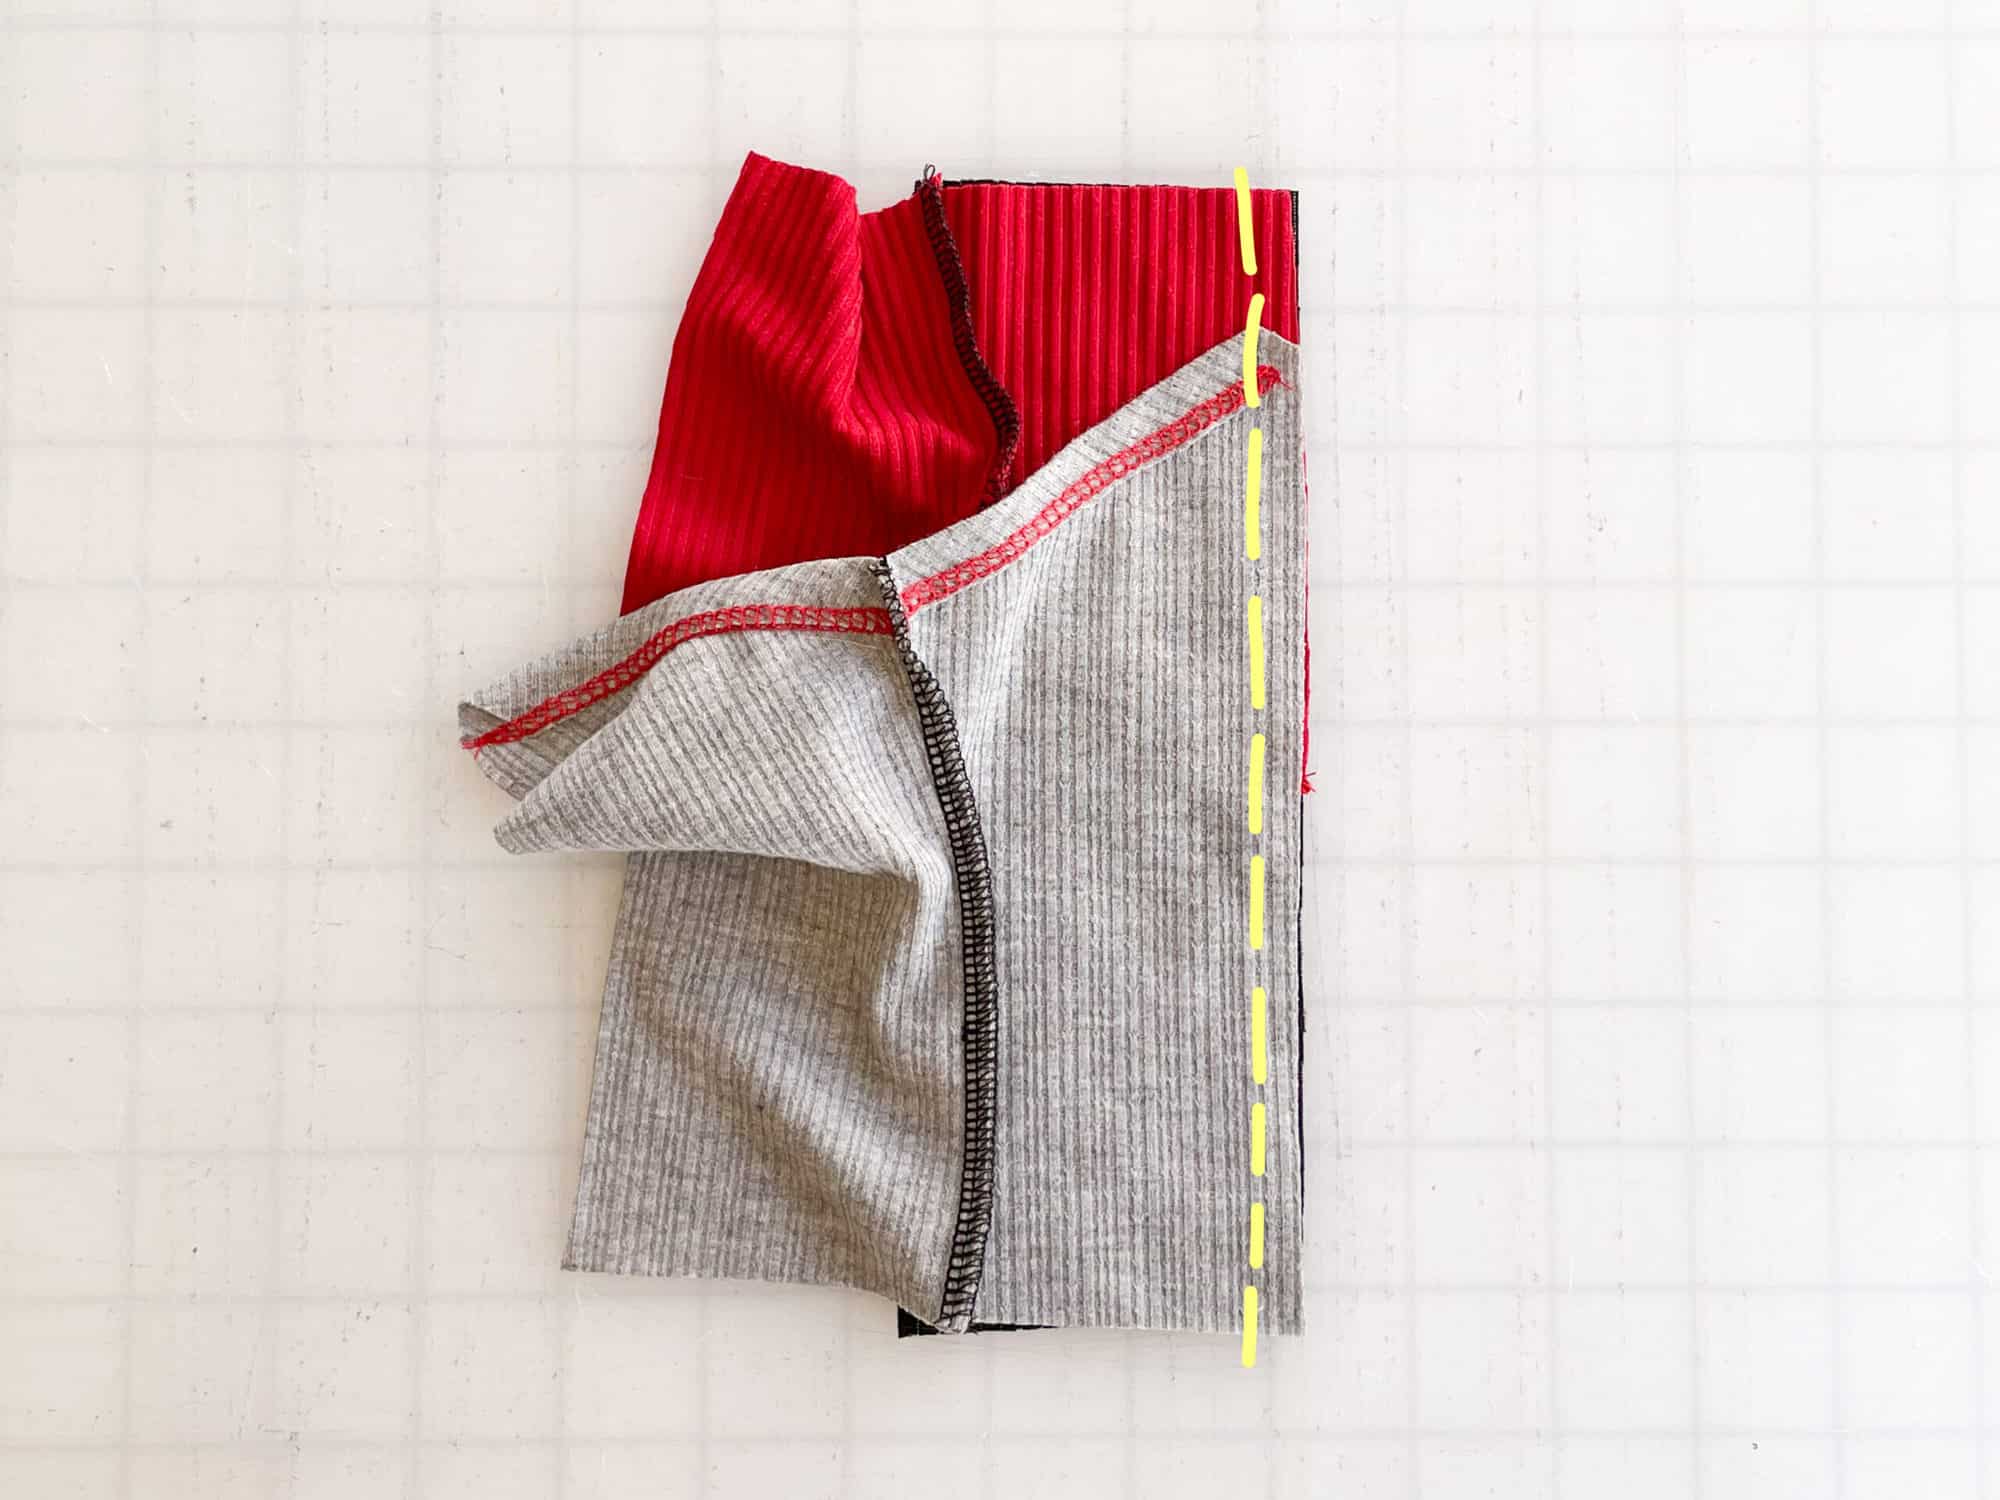
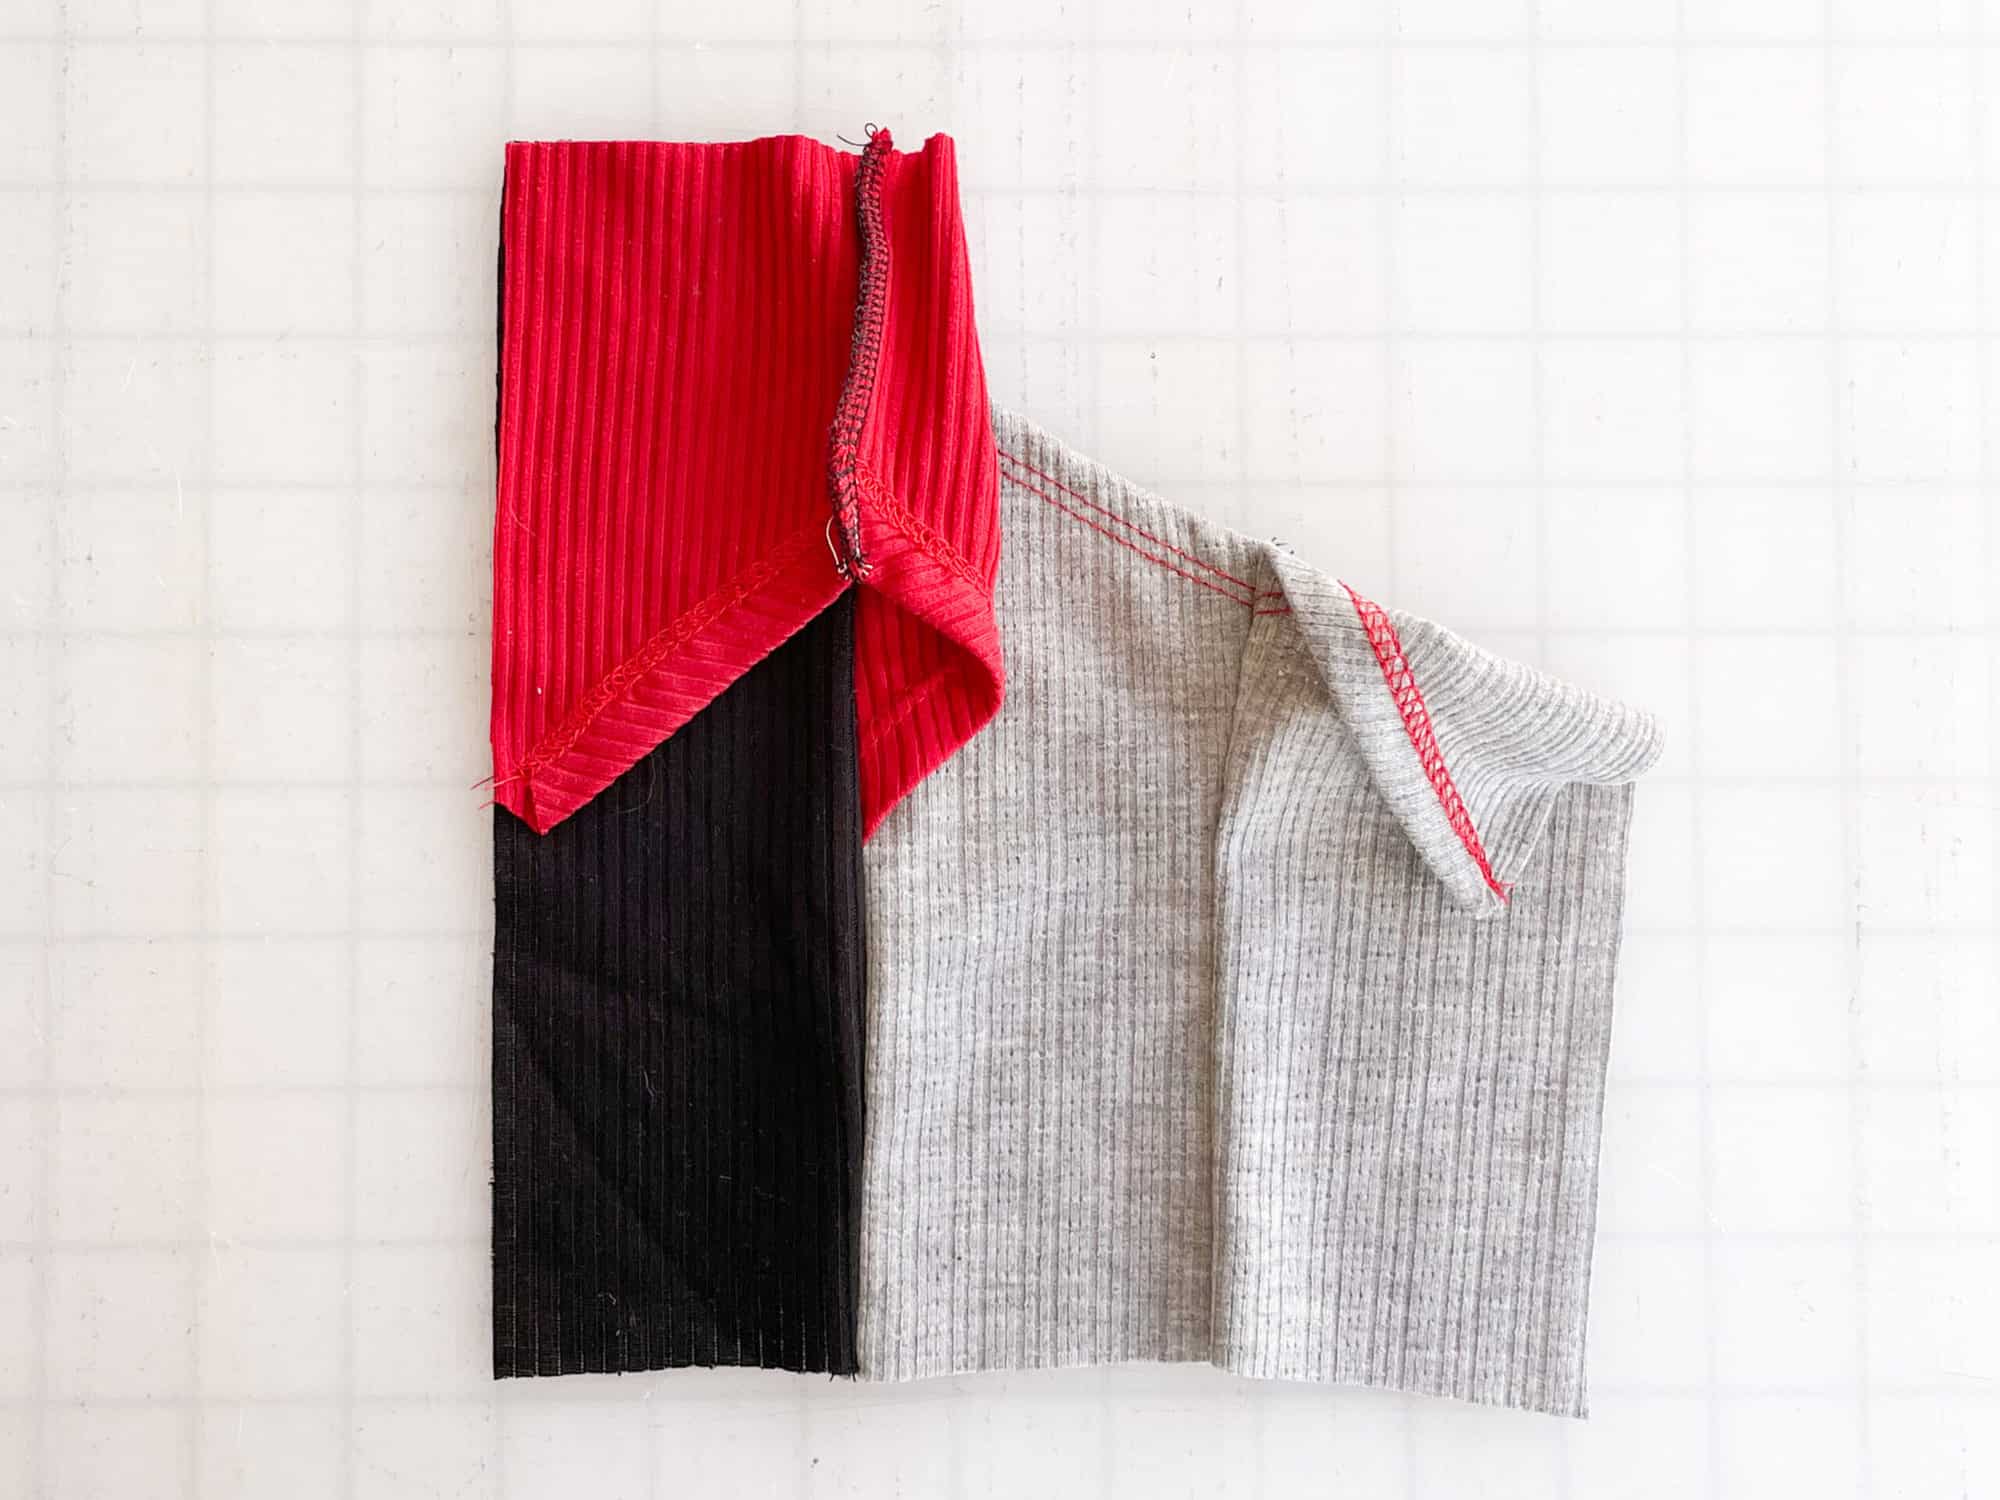
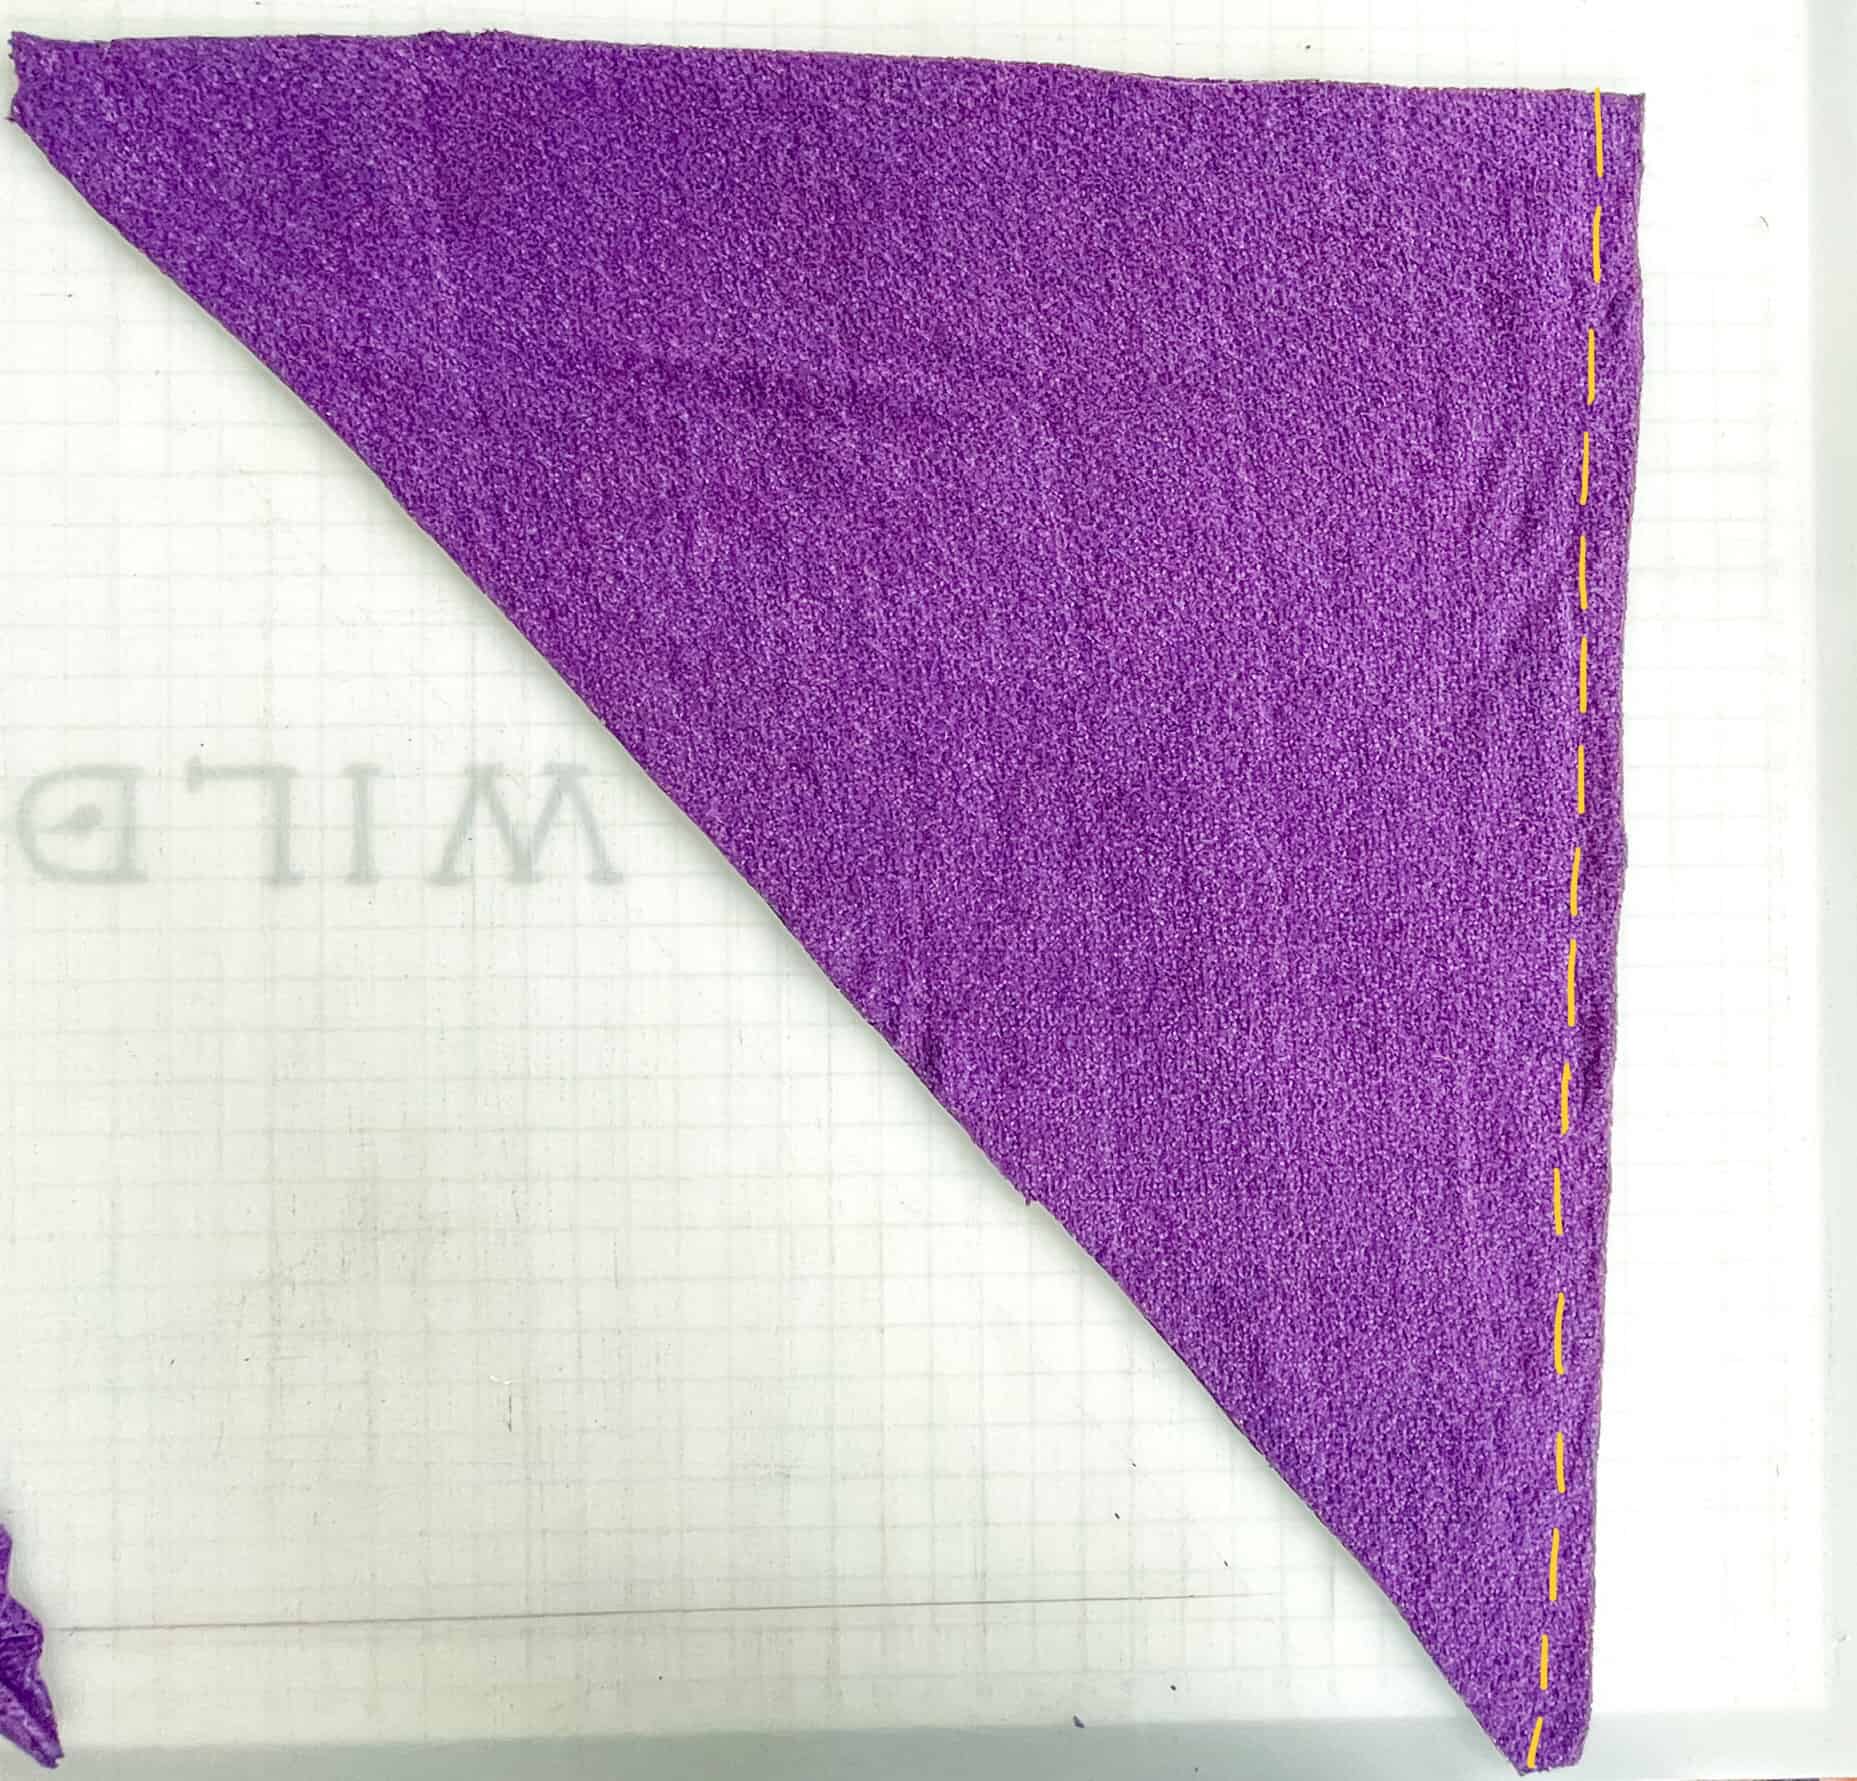
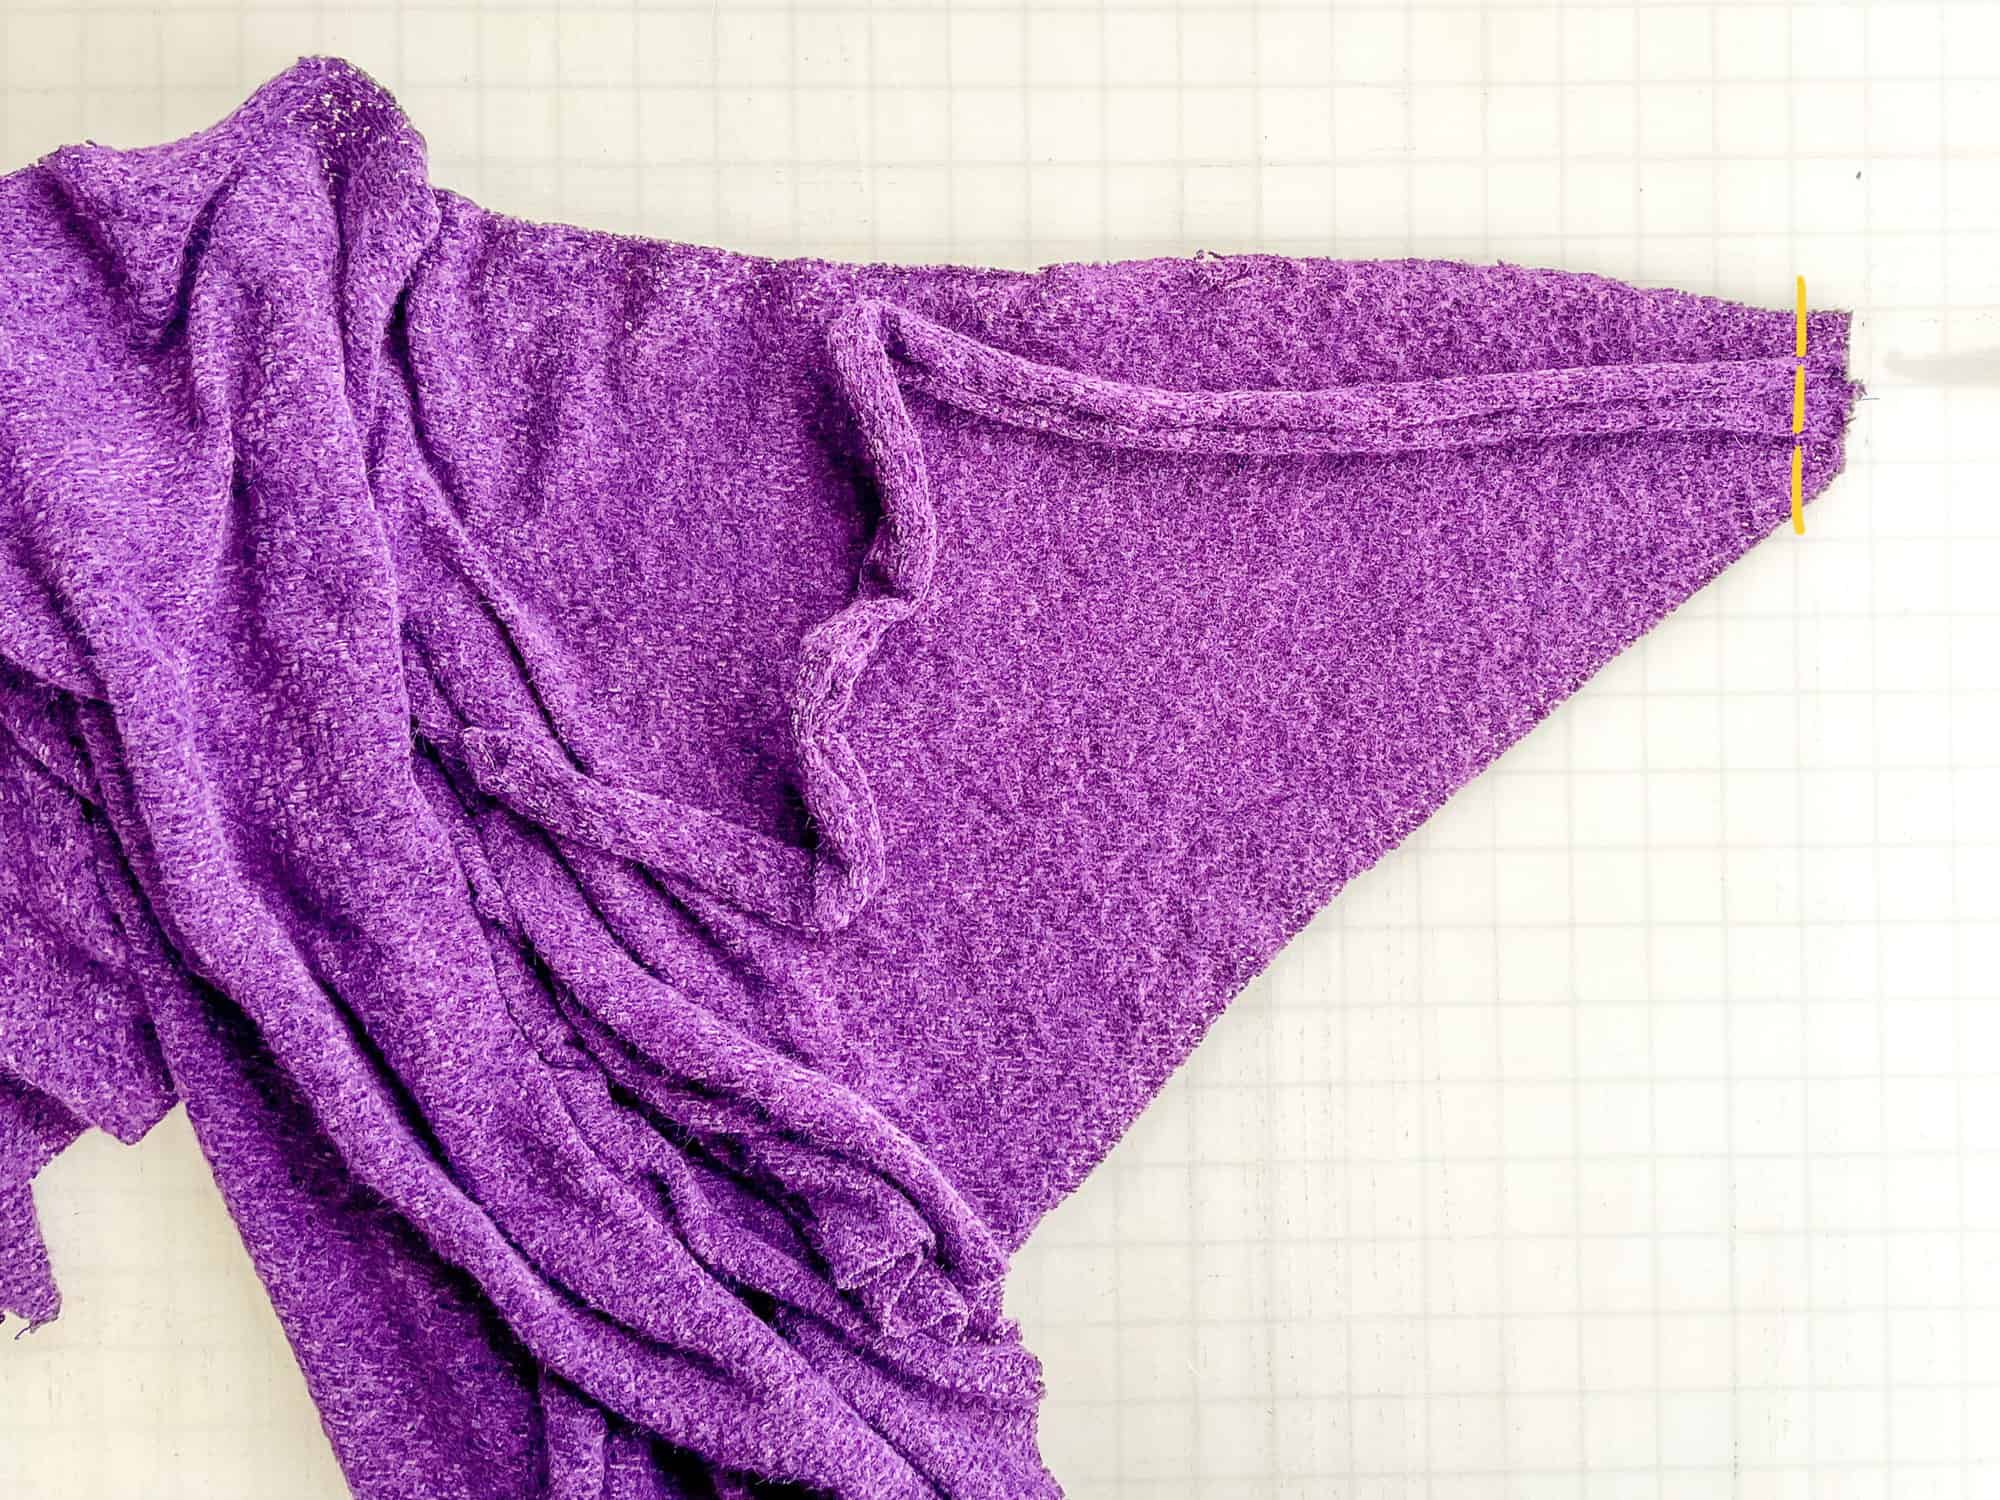
With right sides together, sew along edge of main pieces. 
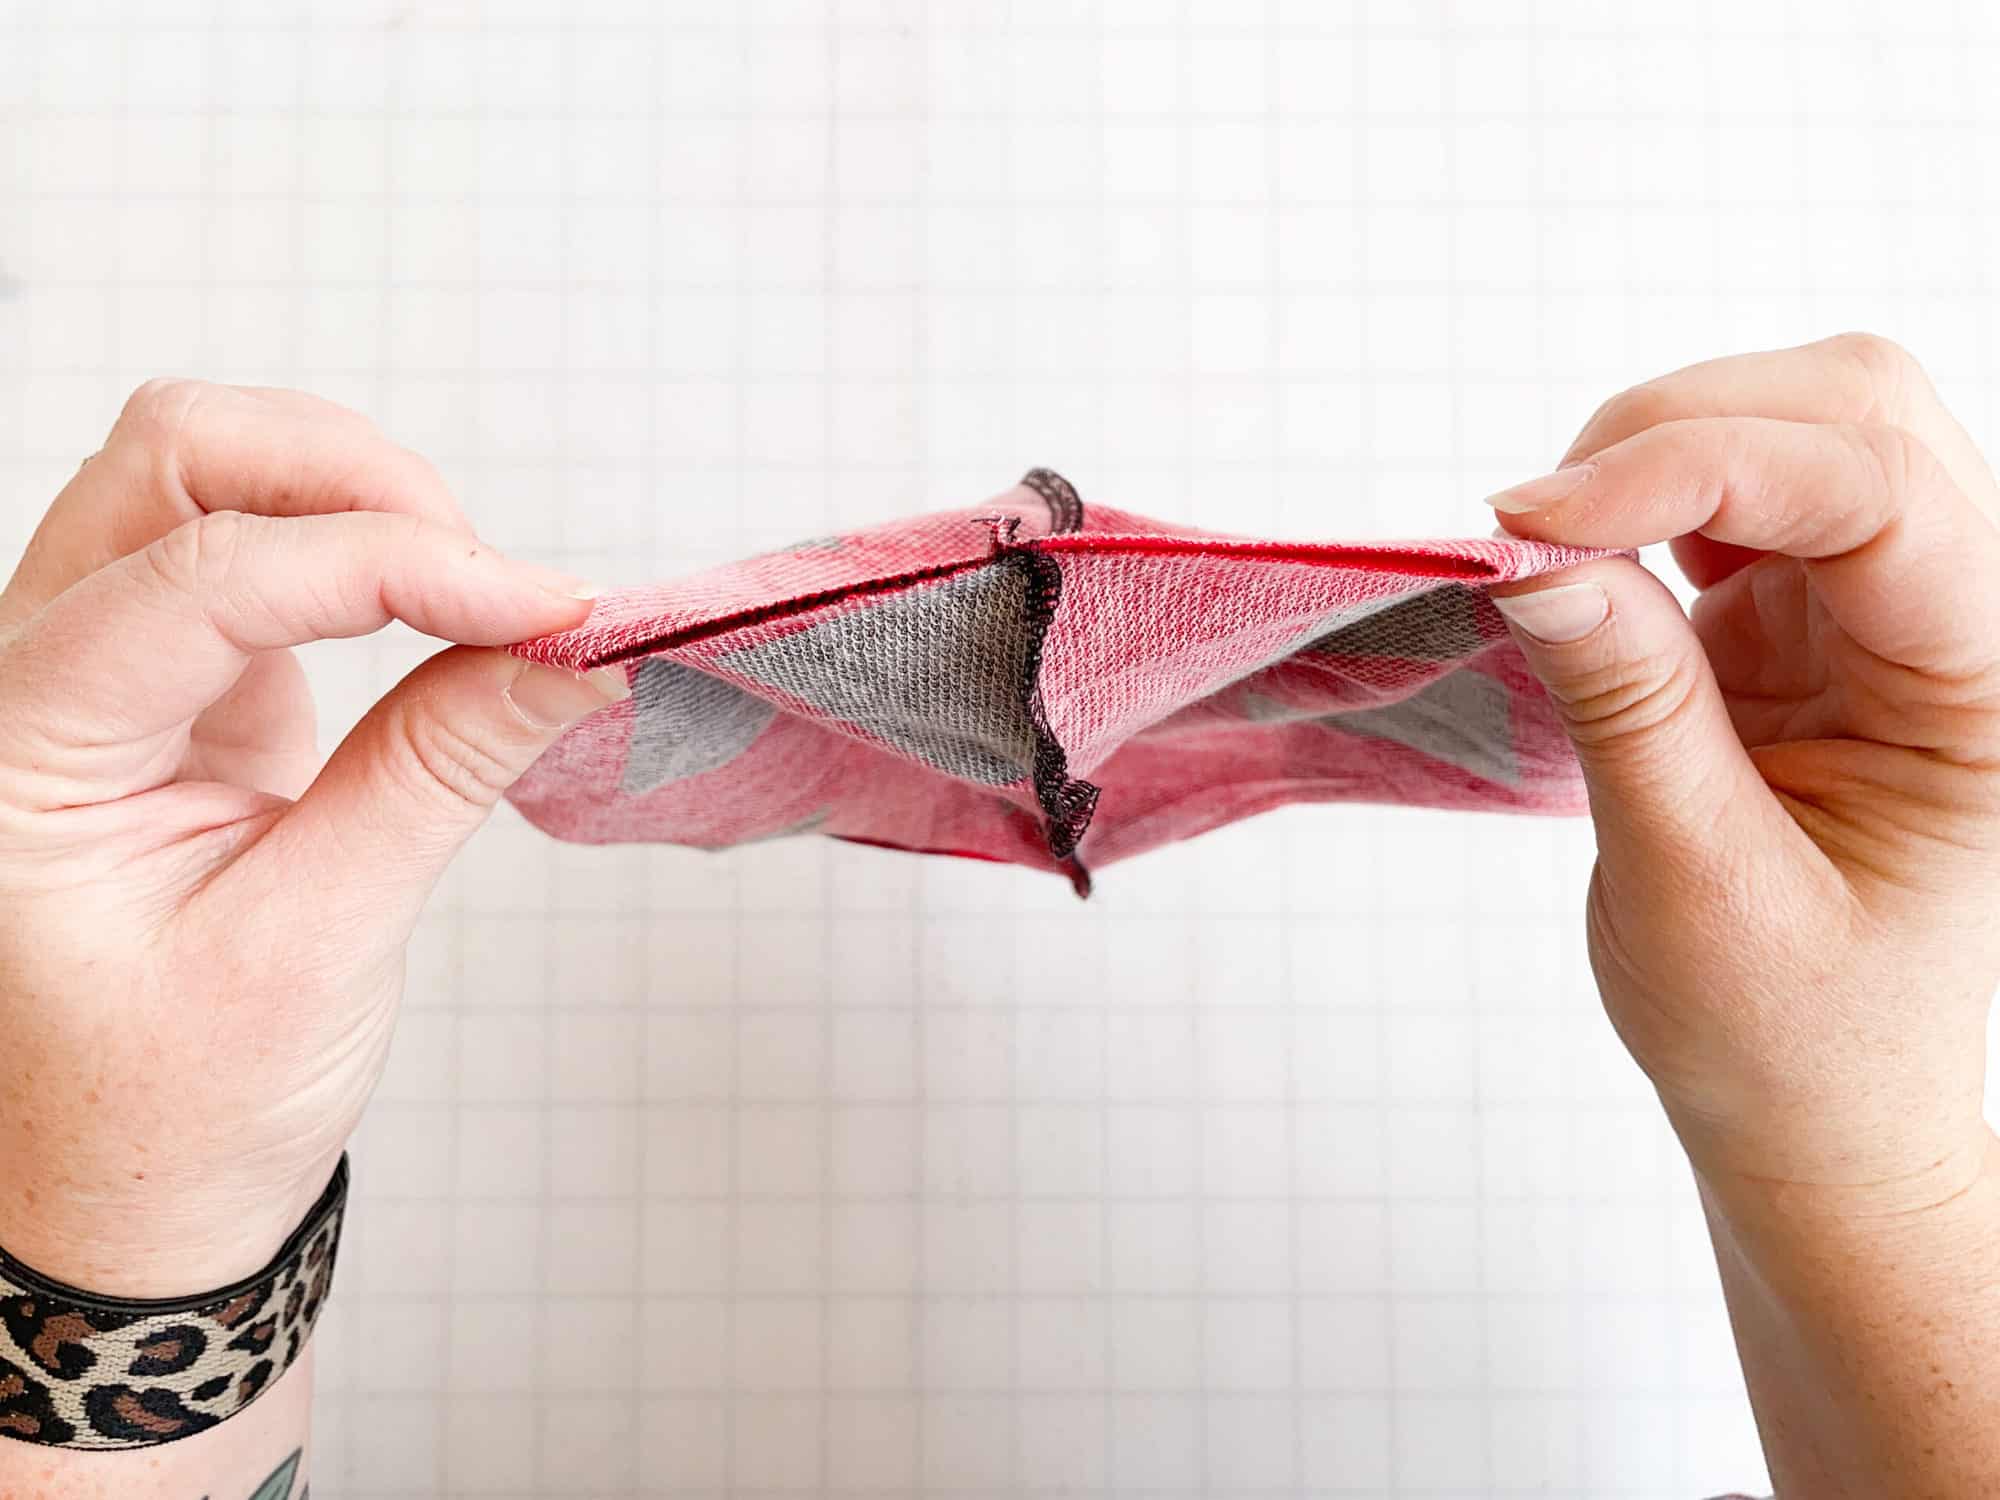
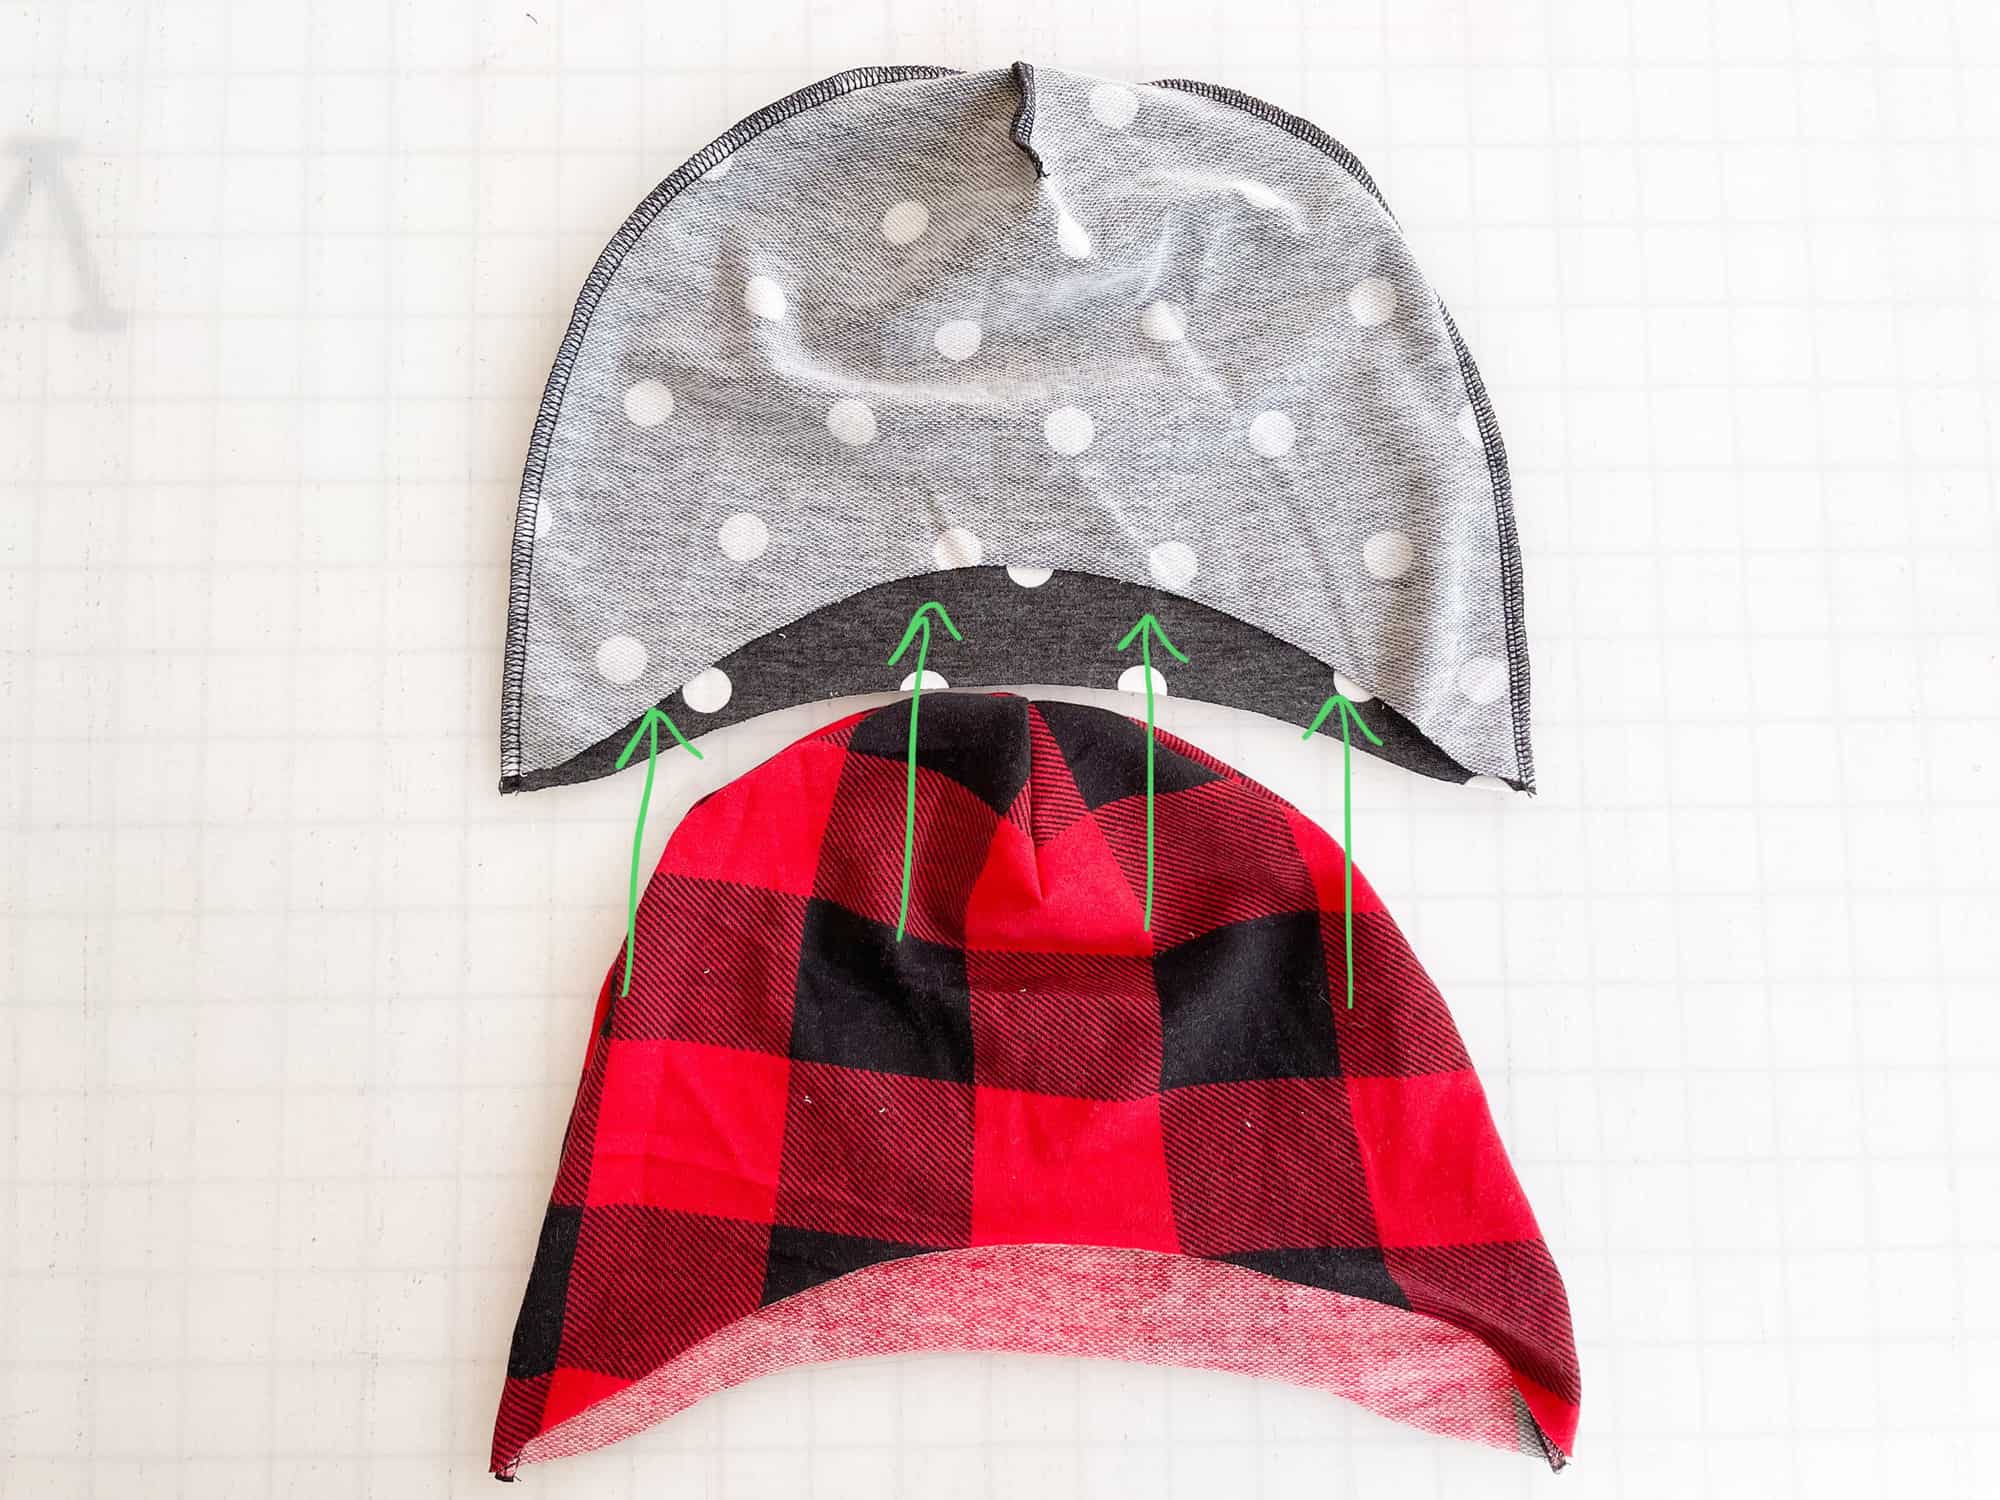
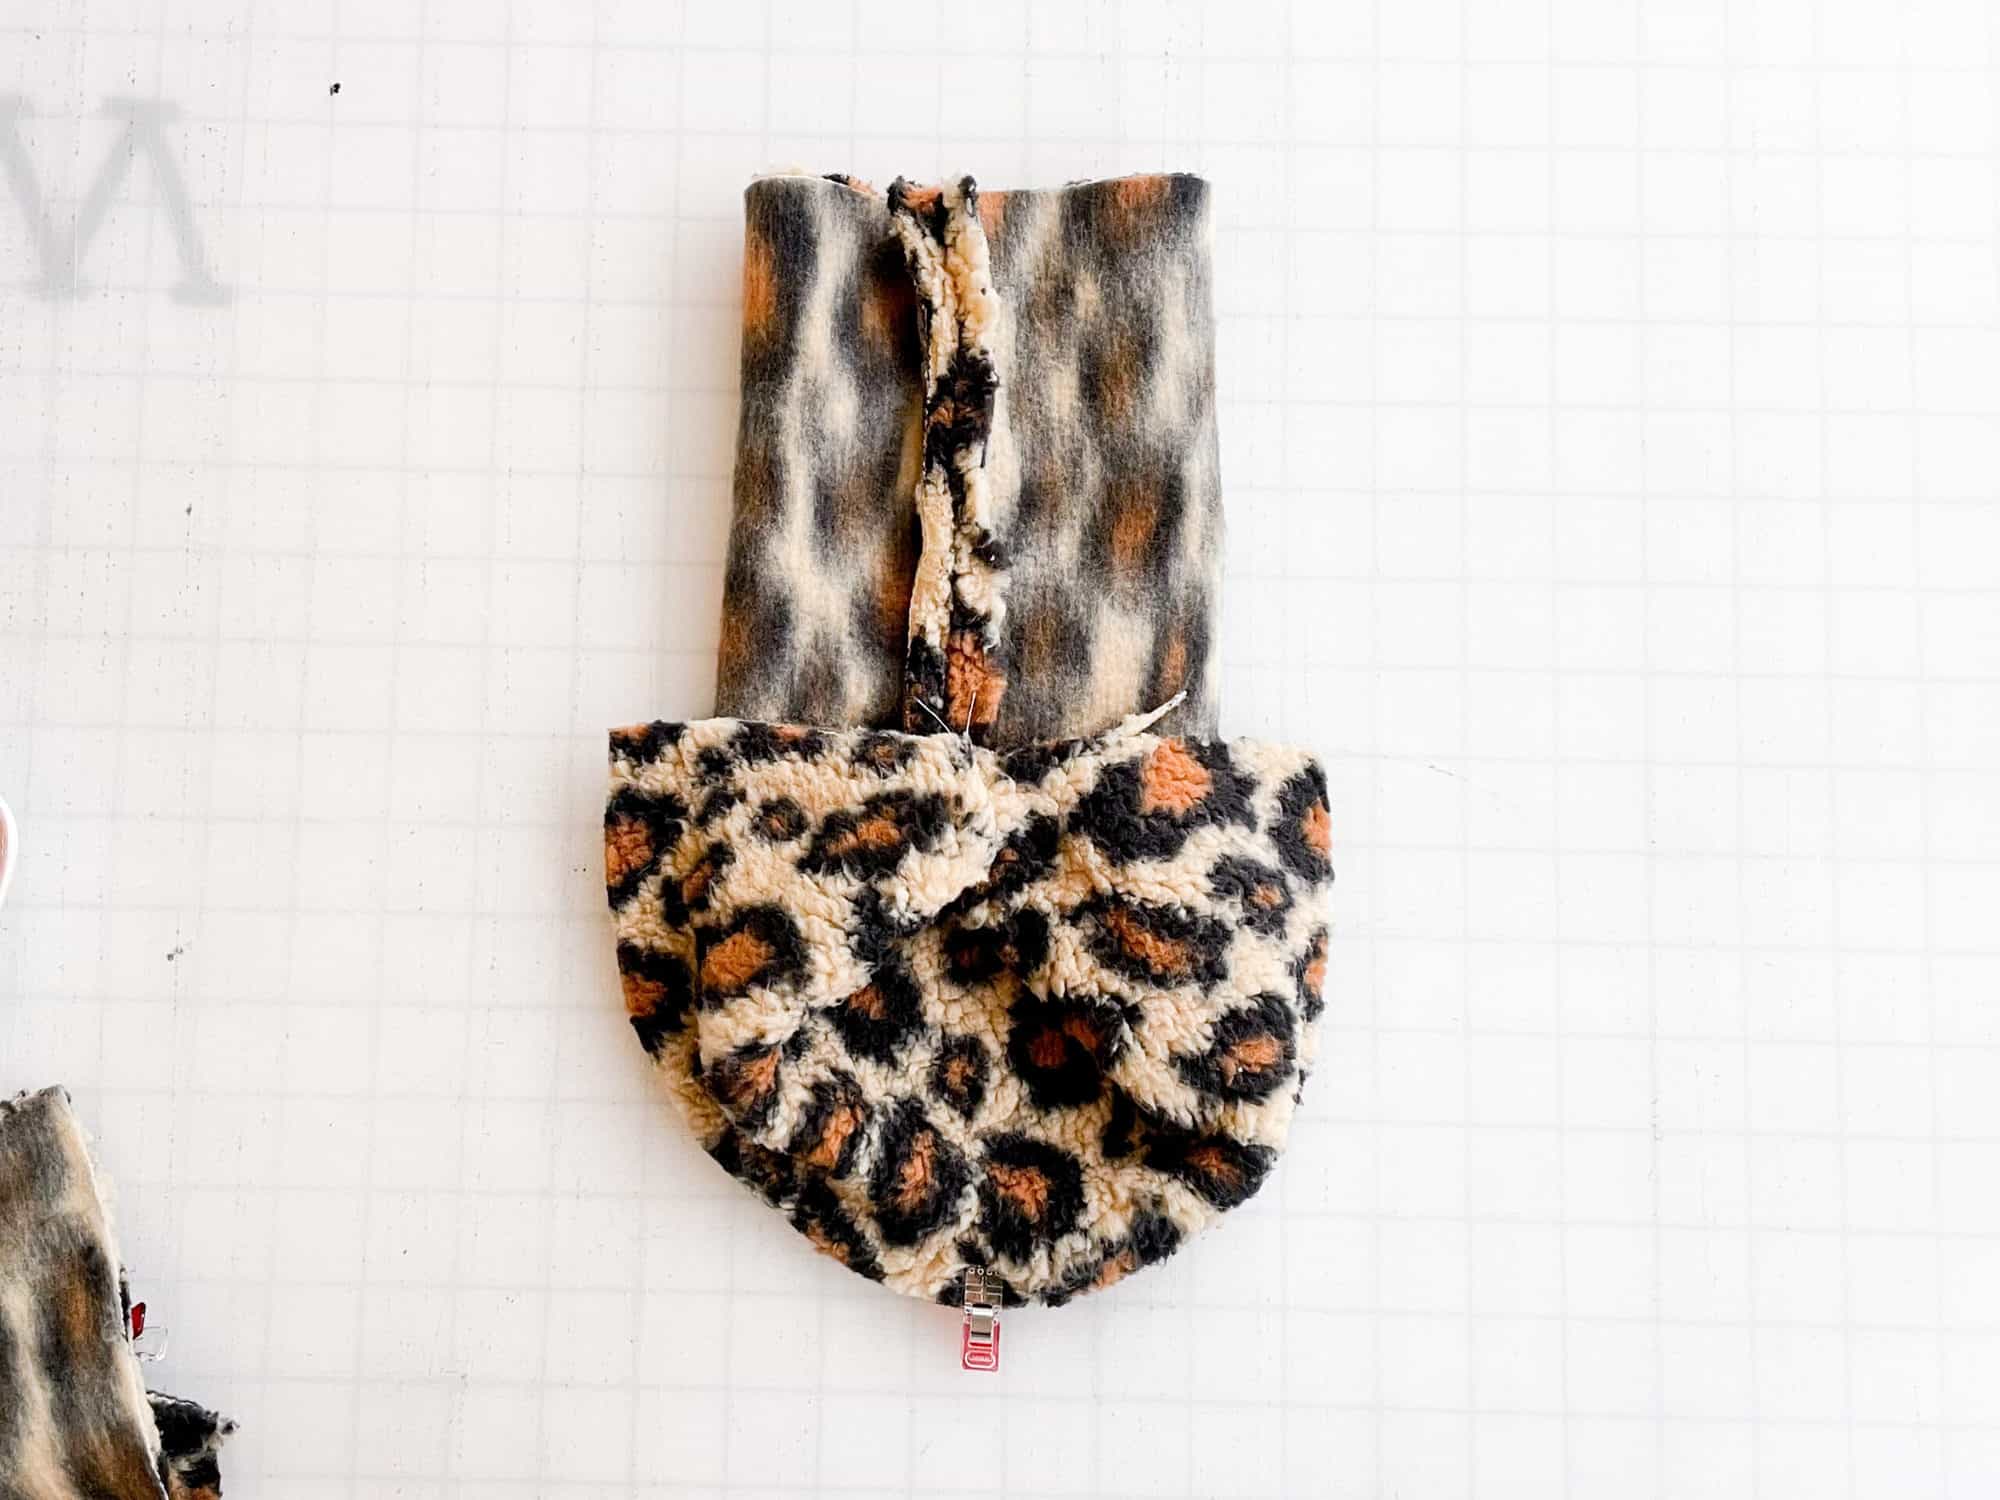
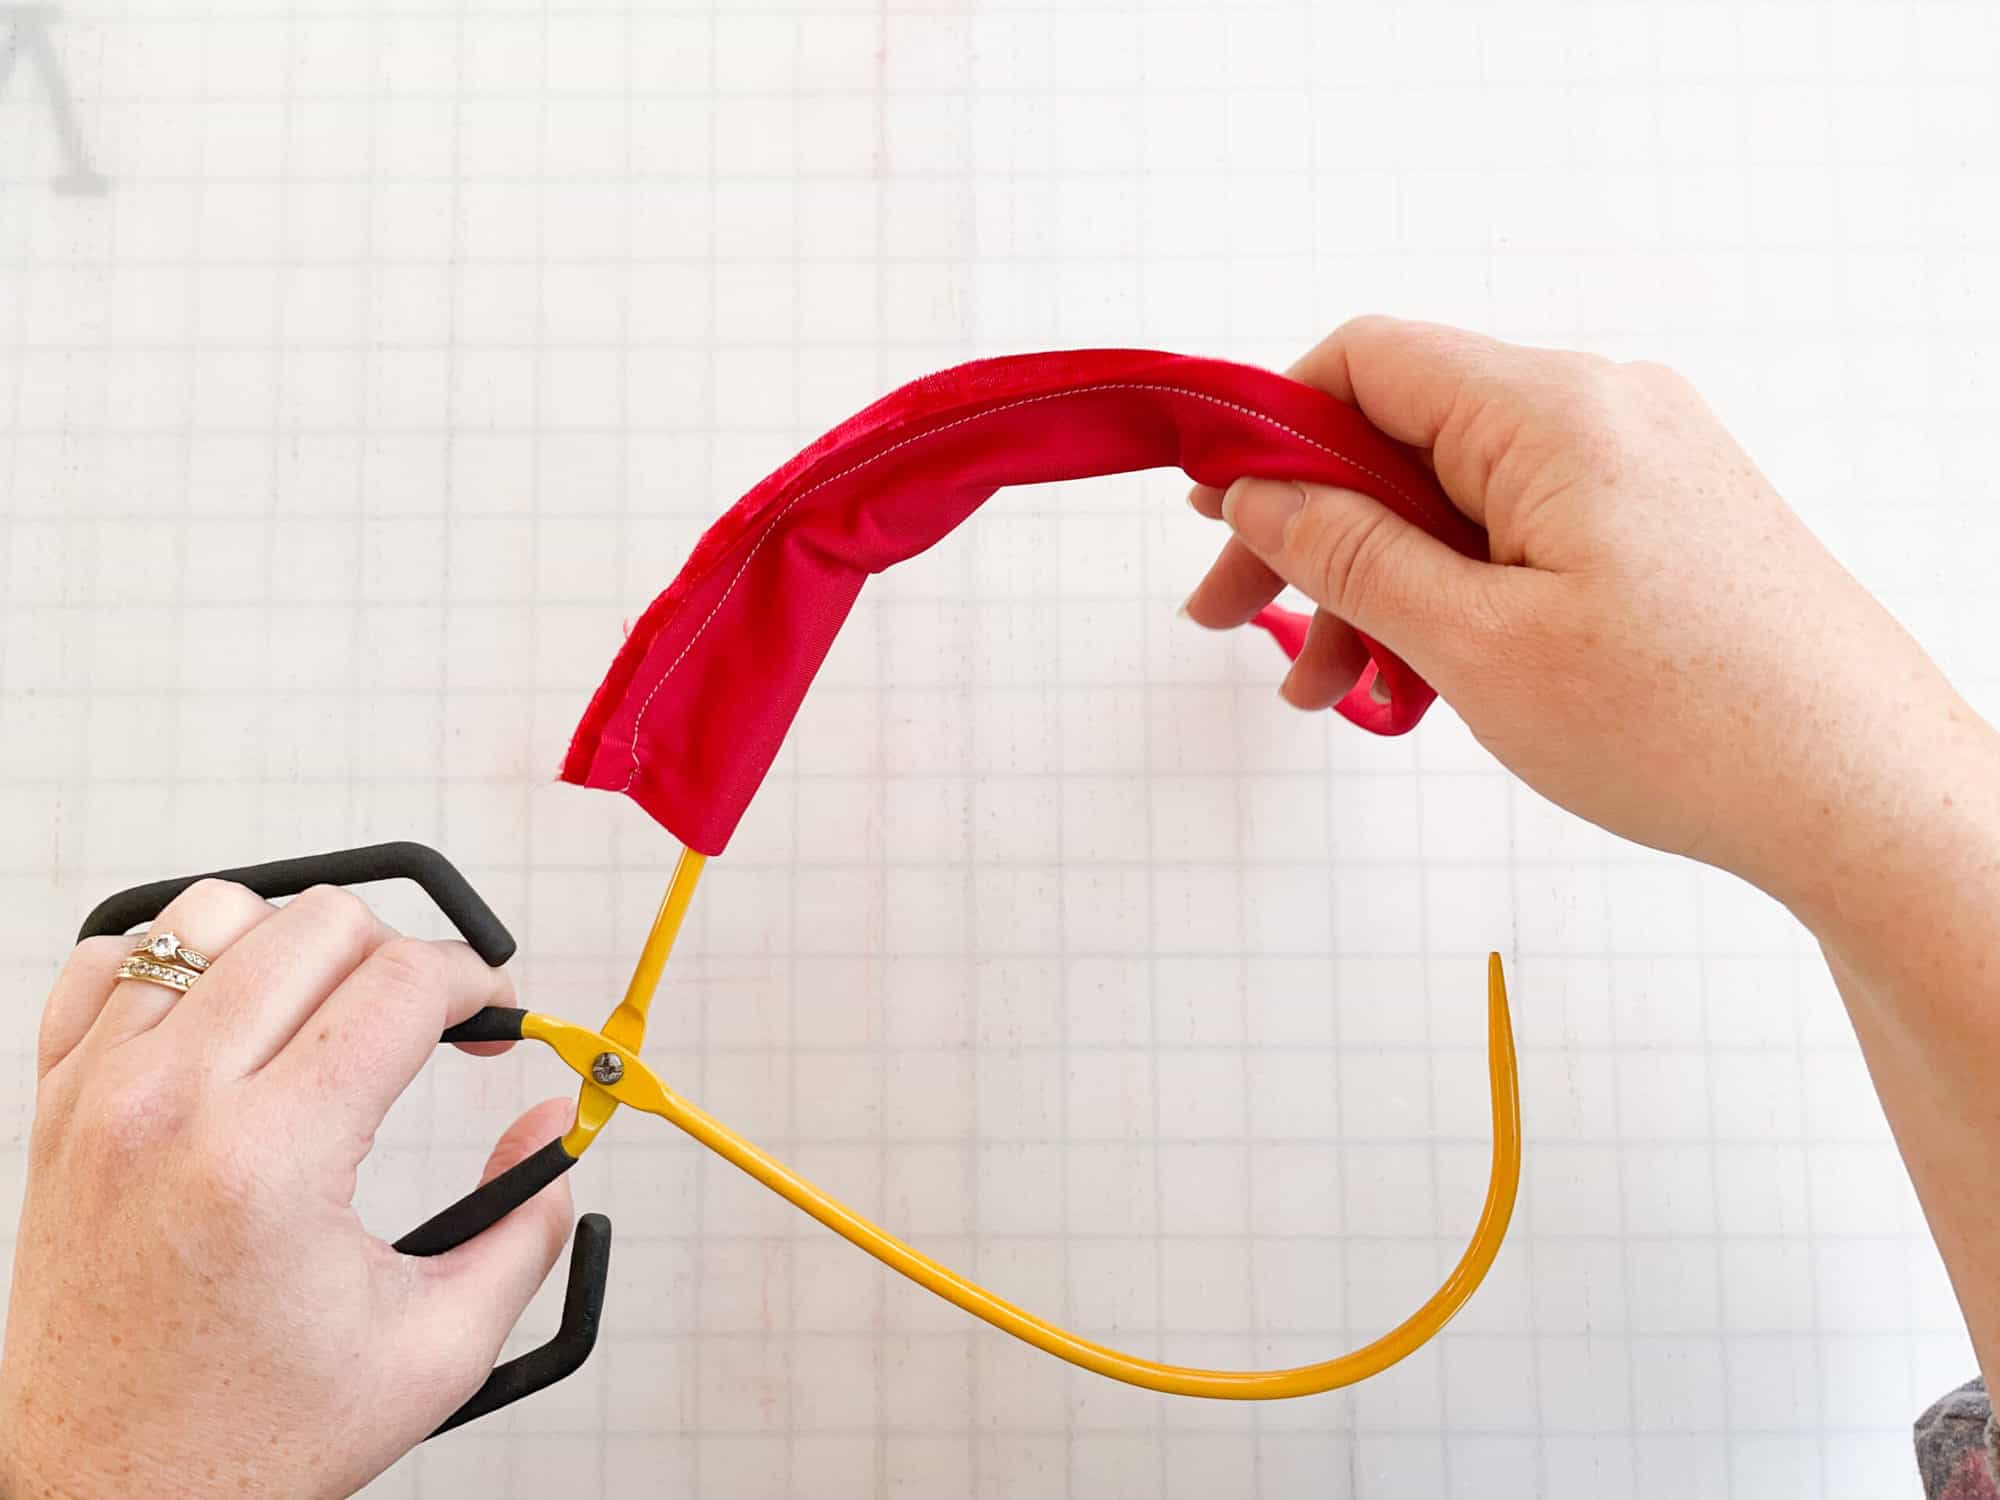
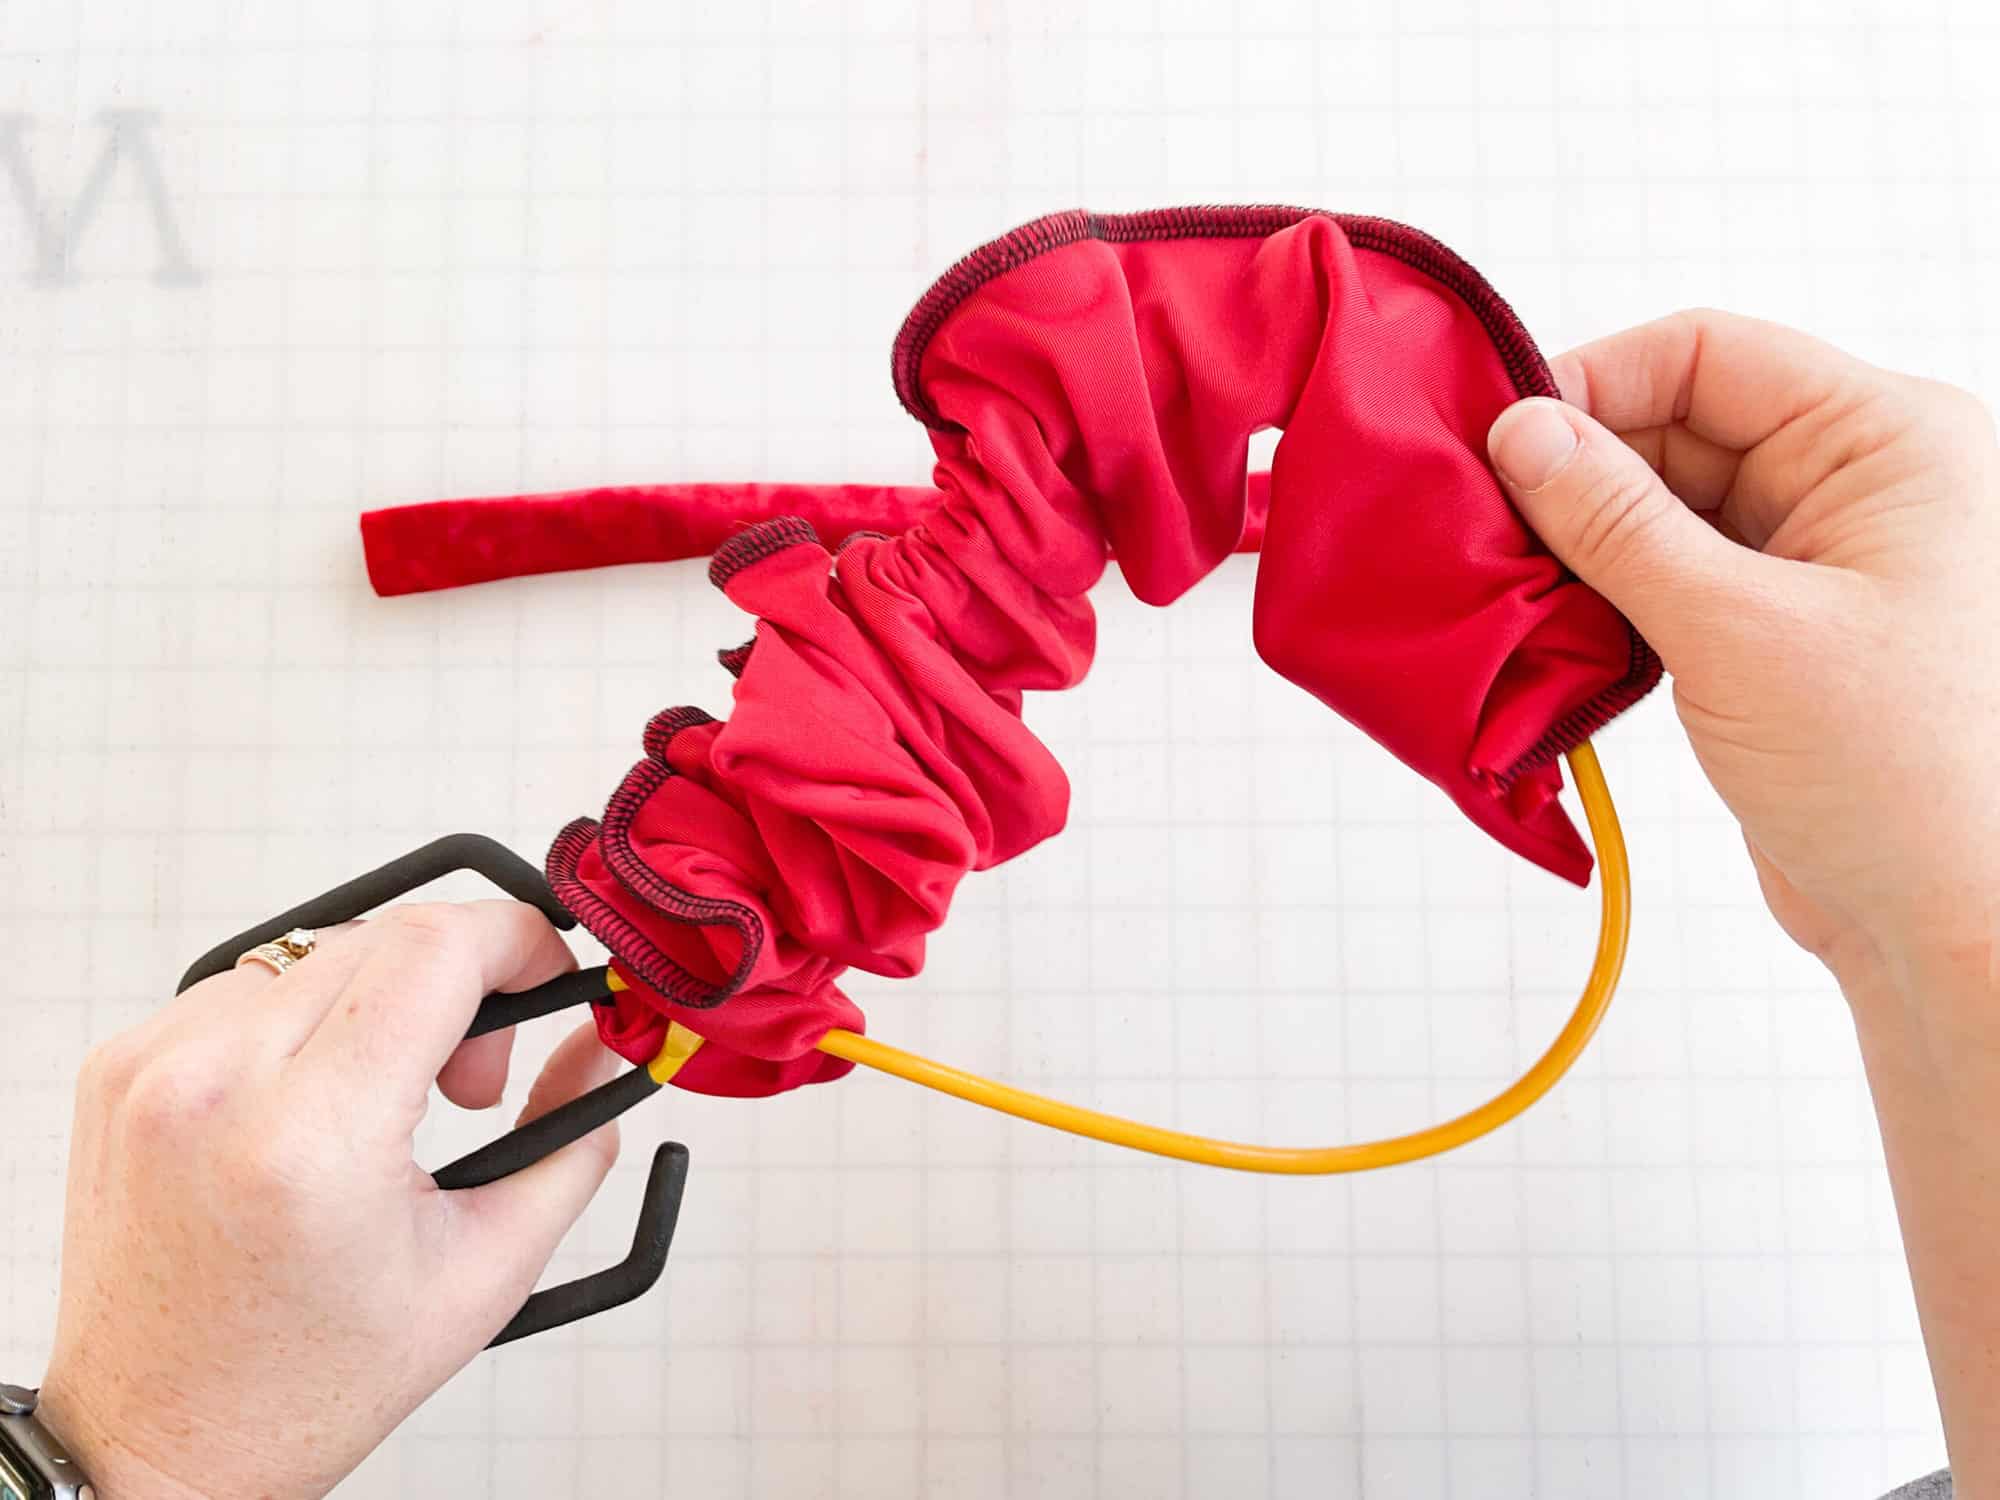
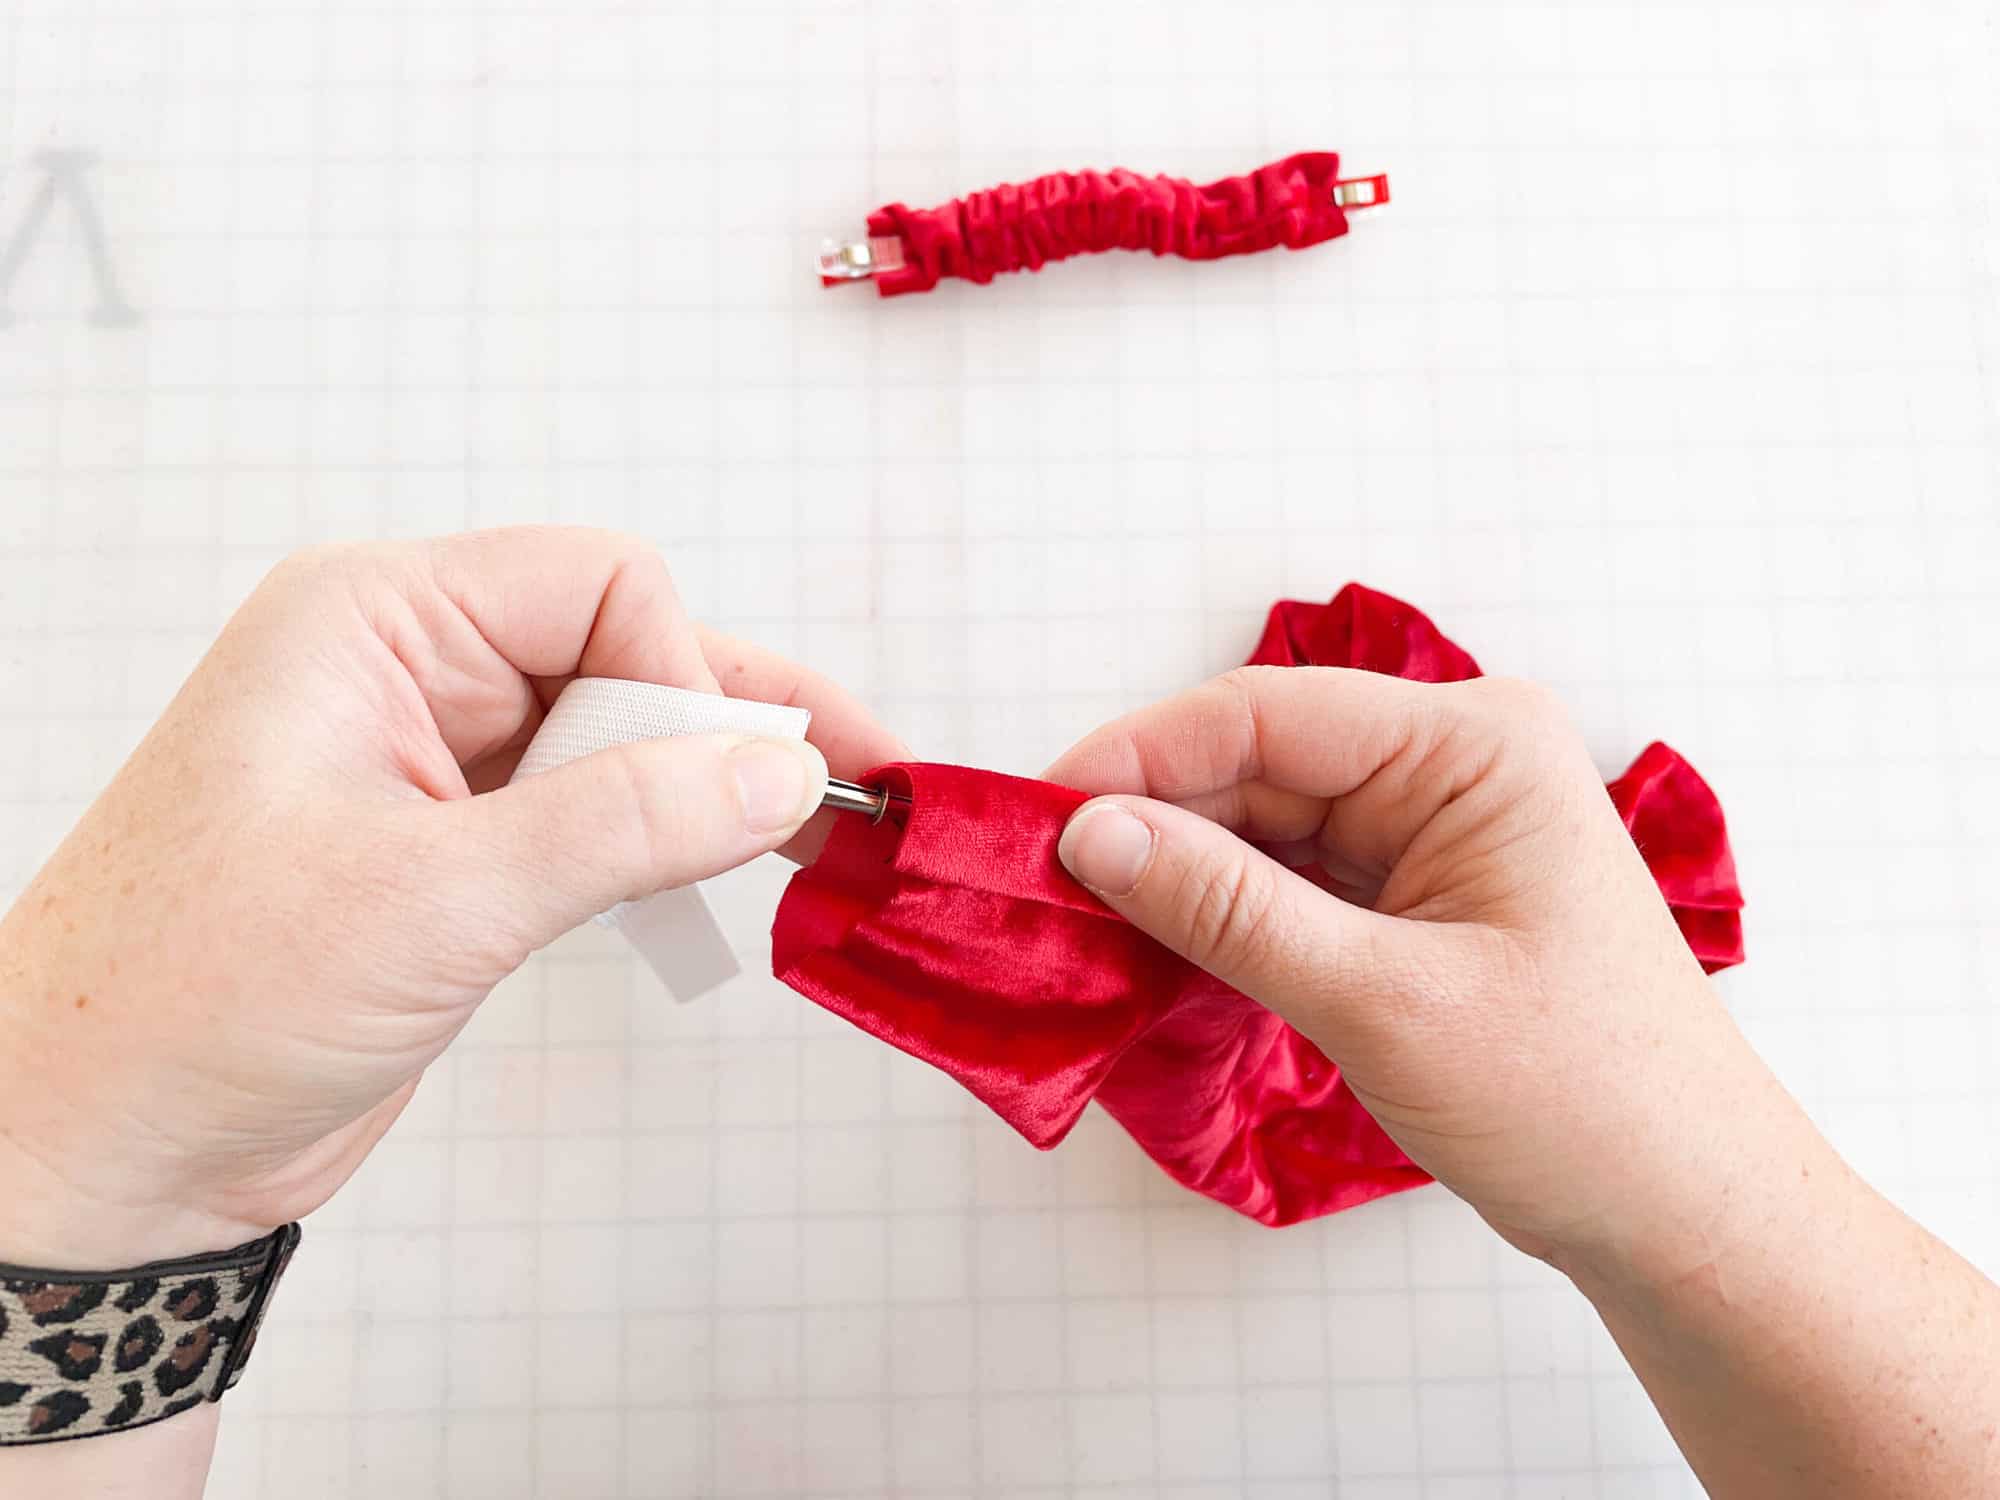
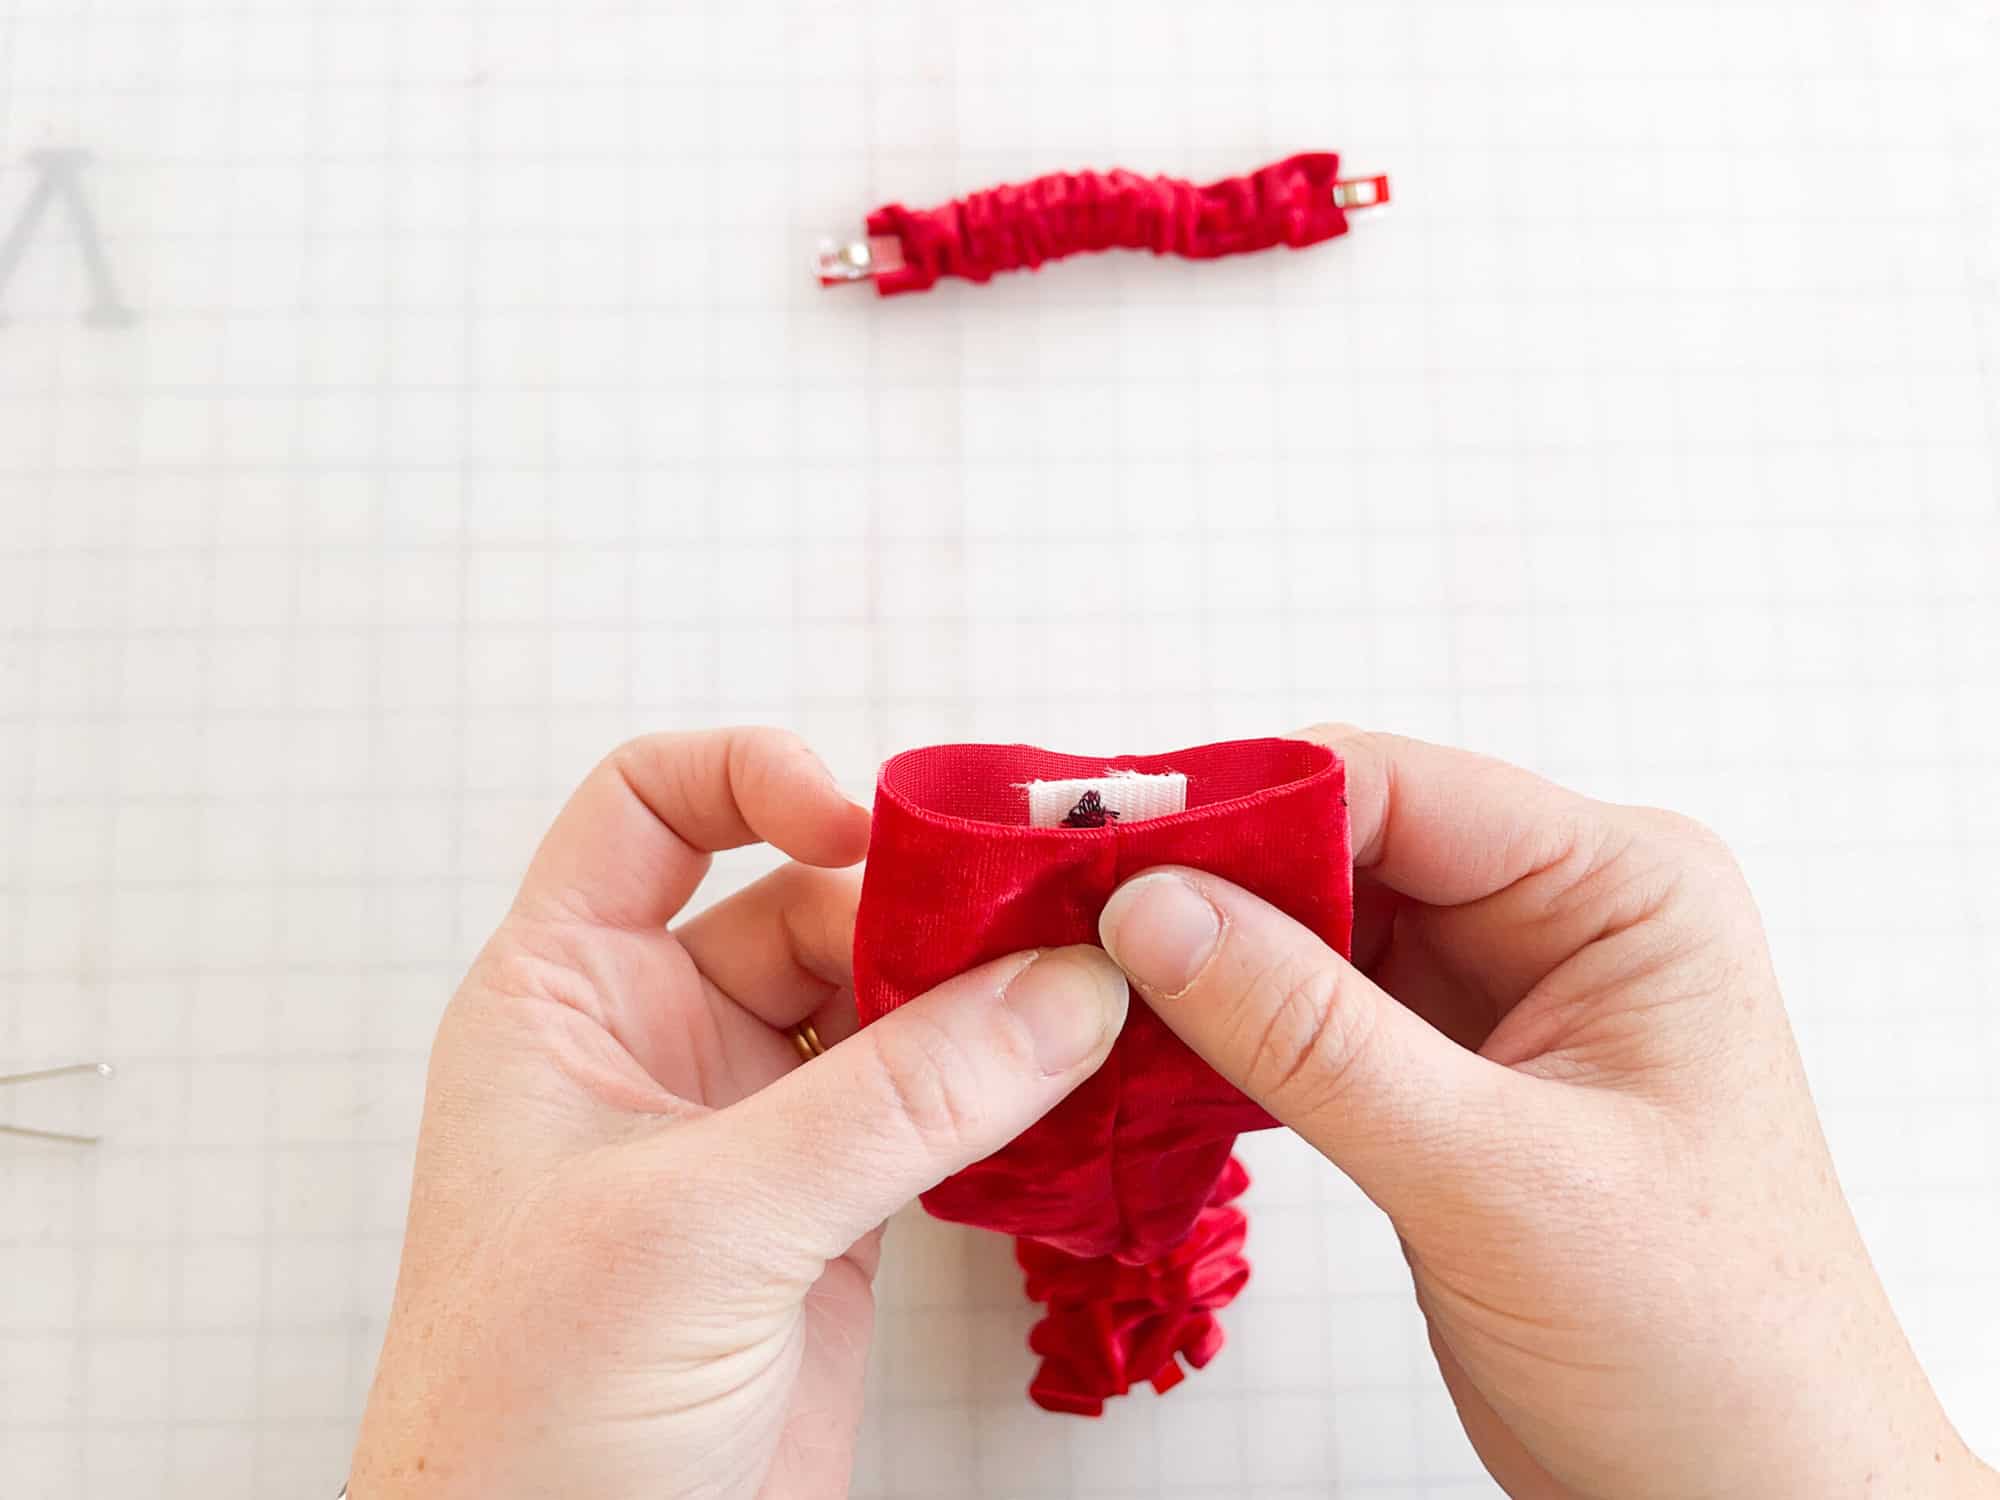
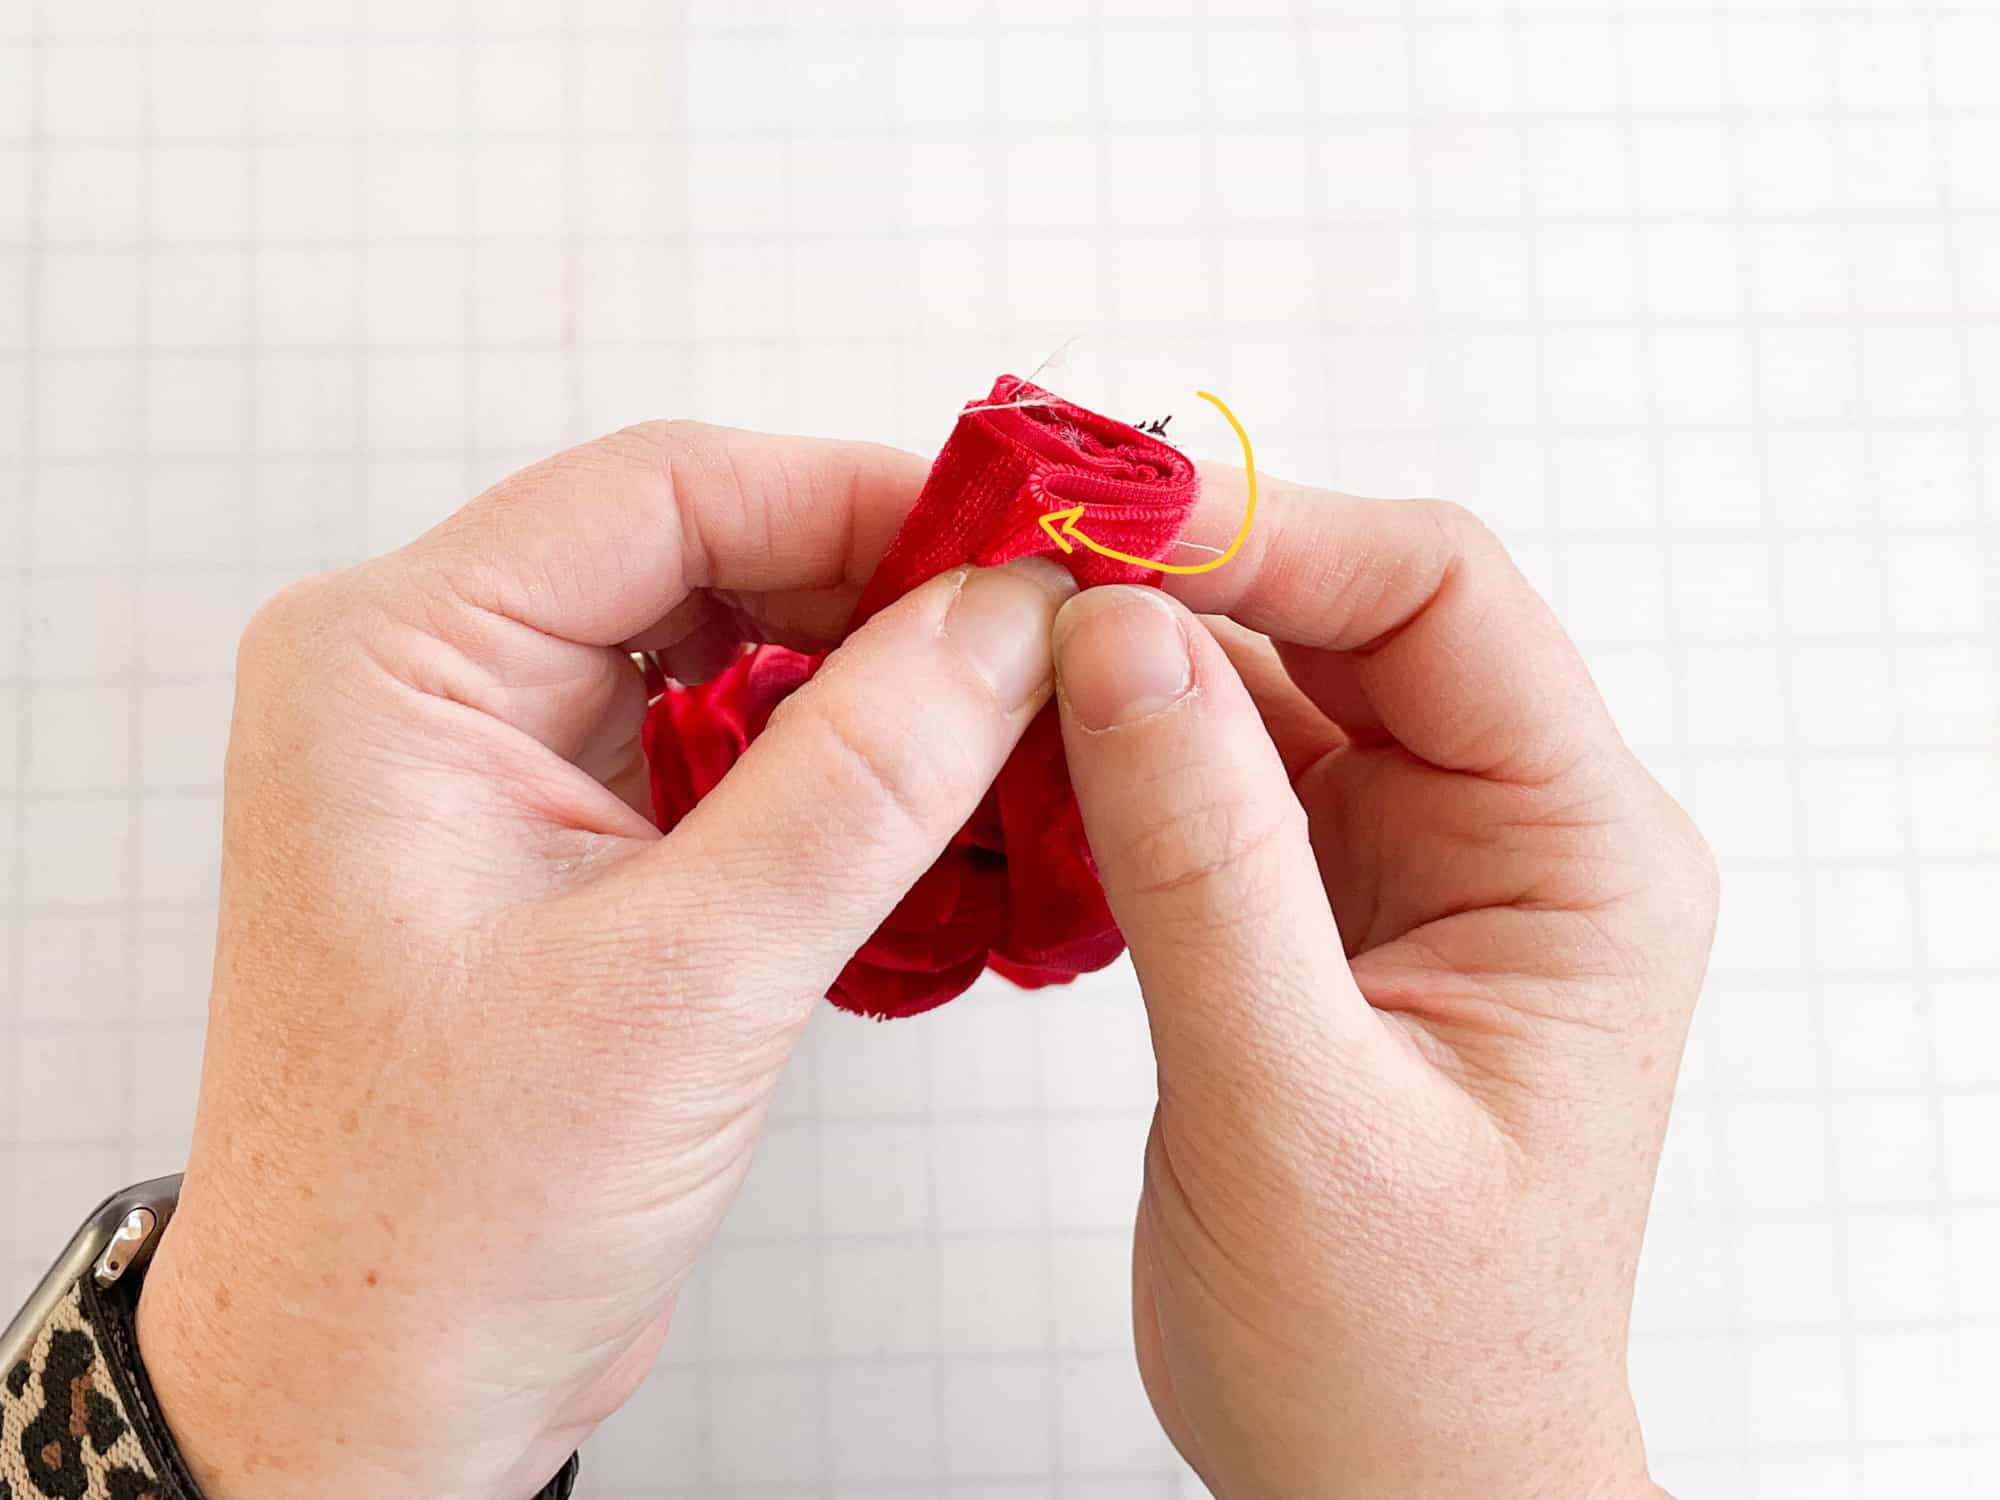
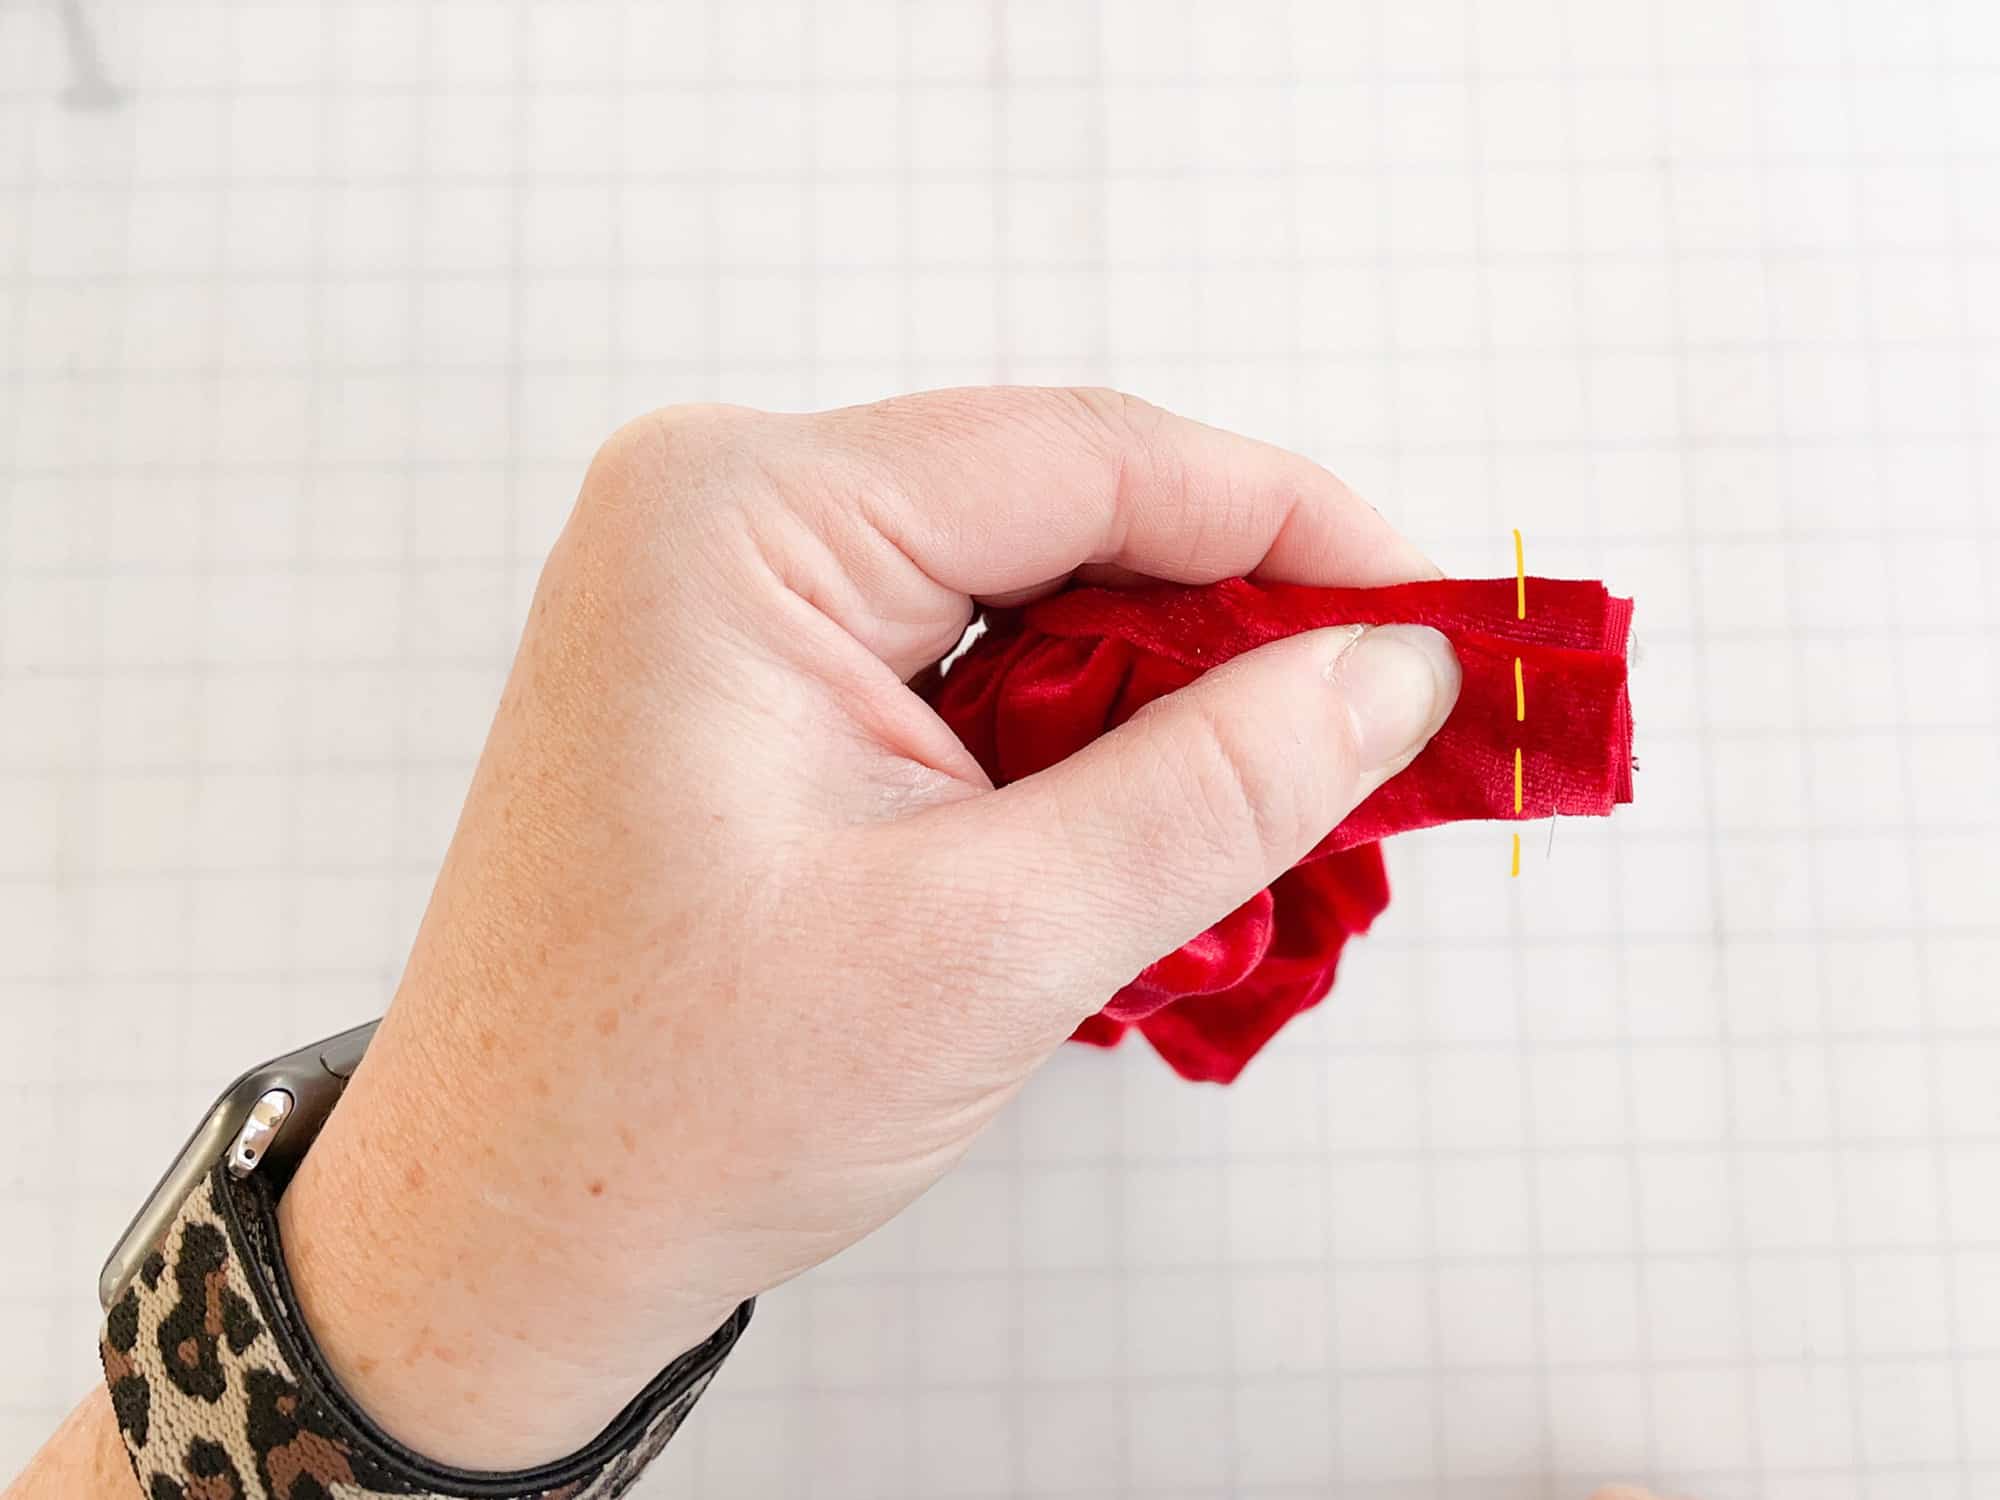
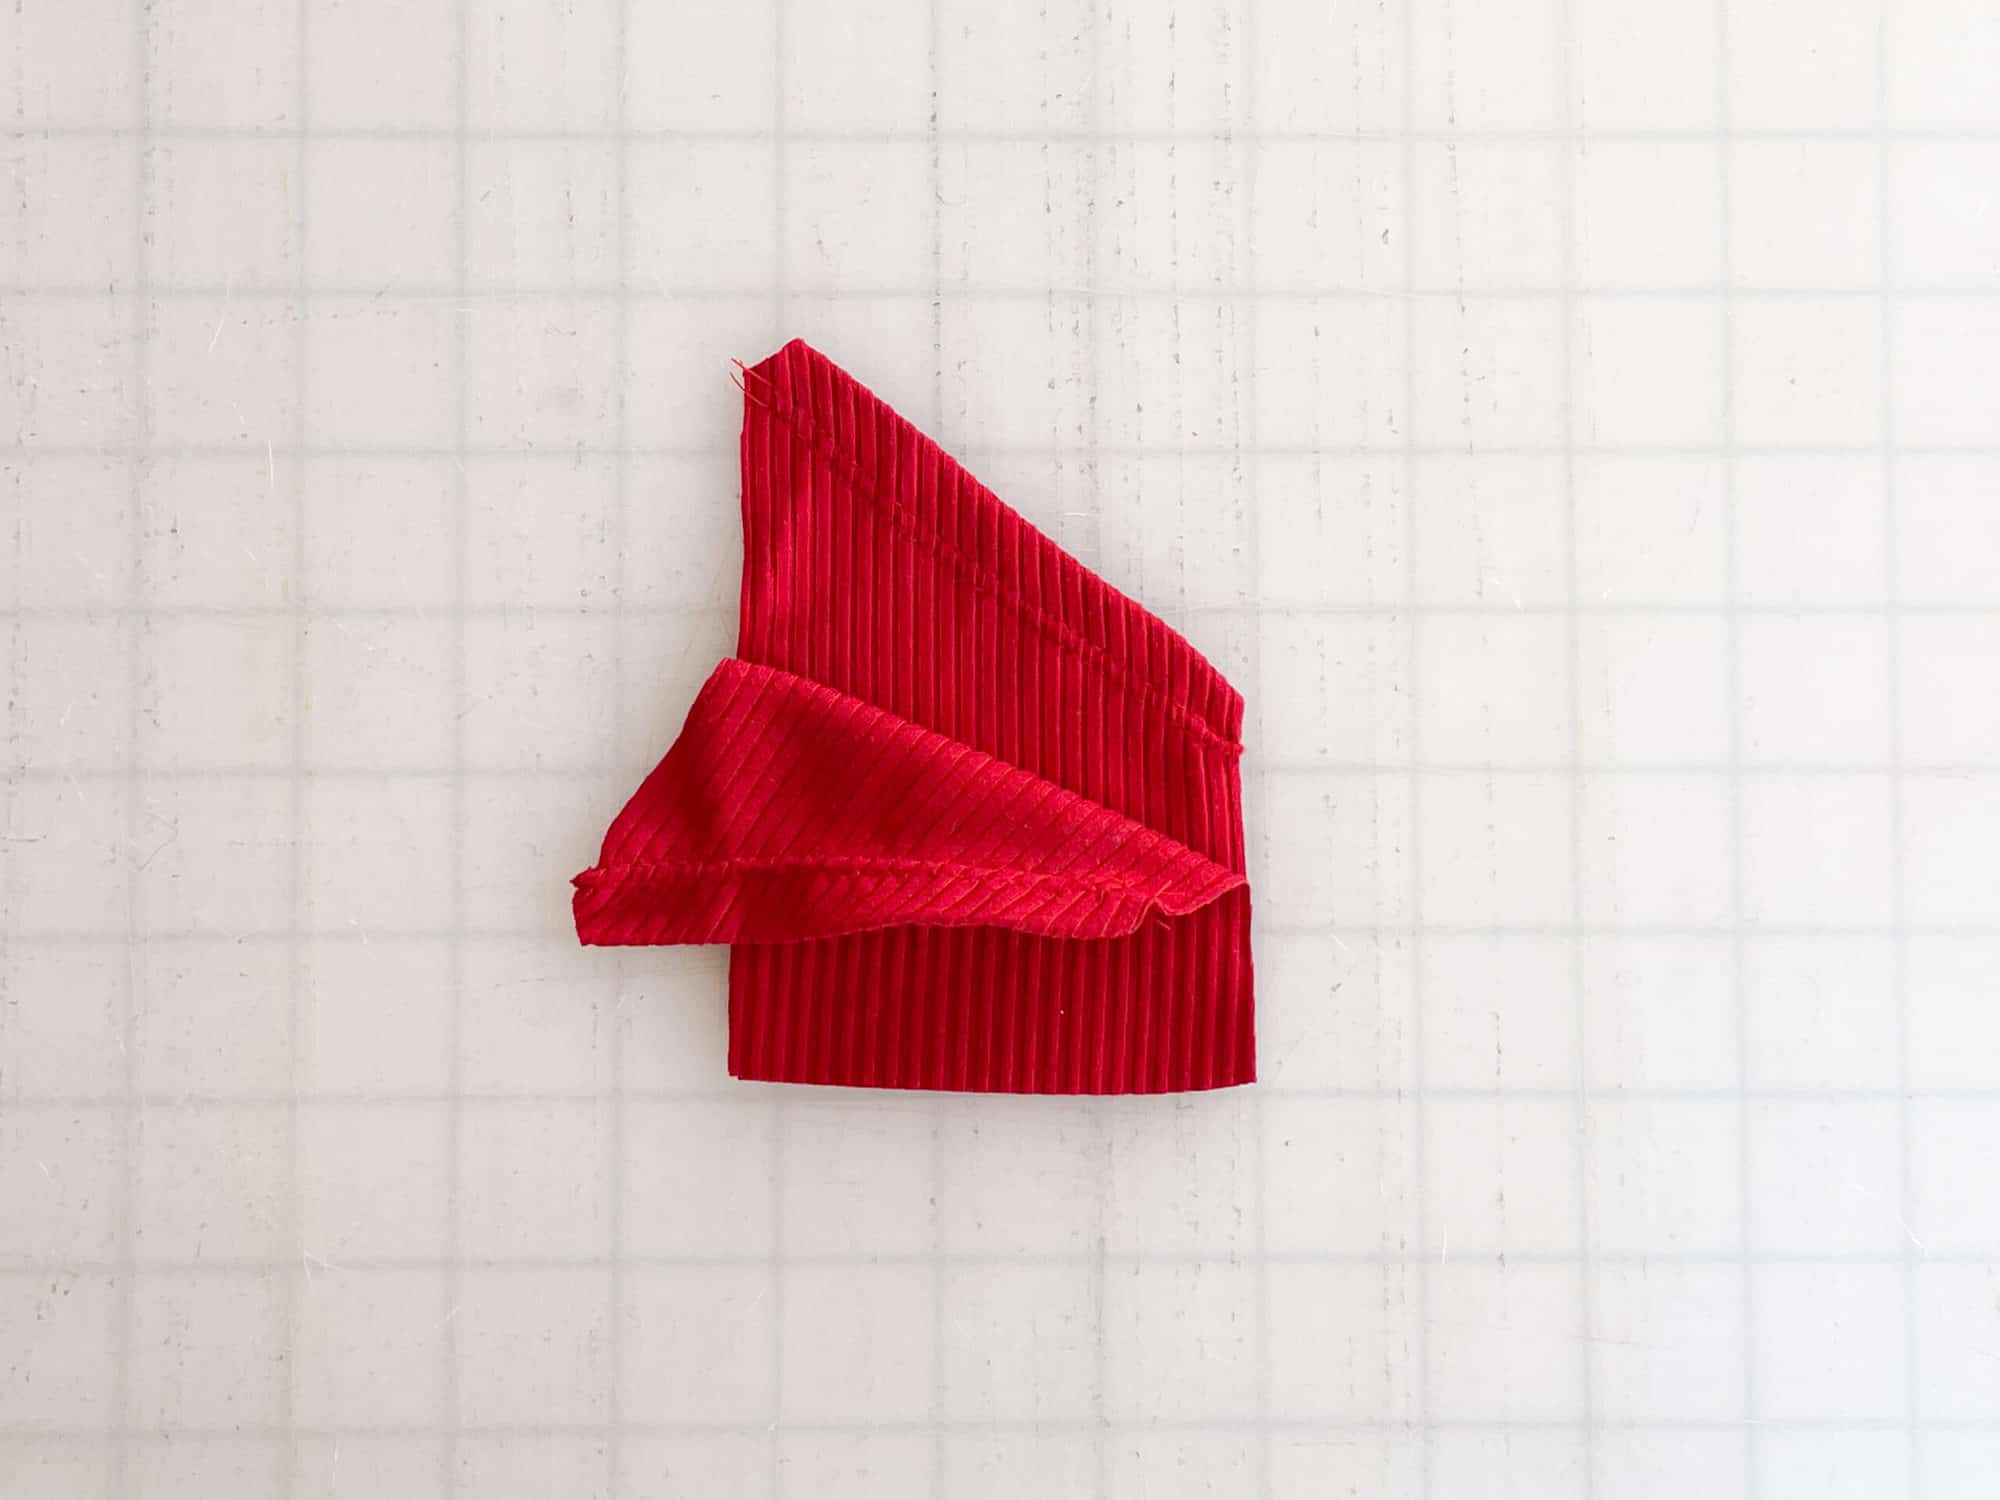
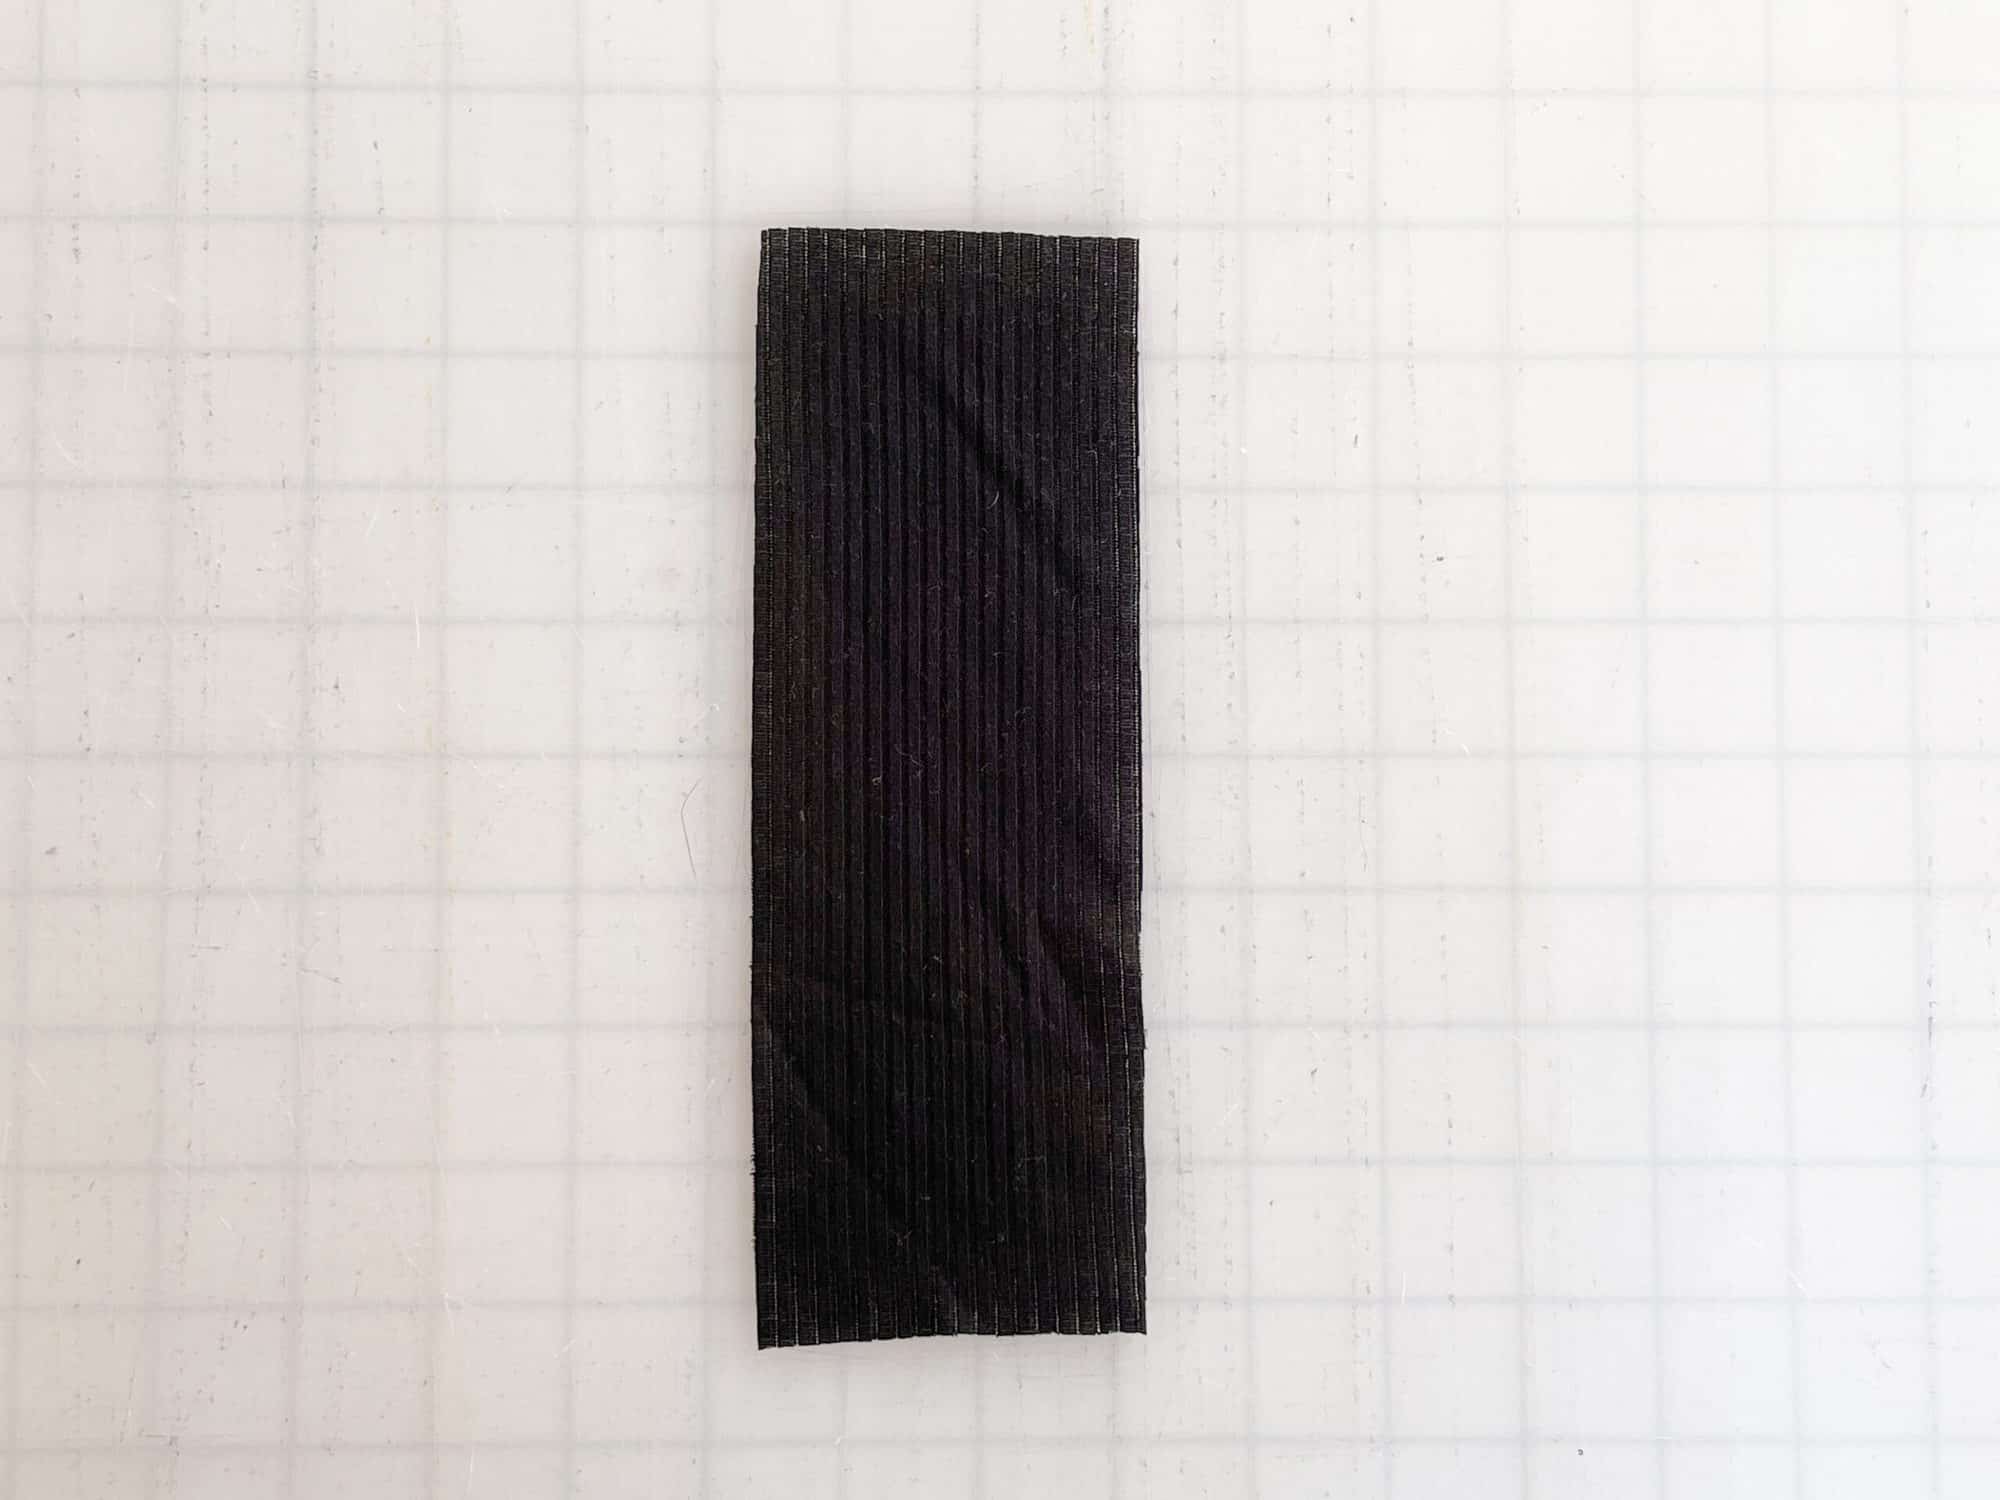
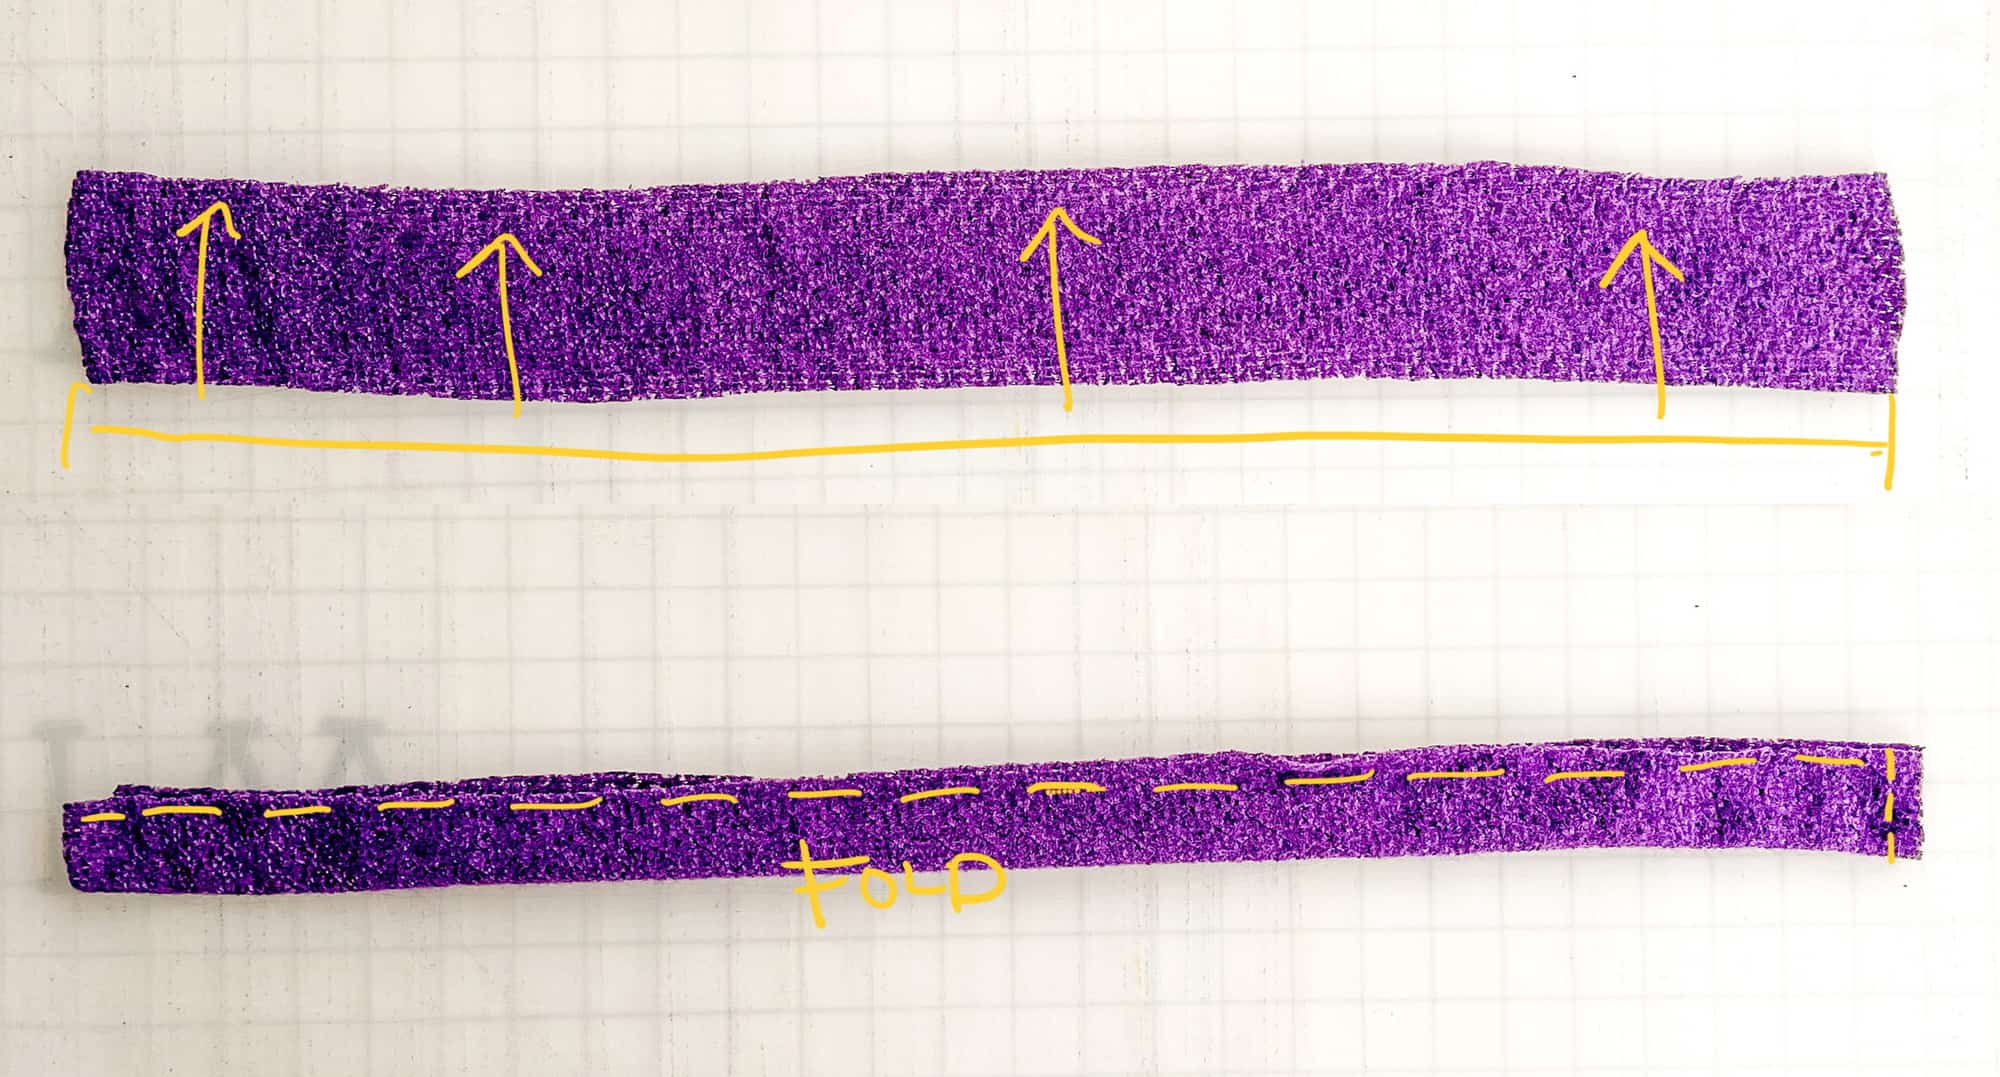
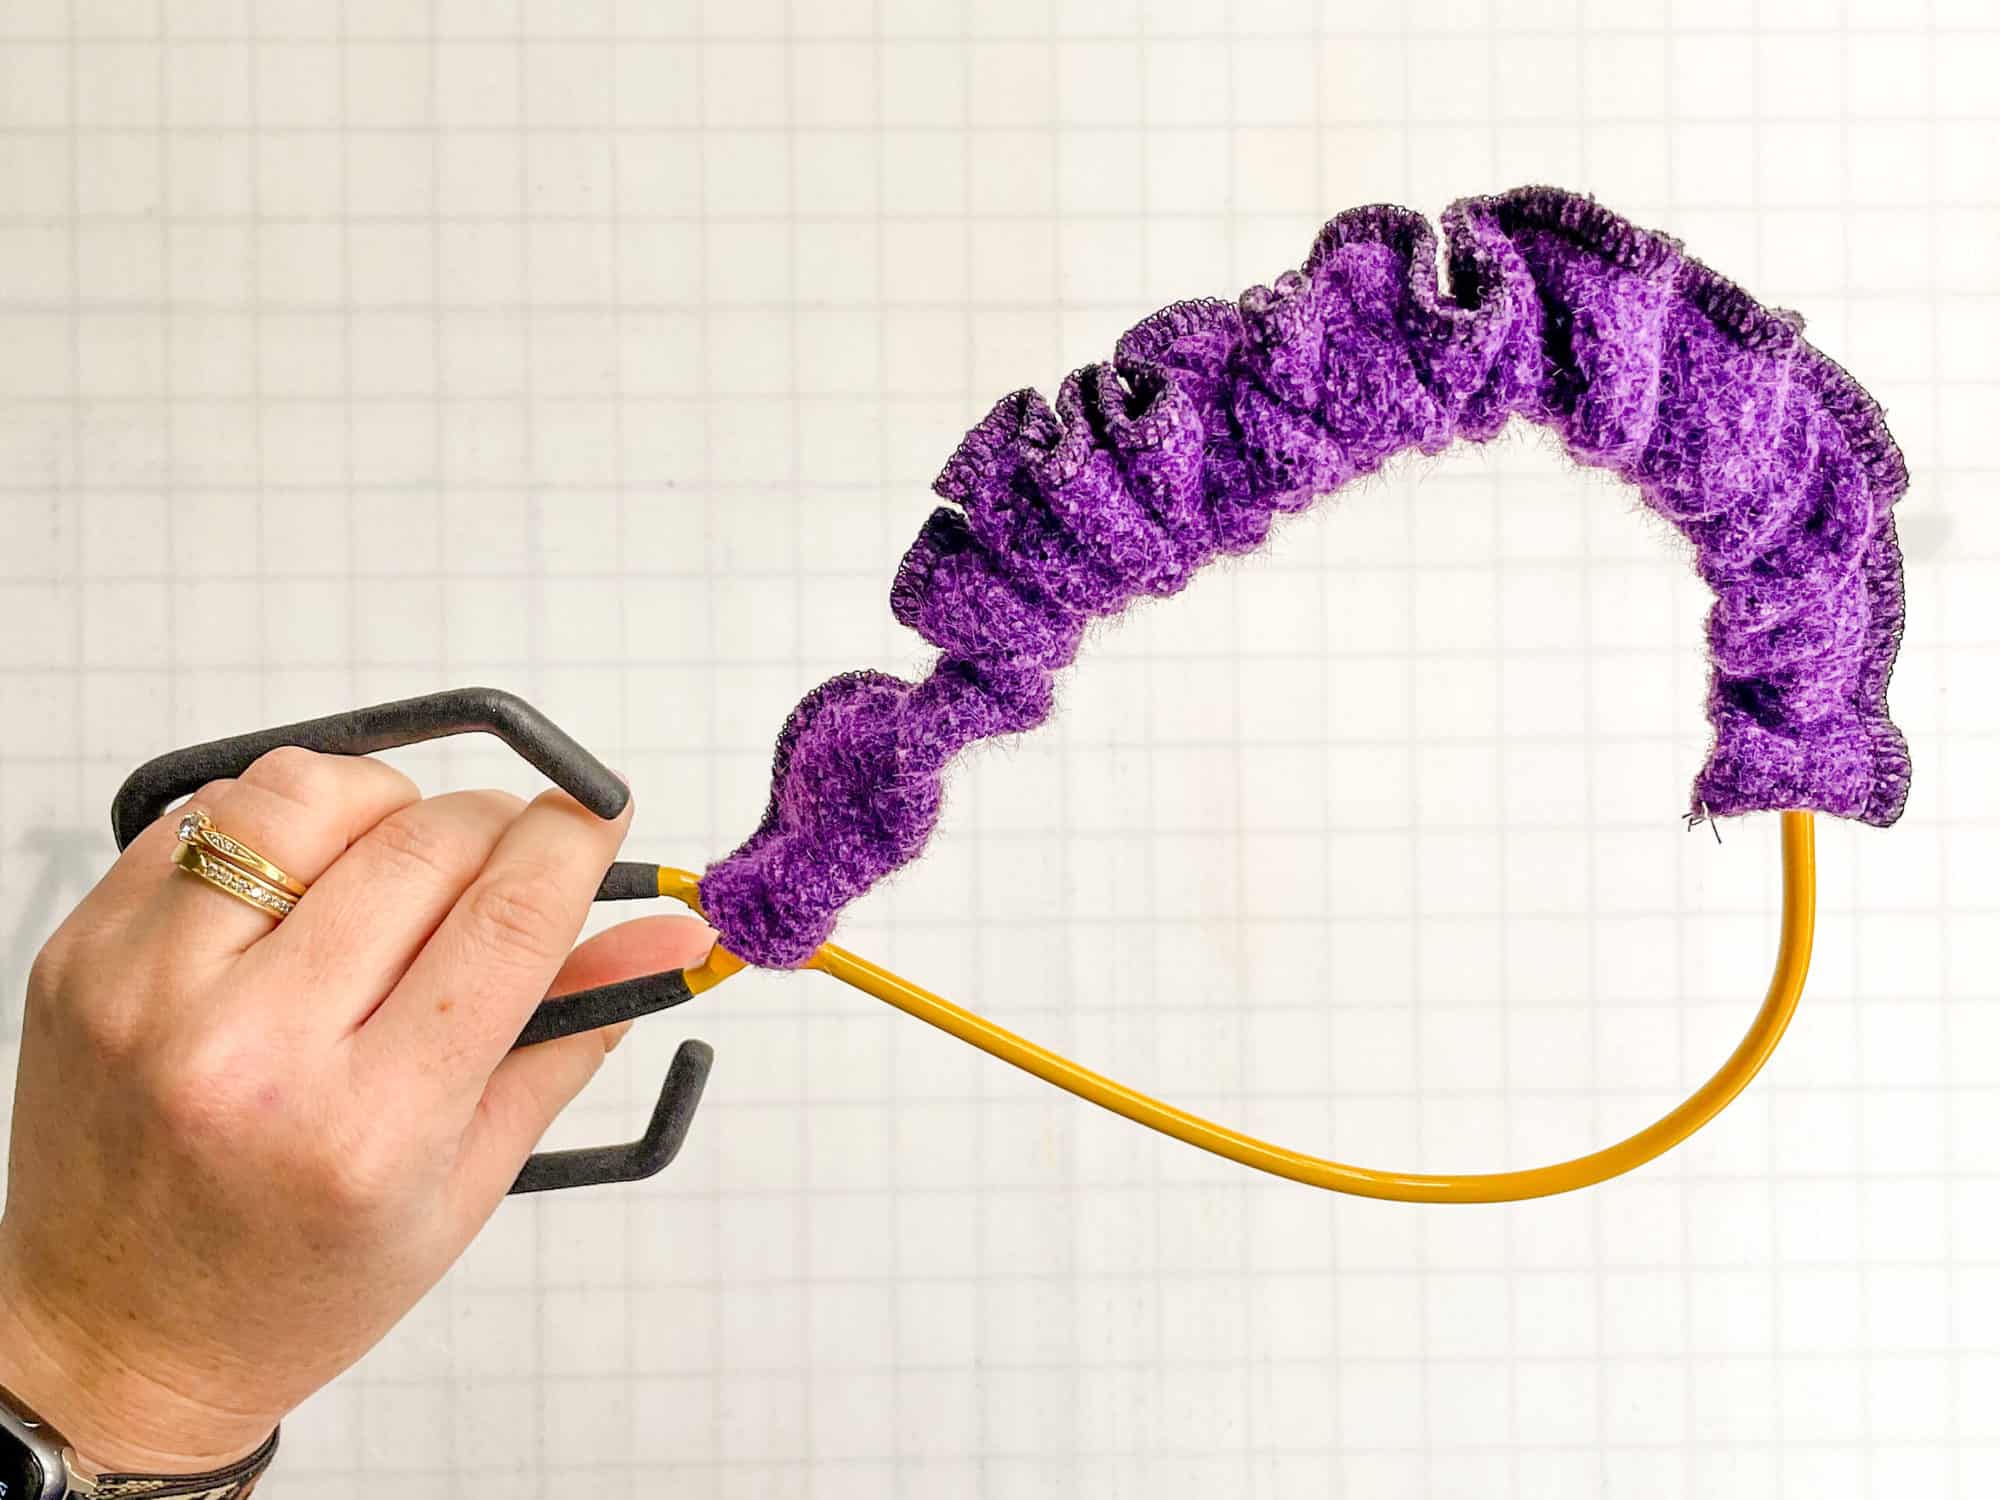
Fold strap, right sides together, matching along the long ends. Sew along one short side and raw long side. 
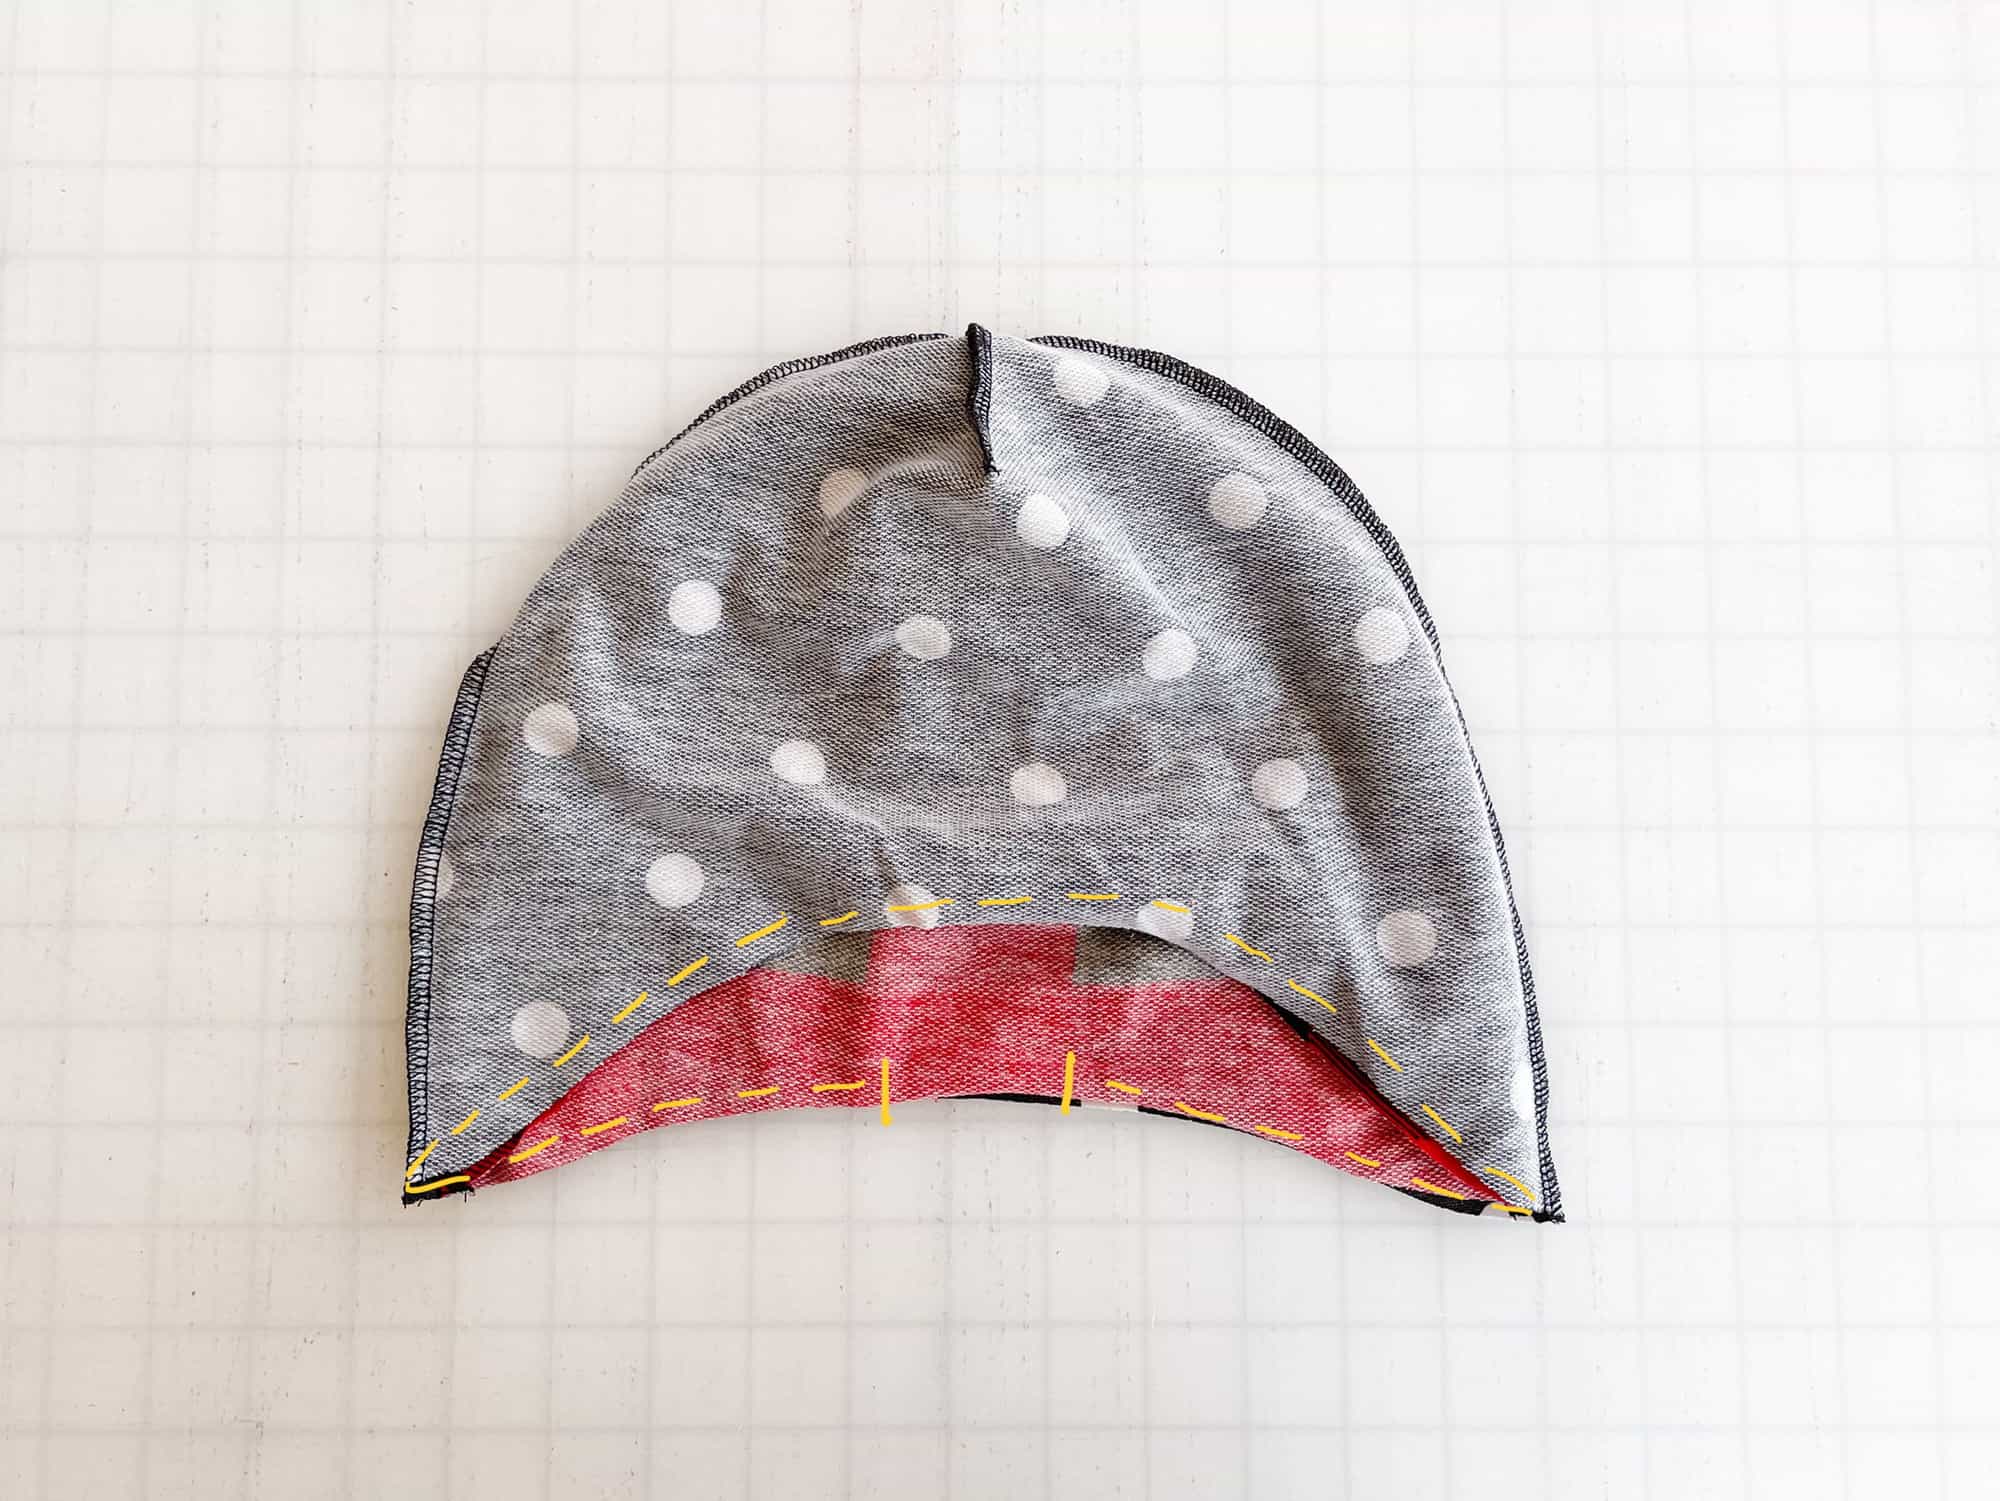
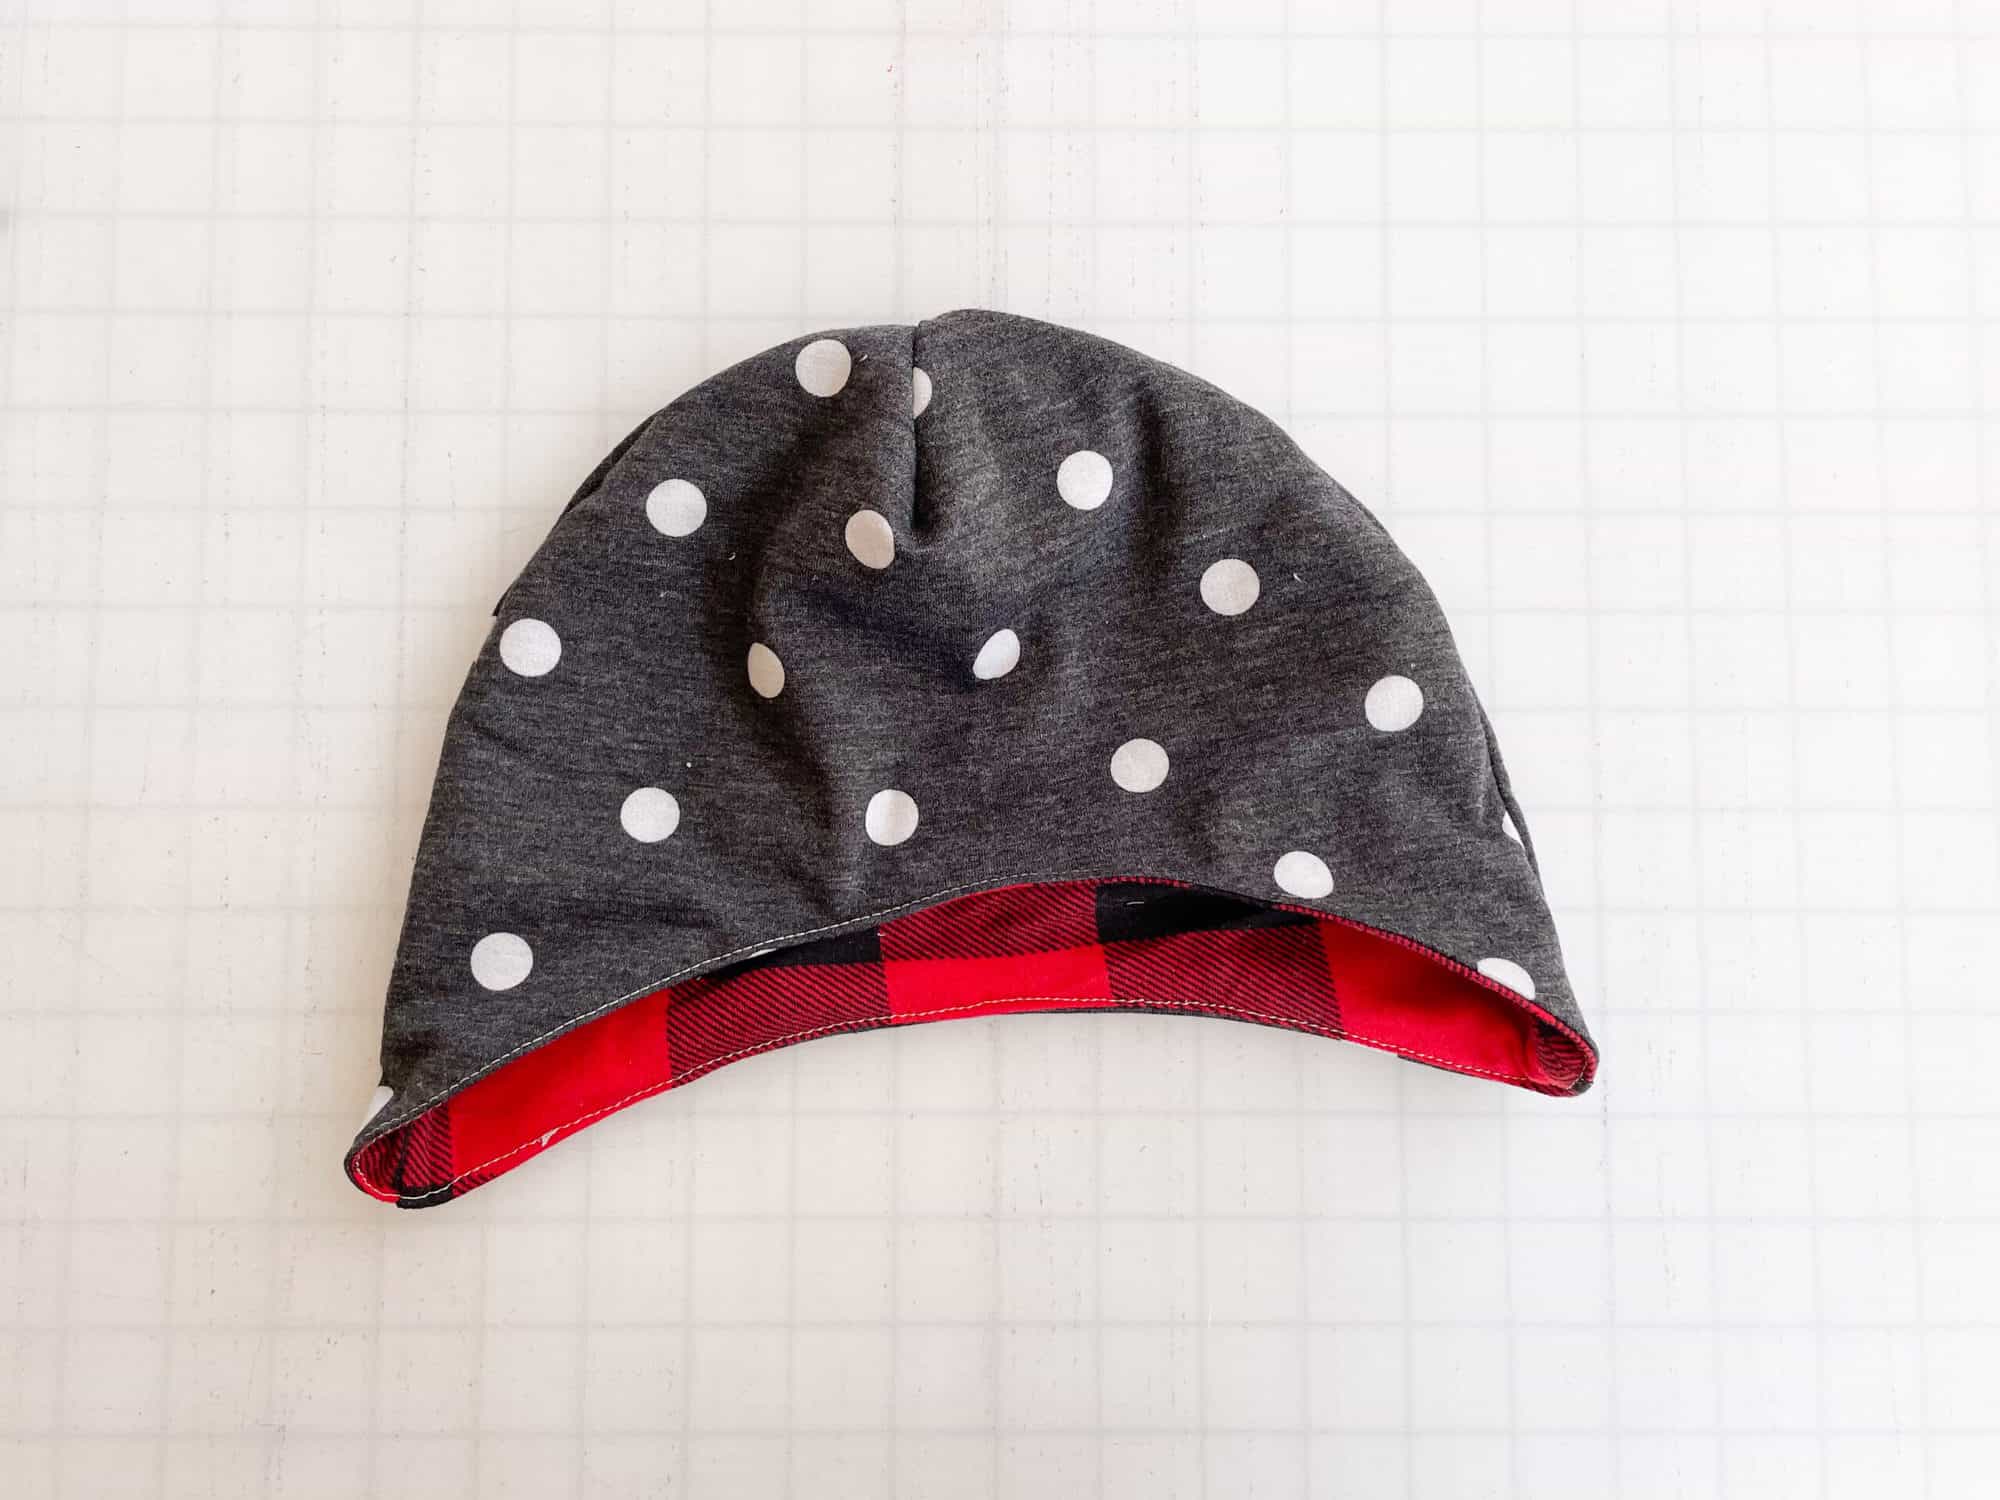
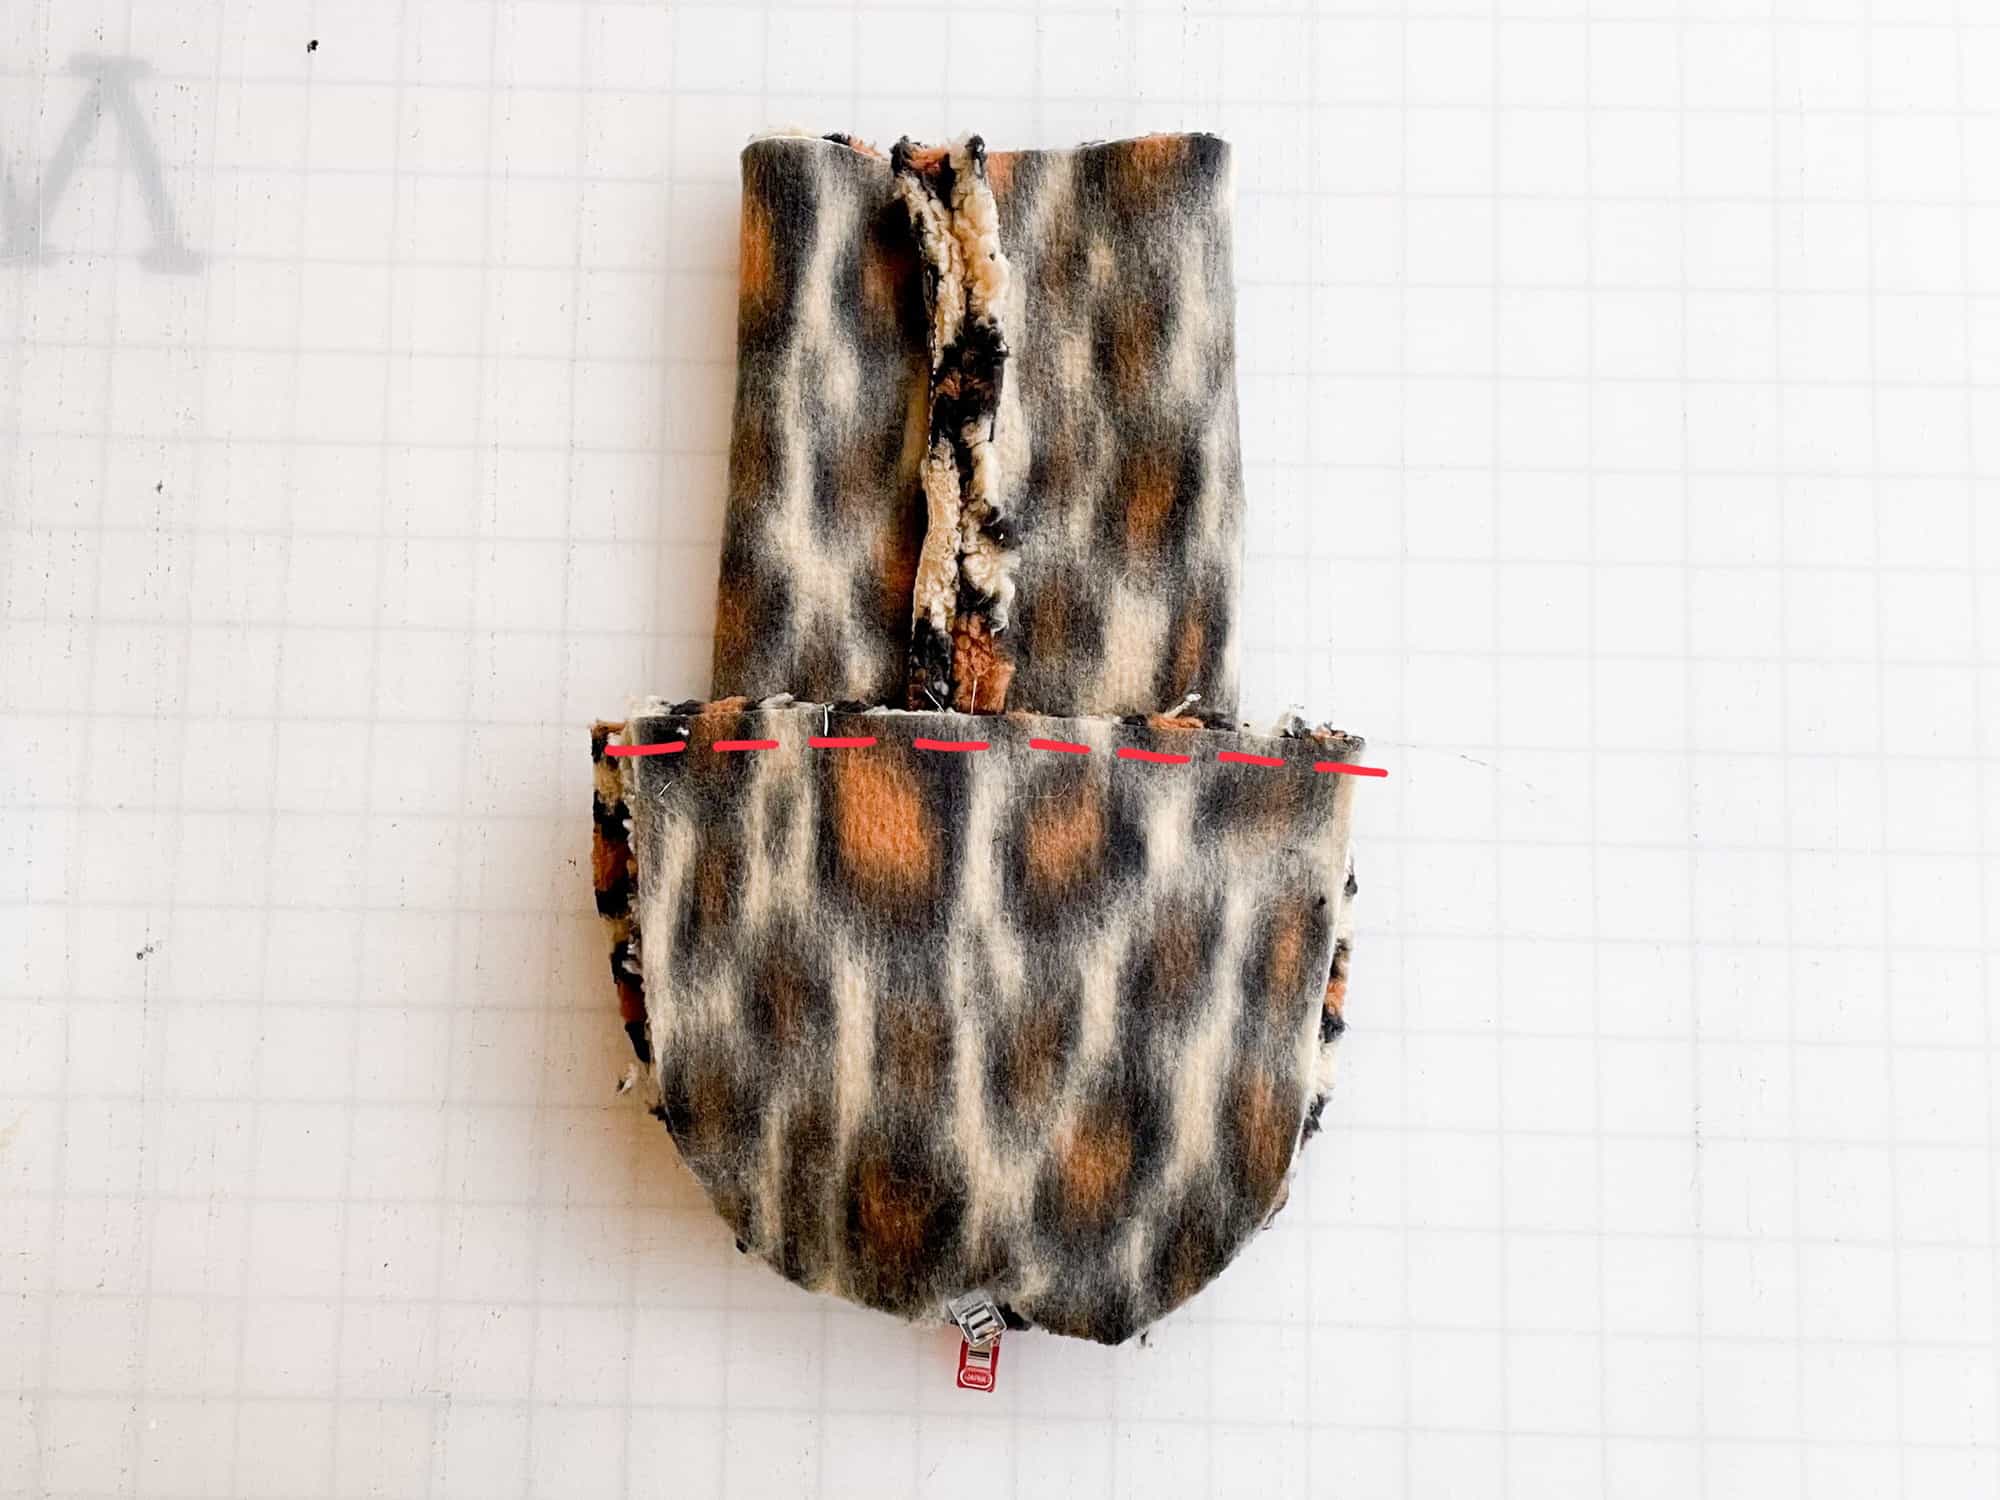
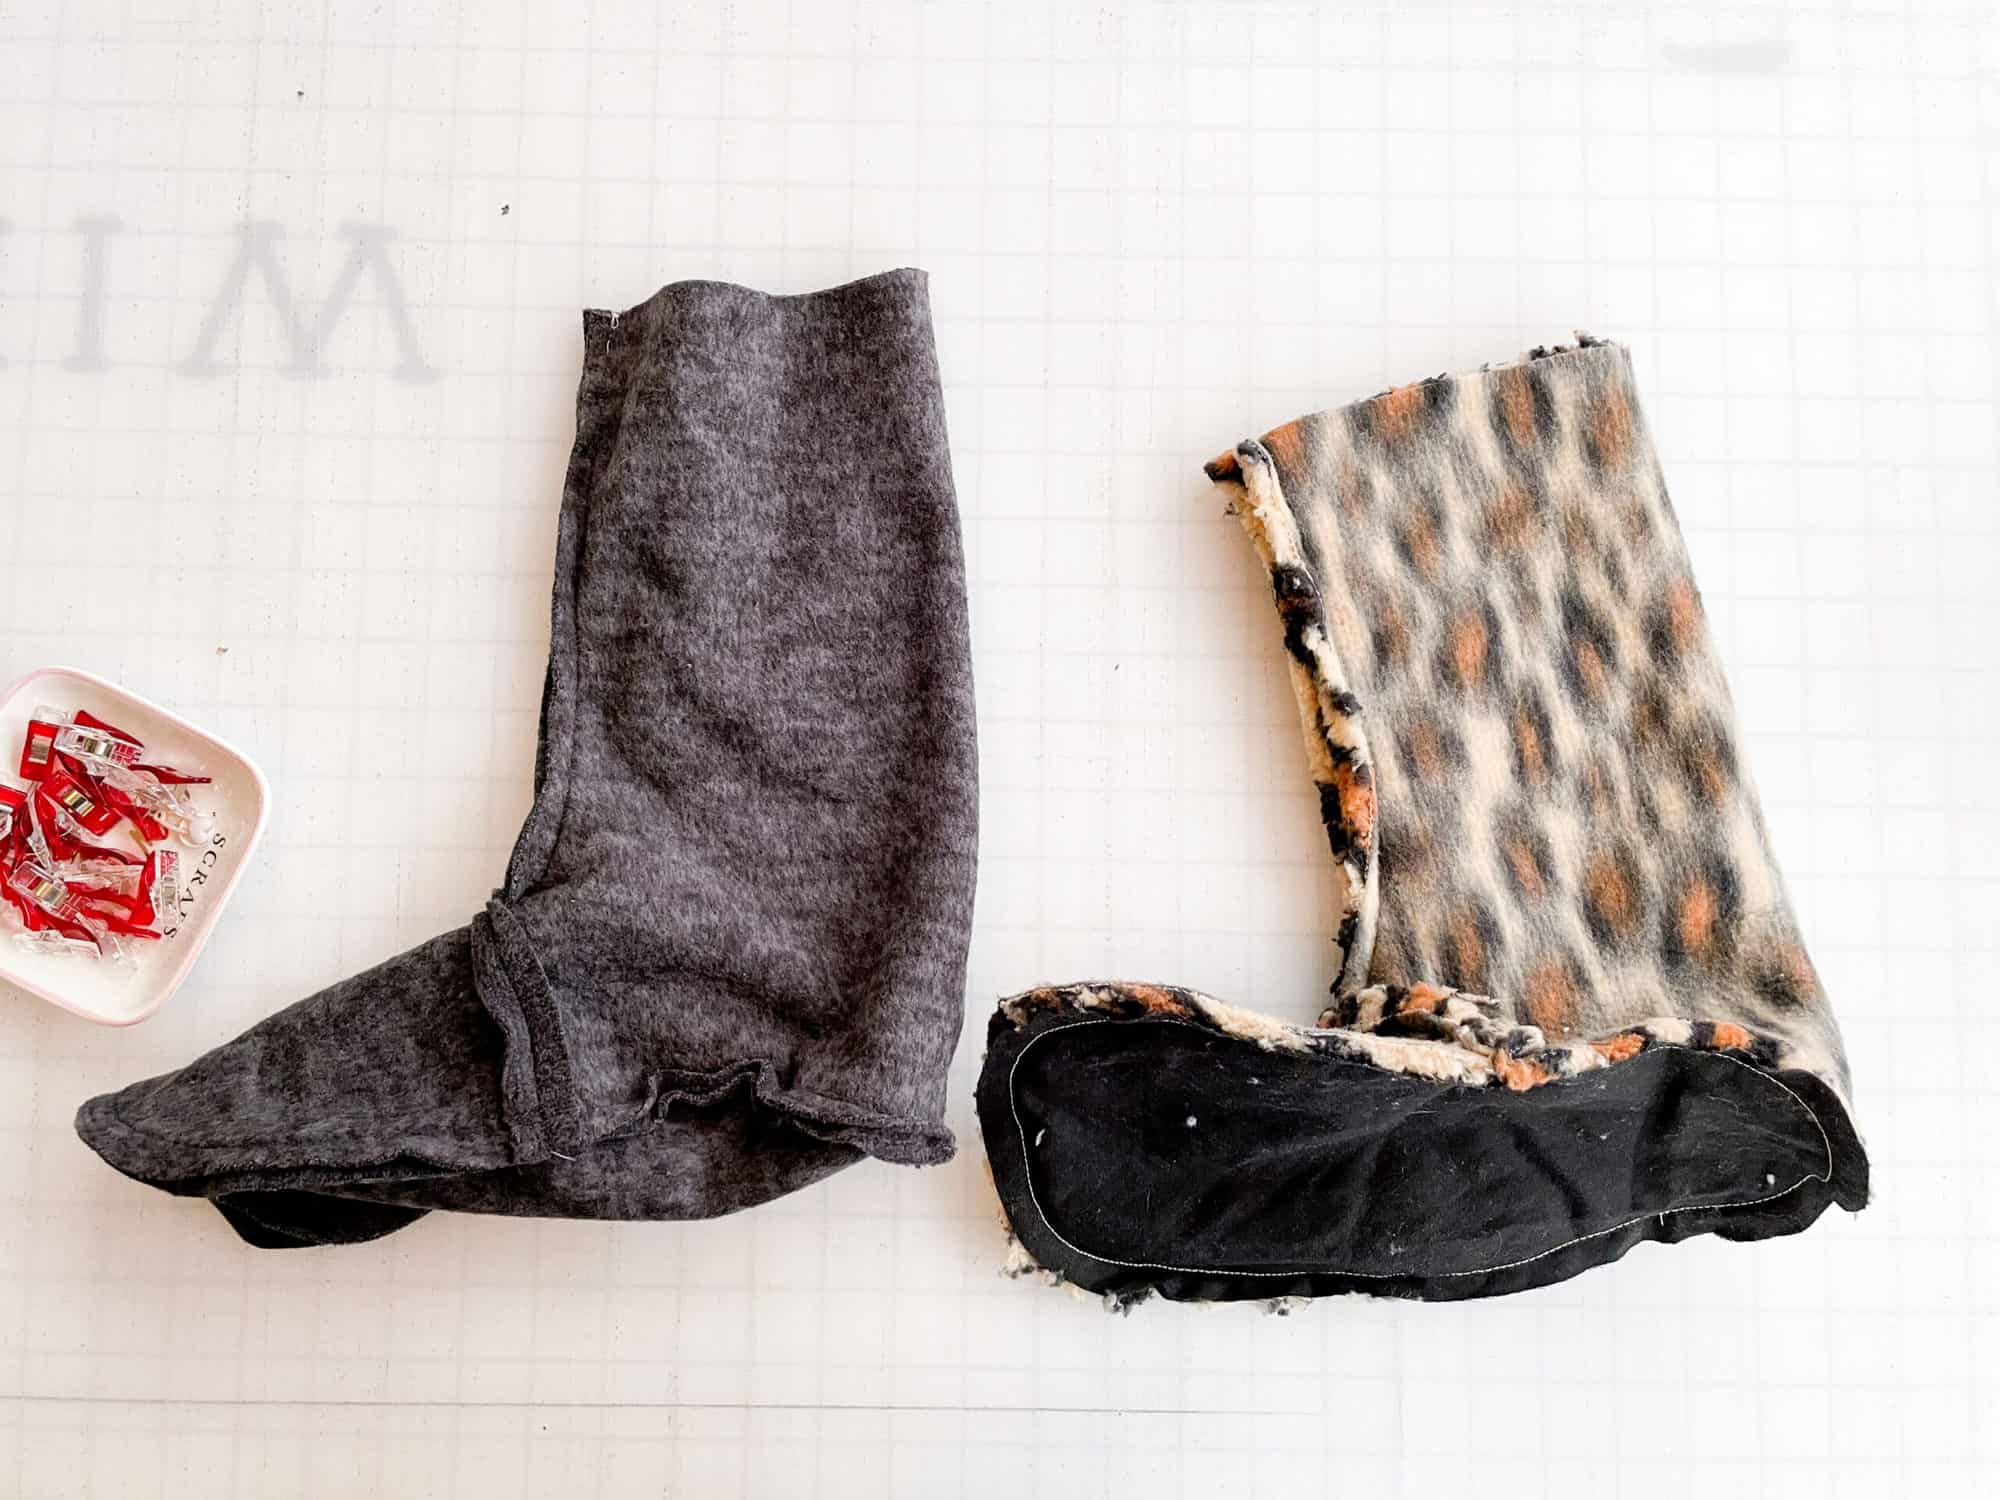
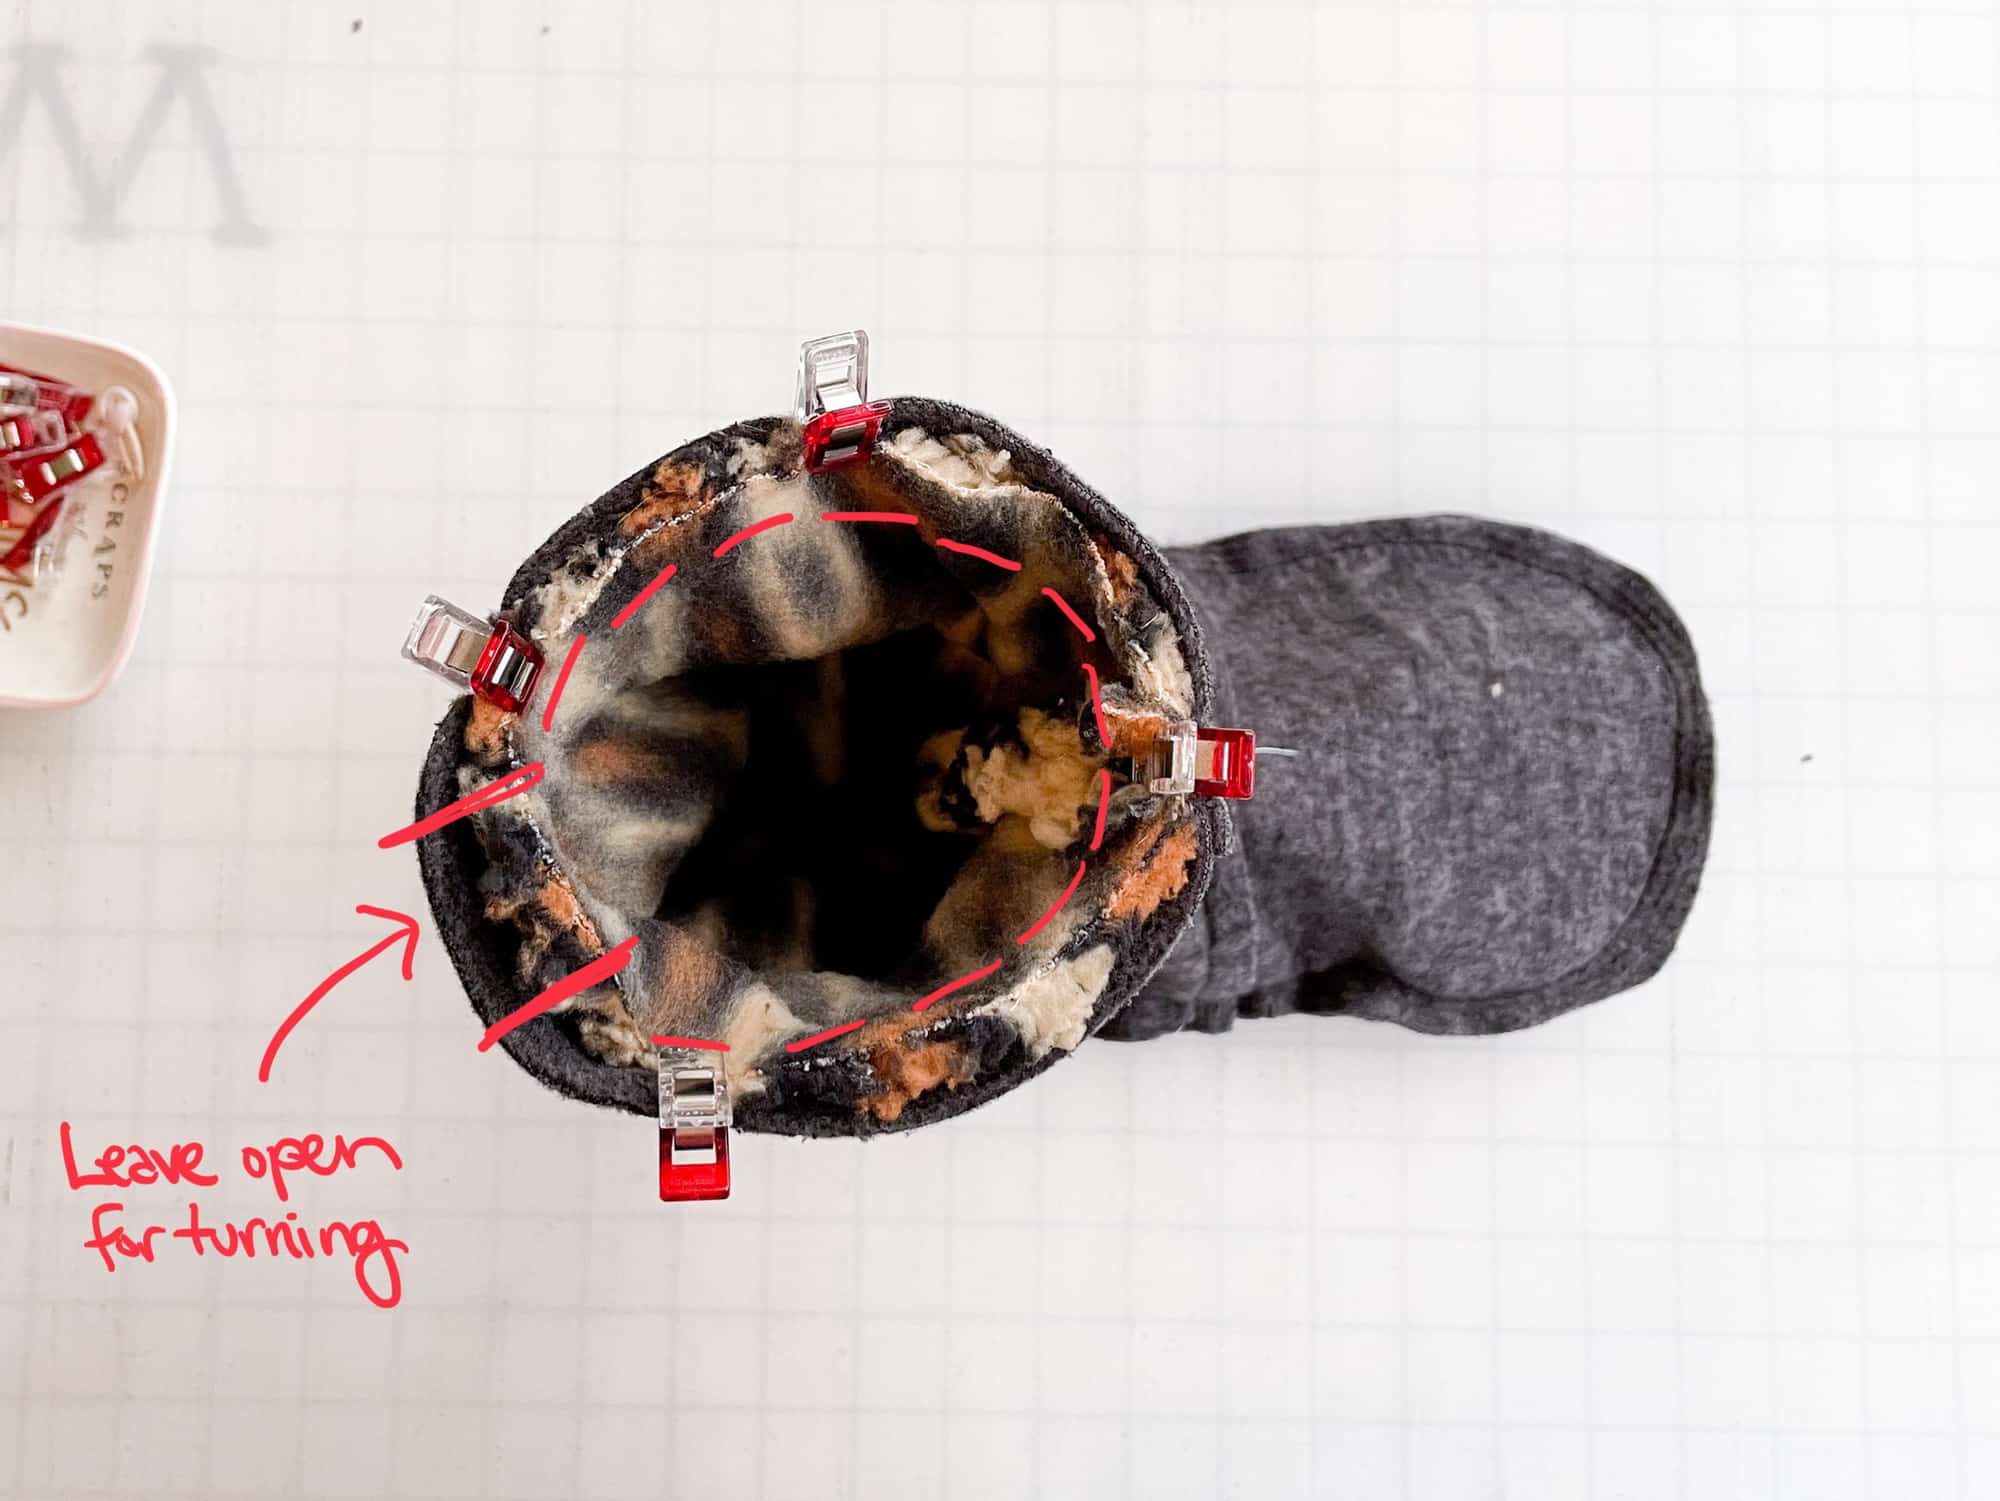
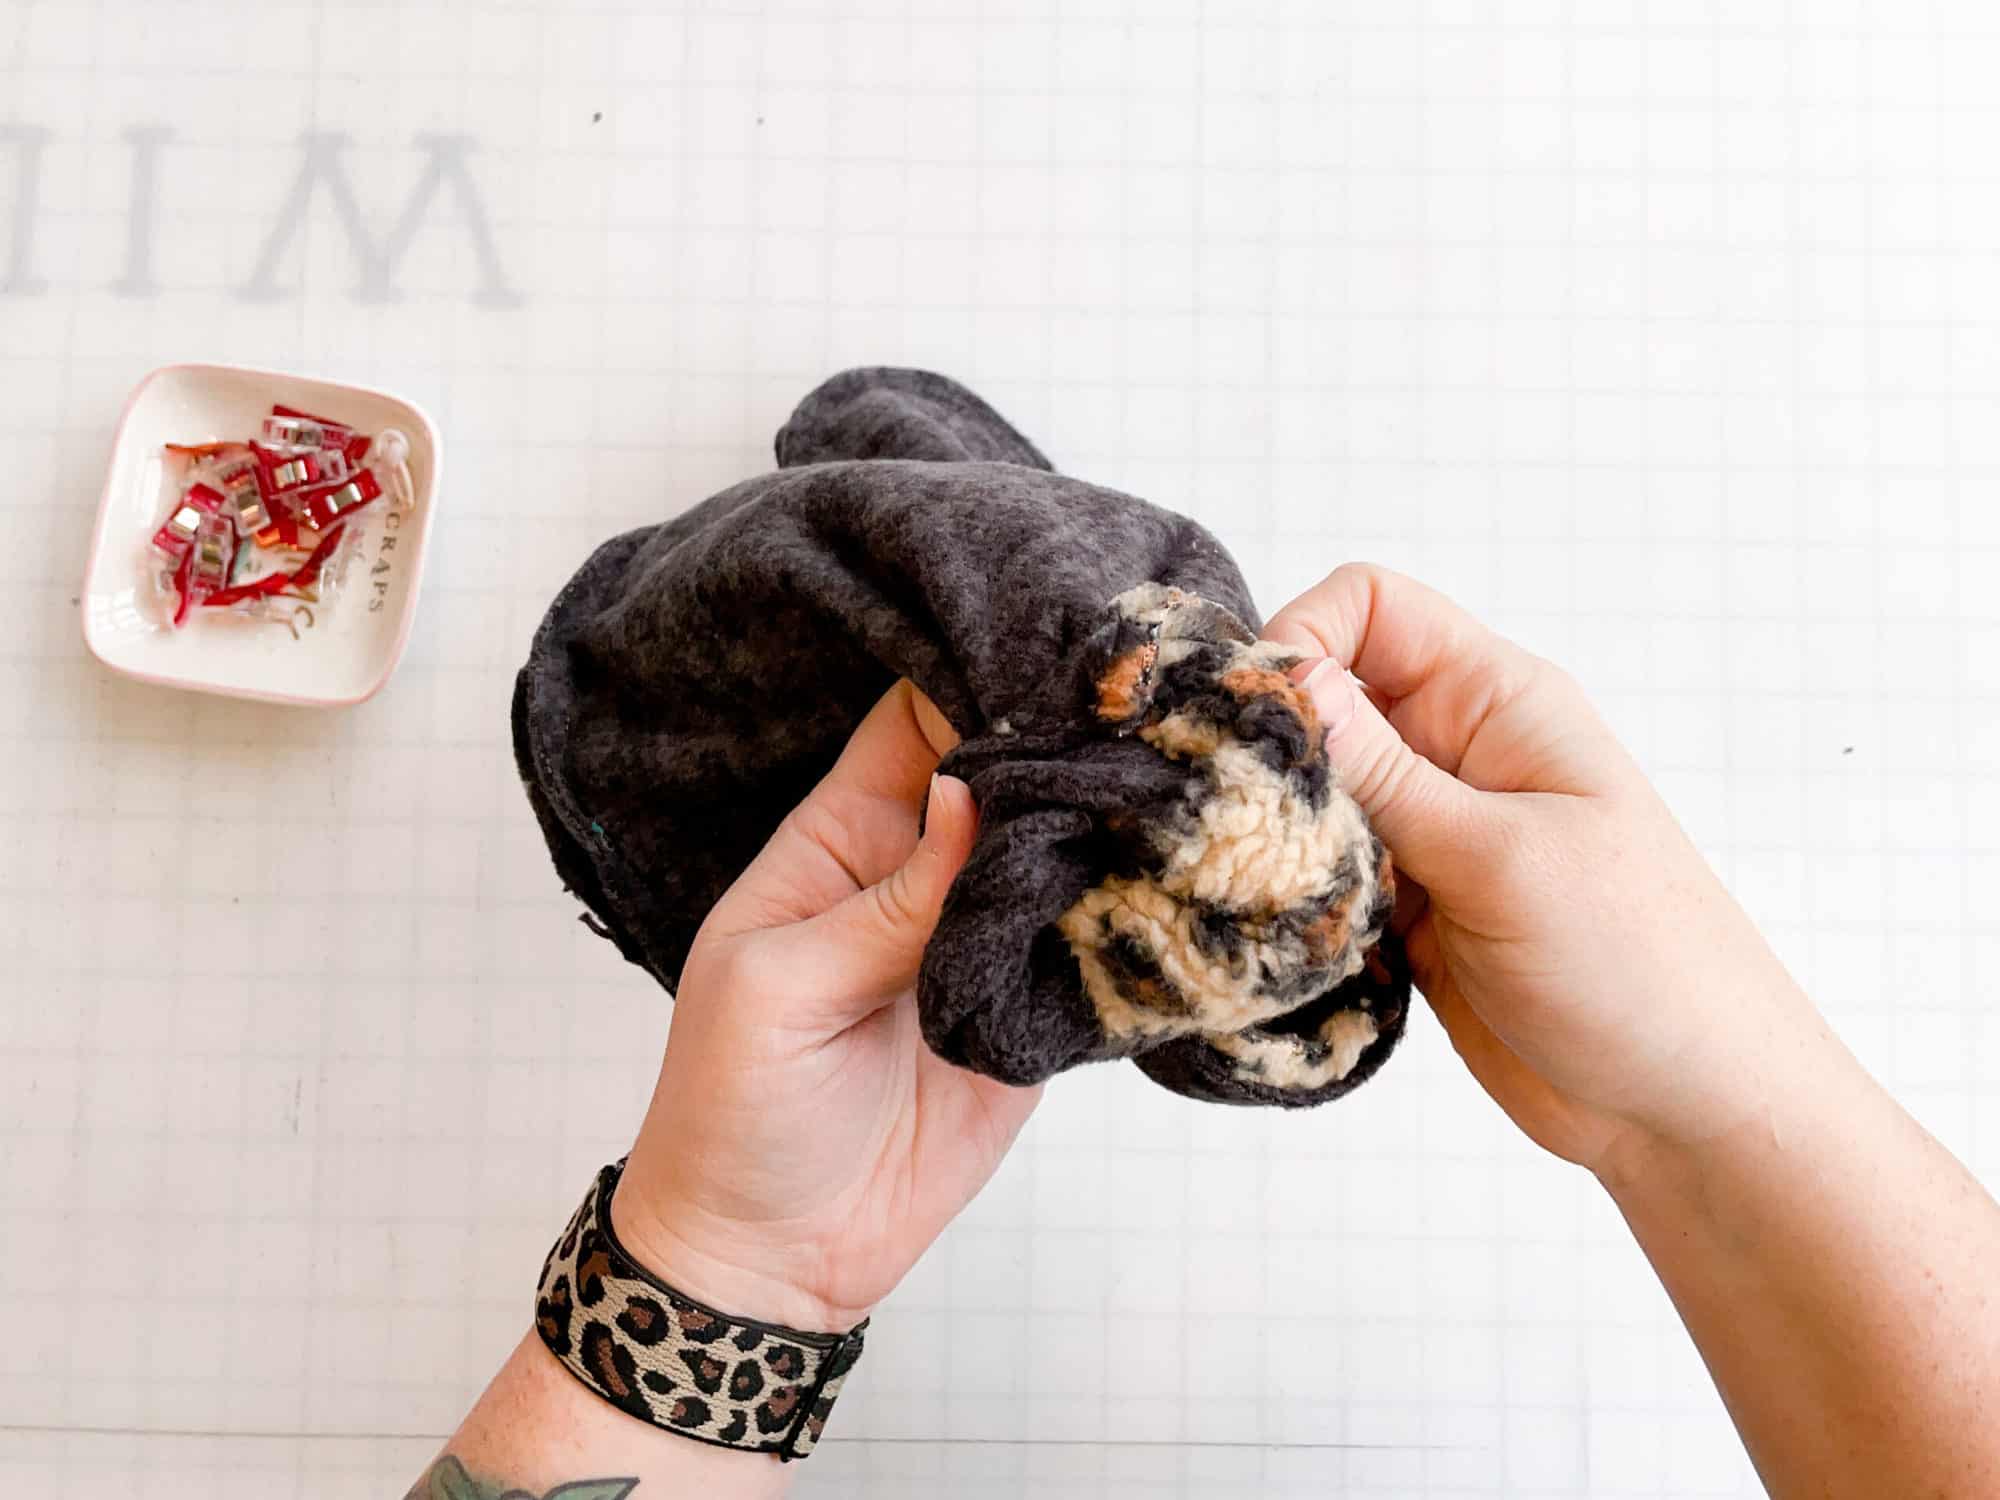
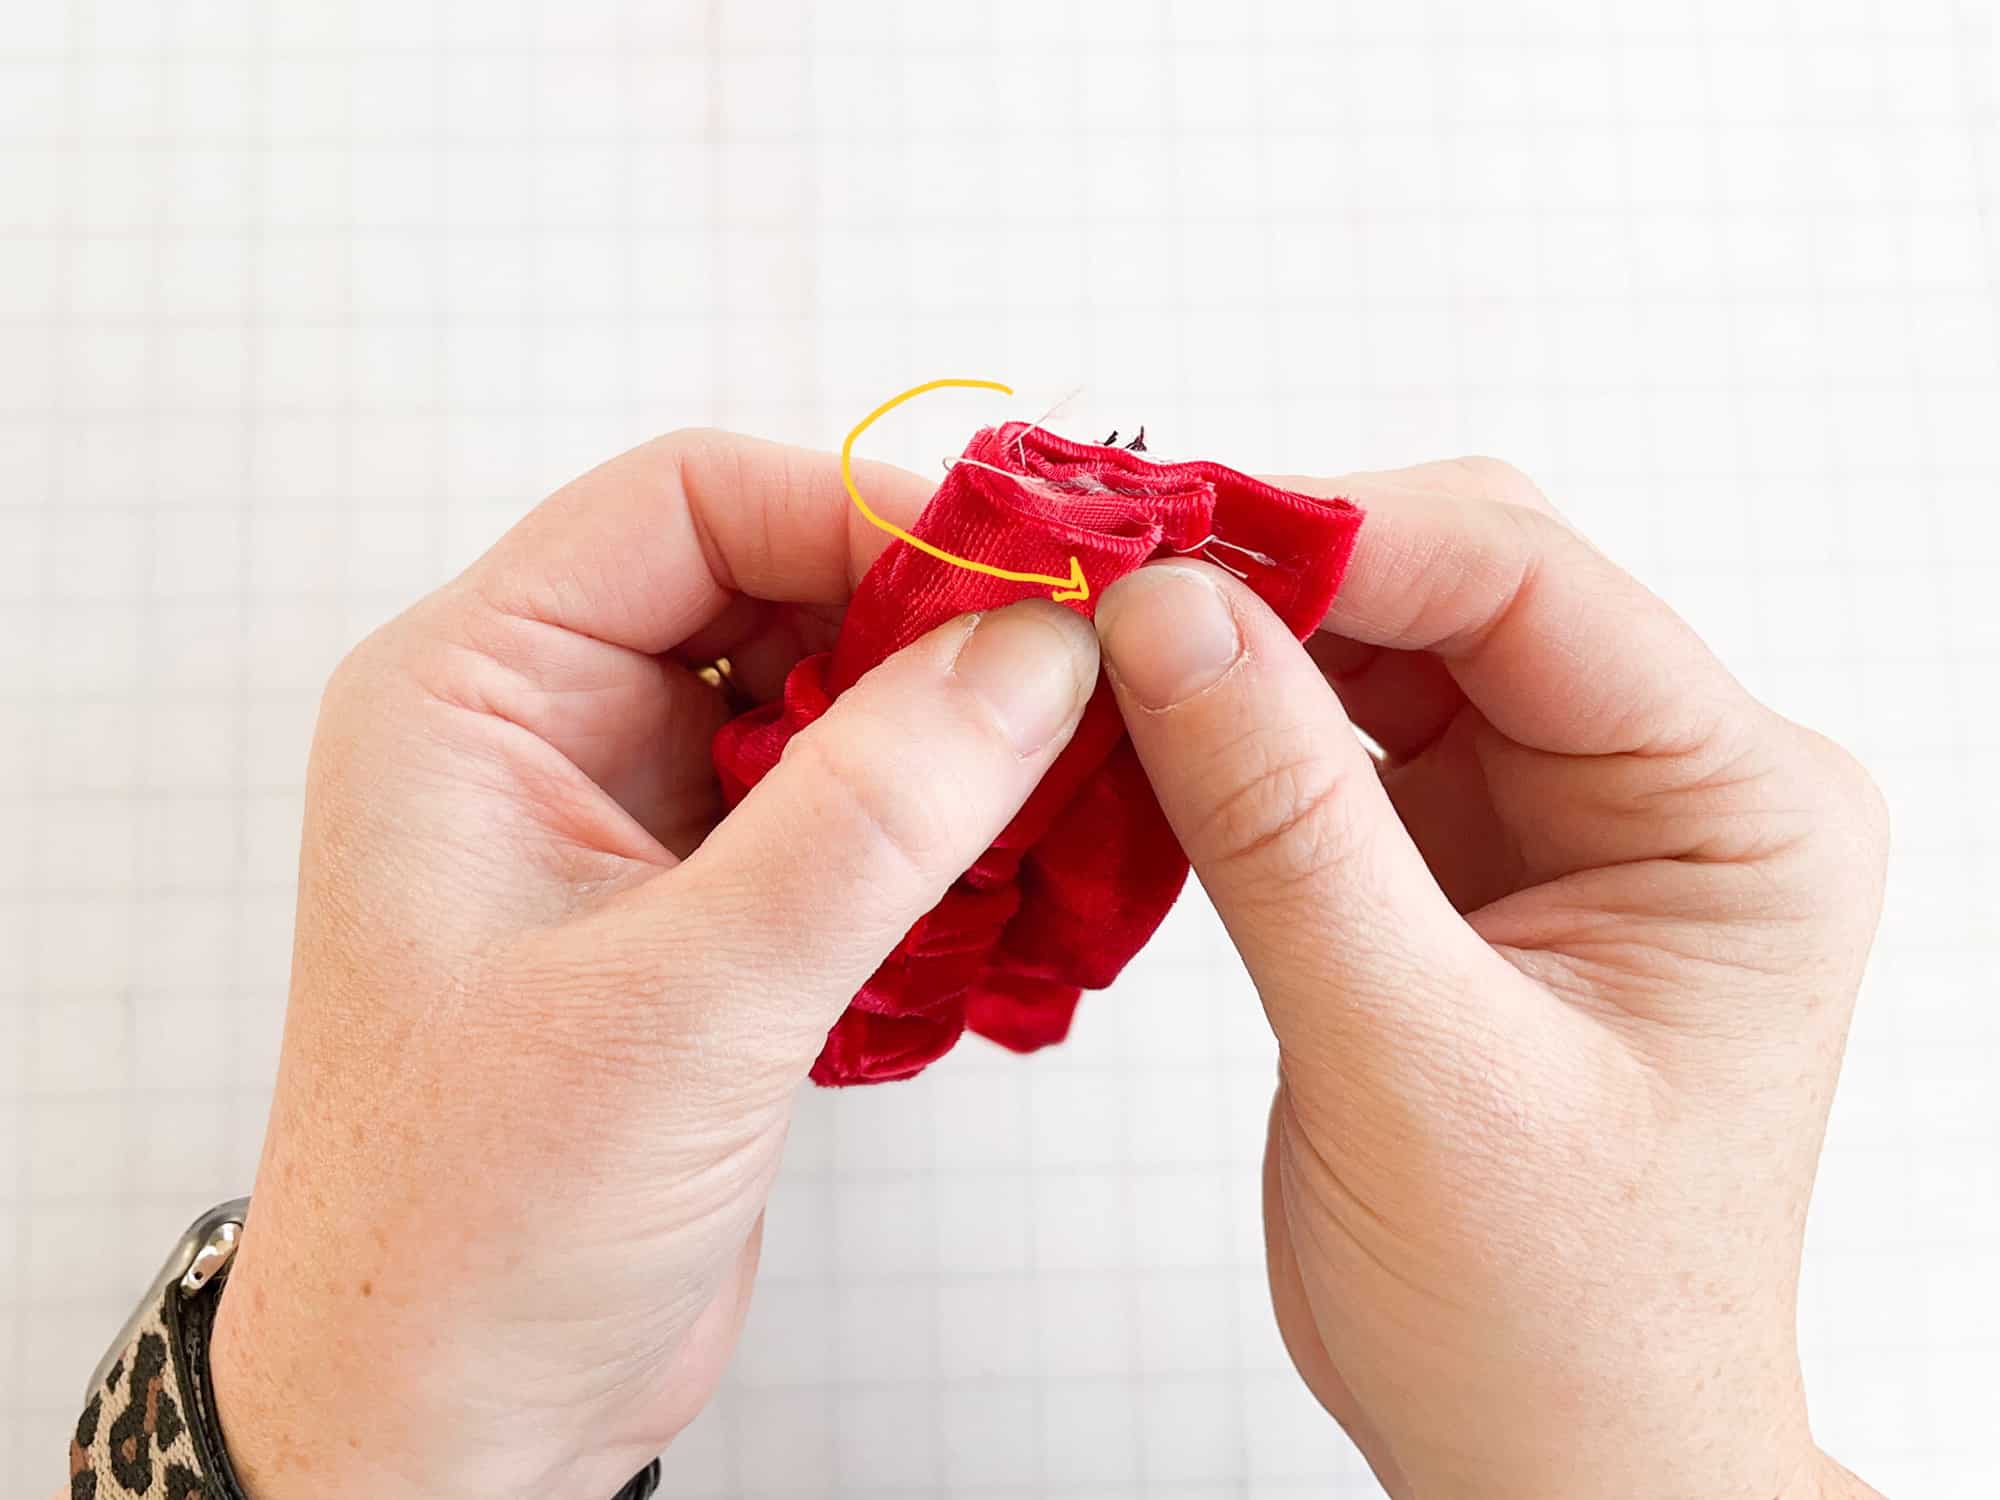
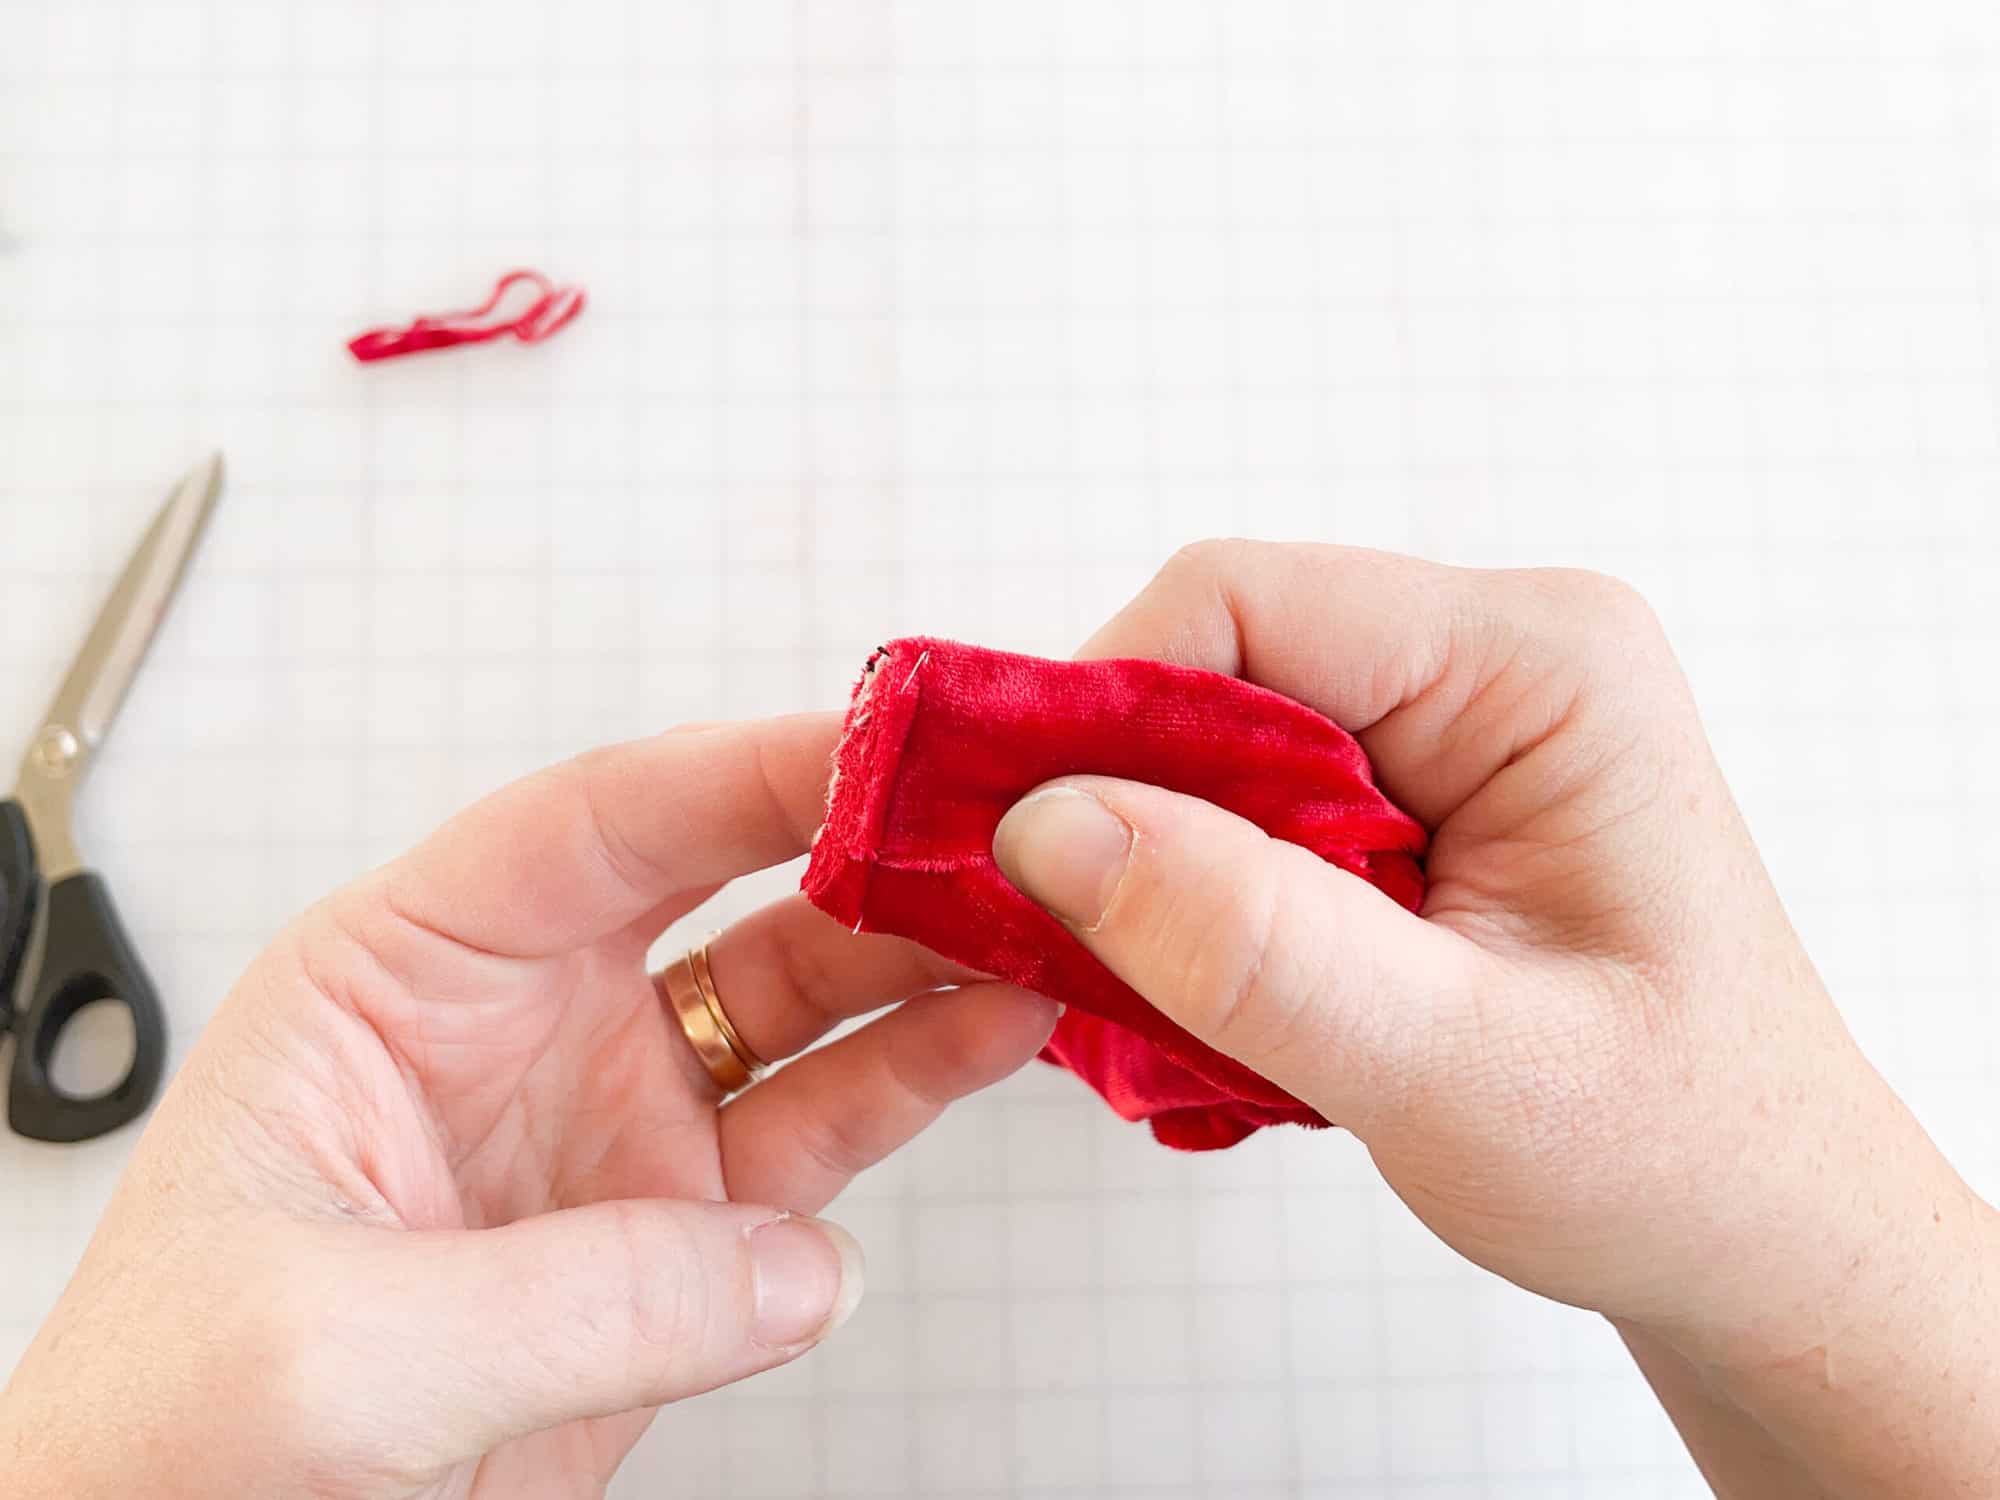
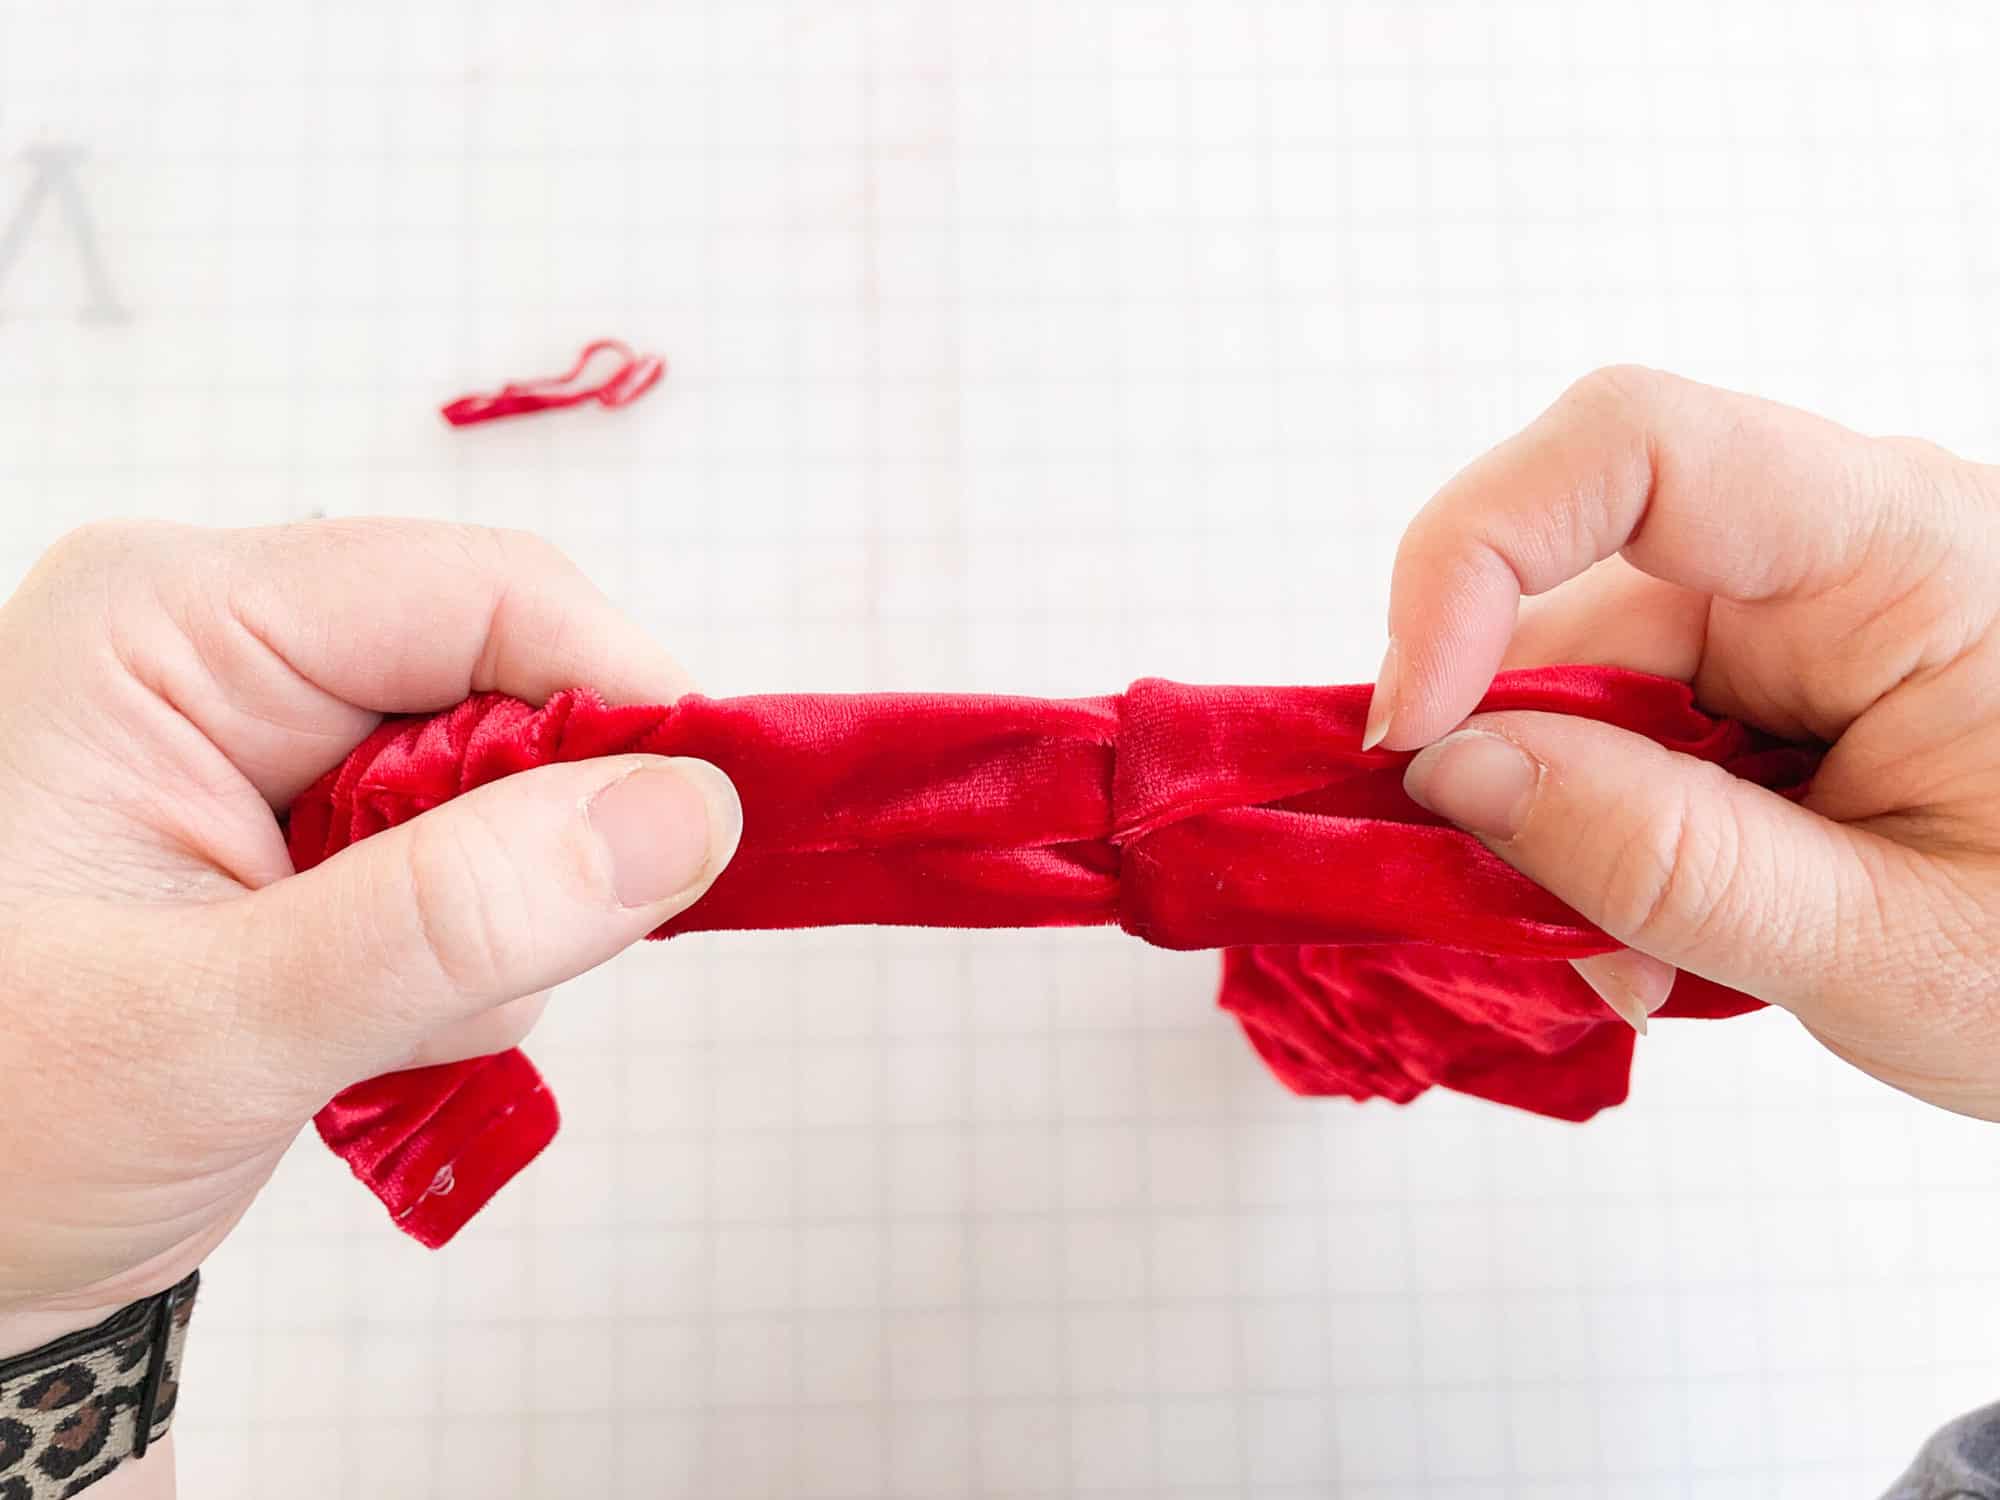
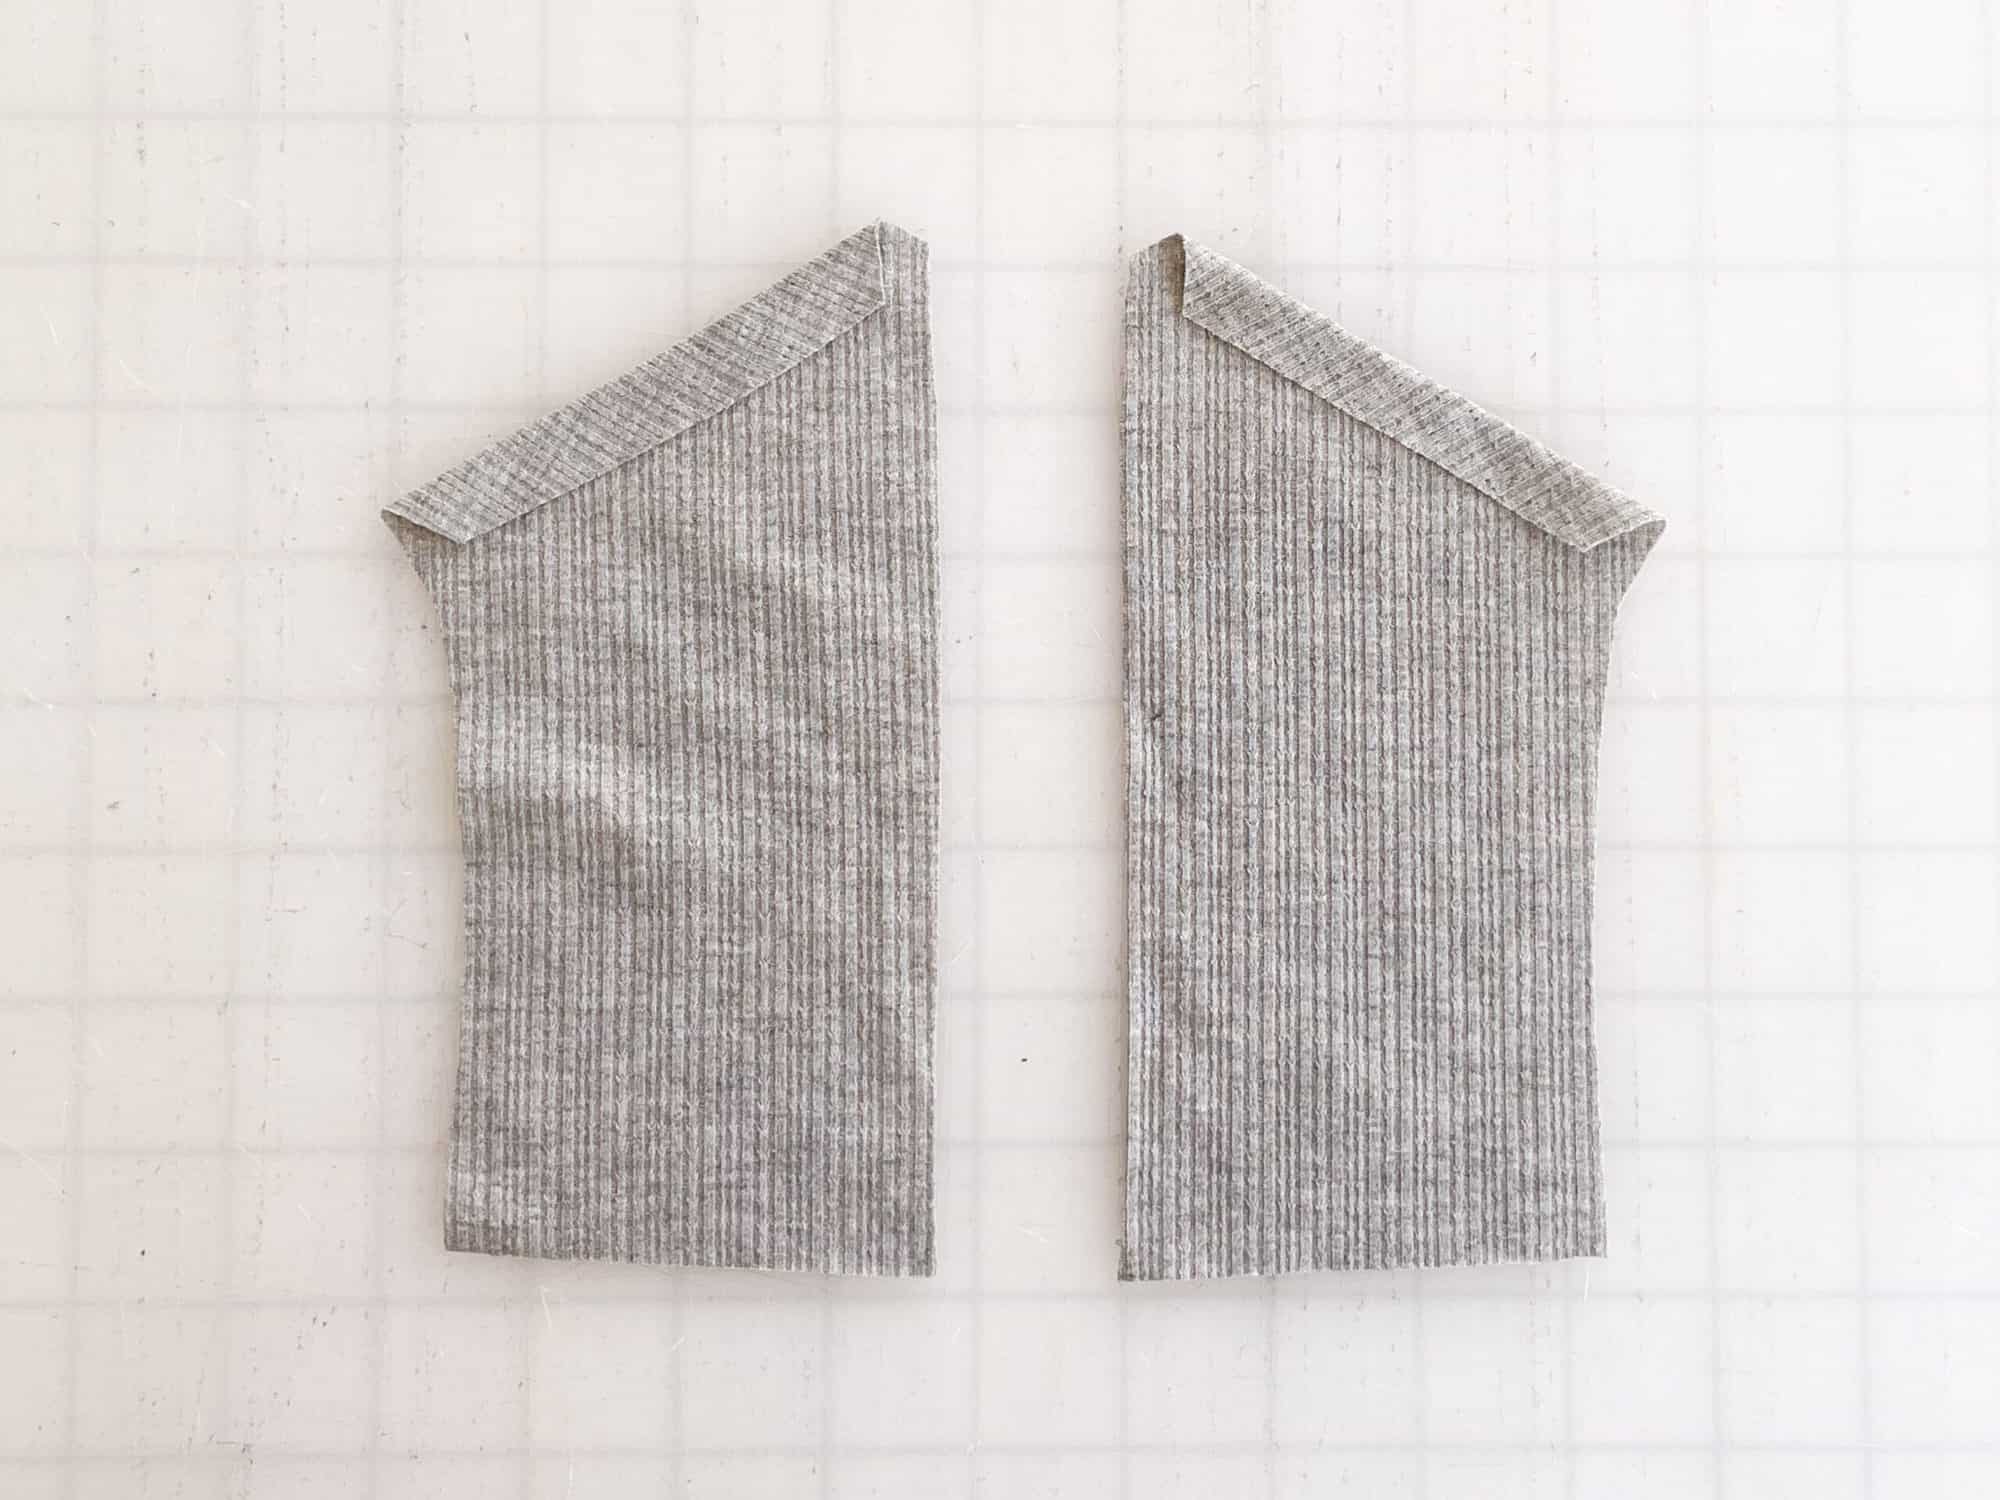
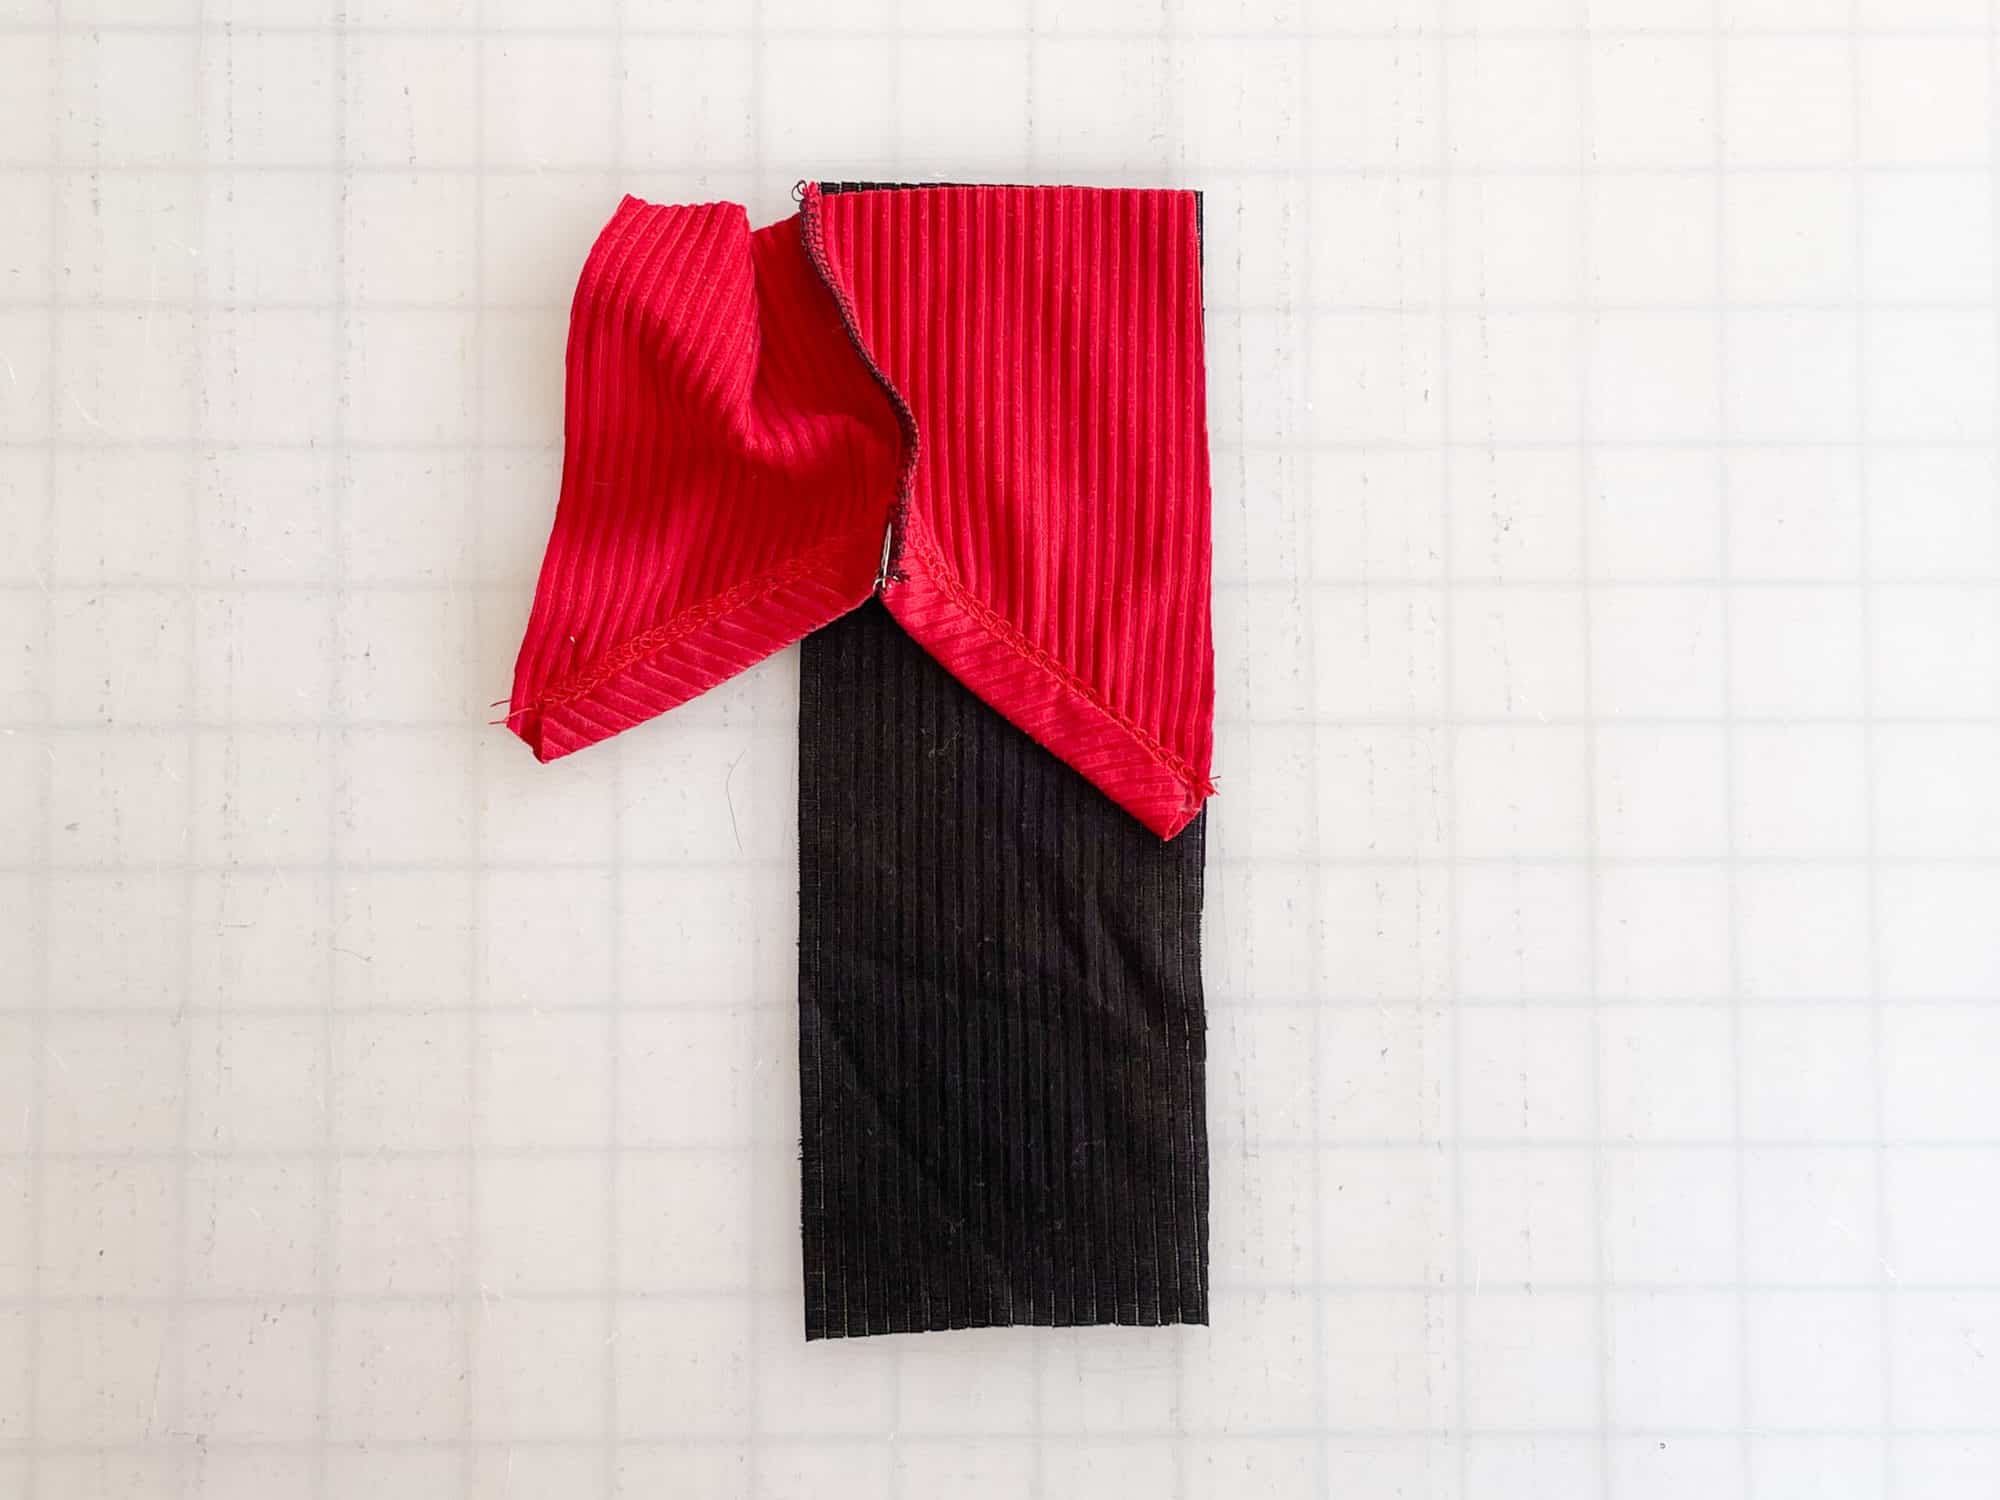
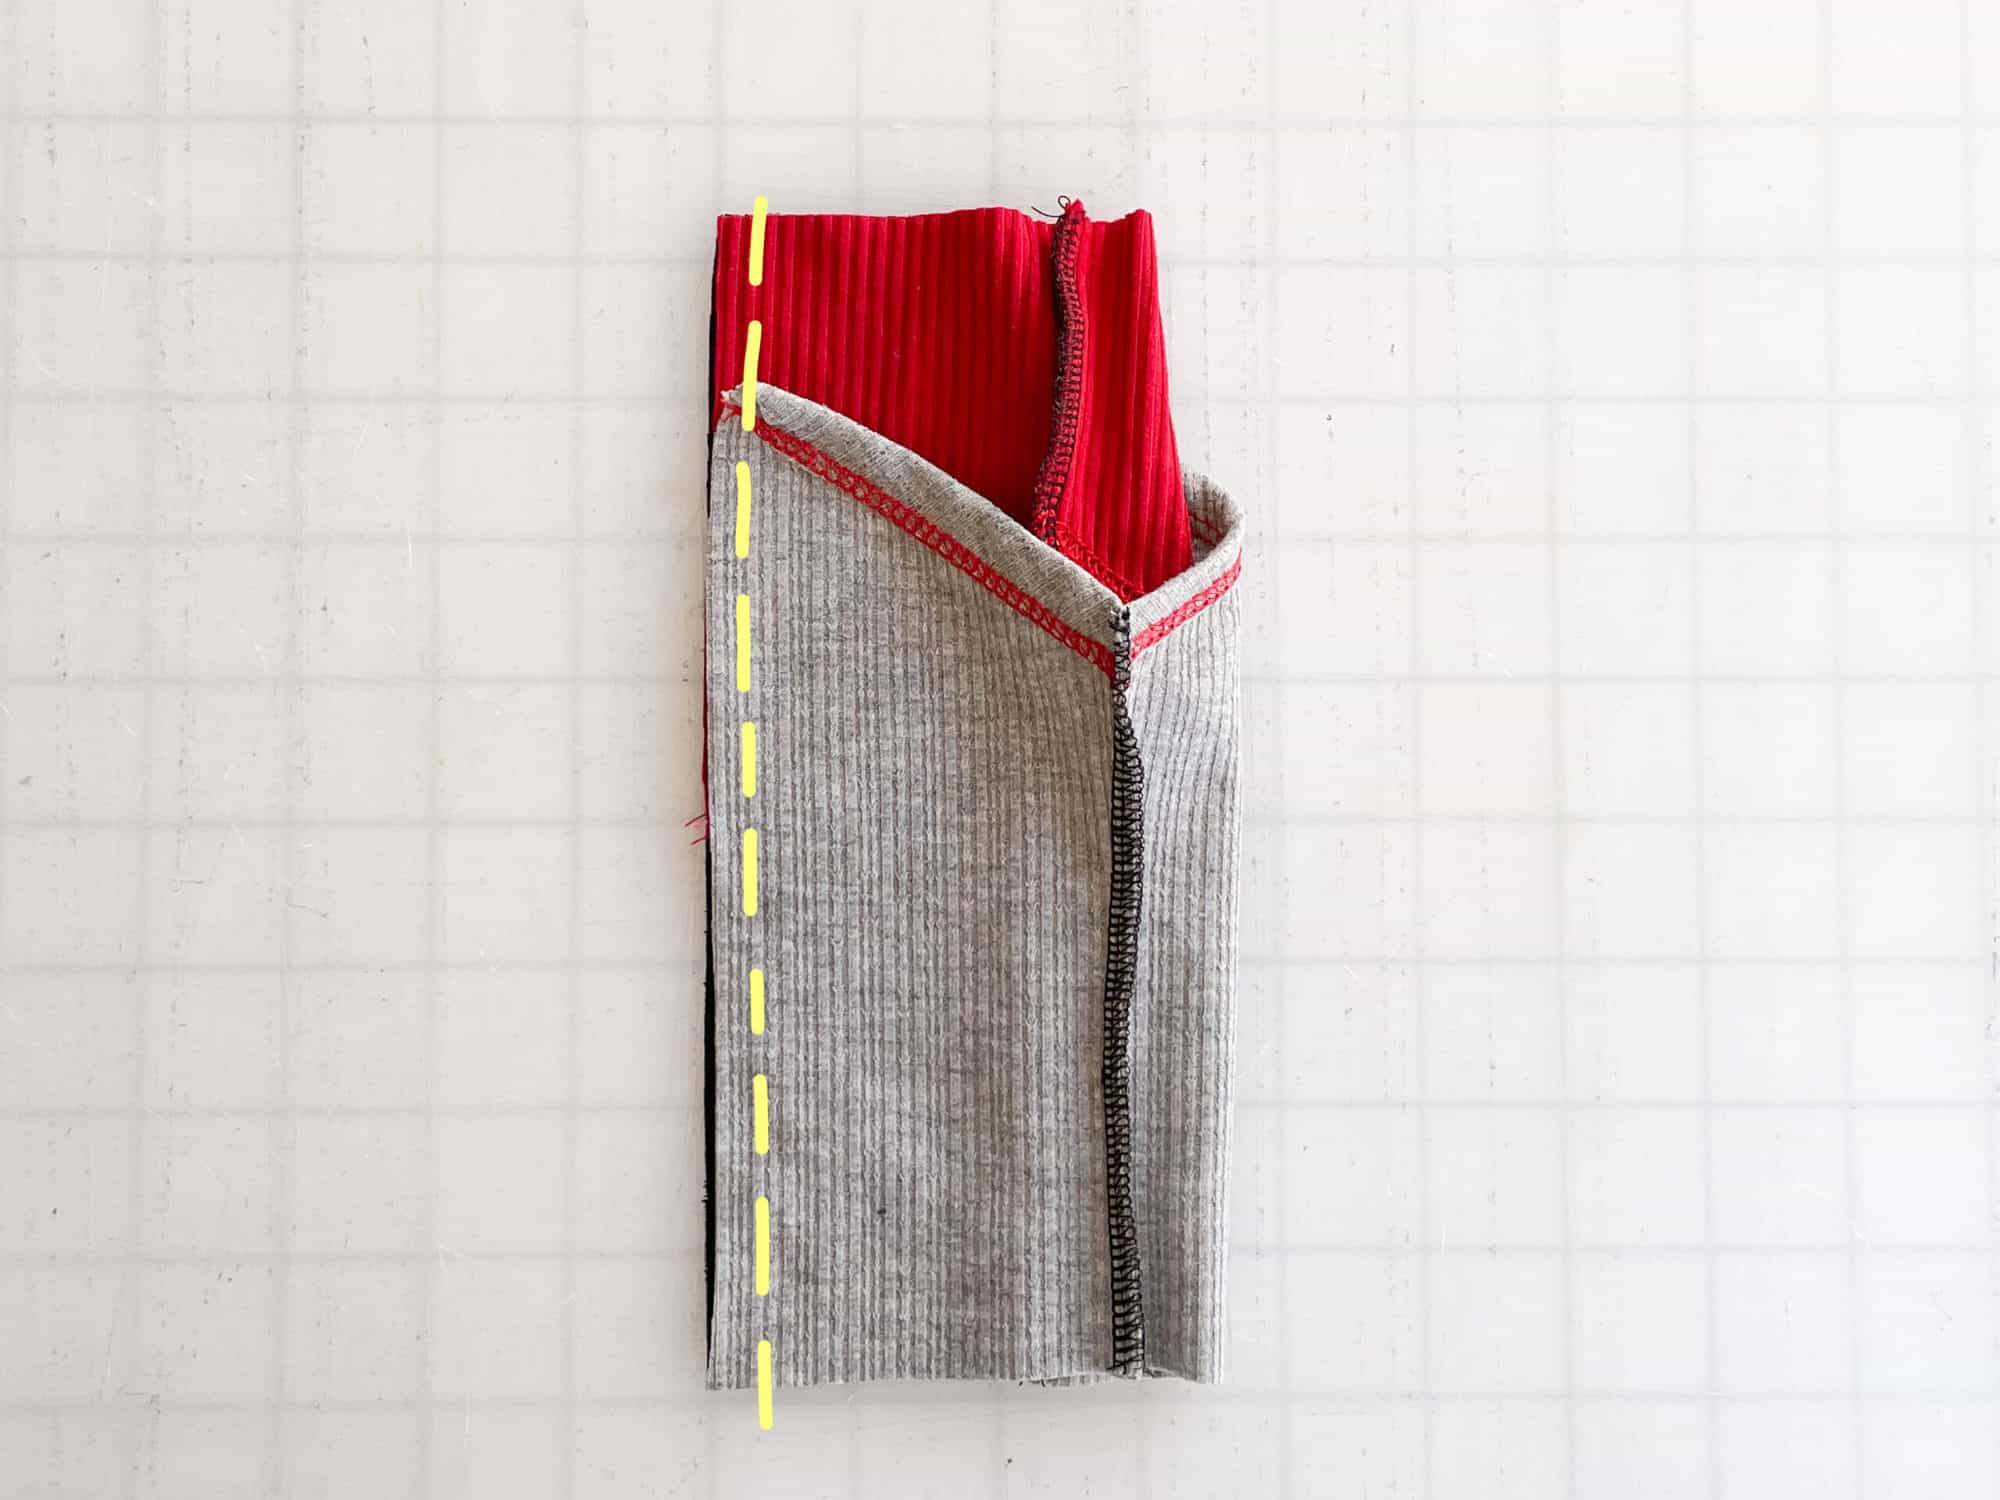
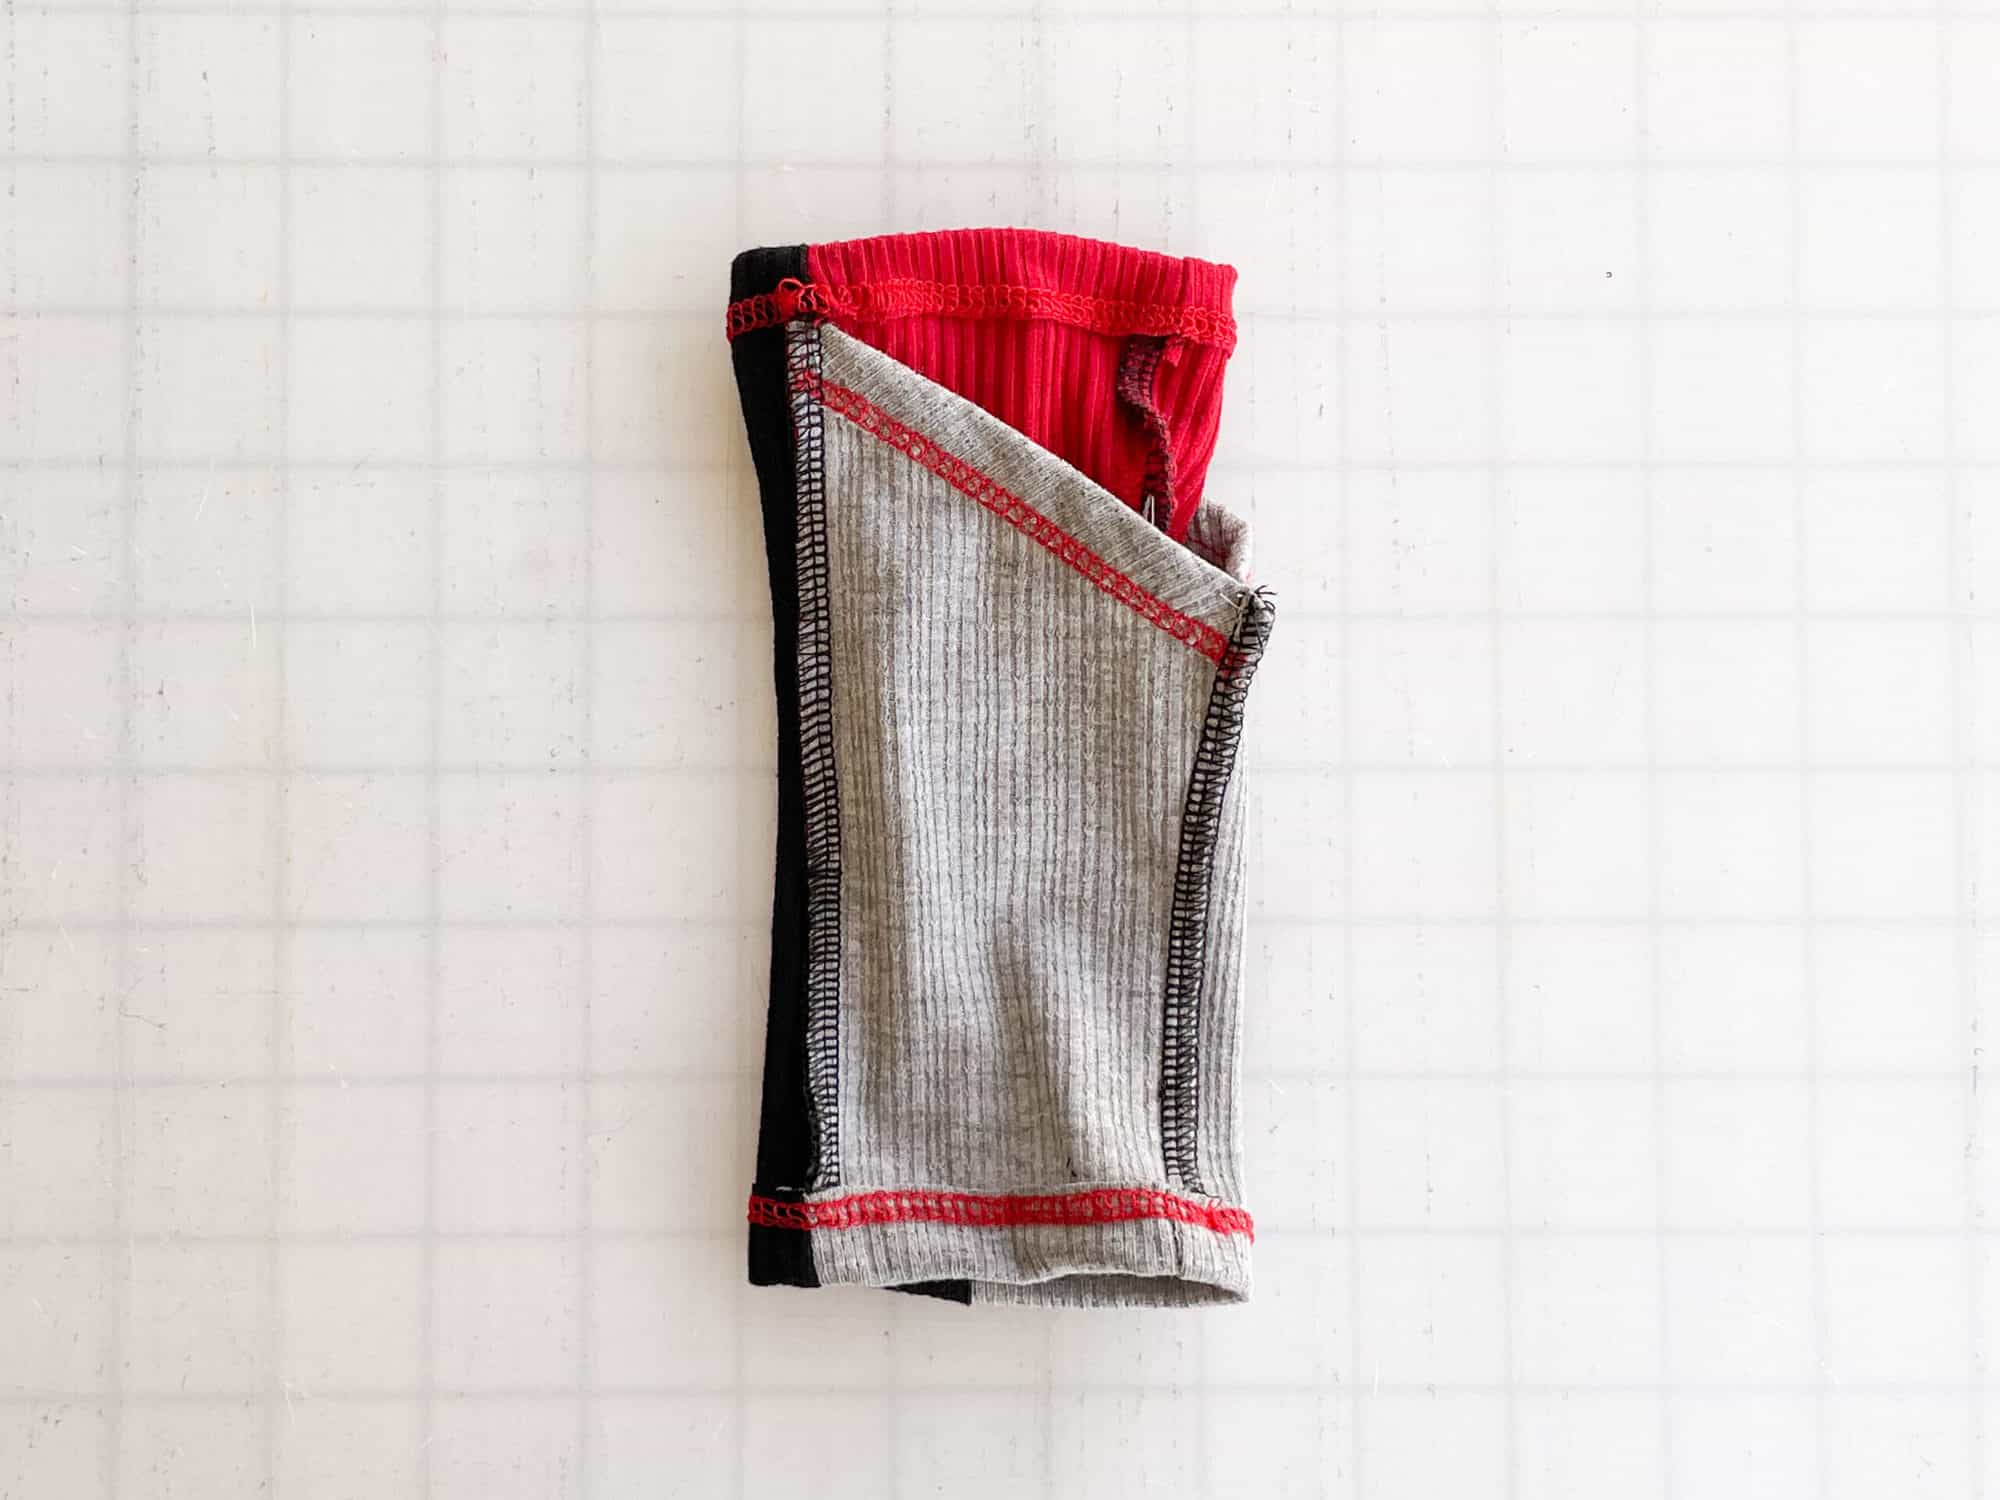
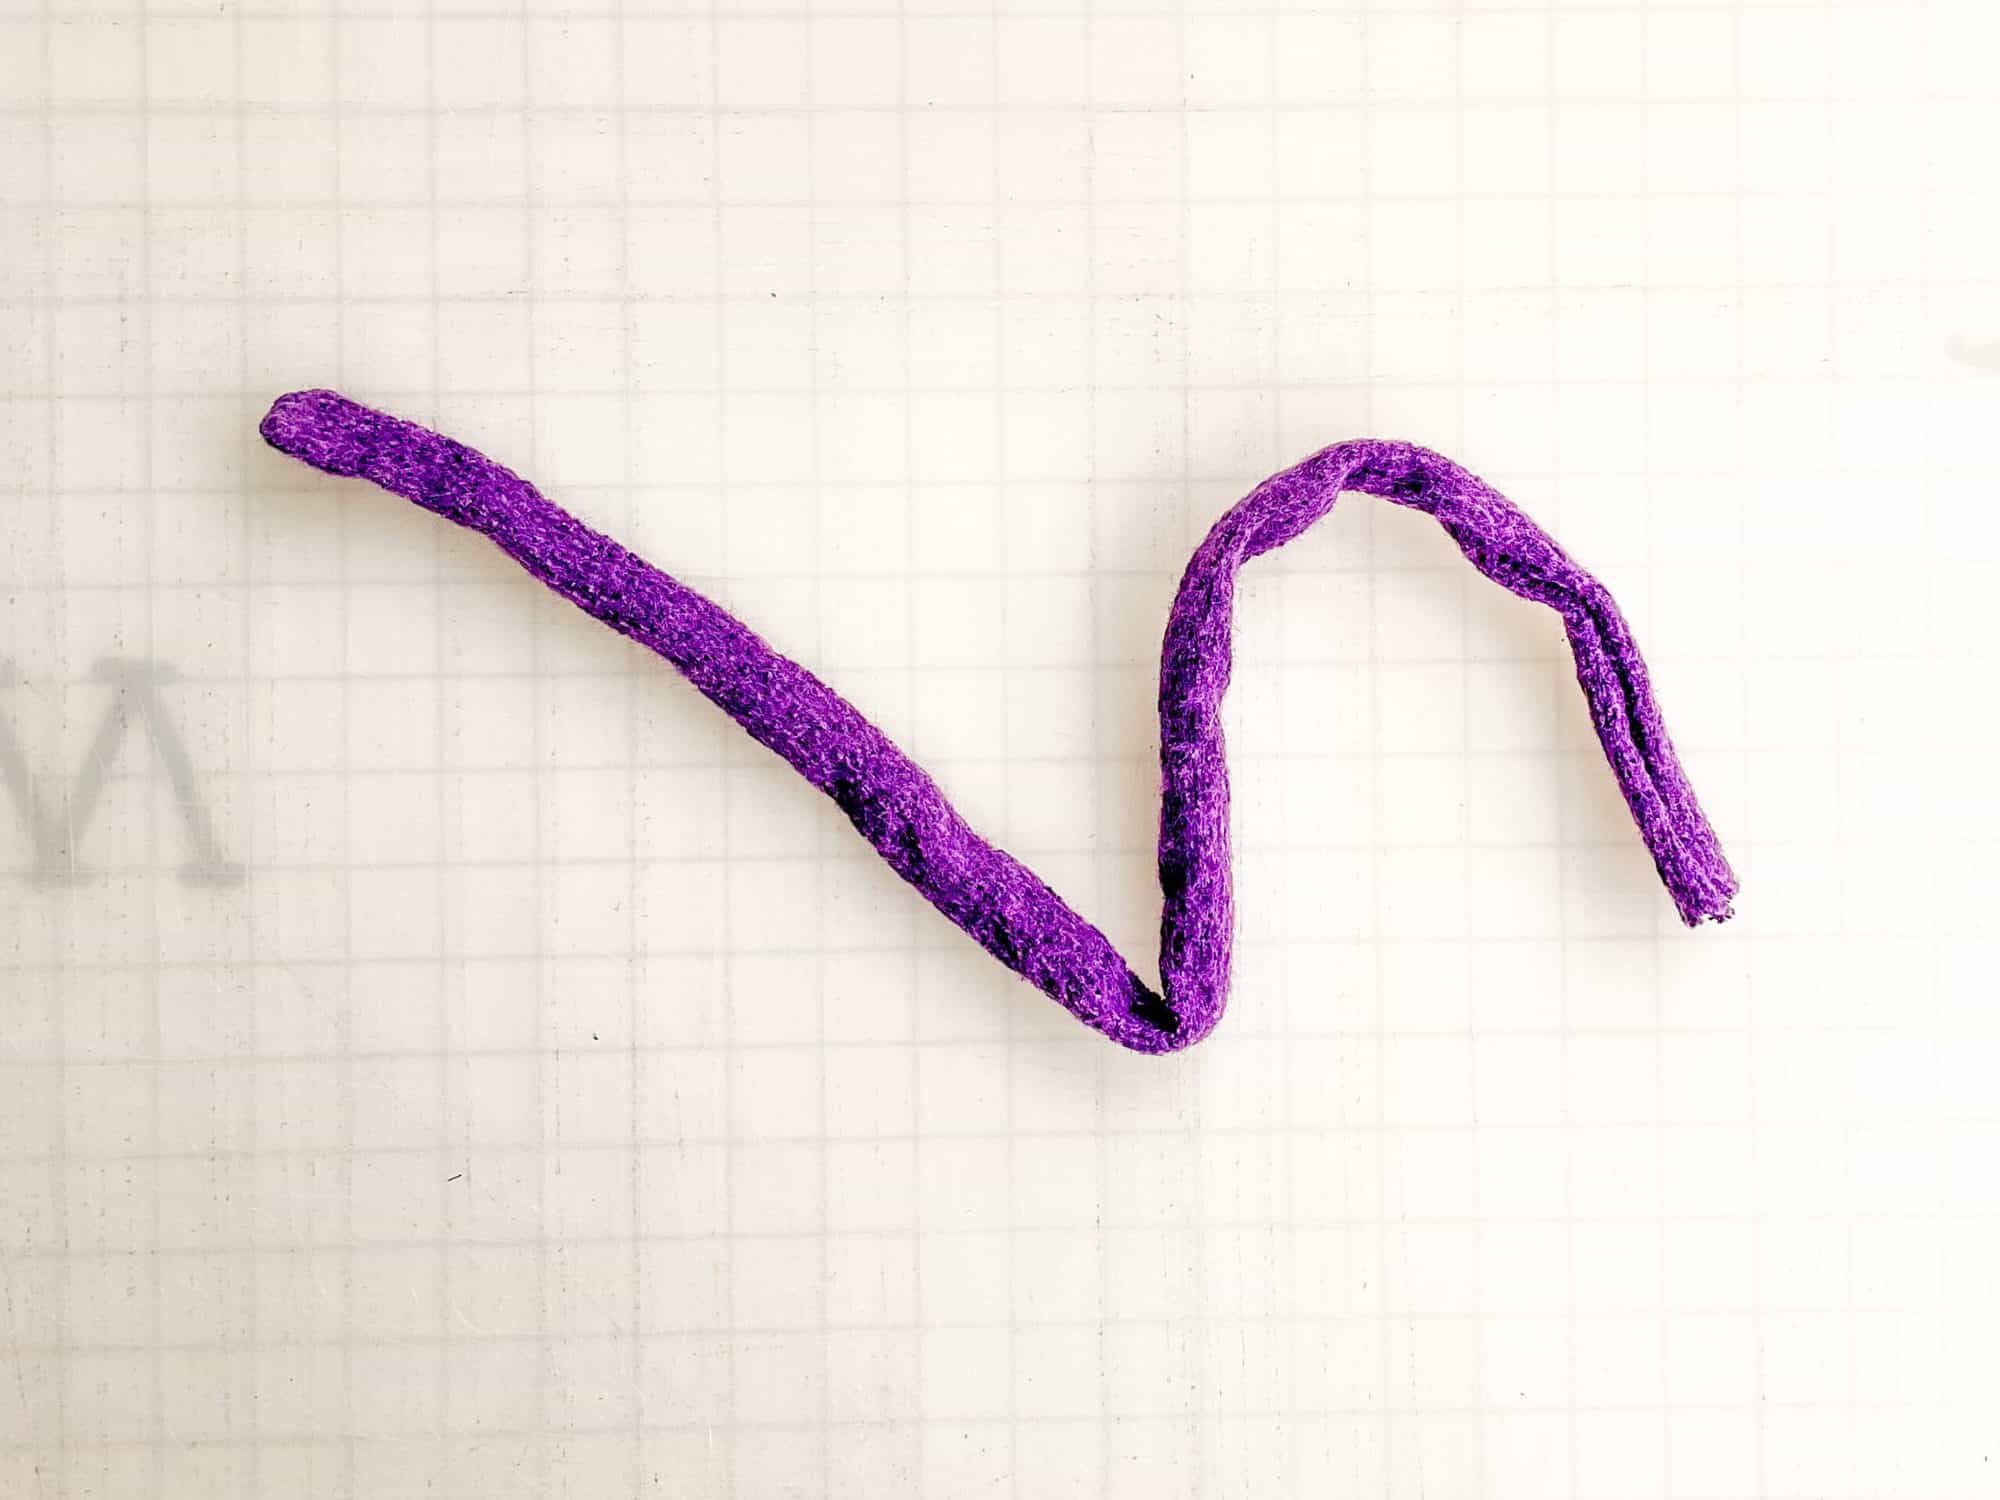
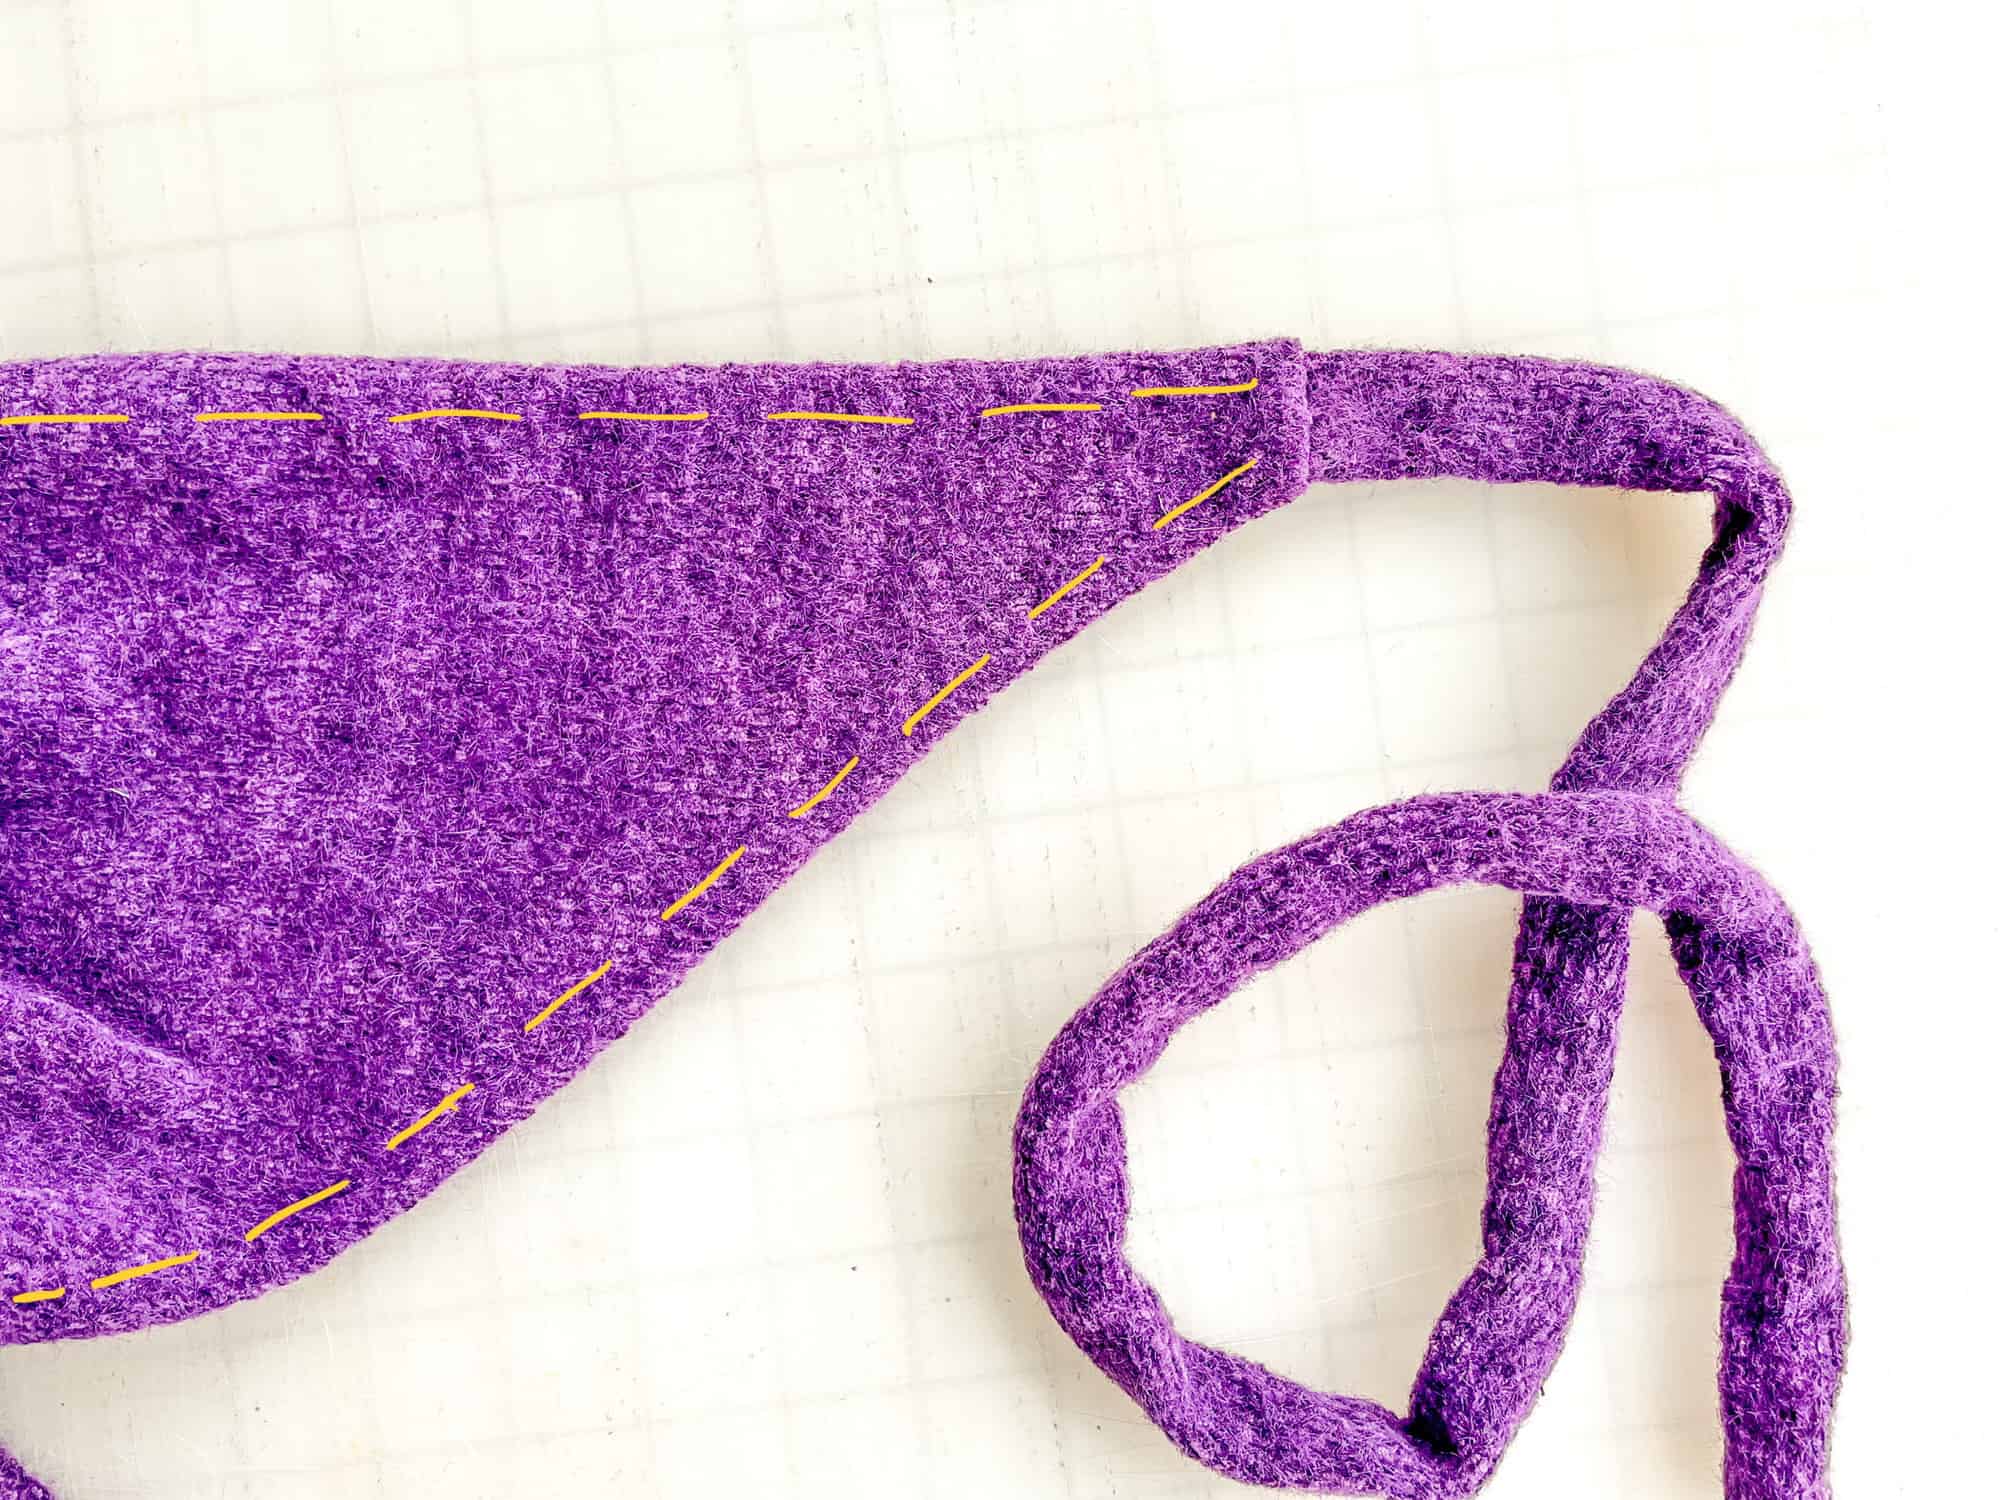
Using your favorite turning tool, turn straps right side out. Repeat with second strap. Align strap, with right sides together, in center top corner of main piece. Sew. Flip strap towards wrong side of main piece. Hem top and edges of wrap, using 1/2″ hem allowance. You’re finished!
——–
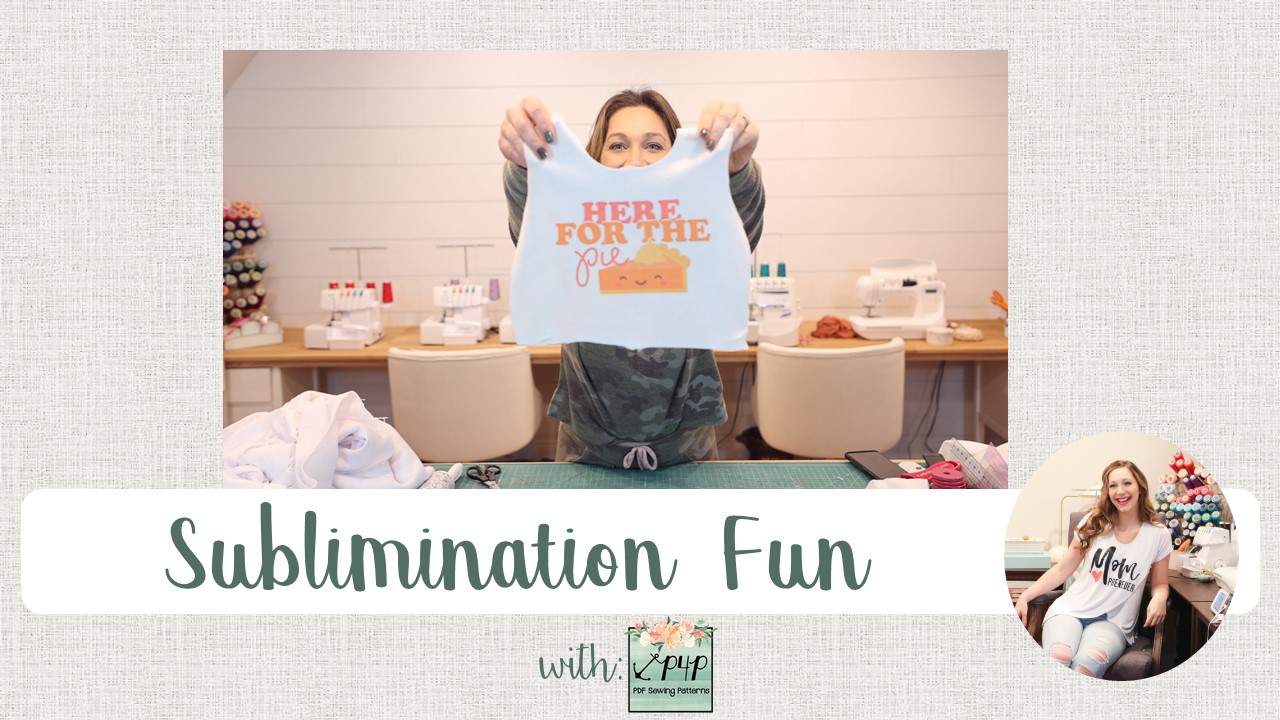
In case you consider yourself a more “visual learner” here’s a video tutorial that walks you through the entire tutorial, start-to-finish.
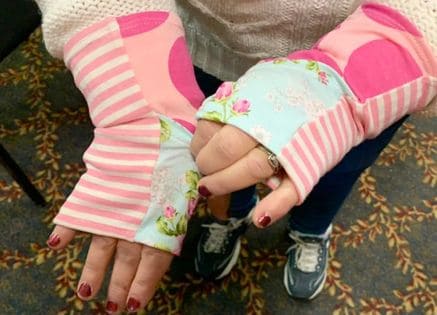
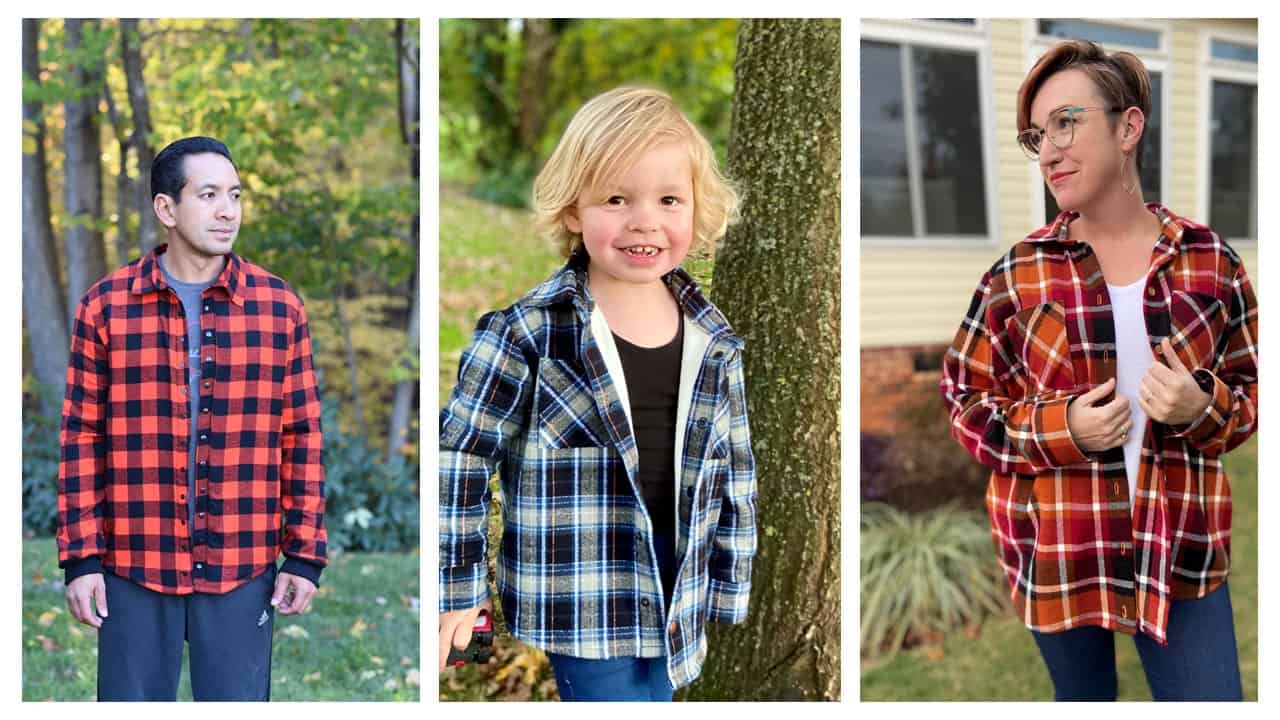
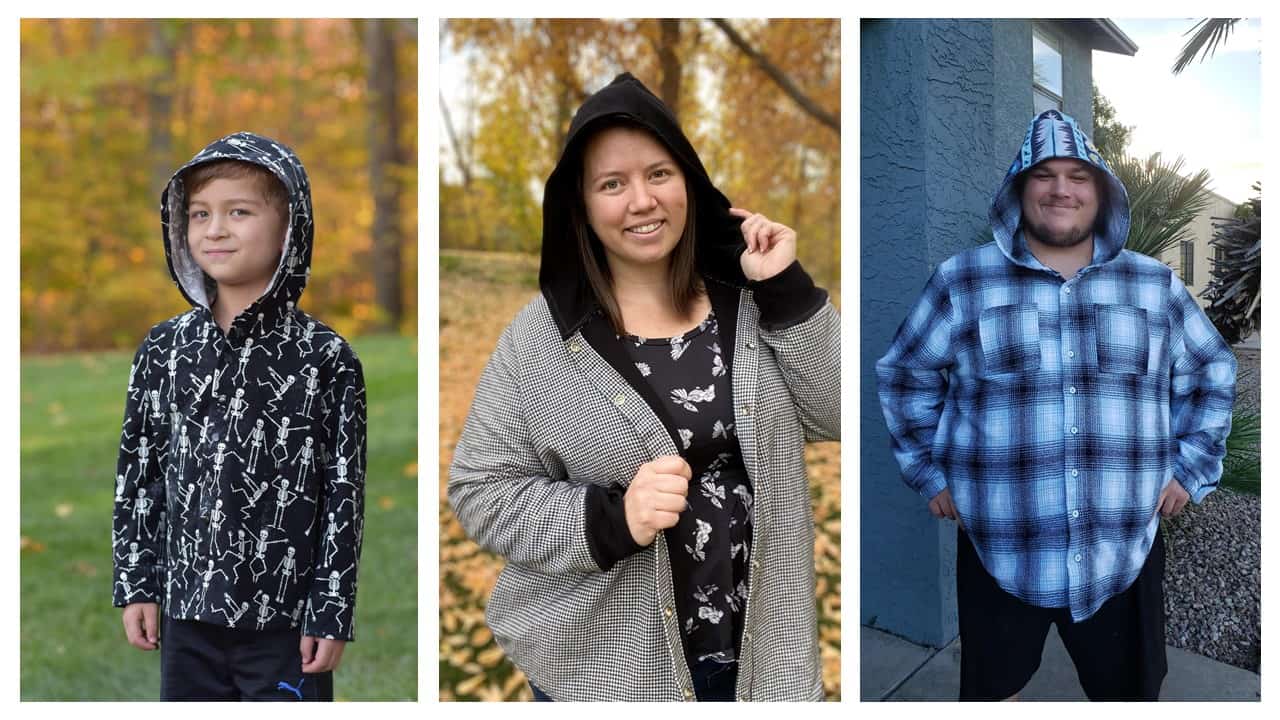
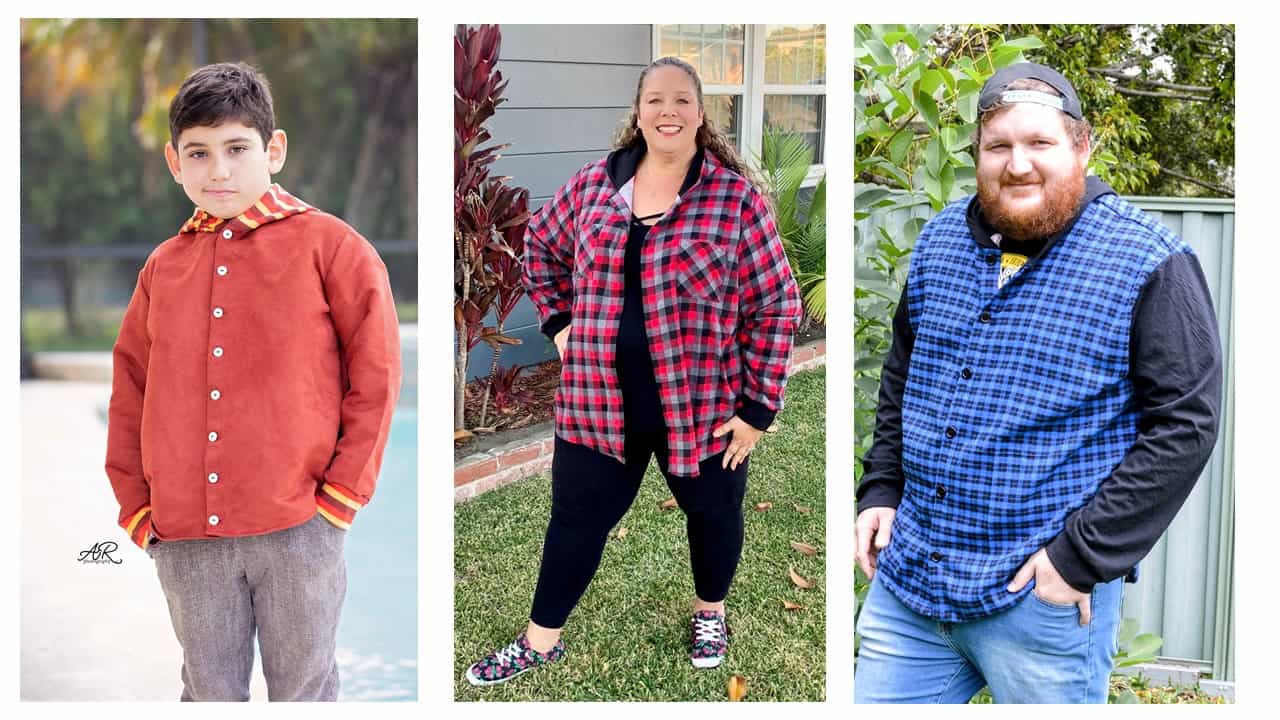
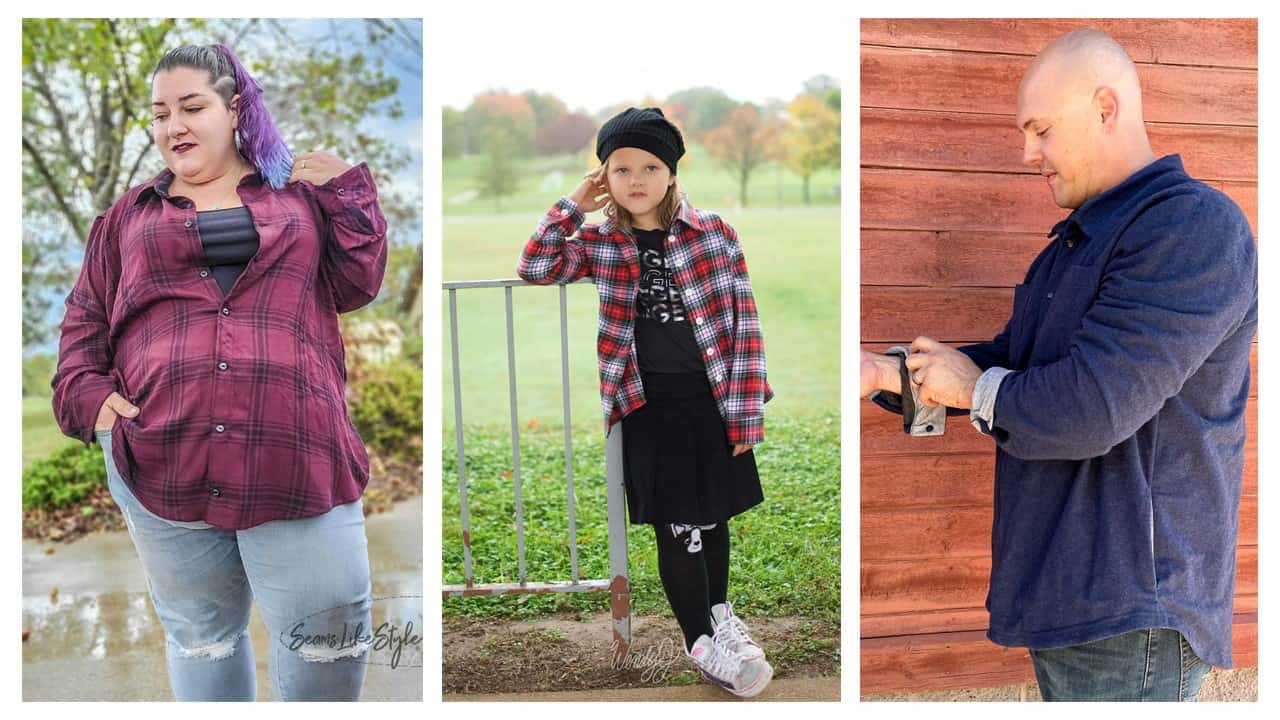
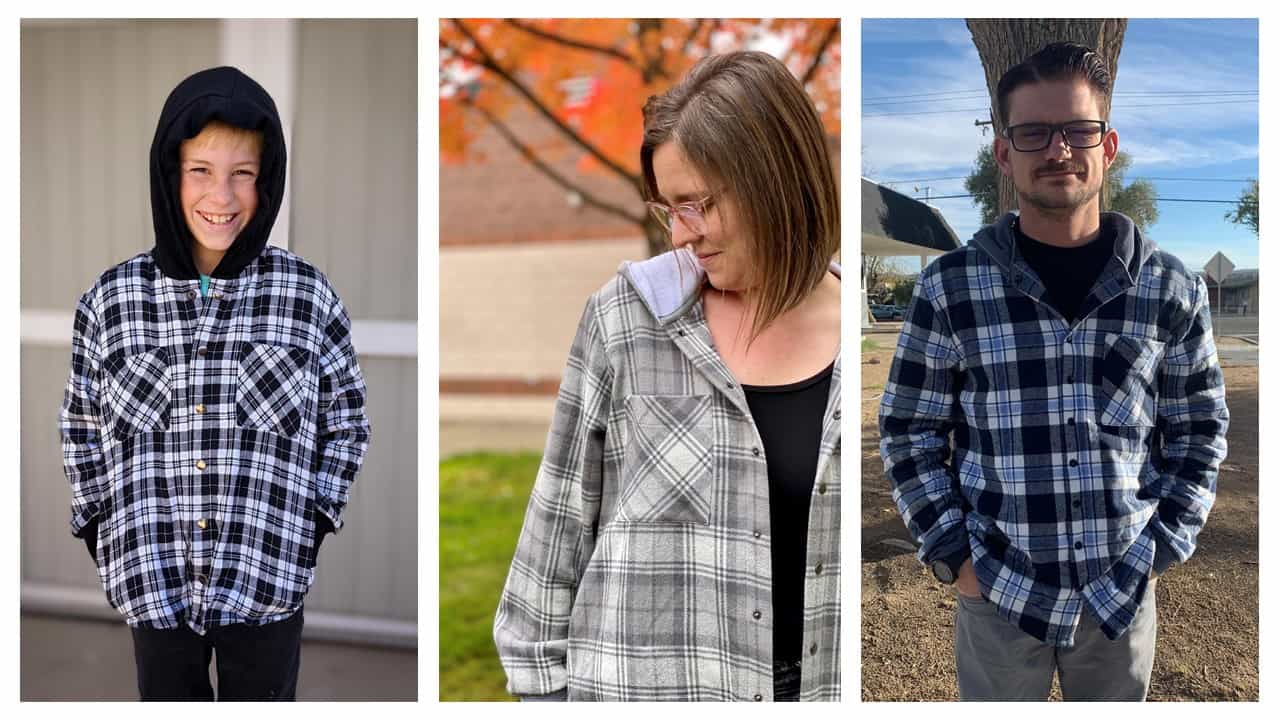
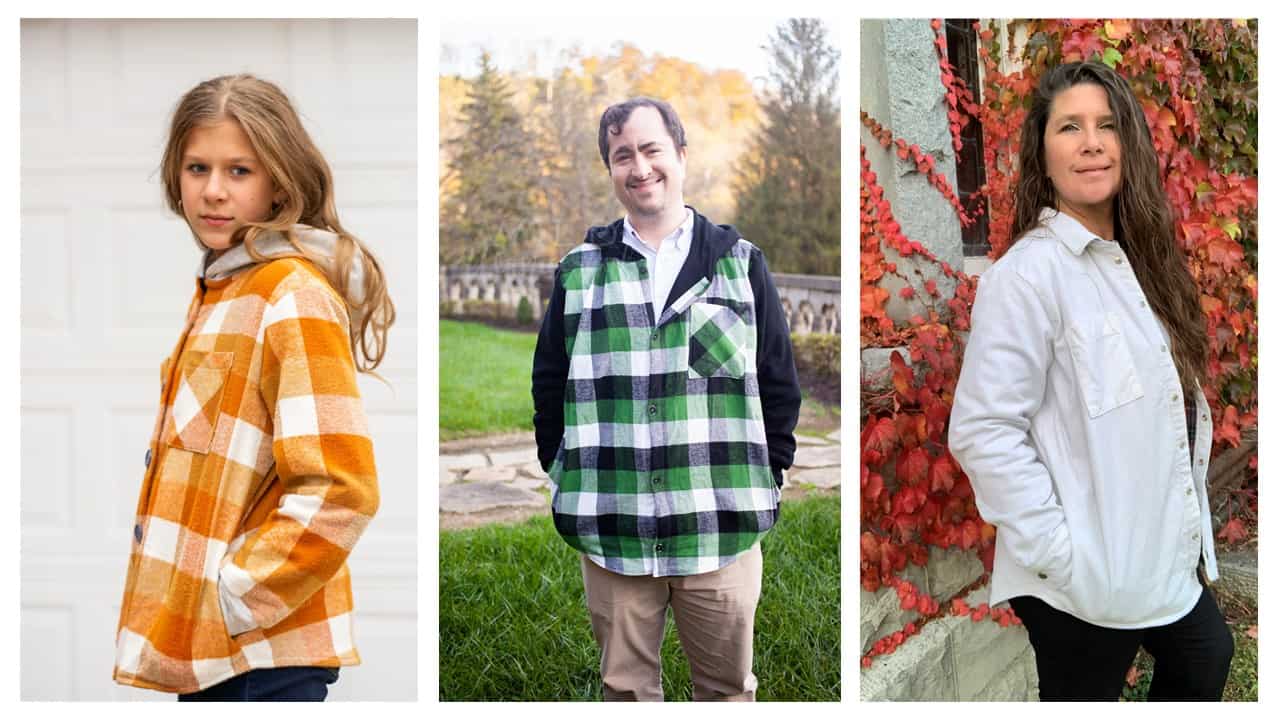
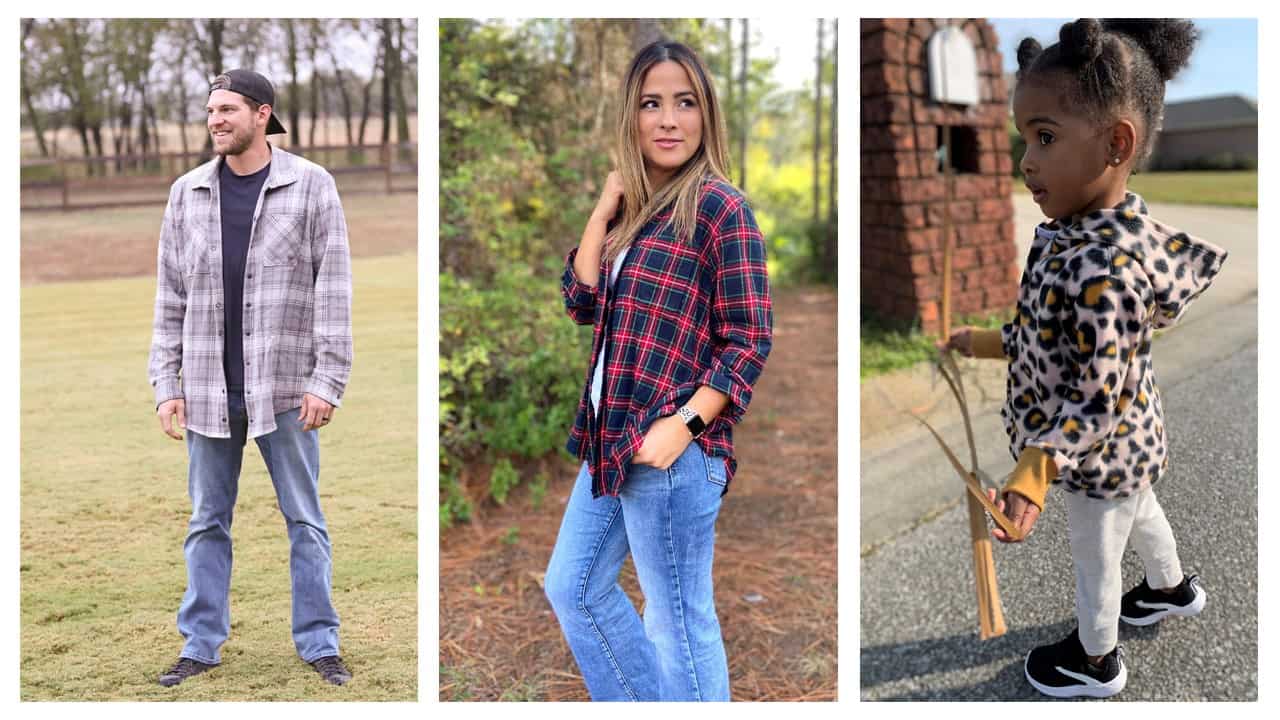
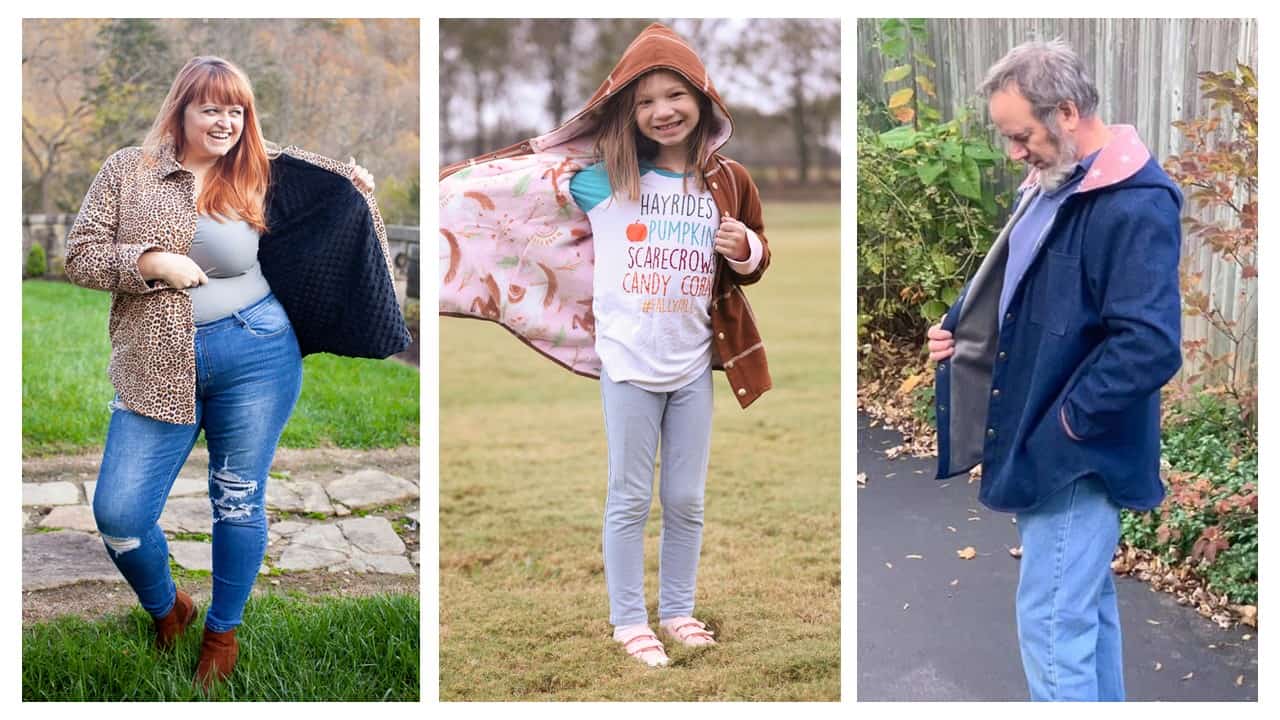
Check out what our fabulous testers were able to create with this very same tutorial!
The best part about this wrap is that it can be worn SO MANY different ways!


I la-la-love when you share your photos with me! Head over to the Patterns for Pirates Facebook Group and show us what you’ve made!
Happy Holidays, Pirates!