After spending way too much time browsing for sewing inspiration online, one of the biggest trends I’ve notice is the amount of long cardigans, also known as the duster length. While the original duster length was worn by the adventurous horsemen of the Wild West, I’ve decided to put a Pirate’s twist on it by using the Grandpa Cardigan. And what’s not to love about the Grandpa Cardi? It’s cozy, the perfect layering accessory, and always stylish! With a few quick and easy mods to the pattern, you too will be ready to join in on one of the hottest trends!
Determining Length
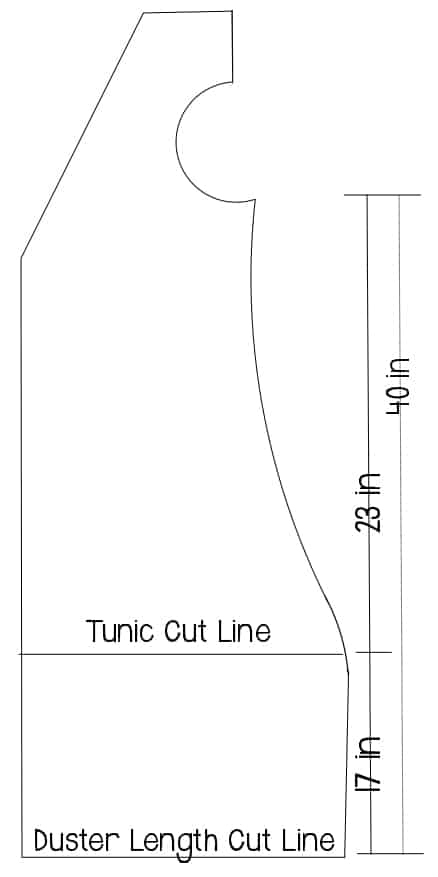
First you will need to determine how long you want your duster. For me, I chose to have it hit right around my mid-calf. I measured from my underarm to mid-calf, which was a distance of 40″ (I’m 5’7″ for reference).
Adding Length to Back and Bodice Pieces
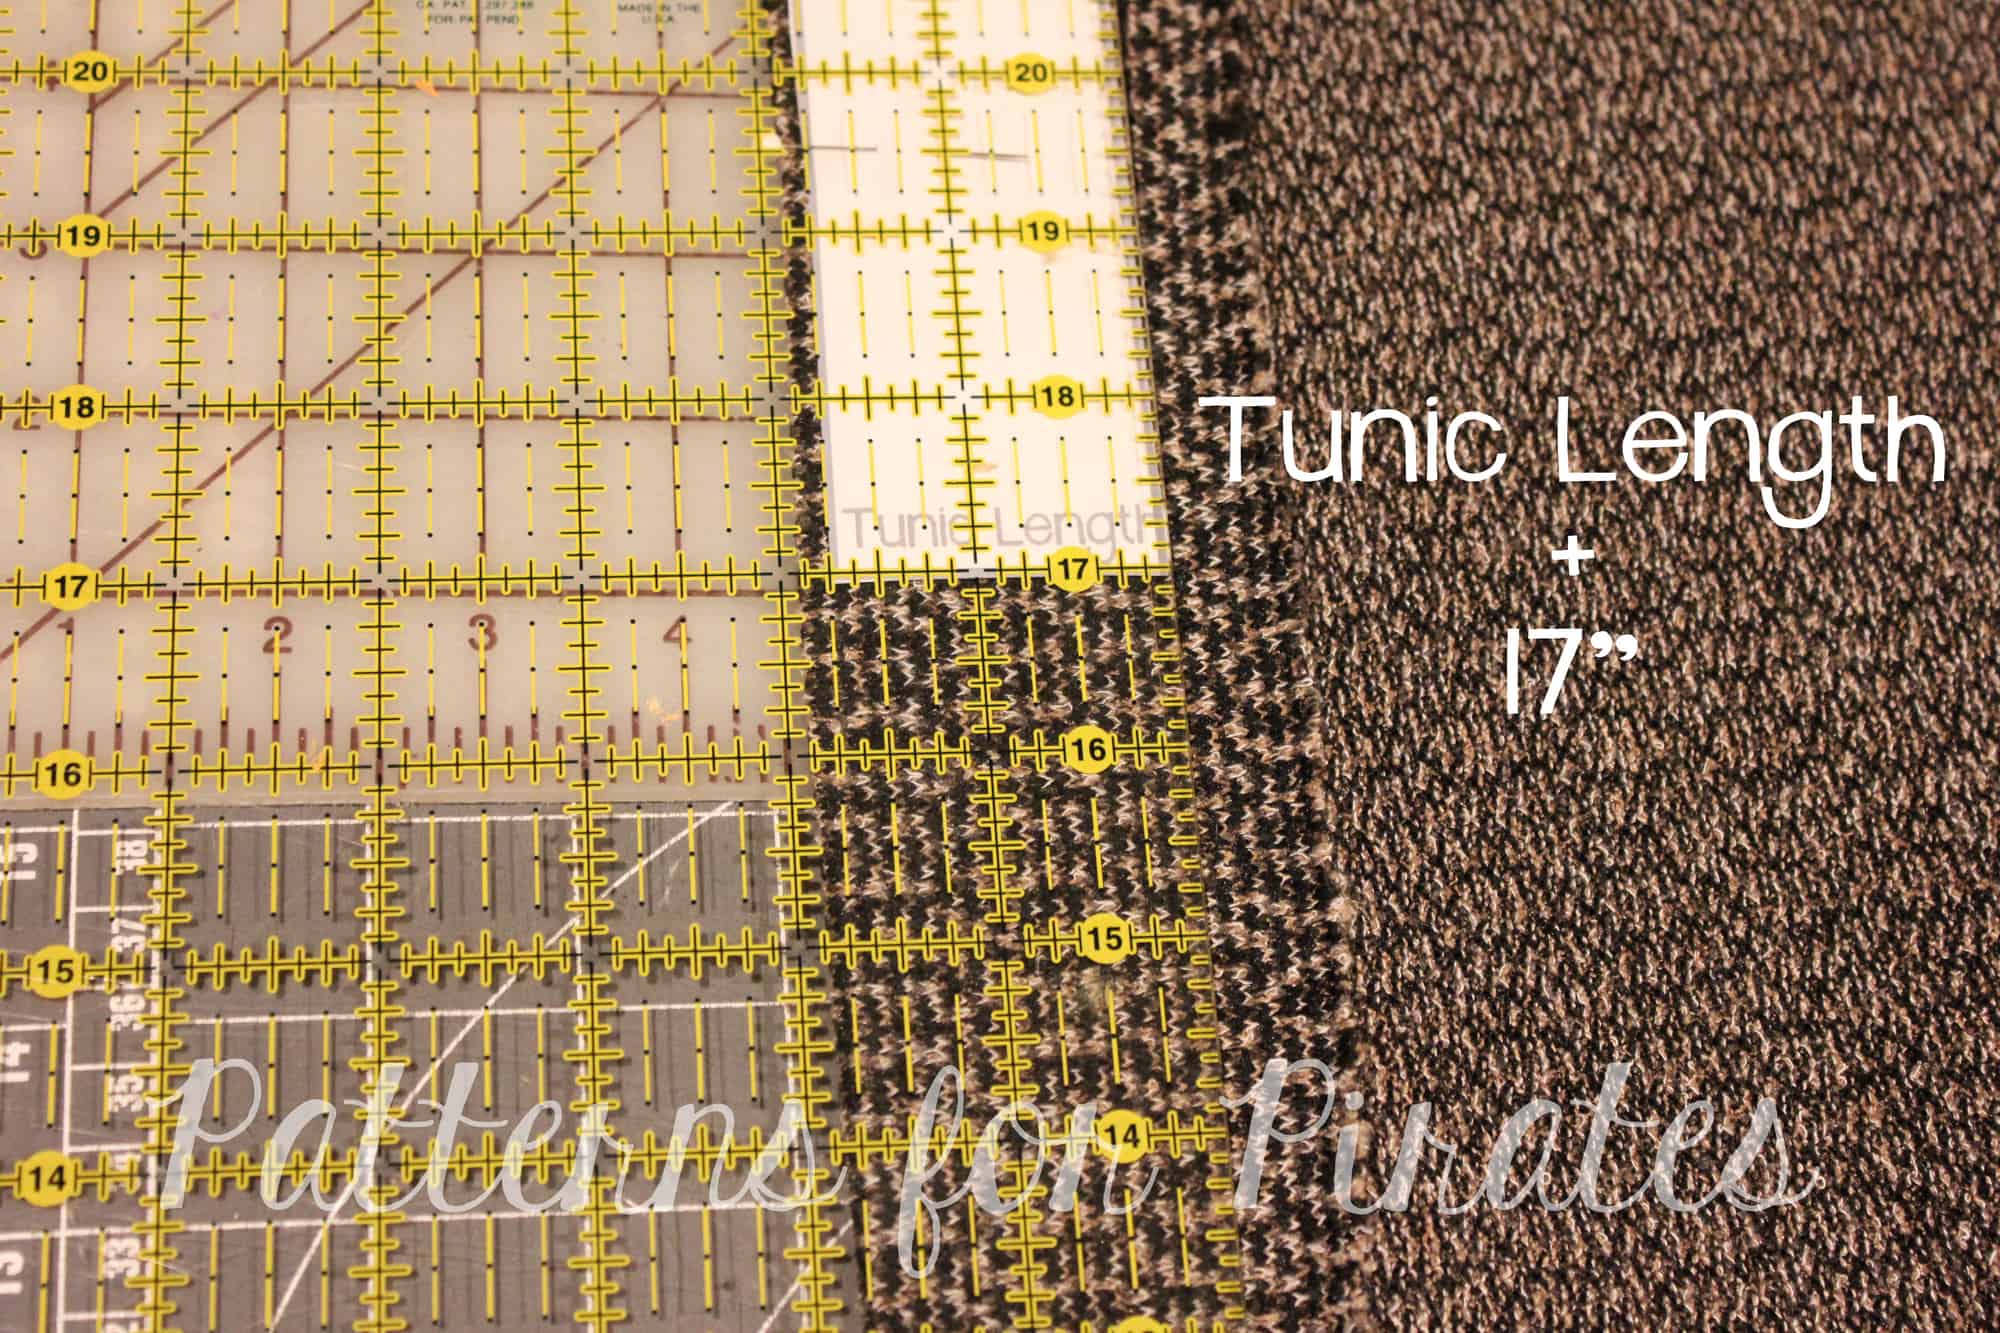
To add my length, I traced the pattern as is, using the tunic cut length. I then placed my tape measure from the bottom of the armcyce to the edge of the tunic cut line on the front bodice piece. For an XS, this measurement was 23″, meaning that I needed to add an additional 17″ in length (you will want to measure this distance if you are using a different size). I then drew a line 17″ down from the tunic cut line, keeping these two lines parallel. Once the line was drawn, I connected the new duster length cut line perpendicular to the original pattern. Repeat this step on the back piece.
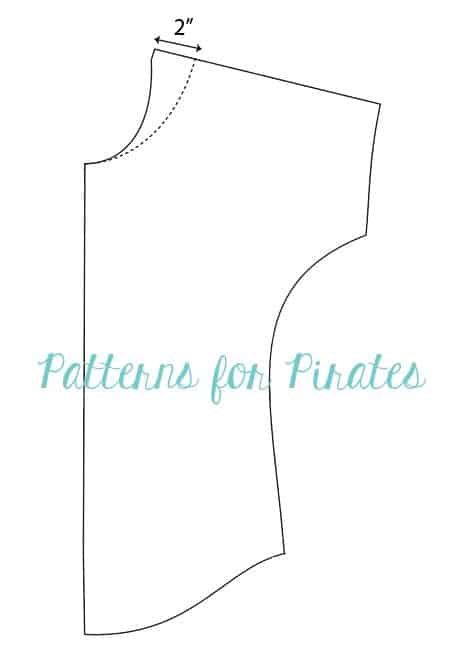
Adding Length to Collar
The Grandpa Cardi is very easy adjust the length of the collar. The band is only stretched around the neckline, while there is a 1:1 ratio below the slight V. Since I added 17″ in length, I added this same amount at the end of each collar piece from the tunic cut line. This will not alter the part of the band that needs to be stretched, only add to the section that is 1:1.
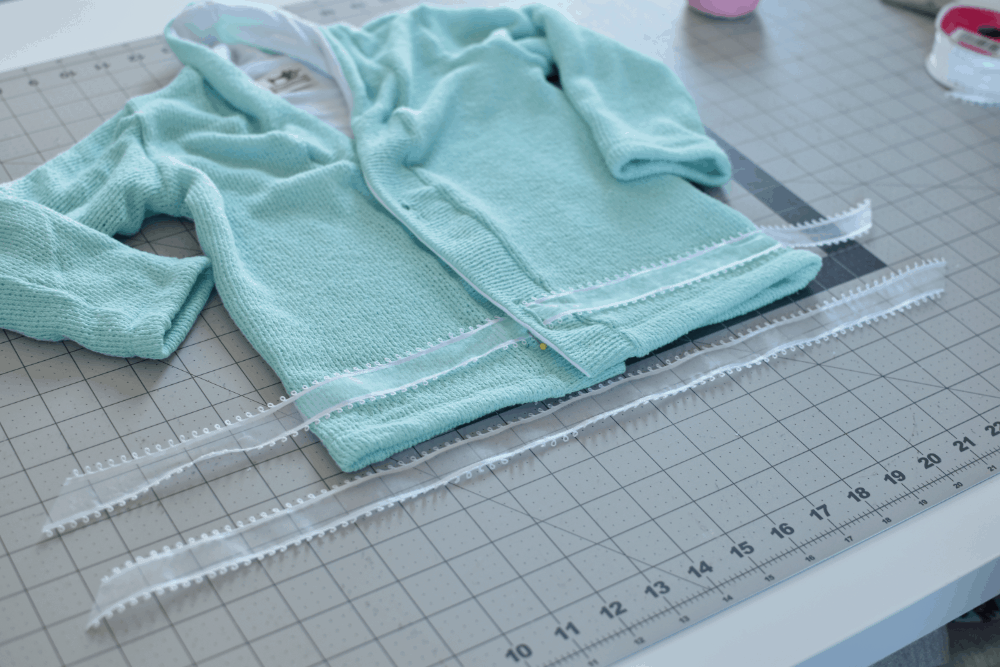
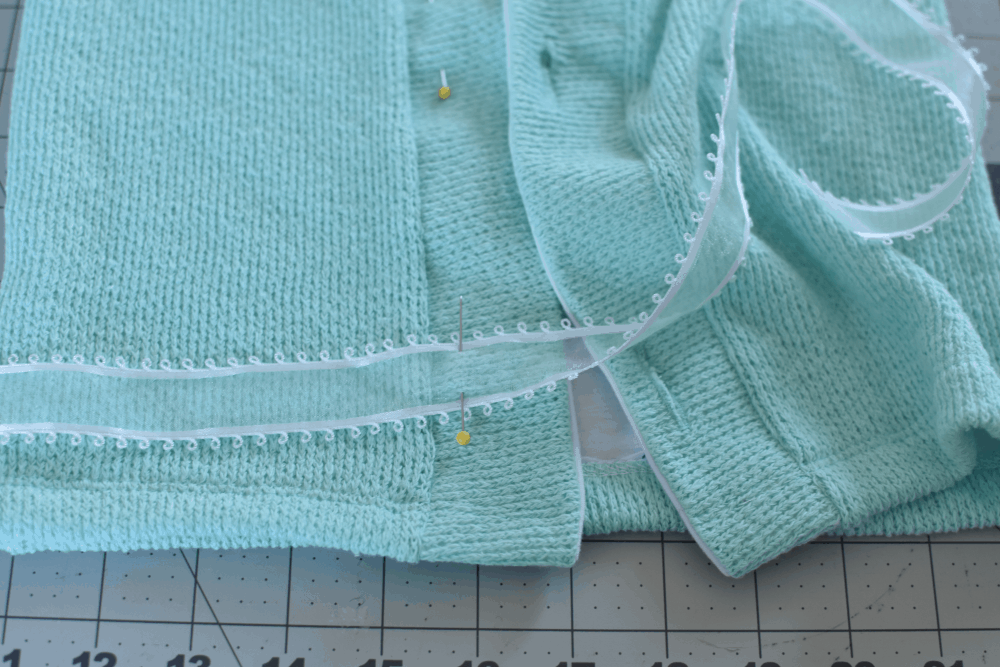
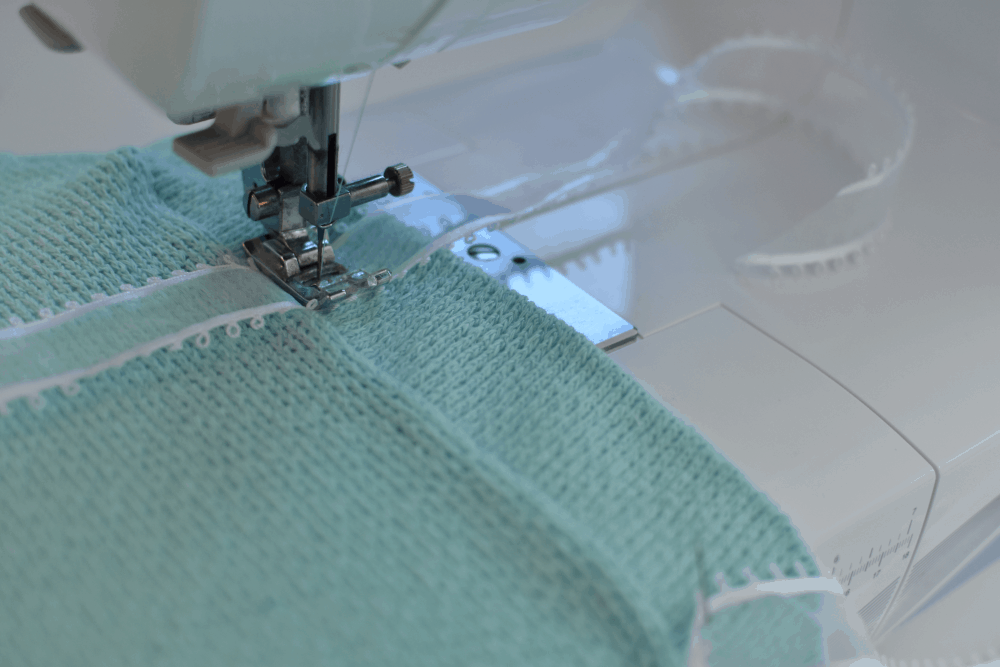
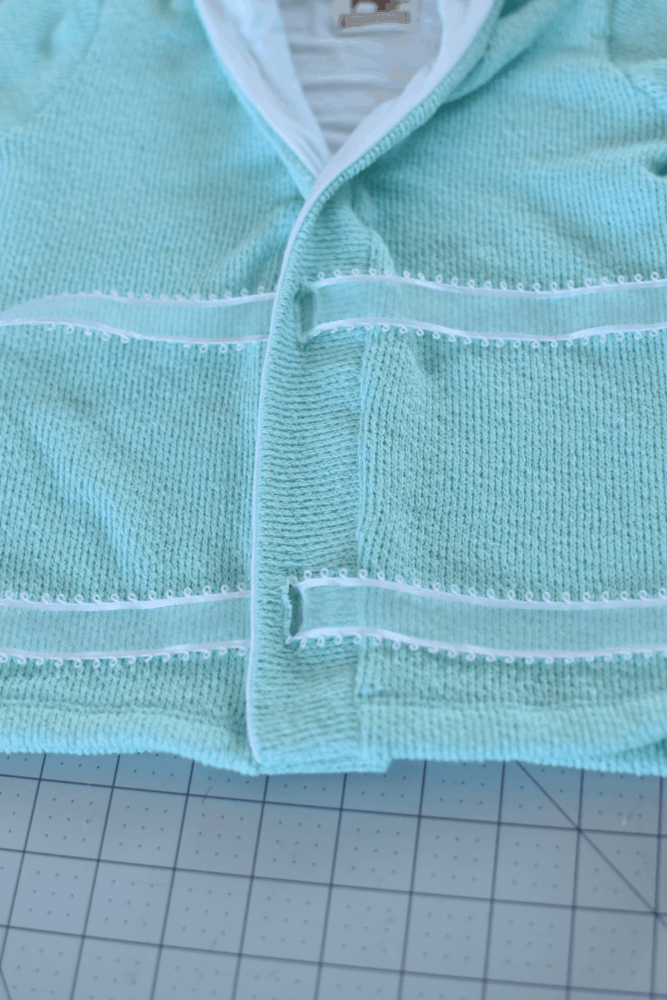
Finishing Duster Cardi
Once you have lengthened all pieces (and cut out your sleeves), assemble the pattern as per the tutorial.
And if you needed a little more inspiration, the Duster happens to pair amazingly well with the Boyfriend V-neck! You should probably just grab that one as well if you don’t already have it! Make sure to check out the bottom of the page to read about what the other ladies have in store for you during #P4PCardiWeek. ~ Erinn


Take a look at our jam-packed schedule of cardigan love!
Saturday, January 21: #P4PCardiWeek Announcement
Sunday, January 22: Cocoon / Butterfly Ruffle + Lace Hems
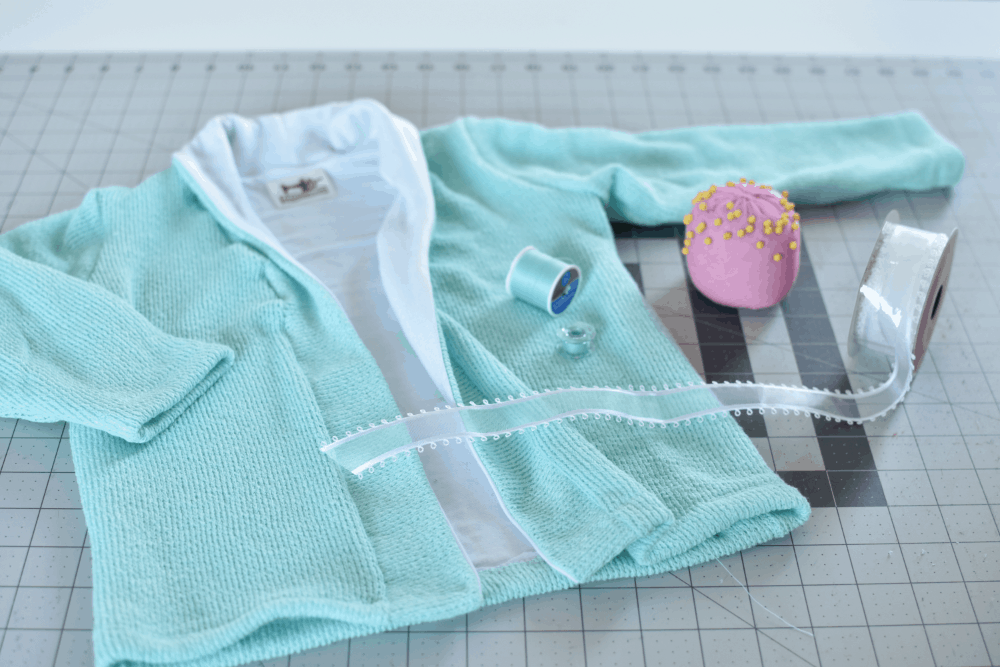
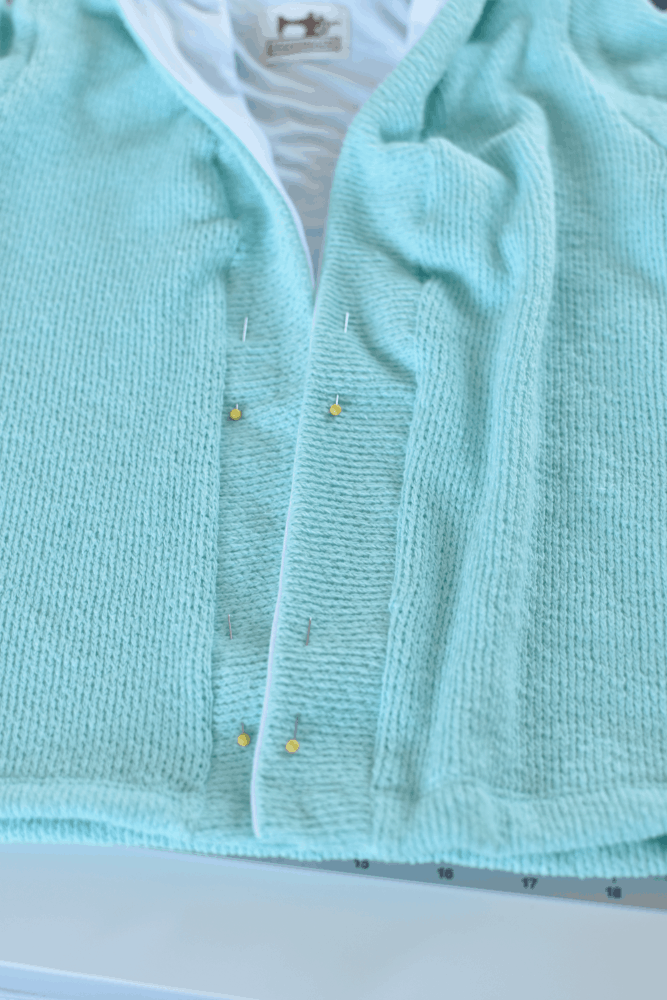
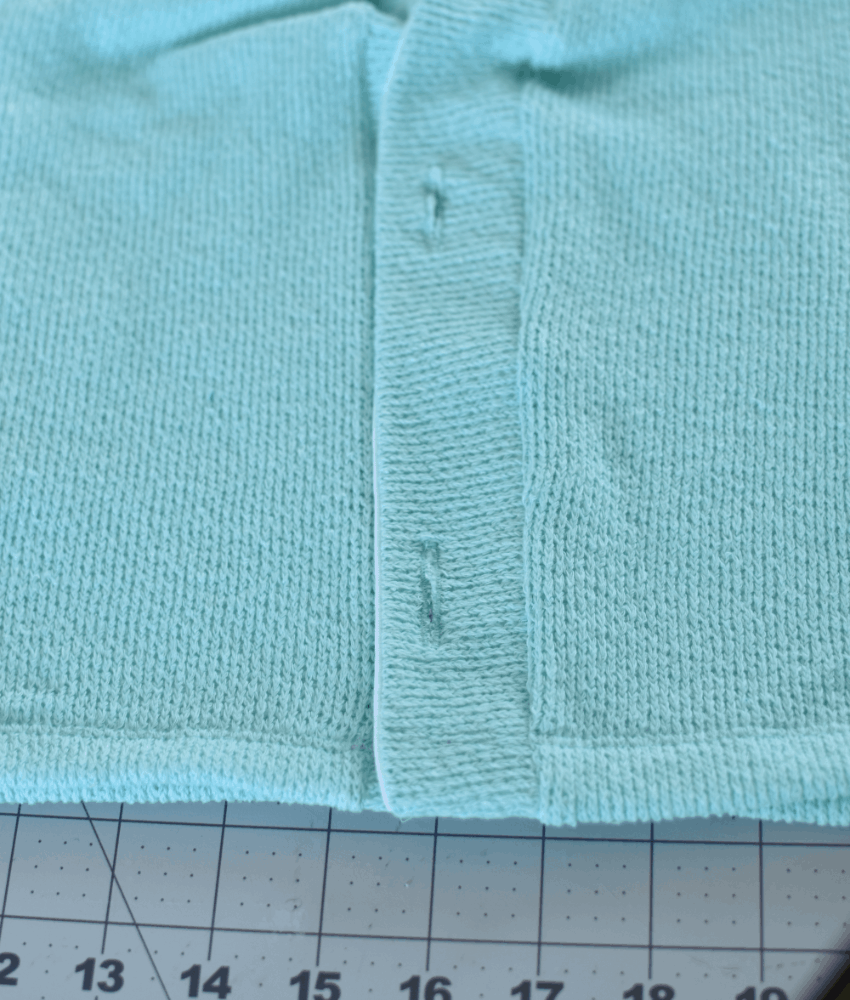
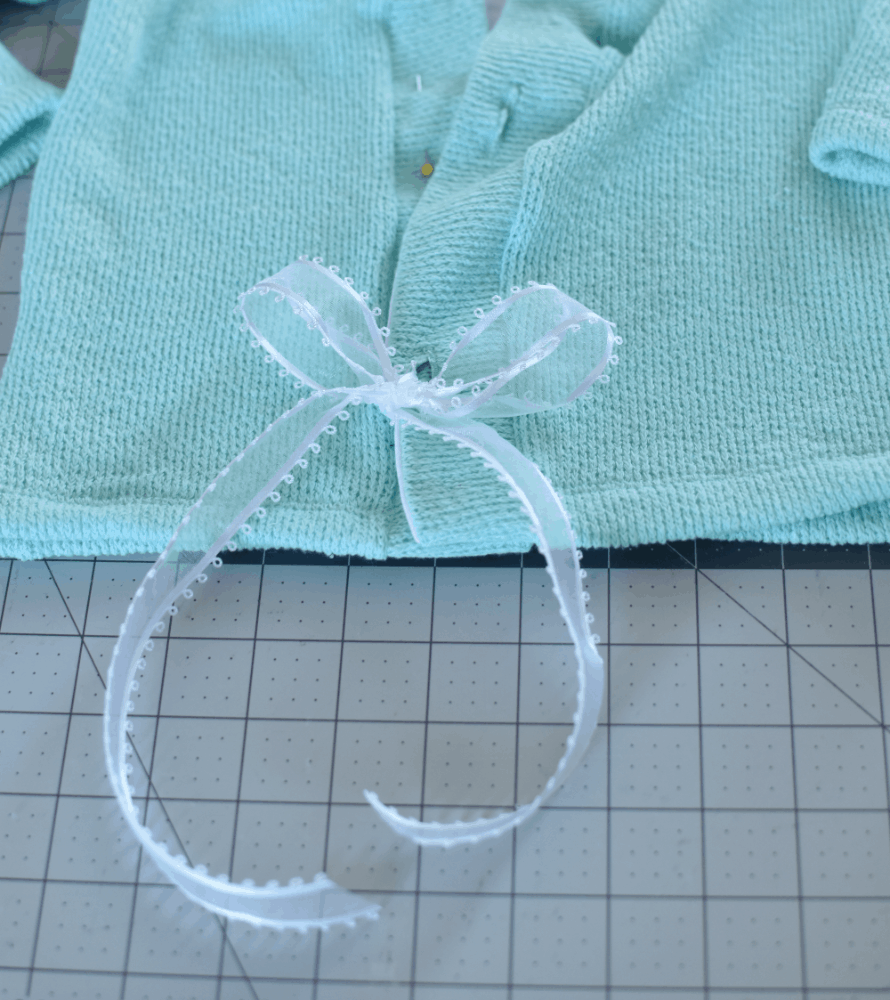
Monday, January 23: Ribbon Tie Closure Hack
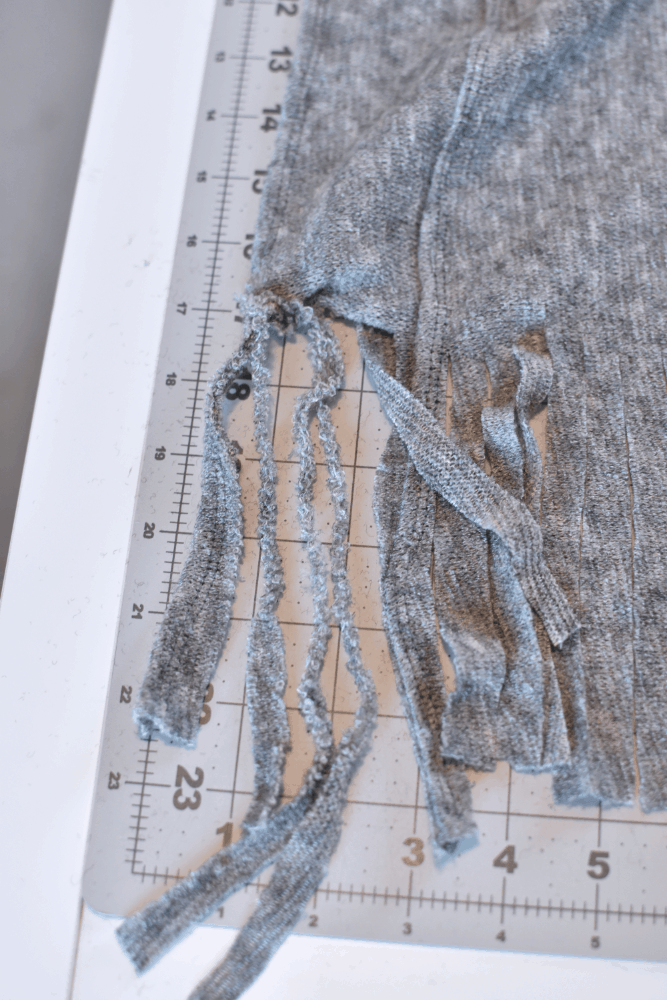
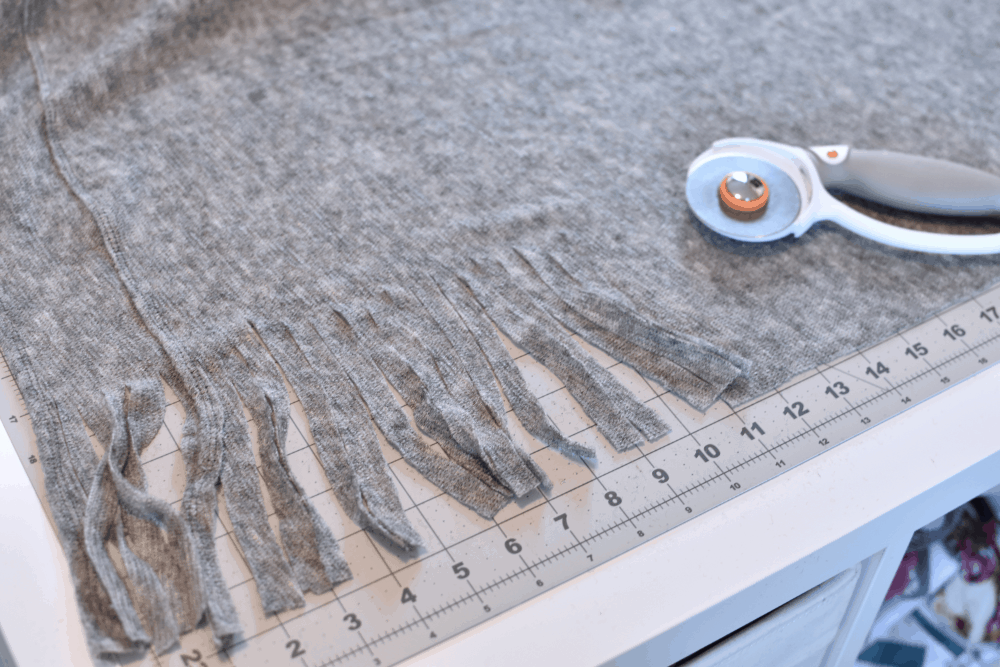
Tuesday, January 24: Carefree Cardigan Fringe Hack
Wednesday, January 25: Duster-Length Adjustment
Thursday, January 26: Kimono Ruffle Sleeves + Hem
Friday, January 27: Varsity Sweater Style Hack
Saturday, January 28: Carefree Cardigan Flannel + Vest Hack
Monday, January 30: #P4PCardiWeek Winner Announcement
You can follow along on the blog here, or in our Facebook group. Search #P4PCardiWeek to be able to find our posts all over social media. And please feel free to sew-along with us on one or all of the days. The more the merrier!
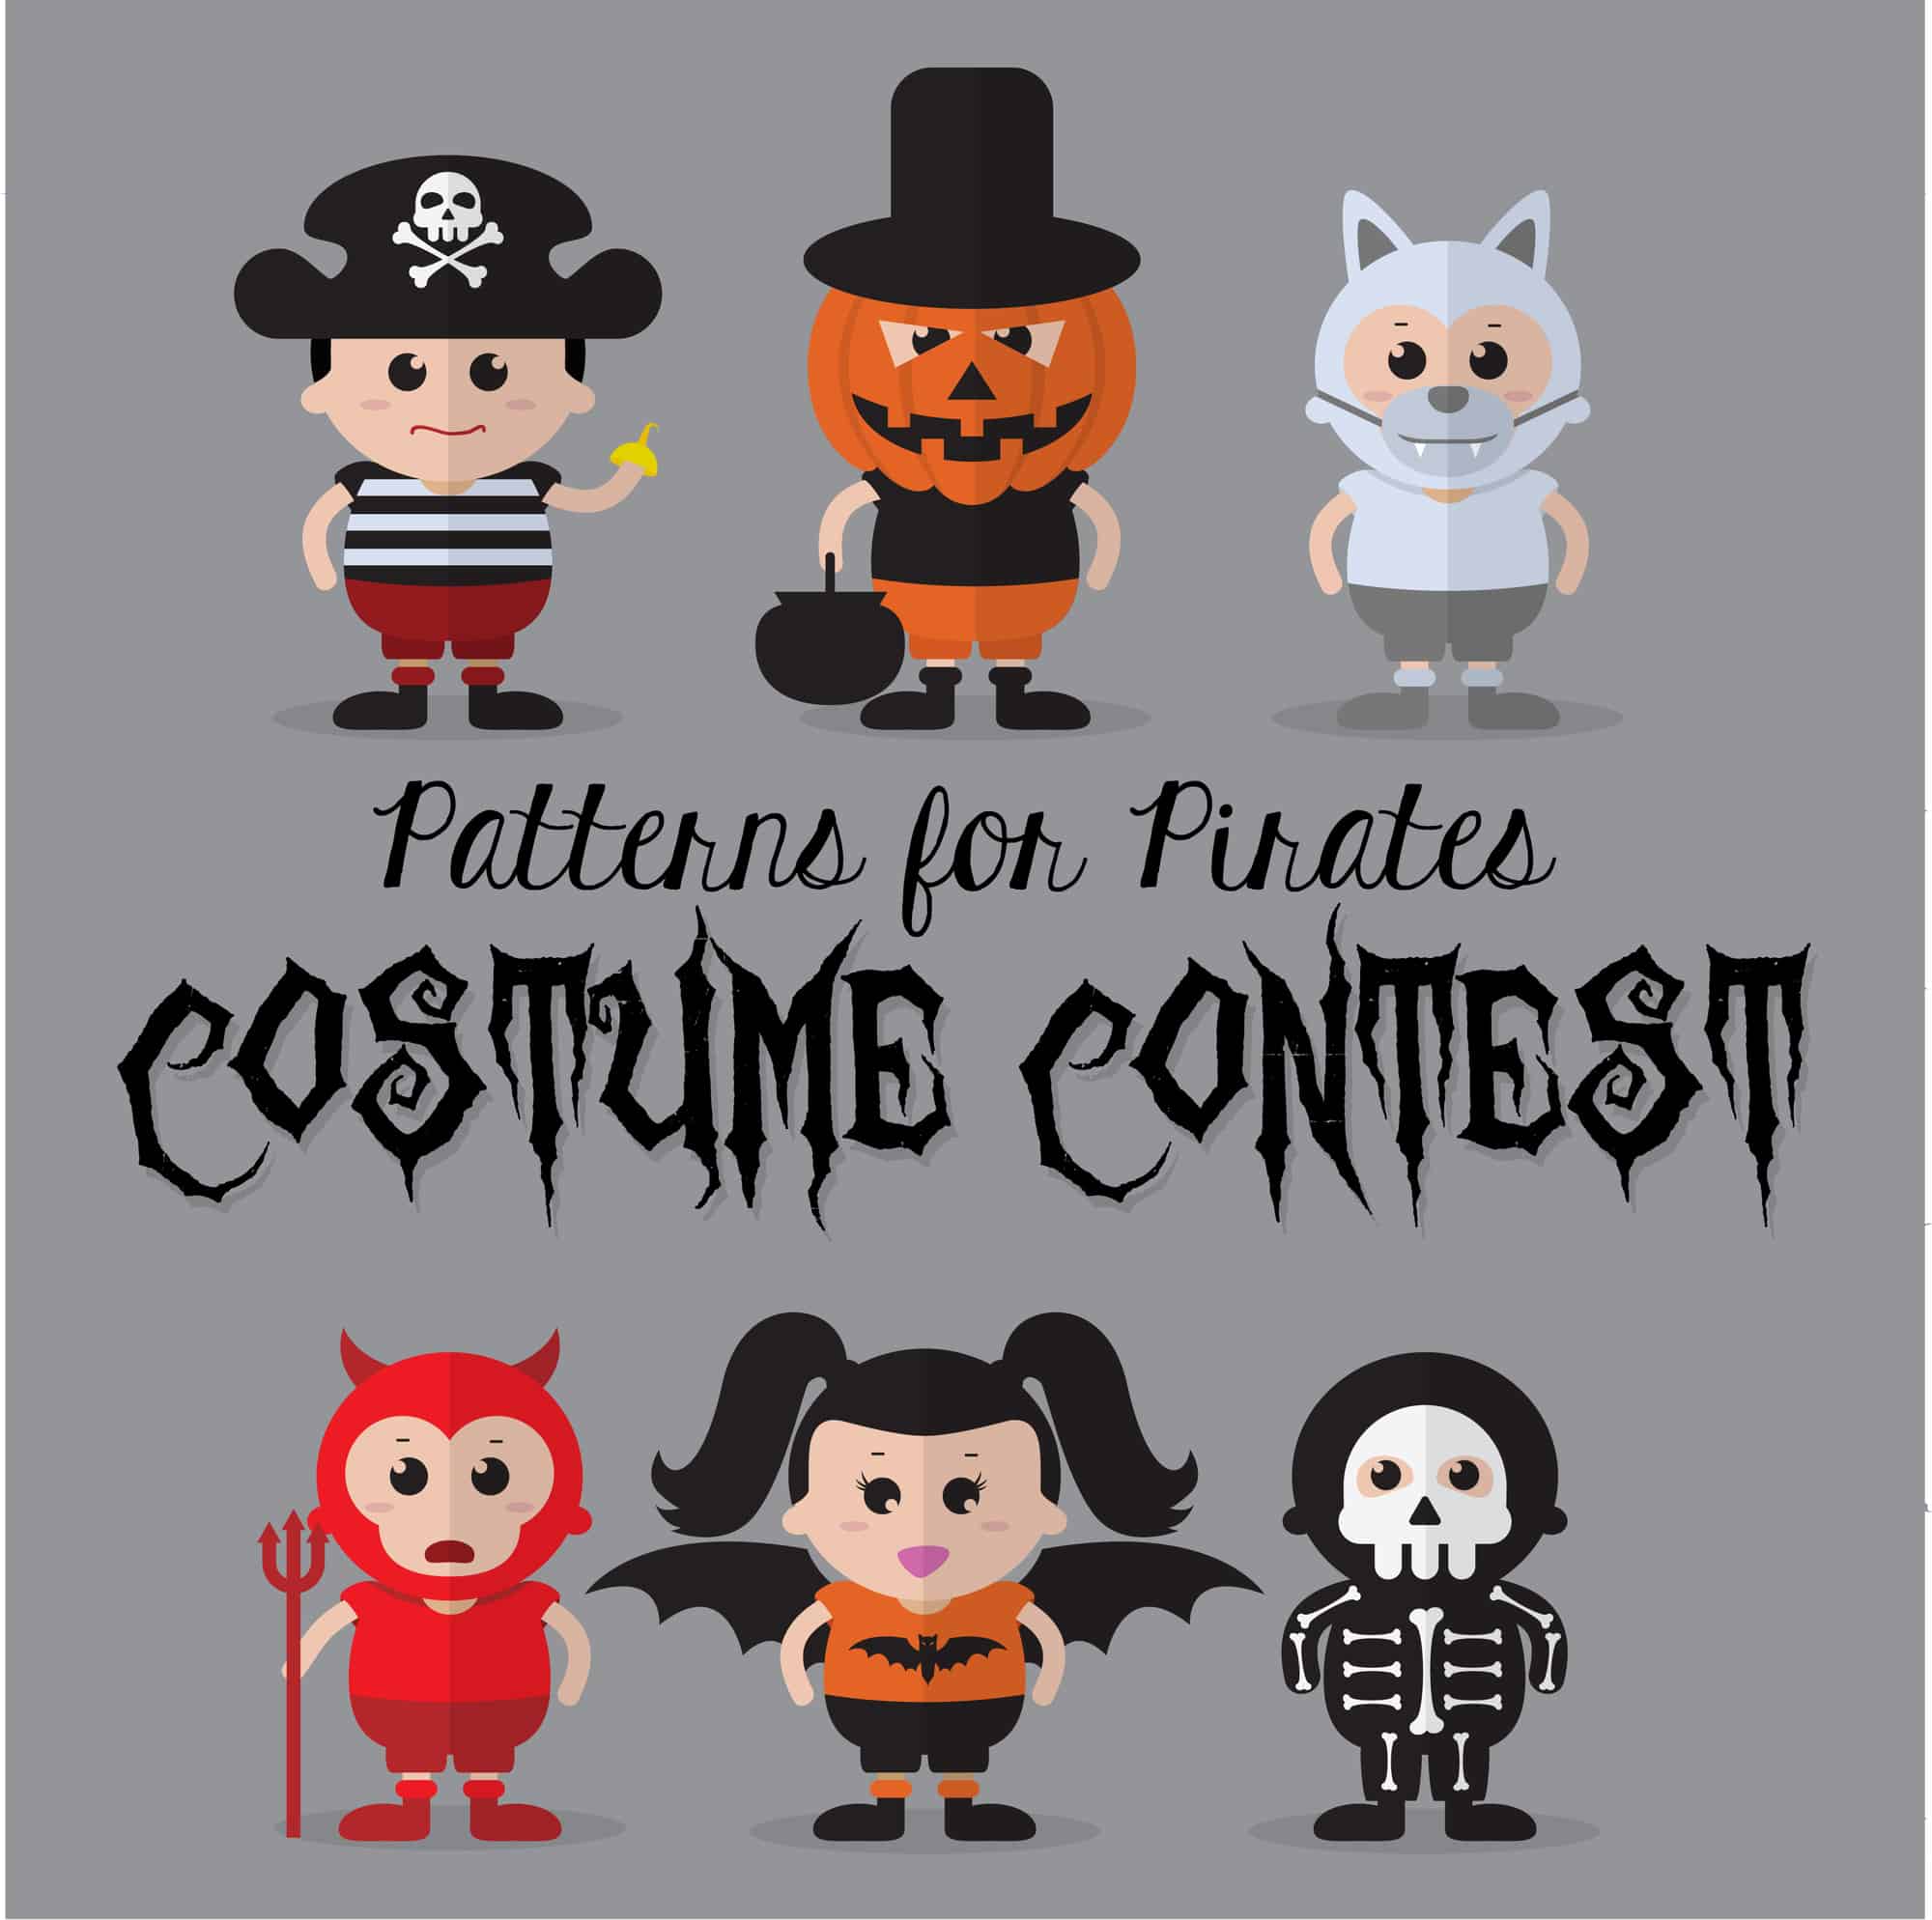
But wait, there’s more! We wanted to create a friendly pirate-y competition with our P4P Cardi Week!
Between tomorrow and Saturday, January 28, sew up a Patterns for Pirates cardigan using one of our hacks, or by keeping the pattern as-is. Share your photo with us on Instagram or in our Facebook group and use the tag#P4PCardiWeek We will pick our favorite and the winner will win a free P4P pattern of choice AND be featured on this blog. Fun right?
To make it even better we have put all the cardigan patterns in the shop on sale all week (no code needed)!
Now get out there and sew some cardigans, matey!