n my post about the Greenstyle Taylor Shorts I made myself here … I mentioned I did a “full butt adjustment”.. well because I have a FULL butt 😉


Well apparently the apple didn’t fall far from the tree… because when I went to measure my LO for some cute Winter Wear Aviator pants, I shared about them here in this post … his measurements all hit a size 2… but THAT BUM was a size 5! UH-OH! ha ha ha ha… so I flat measured the bum area to see how much ease the pattern had… I decided he did need more room then the size 3 had… so I went to work doing a full butt adjustment for my not quite 2 year old…I thought kids were easier to sew for?????


I had lots of inquires about a more detailed blog post, so I thought I would share his… it is the same on any size pattern 🙂
It is a really quick and simple adjustment!
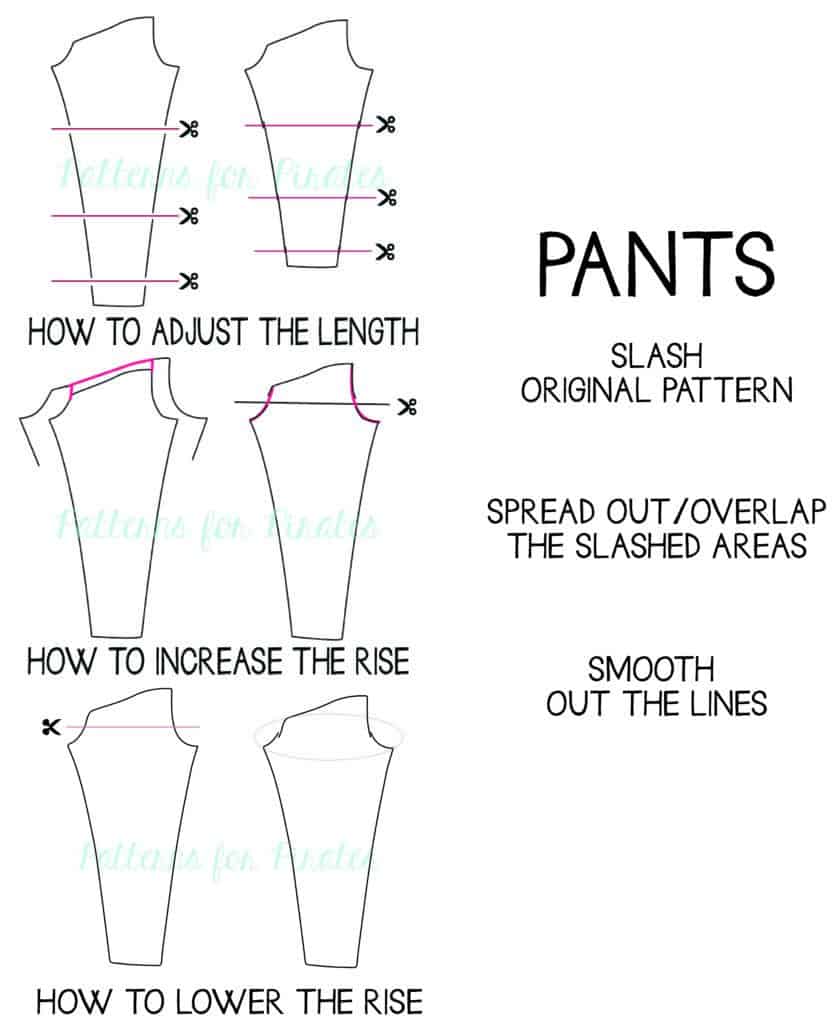
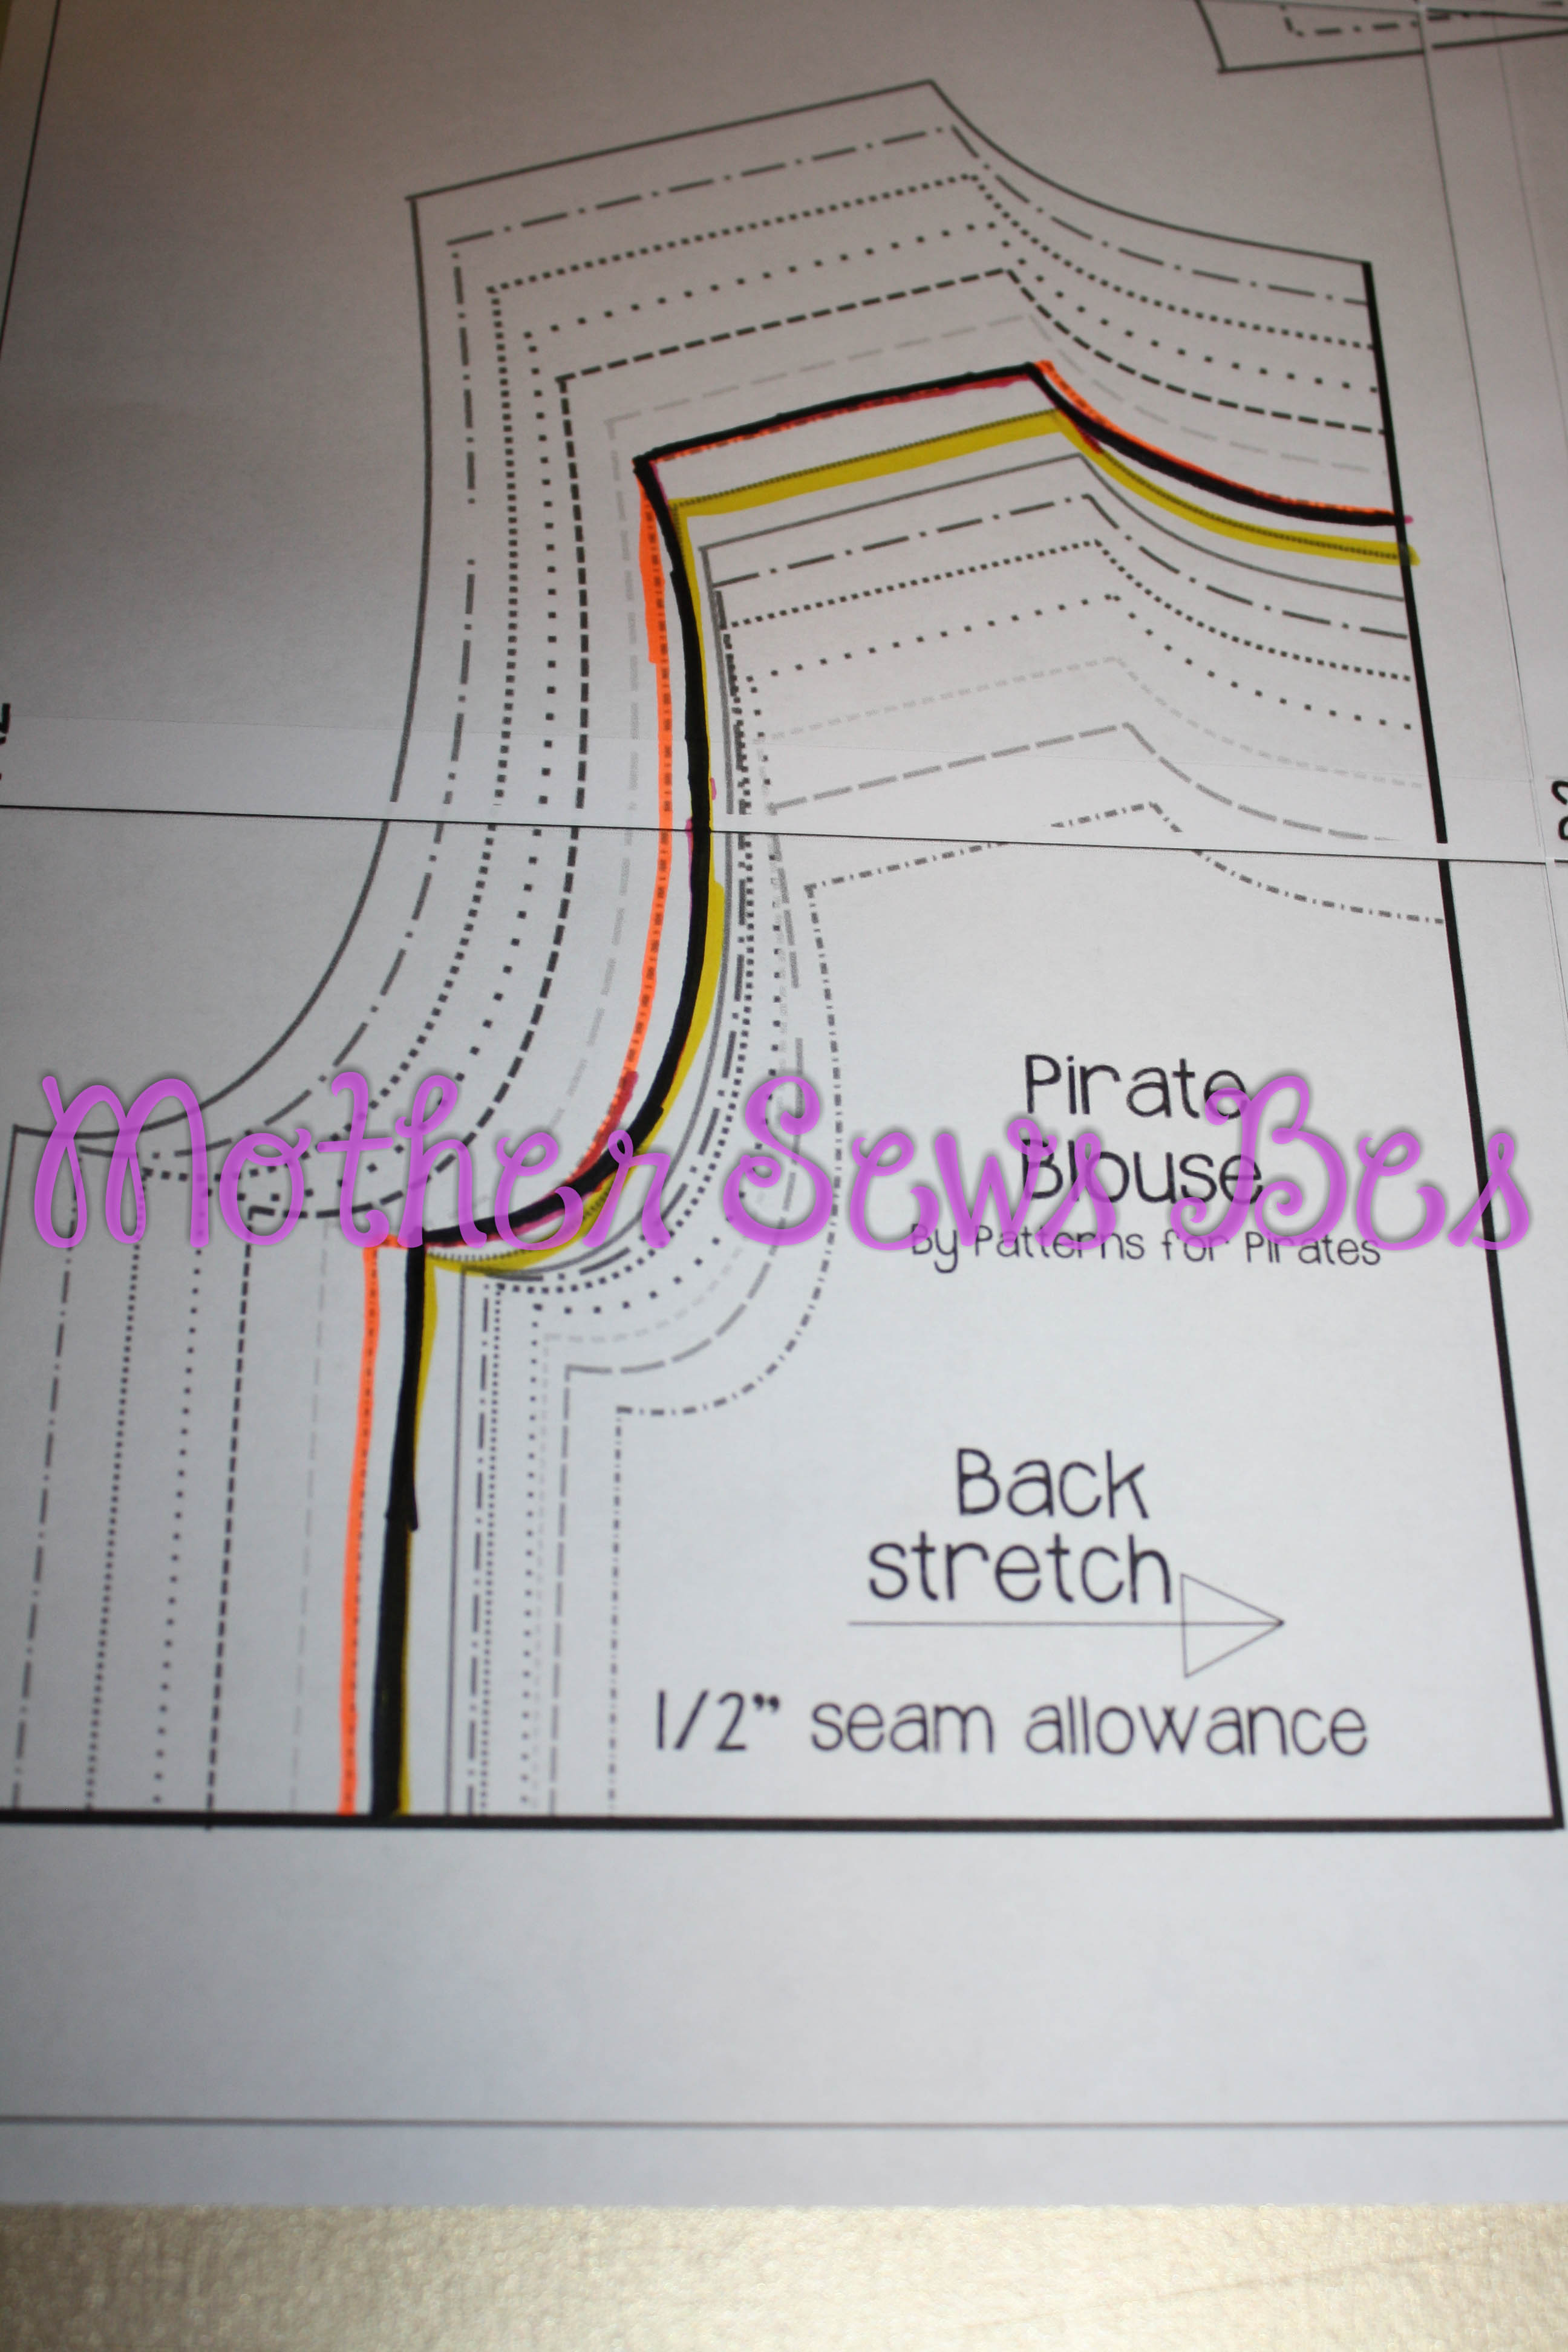
Take your back piece and splice it across where the roundest part of their/your booty is. usually about mid rise on younger/athletic builds 🙂 You will want to leave the seam allowance! Here is a picture of his:

Now when you go to cut, you will spread out the back rise however much you need to add for the bum… I added about 1/2″ to my LO’s after flat measuring and comparing to his measurements.
Then you will need to “true up” the sides… since you’re adding length into the rise it wont match perfectly anymore, neither will the outer leg seam… Here is where you can customize your fit even more…

For my Little Guy who still has a baby figure I didn’t want to loose ANY width on the waist or high hip… so when I “trued up” the outer leg I took the outer edge and added slightly straightening the line up.
When I adjust for myself, I have a small high hip and waist… so I don’t mind taking the inner angle and loosing some width up there.
(Looking back I should’ve taken another picture with a chalk line describing these… I will add those when I need to adjust a pattern for myself, or my little one!!)
I hope this helps those blessed with big bums! 😉