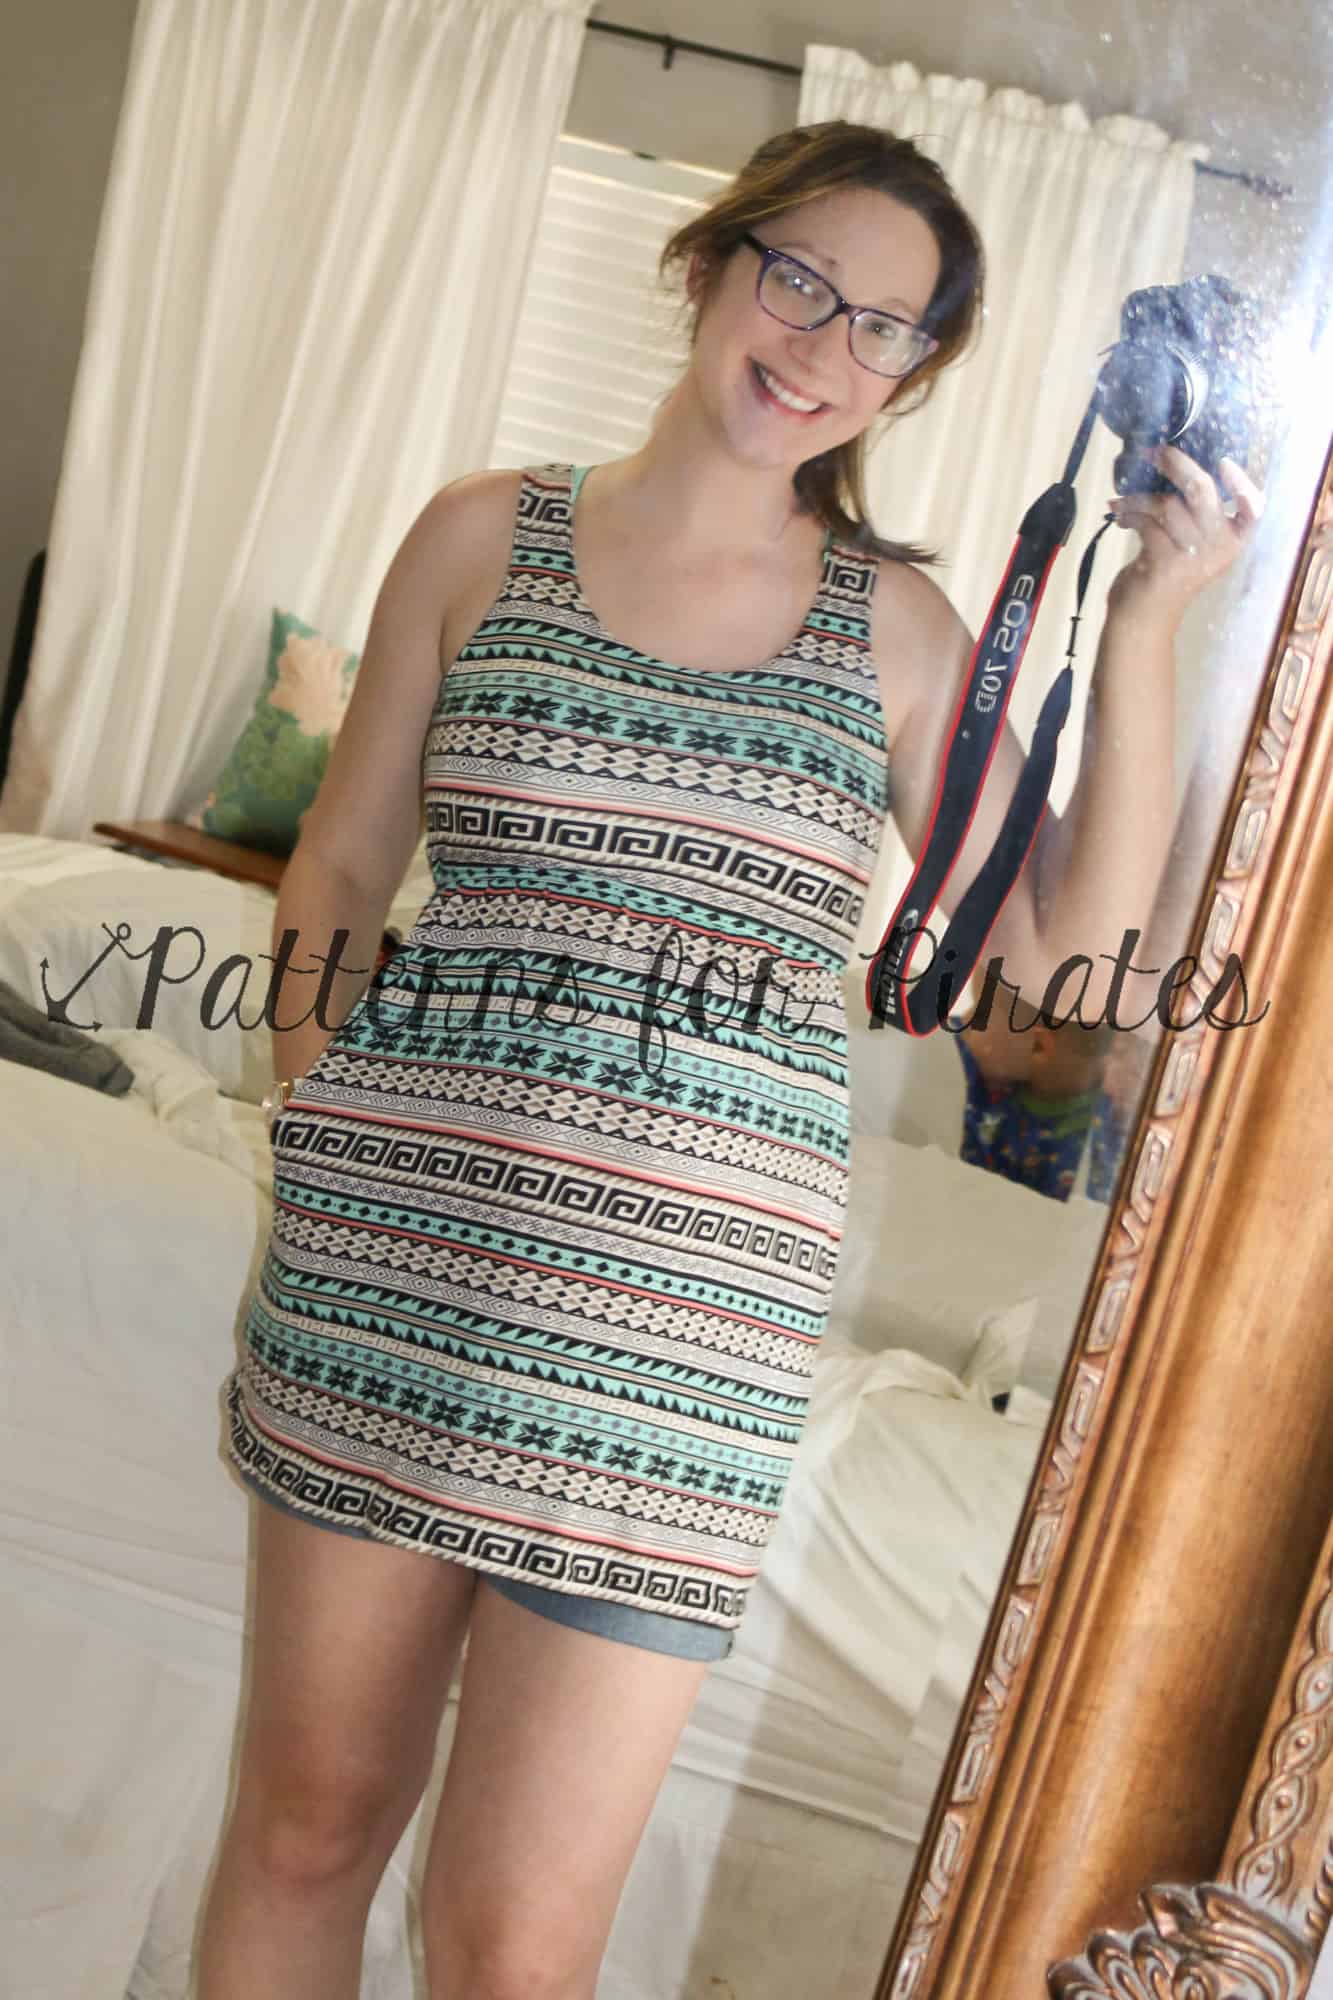
Patterns for Pirates

P4P stylish, modern, wearable patterns

  • Home
  • Blog
    • Frequently Asked Questions
    • Pattern Releases
      • Free Patterns
    • P4P University
      • Fitting
      • Sewing with Stretch, Knit Fabrics
      • Sewing with Woven Fabrics
      • Sewing Machines
    • Sew-A-Longs
    • Fabric for Pirates
    • Pattern Hacks
    • Announcement
      • Blog Tours
      • Contest/Giveaway
  • Shop
  • Bundle Discounts
  • Flash Friday
  • Gift Cards
  • My Account
  • Cart

Straight Palazzos Pattern Hack (Three Ways!)

December 8, 2015

Winter is coming, no matter if we are embracing that fact or not.  The change in seasons means that we are putting away our warmer weather clothes and finding things that are much more cozy.  Think: flannels, lounge wear, snuggling by a fireplace, drinking hot chocolate…the works.  But being cozy doesn’t mean wearing frumpy clothes…not one bit.  The Straight Palazzo pants are your answer to putting comfy and cute together.

Think: maxi skirt in pant form.  Heaven, right?

p4p-palazzo-hack-tutorial

Inspiration is everywhere and the online boutiques are full of different styles of palazzos.  Here are three different ways you can take this very pattern and put a tiny twist on it, to mimic the styles that you’ve been drooling over.

Hack #1: Flannel Fabric + No Side Seams

Because the pattern is made to hug the booty and is a straight leg all the way down, there is more than enough wiggle room to use a flannel fabric…for the ultimate home/lounge/pj pants.  Flannel in NO WAY can fully replace knit for sewing, but it has a little more give than say, a quilting cotton, and can sometimes work for different pieces of clothing.  It does work for the palazzos, just make sure to check the size chart BEFORE cutting into your precious fabric.  Verify that your full hip measurement will easily fit into the size you’re wanting to use, as that will be the most important measurement.  Personally, I’ve been brainstorming ways to tackle our traditional Christmas pj’s for the entire family, and I believe this was my answer.

P4P Palazzo Hack-006

Eliminating the side seam was SUPER easy.  And it made this one of the quickest pairs of pants to sew ever!  Take your pattern and line the straight edges up together, overlapping them by 1/2″ on both sides.

(Why 1/2″?  The pattern is built with 1/2″ seams all the way around.  Since we aren’t using side seams, we don’t need that extra fabric.)

Lay your pattern pieces on your fabric, now just cutting out two pieces for the legs.  Make sure to cut mirror images or you will end up with two of the same leg!

P4P Palazzo Hack-003

Sew each leg to itself on the inner, long, straight edge.  Then place one leg inside of the other (right sides facing) and sew the crotch seam.  Follow the rest of the directions in your pattern and attach a waistband, based upon the type you’re wanting.

P4P Palazzo Hack-004 P4P Palazzo Hack-005

BAM, you’ve got yourself a snazzy, comfy new pair of pants!

P4P Palazzo Hack-009

Hack #2: Add a Drawstring

I love to add a quick drawstring to pants that I’m worried might creep over into the “pj look” instead of “sweatpant look” on adult and kids clothing I make! And it is a super simple mod too 🙂

I cut all my pieces normally, but added my drawstring piece.  I did about an inch thick long strip that is long enough to go around my hips and then some more to tie.  I did a very long drawstring just for the certain look I was going for.

IMG_6096

Since my knit doesn’t ravel, I didn’t finish it at all, but you can sew it right sides together and turn to create a tube.  I just folded my end under and tied into a knot.

IMG_6106IMG_6107Next, I cut a small rectangle of interfacing.

IMG_6097

For placement, I folded the waistband in half width wise to find the front center and pressed a crease.  Then folded in half lengthwise like it would be when attached to the pants.  I placed my interfacing right under that crease in the center for the look I wanted.  (I had did a yoga band that I planned on folding down, and wanted the drawstring to be tucked under.)

IMG_6099IMG_6100IMG_6098Next, I marked my buttonholes.  I did about 1/2″ from the center for each.  I choose a smaller button so that my holes weren’t too big (I hate when I tie a drawstring and the holes gap open!).

IMG_6103IMG_6101You will need to use a knit button hole.  Here is what mine looks like on my machine.  The zigzag sides let the knit stretch without popping the threads.

IMG_6102IMG_6104Now just sew up your pants exactly as the pattern tutorial instructs.  The only thing to consider is to make sure you’re placing your button holes correctly when attaching the waistband to the pants.  After they’re all sewn up, you can put your drawstring through your button holes and around the waistband.  I always use a safety pin to help guide it through.

IMG_6105IMG_6112Tada! Now you can wear your ever so comfortable, stylish sweatpants without fear they might look like you stepped out in your pjs 😉

Here I am in my SUPER soft, rayon blend floral french terry palazzos with a ribbing waistband and drawstring!

12120250_977021242372670_988239226_n(1)

Hack #3: Add Front Patch Pockets

I’m a minimalist when it comes to taking things with me while running quick errands and let’s face it, as a mom of three, I’m lucky if I get dressed up. 😉  I grab my clutch and my keys and off I go.  The Straight Palazzo Pants are so comfortable and I could wear them everyday but leave me with no pockets and I’m left worrying about where to put my things.  Added front patch pockets…problem solved!

IMG_2002 copy

You will cut your leg pieces and waistband as the pattern instructs but will need to create your pocket piece.

I used the size 14 pocket from the Pirate Playground Shorts and Pants and made a few adjustments to the length to fit my pants. For placement, center pocket between front rise and out-seam with the bottom edge of the pocket lined up at the shorts length cut line and extended to top.

pocket1pocket2Cut your Pocket Pieces.

Unlined/raw edge pocket ~
CUT 2 MIRROR IMAGE

For Pocket with Lining ~
CUT 2 MIRROR IMAGE, MAIN FABRIC
CUT 2 MIRROR IMAGE, LINING FABRIC

pocket3lined pocket

Unlined Pocket                                                                                                 Lined Pocket

Unlined Pocket:  Hem pocket edge. I folded mine to the right side of the fabric to show the wrong side of the fabric for added detail.

Lined Pocket: Stitch pocket main and lining with right sides together along top and bottom curves. Flip right sides out and topstitch along top curve.

pocket4

Stitch Pocket on front leg.  Continue construction of the legs and waistband as shown in the pattern tutorial.

Voila! You now have the perfect pair of comfy pants with pockets large enough to hold your phone, cash or in my case, most likely one of my kid’s toys!

palazzo


There you have it!  Three different ways you can take one pattern and make it to fit your needs.  Now you can have the [coziest] pants of your dreams.  (Make sure you have a copy of the Straight Palazzo Pants pattern first.)

Followed one of these hacks?  Or came up with something of your own?  We are DYING to see it!  Share your latest make on the Patterns for Pirates facebook group and let us see.

Filed Under: Pattern Hacks 4 Comments

FST/LMU Mash Nursing Hack

November 25, 2015

20151123_15051720151123_150313

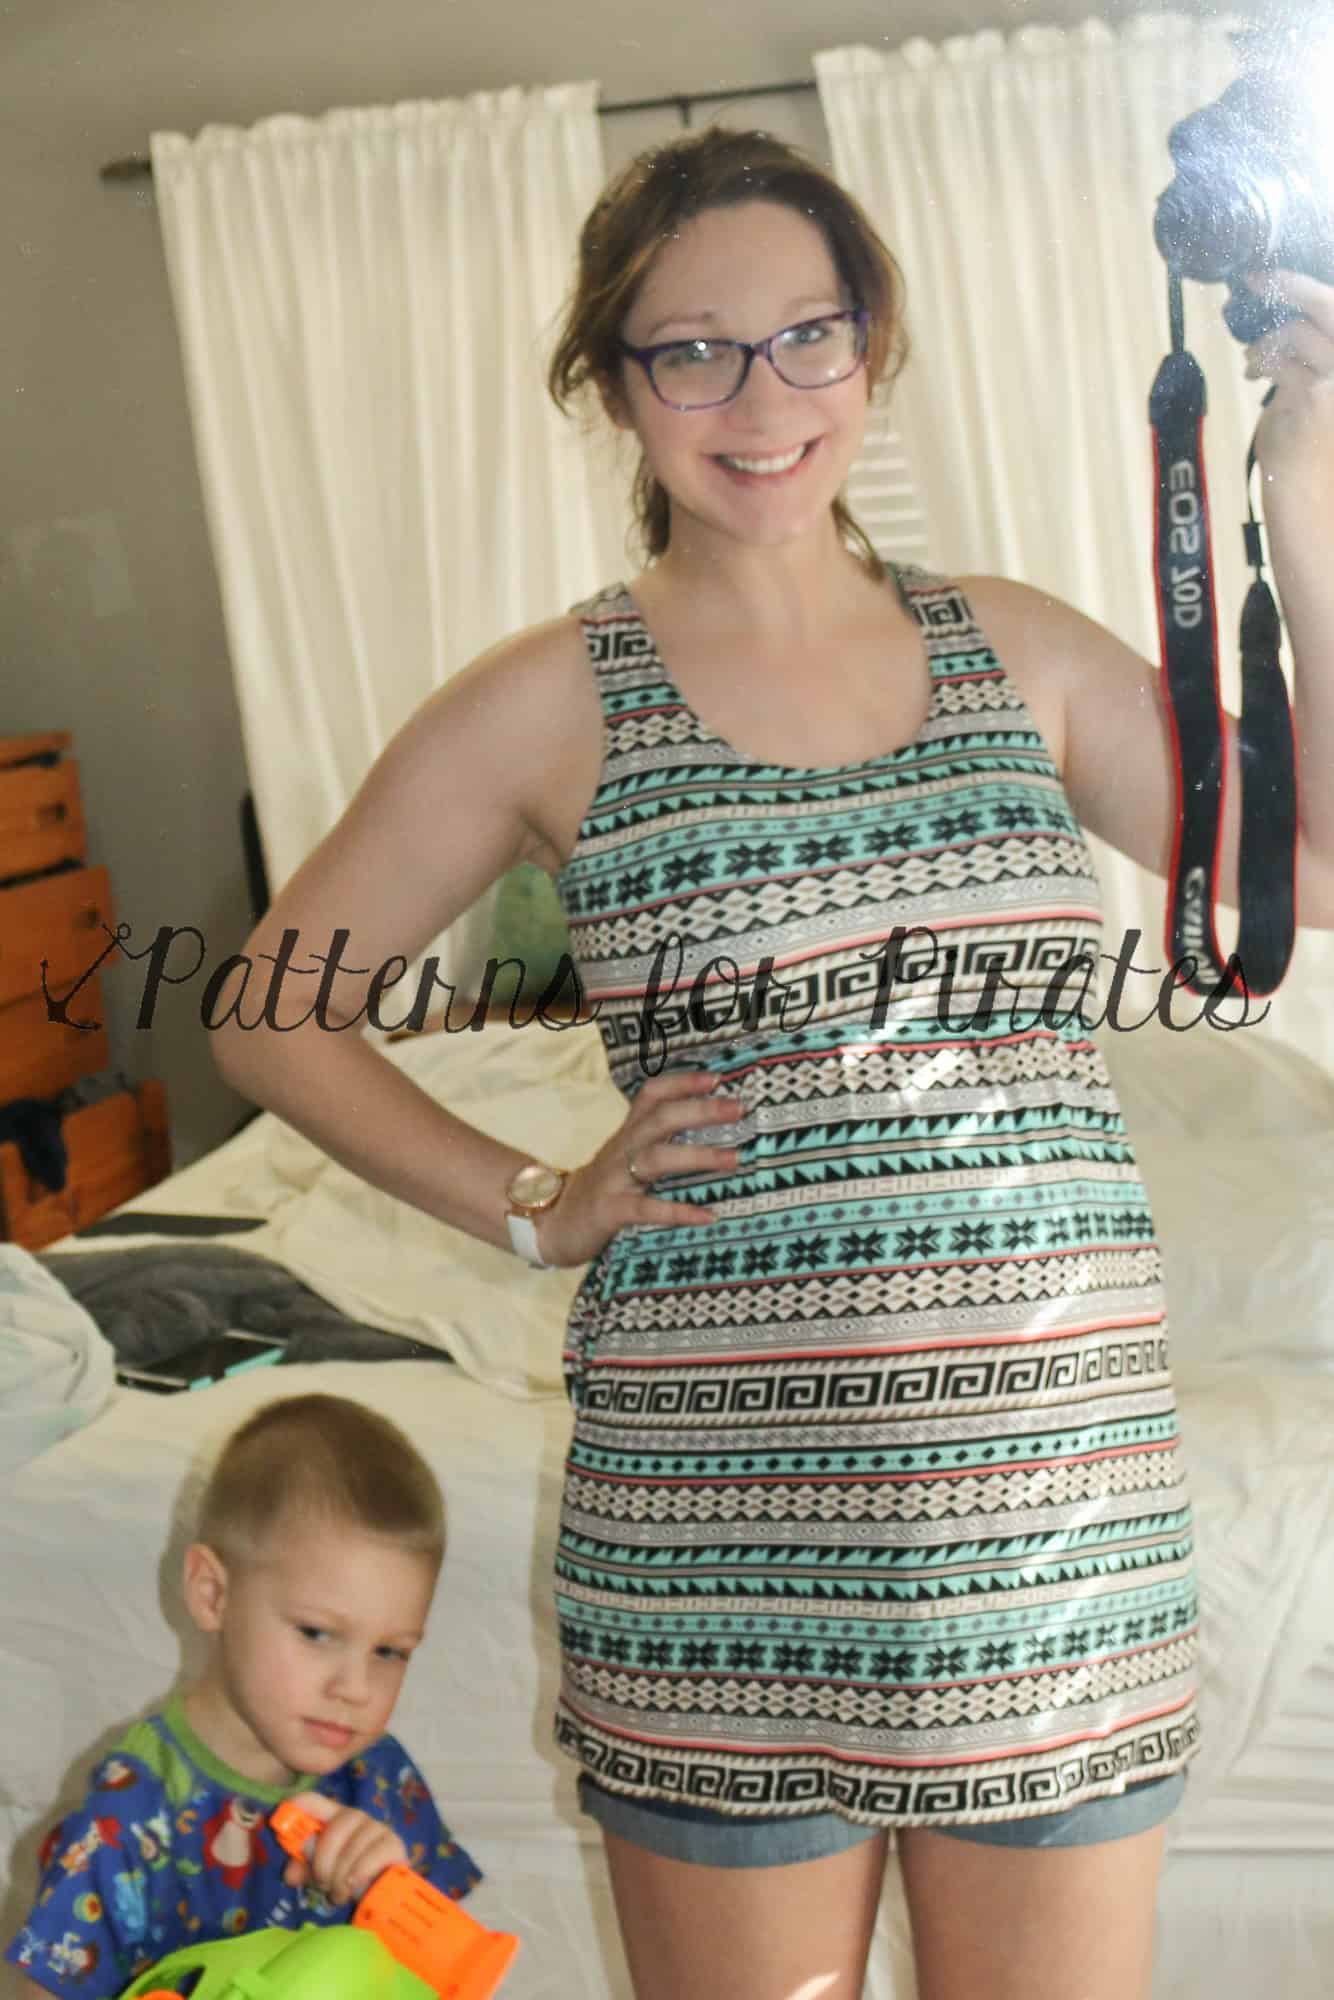
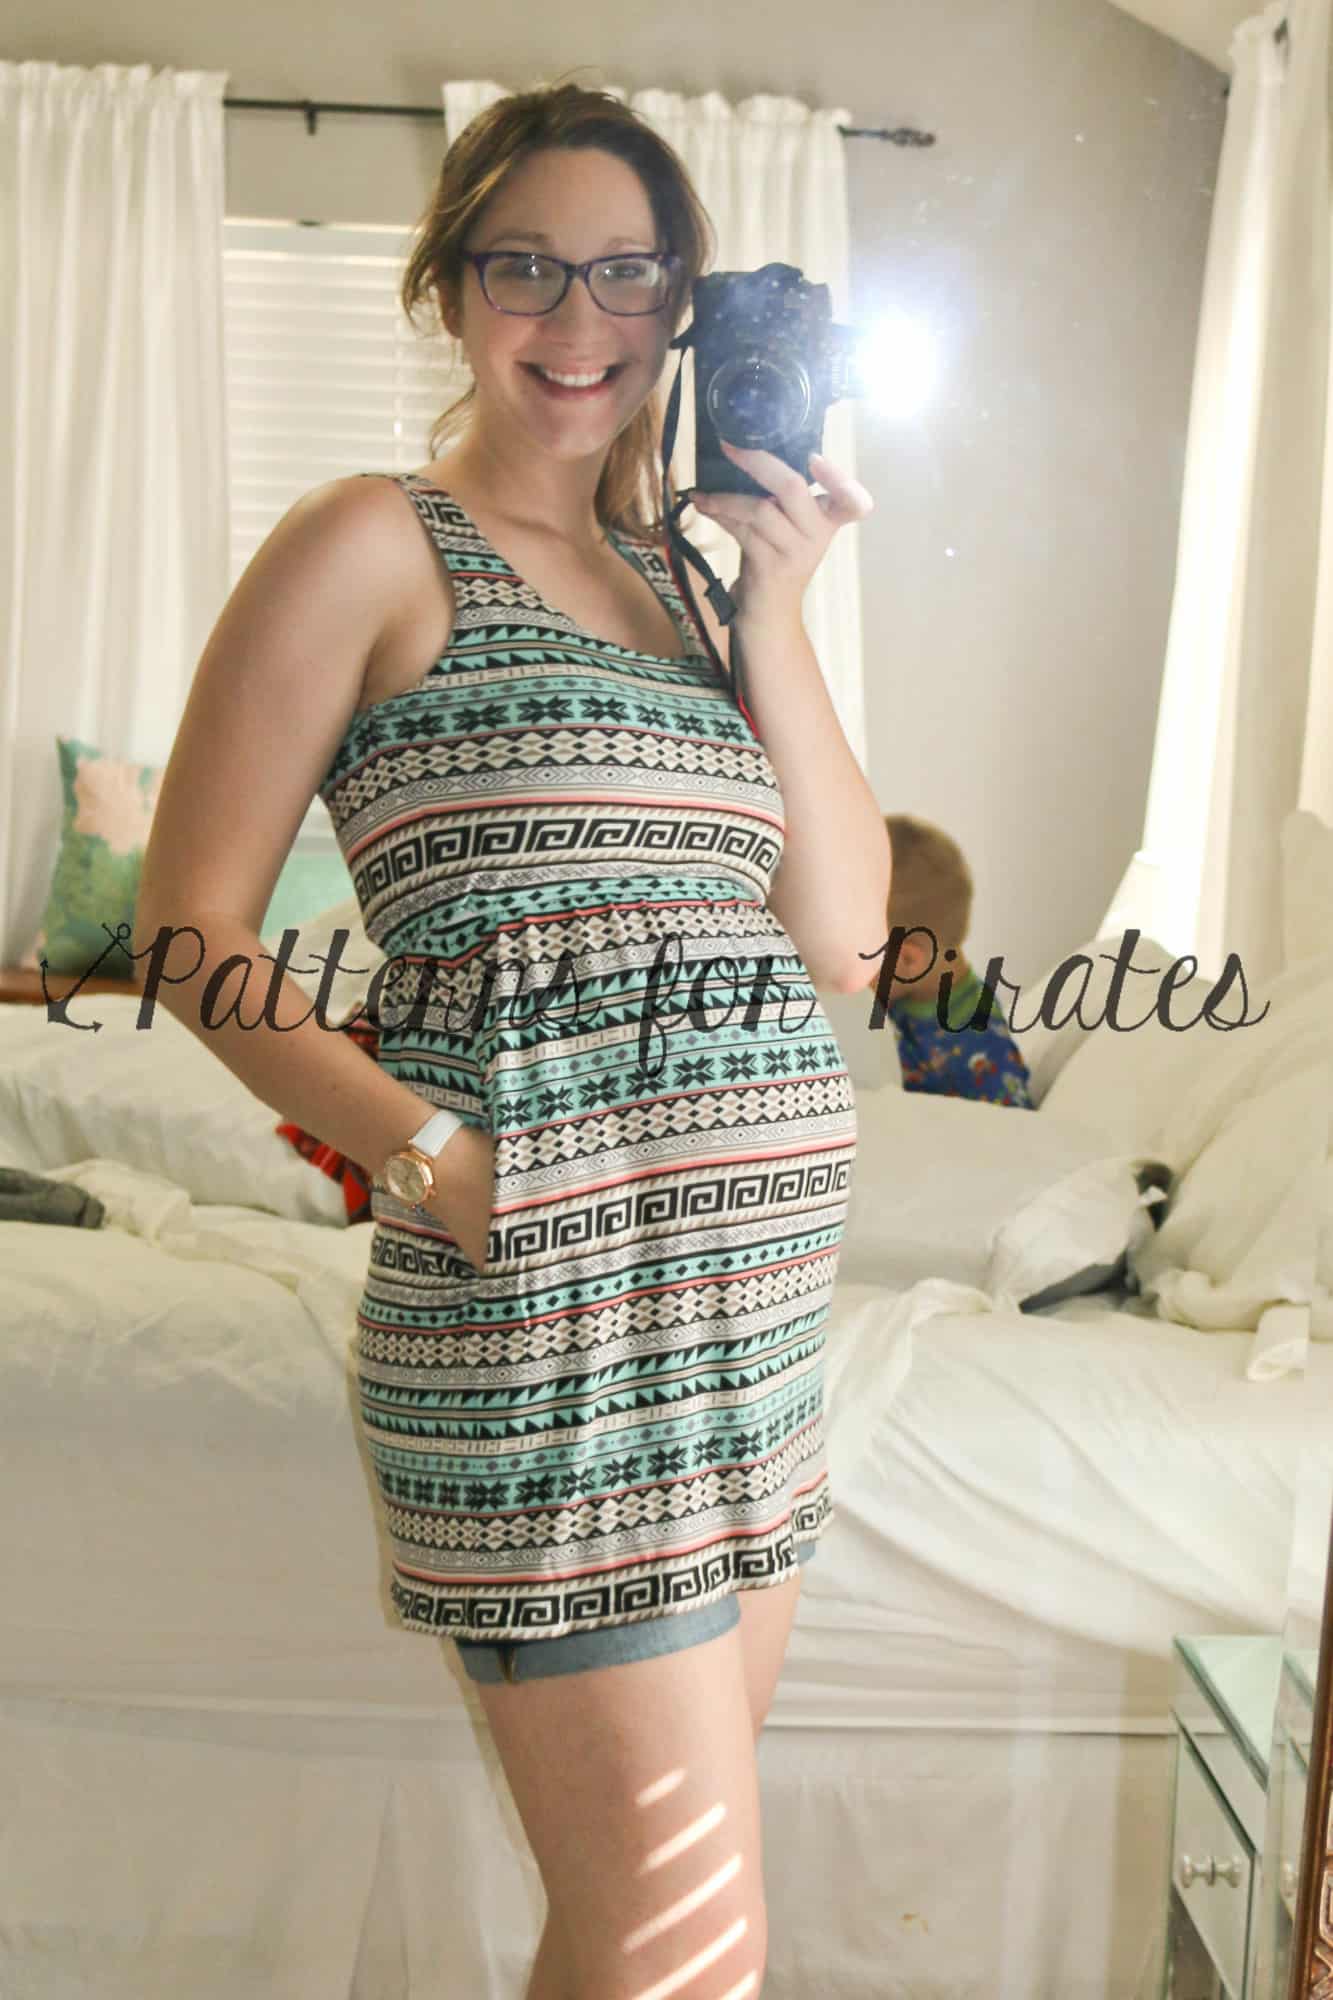
I love the FST and LMU mash for after baby.  It makes me feel stylish, put together and comfortable! The loose aline look hides any left over baby belly and the tighter top doesn’t feel you leaving frumpy.

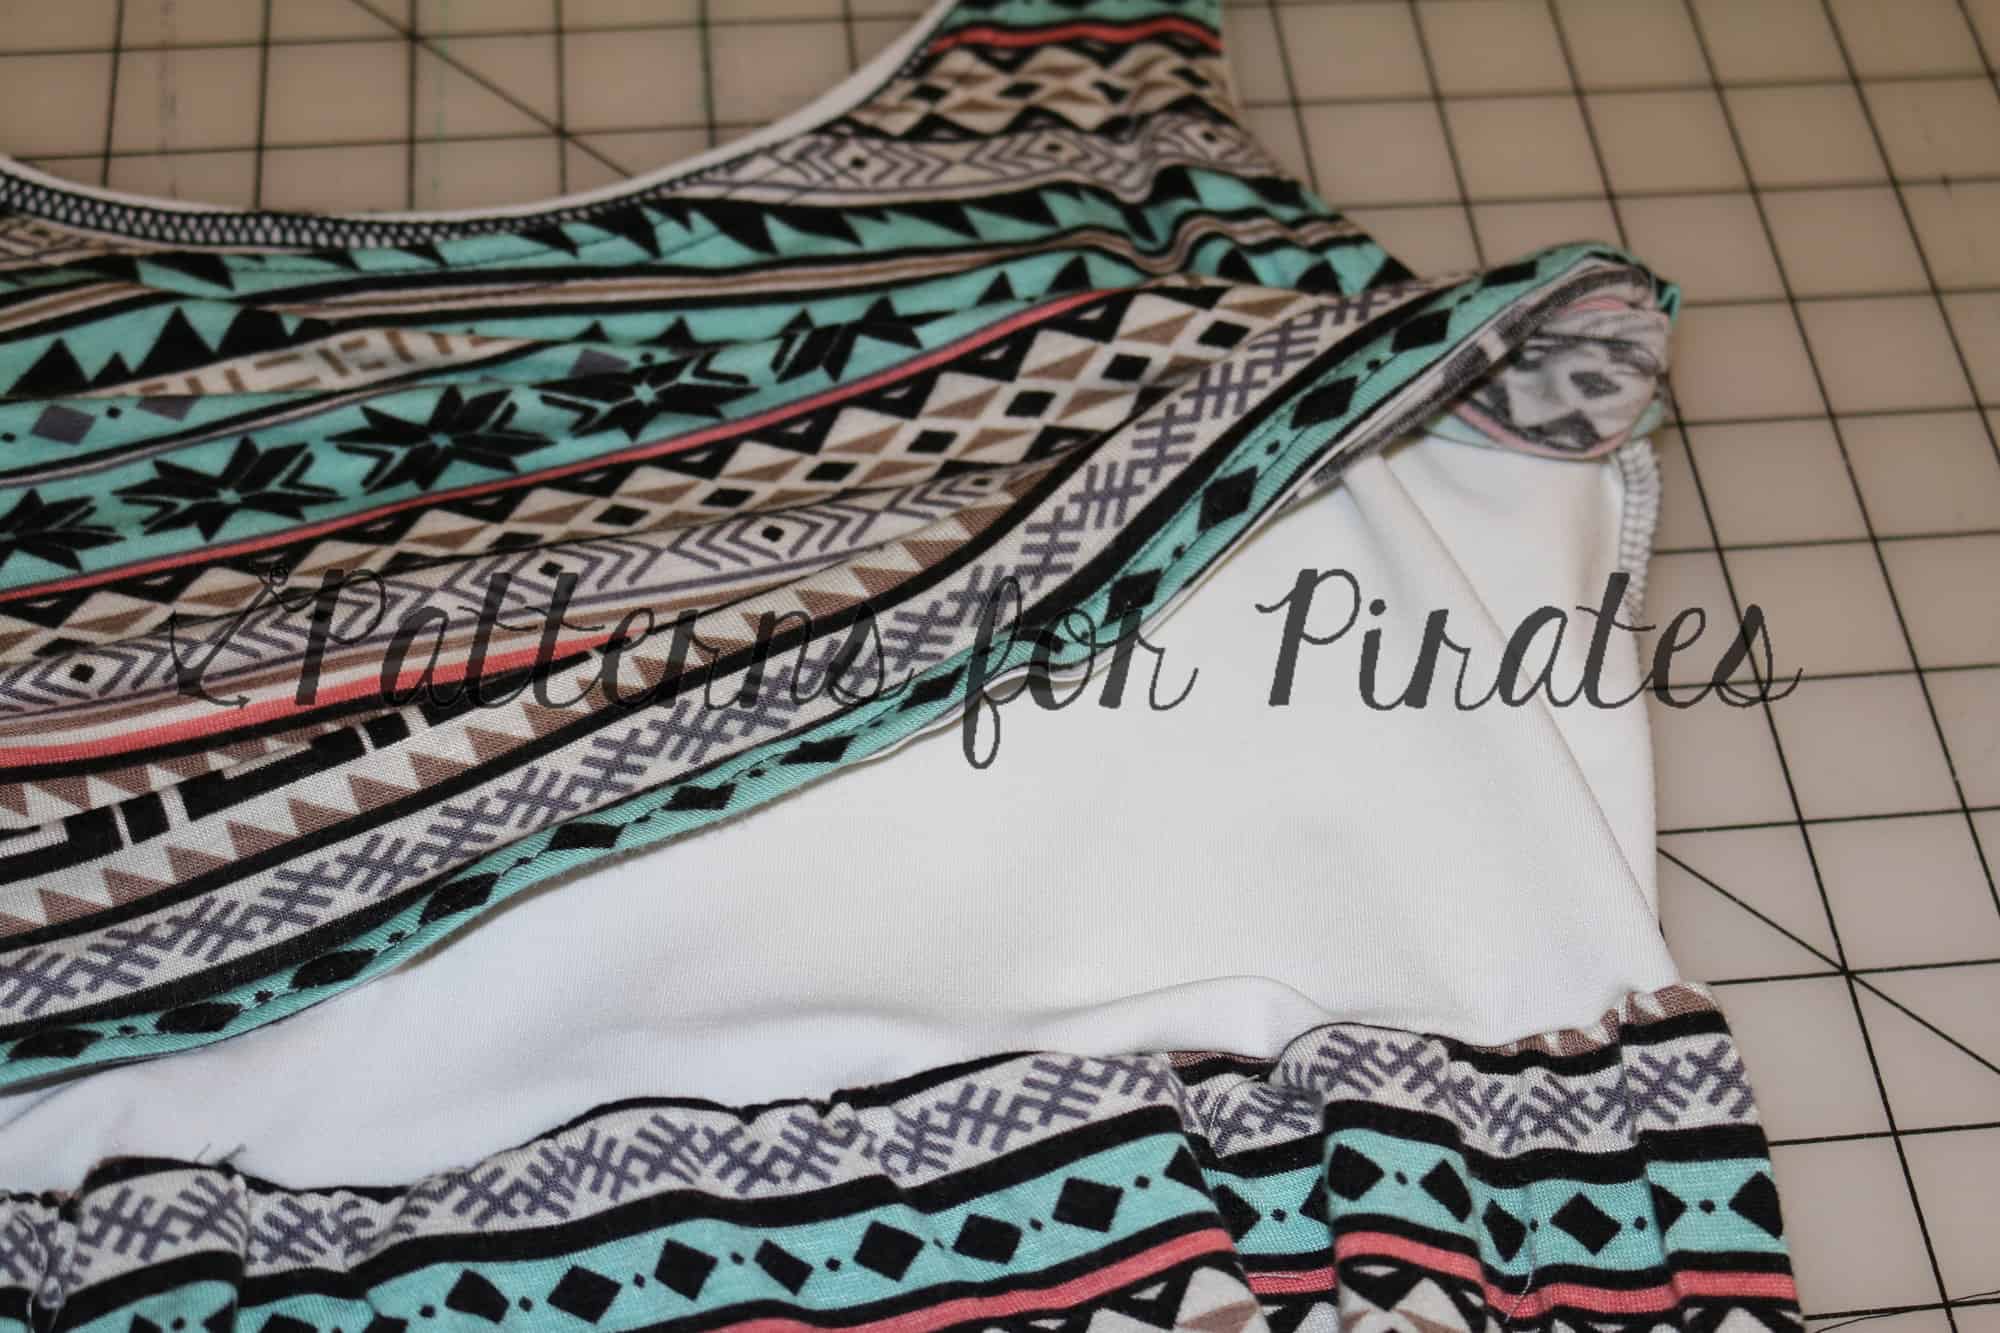
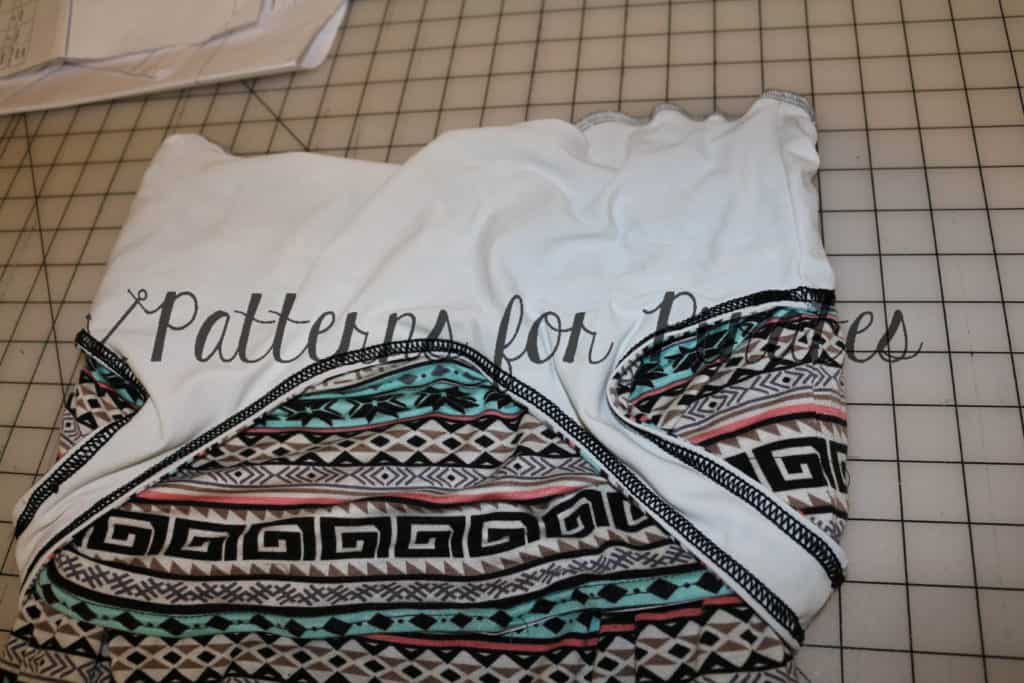
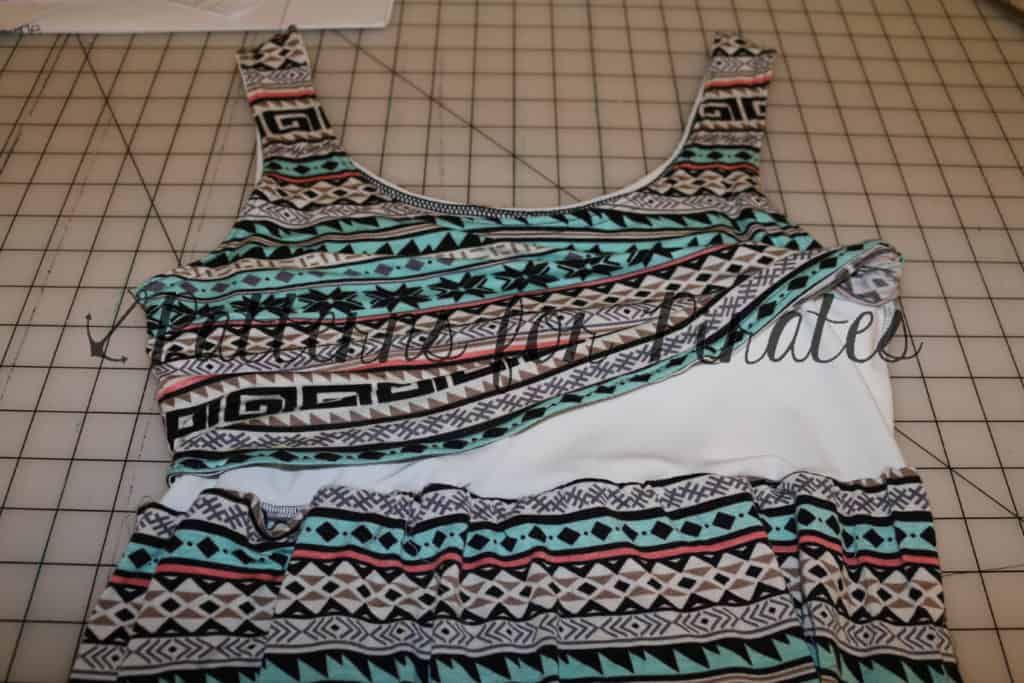
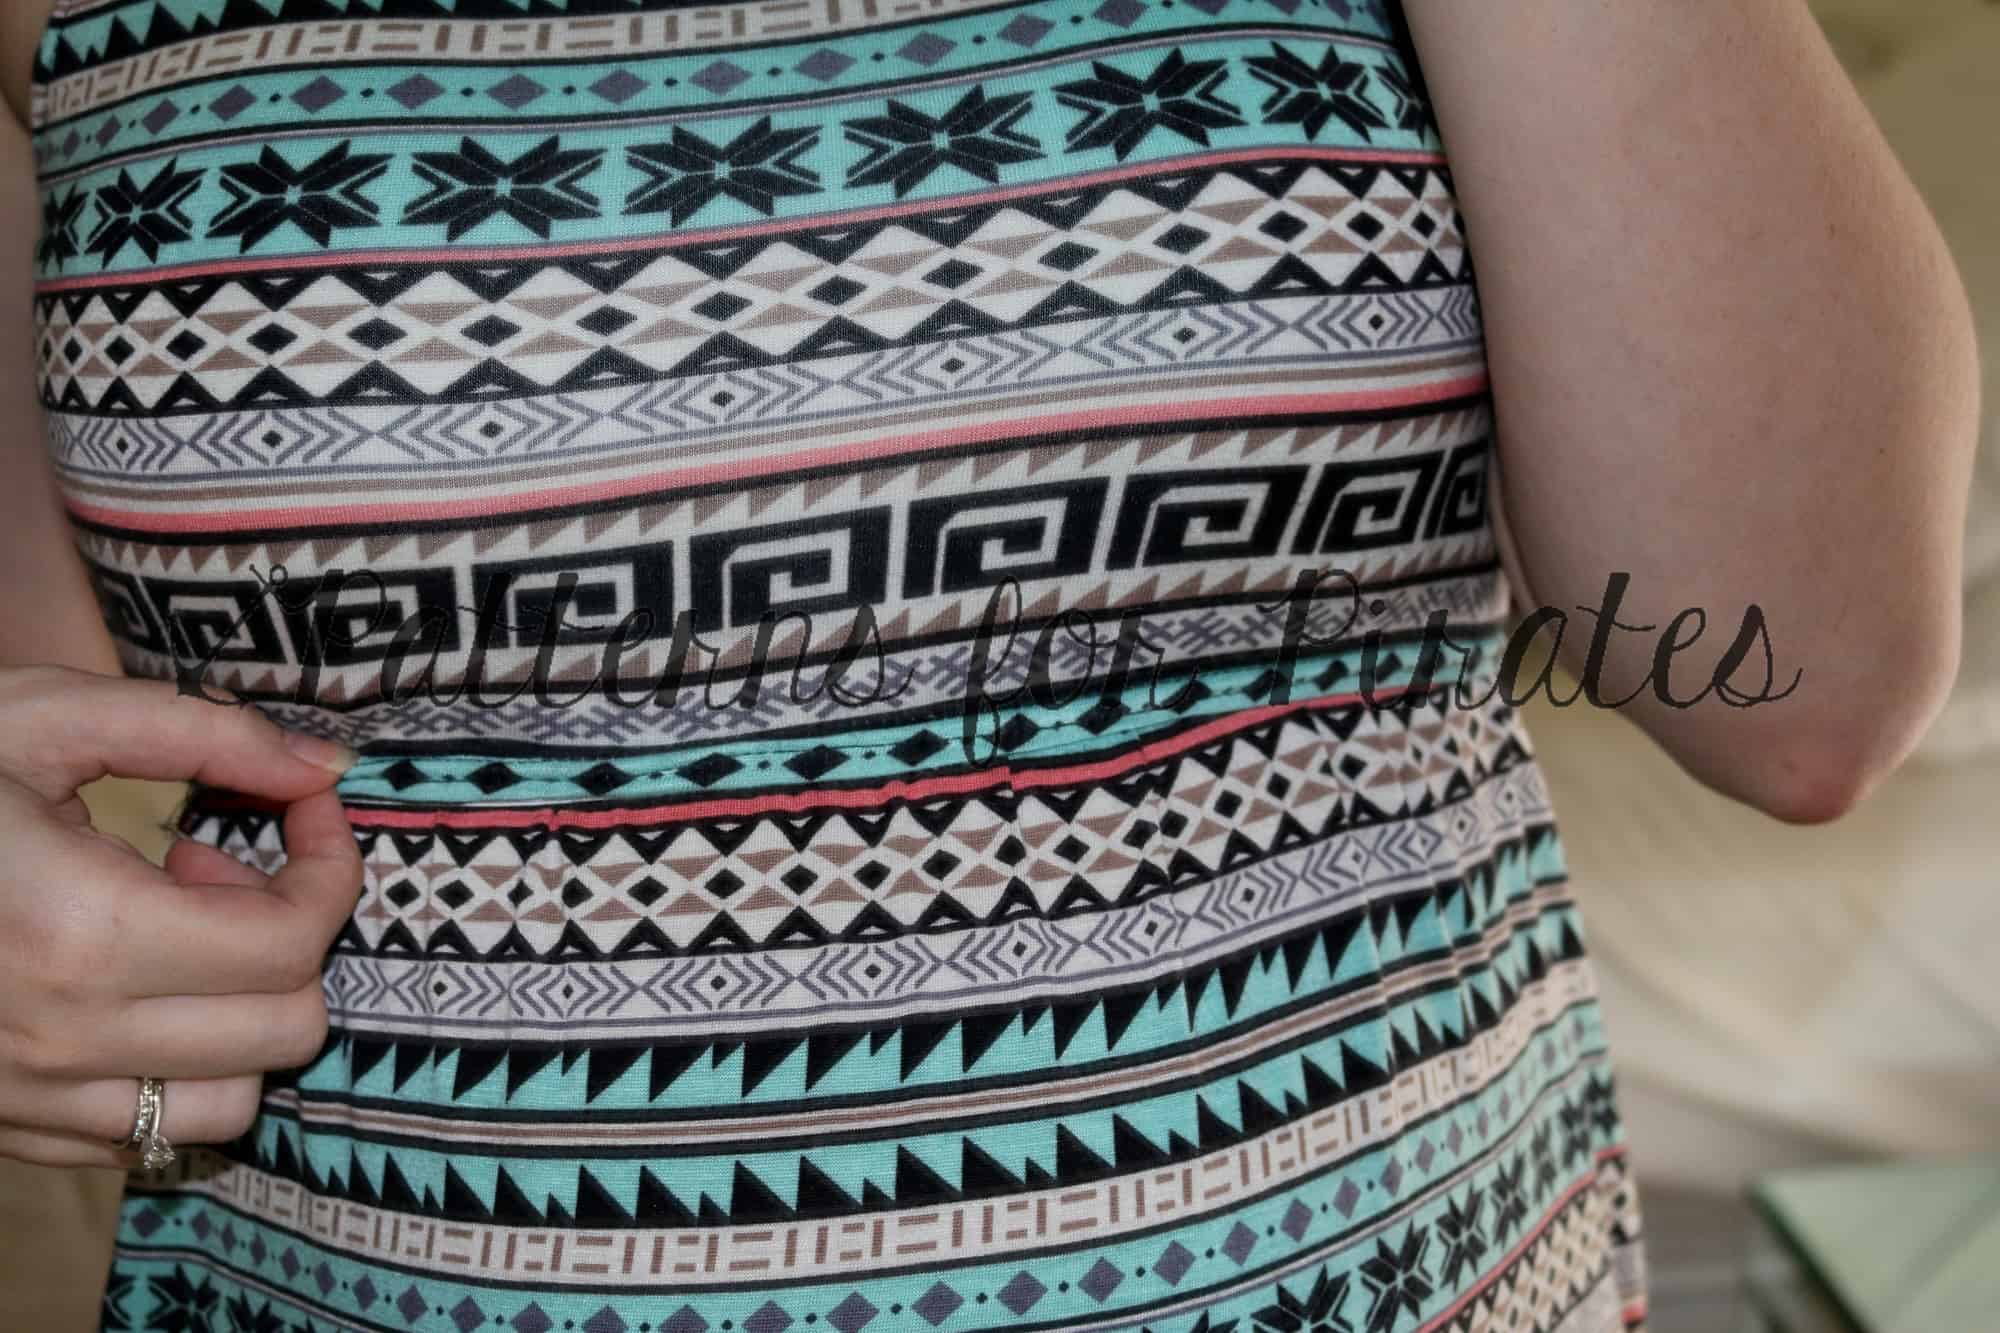
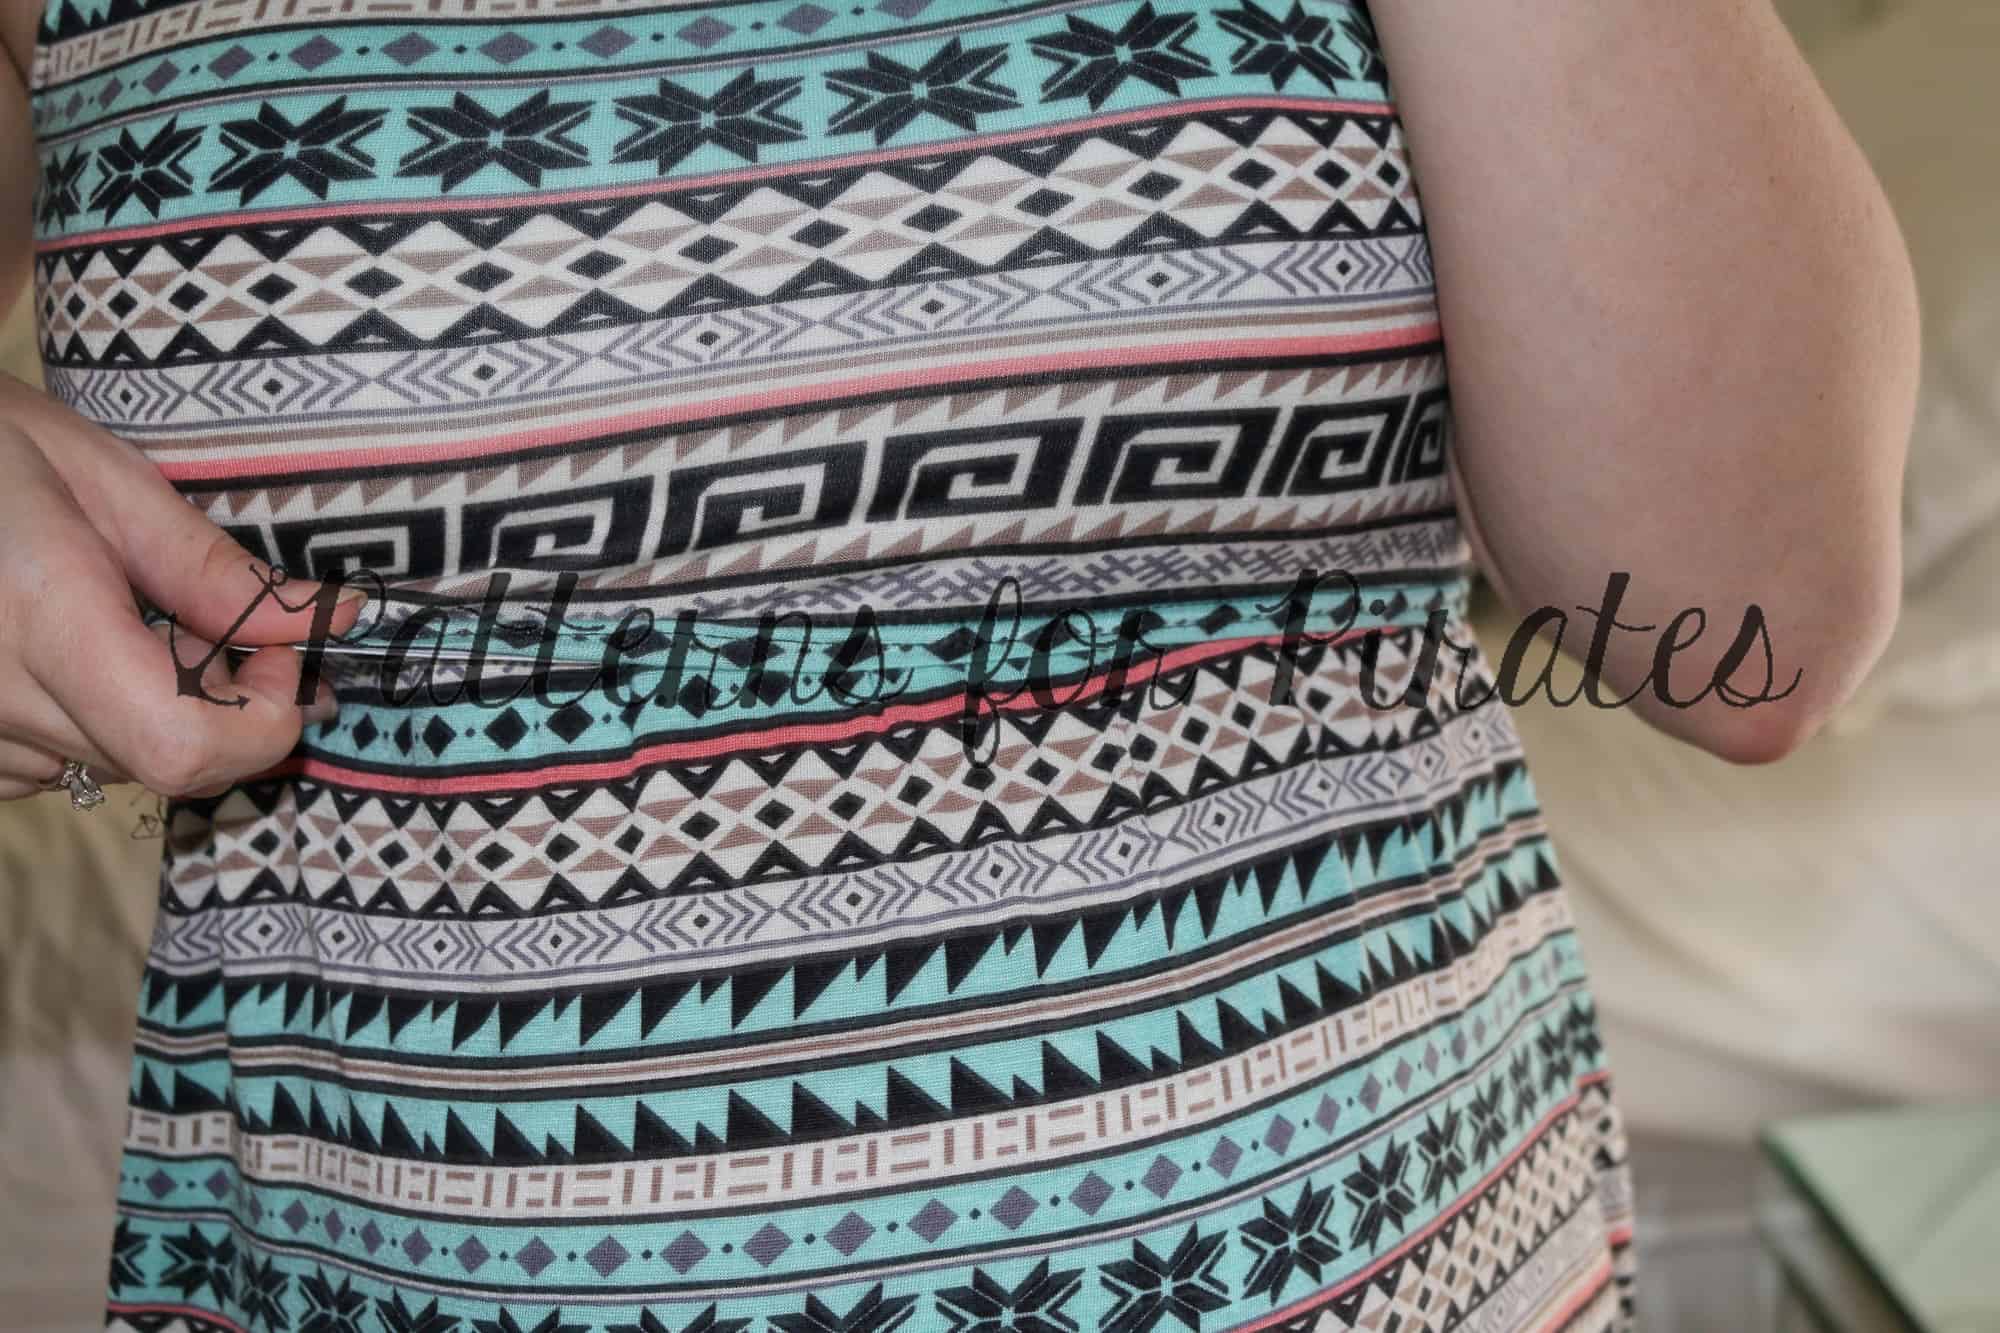
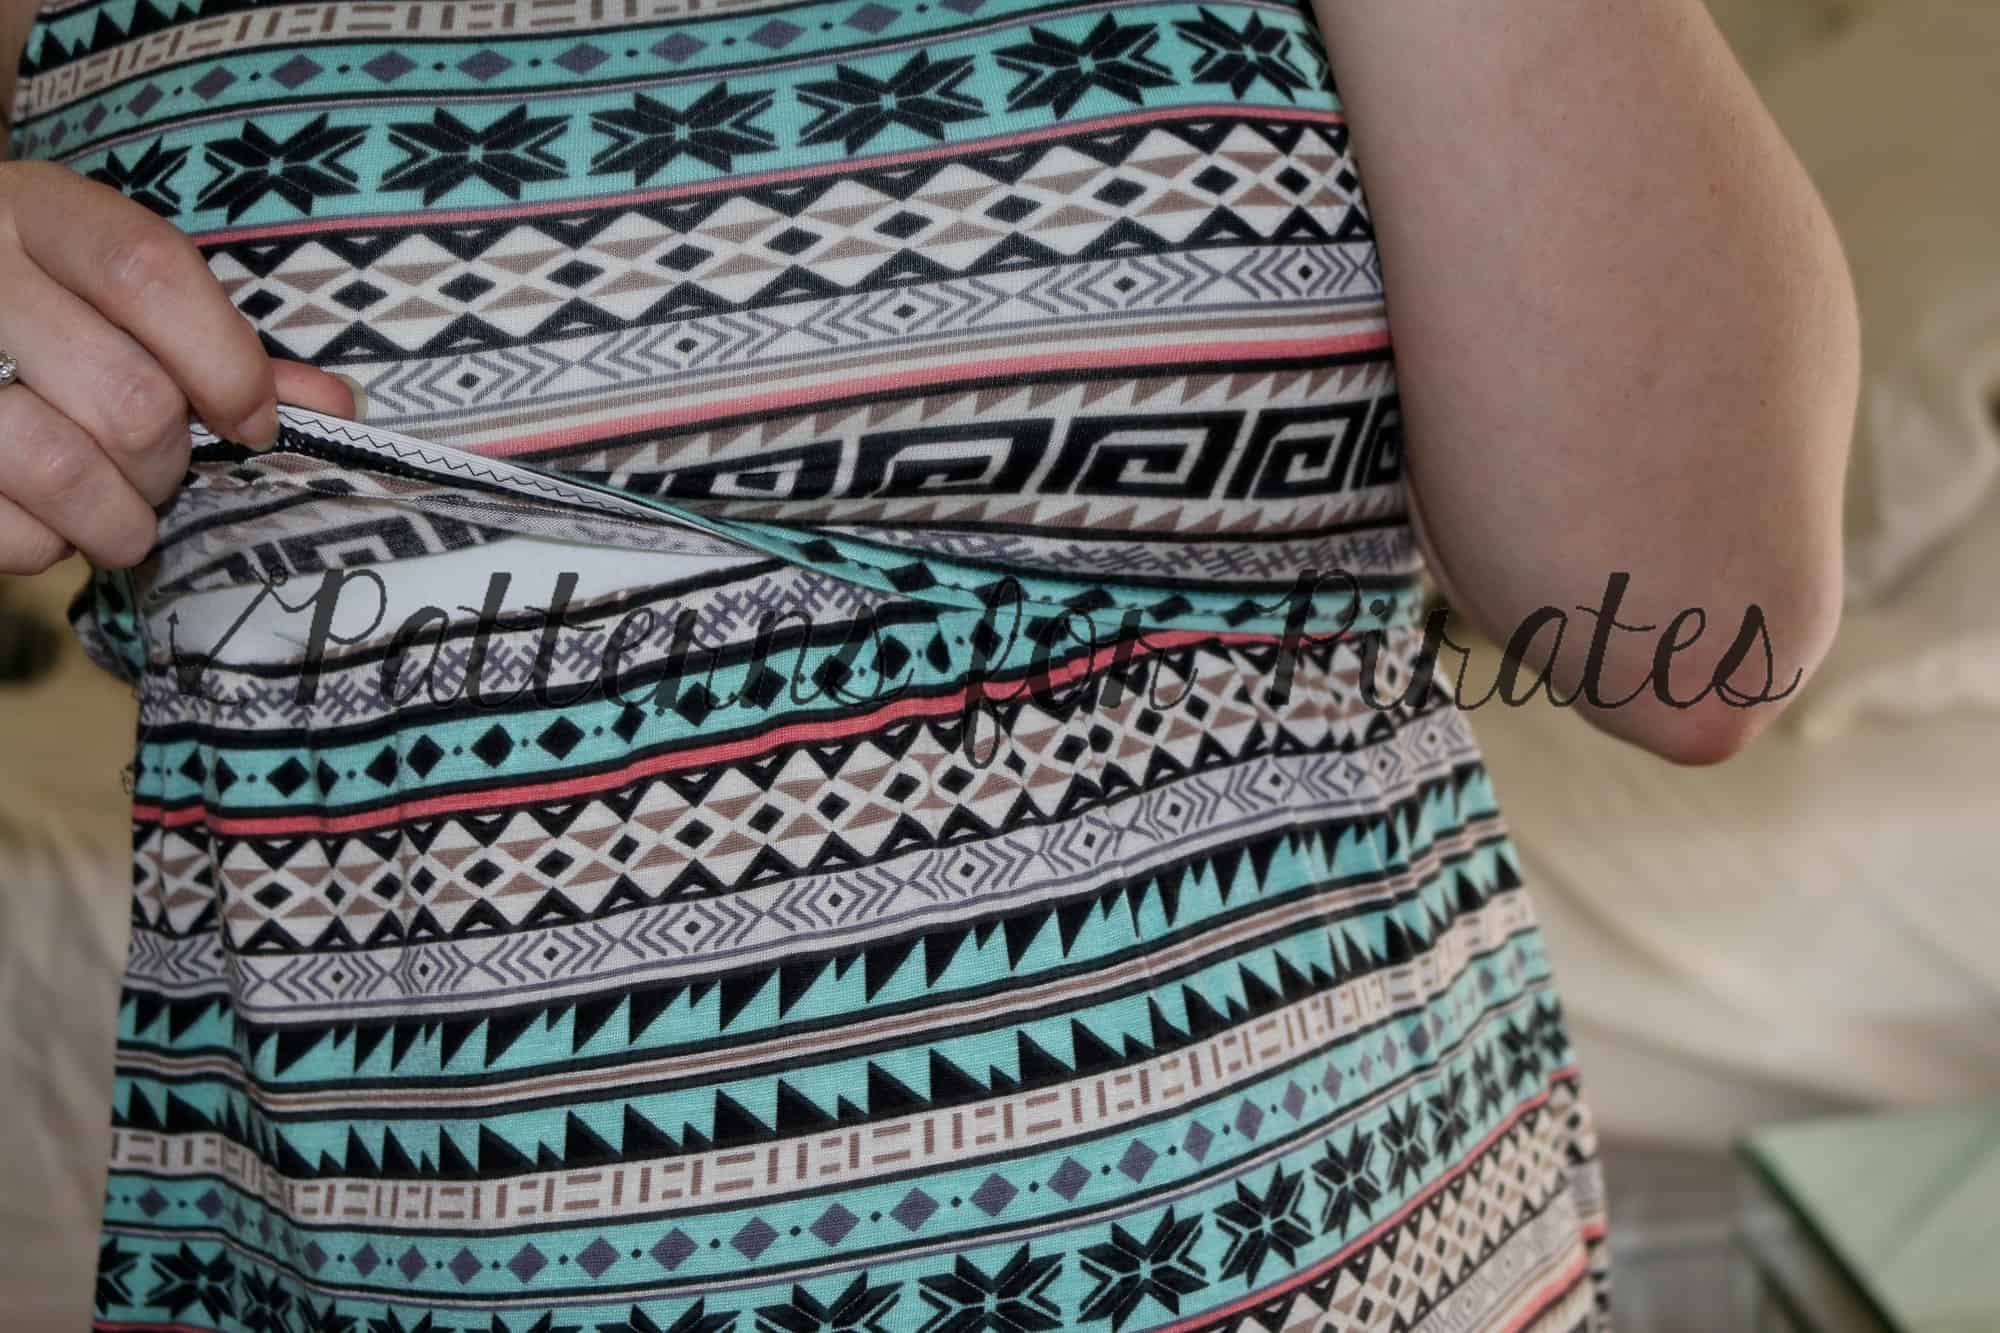
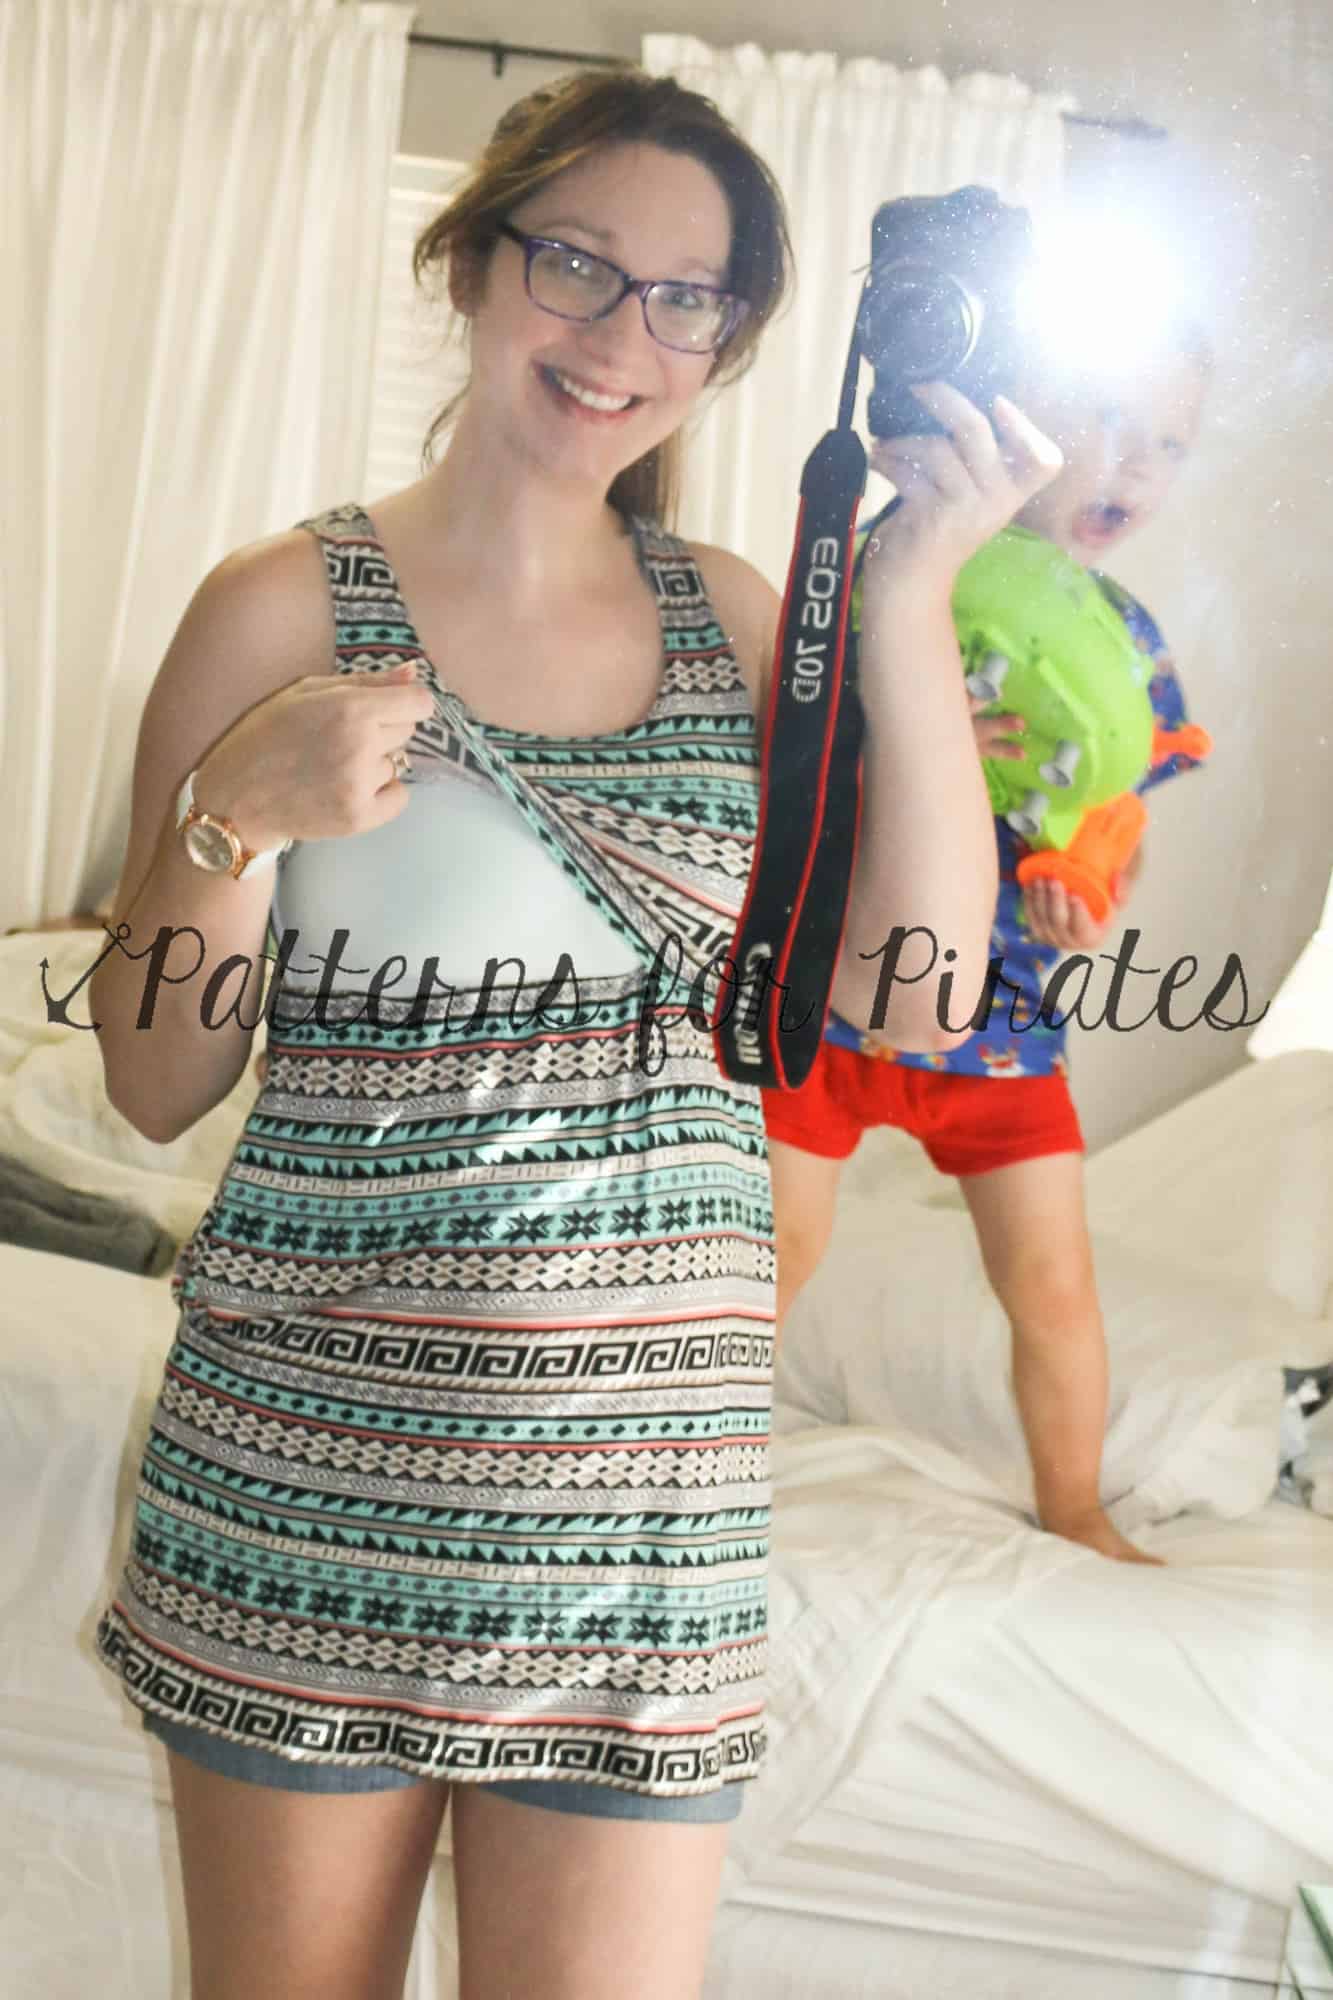
For this hack I essentially did a double layer body.  I can lift up the top layer and have the bottom layer covering my back/belly during nursing. And it looks like a perfectly “normal” everyday shirt! 🙂

20151123_150449

I made mine completely doubled because we are going into winter here and I didn’t mind the added warmth.  If I was making this for spring or summer months I would probably tinker with a faux double layer for the back piece.

I cut 2 front and back pieces.

SAMSUNG CAMERA PICTURES

Then took 1 front piece to modify for the under layer.  I measured on myself from the neckline to under my bust (I did happen to have on the same shirt, so I didn’t even need to guess where the neckline hit ;)). Then I transferred that measurement to the front center and curved up to the armpit.

SAMSUNG CAMERA PICTURES

SAMSUNG CAMERA PICTURES

Since the FST flares out under the bust it was a little loose there.  So I added a thin elastic to the raw edge.  I just held the elastic taute (not tight) on my body from seam to seam (again, I happen to be wearing this shirt, so there was no guessing!). This way the two layers would have the same finish length–without the elastic holding up the center it would droop lower then the top layer.  As well as not worry about holding it up while nursing–bonus :).

SAMSUNG CAMERA PICTURES

I choose to put my elastic on the right side of my under layer, because I didn’t want to feel it against my skin.  But you can put it on the wrong side so that it is hidden when you nurse– whatever you prefer! You will need to stretch the elastic to fit the curve.  I serged mine on, but any stretch stitch will work! It will line up right at the armpit.

SAMSUNG CAMERA PICTURES

I sewed the shoulder seams and sleeves on like normal.  Then when going down the side seams I kept the main body layers seperate (so you can lift the top layer freely).  It is a bit tricky right at the armpit, but just go slowly  and remember you wont be showing anyone the inside of your armpit seam! 😉

SAMSUNG CAMERA PICTURES

SAMSUNG CAMERA PICTURES

SAMSUNG CAMERA PICTURES

Now for hemming, I choose to hem the top layer completely normal with a 1″ allowance.

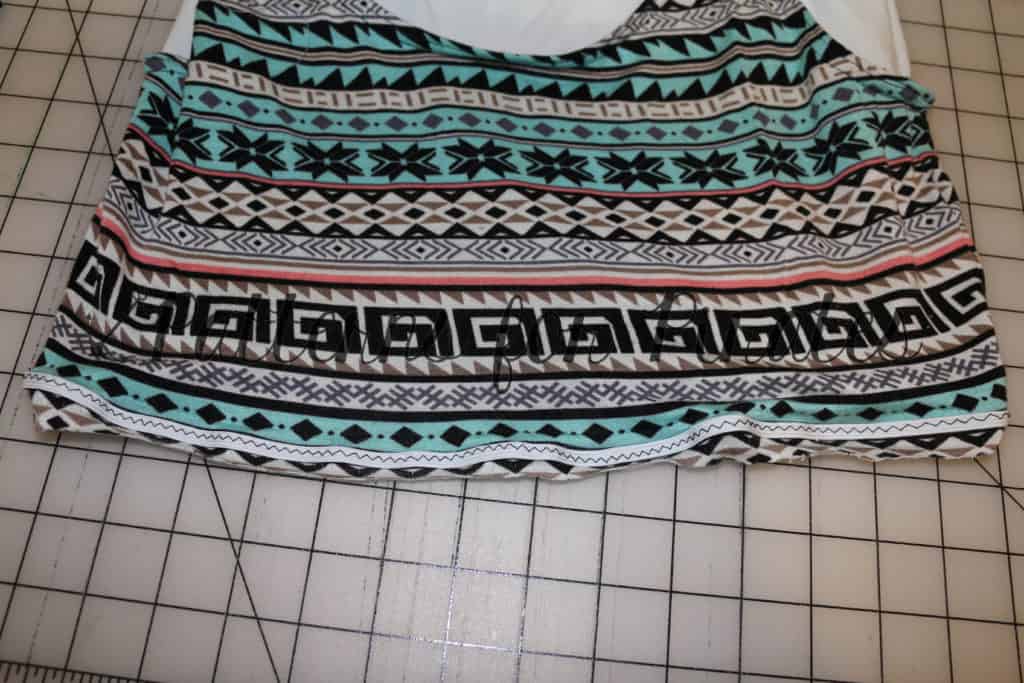
For the under layer I choose to add a pretty lace trim to stick out longer then the top layer.  I wanted the seam hidden, so I trimmed off 1″ from the bottom.

SAMSUNG CAMERA PICTURES

I serged my lace on right sides together trimming off about 1/2″ of both shirt and lace (the top of the lace that was blank).

SAMSUNG CAMERA PICTURES

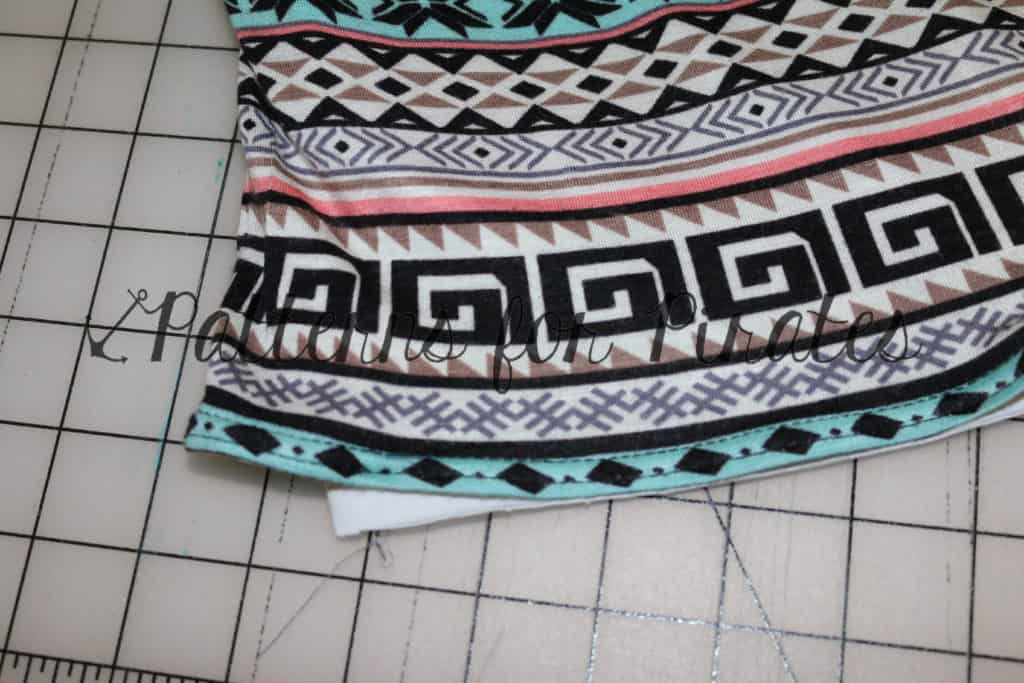
Then flipped up and top-stitched (I didn’t want that seam flipping and showing through the dainty lace trim!).  So, I trimmed 1″ and took off another 1/2″.  This means my seam on the under layer should be 1/2″ above the hemmed edge of my top layer and the lace will peek out below.

SAMSUNG CAMERA PICTURES

SAMSUNG CAMERA PICTURES


I attached the neckband normally catching both layers on the back piece and top layer of the front piece.

SAMSUNG CAMERA PICTURES

SAMSUNG CAMERA PICTURES


Tada! I love my new warm winter nursing friendly shirt! It screams fashionable and not I’m nursing! 🙂 When you’re done nursing you can still wear it as is… or cut out the under layer!

20151123_150424


Filed Under: Pattern Hacks, Uncategorized 9 Comments

Layer Me Up Nursing Hack

November 23, 2015

I love wearing my Layer Me Up tanks under cardigans during the fall and long sleeve option during the winter.  I can pull down the neckline to nurse, but I love to have something up and down for nursing in public.  So, this hack was born!

It is quick and easy too, which is a plus if you’re nursing and taking care of baby!

I cut out one layer me up exactly as the pattern calls for.  I added one piece using the front piece.  I measured from my armpit to below my bust and transferred that to the pattern piece.  This will become my lift up piece hidden under my normal pieces.

SAMSUNG CAMERA PICTURES

Since the layer me up is a tight fit shirt that requires a 50% stretch spandex blend fabric, you don’t necessarily need to add any elastic to keep it from stretching out with wear/pulling throughout the day.  But, you might want to add it to the bottom raw edge of the hidden lift up piece just to add a little weight and to keep it from shifting around at all during wear.  I serged it on, then hemmed under.

SAMSUNG CAMERA PICTURES


SAMSUNG CAMERA PICTURES

I wanted the under piece hidden, so I trimmed about 1/2″ from the neckline.  You could hem it under if you wanted it to be pretty :).

SAMSUNG CAMERA PICTURES

Pin your under layer to the wrong side of the front piece and sew up your shirt normal–the only other modification is at the neckline.  You will attach the neckband only to the main shirt and leave your hidden piece loose.  This way it is free to come up when nursing.

SAMSUNG CAMERA PICTURES


SAMSUNG CAMERA PICTURES

Now you have a shirt that looks perfectly “normal” and can pull down the neckline and hidden piece up to nurse!  You can wear it after just as is, or cut out your hidden piece and wear :).

SAMSUNG CAMERA PICTURES


SAMSUNG CAMERA PICTURES

I grabbed a lovely colored ribbed knit without thinking (remember I have a tiny newborn 😉 ) and it had HORRIBLE recovery.  No spandex— it grew and grew and grew! So, I will be trying this hack again in the correct material!

SAMSUNG CAMERA PICTURES

And of course, one with Little Guy photobombing 🙂

Filed Under: Pattern Hacks, Uncategorized Leave a Comment

FST/LMU Mash Up

August 5, 2015

So you LOVE the loose a-line fit of the Free Spirit Tank, but would love it with sleeves?

Here is how you take the Layer Me Up Shirt to add sleeves 🙂

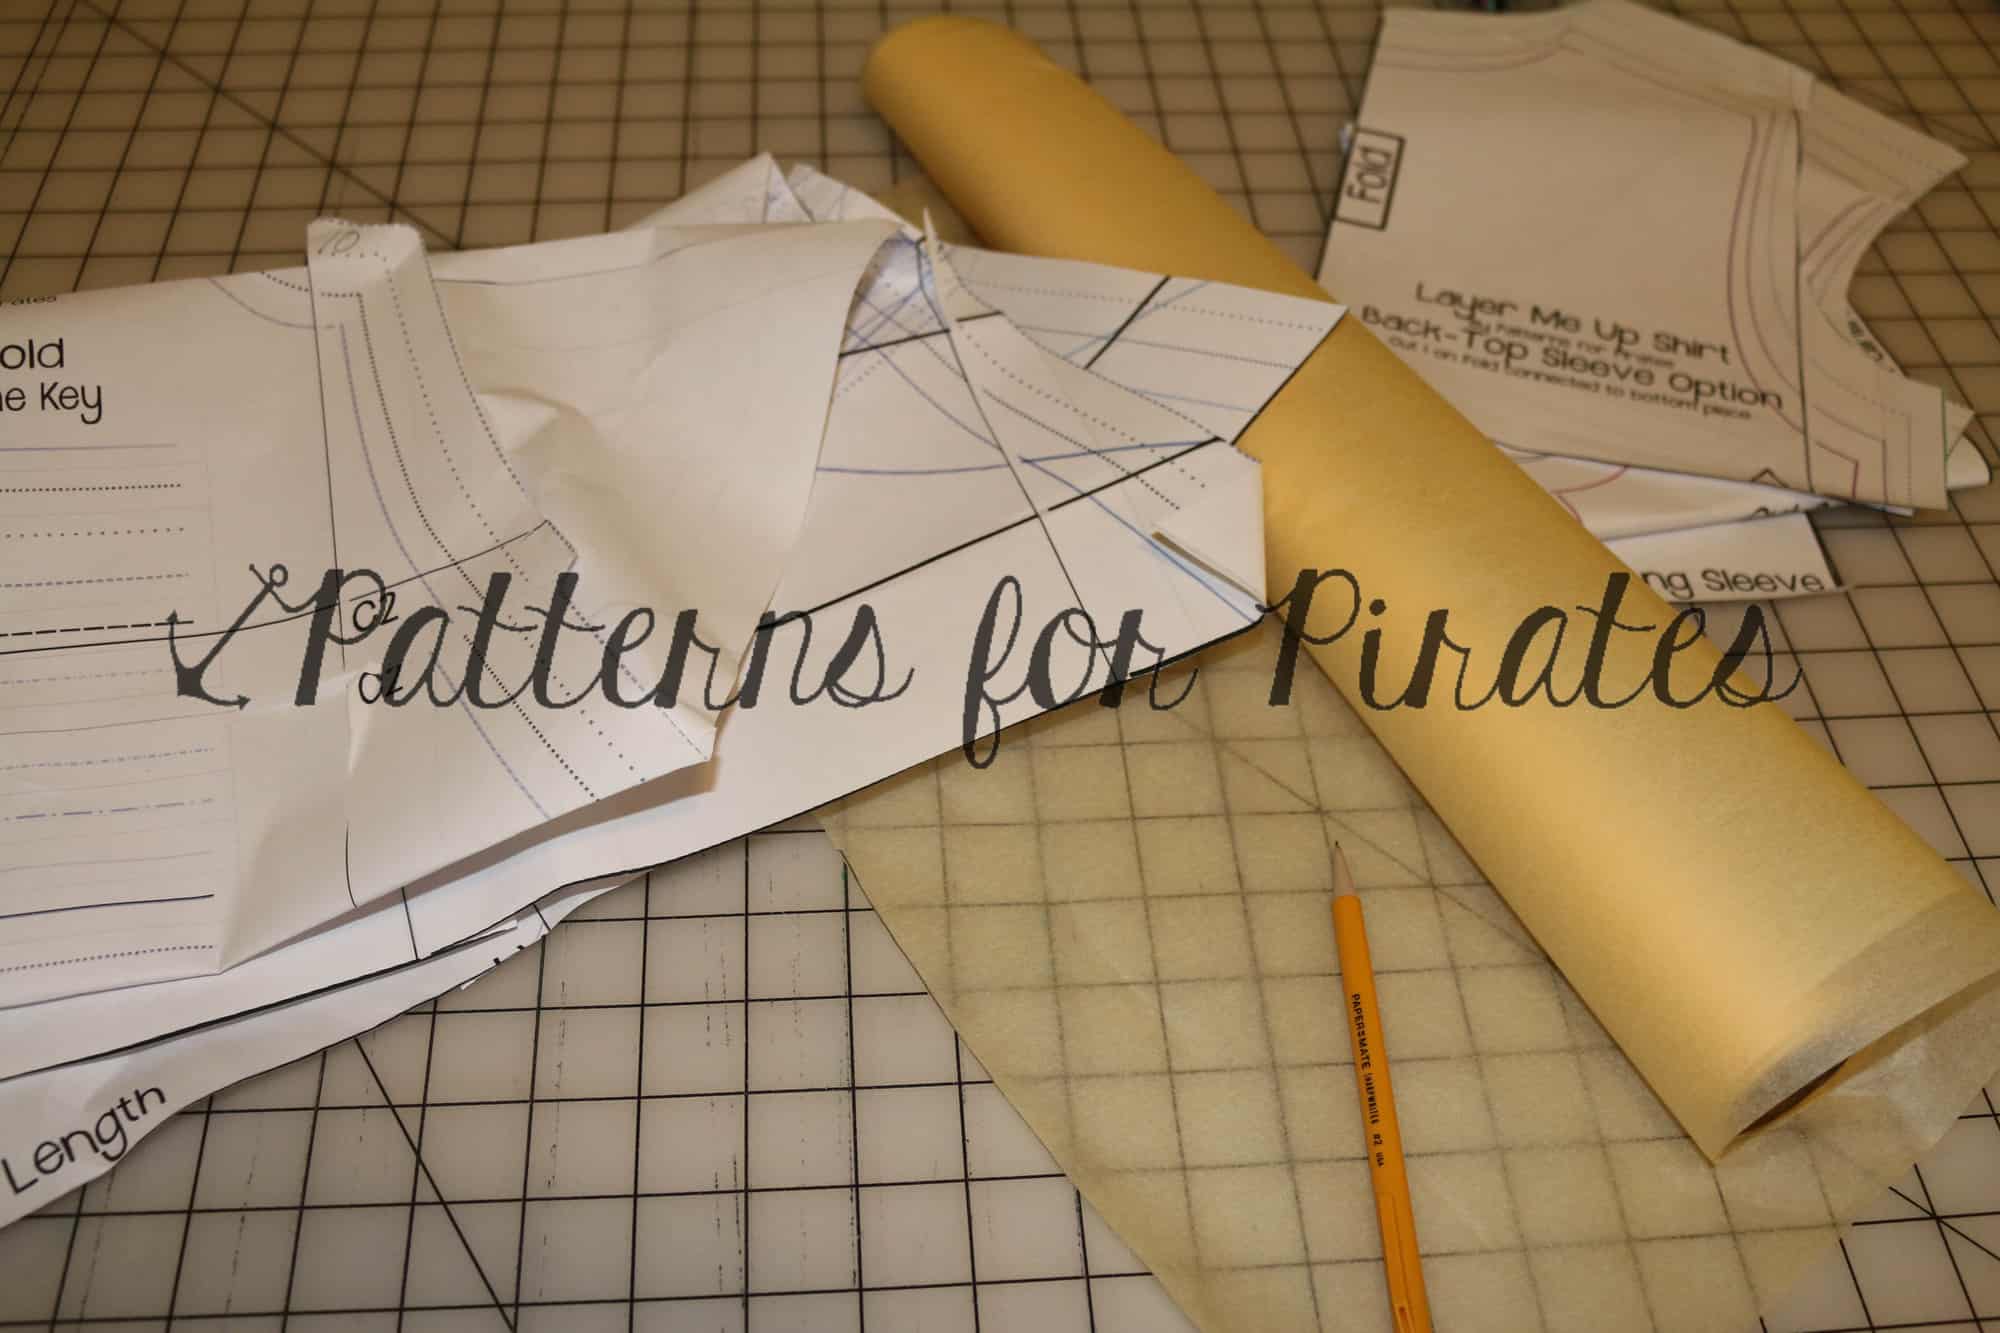
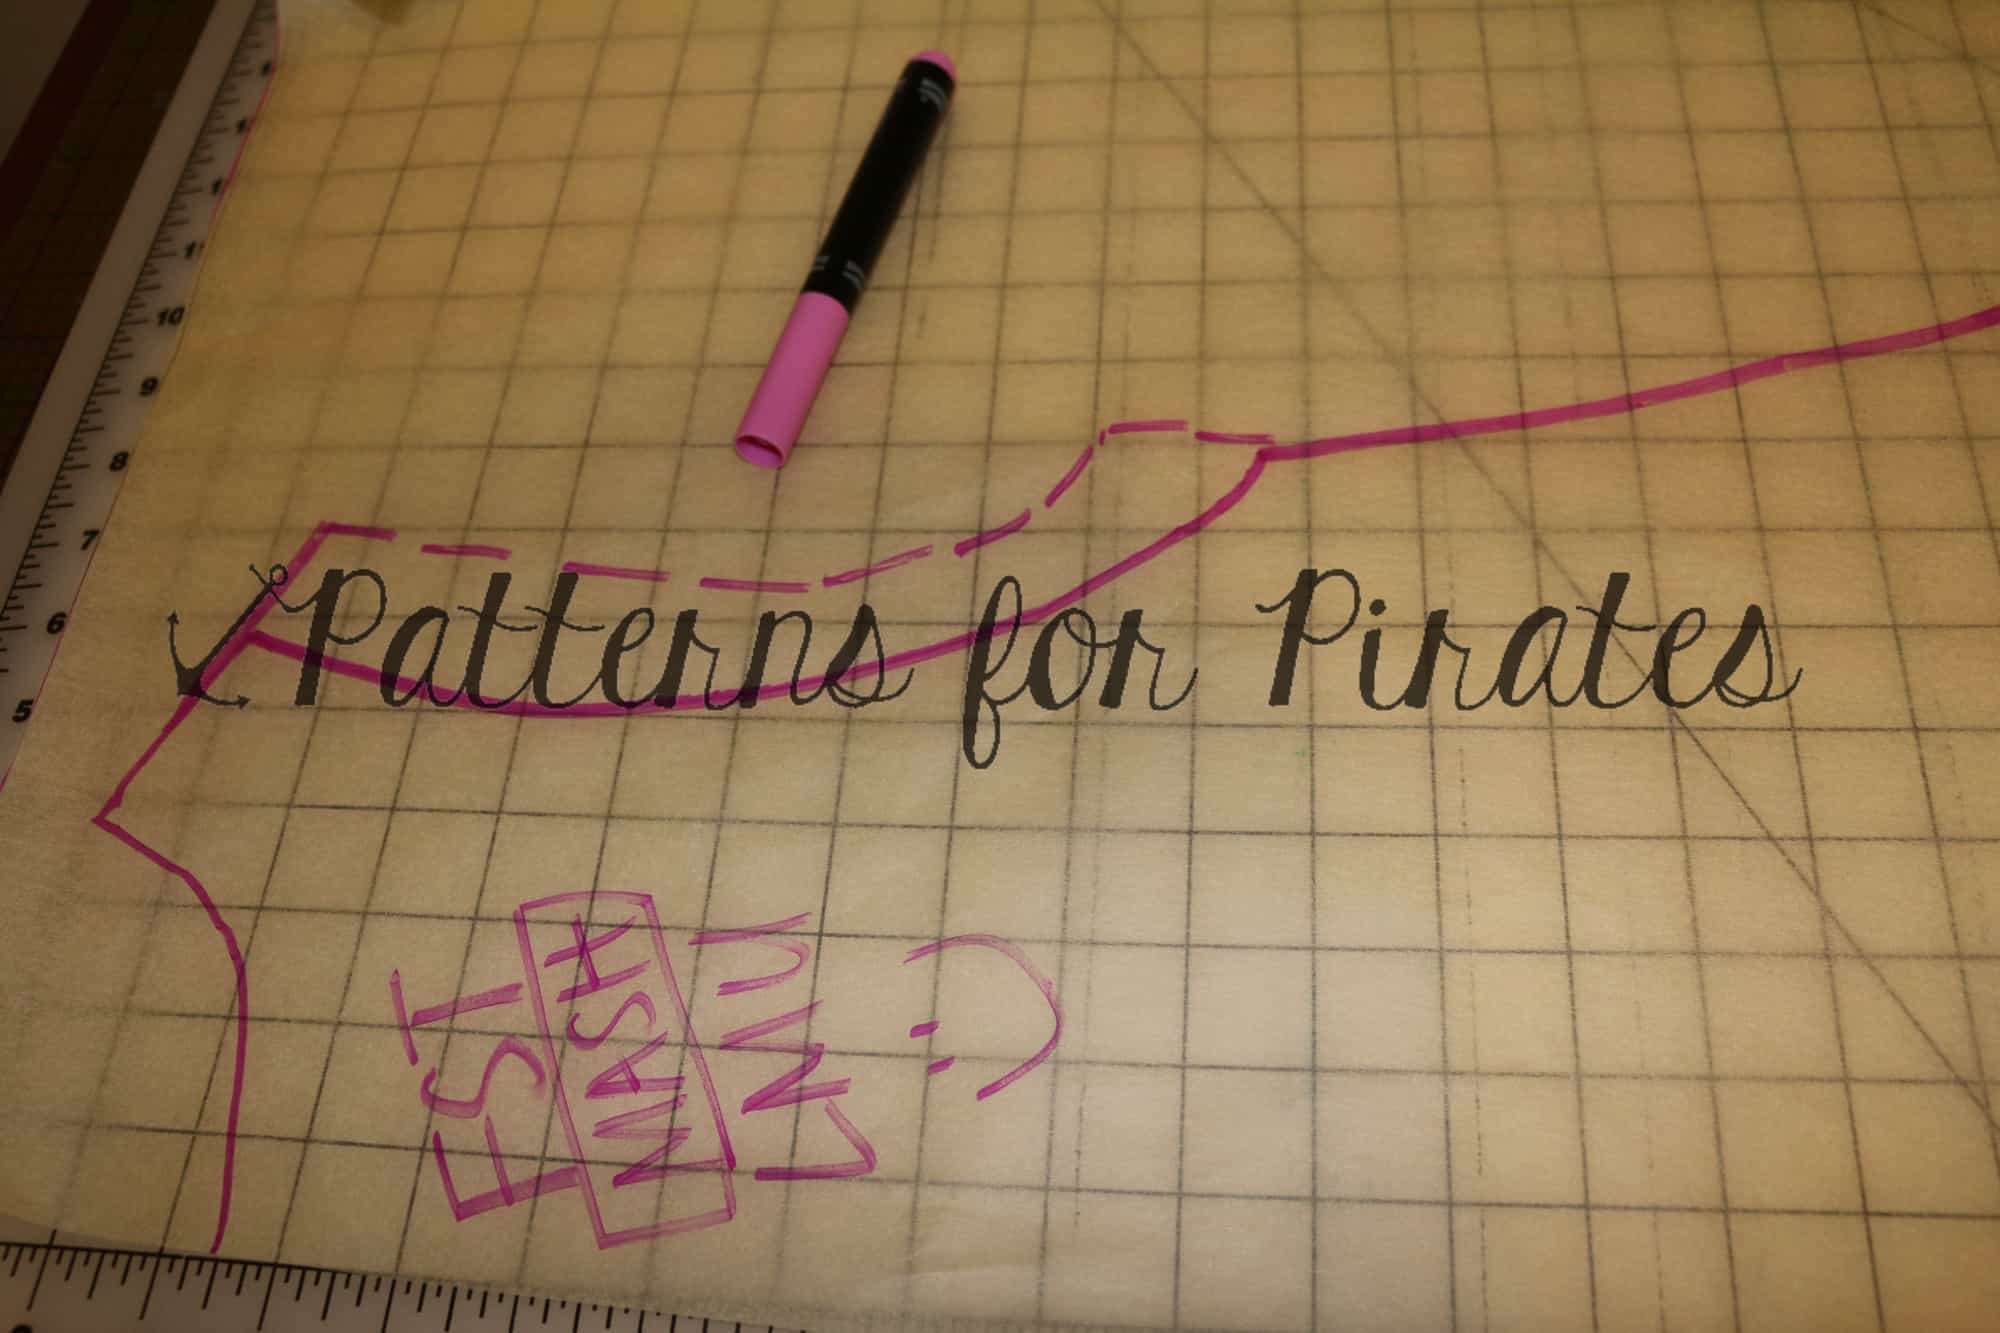
First… grab both patterns, some tracing paper and a pencil.

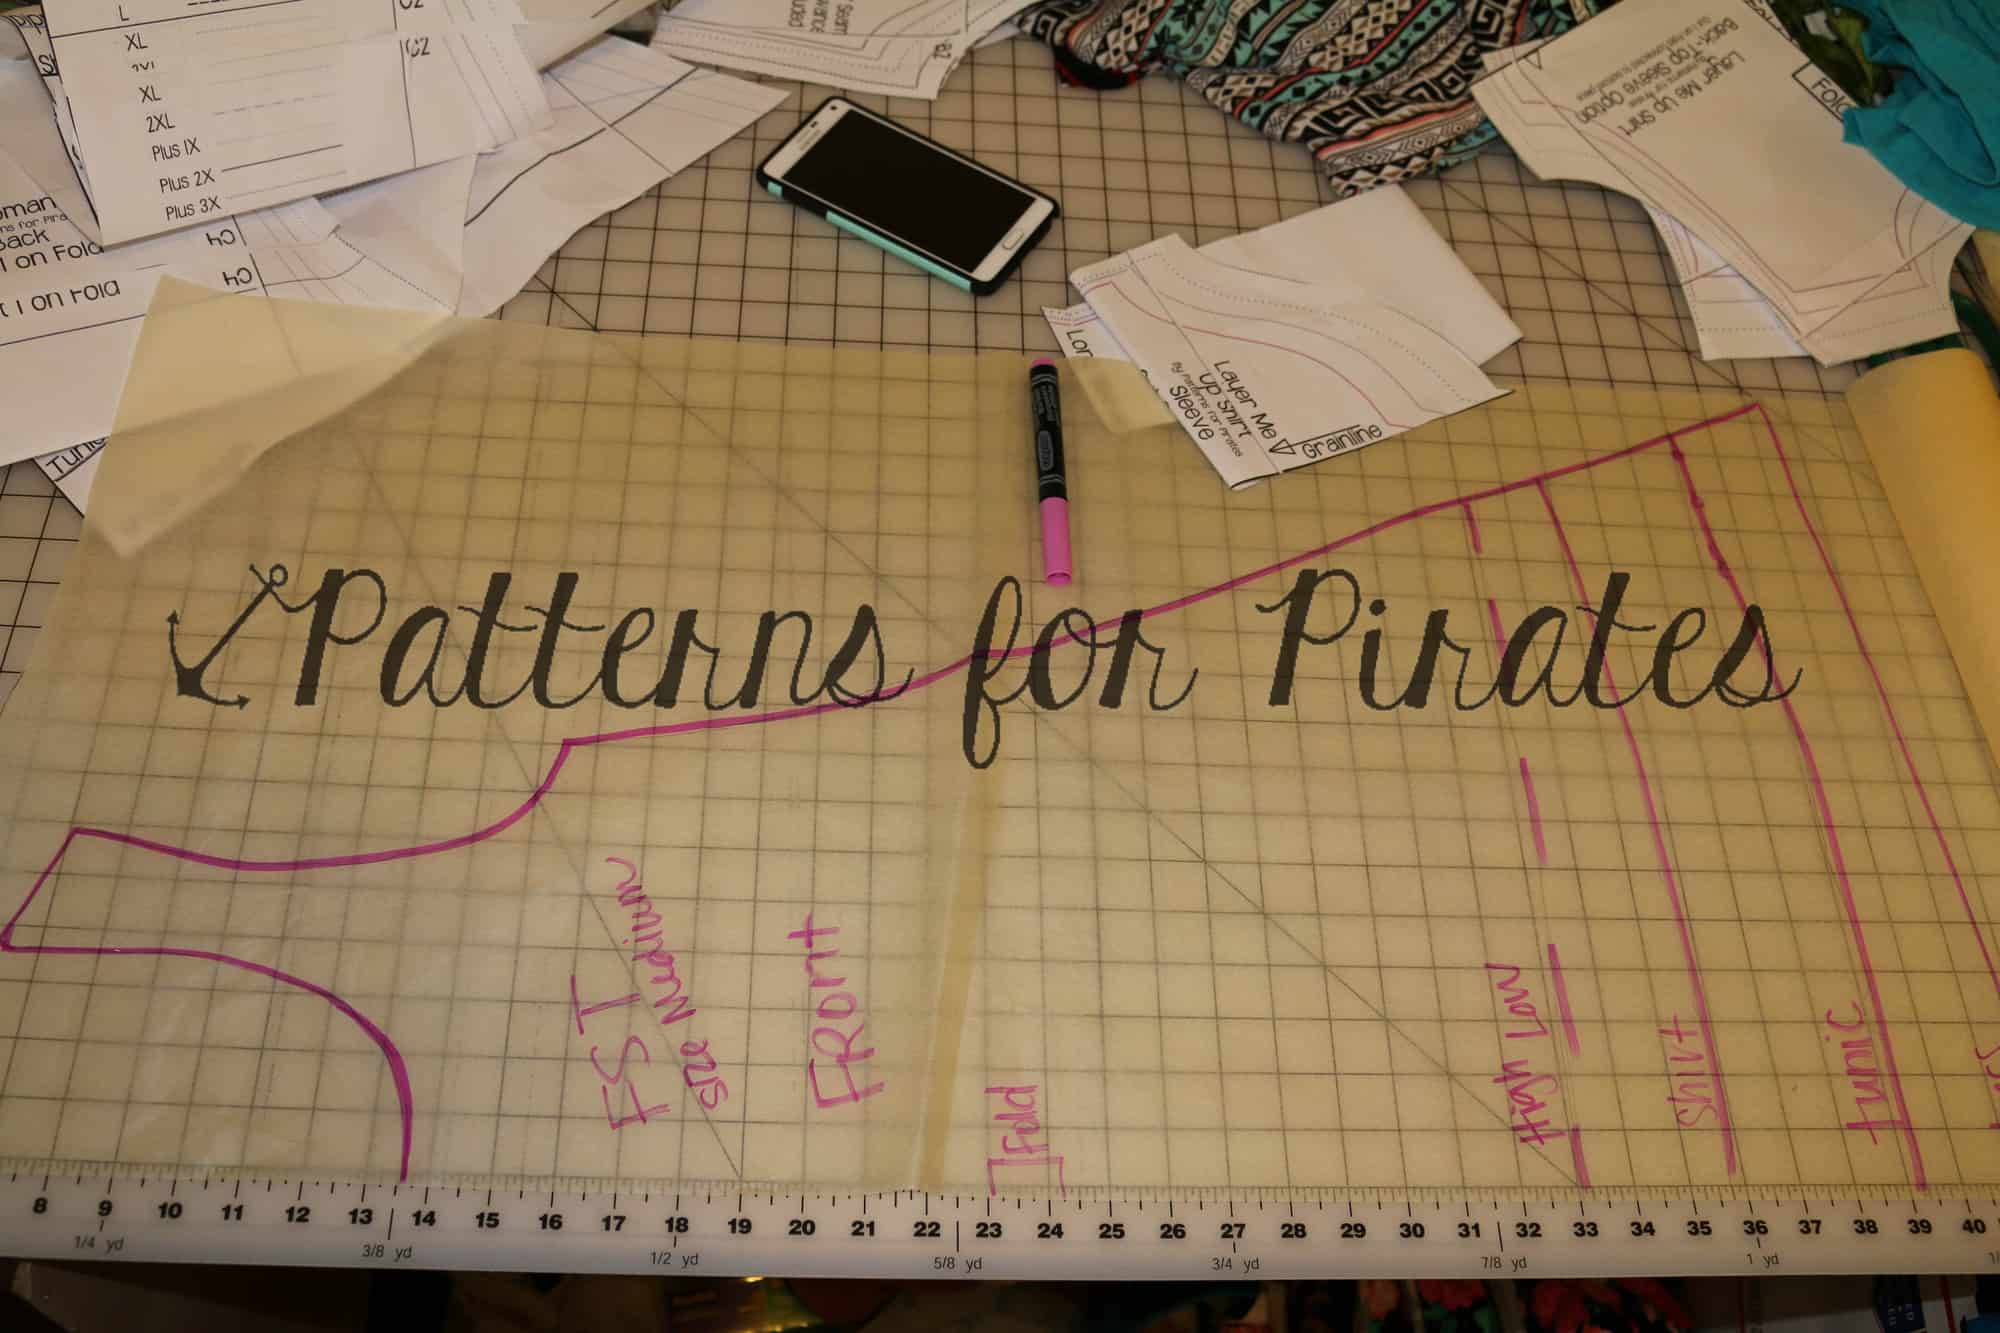
Trace your size of the Free Spirit Tank.

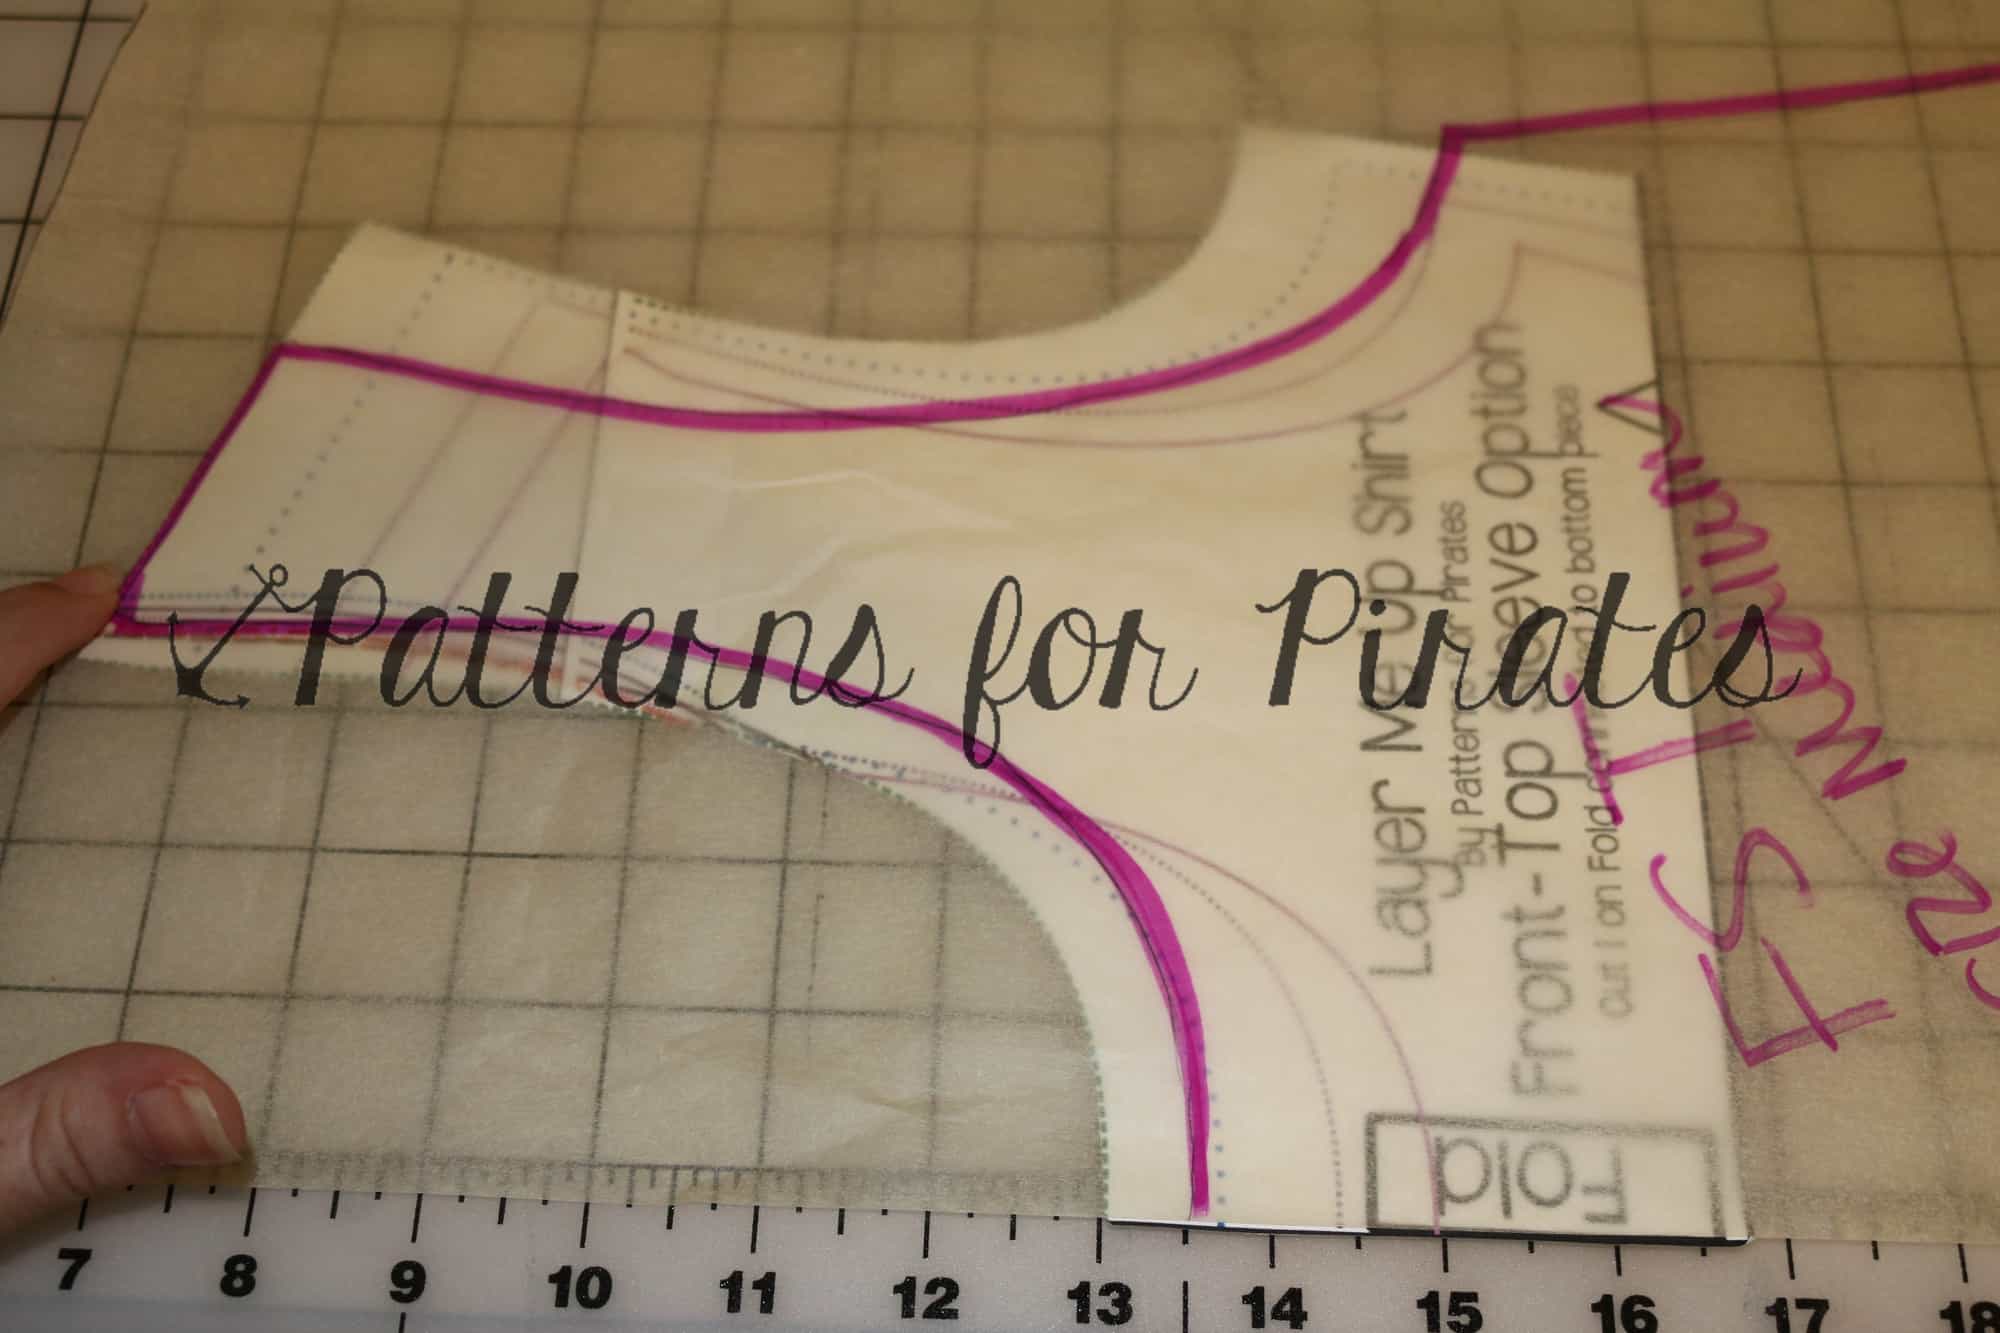
Place your Layer Me Up – SLEEVED BODICE piece matching on fold and at the top shoulder. Make sure you’re matching the front with the front 😉

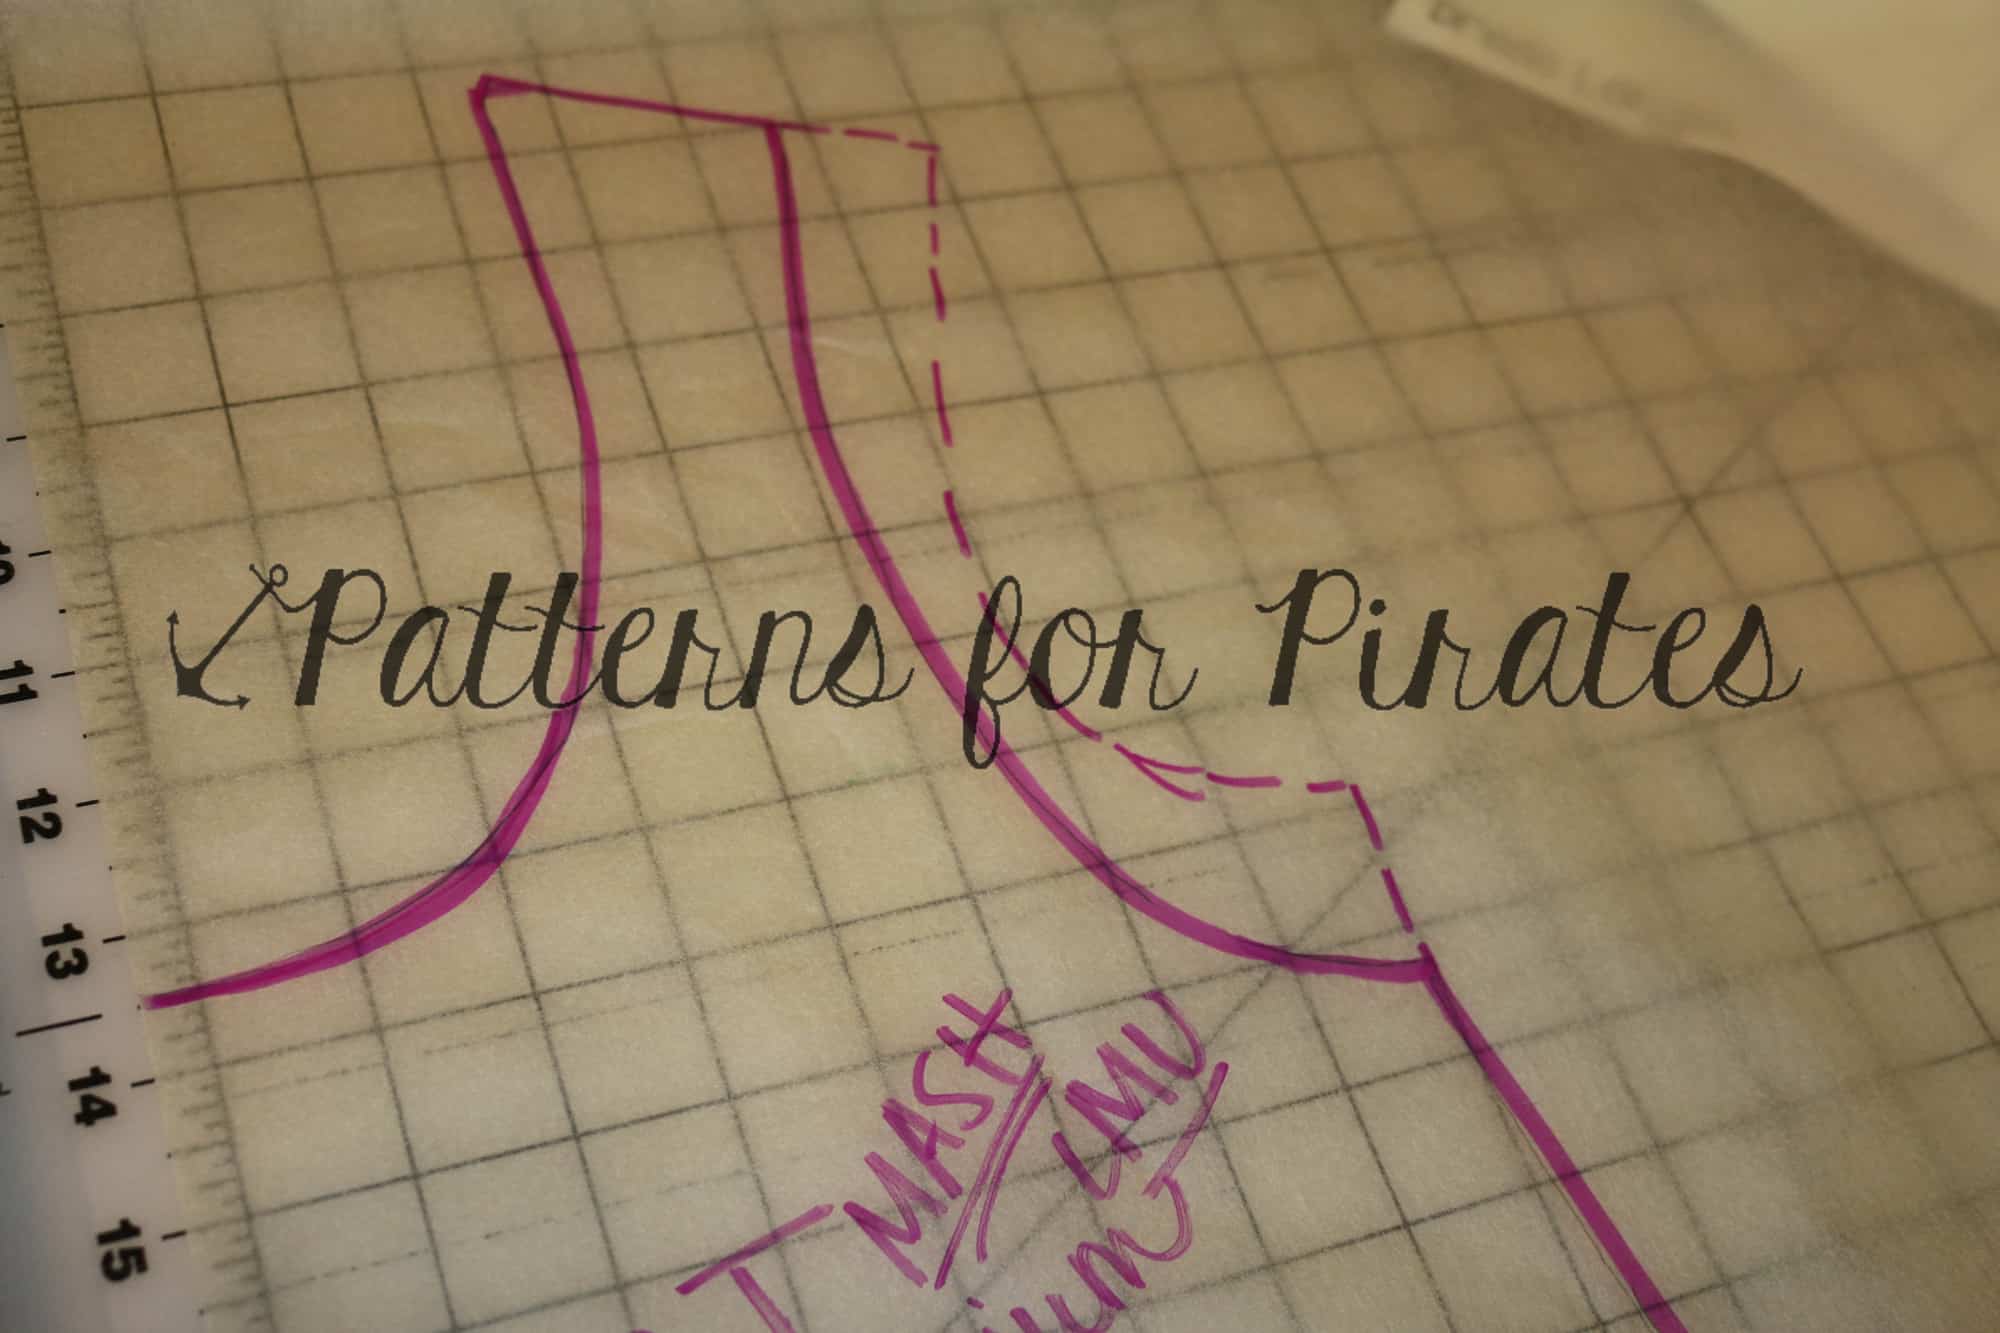
Don’t worry about the neckline, although if you wanted it higher/tighter you could trace off the neckline from the Layer Me Up 🙂 Now just trace the armsyce from the Layer Me Up.

Repeat with the back pieces!

Now you can use any sleeve option from the Layer Me Up Shirt.

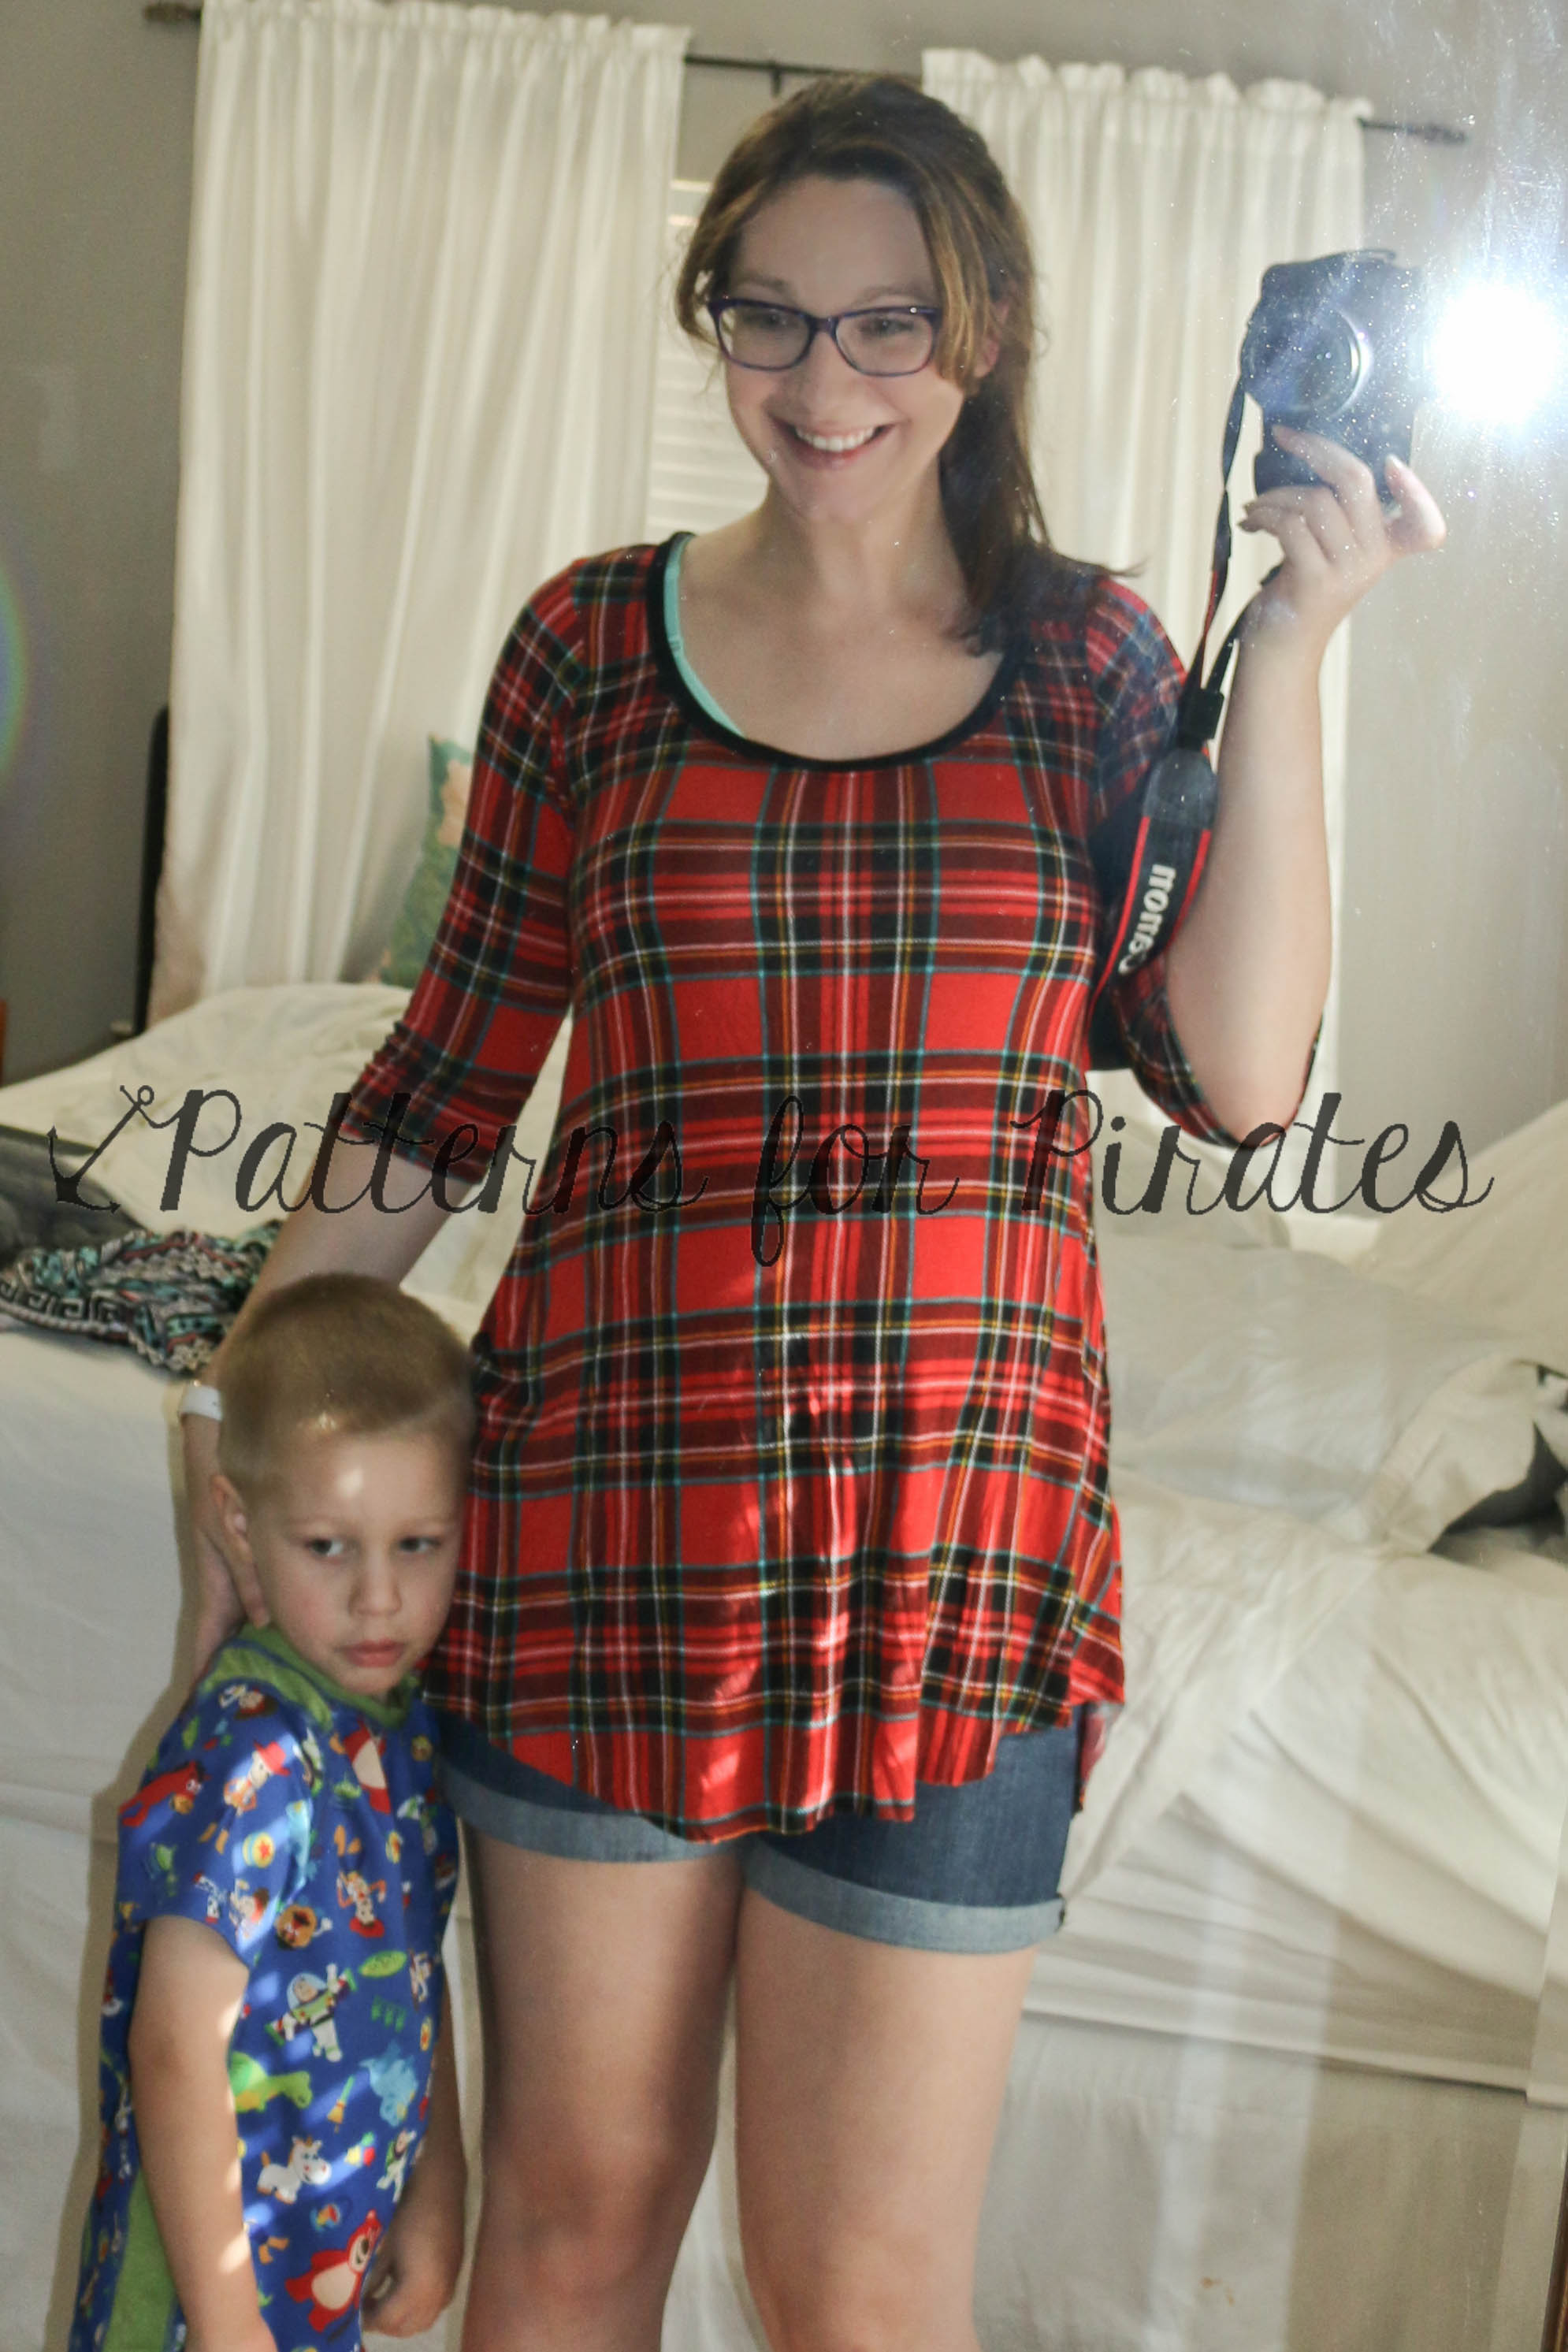
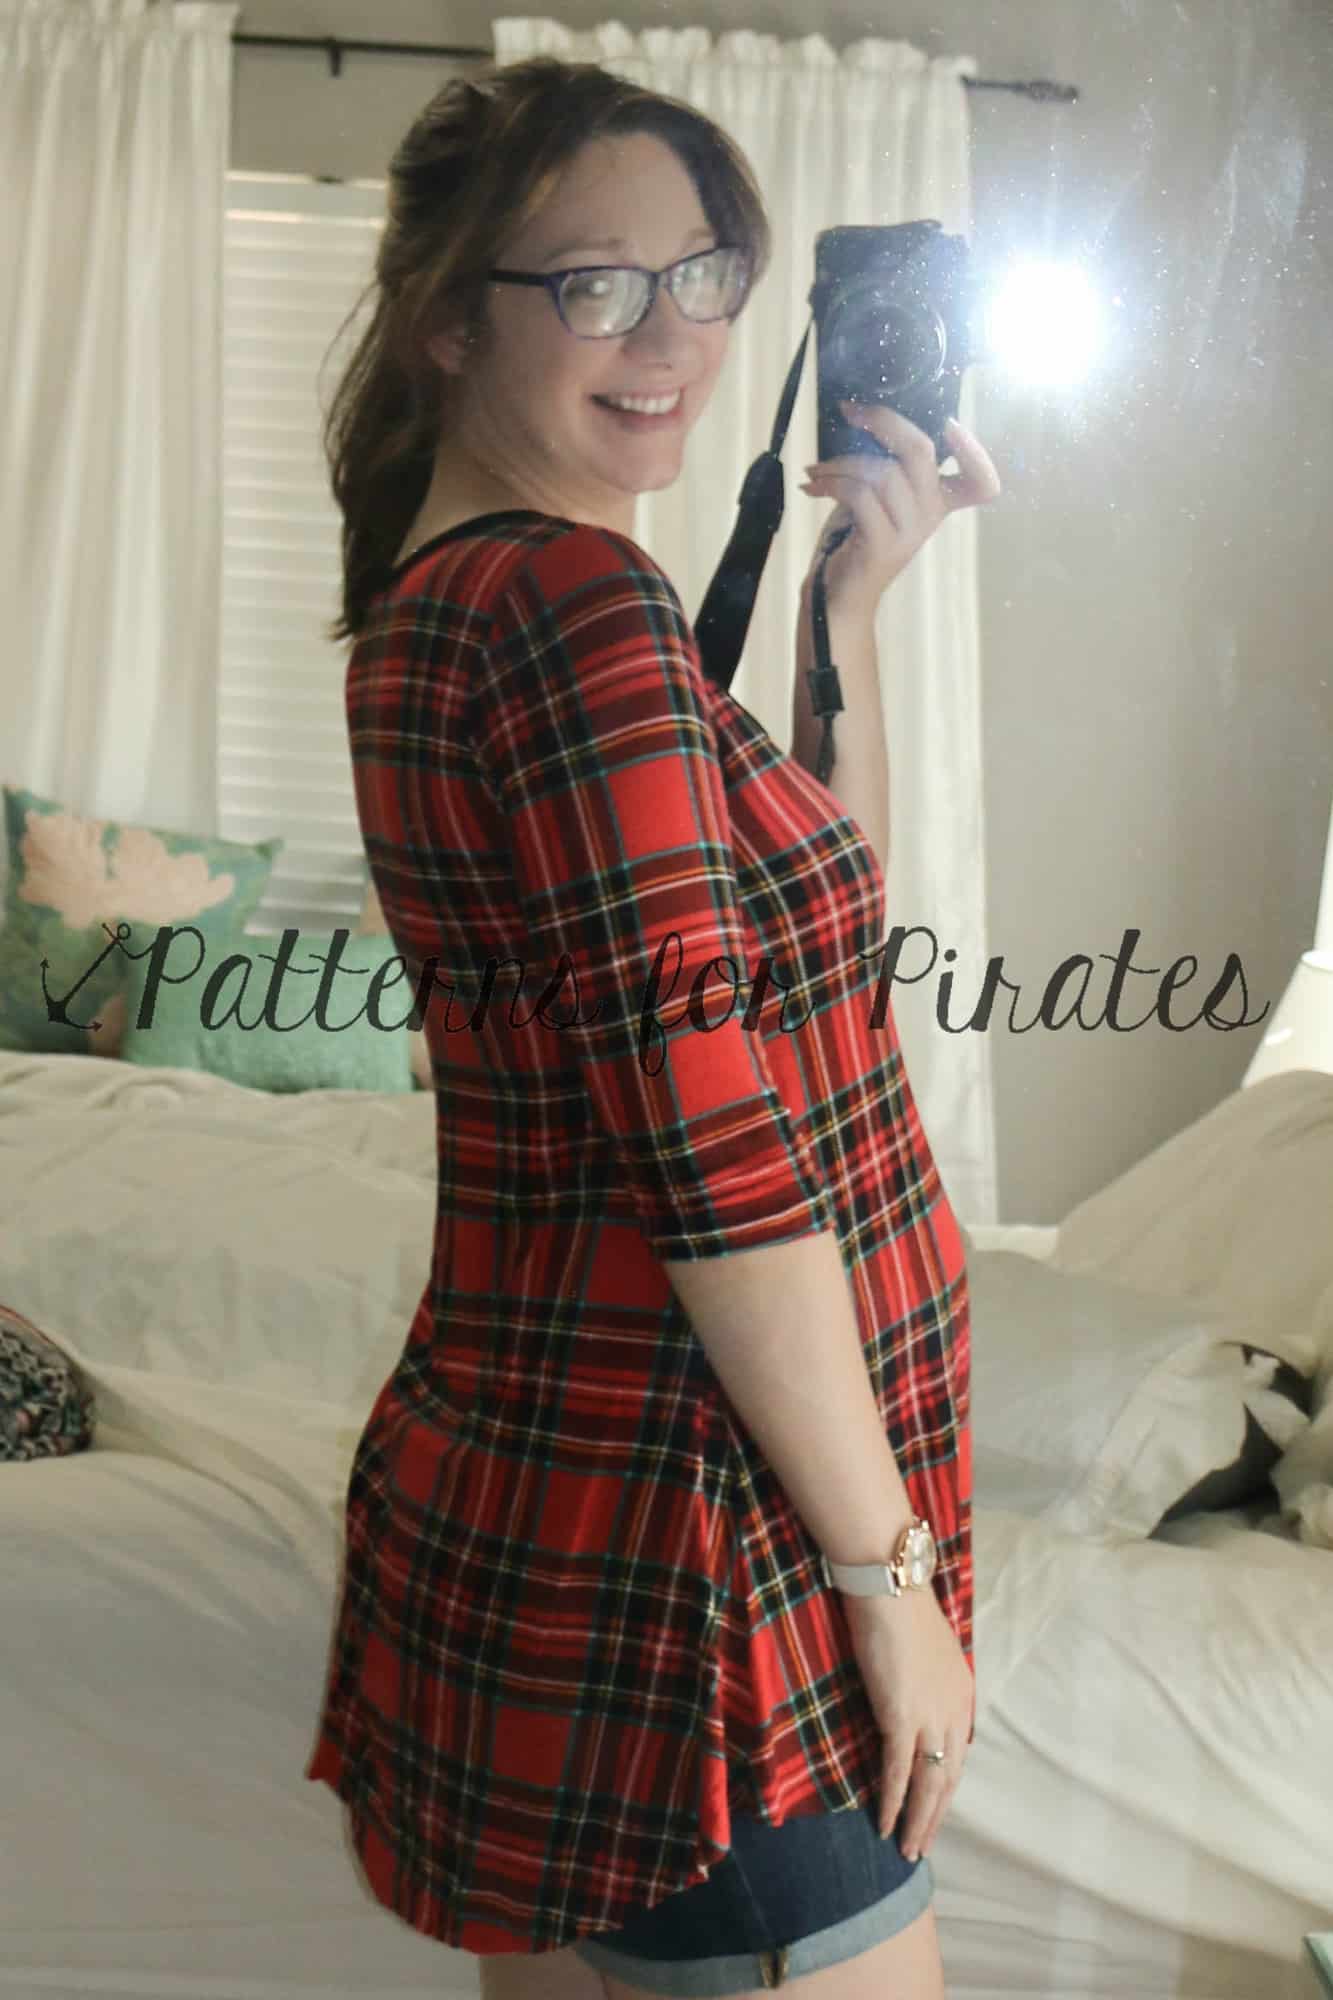
Here is mine I made for the fall!

Little guy wanted in 😉 Please excuse the no make up, mom hair, sports bra look!! It’s what I’m sporting most days though! 😉

I can’t wait to pair it with some leggings for the fall and winter! 🙂 It will be perfect right after baby girl comes!

Filed Under: Pattern Hacks 10 Comments

Boundless Nursing Mod

August 5, 2015

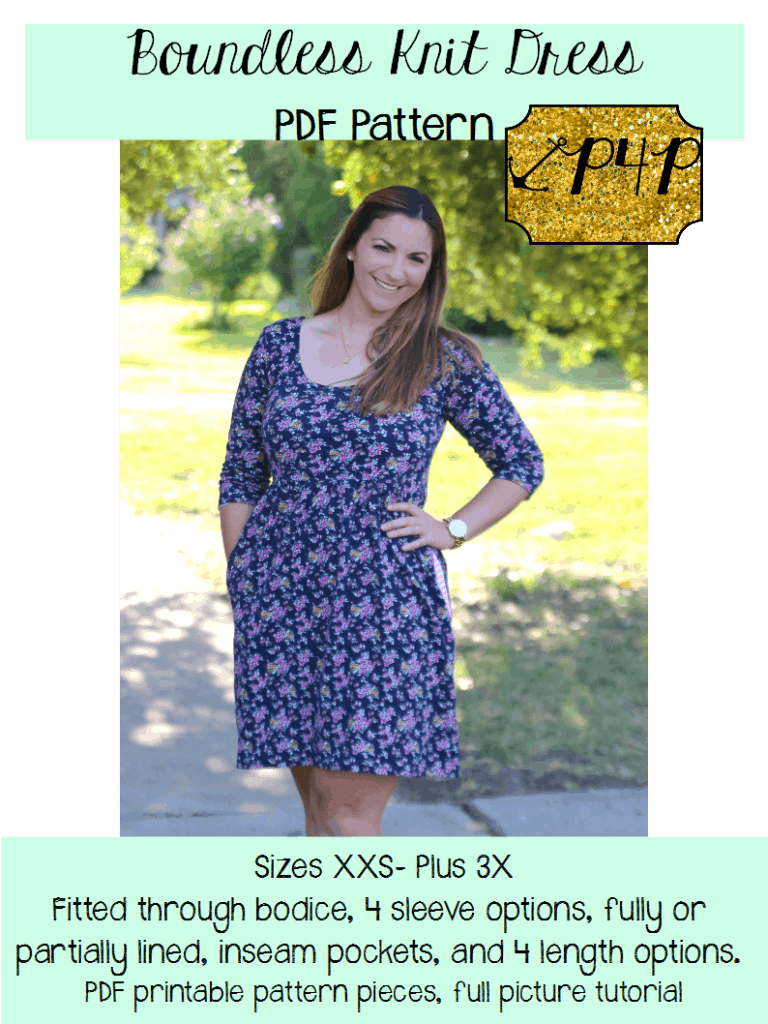
I had lots of inquiries about nursing option for the Boundless Knit Dress.  I know ladies love to create items they can wear during and after pregnancy! Since the Boundless has a lined bodice it is a super simple modification to do! Here is how I did mine 🙂

listing pictures1

I cut out all my pieces normally- main fabric bodice, lining bodice, sleeves, skirt, and I did pockets for this one too! I did a mini length and didn’t add my 3″ I should for being super tall because I wanted a tunic length! I wear tunics and leggings much more then a dress 🙂

IMG_0993 IMG_0998

Choosing fabrics: I choose a spandex blend for both since the main fabric would be pulled and stretched a lot, you want it to have good recovery and not get stretched out and sloppy by the end of the day! The lining I choose a true spandex.  I thought it would be soft on my skin, stretch nicely with the changes throughout the day of your bust measurement and be sturdy enough to do well with cut outs.  I also choose a solid b/c it when you lift up you will actually be showing the wrong side of the fabric.  You COULD sew the lining were a print shows, but you might make your brain very tired trying to figure it out 😉

IMG_0985

You can follow the normal directions in the tutorial all the way through the bodice and skirt construction.  ATTACHING the skirt is where we will change it up a bit! 🙂  ***Although, after creating mine I SHOULD have put right side of bodice to WRONG side of lining–this way the sides seams wouldn’t show when you pull up!***

Here is my bodice, again put together just as the directions say in the regular tutorial.  For the main bodice fabric I choose to hem with an elastic hidden in the hem.  I would’ve use a clear elastic if I hadn’t been all out 😉 so I used what I had! I measurement the finished bodice and cut to that size.  I did not add for a seam allowance b/c I want to stretch it EVER so slightly with attaching.

IMG_0989


Sew the elastic ends together creating a circle.

IMG_0990


Now, I TOTALLY messed up here with pregancy brain, but didn’t want to unpick it! lol… so bare with me with this picture that is wrong! You want to baste the elastic stretching it EVER so slightly (I mean just barely) to the wrong side of the bodice edge.  See my mistake 😉 I did right side lol!

IMG_0991

Fold under and hem with the elastic enclosed in the hem. (Mine was obviously not enclosed b/c I messed up!)

IMG_0992

Now for attaching to the skirt. I recommend using the “Traditional Gathering Method” for the skirt since there is elastic in the bodice, it might start getting bulking with elastic also in the skirt!  Attaching the top with right sides together, but only catching the lining.  The main bodice piece will be free.
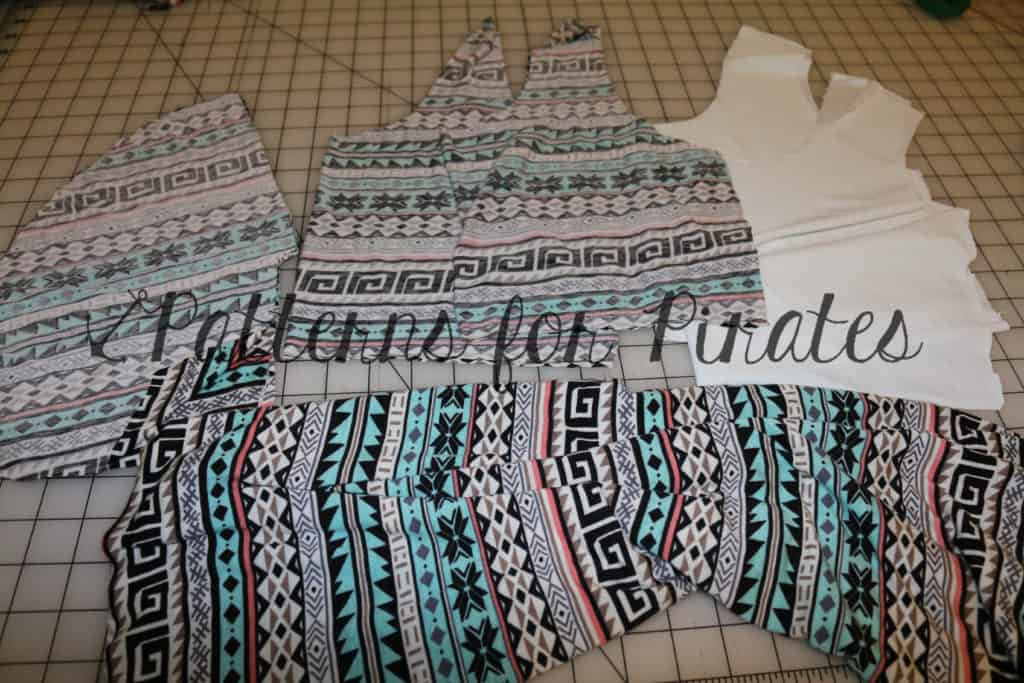
IMG_0995

IMG_0997

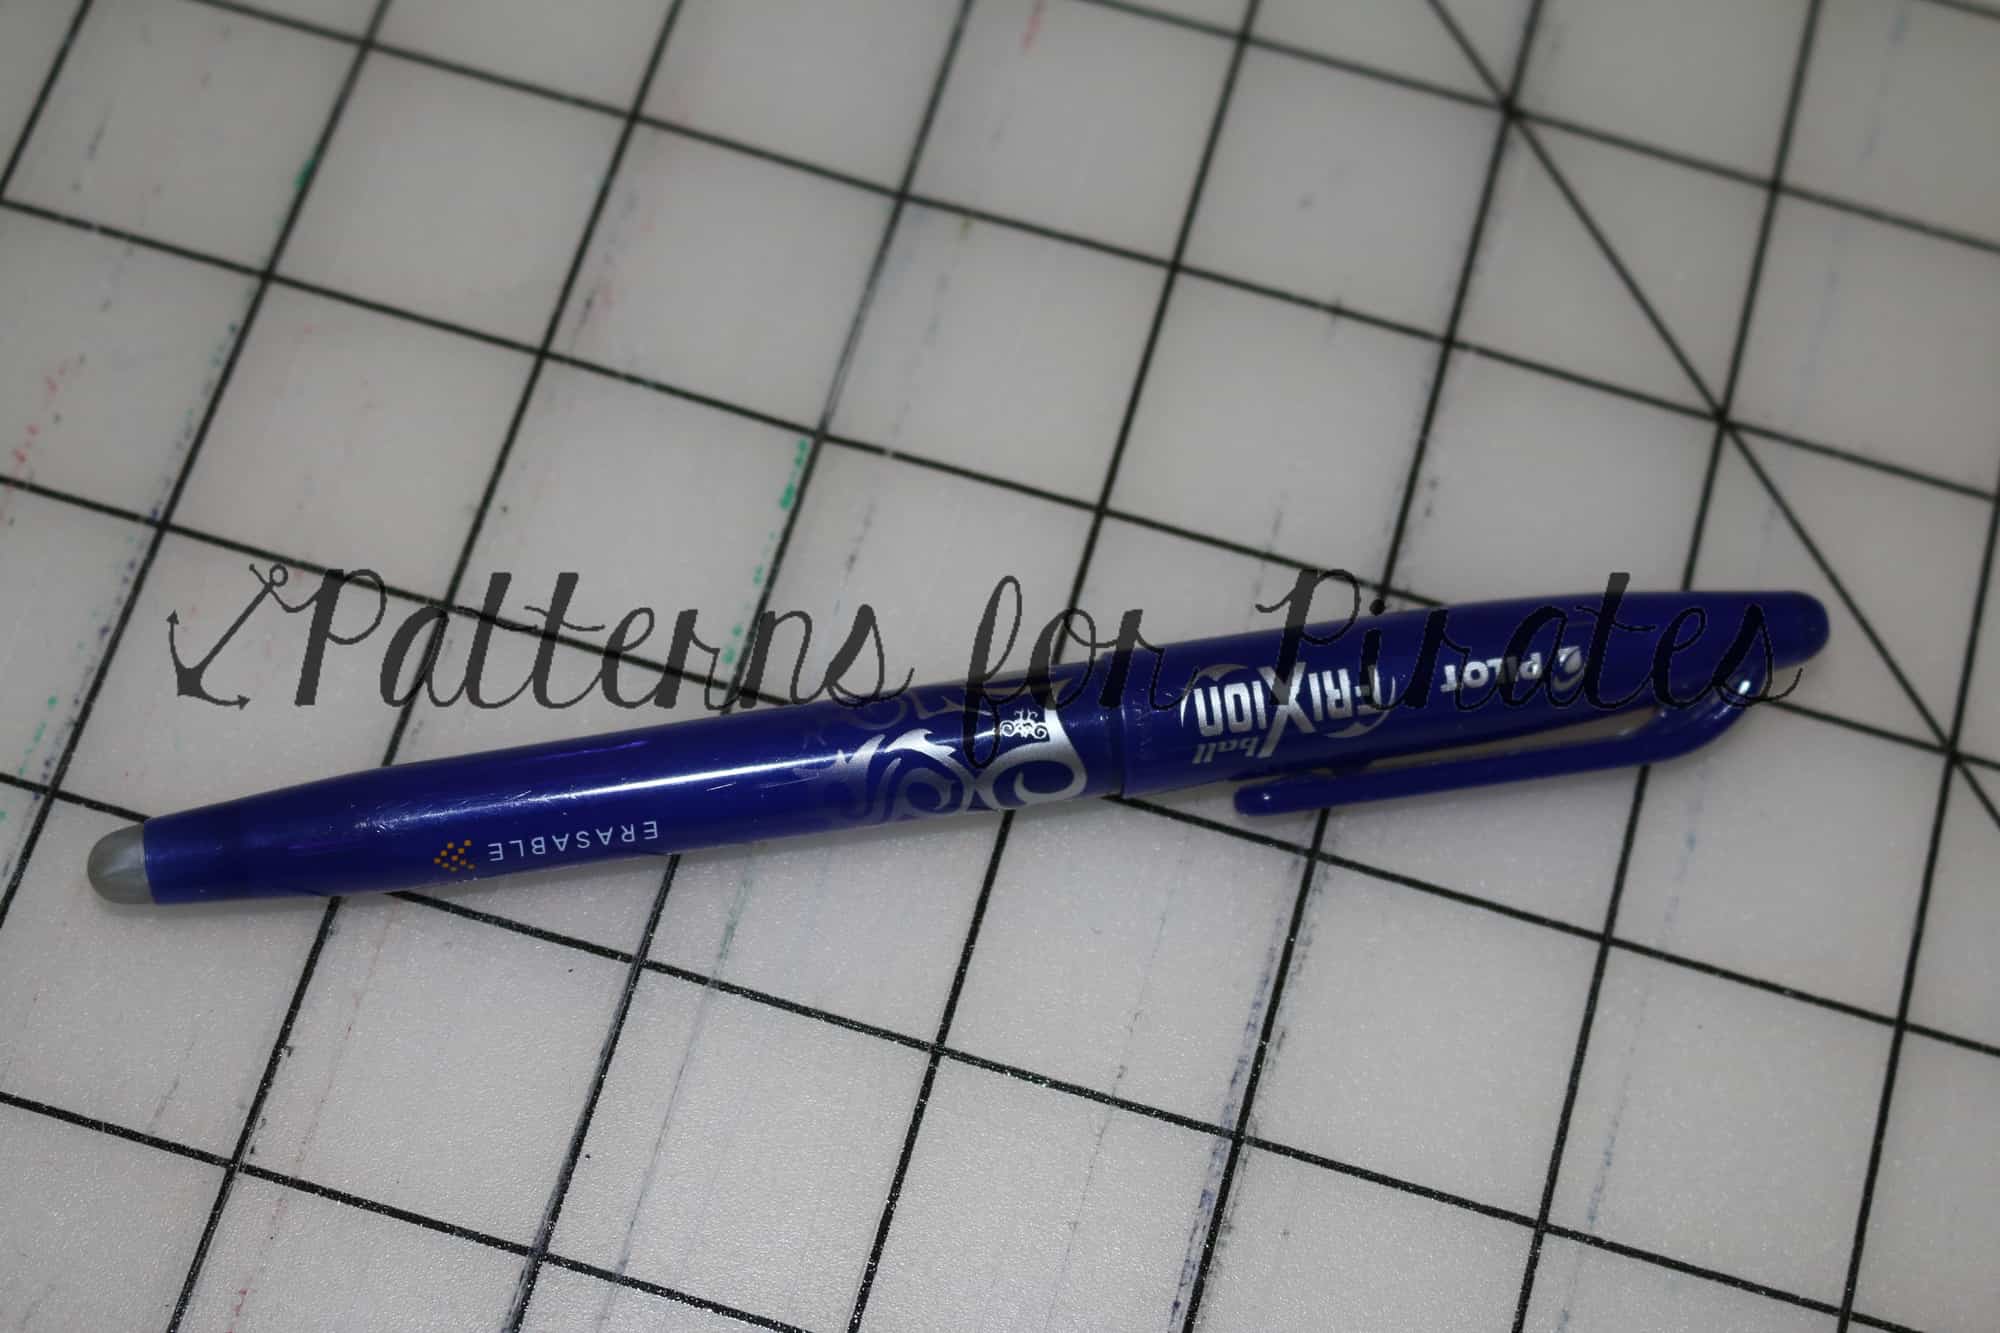
Now you can try on and mark/make cut outs in the lining.  I used my handy pen that disappears with a hot iron! I didn’t take pictures with the cut outs 😉 I’ve been asked several times what shape I cut out.  I just did a horizontal slit below the apex (fullest part) of my bust.  I thought it showed through the least that way.  I just opened up the slit to use it.

IMG_0993

Here is my finished nursing tunic from the Boundless Knit Dress!

IMG_1016 IMG_1017 IMG_1018

And some with Little Guy sneaking in the action of course! He’s showing off his new toy! And I LOVE his face in the 2nd one, looks like he’s super impressed with the nursing mod! 😉

IMG_1007 IMG_1012 IMG_1025

Love the pockets and the tunic length 🙂

IMG_1026 IMG_1015


Filed Under: Pattern Hacks, Uncategorized 20 Comments

Tips and Tricks on How to Up-Cycle Jeans/Denim

June 13, 2015

Making jeans can be a little intimidating for some… and we’ve already had a post here about making jeans look more like store bought jeans with details like top-stitching thread and distressing.

But, a really easy way to get your jeans looking professional is to use an old pair that an adult is throwing/giving away! This means a lot less work for you distressing and top-stitching if you’re smart about laying out your pattern pieces! So here it goes…my tips on using pre-existing jeans:

1- Making a few cuts along the seams can really make cutting your pieces much easier! I like to cut along the inside legs/crotch, cut off the waistband and beltloops, and the back pockets.

IMG_9003IMG_9001 IMG_9004

2- Be cautious about distressed/washed jeans and laying out your pattern pieces… meaning, if your jeans have a very obvious fade/wash/distress pattern on them then you need to make sure you like where it will be placed and that it will match when you sew up your jeans. For this pair, I wanted the distressed area of the original jeans, so I laid my patterns around that.  Notice that my two pieces are very close to the same area horizontally, and that the back yoke is placed above the back piece.  All of this will ensure that the distressing and wash look natural on my finished jeans.
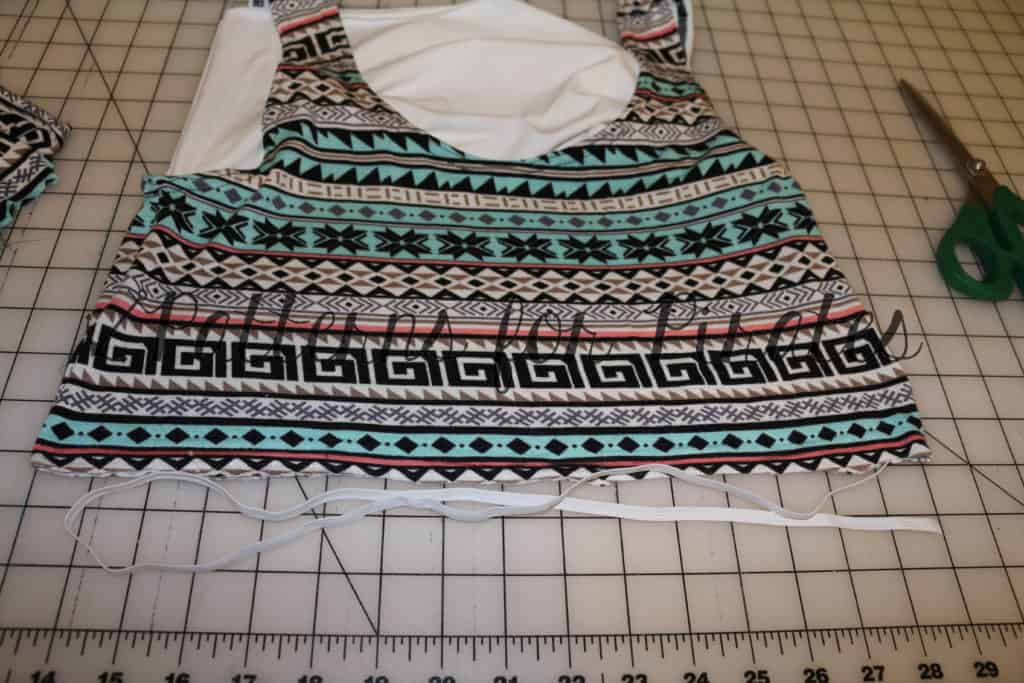
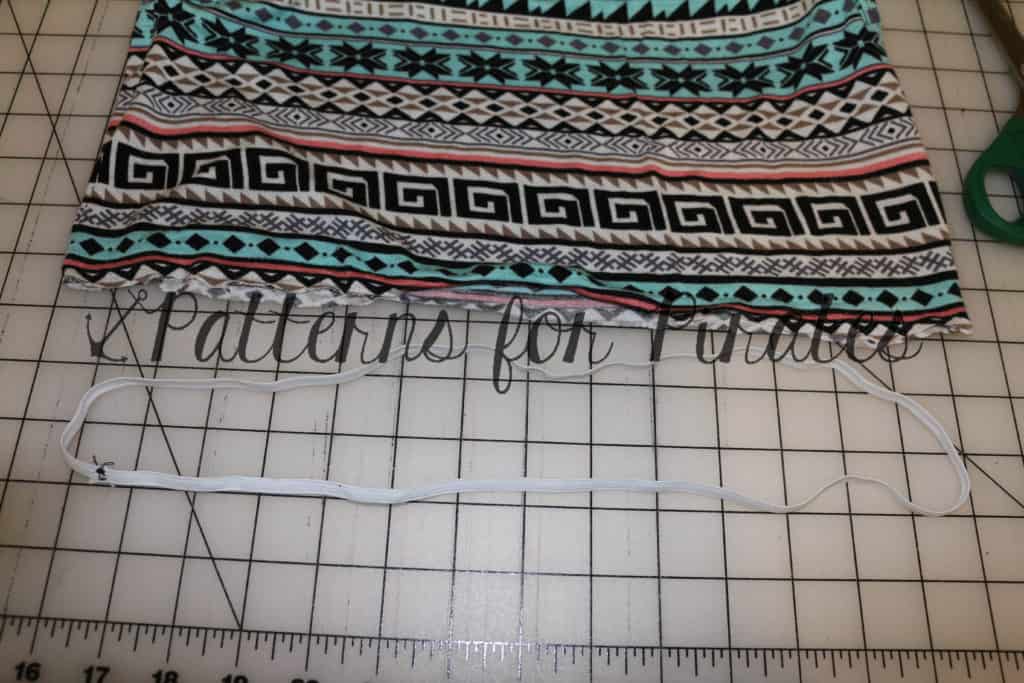
IMG_7758

You can also use the original hem line if you prefer to get that instead. Remember to account for hem allowance. I did that with this pair, because my jeans didn’t have a very noticeable distressing.

IMG_9000

Use the back pockets when cutting your new pockets, Remember to account for the hem allowance at the top.

IMG_9005

If you’d like to use the waistband and belt loops you can…. but warning, unpicking those belt loop stiches is not fun 😉

If you pattern calls for elastic in the waistband, like my Cpt. Comfort Jeans, then you will have to cut a slit on the wrong side of the waistband to slip your elastic through- I just use a wide zigzag to mend the slit after (I hide the zigzag stitches behind a belt loop!).  Make sure when overlapping that you line up your jeans button and button hole, you can see here on mine they overlapped much more then the pattern called for.  Then you will tack down the bottom of the belt loops 🙂

IMG_9006IMG_9012IMG_9213

3- Now that you have your pieces cut you will continue to sew them just like the pattern calls for  matching the store bought top-stitching thread as best you can. And although they have a wash and distressing, I STILL distress along the way! That way my finished jeans will have the distressing where store bought jeans do, like along pocket lines.

IMG_7260 IMG_9009

IMG_9010

Now you have a great fitting (no plumbers crack!) pair of jeans that cost you nothing but the thread and time <3 and plus they look amazing!

IMG_9218   IMG_9422IMG_9403

Filed Under: Pattern Hacks, Sewing Techniques, Sewing with Woven Fabrics, Uncategorized 1 Comment

  • « Previous Page
  • 1
  • …
  • 10
  • 11
  • 12

connect with me

  • Email
  • Facebook
  • Instagram
  • Pinterest
  • YouTube
Privacy & Cookies: This site uses cookies. By continuing to use this website, you agree to their use.

To find out more, including how to control cookies, see here: Cookie Policy
  • Privacy Policy
  • Refund Policy
  • Contact Us
  • About

Copyright © 2026 Patterns for Pirates

Copyright © 2026 · Genesis Framework · WordPress · Log in