We couldn’t be more excited to share our newest patterns here at Pirate Headquarters! Allow us to introduce the Sunnyside Sweater patterns, y’all!
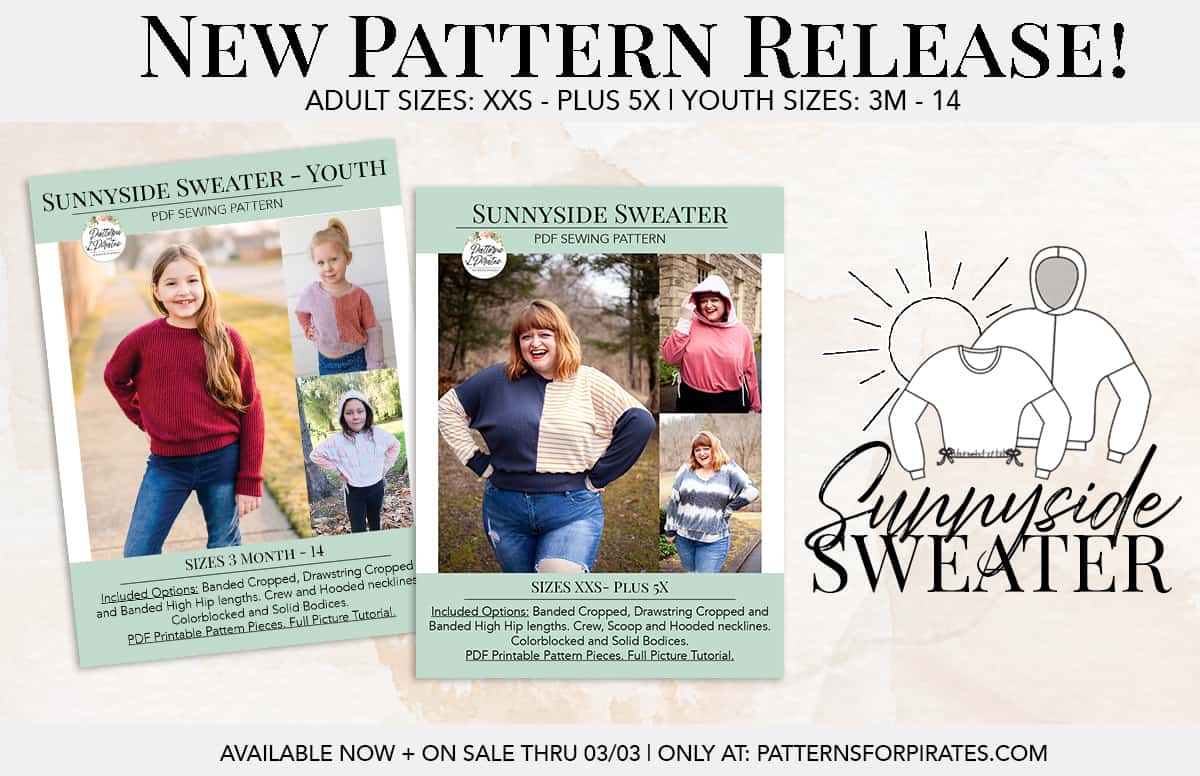
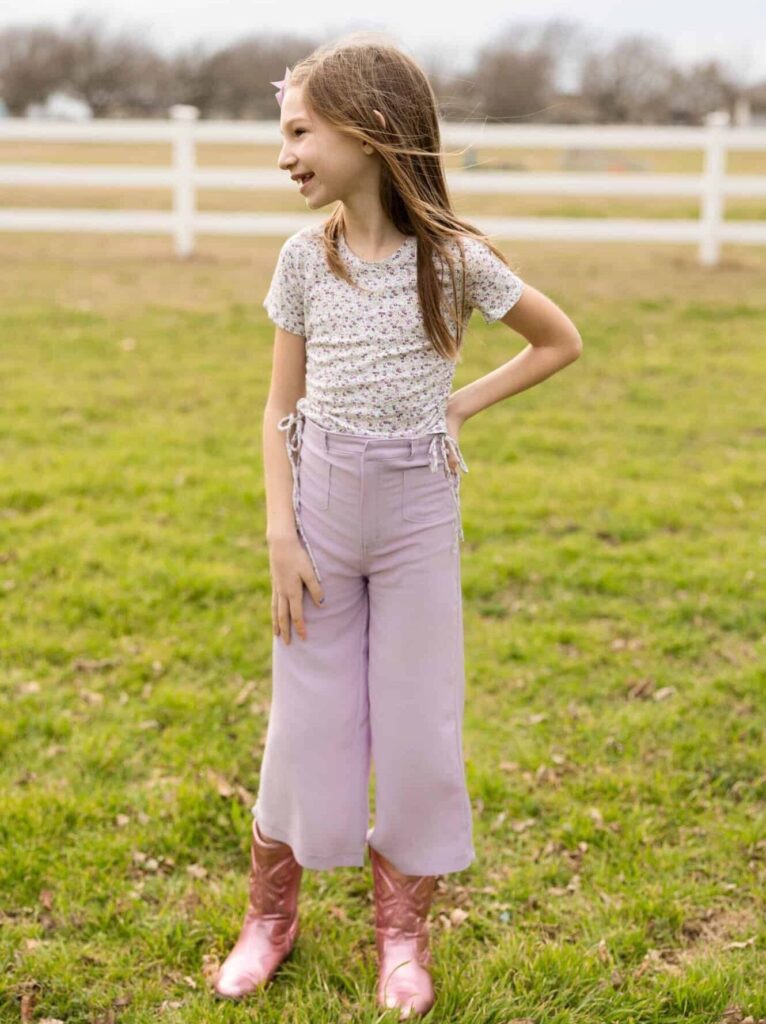
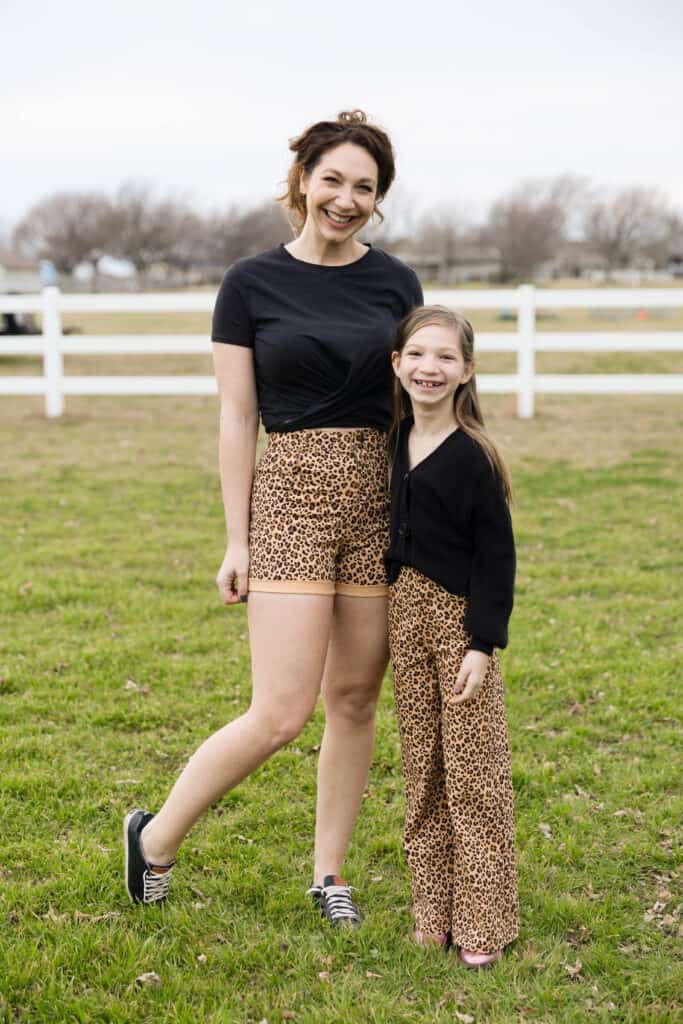
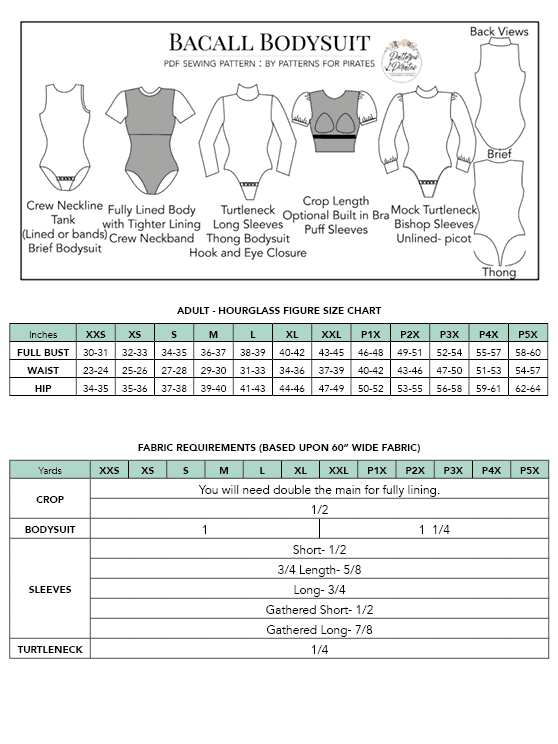
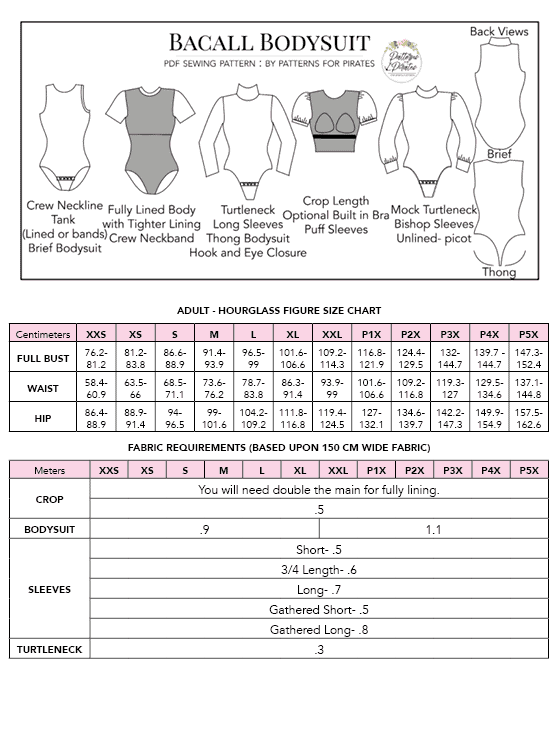
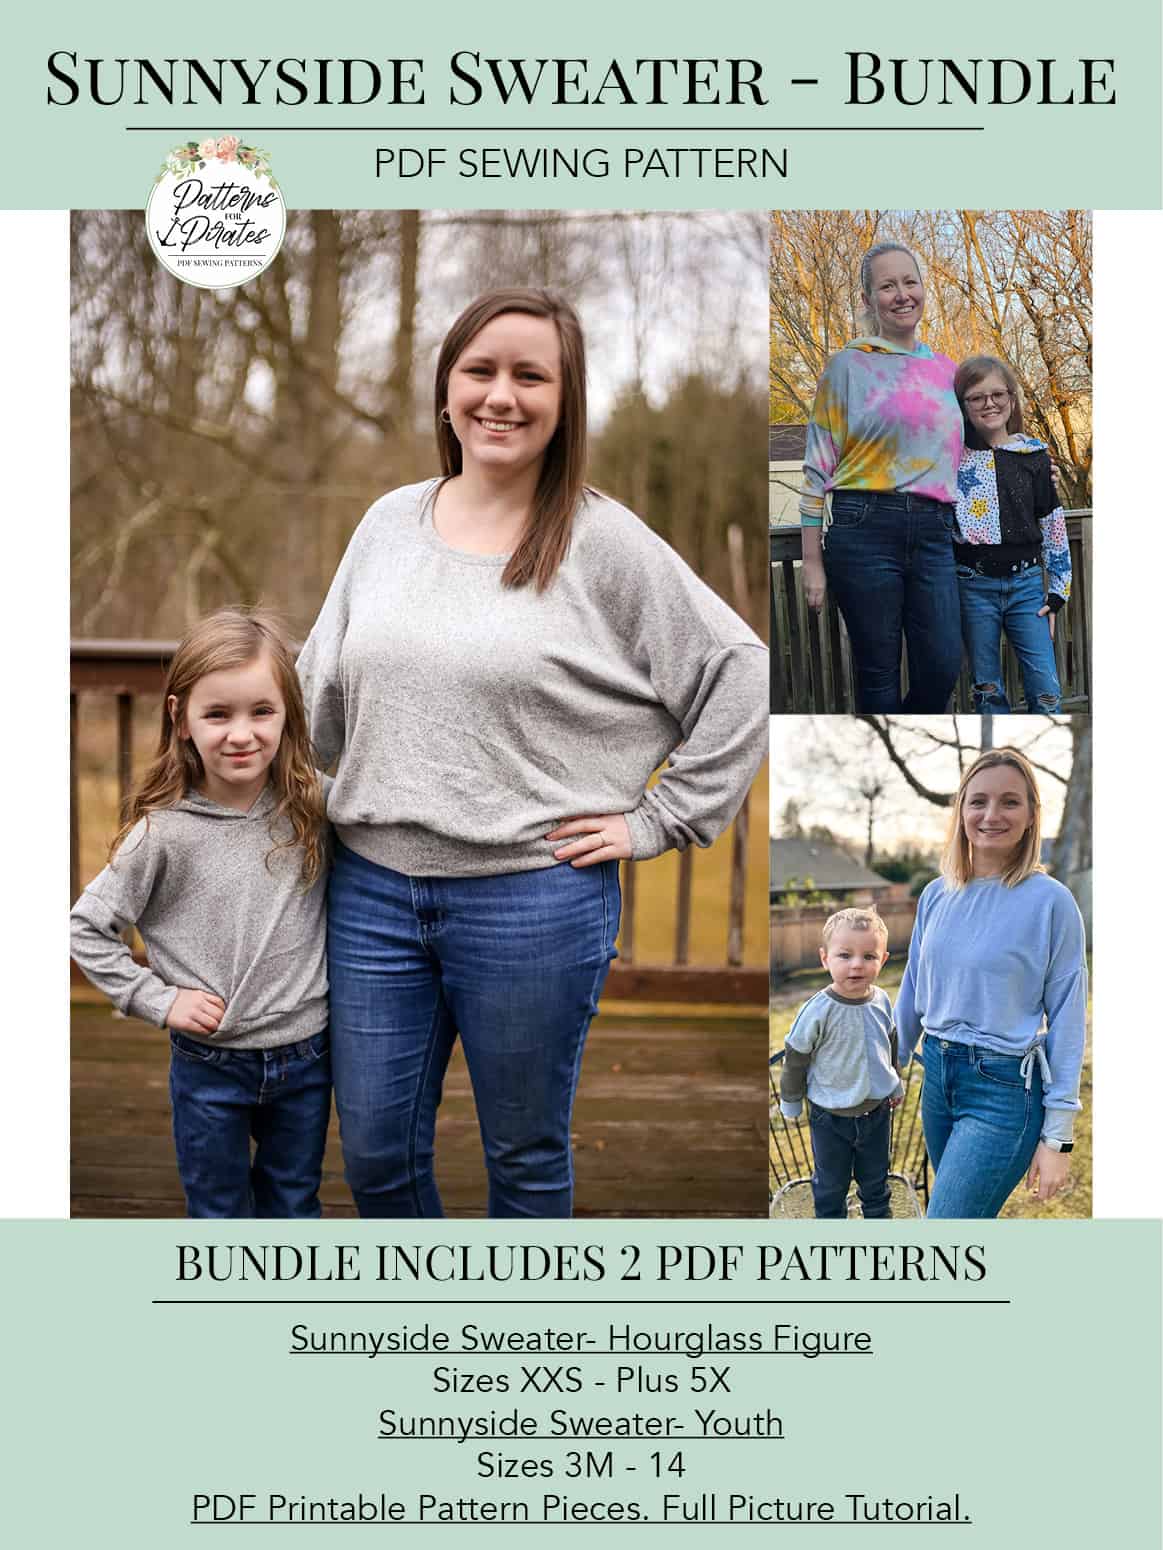
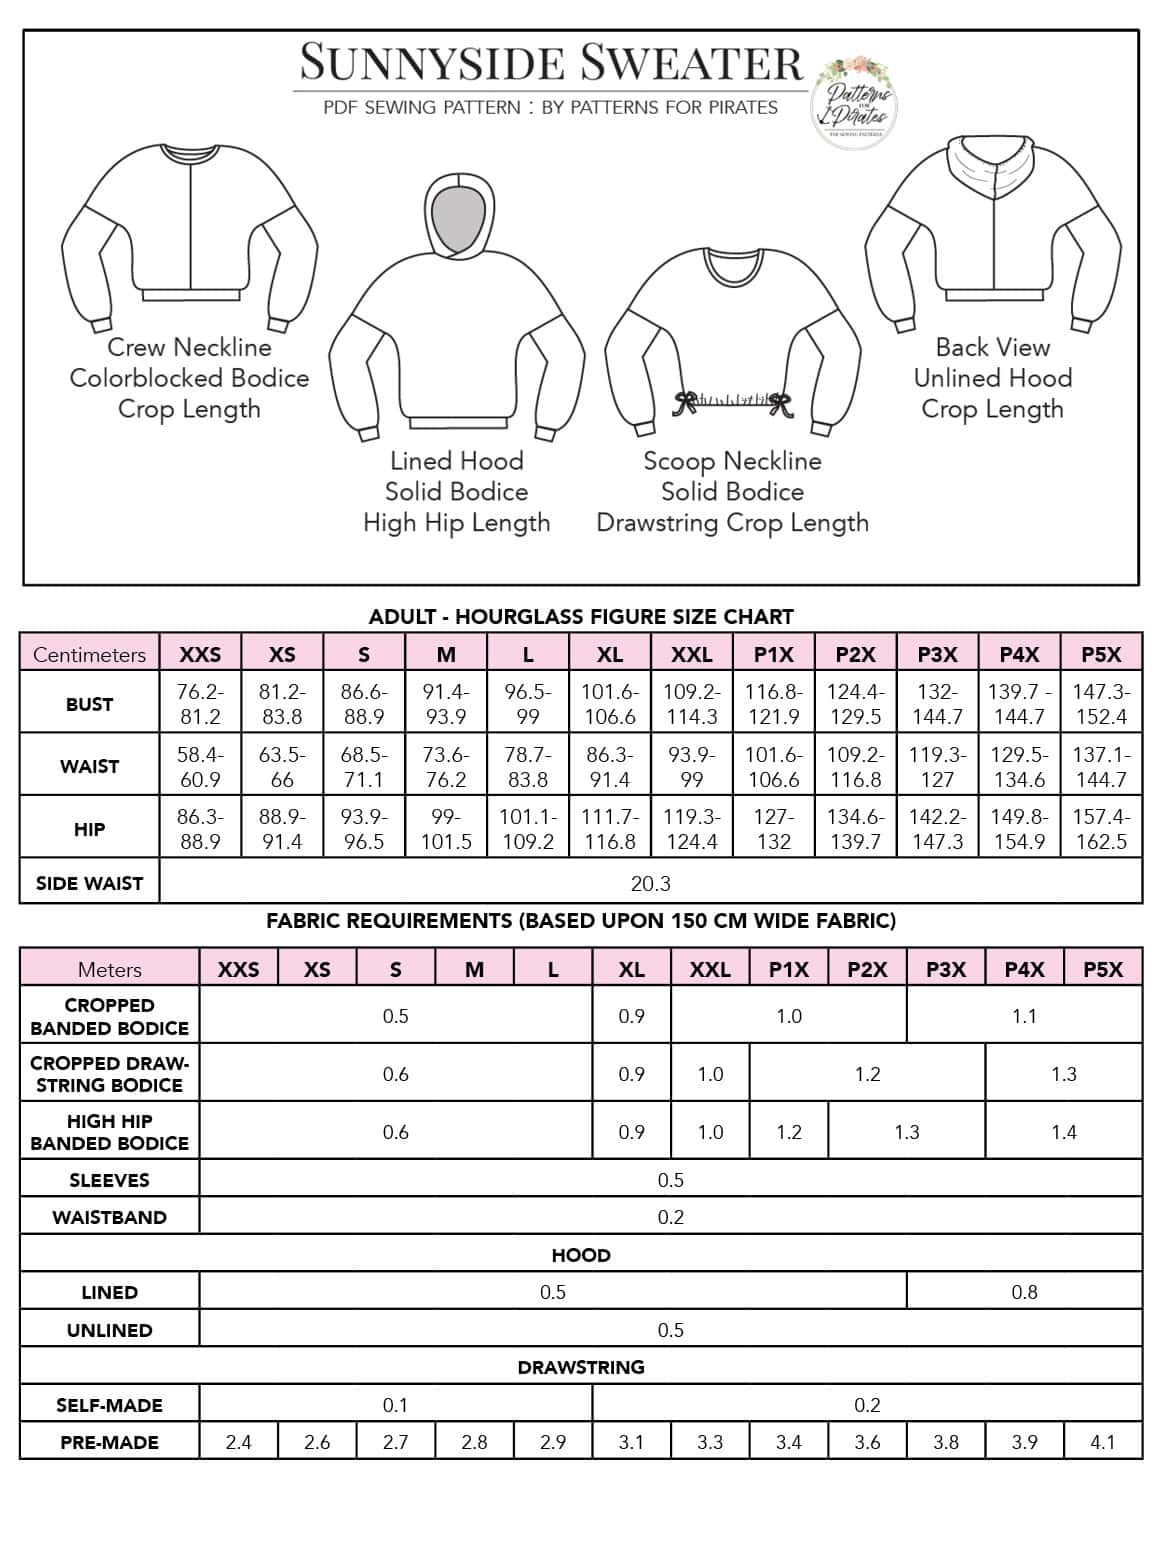
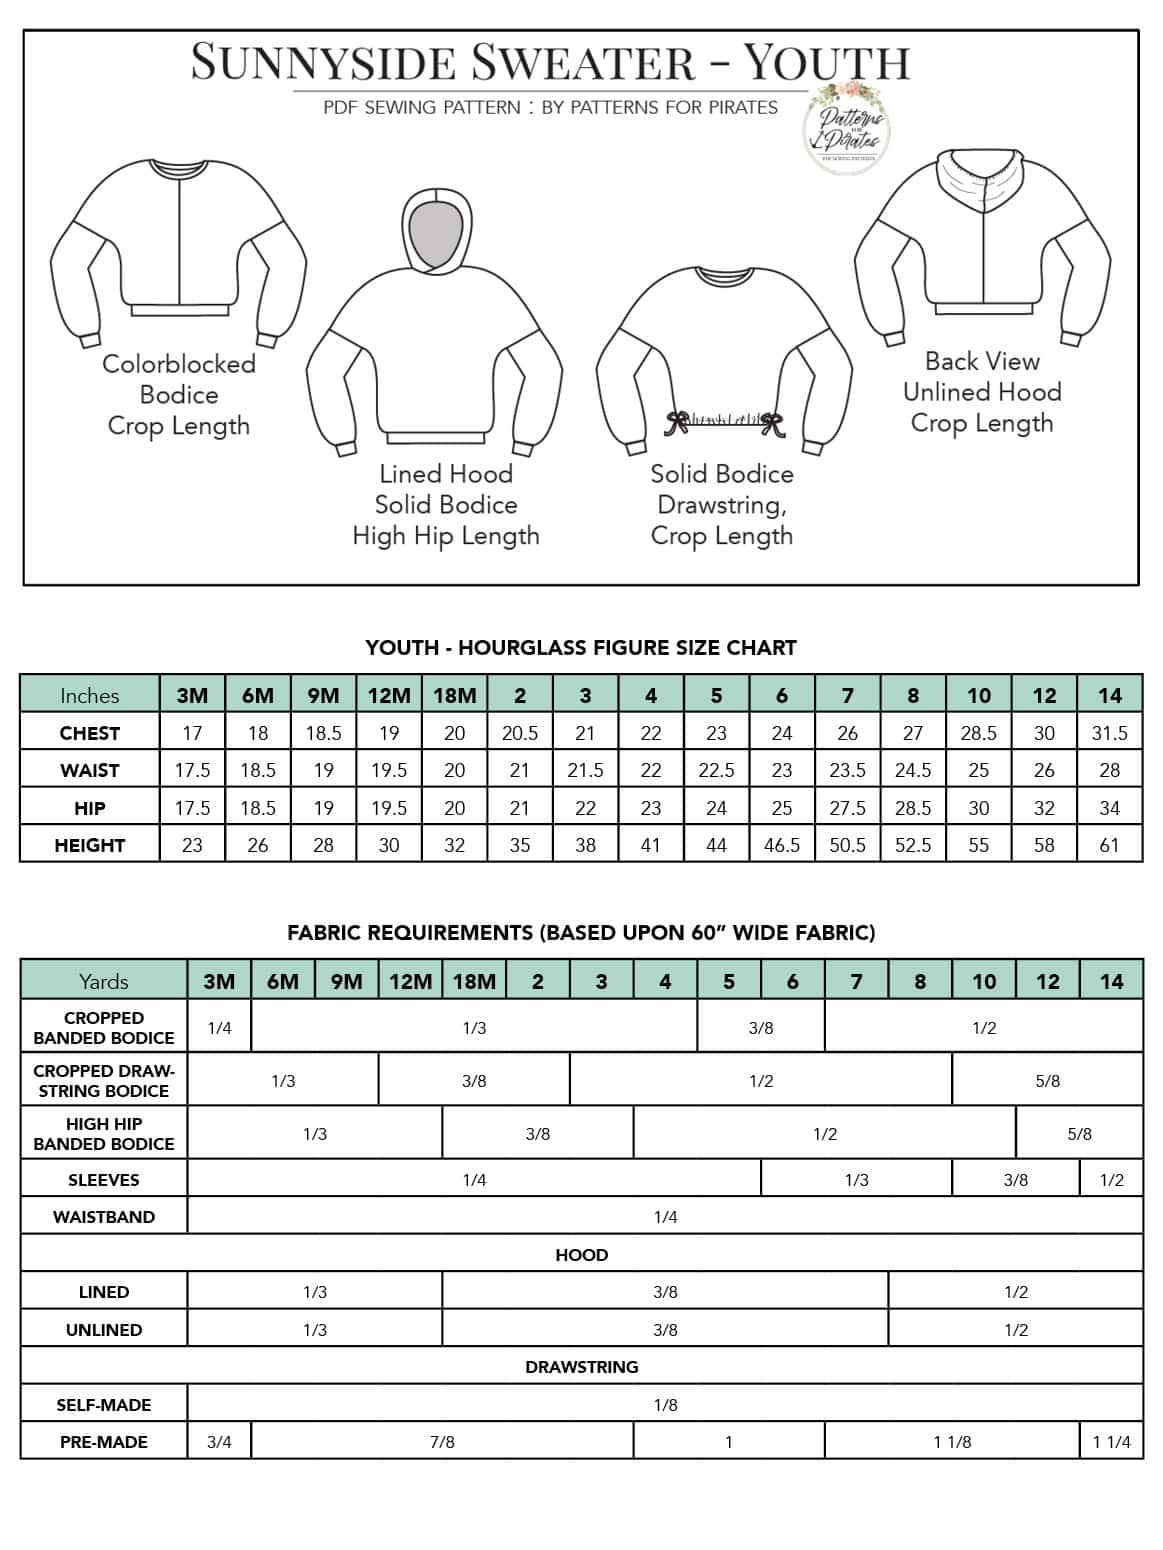
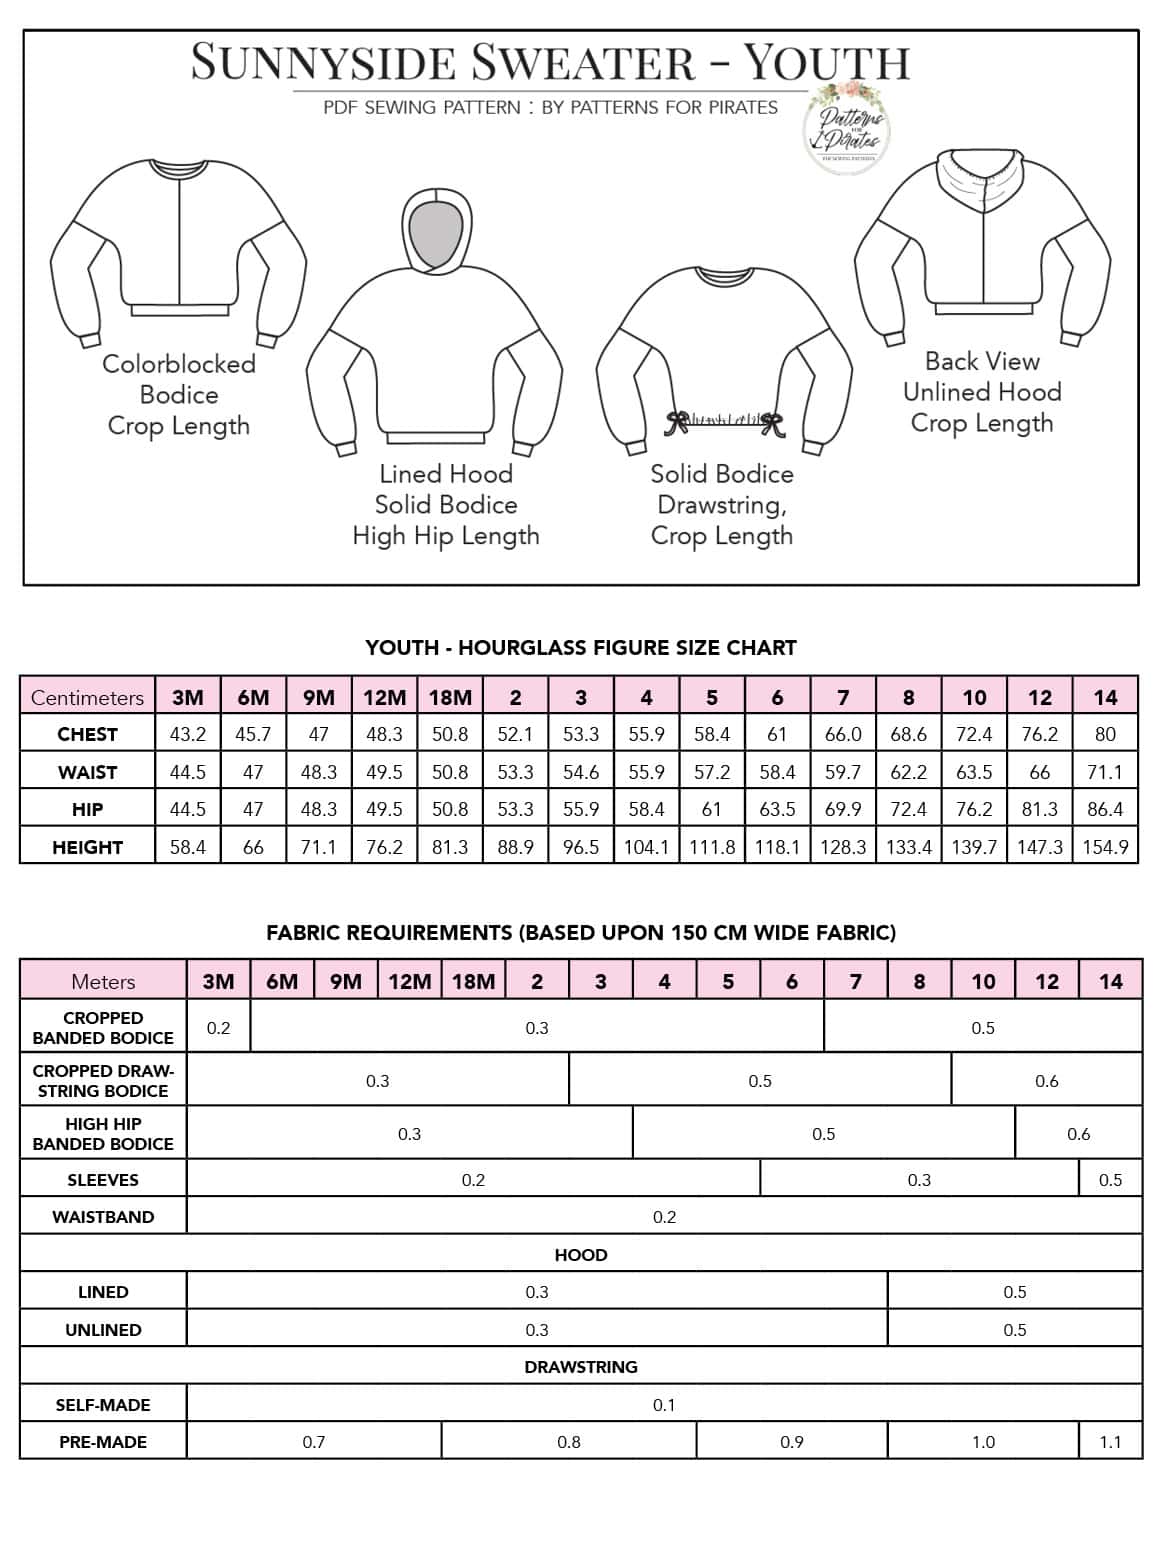
The youth sizes range from 3m – 14 and the adult sizes are for the full, newer size chart, extending from XXS – Plus 5X for the Adult Hourglass Figure.
- *Want to learn more about how to measure yourself for these pattern? We’ve got you covered with an in-depth blog HERE. And for even more helpful fun, we have a free* printable that you can use to help record your measurements as you take them.
- And in case you’re new to Patterns for Pirates and PDF patterns in general, we have a great blog full of new-user tips HERE to help you get started!
- As with all of our current releases and updates, the pdfs now include our layers feature and can be found in Letter, A4, A0 and projector sizes.
- We’ve also got an excellent planning tool for you with our Coloring Pages. It’s a resource that is updated with every new pattern addition, this pattern included!
- Need a way to keep track of the P4P patterns you have? We’ve gone through all of our patterns and created an interactive PDF for you! Grab your copy HERE.
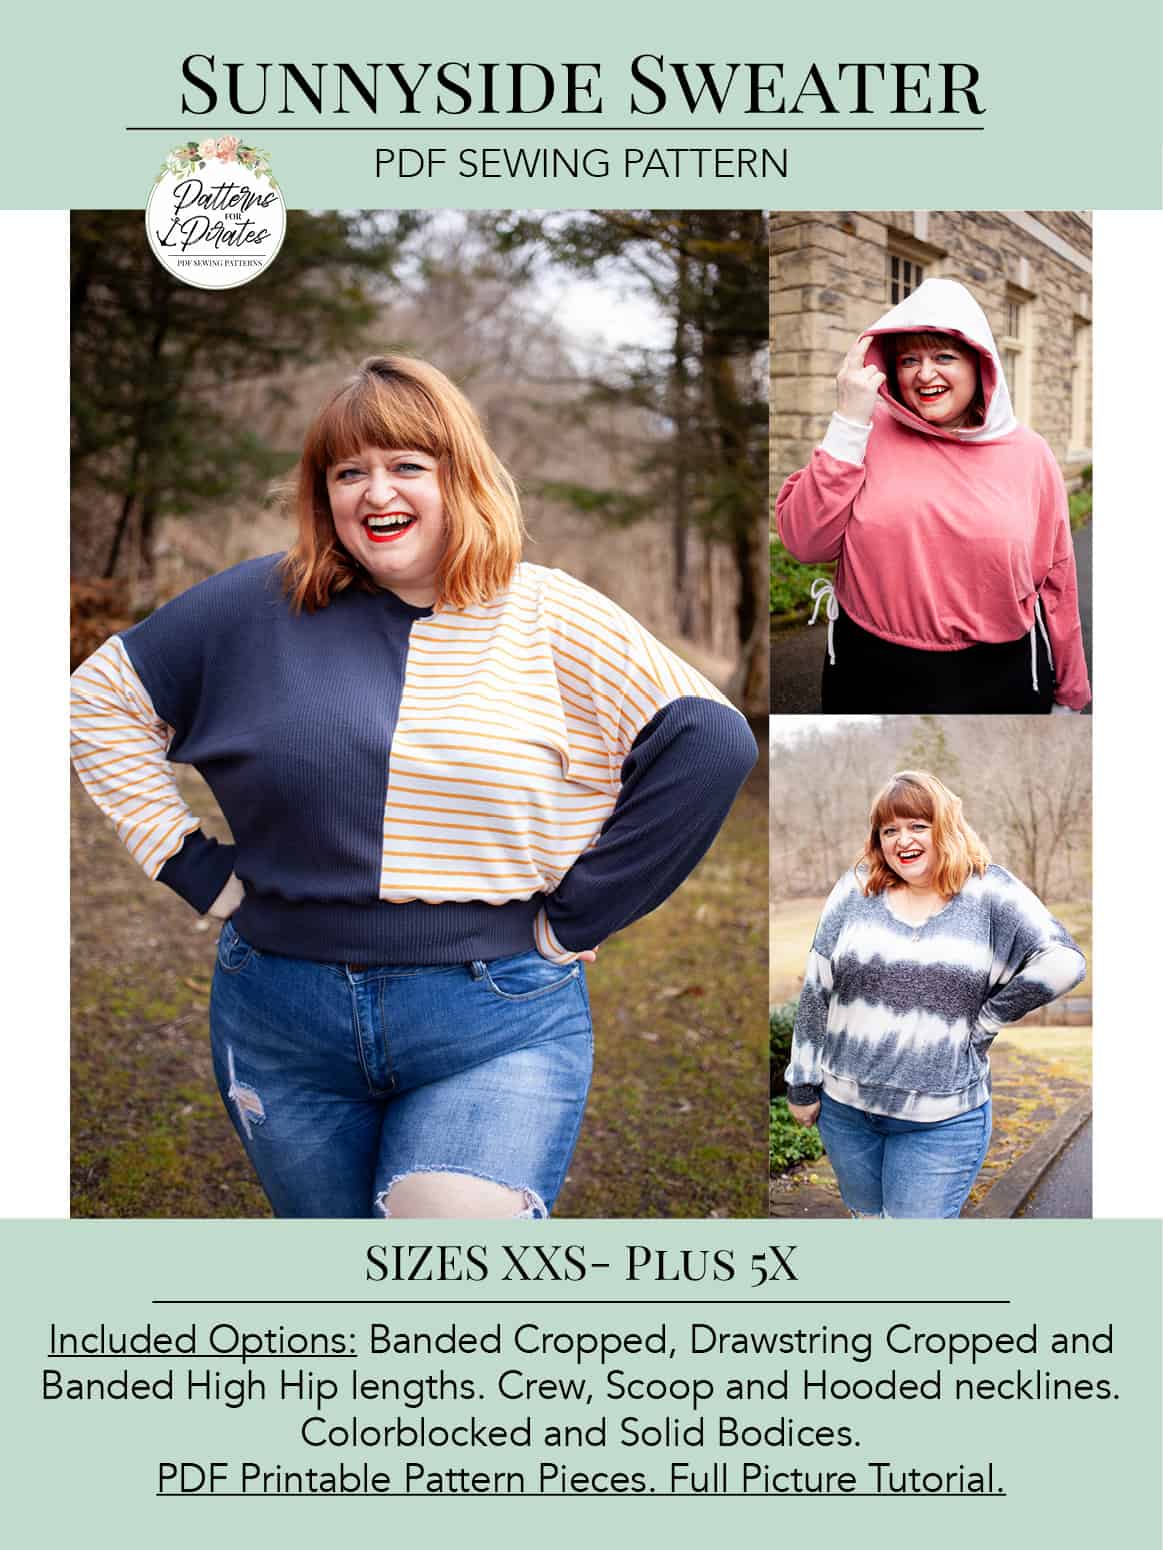
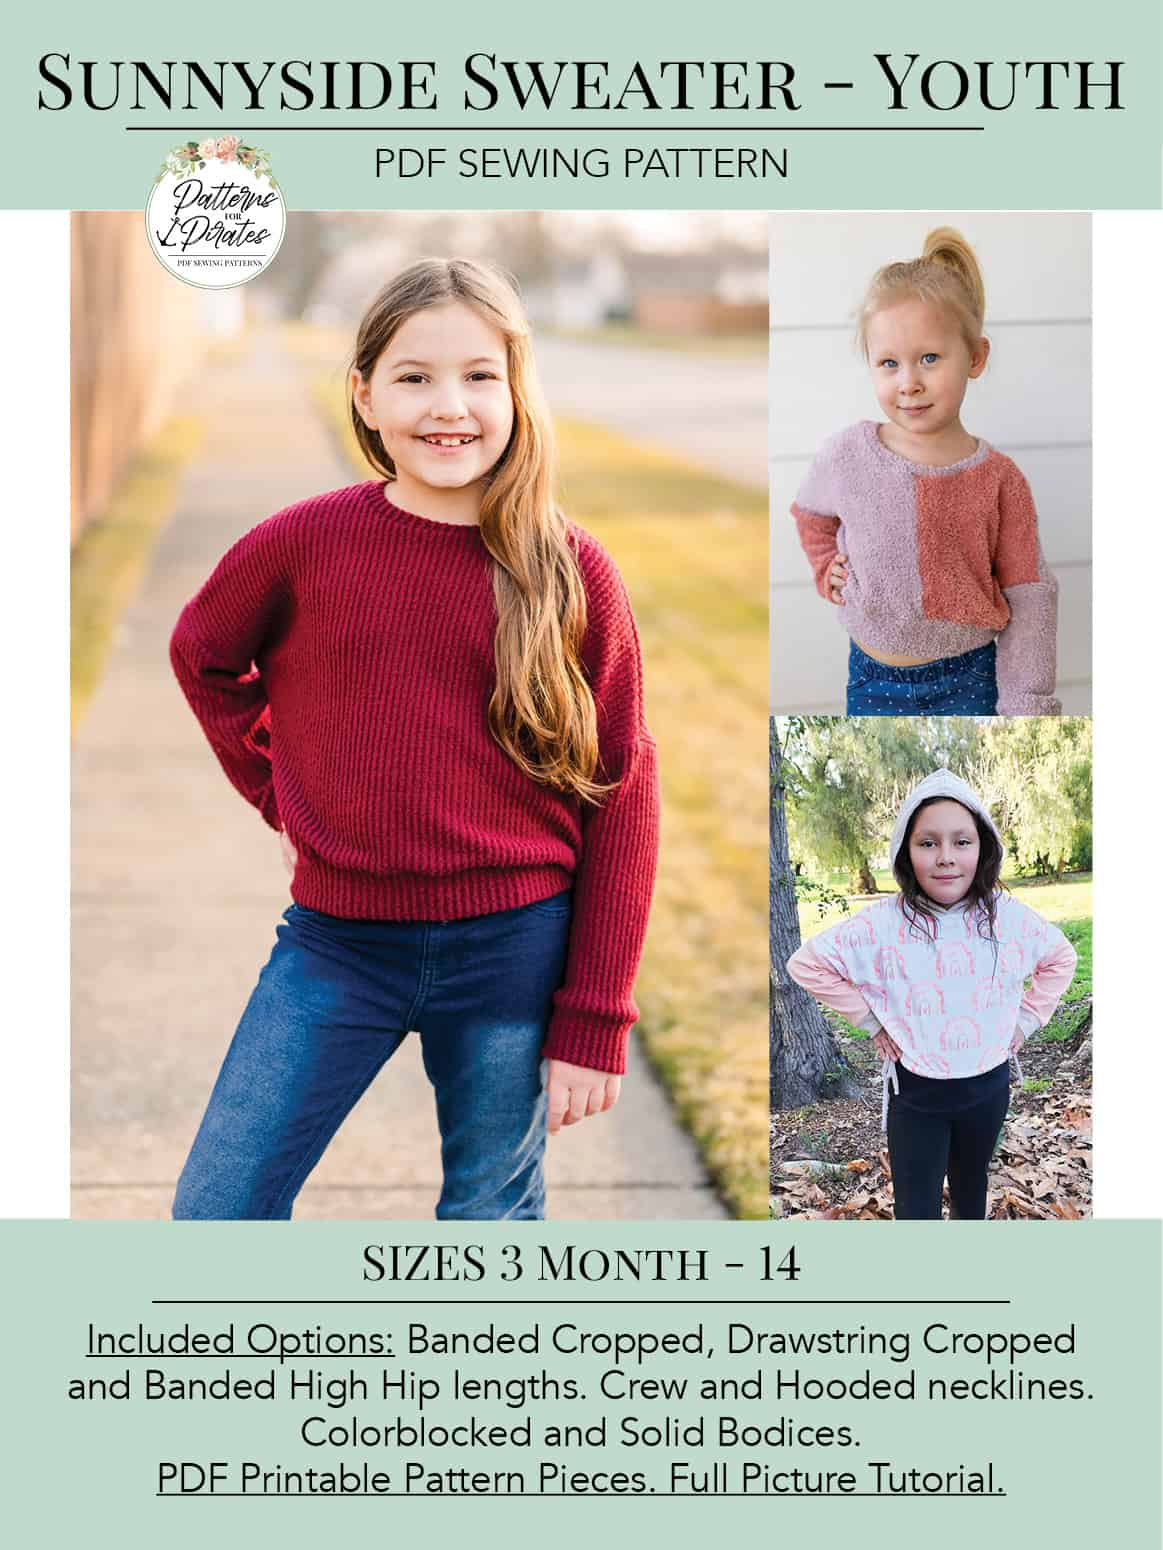
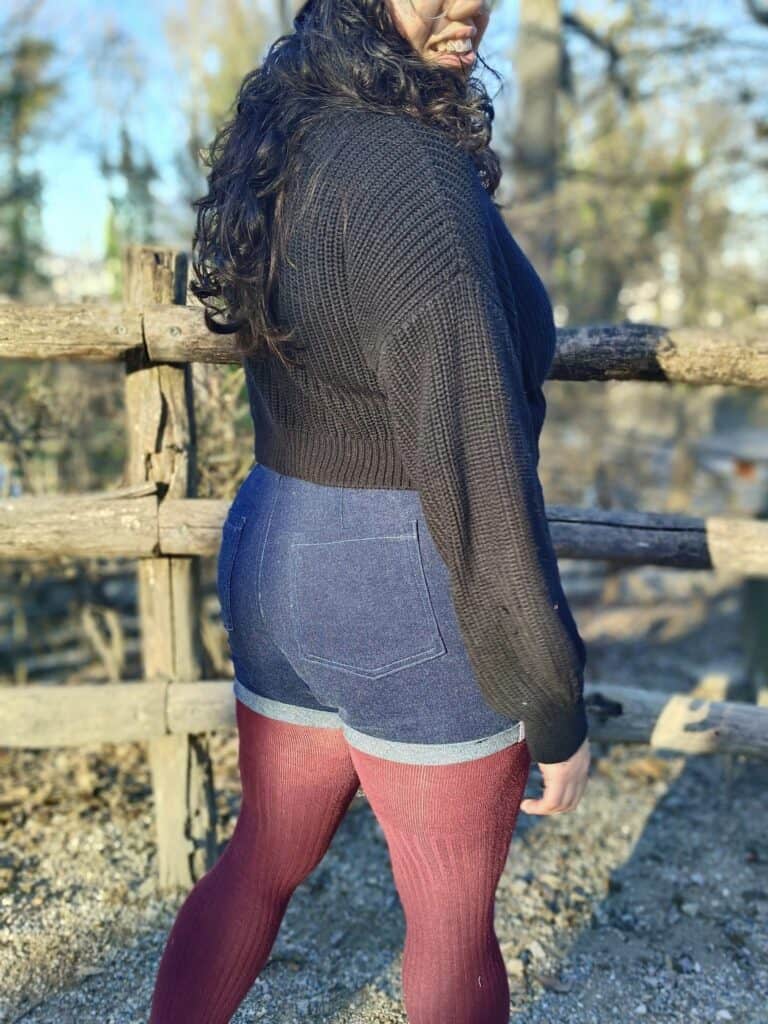
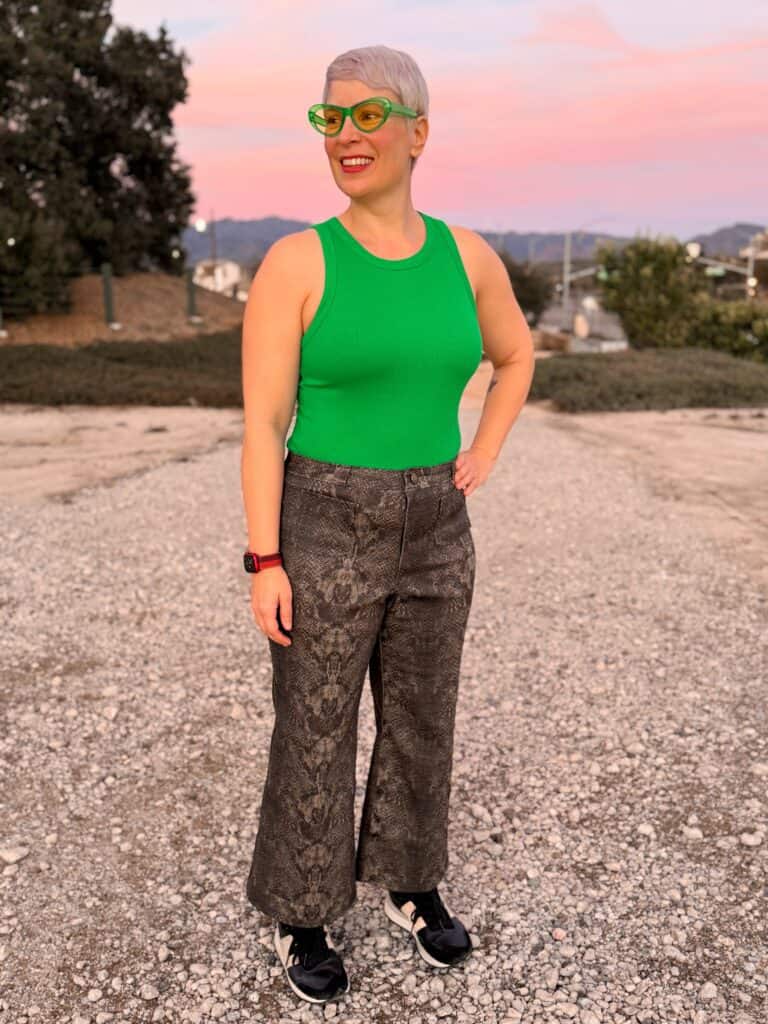
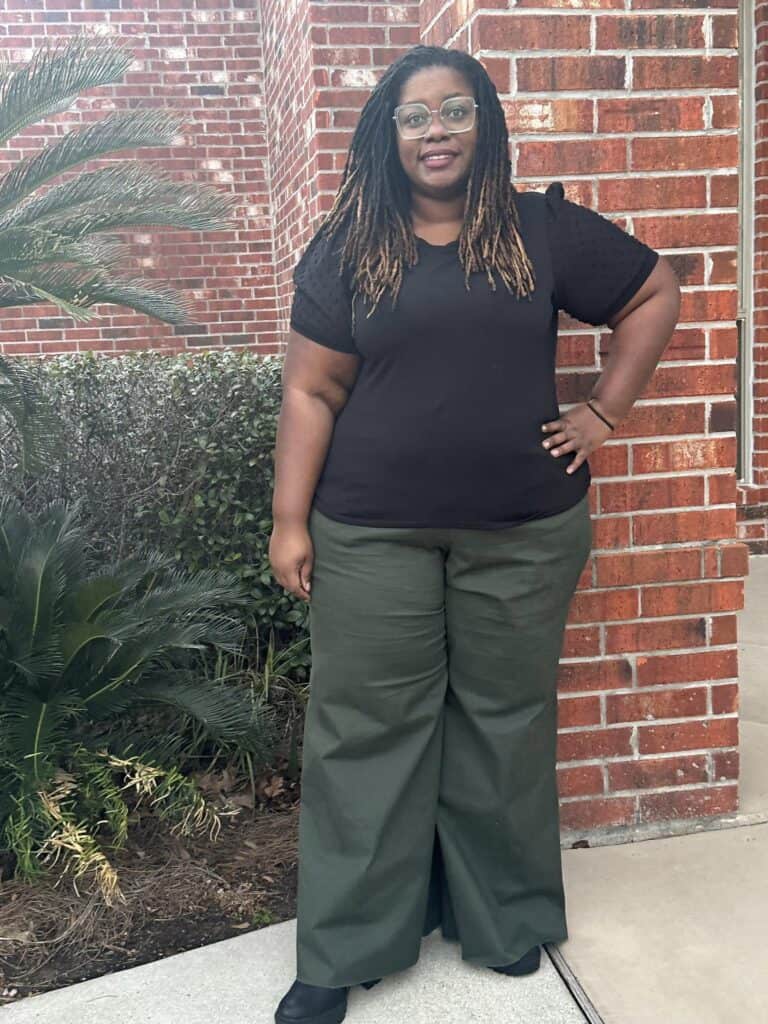
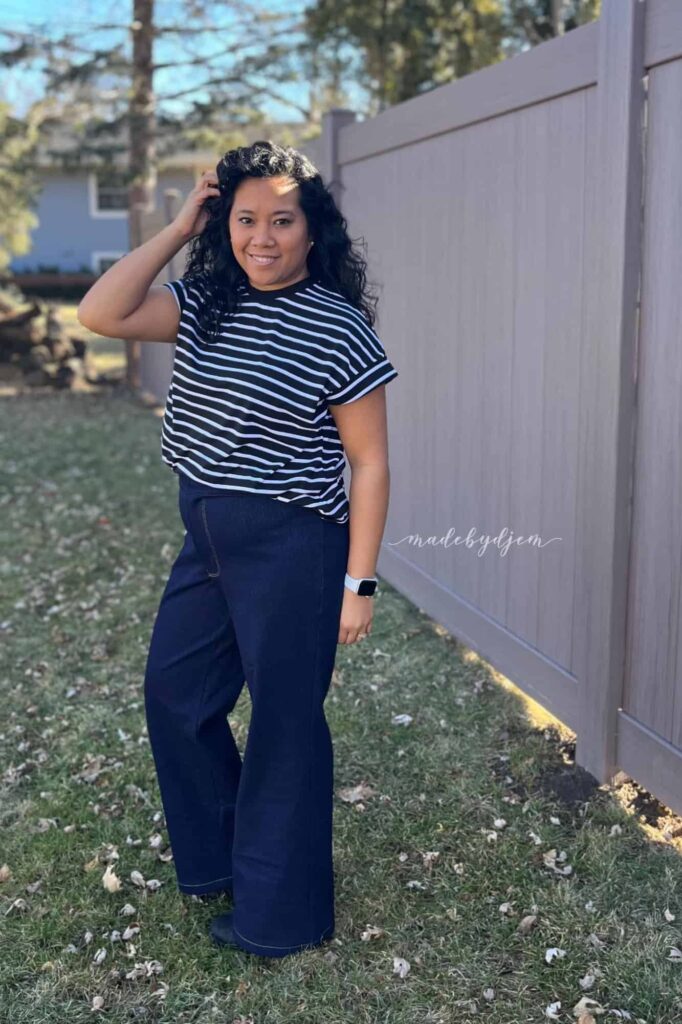
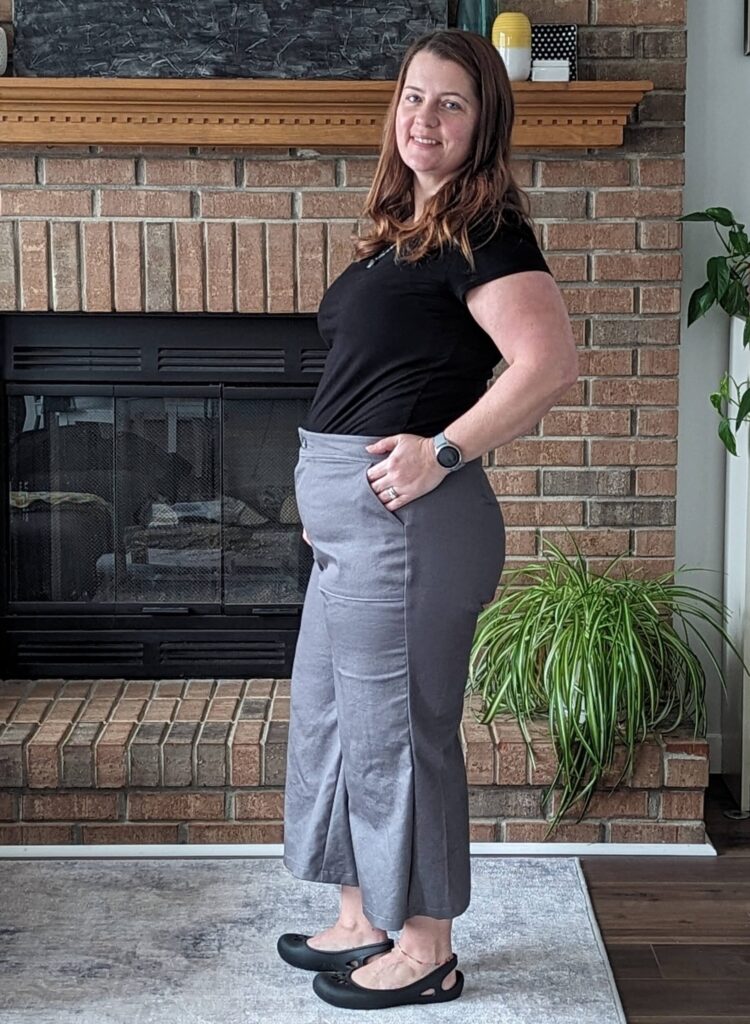
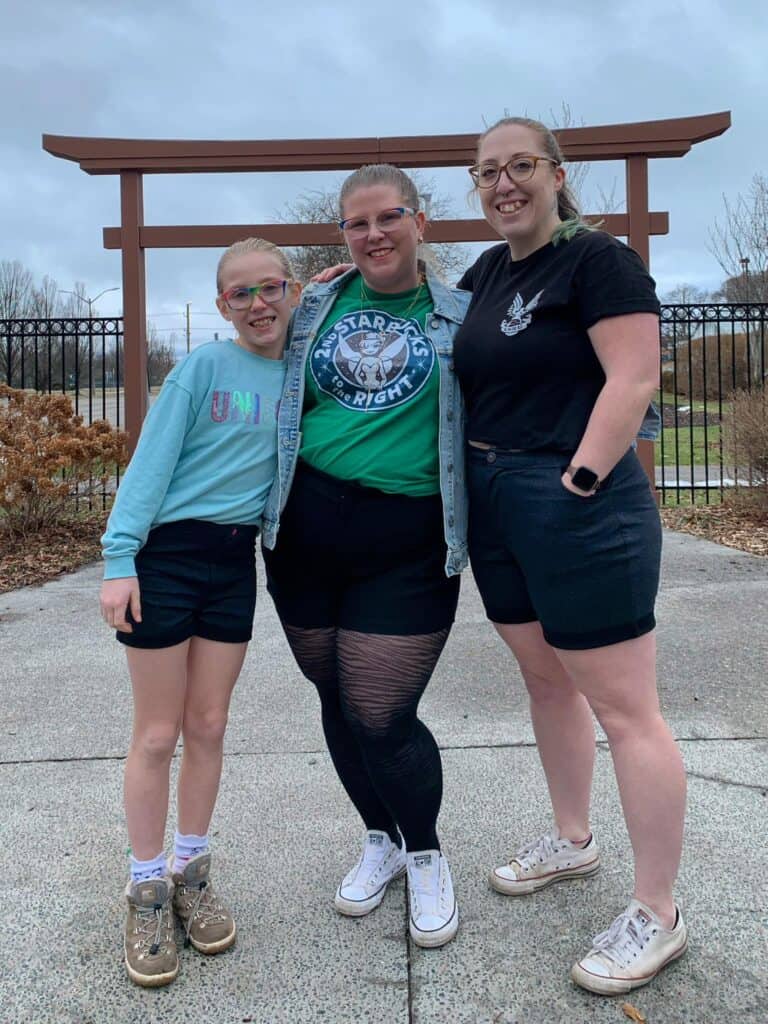
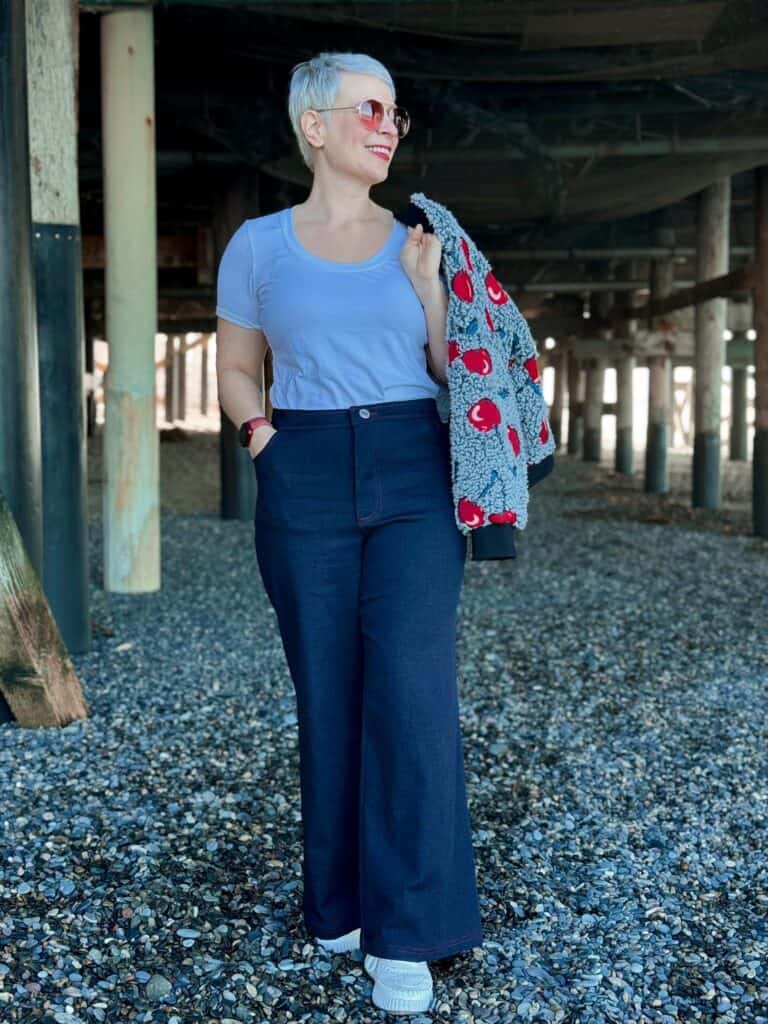
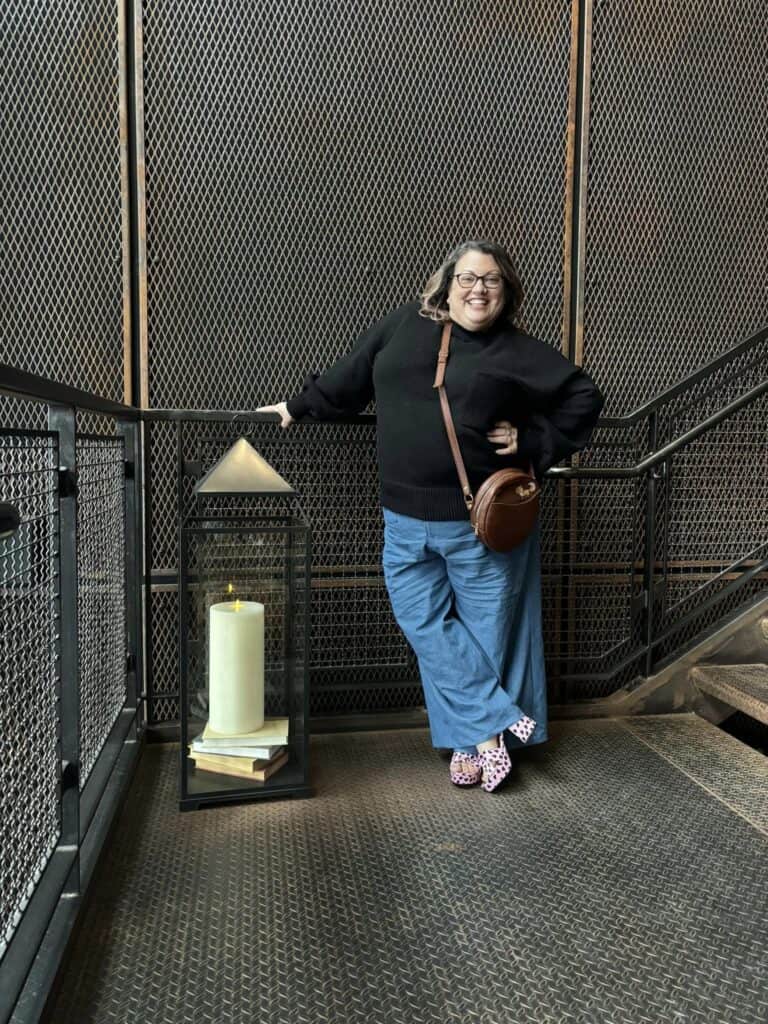
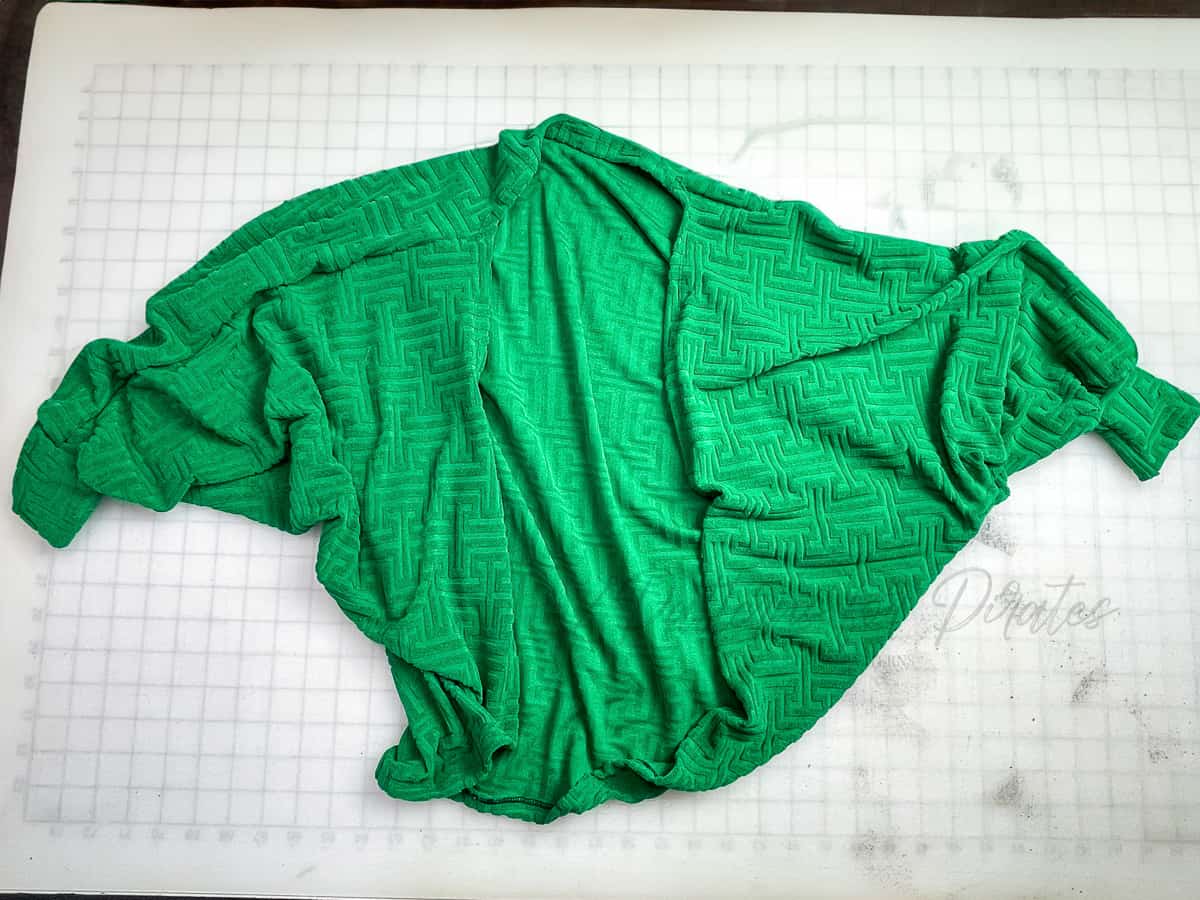
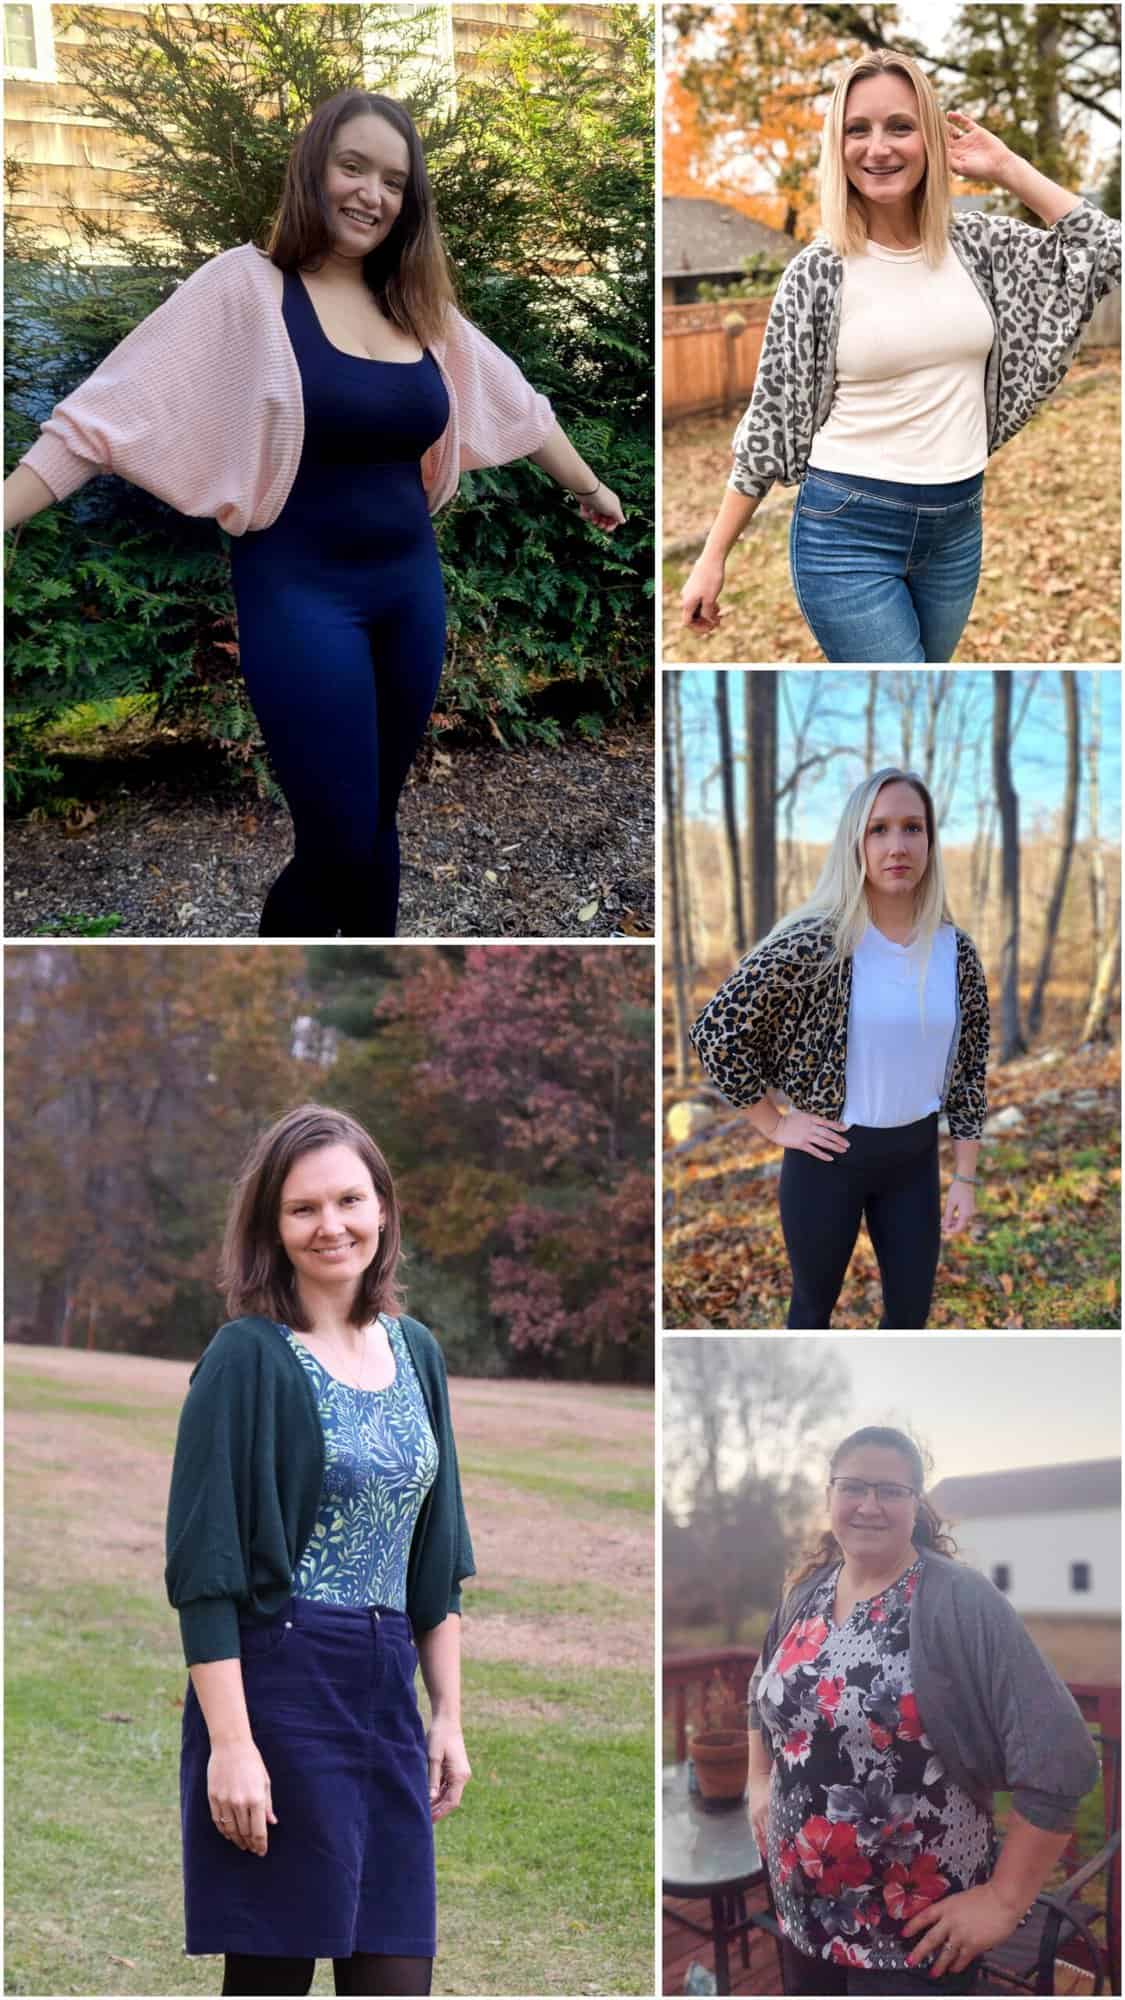
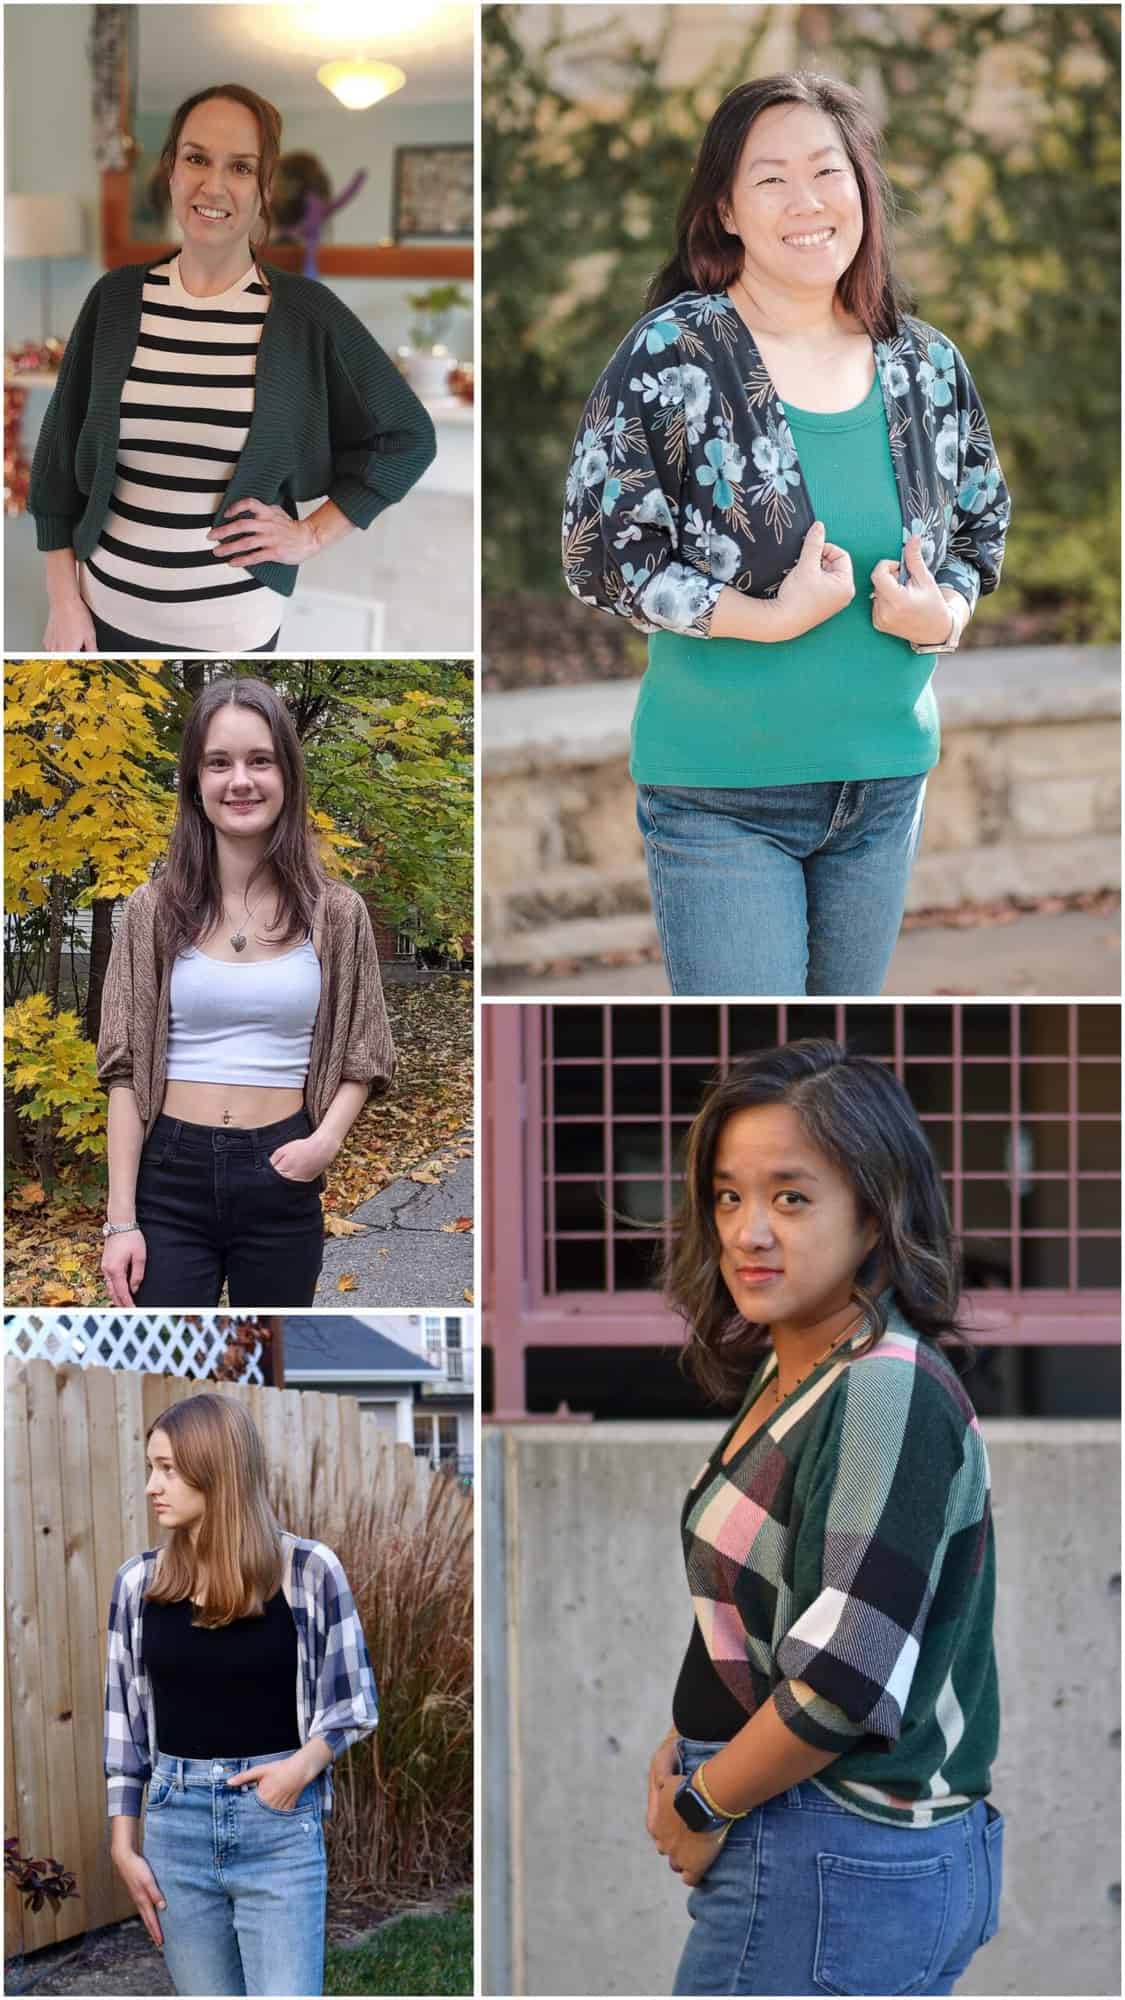
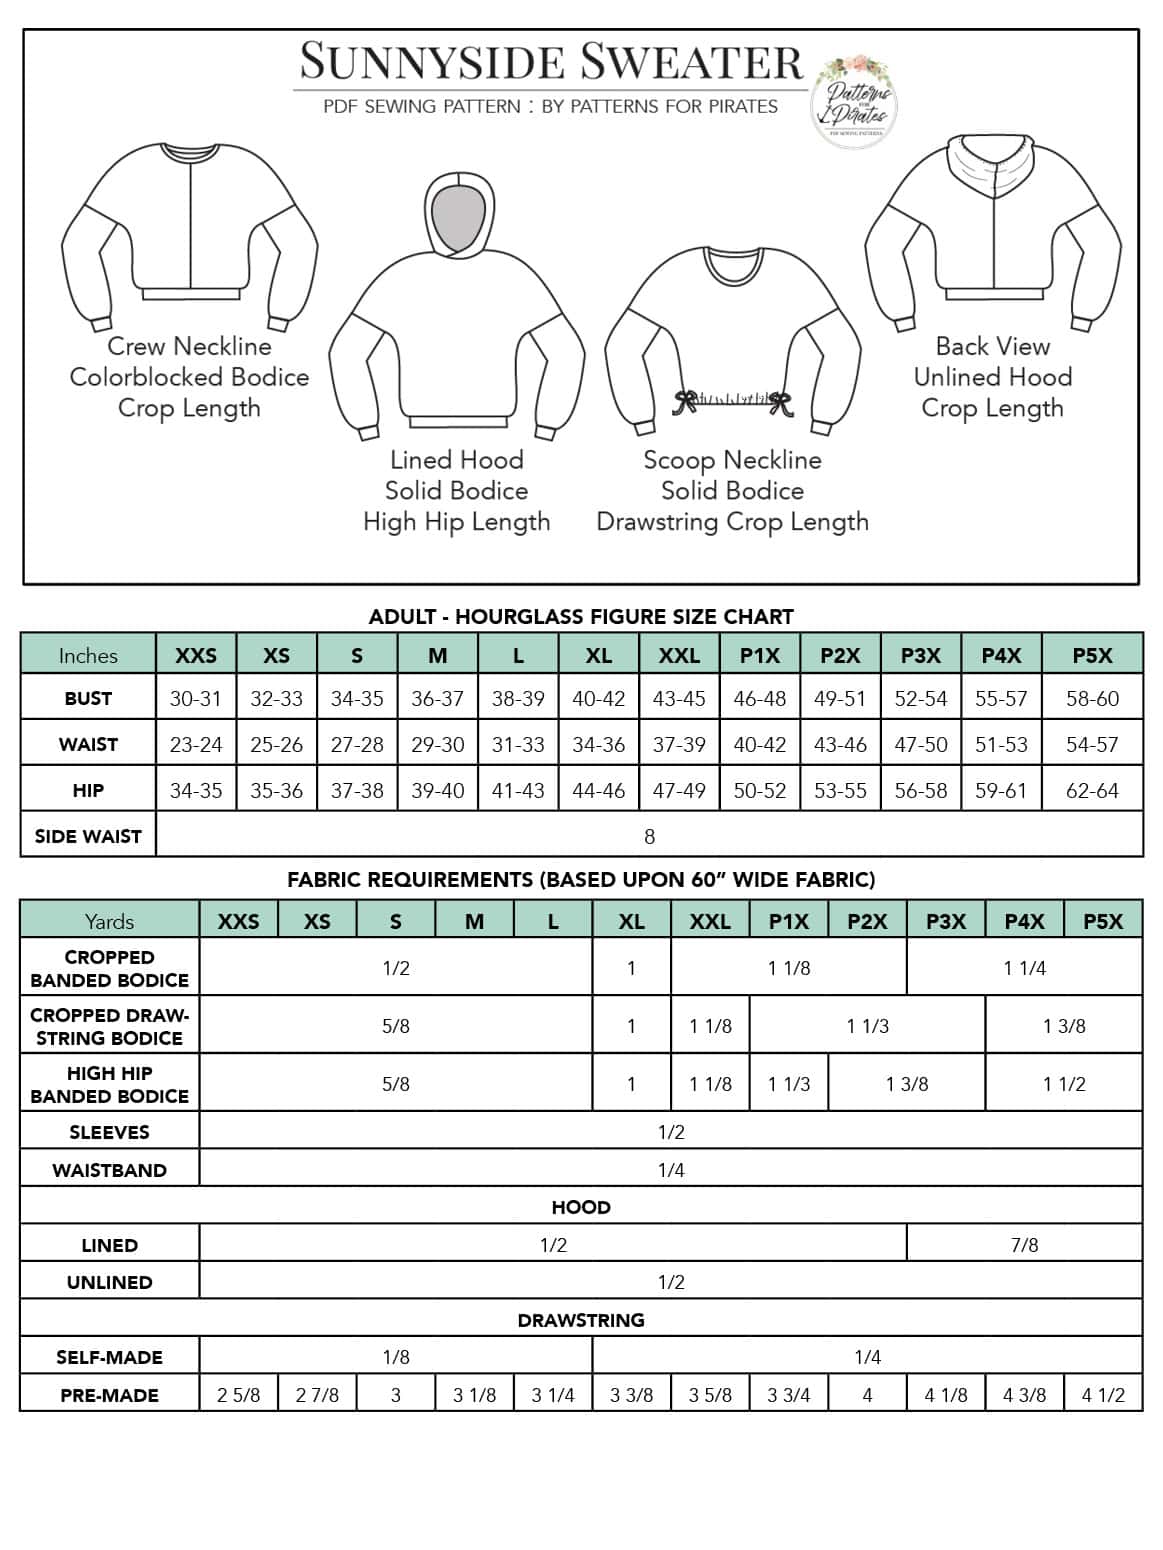
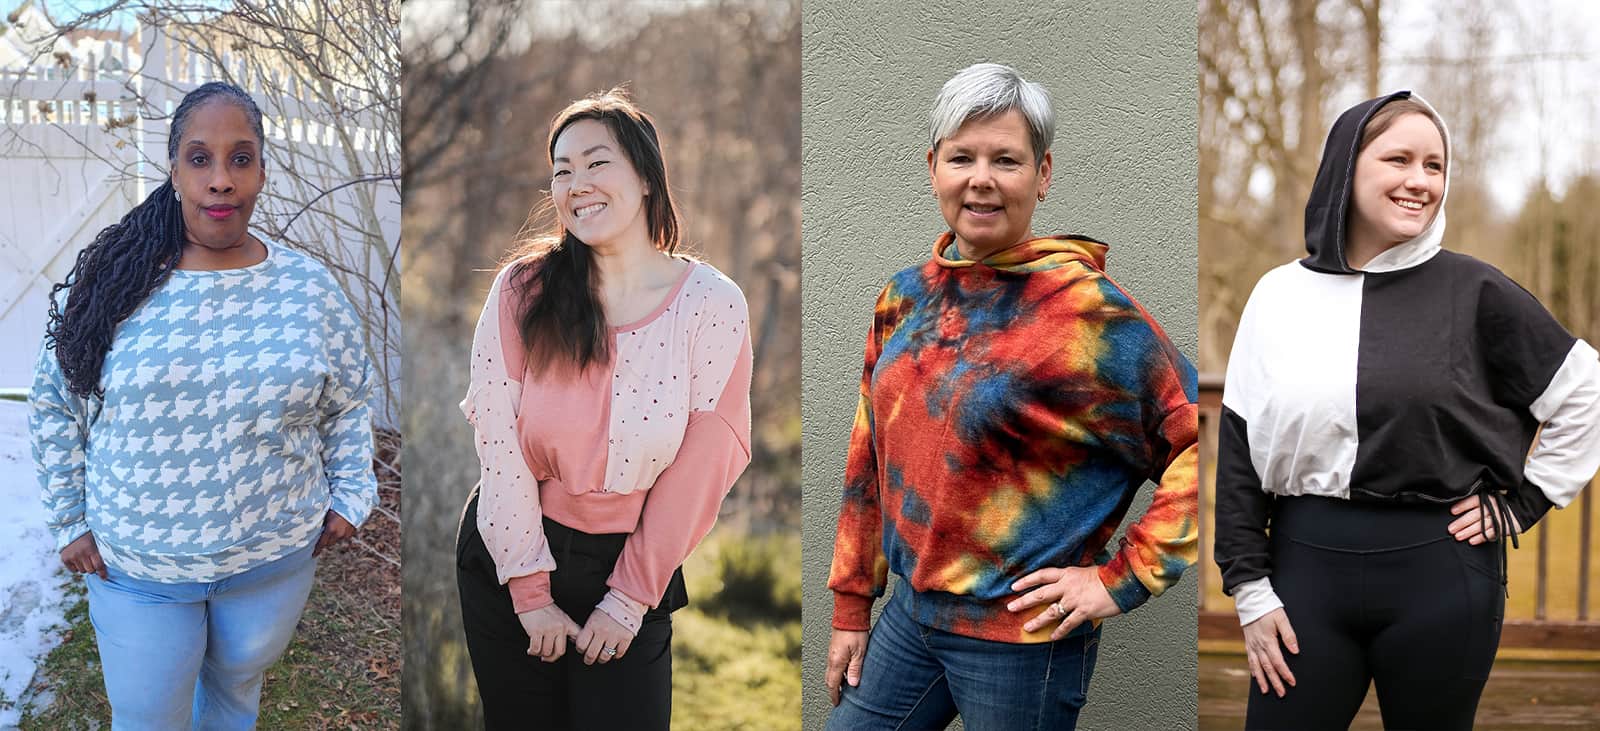
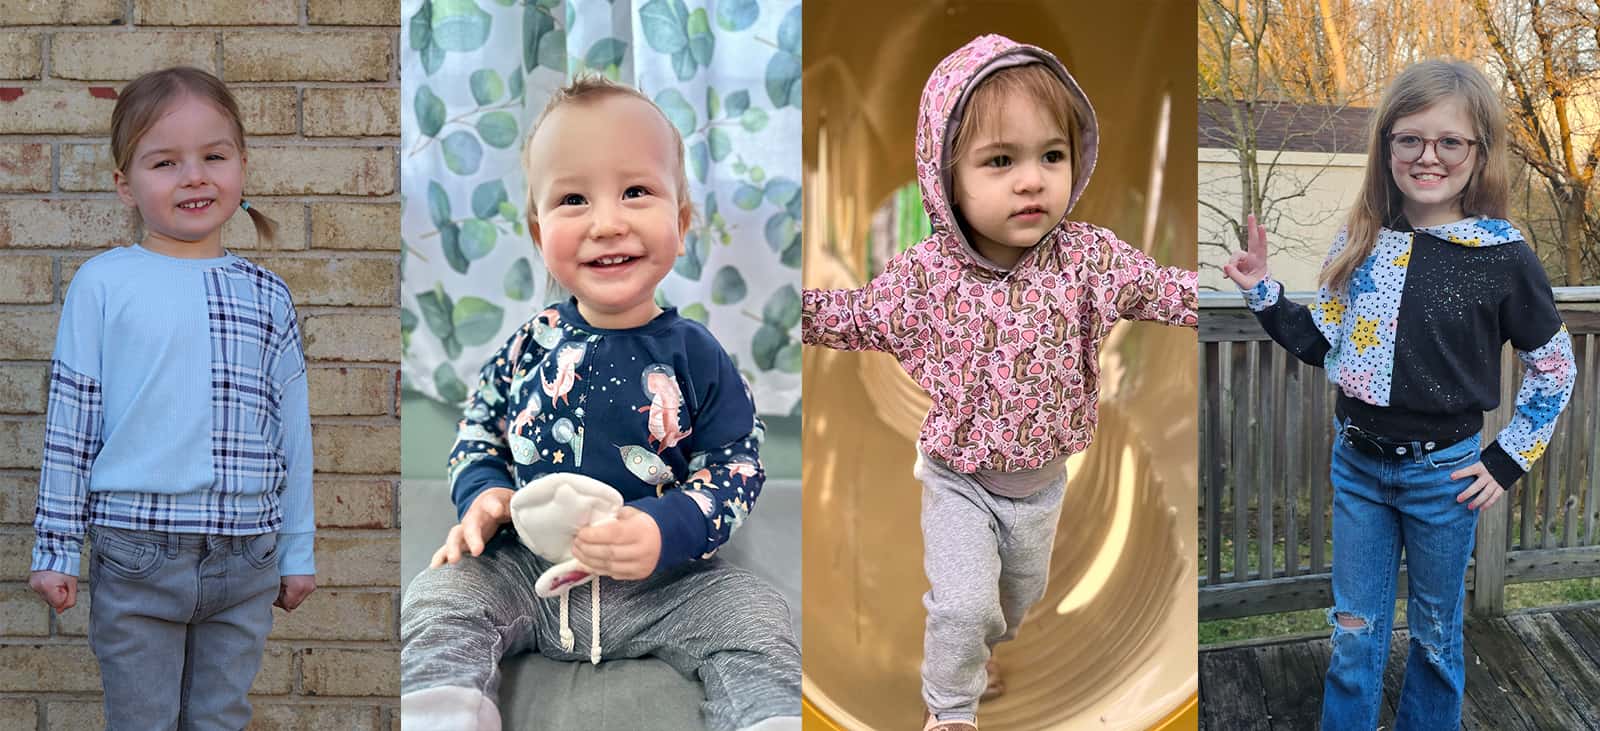
The Sunnyside Sweater is a dolman-style sweater with a generous, oversized fit. It features two hem lengths, crop and high hip, both of which are finished with a waistband to draw the garment back to the body. Alternately, the crop length has an option to finish the waistline with a double drawstring, allowing the wearer to tie the drawstrings at both sides of the waist, providing a unique and adjustable look. Opt for a traditional neckband for a classic look or choose a hood for a more casual and cozy feel. One of the standout features is the ability to create a colorblocked bodice, giving you the opportunity to mix and match different fabric prints and colors, adding a playful and personalized touch to your sweater.
Pattern options for the Sunnyside Sweater includes:
- Necklines: Crew Neckline / Scoop Neckline (adult only) / Lined + Unlined Hoods
- Hem Lengths: Banded Cropped / Drawstring Cropped / Banded High Hip
- Colorblocked + Solid Bodice Options
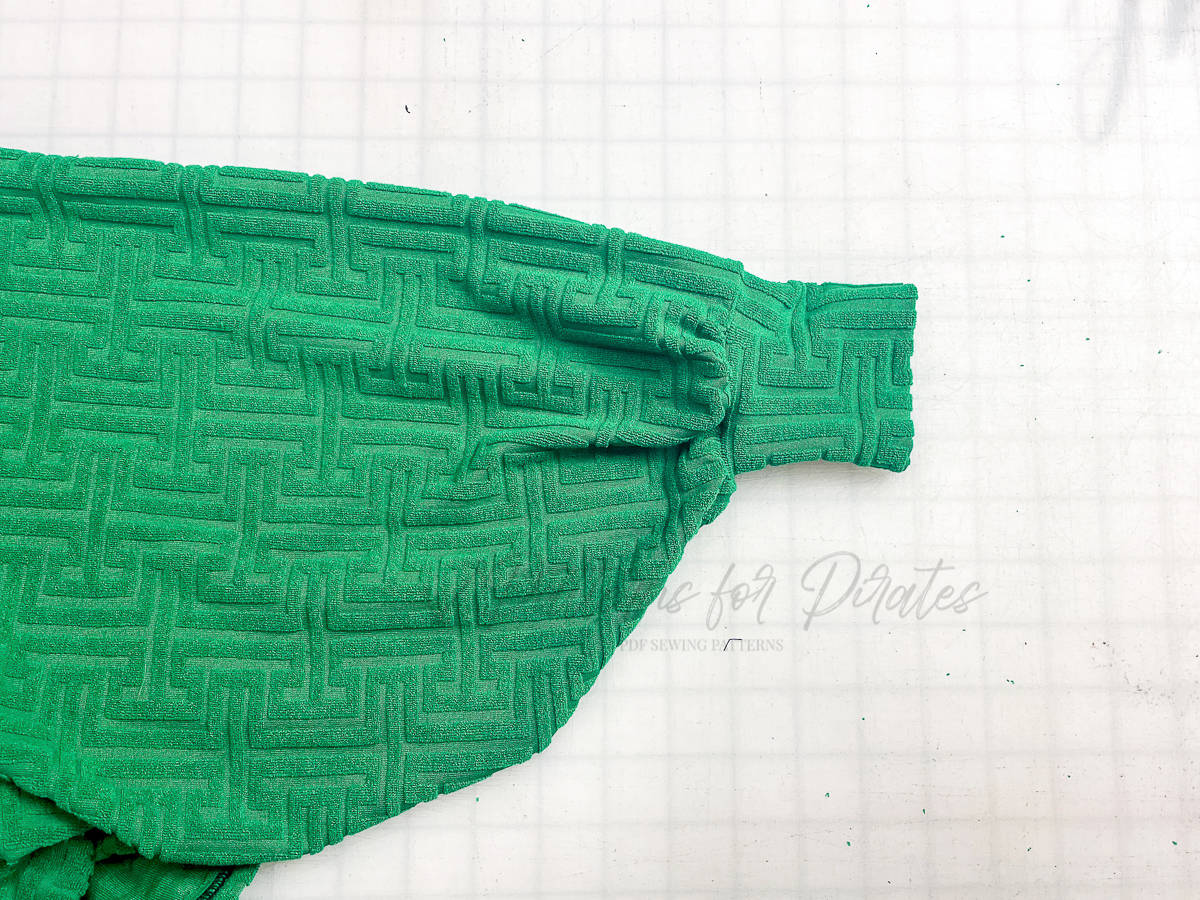
- All Versions Feature a Drop-Shoulder Dolman Sleeve with Cuffs
The Sunnyside Sweater pattern is drafted for light-to-medium weight knit fabrics with no specific stretch requirements for the bodice. Due to the oversized design of the pattern, fabrics that drape nicely will work best. For bands, use a knit fabric with at least 75% stretch and good recovery.
Specific Fabric Suggestions: Sweater Knits, Ribbed Sweater Knits, Spandex French Terry Blends, Waffle Knits, Brushed Waffle Knits, Double Brushed Polyester, Modal Knit Blends, etc.
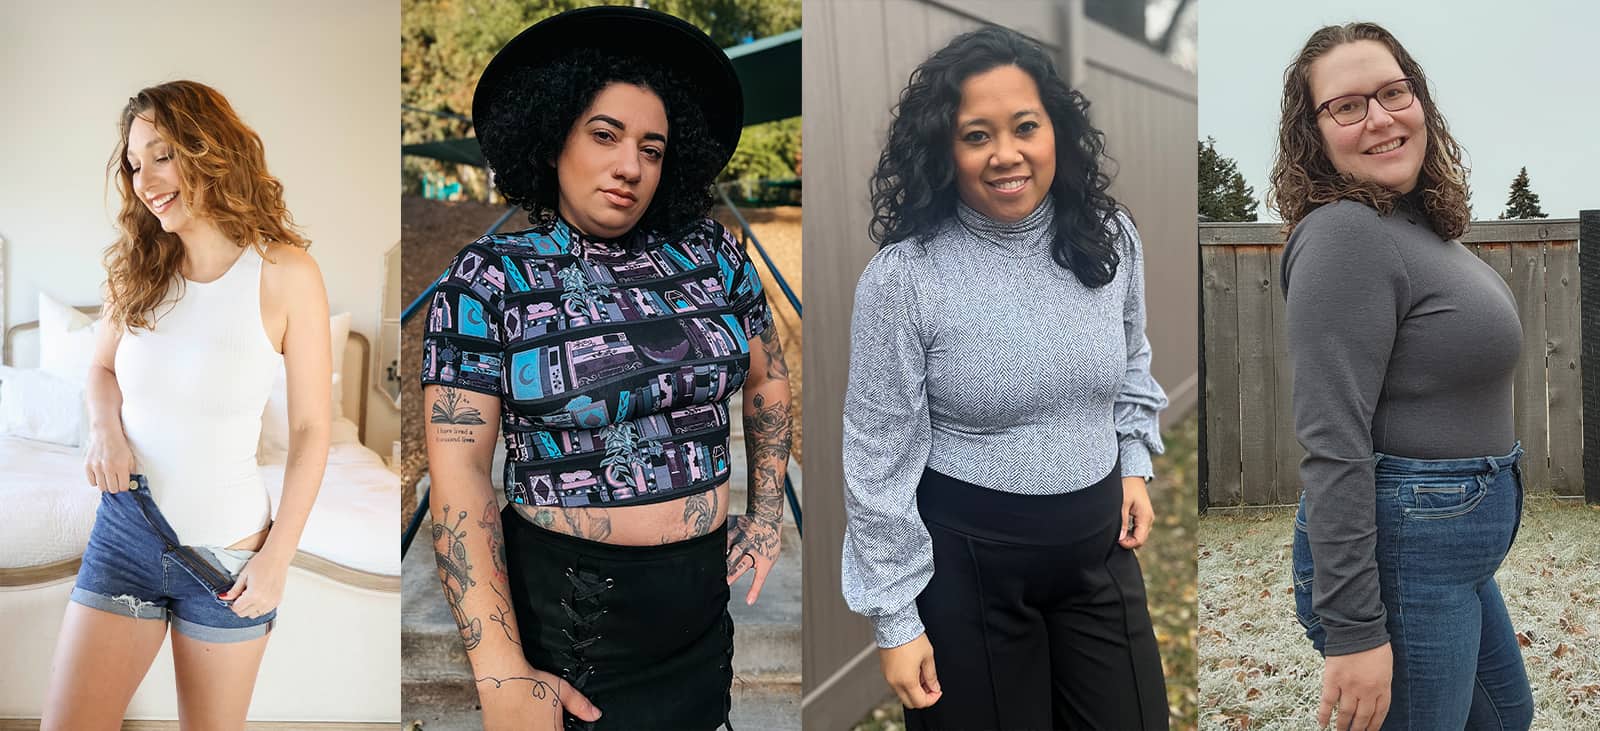
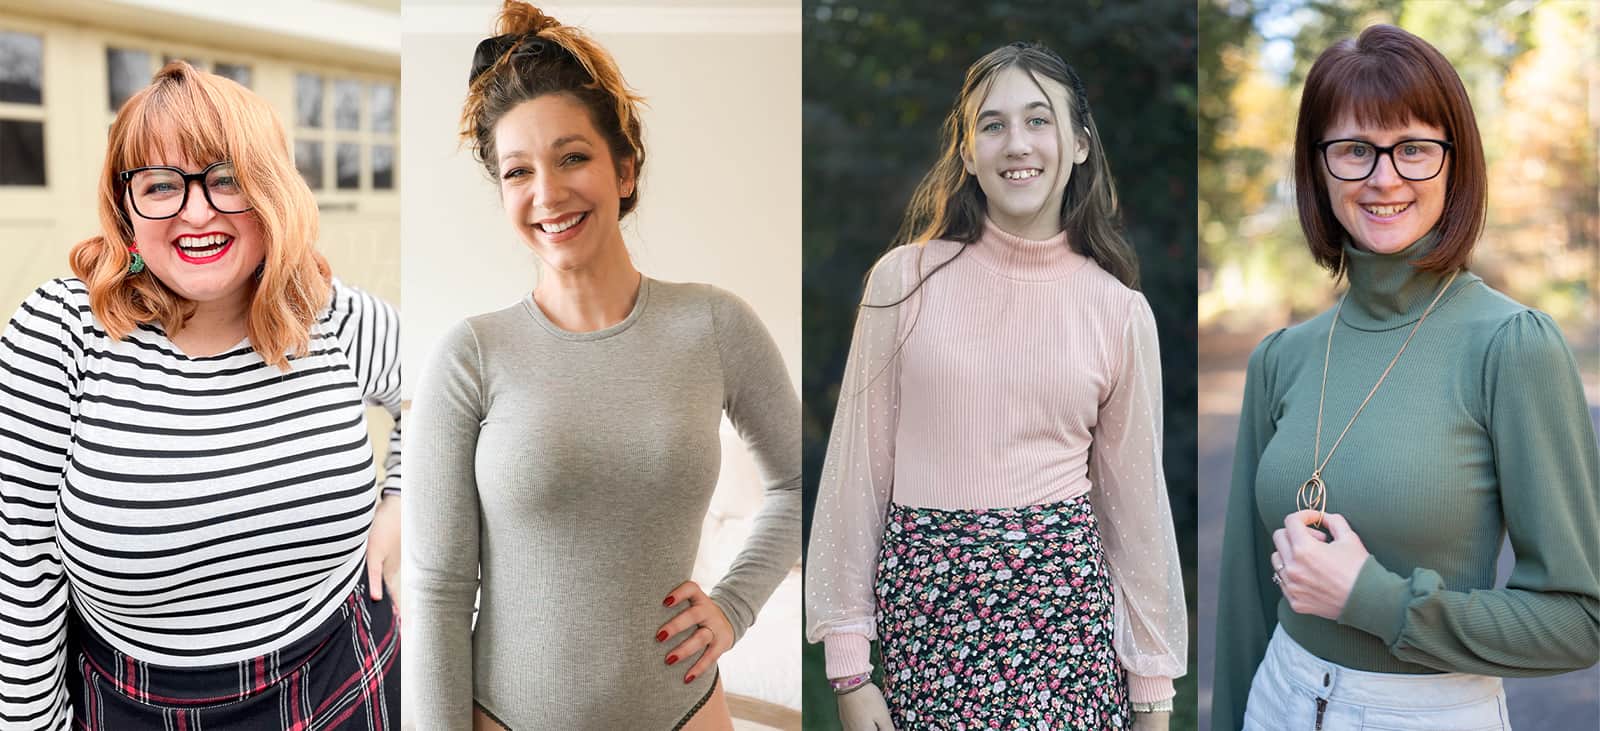
We wouldn’t leave you hanging without showing off some of the options first! Let’s take a quick peek!
HEM LENGTHS: BANDED CROPPED / DRAWSTRING CROPPED / BANDED HIGH HIP
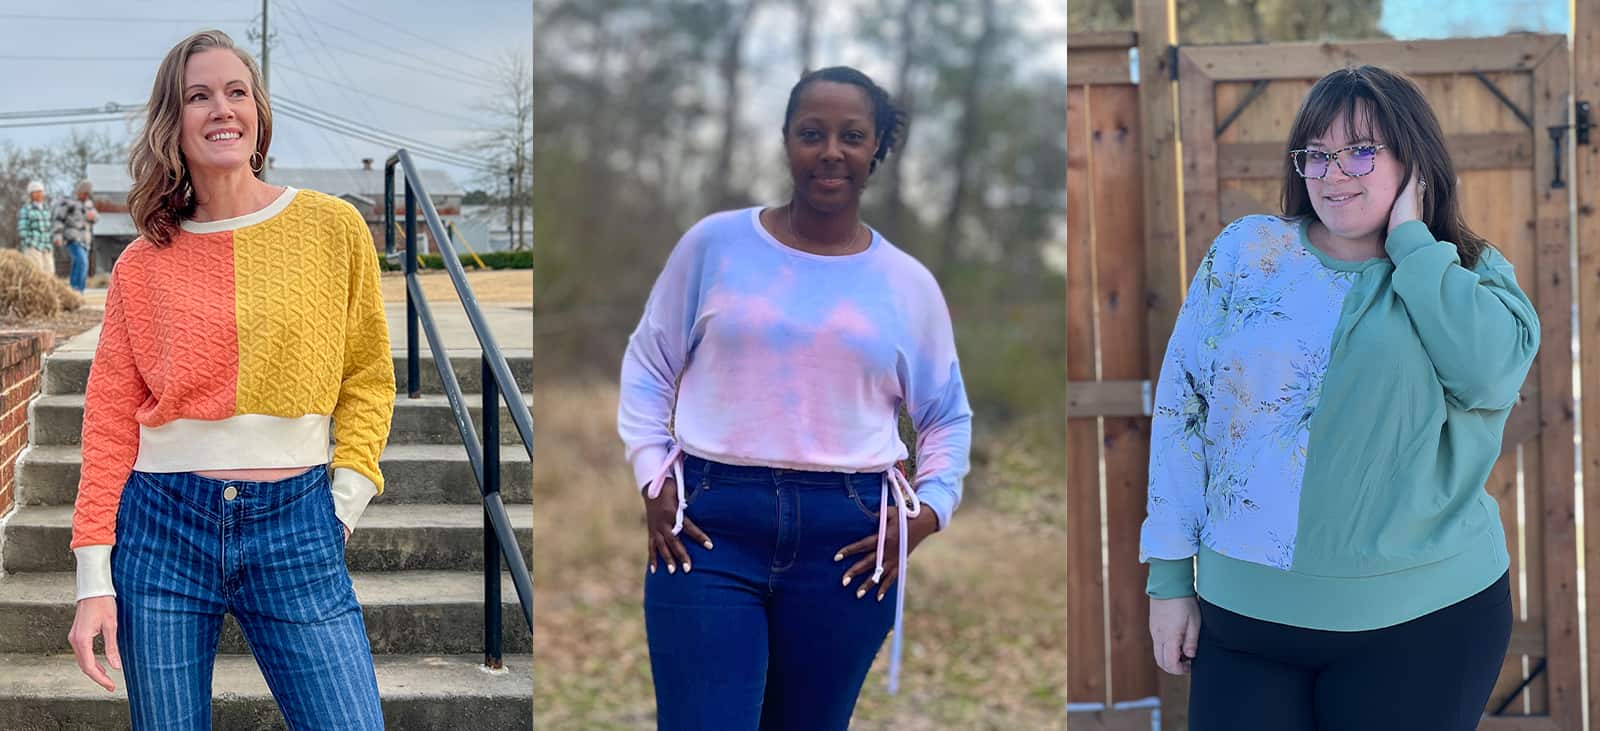
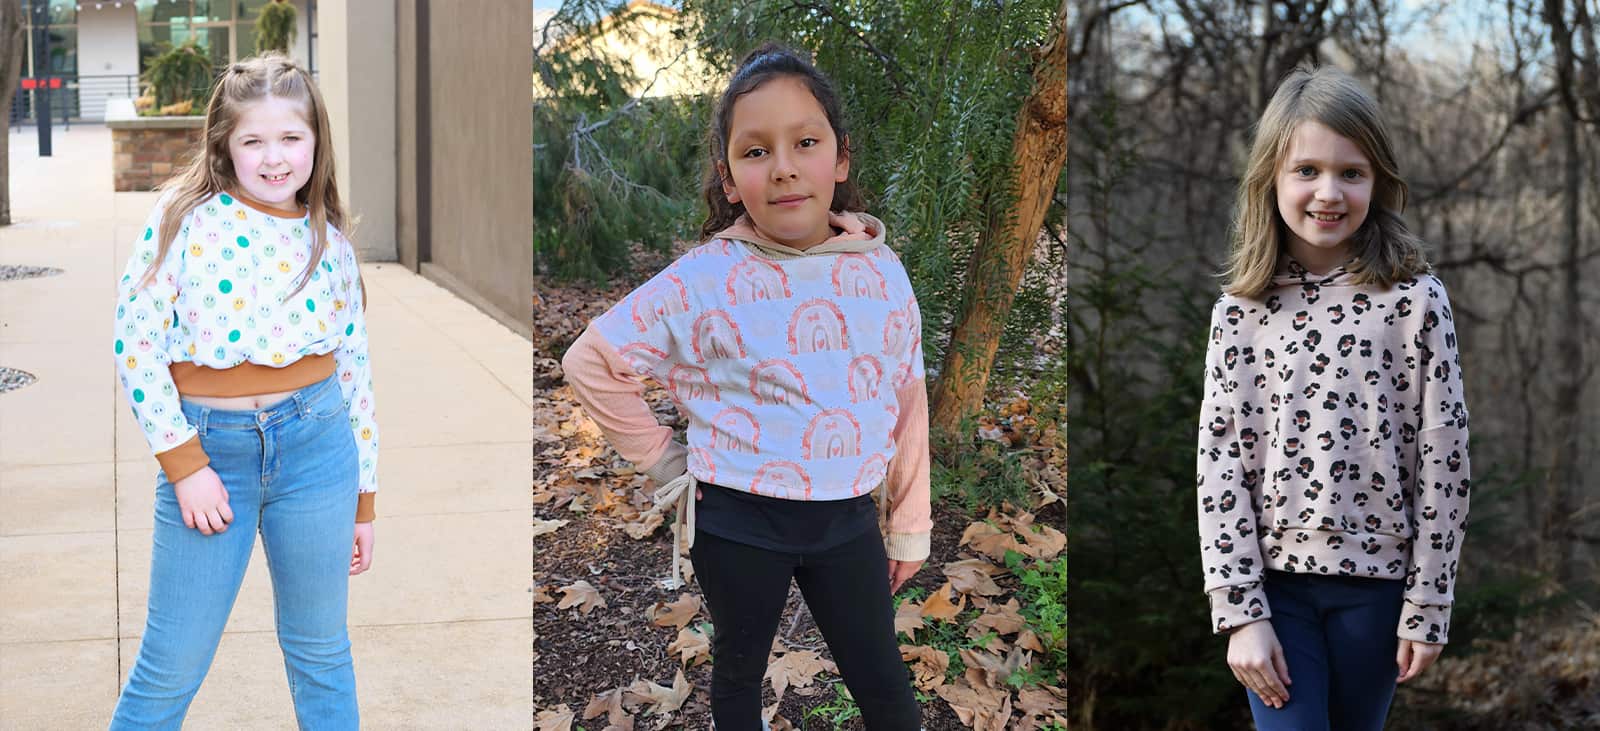
BODICES: COLORBLOCKED / SOLID
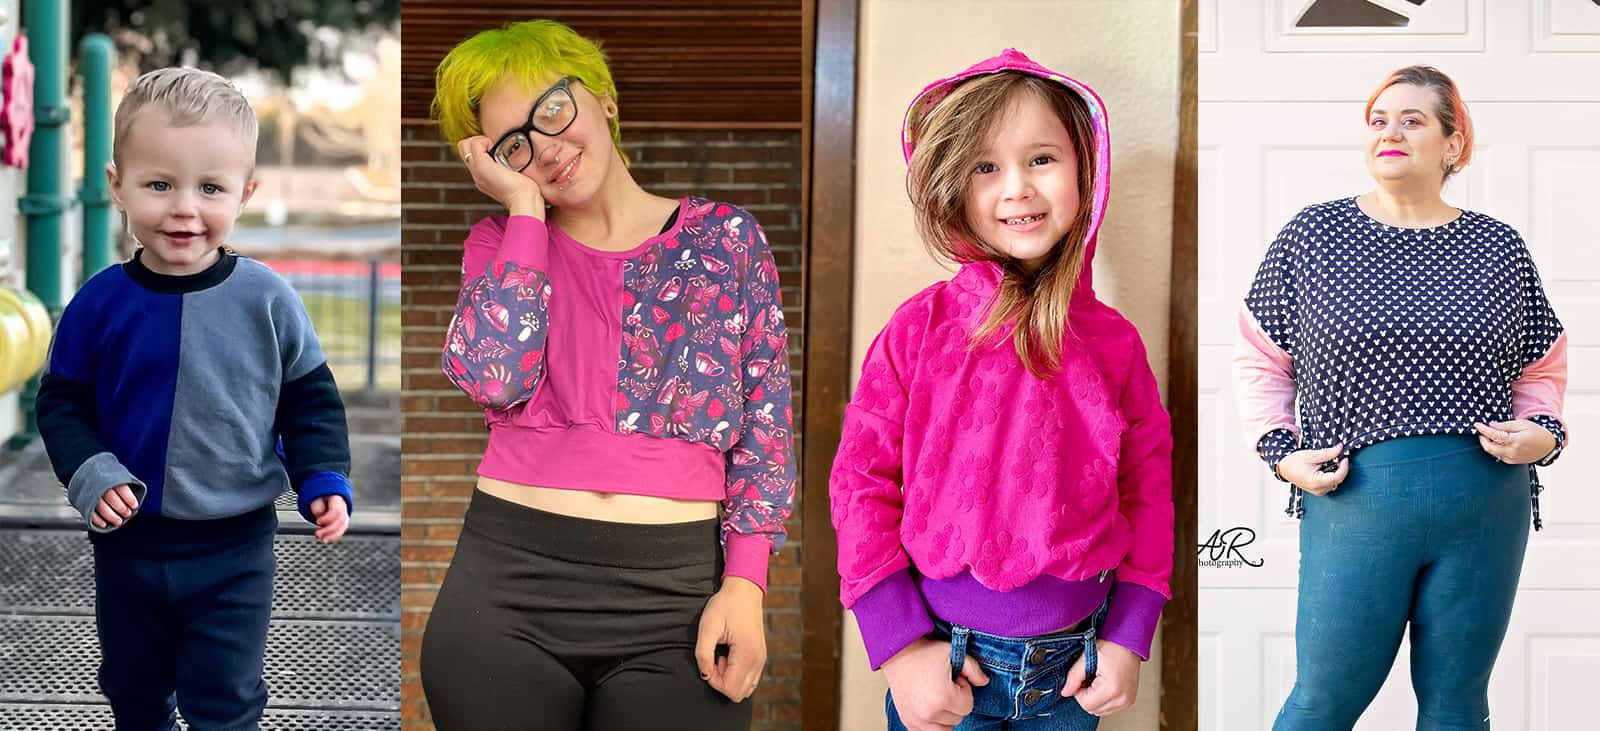
NECKLINES: CREW NECKBAND / SCOOP NECKBAND (ADULT ONLY) / HOODED
We are looking forward to seeing the Sunnyside Sweaters you make for yourself, your family + your clients! Both patterns are available now and on sale (no code needed) through 11:59pm CST, March 3, 2024.
Grab your copy of the Sunnyside patterns here: Sunnyside Sweater | Sunnyside Sweater – Youth | Sunnyside Sweater – Bundle
As always, we’ve got more photos for you to use as inspiration! Head over to the Facebook group to browse our albums full of gorgeous photos, compliments of our tester team!
Sunnyside Sweater Adult Album | Sunnyside Sweater Youth Album
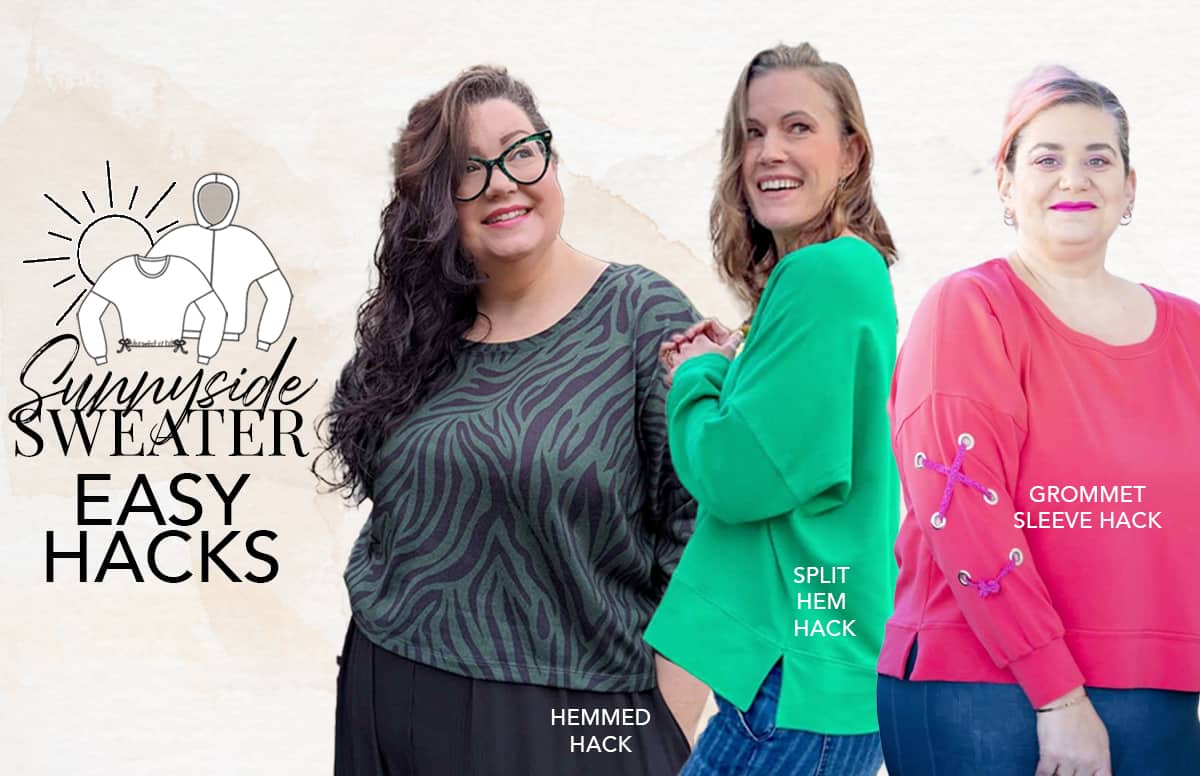
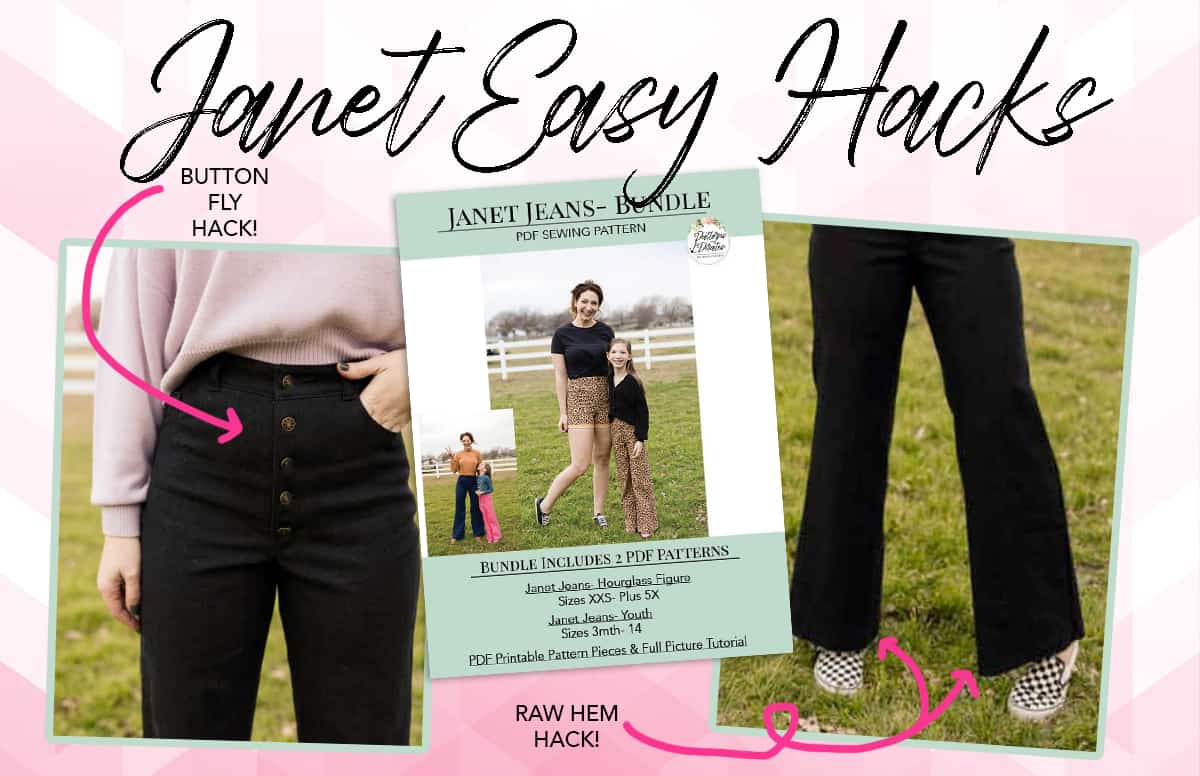
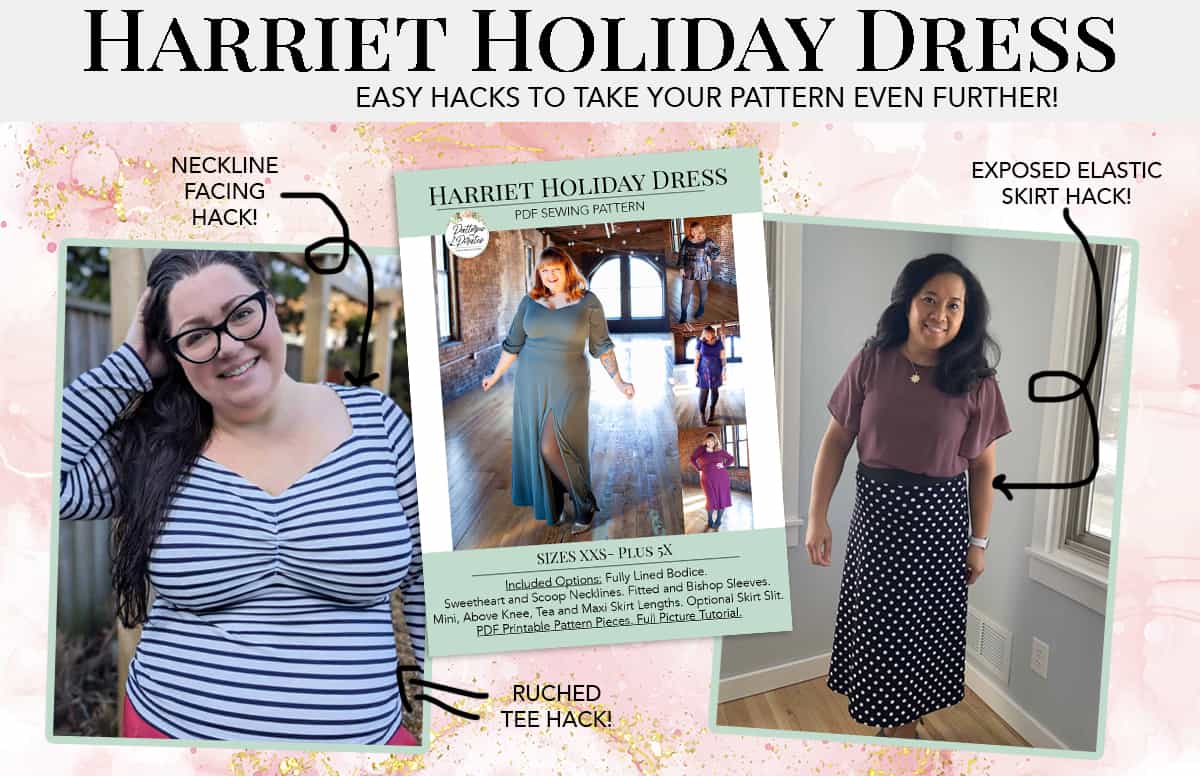
But wait, there’s more! We have an Easy Hacks blog post for the Sunnyside Sweater patterns, to help you take the pattern a little further!