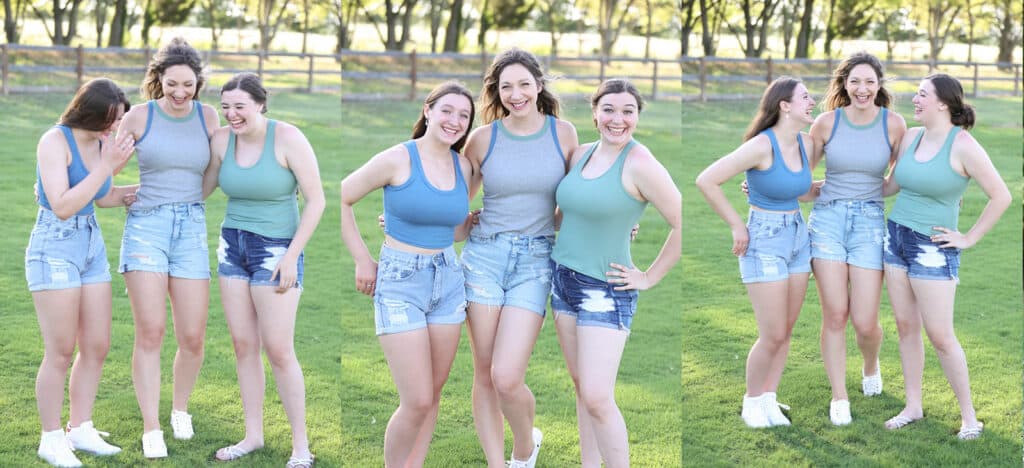
While this pattern was in it’s pre-testing phase and we were trying to come up with a name for it, our incredible testers dubbed it the “24/7 Tank”, since they can see themselves wearing it all day, all night, on repeat. And when your testers give you a brilliant idea, you go with it. So we did!
Let’s talk all about the 24/7 Tank and introduce y’all to the latest and greatest pattern to hit the P4P lineup!
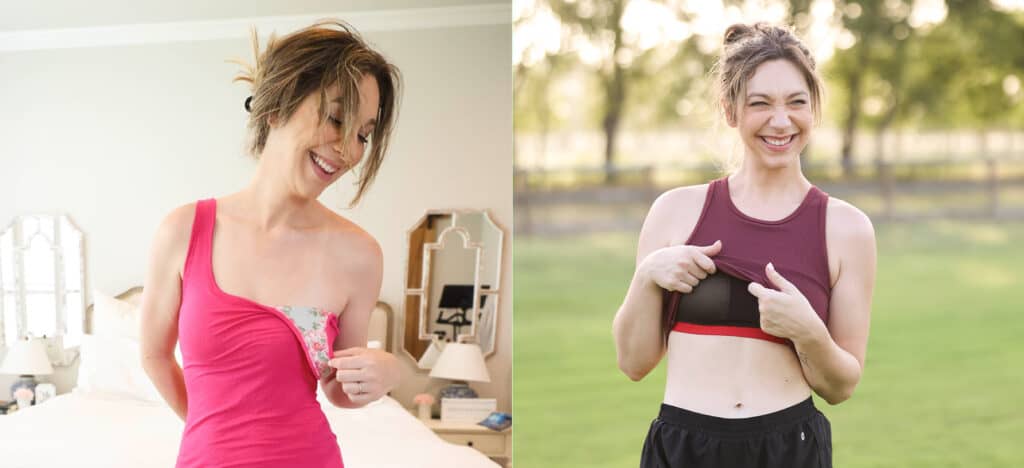
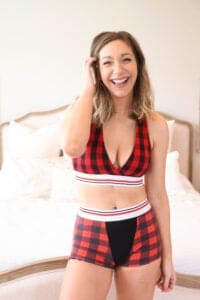
- Pick up an athletic knit and use that shelf bra, add in clear elastic into the thin binding and you have the perfect long line sports bra.
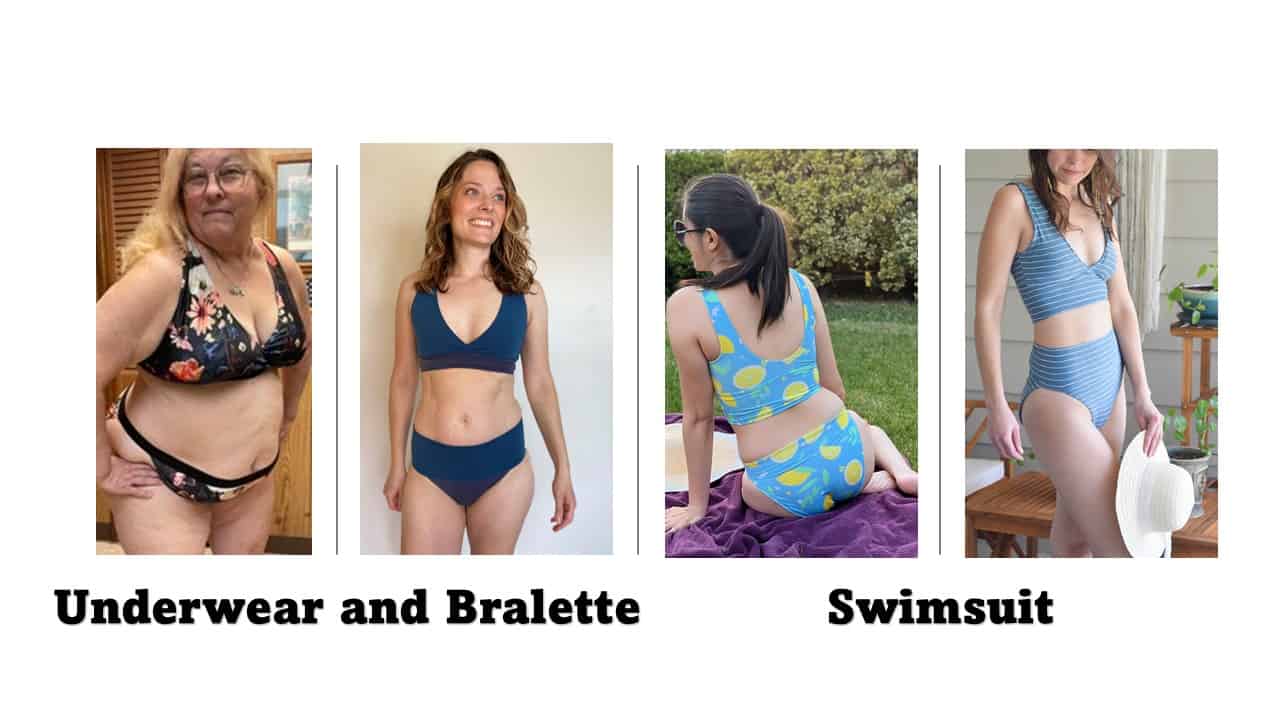
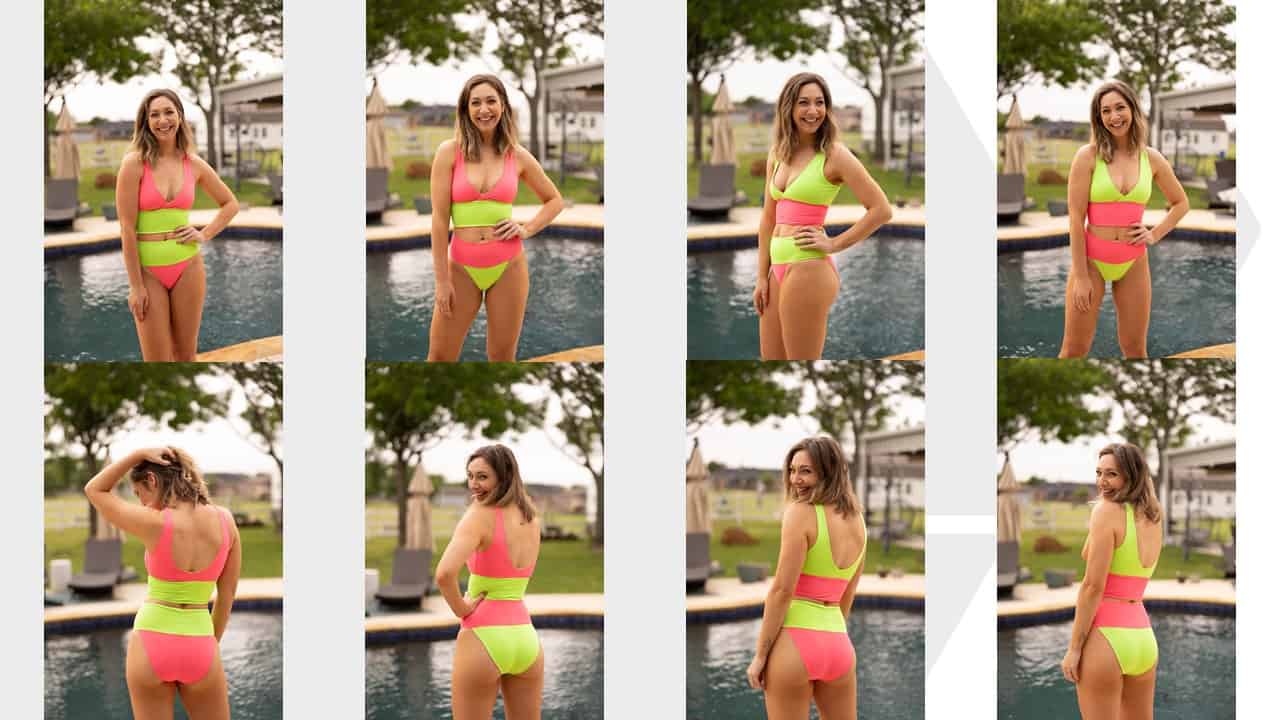
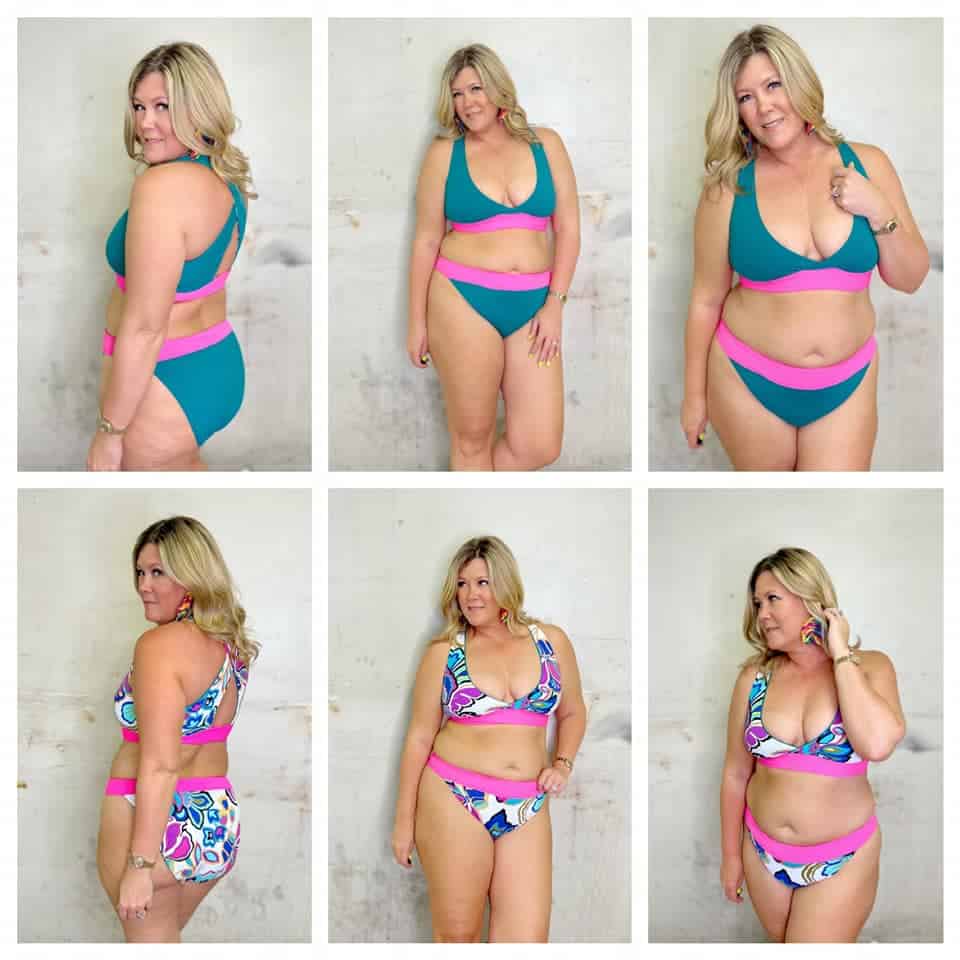
- Switch out the athletic knit for swim knit and use swim elastic and you’ve got yourself an adorable tankini swim top!
- Make it comfortable in a soft modal fabric and make the shelf bra in just something soft with no powermesh or cups and you have the perfect sleep tank.
- Leave the shelf bra out completely and use an everyday knit… you have the perfect tank for summer or for layering under in cooler months.

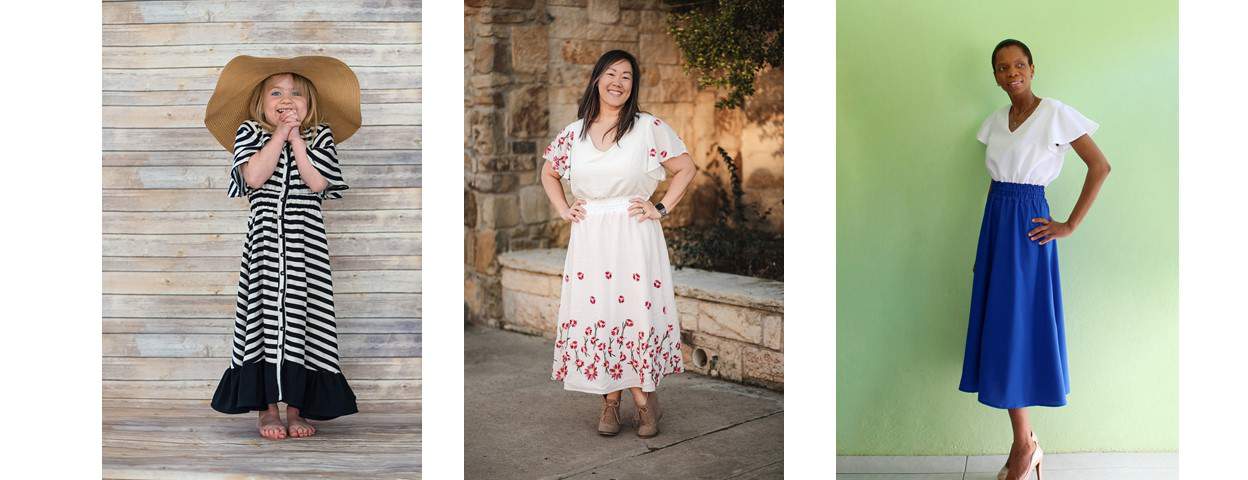
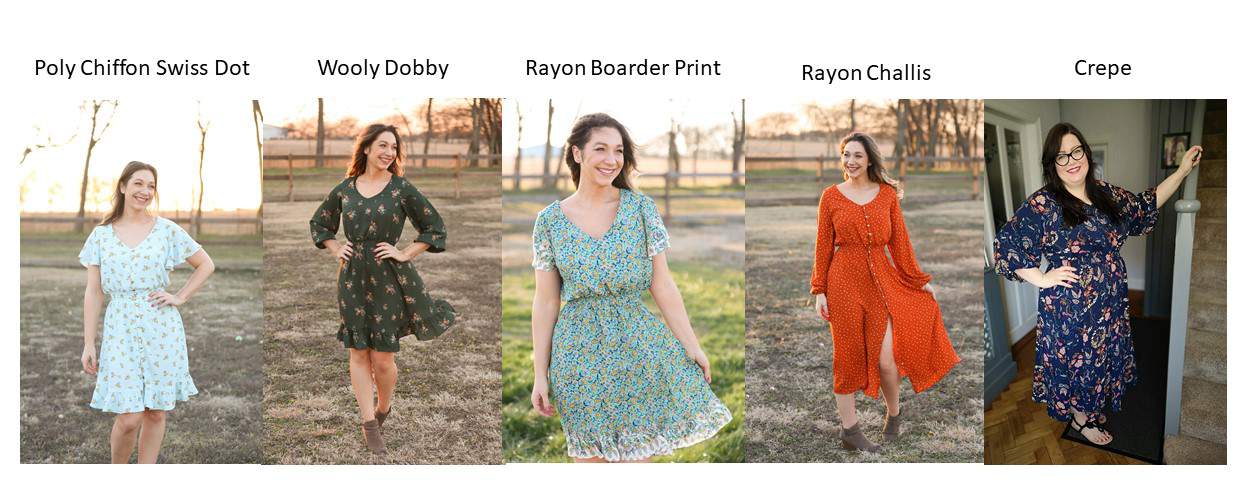
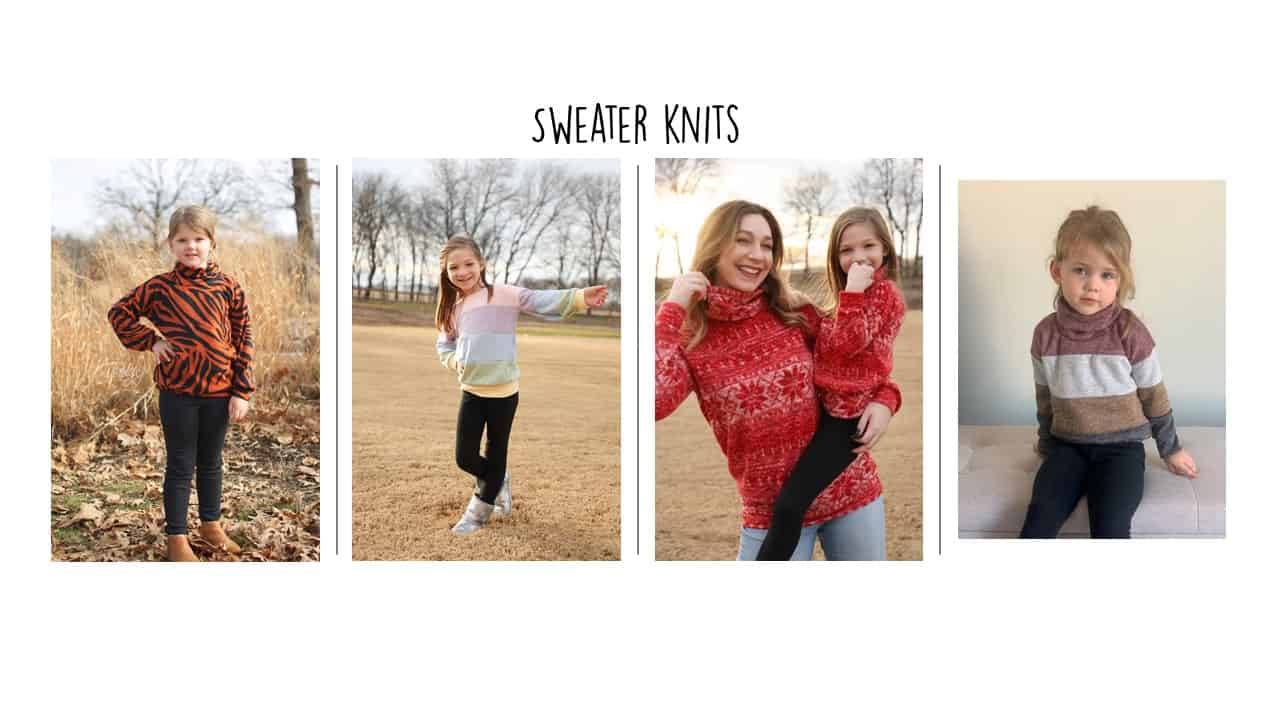
Some of our favorites are: athletic knit, swim knit, ribbed knits, double brushed poly, yummy rib knit, rayon/modal/bamboo knit, ITY/DTY knit, etc.
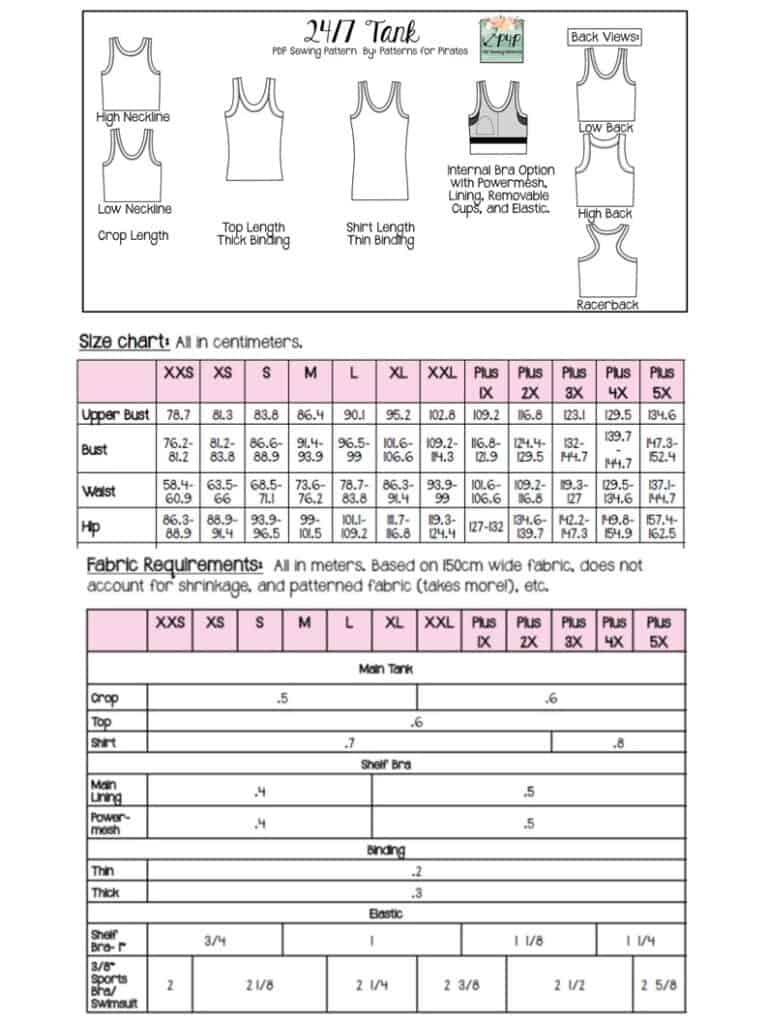
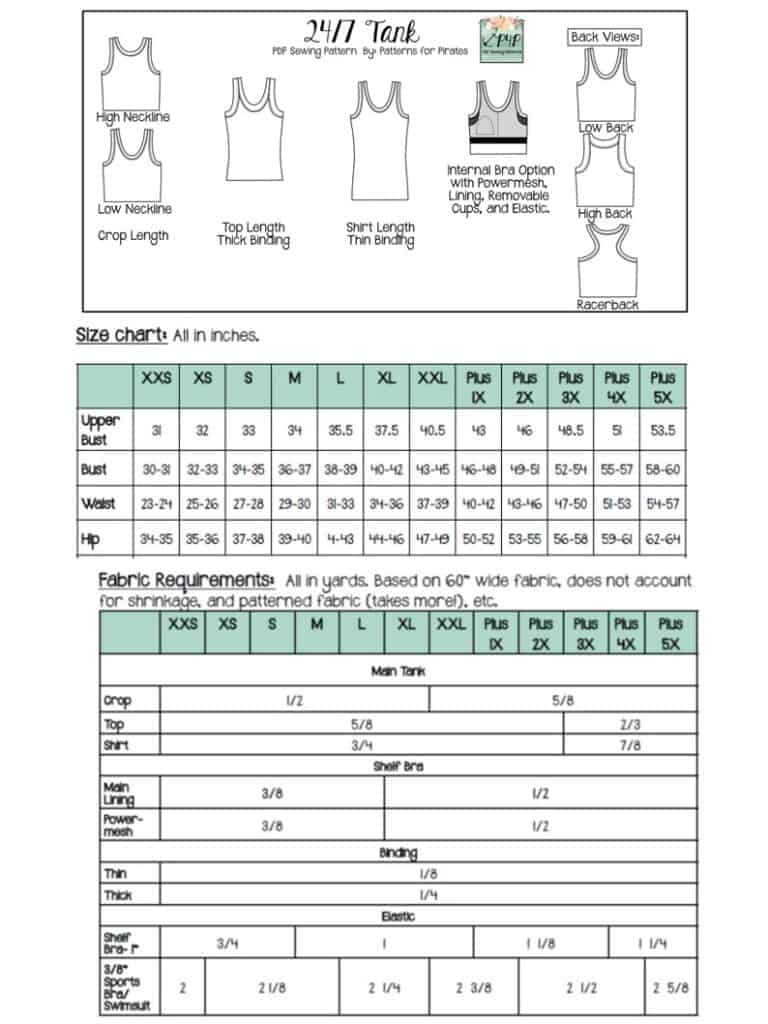

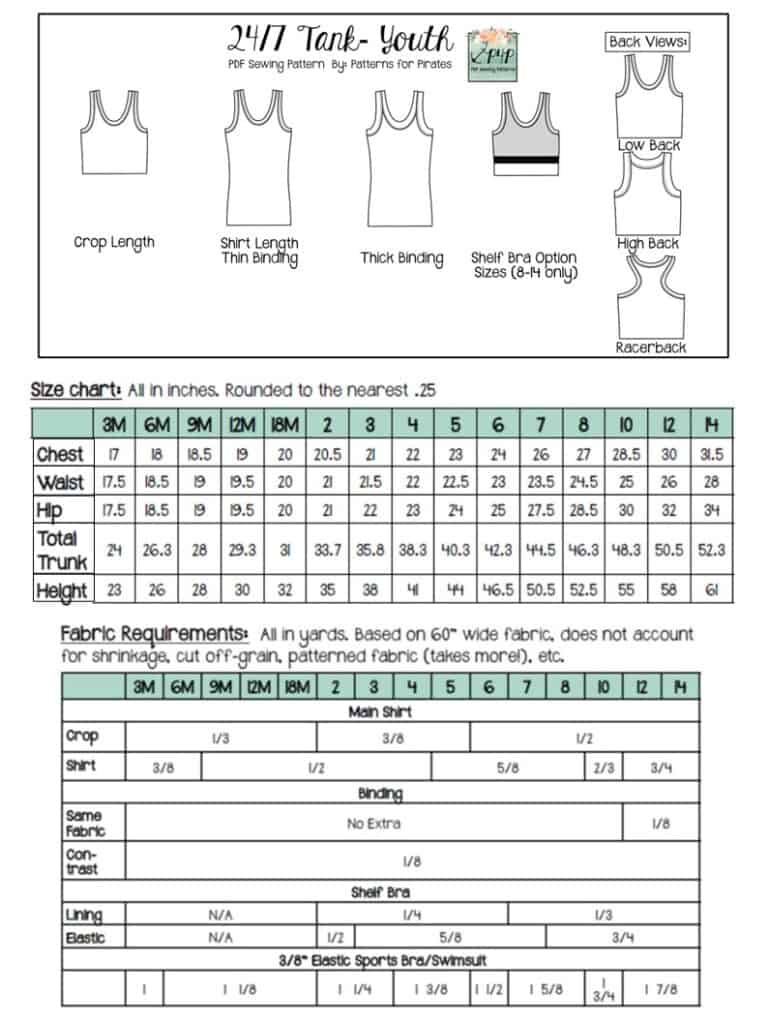
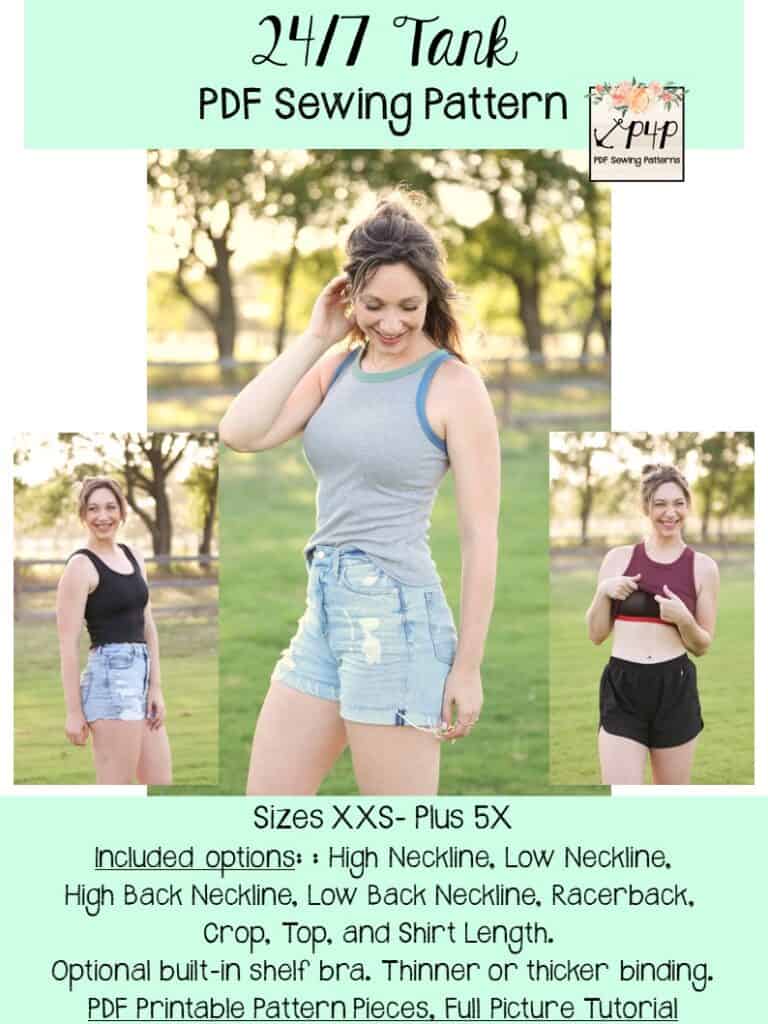
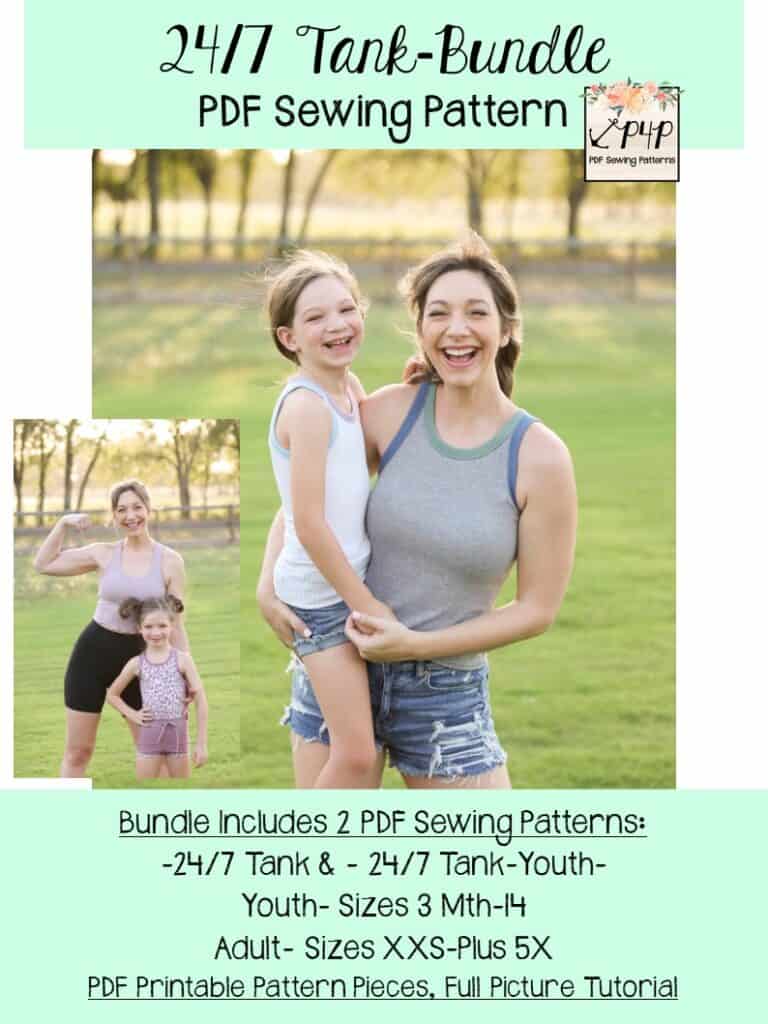
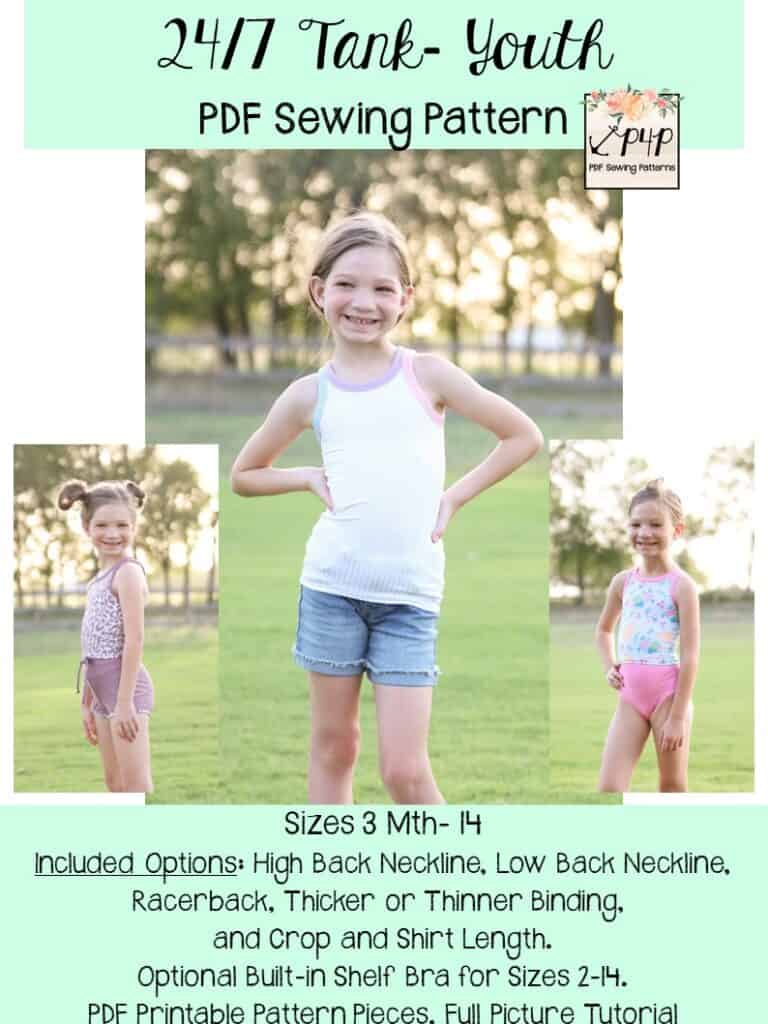
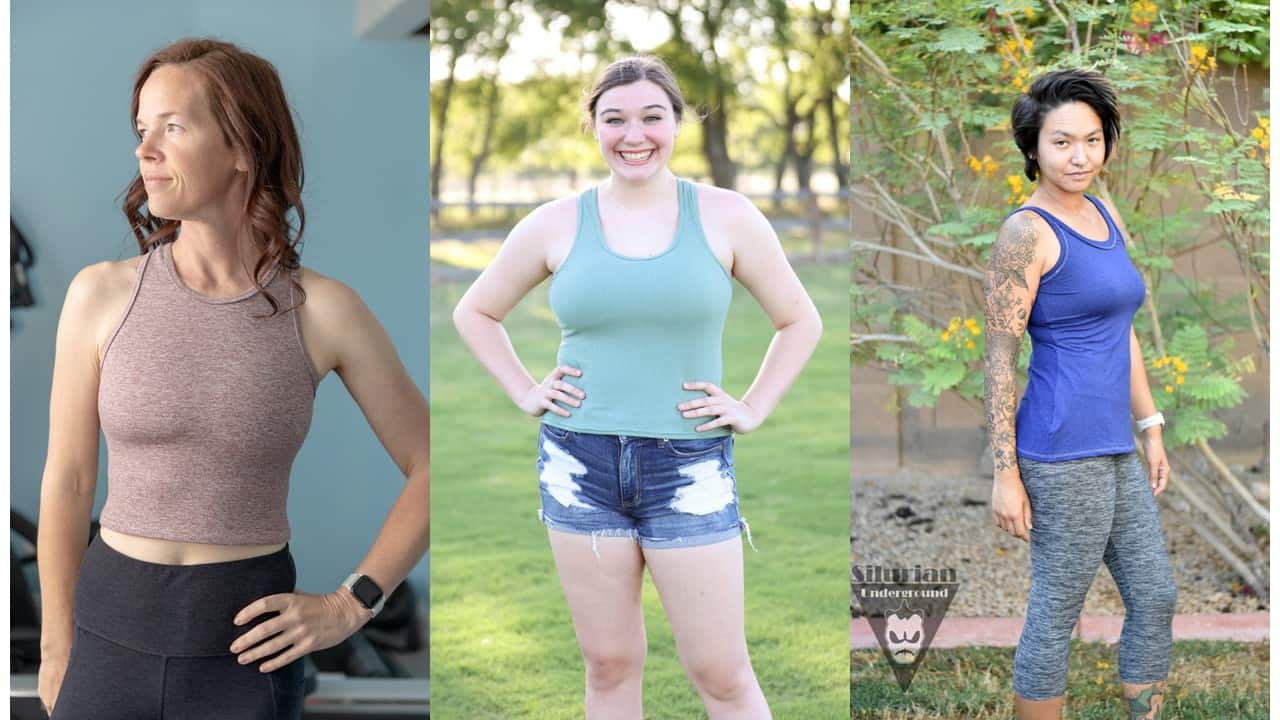
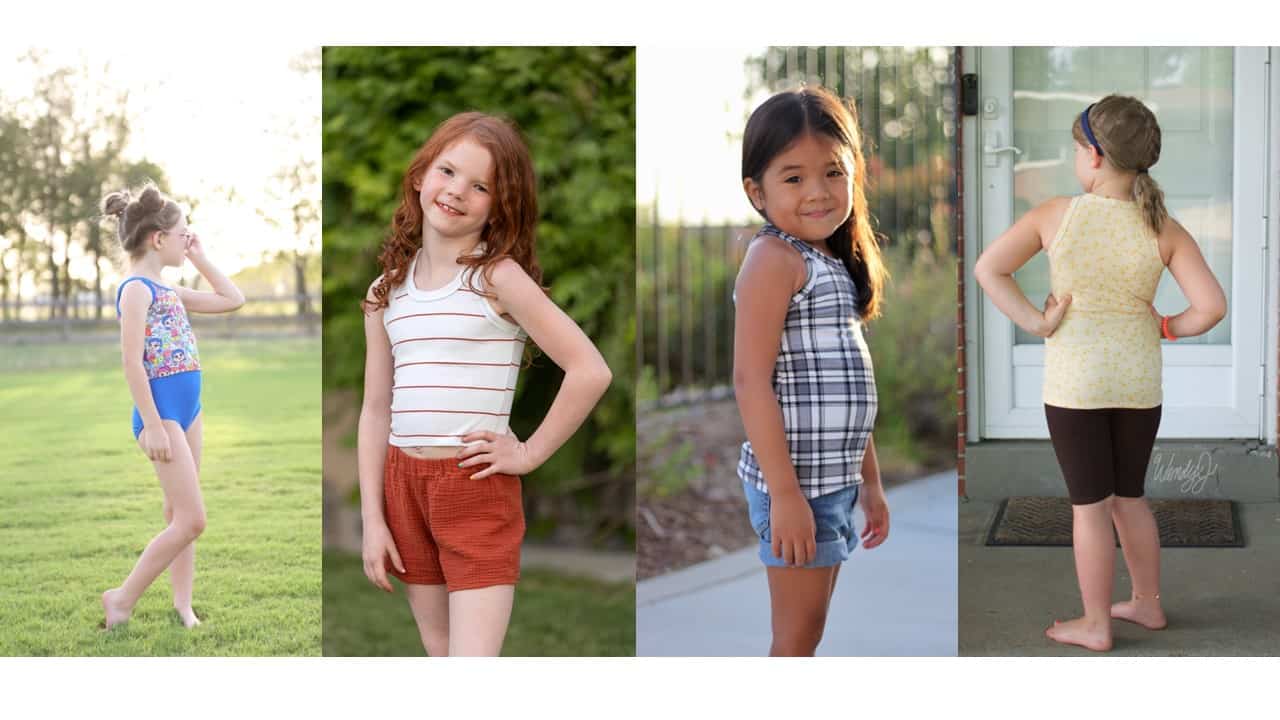
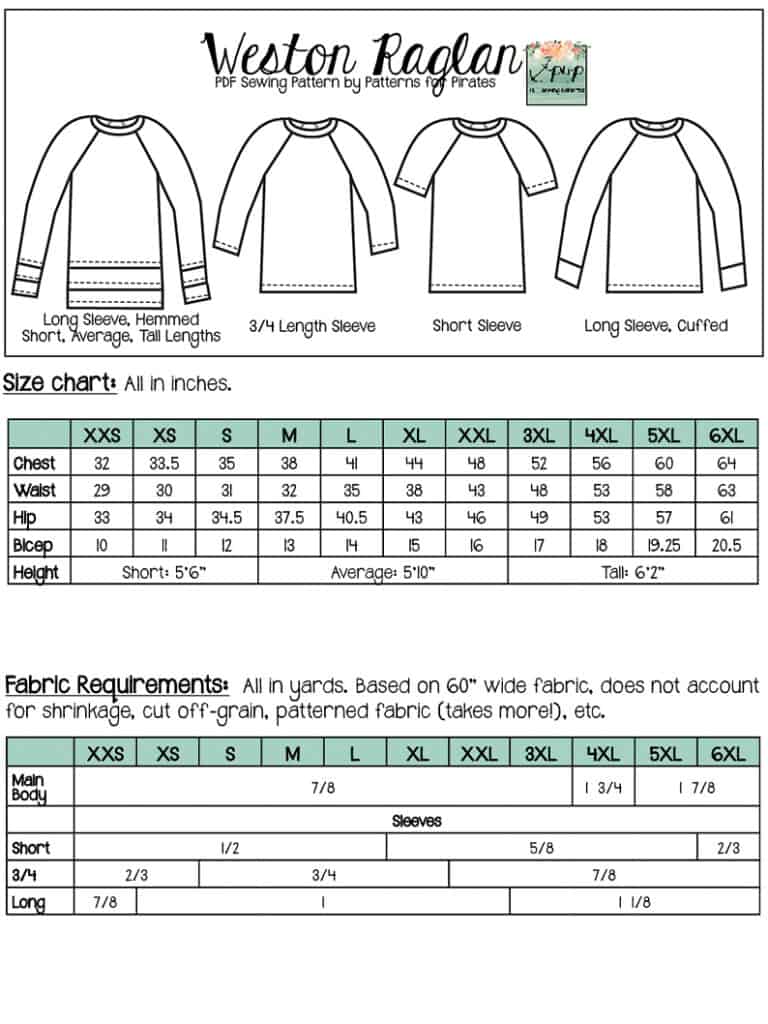
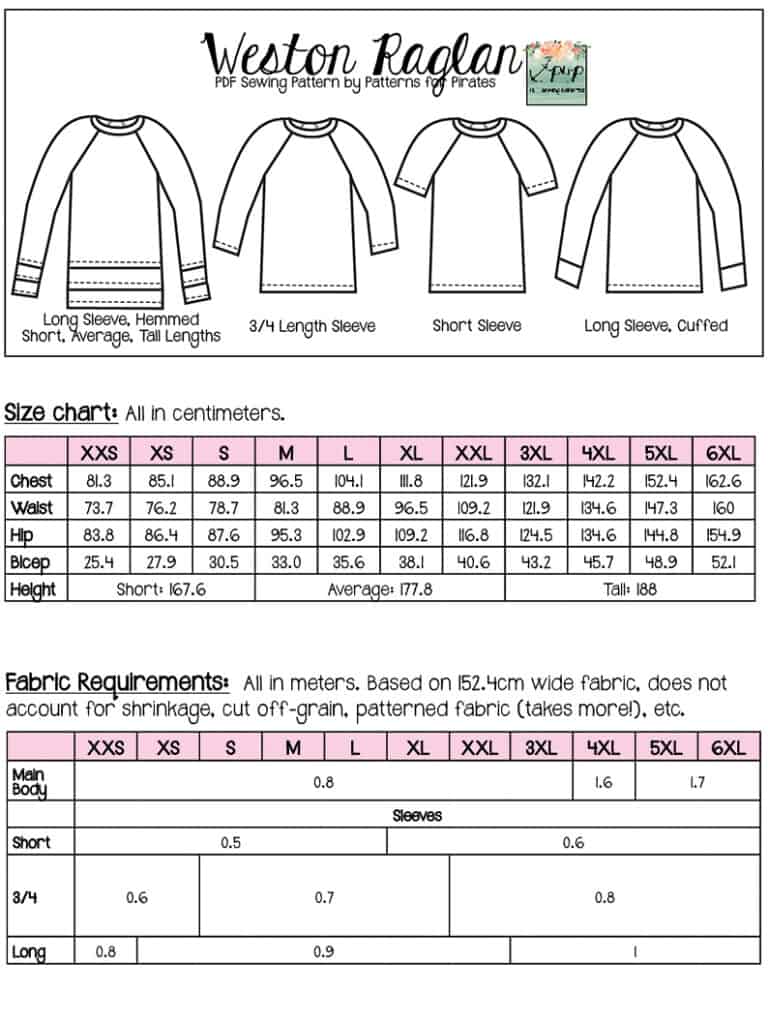
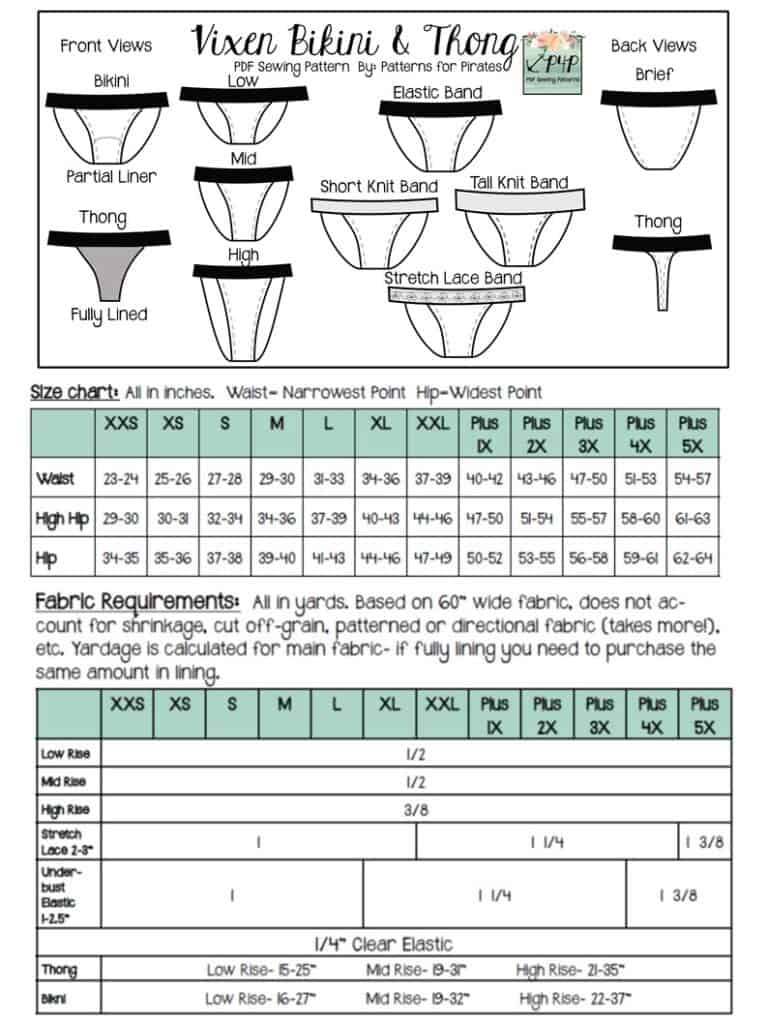
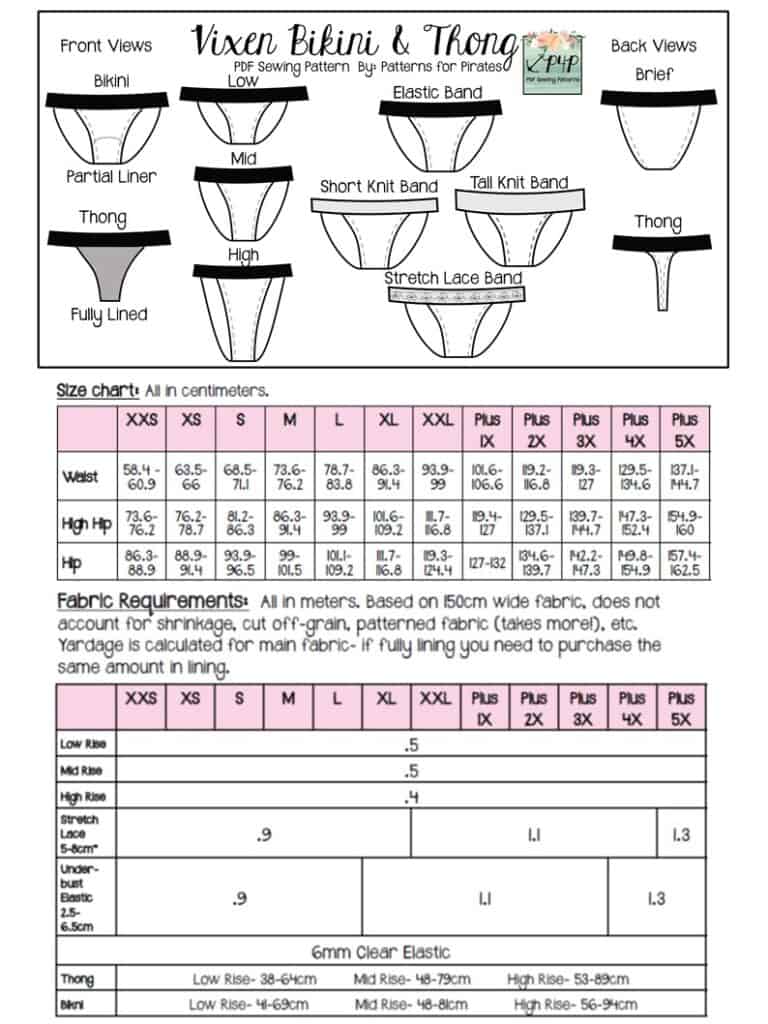
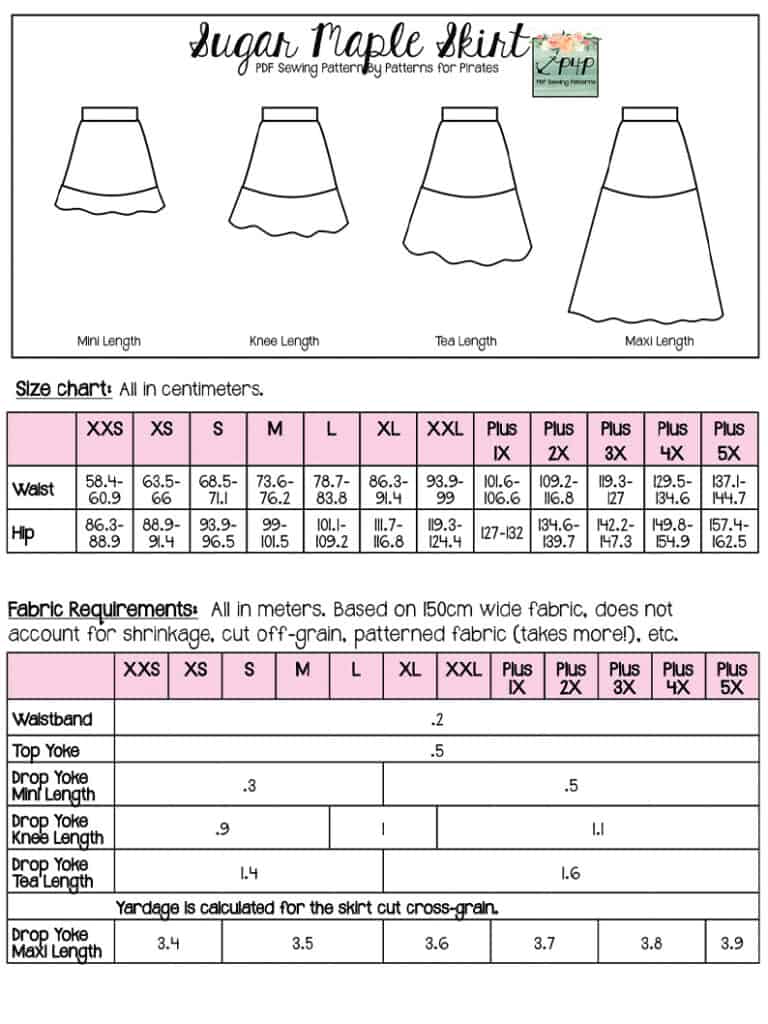
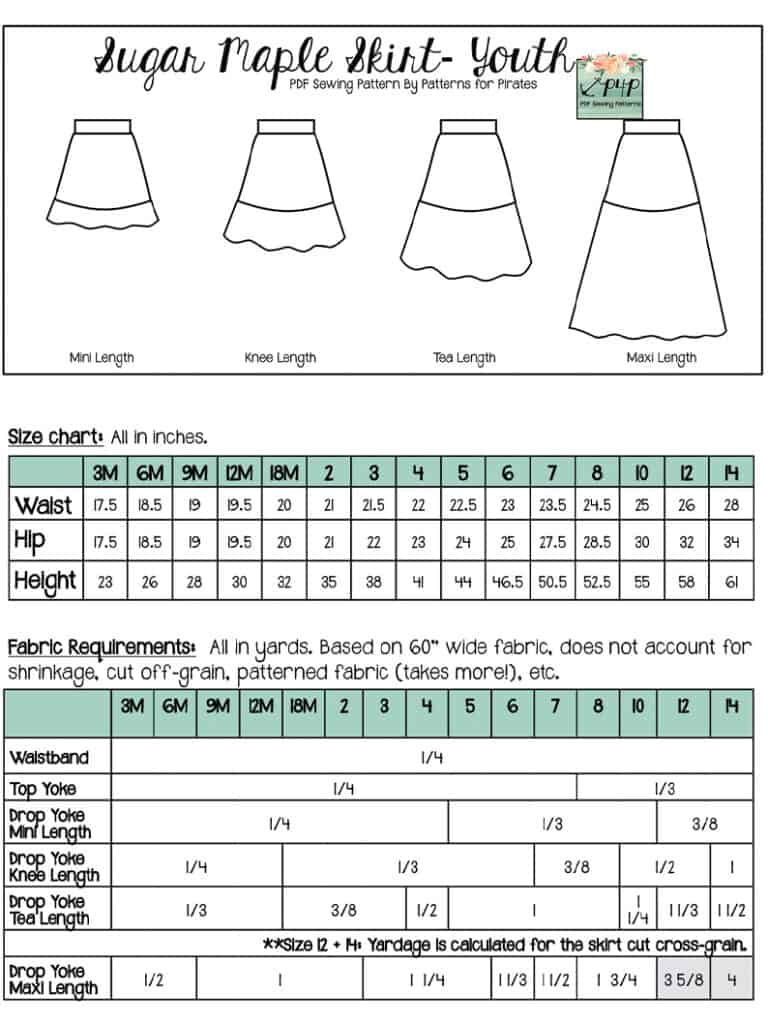
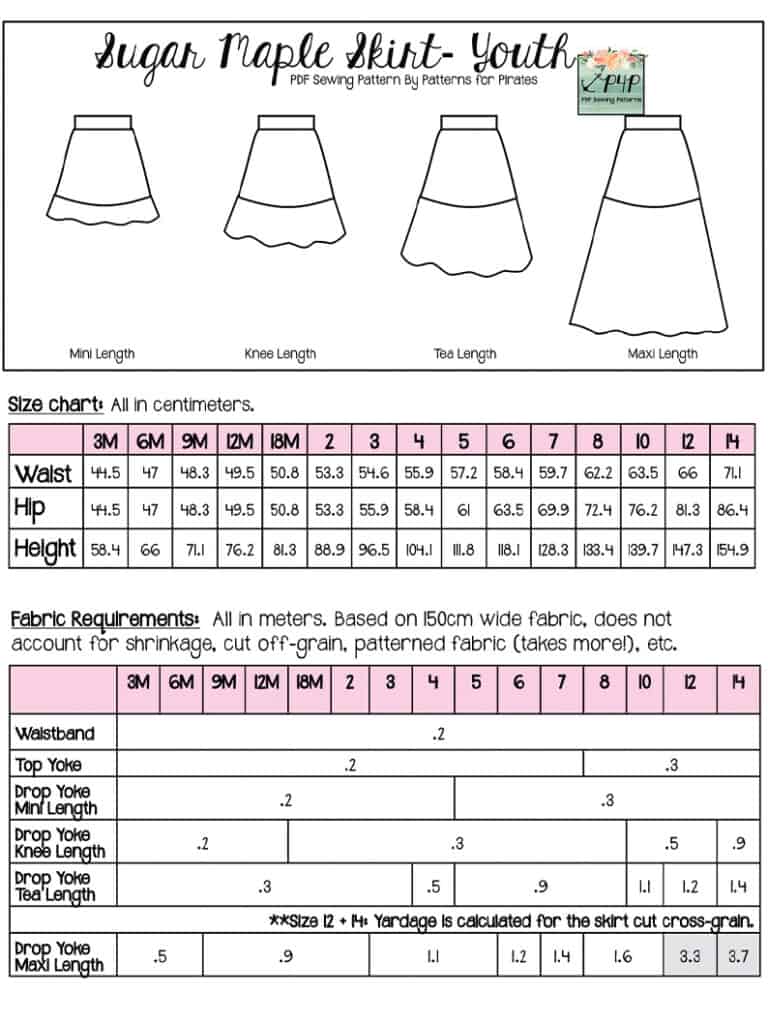
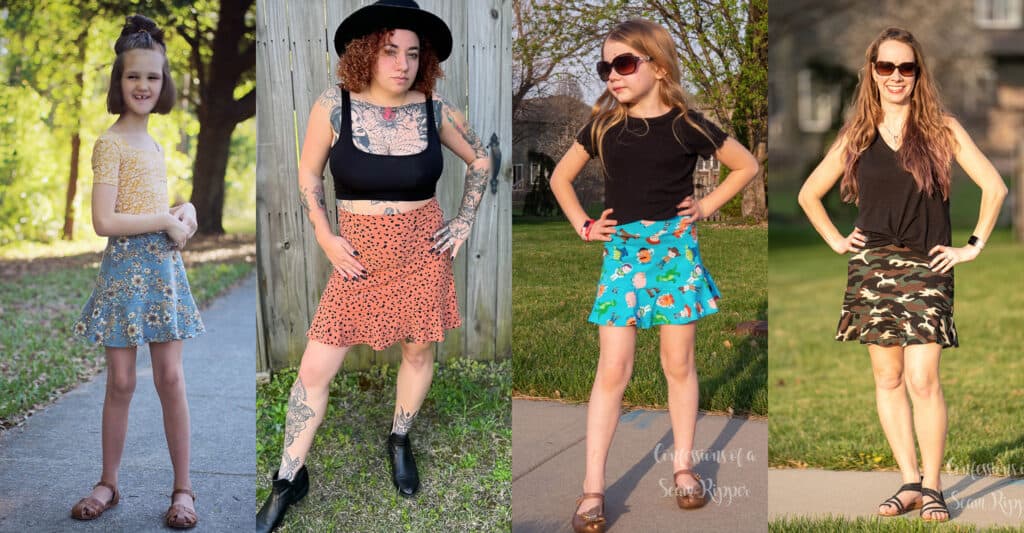
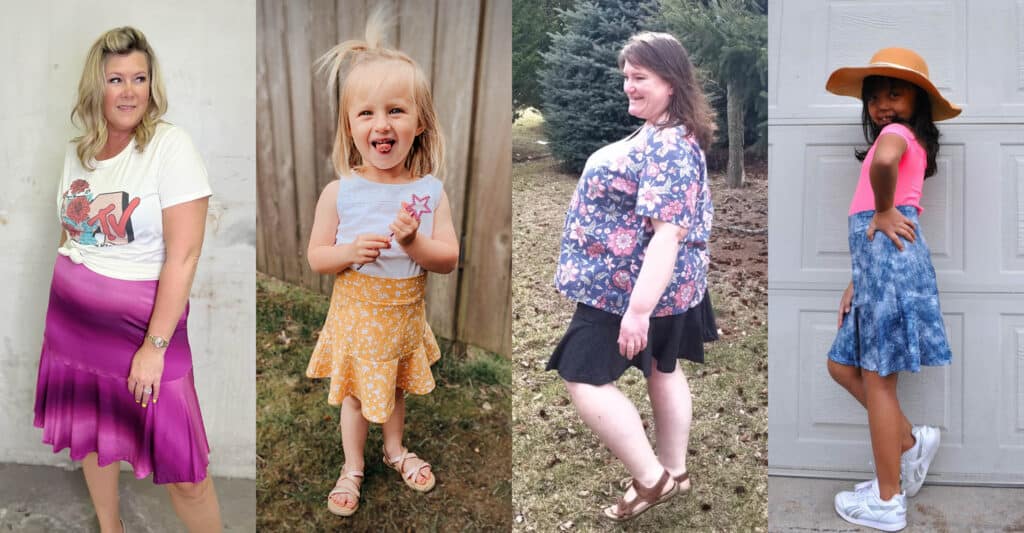
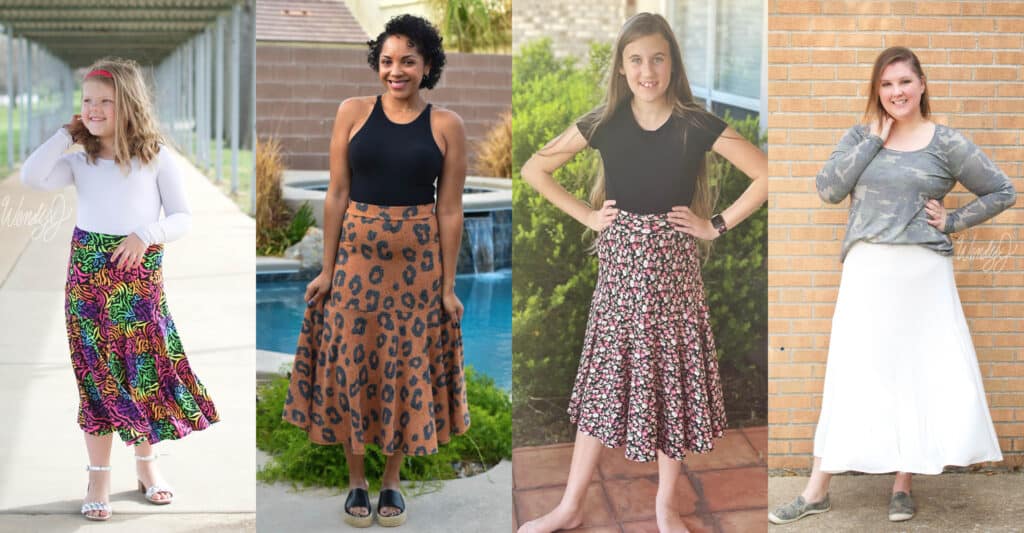
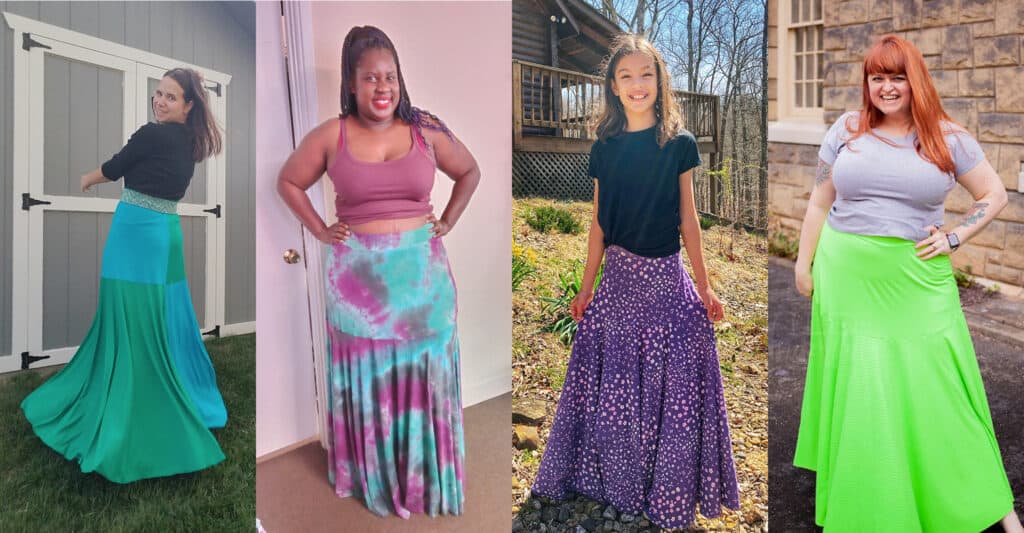
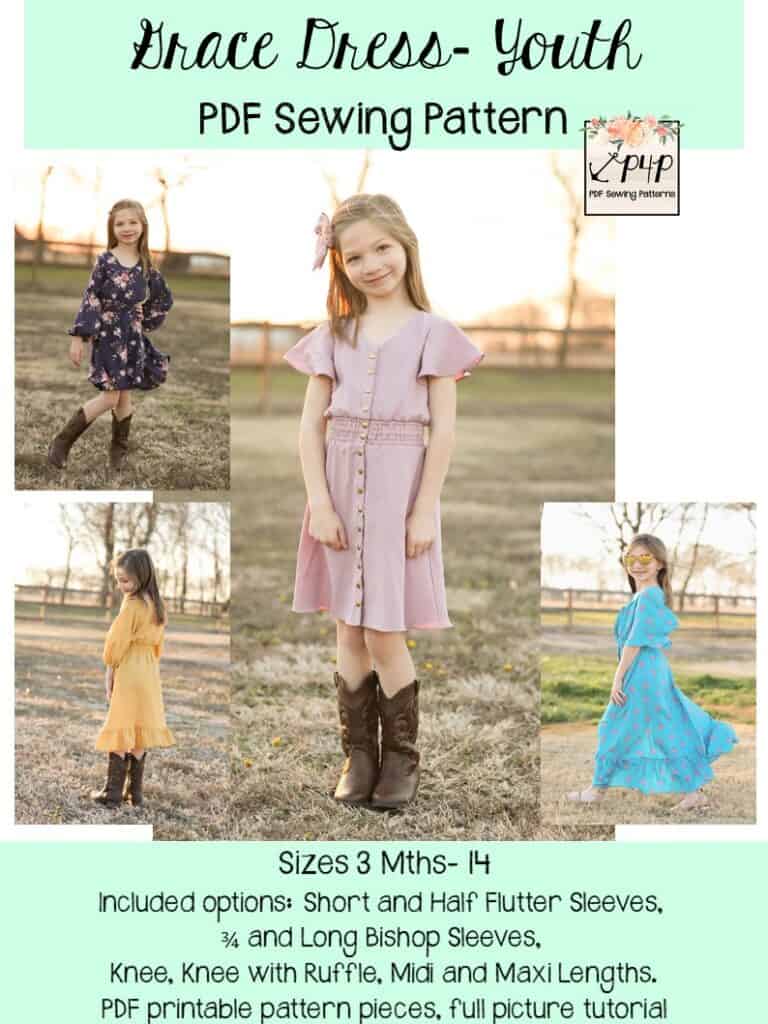
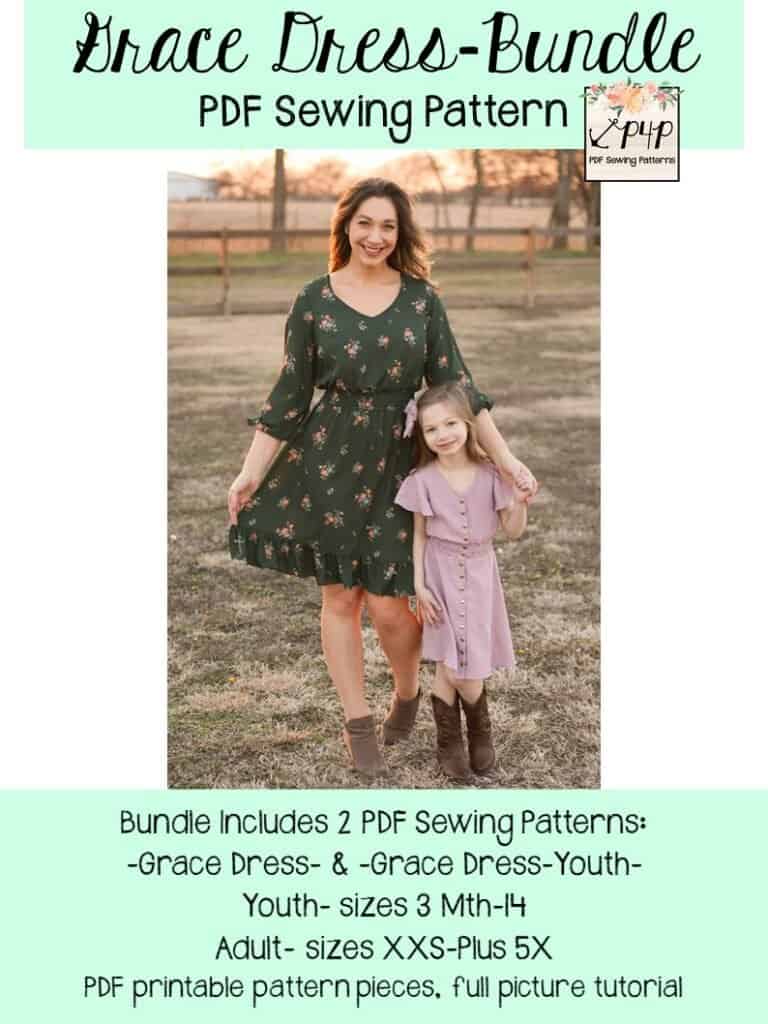
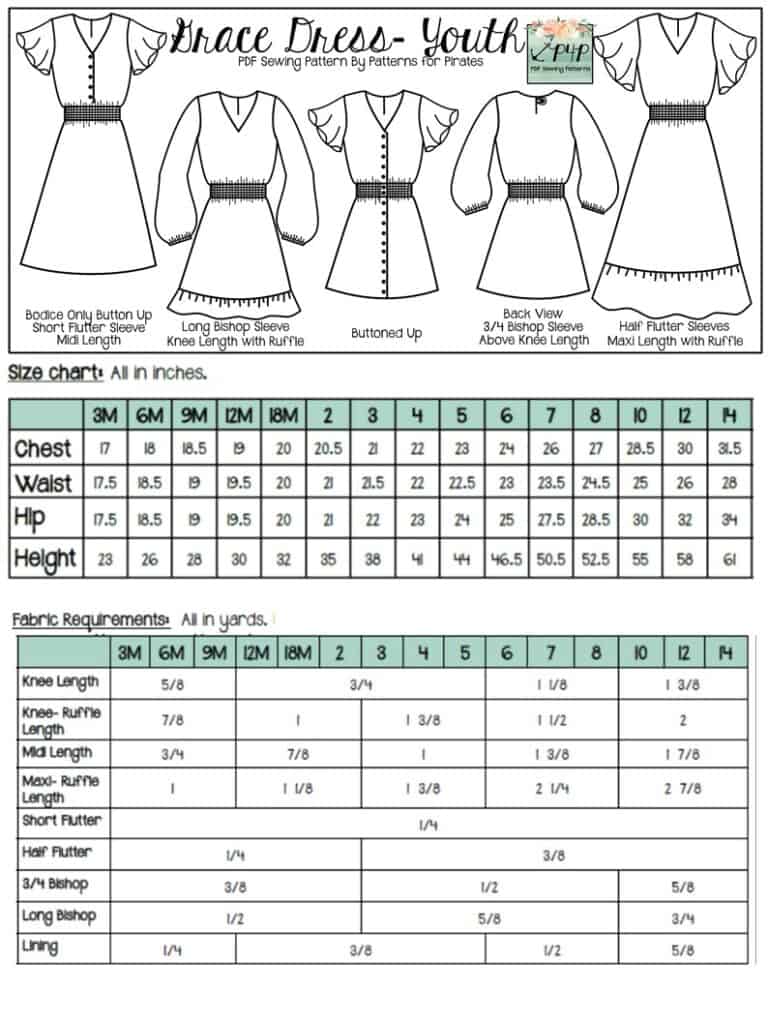
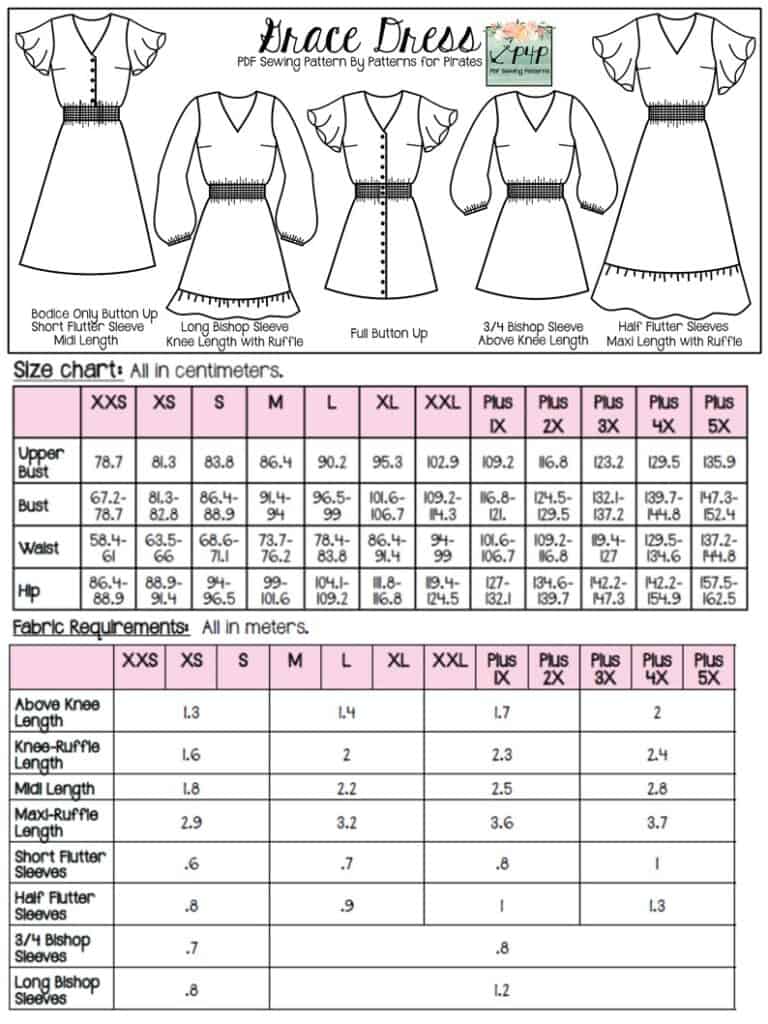
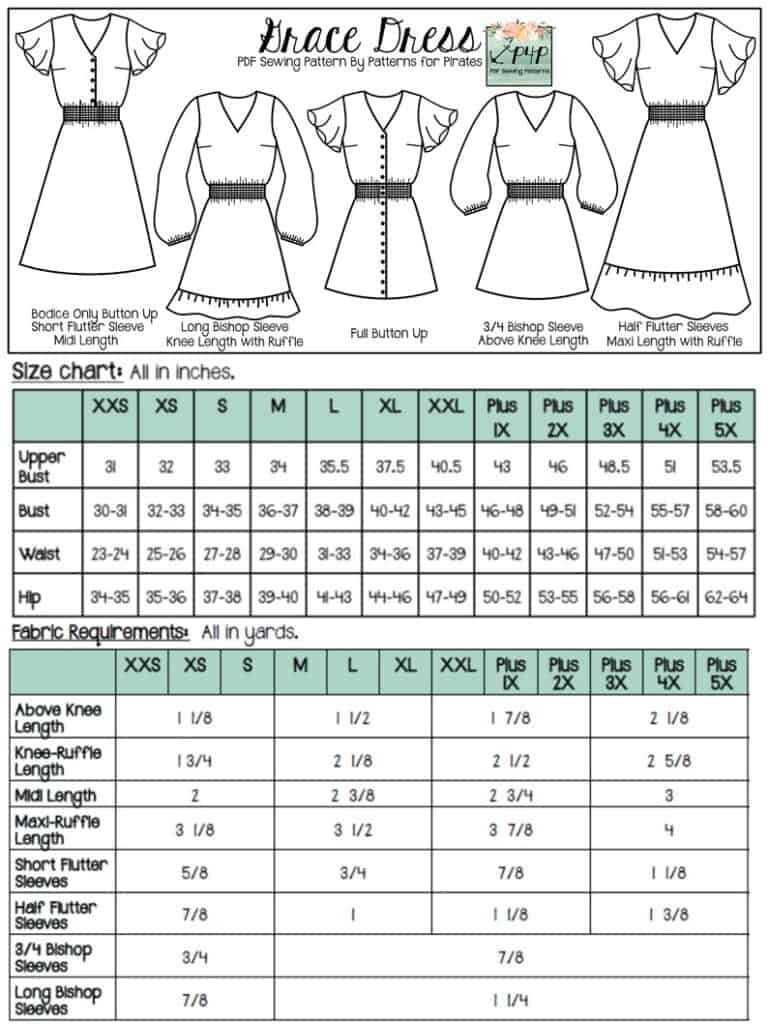
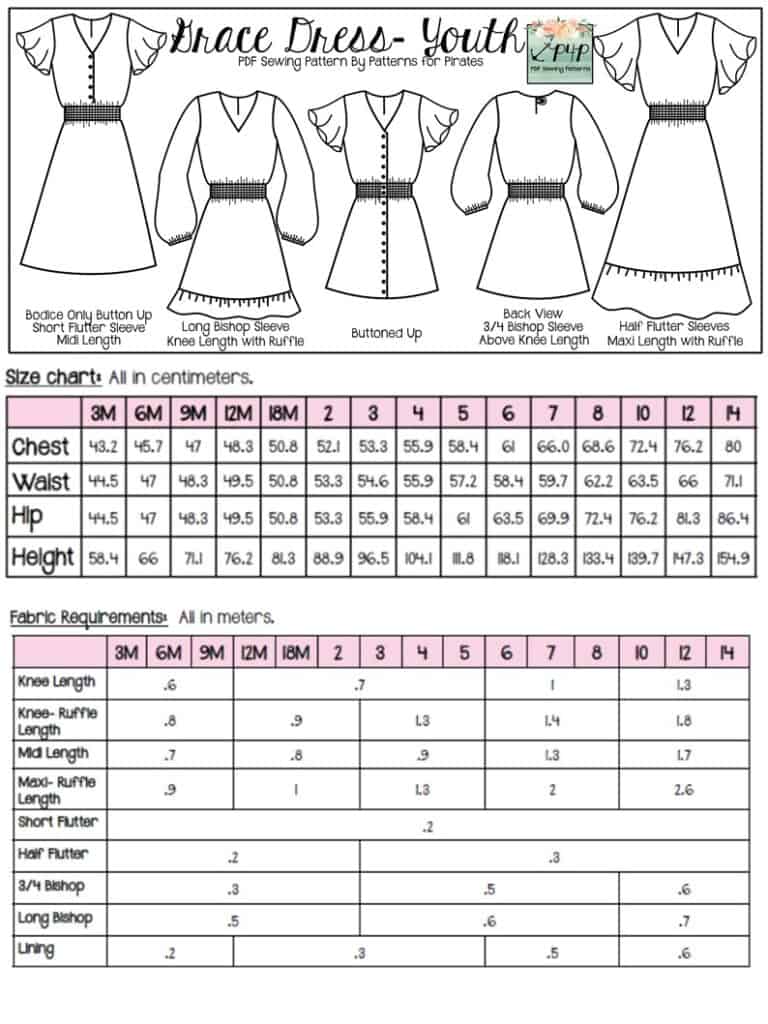
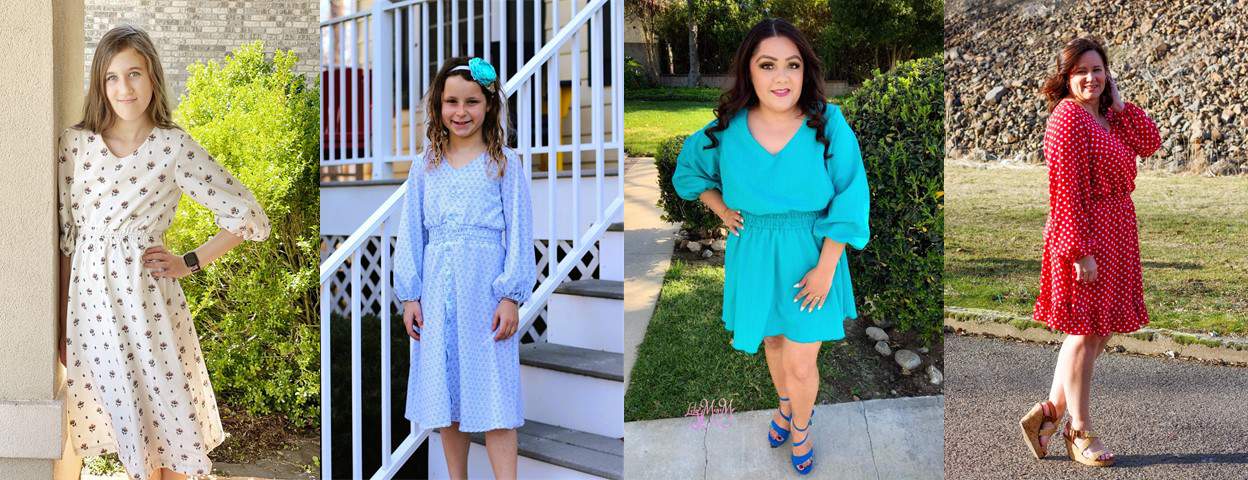
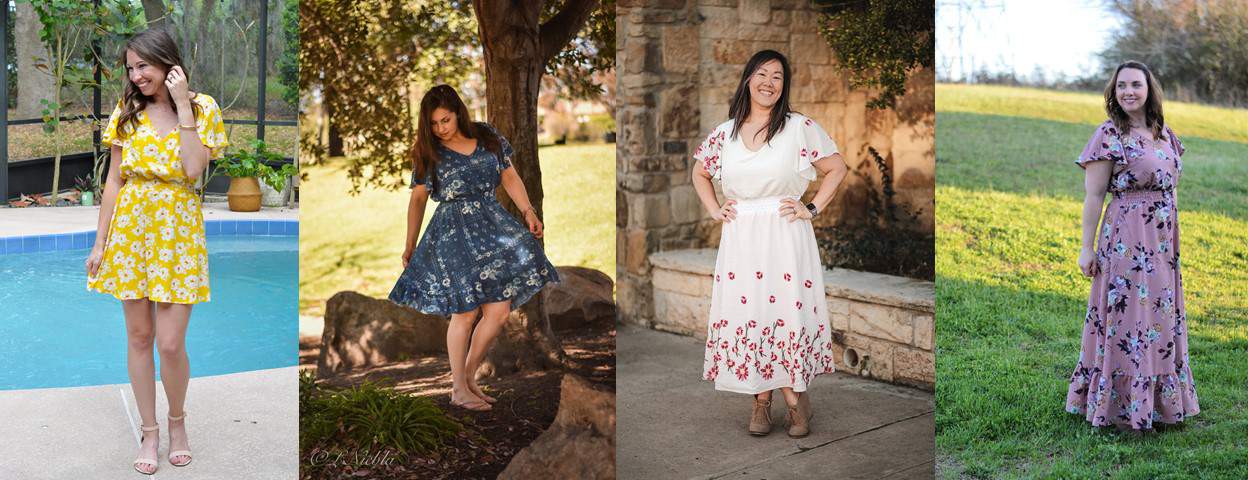
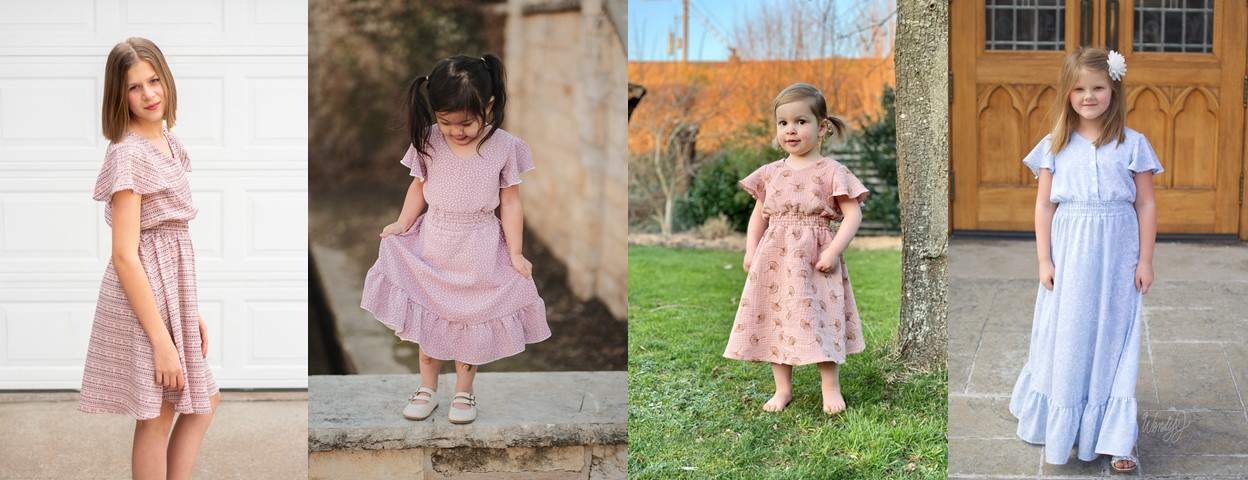
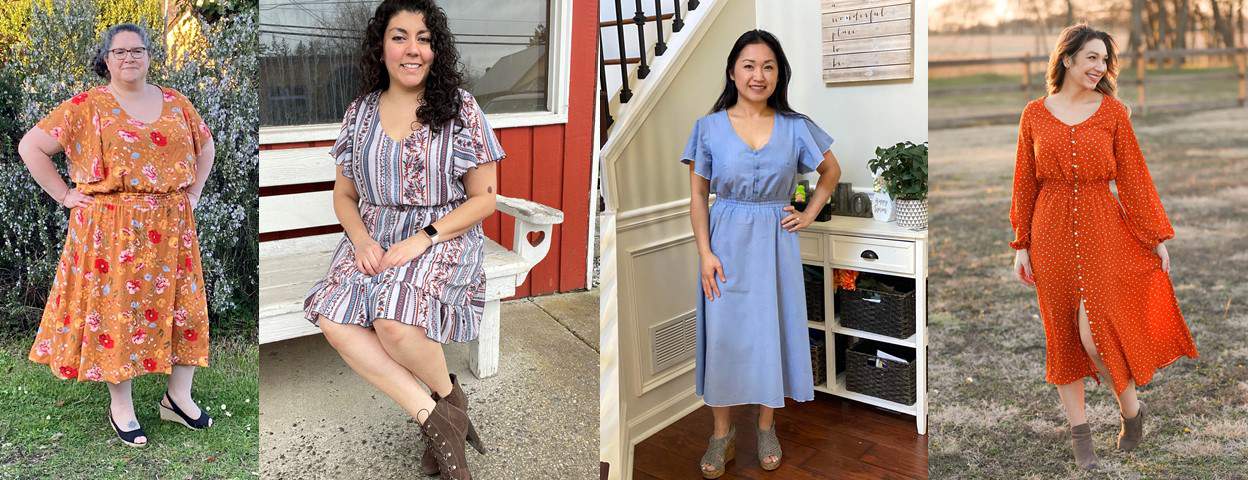
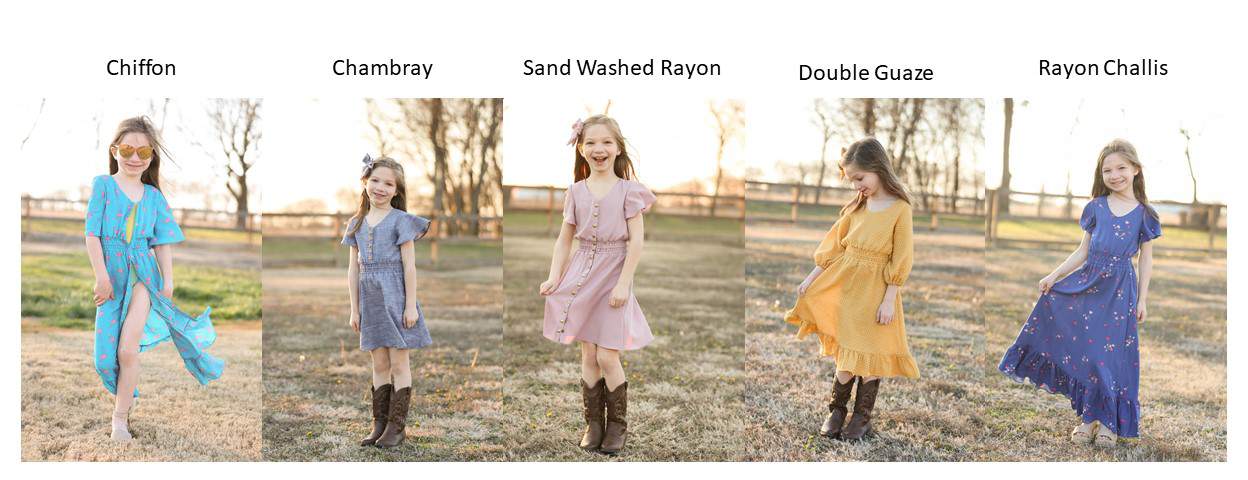
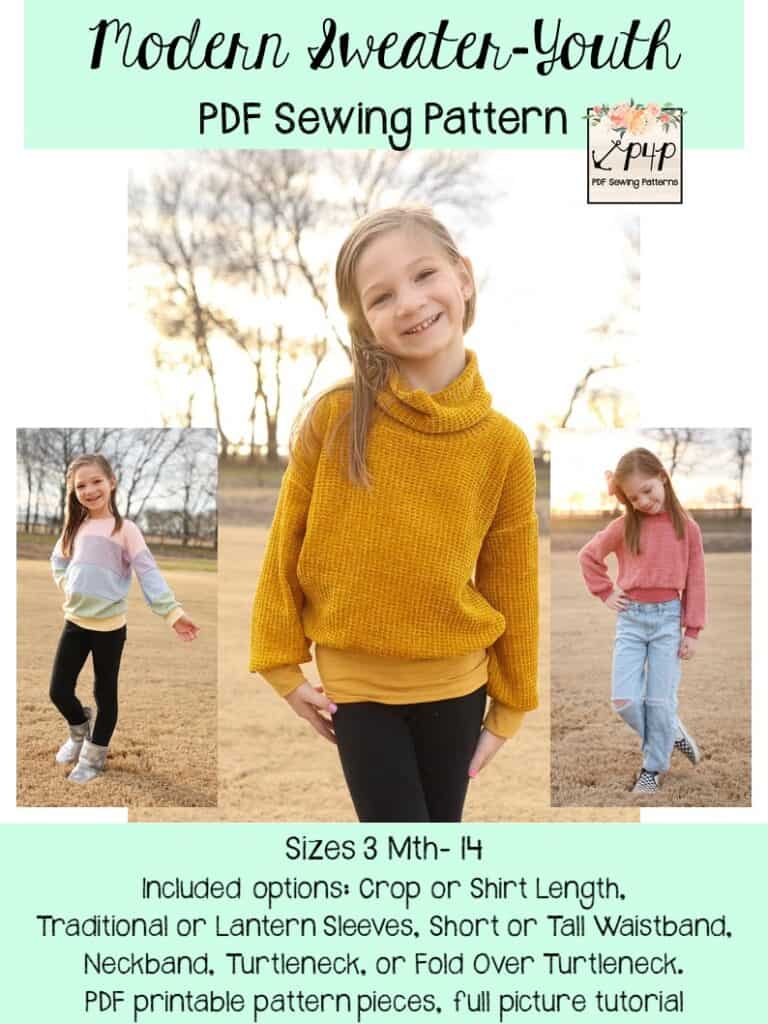
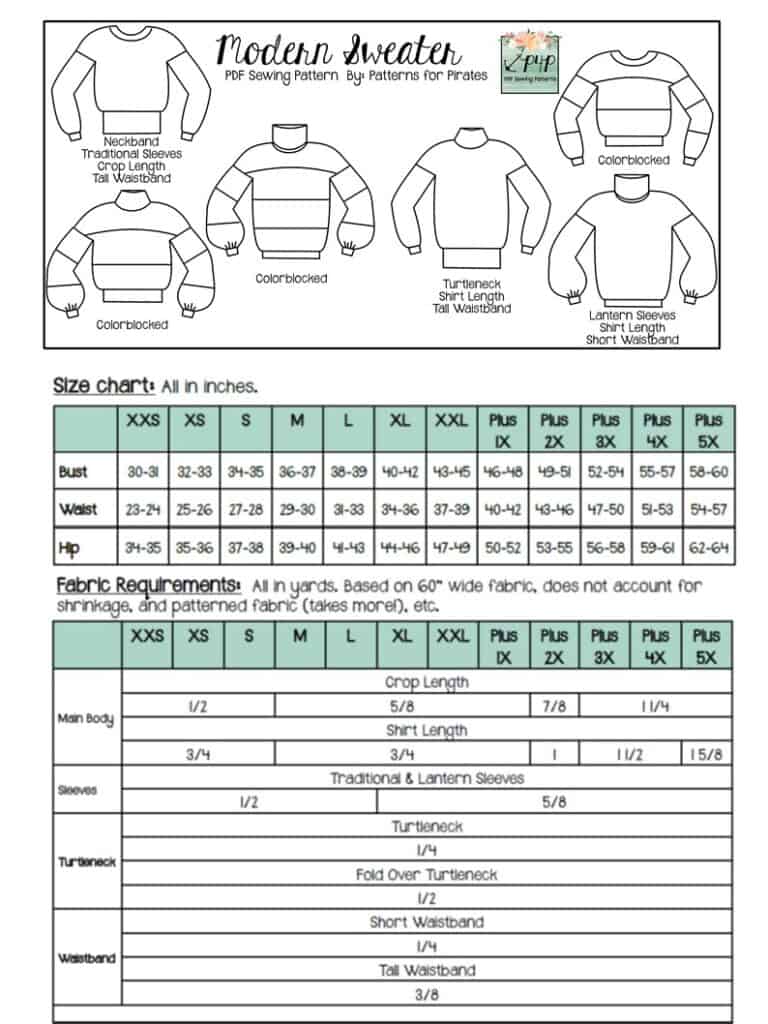
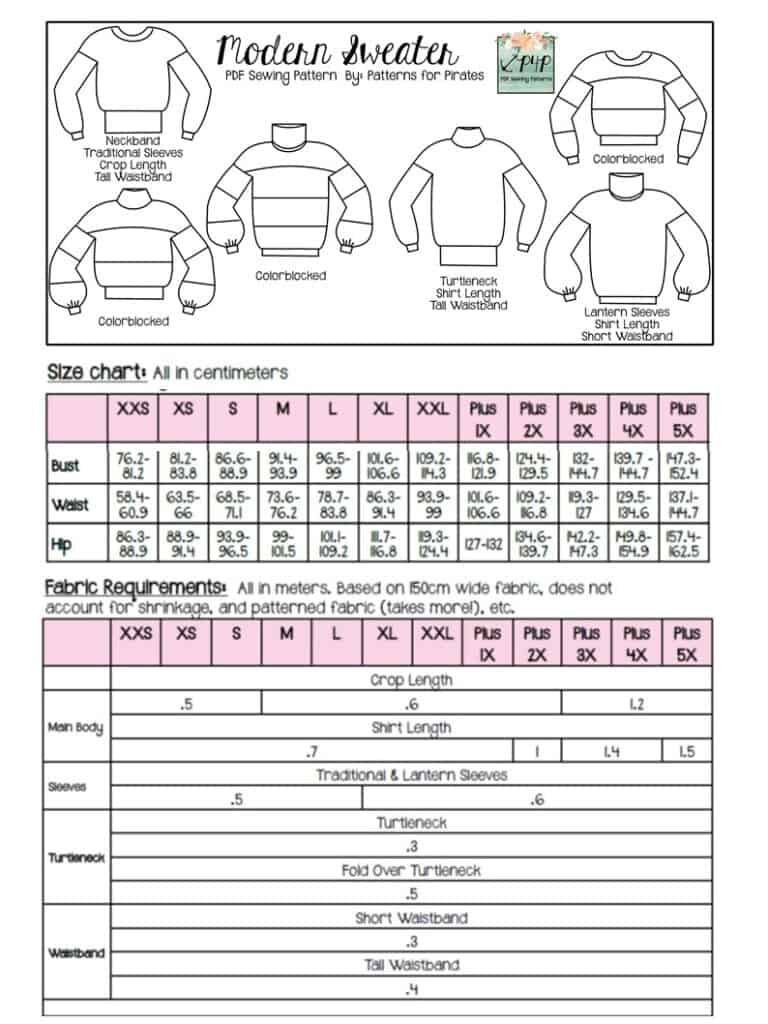
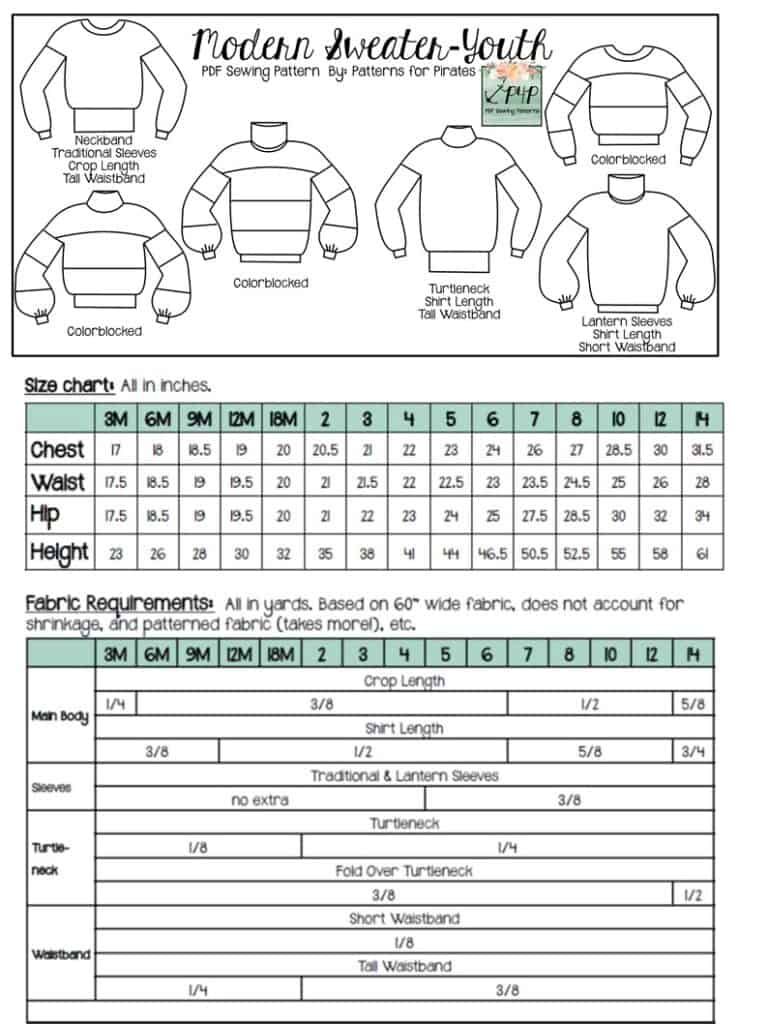
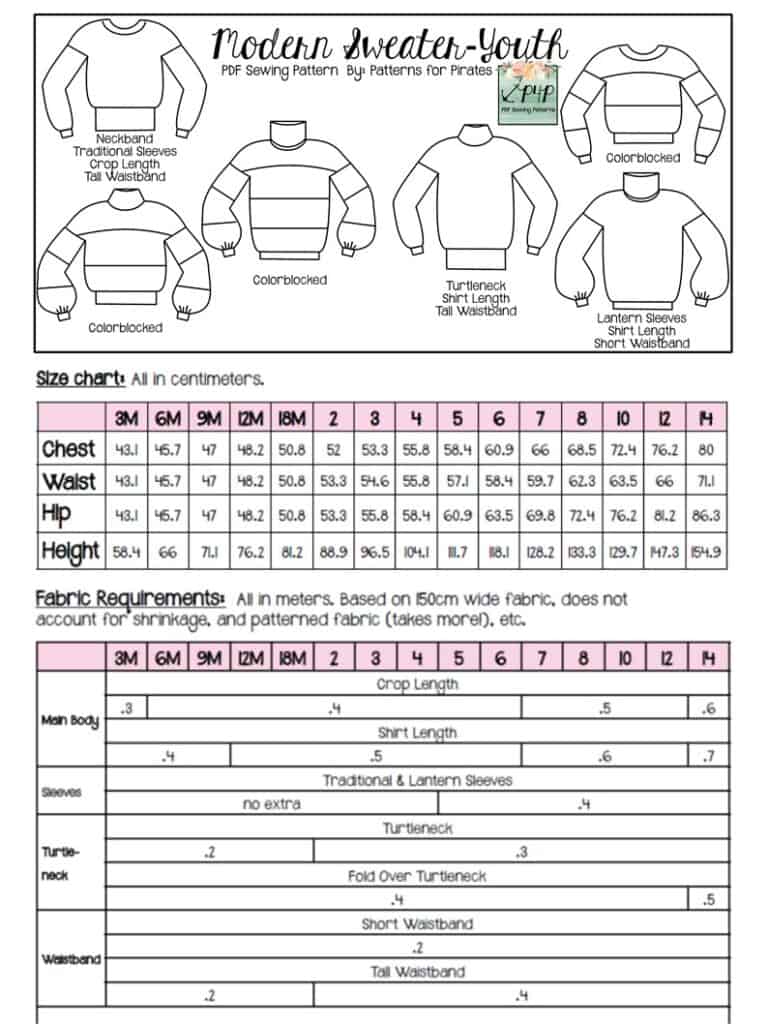
The youth sizes range from 3m – 14 and the adult sizes are for the full, newer size chart, extending from XXS – Plus 5X for the Adult Hourglass Figure.
*Want to learn more about how to measure yourself for these pattern? We’ve got you covered with an in-depth blog HERE. And for even more helpful fun, we have a free* printable that you can use to help record your measurements as you take them.
And in case you’re new to Patterns for Pirates and PDF patterns in general, we have a great blog full of new-user tips HERE to help you get started!
As with all of our current releases and updates, the pdfs now include our layers feature and can be found in Letter, A4, A0 and projector sizes.
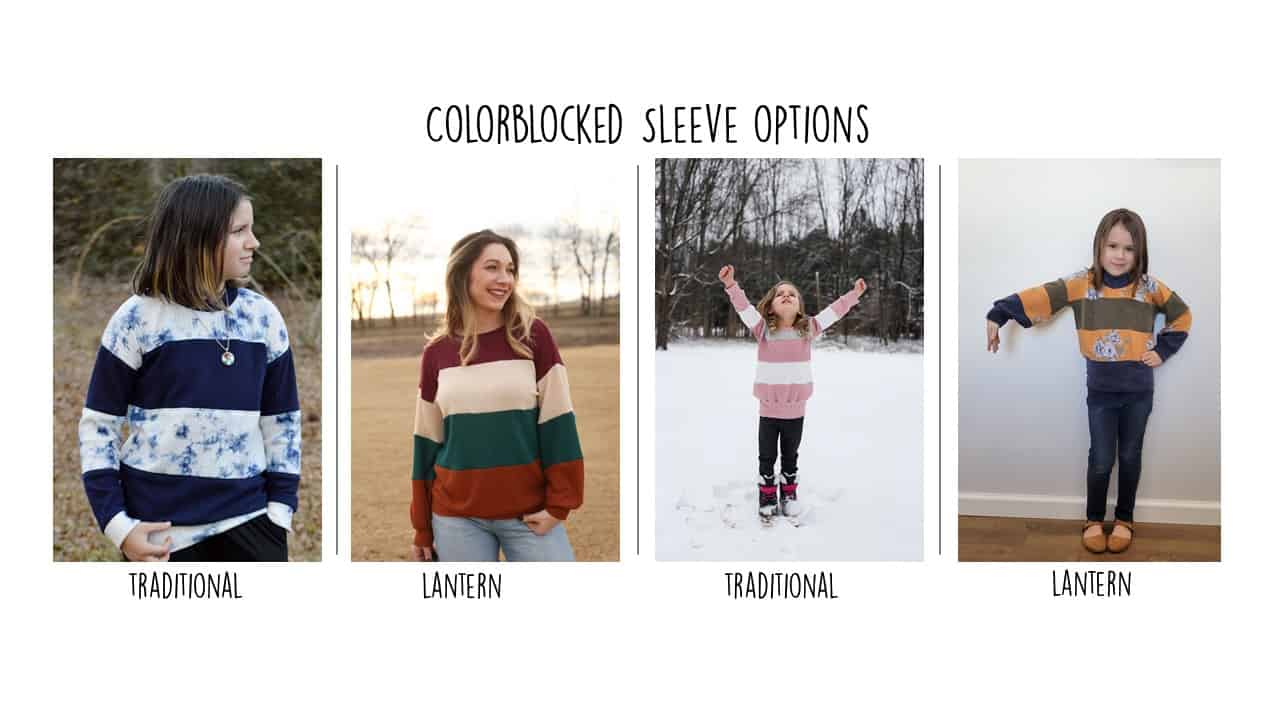
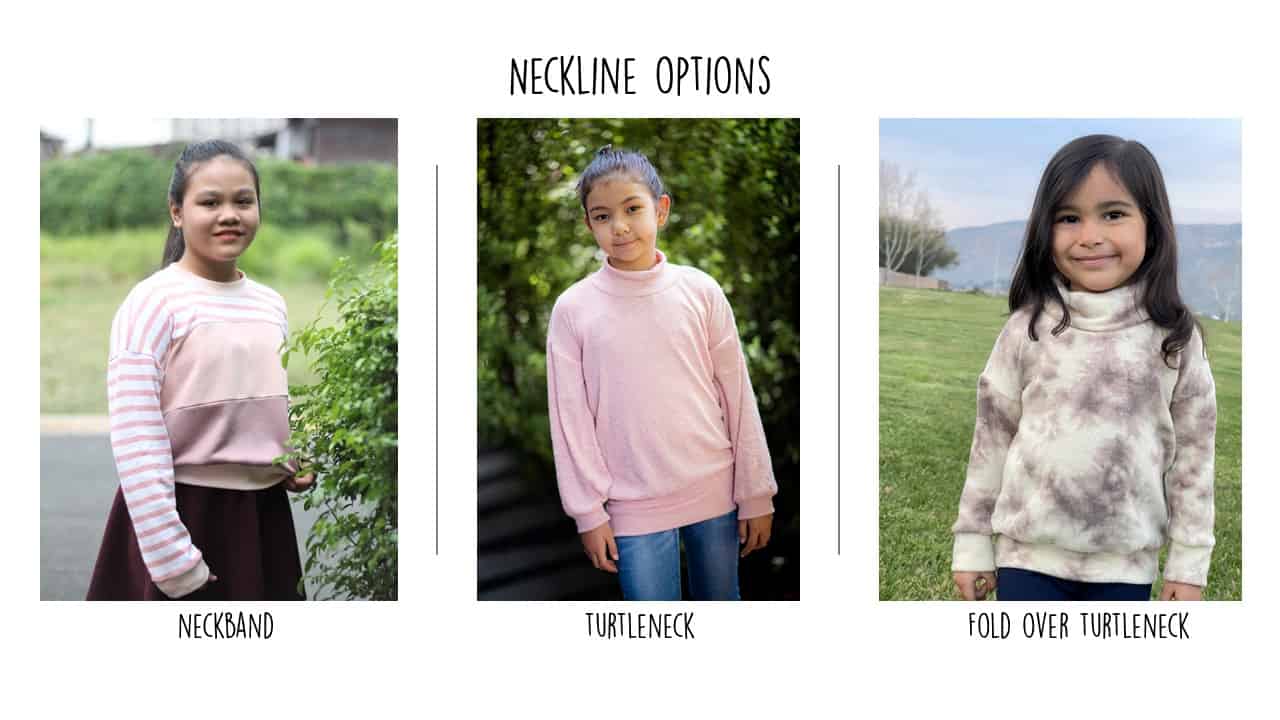
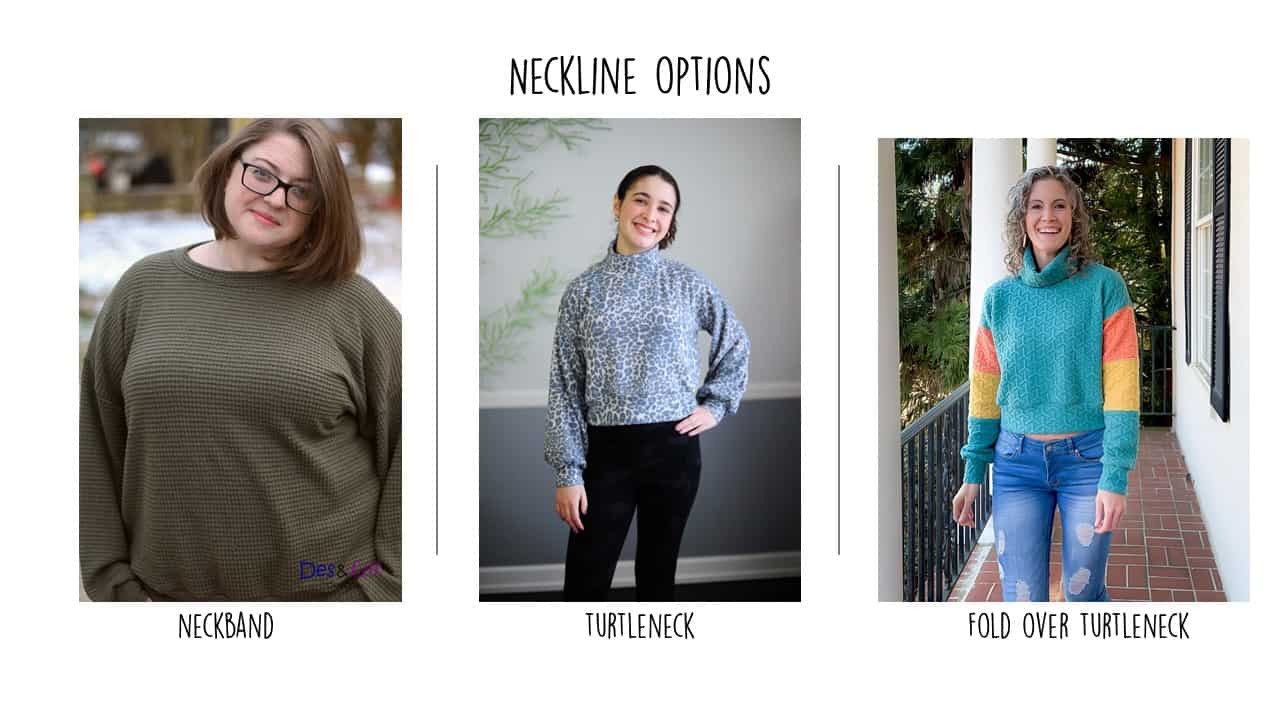
Okay….let’s check out some of the different features!
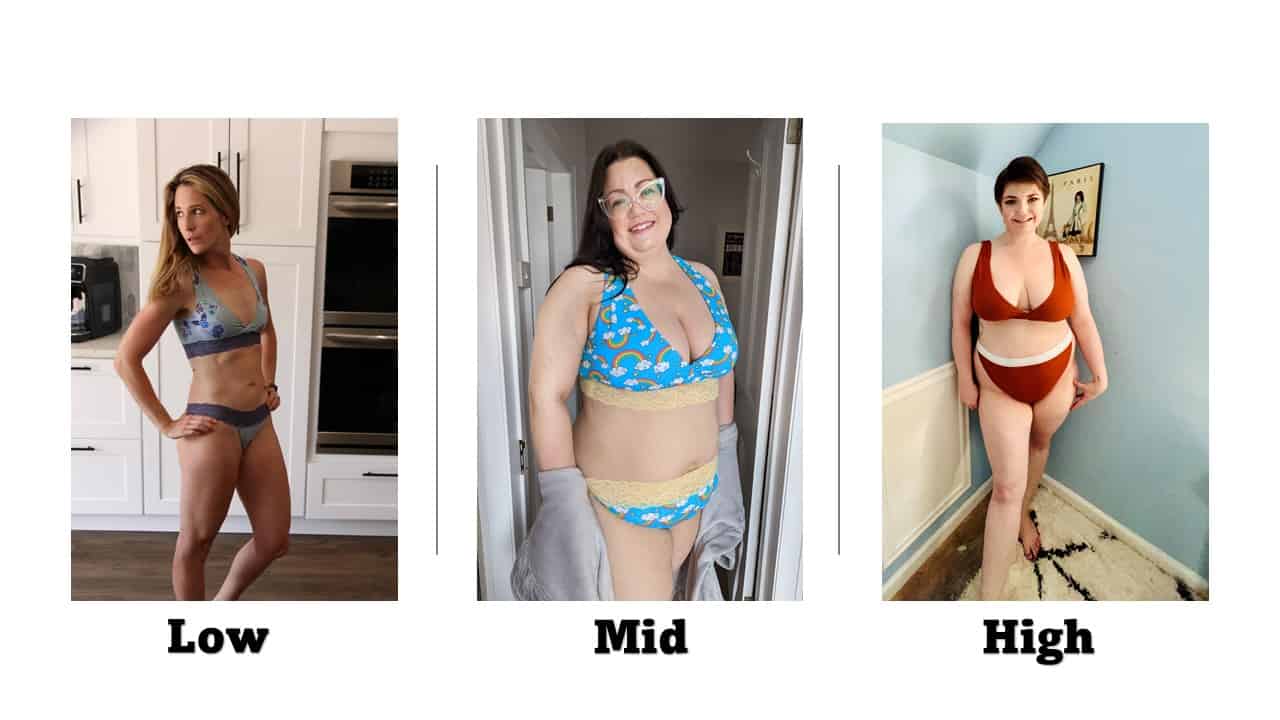
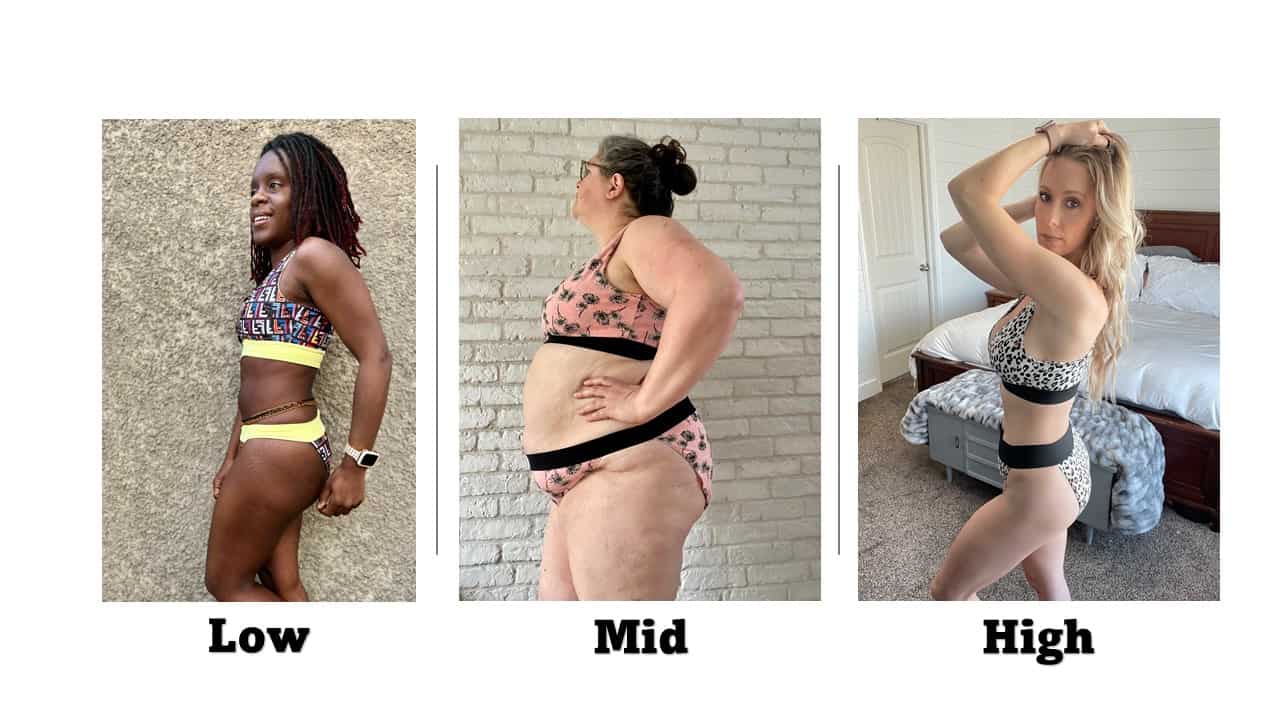
FRONT NECKLINES :: LOW / HIGH (adult only)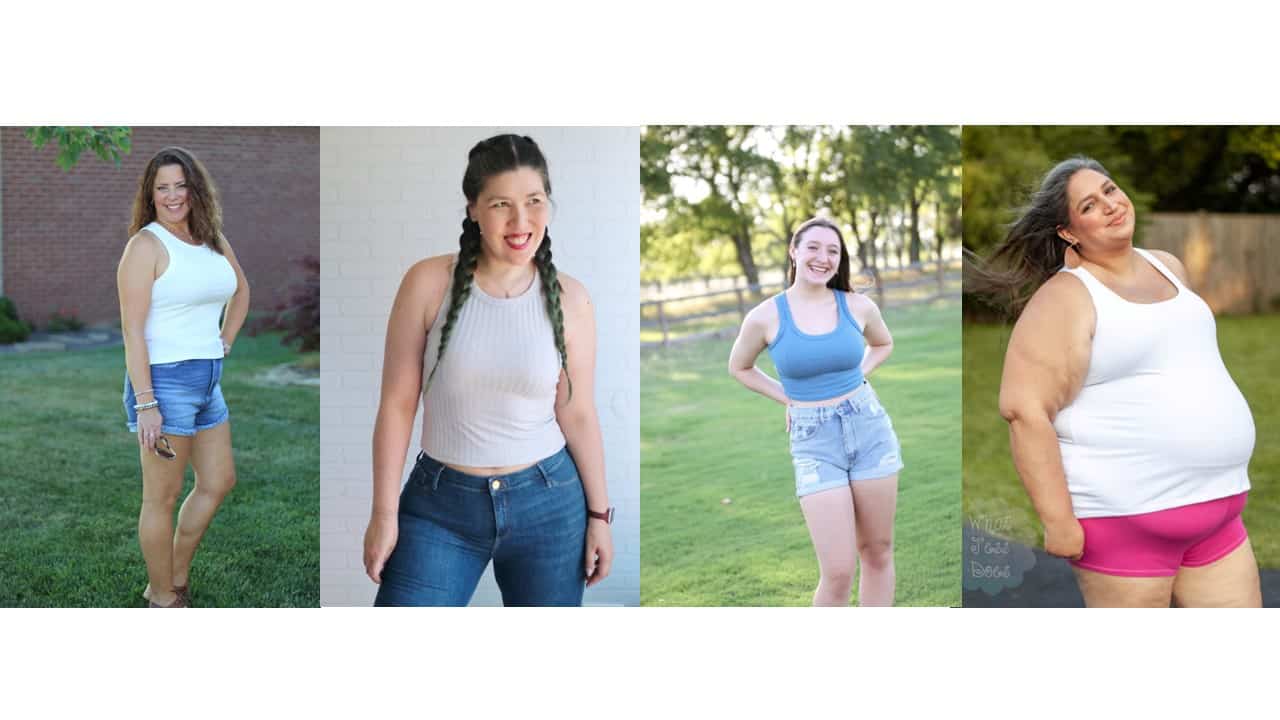 LENGTHS :: CROP / TOP (adult only) / SHIRT
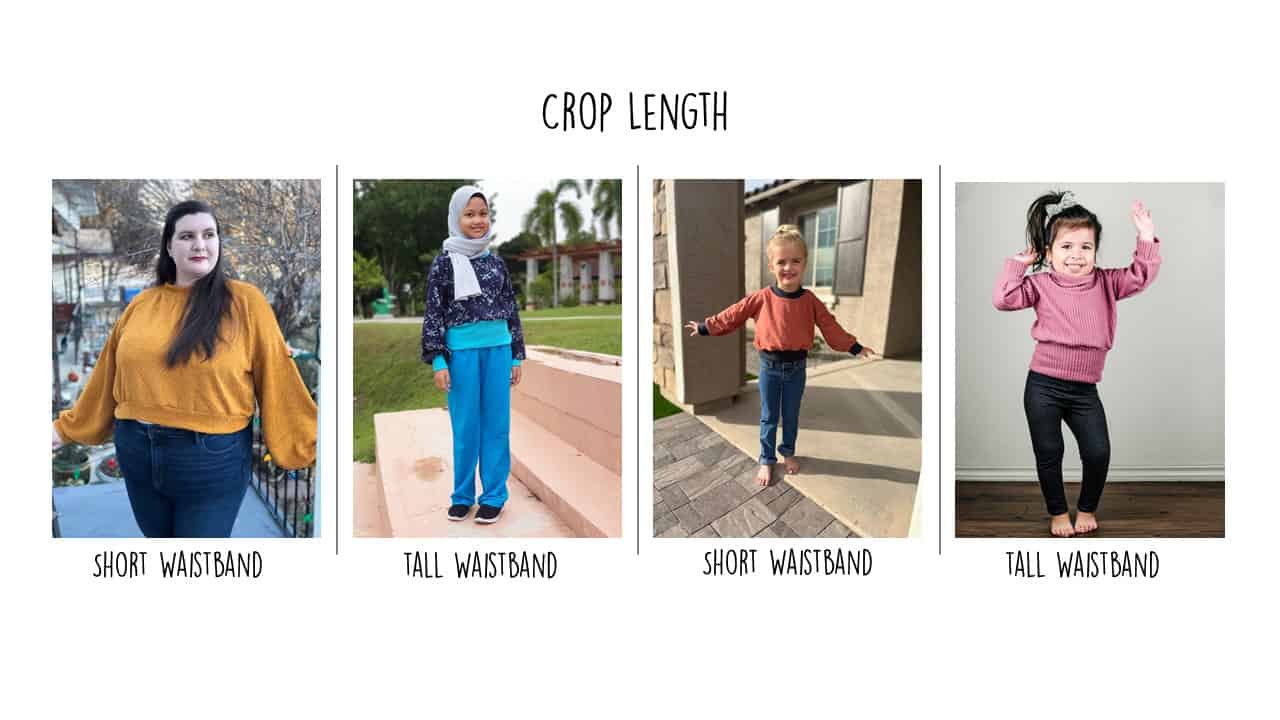
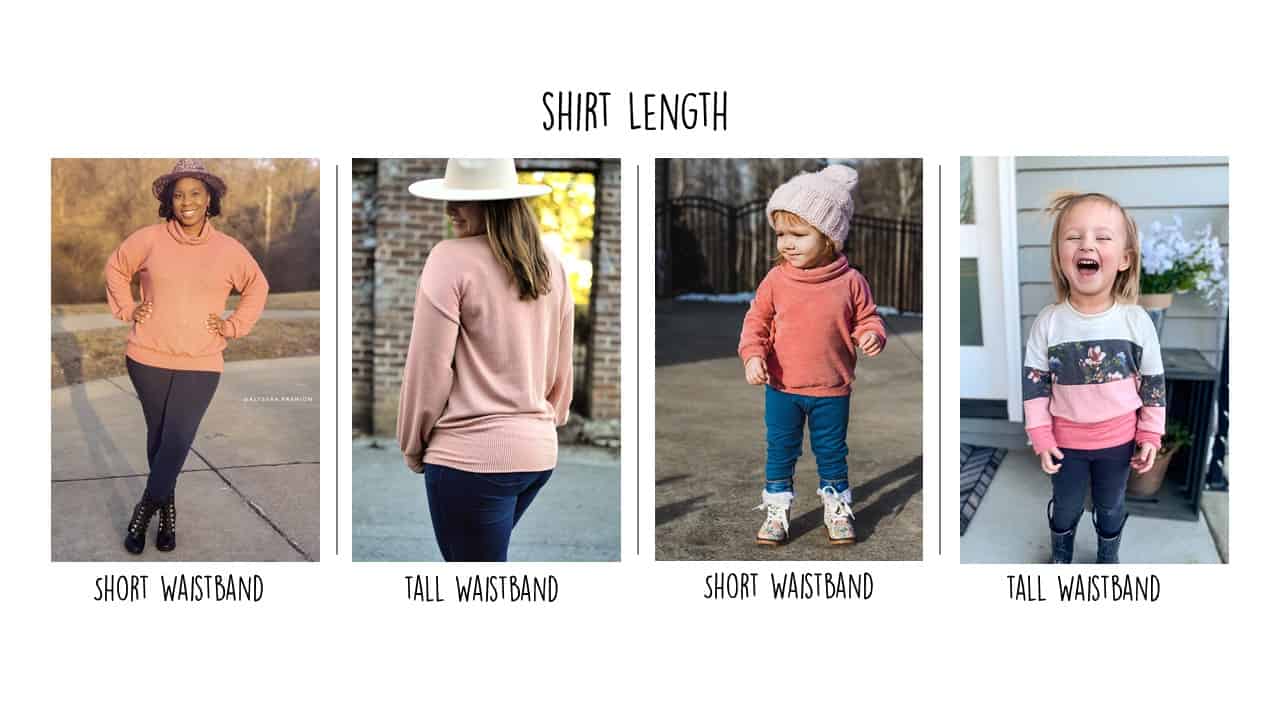
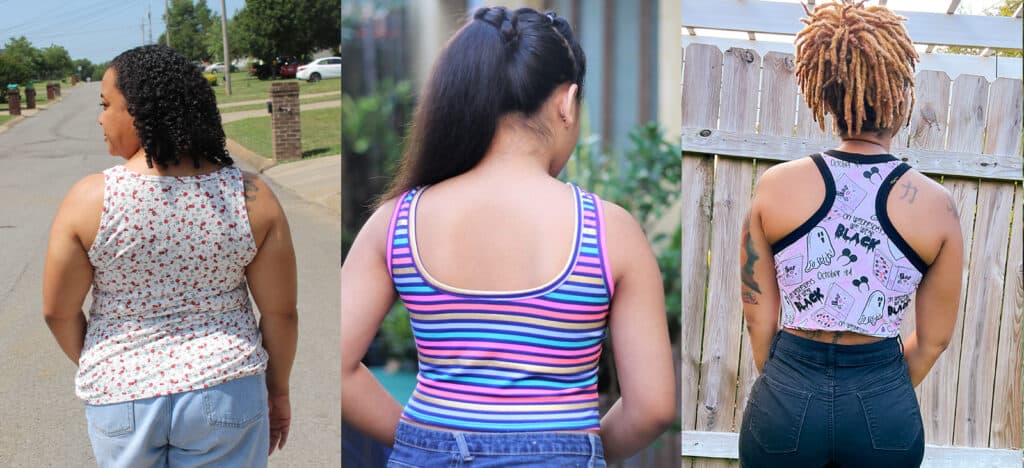
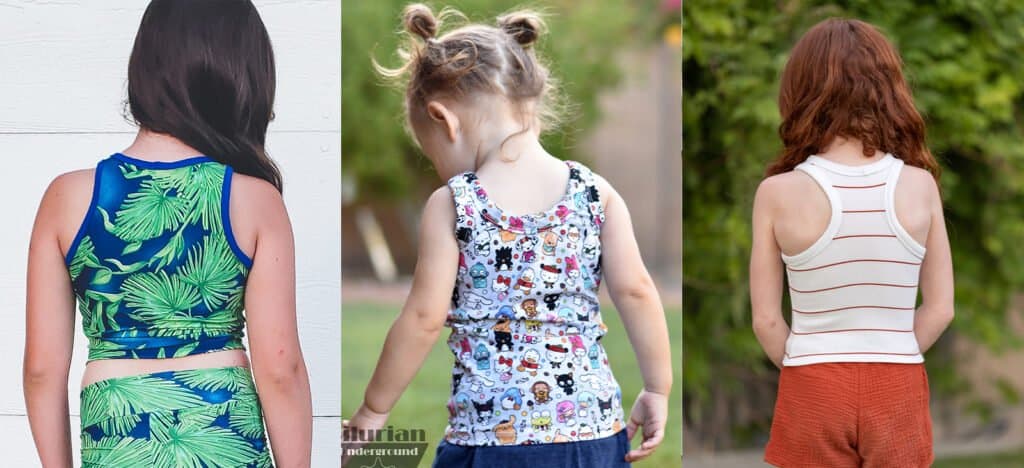
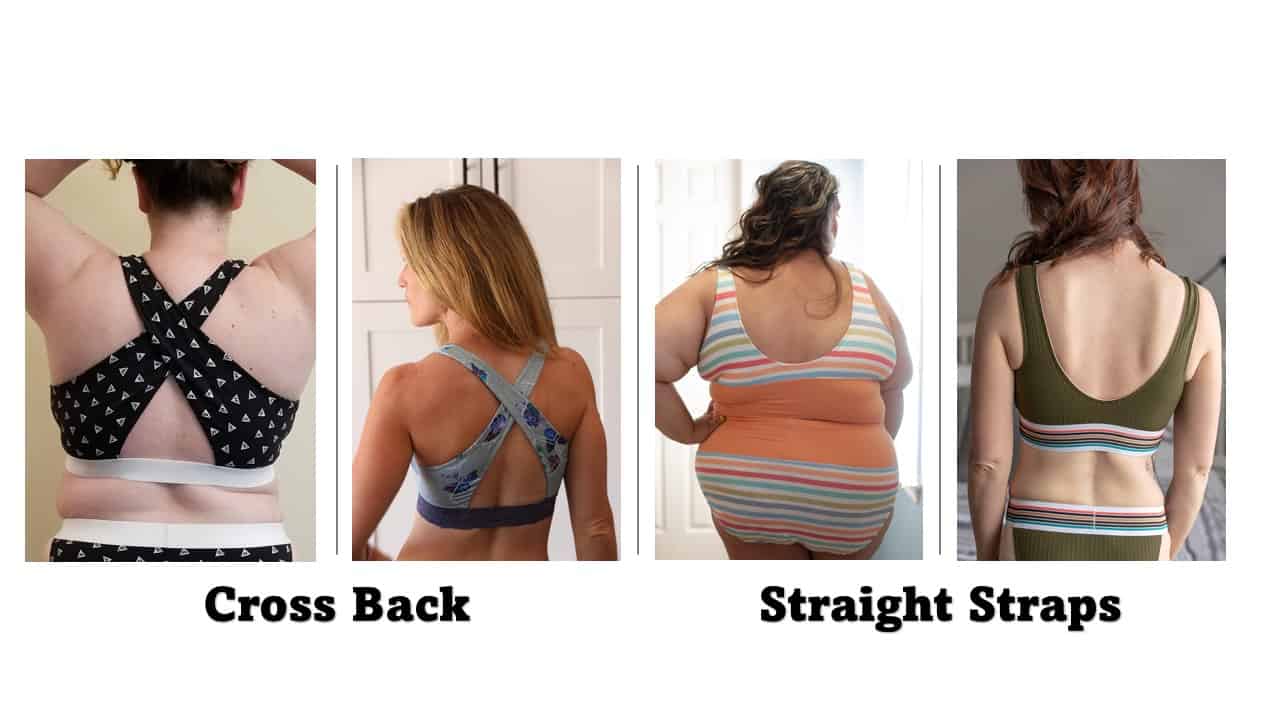
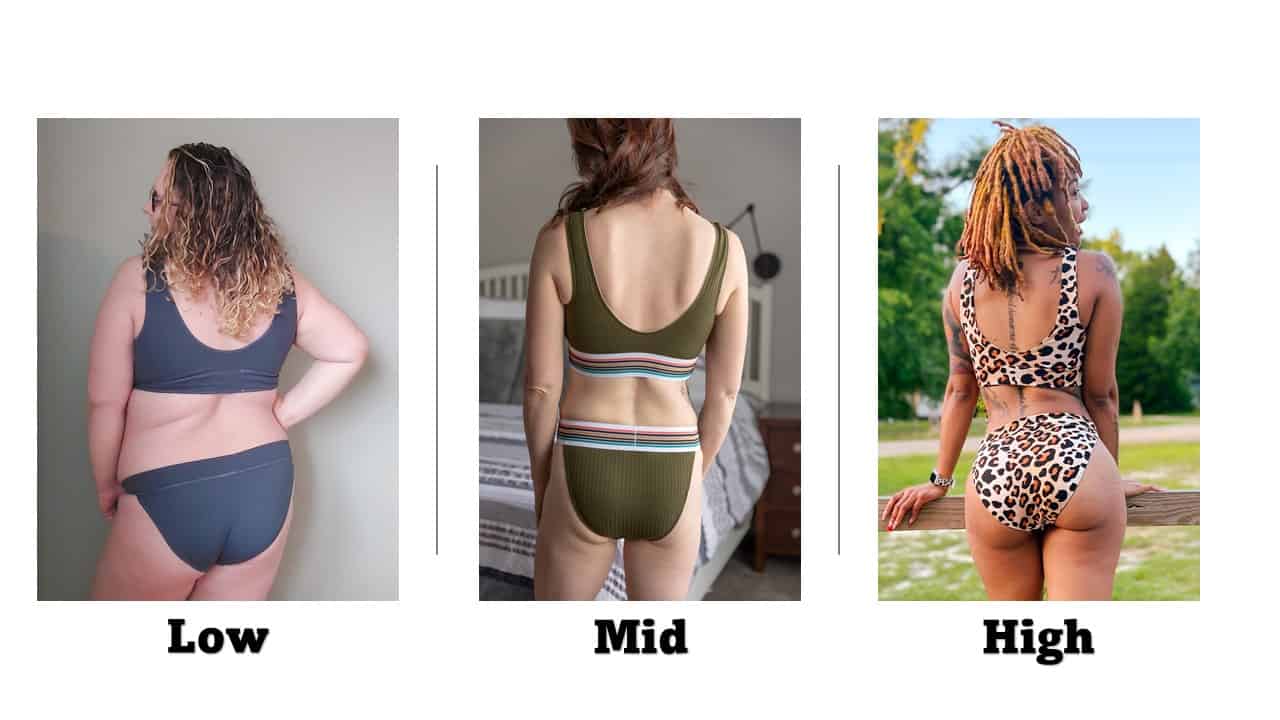
 BACK VIEWS :: HIGH / LOW / RACERBACK
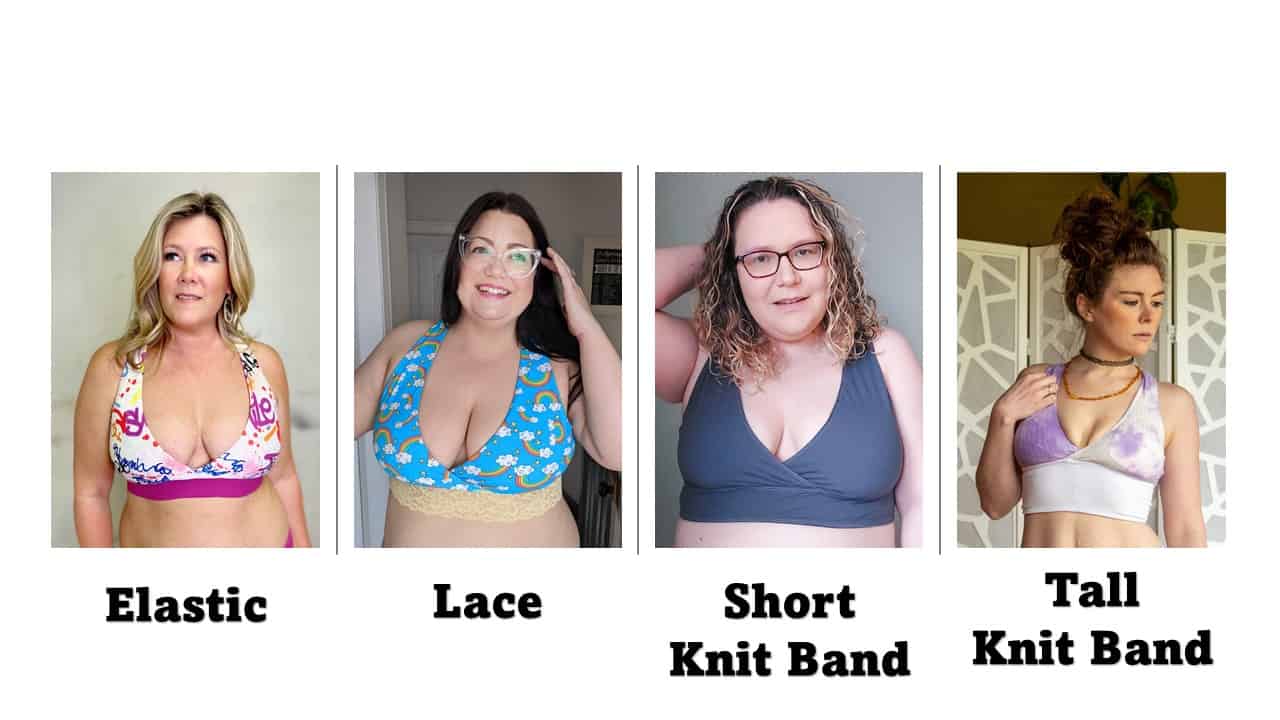
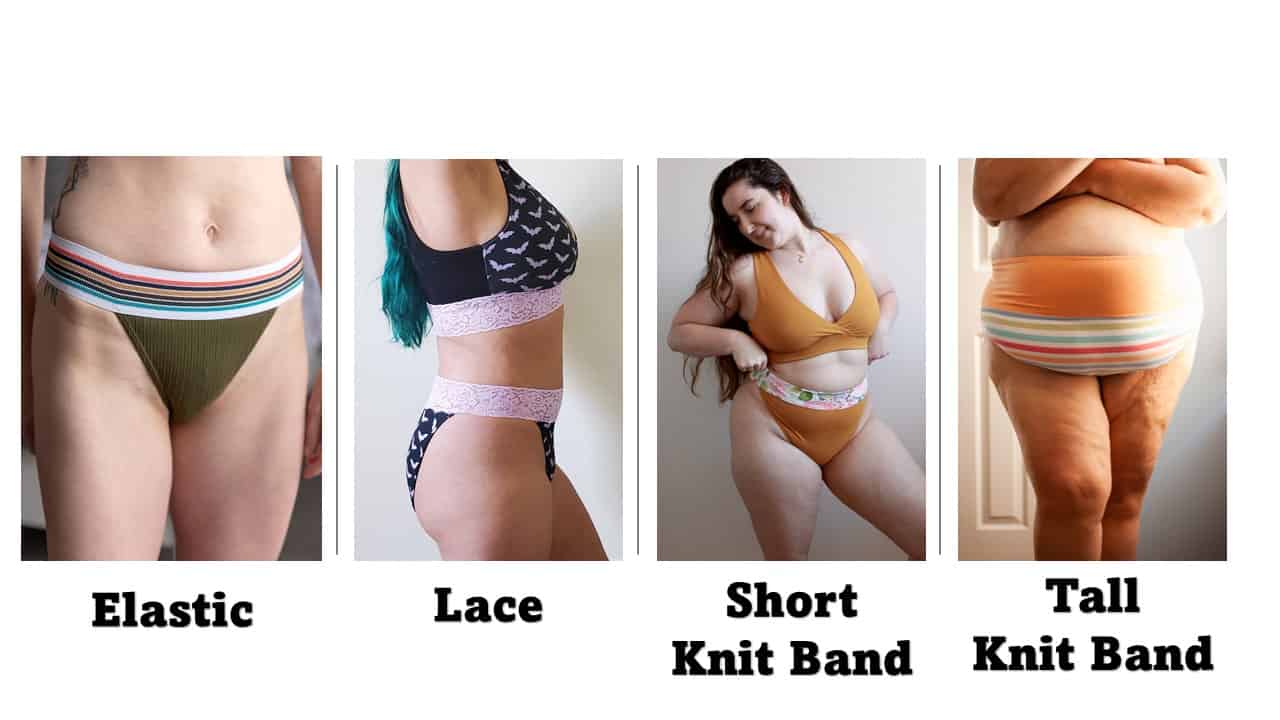
BINDING STYLES :: THICK / THIN (optional- add elastic for sports bra or swimsuit)
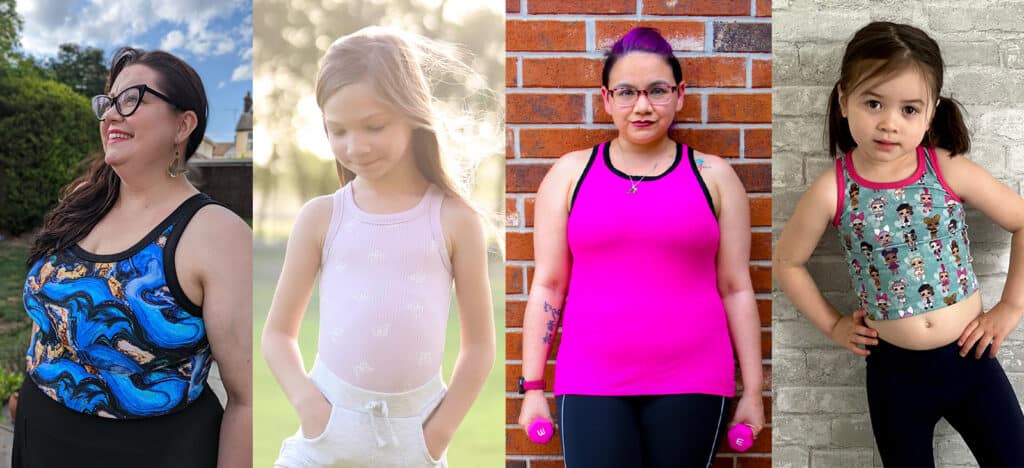
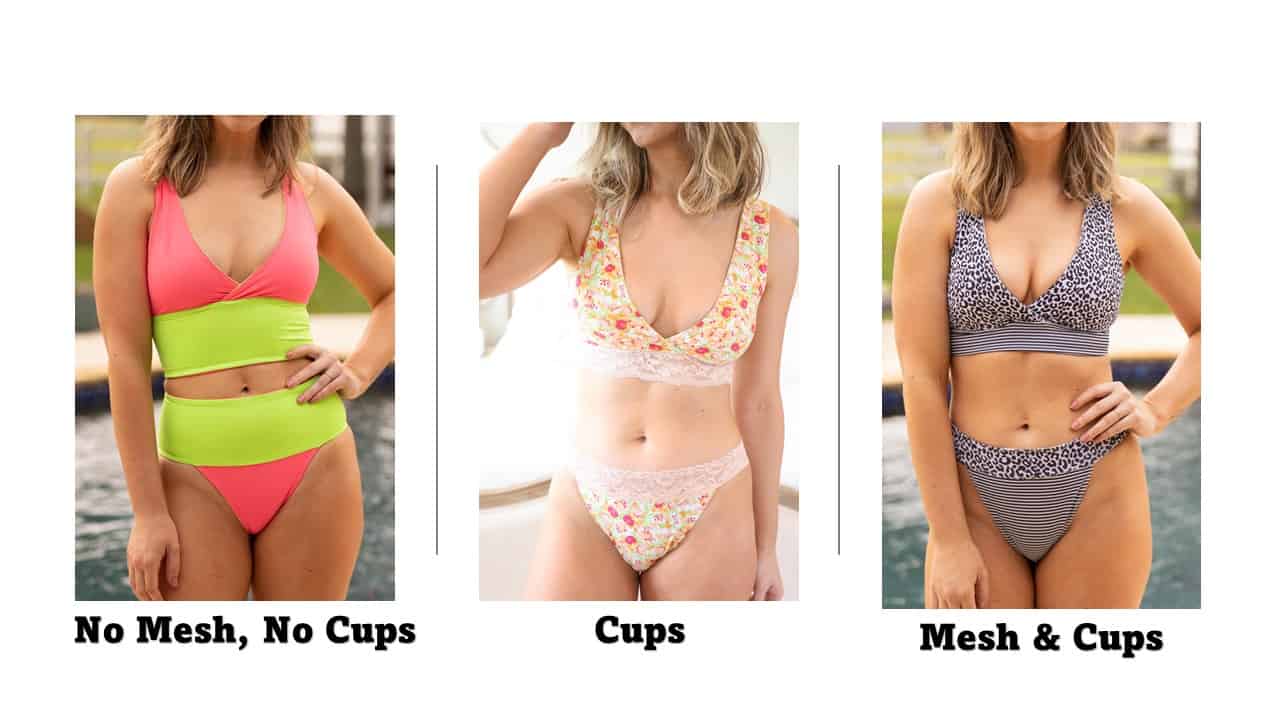
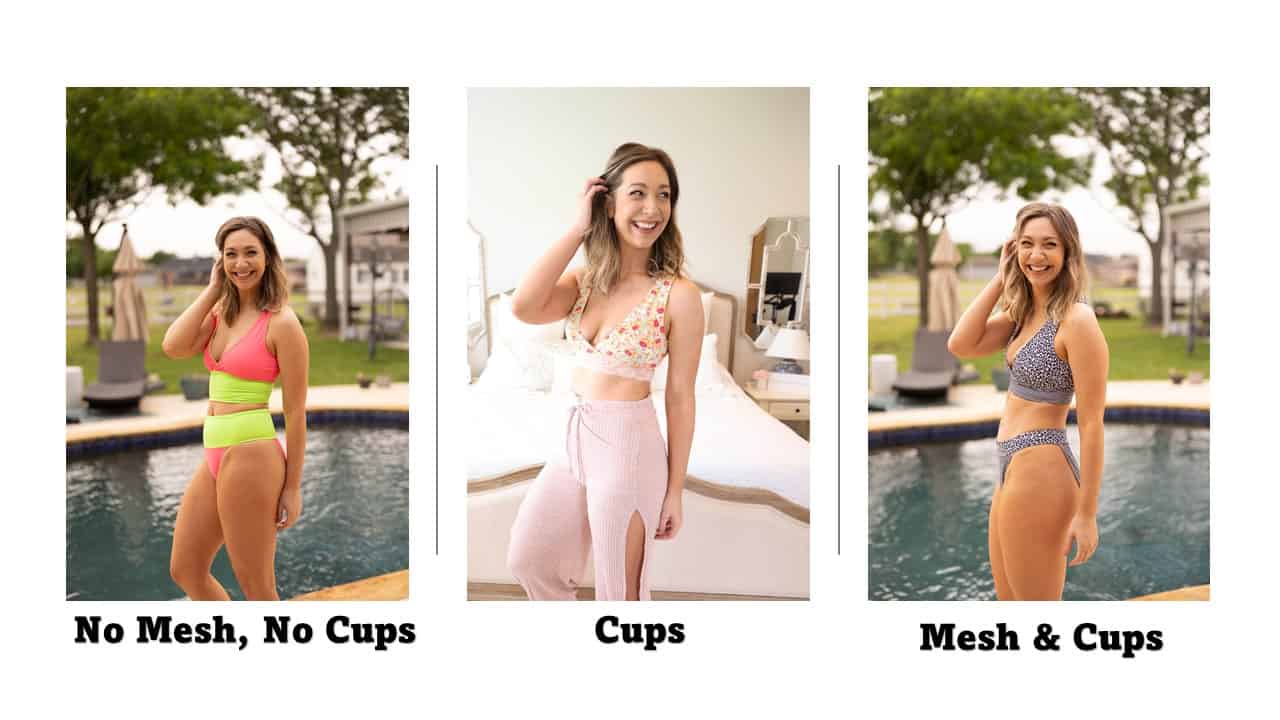
OPTIONAL BUILT-IN SHELF BRA
We are super excited to see all of the new 24/7 Tanks that you’re about to make! Head on over to the shop and grab yourself a copy of these new patterns! They are available on sale (no code needed) through 11:59pm CST, June 27th, 2022.
24/7 Tank | 24/7 Tank – Youth | 24/7 Tank – Bundle
Hoping for a little inspiration before diving into some delightful tank top sewing? Head over to our Facebook group where you can see tester albums full of amazing images!
24/7 Tank Youth Album | 24/7 Tank Adult Album


 v
v