Welcome to day 6! Today we are going to add the waistband and finish the sleeves. The key word of the day is: press! 😉 Press your waistband lengthwise, wrong sides together before you attach it, press and steam it after too! Press and steam your cuffs before and after you add them as well!
- If you went for the hemmed sleeves all you have to do is hem them 1/2″ allowance using either a zig zag stitch, a triple stretch stitch or your coverstitch. Remember that memory hem we did a few days ago? It makes hemming so easy now.
- If you chose the sleeves cuffs take a look over our Knit Cuffs 101 blog post and remember to…PRESS! 🙂
In the video below I am adding the waistband and cuffs to my hooded jacket. Once you finished your sleeves post your progress in the day 6 picture comments of the Go To Jacket Sew Along album in the M4M & P4P Sew Along group.
Go To Jacket Sew Along
Day 1: Print + Cut Pattern
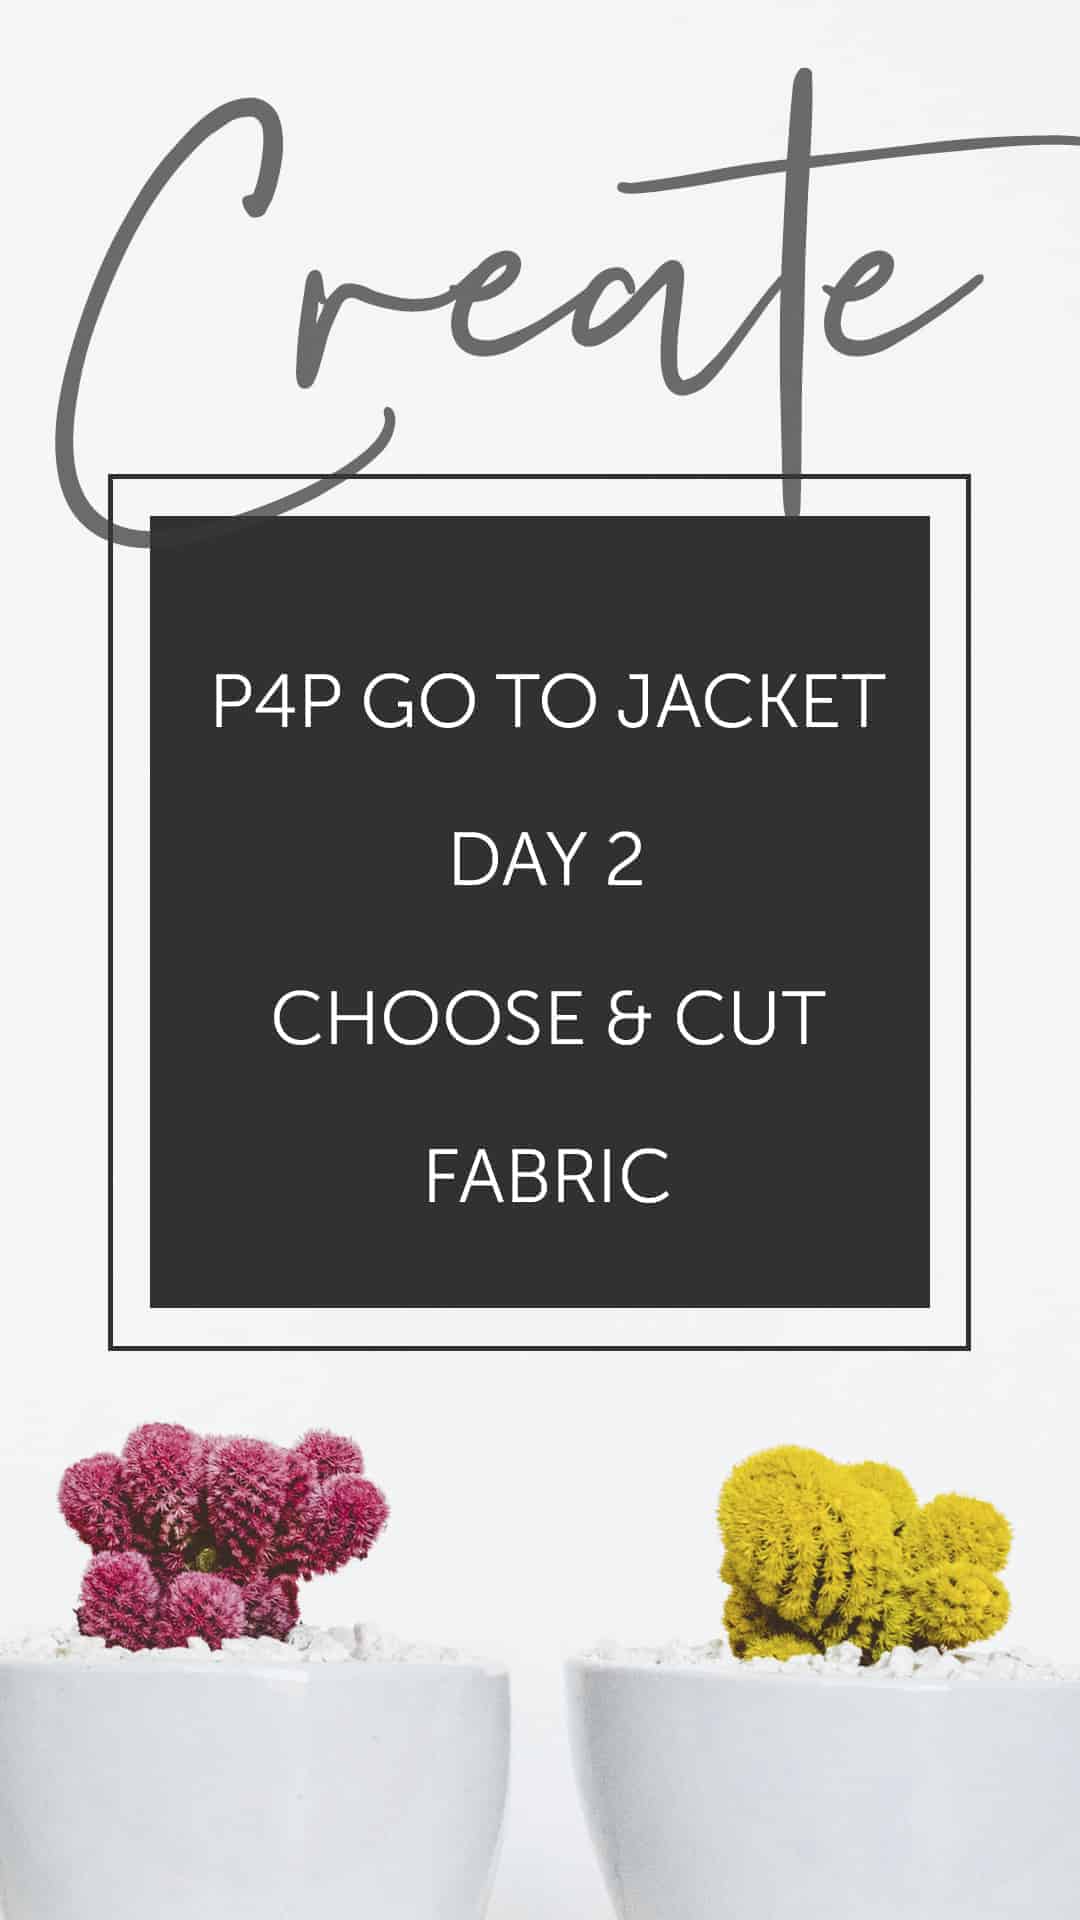
Day 2: Choose + Cut Fabric
Day 3: Sew Pockets
Day 4: Sew Shoulder Seams + Attach Sleeves
Day 5: Attach Neckband / Hood
Day 6: Add waistband + Finish Sleeves
Day 7: Add Zipper
Day 8: Recap + Catch Up
Day 9: Winners Announcement