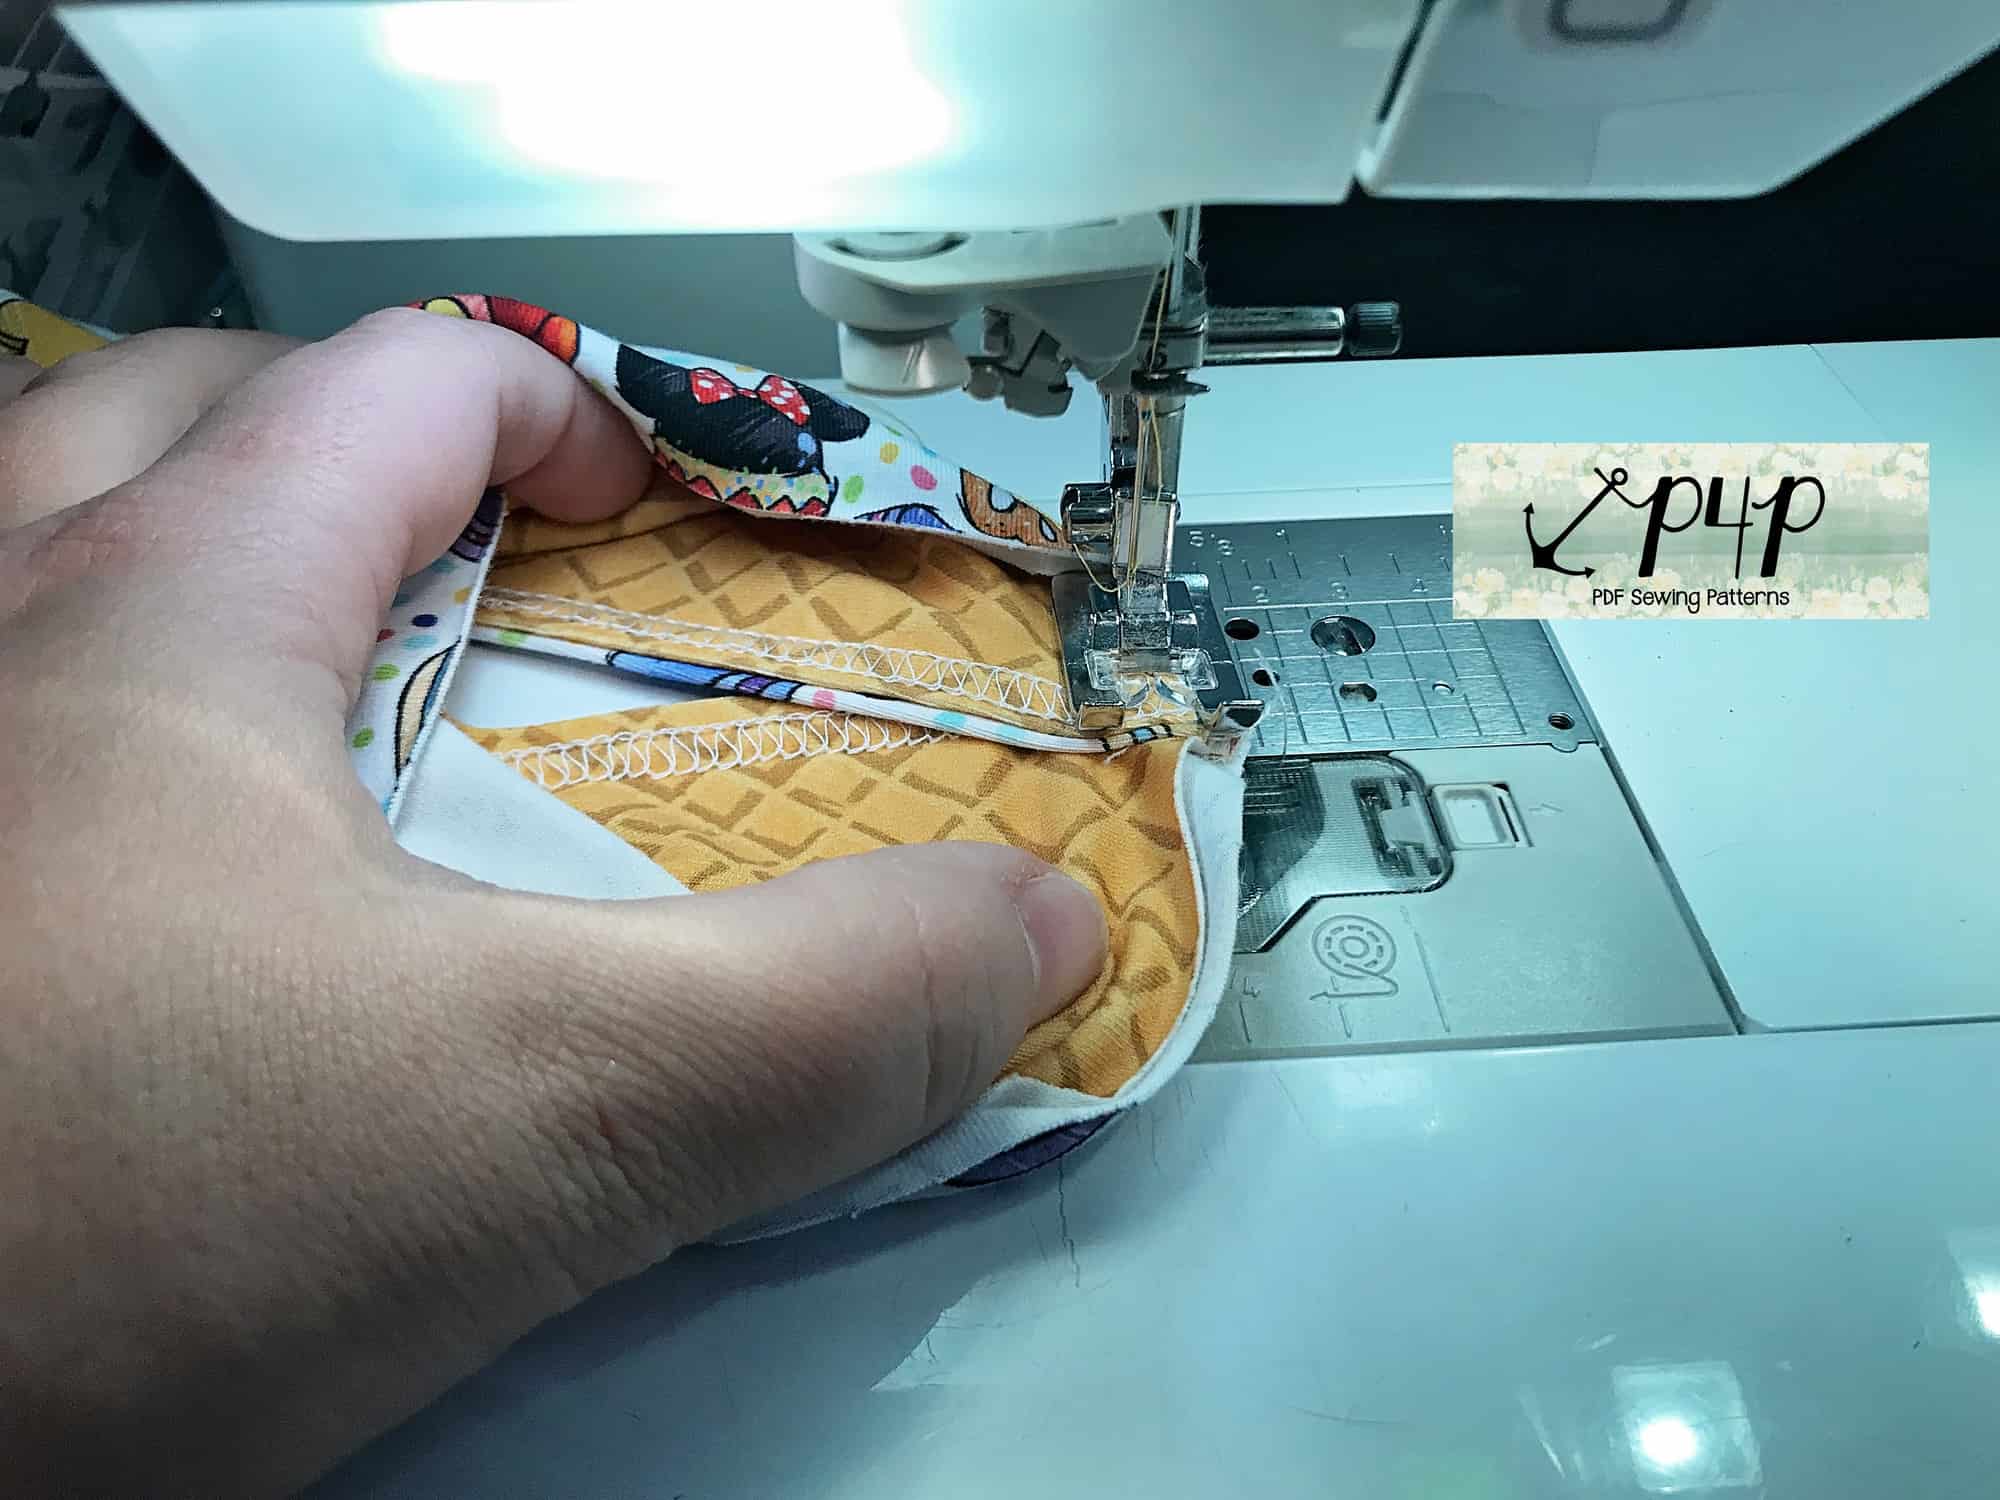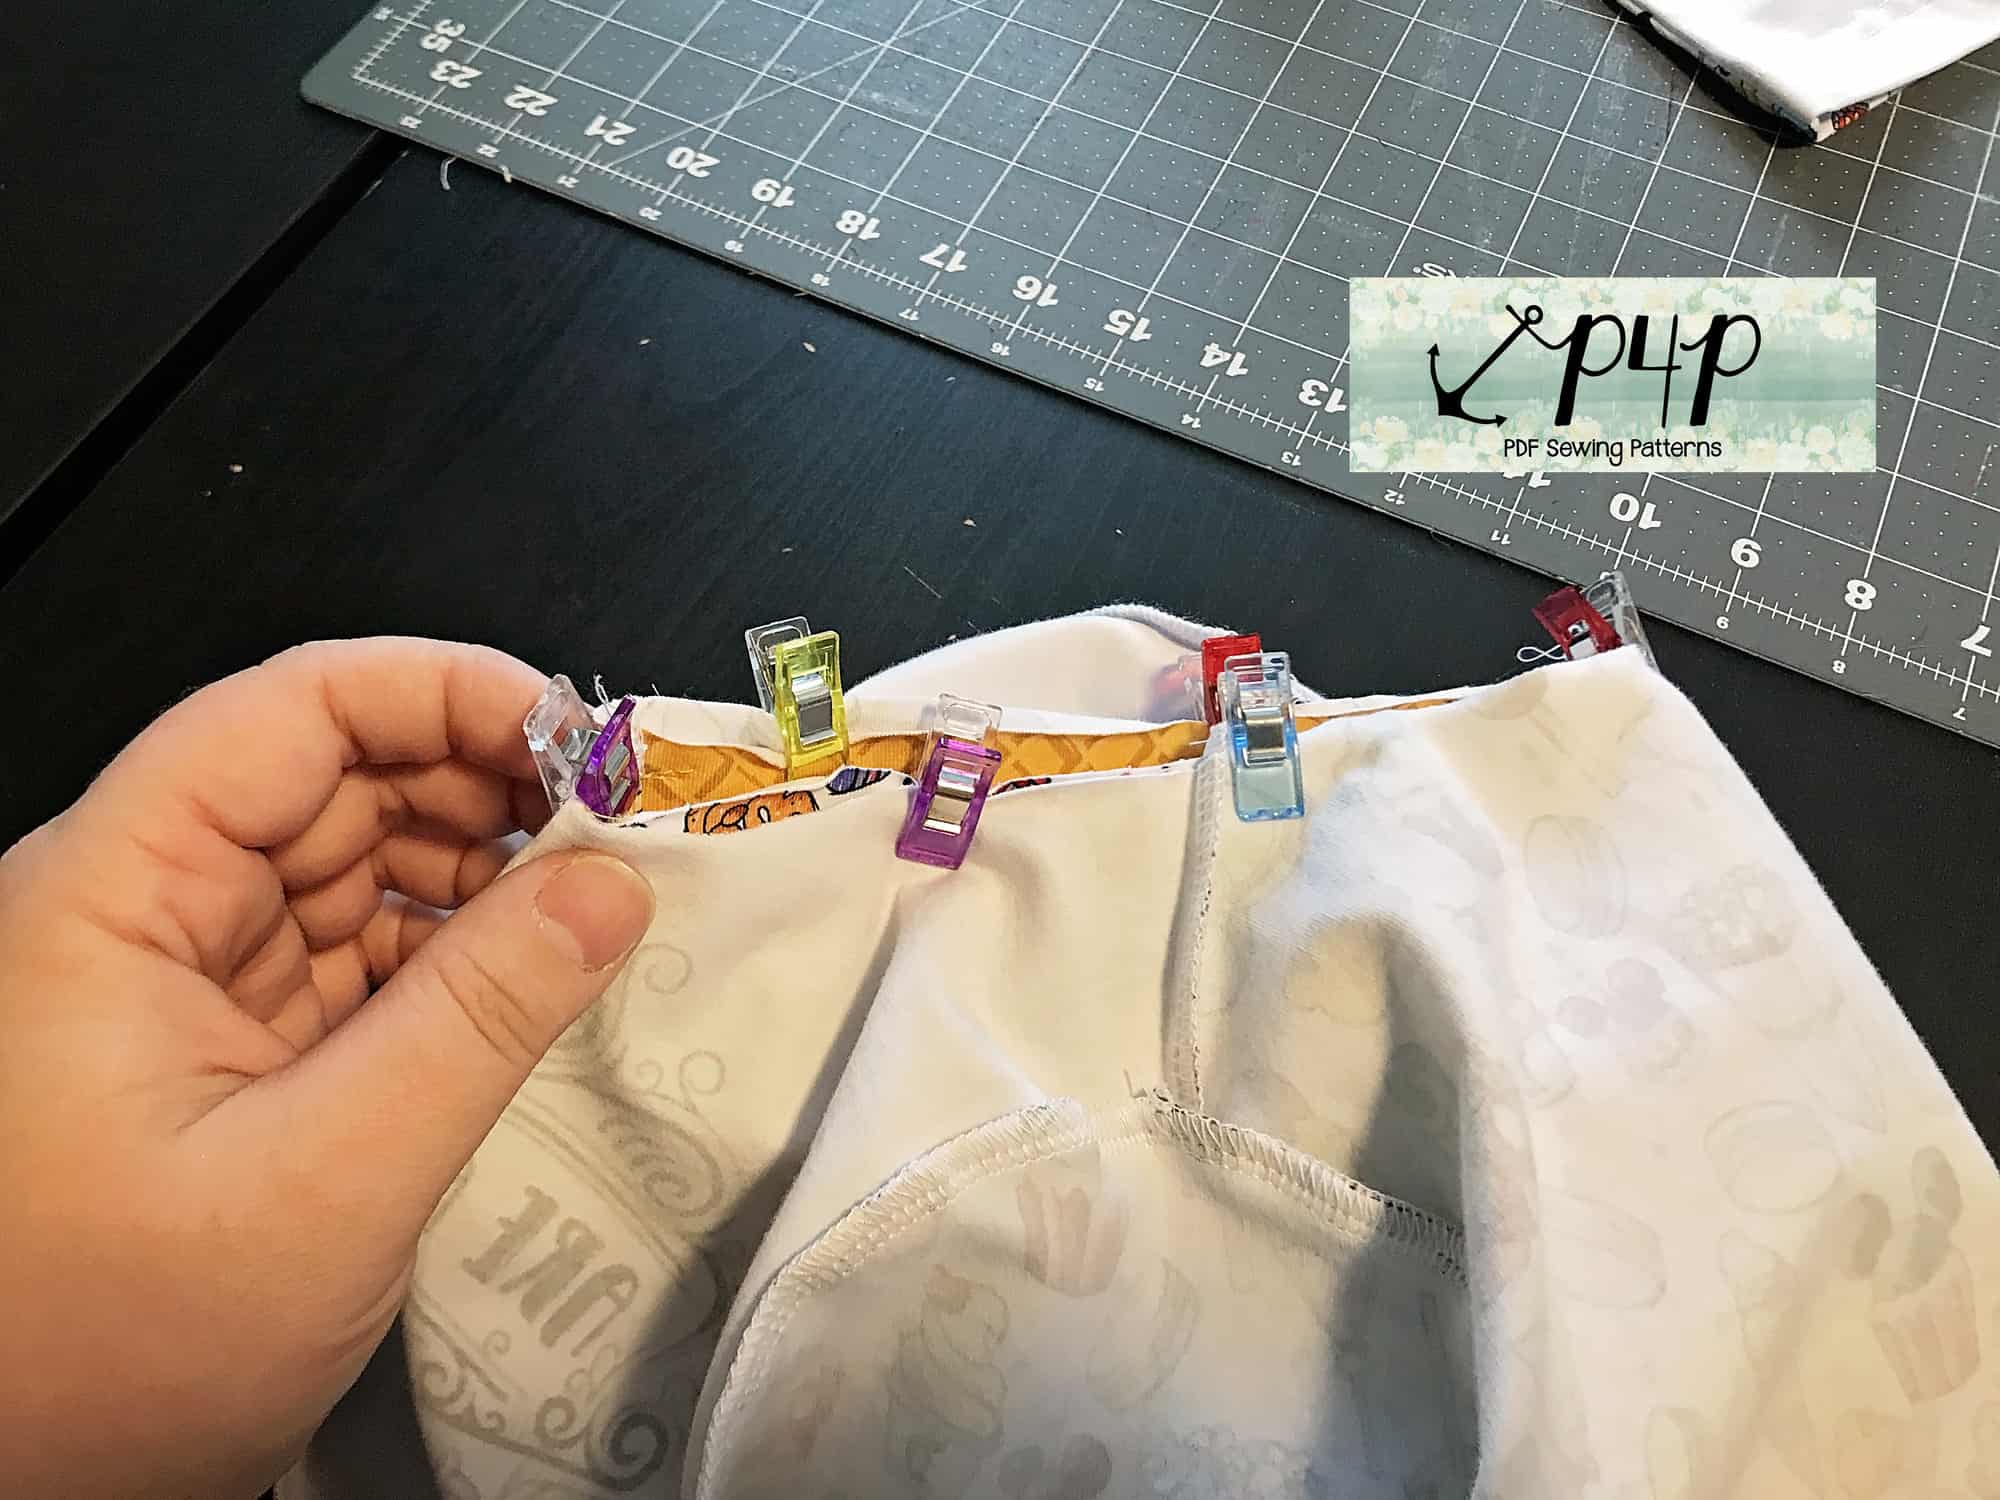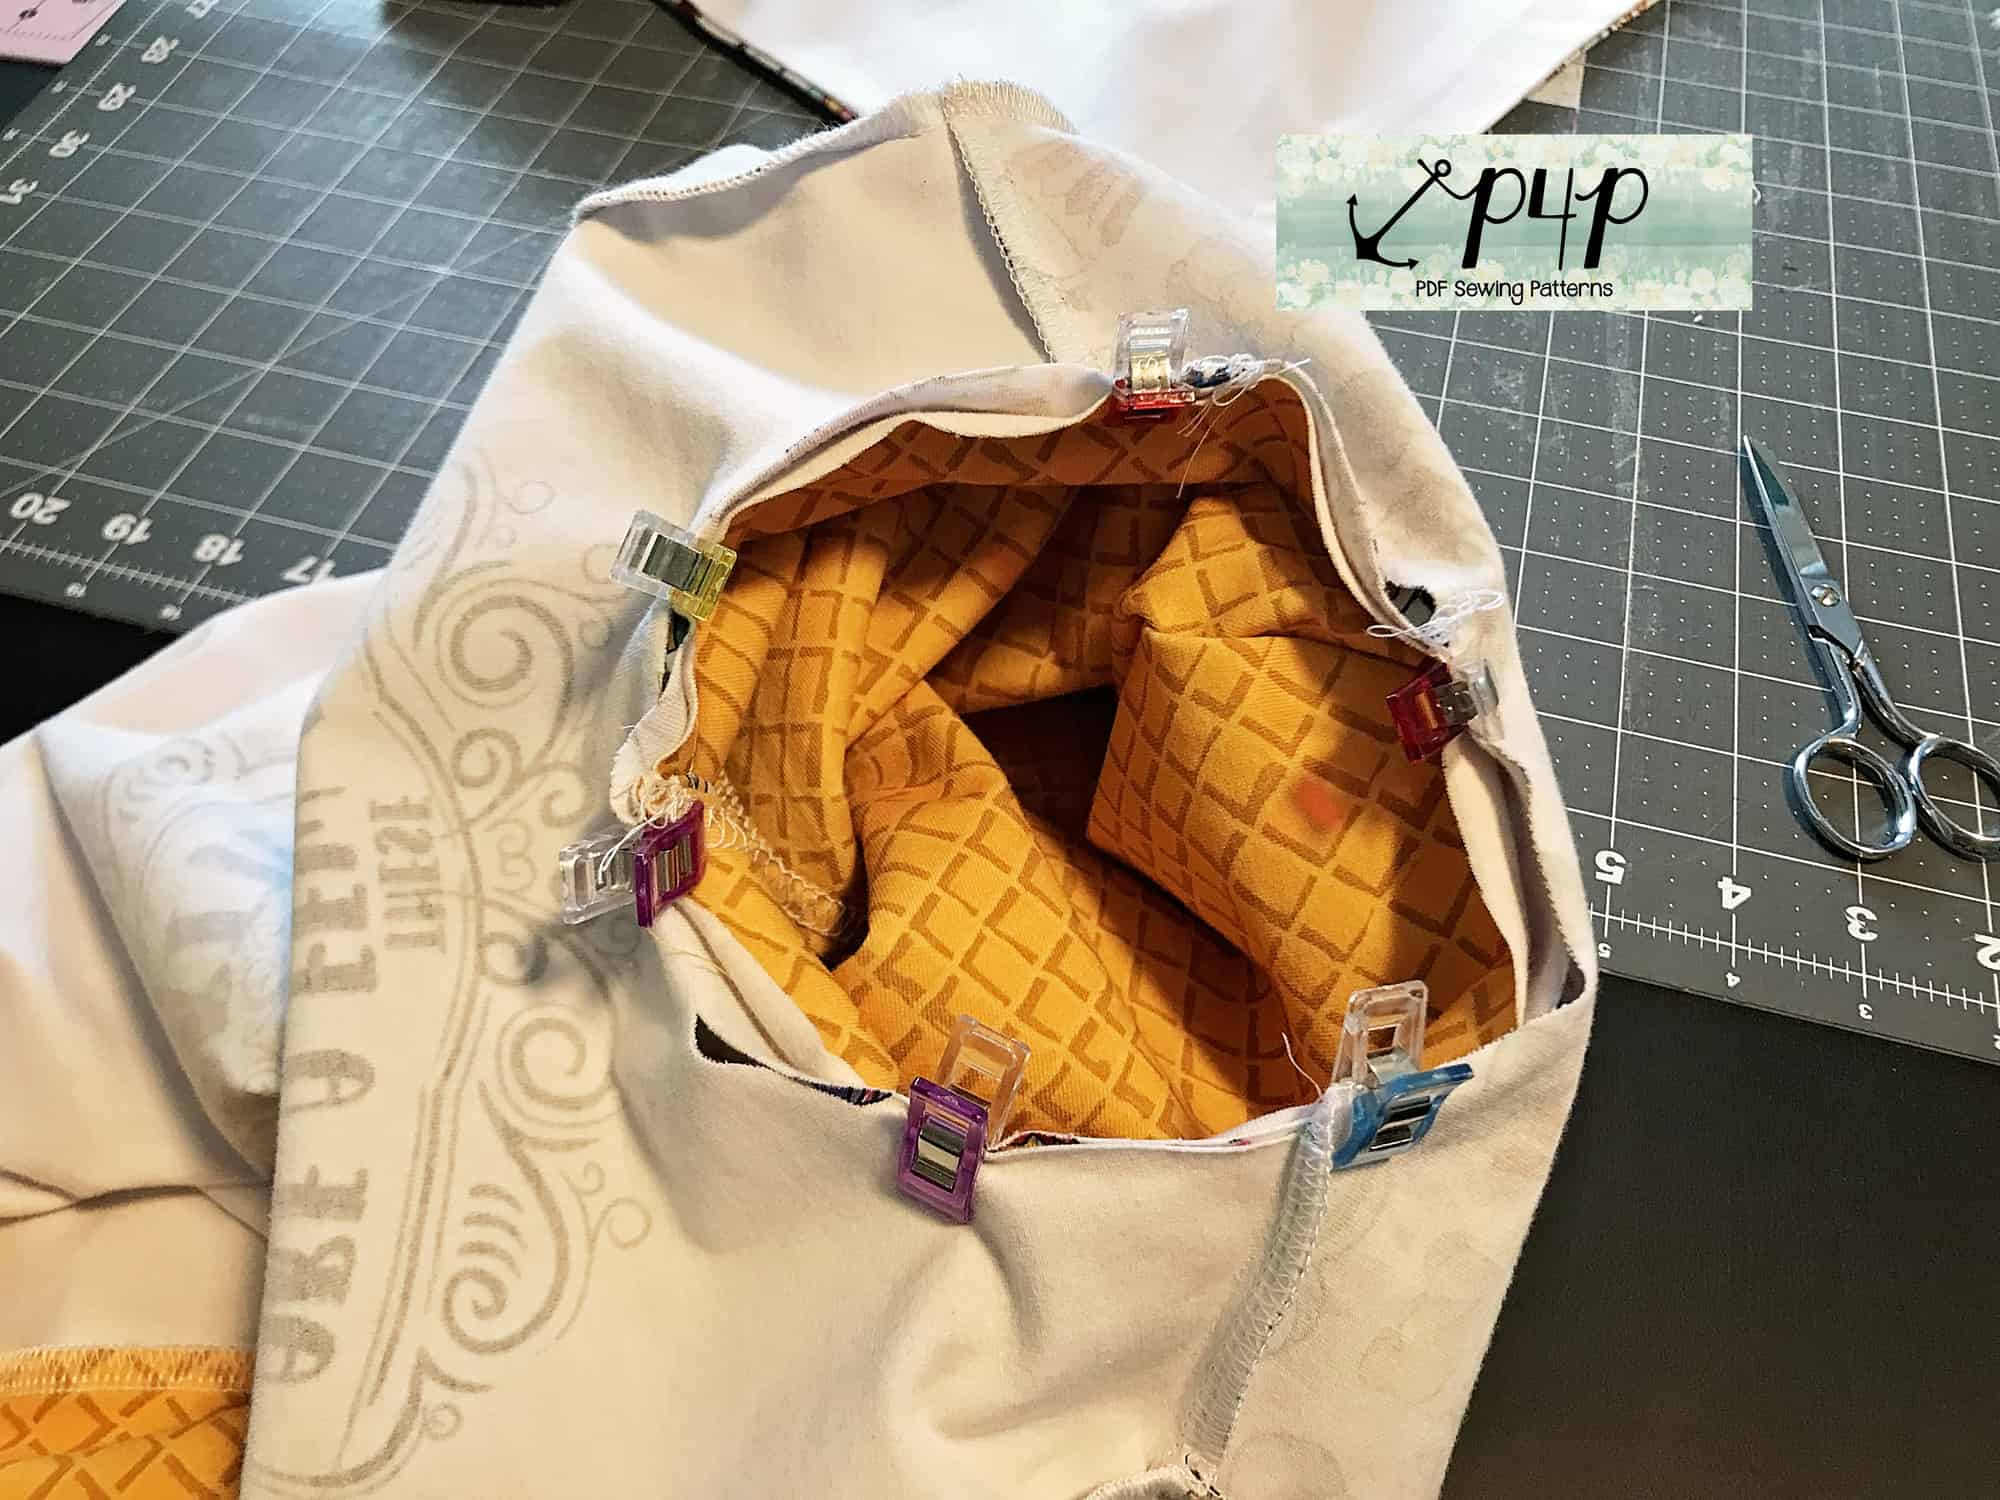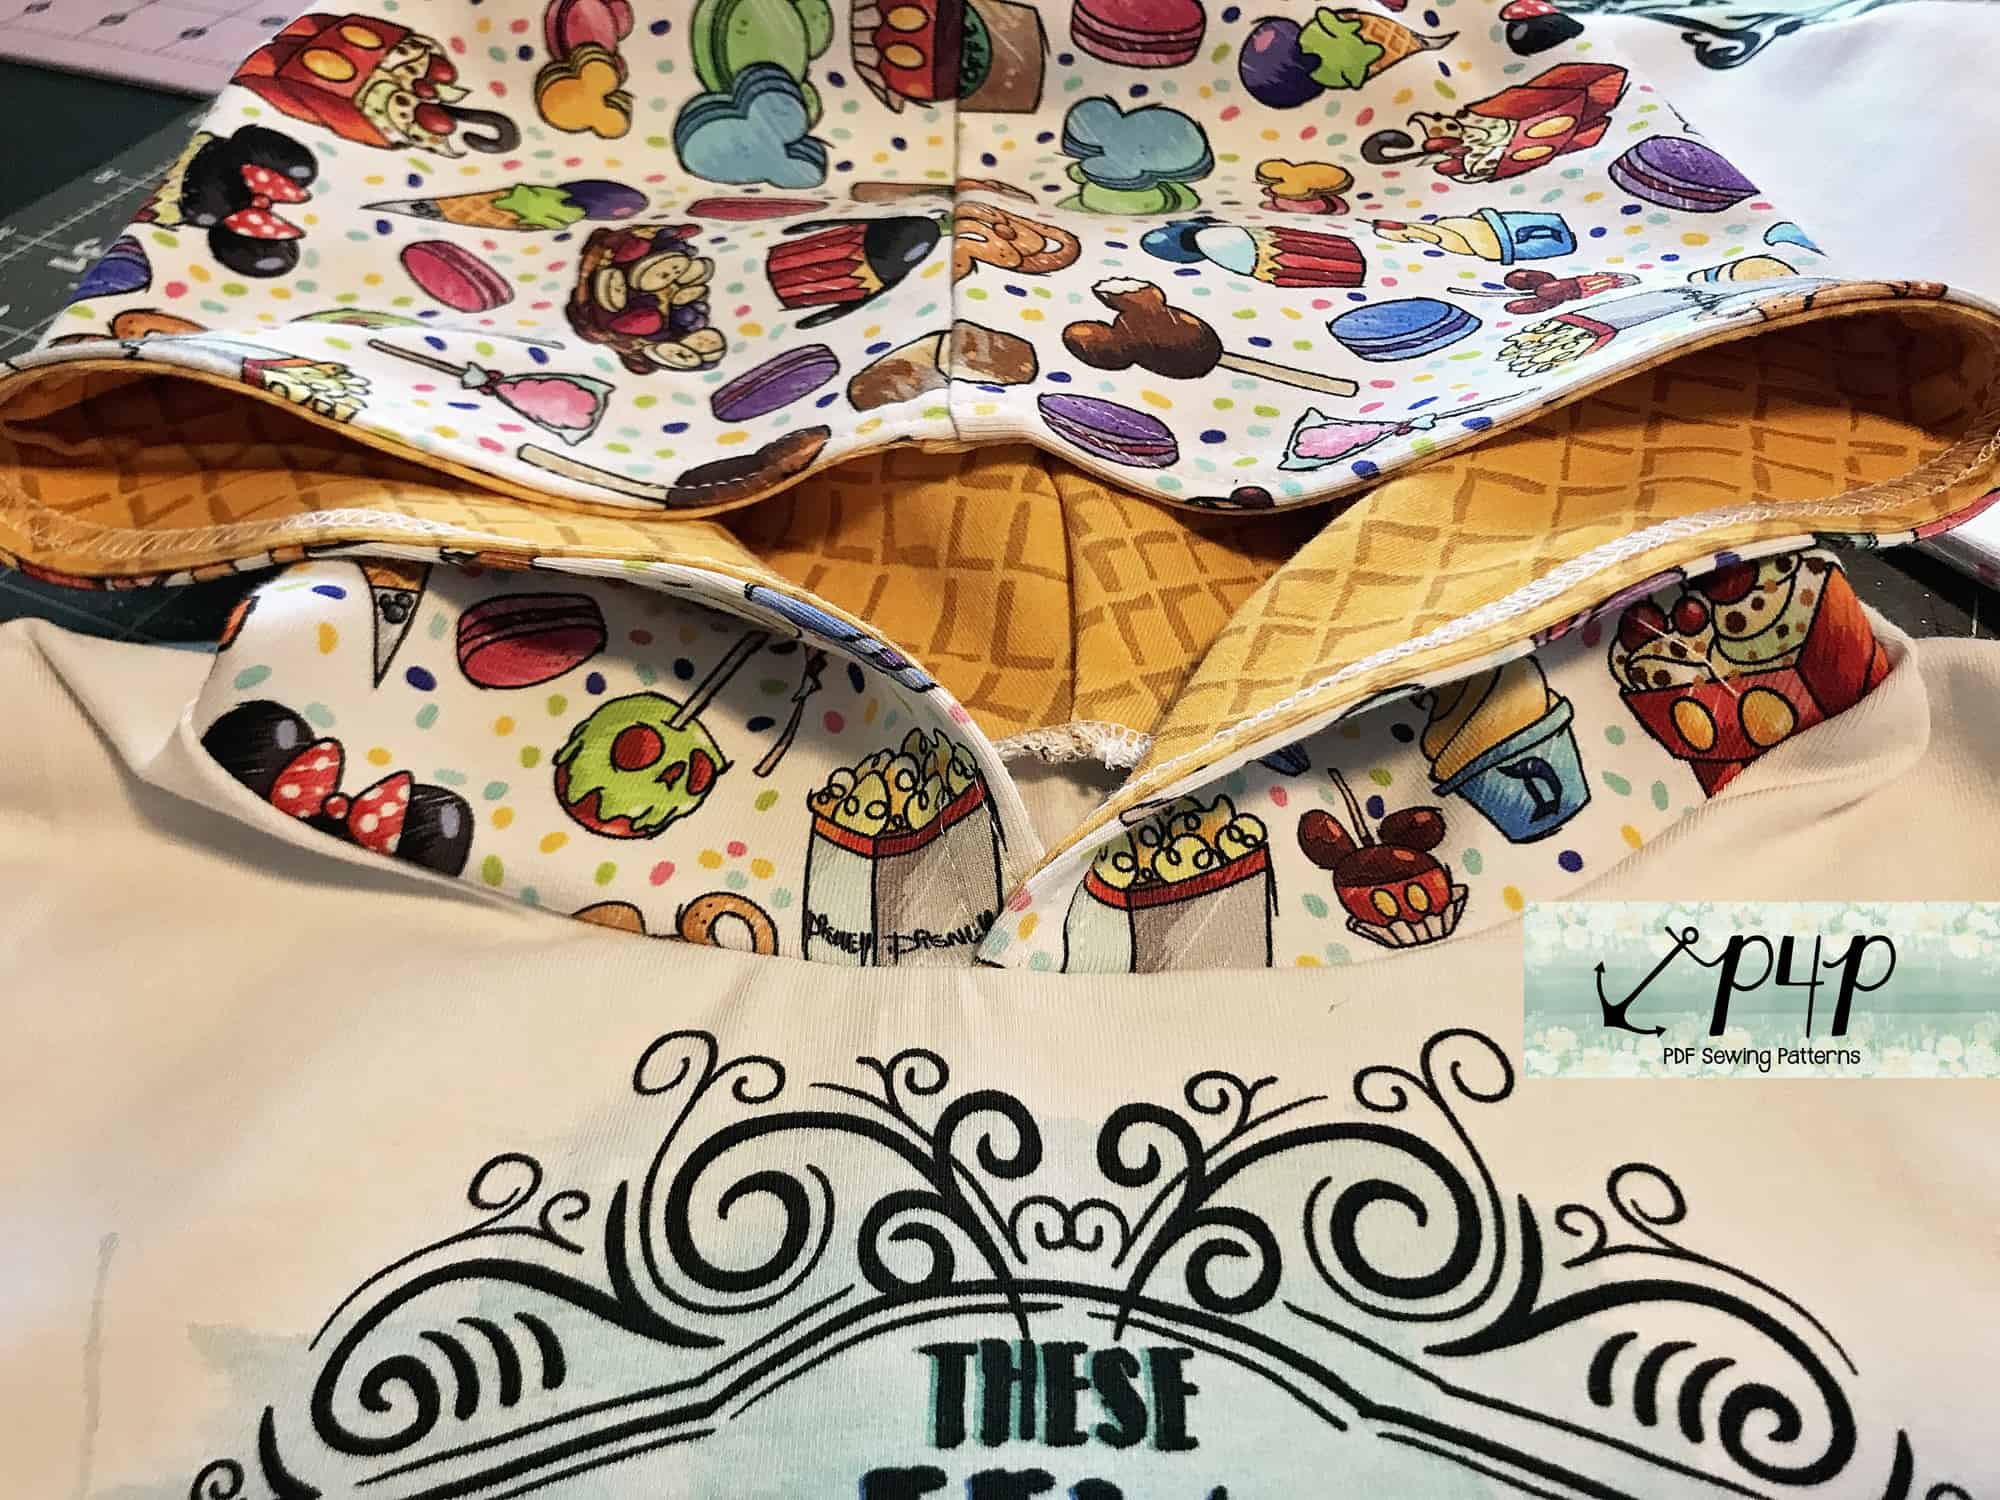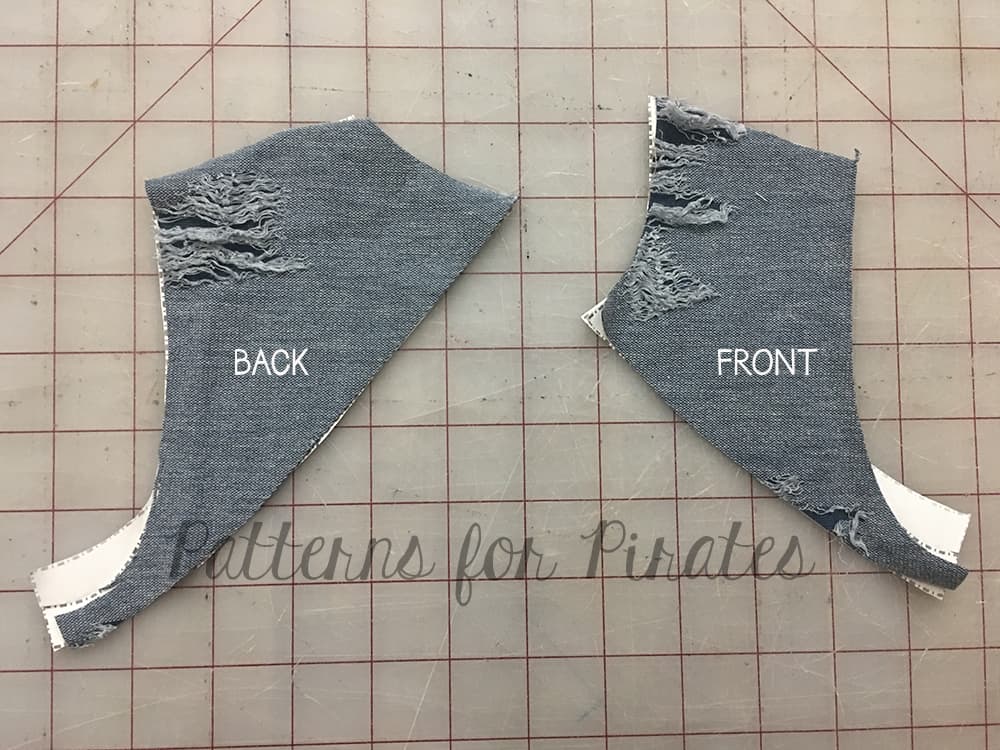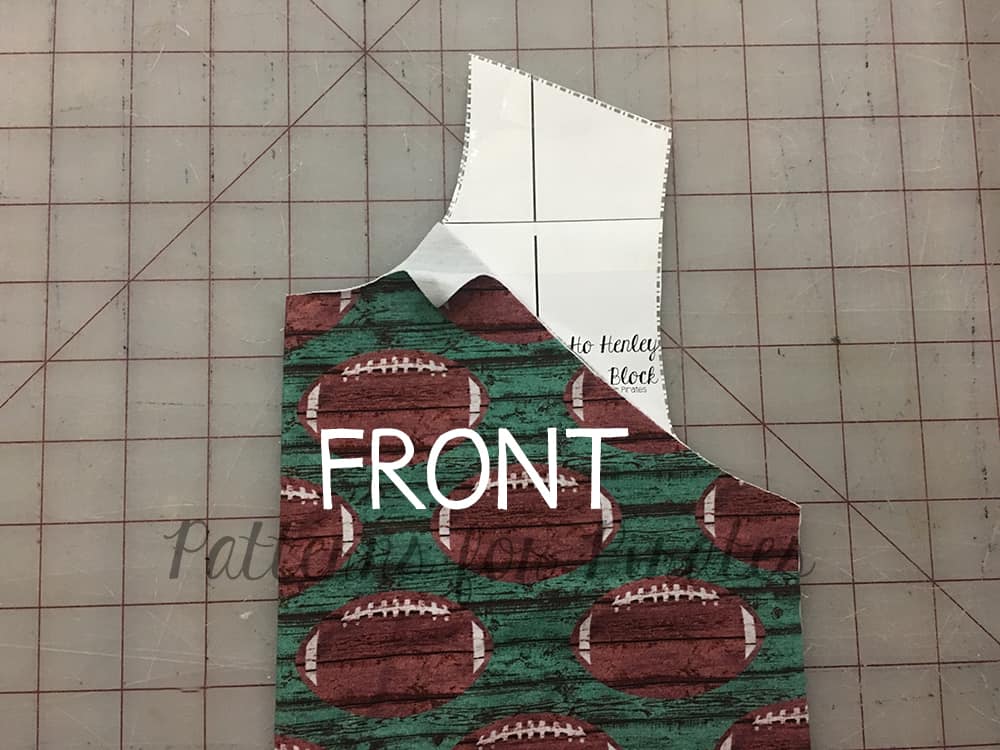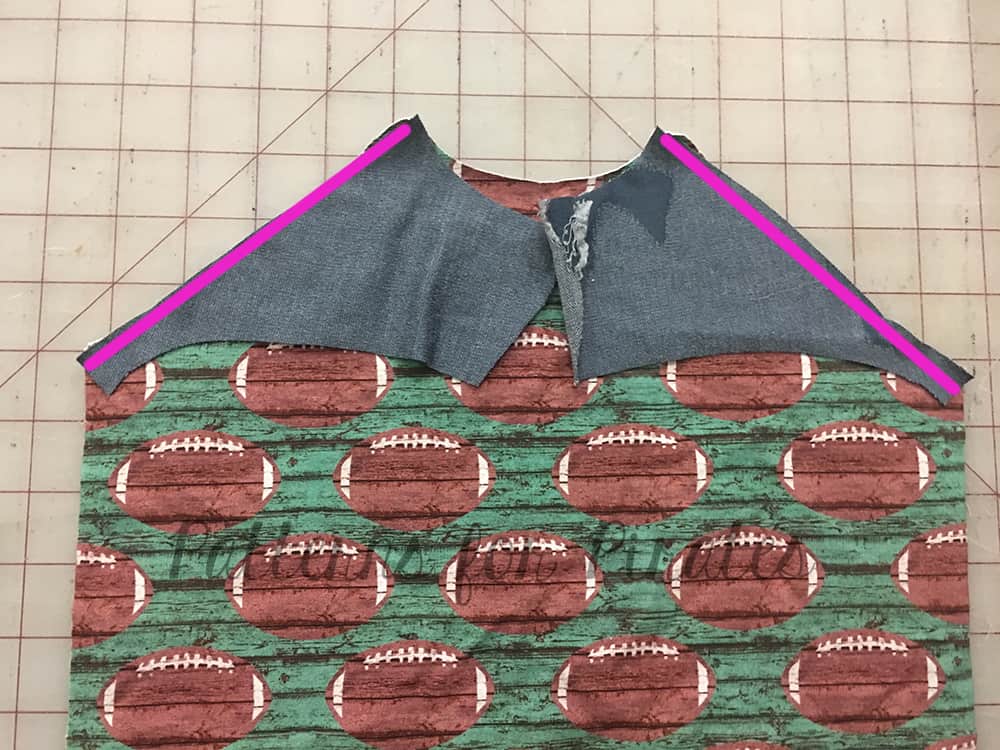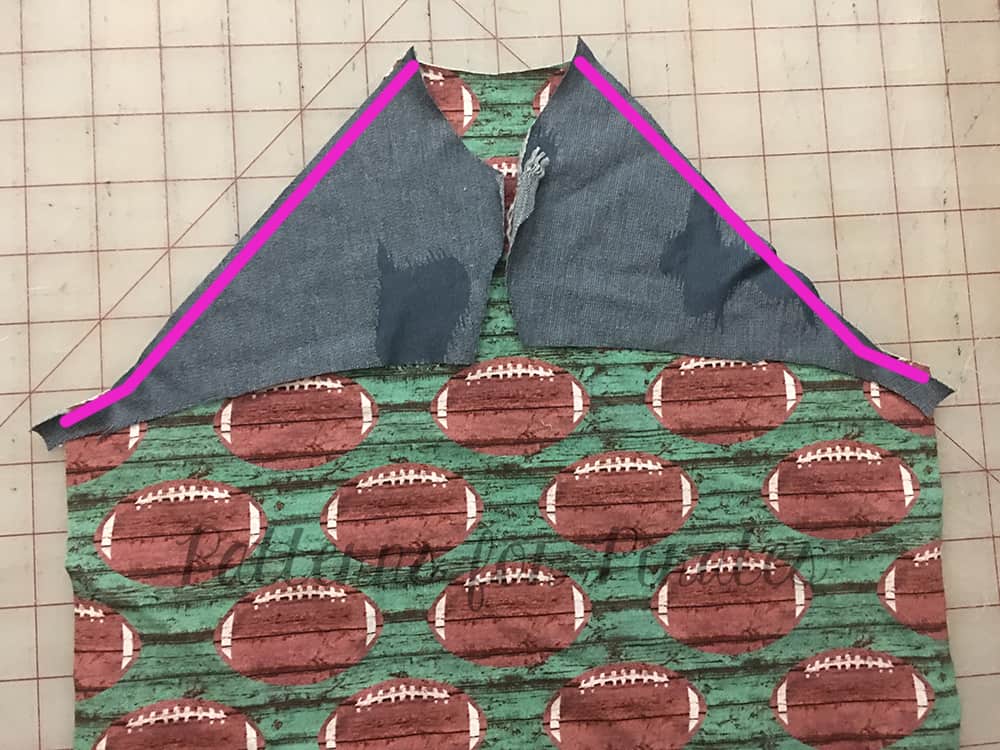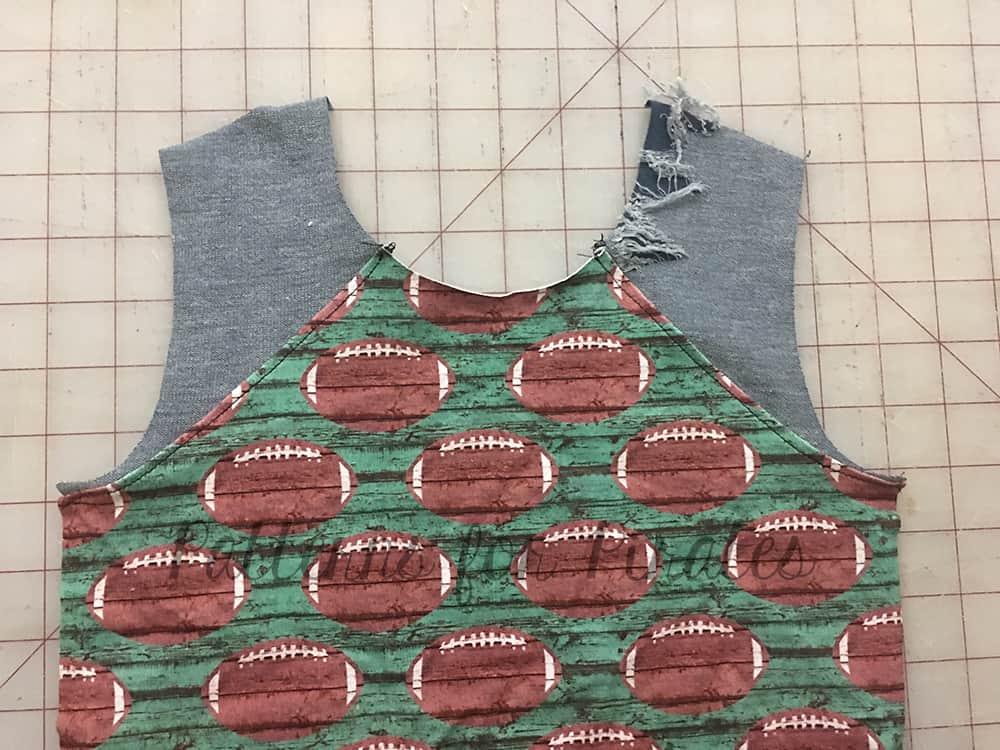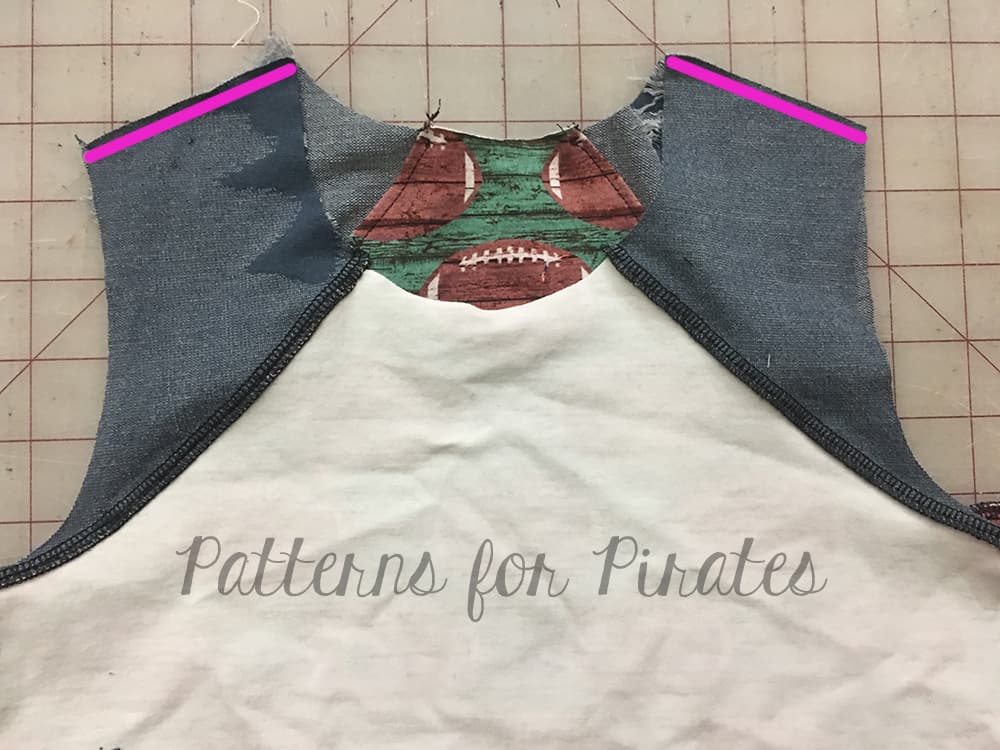
Day 3 – lets start sewing! Today we sew the shoulder seams (easy peasy!) and add the set in sleeves. When attaching the sleeves it is very important to match the notch to the shoulder seam, pin in place and then match the side seams and pin in place.
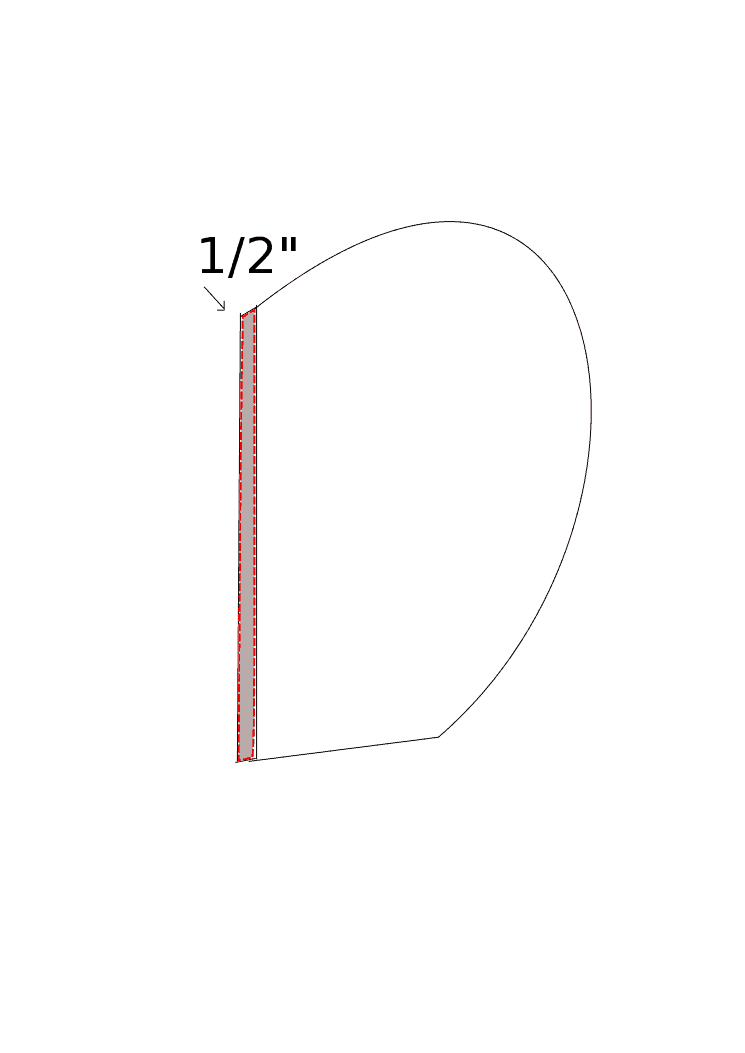
The Favorite Tee and the Fav Tee follow a 1/2″ seam allowance so be sure to not deviate from it when you sew the shoulder seams RST or when you attach the sleeves.
Watch the day 3 video below and be sure to post a picture of today’s progress in the day 3 photo comments of the Favorite/Fav Tee album in the M4M & P4P Sew Along Group.
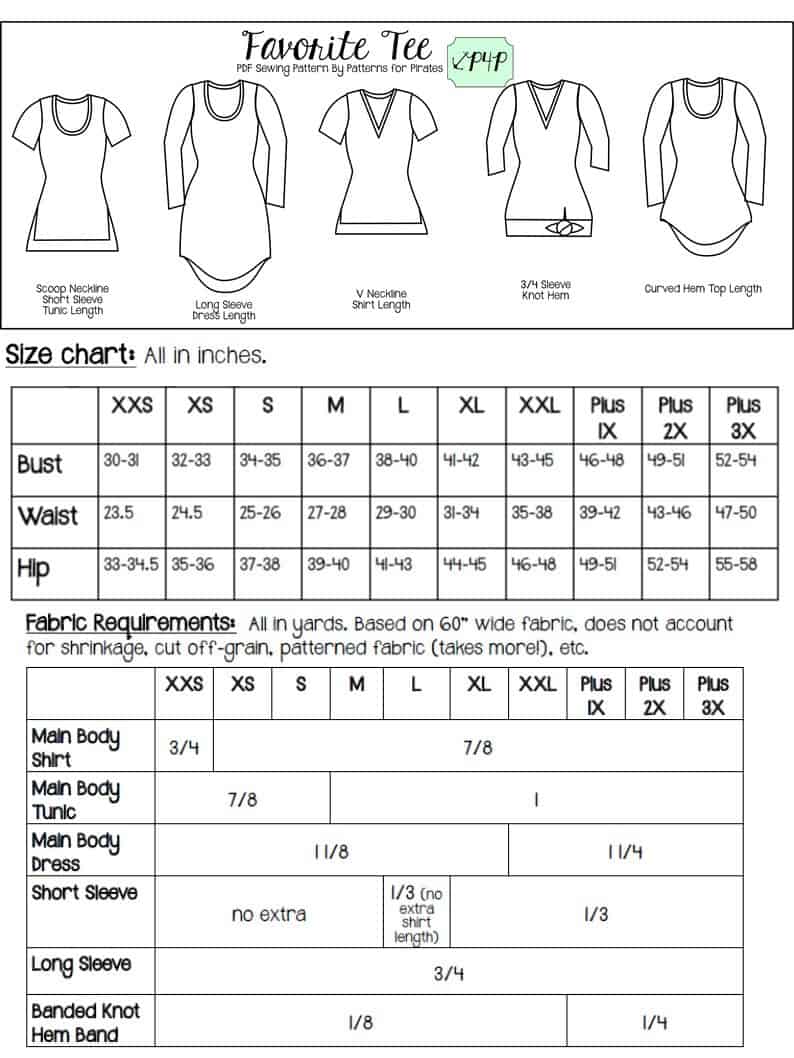
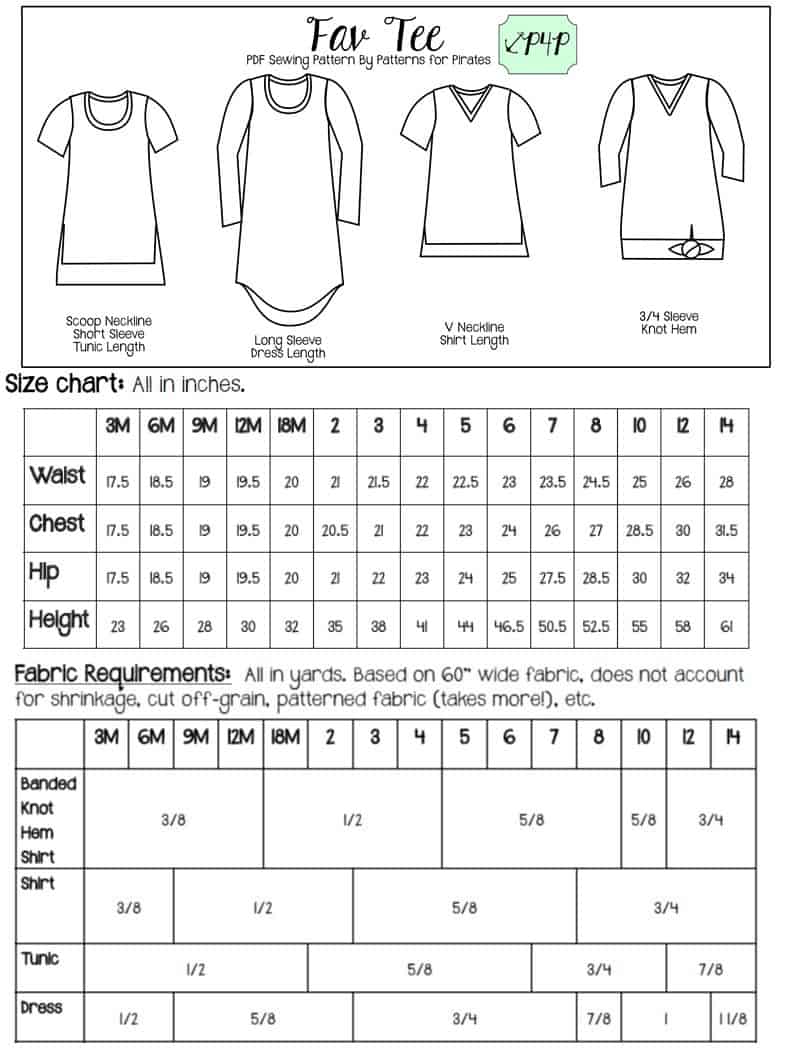
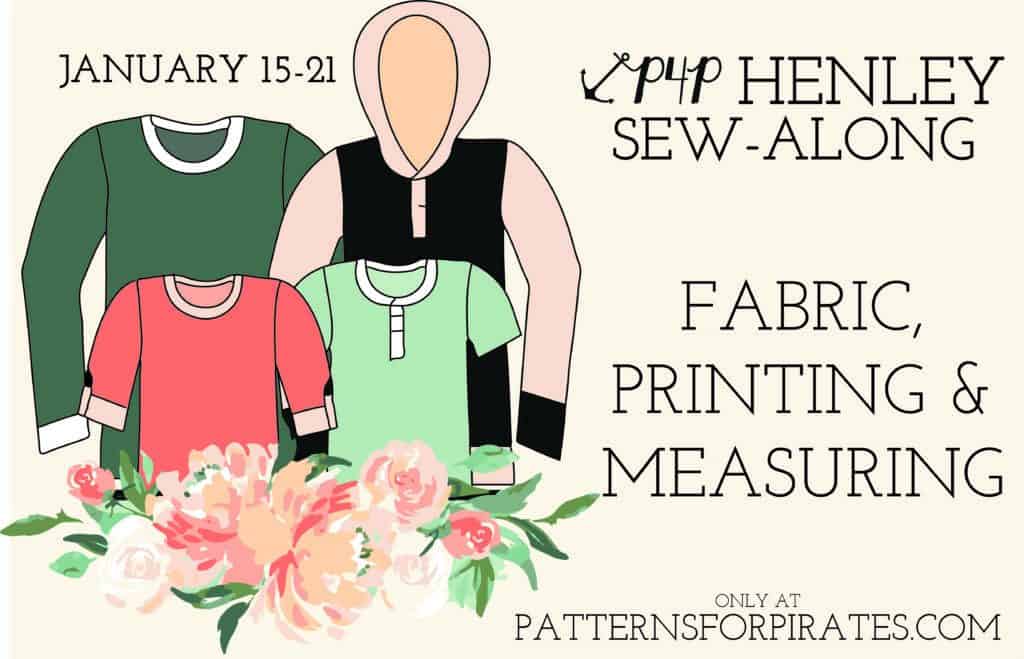
Favorite Tee & Fav Tee SAL
Day 3: shoulder seam + attach sleeves
Day 4: side seam + hem sleeves