I had lots of inquiries about nursing option for the Boundless Knit Dress. I know ladies love to create items they can wear during and after pregnancy! Since the Boundless has a lined bodice it is a super simple modification to do! Here is how I did mine 🙂
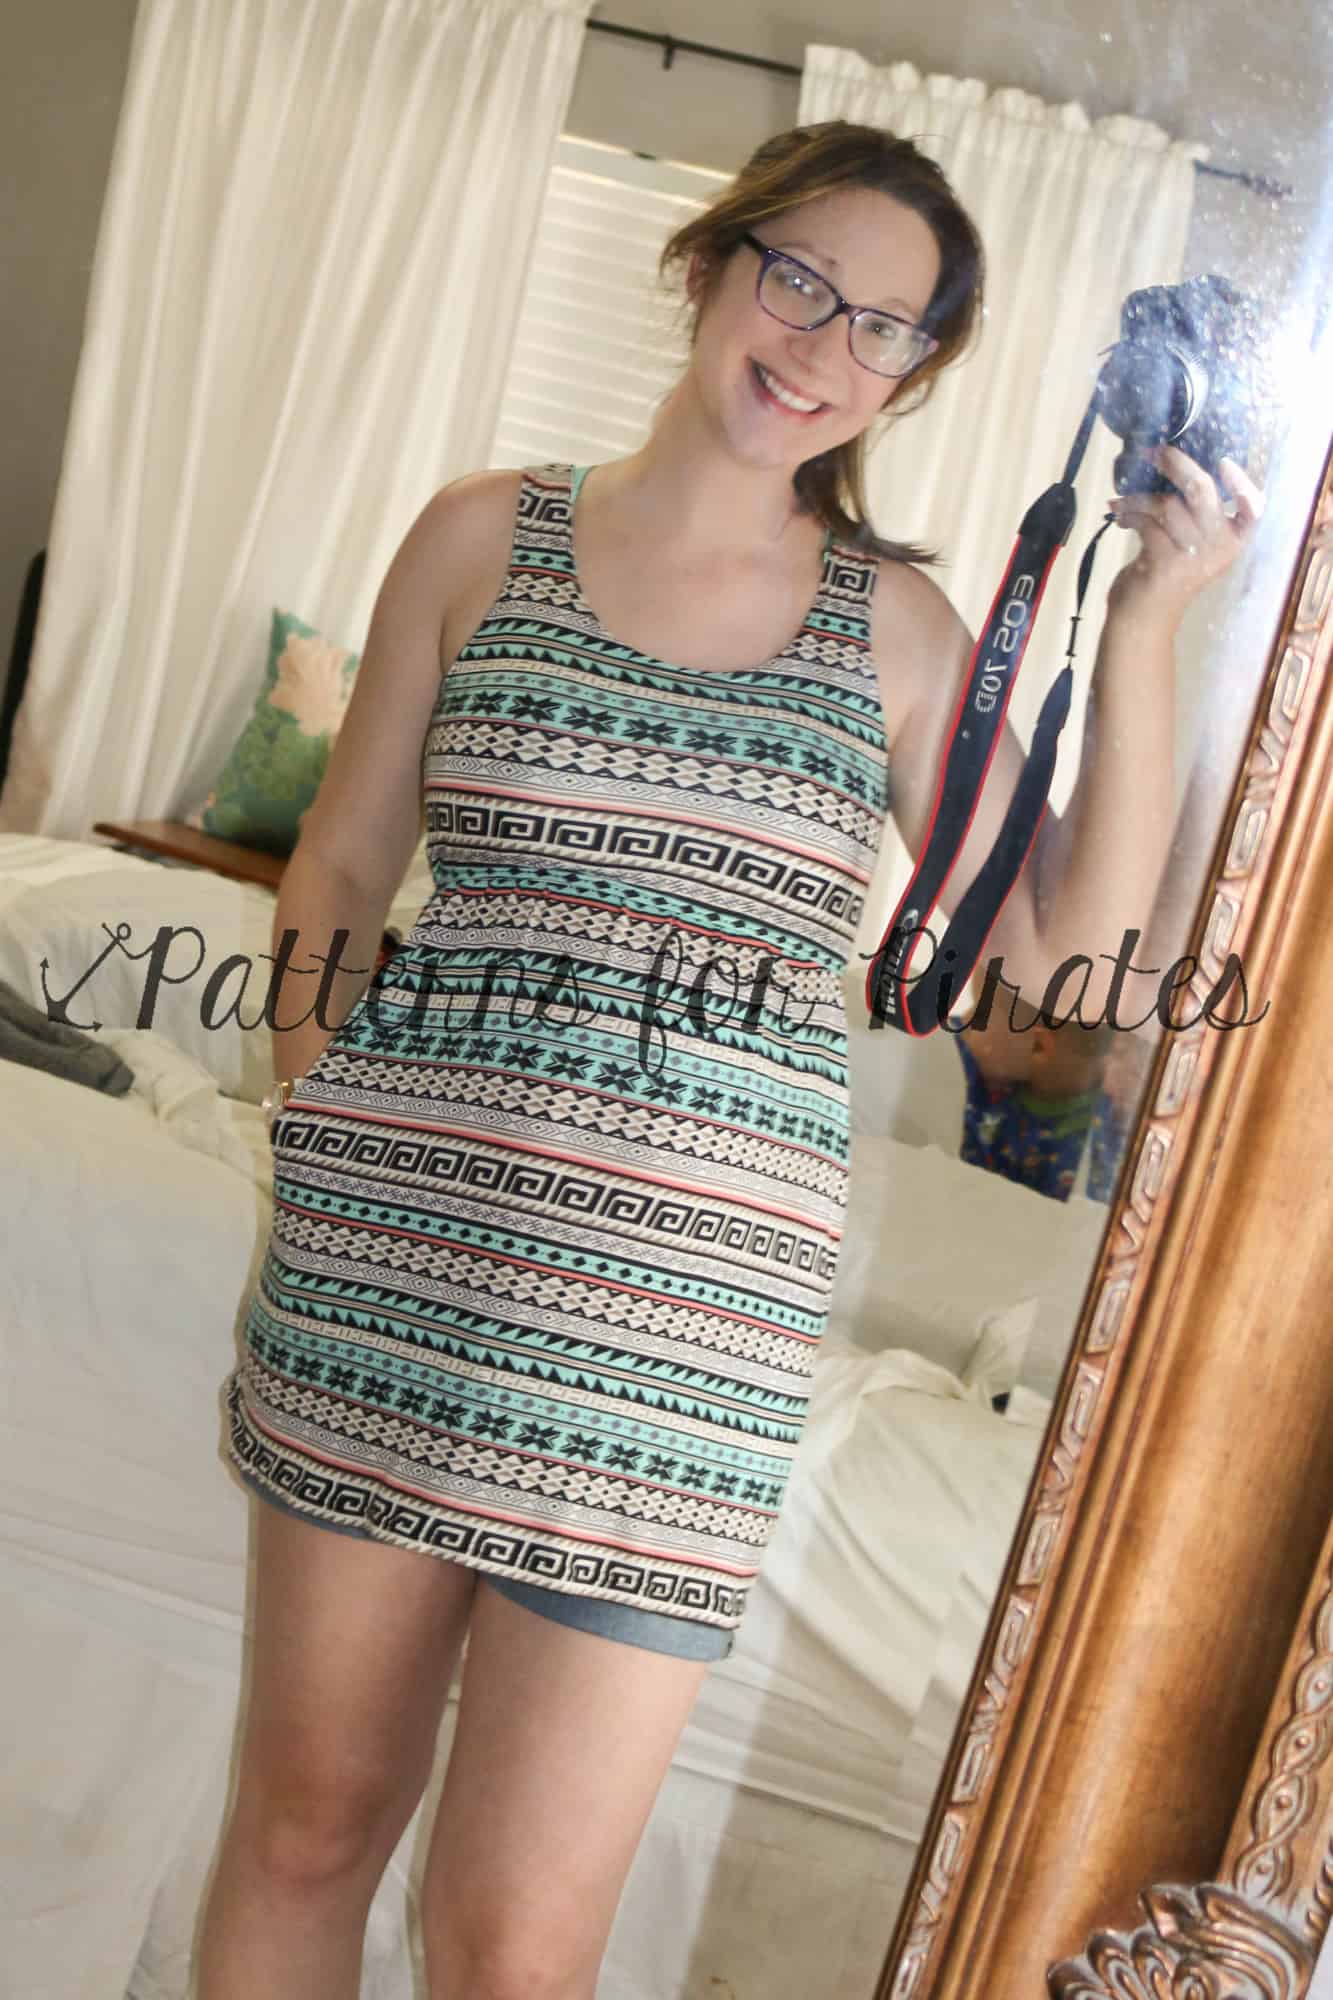
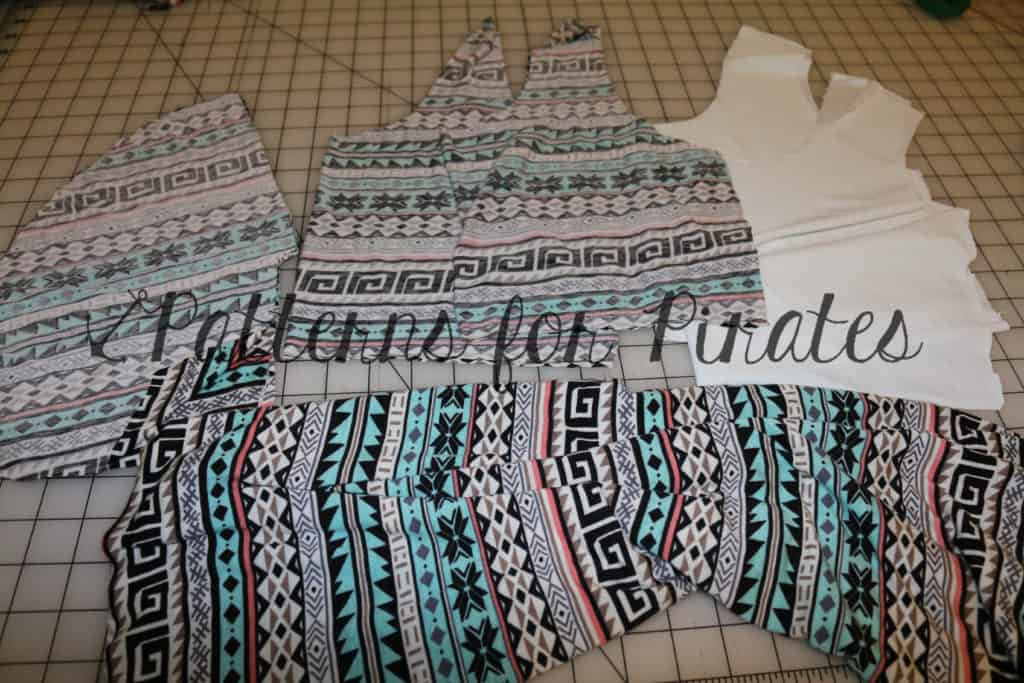
I cut out all my pieces normally- main fabric bodice, lining bodice, sleeves, skirt, and I did pockets for this one too! I did a mini length and didn’t add my 3″ I should for being super tall because I wanted a tunic length! I wear tunics and leggings much more then a dress 🙂
Choosing fabrics: I choose a spandex blend for both since the main fabric would be pulled and stretched a lot, you want it to have good recovery and not get stretched out and sloppy by the end of the day! The lining I choose a true spandex. I thought it would be soft on my skin, stretch nicely with the changes throughout the day of your bust measurement and be sturdy enough to do well with cut outs. I also choose a solid b/c it when you lift up you will actually be showing the wrong side of the fabric. You COULD sew the lining were a print shows, but you might make your brain very tired trying to figure it out 😉
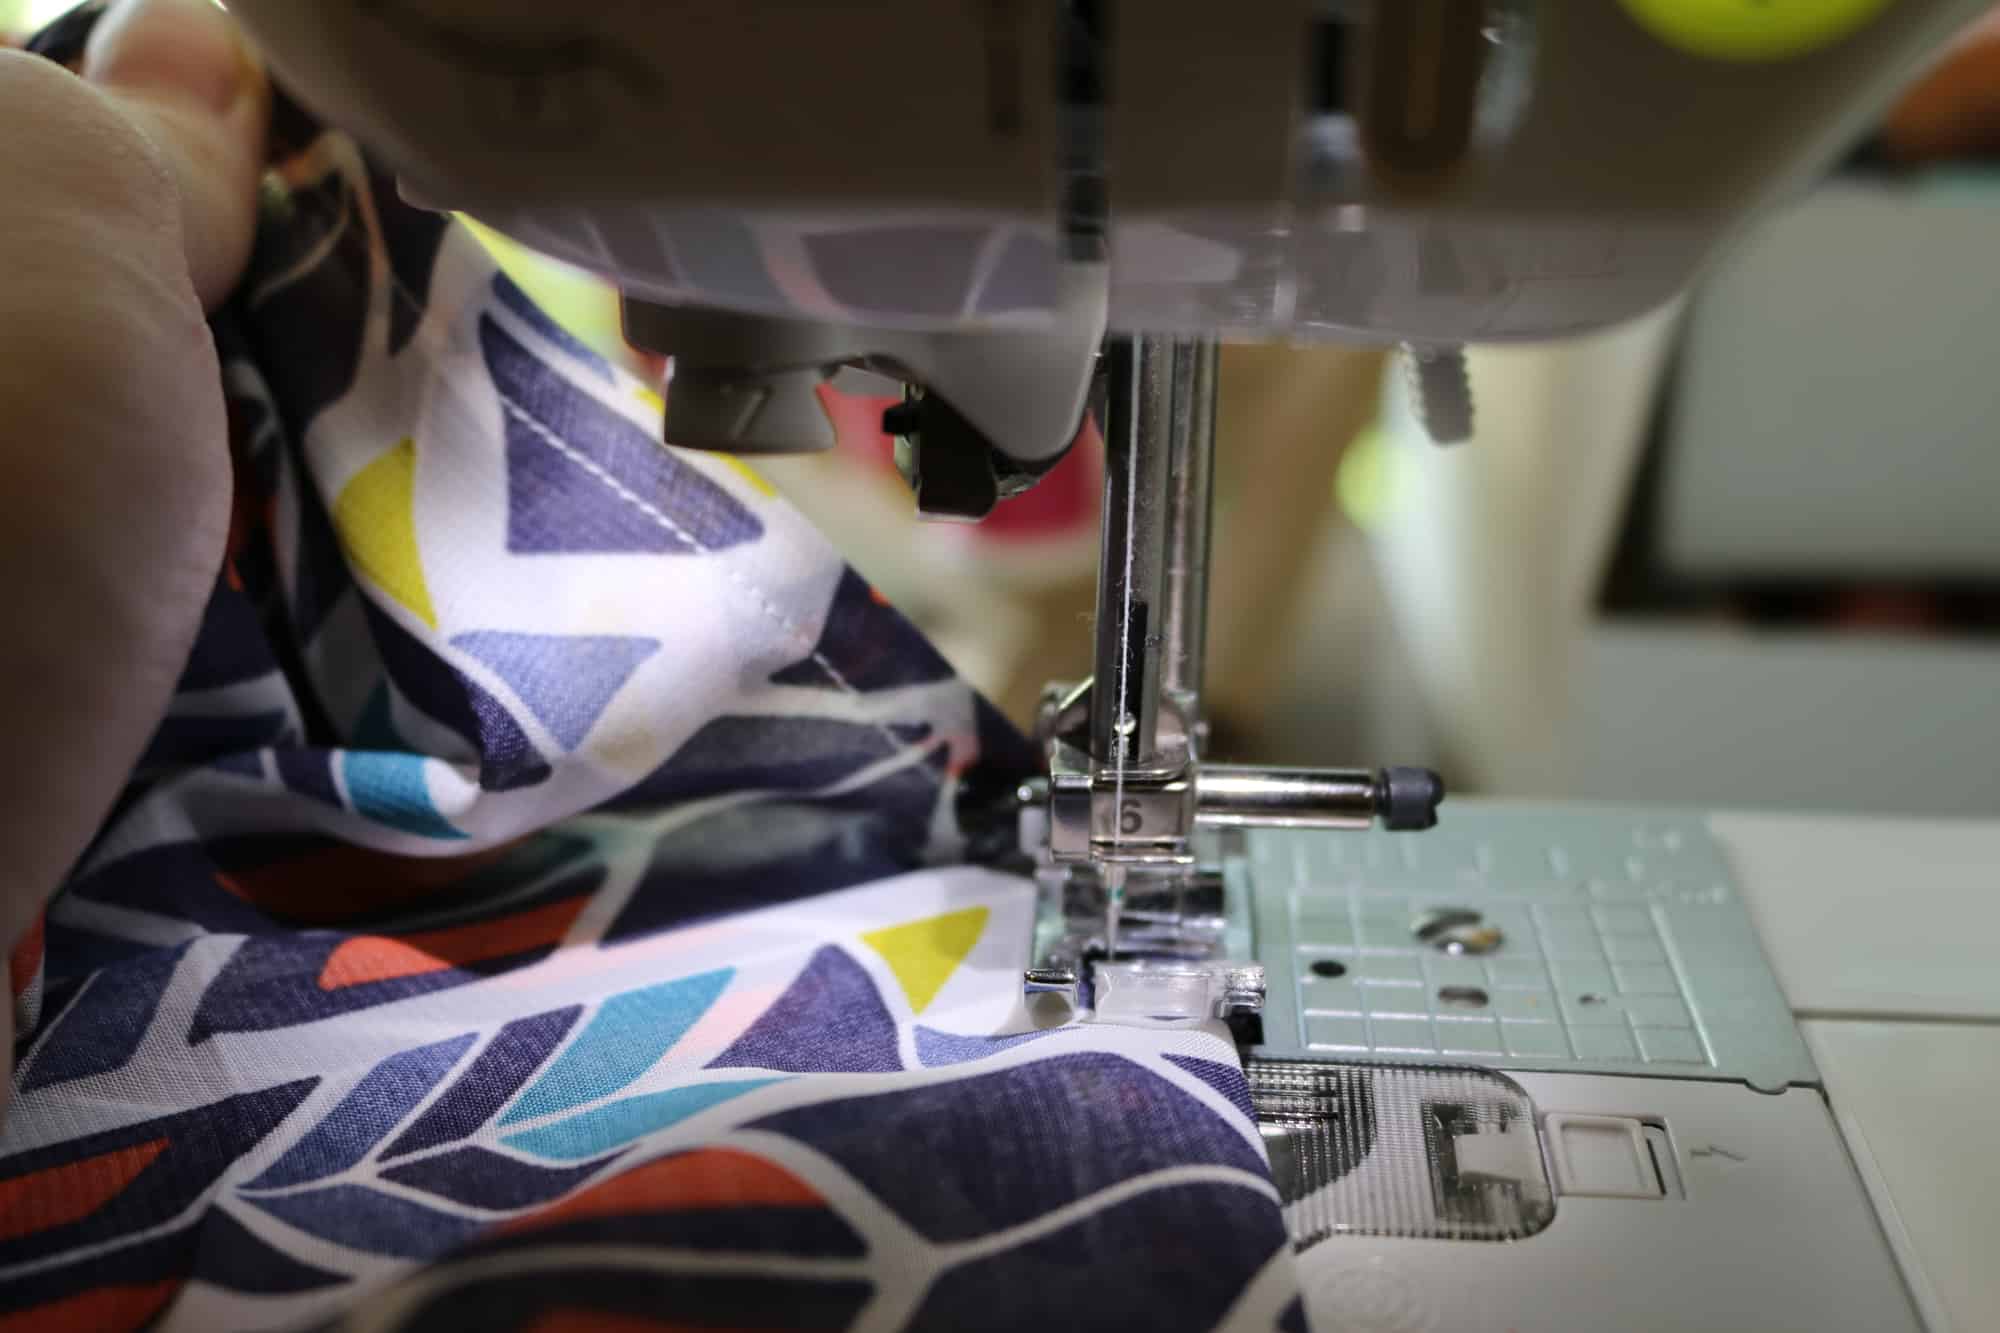
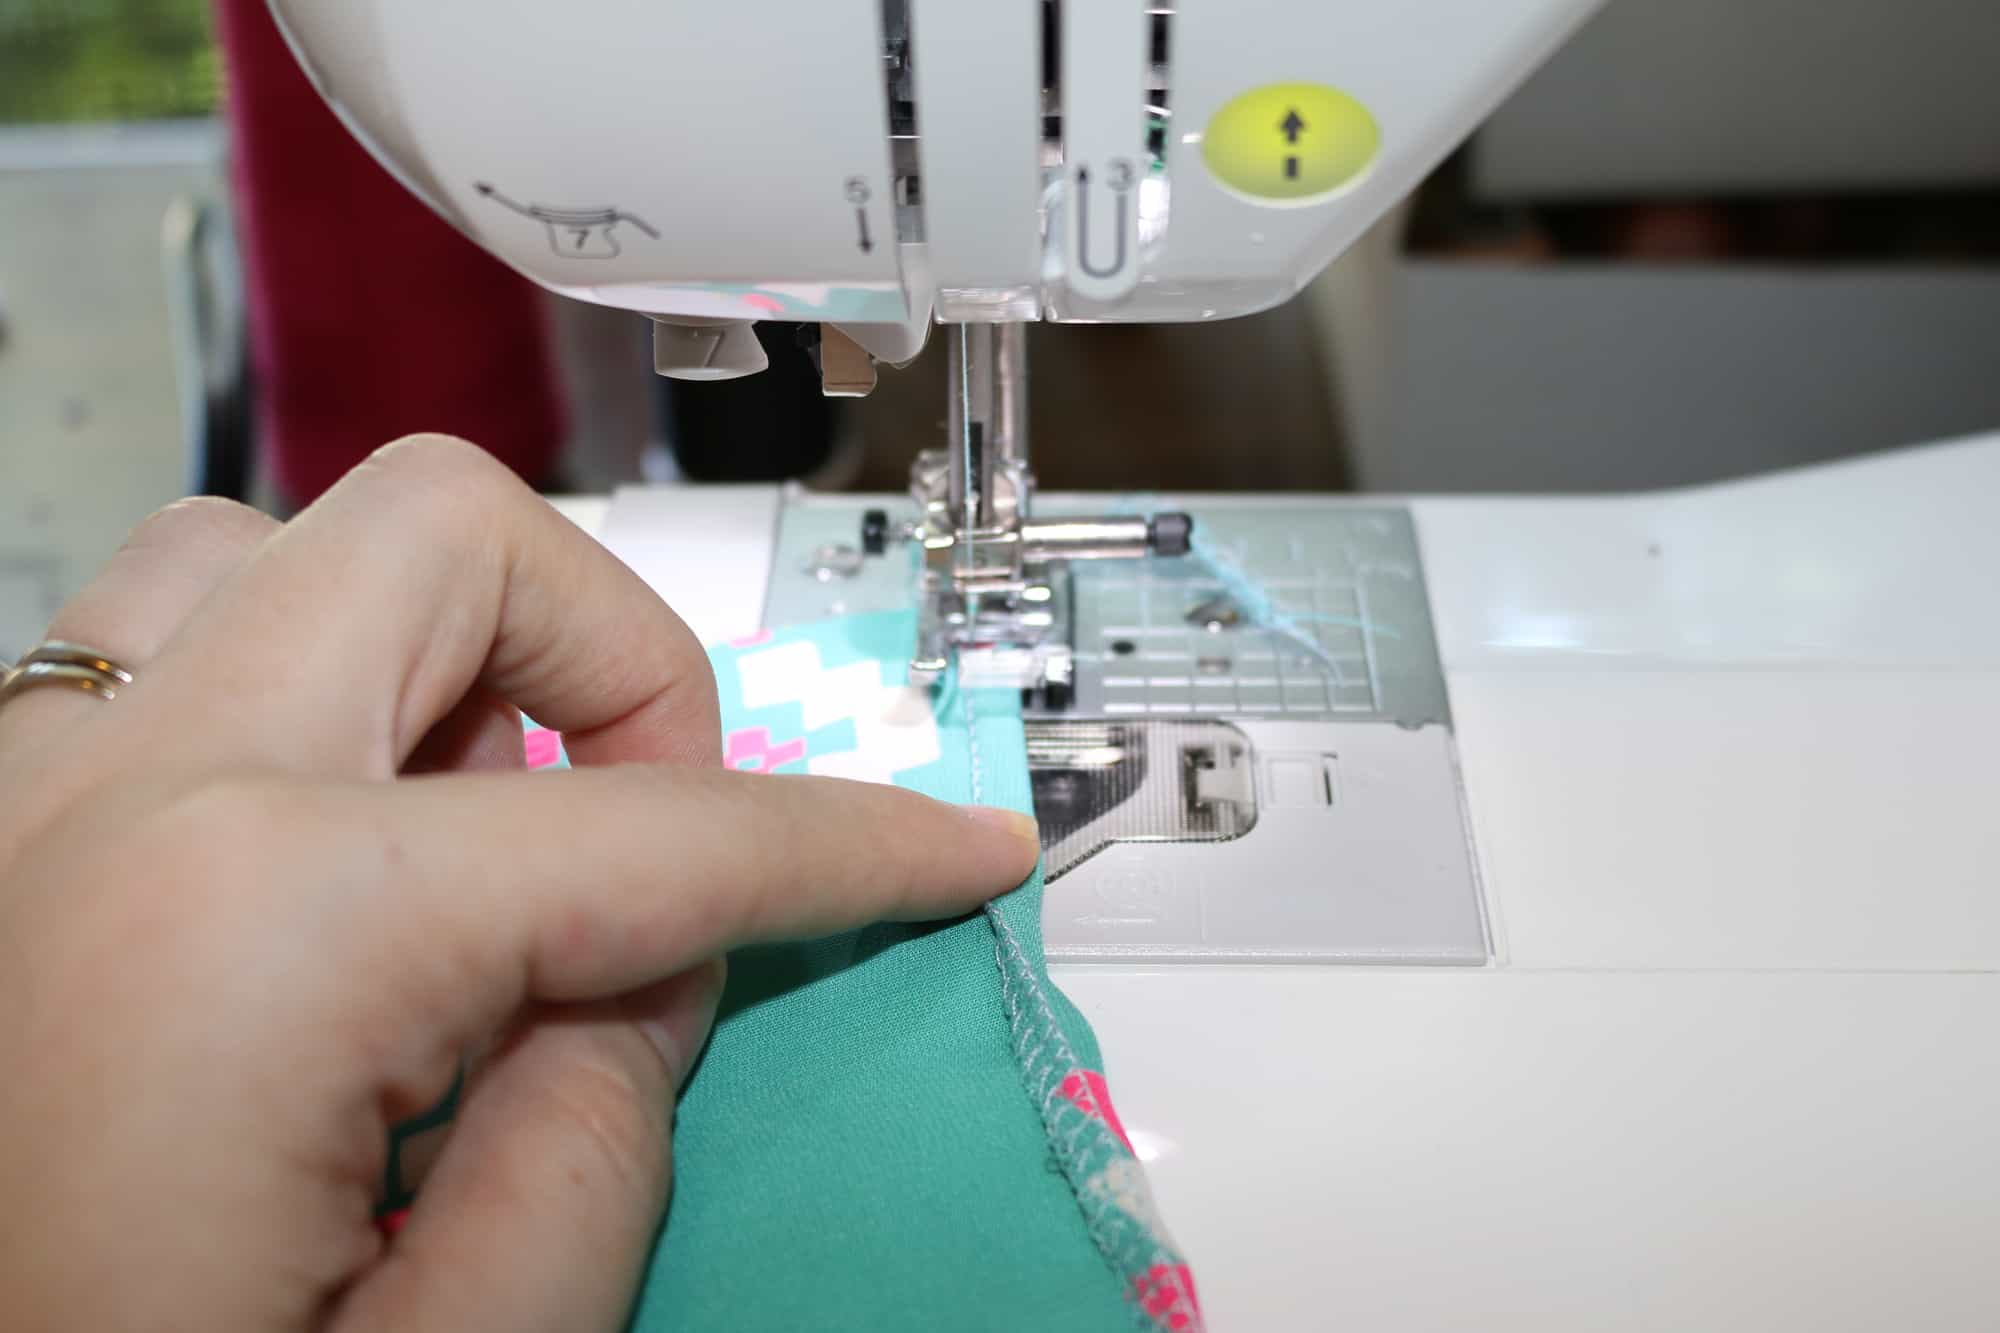
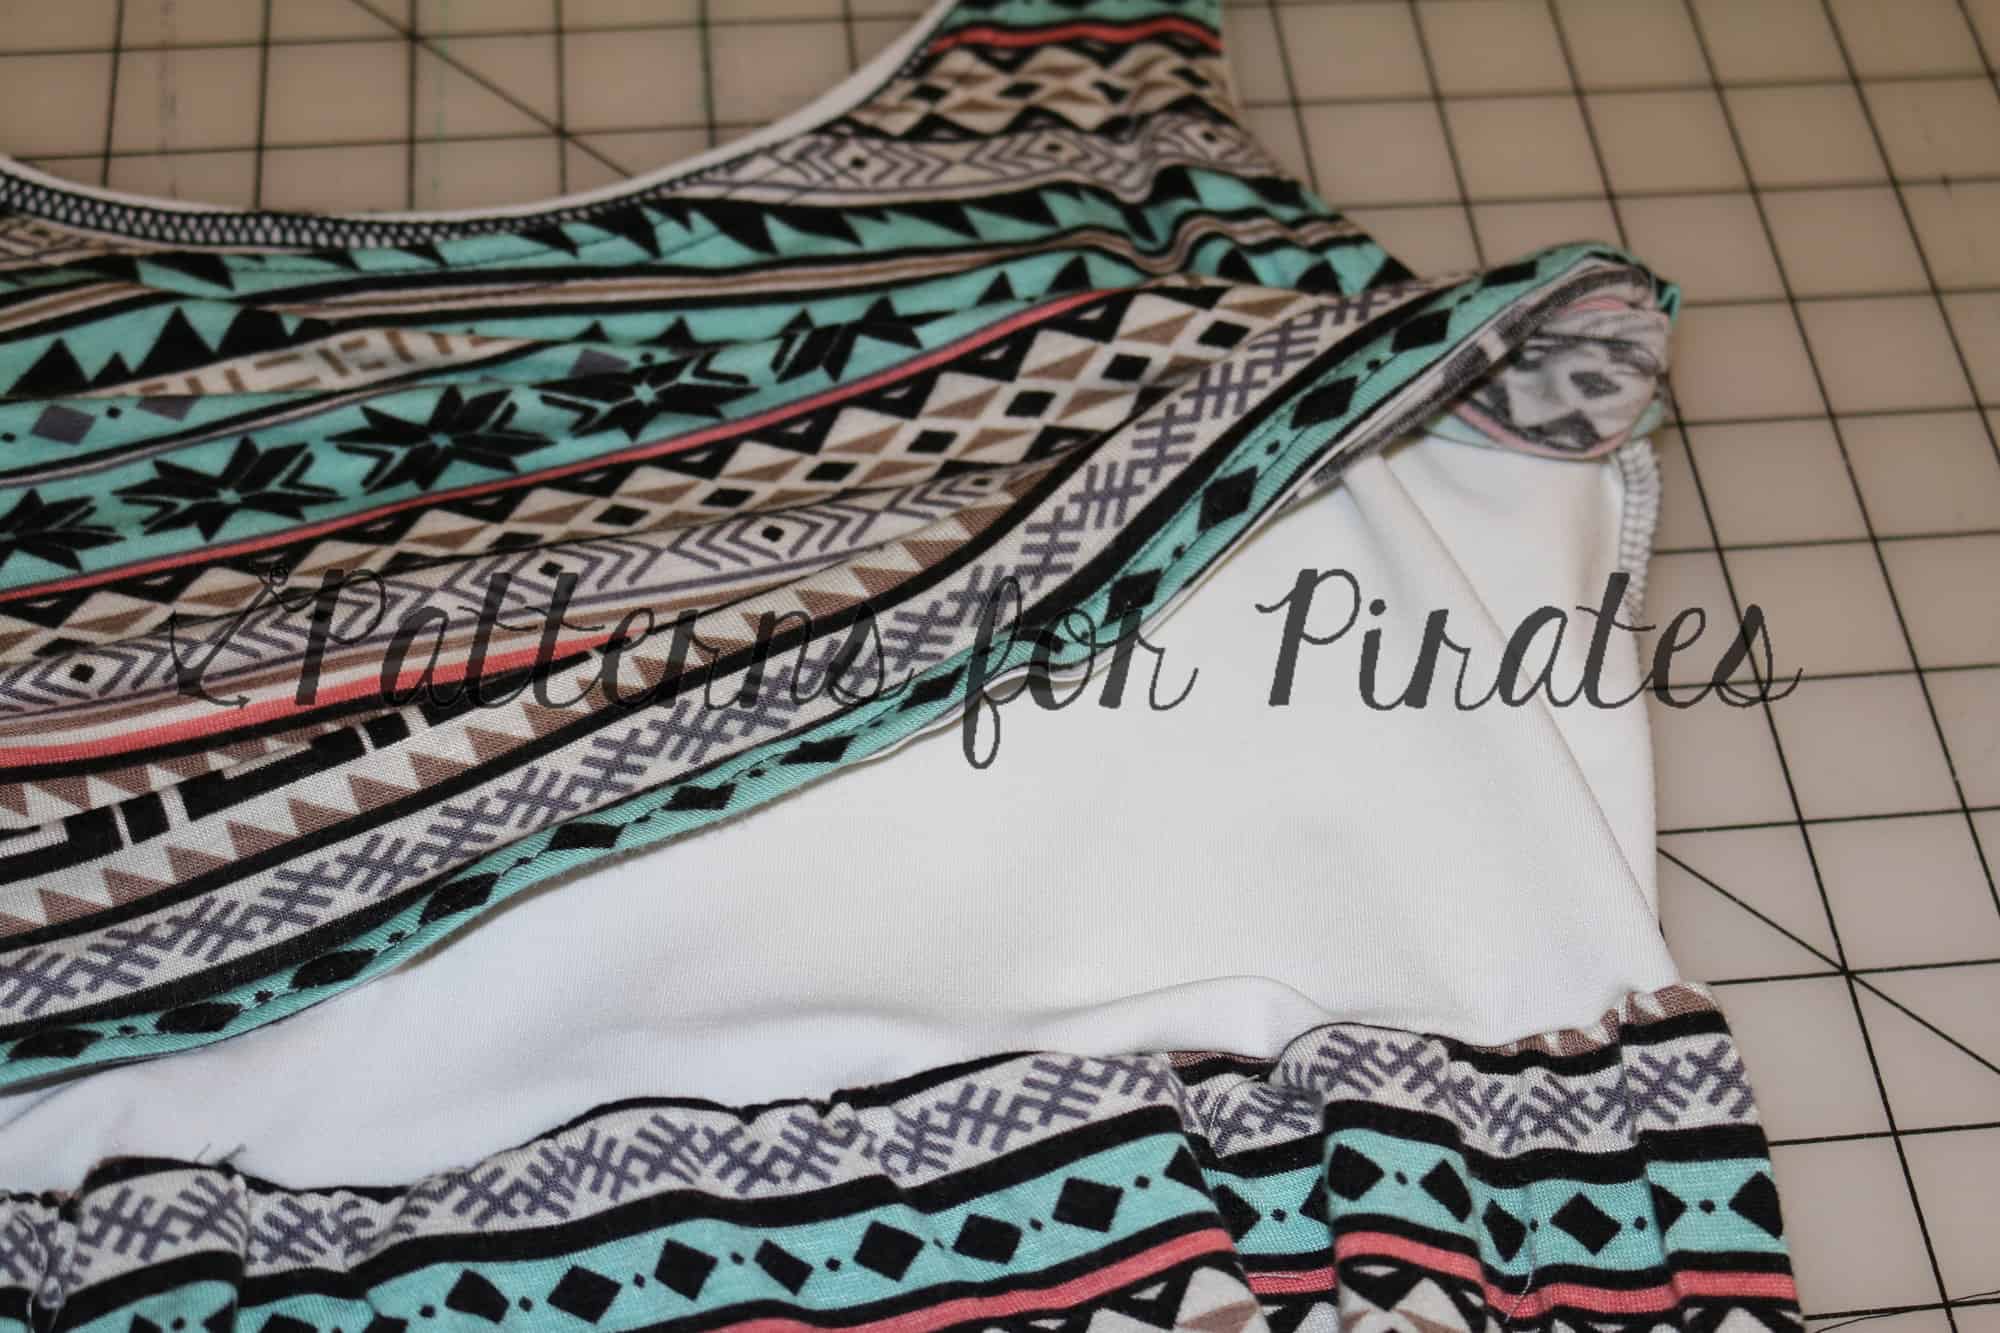
You can follow the normal directions in the tutorial all the way through the bodice and skirt construction. ATTACHING the skirt is where we will change it up a bit! 🙂 ***Although, after creating mine I SHOULD have put right side of bodice to WRONG side of lining–this way the sides seams wouldn’t show when you pull up!***
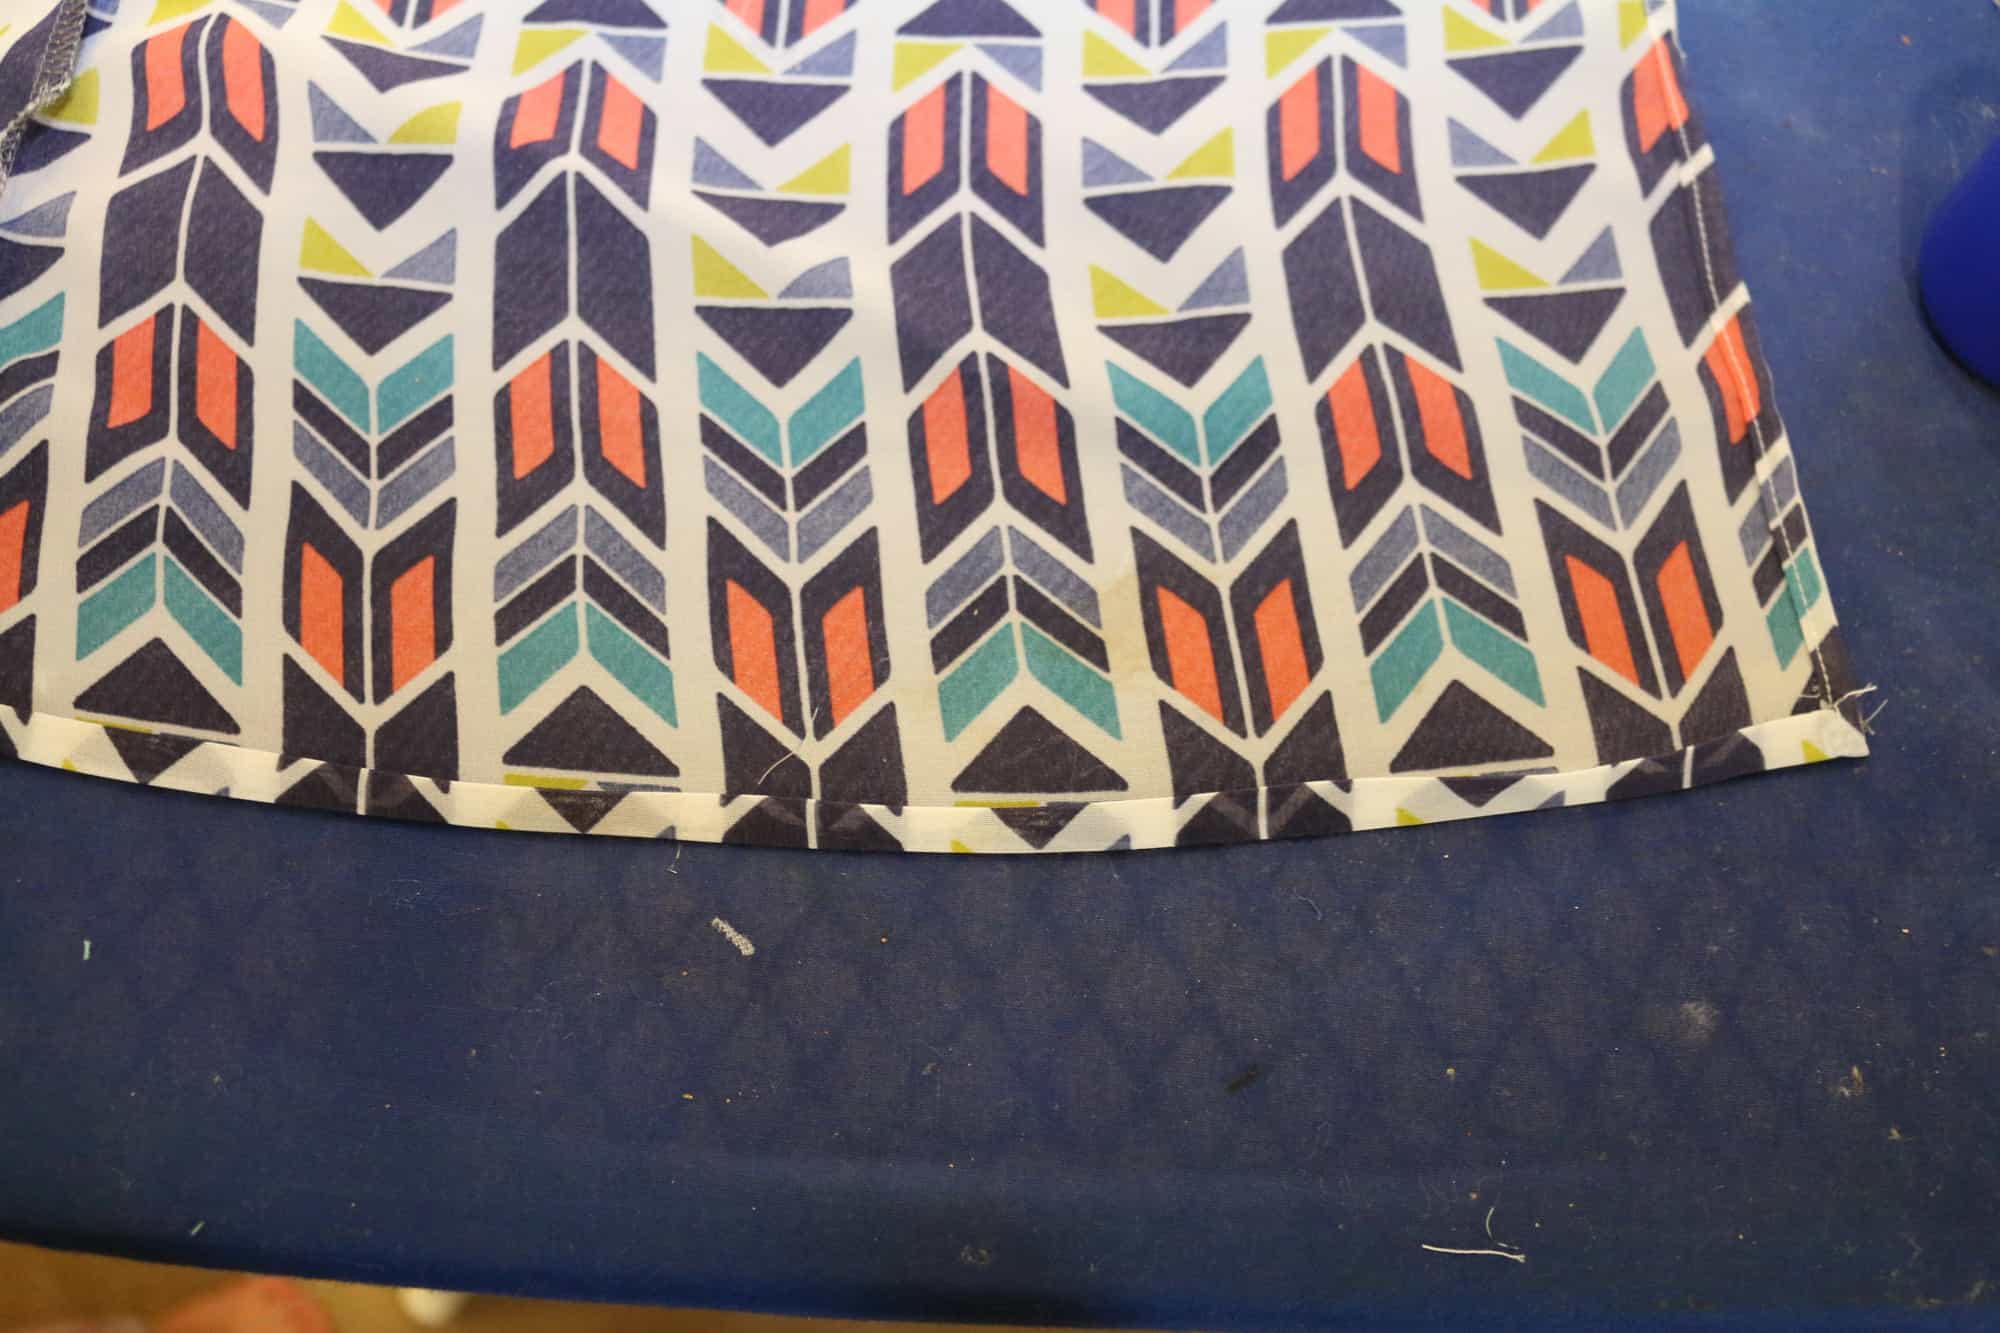
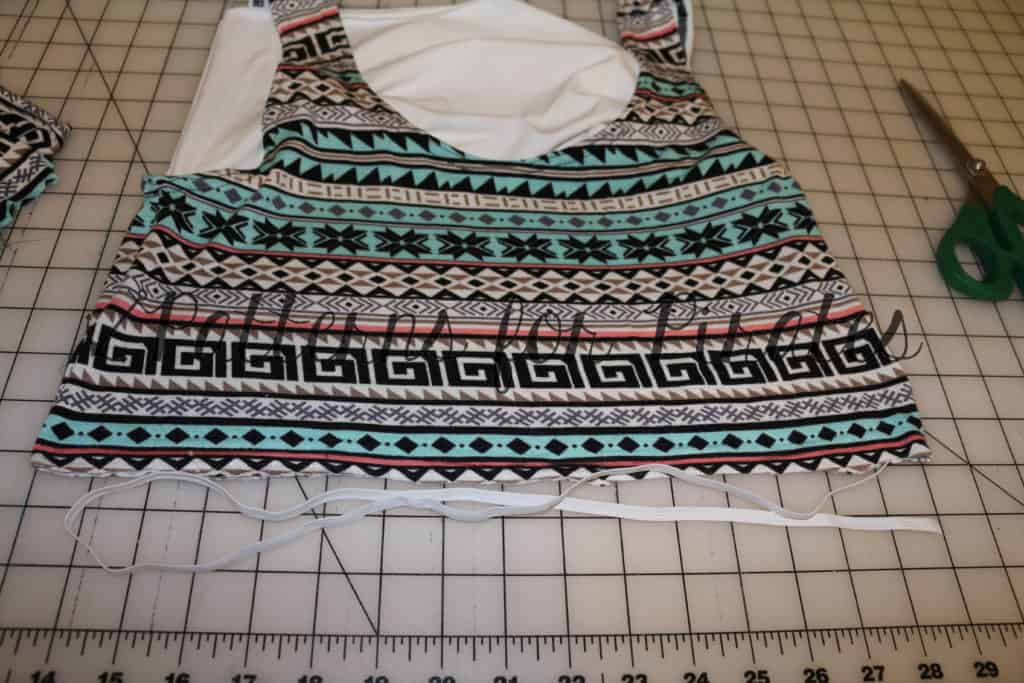
Here is my bodice, again put together just as the directions say in the regular tutorial. For the main bodice fabric I choose to hem with an elastic hidden in the hem. I would’ve use a clear elastic if I hadn’t been all out 😉 so I used what I had! I measurement the finished bodice and cut to that size. I did not add for a seam allowance b/c I want to stretch it EVER so slightly with attaching.
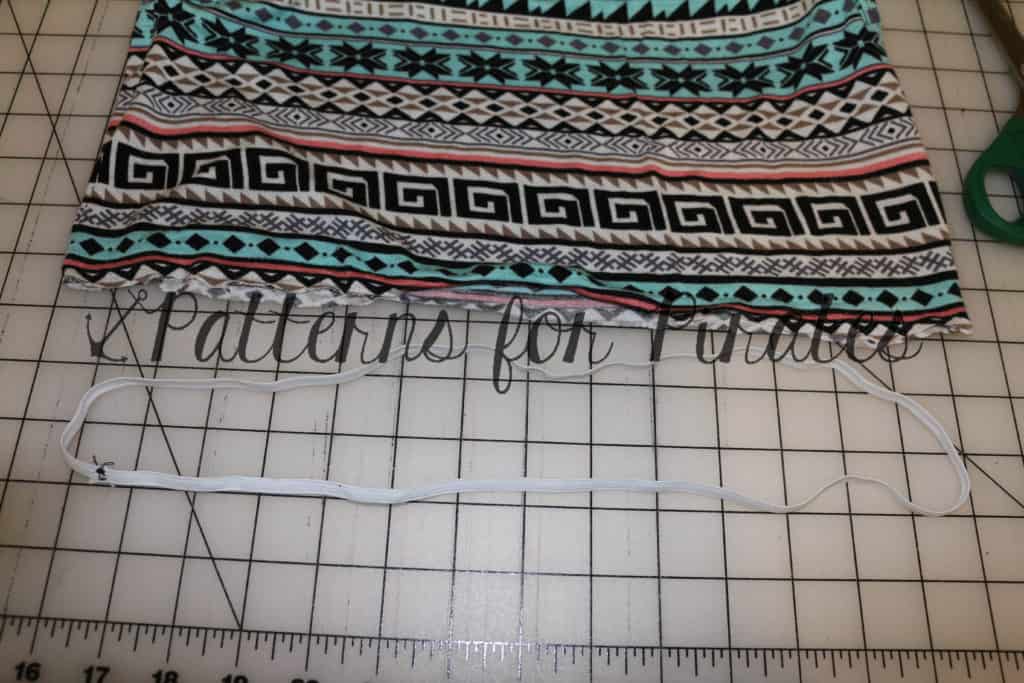
Sew the elastic ends together creating a circle.
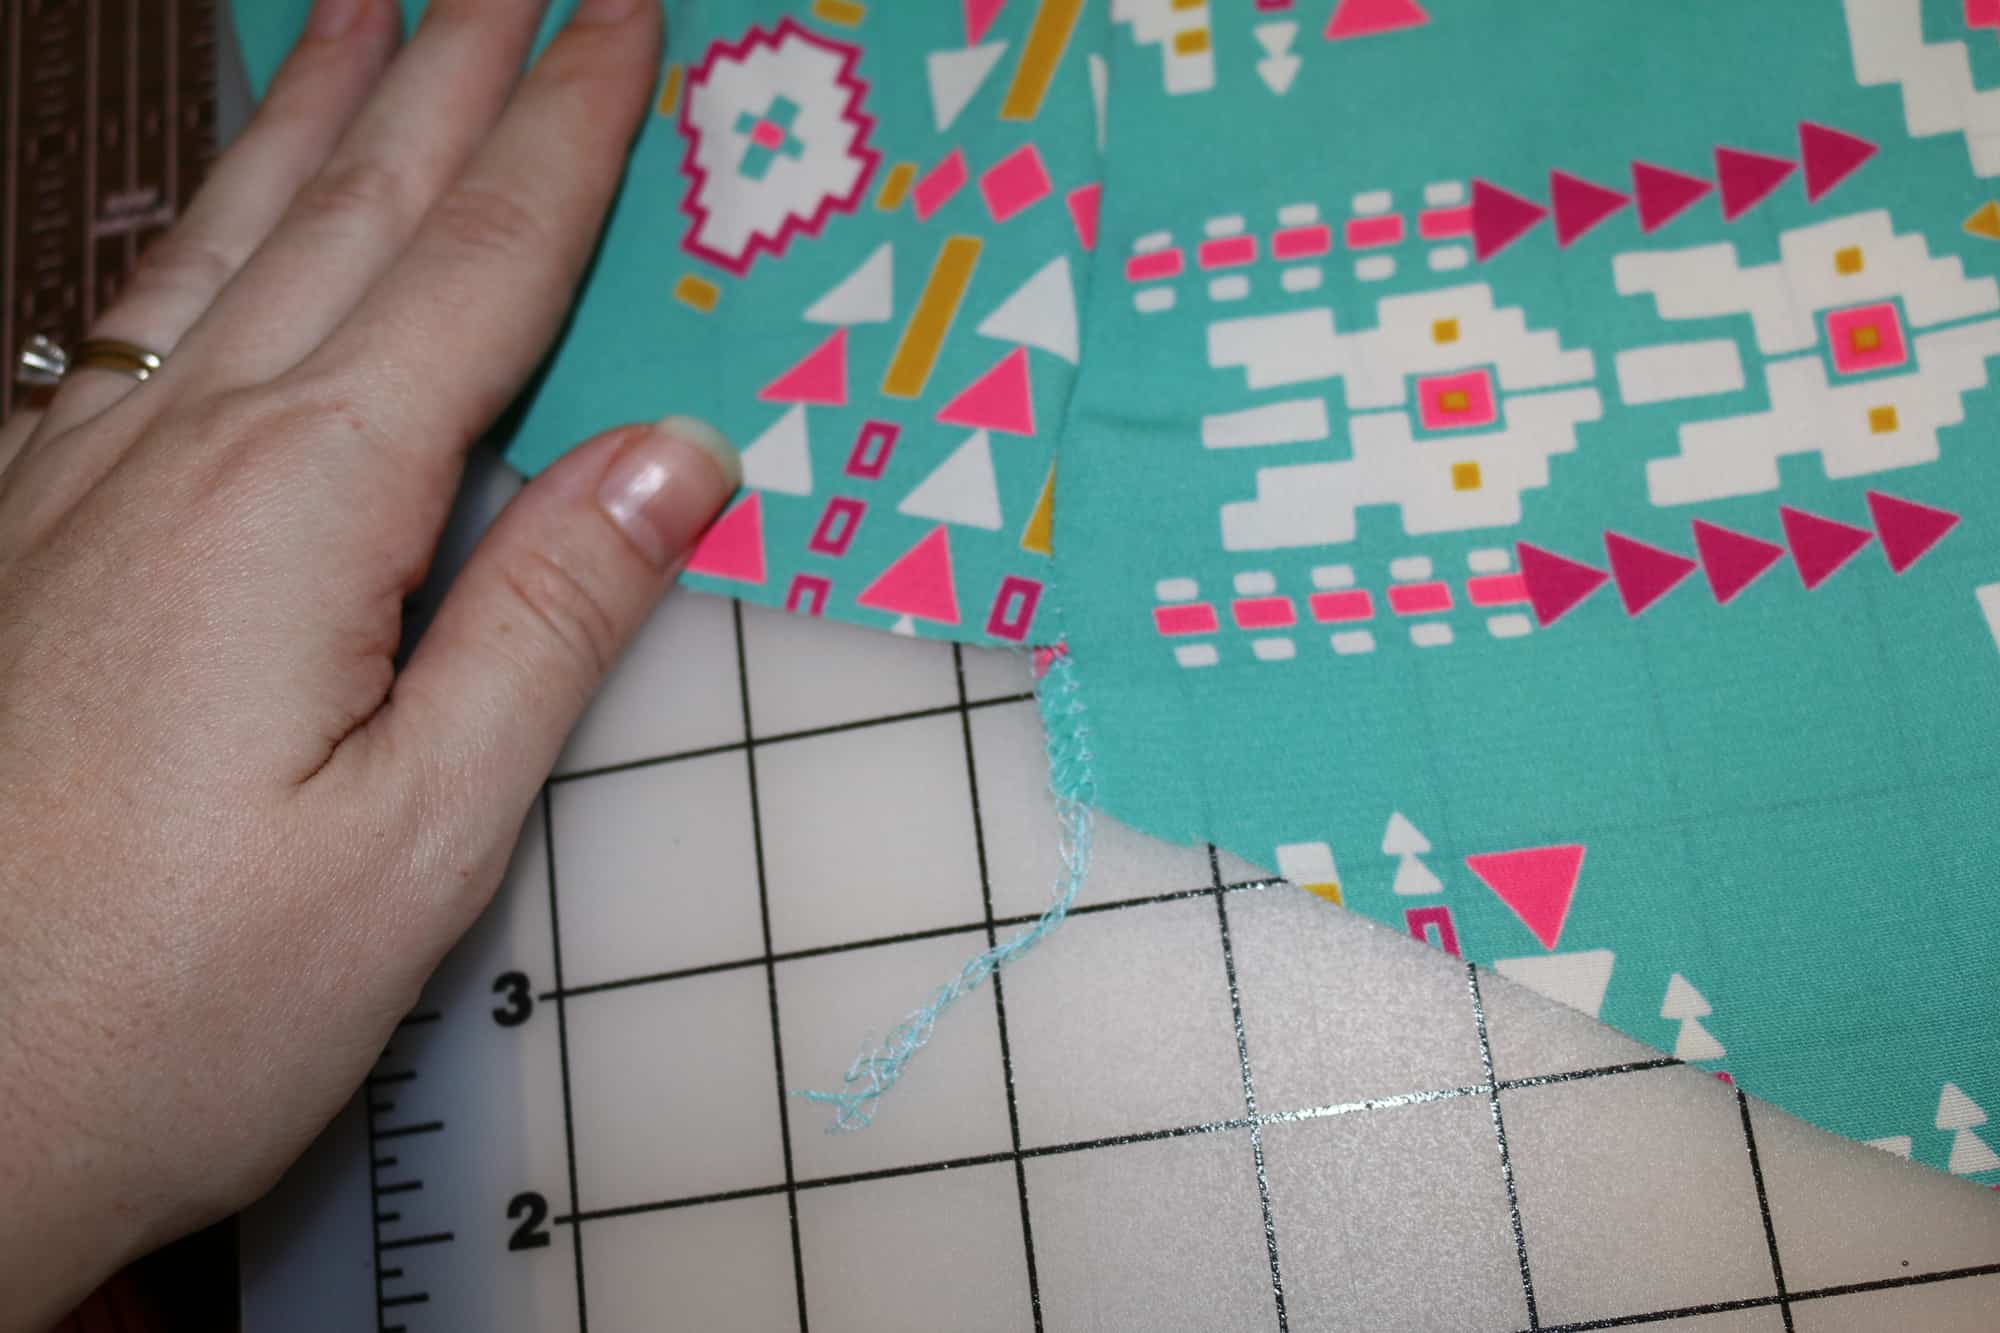
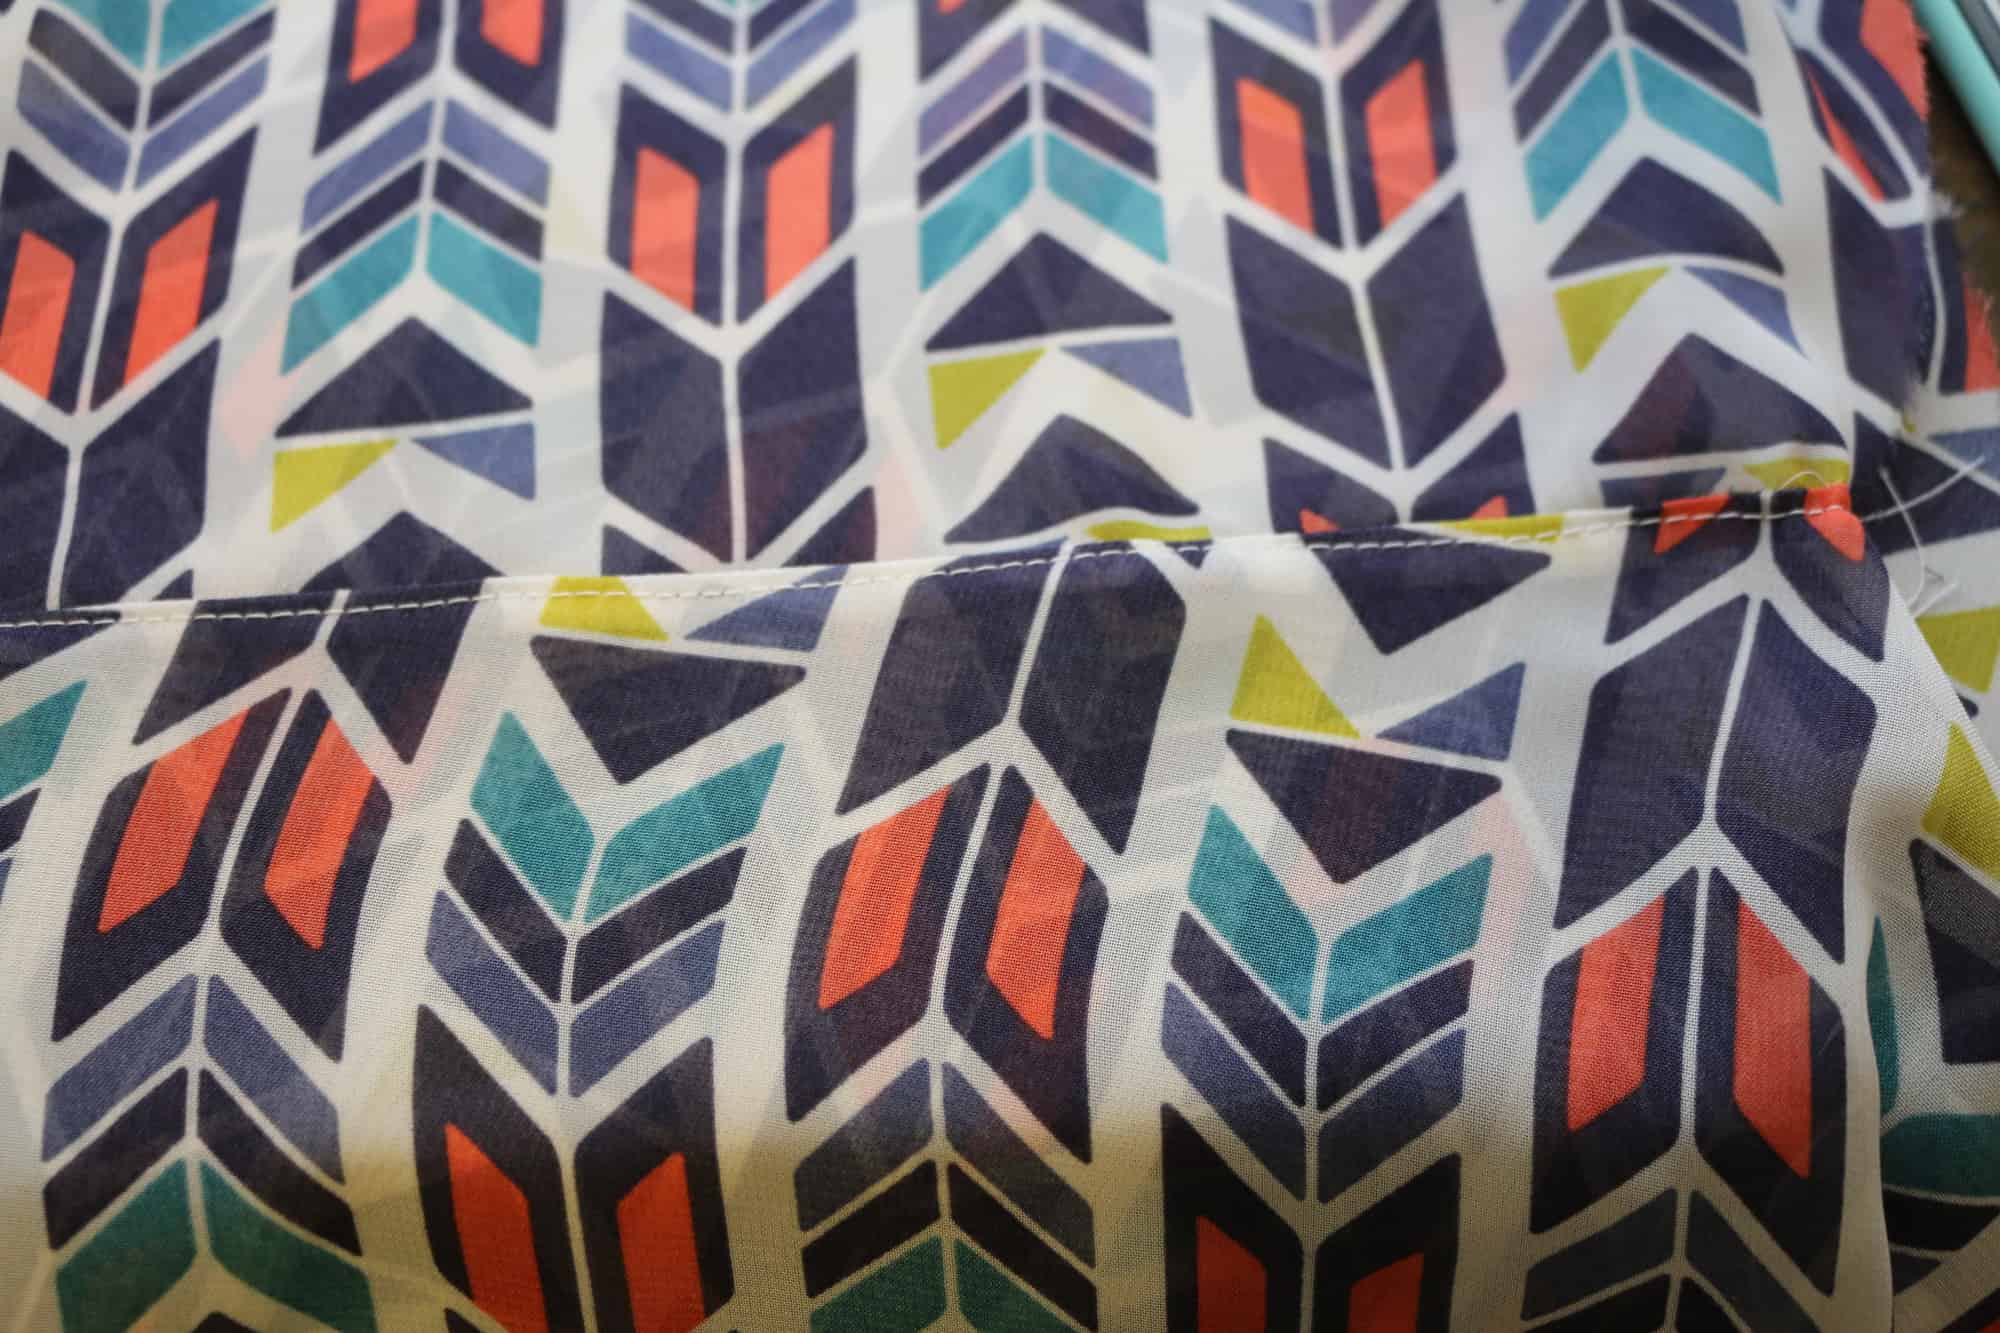
Now, I TOTALLY messed up here with pregancy brain, but didn’t want to unpick it! lol… so bare with me with this picture that is wrong! You want to baste the elastic stretching it EVER so slightly (I mean just barely) to the wrong side of the bodice edge. See my mistake 😉 I did right side lol!
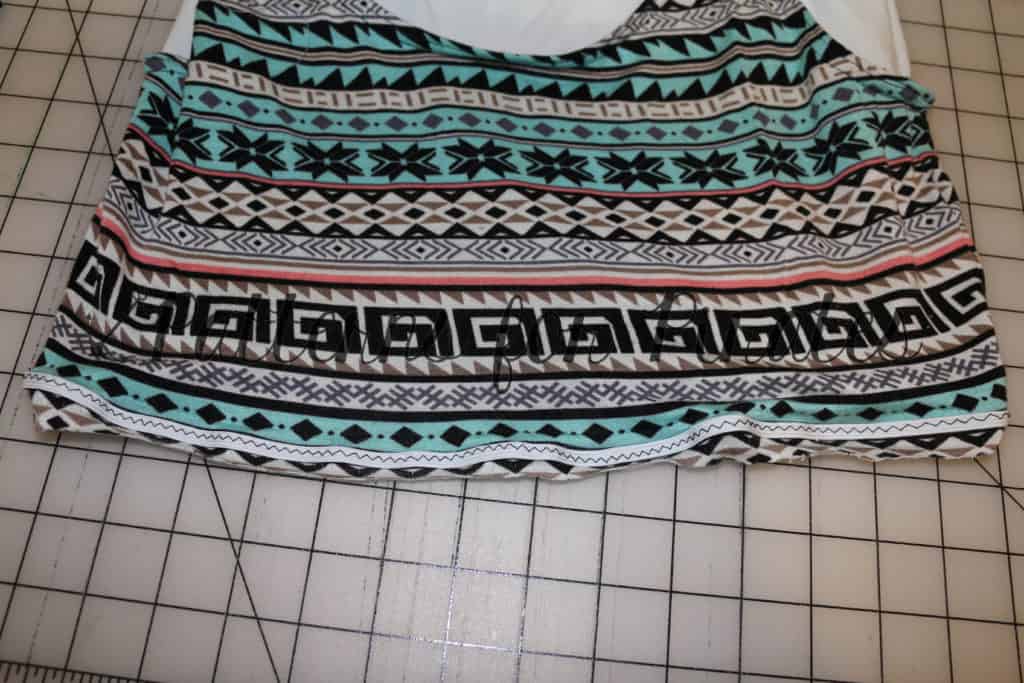
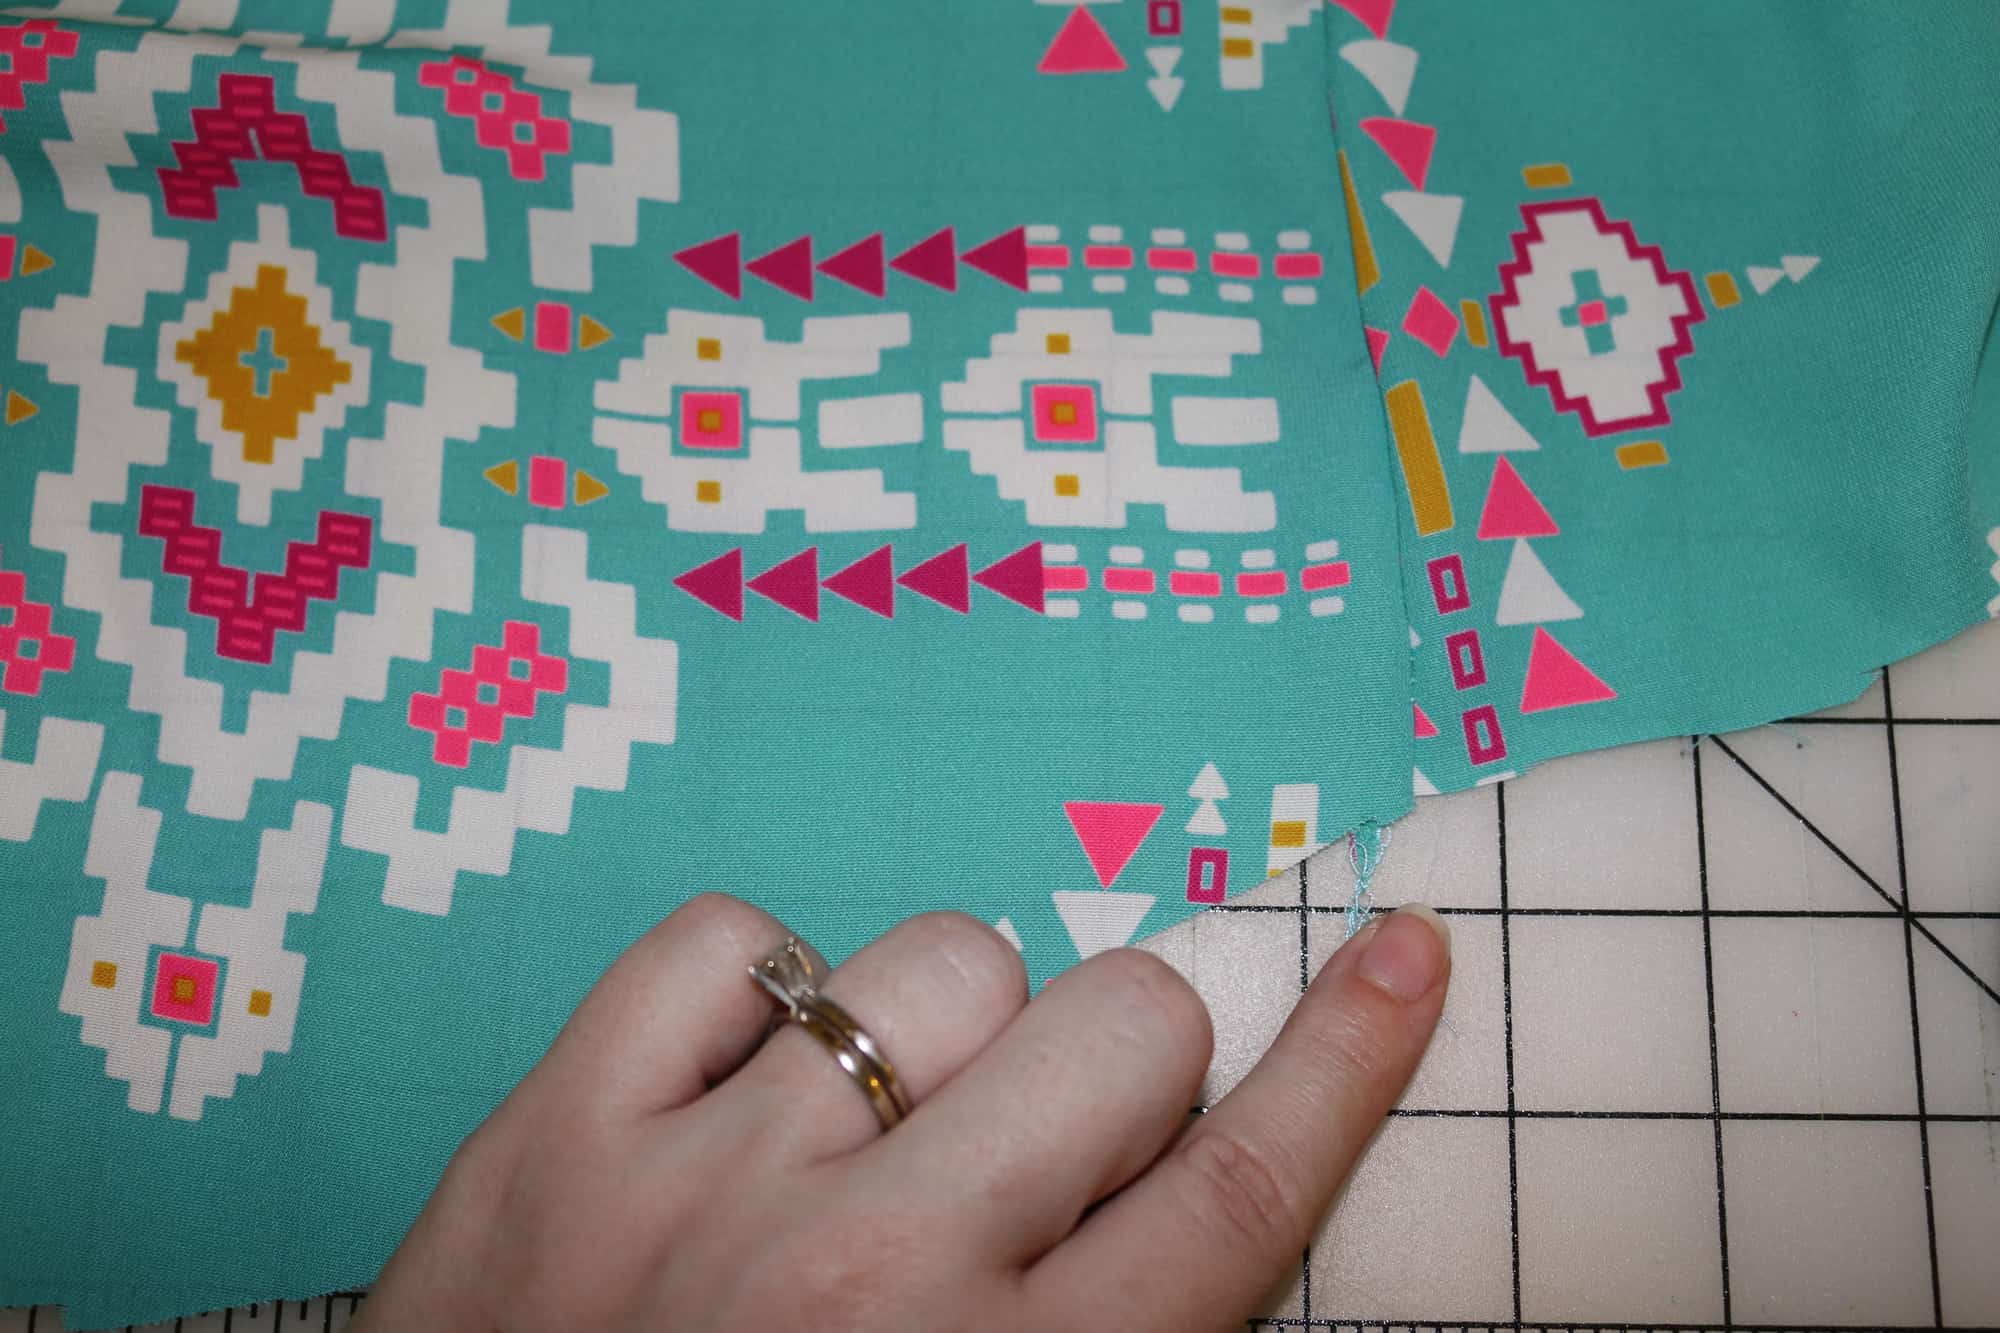
Fold under and hem with the elastic enclosed in the hem. (Mine was obviously not enclosed b/c I messed up!)
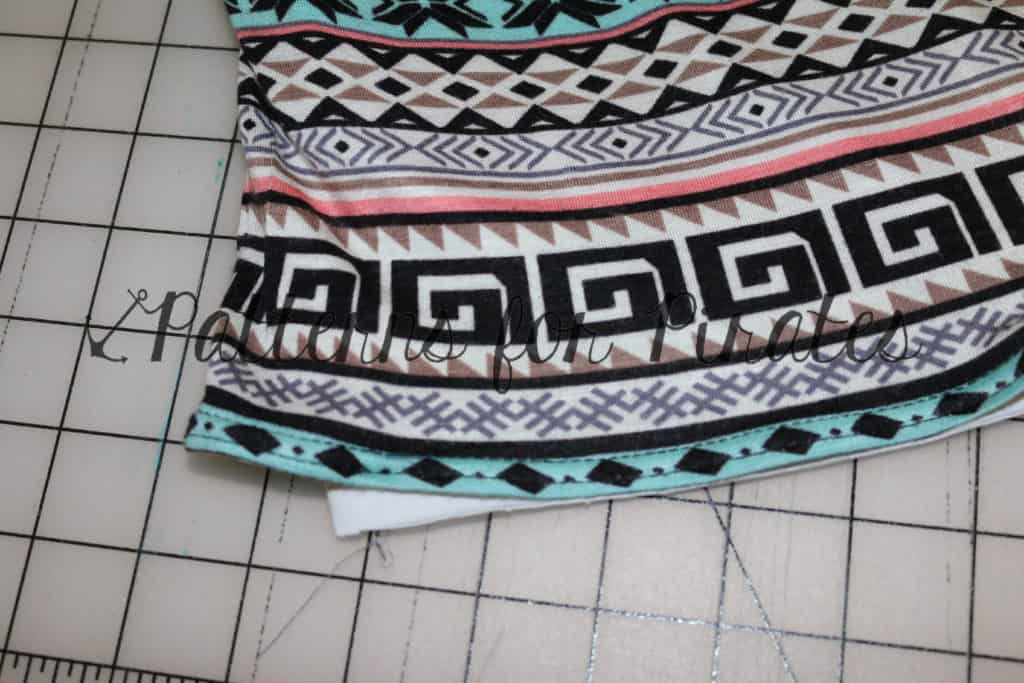
Now for attaching to the skirt. I recommend using the “Traditional Gathering Method” for the skirt since there is elastic in the bodice, it might start getting bulking with elastic also in the skirt! Attaching the top with right sides together, but only catching the lining. The main bodice piece will be free.
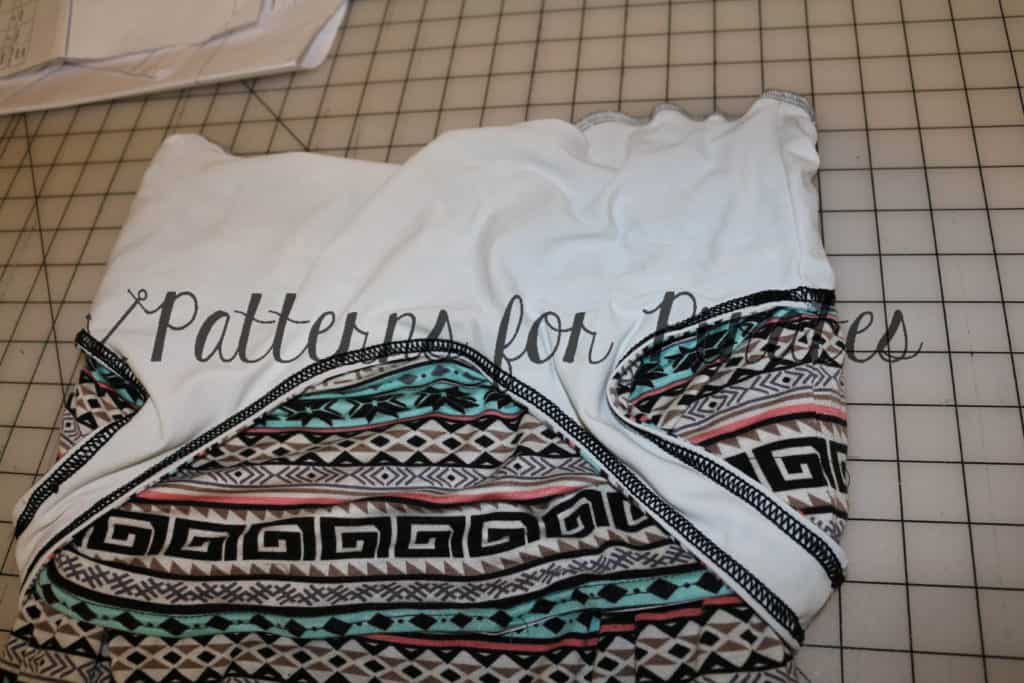
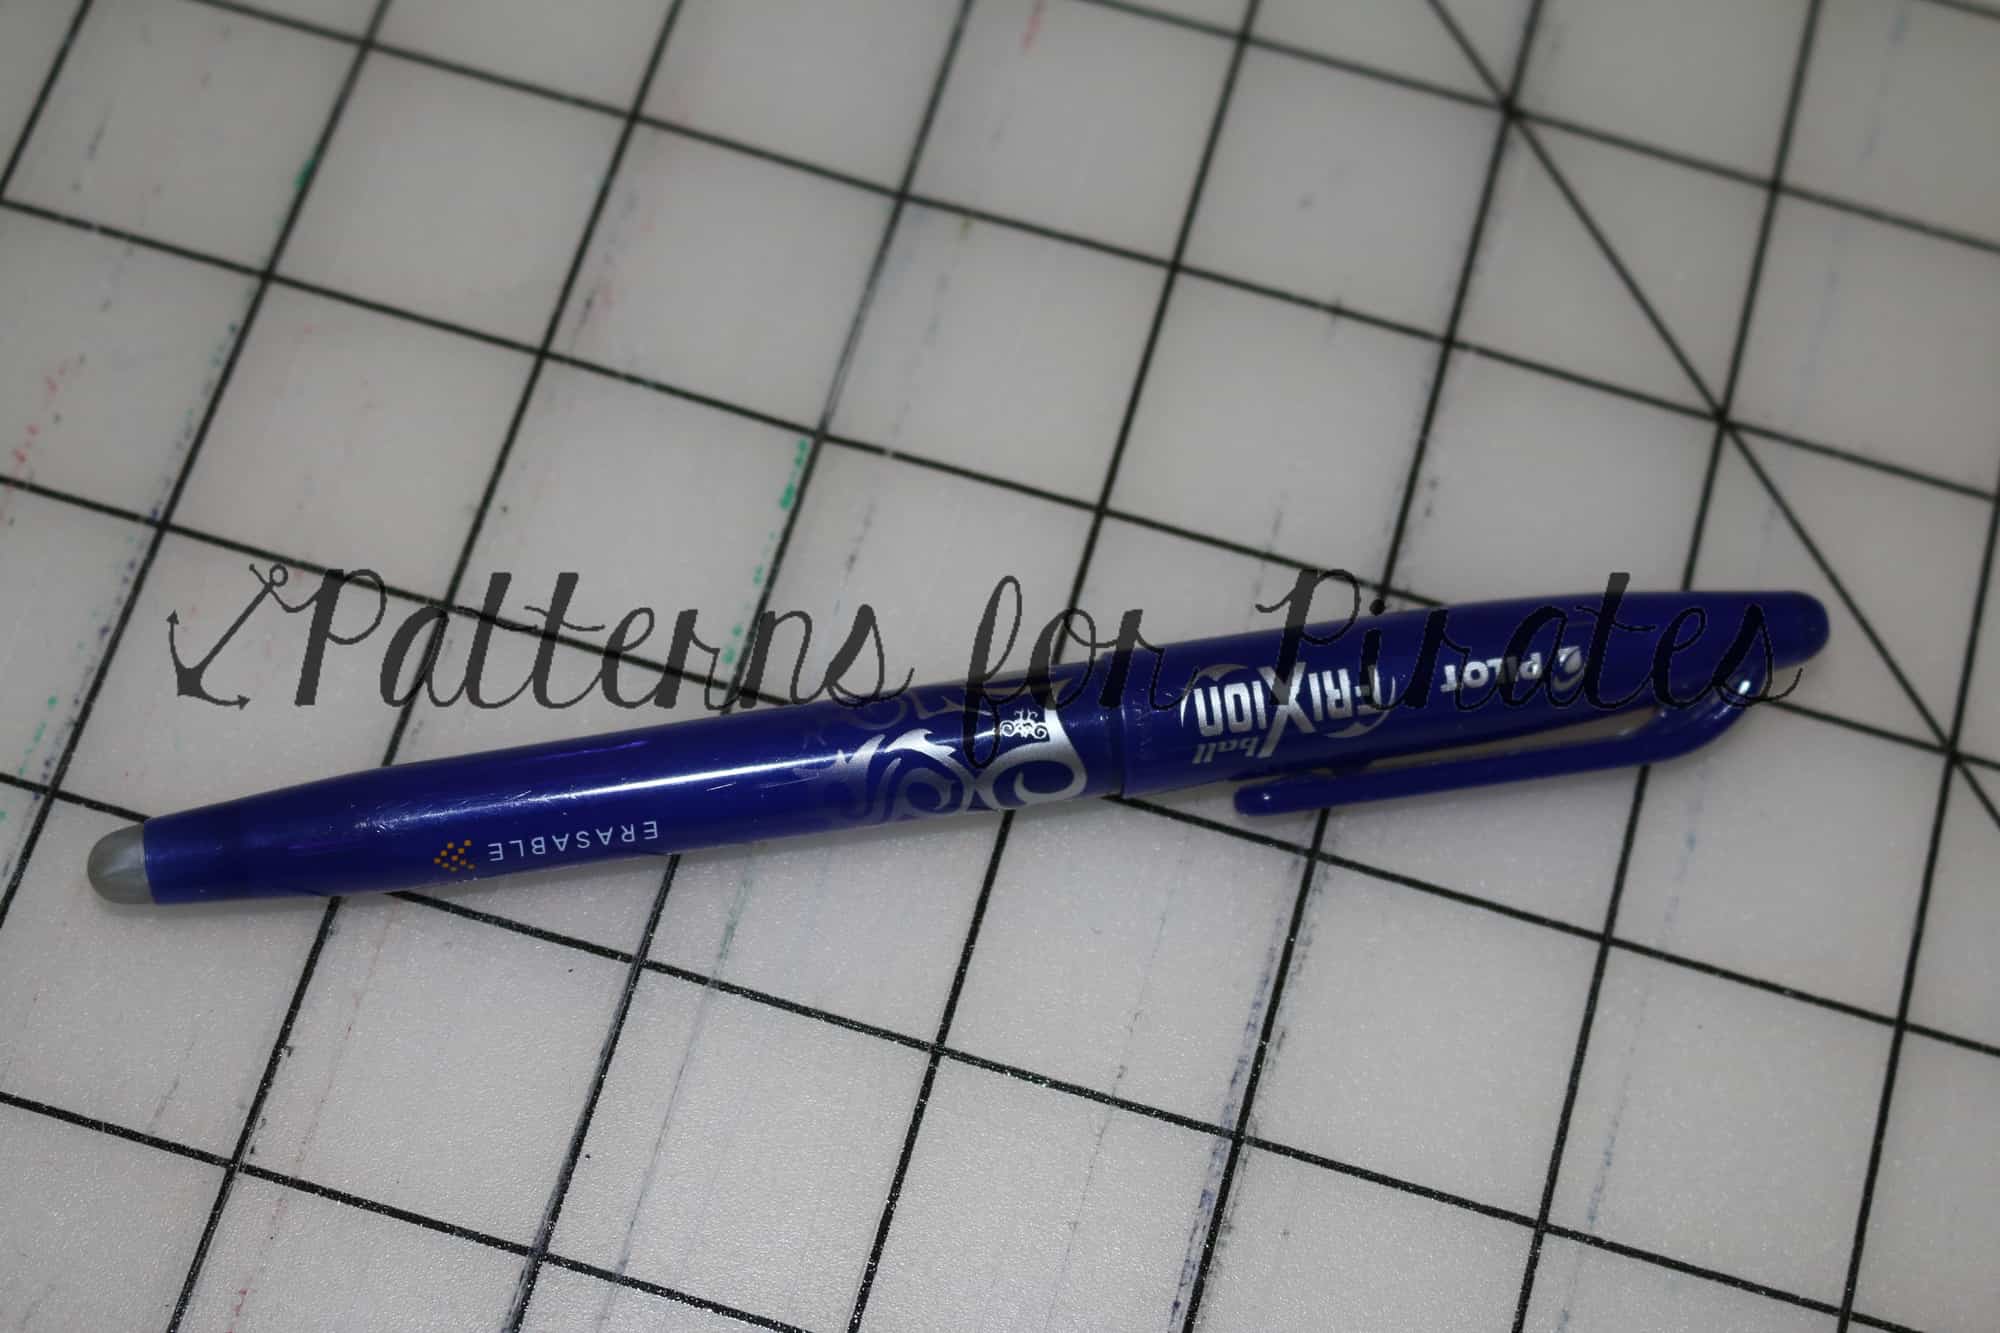
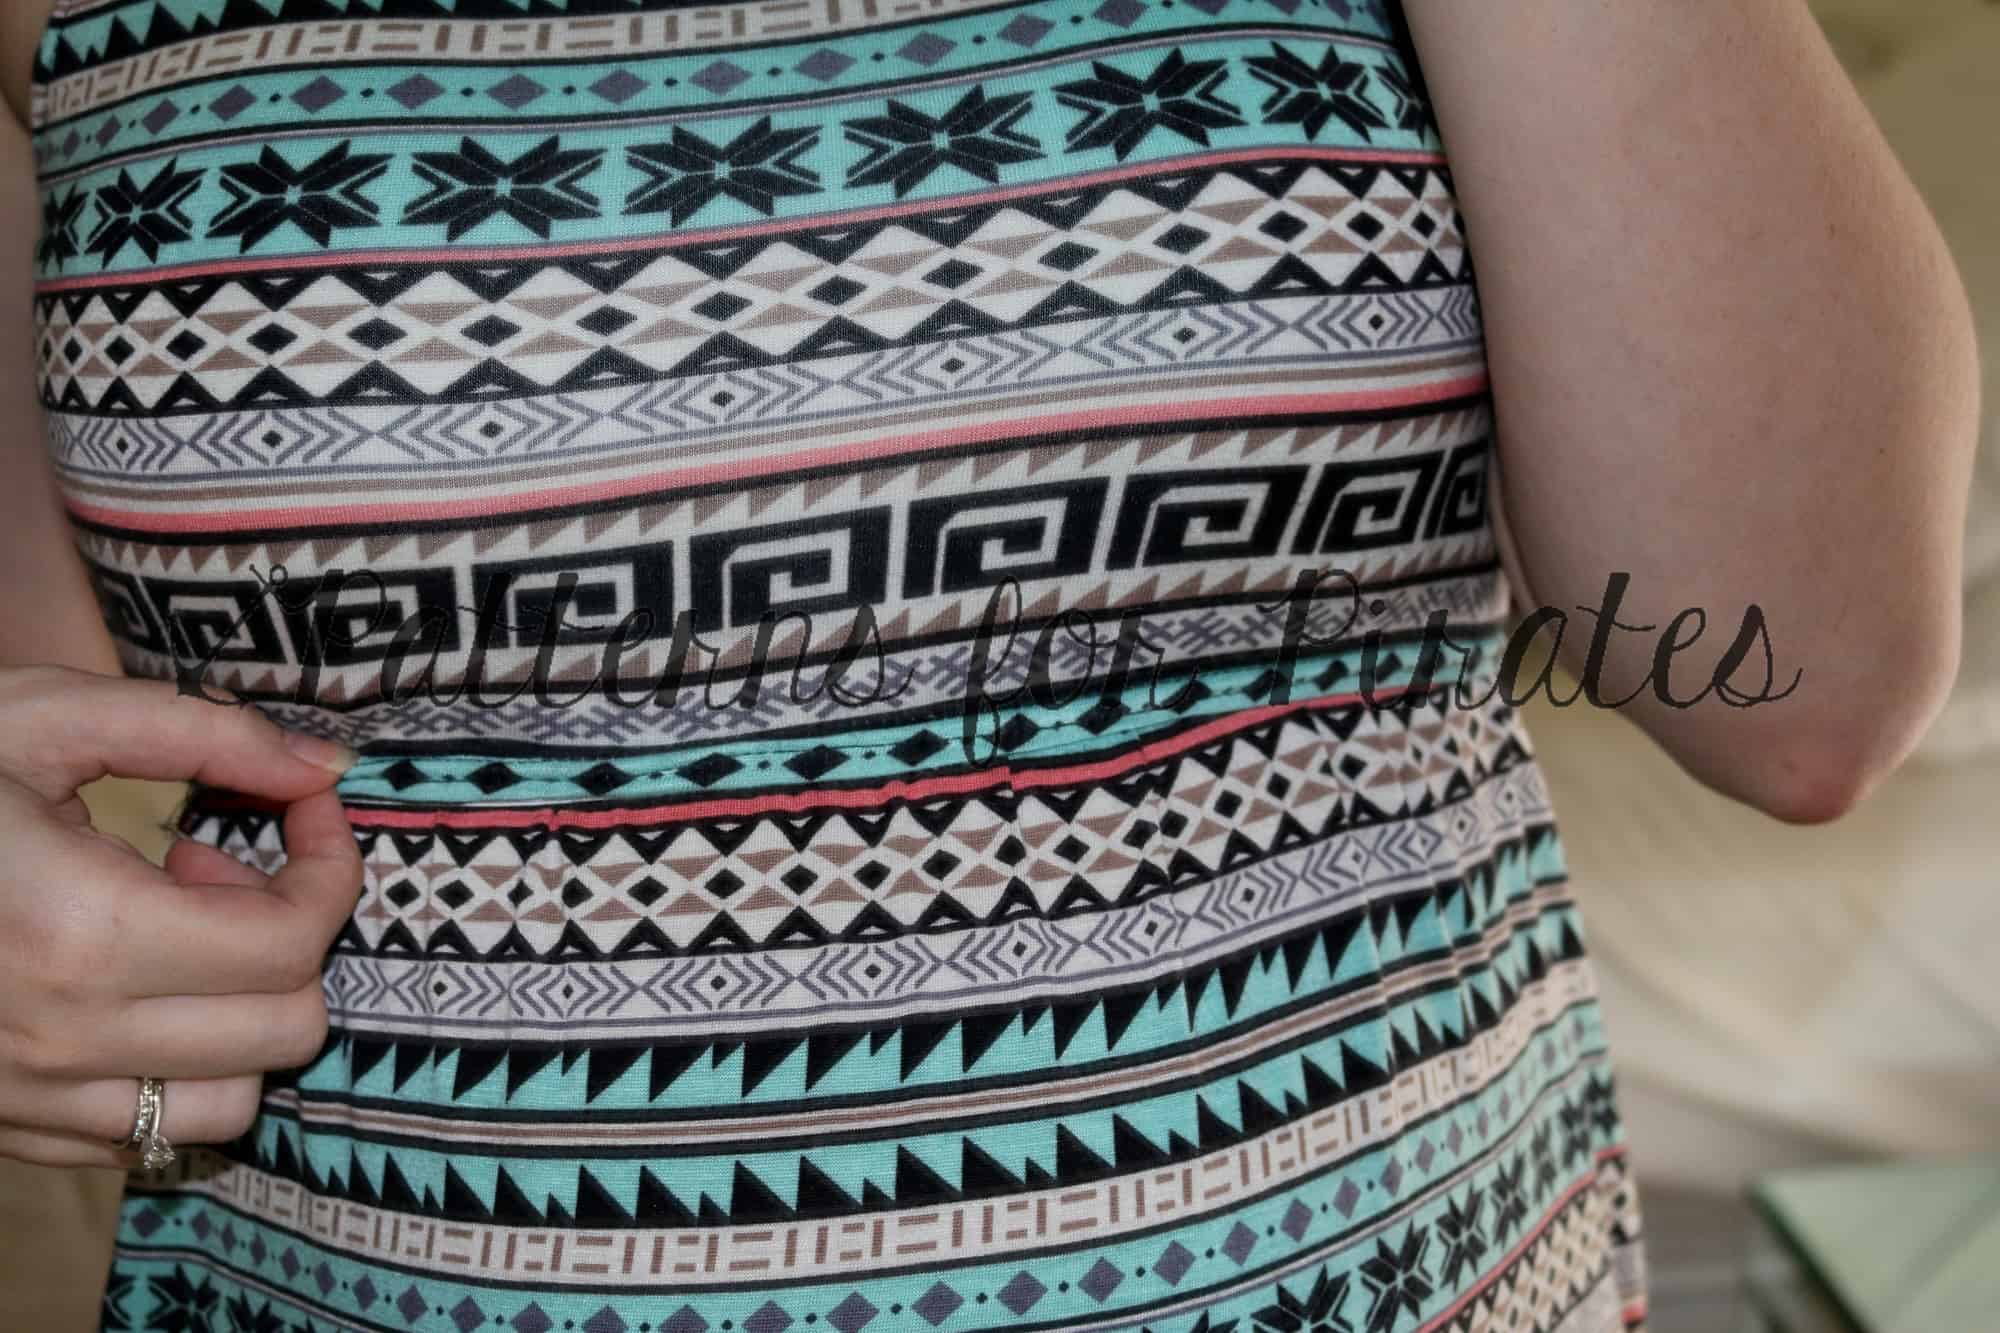
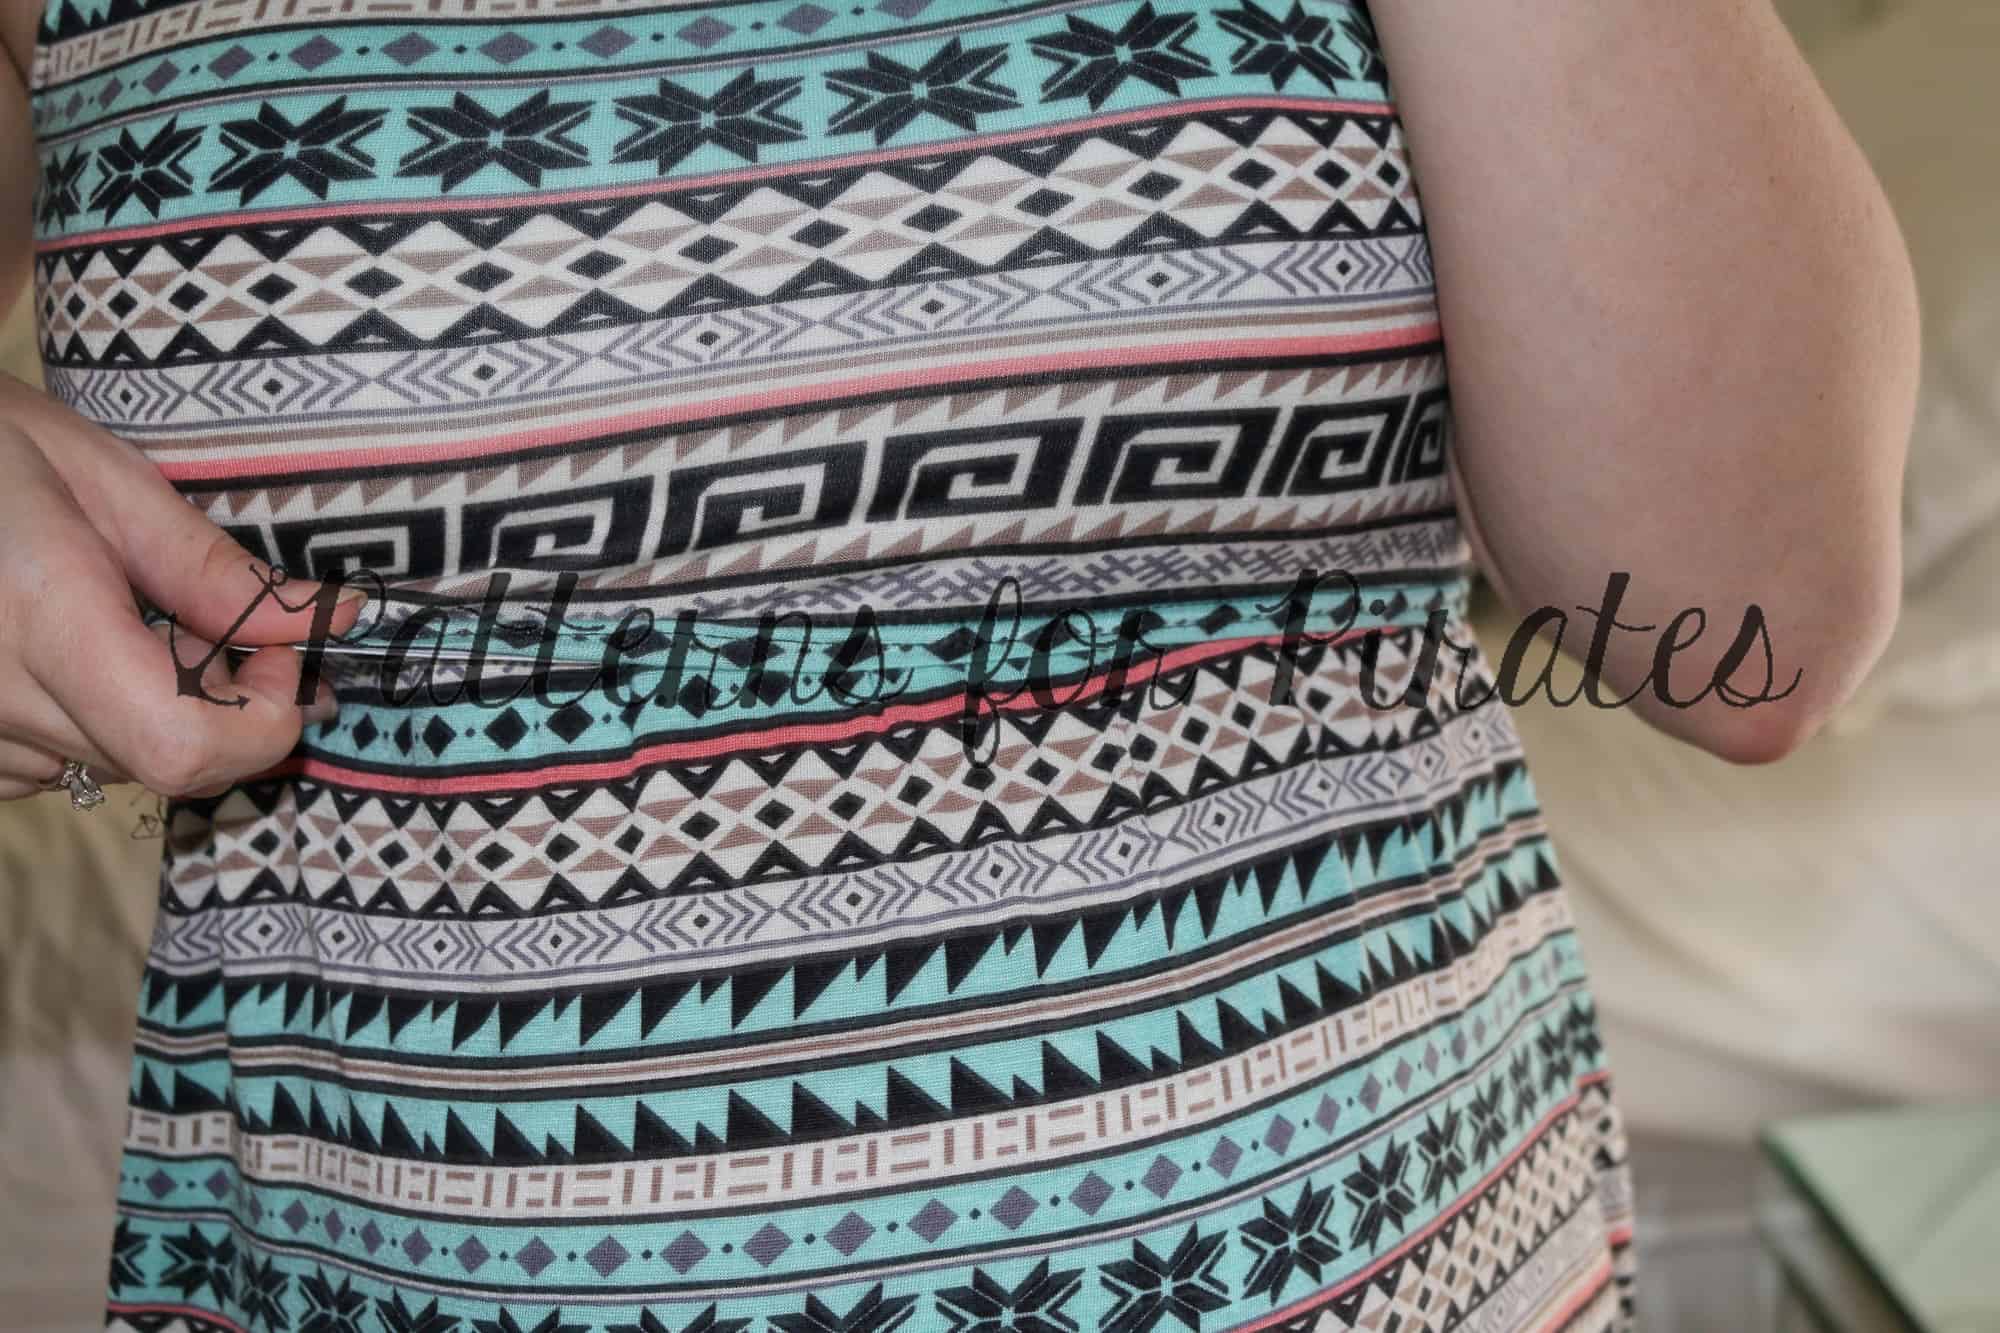
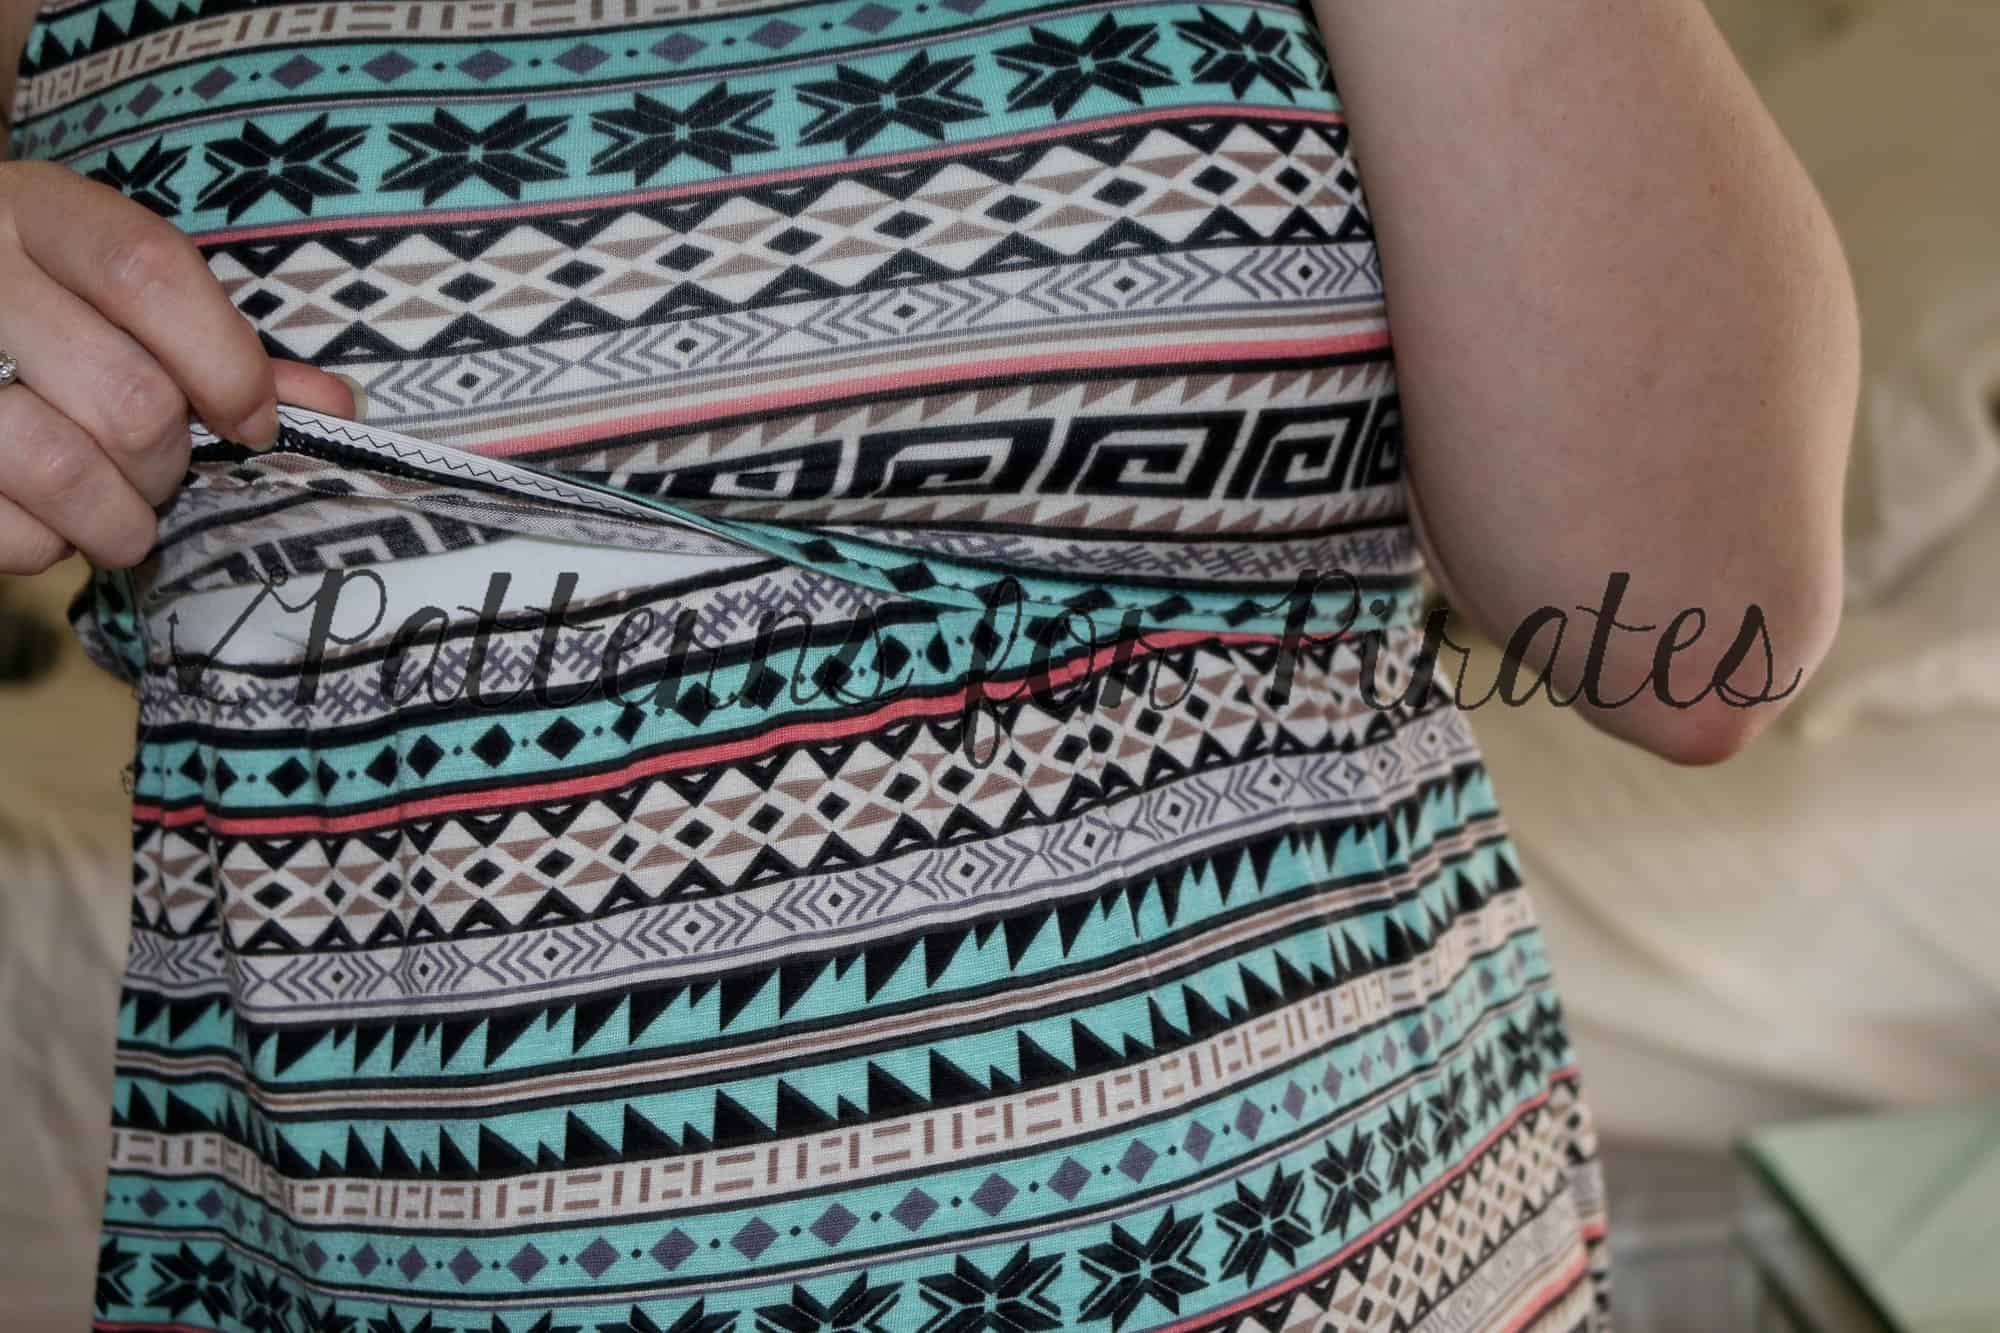
Now you can try on and mark/make cut outs in the lining. I used my handy pen that disappears with a hot iron! I didn’t take pictures with the cut outs 😉 I’ve been asked several times what shape I cut out. I just did a horizontal slit below the apex (fullest part) of my bust. I thought it showed through the least that way. I just opened up the slit to use it.
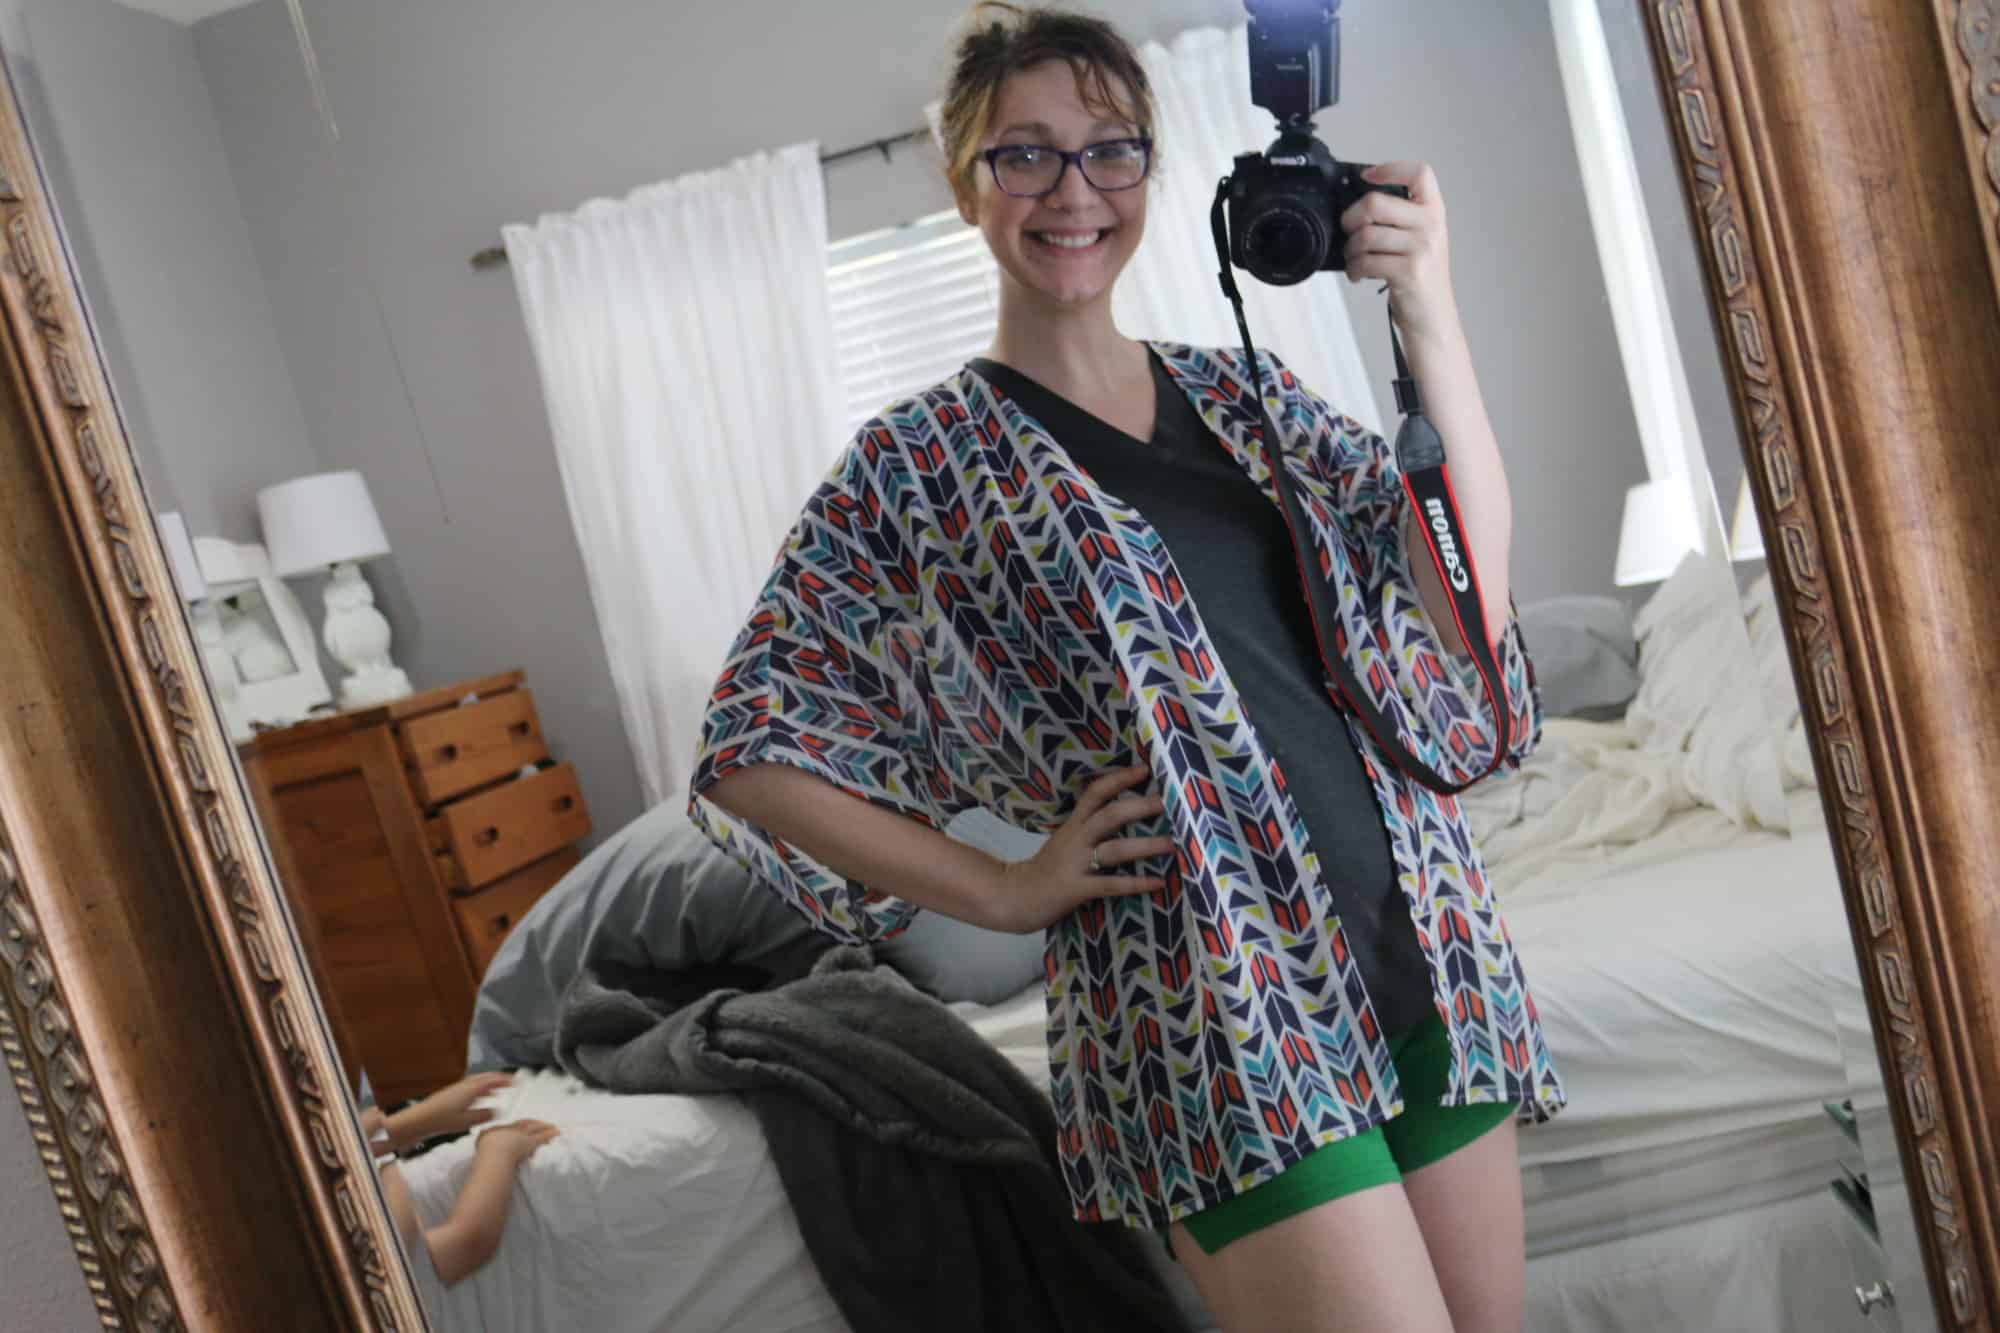
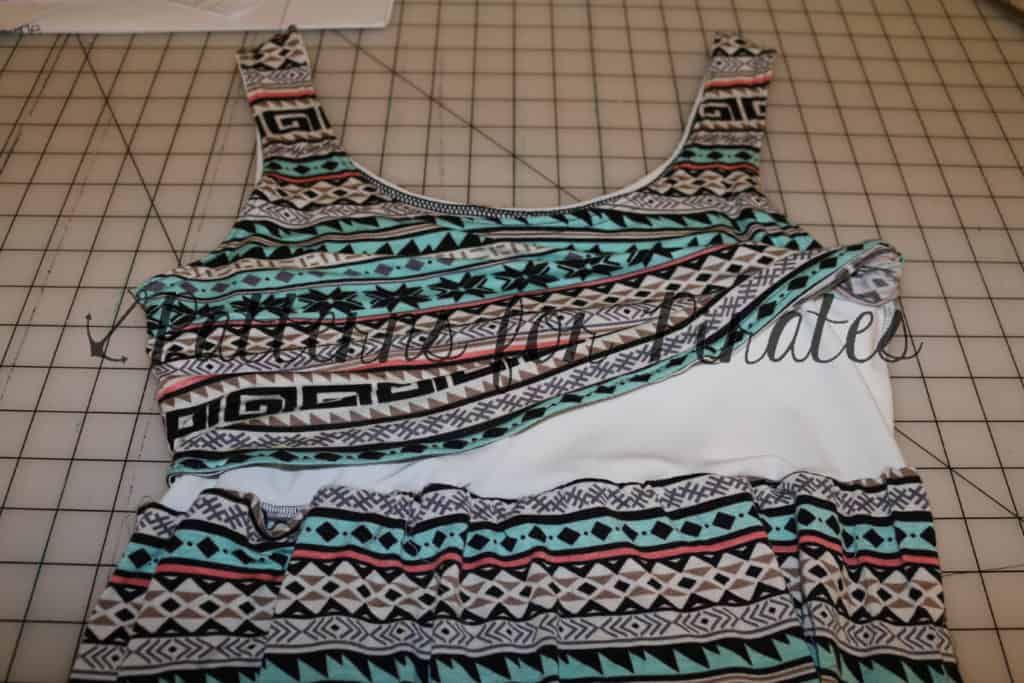
Here is my finished nursing tunic from the Boundless Knit Dress!
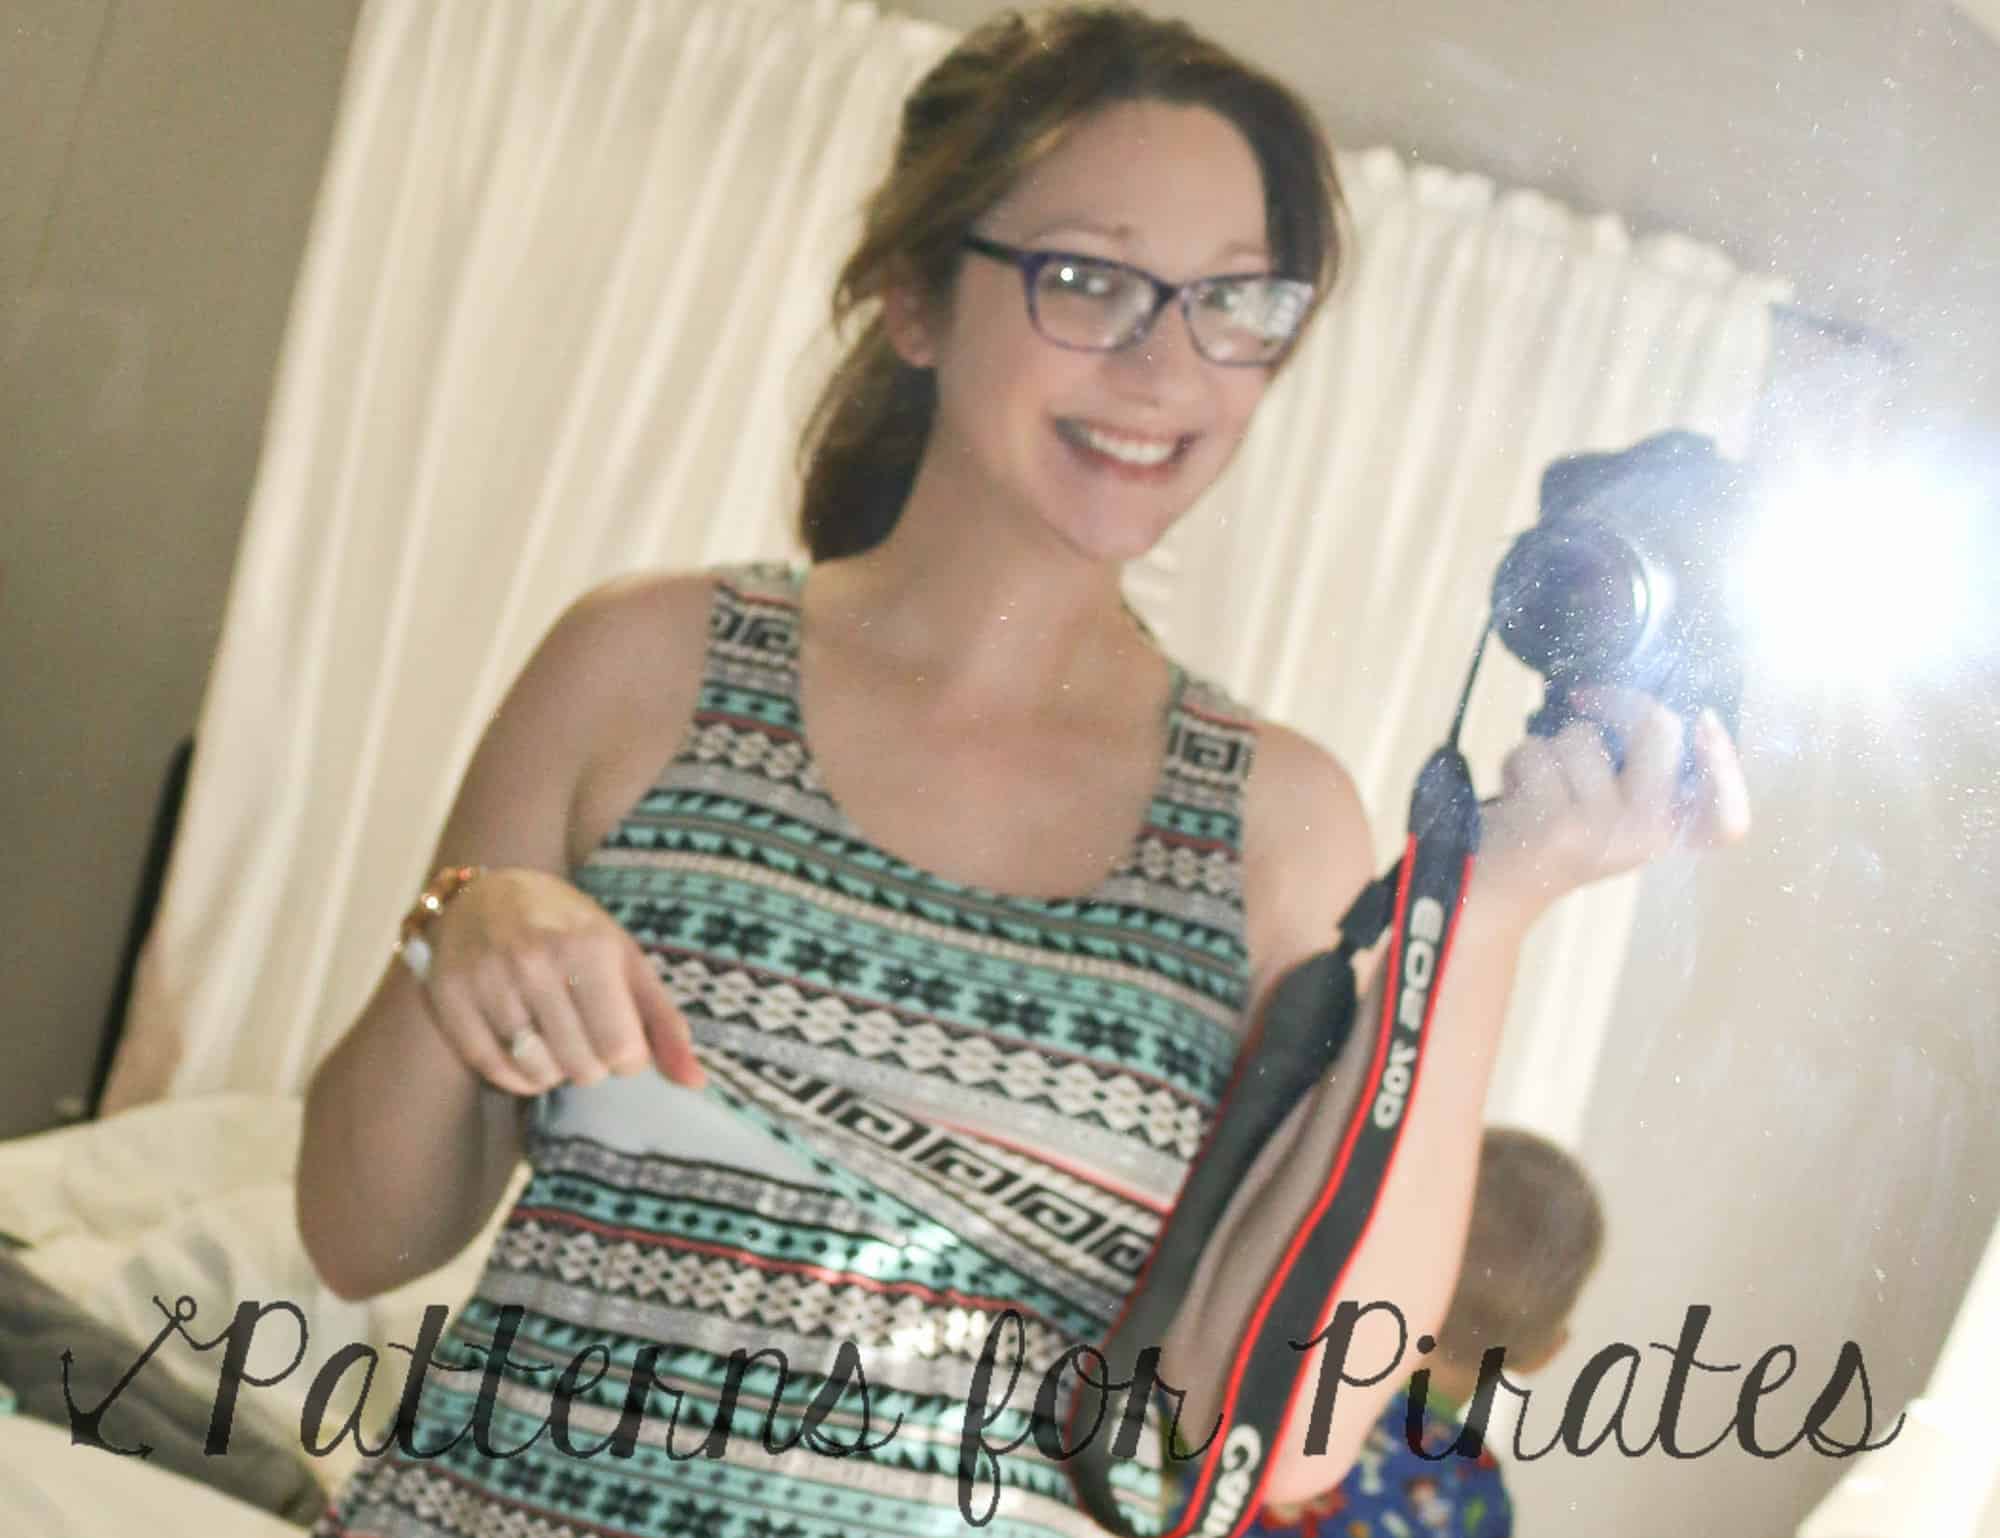
And some with Little Guy sneaking in the action of course! He’s showing off his new toy! And I LOVE his face in the 2nd one, looks like he’s super impressed with the nursing mod! 😉
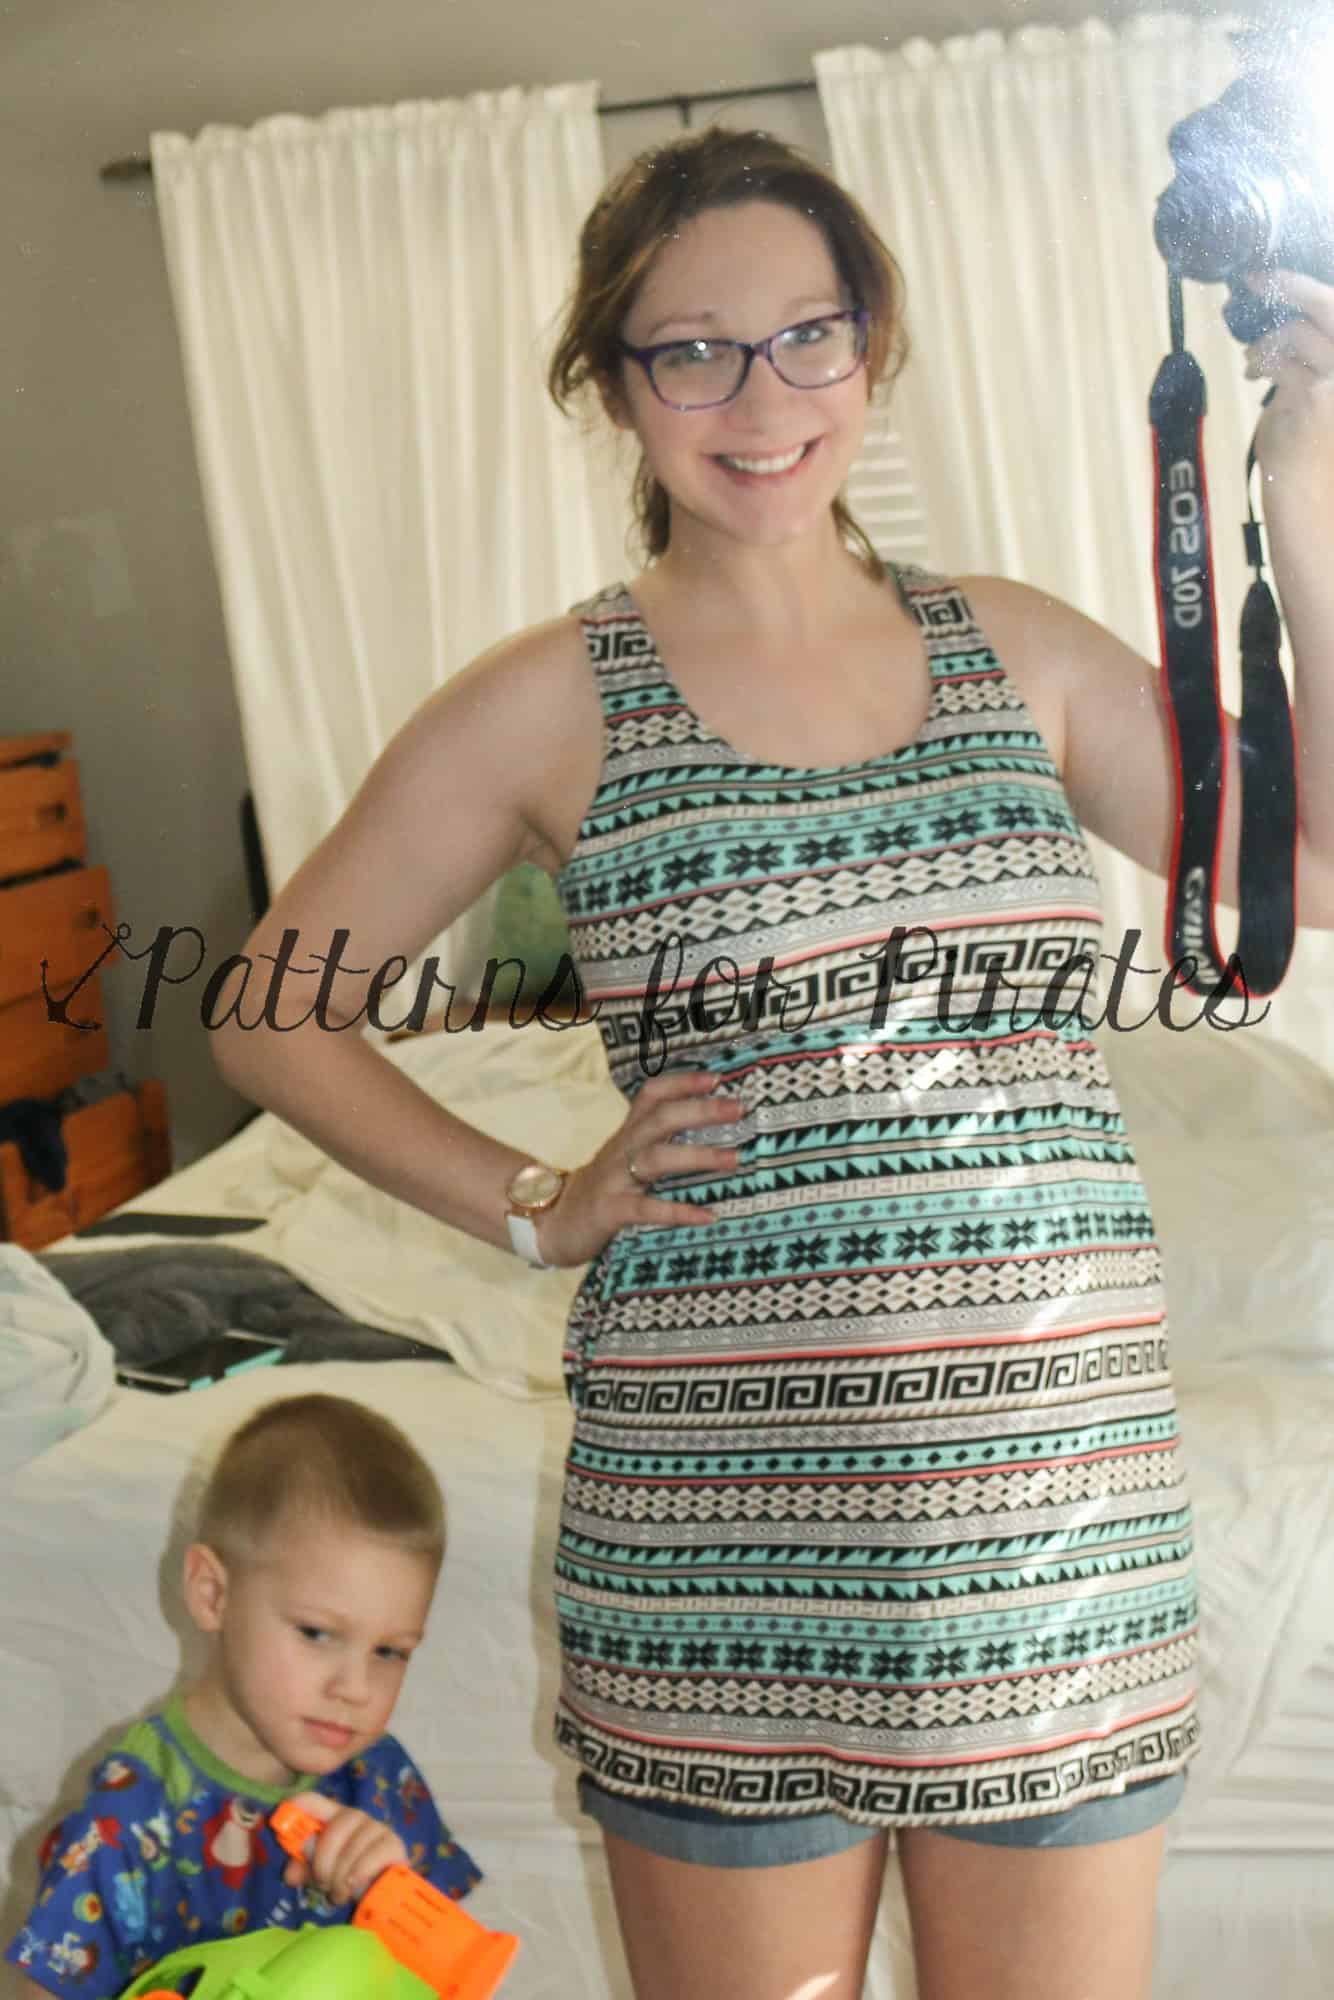
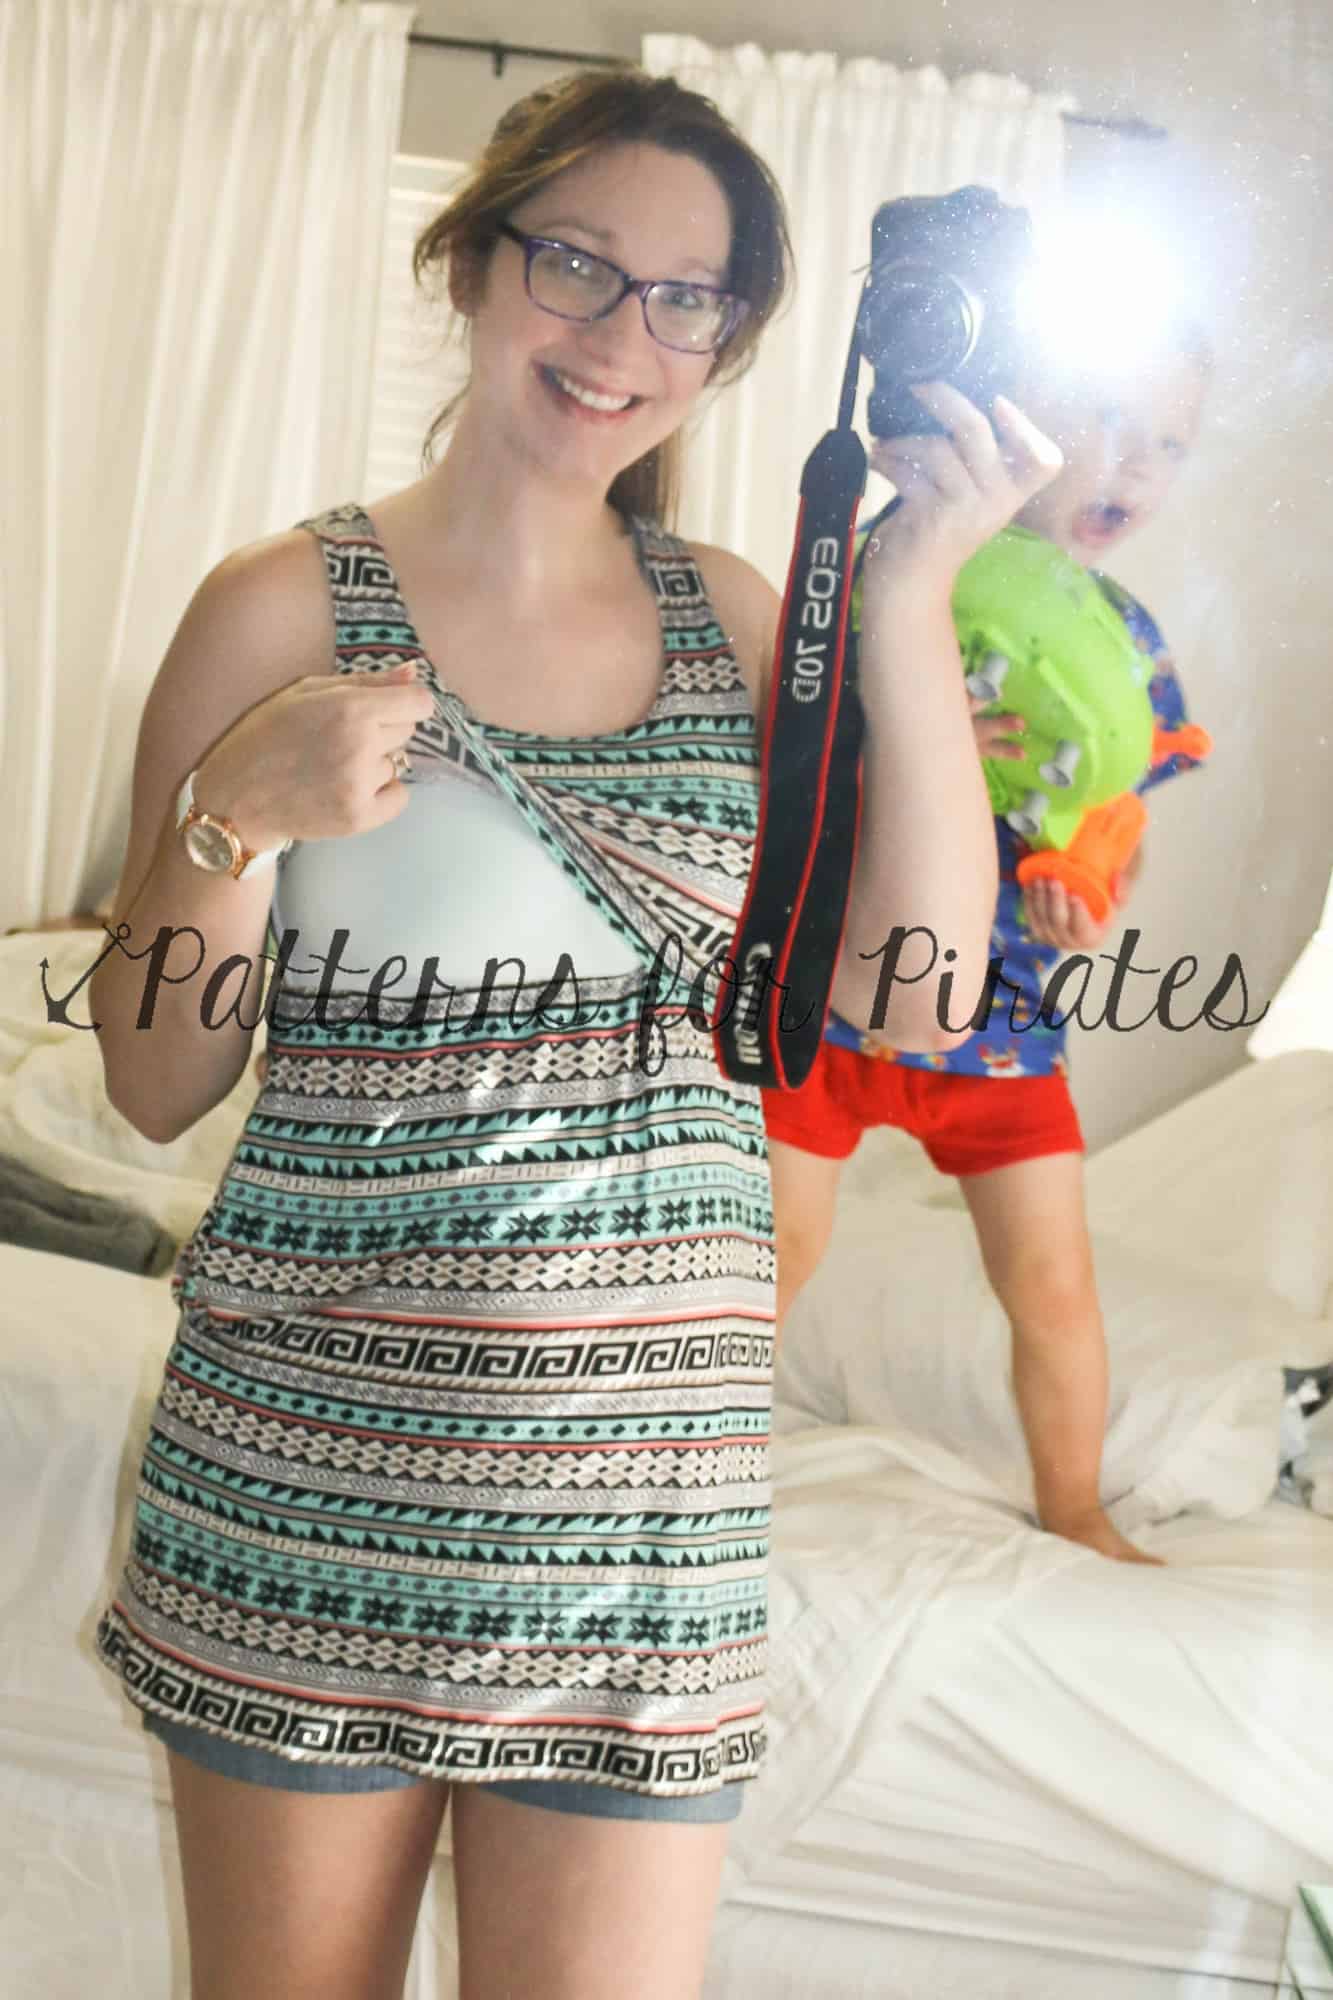
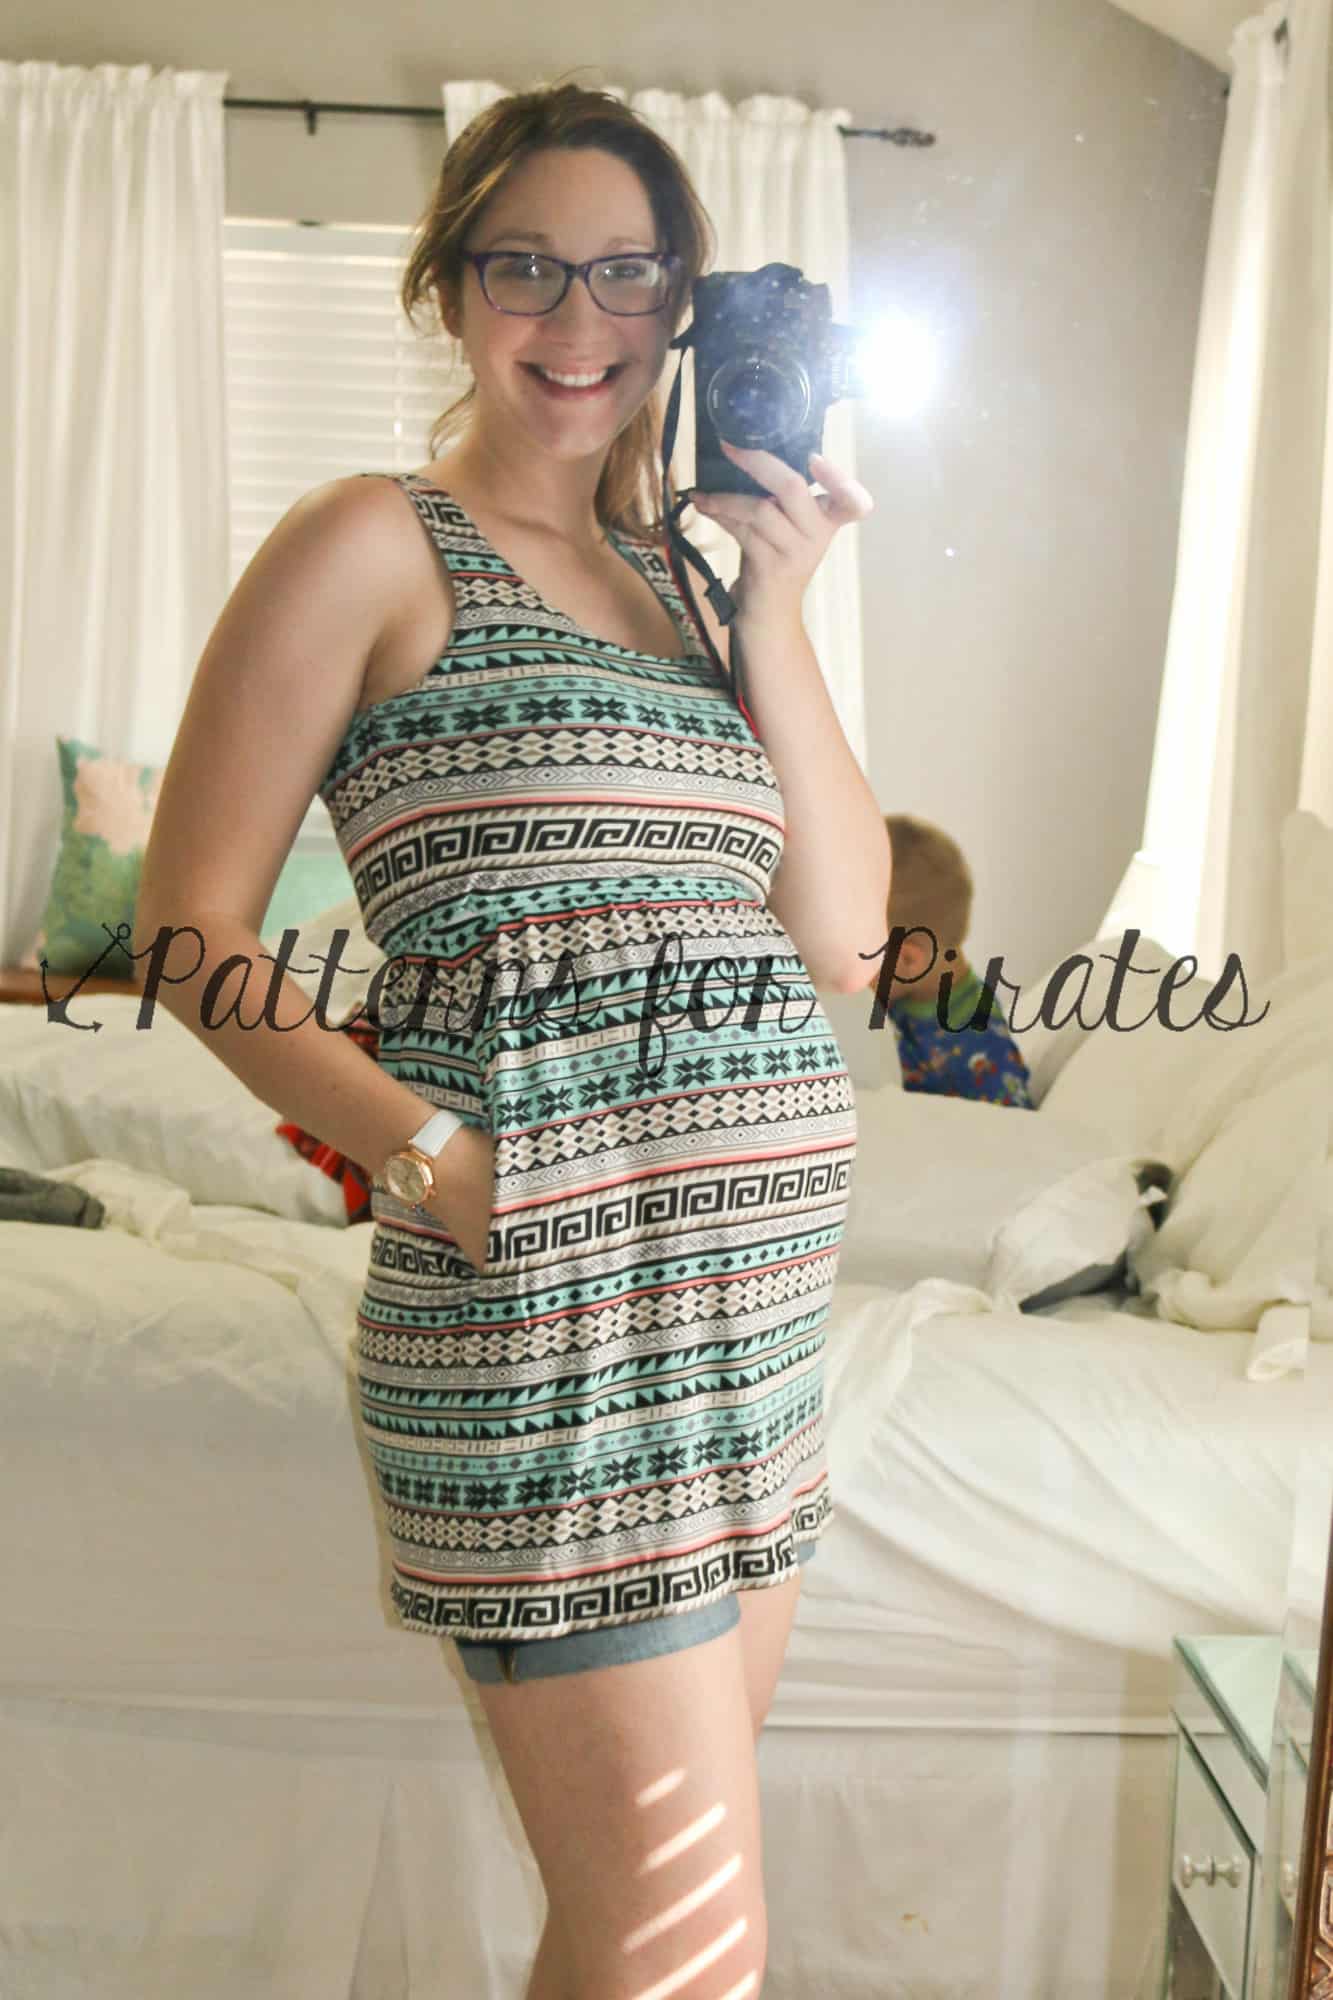
Love the pockets and the tunic length 🙂