Patterns for Pirates

P4P stylish, modern, wearable patterns

  • Home
  • Blog
    • Frequently Asked Questions
    • Pattern Releases
      • Free Patterns
    • P4P University
      • Fitting
      • Sewing with Stretch, Knit Fabrics
      • Sewing with Woven Fabrics
      • Sewing Machines
    • Sew-A-Longs
    • Fabric for Pirates
    • Pattern Hacks
    • Announcement
      • Blog Tours
      • Contest/Giveaway
  • Shop
  • Bundle Discounts
  • Flash Friday
  • Gift Cards
  • My Account
  • Cart

Minute Maillot – Easy Hacks

May 11, 2019

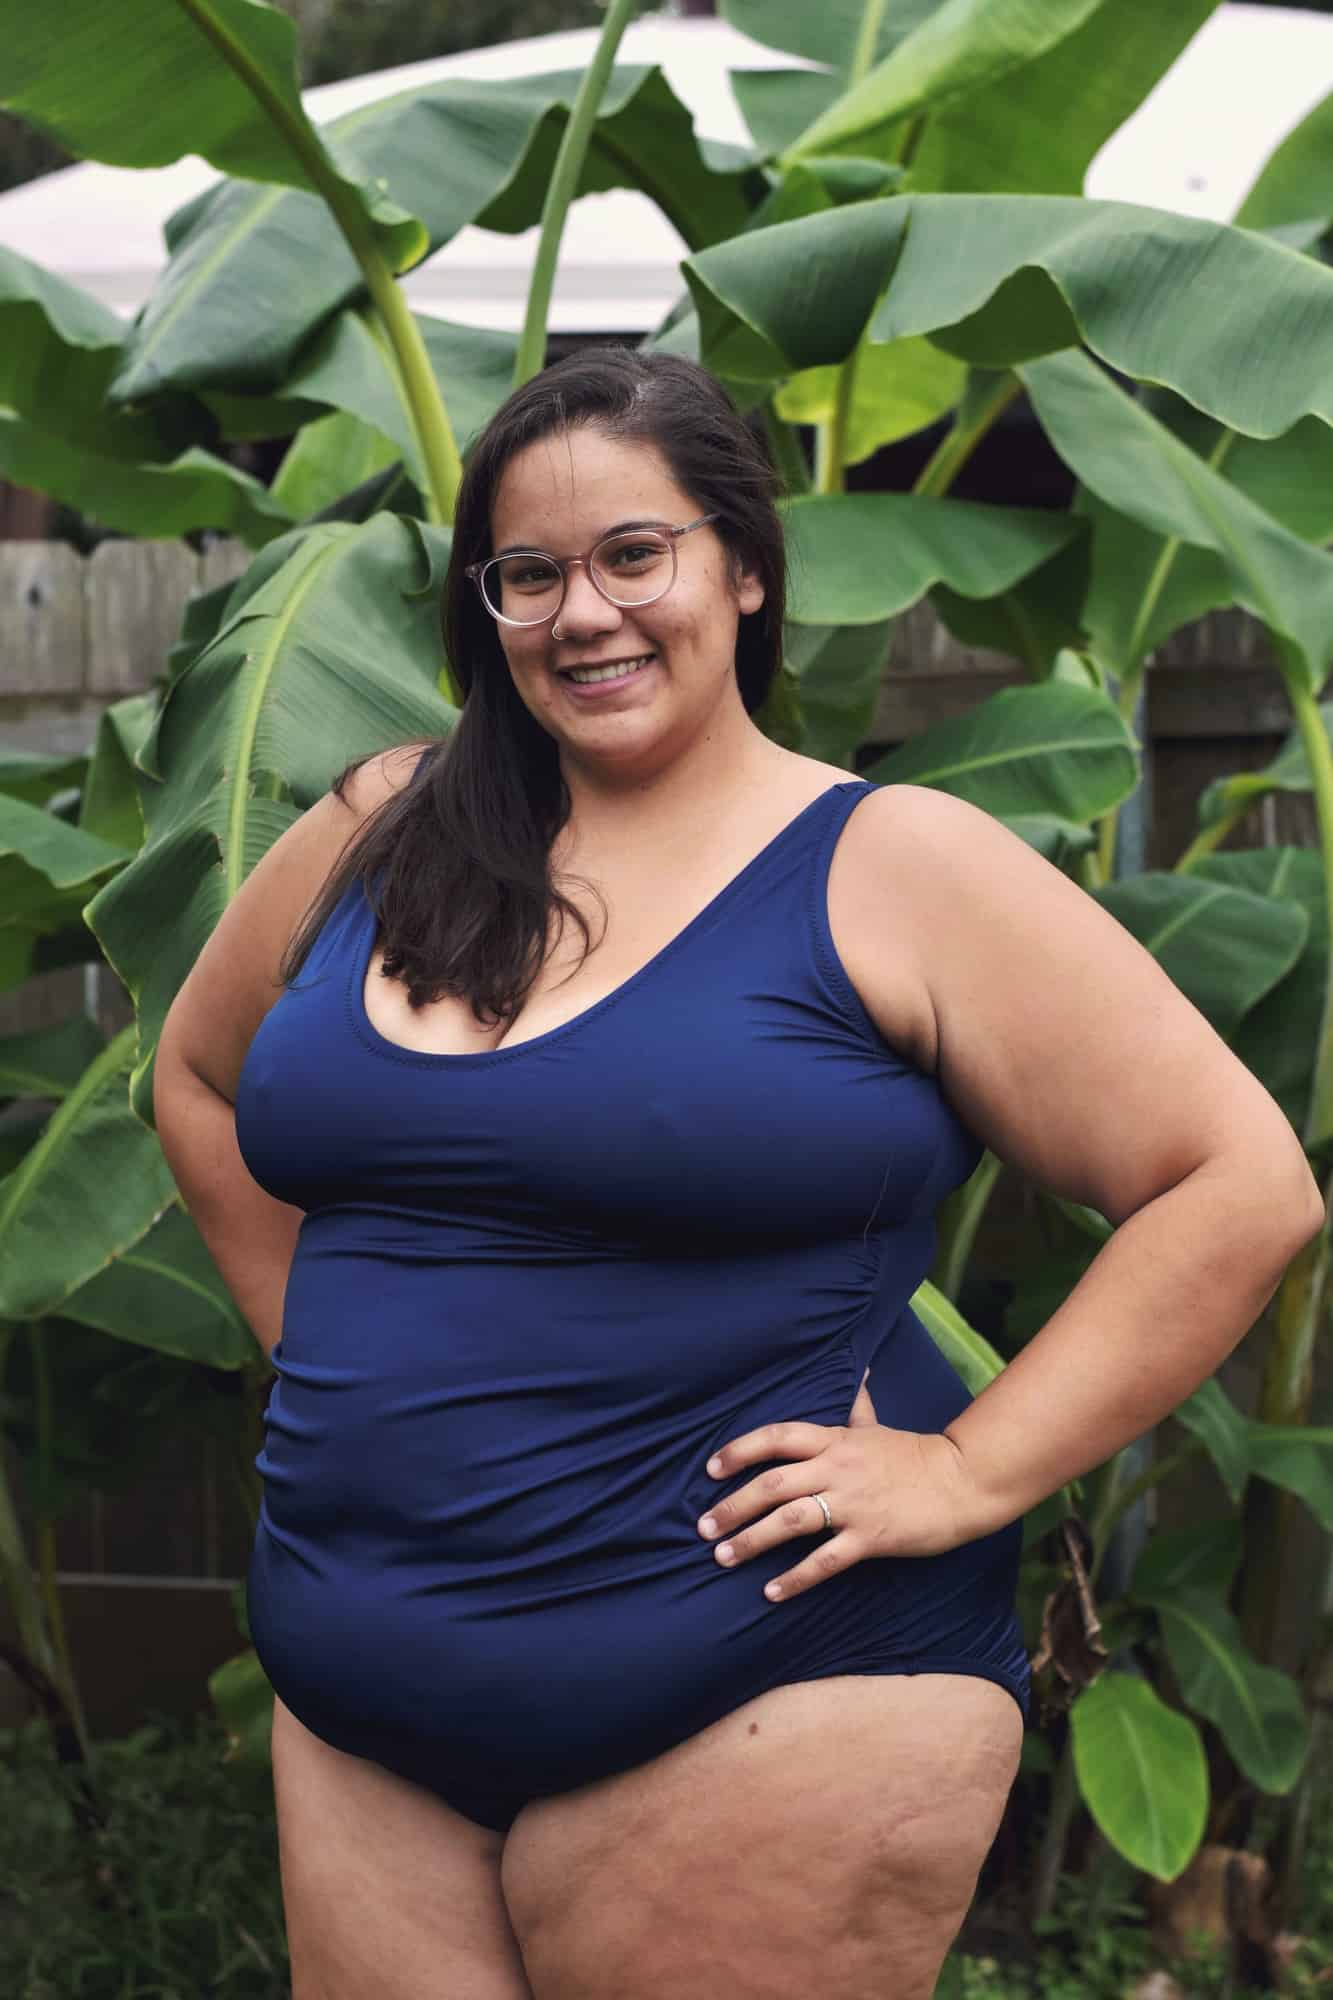
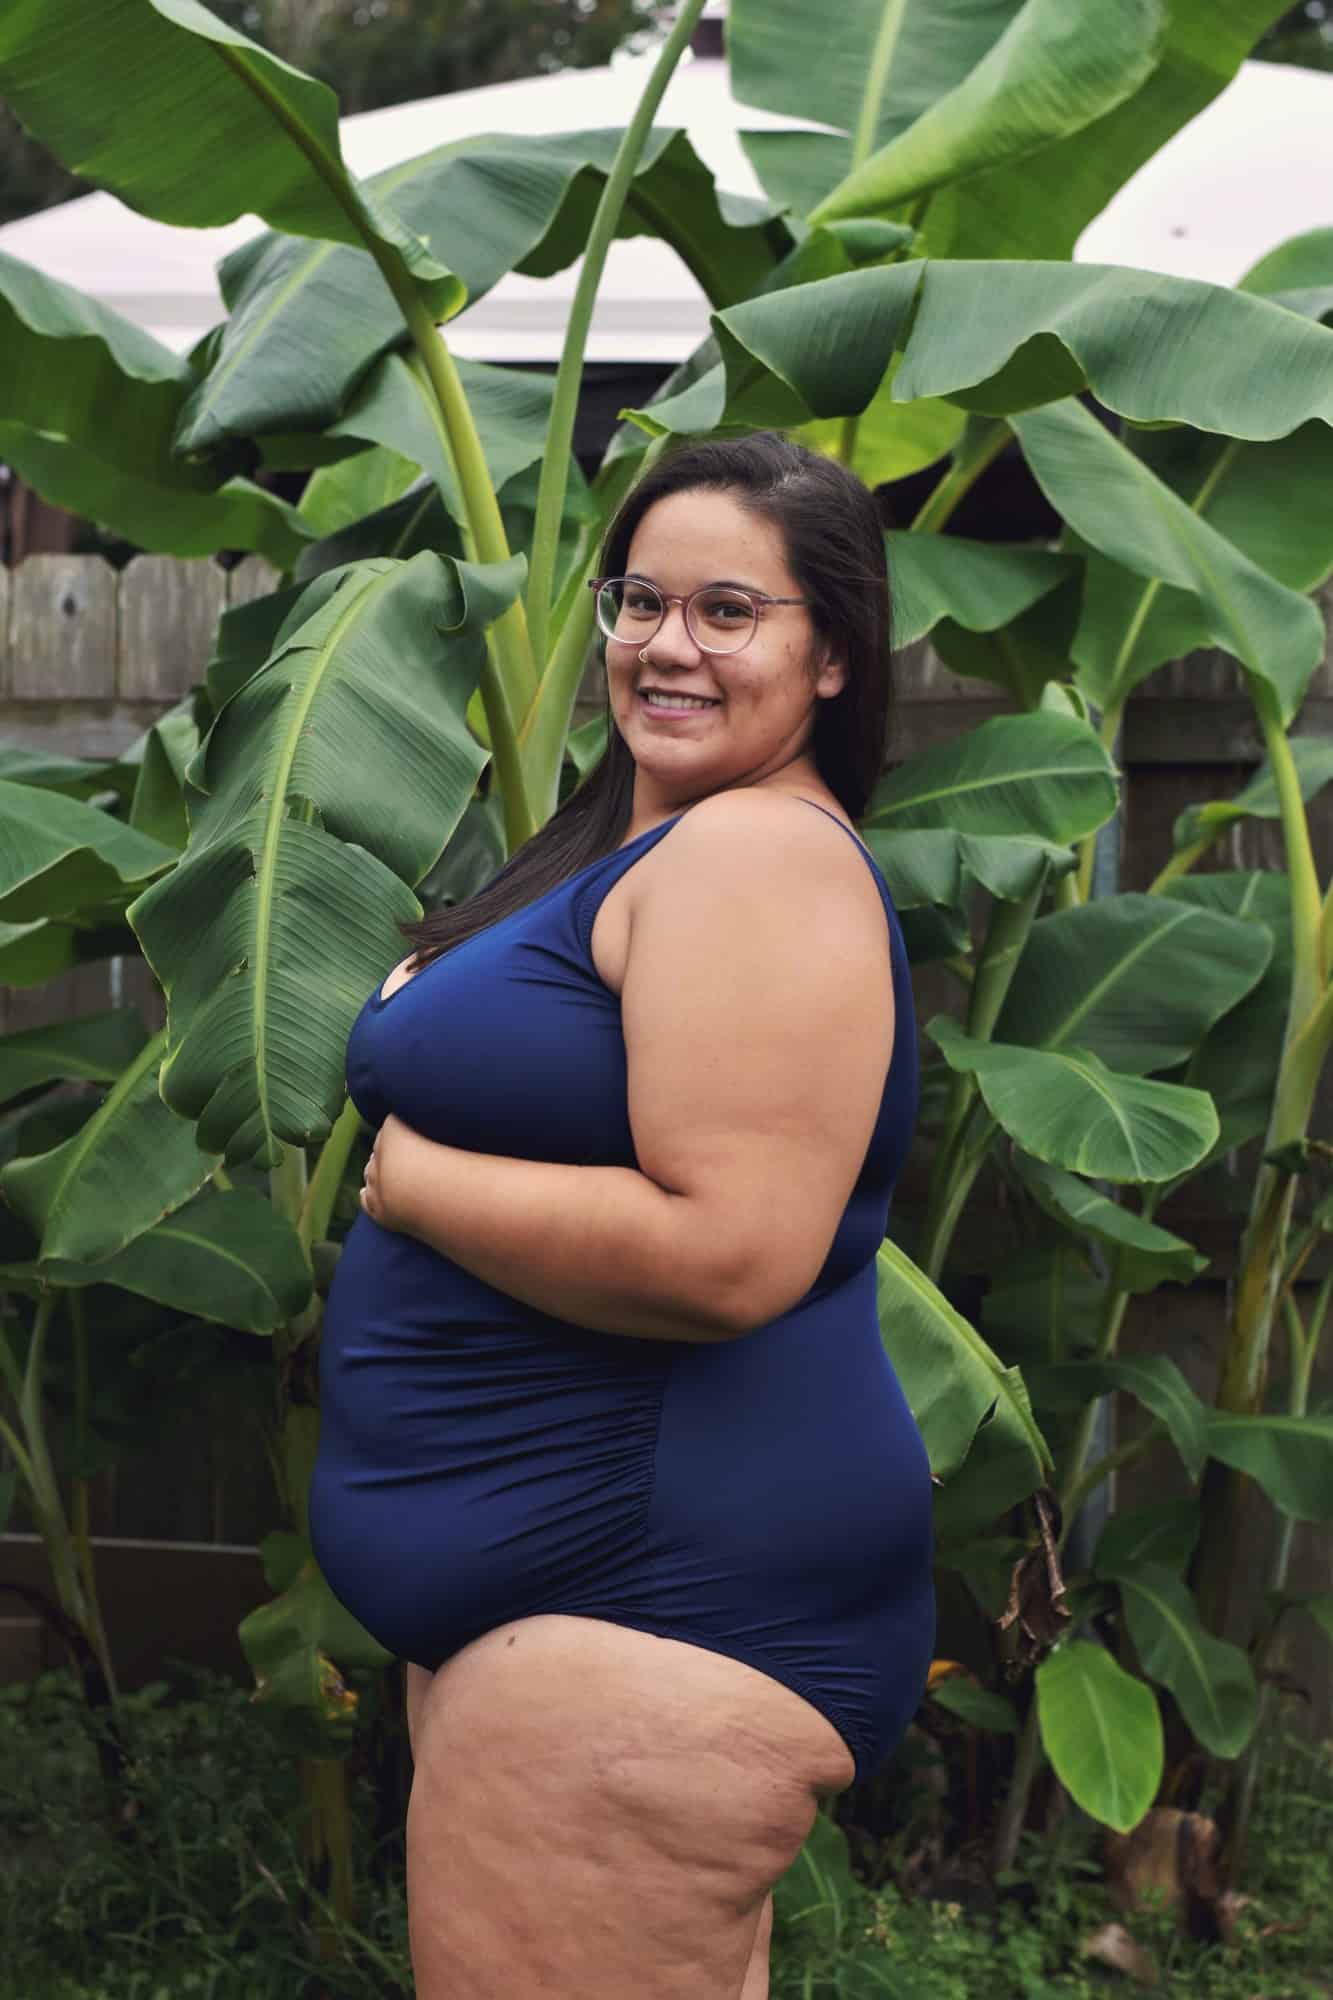
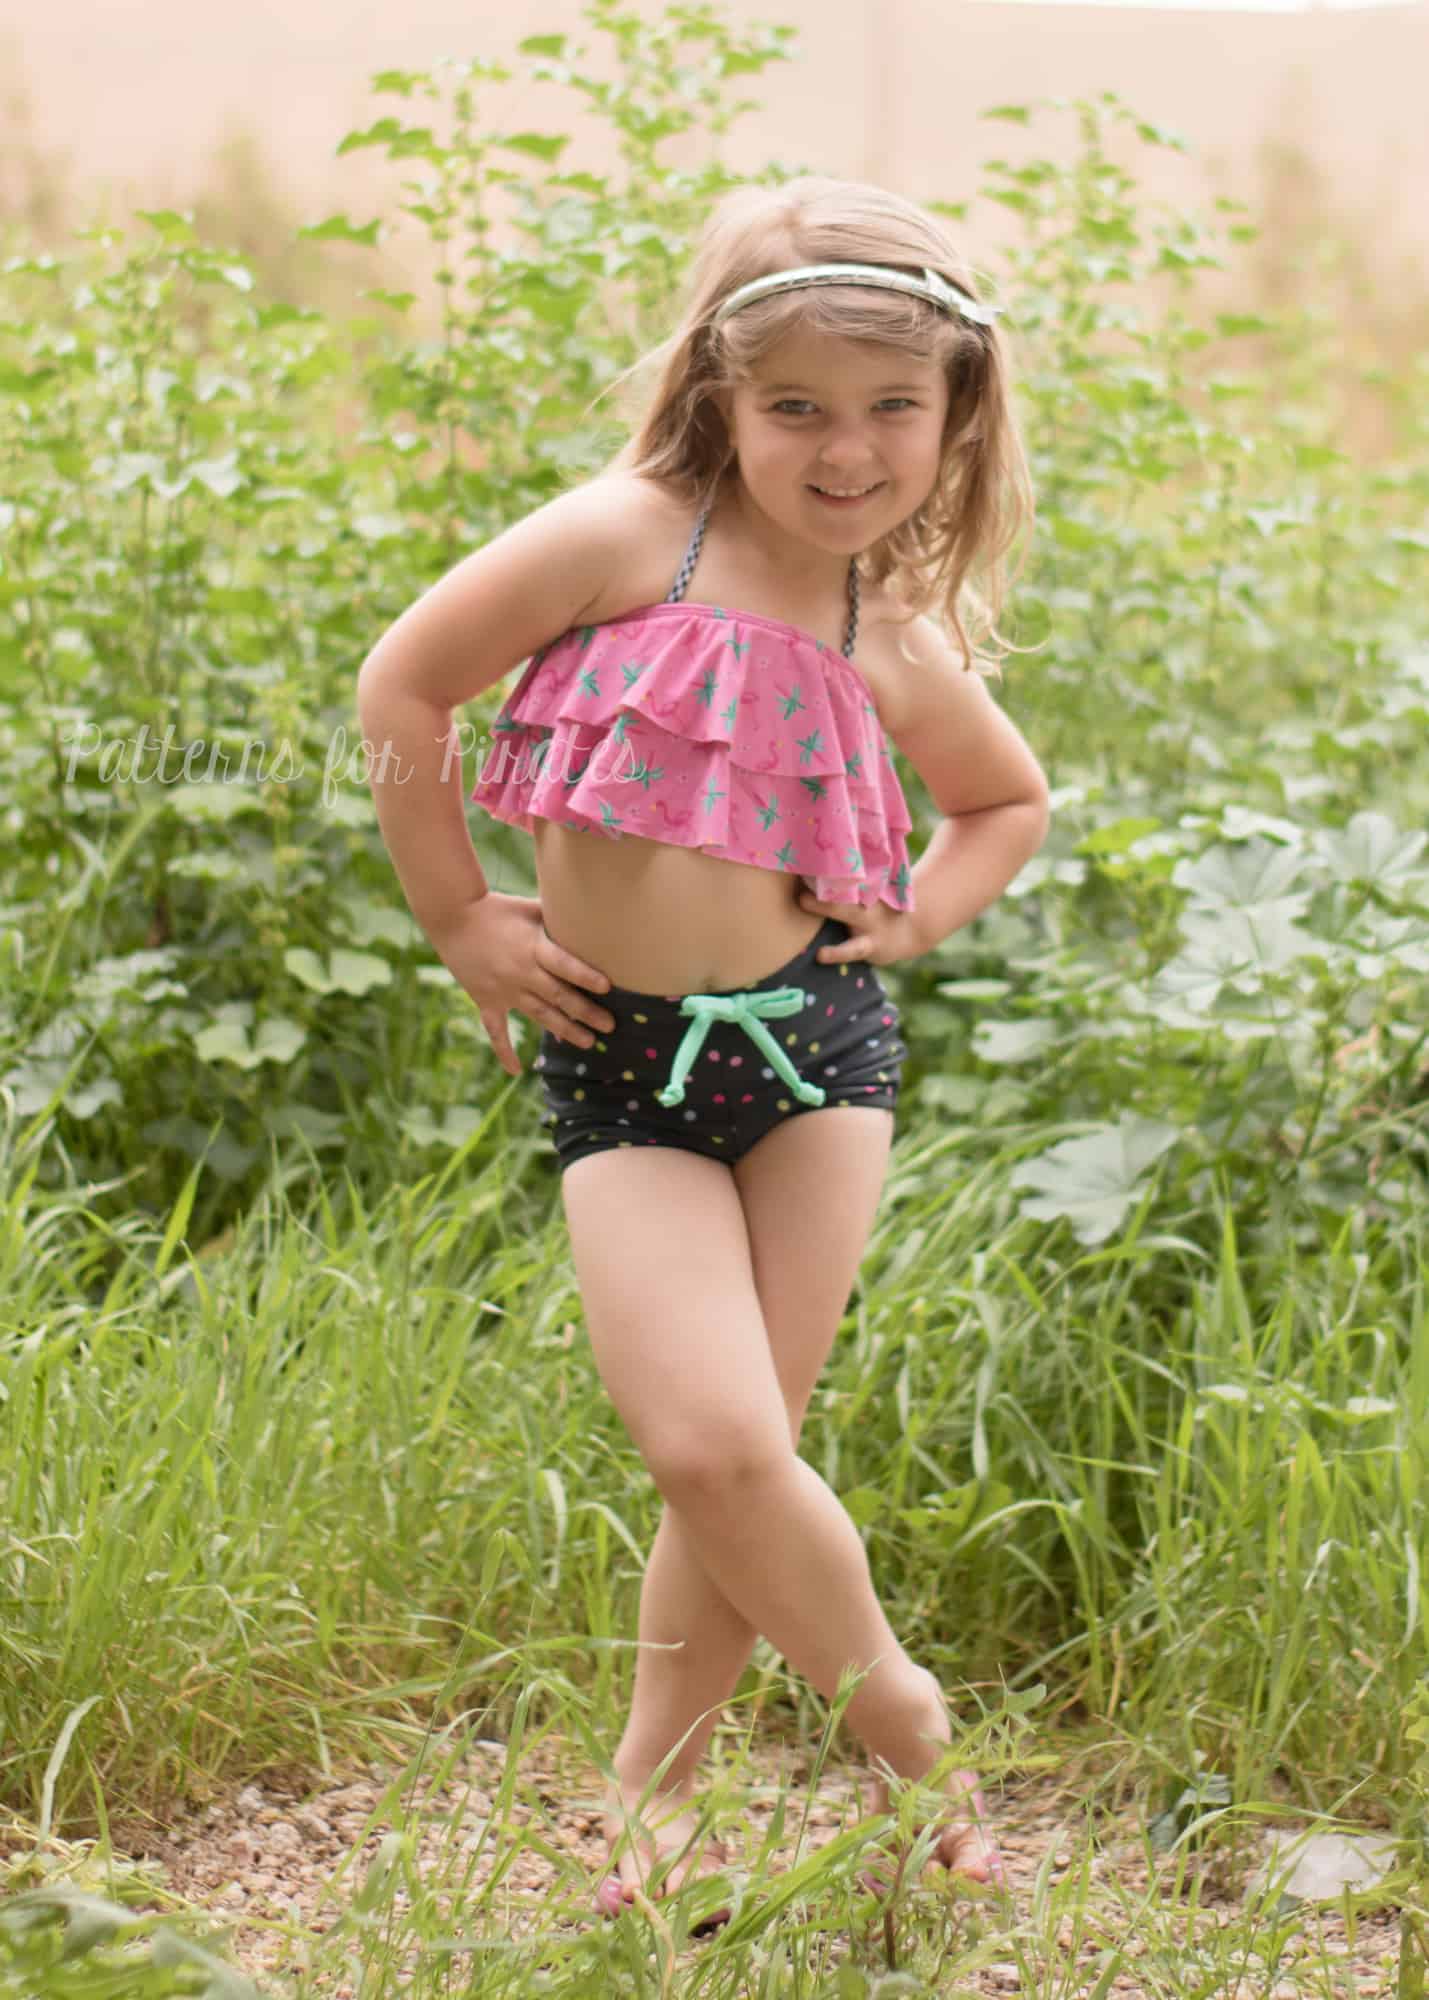
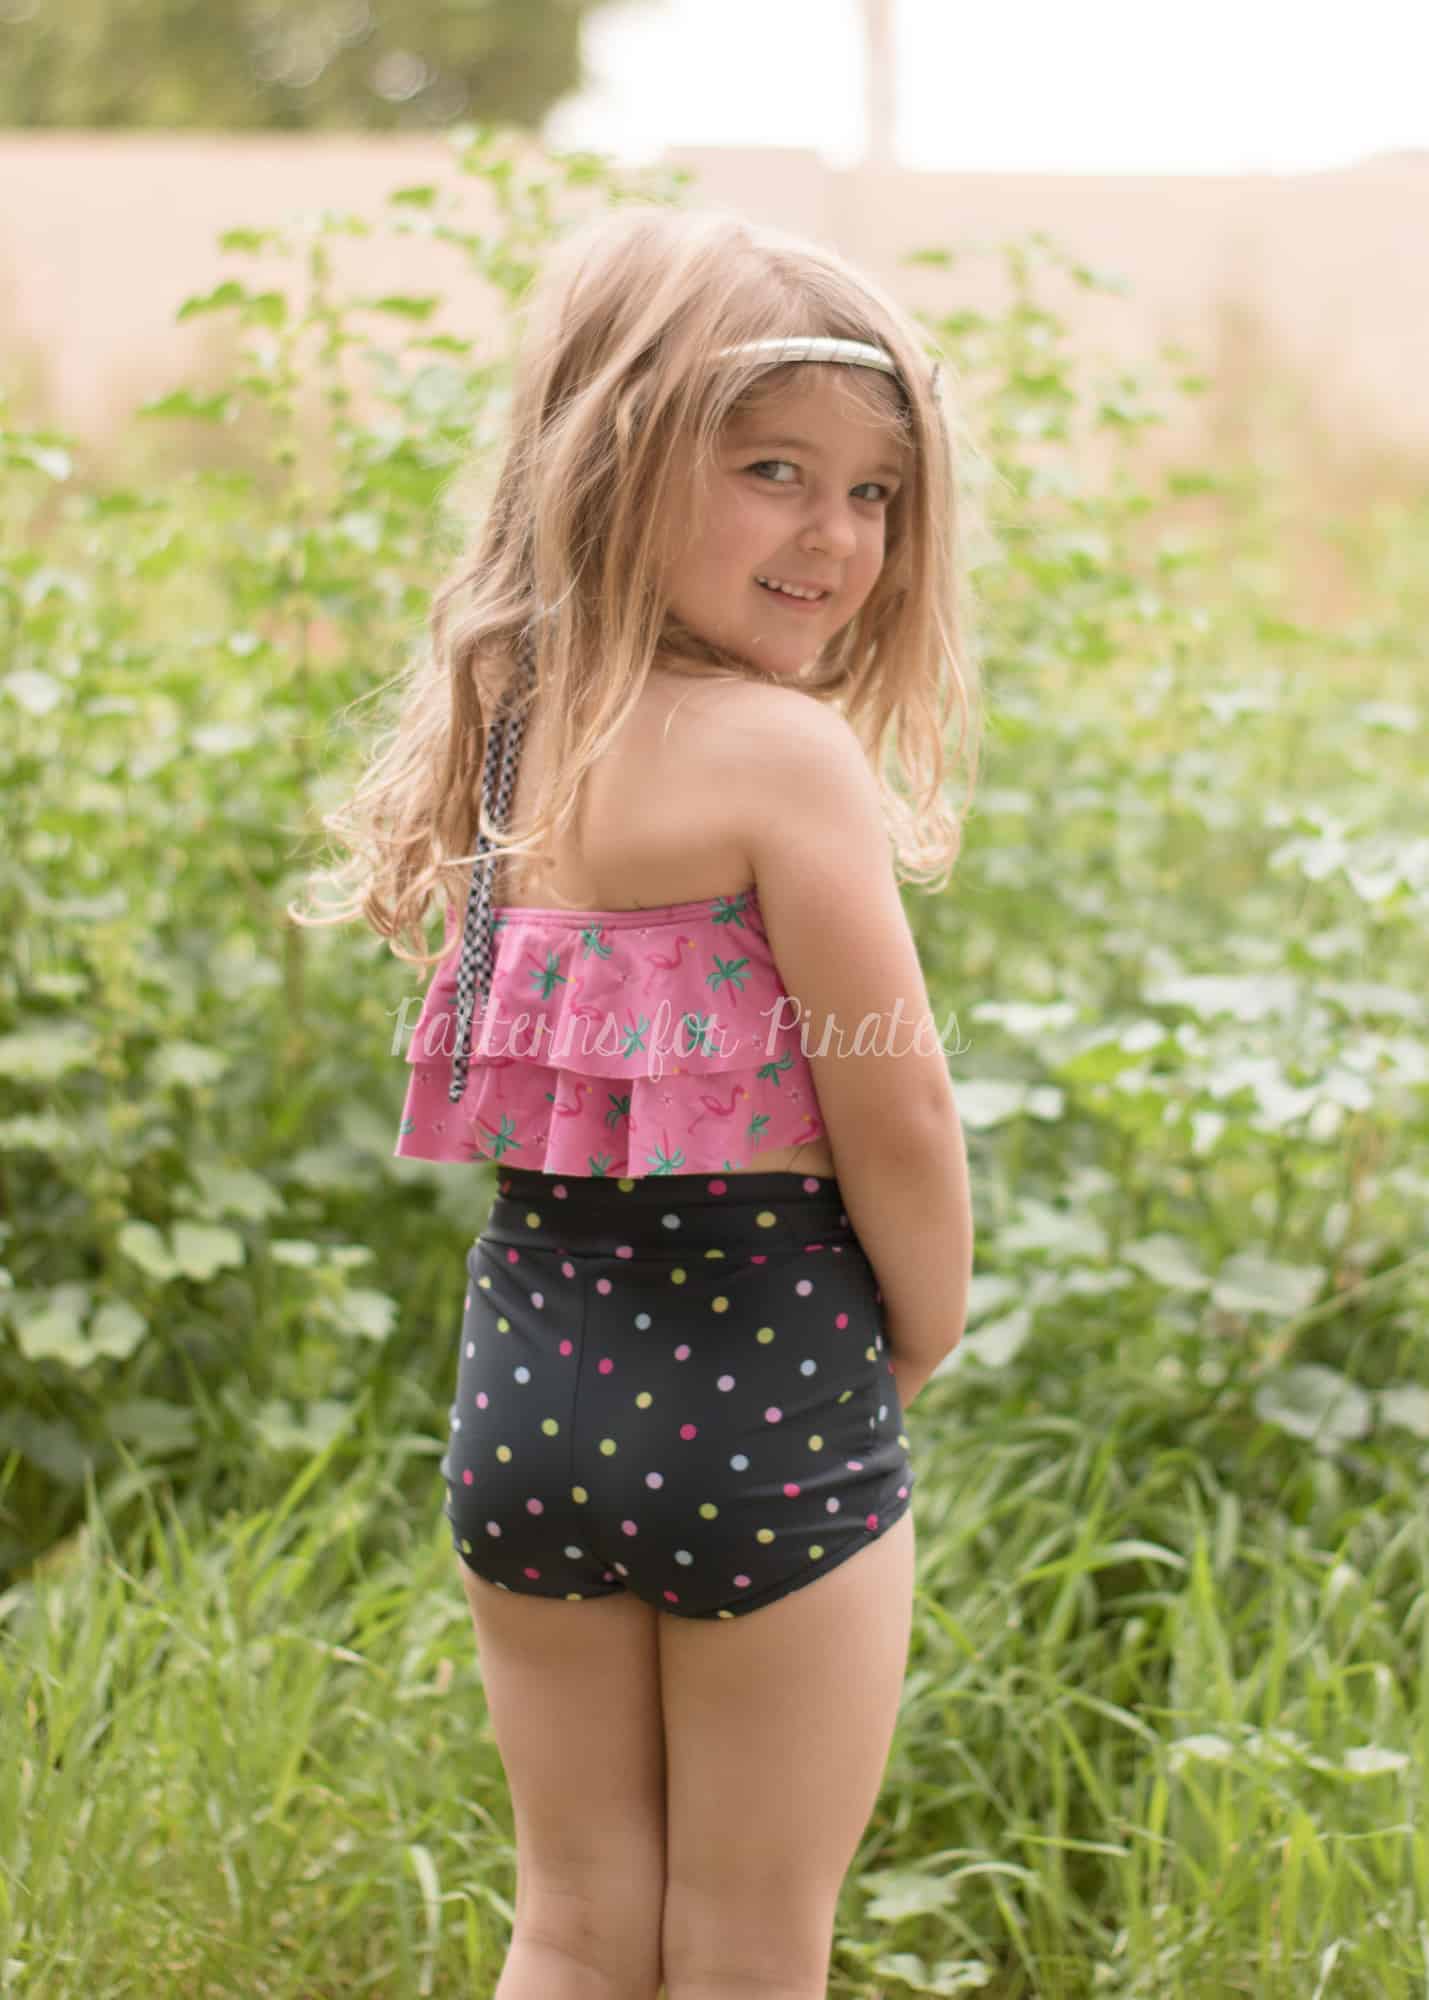
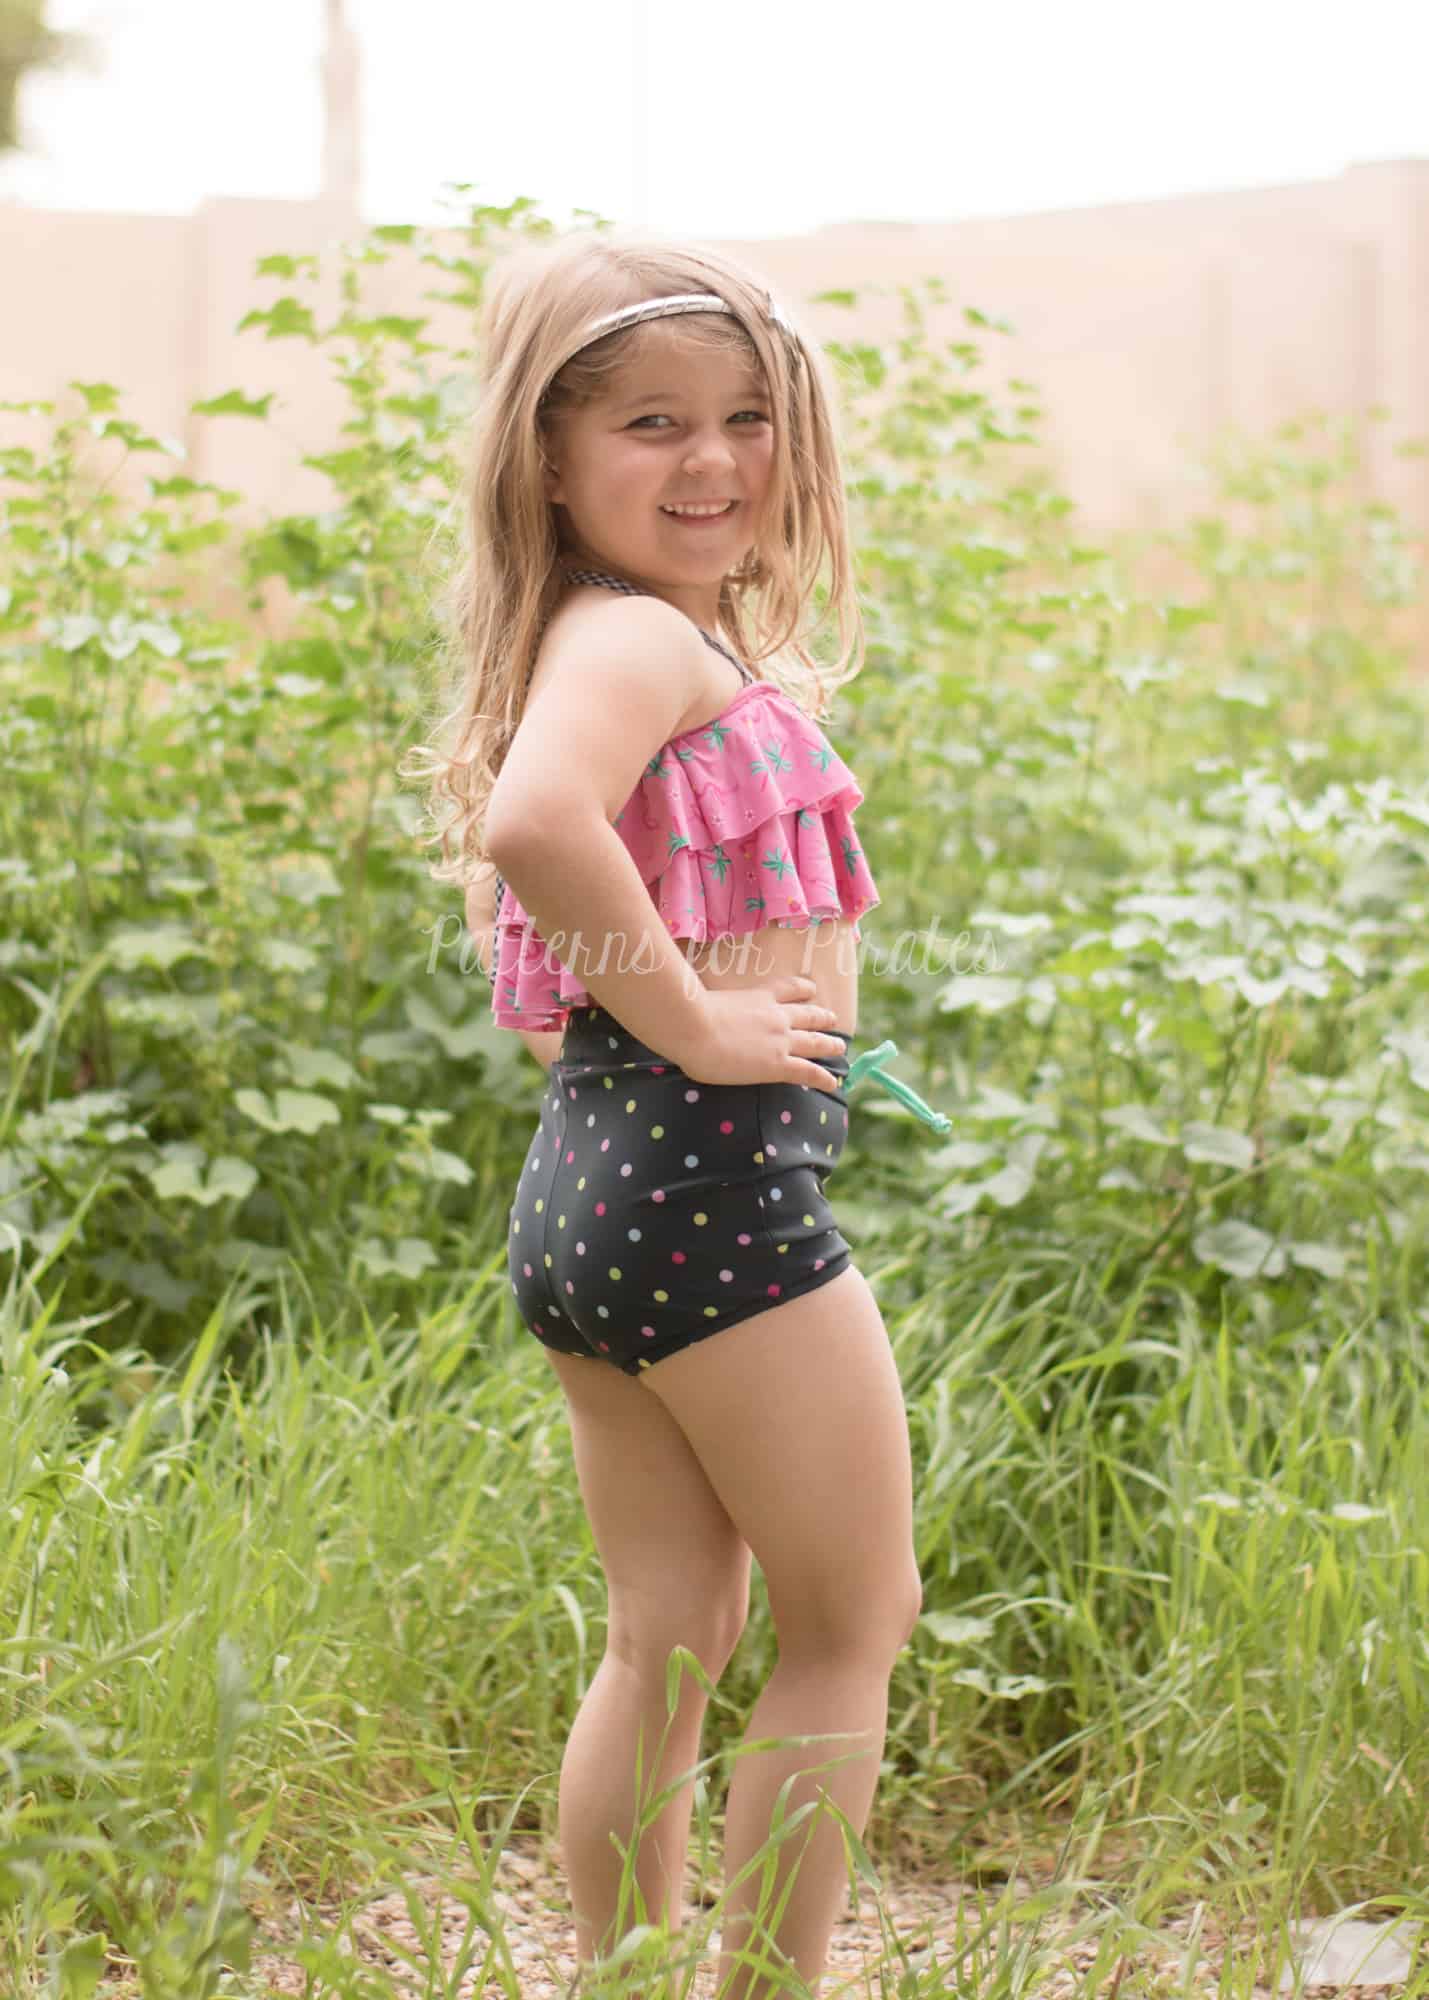
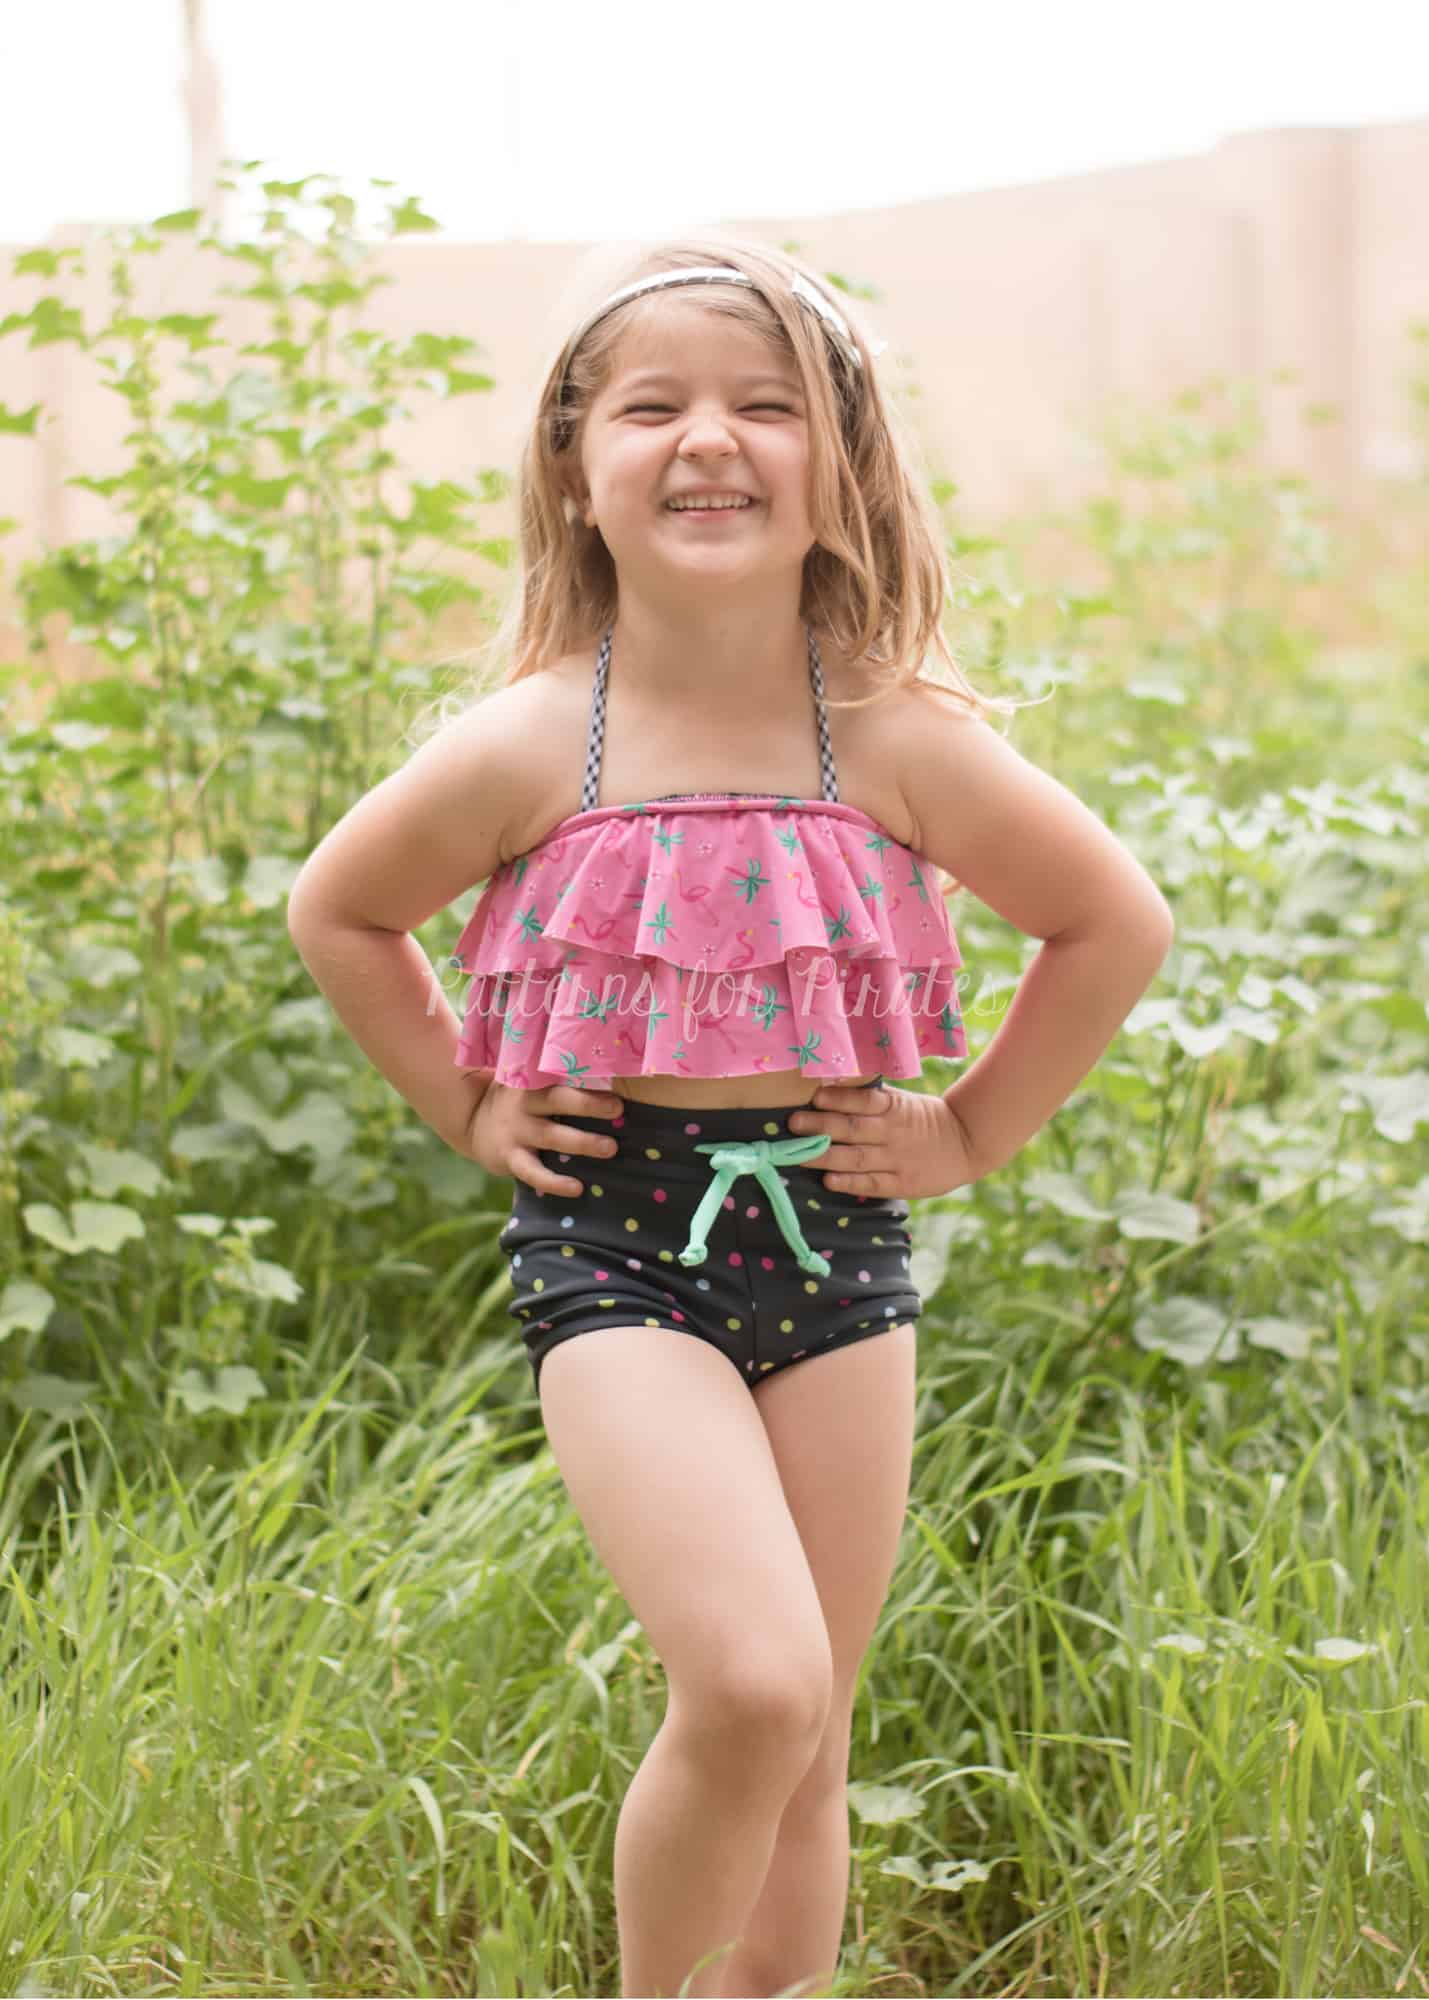
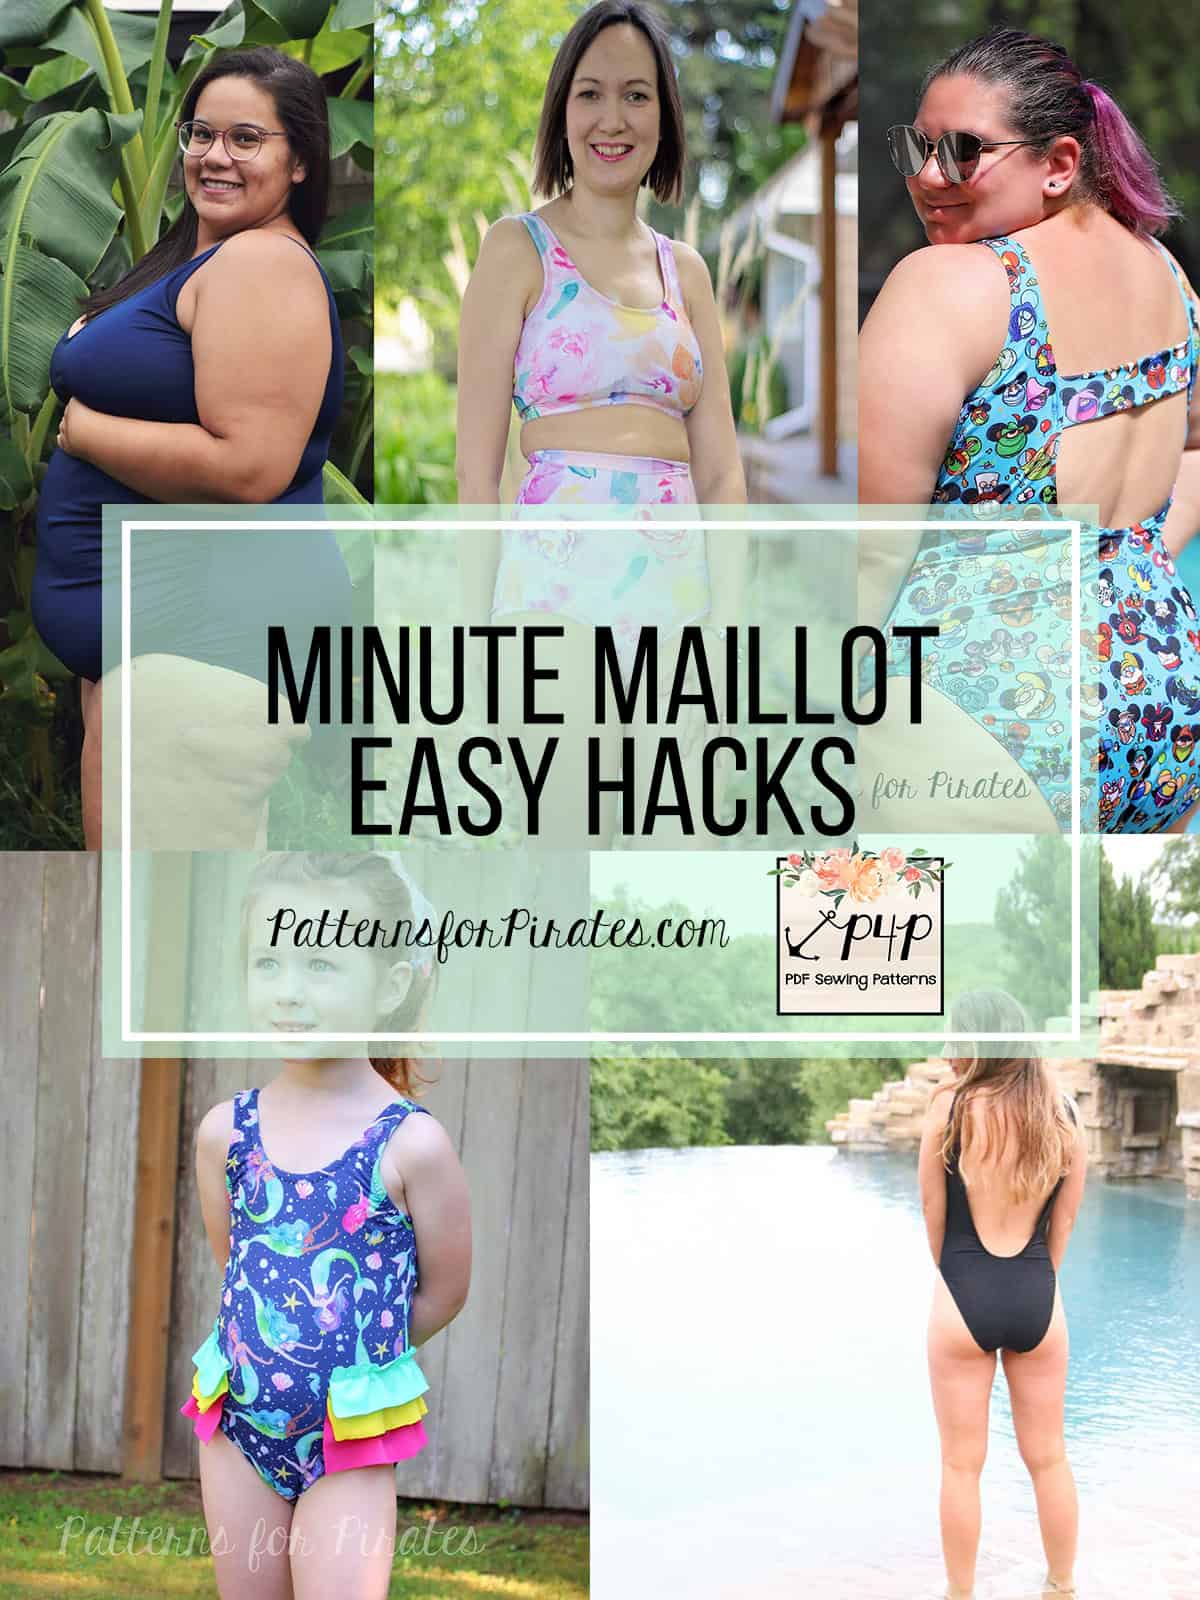
Don’t let the name of the pattern fool you! While The Minute Maillot is a super quick sew, it is full of options. But you know us- we like to add more easy hacks that you can customize to your preference.

…..

Separates

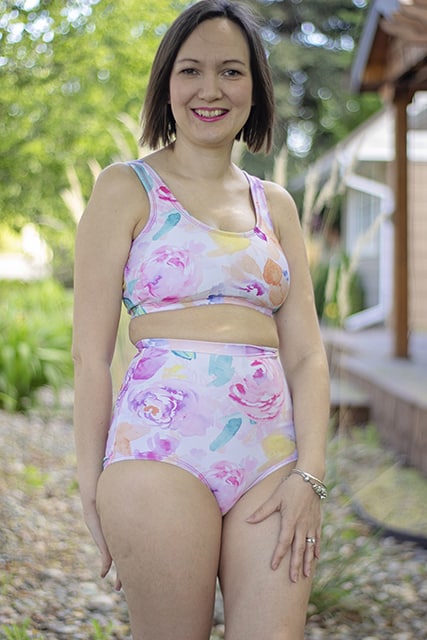
Although I love the Minute Maillot as a one piece, I tend to wear a lot of two pieces in the summer and this pattern is so quick and easy to hack into a two piece!  Let’s jump right in!

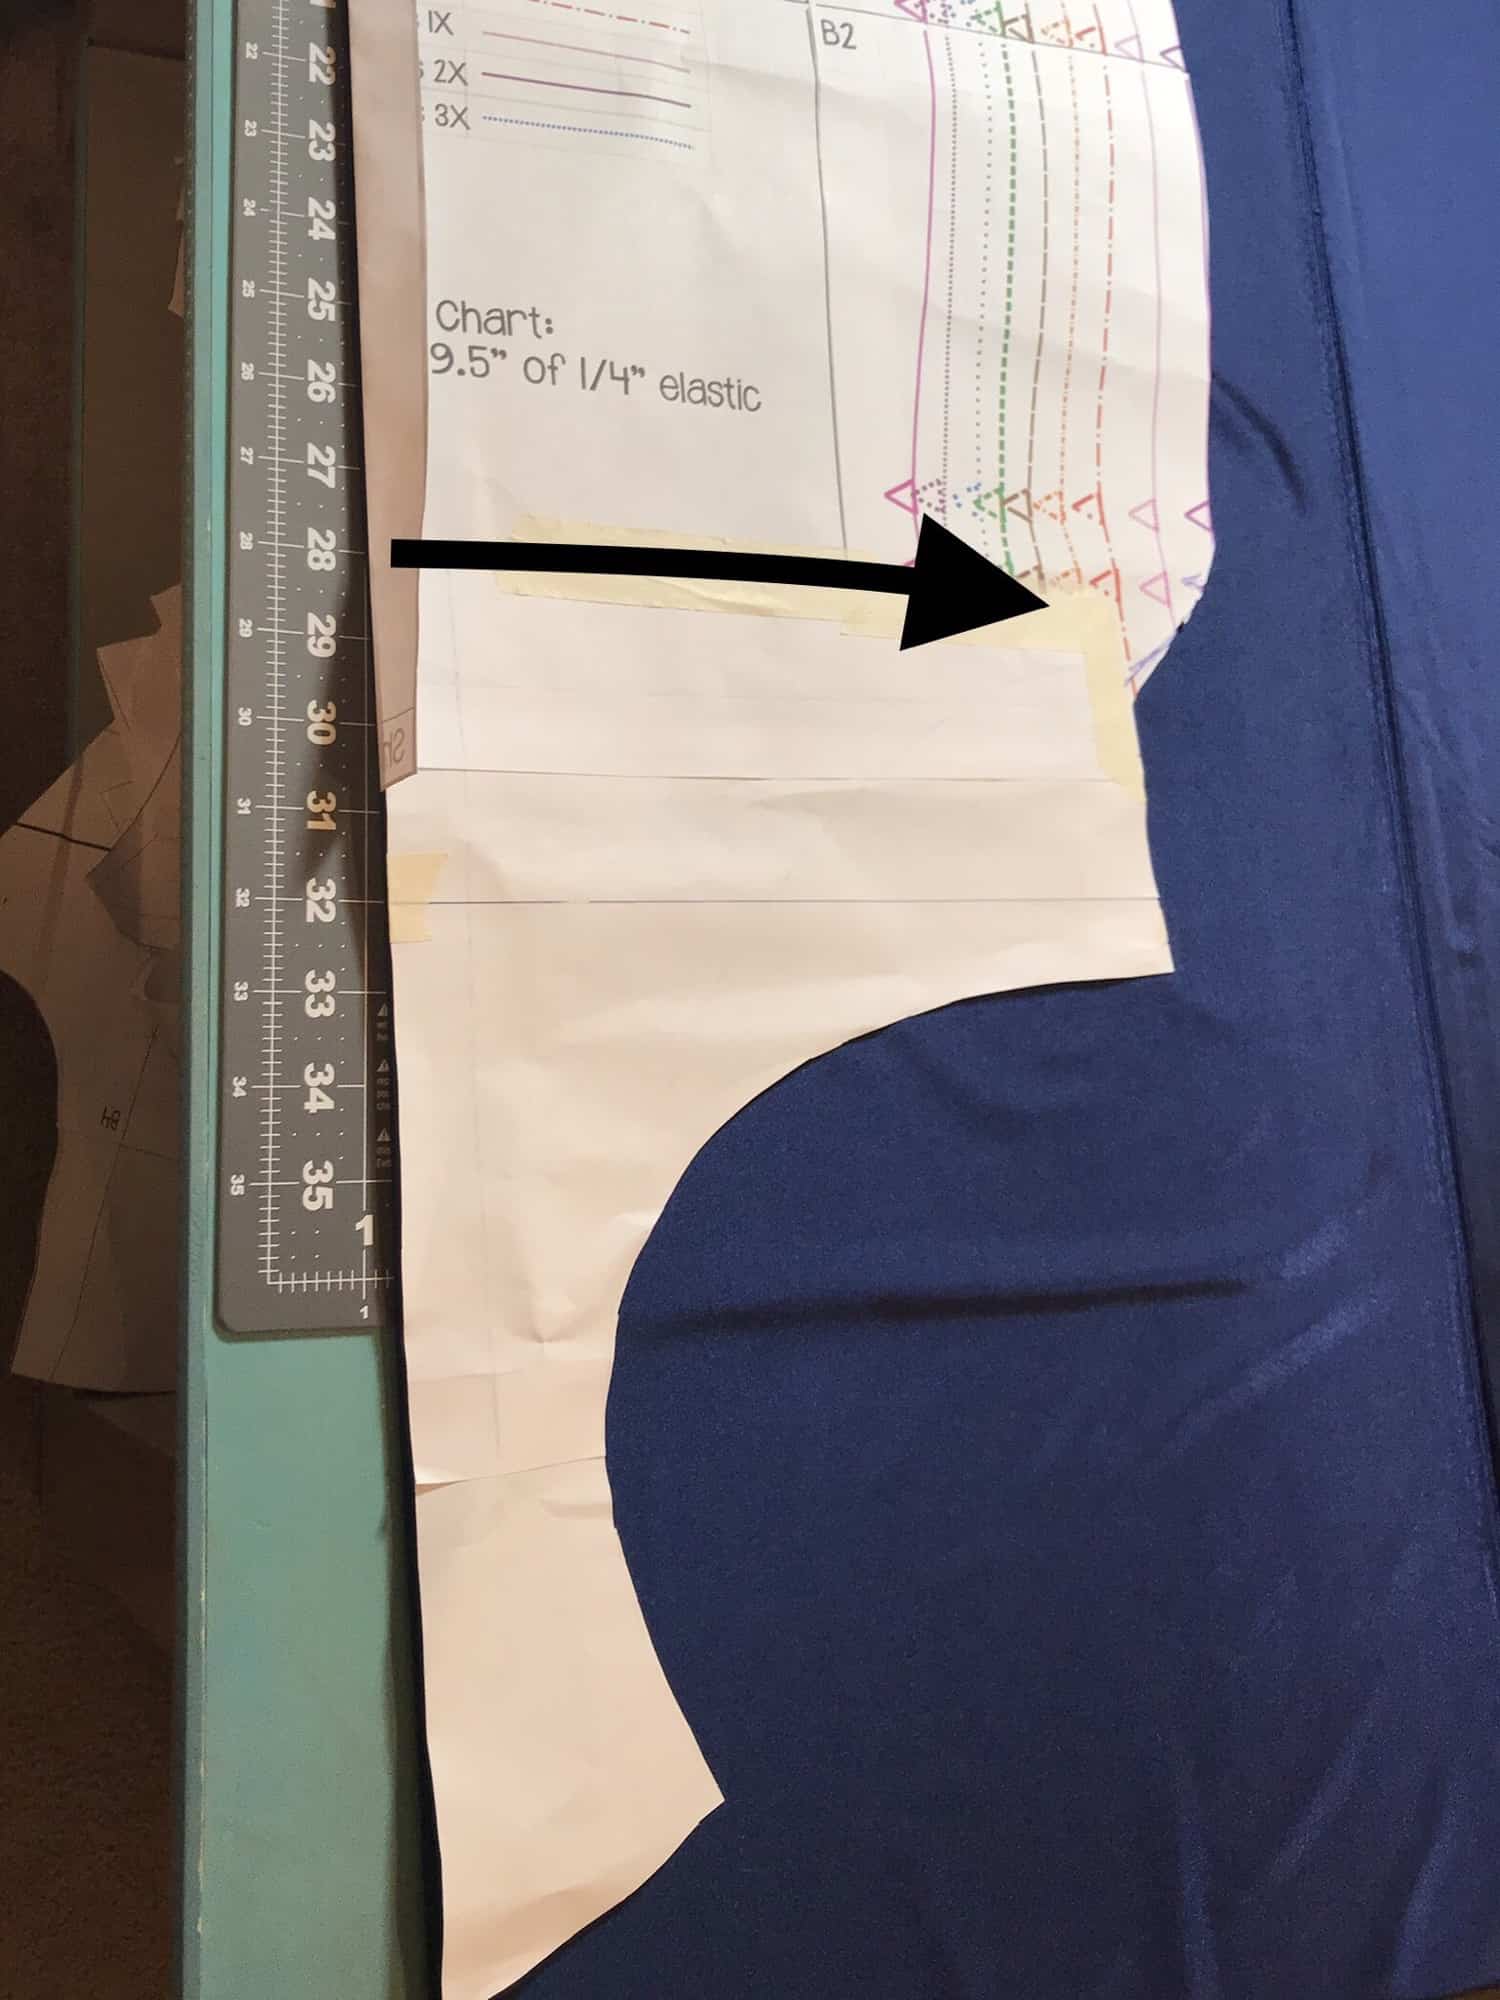
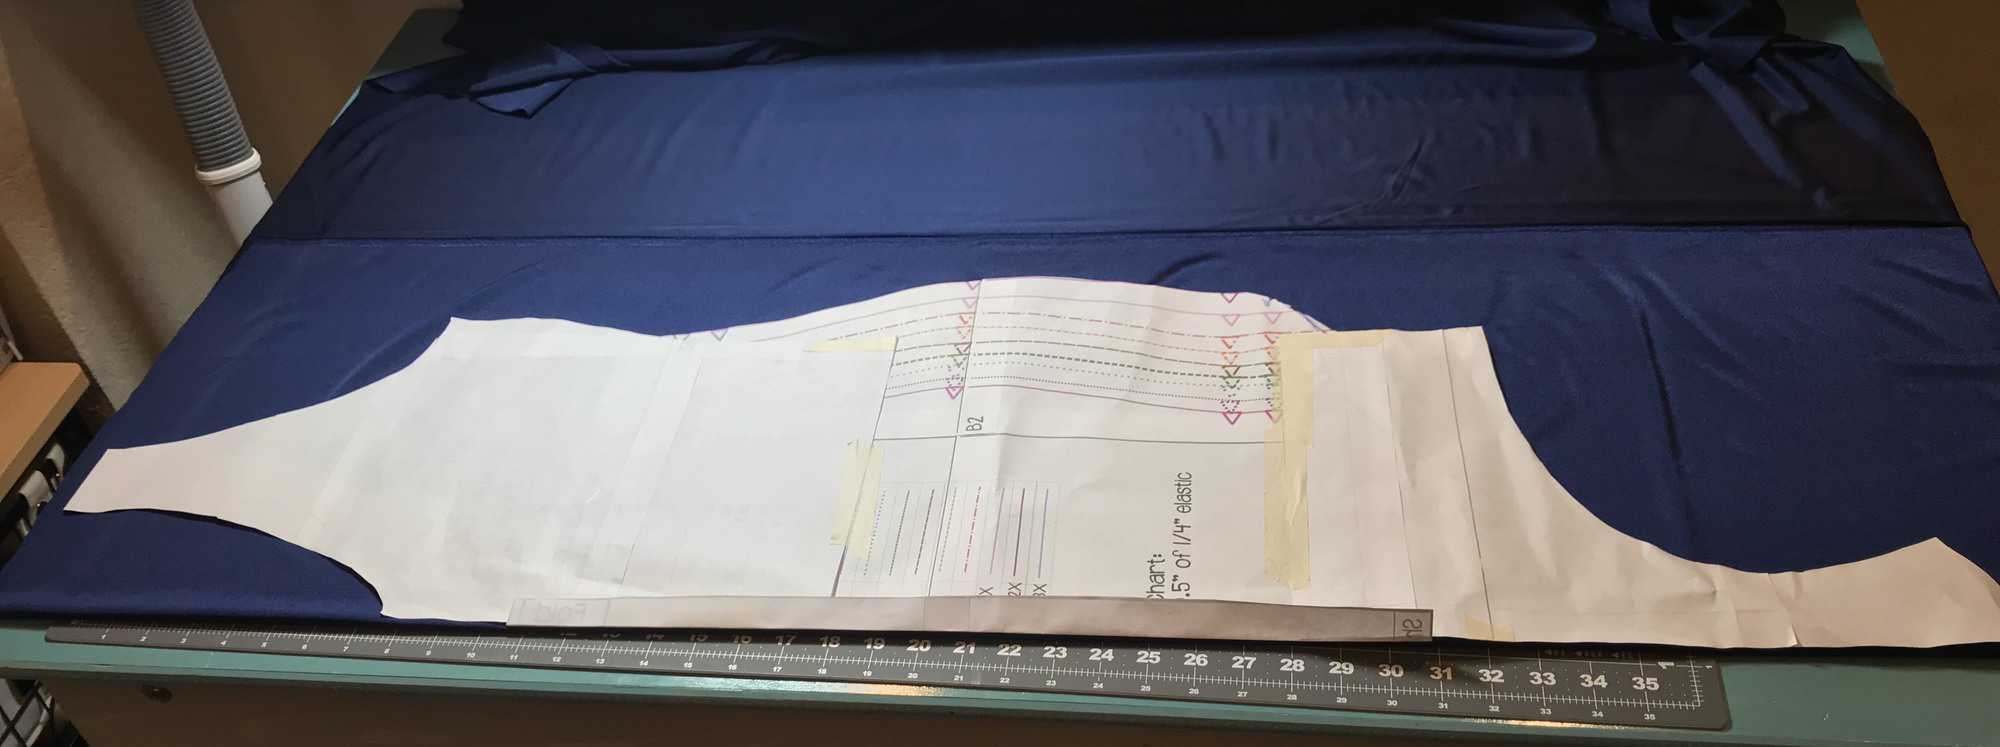
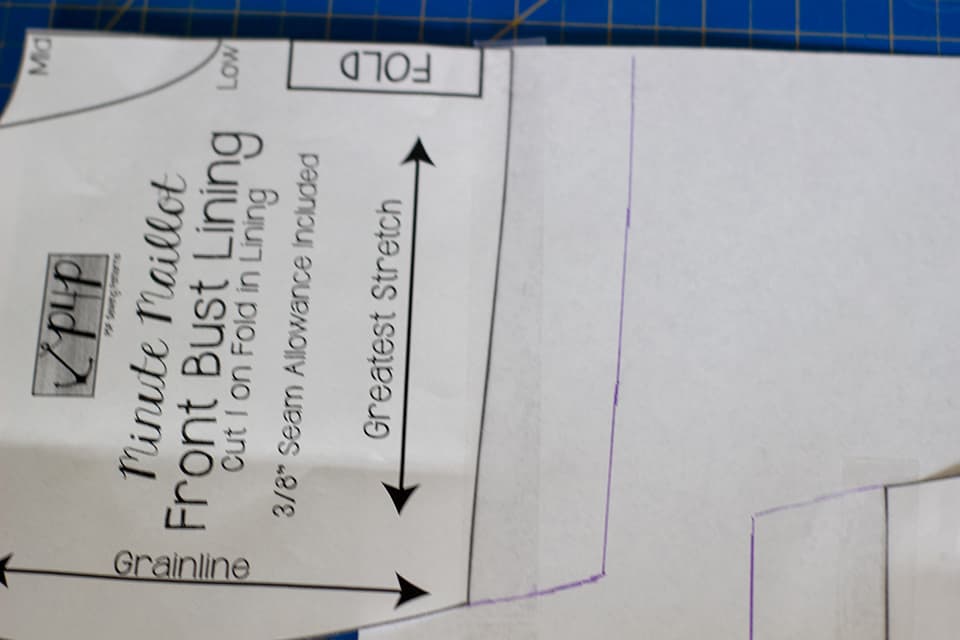
Step 1 – Grab your both your front and back lining pieces.  All we need to do is add a bit of length to these pieces.  Add 1 1/4 inch to the bottom of each piece and then draw your side seam line down on a curve to match as shown here. You will do this on both your front and back piece.  NOTE: This is going to work best on the high back, the mid back will work but its going to leave you with a very thin back band.
 

Step 2: Cut out your pieces you will need one main and one lining of each the front and the back.  You will sew in your cups if using them just as instructed in the pattern but DO NOT sew on the underbust elastic! Assemble the top just as instructed in the pattern.

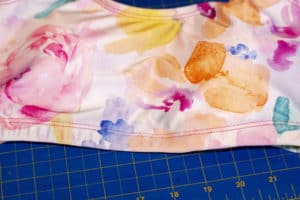
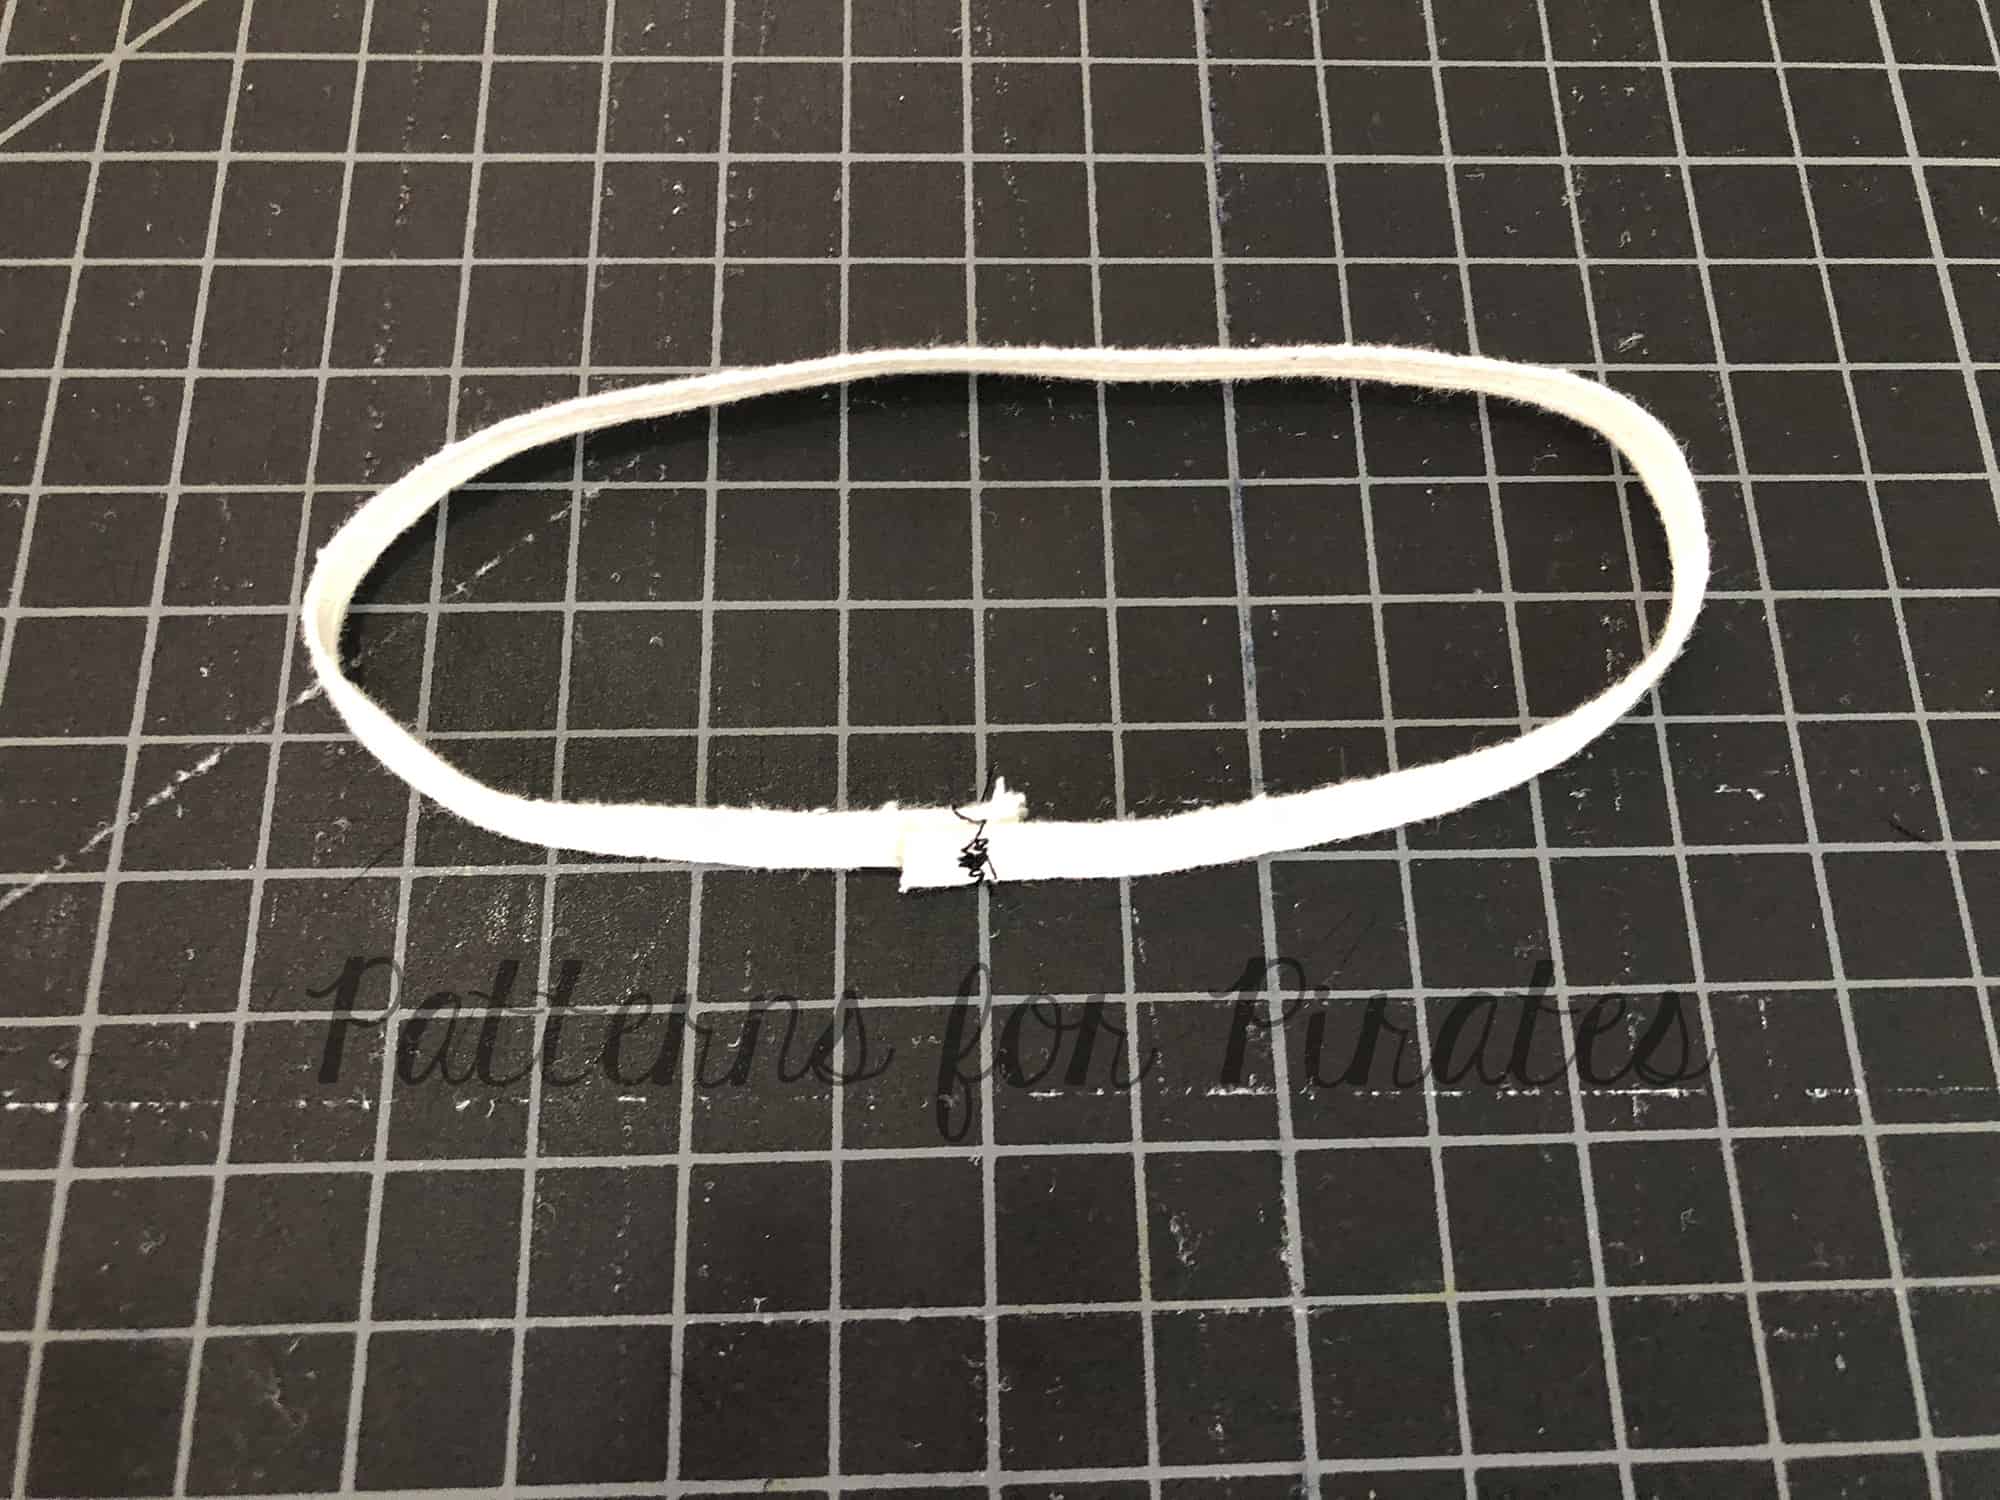
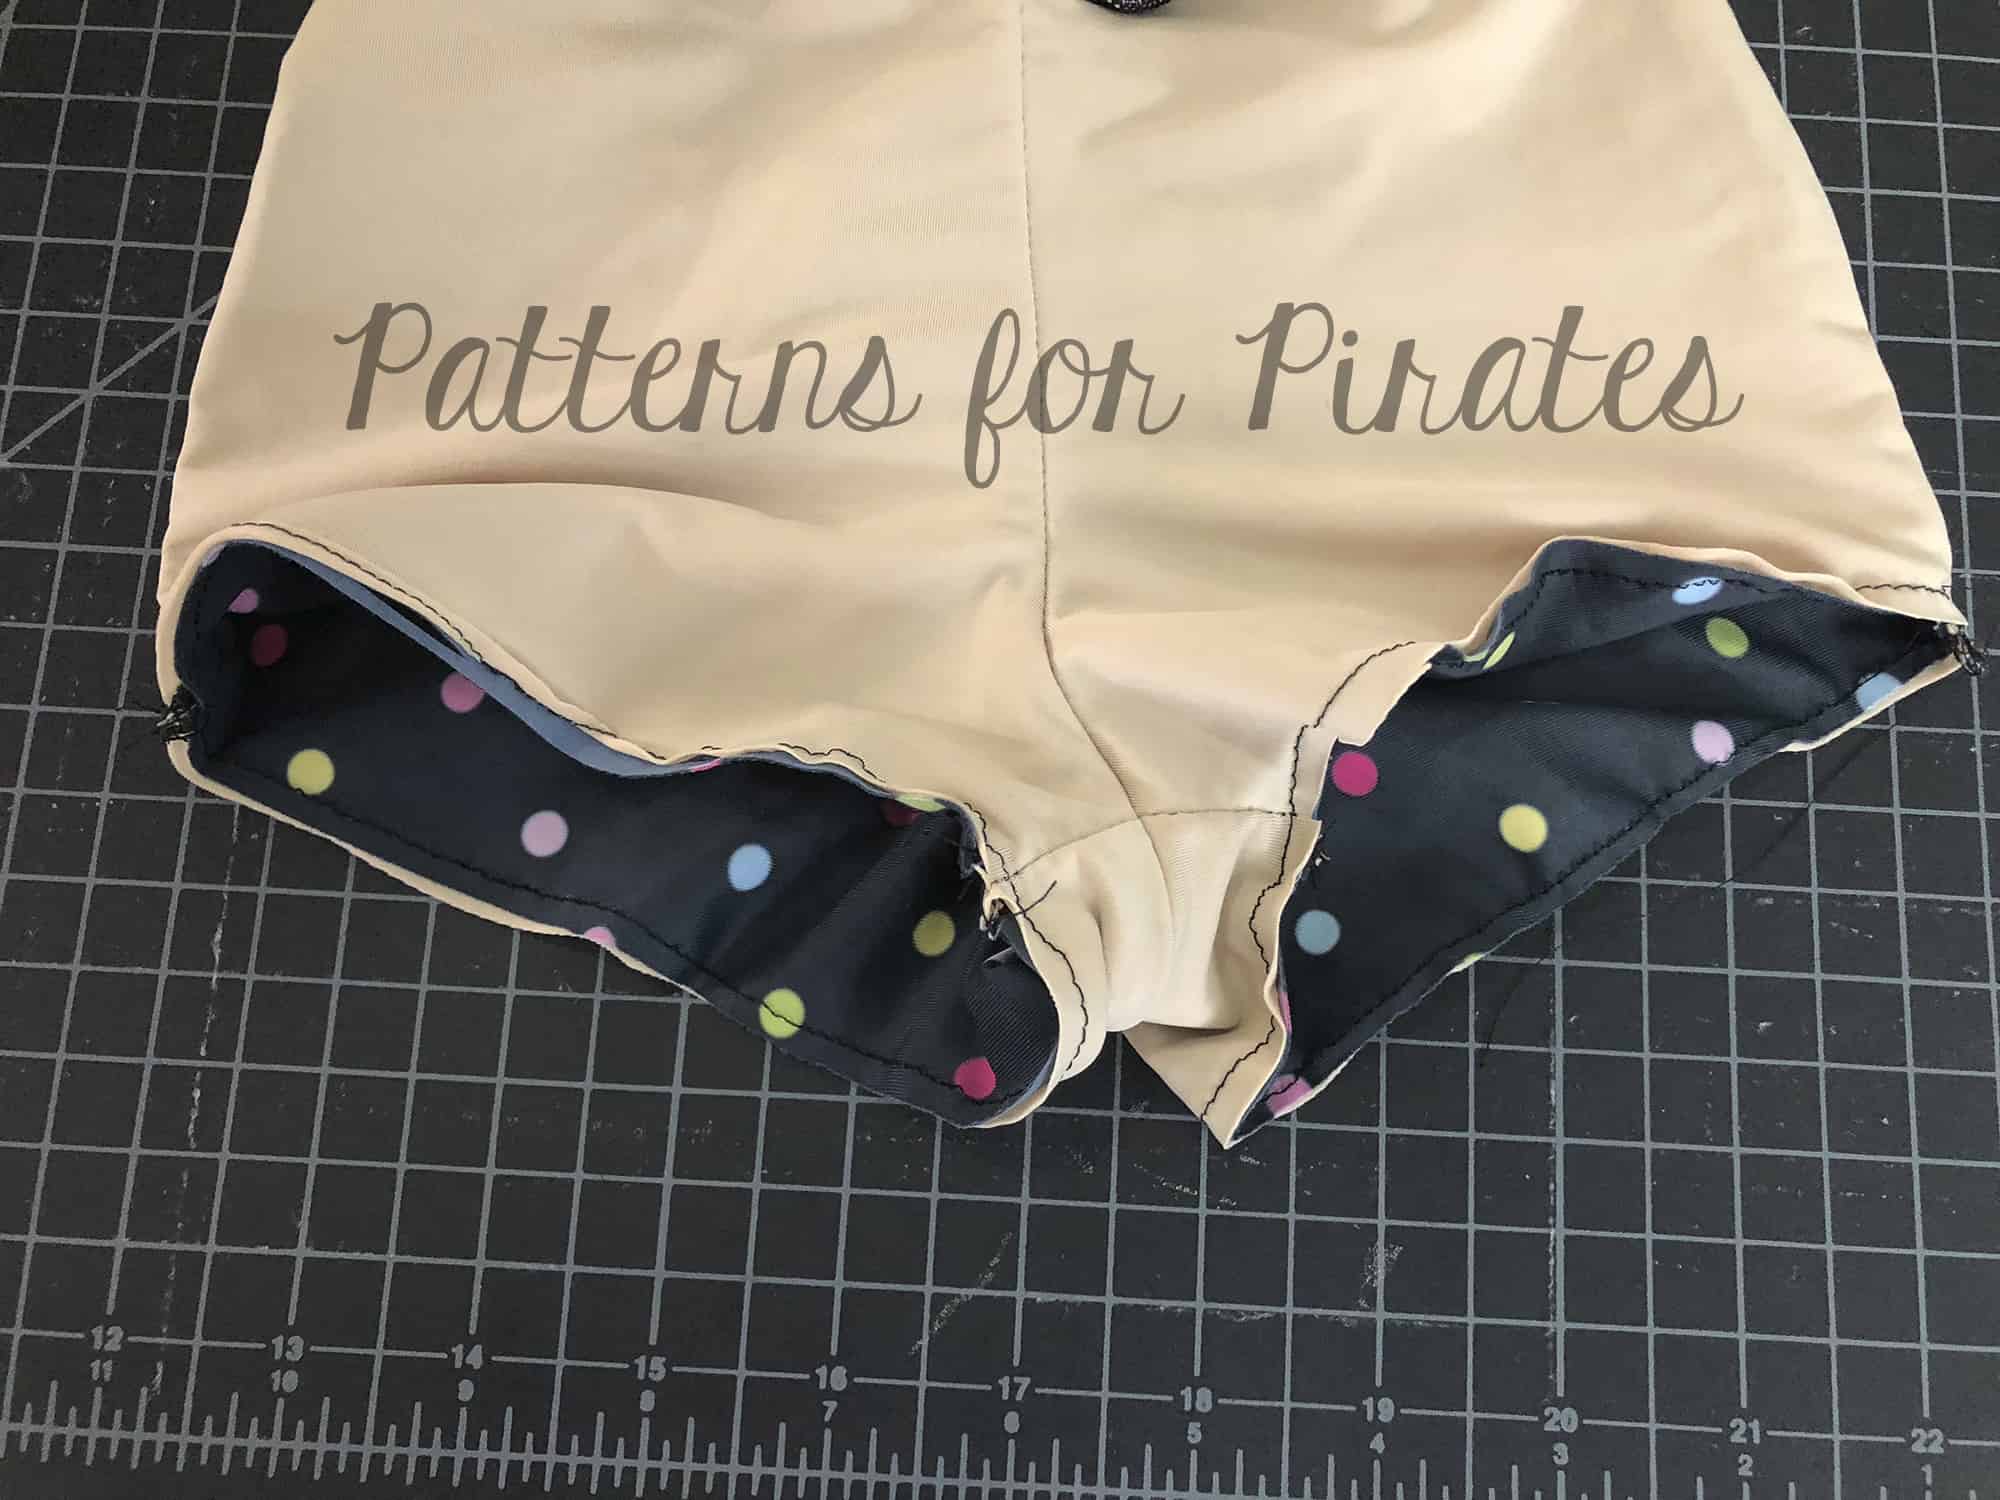
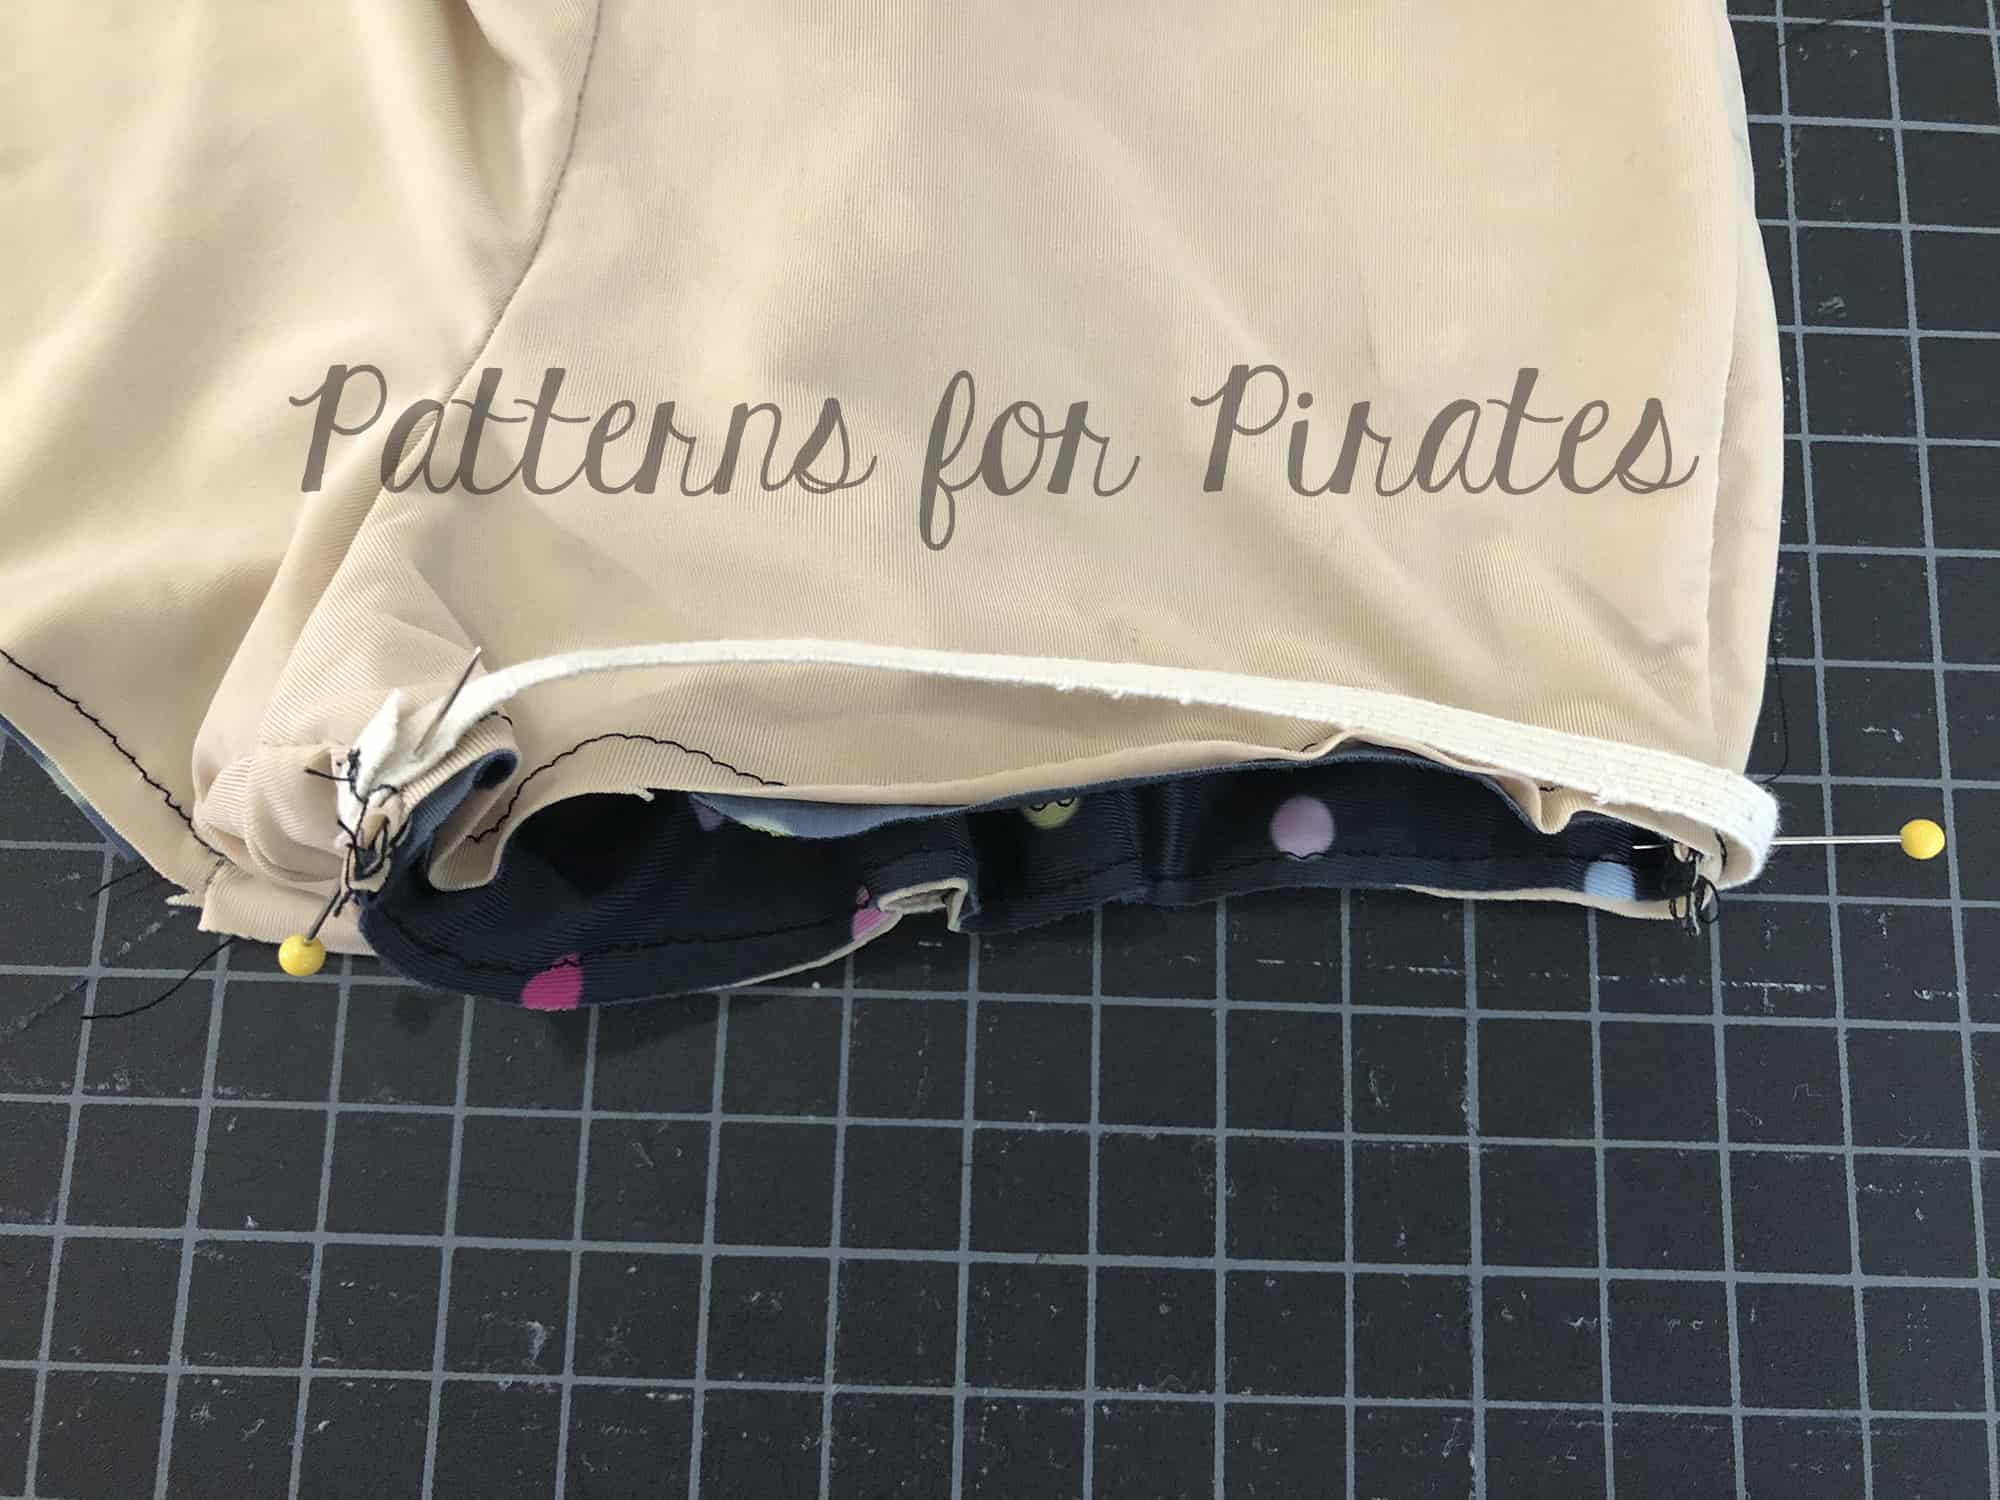
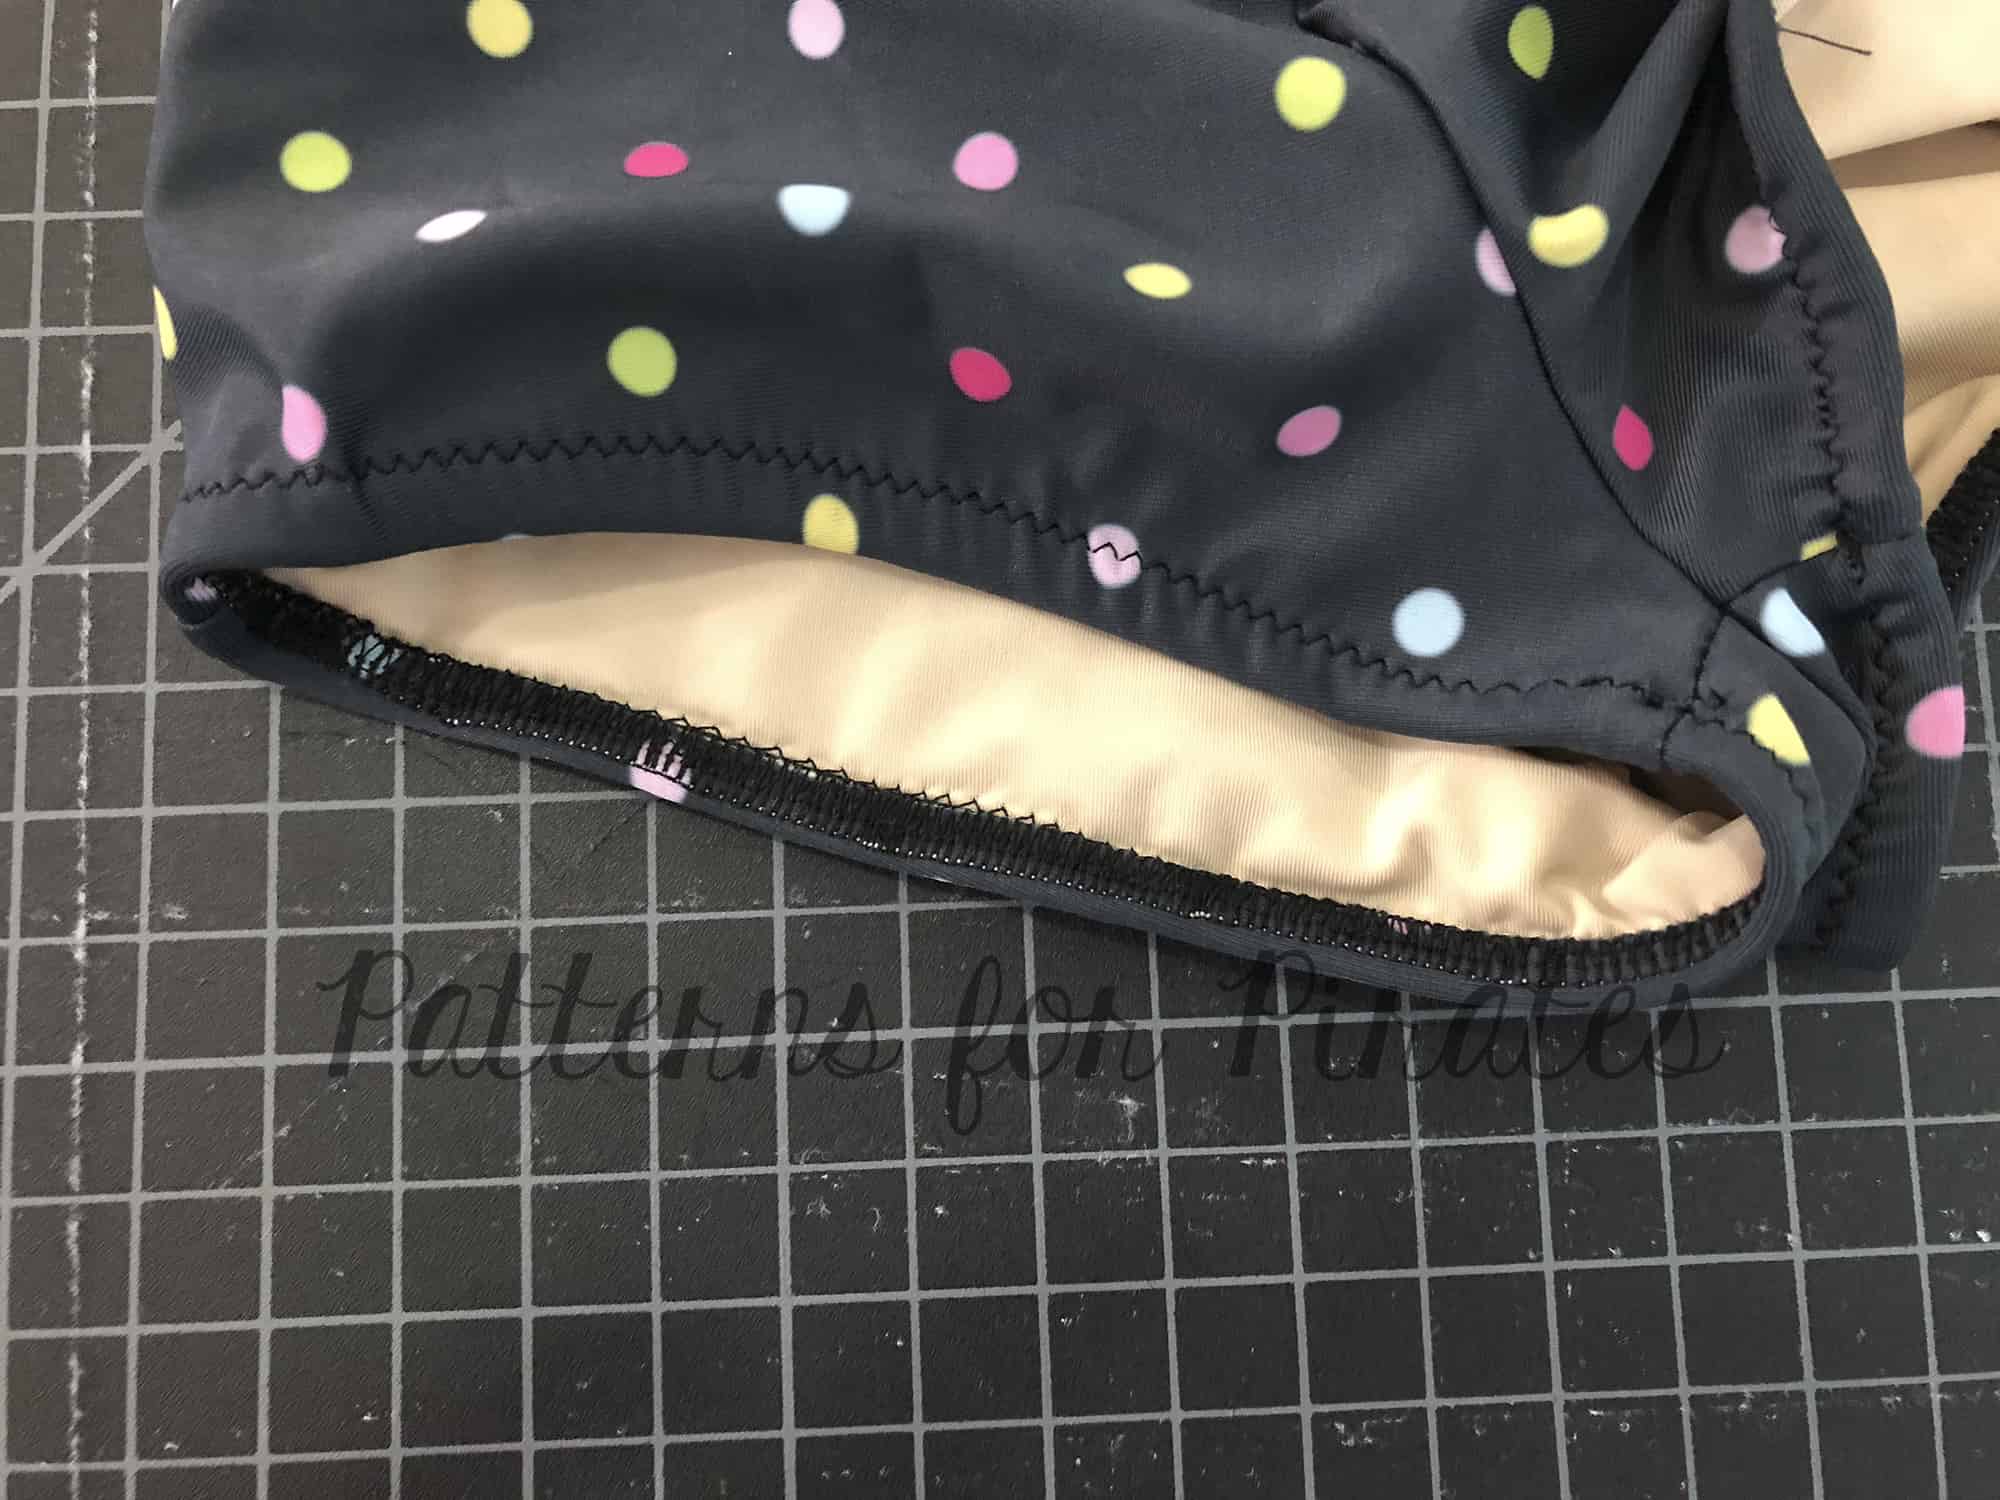
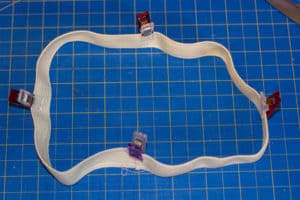
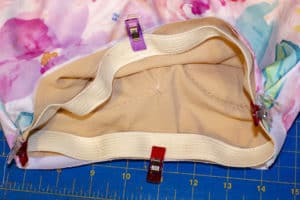
Step 3: Your top is now assembled and we just have to finish the bottom. Cut your 3/4 inch under bust elastic as stated in the chart and butt the edges together and zig zag in the round exactly like shown in the tutorial. .  Instead of attaching it to the lining only we are going to attach it in the same way as we did the neckline and arm elastic.  First we will quarter our elastic and suite and match them together.  The elastic will be on the lining side of the suite.  Baste your elastic to your suite making sure that the edge of your elastic matches the edge of both the lining and the main fabric.  I choose to serge my elastic on, you will need to slightly stretch the elastic to match your suite.  After you have it sewn in place you will flip it up to the lining side and top stitch in place, again just like all your other elastic in the suite you want to top stitch right on the edge of that elastic as close as you possibly can, this helps prevent the elastic from flipping out on you.
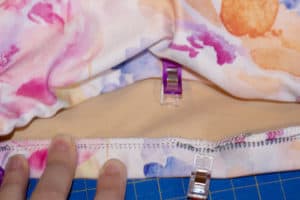
All done! Quick and easy and super cute! This would also work great in athletic fabric for a sports bra! I paired mine with the Hello Sailors bottoms but you could easily hack to make your own bottoms from this pattern as well!  You just need to figure out where you would like the top of your bottoms to hit and add 3/8th to that.  You would add 3/8 inch elastic to the top on the lining side and then top stitch in place!  You can also apply this same hack to the girls suit, just decide how long you would like your top you can make it as long or as short as you would like, add 1/2 inch to where you decided you would like it to finish and add 3/8 inch elastic to finish the bottom.  No measurements are provided for this but I would do an inch less then the finished measurement so you can stretch that elastic just a little bit.
…..

Low back strap
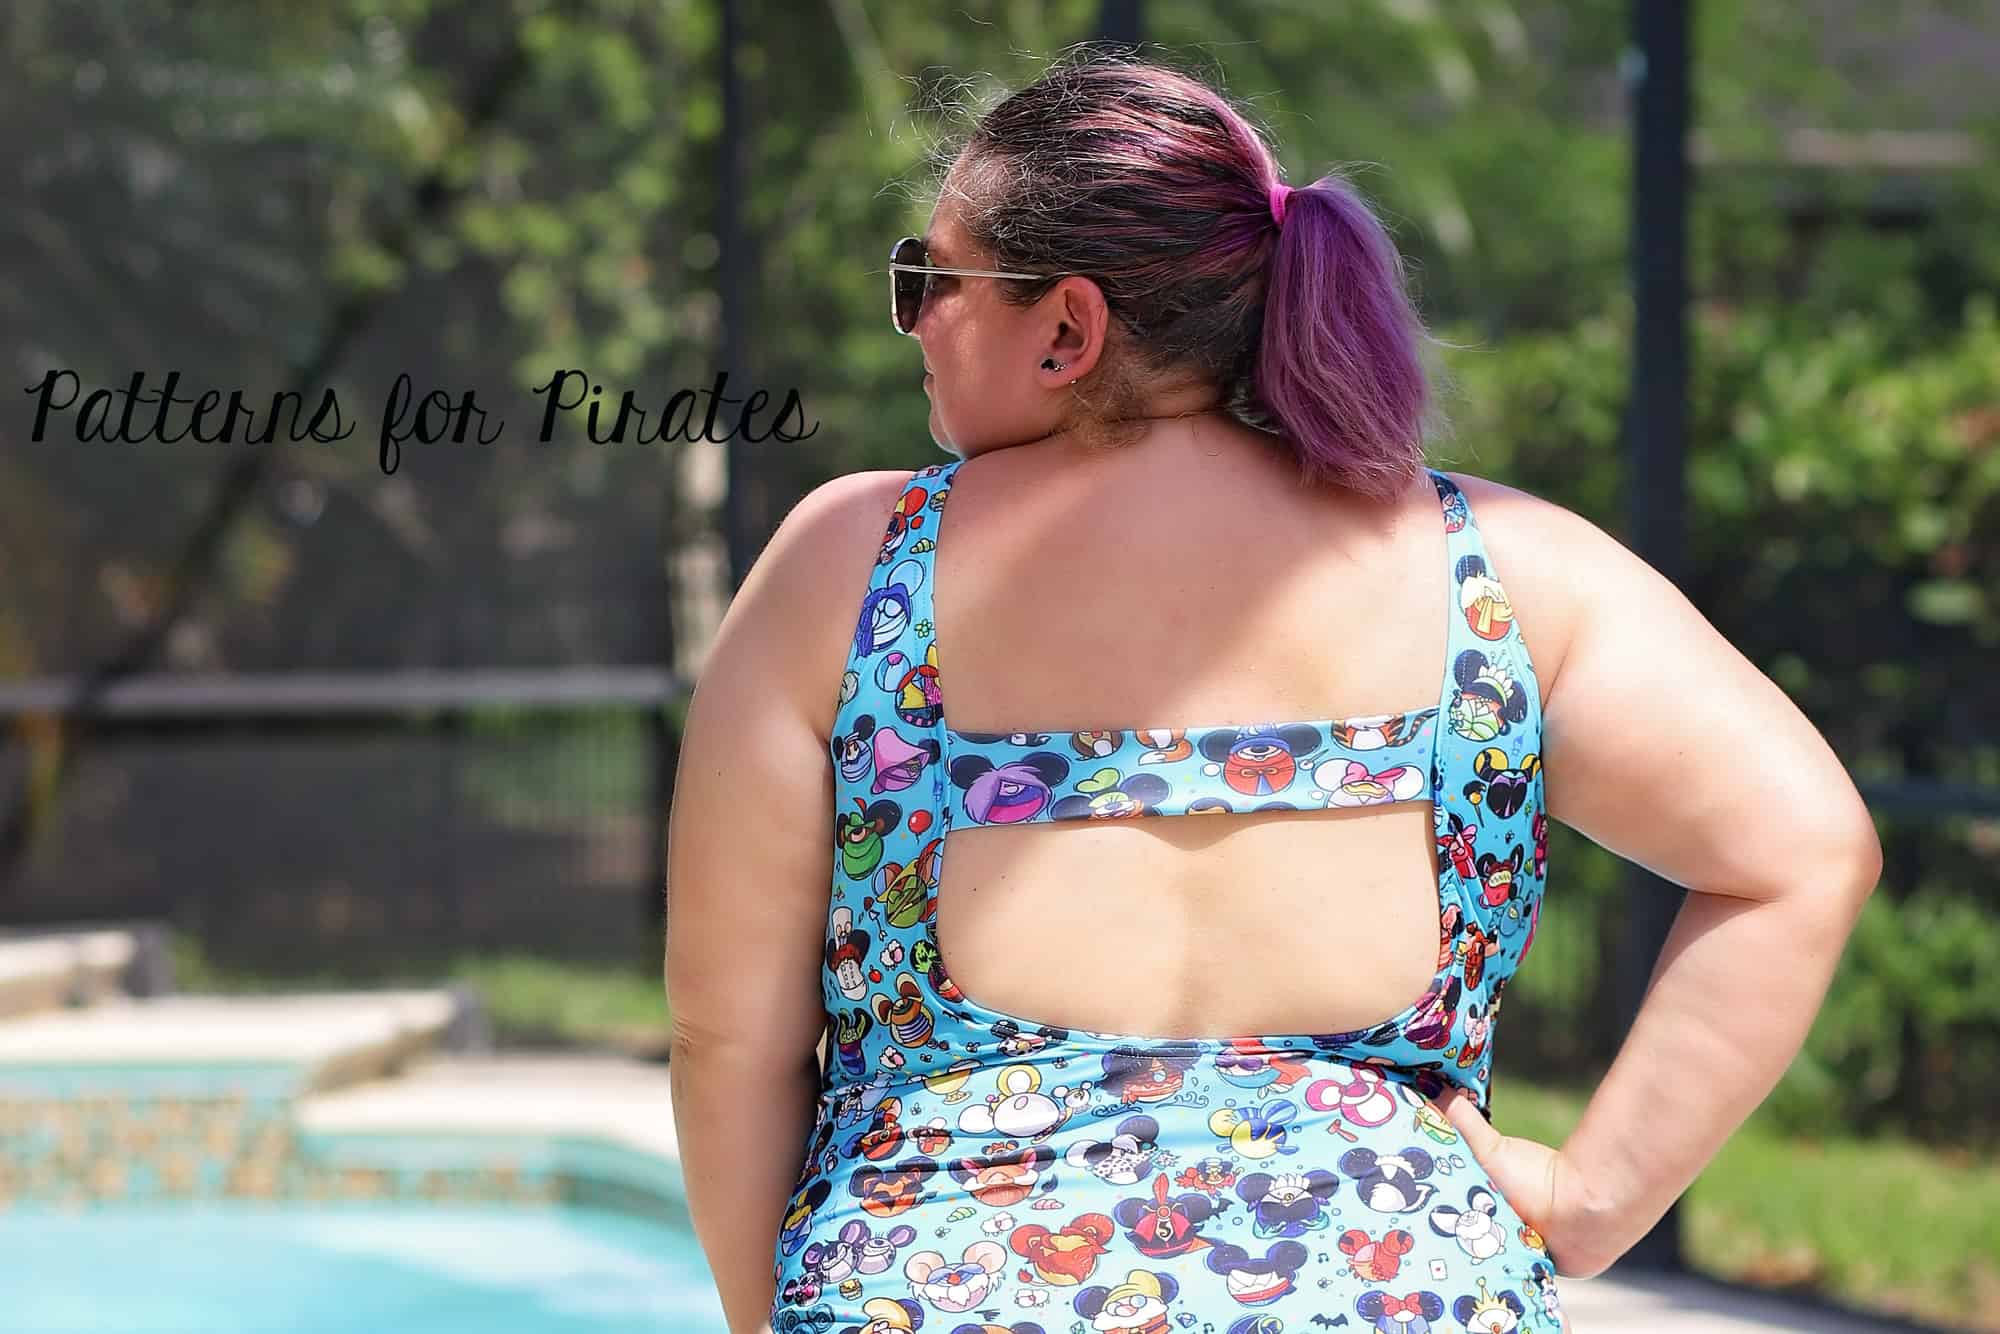
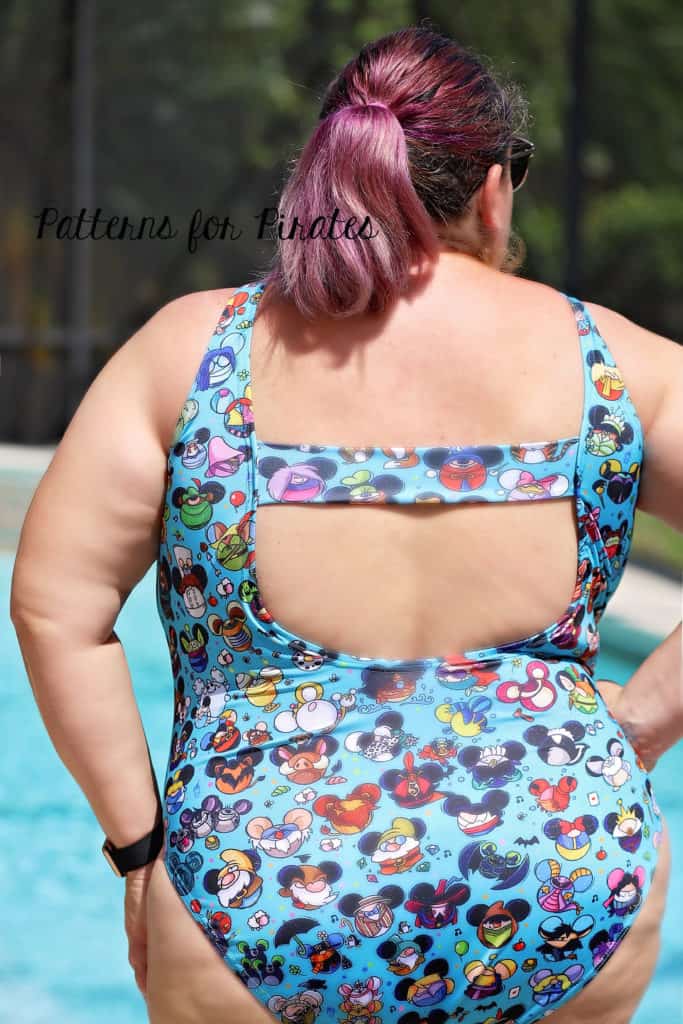
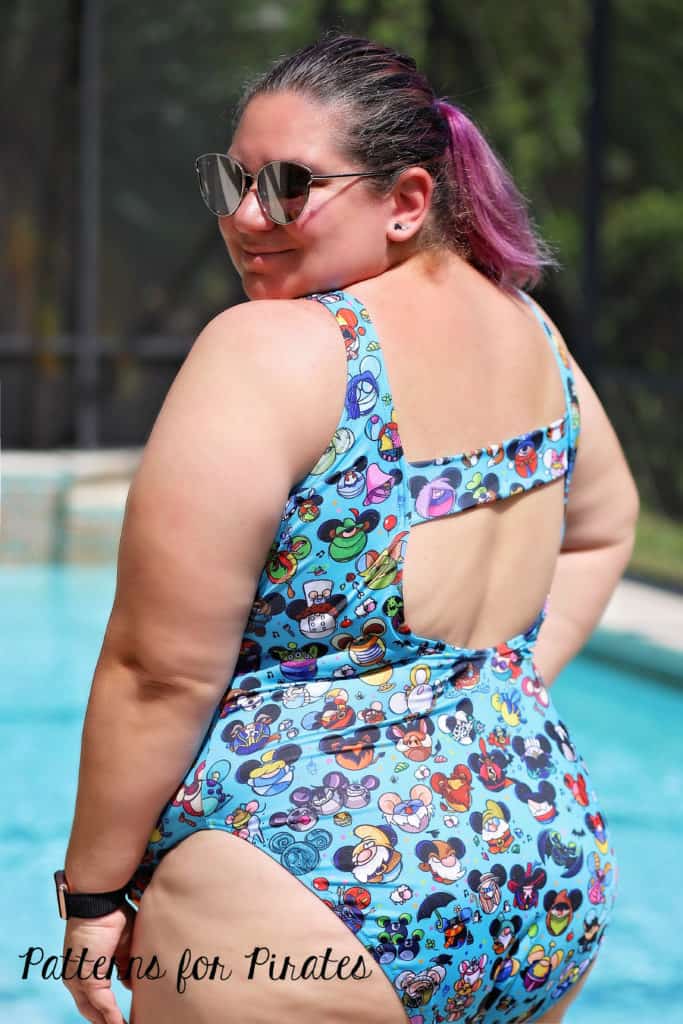
My favorite back option of the Minute Maillot is for sure the low one! I also feel like it gives me the opportunity to get even more creative. Let me show you how quick and easy it is to add a strap to the back.

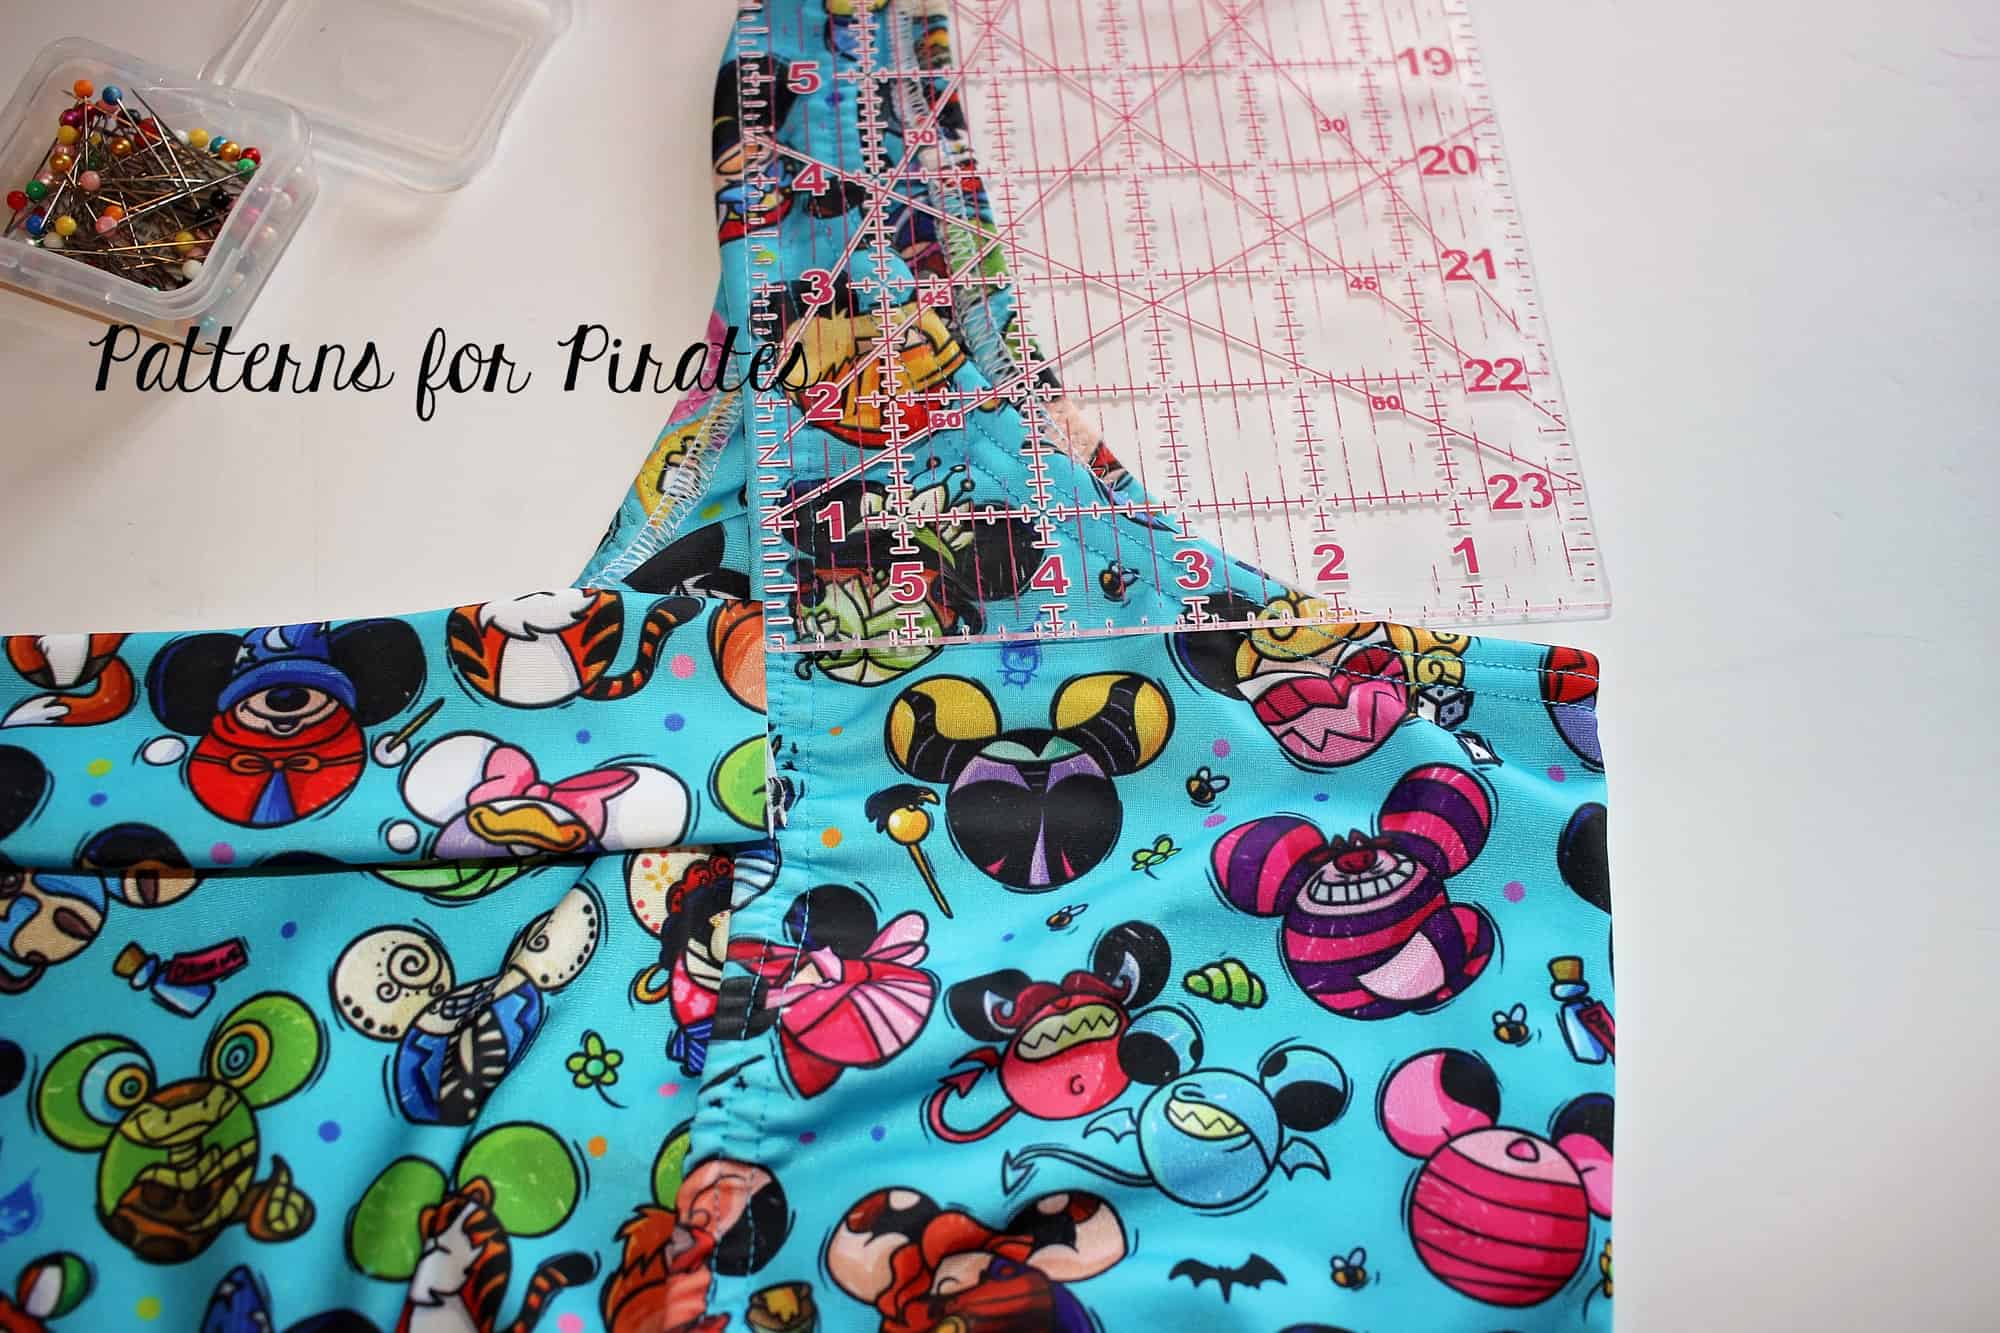
Start by making the swimsuit’s low back option, any front option or leg you prefer. We will add the strap once the suit in completed. Place a quilting ruler at the bottom arm opening and measure the opening of the back at that level. In my case (1x) it is 9 inches.
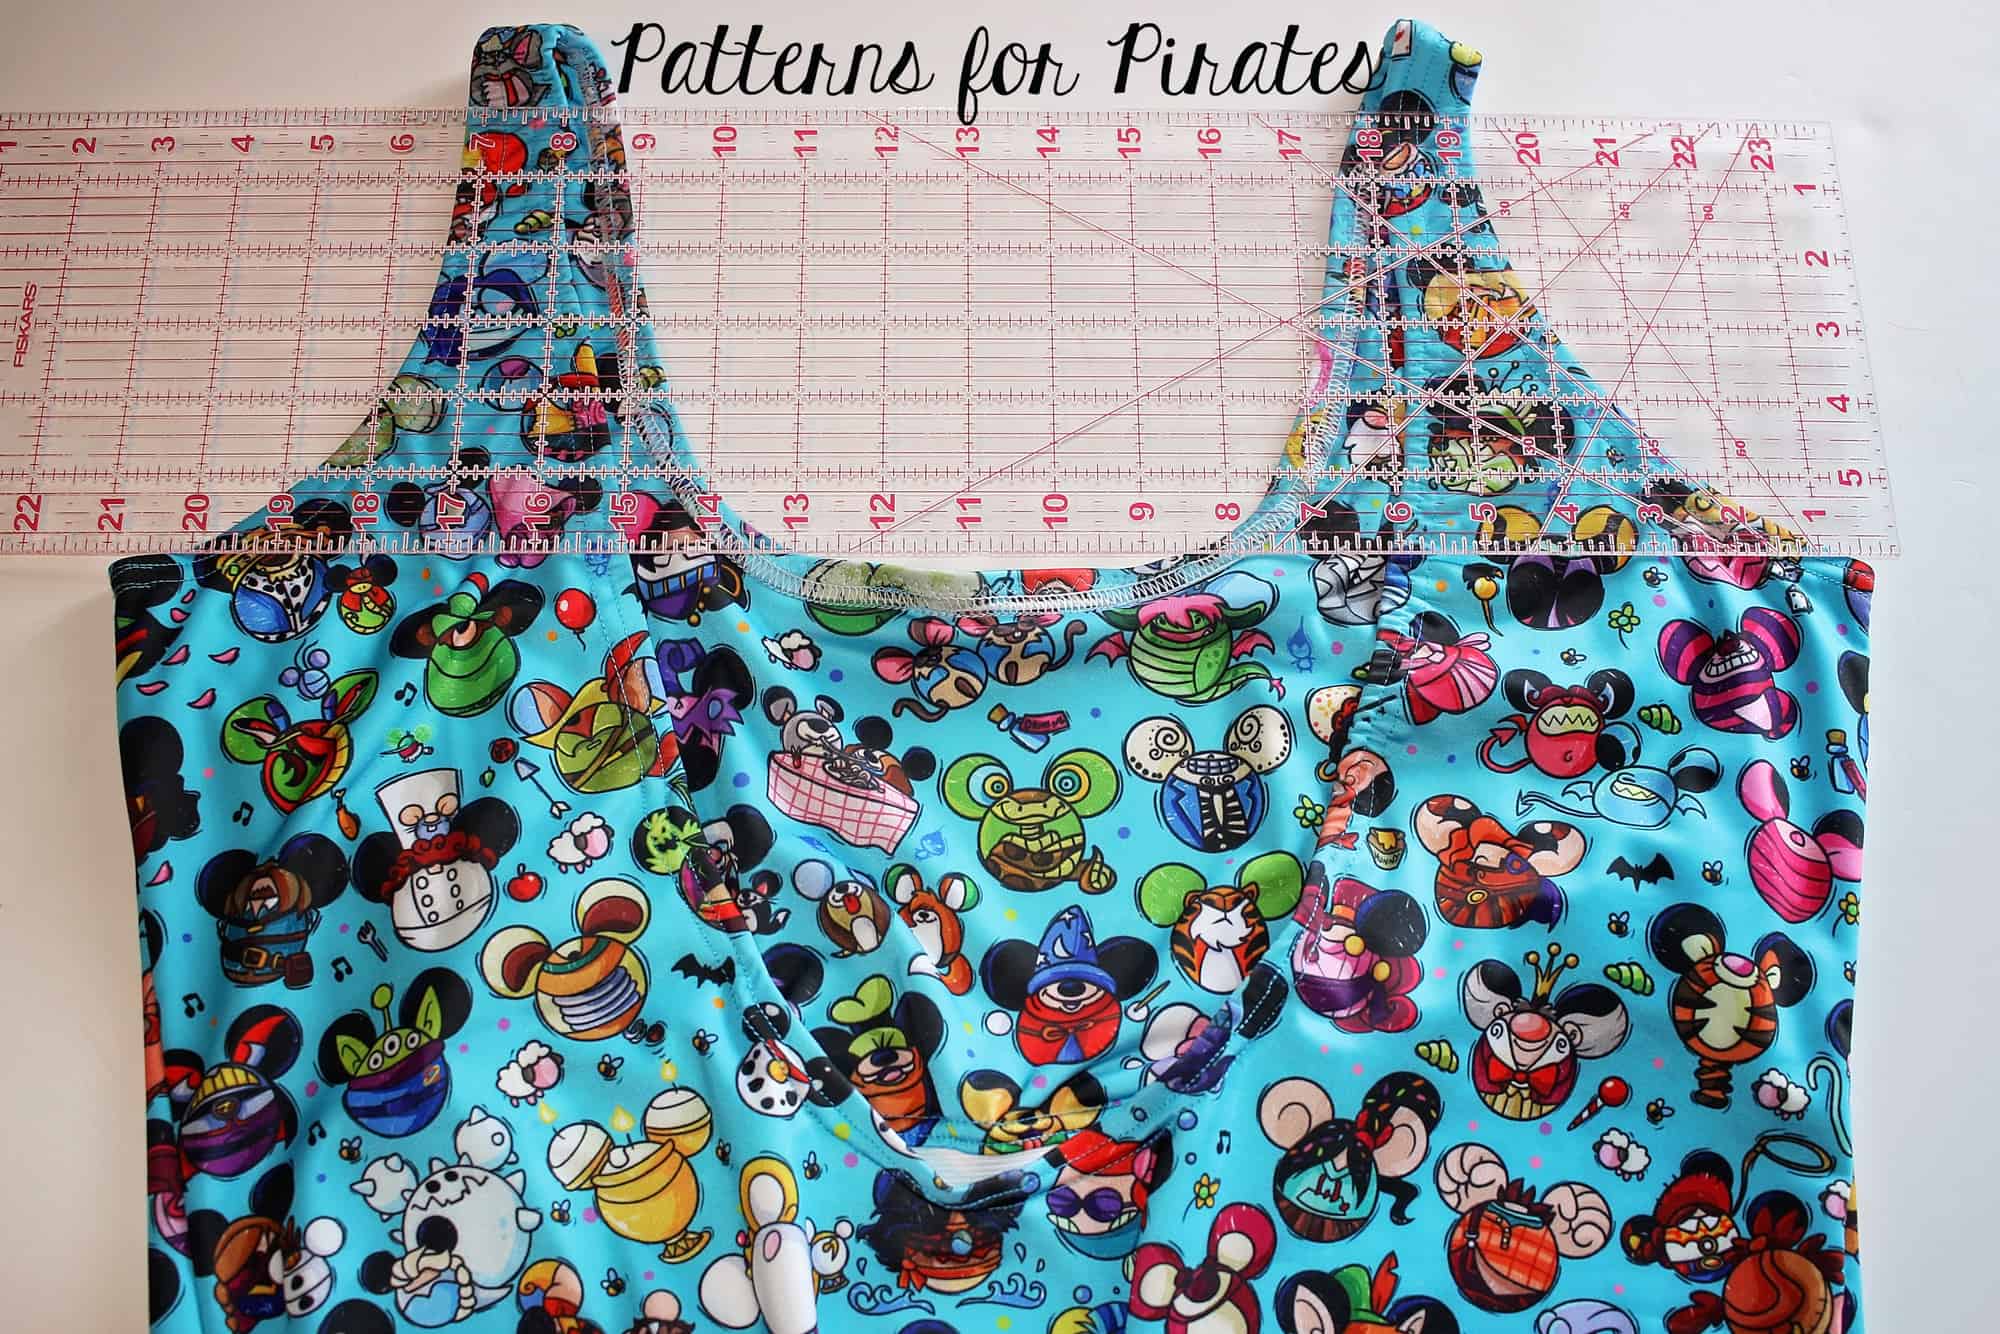
Cut your back strap 6″ wide by the back opening you measured earlier. In my case I used a swim piece that was 6″x9″. This is a step you can customize to your liking. If you’d like a thinner strap you can certainly cut the fabric shorter than 6″. Fold the strap right side together lengthwise, sew along the top with a 1/4 or 1/2″ seam allowance (depending on your preference). Turn the strap inside out.
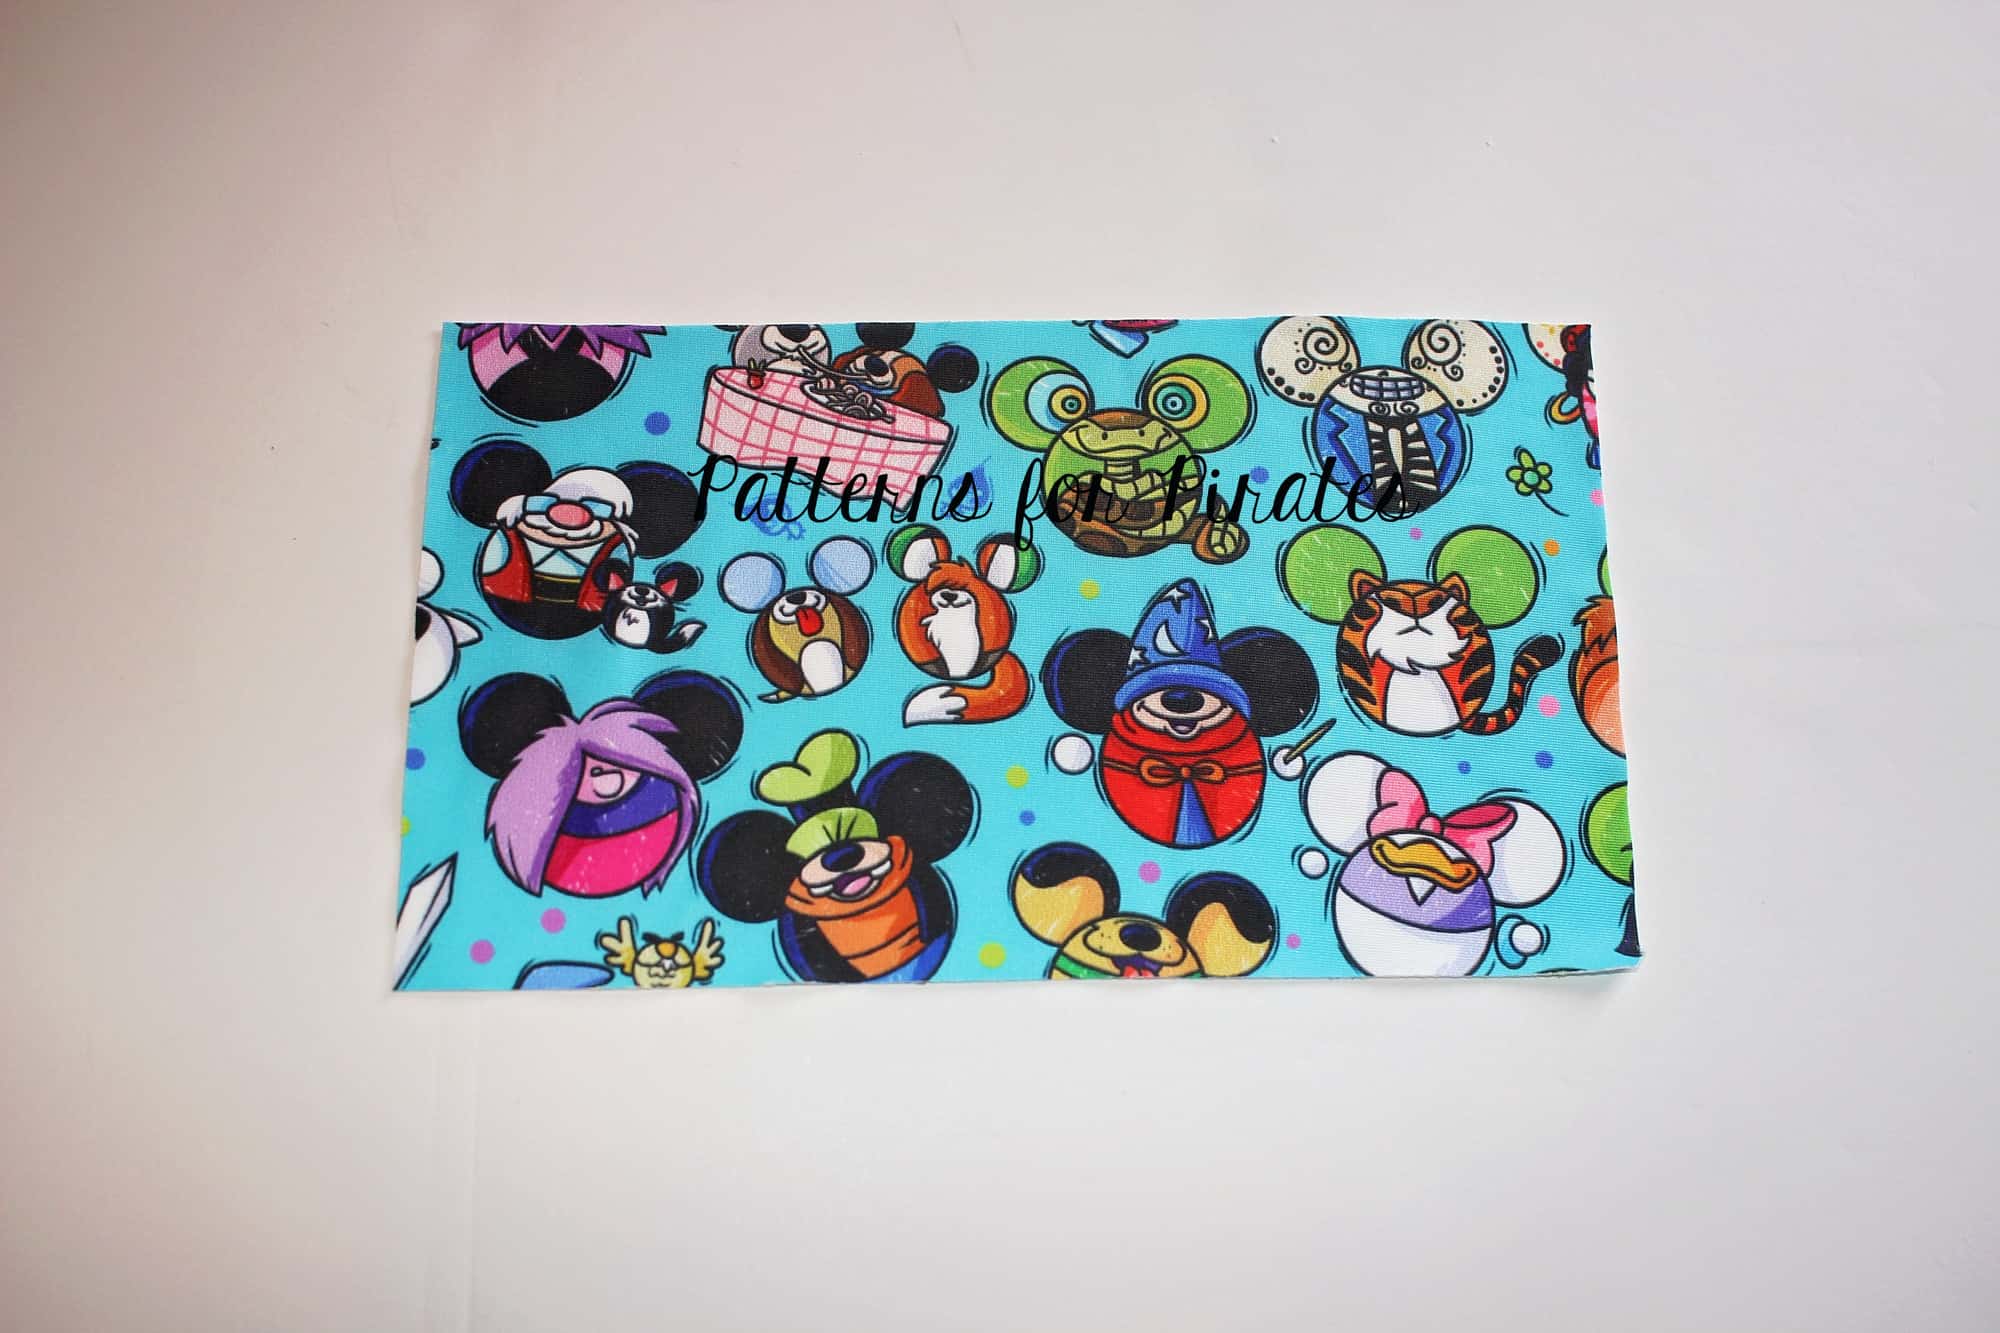
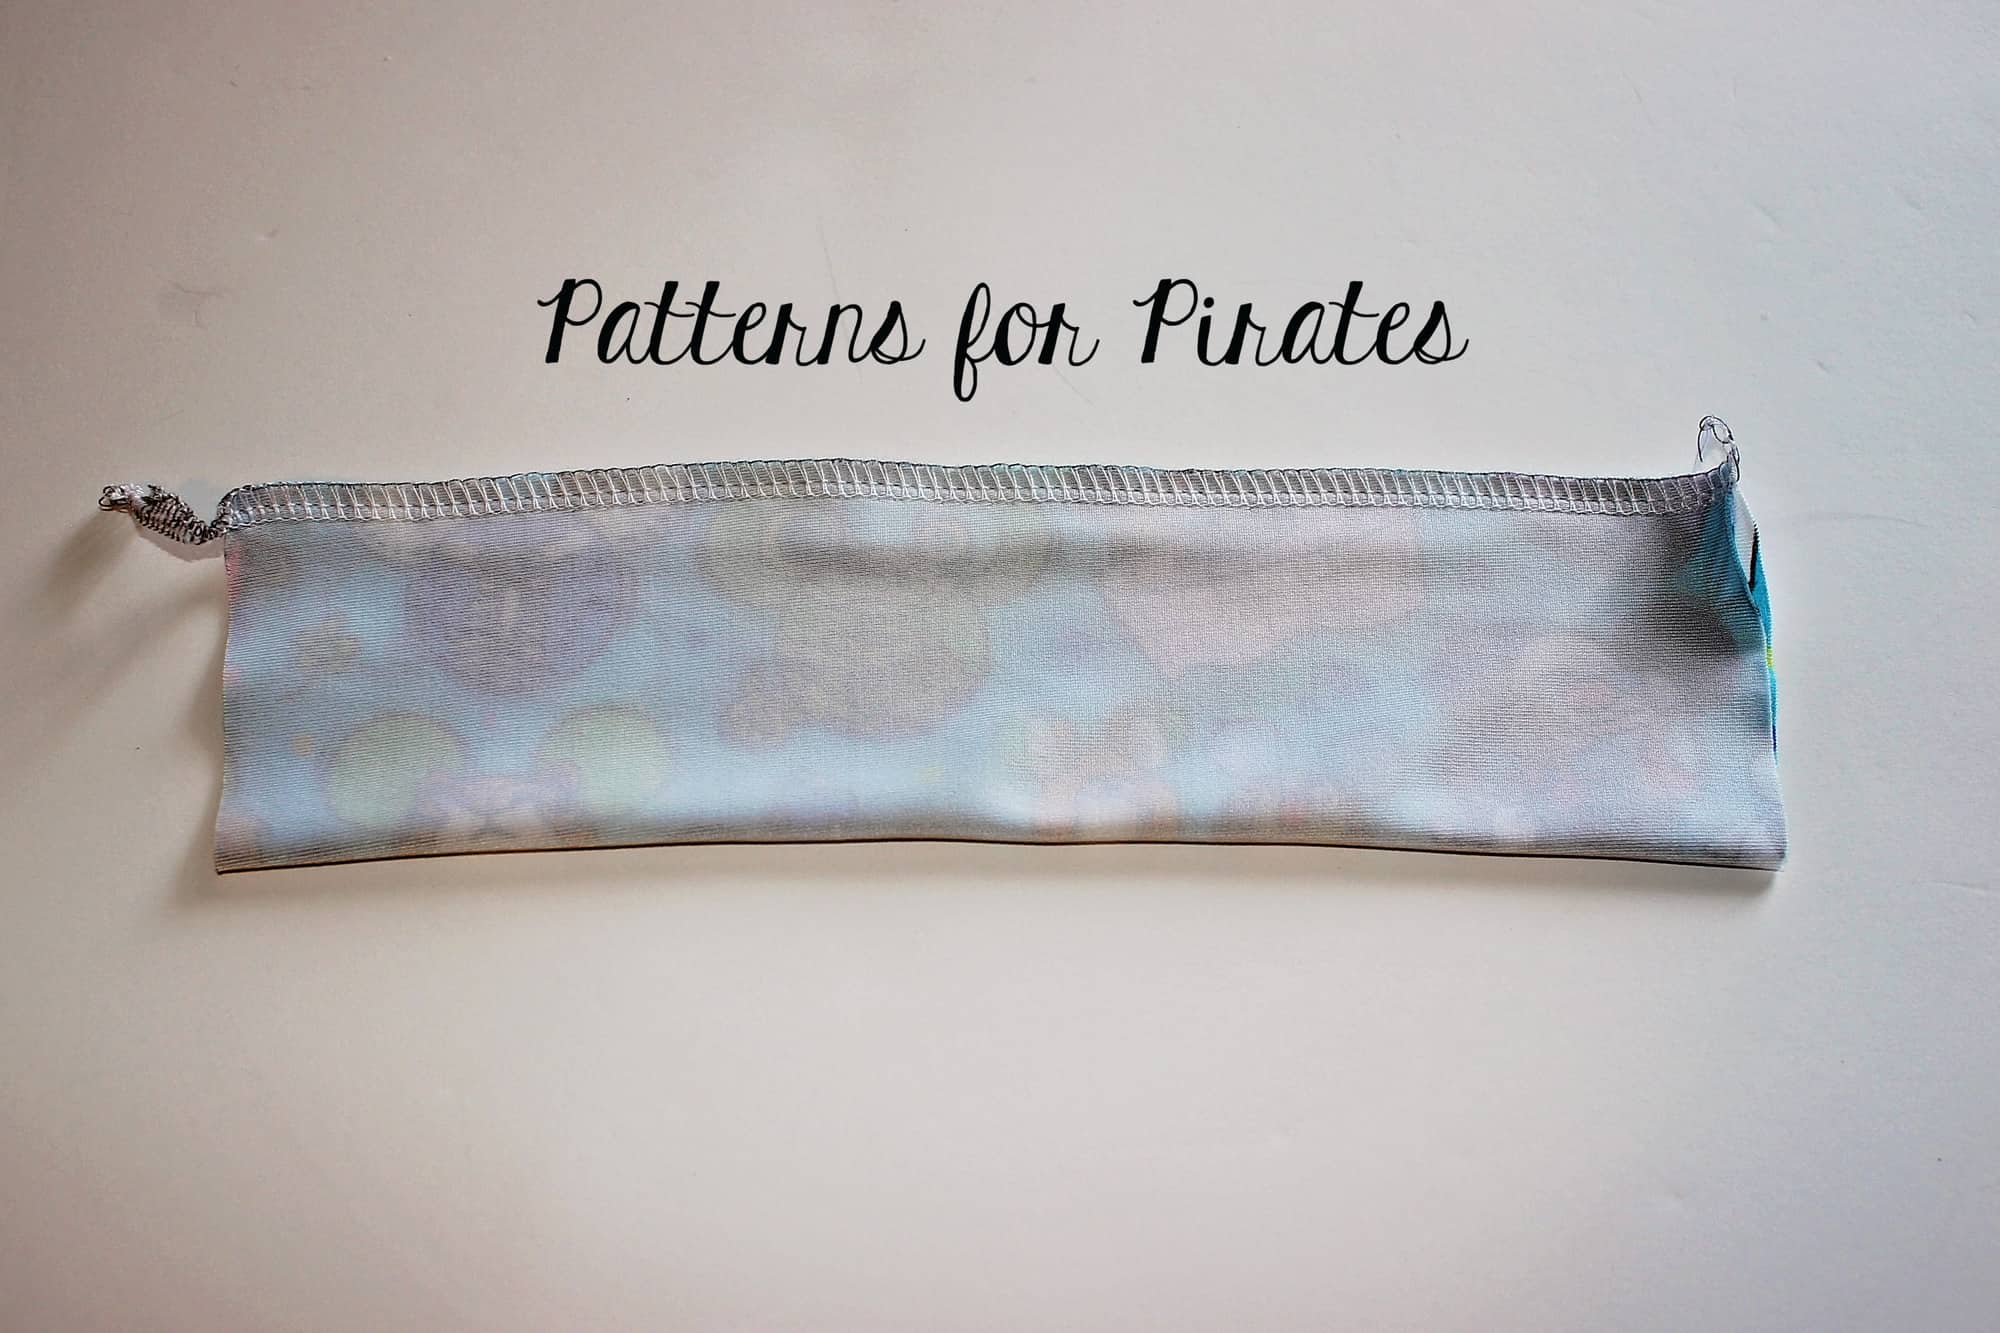
Bring back your swimsuit, back side up, and mark the point on the opening that matches the bottom arm opening.
Pin your strap in place making sure that the top of the strap matches the mark you just made on both sides of the back opening.
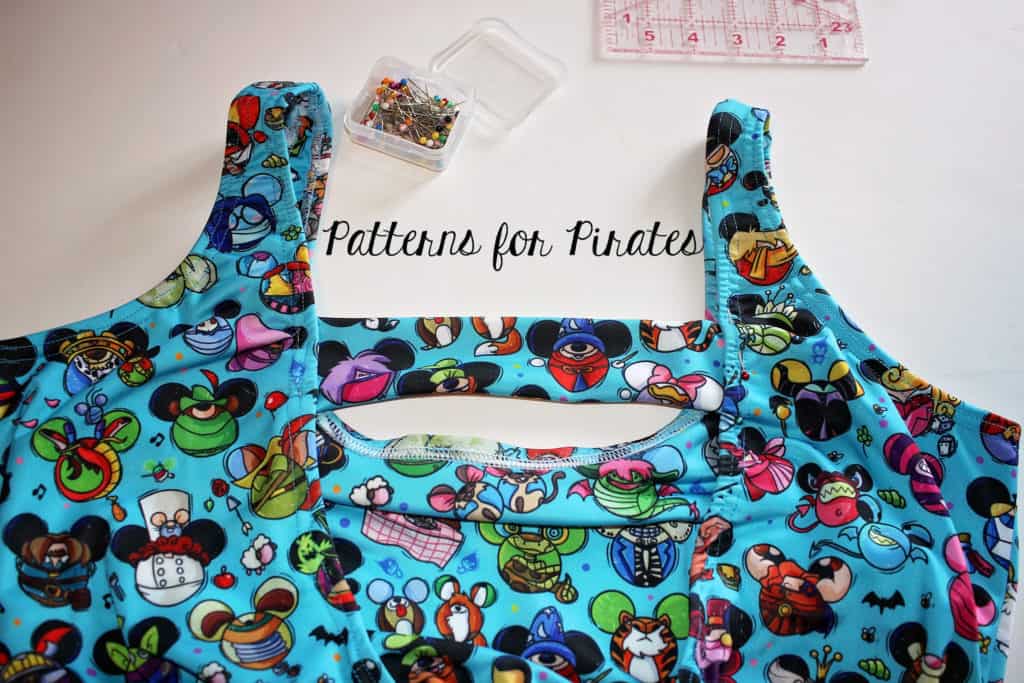
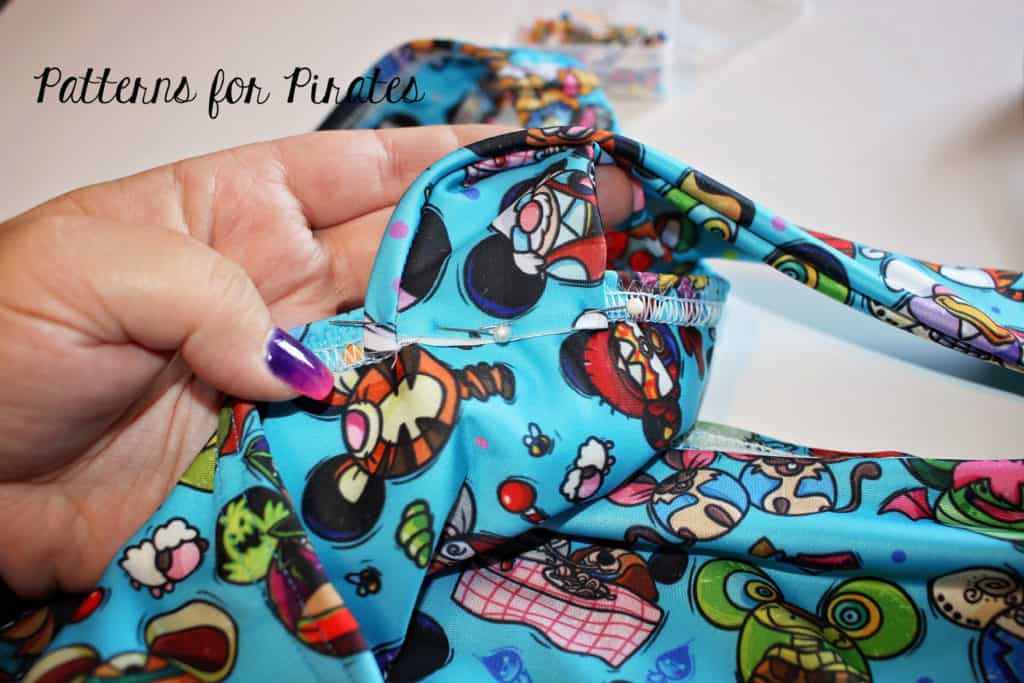
Sew the strap in place using a zig zag stitch, stretch stitches or your coverstitch. That’s all!
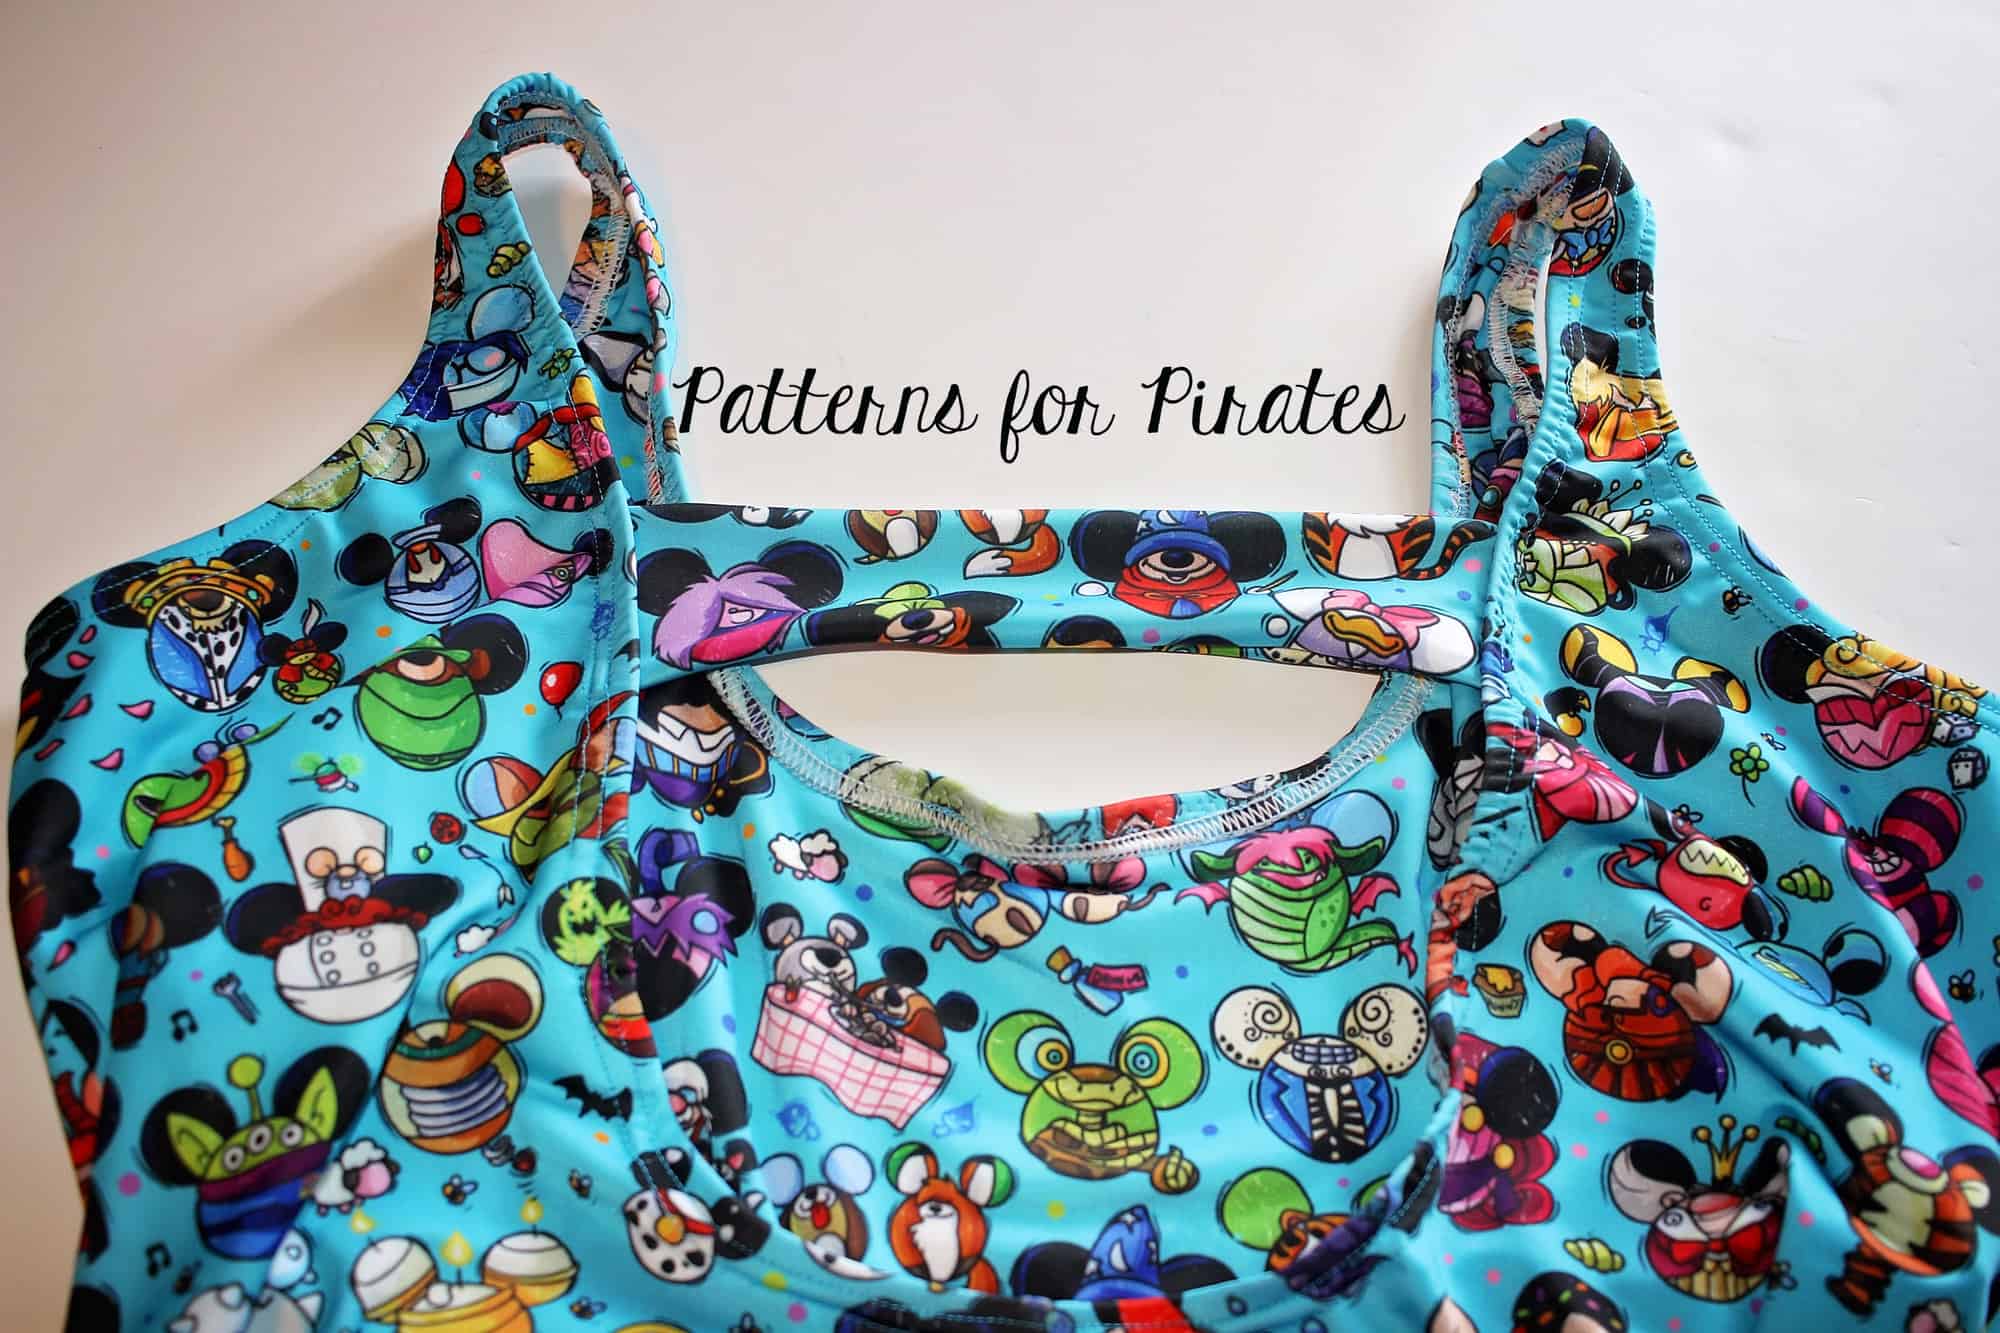
Tips: Using the same technique you can make the back with two or three thinner straps, two long ones  tied in a bow, two thinner ones crossed like an X….endless possibilities!

…..

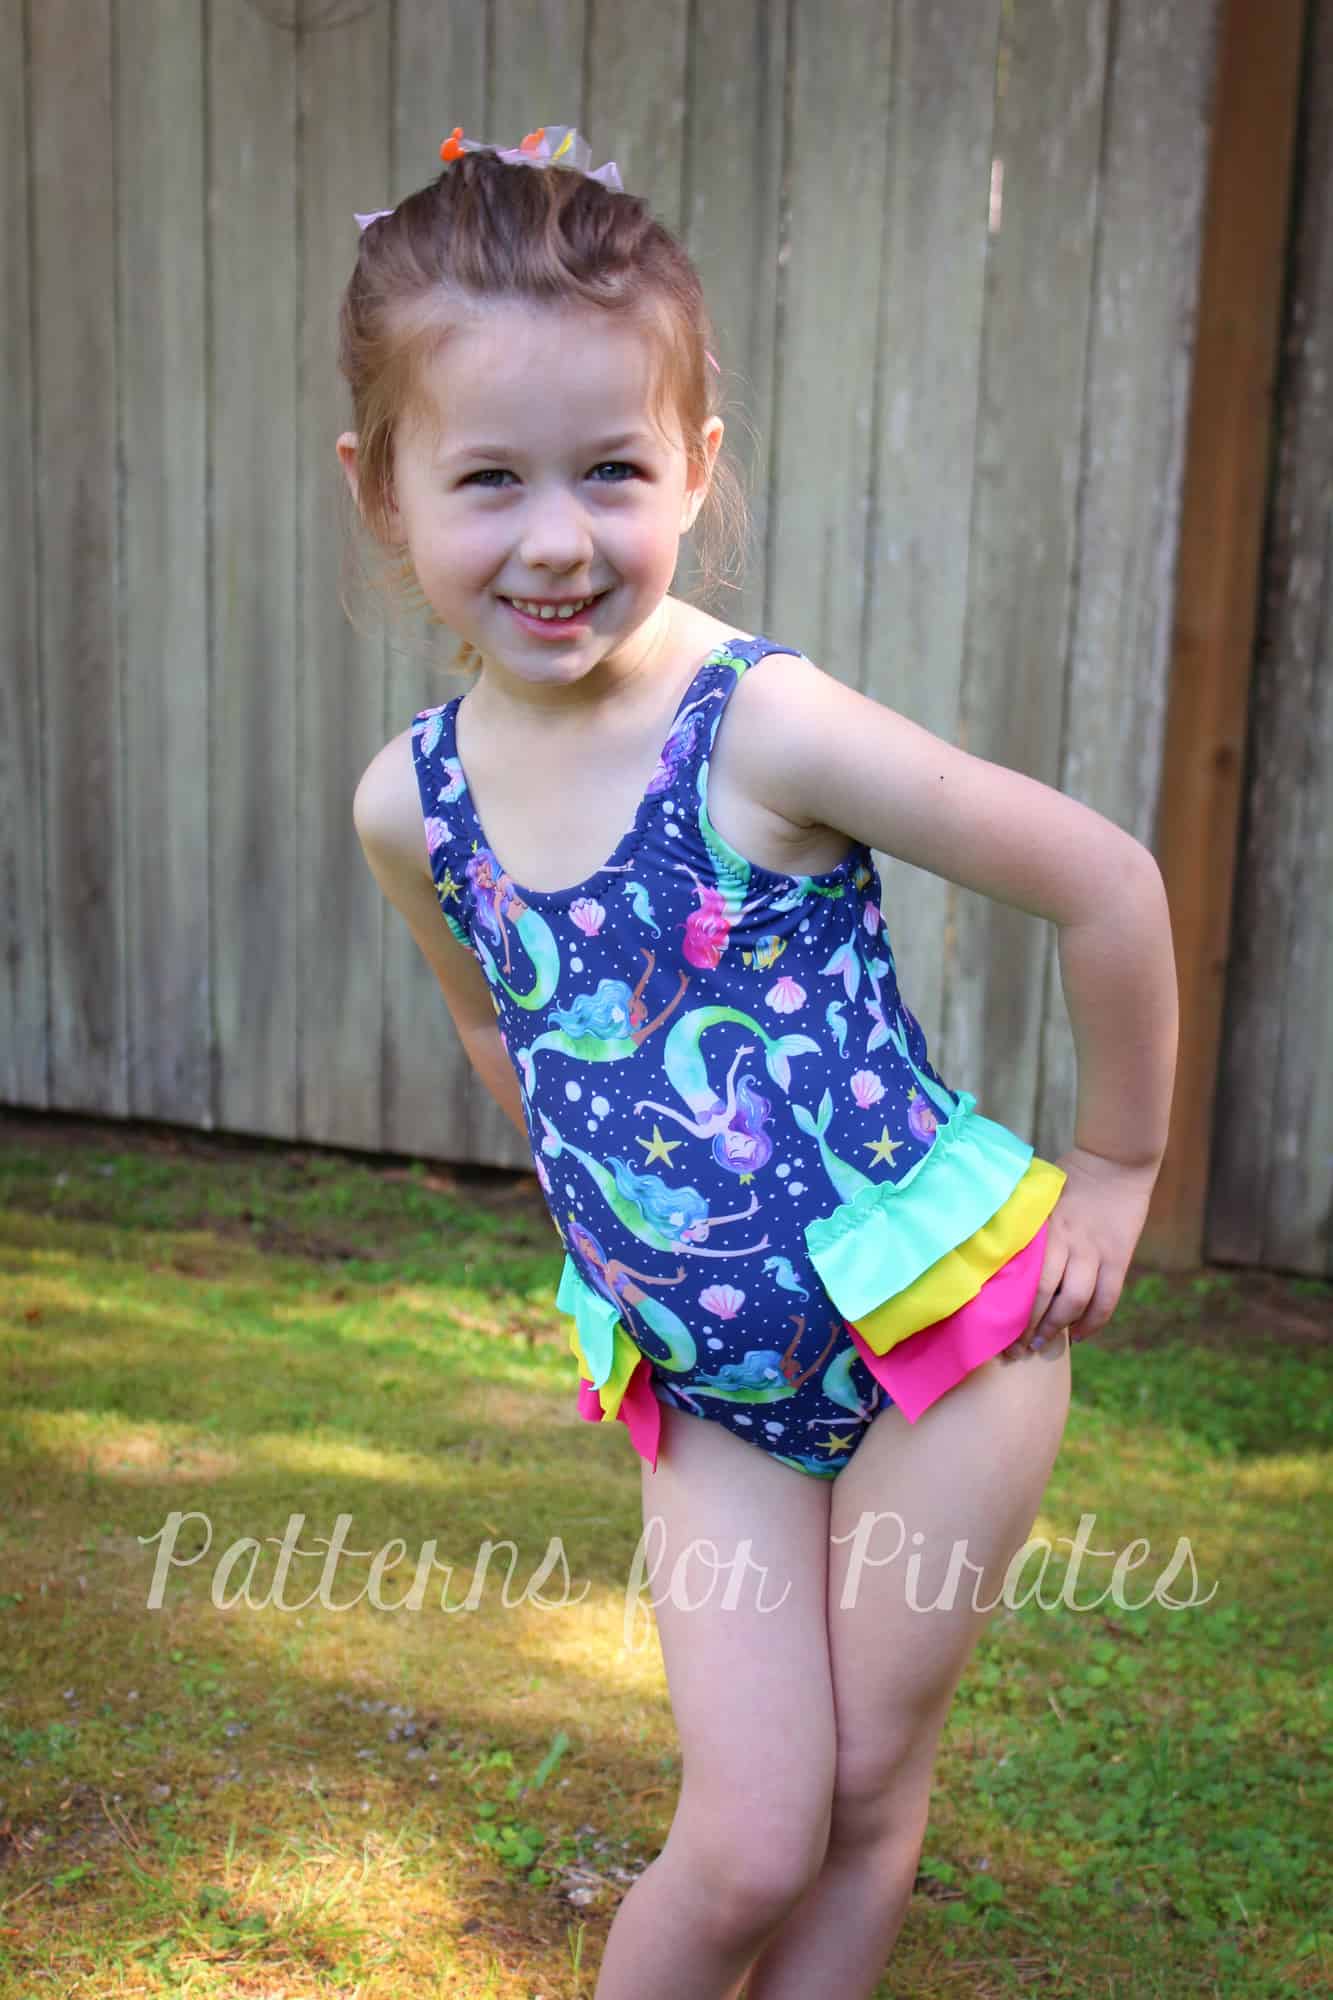
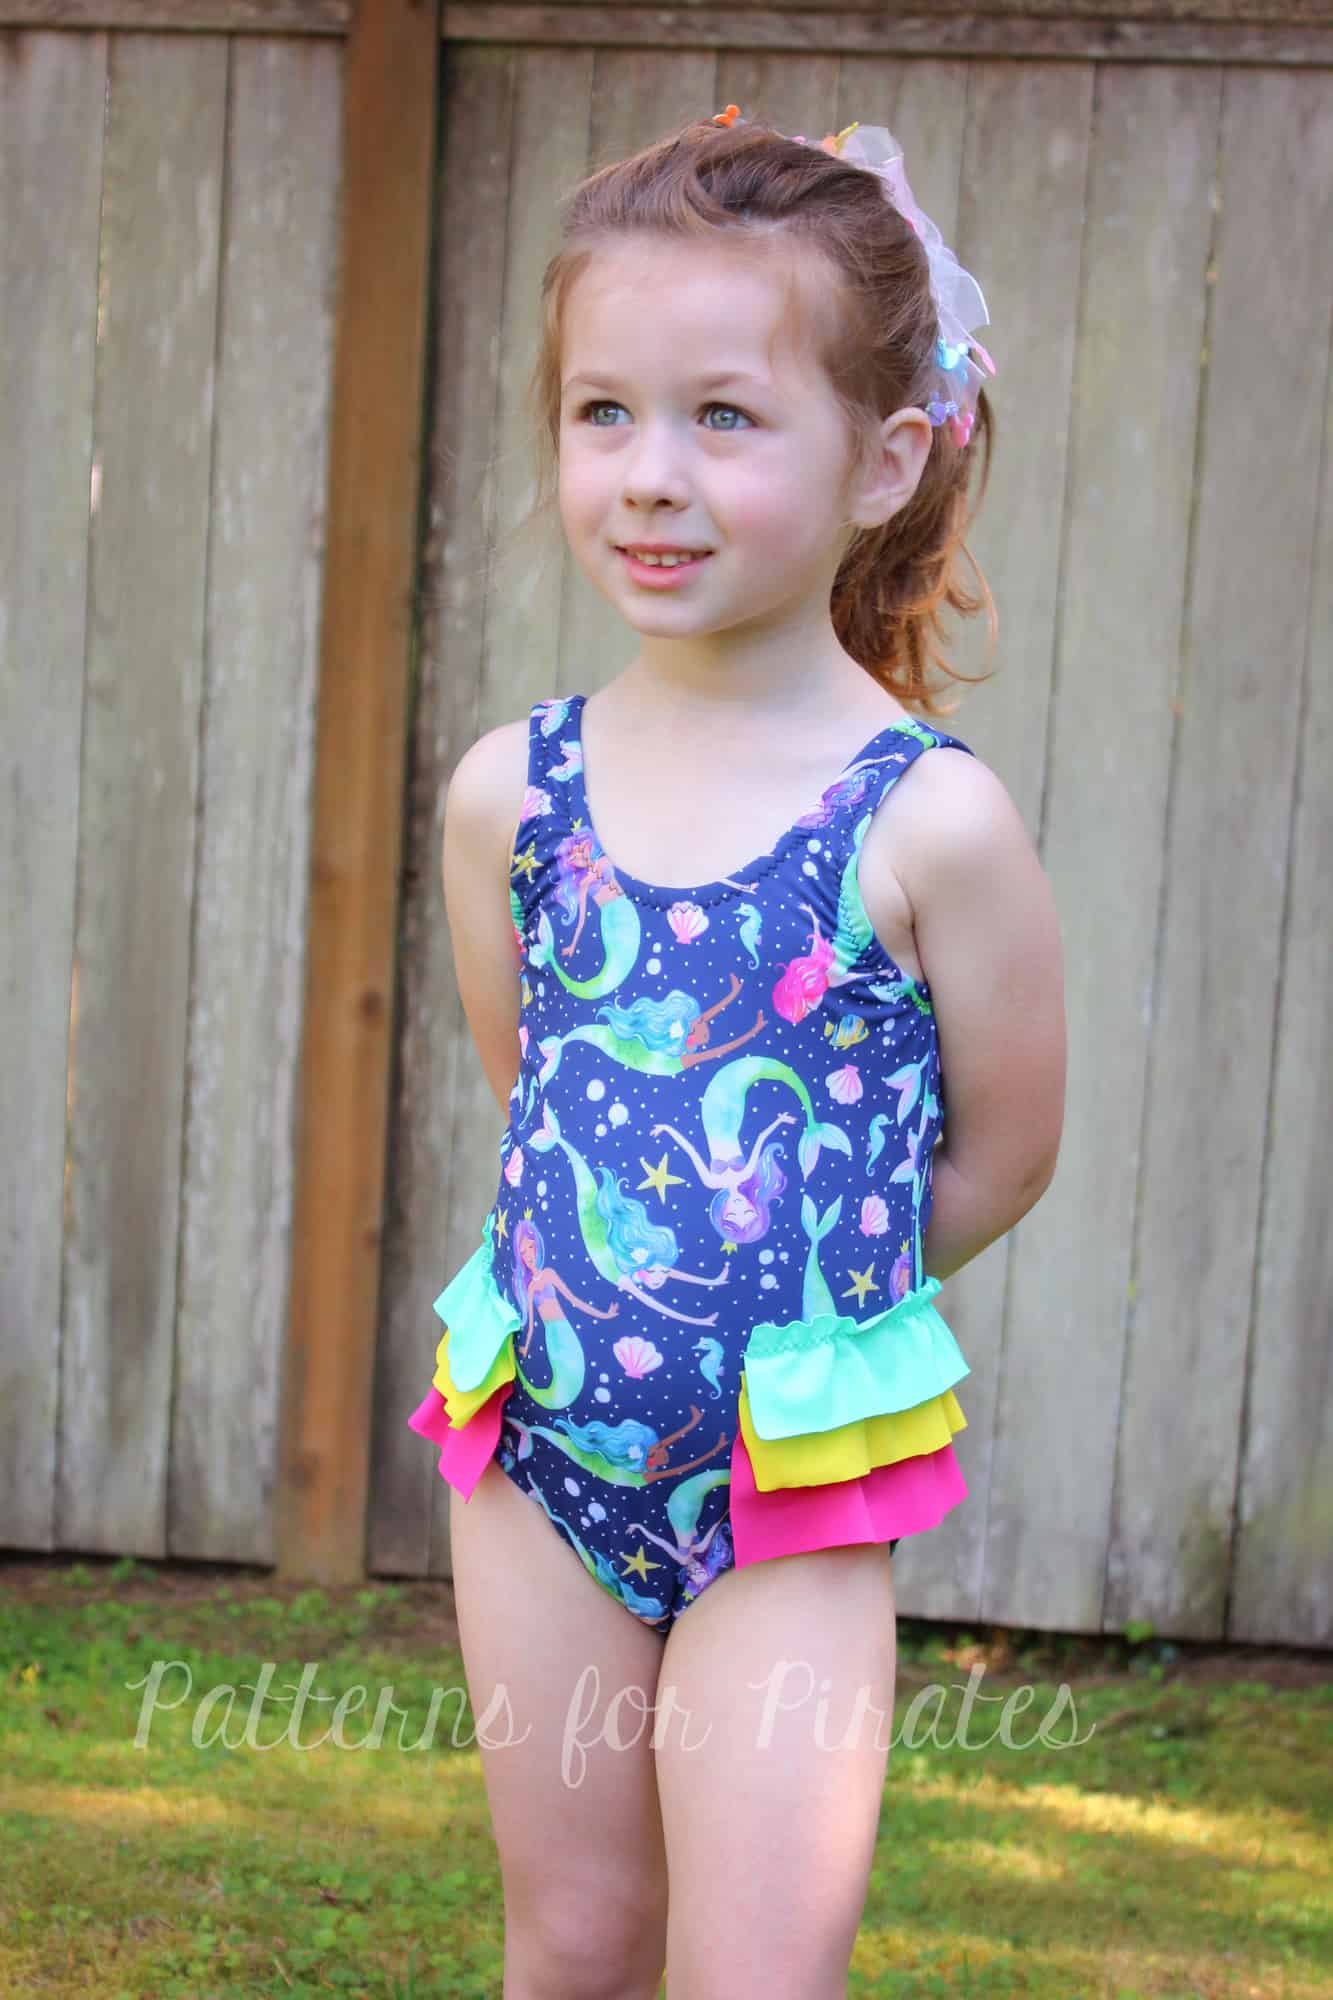
Ruffles at the legs
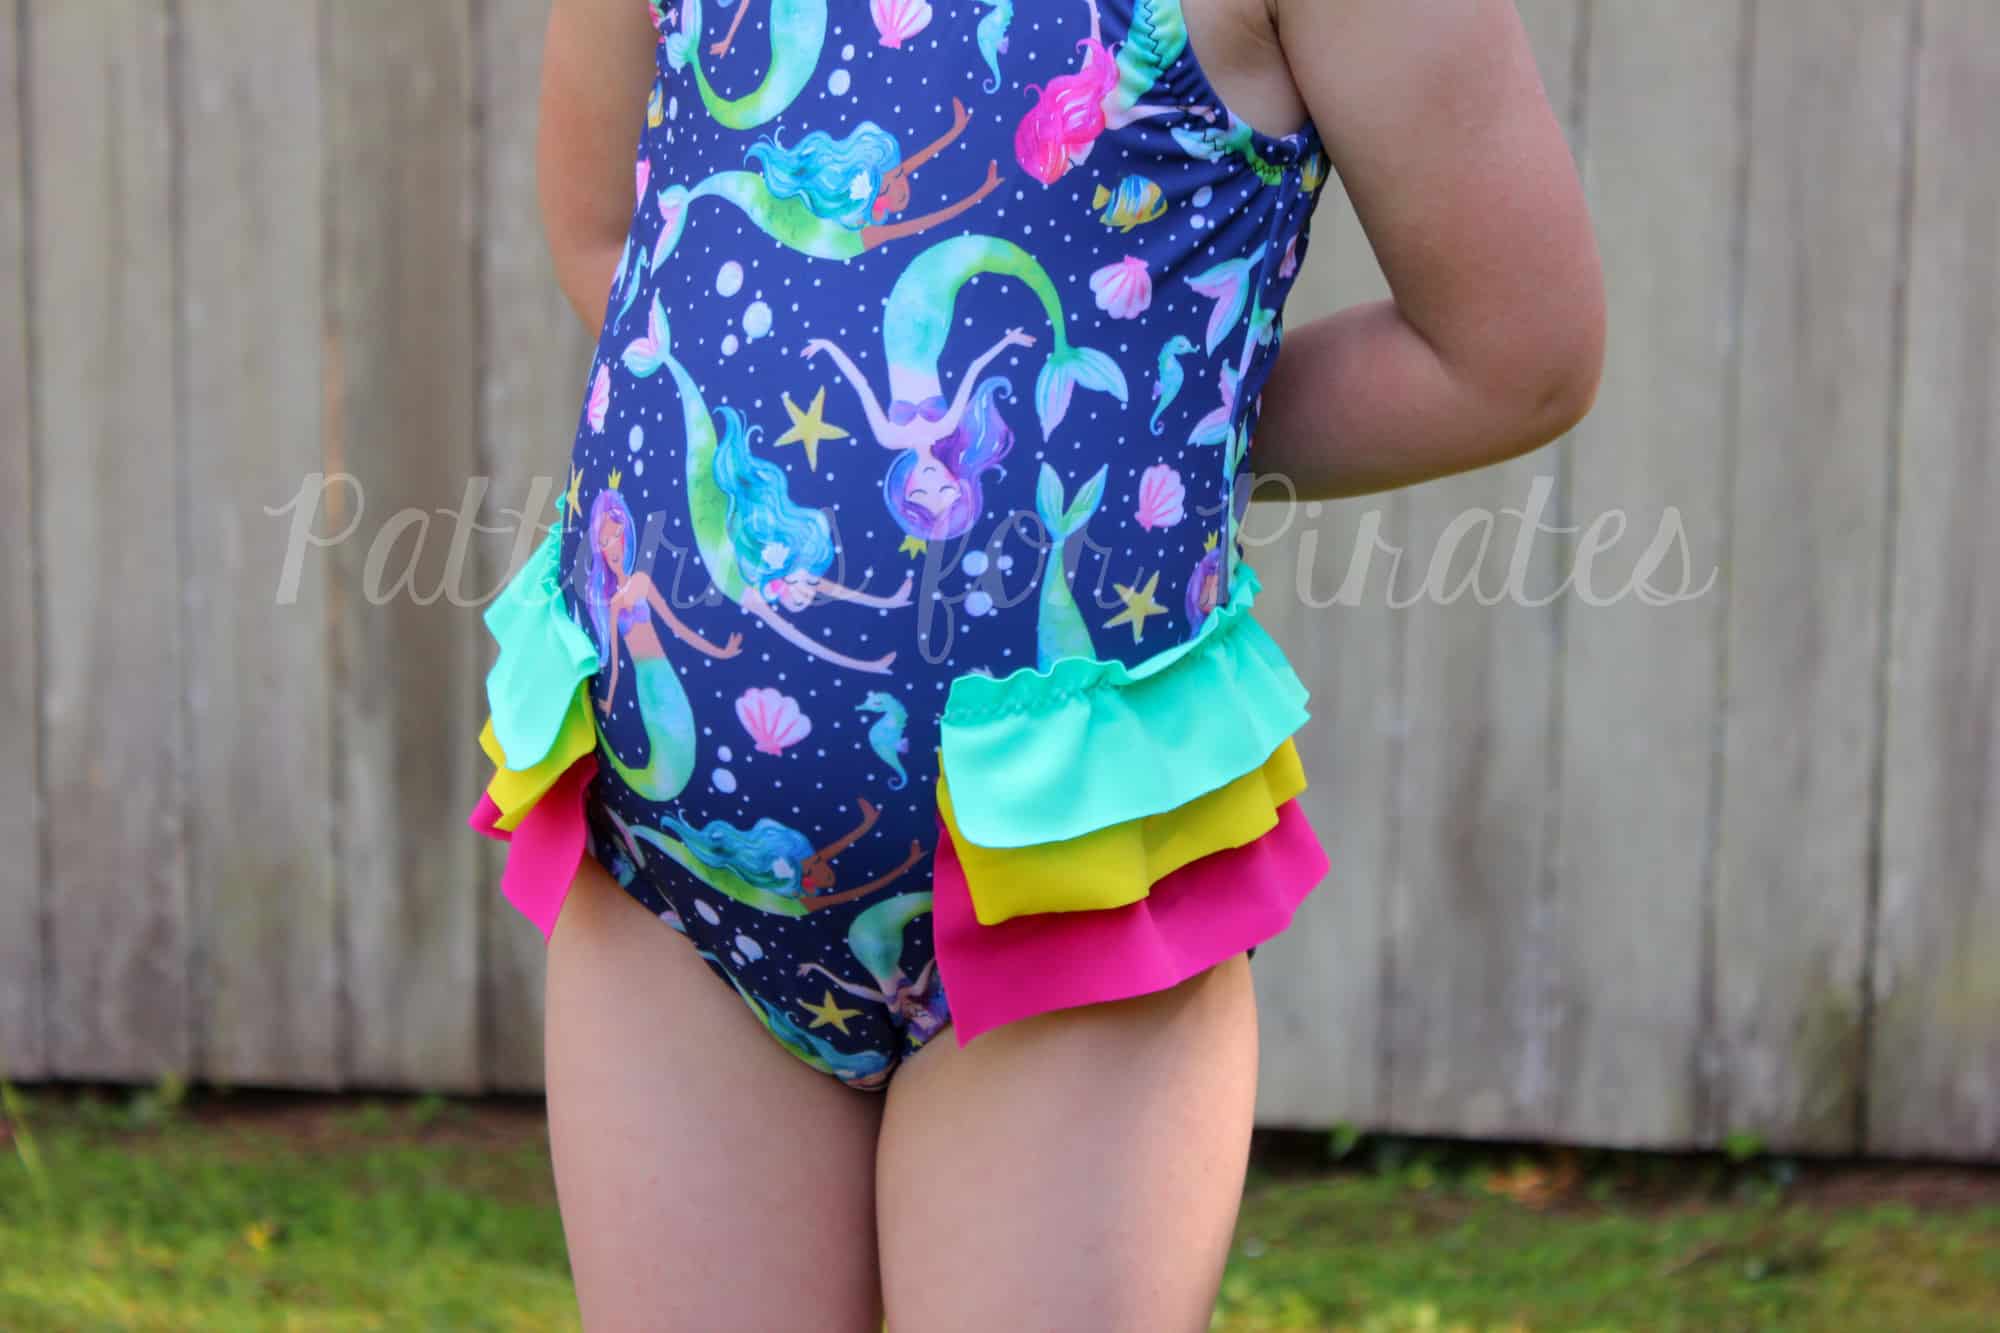
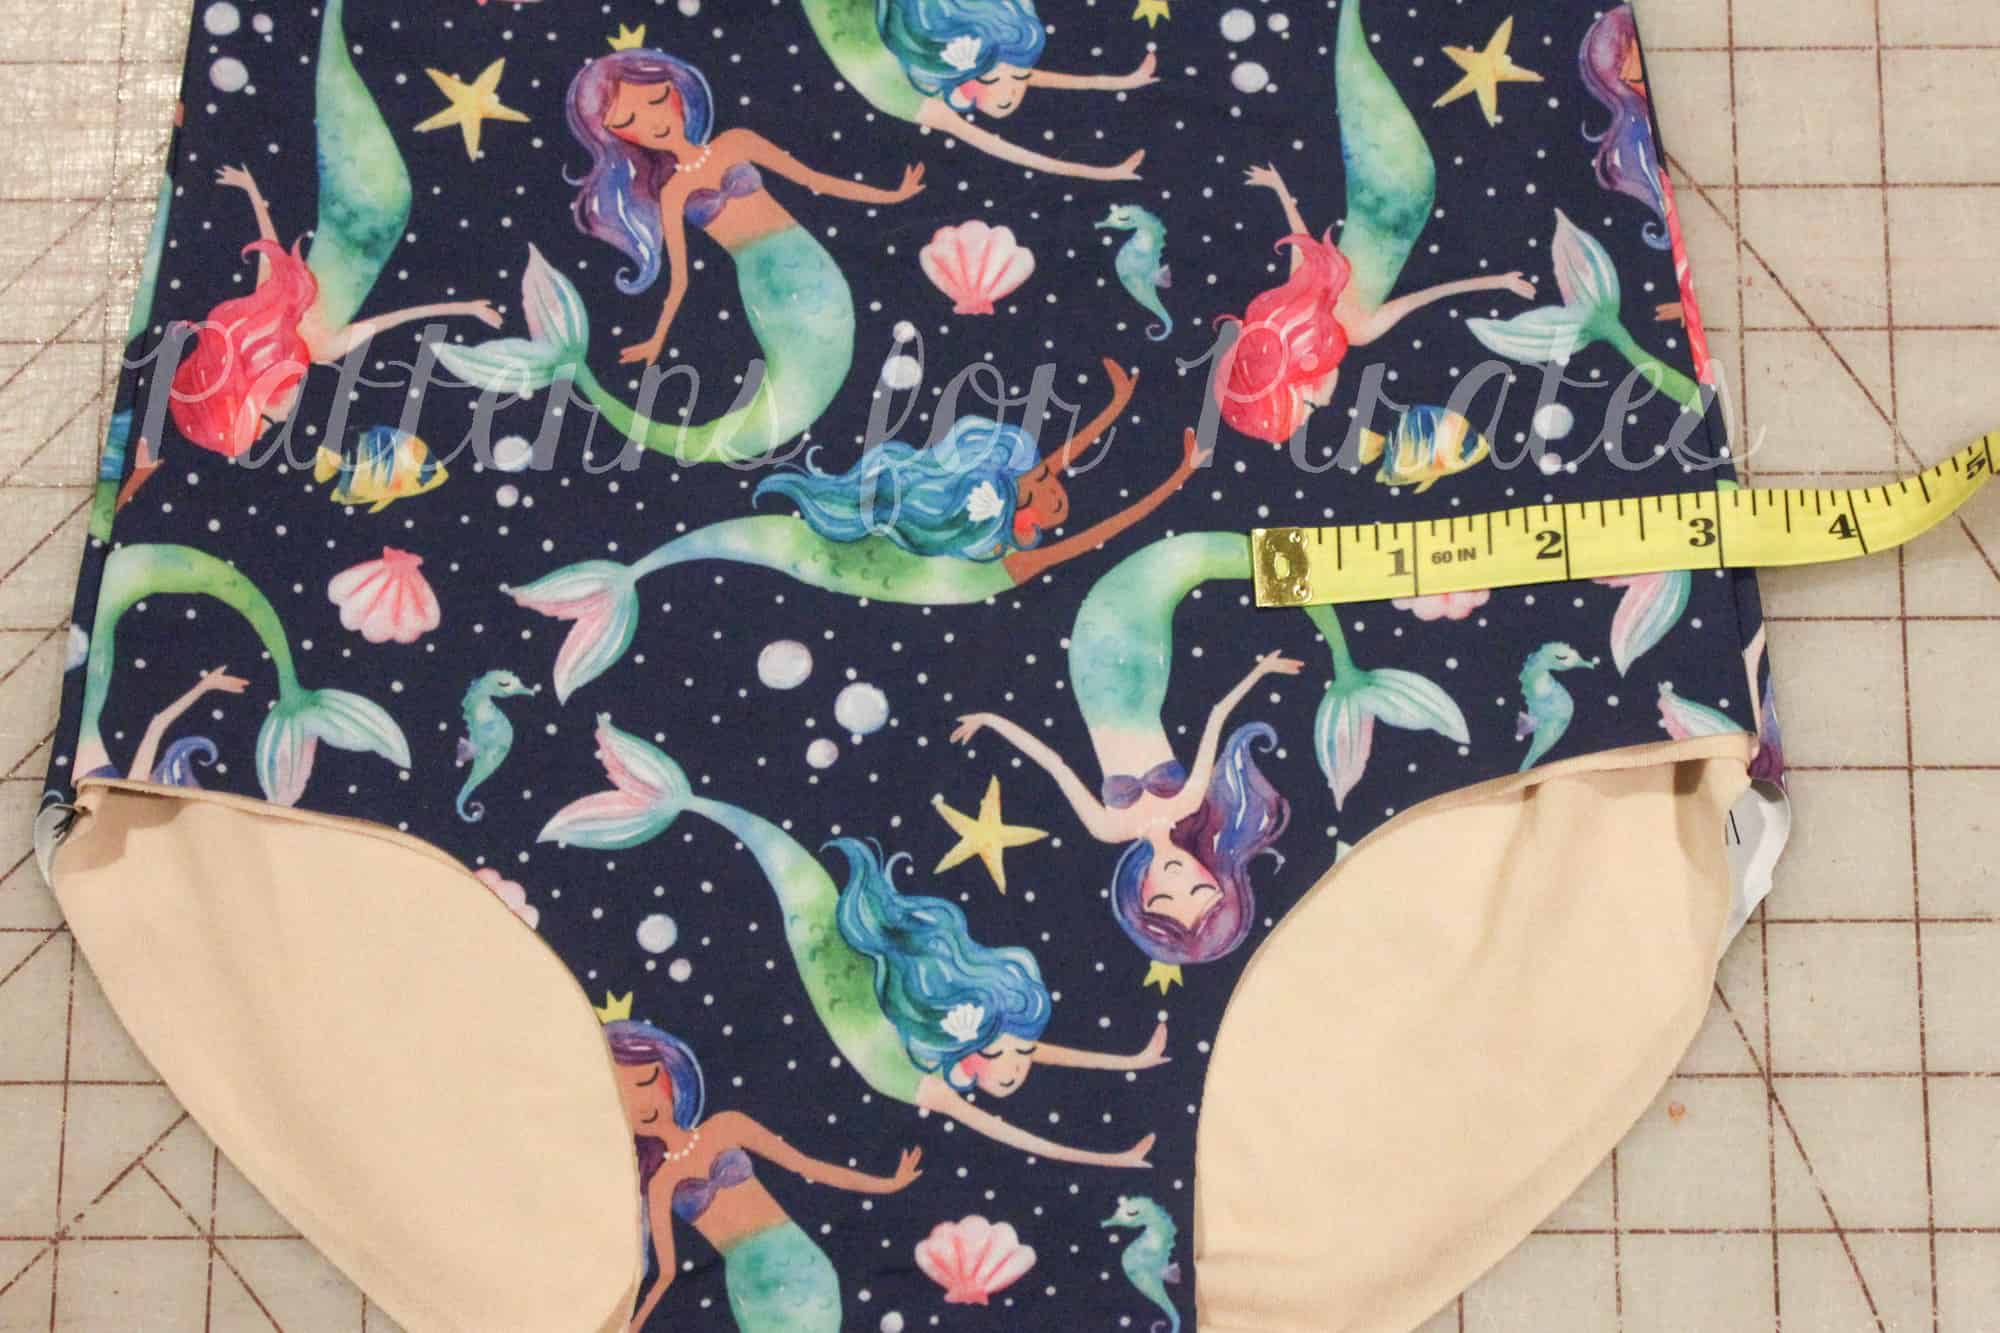
Looking for one of the fastest way to make most little girls happy- add ruffles! For this hack, you will first need to cut and assemble your pattern according to the tutorial, stopping at the step which attaches the crotch seam. Once assembled, you will want to measure the width that you would like your ruffles to be. I choose to measure from the side seam to approximately the leg curve, giving me a 3″ area to add the ruffle to the front, as well as another 3″ to the back.
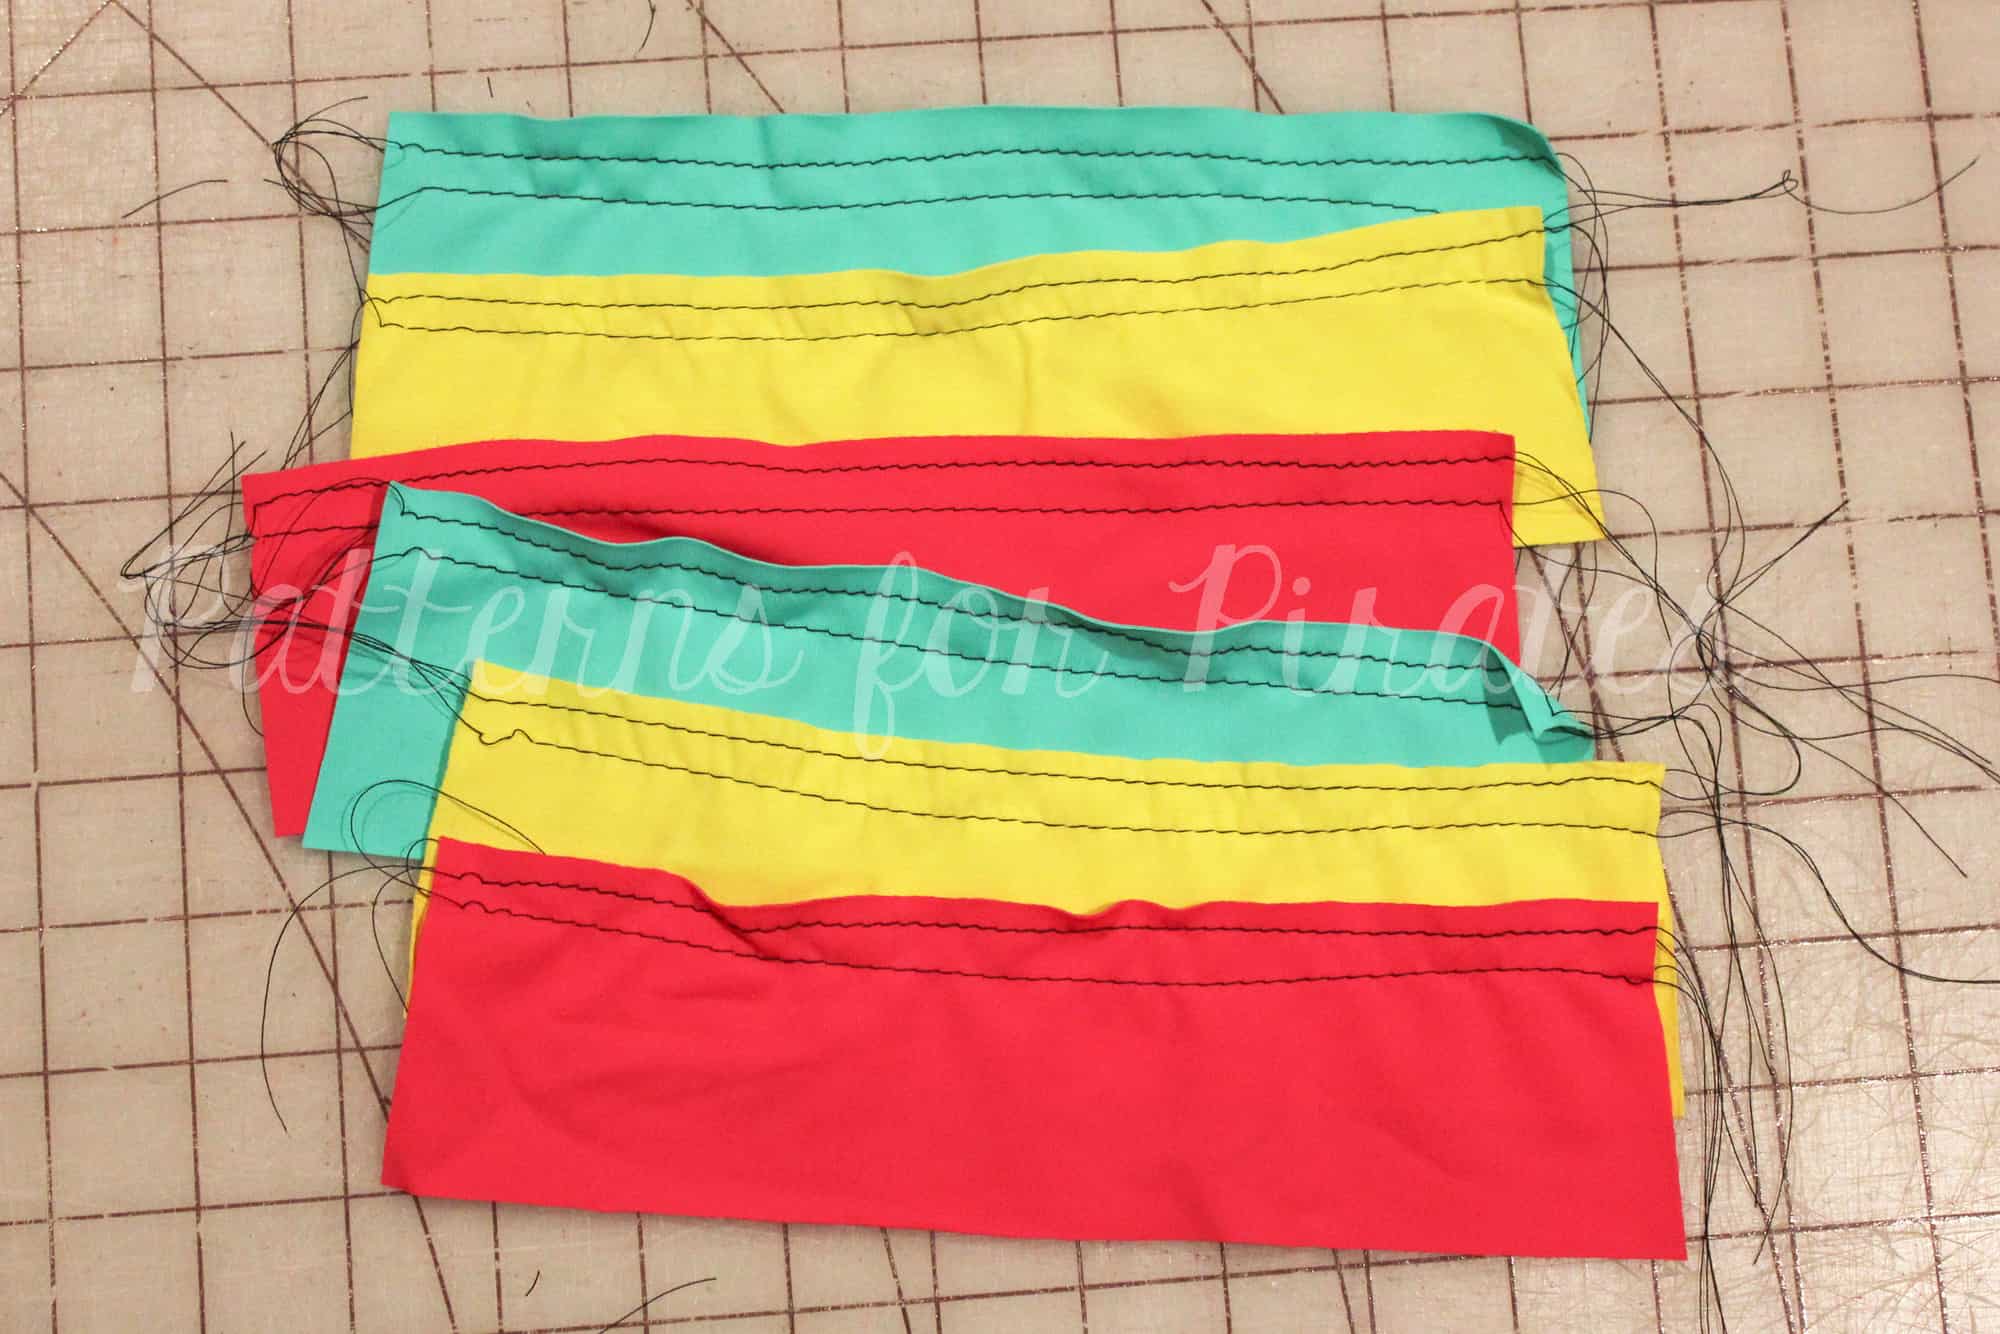
You will now cut the rectangles needed for the ruffles.  You will need a total of 6 rectangles, 3 for each side. To determine the total length needed, I took my 6″ I measured above and multiplied by 1.5. If you’d like a more full ruffle, you could multiply this width by 2. For the height, I cut each ruffle to 2″. My final ruffle measurements were 9″x 2″. After you’ve cut your rectangles, you will want to sew your gather stitches (the longest straight stitch on your machine). I like to sew two rows of stitches to help create more even gathers.
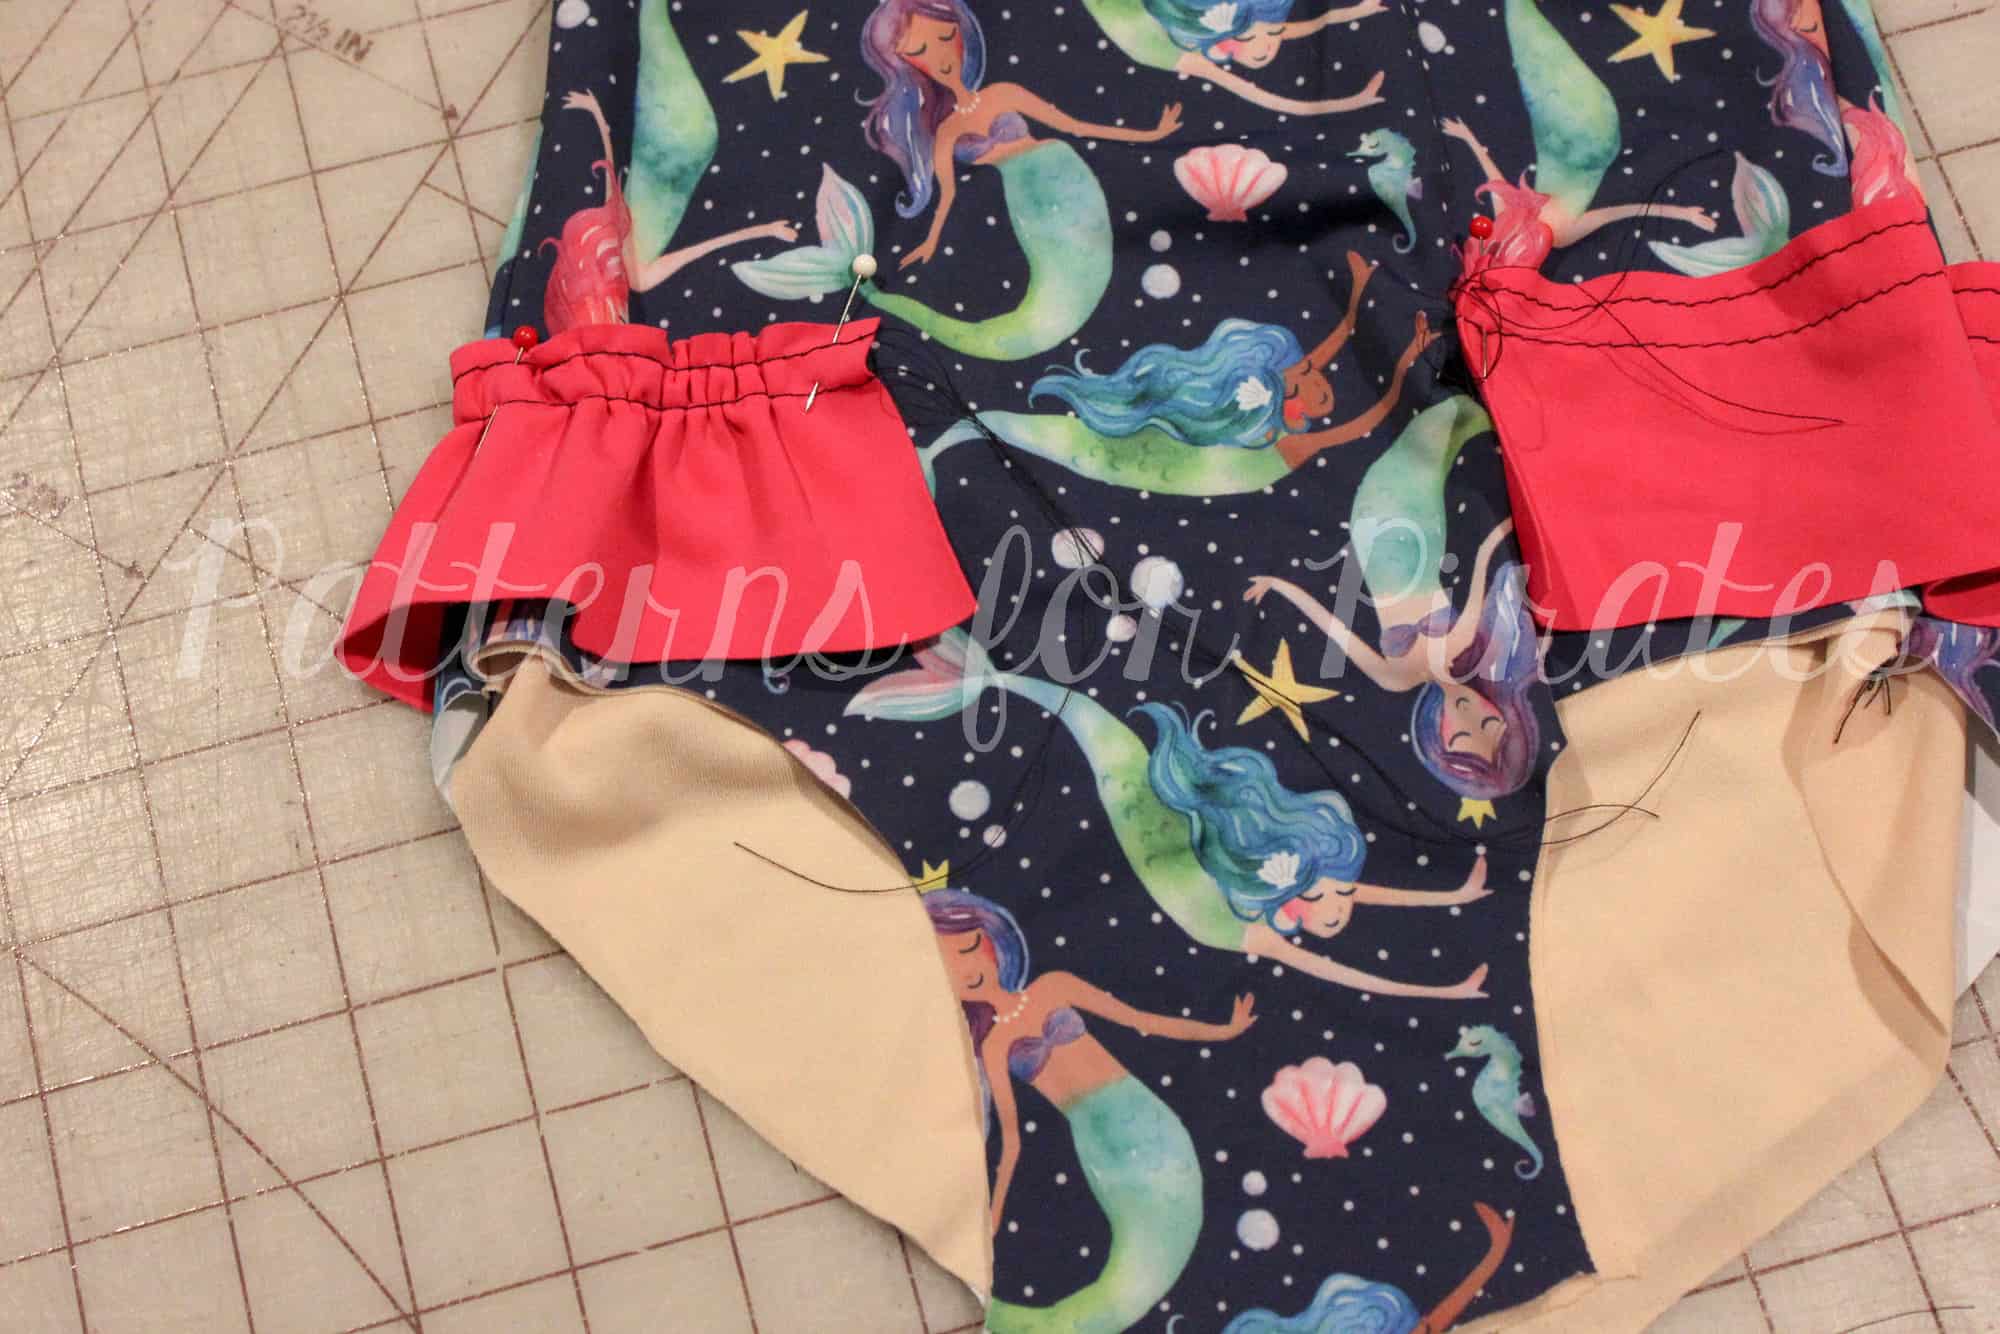
Beginning with your bottom ruffle, match the center of the ruffle with the side seam, then pin in place 3″ from the side seam on both the front and back bodice pieces. Pull your gather strings and adjust as needed.
Attach the ruffle using a narrow zigzag stitch. You may now remove the basting stitches.

Repeat these steps with both the middle and top layer, placing it 1″ above the previous layer.
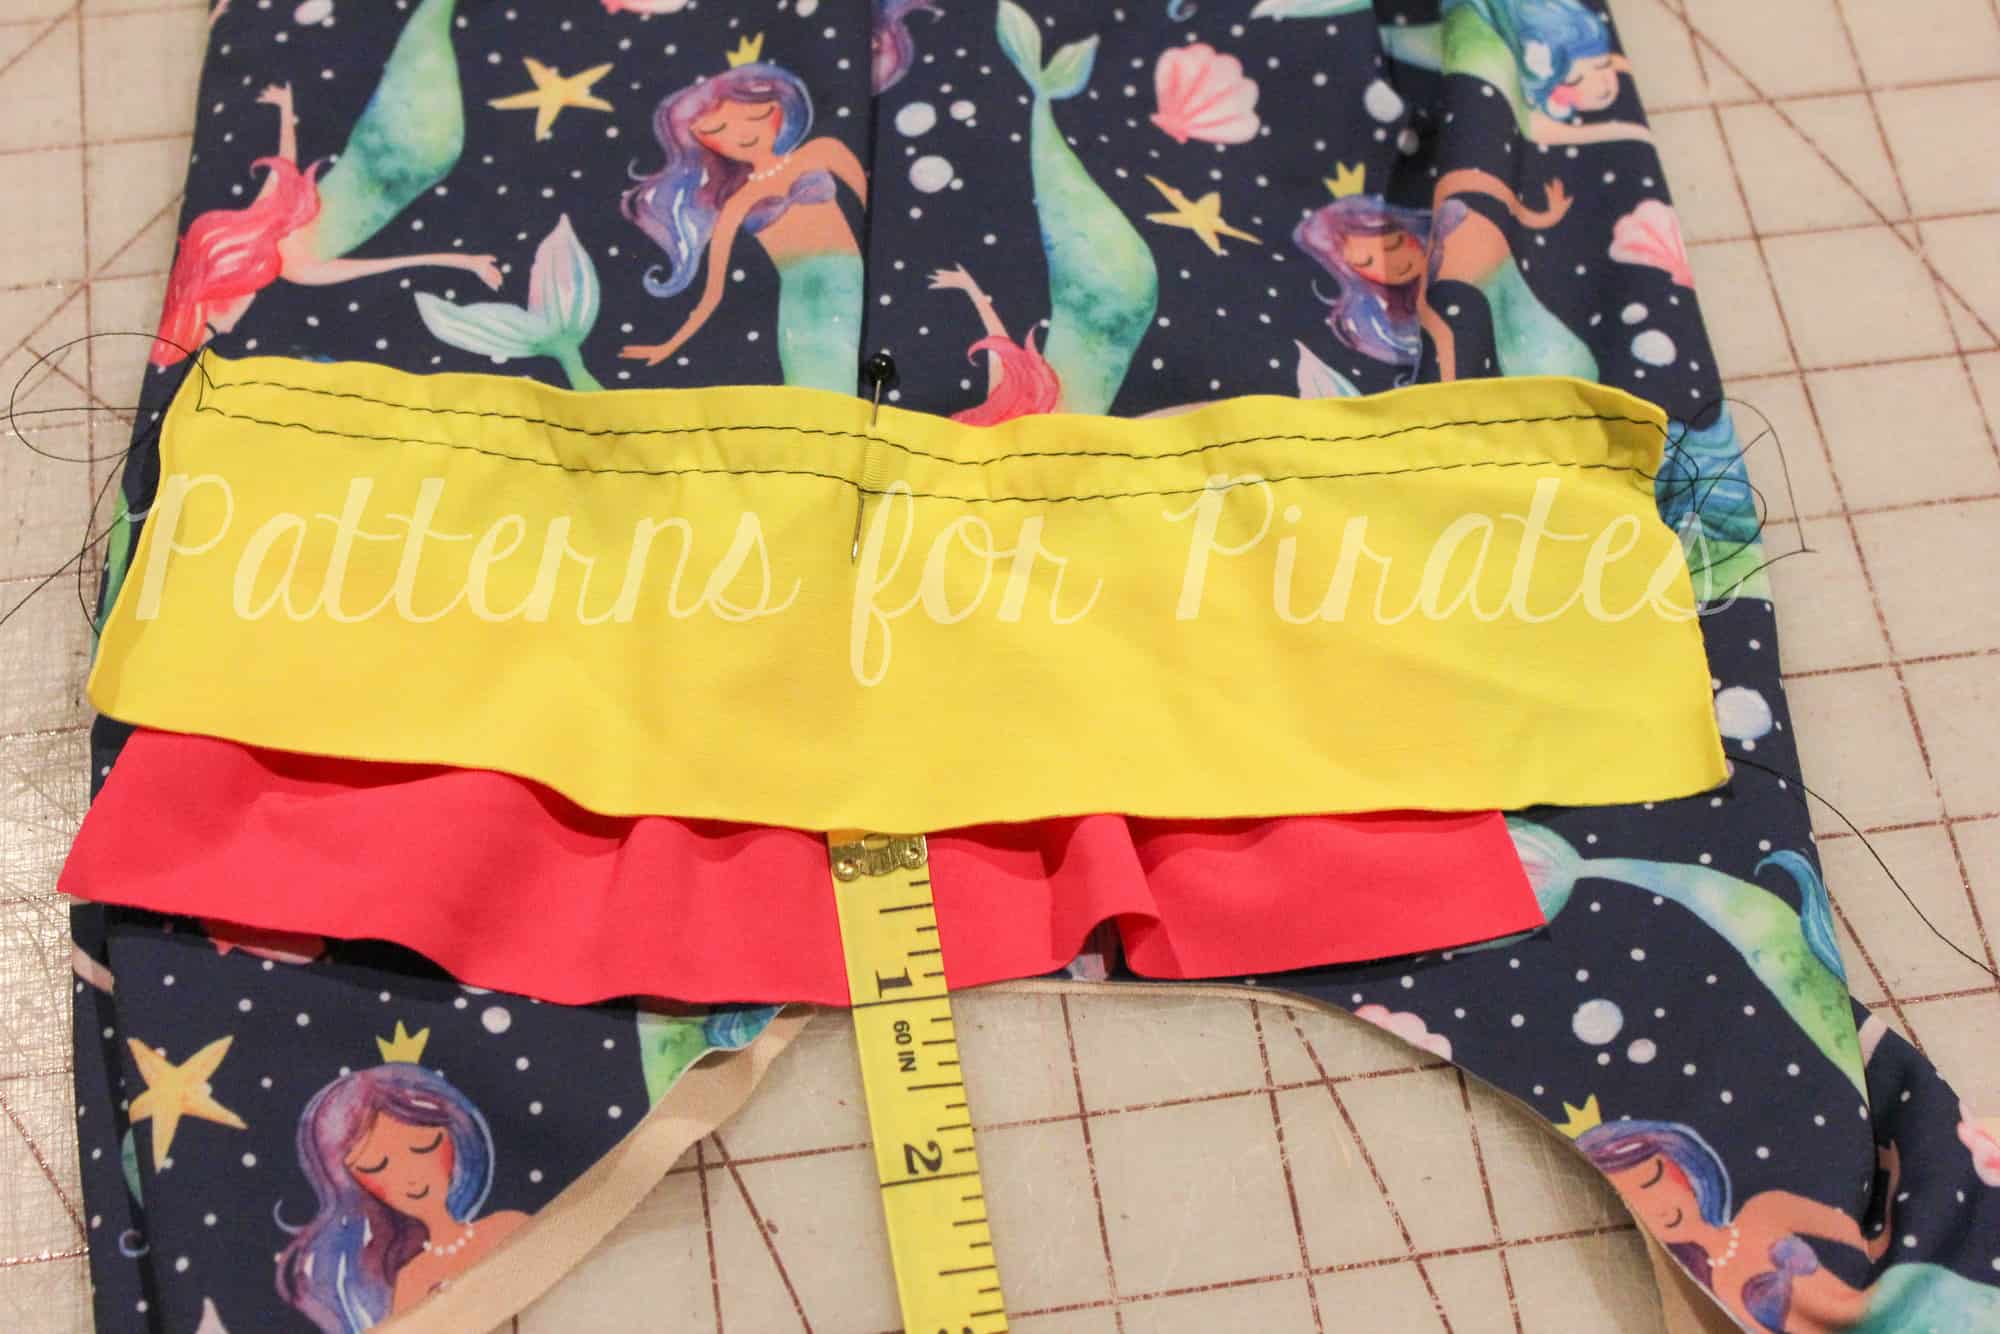
After attaching the ruffles, finish sewing the crotch seam as directed in the tutorial and then finish by adding the elastic! Lastly, show it to that little cutie and see her face light up when she sees the added flair to her suit!
~Erinn


…..

Maternity


Hi Lovelies,
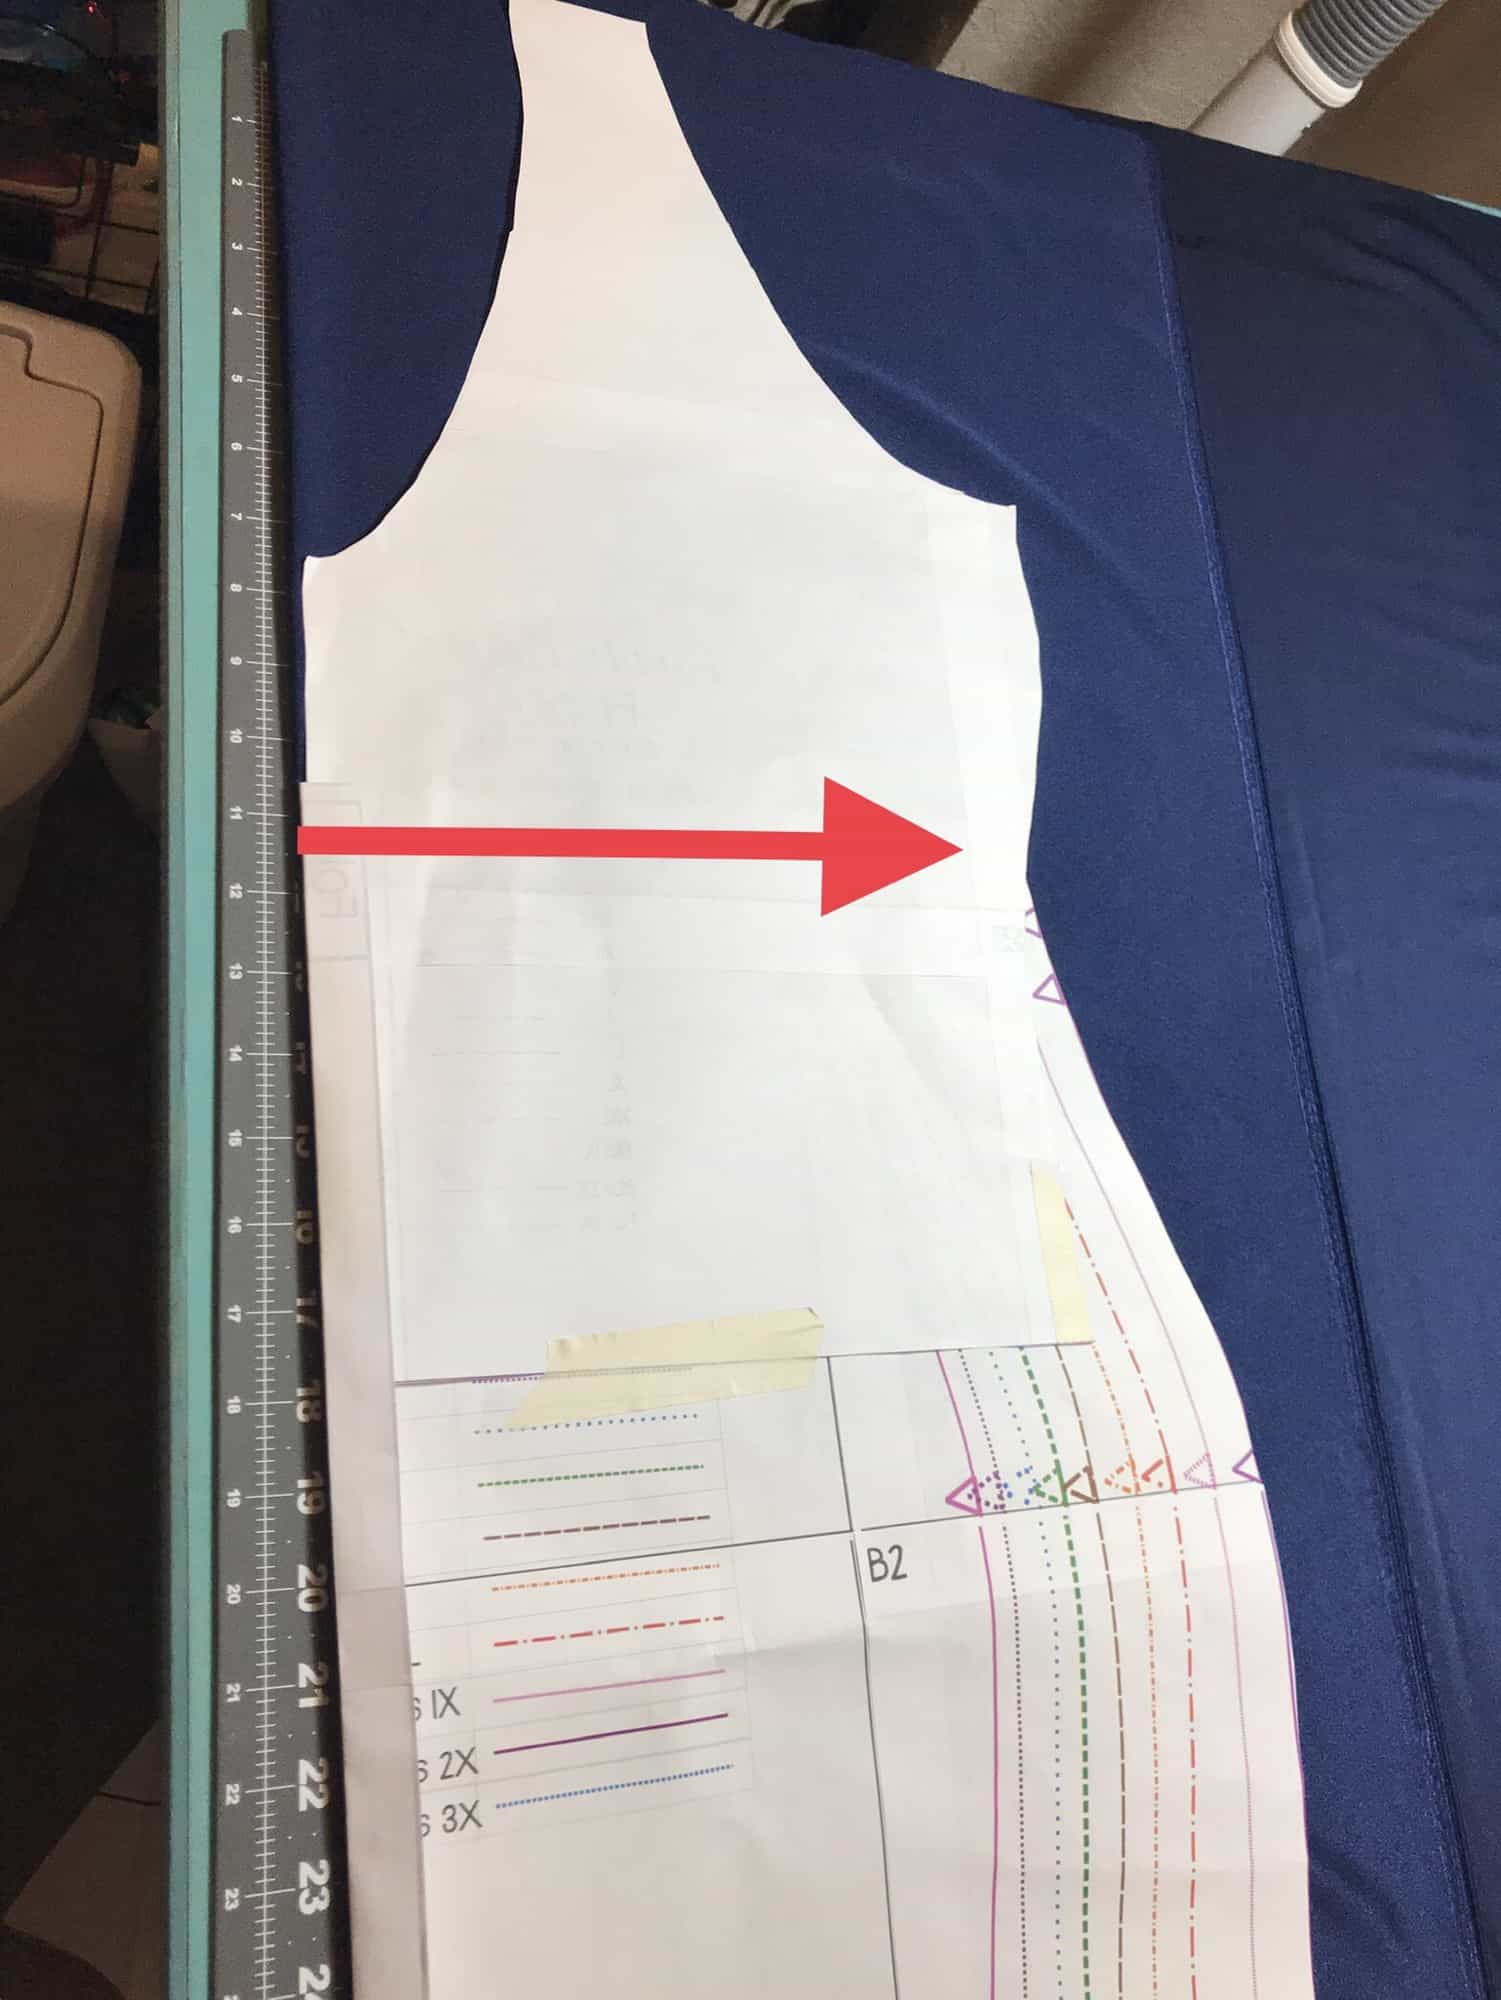
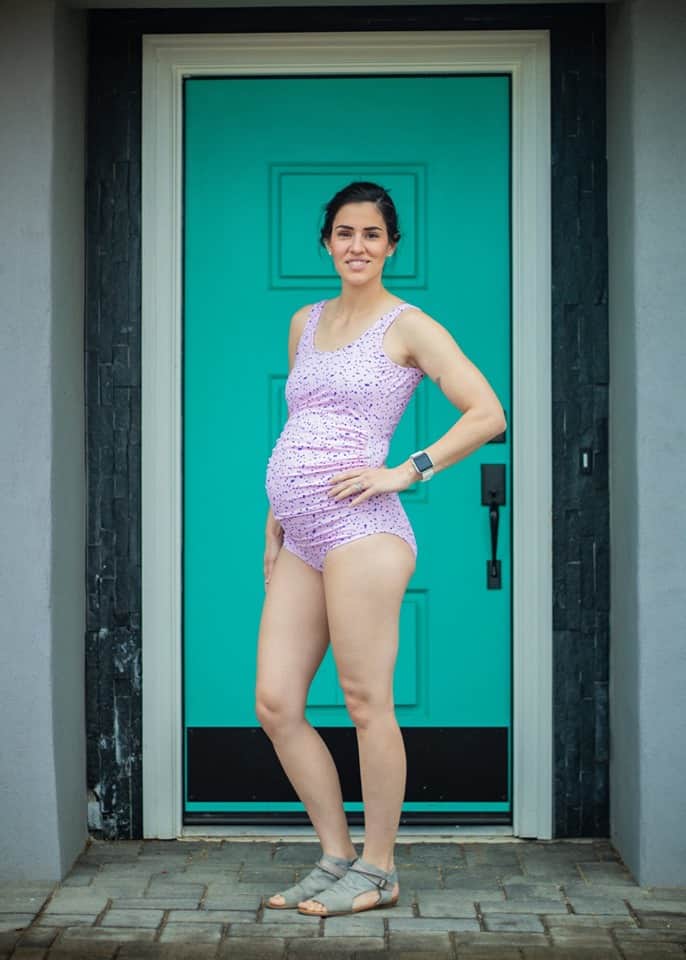
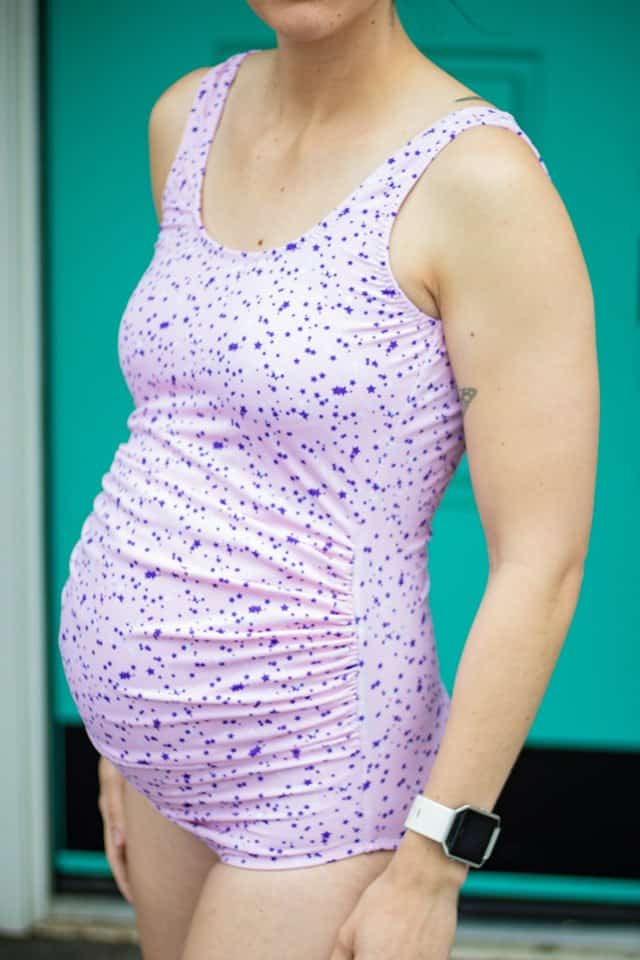
Today we are going to discuss how to hack the new suit to be maternity friendly. You’re going to need the Maternity Layer Me Up add on pattern piece and your front piece of the swimsuit. Okay, let’s get started!
First, before cutting fabric we will need to modify the front pattern piece.  You’re going to take the front piece of the swimsuit and you’re going to measure one inch above the High Leg cut line. From there you will have two pieces to add your LMU in the middle.
You’re going to tape the top area of the LMU maternity add on where the red line is in the picture by the bust line curve.
Then, you’re going to tape the bottom piece of the swimsuit by the bottom notches on the LMU pattern piece. You will now blend the bottom of the belly area on the LMU to bottoms swimsuit piece.
Now, you’ll use your newly drafted maternity front piece to cut out the front of your swimsuit (and your swim lining if you’re fully lining the front of your swimsuit).
Next, you will be gathering the center belly section. Instead of using elastic to gather like in the LMU add on instructions I did the traditional two basting stitches and gathered by hand to match the back swimsuit pattern piece.  You will start gathering at the top notch under the bust and go until the very last notch on the belly.
From here on out you will continue with the Minute Maillot instructions as normal. Bam, you’re done with your beautiful new maternity swimsuit!

Amanda S


…..

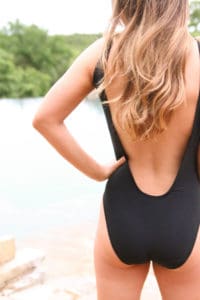
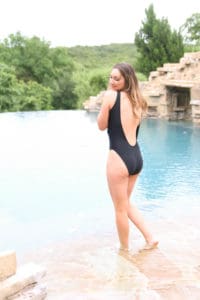
How Low Can You Go Back

I love a dramatic low back! The low back option included is a bit lower then natural waistline.  I kept seeing gorgeous Pinterest photos of super low backs and had to try one!

I marked a line from the high cut legline horizontally across my back piece.  Then marked a vertical line just continuing the back low cutline vertically down until it met with the horizontal line I already marked.  Using a french curve I drew the curve (you can also cut out and use the curve from the low option if you don’t have a french curve handy).
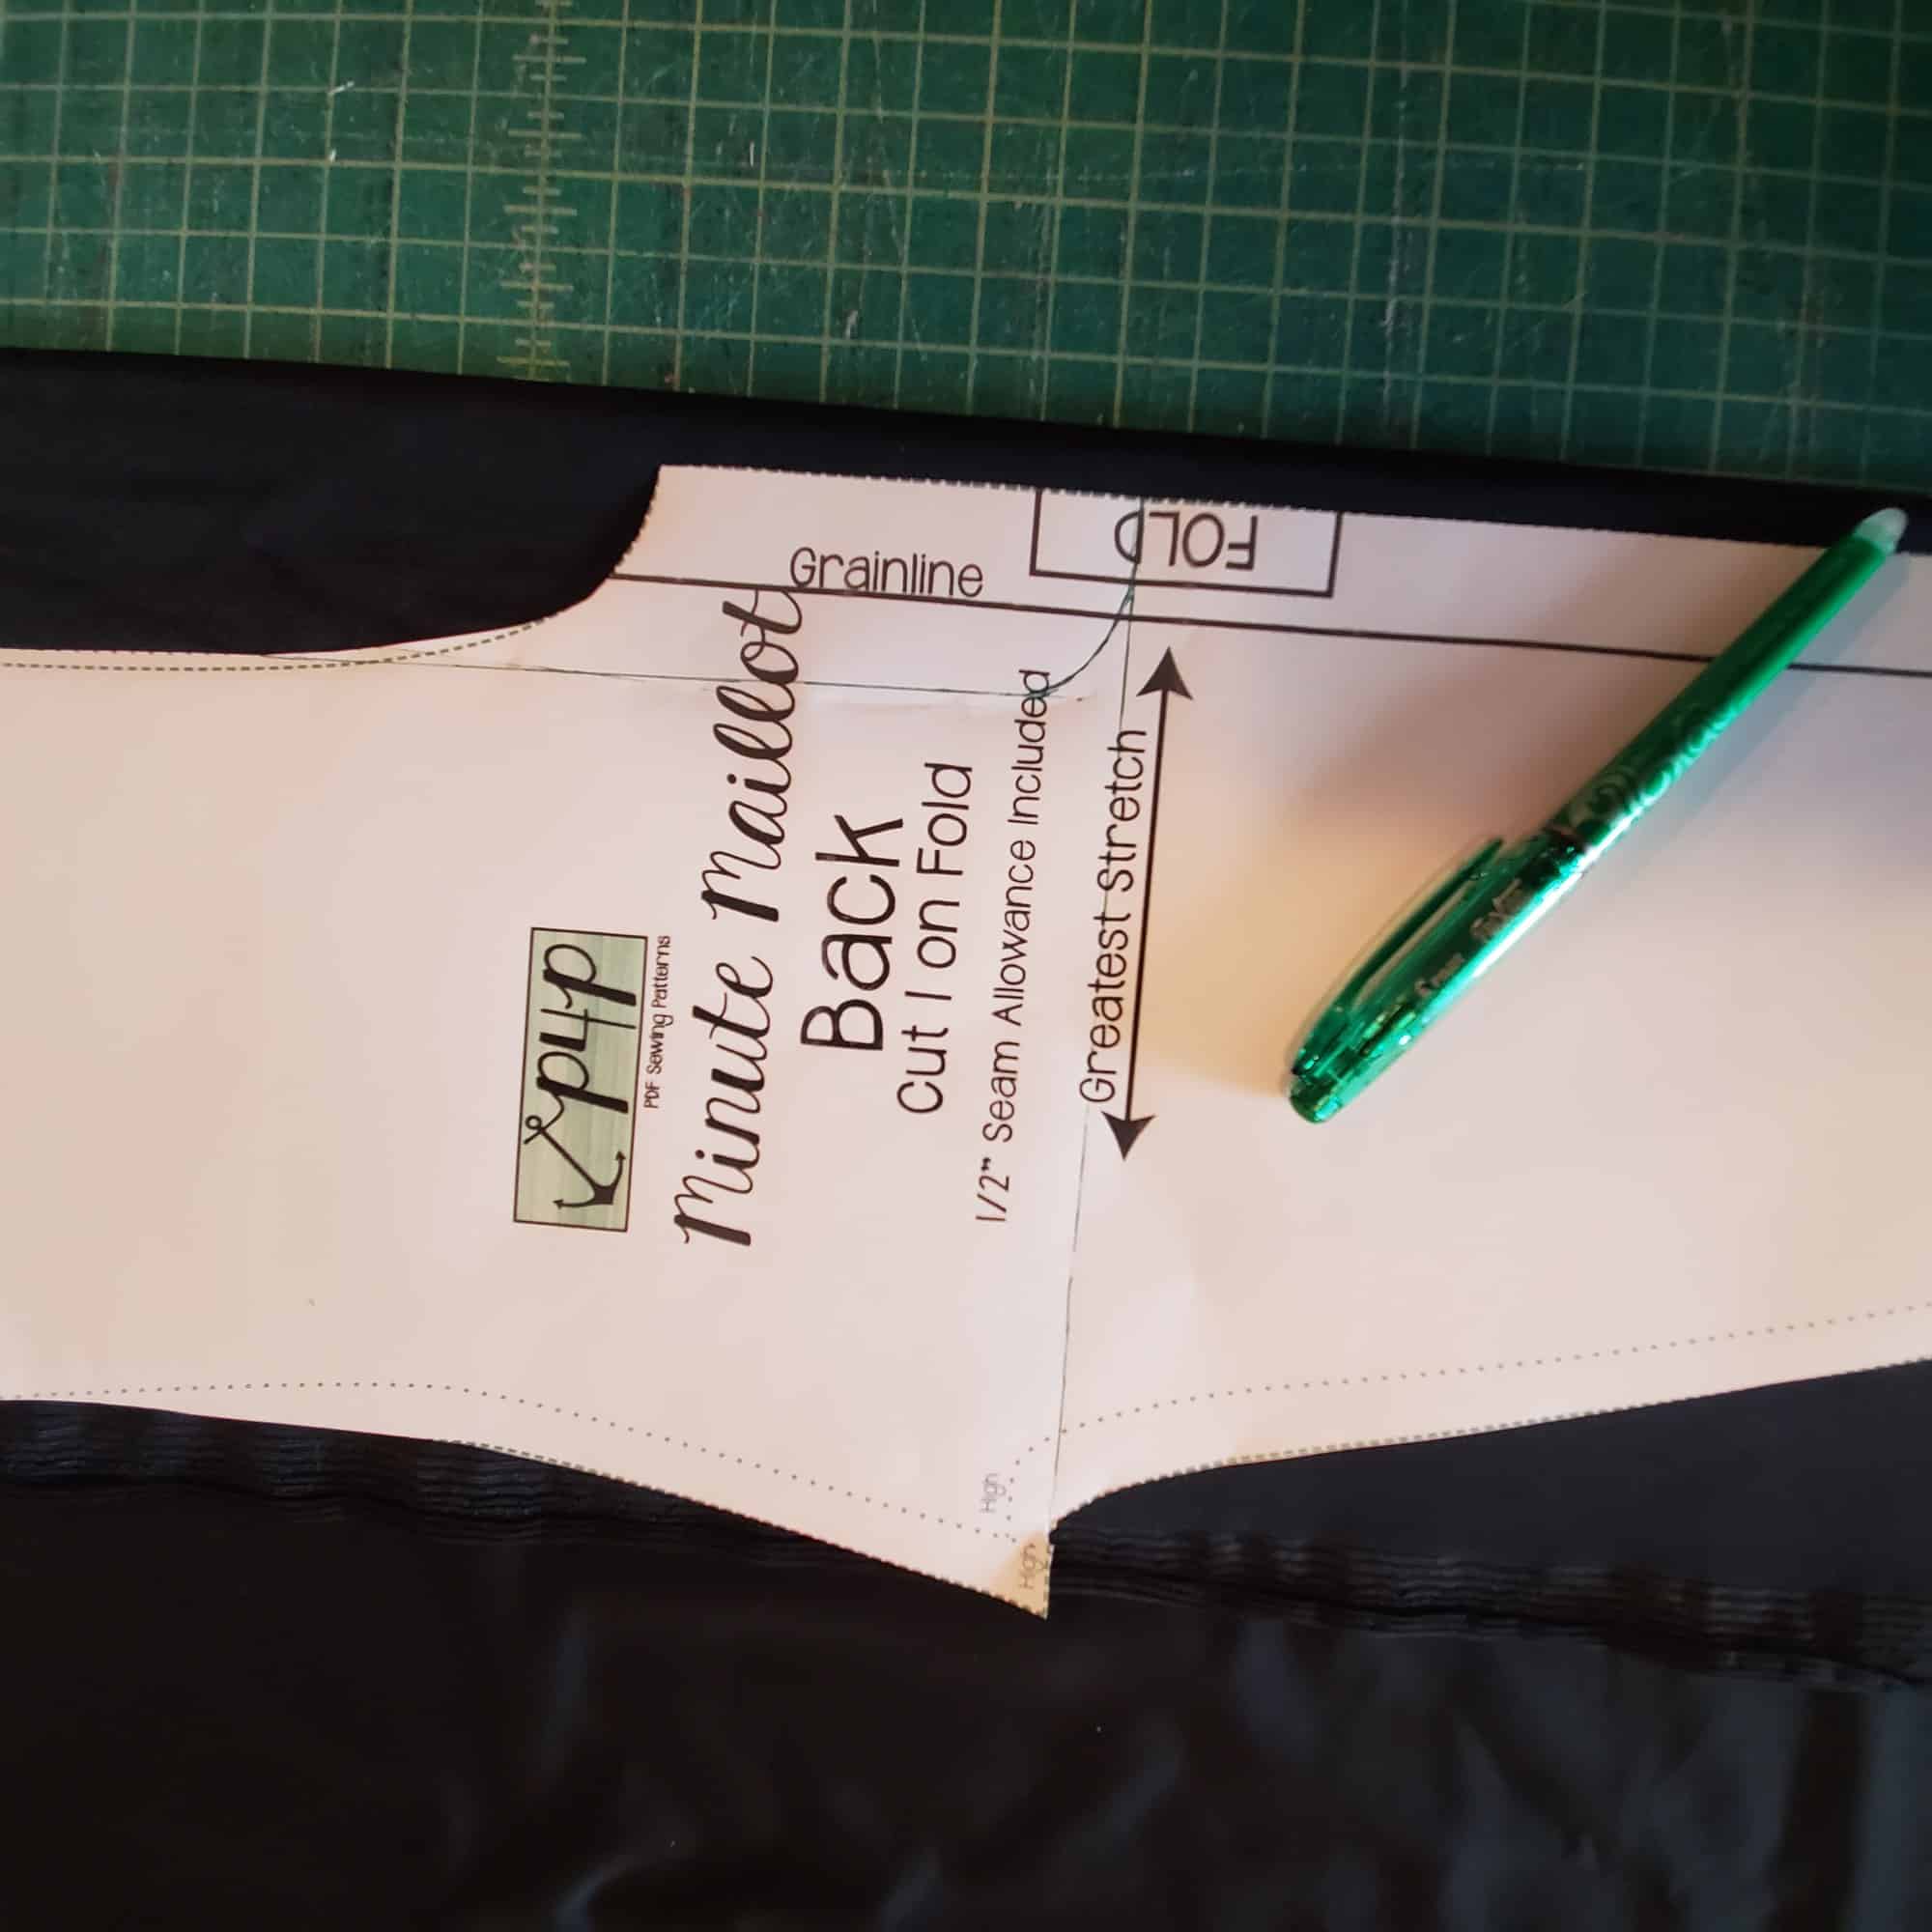
I sewed up the suit exactly the same, just lengthening the back elastic to match the lower line. (I didn’t measure, I just applied it as I sewed only stretching where needed).

Ta-Da! A super dramatic low back that would be stunning on any beach or romantic get away… I’ll have to try to get invited to one of those one day to show mine off 😉

Judy
Filed Under: Frequently Asked Questions, Pattern Hacks, Pattern Release 1 Comment

Sporty Piko – easy hacks

March 29, 2019

Ahoy, matey! As with most of our new releases, the P4P blog team has some easy hacks ready for you to help achieve even more looks. First stop by the shop and grab the Sporty Piko and Youth Sporty Piko, then let’s get started.

….

Solid Back

You might have noticed that both the Sporty Piko and the Youth SP feature a color blocked back to allow for multiple prints or color fabric to be showcased. Well, what if you want a solid back without the horizontal seam? Super easy hack!

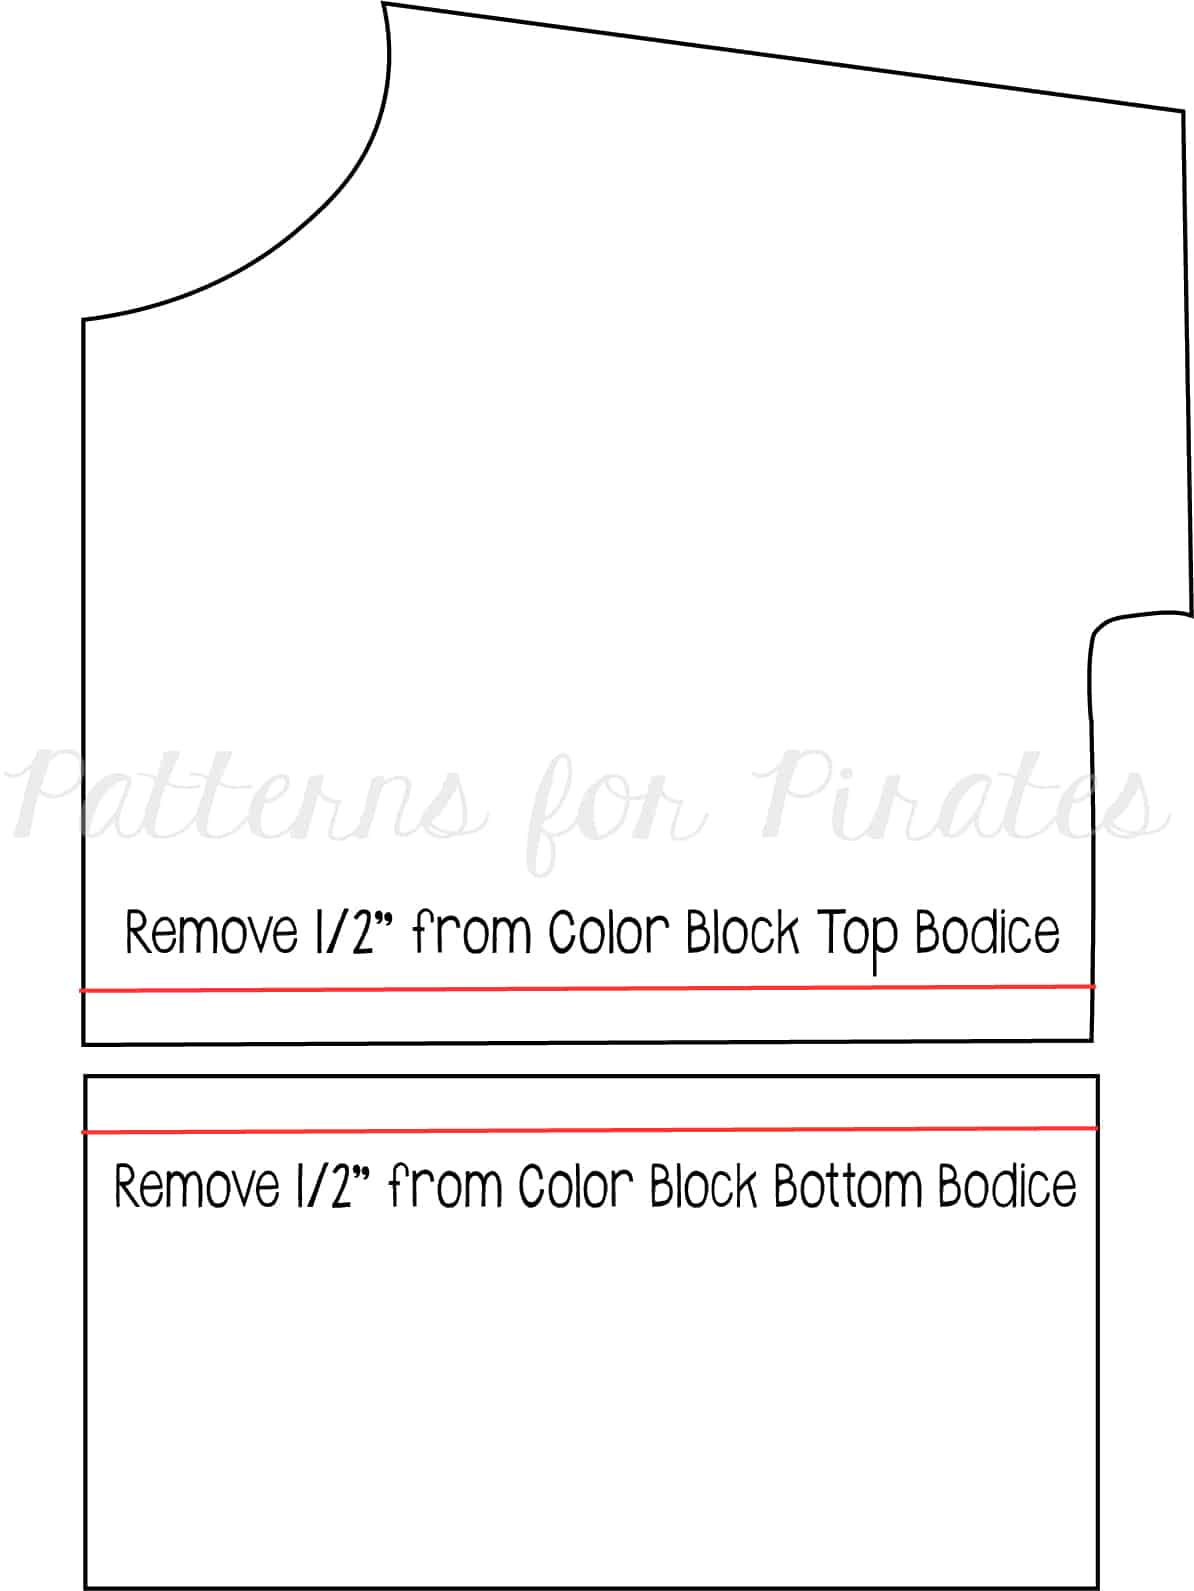
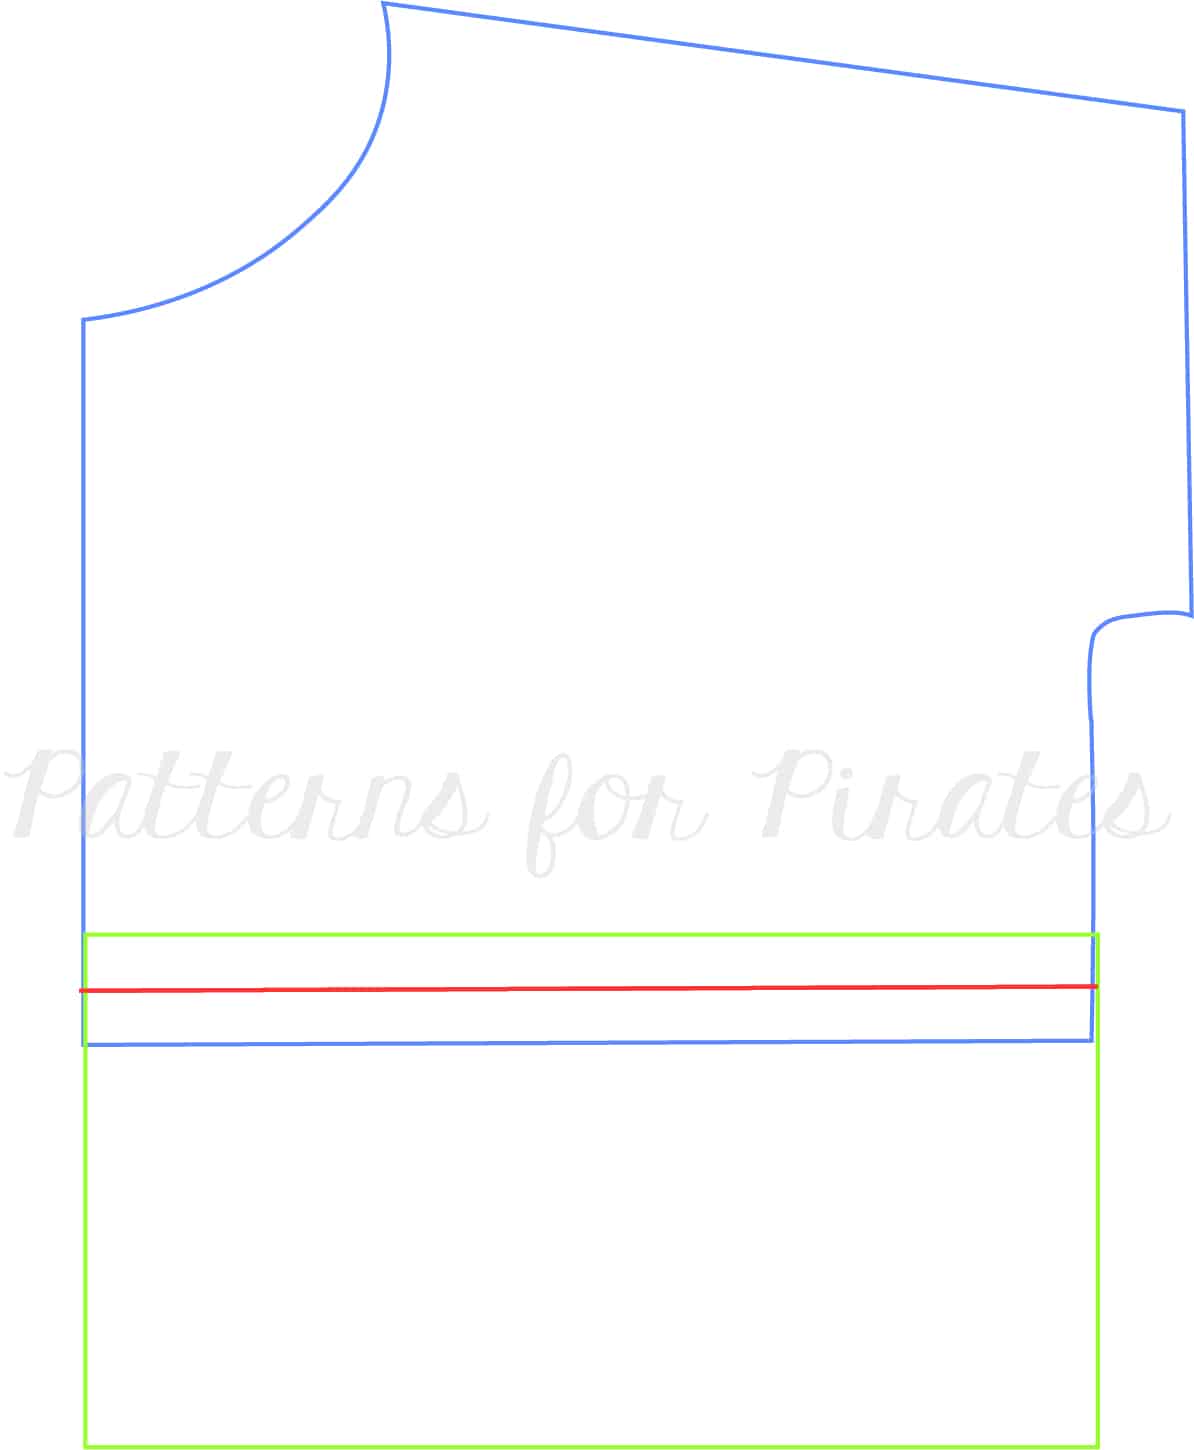
Start by printing your preferred style. Now grab the two back pieces. At this point you can do one of two things- remove the 1/2″ seam allowance from each piece and tape together (shown in first picture). Shown in the second picture, you could also fold each piece up 1/2″ and butt the two pieces together, matching the FOLD line and the side seam and …boom! There you have your new back pattern piece.


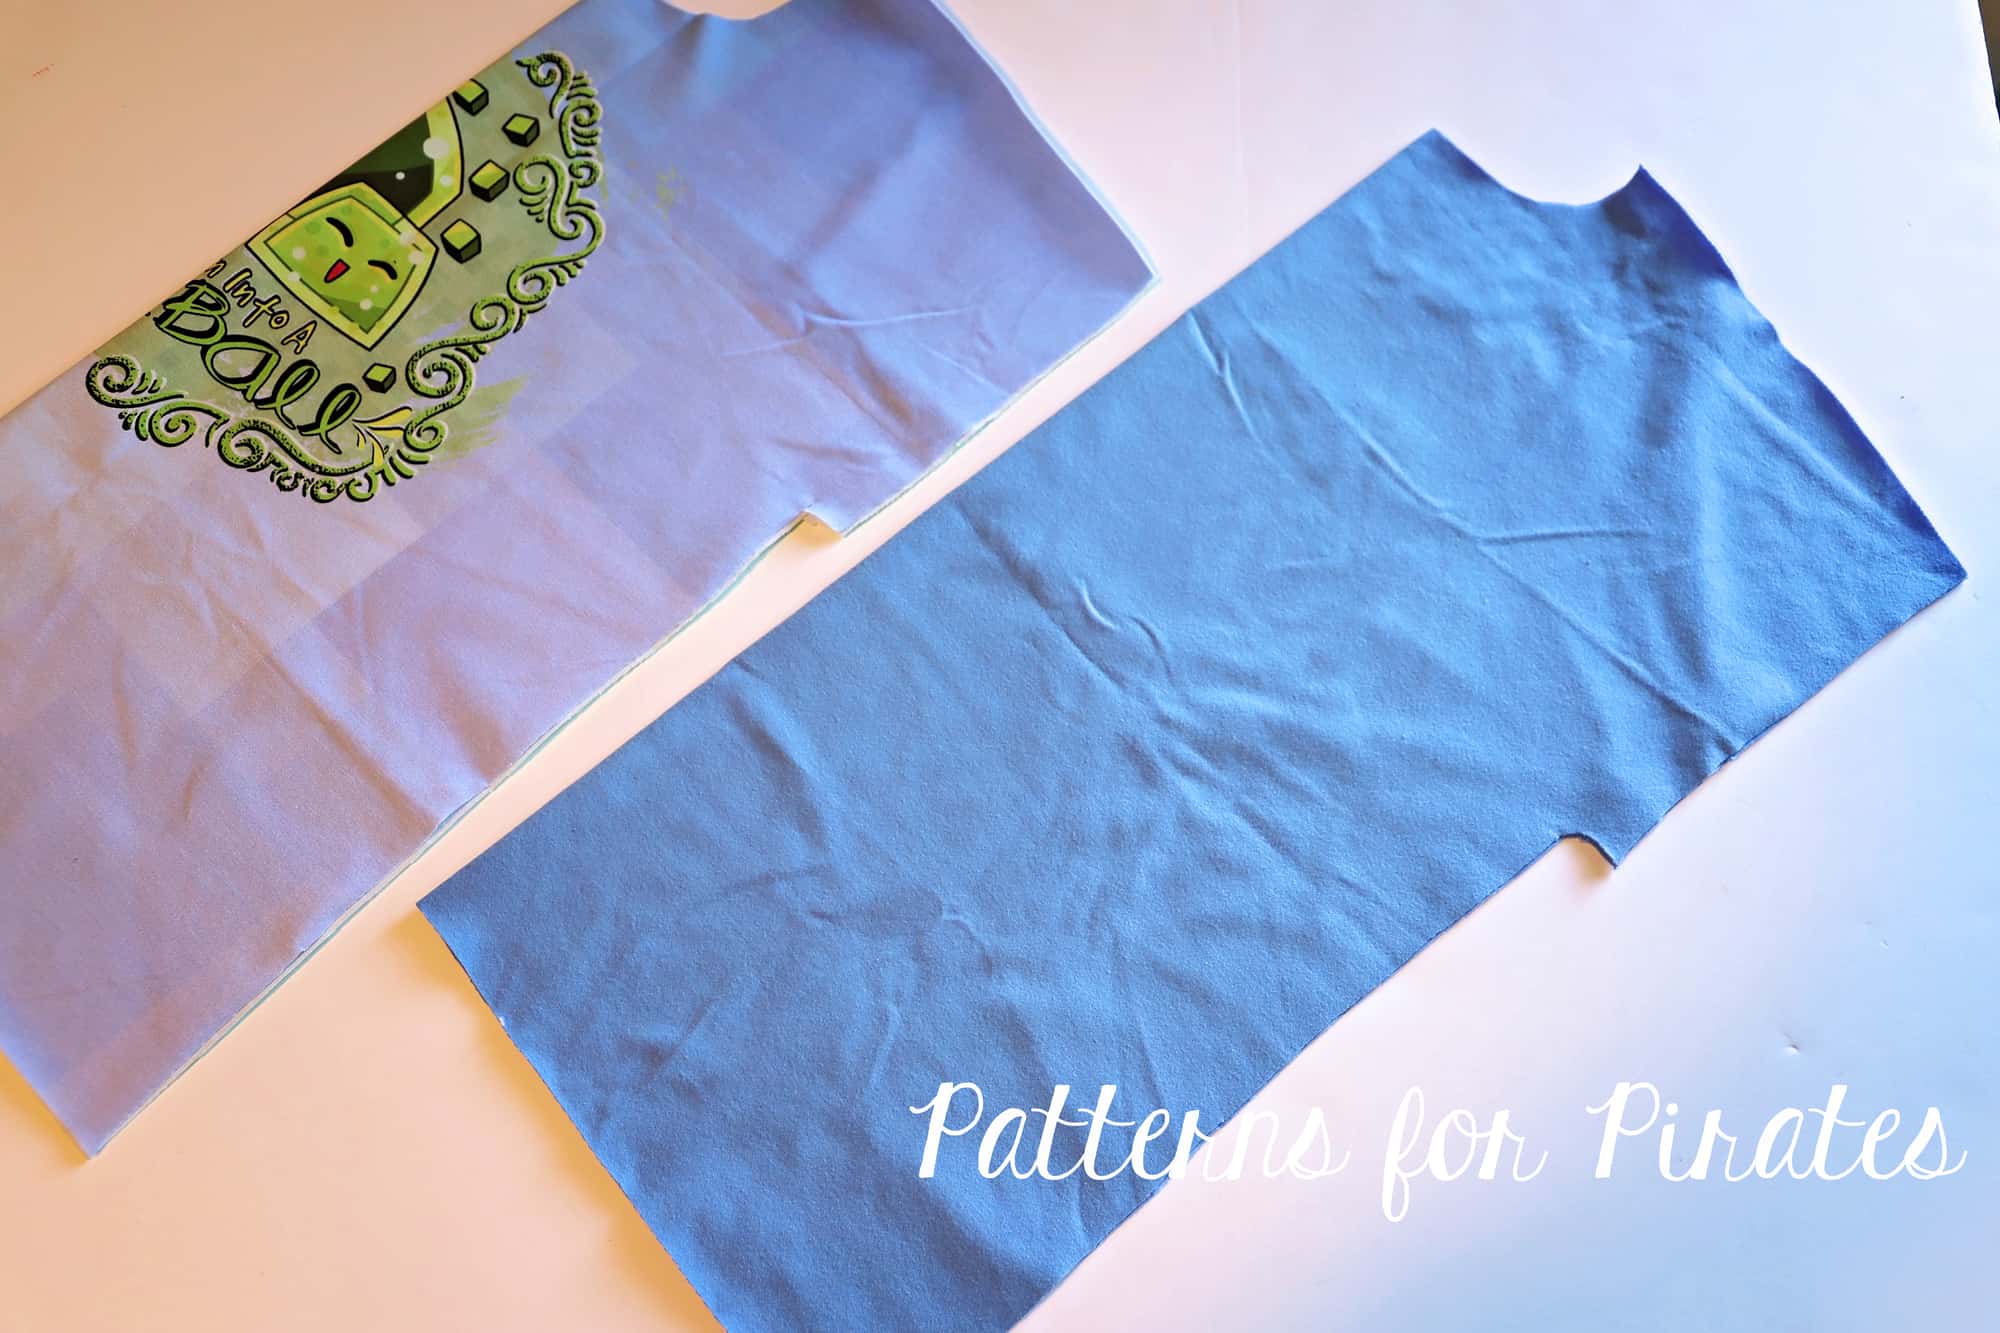
Cut your pattern pieces and sew the shirt as per the tutorial. Simply skip the steps that show you how to sew the two back pieces.

Tadah! All done! One more option to add to the Sporty Piko styles.

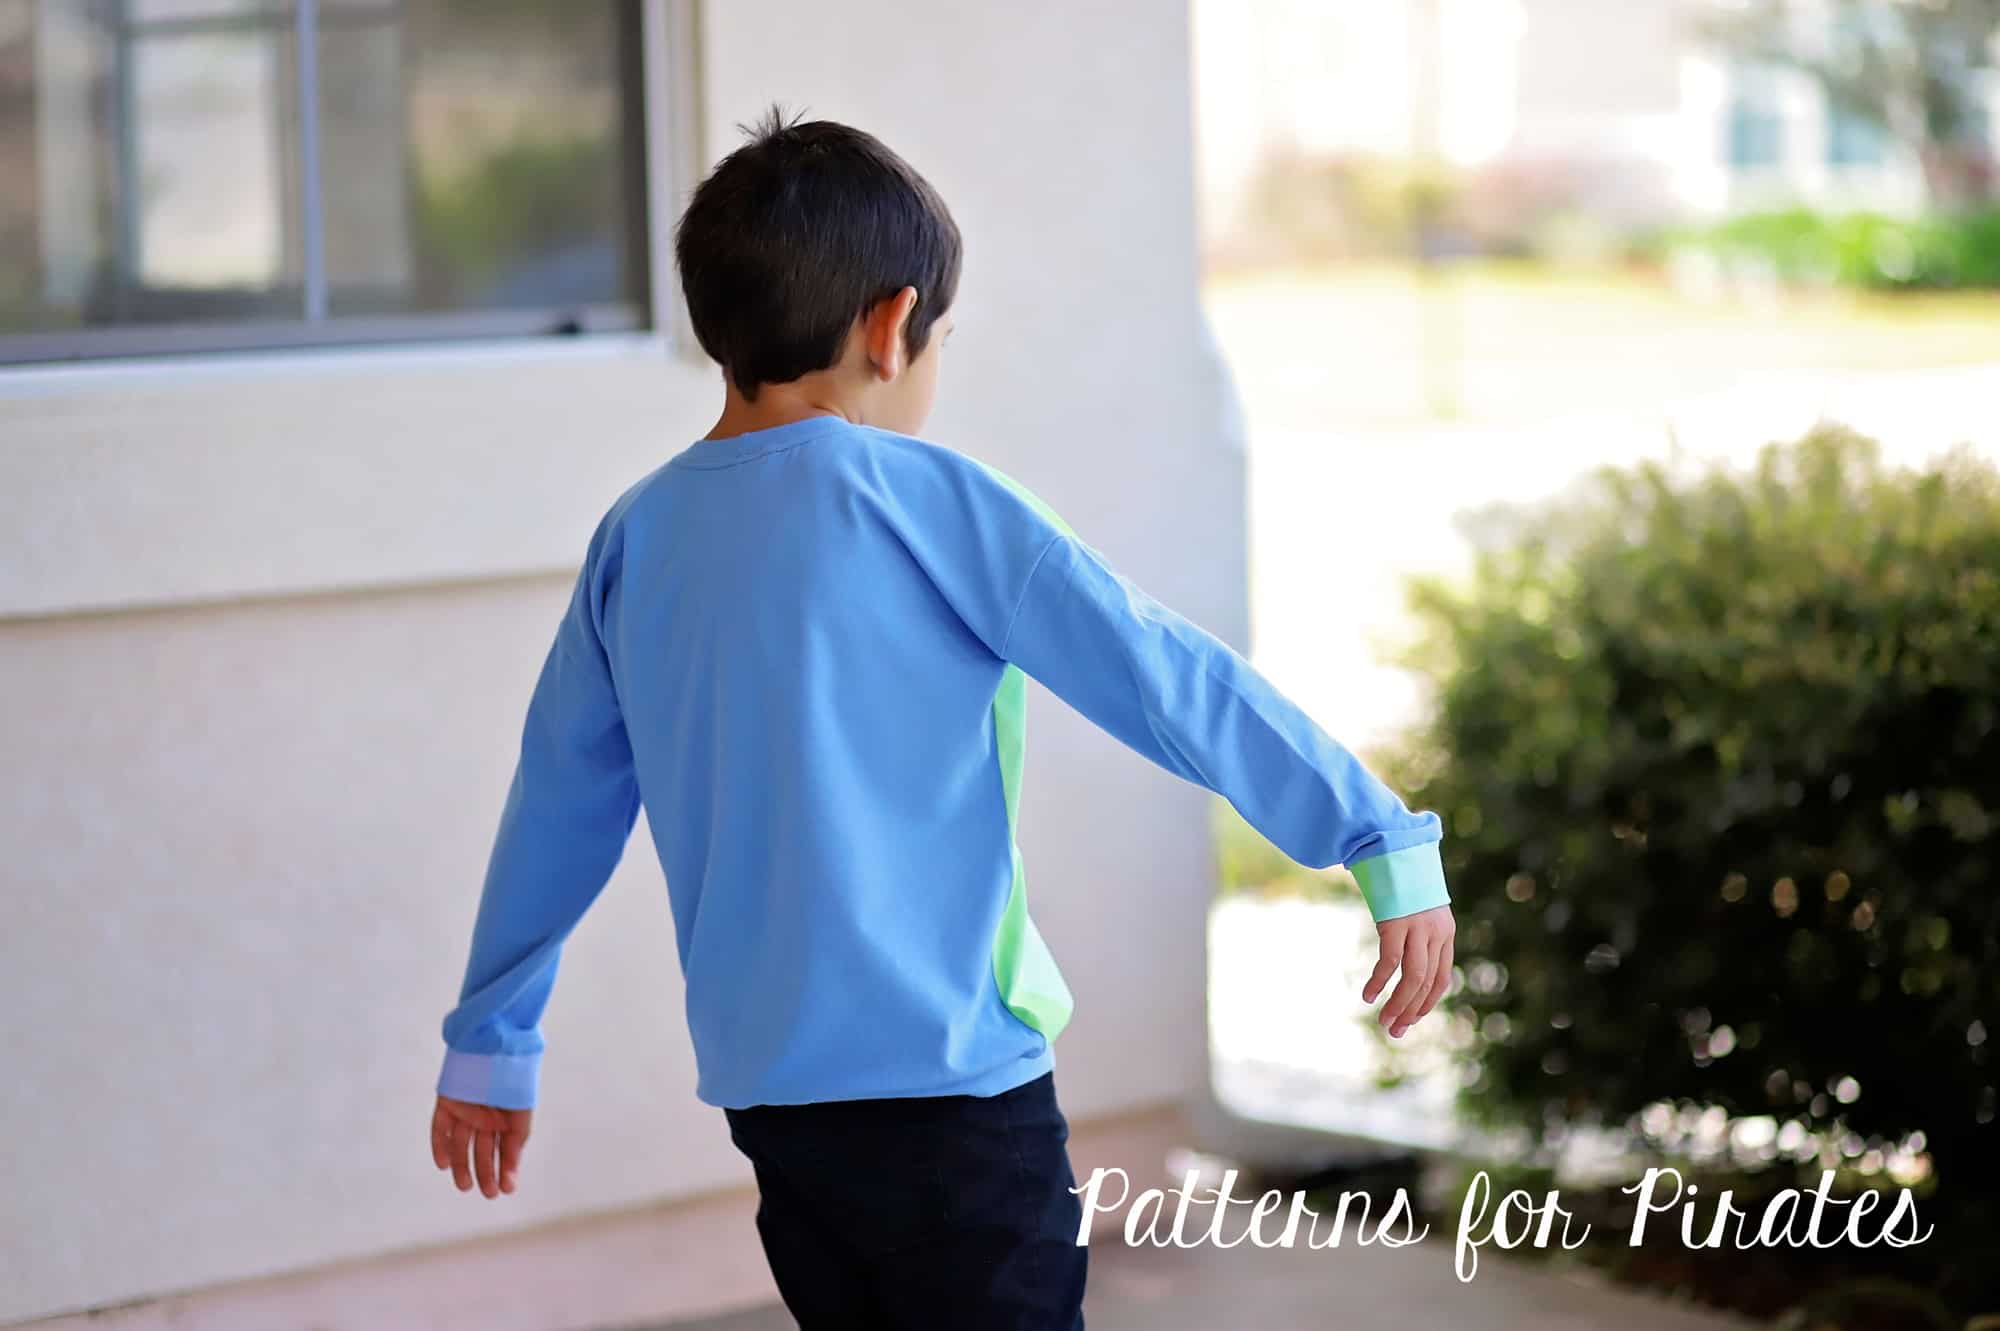
My little man absolutely loves his new shirt but if you want to treat yourself to an adult Sporty Piko with a solid back, simply follow the same steps and enjoy!


P4P Sporty Piko- solid back hack

…..

Elastic crop top

Maybe you want a cute crop but aren’t interested in fussing with the drawstring option?  I’ve got you covered!

Follow all of the instructions for the crop option, including the 1″ hem.

Top stitch around the entire folded edge, leaving around a 3″ opening to thread the elastic through.  (I like to position my opening on the back portion of my items, but it’s really a personal preference.

Using 3/4″ knit elastic, cut a length that is your waist measurement, minus 2″.

Feed the elastic through the opening.

Overlap the raw edges of the elastic, being careful not to twist it, by 1″.  Sew the overlapped pieces together, using a stretch stitch.

Close up the opening of the bottom hem, and enjoy your new crop!


…..

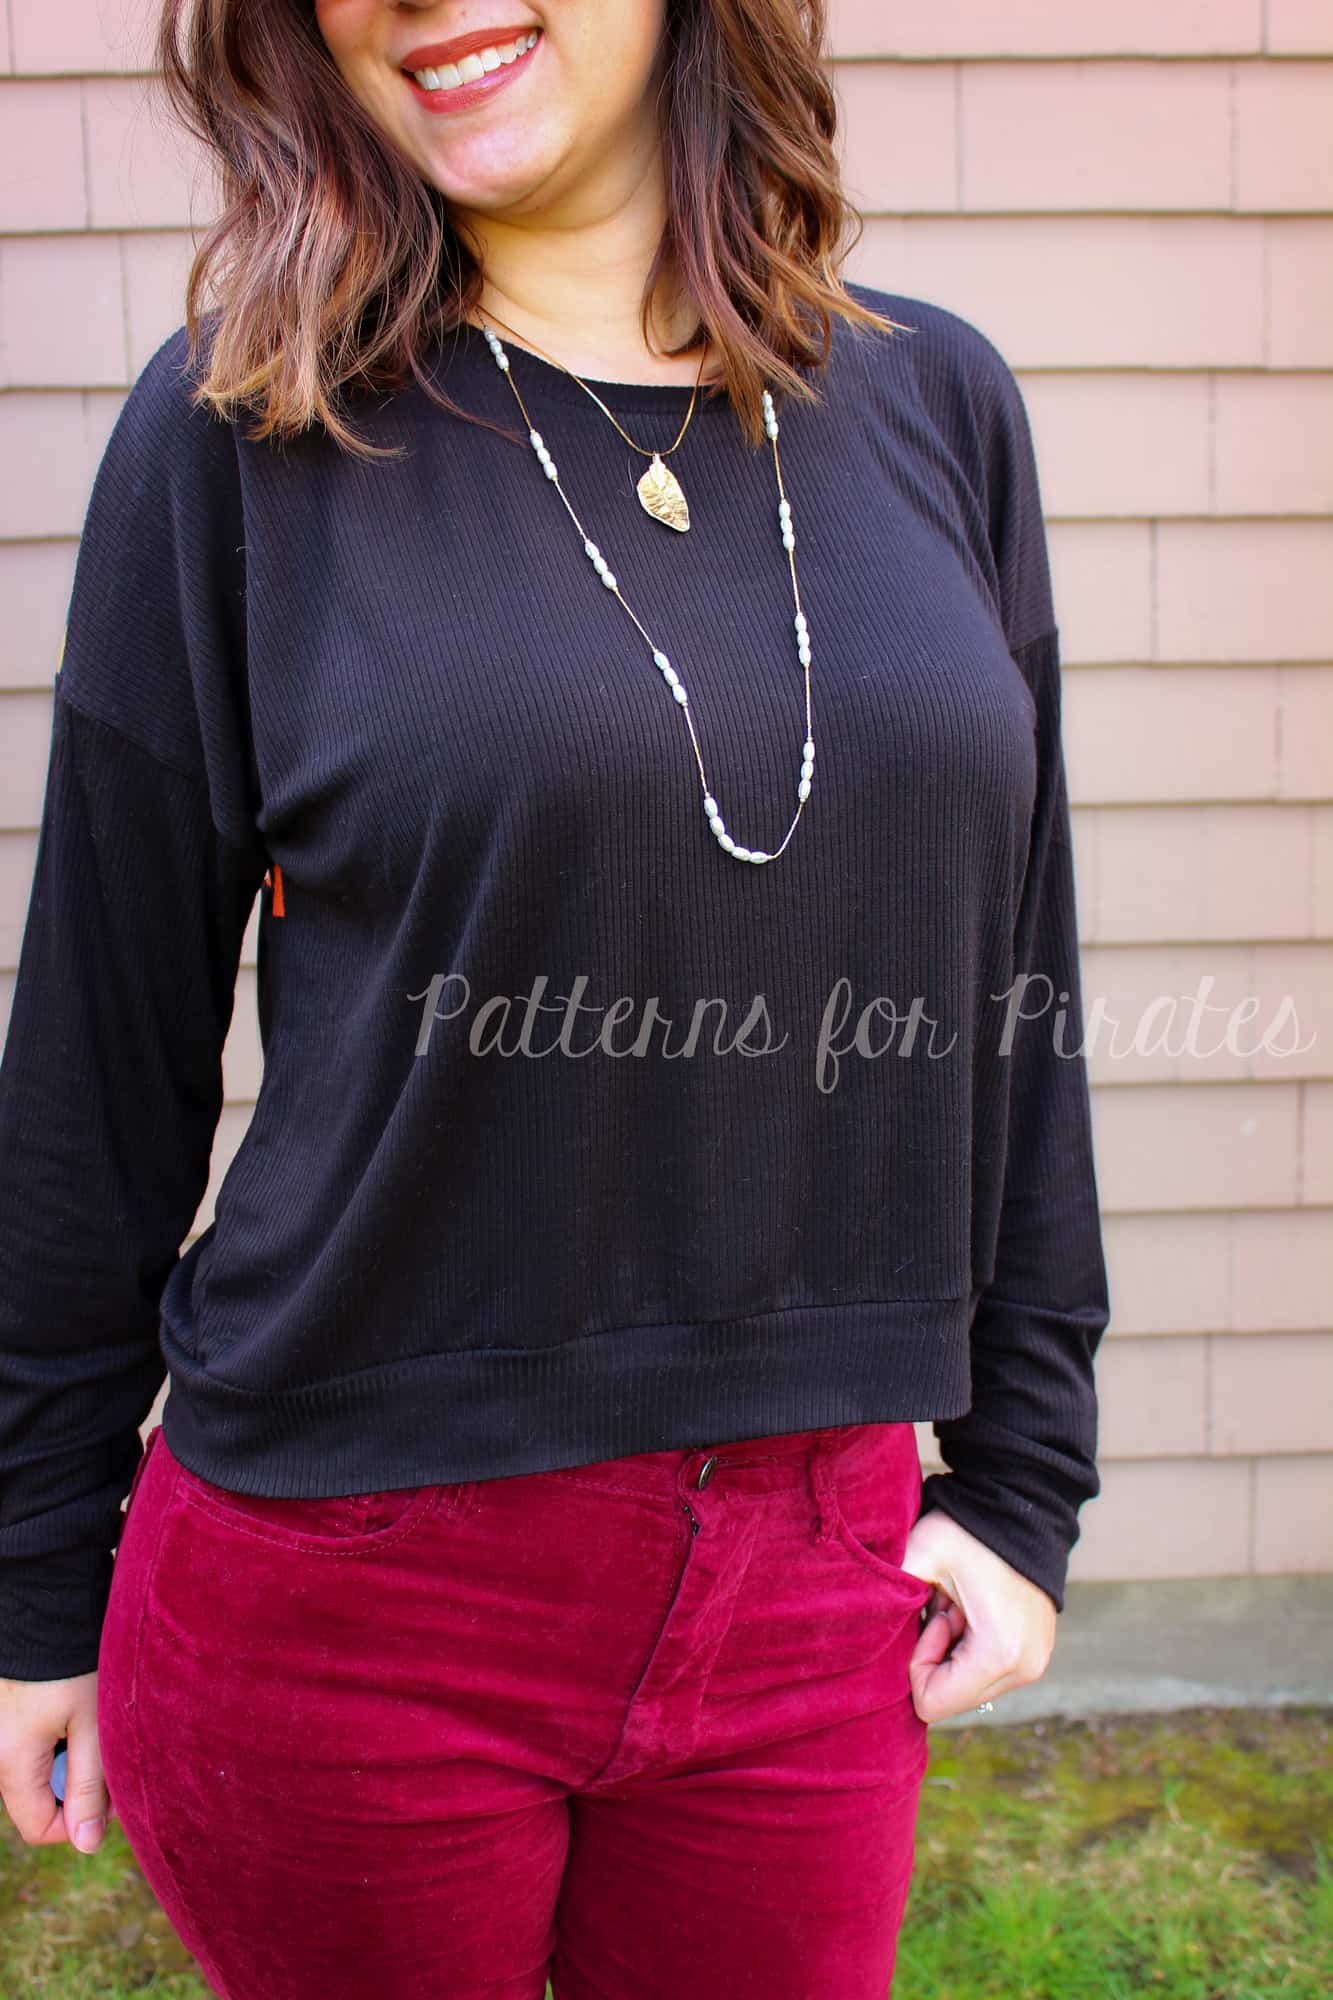
Banded crop top

Elastic… draw string… and now we’re bringing to you a third option to finish off your crop top versions- a banded option. This is a quick and easy way to finish off your top, especially for those of us who are opposed to the dreaded finishing hem! 🙂

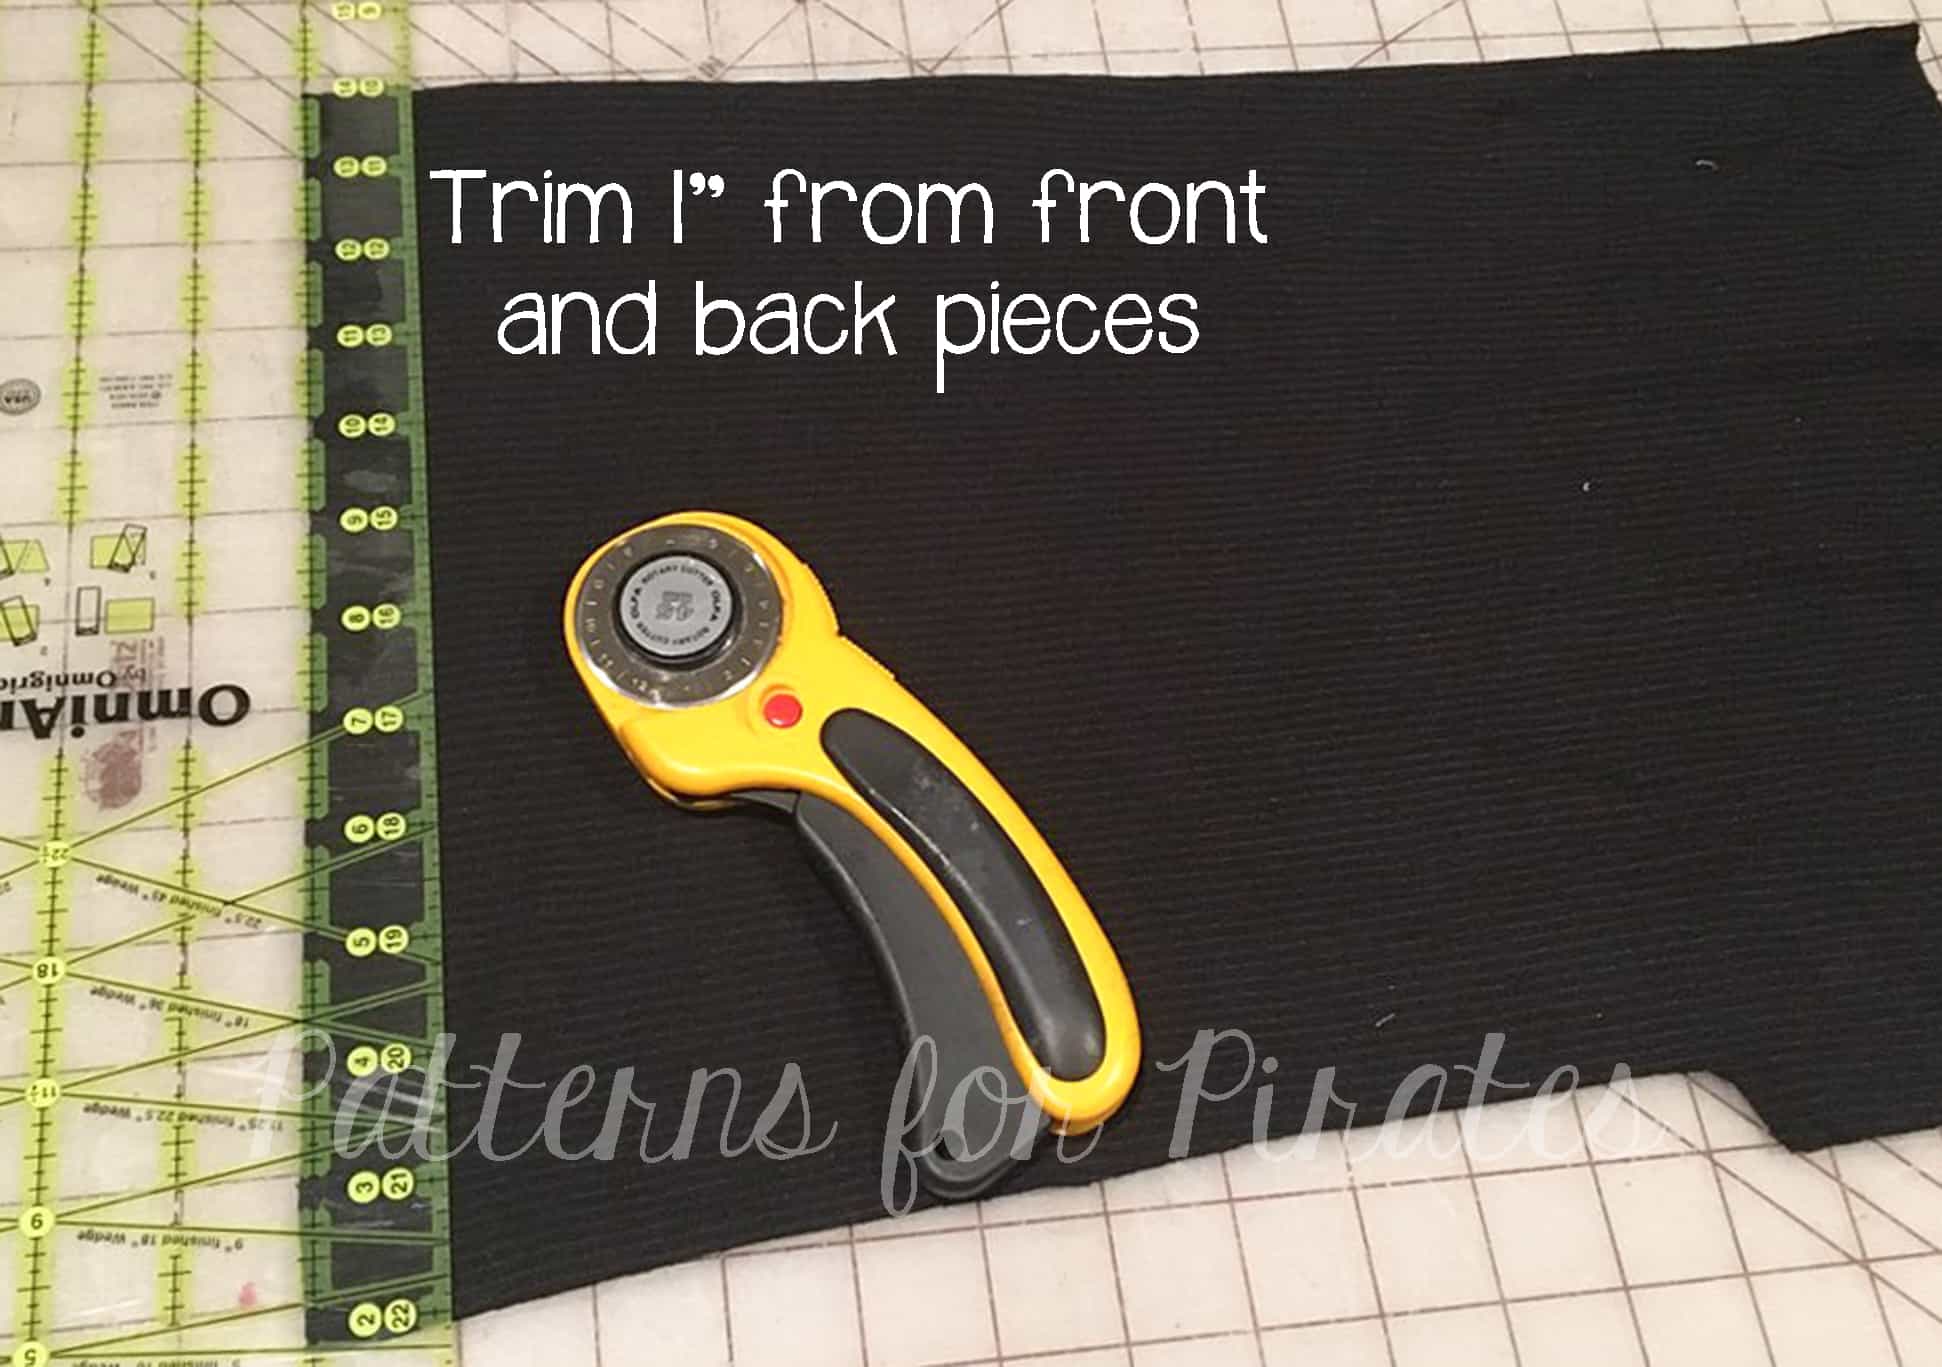
To create this look, you will need to cut out all of your pieces needed for the cropped version, as well as a band (discussed later). Once you’ve cut out your pieces, you will want to trim 1″ off of both the front and back pieces (everything else will remain the same).

Assemble your shirt as per the pattern directions. Once you’ve completed your shirt, it is now time to attach the band. You will want to measure the total bottom hem of your shirt. To calculate the final width of your band, you will take your total measurement x 90%. Then add 1″ for the seam allowance. For the women’s version, I recommend a length of 4″ and for the youth, a length of 3-4″, depending on where you would like the finished length to be.

Using the instructions for the banded version in the tutorial, attach your bad. That’s it! Go off and enjoy that new shirt you’ve just finished up using one of our three finishing options.

~Erinn and Nicole


Now that you got your patterns and looked over our easy hacks, time to sew! Remember to share your creations in the P4P Facebook group so we can all admire them.

Filed Under: Frequently Asked Questions, Pattern Hacks, Pattern Release, Uncategorized 4 Comments

Brunch Blouse|Bitty Brunch Blouse SAL day 8 (winners announcement)

March 20, 2019

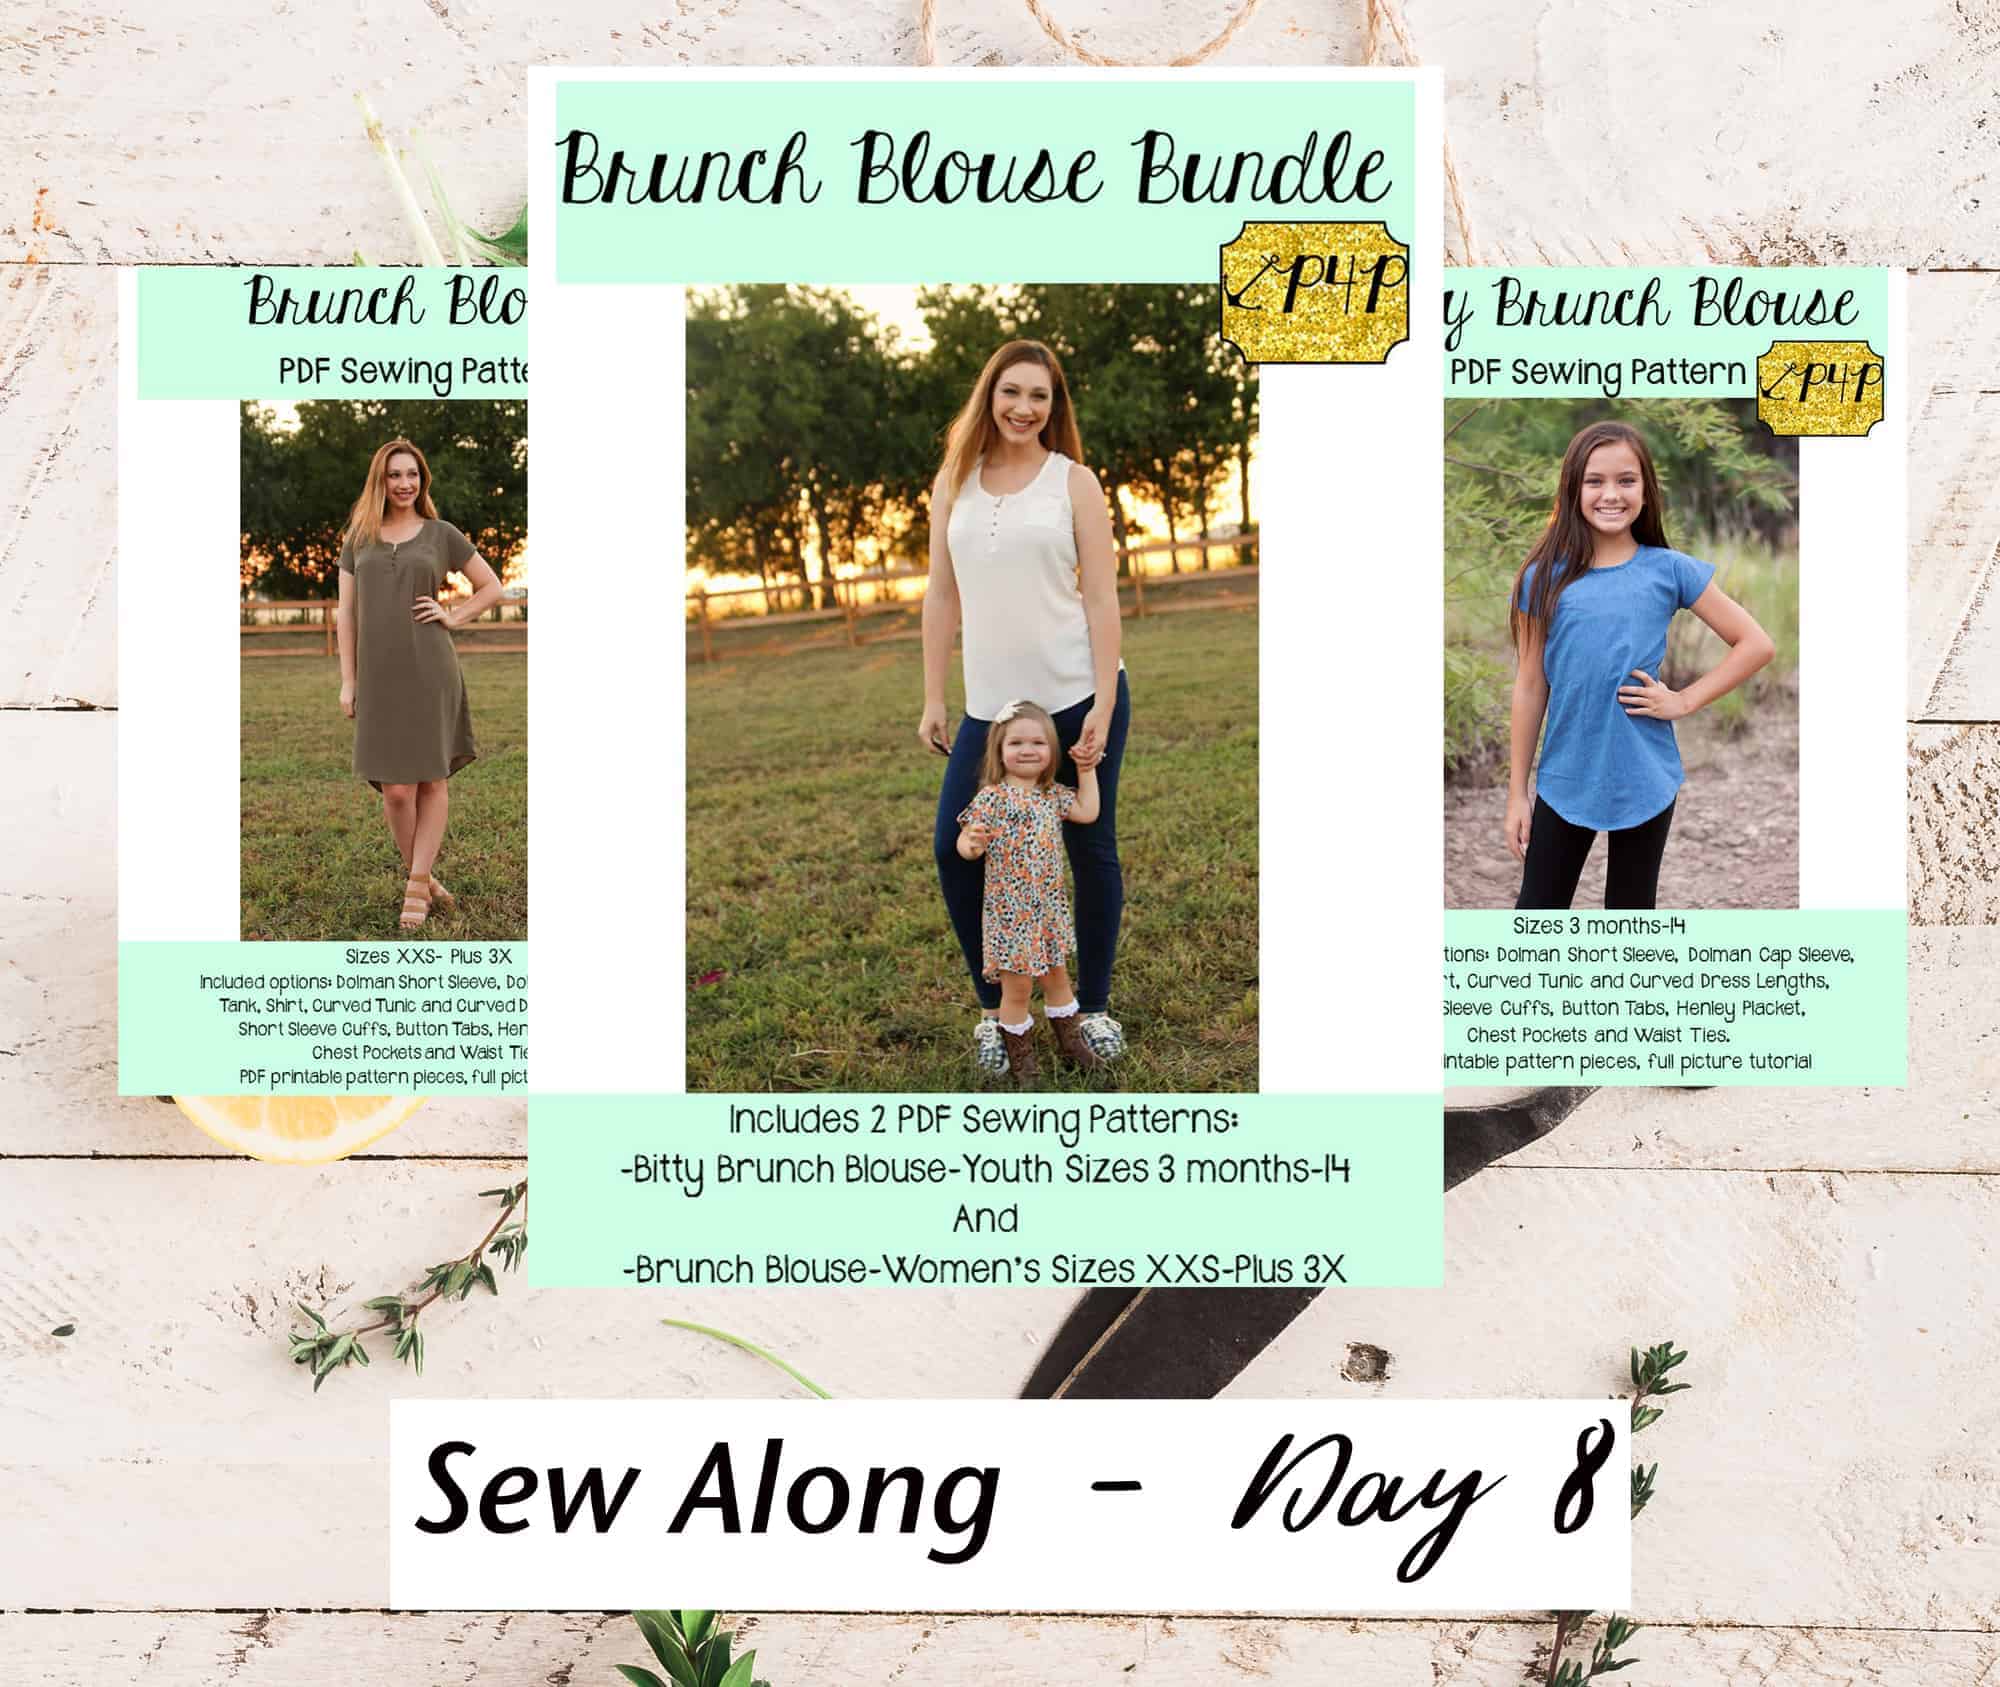
Let me start this much anticipated blog post with a “wow” ! You have outdone yourself this past week, braving technical difficulties and Facebook glitches. We have seen so many gorgeous Brunch Blouse and Bitty Brunch Blouses being sewn and as always we had a hard task at hand…so… Without further ado: our big sew along winner is

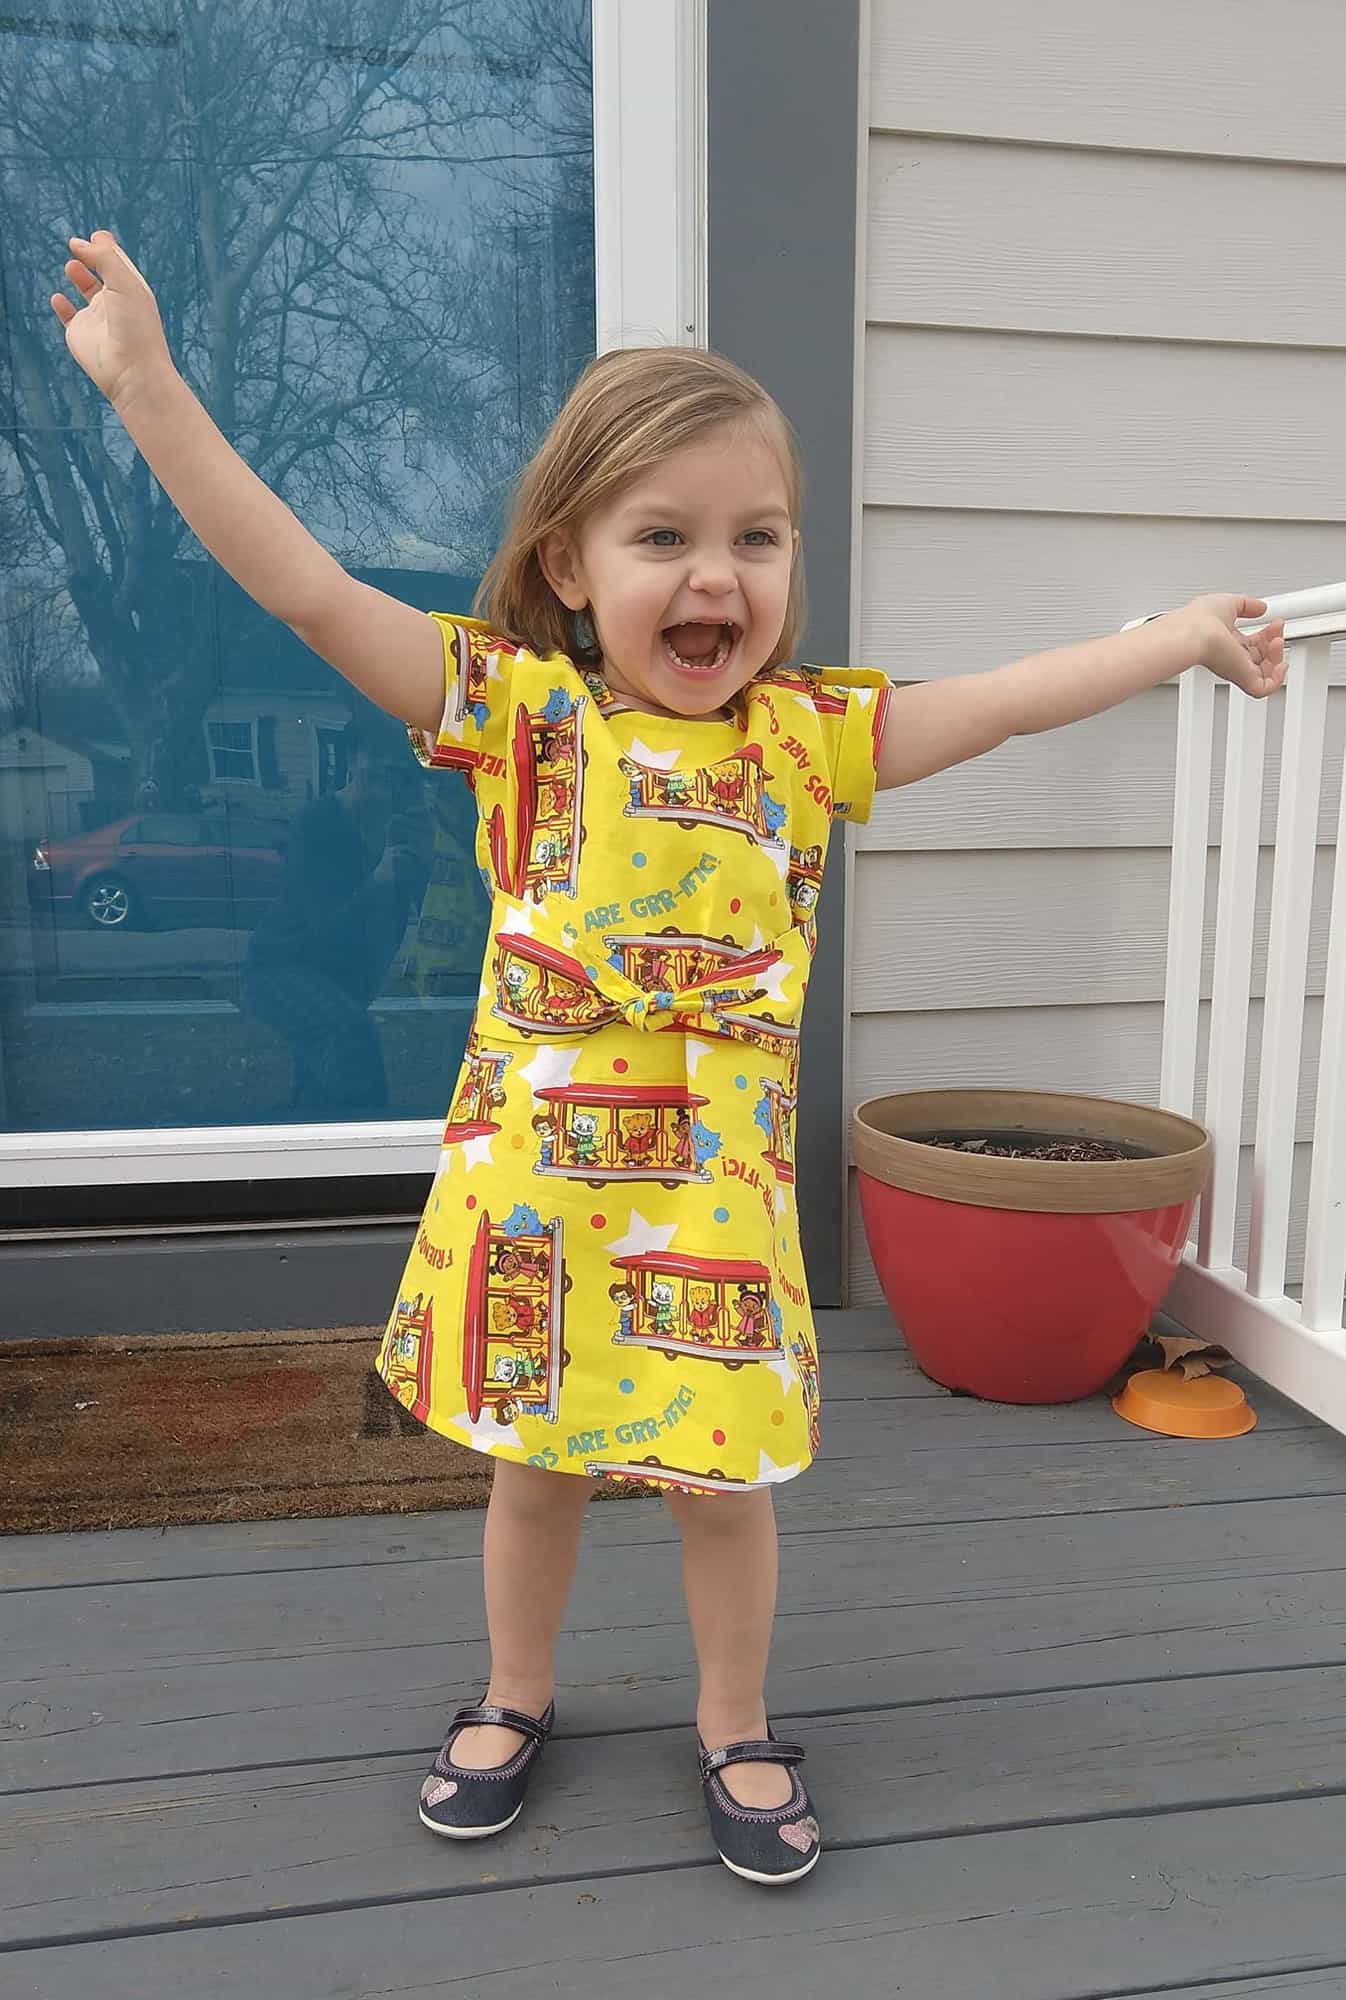
STACIA ZINK! Her bright yellow bitty blouse caught the team’s eye, so adorable!

We loved that Stacia treated herself to a Brunch Blouse too. Great job! You have won a $20 gift card to Patterns for Pirates and a $50 gift card to Backstitch SoFlo.

As always, we have a runner up prize too! Congratulations, Melanie Carr!

Melanie’s BB tops are so beautiful and I’m sure they will become a staple in her closet. Melanie won a $20 gift card to Made for Mermaids and a $25 gift card to Backstitch SoFlo. Happy stitching!

A huge THANK YOU to Backstitch SoFlo for sponsoring this sew along.


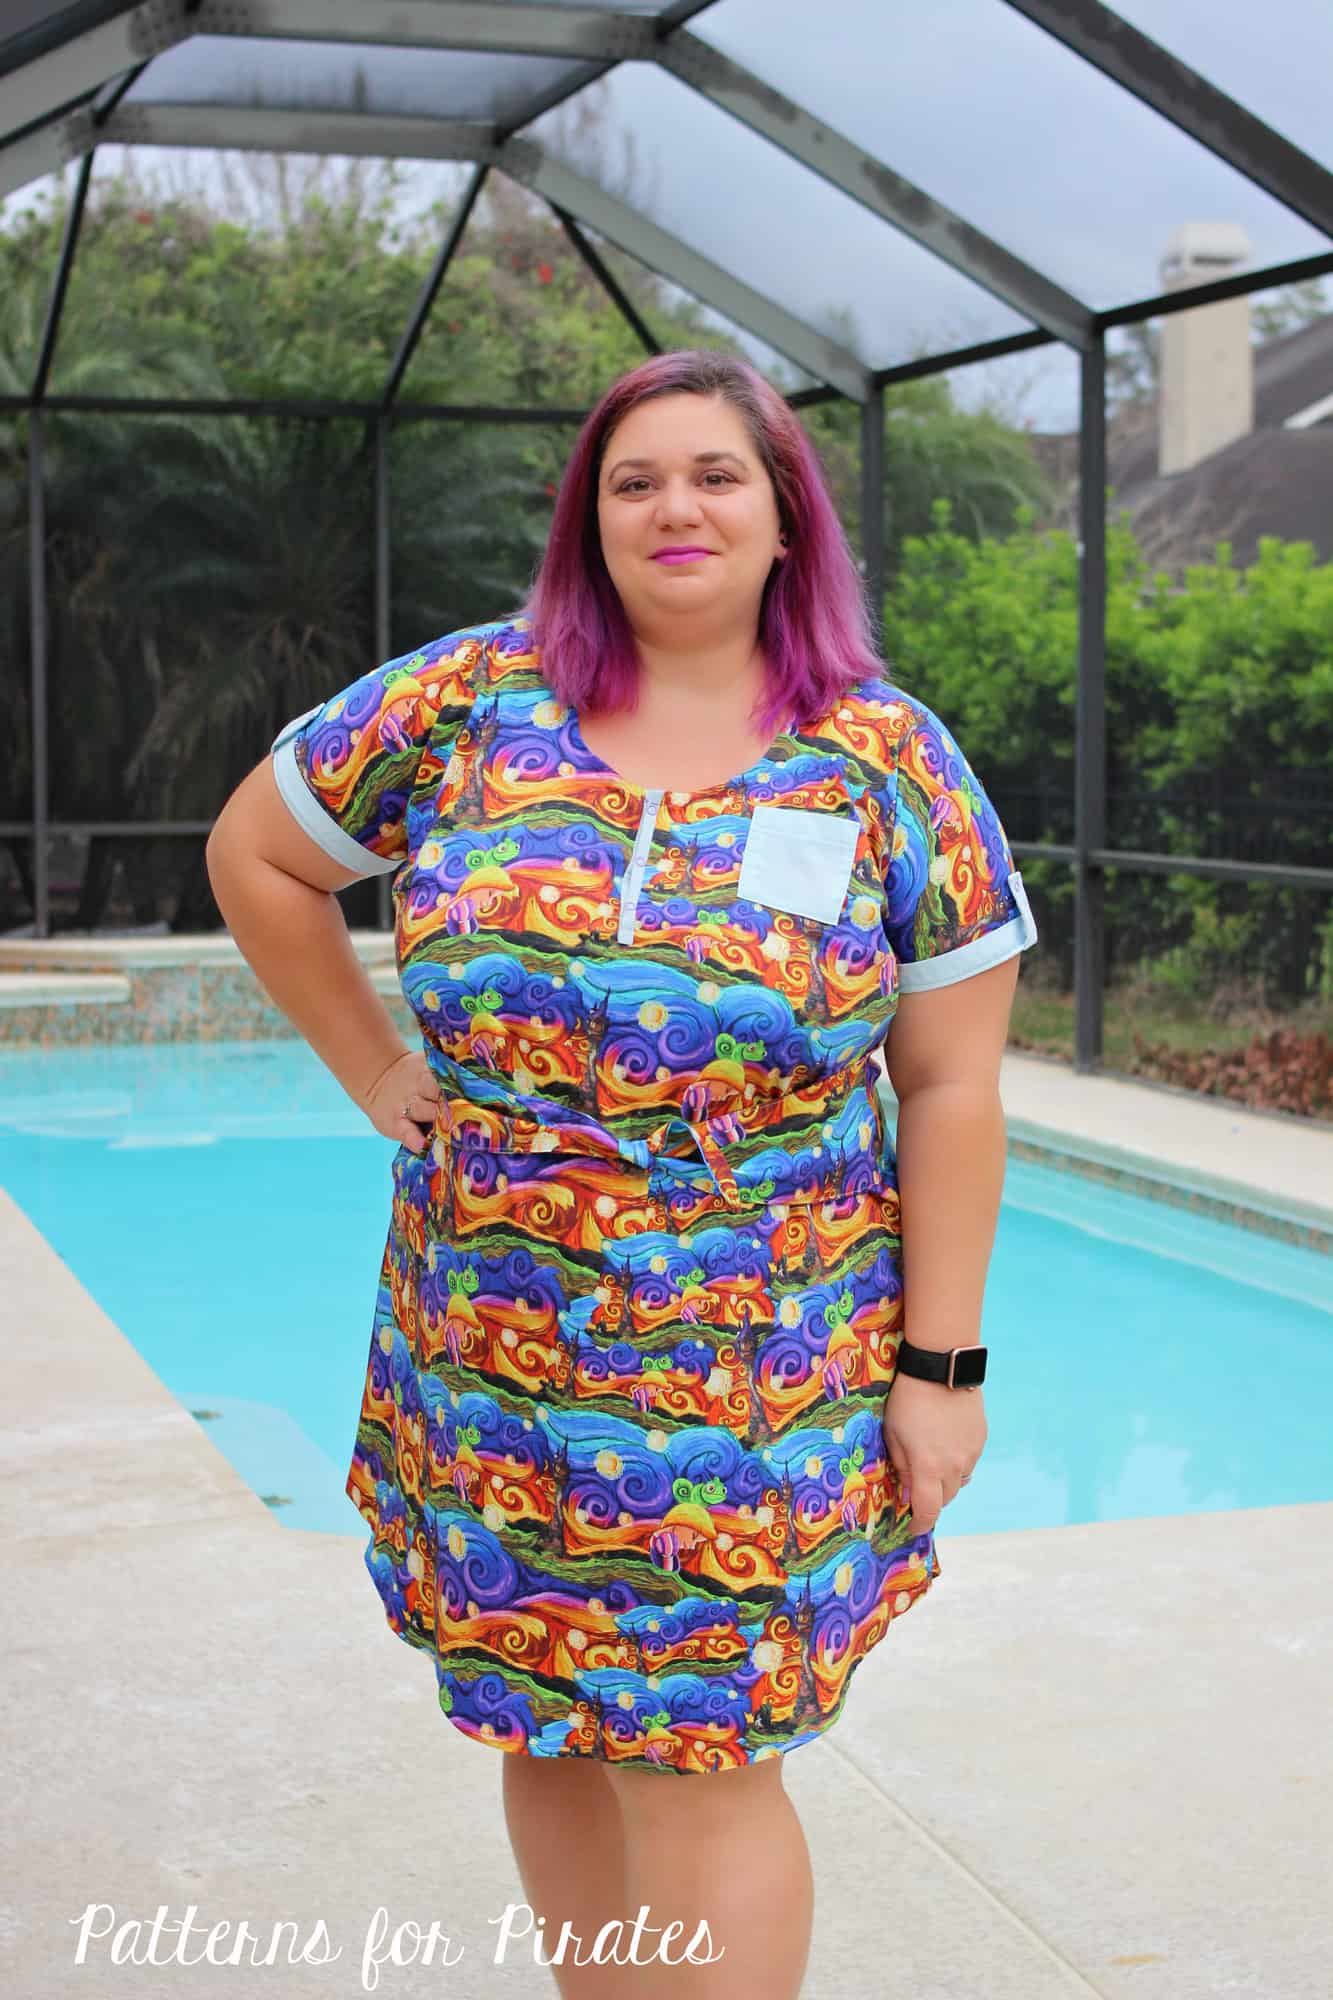
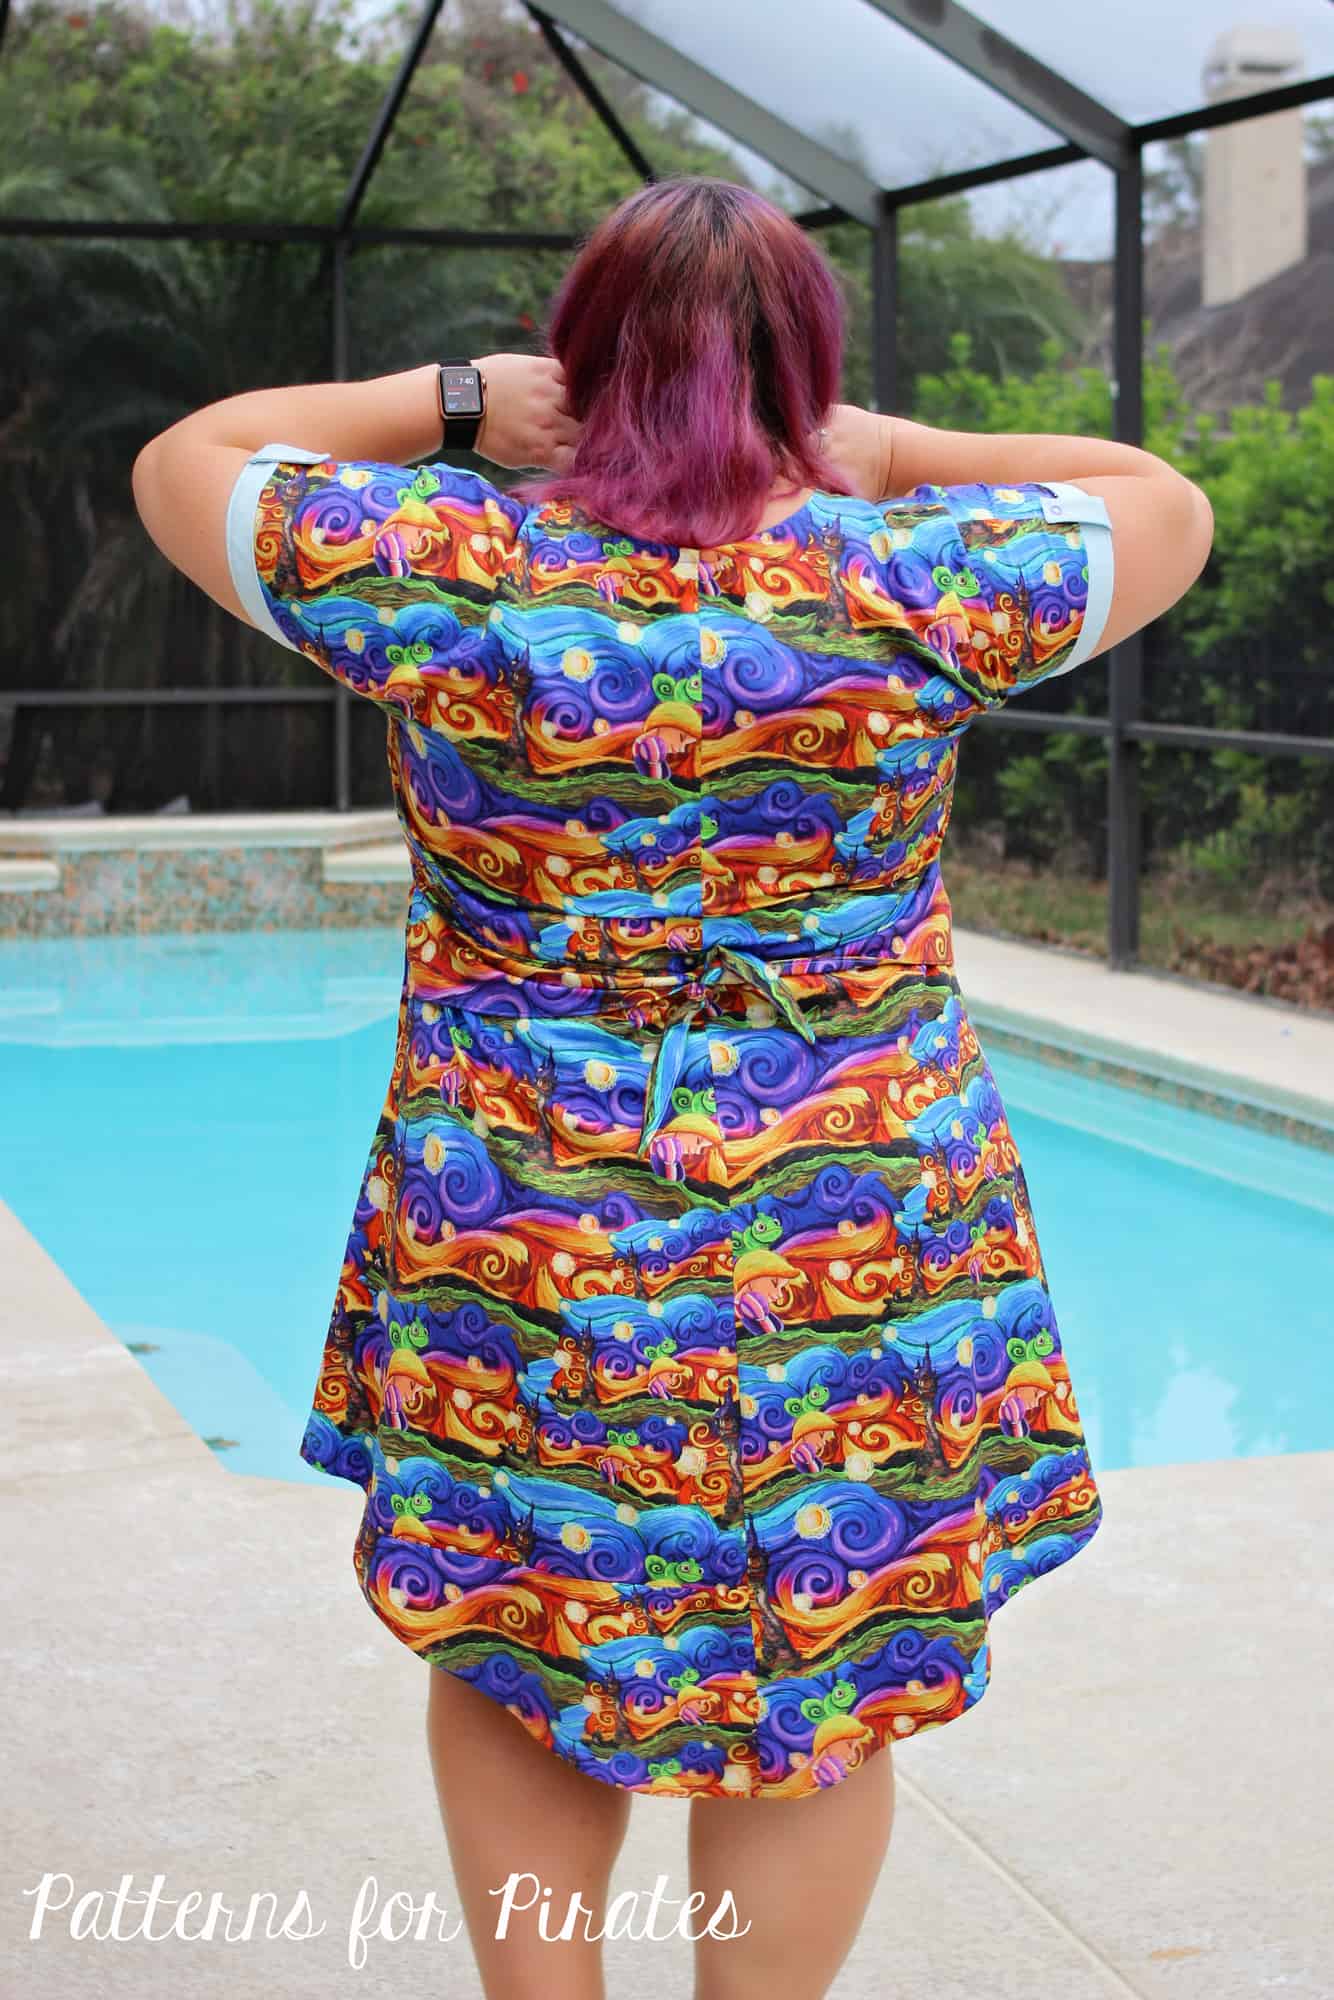
Before I let you go, I wanted to show off my Mane Attraction Brunch Blouse dress that I absolutely love.

Stay tuned for the mermaids’  sew along announcement. You do not want to miss it!

Brunch Blouse|Bitty Brunch Blouse SAL day 1 (print pattern)

Brunch Blouse|Bitty Brunch Blouse SAL day 2 (cut fabric)

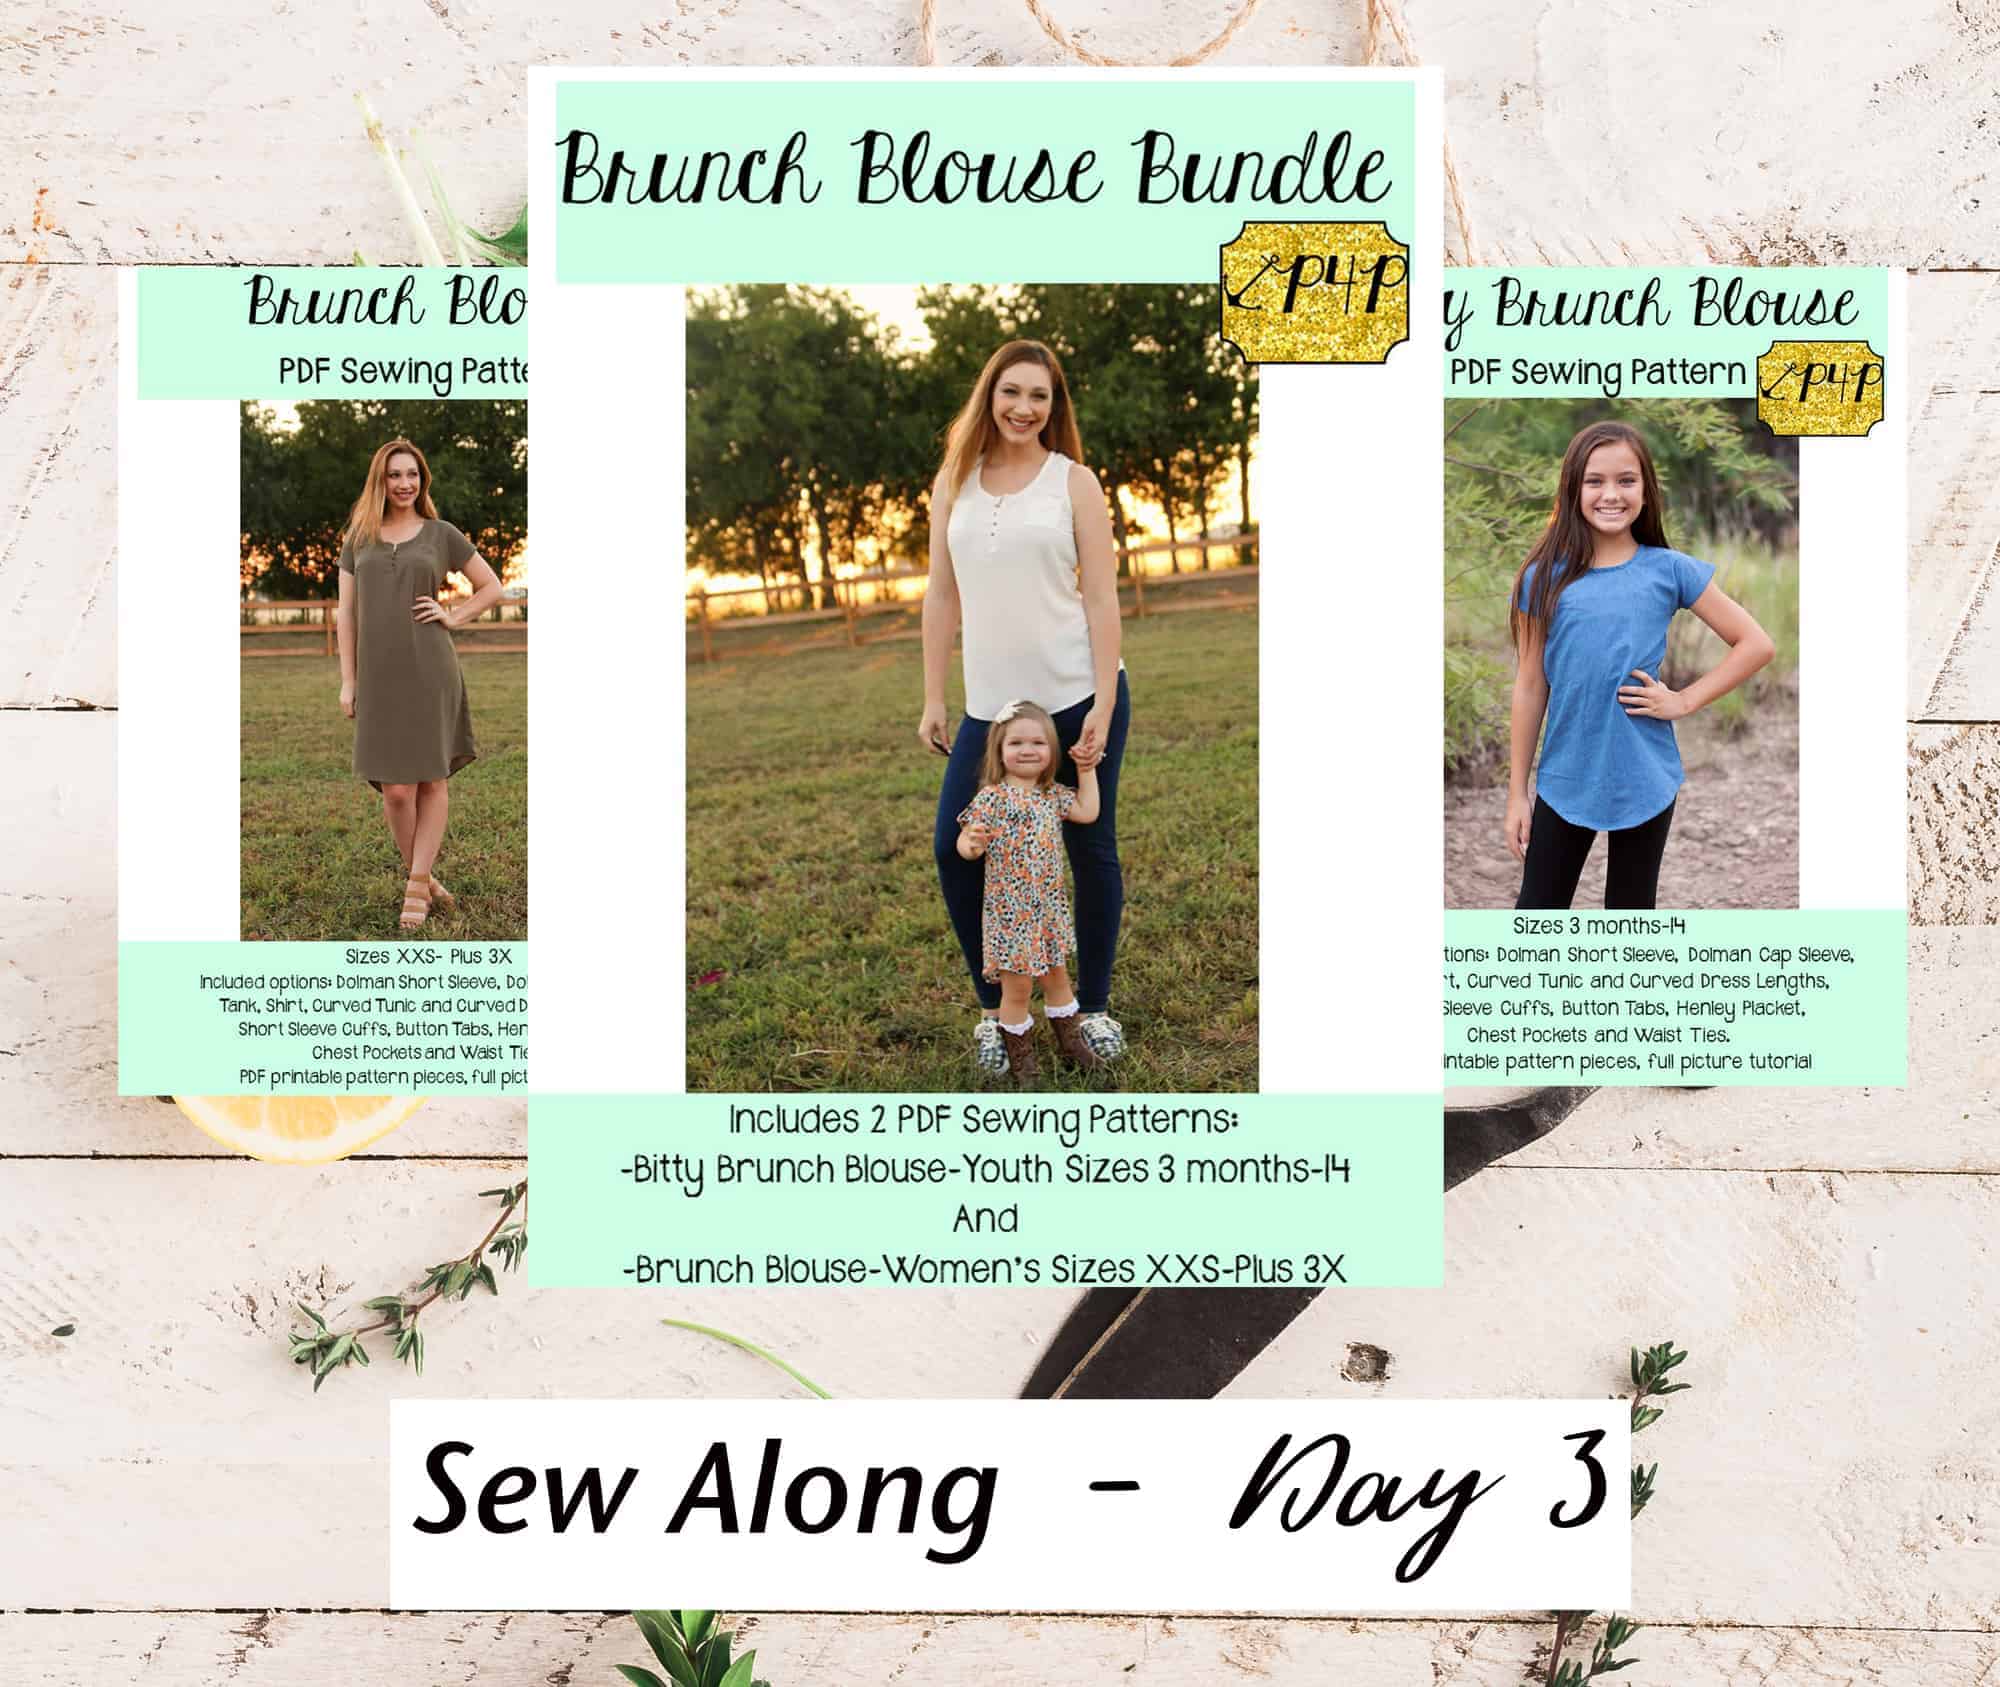
Brunch Blouse|Bitty Brunch Blouse SAL day 3 (darts and placket)

Brunch Blouse|Bitty Brunch Blouse SAL day 4 (pocket/waist ties/back seam)

Brunch Blouse|Bitty Brunch Blouse SAL day 5 (shoulder/side seams)

Brunch Blouse|Bitty Brunch Blouse SAL day 6 (neckband)

Brunch Blouse|Bitty Brunch Blouse SAL day 7 (finish sleeves/hem)

Brunch Blouse|Bitty Brunch Blouse SAL day 8 (winners announcement)

Filed Under: Frequently Asked Questions, Sew-A-Long, Uncategorized 2 Comments

Brunch Blouse|Bitty Brunch Blouse SAL day 7 (finish sleeves/hem)

March 18, 2019

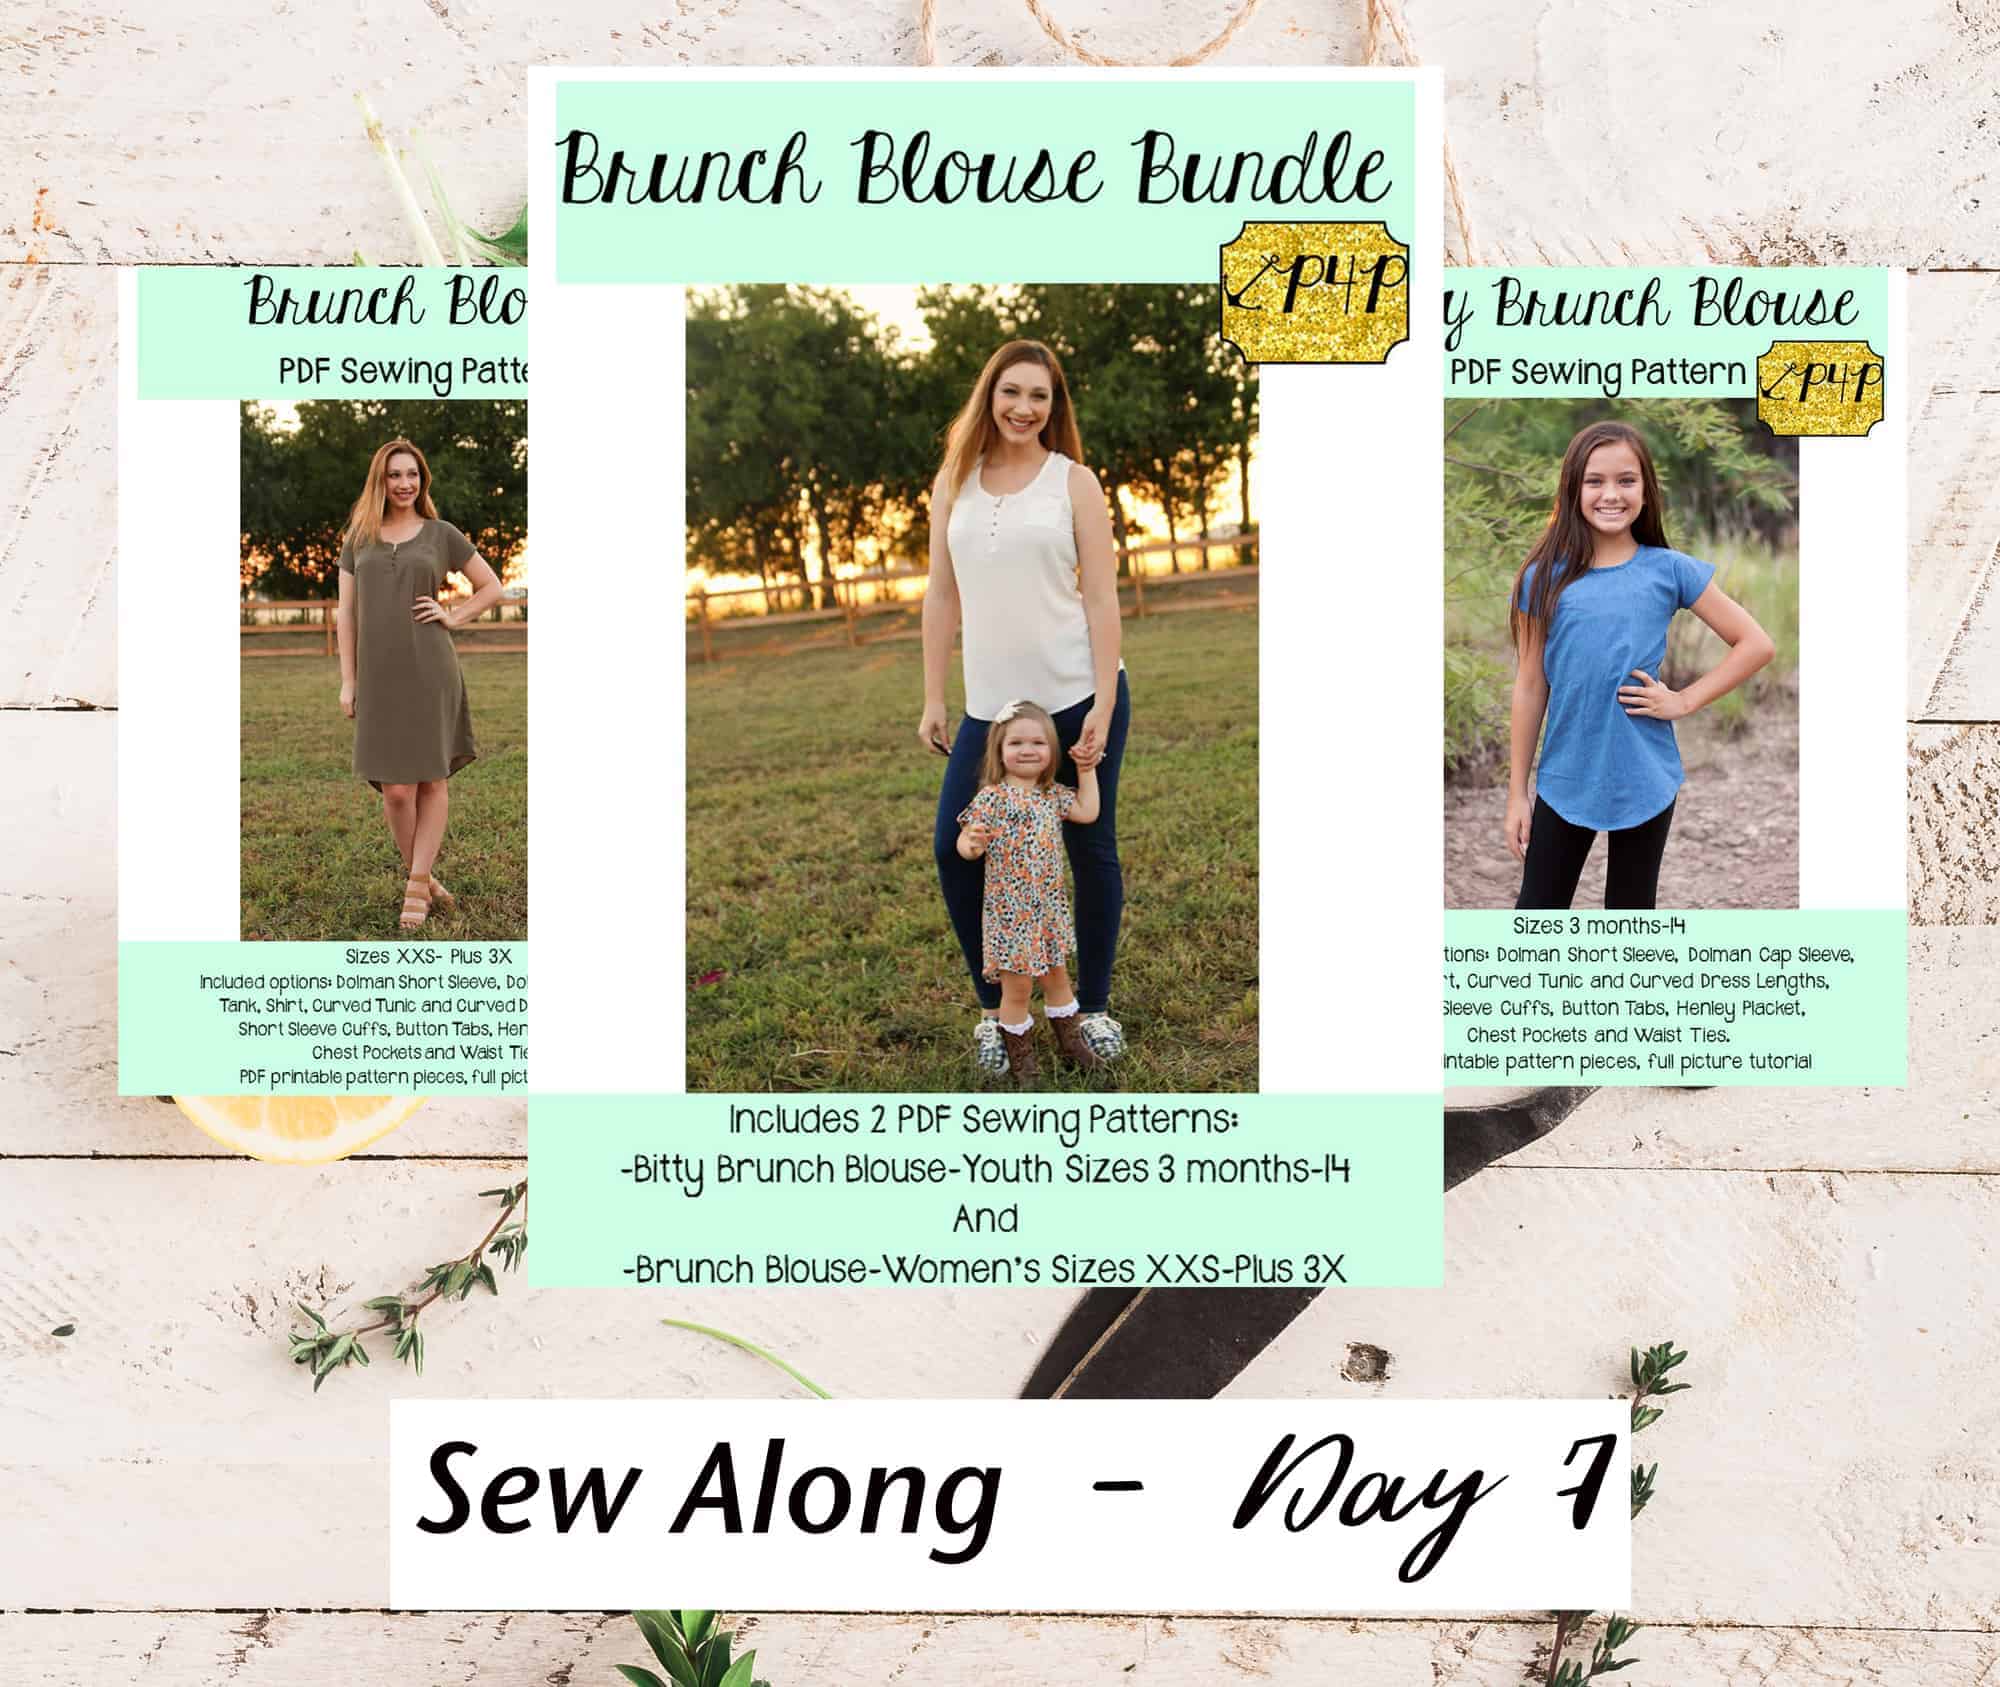
And just like that we made it to the last sewing day. Today we are putting the finishing touches on out Brunch Blouses.

  • If you have sewn the tank option, you will be finishing the arm opening with bias binding. Here is a refresher blog on woven bias binding if you didn’t get to check it out yesterday.
  • If you opted for the cap sleeve style, I highly encourage you to fold your sleeve hem 1/4″ press, fold again 1/4″ and press and only then stitch. This will yield a very polished sleeve look.
  • I have selected the short sleeve option with a cuff and a snap tab. This is a great way to add accent colors and even use some decorative buttons.

The last sew along video is posted below. Take a look and once you are done sewing post your final picture in the DAY 7 COMMENTS of the BB/BBB sal album in the group…you know the drill 🙂 The team will pick out two winners on Wednesday so you have an extra day to catch up on your project.

Brunch Blouse|Bitty Brunch Blouse SAL day 1 (print pattern)

Brunch Blouse|Bitty Brunch Blouse SAL day 2 (cut fabric)

Brunch Blouse|Bitty Brunch Blouse SAL day 3 (darts and placket)

Brunch Blouse|Bitty Brunch Blouse SAL day 4 (pocket/waist ties/back seam)

Brunch Blouse|Bitty Brunch Blouse SAL day 5 (shoulder/side seams)

Brunch Blouse|Bitty Brunch Blouse SAL day 6 (neckband)

Brunch Blouse|Bitty Brunch Blouse SAL day 7 (finish sleeves/hem)

Brunch Blouse|Bitty Brunch Blouse SAL day 8 (winners announcement)

Filed Under: Frequently Asked Questions, Sew-A-Long, Uncategorized Leave a Comment

Brunch Blouse|Bitty Brunch Blouse SAL day 6 (neckband)

March 17, 2019

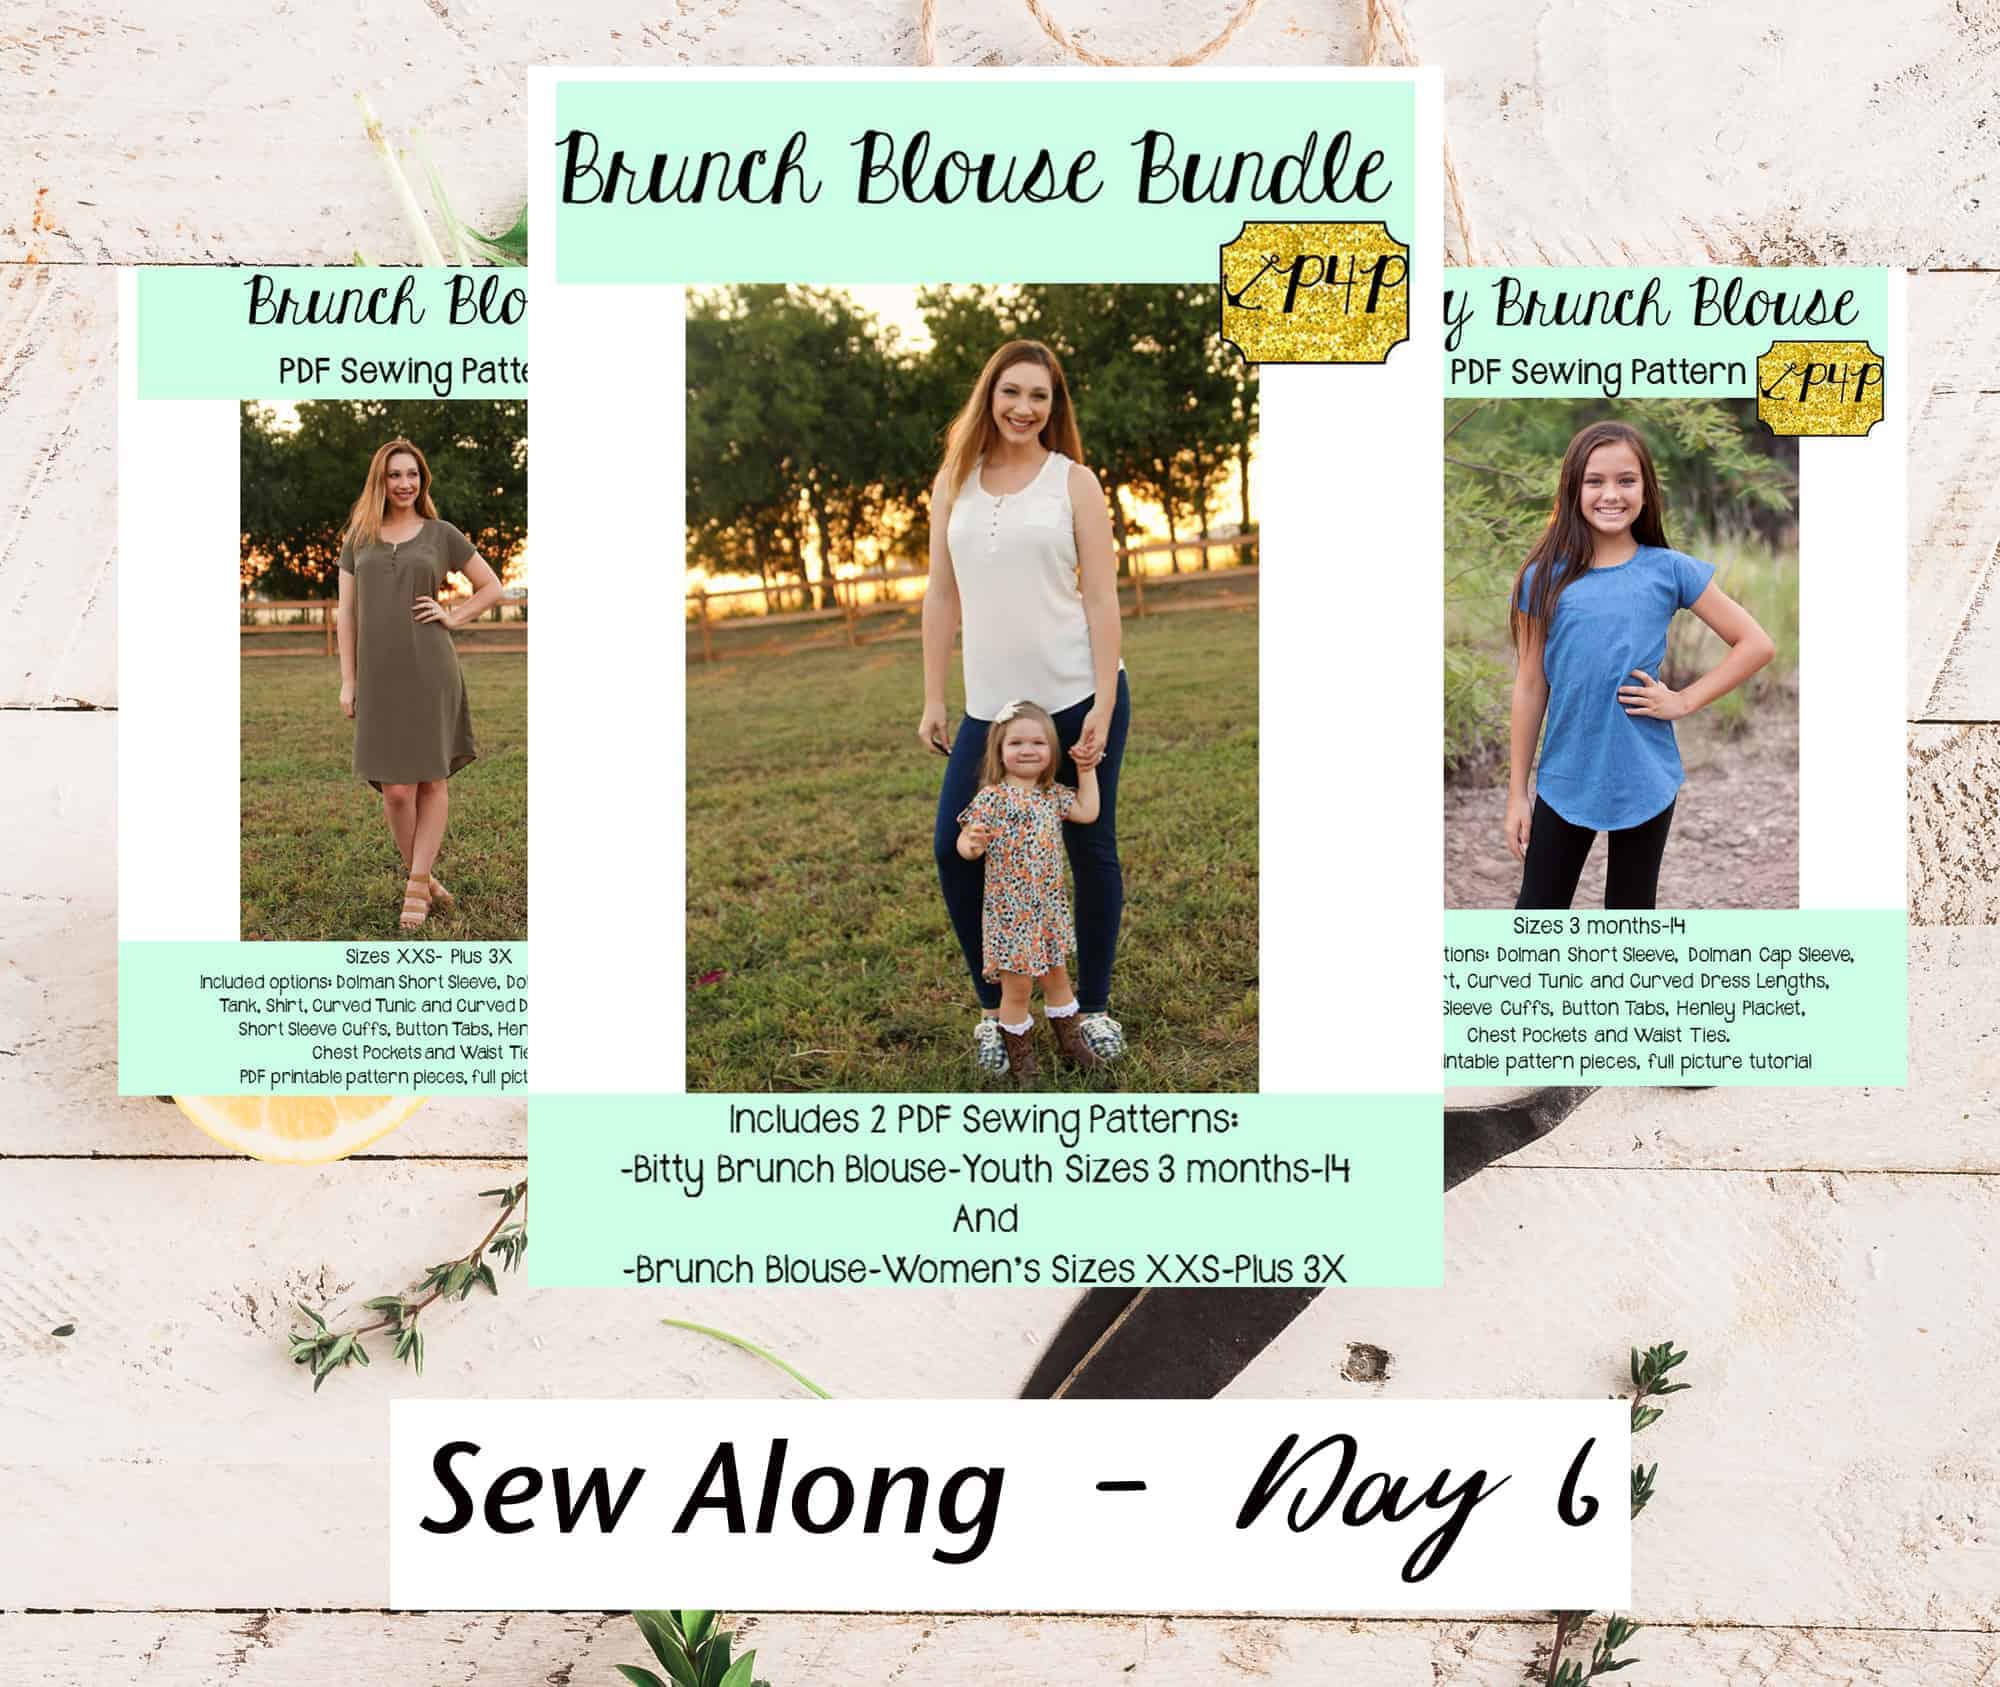
Two more sewing days let in this SAL. Can you believe it? Today we will be focusing on the neckband. The Brunch Blouse and Bitty Brunch blouse neckline is finished with bias binding. The pattern calls for single fold bias tape.

I am a huge supporter of store bought bias tape because it gives me more time to focus on other projects, plus the finishing tape is not visible from the outside of the BB shirt/dress. If you have a local Joann or Walmart, look through their notions walls, you will see single and double fold bias tape in a variety of colors.

However, if you are keen on matching the bias binding with the fabric you can certainly create your own. In this P4P University blog, Nicole and Judy teach you how to diy bias tape. Take a look over it and get to cutting.
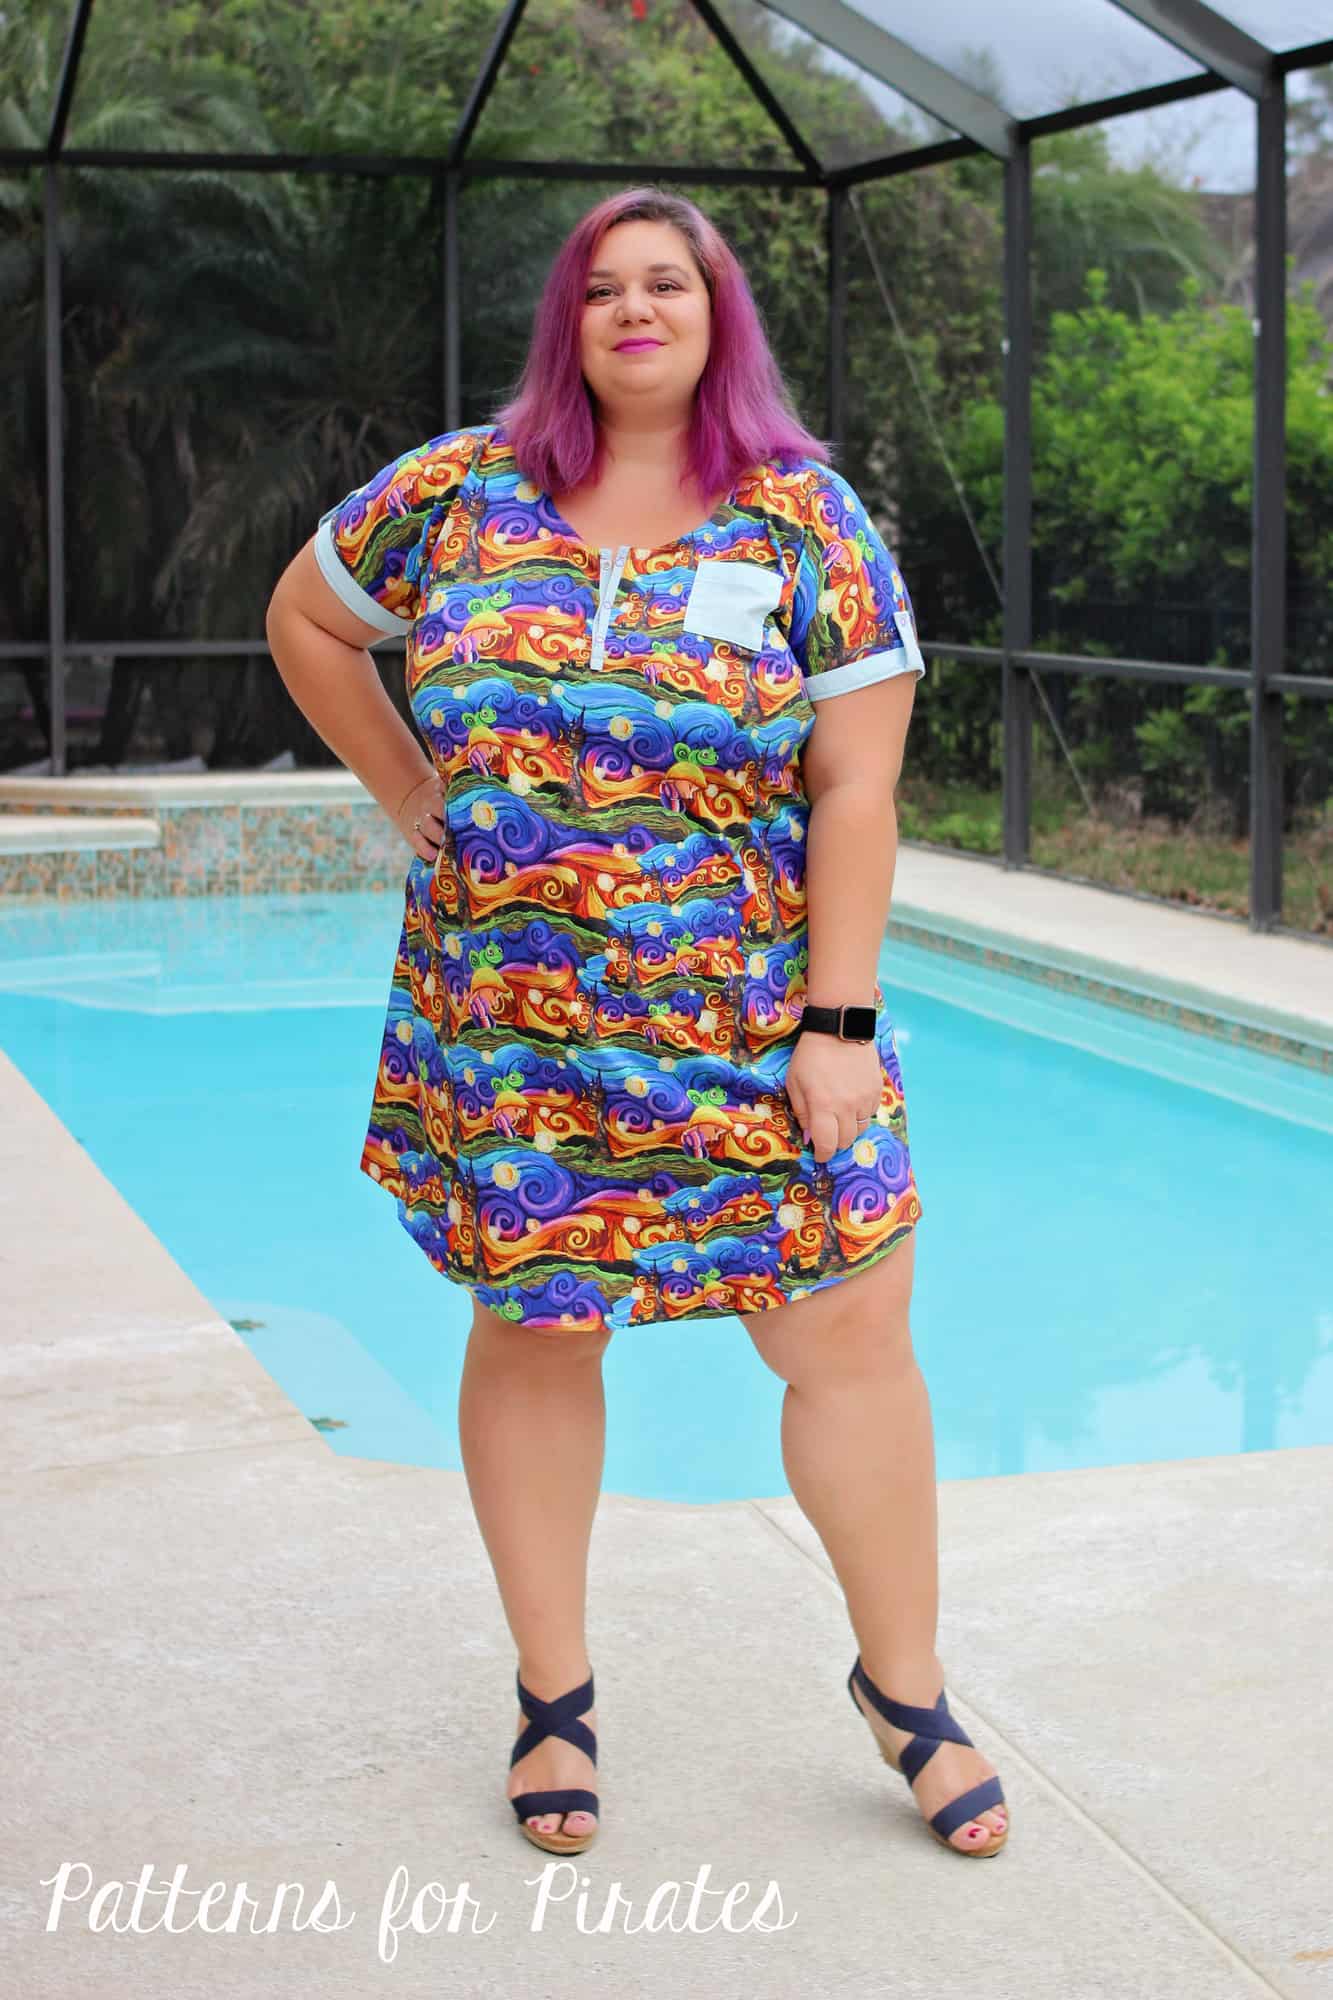
Tip: The neckline gives you plenty of opportunity to add a personal touch to your blouses. Think, double fold bias tape or placing the single fold on the outside for a pop of color…think, decorative stitches …ohh the possibilities!

Go ahead and read the tutorial and watch day 6 video below. Once you finish sewing the bias binding one, snap a picture and add it to the comments of Day 6 photo of the BB/BBB sew along album.

Brunch Blouse|Bitty Brunch Blouse SAL day 1 (print pattern)

Brunch Blouse|Bitty Brunch Blouse SAL day 2 (cut fabric)

Brunch Blouse|Bitty Brunch Blouse SAL day 3 (darts and placket)

Brunch Blouse|Bitty Brunch Blouse SAL day 4 (pocket/waist ties/back seam)

Brunch Blouse|Bitty Brunch Blouse SAL day 5 (shoulder/side seams)

Brunch Blouse|Bitty Brunch Blouse SAL day 6 (neckband)

Brunch Blouse|Bitty Brunch Blouse SAL day 7 (finish sleeves/hem)

Brunch Blouse|Bitty Brunch Blouse SAL day 8 (winners announcement)

Filed Under: Frequently Asked Questions, Sew-A-Long, Uncategorized Leave a Comment

Brunch Blouse|Bitty Brunch Blouse SAL day 5 (shoulder/side seams)

March 16, 2019

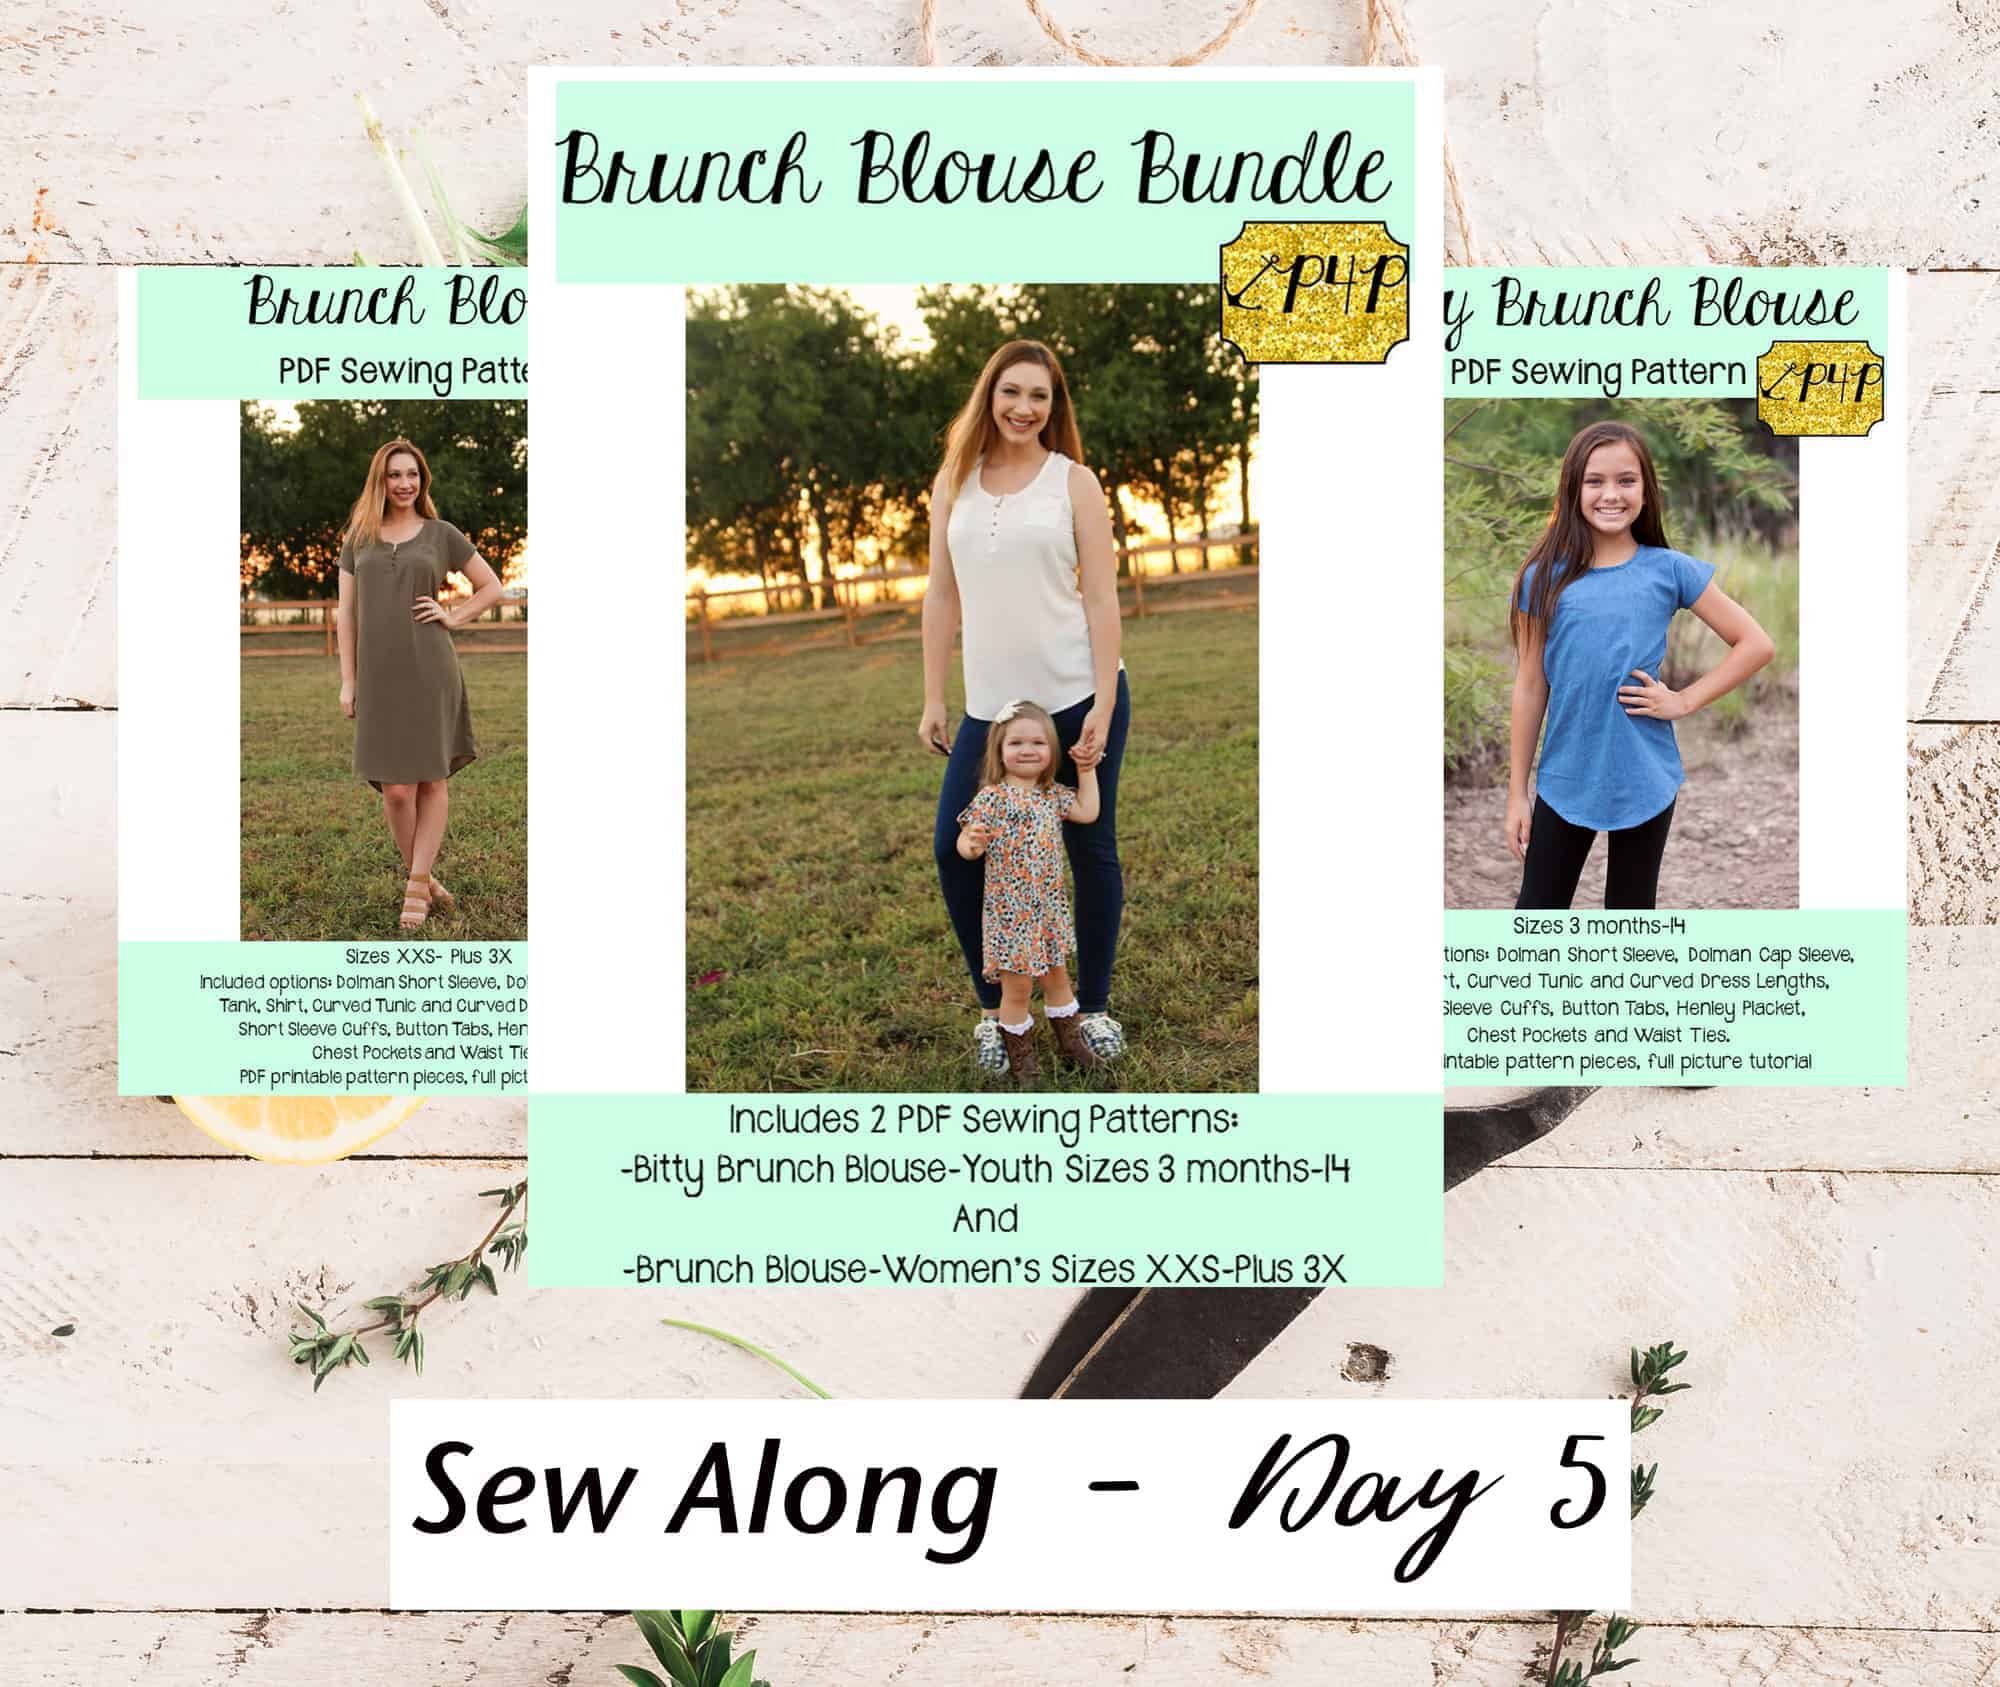
The 5th day of our sew along is here. Today we sew the shoulder and the side seam, probably the easiest day of the sew along 😉 Remember to use your sewing machine for this steps and just finish the raw edge with the serger or a zig zag stitch.

TIP: If you’re doing a hemmed sleeve now would be a good time to press your memory hem. This will make it so much easier to hem later on. 

The Brunch Blouse and Bitty Brunch Blouse patterns follow a 1/2″ seam allowance so be sure to not deviate from it when you sew the shoulder seams and side seams.

Watch the day 5 video below and be sure to post a picture of today’s progress in the day 5 photo comments of the BB / BBB sew along album in the M4M & P4P Sew Along Group.


Brunch Blouse|Bitty Brunch Blouse SAL day 1 (print pattern)

Brunch Blouse|Bitty Brunch Blouse SAL day 2 (cut fabric)

Brunch Blouse|Bitty Brunch Blouse SAL day 3 (darts and placket)

Brunch Blouse|Bitty Brunch Blouse SAL day 4 (pocket/waist ties/back seam)

Brunch Blouse|Bitty Brunch Blouse SAL day 5 (shoulder/side seams)

Brunch Blouse|Bitty Brunch Blouse SAL day 6 (neckband)

Brunch Blouse|Bitty Brunch Blouse SAL day 7 (finish sleeves/hem)

Brunch Blouse|Bitty Brunch Blouse SAL day 8 (winners announcement)

Filed Under: Frequently Asked Questions, Sew-A-Long, Uncategorized 1 Comment

Brunch Blouse|Bitty Brunch Blouse SAL day 4 (pocket/waist ties/back seam)

March 14, 2019

Good morning, pirates! Today we will be focusing on the pocket(s), waist ties and back seam. The pocket and waist ties and optional so if you are skipping them, you would only sew the back seam. Easy peasy!

You can add two pockets or just one, both would look just as cute. I personally like one contrasting pocket on the left side but I also like the look of two pockets from the same fabric.

The Brunch Blouse is a relaxed fit throughout the waist so the ties will help “cinch” you in, if you are going for an hour glass look. I absolutely love the shape of the ties and that you can tie them in the front or the back.

When you sew the back seam, remember to follow the 1/2 inch seam allowance and to stitch with your sewing machine. I know temptation to use just your serger is big but remember that a serger stitch is not as resilient to wear as a sewing machine straight stitch. Use your serger, but to finish the raw edges!

Take a look over today’s video and once you finish sewing post a picture of your progress in the comments of the Day 4 photo of the BB/BBB sew along album in the M4M & P4P Sew Along group.

Brunch Blouse|Bitty Brunch Blouse SAL day 1 (print pattern)

Brunch Blouse|Bitty Brunch Blouse SAL day 2 (cut fabric)

Brunch Blouse|Bitty Brunch Blouse SAL day 3 (darts and placket)

Brunch Blouse|Bitty Brunch Blouse SAL day 4 (pocket/waist ties/back seam)

Brunch Blouse|Bitty Brunch Blouse SAL day 5 (shoulder/side seams)

Brunch Blouse|Bitty Brunch Blouse SAL day 6 (neckband)

Brunch Blouse|Bitty Brunch Blouse SAL day 7 (finish sleeves/hem)

Brunch Blouse|Bitty Brunch Blouse SAL day 8 (winners announcement)

Filed Under: Frequently Asked Questions, Sew-A-Long, Uncategorized 2 Comments

Brunch Blouse|Bitty Brunch Blouse SAL day 3 (darts and placket)

March 13, 2019

Welcome to day 3 of our Brunch and Bitty Brunch sew along. Today we will be focusing on the darts (if you are sewing the women top or dress) and the placket.

Make sure that you transfer the dart marking from the pattern to the fabric’s wrong side. I love using water soluble marking pen because I know the lines with disappear once I stem it. Another tip I have for you when sewing darts is to press the dart before AND after you sew. Ironing it will help keep the fabric in place while stitching.

Second part of the day is dedicated to the henley style placket. This is a step that may scare first time henley makers but trust me when I say it, if you go slow and you press frequently, you will see that it is not as a daunting task as you thought. Before you get started, take a look over our Placket 101 blog. The videos I have in the P4P University blog are actually of the Brunch Blouse placket so you can certainly refer to it.

Below is a link to the Day 3 sew along video which includes both the dart and placket construction. Once you complete today’s steps, be sure to post a picture of your progress in the comments of day 4 photo of the Brunch/Bitty Brunch sew along album.


Brunch Blouse|Bitty Brunch Blouse SAL day 1 (print pattern)

Brunch Blouse|Bitty Brunch Blouse SAL day 2 (cut fabric)

Brunch Blouse|Bitty Brunch Blouse SAL day 3 (darts and placket)

Brunch Blouse|Bitty Brunch Blouse SAL day 4 (pocket/waist ties/back seam)

Brunch Blouse|Bitty Brunch Blouse SAL day 5 (shoulder/side seams)

Brunch Blouse|Bitty Brunch Blouse SAL day 6 (neckband)

Brunch Blouse|Bitty Brunch Blouse SAL day 7 (finish sleeves/hem)

Brunch Blouse|Bitty Brunch Blouse SAL day 8 (winners announcement)

Filed Under: Frequently Asked Questions, Sew-A-Long, Uncategorized Leave a Comment

Loggers – easy hacks

March 12, 2019

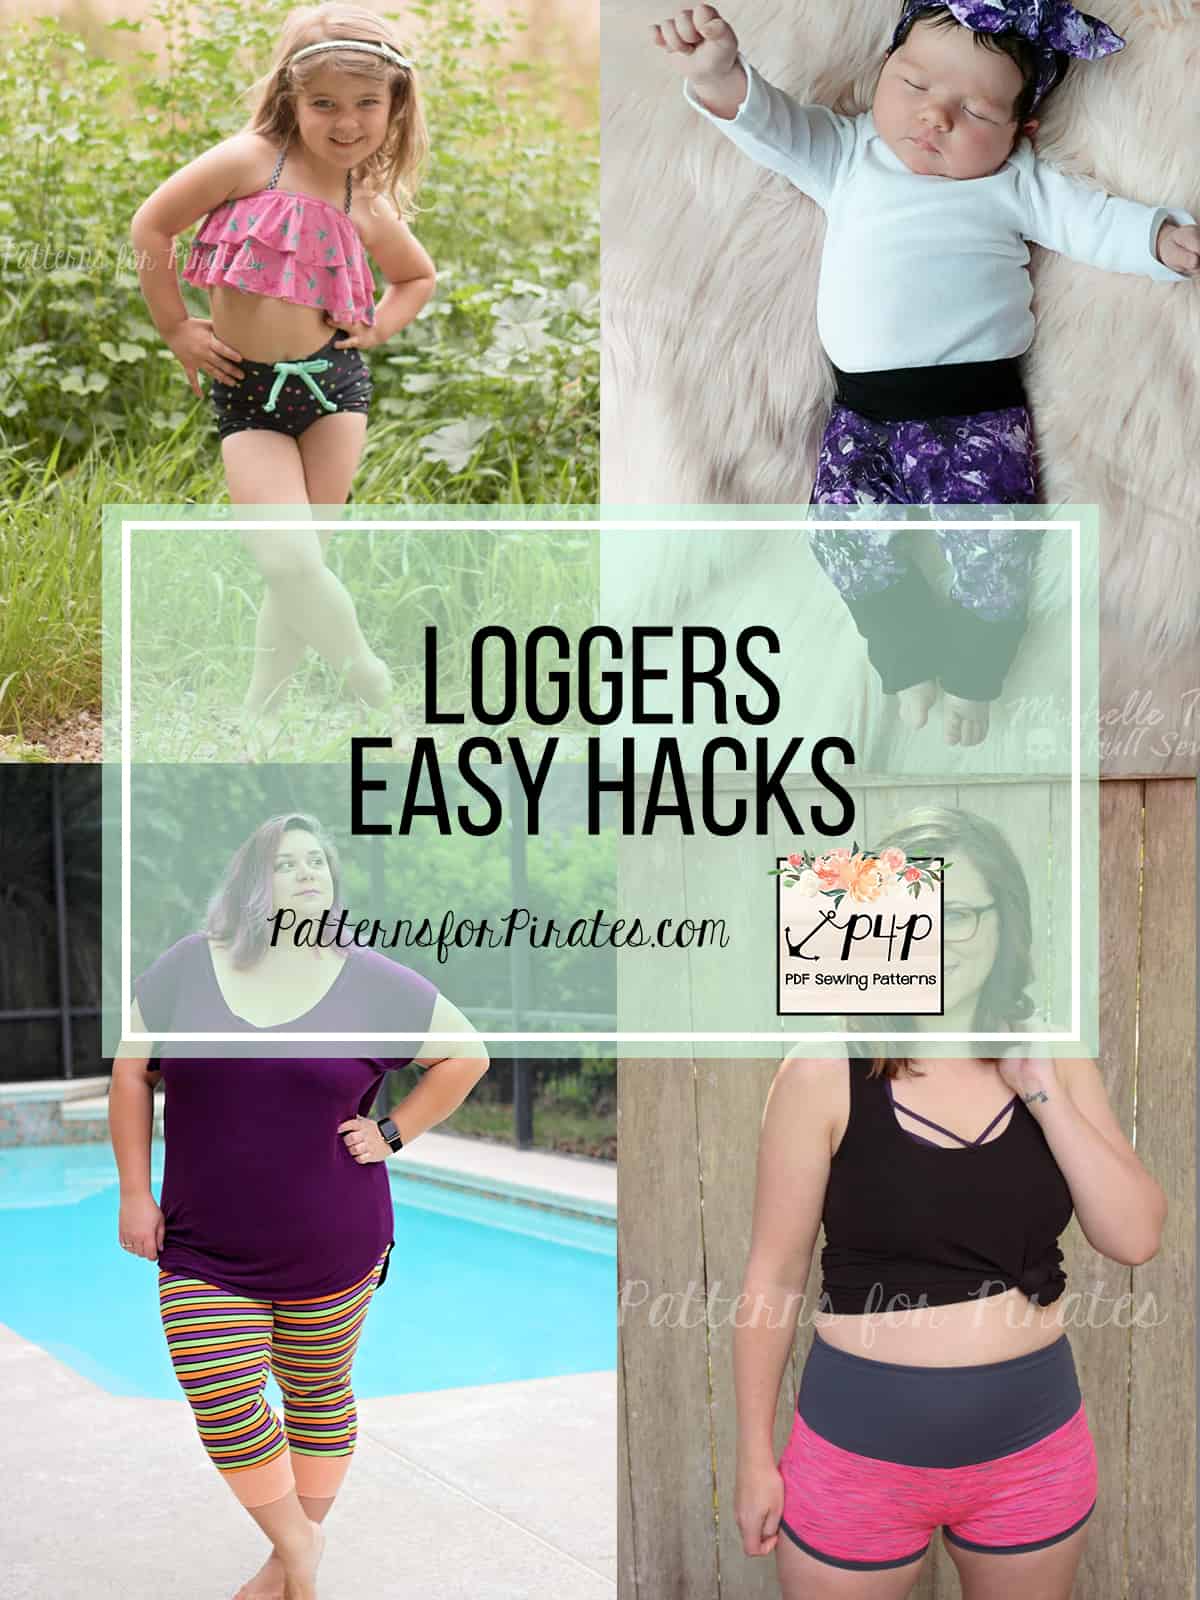
The new P4P Loggers (available in women and youth) are here! Needless to say the P4P team and blog contributors were very excited to show you these easy hacks that you can do to the Loggers in order to have even more options. Let’s get started!

…..

Peg Waistband

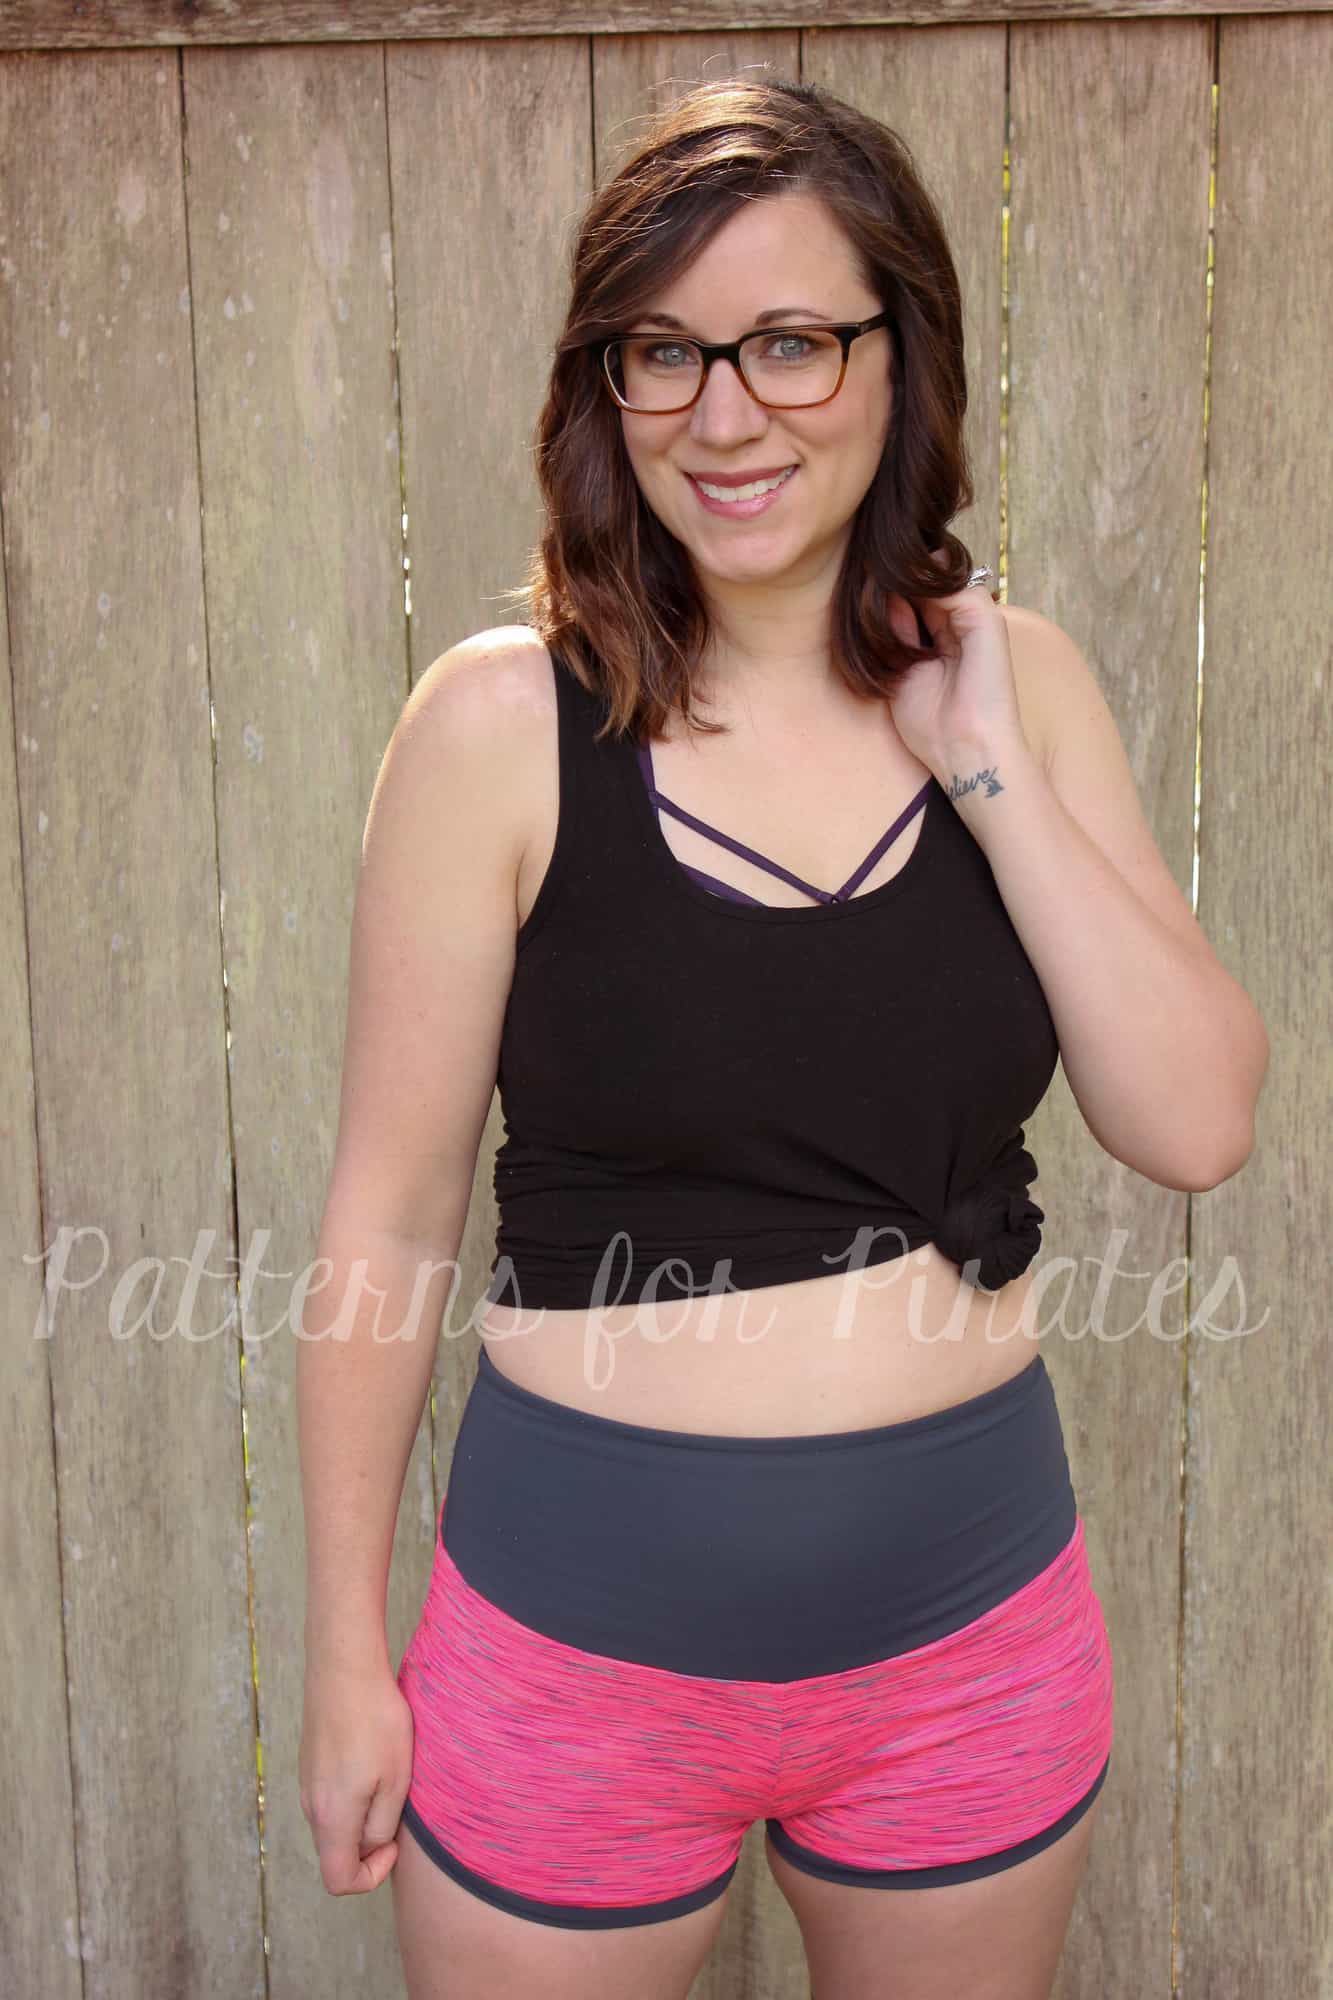
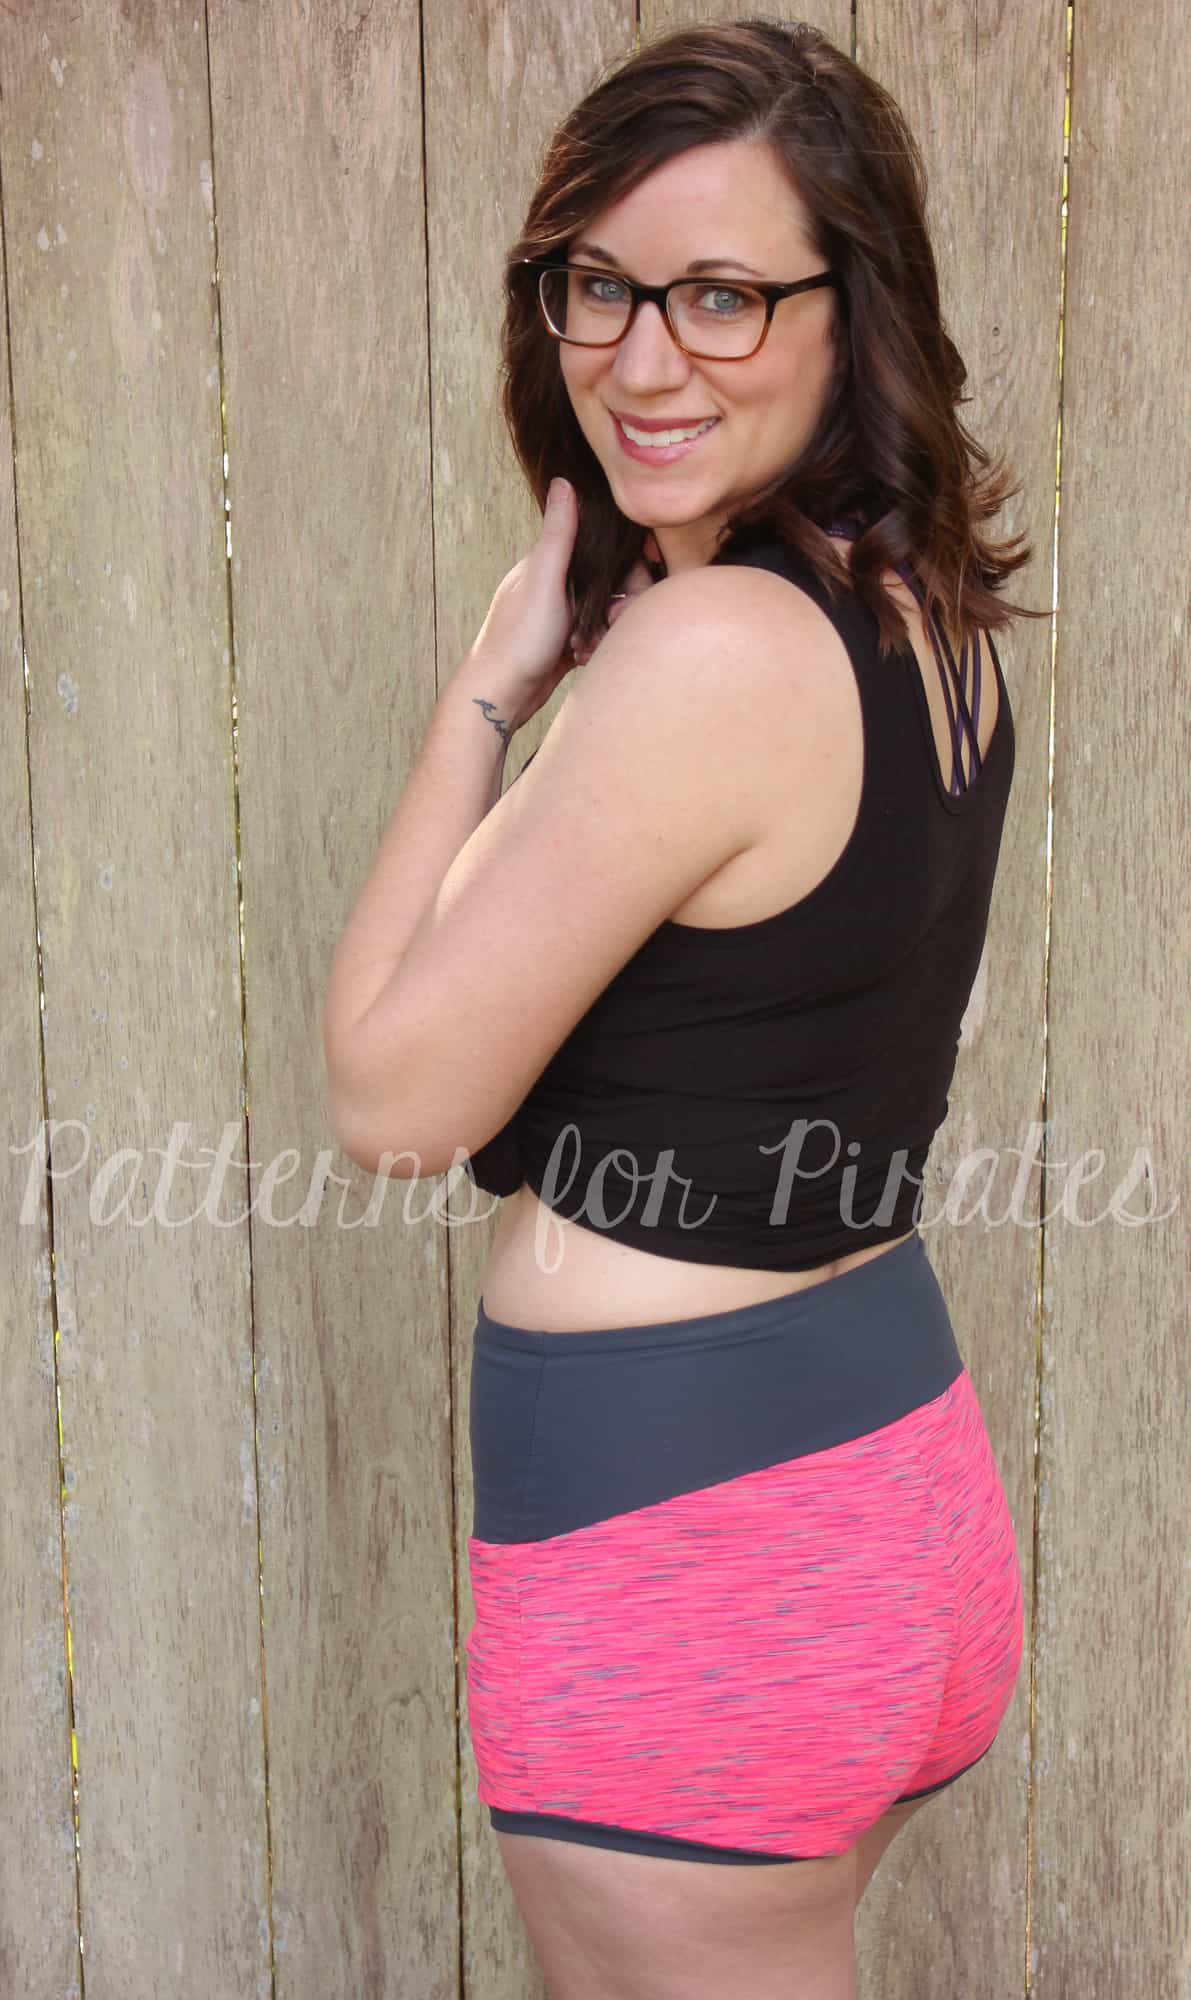
First comes the Pegs. Then comes the Logger… Up next, a Peg and Logger mash made in Heaven! Ever since the release of the Peg Leg add-on pack, I have been obsessed with the contoured waistband (What? You haven’t tried it yet? Grab a copy of it for FREE right here). Luckily, the Logger Pattern is another perfect way to show off and use the contoured waistband.

To create this look, you will need both the Logger and the contoured waistband pieces. One of the advantages to the Loggers is that you can use fabrics with just a small amount of vertical stretch. However, for the Pegs, 50% stretch is needed in both directions. So when choosing your fabric for the contoured waistband, it is KEY to make sure that it meets these requirements or else it won’t fit!

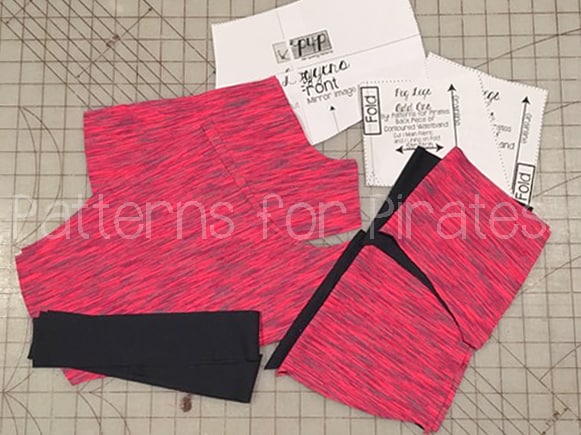
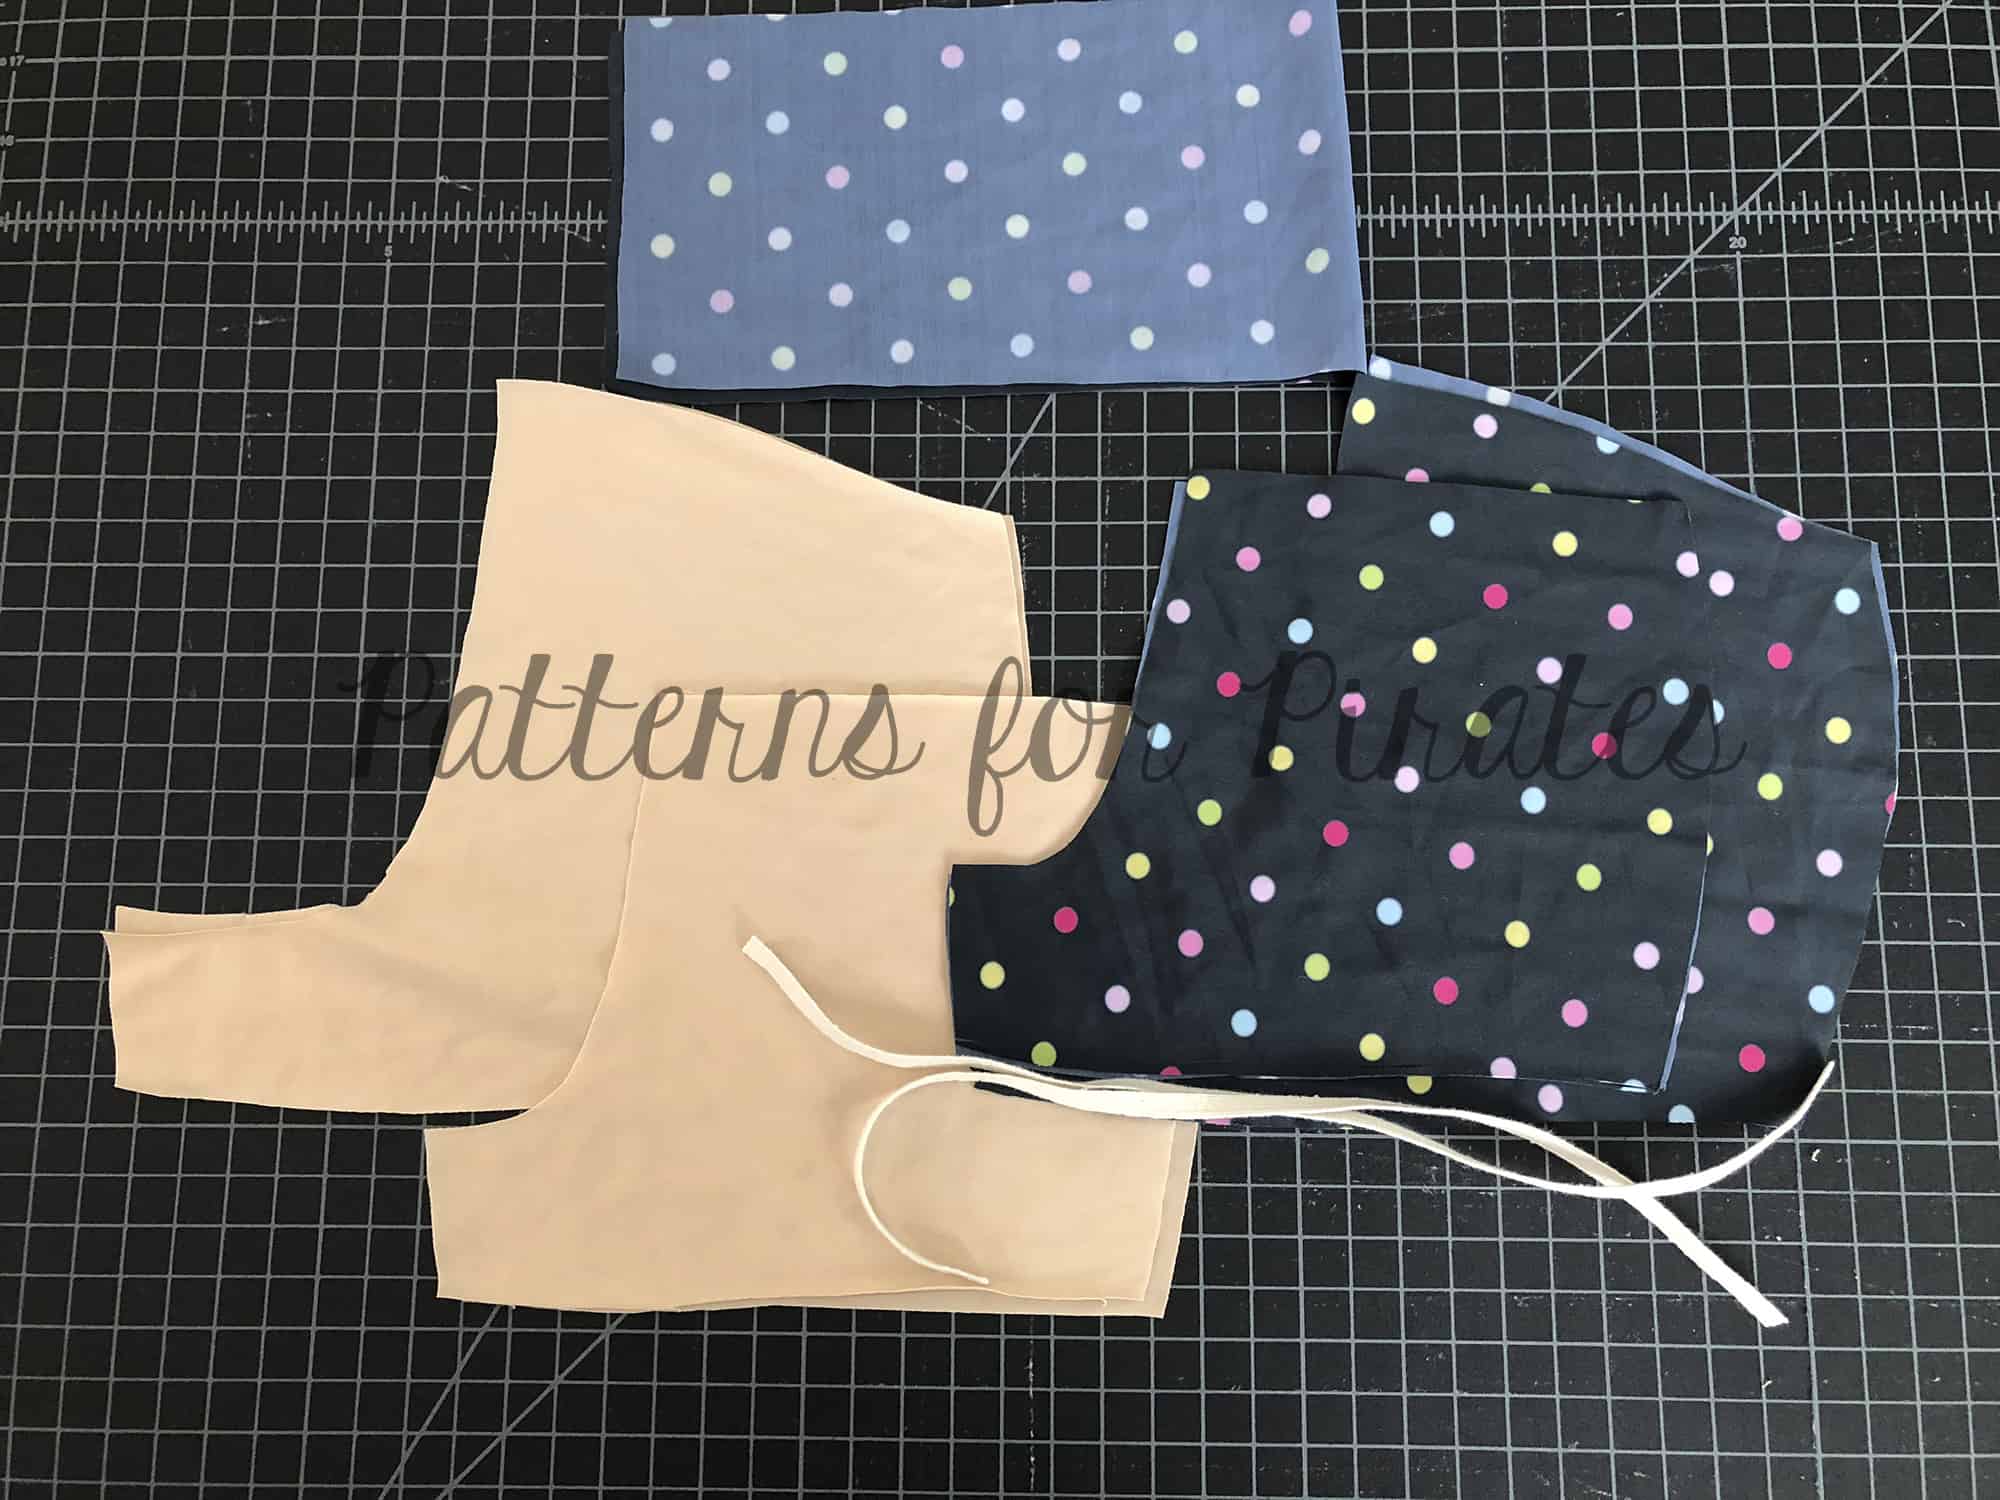
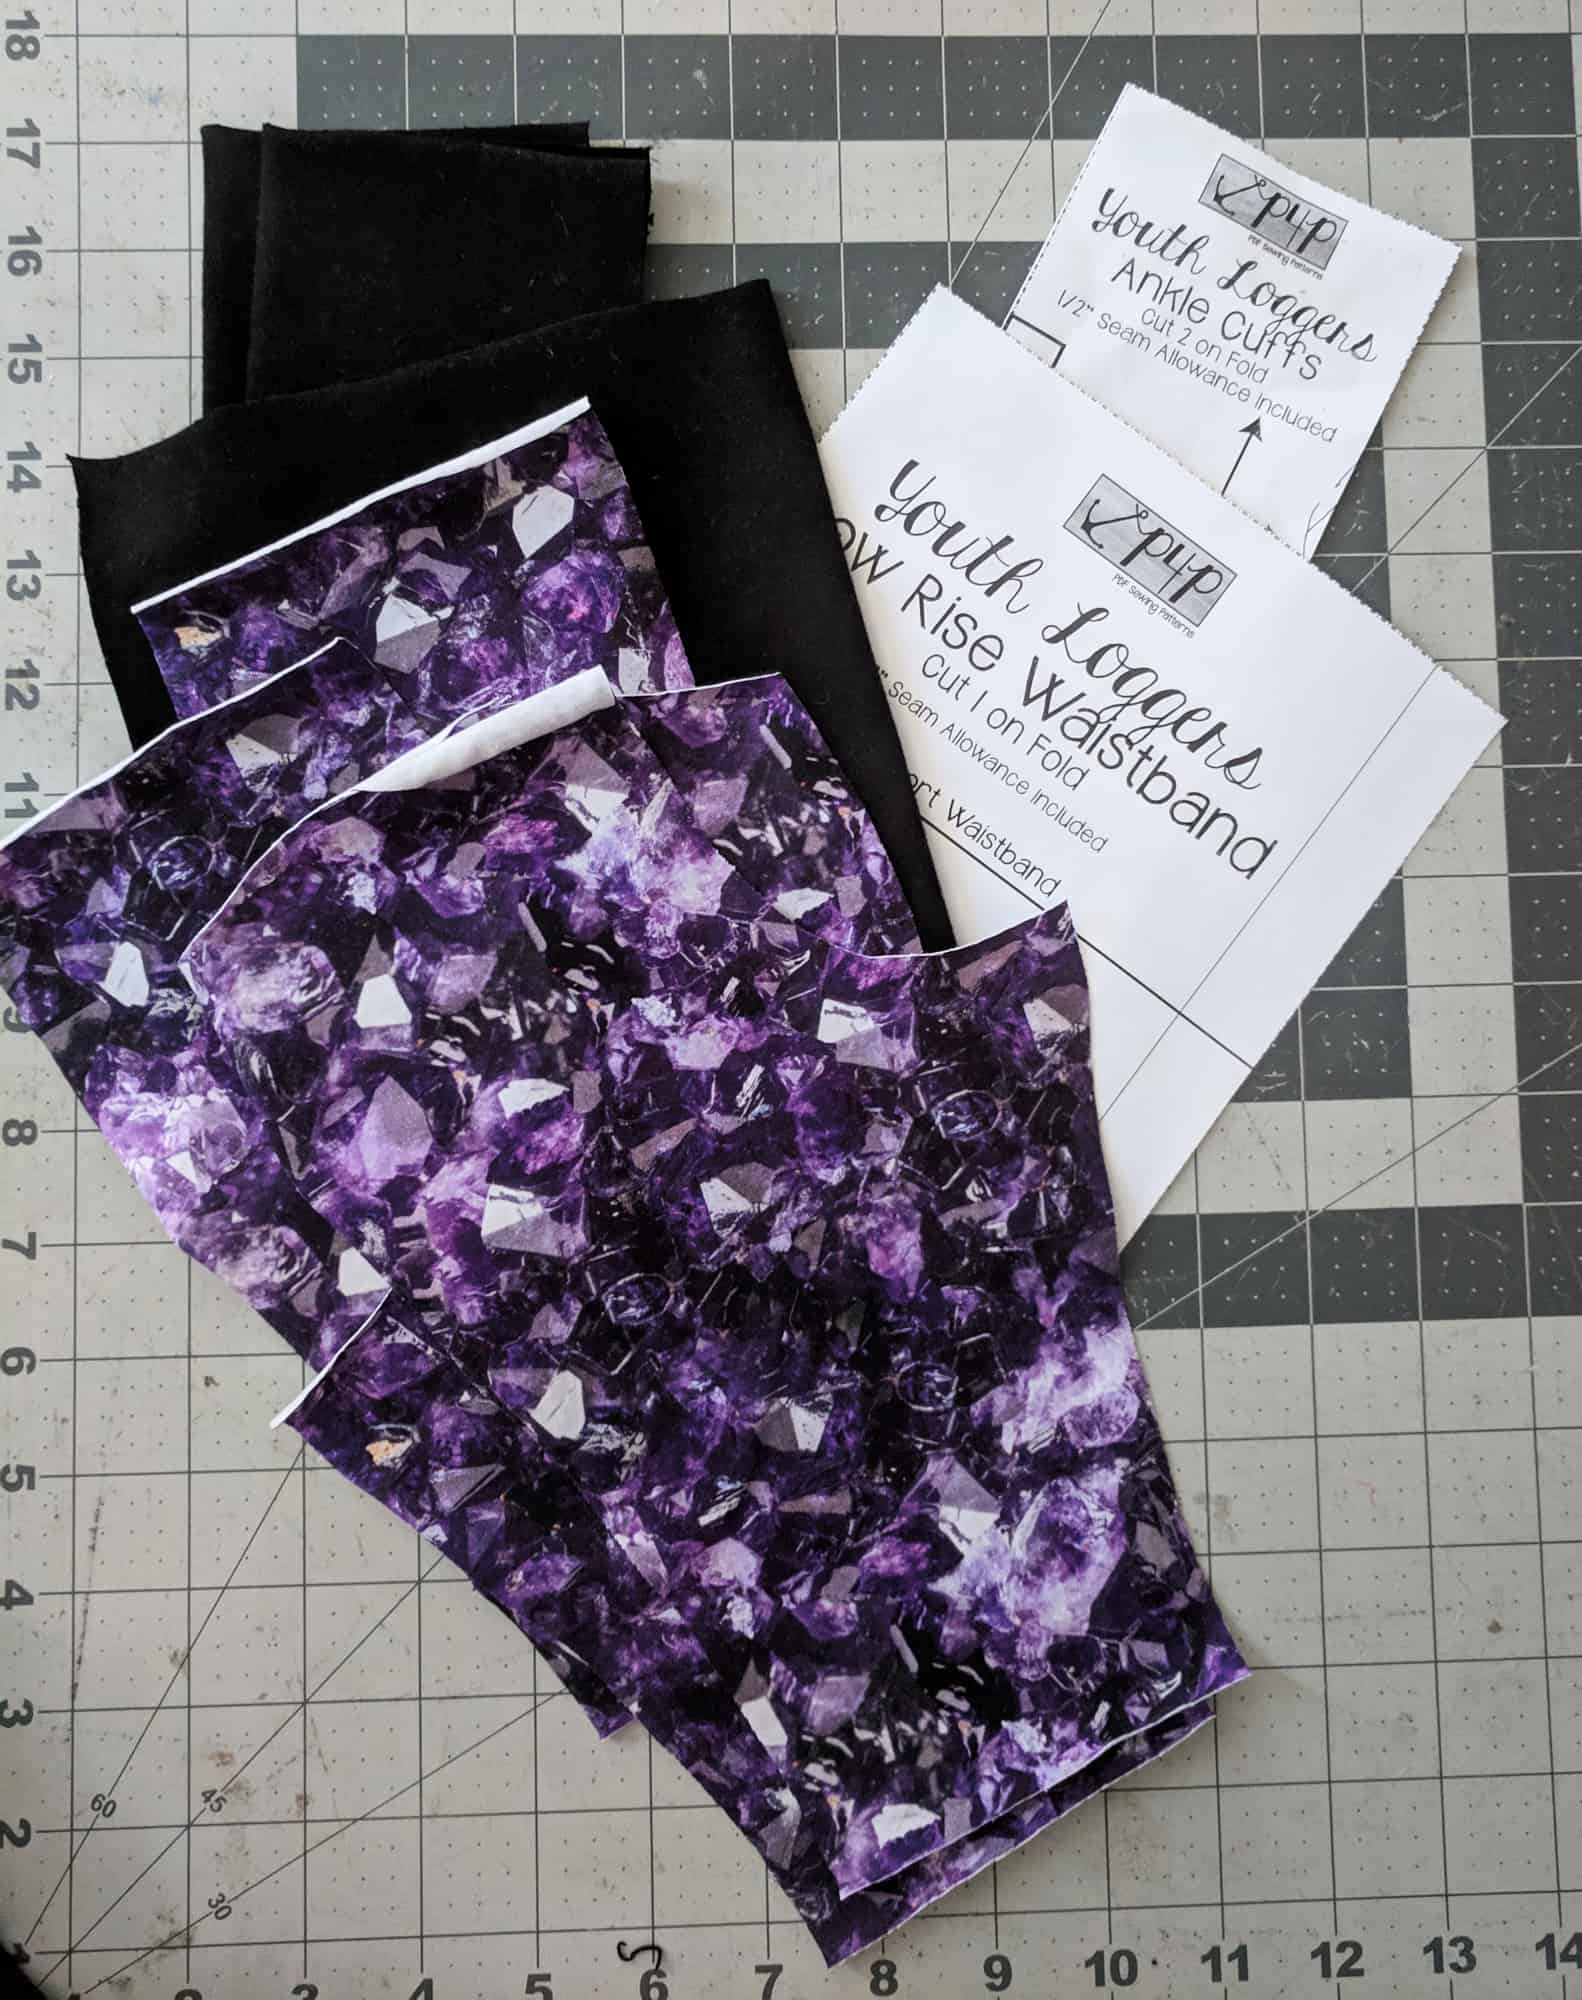
Begin by cutting out the necessary pieces. For the waist on your Logger, cut on the lower rise. As you can see in the picture below, I have have my Logger shorts with bands and then my pieces needed for the contoured waistband.

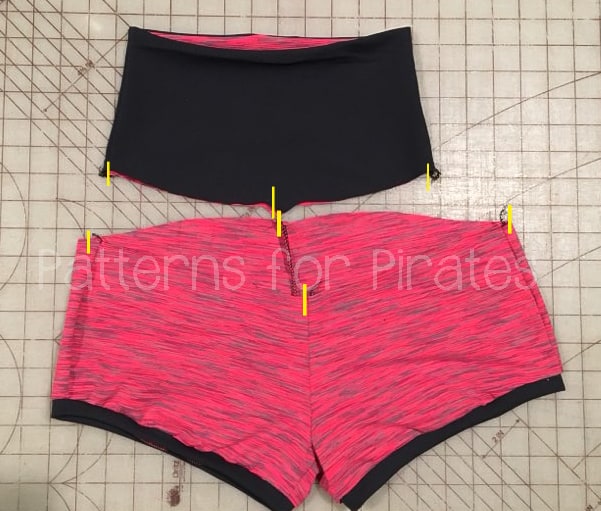
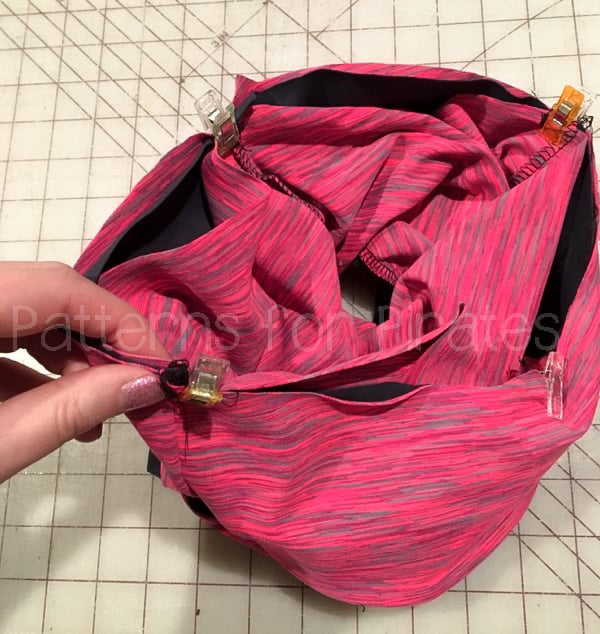
Next, assemble all pieces as written in the tutorials, including the waistband. Quarter both your Loggers and waistband. Slip your waistband over the Loggers, matching right sides together.

Attach your waistband, being sure to stretch the waistband only and NOT the Loggers. All finished! You have now created one of the most comfortable pair of pants with the most comfortable waistband that you will ever own! ~Erinn


…..

Capri Loggers

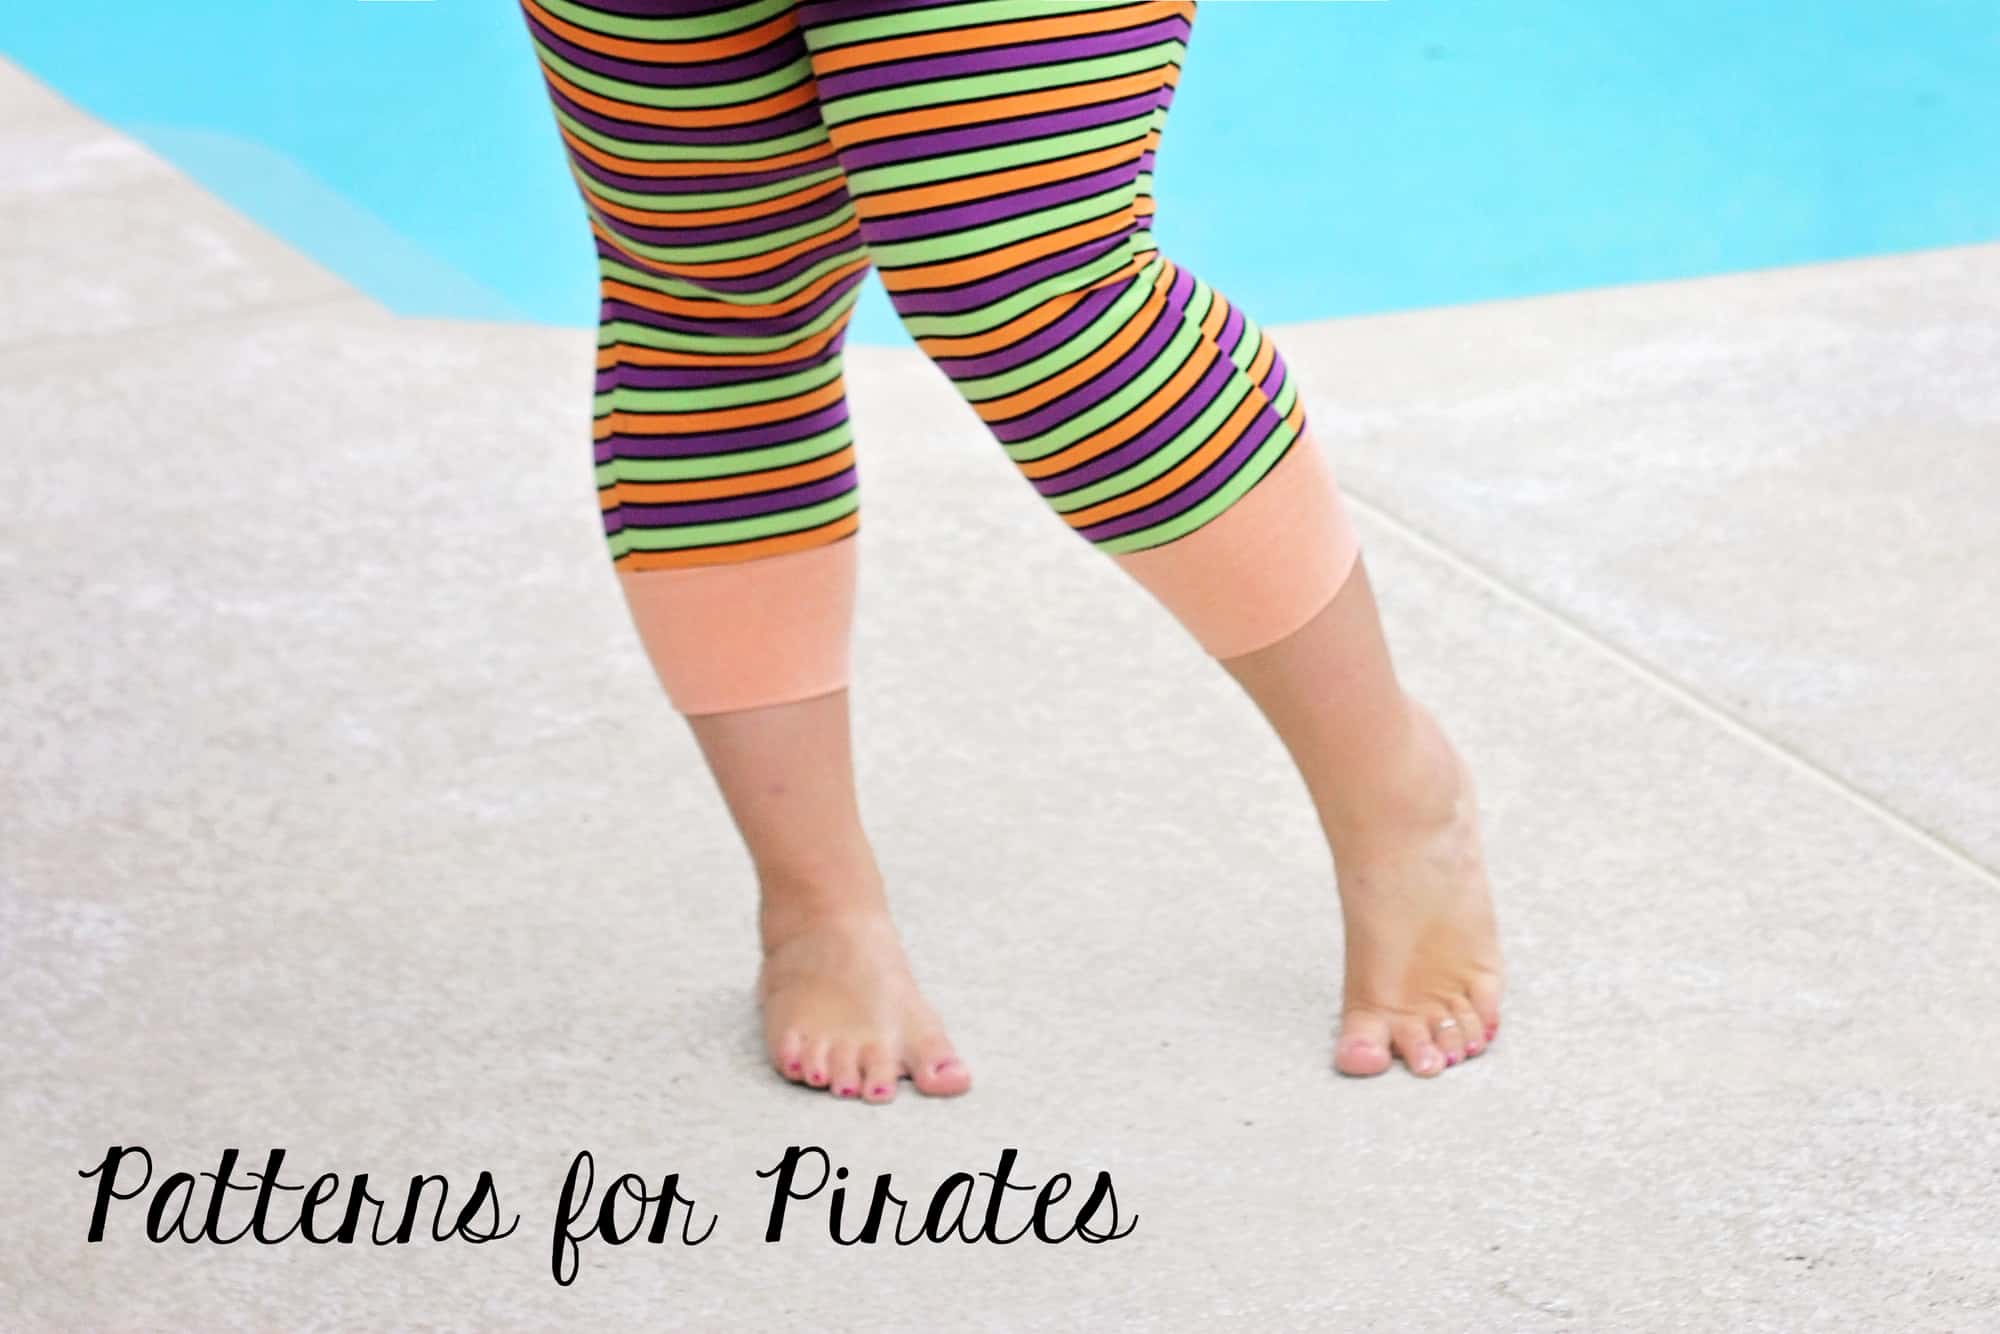
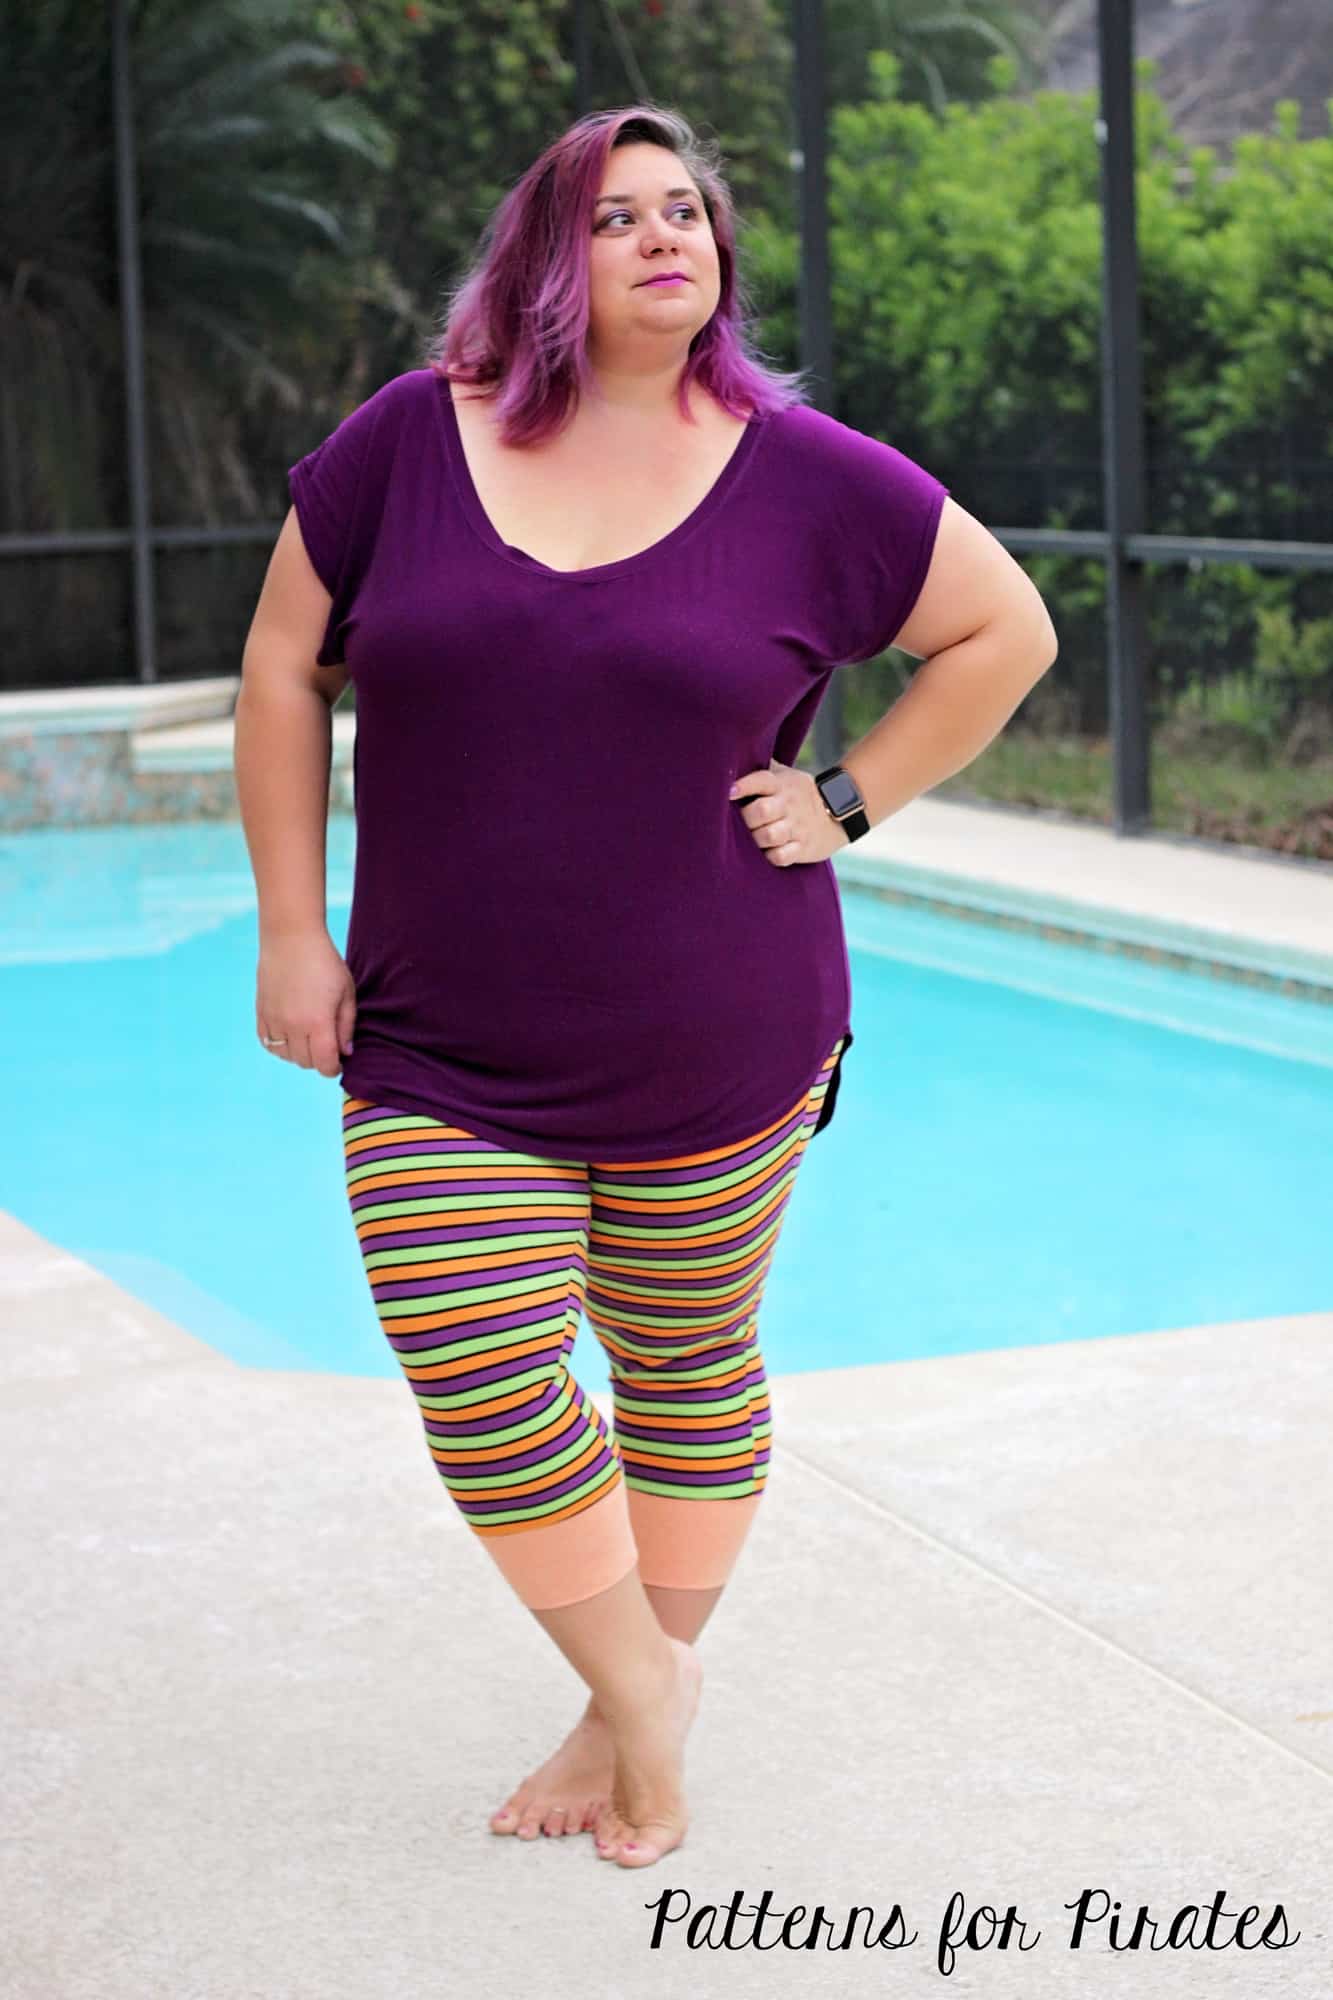
The Loggers patterns include 2 length, ankle and shorts. So let’s add a third. I personally love capri length leggings and joggers when biking so I knew I needed capri loggers too. Such an easy hack!

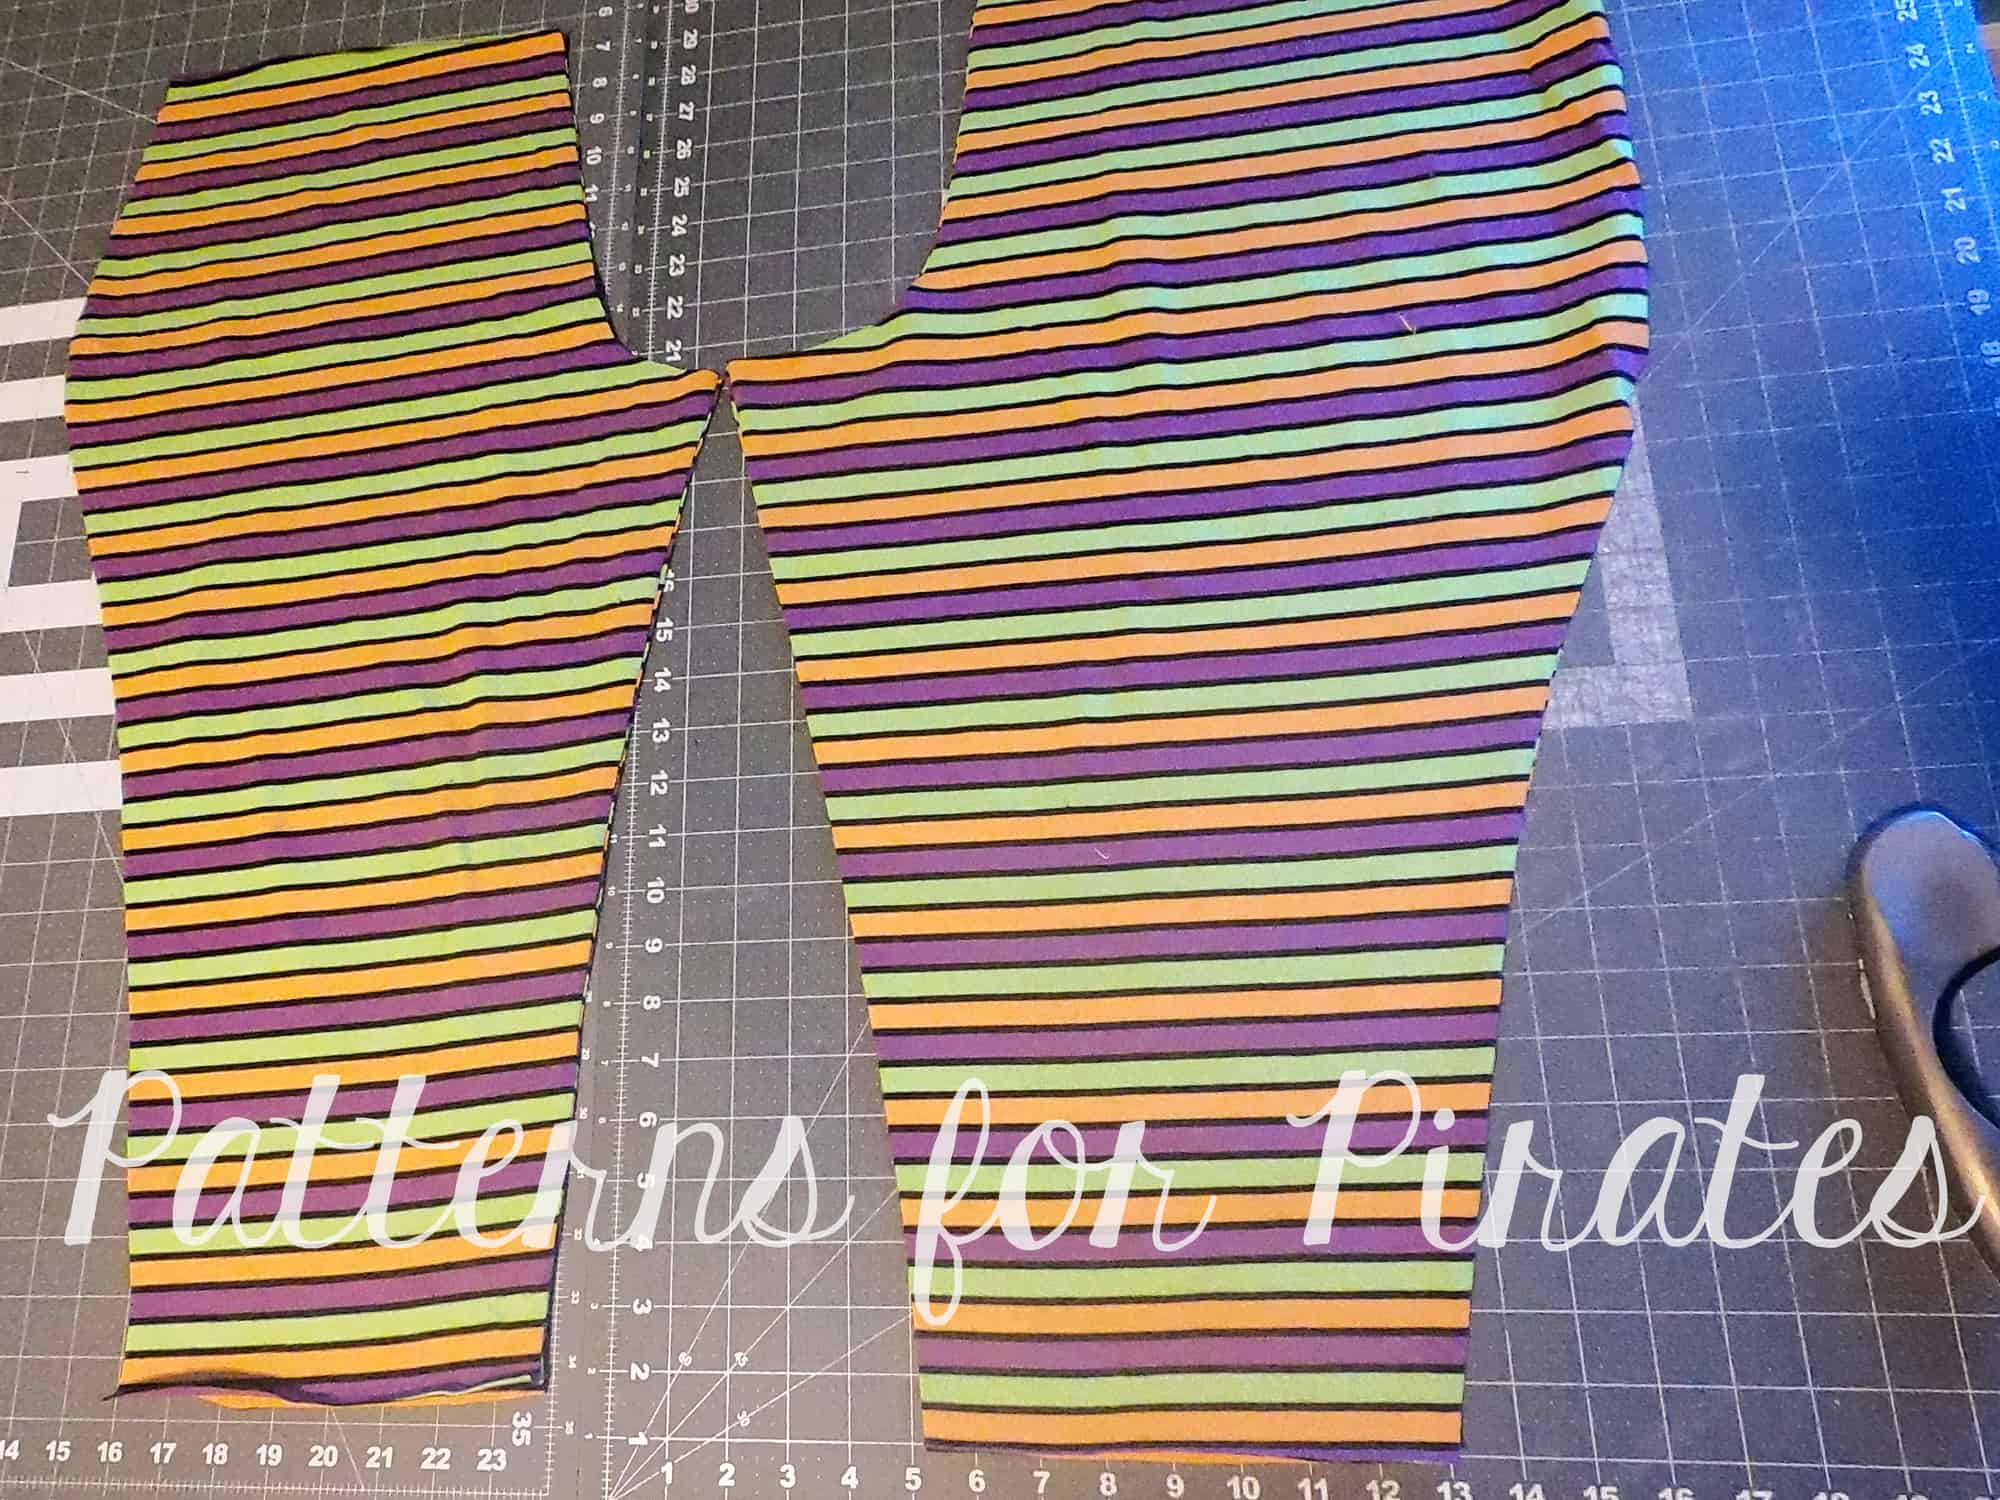
All you have to do is remove some length on both leg pieces. For the adult loggers I recommend removing about 7″ but you can go a little less or a little more. If you are not able to measure them you can use the Peg Legs capri length as a guide, just remember that the Pegs are hemmed while the Loggers have cuffs so make sure you accommodate for that.

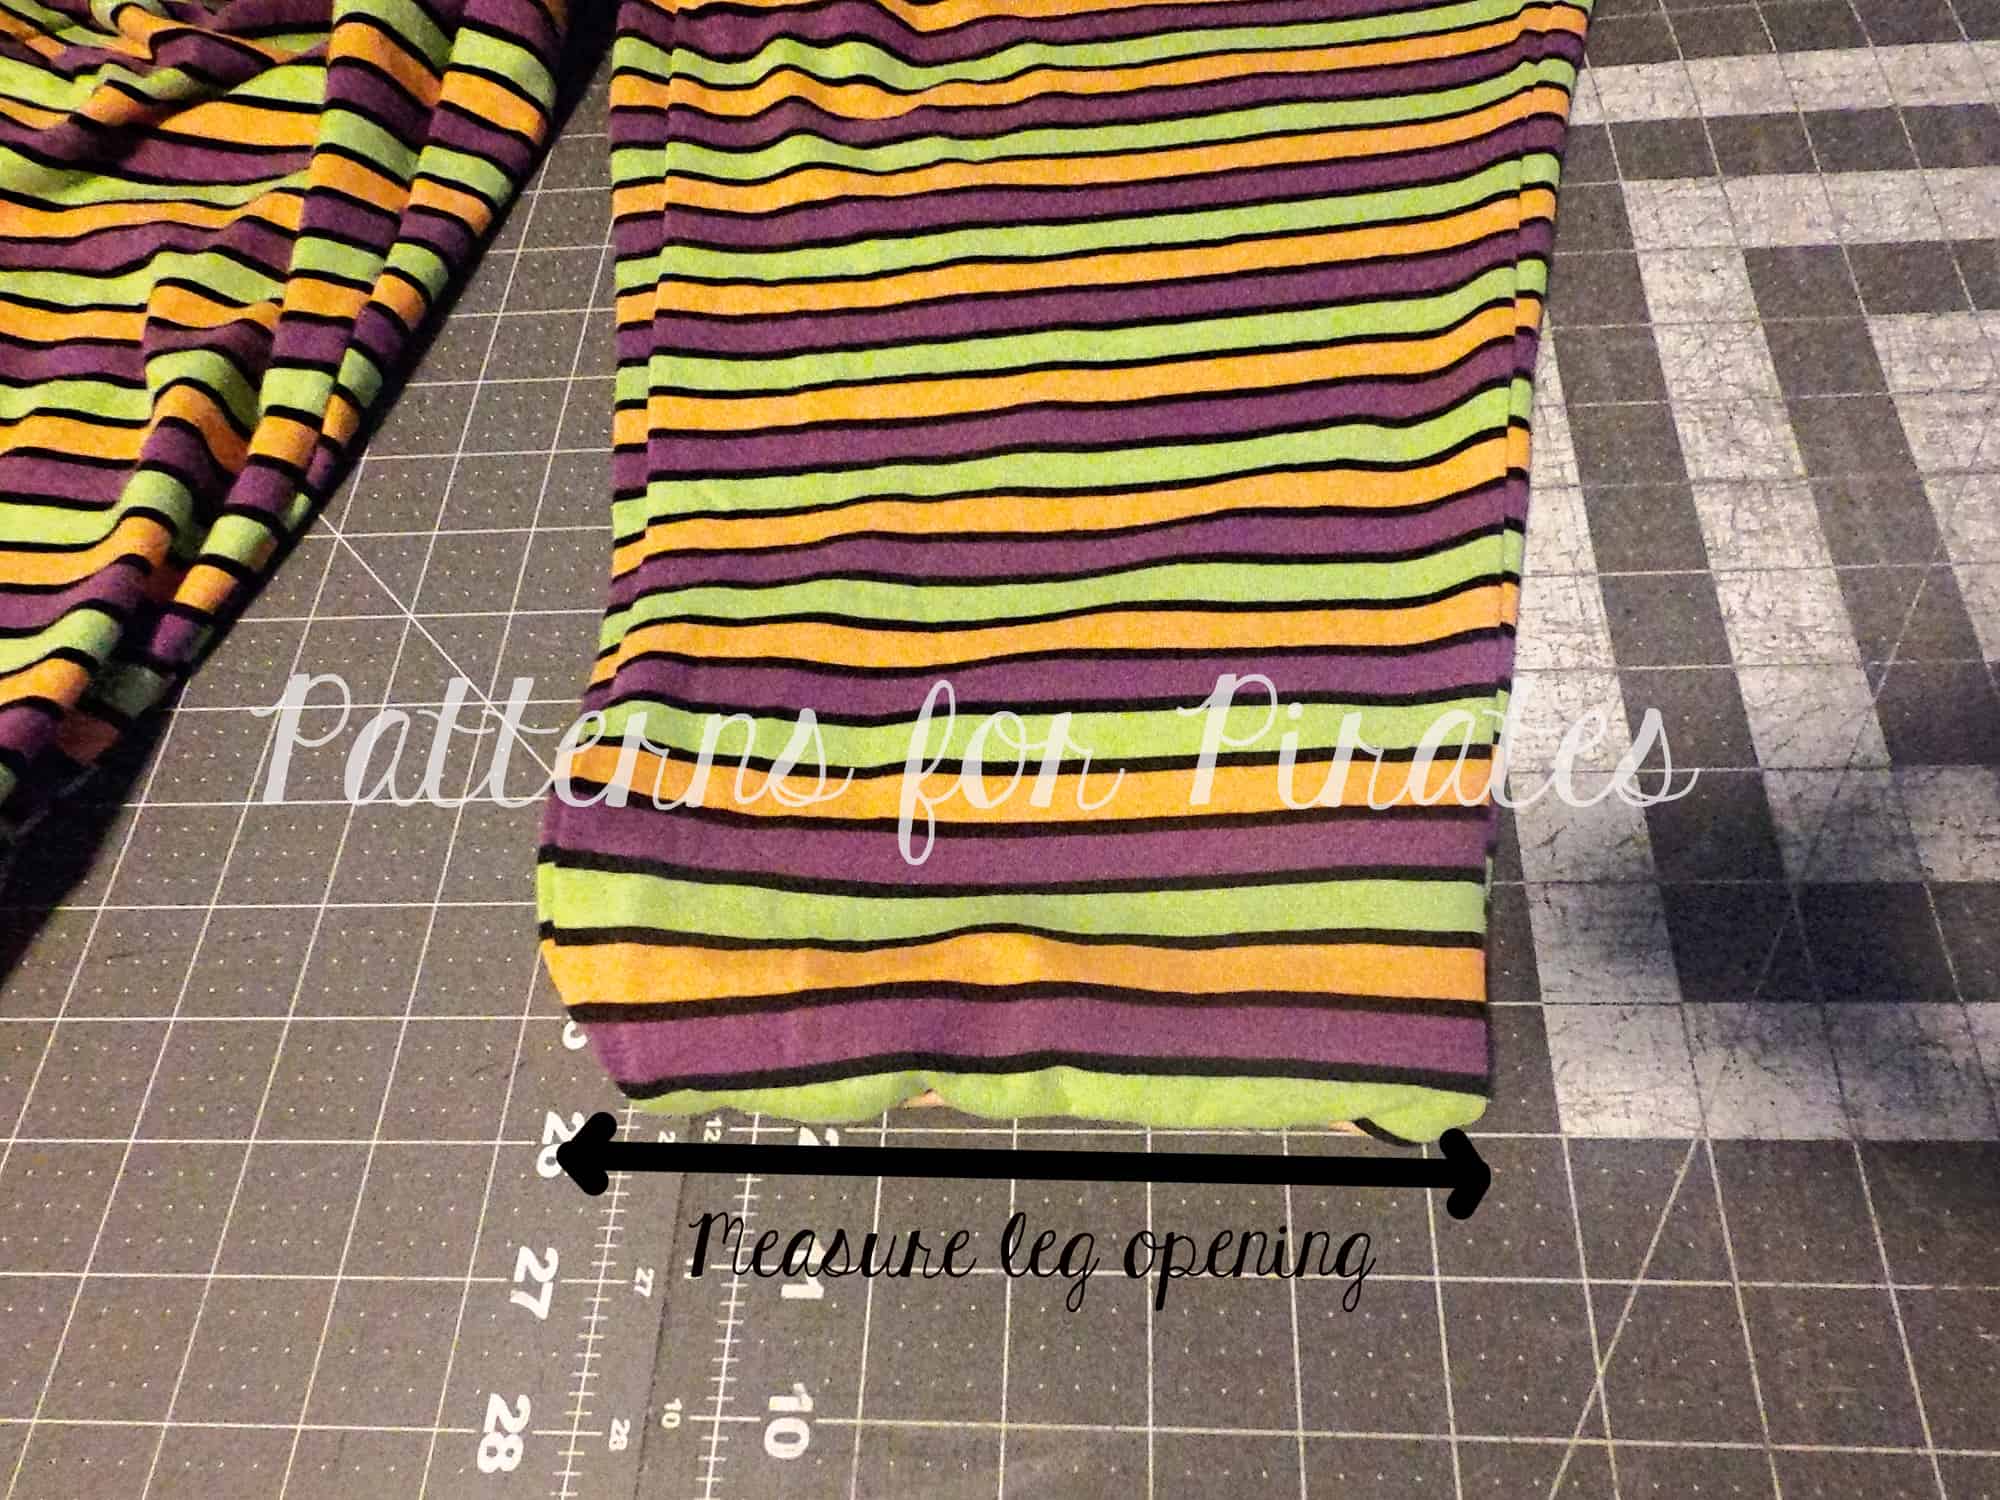
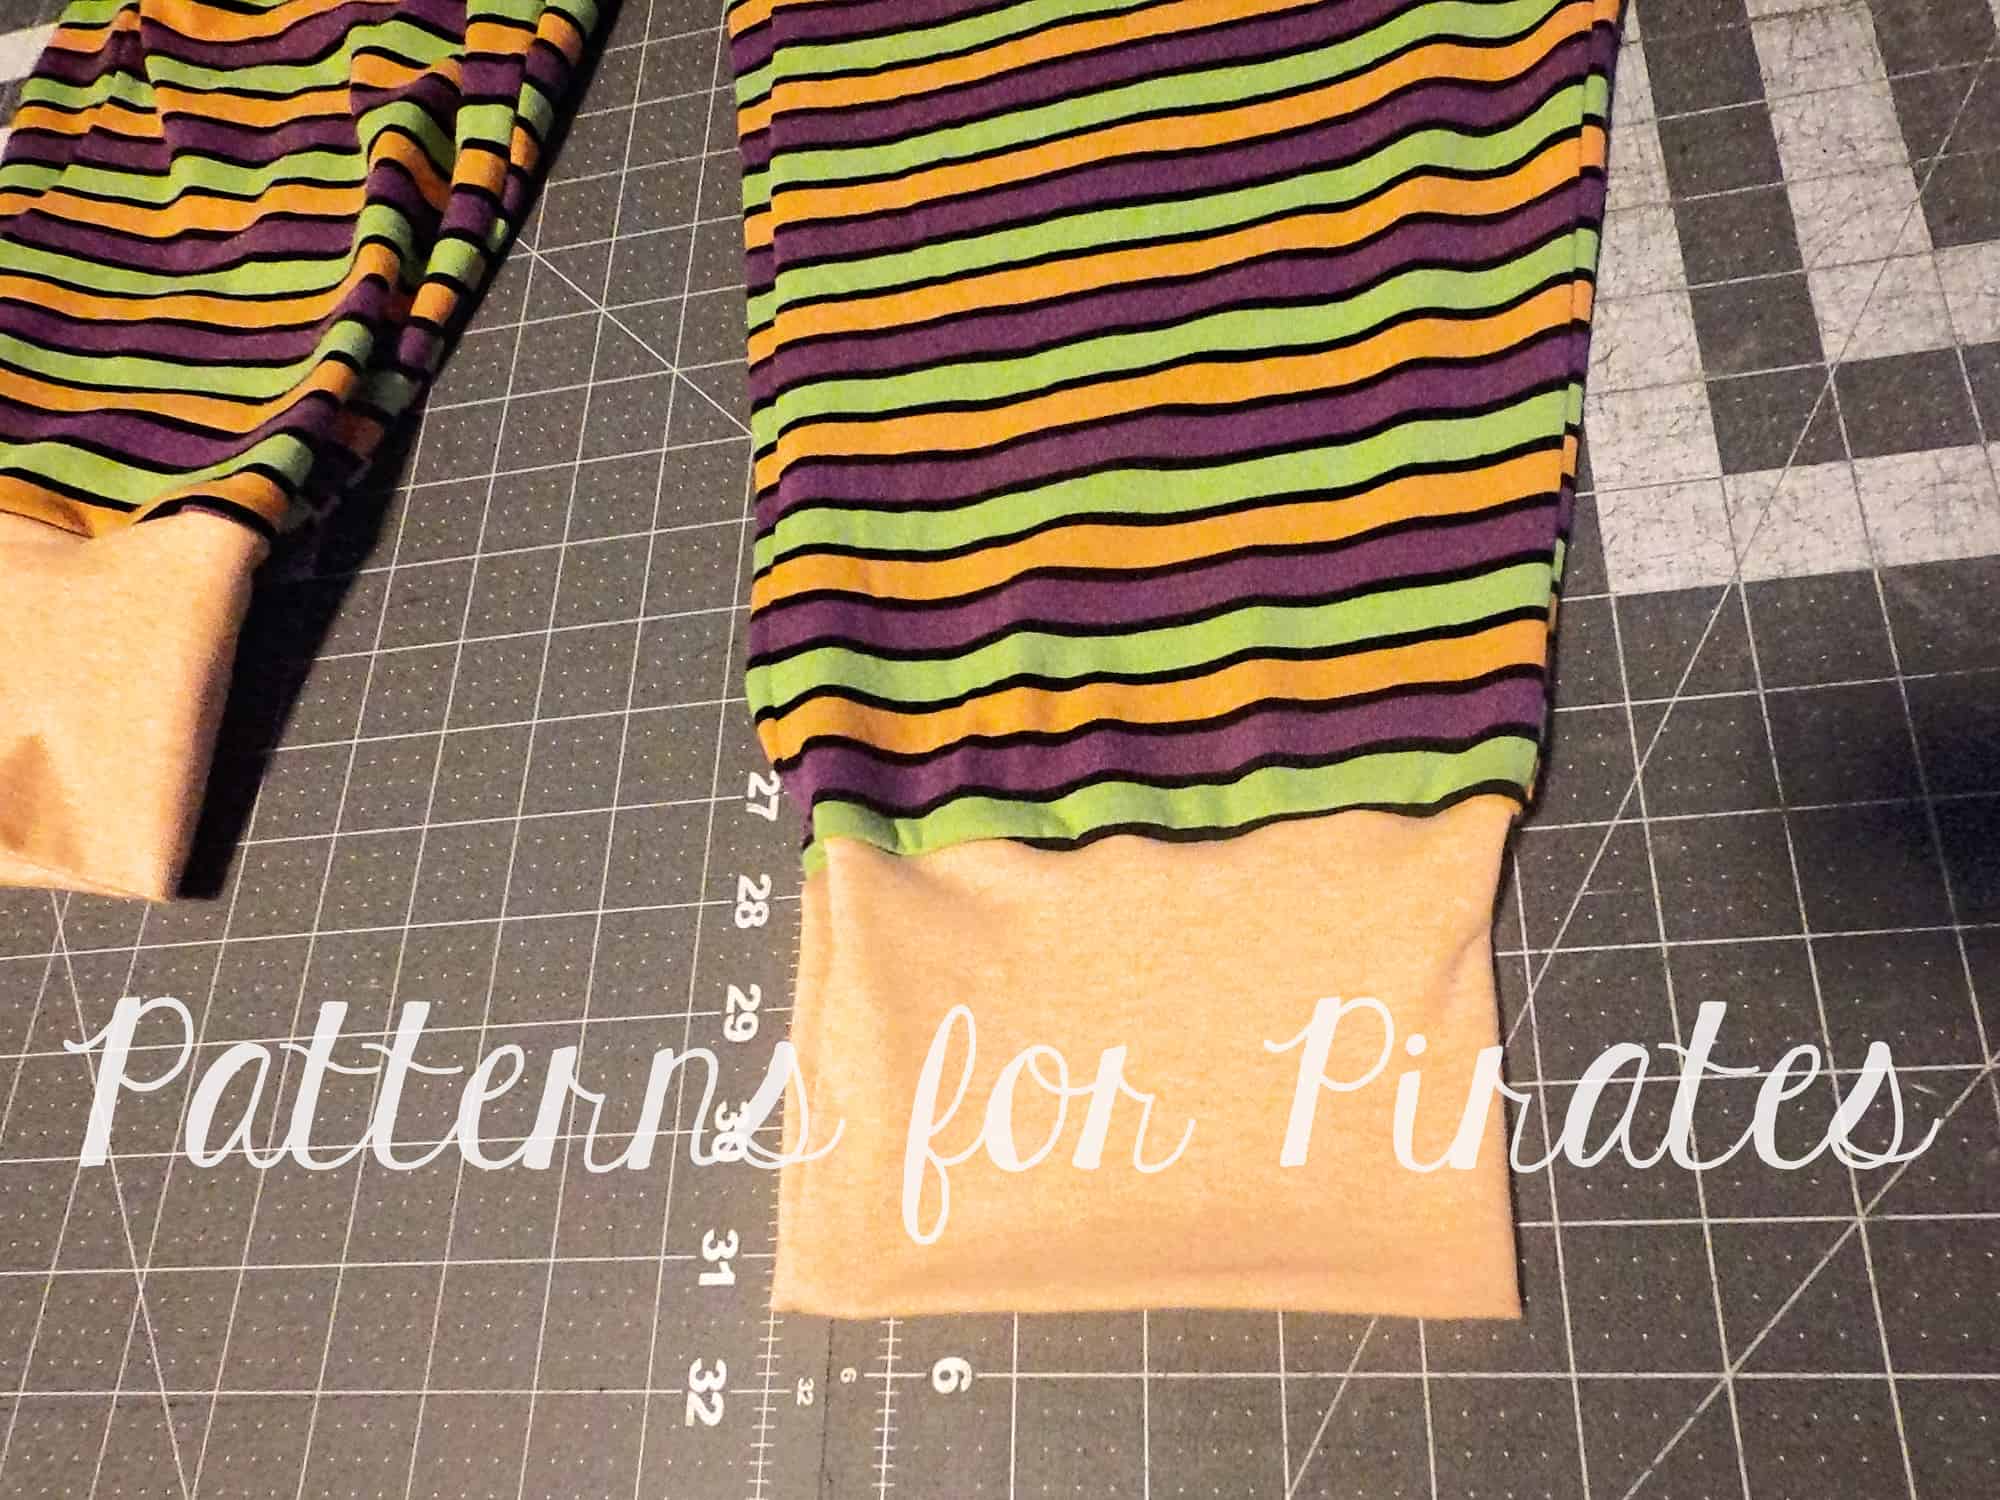
Once you cut your fabric continue sewing them as per the tutorial. The only change left to do is in the cuffs width. Measure the leg opening and multiply that by 0.90 and add 1″ for the seam allowance. Keep the height of the cuffs pattern as is.

All you have left to do is add the cuffs to the legs following the same instructions in the tutorial. As always, press, press, press!

Shhh! Want to know a little secret? For my pair of capri loggers I actually used the exact cuffs from the pattern. Since my loggers are 100% cotton spandex with great stretch and recovery I could do that. Something to keep in mind, but do not do this if you are using French Terry or other knit with not so great recovery.

That’s it! Super easy, capri loggers to add to your lounging or workout gear.

…..

Swim Bottoms

The shorts version of the Loggers makes for the perfect swim short!  I used the youth version here for my girl but you can easily do the same for the women’s.  Construction is more or less the same, but I chose to line them with swim lining and did elastic vs the bands.  You can also adjust the inseam to your preference if you want them a little longer as they will finish a tiny bit shorter if adding swim elastic, or even keep the bands as shown in the original pattern.

Cut 1 Main, 1 Lining and 1 waistband. I used 1/4″ swim elastic cut 1/2″ shorter than the measurement in the pattern for the bands. (I would recommend, measuring the leg openings and cutting the elastic 80% as swim will expand in water)
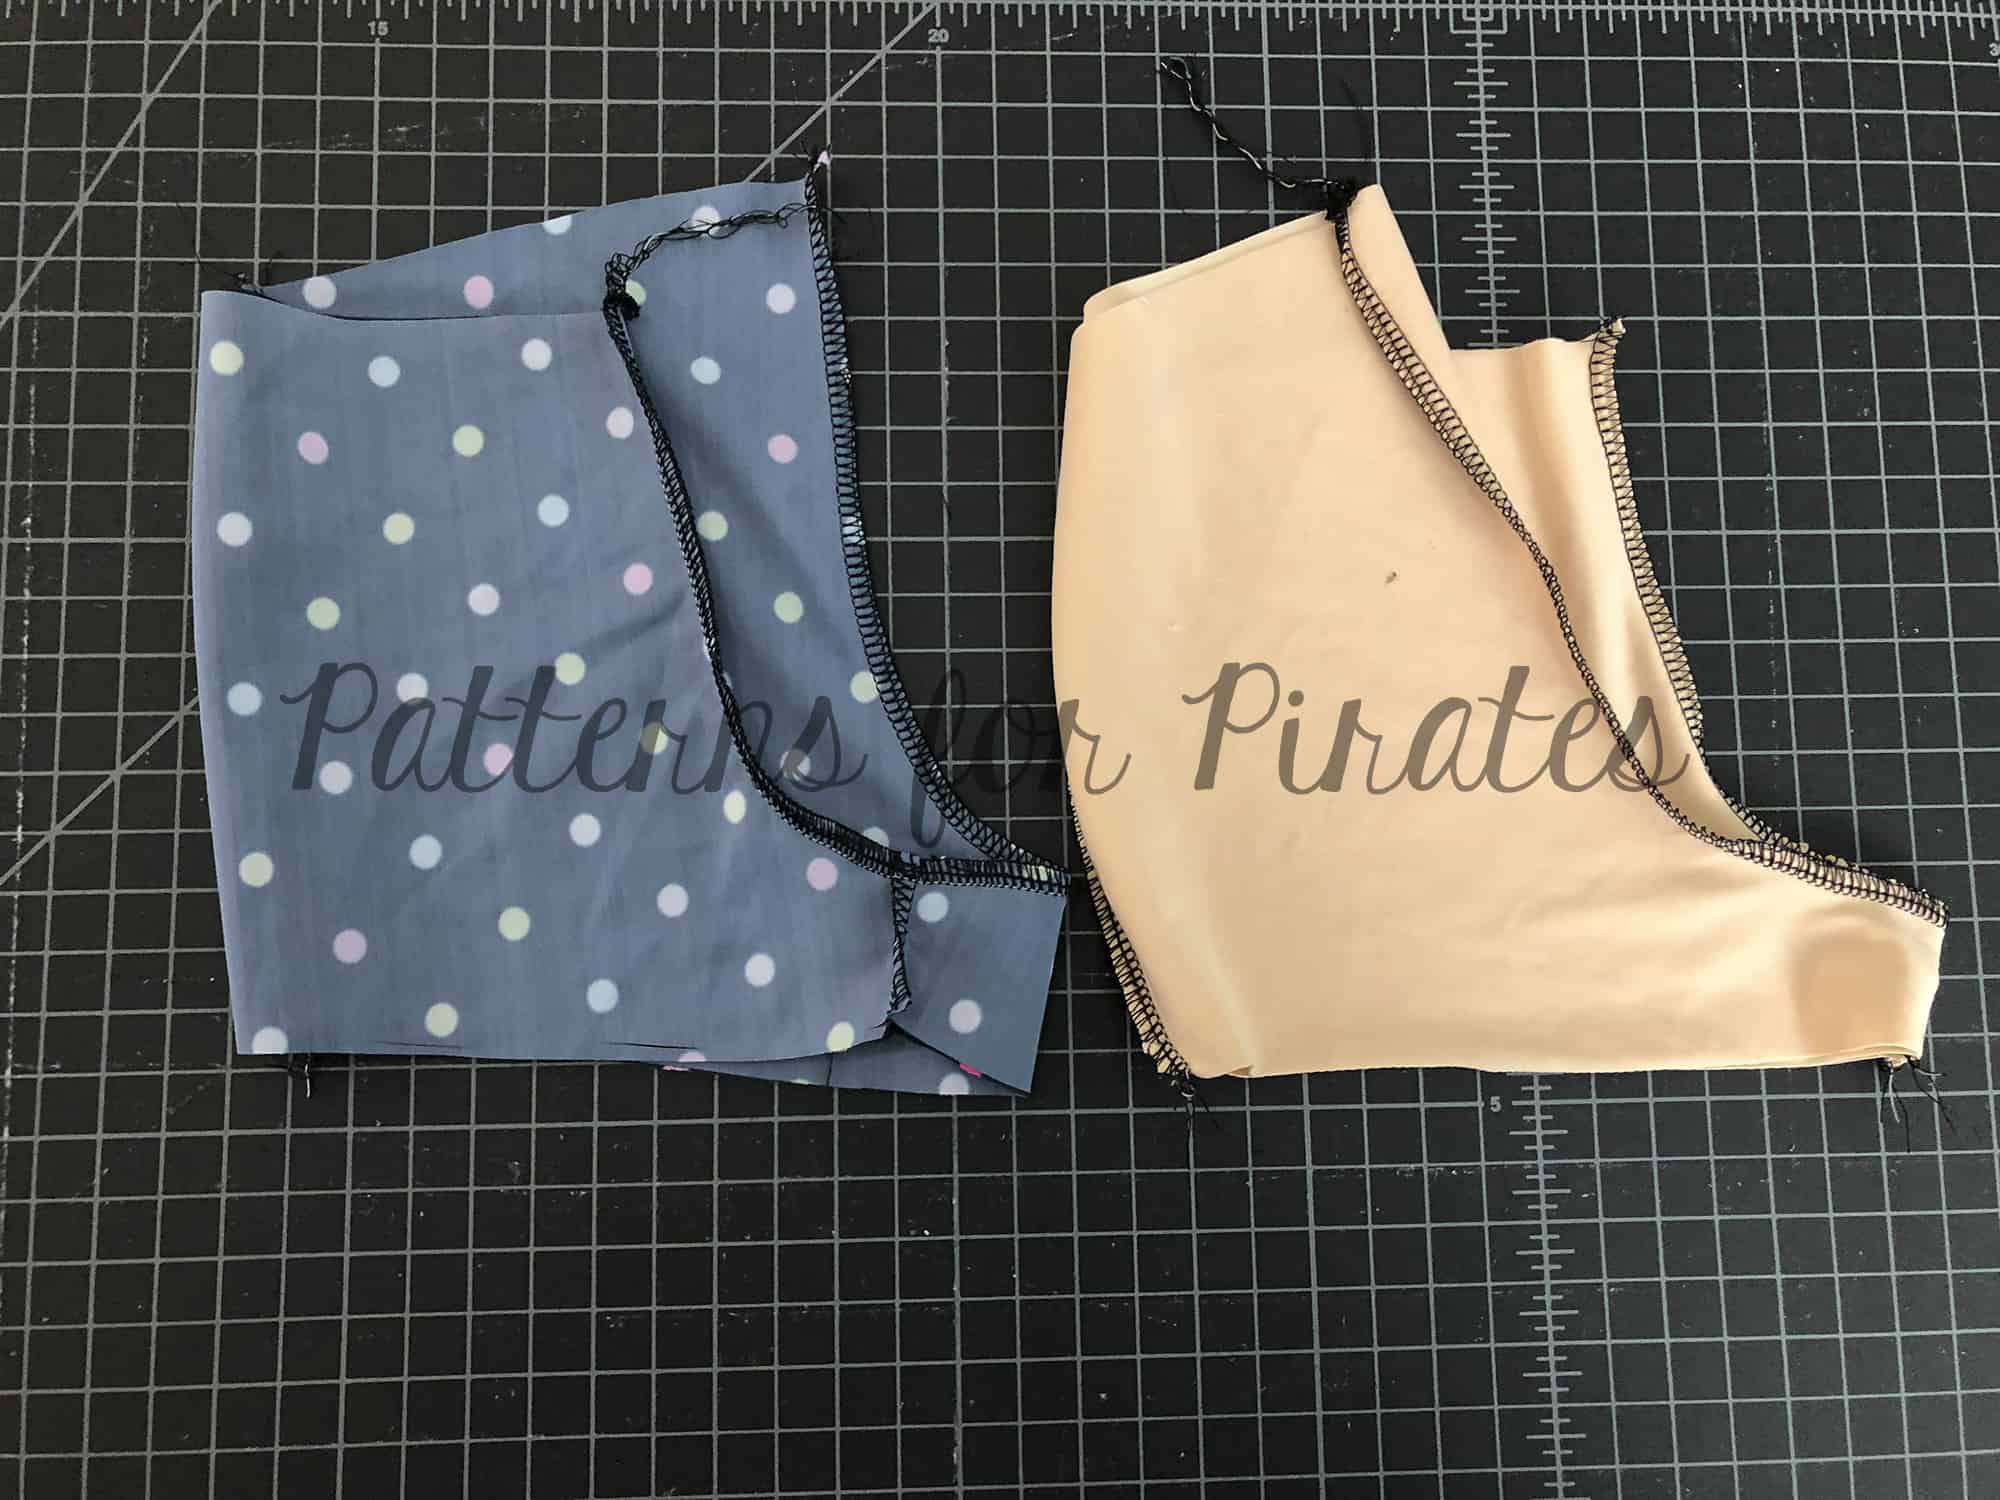
Sew up each pair of shorts (1 main and 1 lining) separately as show in the tutorial.
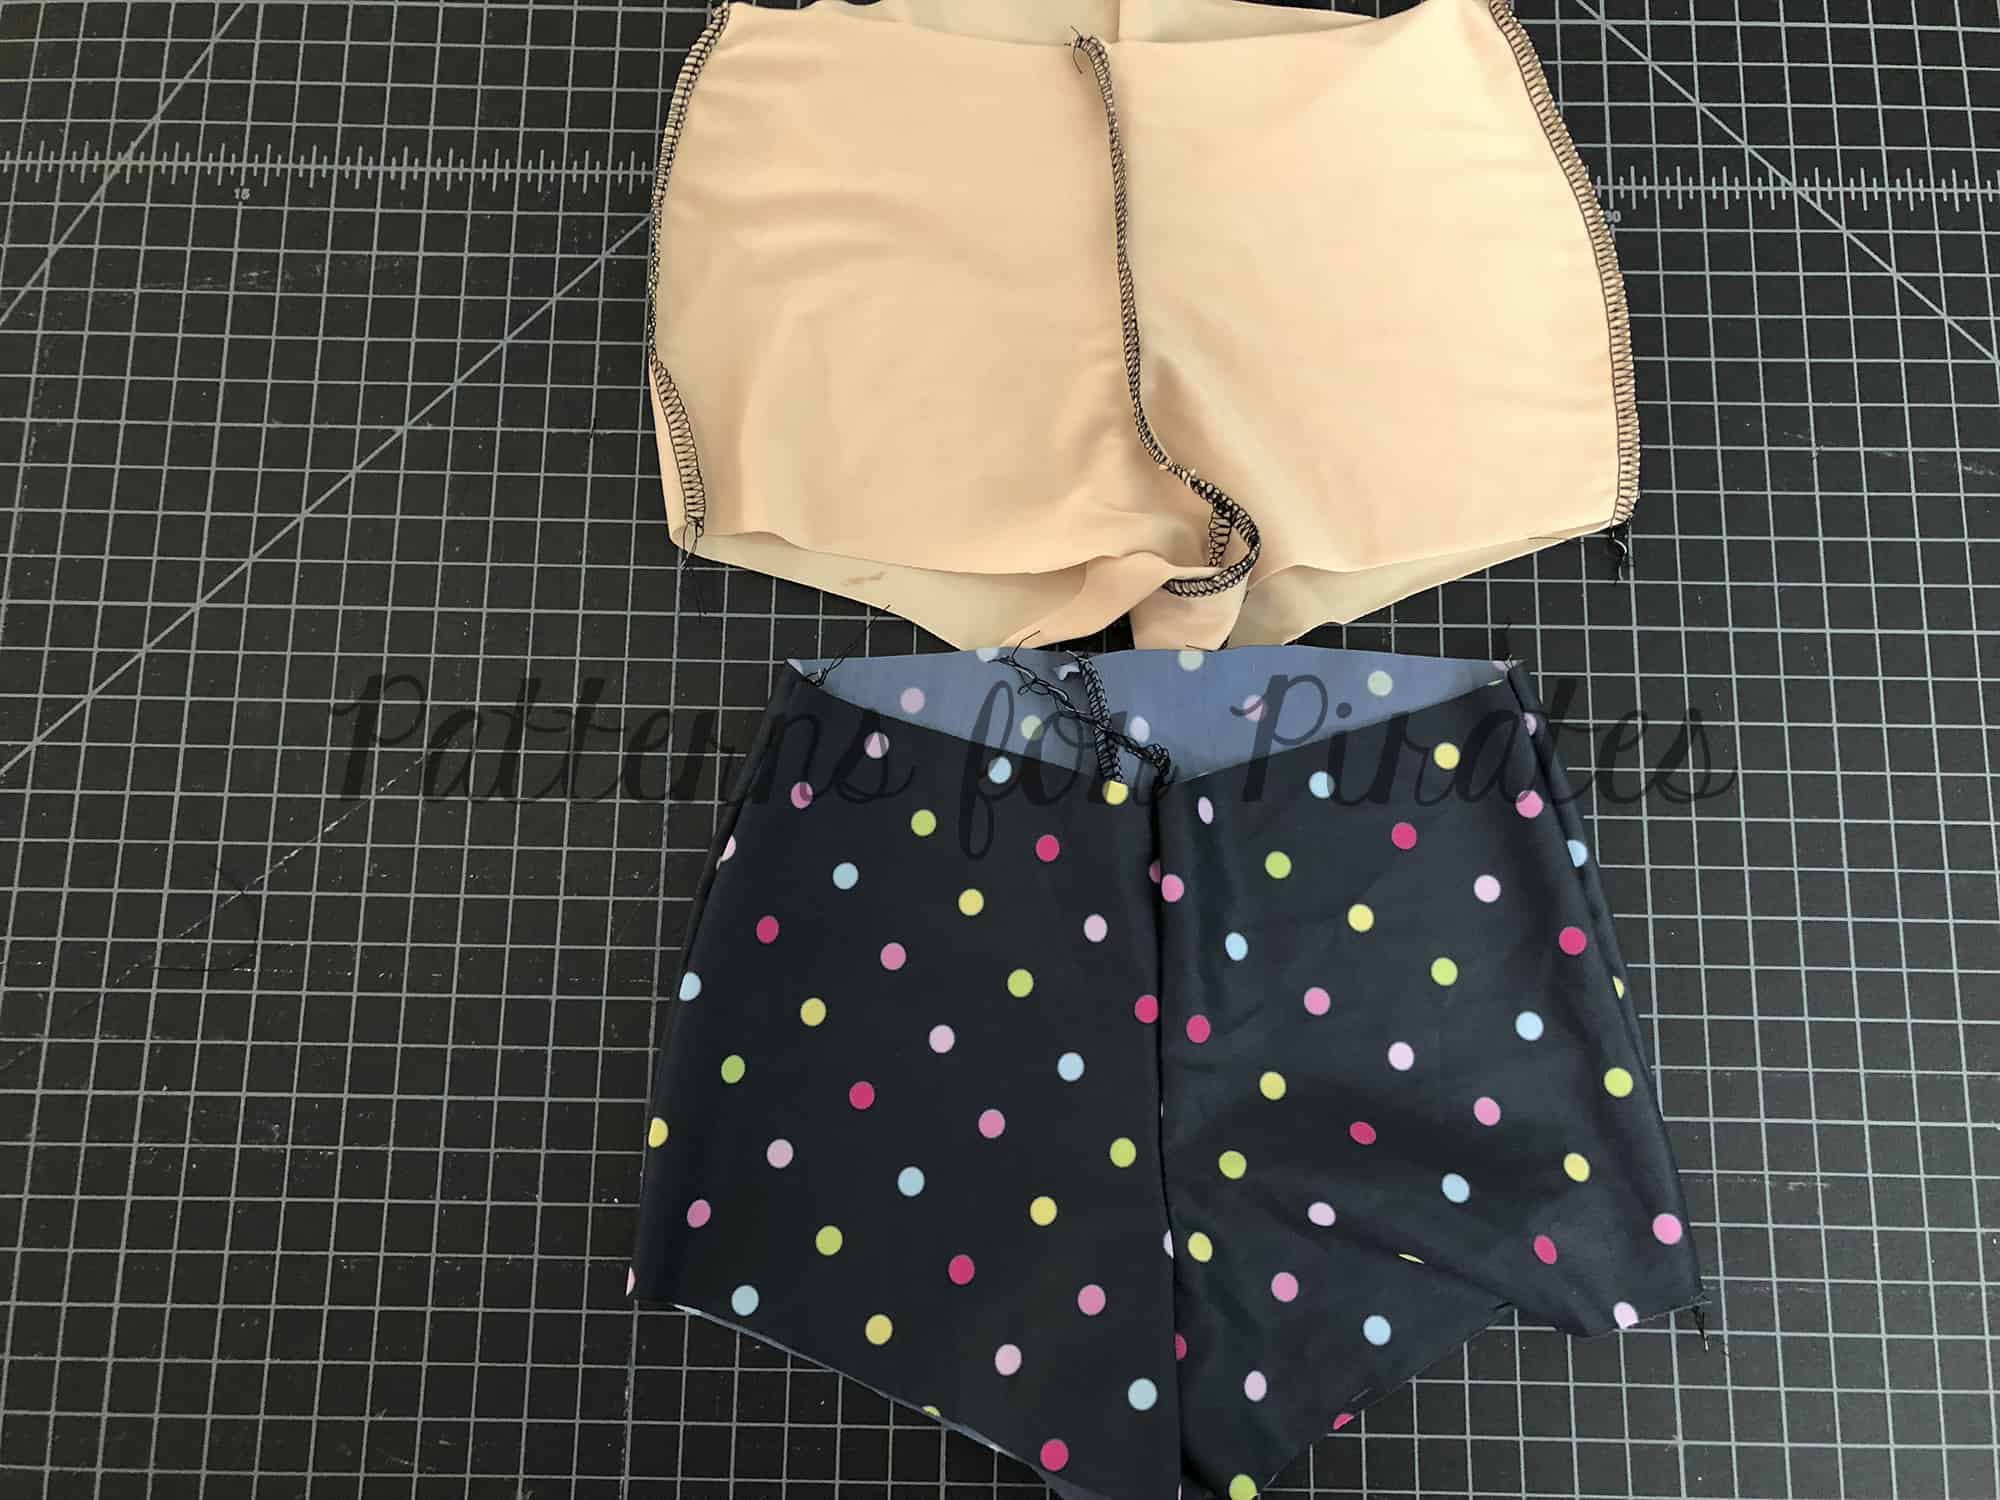
Turn main right sides out and lining wrong sides out. With wrong sides together slip lining into main shorts.

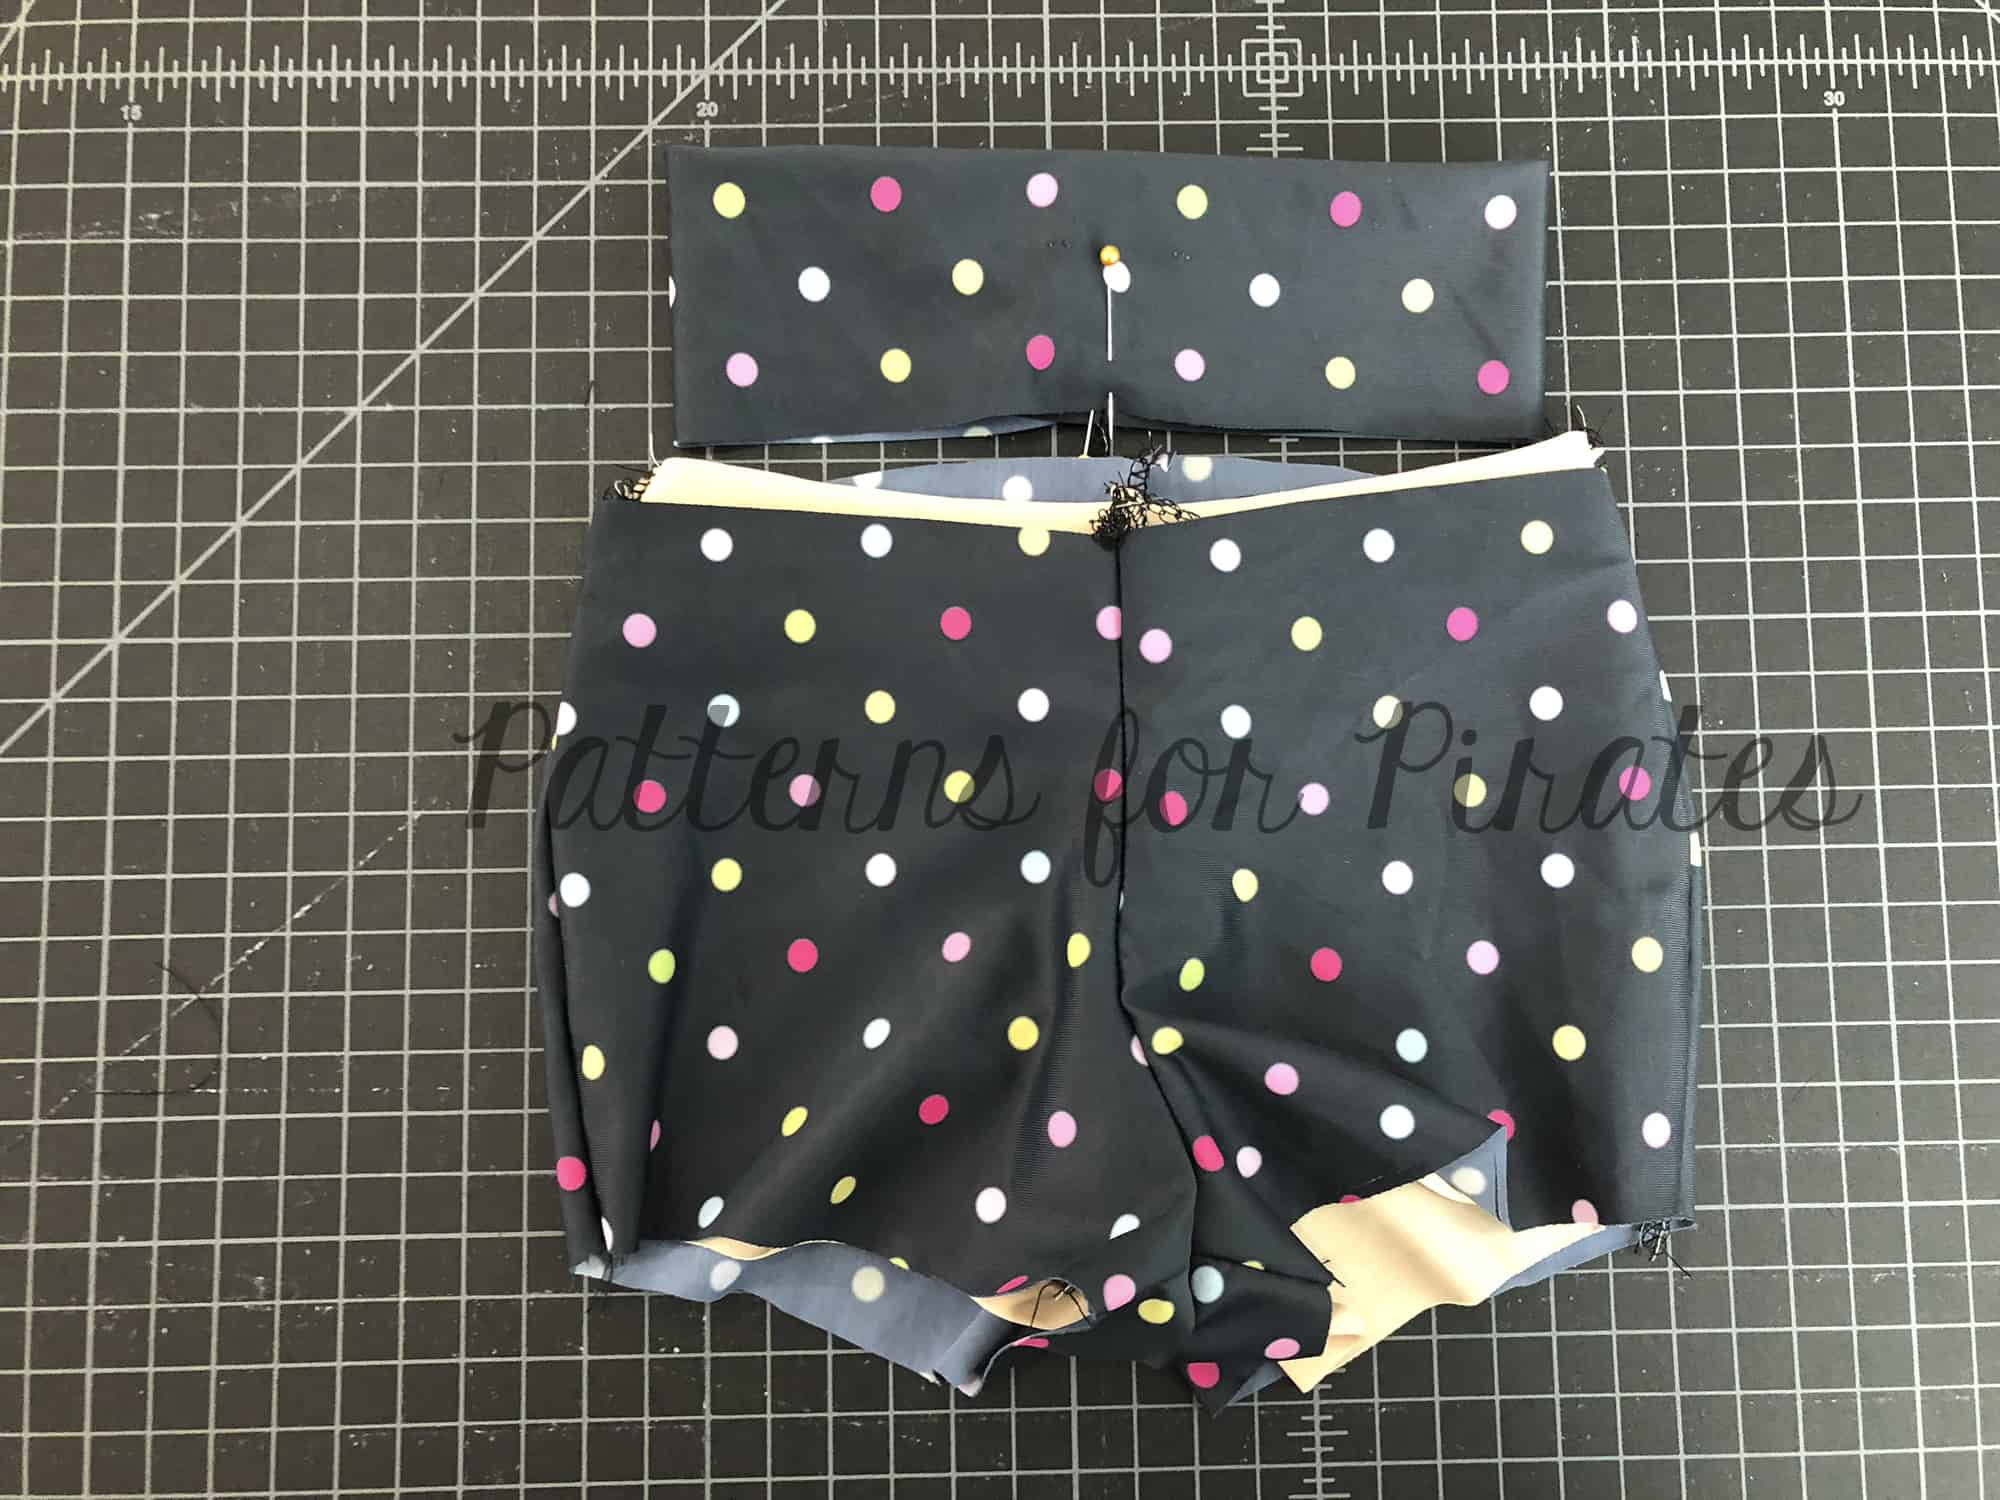
With right side of waistband to right side of shorts, attach your waistband (as shown in the tutorial). You will sew through 4 layers (1 lining, 1 main and 2 for your waistband.) Tip: Baste around the waist opening of the shorts to keep the layers from slipping and treat as one fabric.
Overlap the ends of the elastic and stitch with a zigzag stitch, creating a circle.
Baste around the leg openings to keep the lining and main fabric from slipping.

Mark halfway points on elastic and shorts. Pin or clip elastic to the wrong side (lining side) of the shorts matching halfway points.
Aligning raw edges, stitch elastic to shorts. If using a serger, do not cut off any fabric.the elastic will butt up to the raw edge of the fabric.
Fold elastic to the lining side of the shorts and top-stitch using your favorite stretch stitch. Tip: I like to use a narrow zigzag for swimwear.


…..

Grow With Me Loggers

One of the hardest things about sewing for our kiddos is how fast they outgrow items we spend hours making.  Well, here is a quick and easy way to make your little one’s Loggers last a bit longer.

You’ll start off by choosing the next size up for your pants.  Now print and cut out your pattern pieces making sure to use the yoga style waistband. I went with a low rise for this set but you can choose high rise as well.

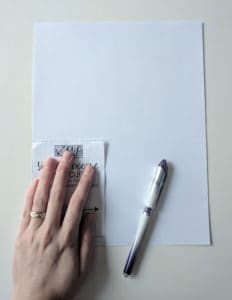
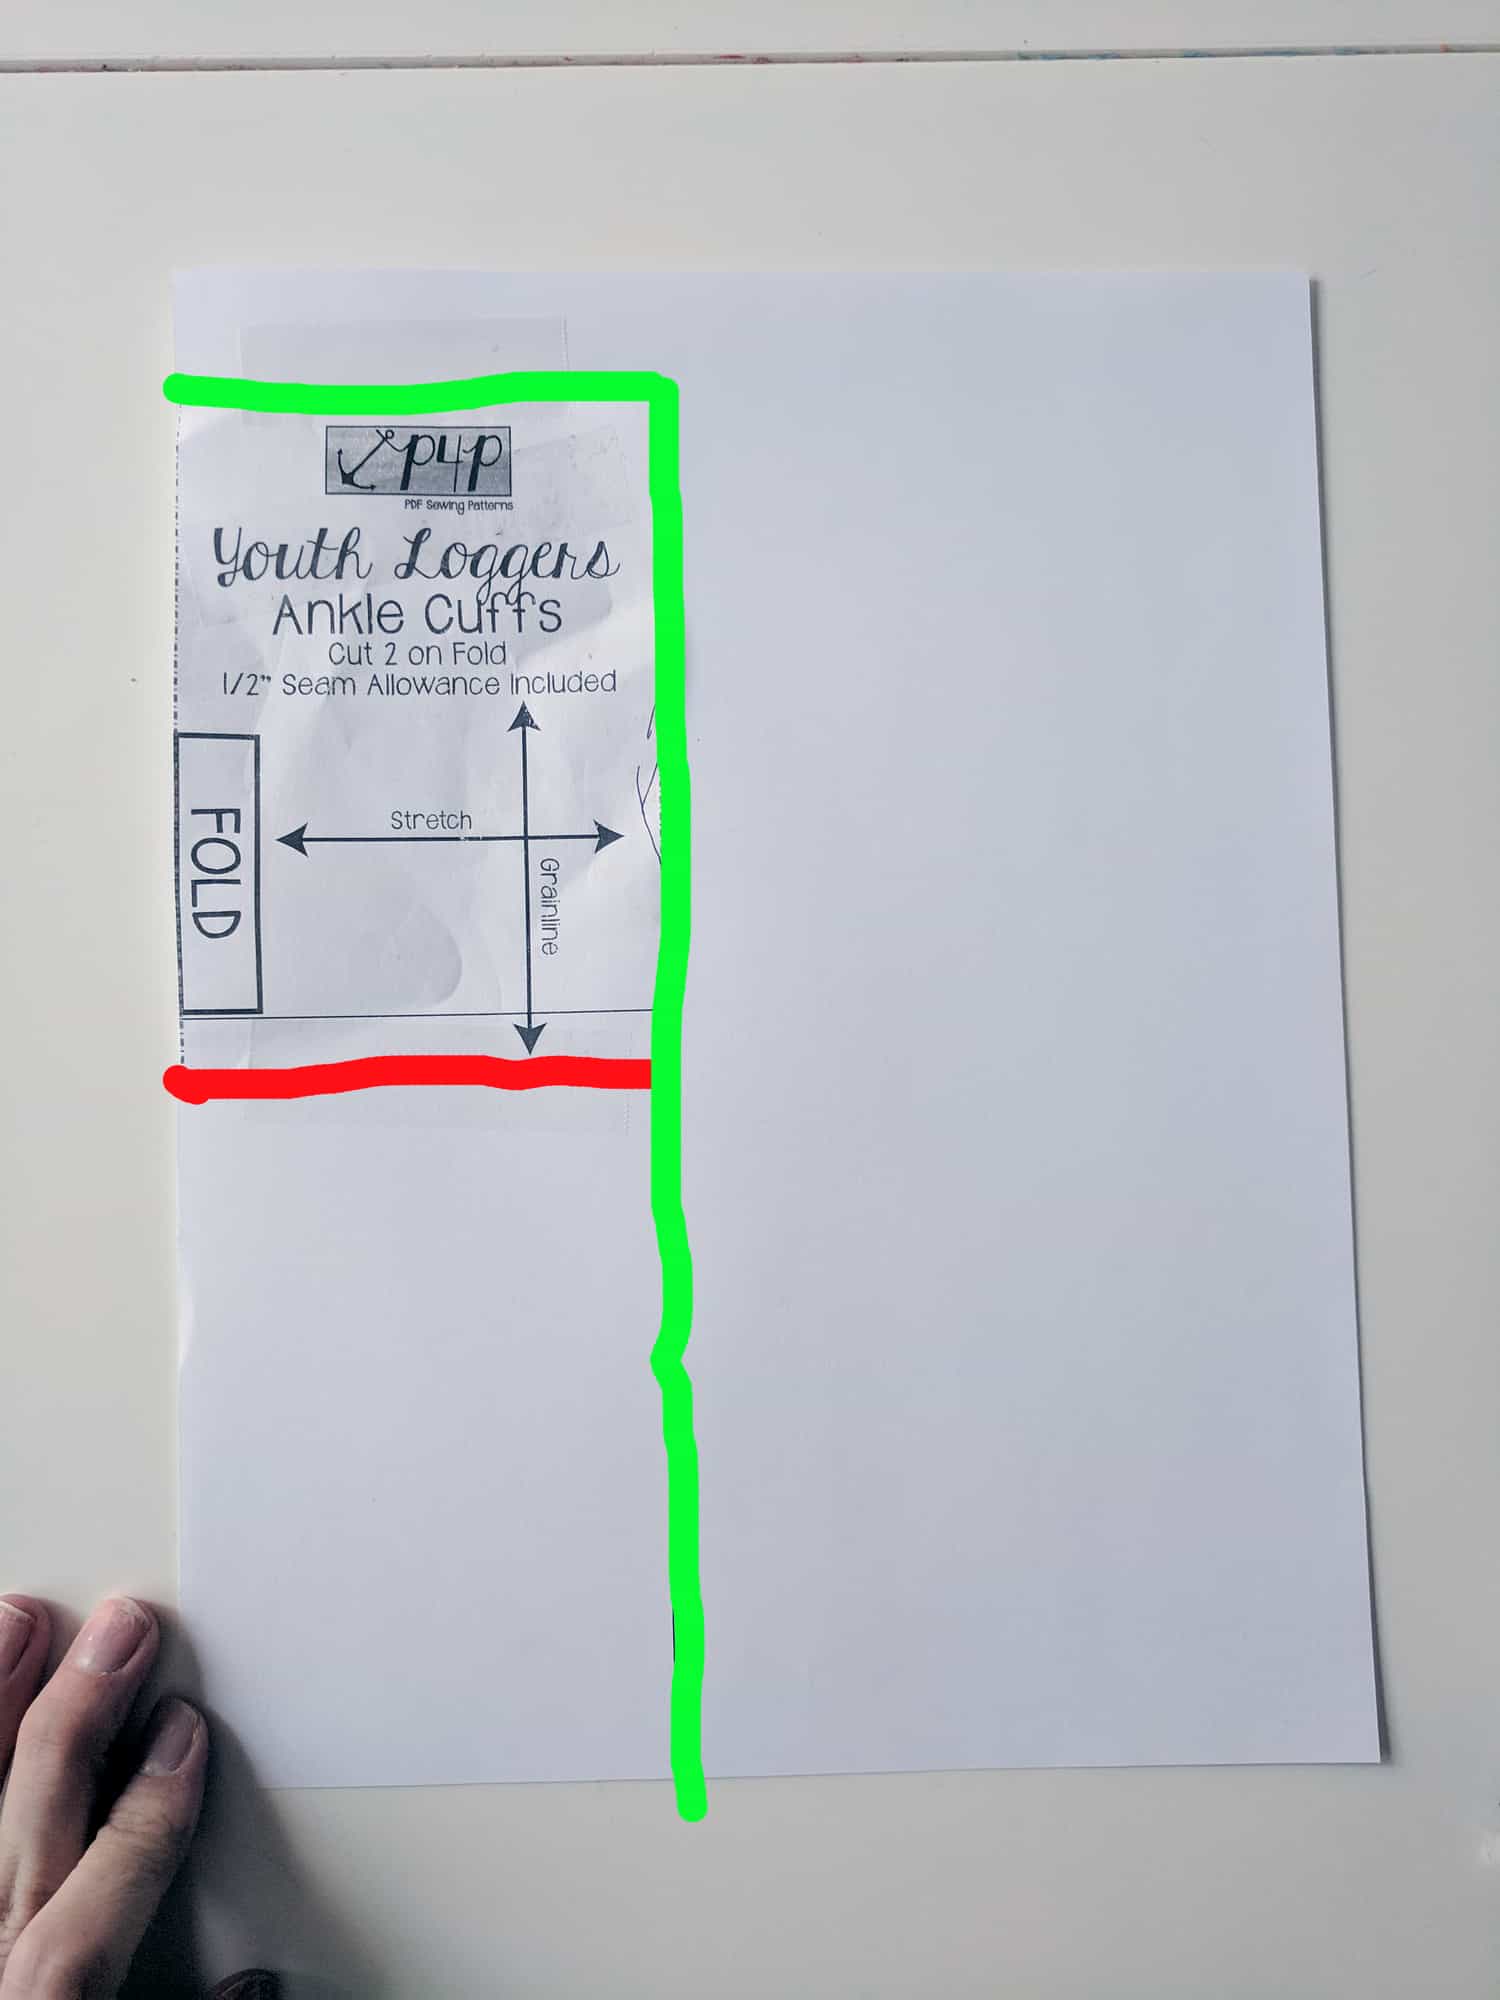
Now go ahead and grab your ankle cuff piece because we are going to be doubling the height of that.  I did this by first tracing it on to a blank piece of paper. Then you’ll place it alongside your line edge shown in red so it’s doubled in size but still has the same fold line.  Tape it down and then cut out the entire piece as one shown by the green line.

Now cut all your fabric pieces out just as directed!

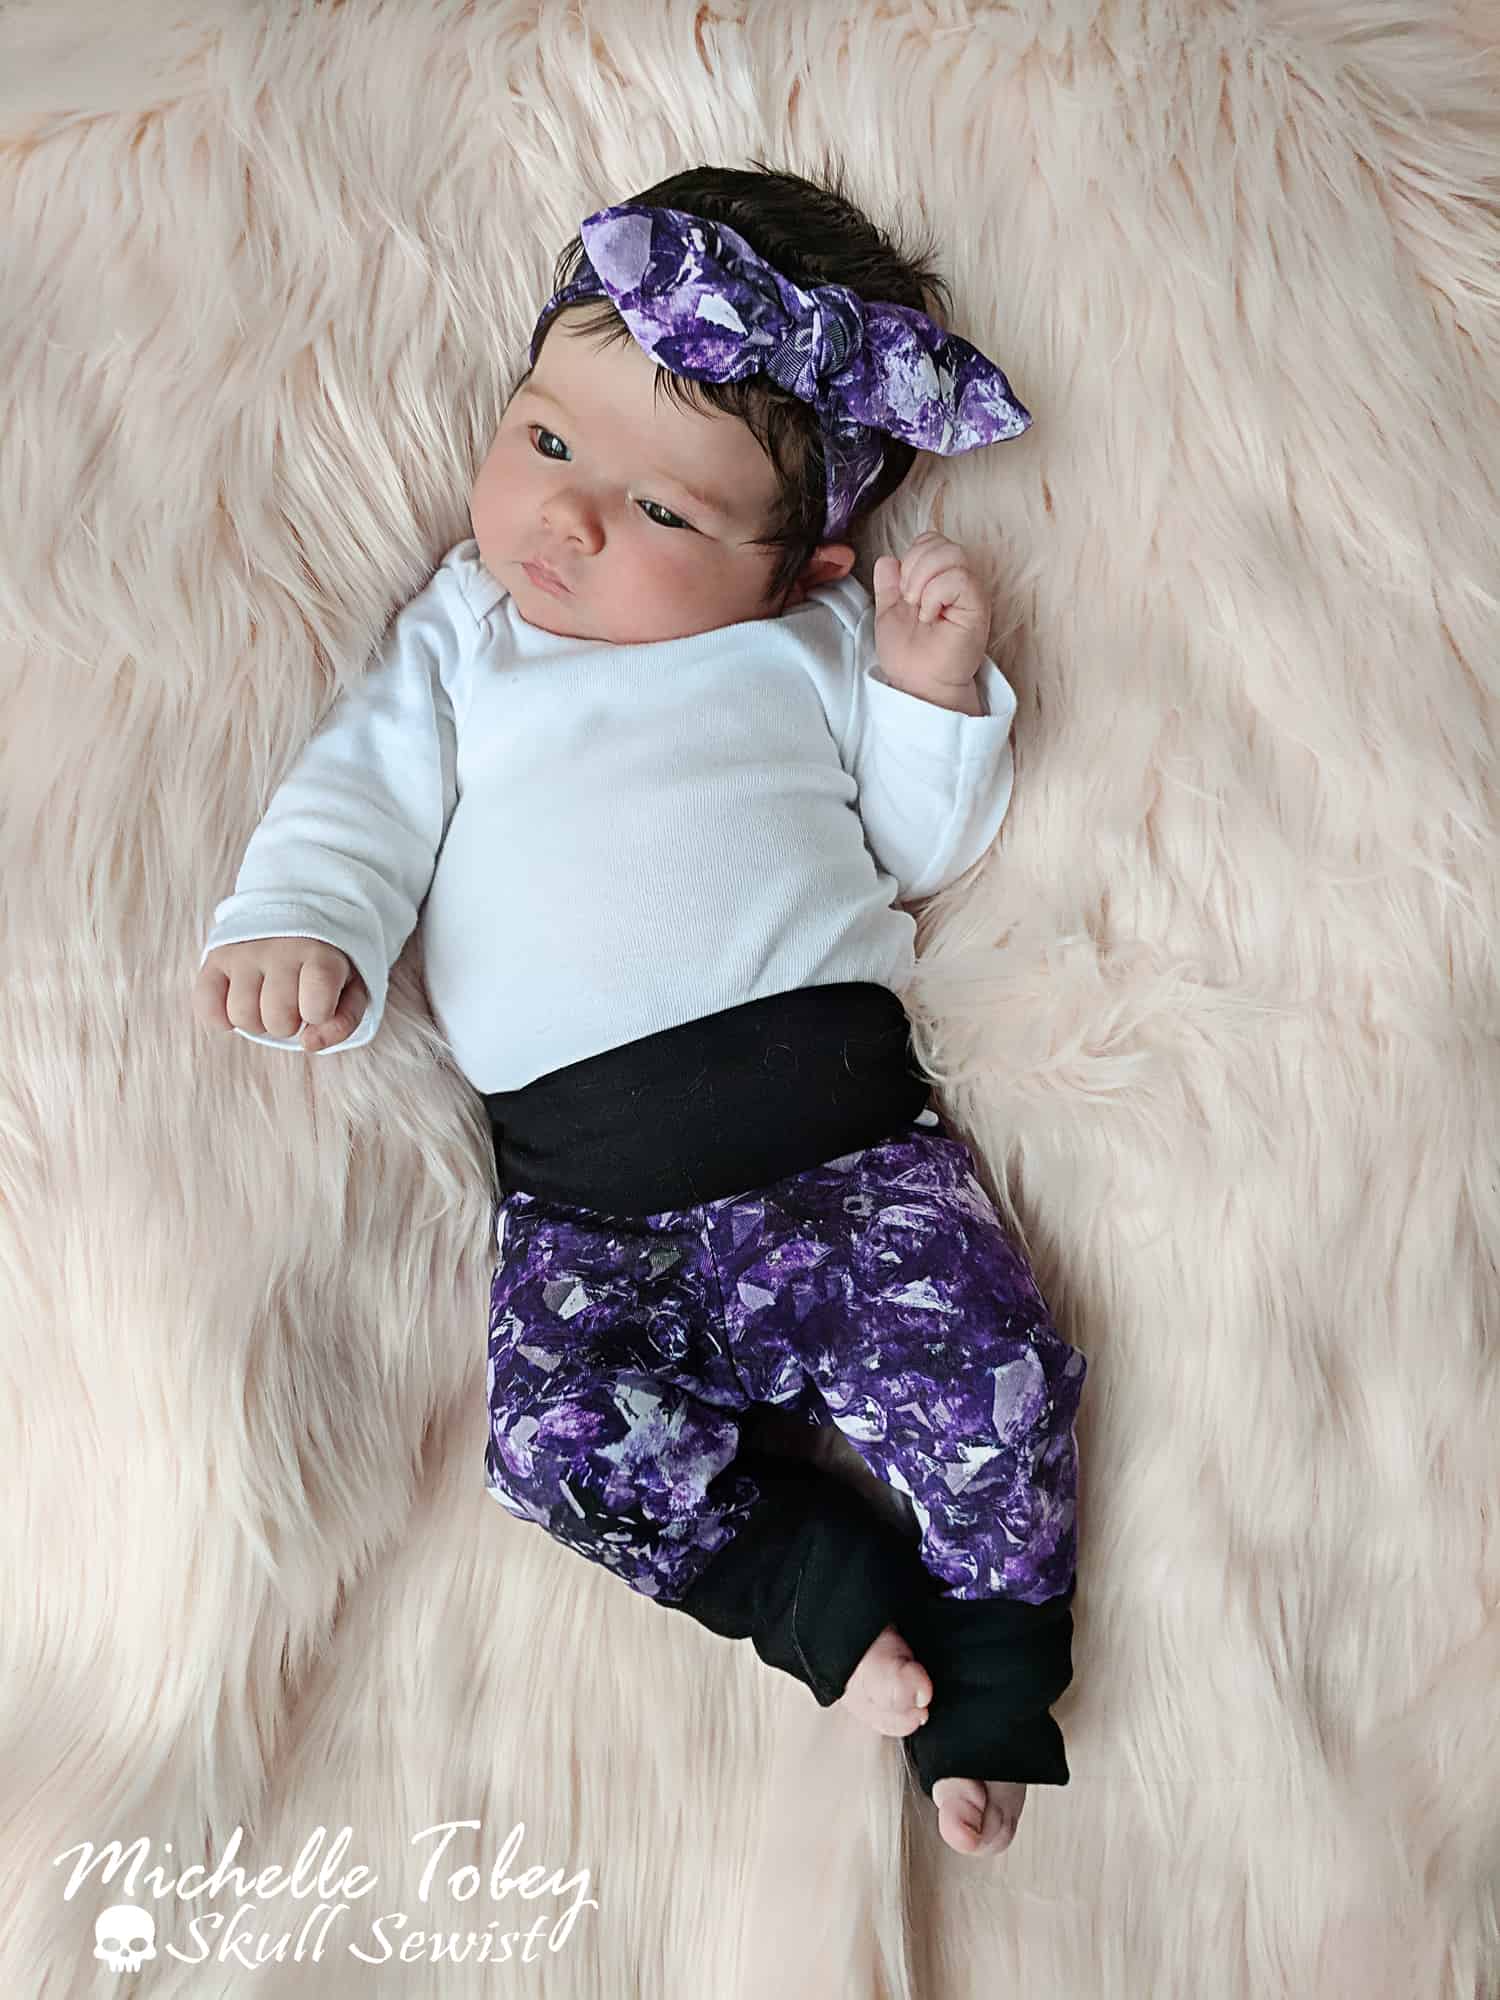
From here you’ll sew up exactly how it’s said to in the tutorial.  When it comes to wearing you simply roll the bands to best fit your child. Here is an example of it fully rolled and extended. As you can see my little needs it fully rolled but now she’ll be able to wear them much longer!

Don’t forget to share your creations in our facebook group! We can’t wait to see all your makes!

Michelle

Now that you purchased your Loggers and reviewed all of our easy hacks, time to start sewing. Make yourself or a loved one a pair and don’t forget to show it off in the Patterns for Pirates Sewing Group on Facebook. 


The P4P blog team! 

Filed Under: Frequently Asked Questions, Pattern Hacks, Pattern Release, Uncategorized 3 Comments

Brunch Blouse|Bitty Brunch Blouse SAL day 2 (cut fabric)

March 12, 2019


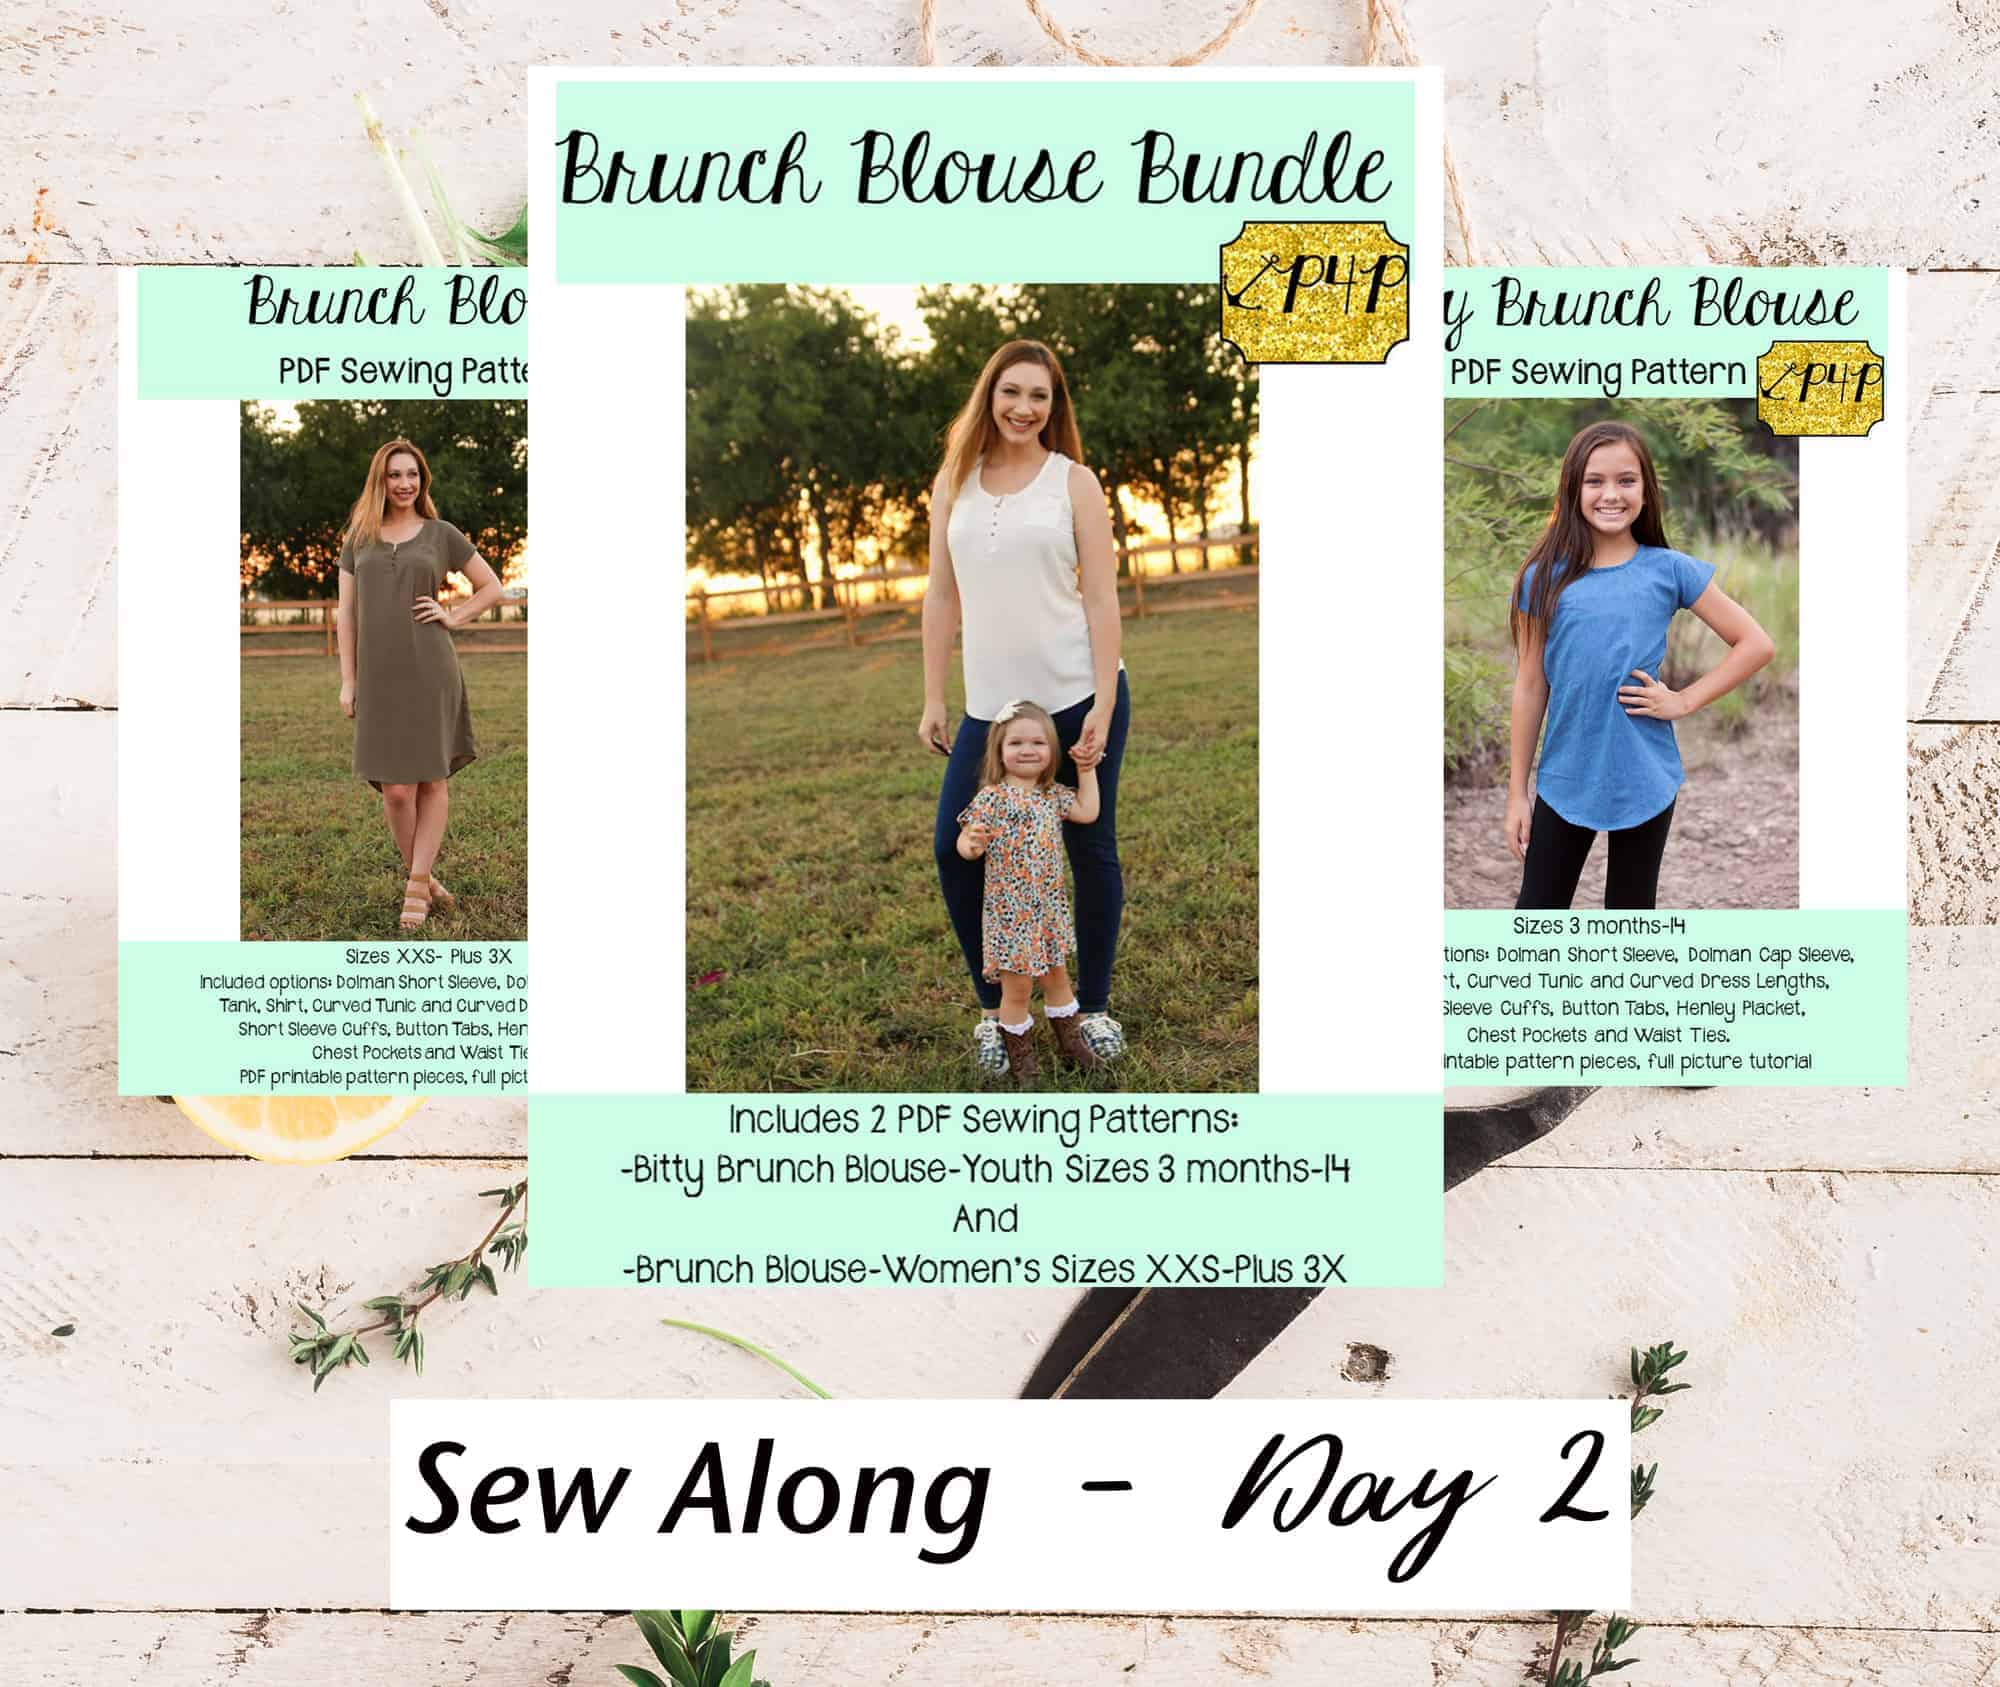
Welcome to day 2 of our Brunch and Bitty Brunch  sew along. Today we will be choosing the fabric, cutting it and gathering all necessary notions and accessories. You should have your pattern pieces ready from yesterday.
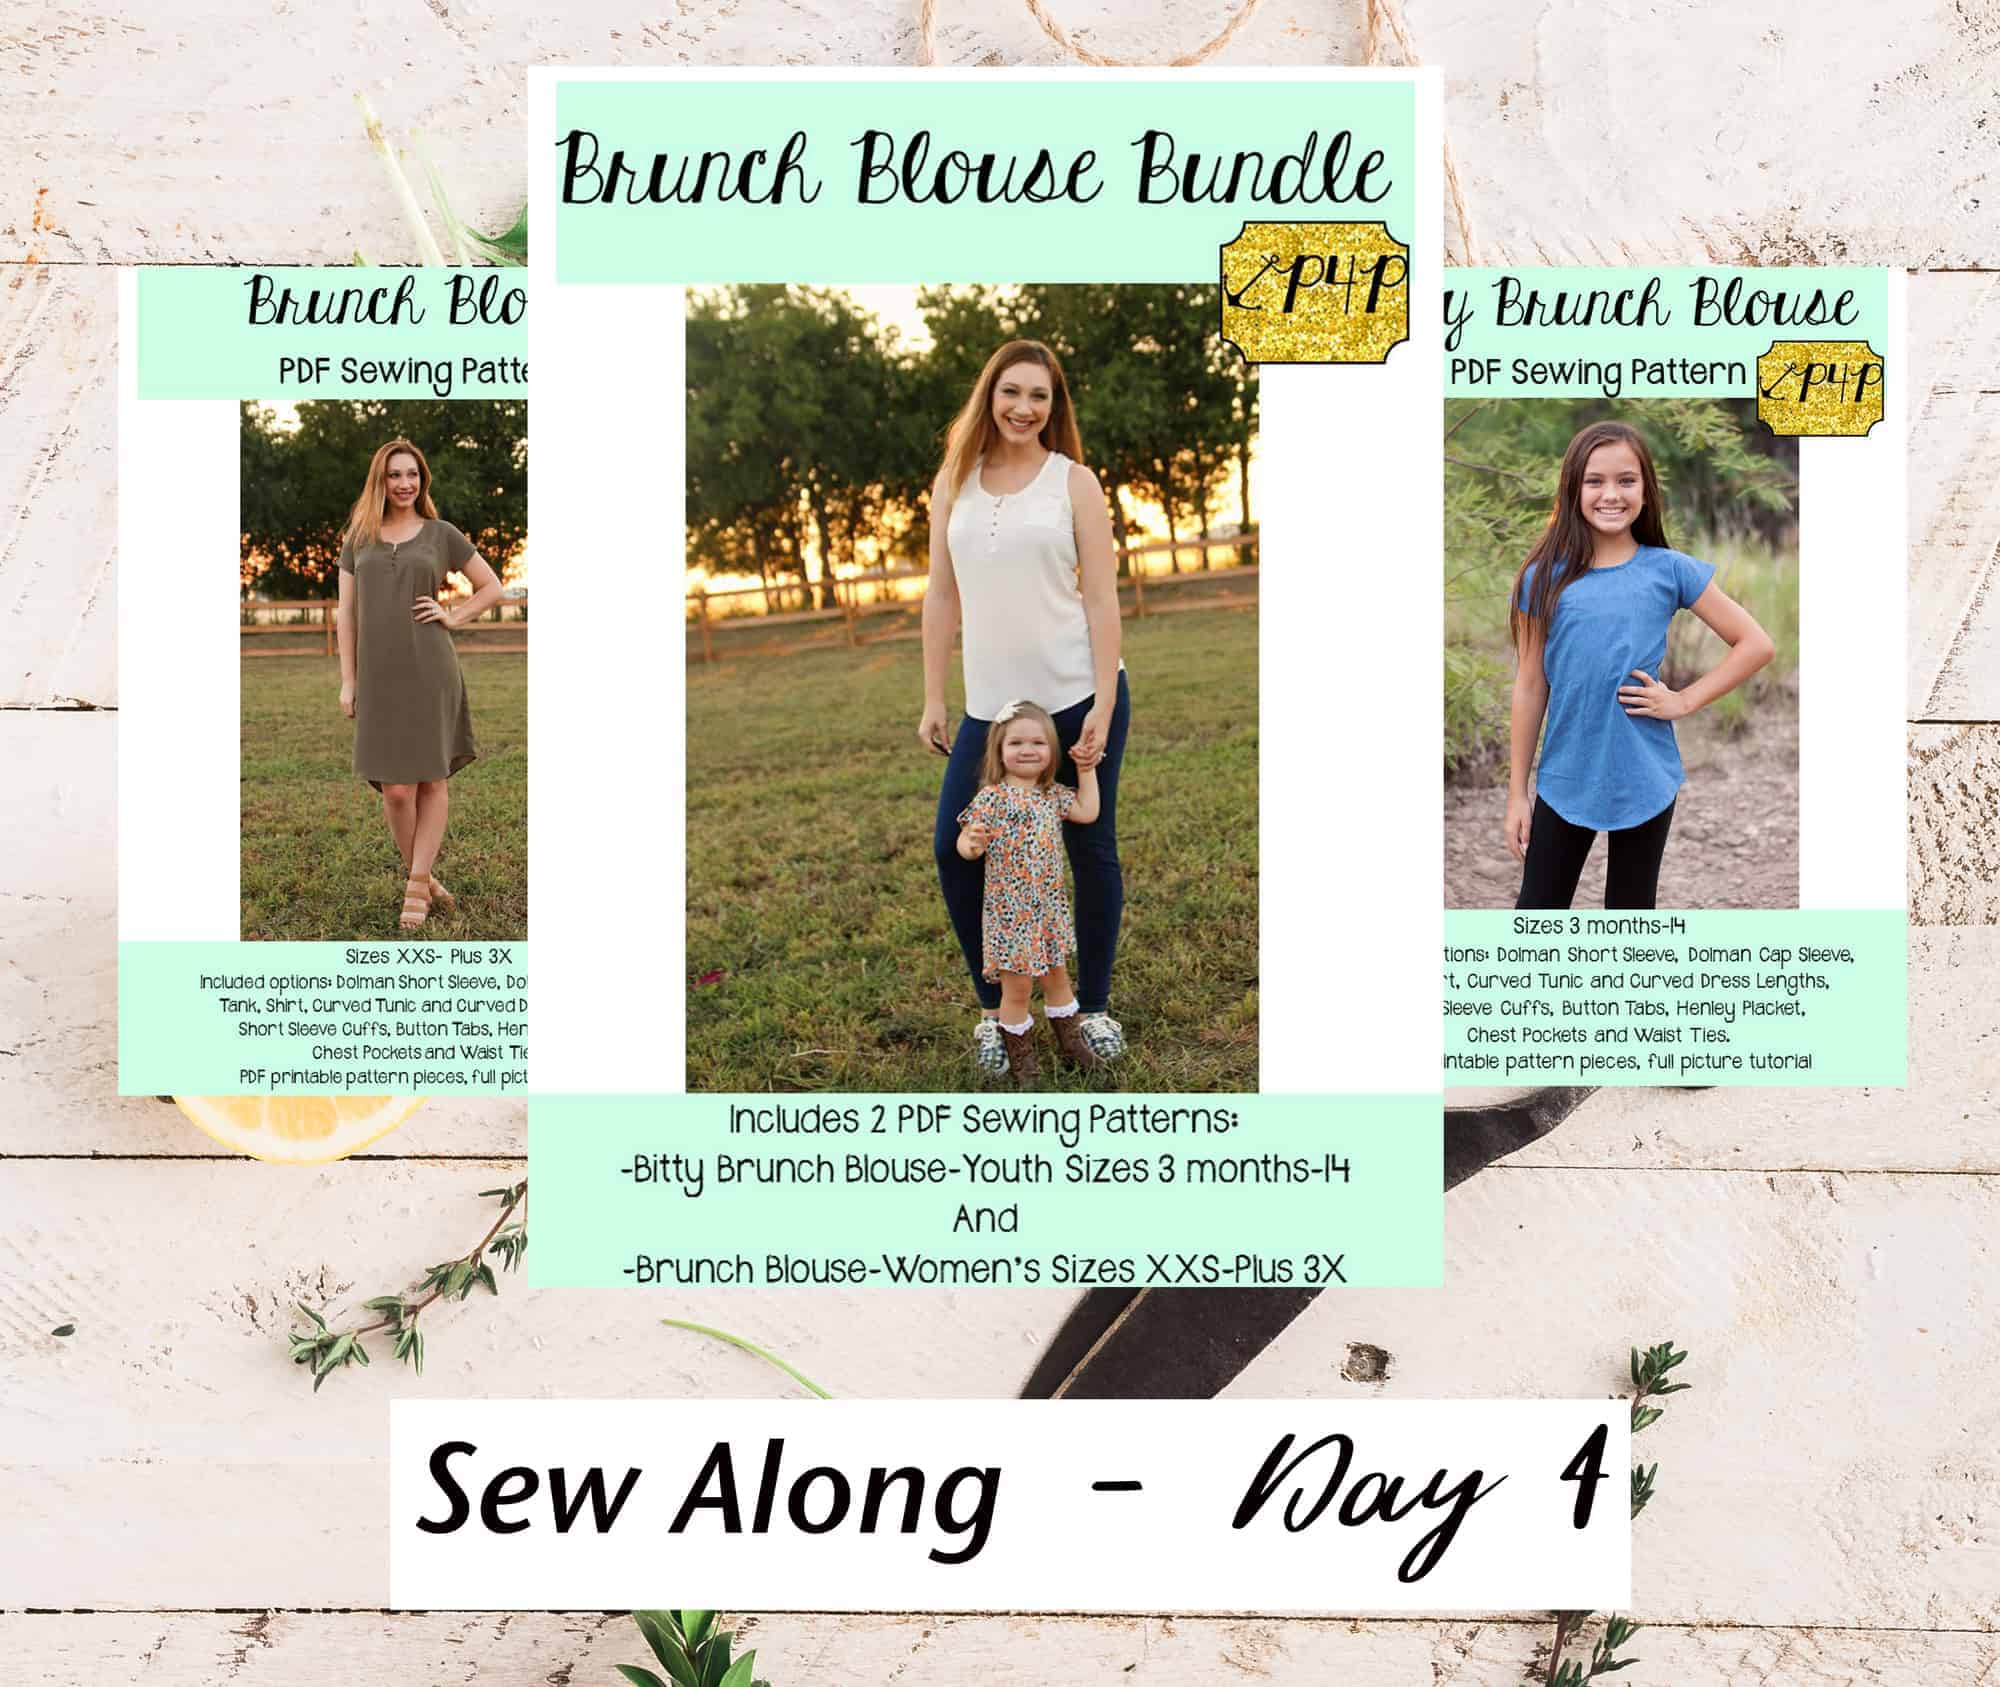
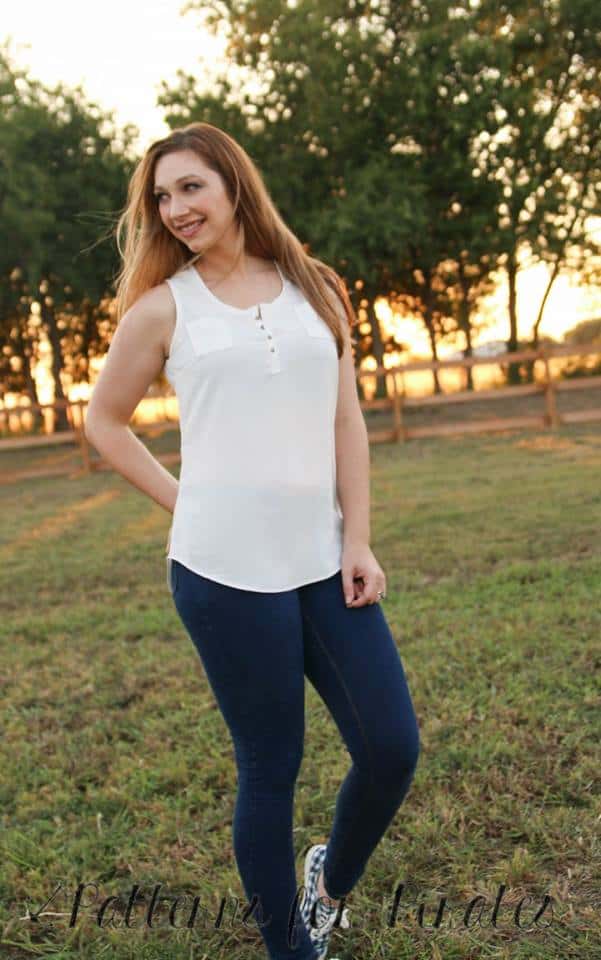
But first let’s talk a little about the right fabric for this pattern. As you can see in the video below I am using a gorgeous woven from Backstitch Fabrics for my Brunch Blouse. This woven is custom printed and the perfect weight. For the women’s blouse I absolutely love rayon fabric and chiffons. I highly encourage you to avoid quilter cottons because they do not have the necessary drape to make the top or dress flattering….and we all want that, am I right? You can get away with good quality quilter cotton for the Bitty Brunch though.


Backstitch SoFlo is this sew along’s sponsor too, so one of you will be getting a $50 Gift Card to the shop shop so you can treat your to some gorgeous custom printed woven fabric. Our second winner will receive a $25 gift card to Backstitch SoFlo too.

If you picked the henley style option you will also need buttons or snaps. My recommendation for buttons or snaps is smaller size ones. The placket finished width is aprox 1/2 inch so your buttons must be smaller than this.

The Day 2 video is posted below. Check it out and once you are done cutting your fabric post a picture of your prepped fabric in the comments of the Day 2 photo of the Brunch Blouse/Bitty Brunch Blouse SAL album in the M4M & P4P Sew Along group.

Brunch Blouse|Bitty Brunch Blouse SAL day 1 (print pattern)

Brunch Blouse|Bitty Brunch Blouse SAL day 2 (cut fabric)

Brunch Blouse|Bitty Brunch Blouse SAL day 3 (darts and placket)

Brunch Blouse|Bitty Brunch Blouse SAL day 4 (pocket/waist ties/back seam)

Brunch Blouse|Bitty Brunch Blouse SAL day 5 (shoulder/side seams)

Brunch Blouse|Bitty Brunch Blouse SAL day 6 (neckband)

Brunch Blouse|Bitty Brunch Blouse SAL day 7 (finish sleeves/hem)

Brunch Blouse|Bitty Brunch Blouse SAL day 8 (winners announcement)

Filed Under: Frequently Asked Questions, Sew-A-Long, Uncategorized Leave a Comment

  • « Previous Page
  • 1
  • …
  • 8
  • 9
  • 10
  • 11
  • 12
  • …
  • 17
  • Next Page »

connect with me

  • Email
  • Facebook
  • Instagram
  • Pinterest
  • YouTube
Privacy & Cookies: This site uses cookies. By continuing to use this website, you agree to their use.

To find out more, including how to control cookies, see here: Cookie Policy
  • Privacy Policy
  • Refund Policy
  • Contact Us
  • About

Copyright © 2026 Patterns for Pirates

Copyright © 2026 · Genesis Framework · WordPress · Log in