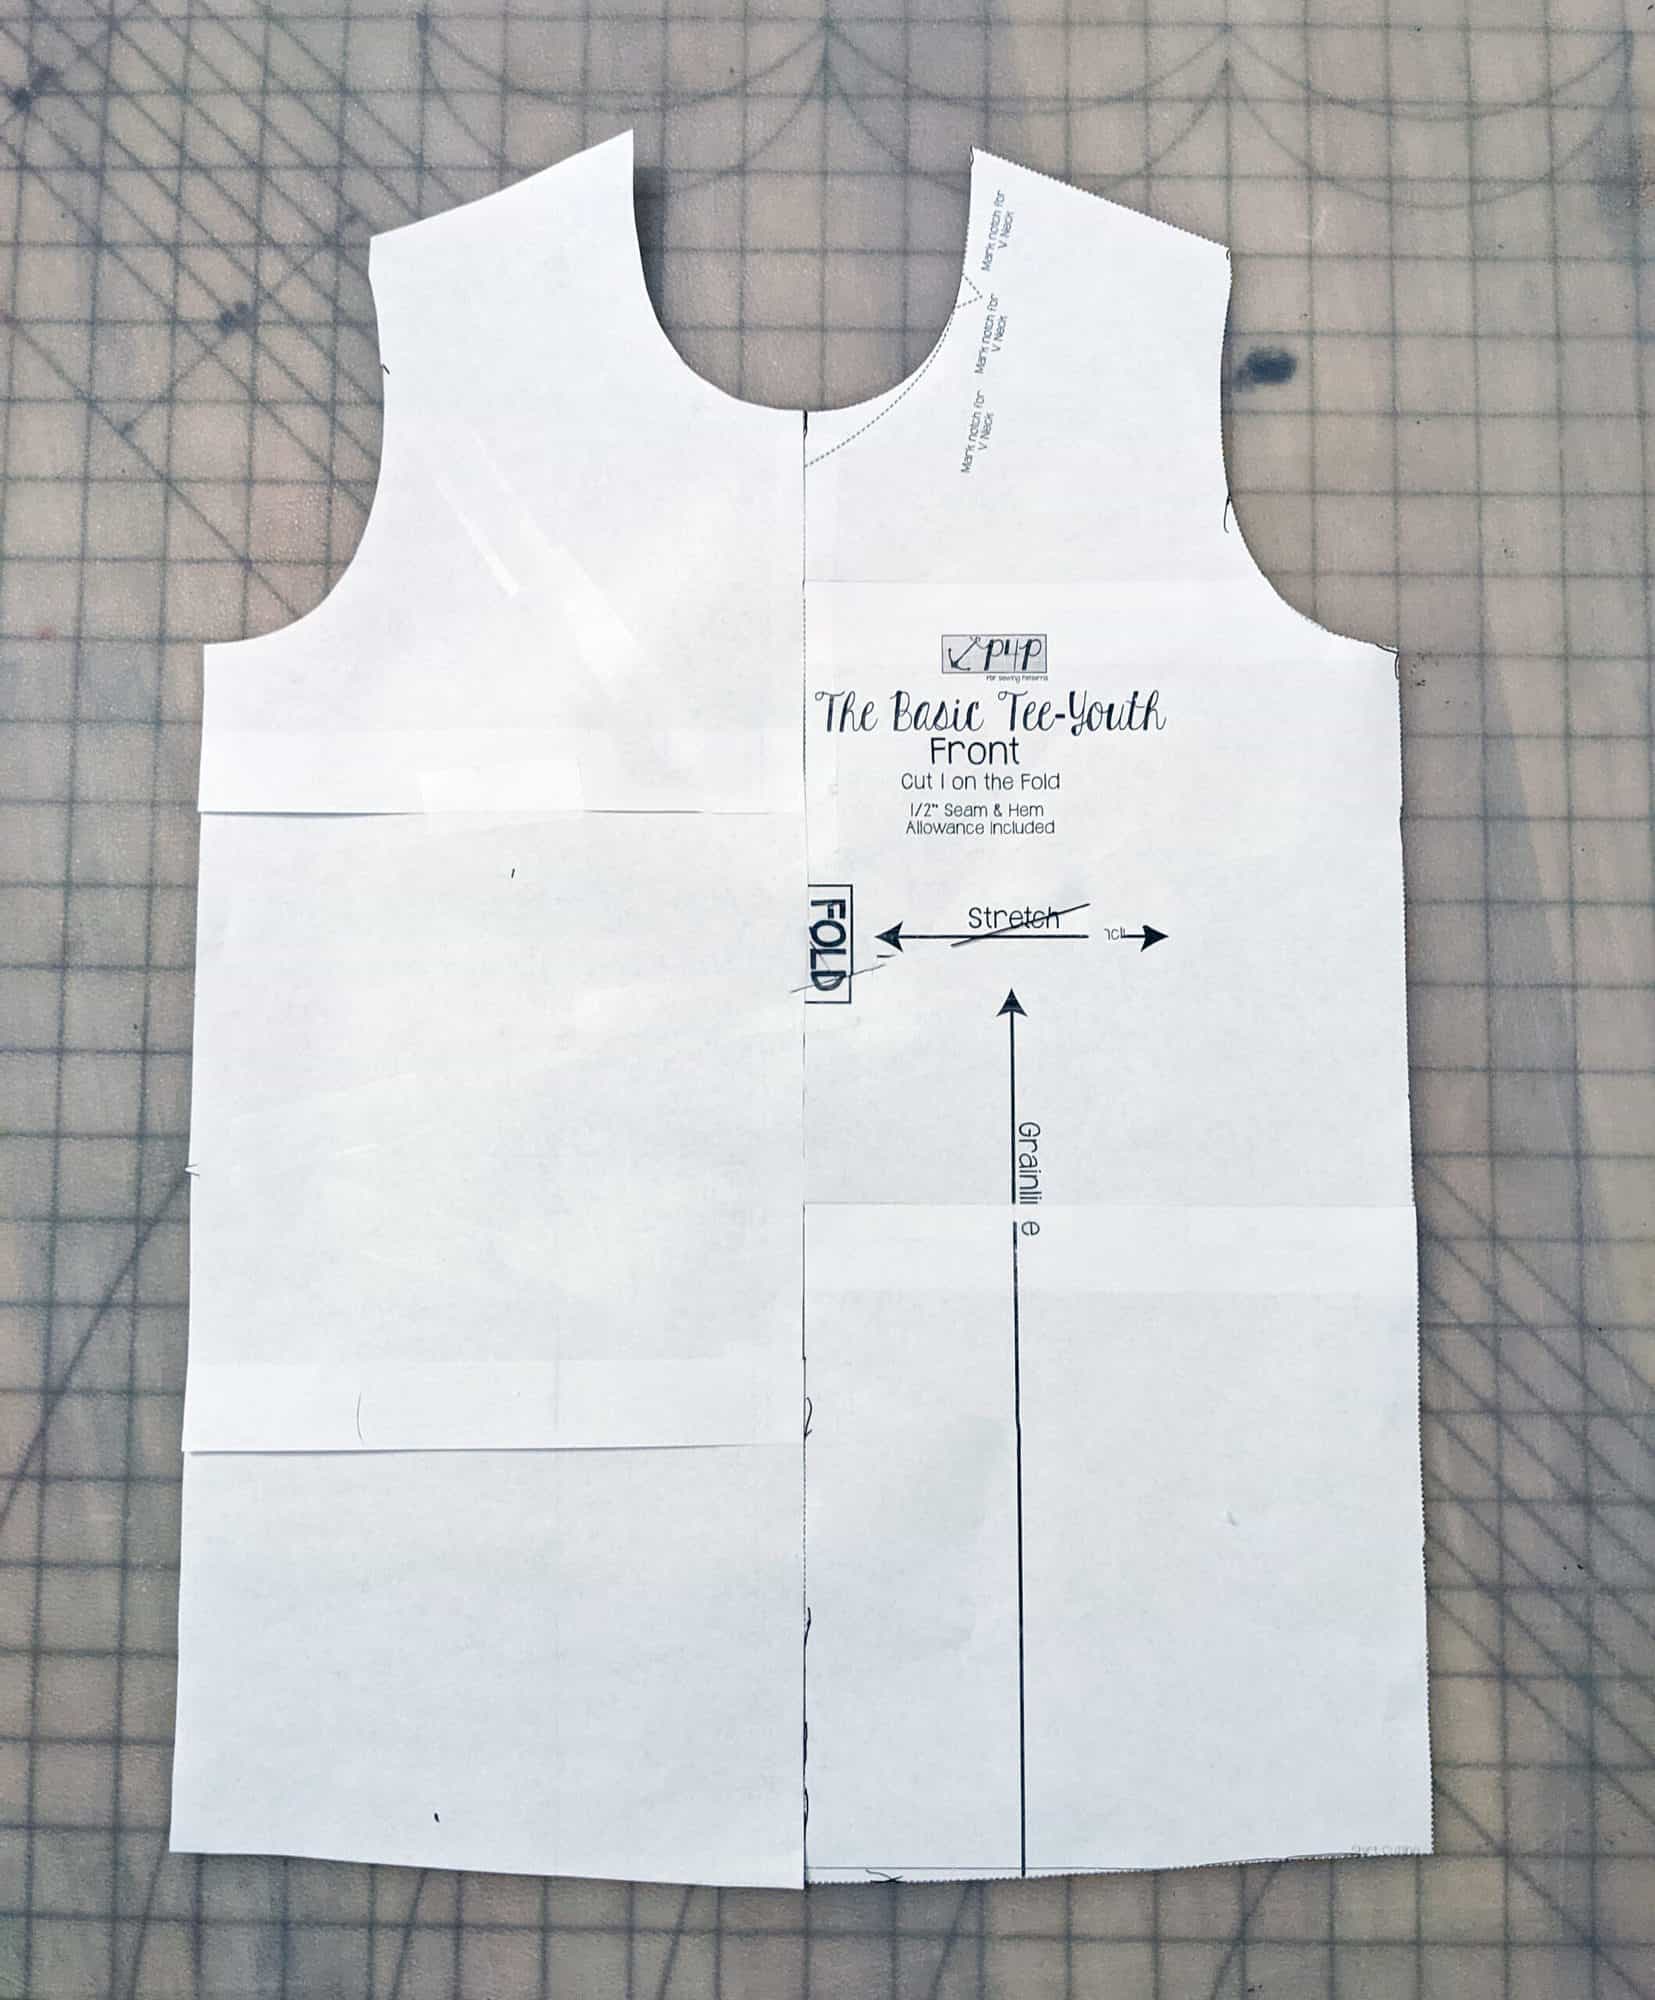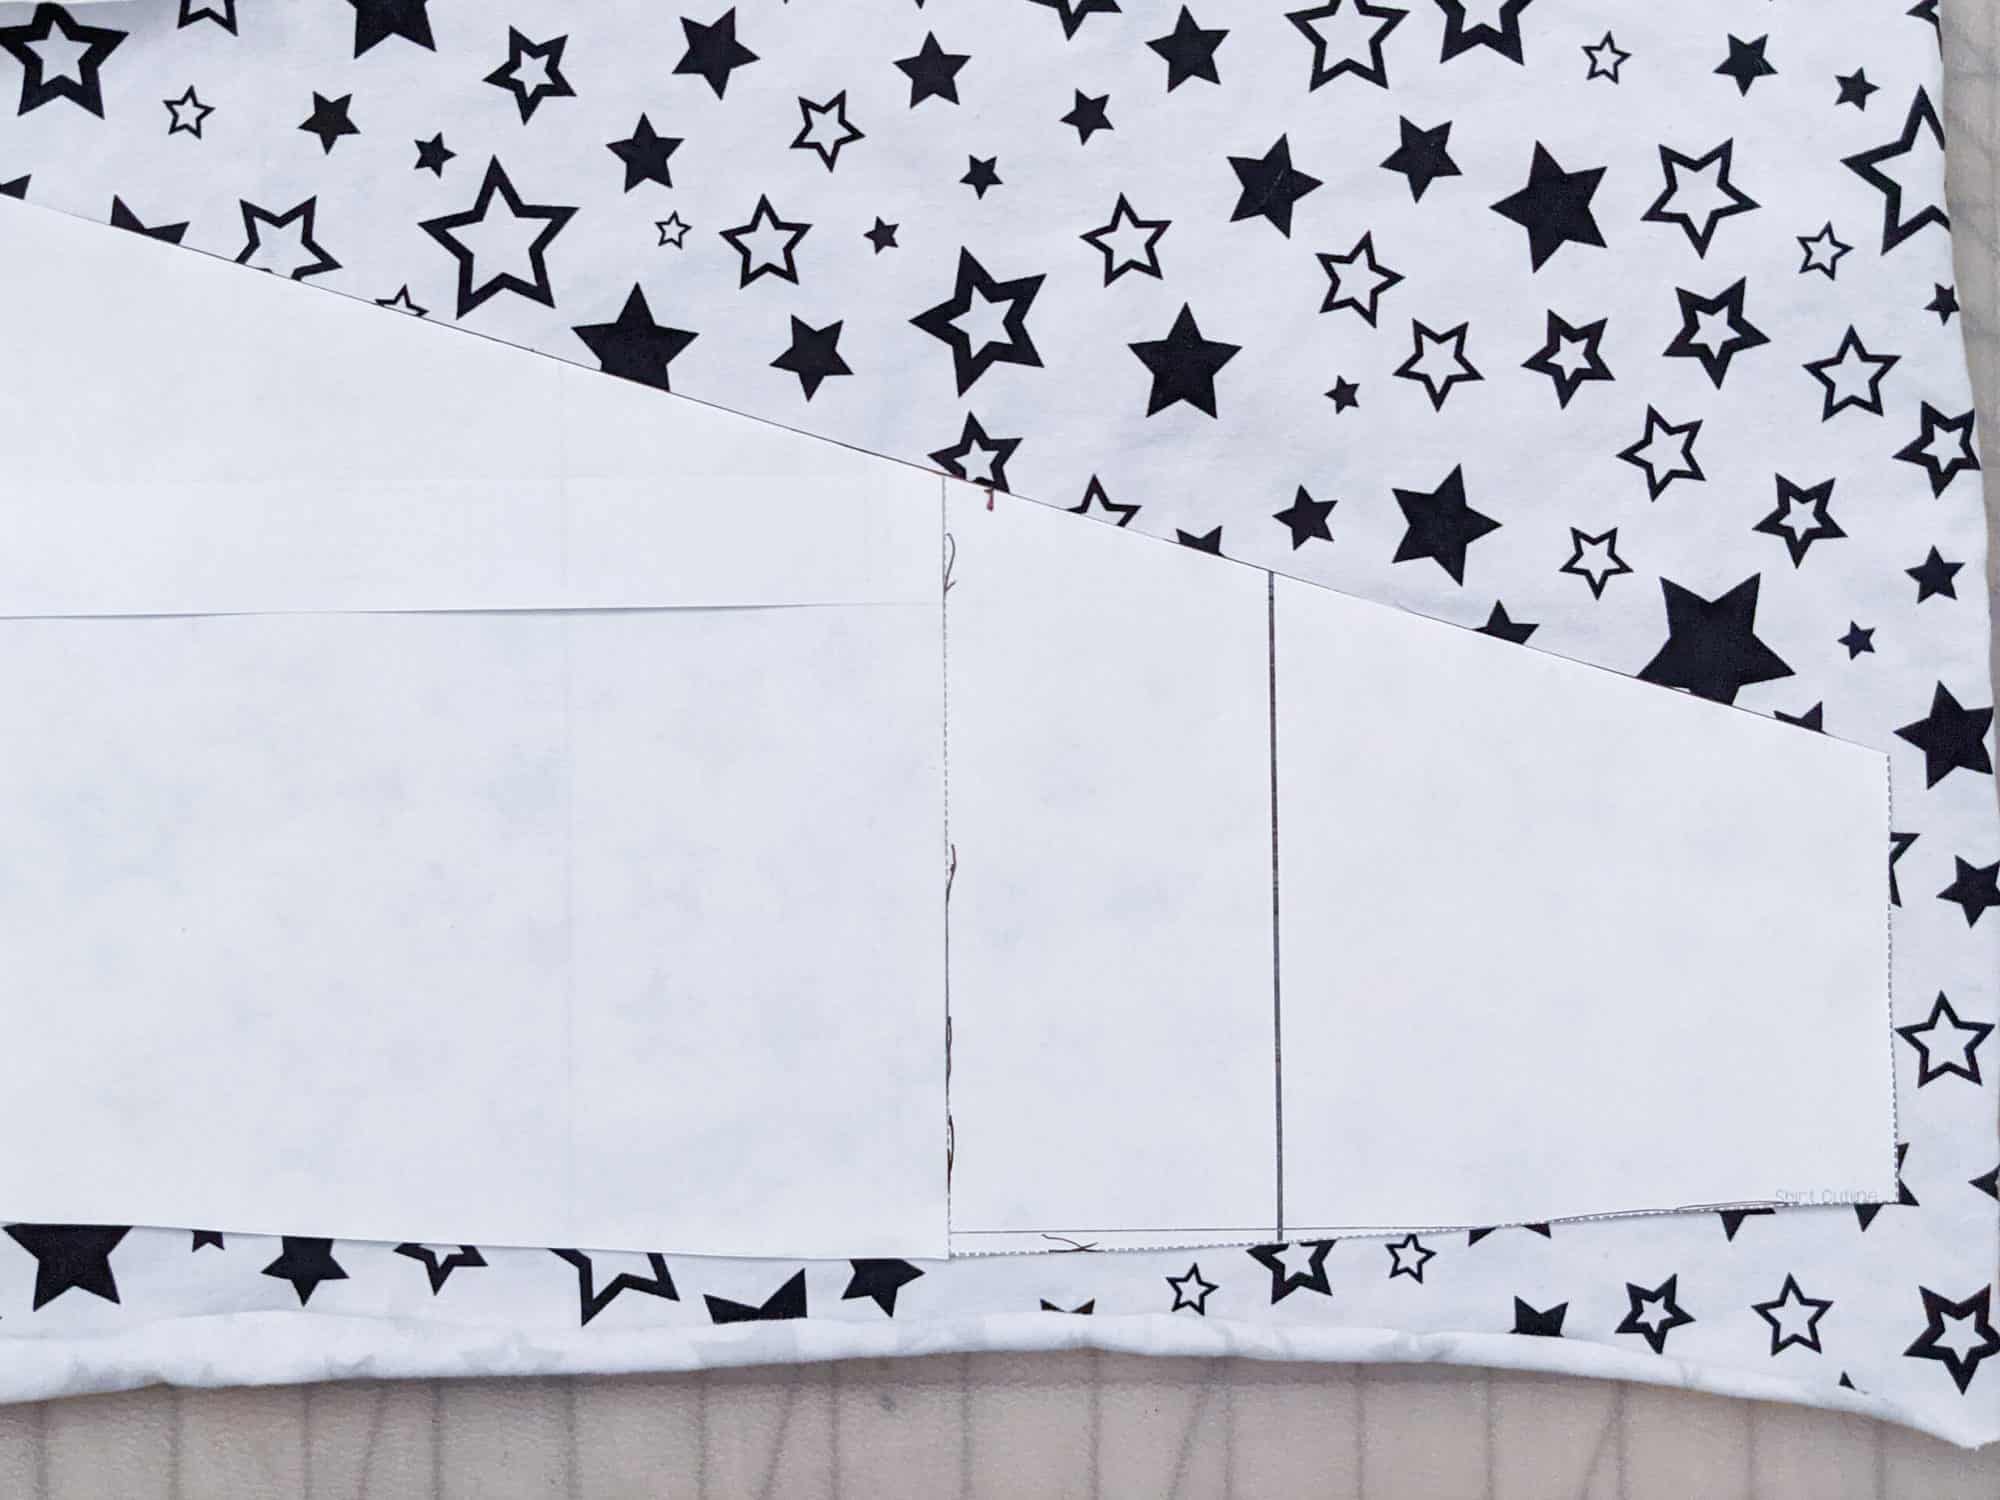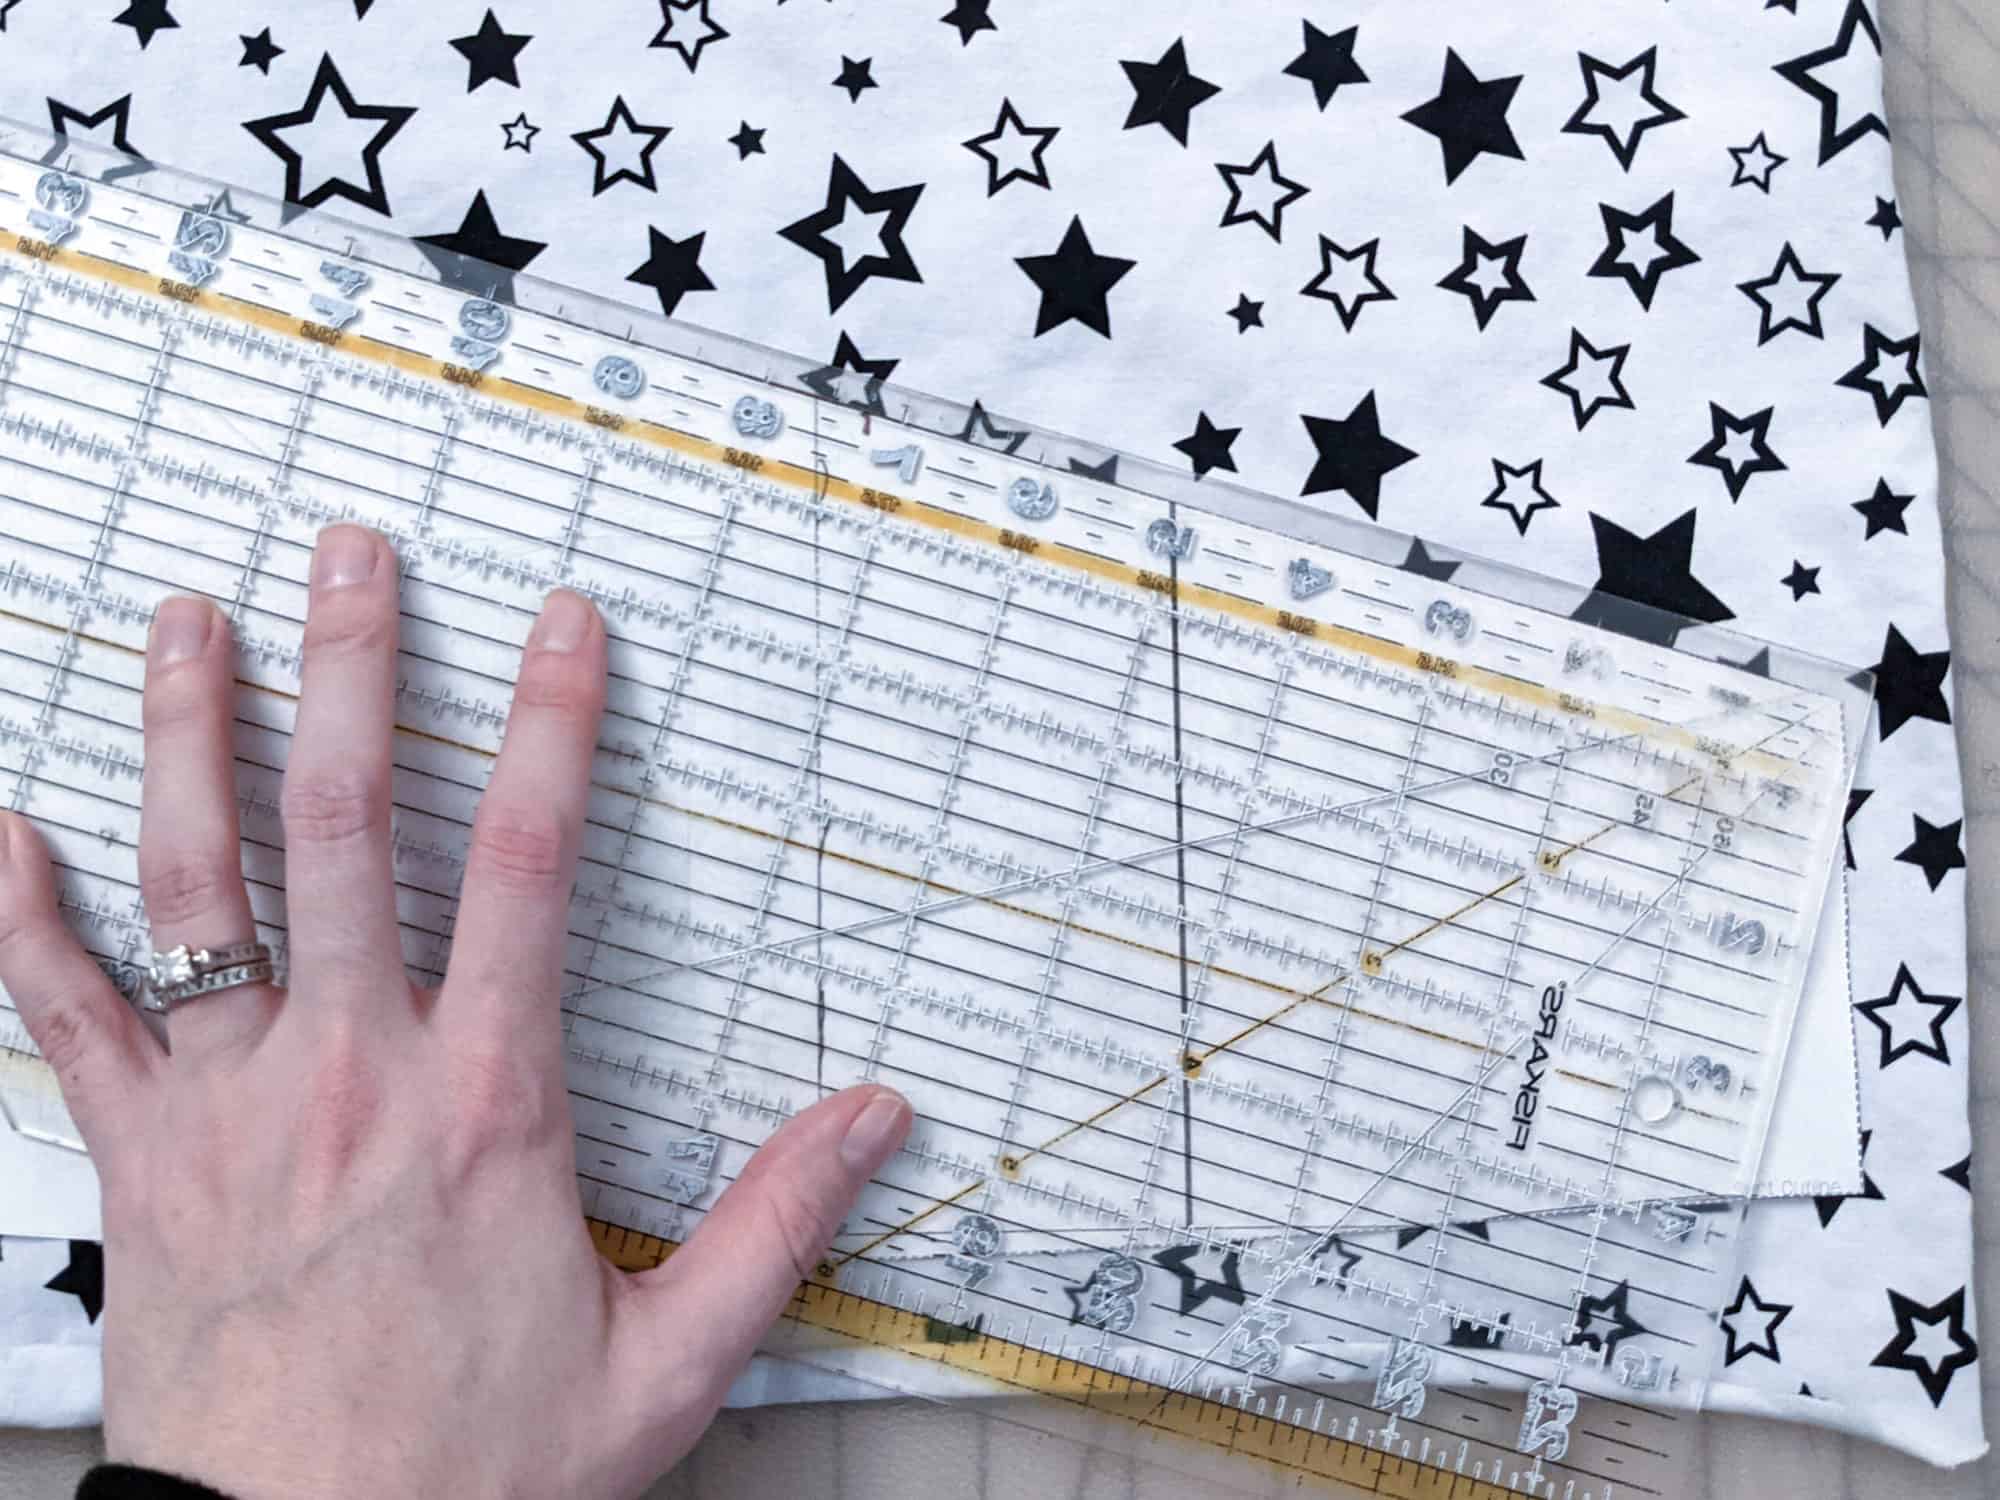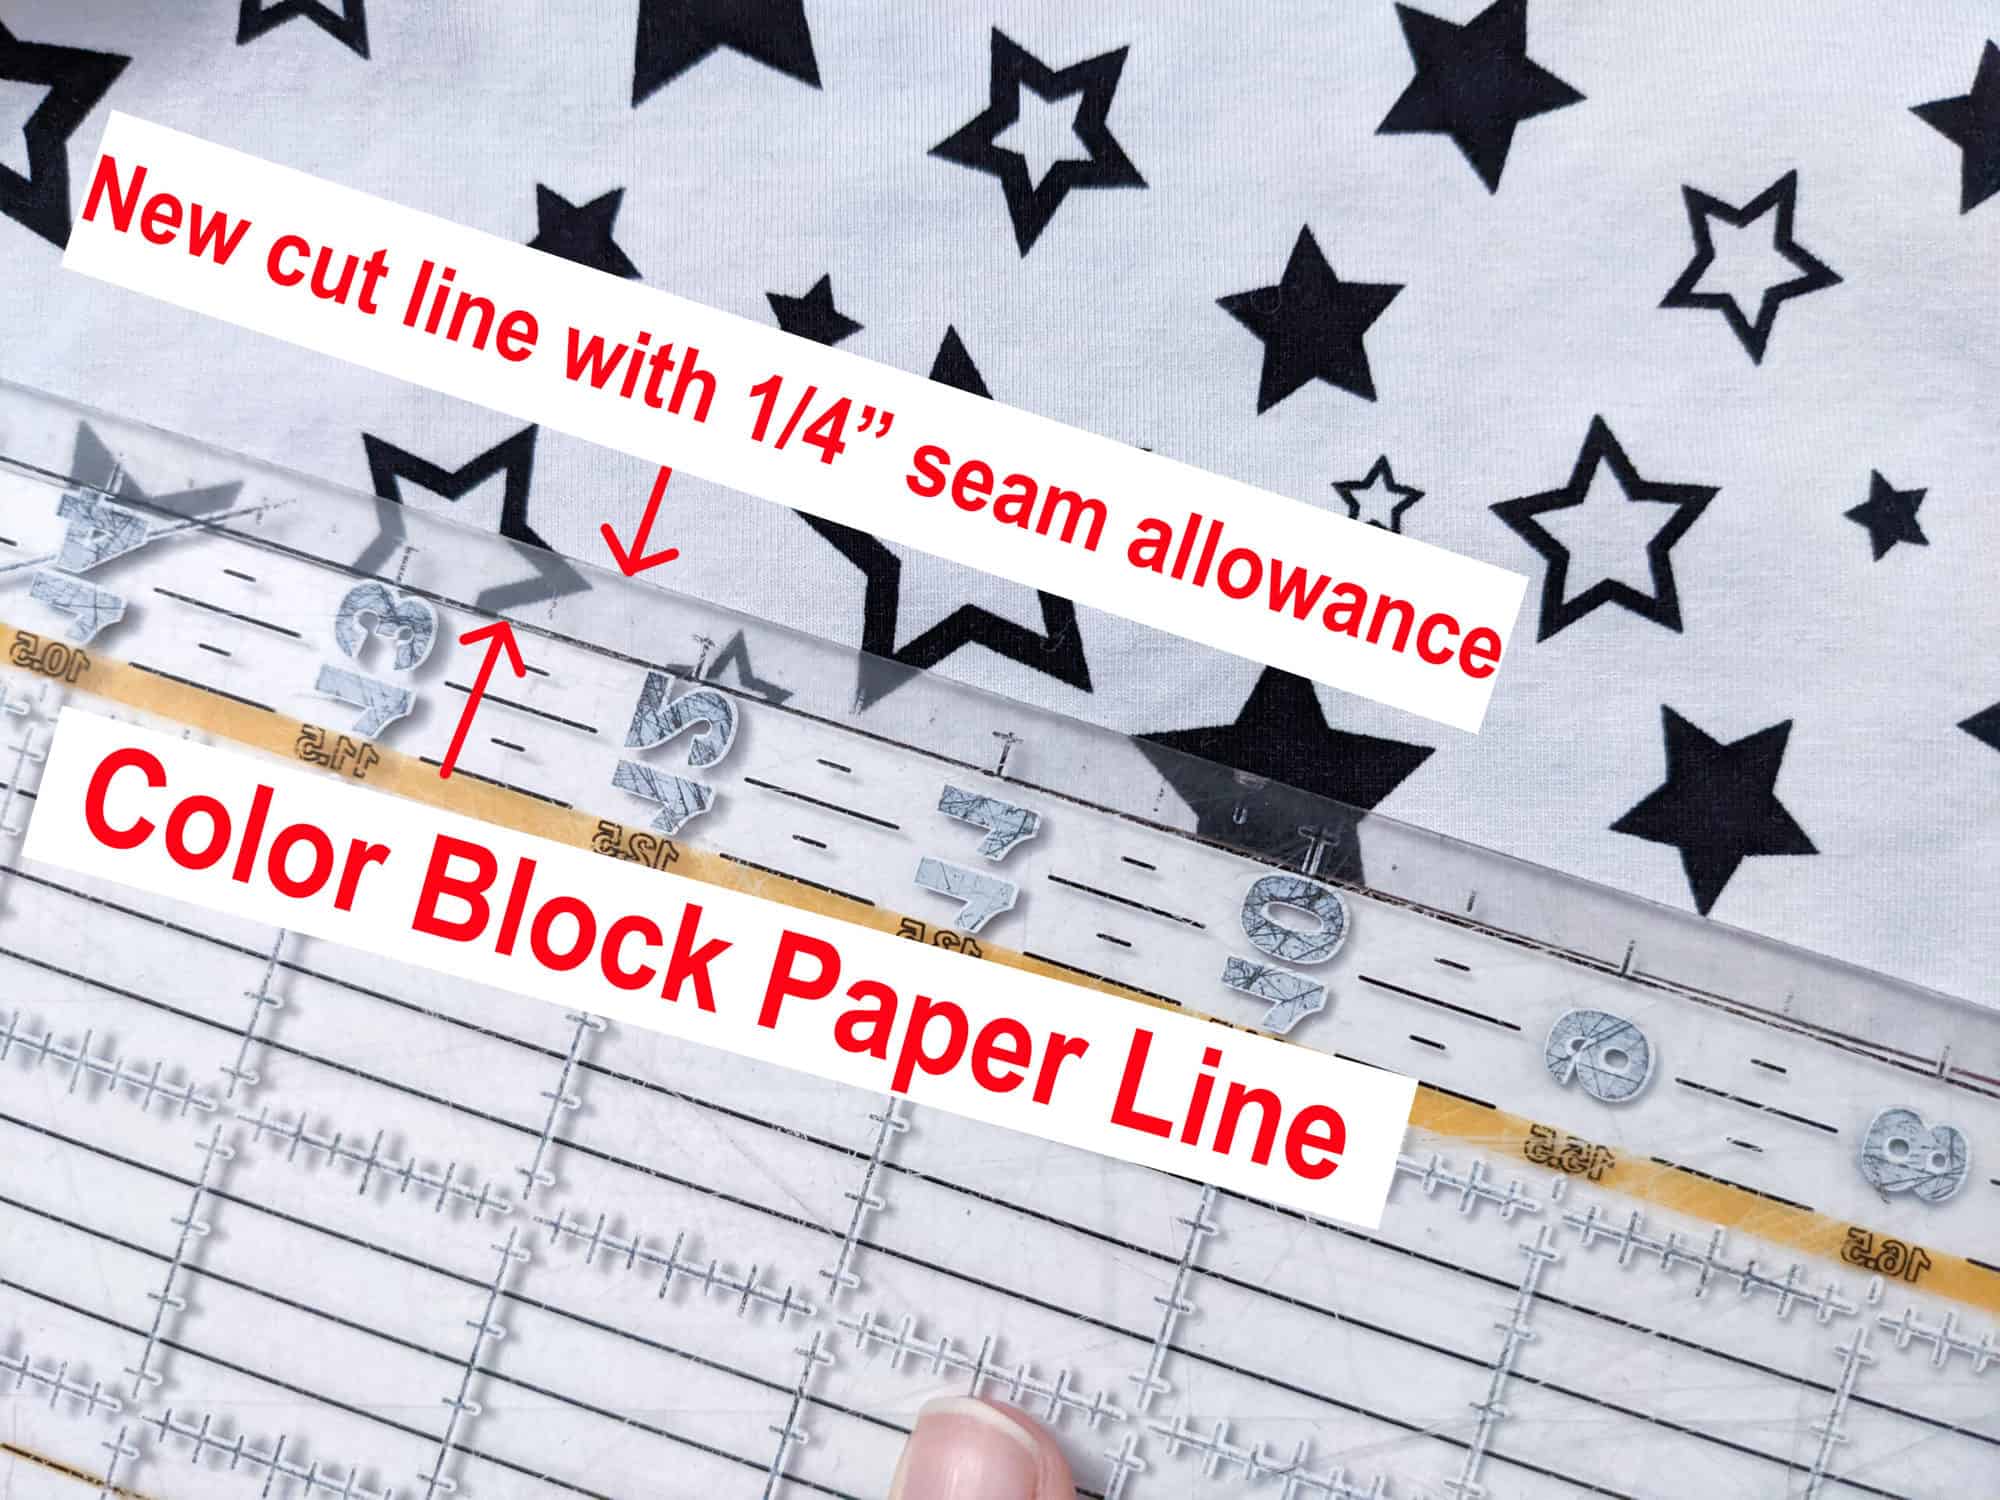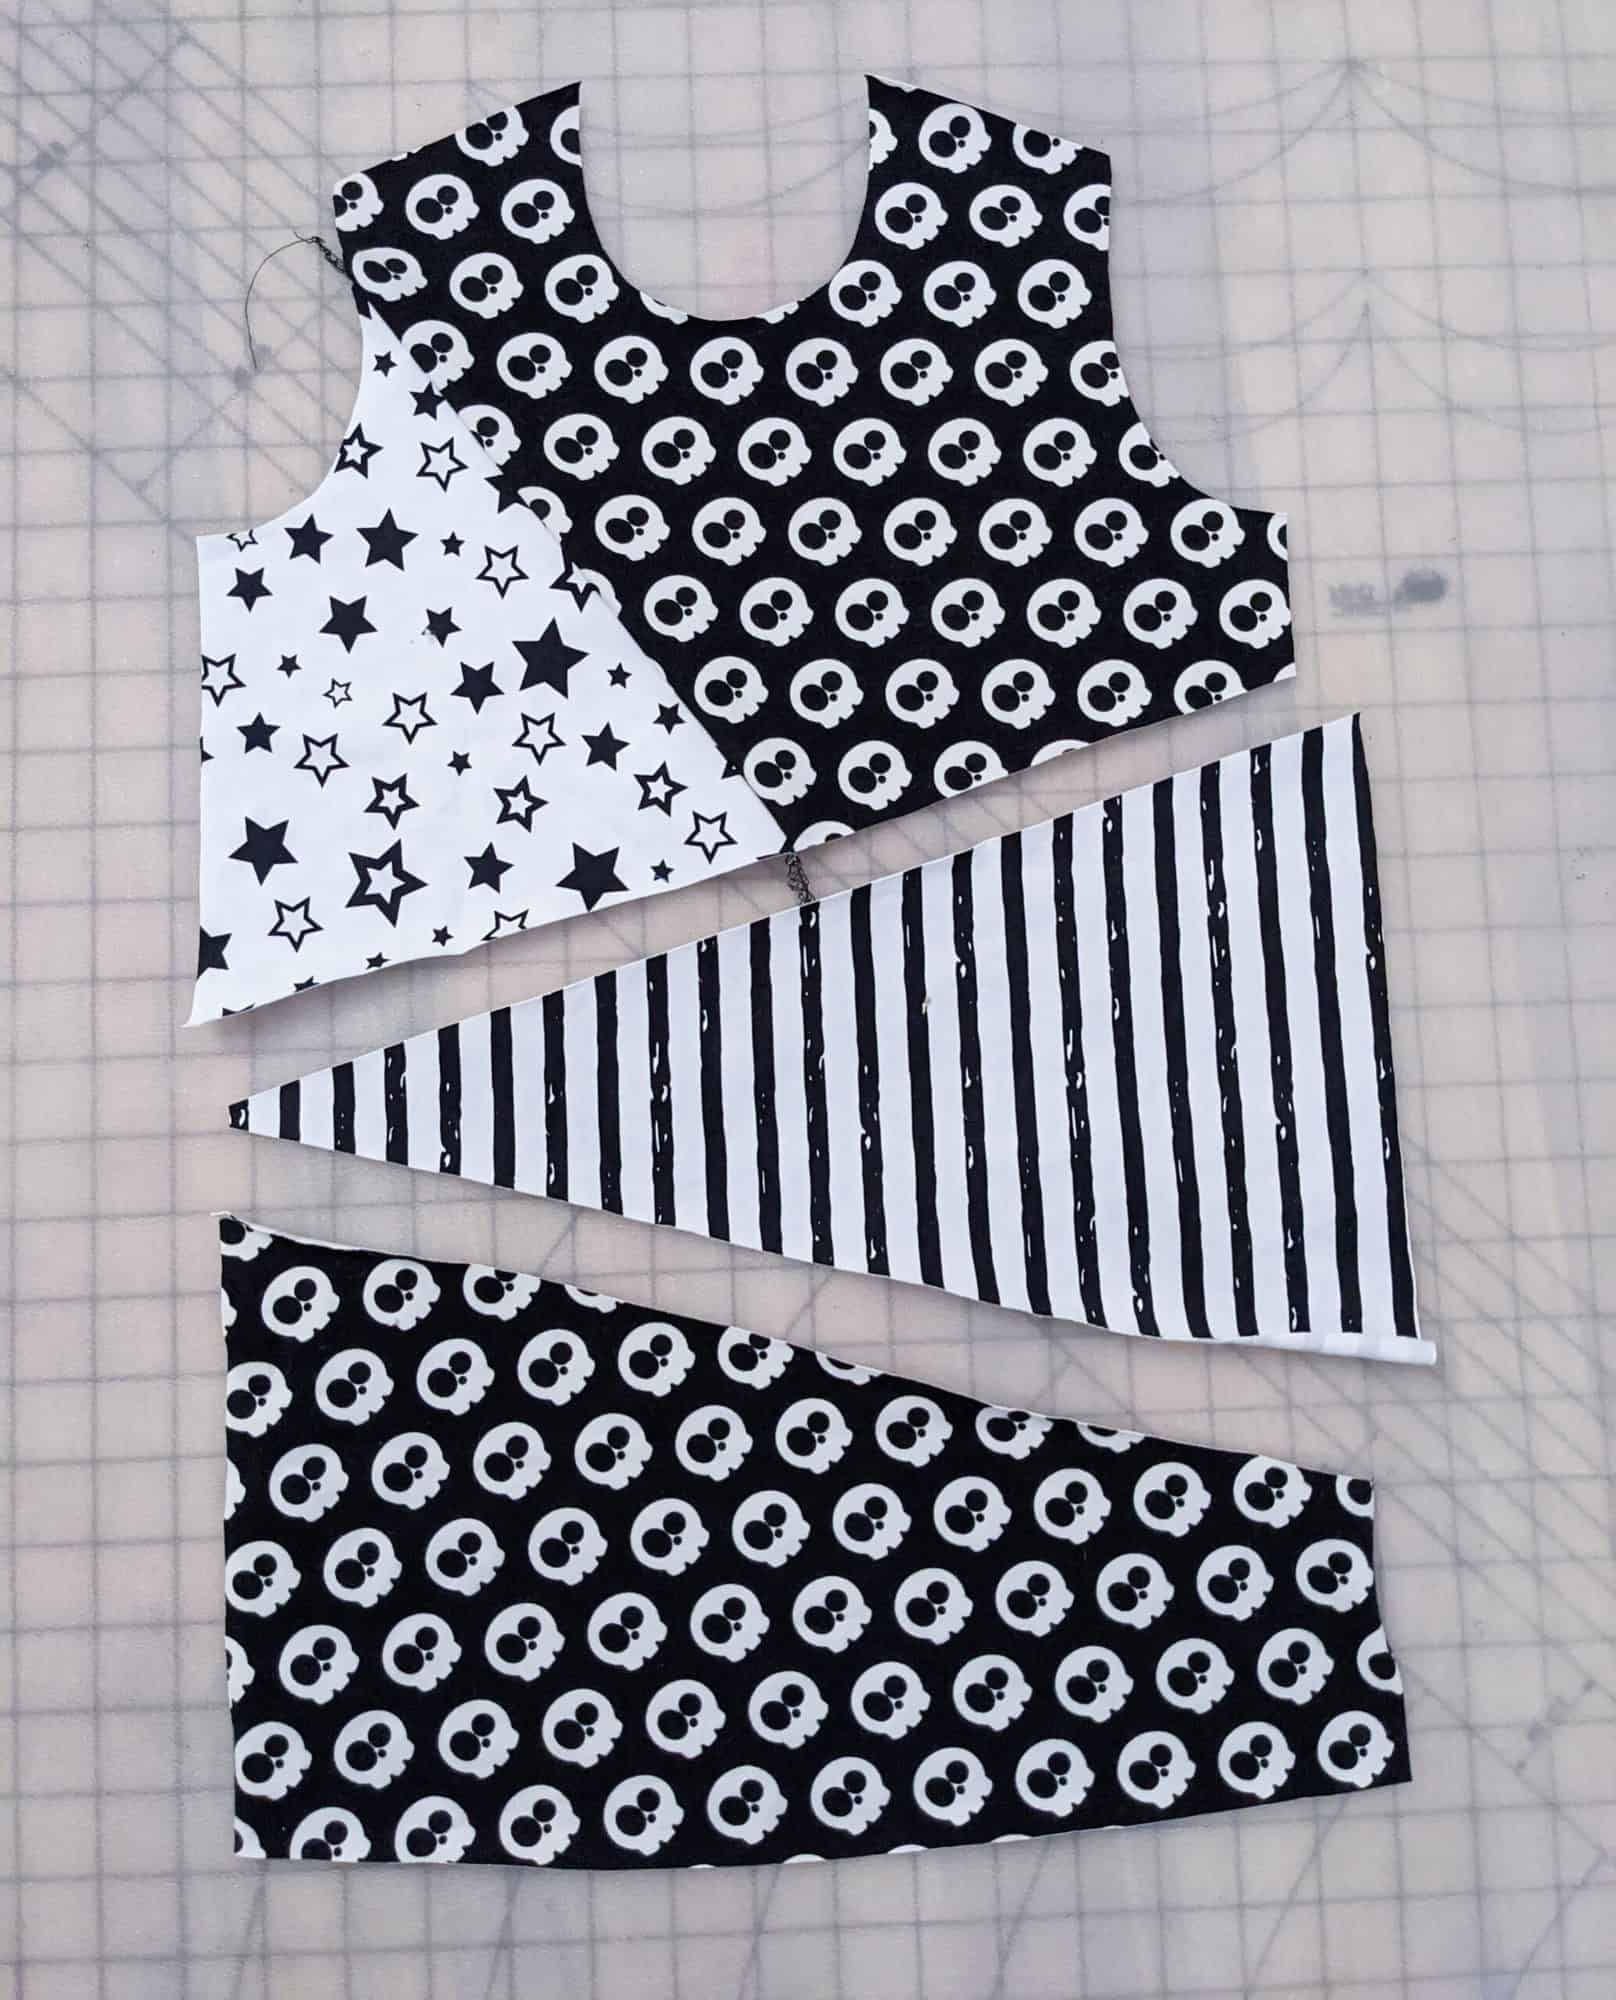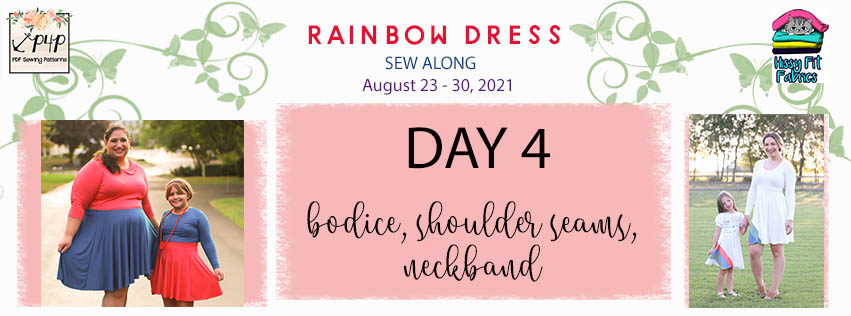
Welcome to the fourth day! Today we start working on the bodice, pretty quick sewing day.
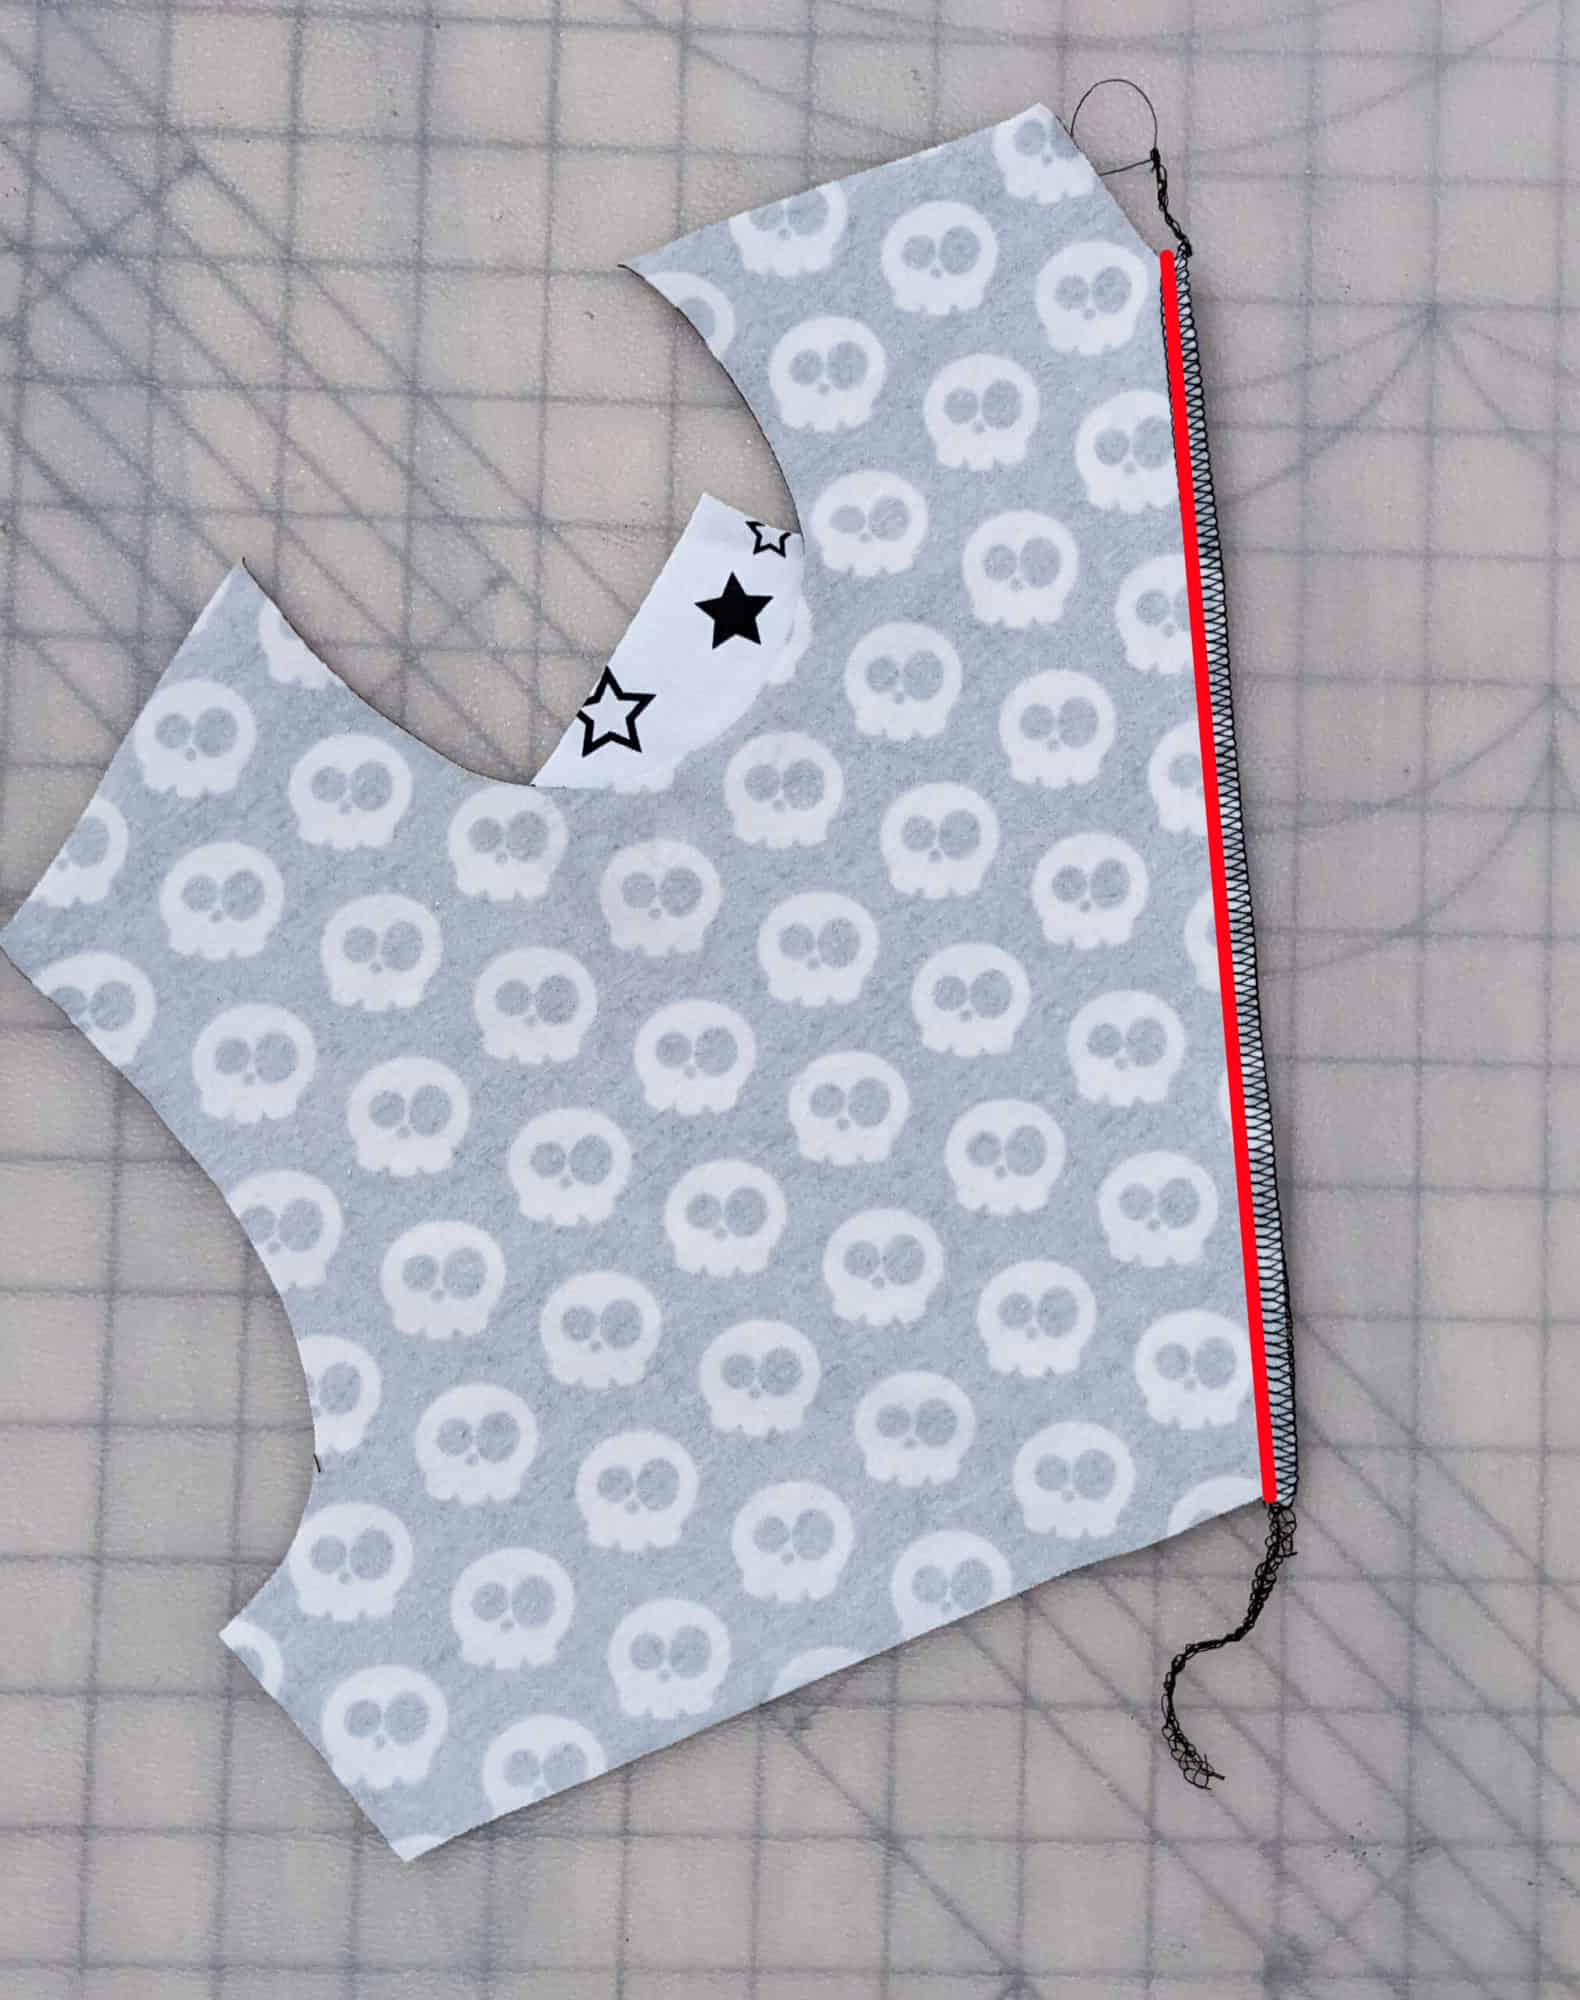
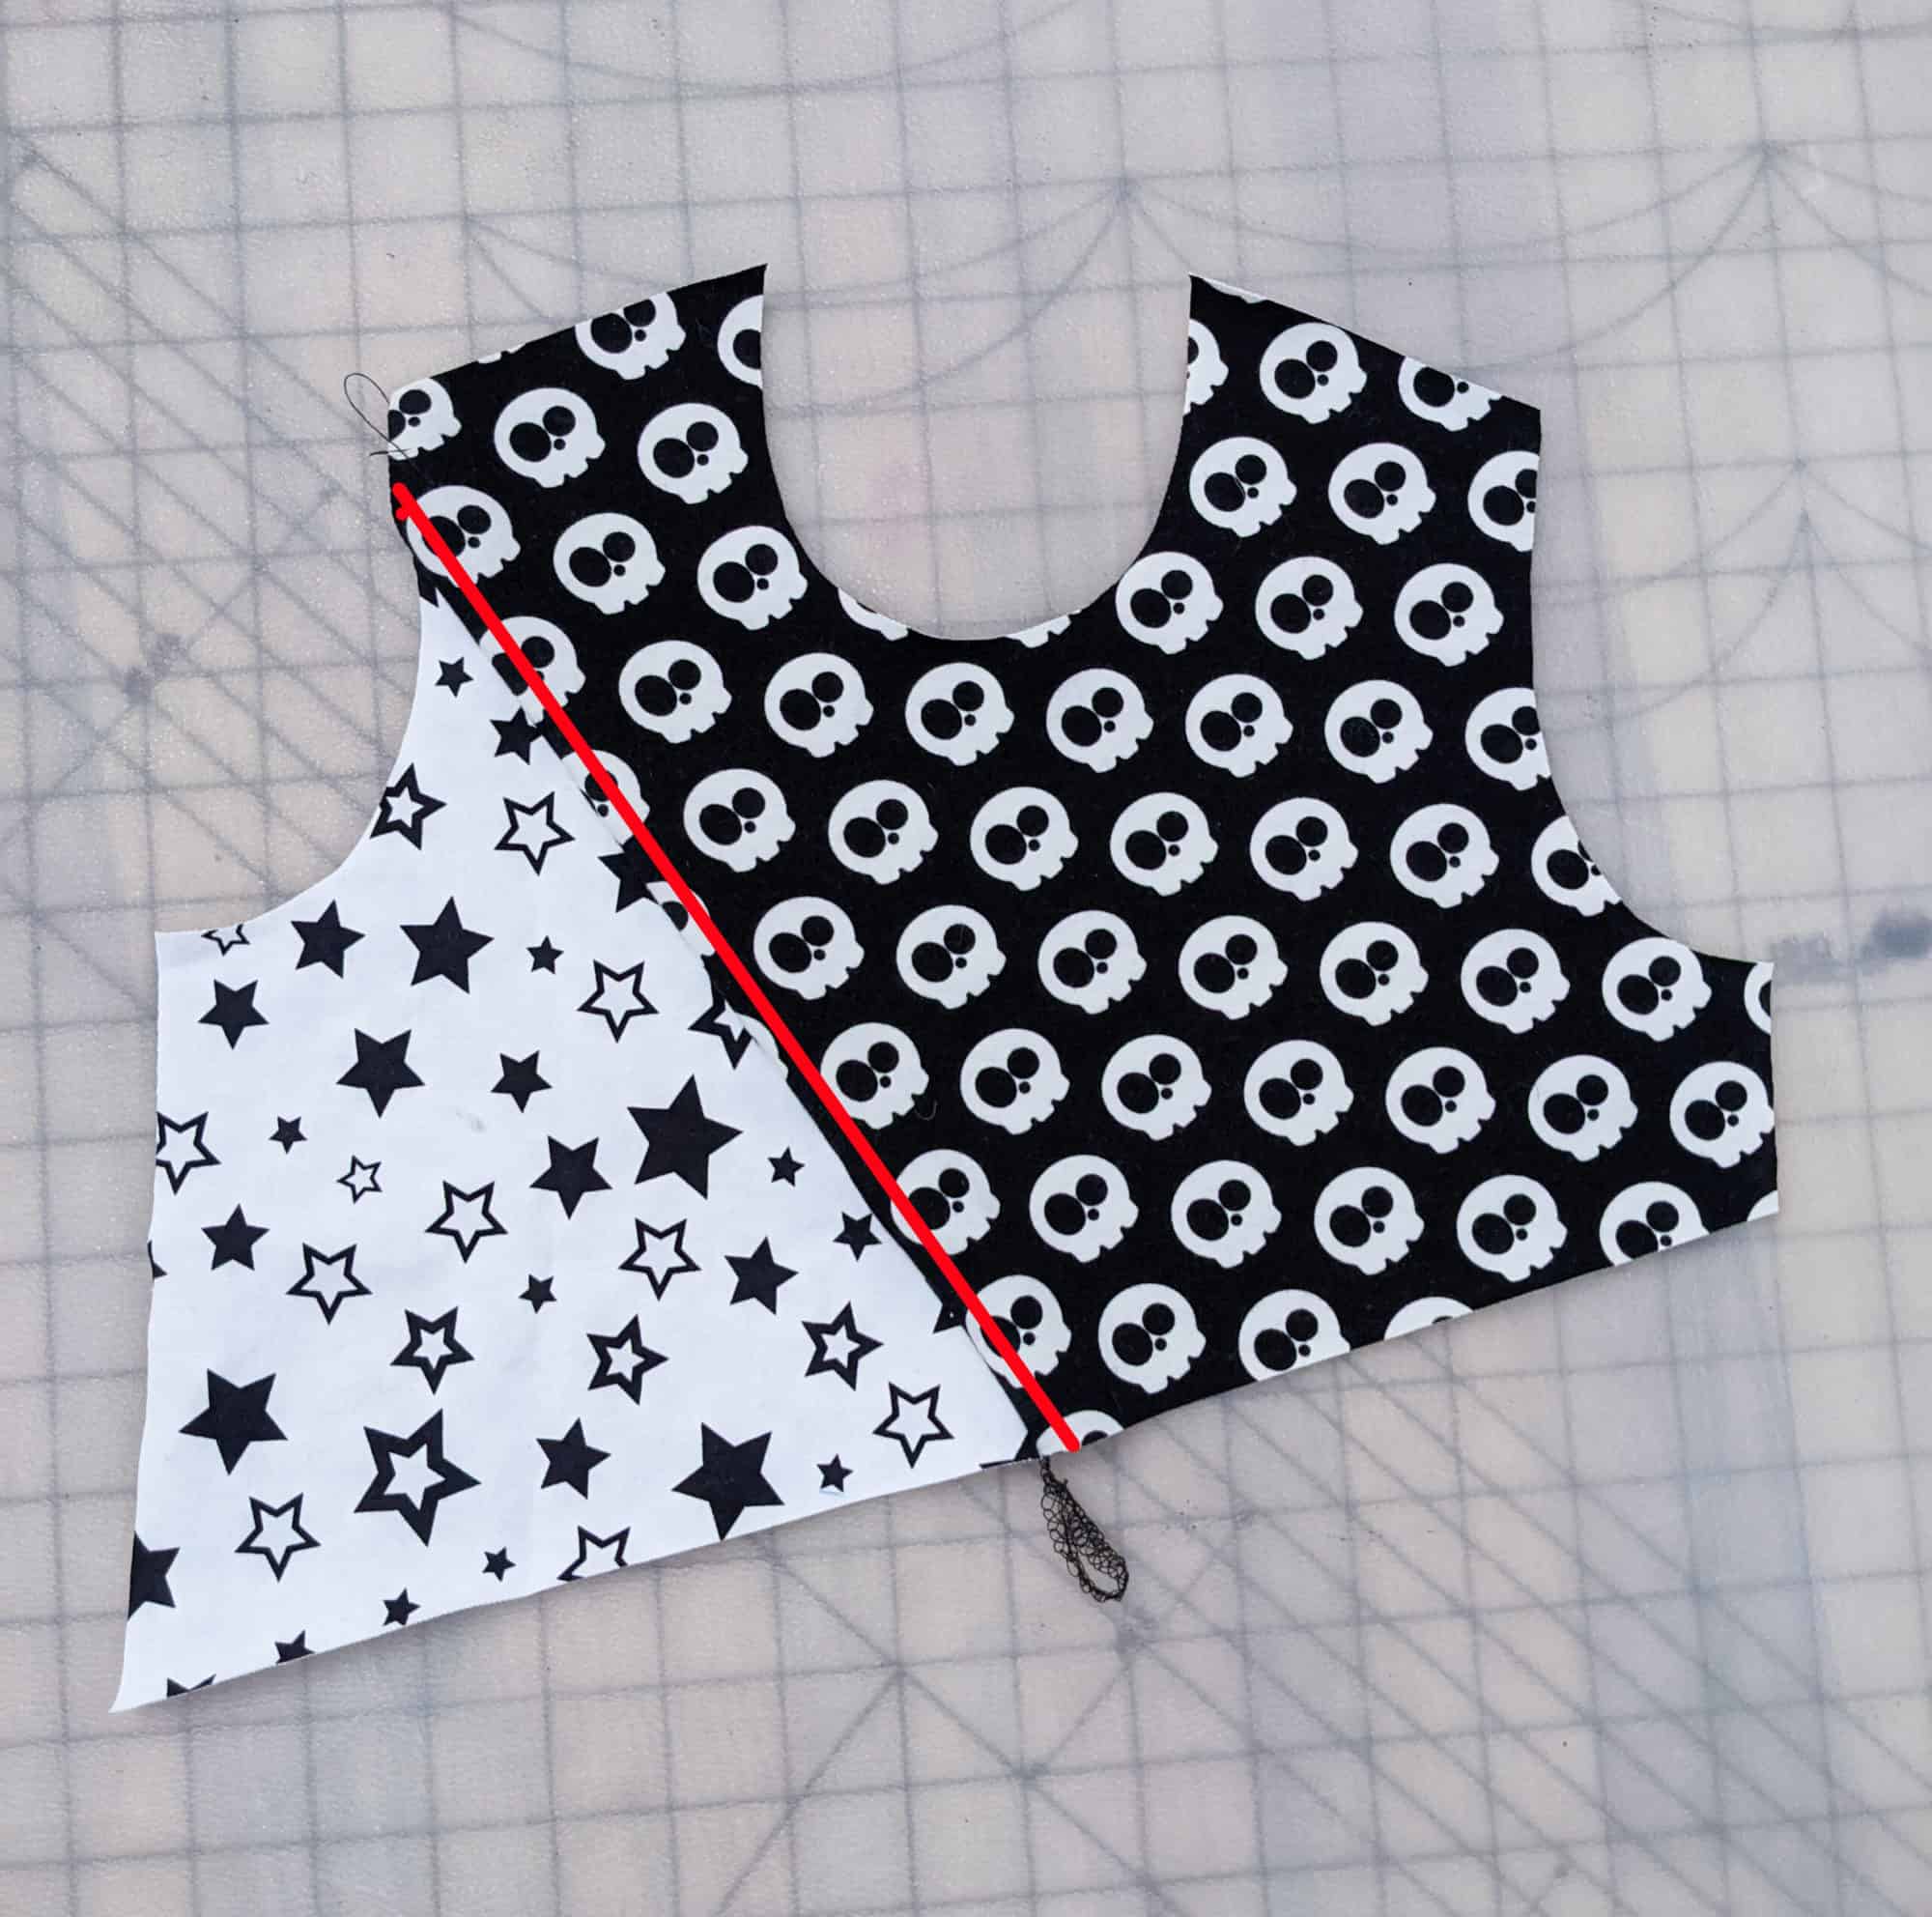
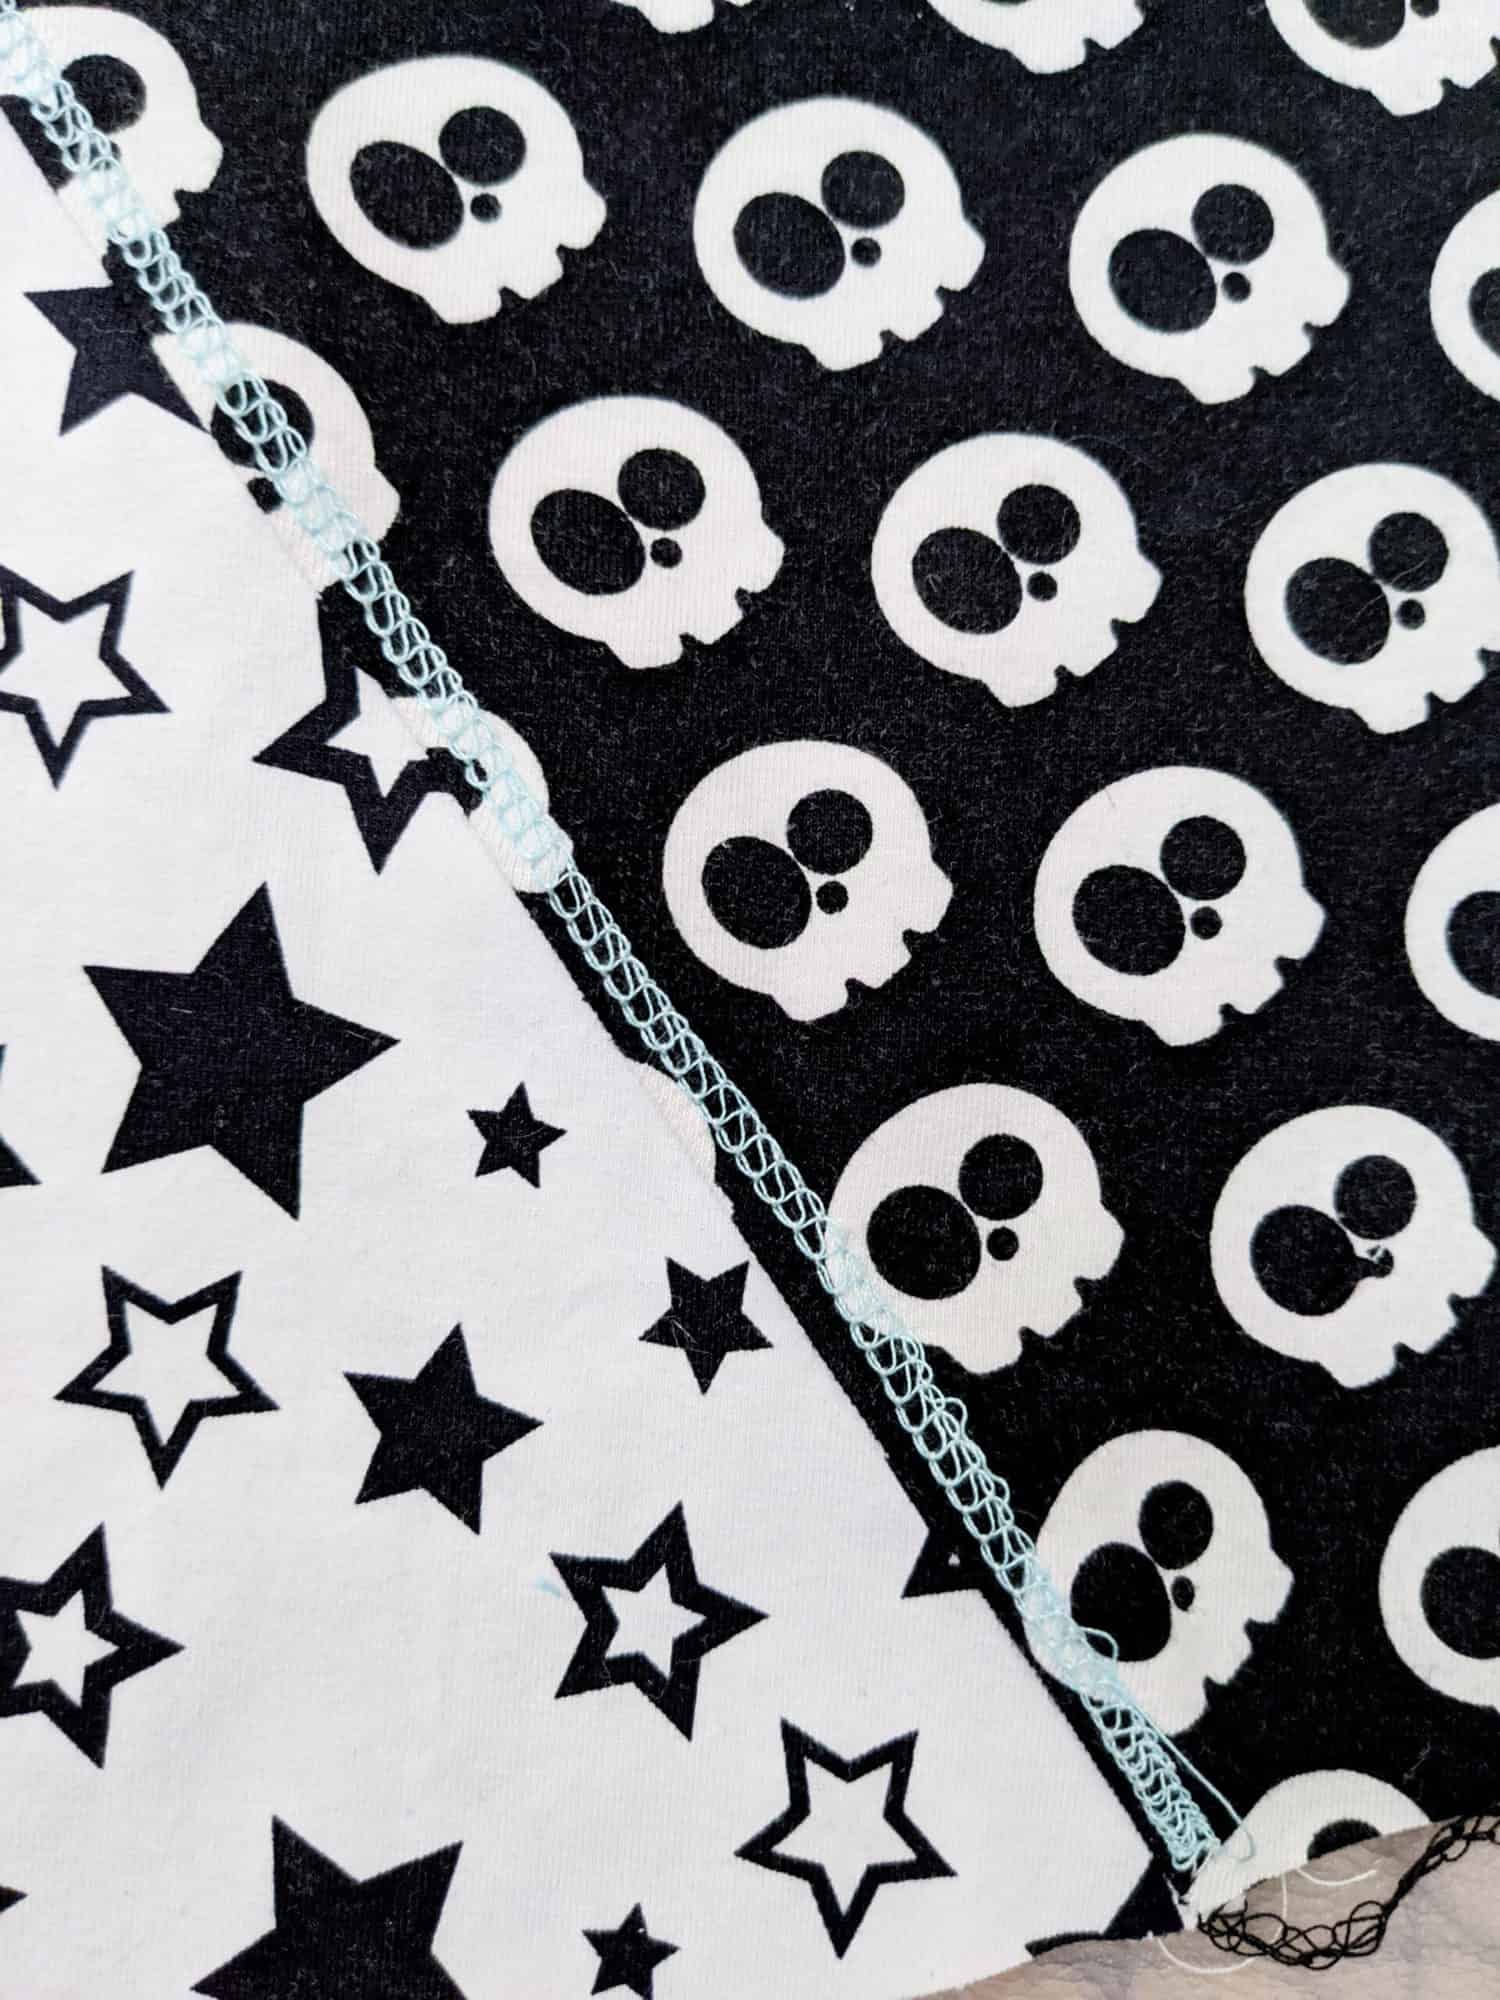
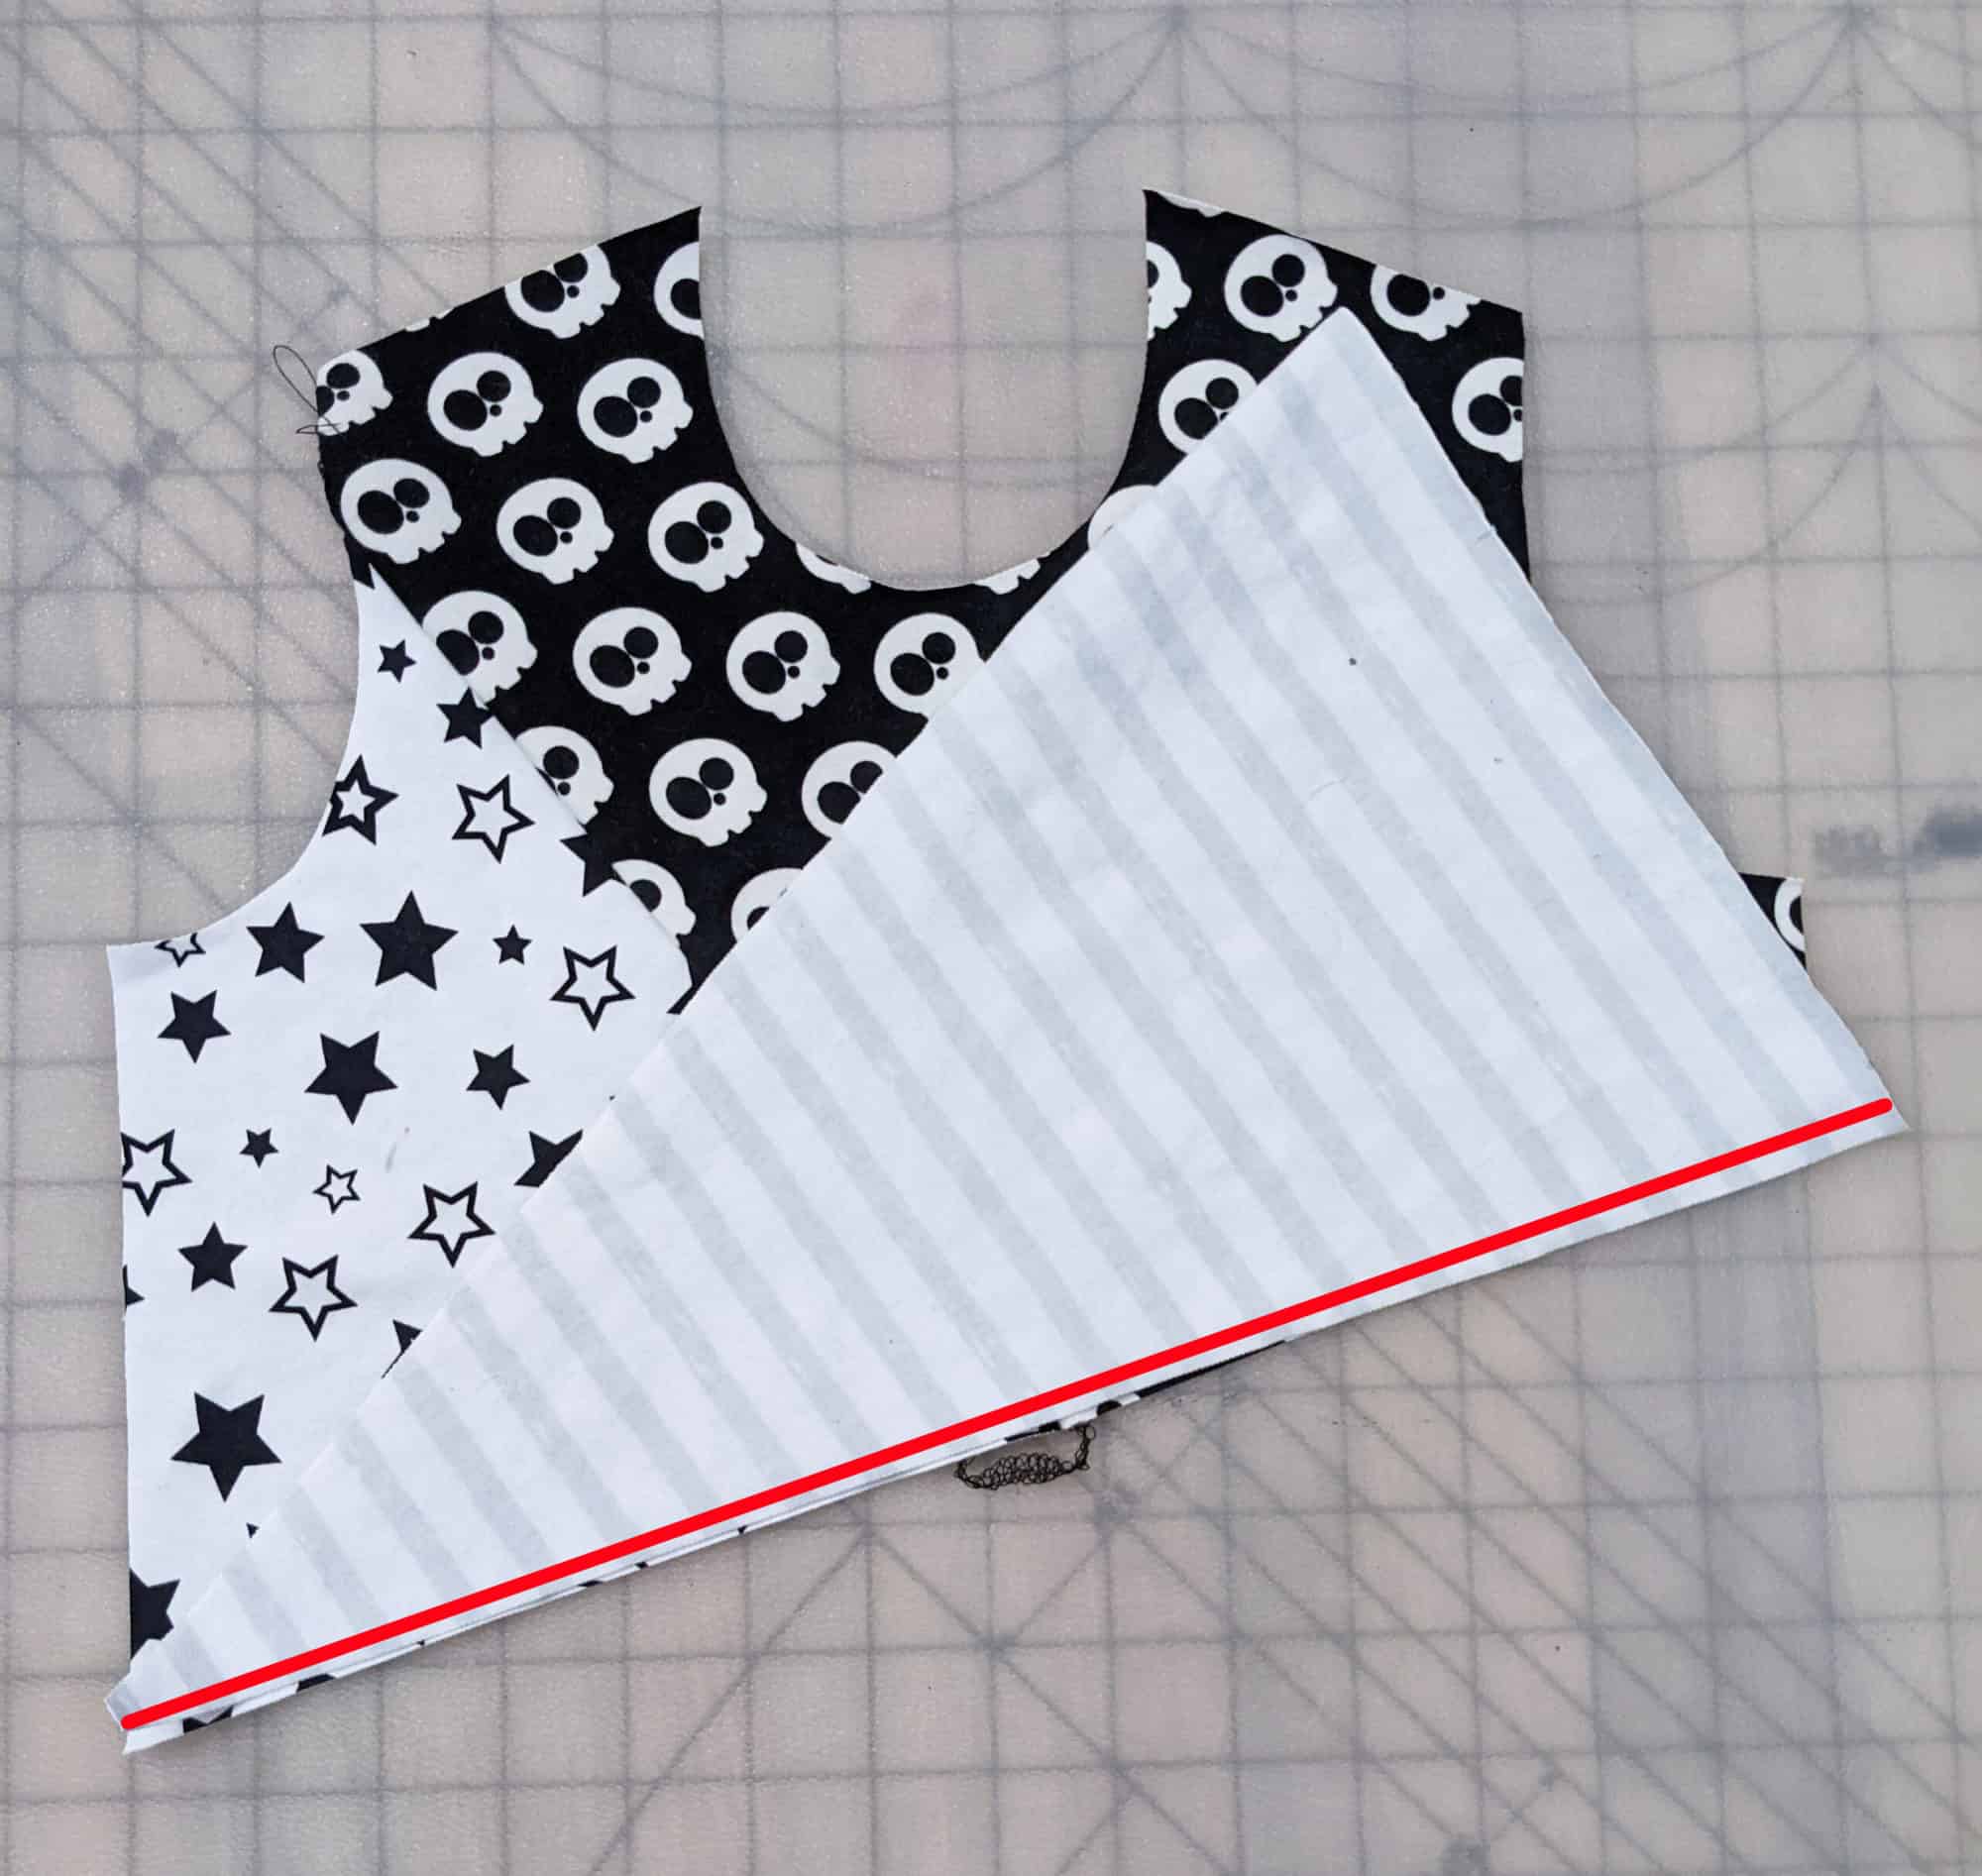
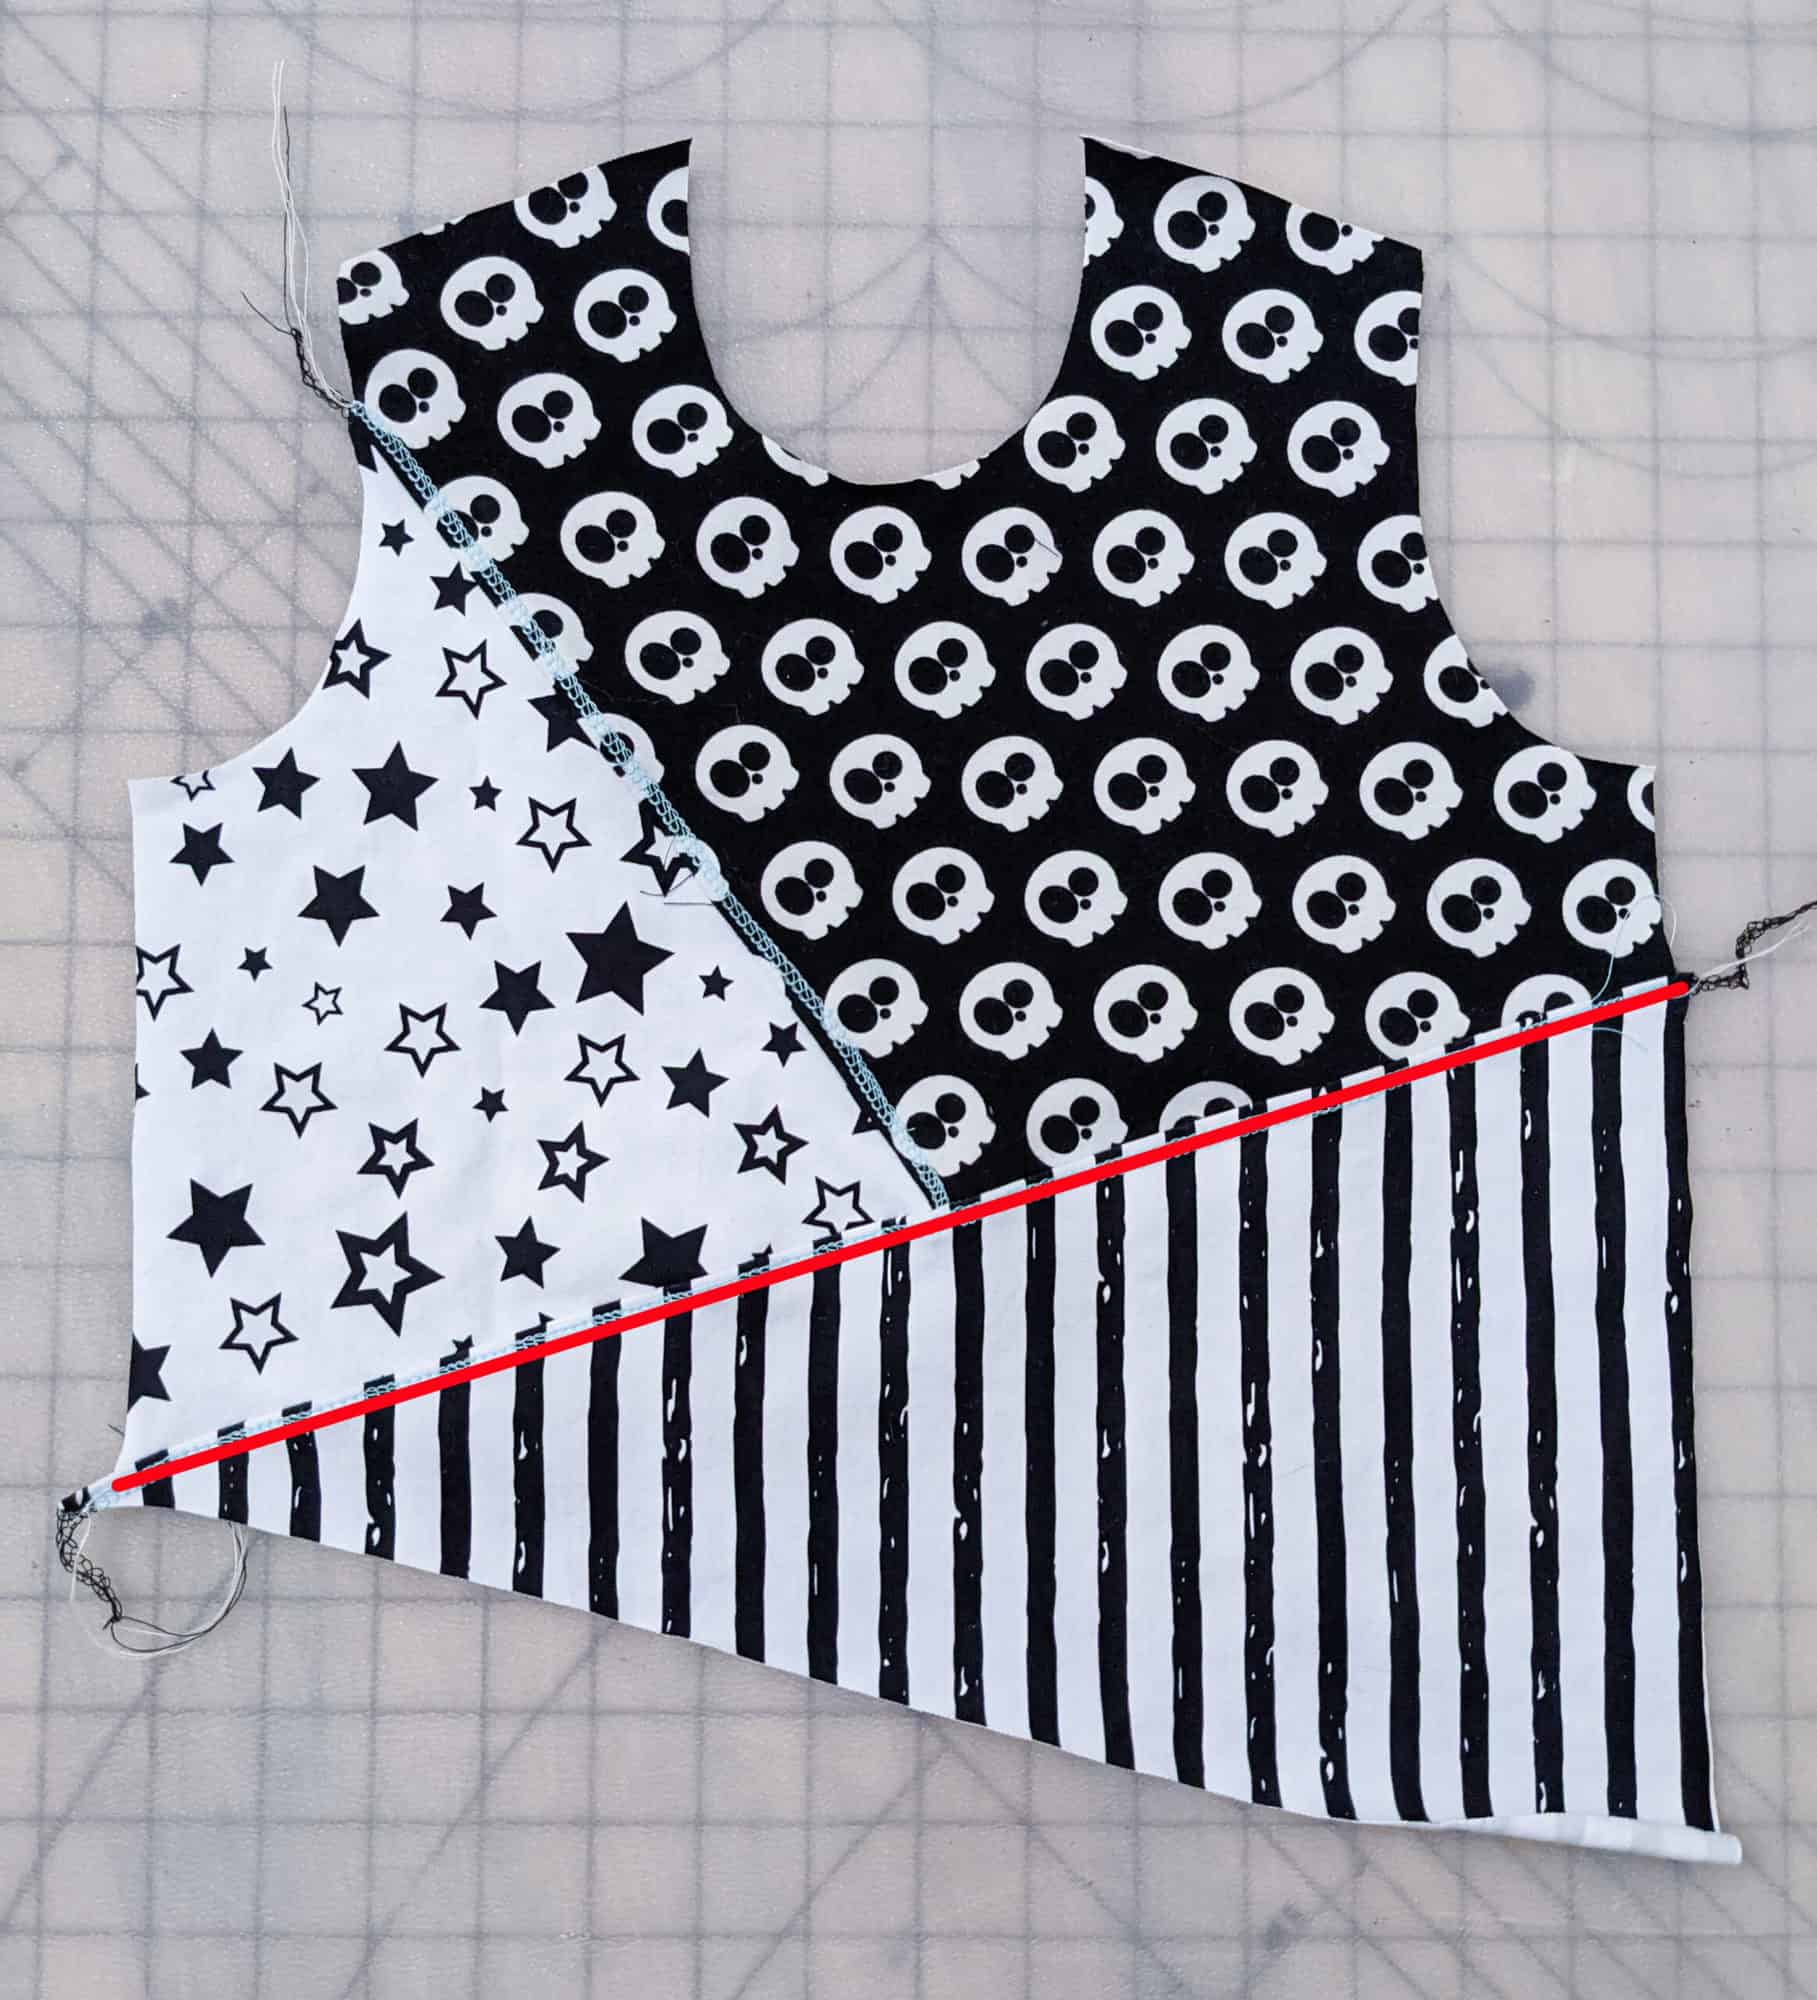
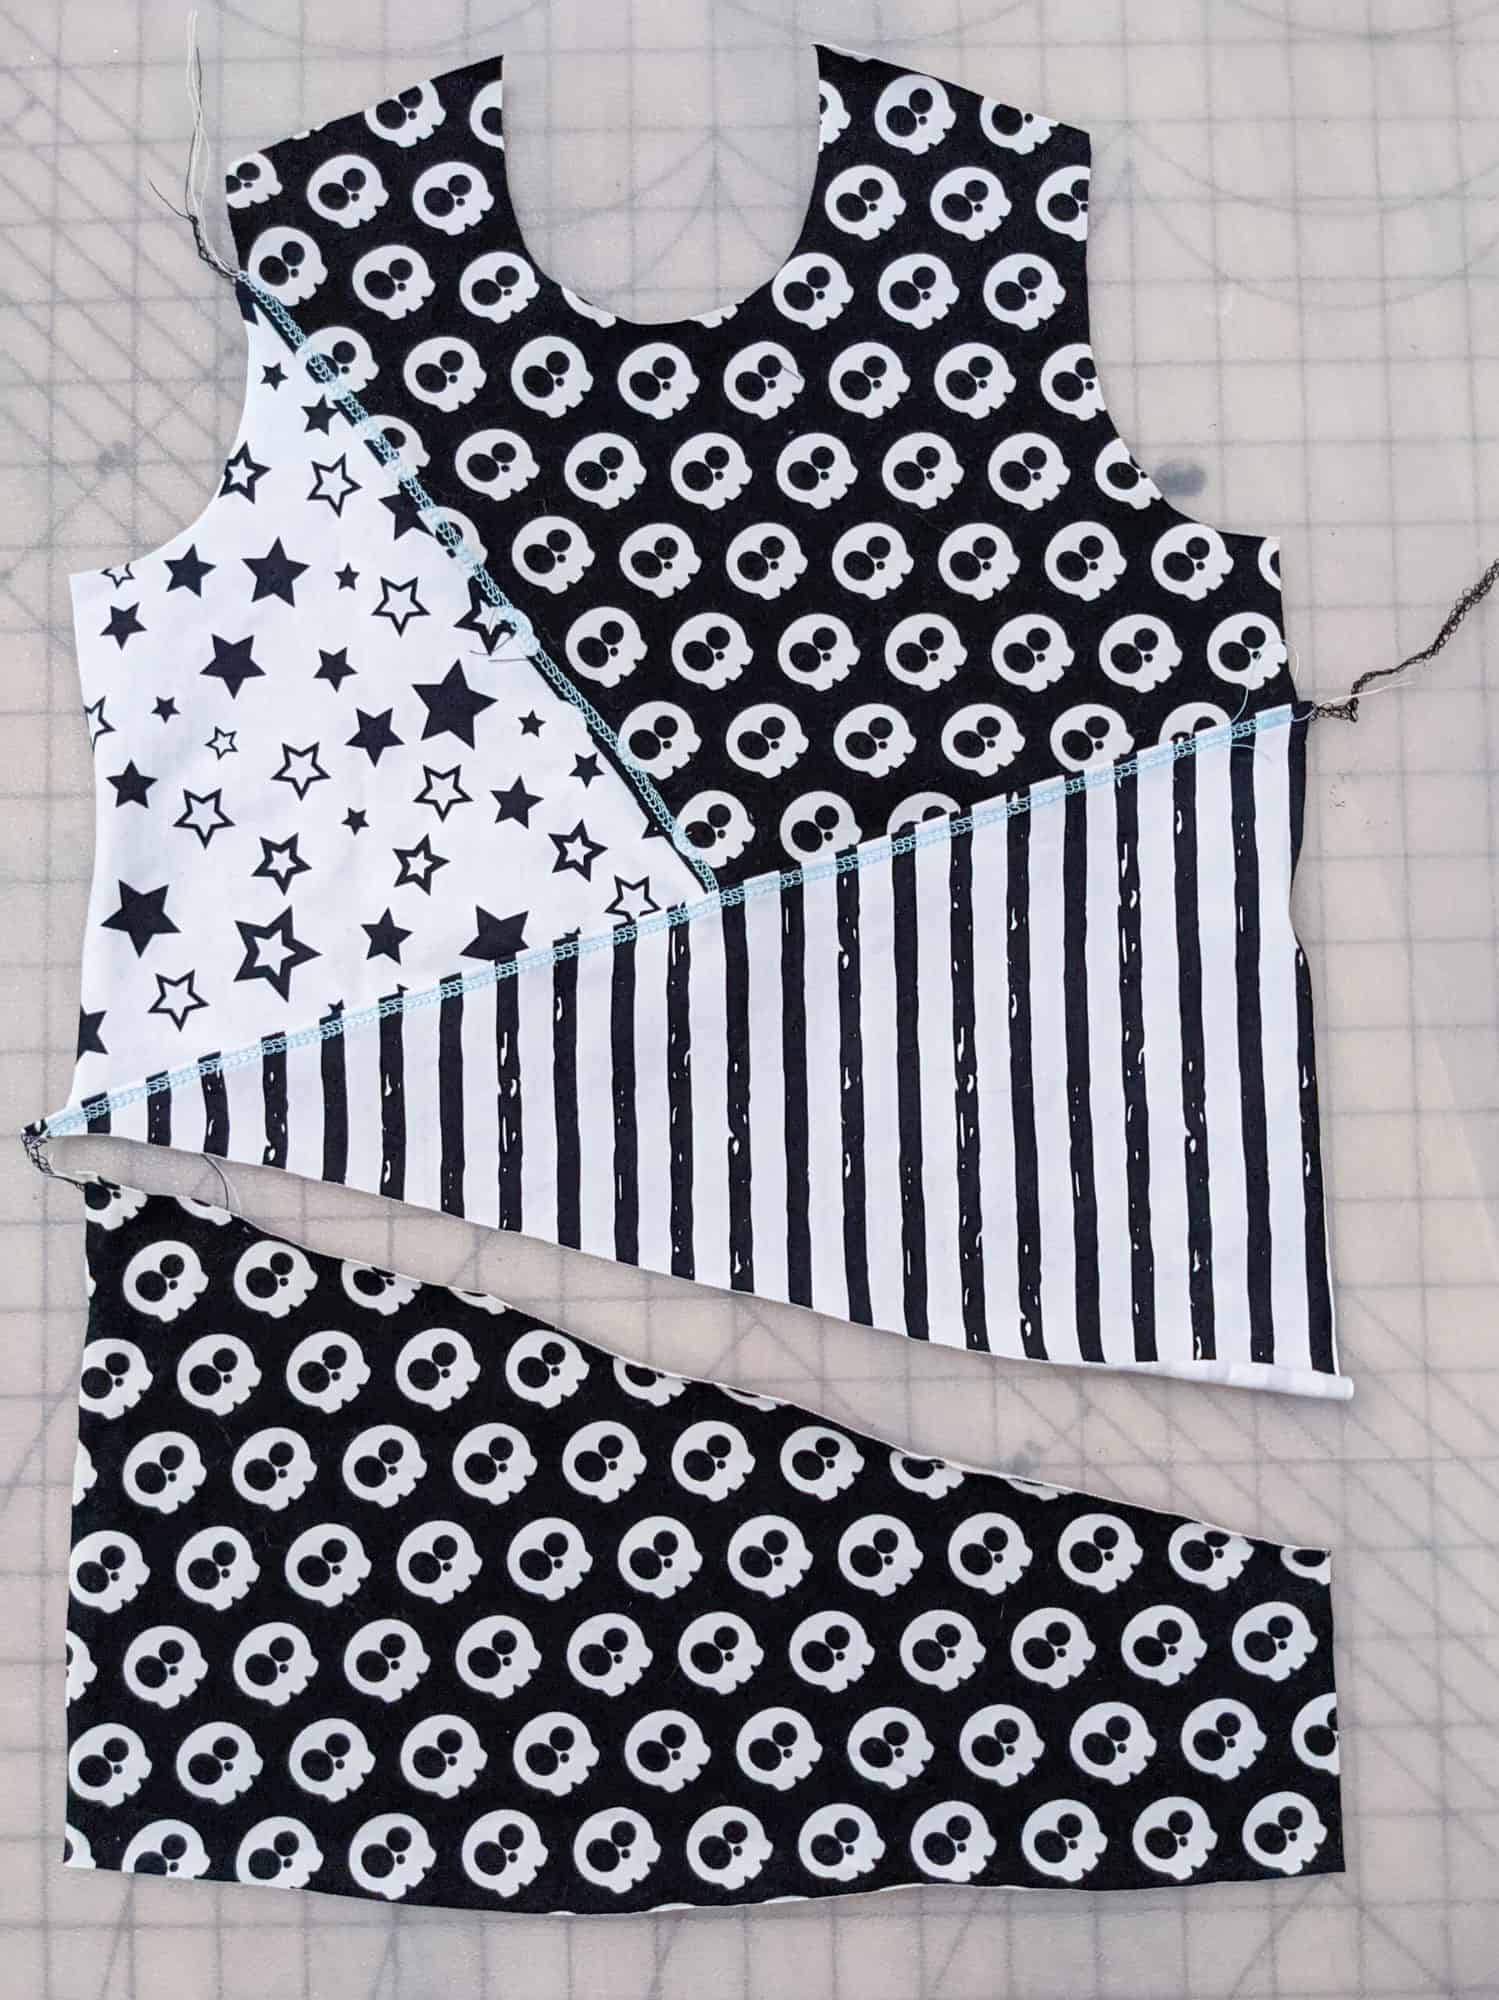
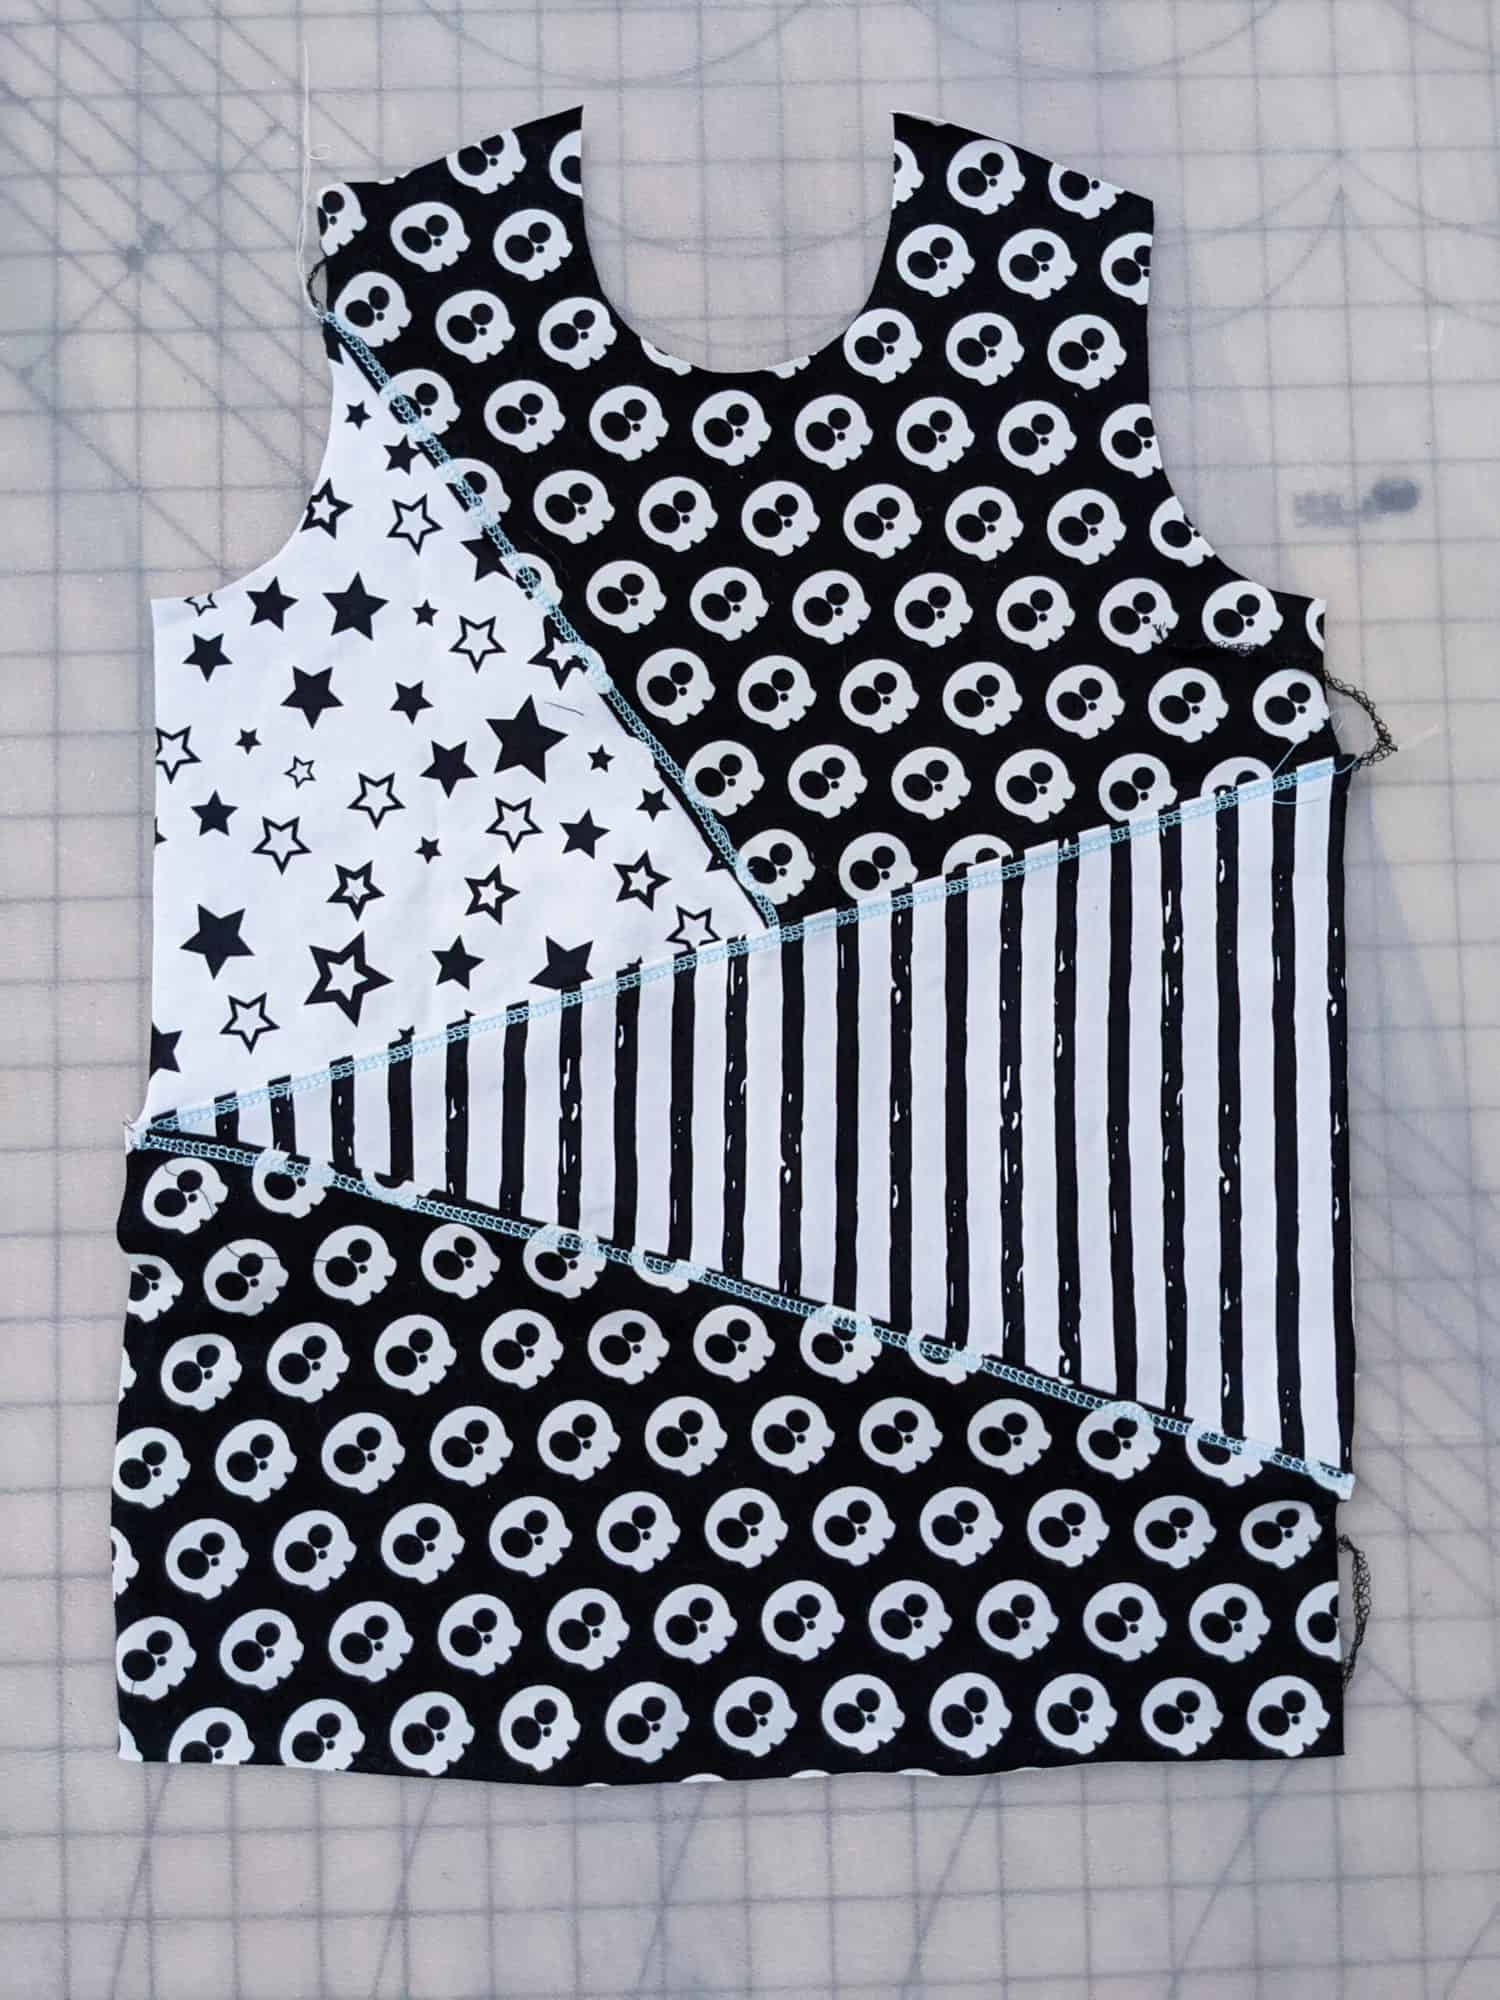
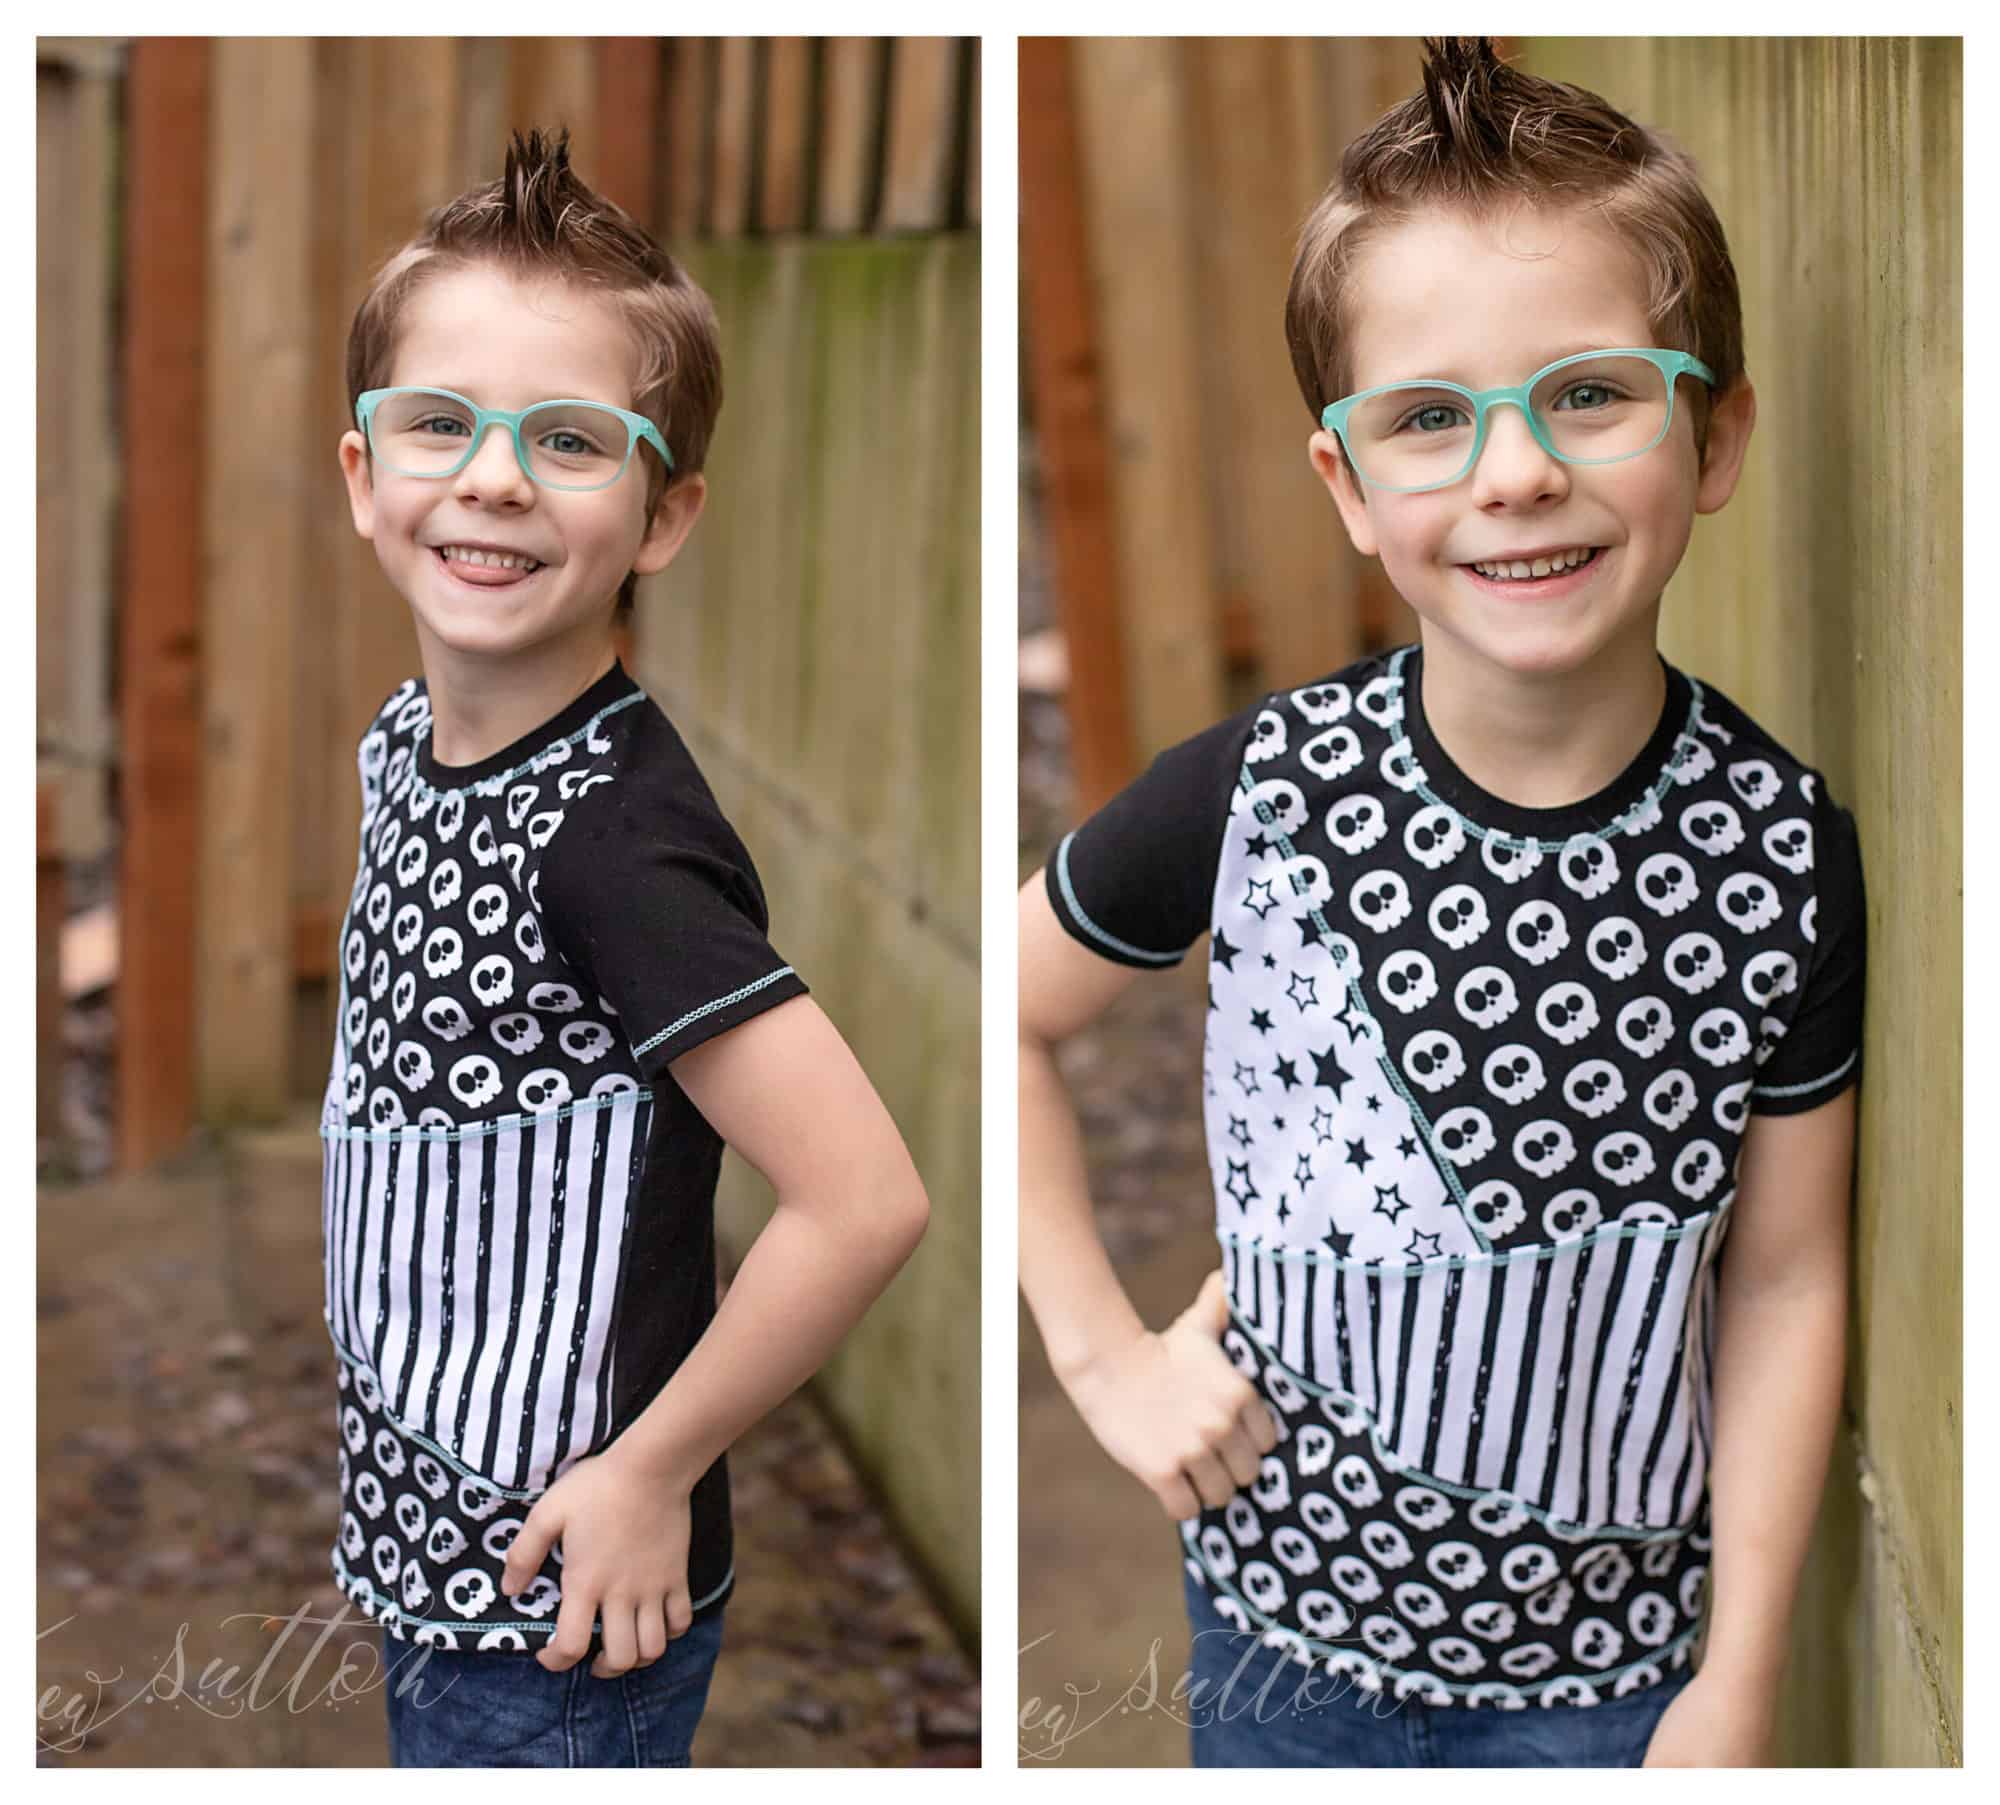
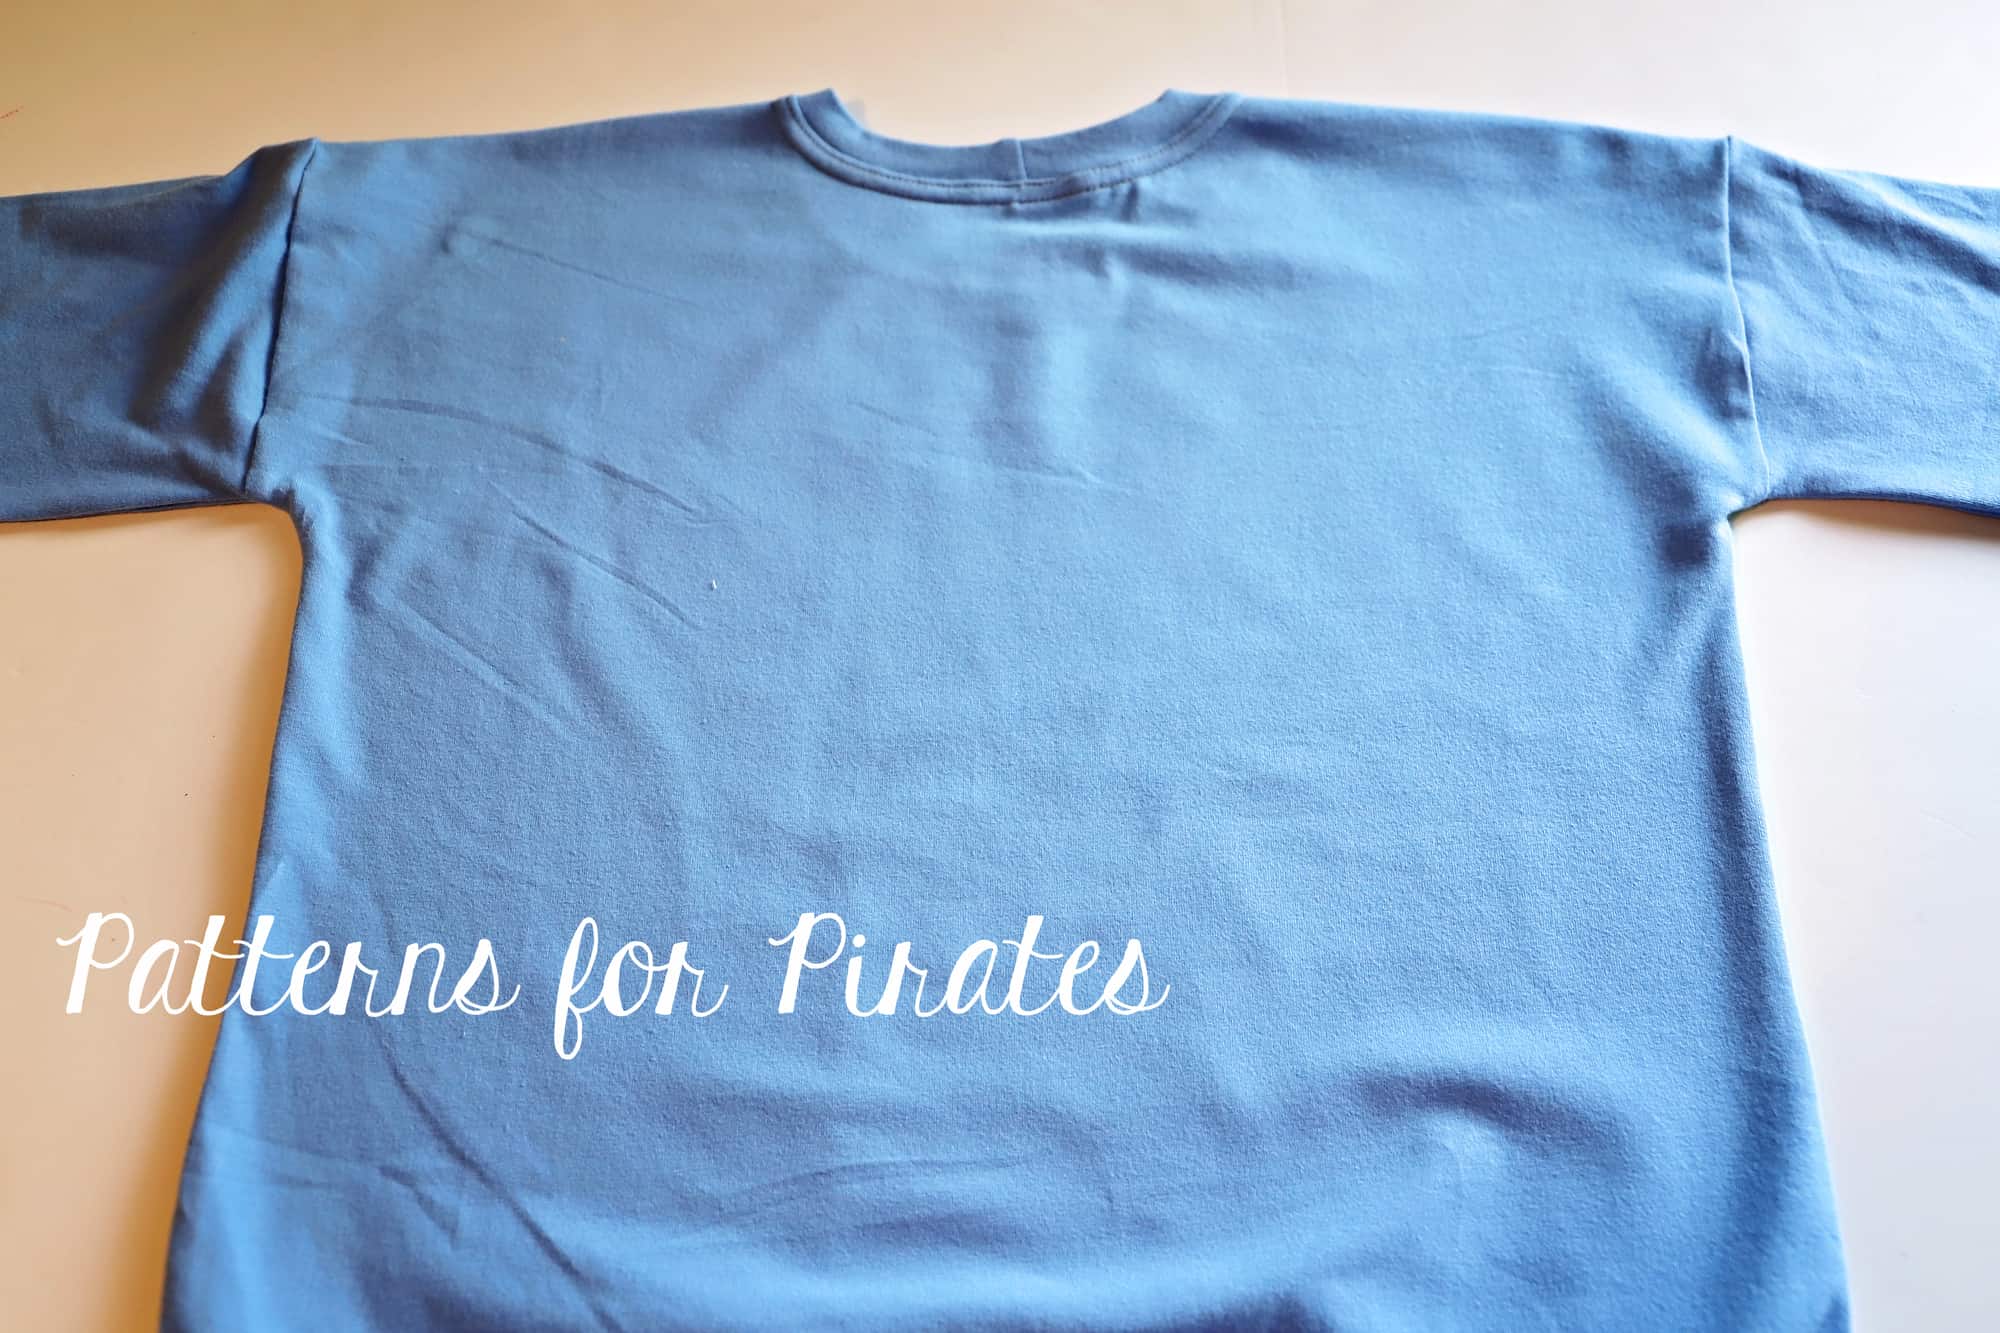
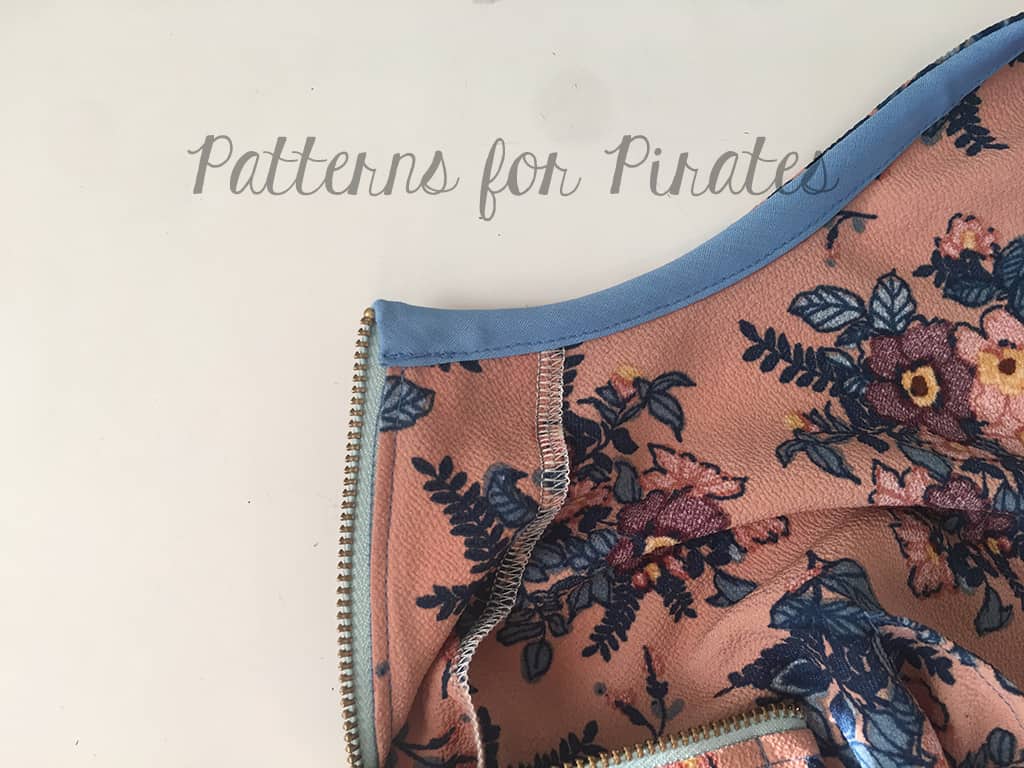
Let’s start by placing the bodice front and back, right sides together, aligning the shoulder edge. If your fabric is on the stretchier/heavier side, you can add clear elastic into the seam. Just remember to keep the seam allowance 1/2”, even if the clear elastic is narrower than that. Sew the shoulder seam with the serger or a stretch stitch on your sewing machine.
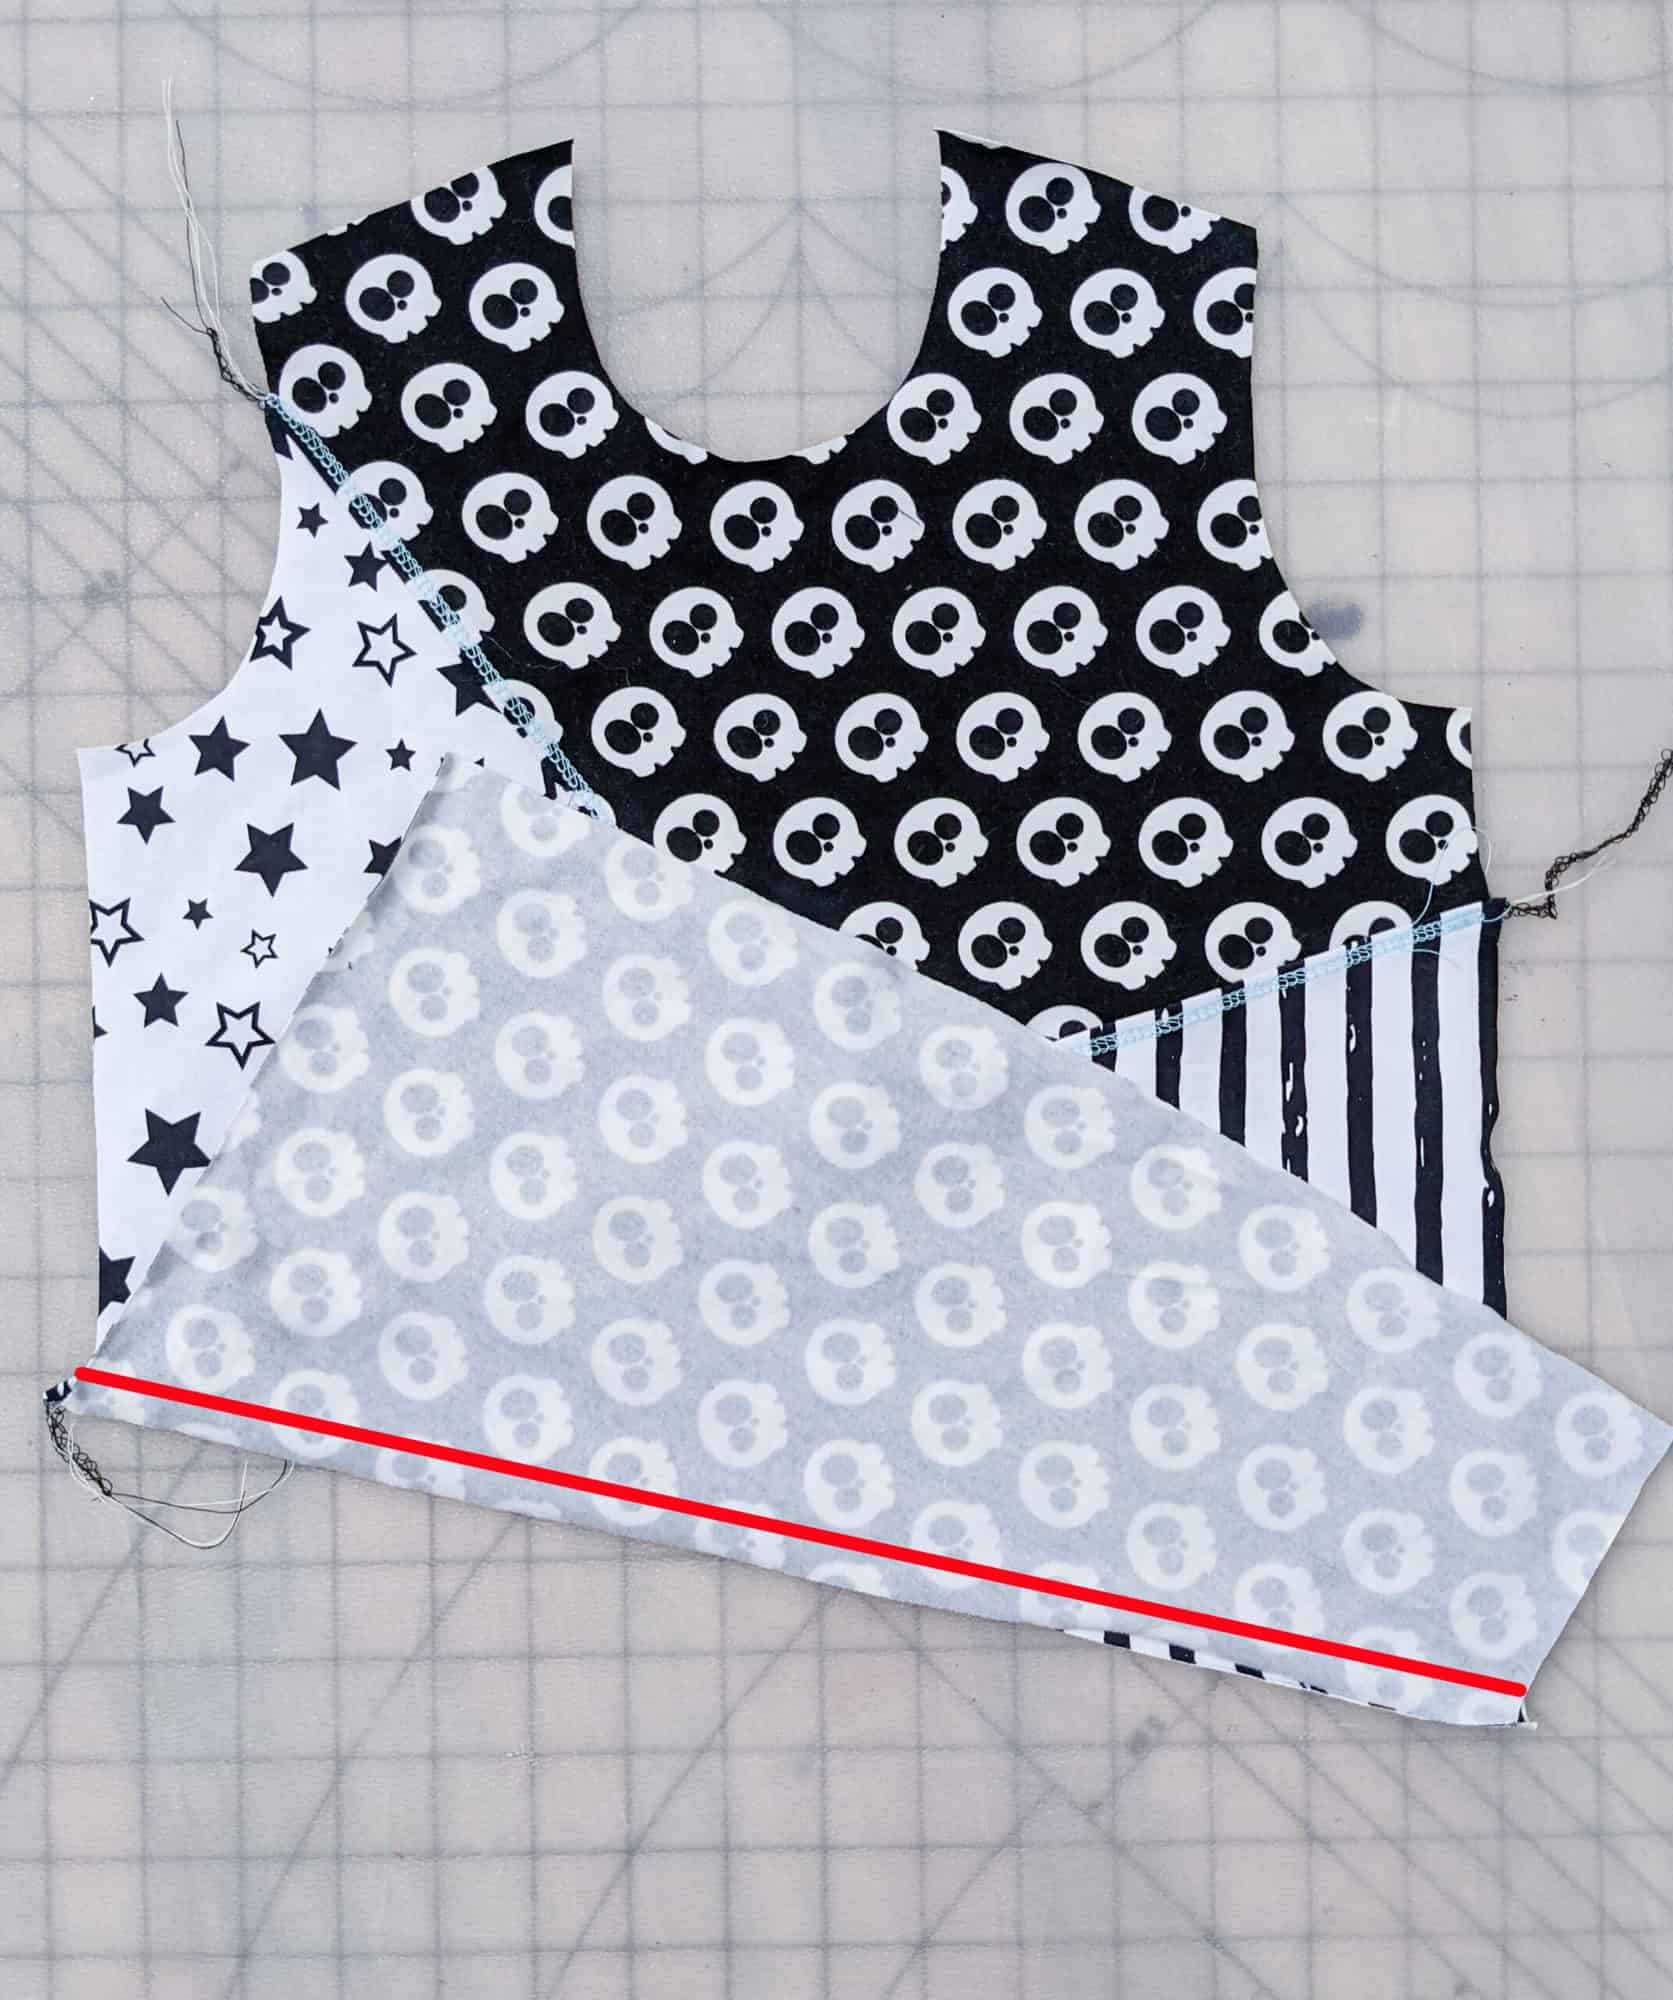
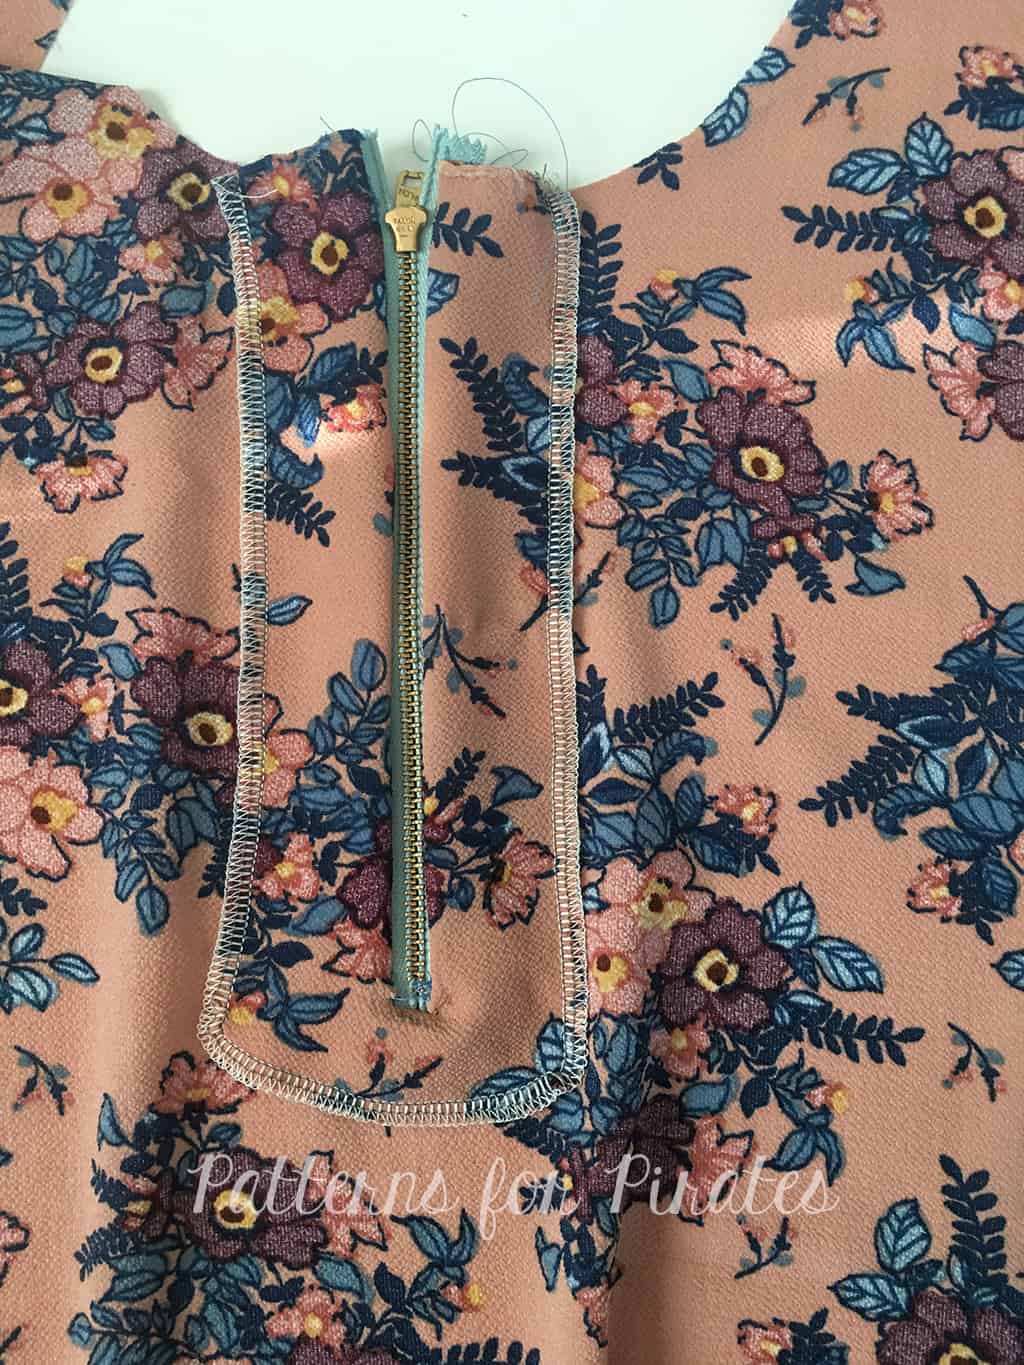
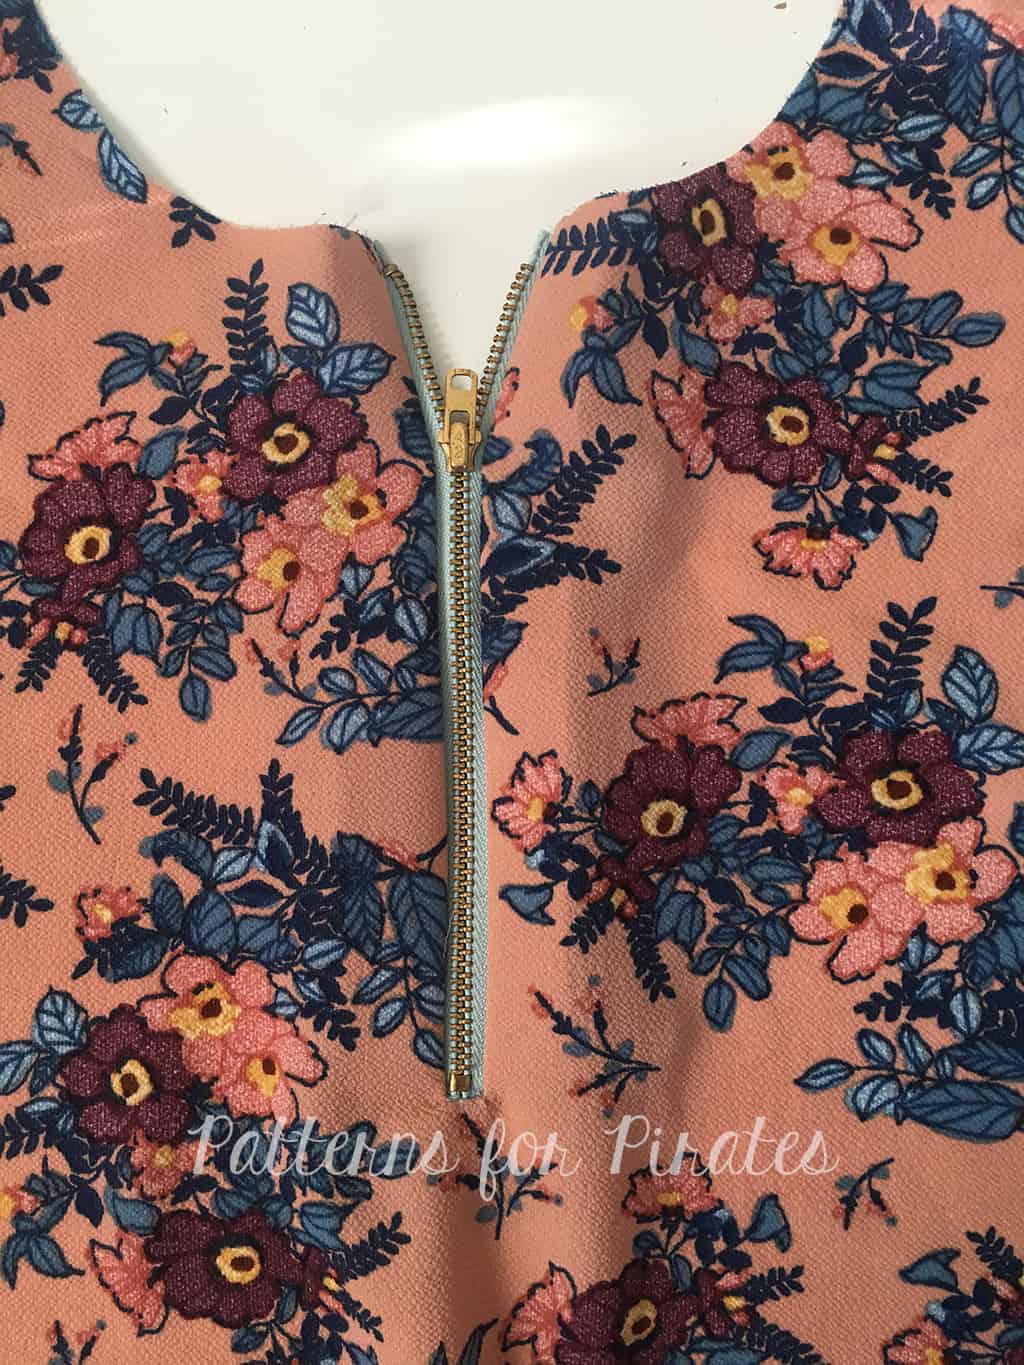
Whether you chose the high or the low scoop neckline(adult pattern only), take a look over our P4P University Neckbands 101 before you attach then neckband.
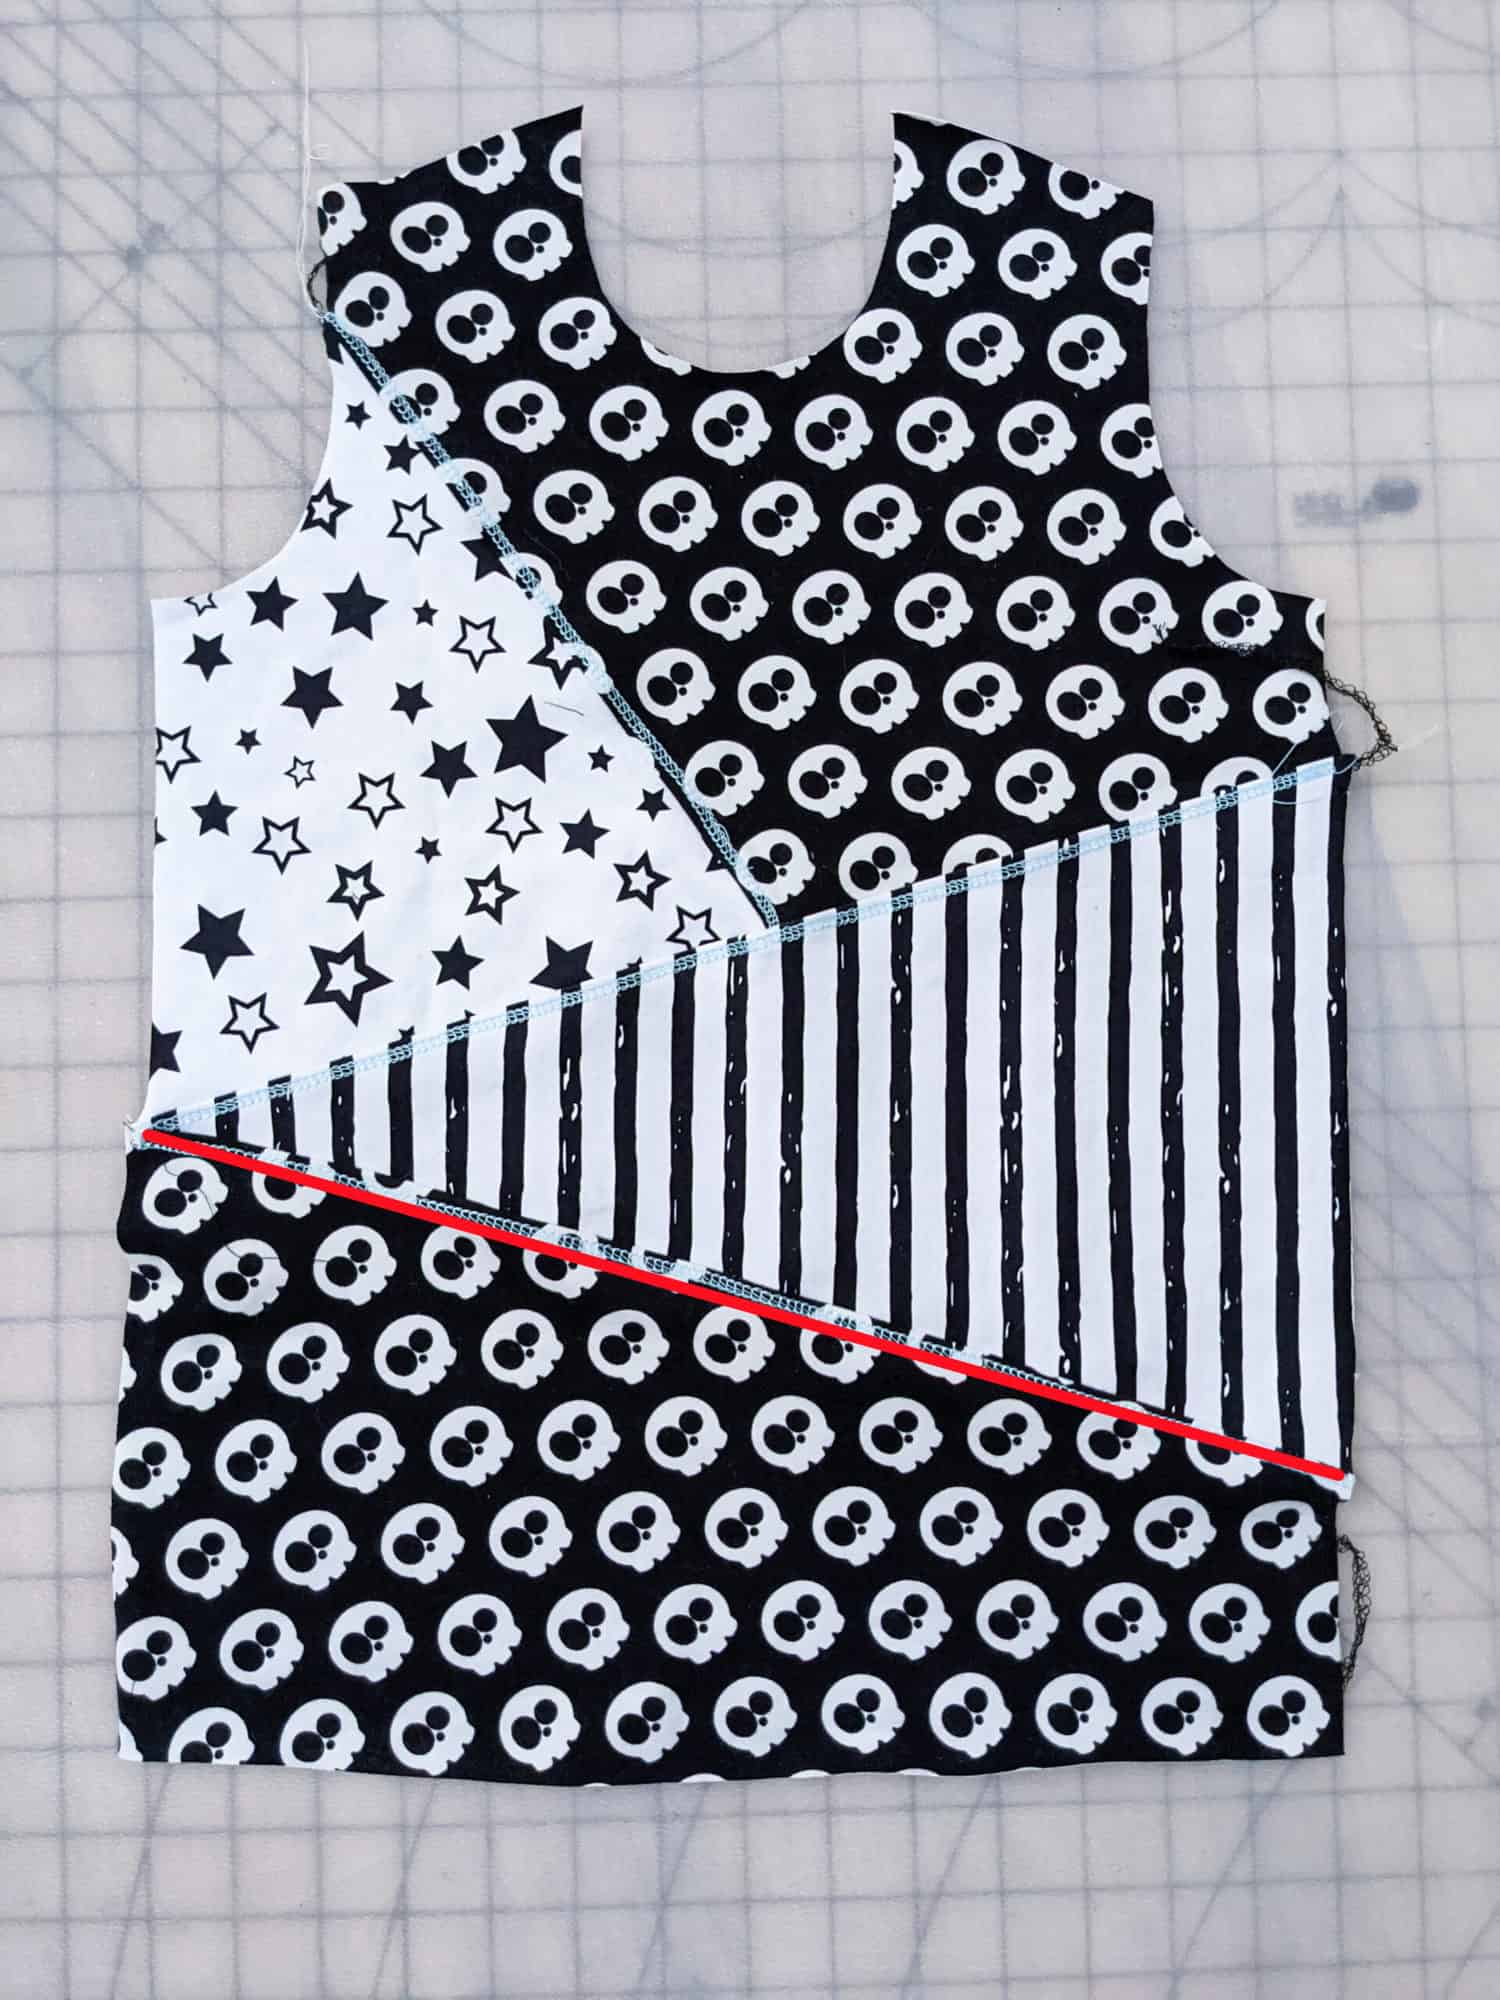
Top stitching then neckband is optional. However, if you to decide to top stitch the collar style, I strongly recommend using a triple stretch stitch or a lightning bolt stitch for this step.
In the video below I show you how to sew the shoulder seam and add the neckband using a serger. When you finish these steps be sure to post a picture of your progress in the comments of the Day 4 photo (album is in the M4M & P4P Sew along group). See you back here tomorrow!
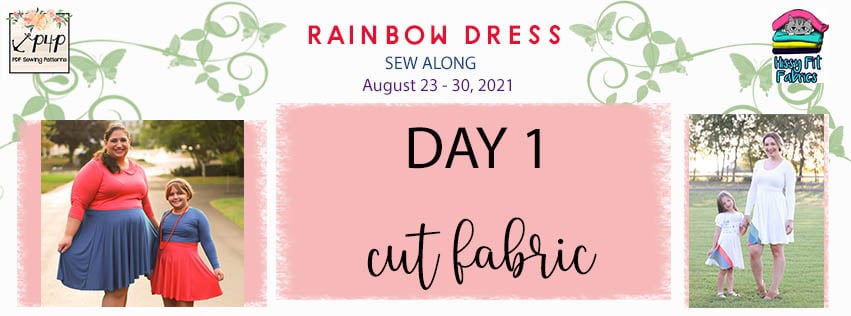
Rainbow Dress SAL – day 1 | Cut fabric
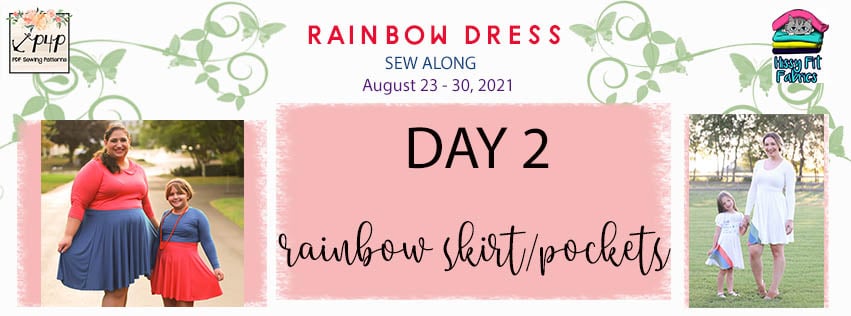
Rainbow Dress SAL – day 2 | Create rainbow skirt and add optional pockets
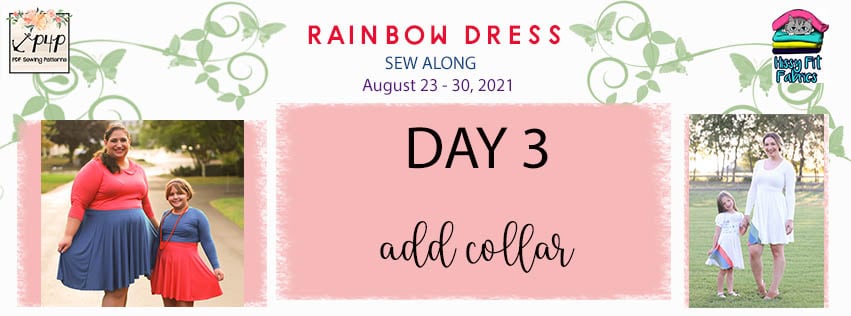
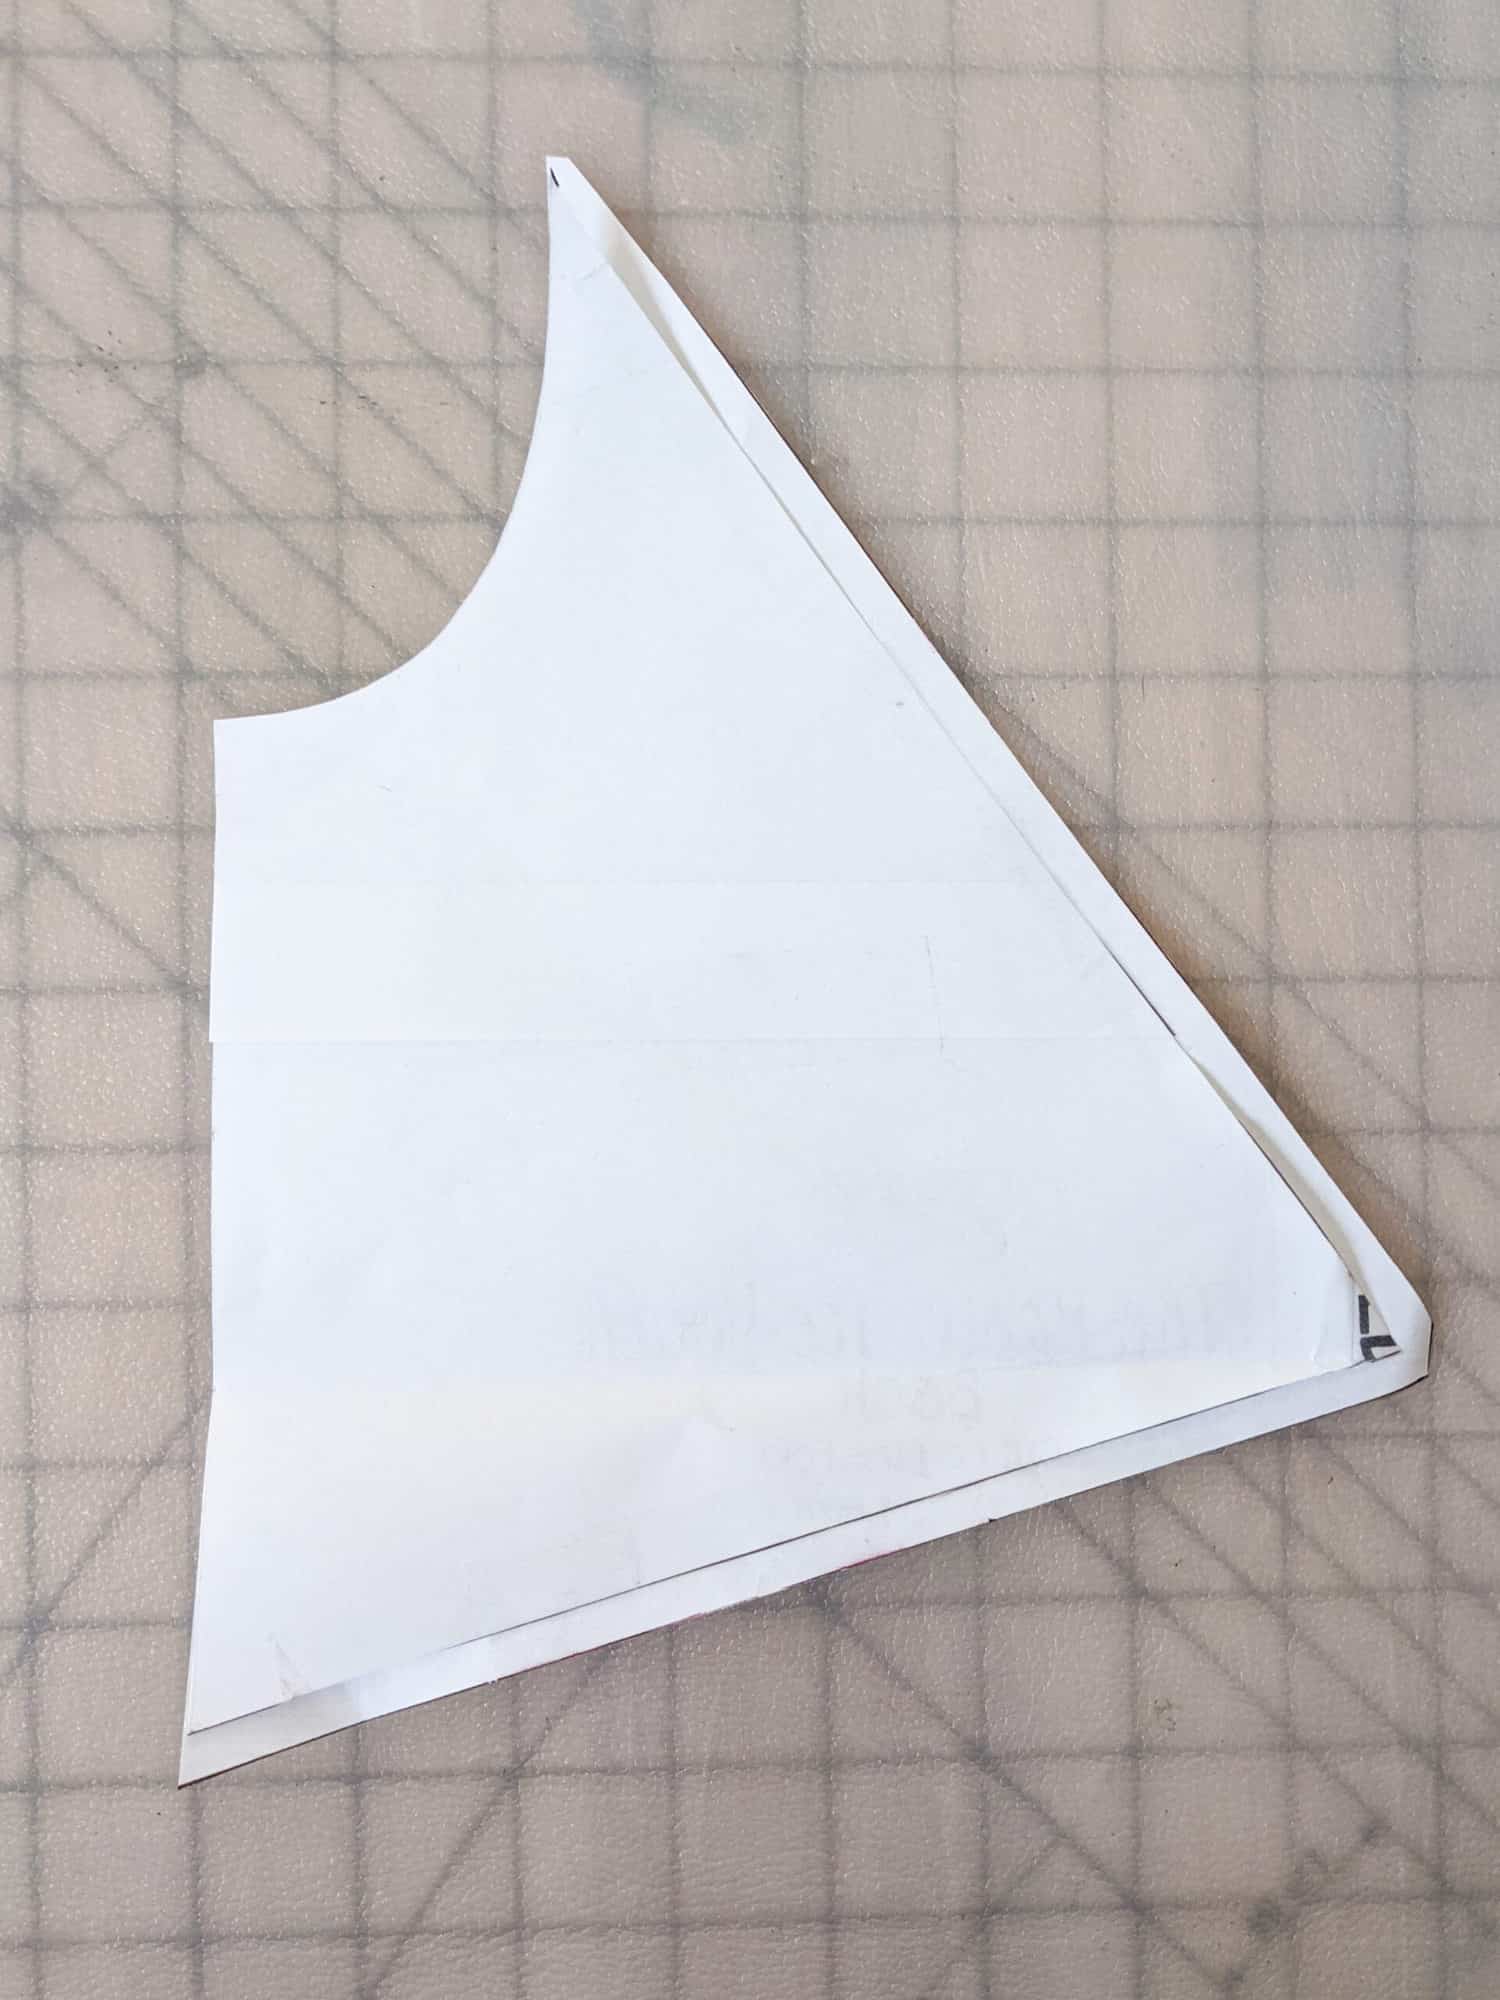
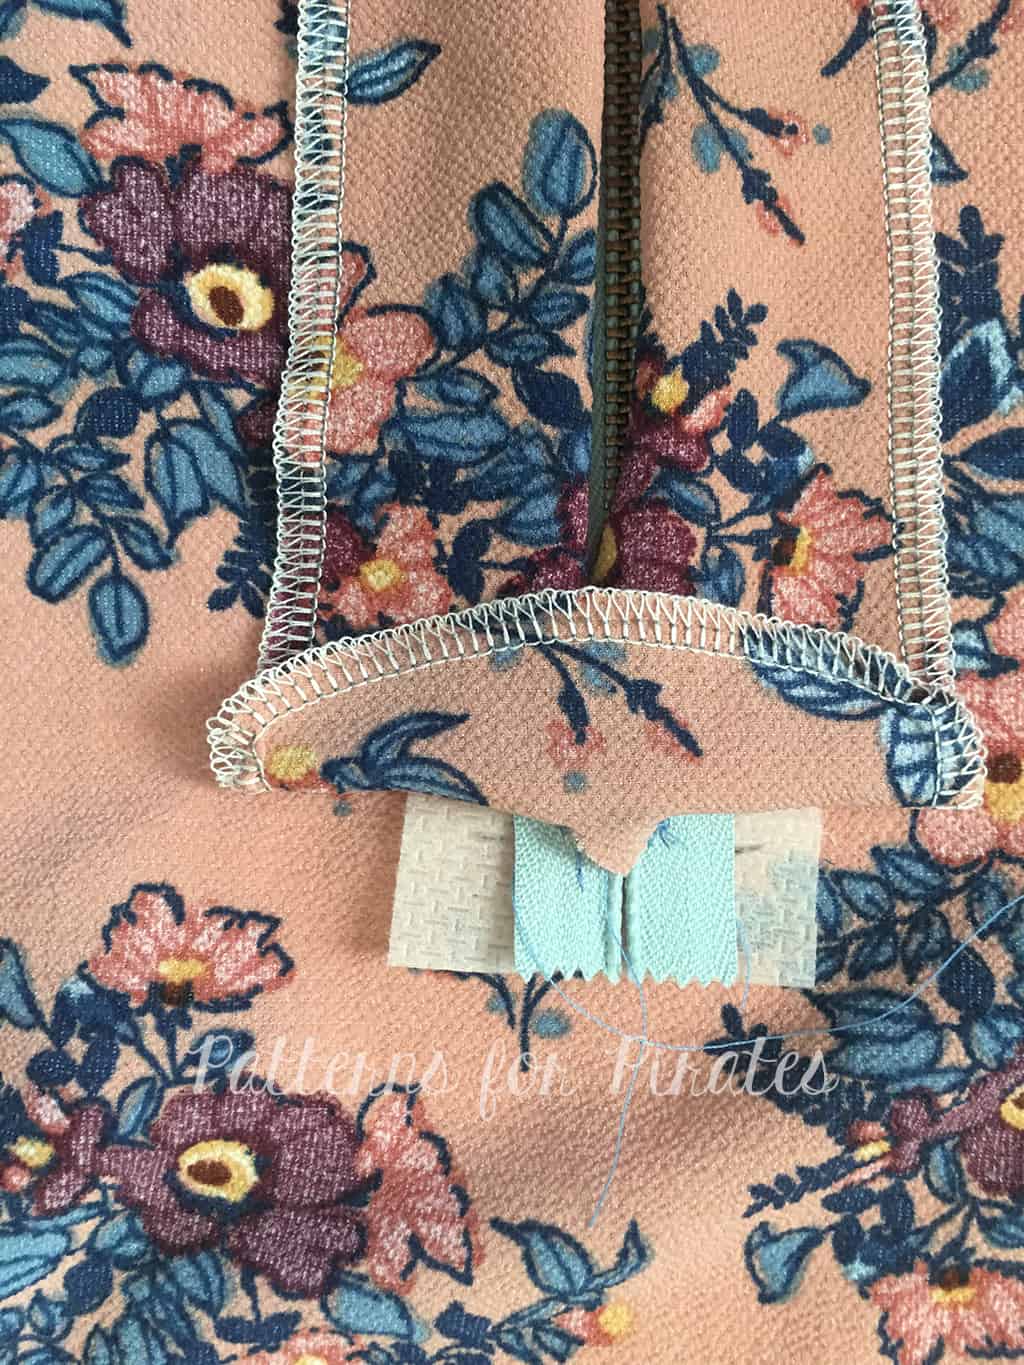
Rainbow Dress SAL – day 3 | Create collar
Rainbow Dress SAL – day 4 | Sew shoulder seams and add neckband
Rainbow Dress SAL – day 5 | Add sleeves and sew side seams
Rainbow Dress SAL – day 6 | Add skirt and hem
Rainbow Dress SAL – day 7 | Winners Announcement