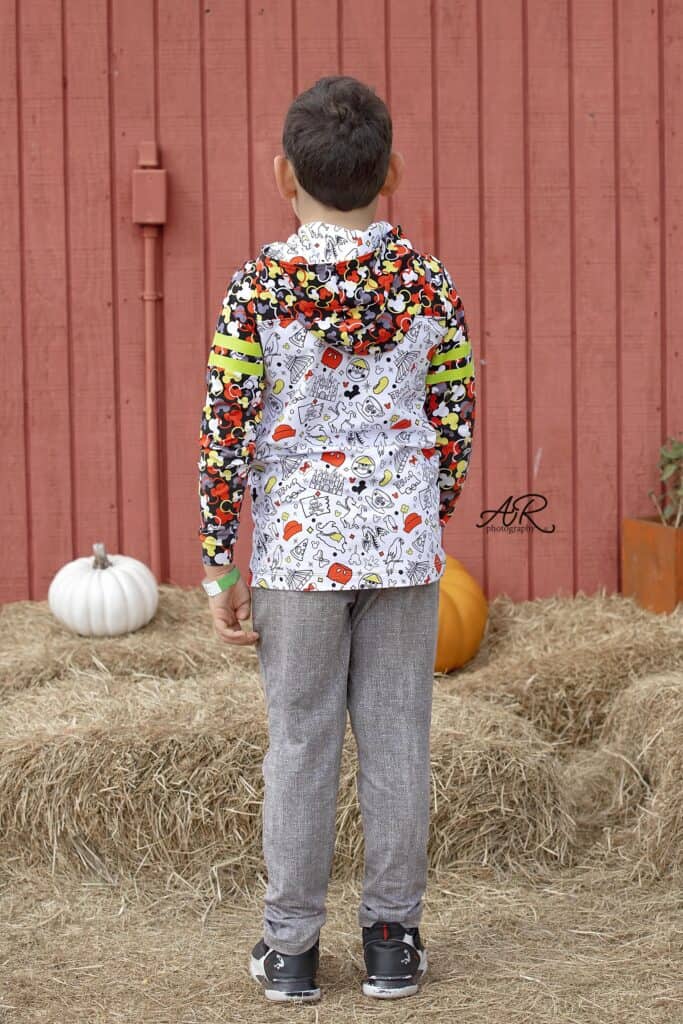
Good evening, friends! Thank you everyone who joined us last week for the Go Team sew along. I had so much fun making the two jerseys for my kids. I know you are here to find out the winners so without further ado, here they are!
Congratulations, Mel Goulet! She is our first winner. Mel won a $20 gift card from Patterns for Pirates and a $30 gift card from Purple Dragon Fabrics.

Congratulations go to Naomi McGrath as well! Naomi won a gift card from Made for Mermaids valued at $20 and a $30 gift certificate from Purple Dragon Fabrics.
A huge THANK YOU to our sew along sponsor. Make sure you check out Purple Dragon Fabrics on Facebook to keep up to date with their sales and preorders.

November’s sew along will be hosted by the mermaids so keep an eye on the Facebook group! See you back here in 2022!
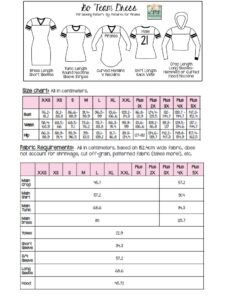
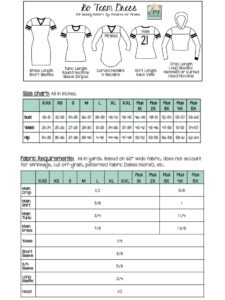
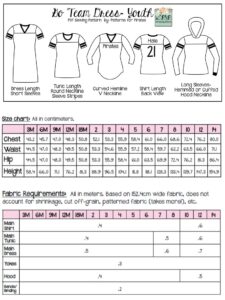
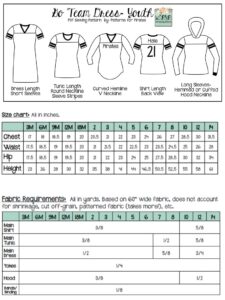
Go Team SAL – day 1 | cut fabric
Go Team SAL – day 2 | shoulder seams & neckline
Go Team SAL – day 5 | side seams & hem bottom
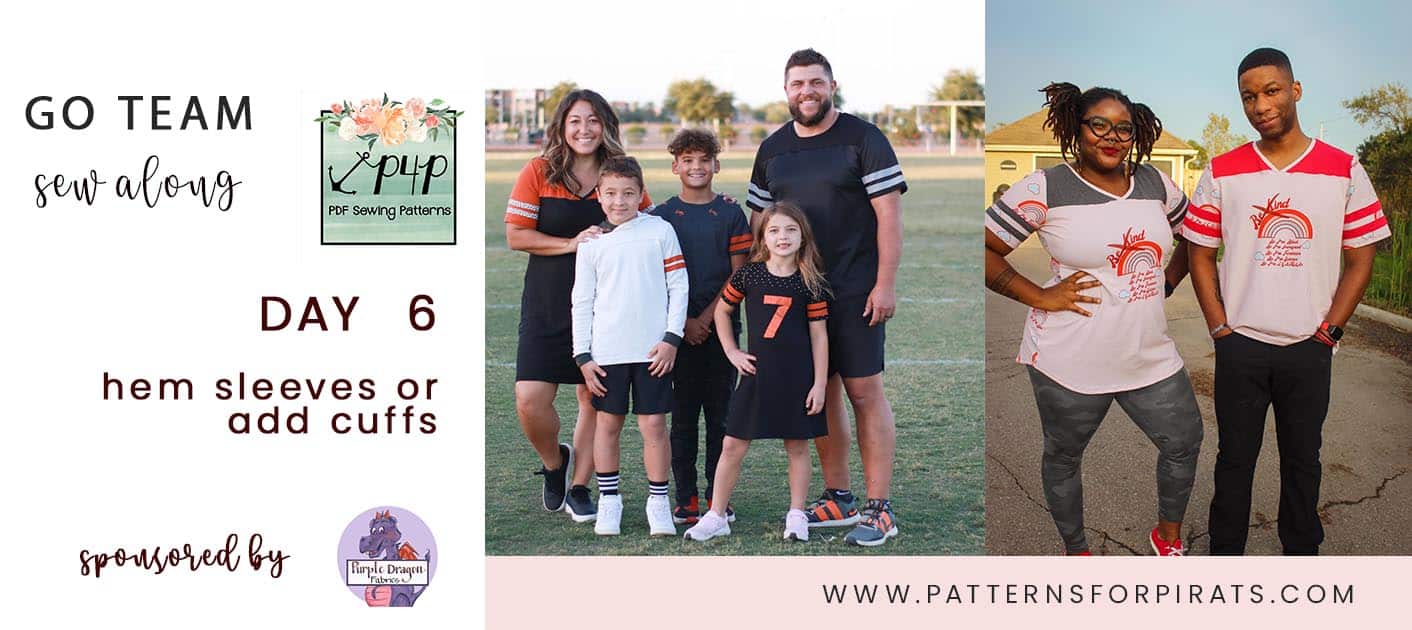
Go Team SAL – day 6 | hem sleeves or add cuffs
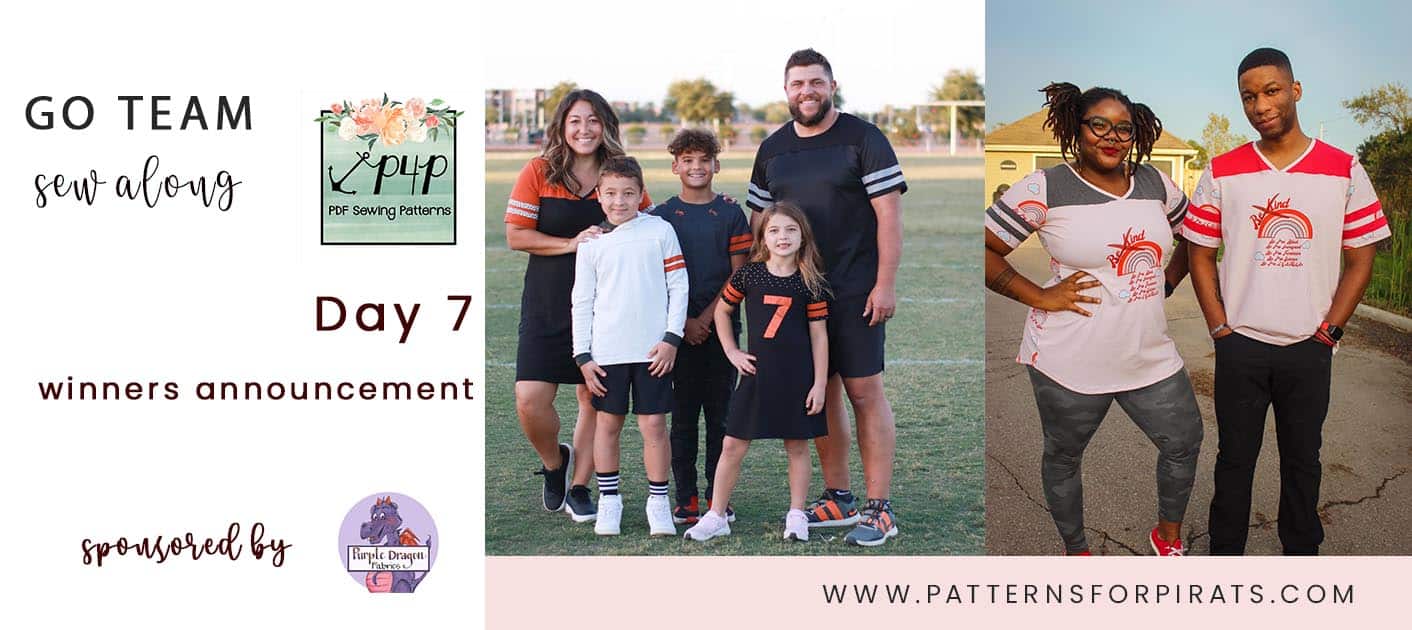
Go Team SAL – day 7 | winners announcement