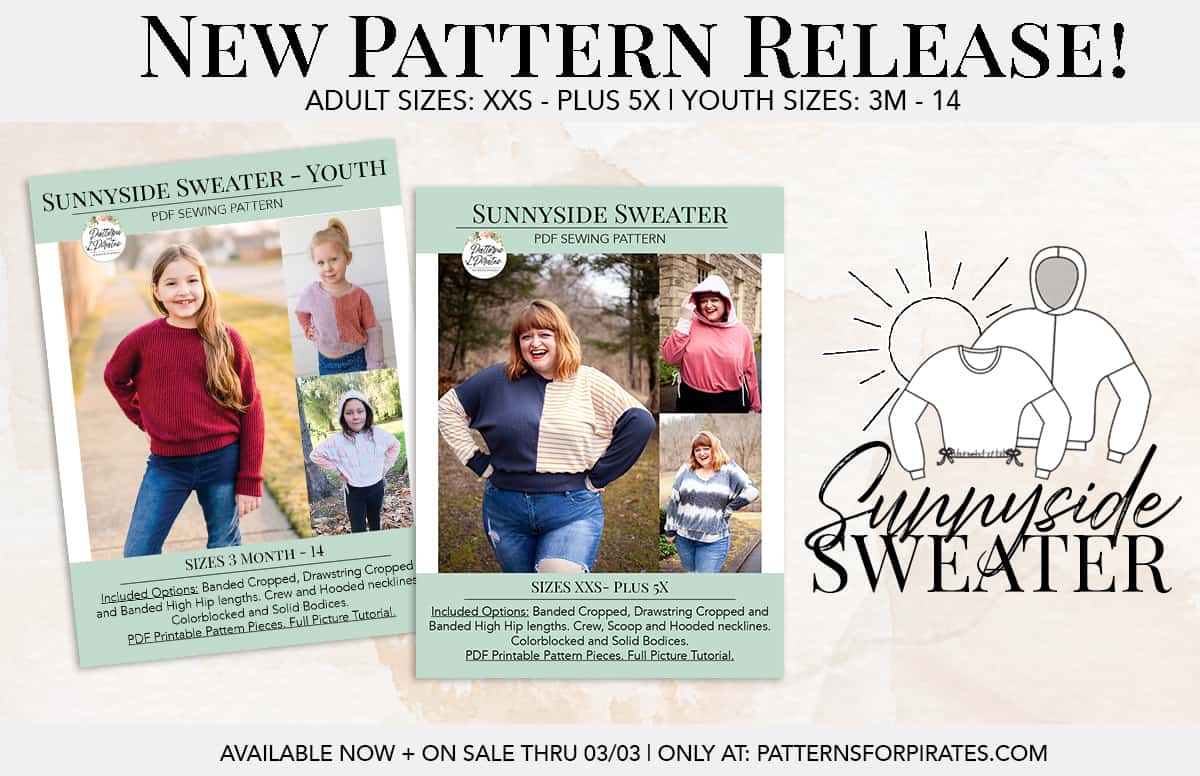
The Sunnyside Sweater (in both Adult – Hourglass and Youth sizes!) just landed in our shop!
With many of our pattern releases, we like to provide extra ways to style and sew them up. And that’s exactly what we are doing here! We’ve got three more ways for you to make the Sunnyside Sweater patterns. Keep reading for some quick and easy hacks!

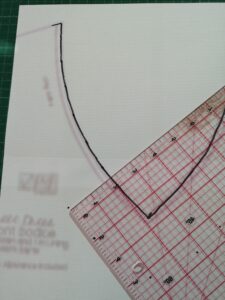
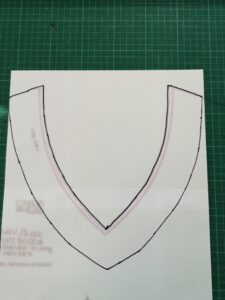
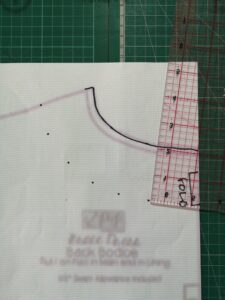
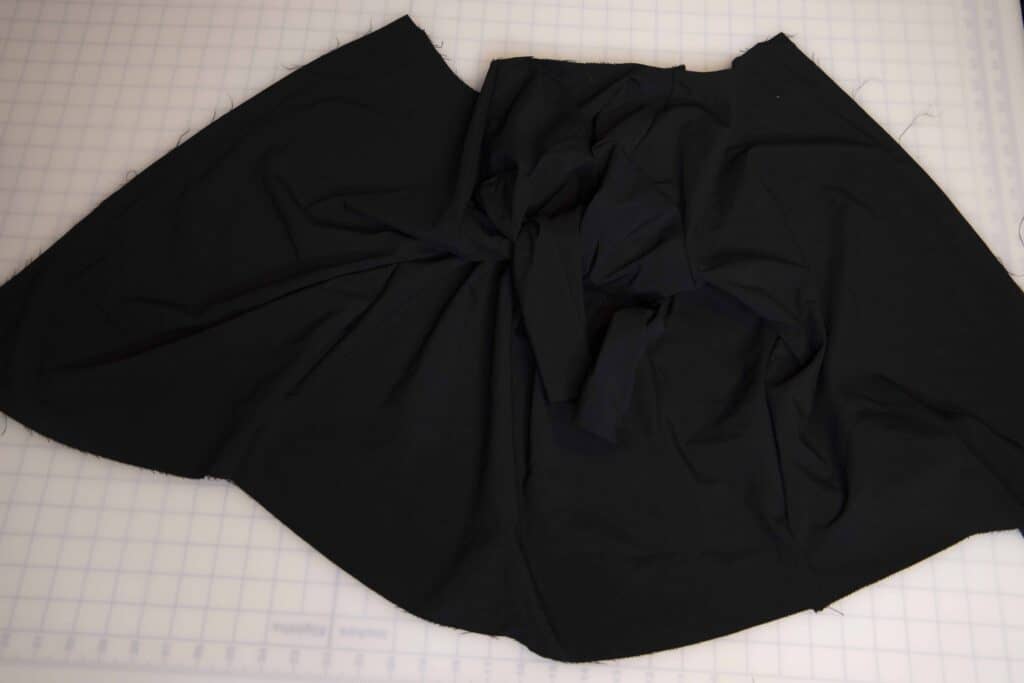
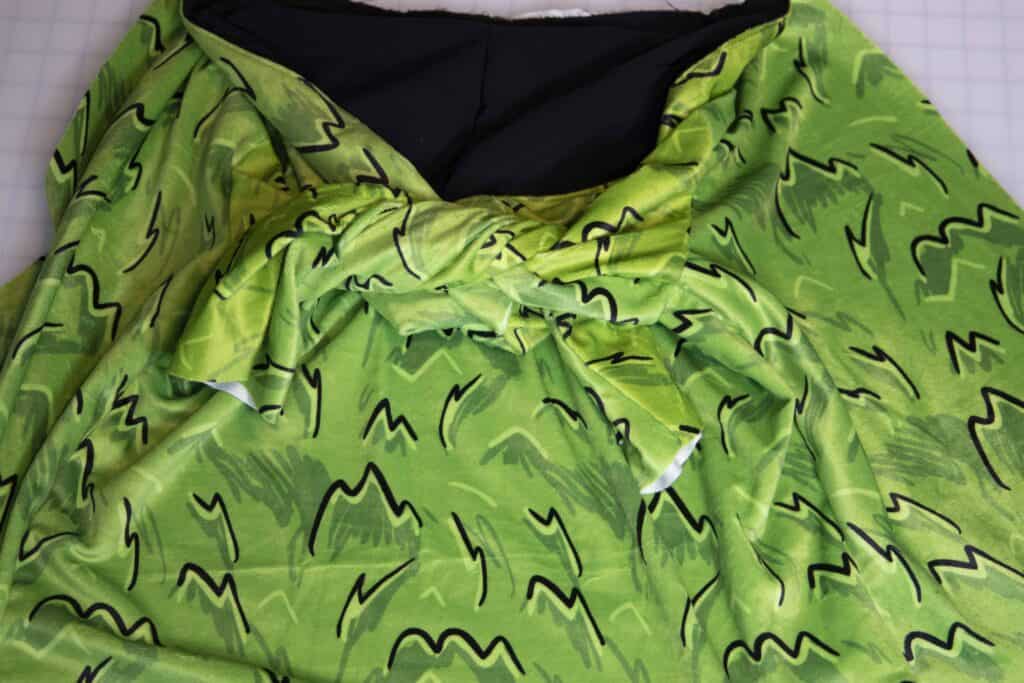
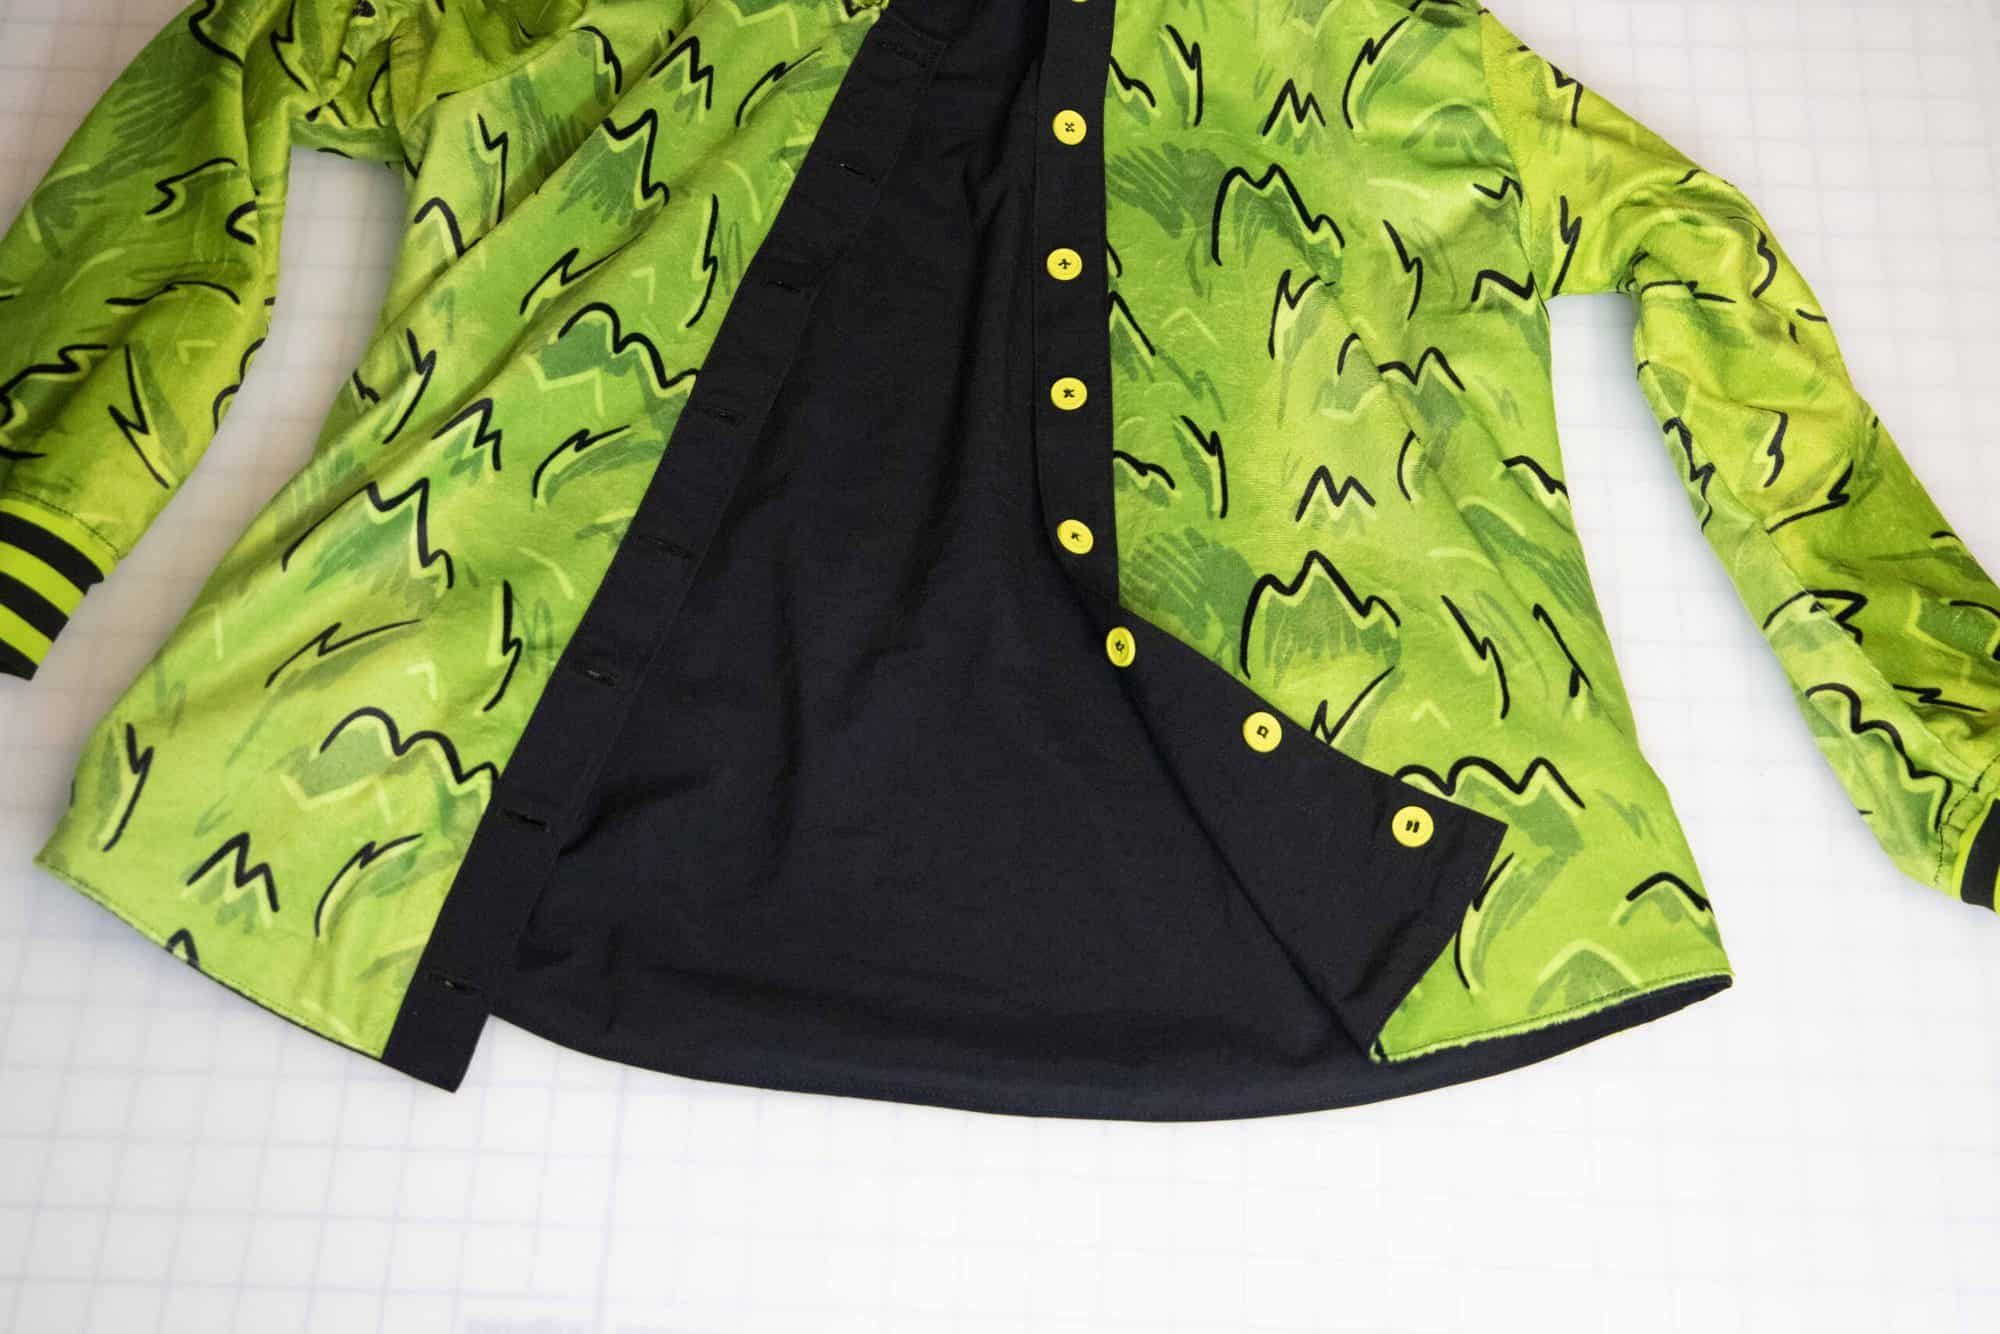
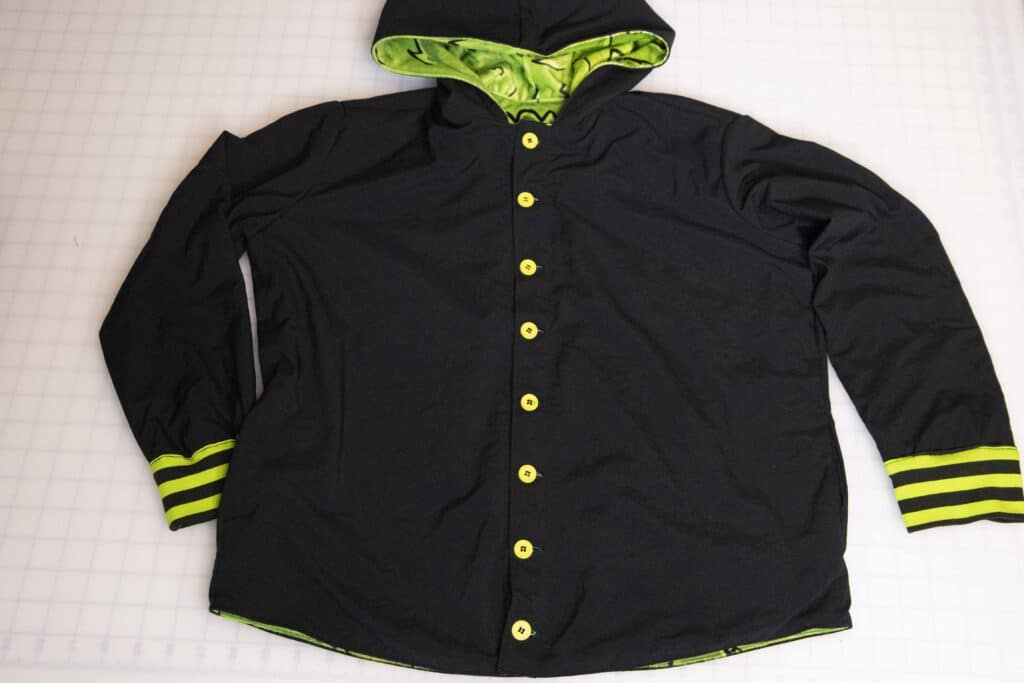
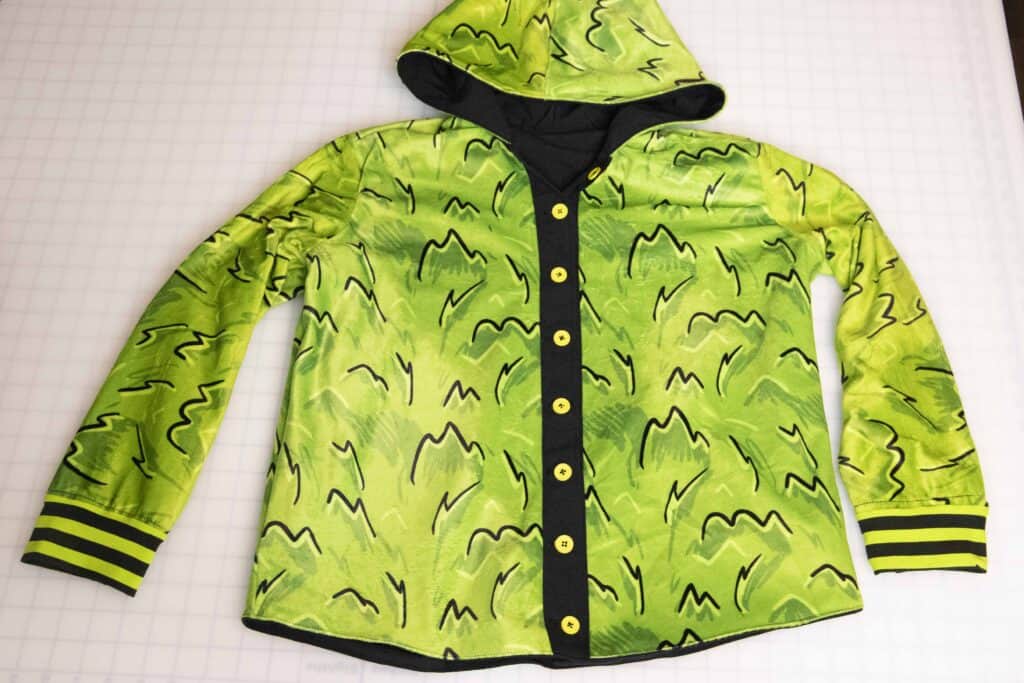
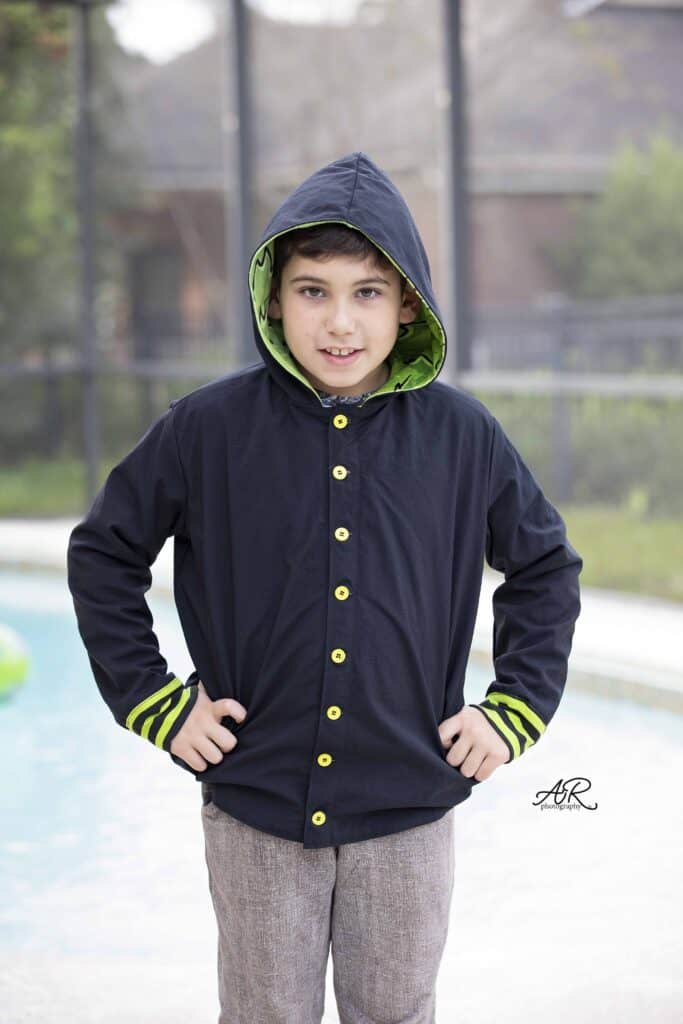
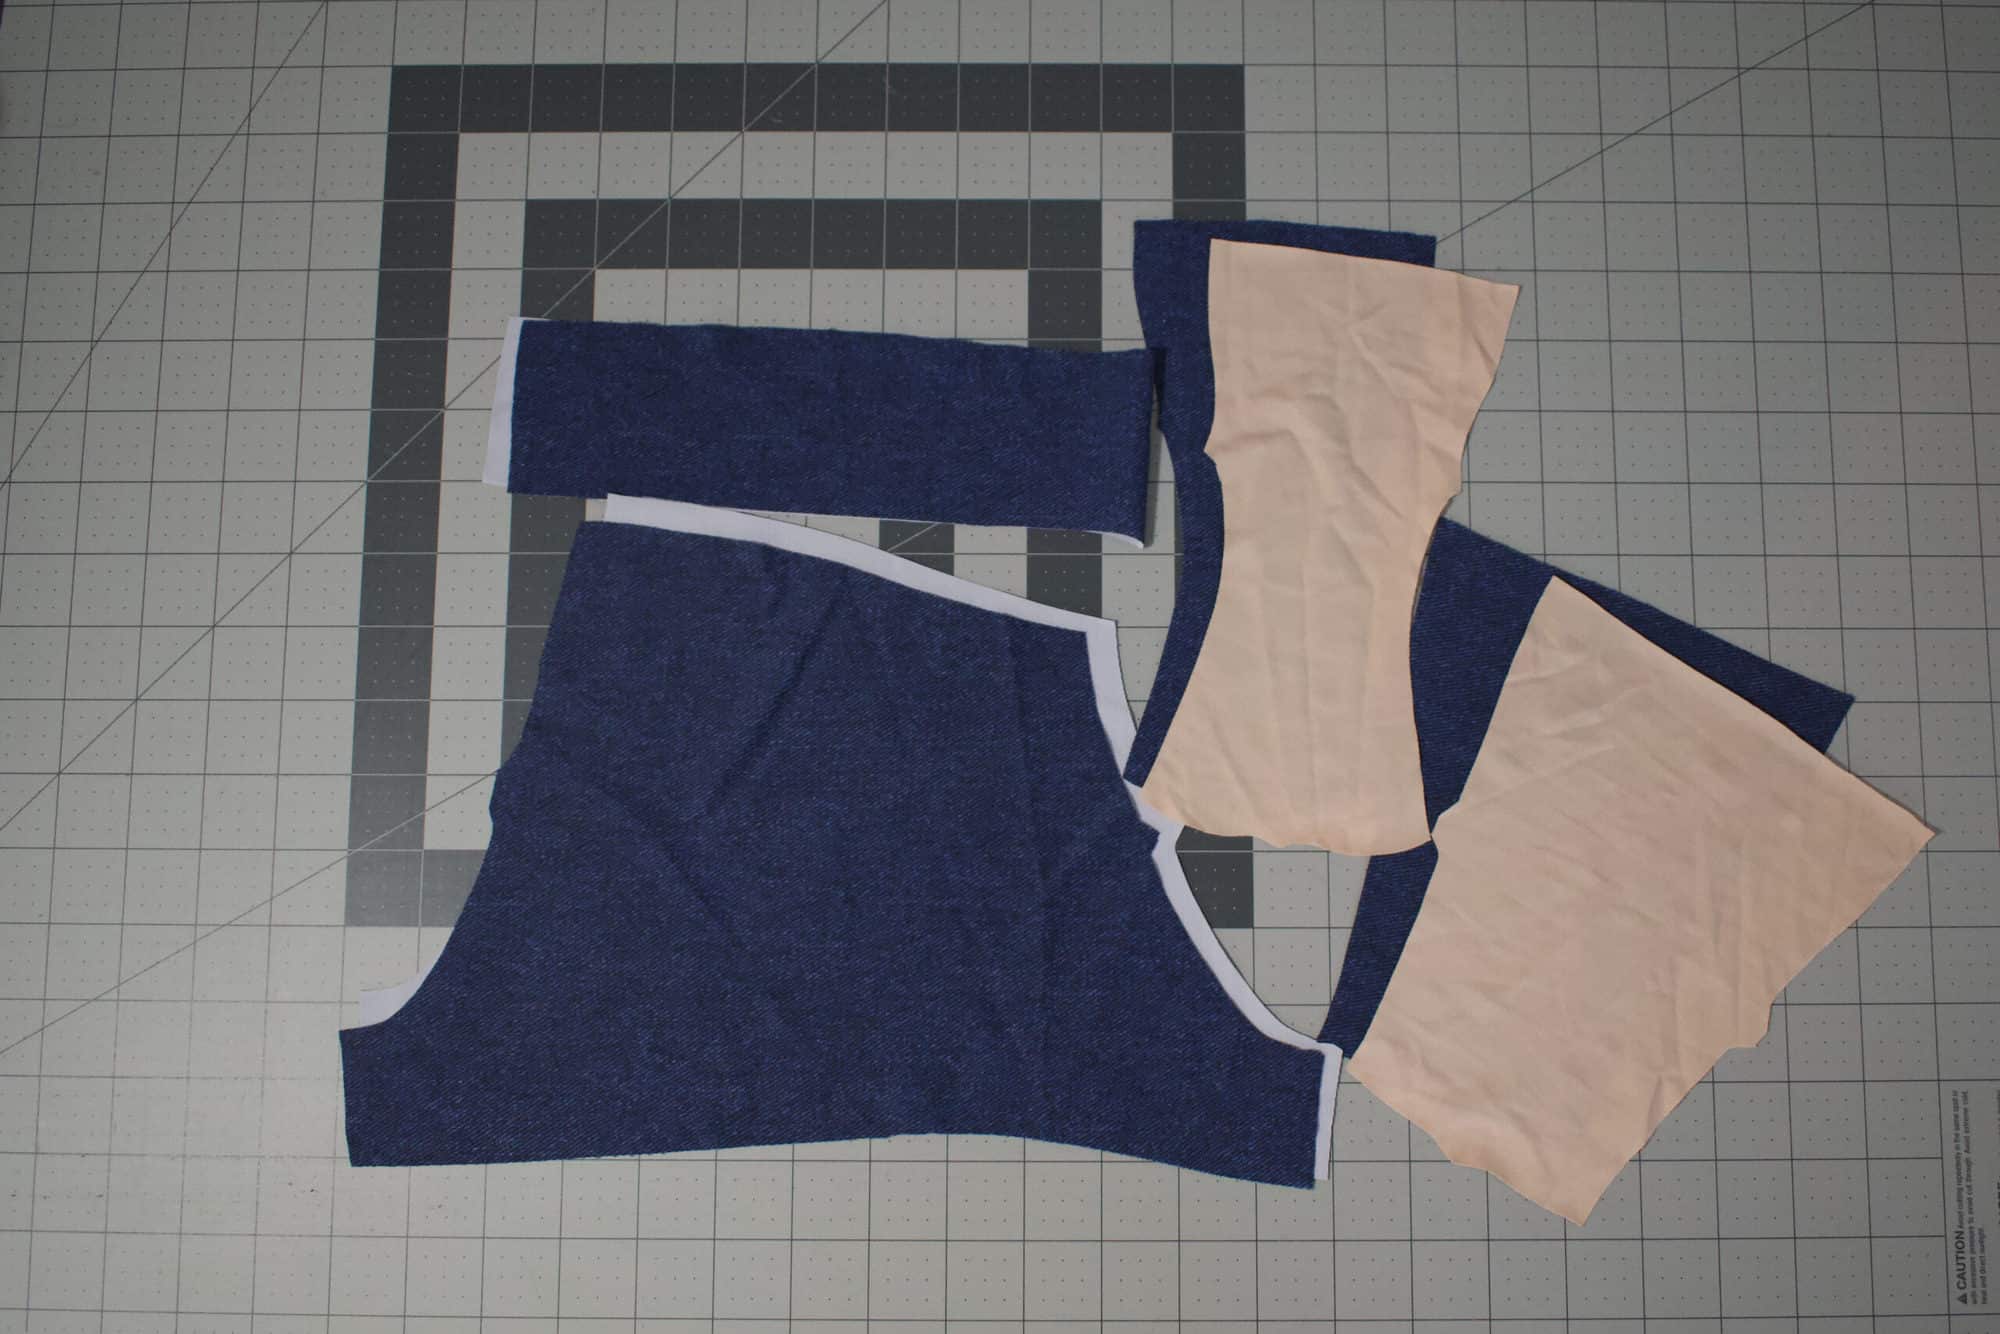
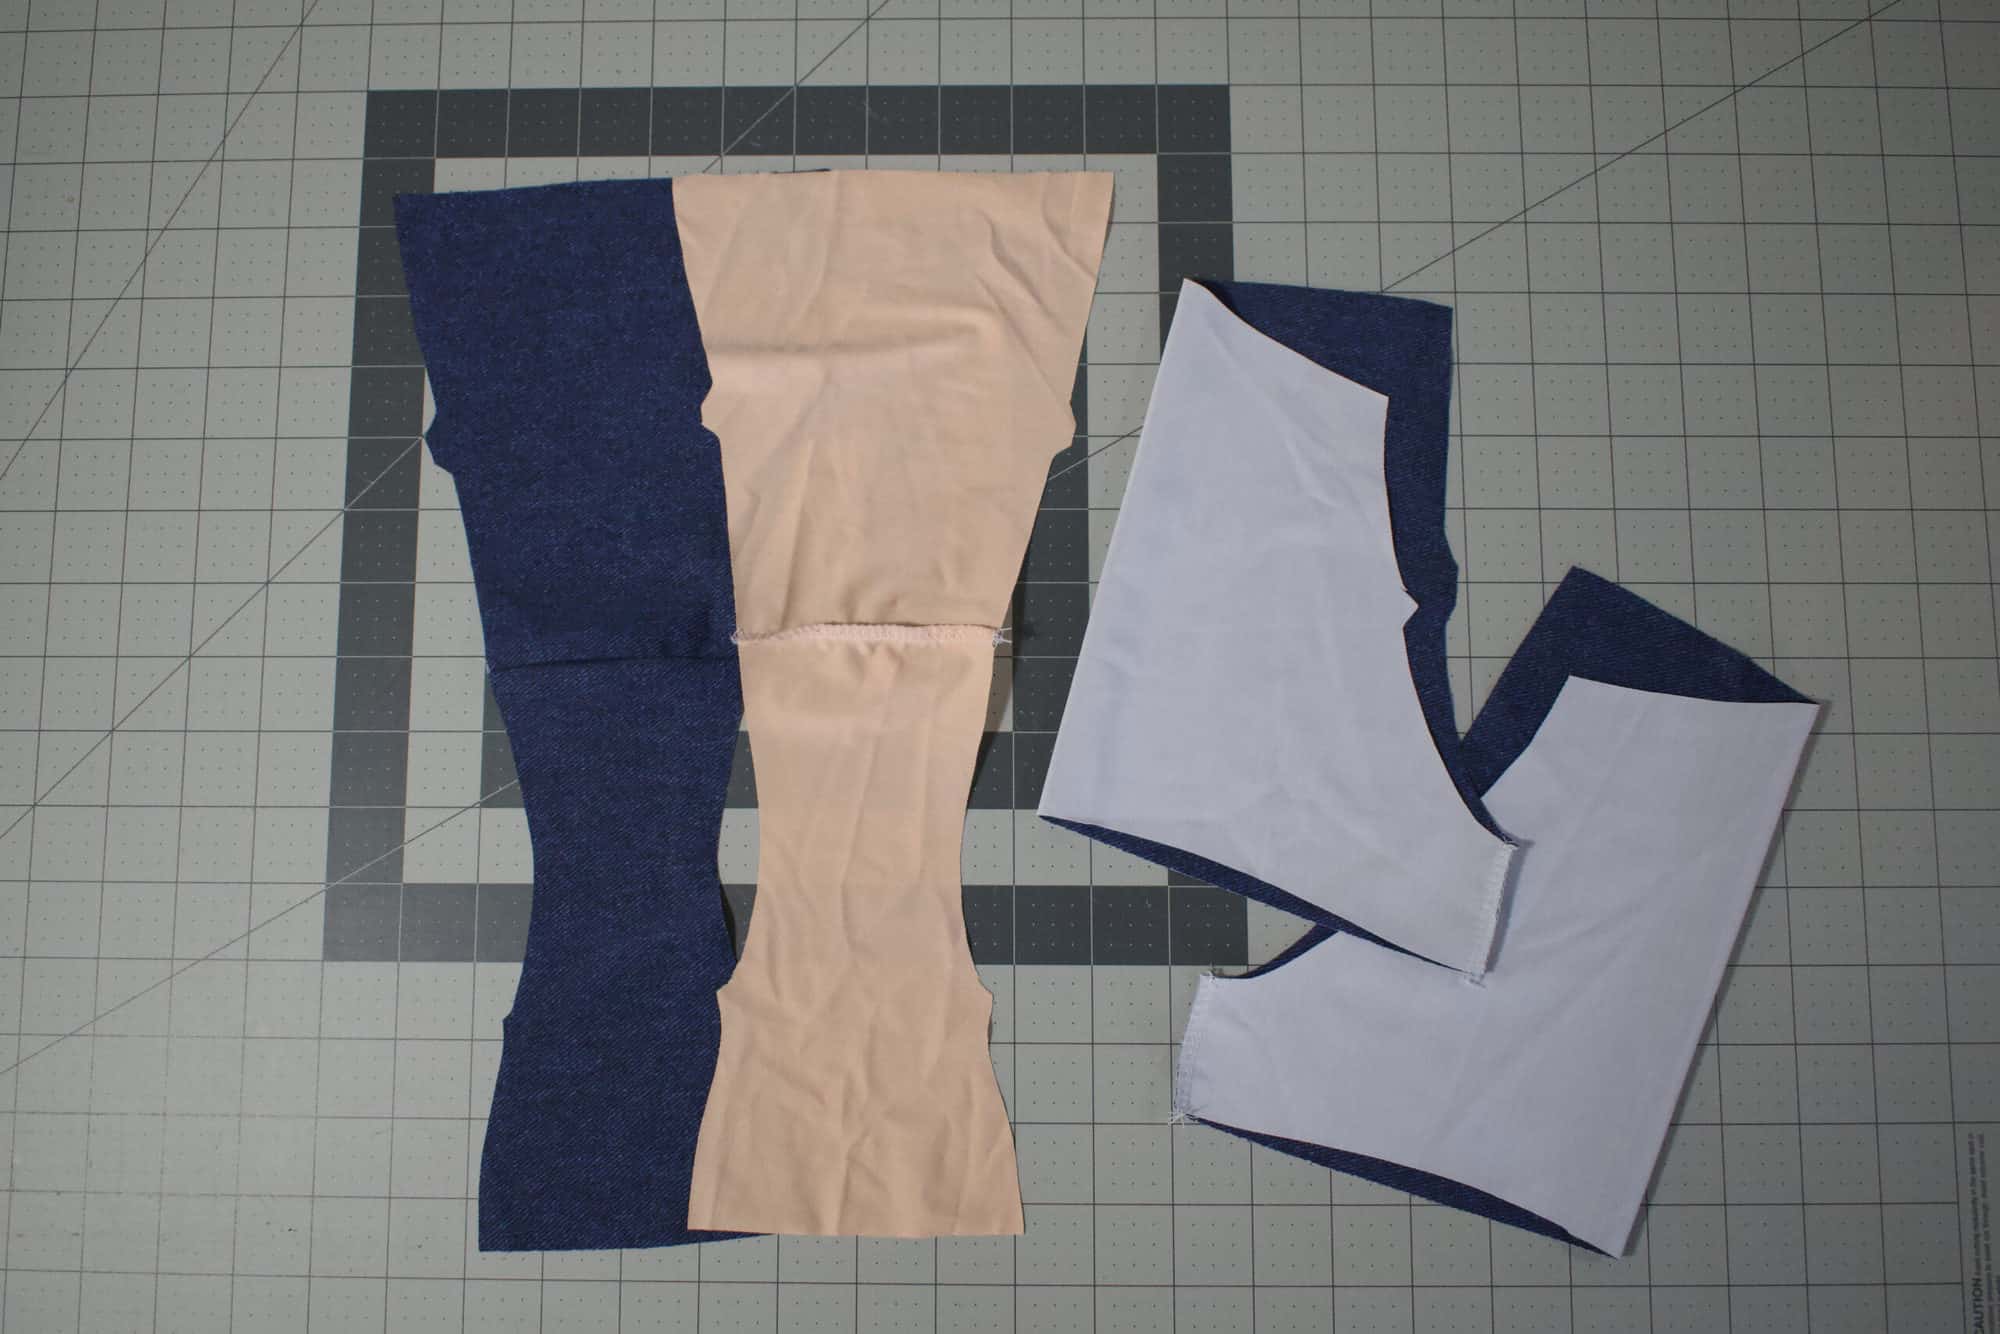
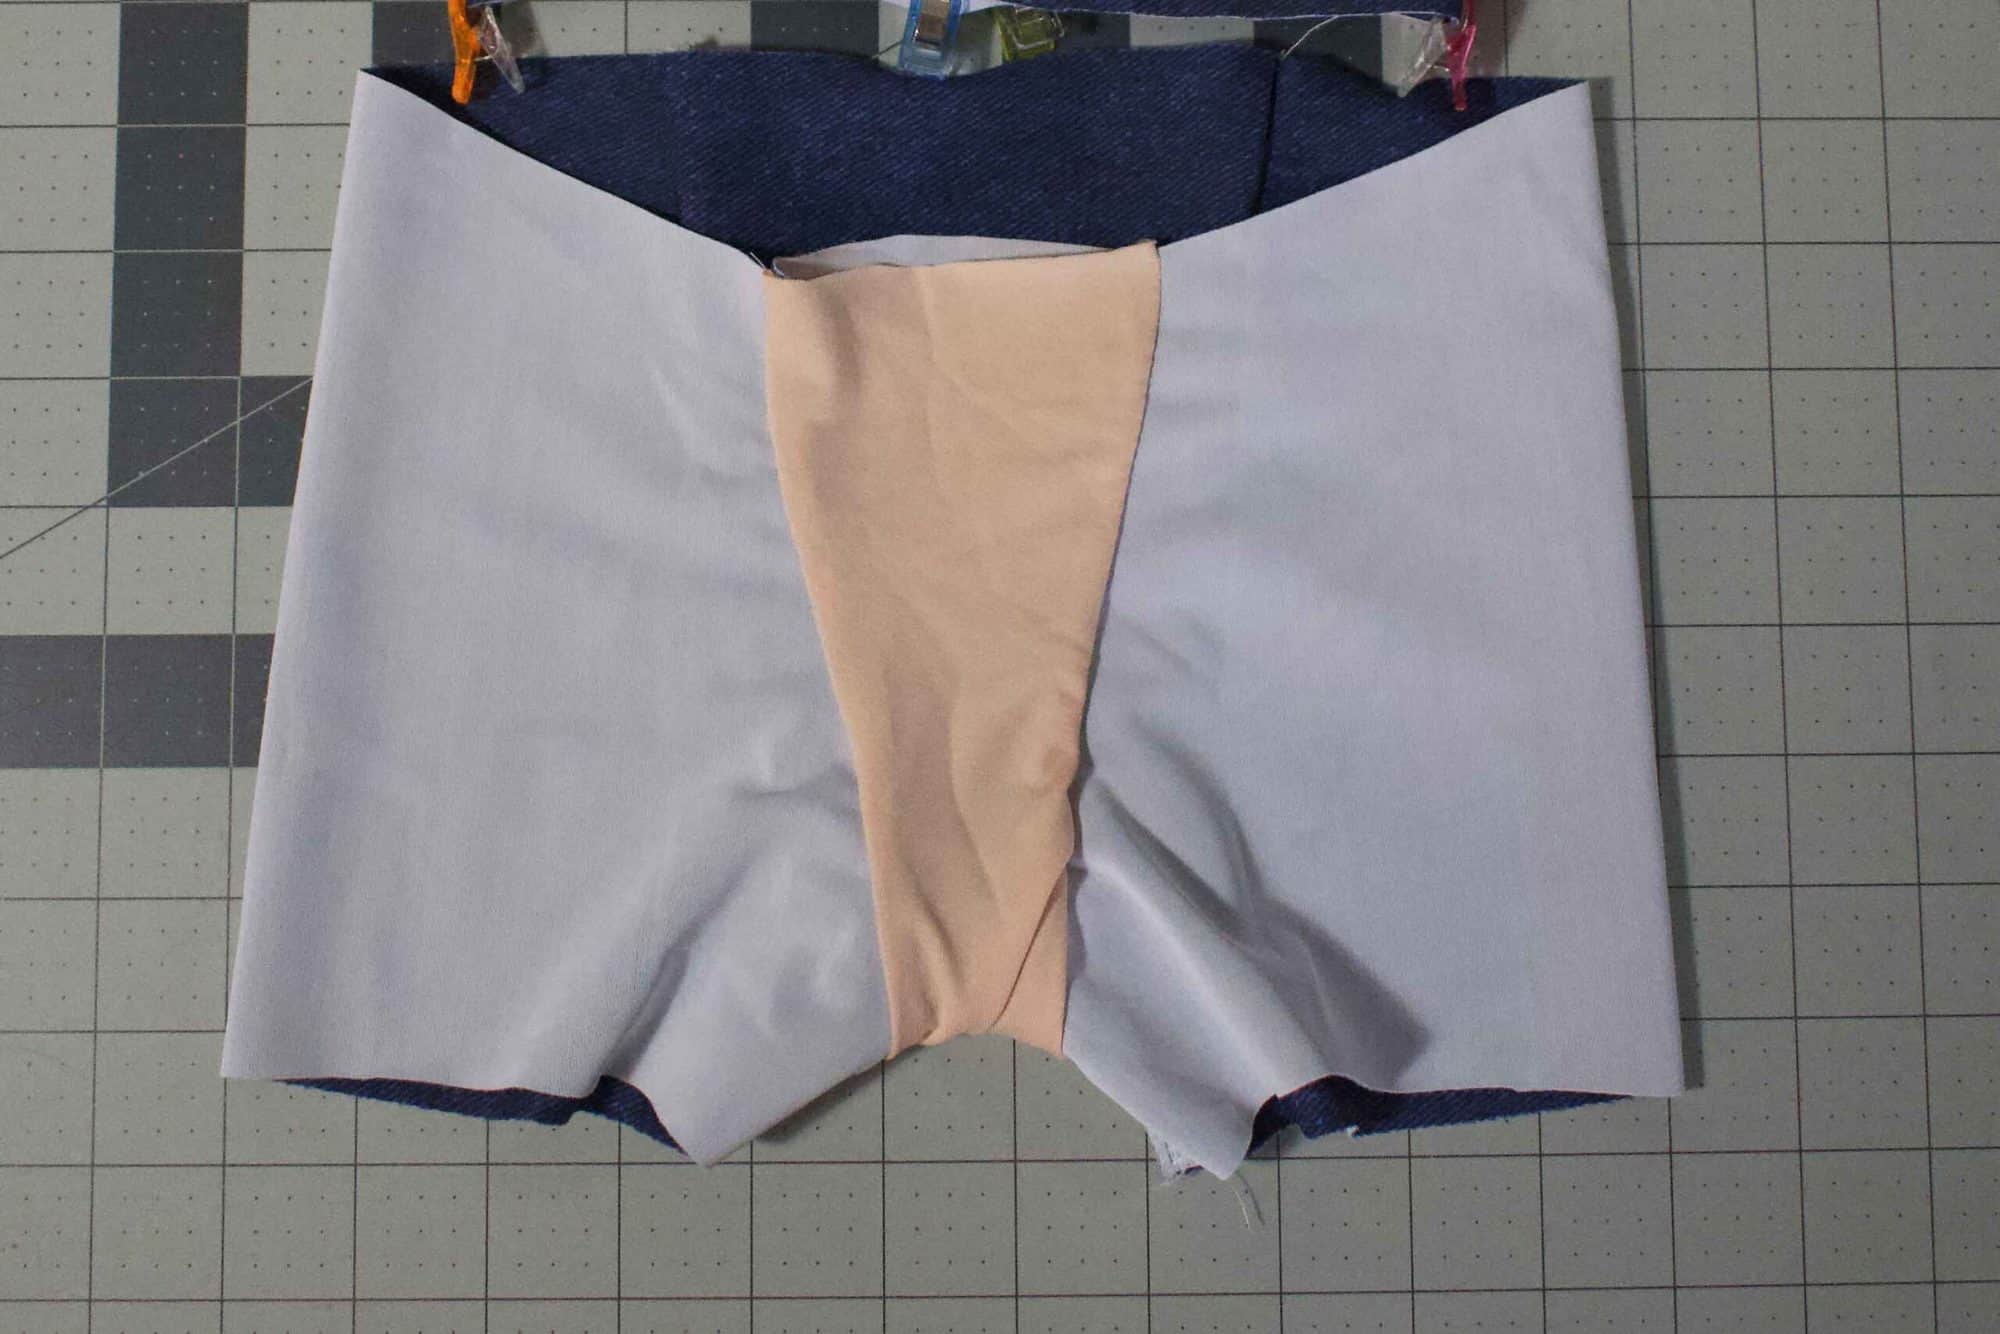
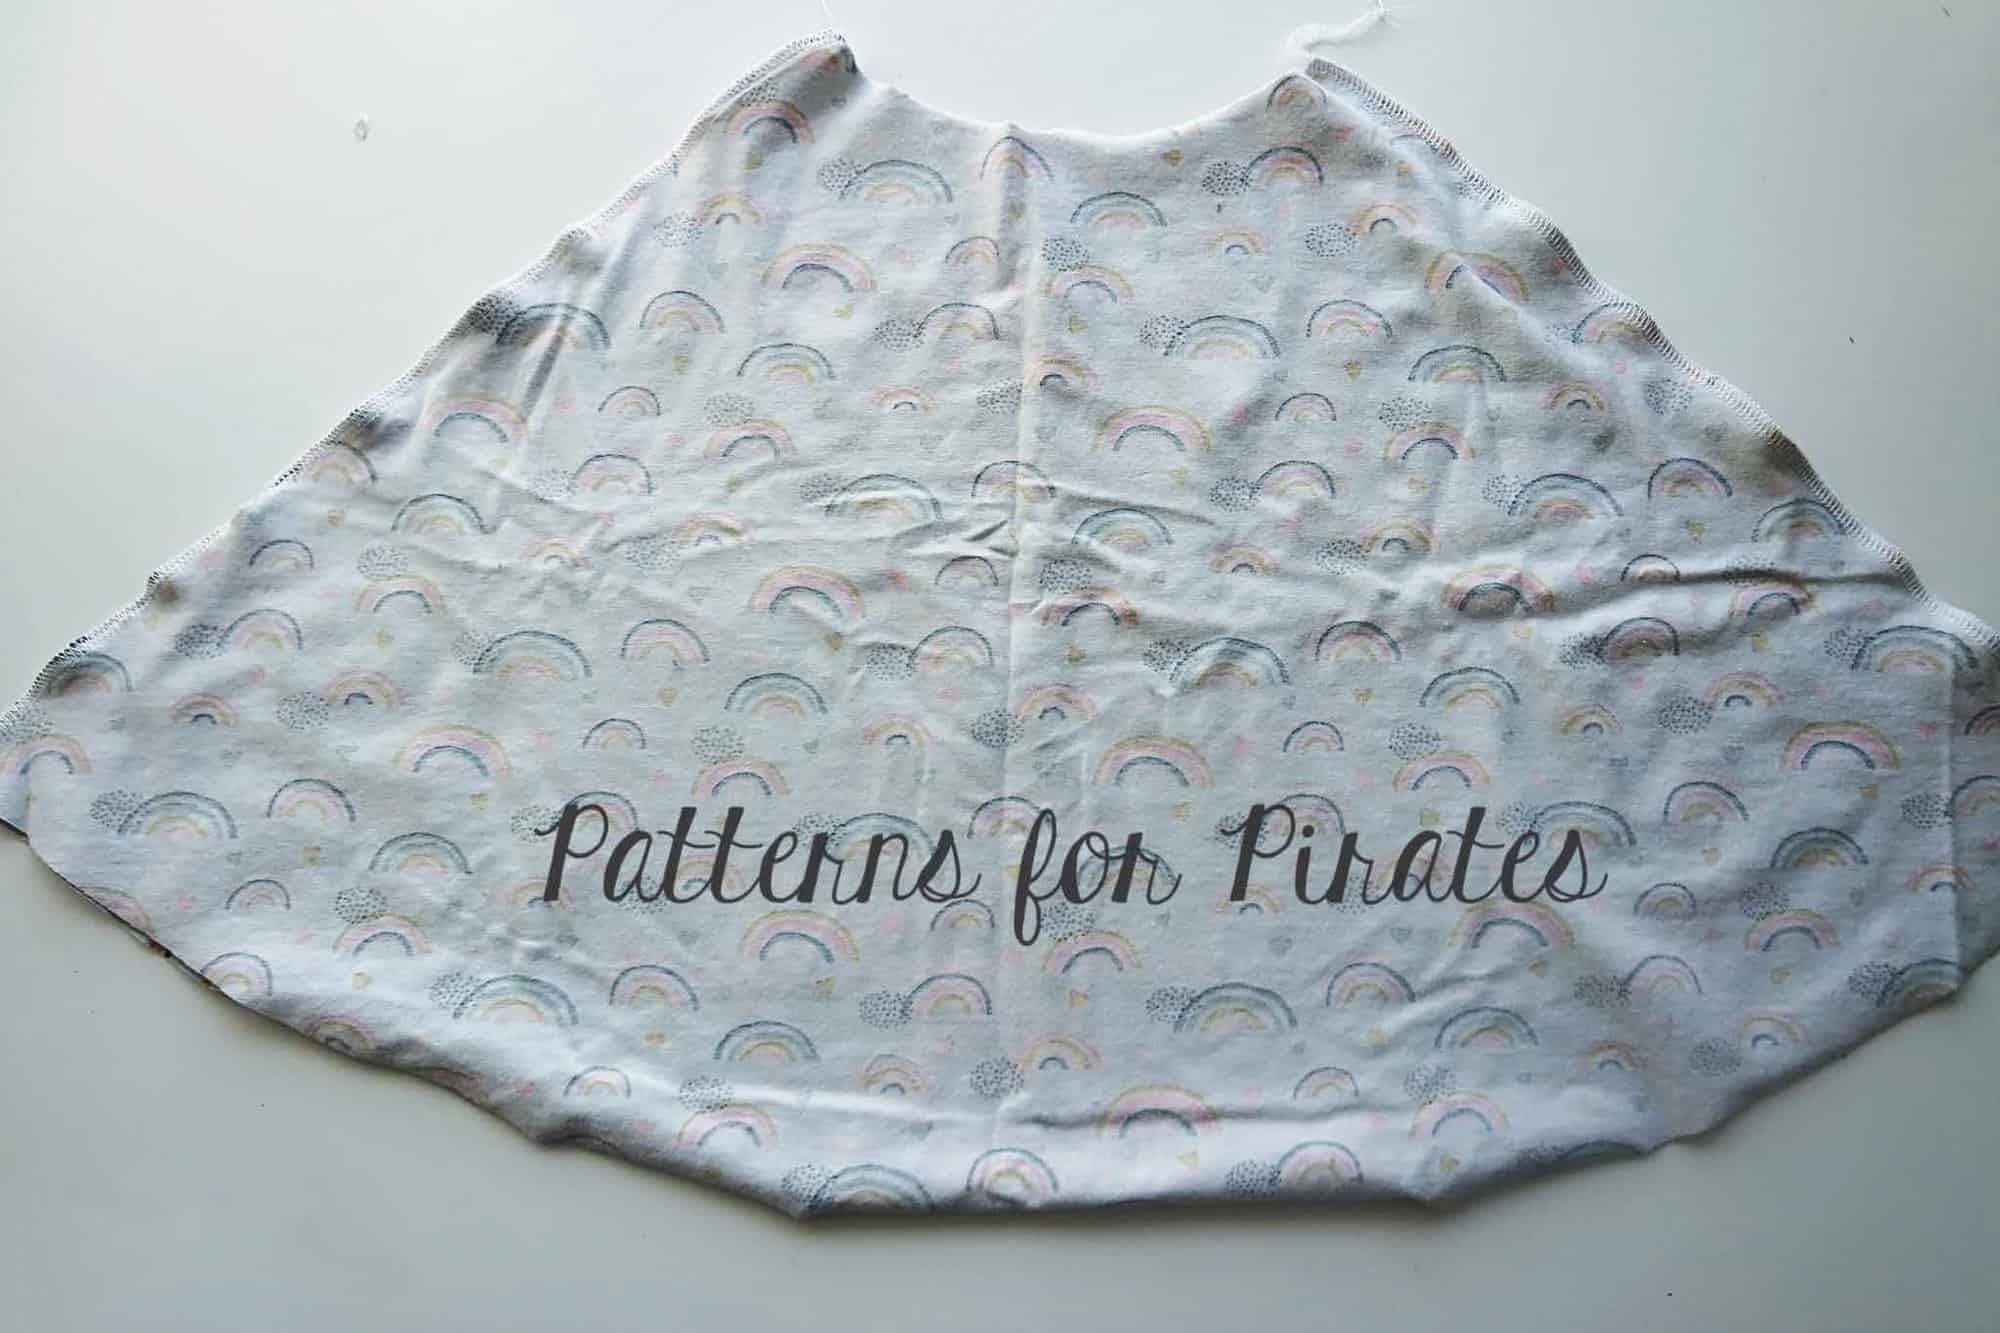
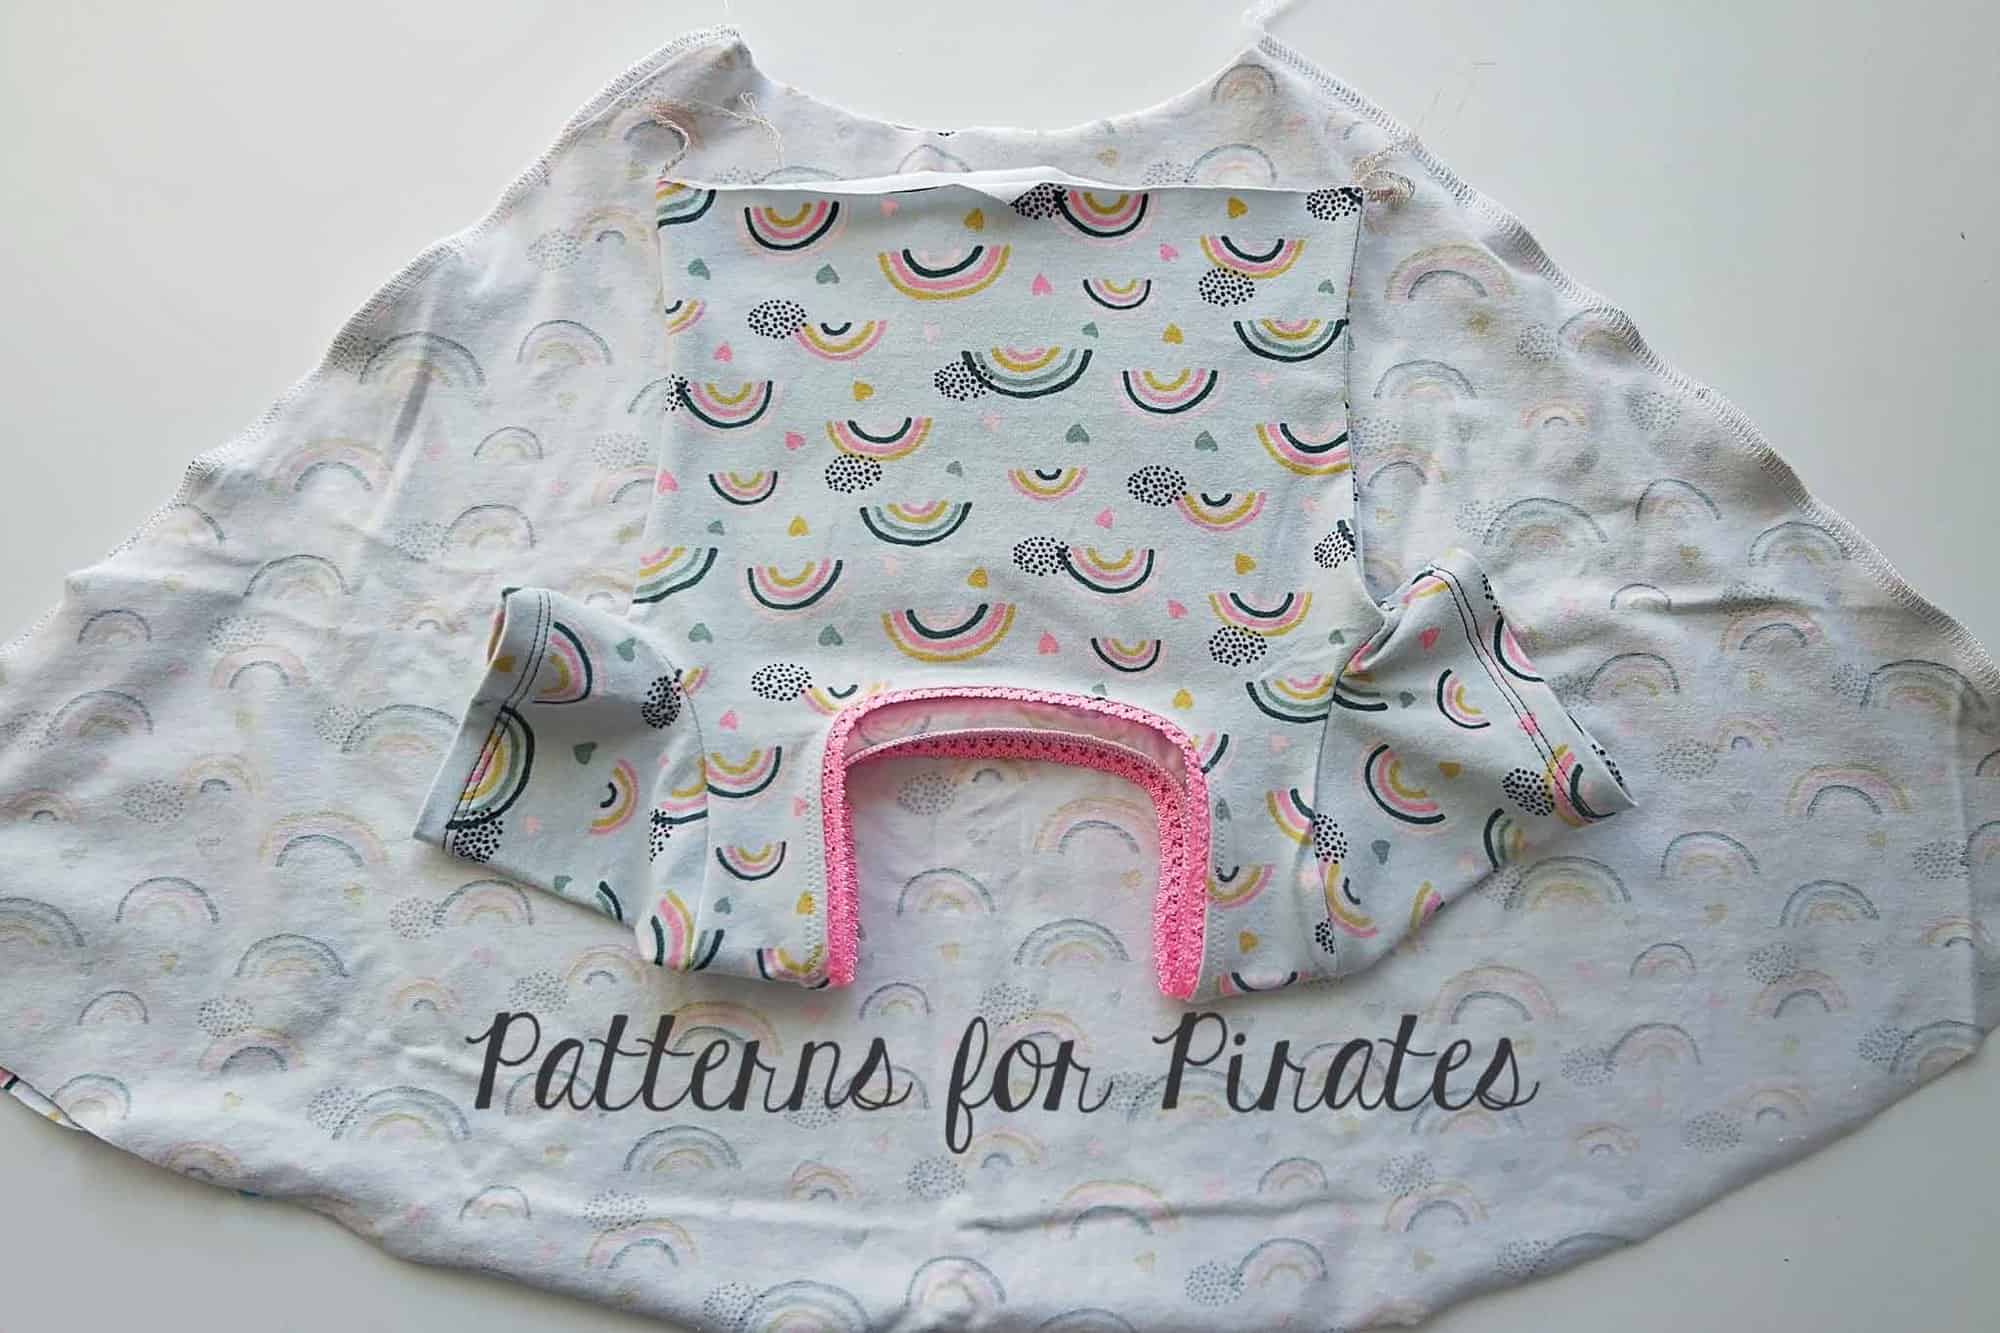
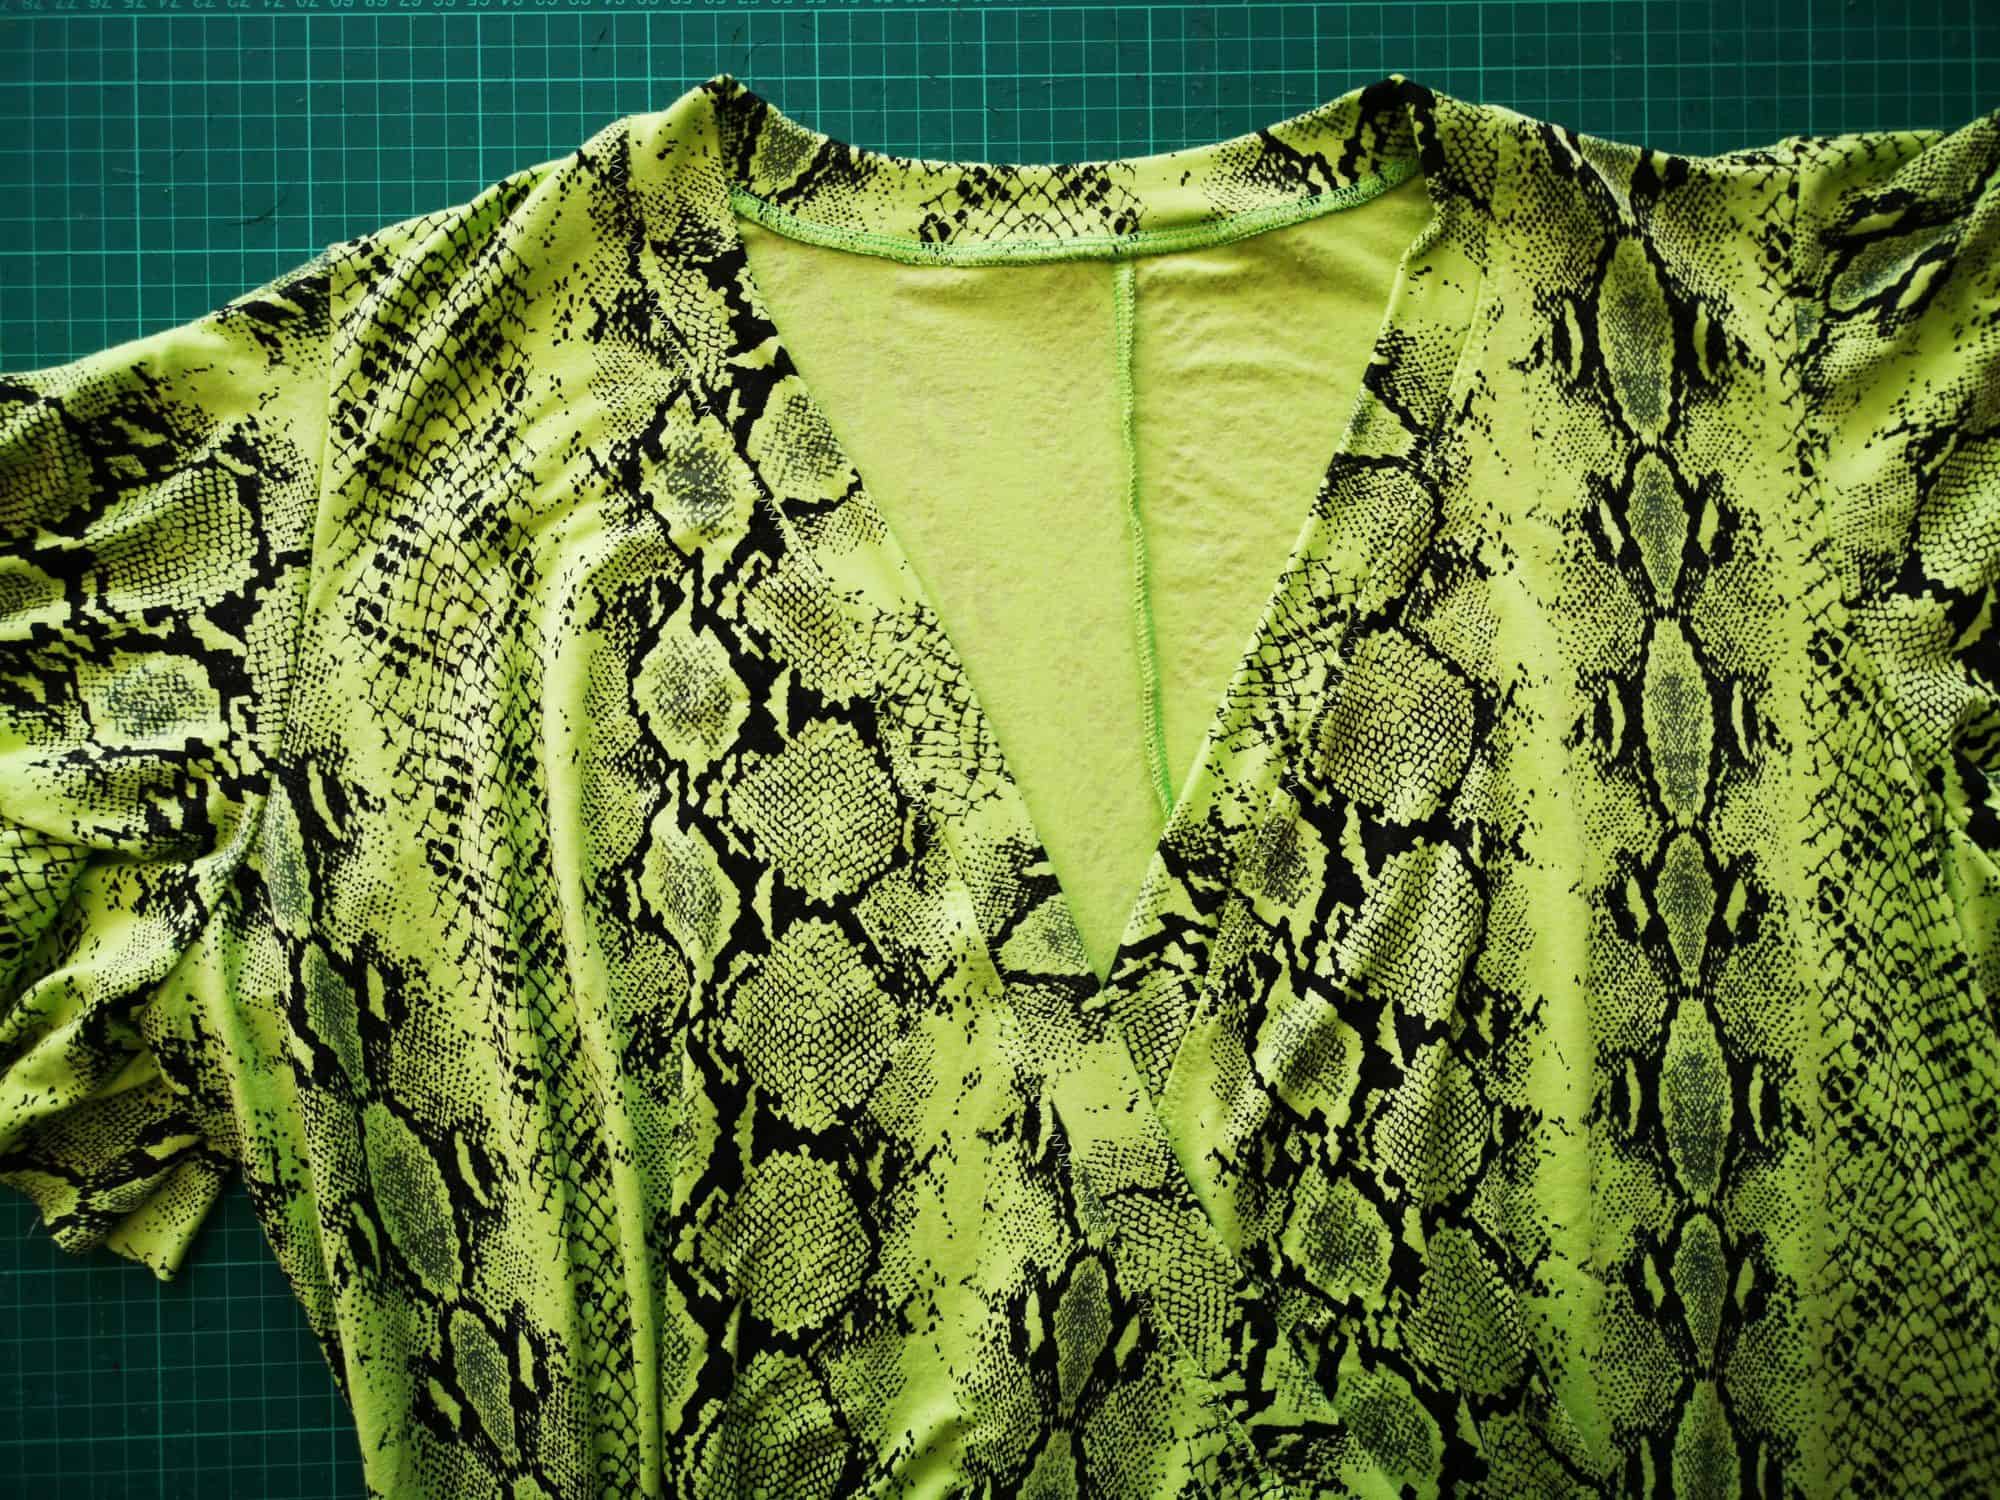
The Sunnyside Sweater is a dolman-style sweater with a generous, oversized fit. It features two hem lengths, crop and high hip, both of which are finished with a waistband to draw the garment back to the body. Alternately, the crop length has an option to finish the waistline with a double drawstring, allowing the wearer to tie the drawstrings at both sides of the waist, providing a unique and adjustable look. Opt for a traditional neckband for a classic look or choose a hood for a more casual and cozy feel. One of the standout features is the ability to create a colorblocked bodice, giving you the opportunity to mix and match different fabric prints and colors, adding a playful and personalized touch to your sweater.
Before we get started, make sure you grab a copy of the Sunnyside Sweater patterns in our shop:
Grommet Sleeve Hack
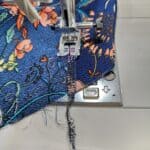
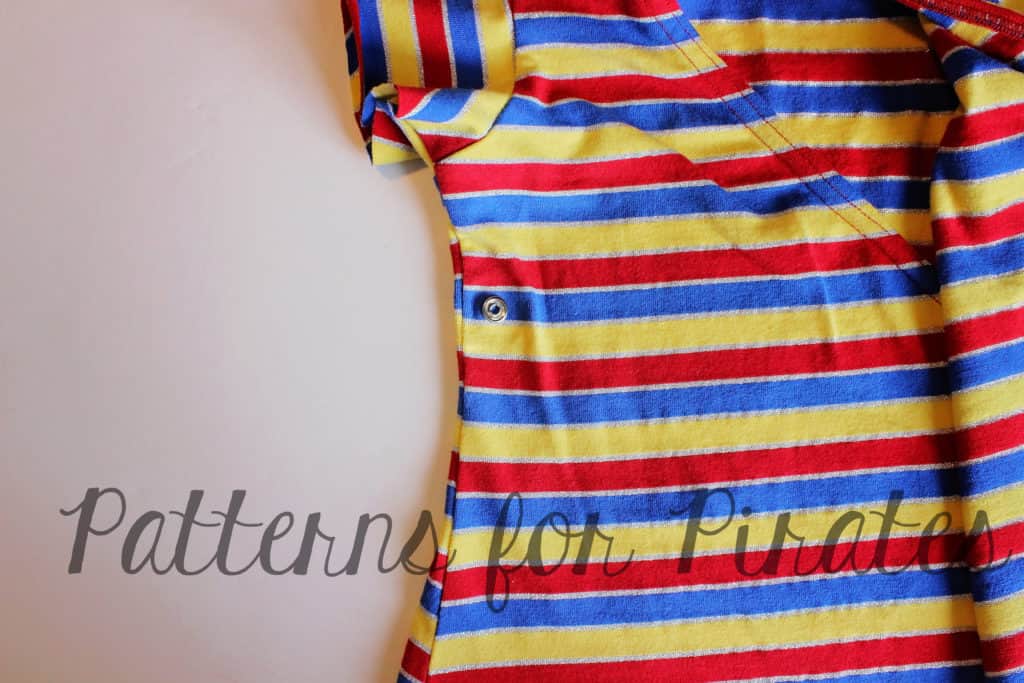
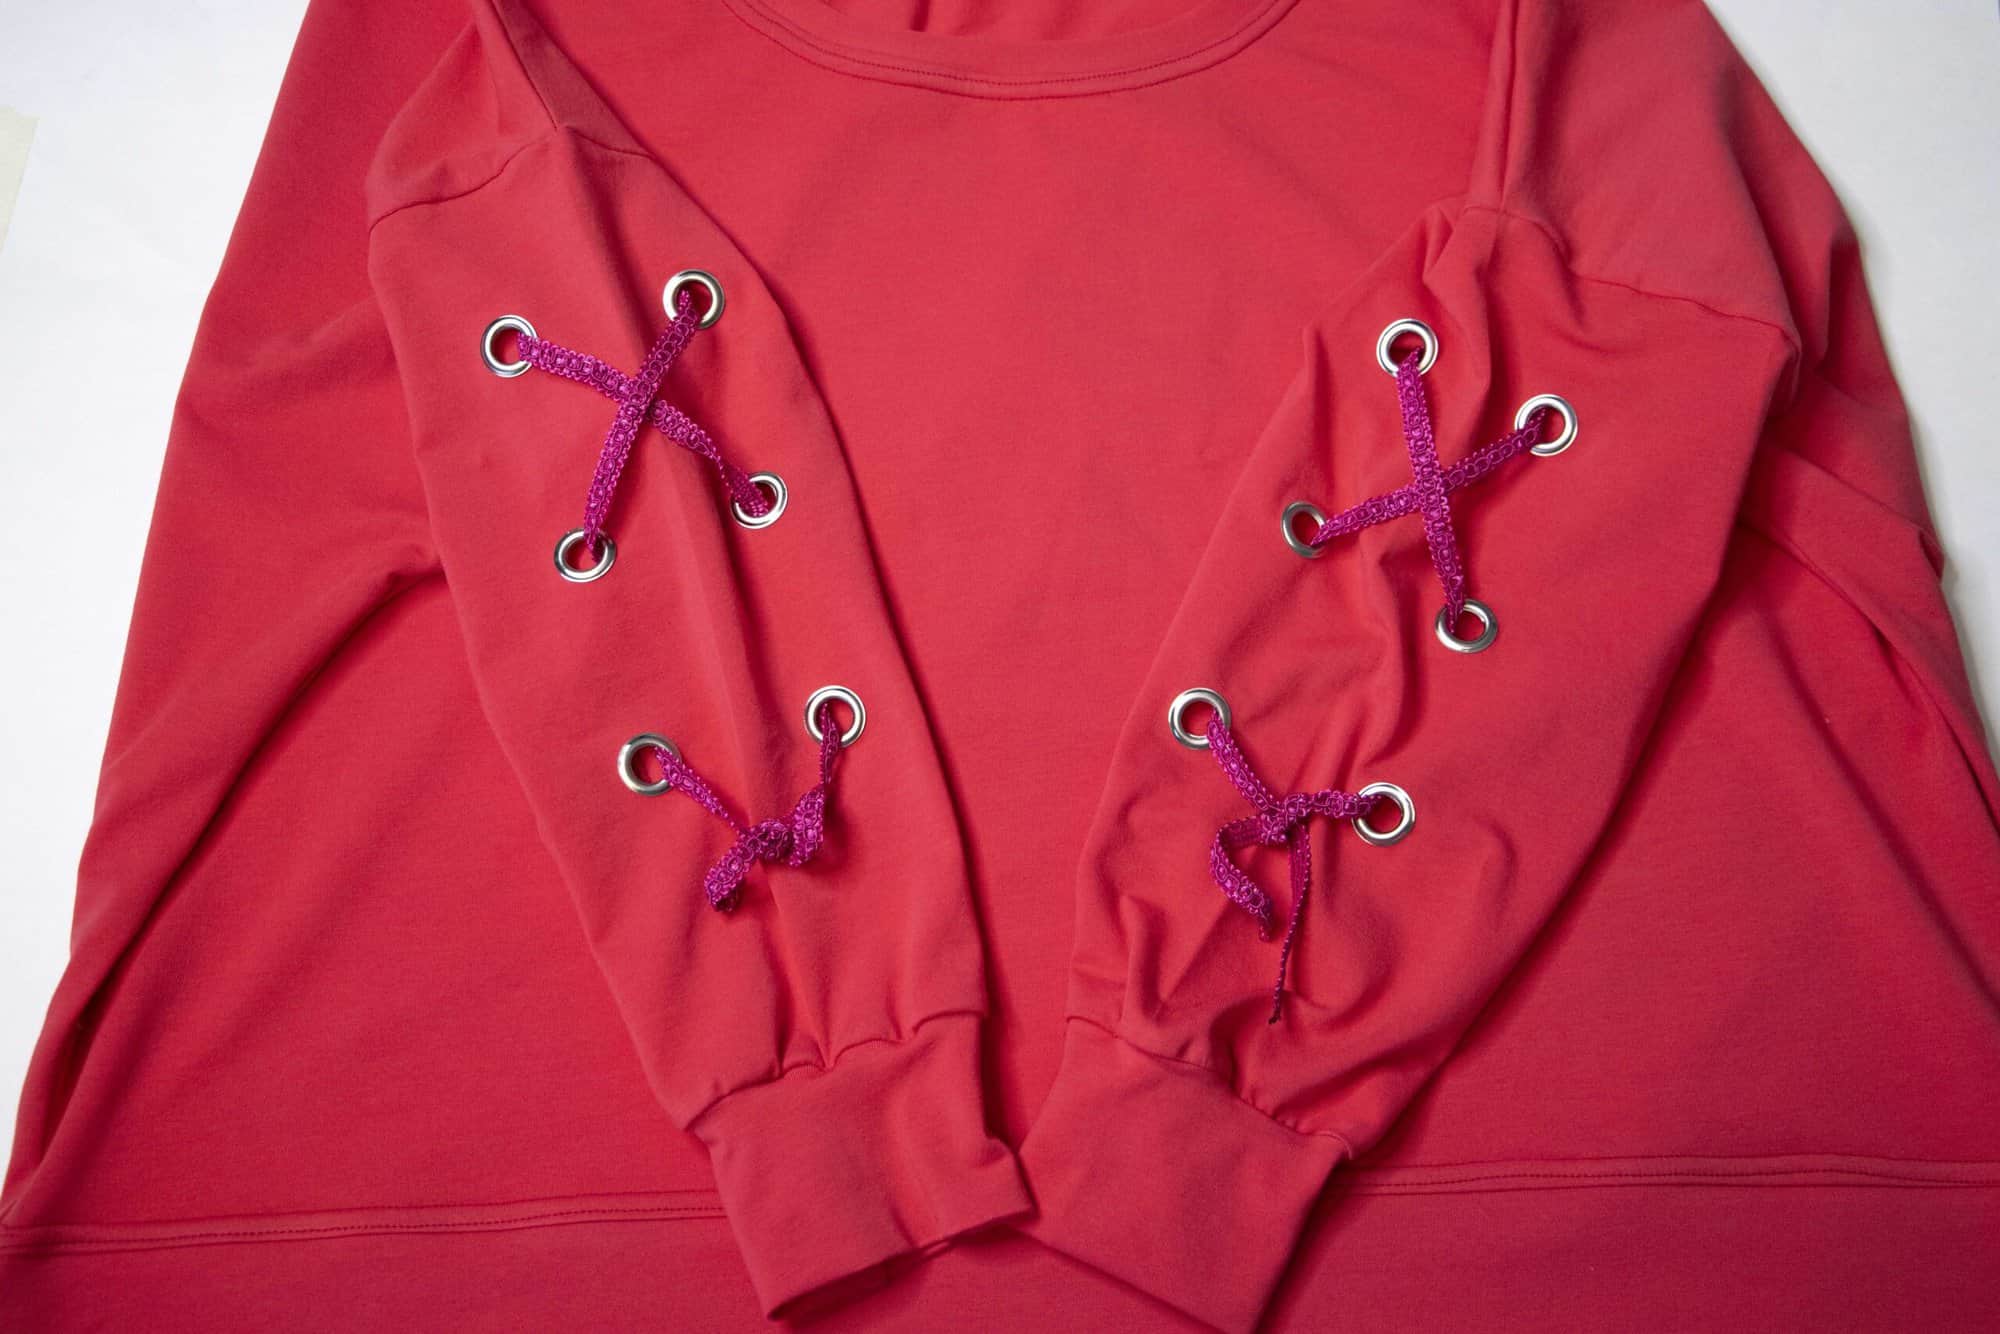
Let’s start with a super easy sleeve hack! A great way to add some visual interest to the Sunnyside Sweater sleeves is to add grommets and tread ribbon through them. The great thing about this easy hack is that it does not require any modifications to the pattern pieces or even the tutorial, just a couple of extra steps.

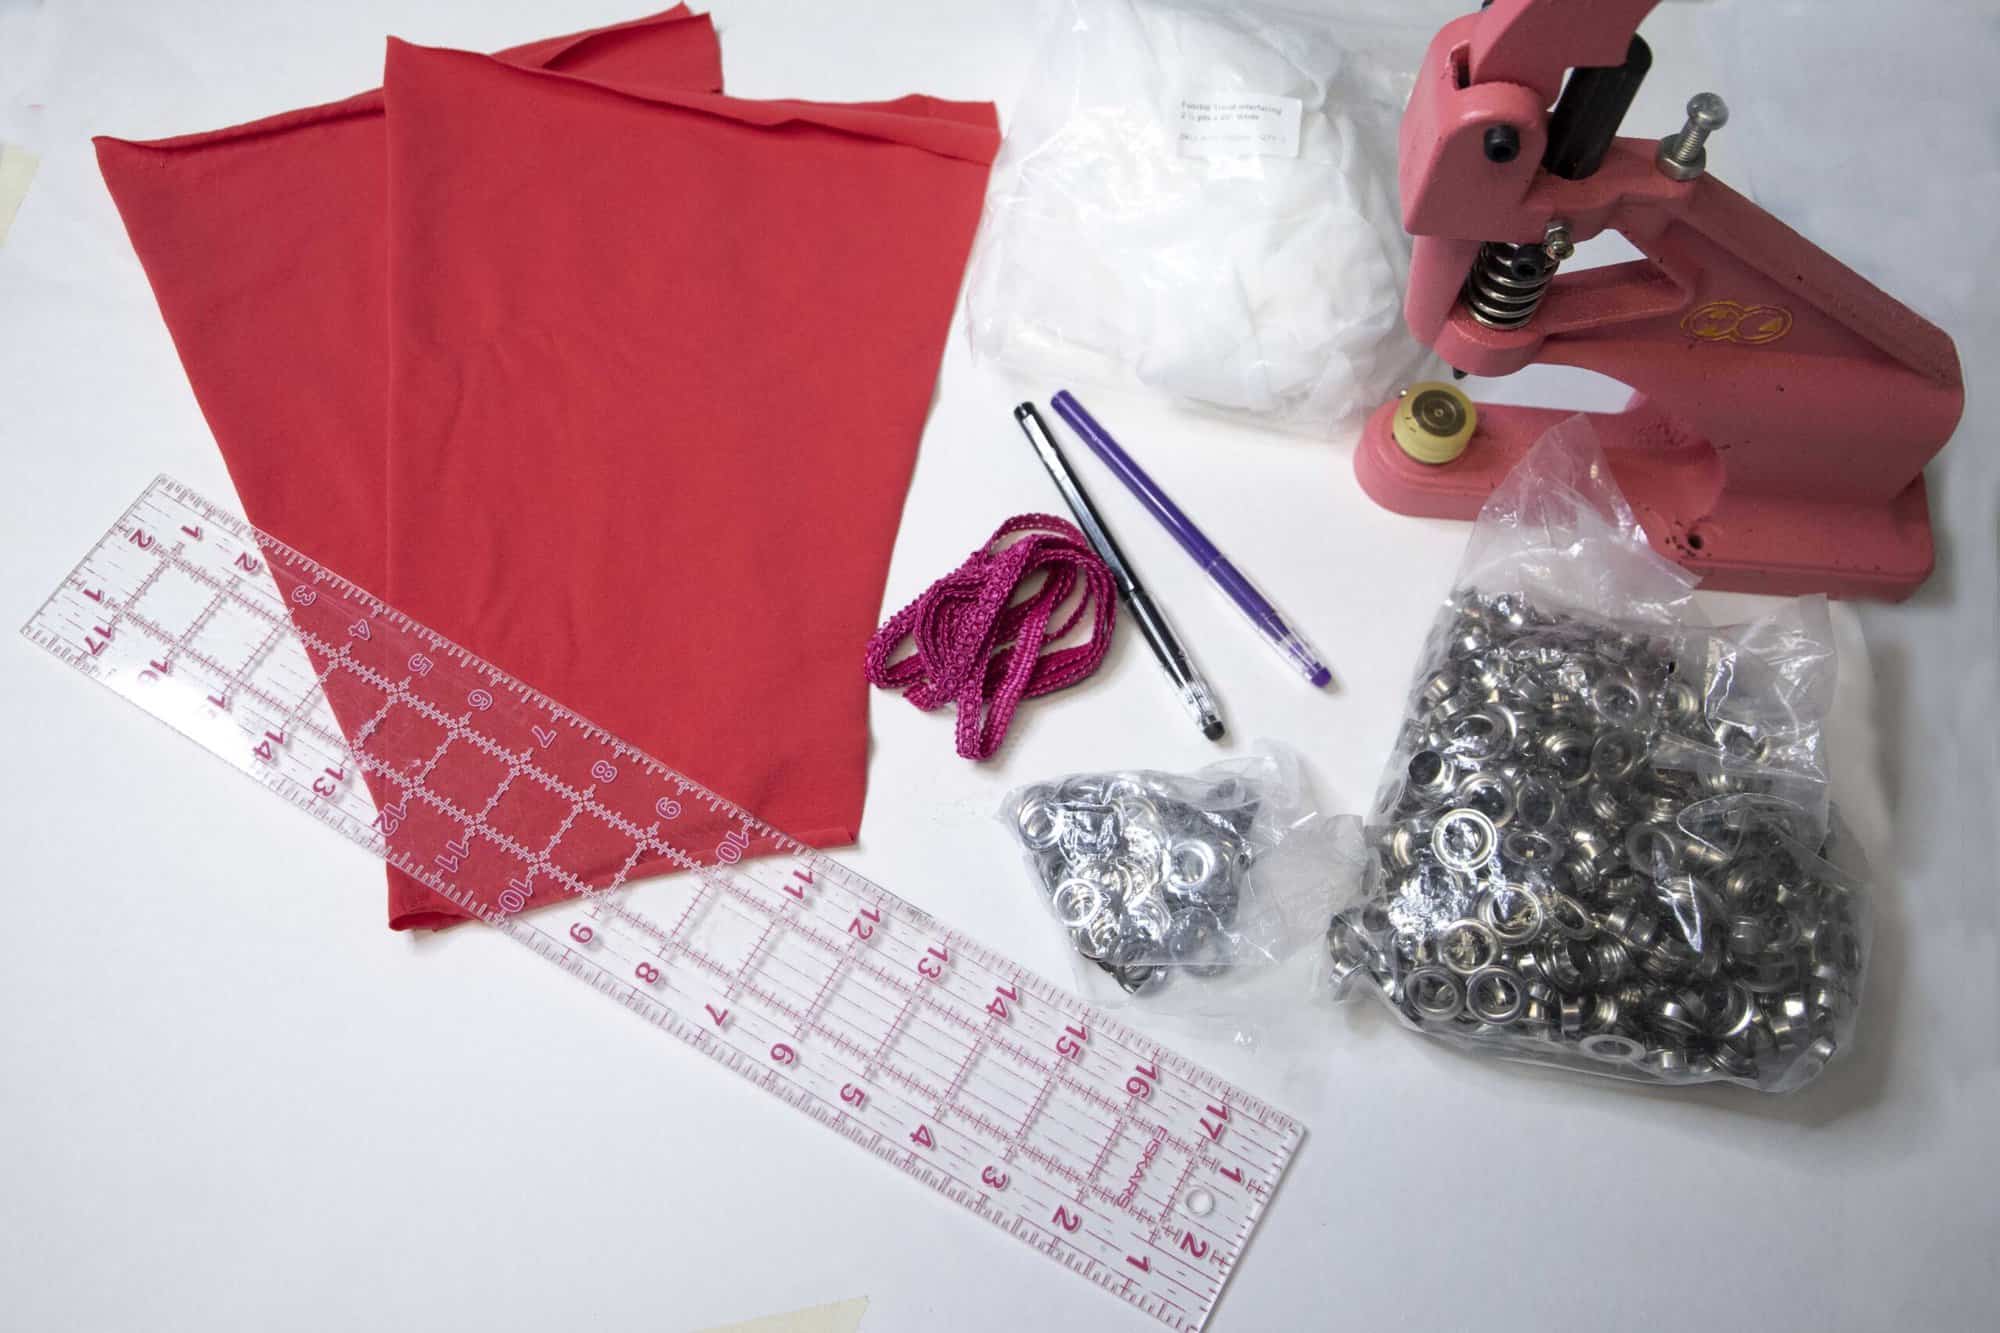
You can create this hack before you sew any of the tutorial steps. You will need:
- the two sleeves
- fusible interfacing (I like tricot interfacing for this, but a slightly thicker one would work too)
- 12 grommets ( I prefer 12 mm ones)
- a marking pen
- quilting ruler
- your preferred hole punching and grommets tool
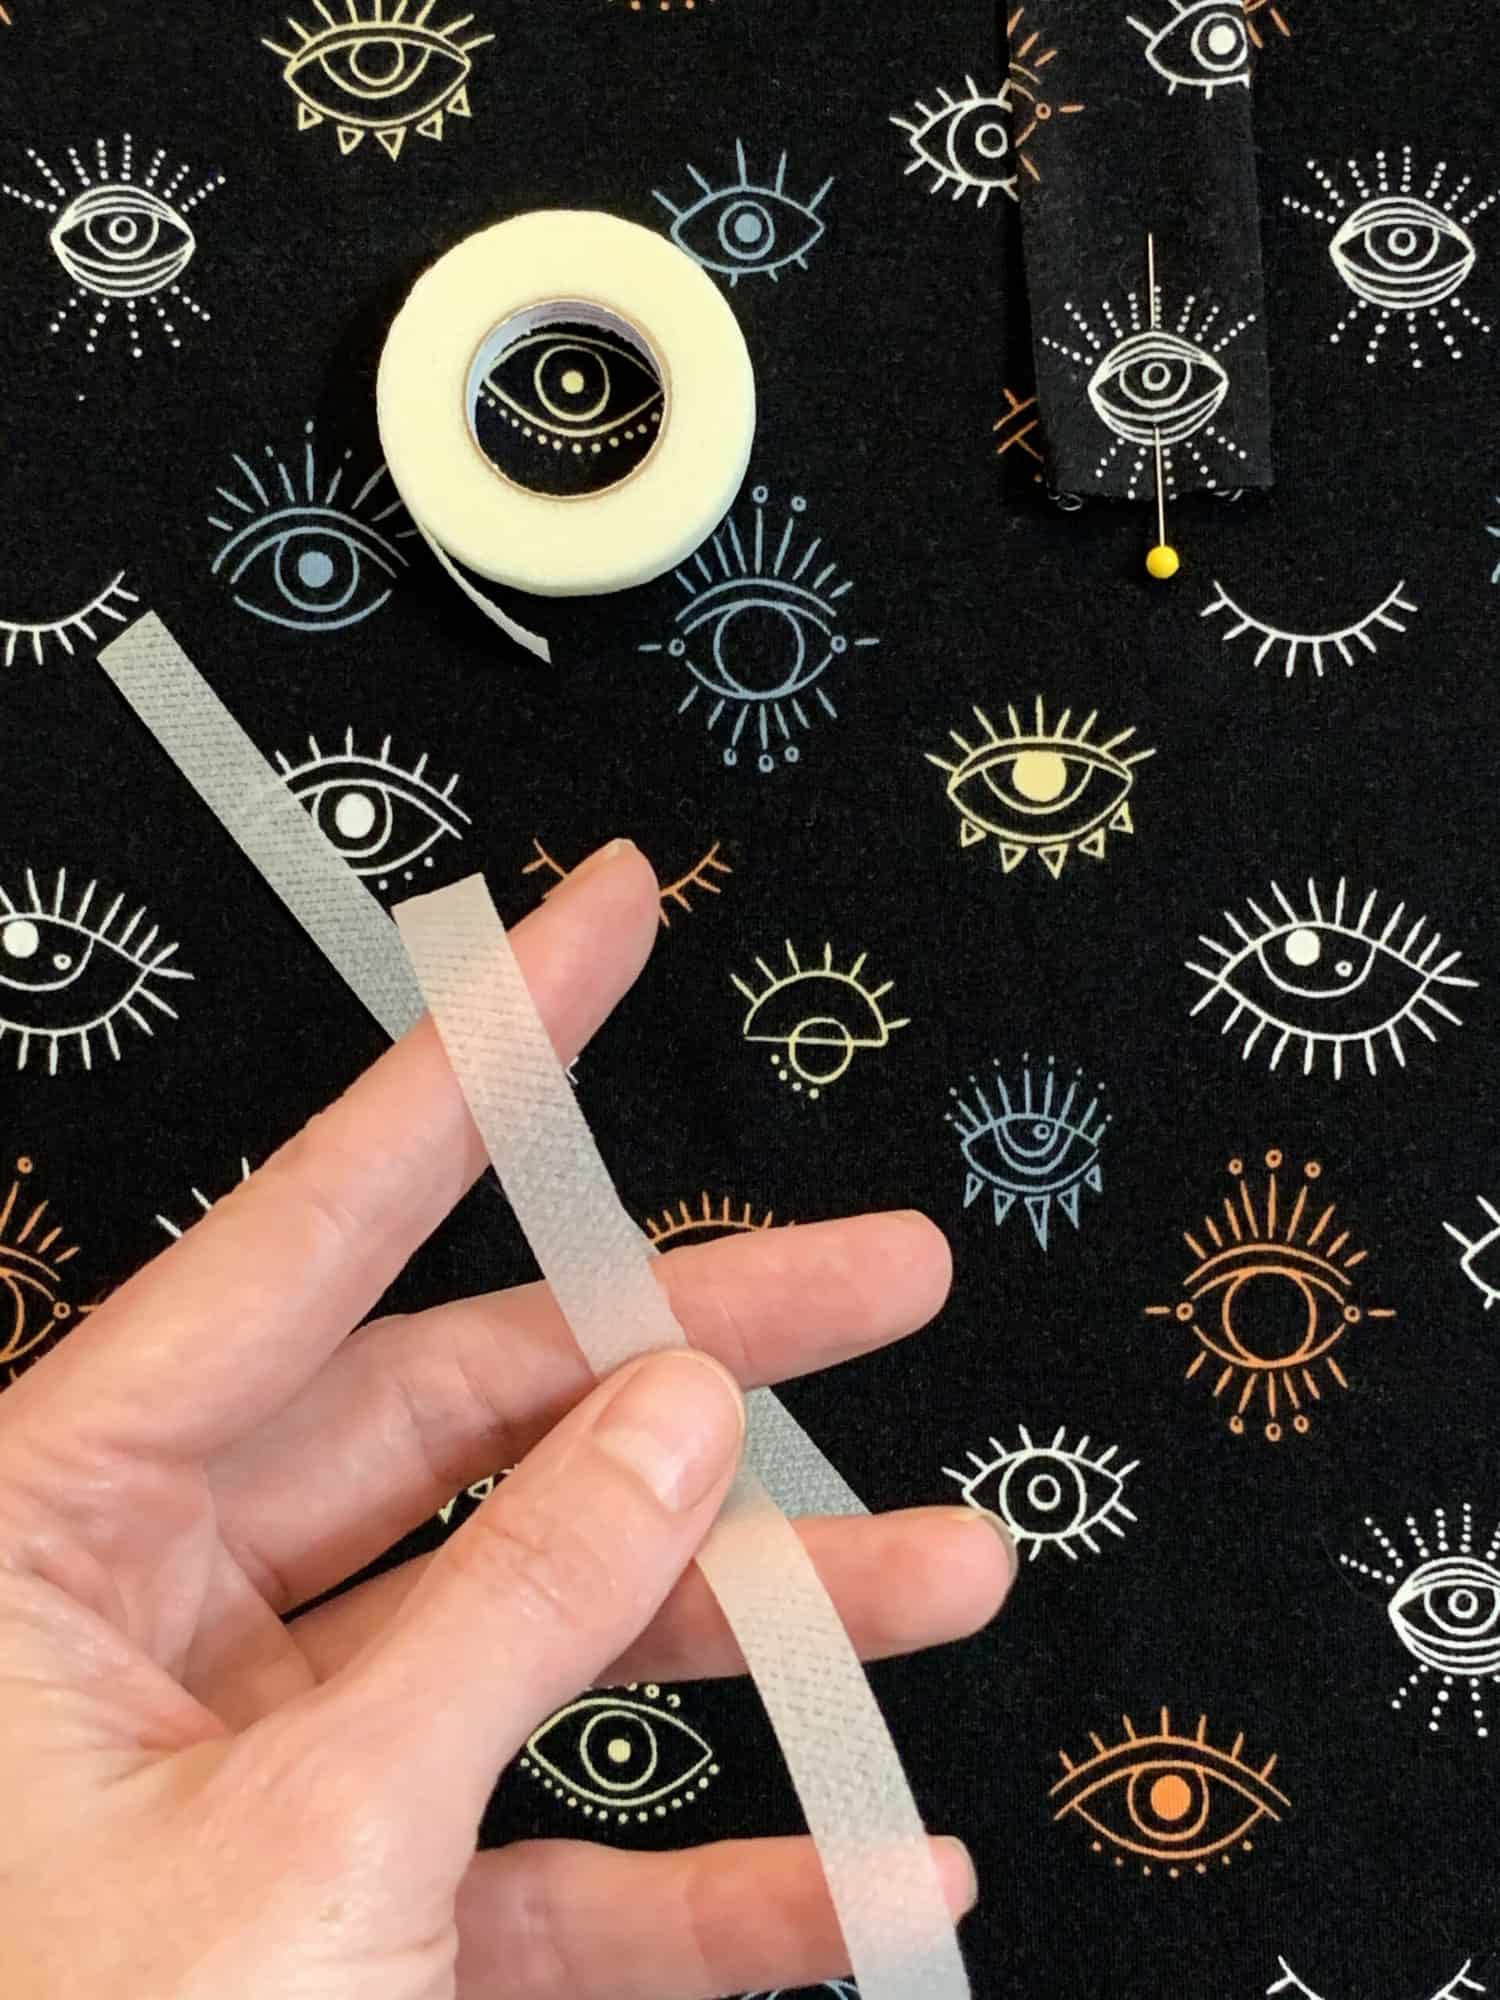
- ribbon (I didn’t have any on hand but I think a 1/2″ satin ribbon would look the best)
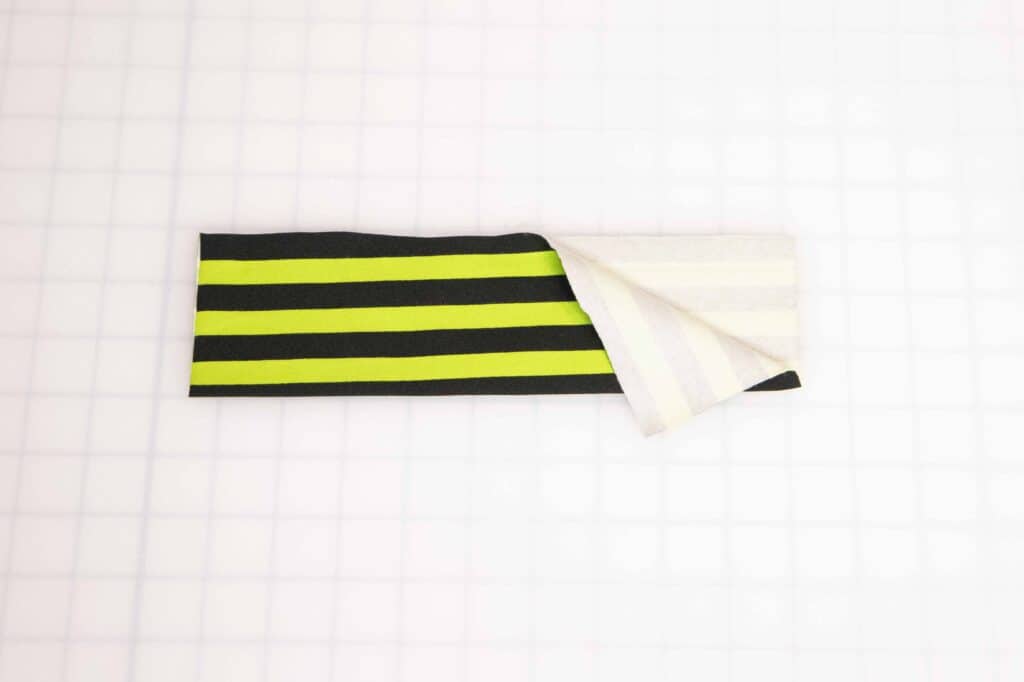
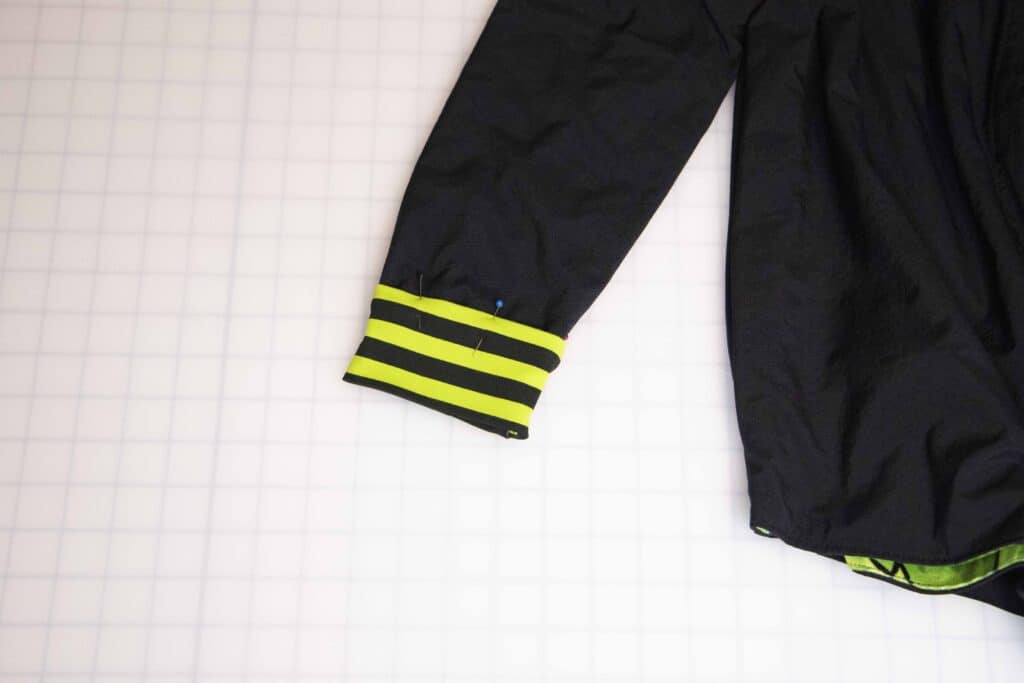
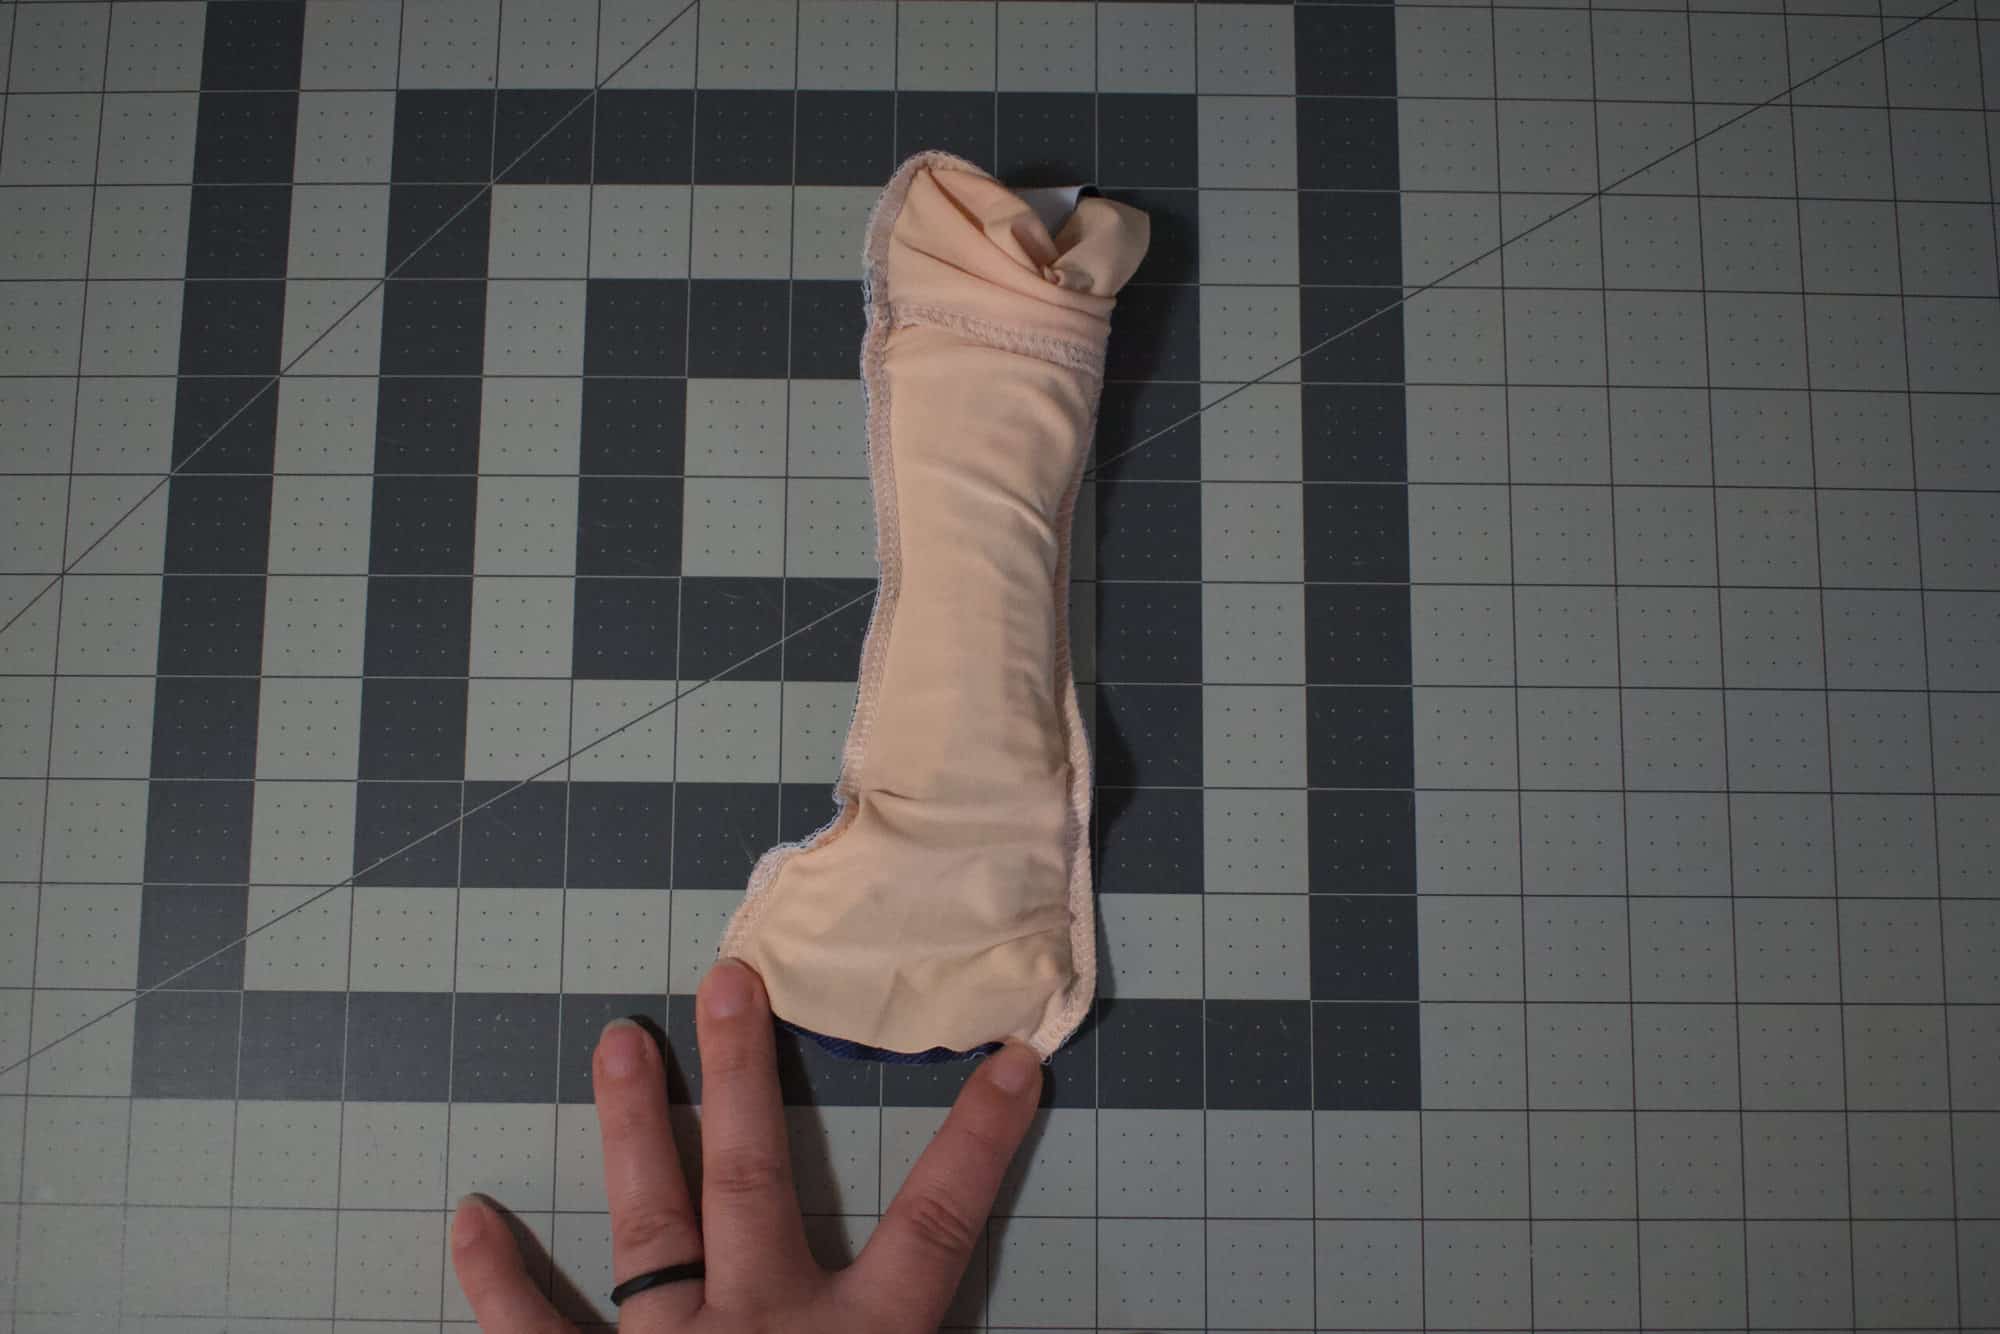
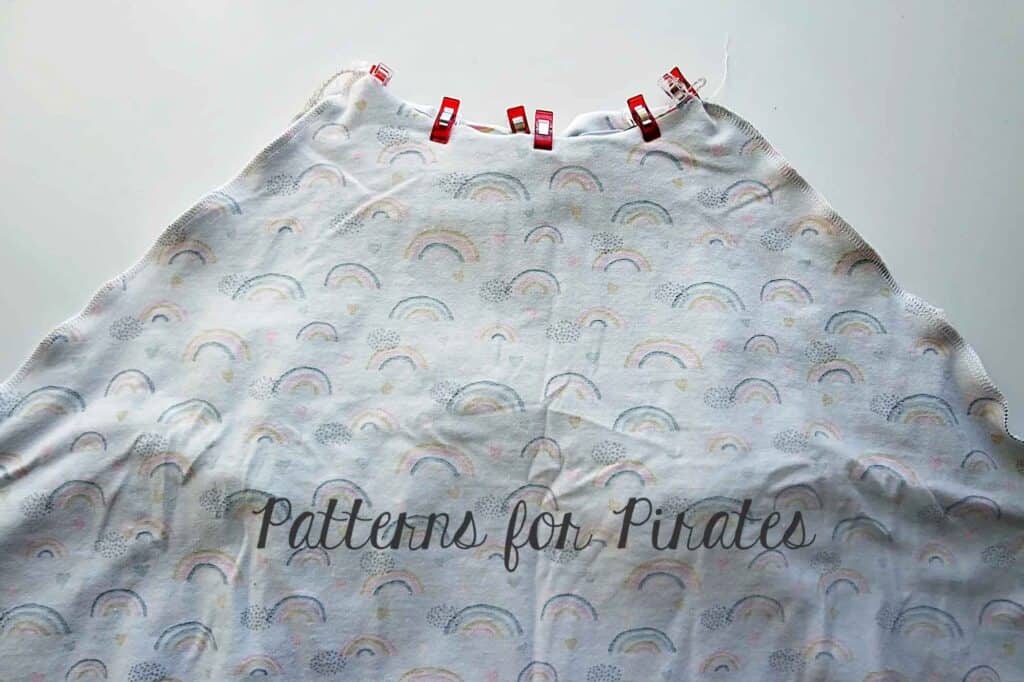
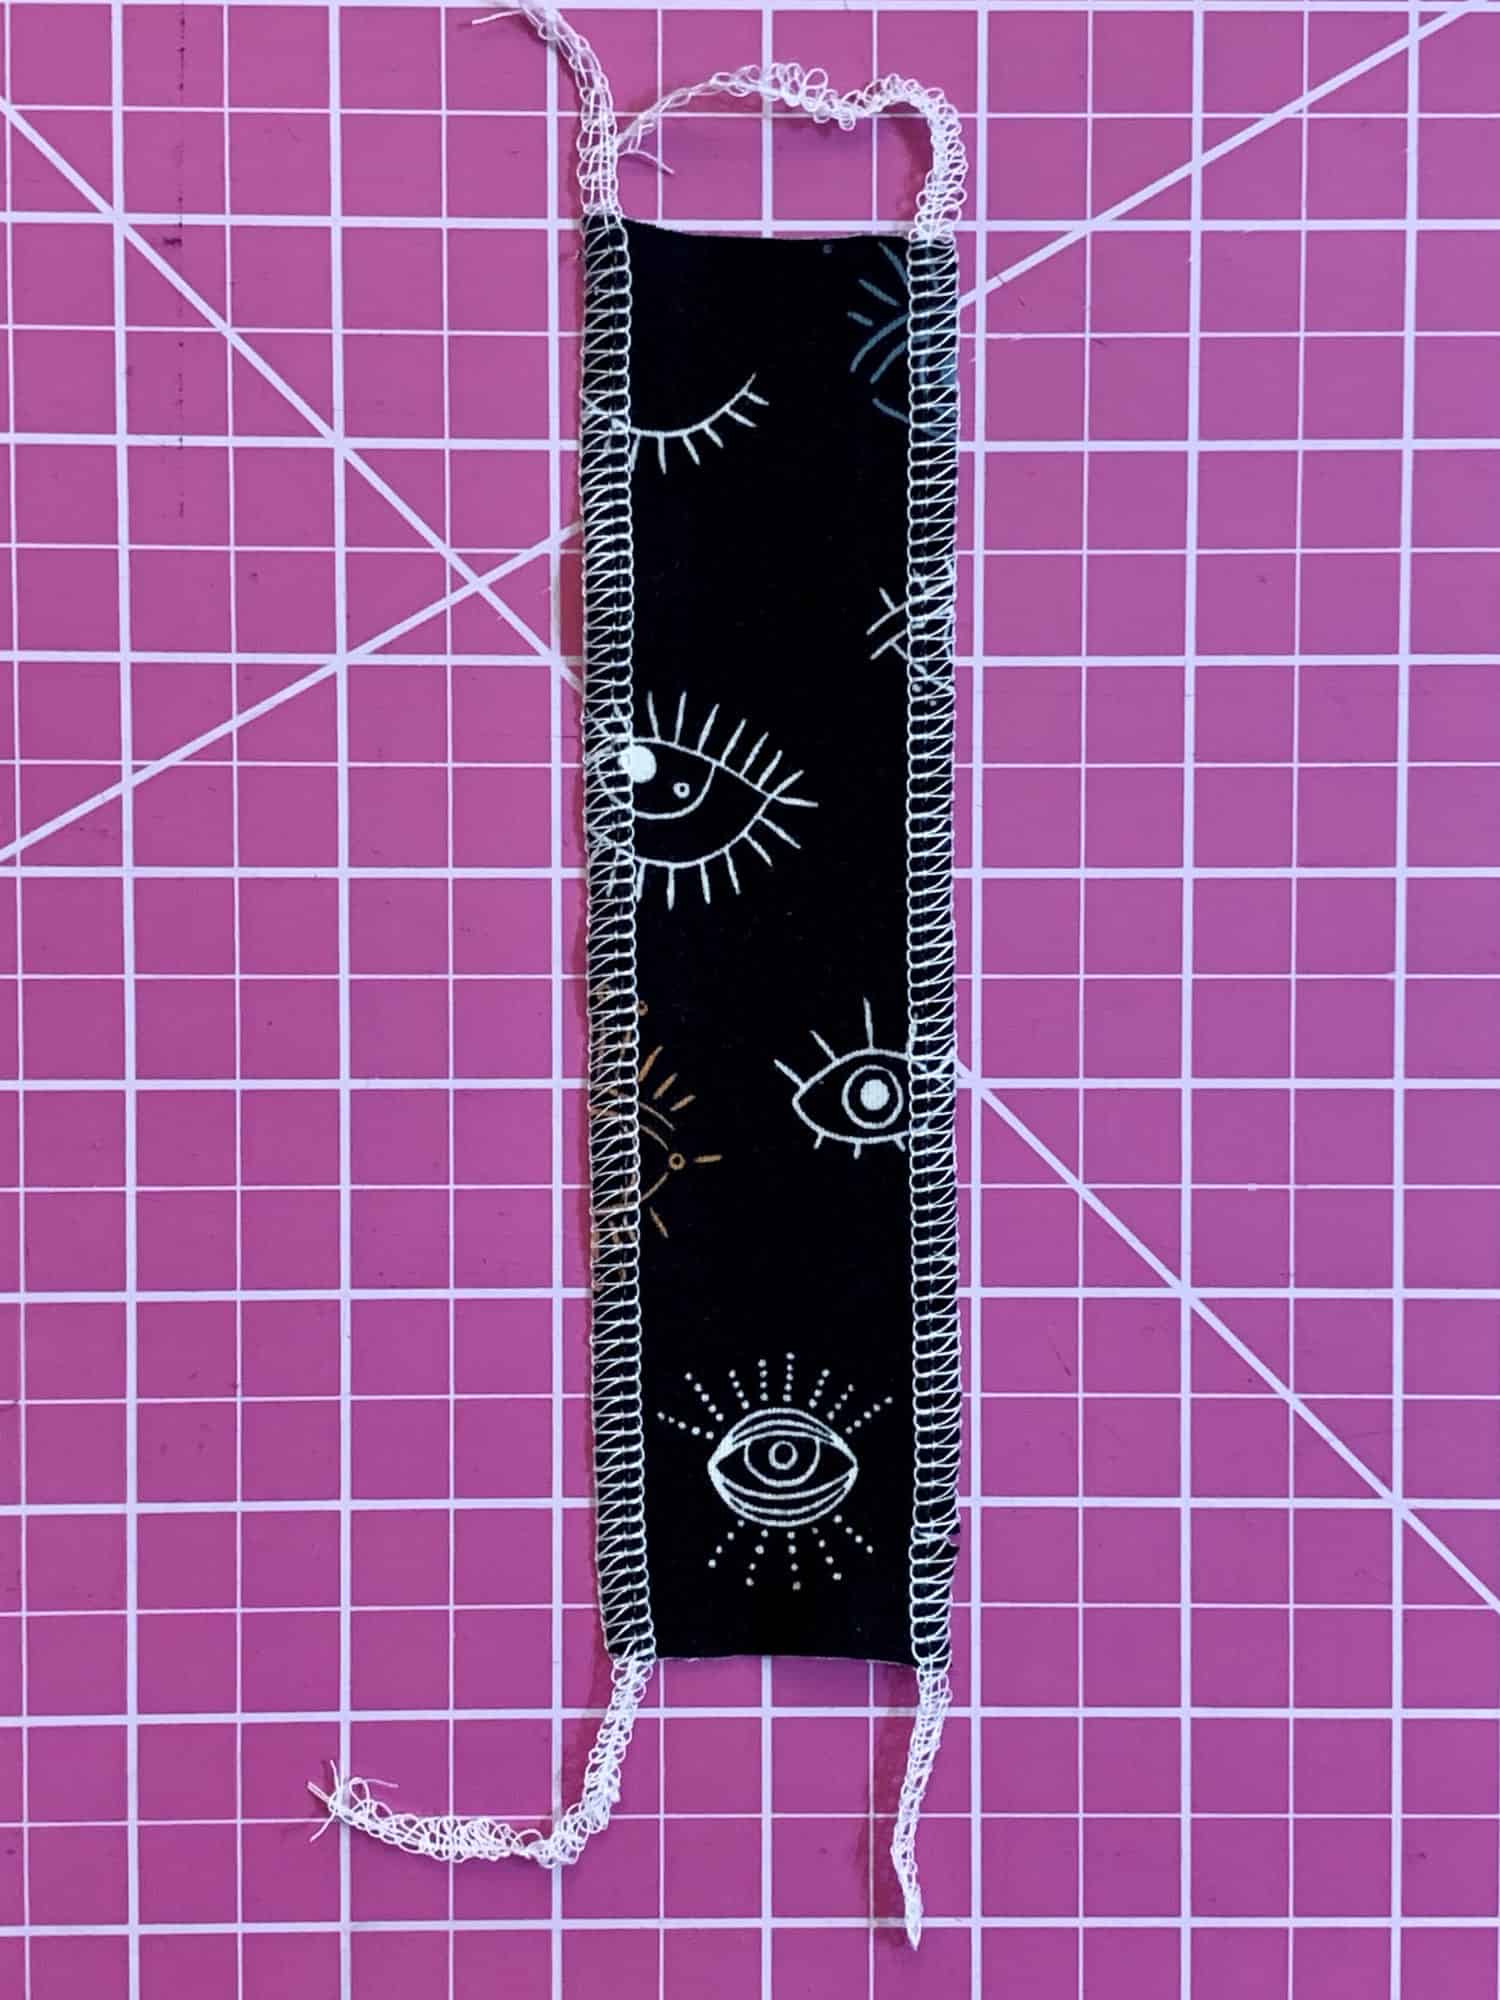
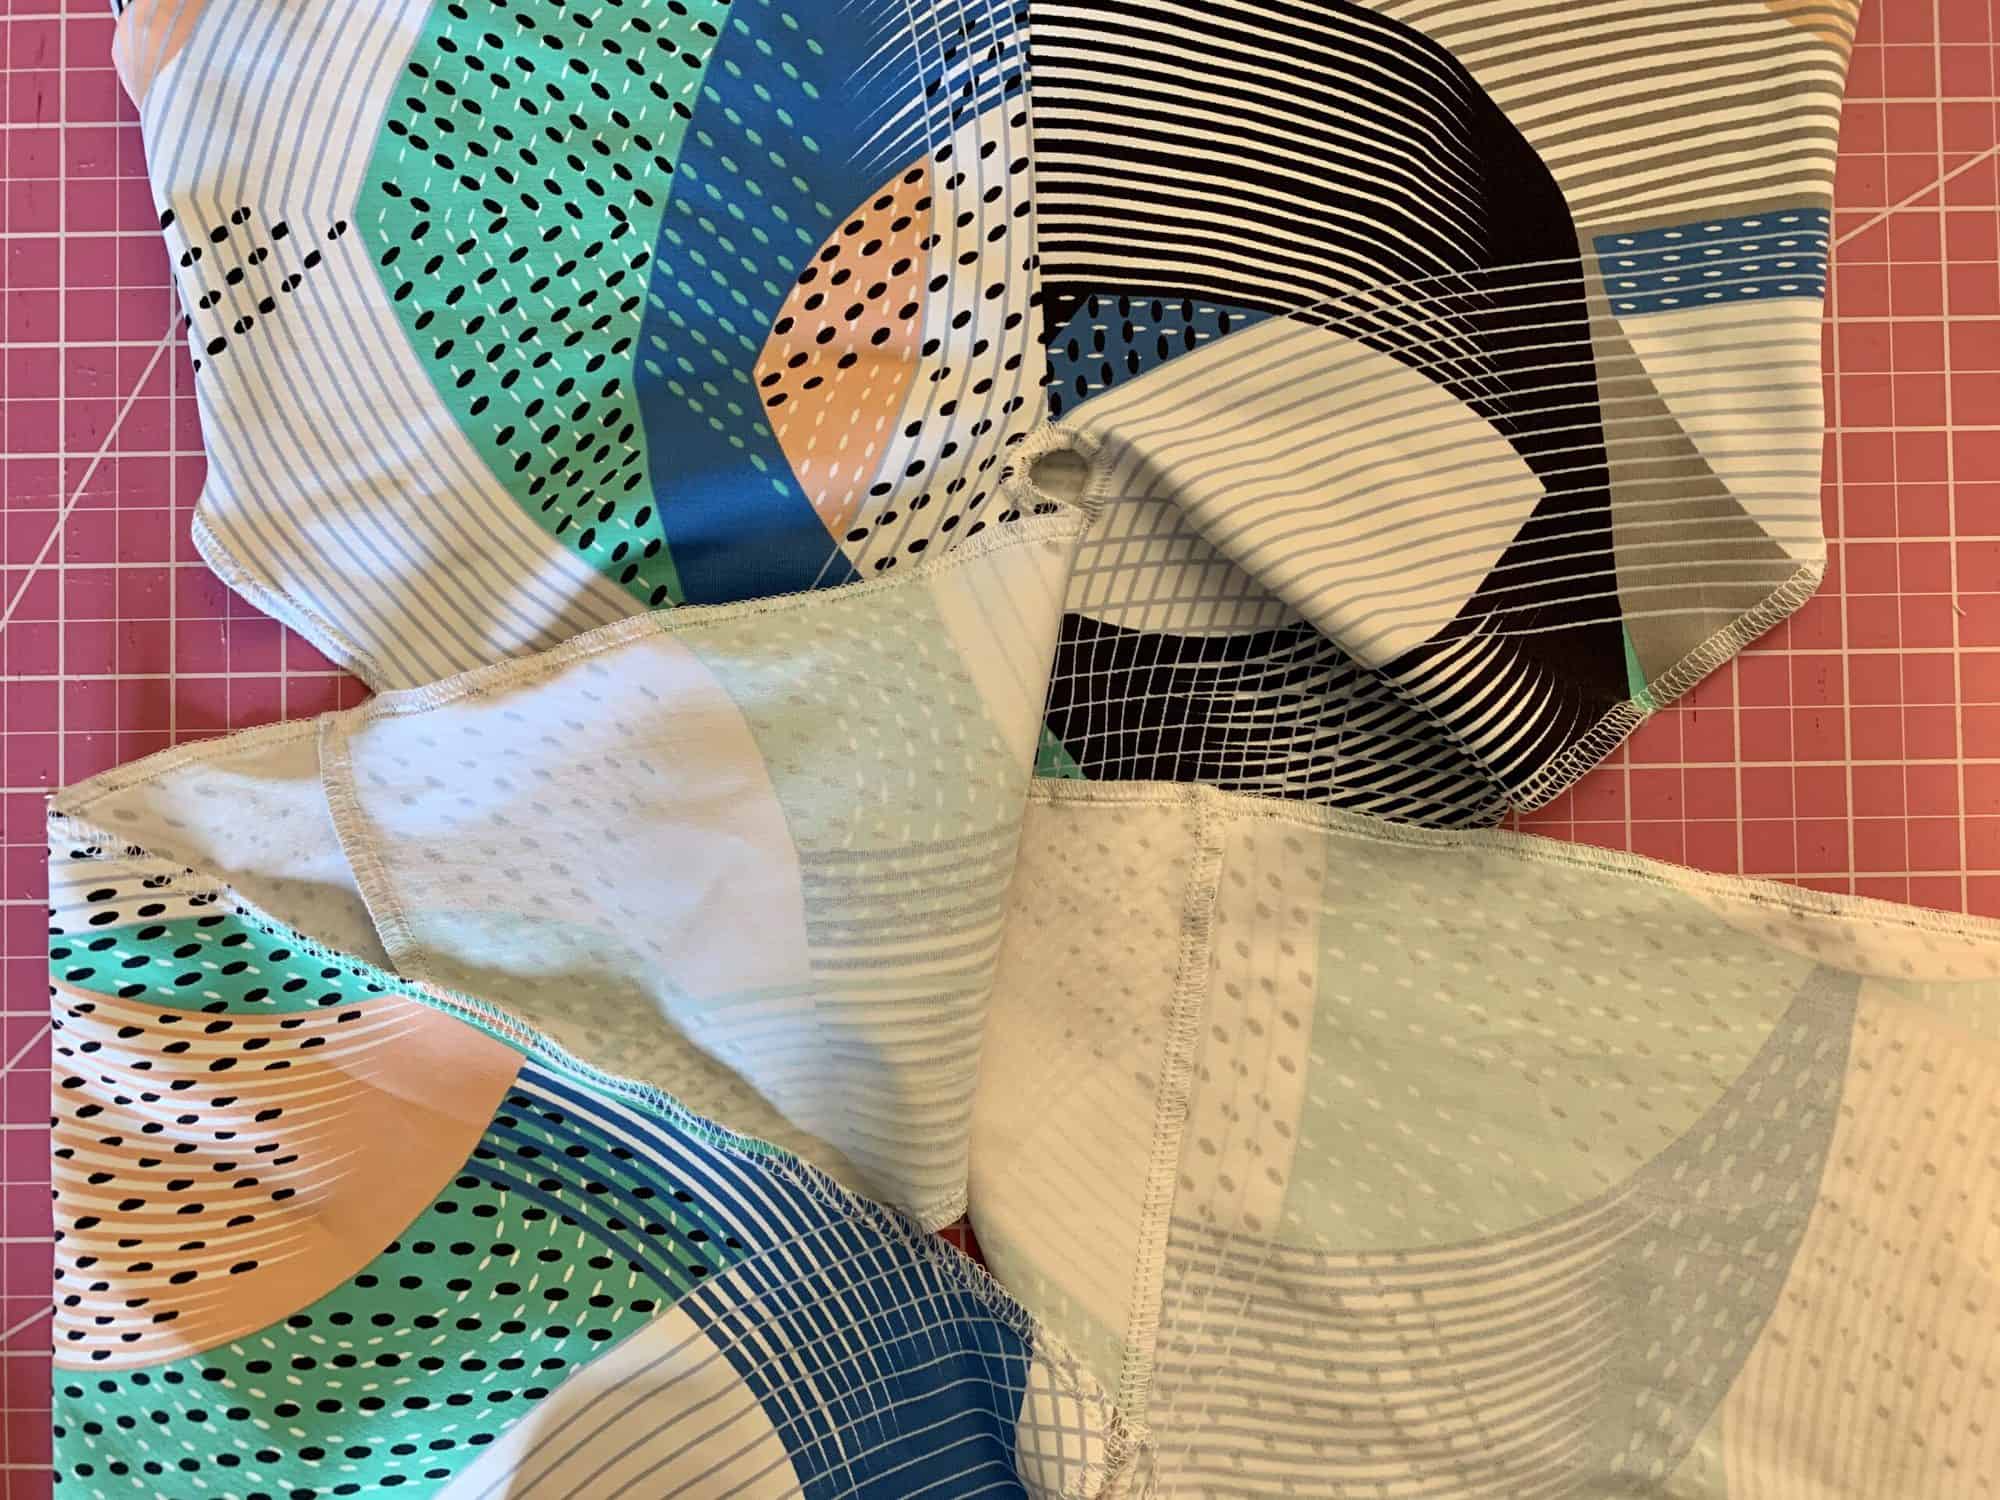
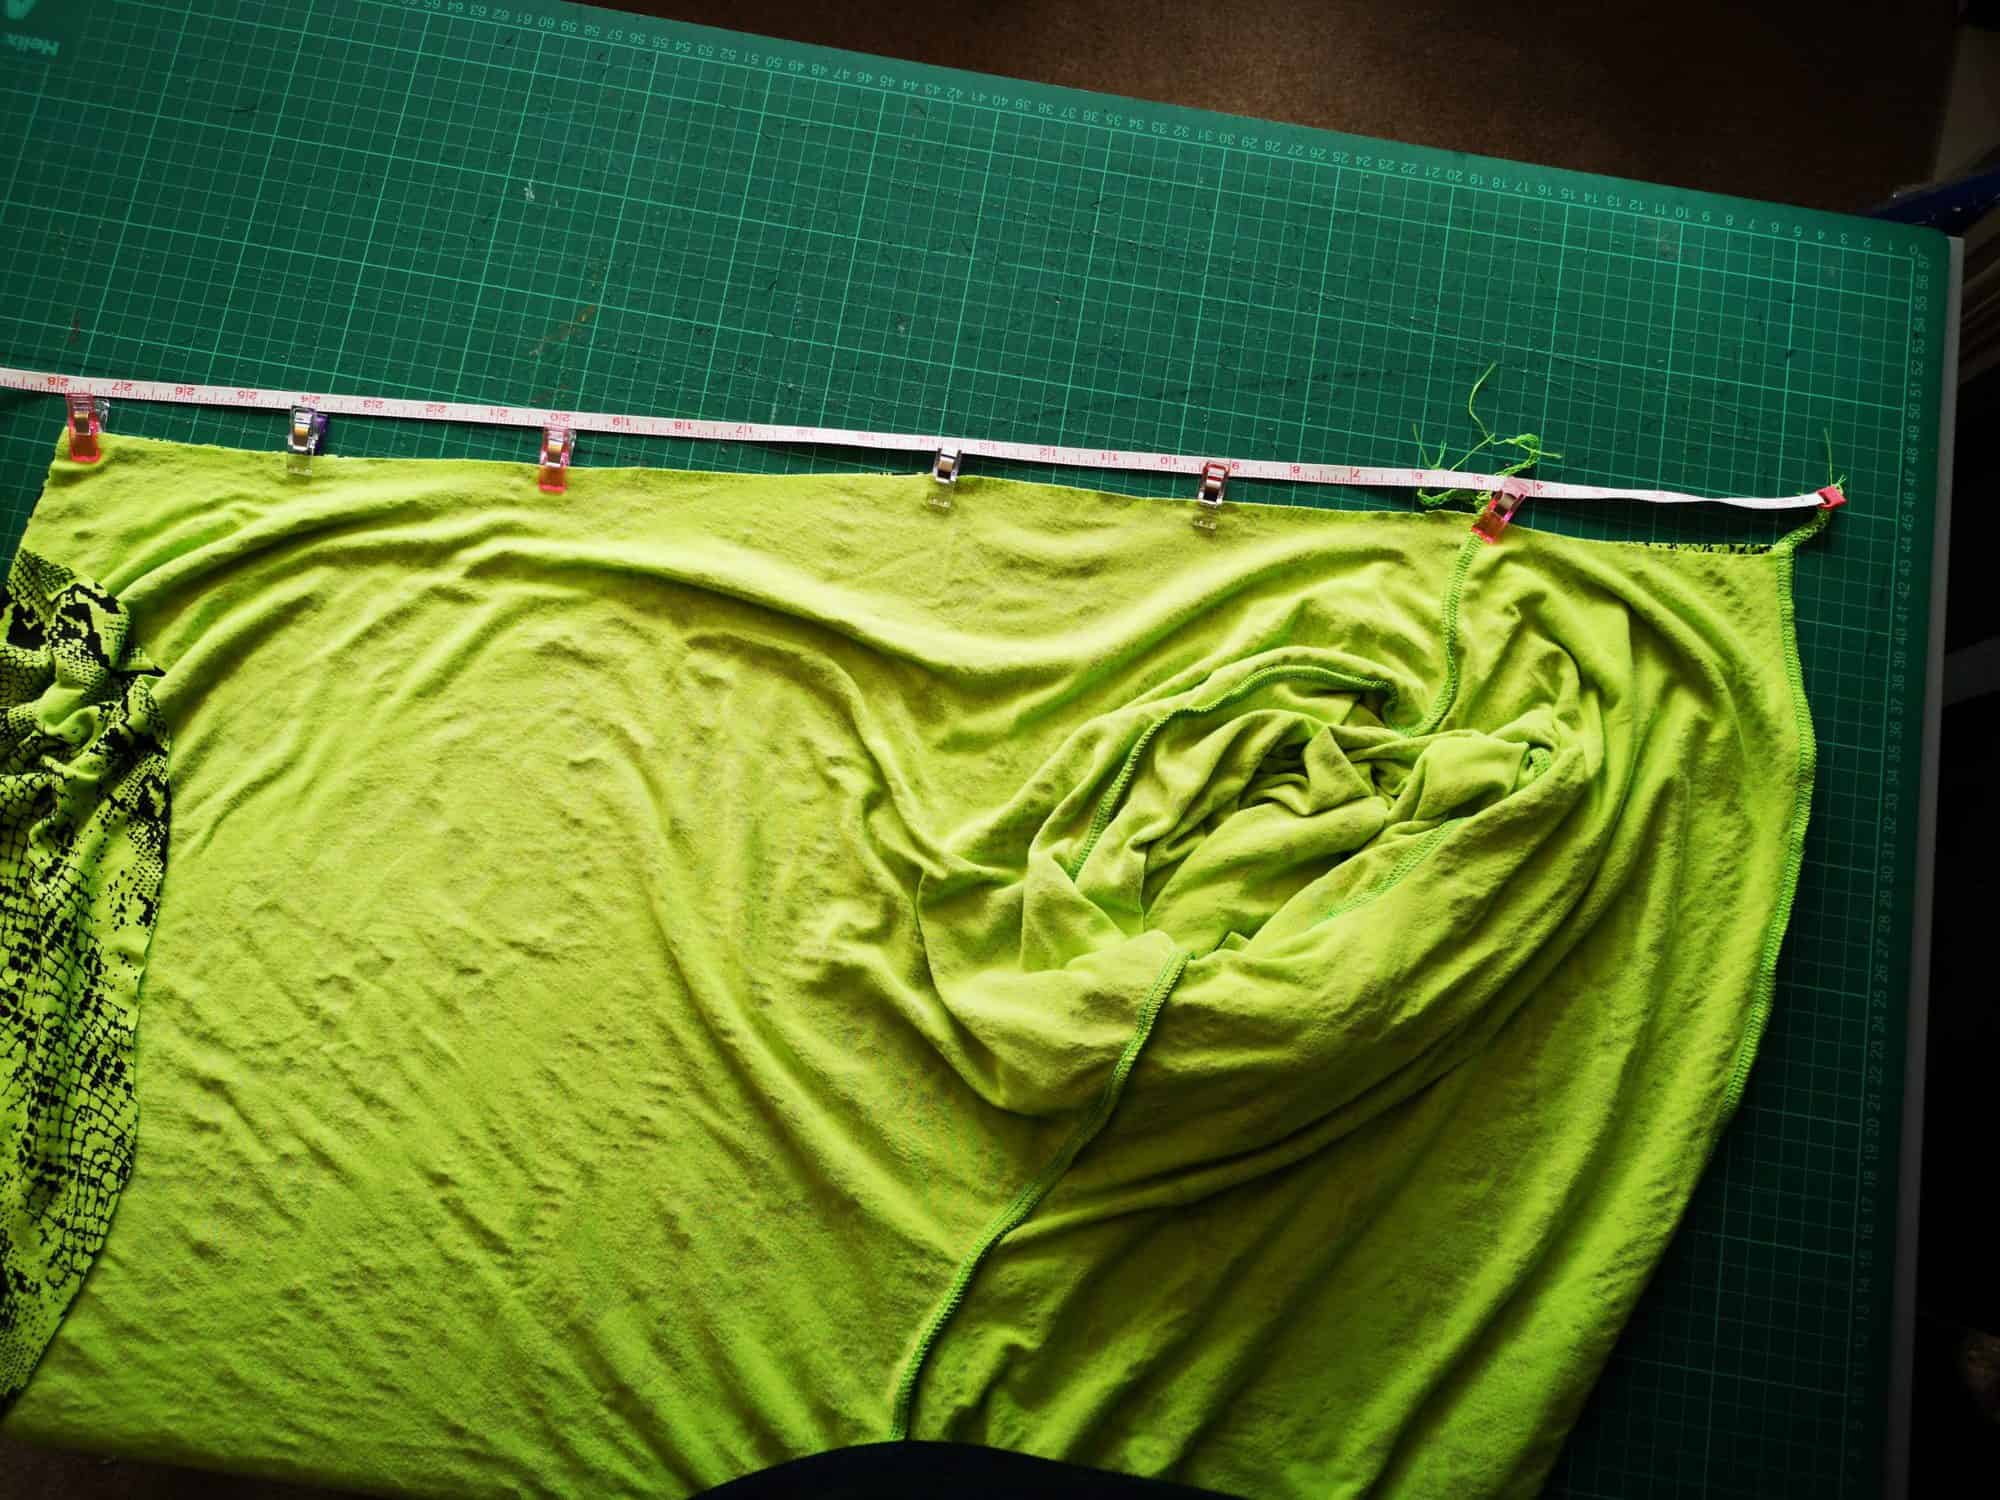
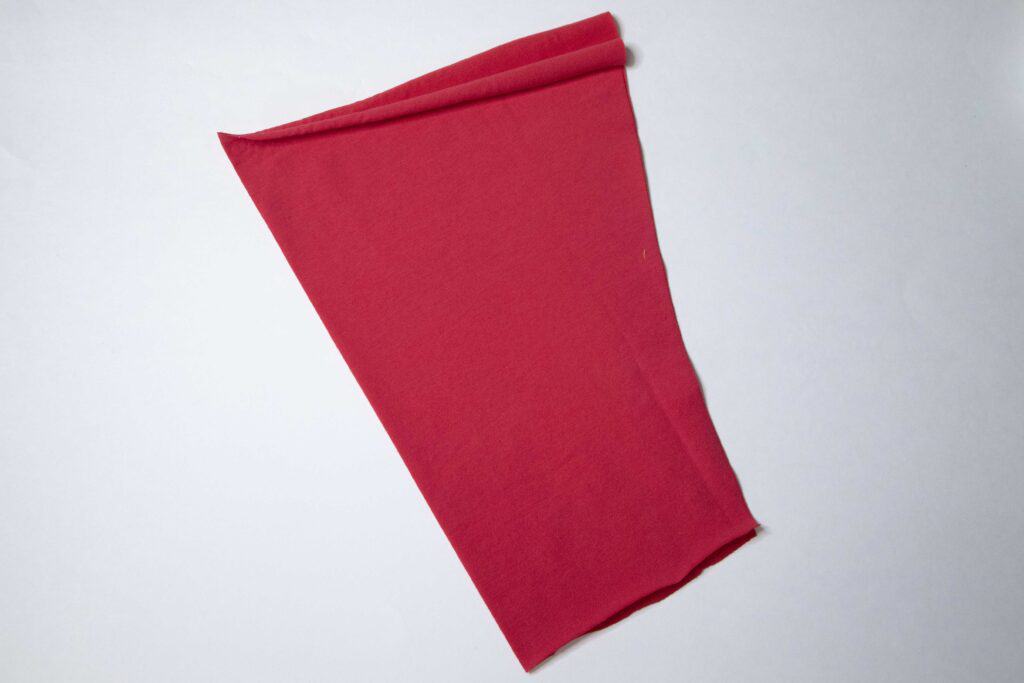
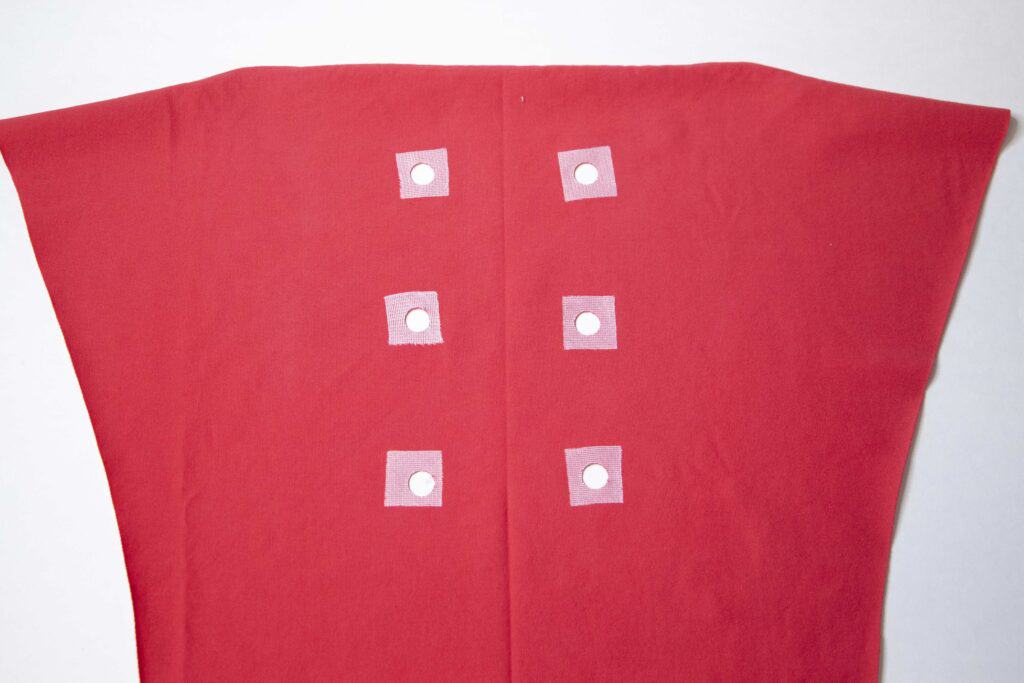
Let’s do this! Start by marking the center of the sleeve. I like to fold it in half and press it with my iron so it creates a crease.
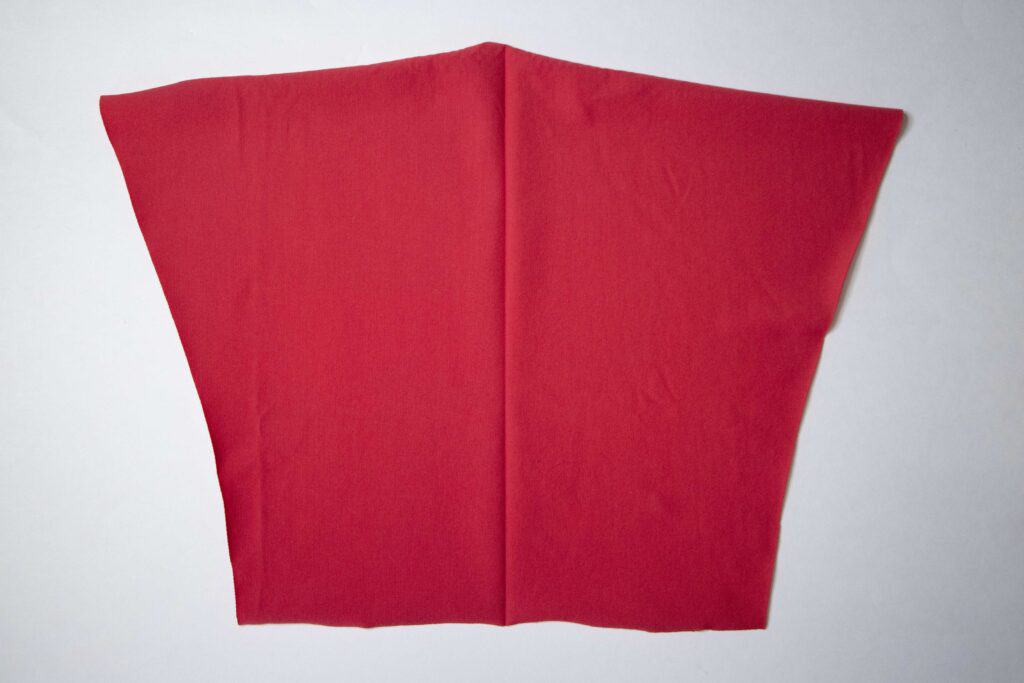
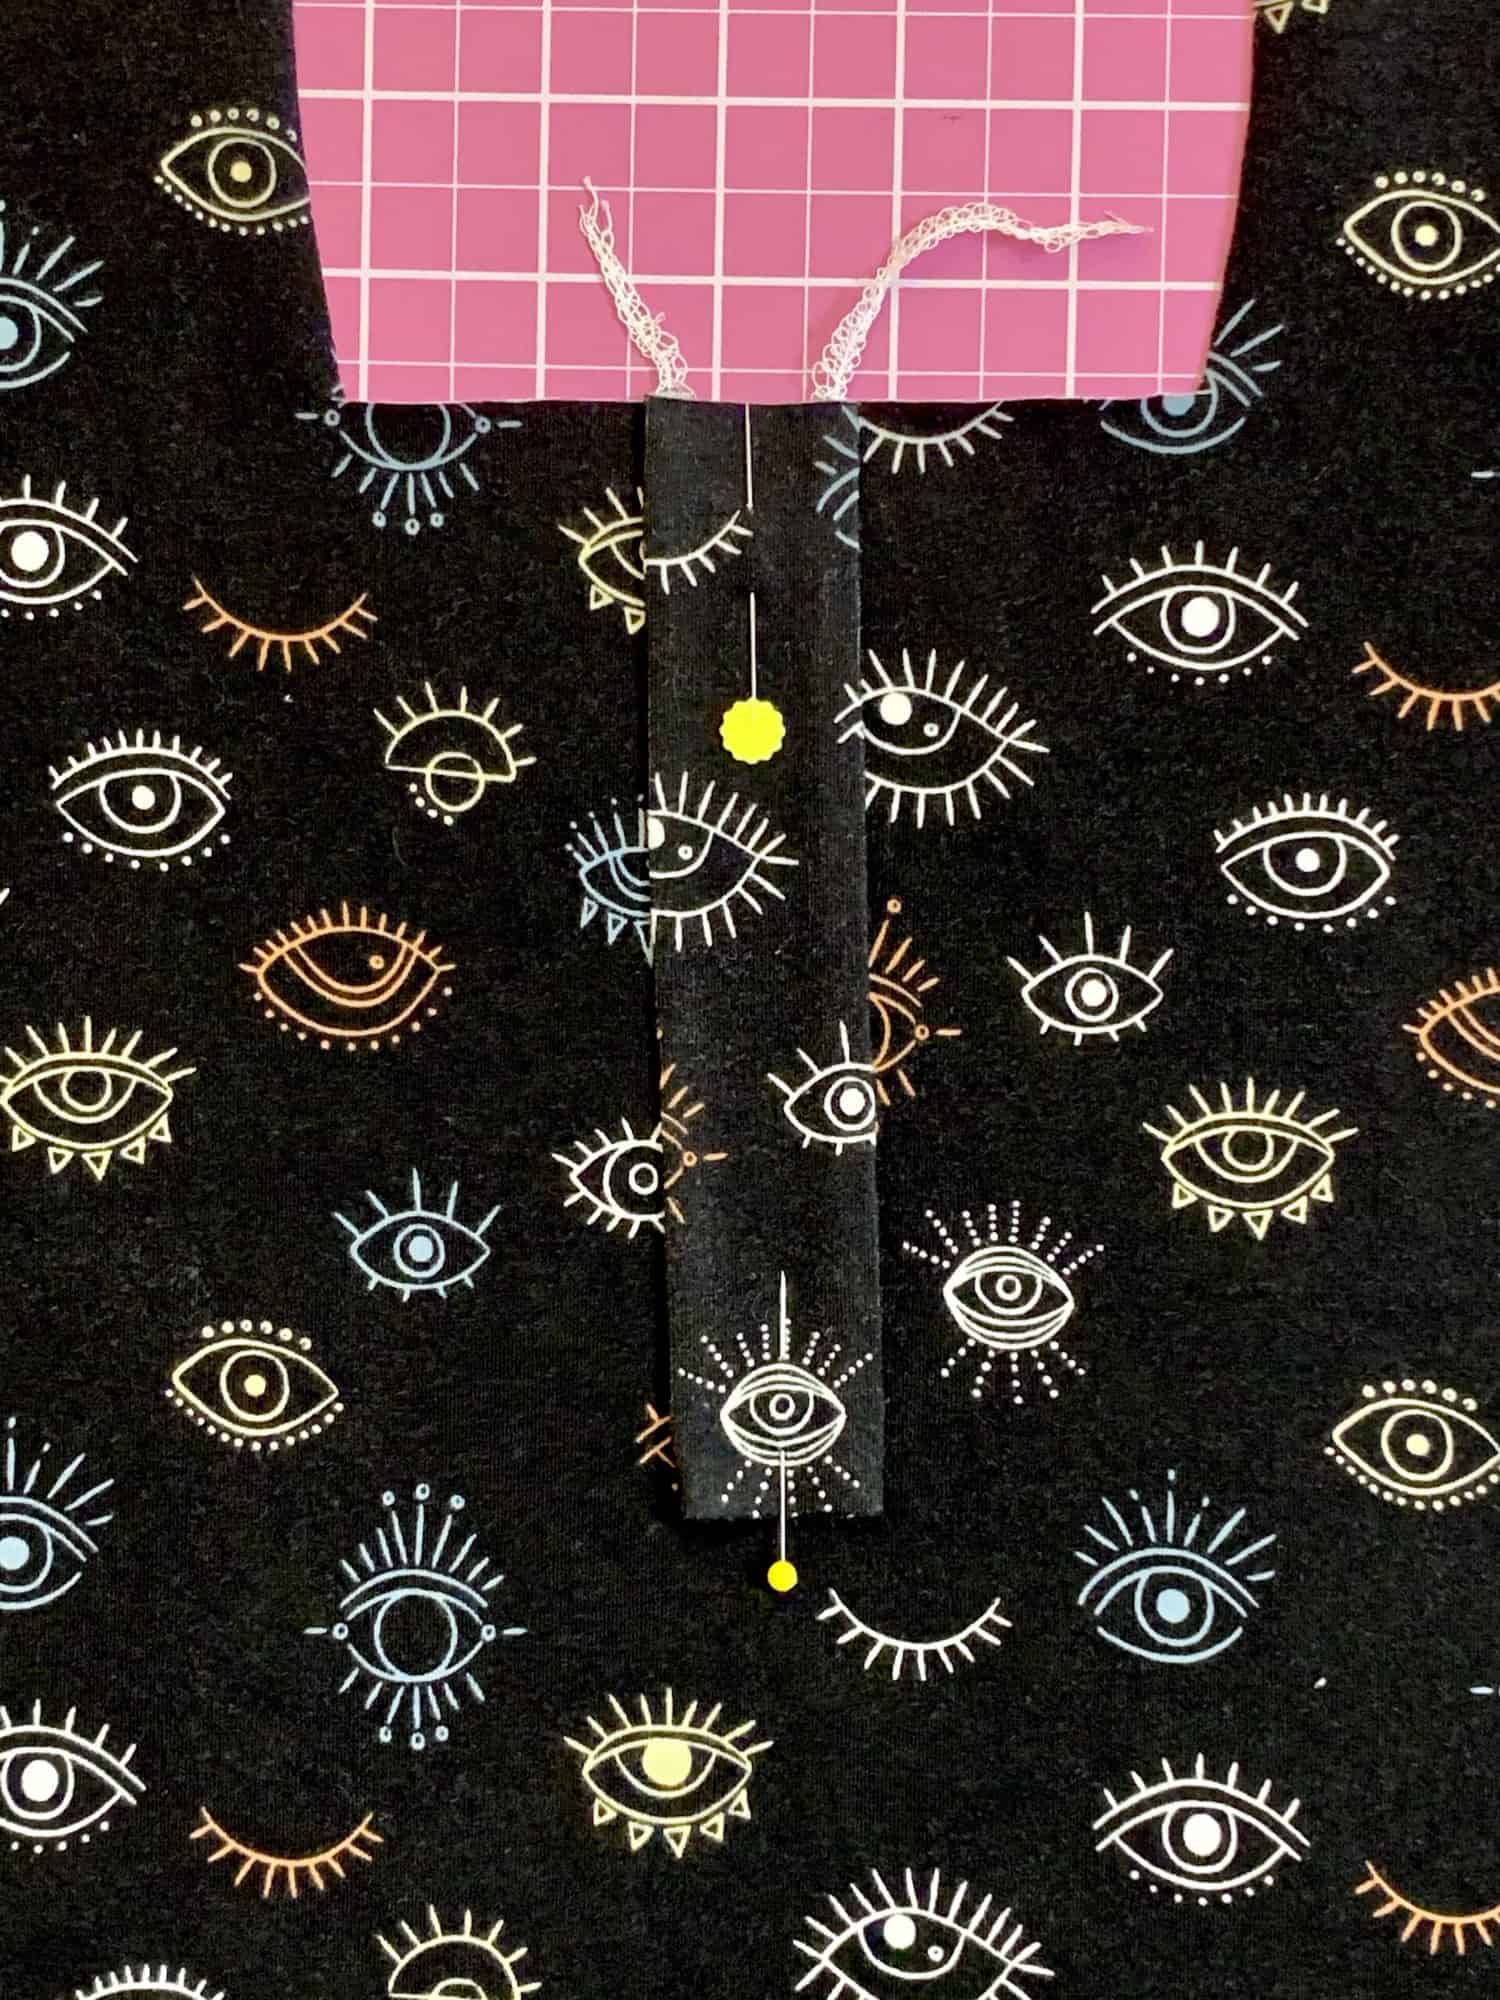
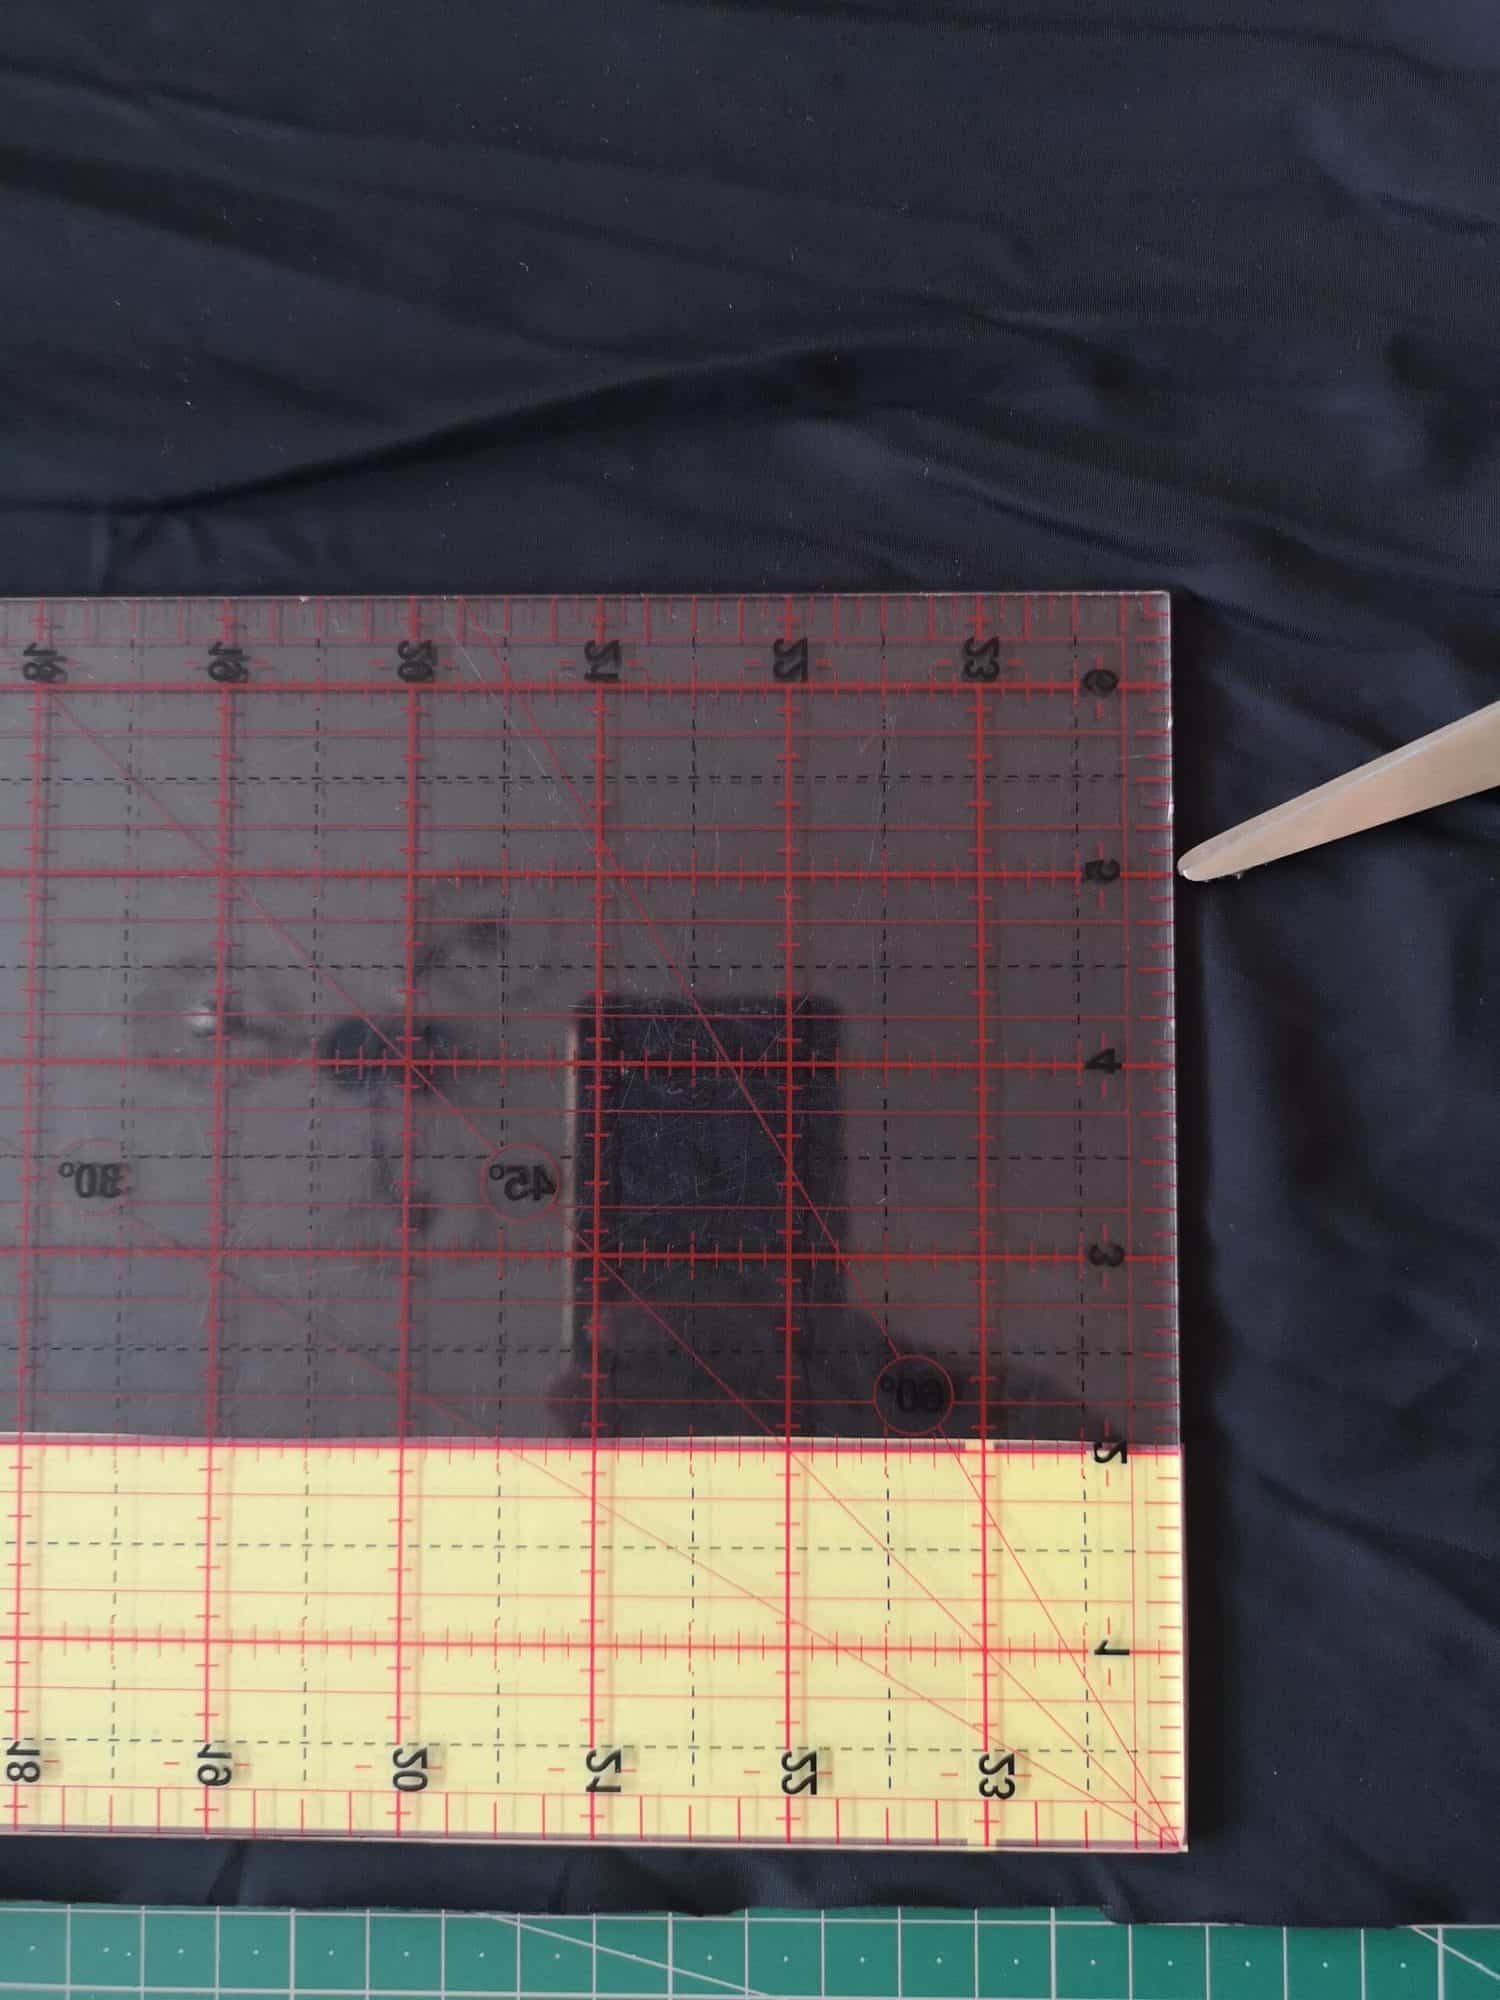
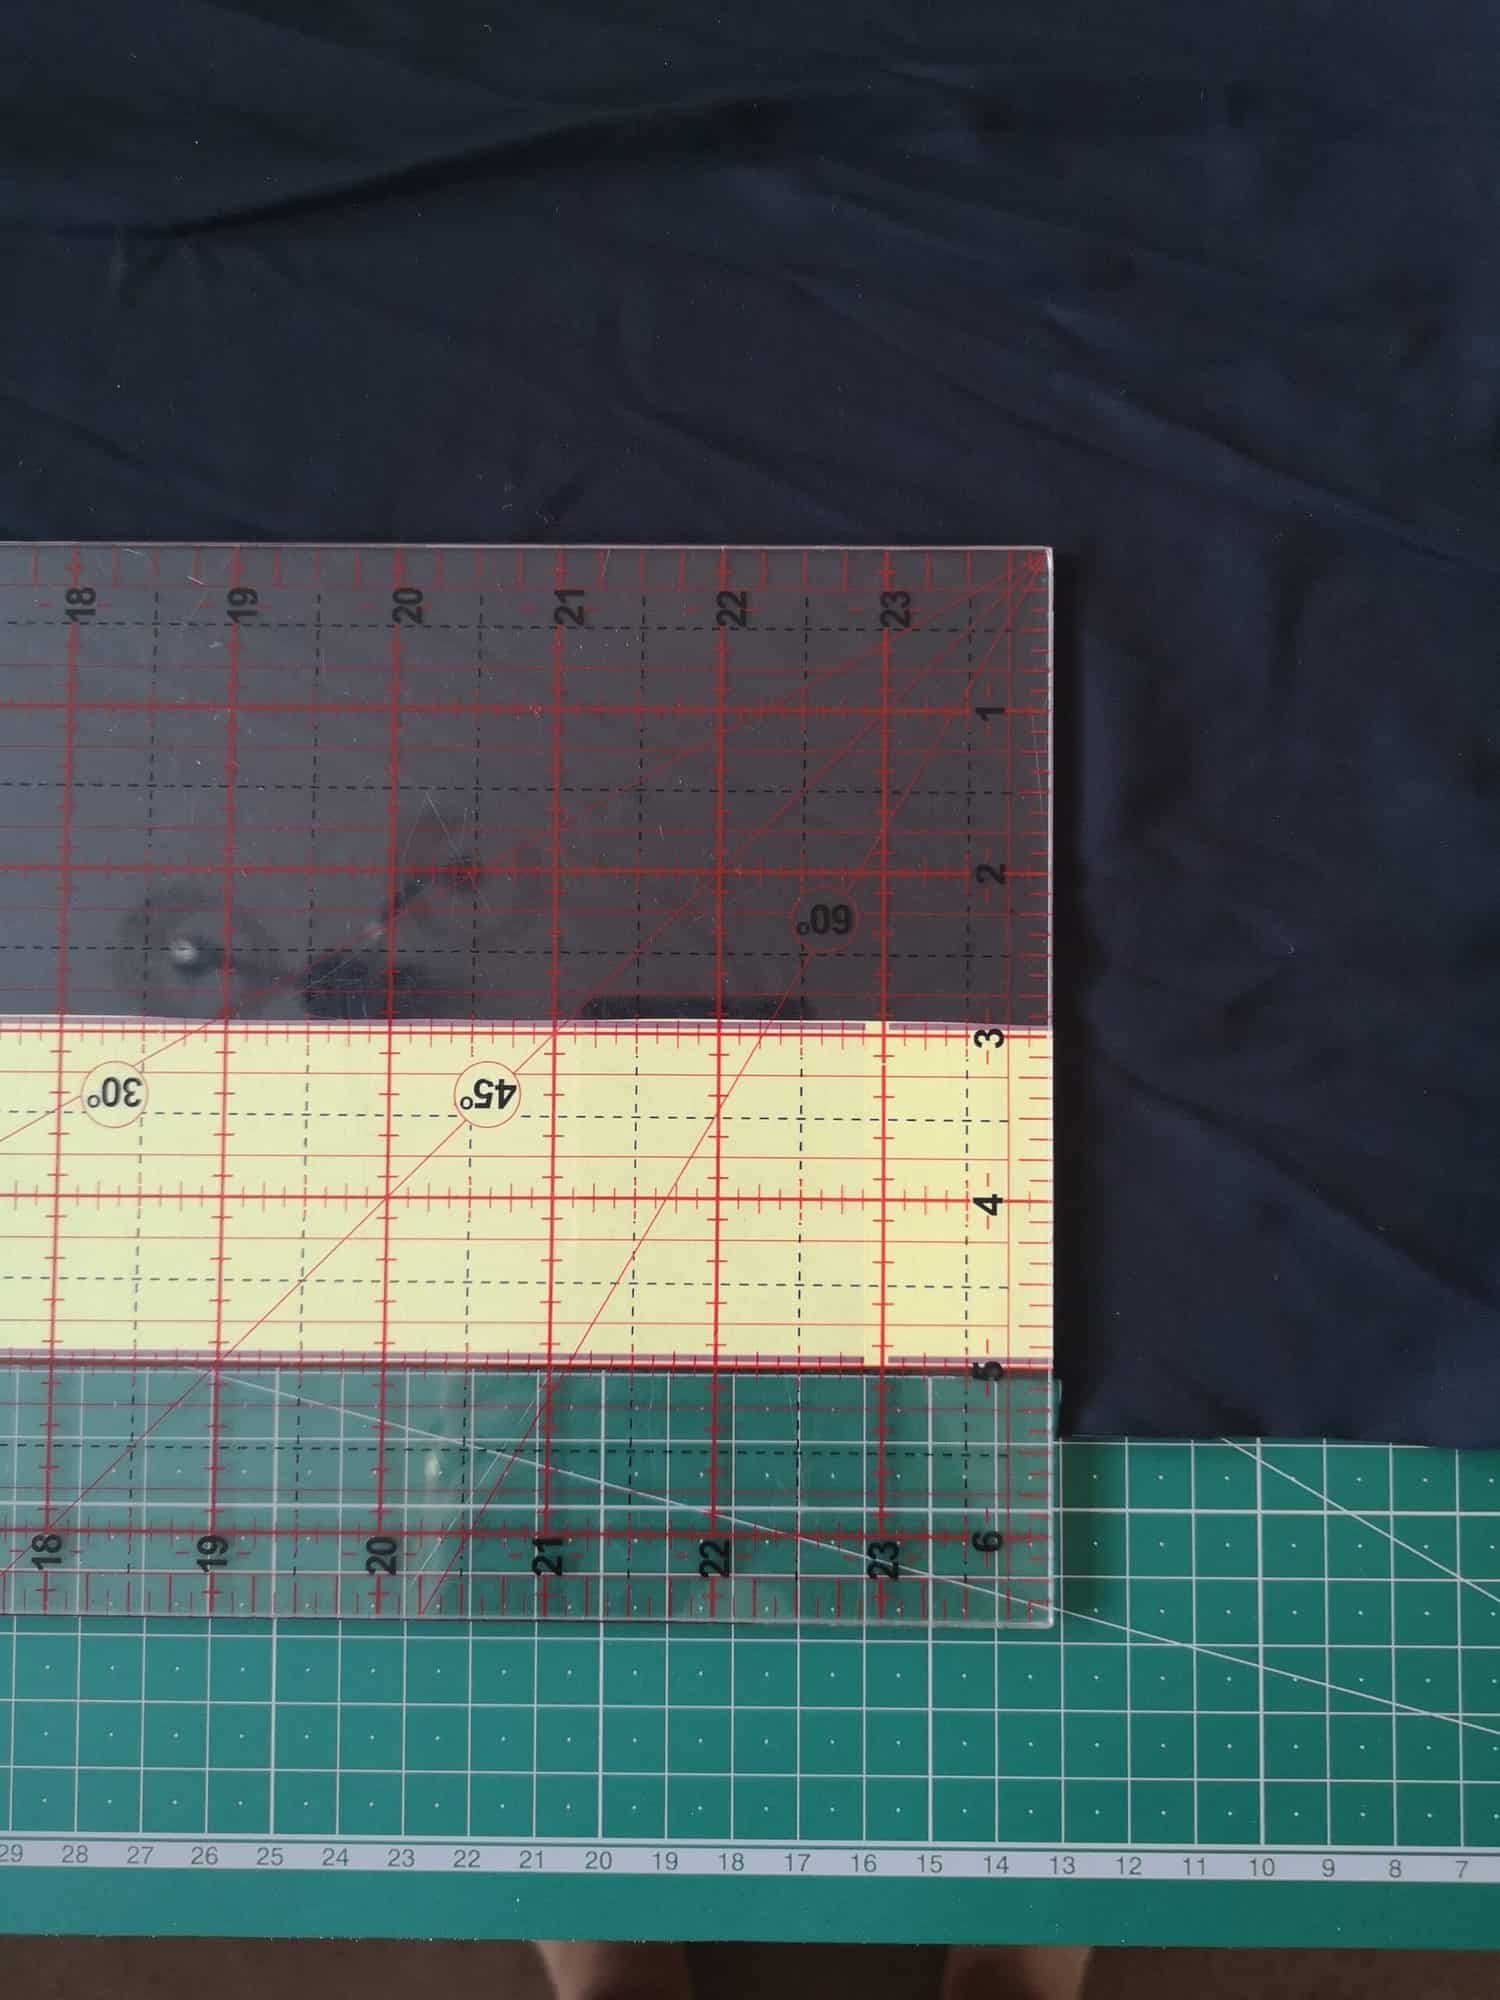
Open the sleeve and mark the grommets placement on the wrong side. I like to space them 3″ from the top and from each other. I also prefer 3 sets but if you want to add more grommets and/or space them closer to each other you can certainly do that.
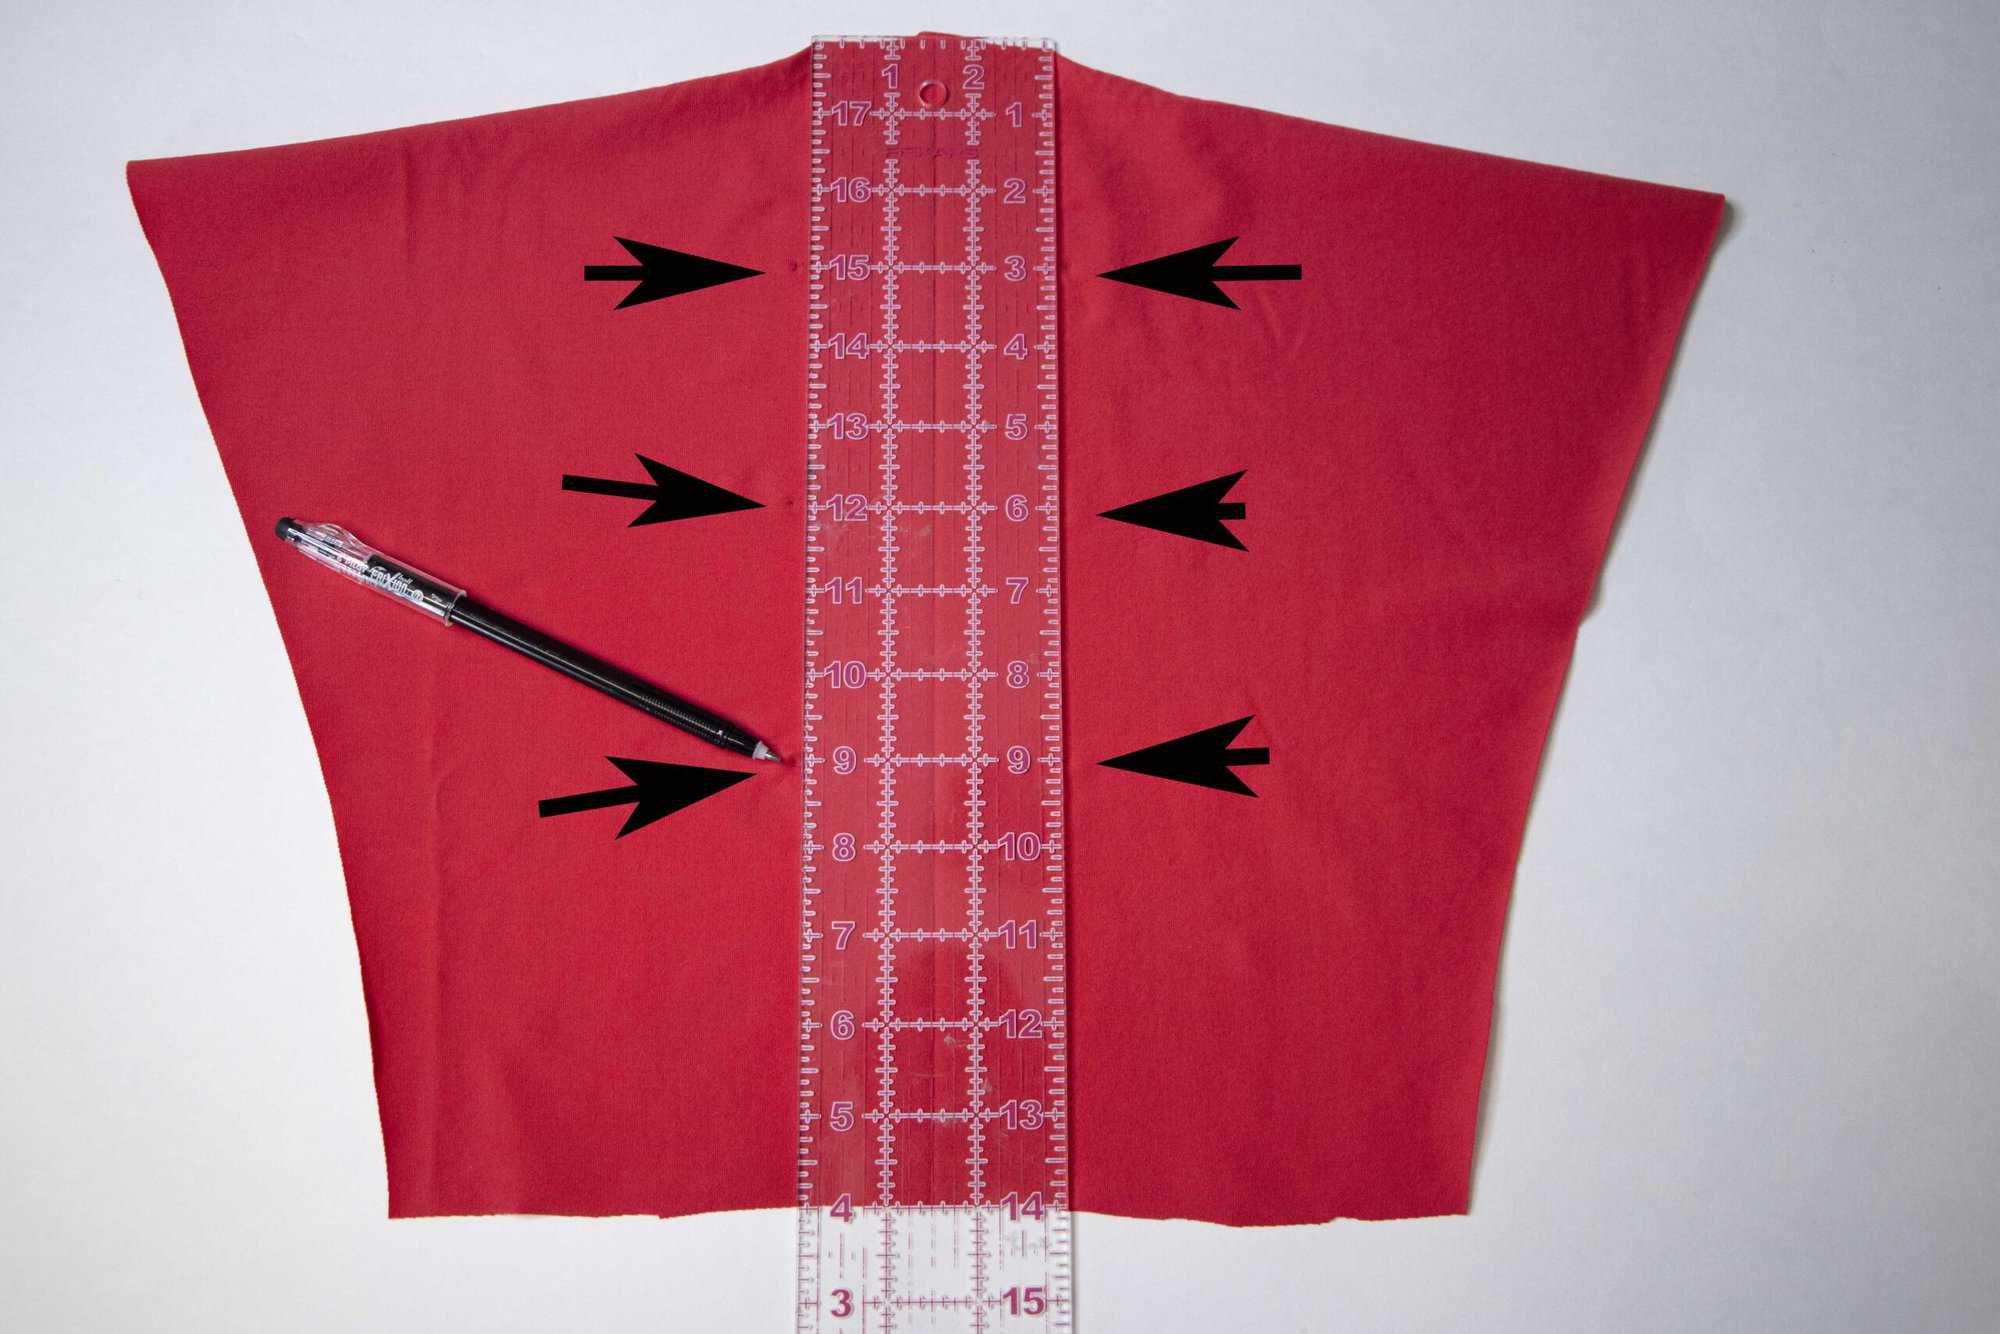
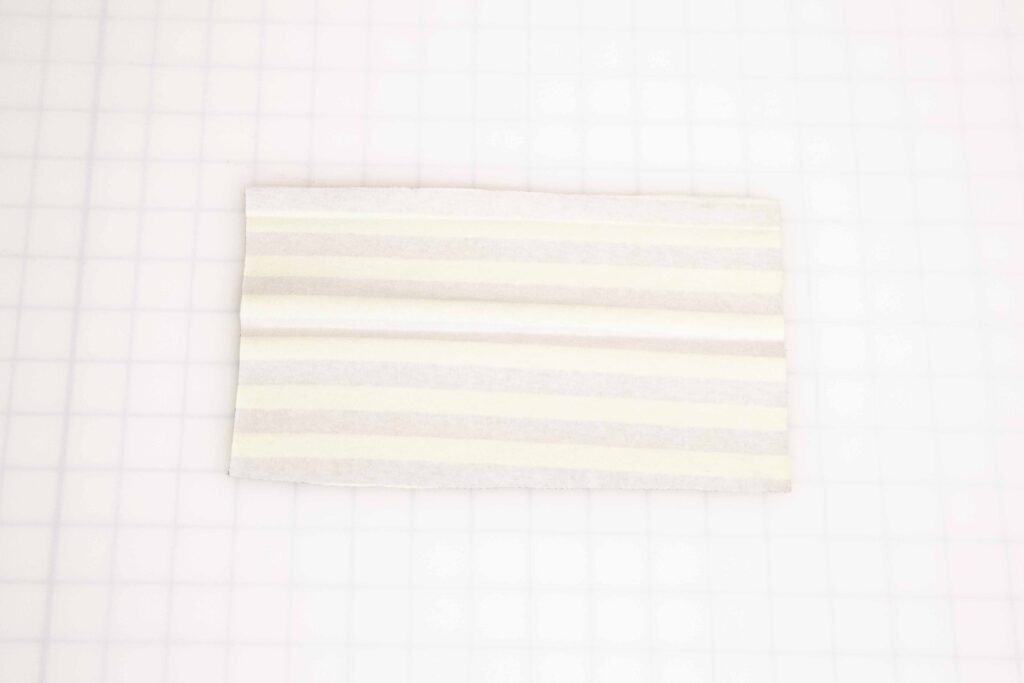
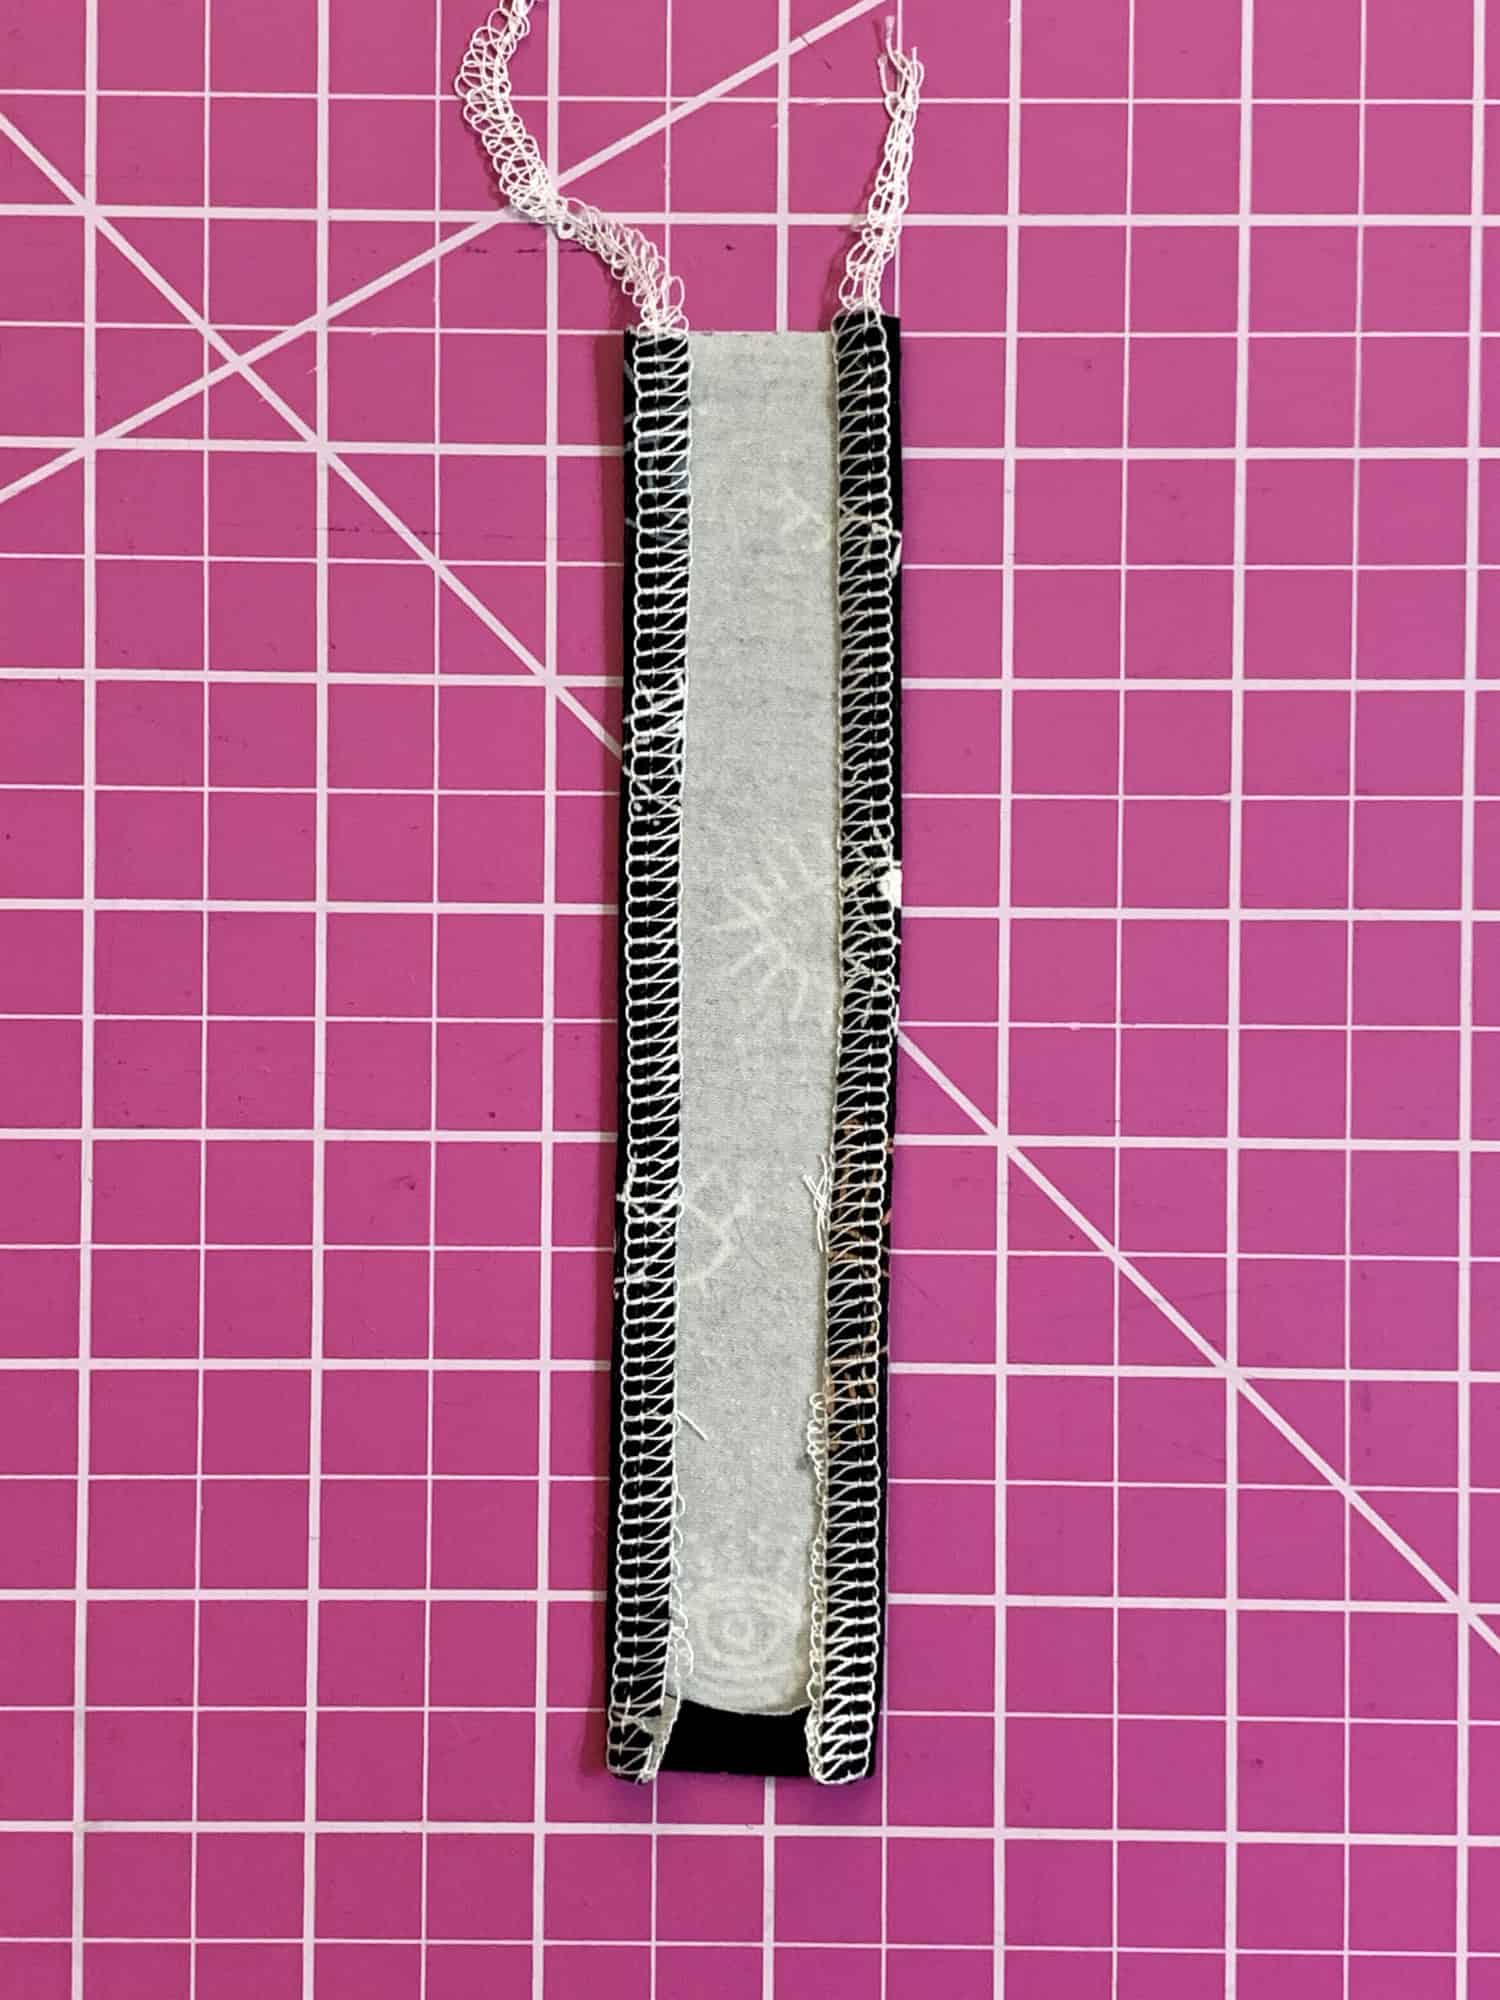
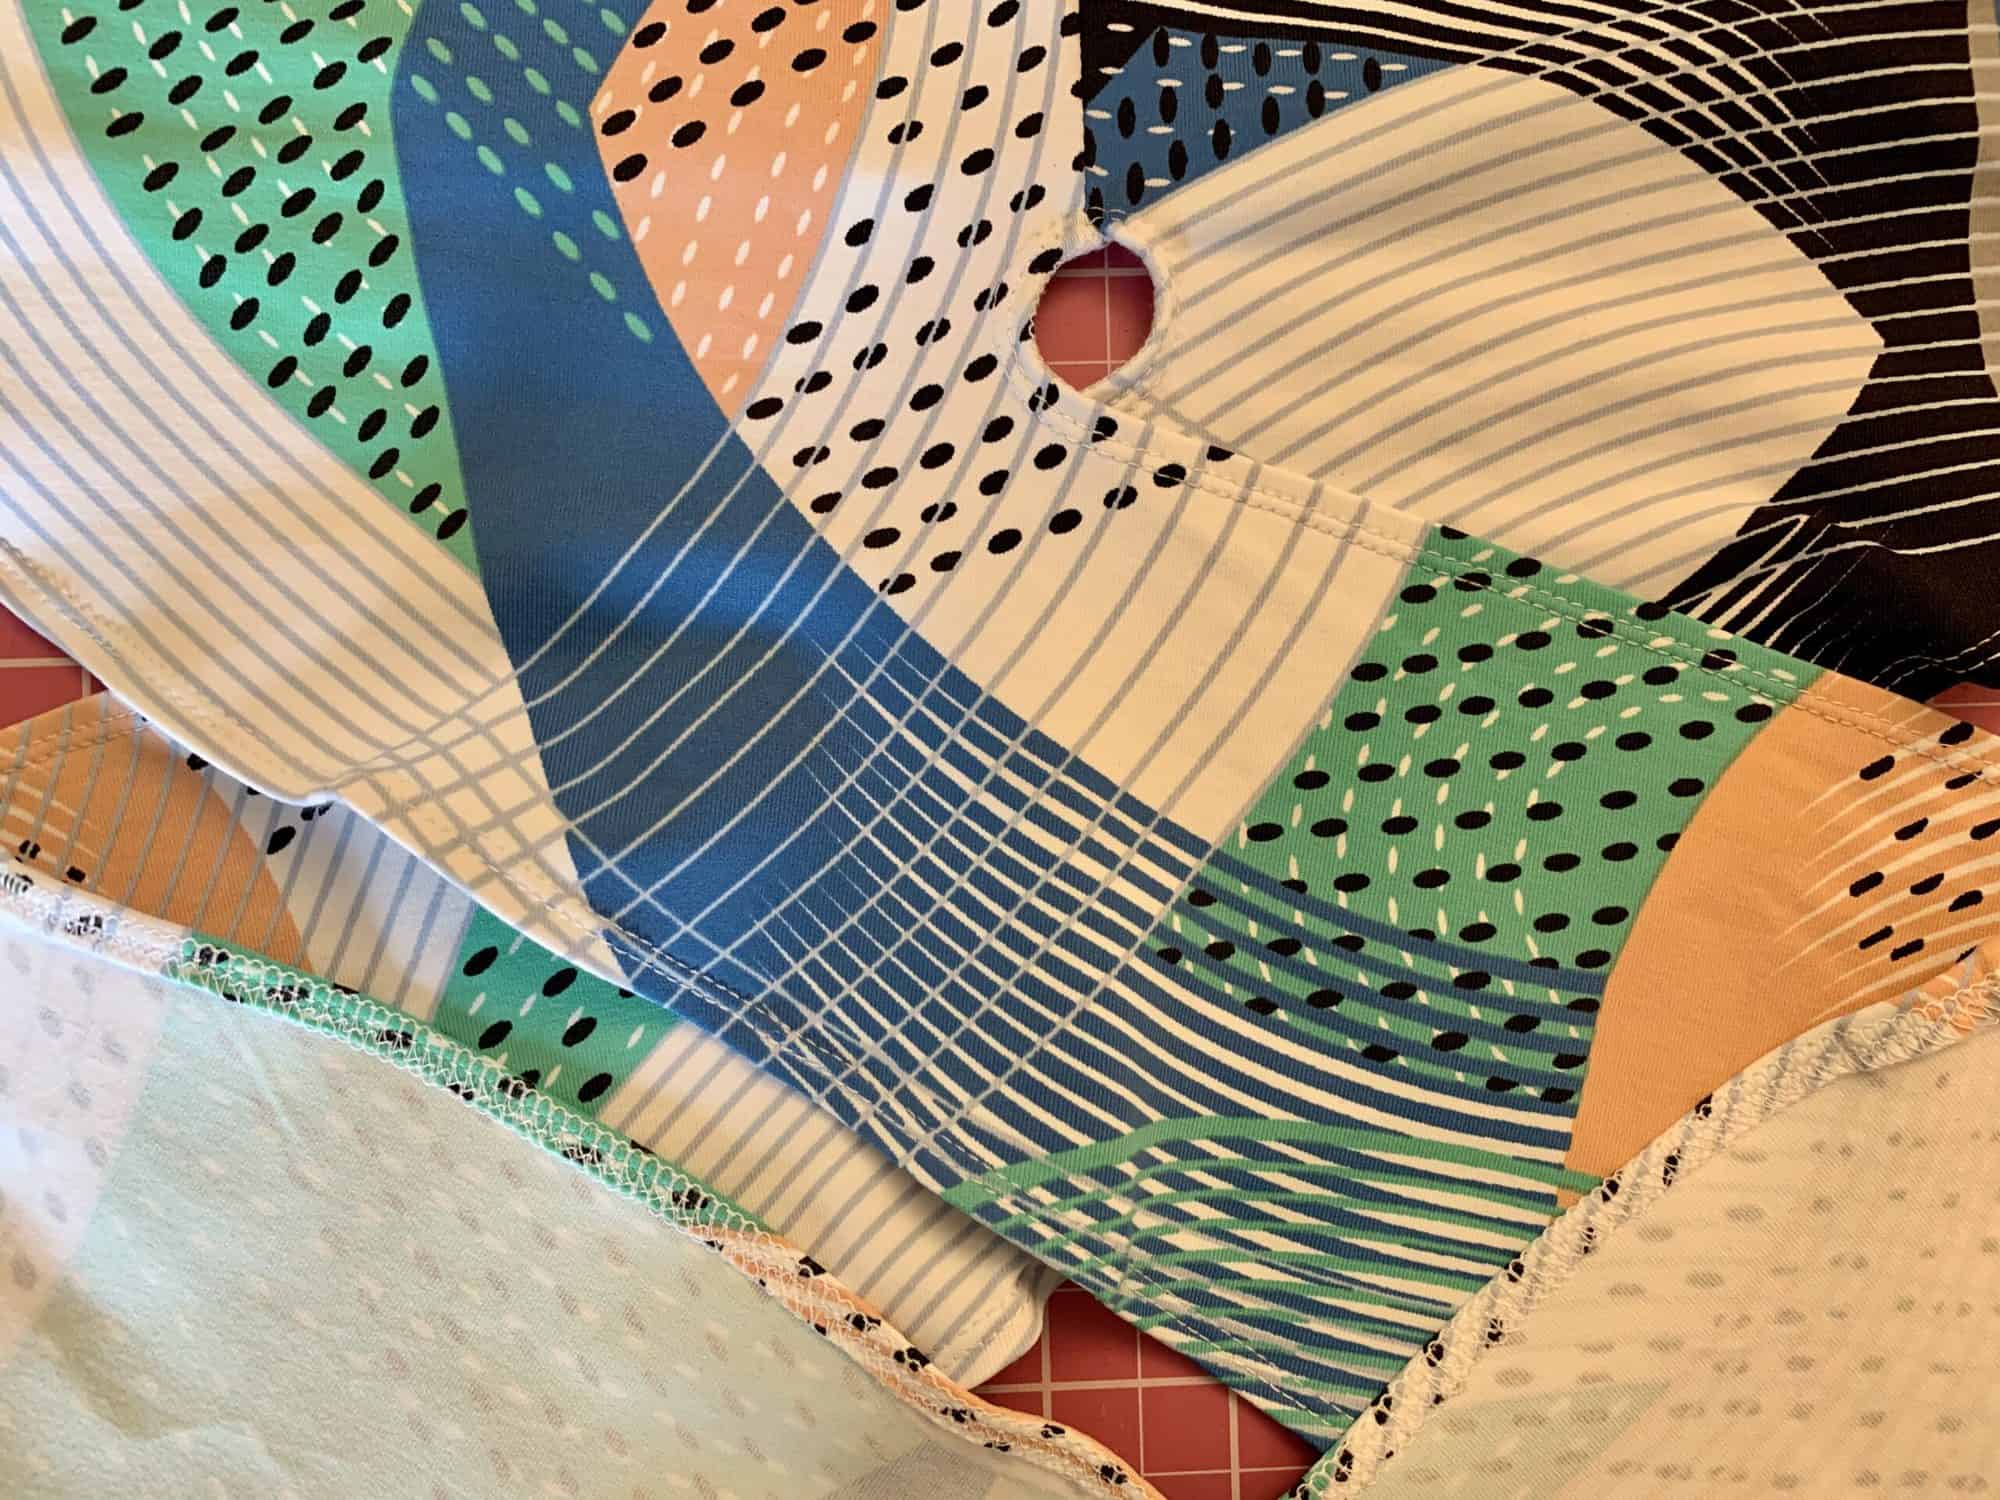
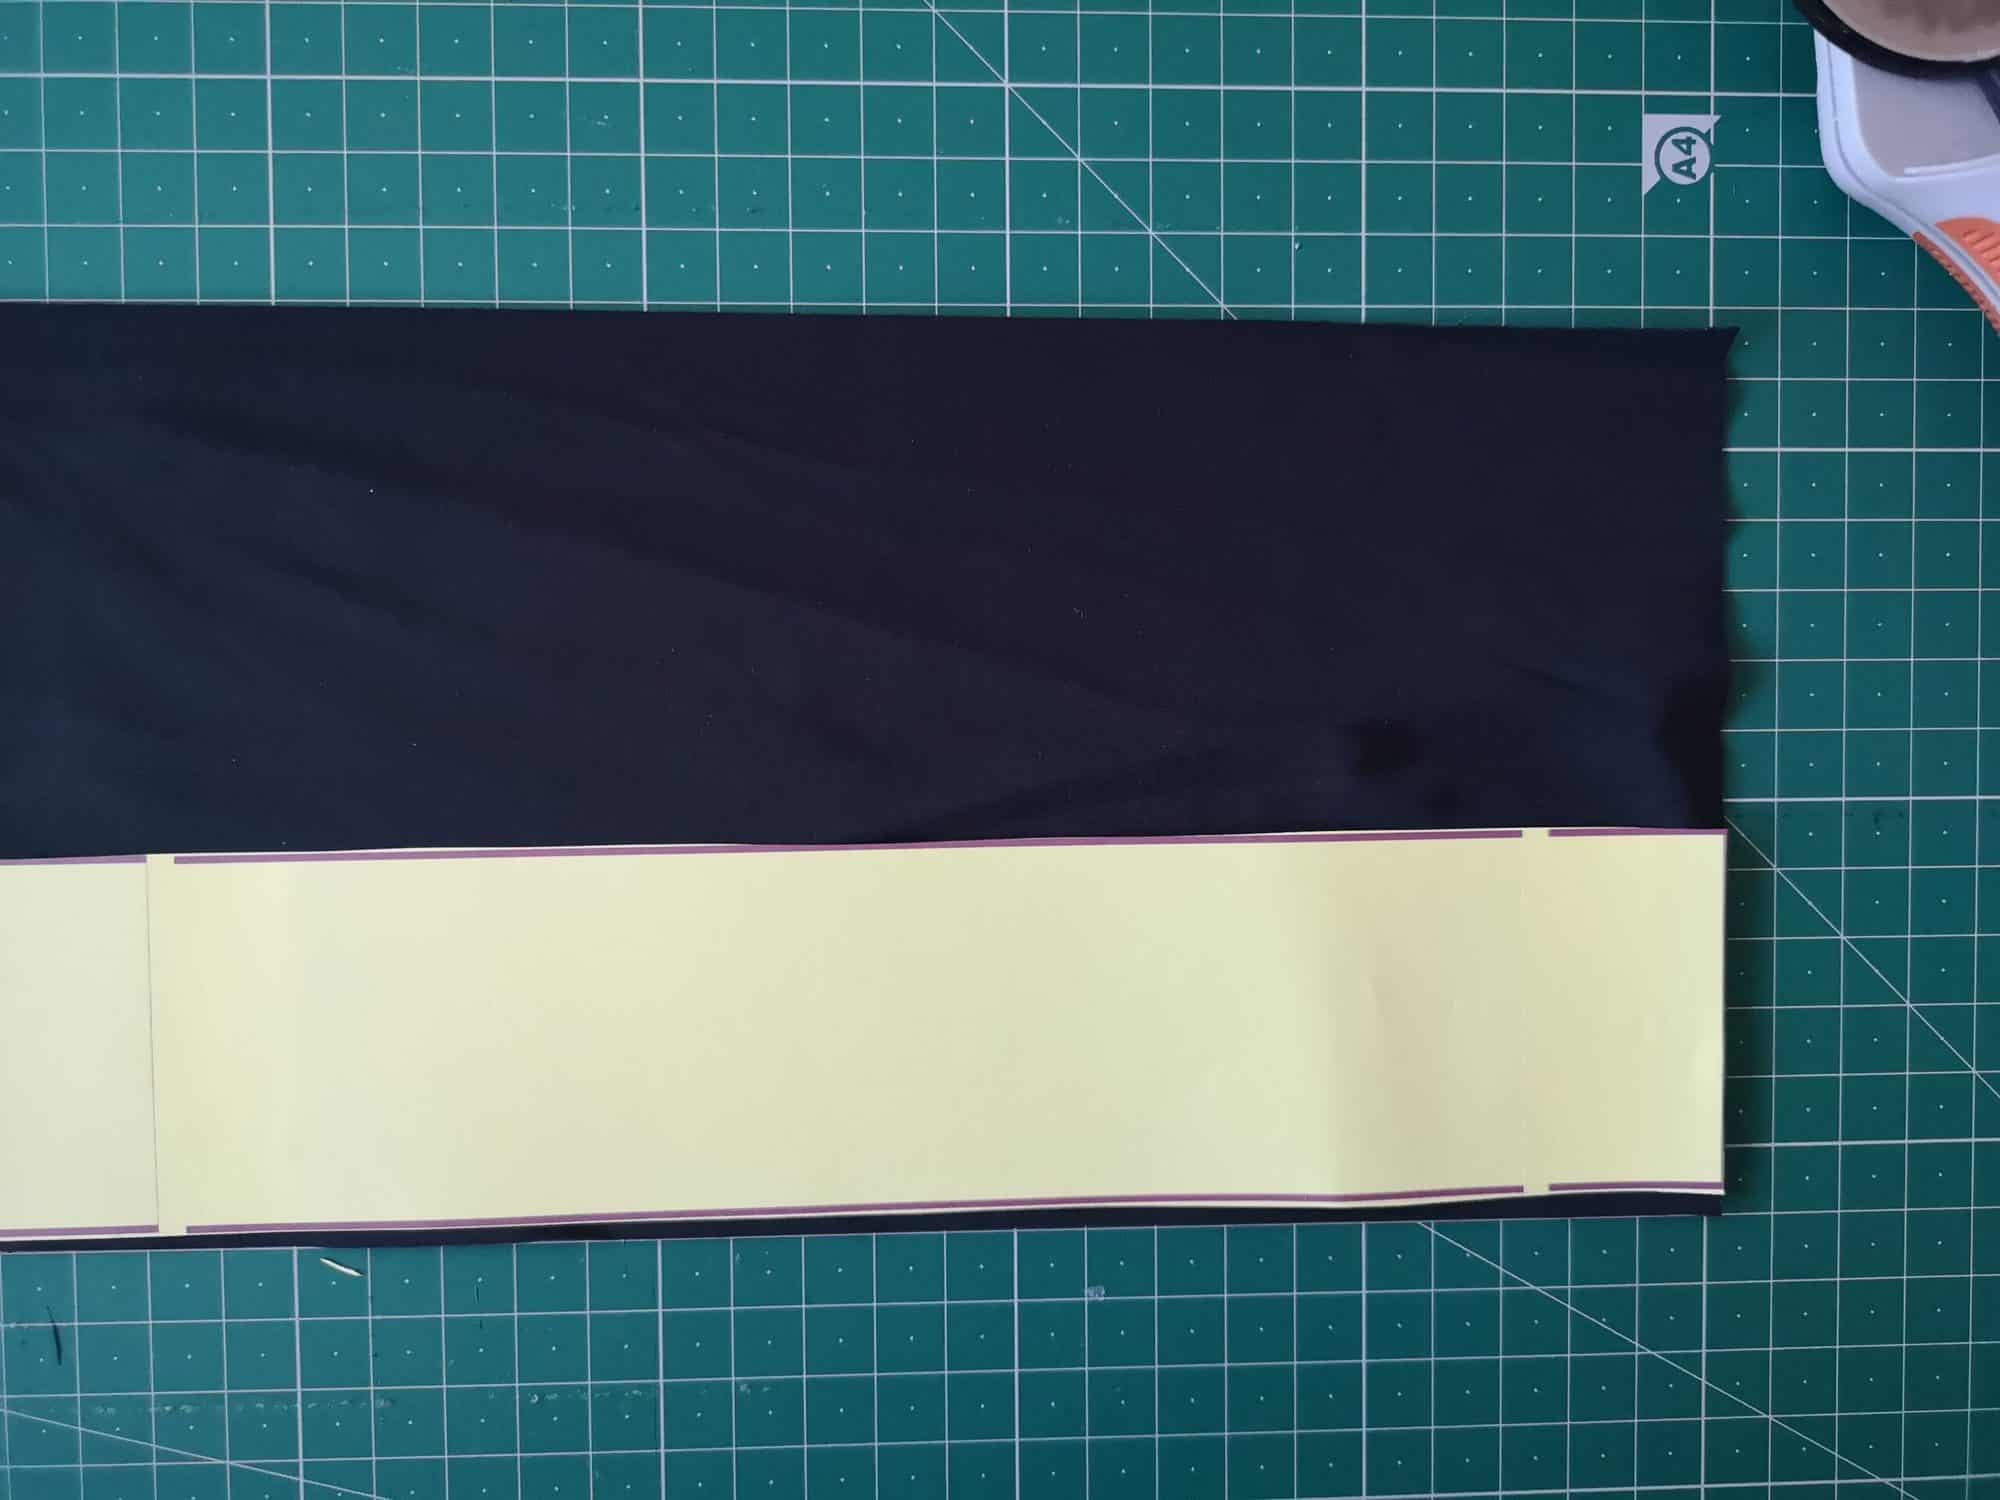
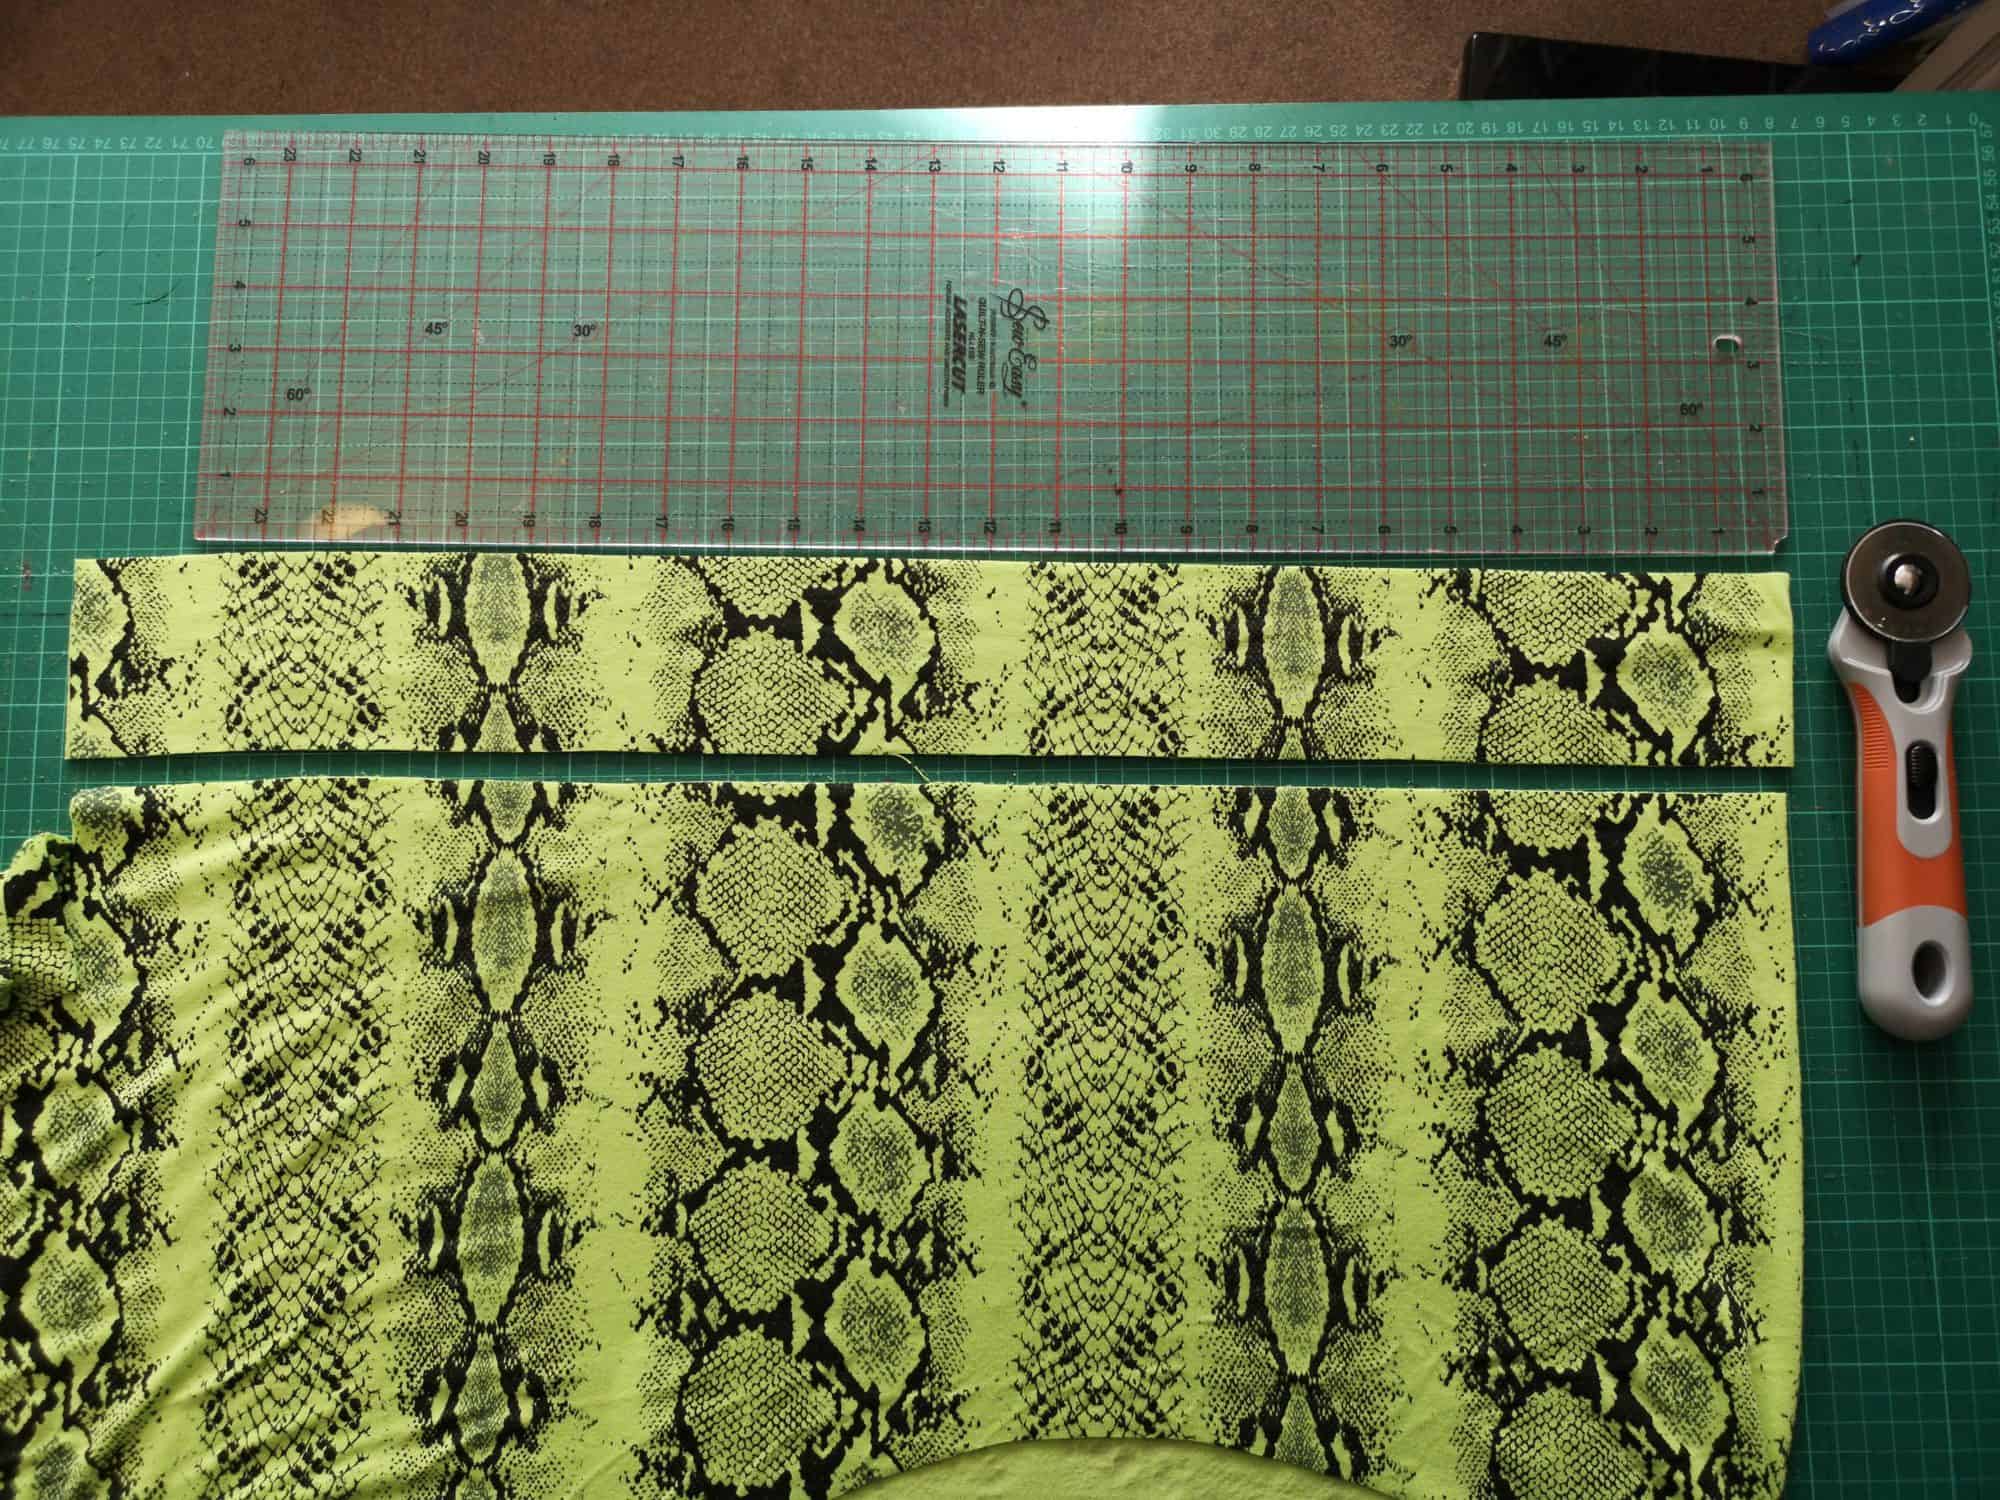
Cut (12) 1″x1″ pieces of fusible interfacing – you will need 6 for each sleeve. Place them on the marked location and fuse them in place. I used a Frixon pen for my markings so they disappeared when I fused the interfacing. No big deal! Using the ruler, I added them again.
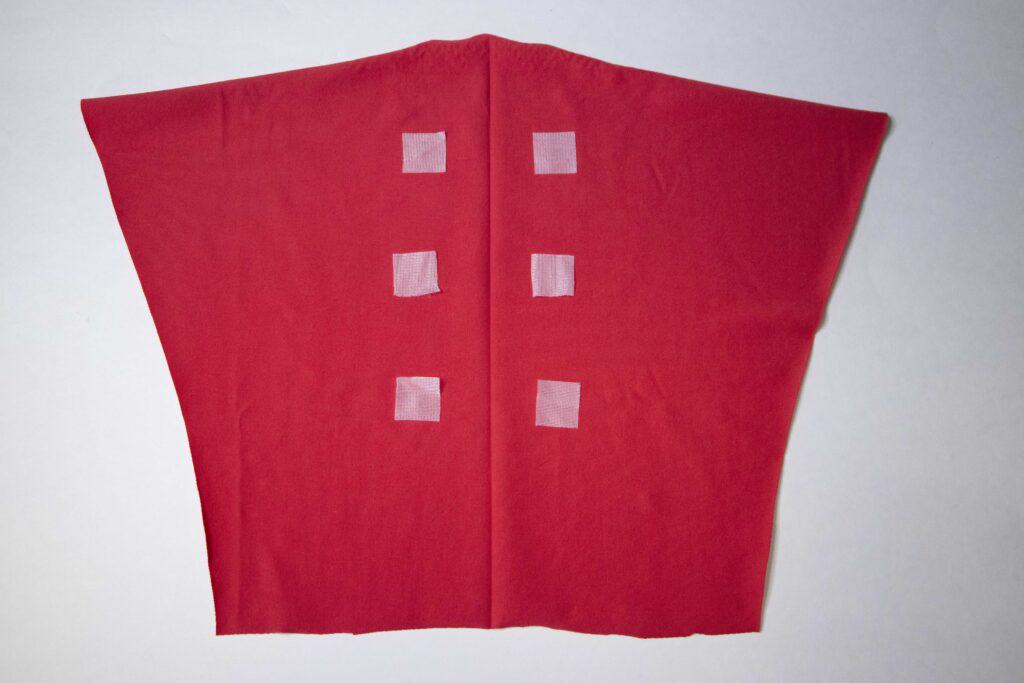
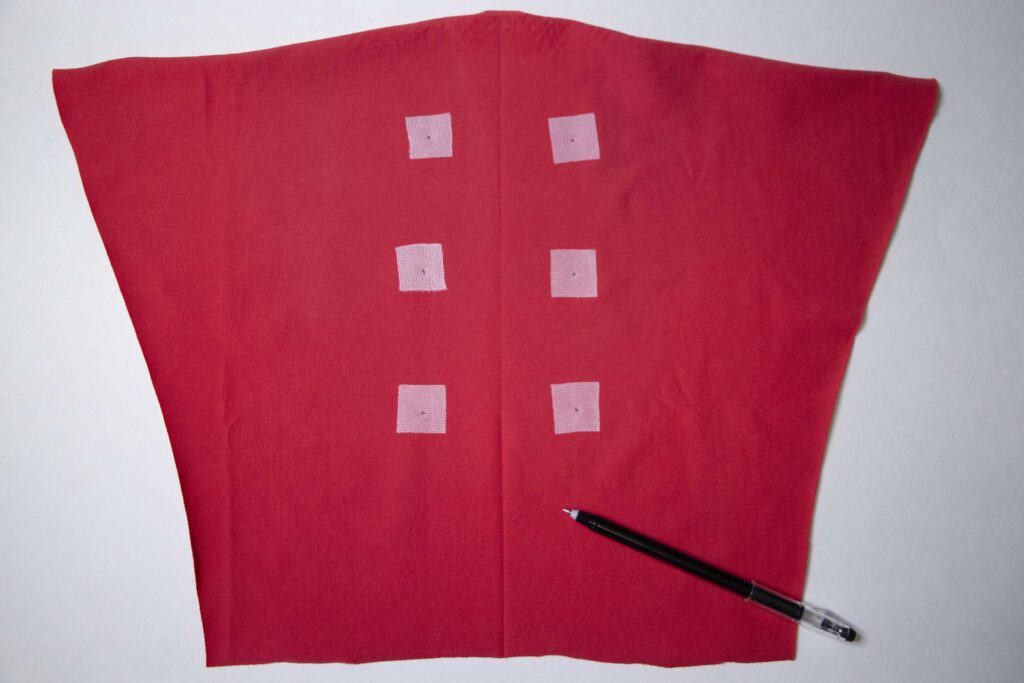
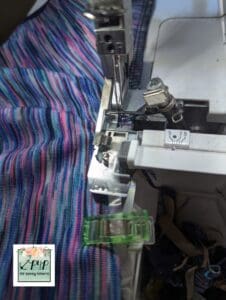
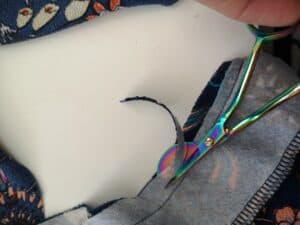
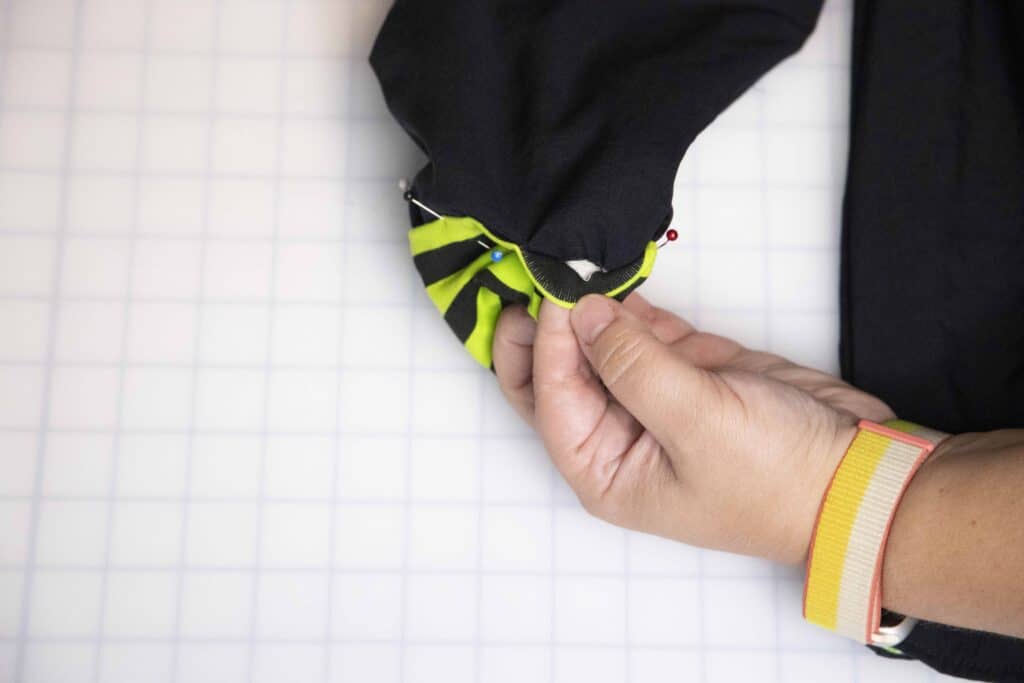
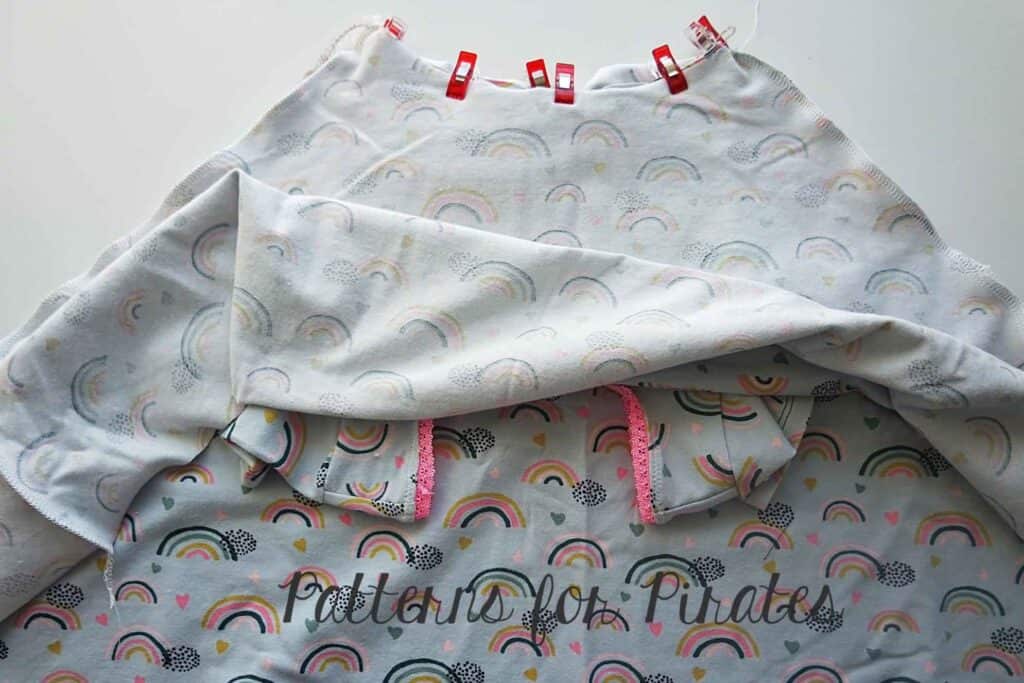
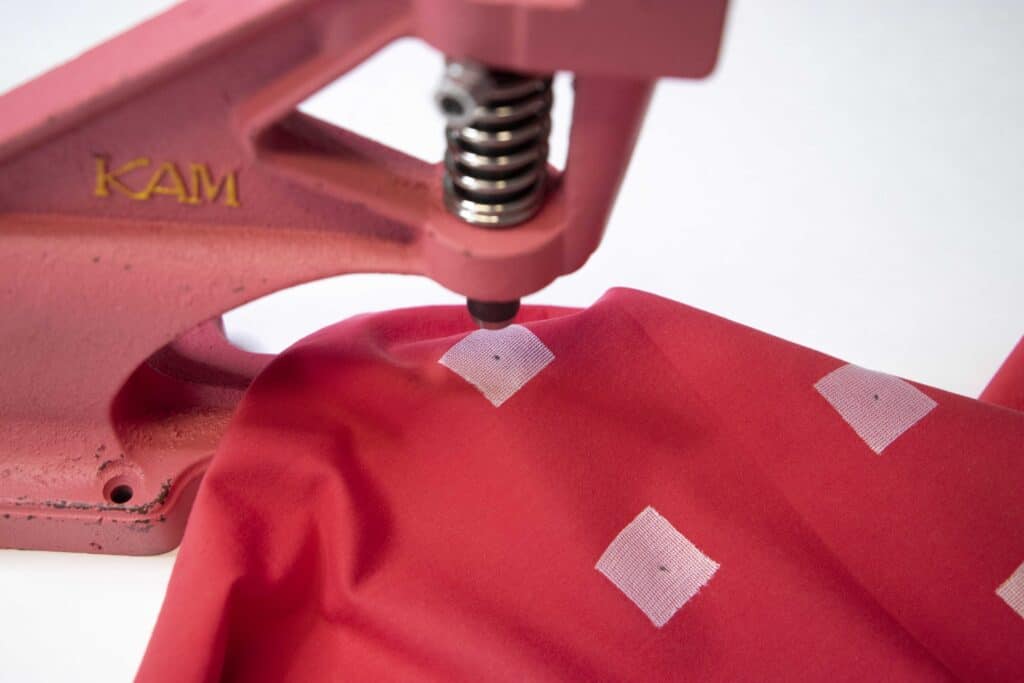
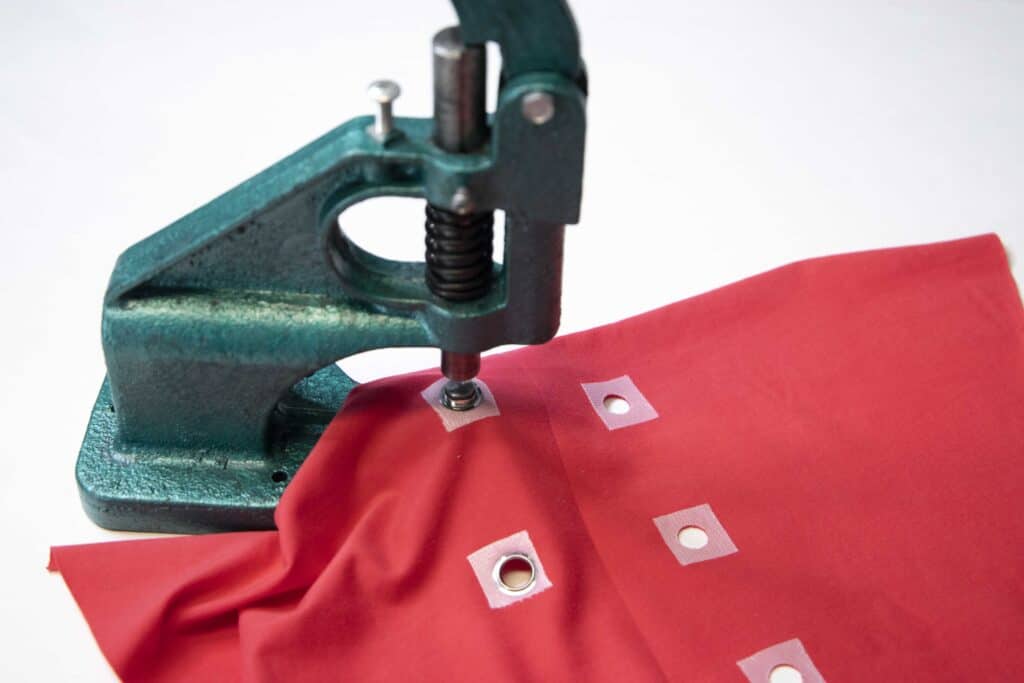
Time to punch the holes for your grommets. My preferred method for this step is using a KAM press with a 12 mm hole punch die. I am also a bag maker so I had this tool already. Admittedly it is a splurge so no stressing if you do not have one. You can simple draw the grommet holes and cut by hand.
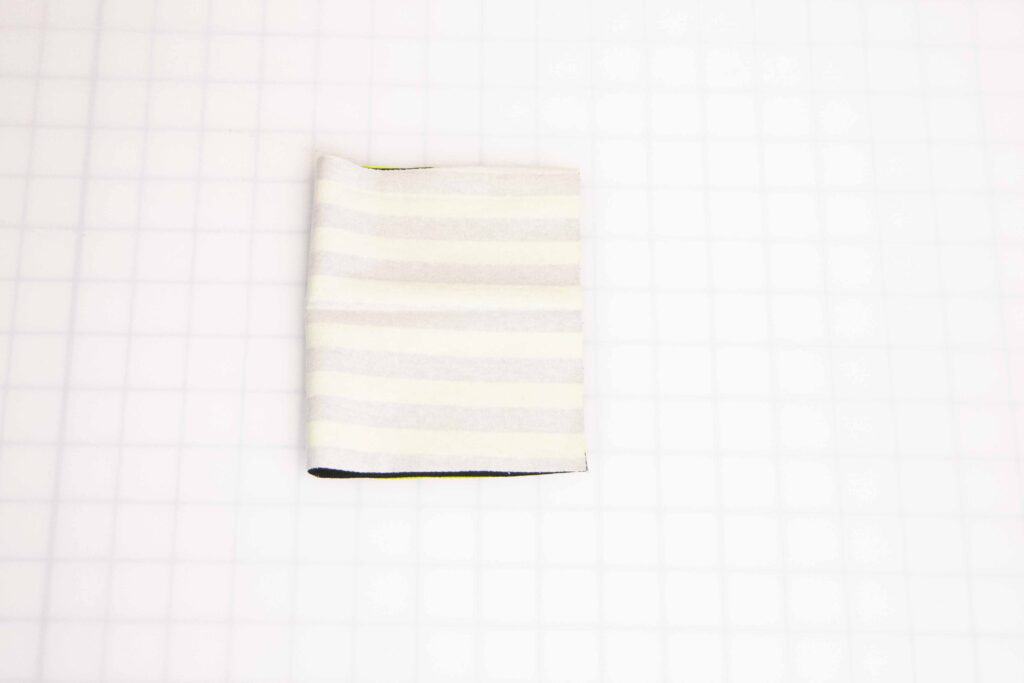
Add the grommets! You can use a grommets table press or a hand held one for this step.

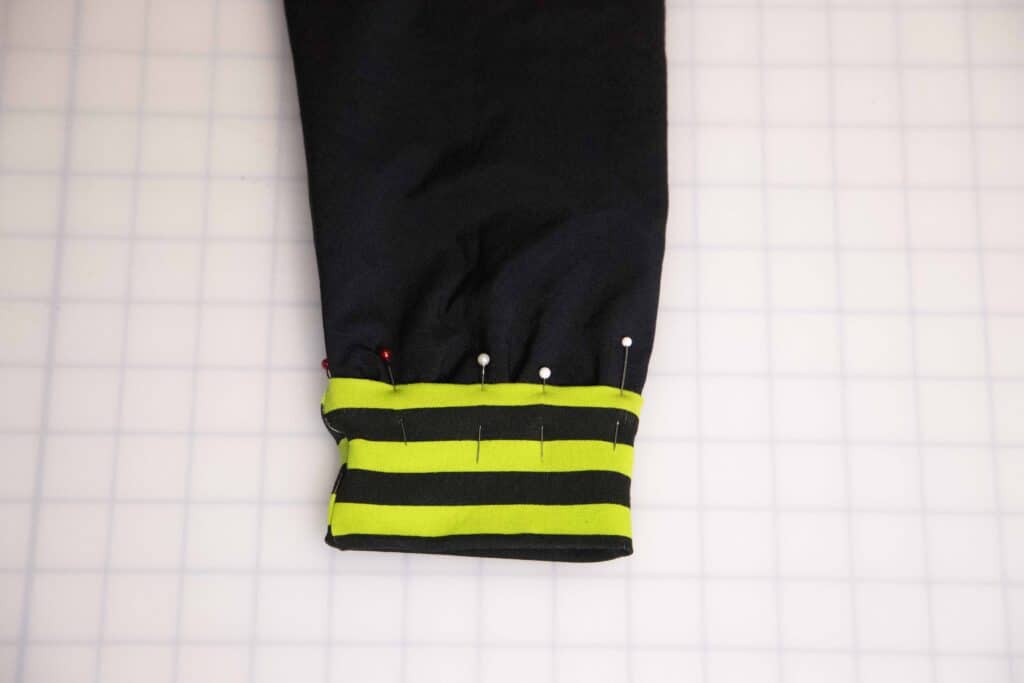
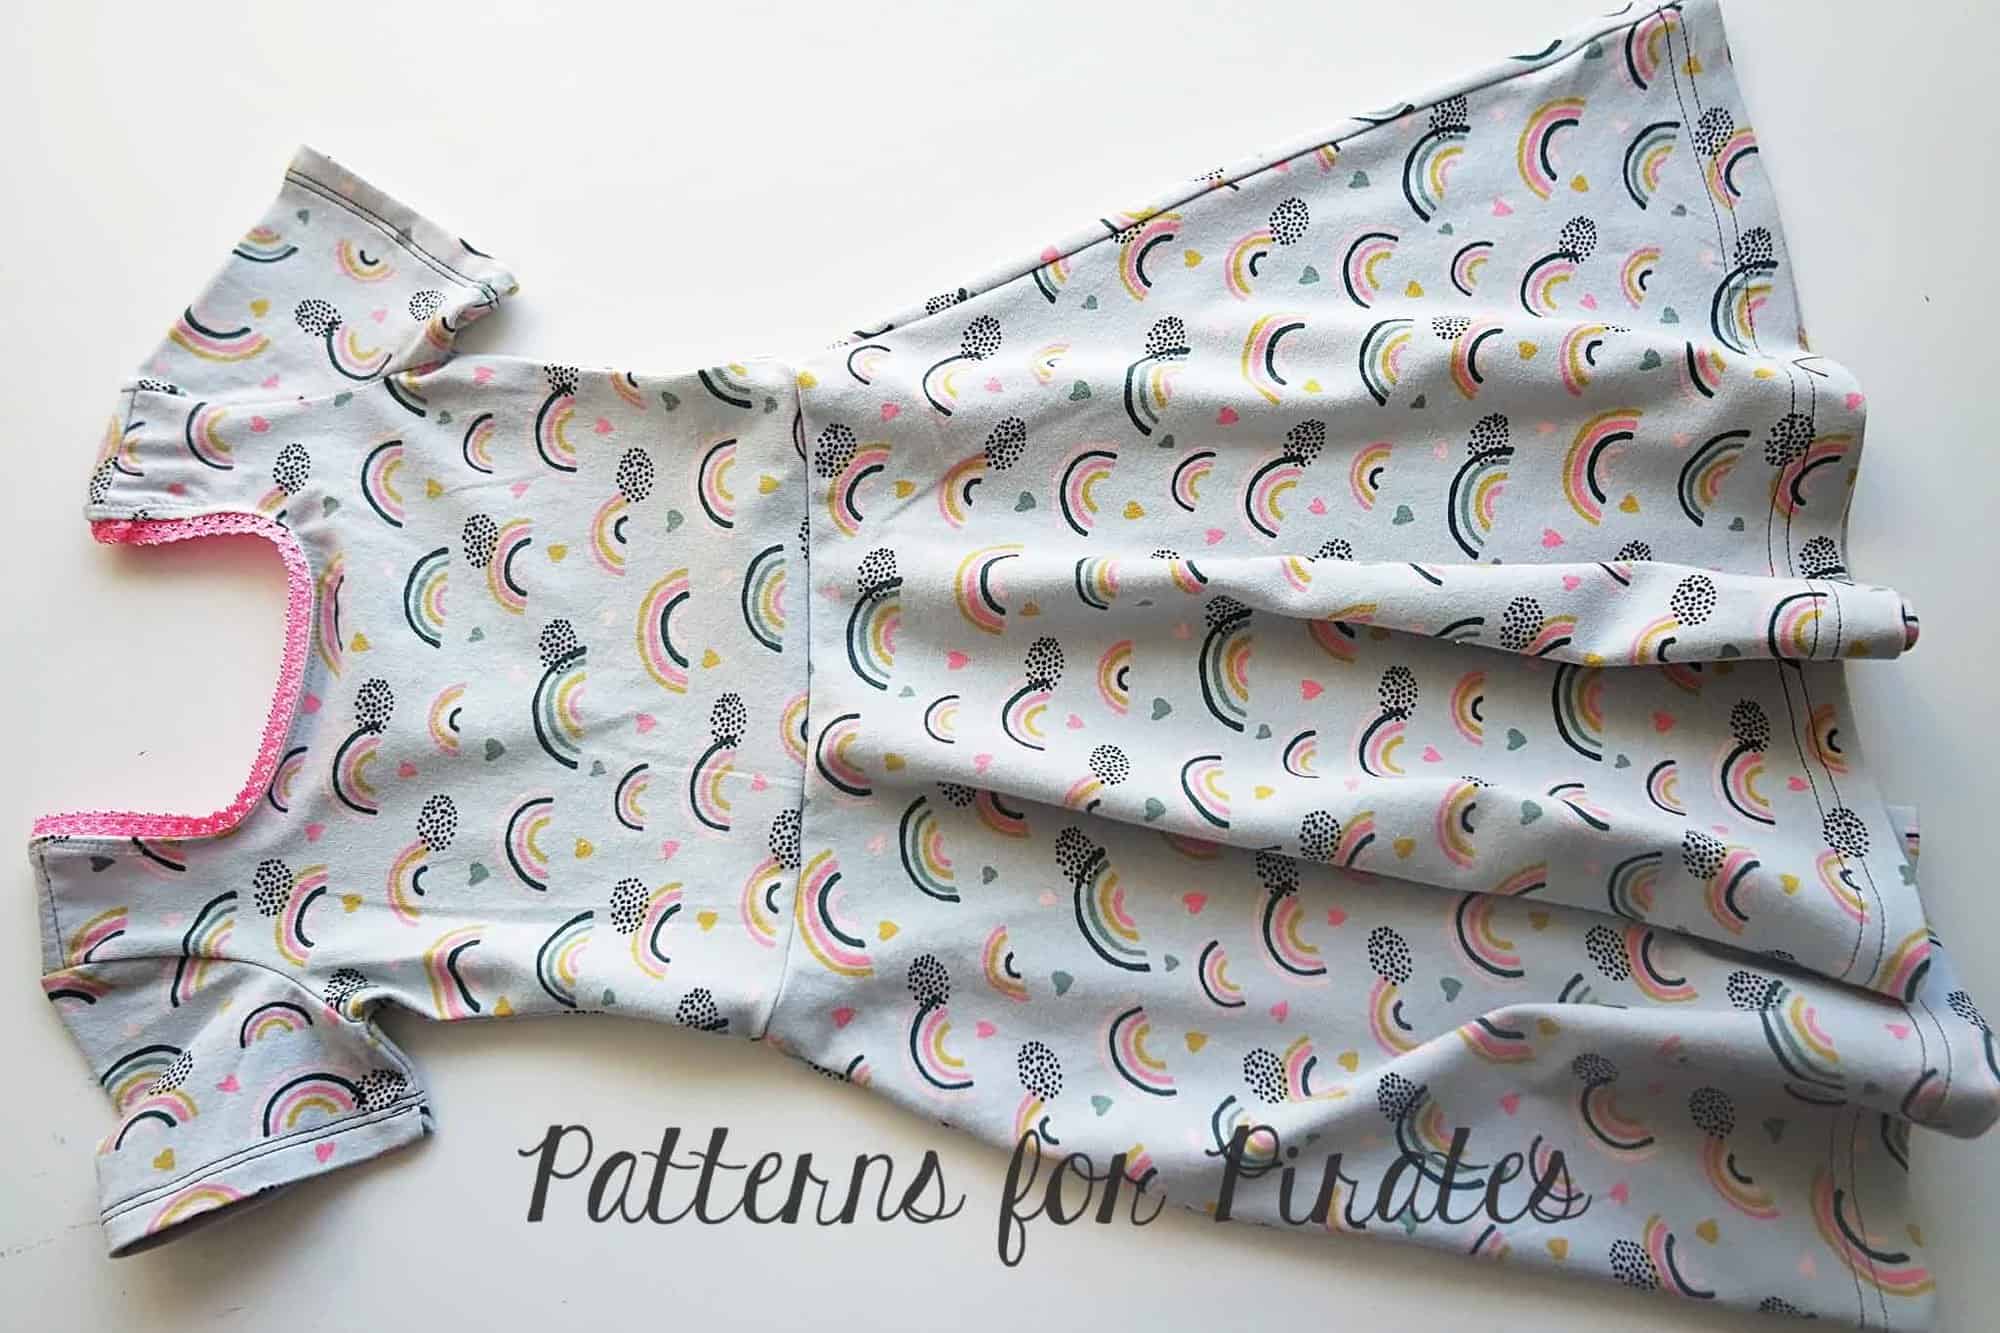
Lastly, admire that sleeve and thread your favorite ribbon through the holes.
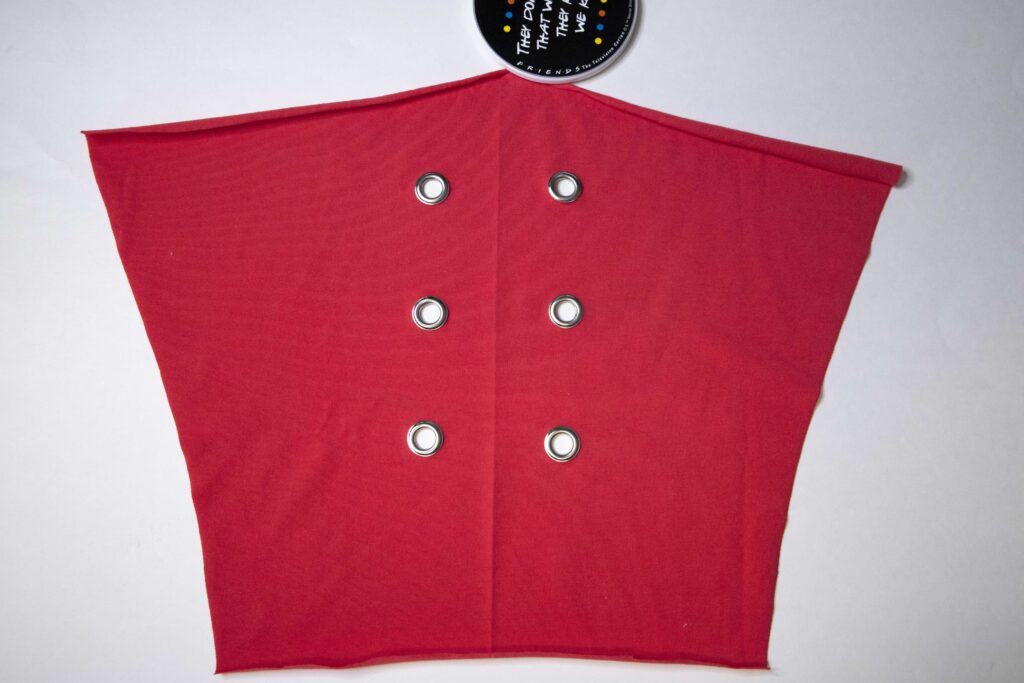
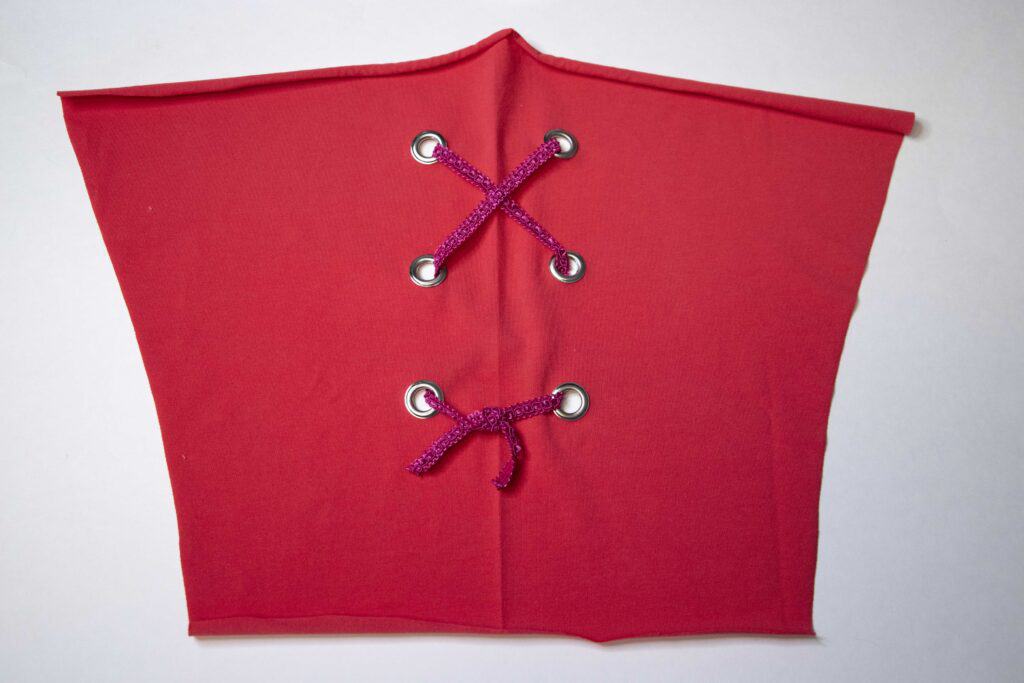
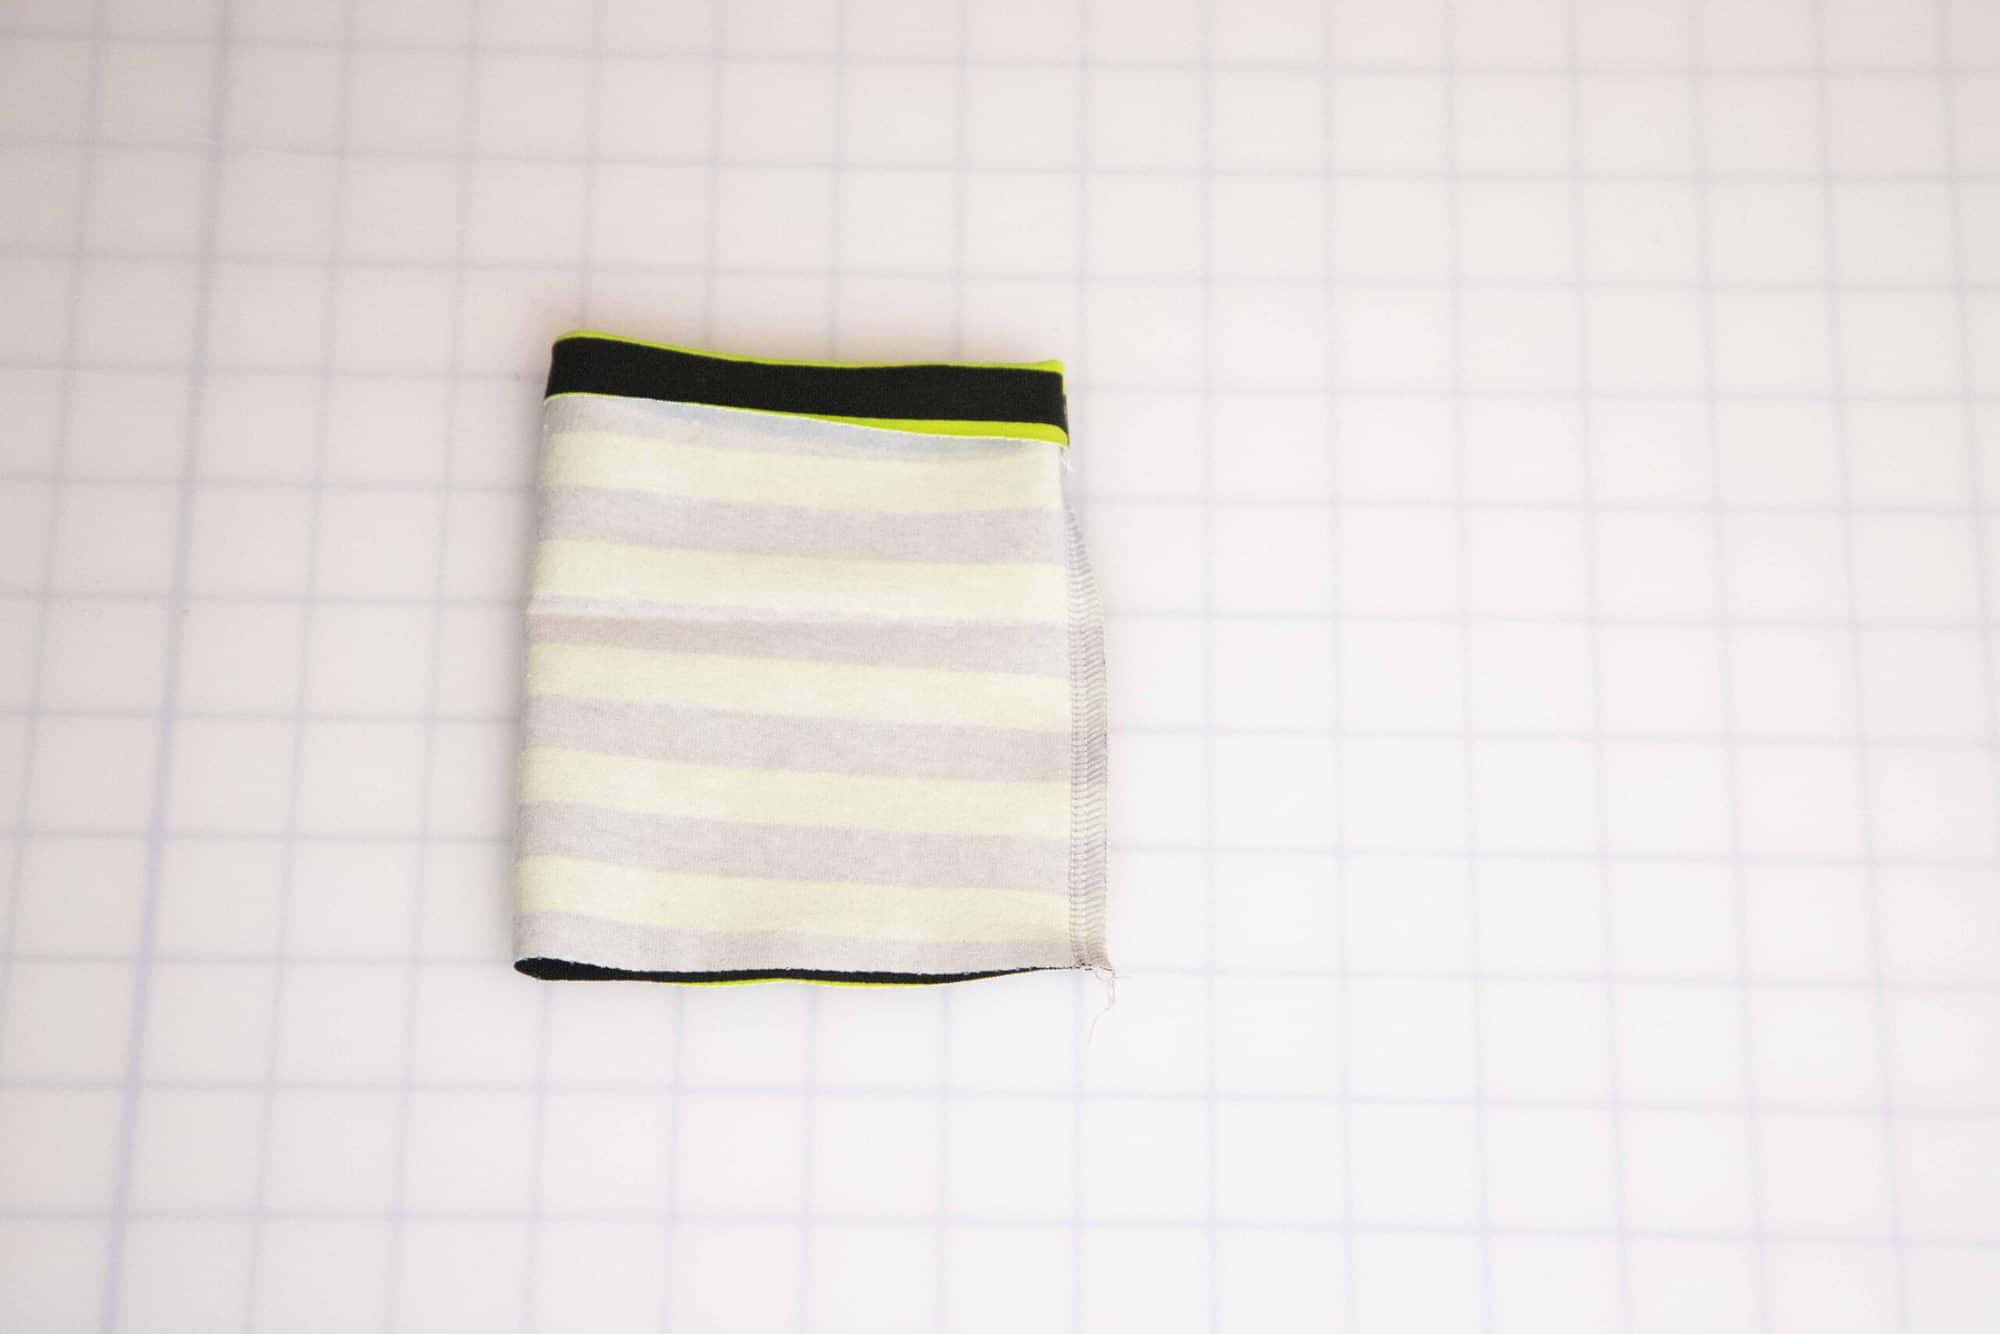
You can now sew your Sunnyside Sweater as instructed in the tutorial.
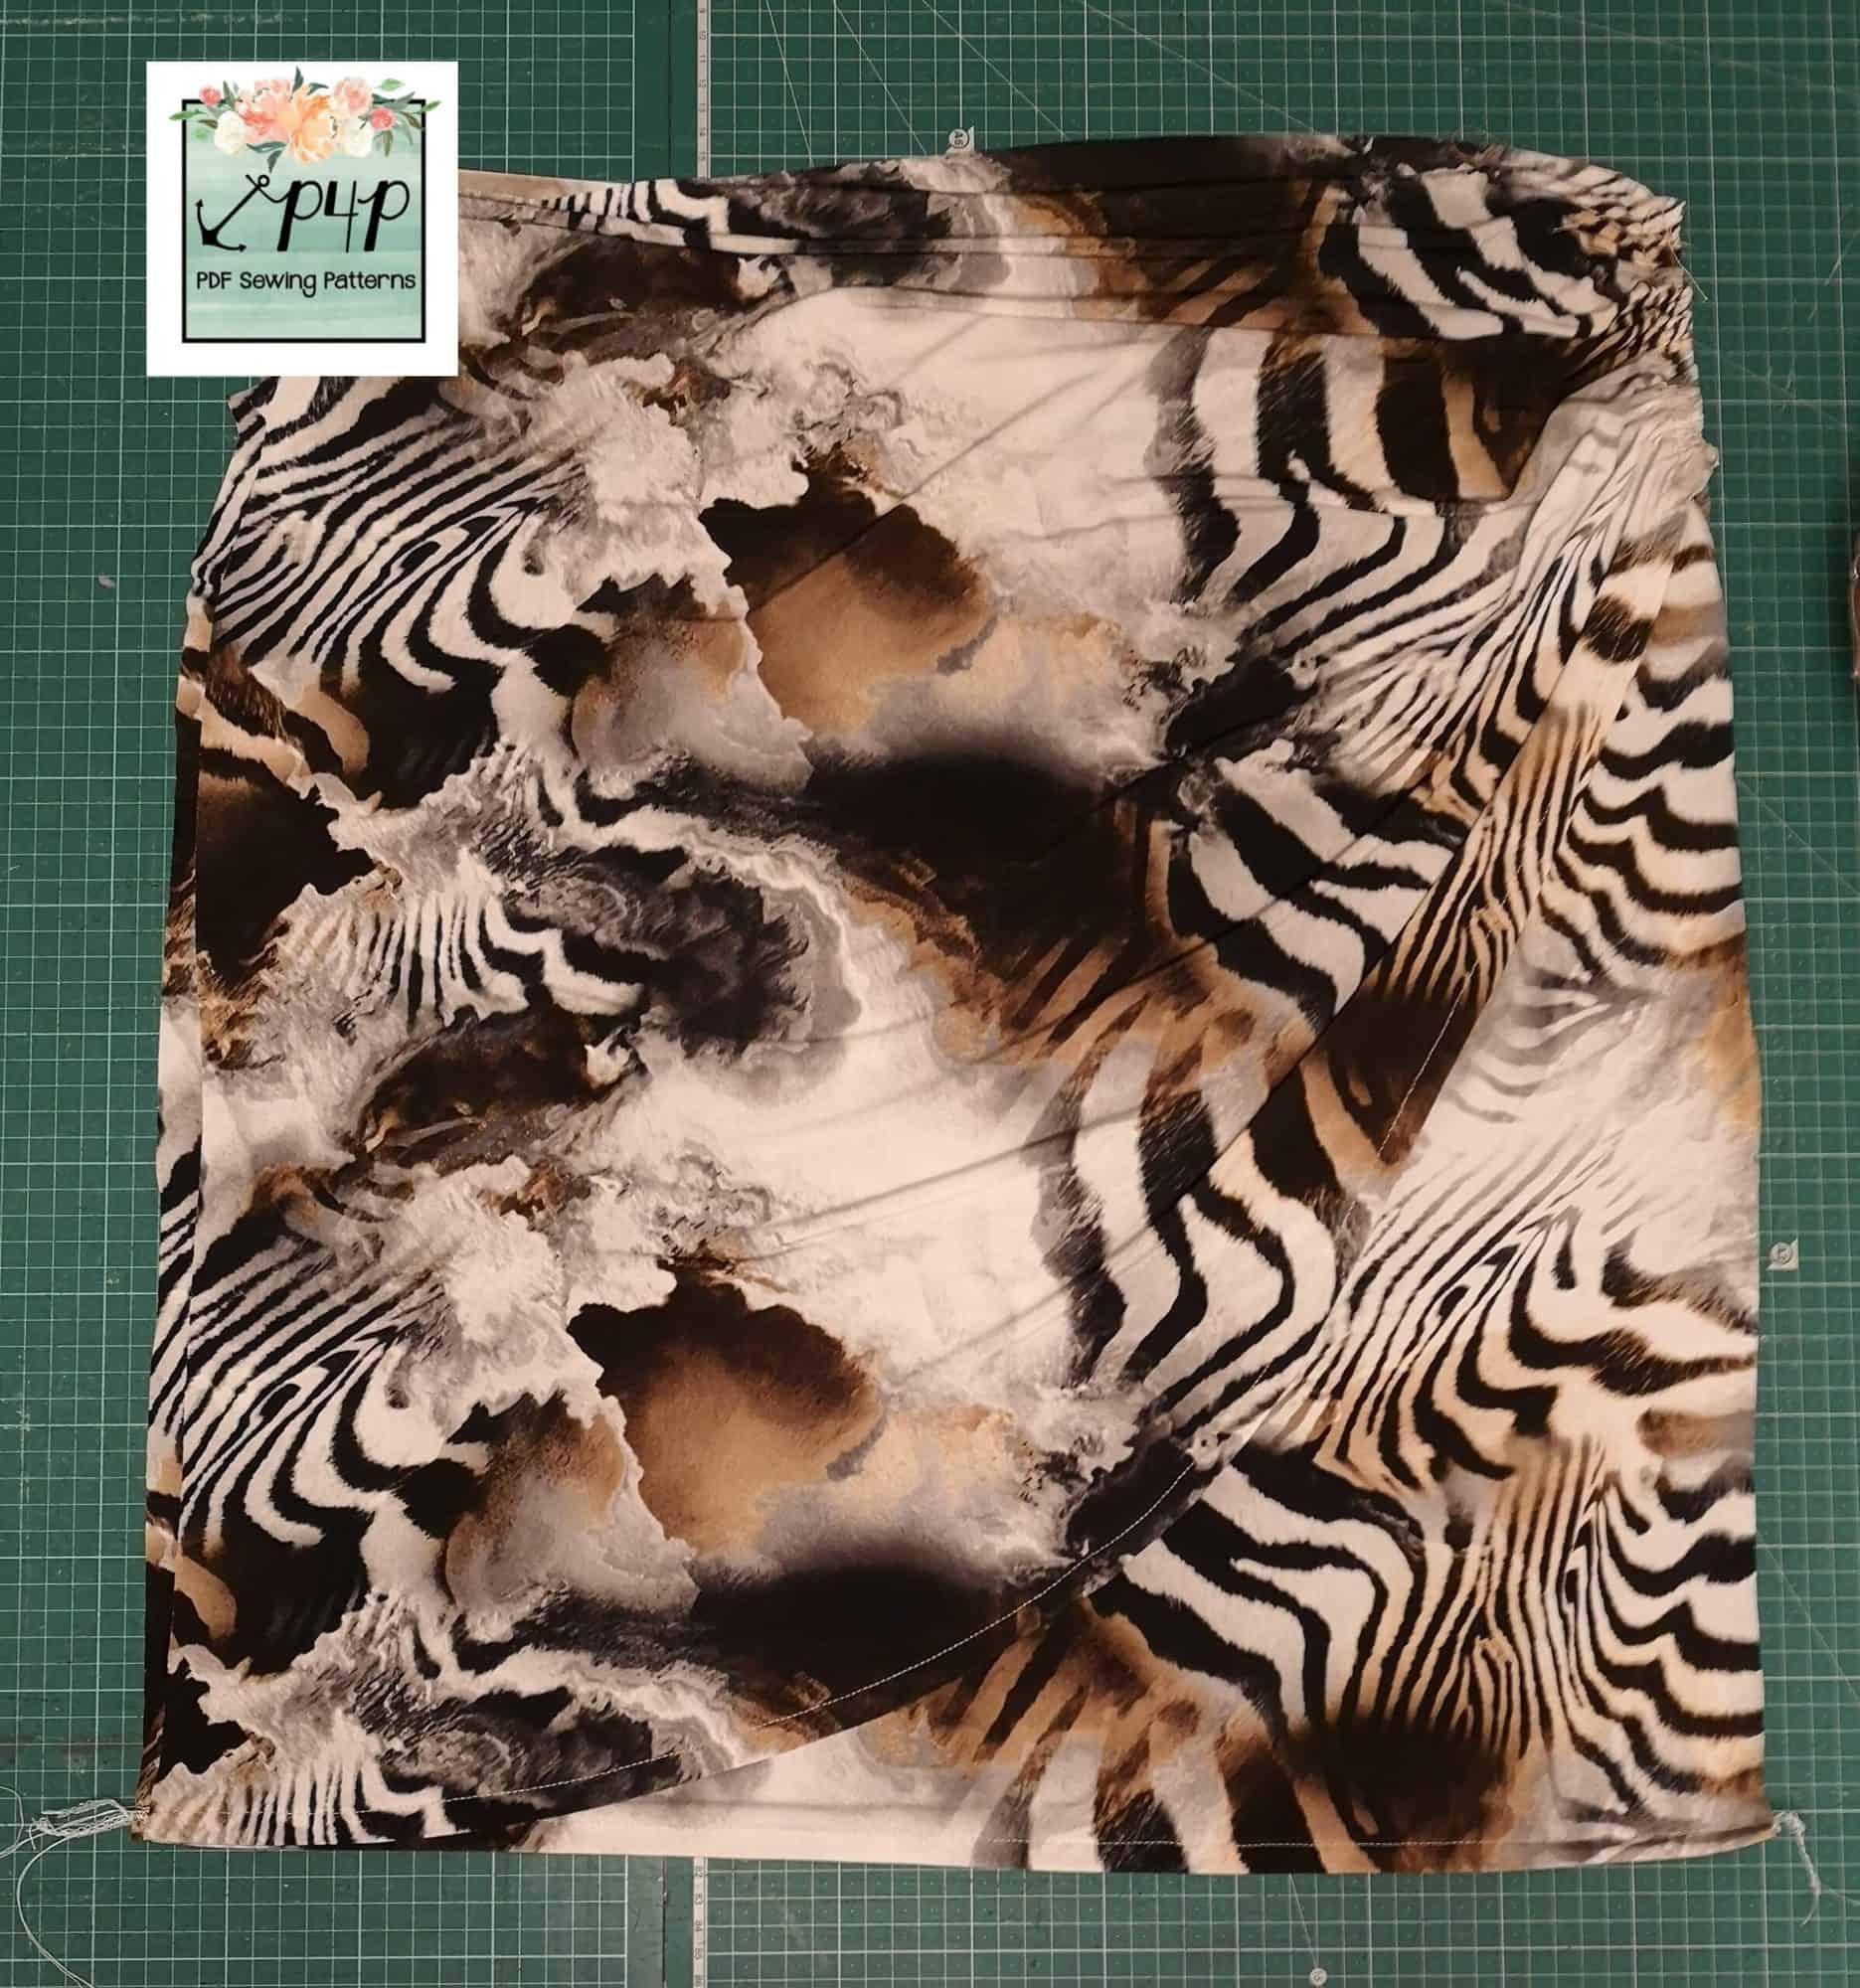
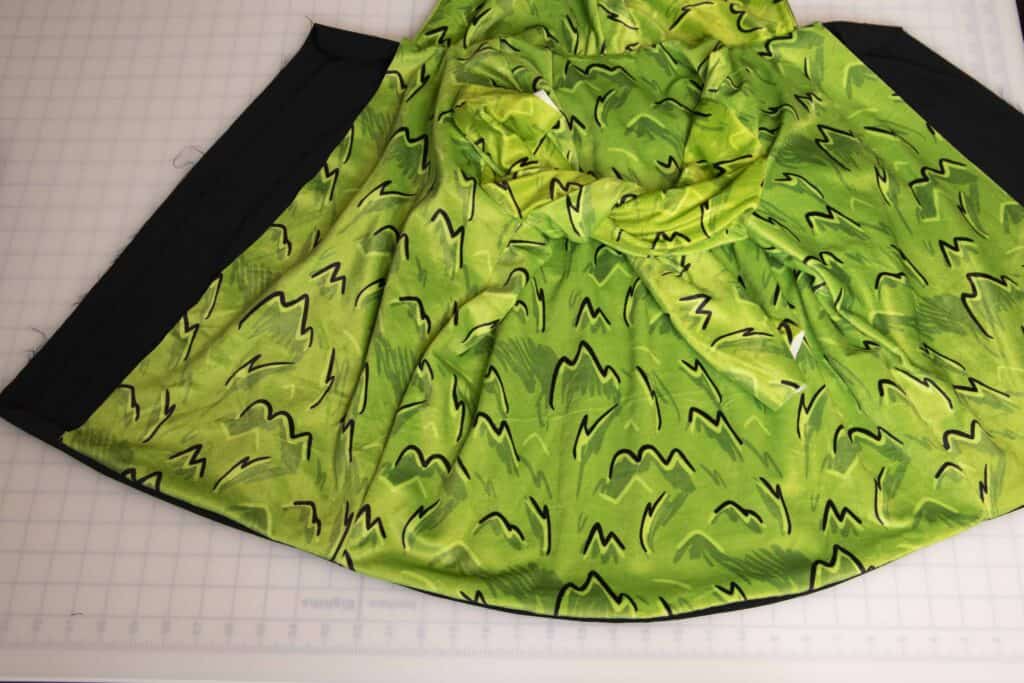
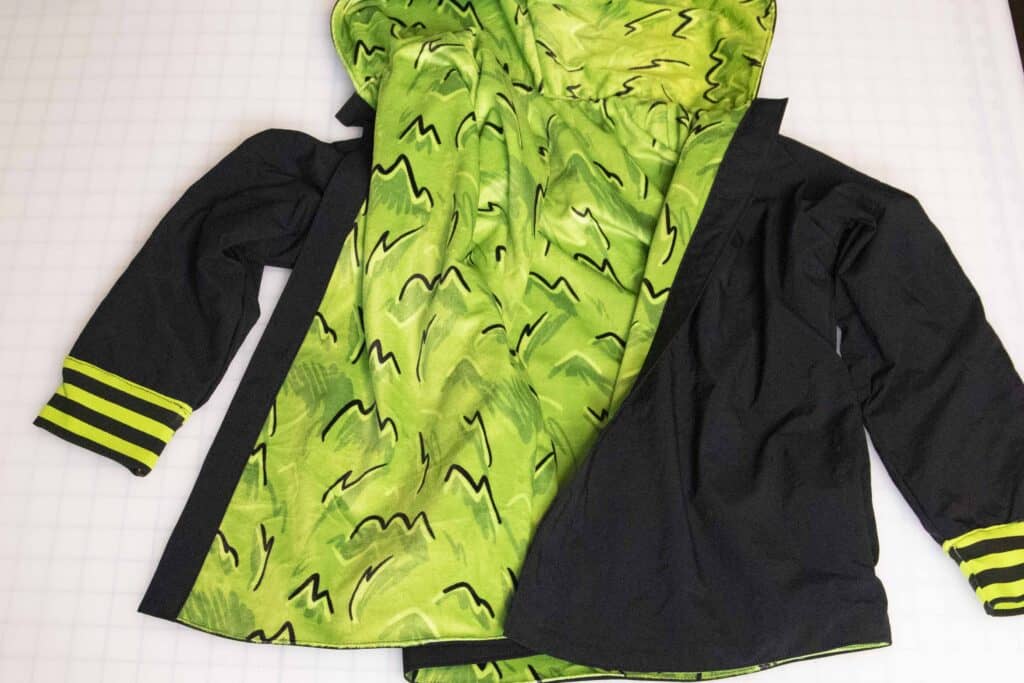
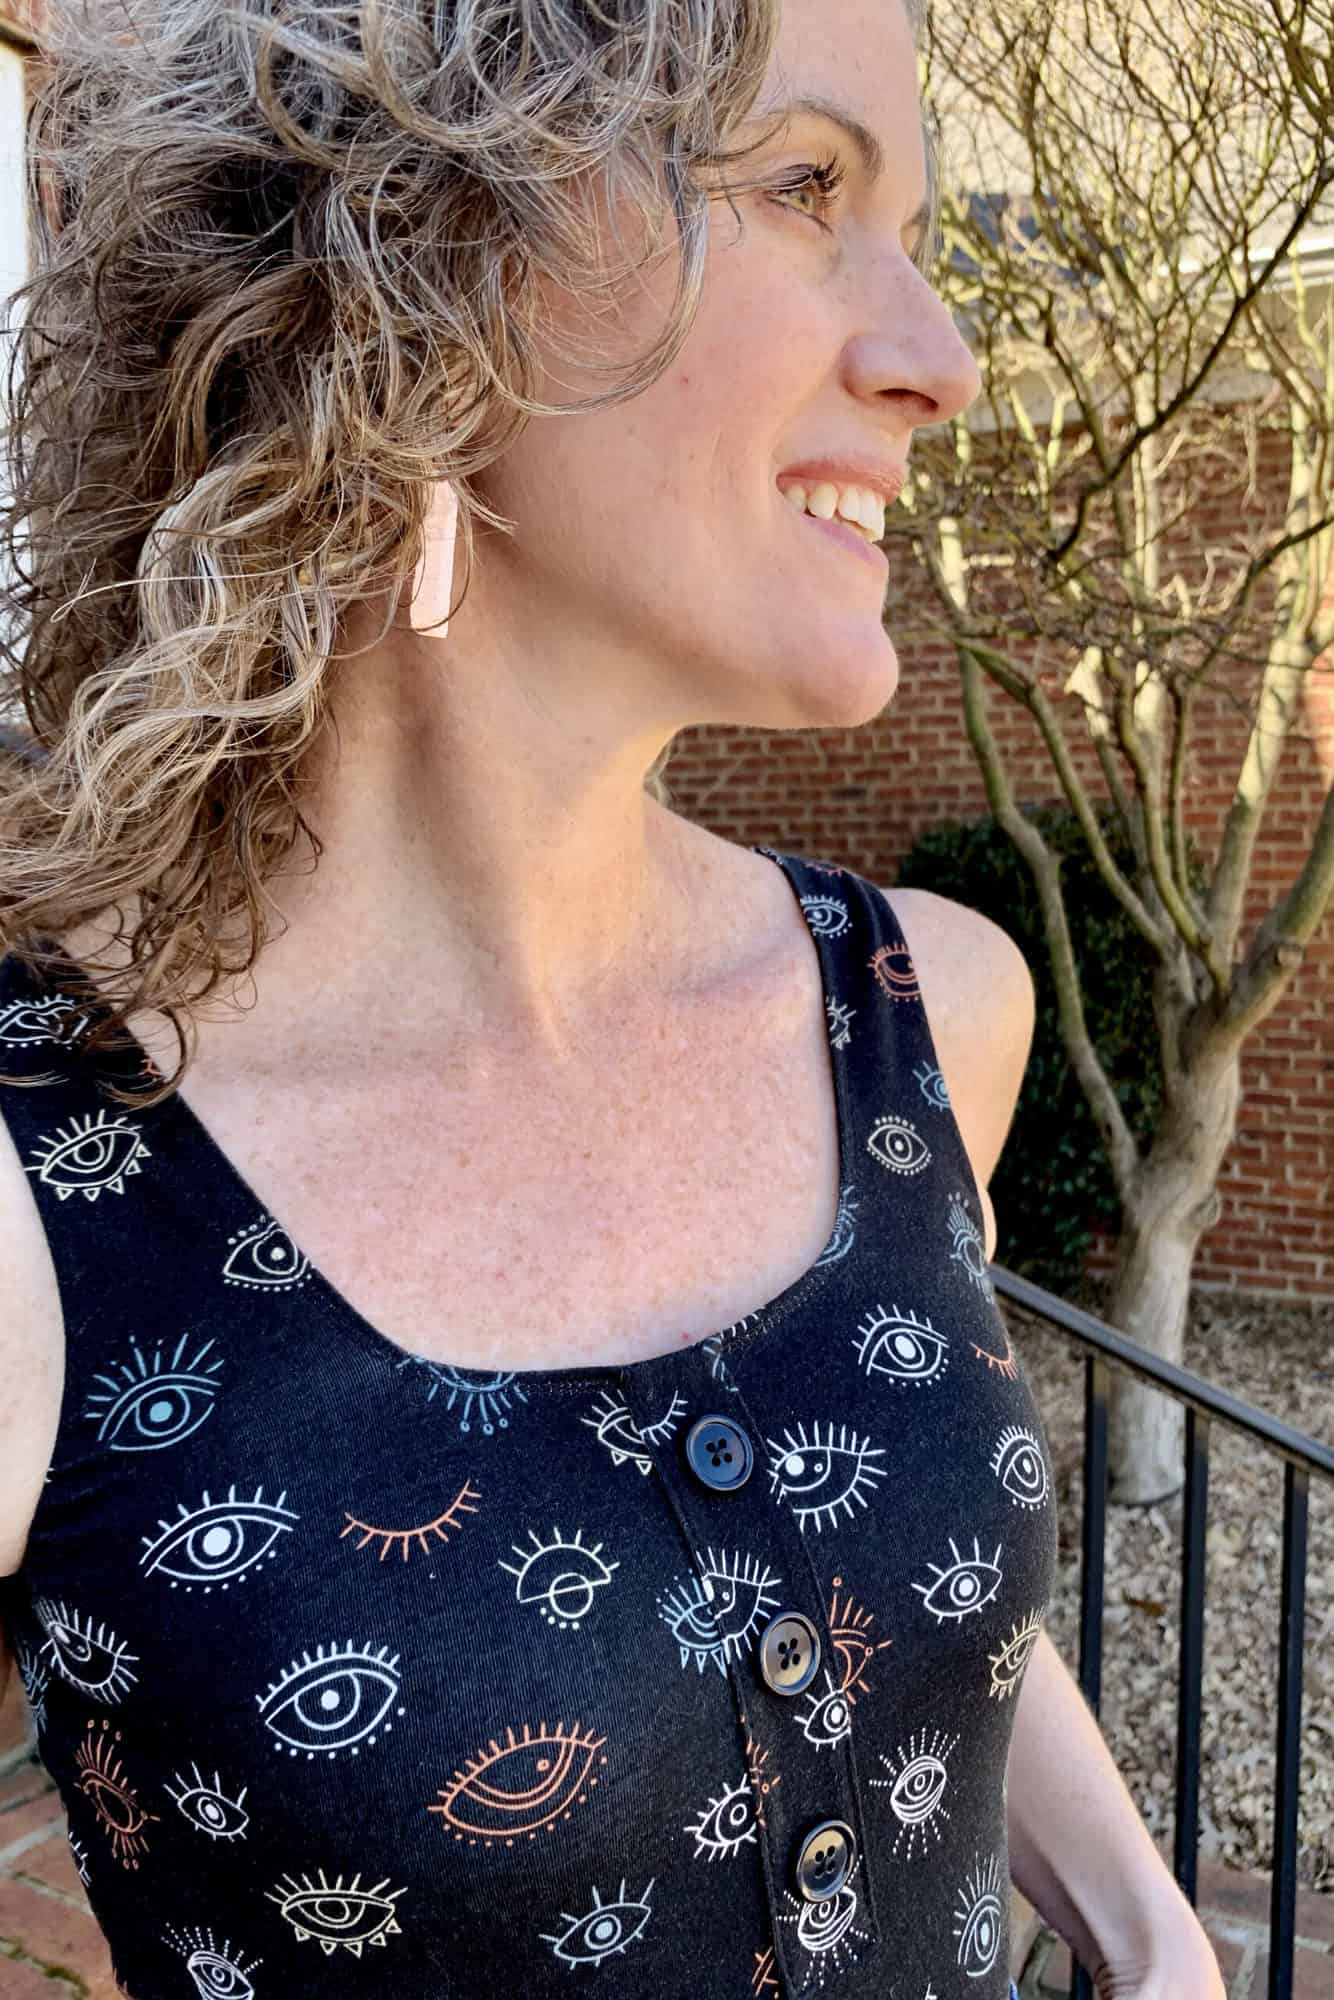
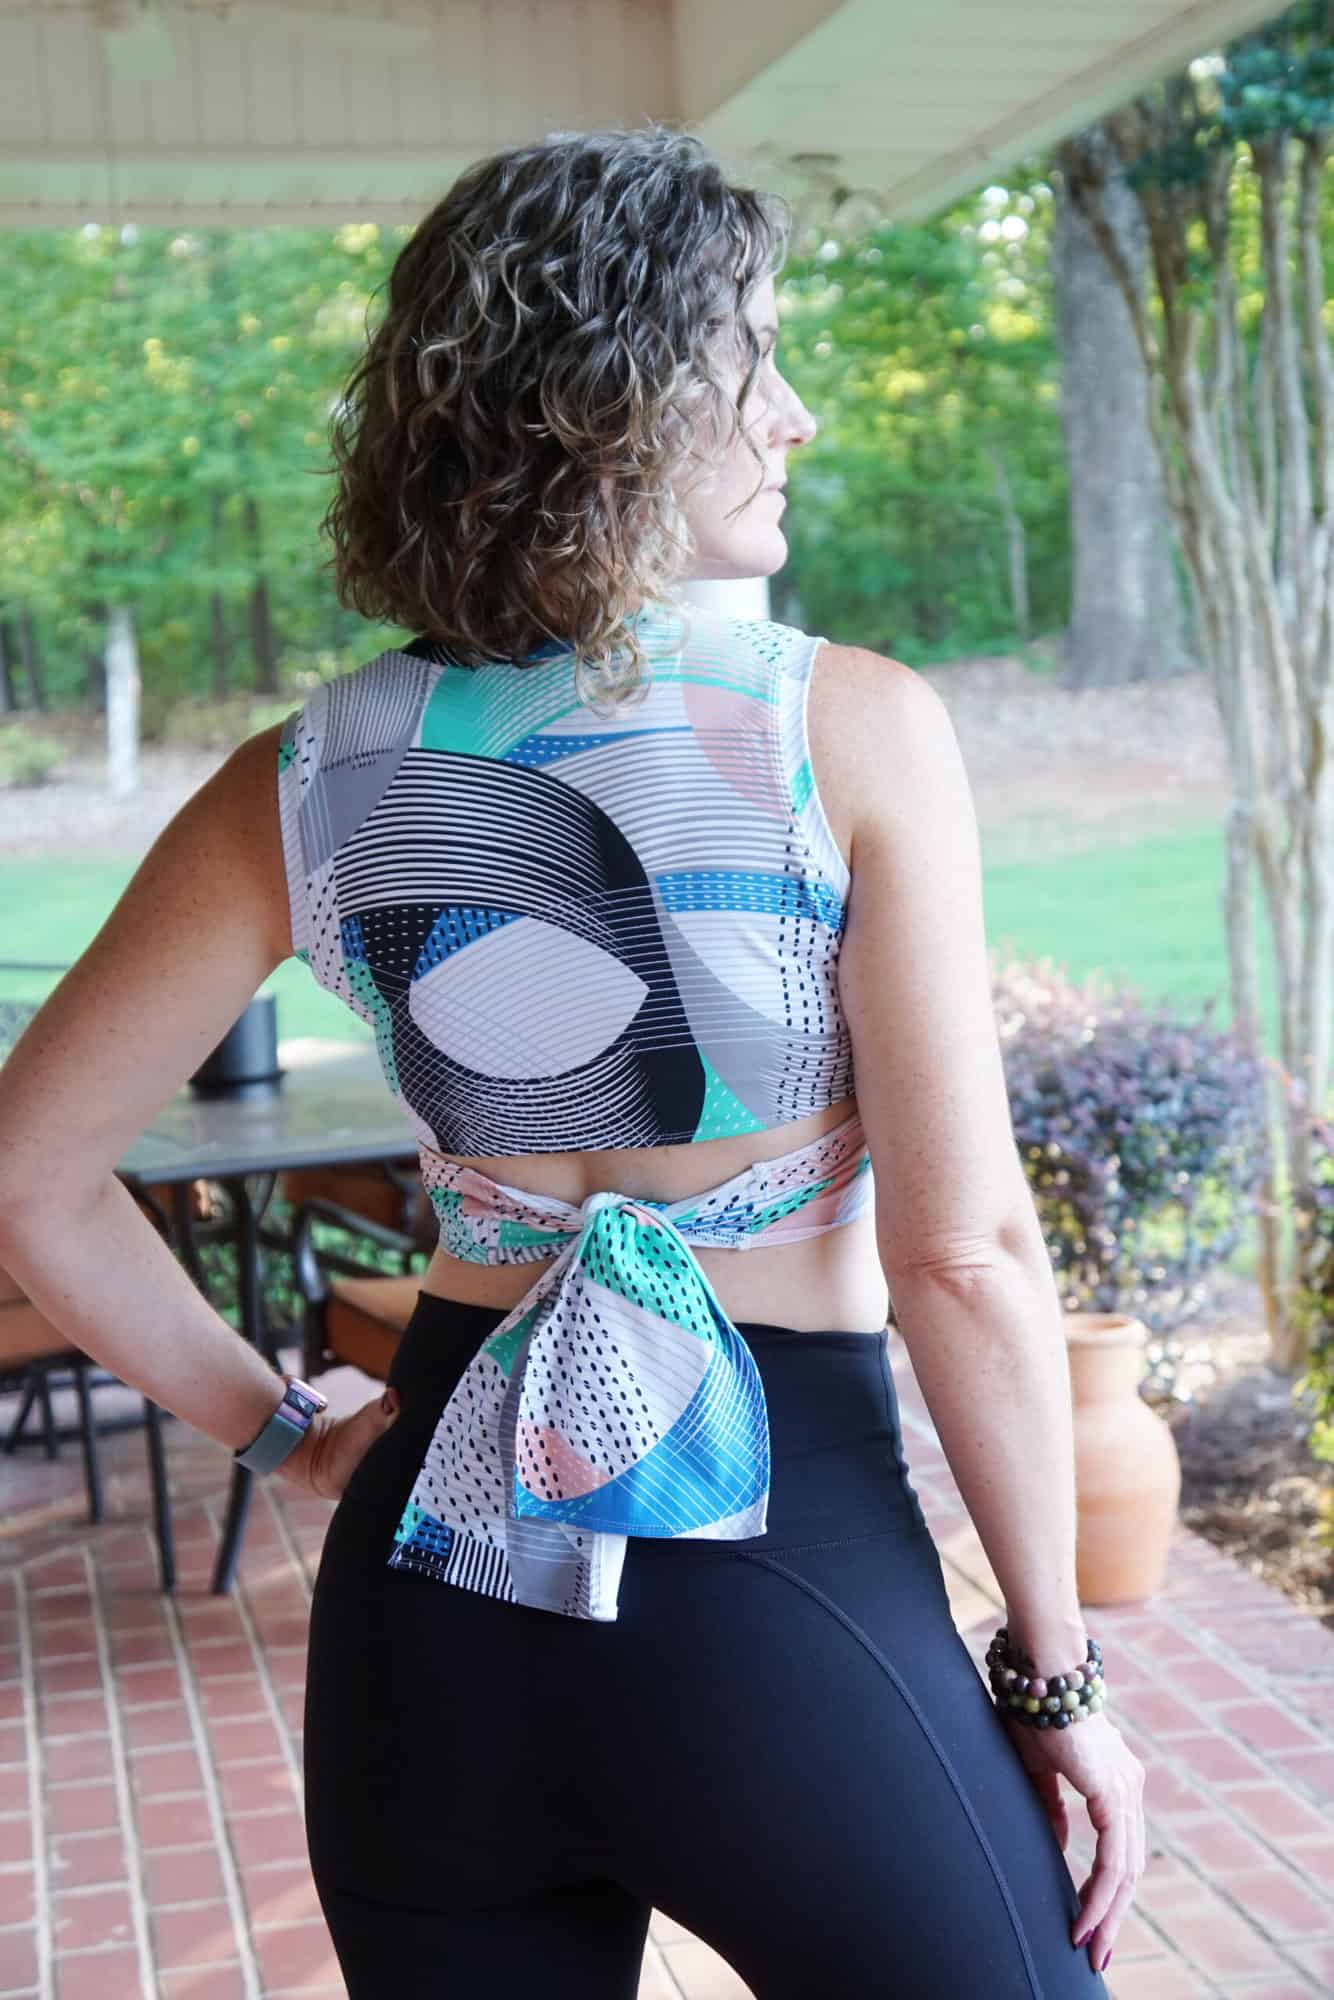
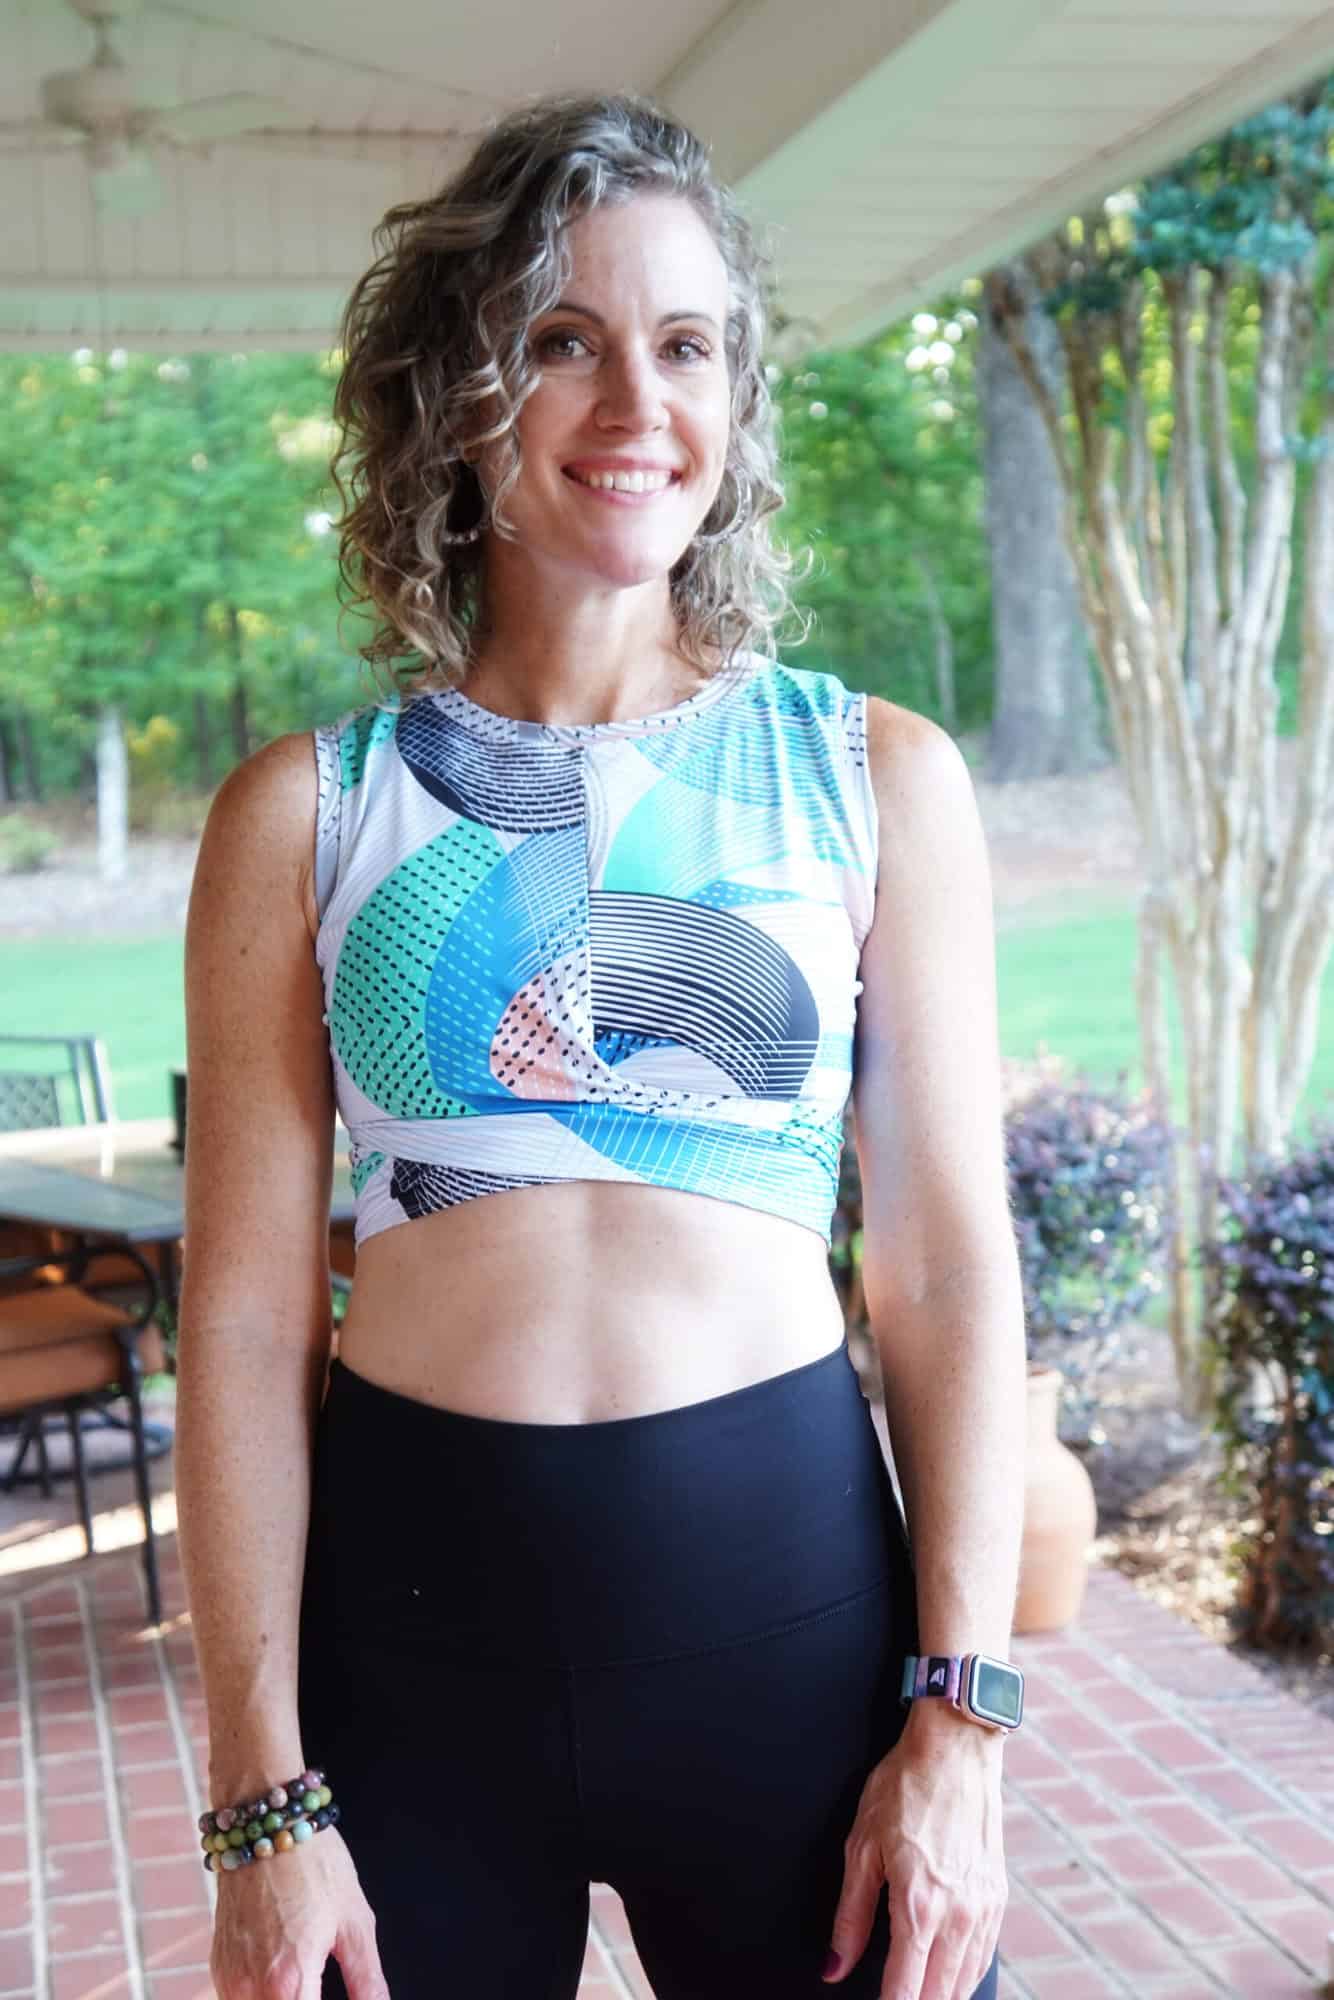
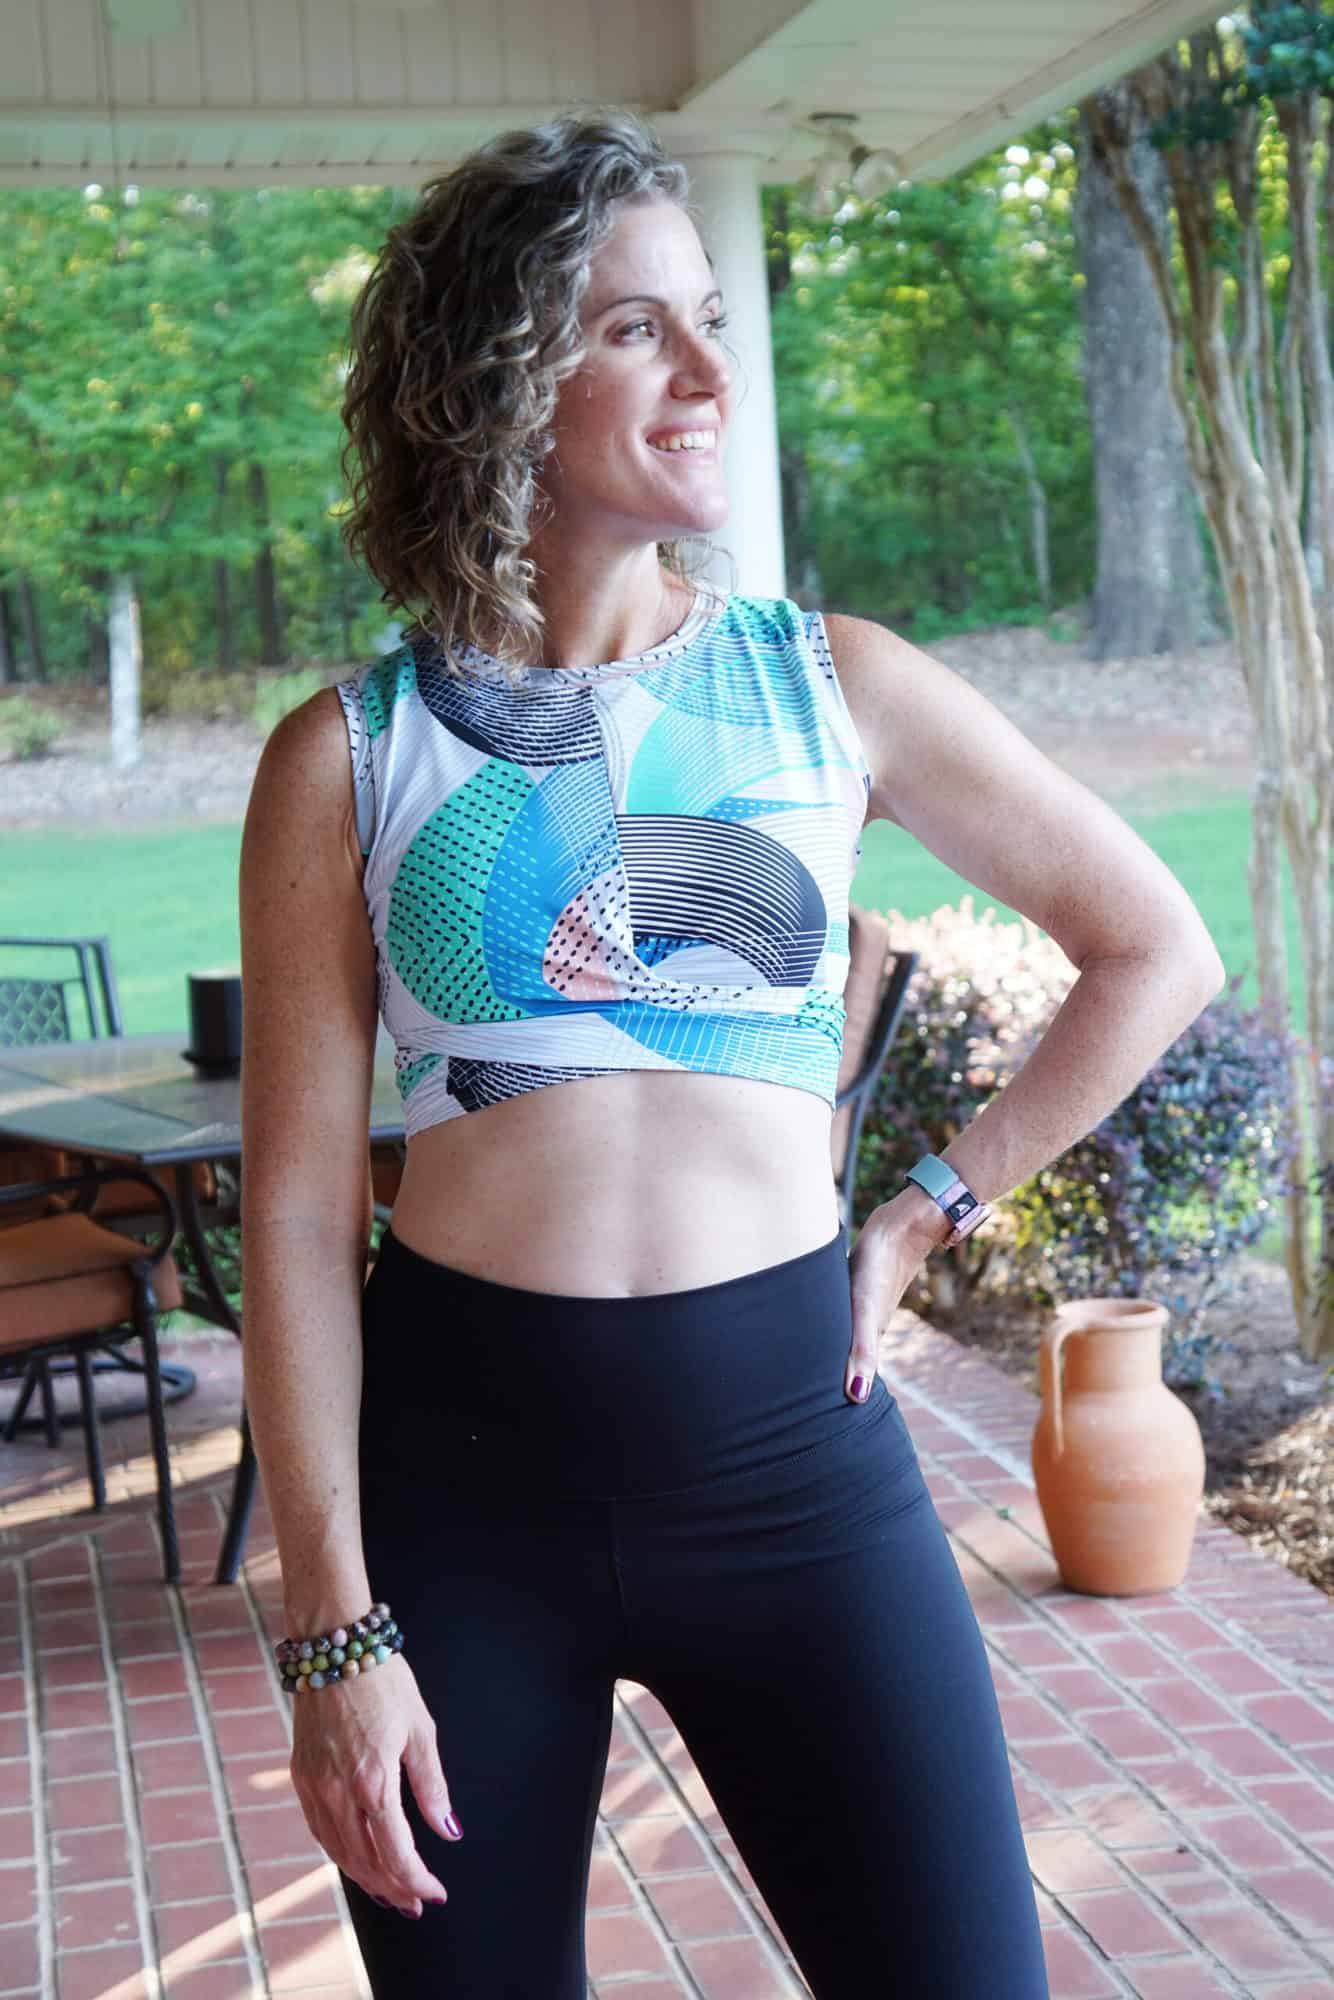
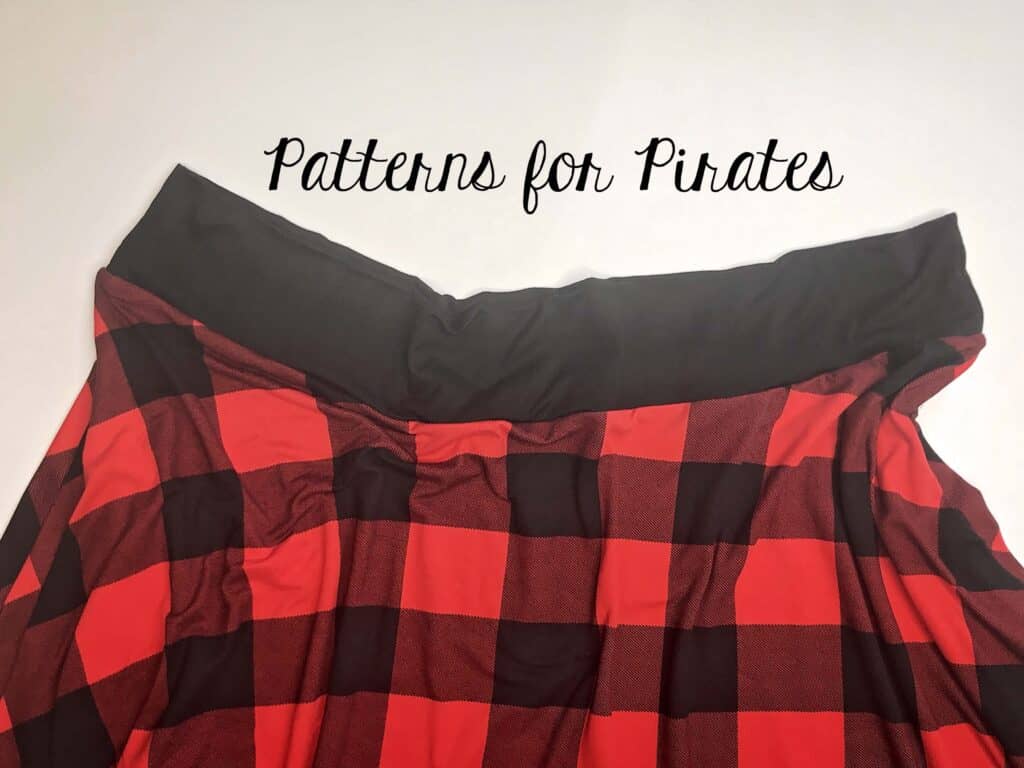
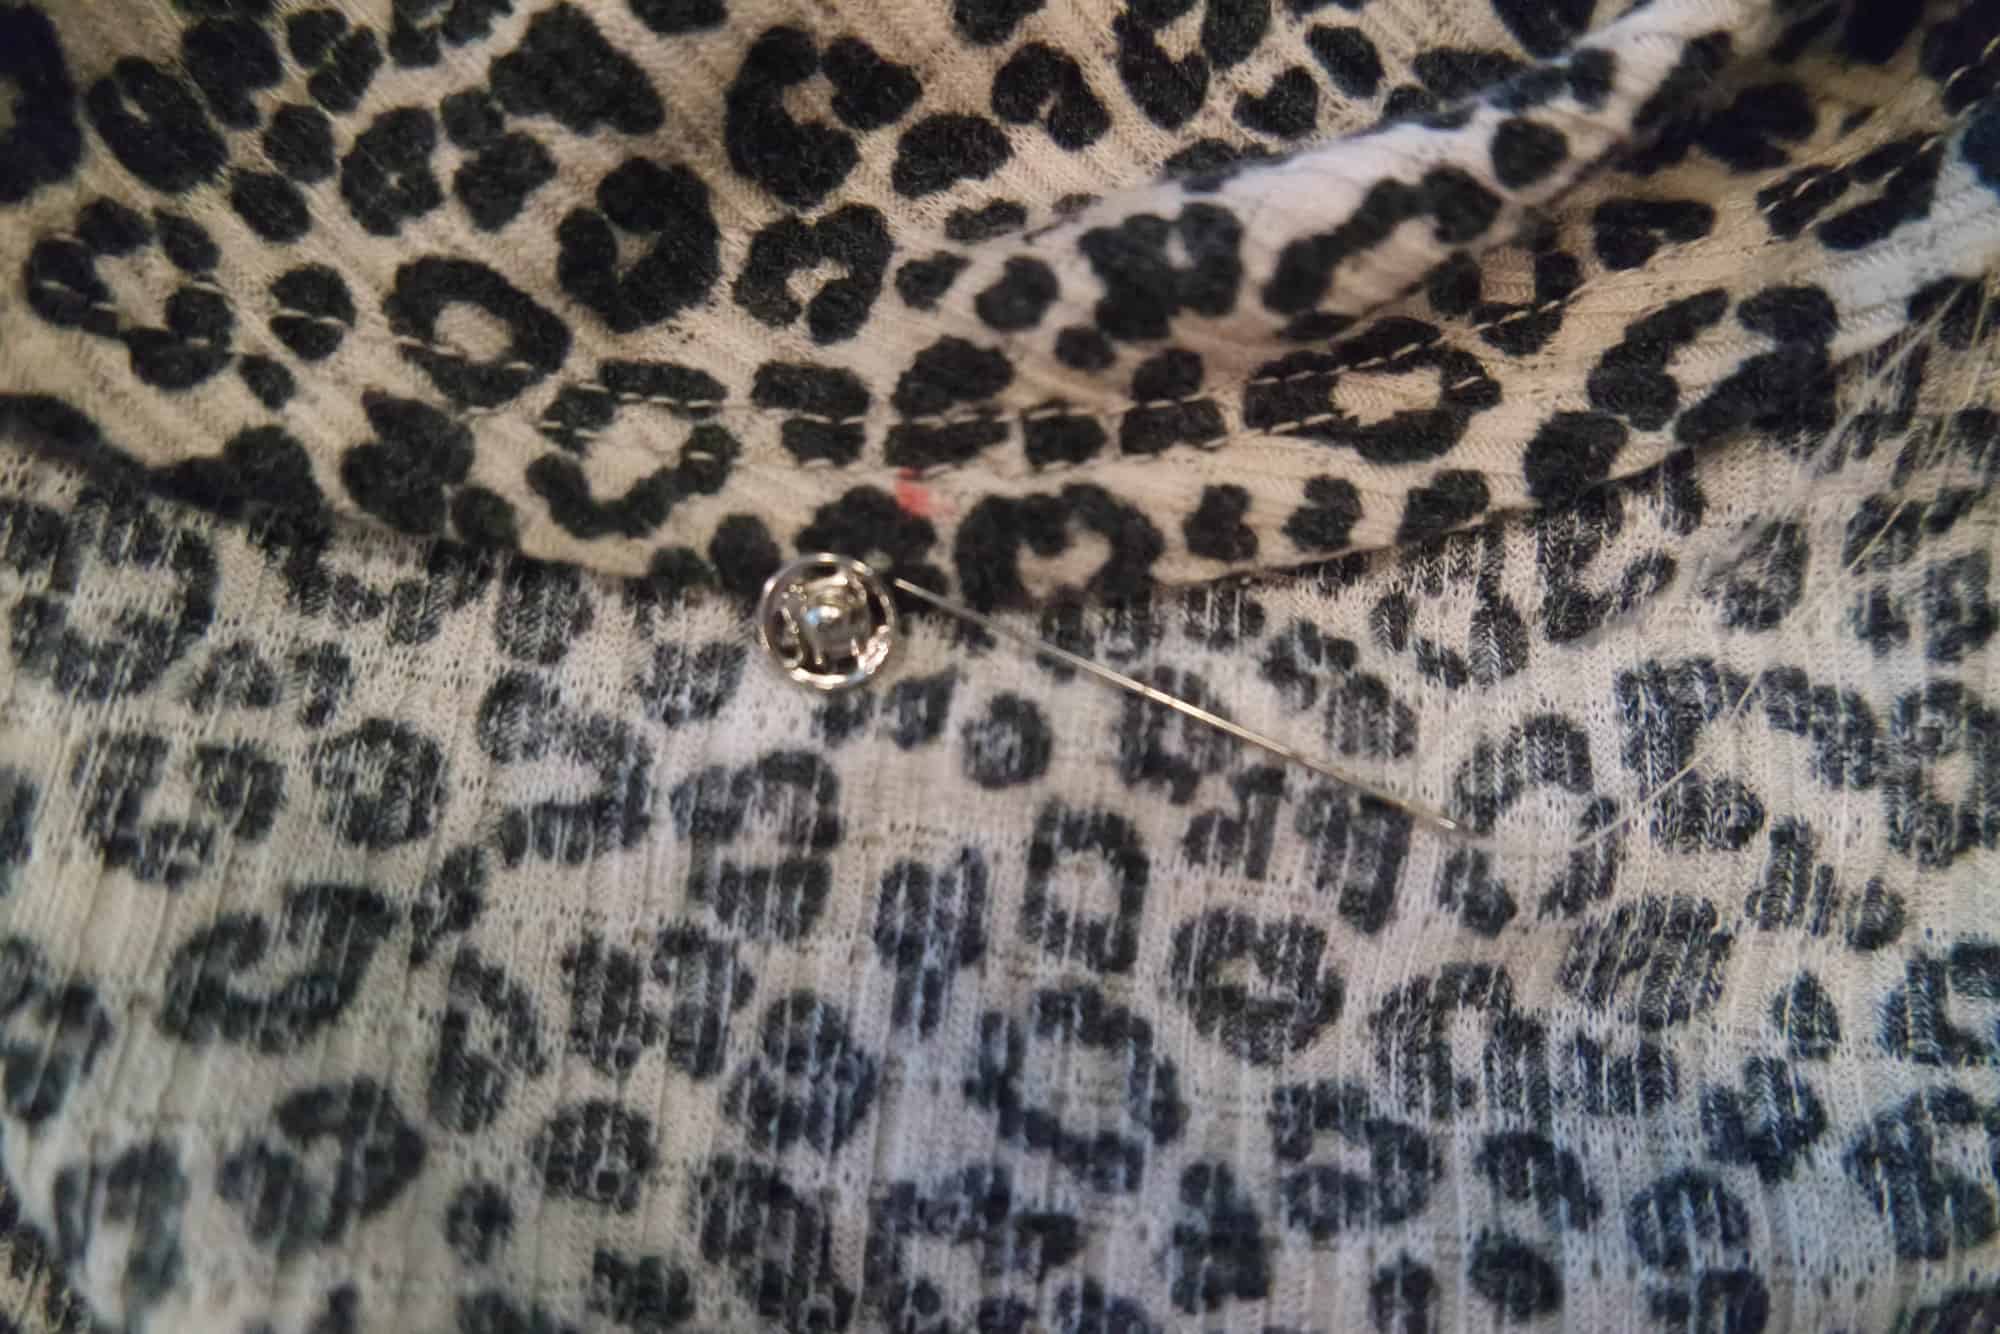
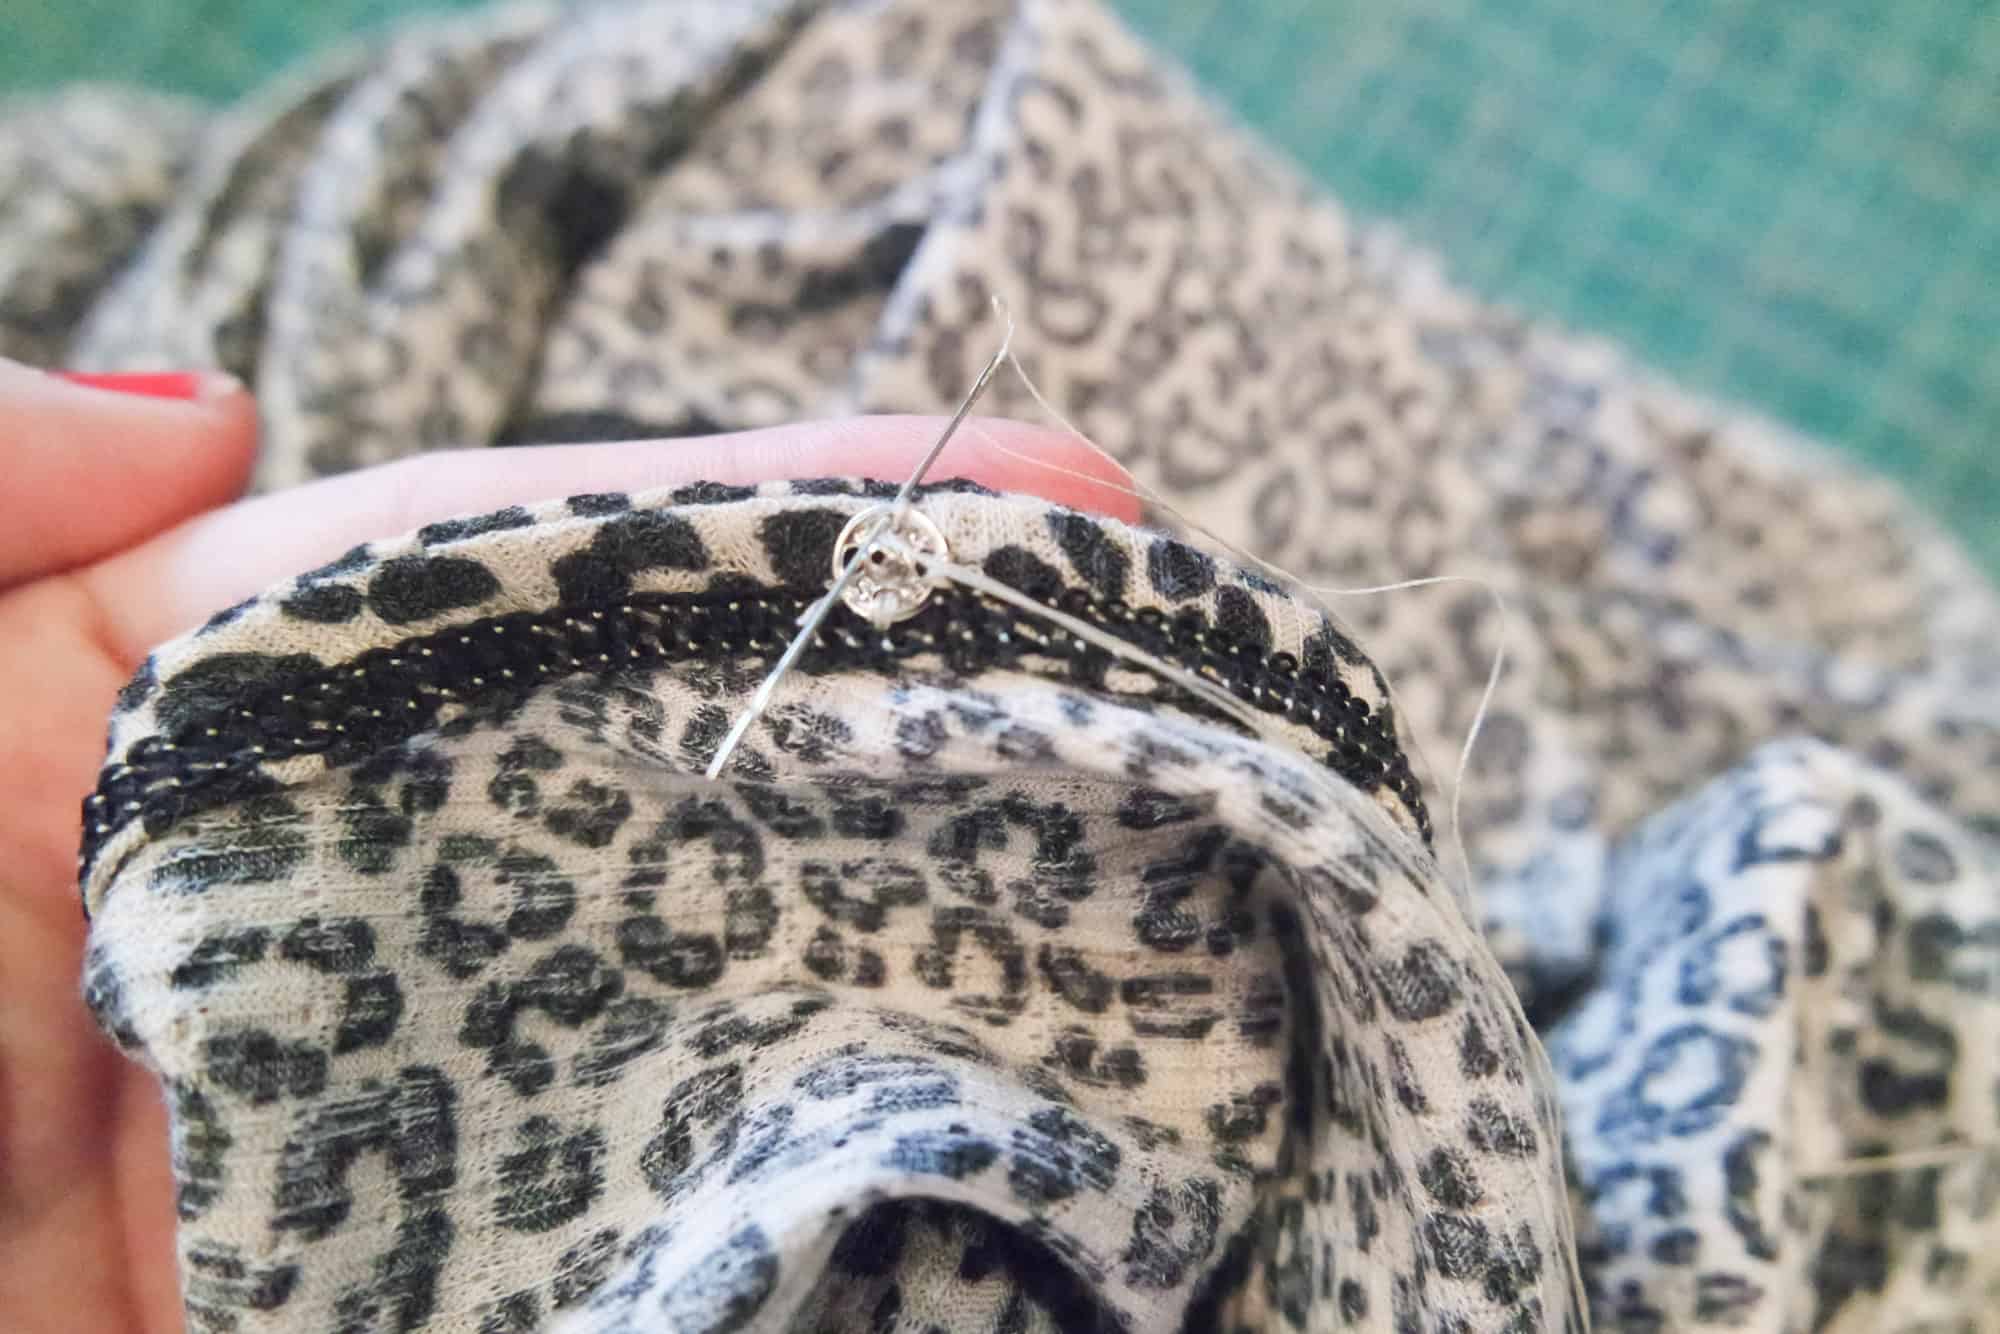
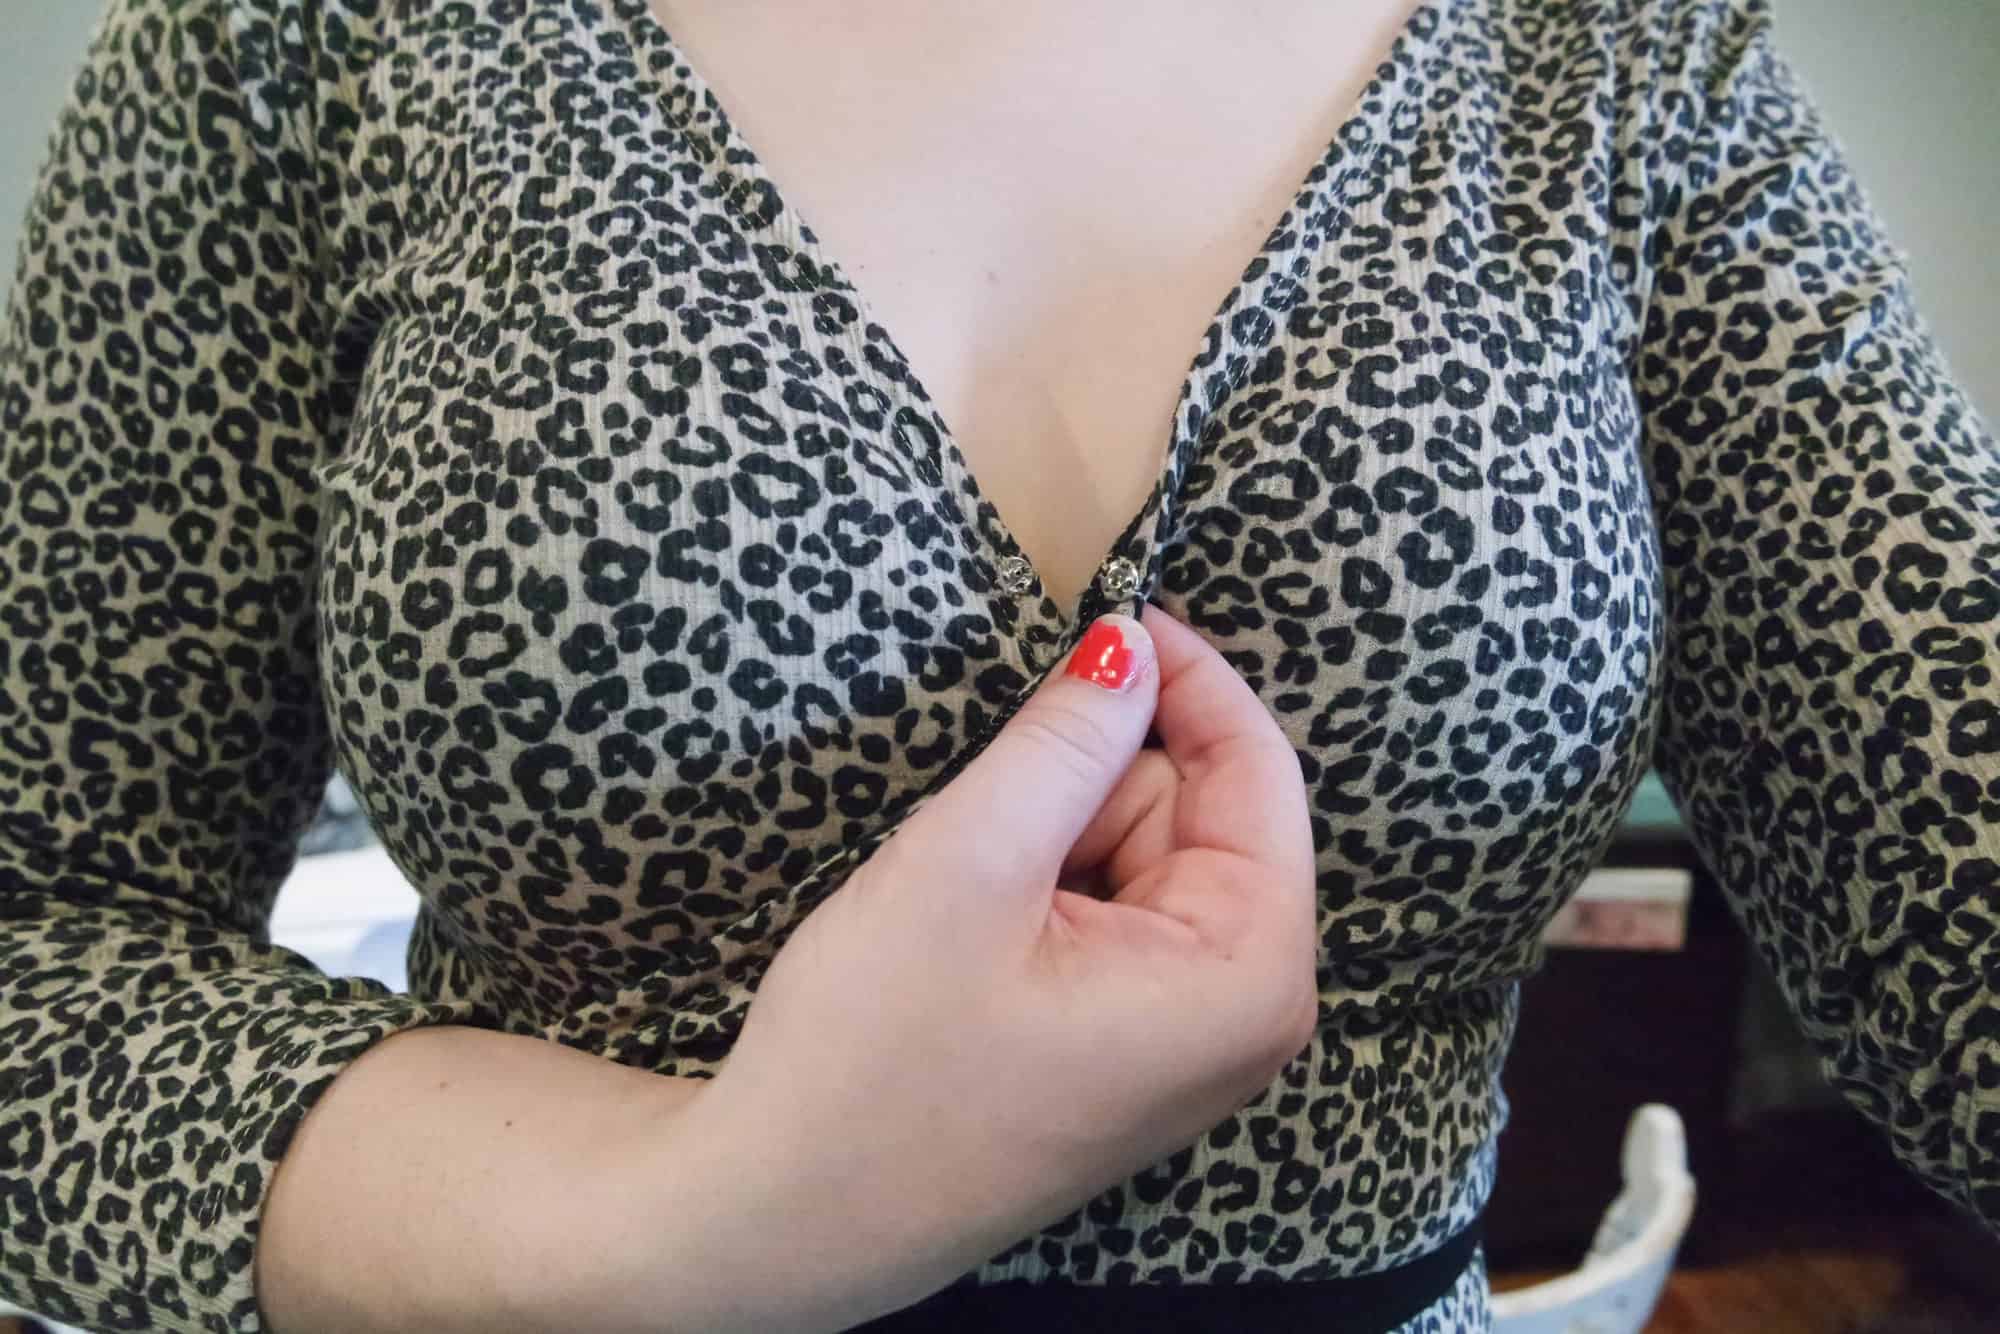
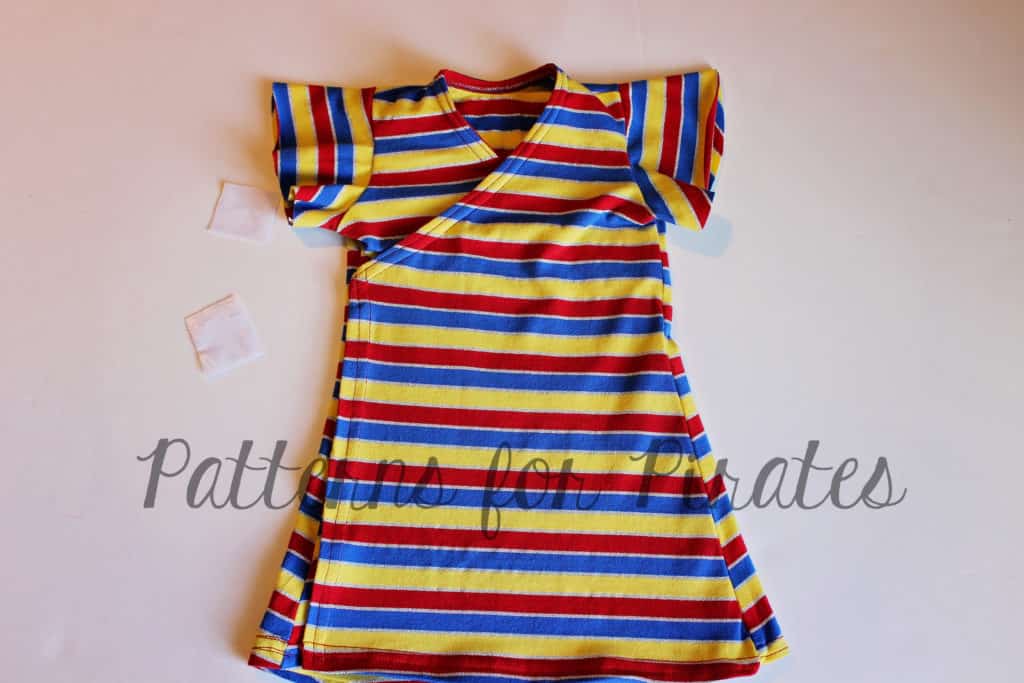
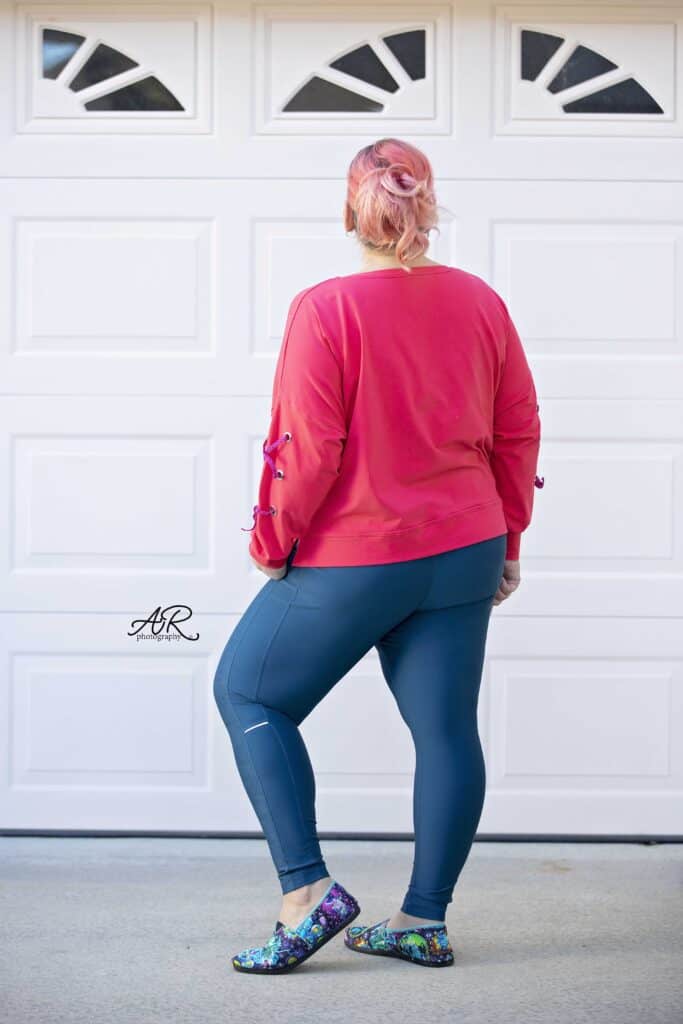
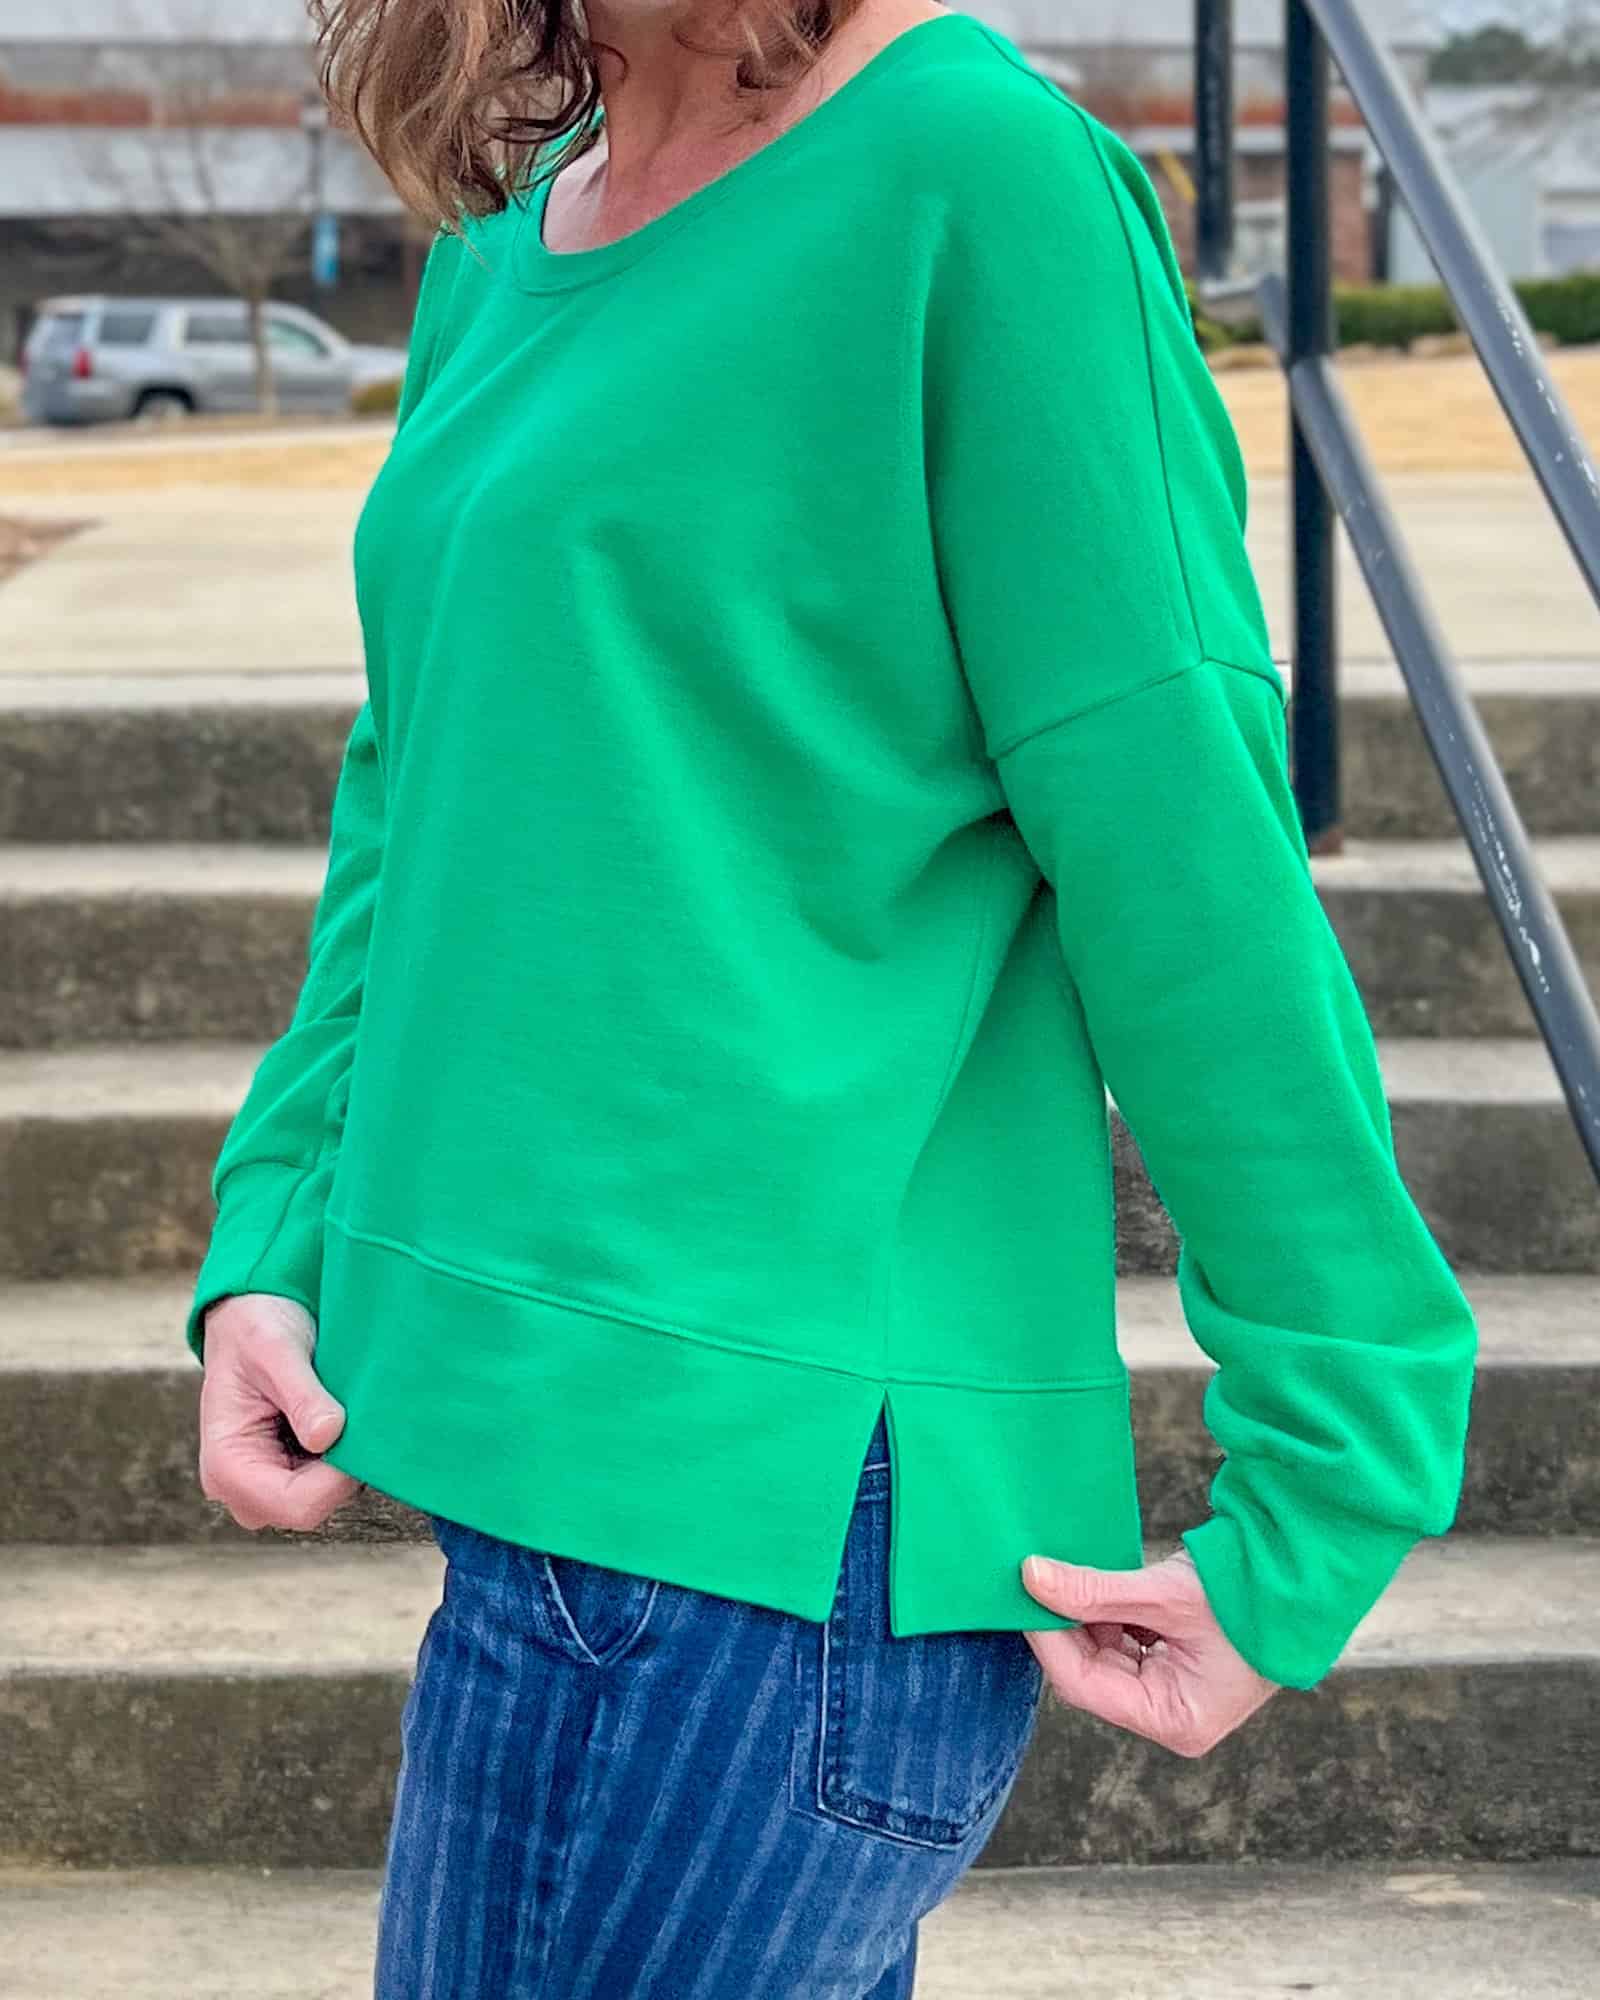
Boom! You did it! I did the high hip, scoop neckline option for this cotton spandex Sunnyside Sweater. I also likes the look of a 1:1 band with a side split so that’s what I used for my waistband. Luckily we have a hack for it too! 💥


Hemmed Hack

Honestly, this one couldn’t be easier! For a trendy oversized look, you can leave off the waistband and simply hem your Sunnyside instead. Here’s how I made mine.
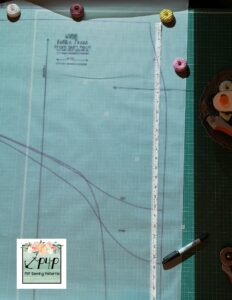
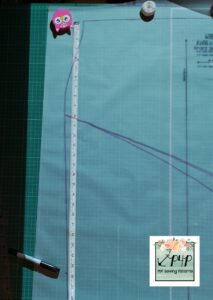
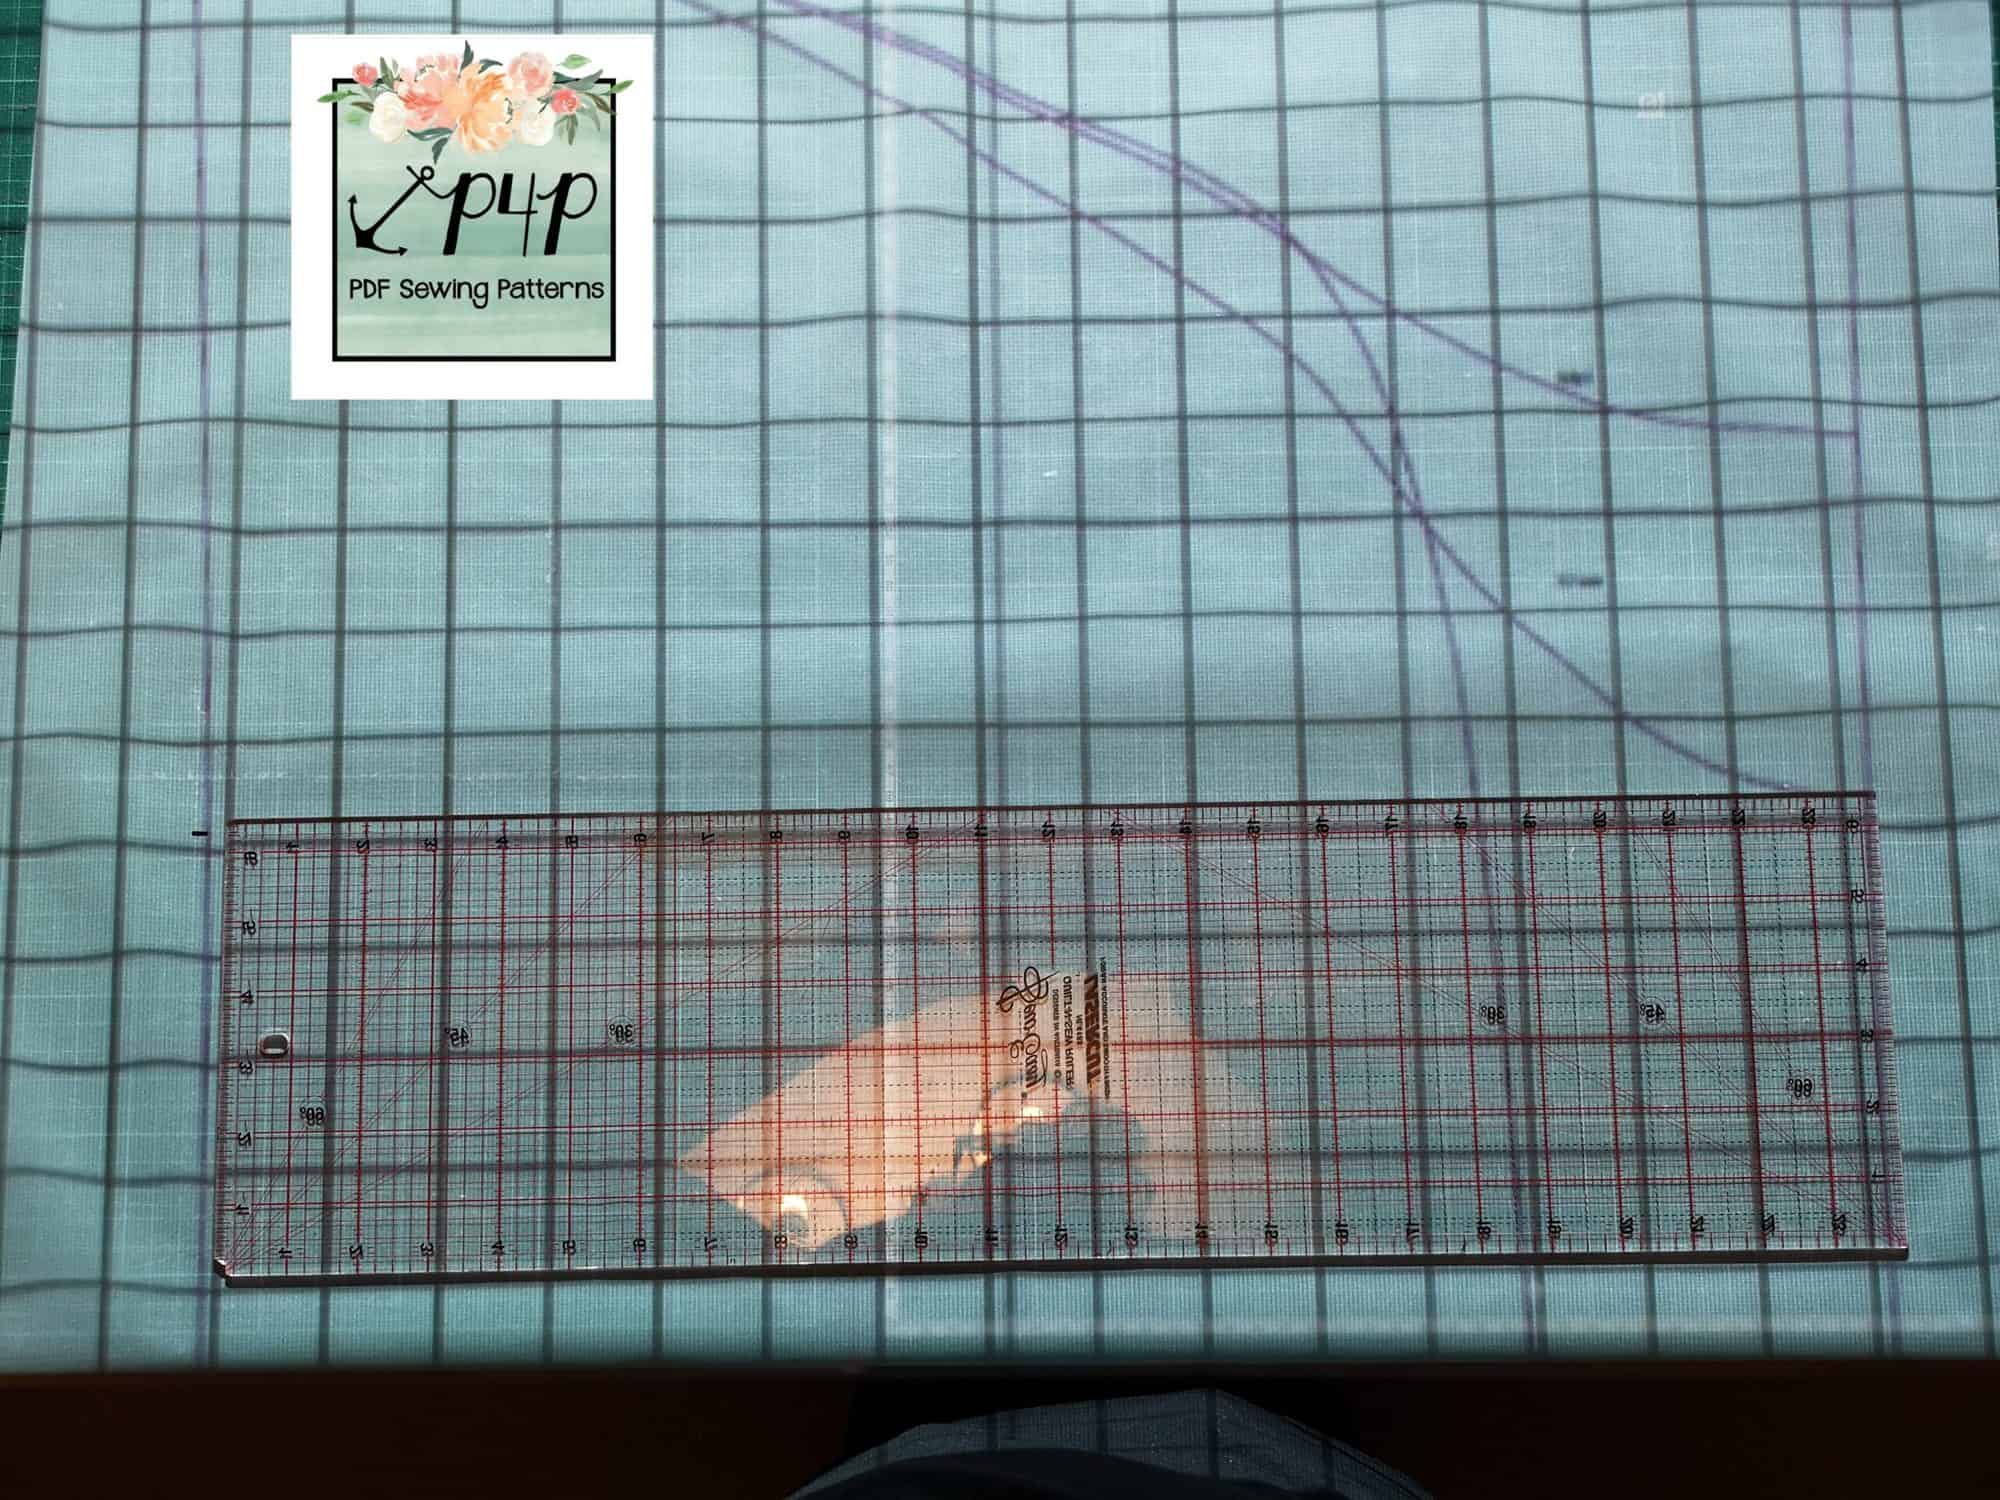
First you’ll want to decide on the finished length you want for your sweater. You can either measure the length of a sweater you already have or run a tape measure down from your shoulder and over your bust, then use the tape to decide on the finished length you want. I had already made a regular Sunnyside and wanted a long crop length for my finished hem, so I cut on the bottom cutline (for the banded high hip length).
Turn the hem up by ¾” and press. I like to use a slightly deeper hem than the usual 1/2″ because I think it hangs a bit better.
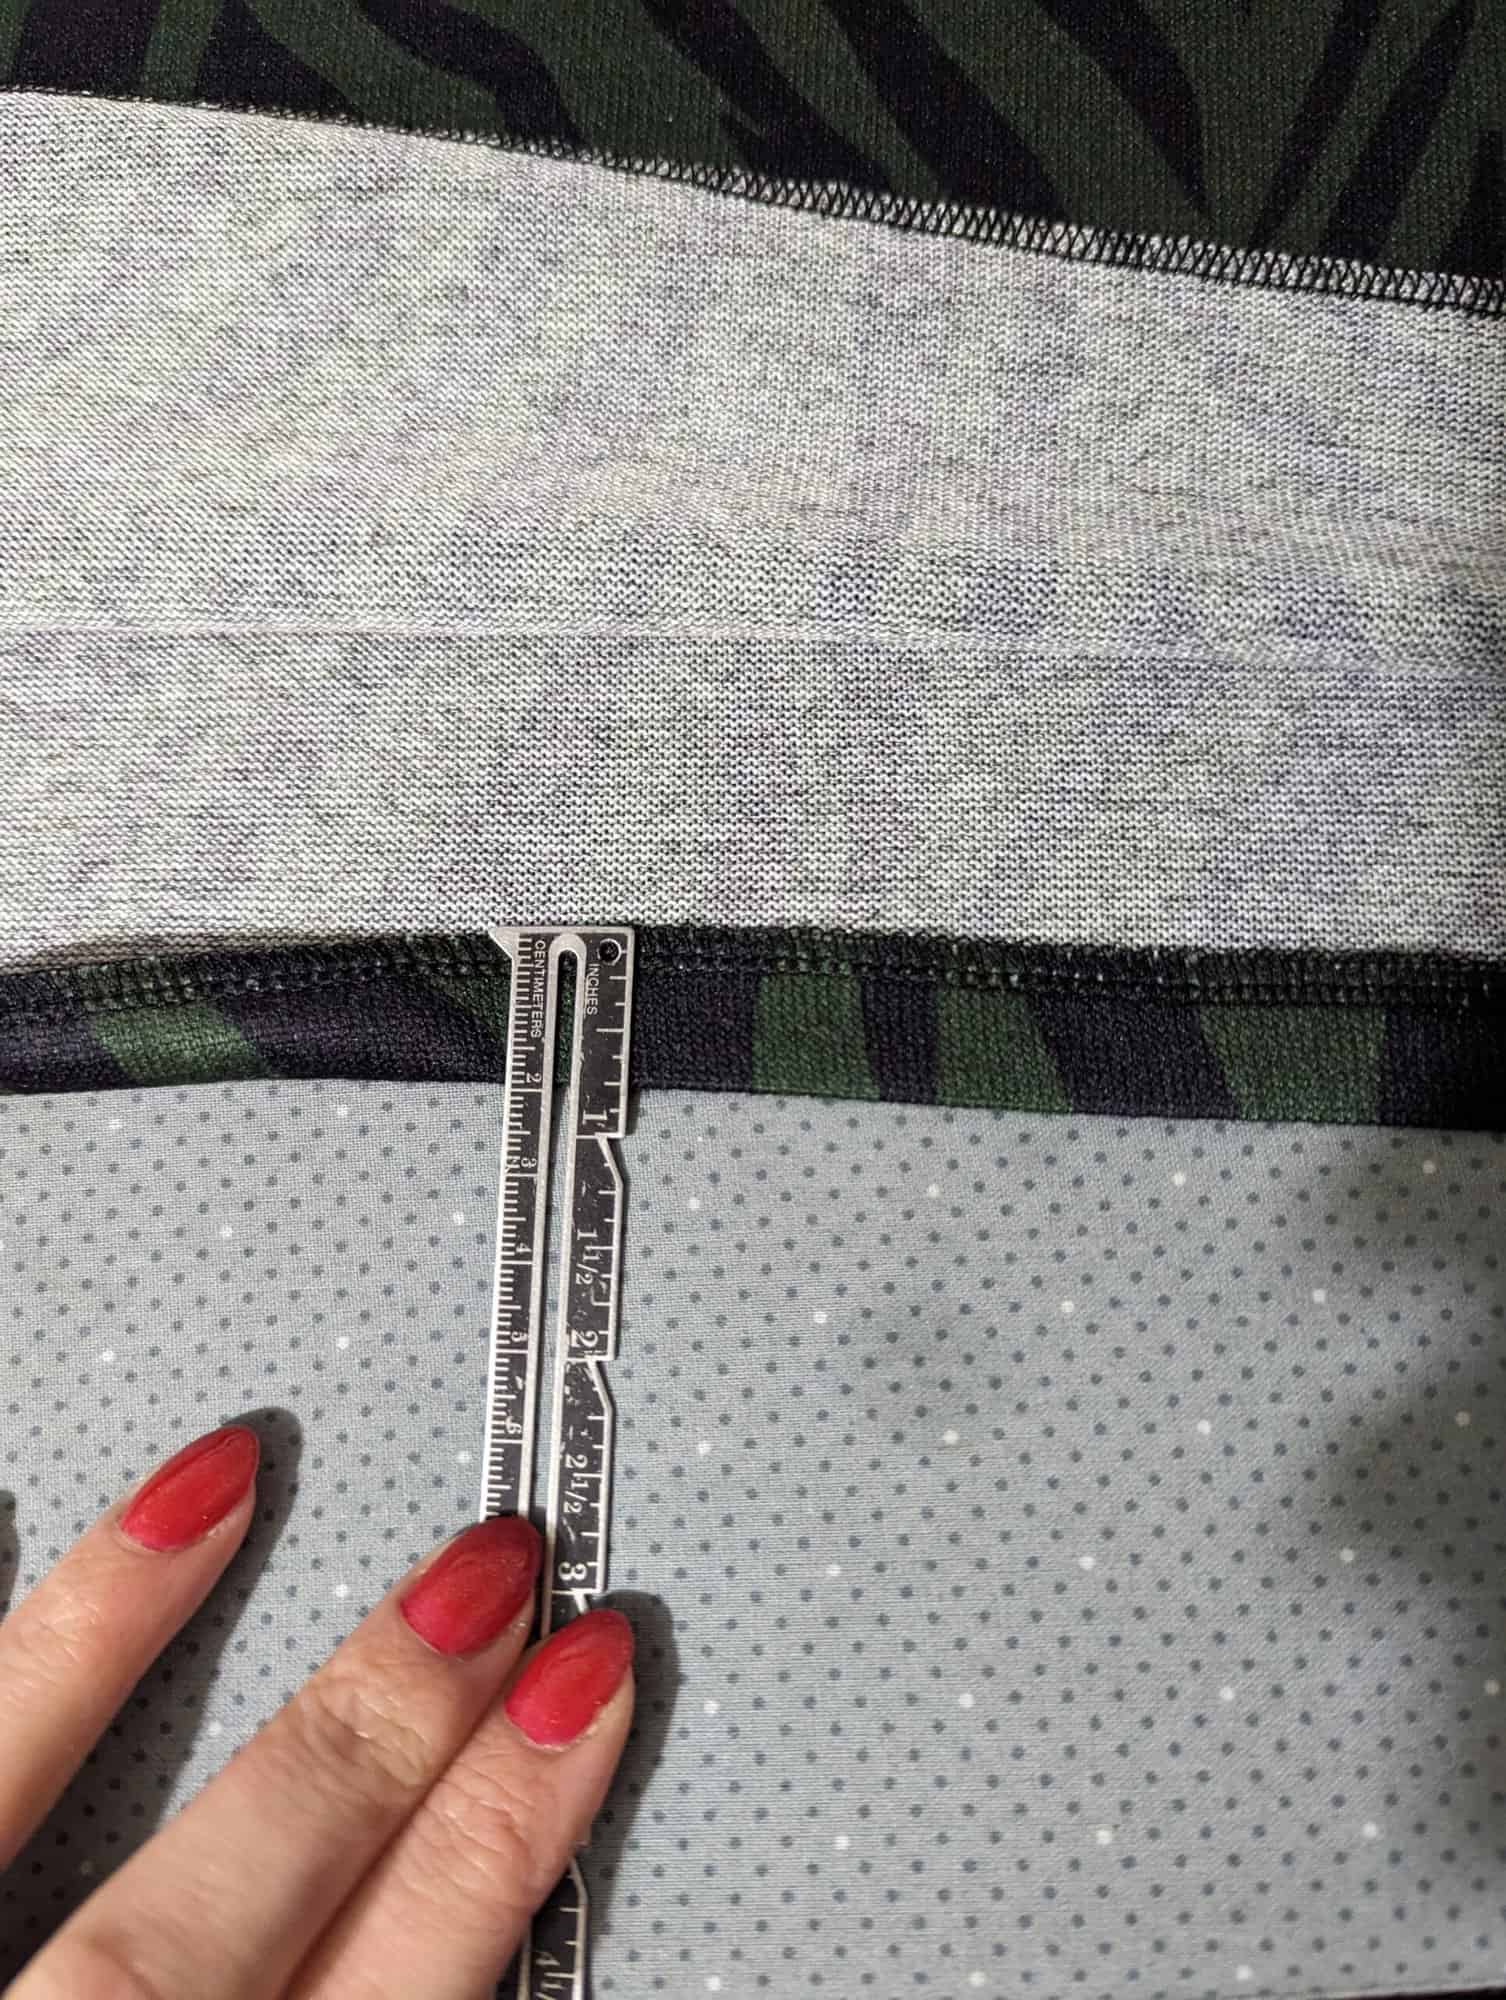
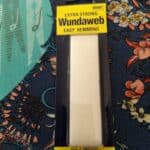
I like to use a ¼” wash away quilting tape for hemming tricky fabrics like sweater knits. It sticks your hem in place so you don’t need to use clips or pins, and stops the fabrics from stretching or shifting as you sew. Then it disintegrates the first time you wash it!
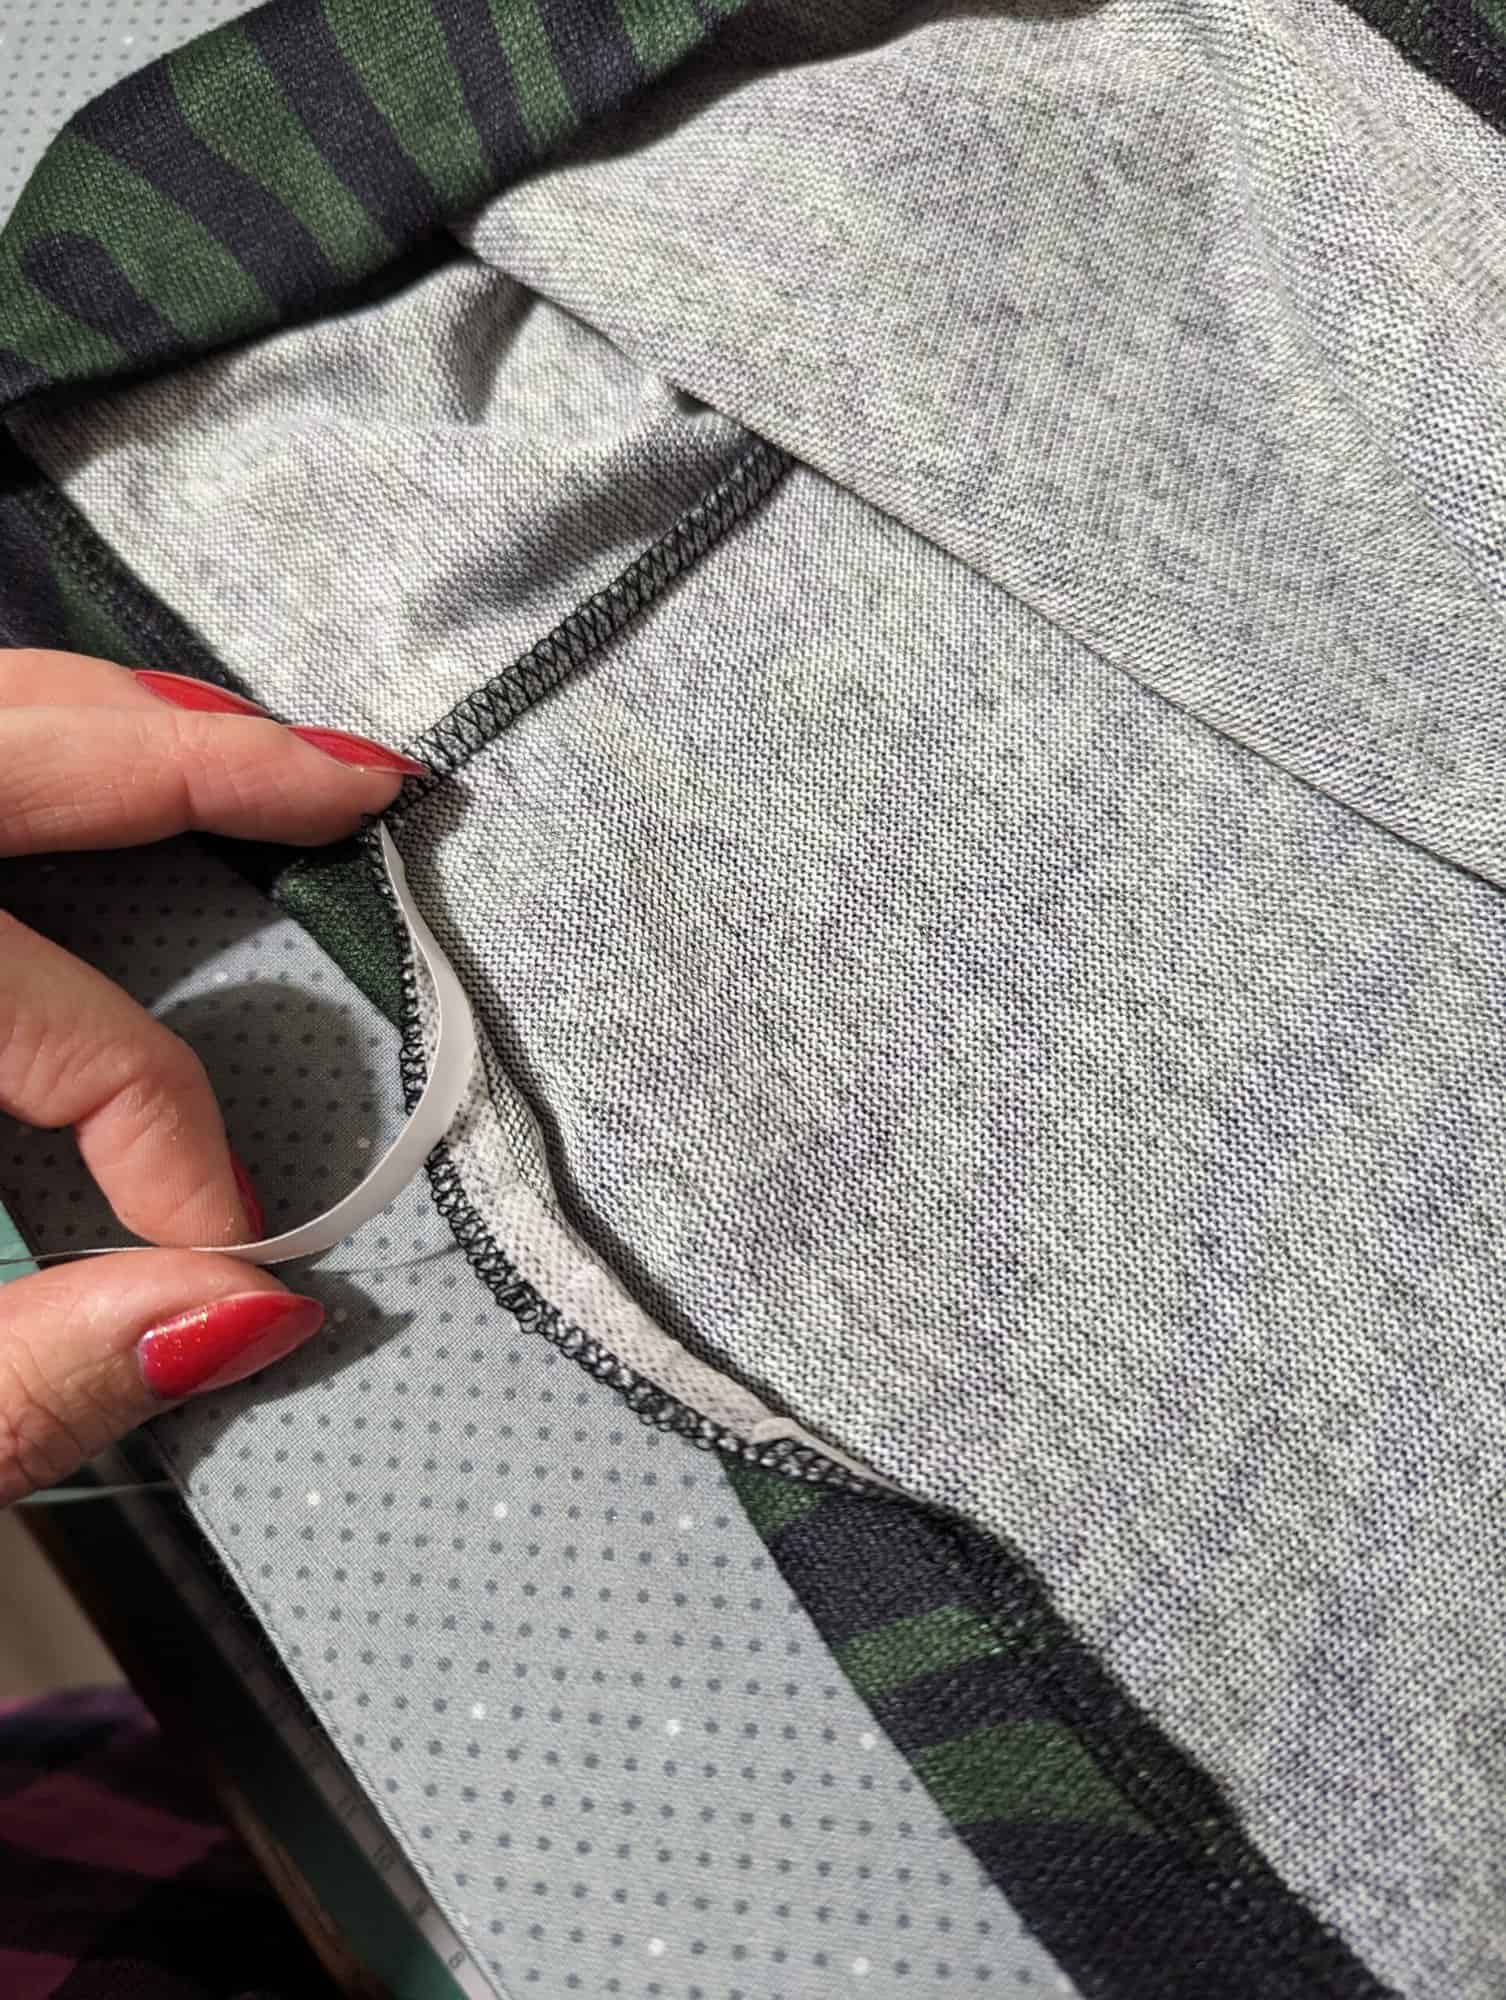
Then just hem using your favourite stretch stitch – I used my Coverstitch here – and you’re done!

Enjoy your new sweater.
Happy Sewing,
Dana xx
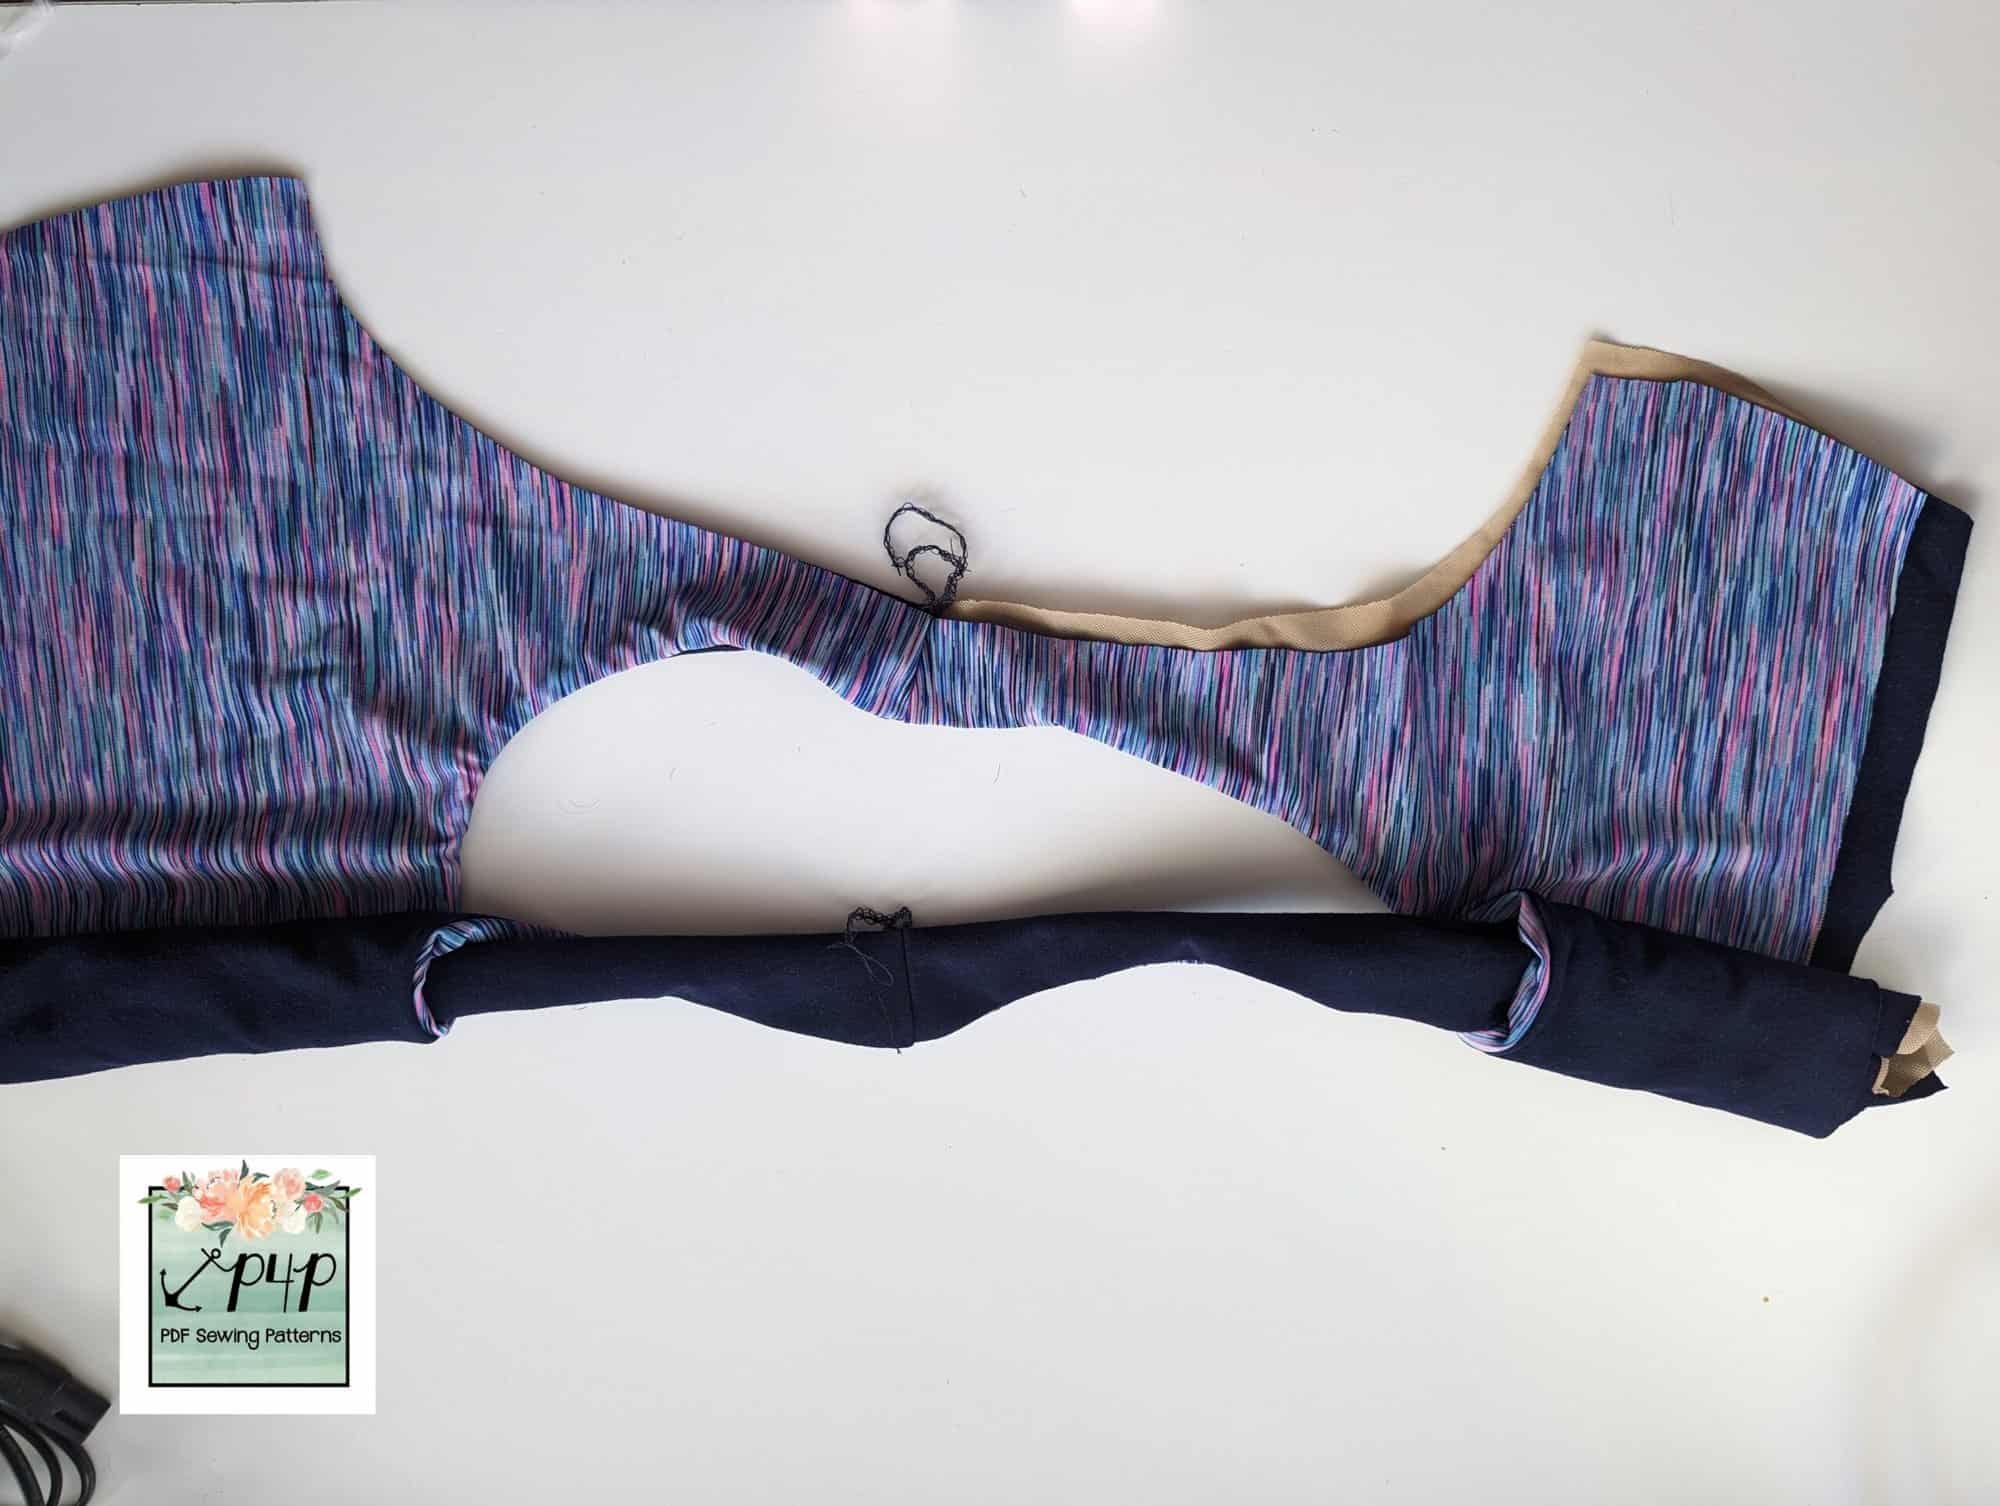
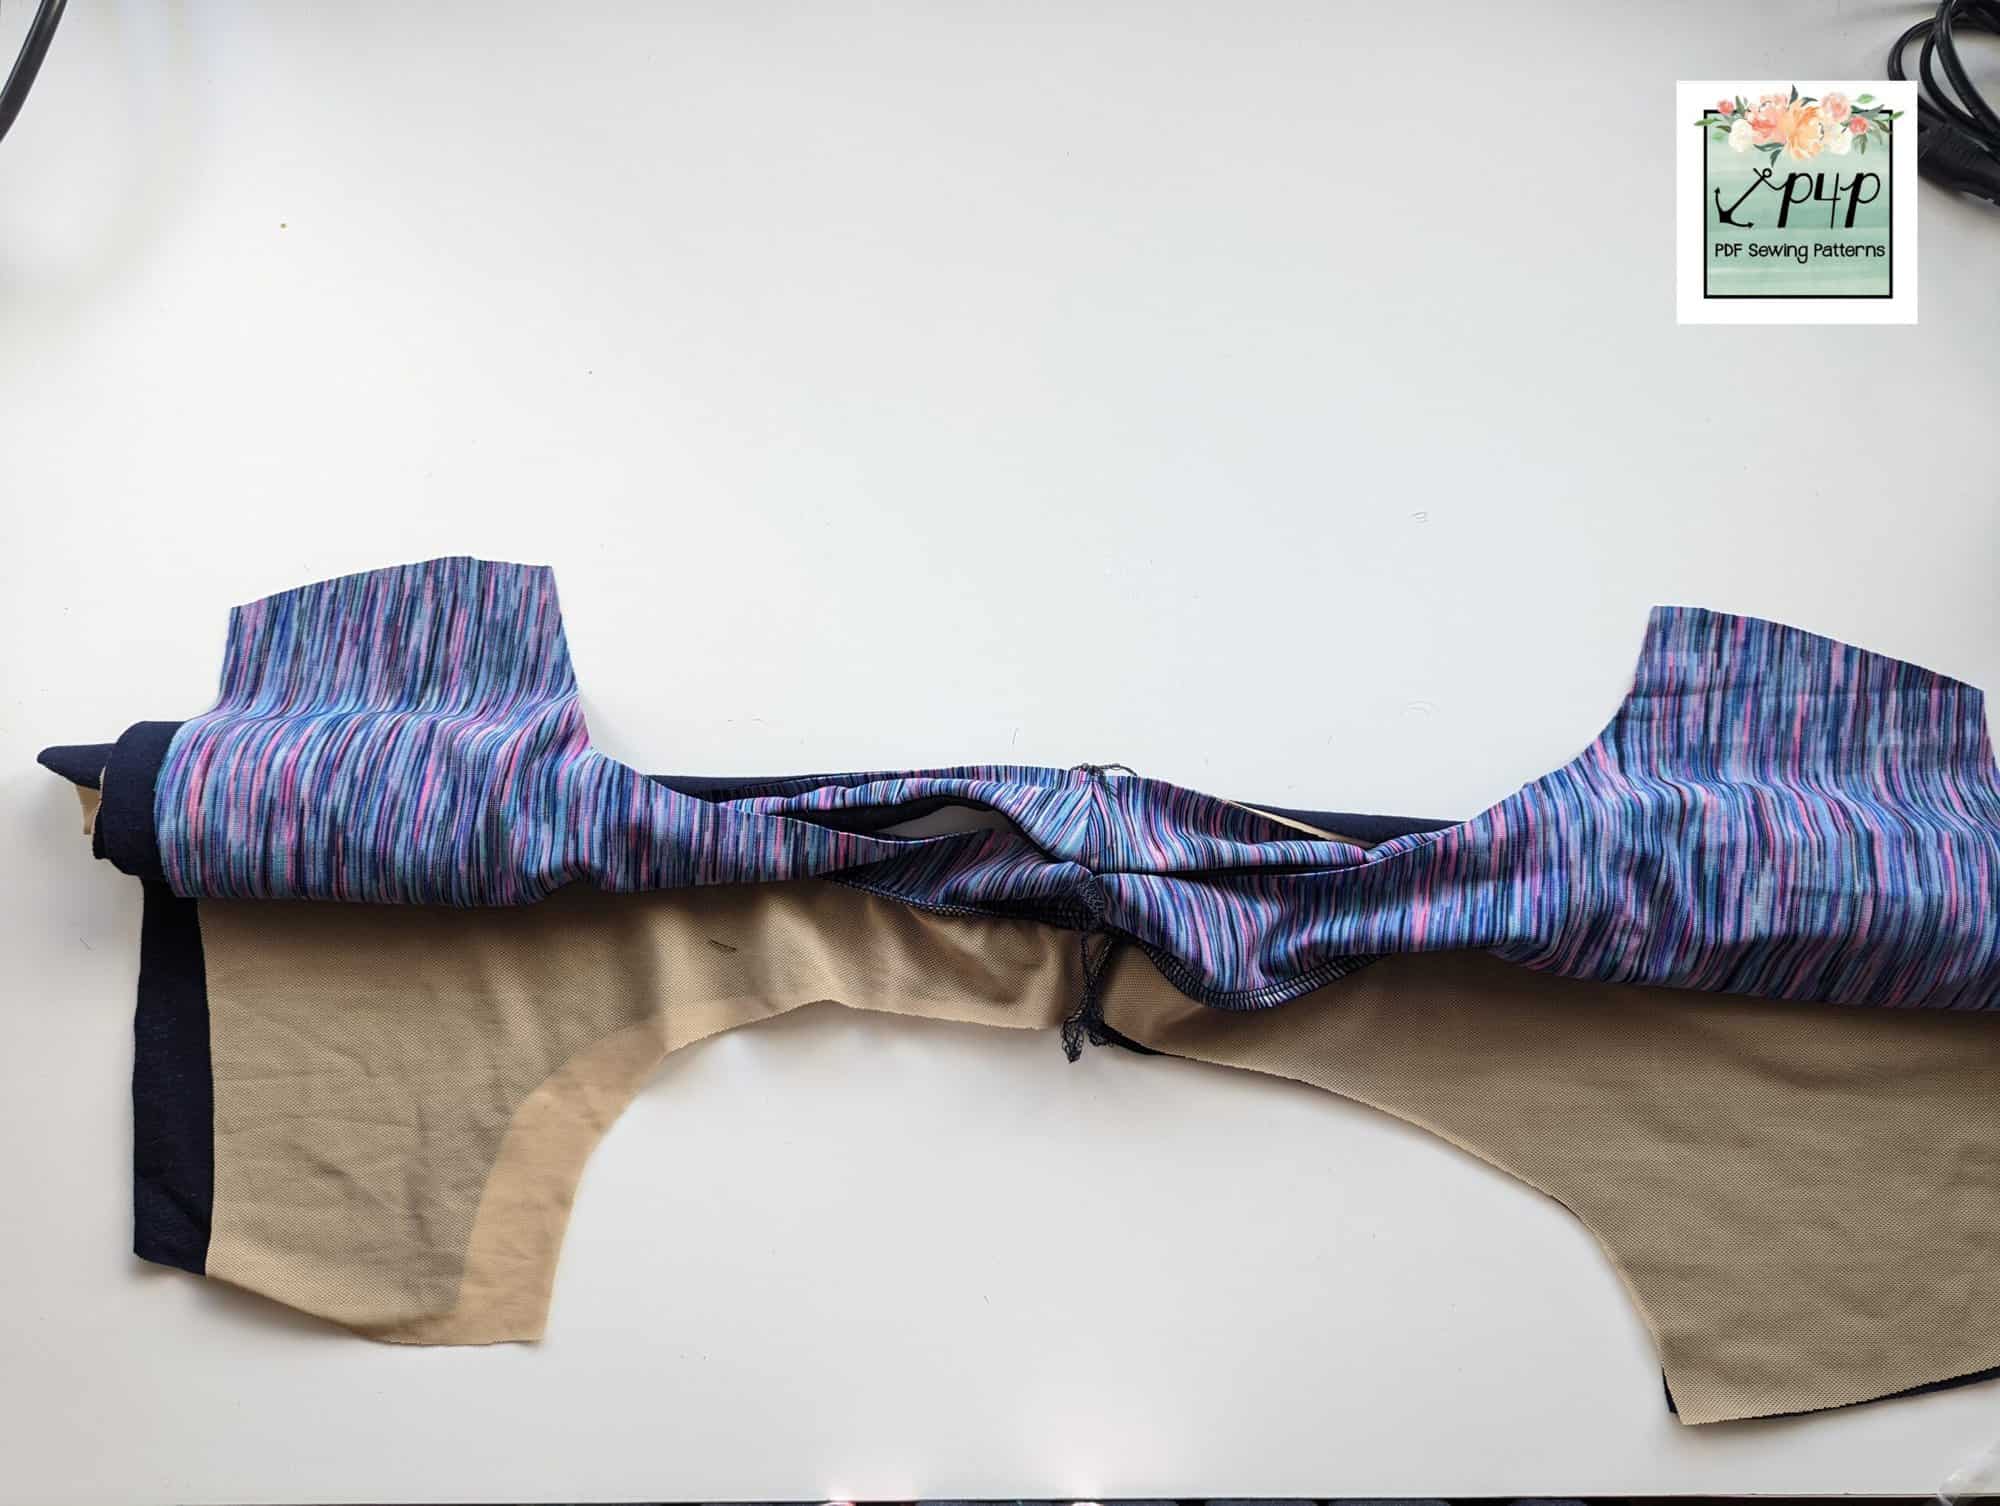
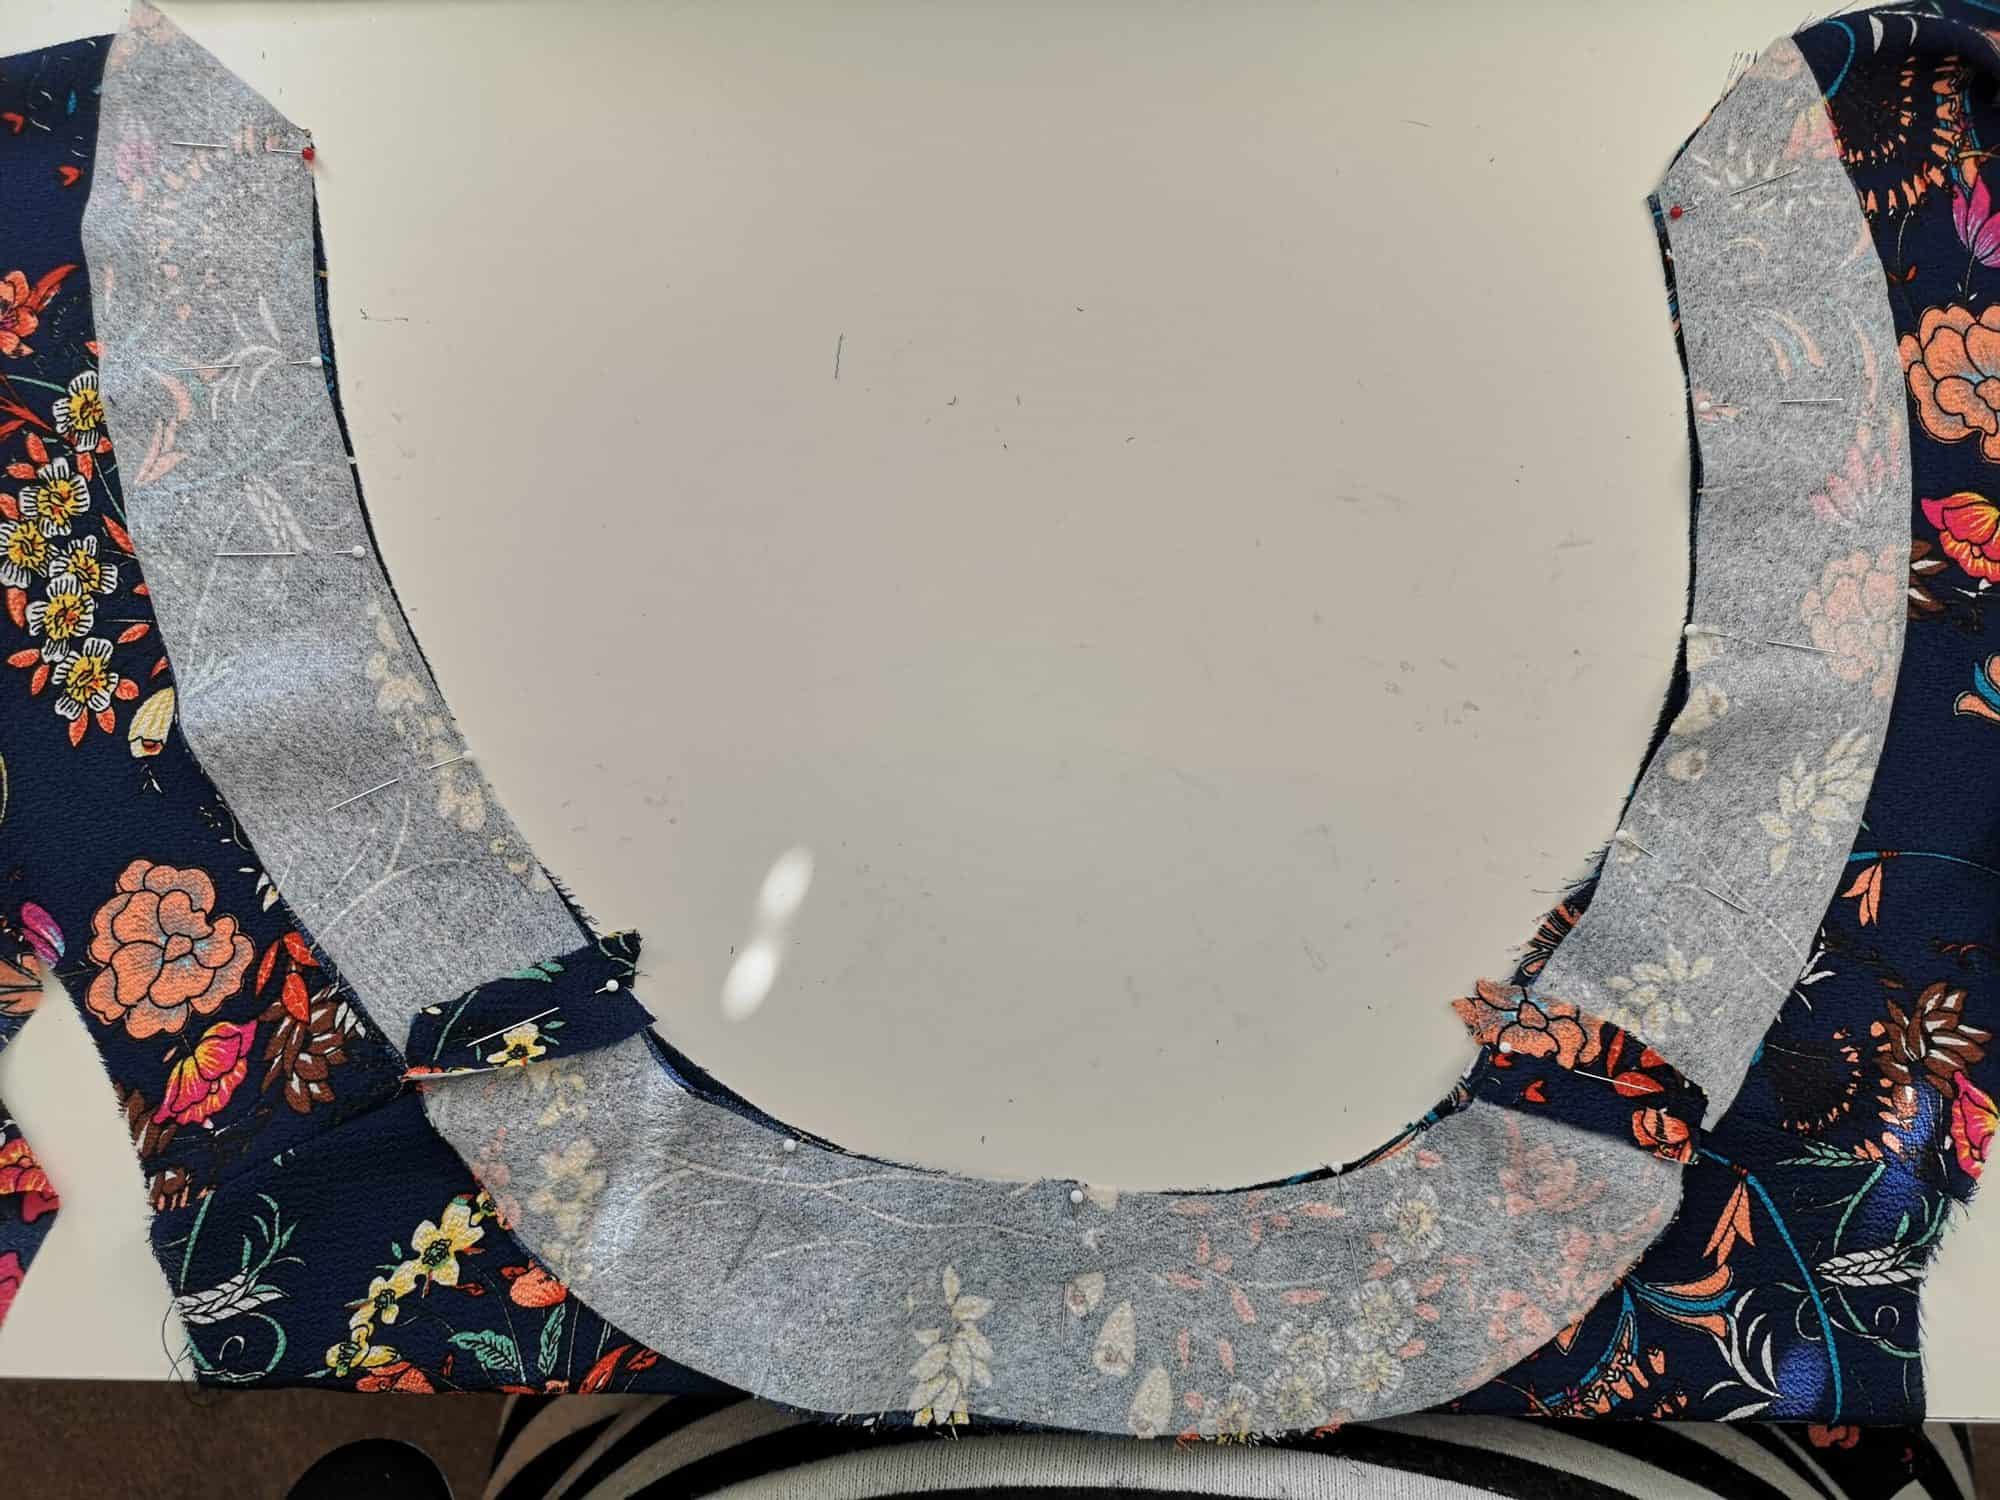
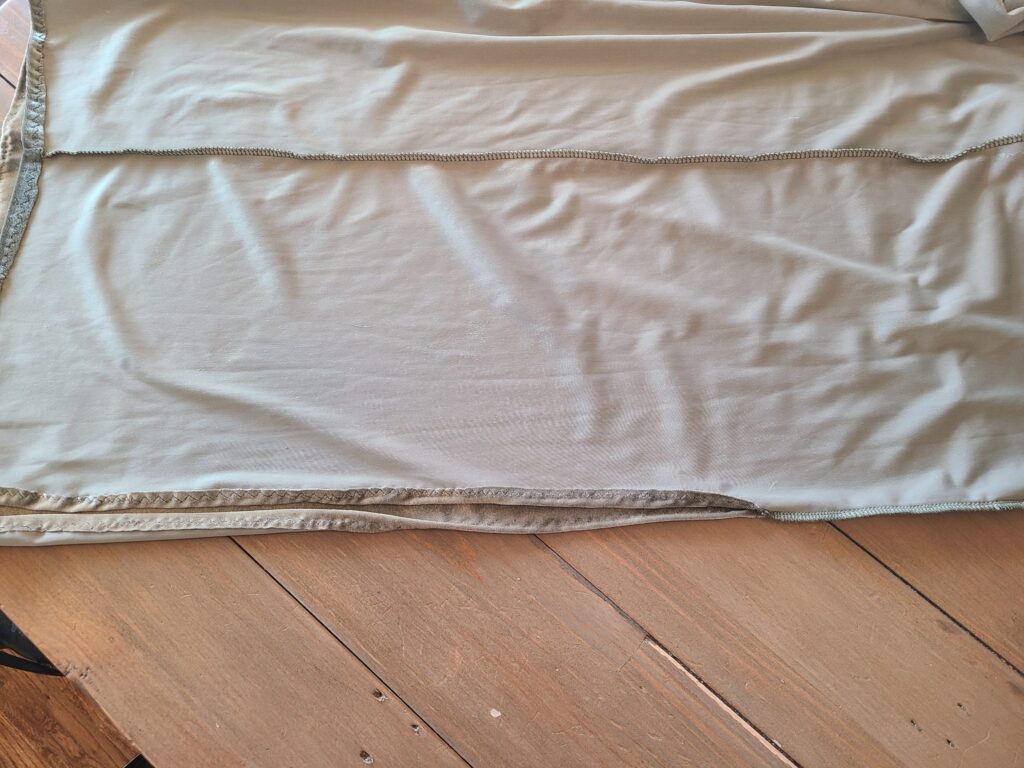
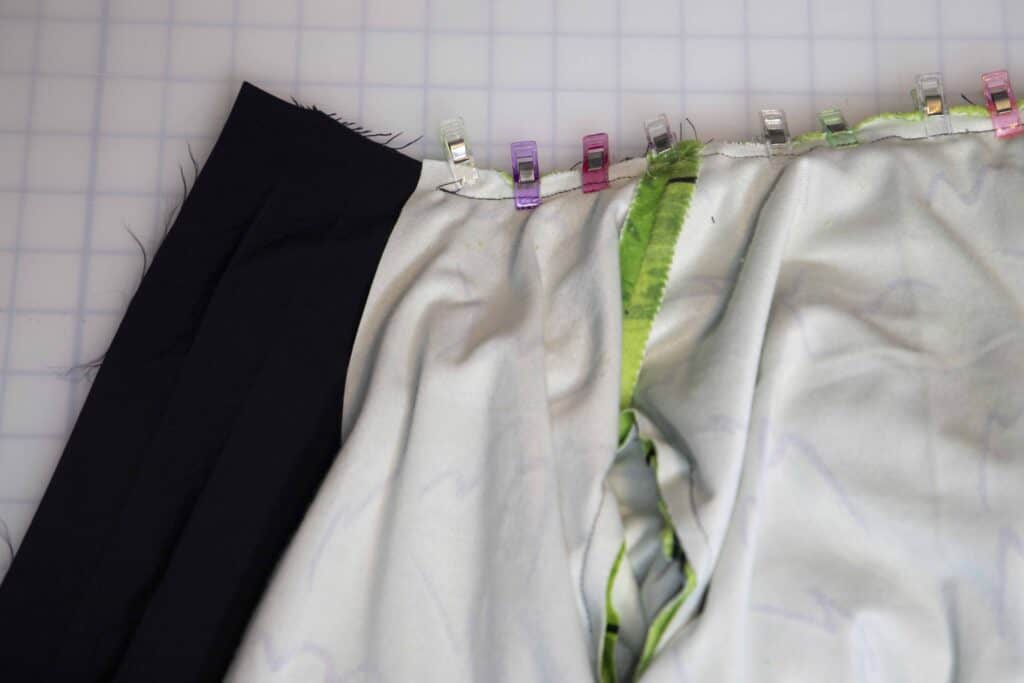
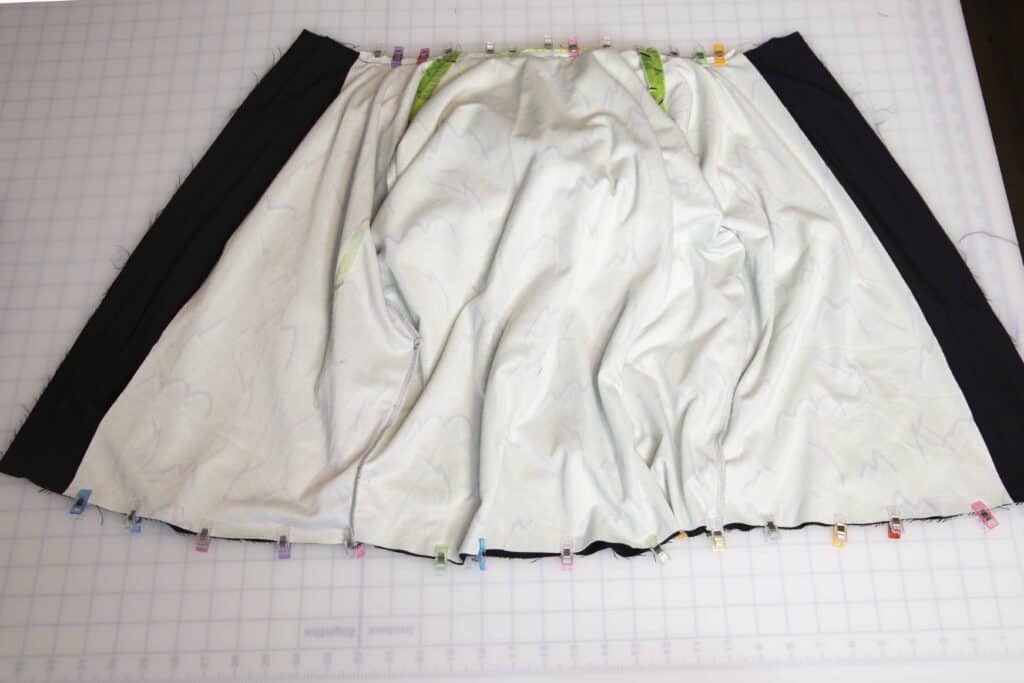
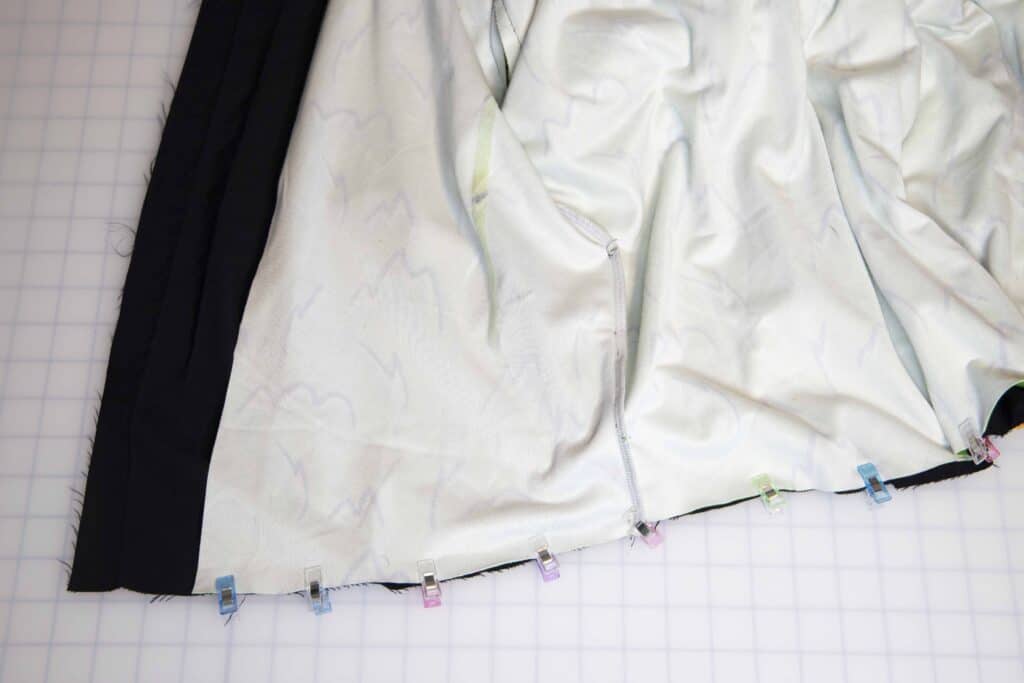
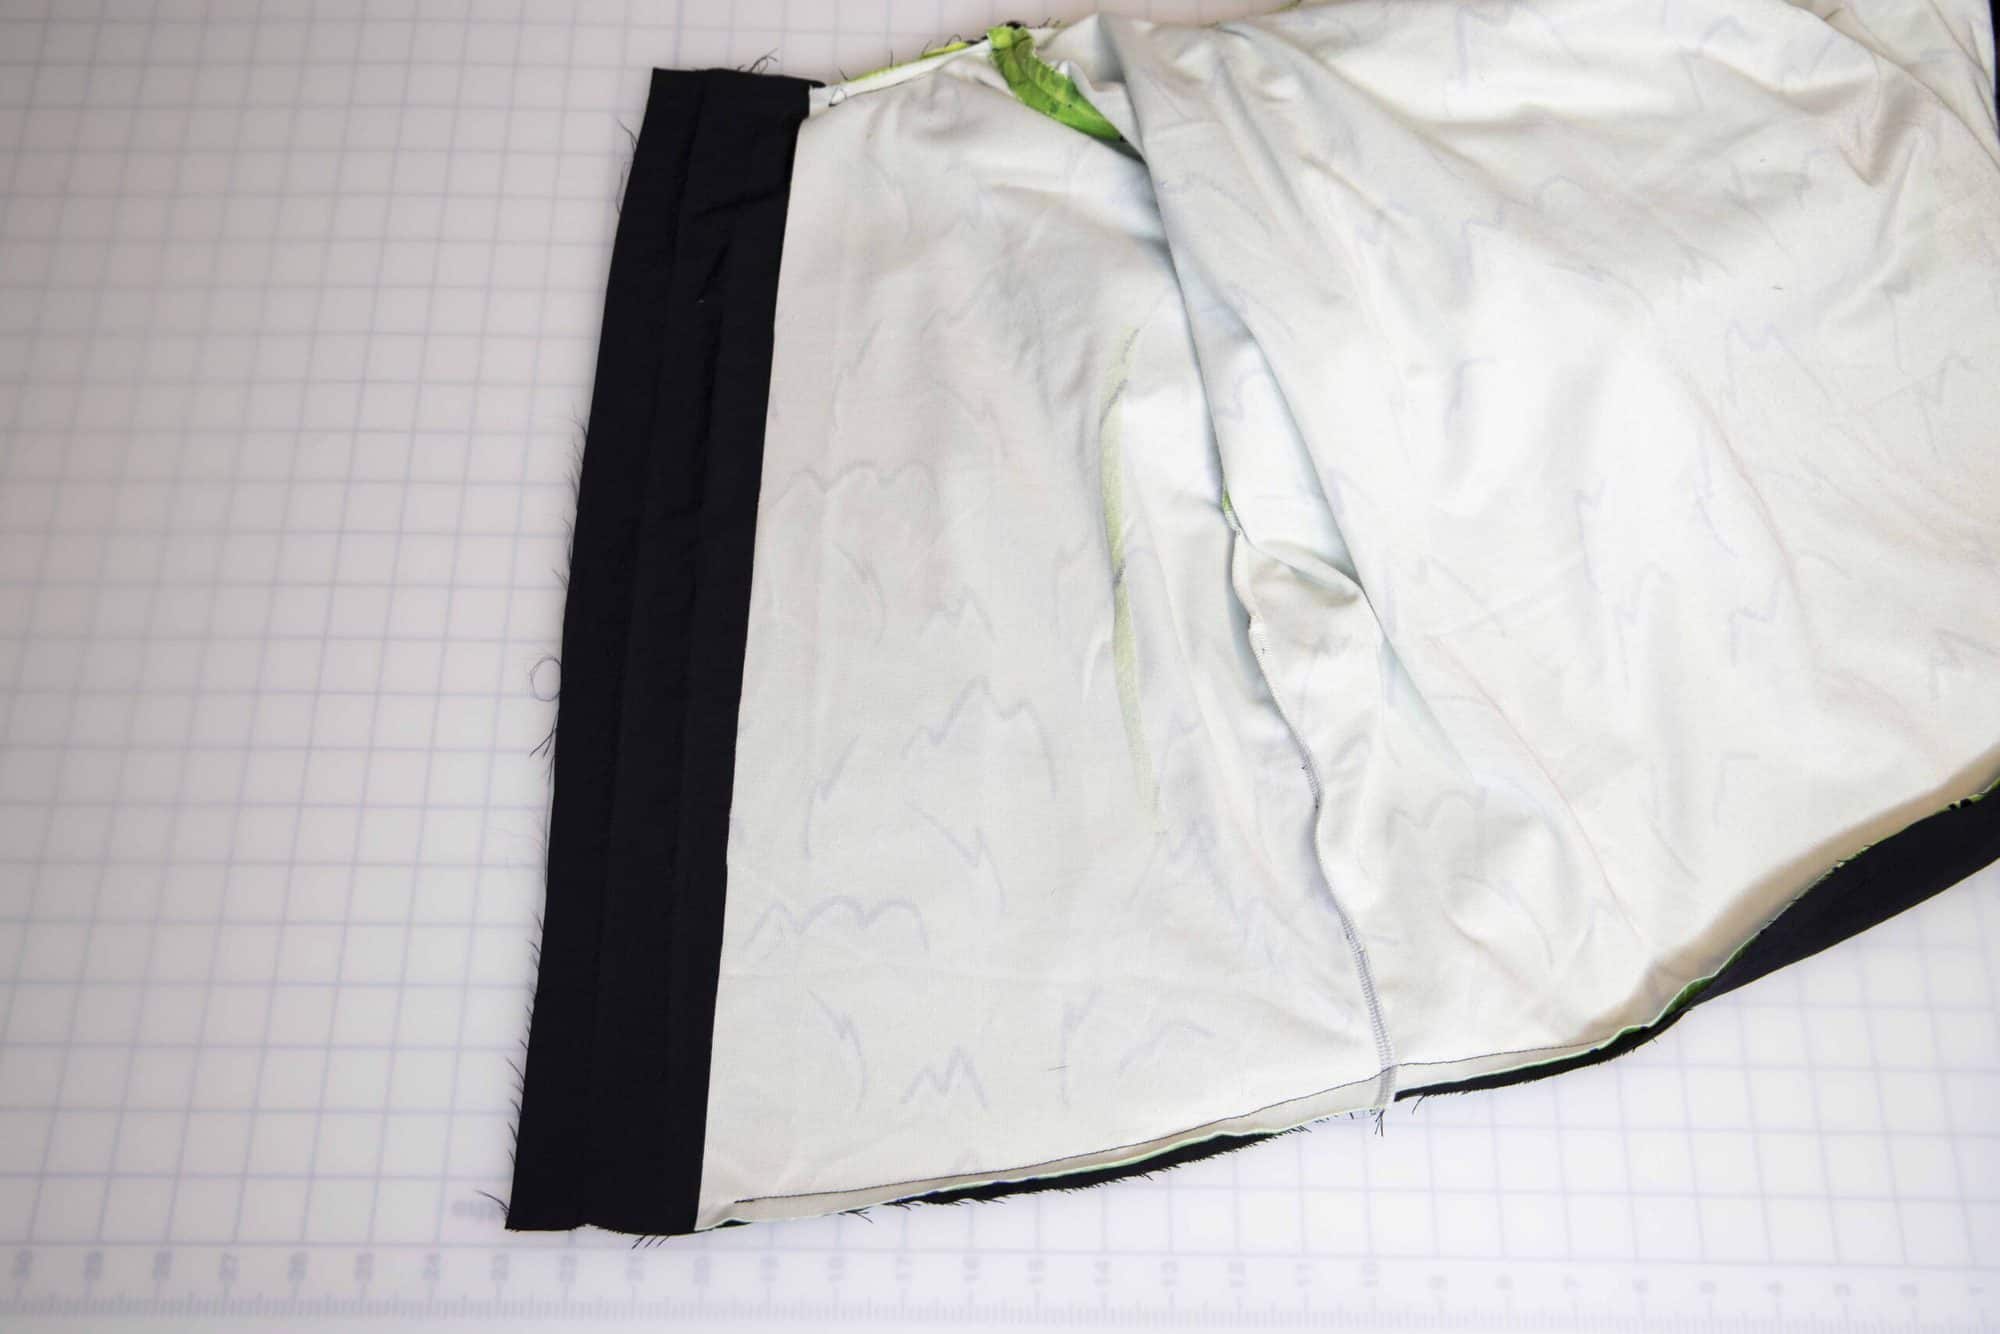
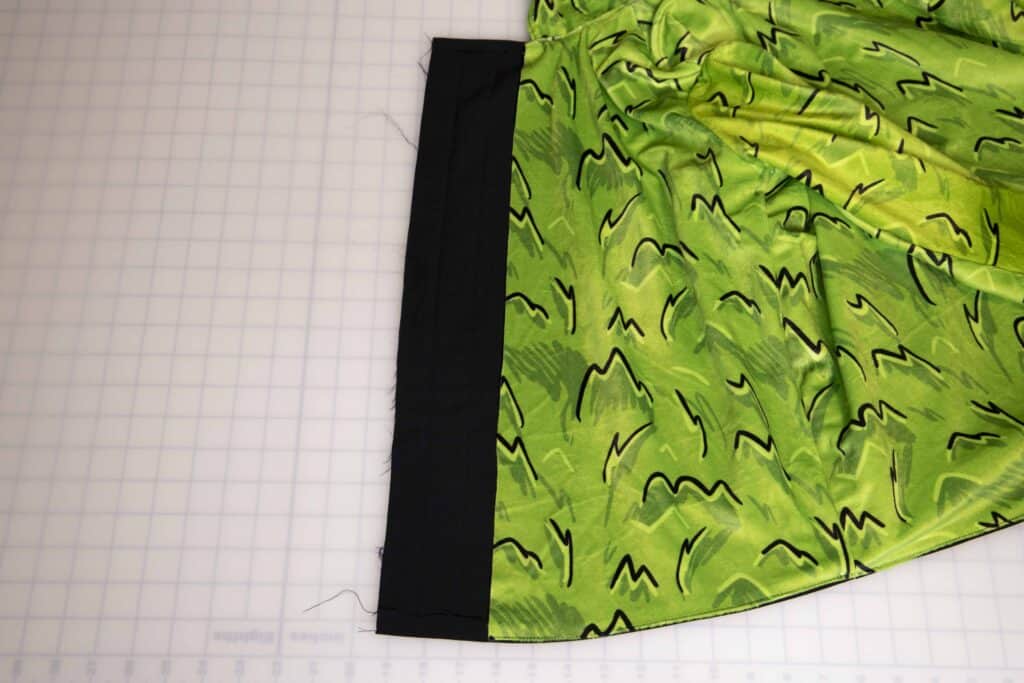
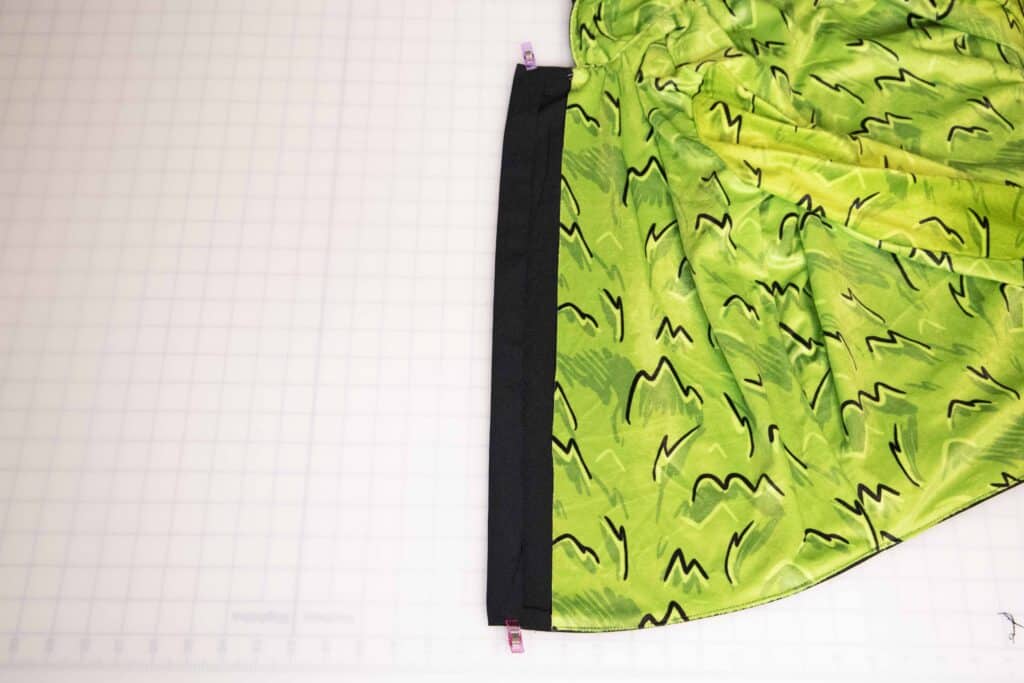
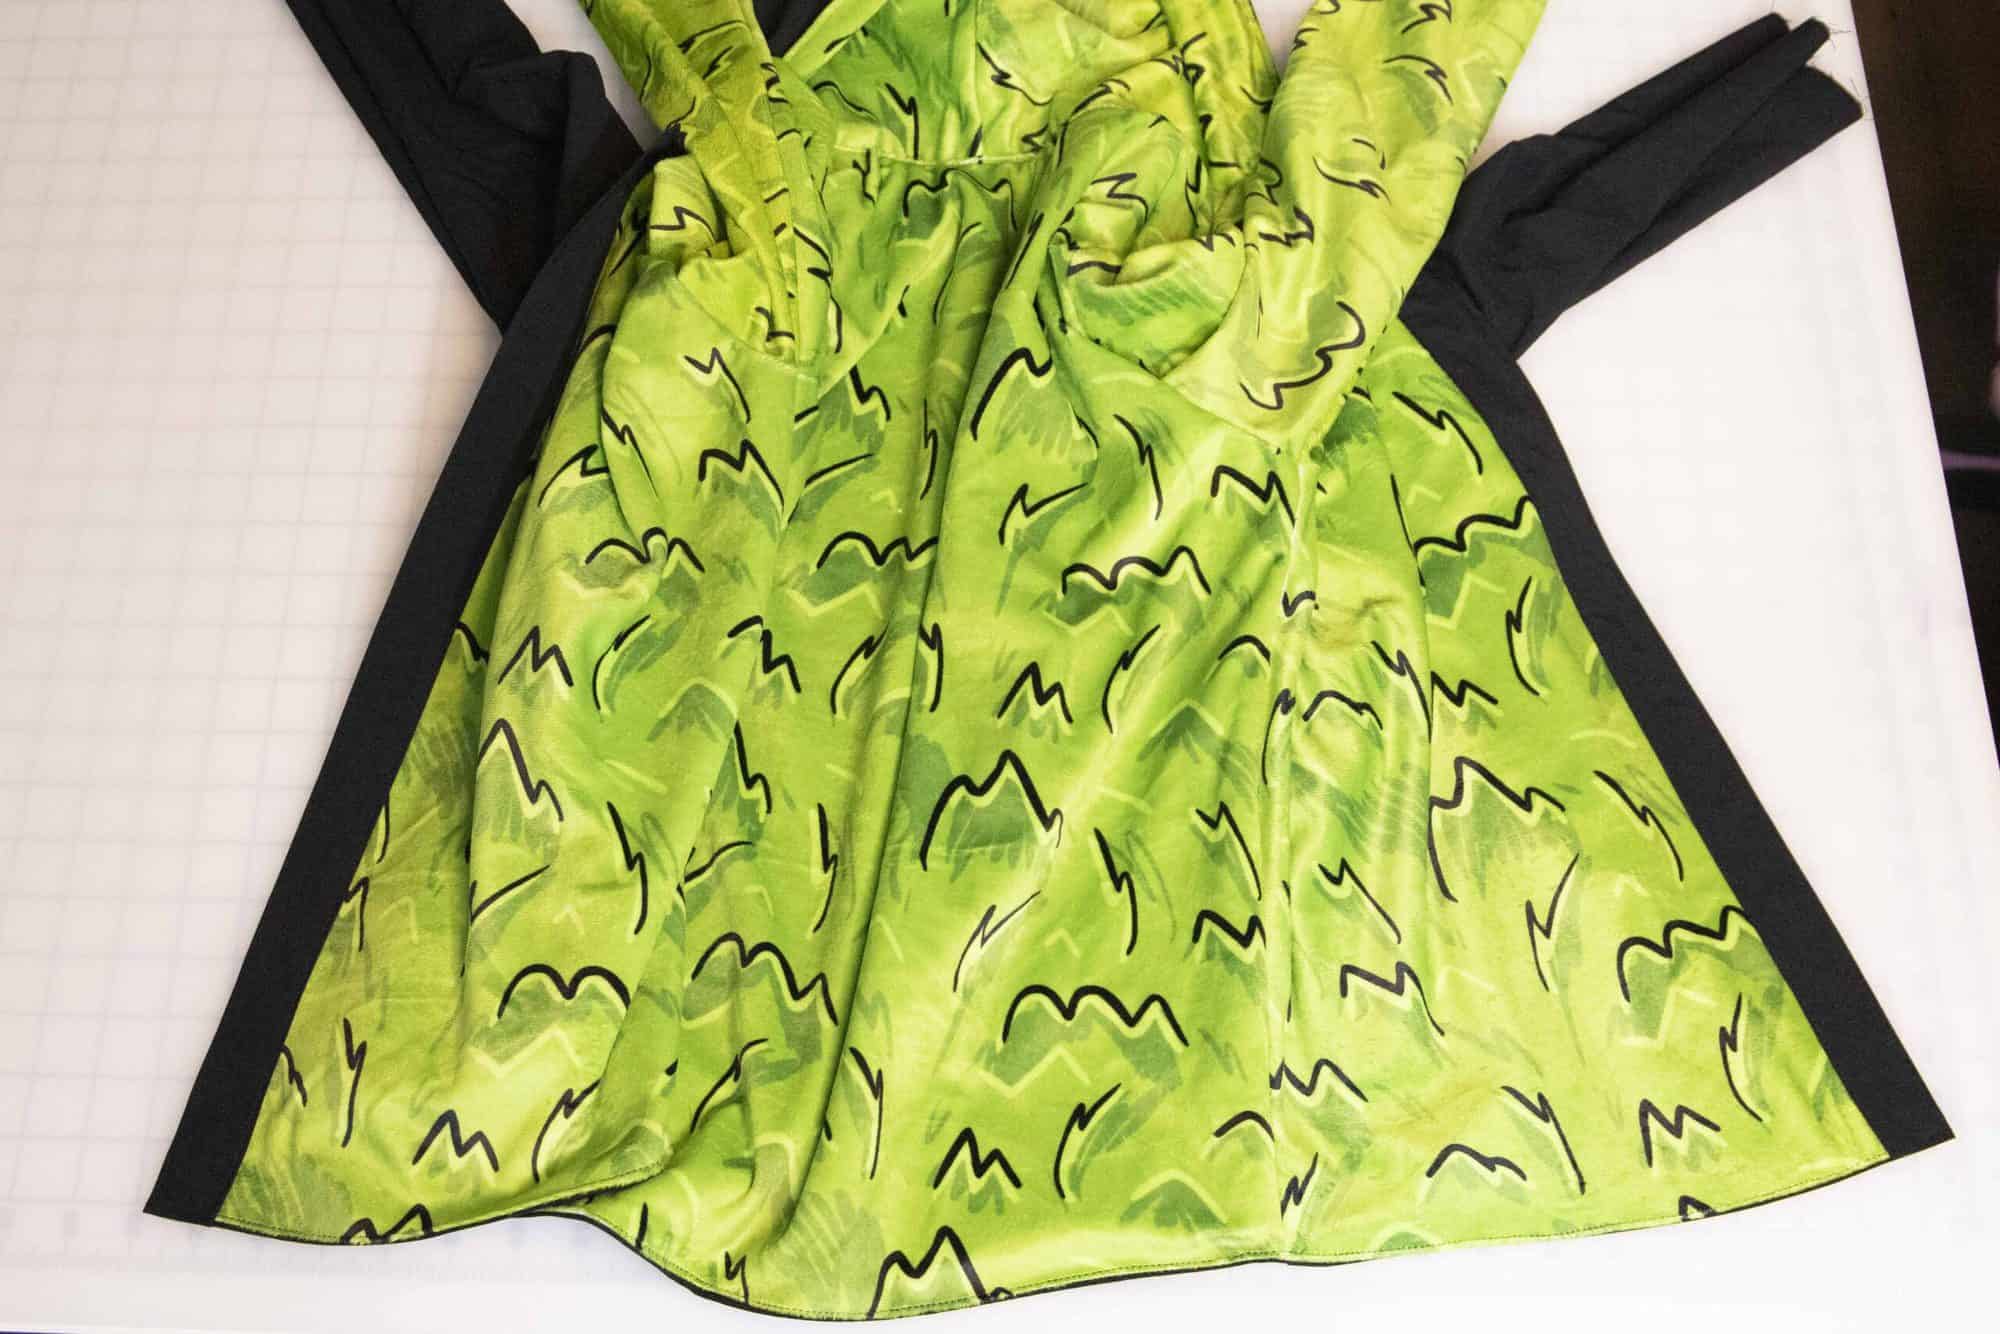
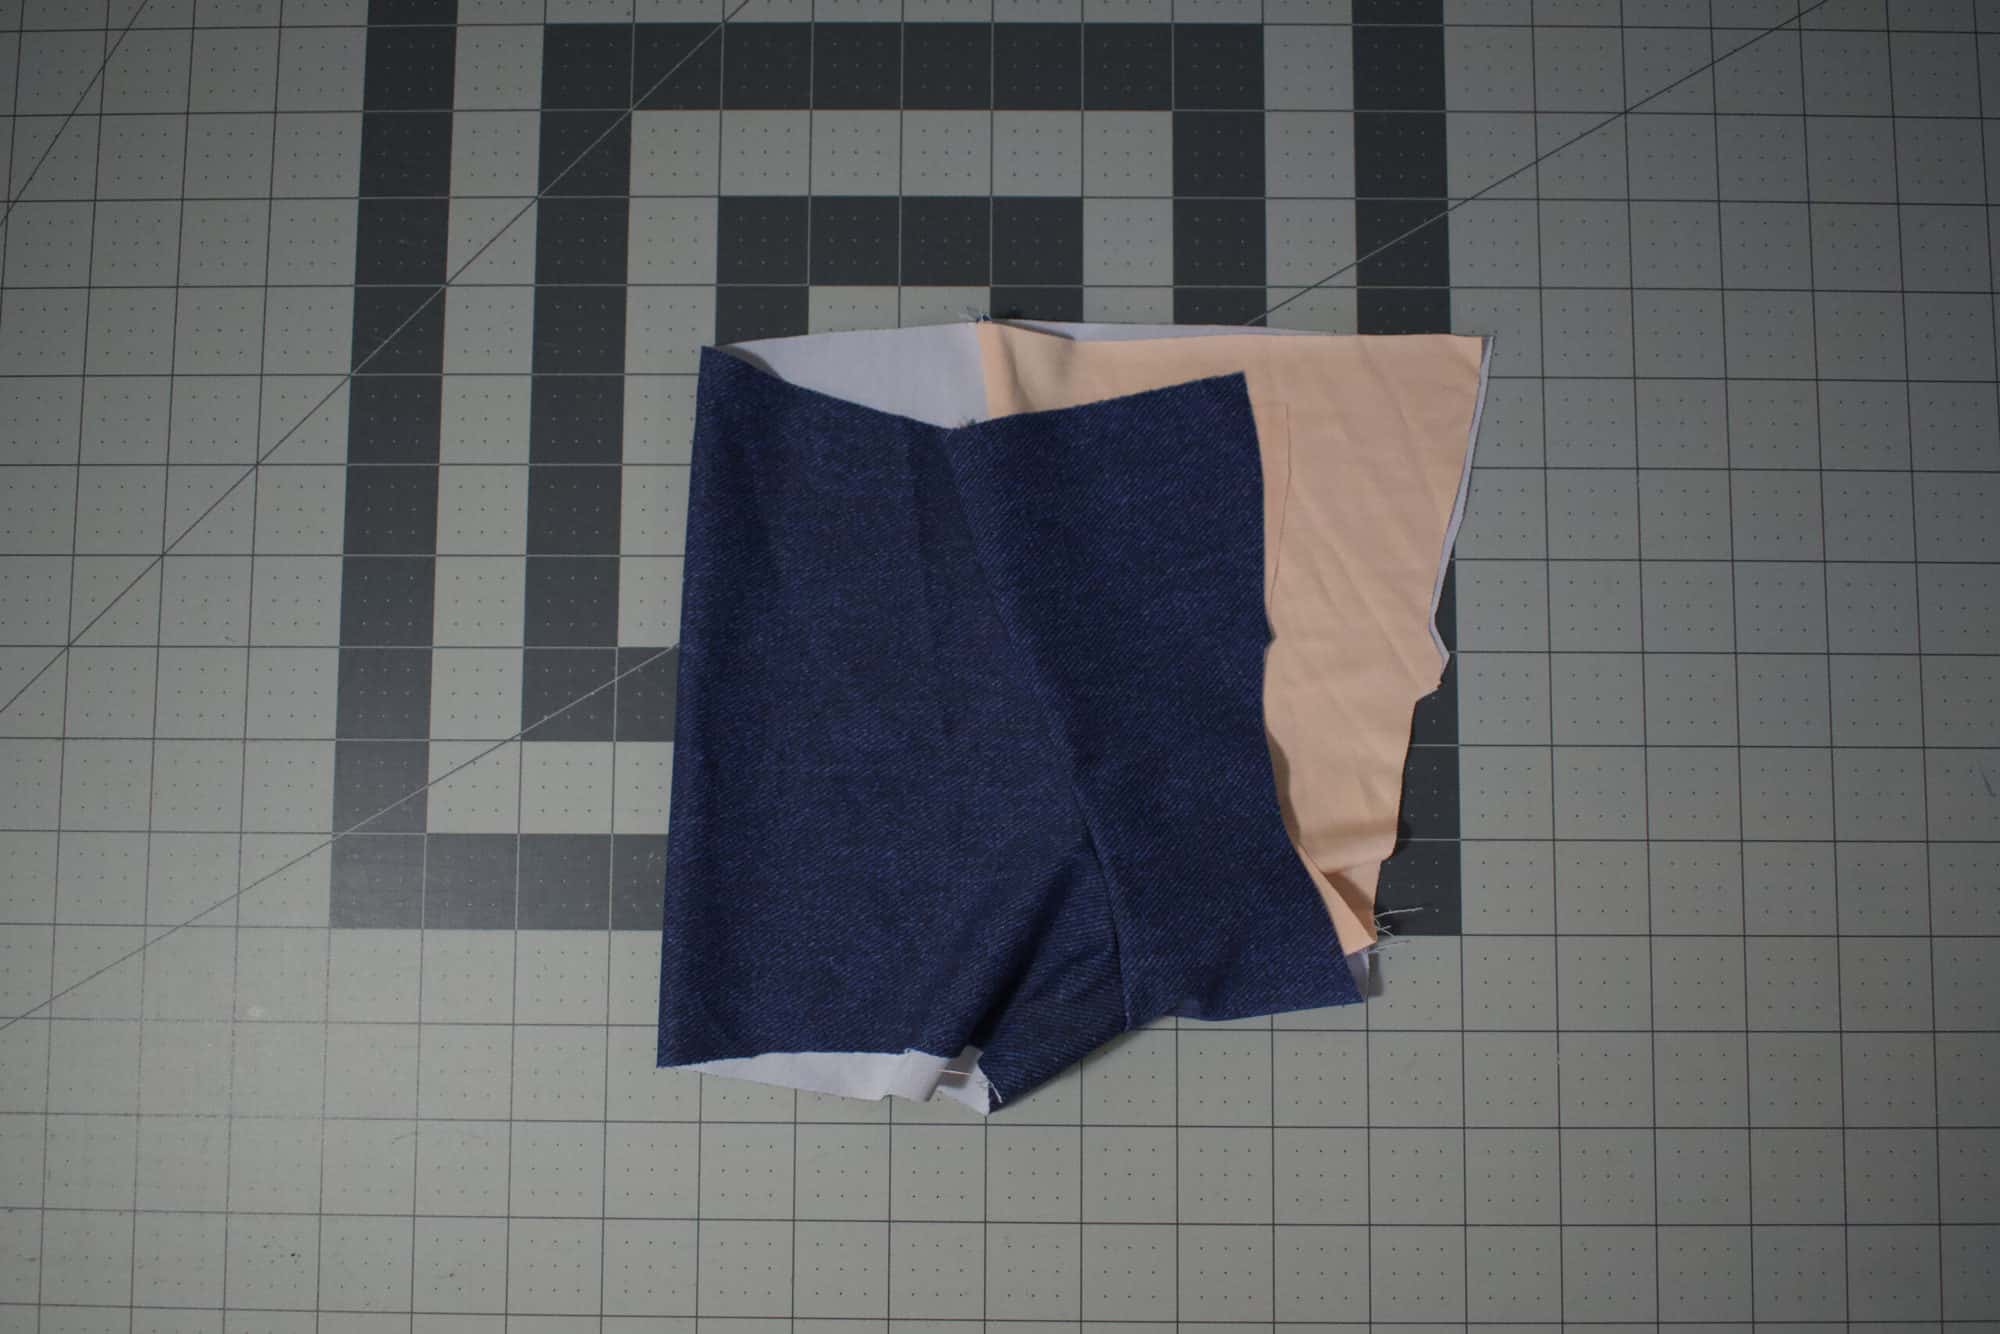
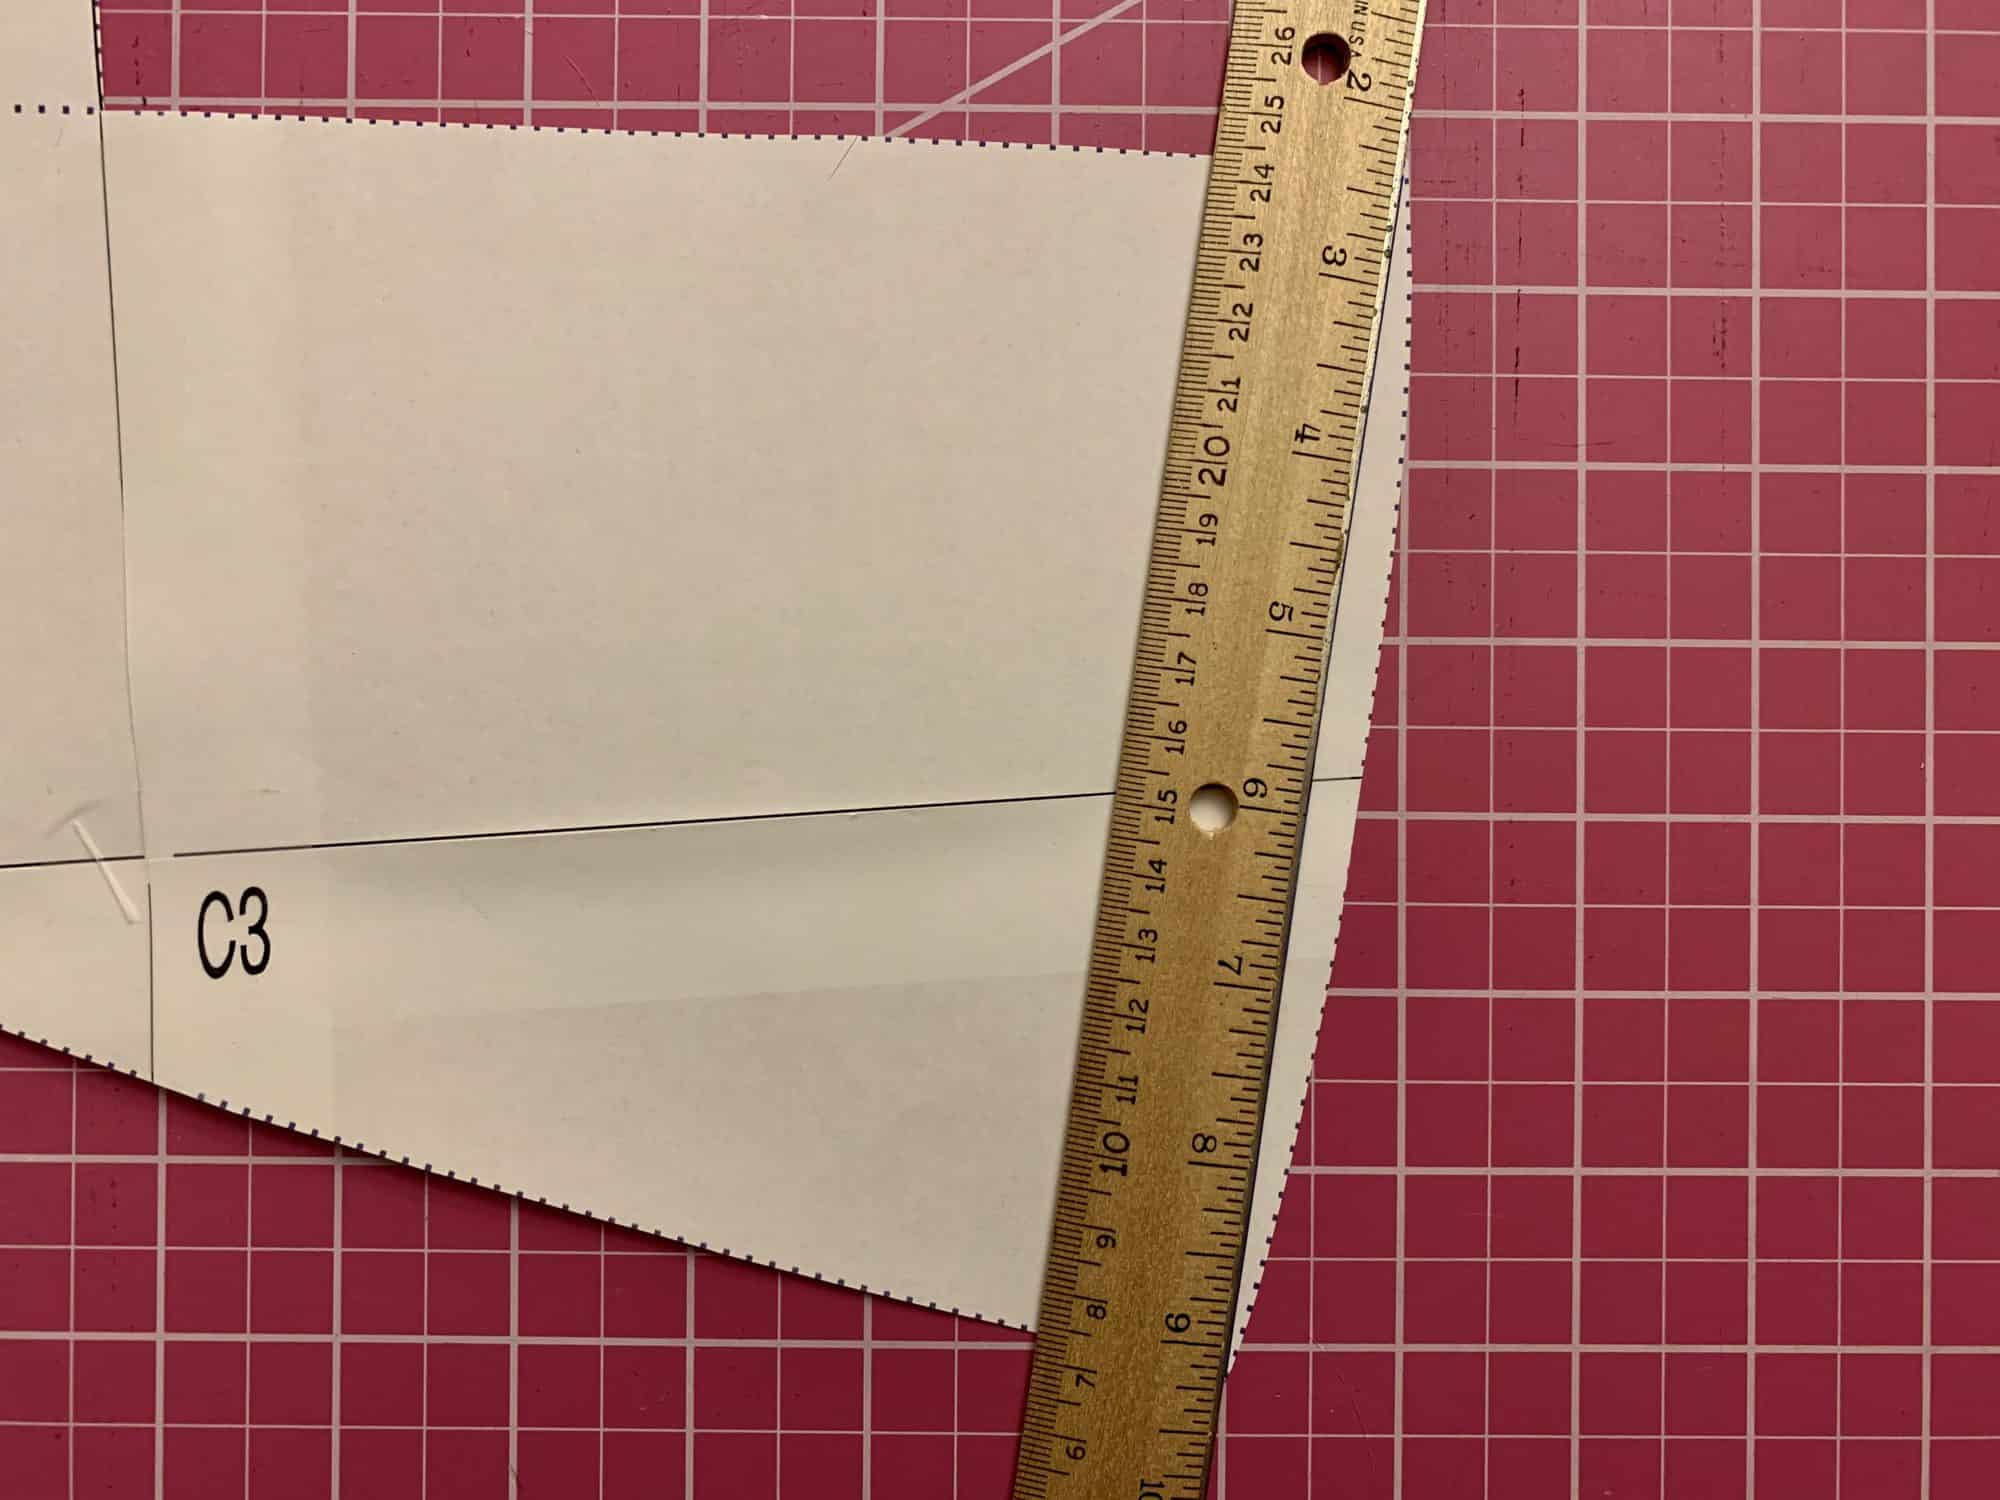
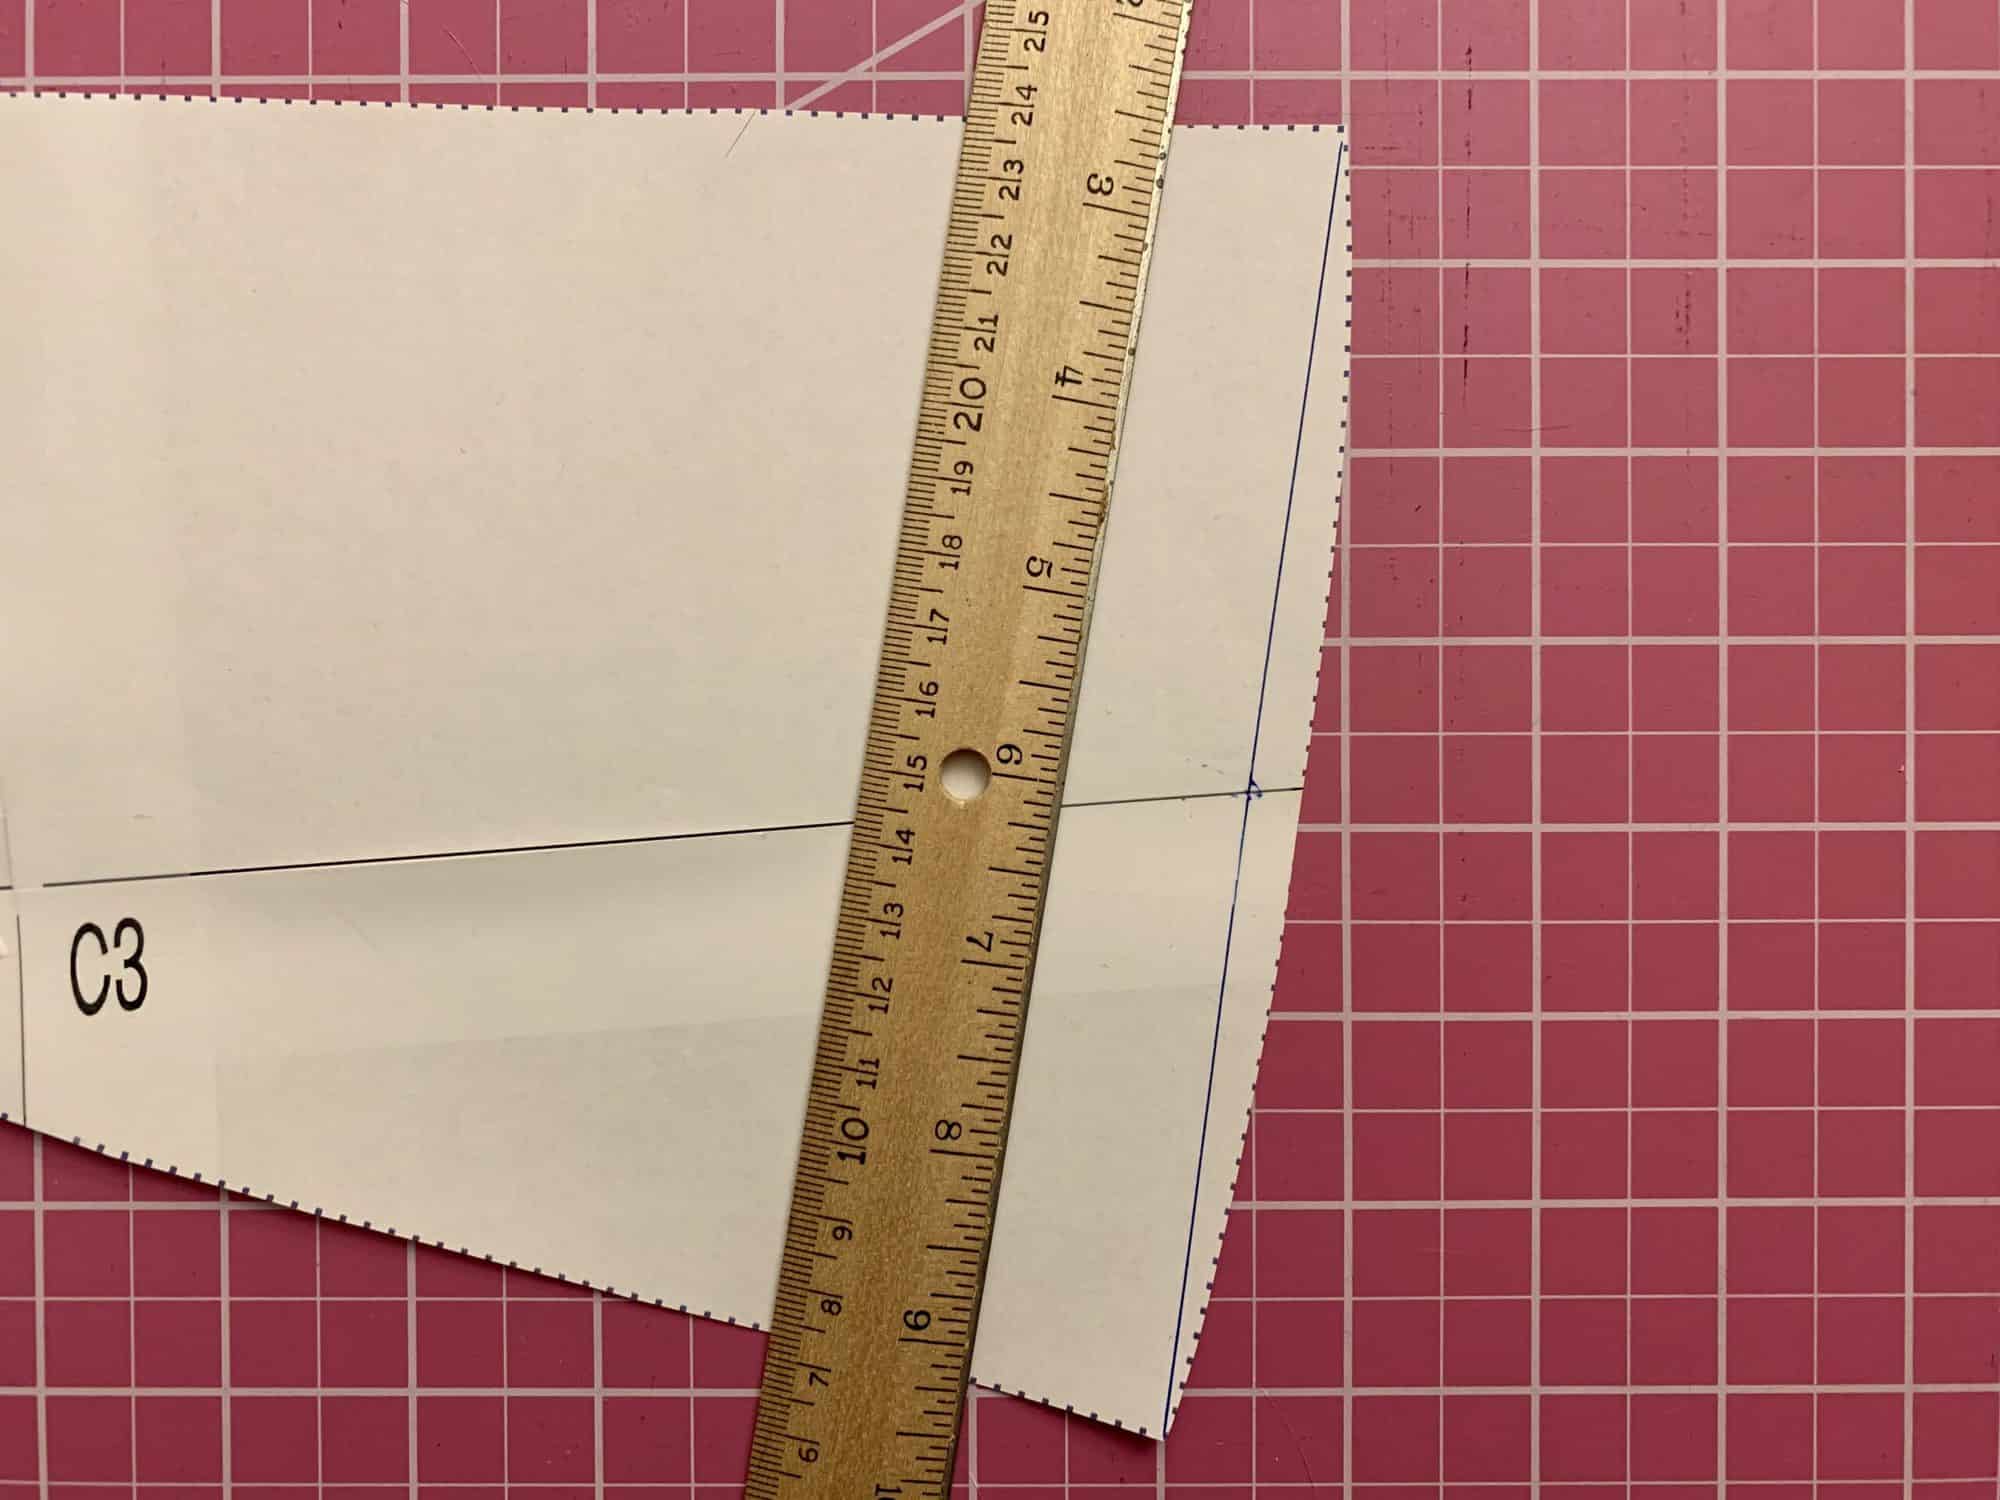
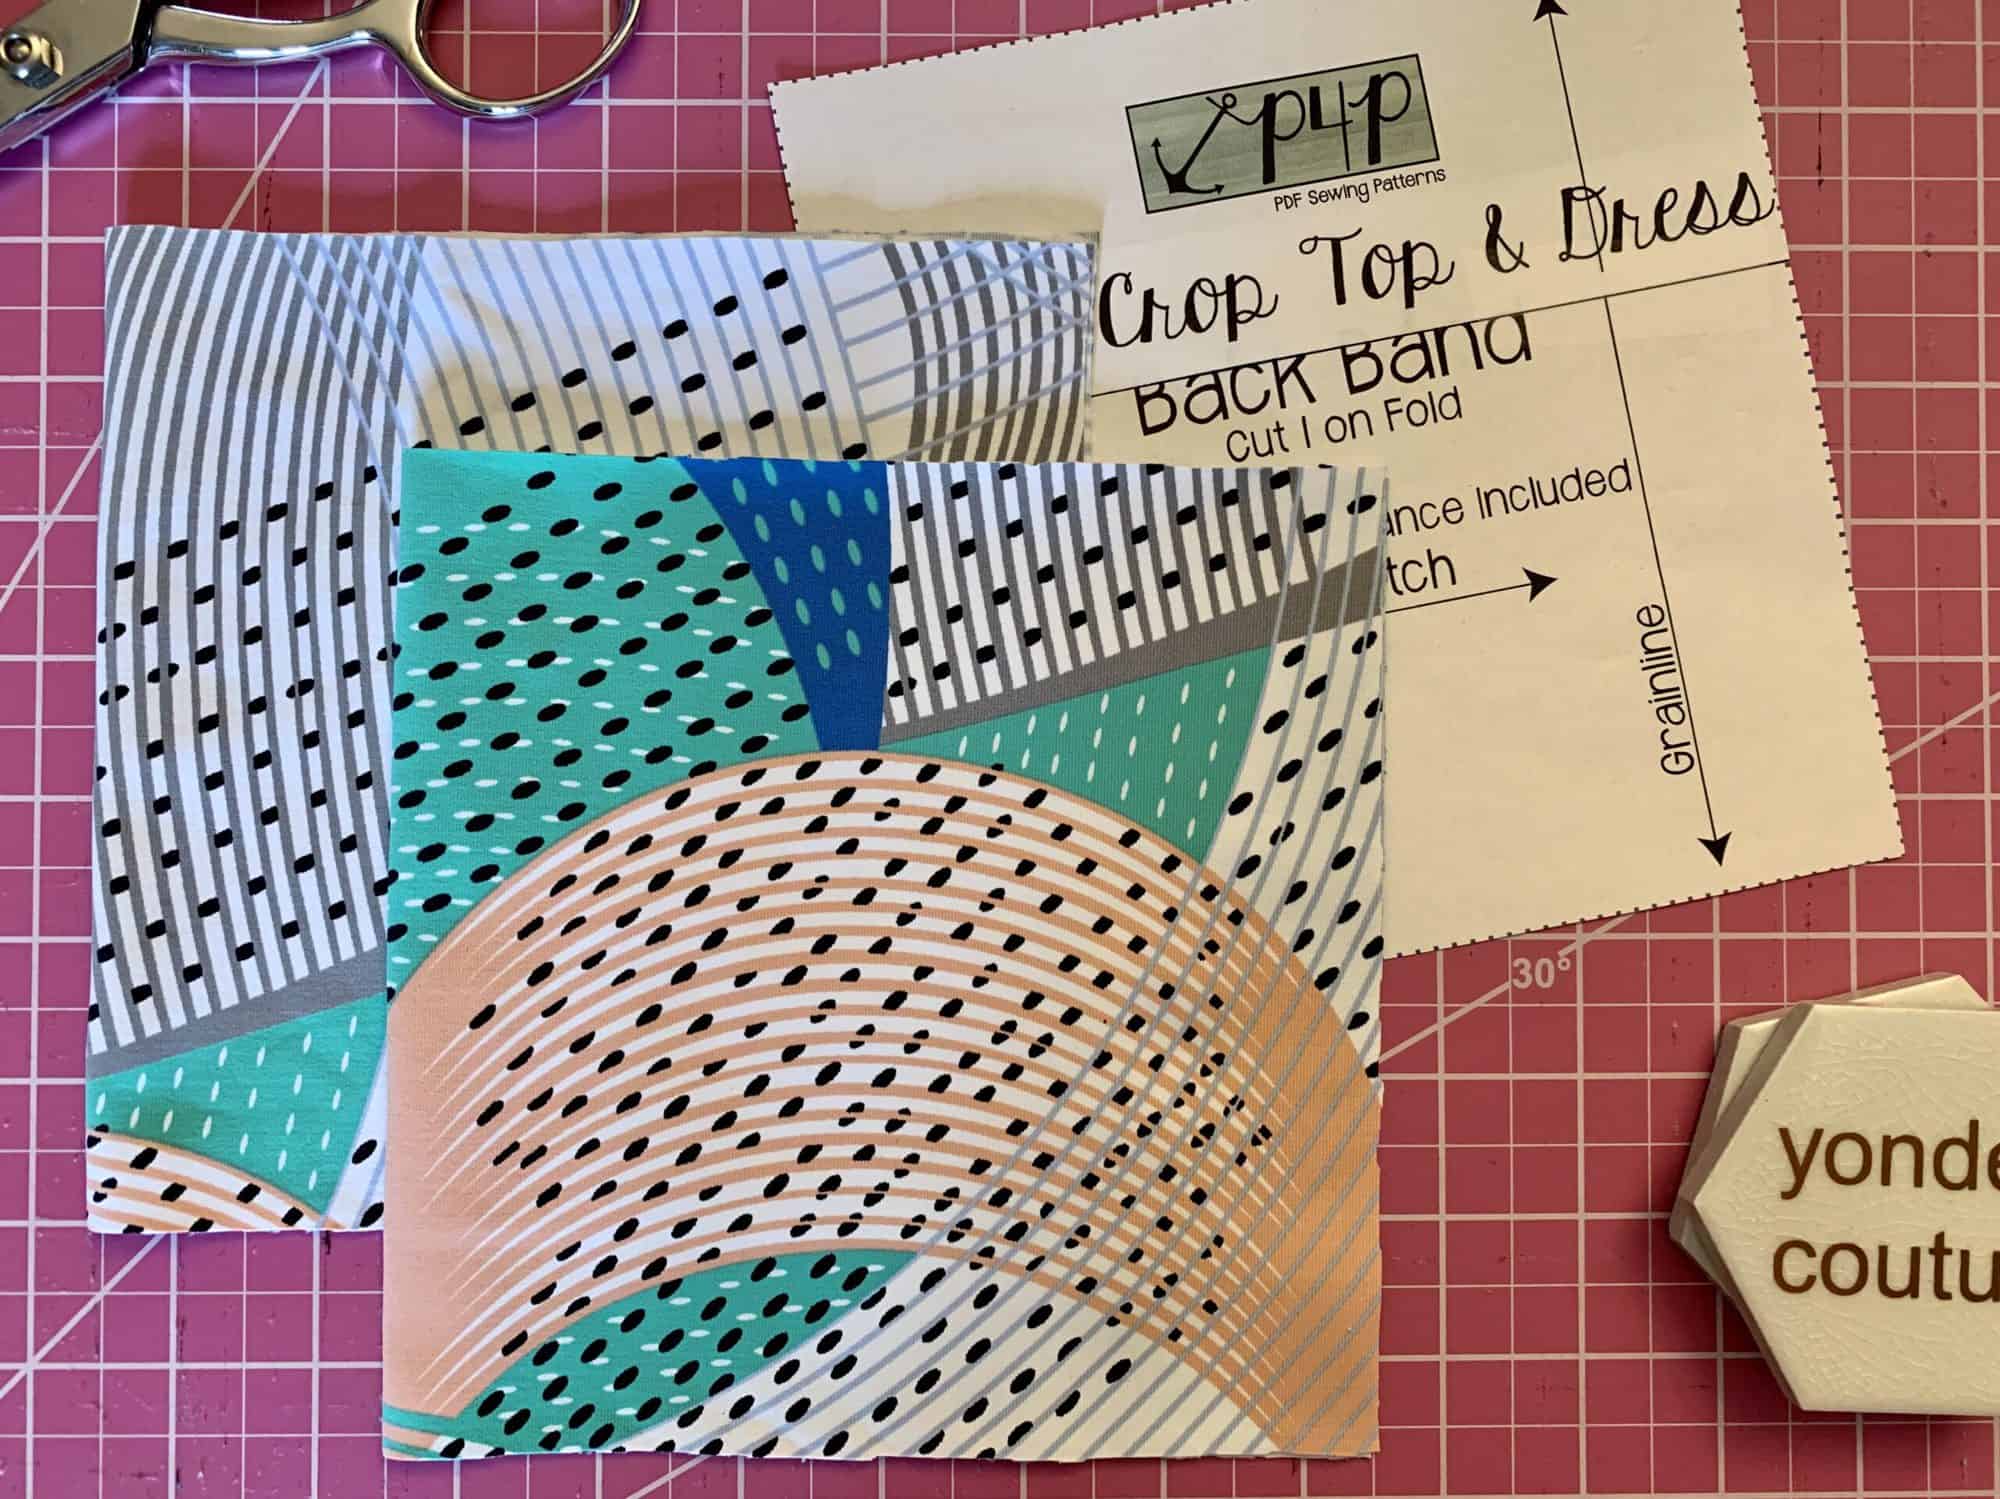
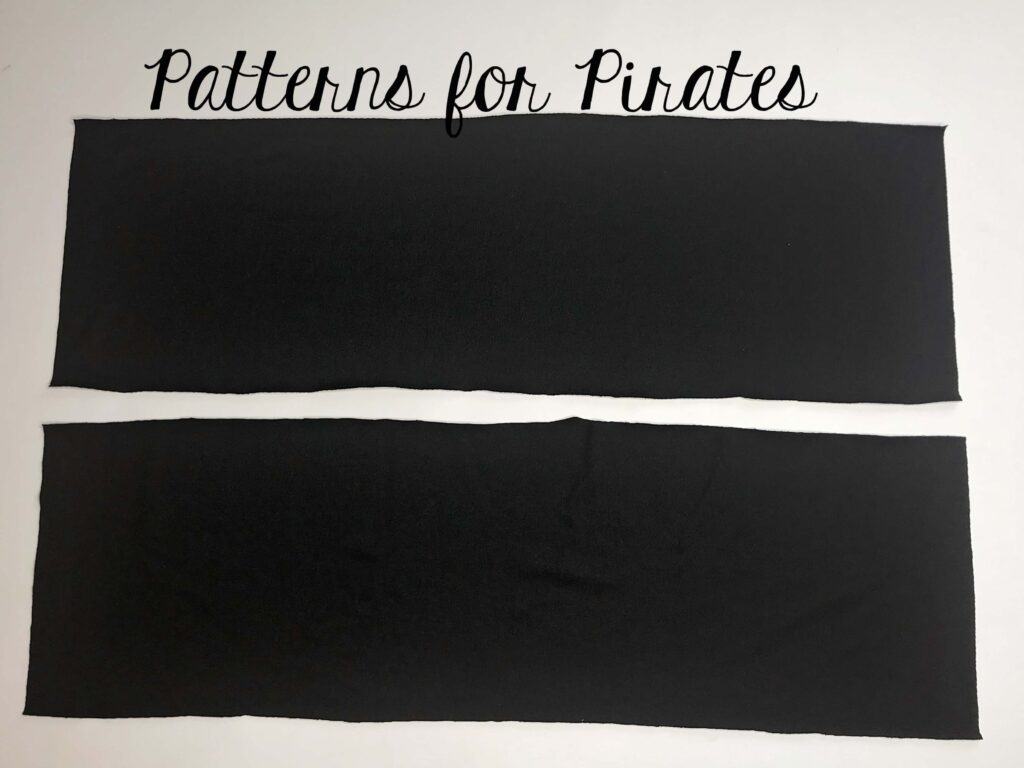
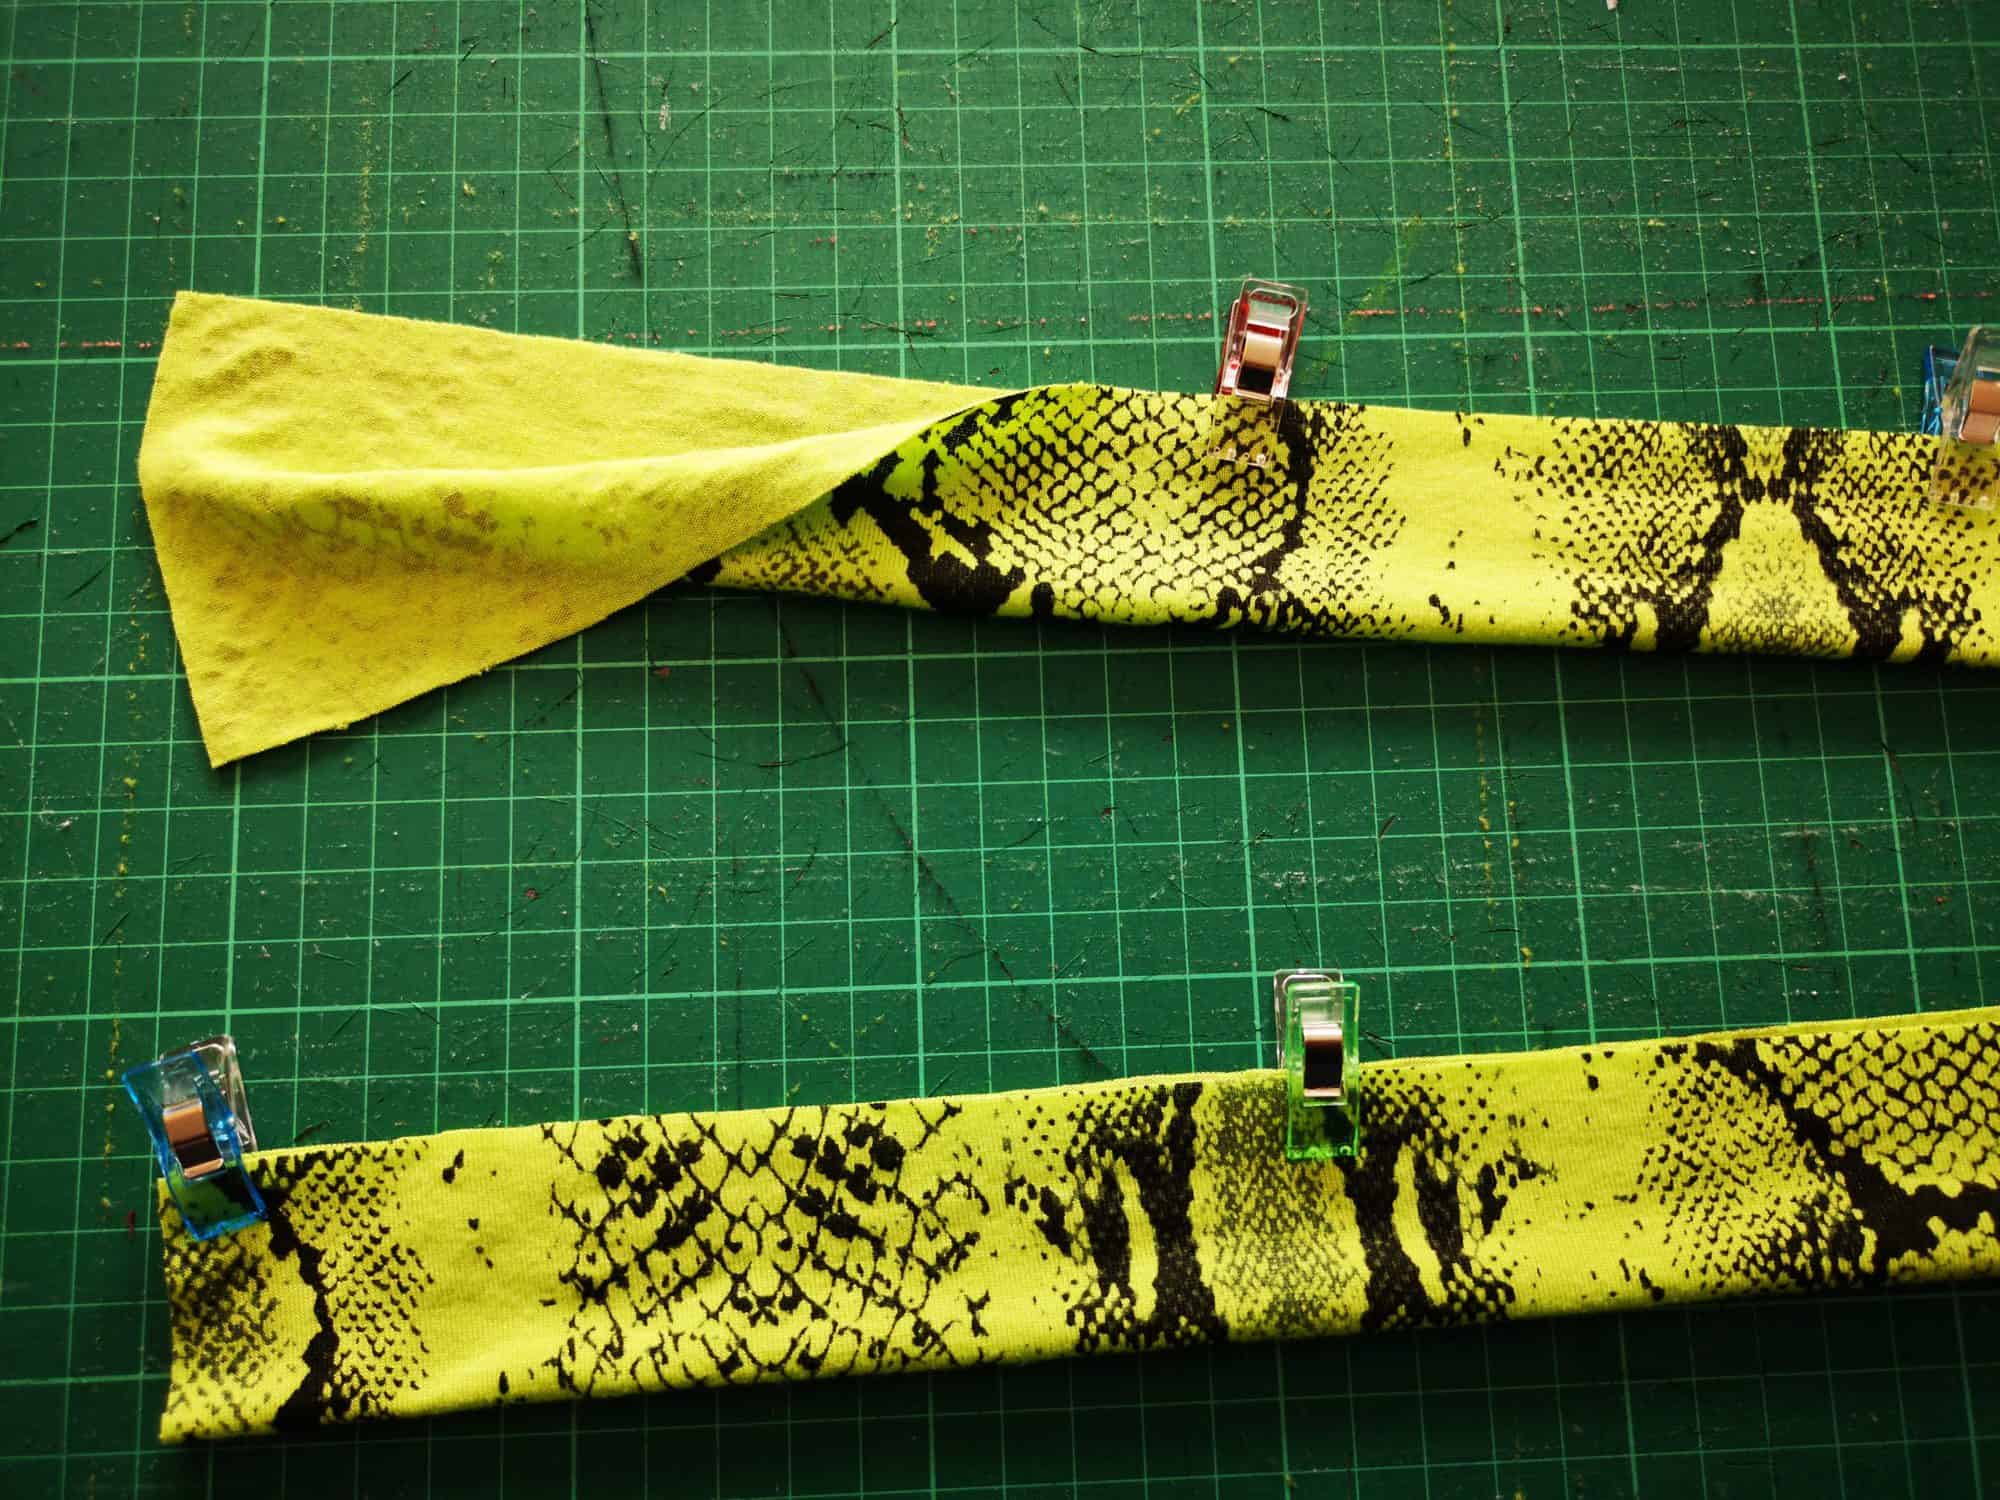
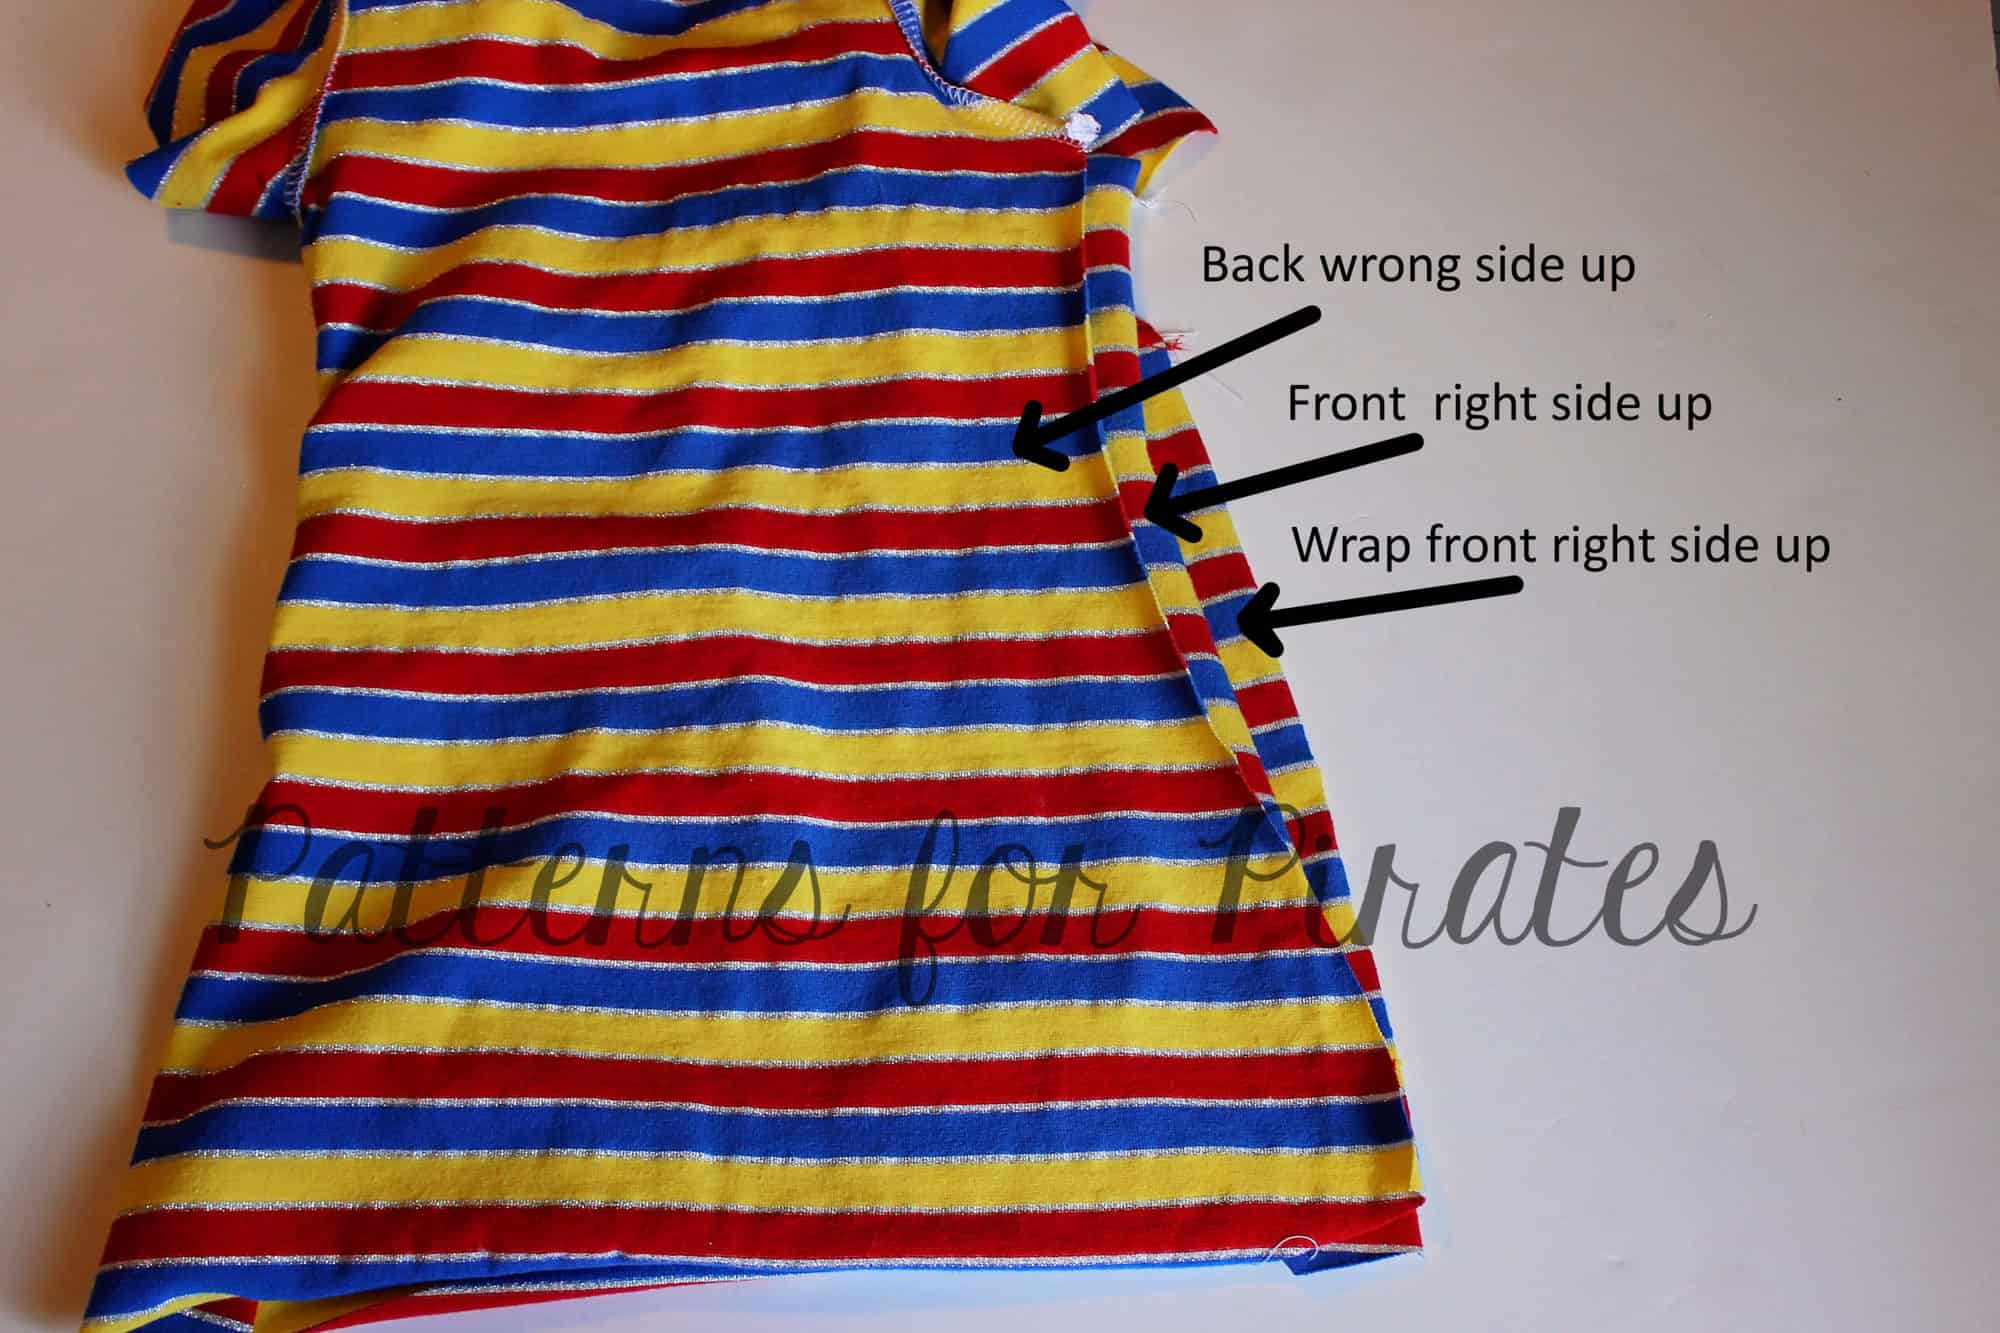
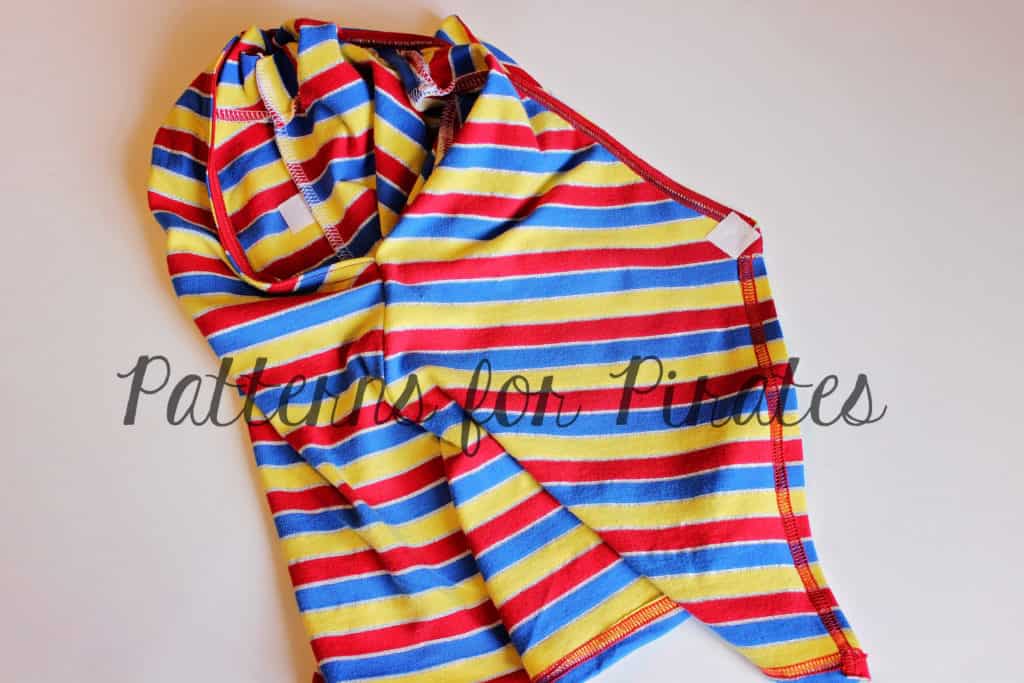
Split Hem Hack

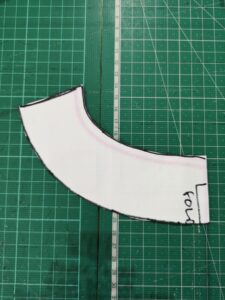
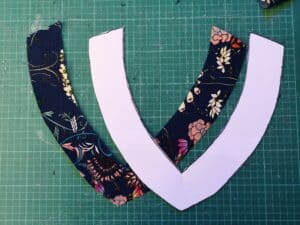
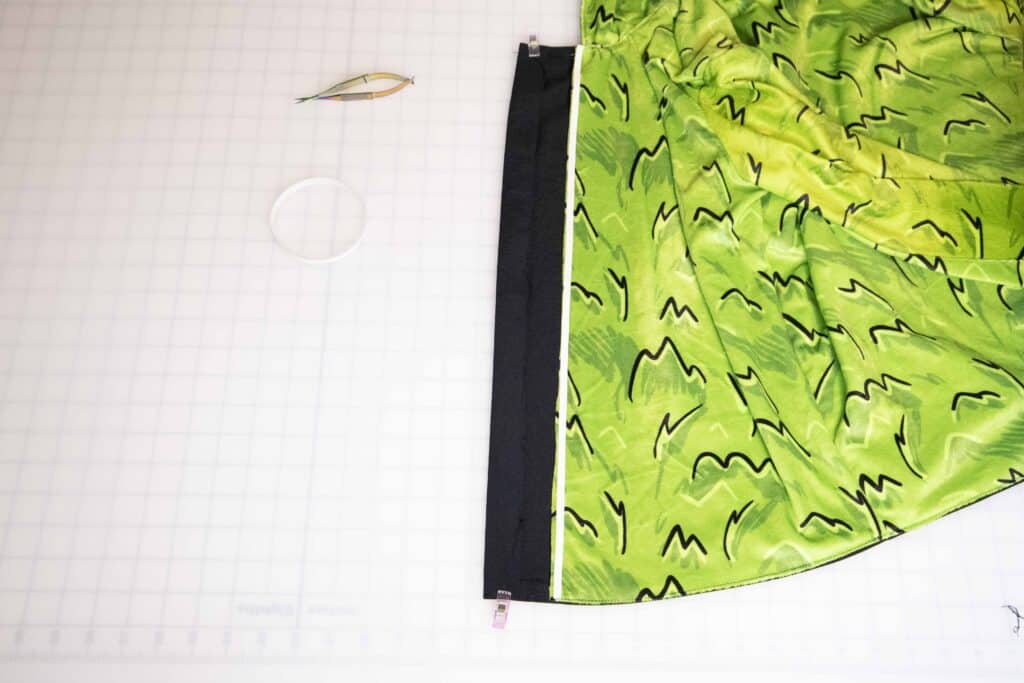
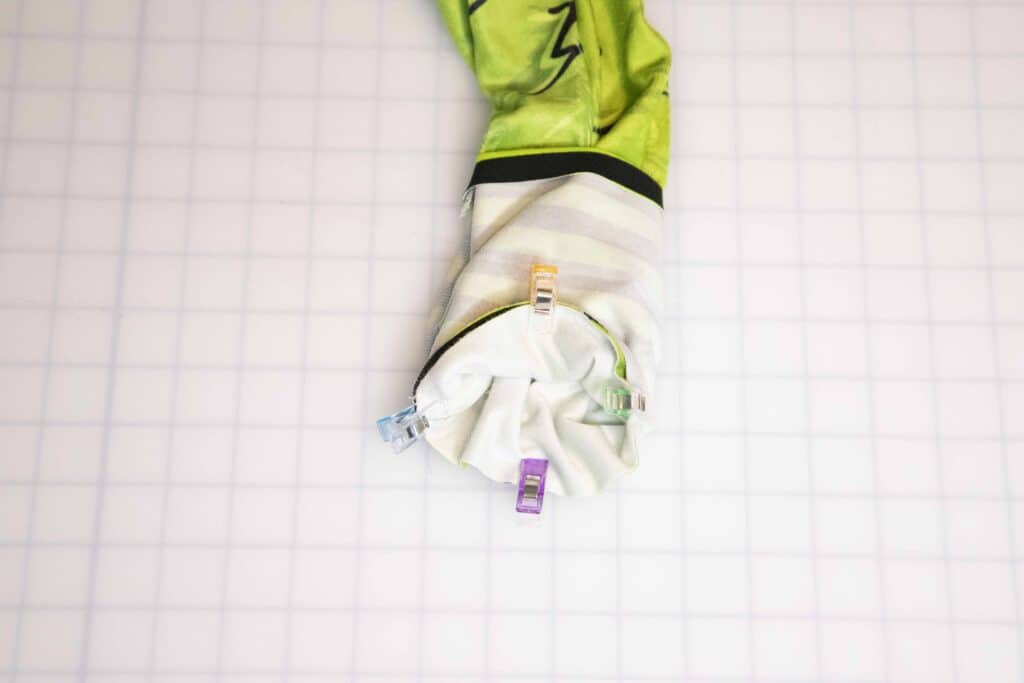
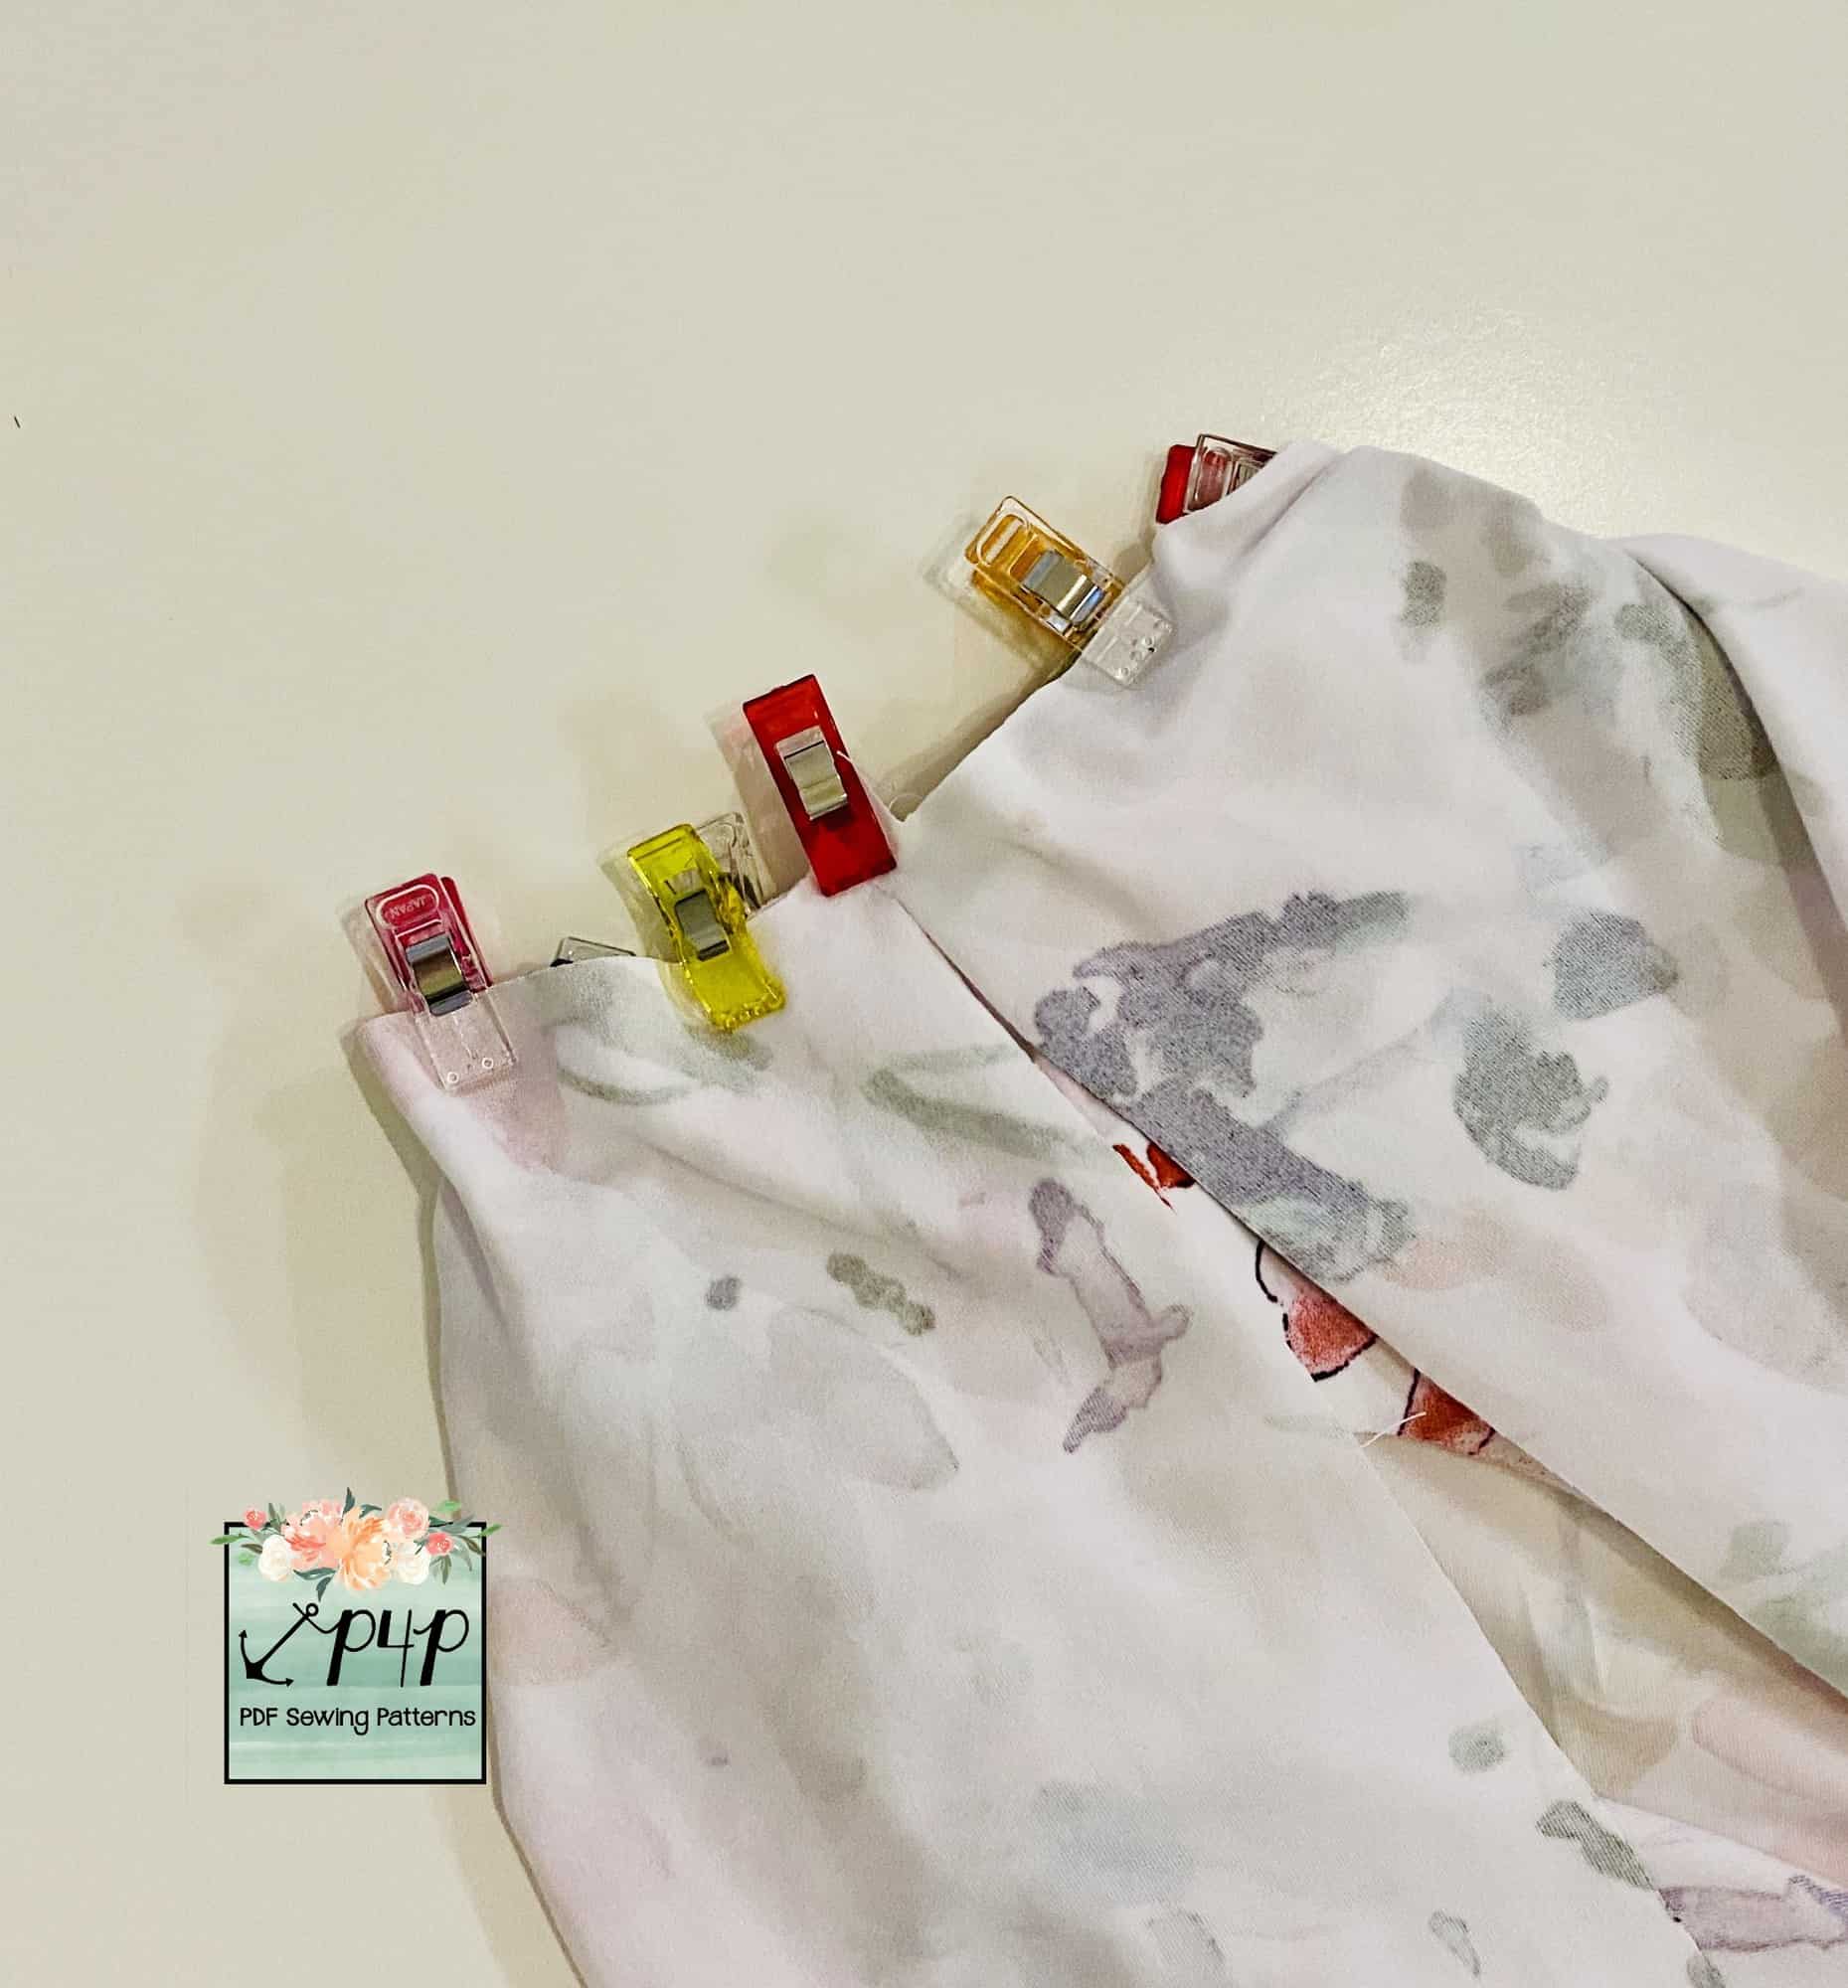
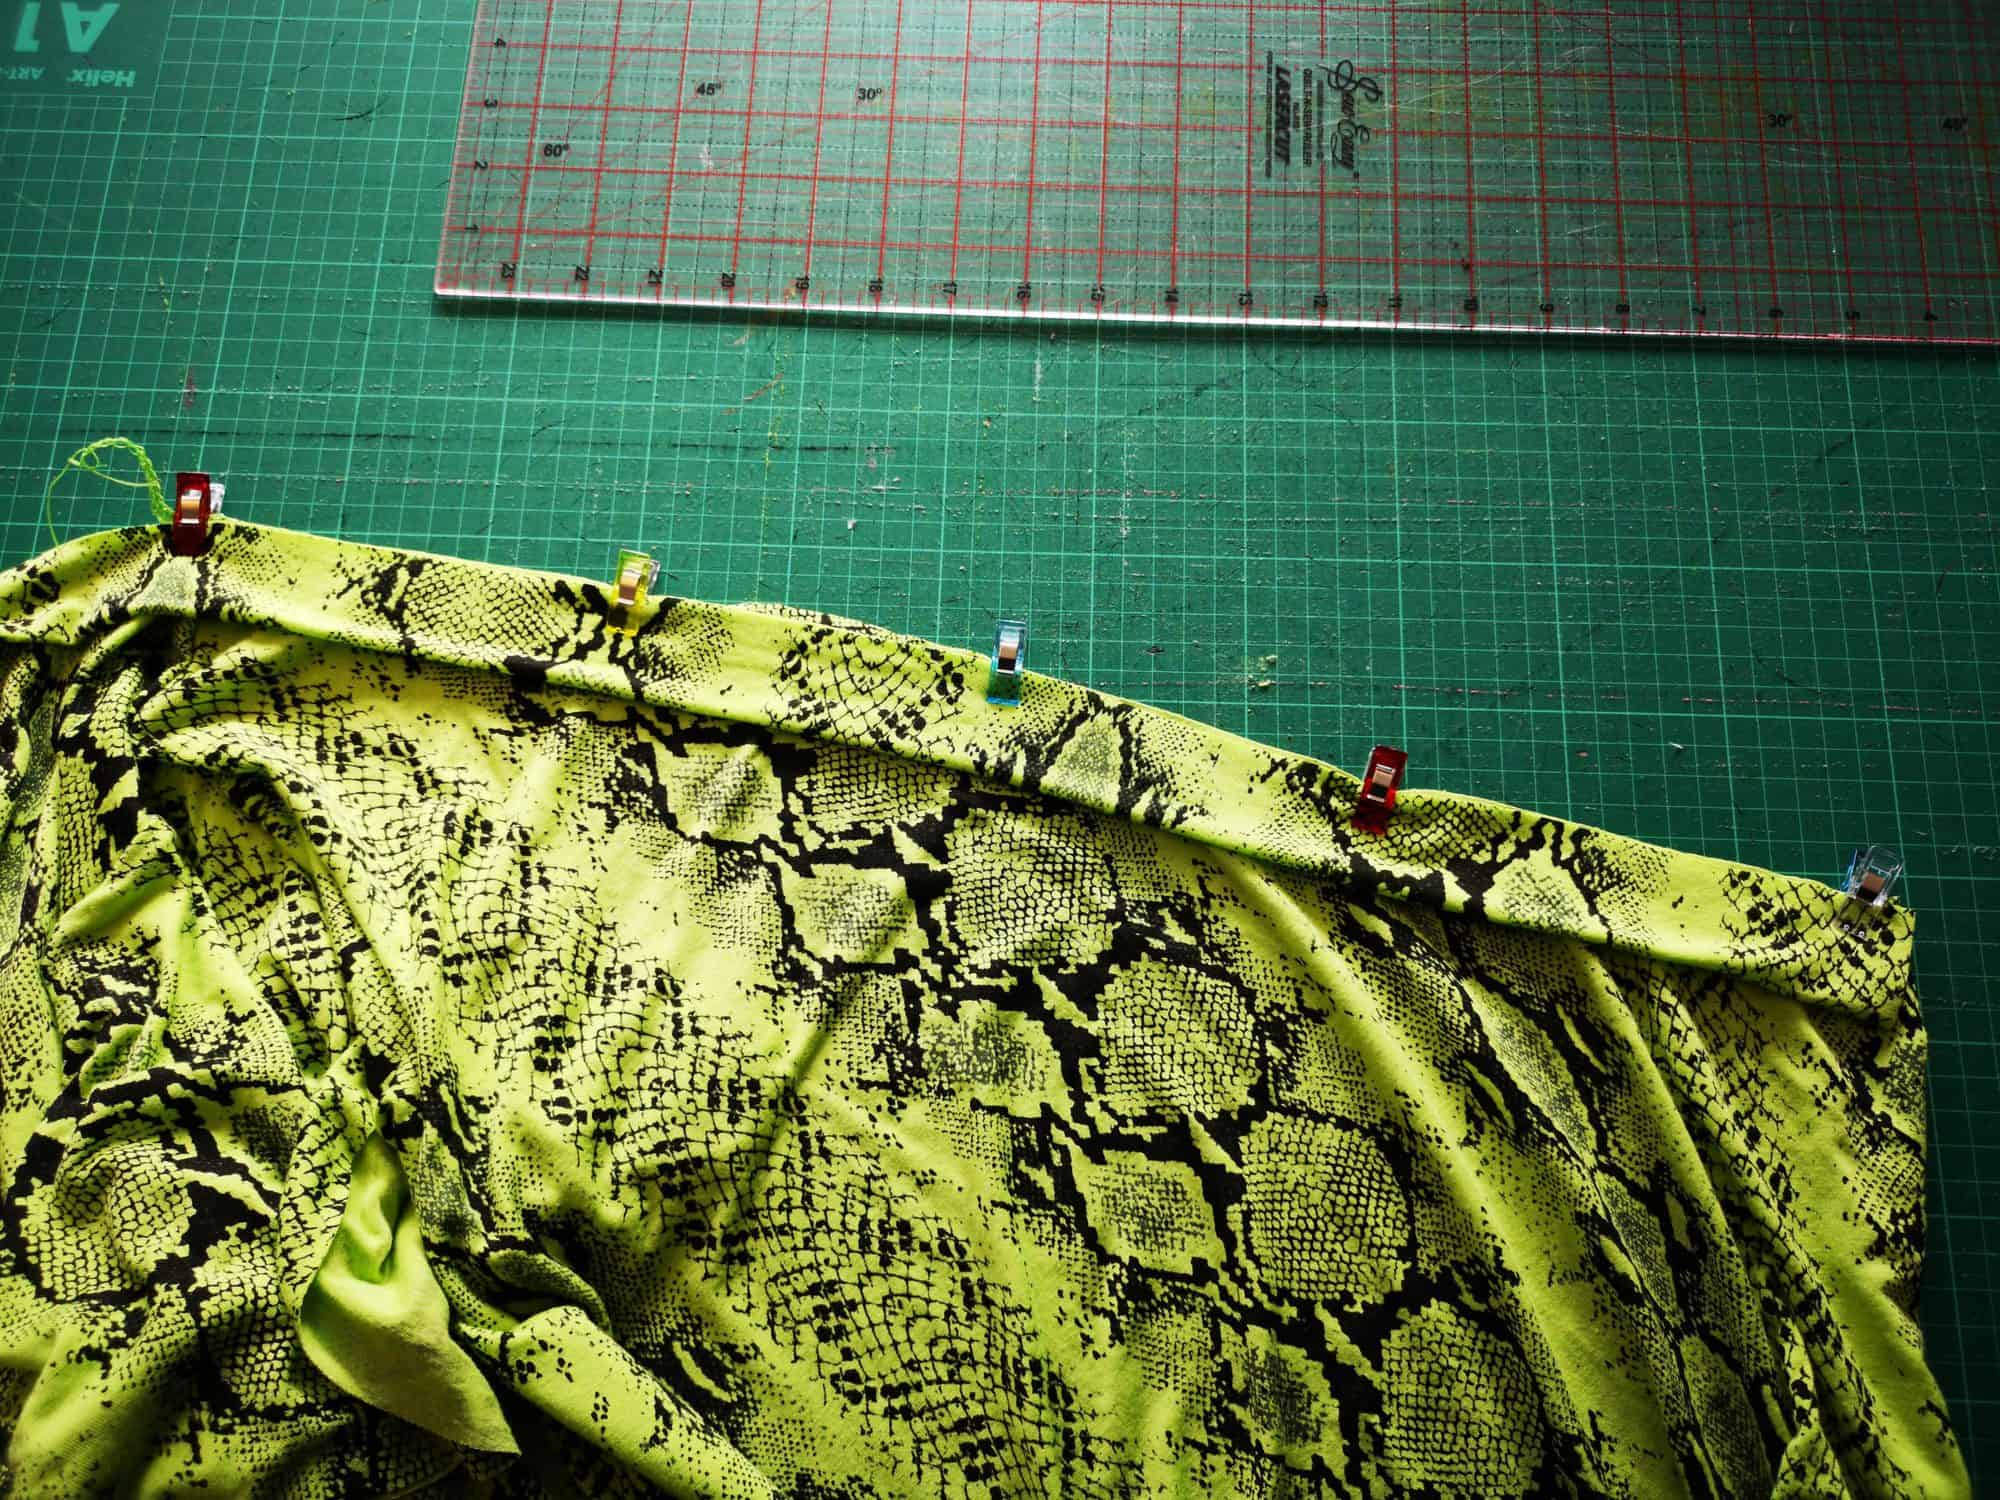
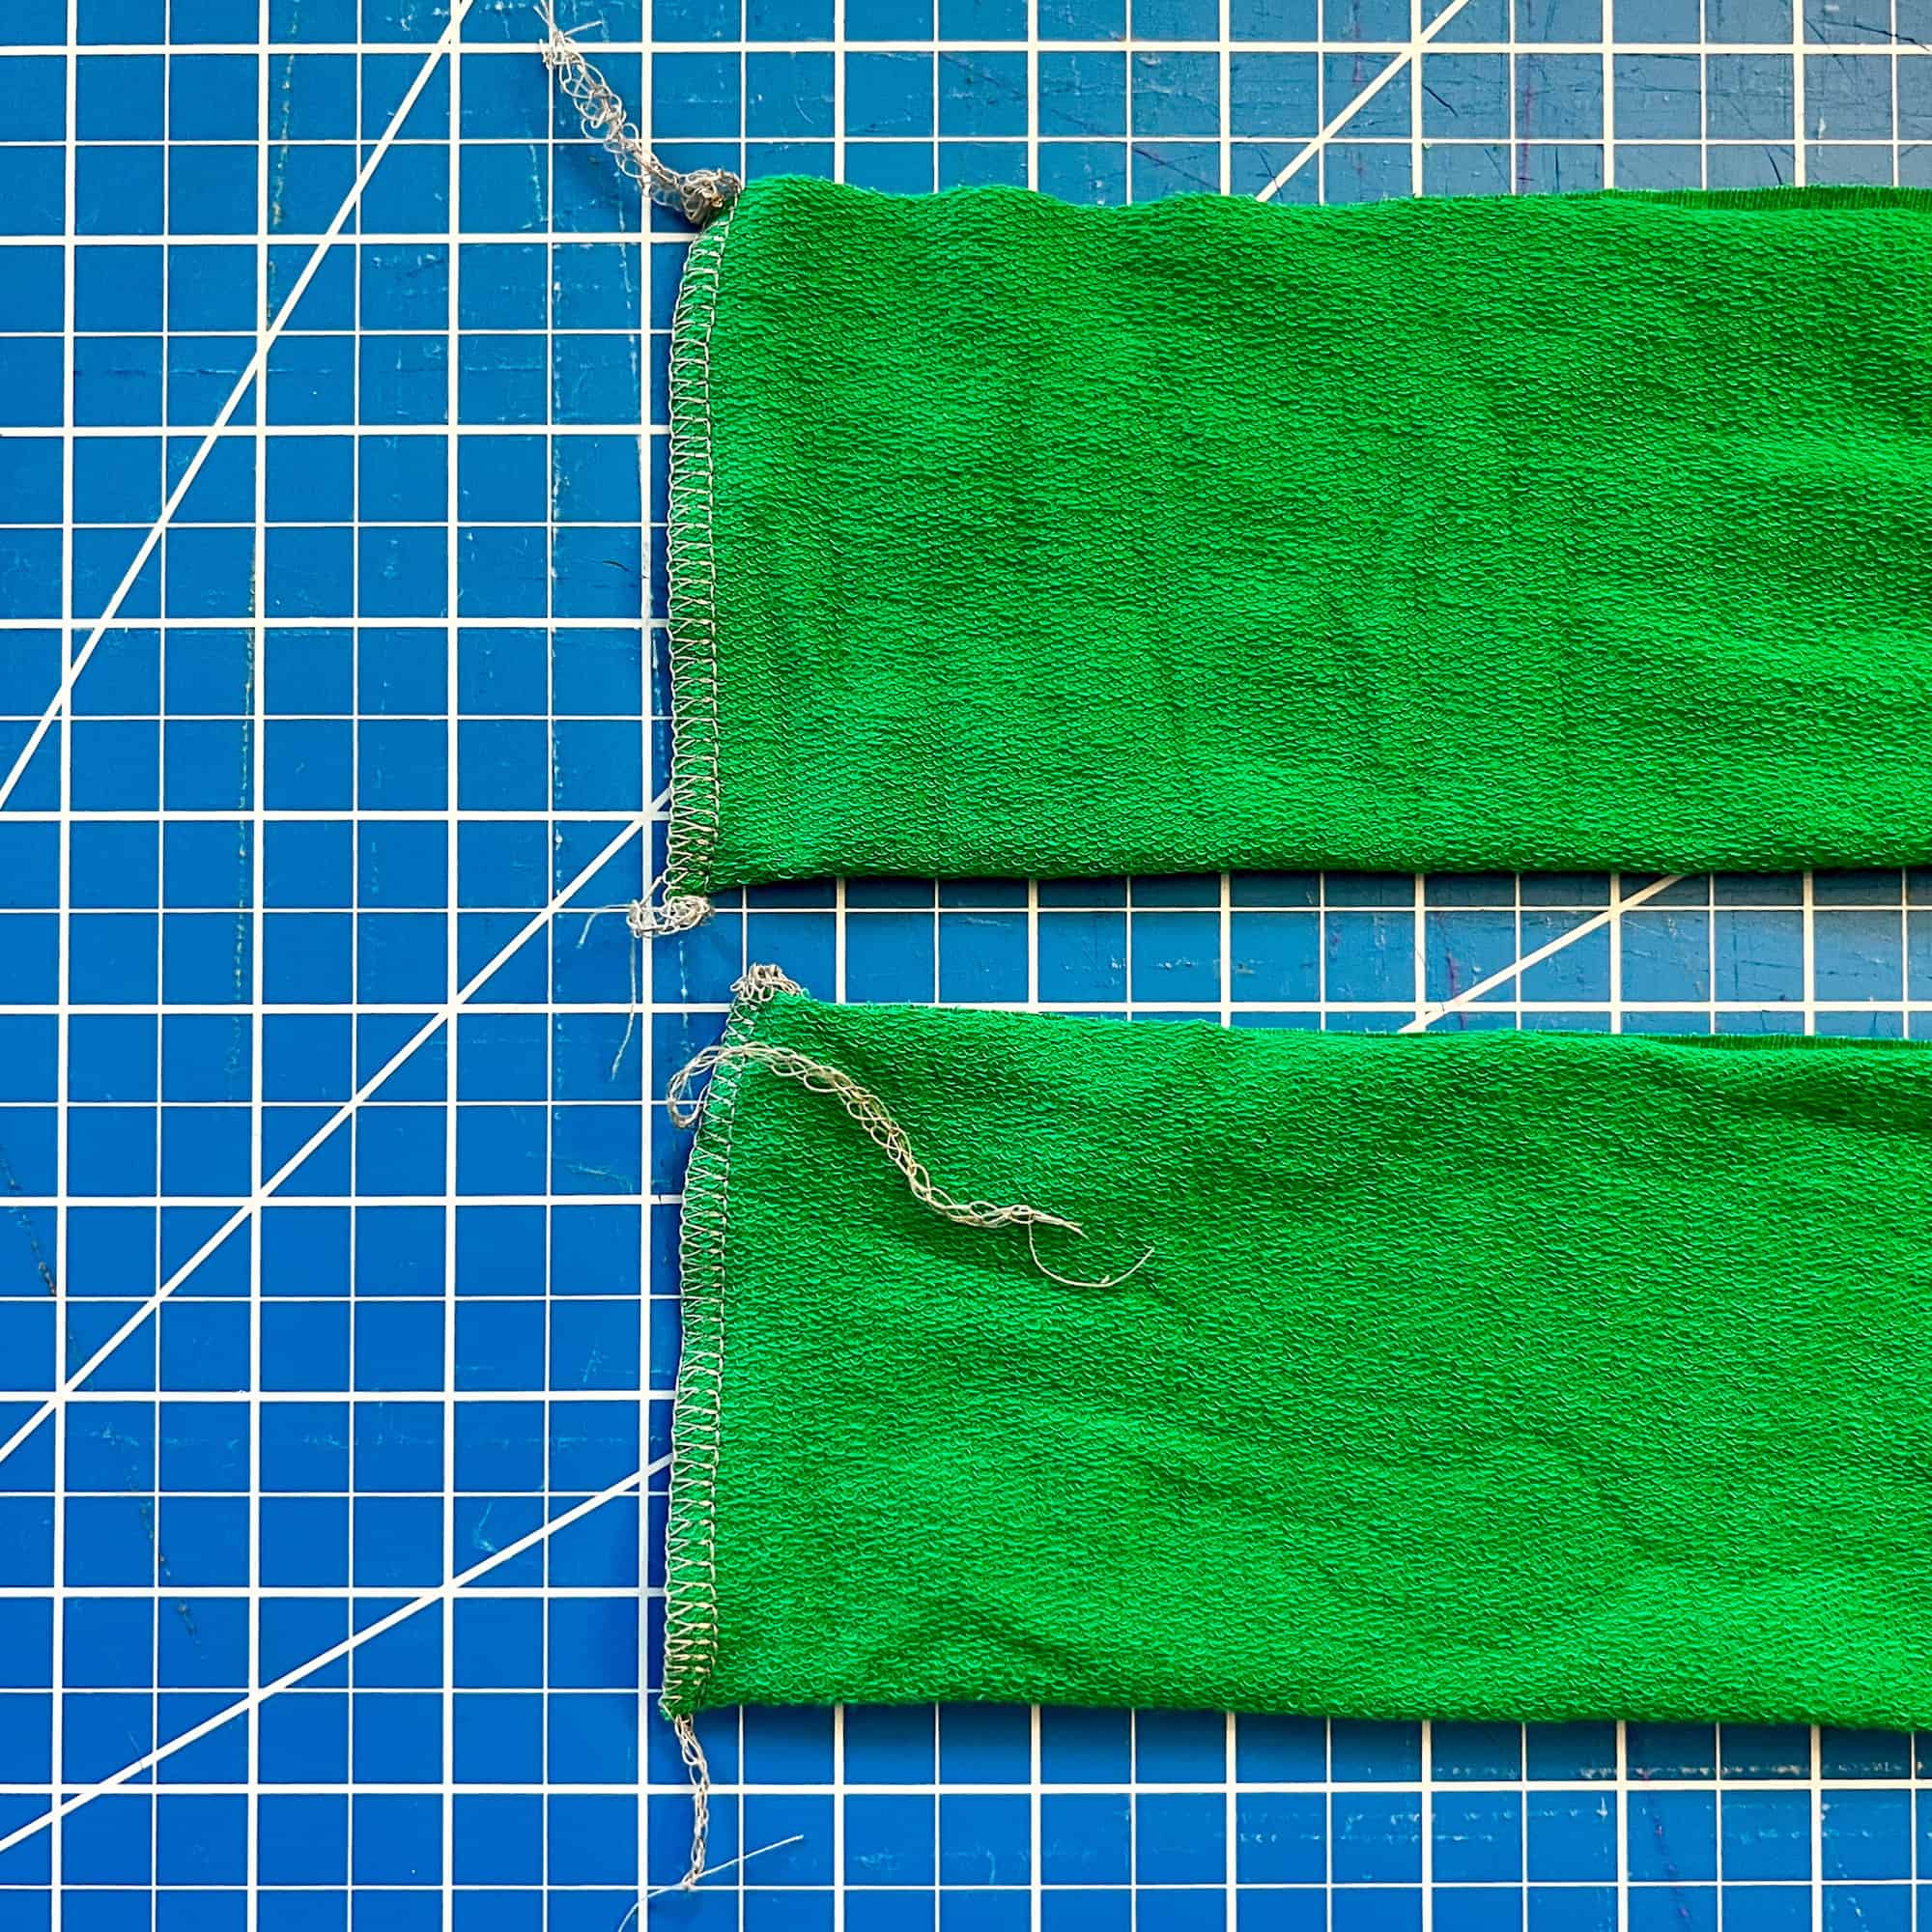
I love the look of a split hem – and it couldn’t be easier to achieve with the new Sunnyside Sweater. Using the hem band pattern piece as a guide, cut 2 bands that are the width of your bodice front and back.
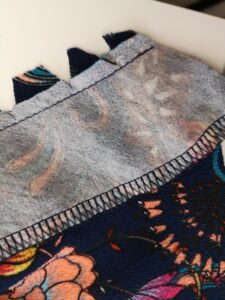
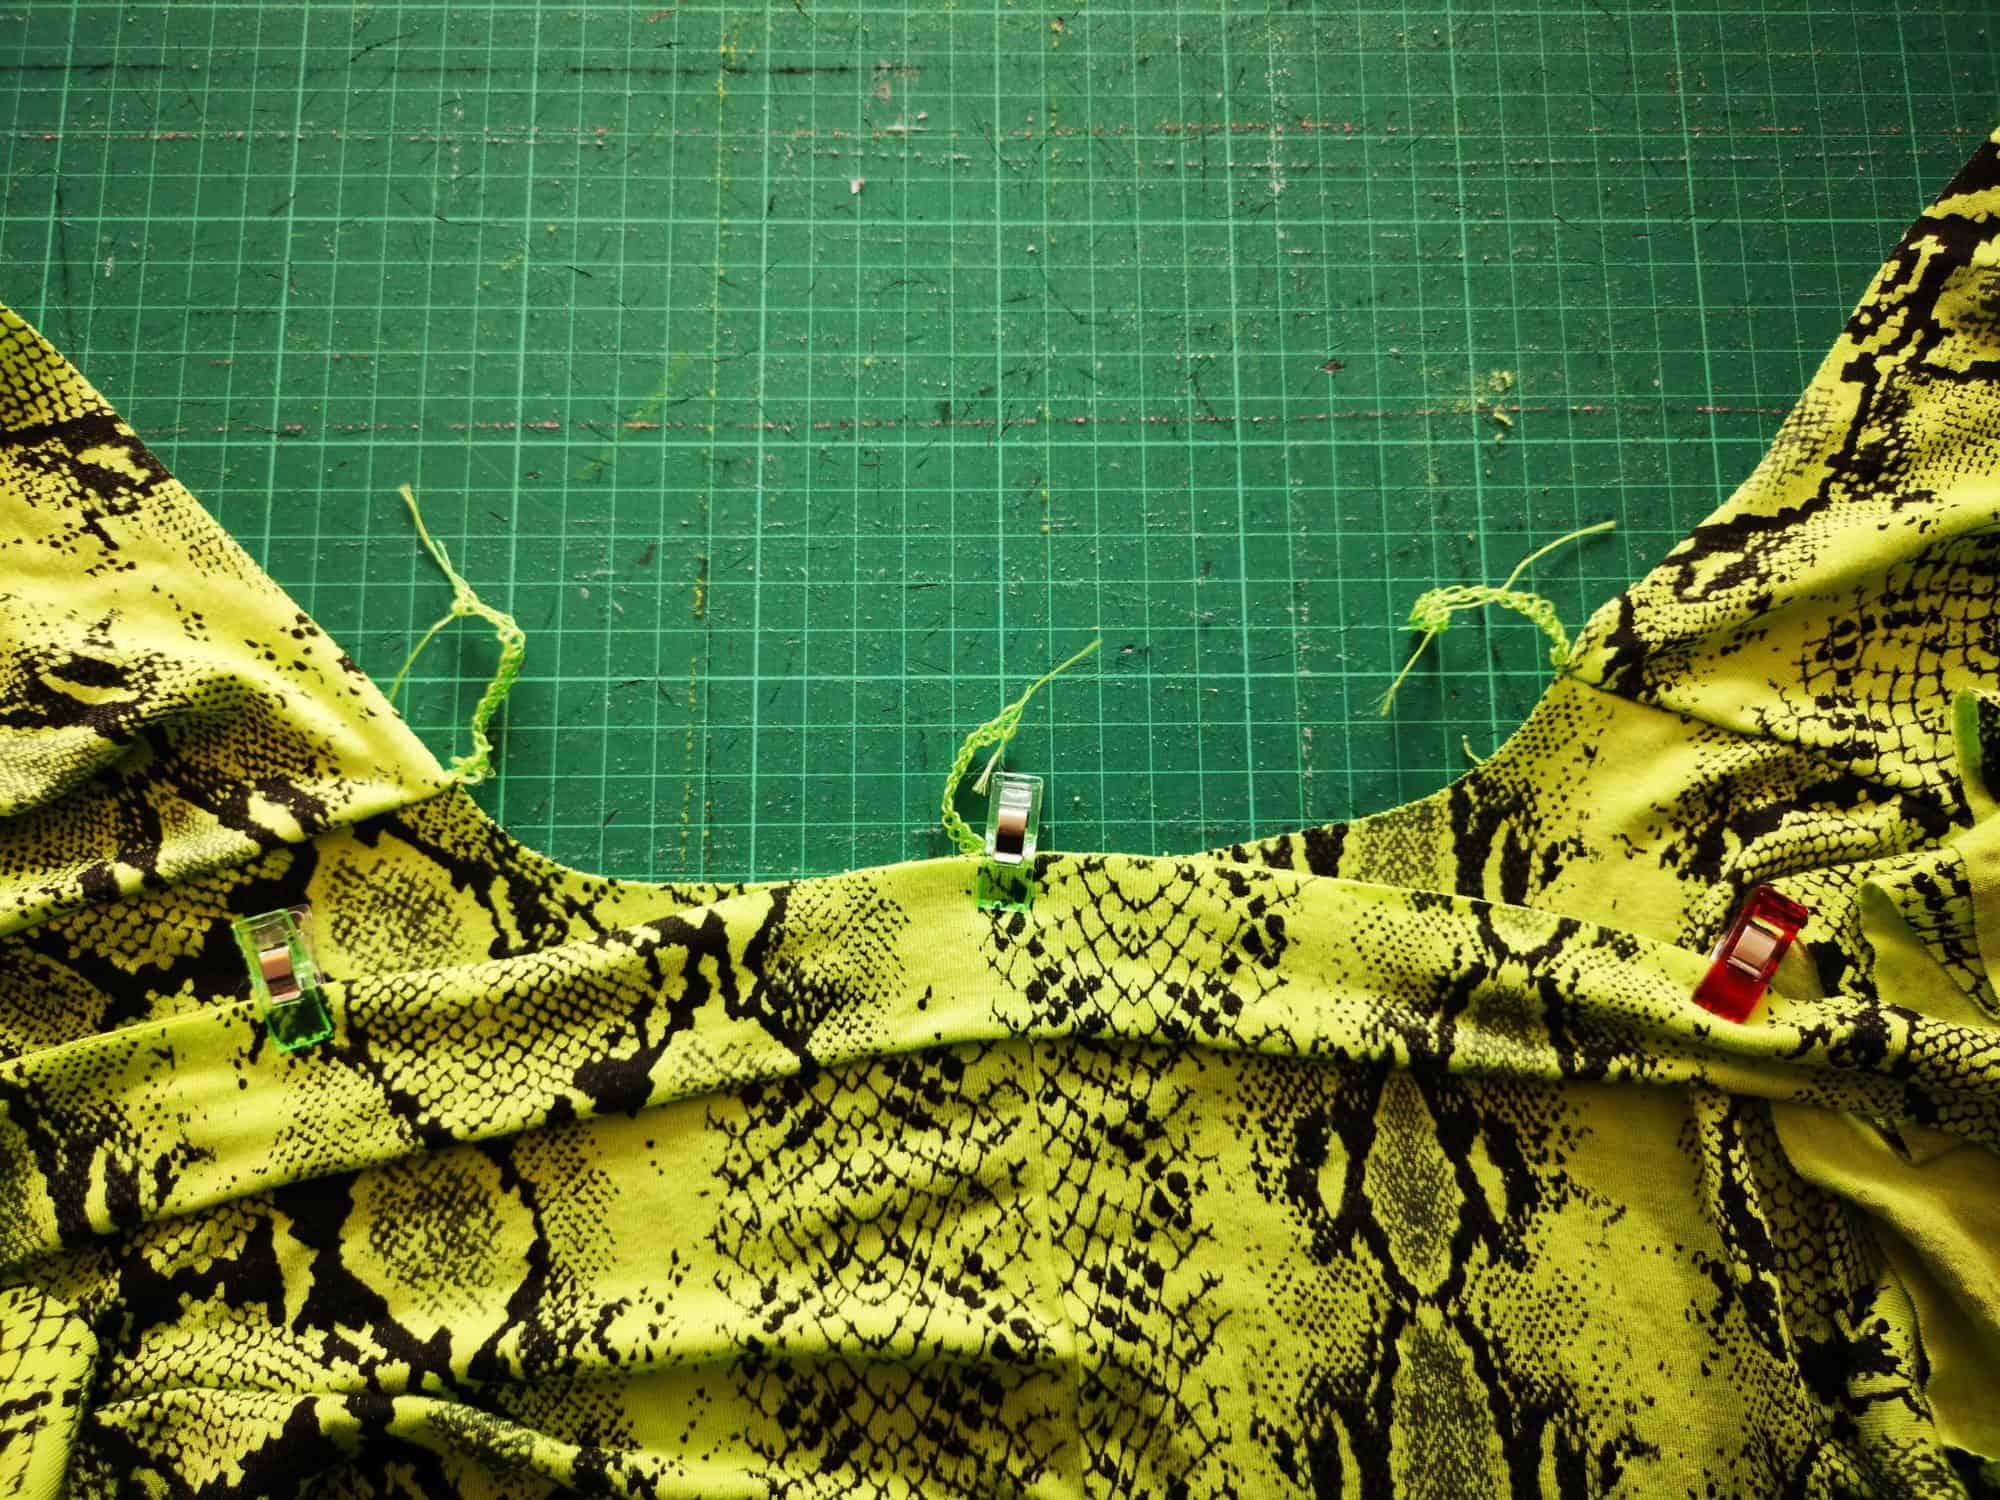
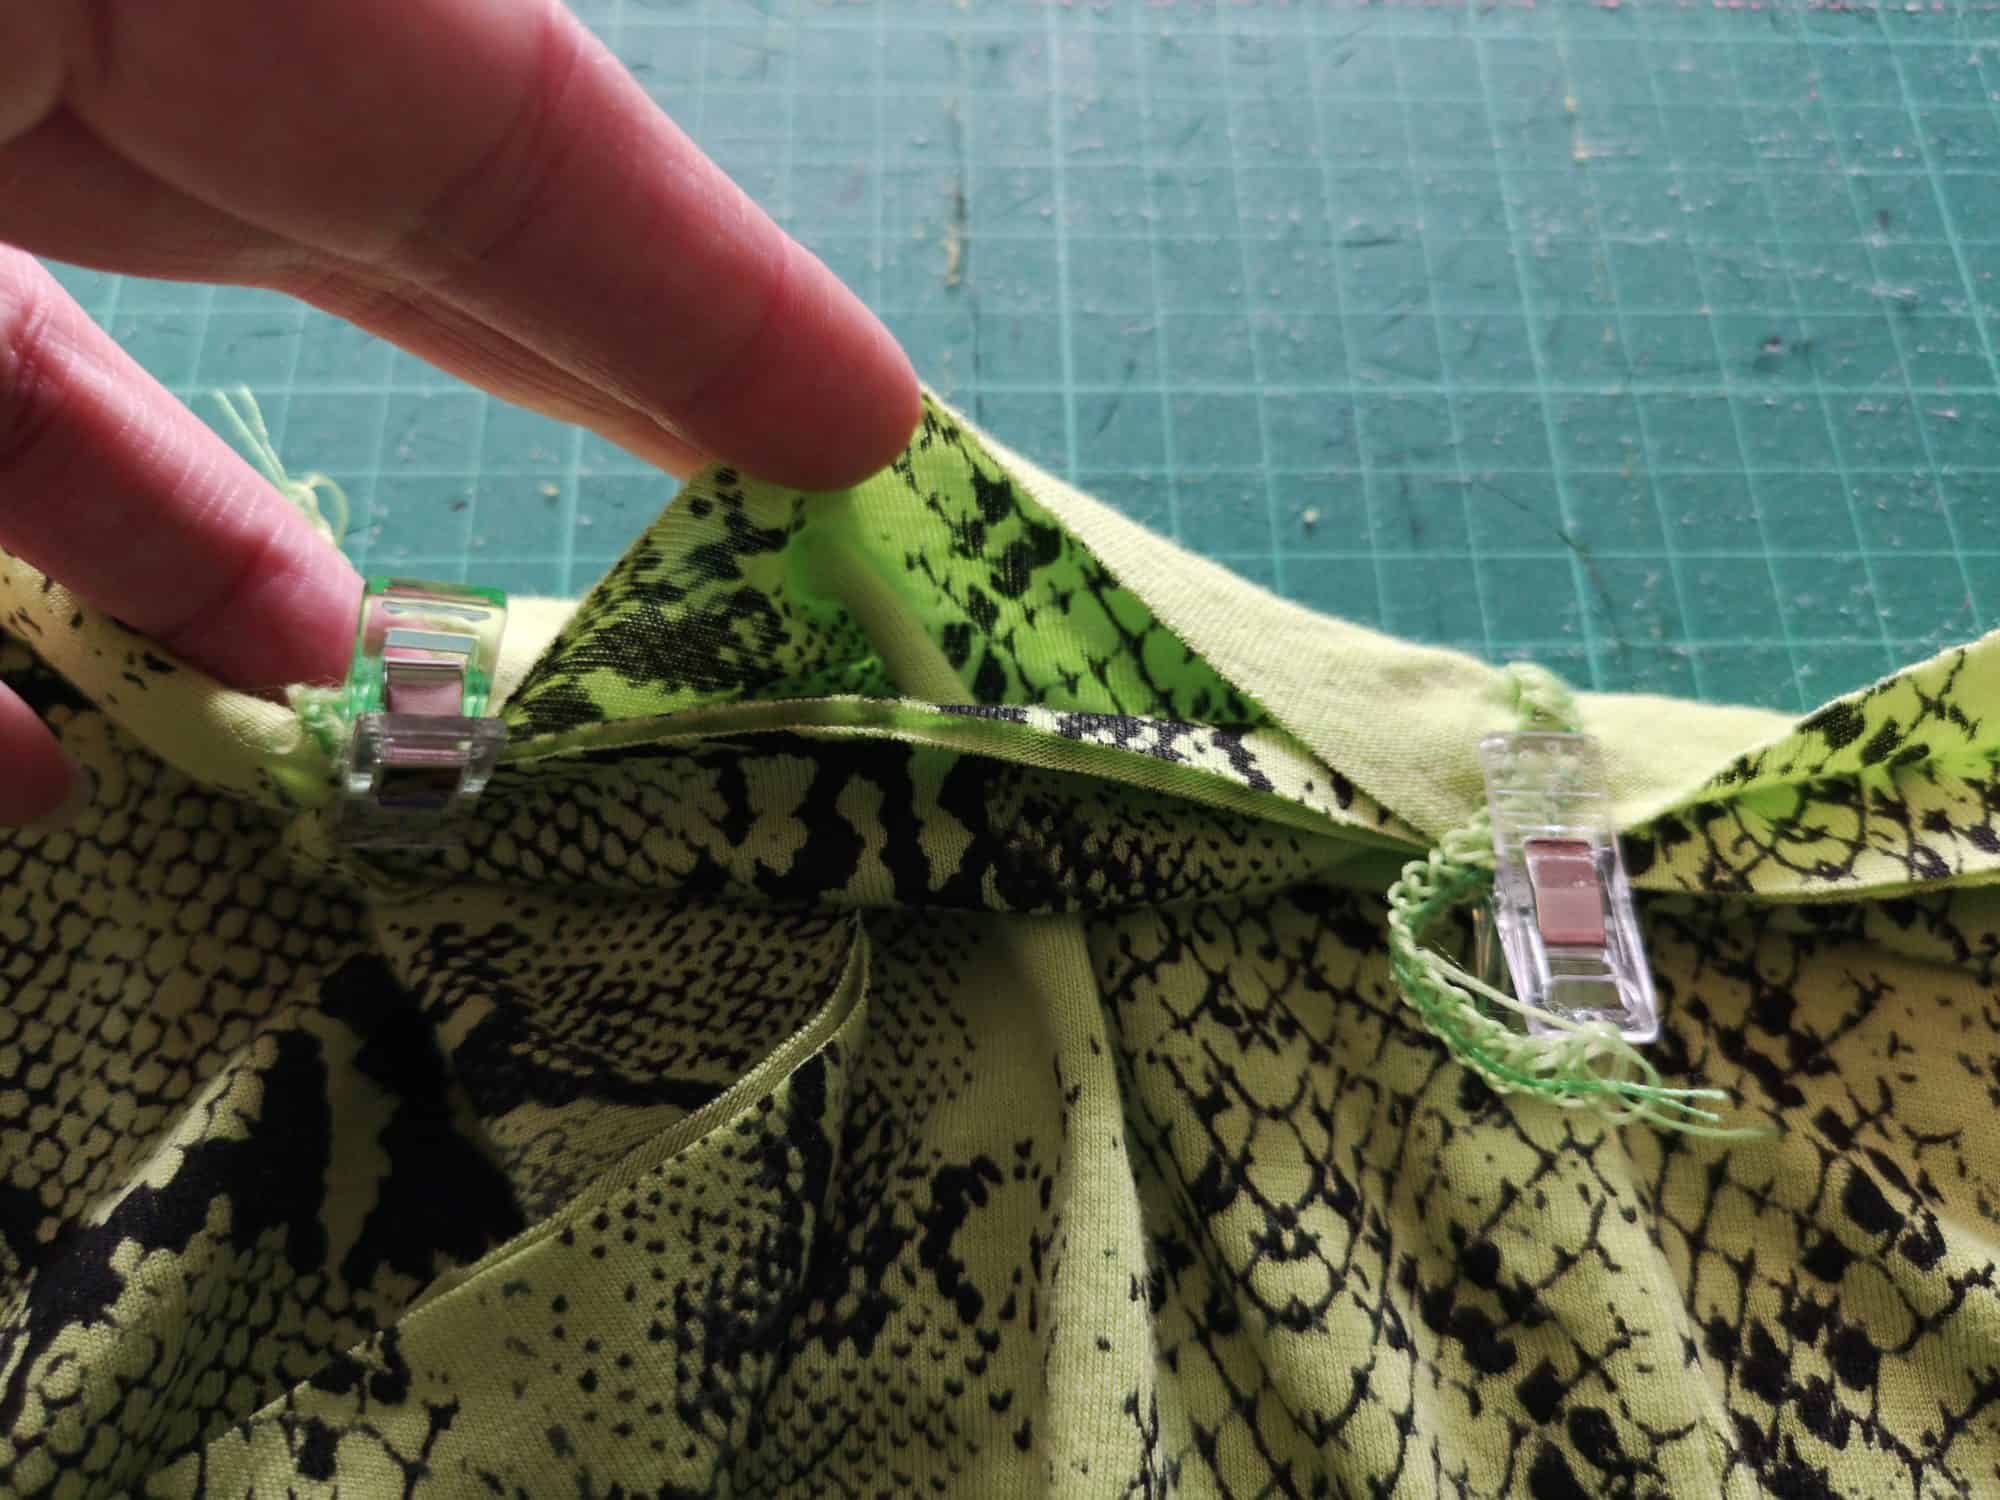
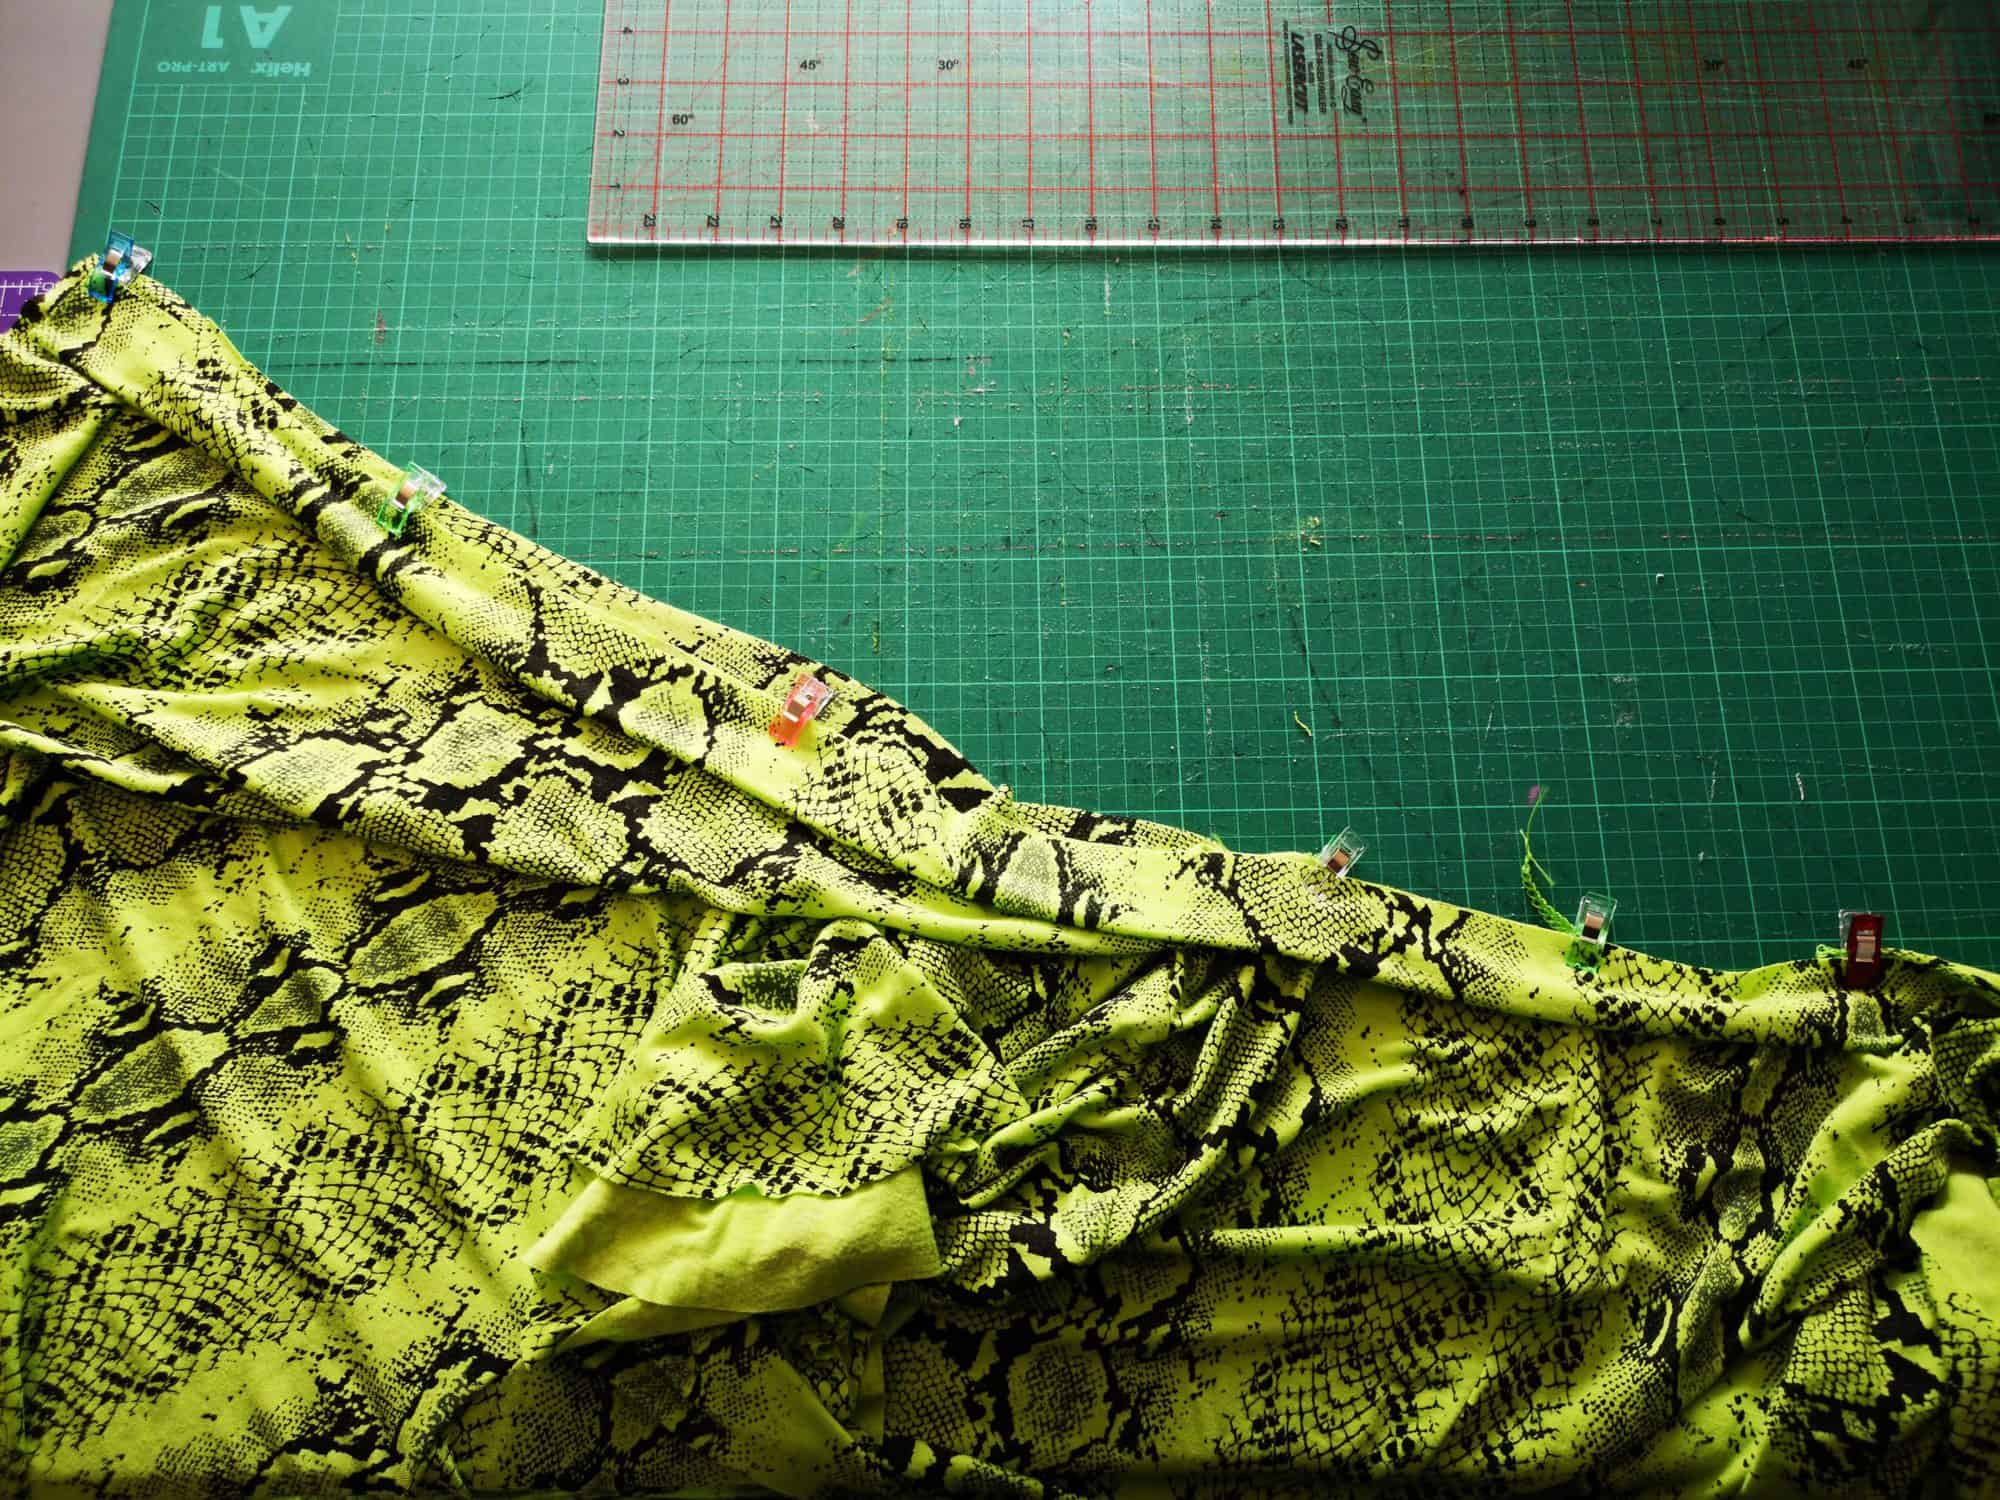
Complete the construction of your sweatshirt to the step where the bottom band is sewn.
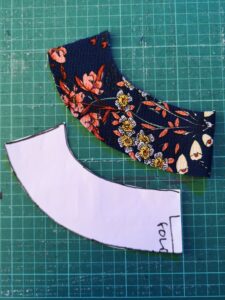
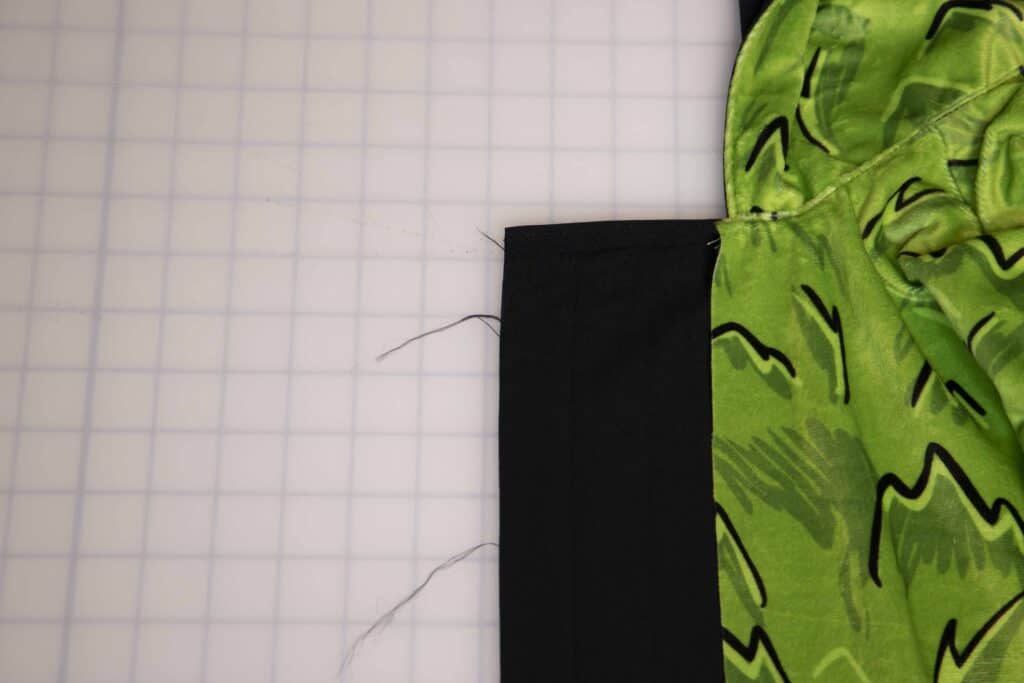
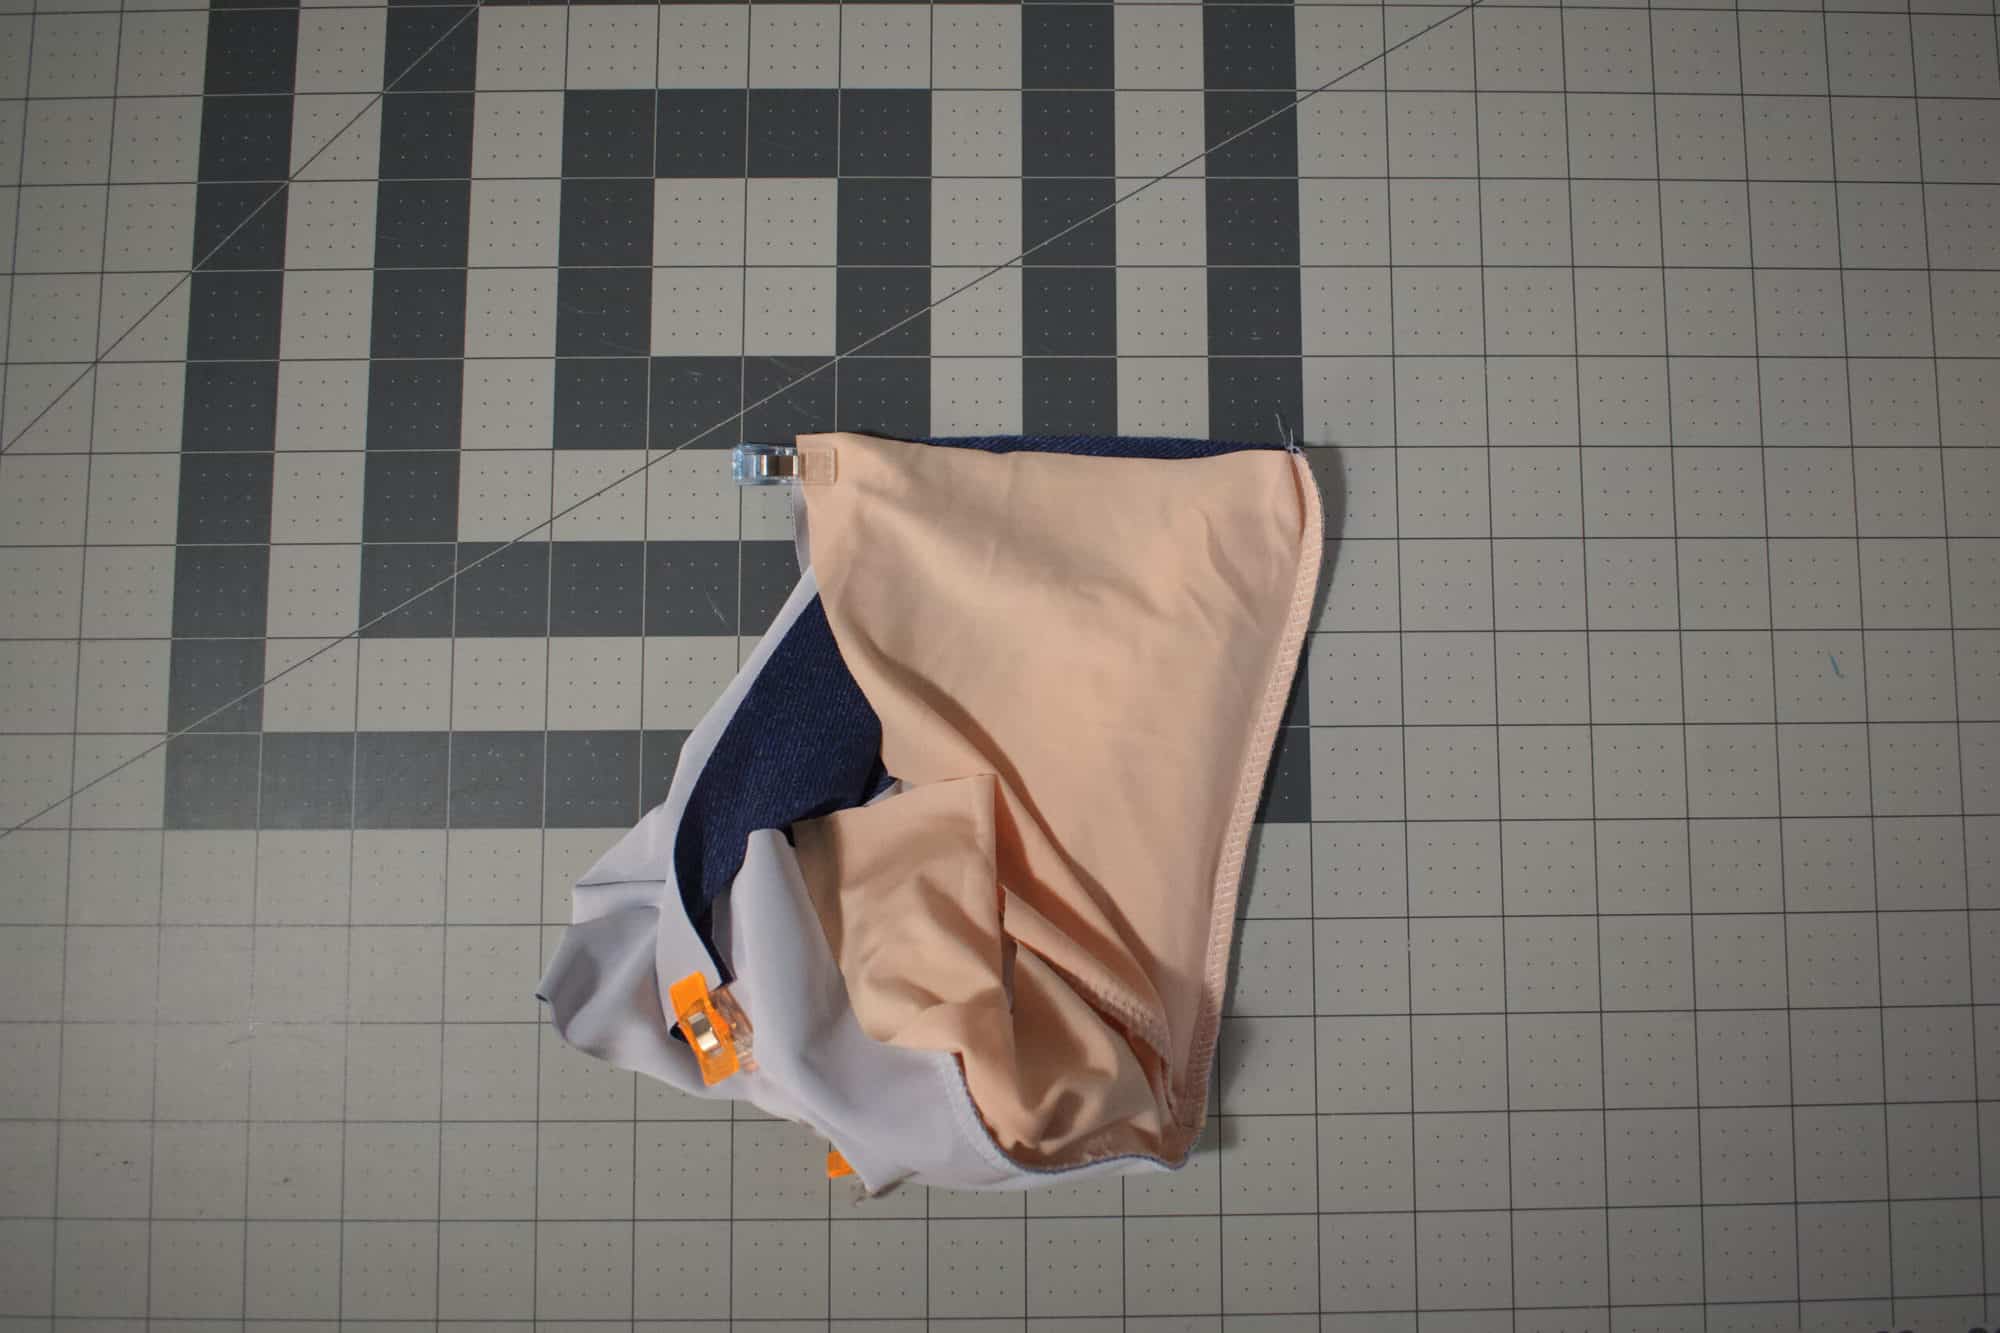
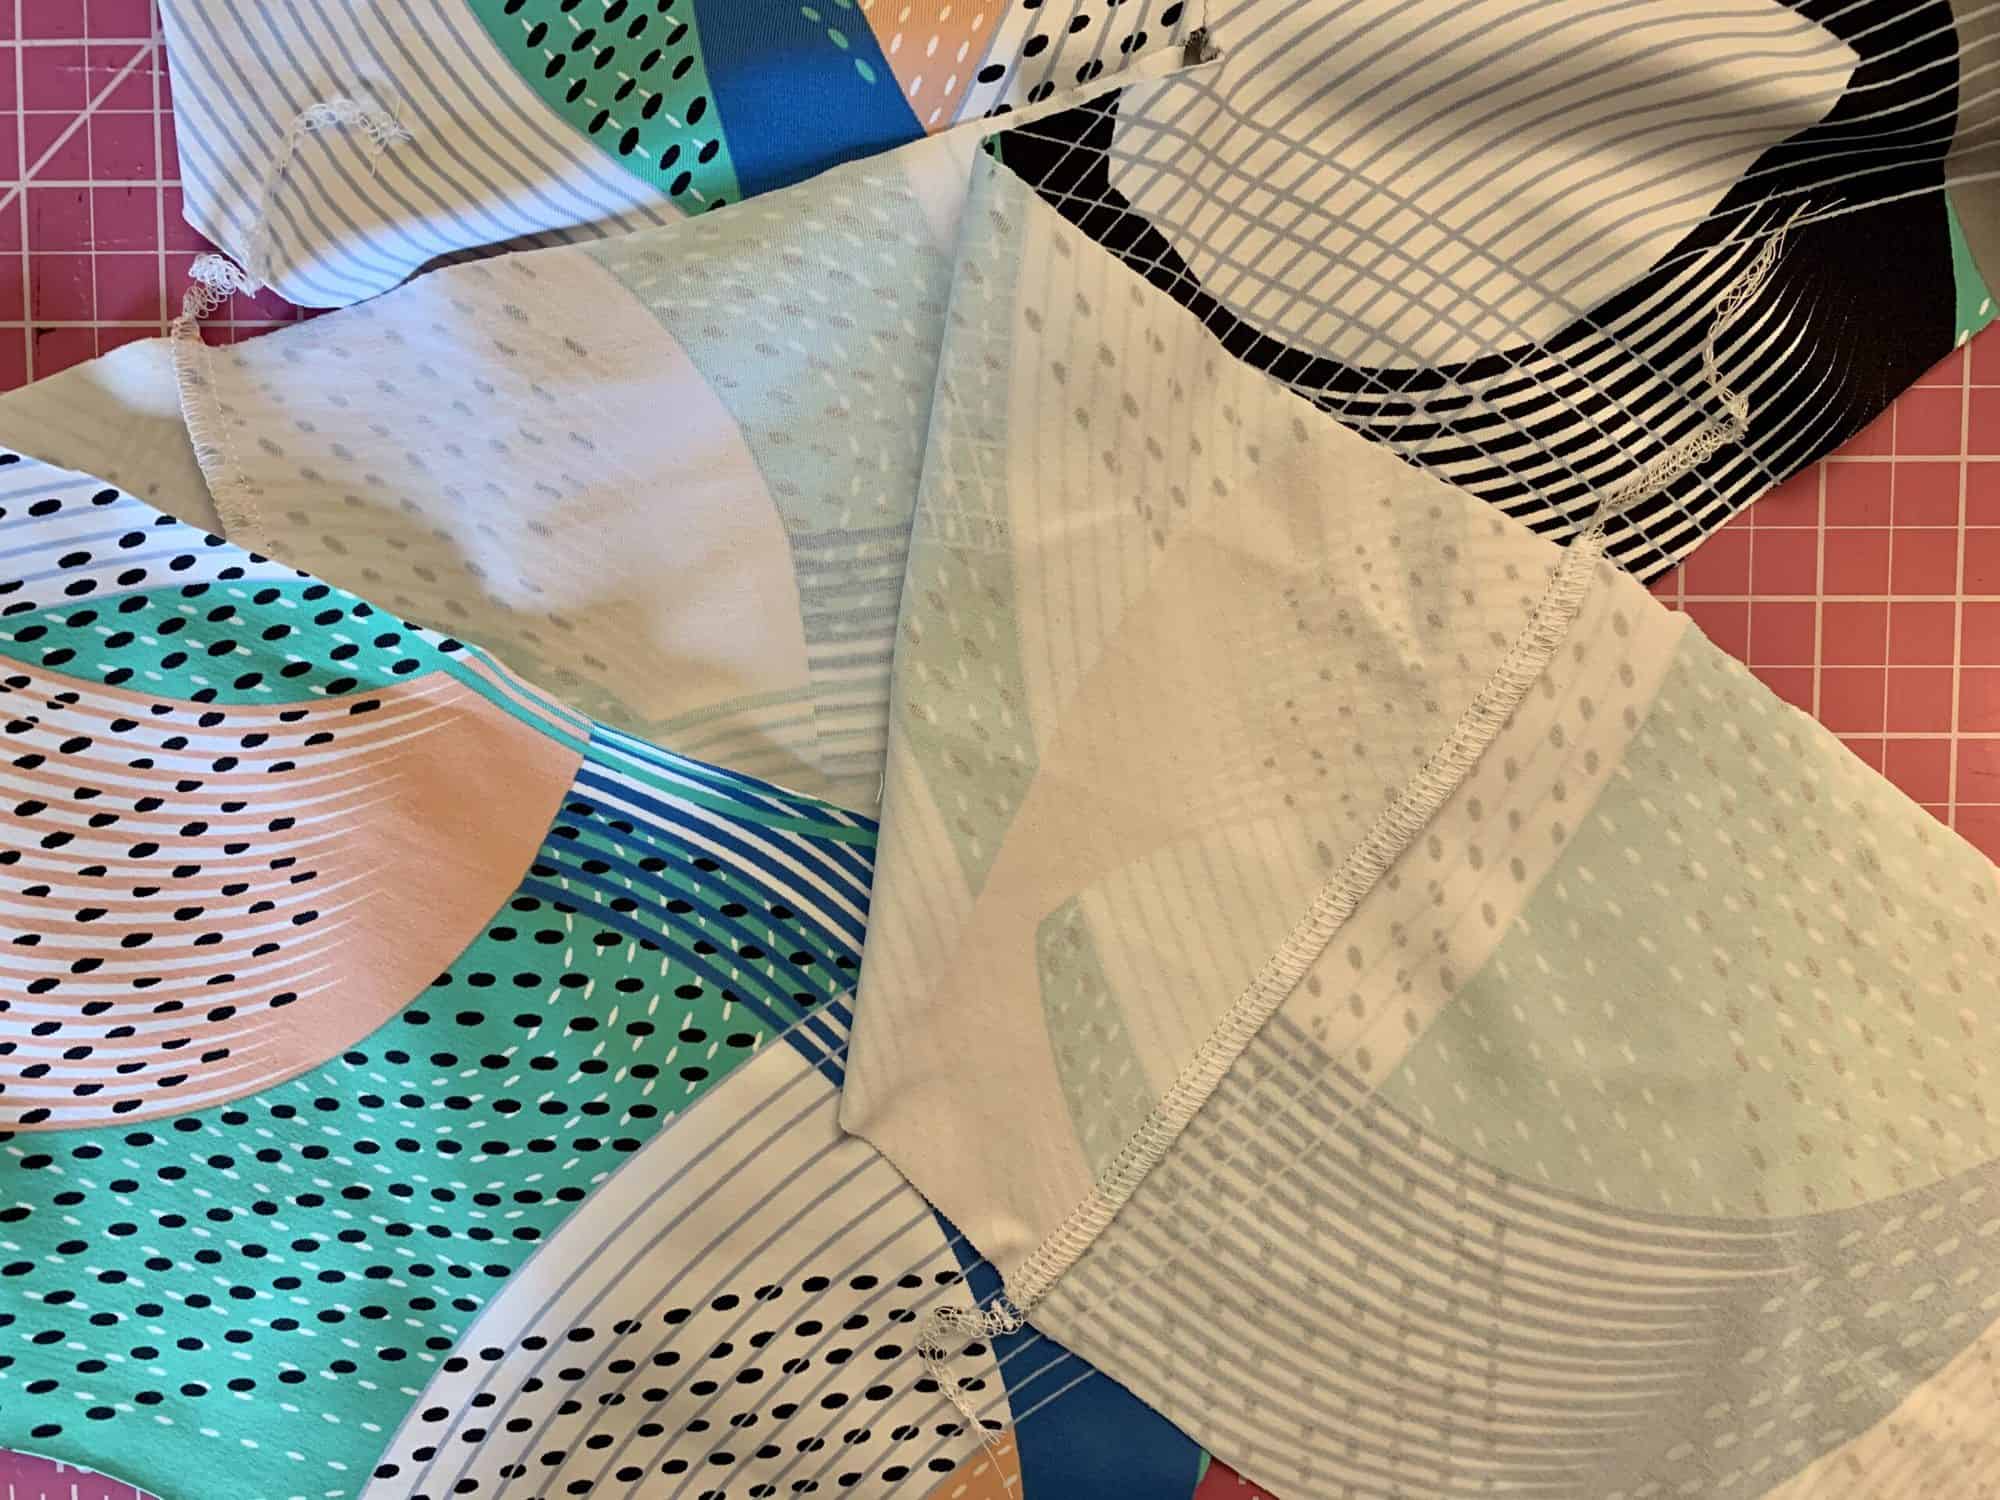
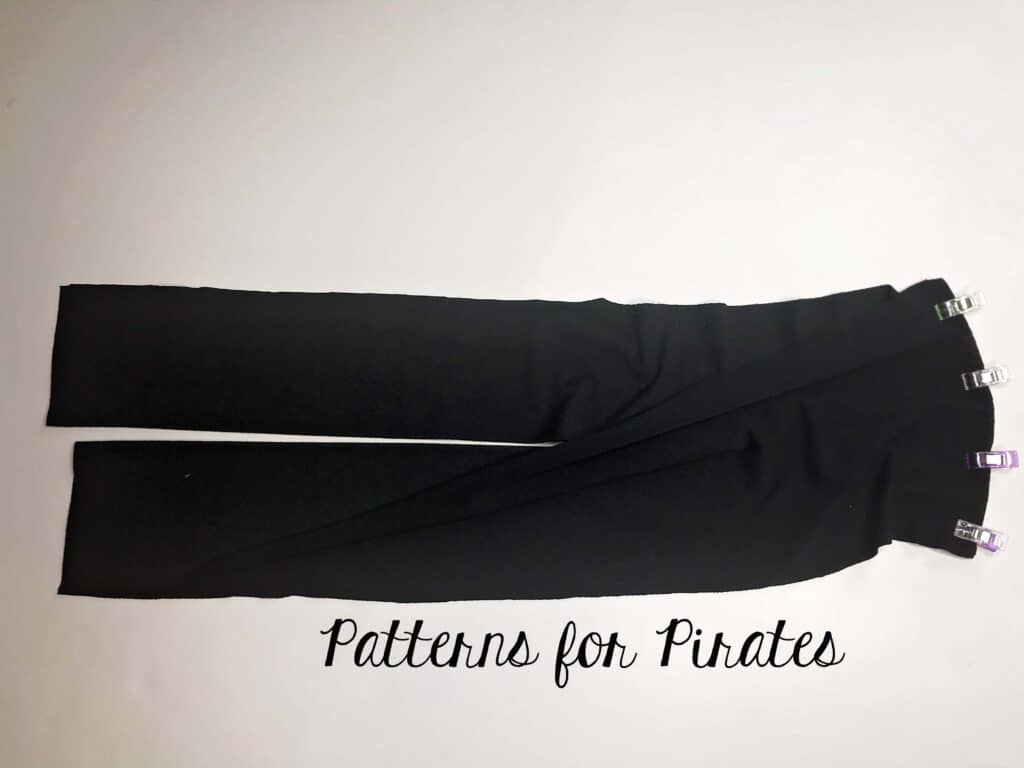
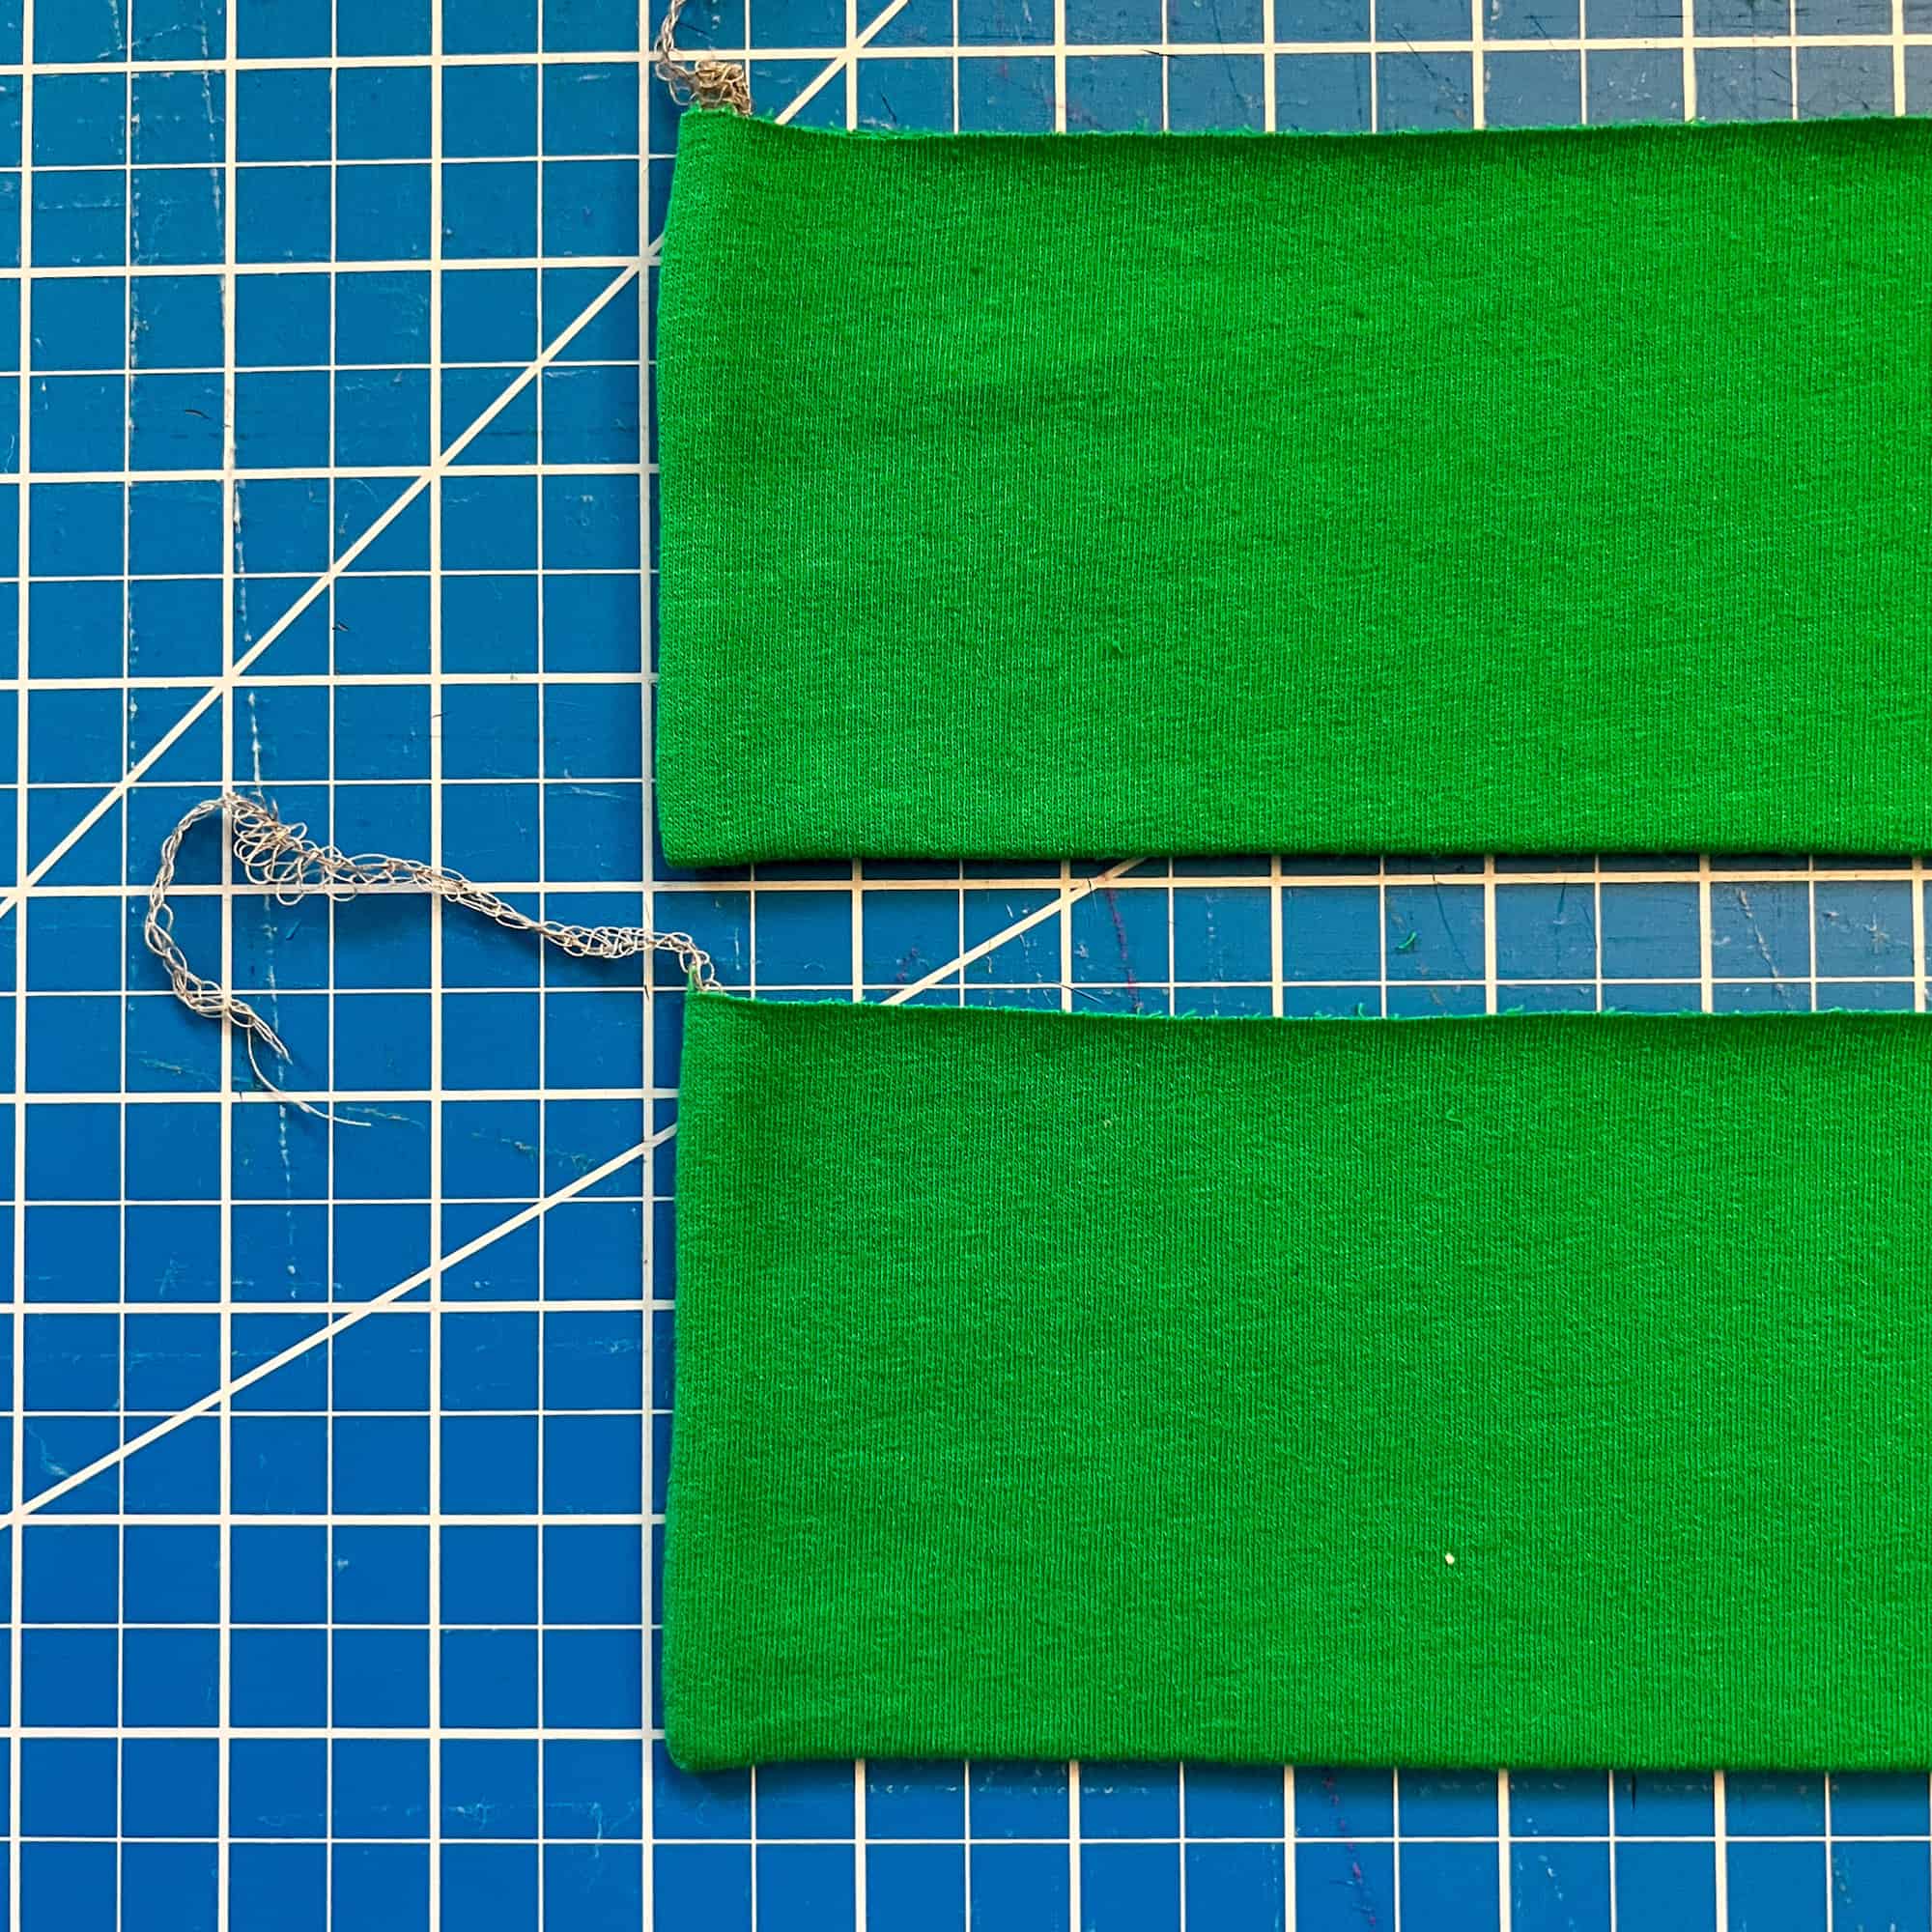
Fold the short ends of your bands, right sides together, and sew using the same seam allowance.
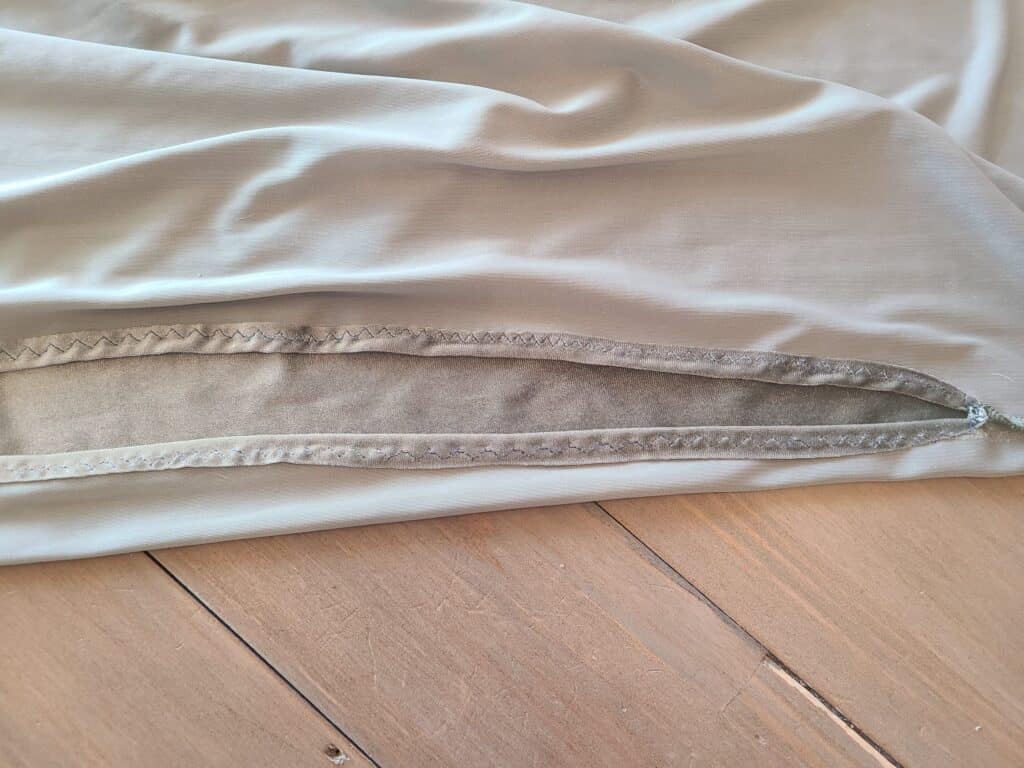
Turn right side out and press.
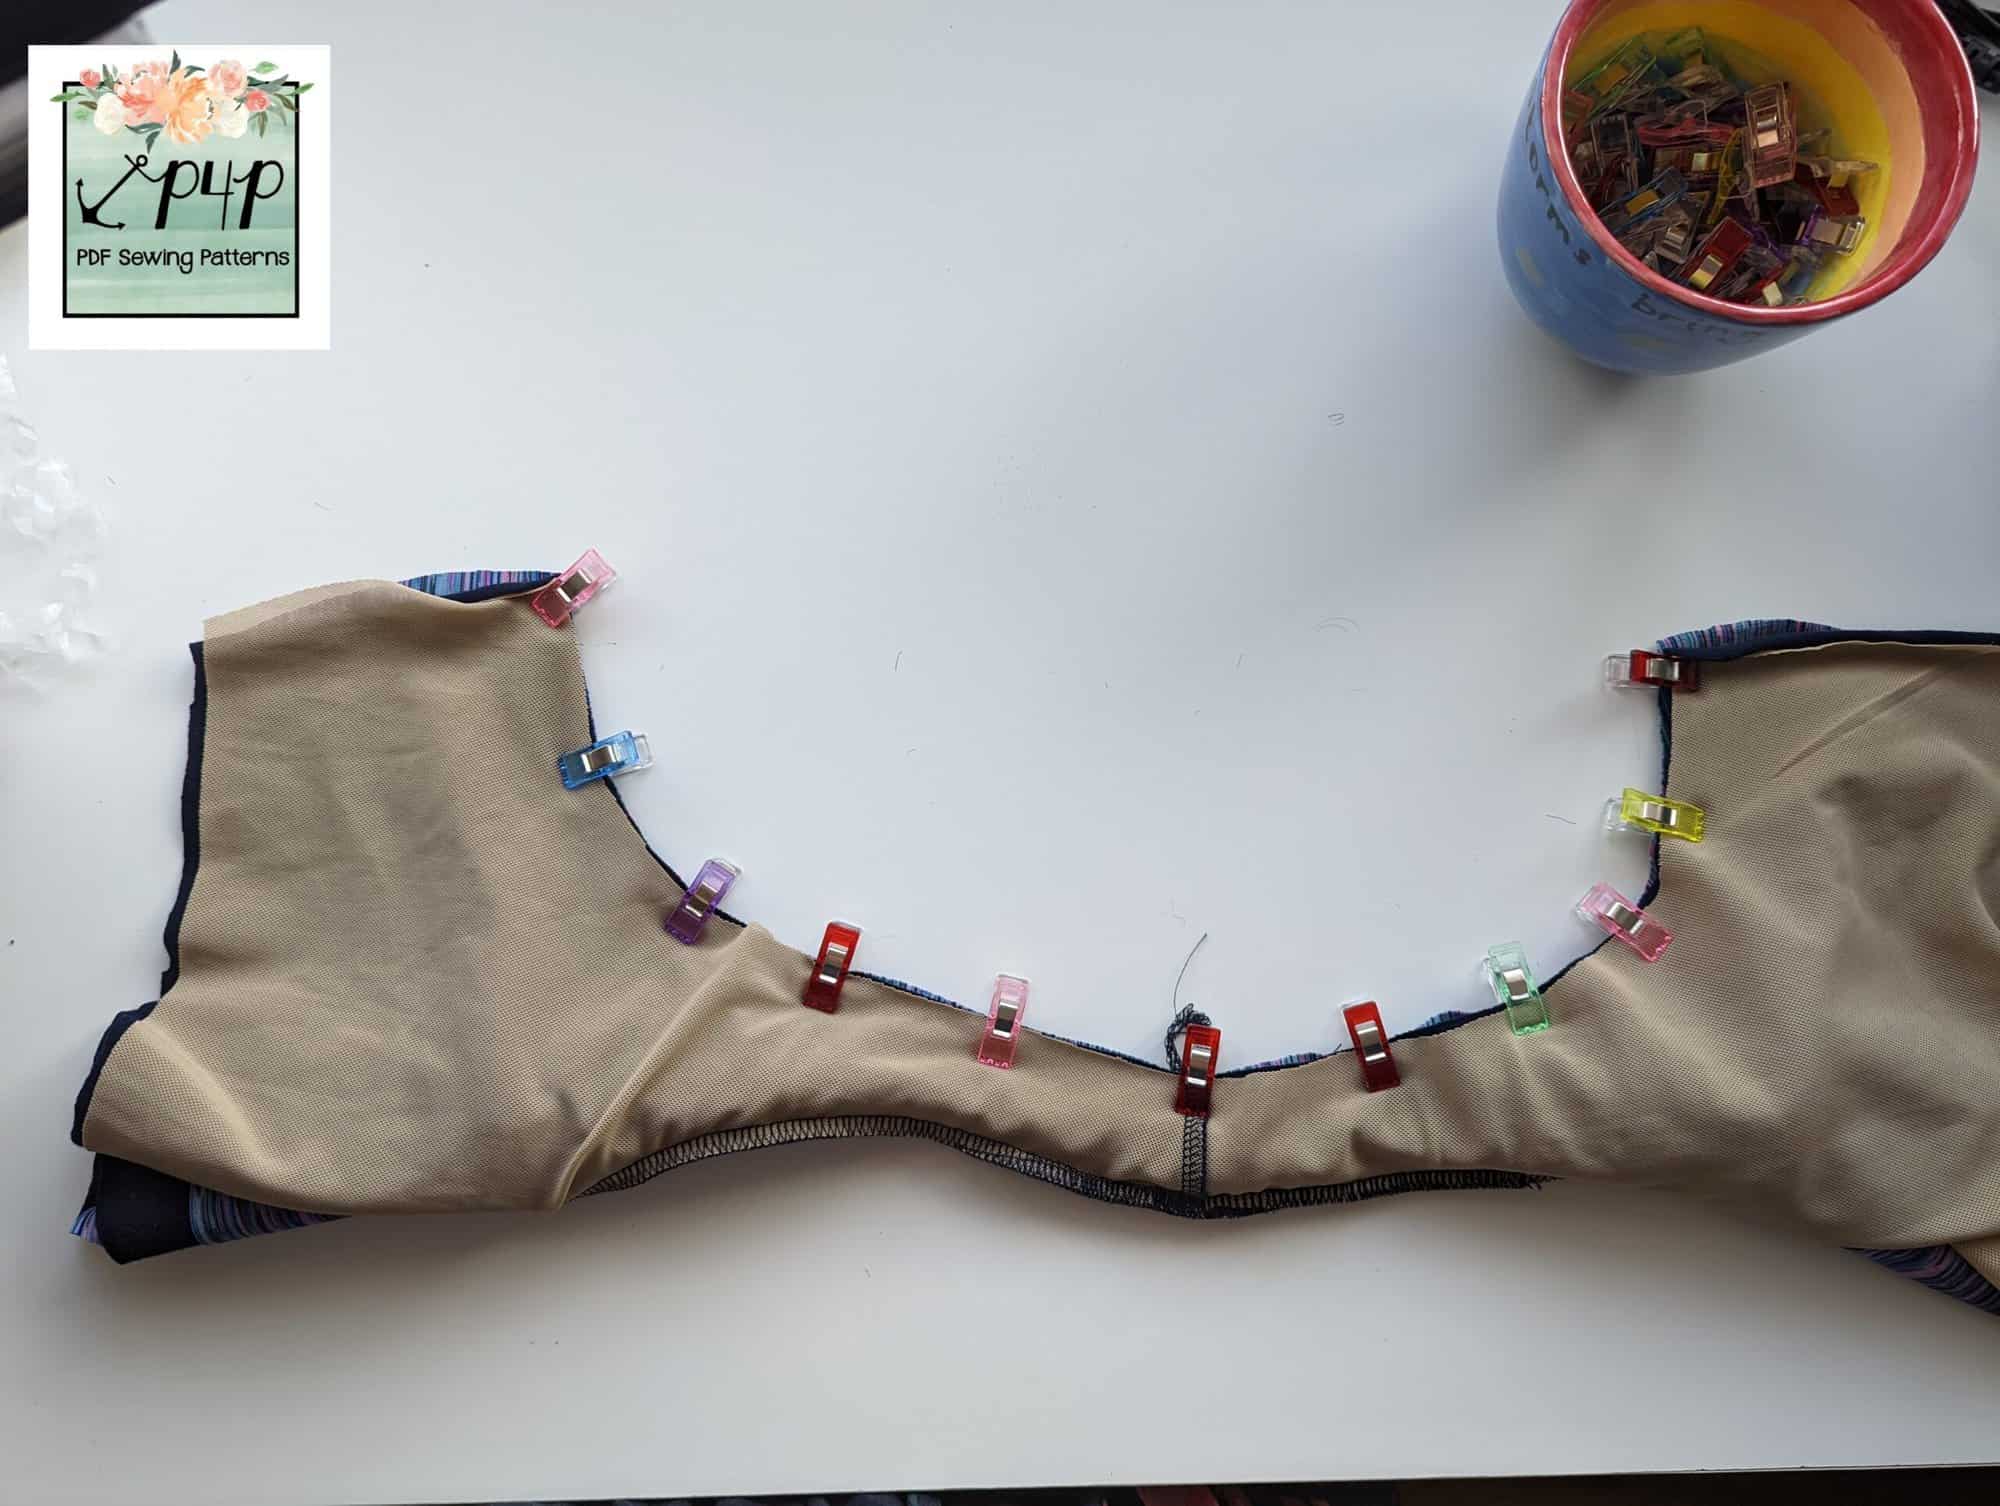
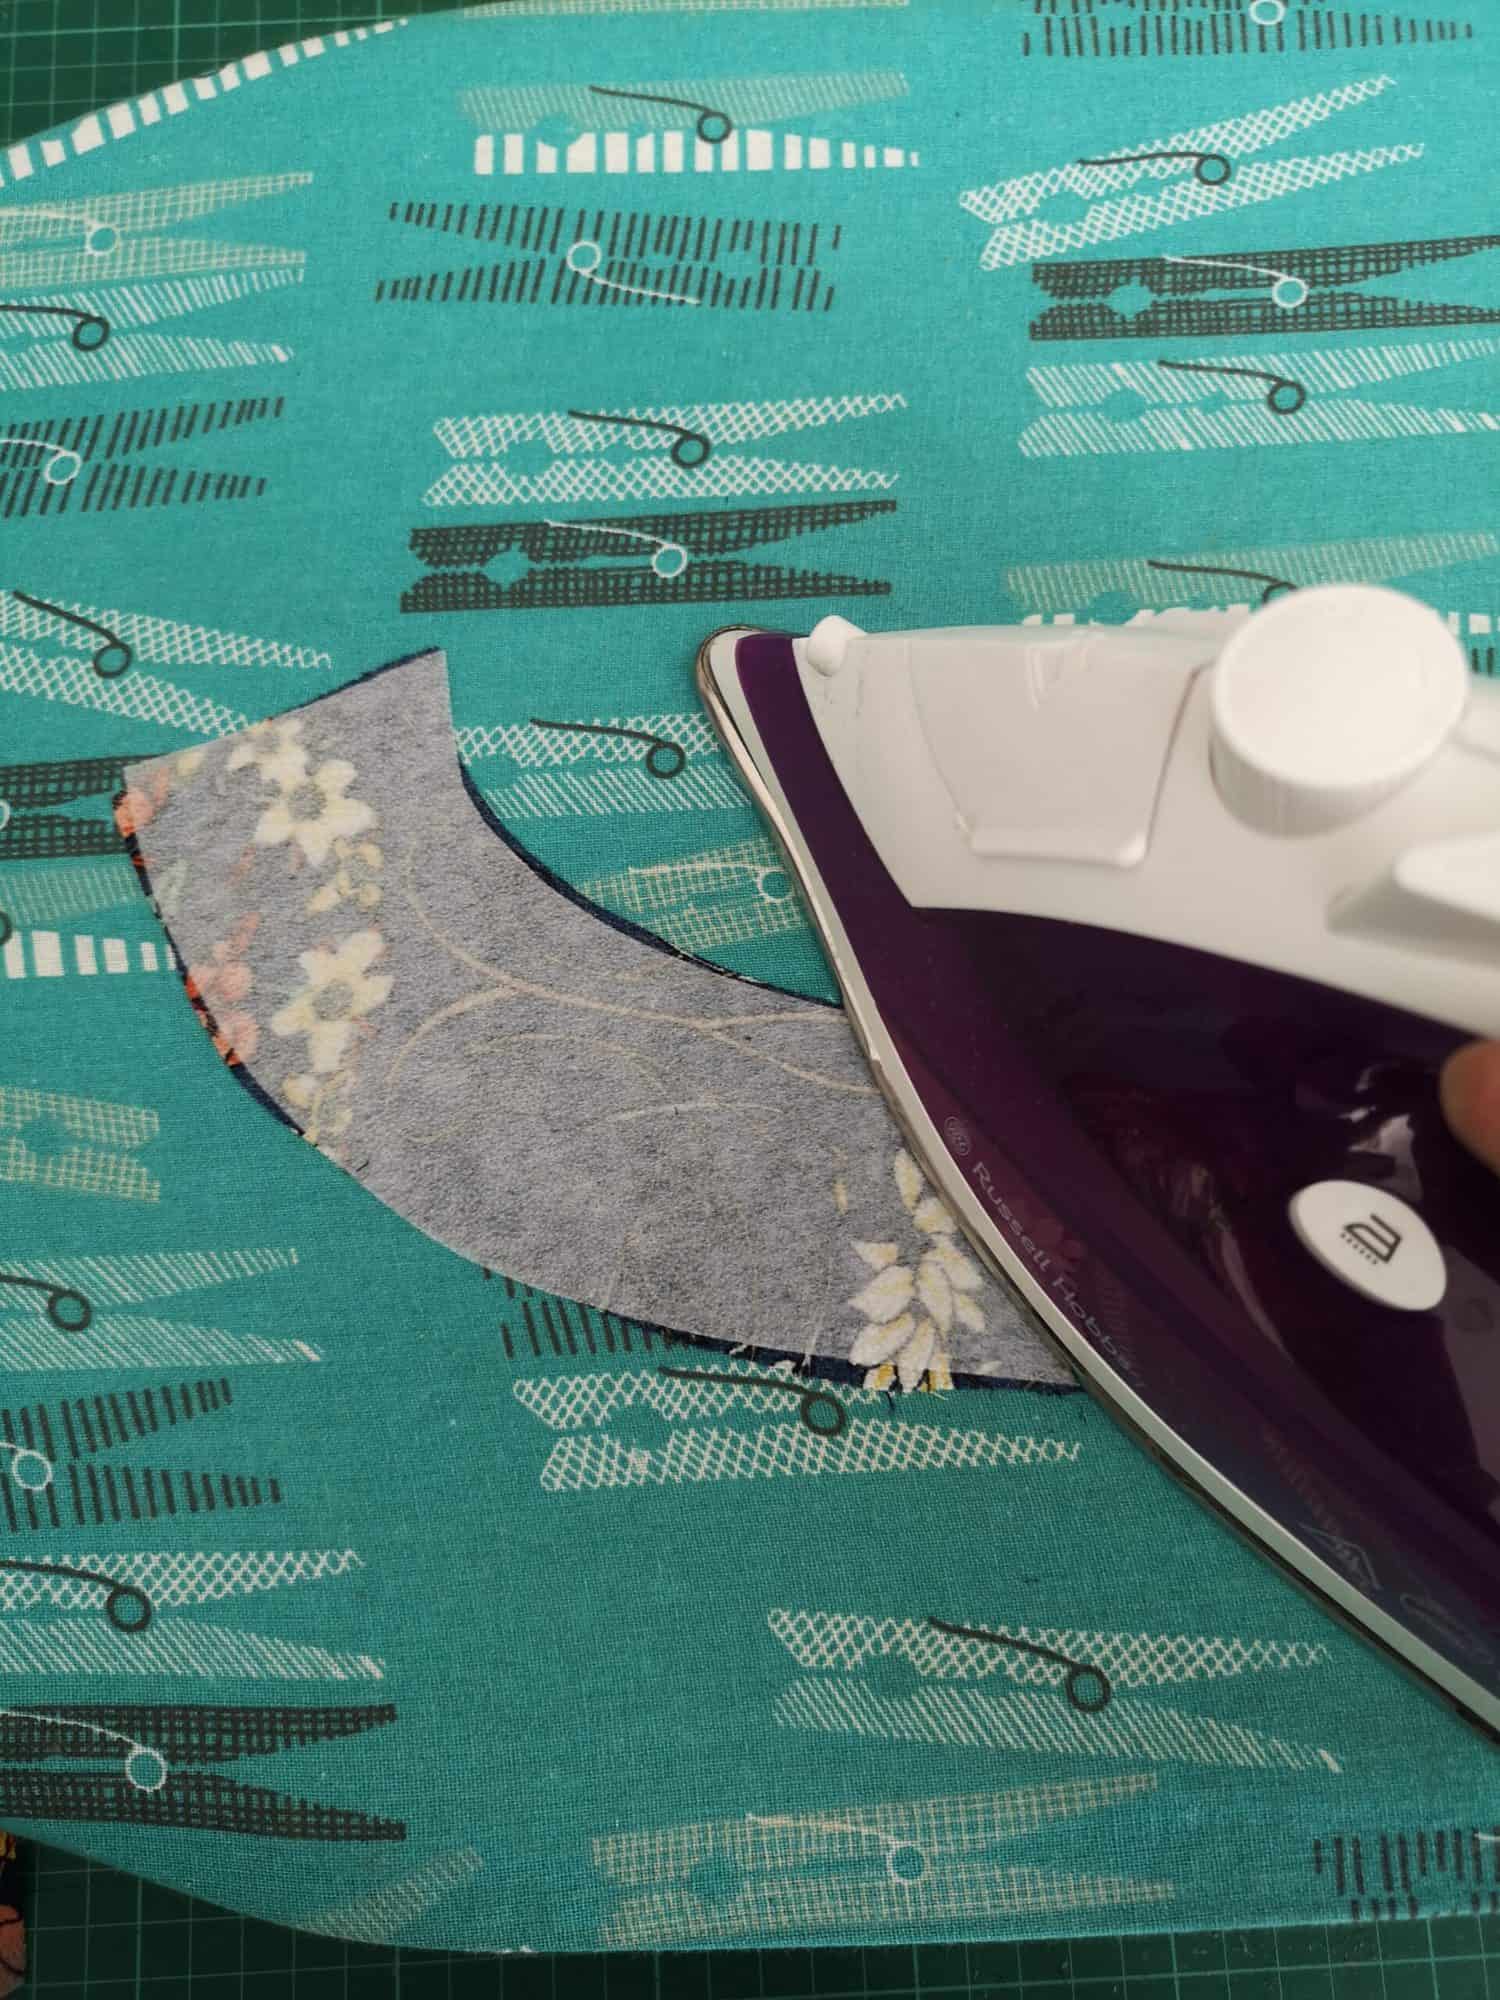
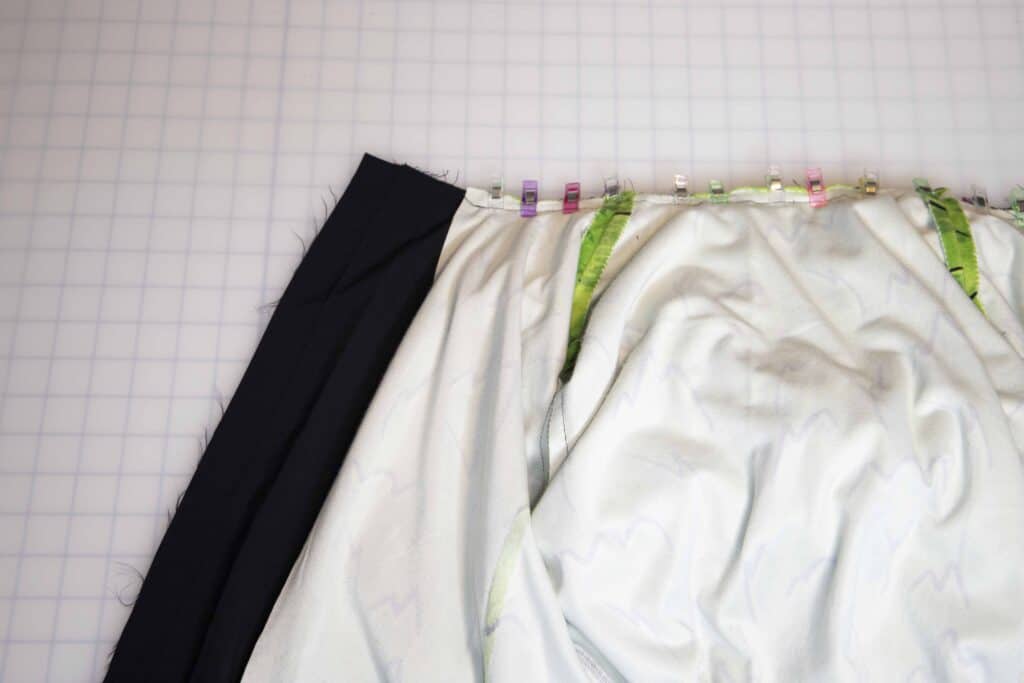
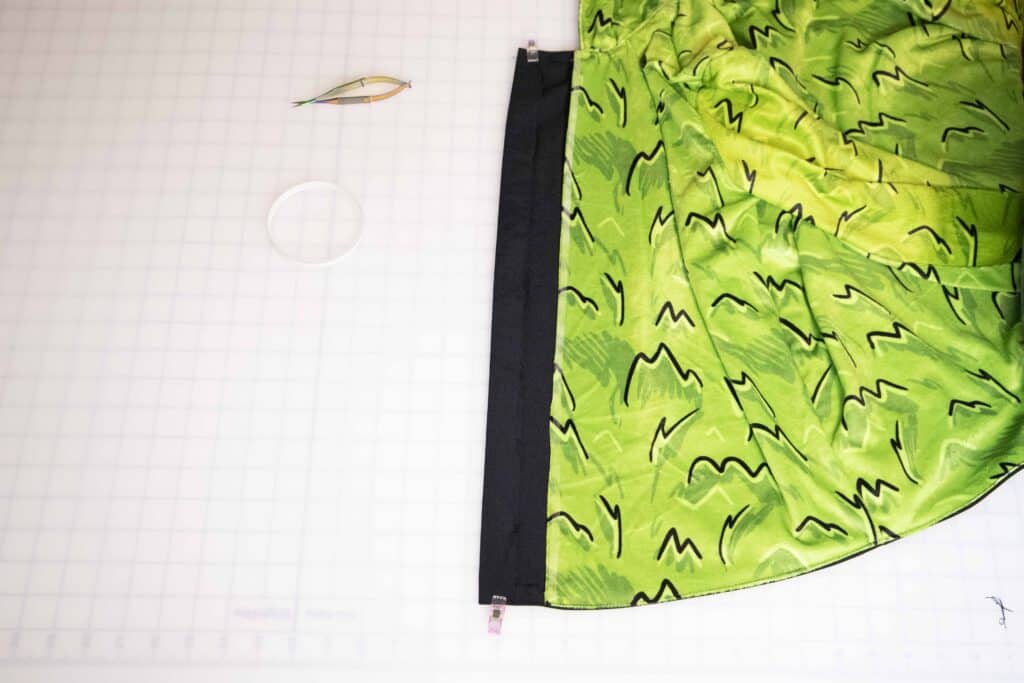
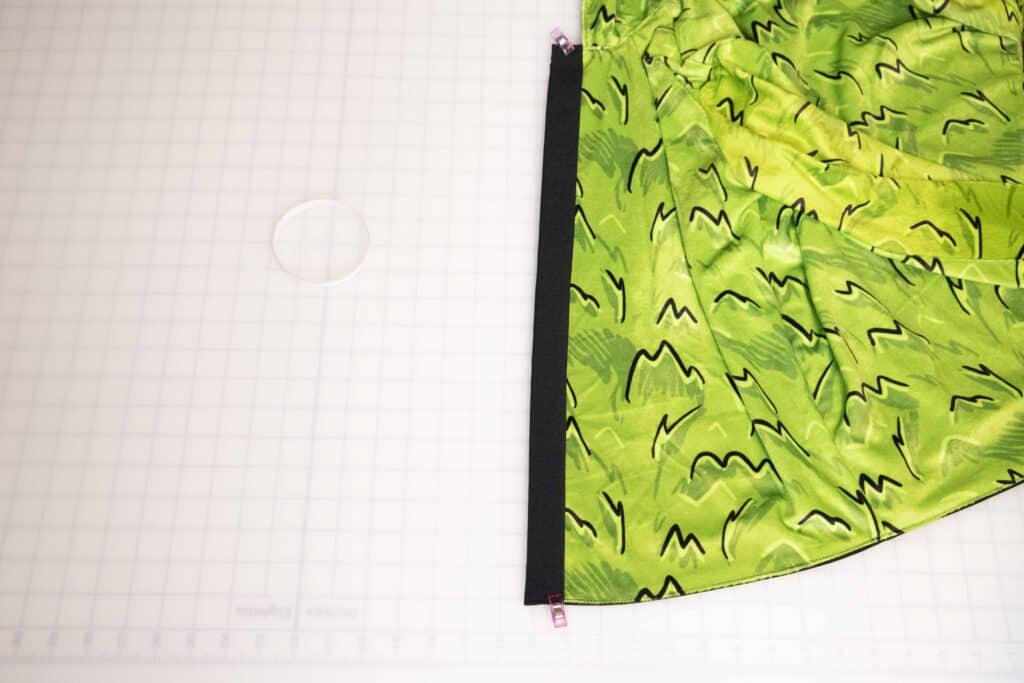
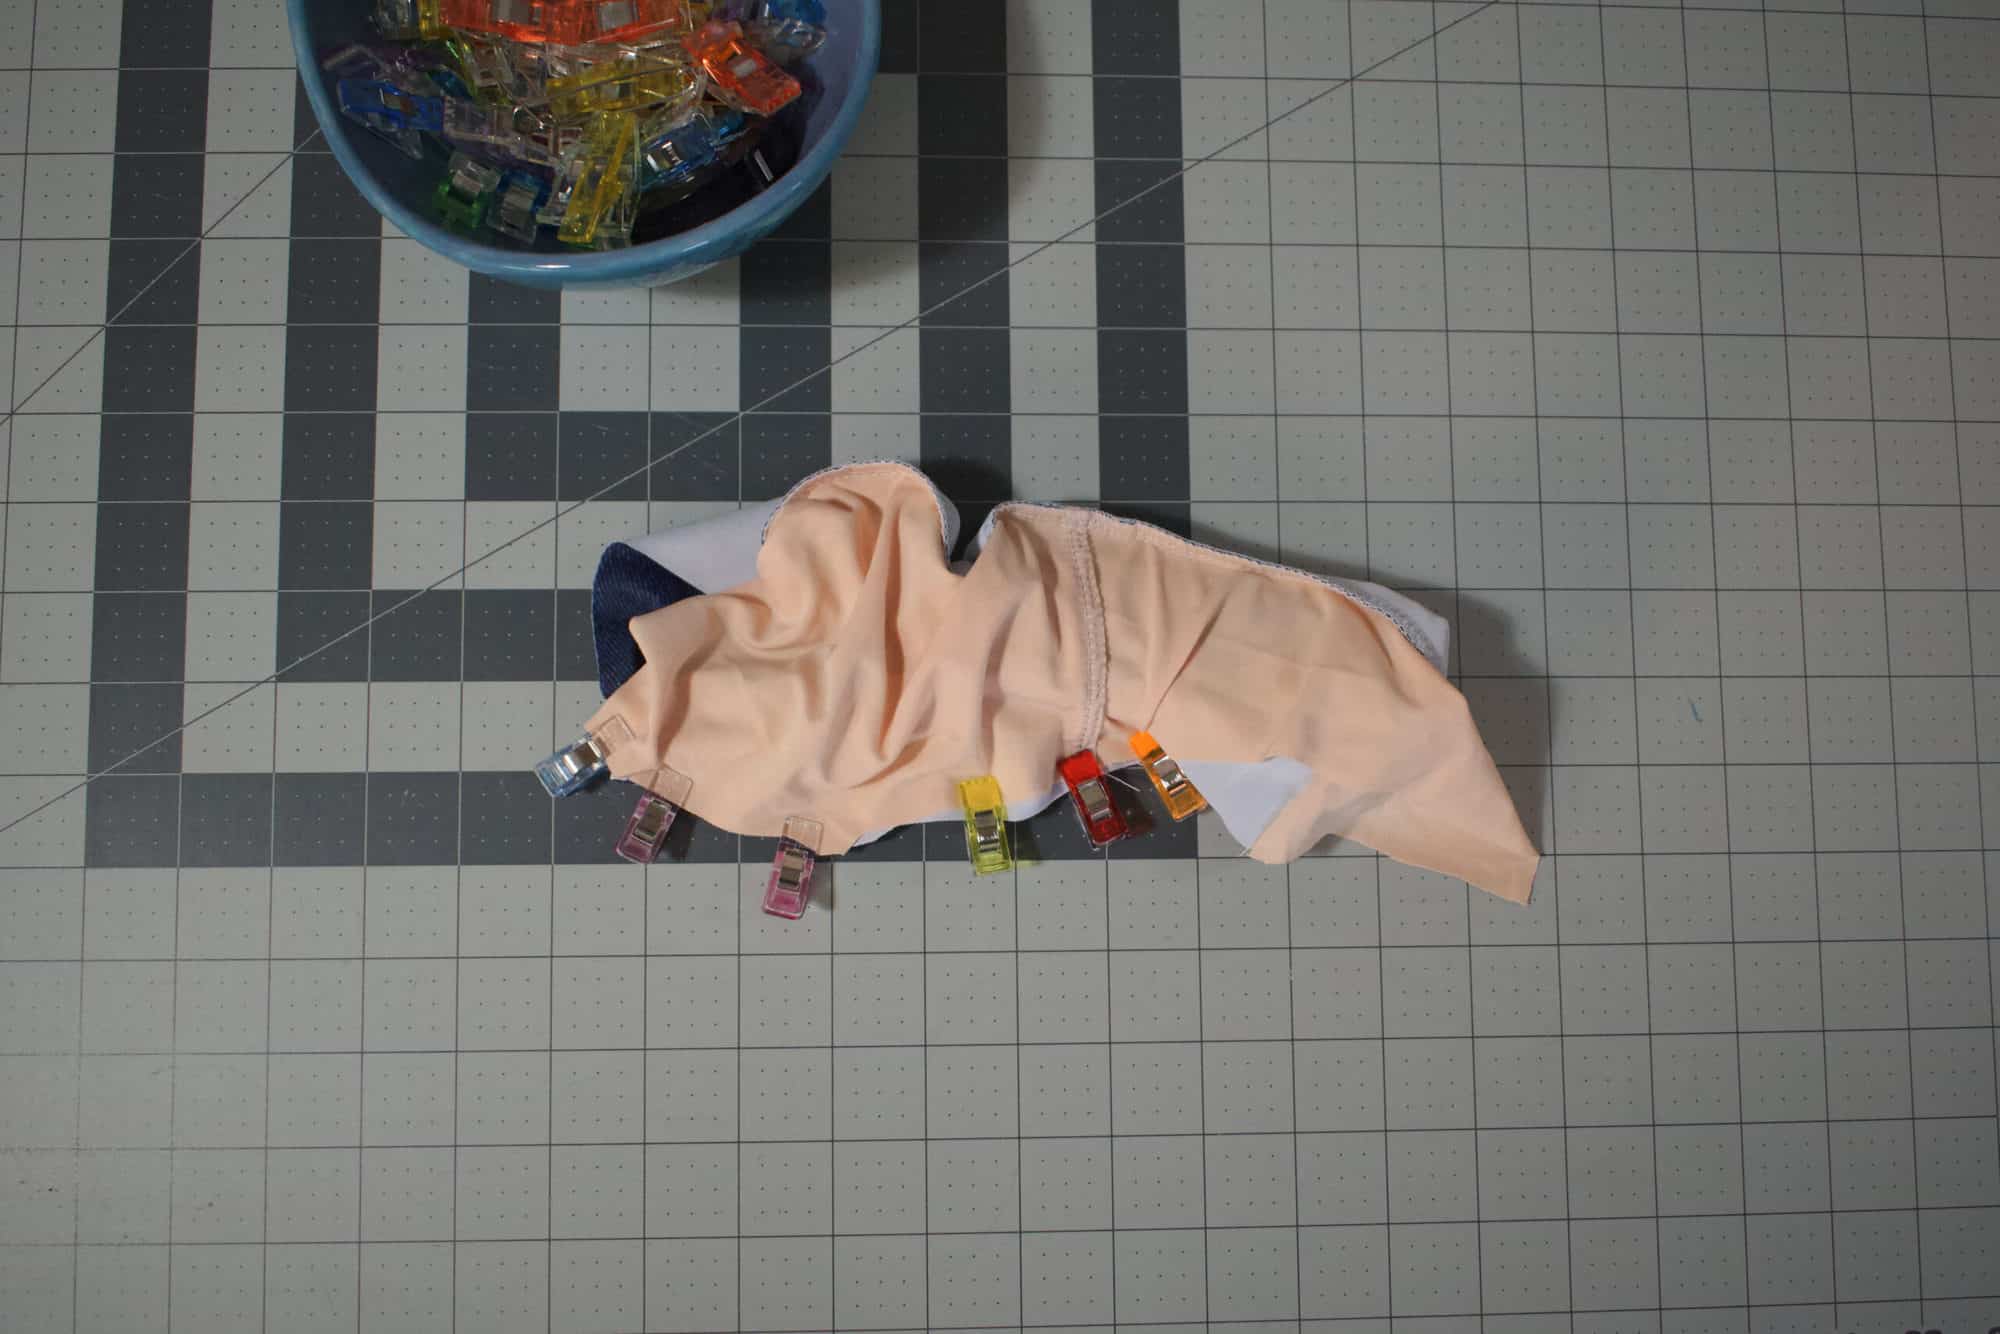
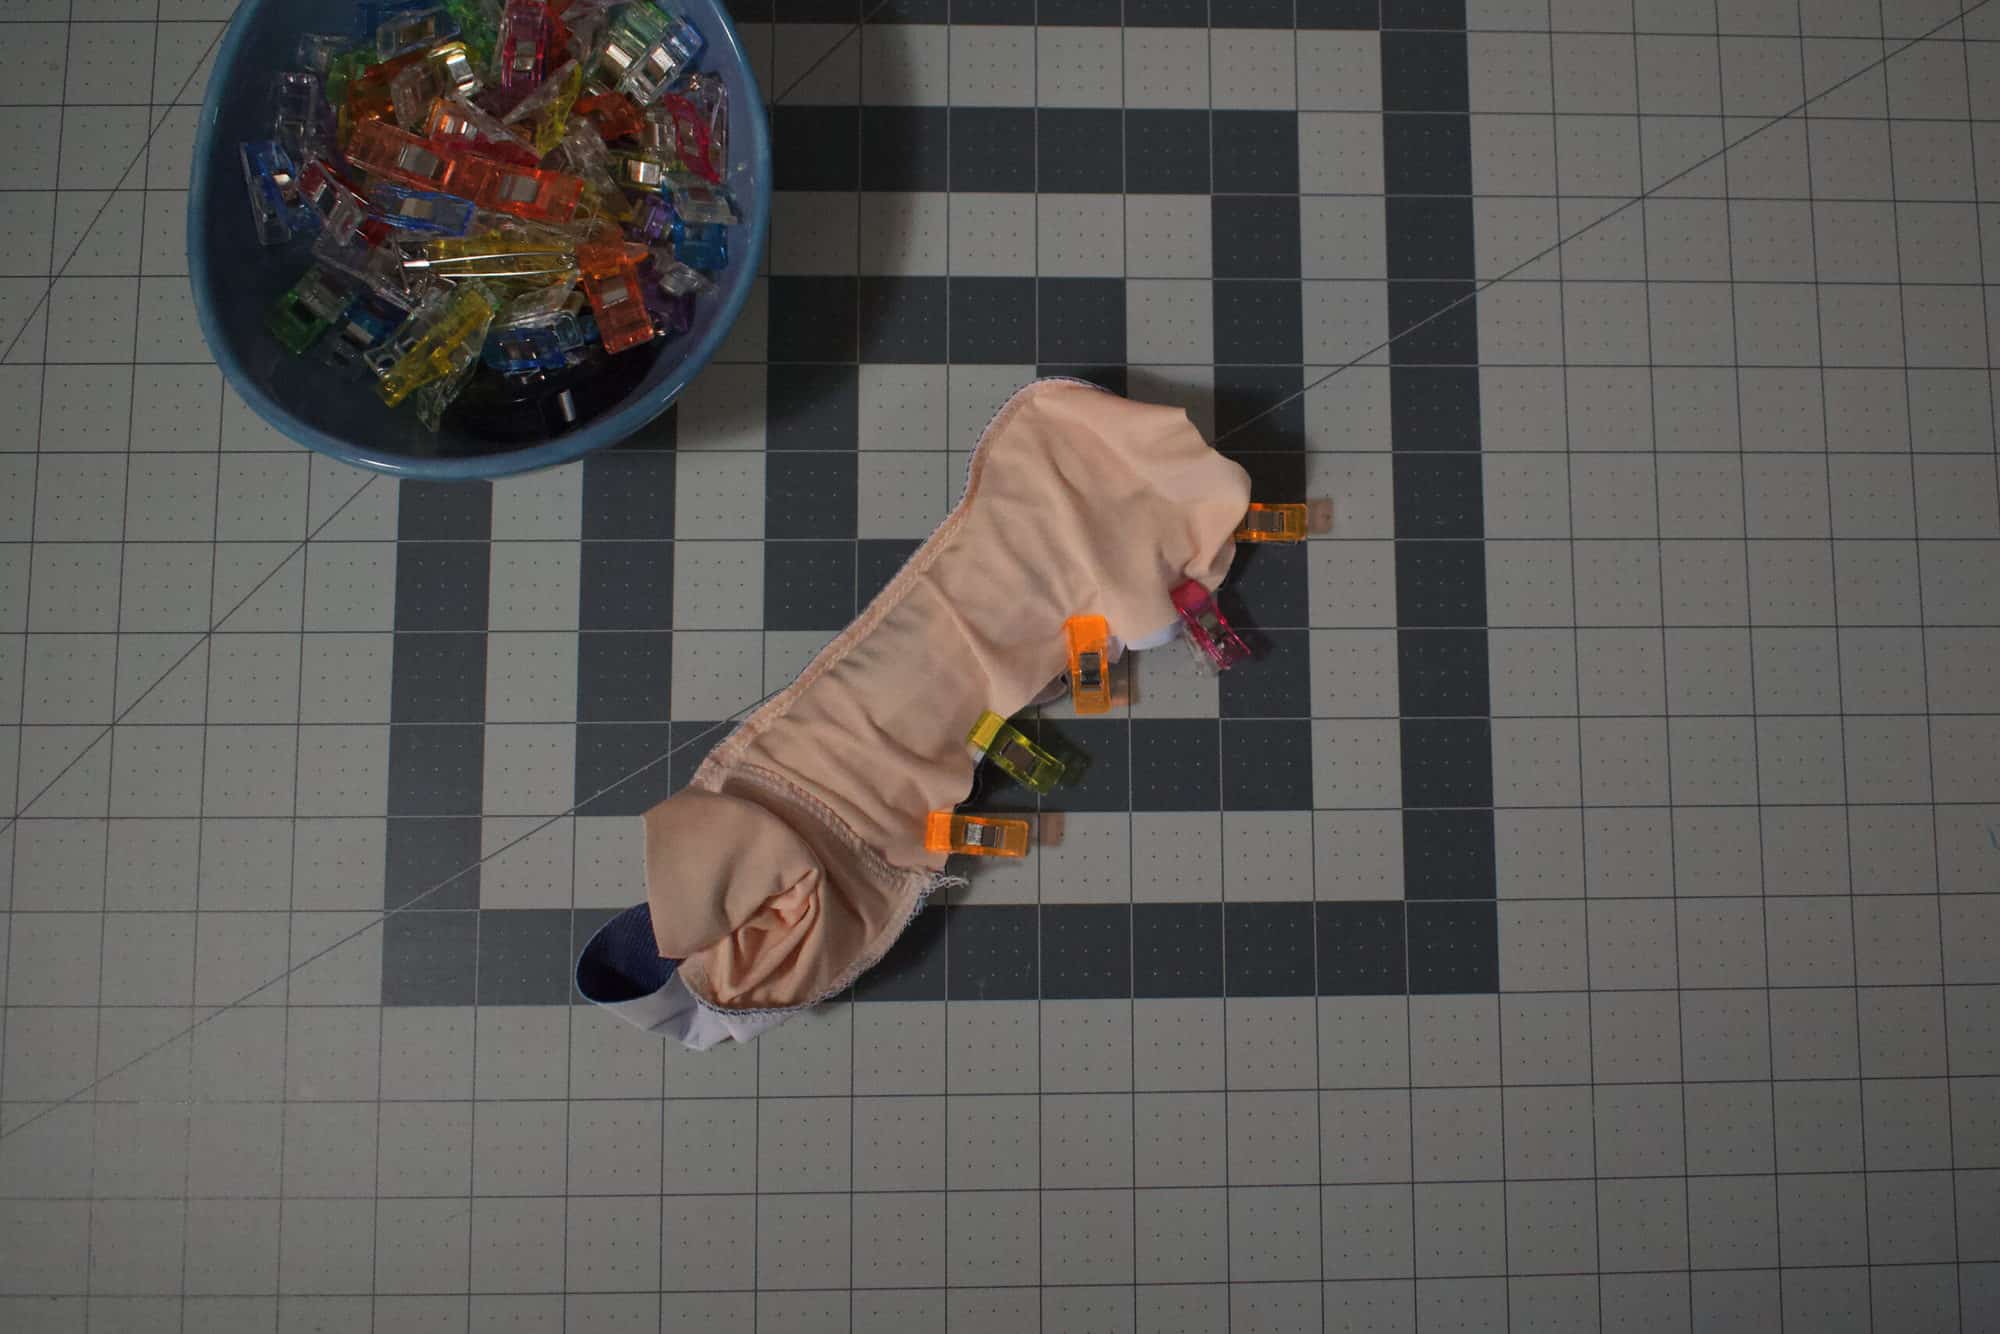
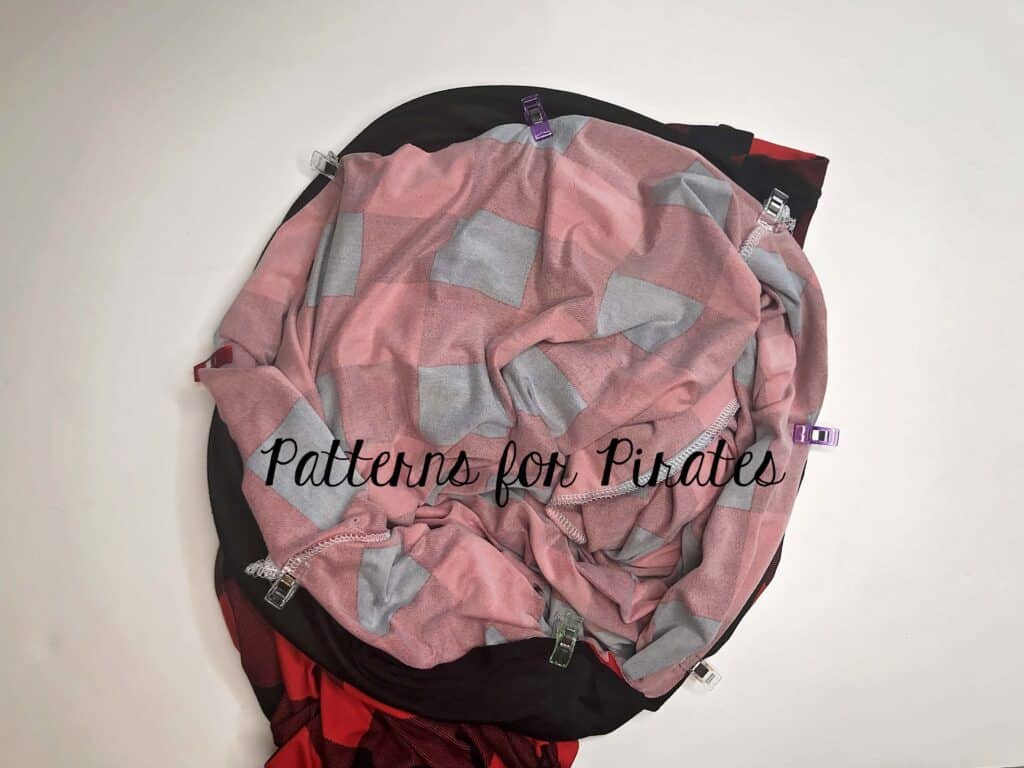
Clip one band to the raw edge of your bodice, front and back, making sure to butt the edges at the side seam and baste in place.
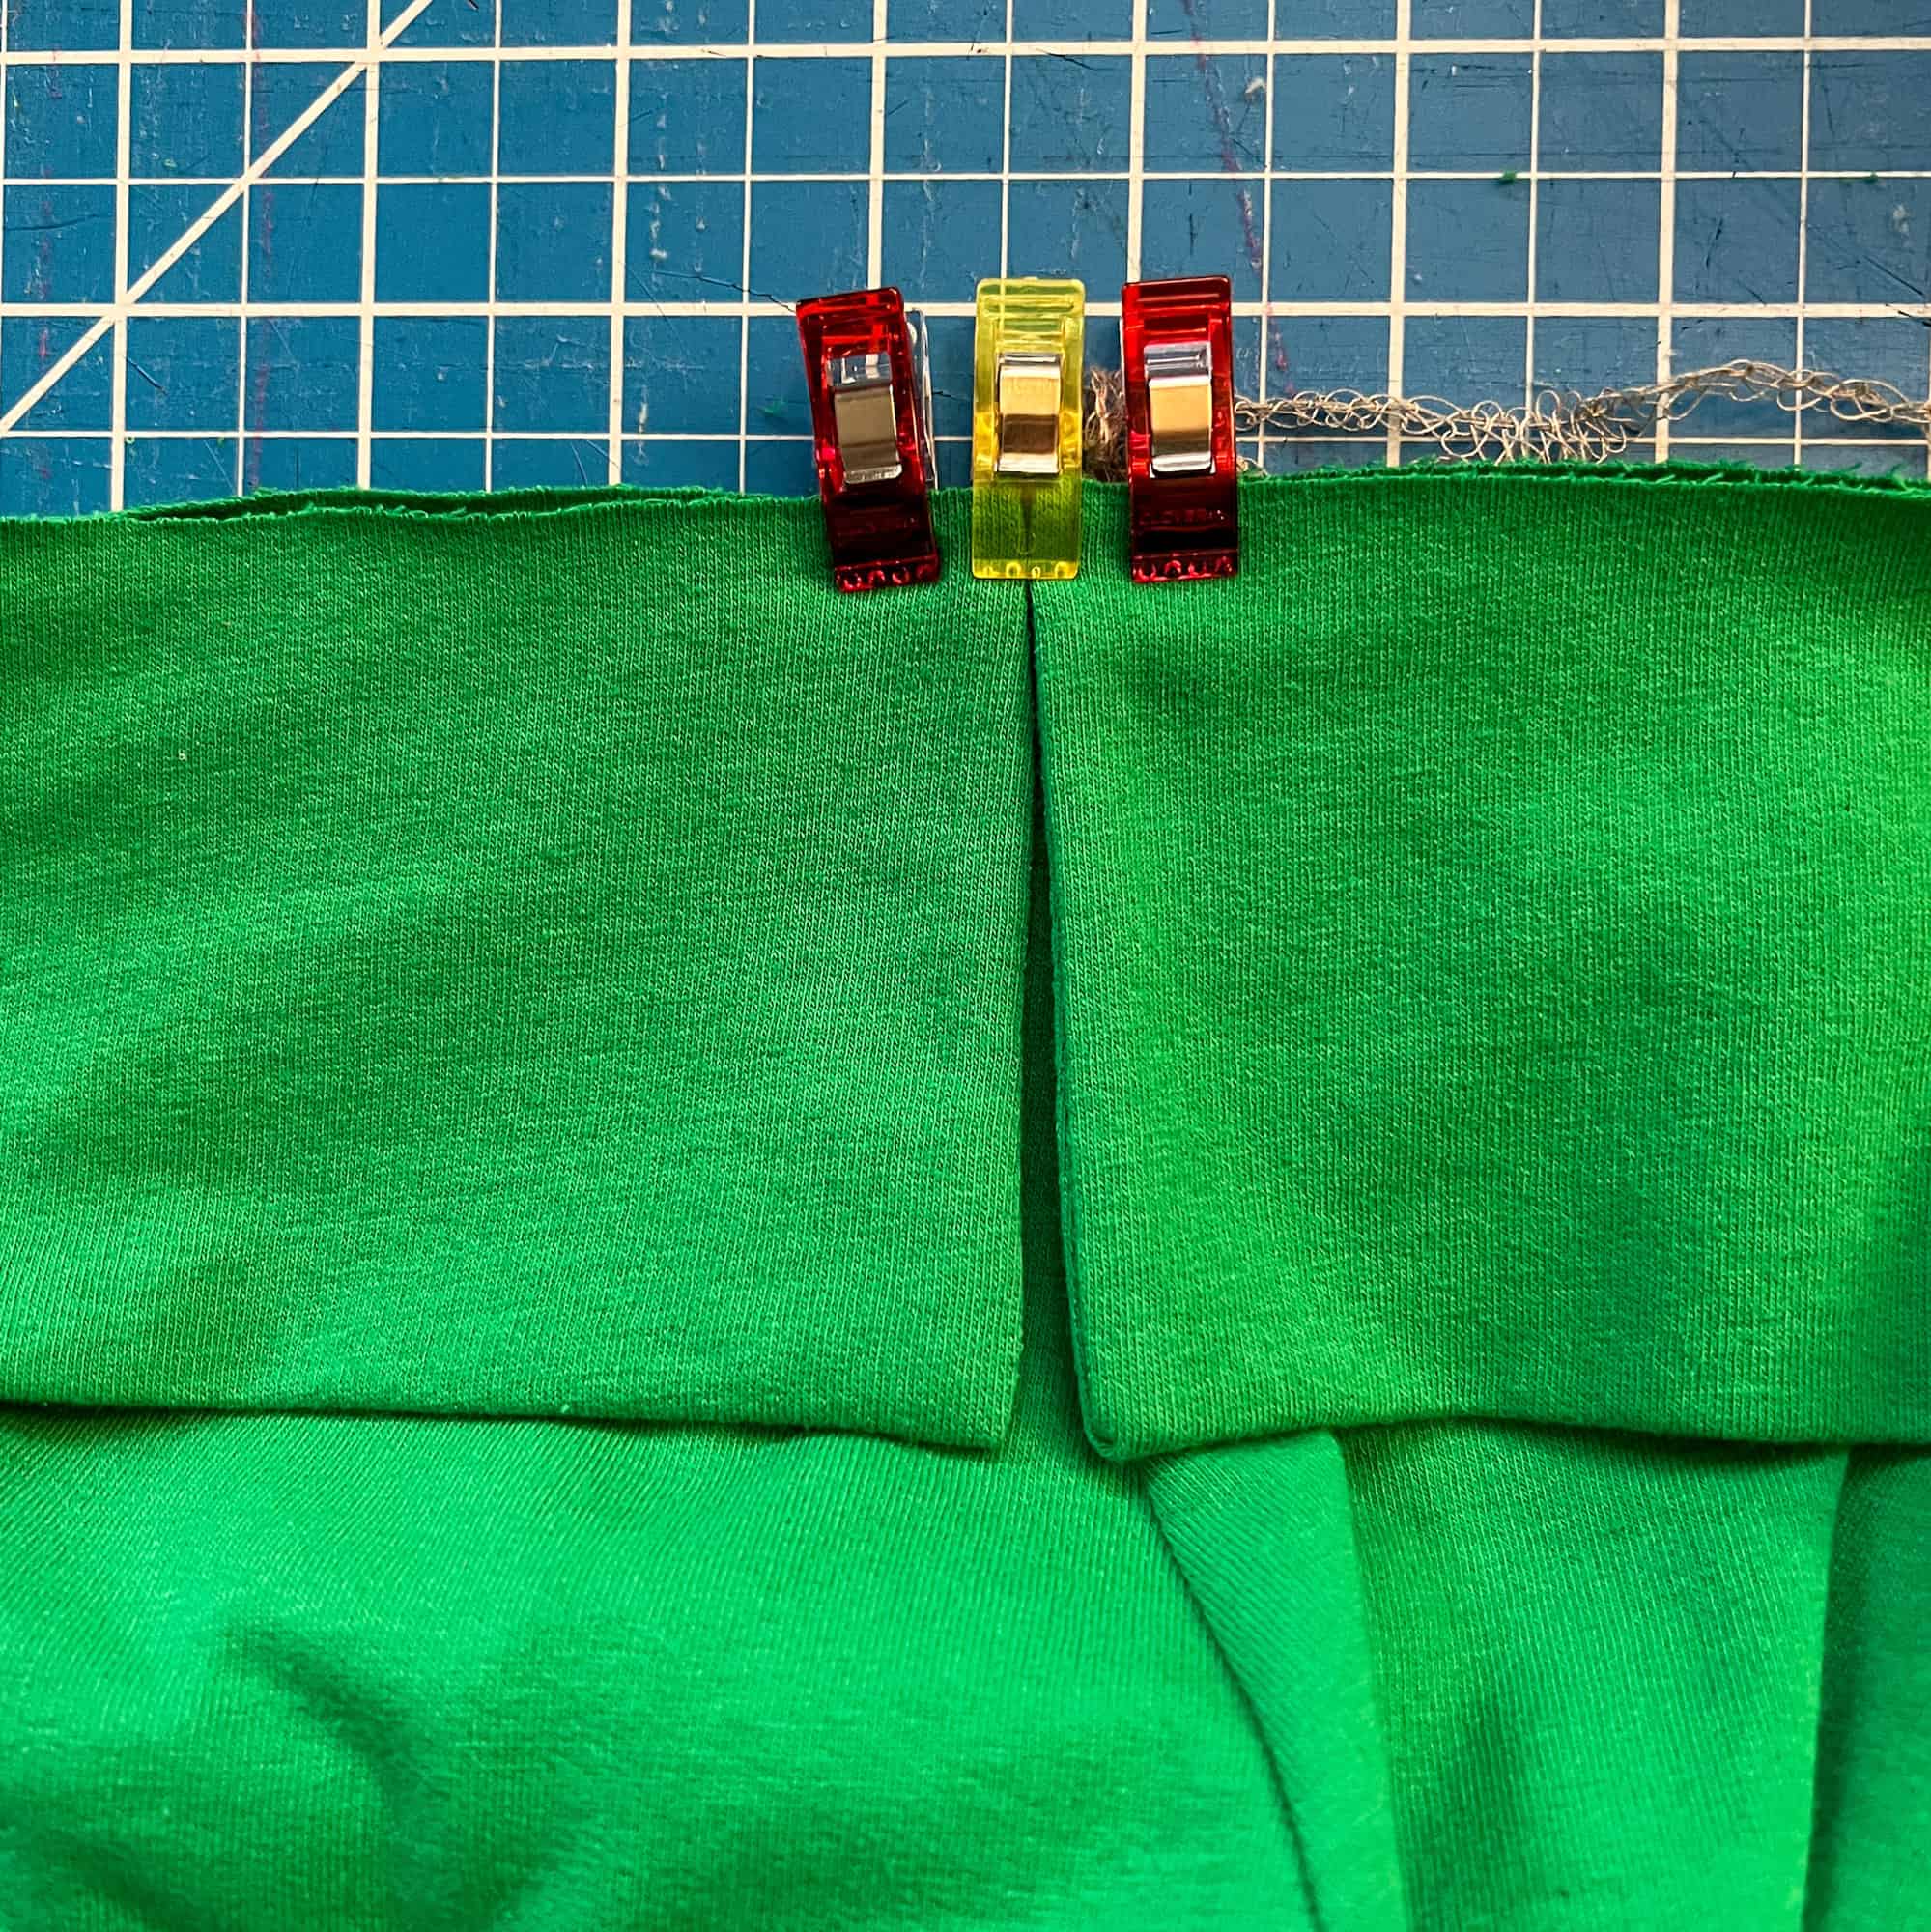
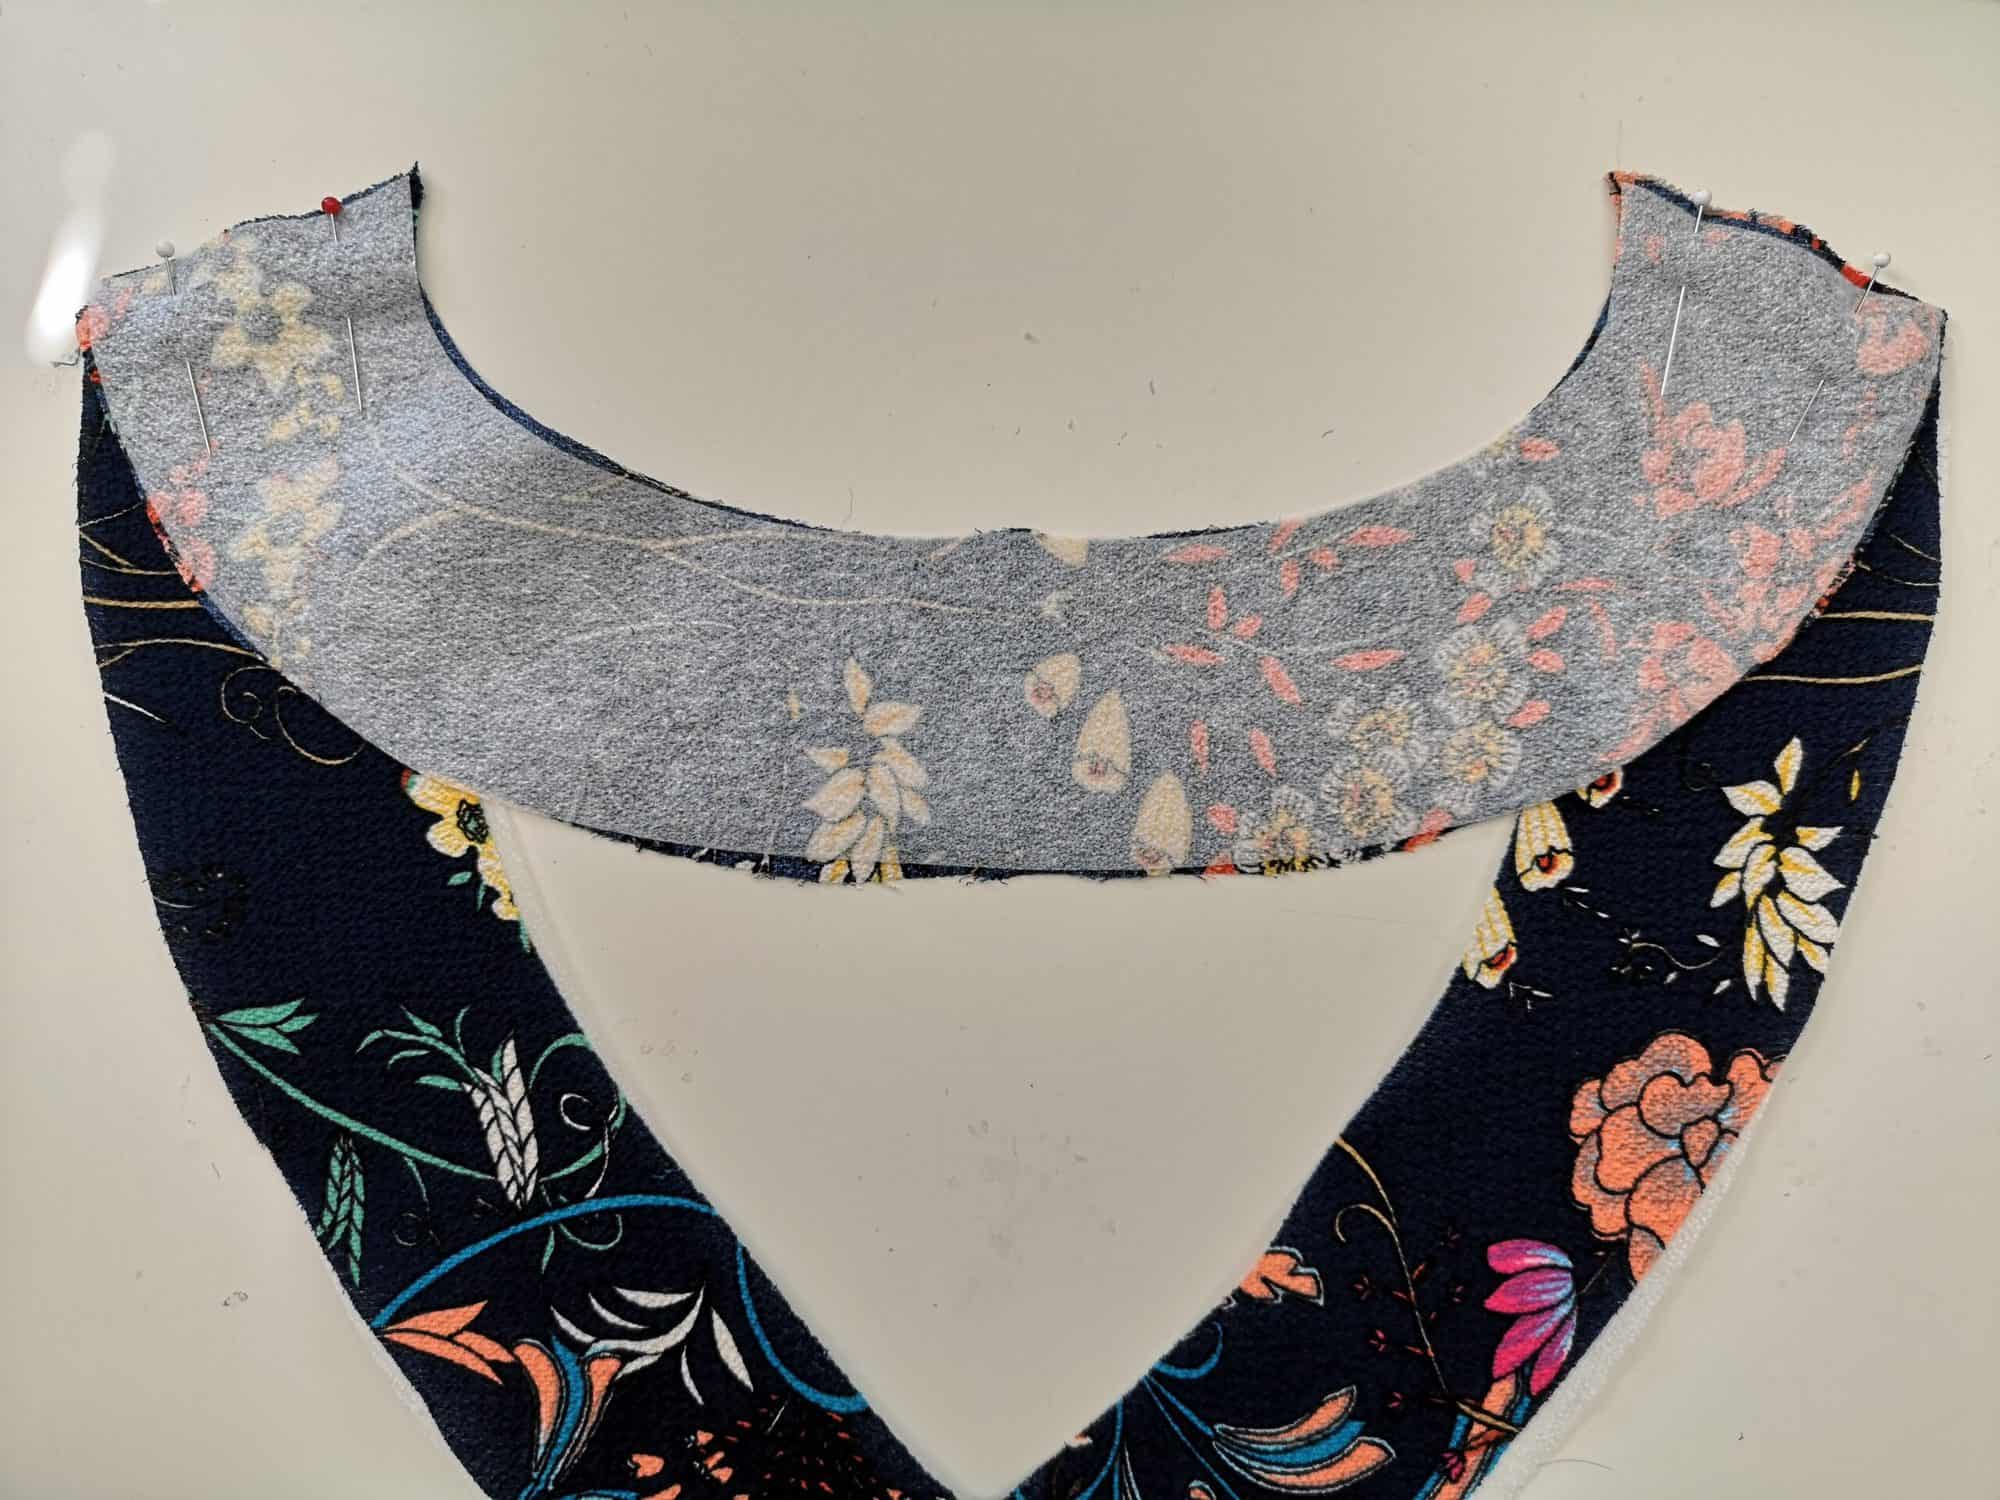
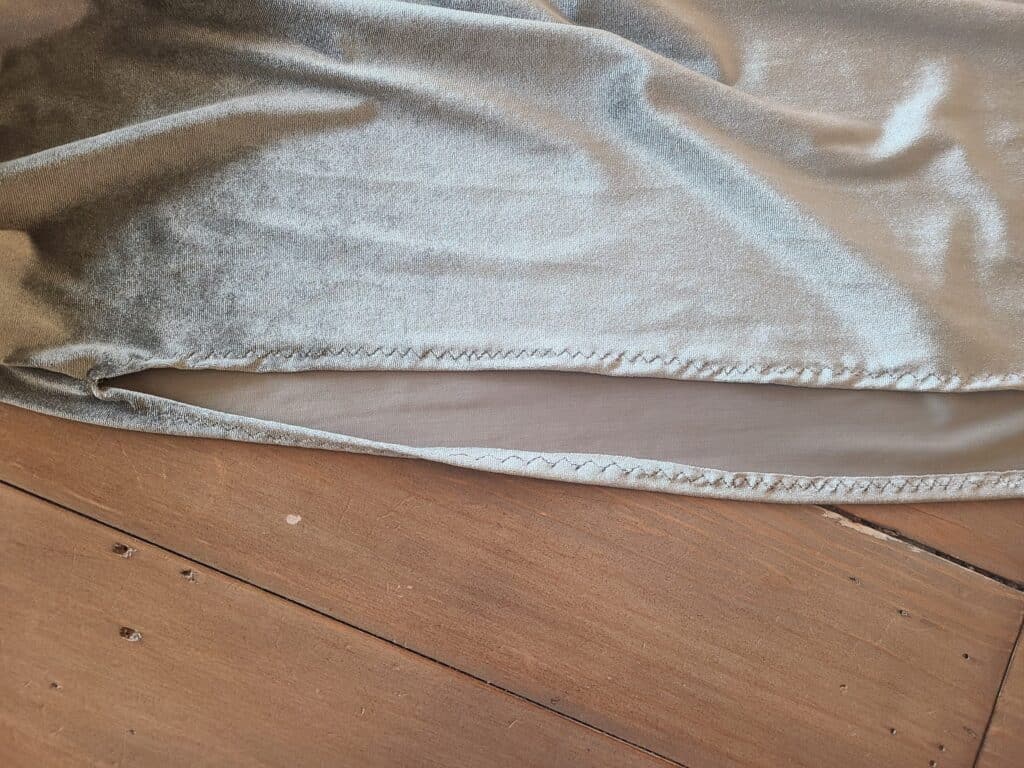
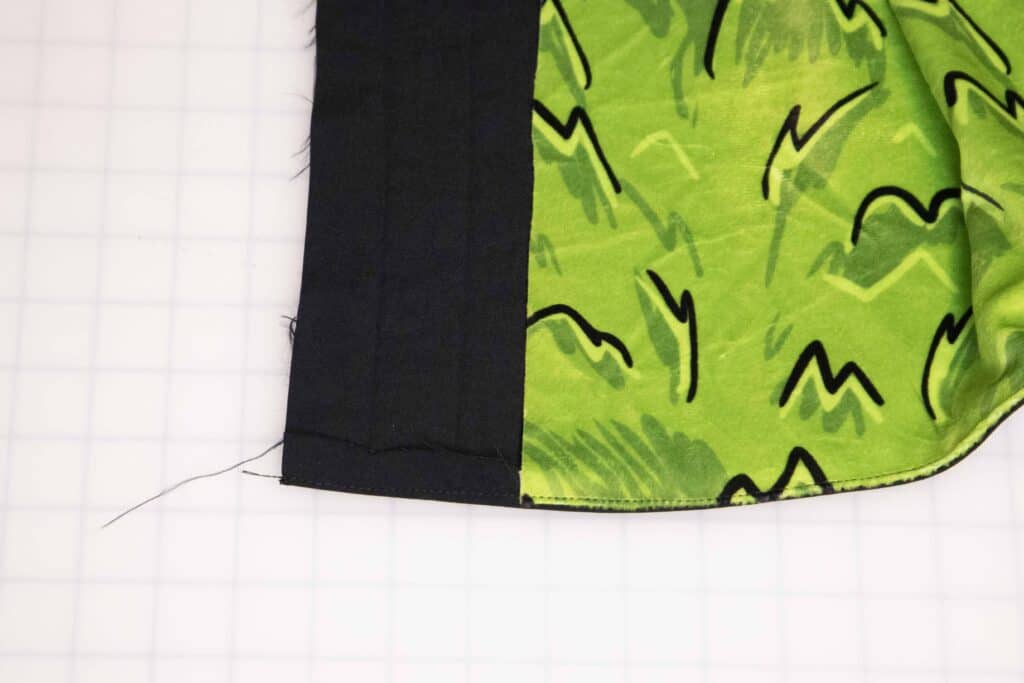
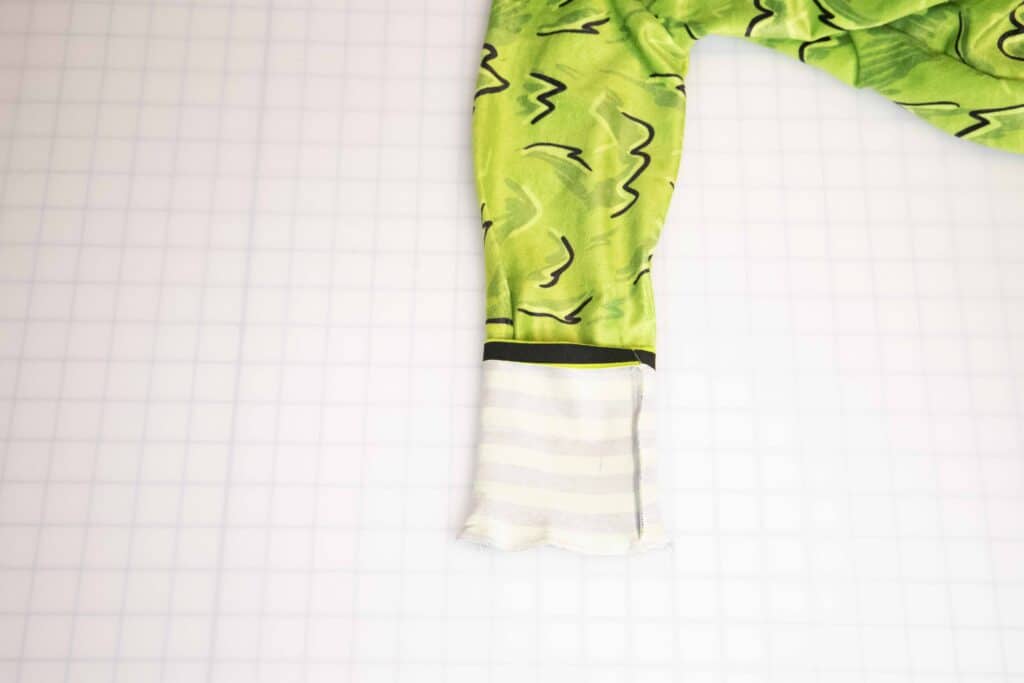
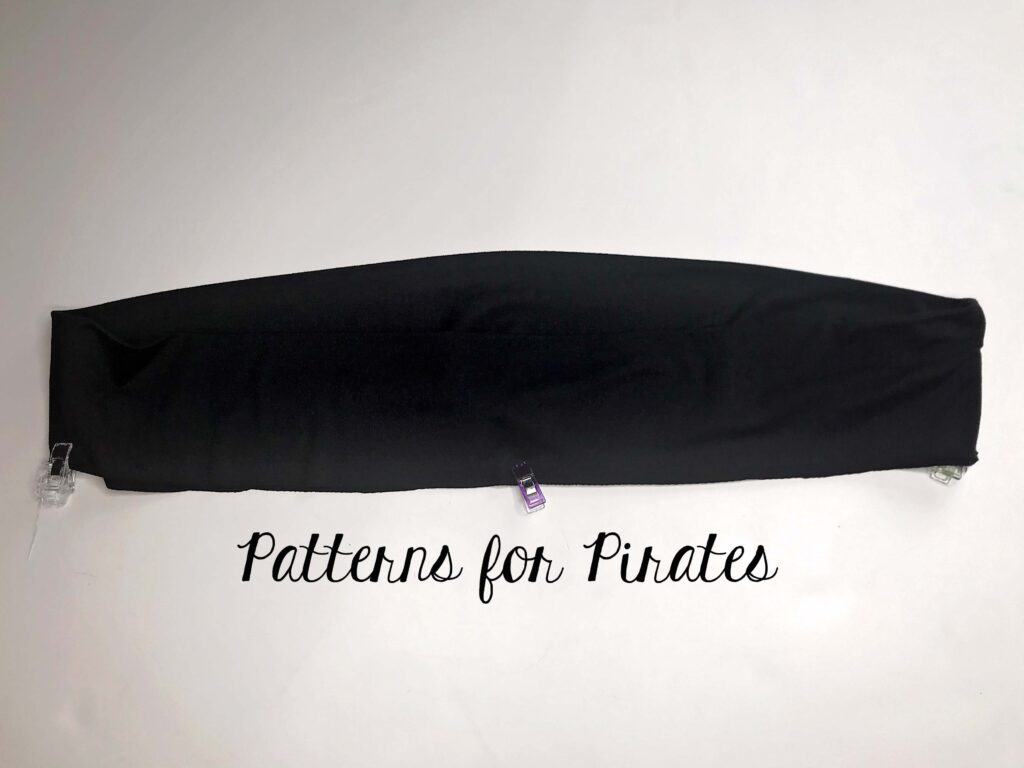
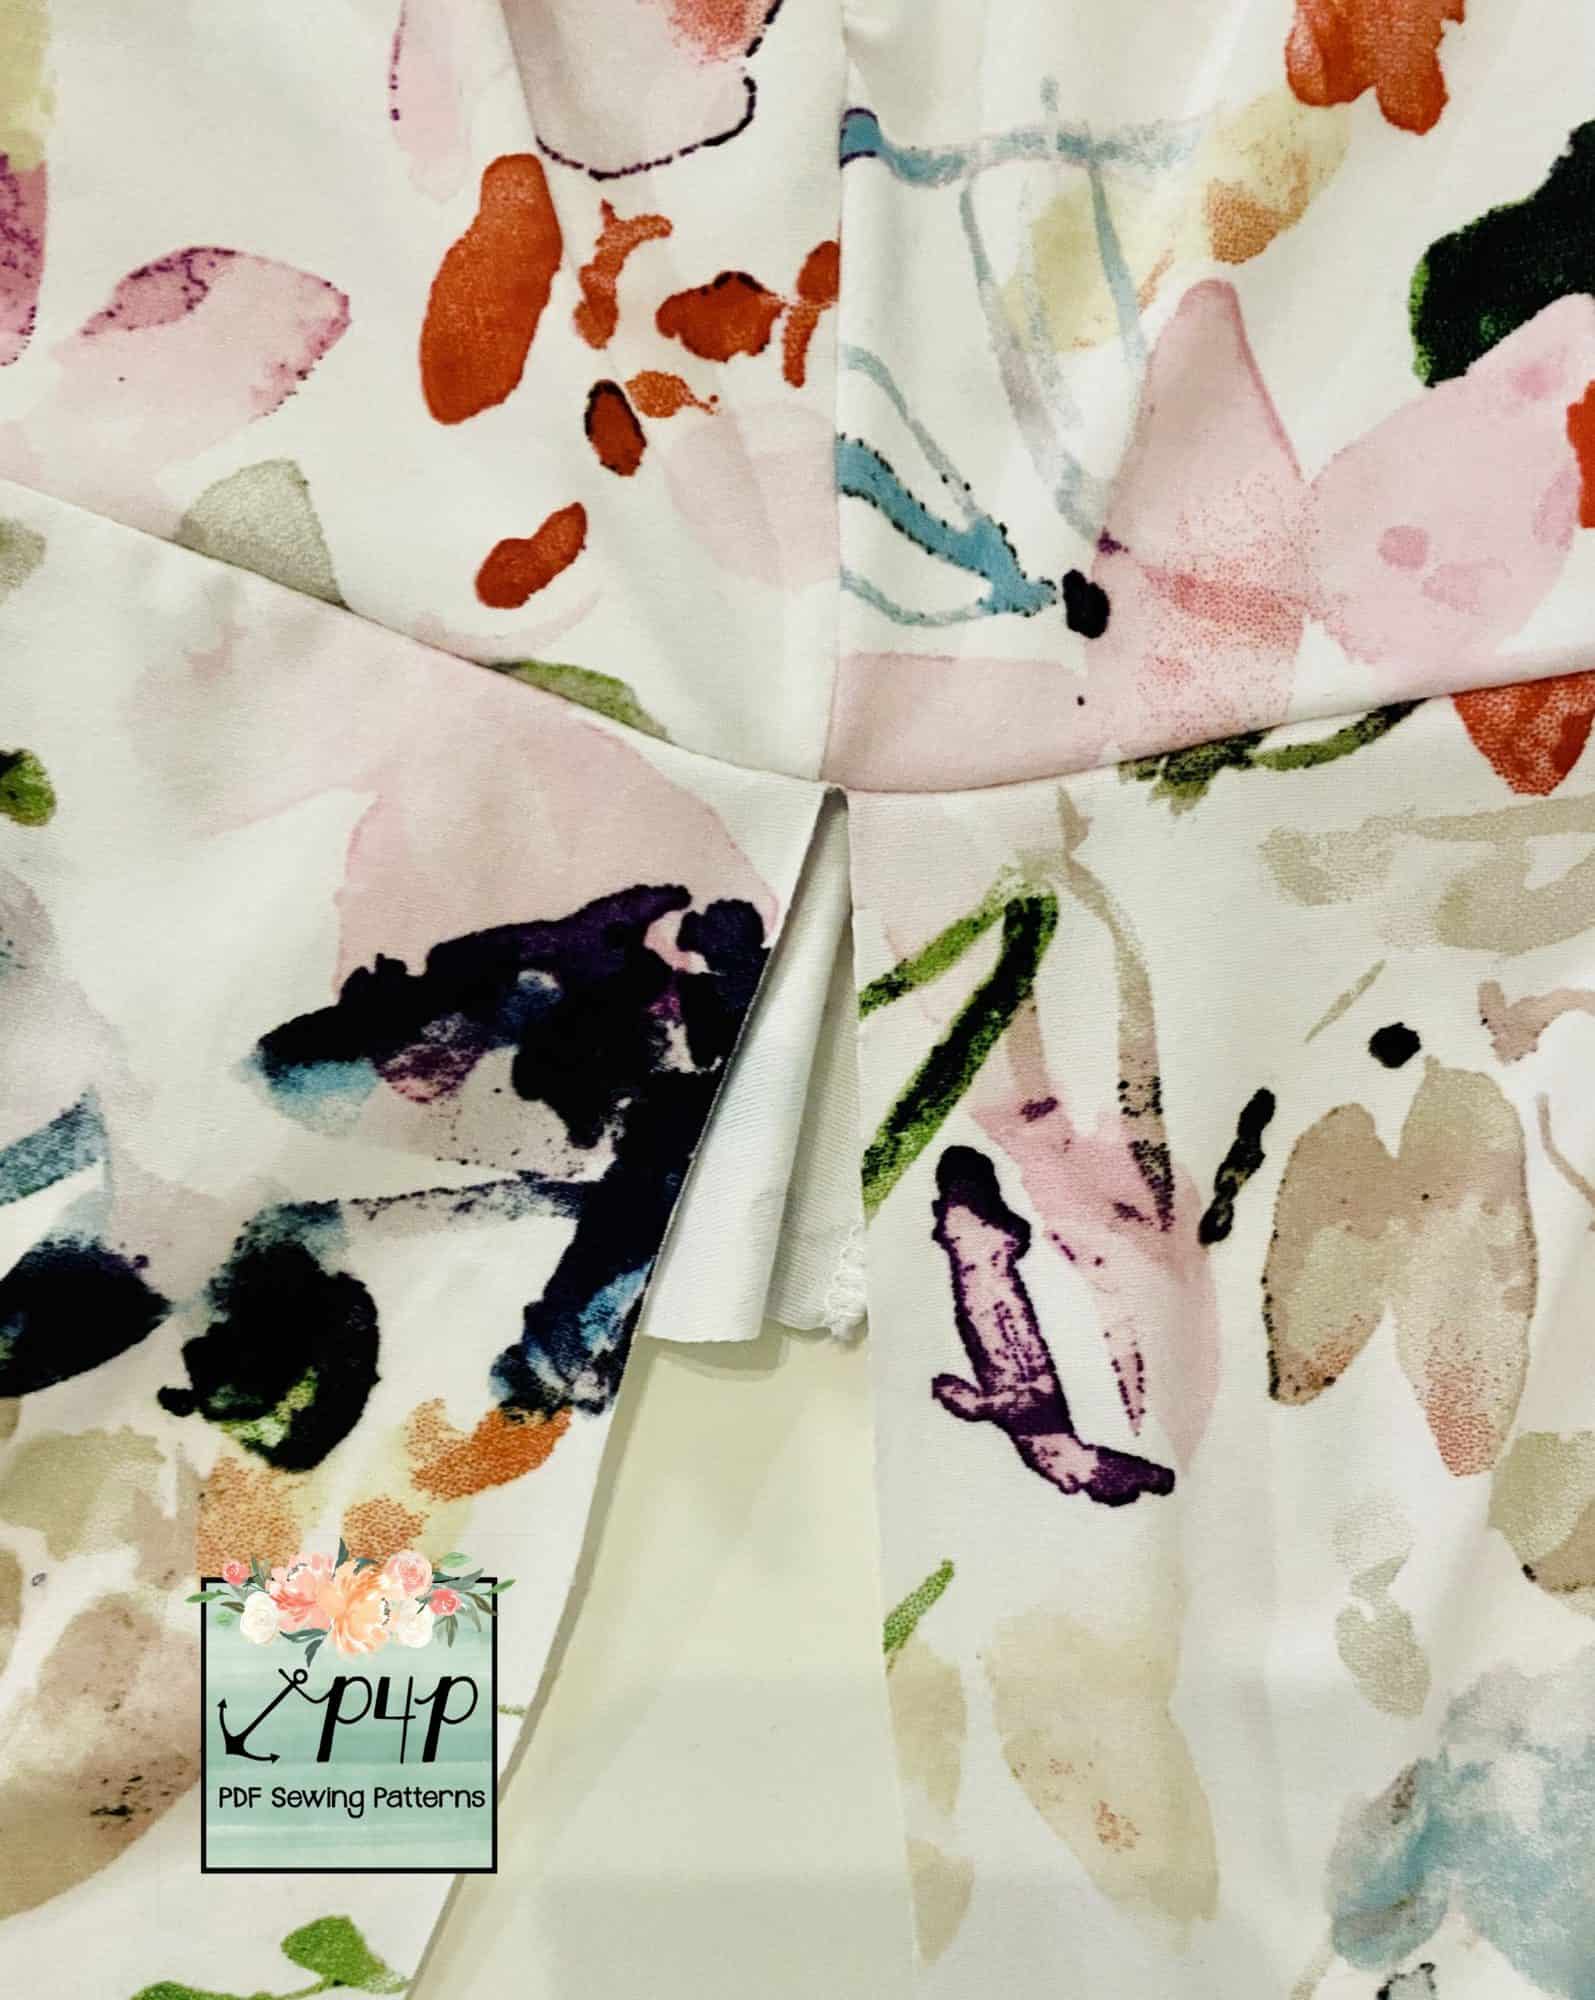
Sew the bands in place, press the seam towards the bodice, and topstitch in place (if you desire!).
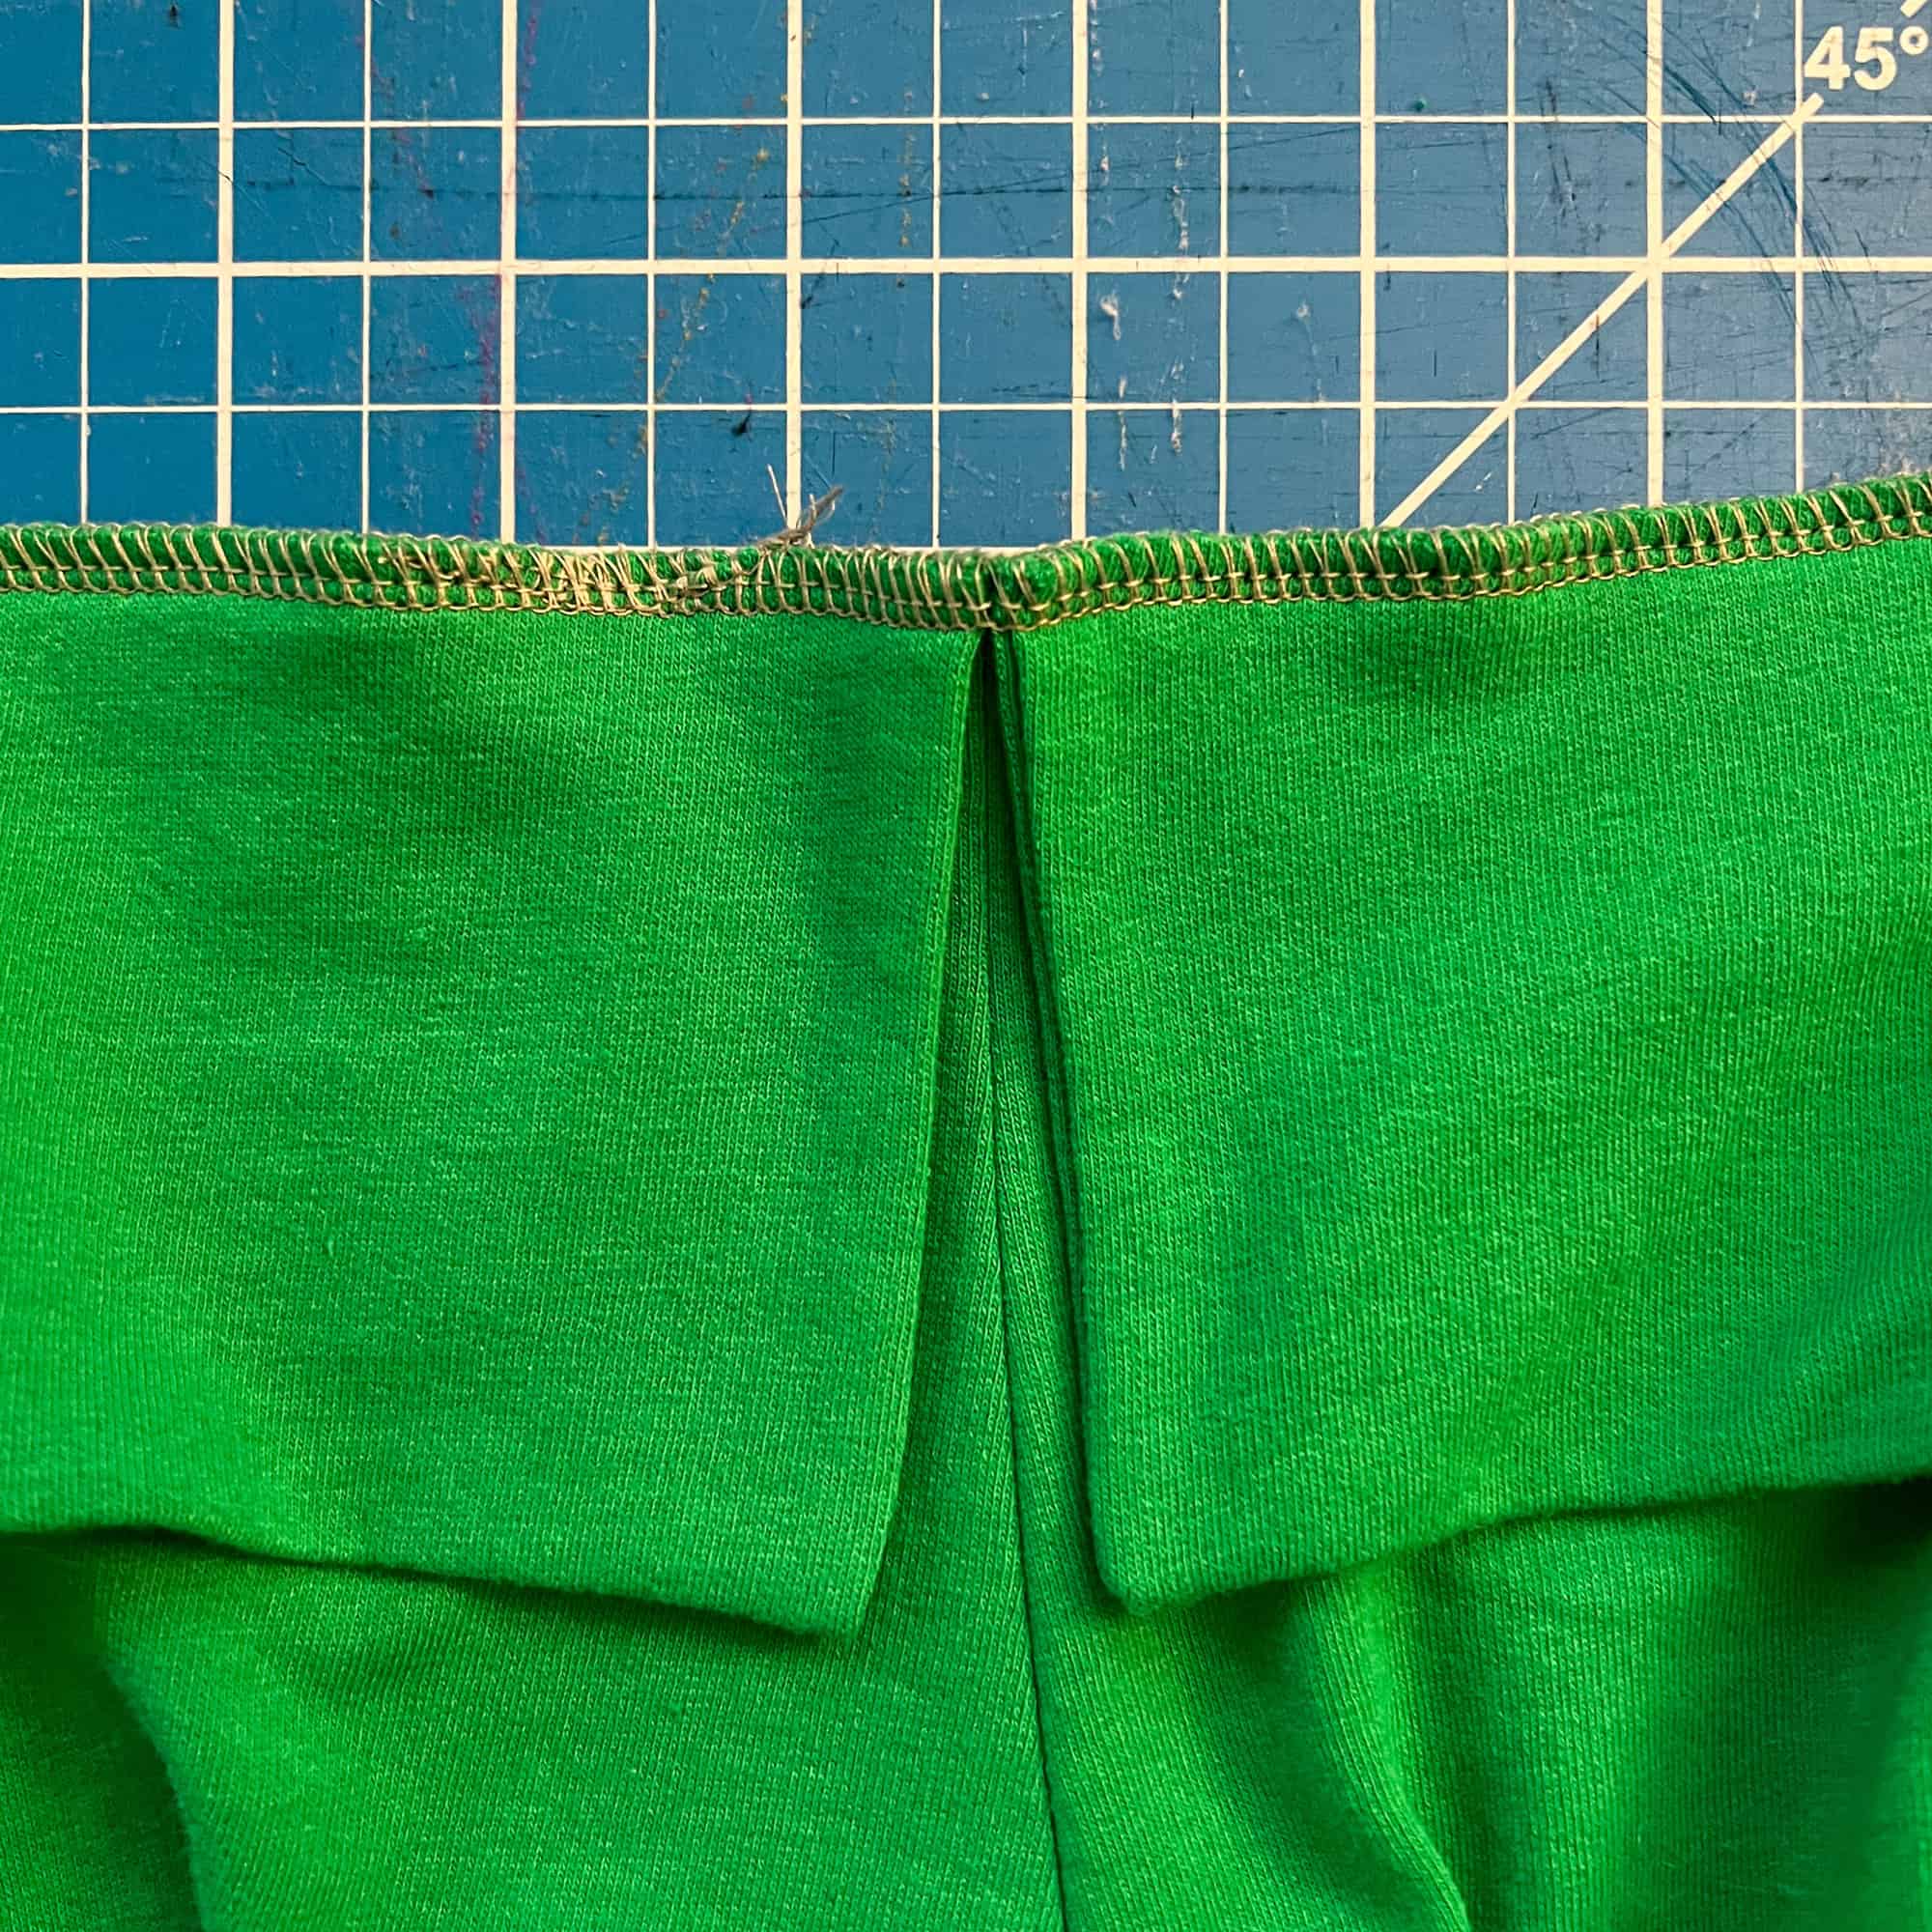
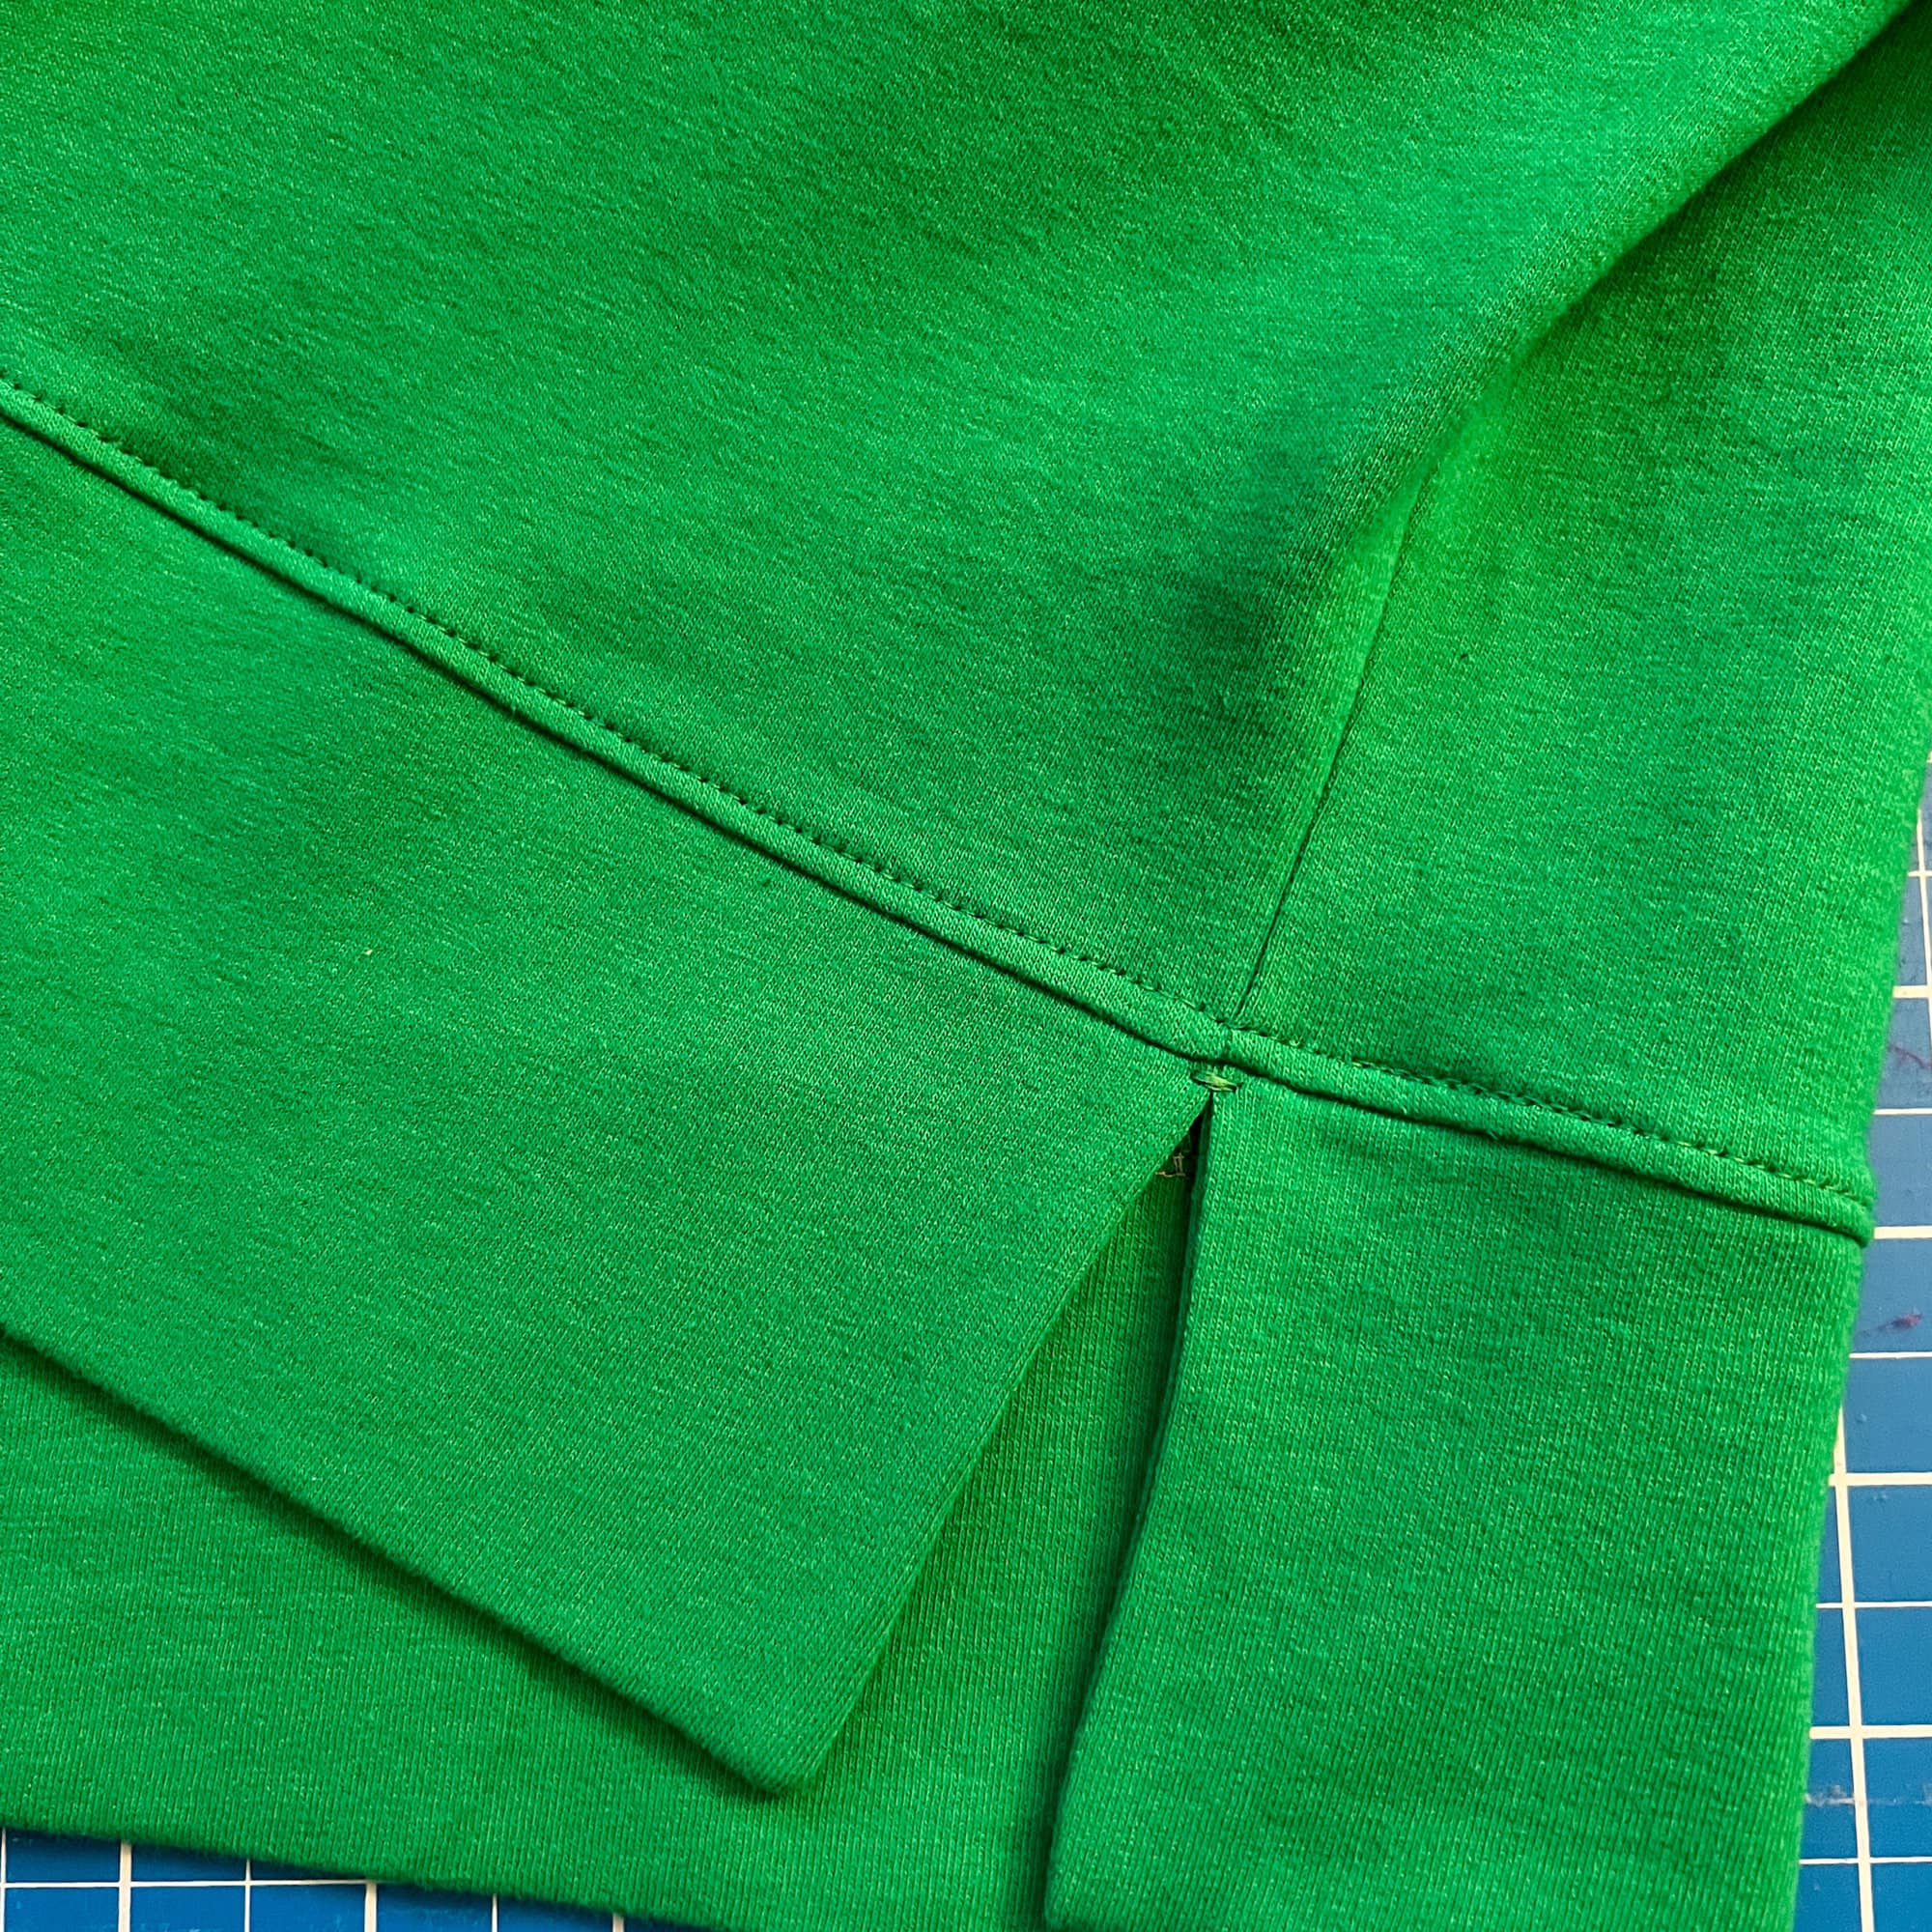
I added a little tack for reinforcement, but this is not necessary! Just my personal preference.
Can’t wait to see how many Sunnyside Sweaters you sew up.
xxoo,
Rachel
We are looking forward to seeing the Sunnyside Sweaters you make for yourself, your family + your clients!
Both patterns are available now and on sale (no code needed) through 11:59pm CST, March 3, 2024.
Grab your copy of the Sunnyside patterns here: Sunnyside Sweater | Sunnyside Sweater – Youth | Sunnyside Sweater – Bundle
As always, we’ve got more photos for you to use as inspiration! Head over to the Facebook group to browse our albums full of gorgeous photos, compliments of our tester team!
Sunnyside Sweater Adult Album | Sunnyside Sweater Youth Album