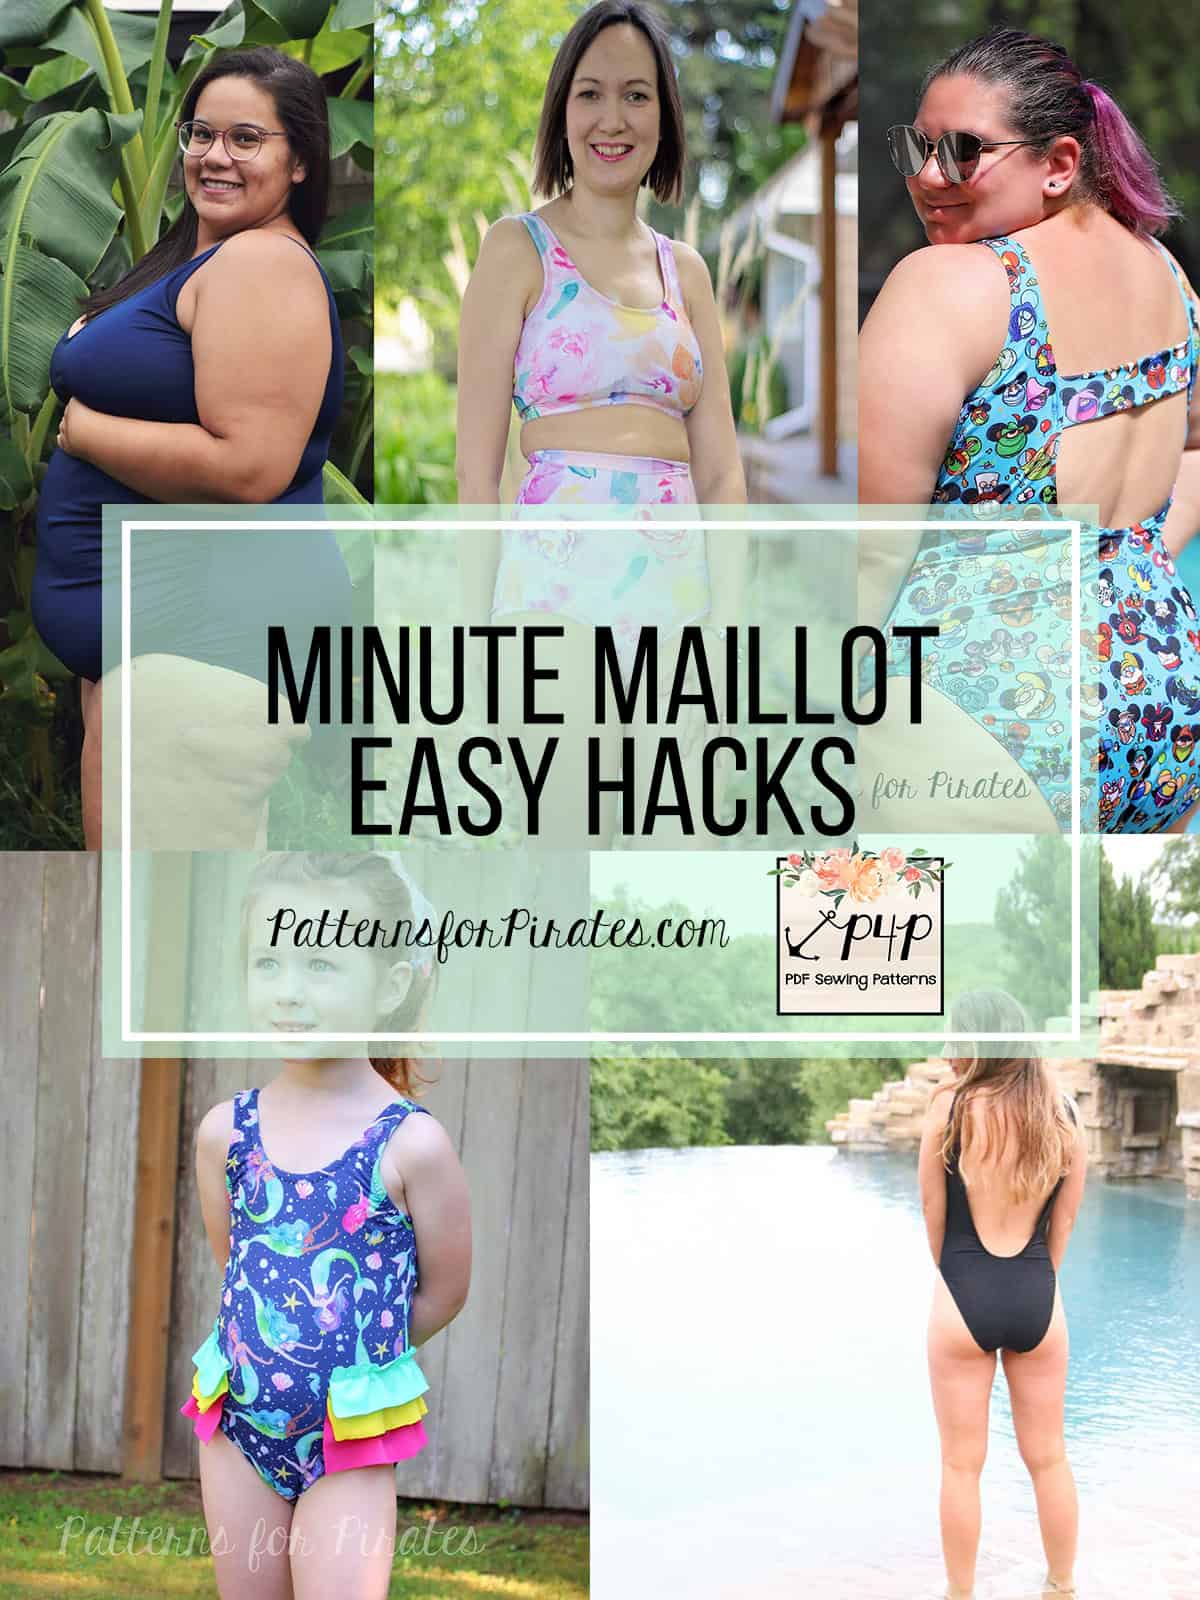
Don’t let the name of the pattern fool you! While The Minute Maillot is a super quick sew, it is full of options. But you know us- we like to add more easy hacks that you can customize to your preference.
…..
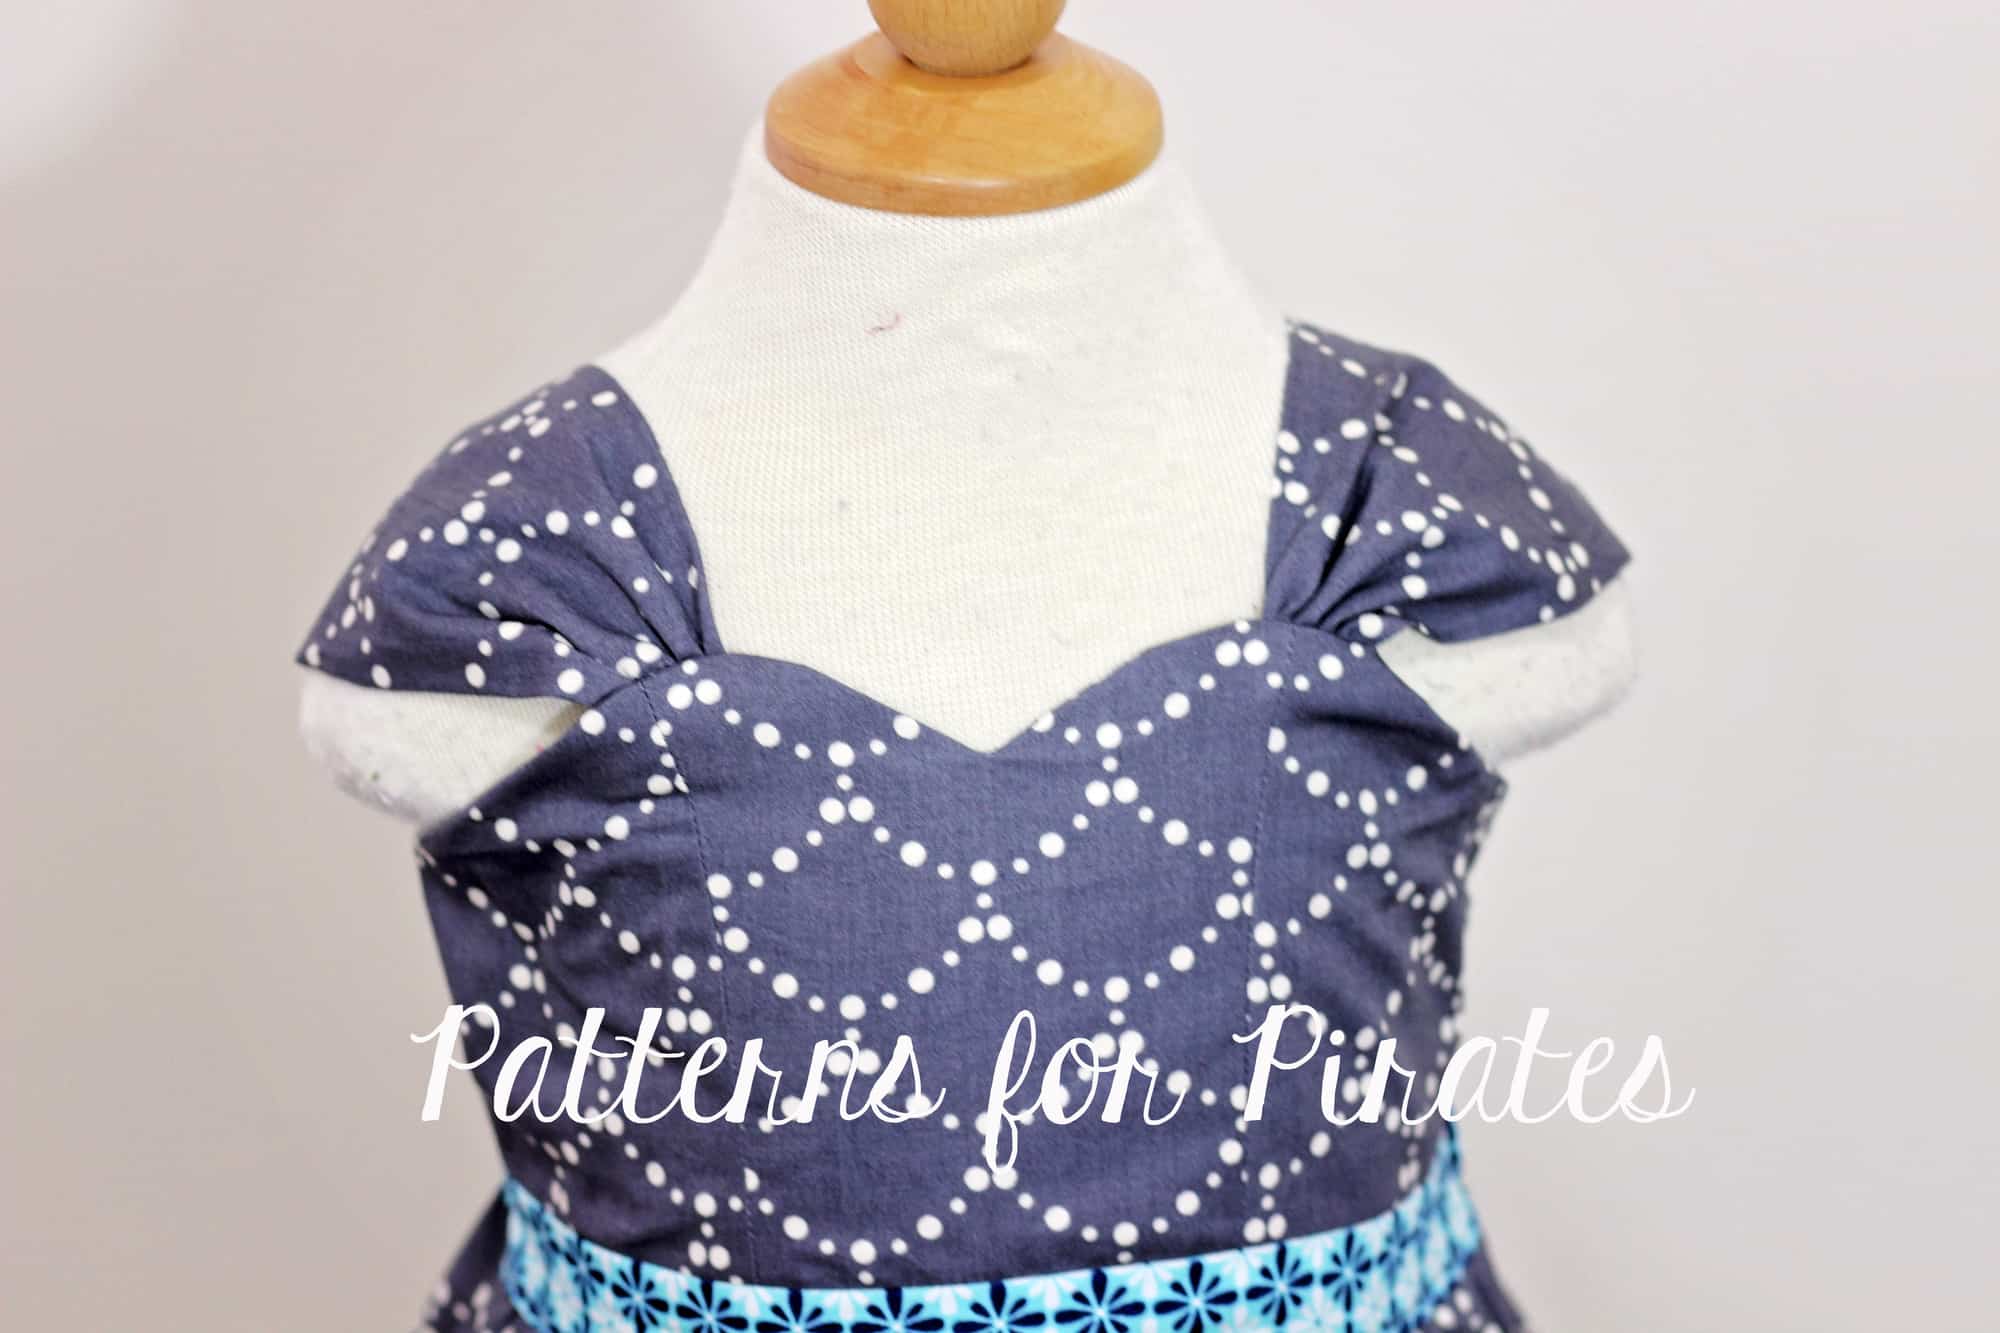
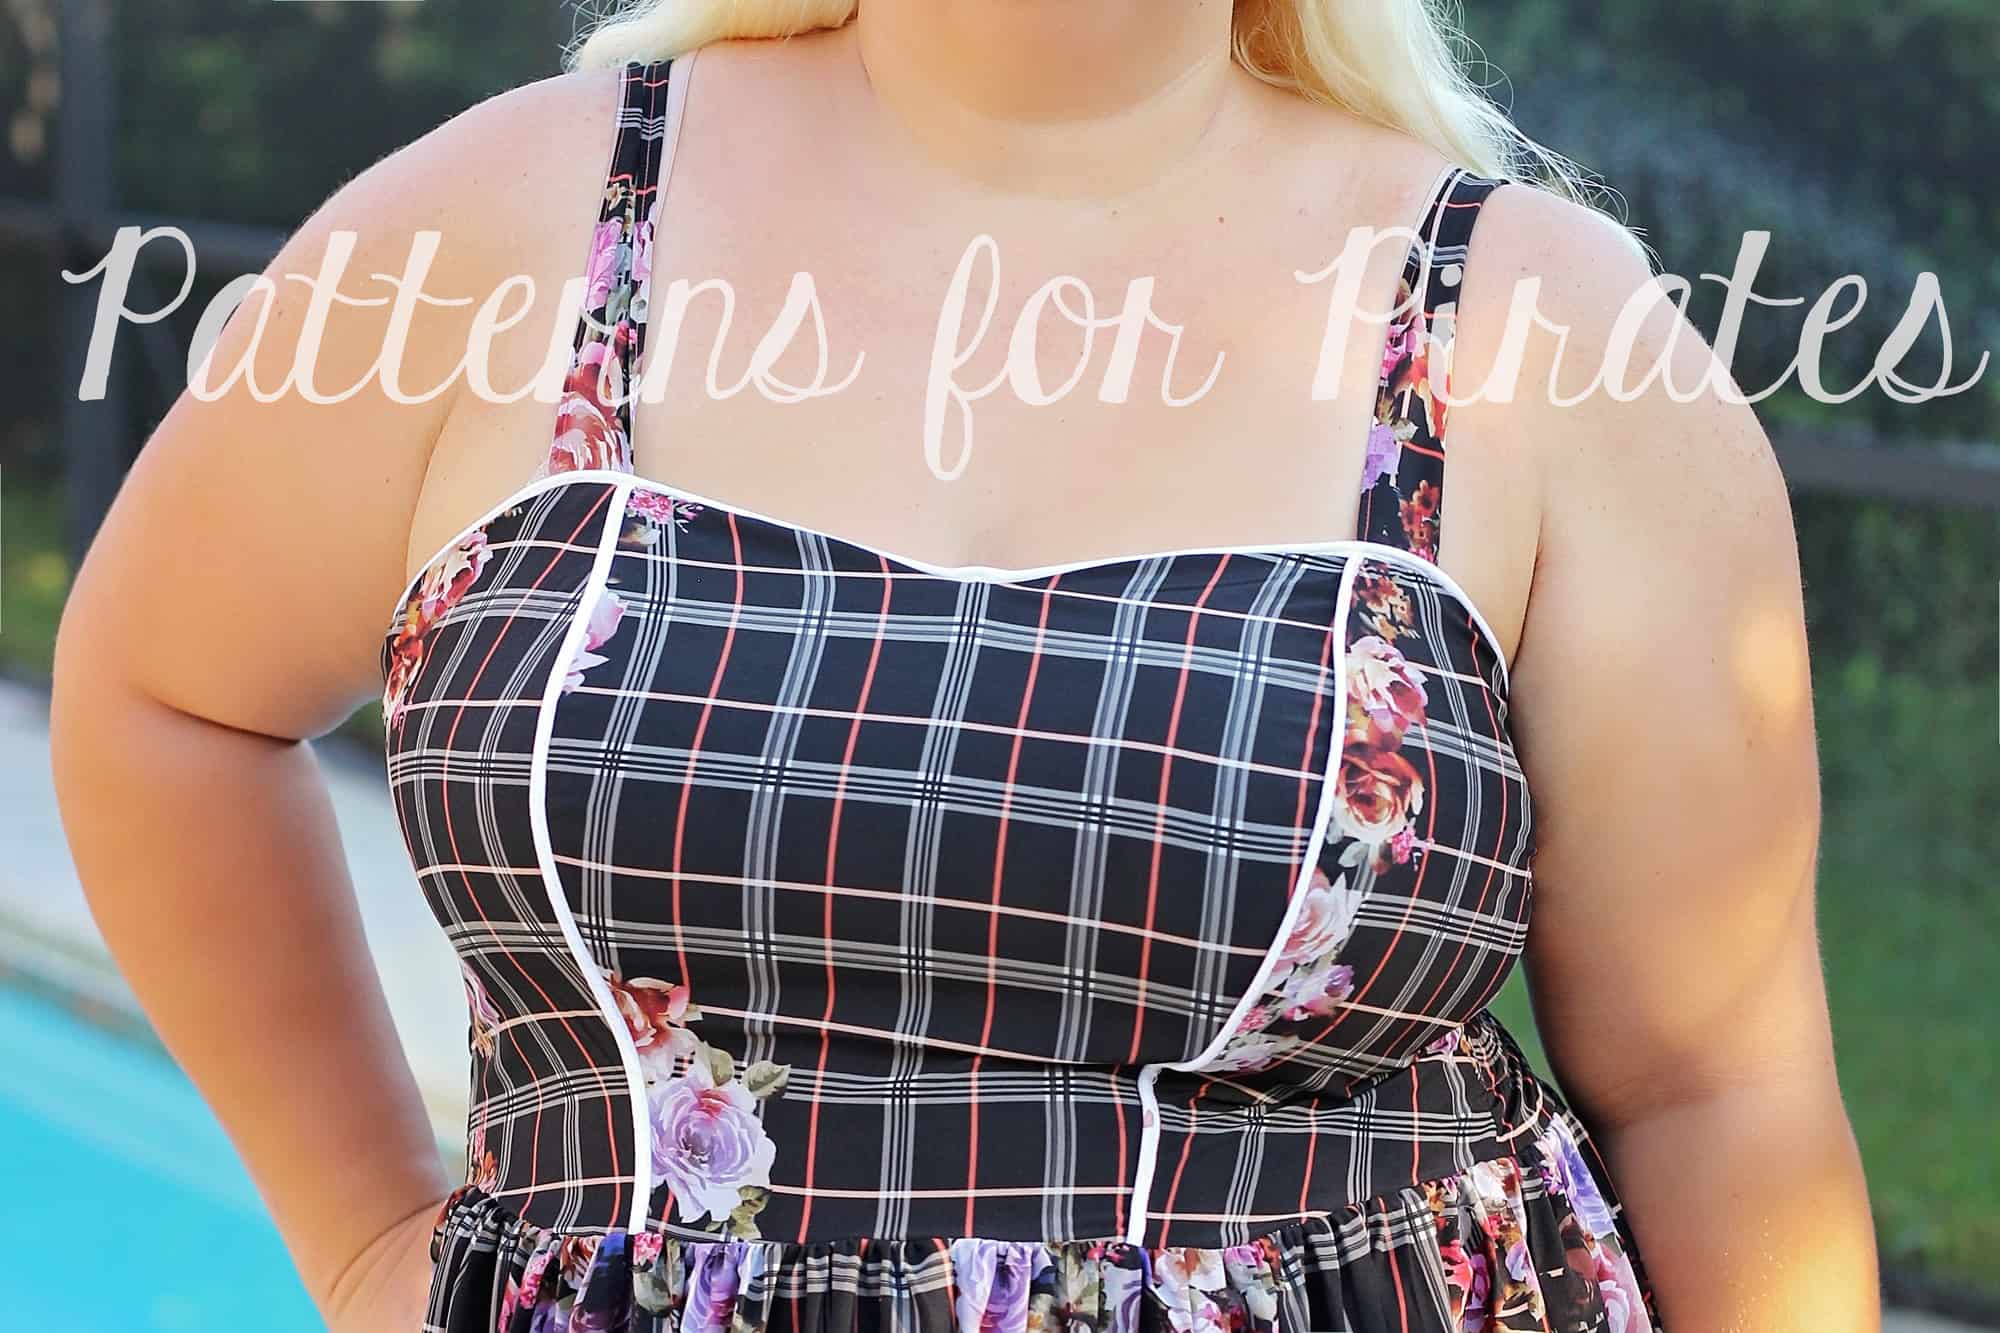
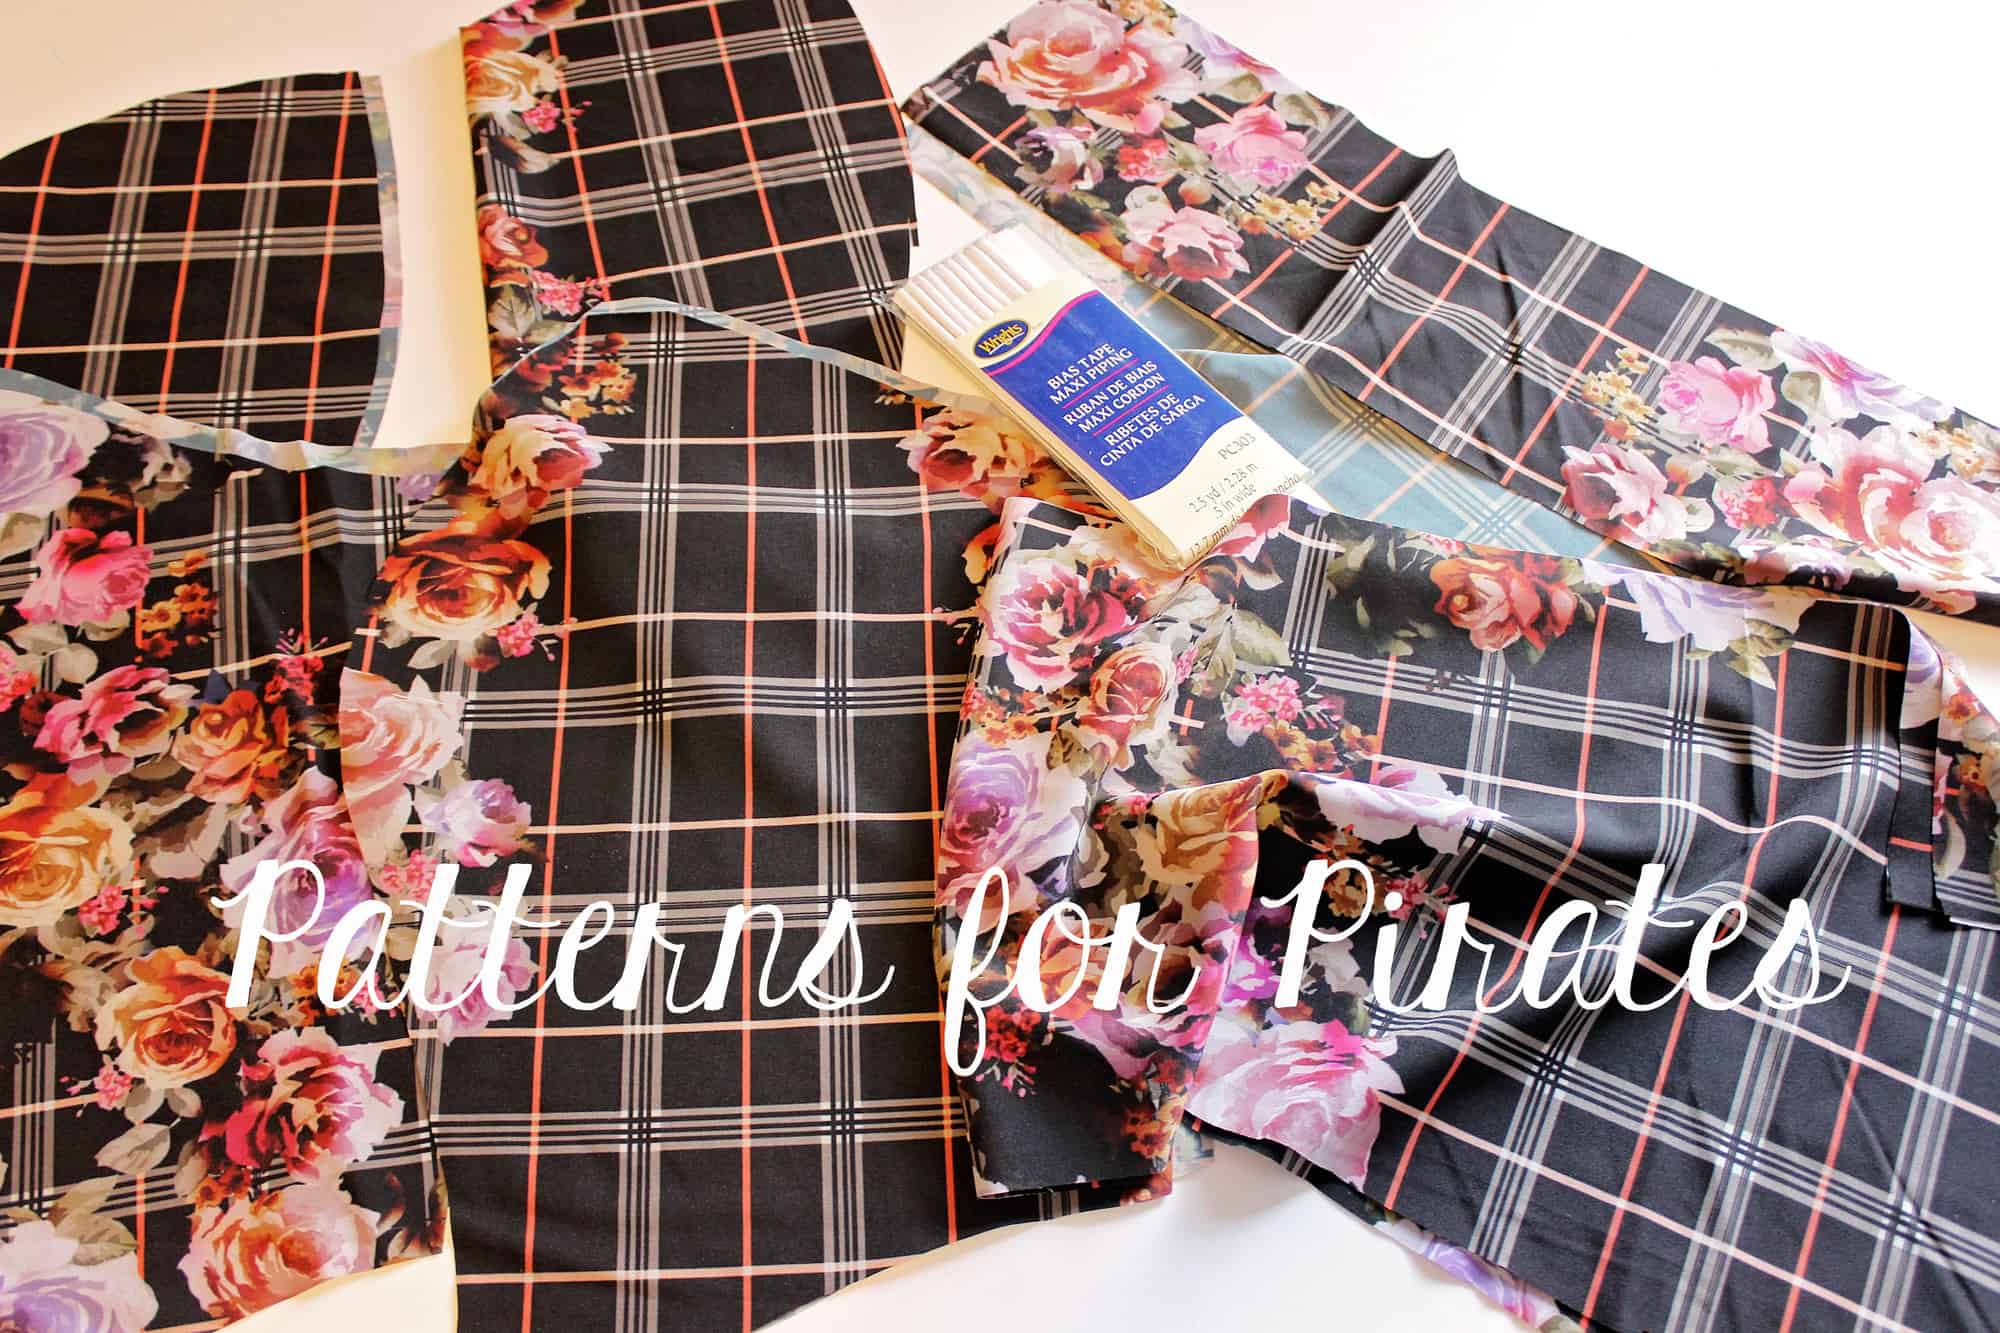
Separates
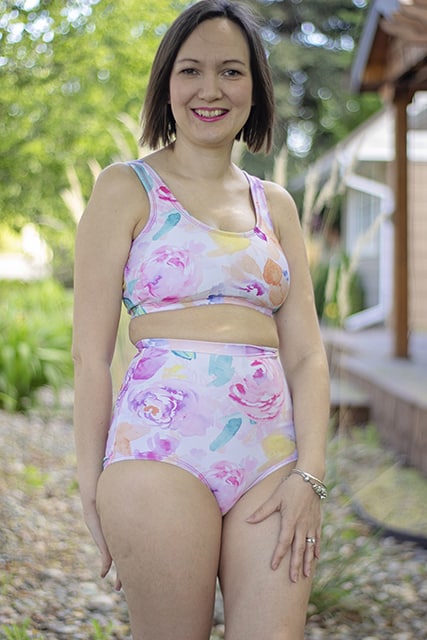
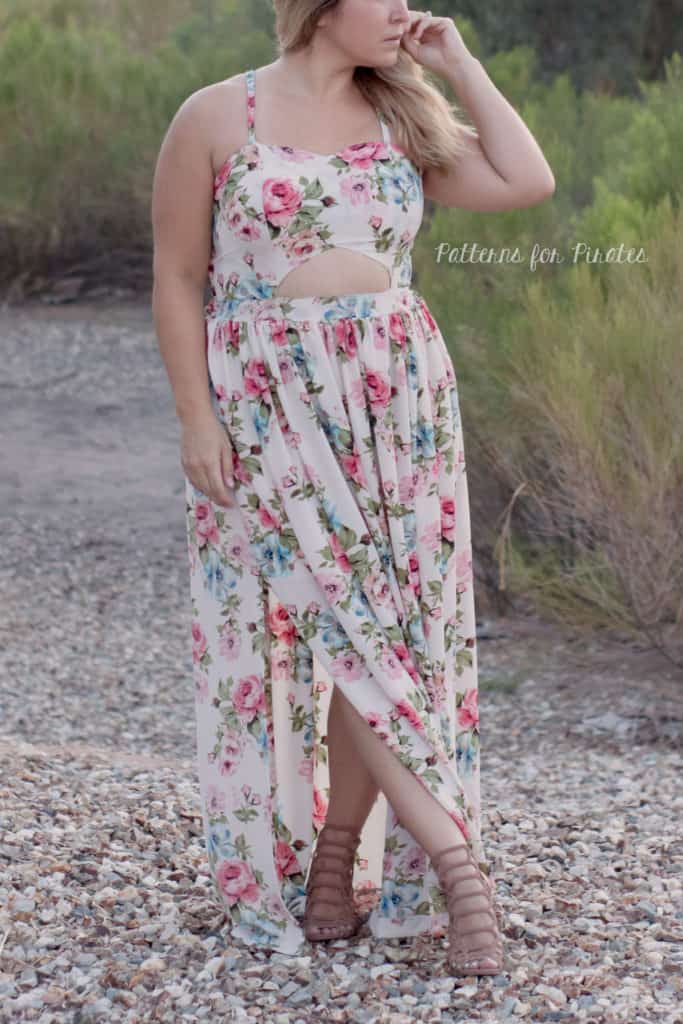
Although I love the Minute Maillot as a one piece, I tend to wear a lot of two pieces in the summer and this pattern is so quick and easy to hack into a two piece! Let’s jump right in!
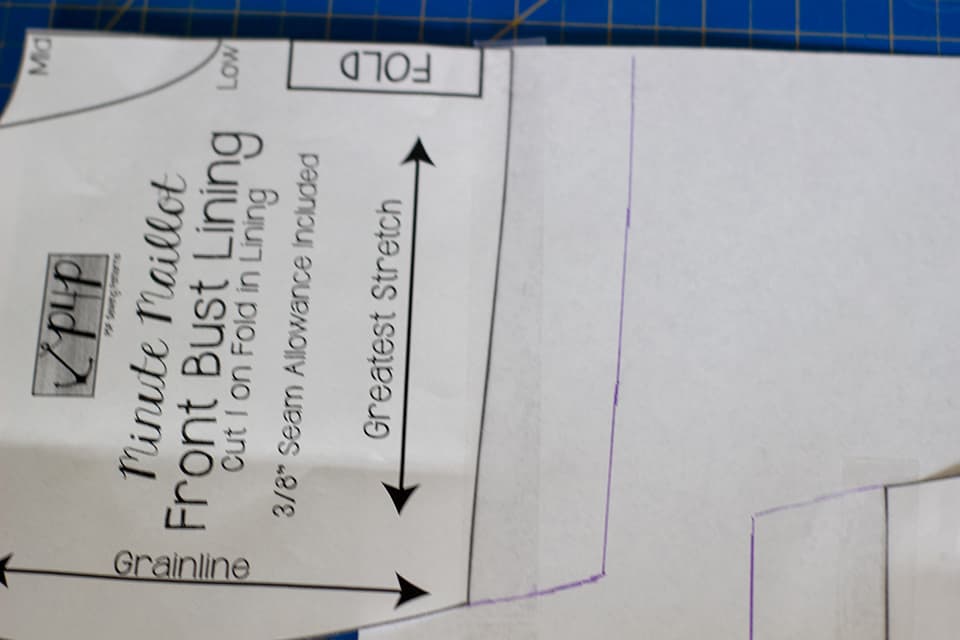
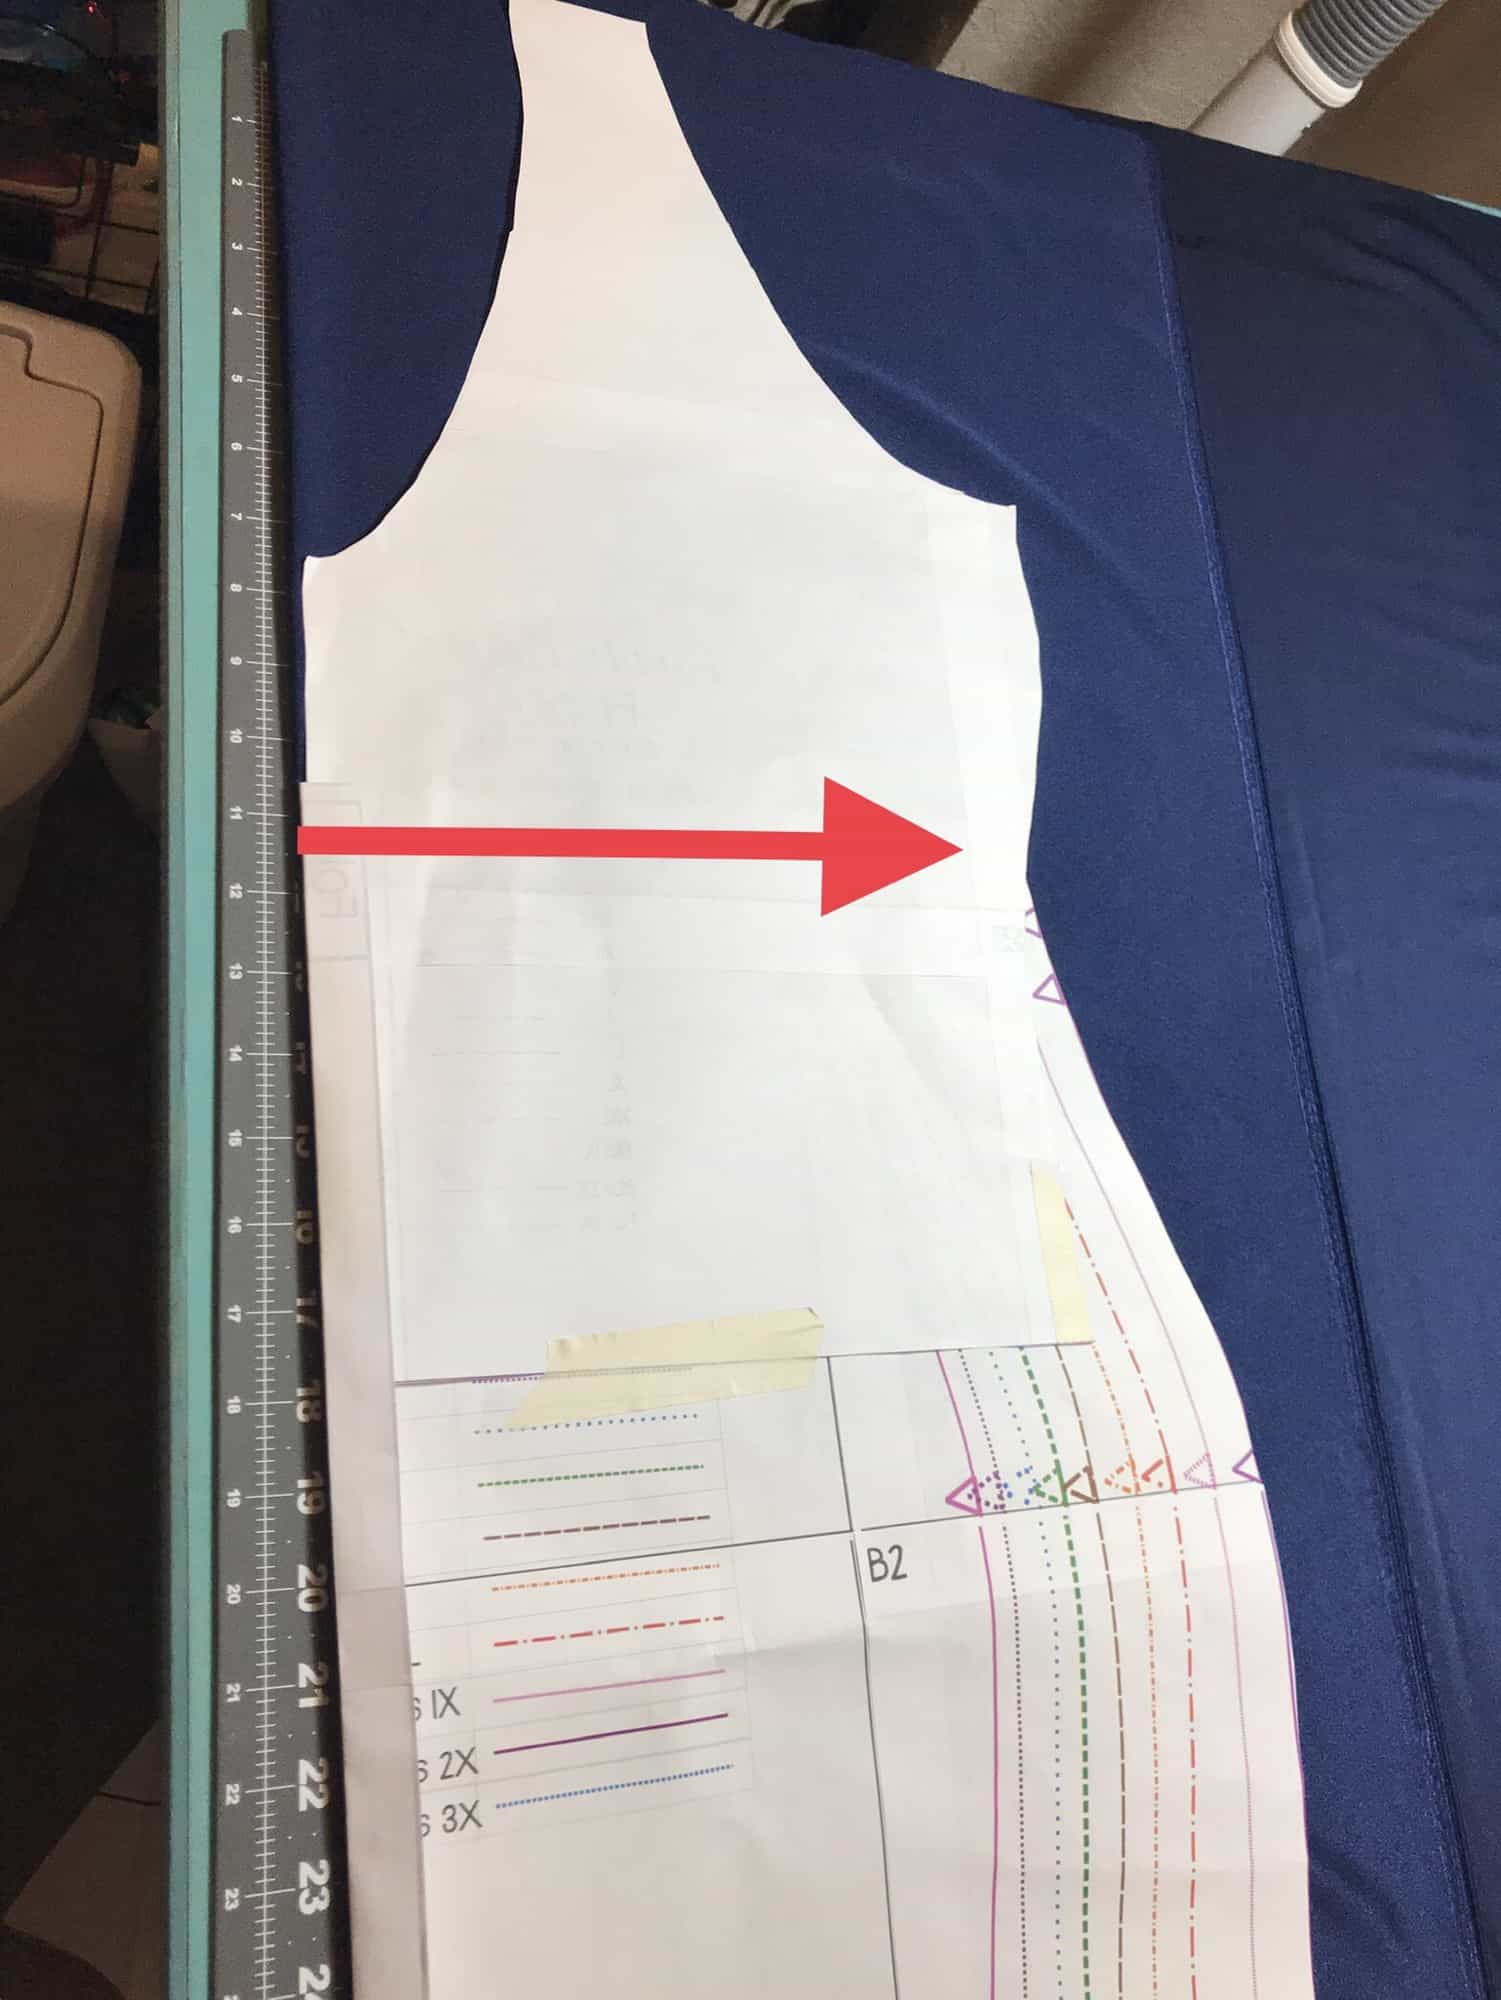
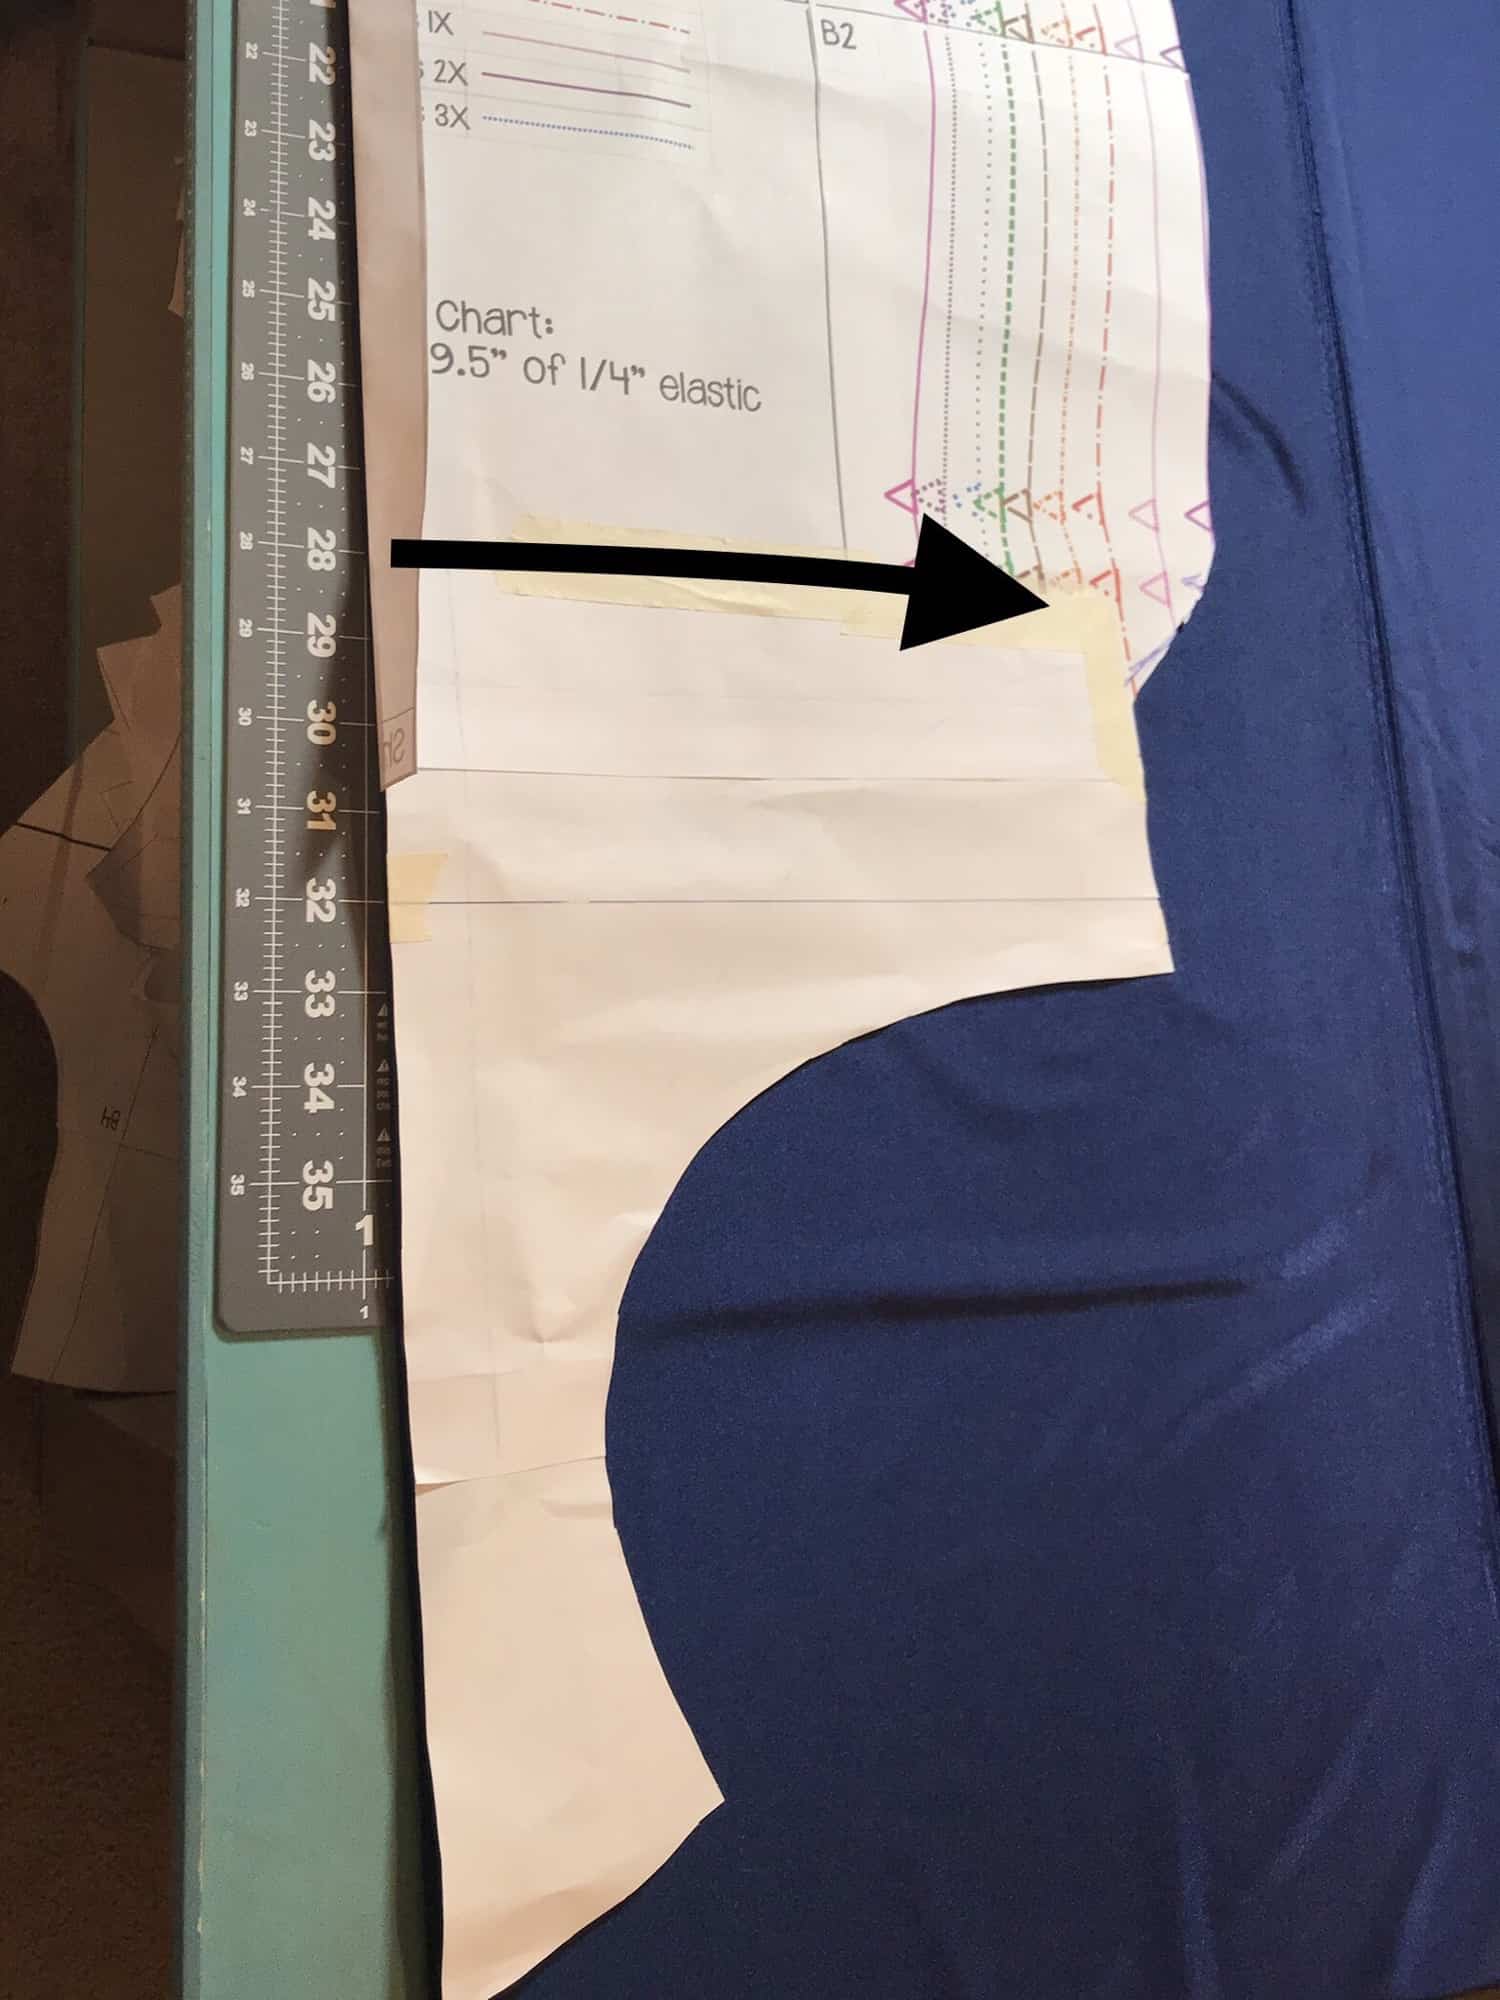
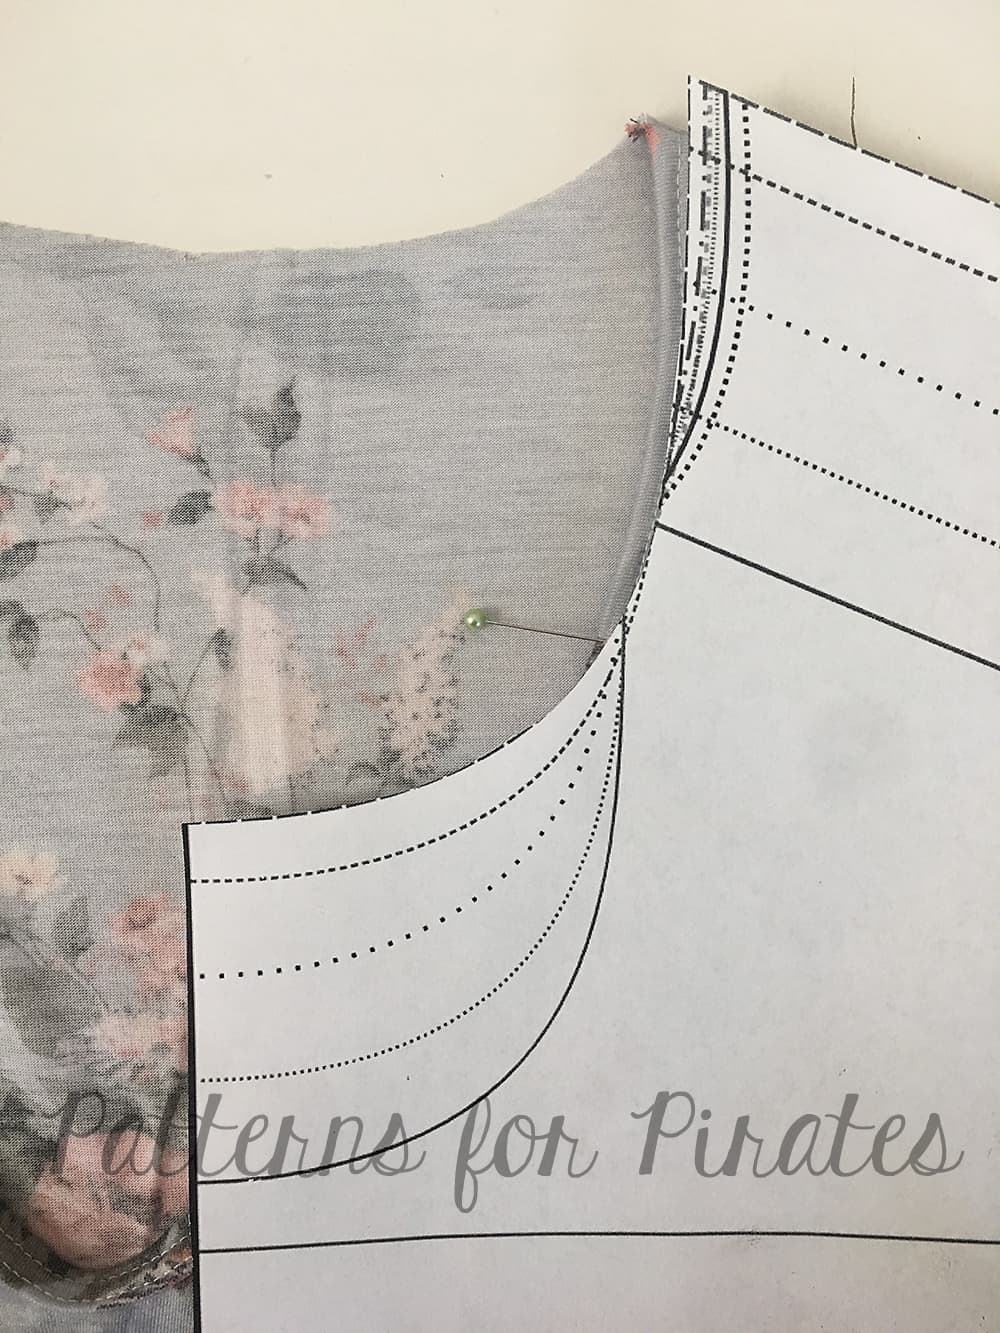
Step 1 – Grab your both your front and back lining pieces. All we need to do is add a bit of length to these pieces. Add 1 1/4 inch to the bottom of each piece and then draw your side seam line down on a curve to match as shown here. You will do this on both your front and back piece. NOTE: This is going to work best on the high back, the mid back will work but its going to leave you with a very thin back band.
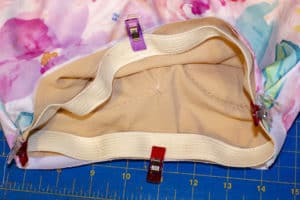
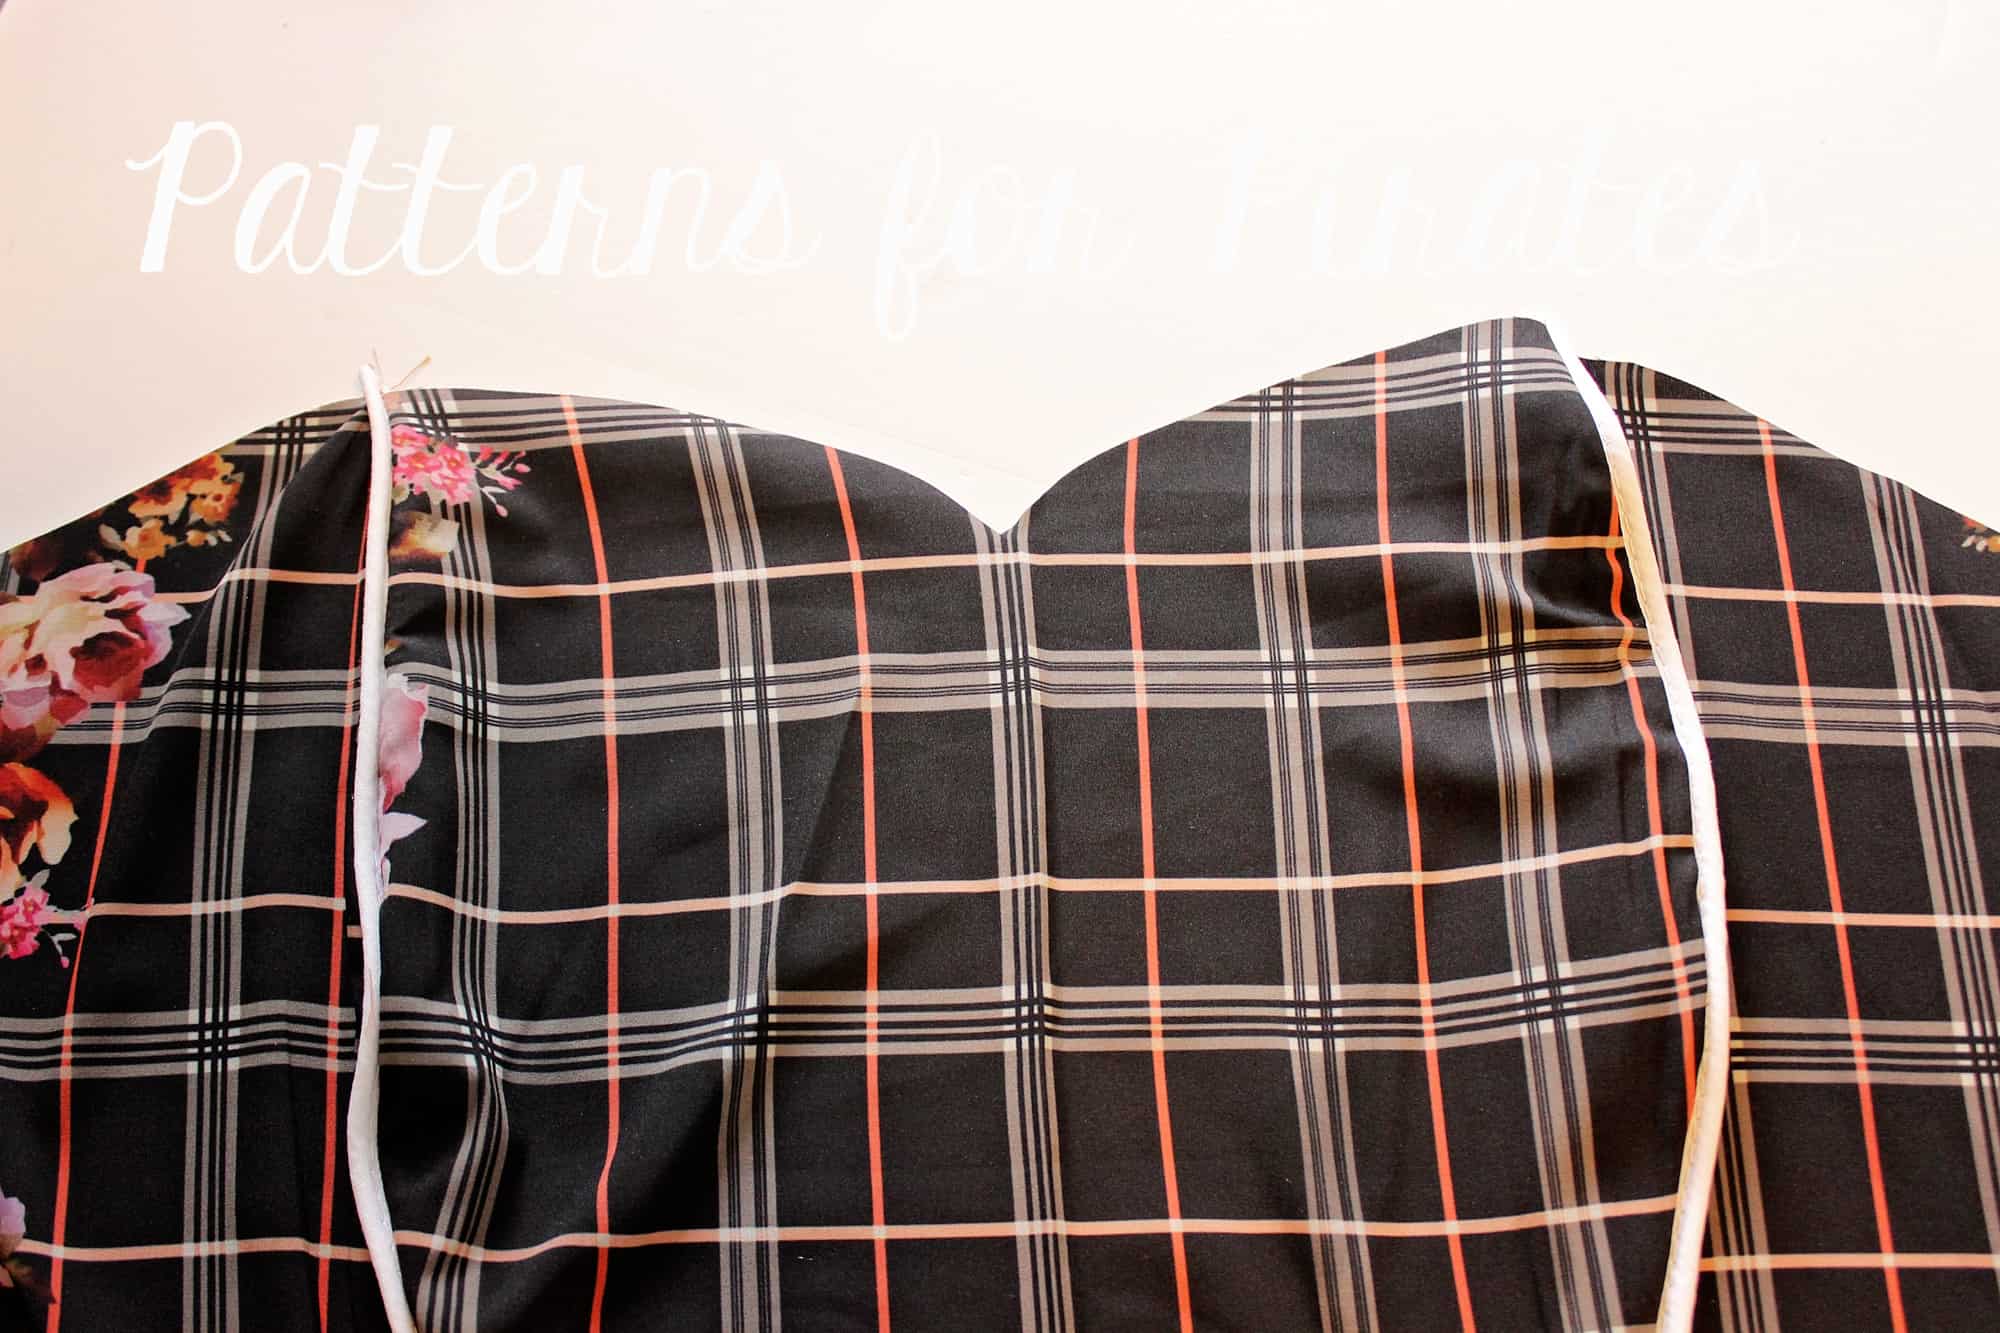
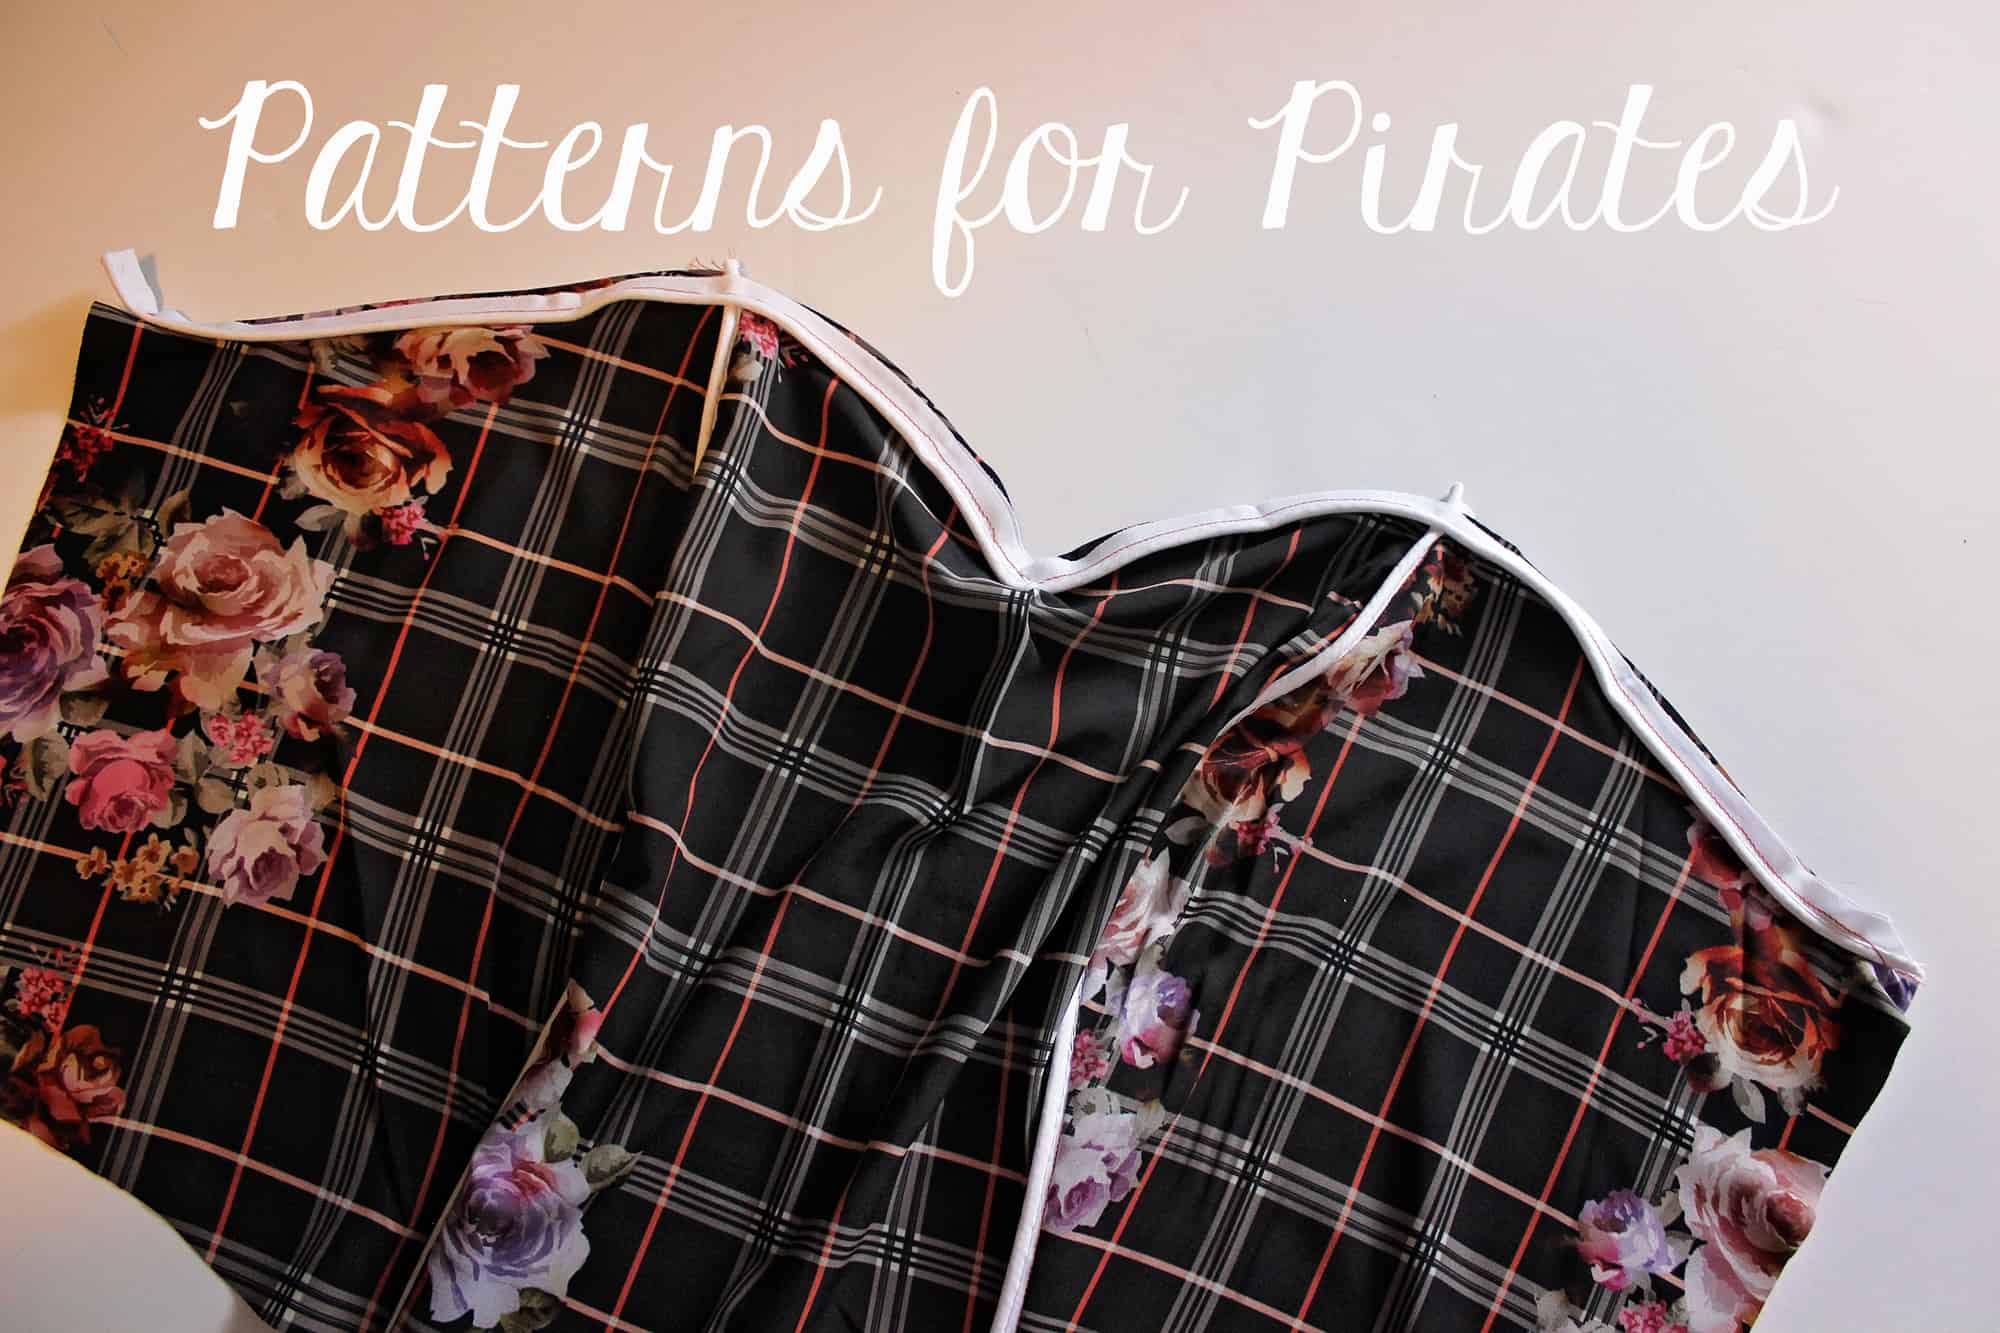
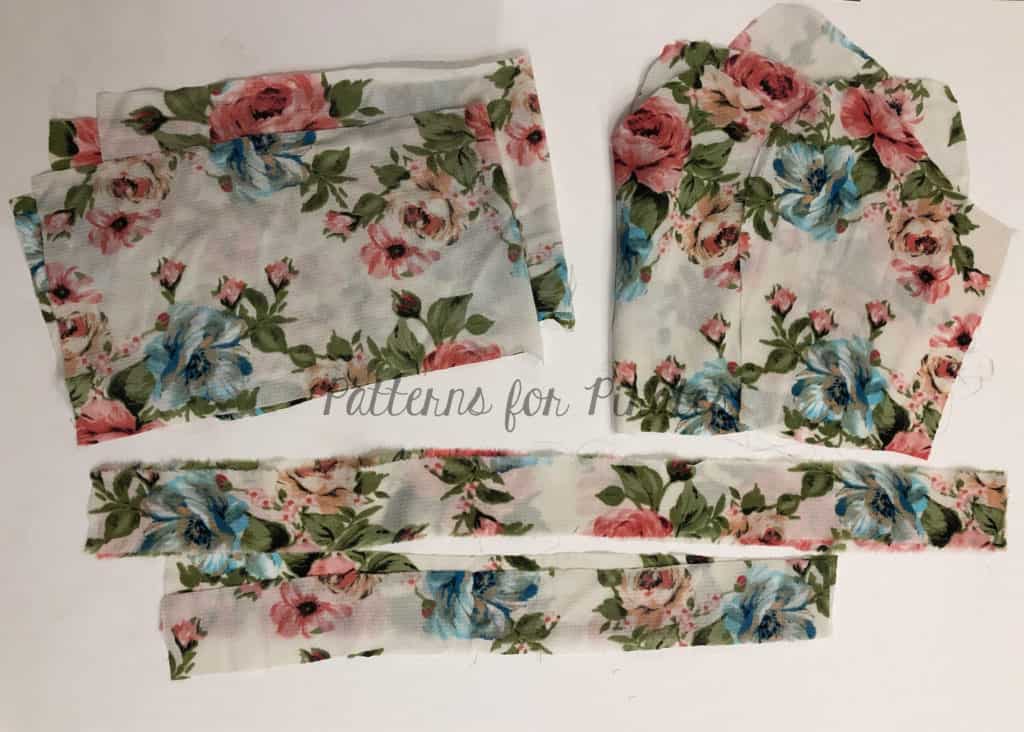
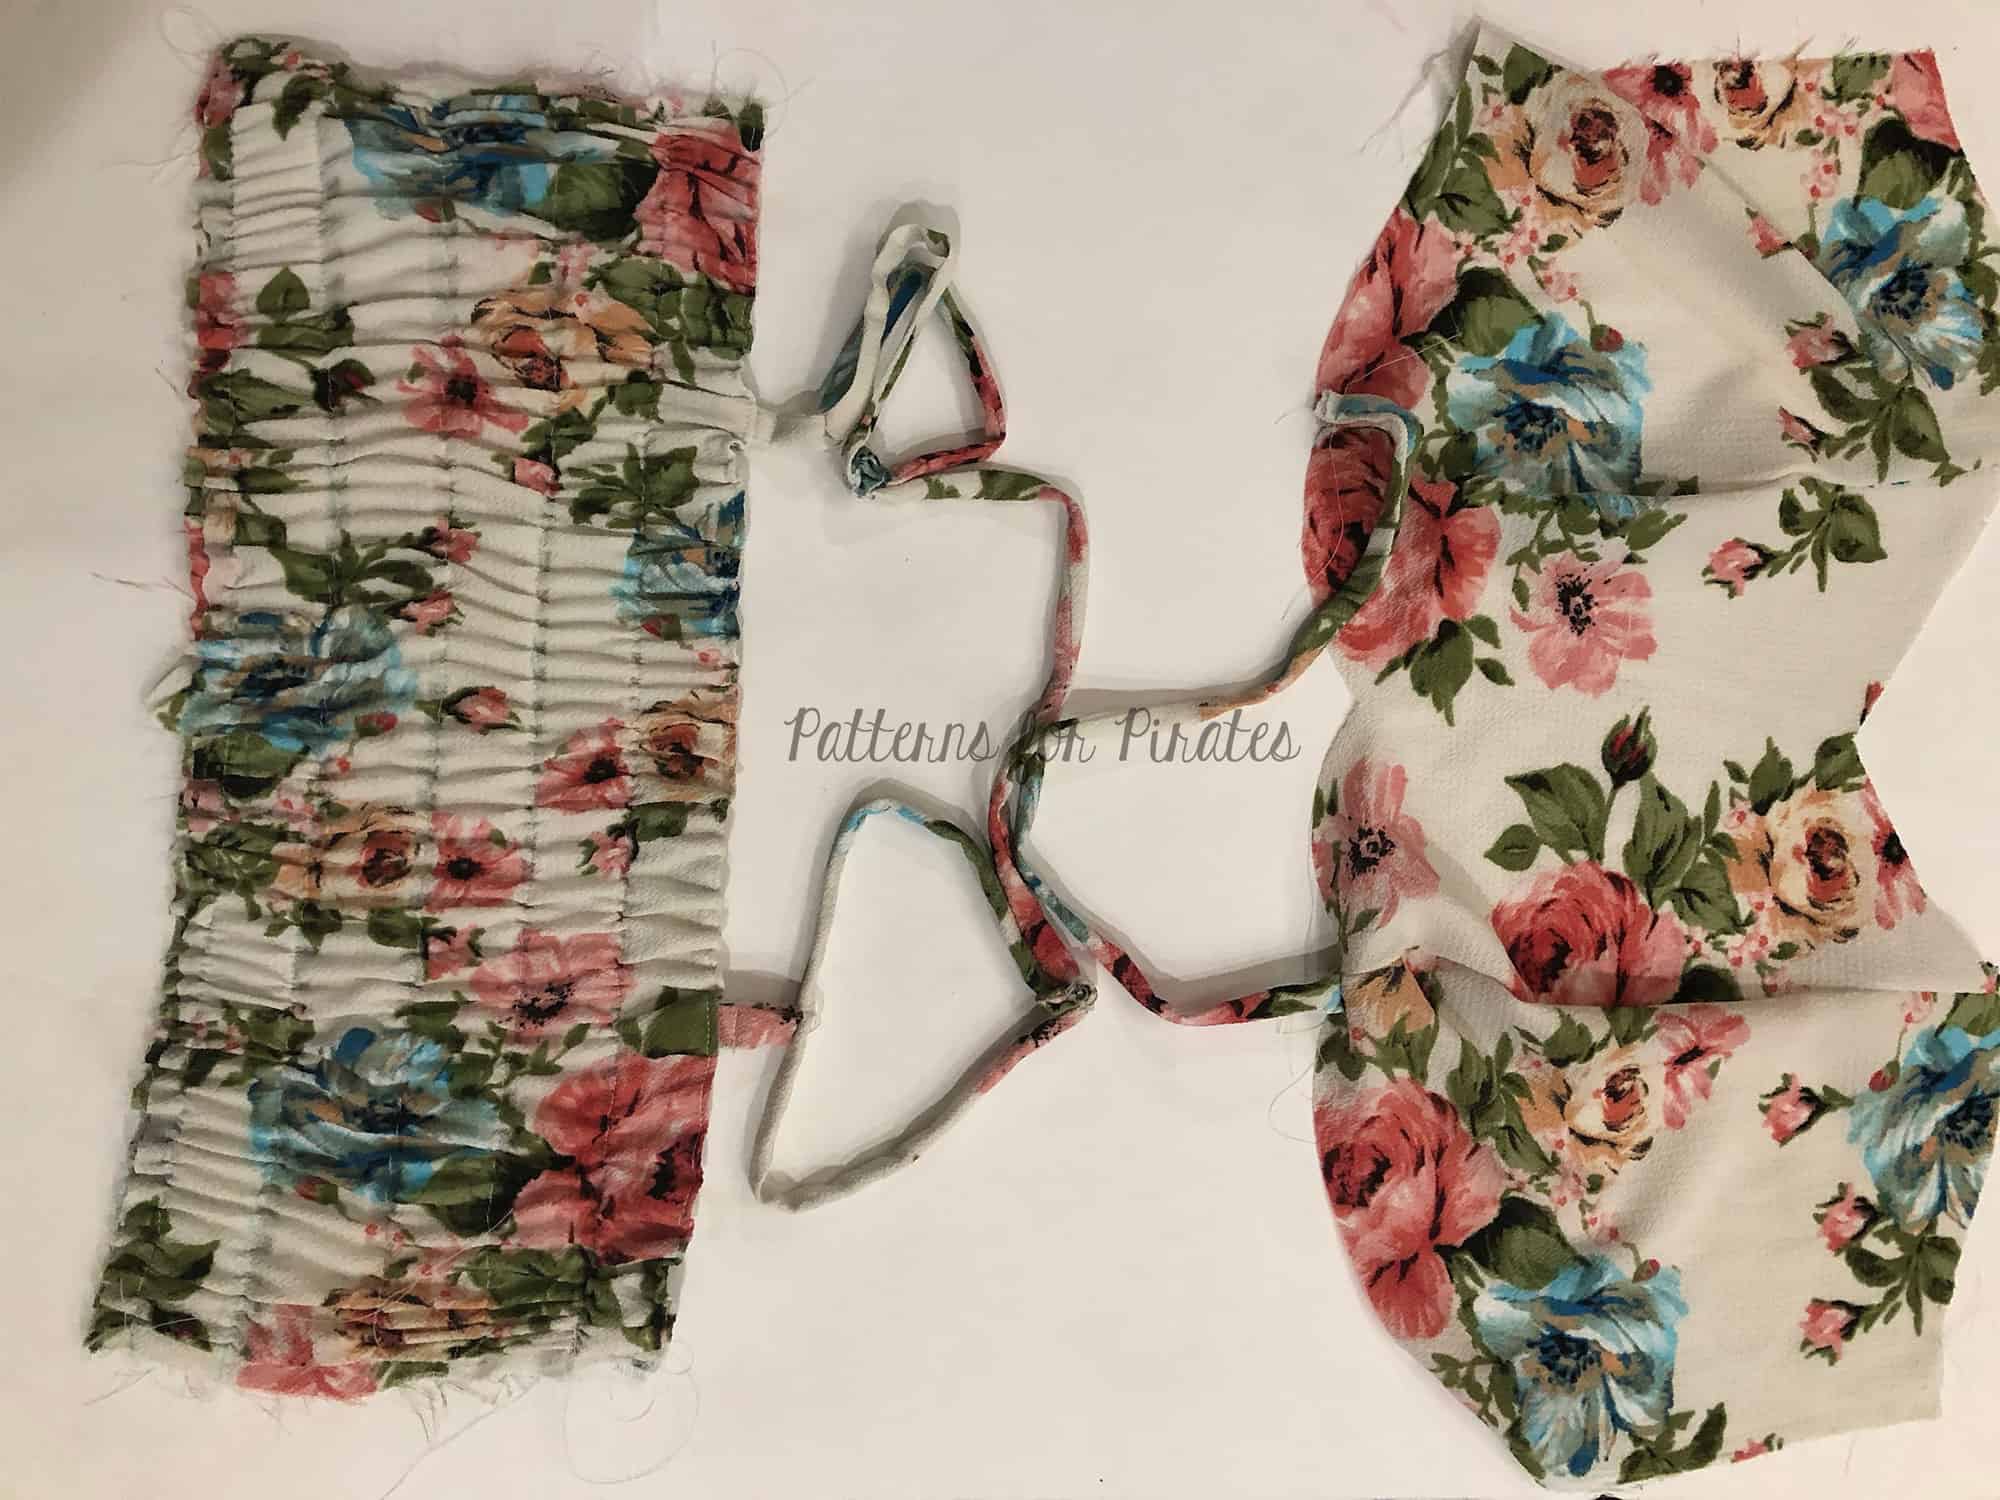
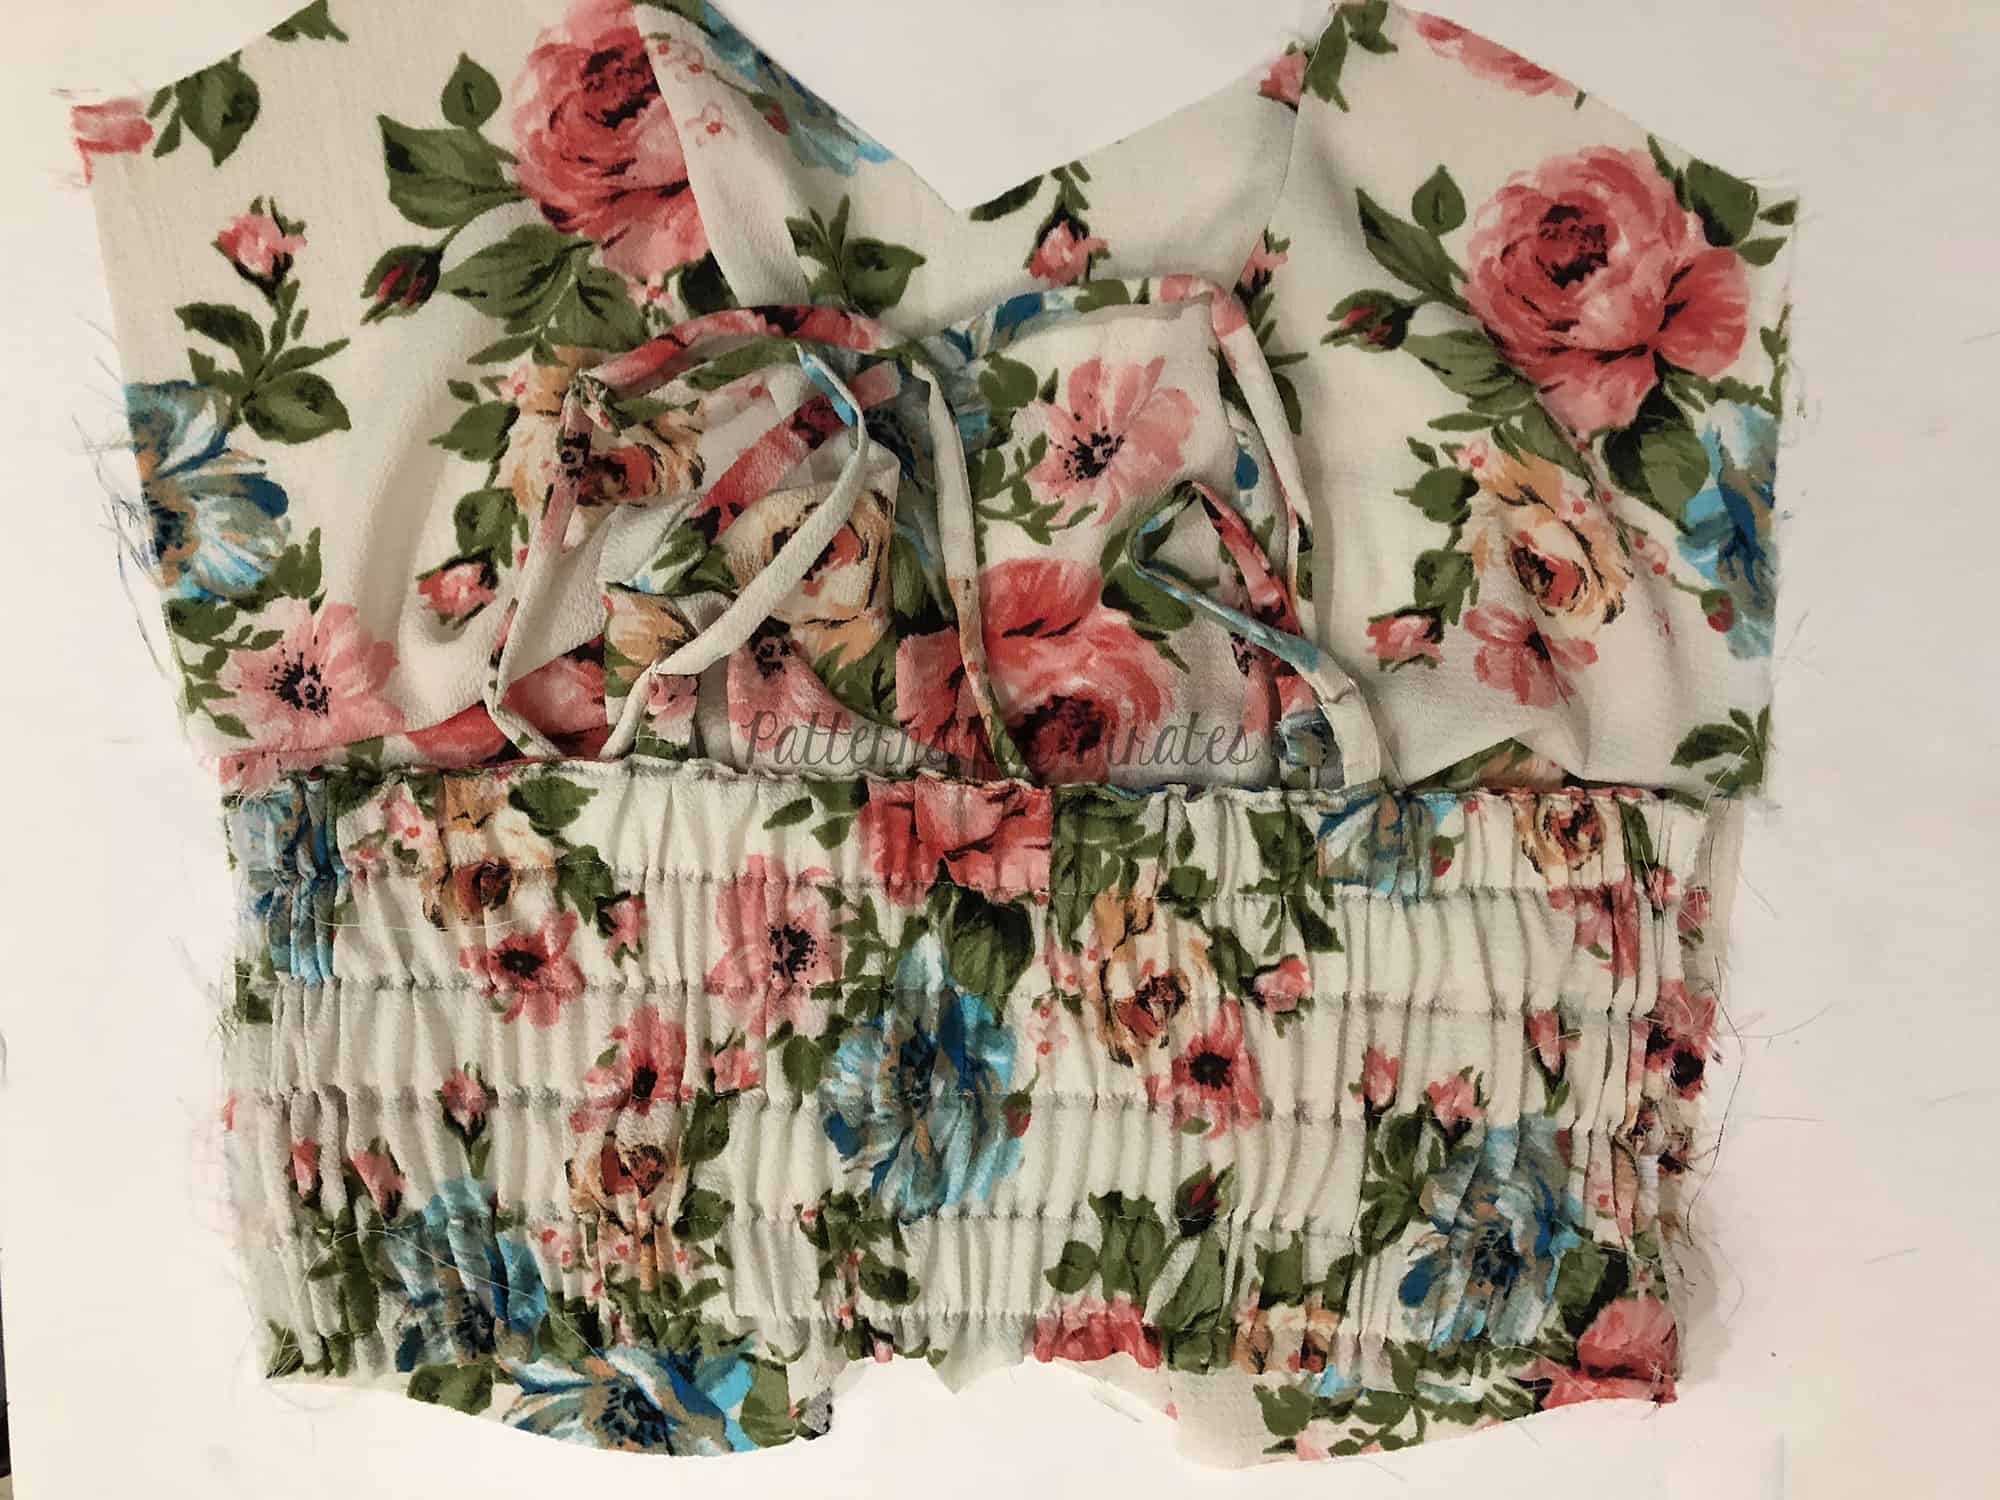
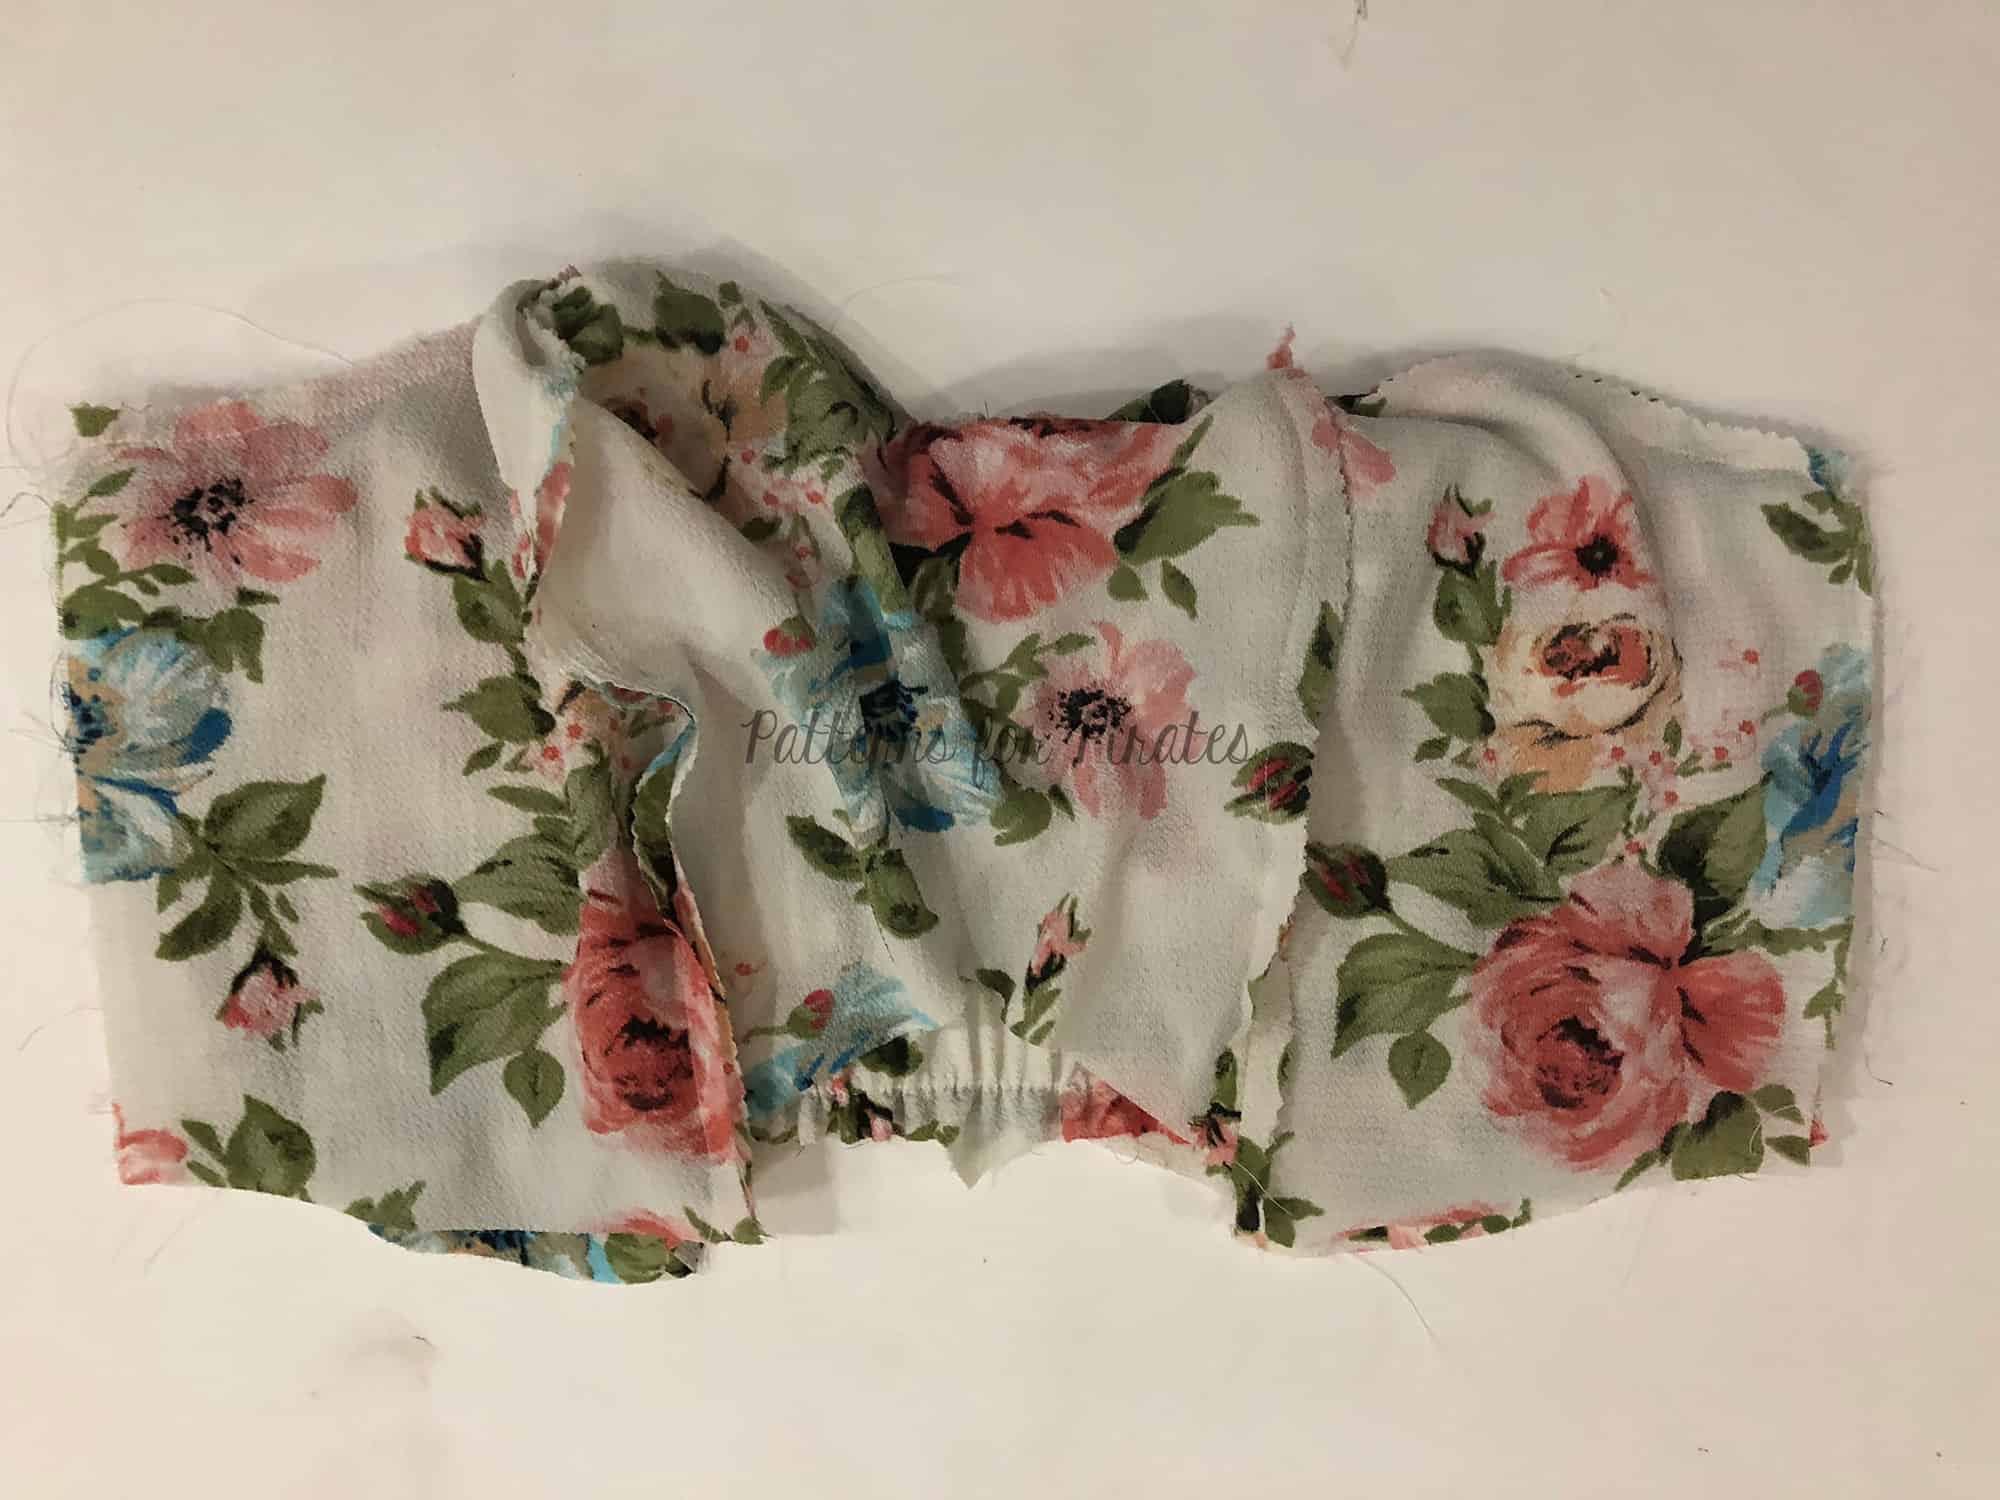
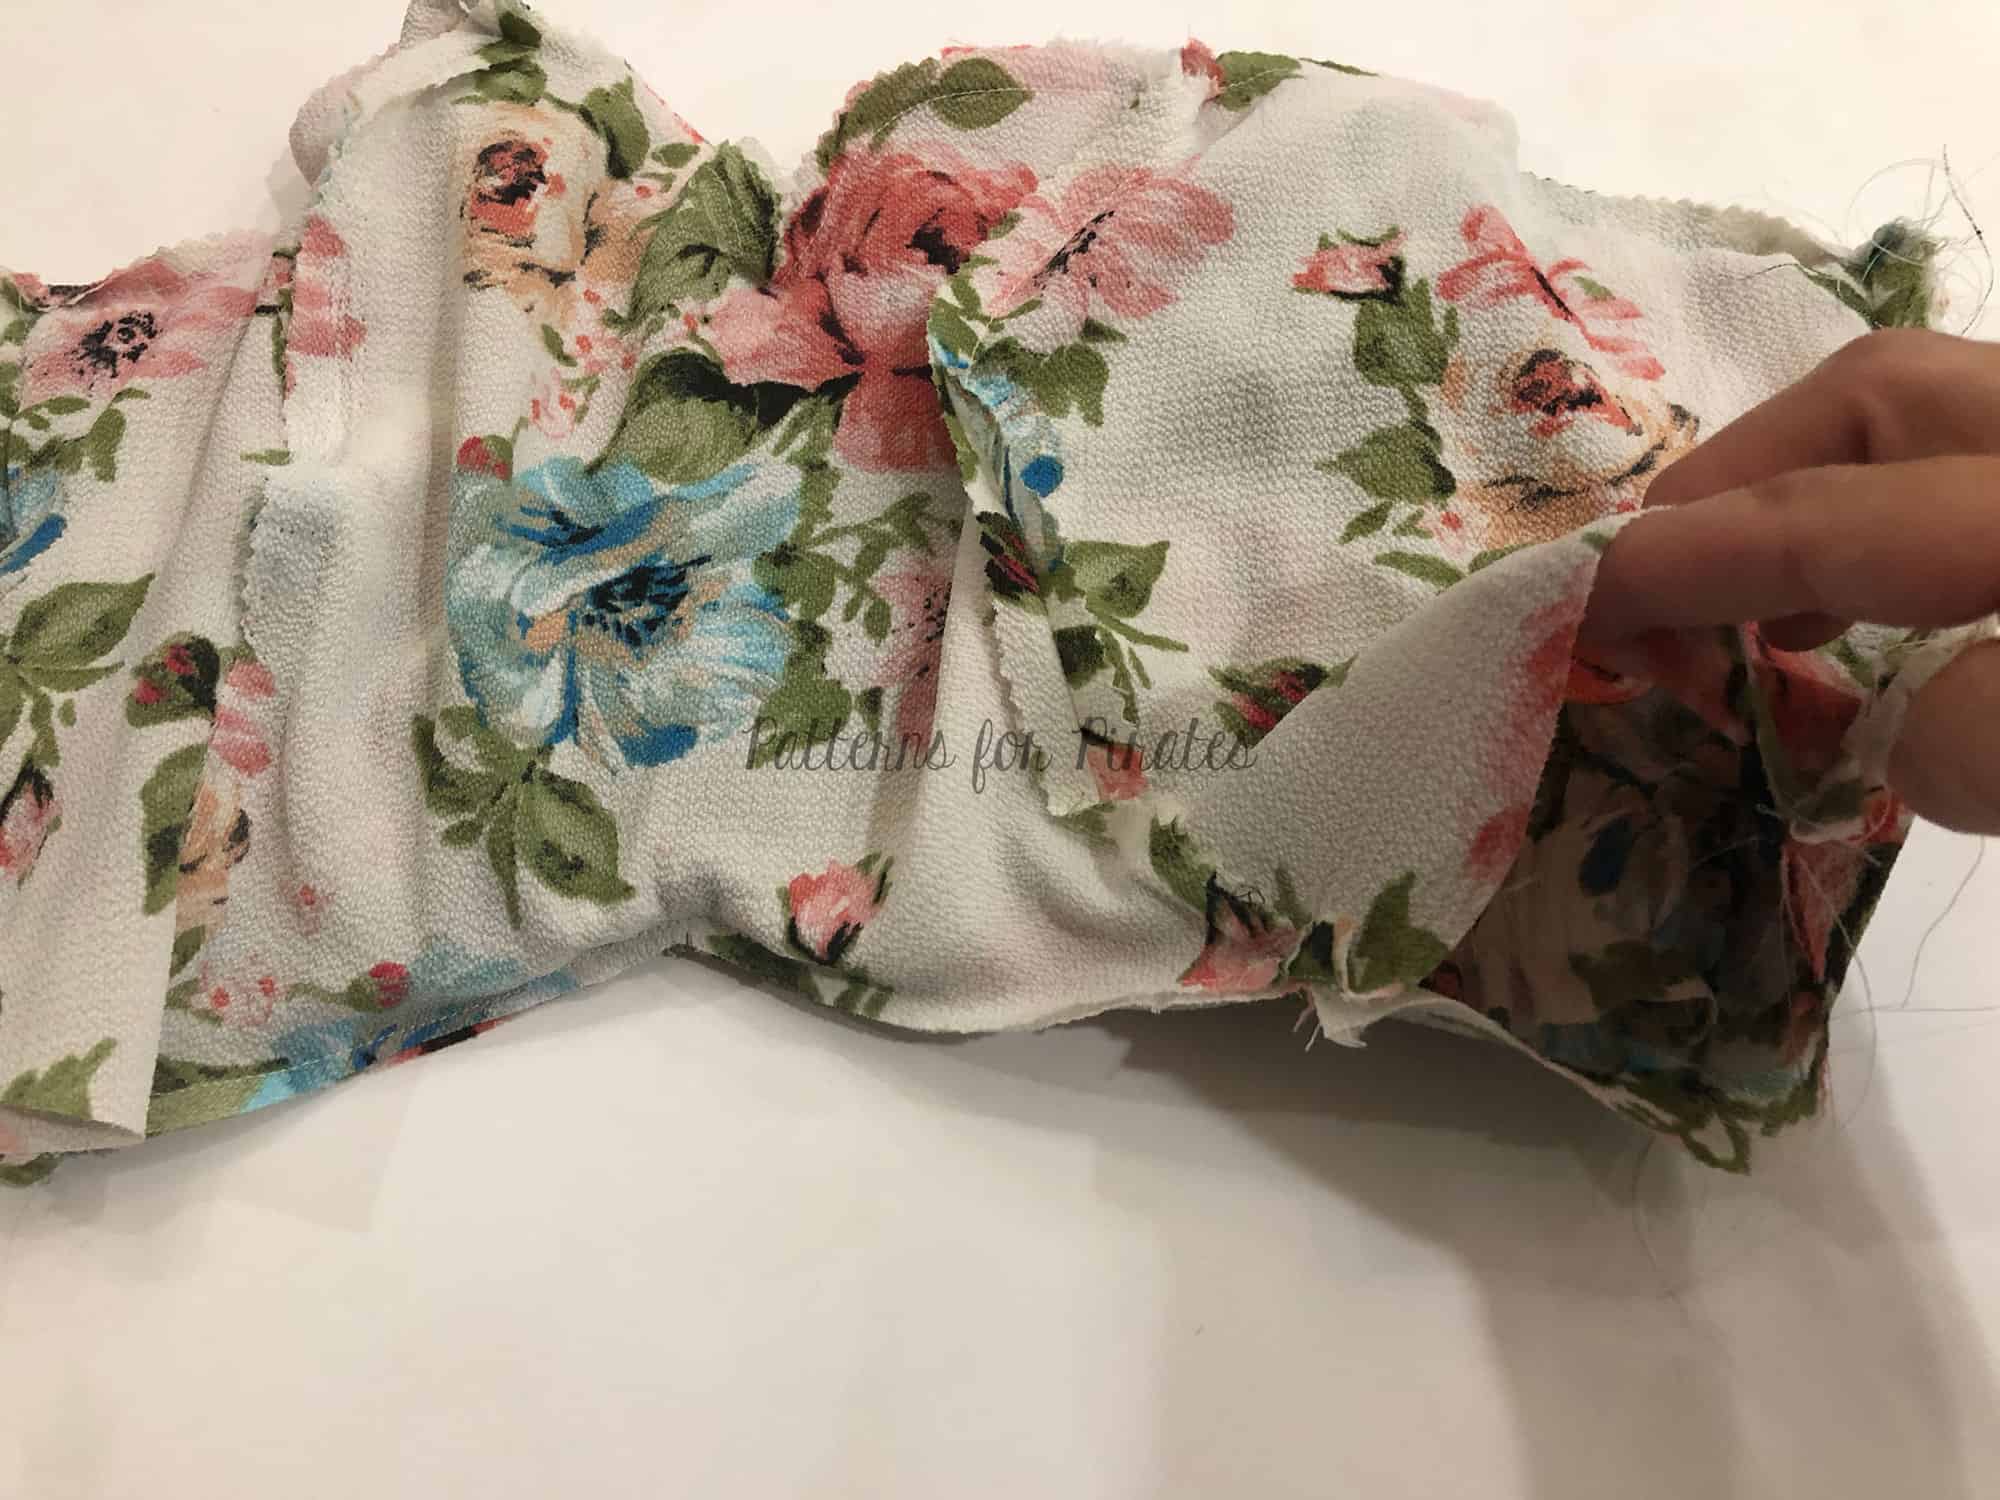
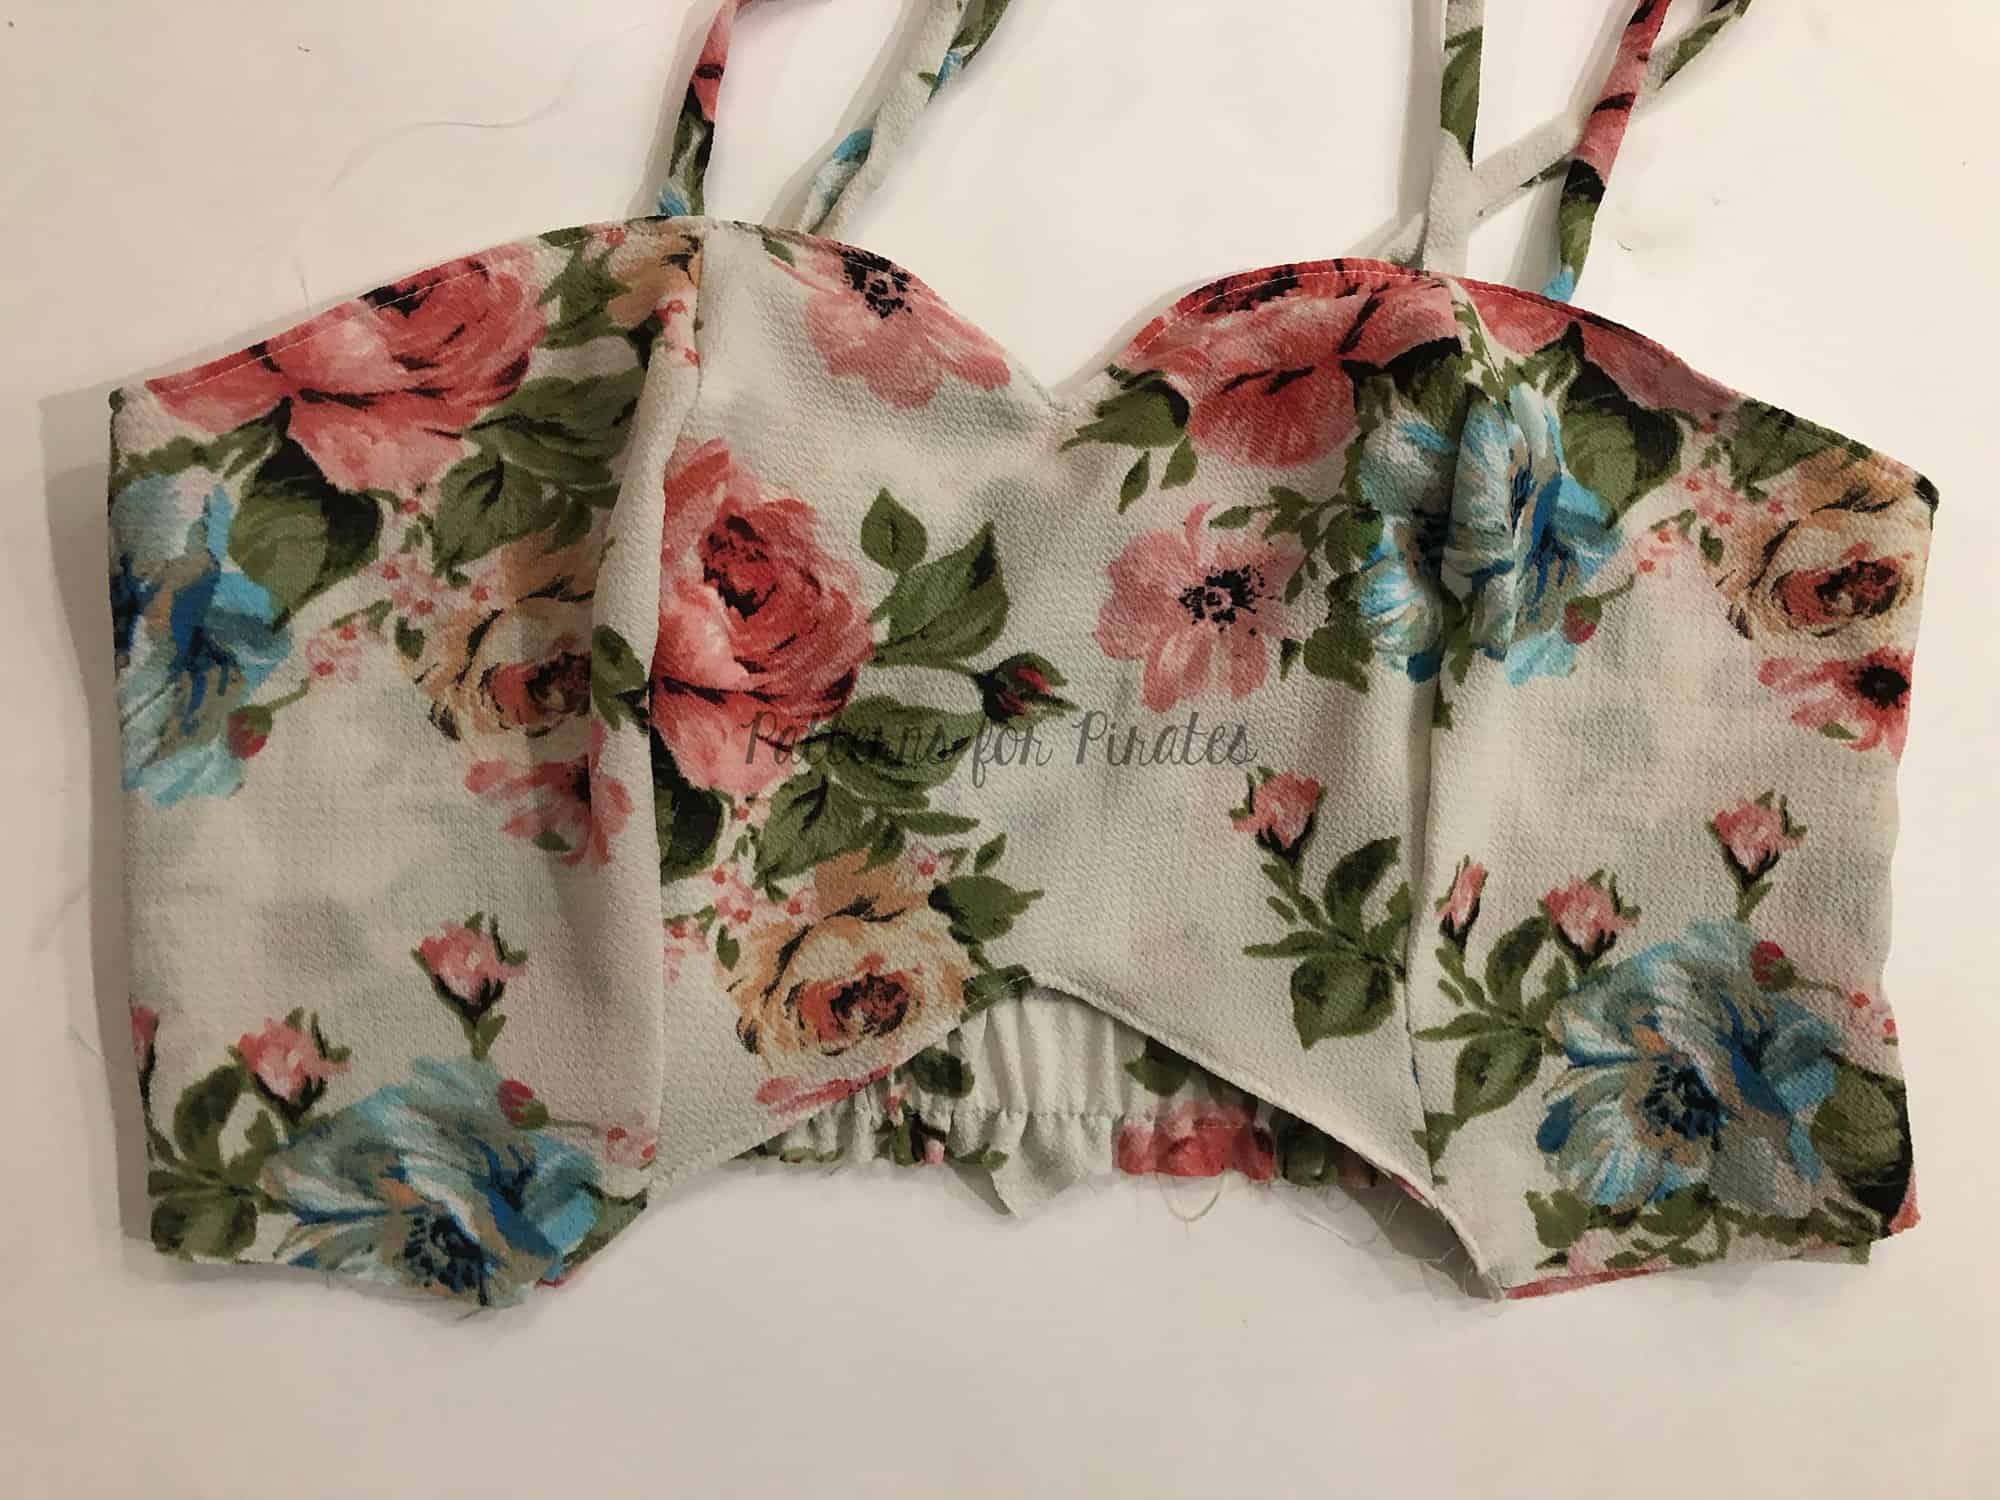
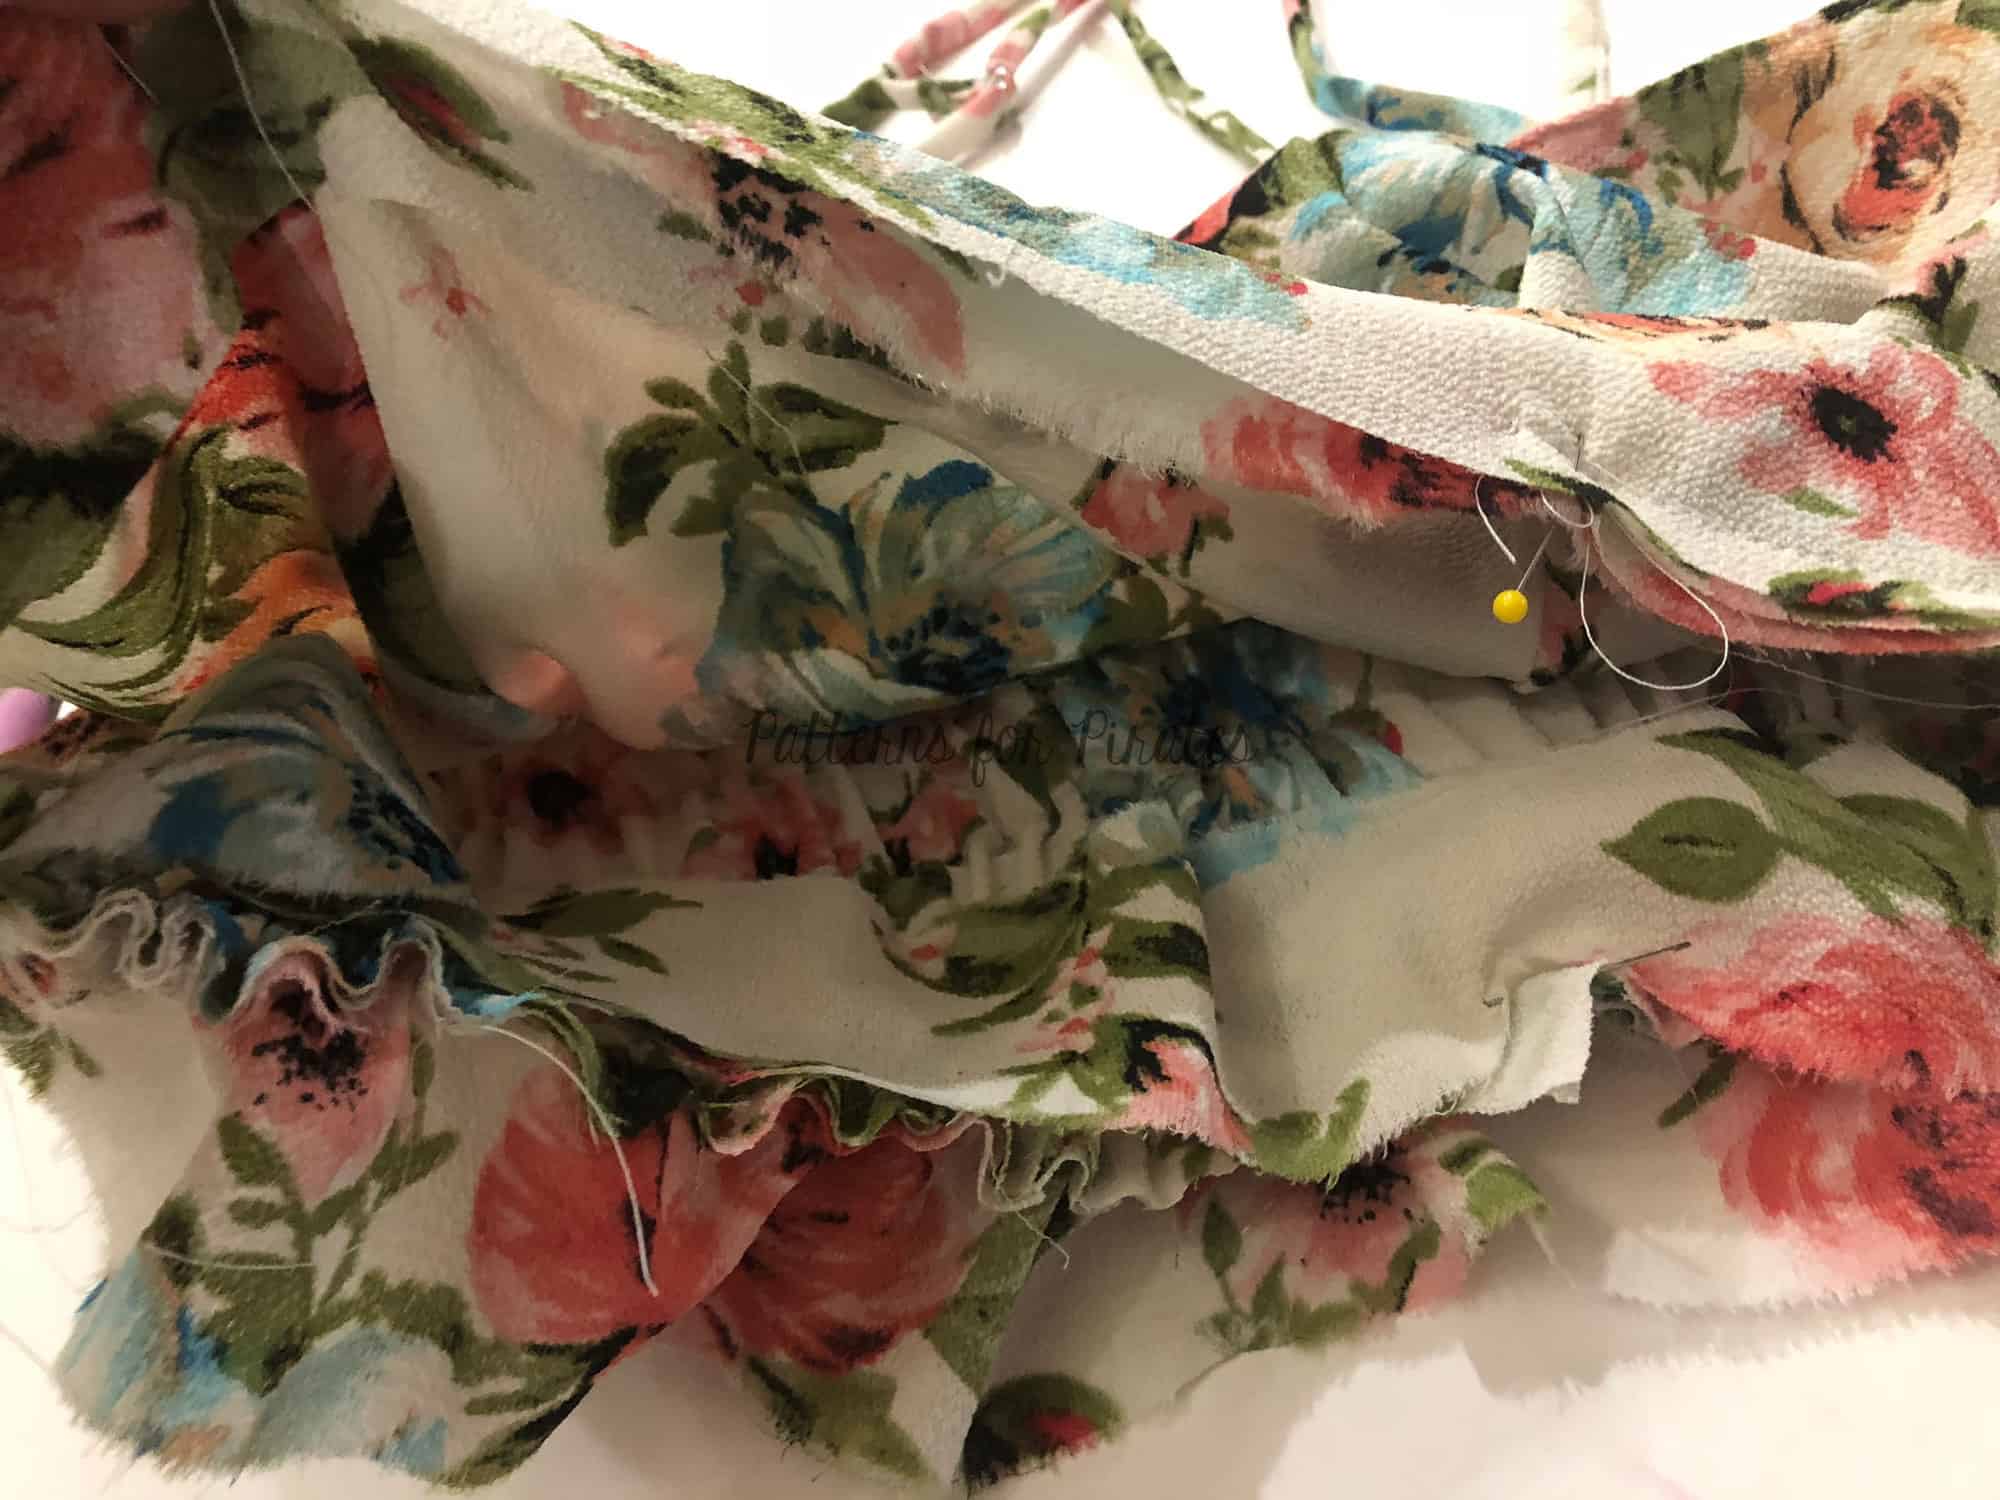
Step 2: Cut out your pieces you will need one main and one lining of each the front and the back. You will sew in your cups if using them just as instructed in the pattern but DO NOT sew on the underbust elastic! Assemble the top just as instructed in the pattern.
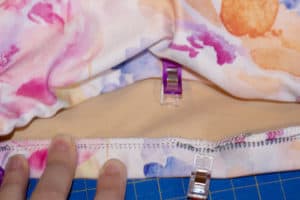
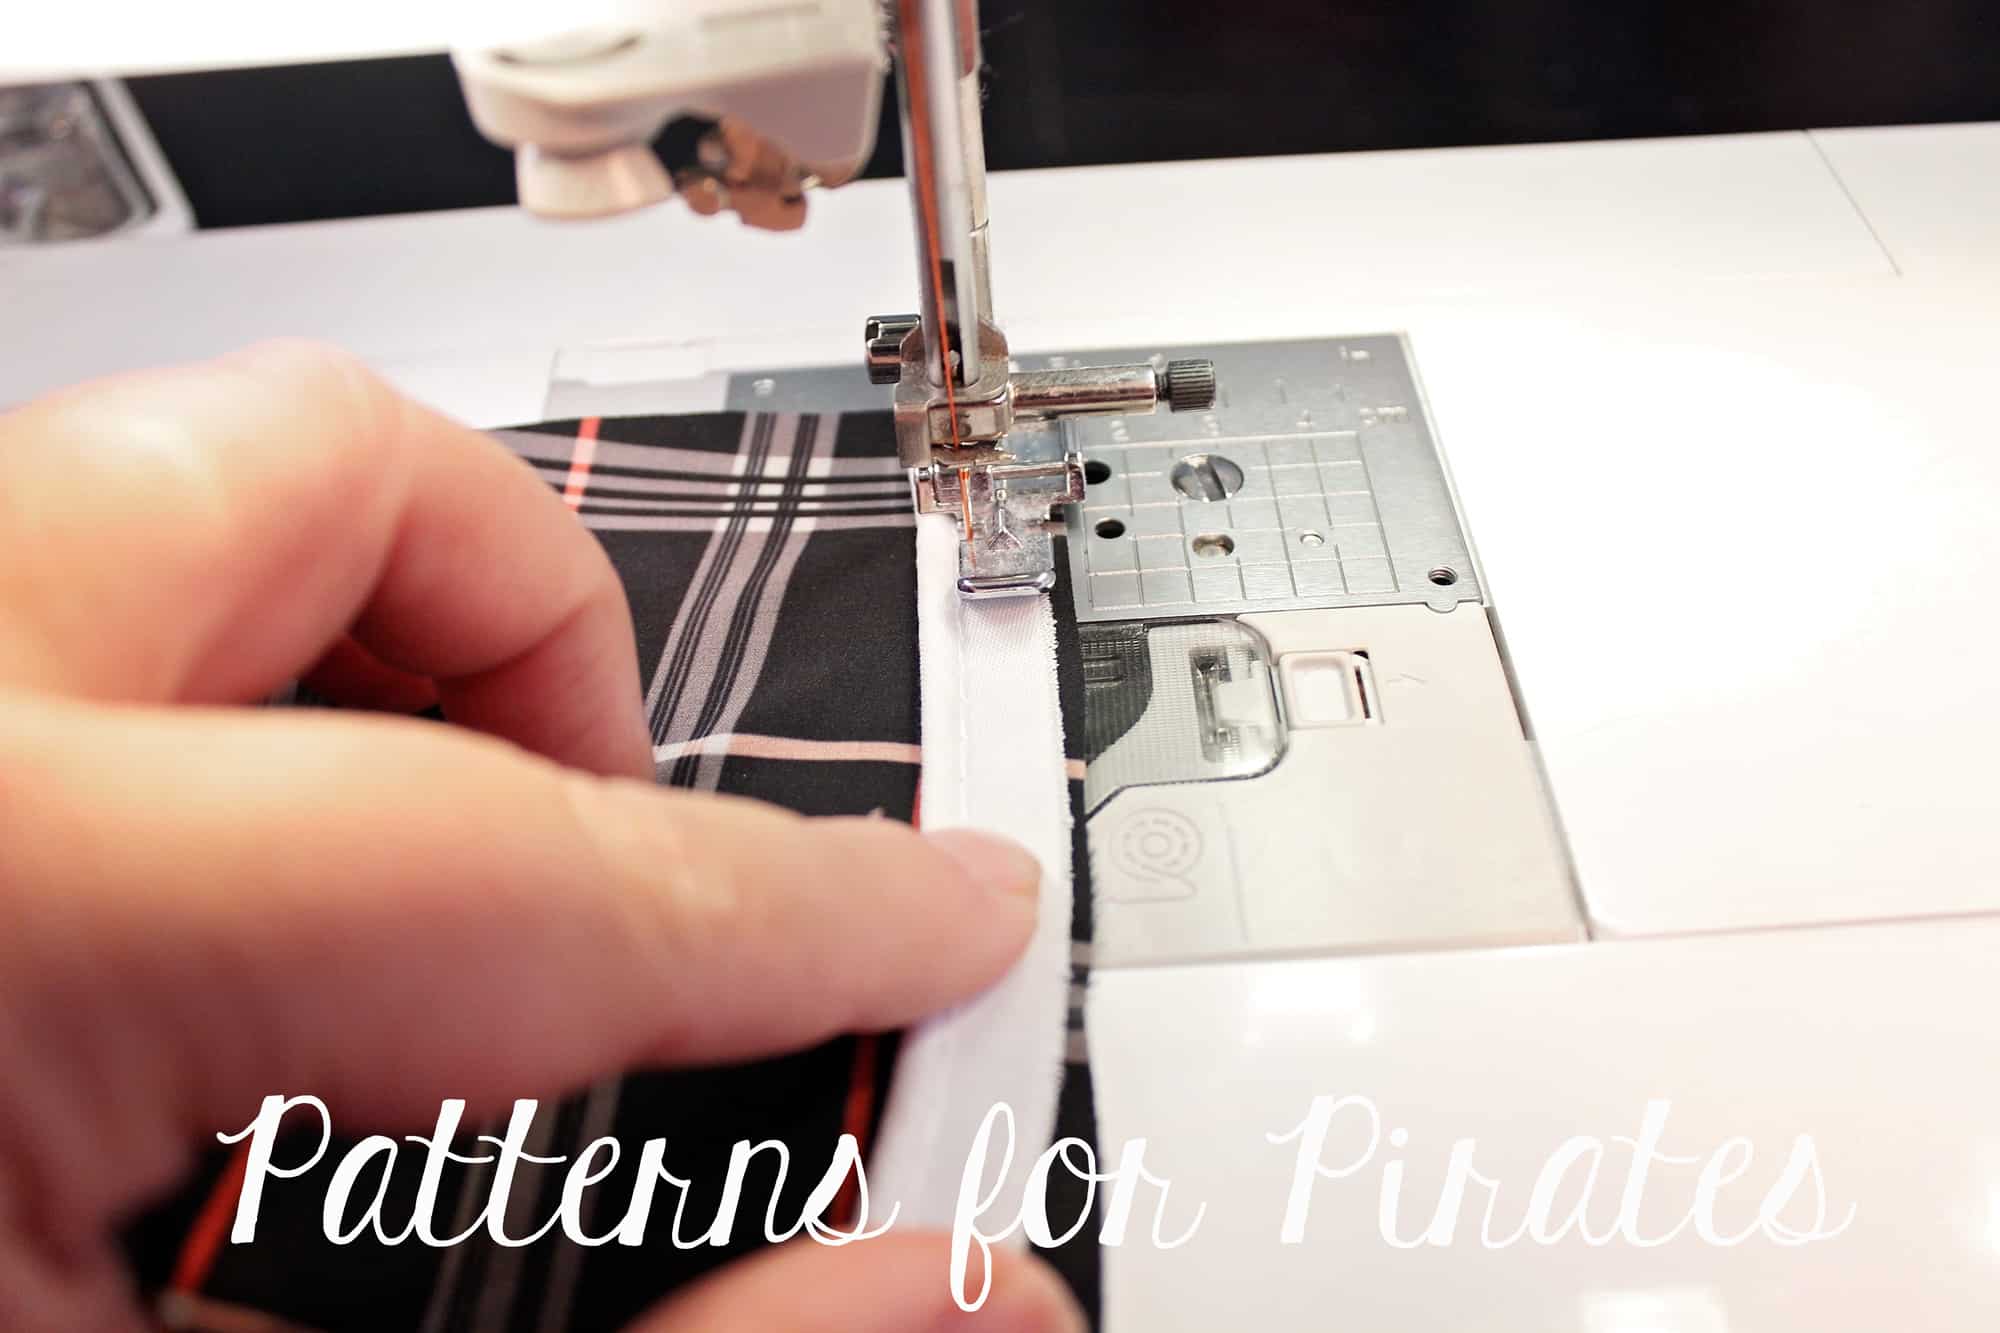
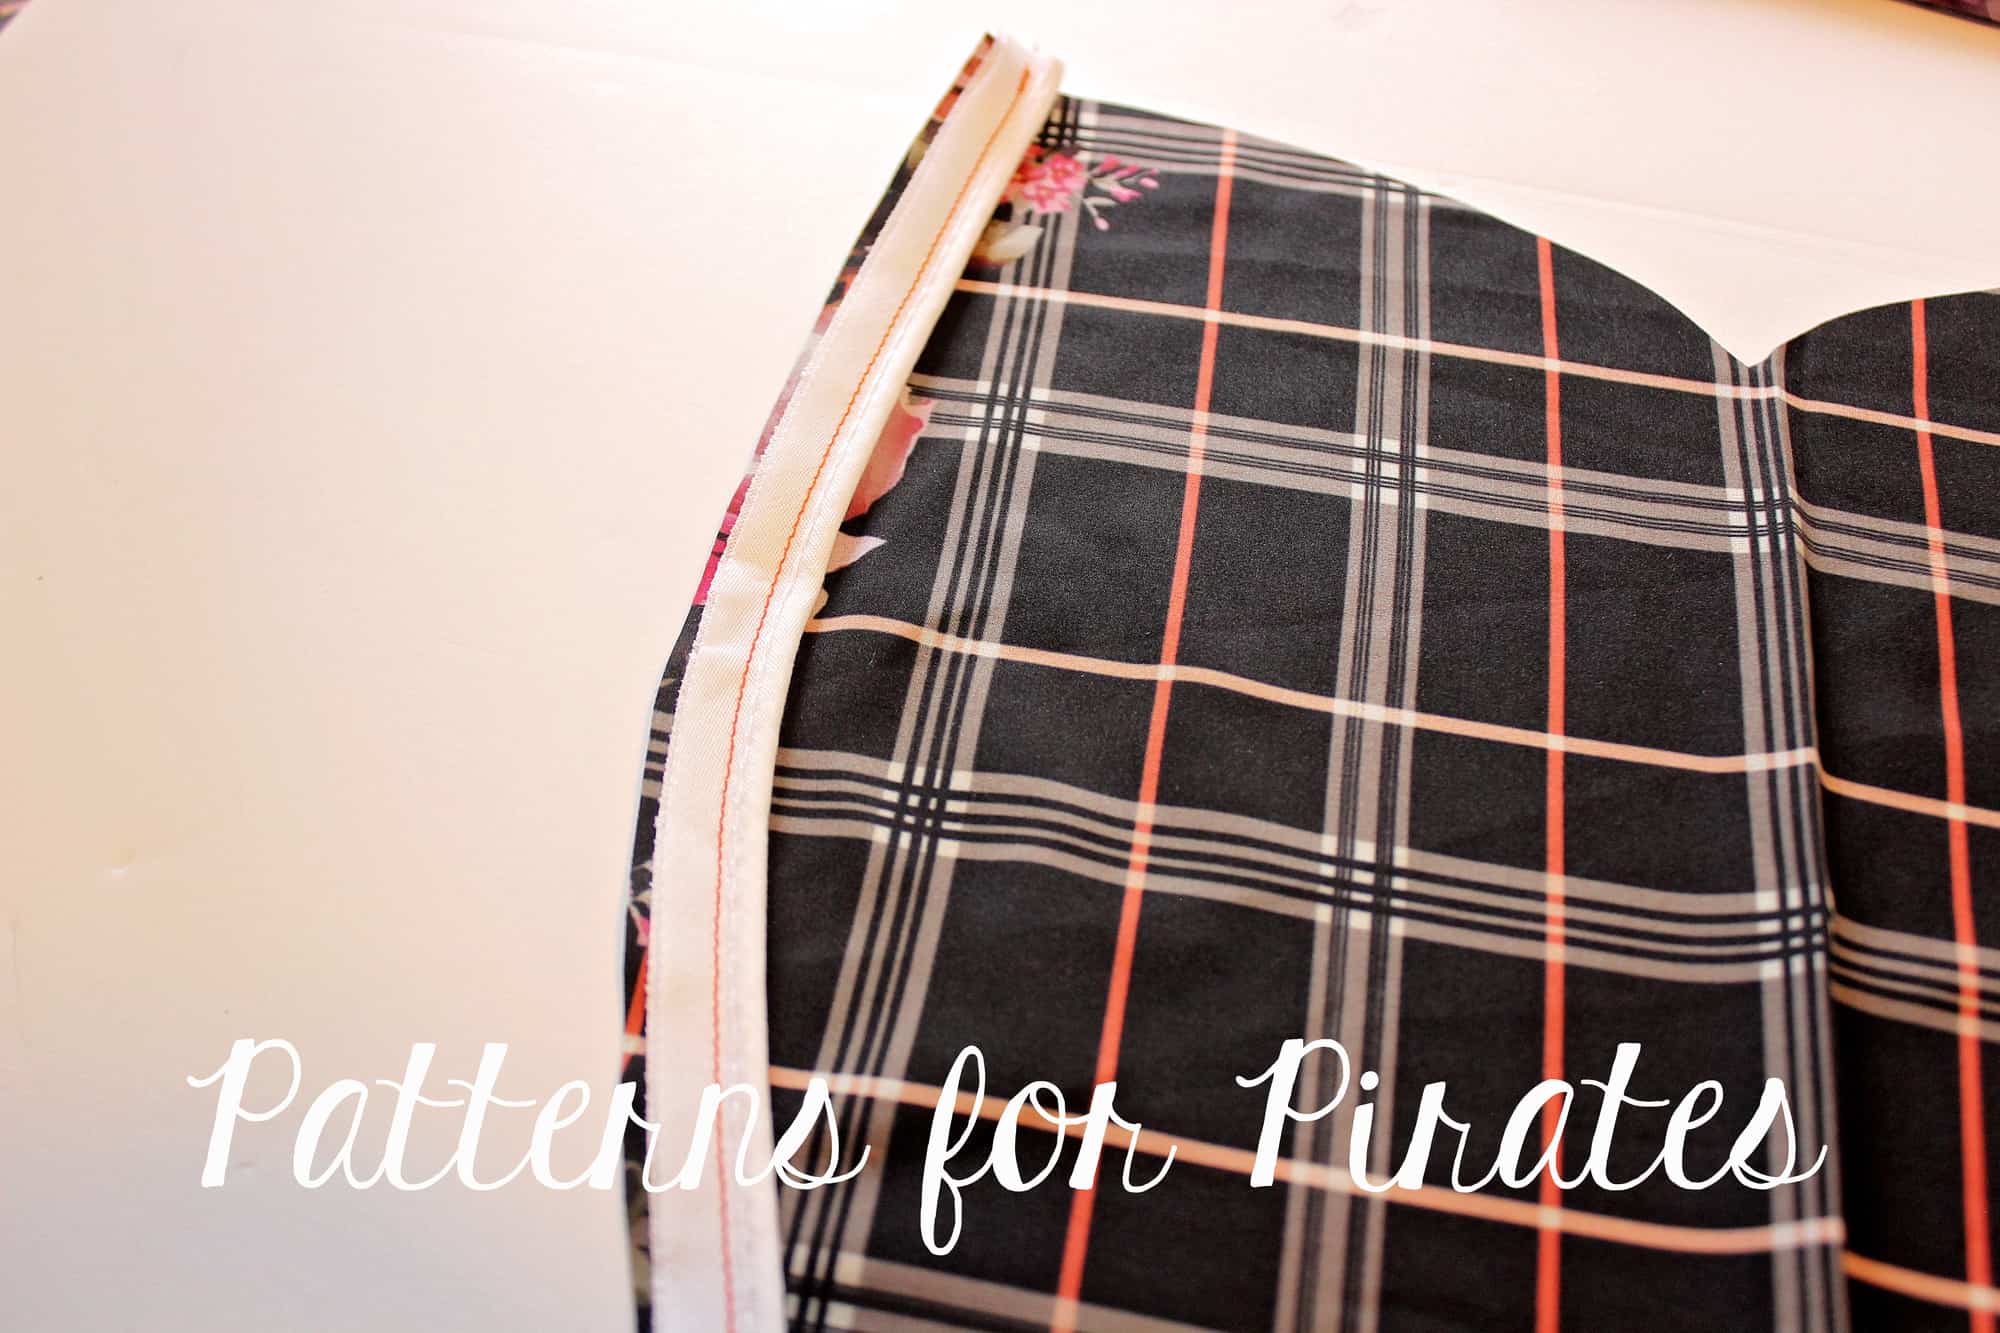
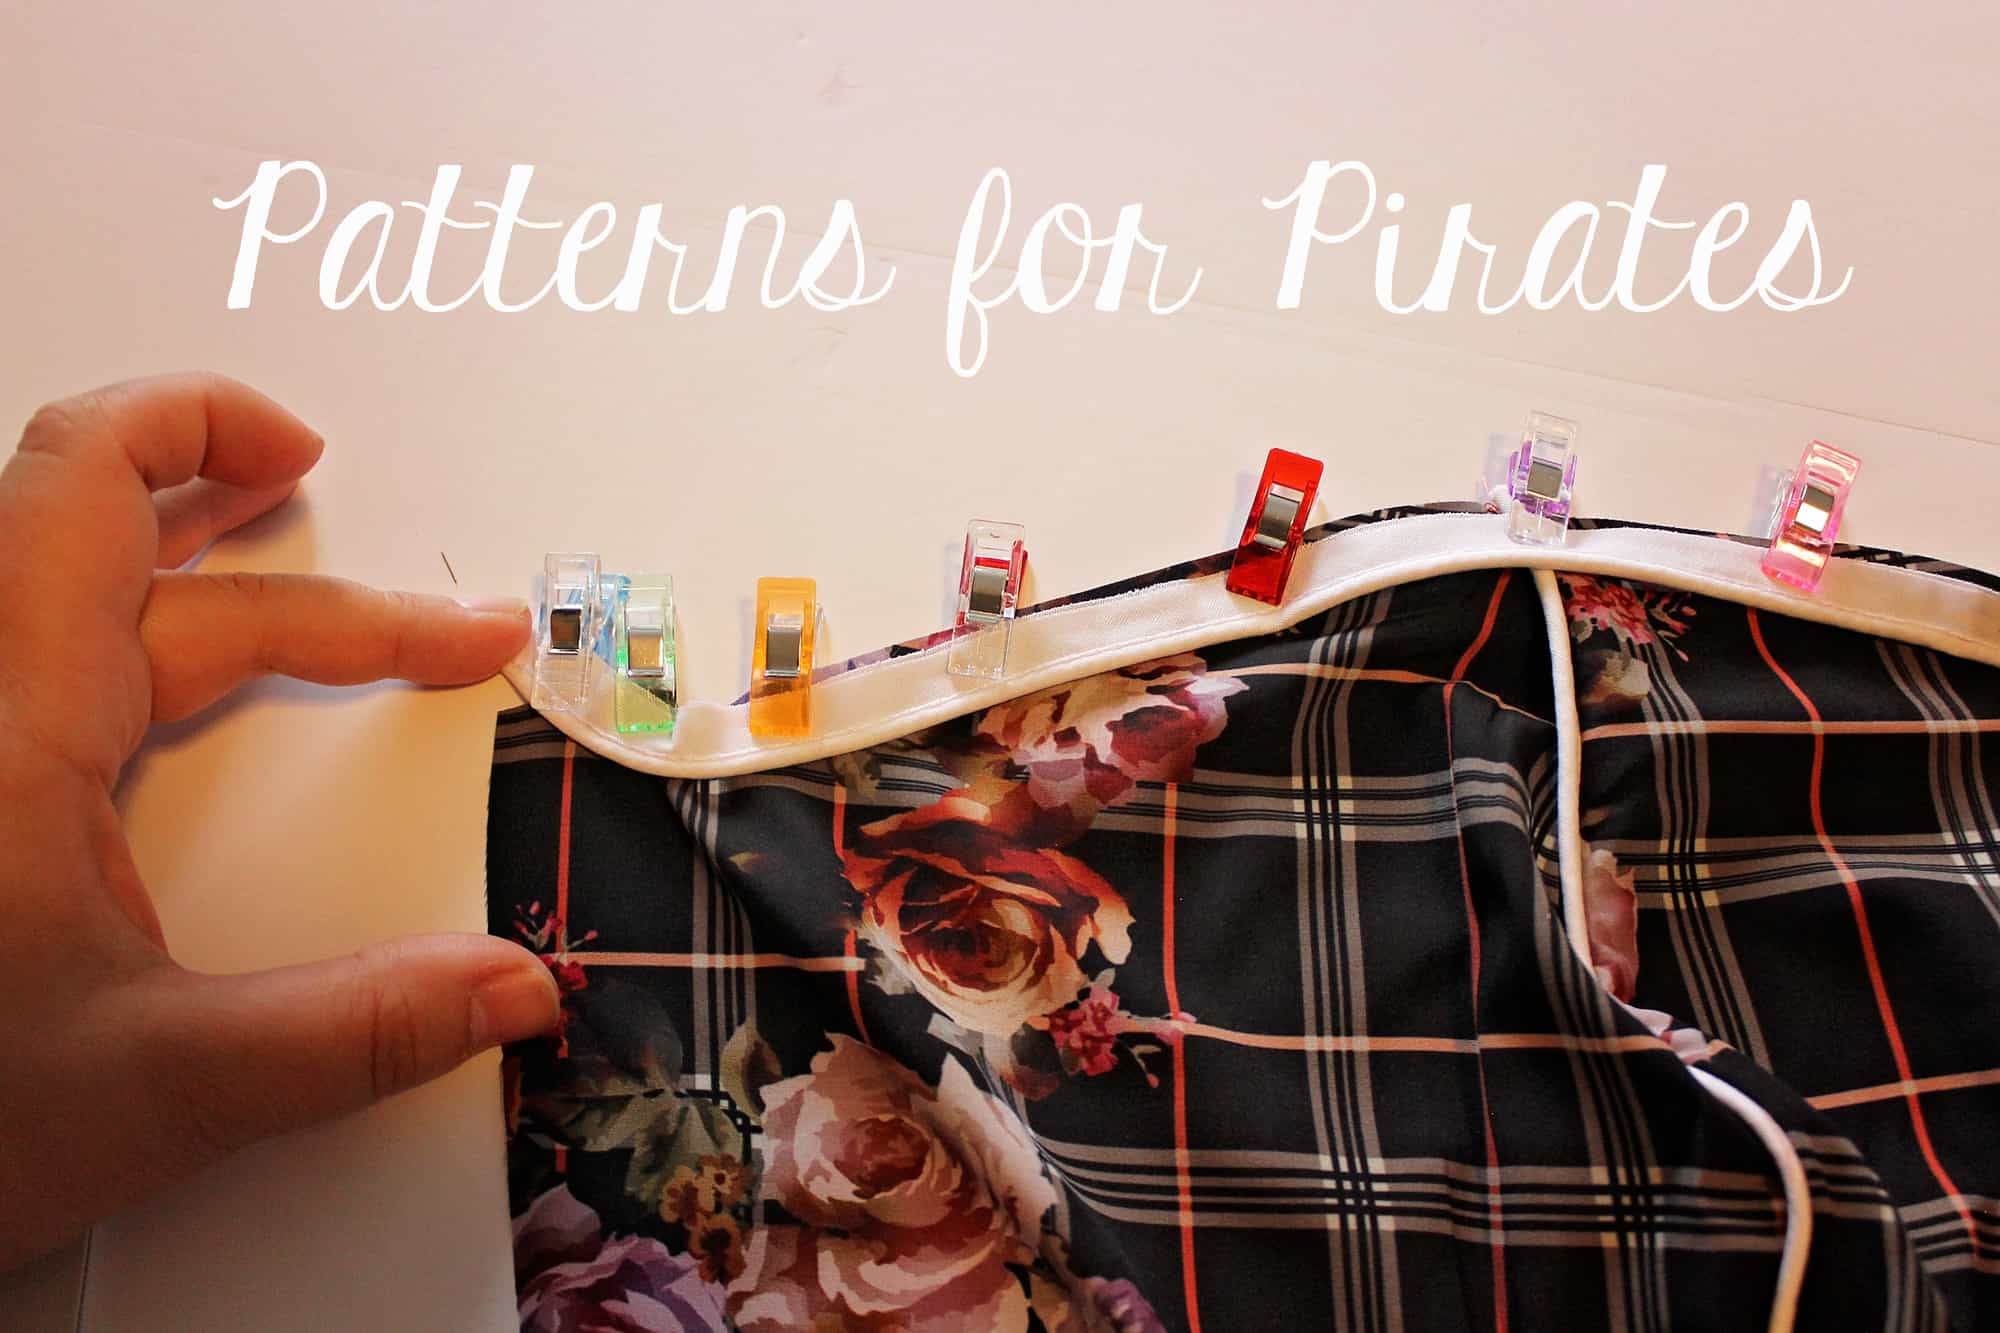
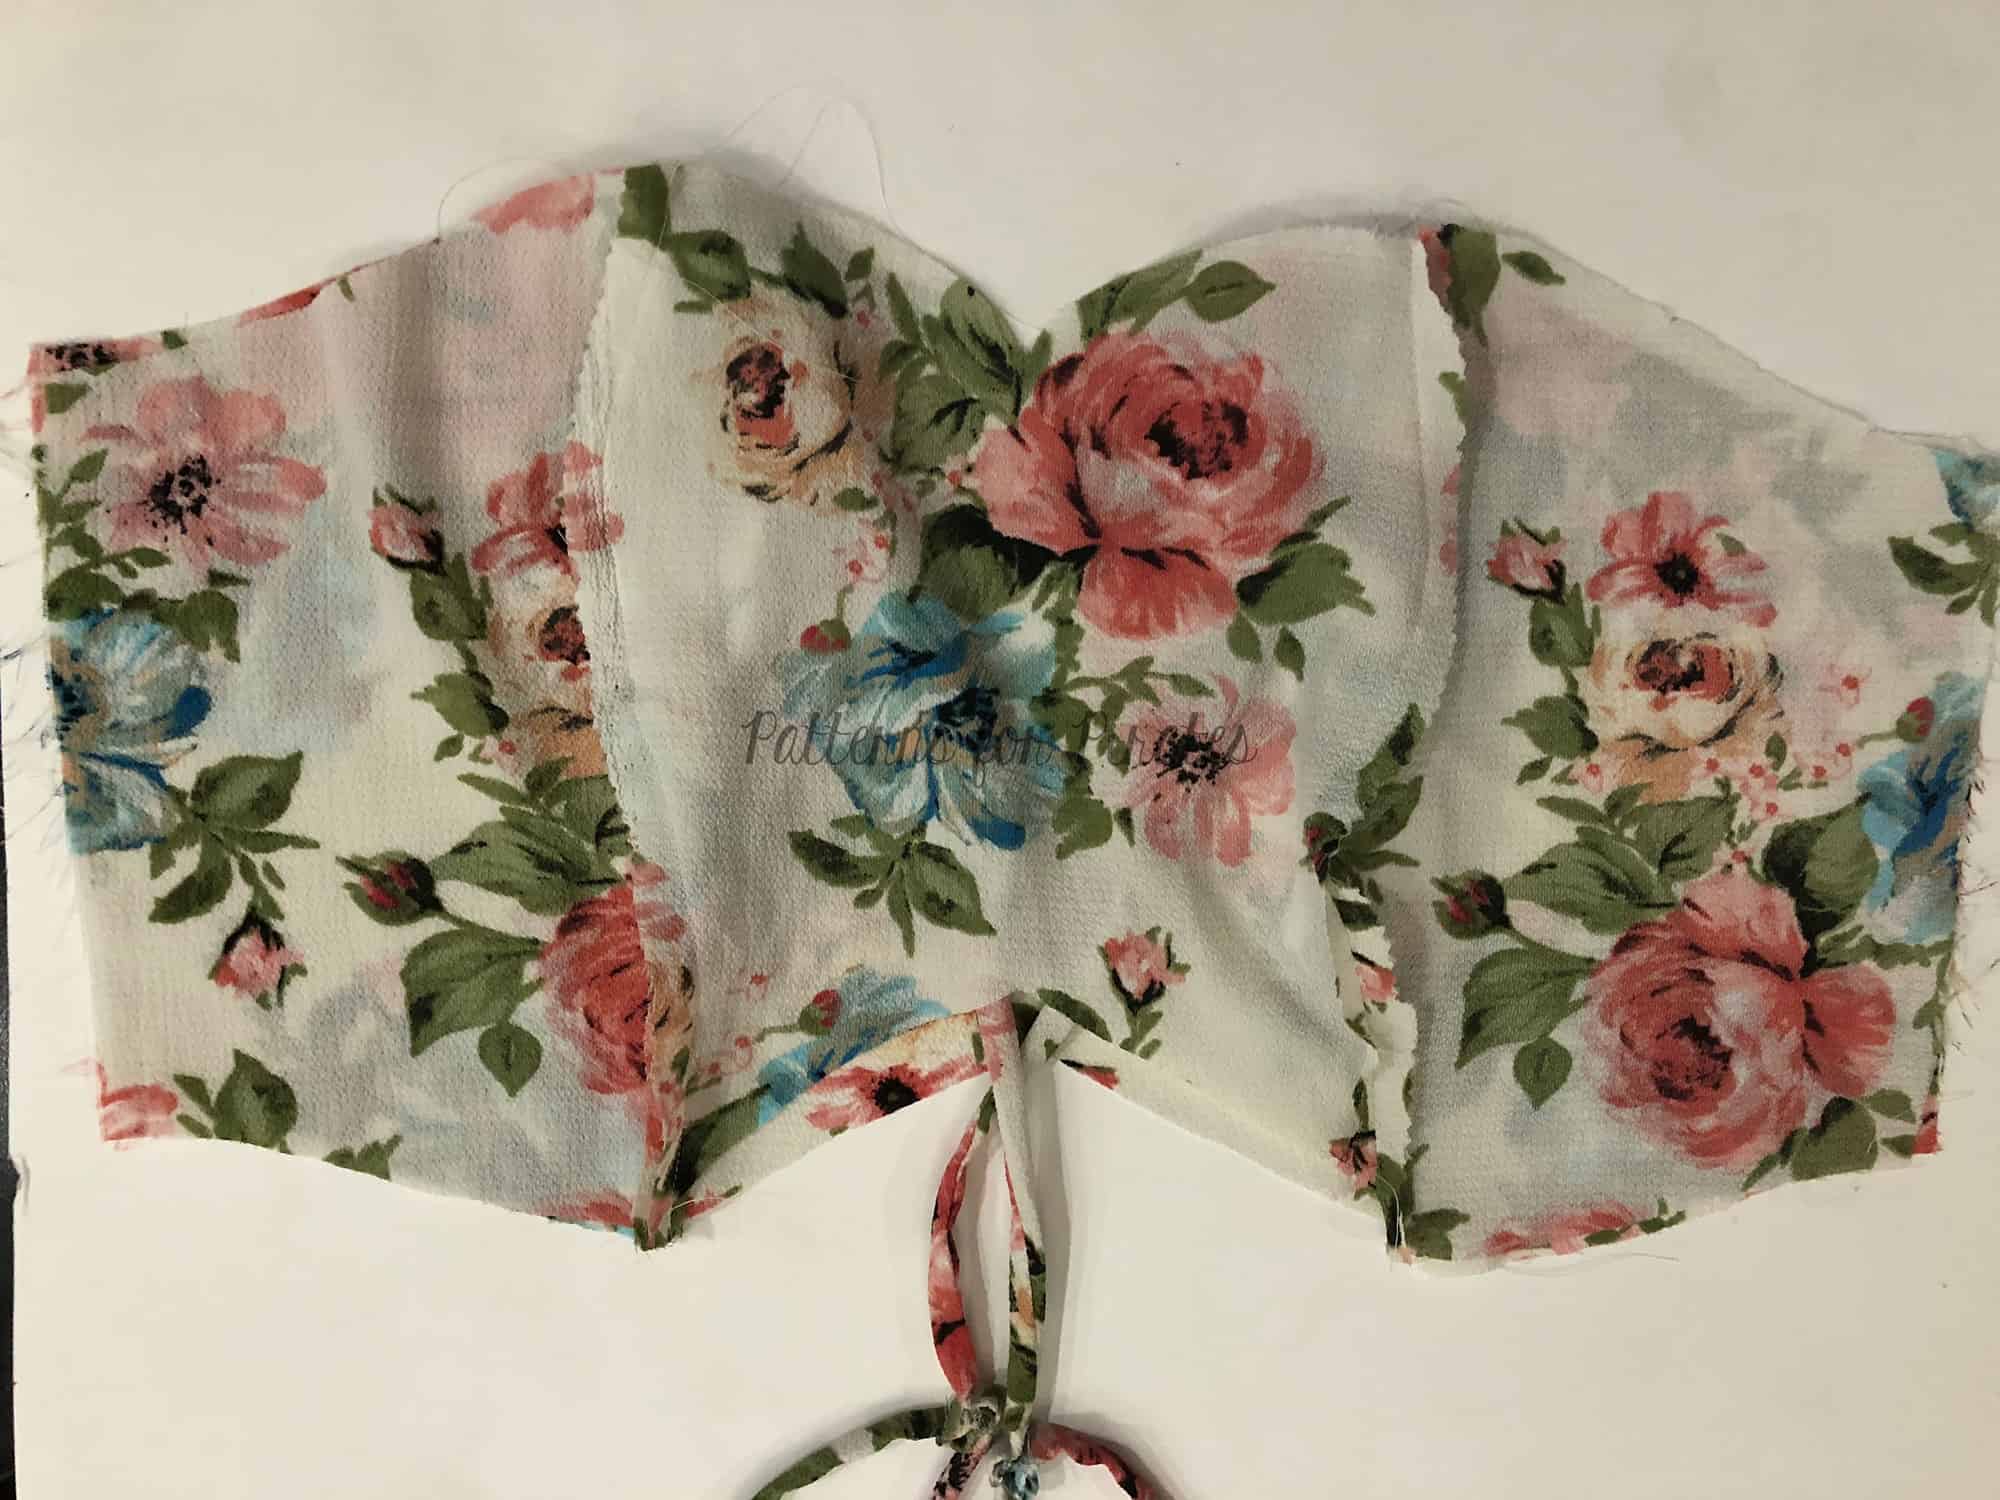
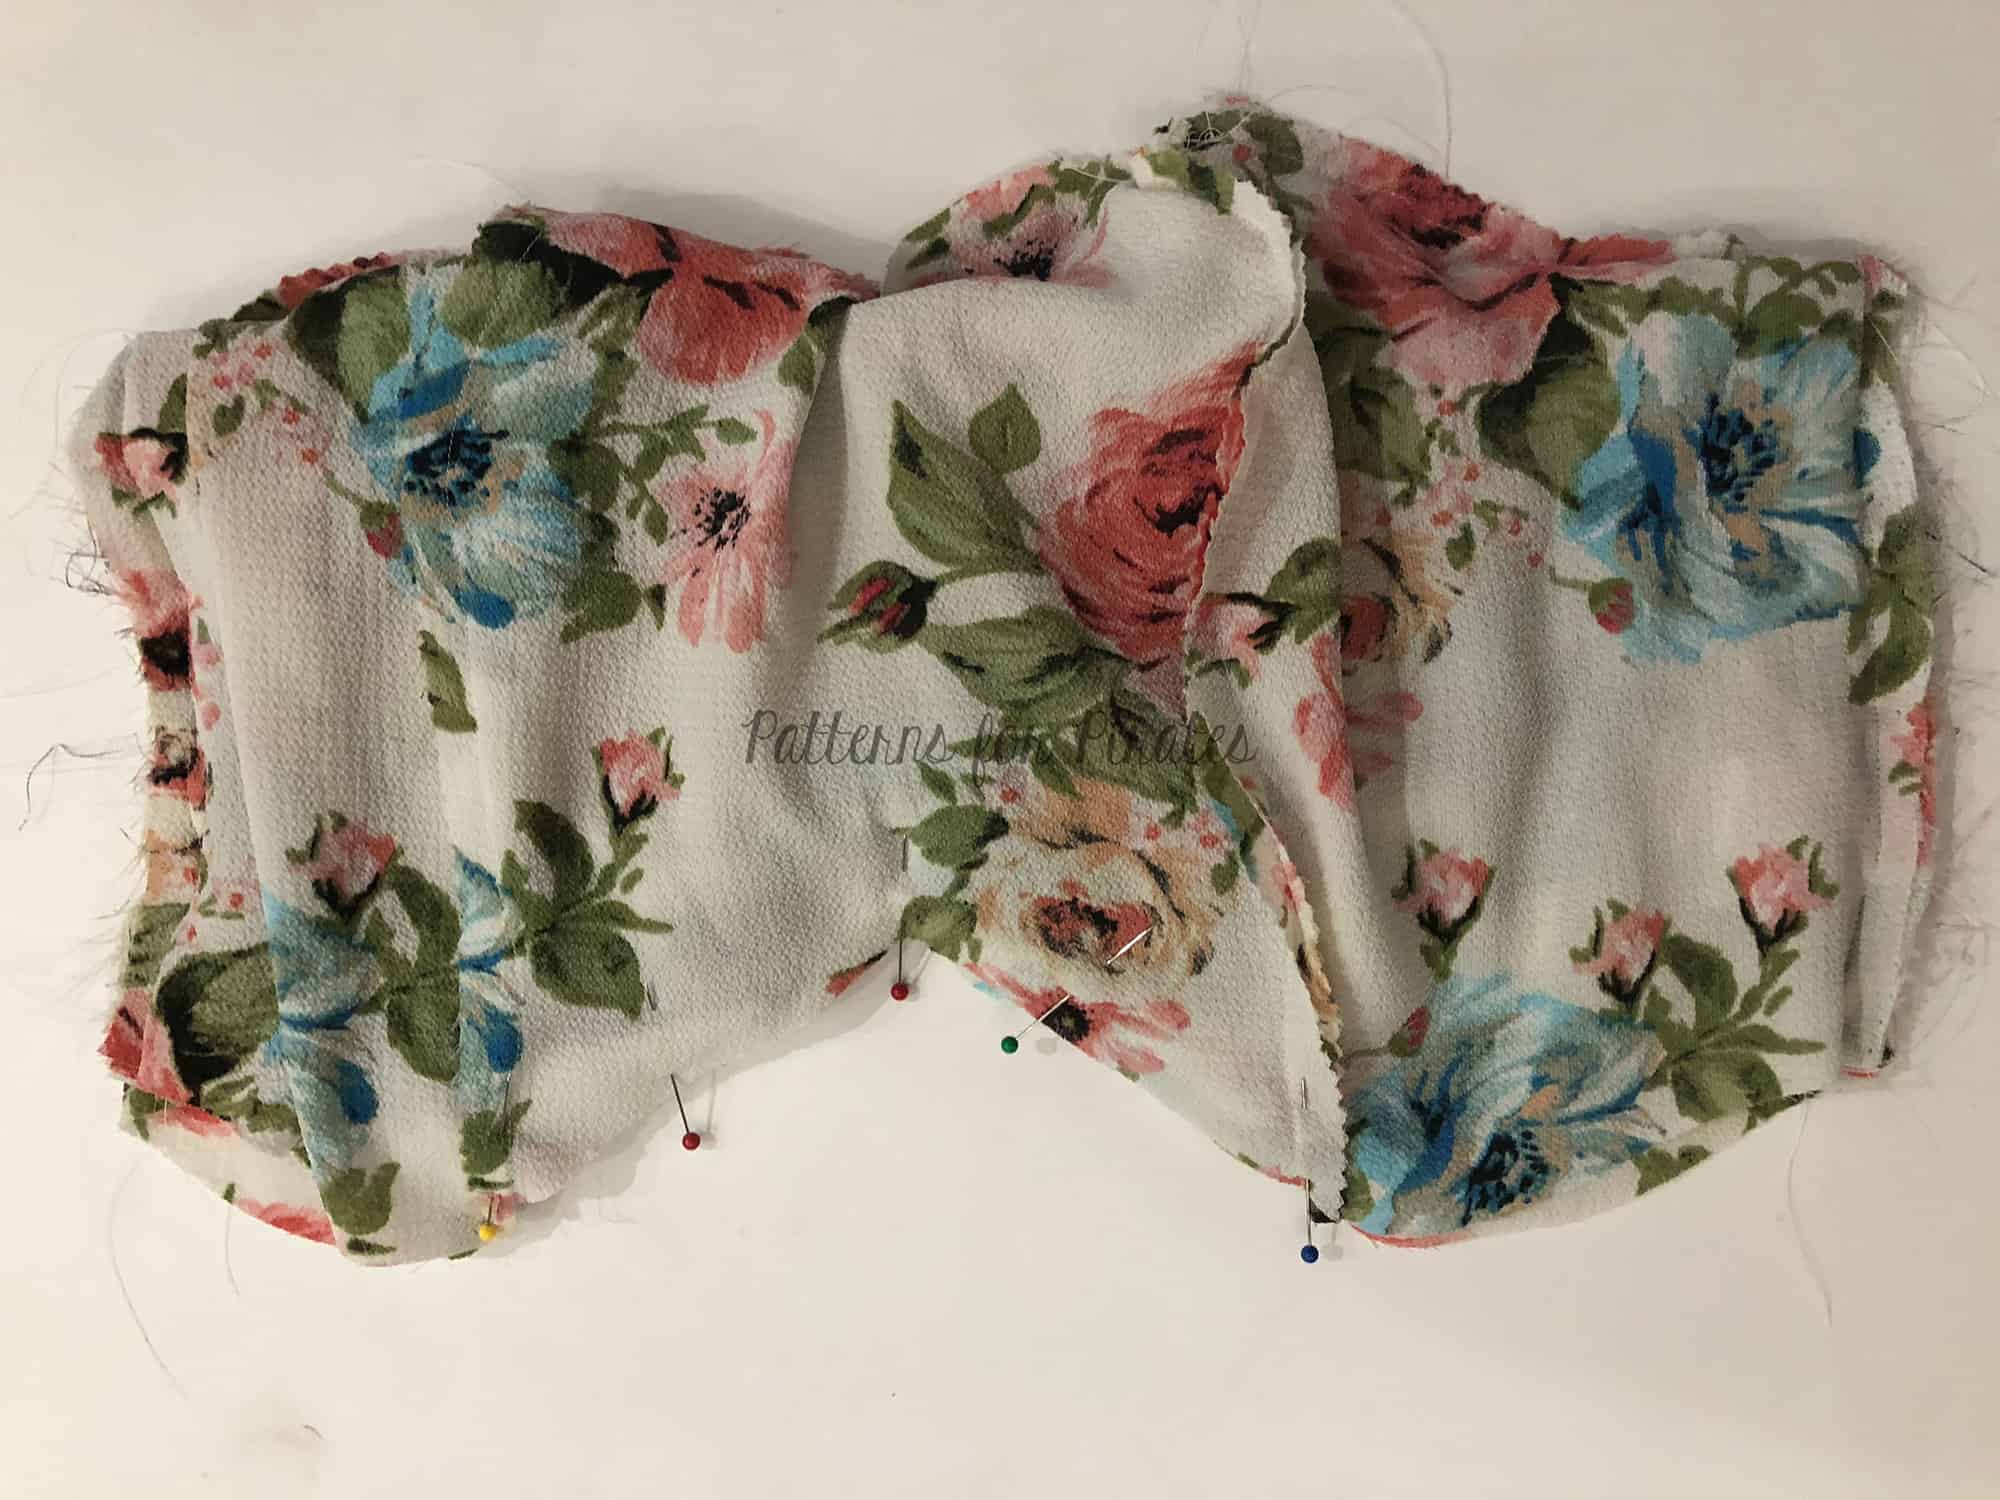
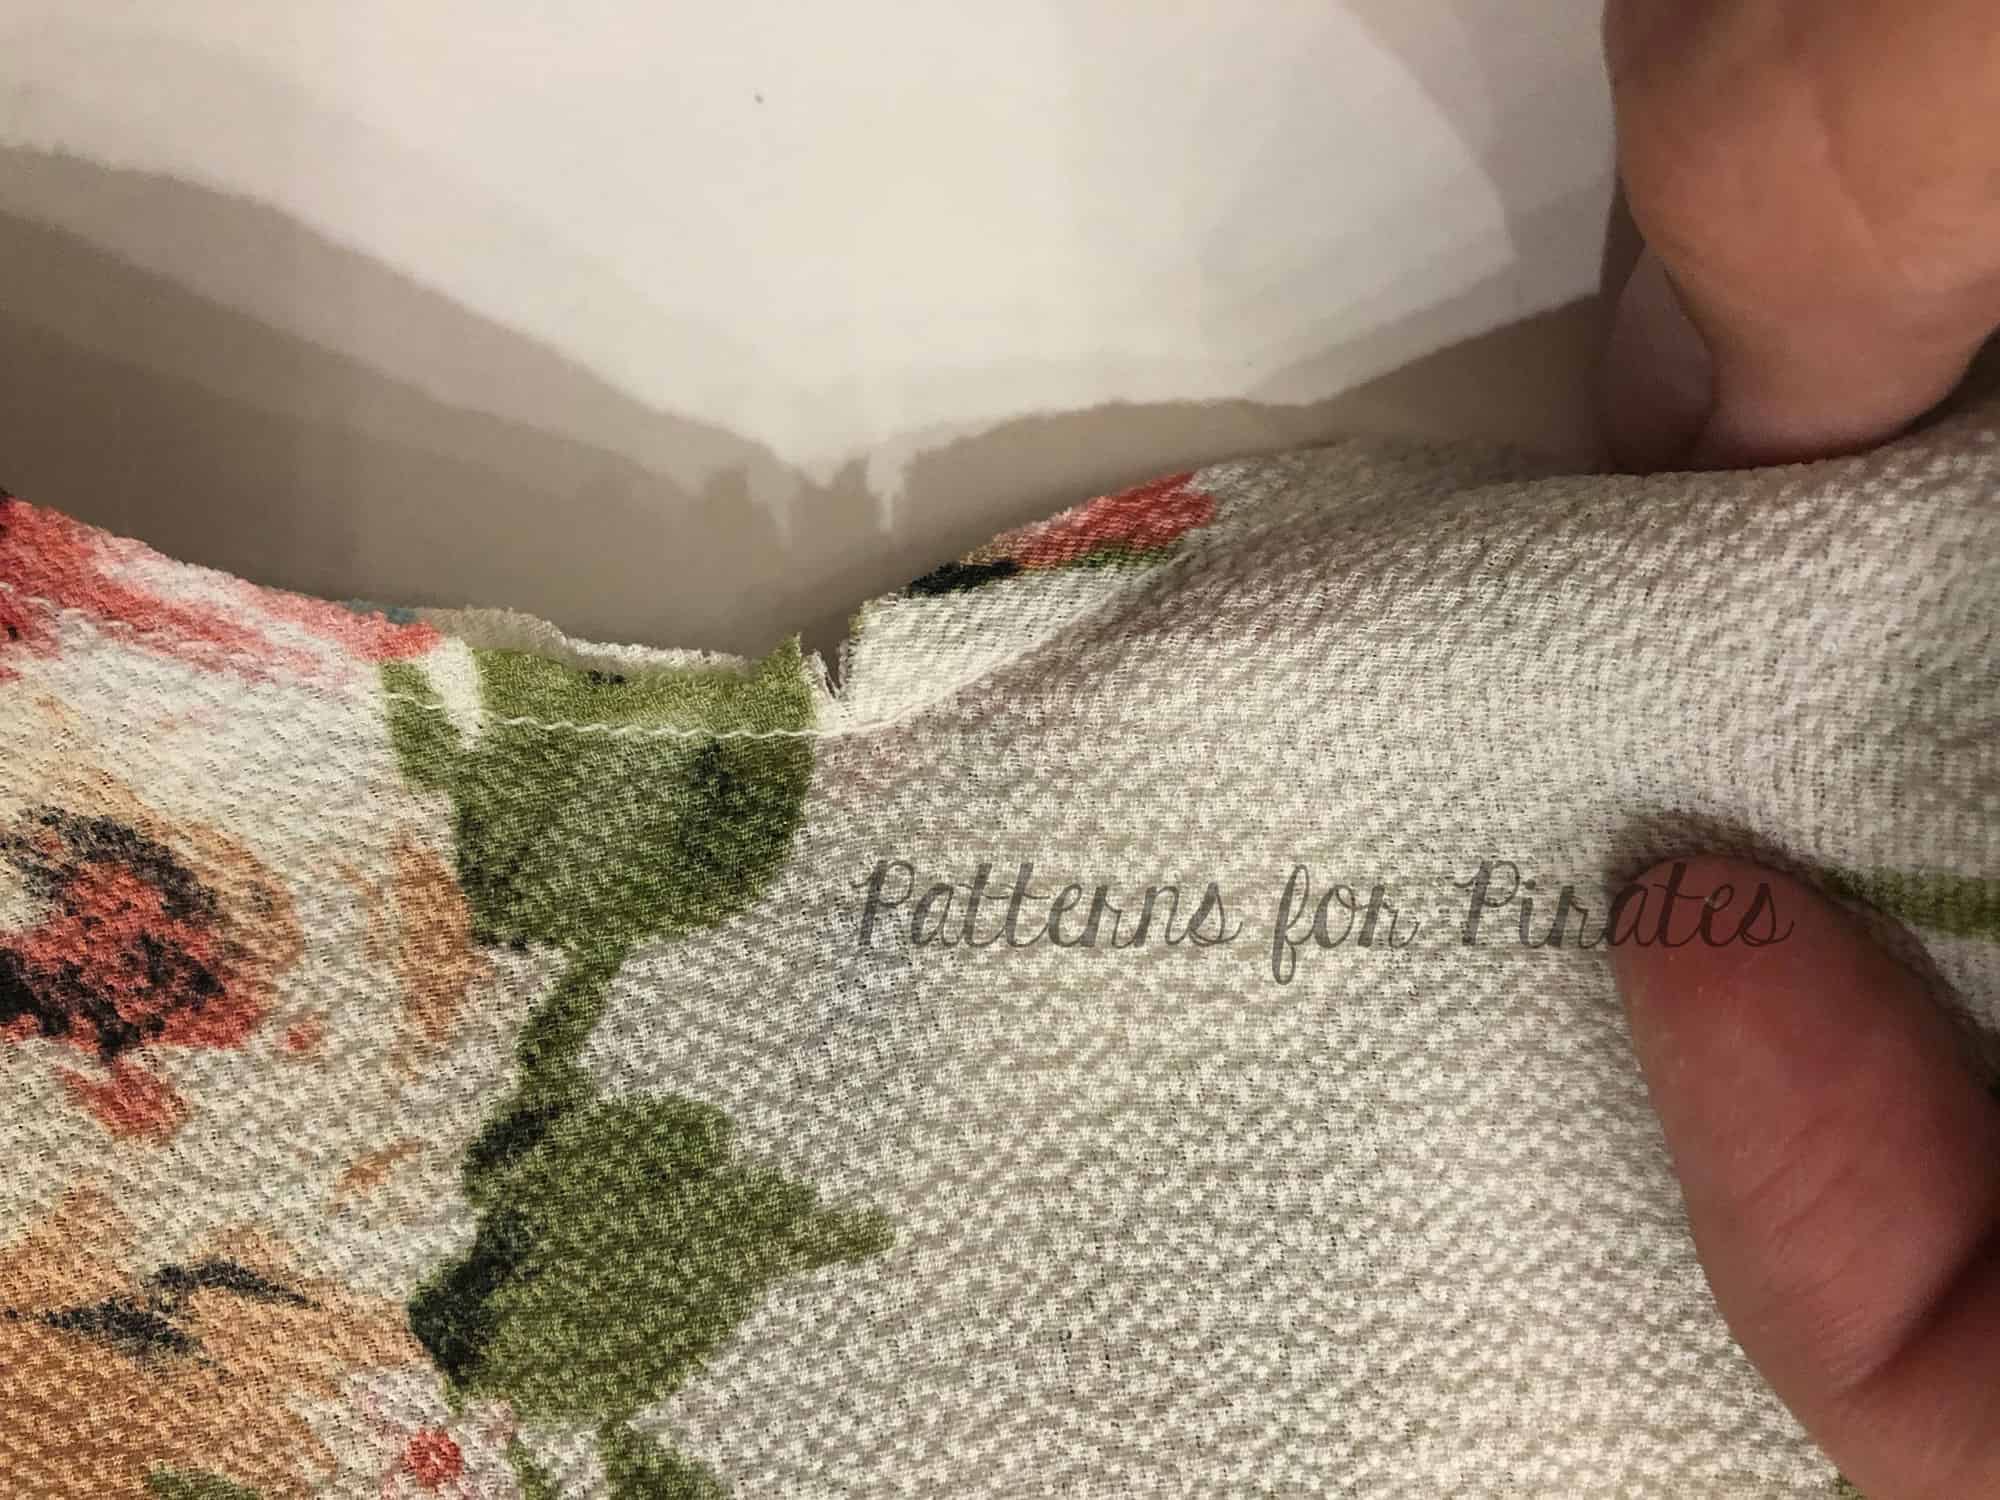
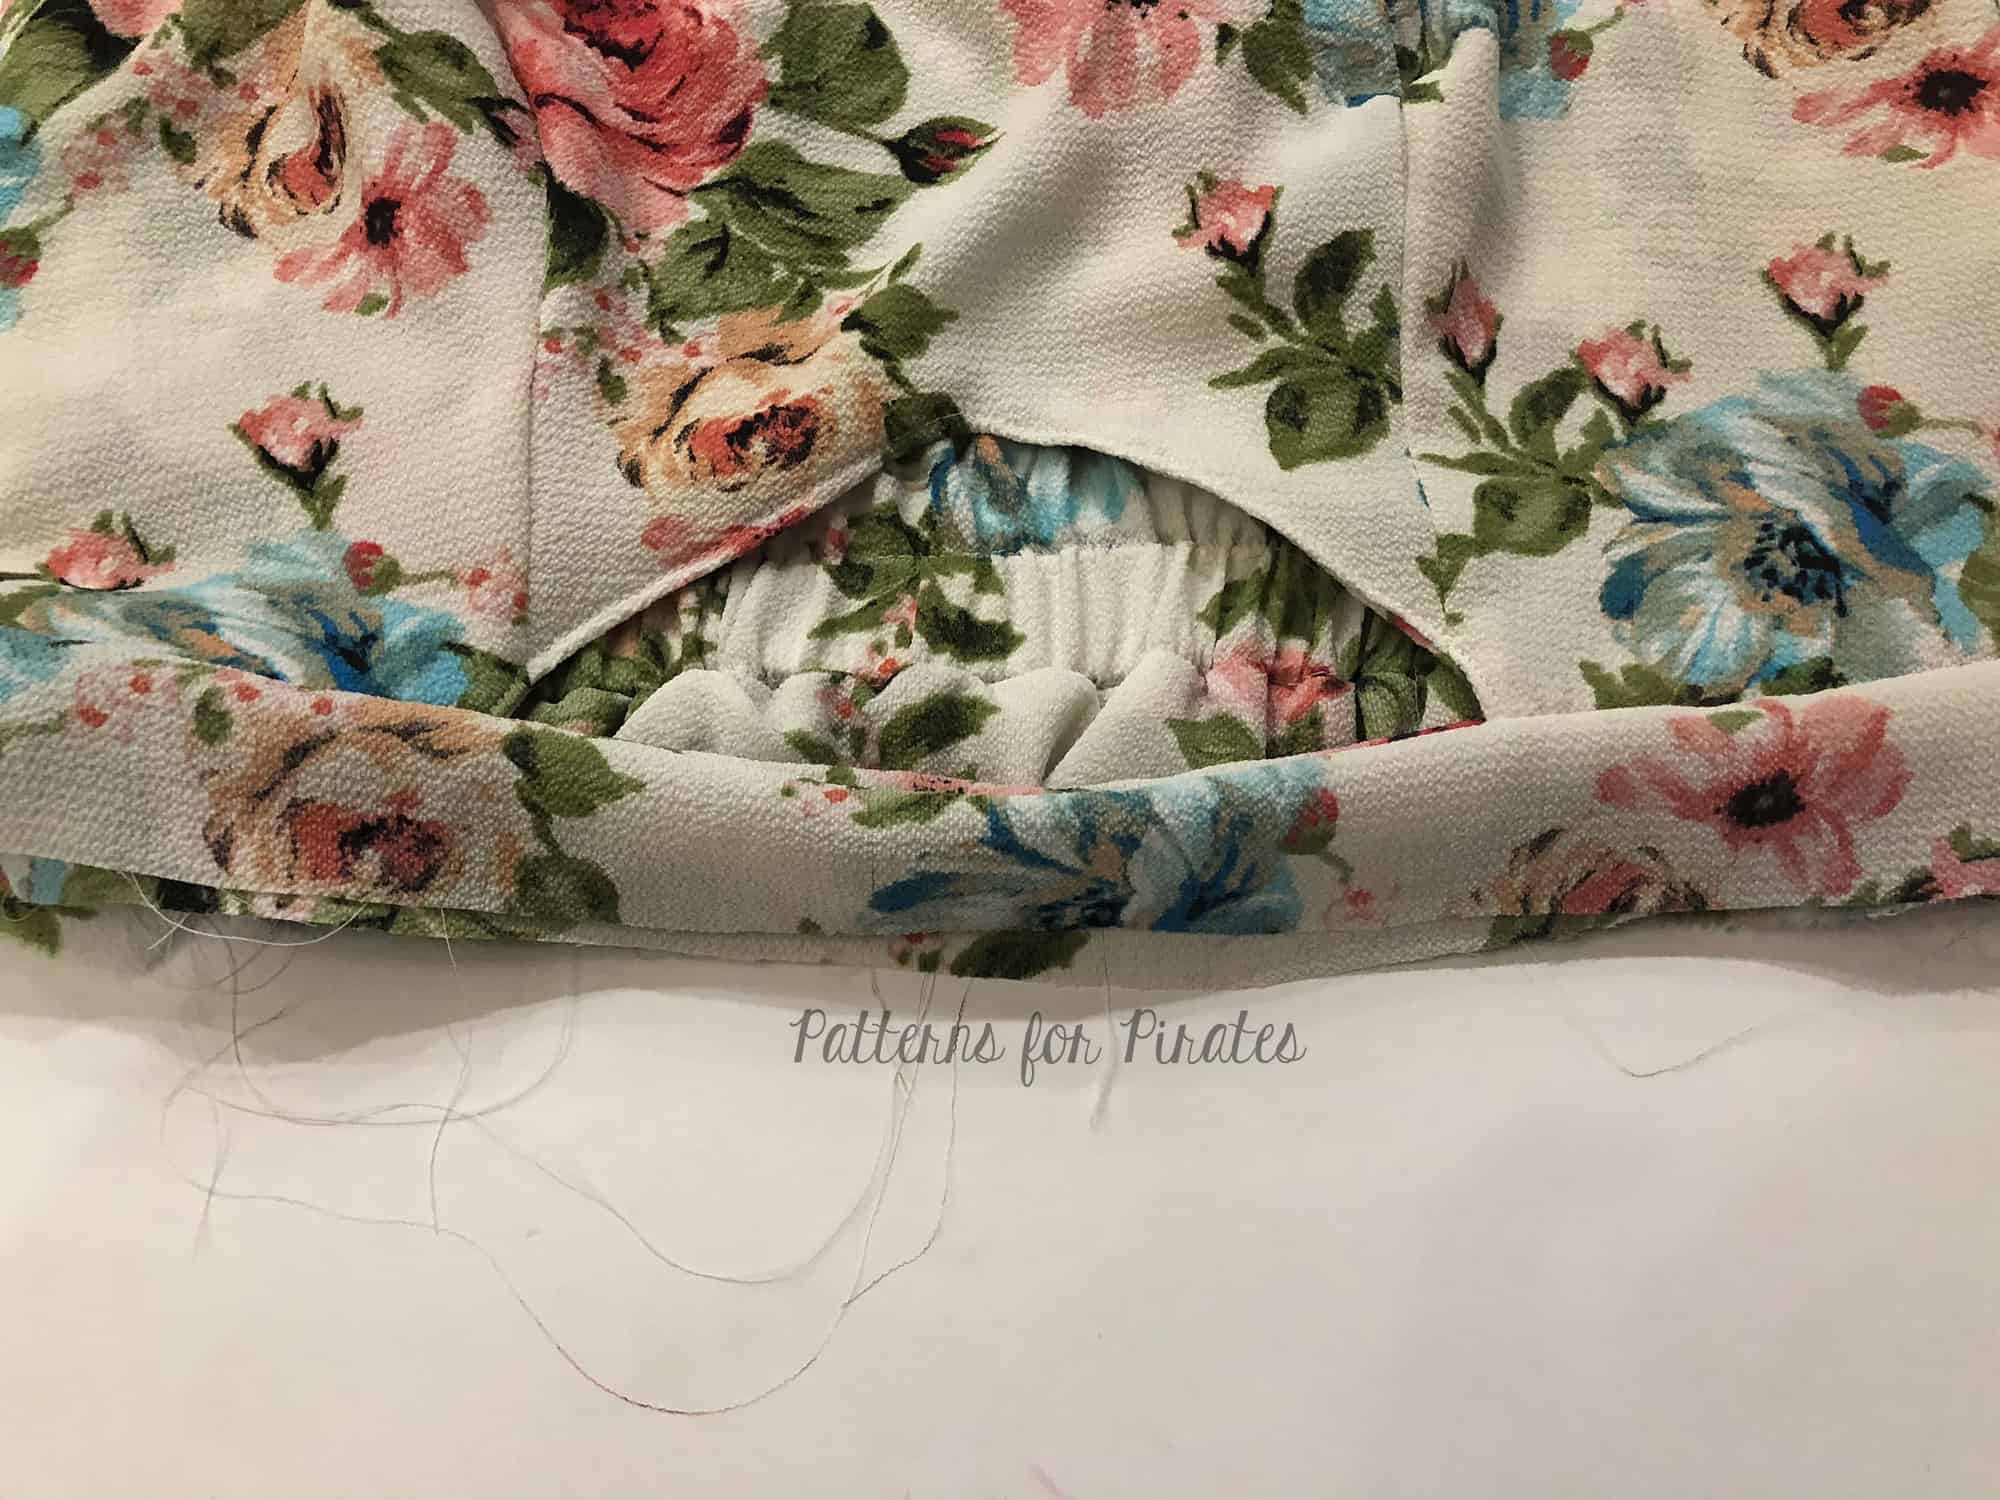
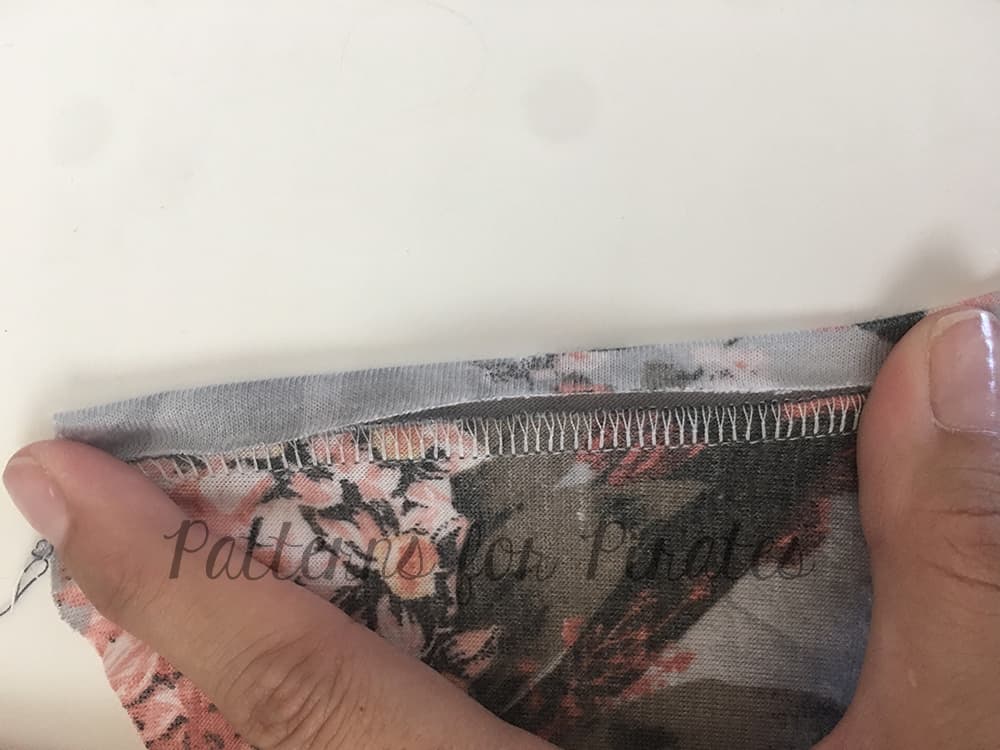
Step 3: Your top is now assembled and we just have to finish the bottom. Cut your 3/4 inch under bust elastic as stated in the chart and butt the edges together and zig zag in the round exactly like shown in the tutorial. . Instead of attaching it to the lining only we are going to attach it in the same way as we did the neckline and arm elastic. First we will quarter our elastic and suite and match them together. The elastic will be on the lining side of the suite. Baste your elastic to your suite making sure that the edge of your elastic matches the edge of both the lining and the main fabric. I choose to serge my elastic on, you will need to slightly stretch the elastic to match your suite. After you have it sewn in place you will flip it up to the lining side and top stitch in place, again just like all your other elastic in the suite you want to top stitch right on the edge of that elastic as close as you possibly can, this helps prevent the elastic from flipping out on you.

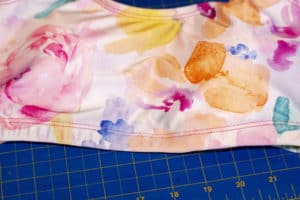
All done! Quick and easy and super cute! This would also work great in athletic fabric for a sports bra! I paired mine with the Hello Sailors bottoms but you could easily hack to make your own bottoms from this pattern as well! You just need to figure out where you would like the top of your bottoms to hit and add 3/8th to that. You would add 3/8 inch elastic to the top on the lining side and then top stitch in place! You can also apply this same hack to the girls suit, just decide how long you would like your top you can make it as long or as short as you would like, add 1/2 inch to where you decided you would like it to finish and add 3/8 inch elastic to finish the bottom. No measurements are provided for this but I would do an inch less then the finished measurement so you can stretch that elastic just a little bit.
…..
Low back strap
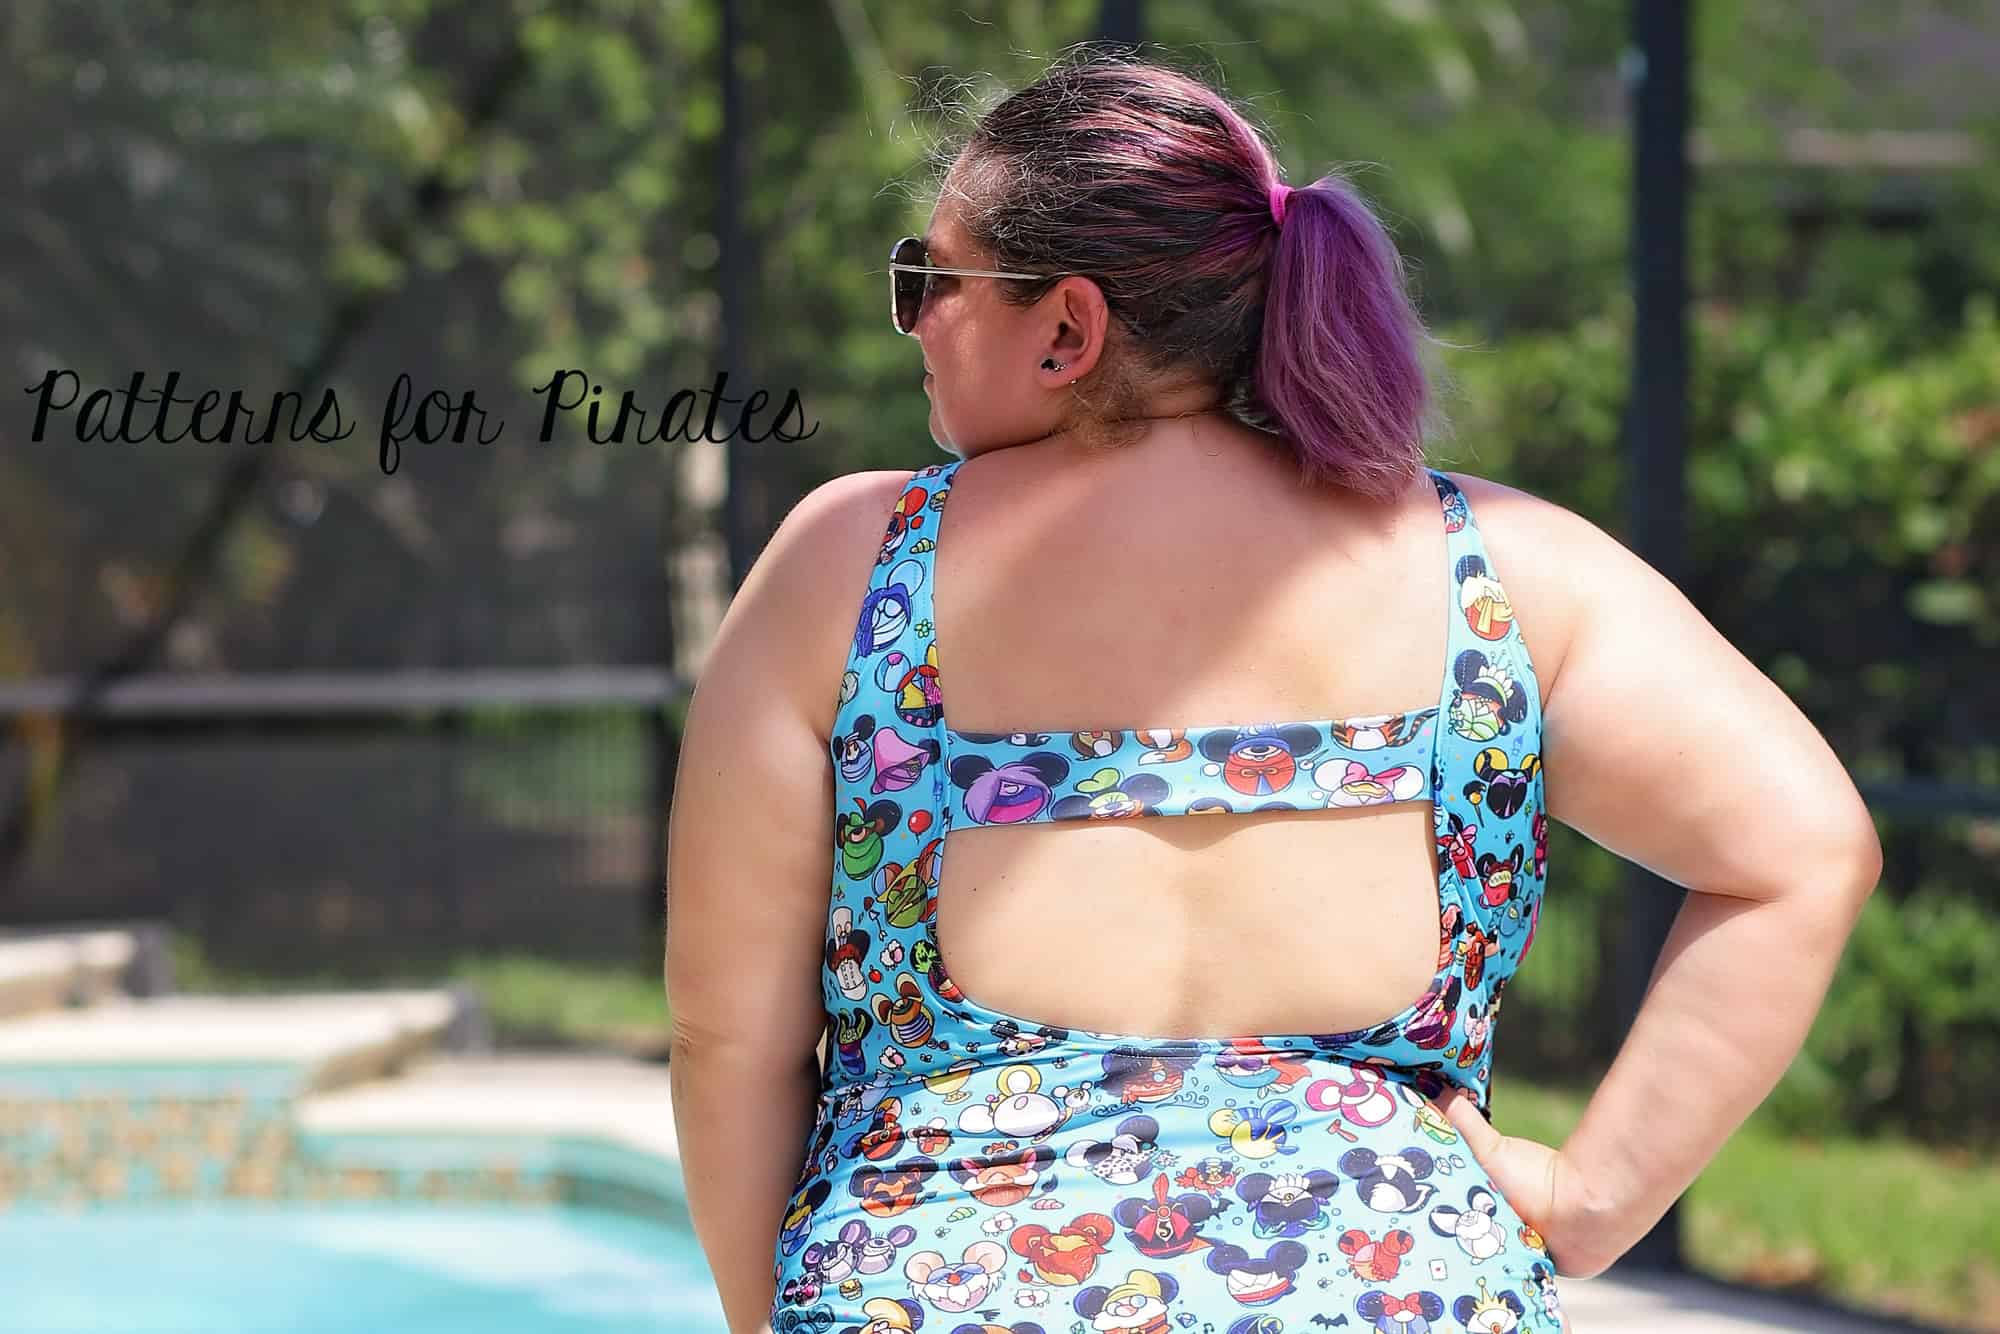
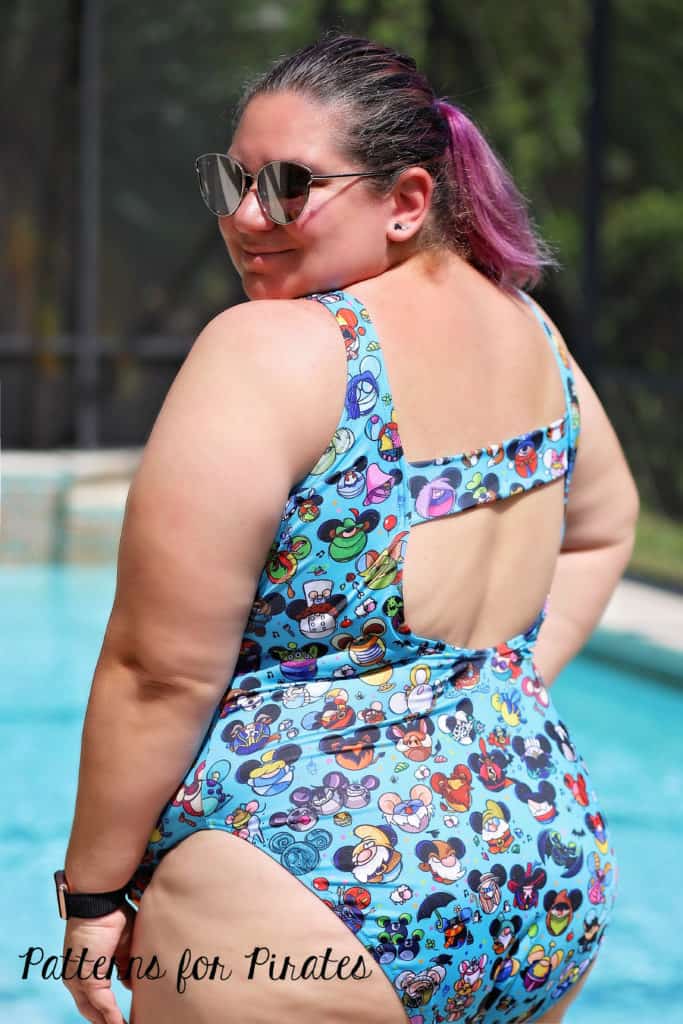
My favorite back option of the Minute Maillot is for sure the low one! I also feel like it gives me the opportunity to get even more creative. Let me show you how quick and easy it is to add a strap to the back.
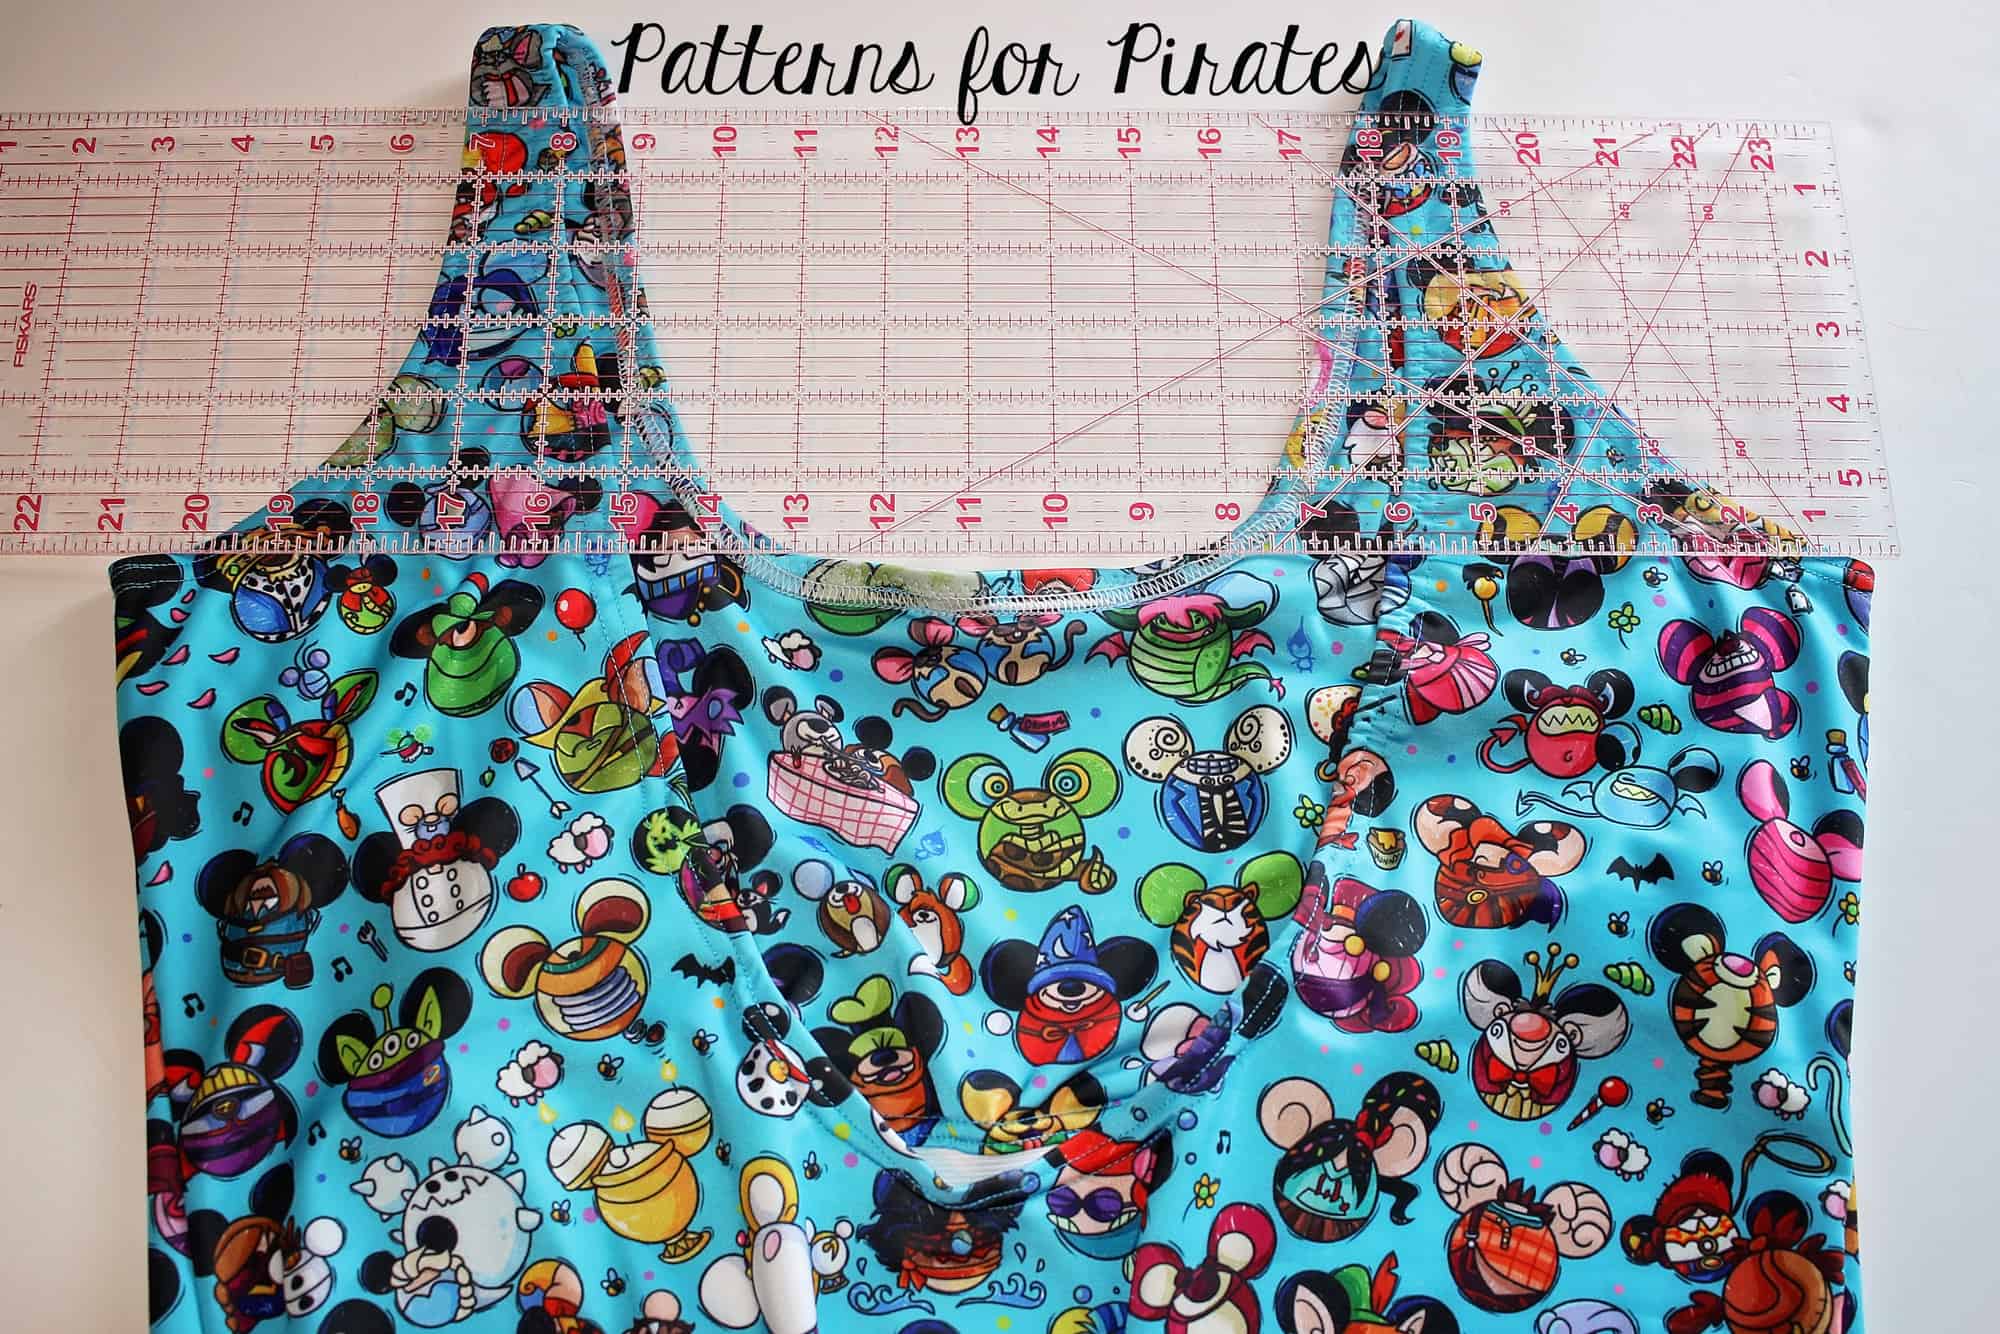
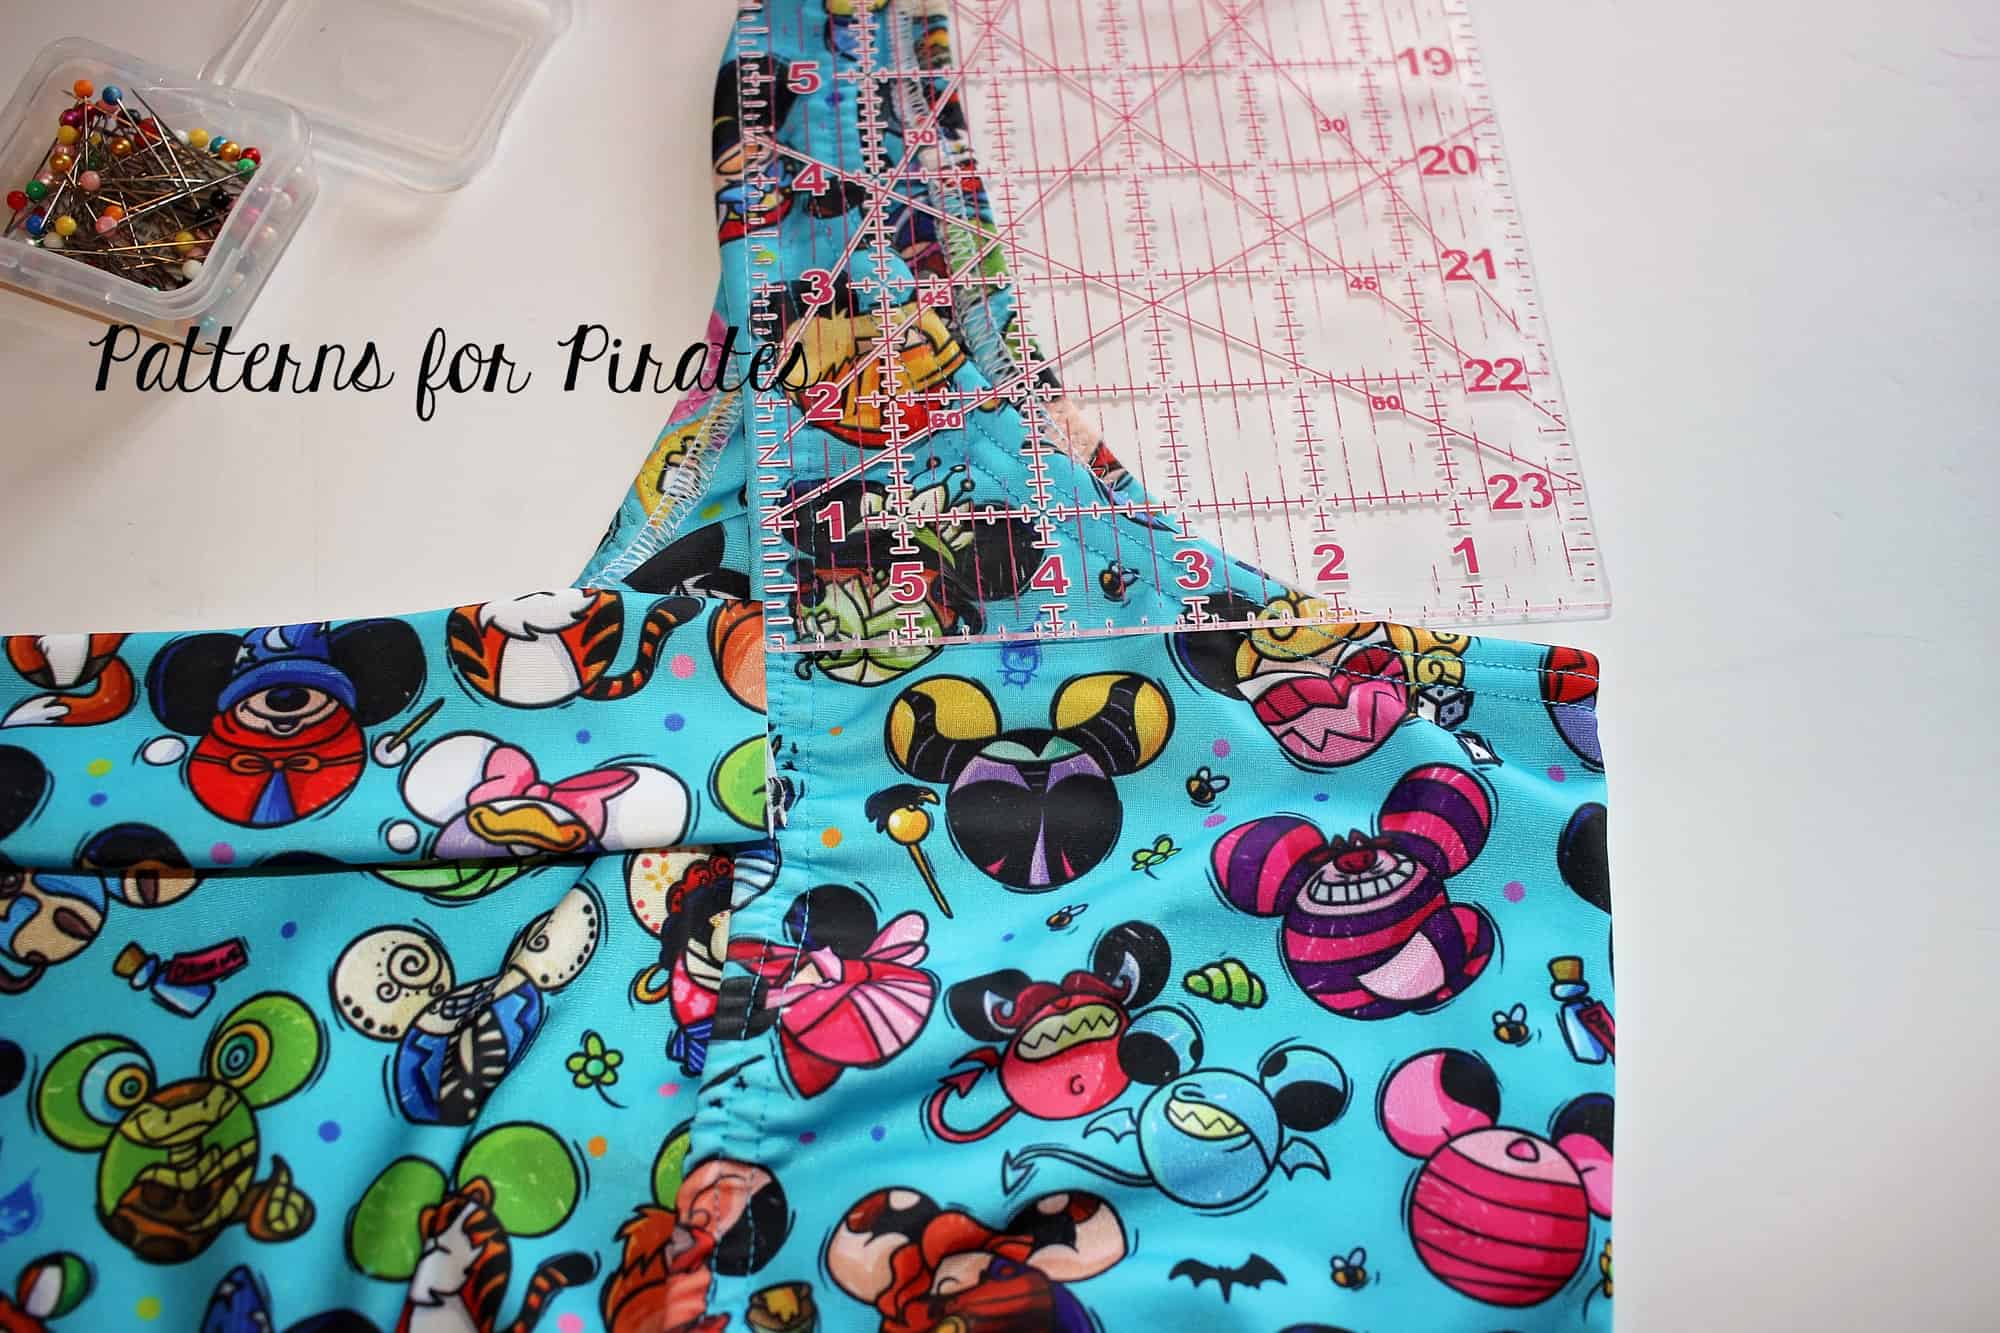
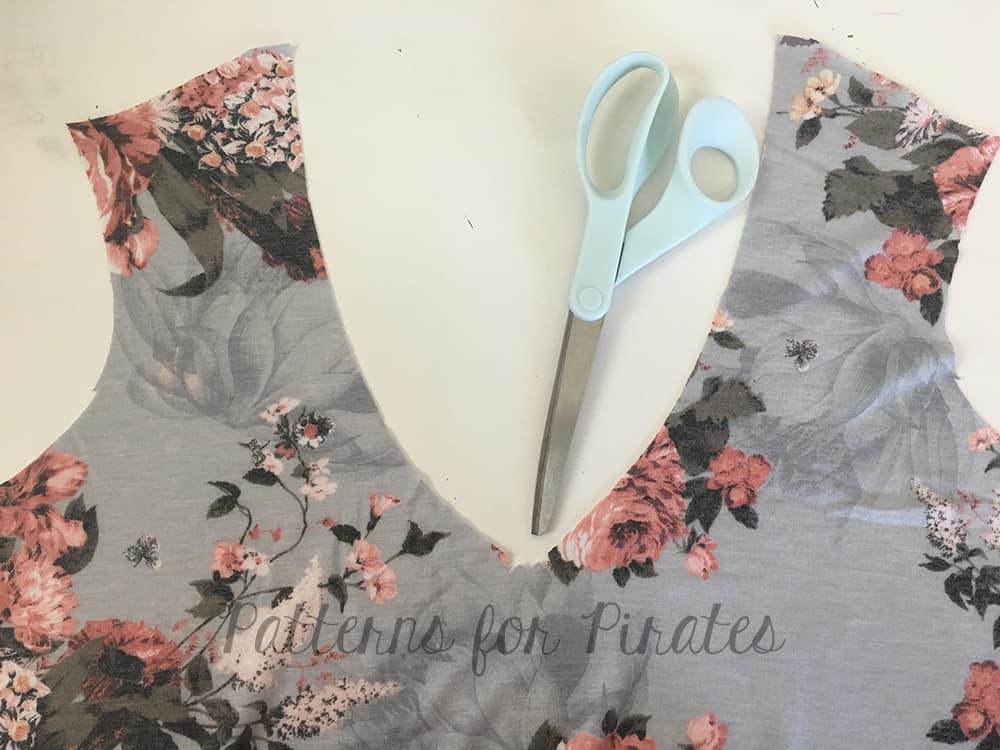
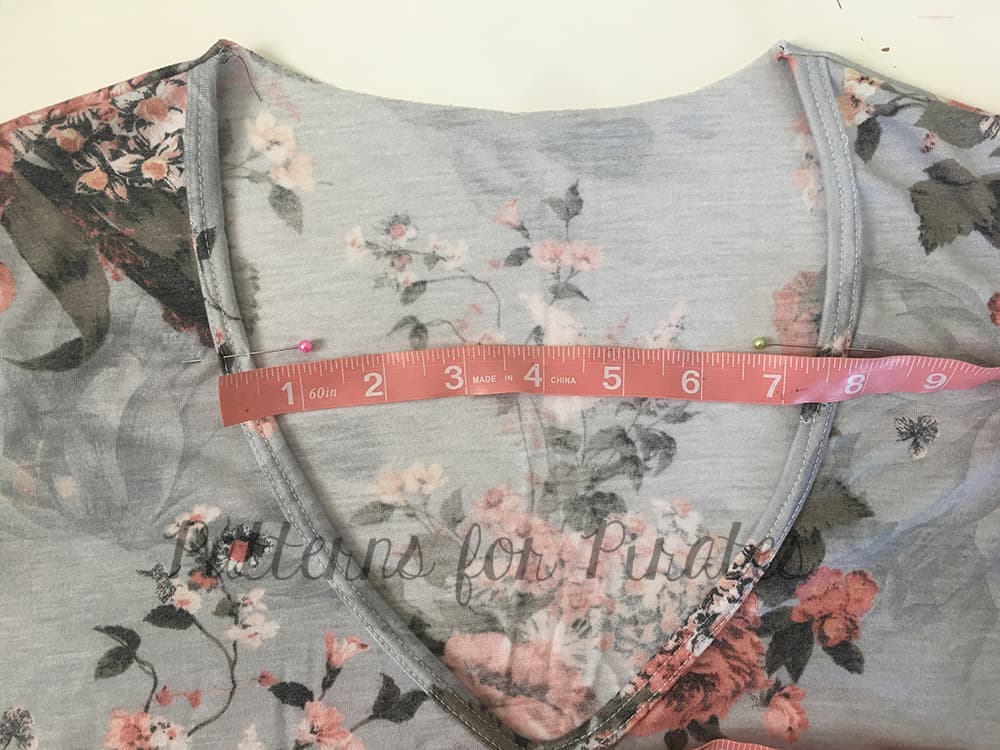
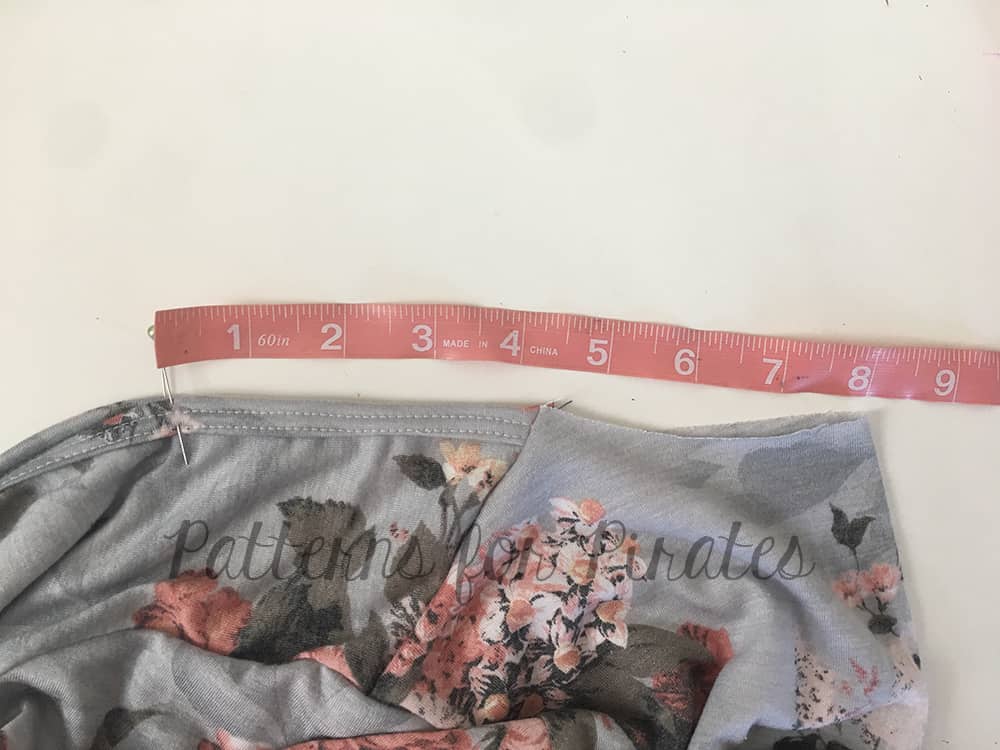
Start by making the swimsuit’s low back option, any front option or leg you prefer. We will add the strap once the suit in completed. Place a quilting ruler at the bottom arm opening and measure the opening of the back at that level. In my case (1x) it is 9 inches.
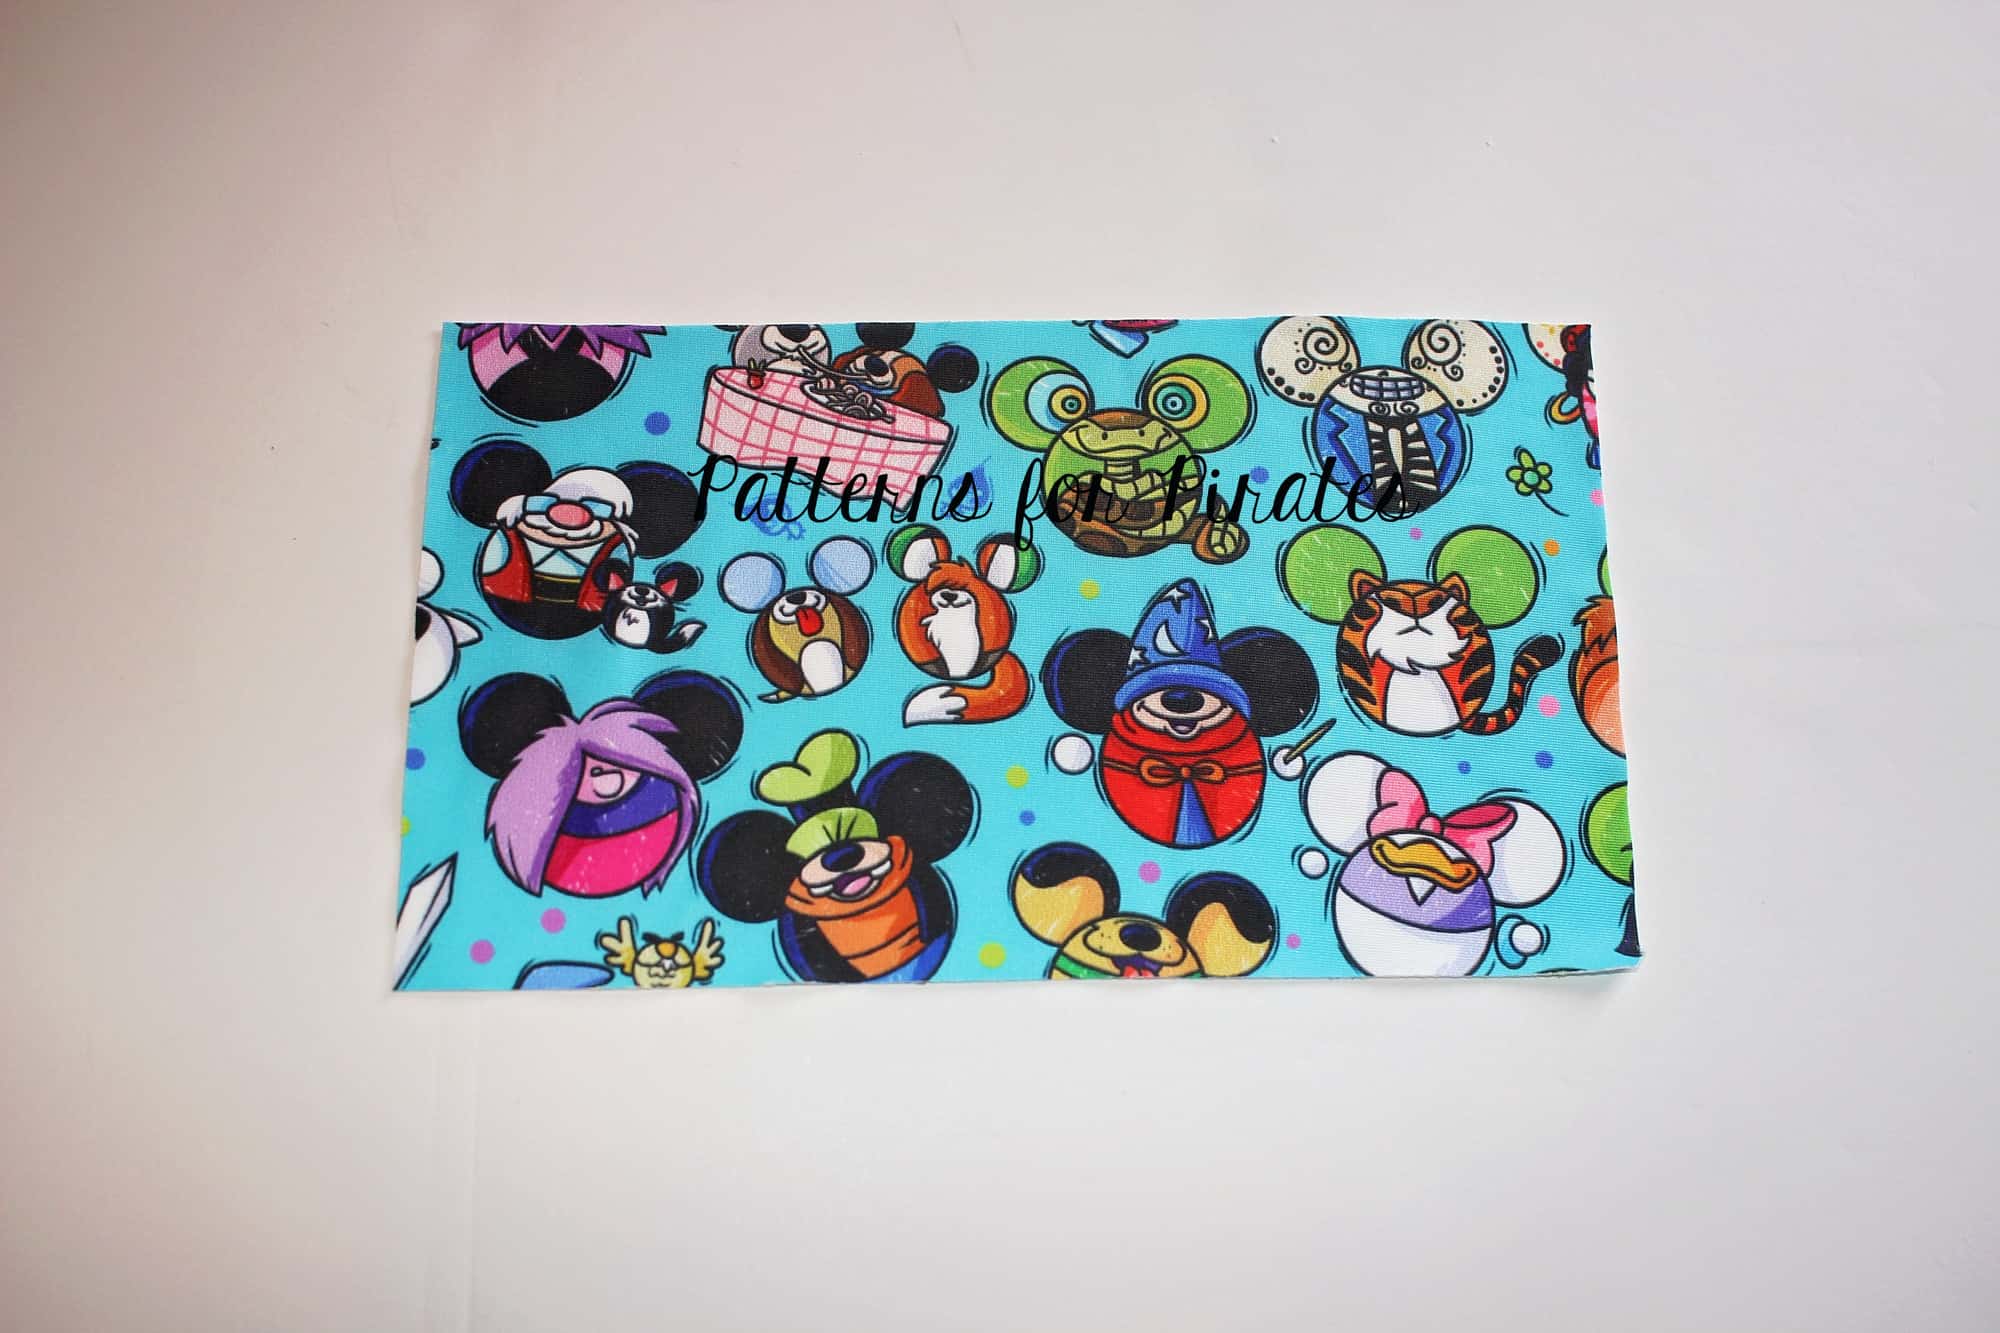
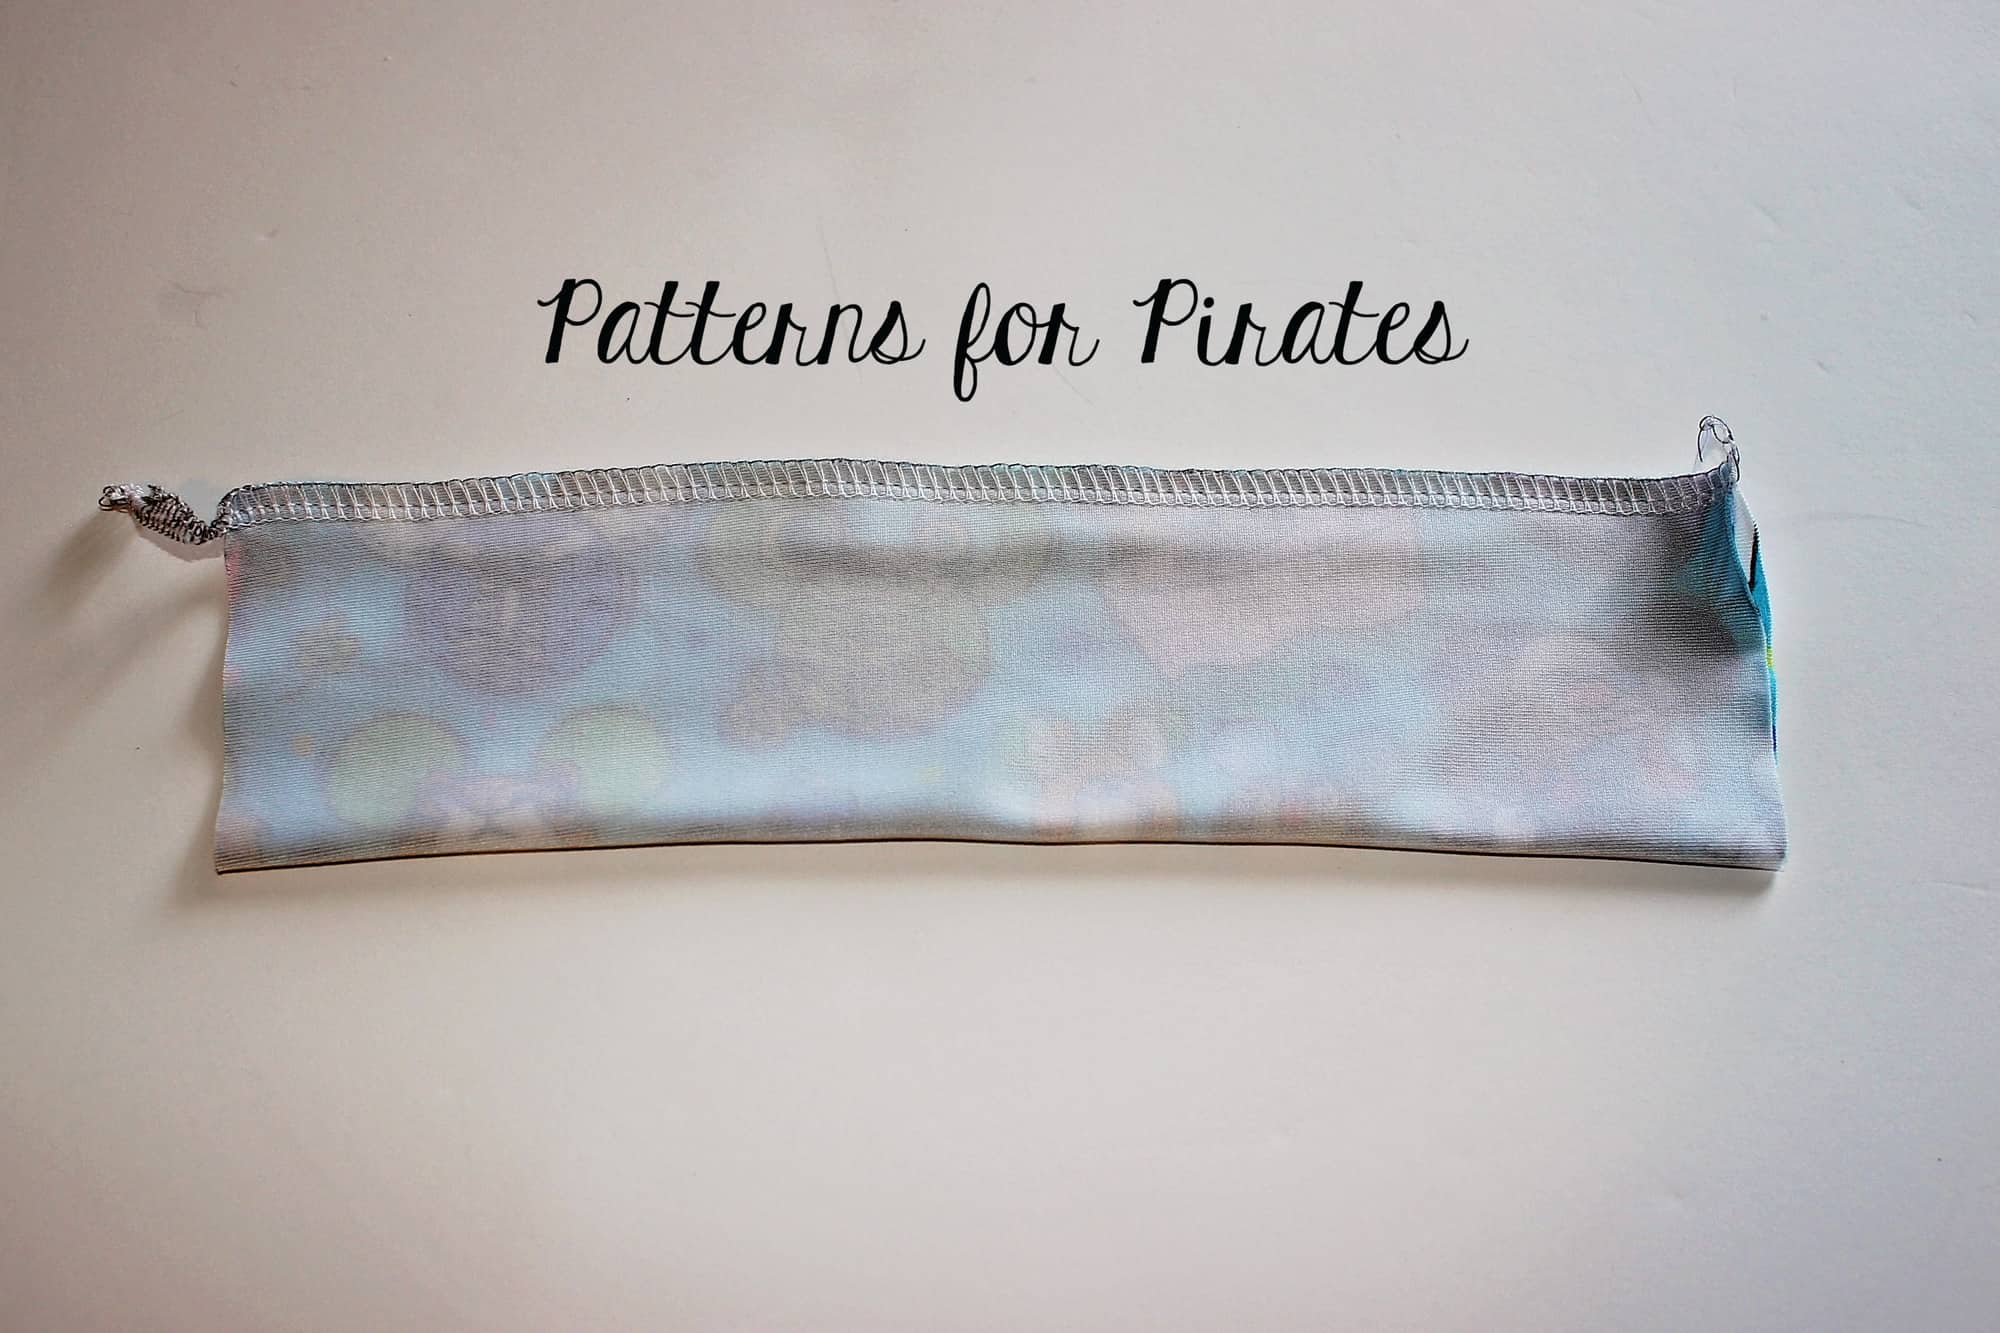
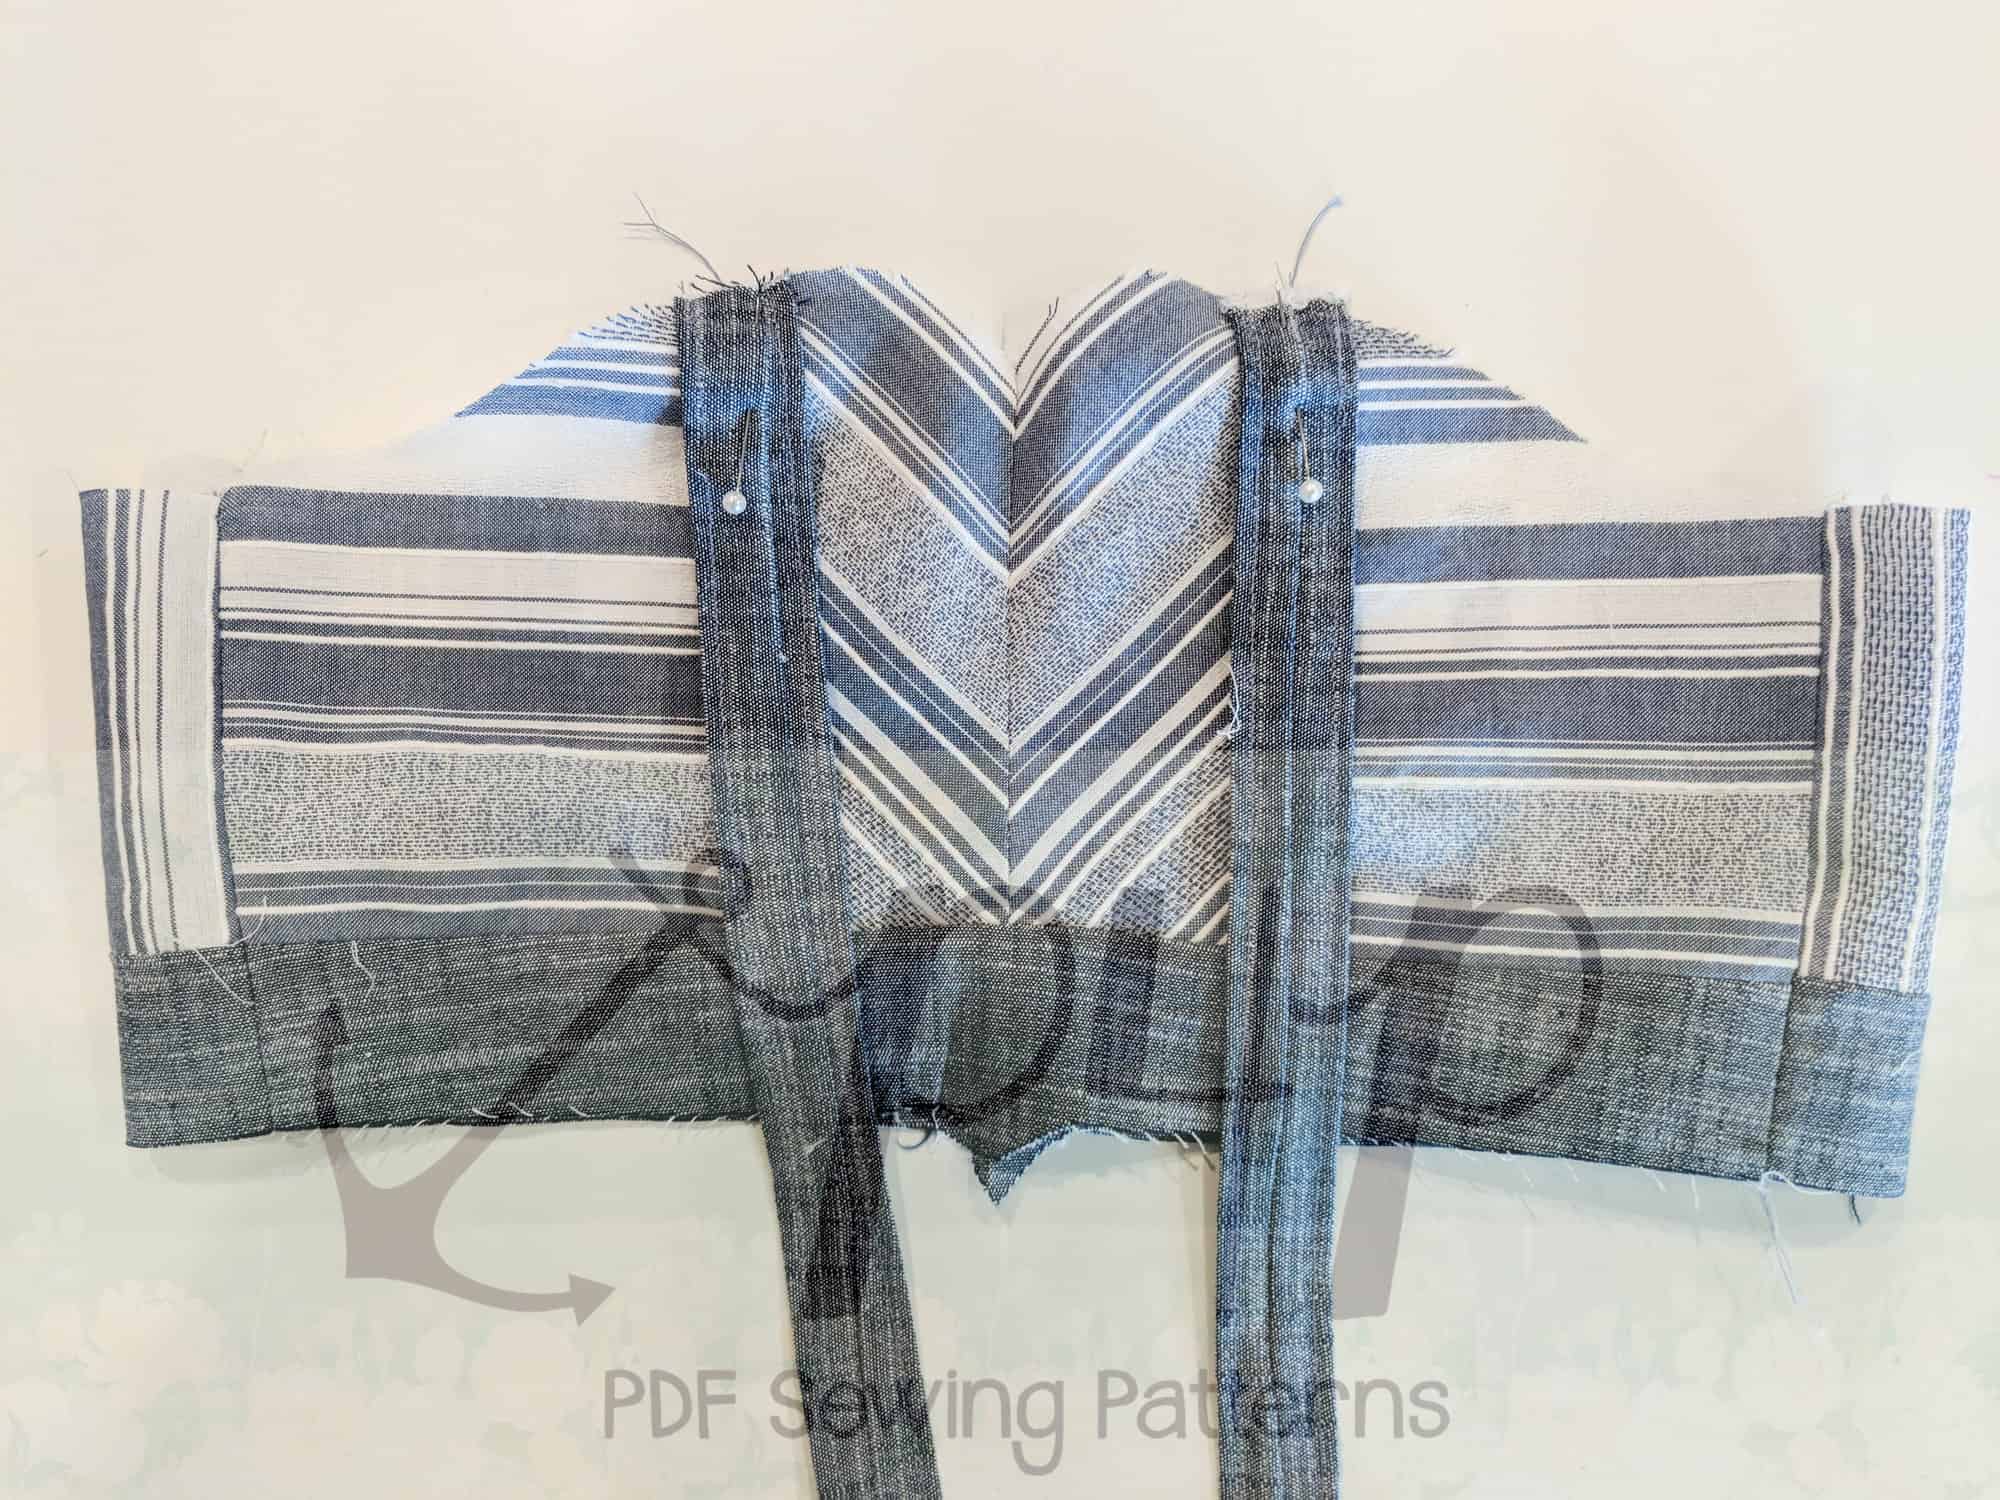
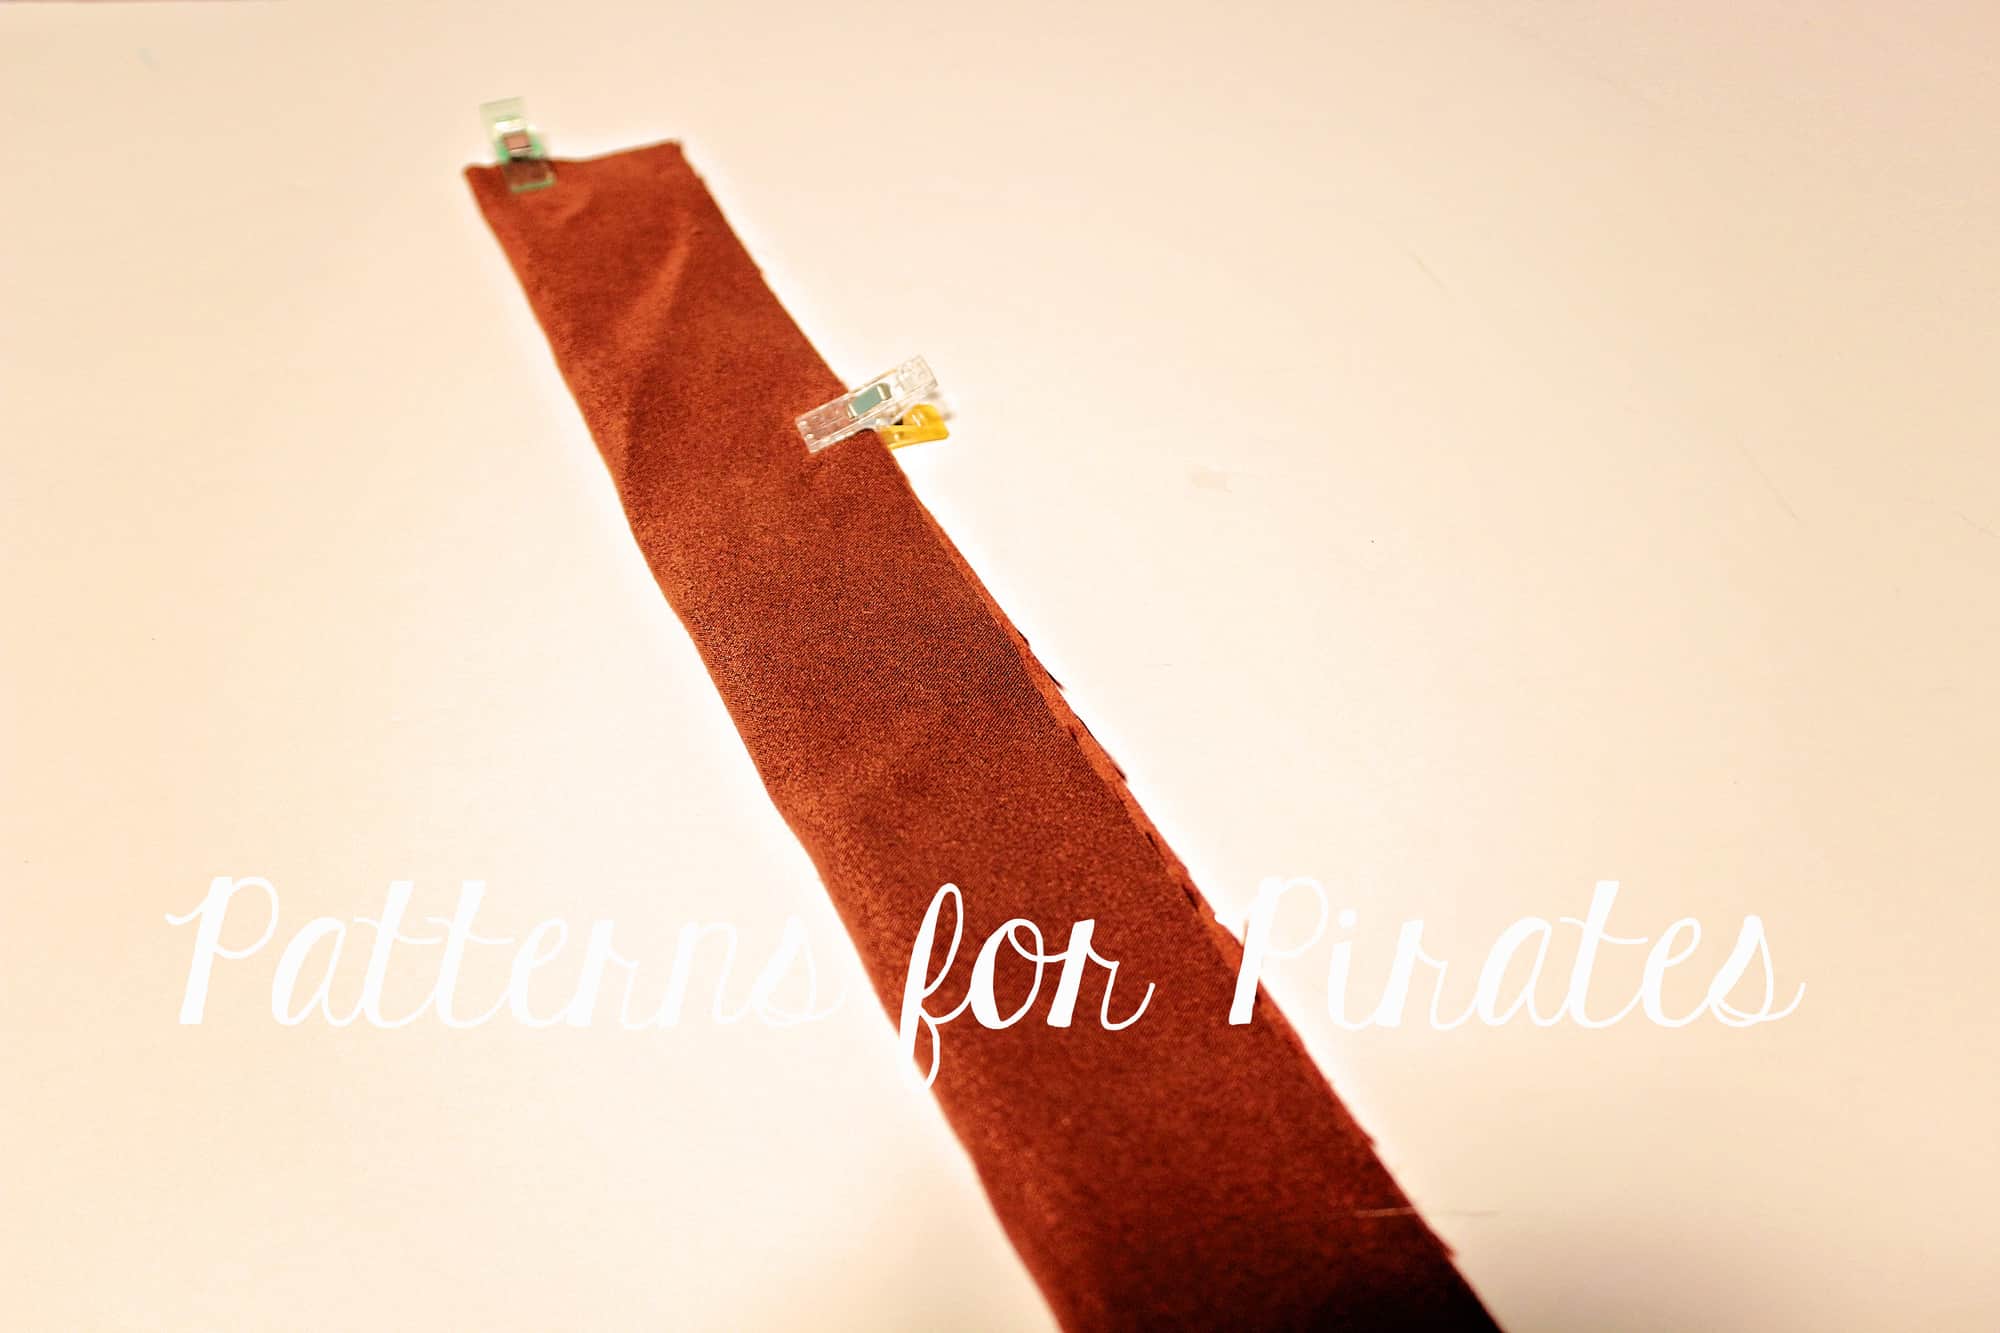
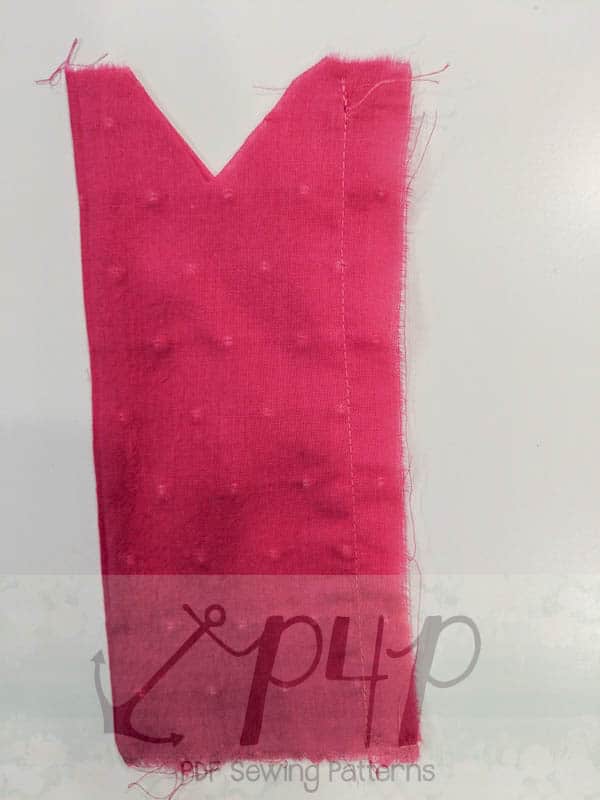
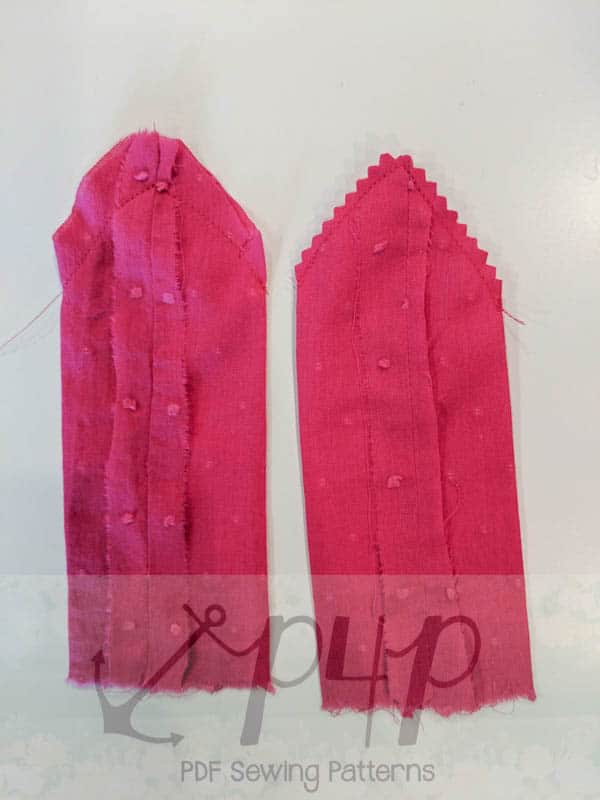
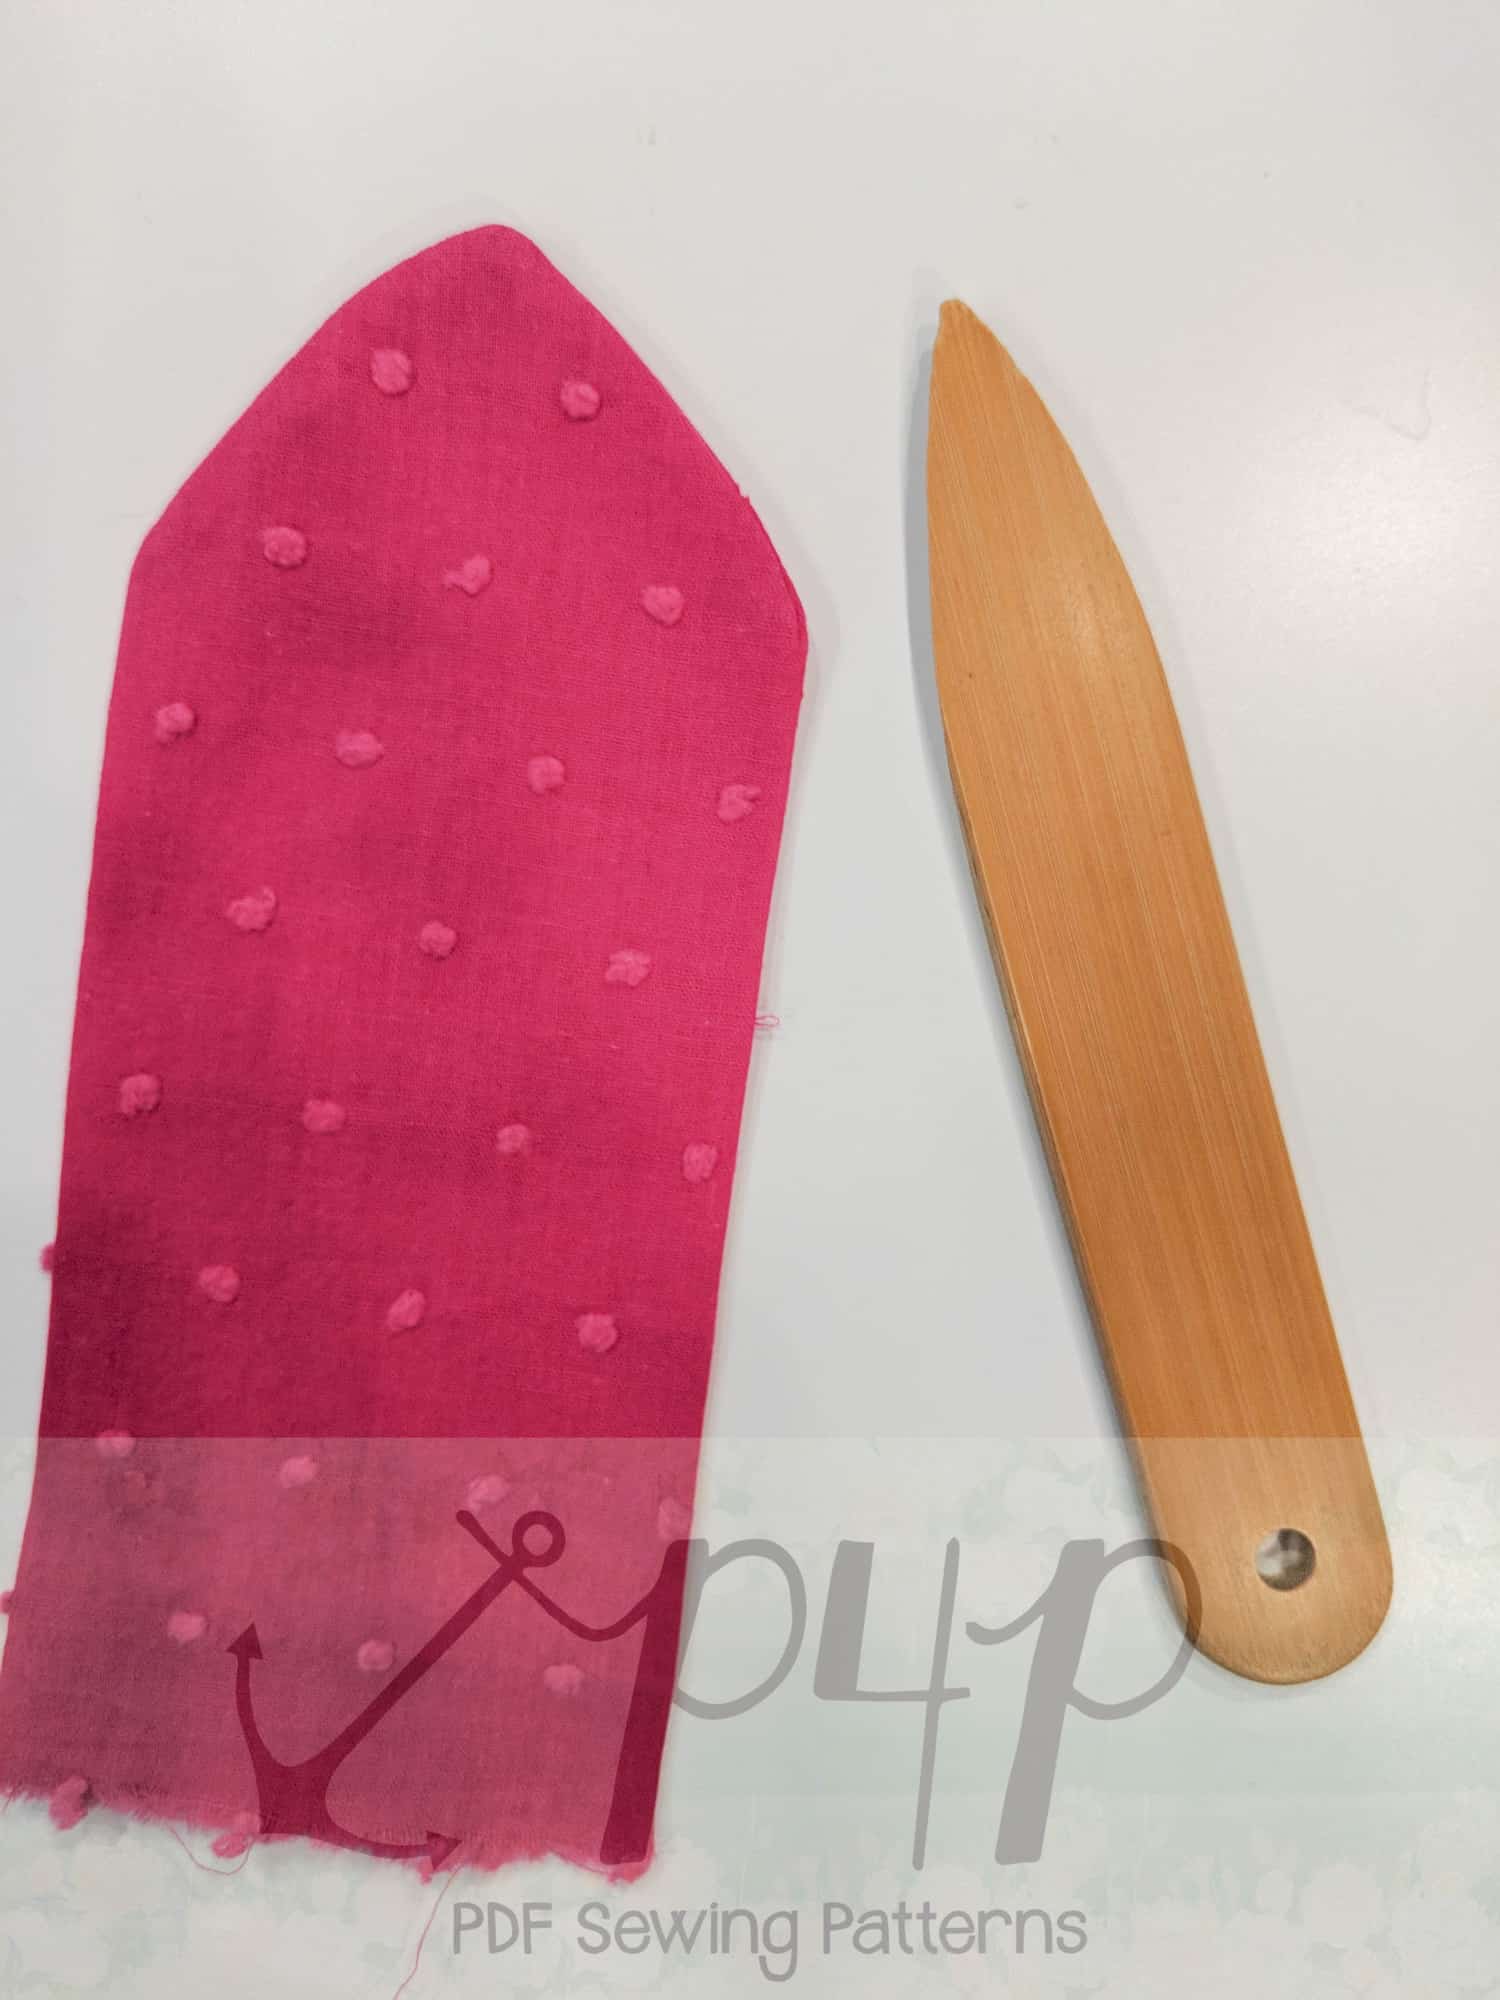
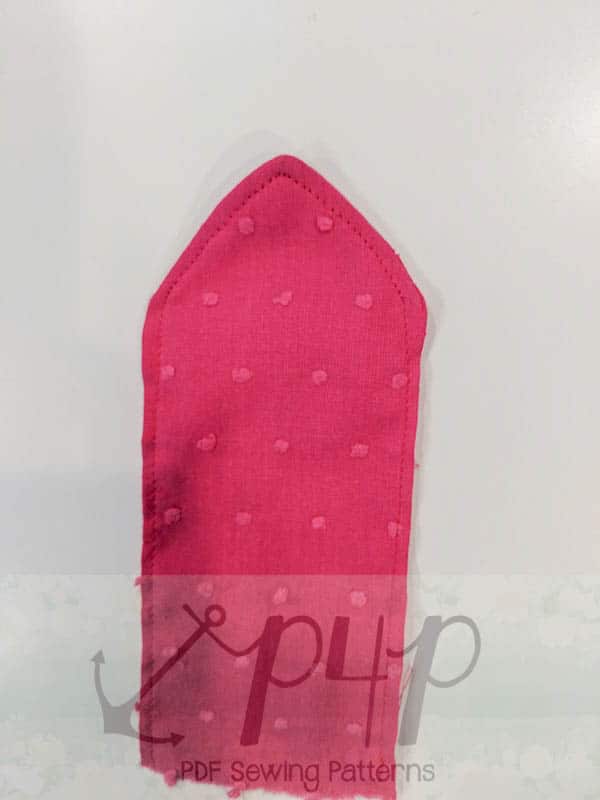
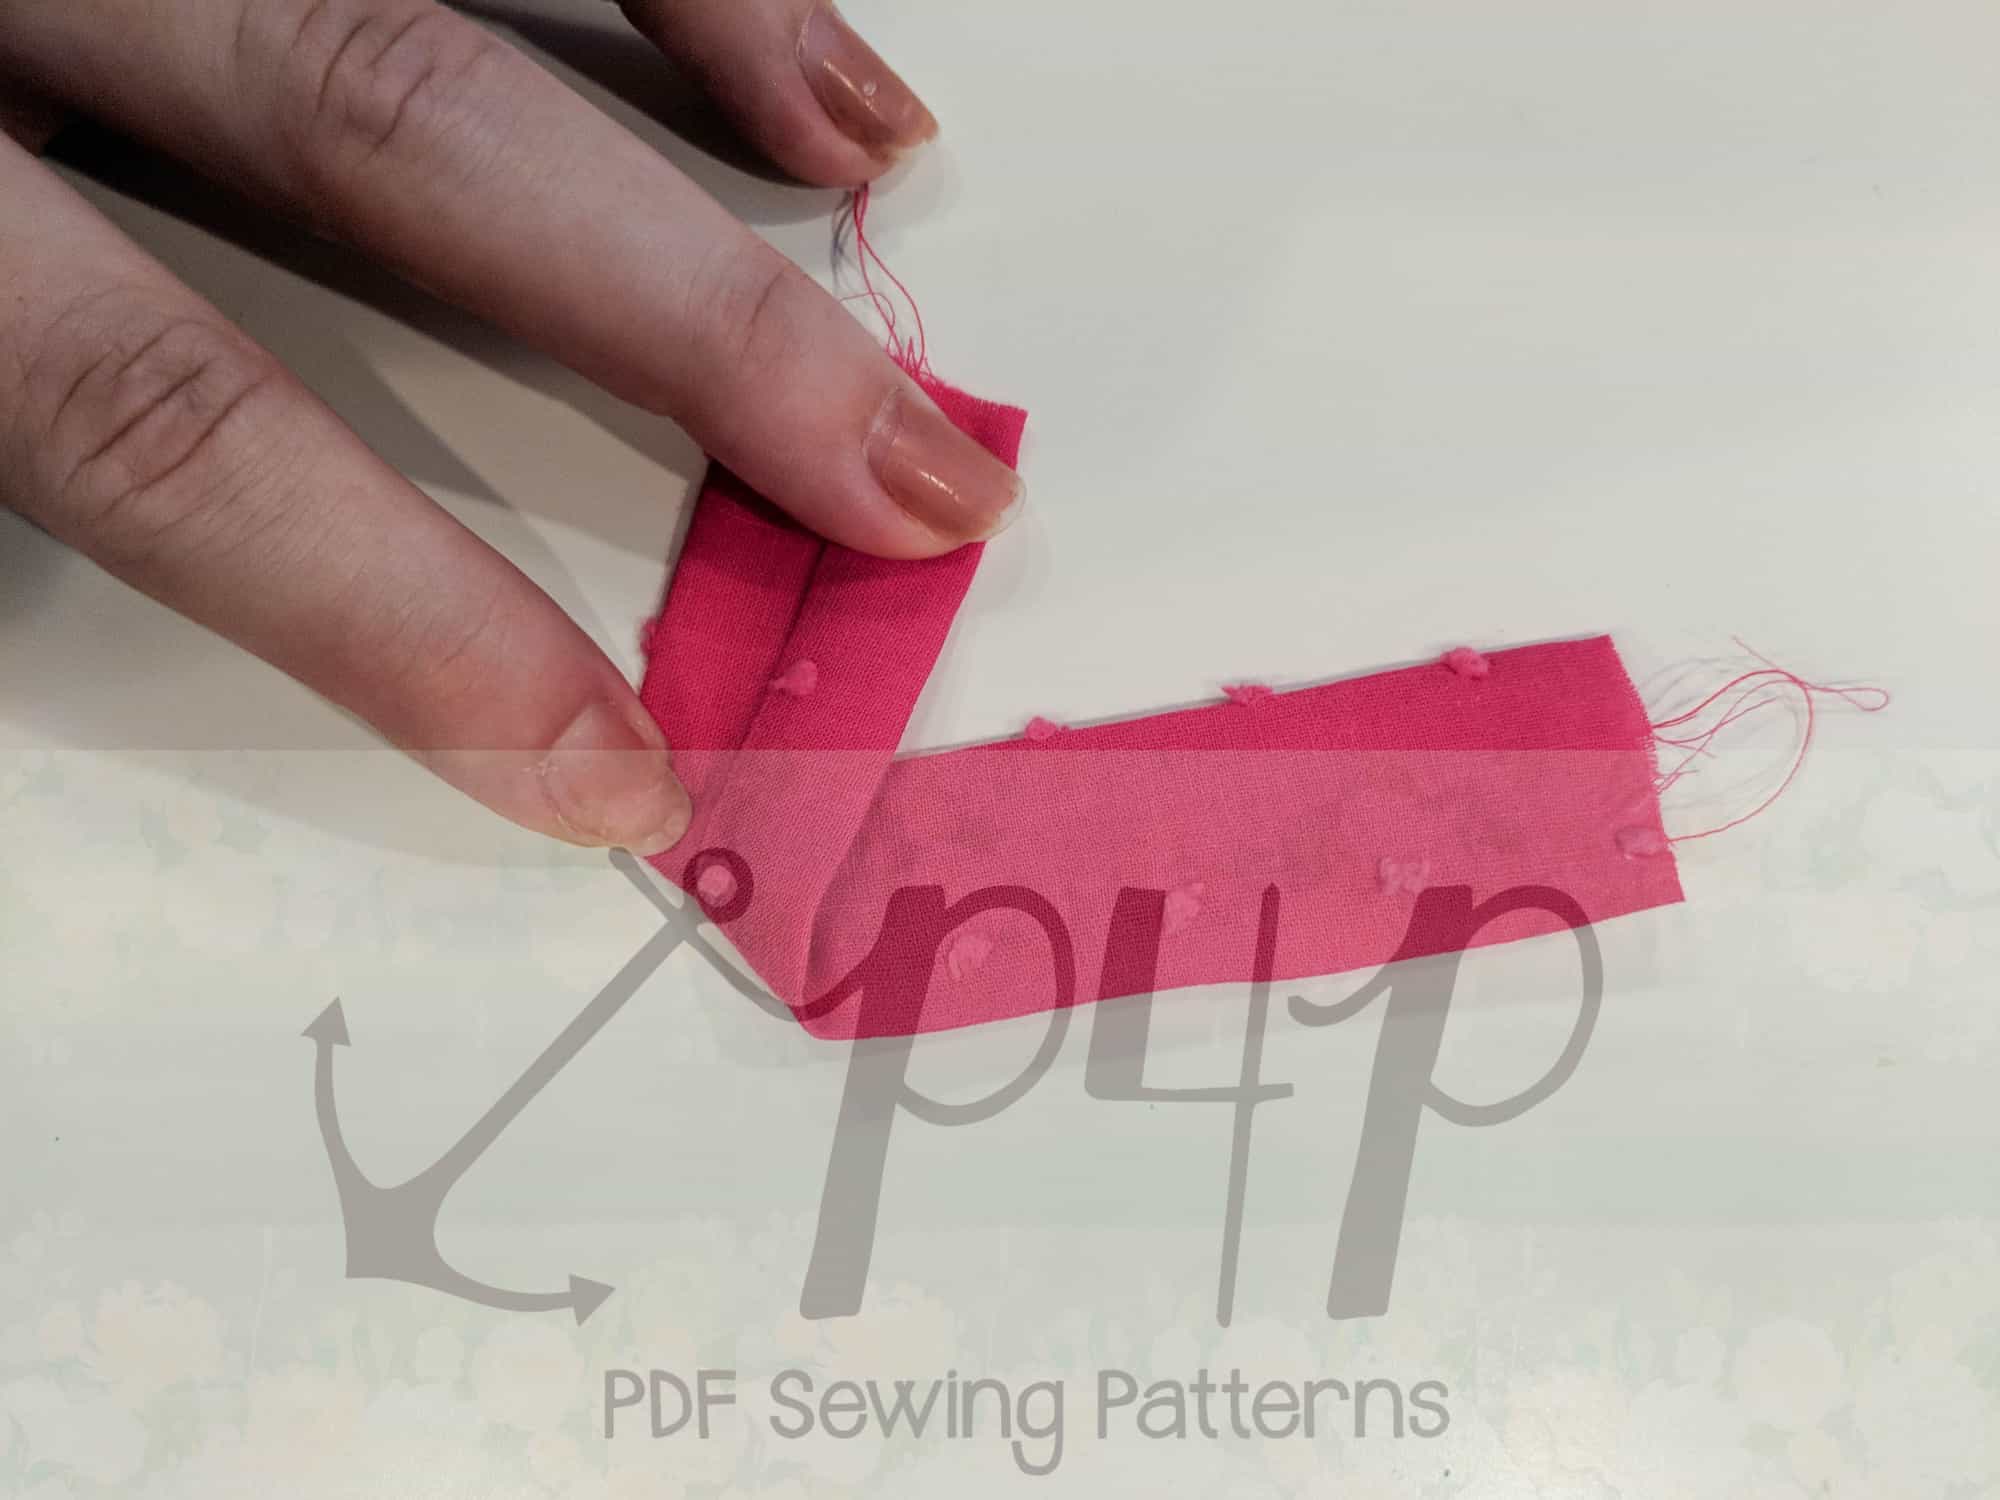
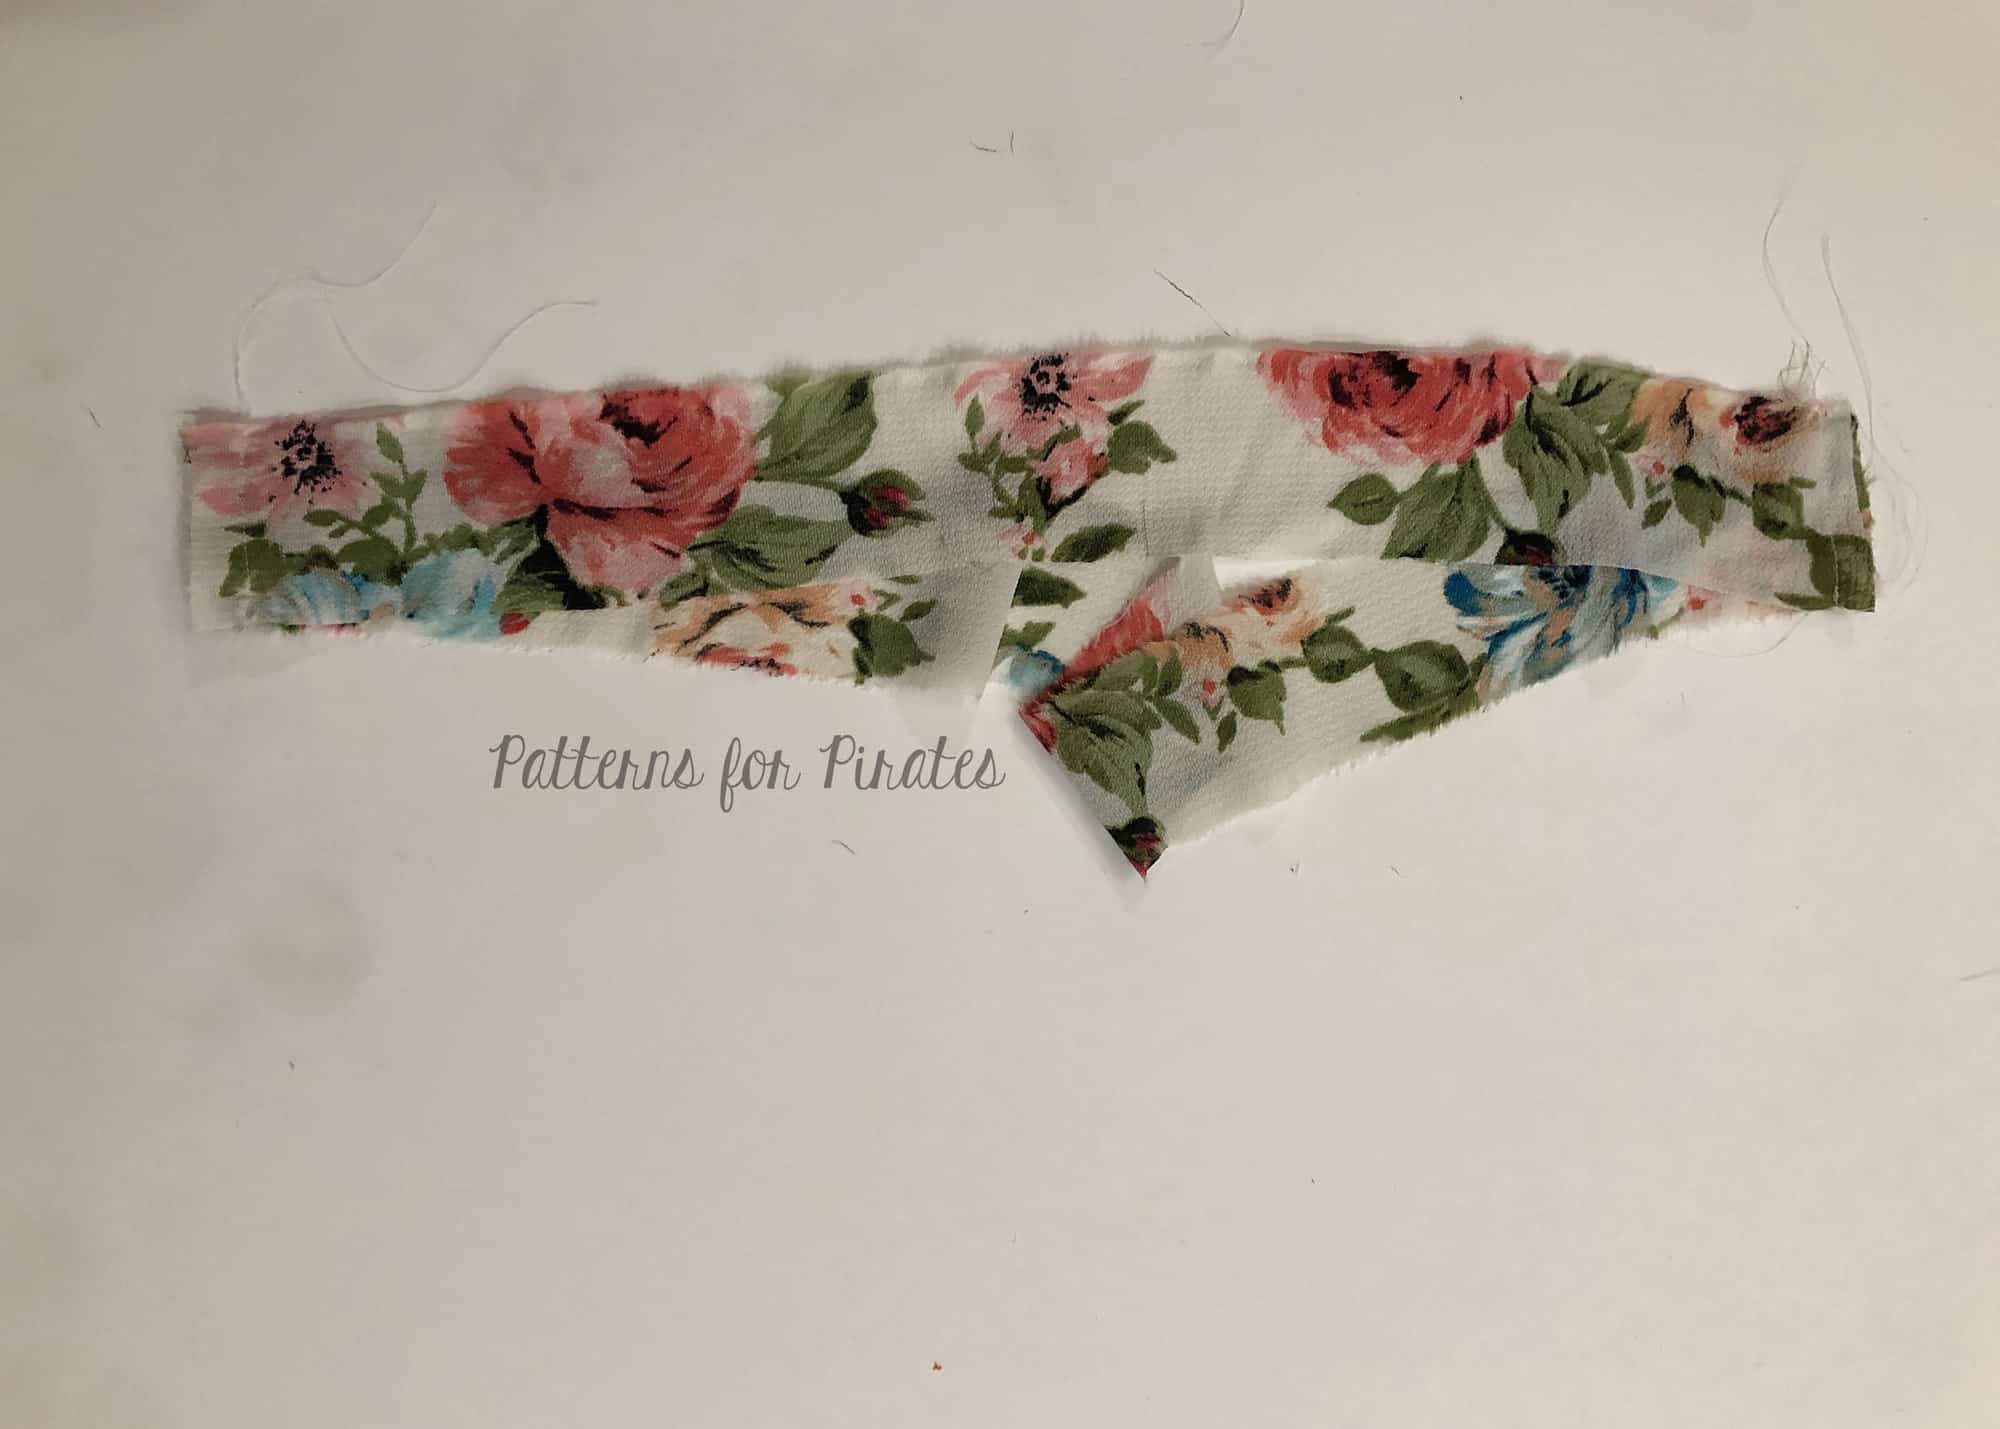
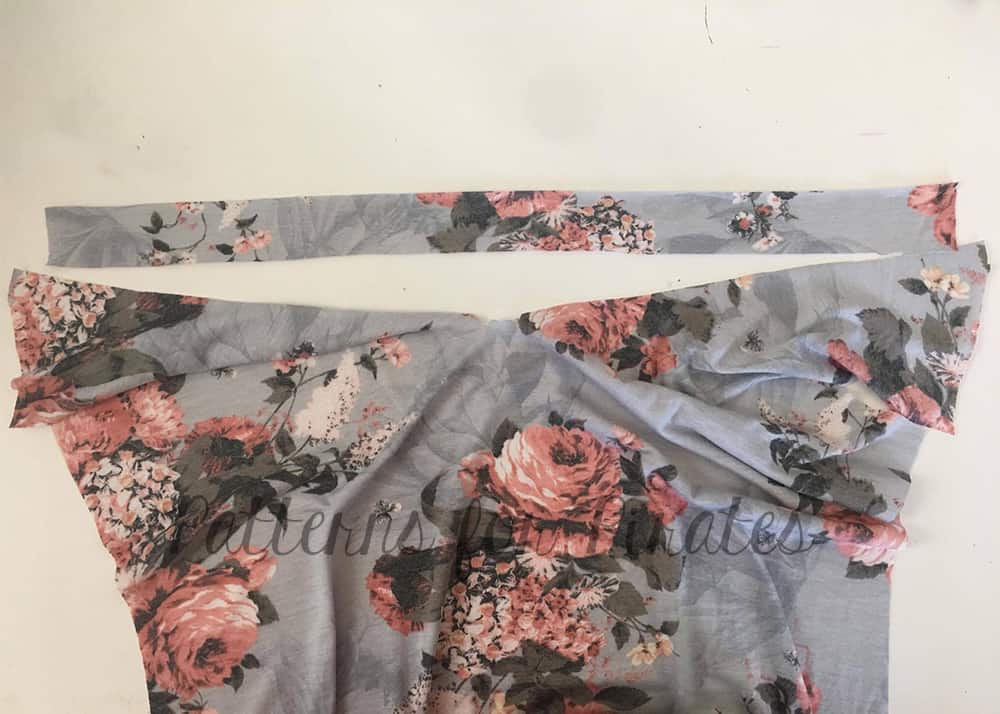
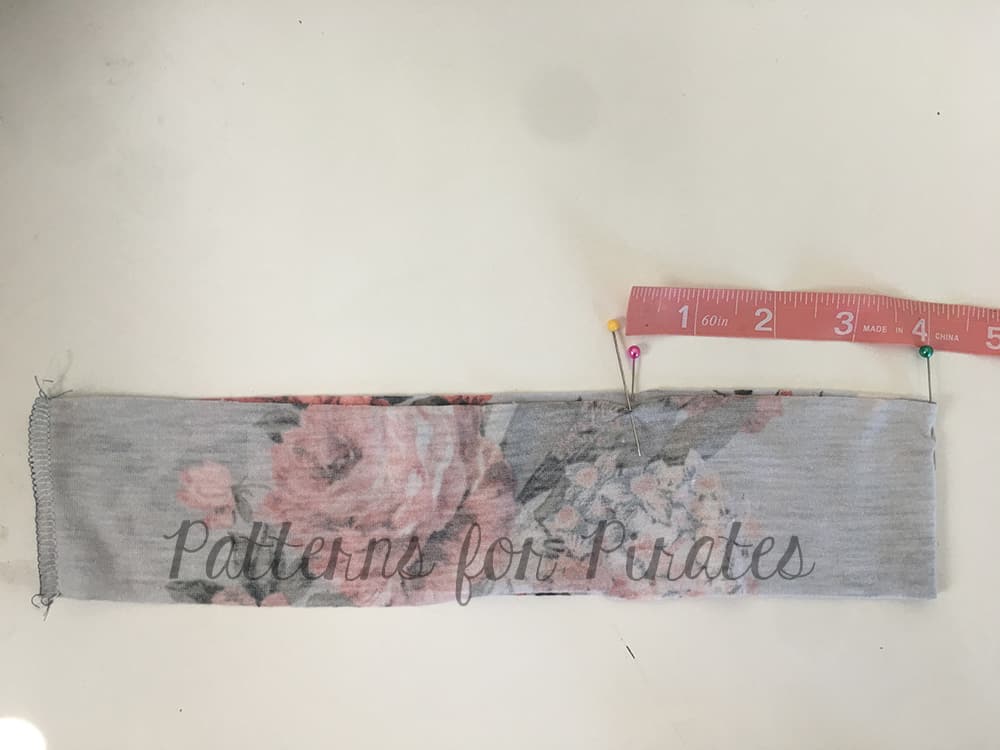
Cut your back strap 6″ wide by the back opening you measured earlier. In my case I used a swim piece that was 6″x9″. This is a step you can customize to your liking. If you’d like a thinner strap you can certainly cut the fabric shorter than 6″. Fold the strap right side together lengthwise, sew along the top with a 1/4 or 1/2″ seam allowance (depending on your preference). Turn the strap inside out.
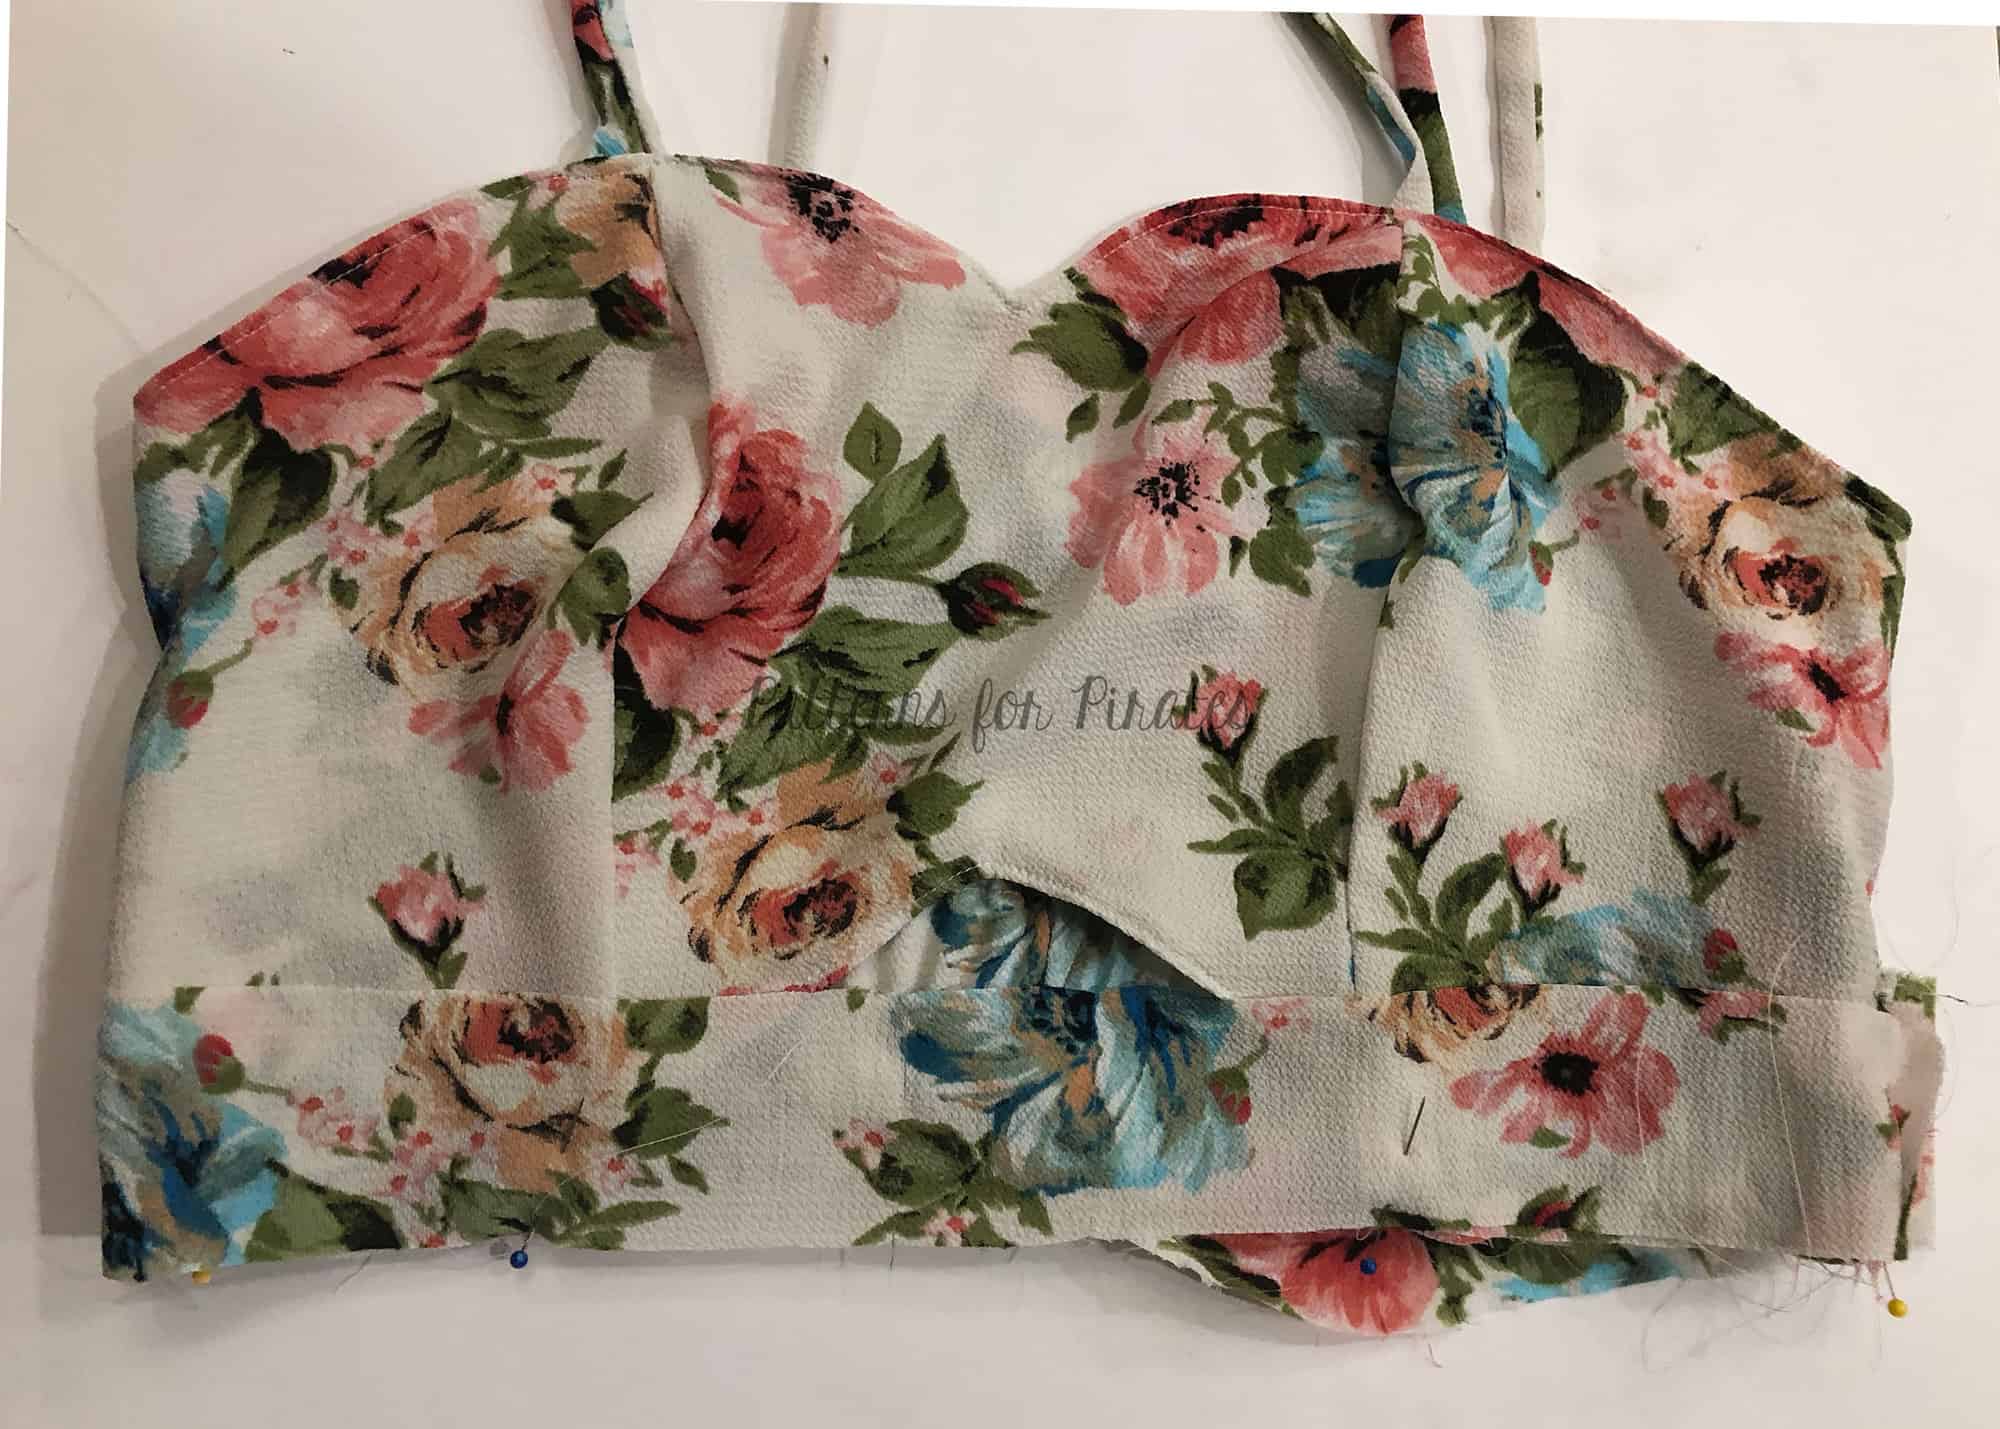
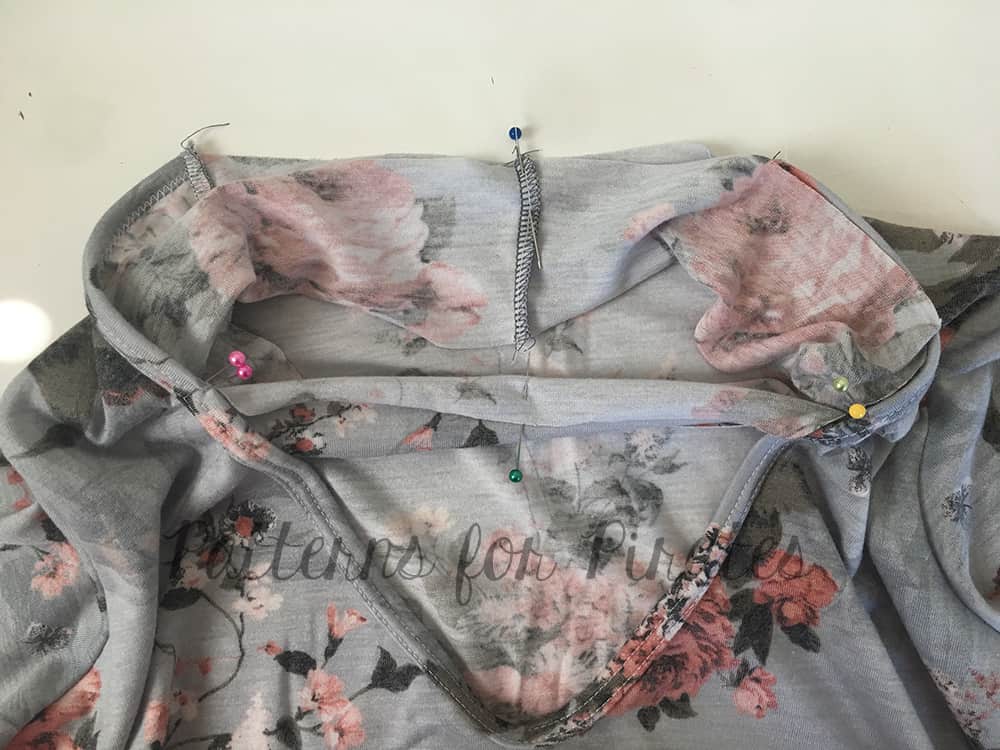
Bring back your swimsuit, back side up, and mark the point on the opening that matches the bottom arm opening.
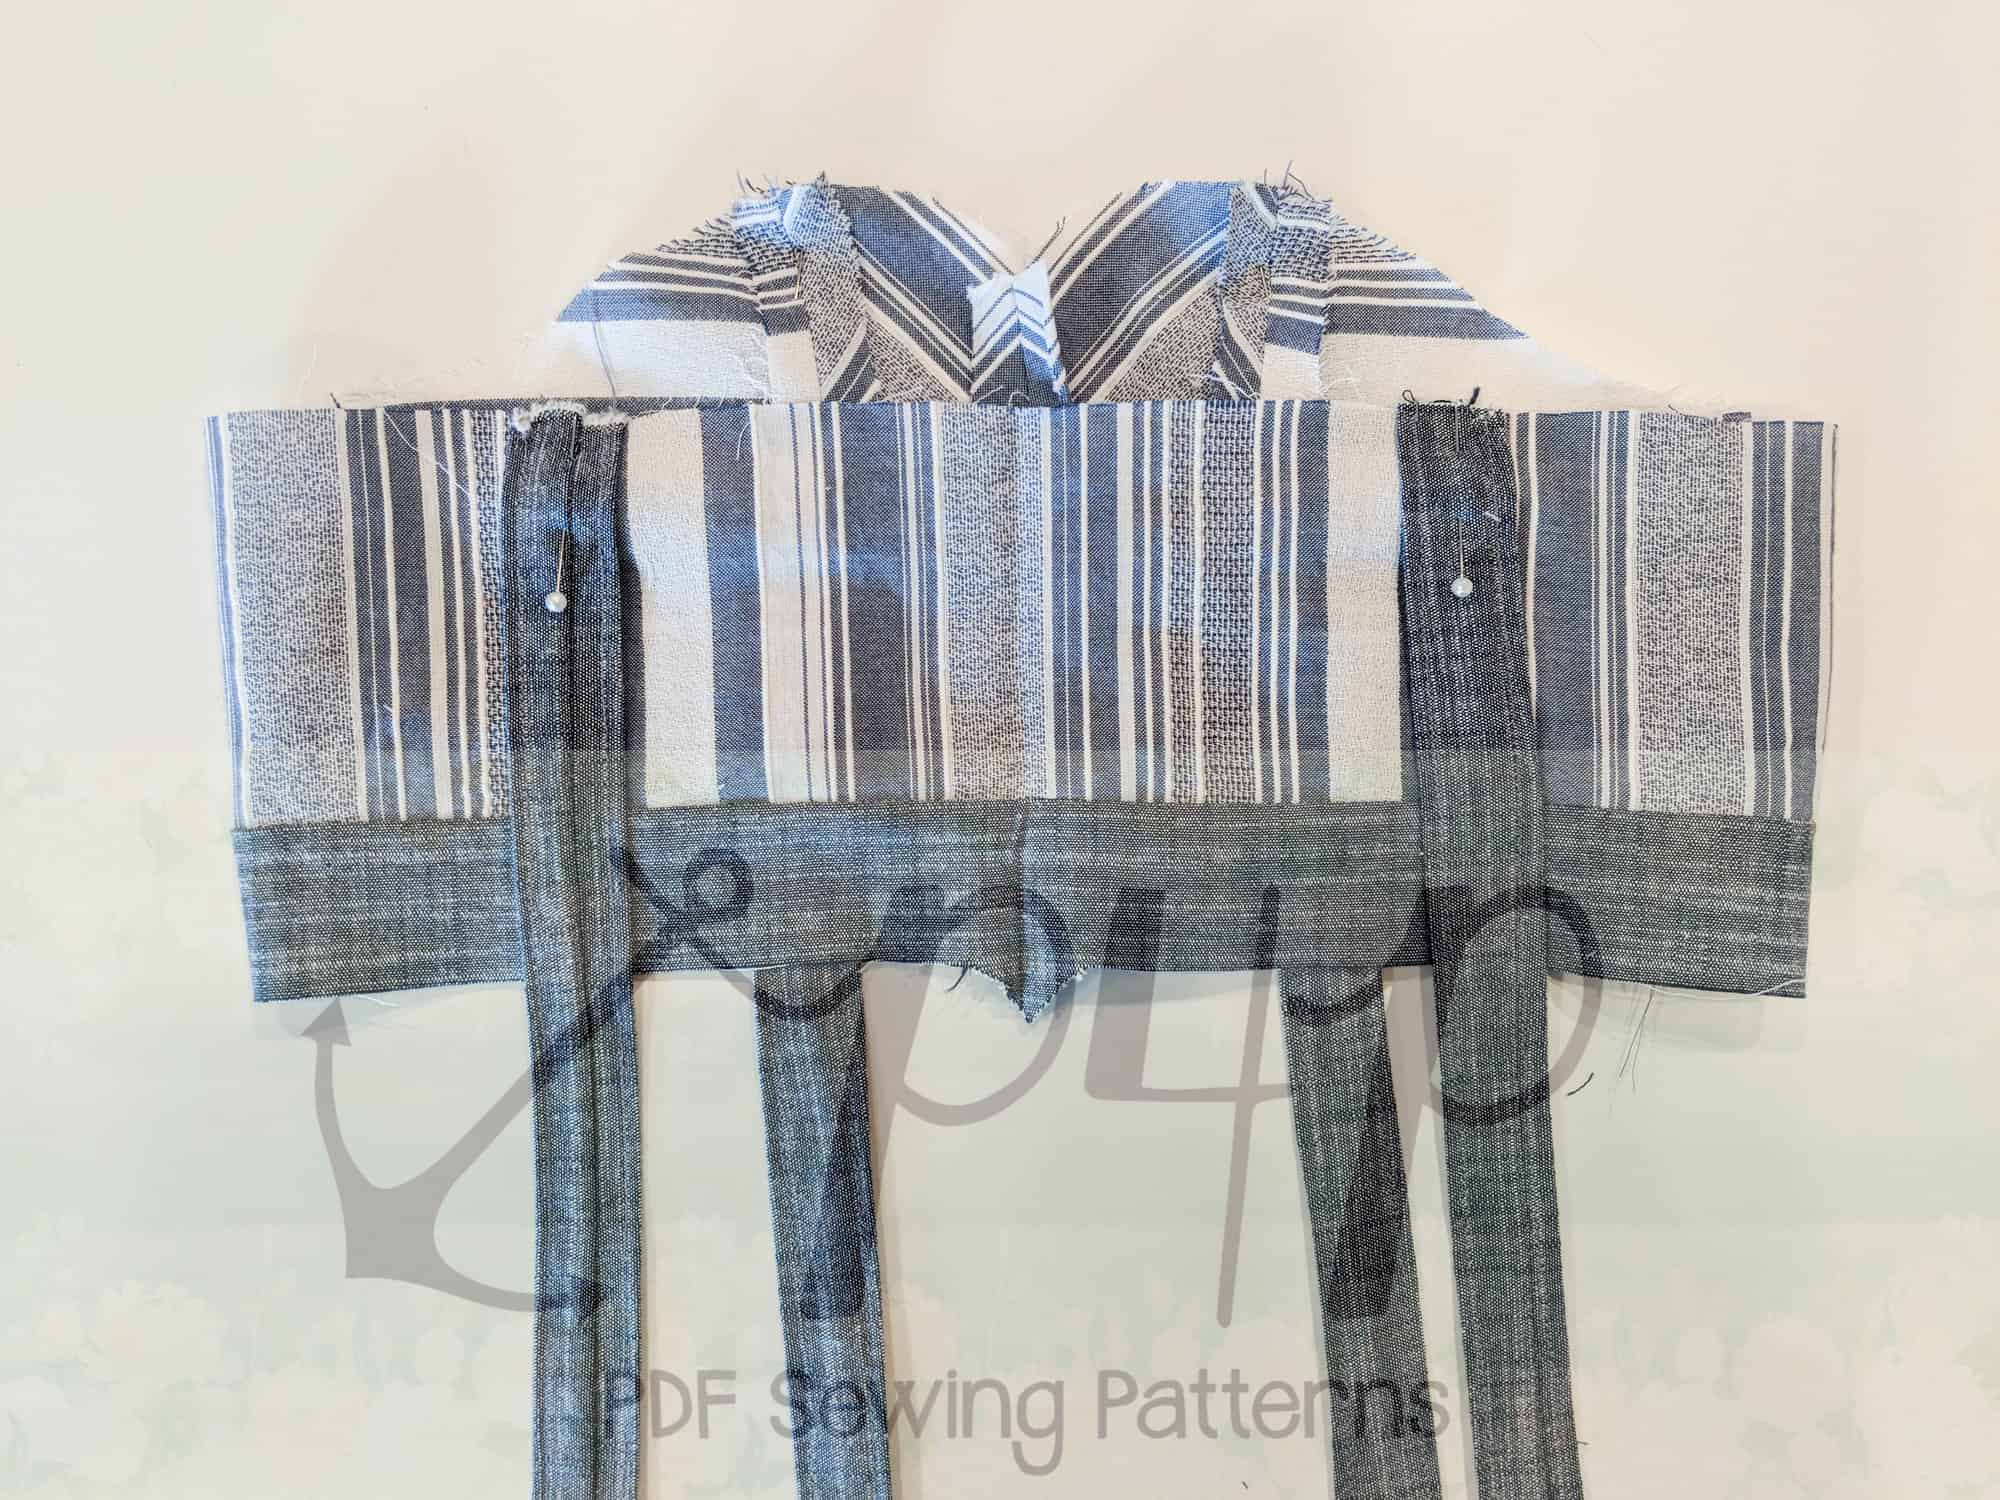
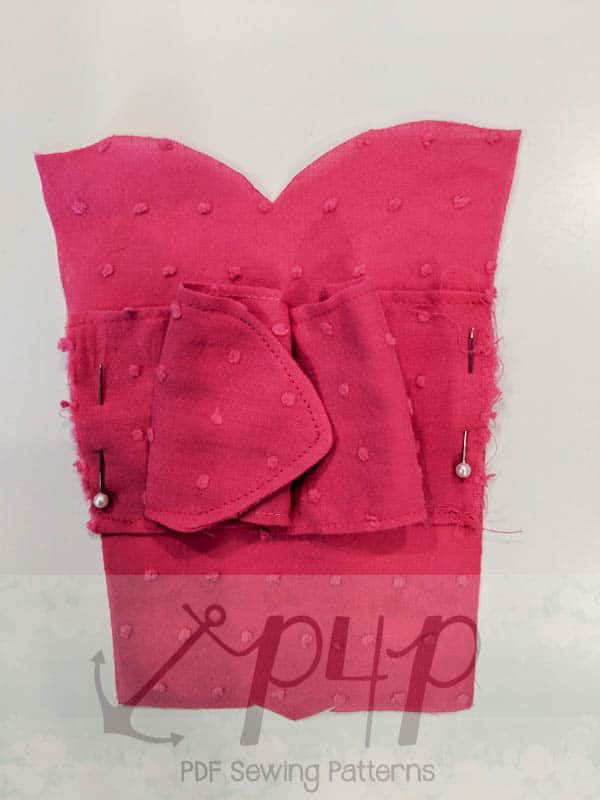
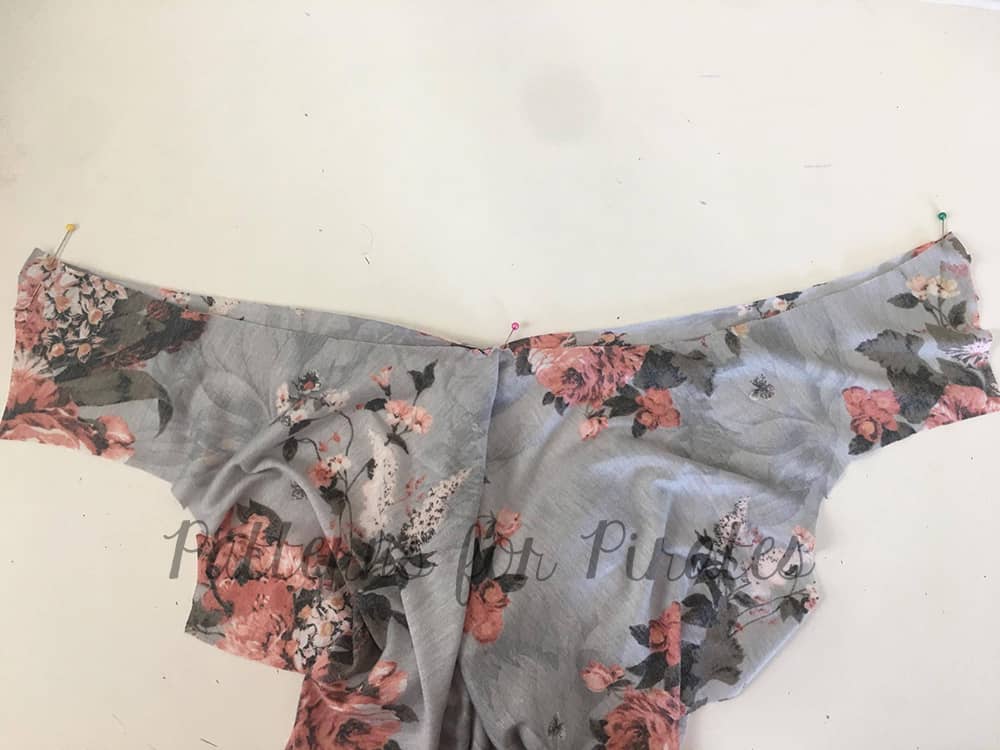
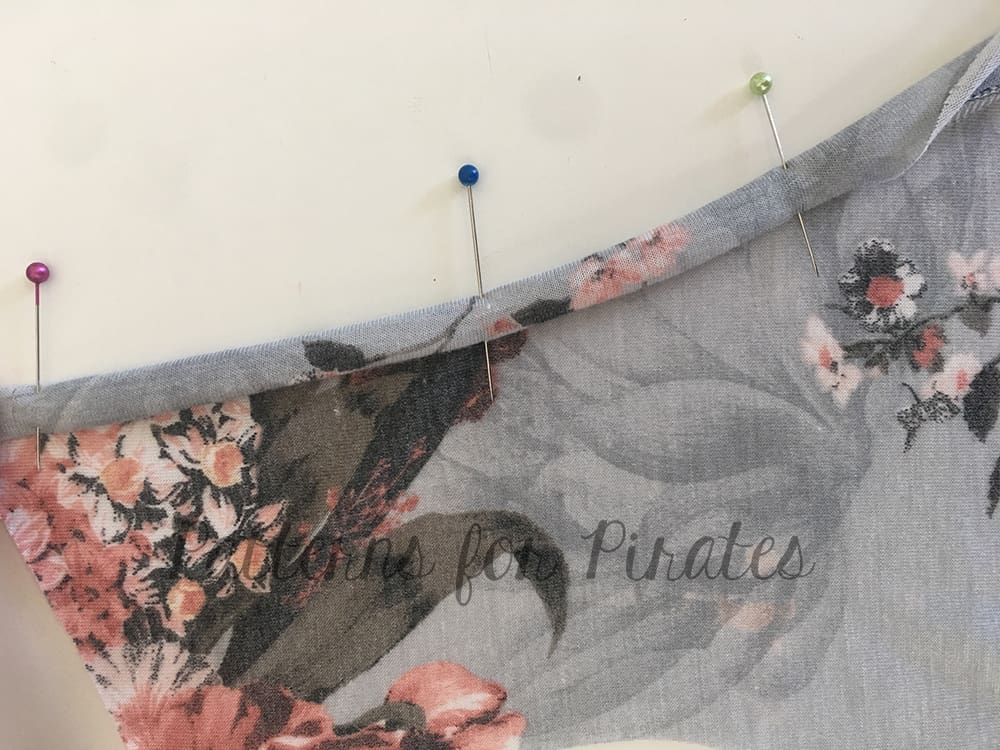
Pin your strap in place making sure that the top of the strap matches the mark you just made on both sides of the back opening.

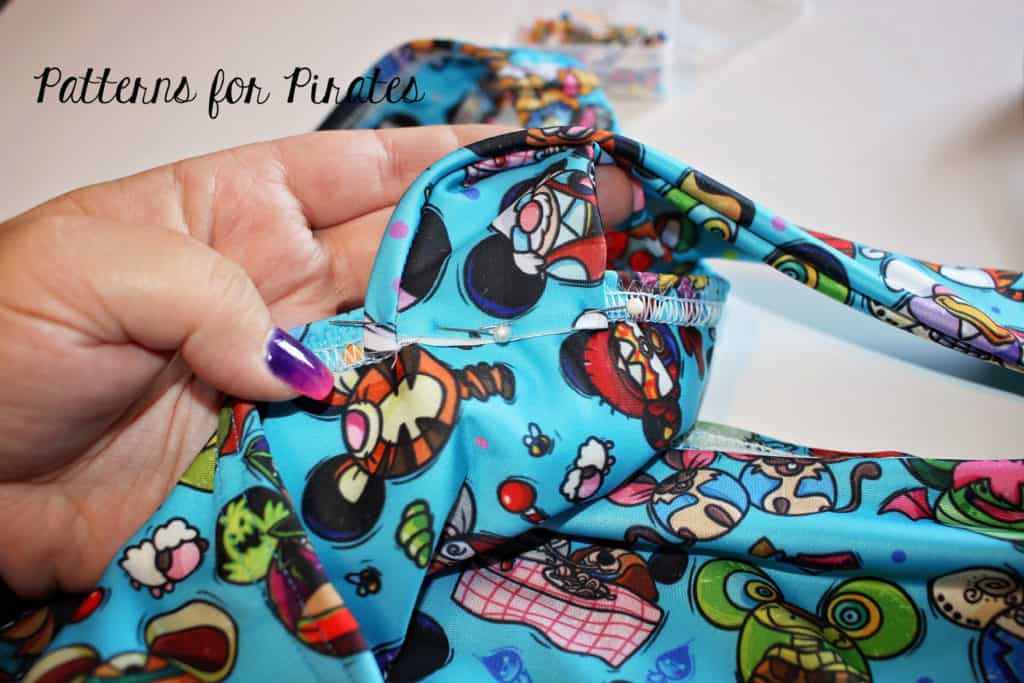
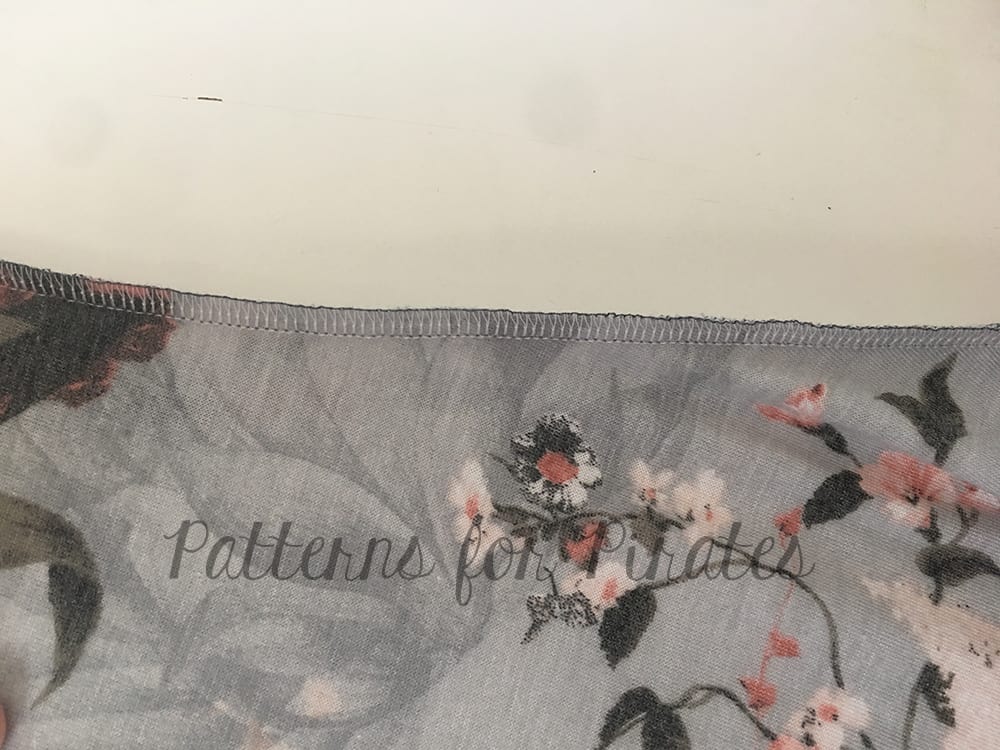
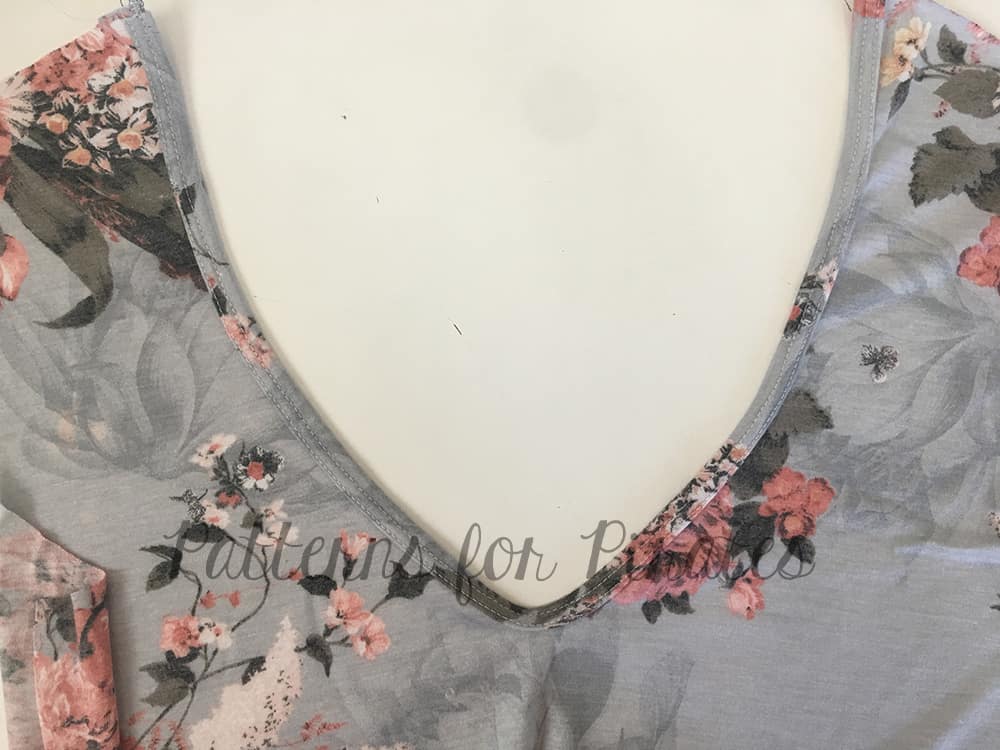
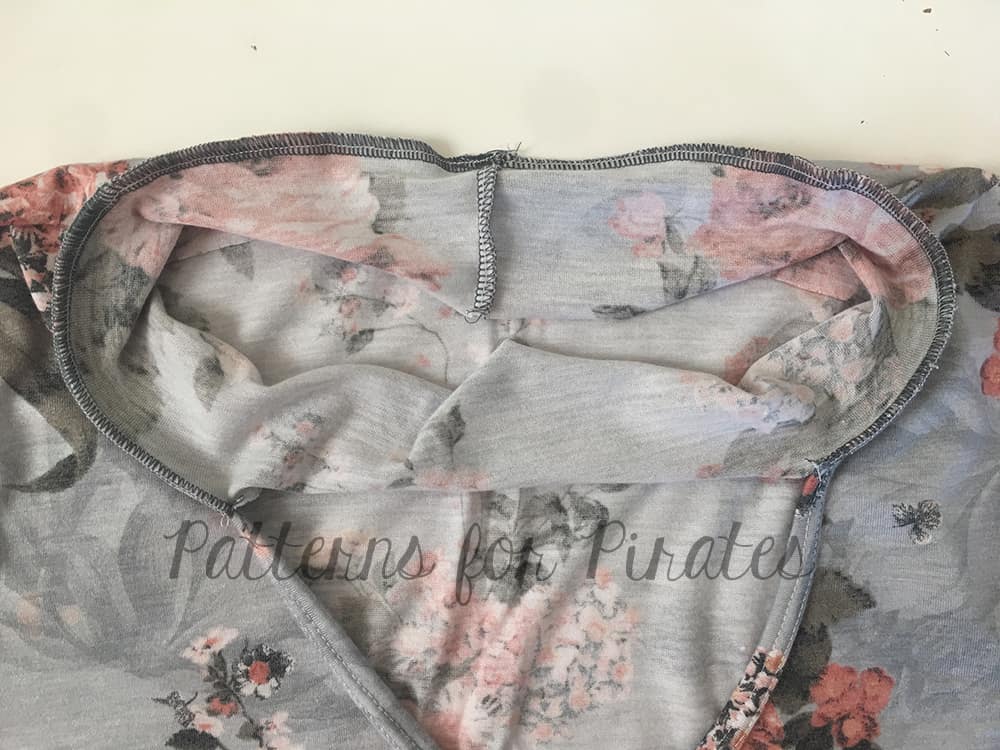
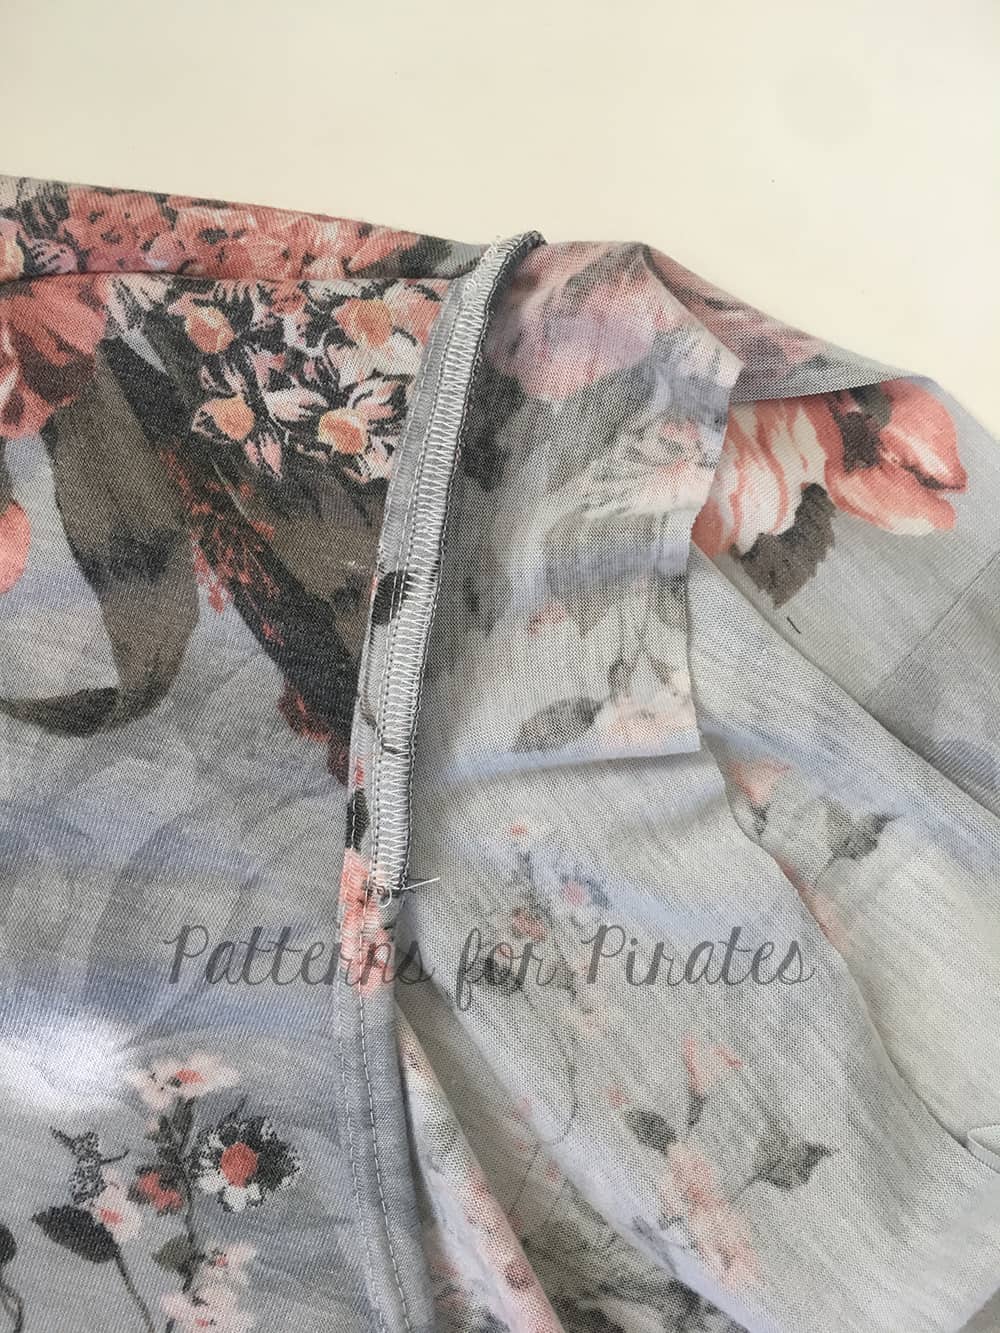
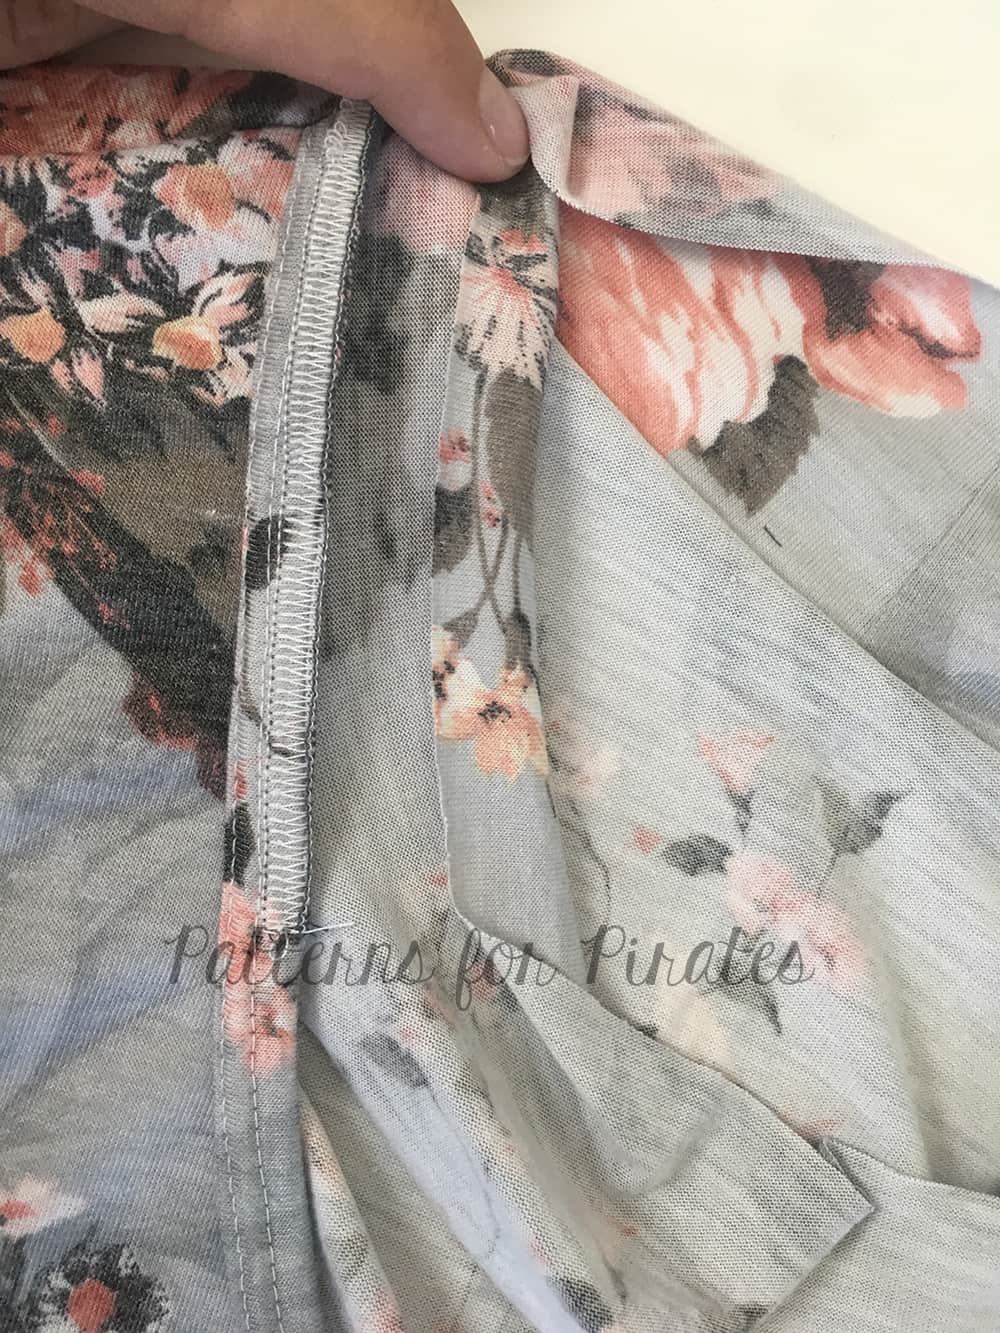
Sew the strap in place using a zig zag stitch, stretch stitches or your coverstitch. That’s all!
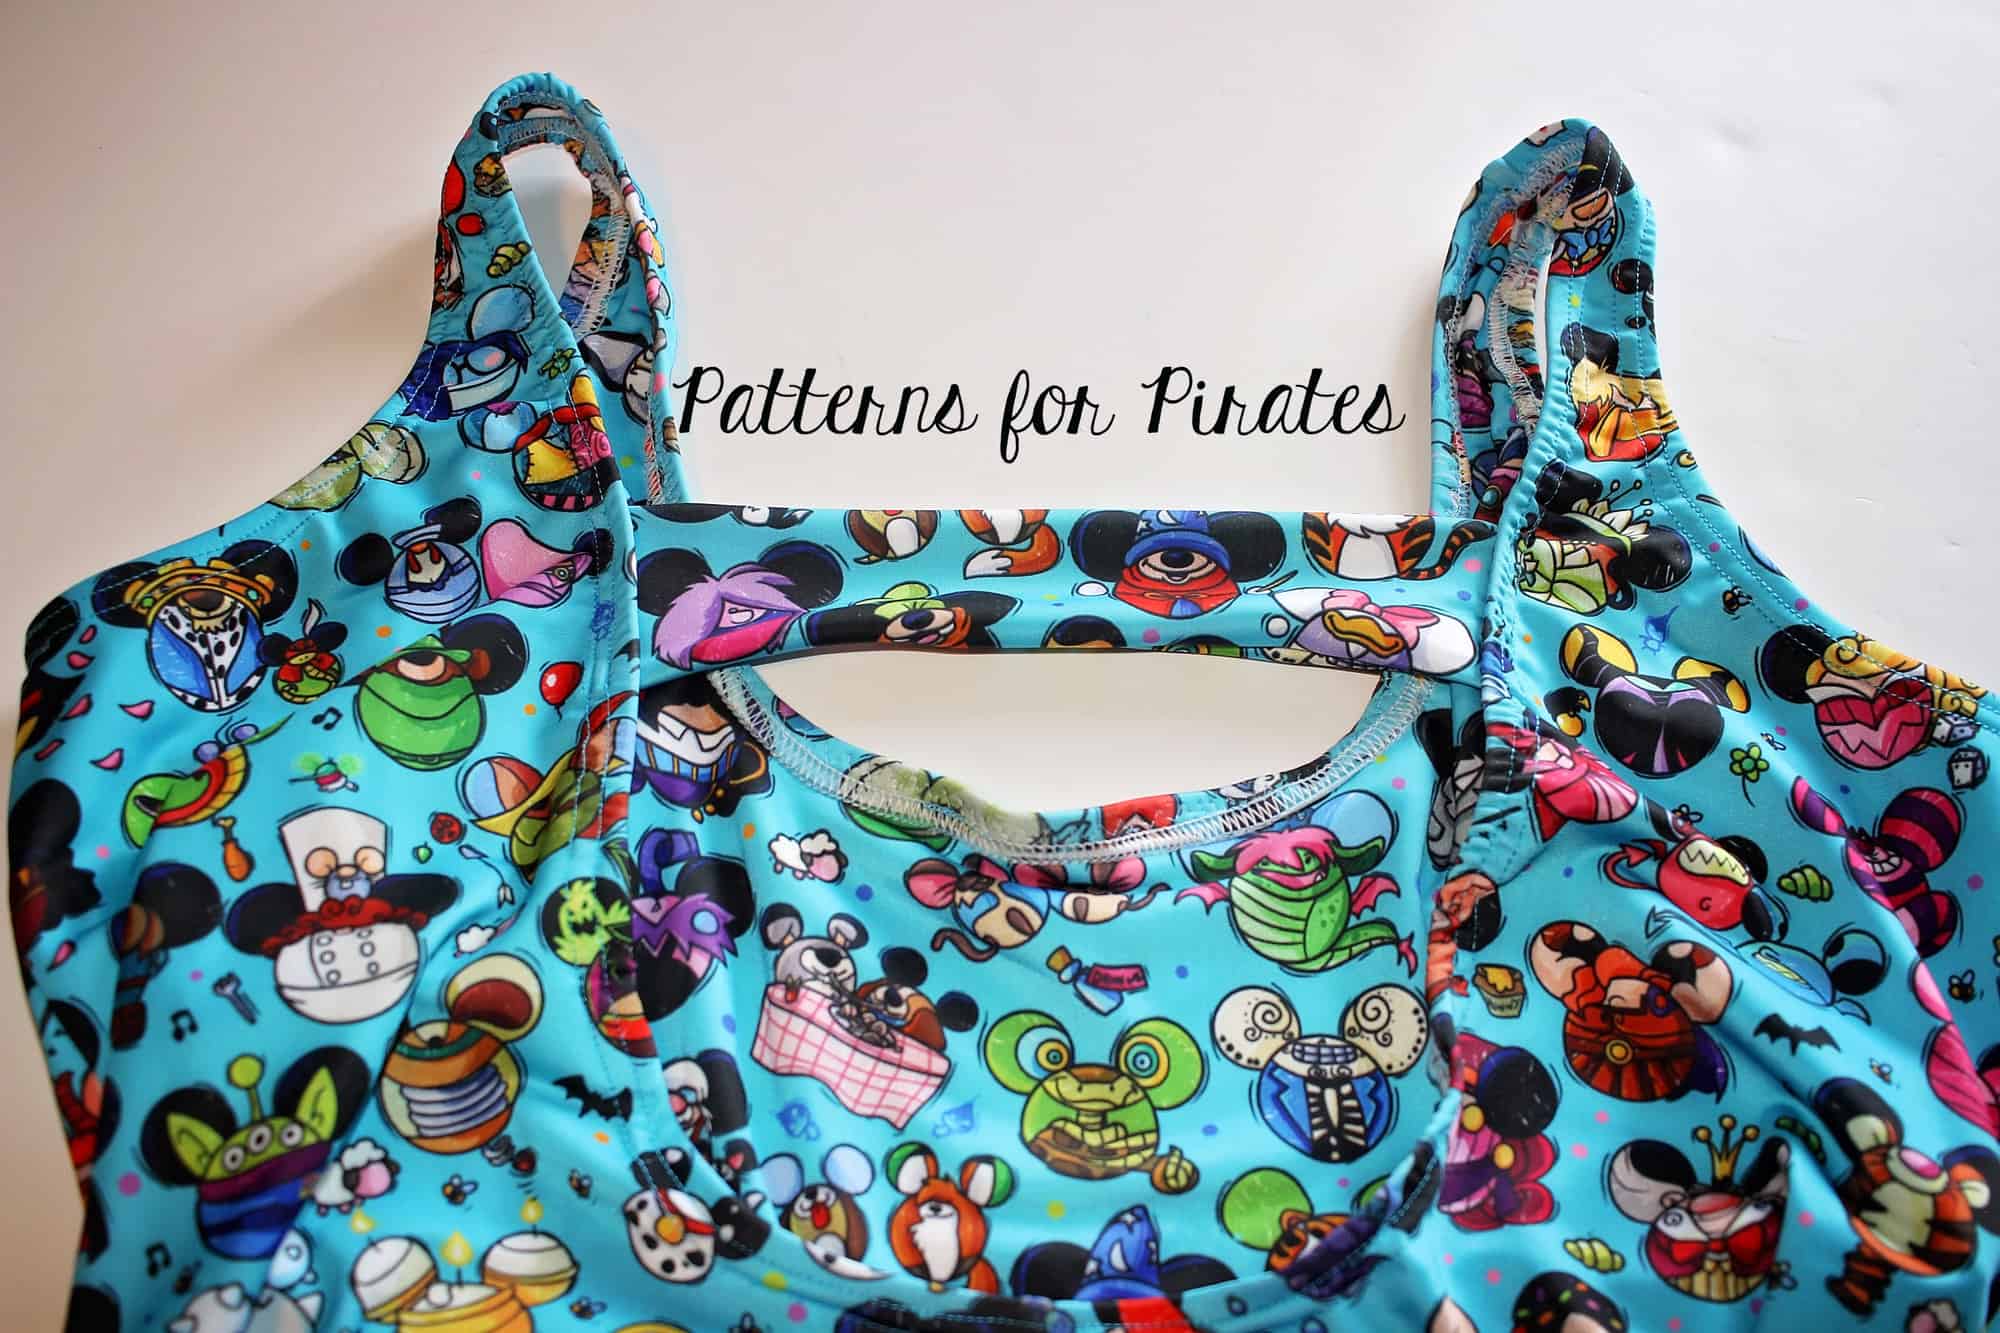
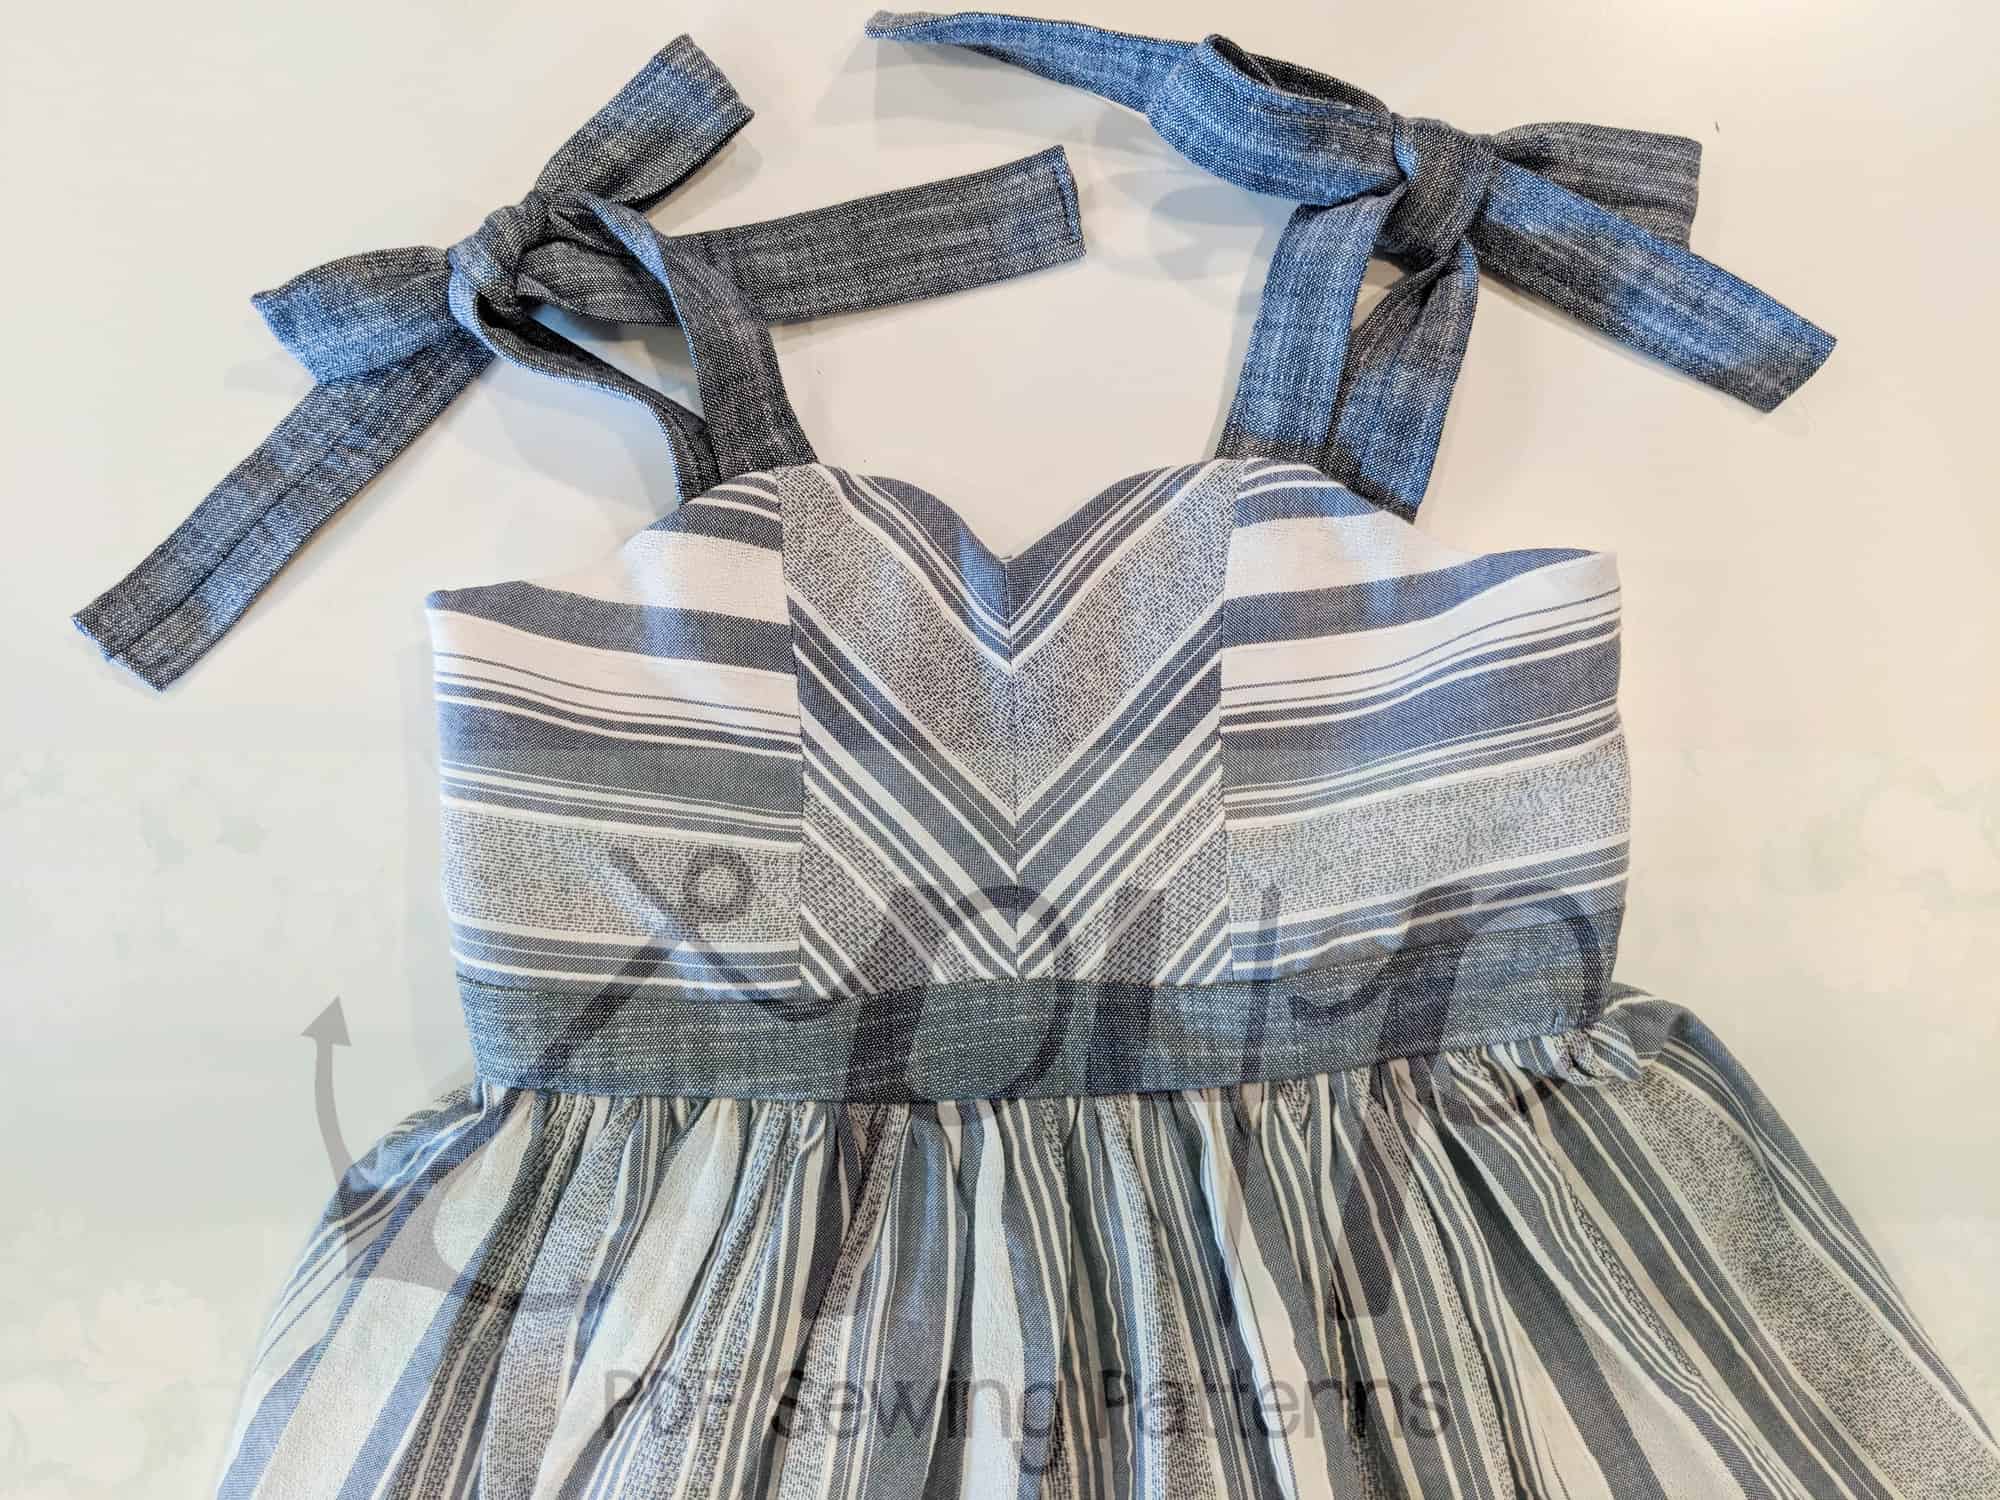
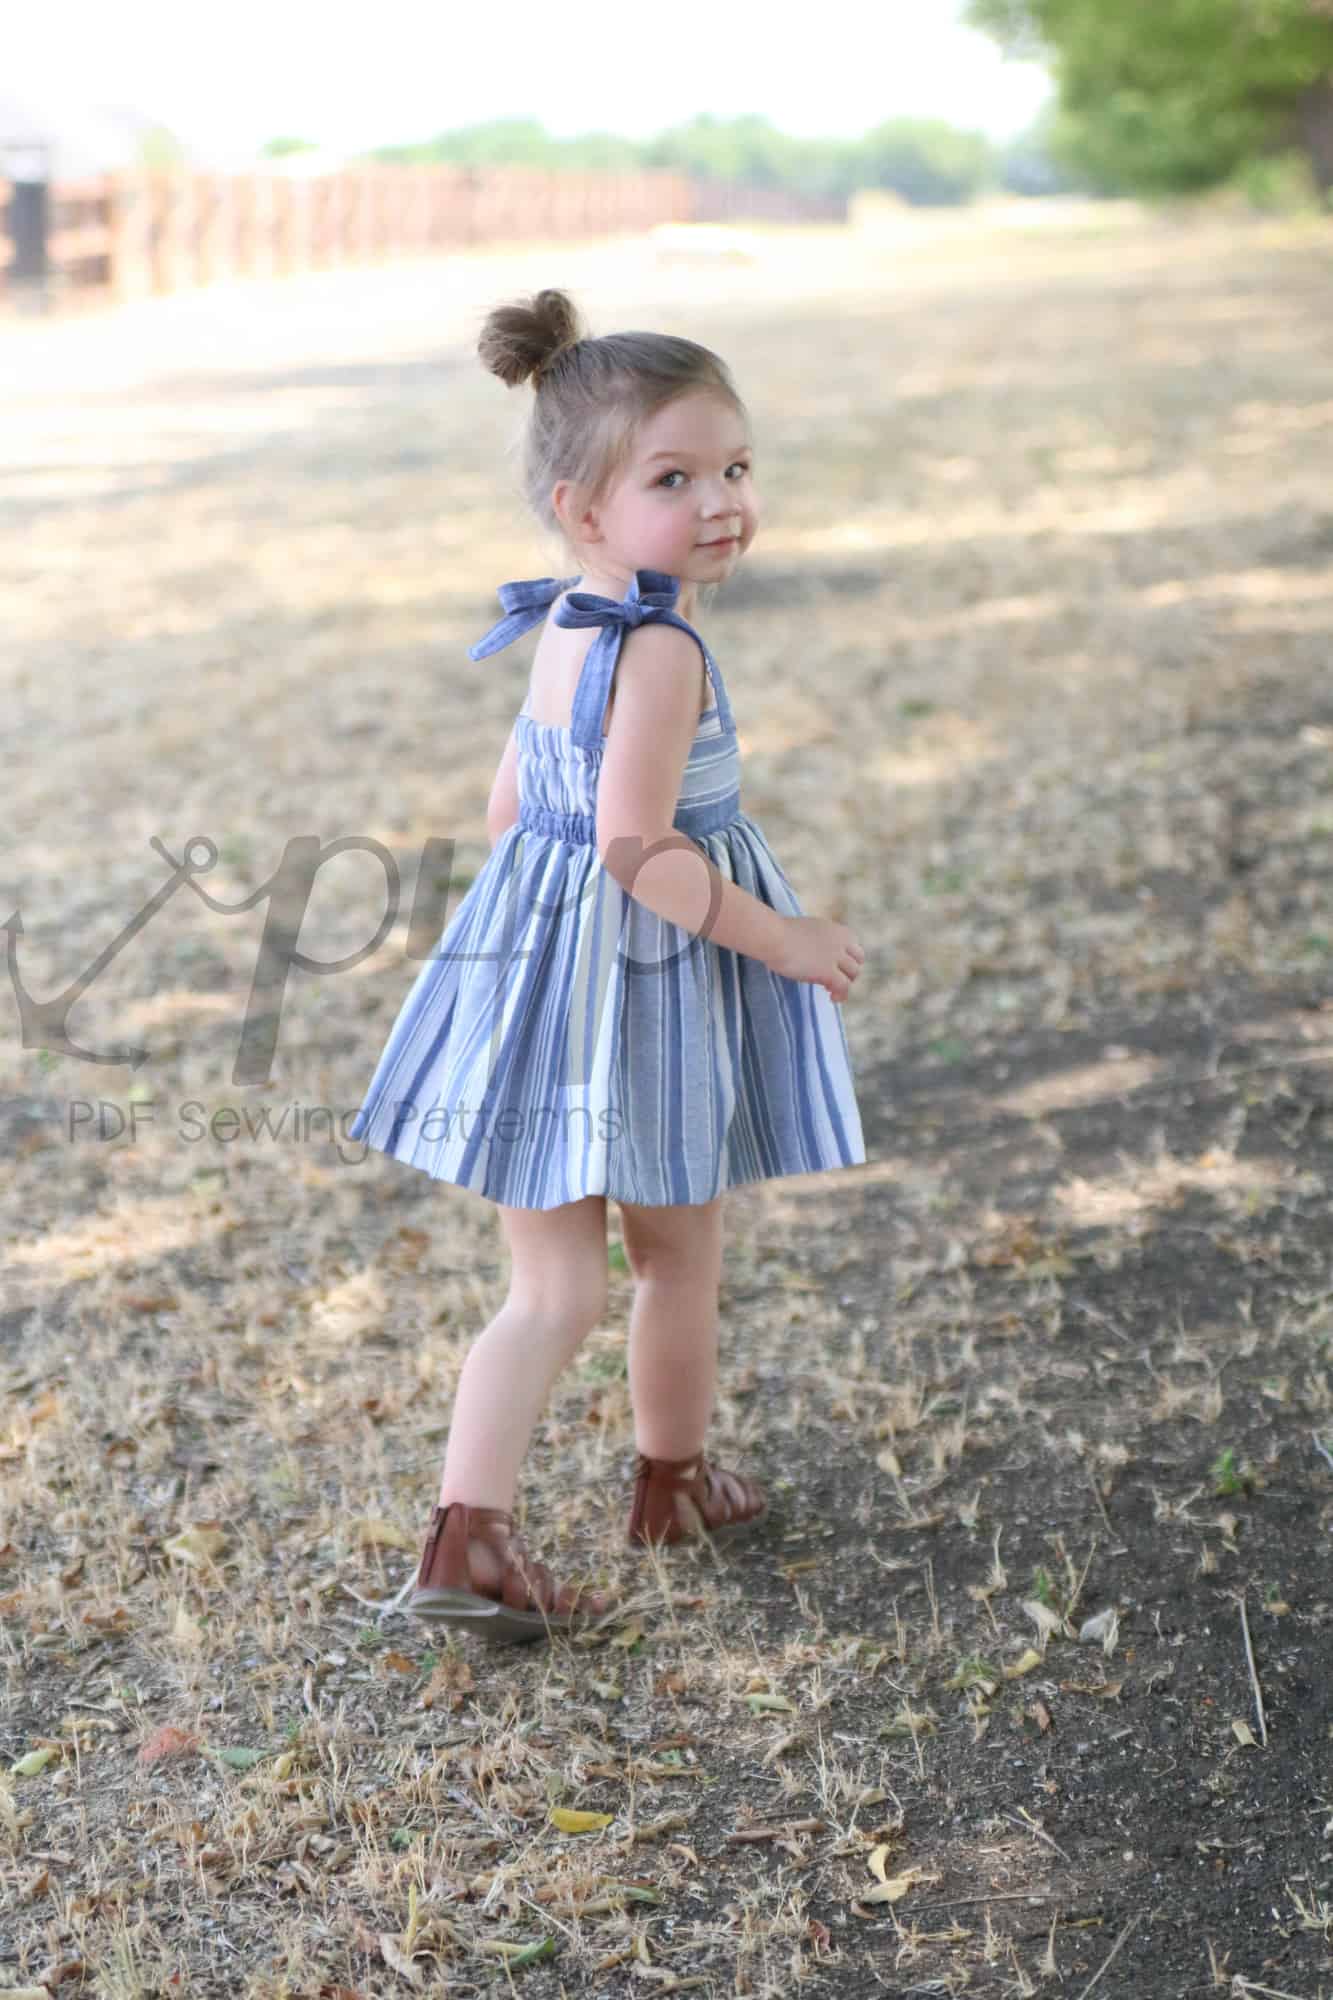
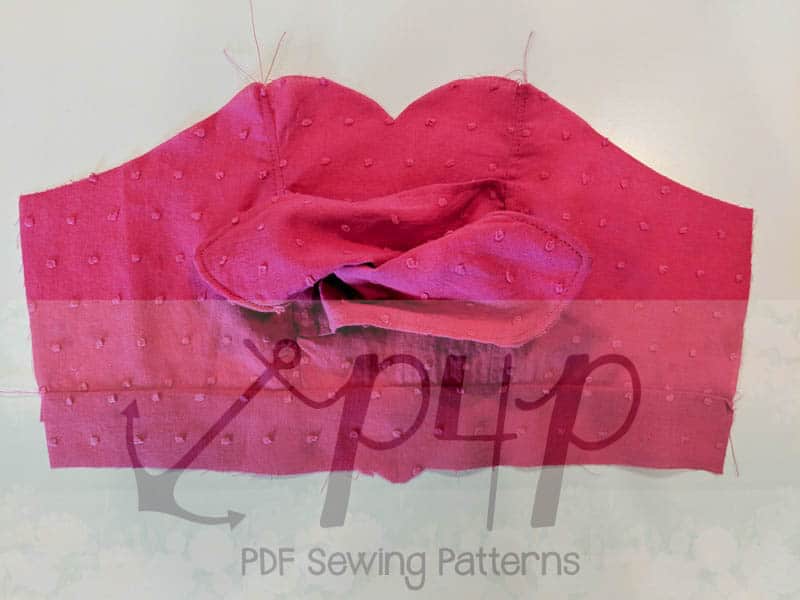
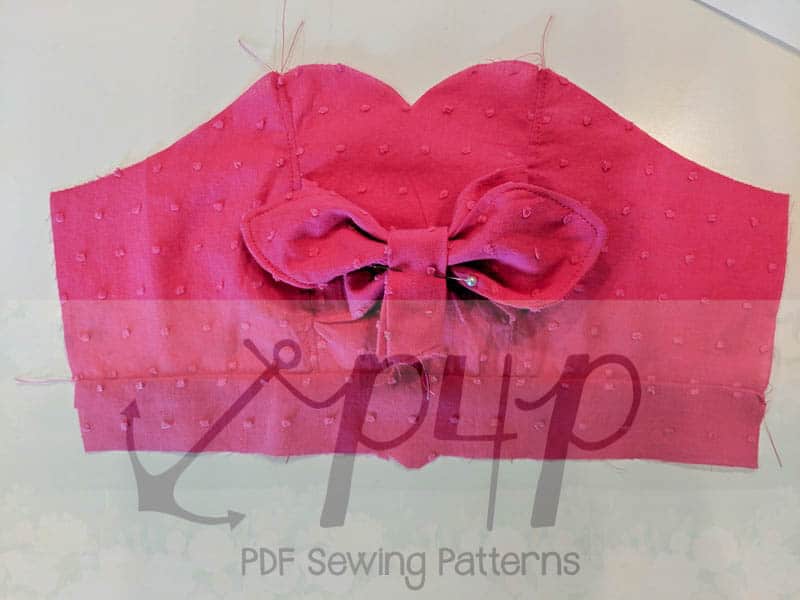
Tips: Using the same technique you can make the back with two or three thinner straps, two long ones tied in a bow, two thinner ones crossed like an X….endless possibilities!

…..
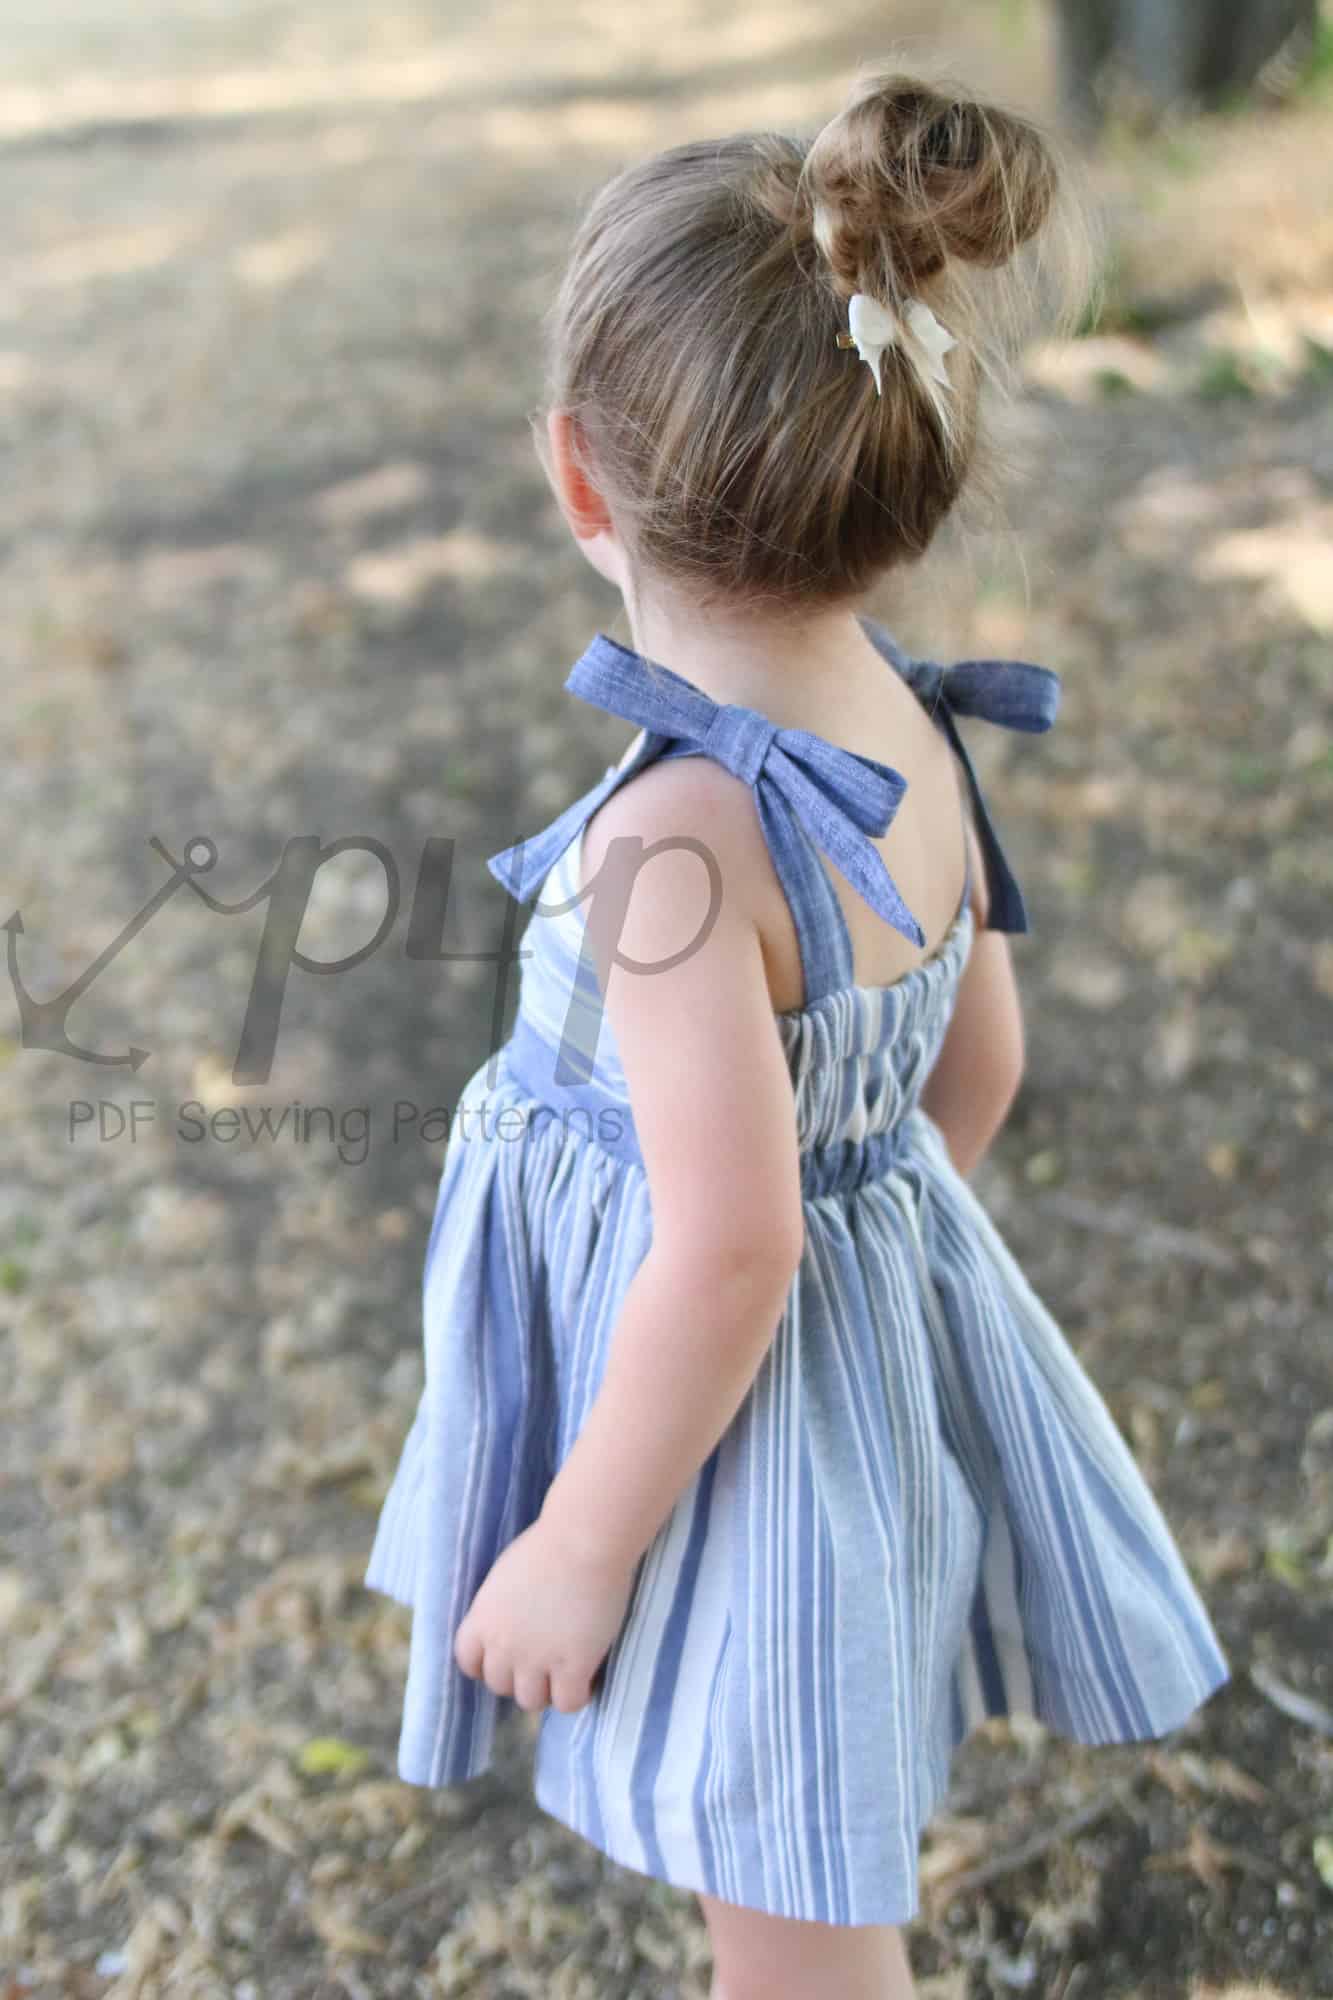
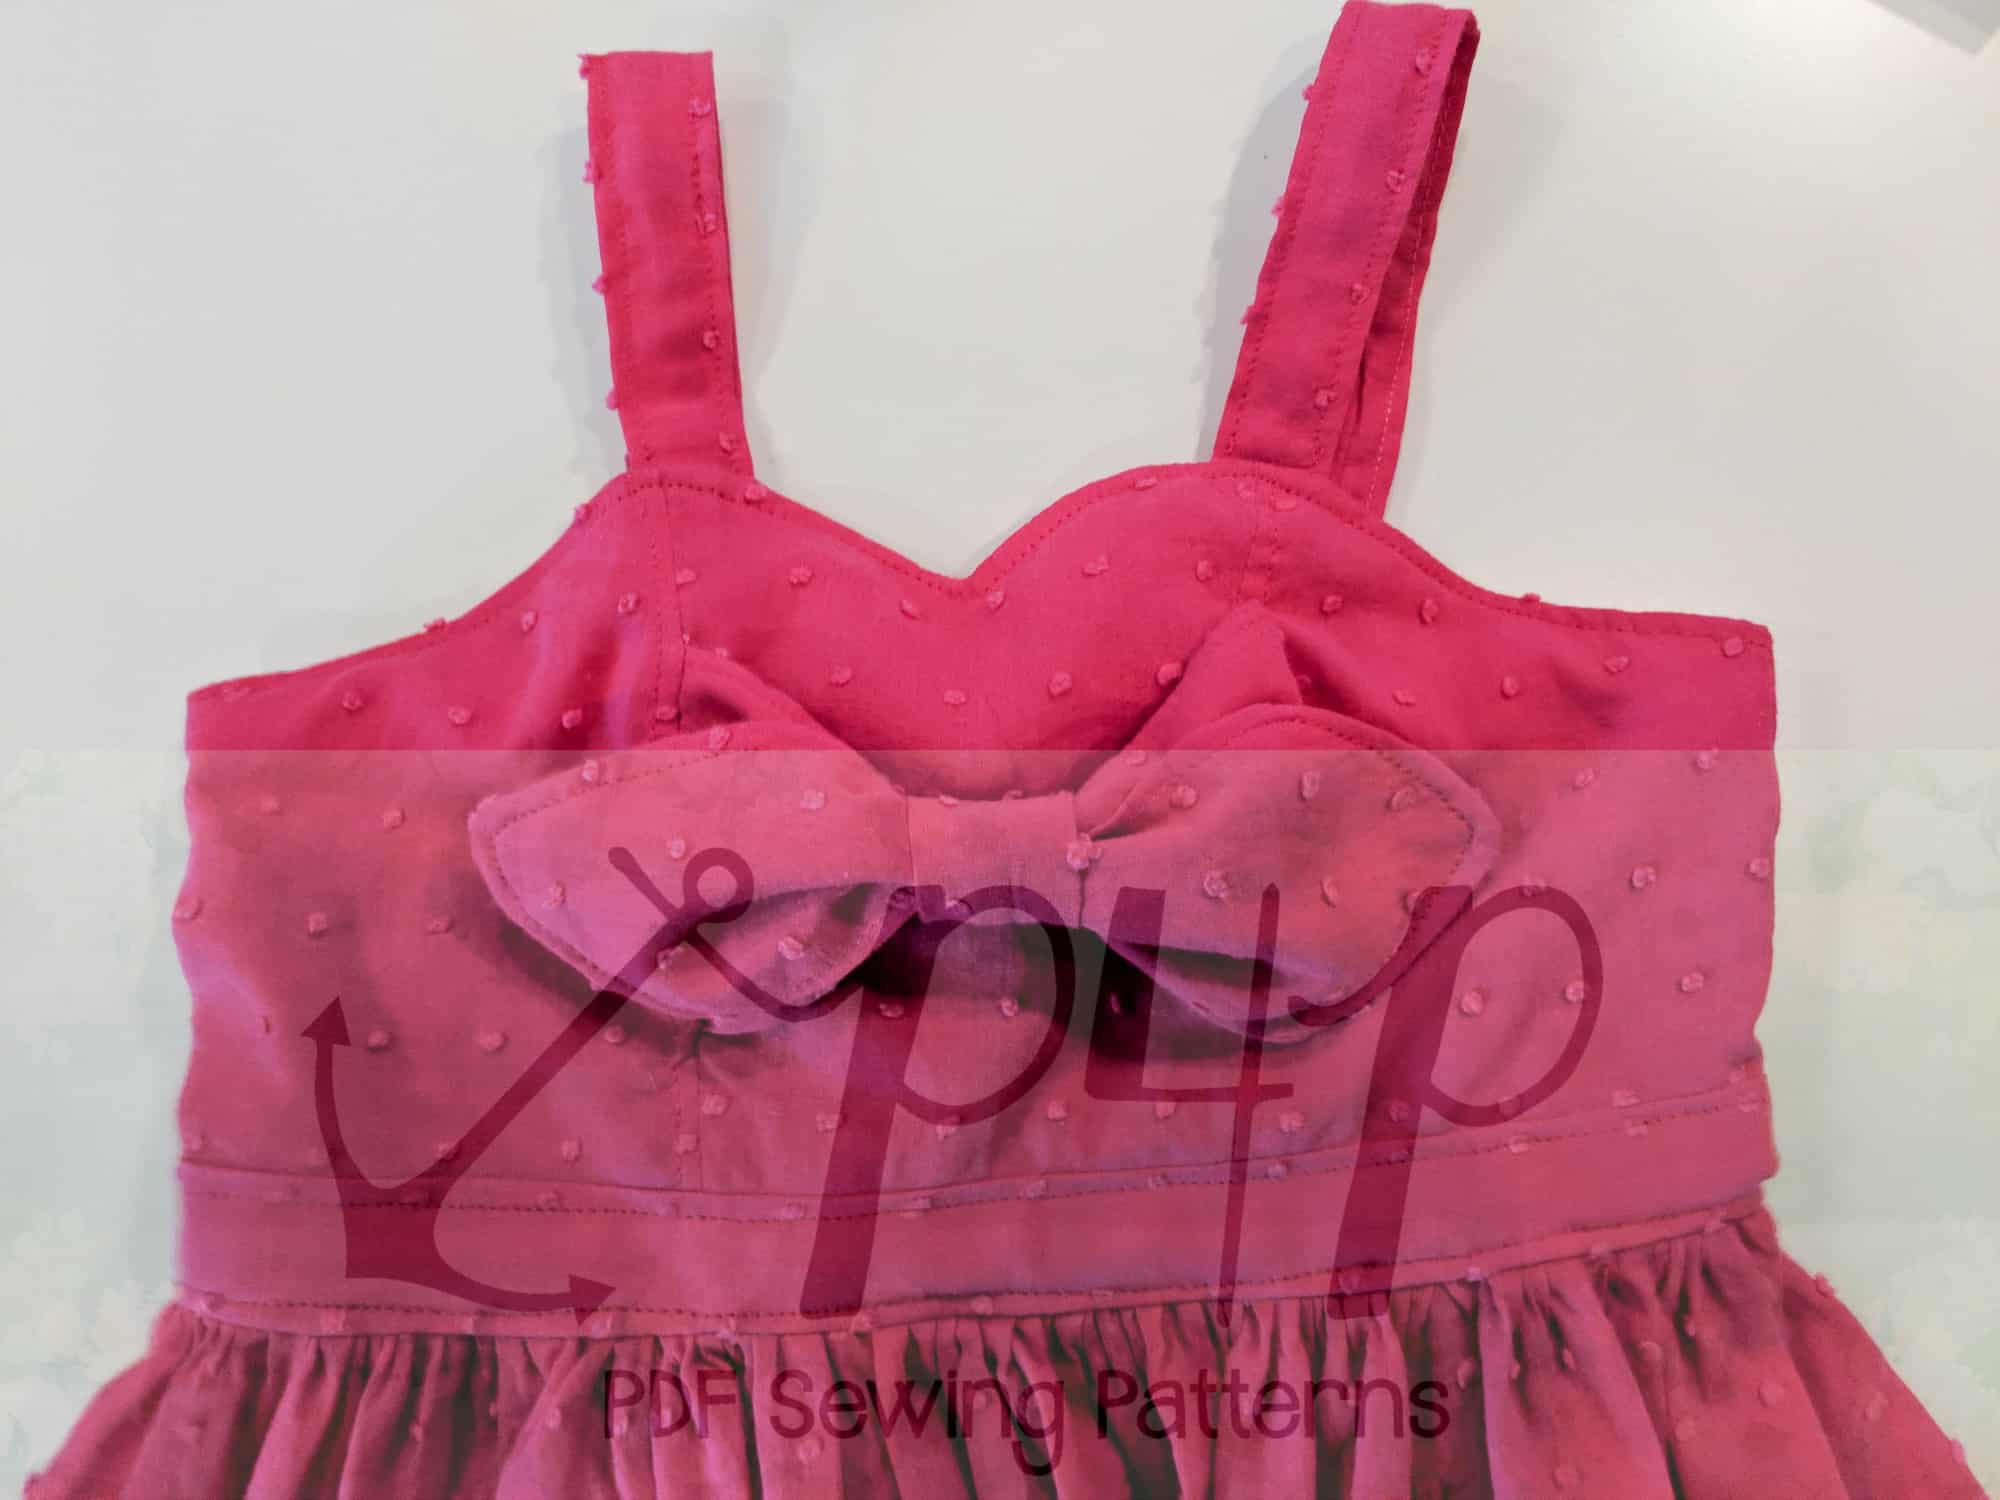
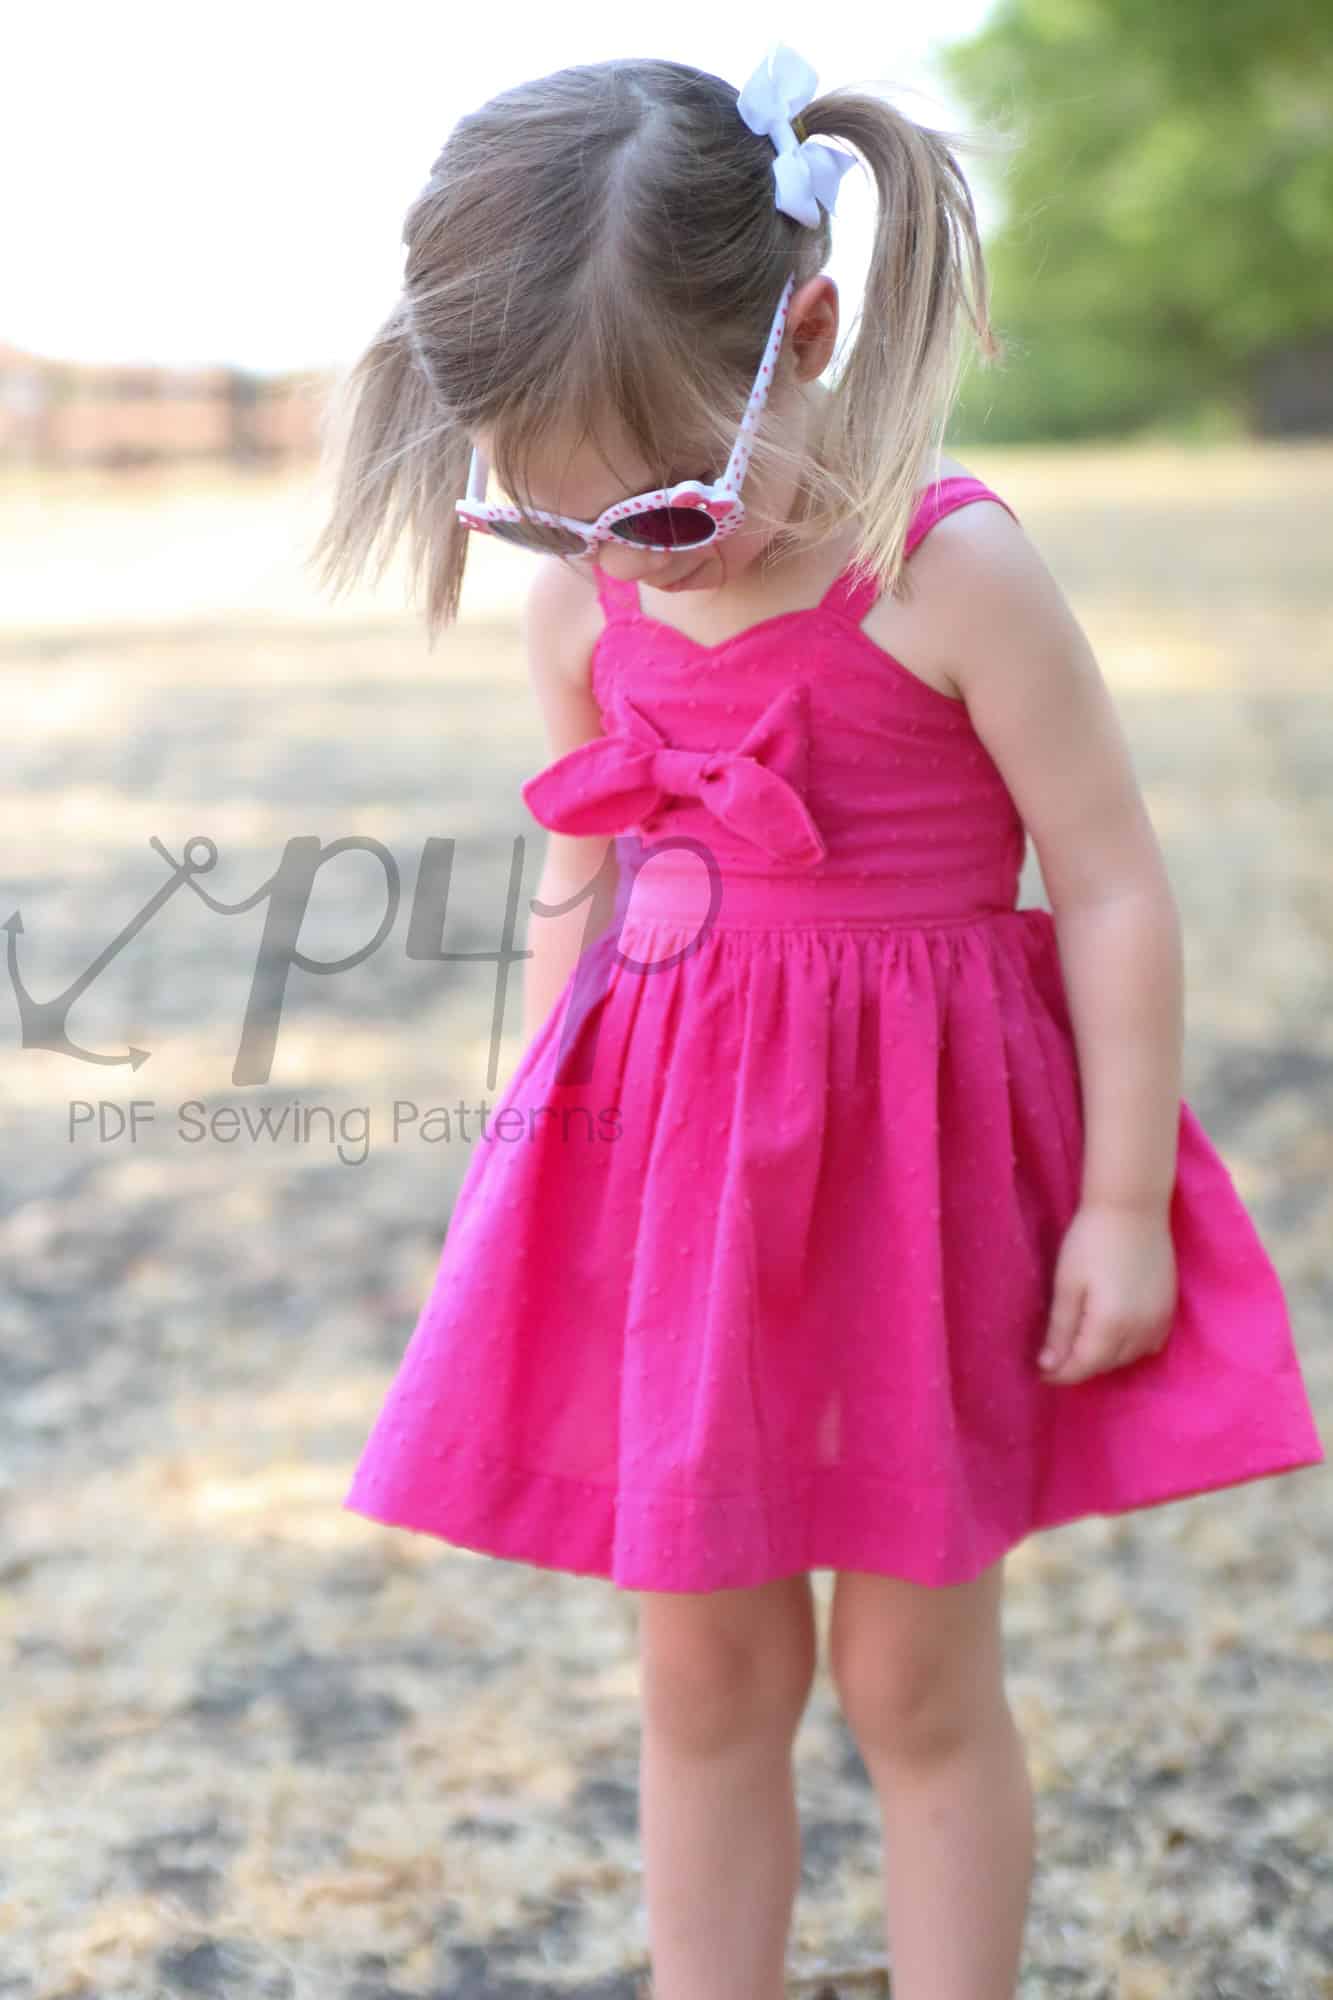
Ruffles at the legs
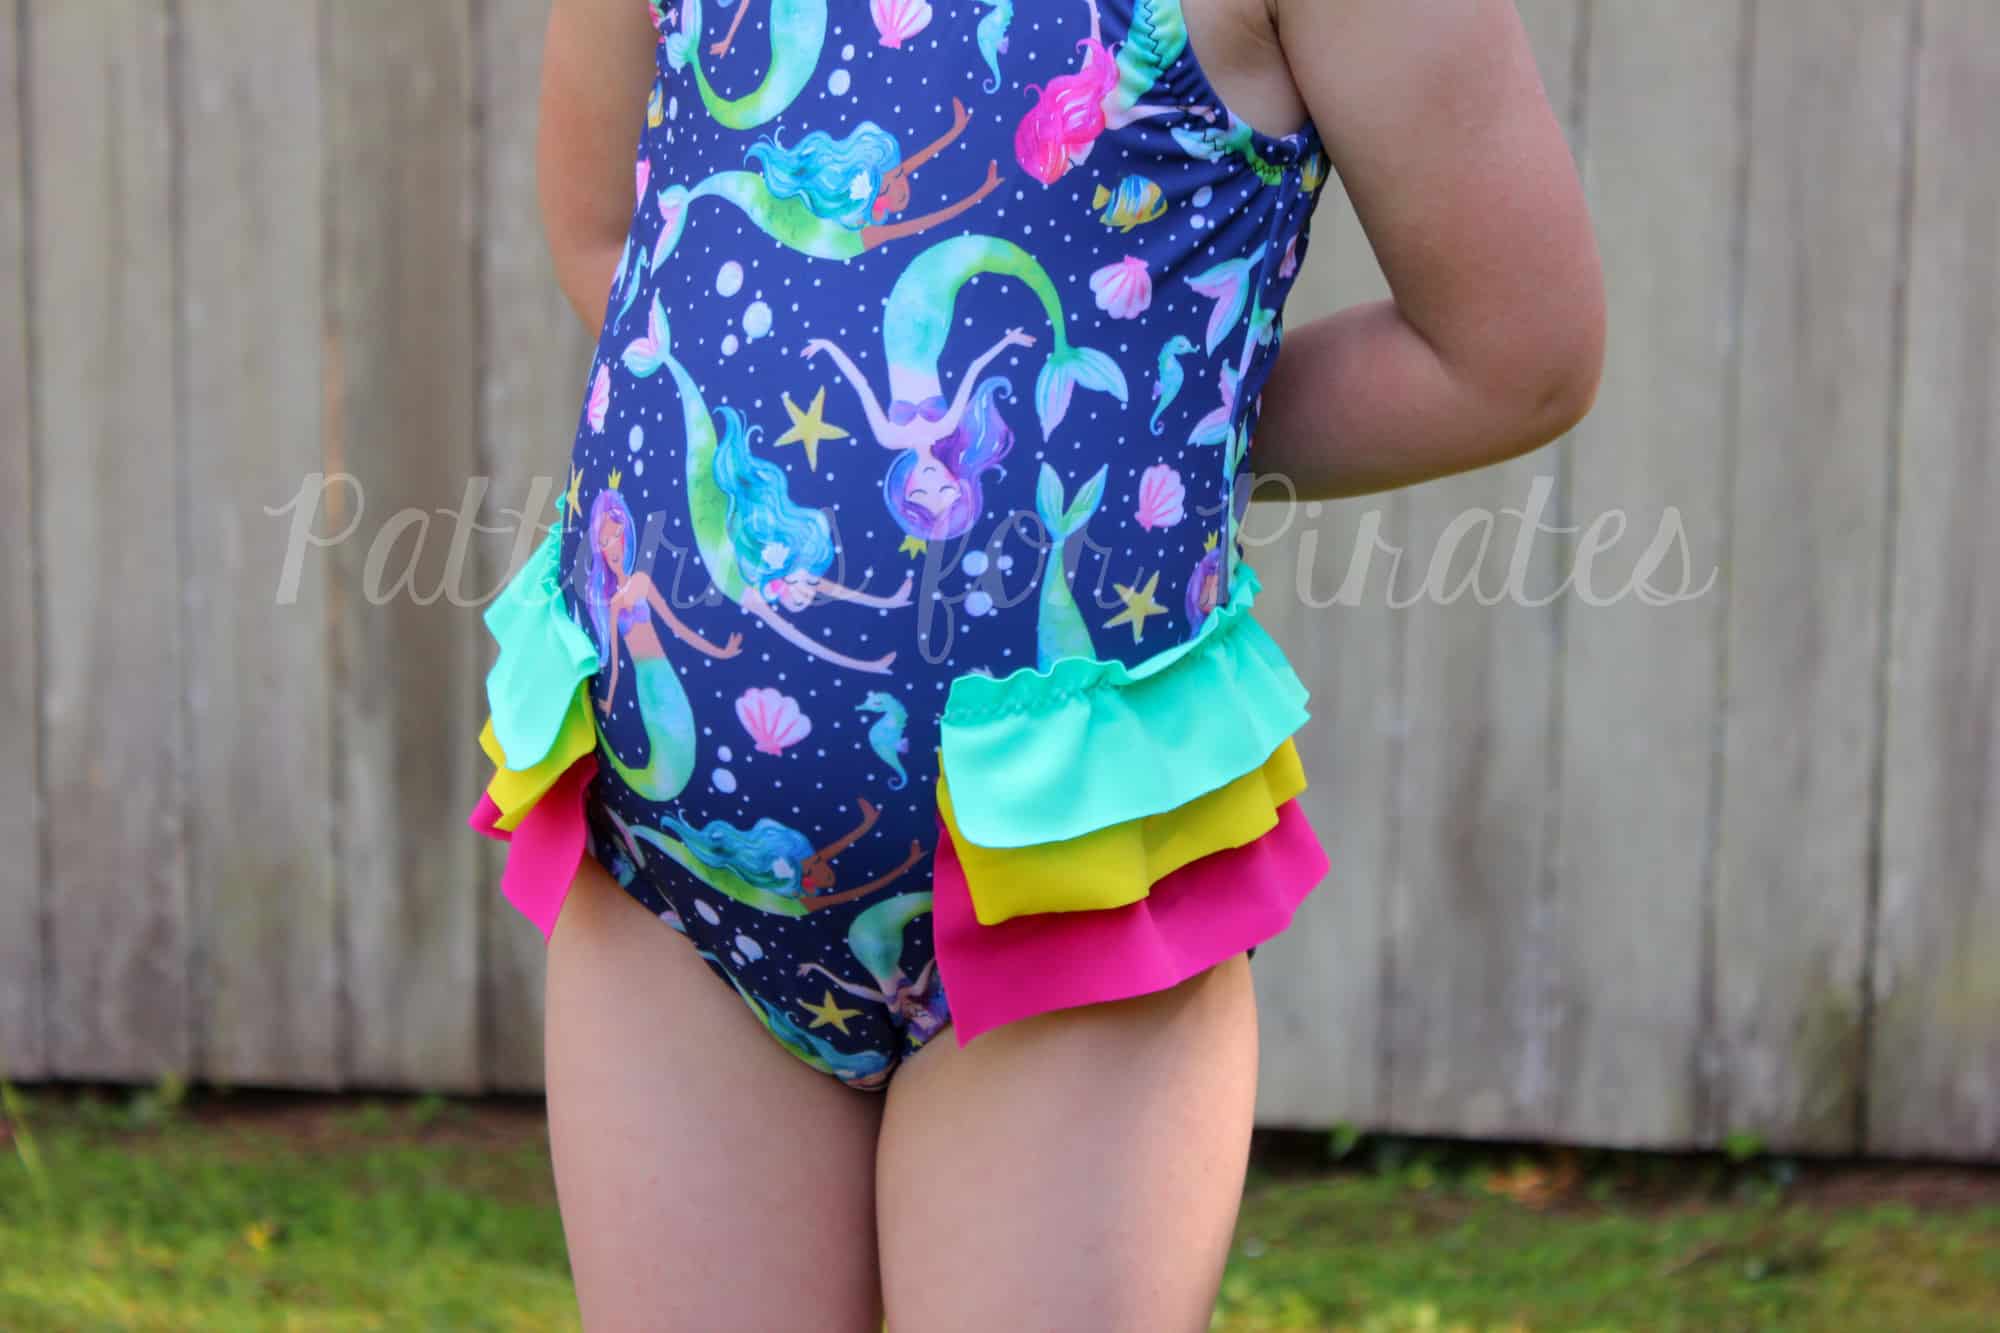
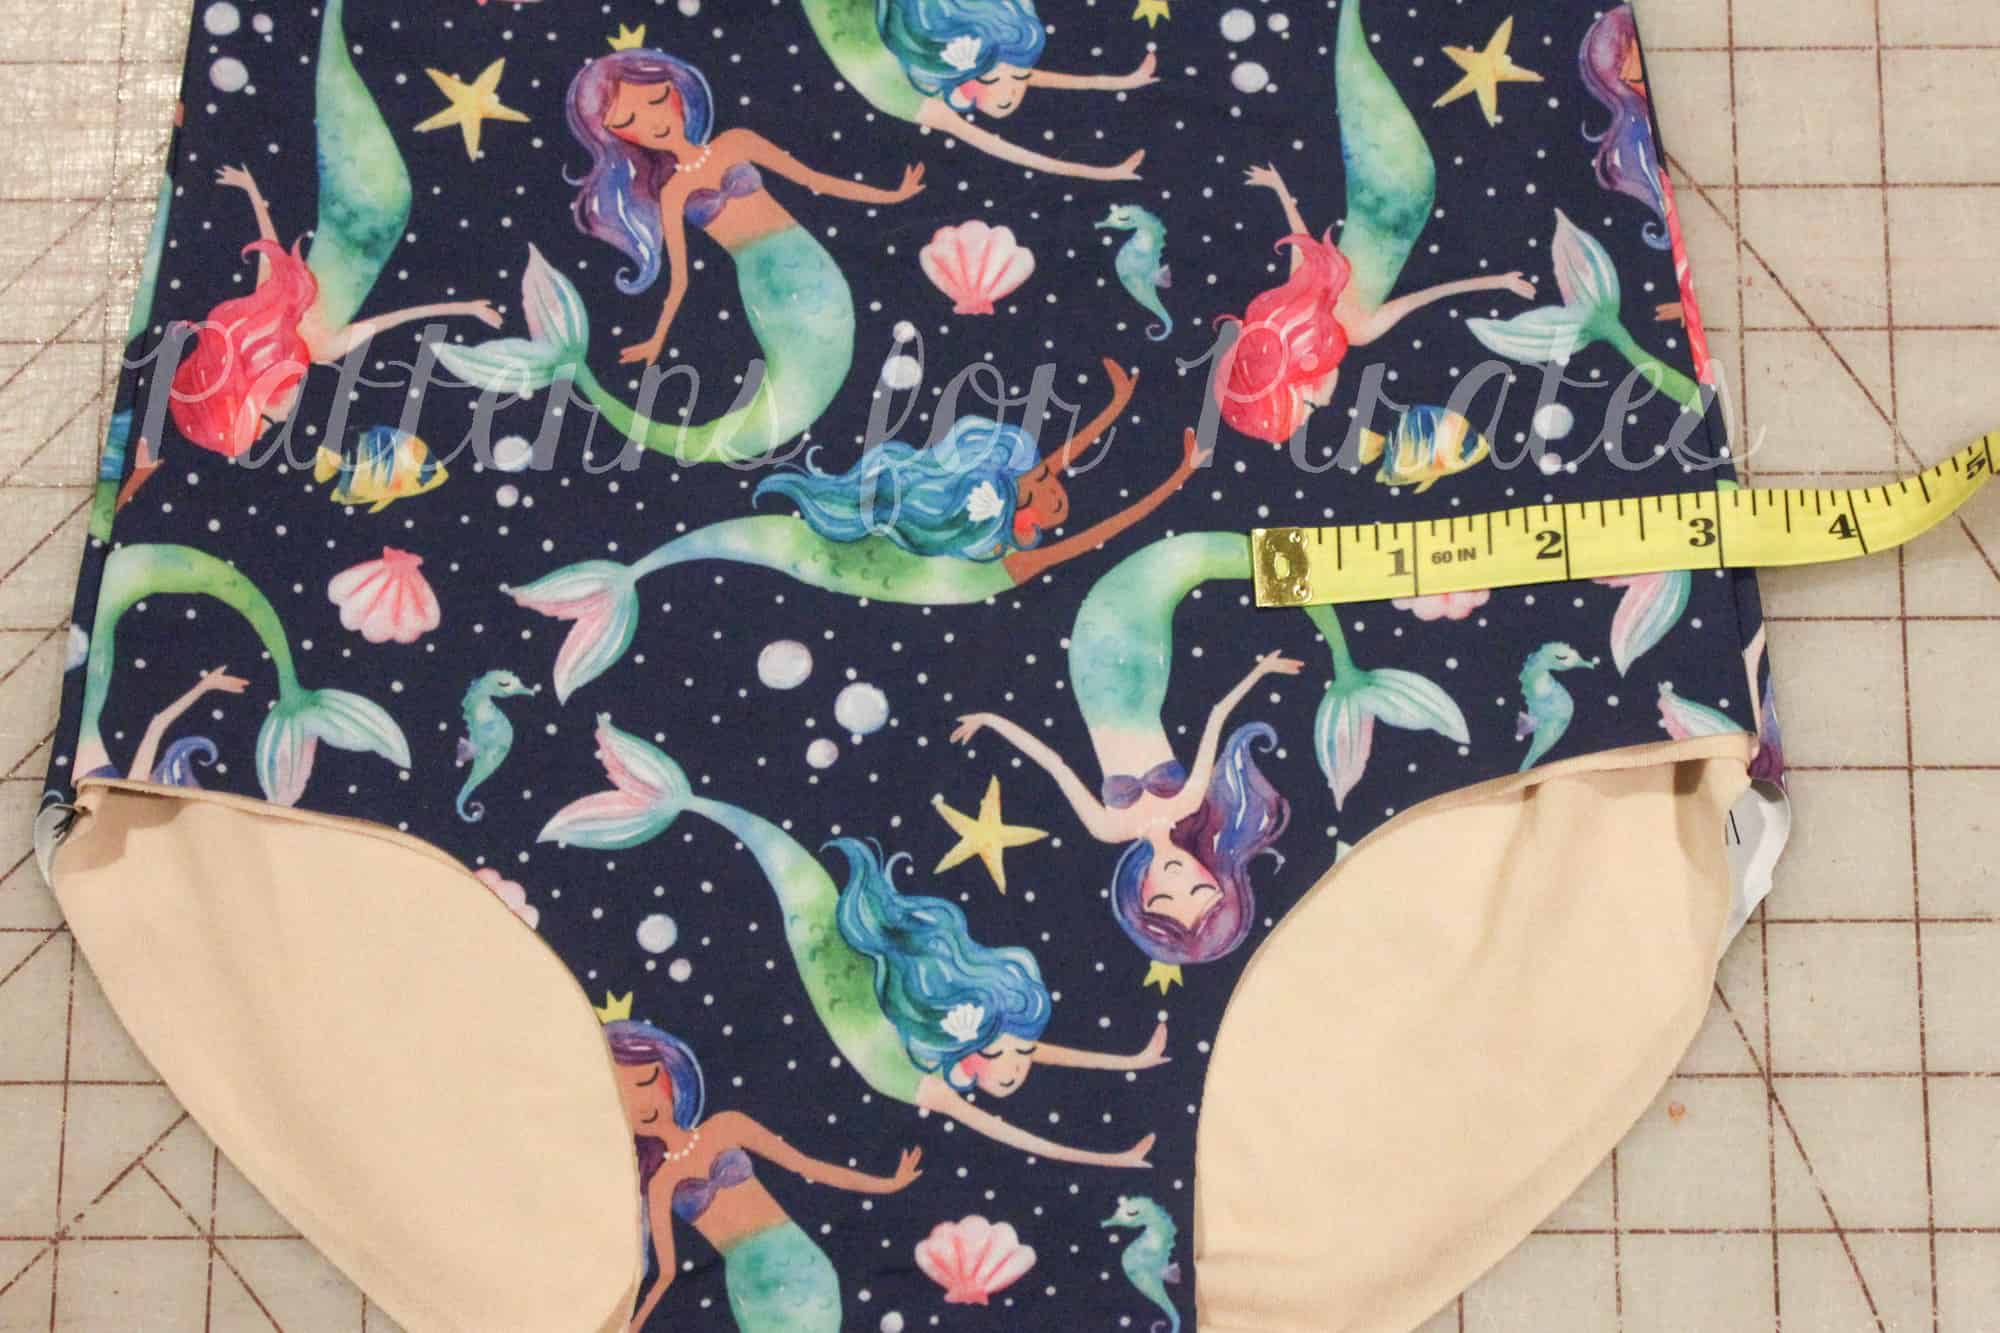
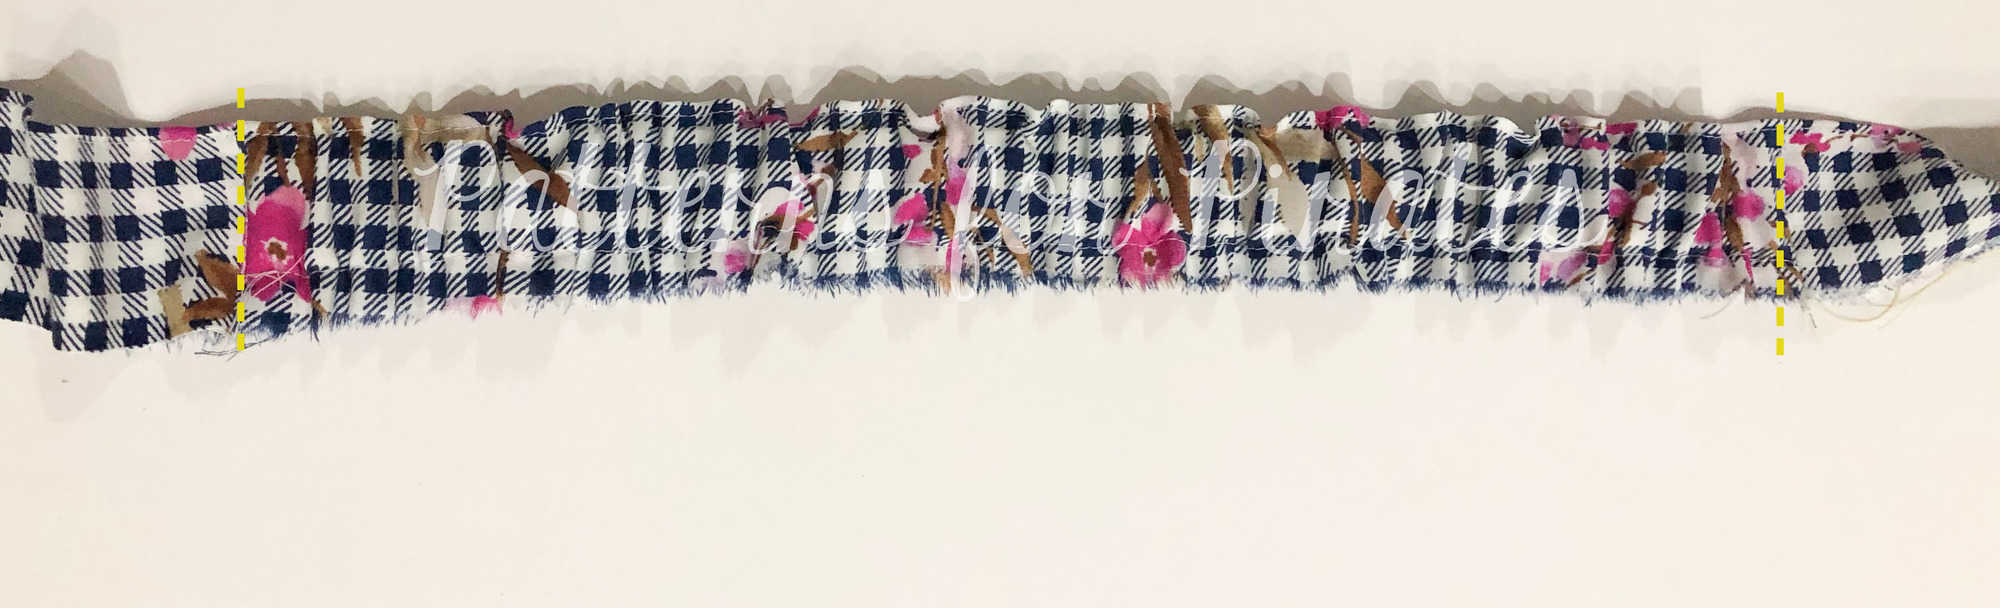
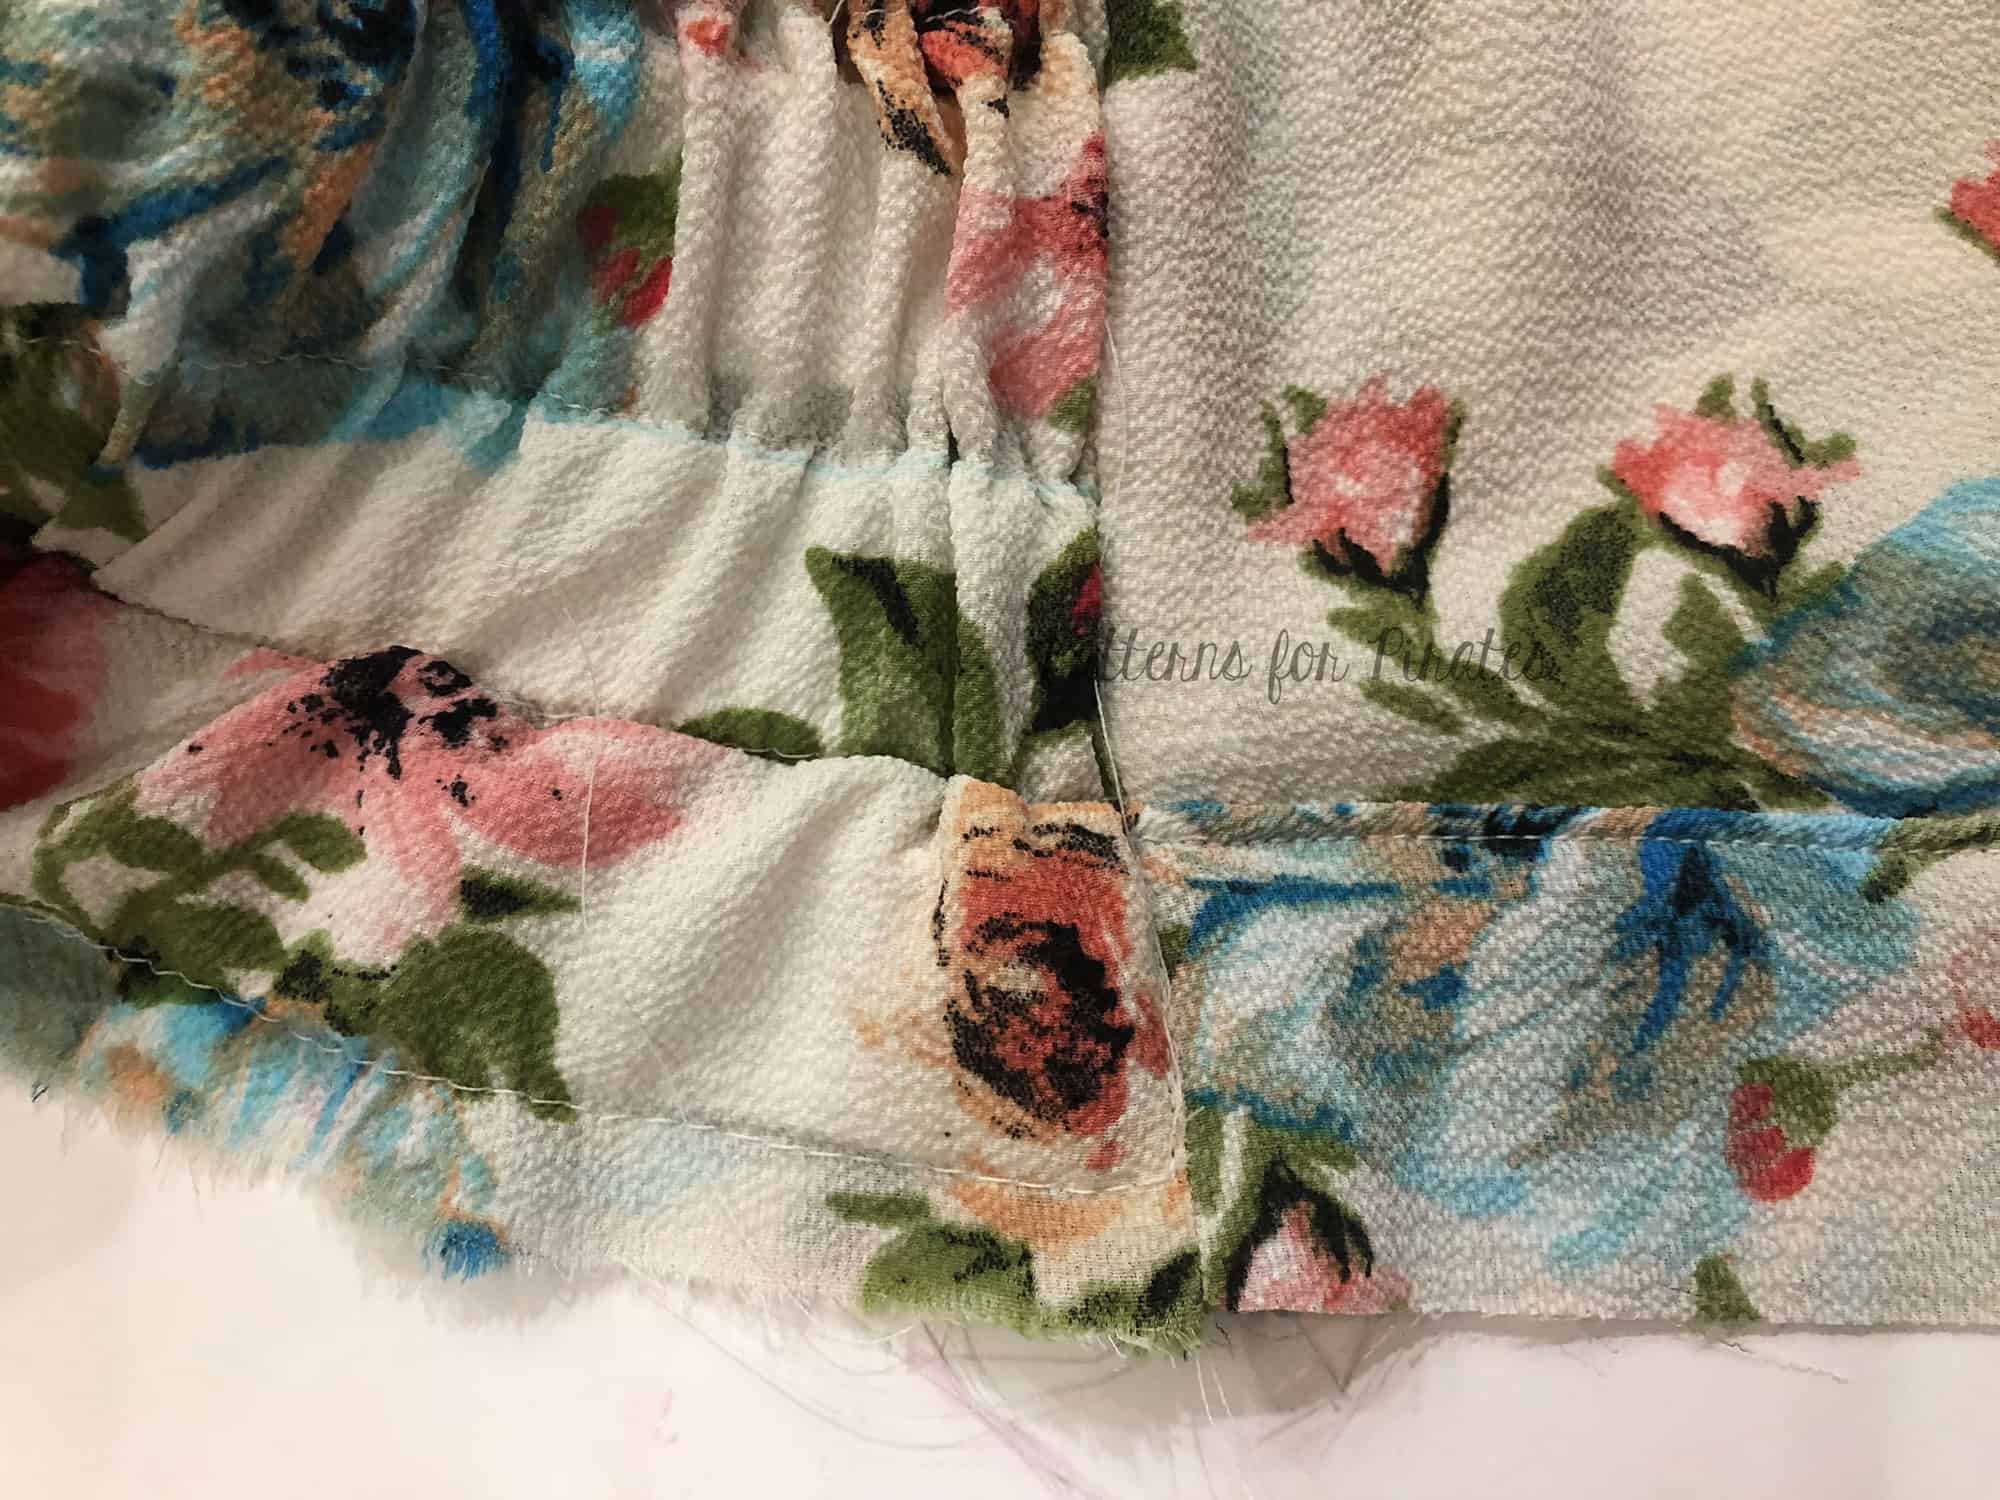
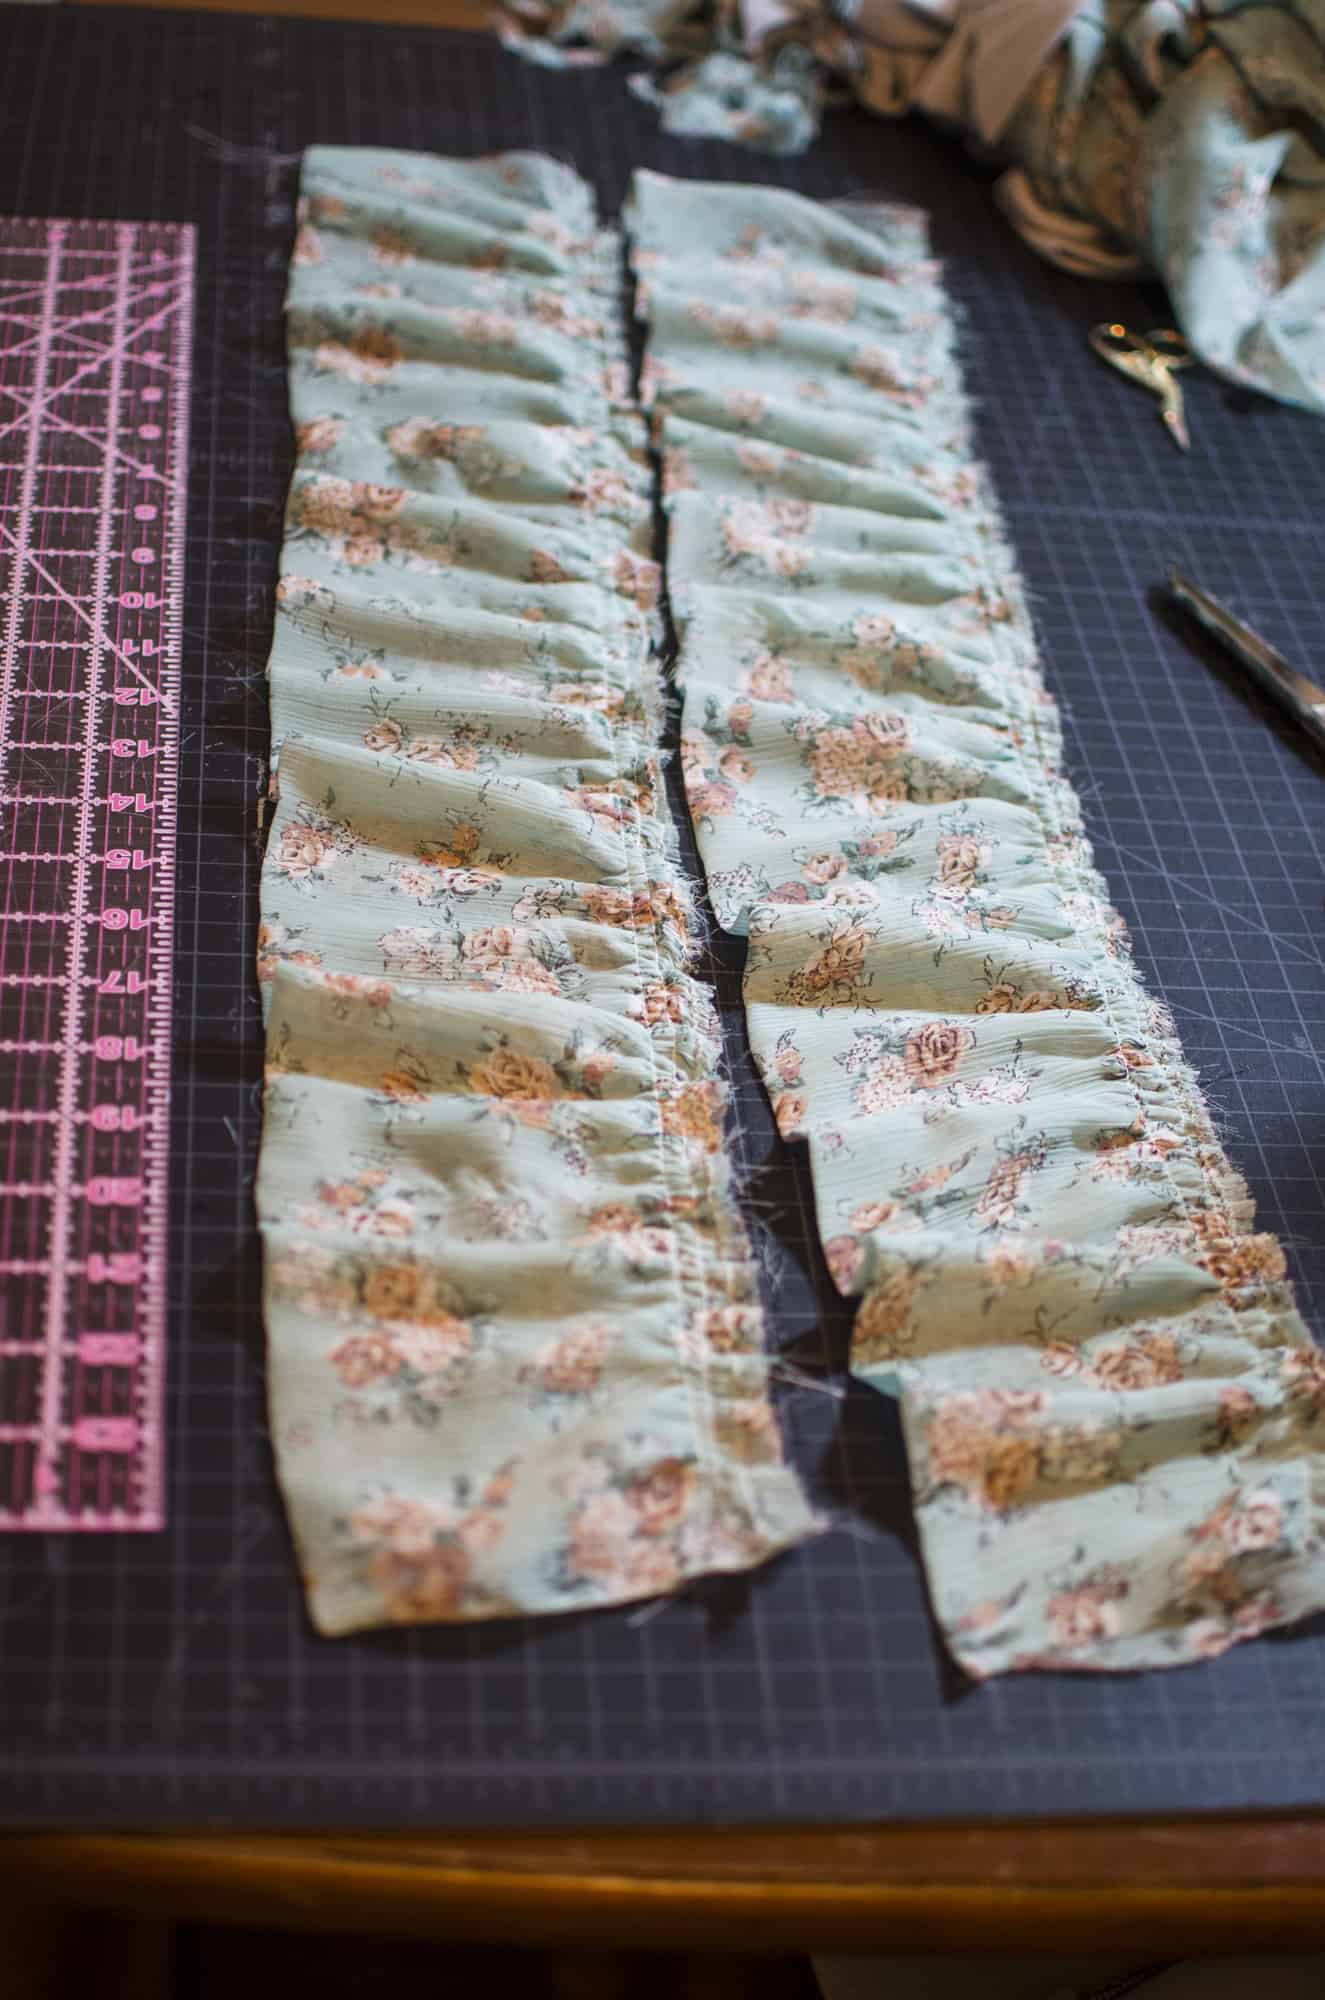
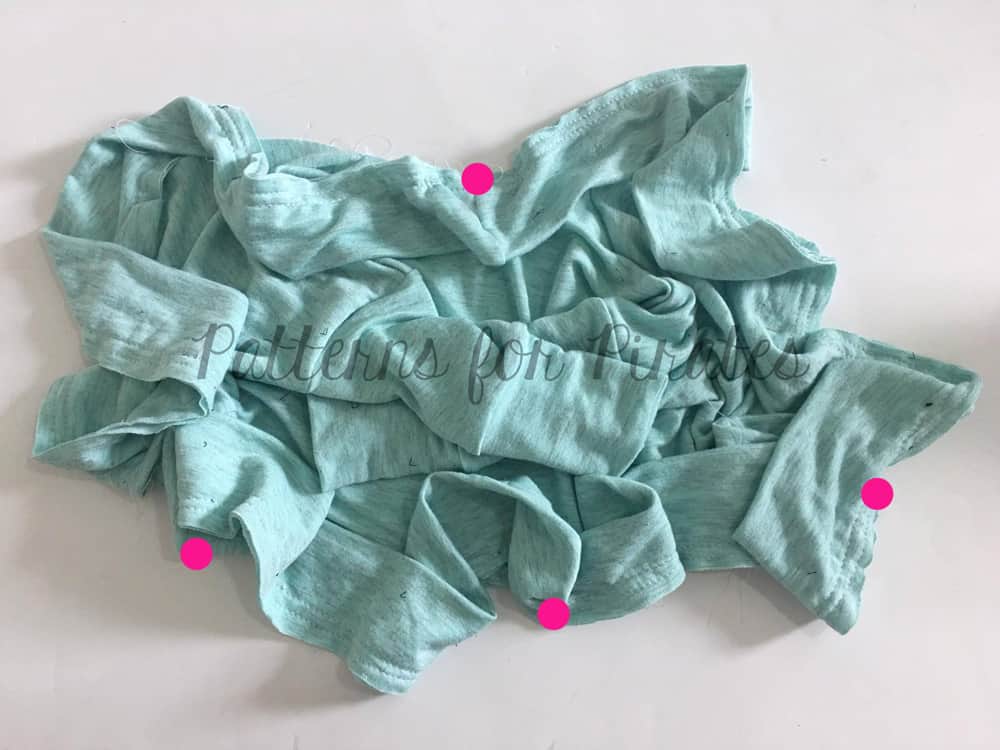
Looking for one of the fastest way to make most little girls happy- add ruffles! For this hack, you will first need to cut and assemble your pattern according to the tutorial, stopping at the step which attaches the crotch seam. Once assembled, you will want to measure the width that you would like your ruffles to be. I choose to measure from the side seam to approximately the leg curve, giving me a 3″ area to add the ruffle to the front, as well as another 3″ to the back.
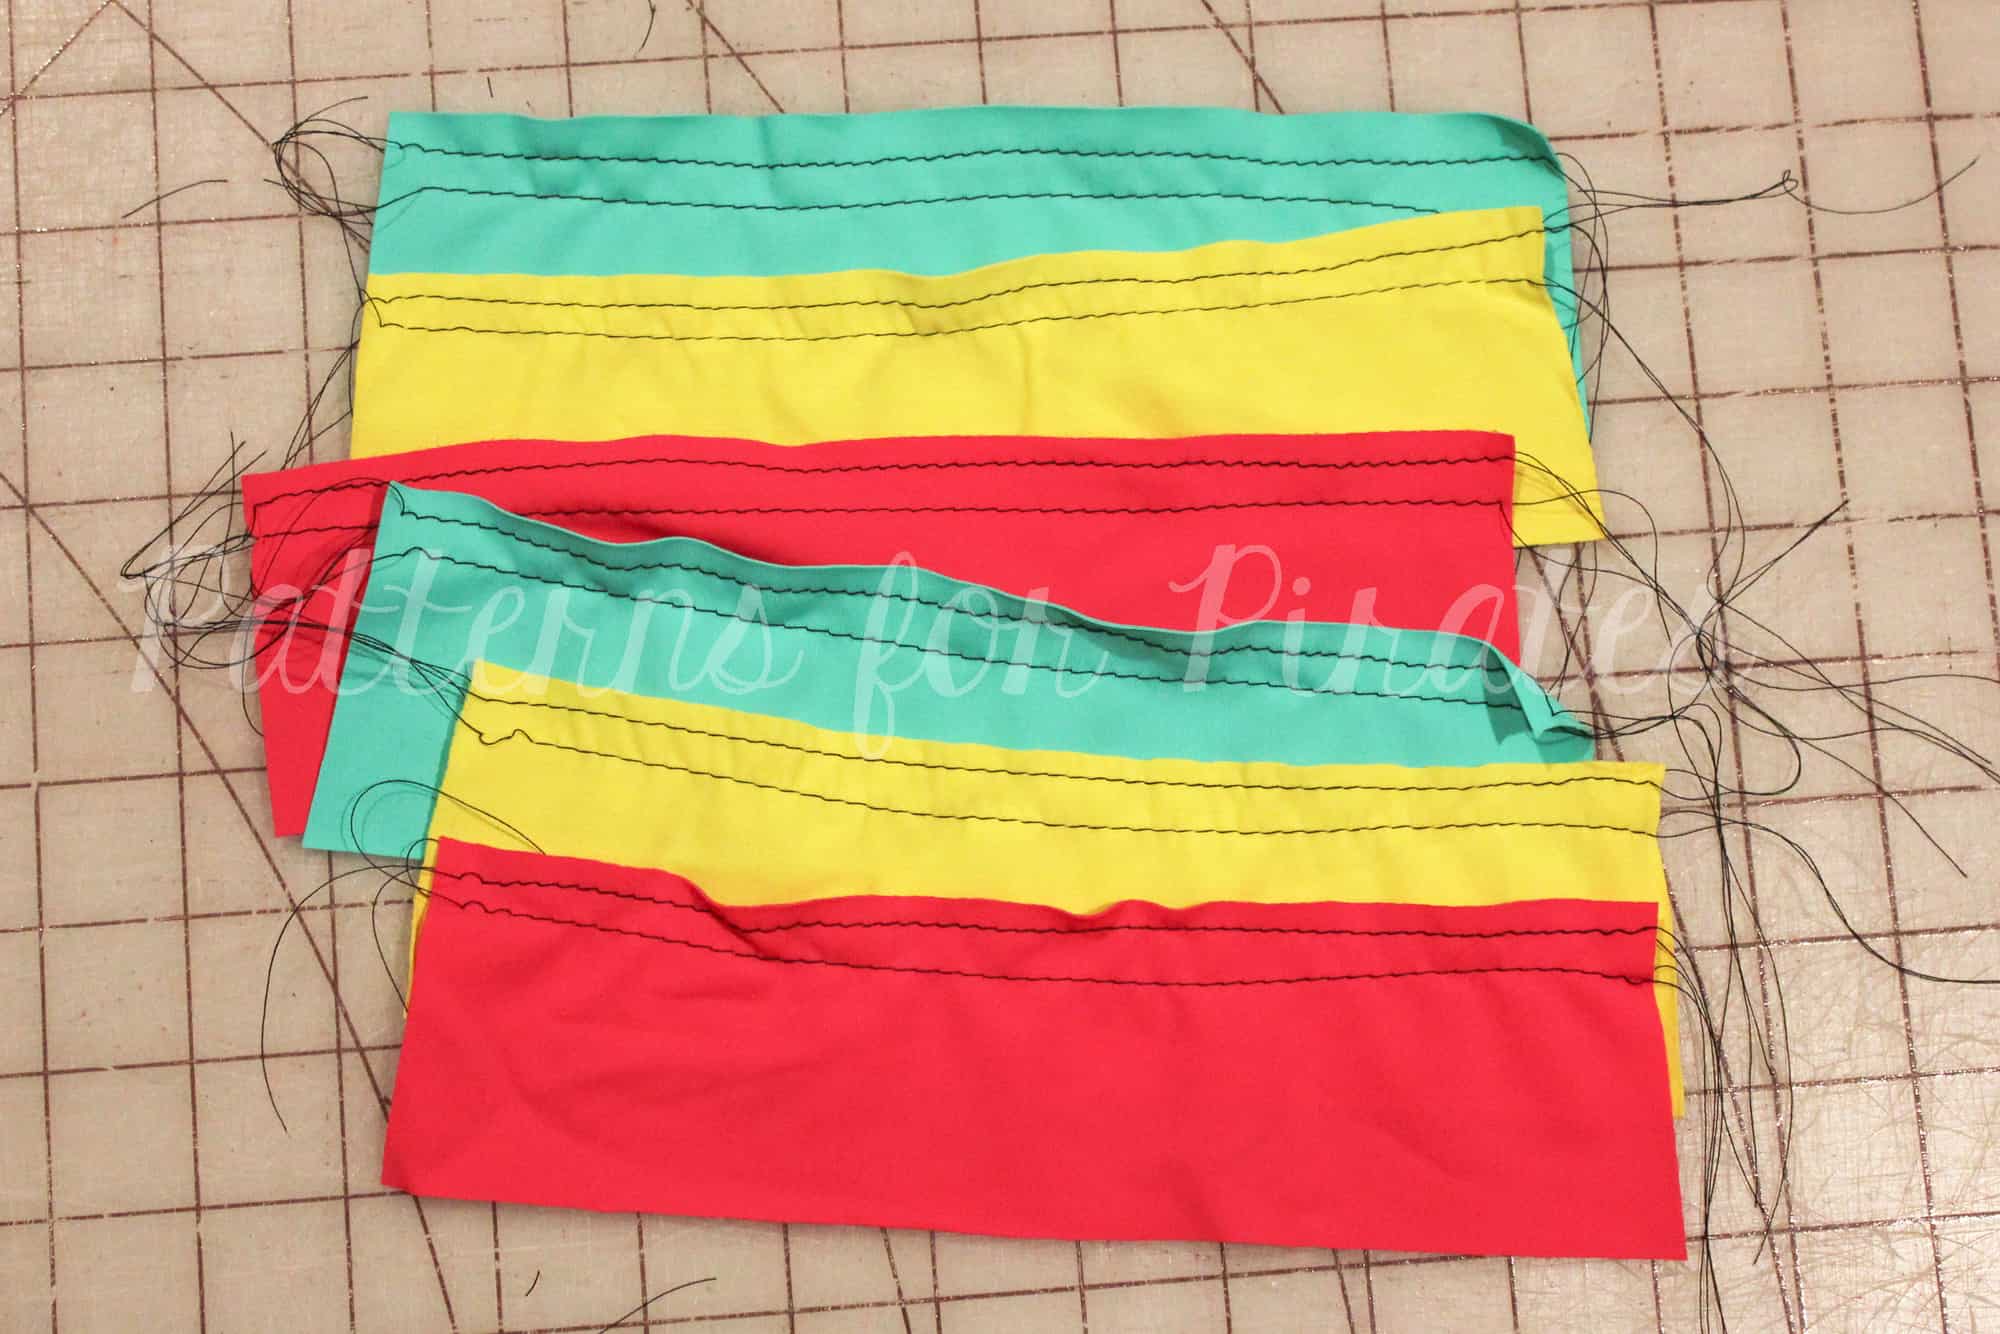
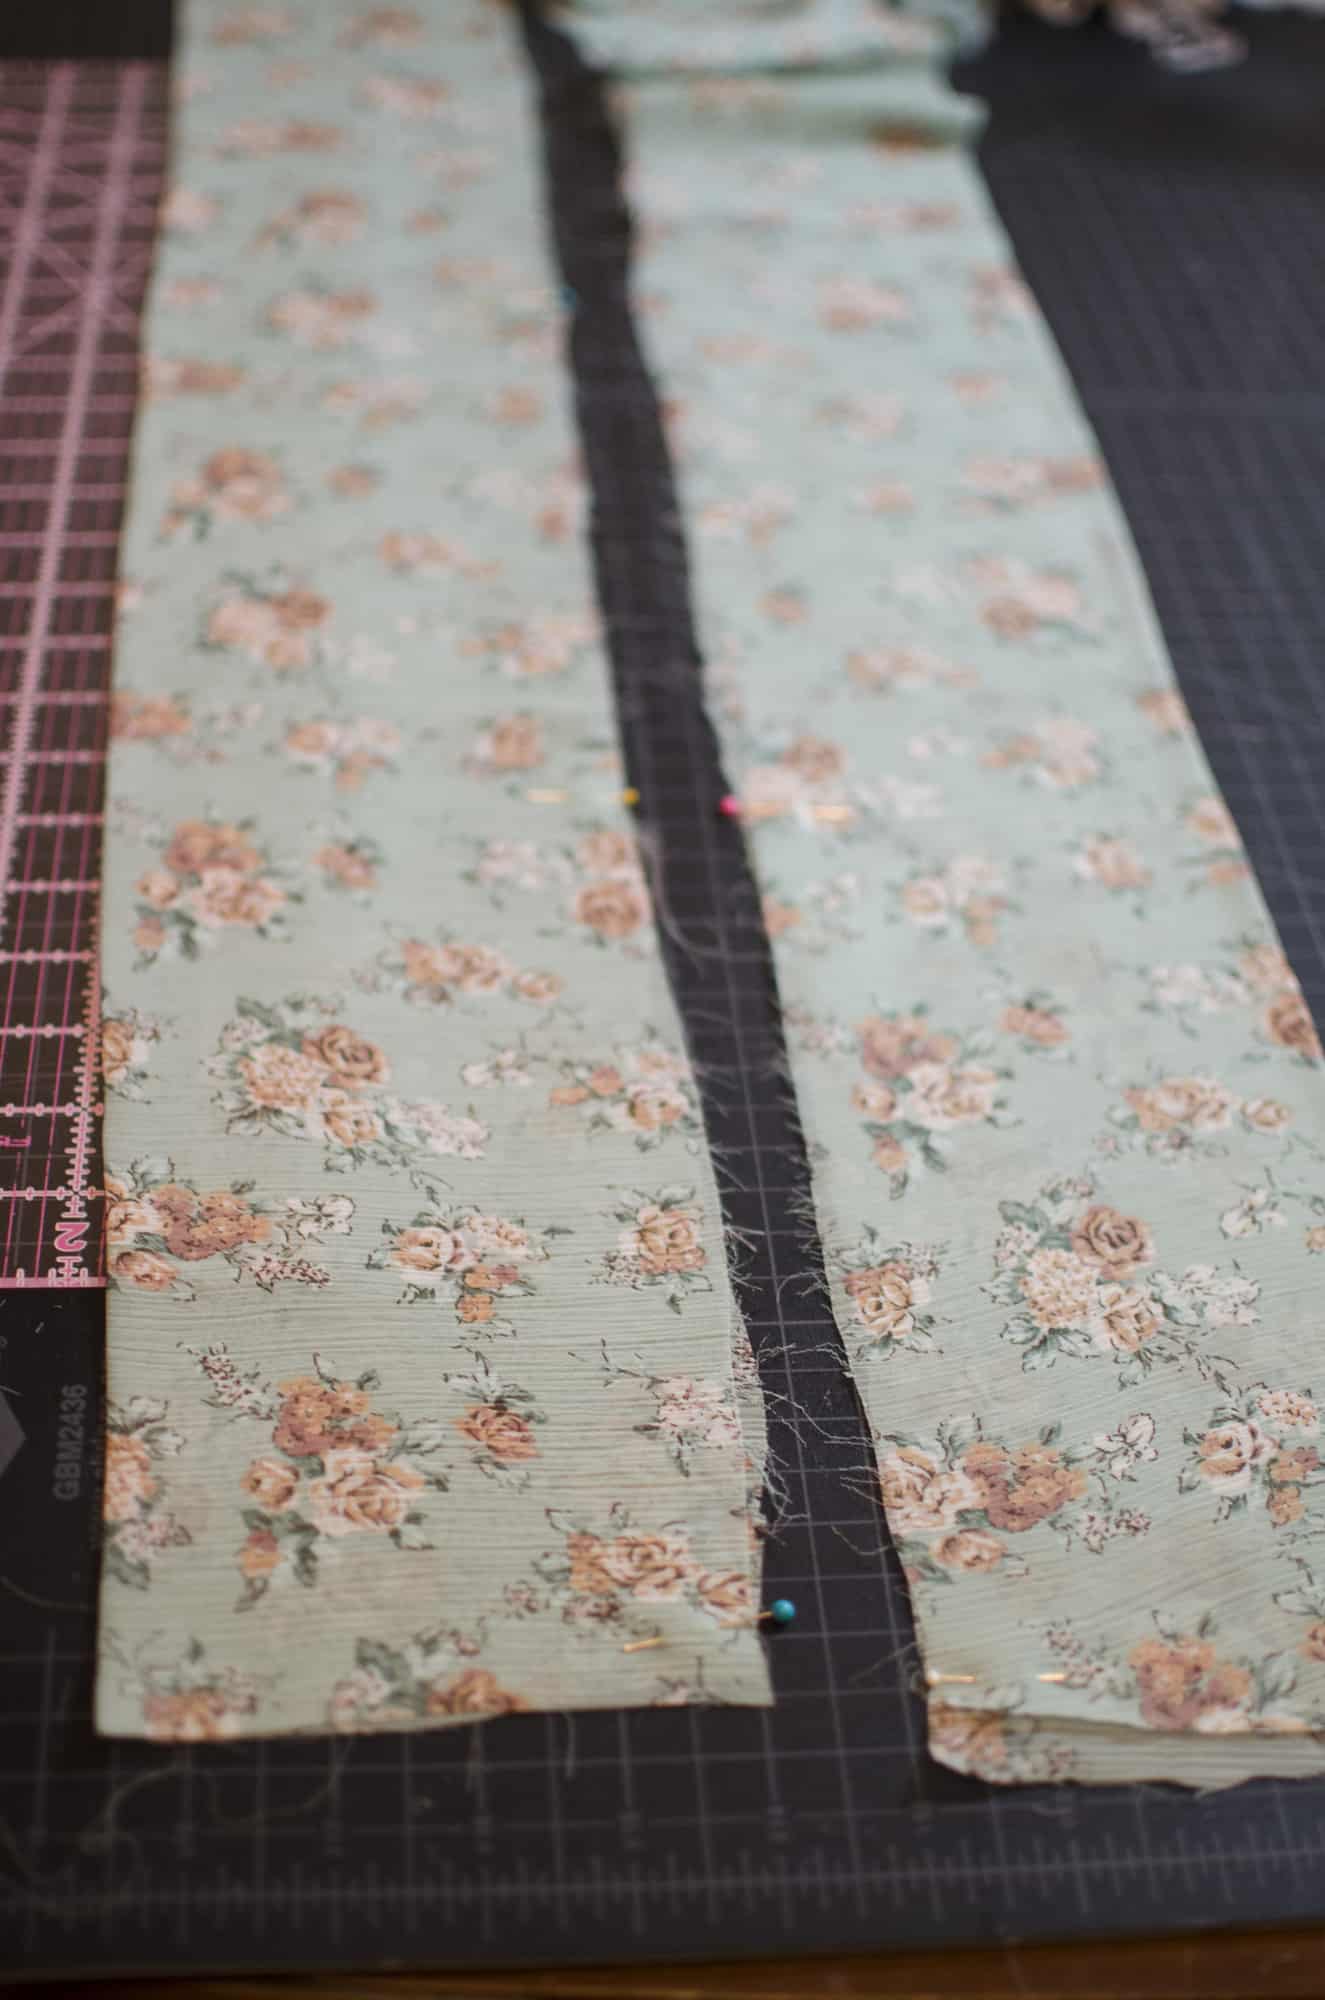
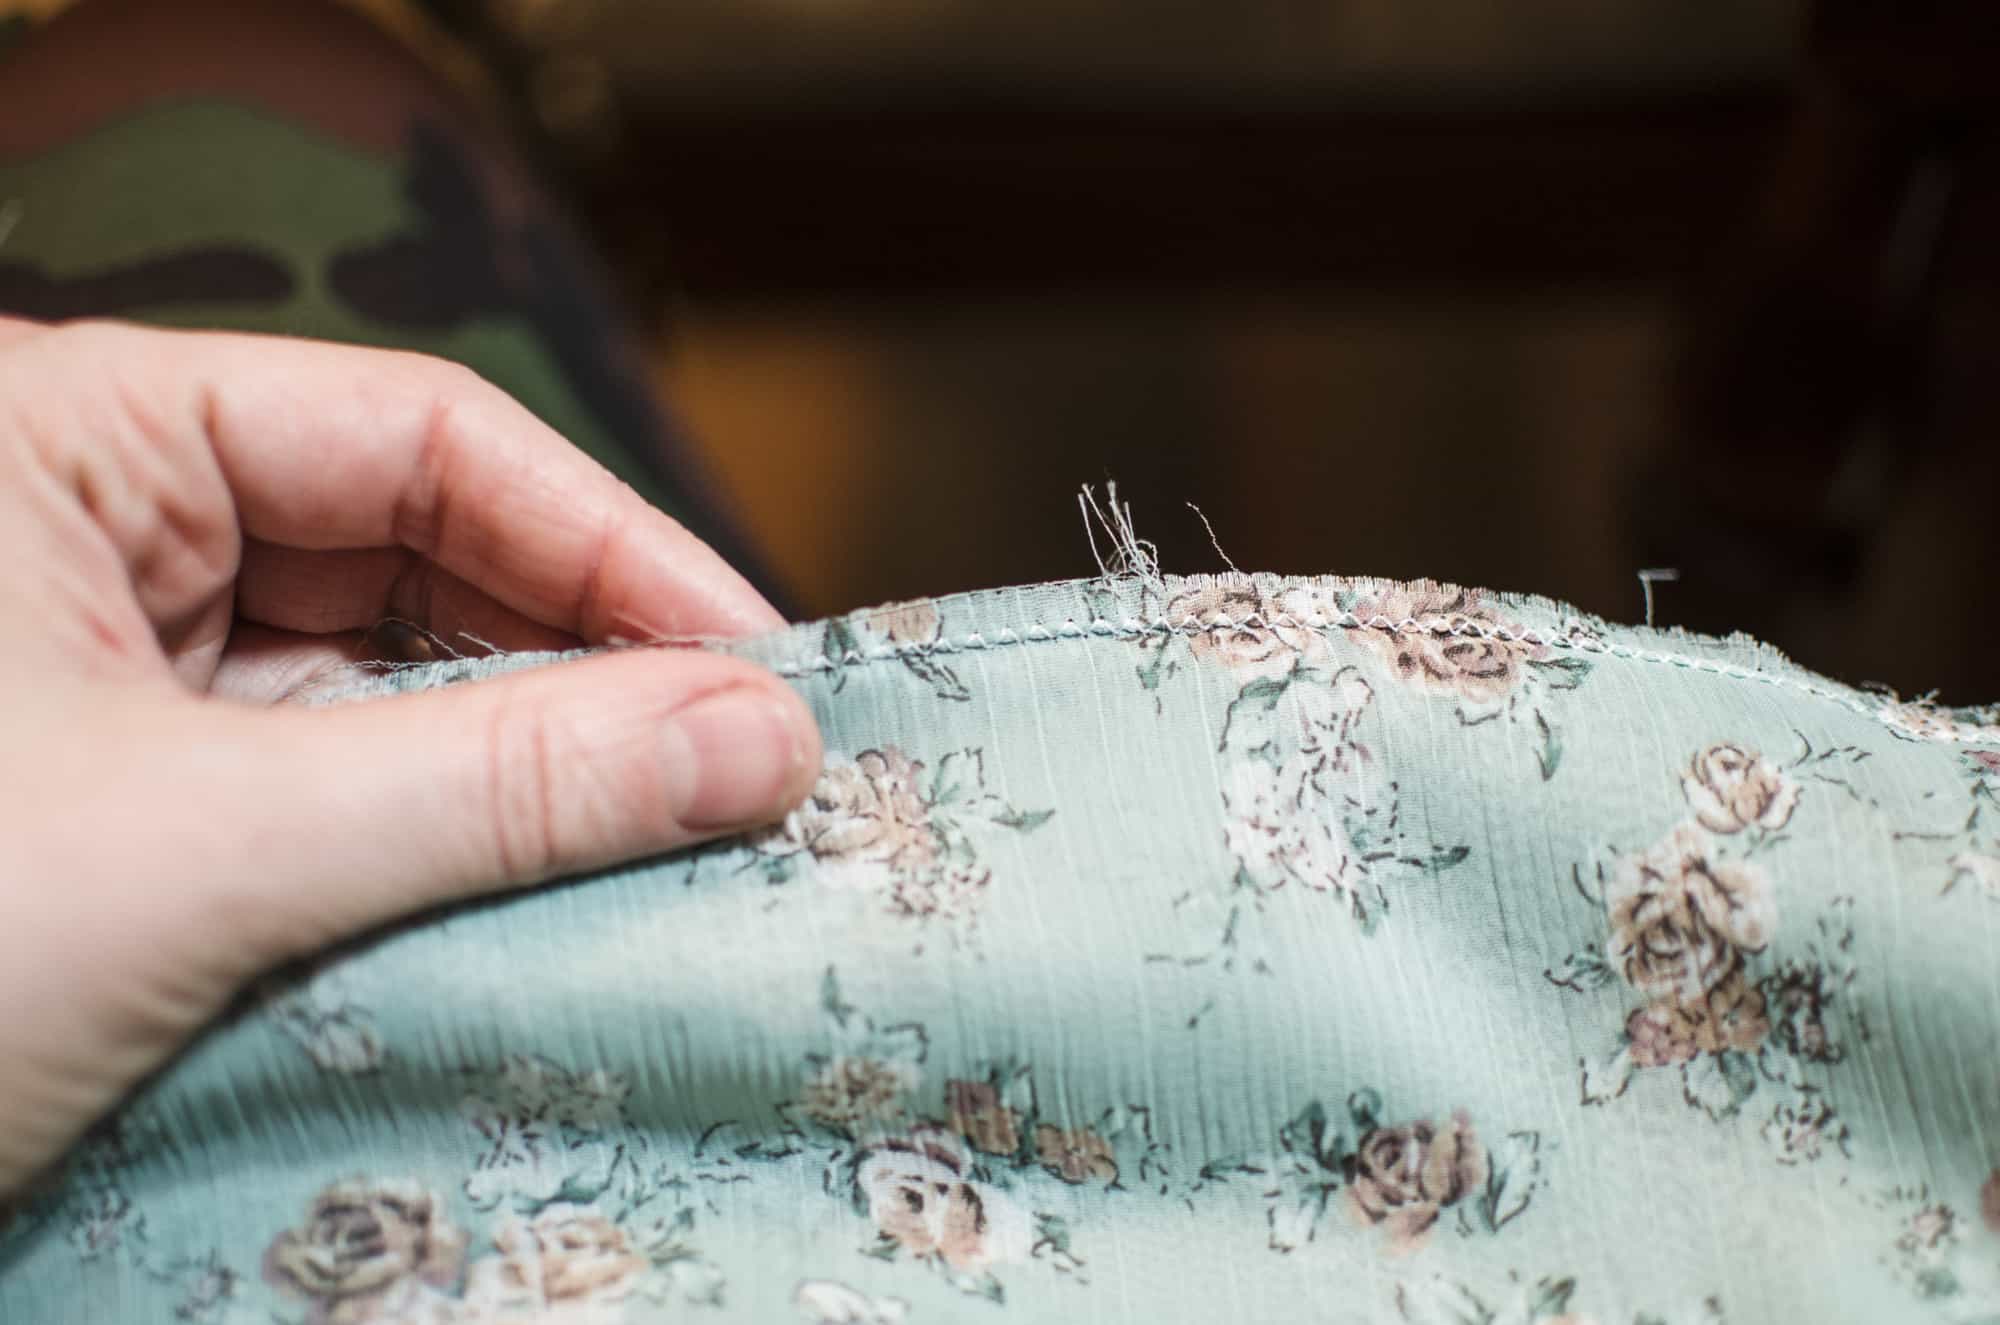
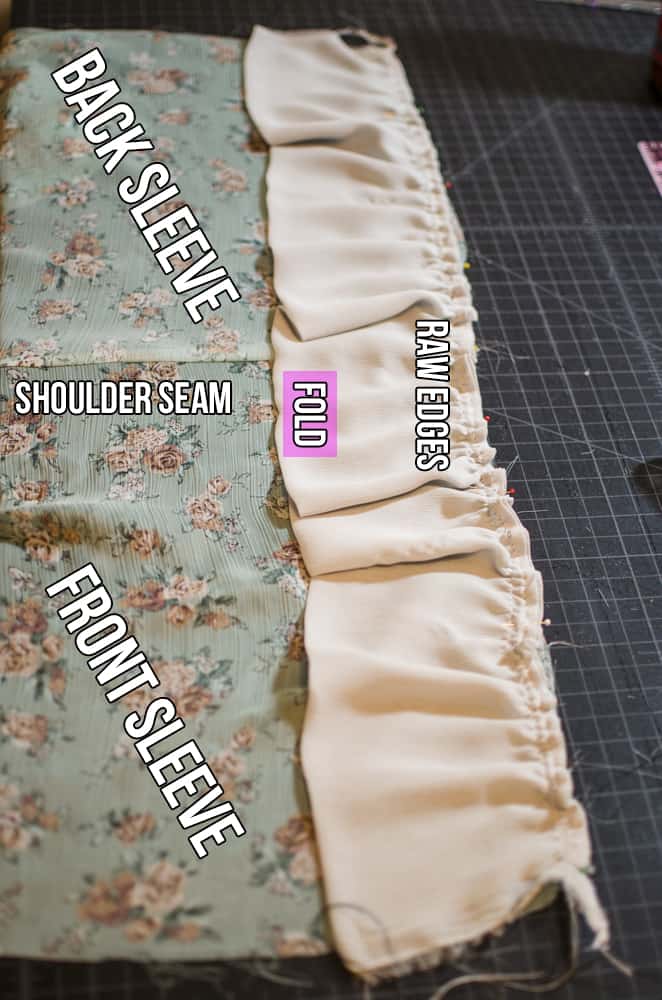
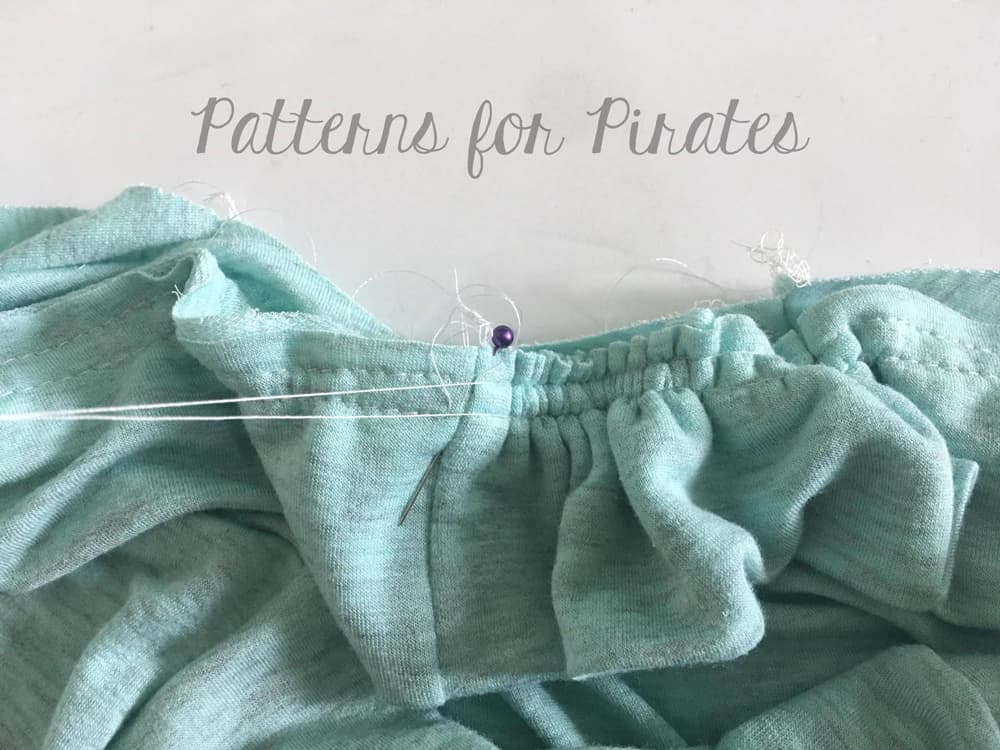
You will now cut the rectangles needed for the ruffles. You will need a total of 6 rectangles, 3 for each side. To determine the total length needed, I took my 6″ I measured above and multiplied by 1.5. If you’d like a more full ruffle, you could multiply this width by 2. For the height, I cut each ruffle to 2″. My final ruffle measurements were 9″x 2″. After you’ve cut your rectangles, you will want to sew your gather stitches (the longest straight stitch on your machine). I like to sew two rows of stitches to help create more even gathers.
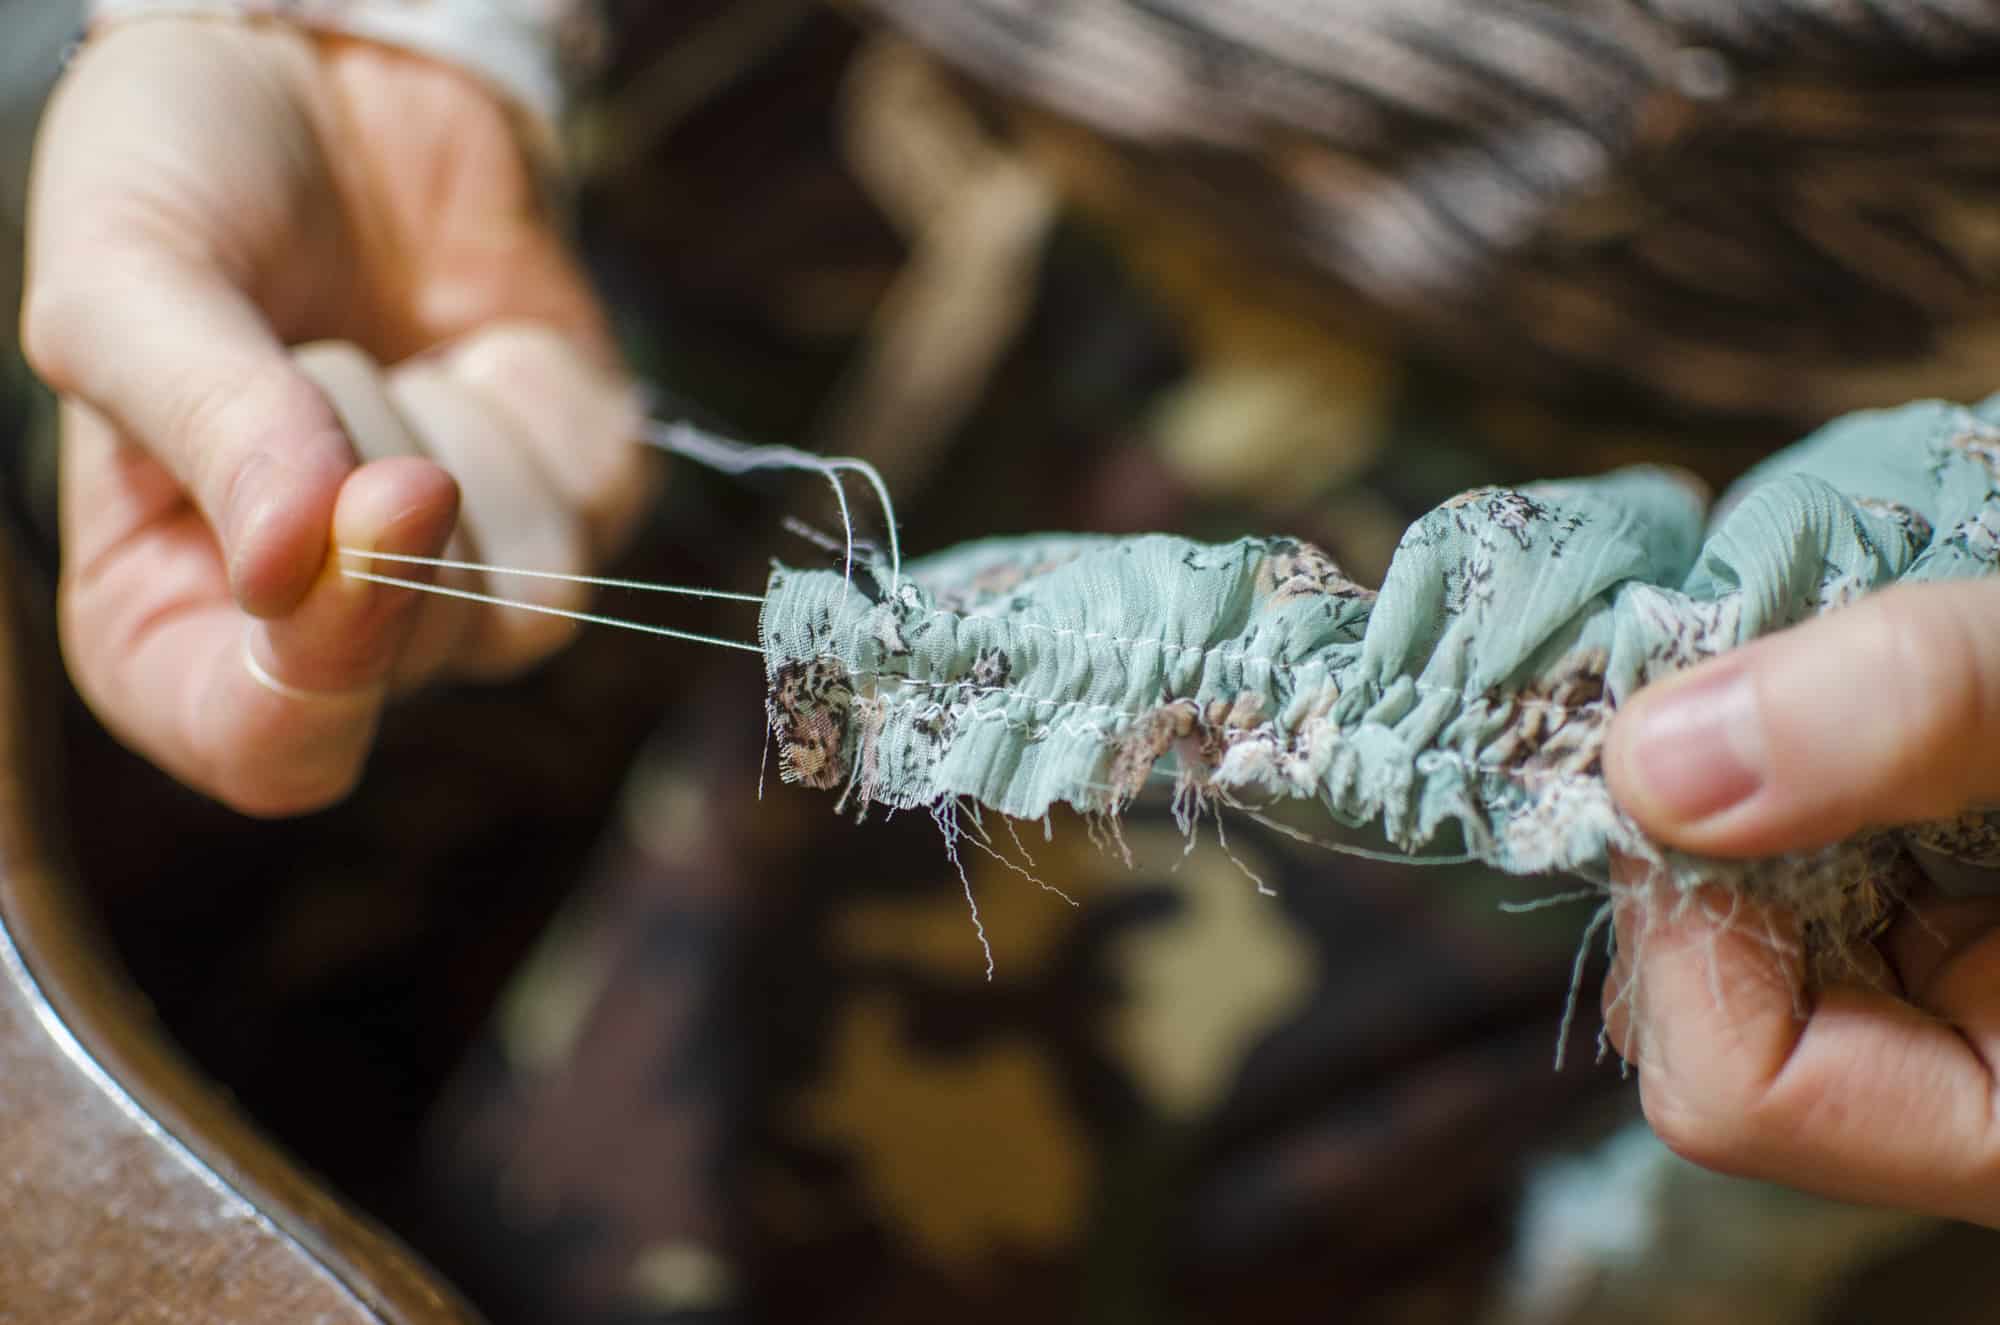
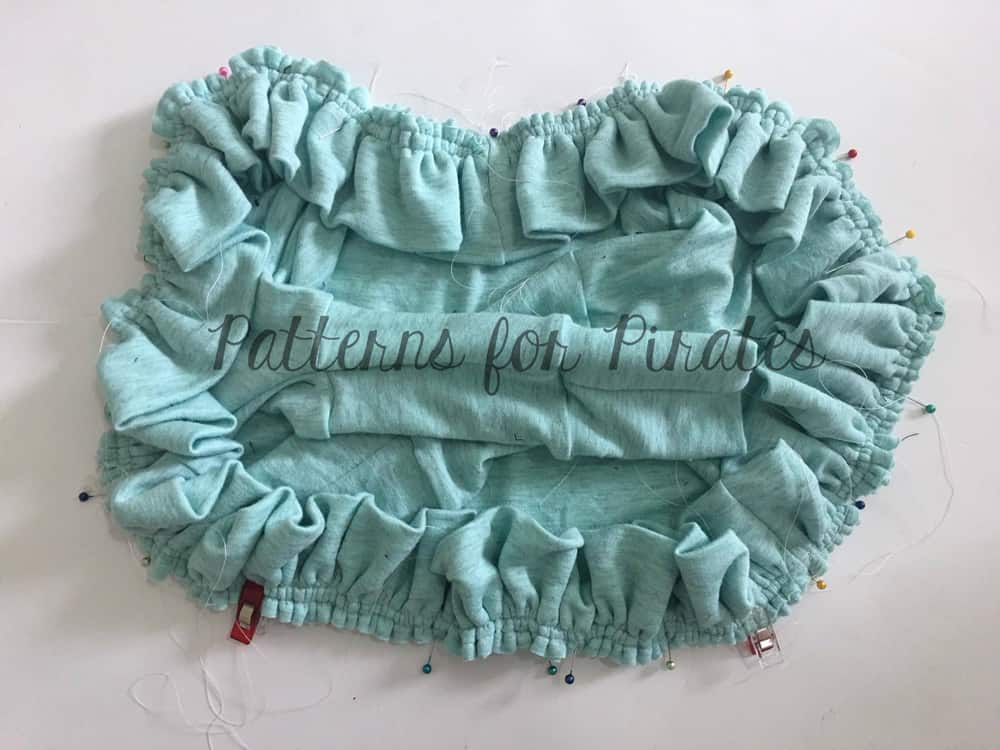
Beginning with your bottom ruffle, match the center of the ruffle with the side seam, then pin in place 3″ from the side seam on both the front and back bodice pieces. Pull your gather strings and adjust as needed.
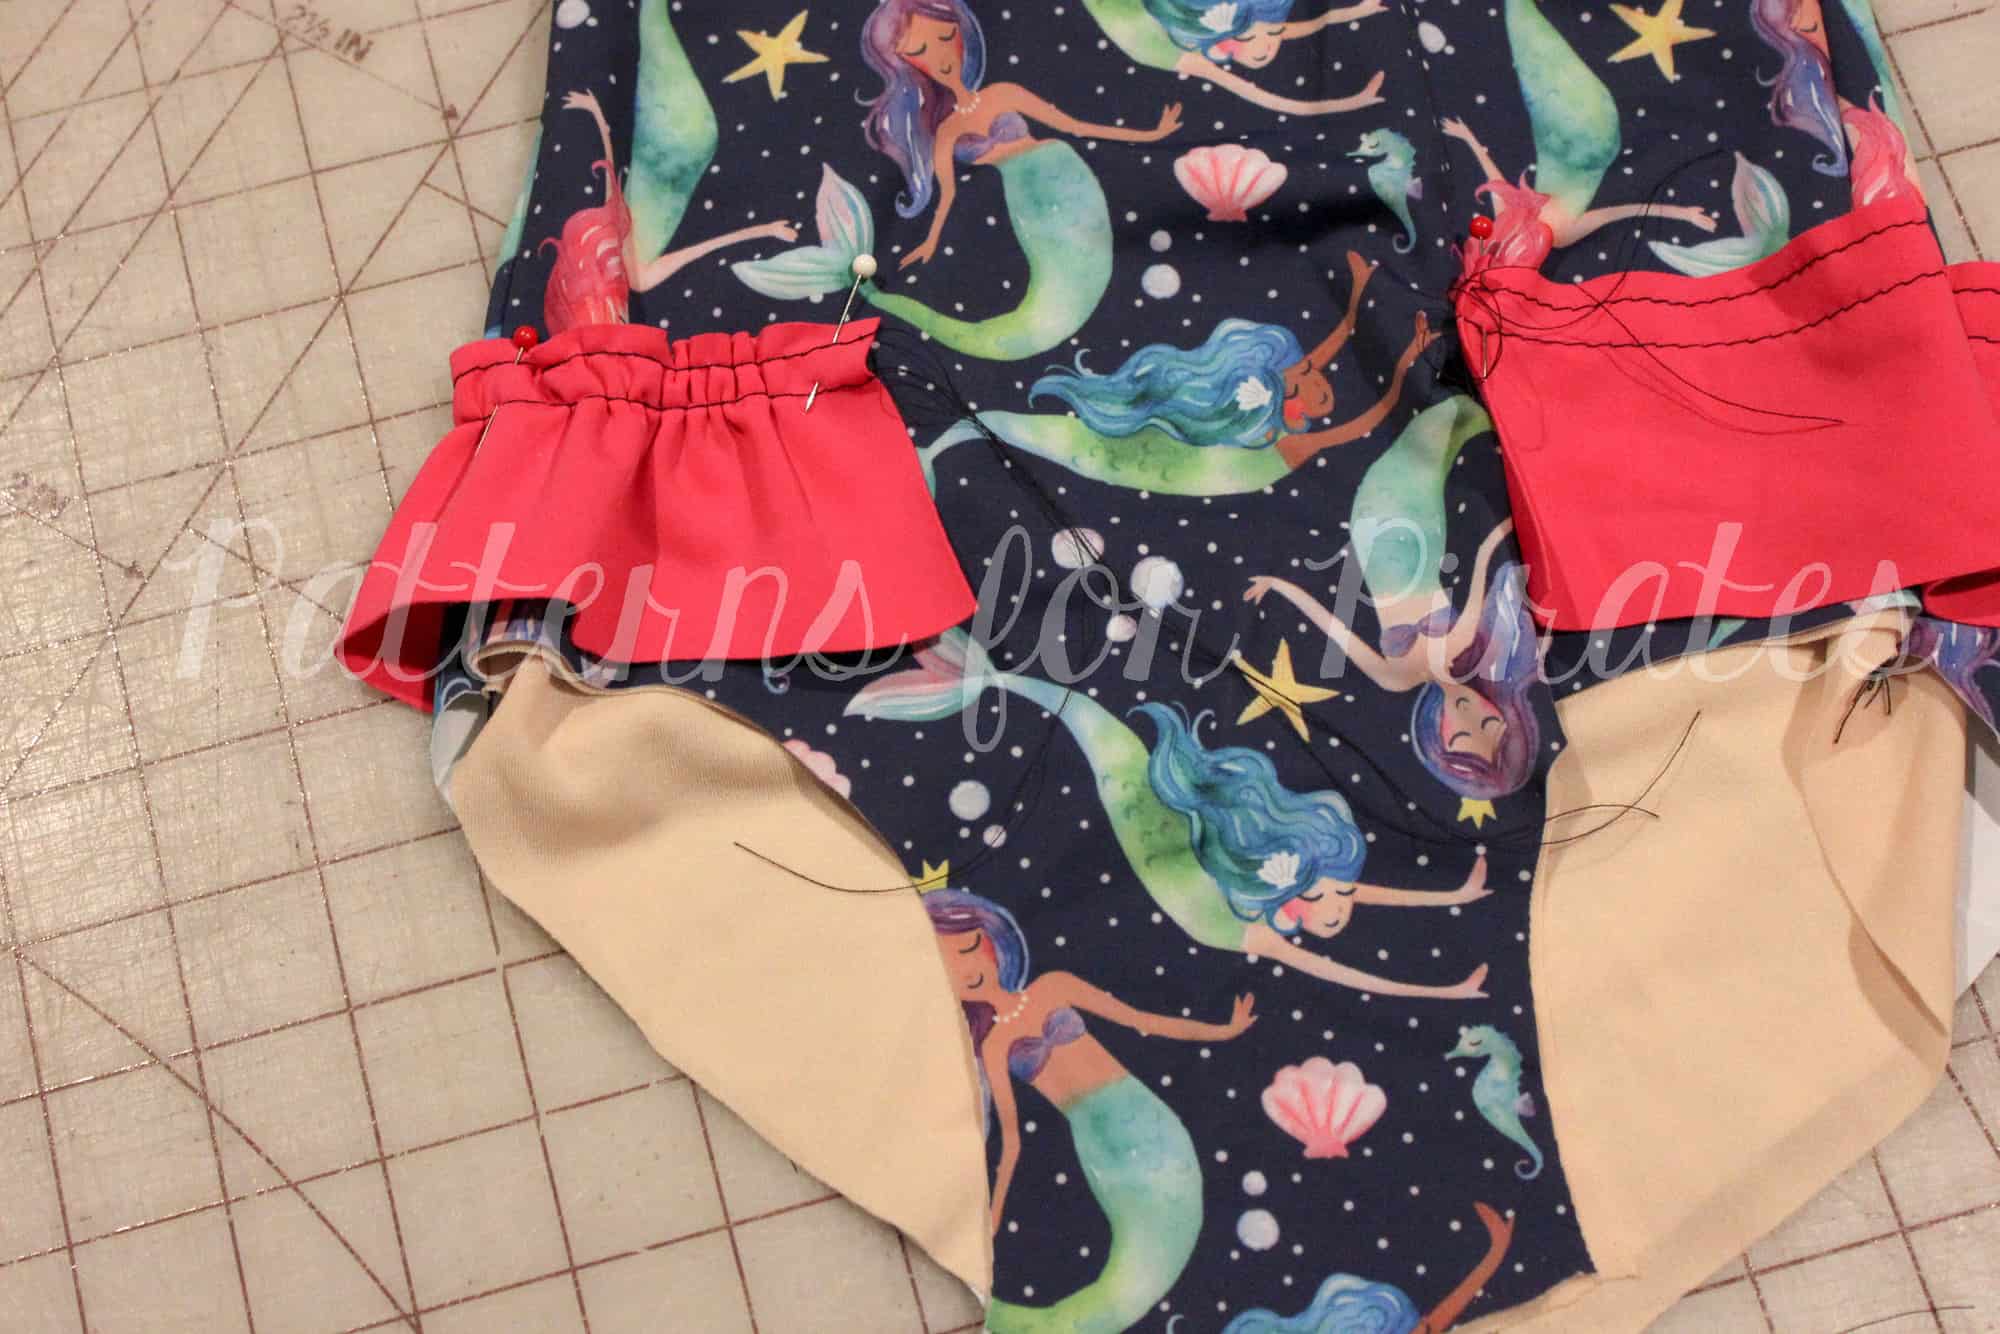
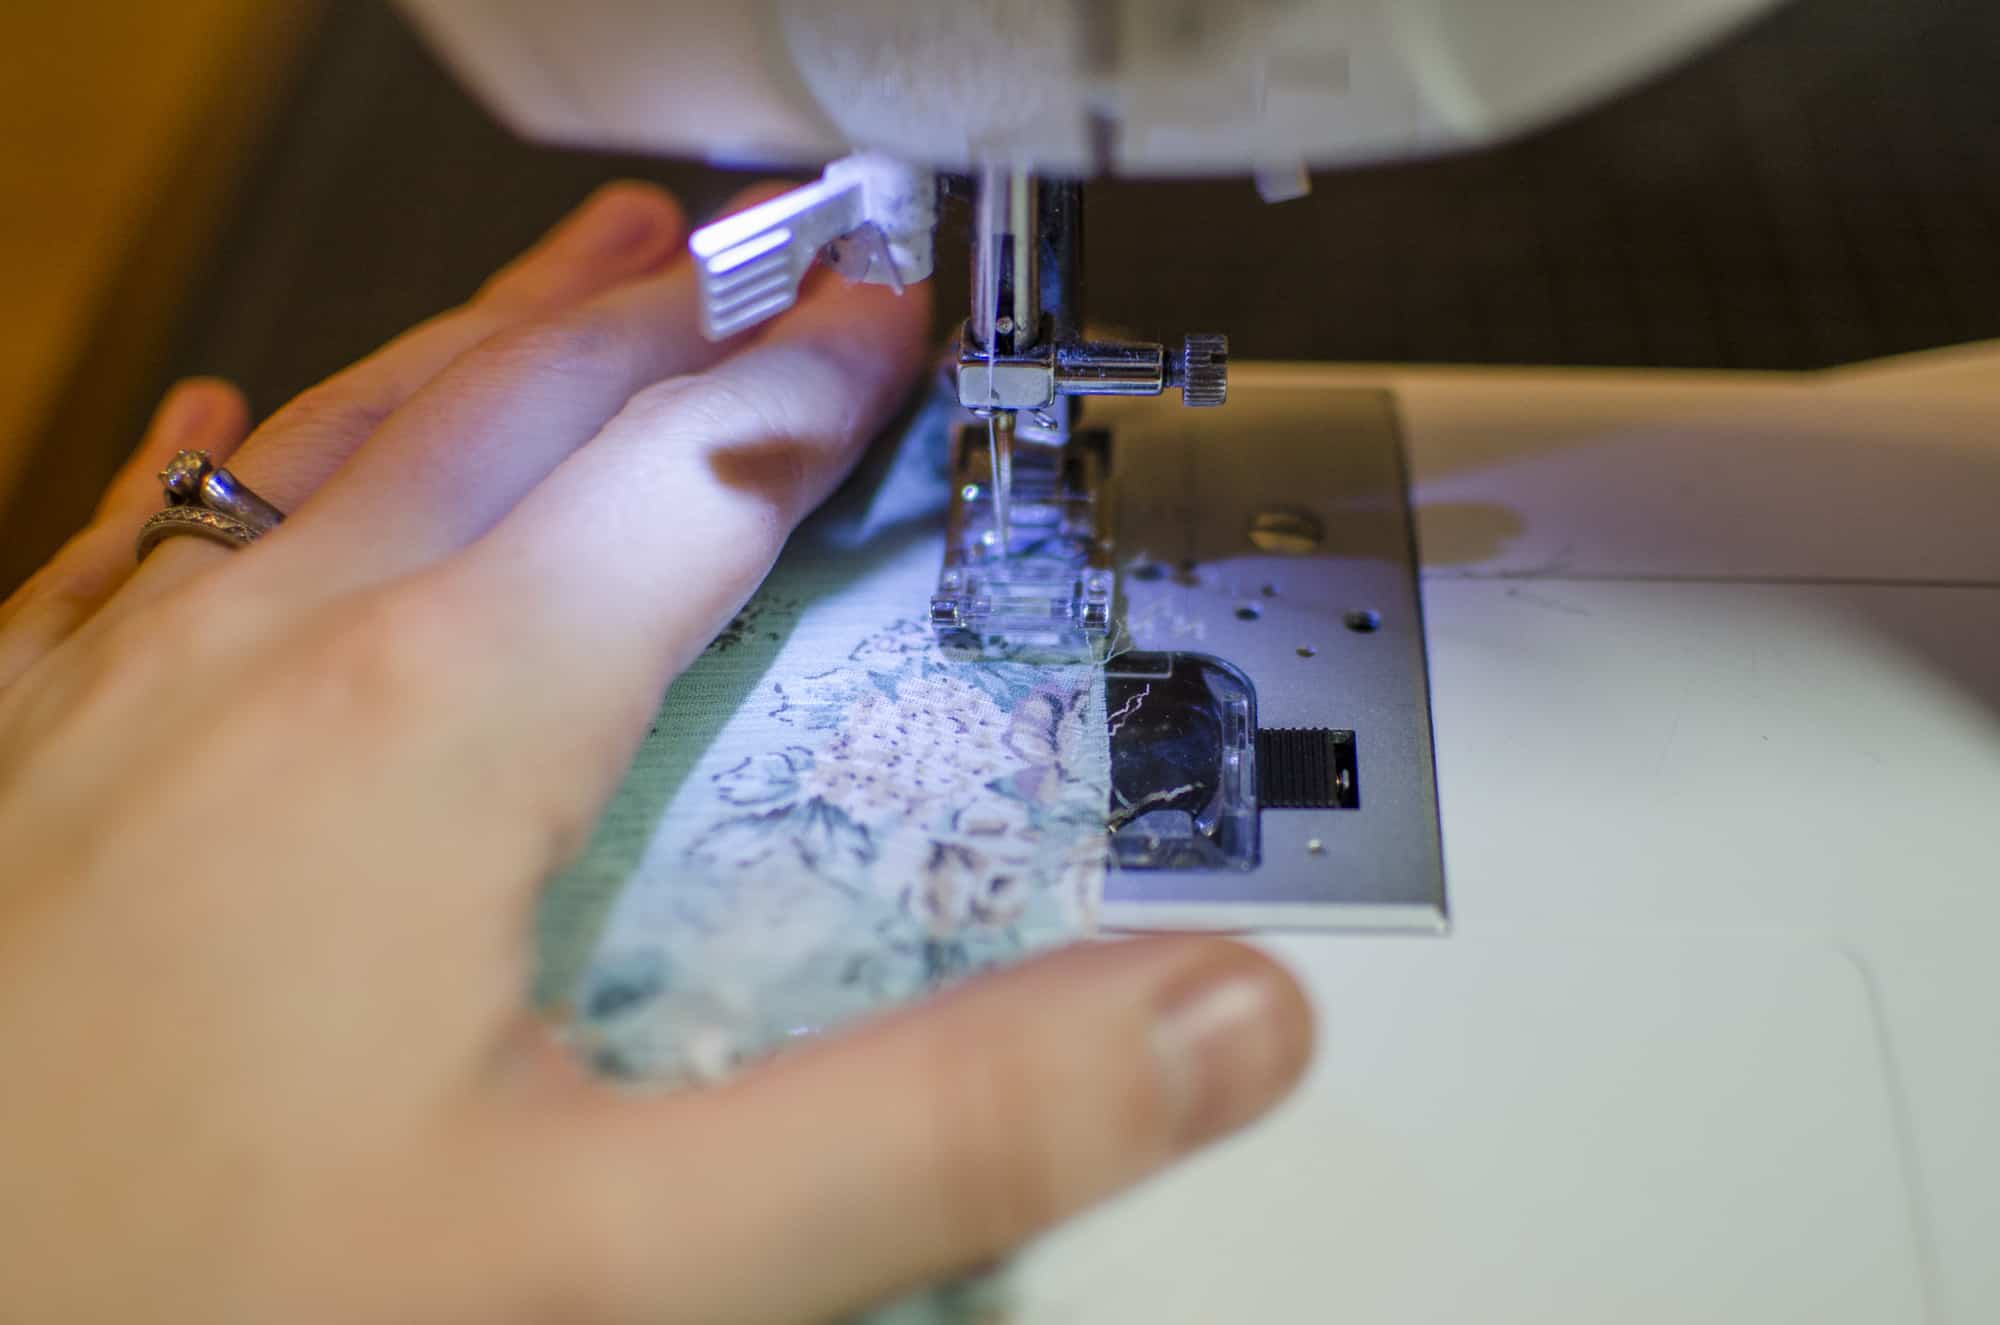
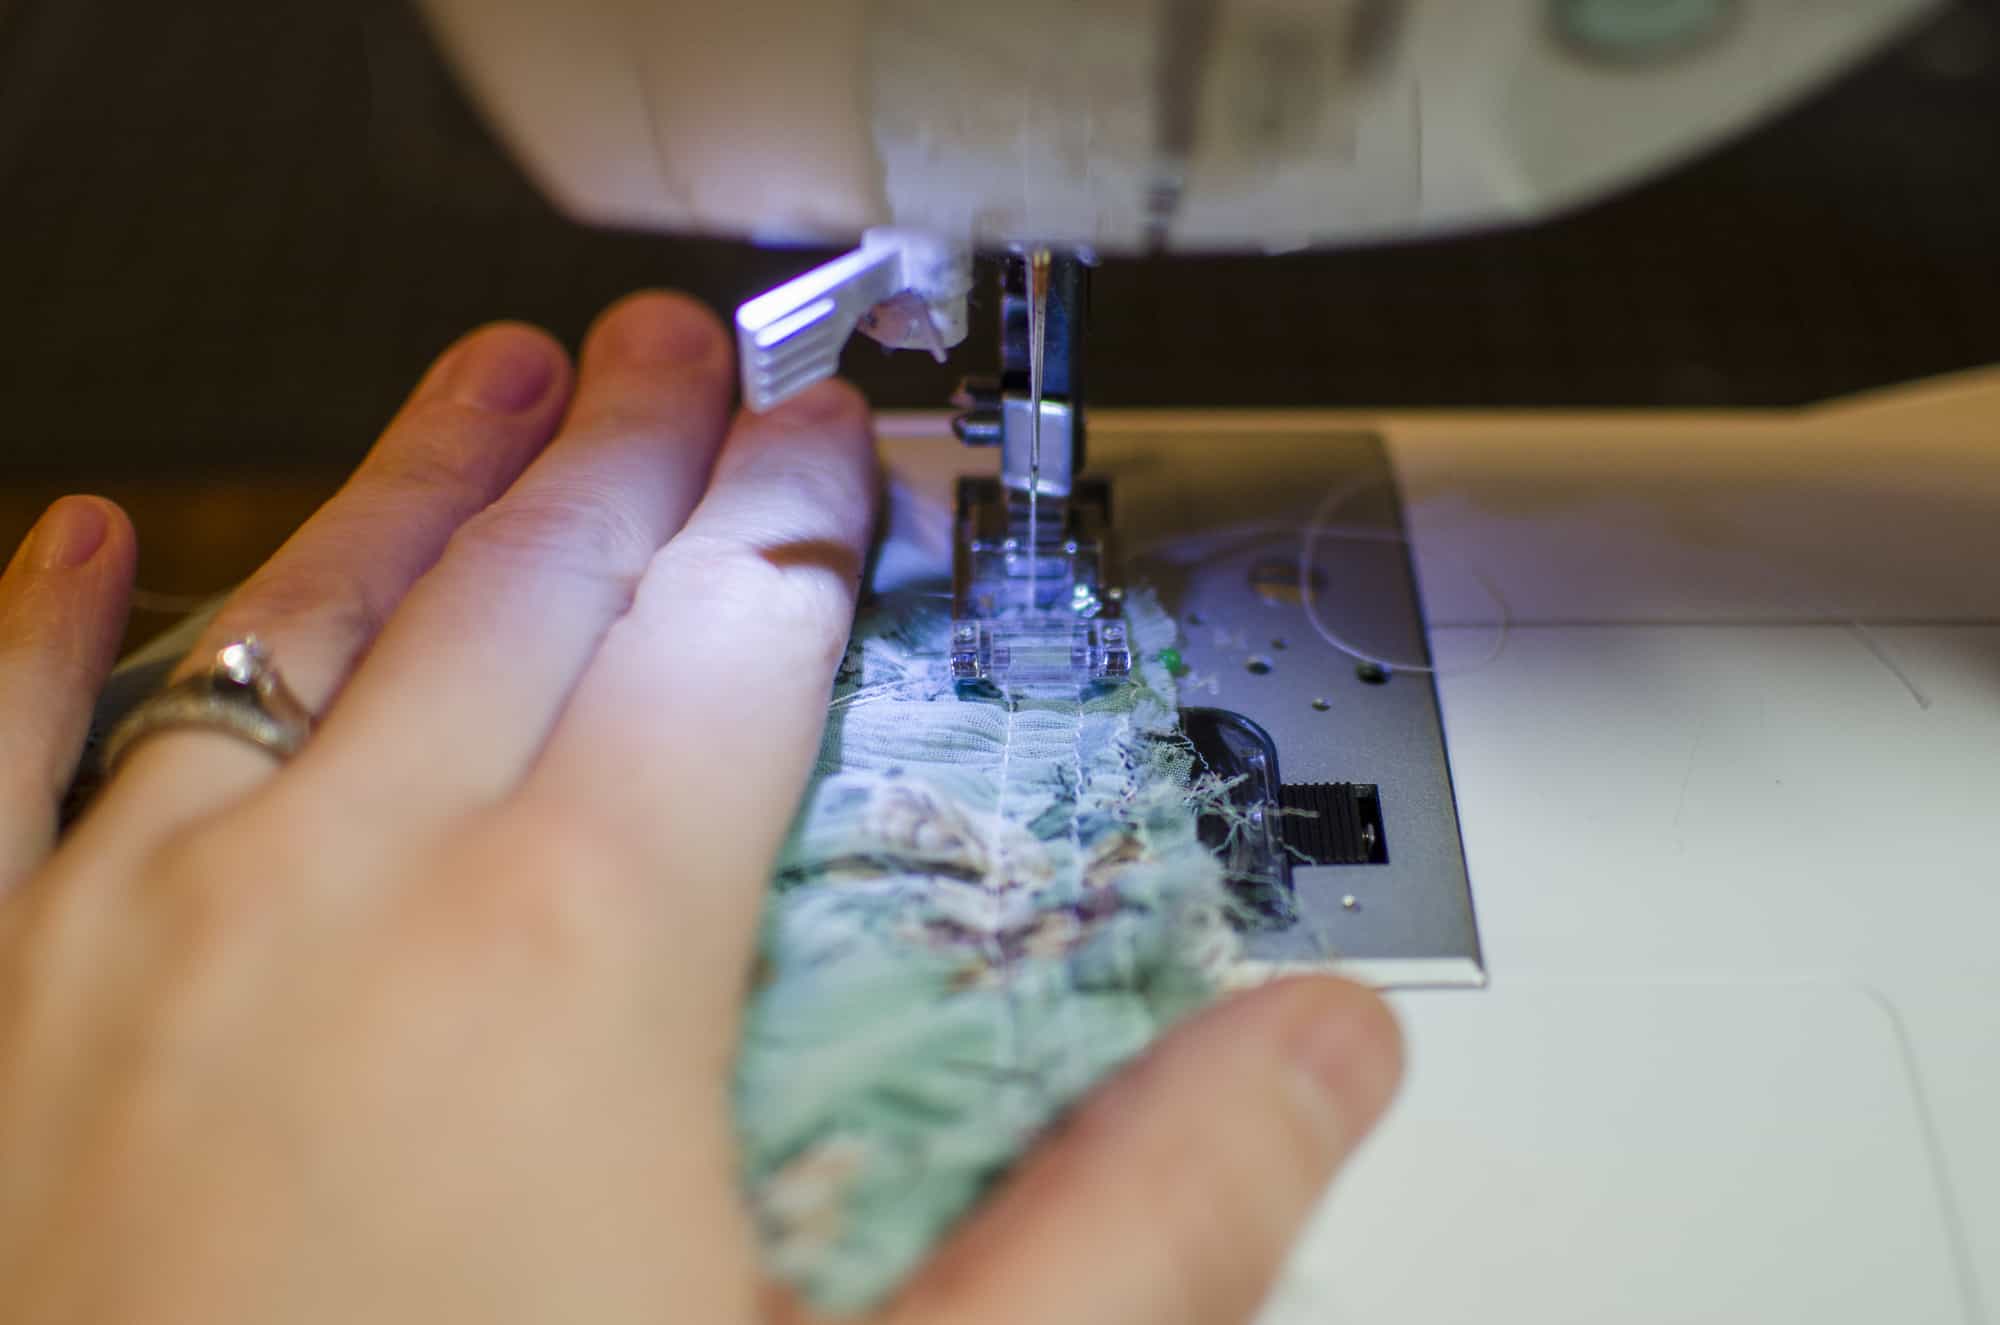
Attach the ruffle using a narrow zigzag stitch. You may now remove the basting stitches.
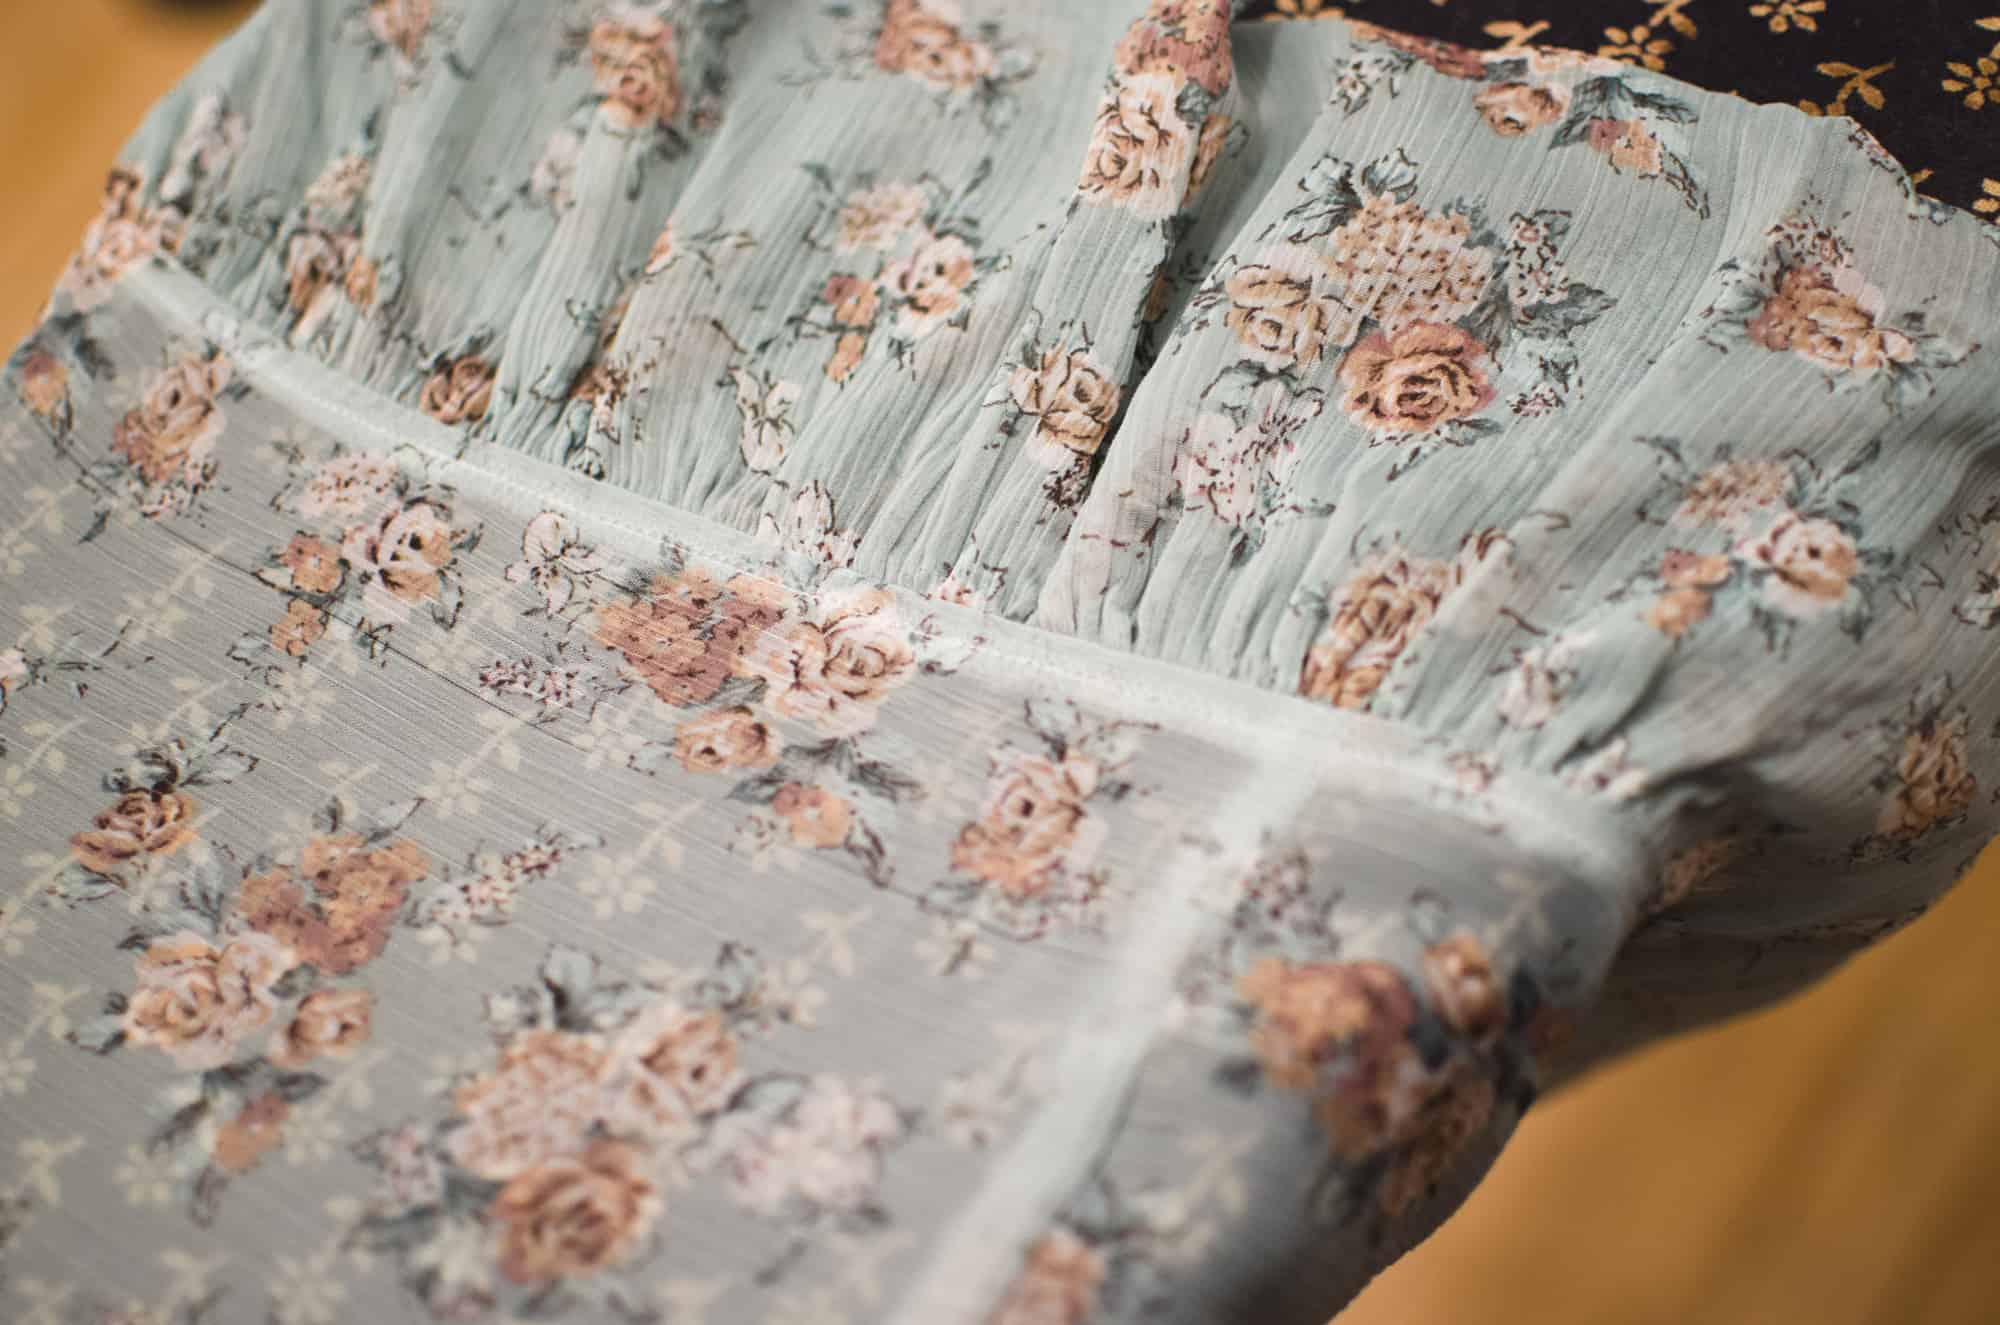
Repeat these steps with both the middle and top layer, placing it 1″ above the previous layer. 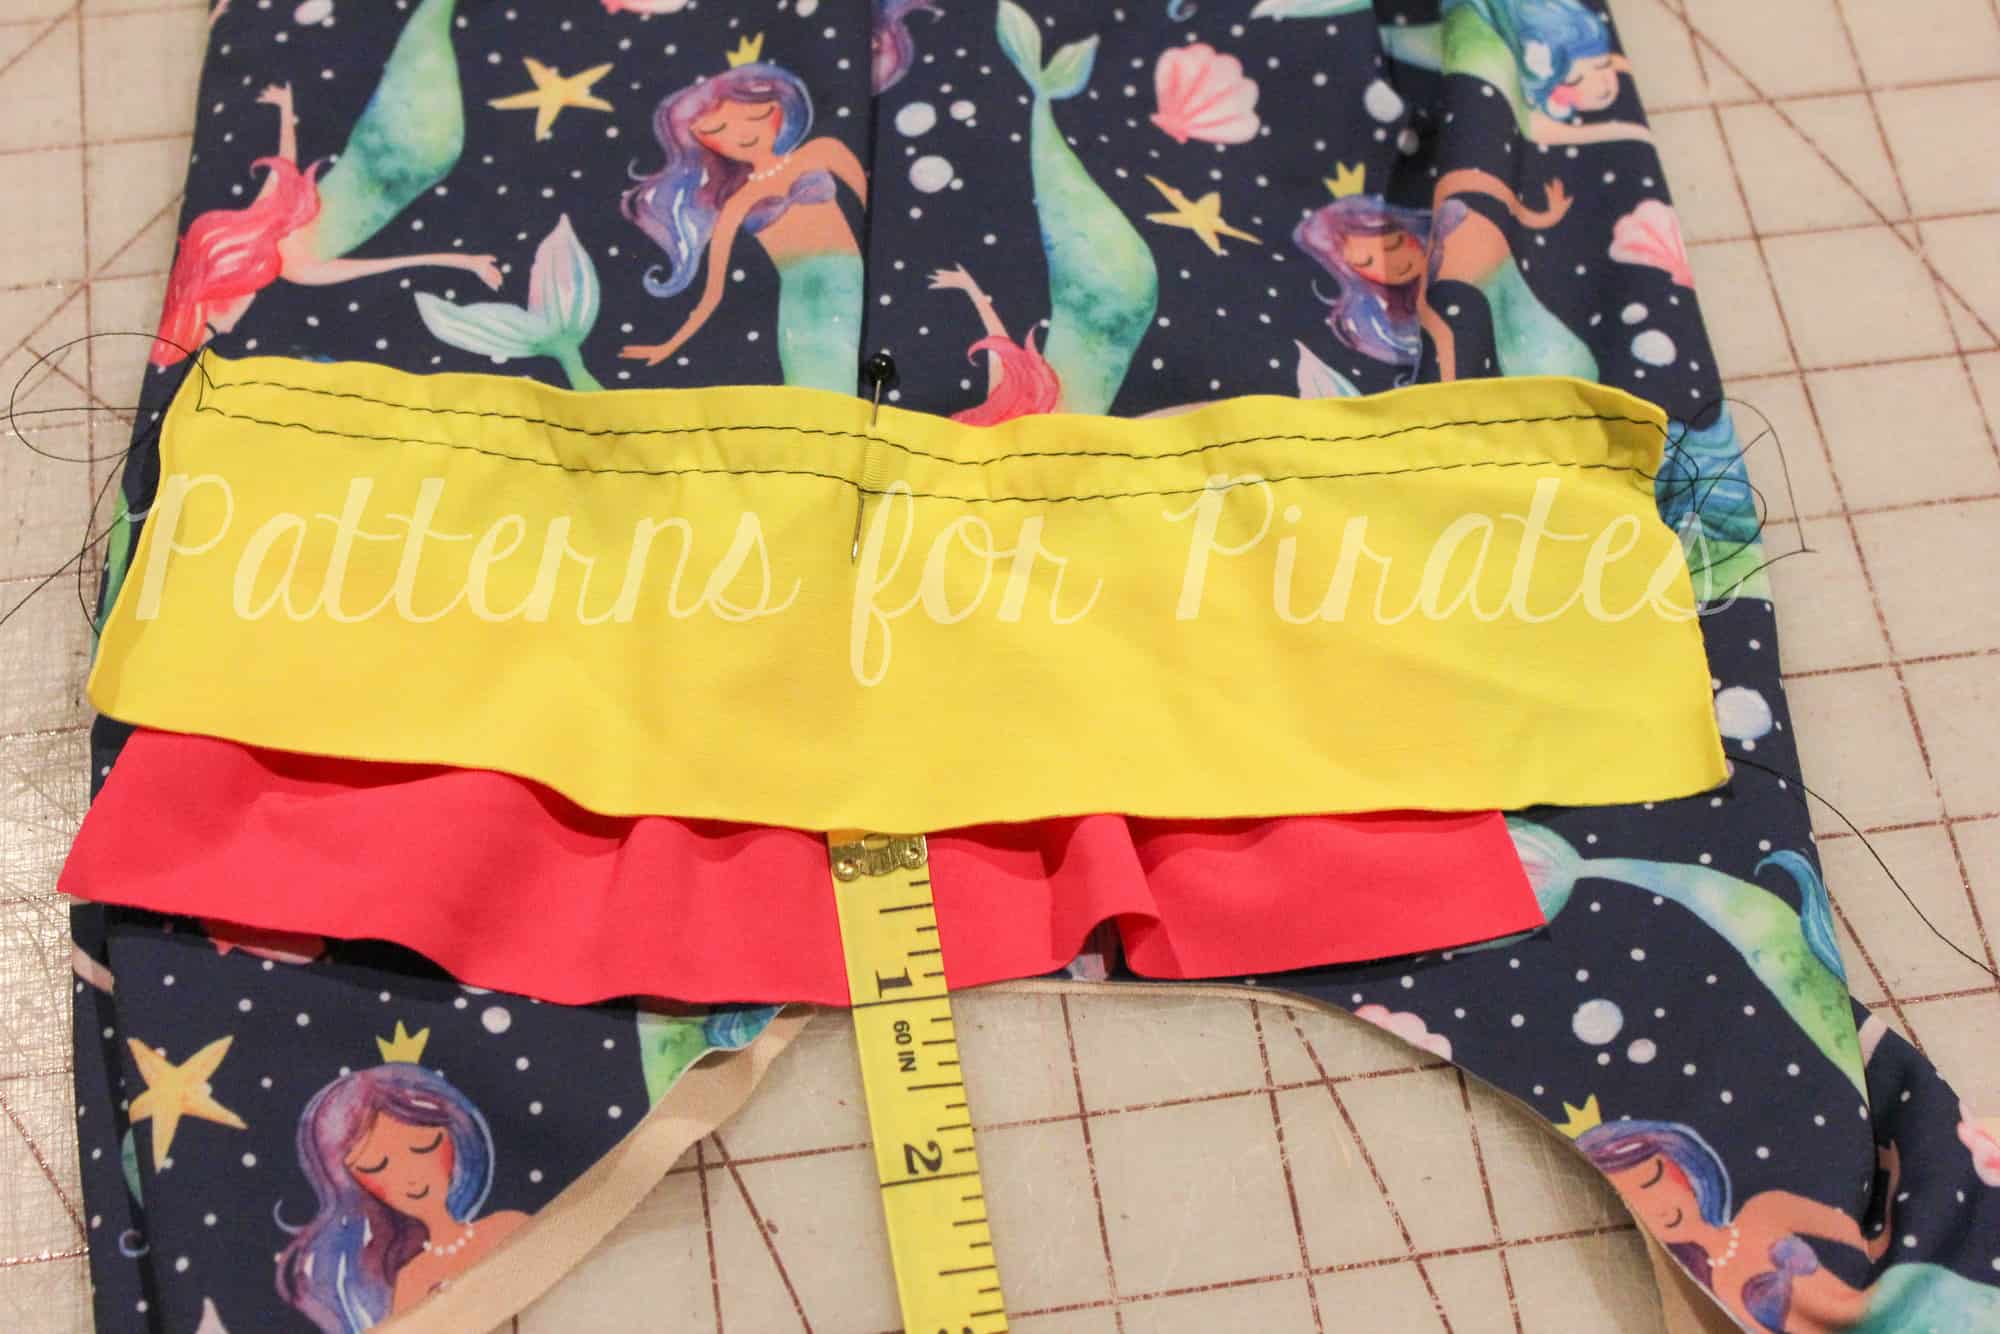
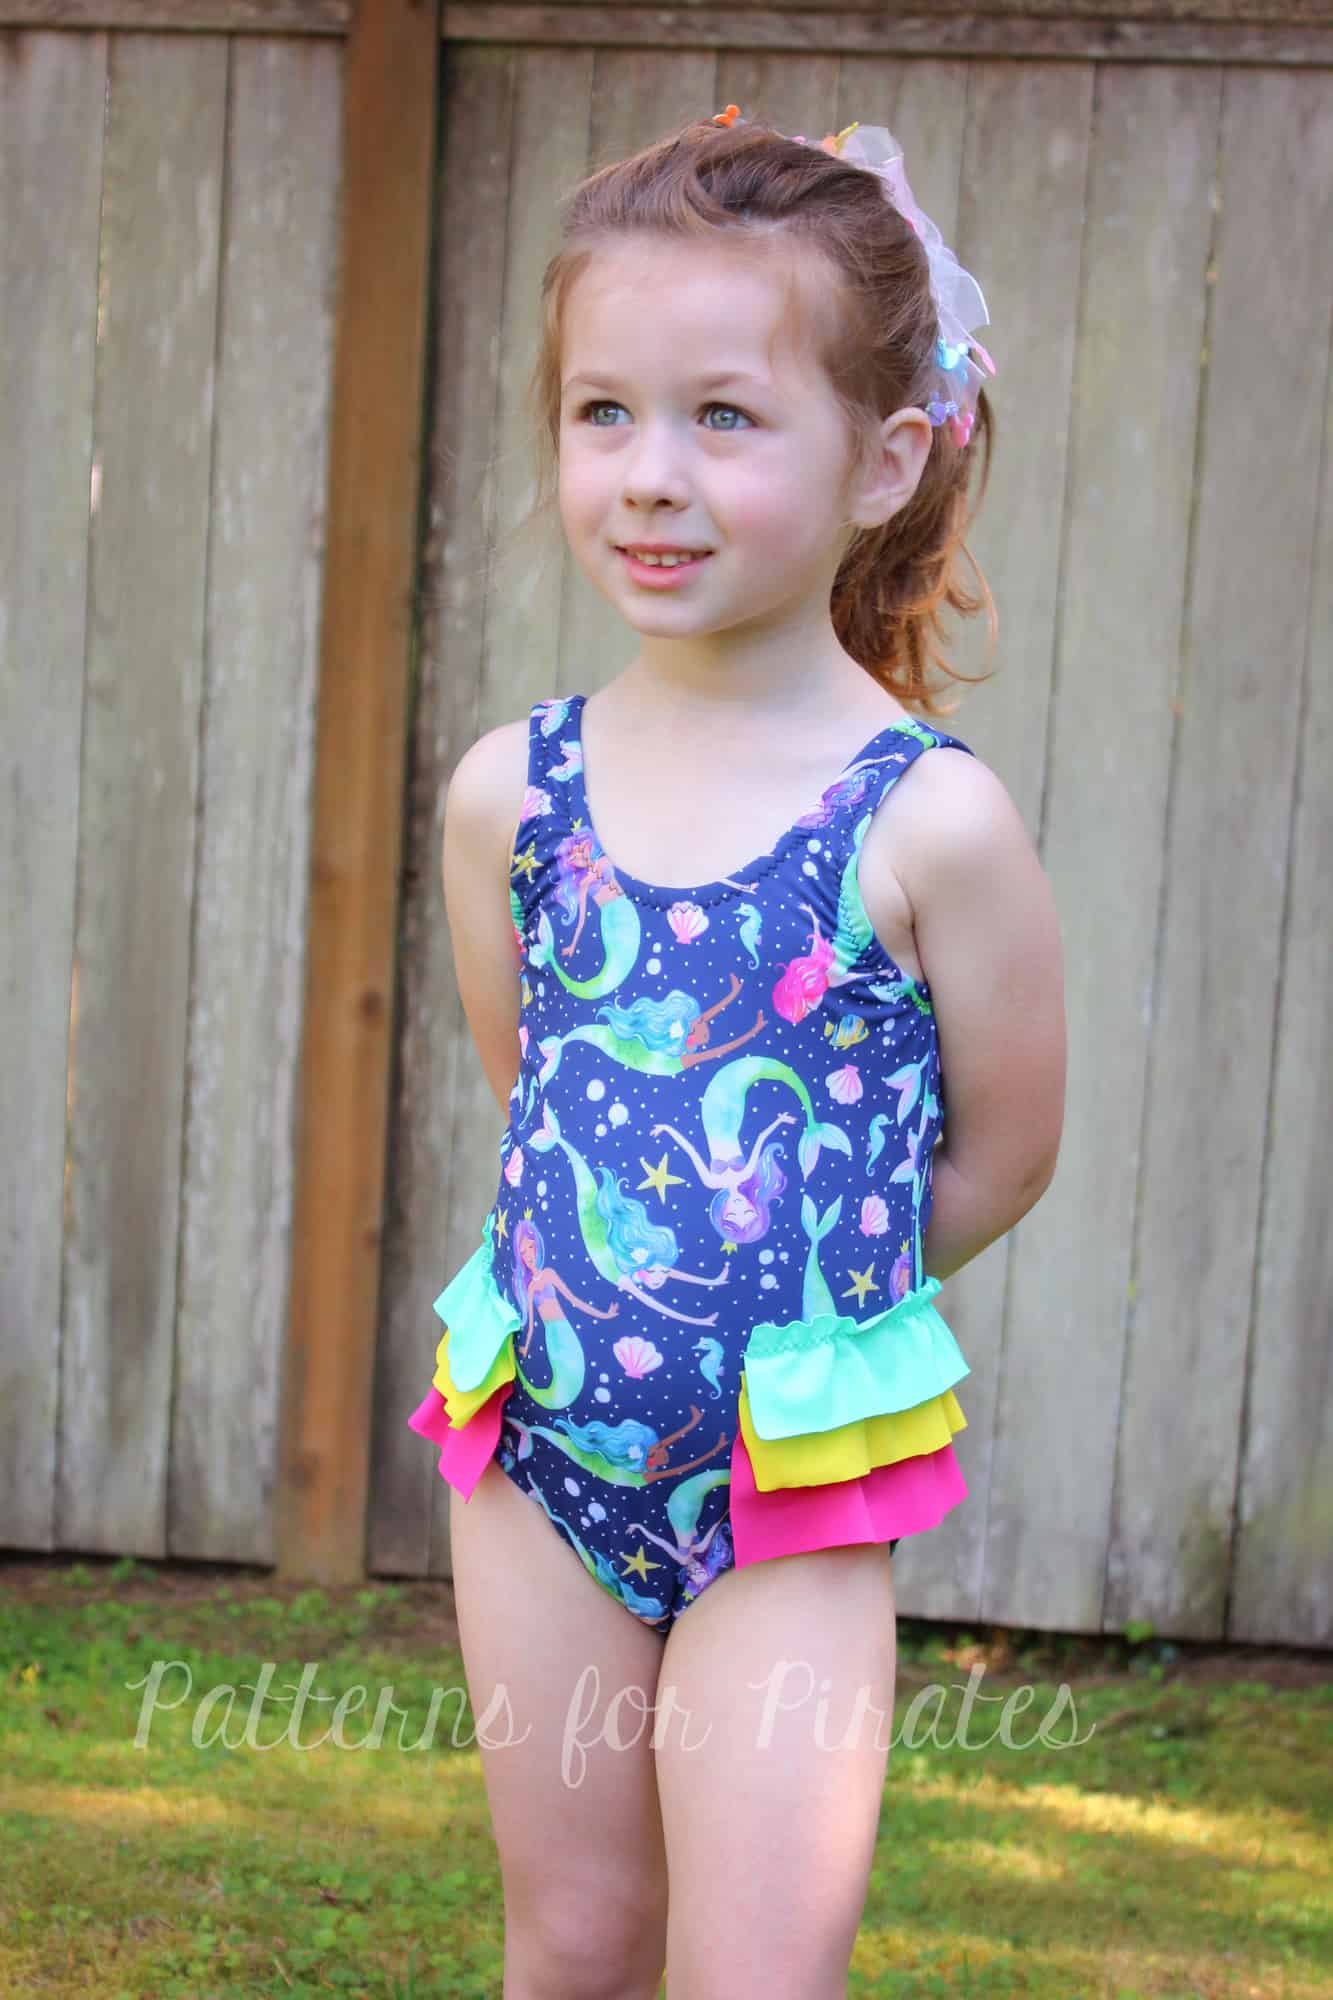
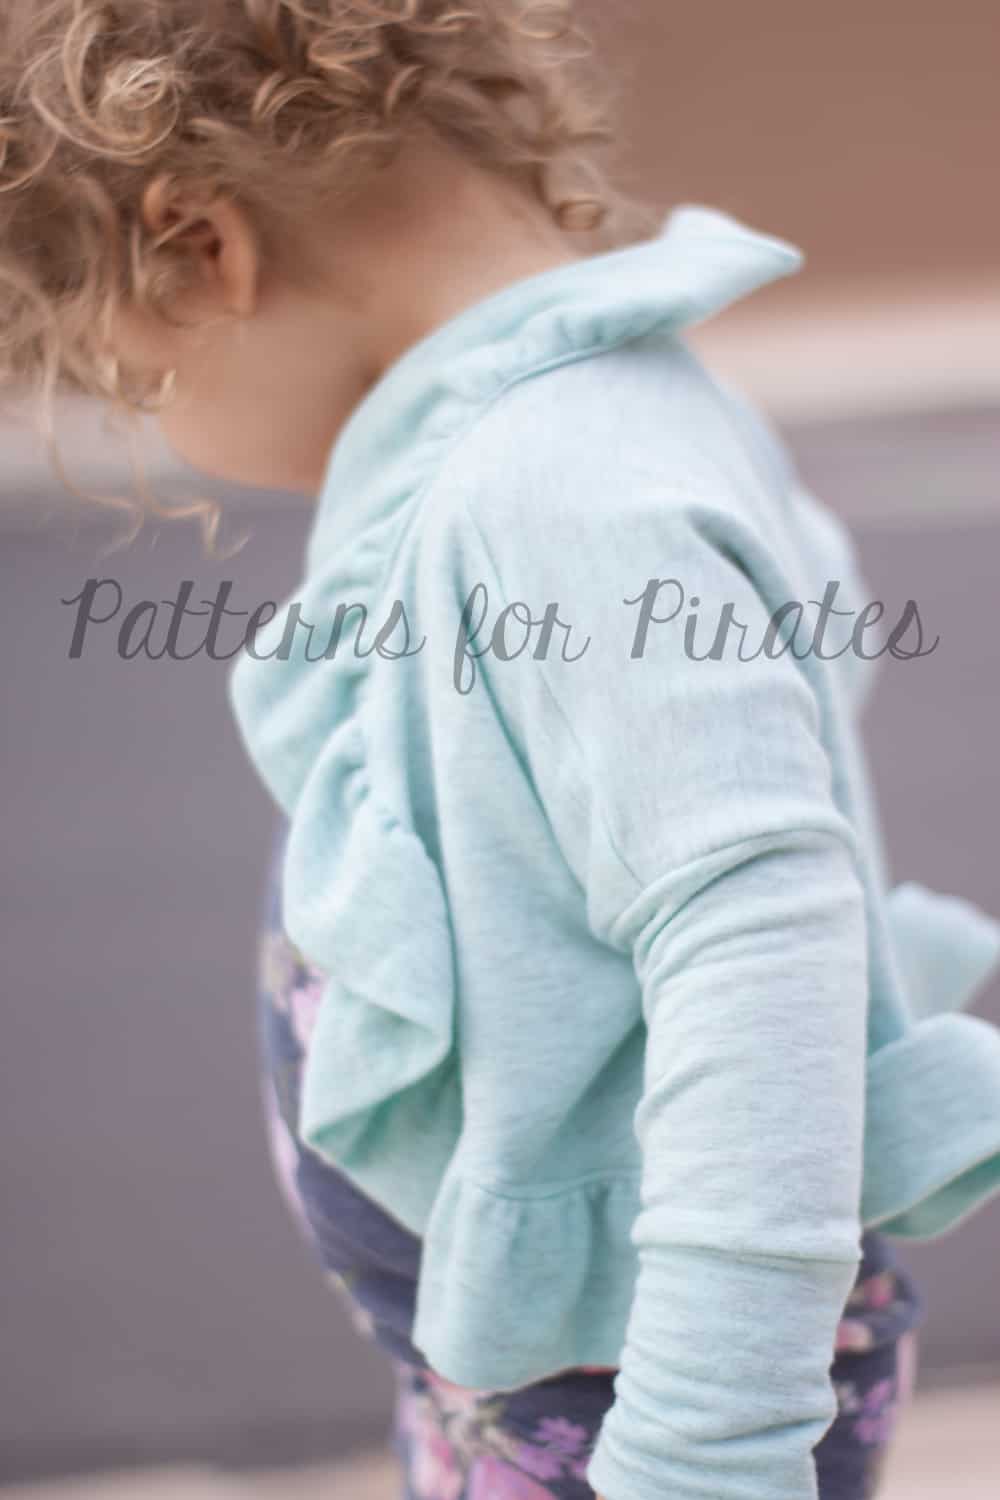
After attaching the ruffles, finish sewing the crotch seam as directed in the tutorial and then finish by adding the elastic! Lastly, show it to that little cutie and see her face light up when she sees the added flair to her suit!

~Erinn
…..
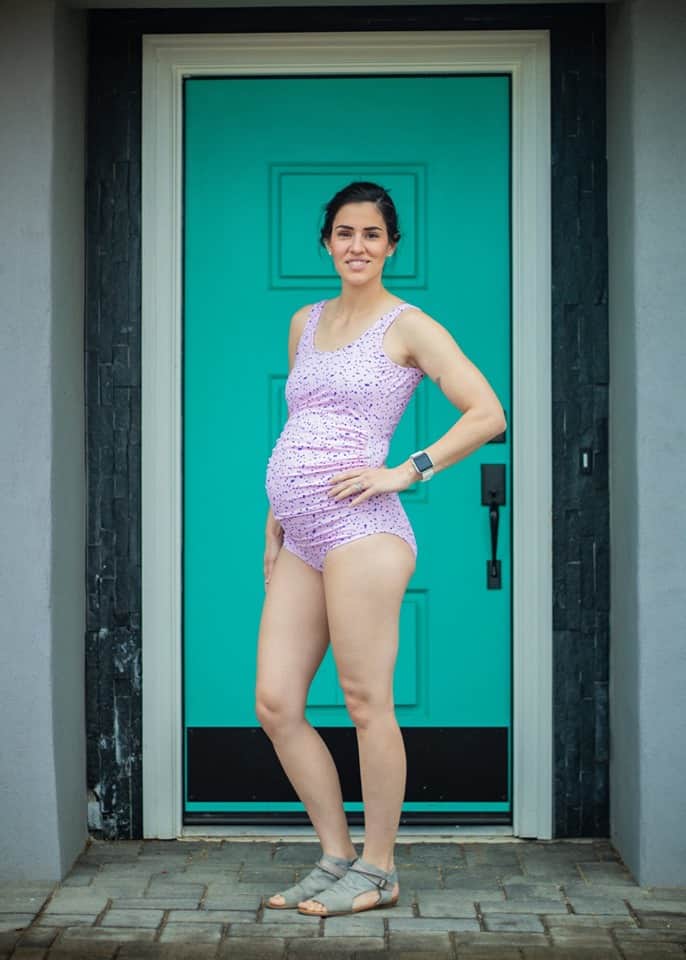
Maternity
Hi Lovelies,
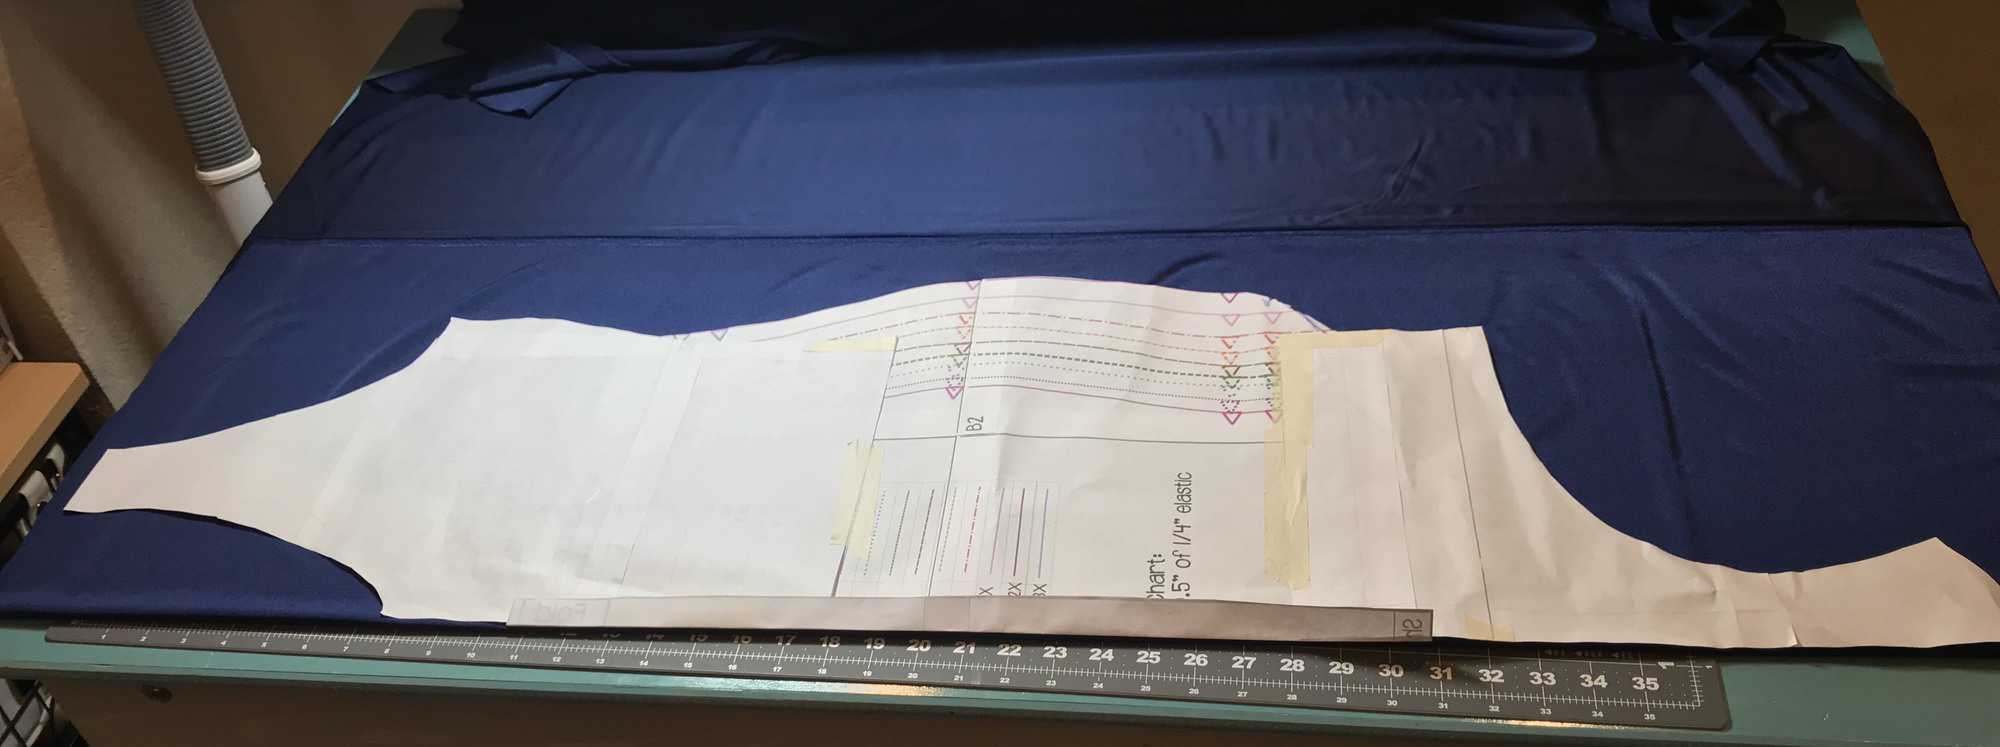


Amanda S

…..
How Low Can You Go Back
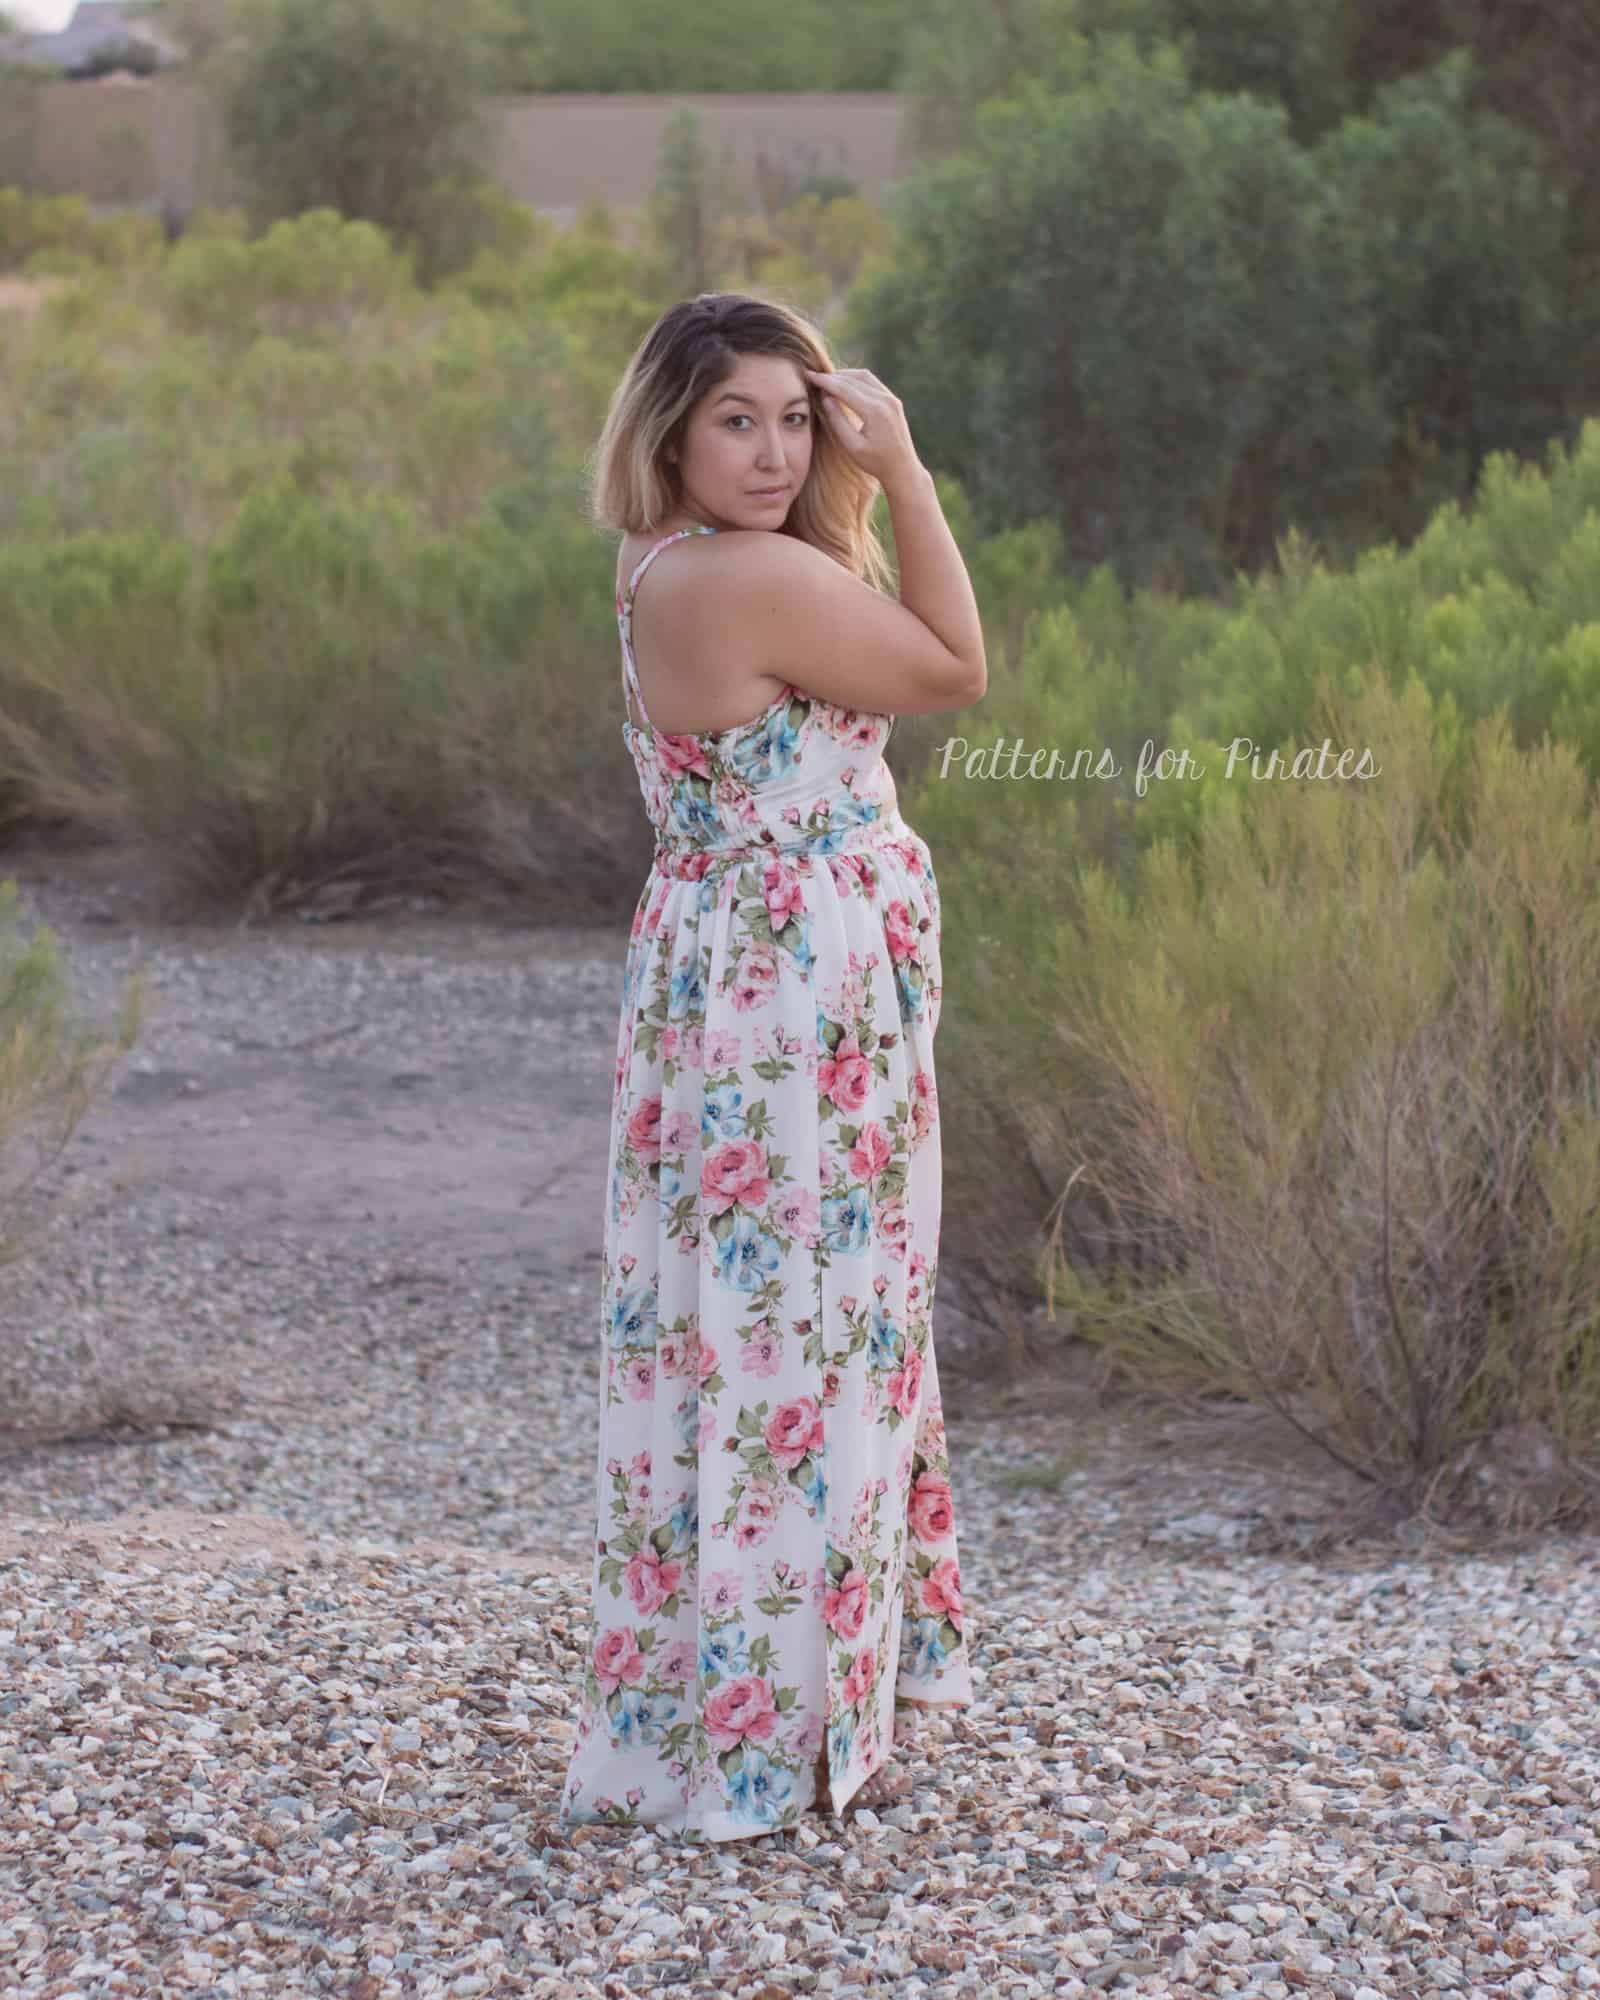
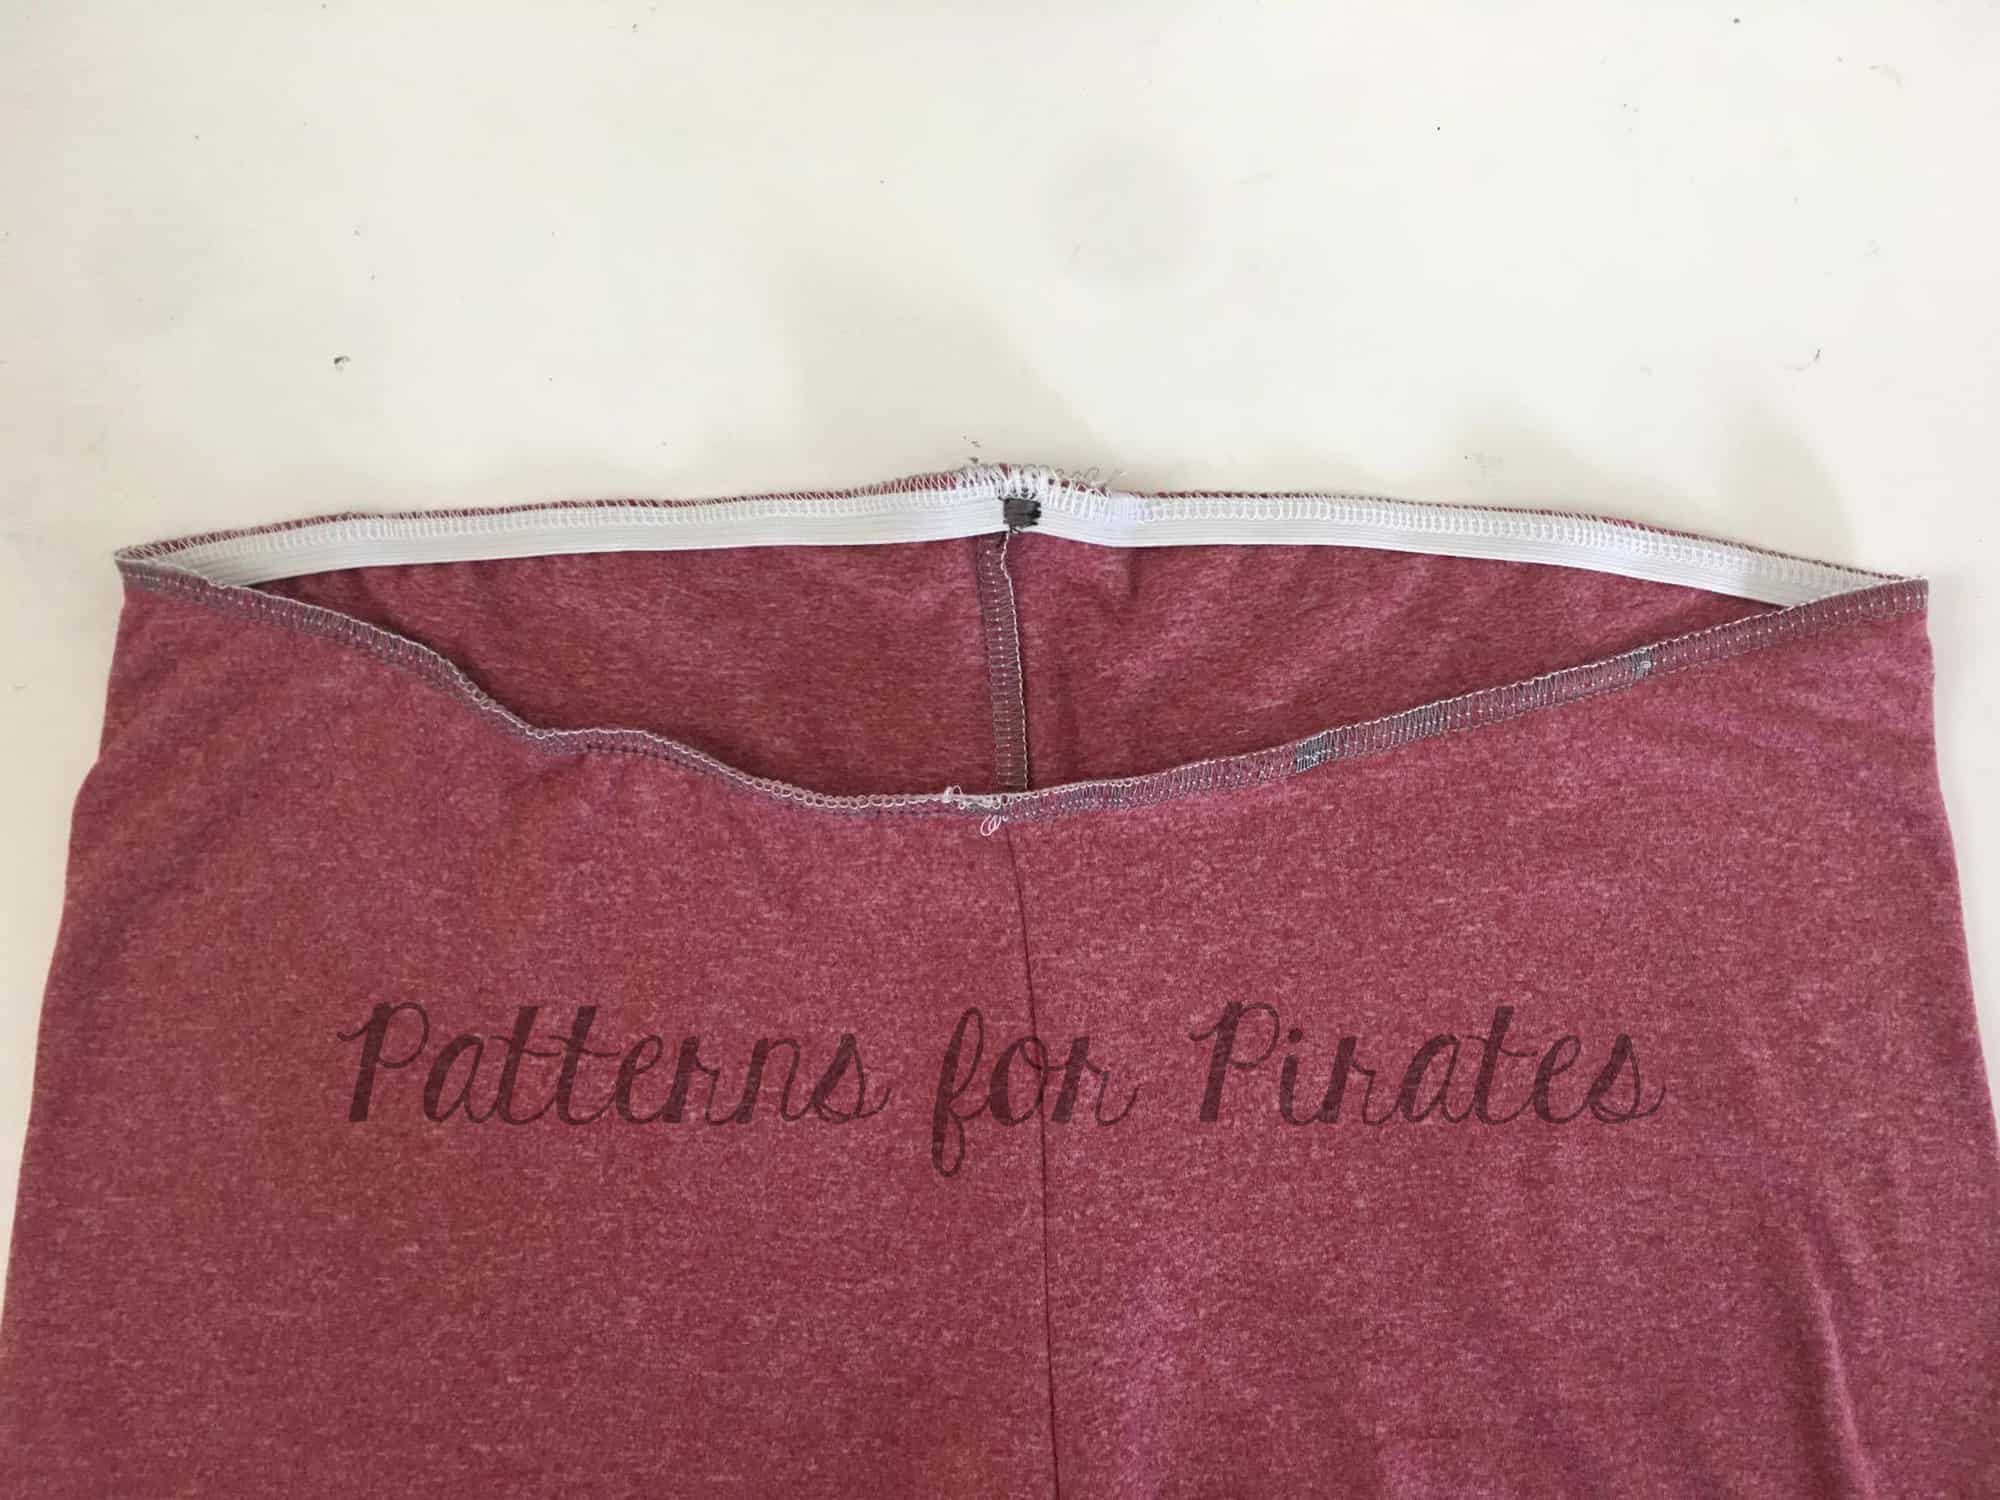
I love a dramatic low back! The low back option included is a bit lower then natural waistline. I kept seeing gorgeous Pinterest photos of super low backs and had to try one!
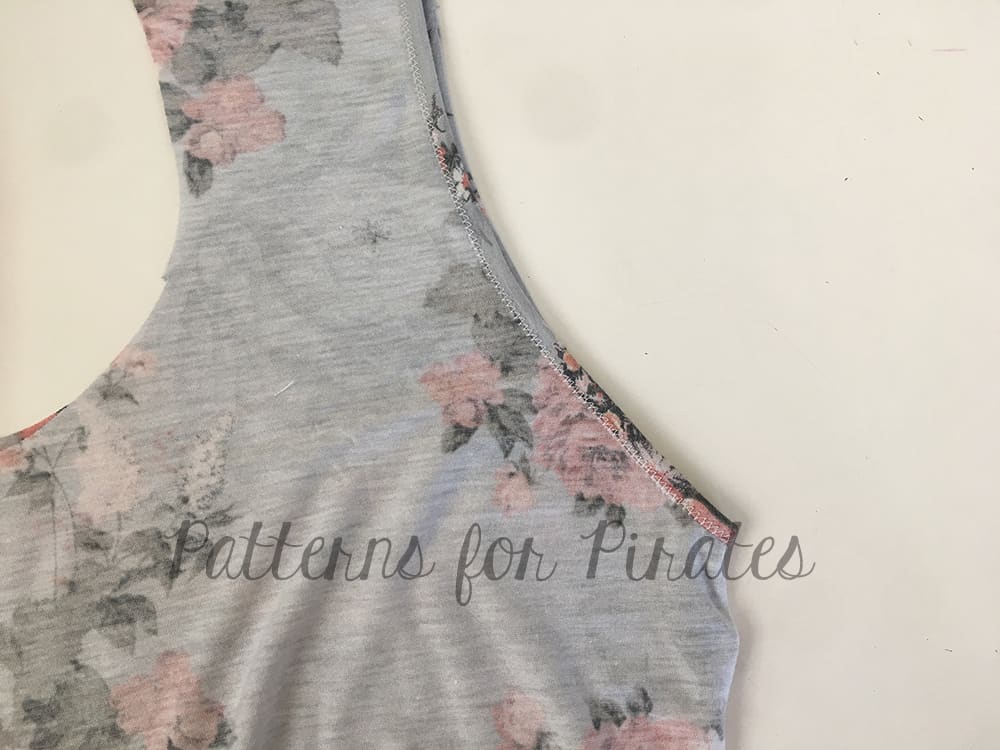
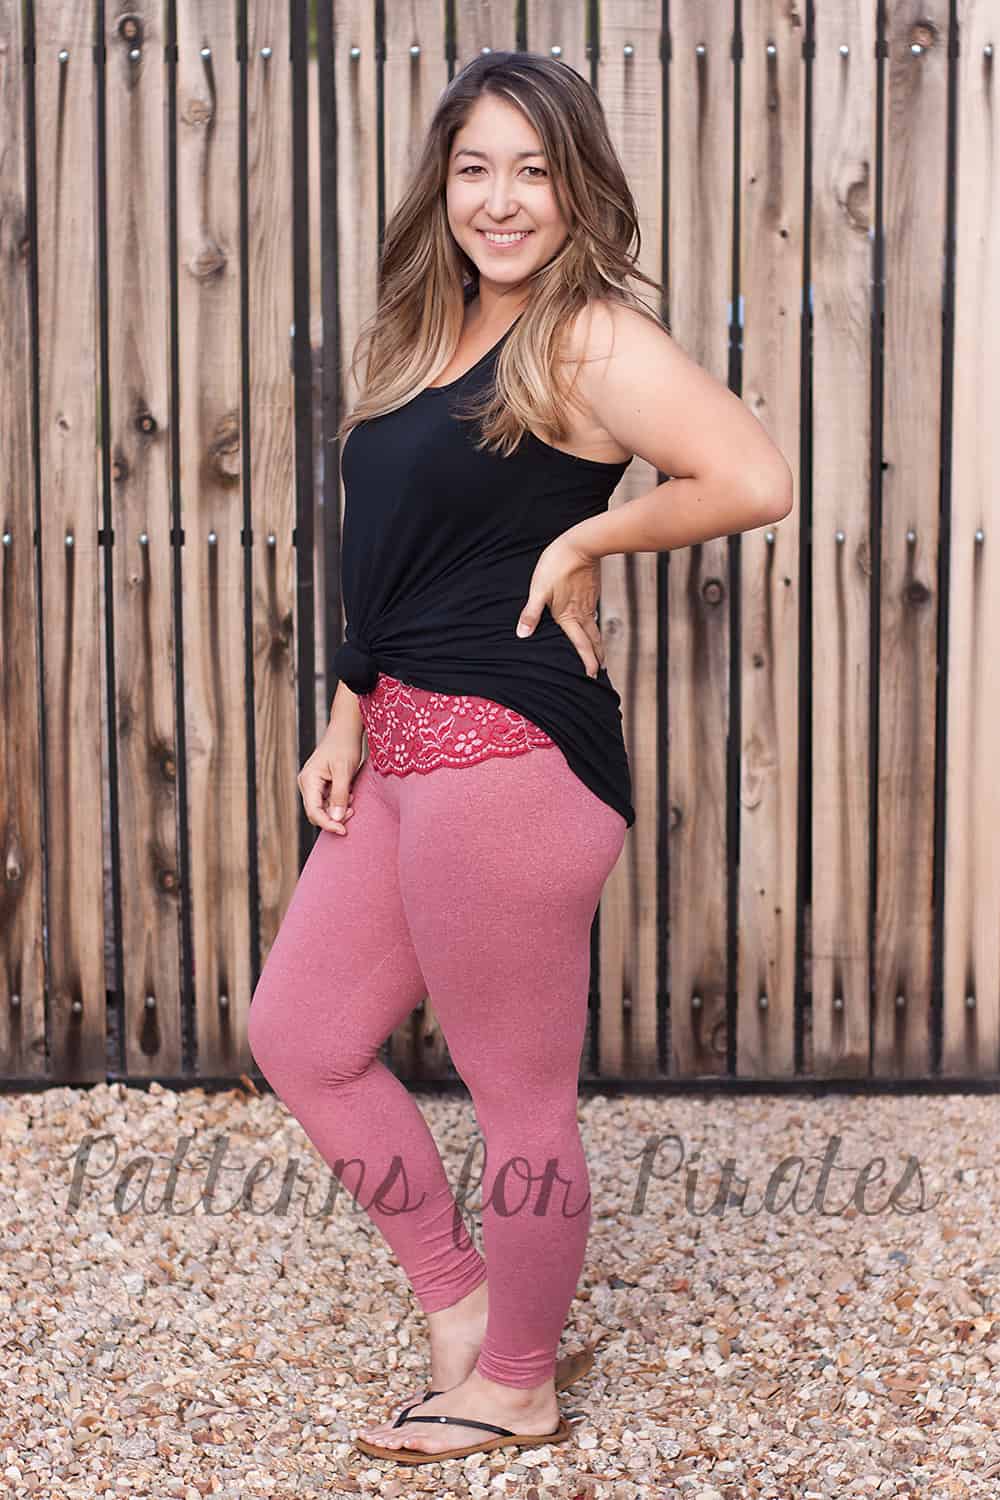
I marked a line from the high cut legline horizontally across my back piece. Then marked a vertical line just continuing the back low cutline vertically down until it met with the horizontal line I already marked. Using a french curve I drew the curve (you can also cut out and use the curve from the low option if you don’t have a french curve handy).
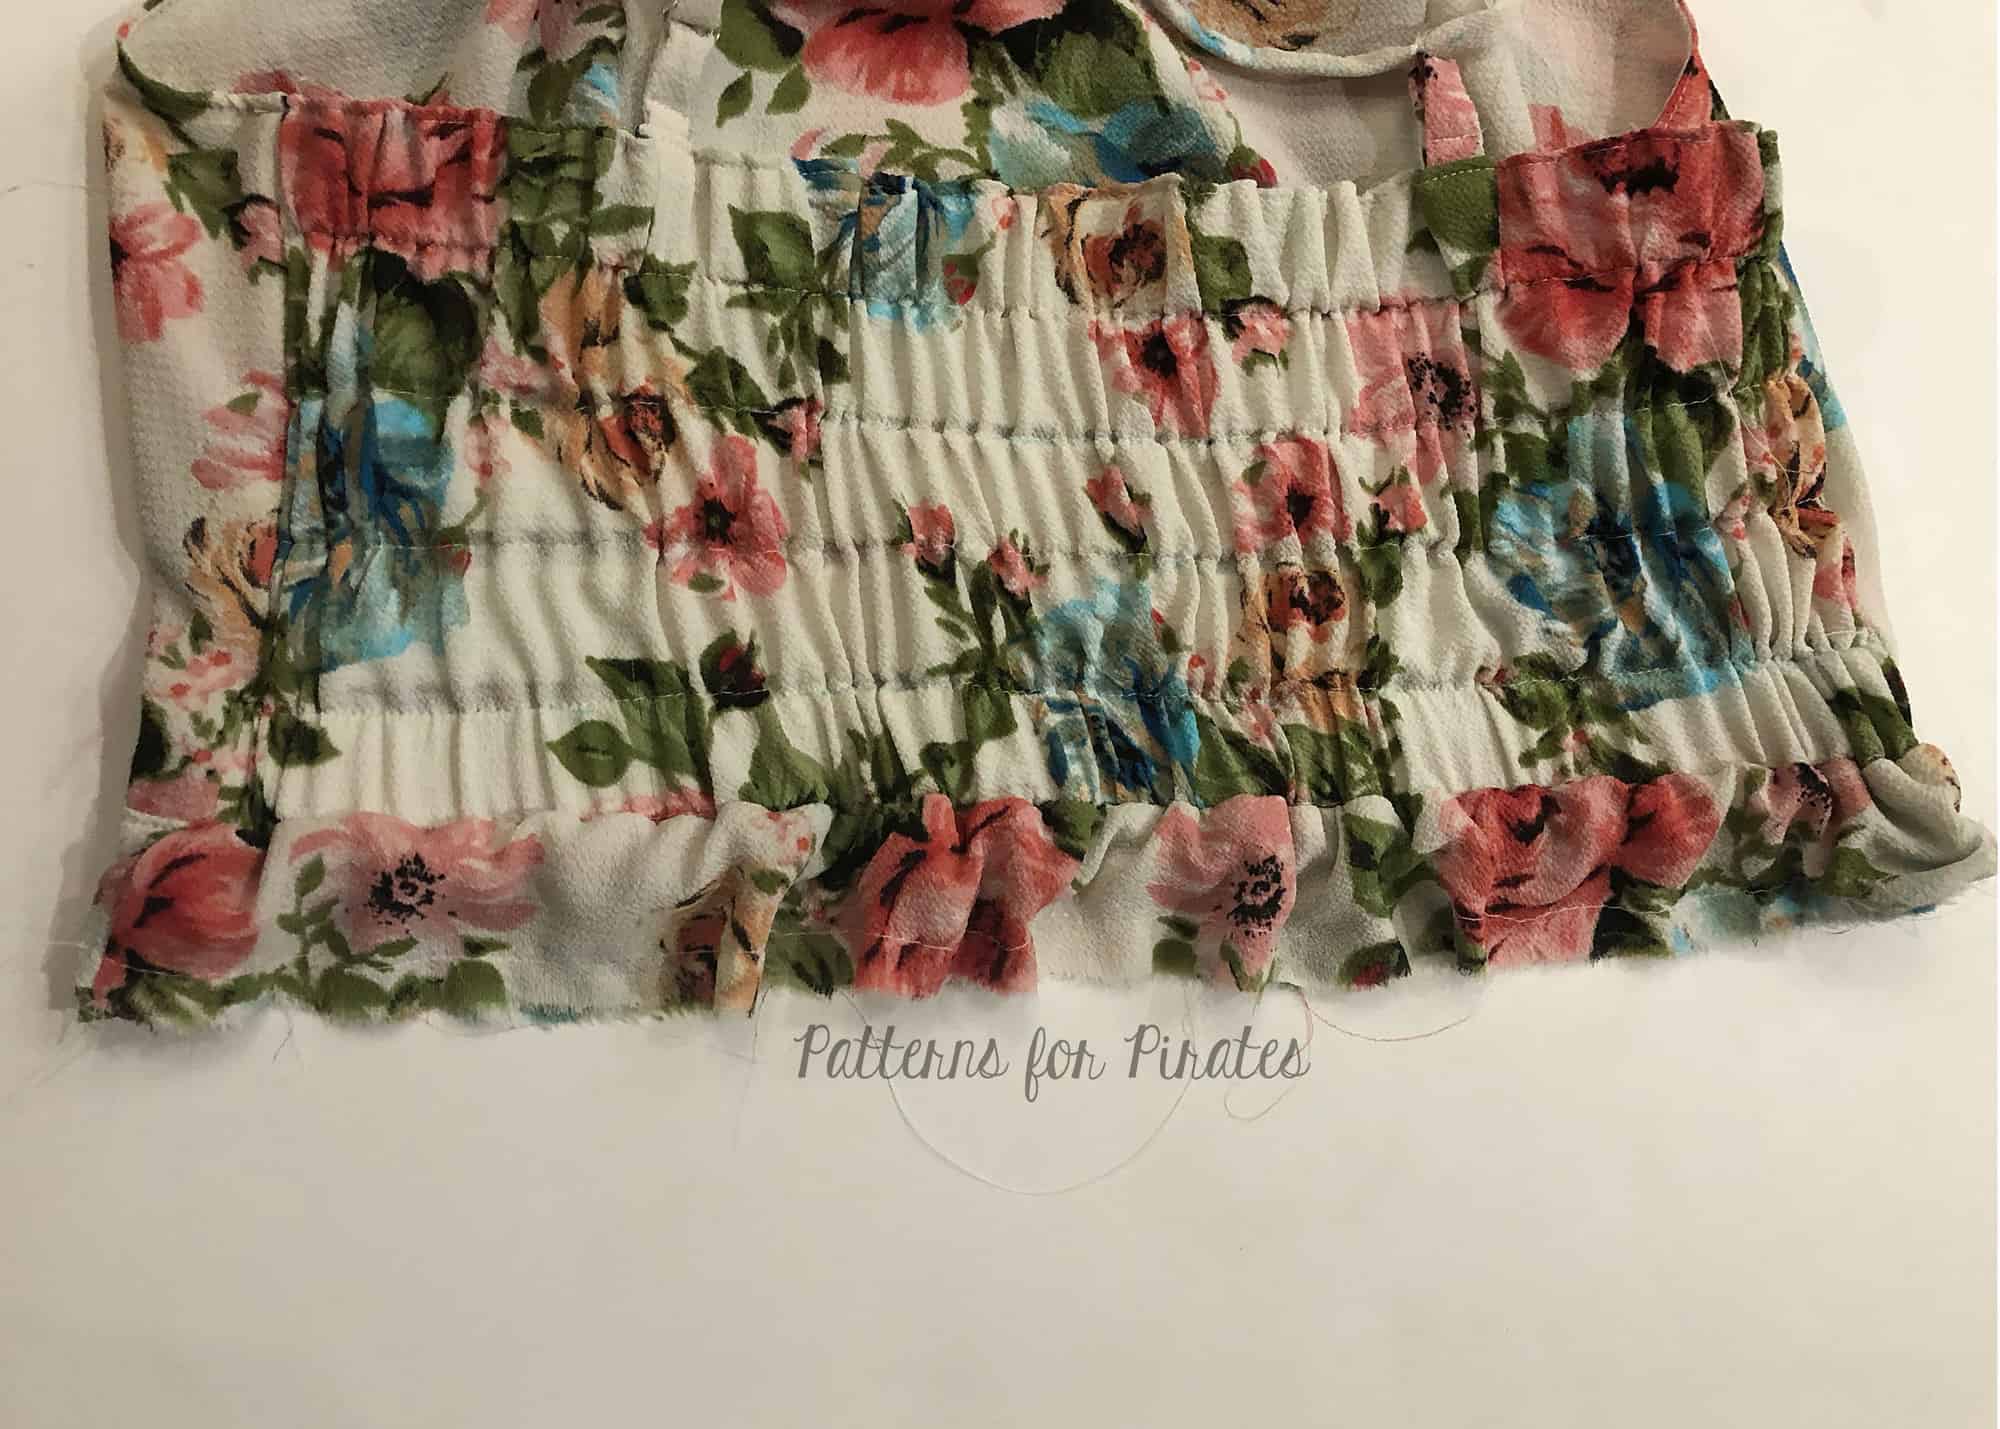
I sewed up the suit exactly the same, just lengthening the back elastic to match the lower line. (I didn’t measure, I just applied it as I sewed only stretching where needed).
Ta-Da! A super dramatic low back that would be stunning on any beach or romantic get away… I’ll have to try to get invited to one of those one day to show mine off 😉


Judy

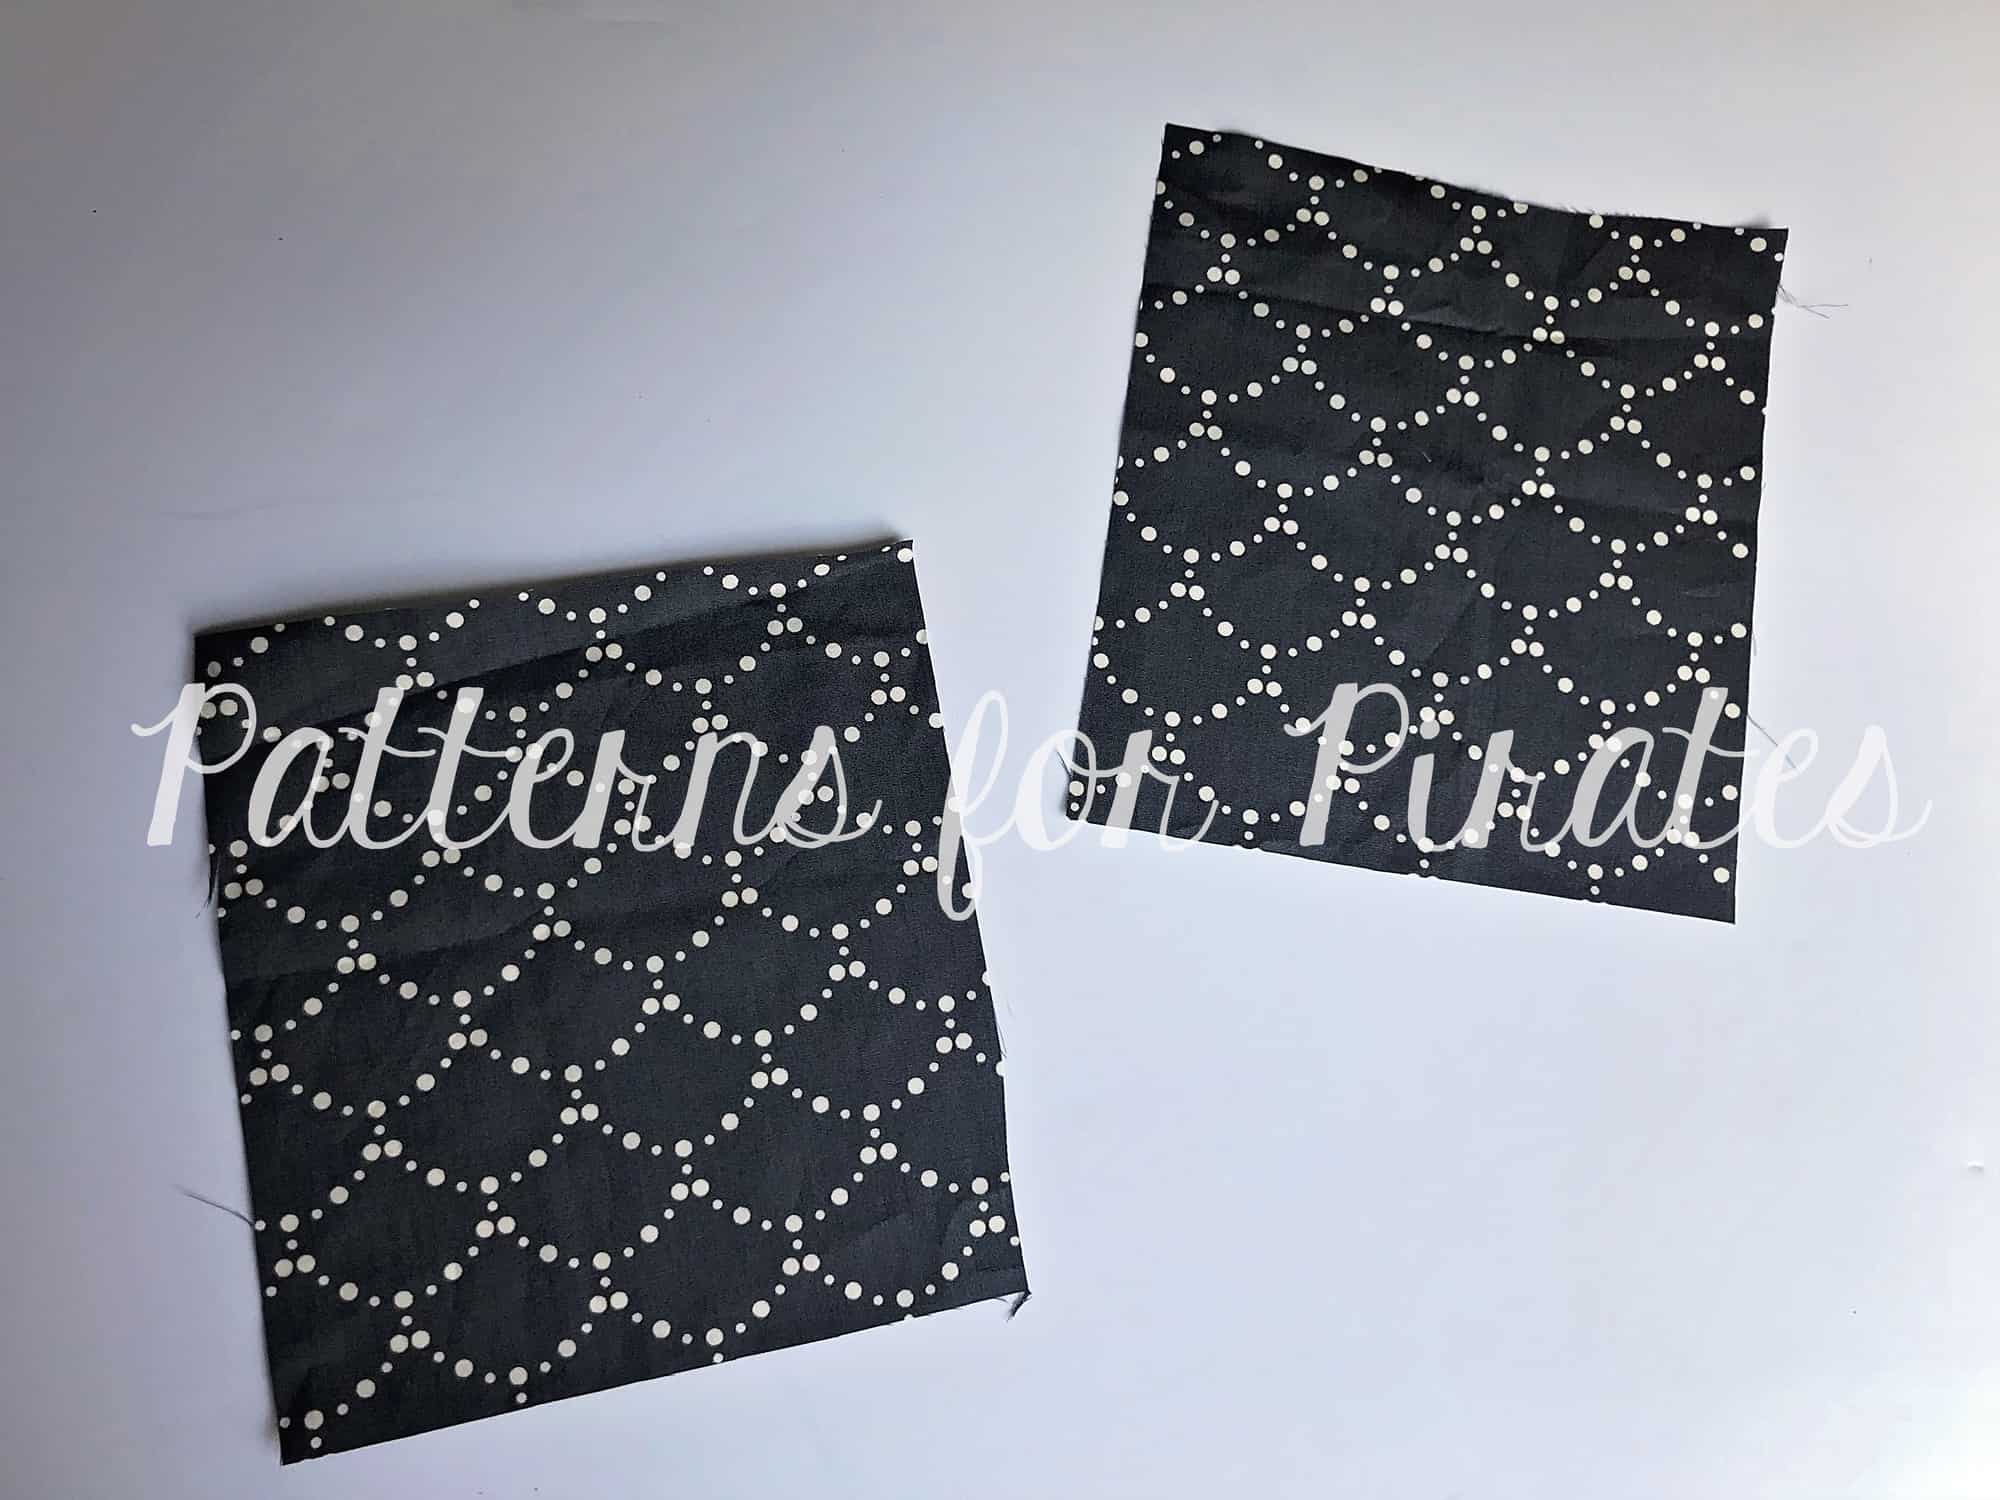


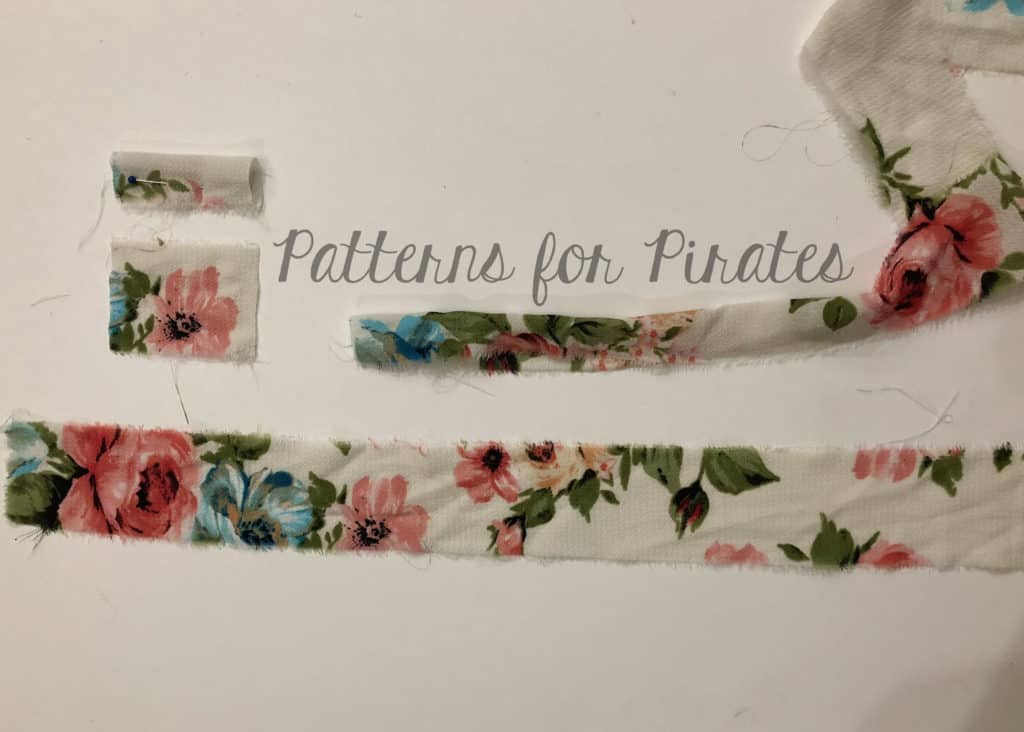


 Next, I cut a small rectangle of interfacing.


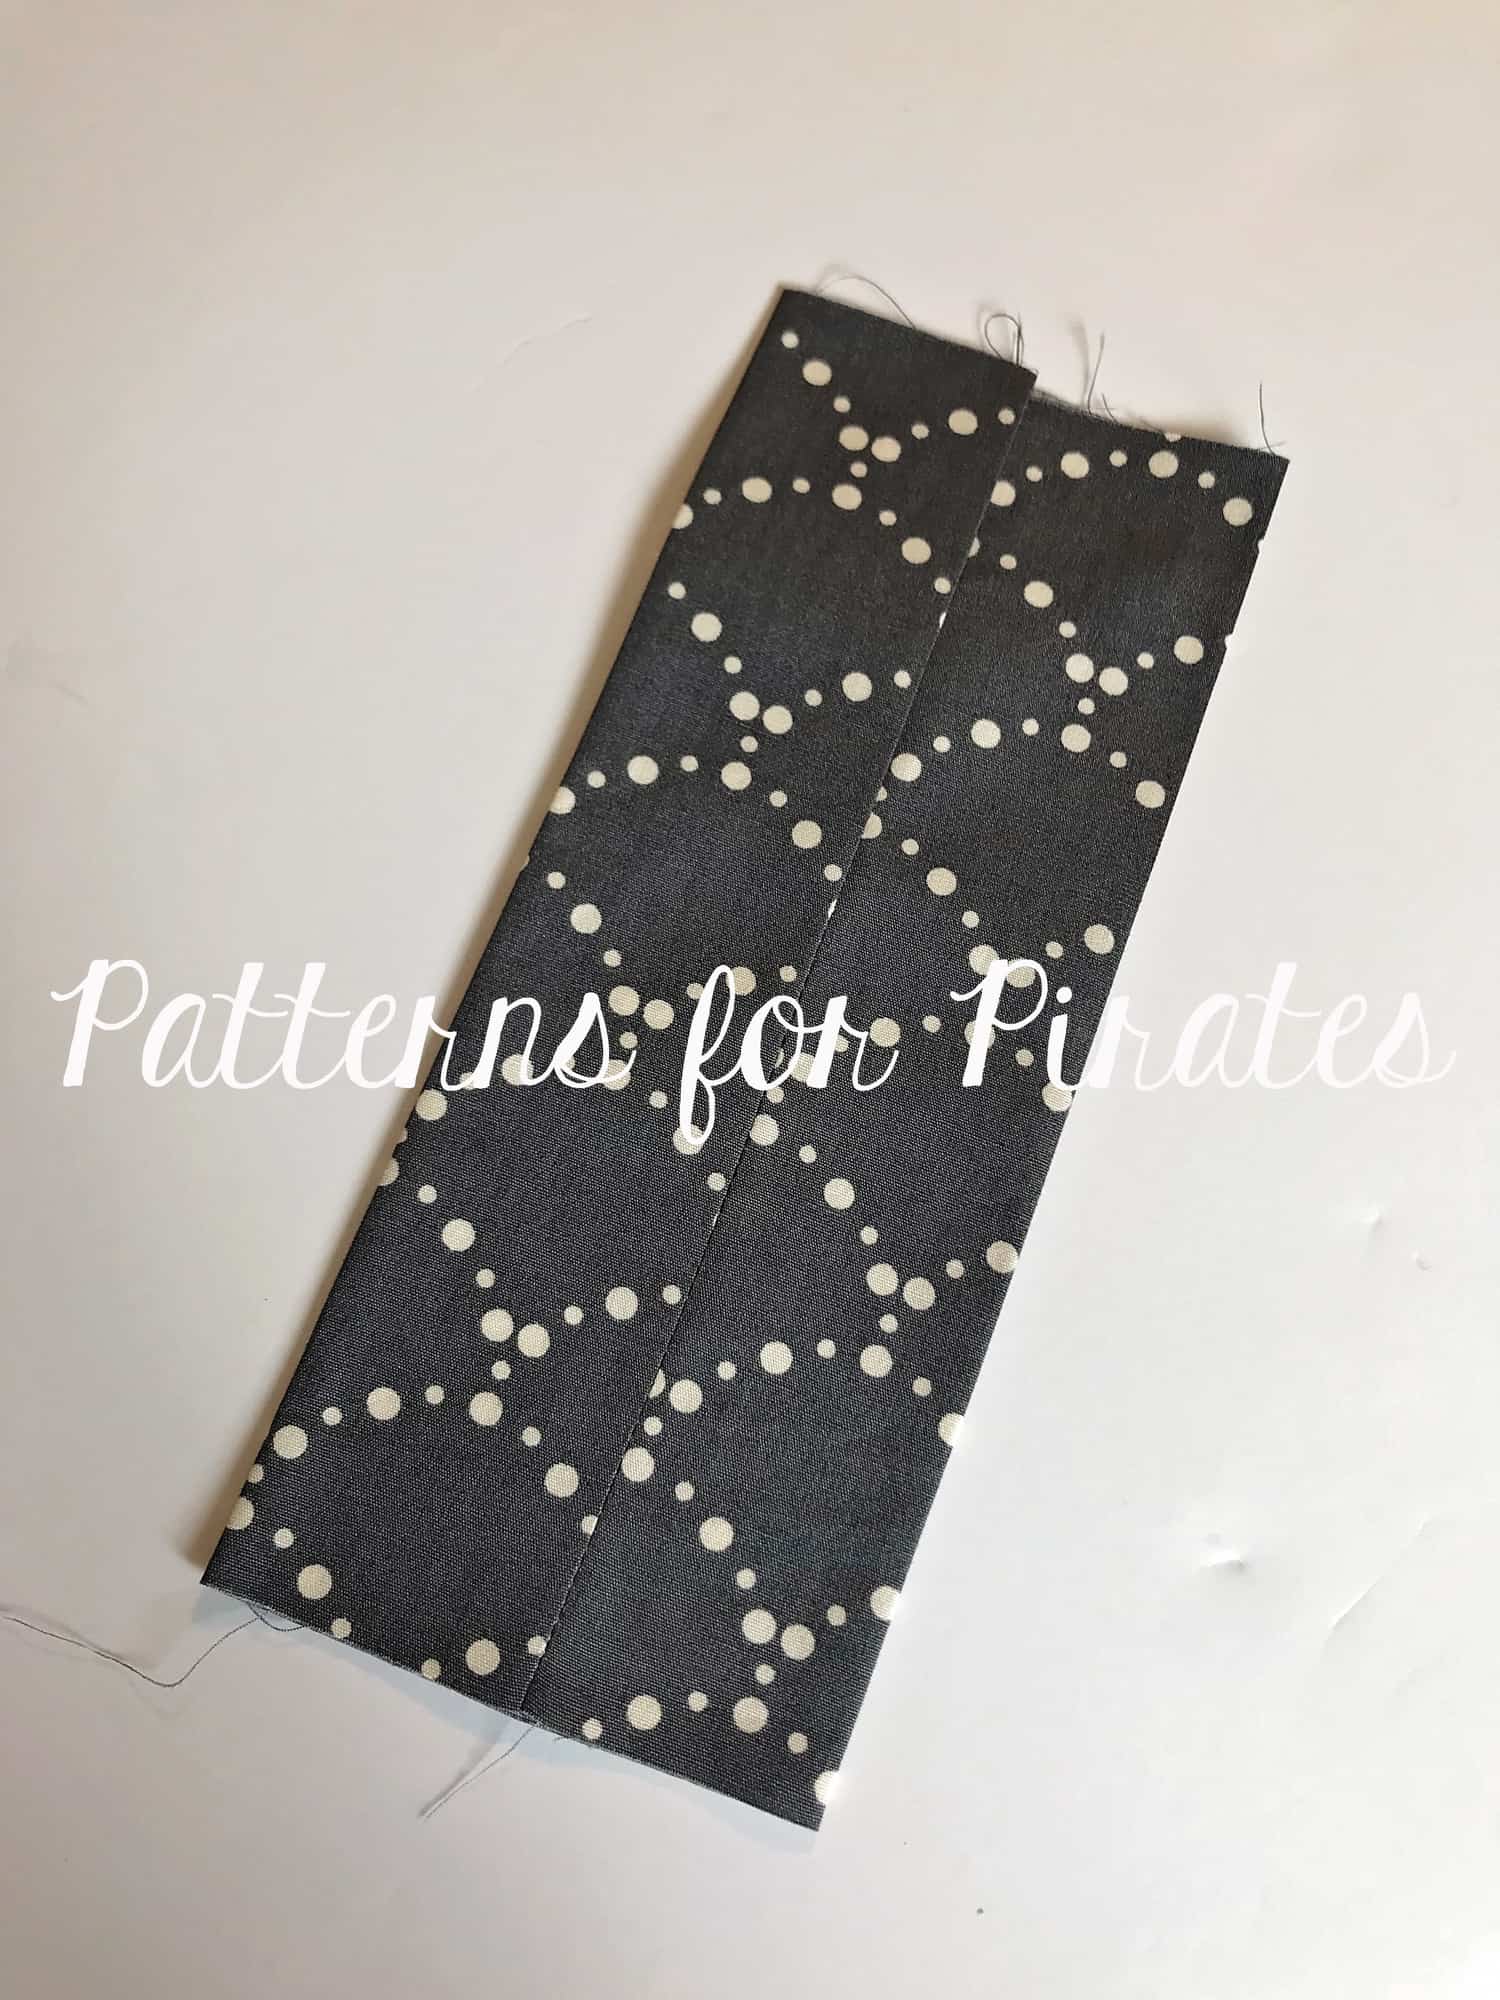
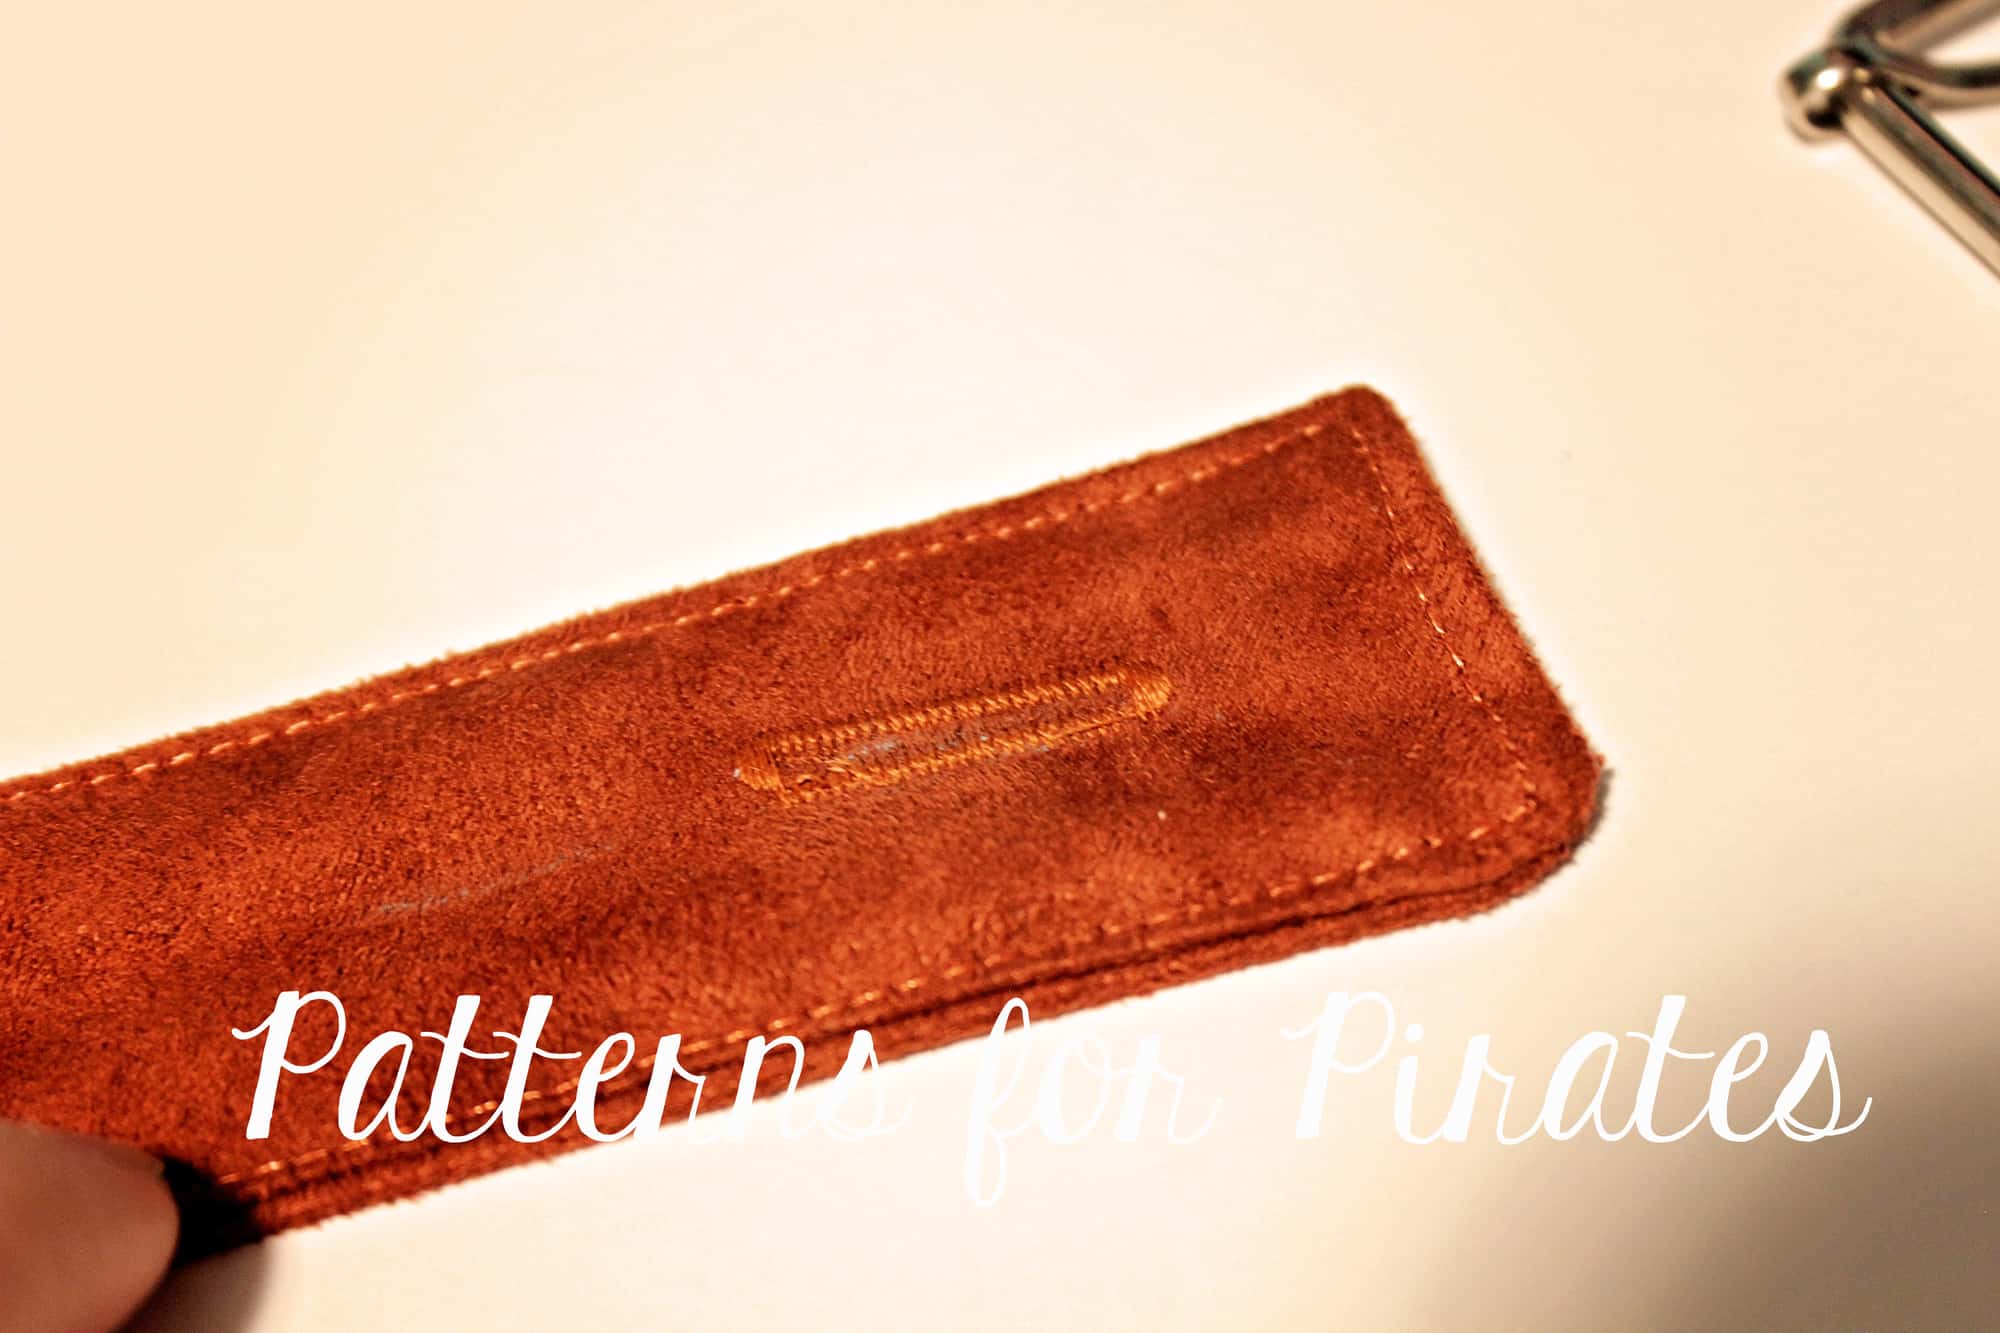
 Next, I marked my buttonholes. I did about 1/2″ from the center for each. I choose a smaller button so that my holes weren’t too big (I hate when I tie a drawstring and the holes gap open!).
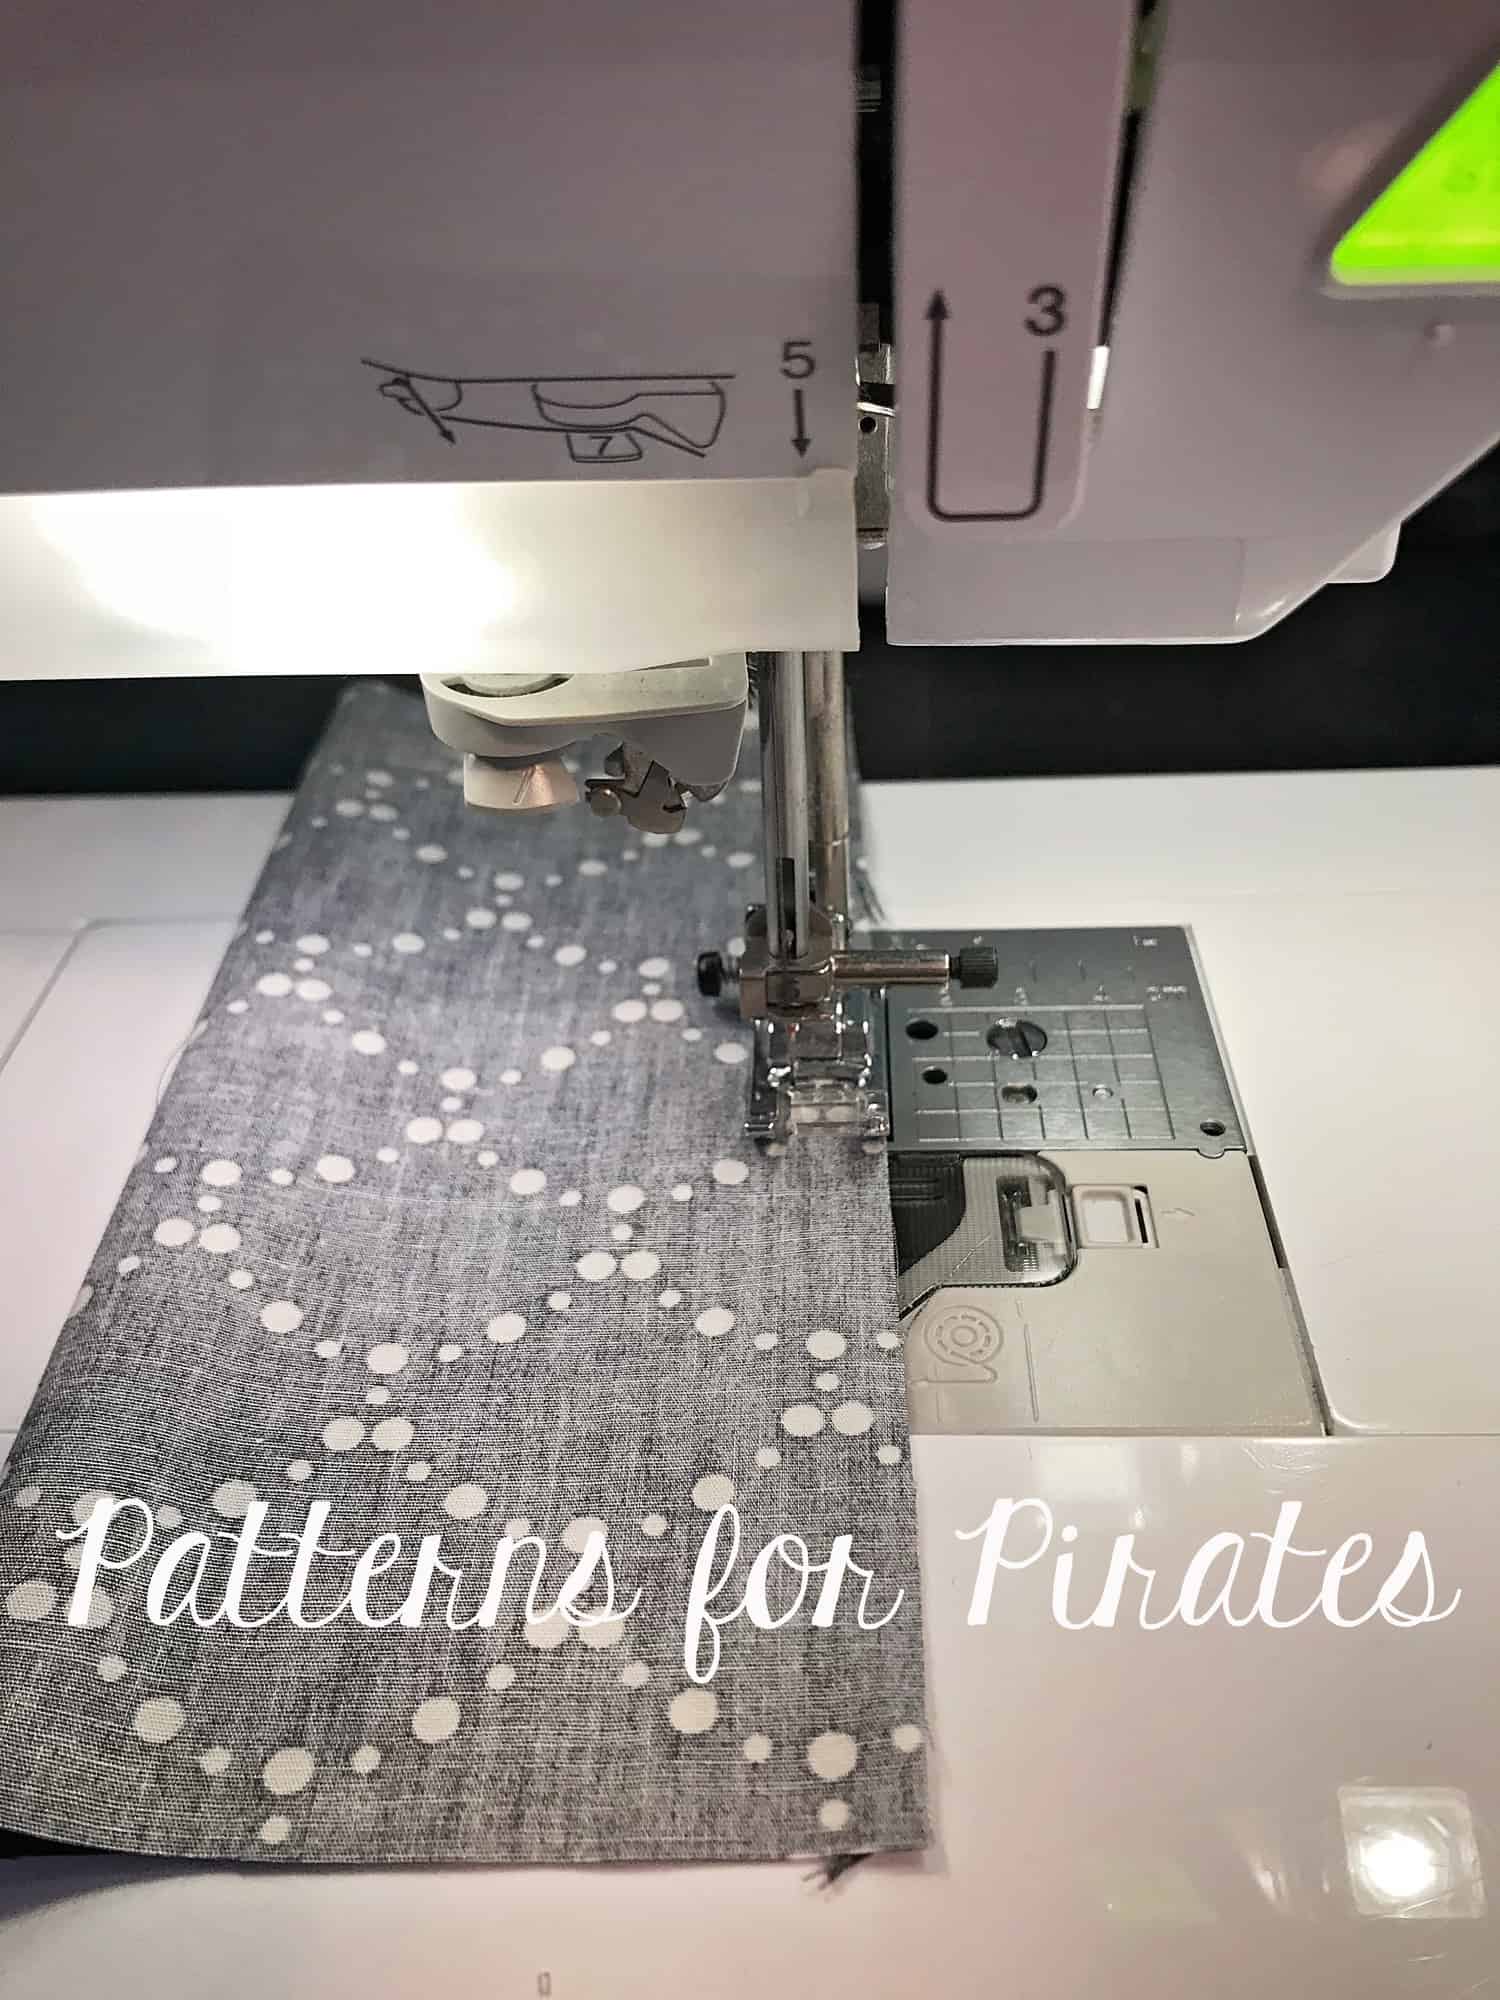
 You will need to use a knit button hole. Here is what mine looks like on my machine. The zigzag sides let the knit stretch without popping the threads.
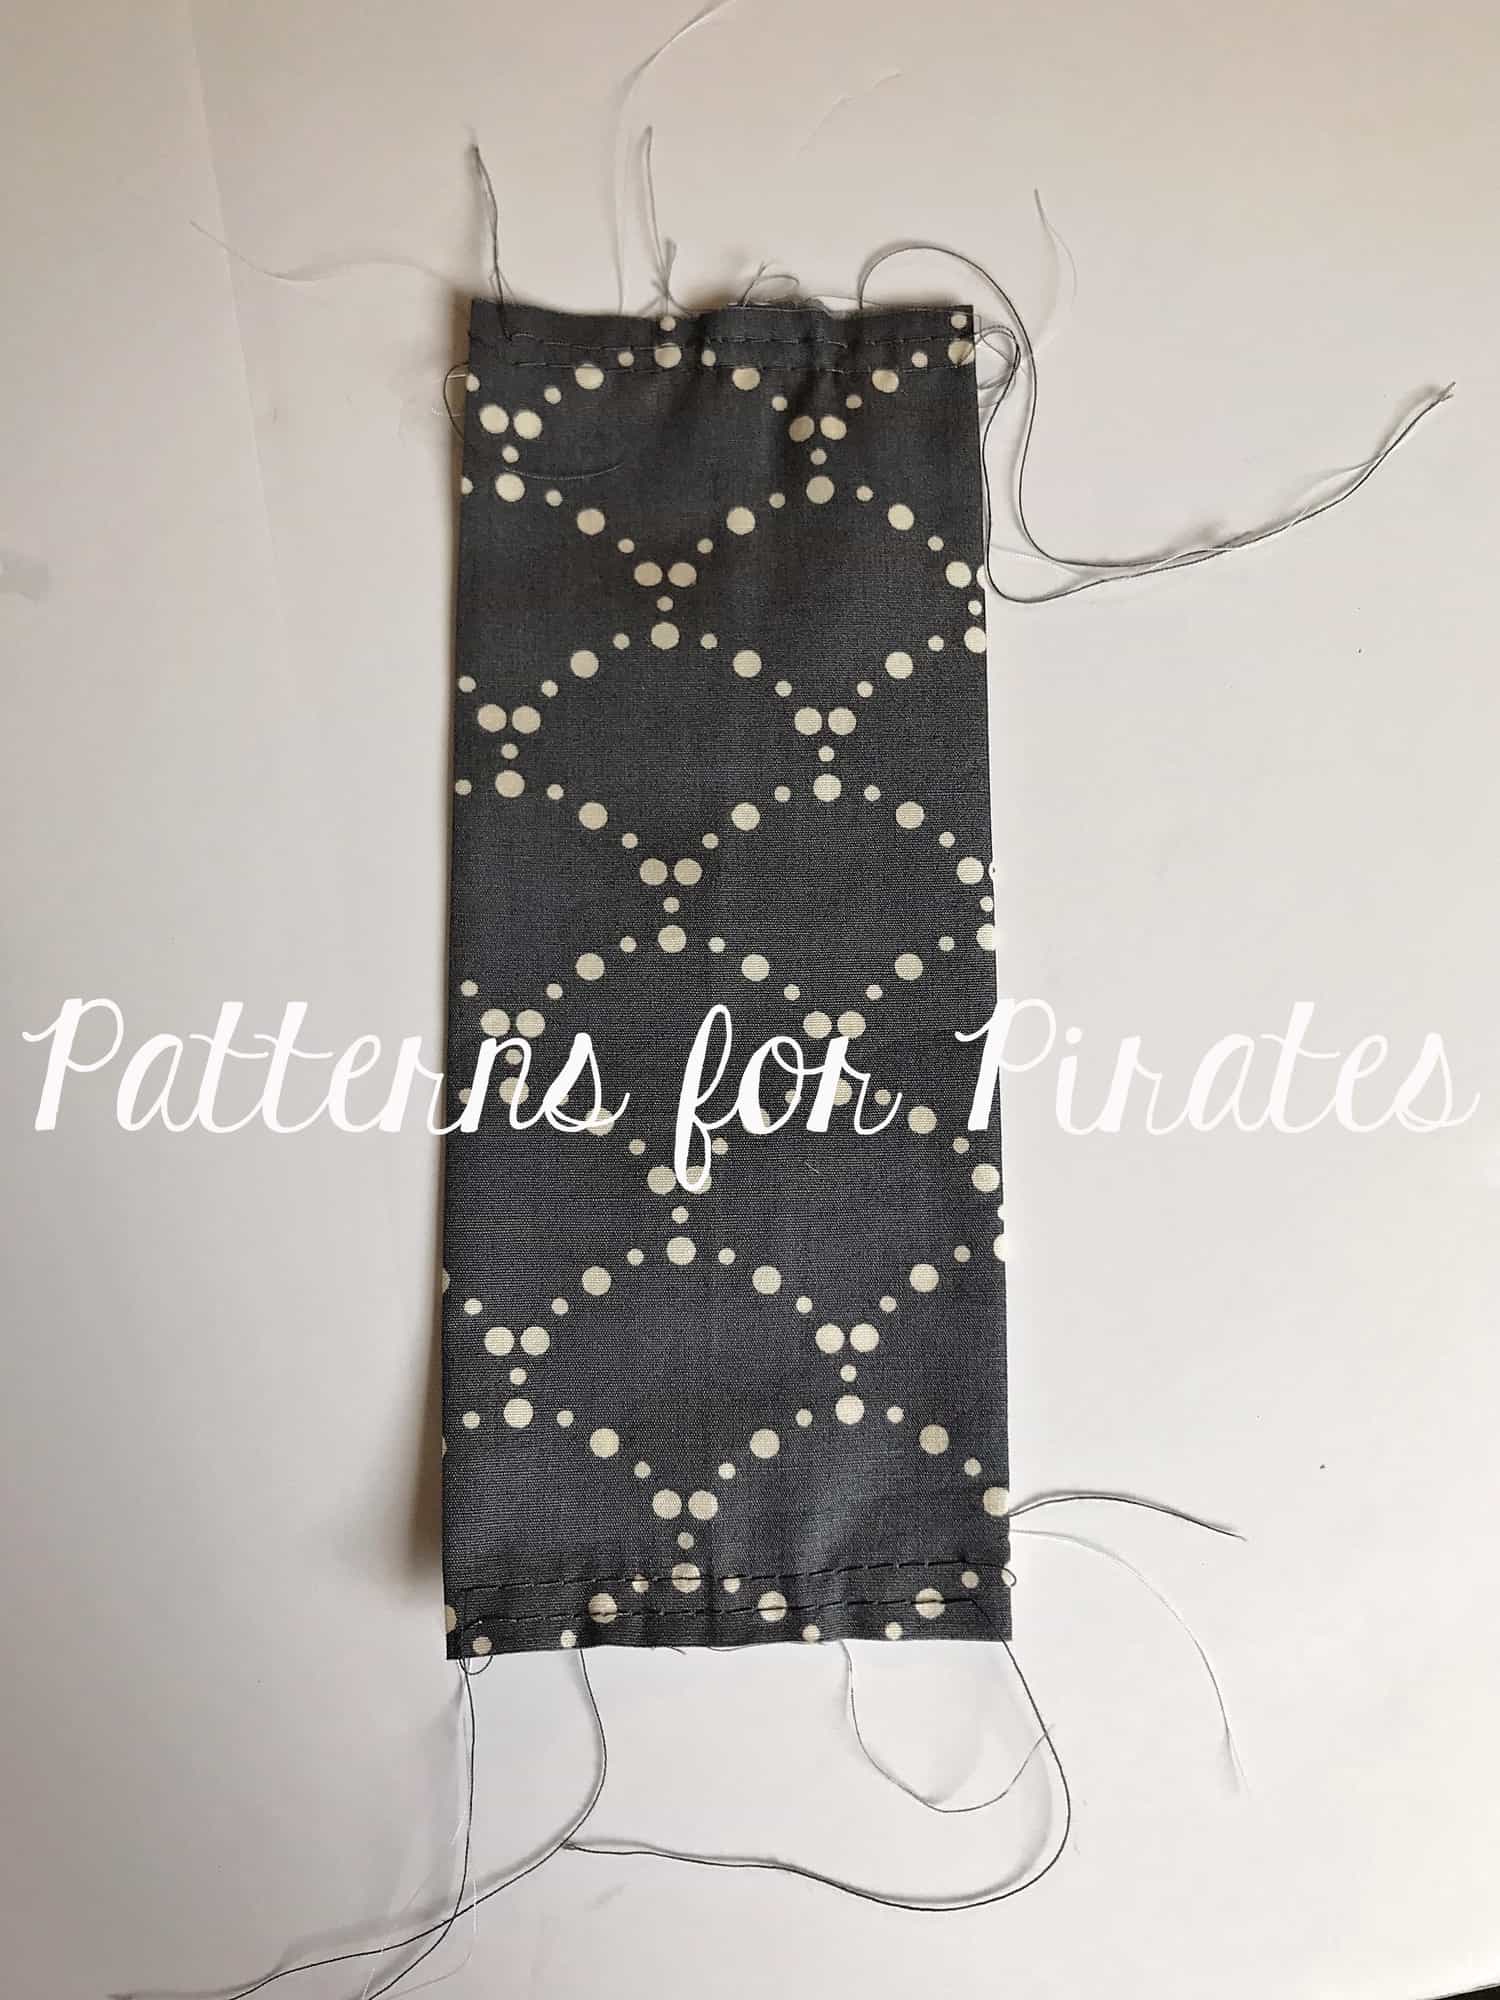
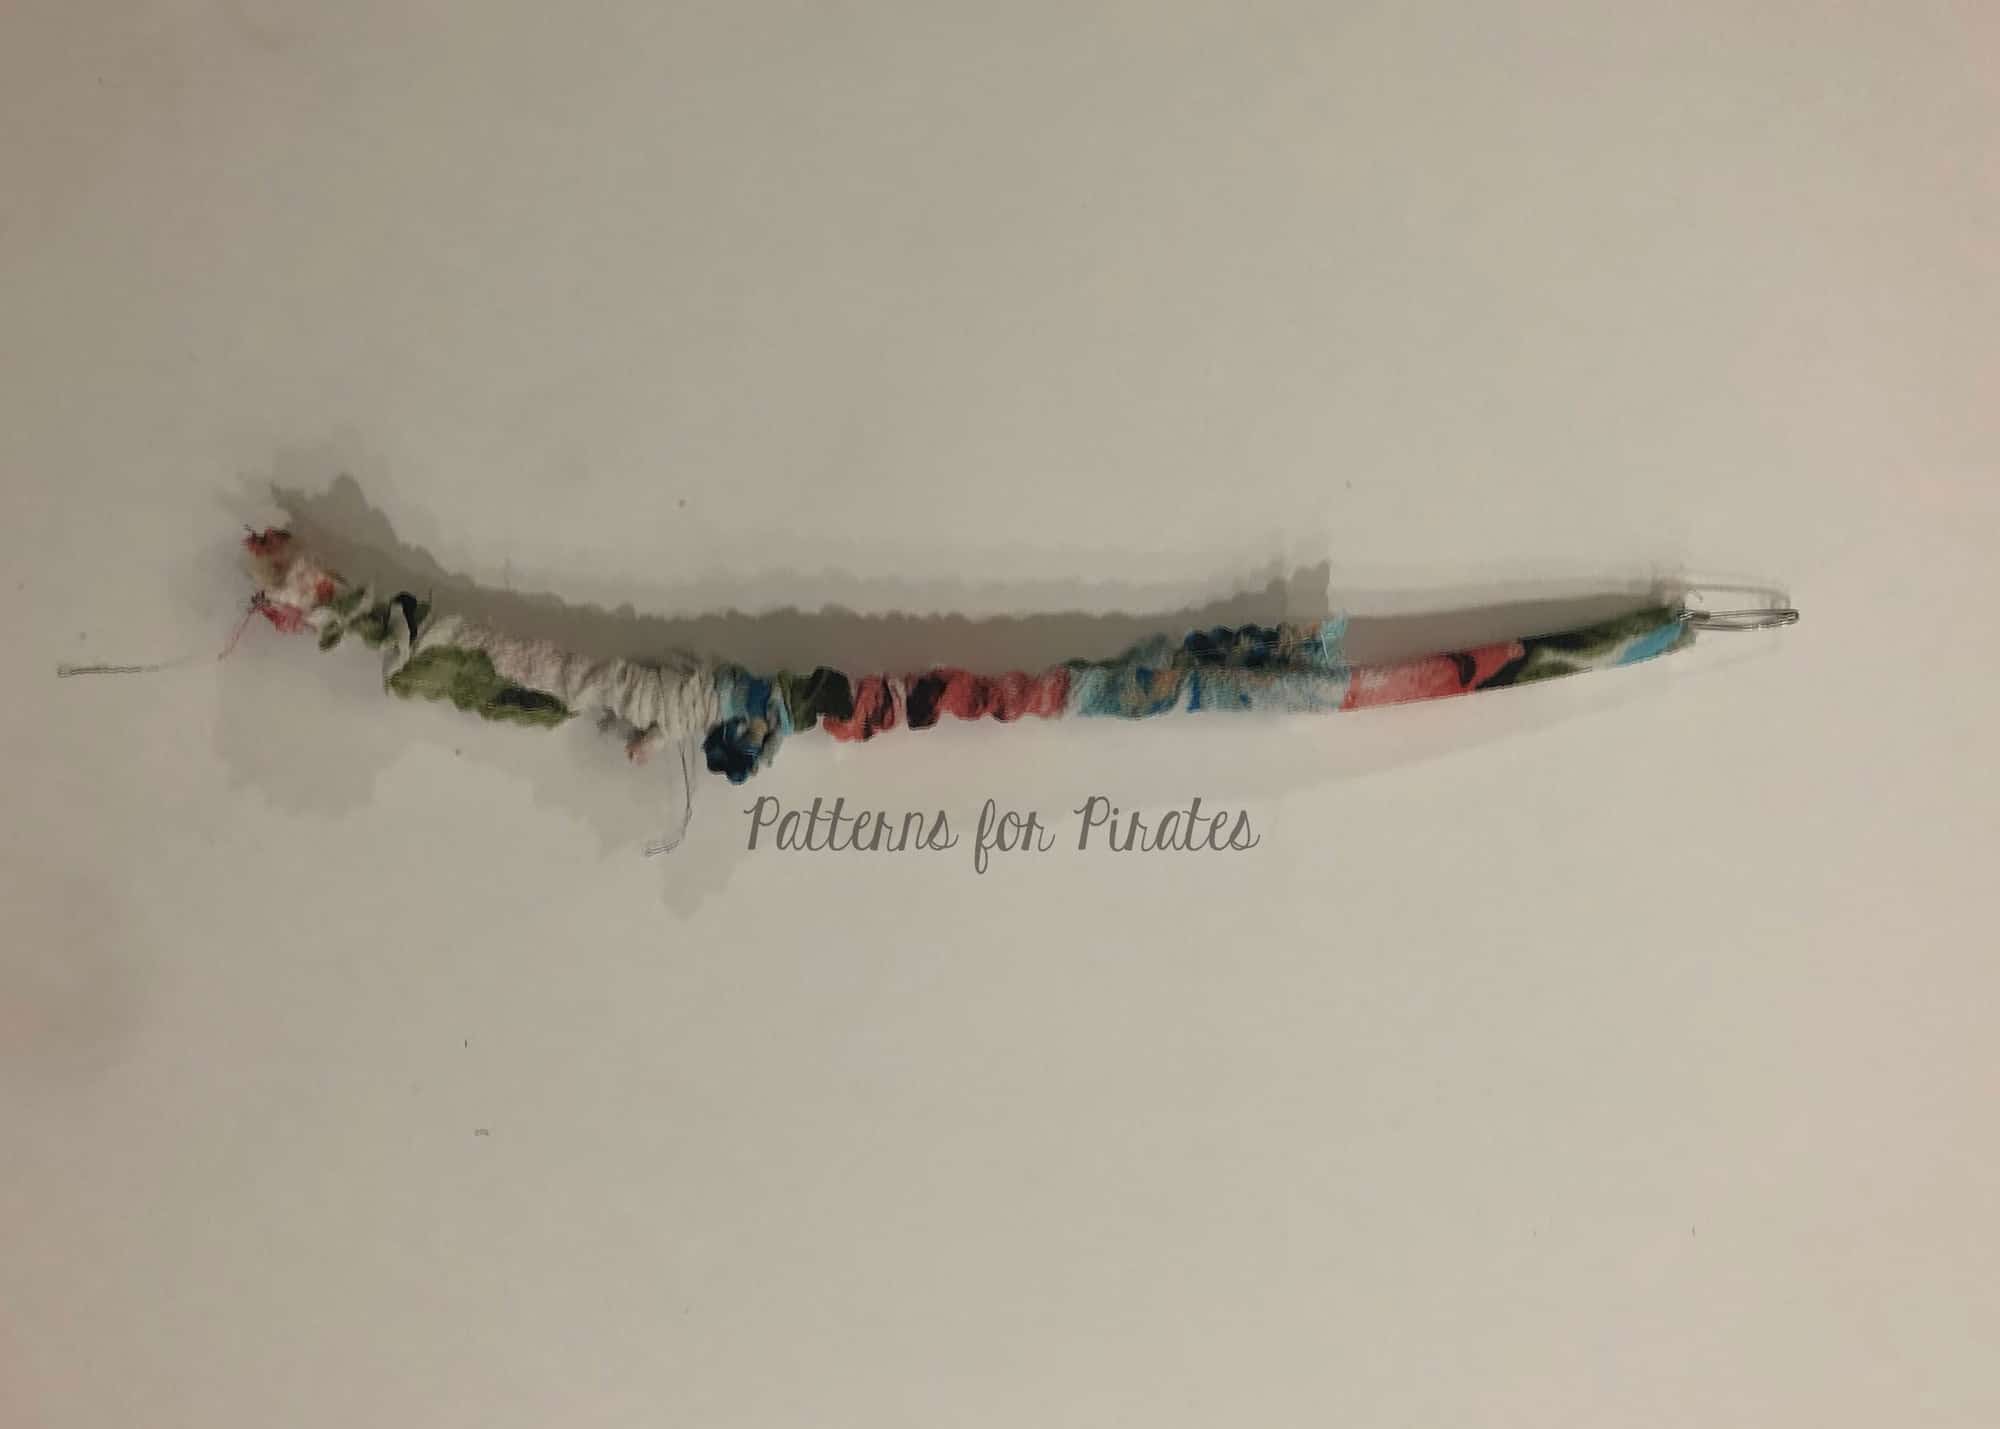
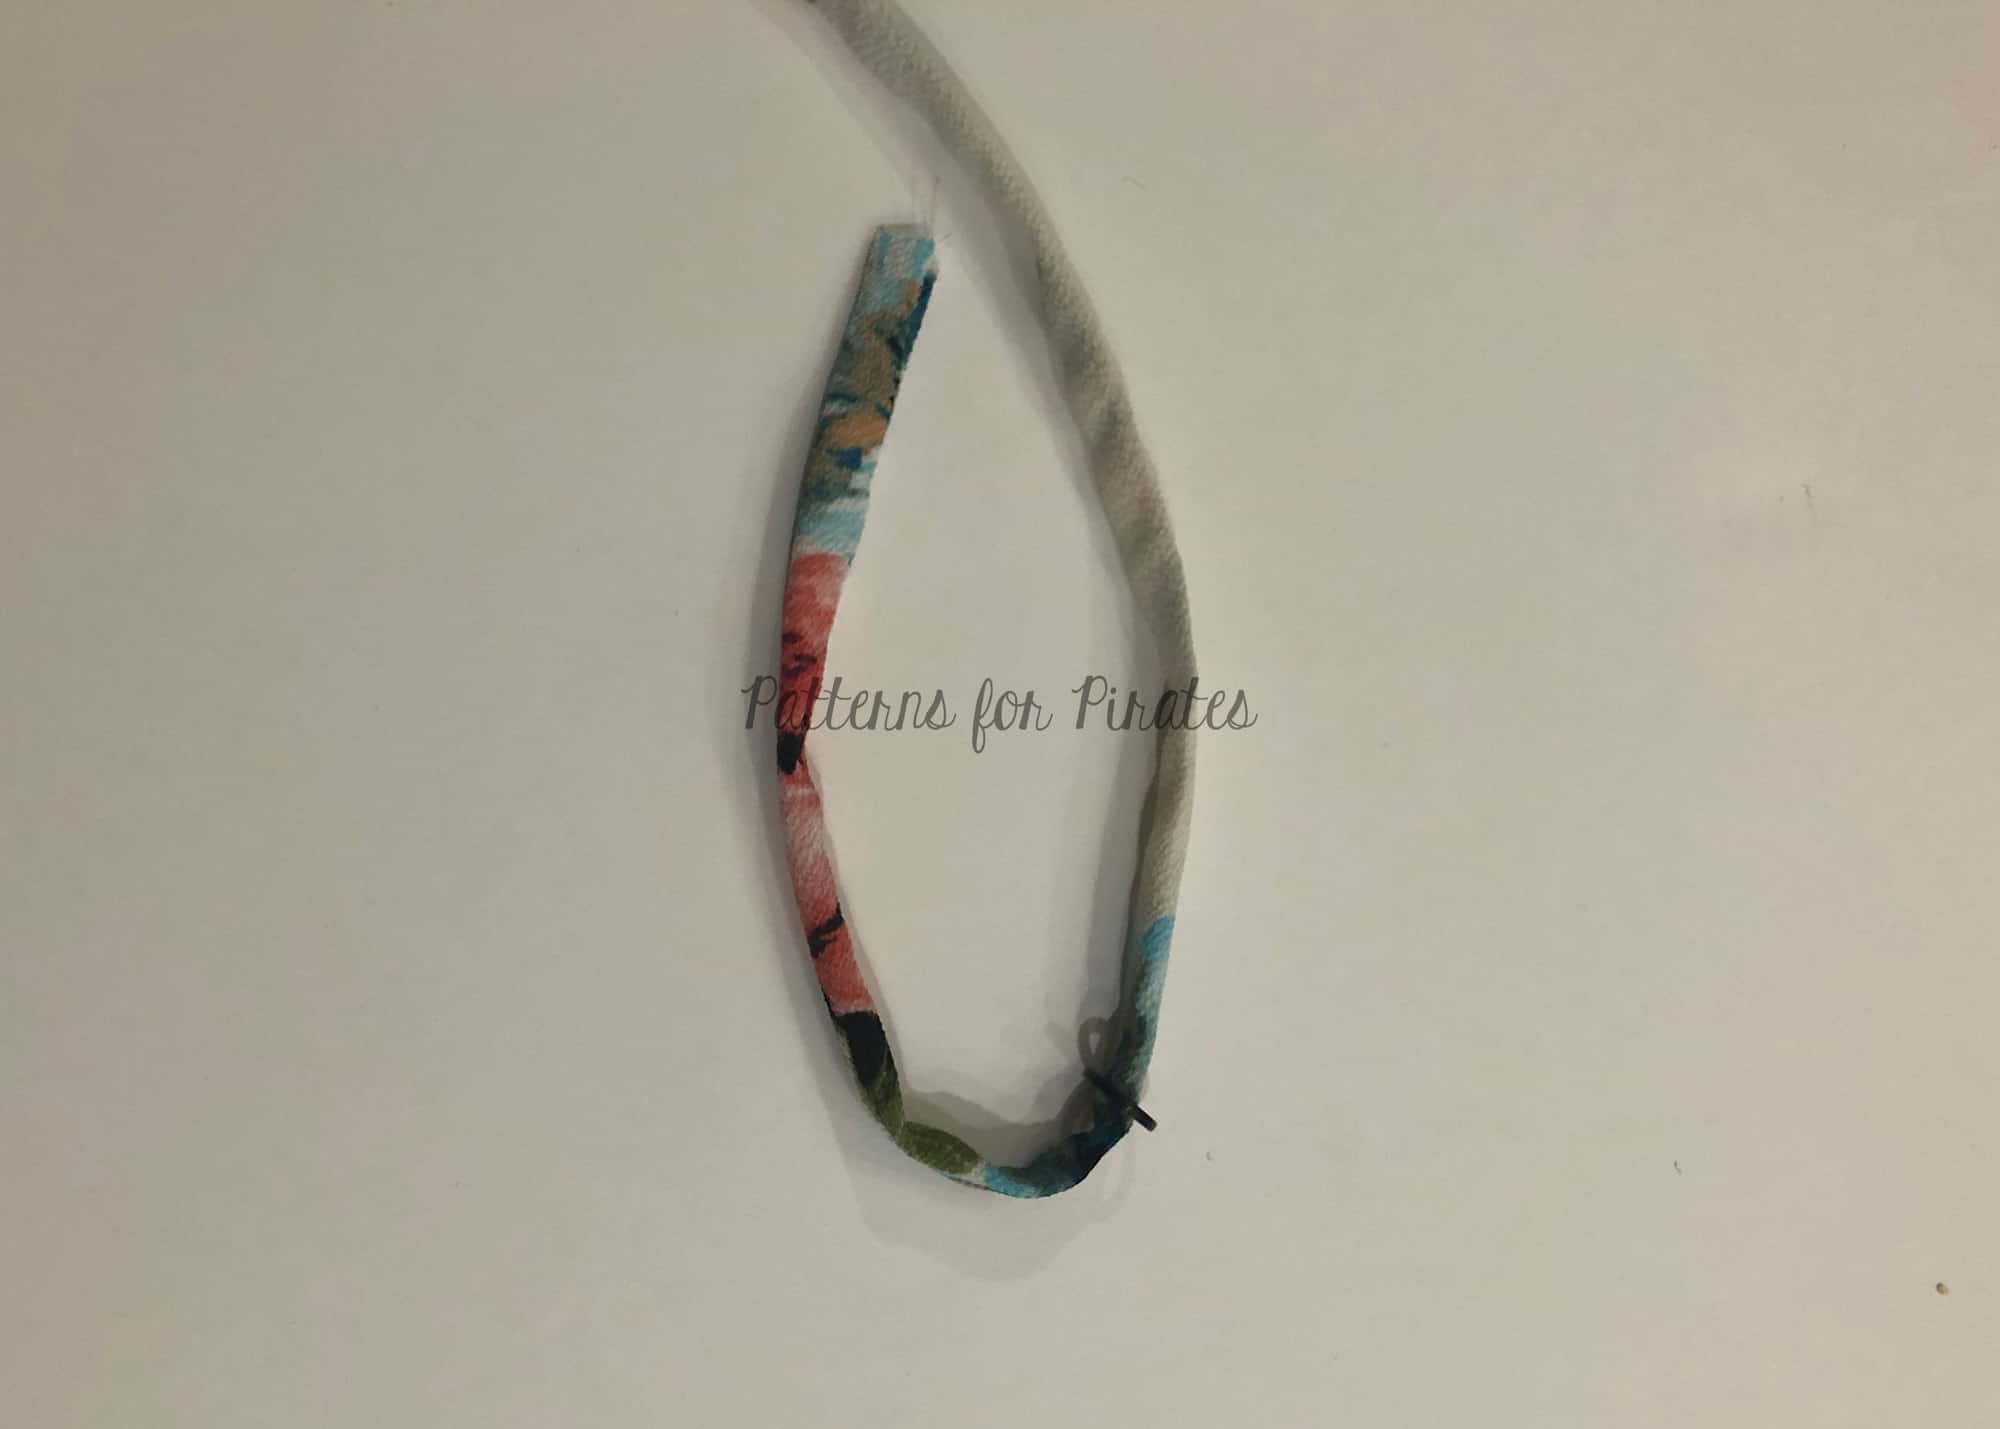
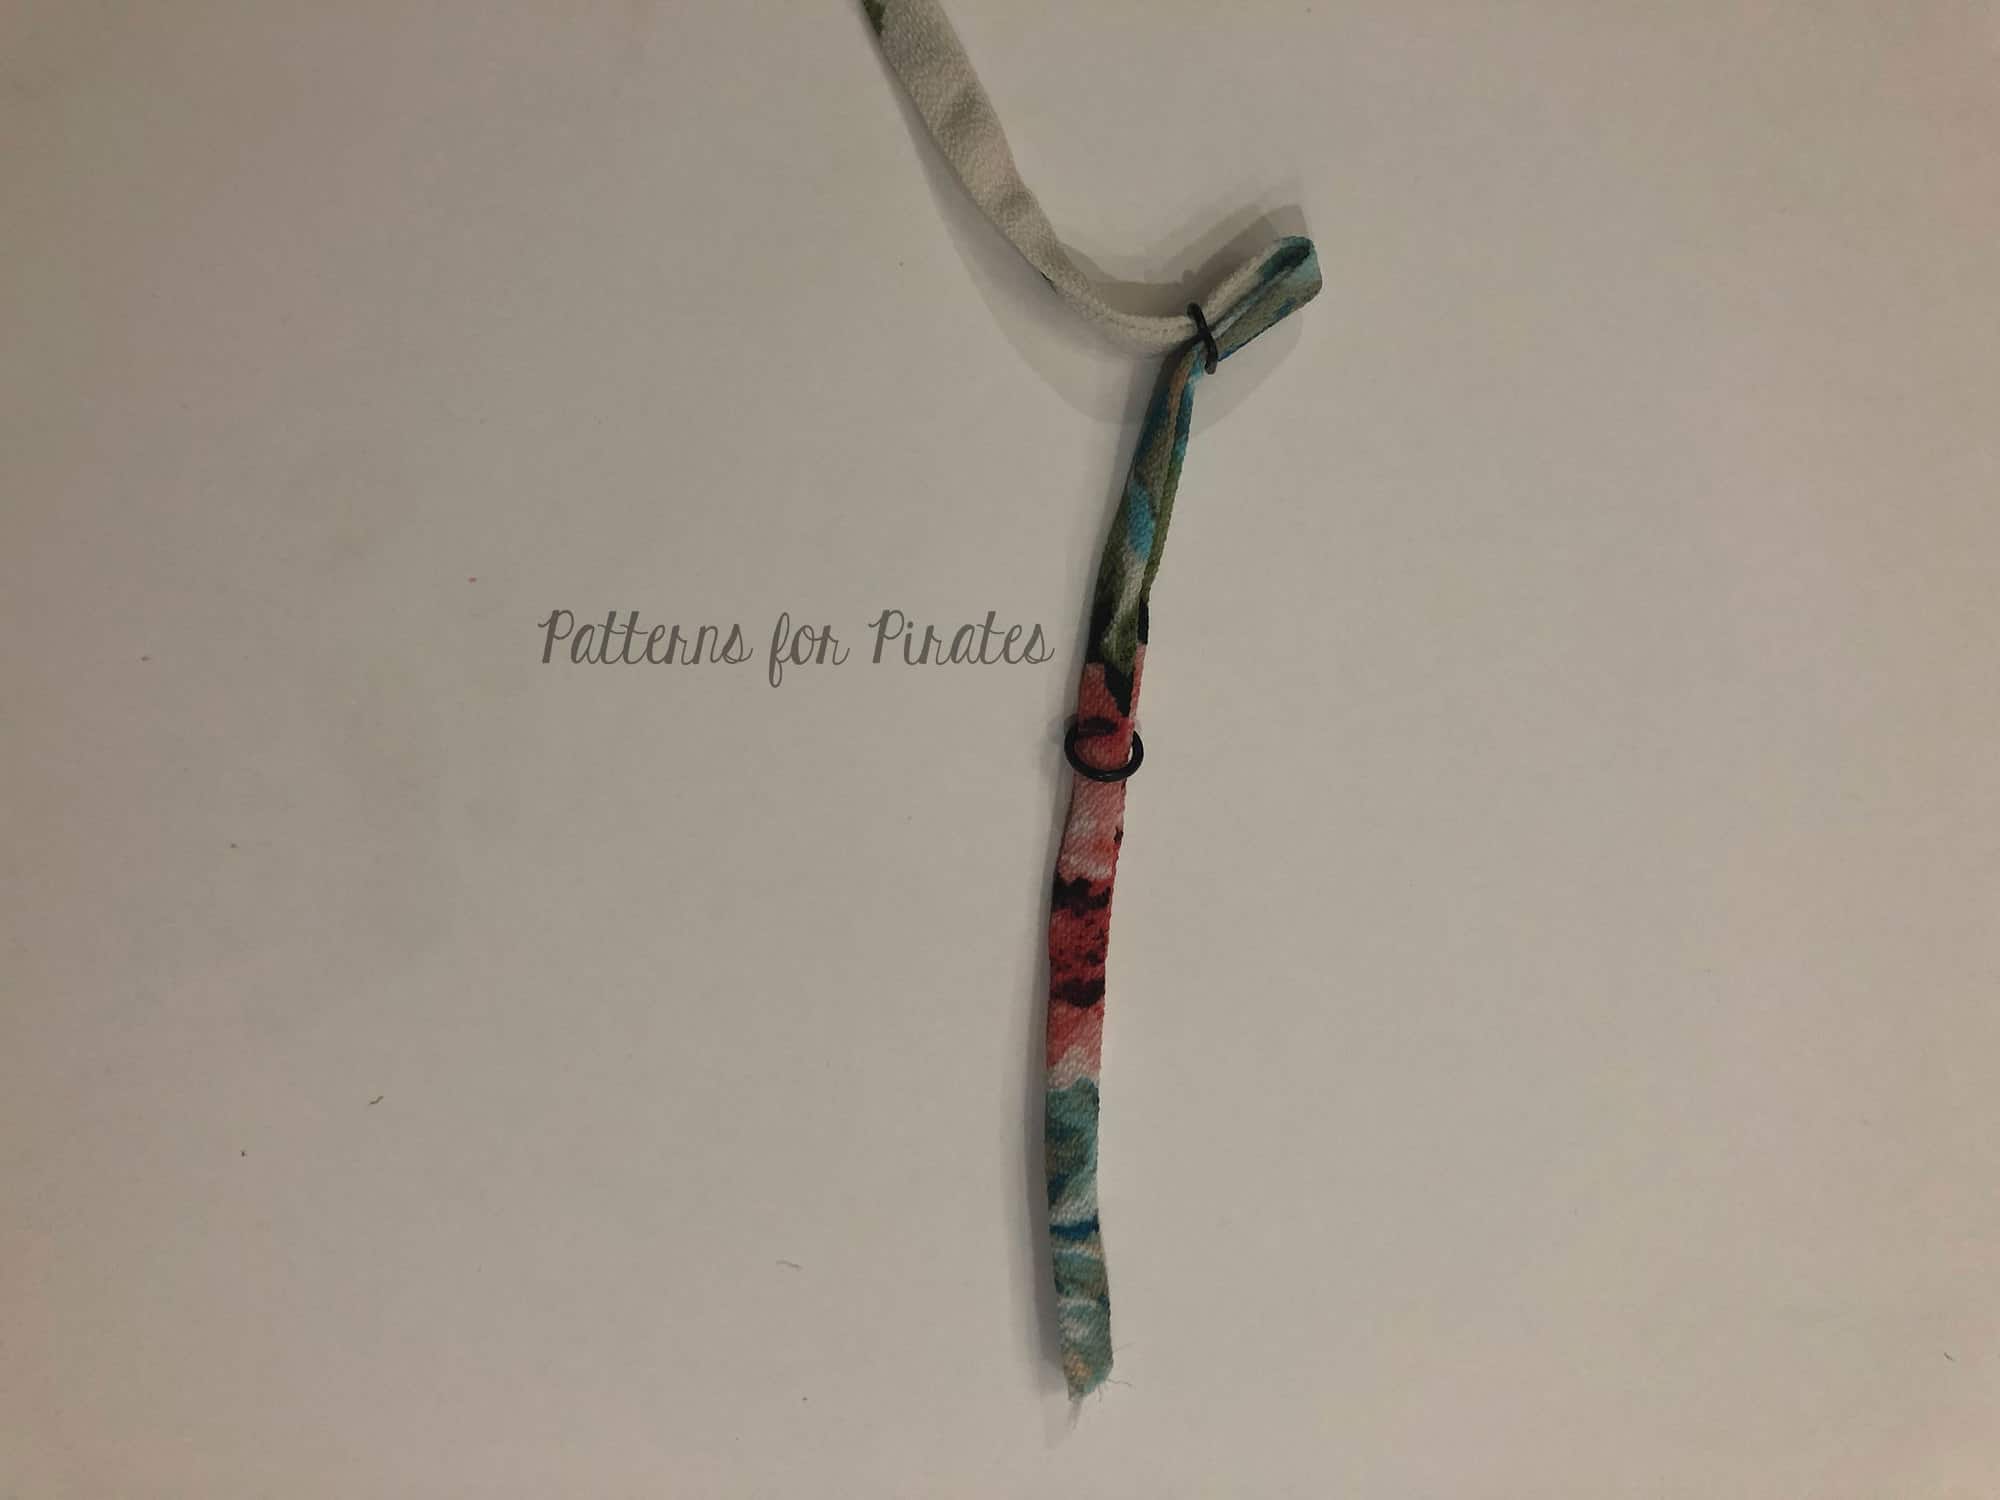
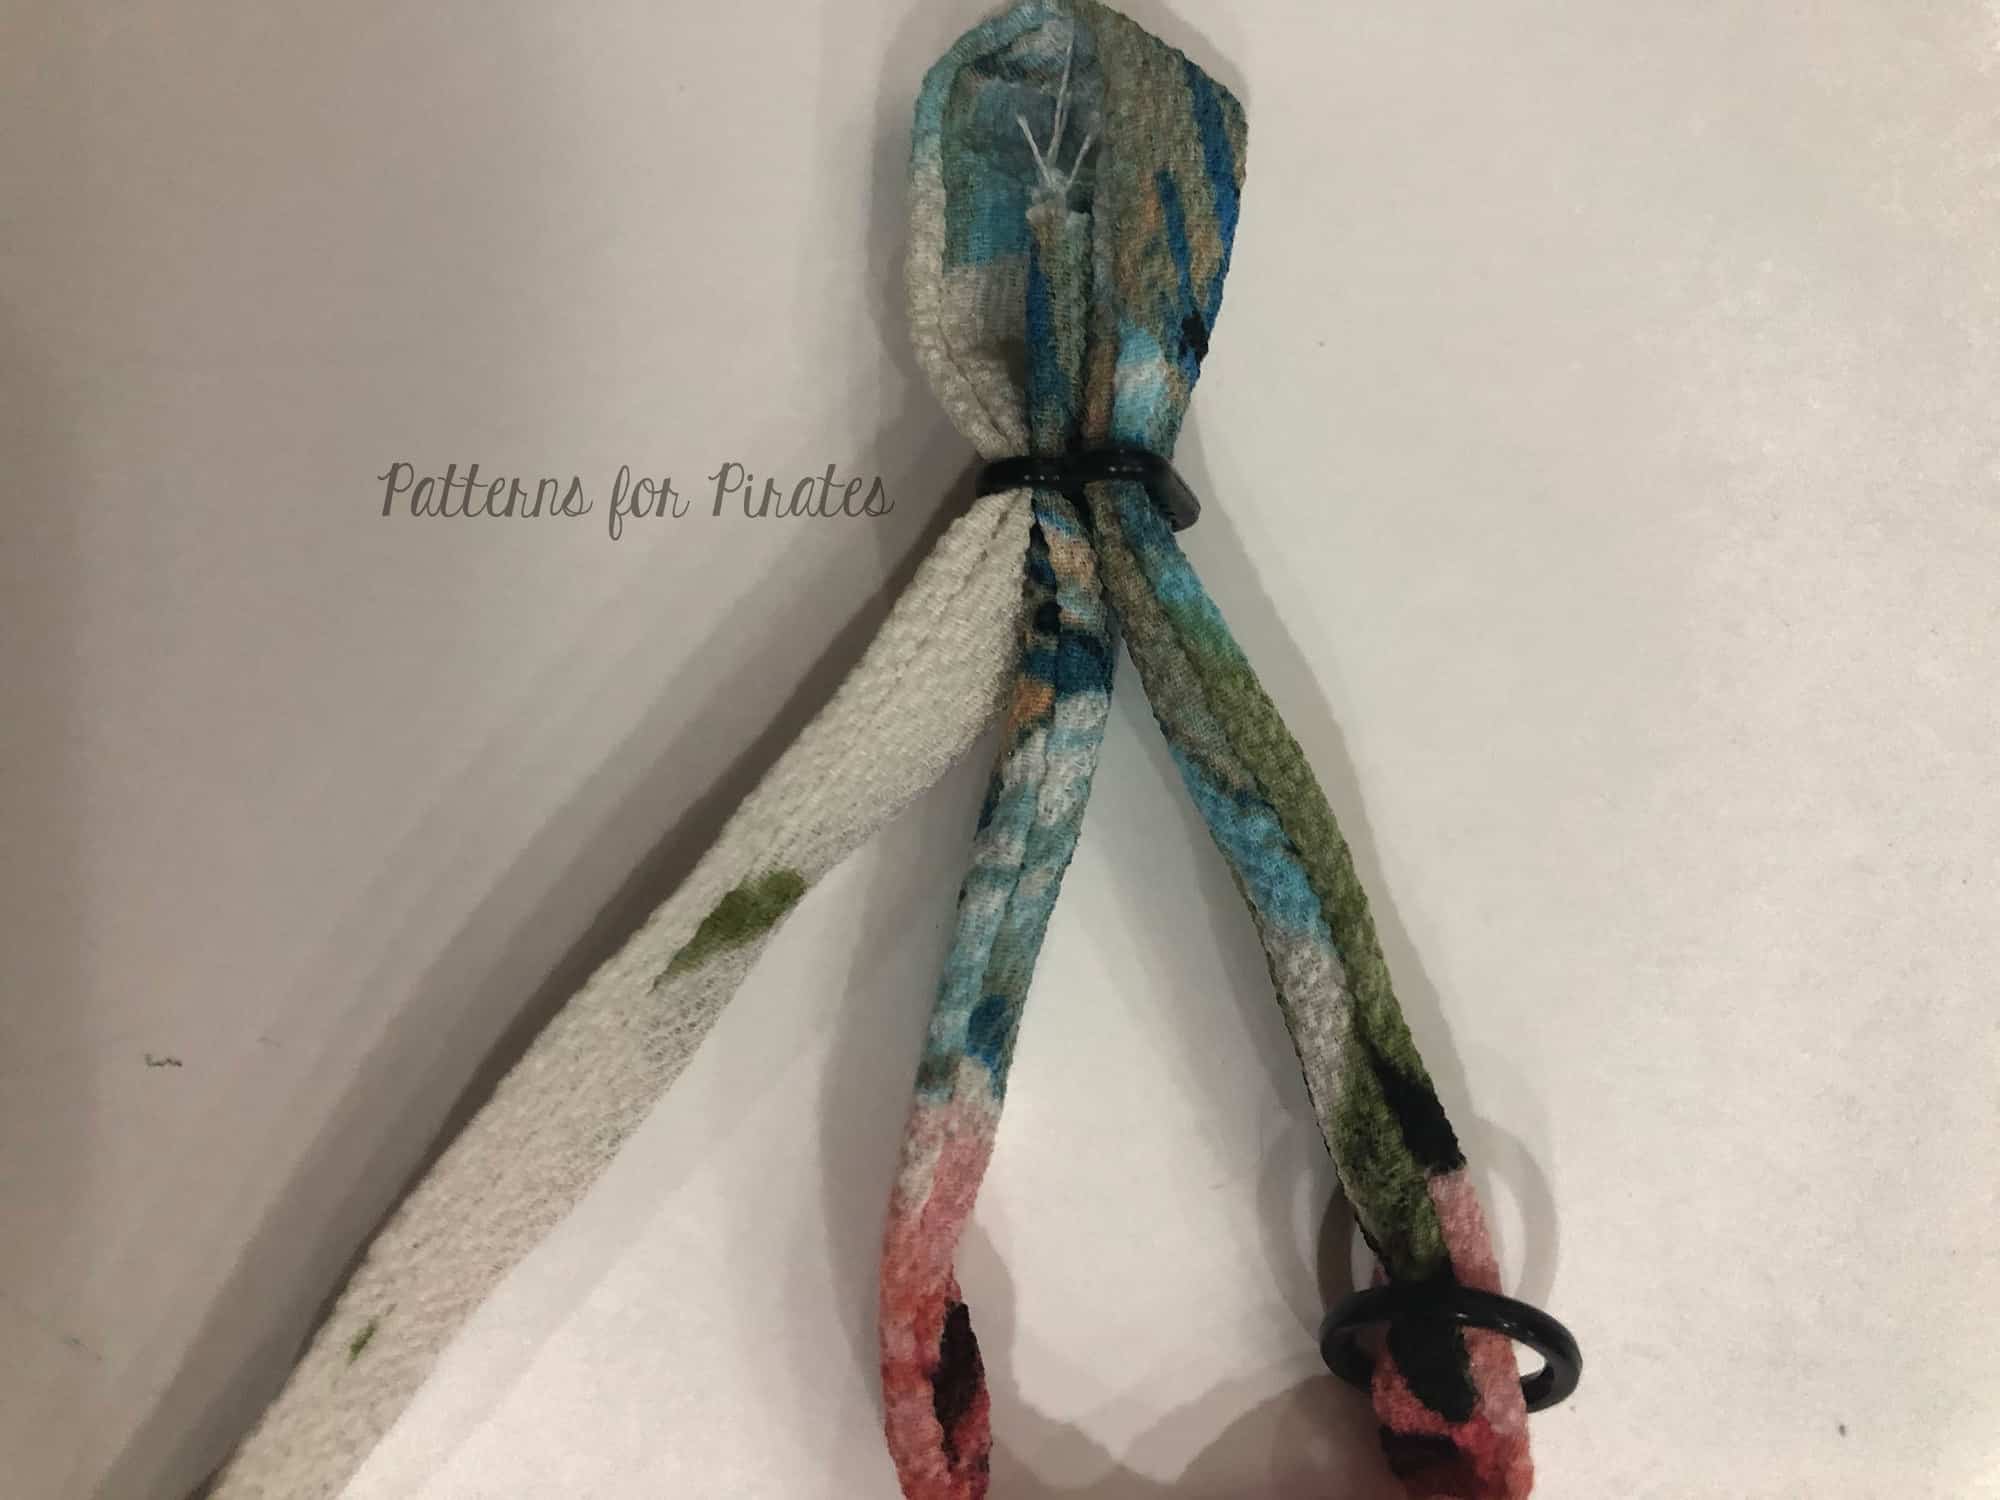
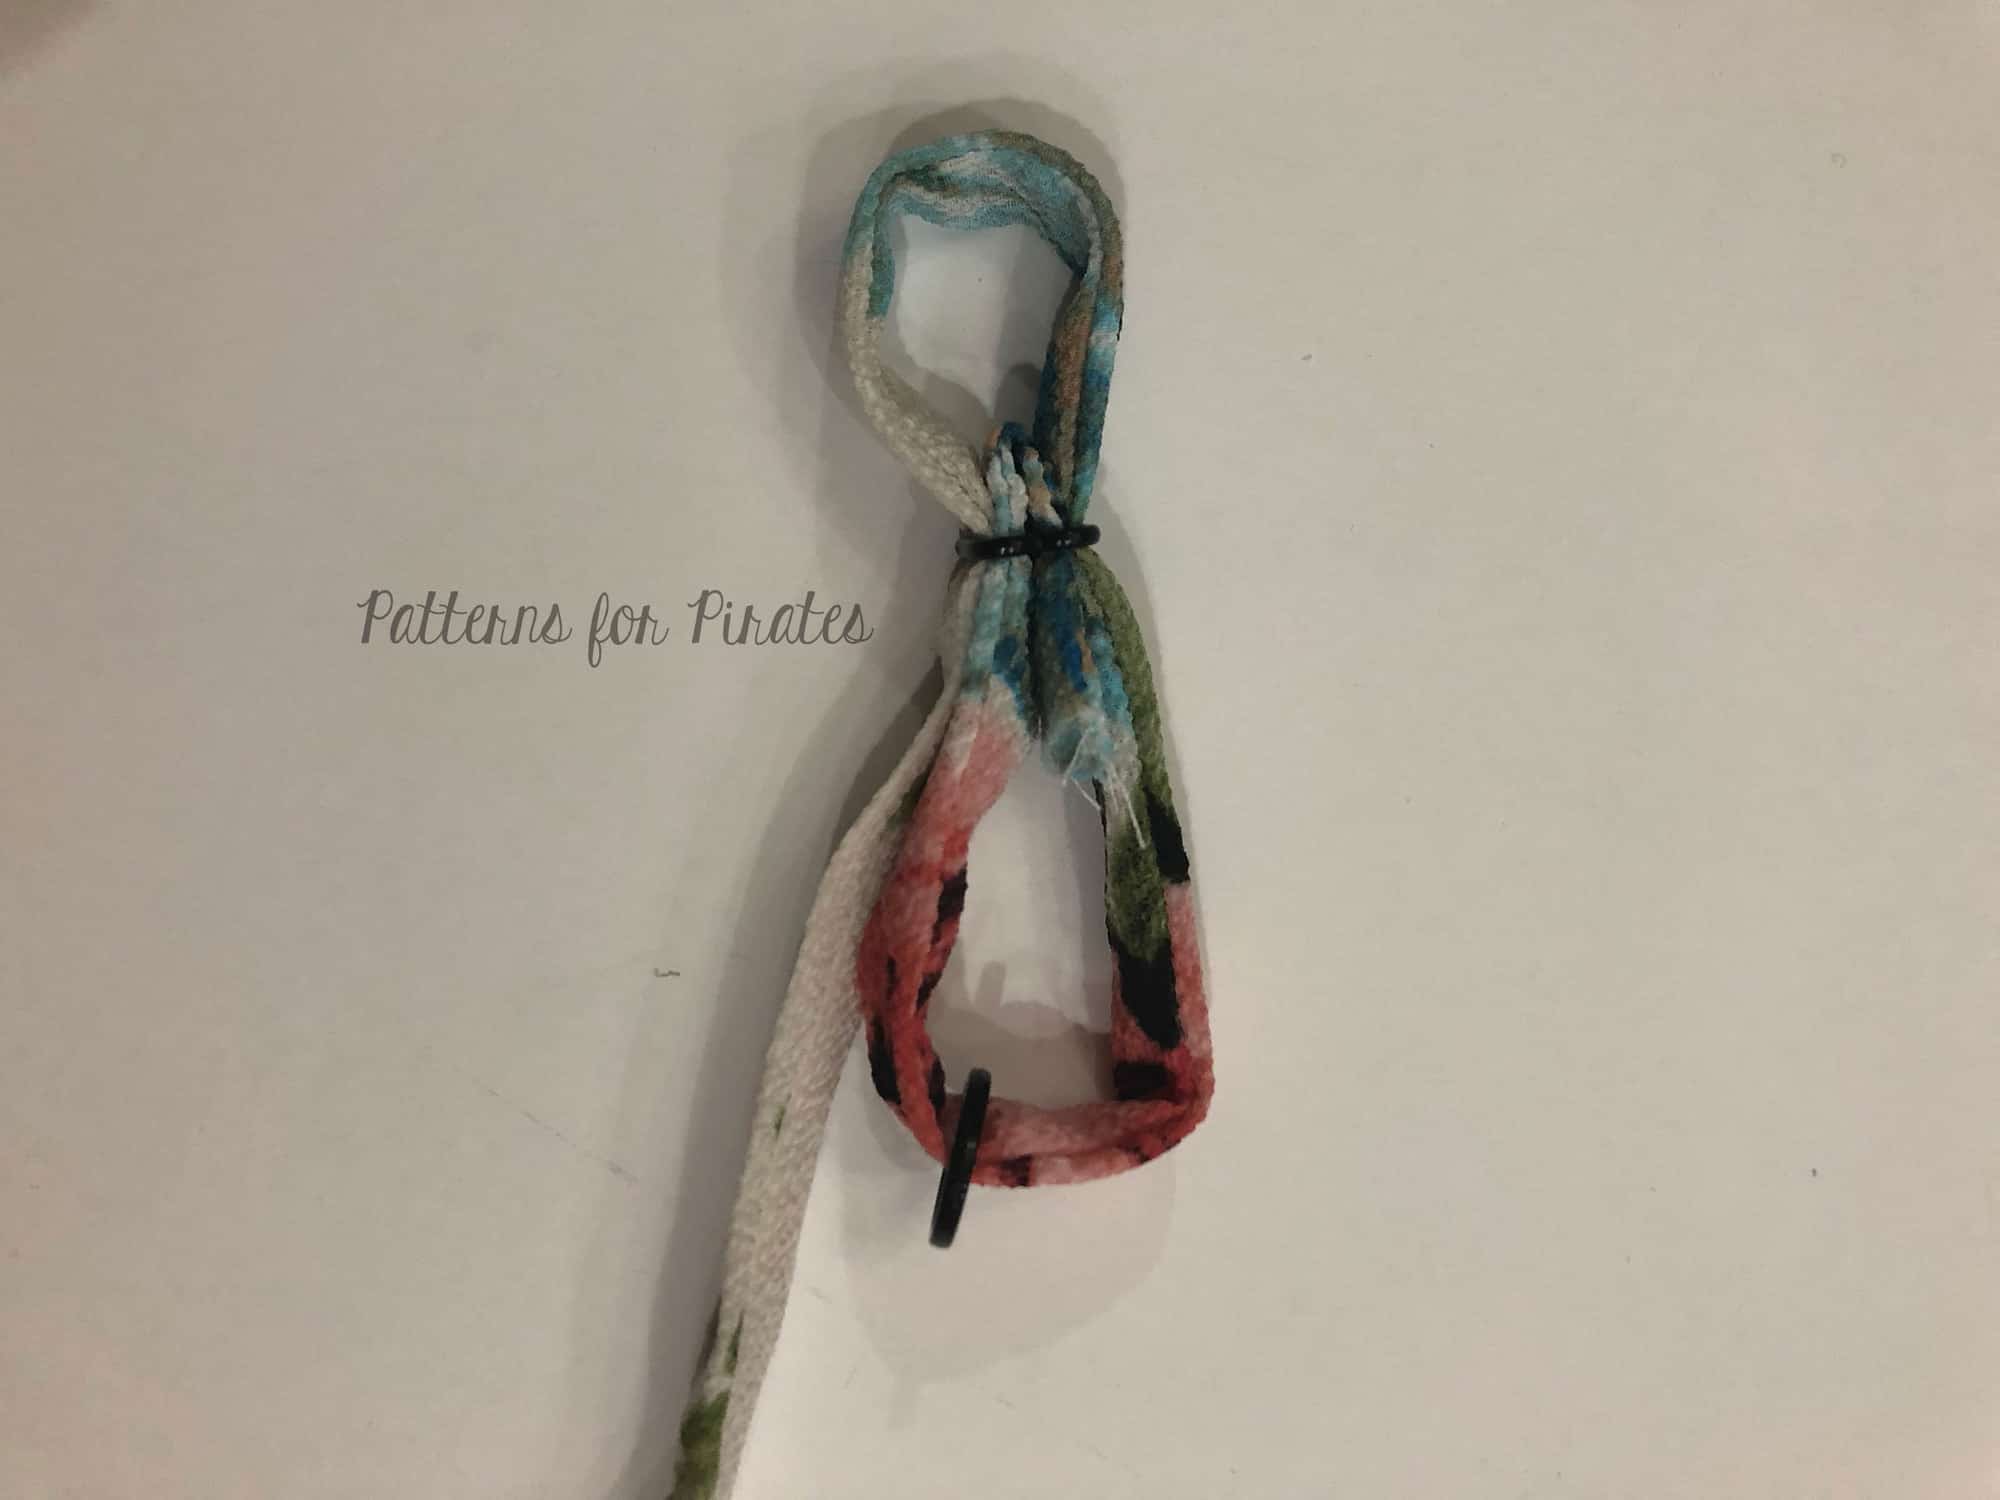
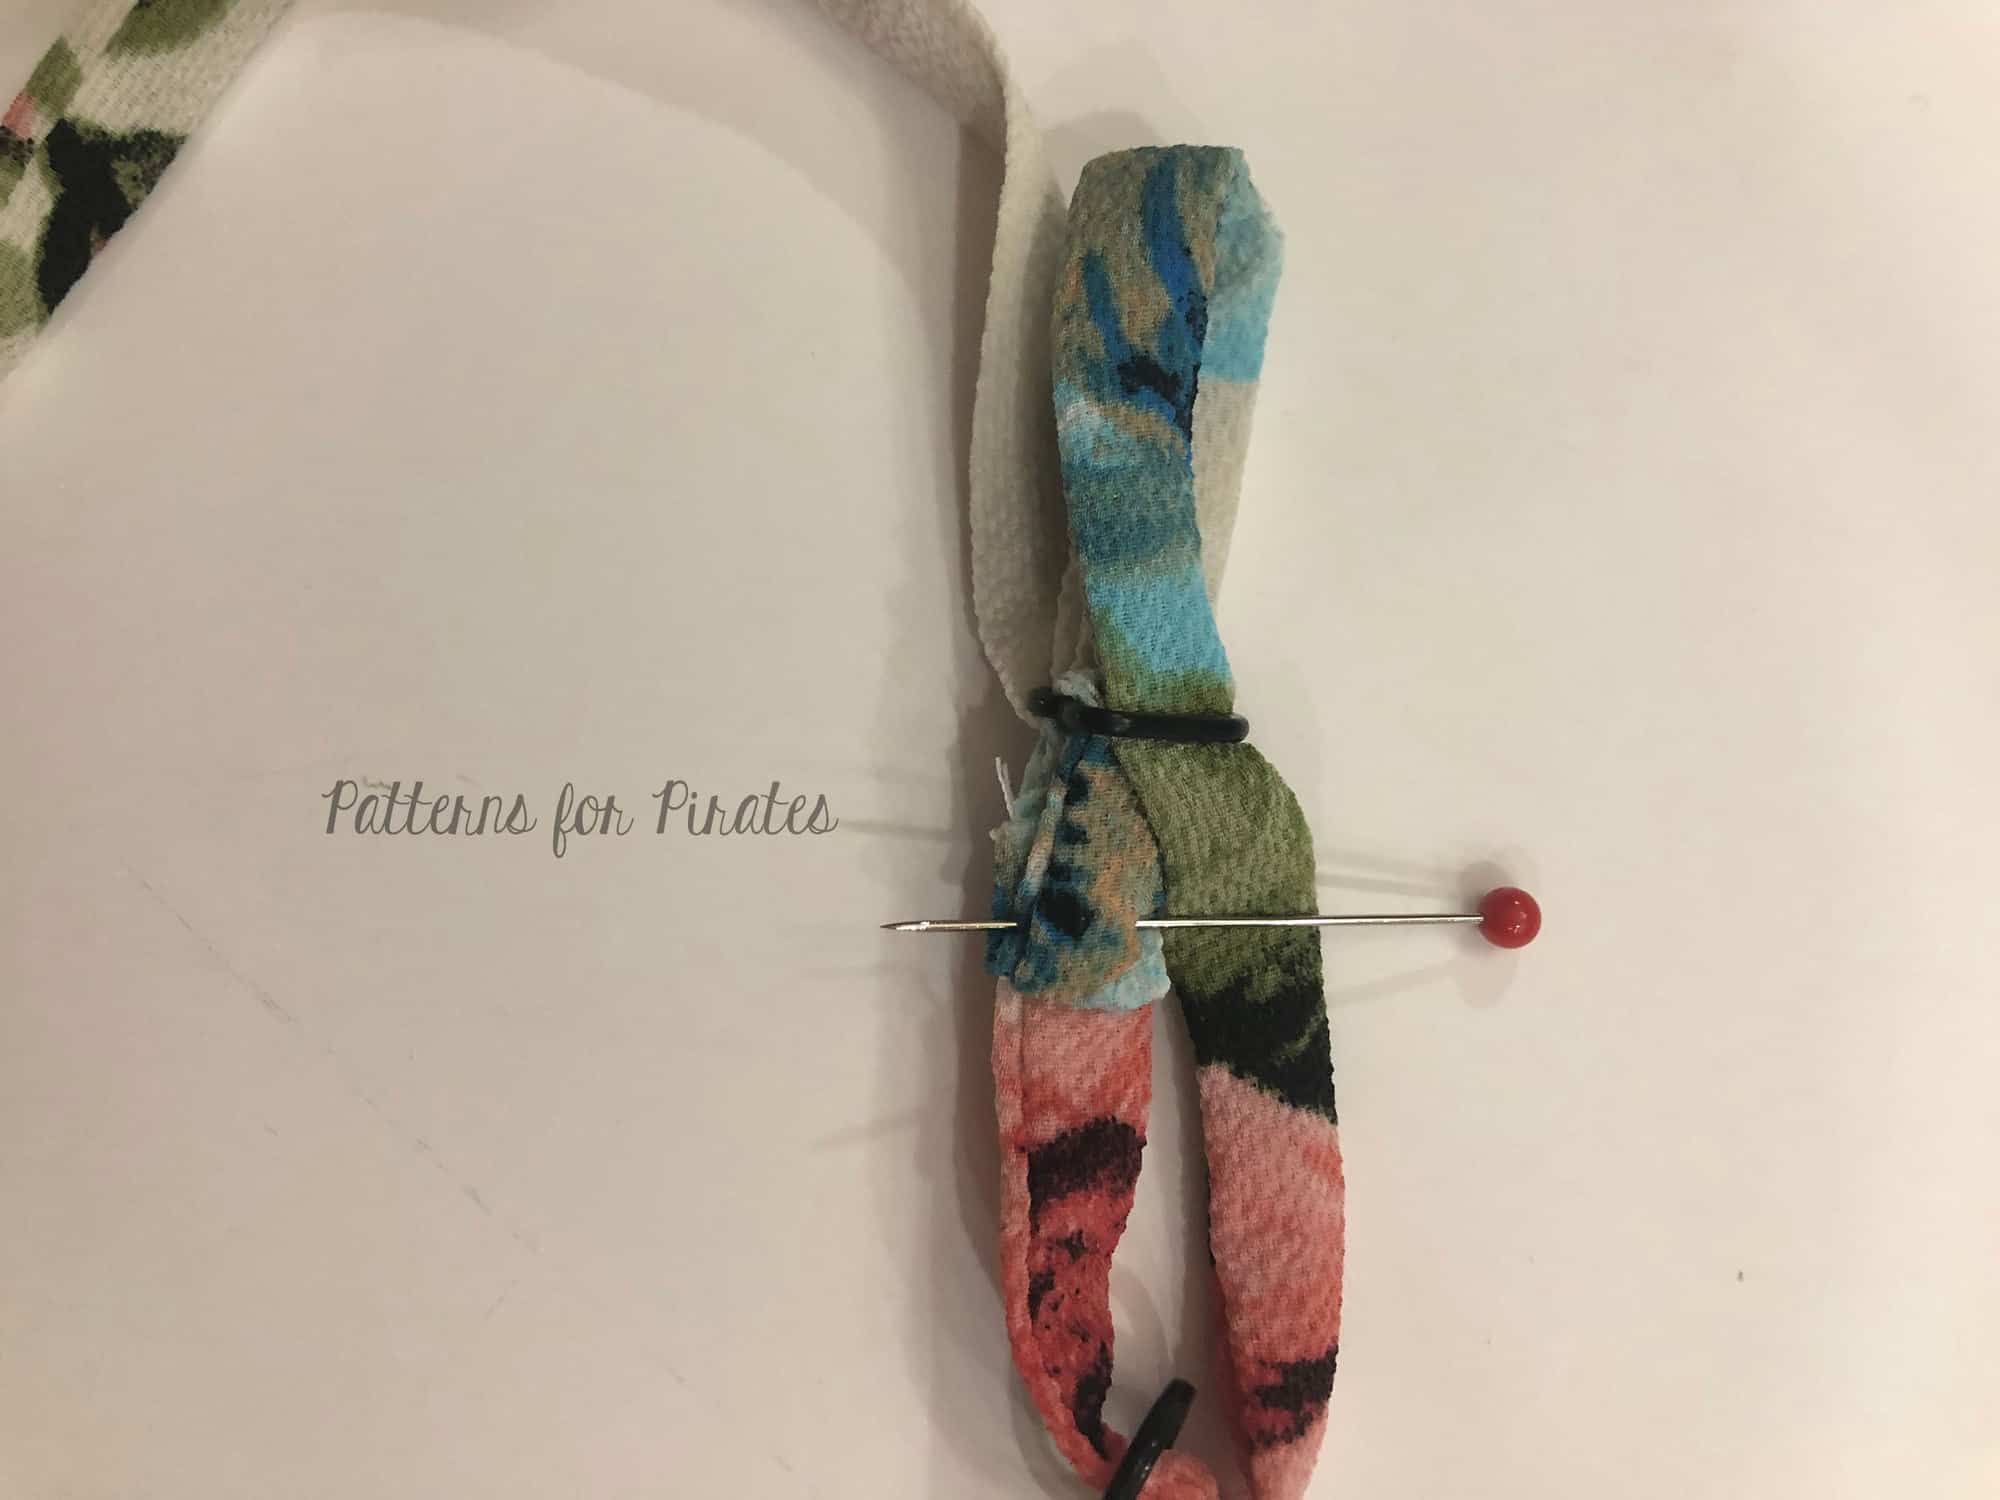
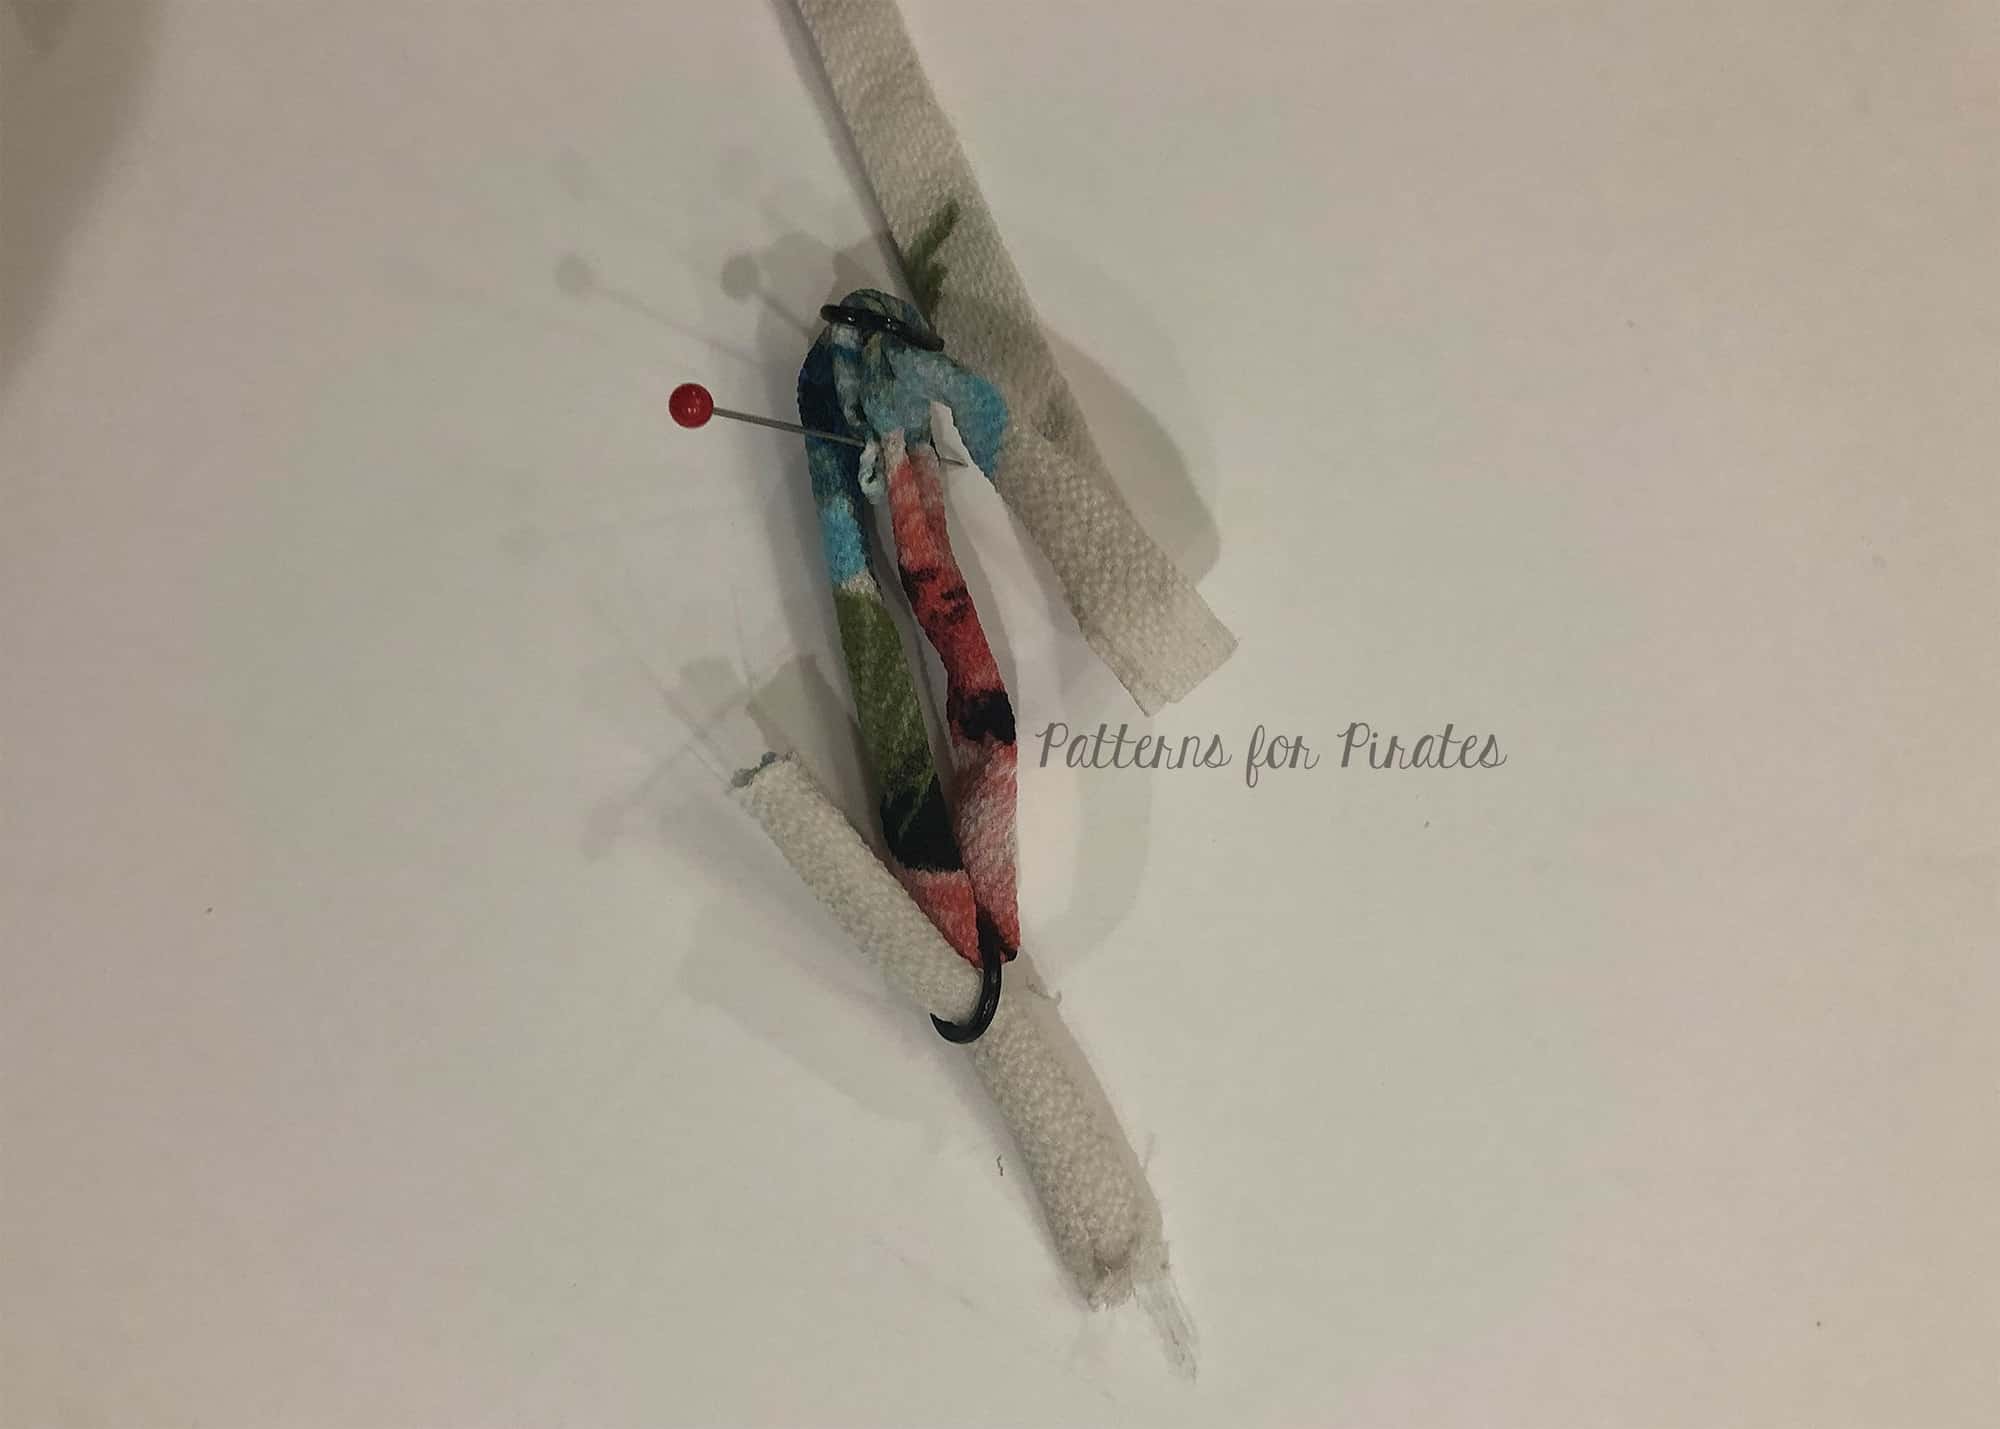
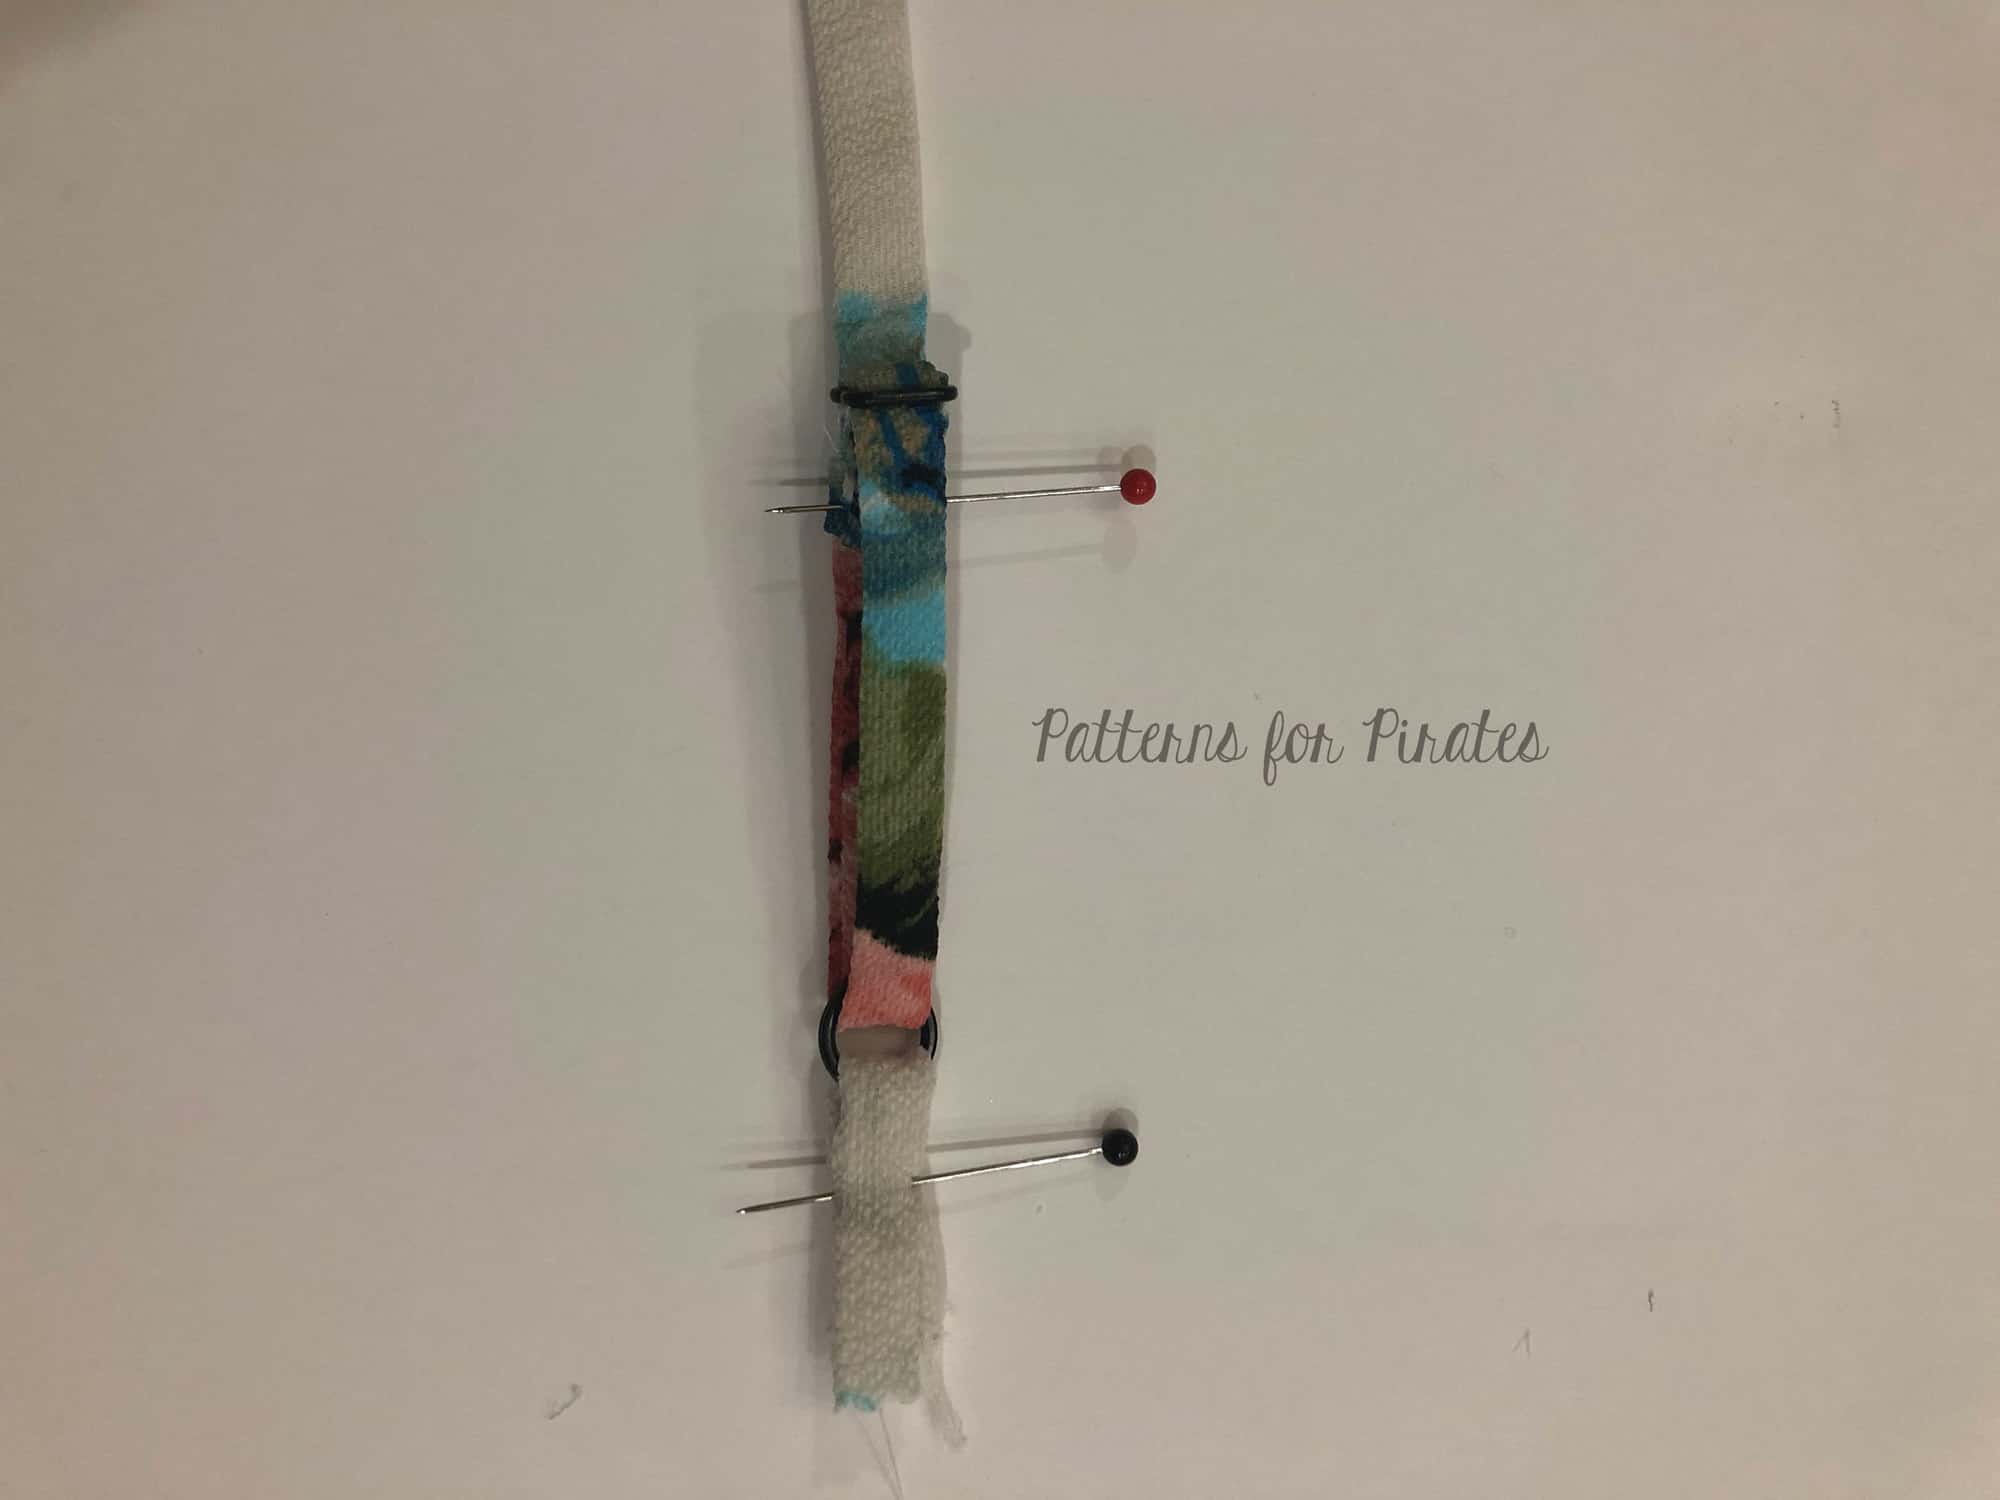
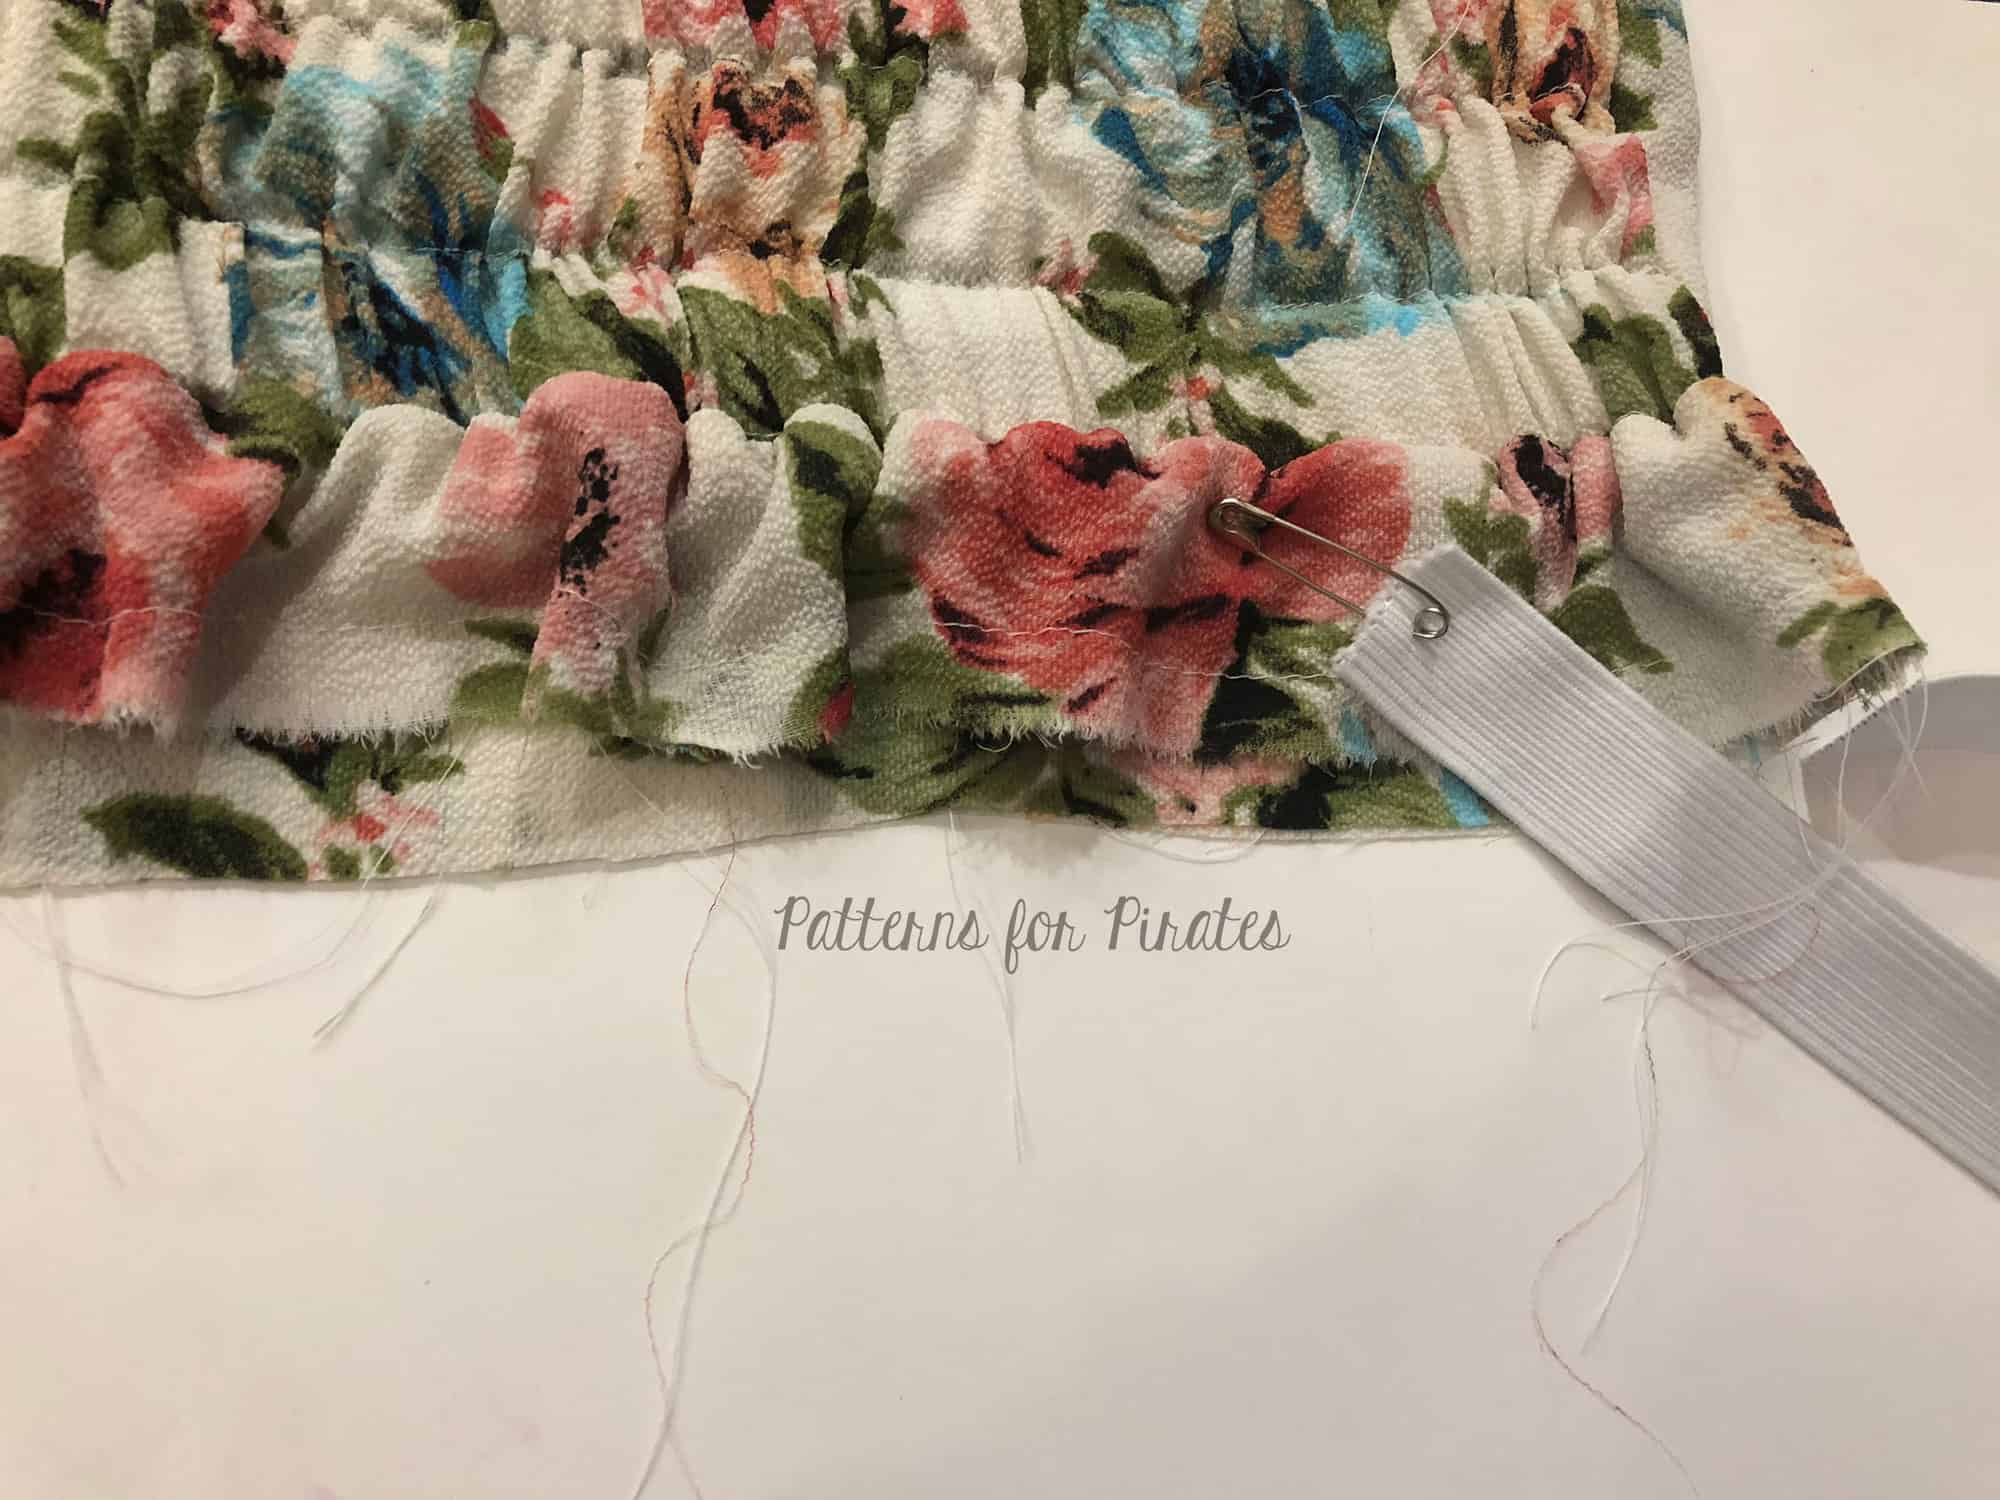
 Now just sew up your pants exactly as the pattern tutorial instructs. The only thing to consider is to make sure you’re placing your button holes correctly when attaching the waistband to the pants. After they’re all sewn up, you can put your drawstring through your button holes and around the waistband. I always use a safety pin to help guide it through.
 Tada! Now you can wear your ever so comfortable, stylish sweatpants without fear they might look like you stepped out in your pjs 😉