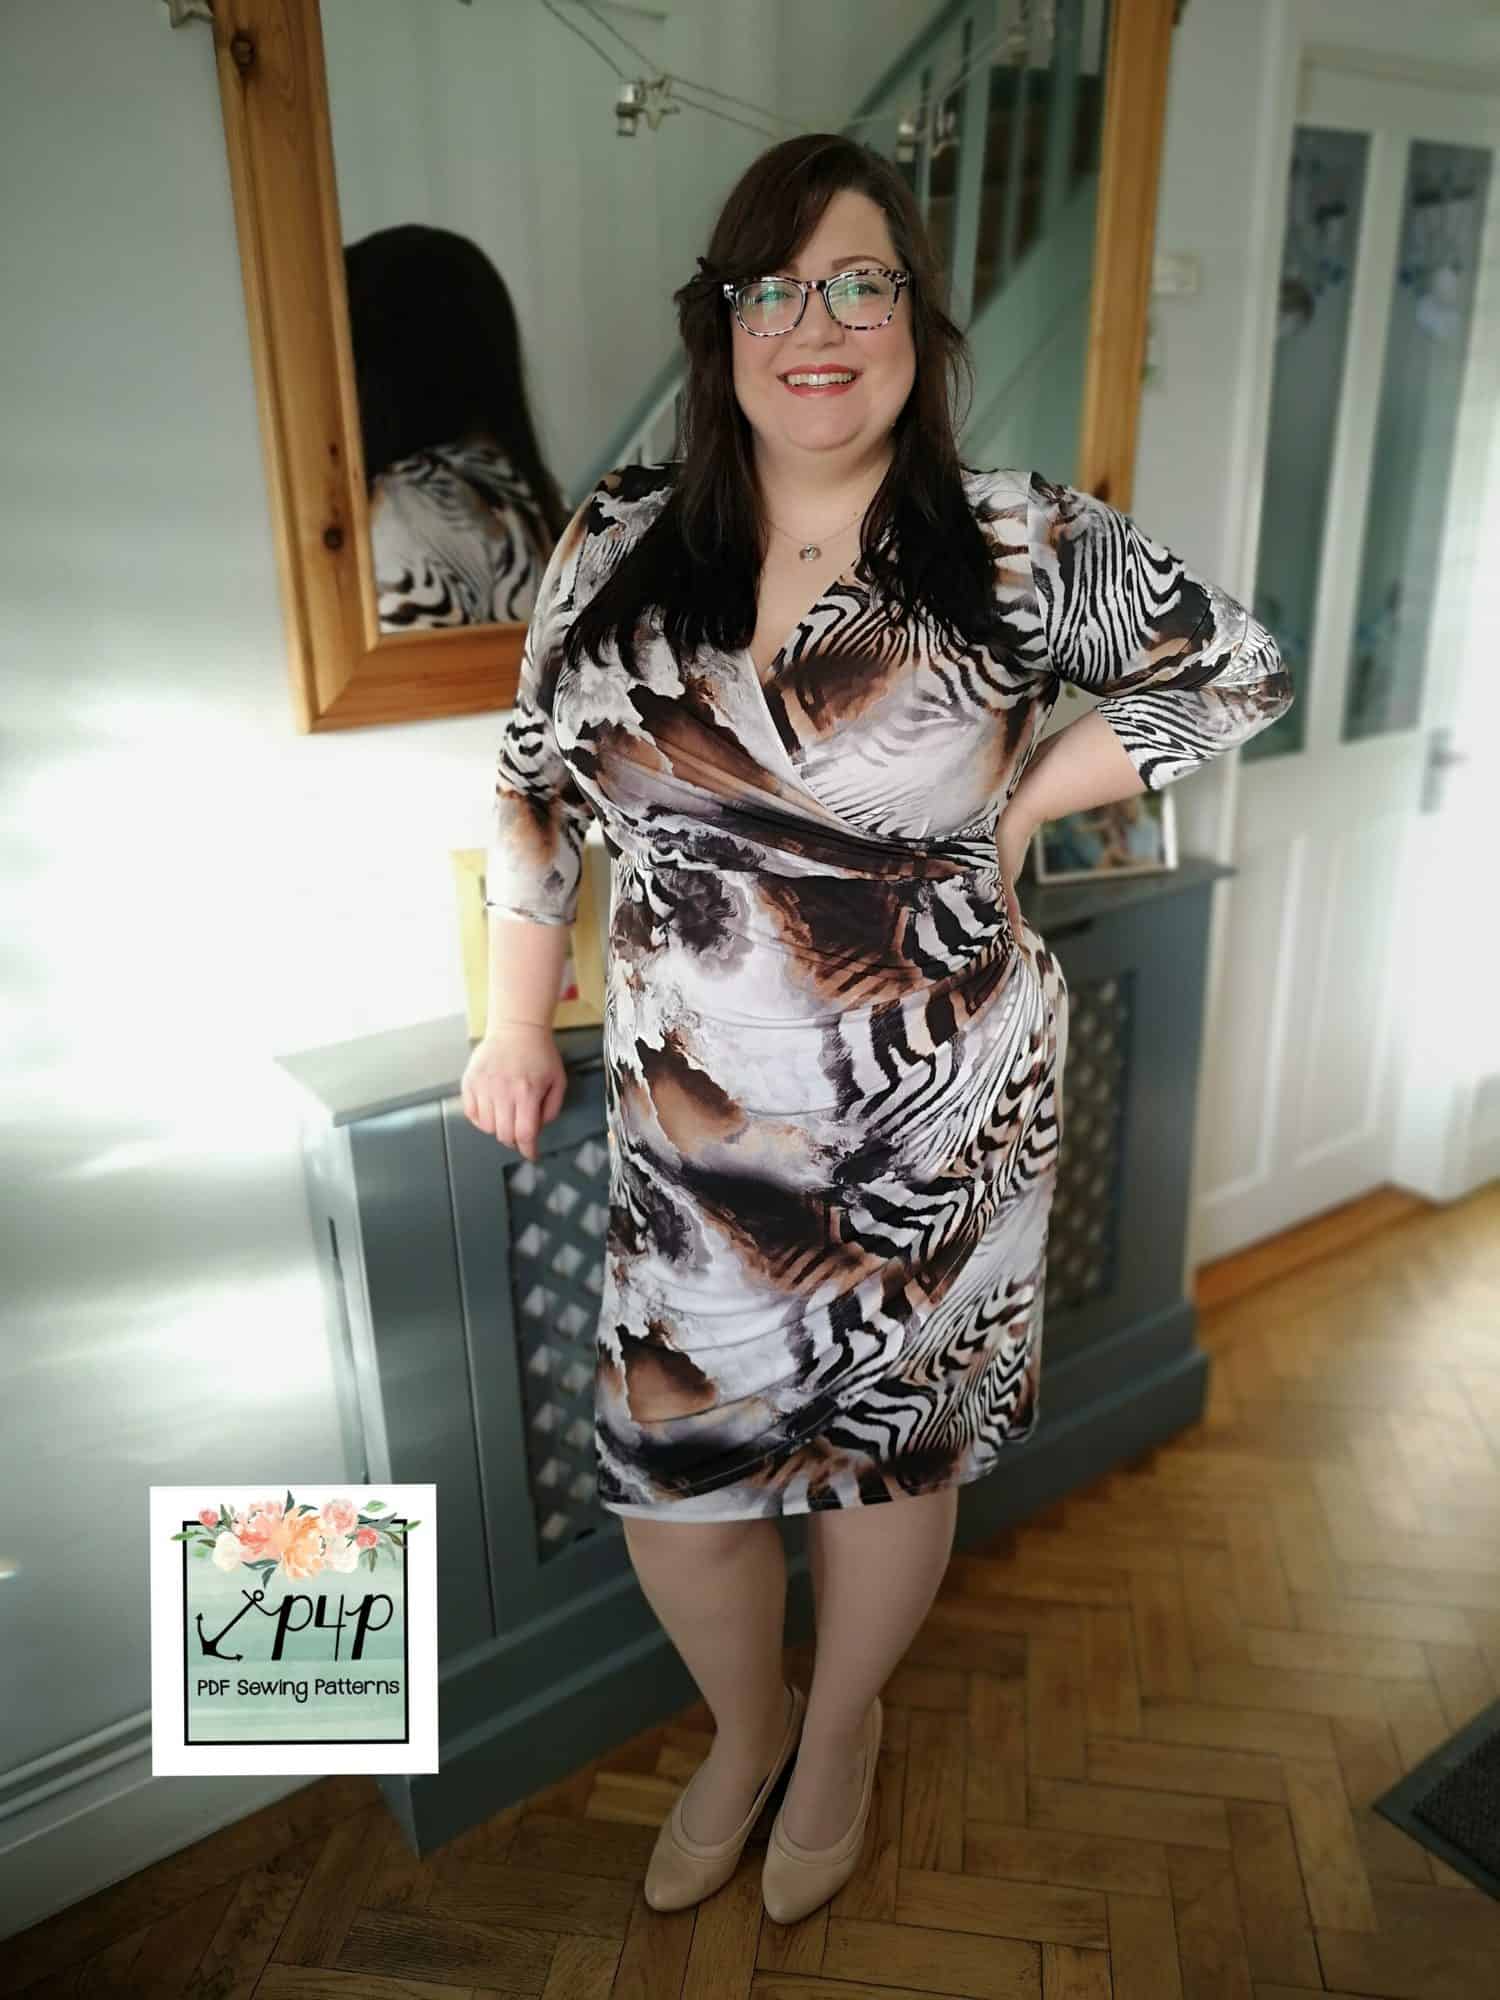
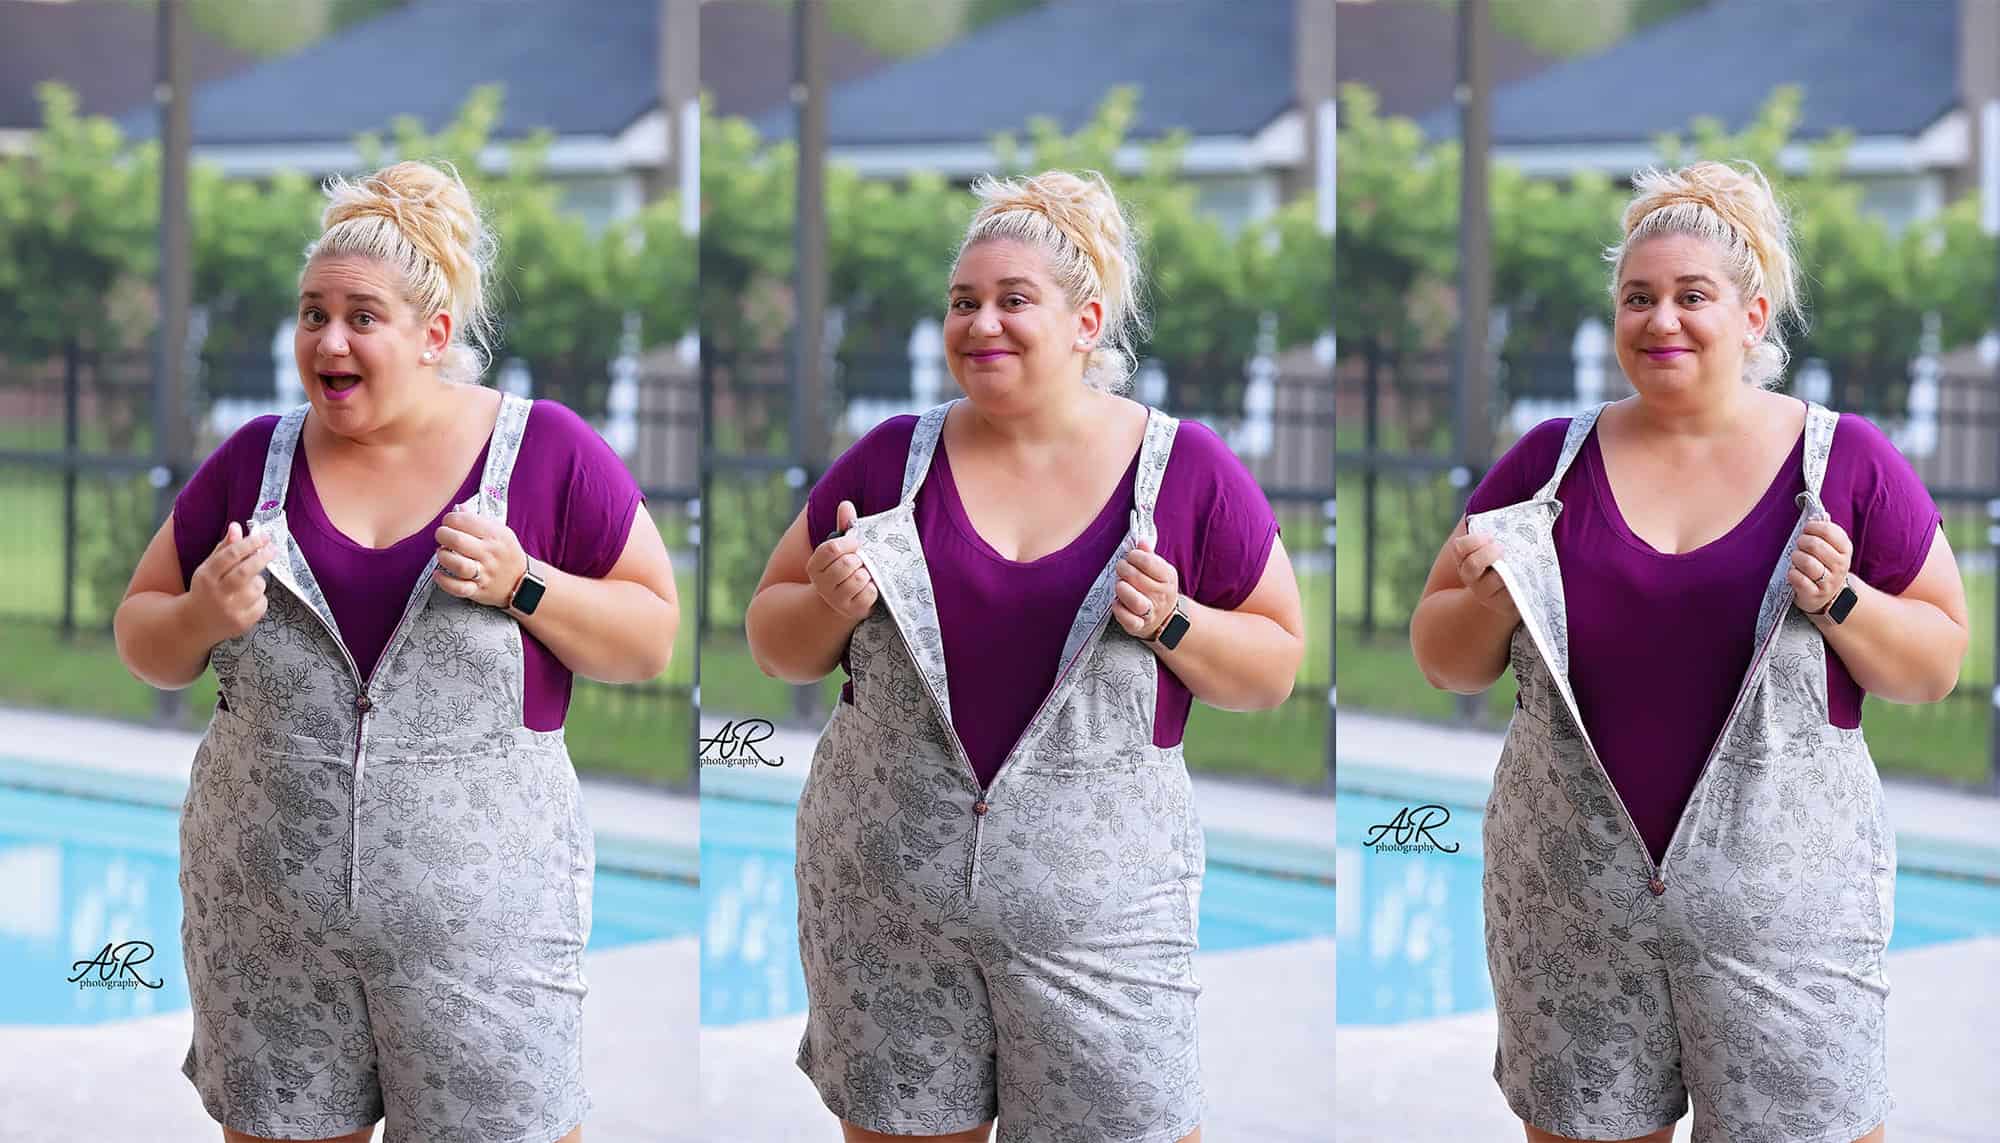
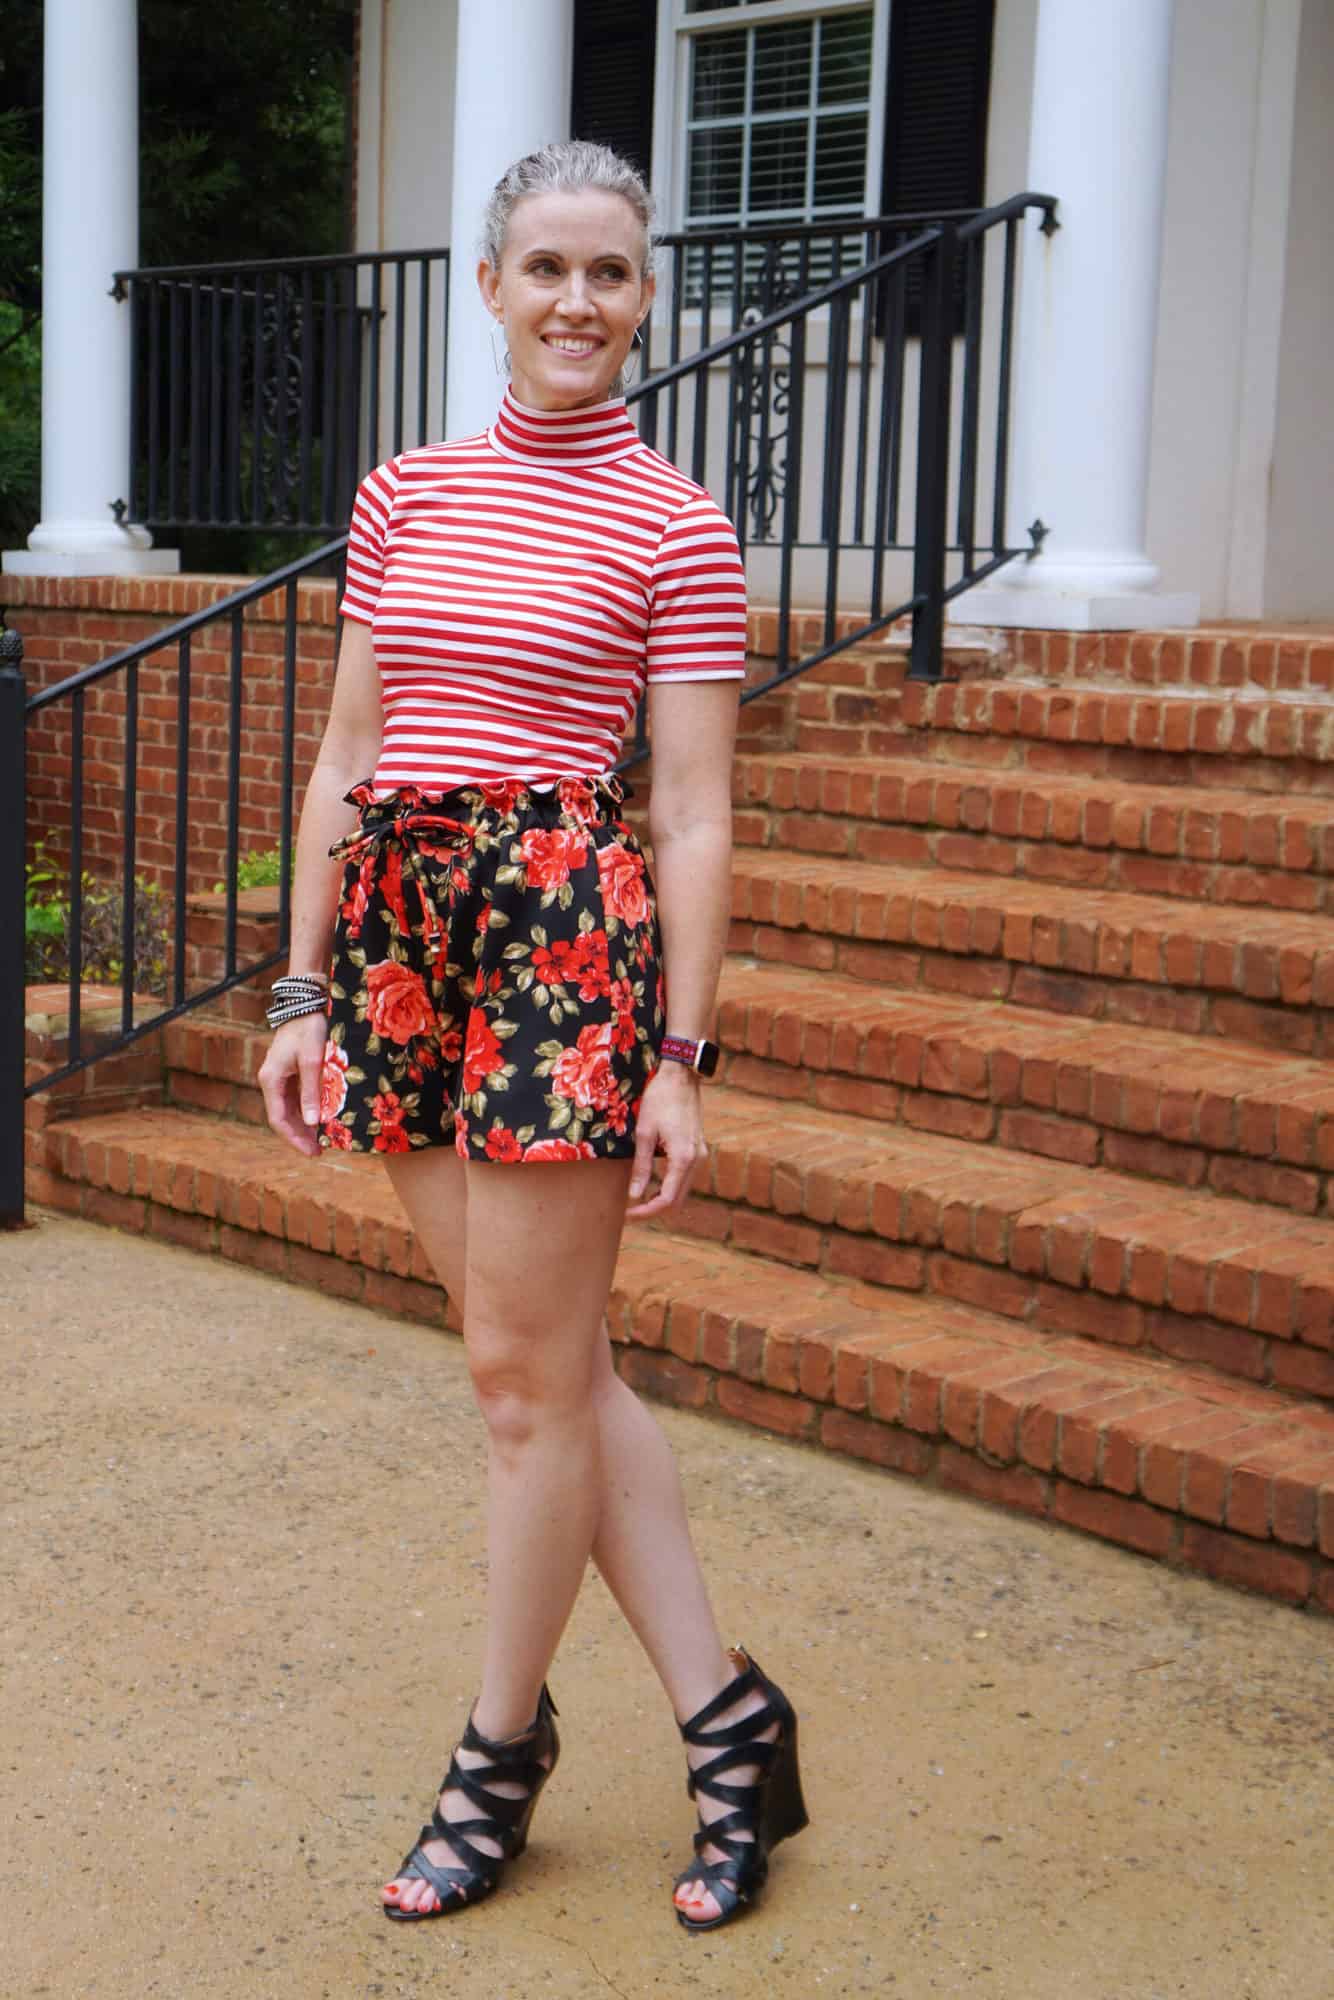
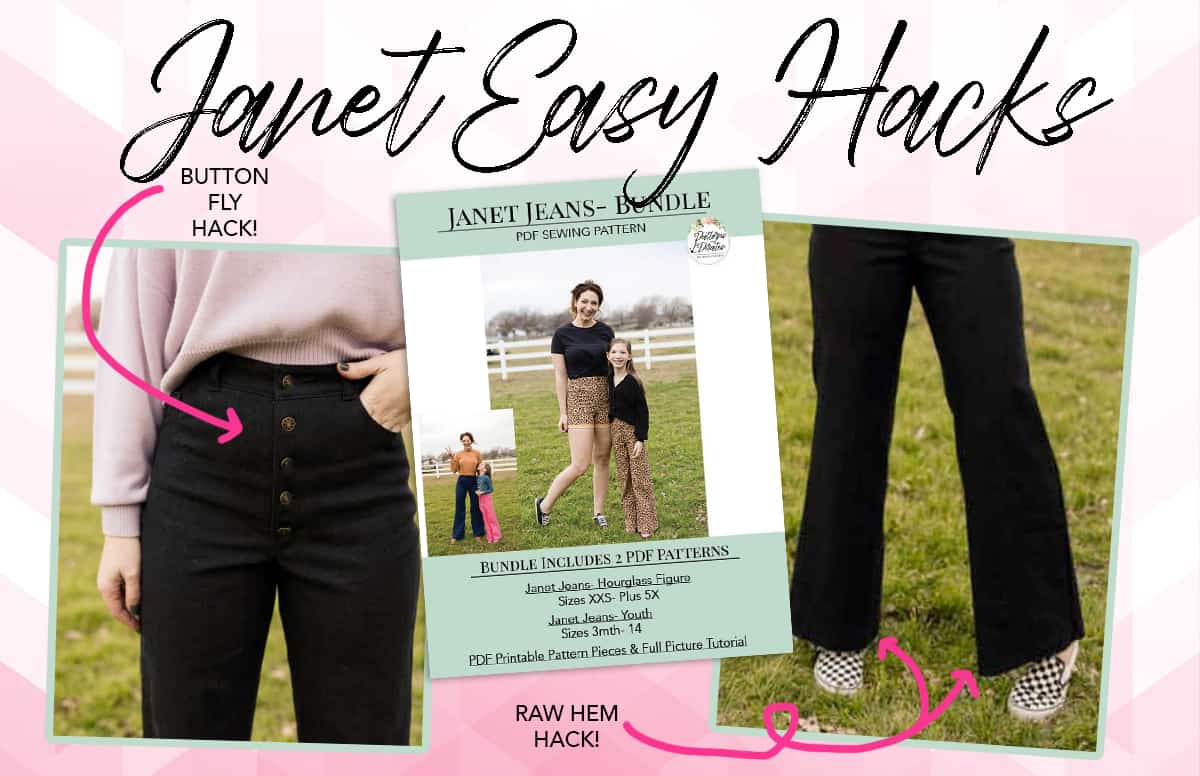
You didn’t think we we would release a jeans pattern without including an option for the trendy button fly, did you? Such a fun way to add some details and vintage flare to your new Janet Jeans.
You’ll need our brand new pattern to complete these fun sewing hacks: Janet Jeans / Janet Jeans – Youth / Janet Jeans Bundle
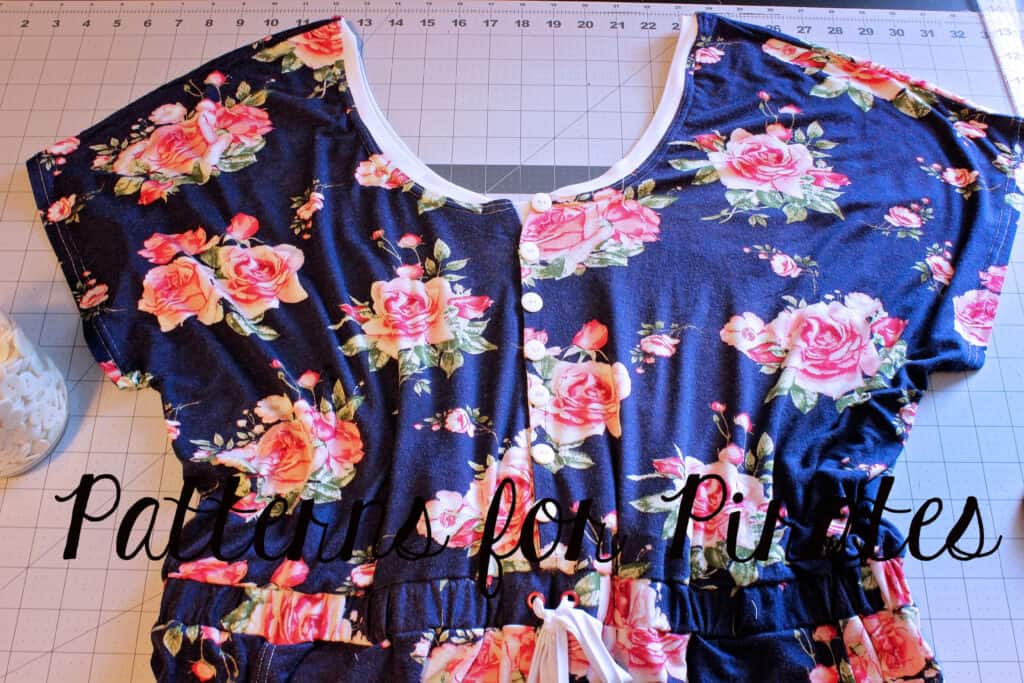
Button Fly

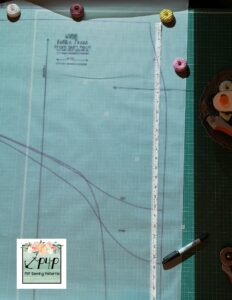
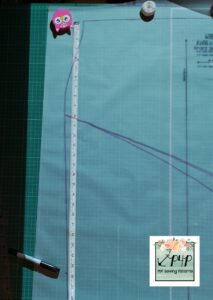
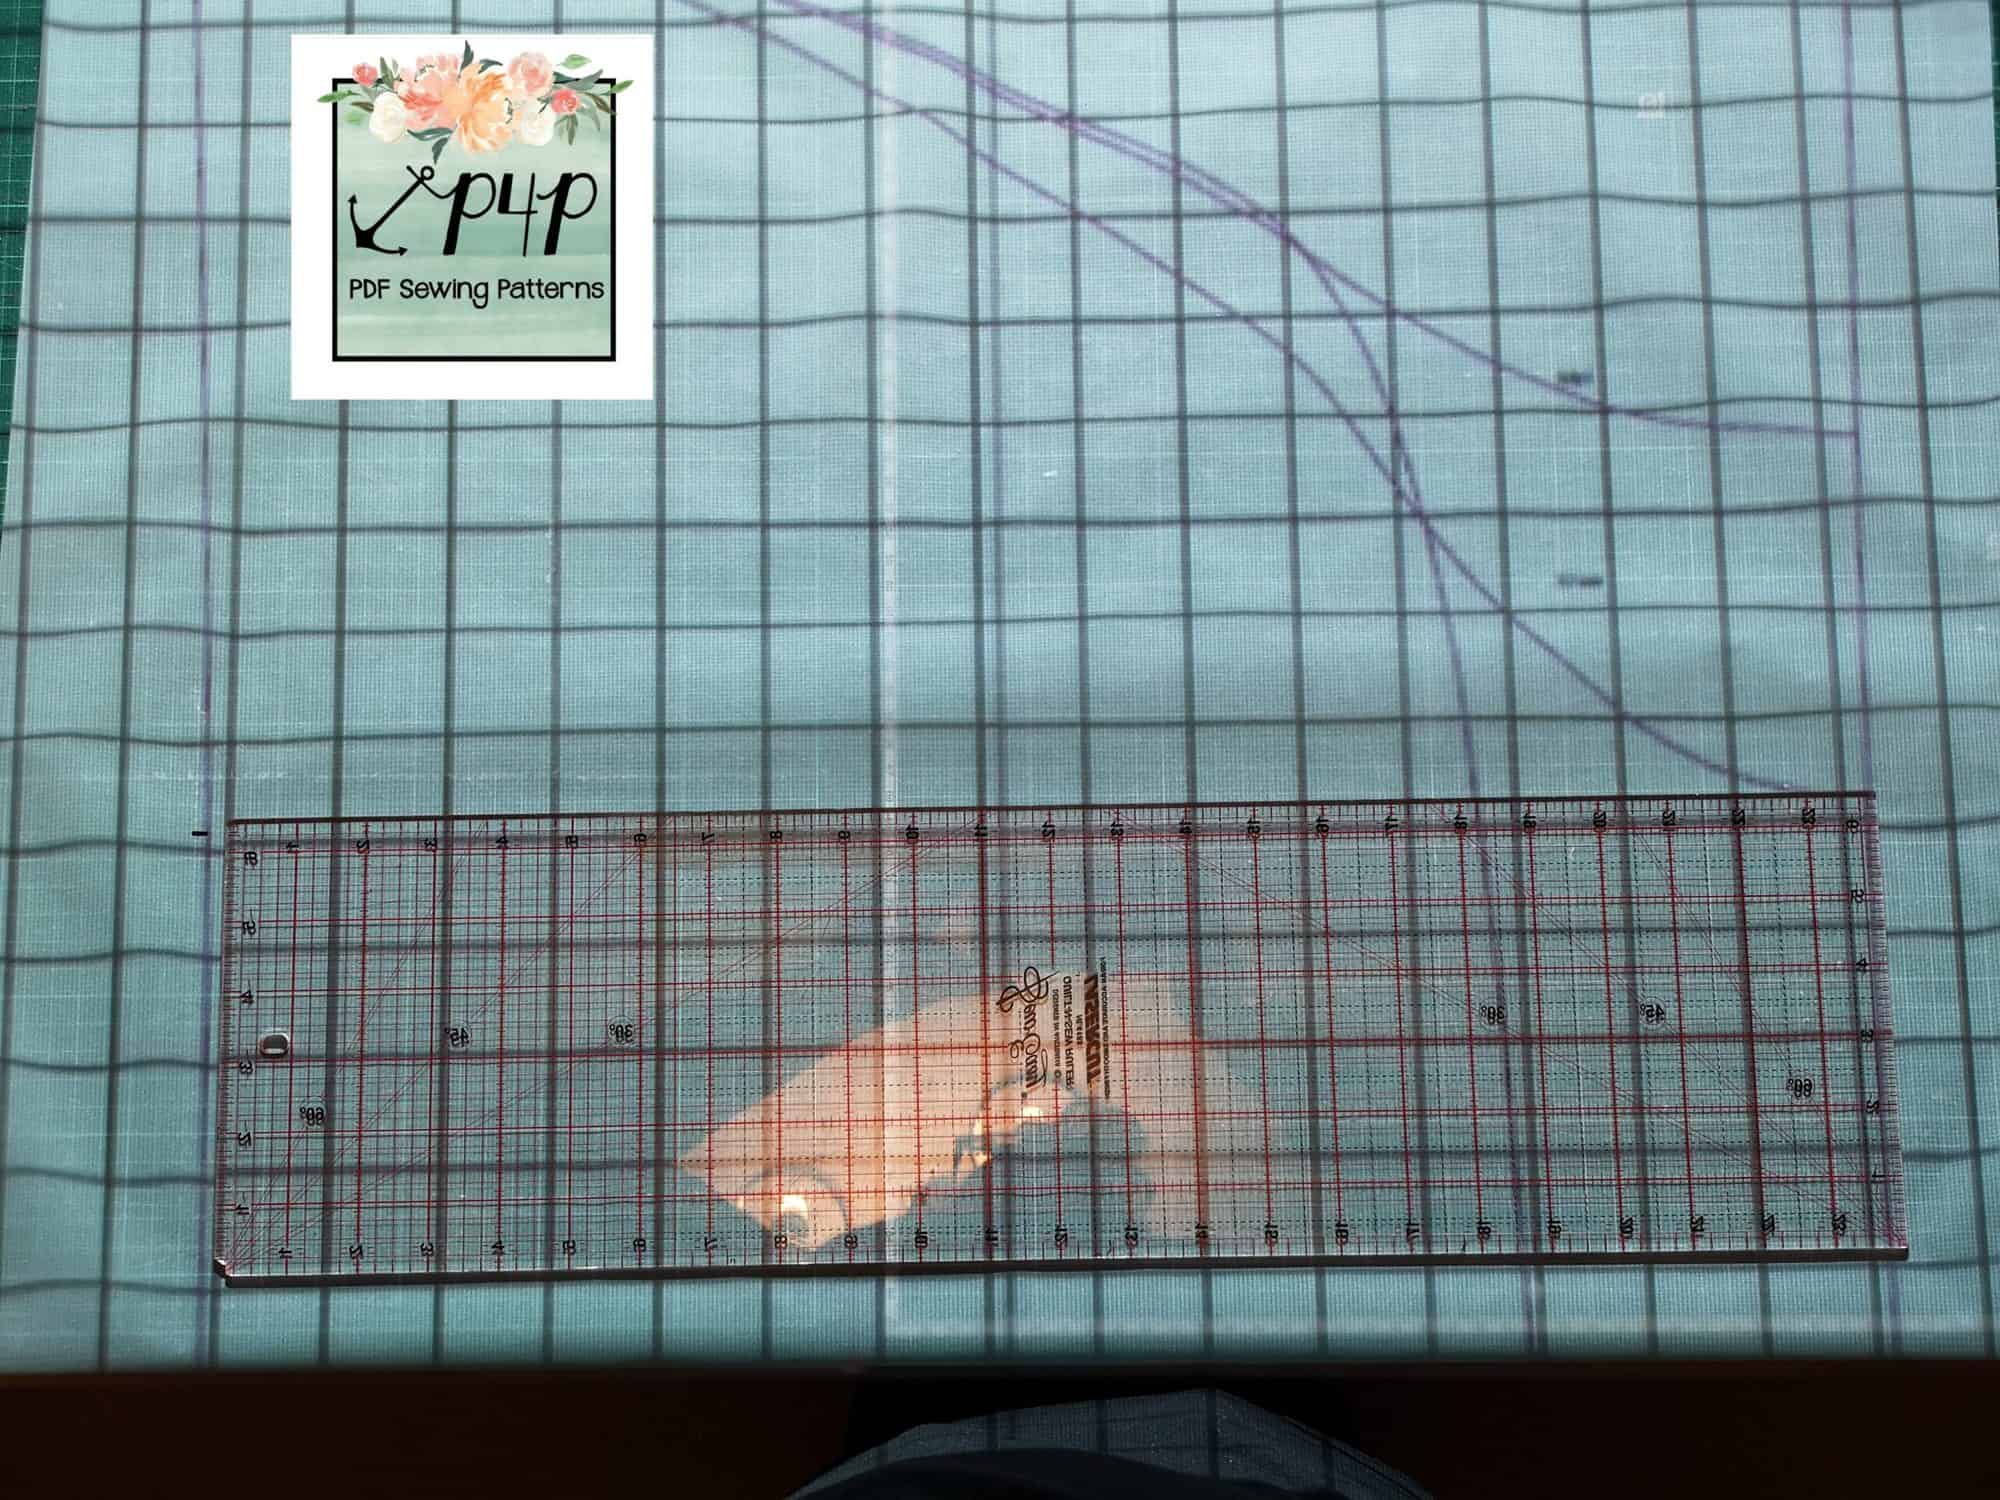
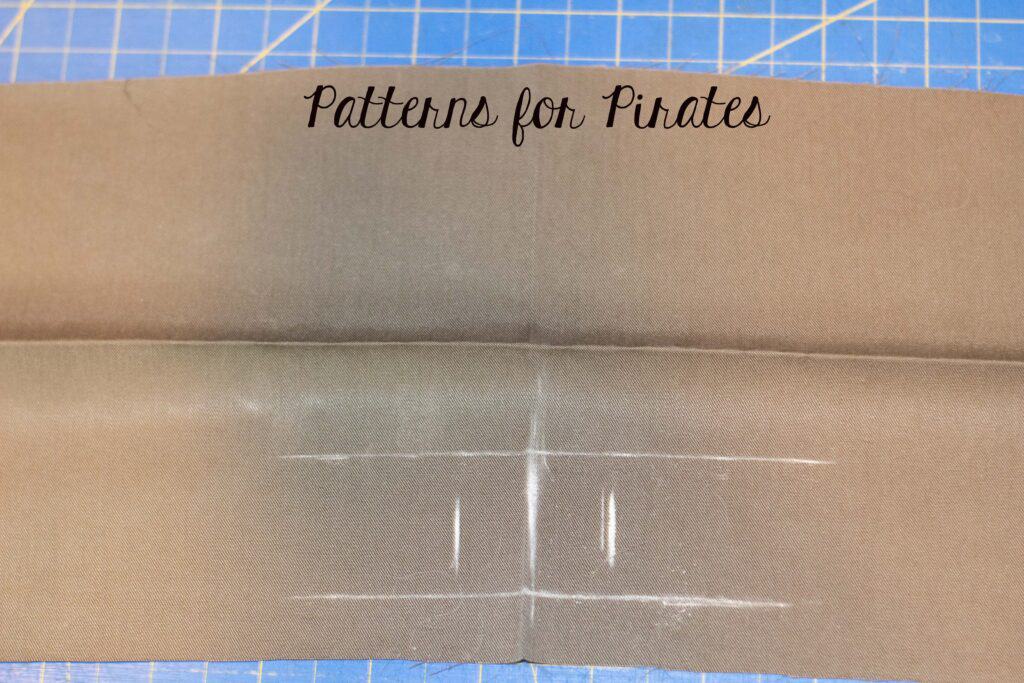
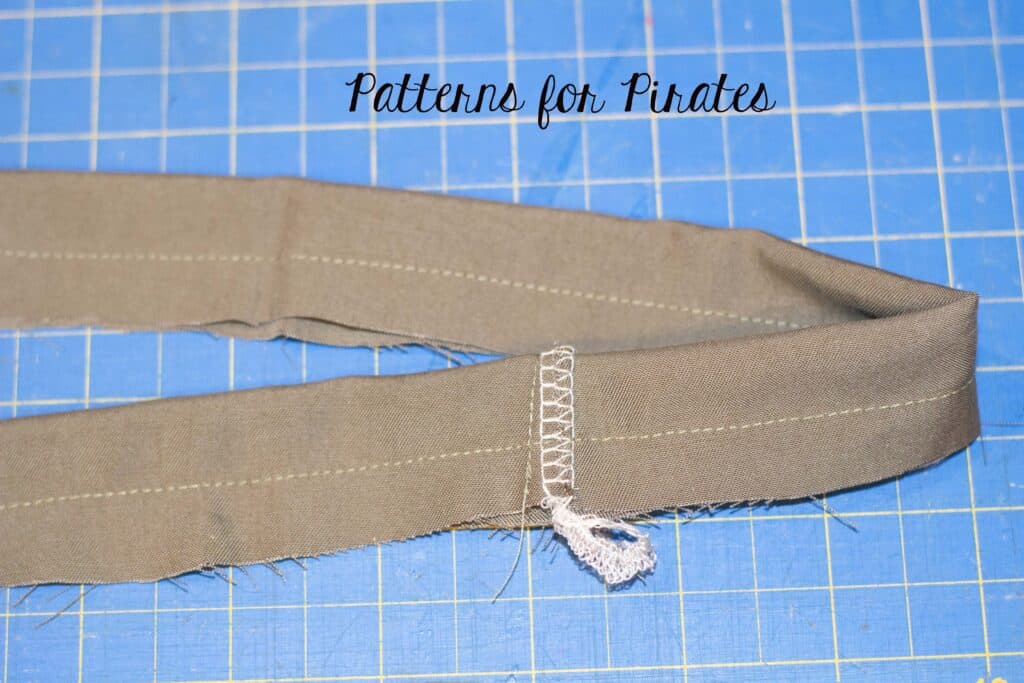
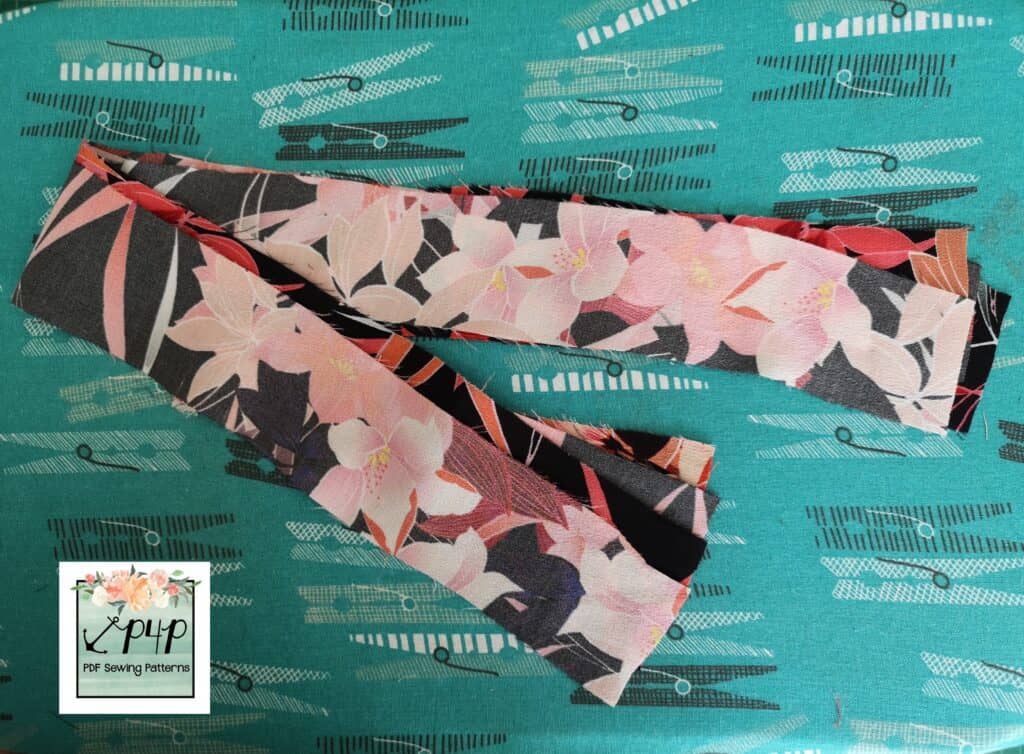
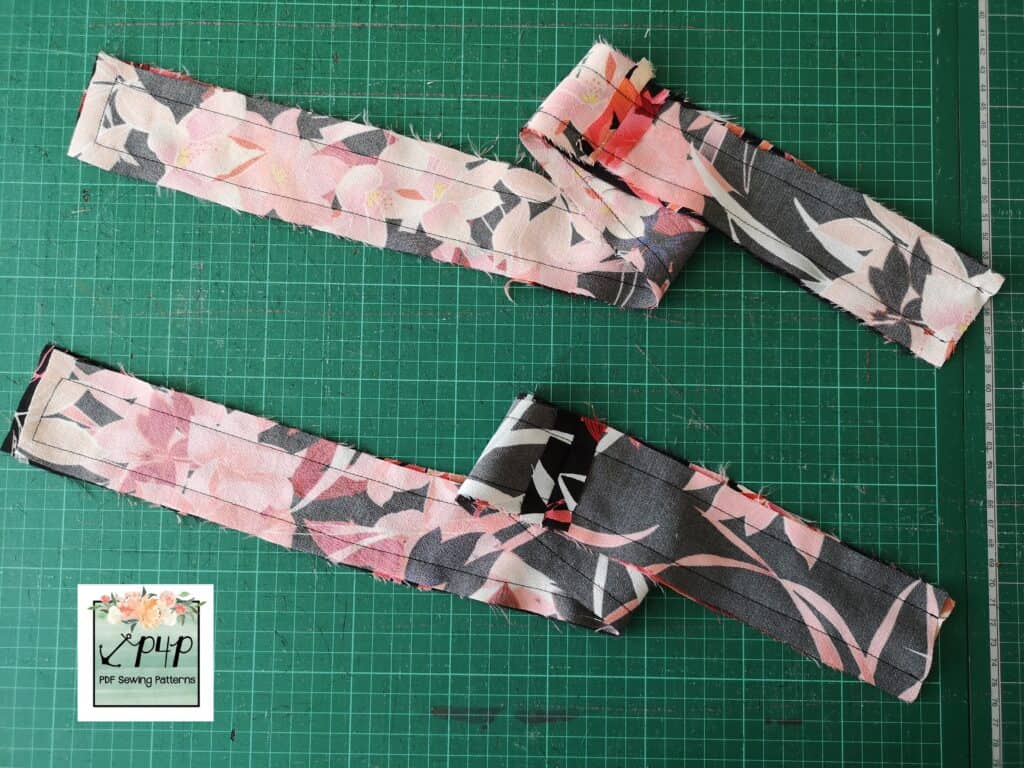
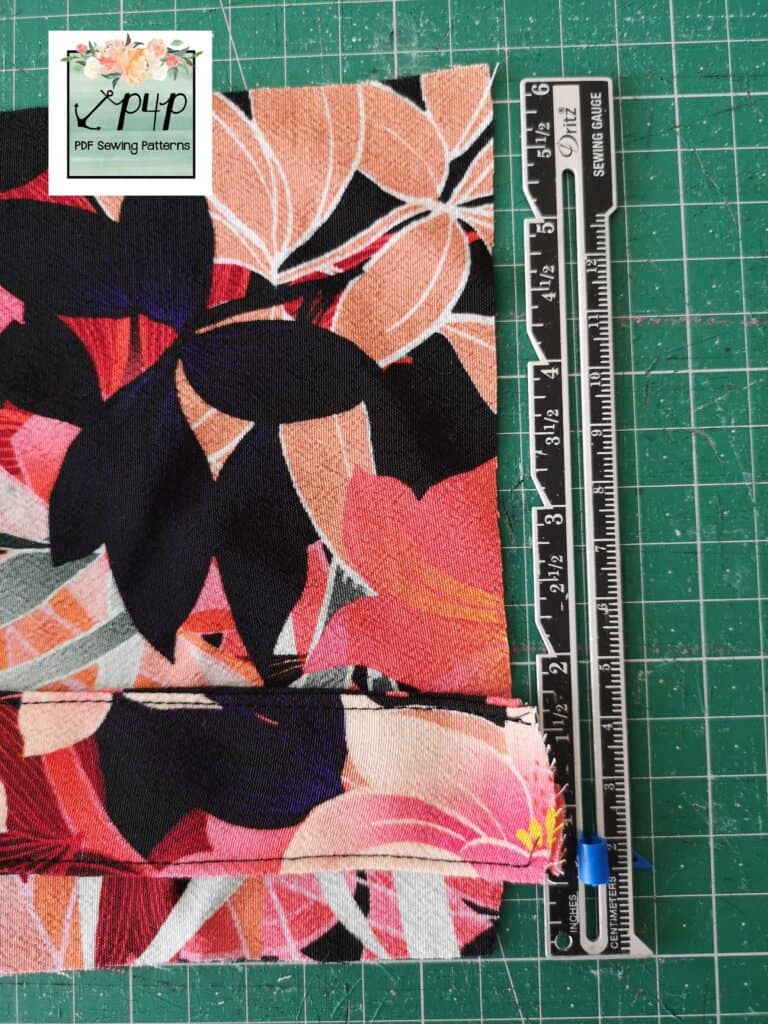
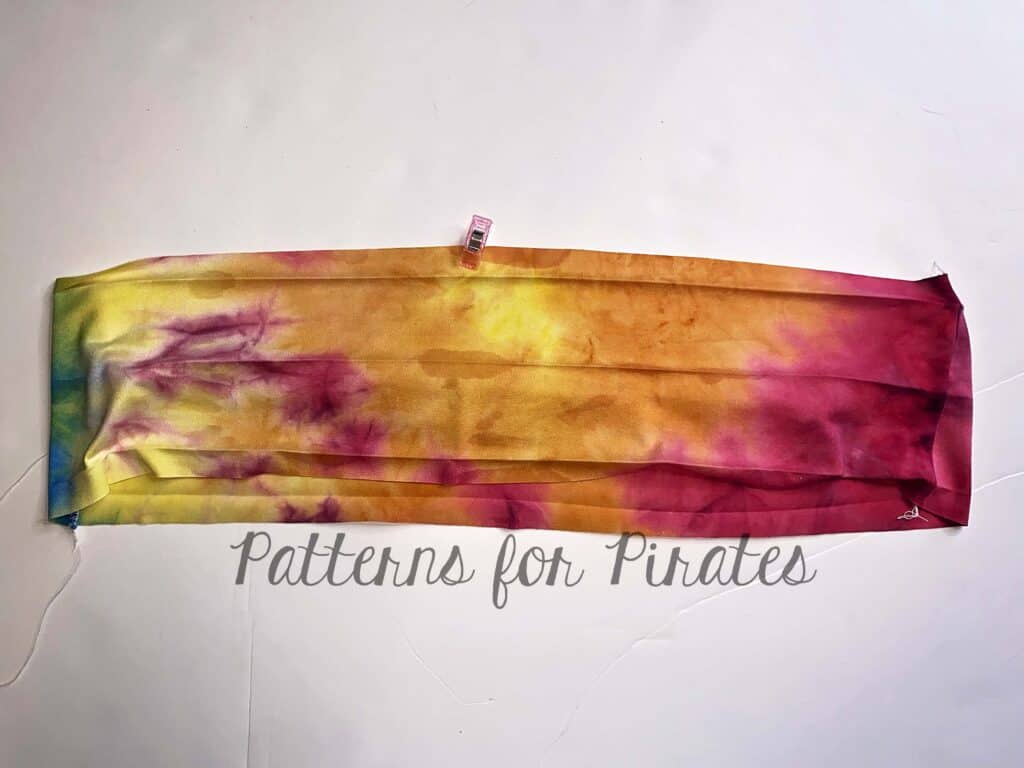
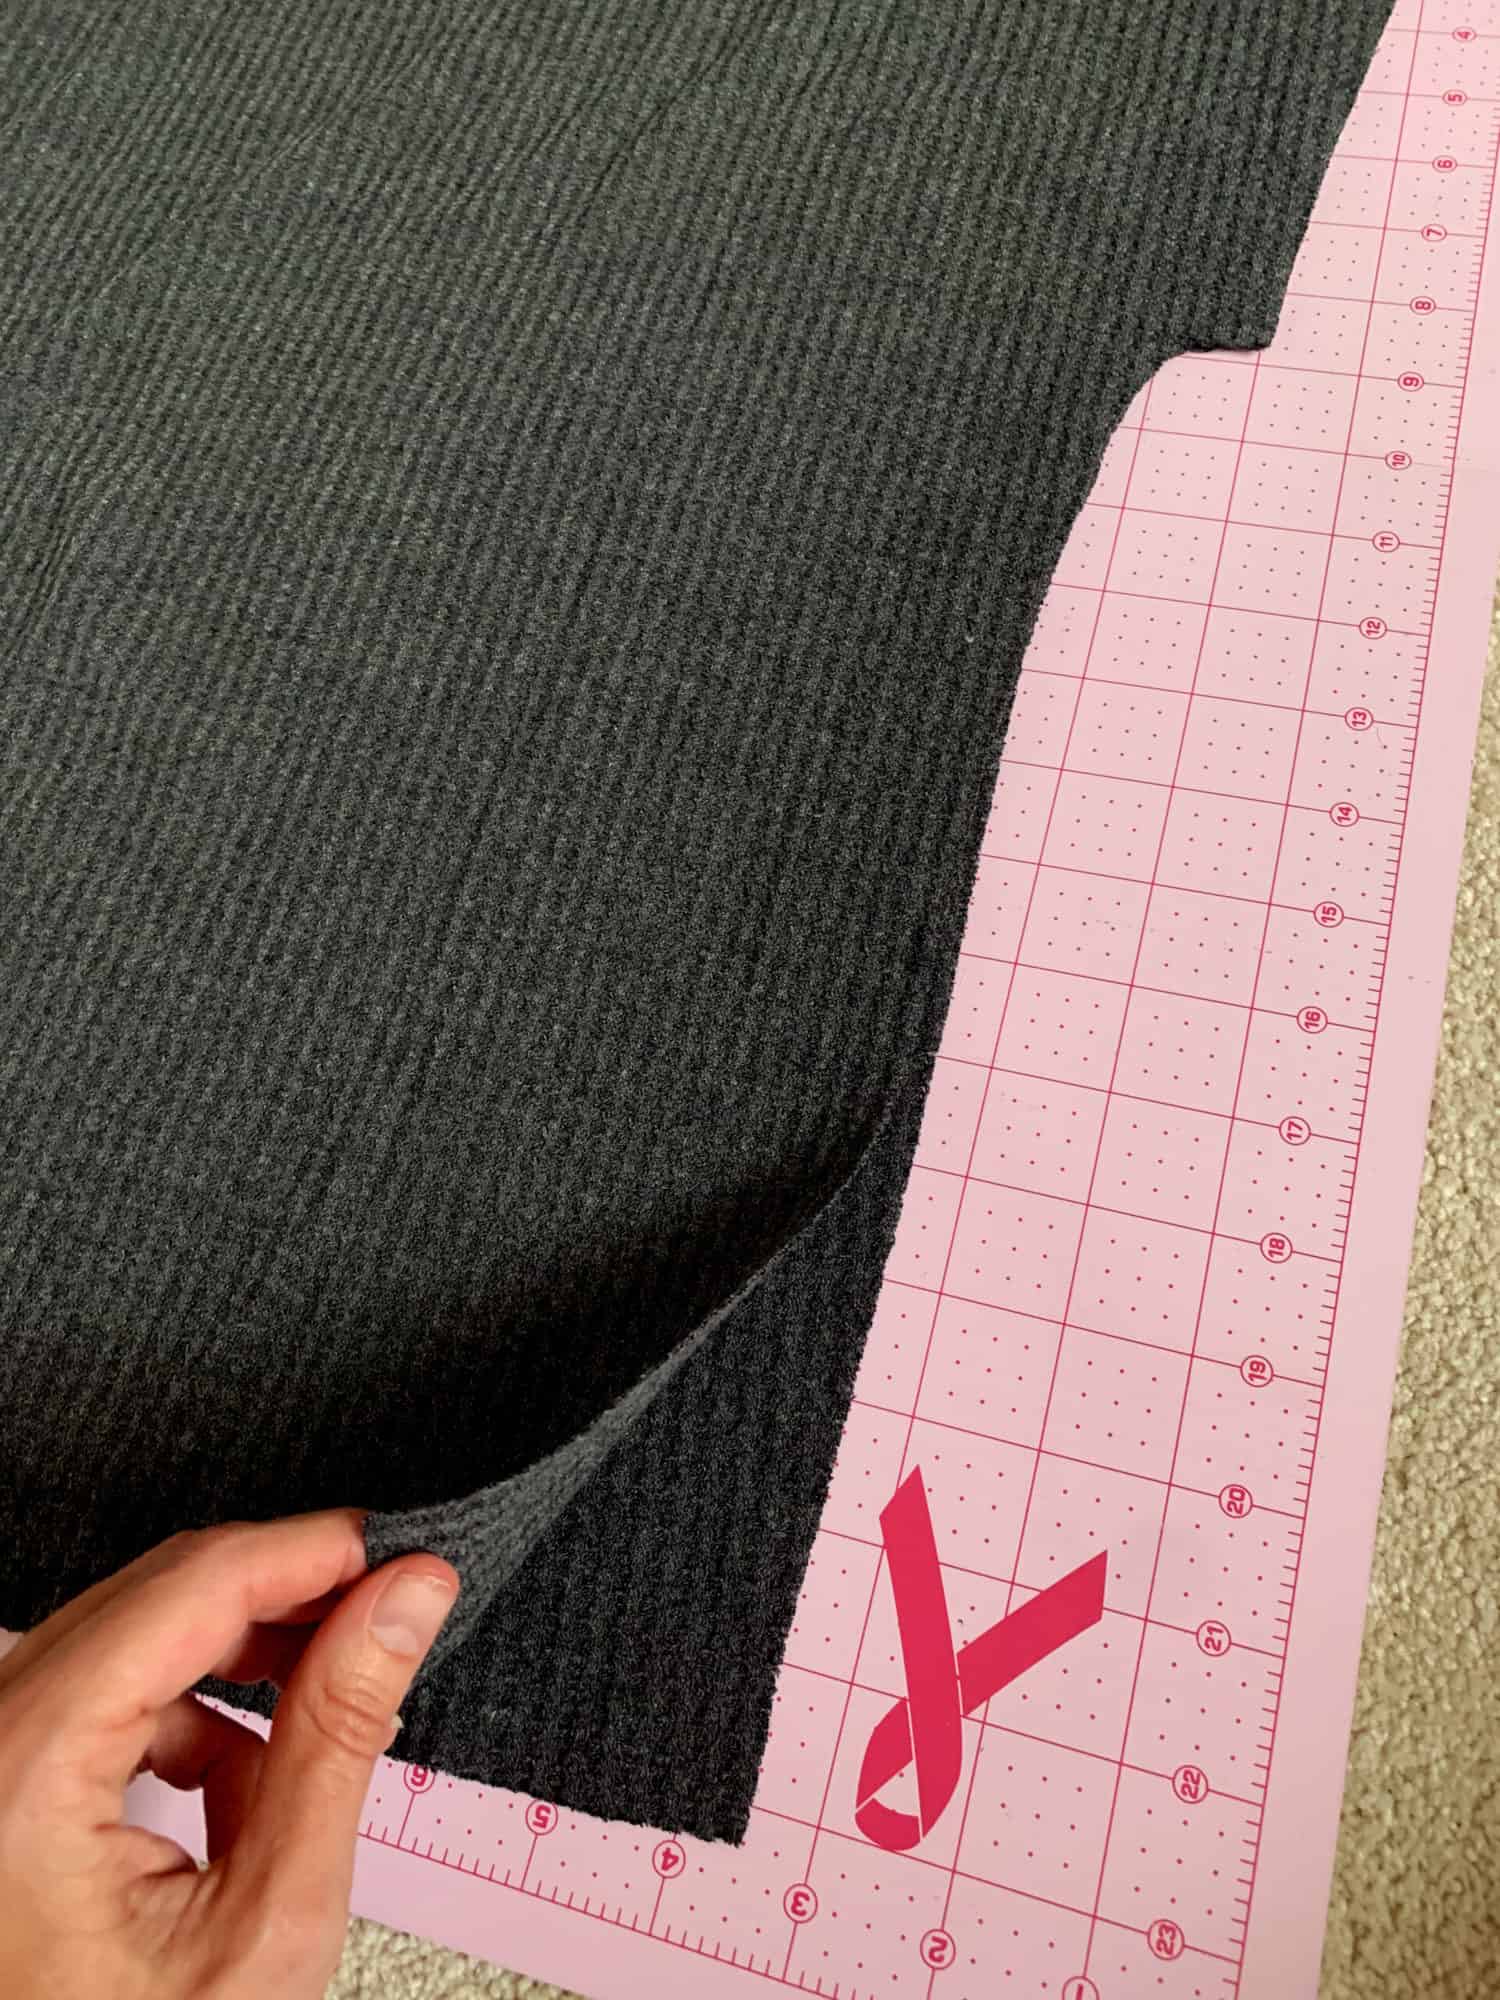
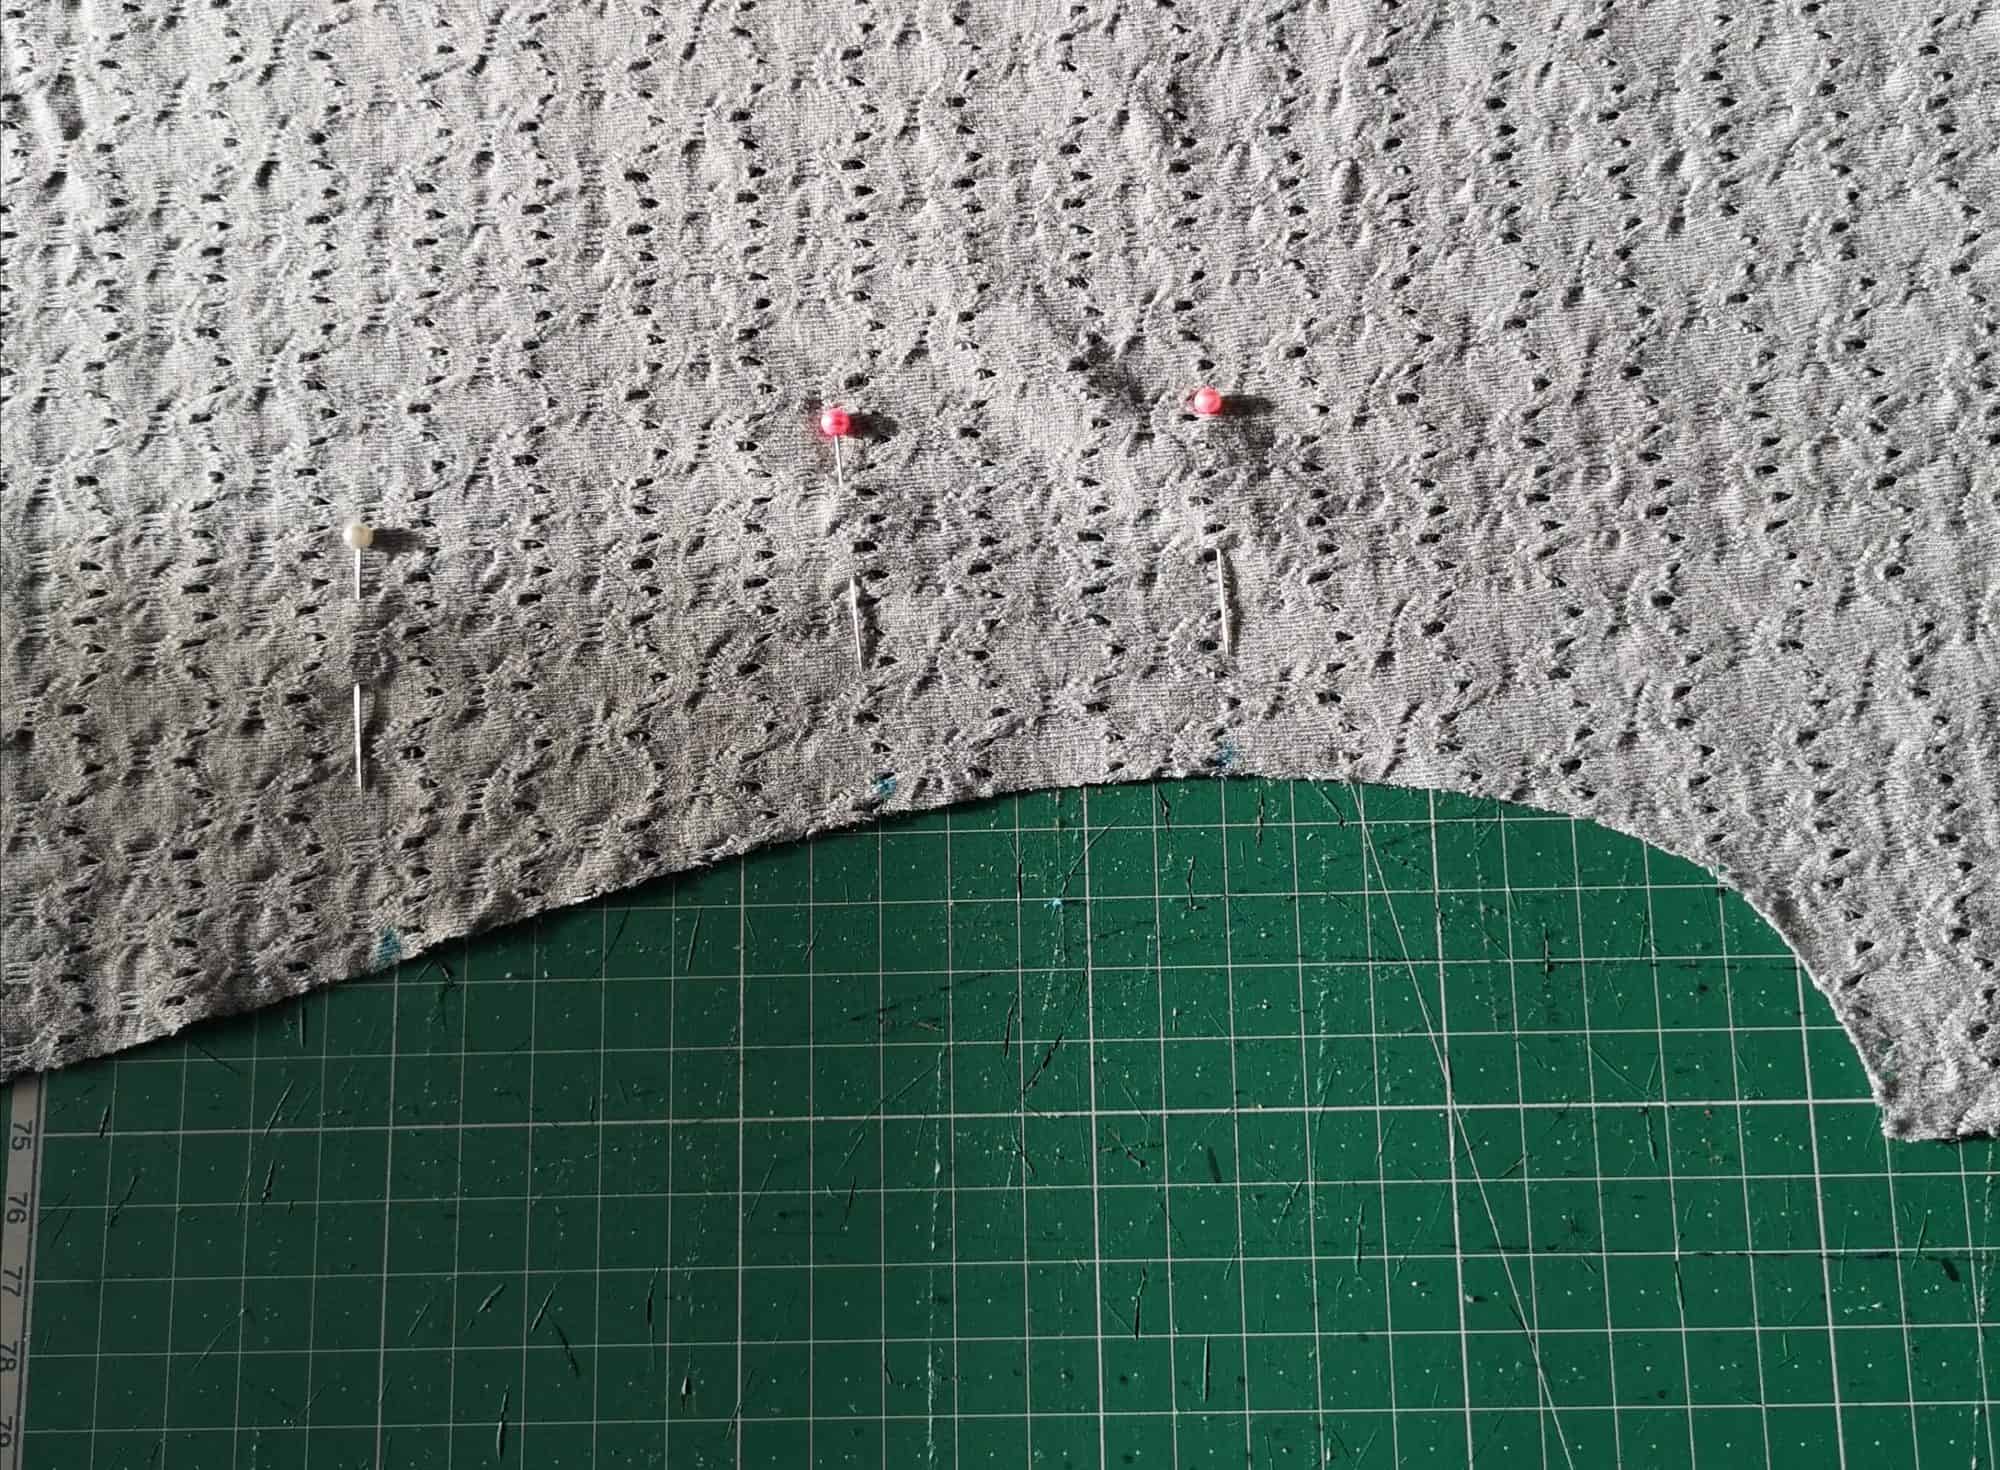
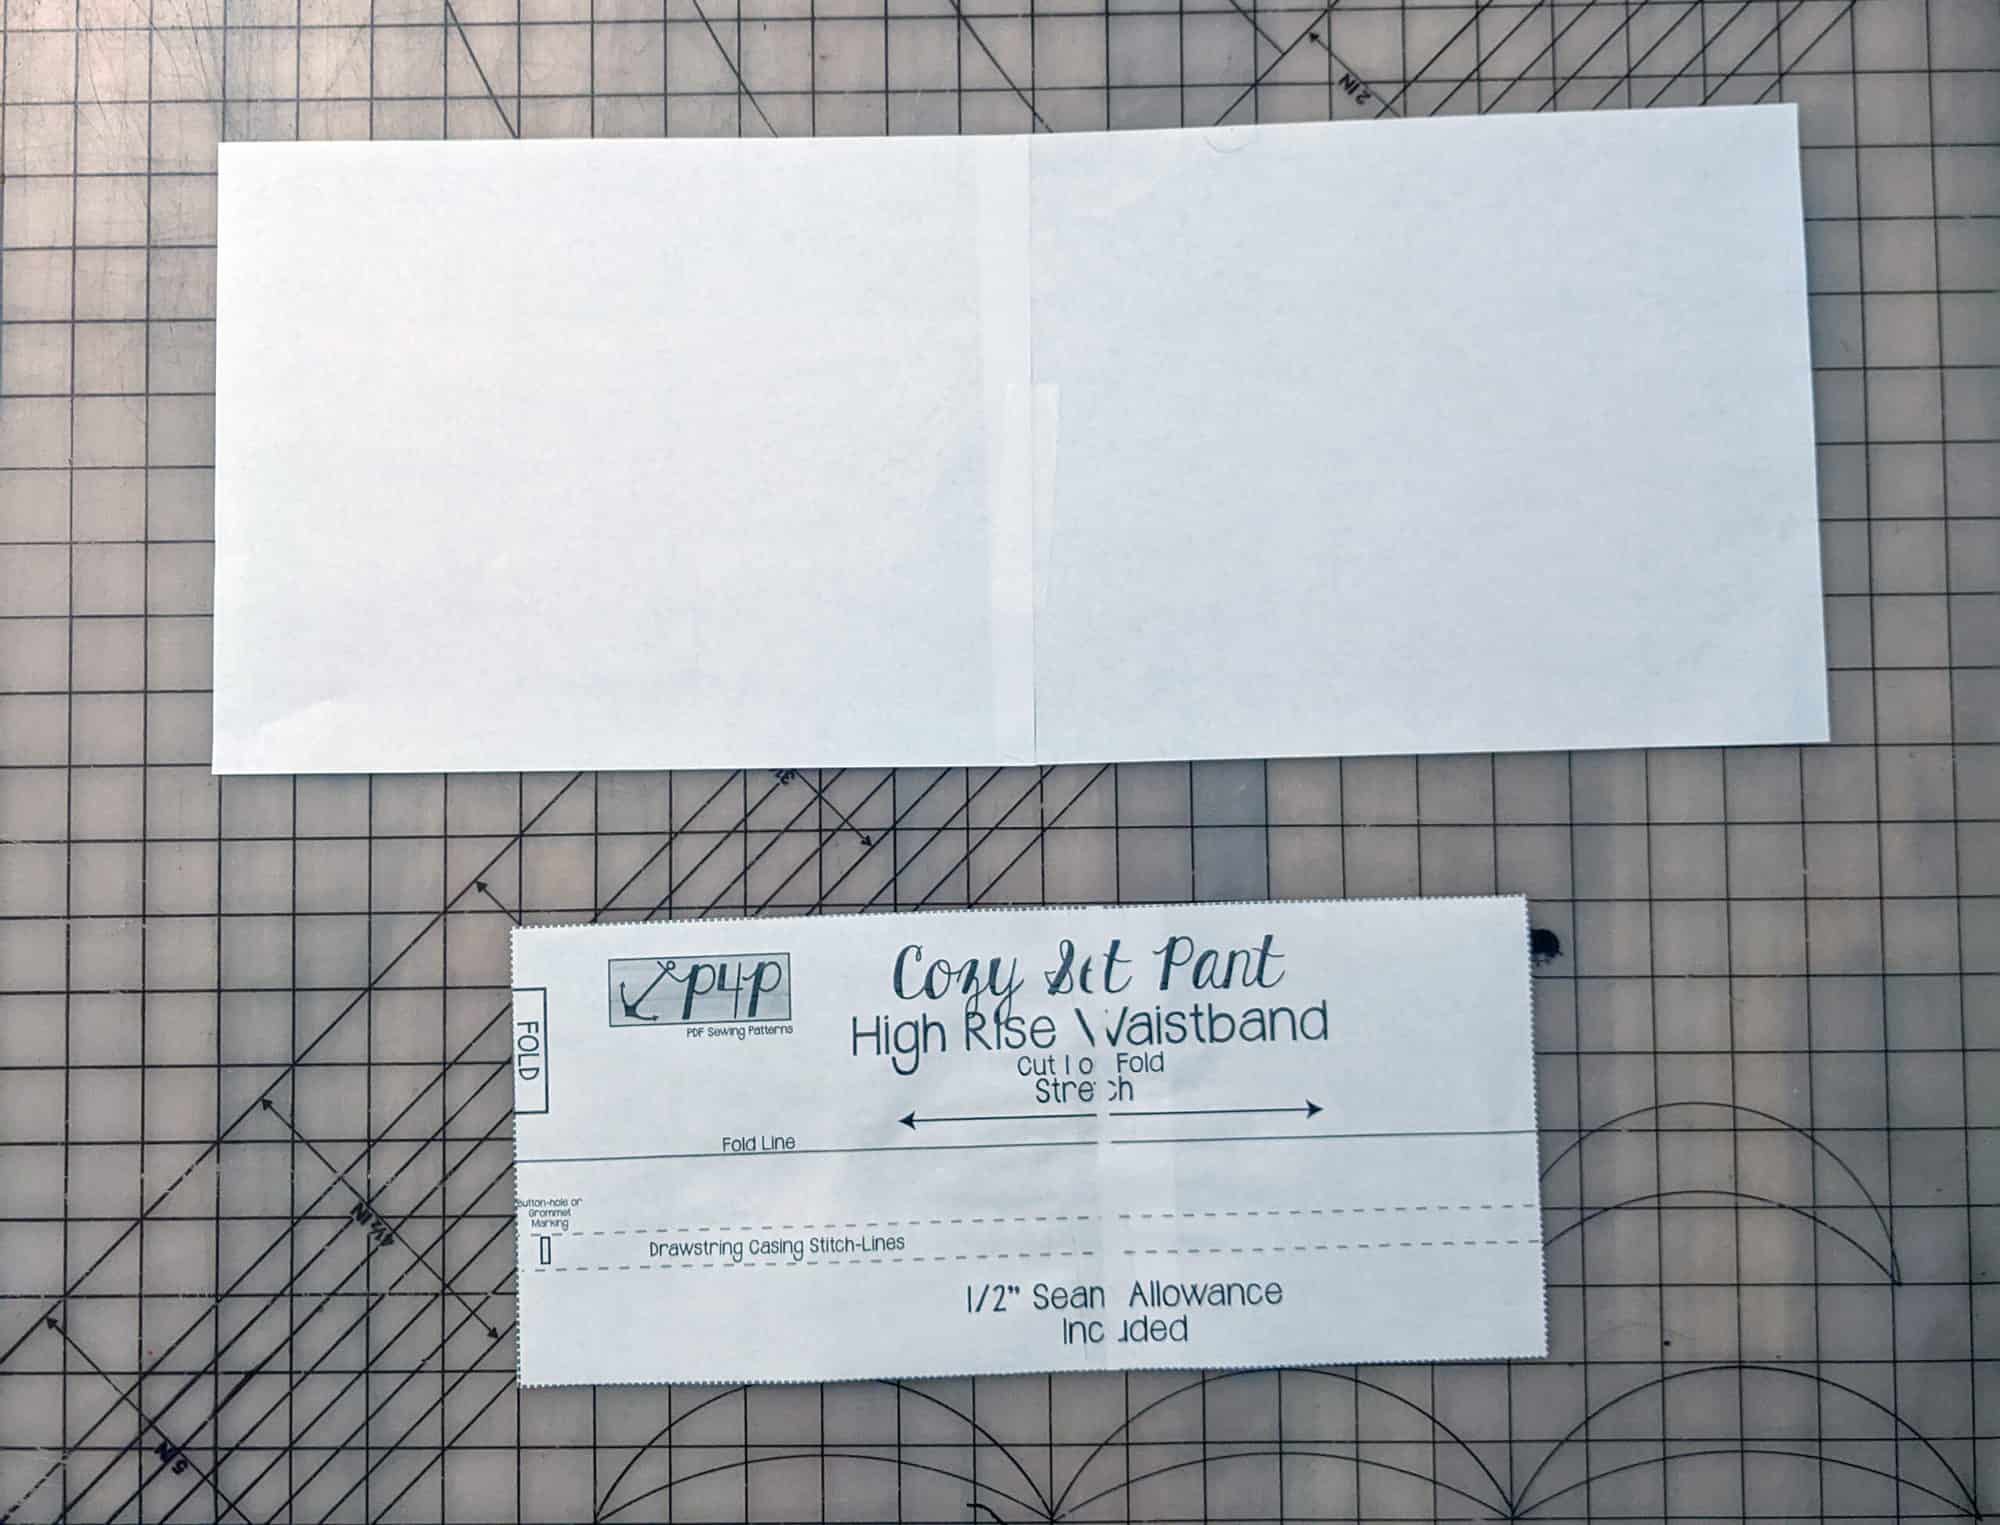
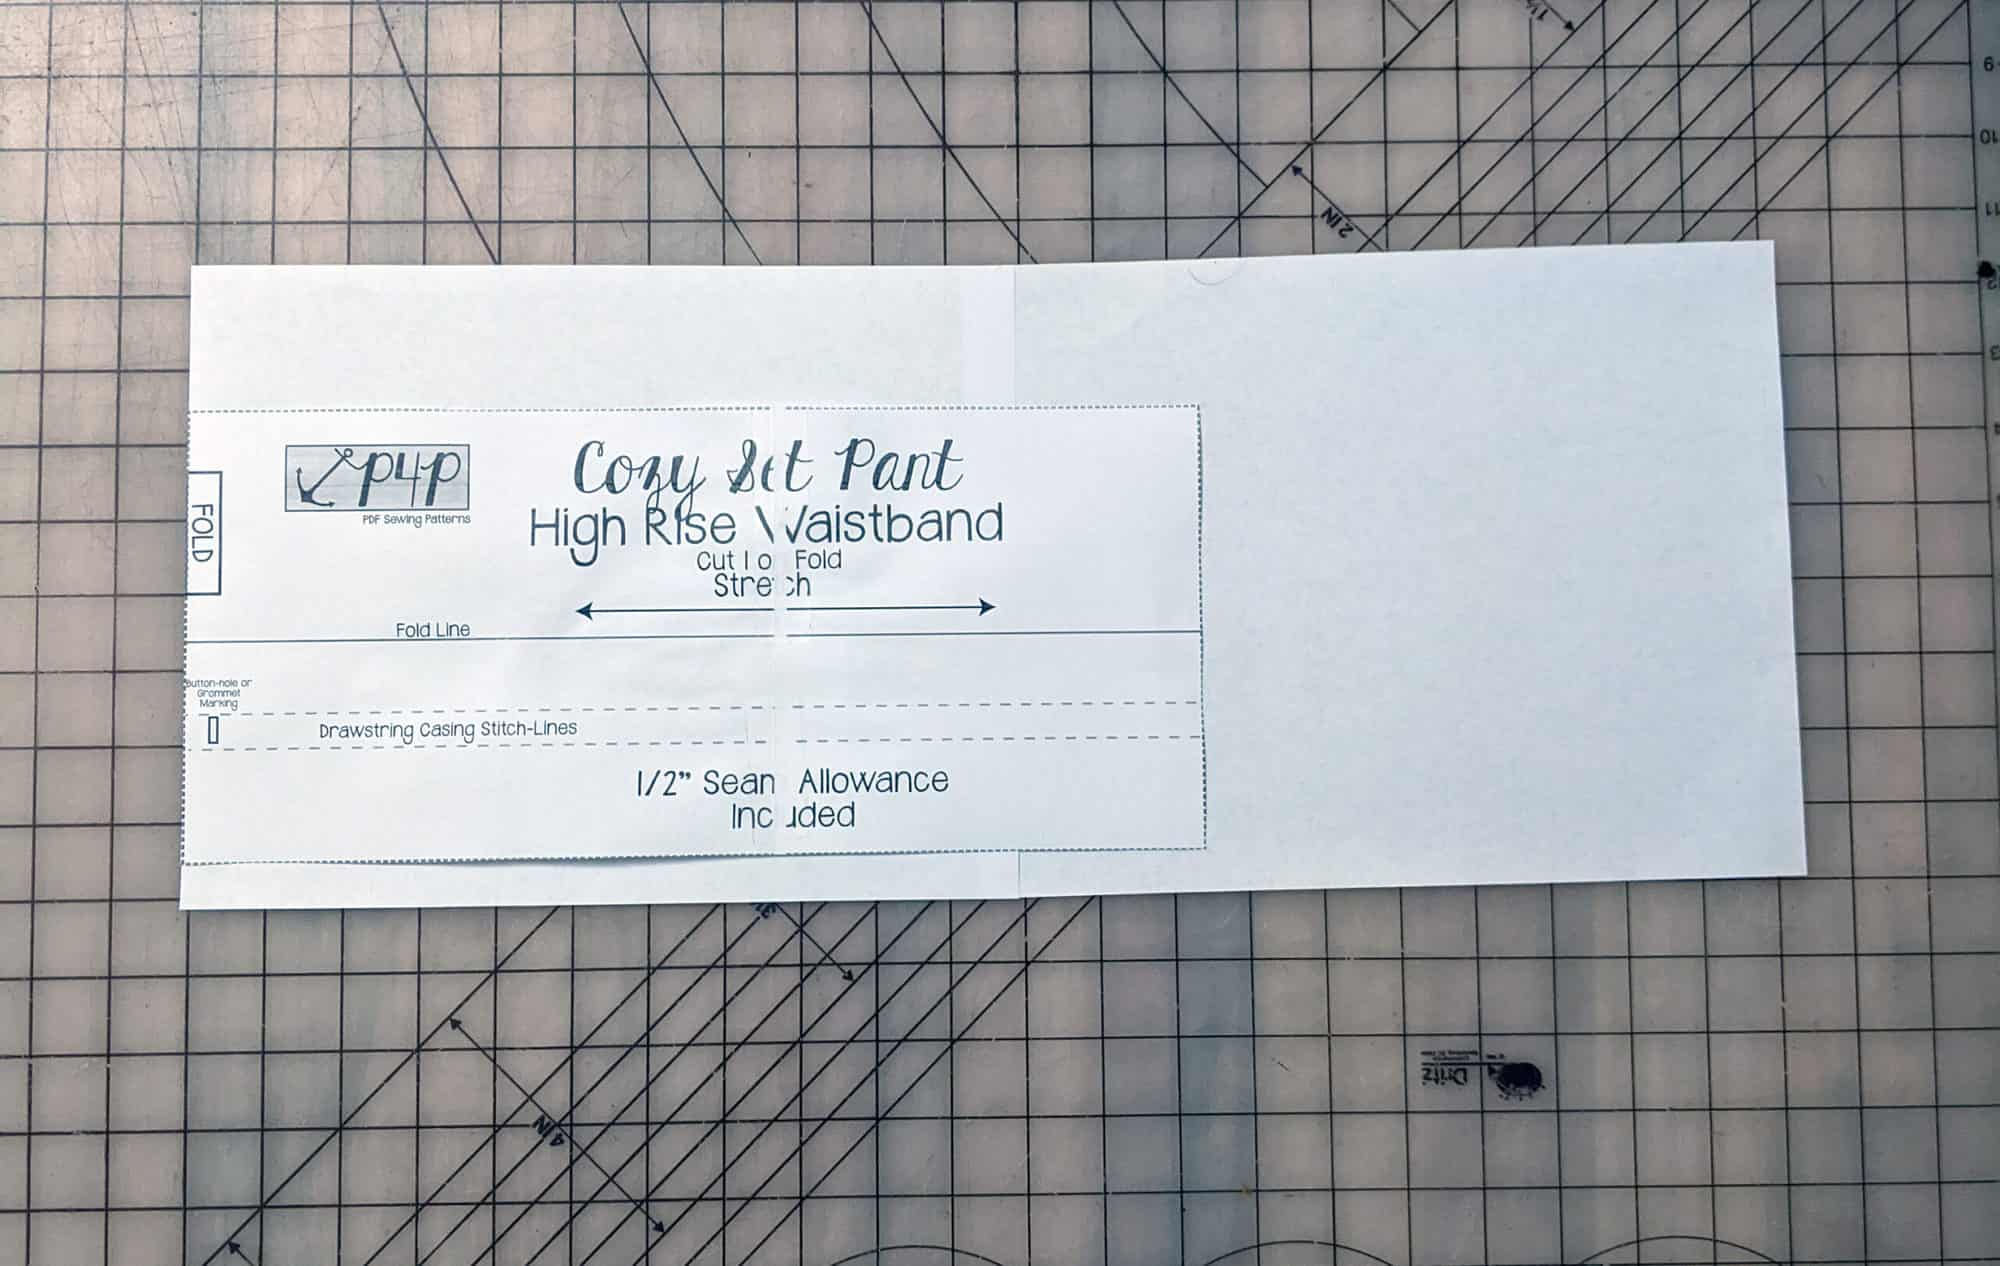
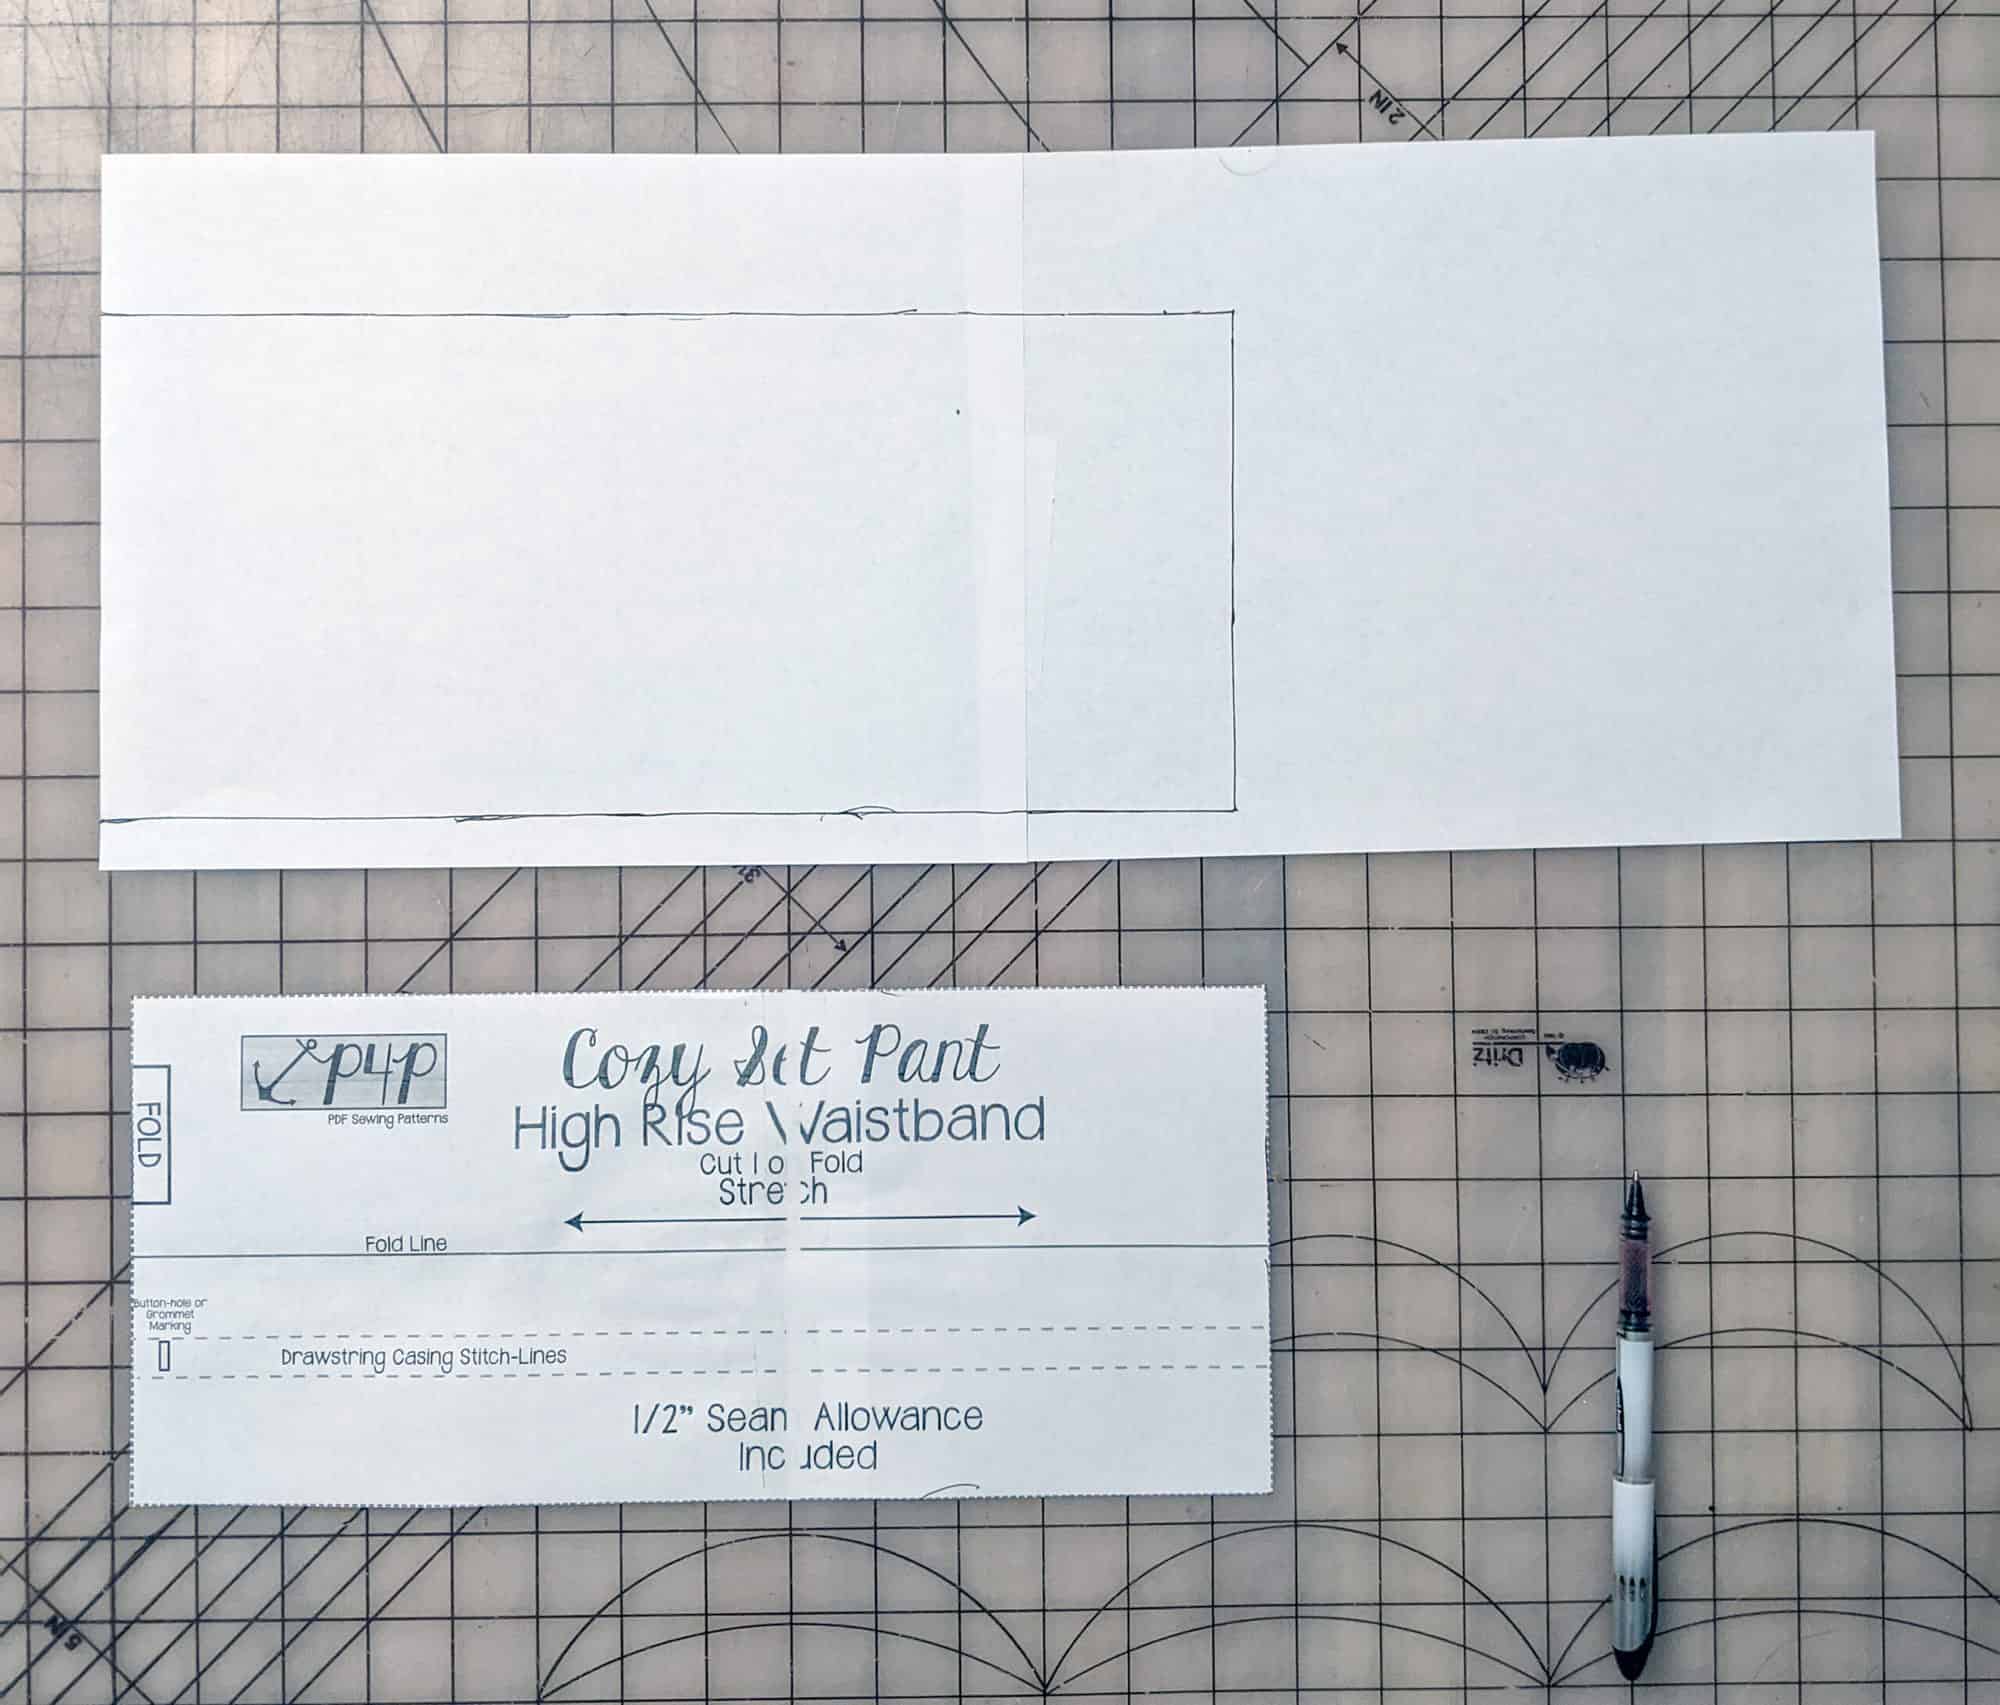
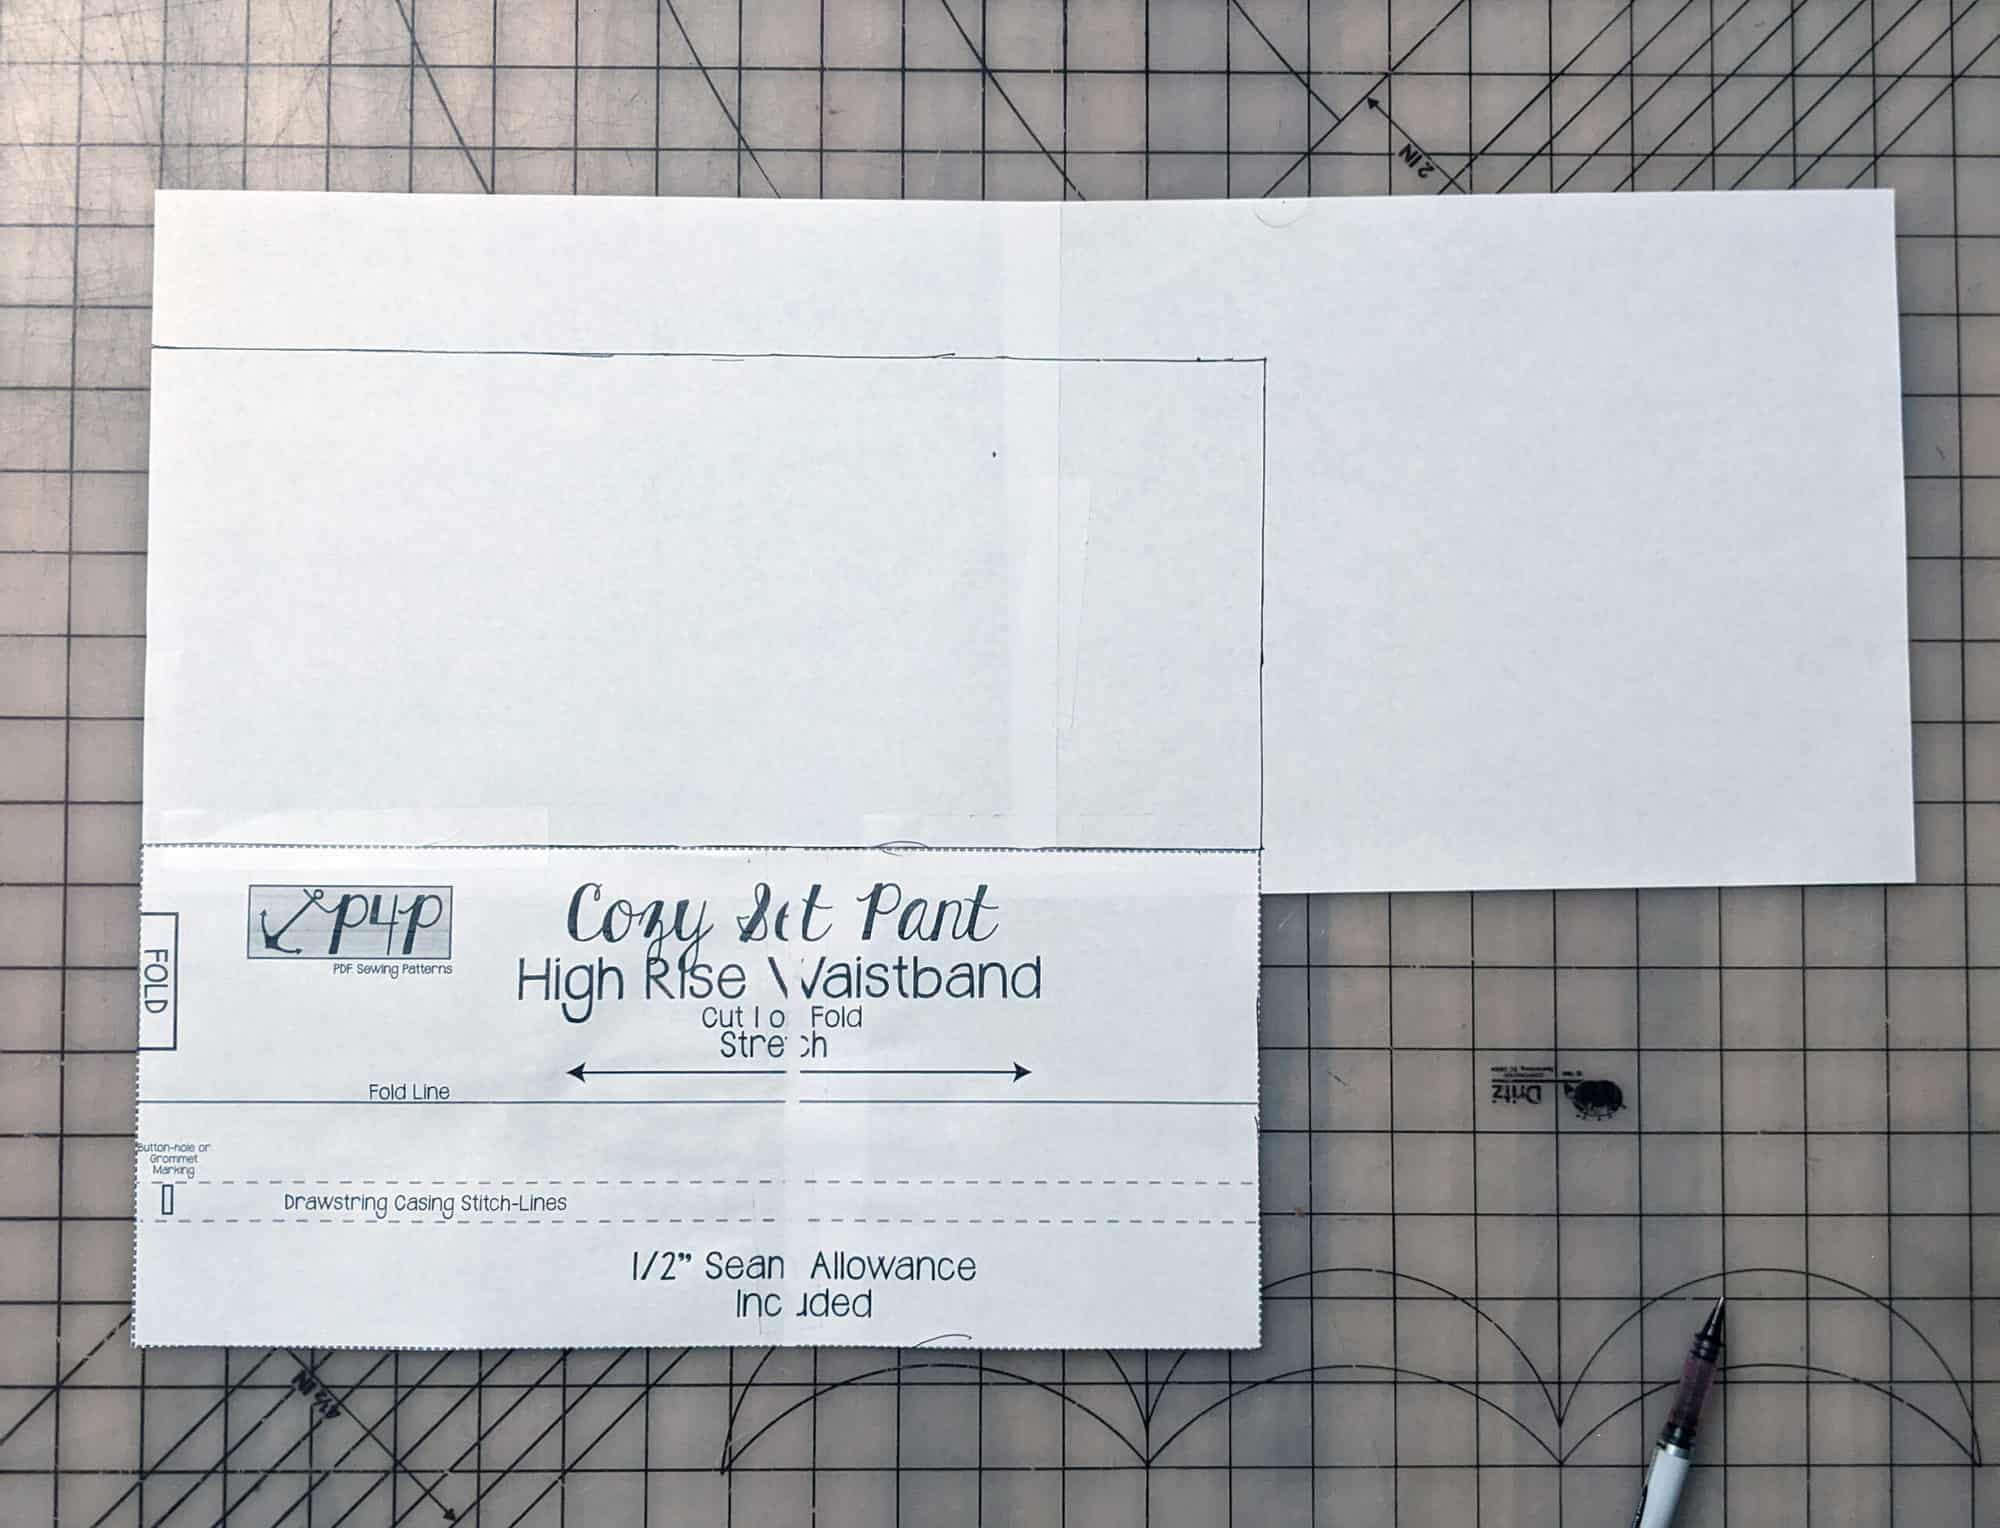
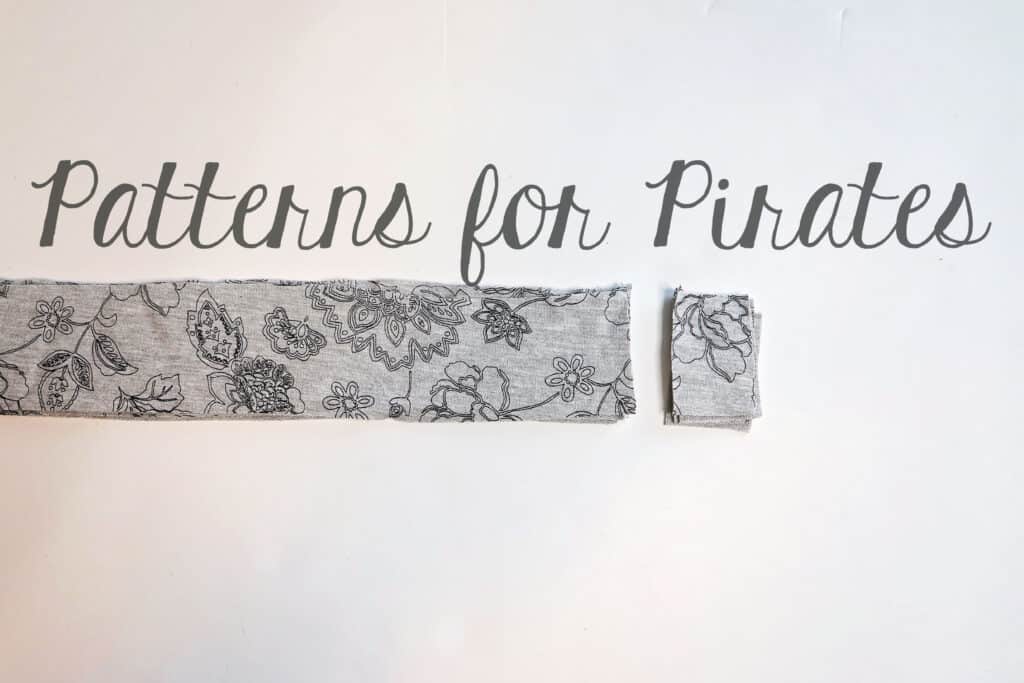
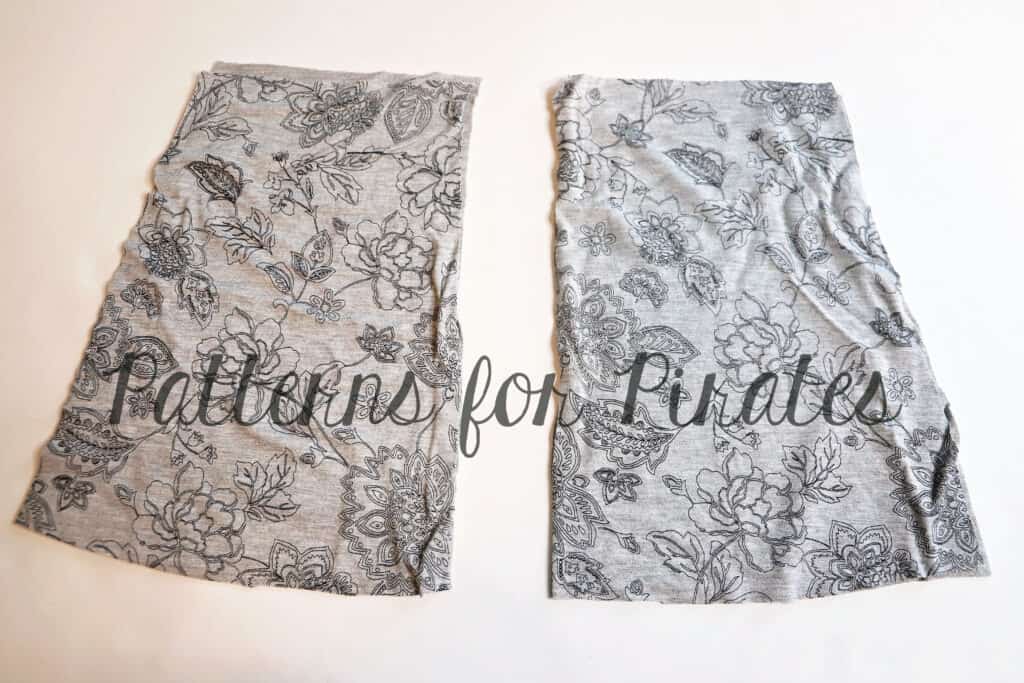
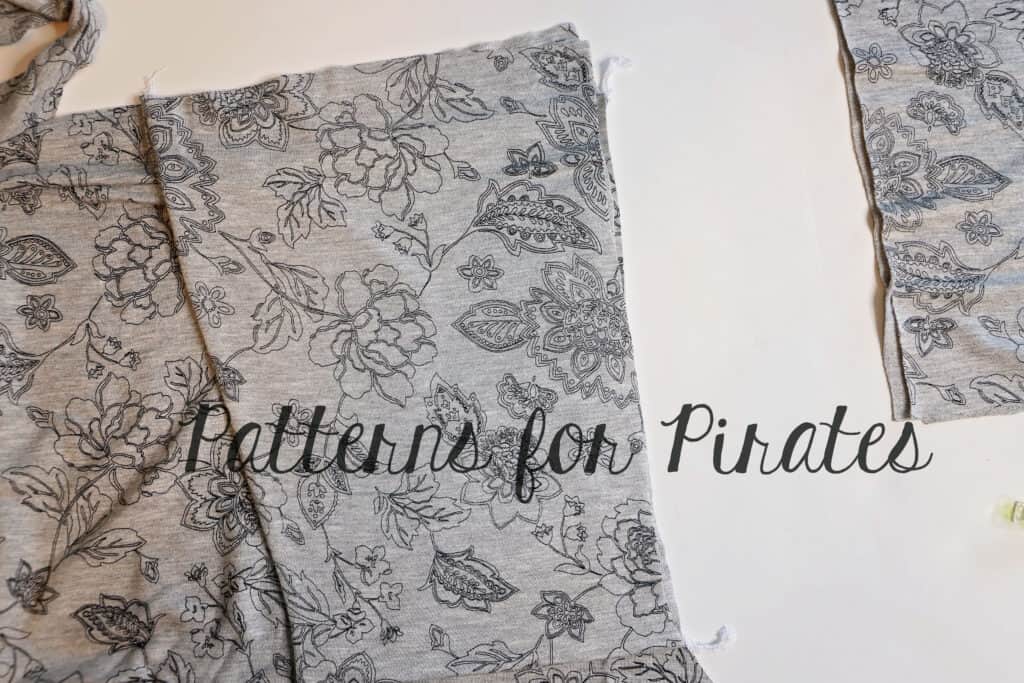
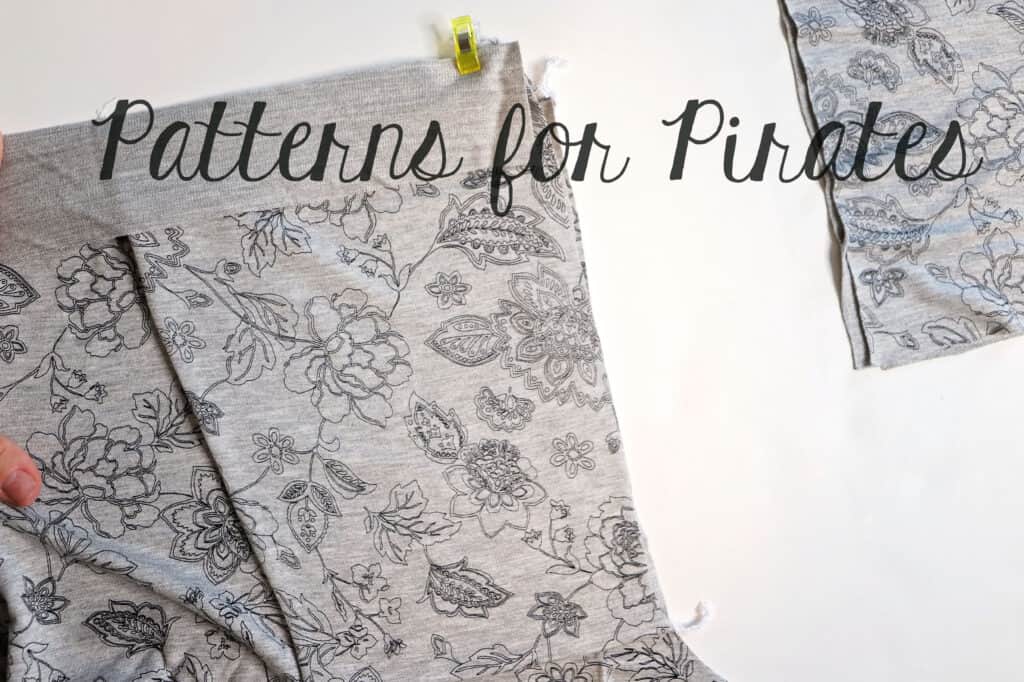
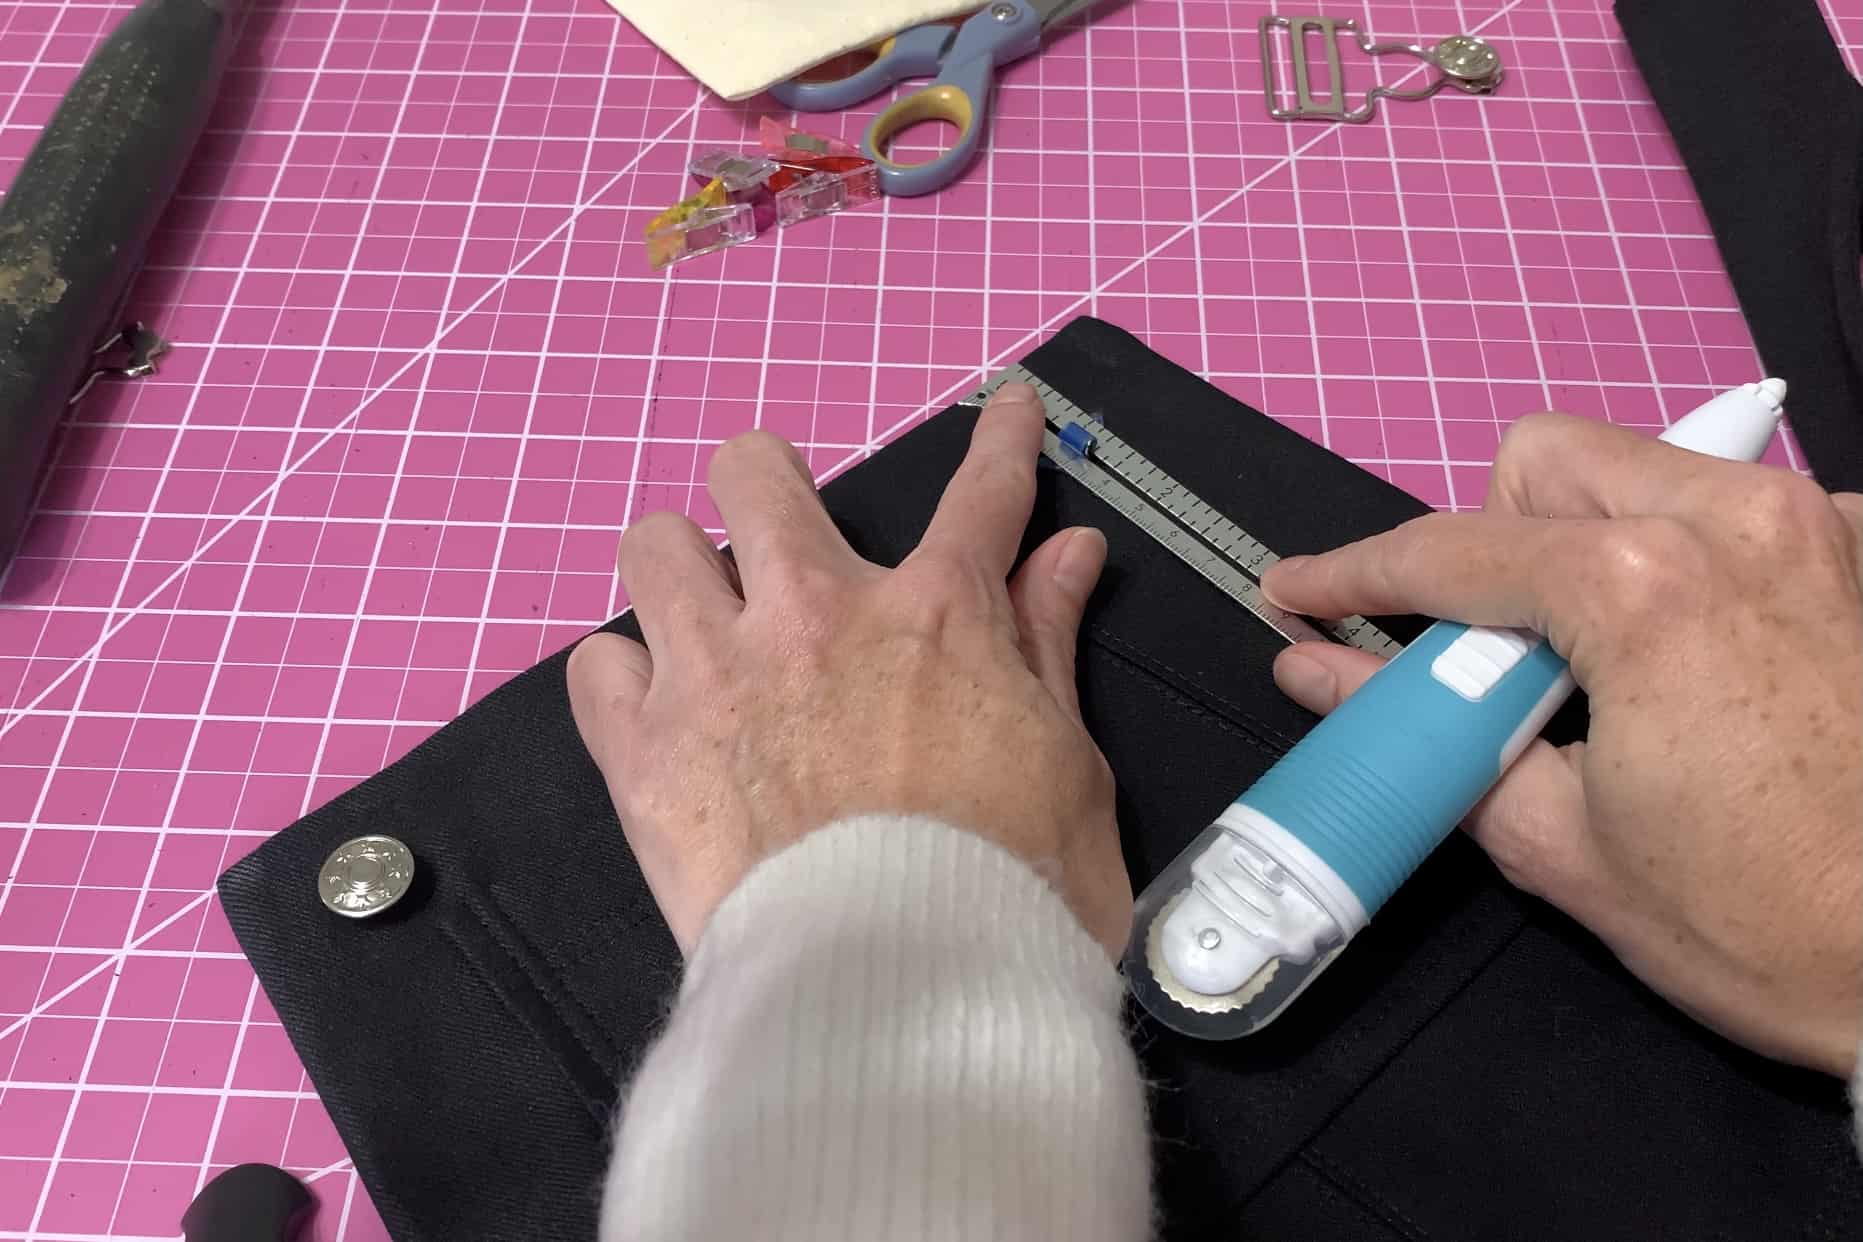
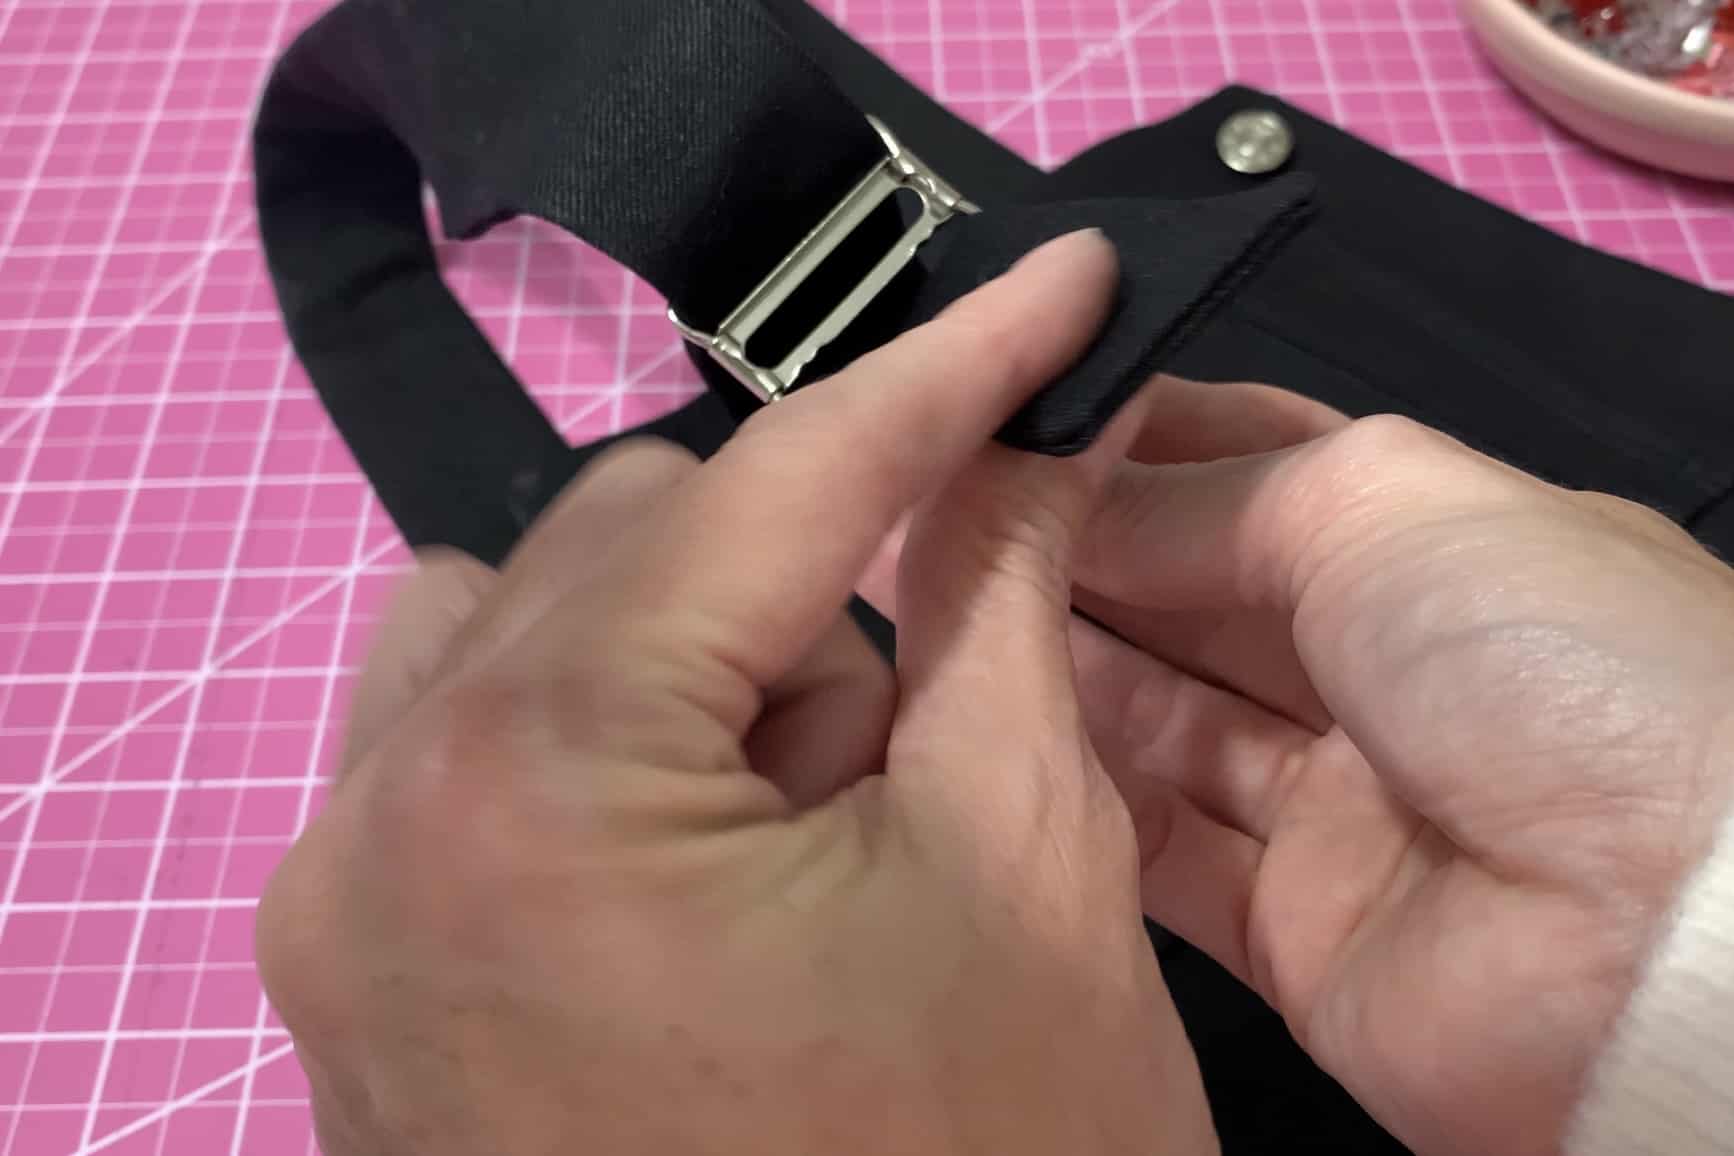
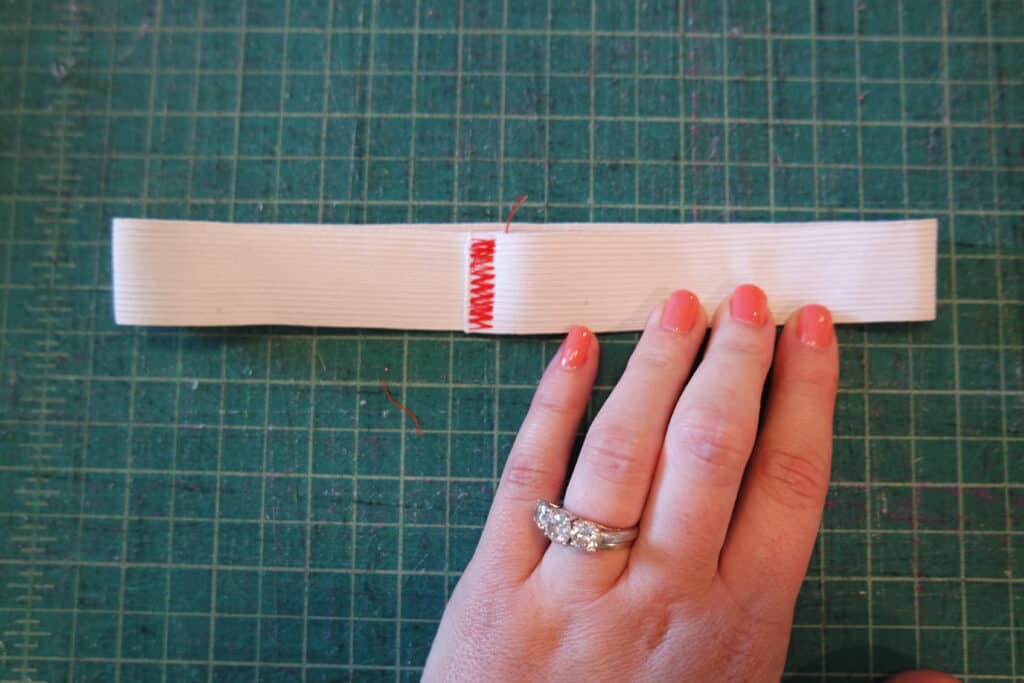
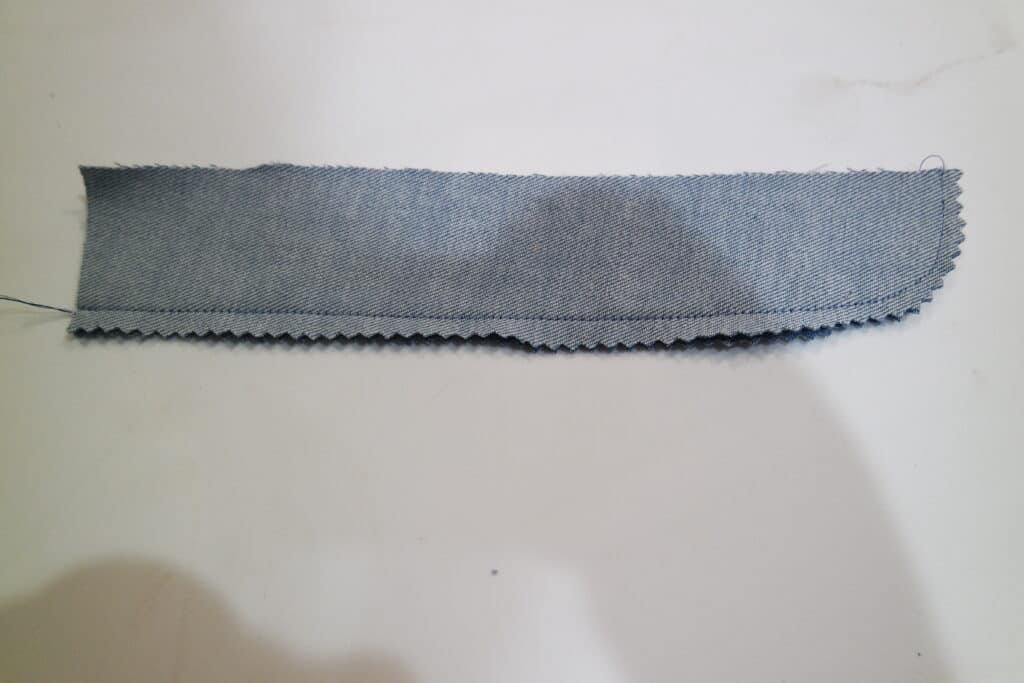
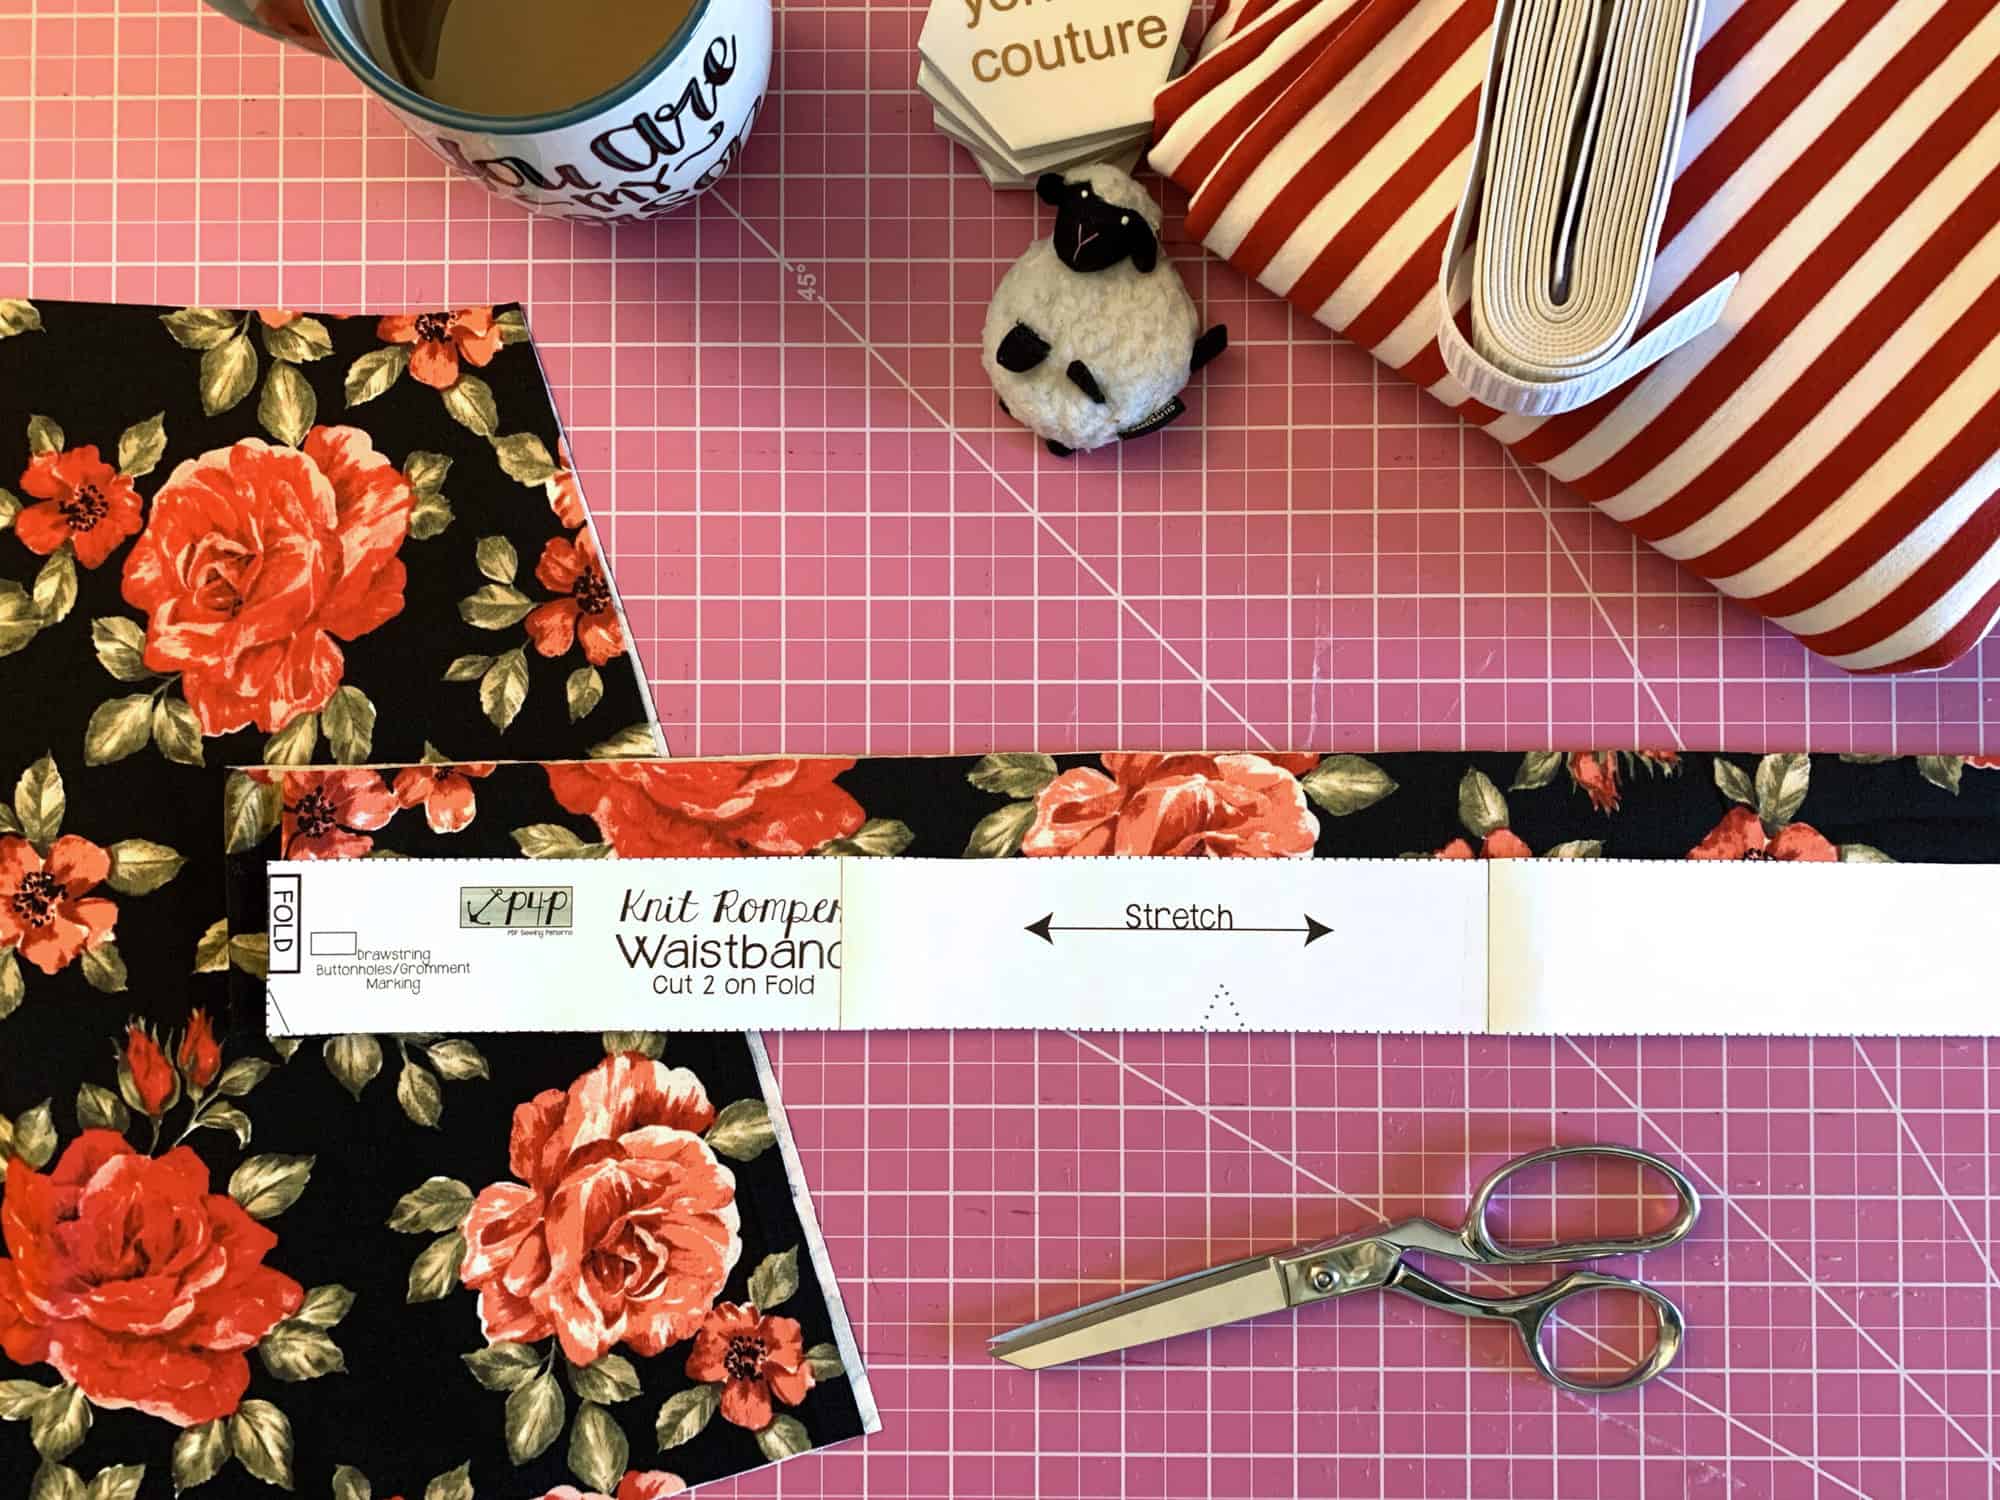
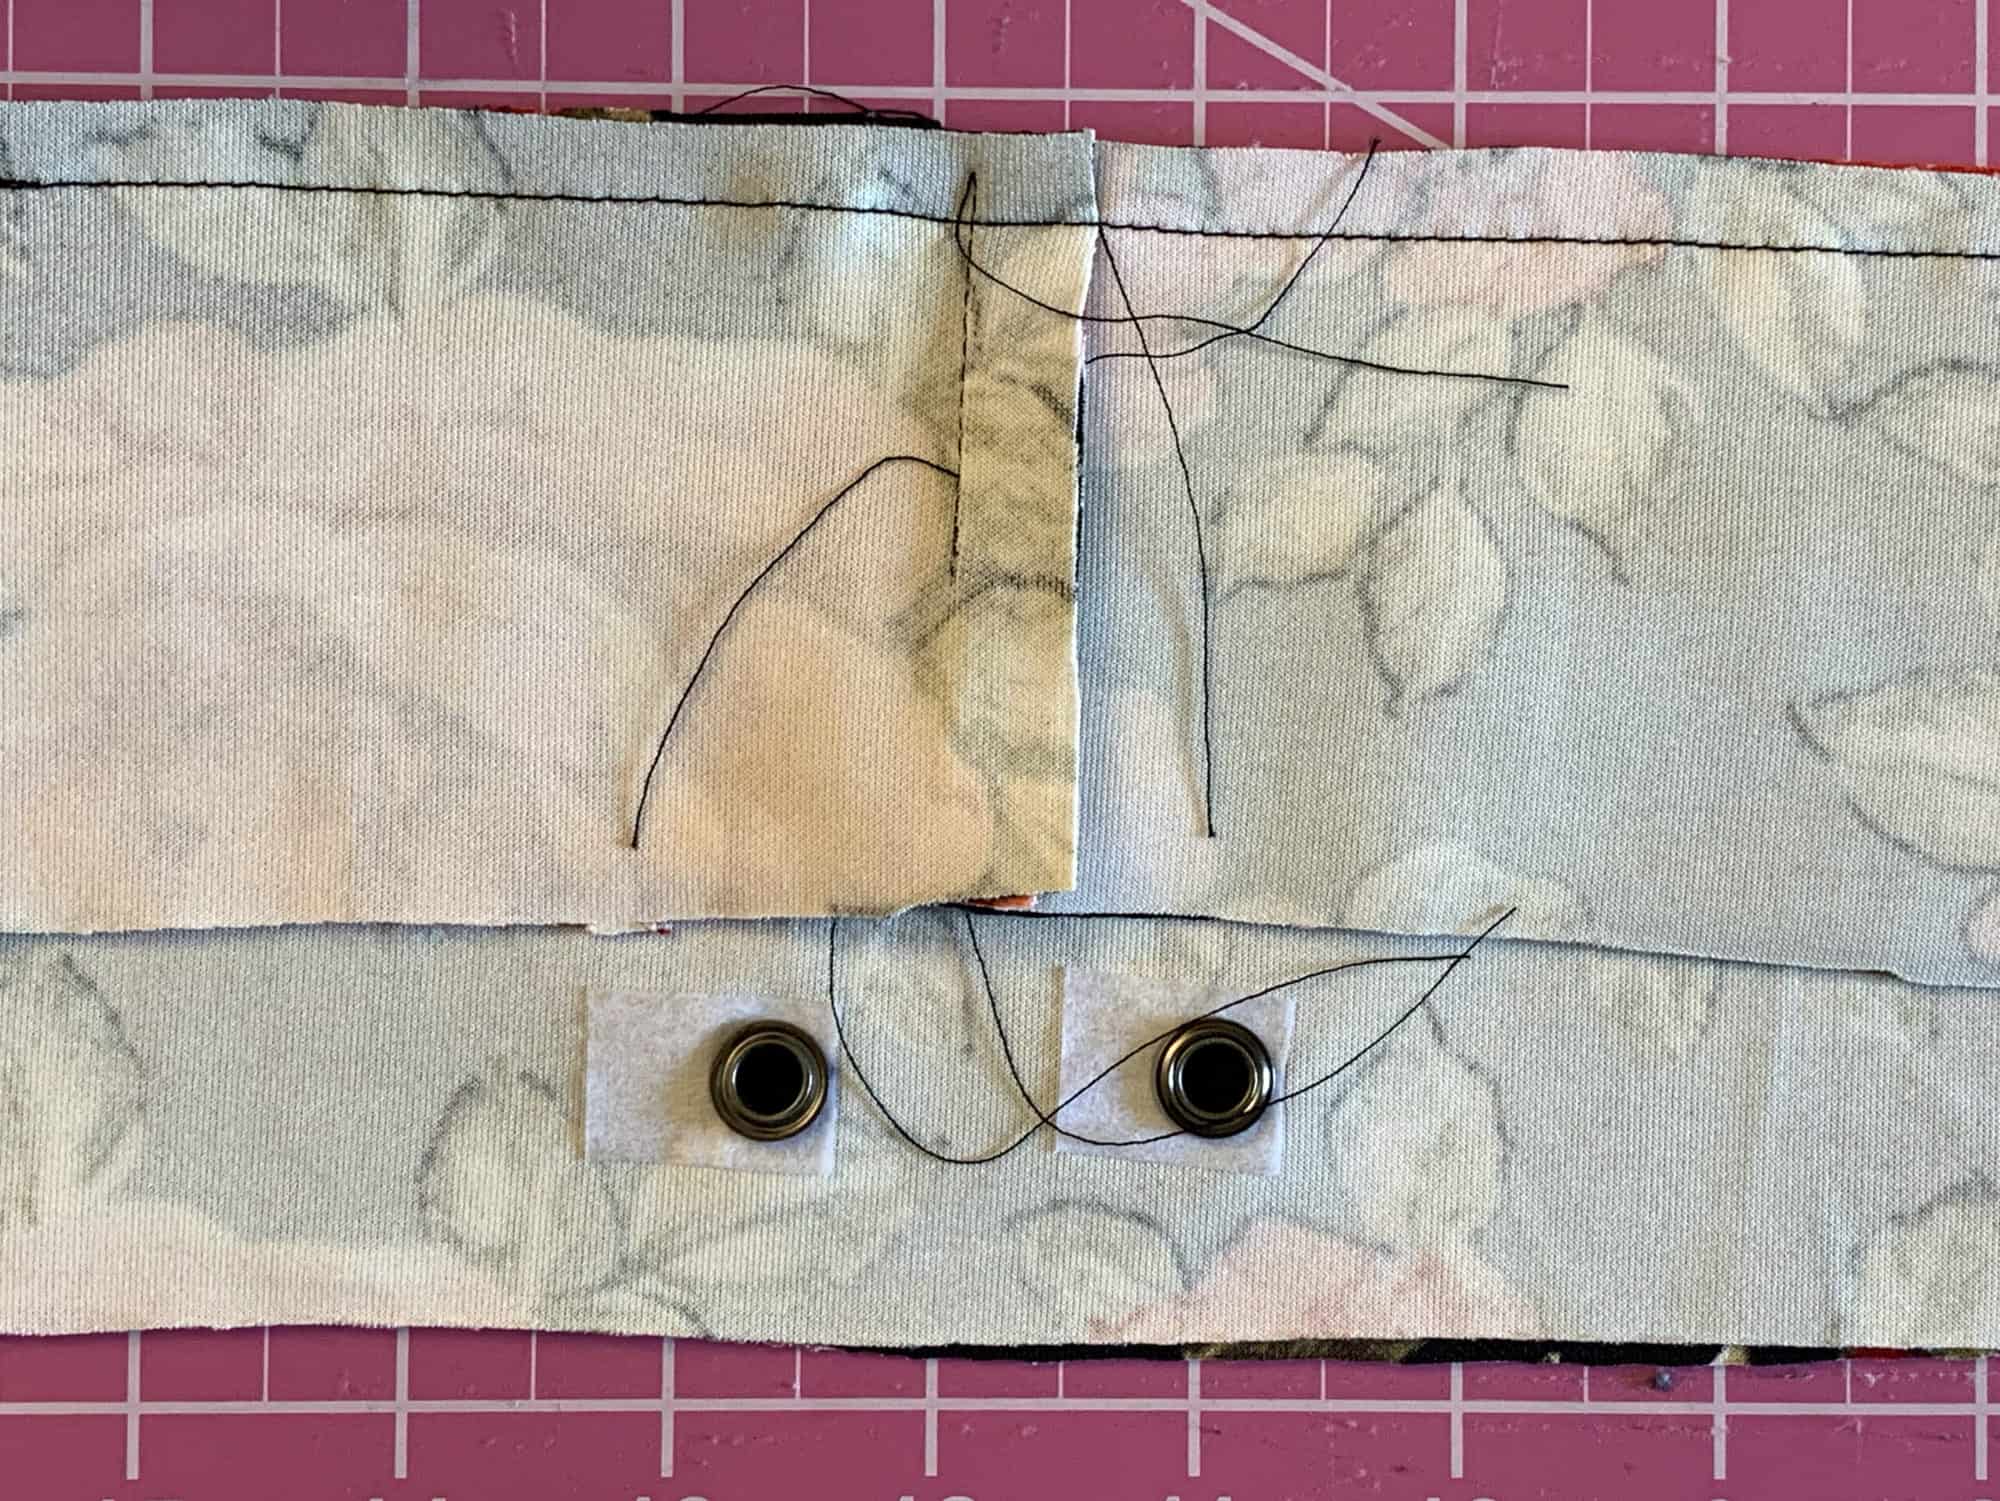
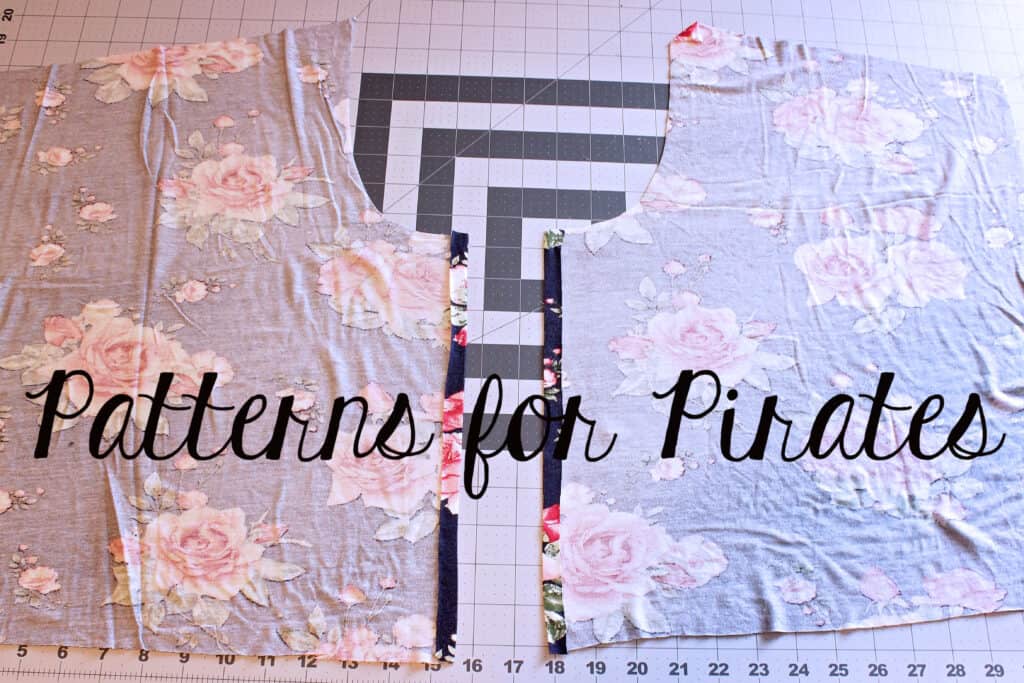
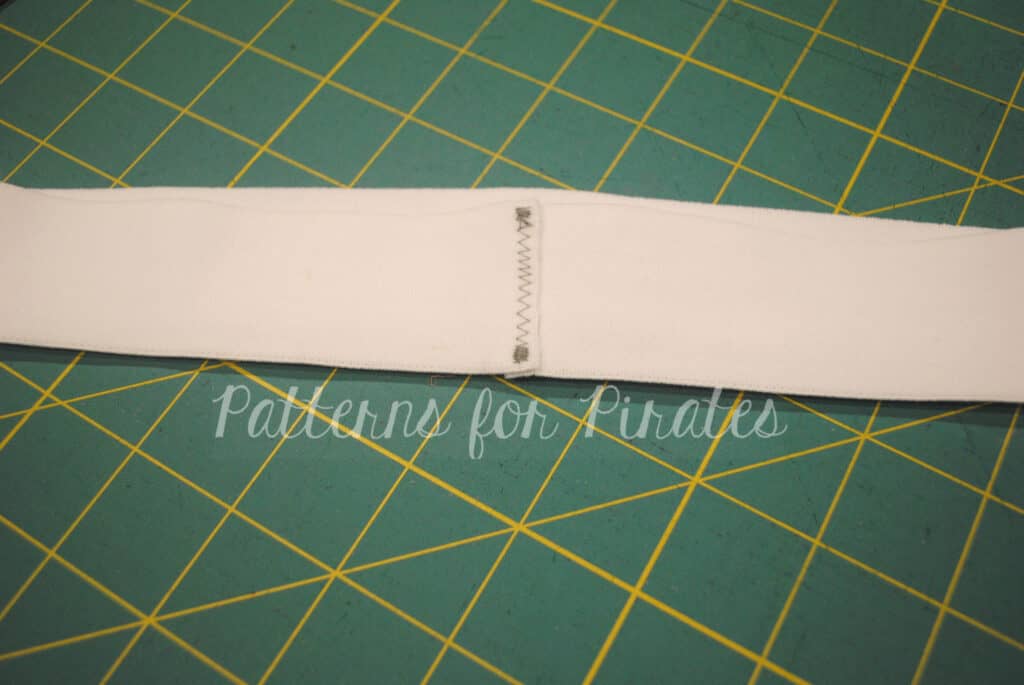
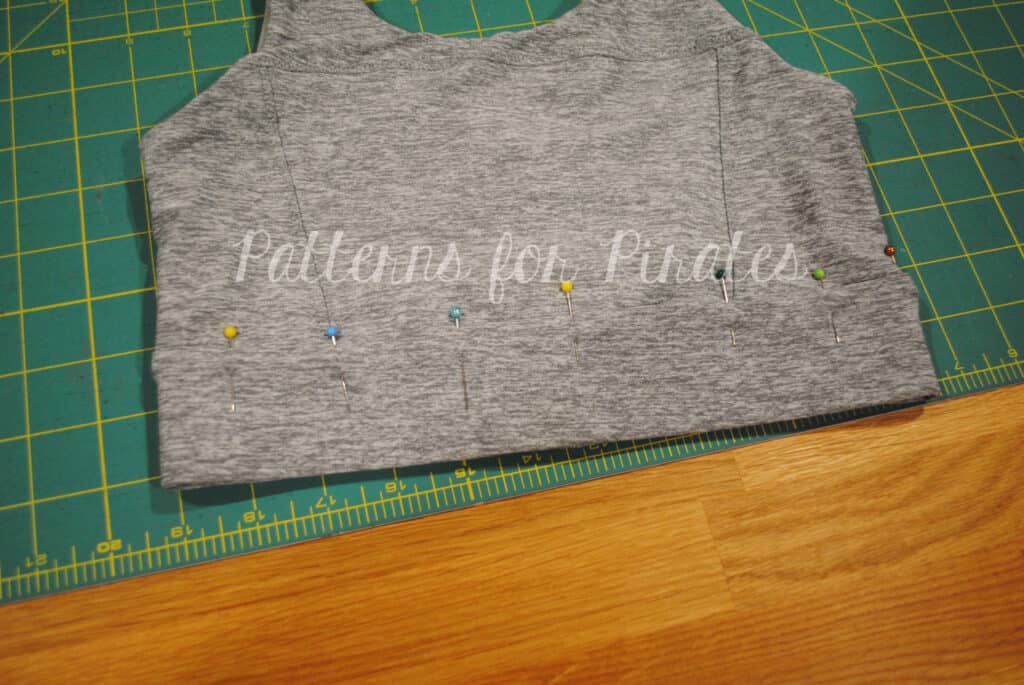
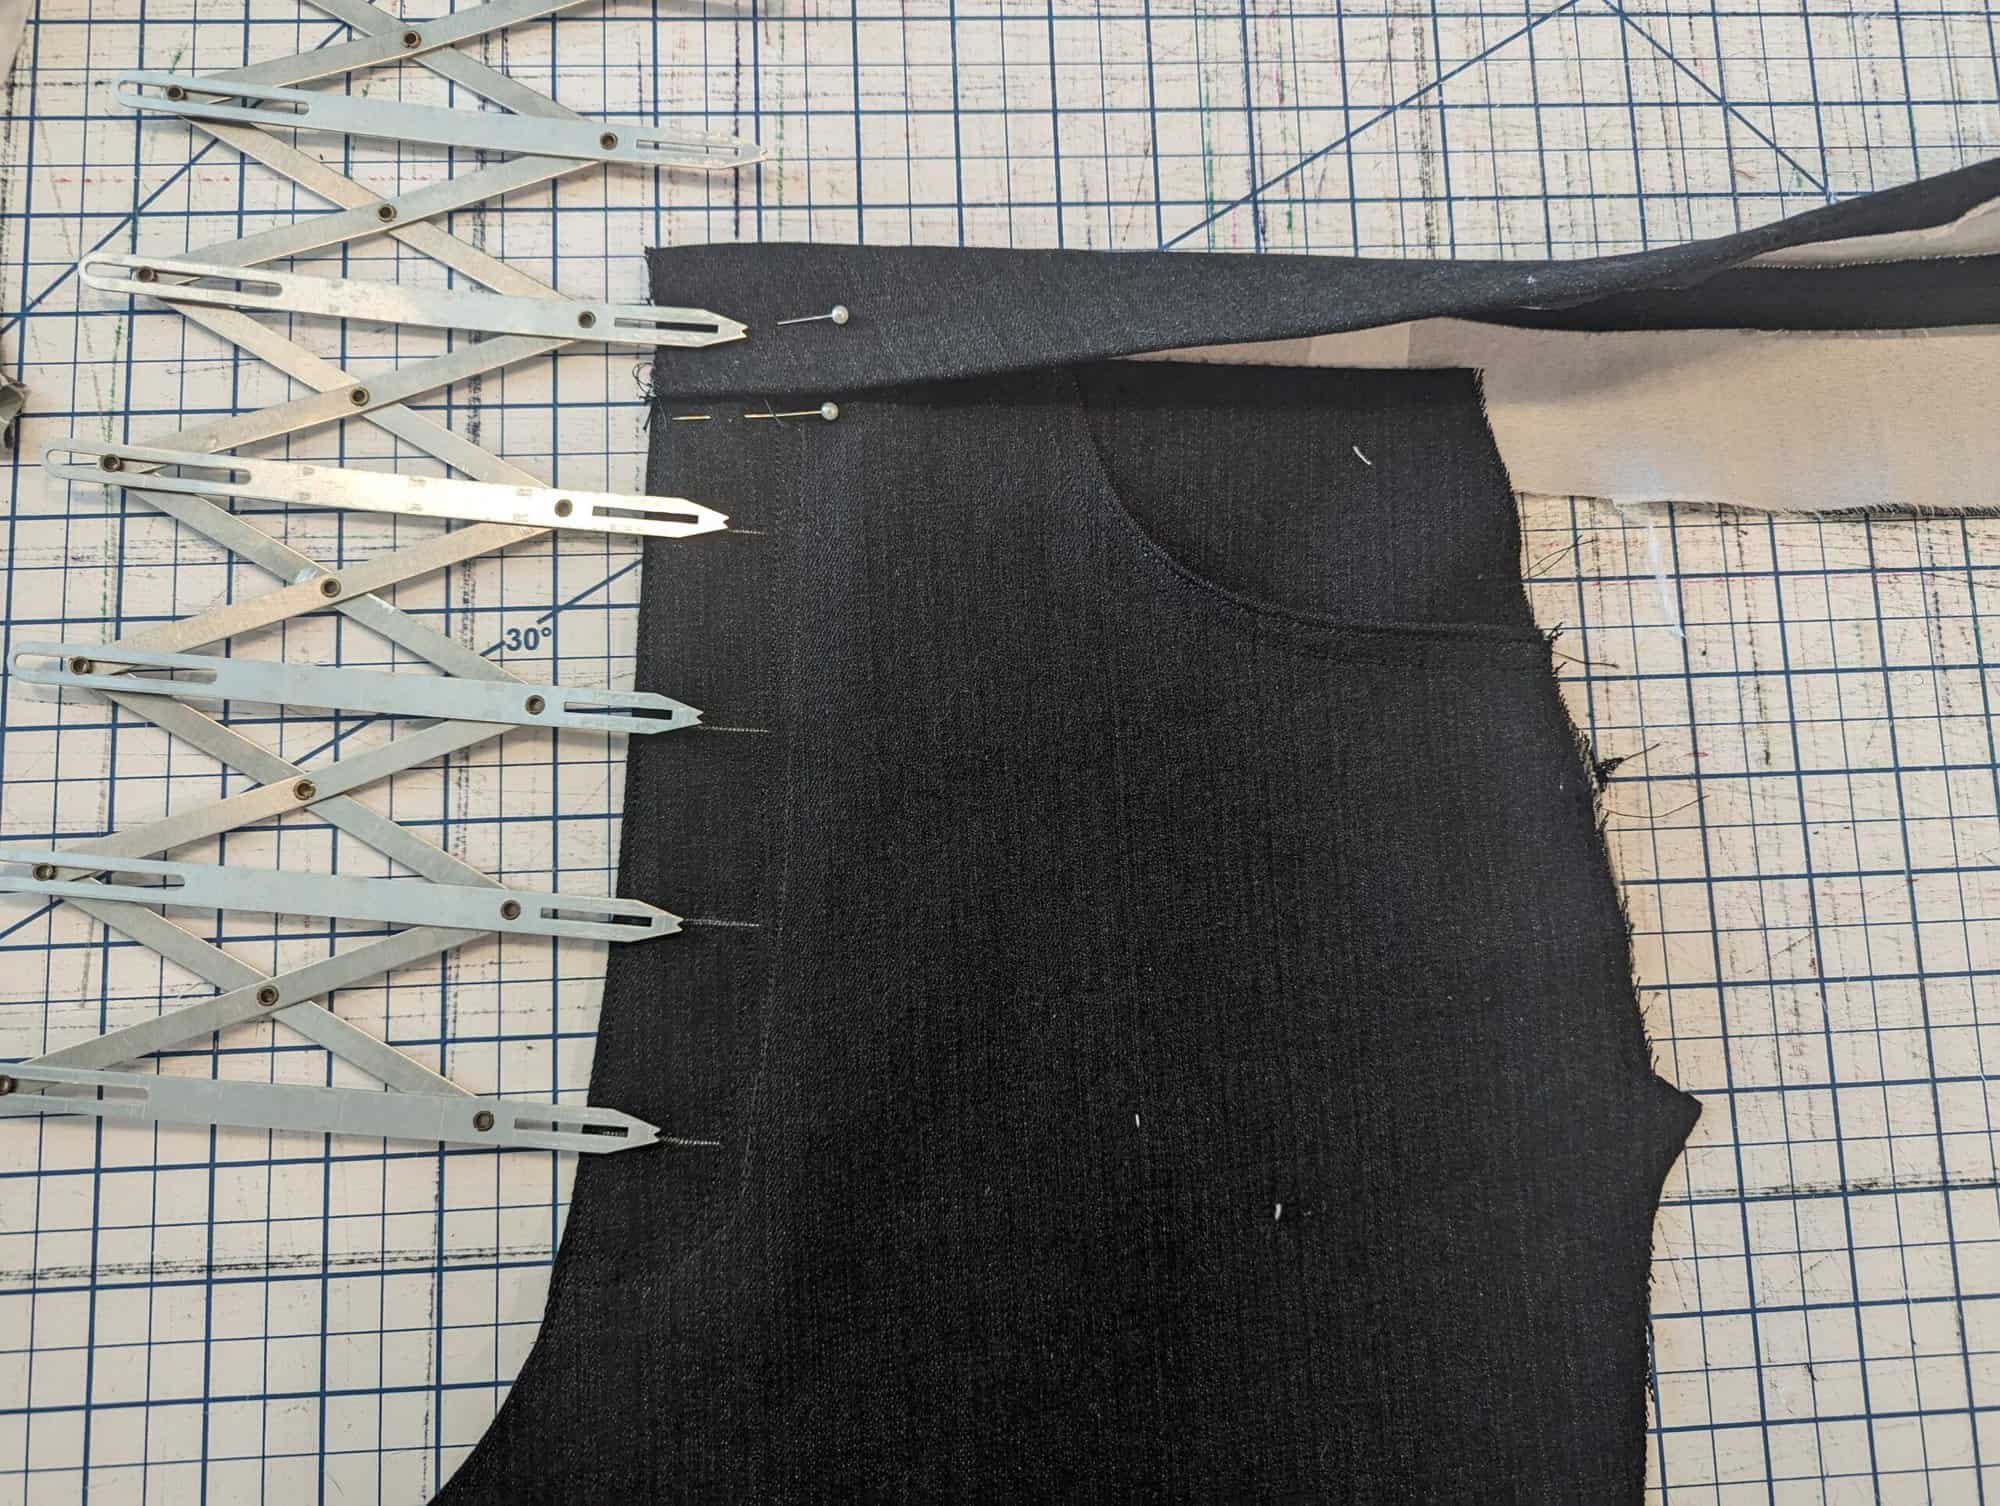
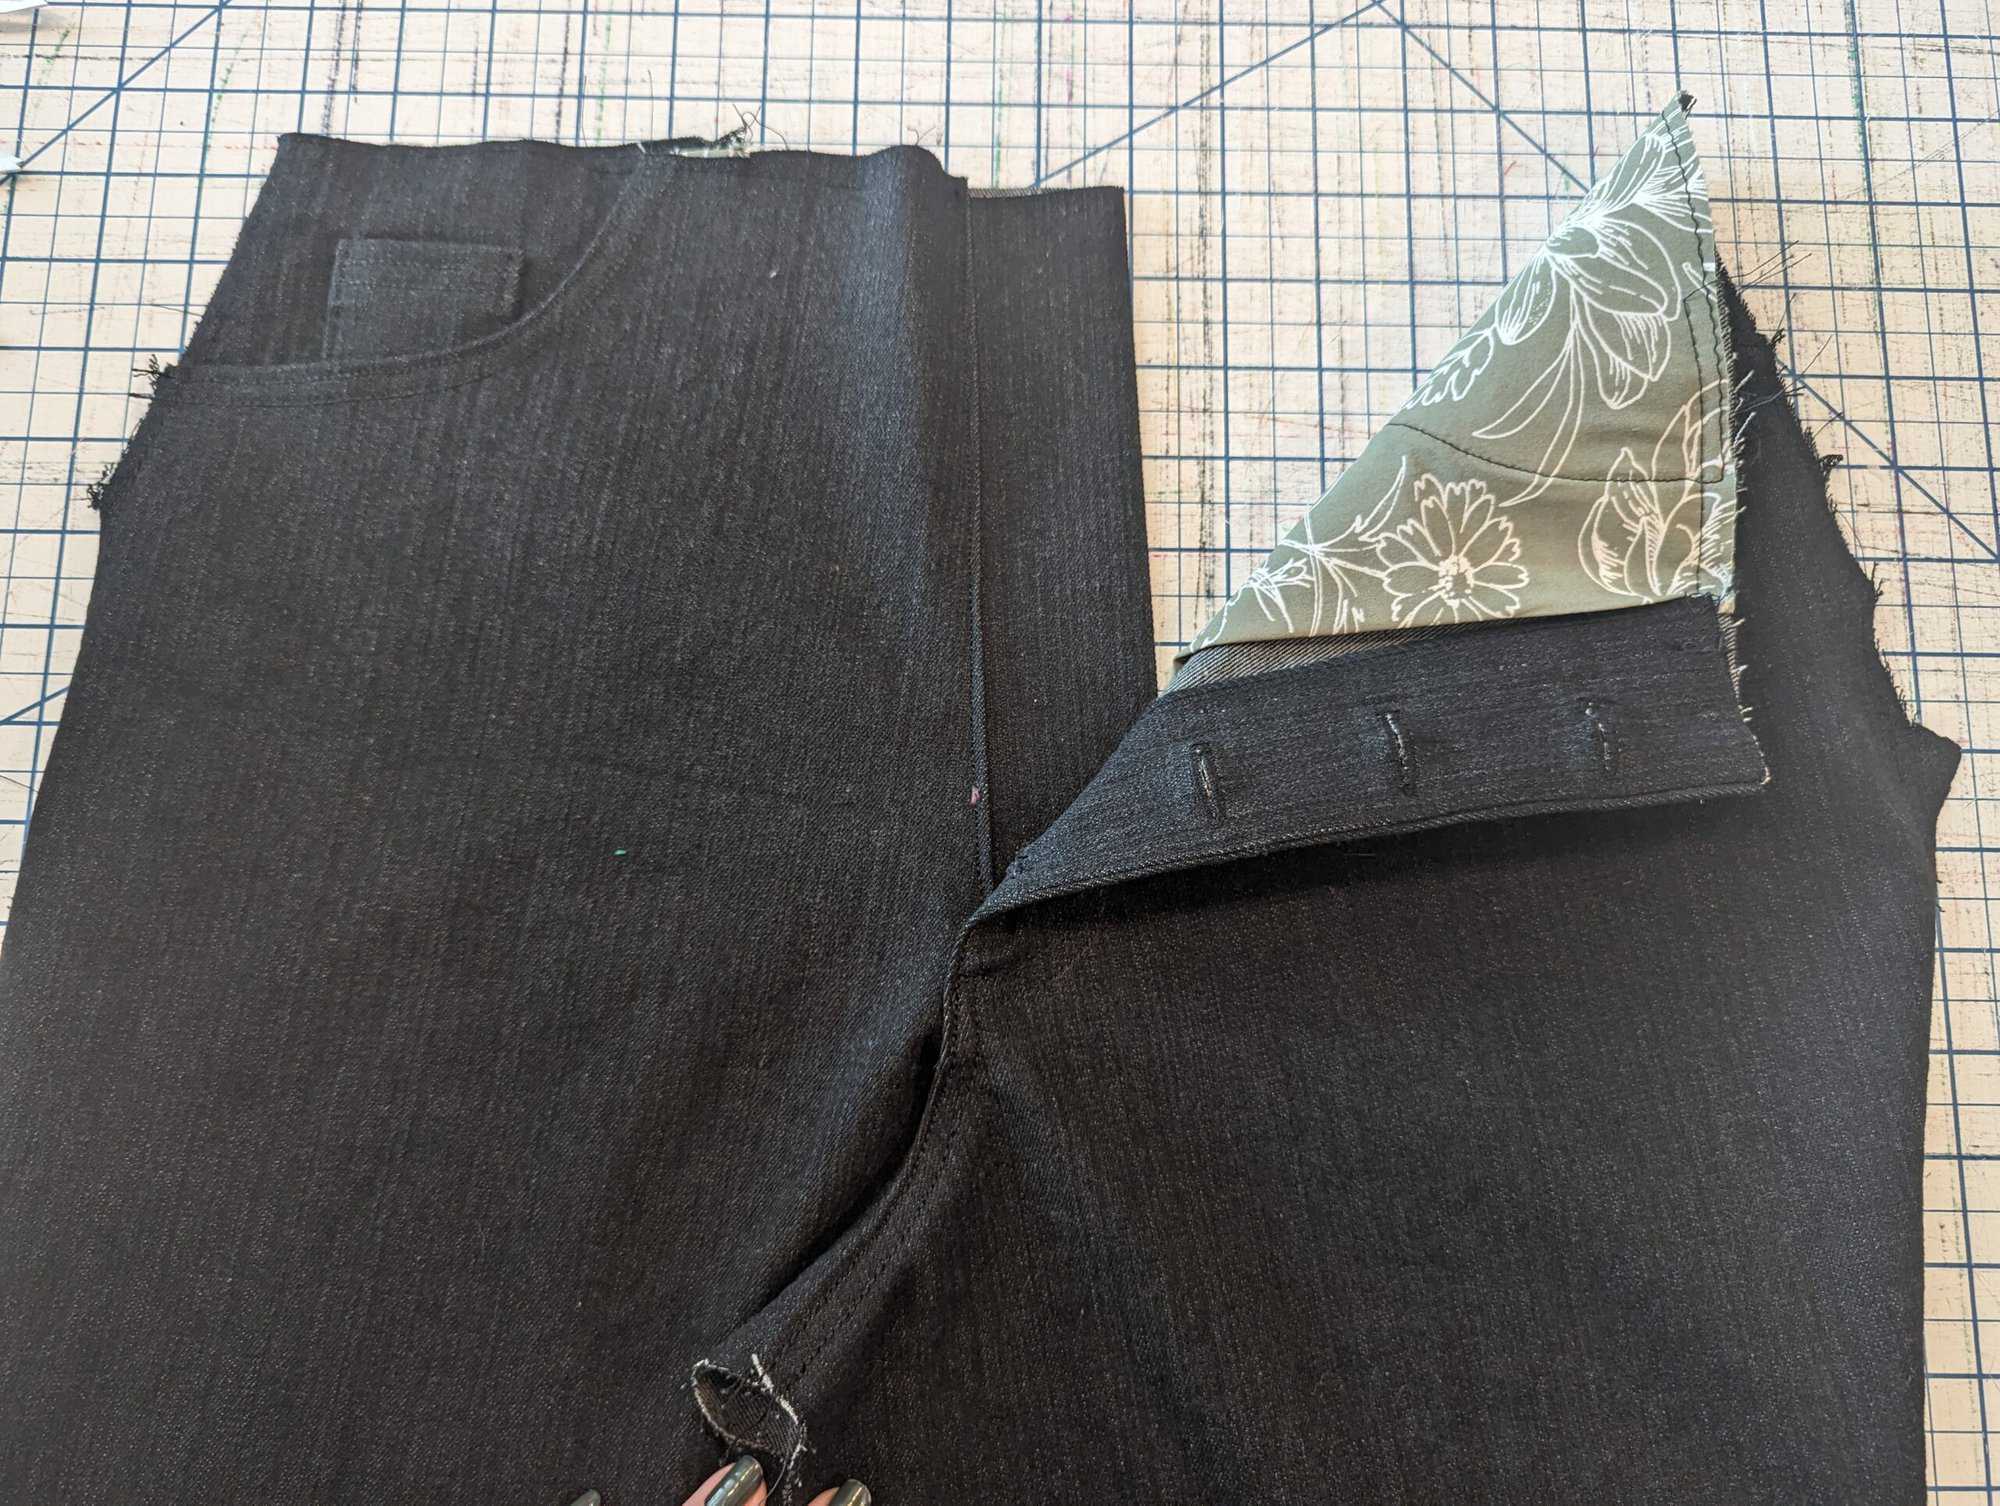
Start by creating the left and right front pieces, just skipping any mention of the zipper. The waistband is needed so you can add the button markings and space them evenly. Fold the bottom and top raw edges of the waistband and pin it in place. You DO NOT need to sew the waistband on, just pin it. Using your favorite button hole spacing tool (I like the Expanding Sewing Gauge Button Guide *aff link) or a ruler, mark the button hole location.
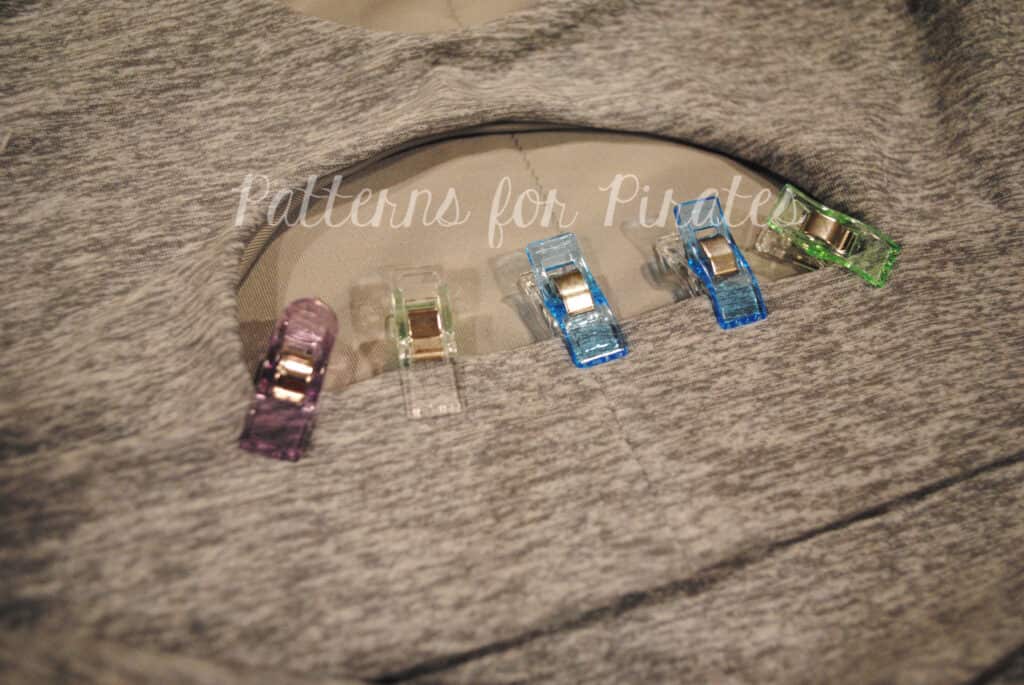
Make sure you center the waistband button as shown below. I like adding 5 buttons to the Janet Jeans, which is the average for a button fly. You might need only 4 if you’re removing quite a bit of length from the rise though.
Tip: do not space the buttons too close to each other as they will make buttoning more difficult. You also don’t want them too far or they might gap open.
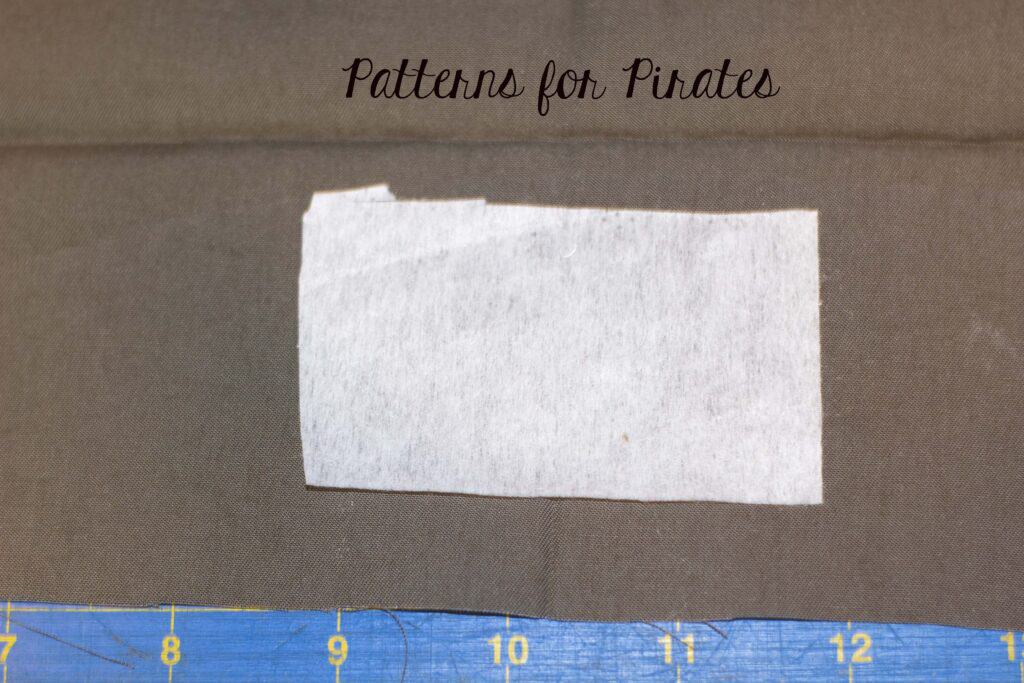
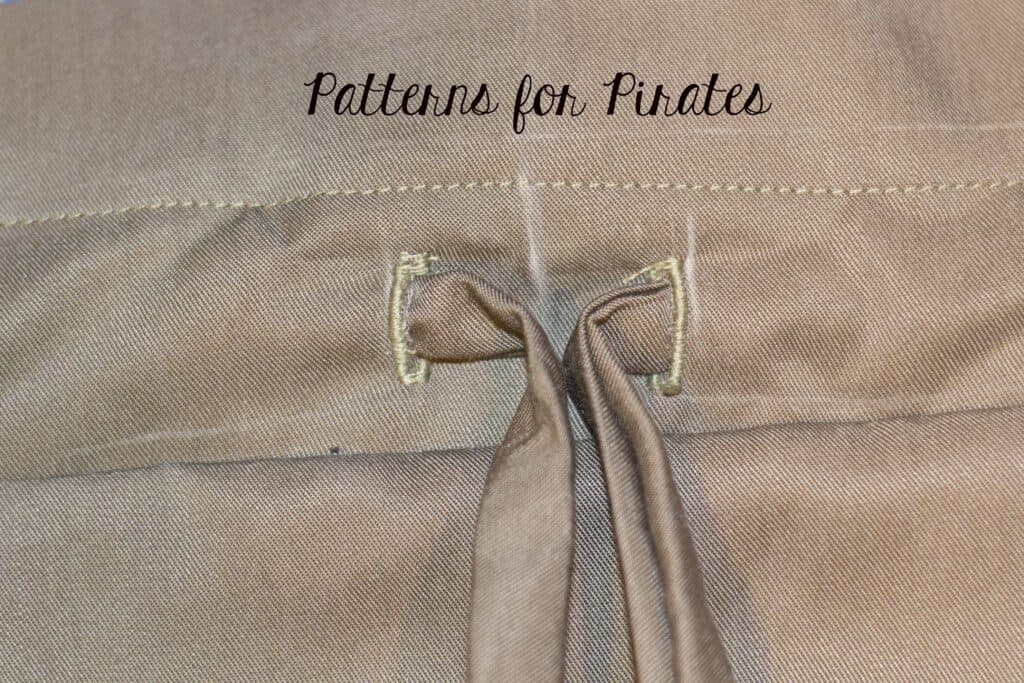
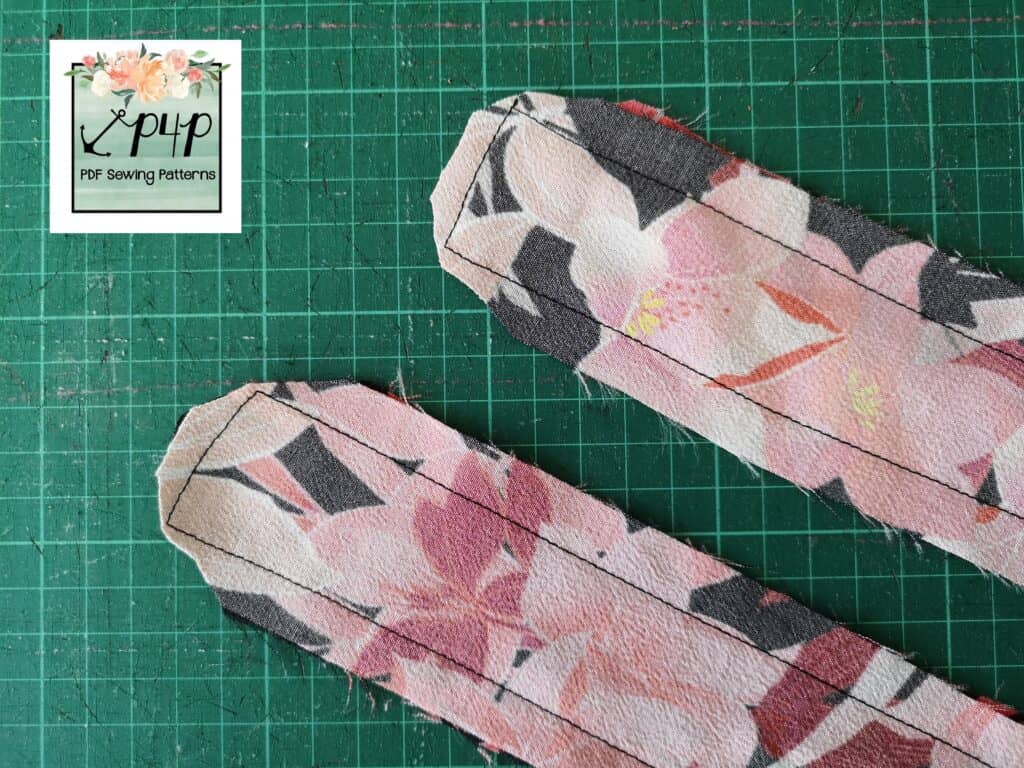
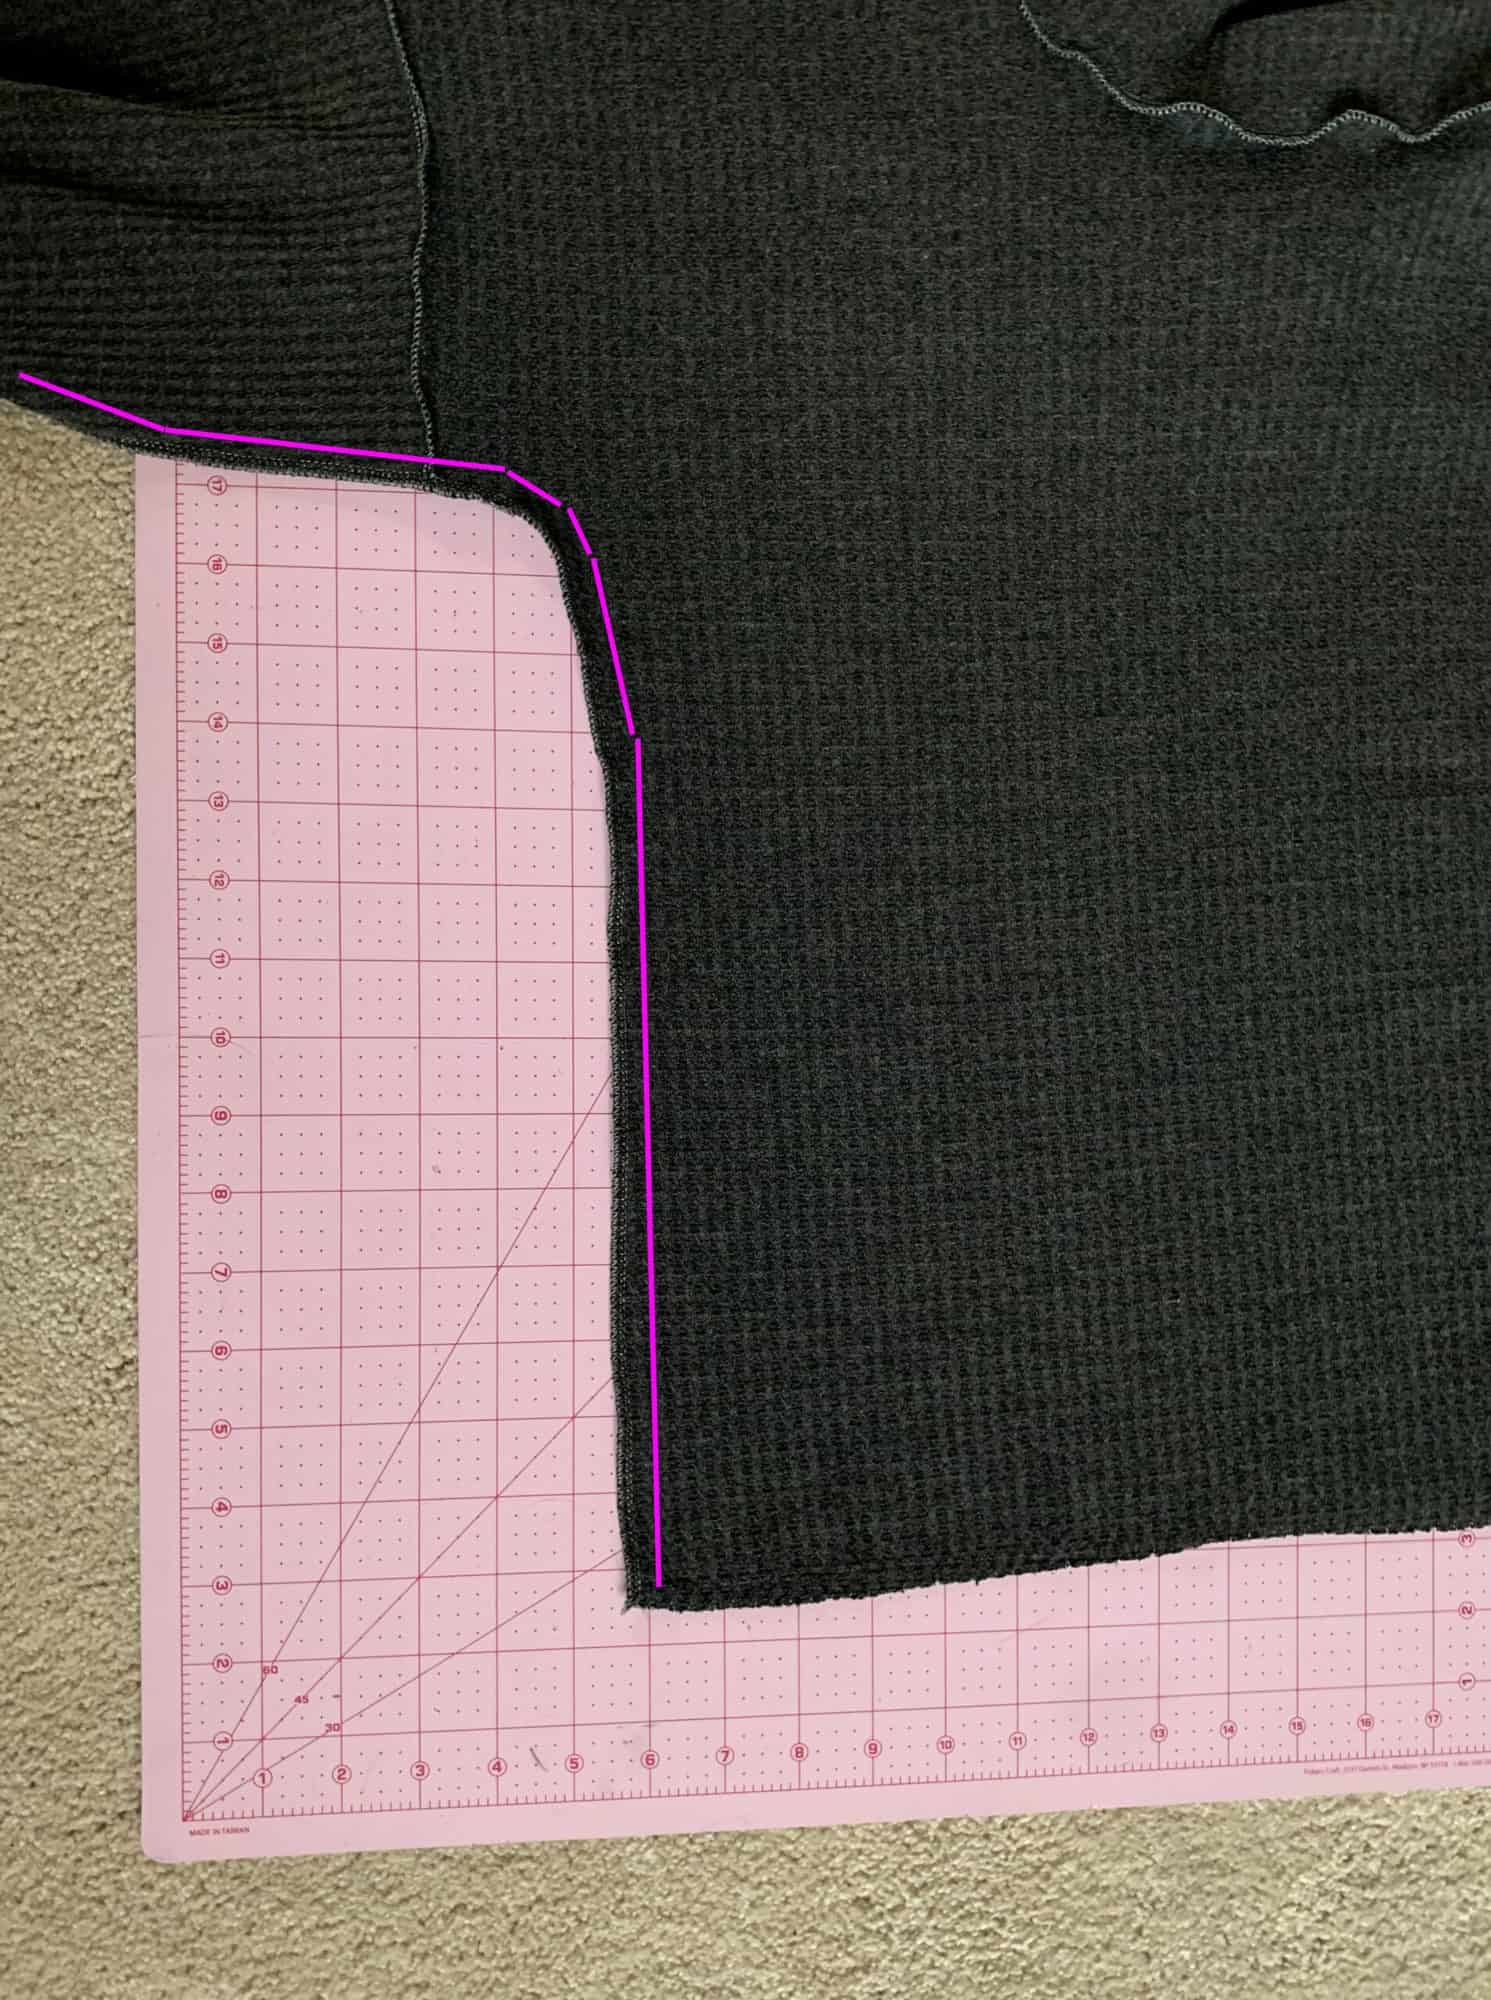
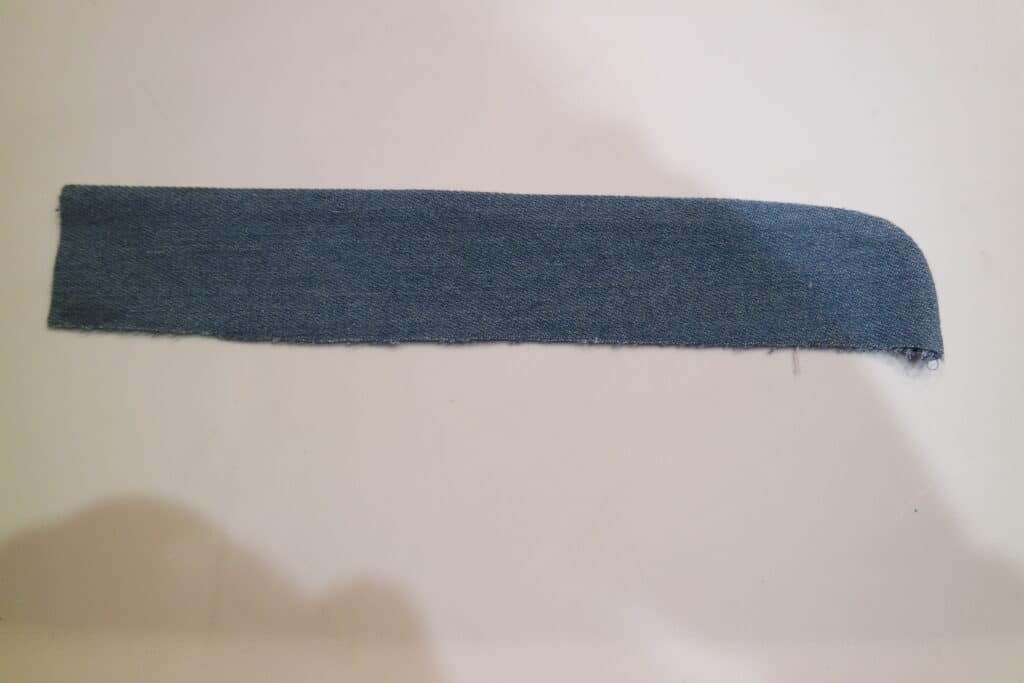
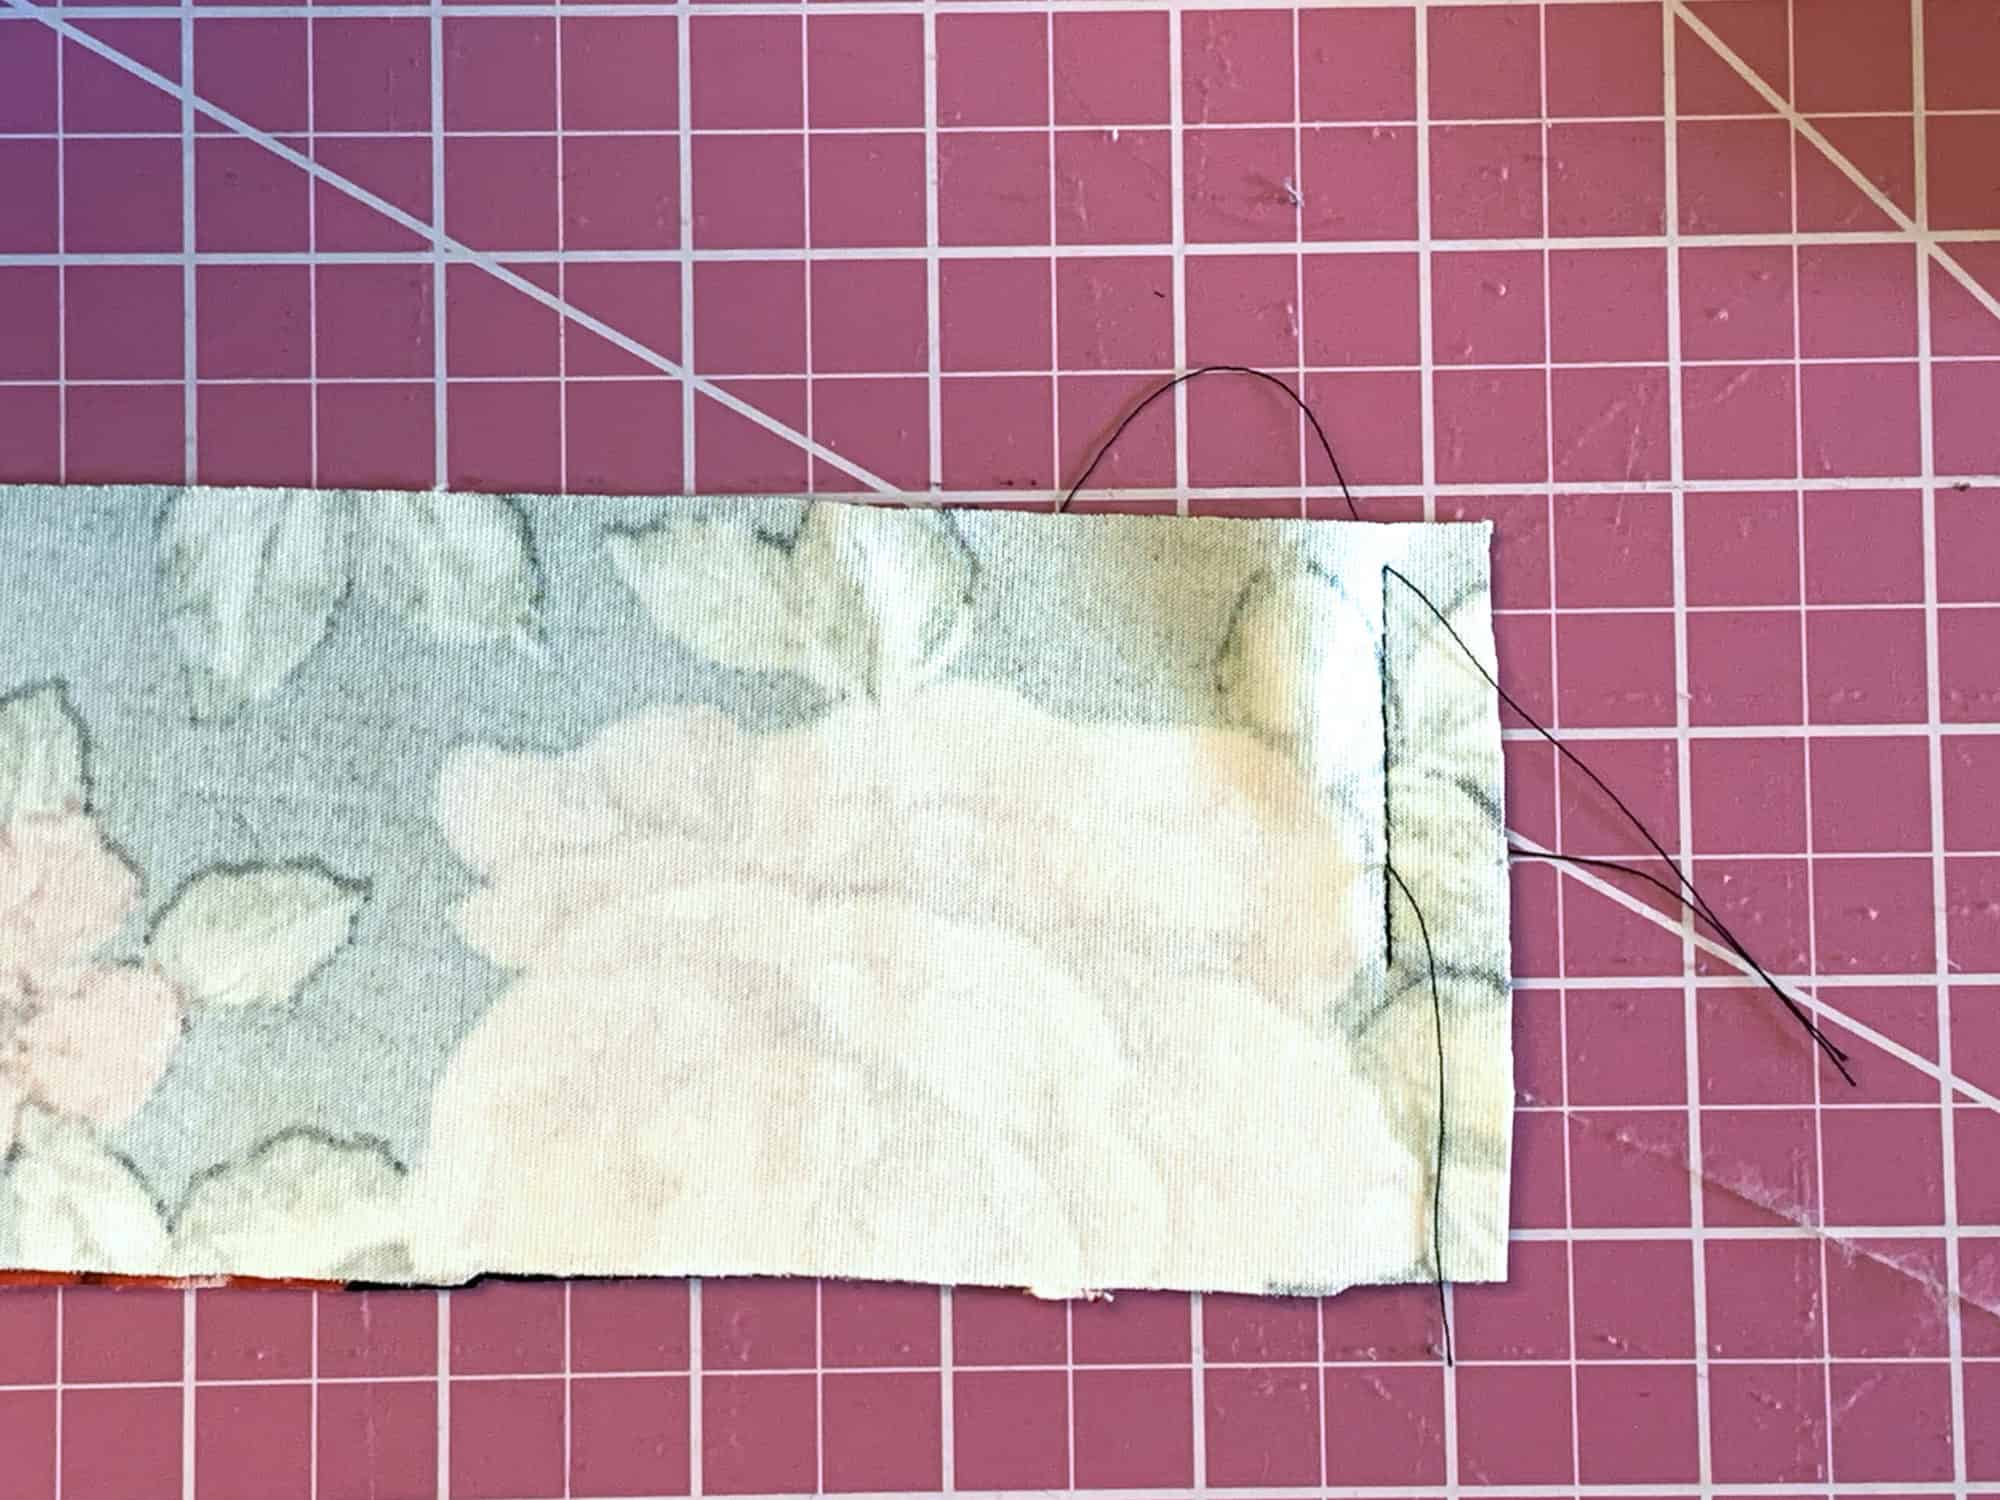
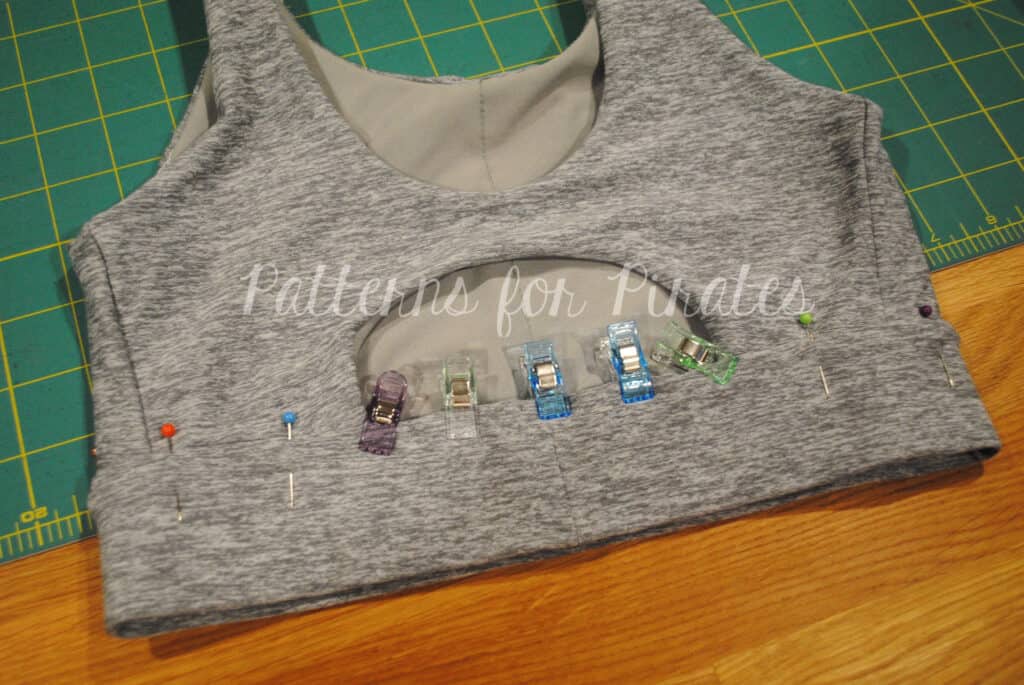
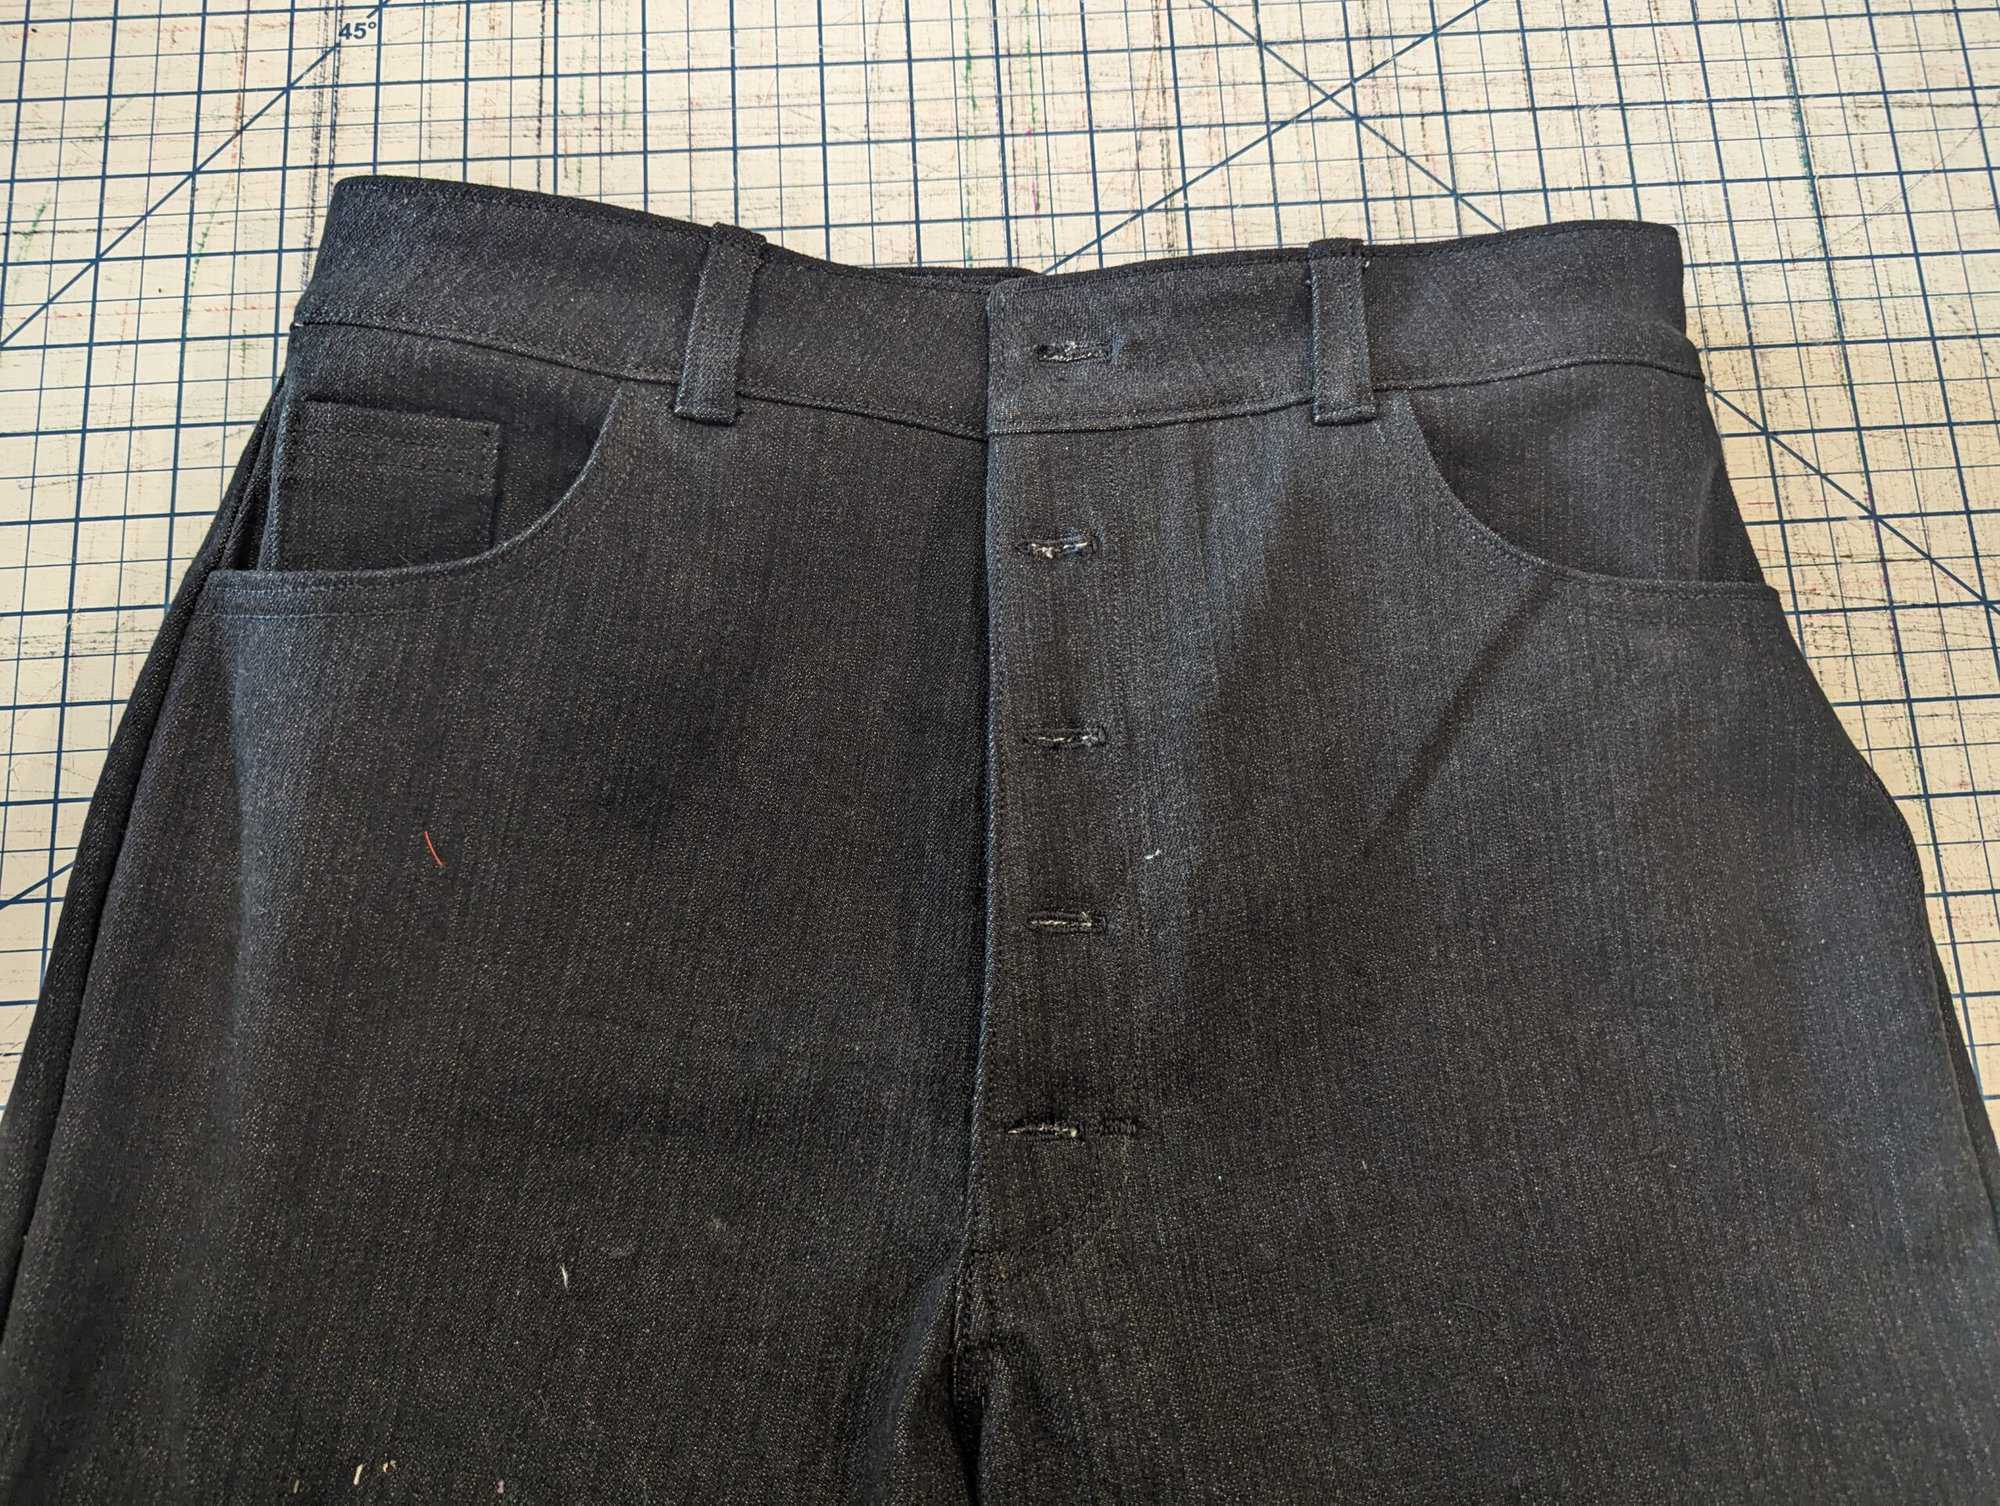
Add button holes to the front left side. I recommend using a matching thread. I know buttonholes can be intimidating, but I promise you, YOU GOT THIS! If you need any tips, tricks or hand holding, check out the Buttons and Buttonholes 101 P4P University blog we have for you.
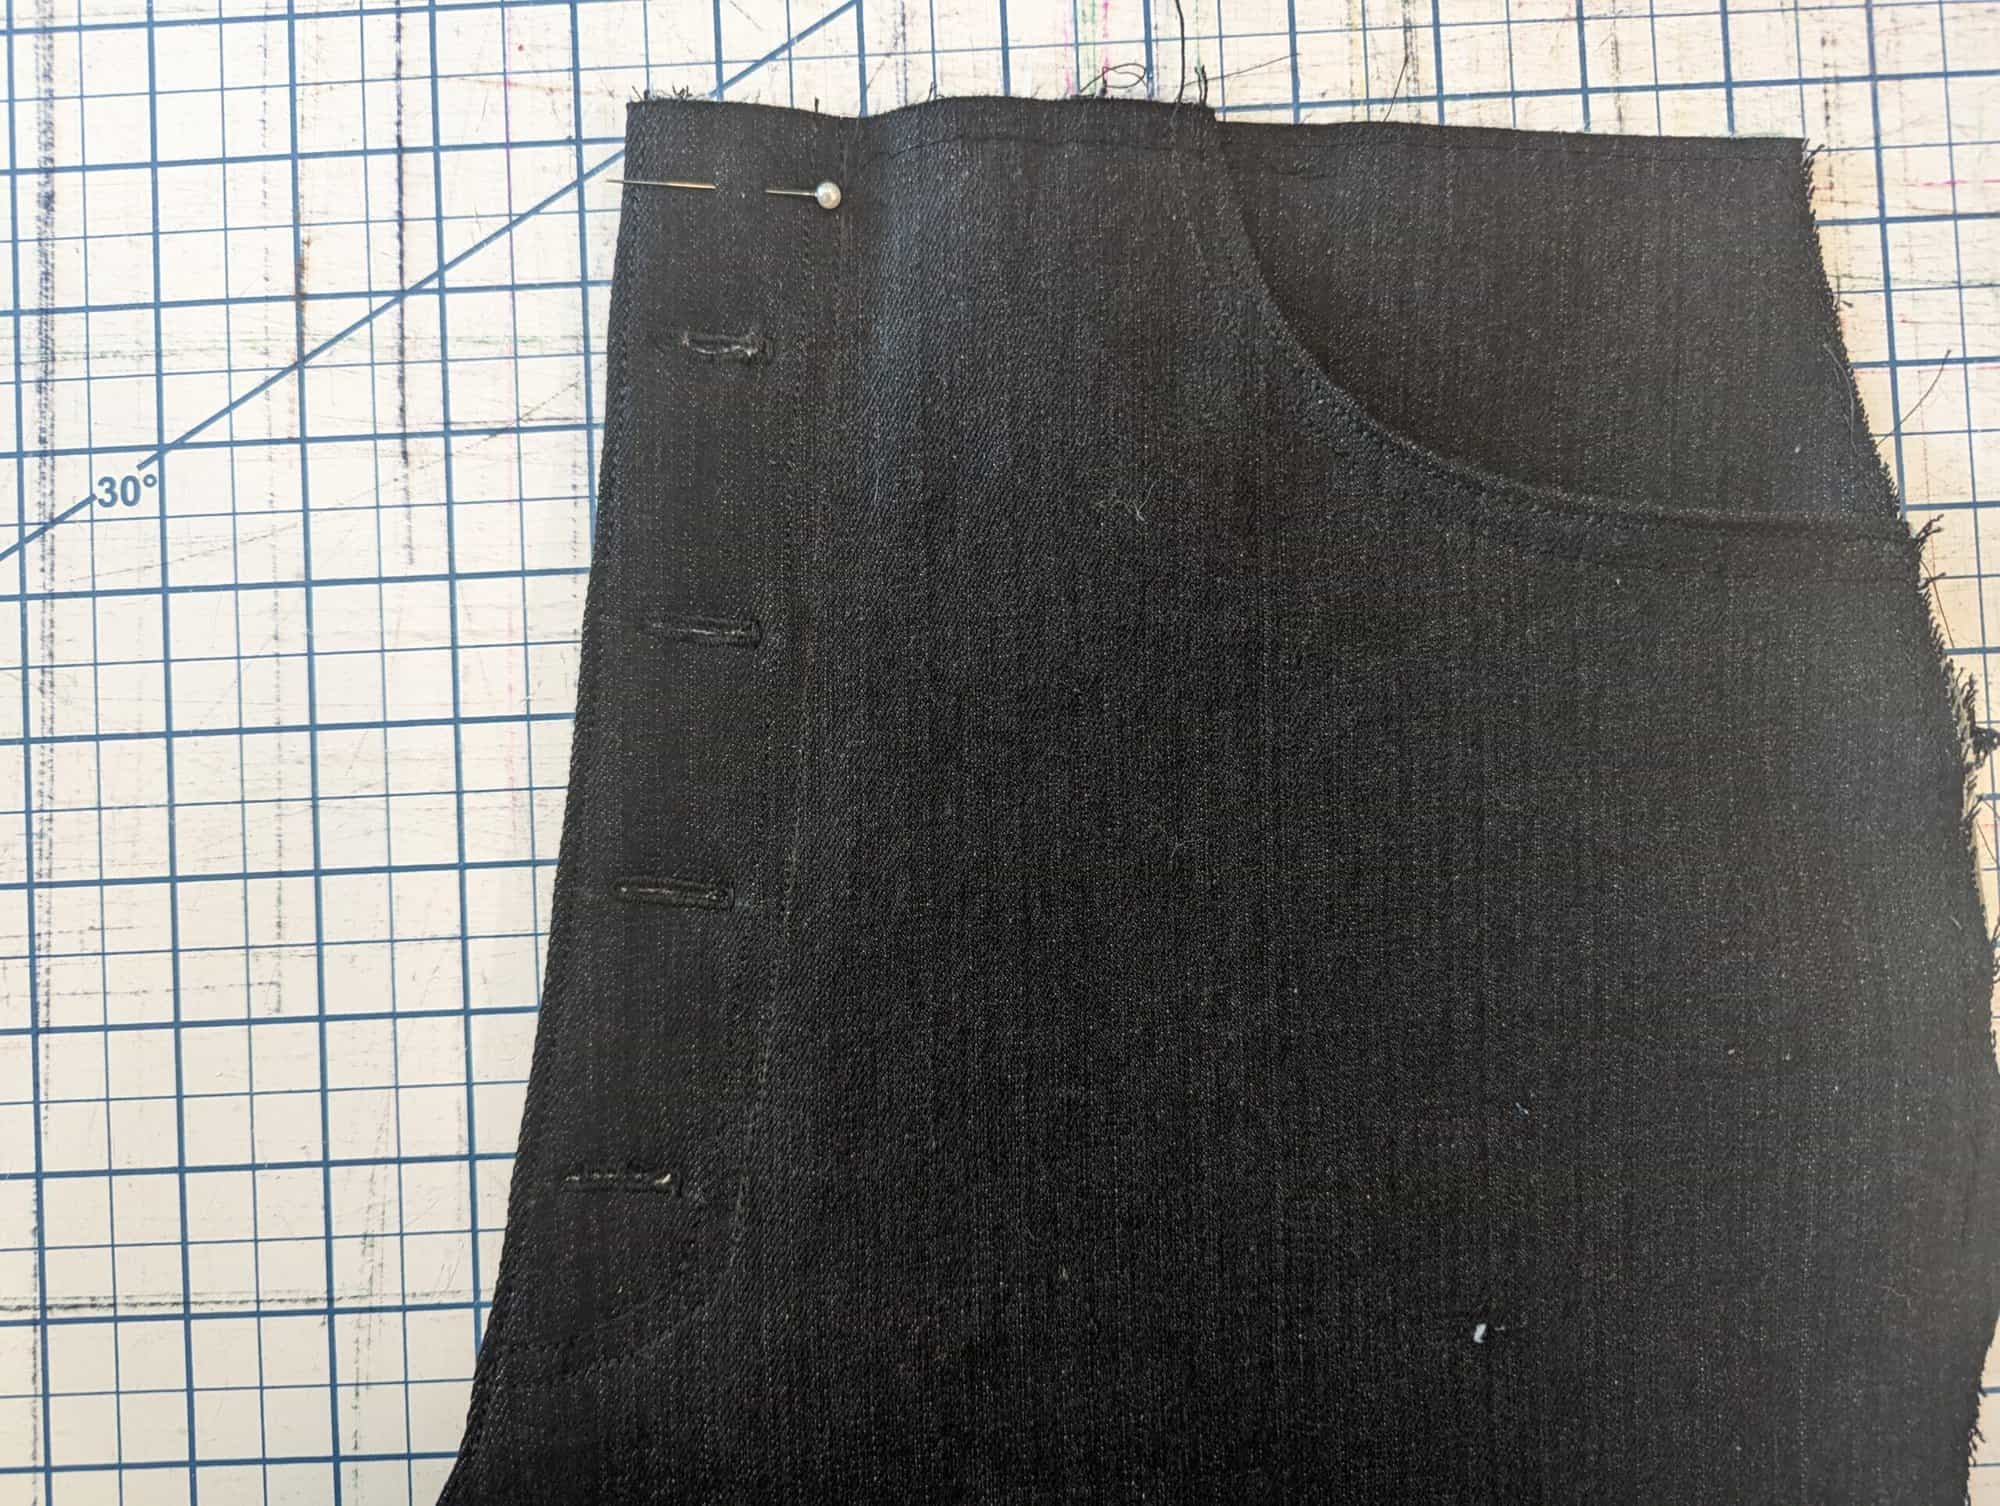
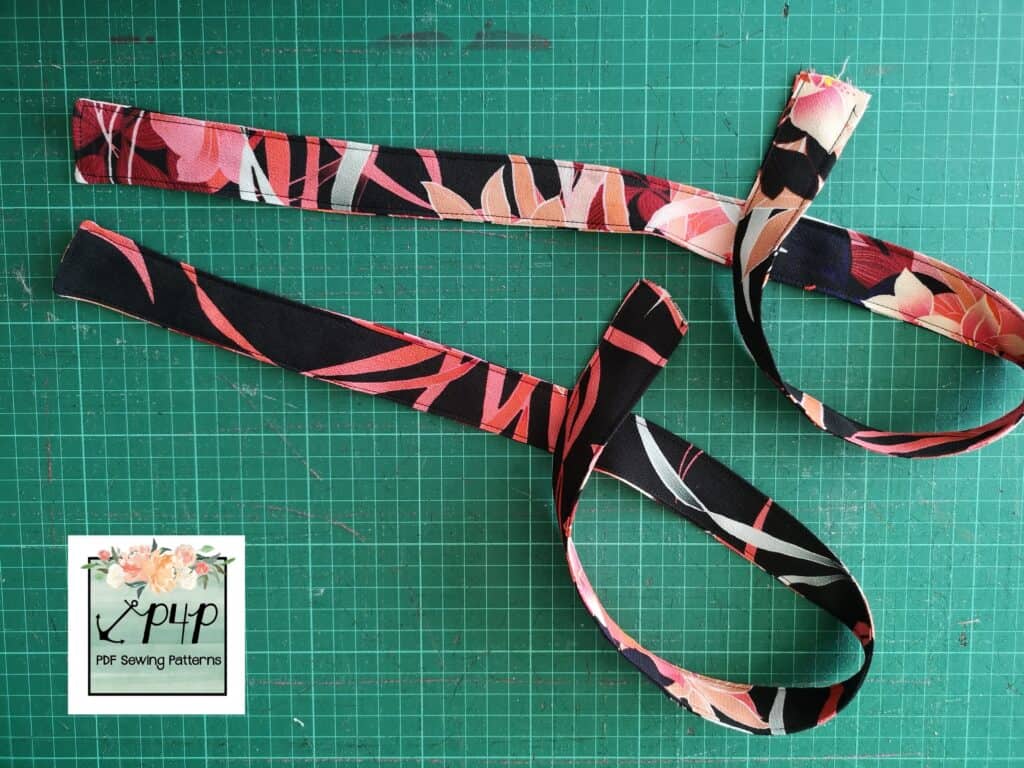
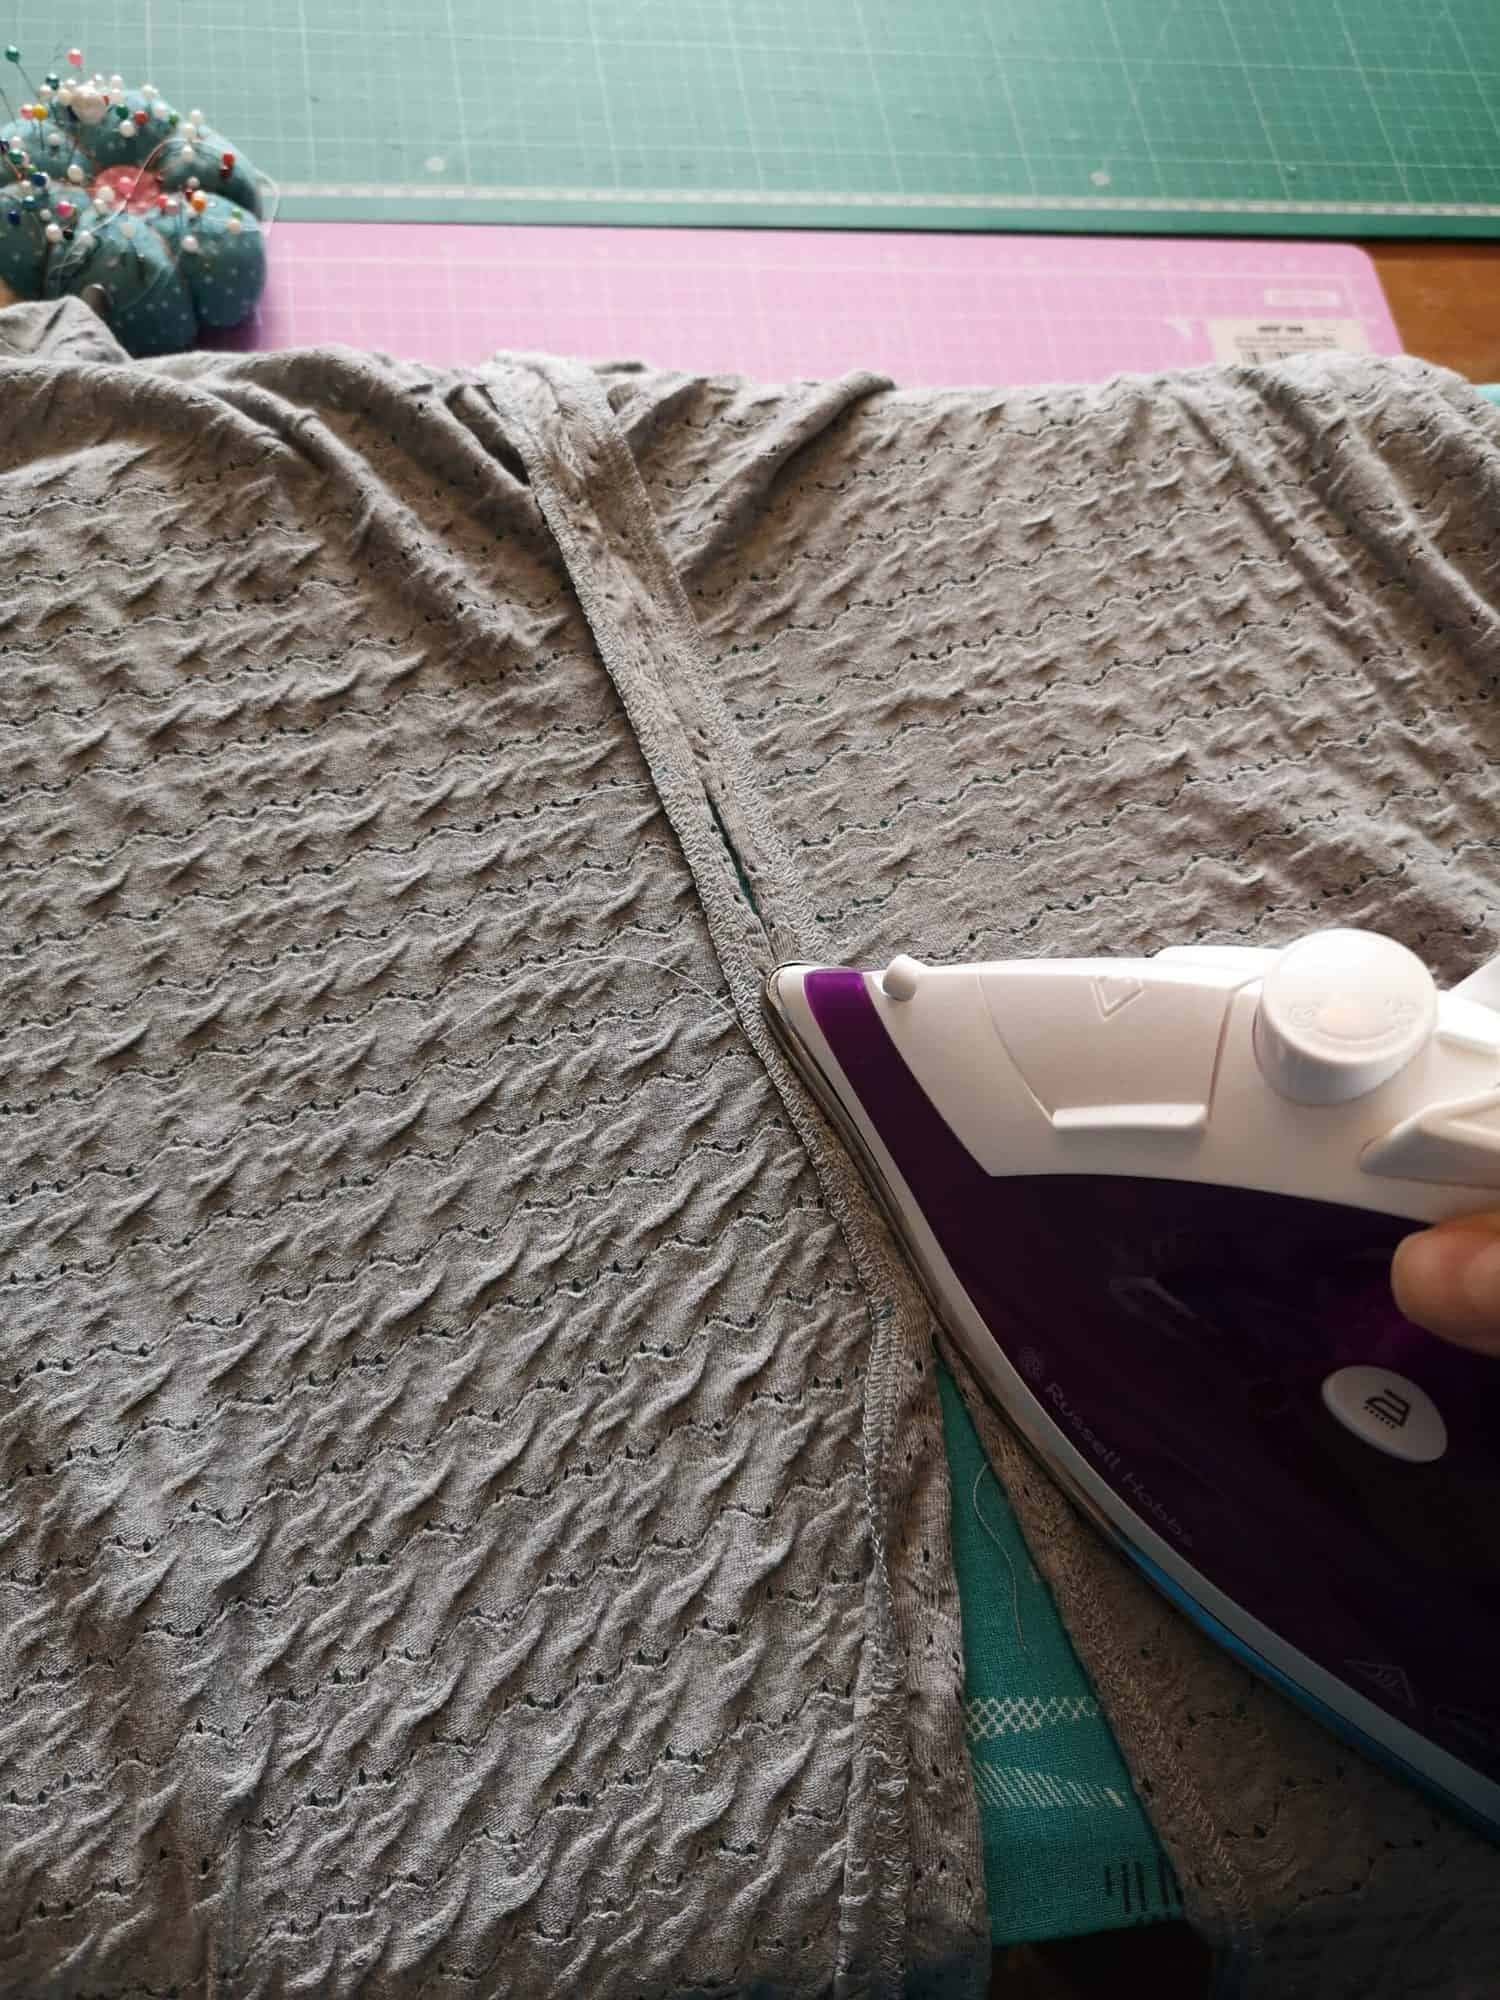
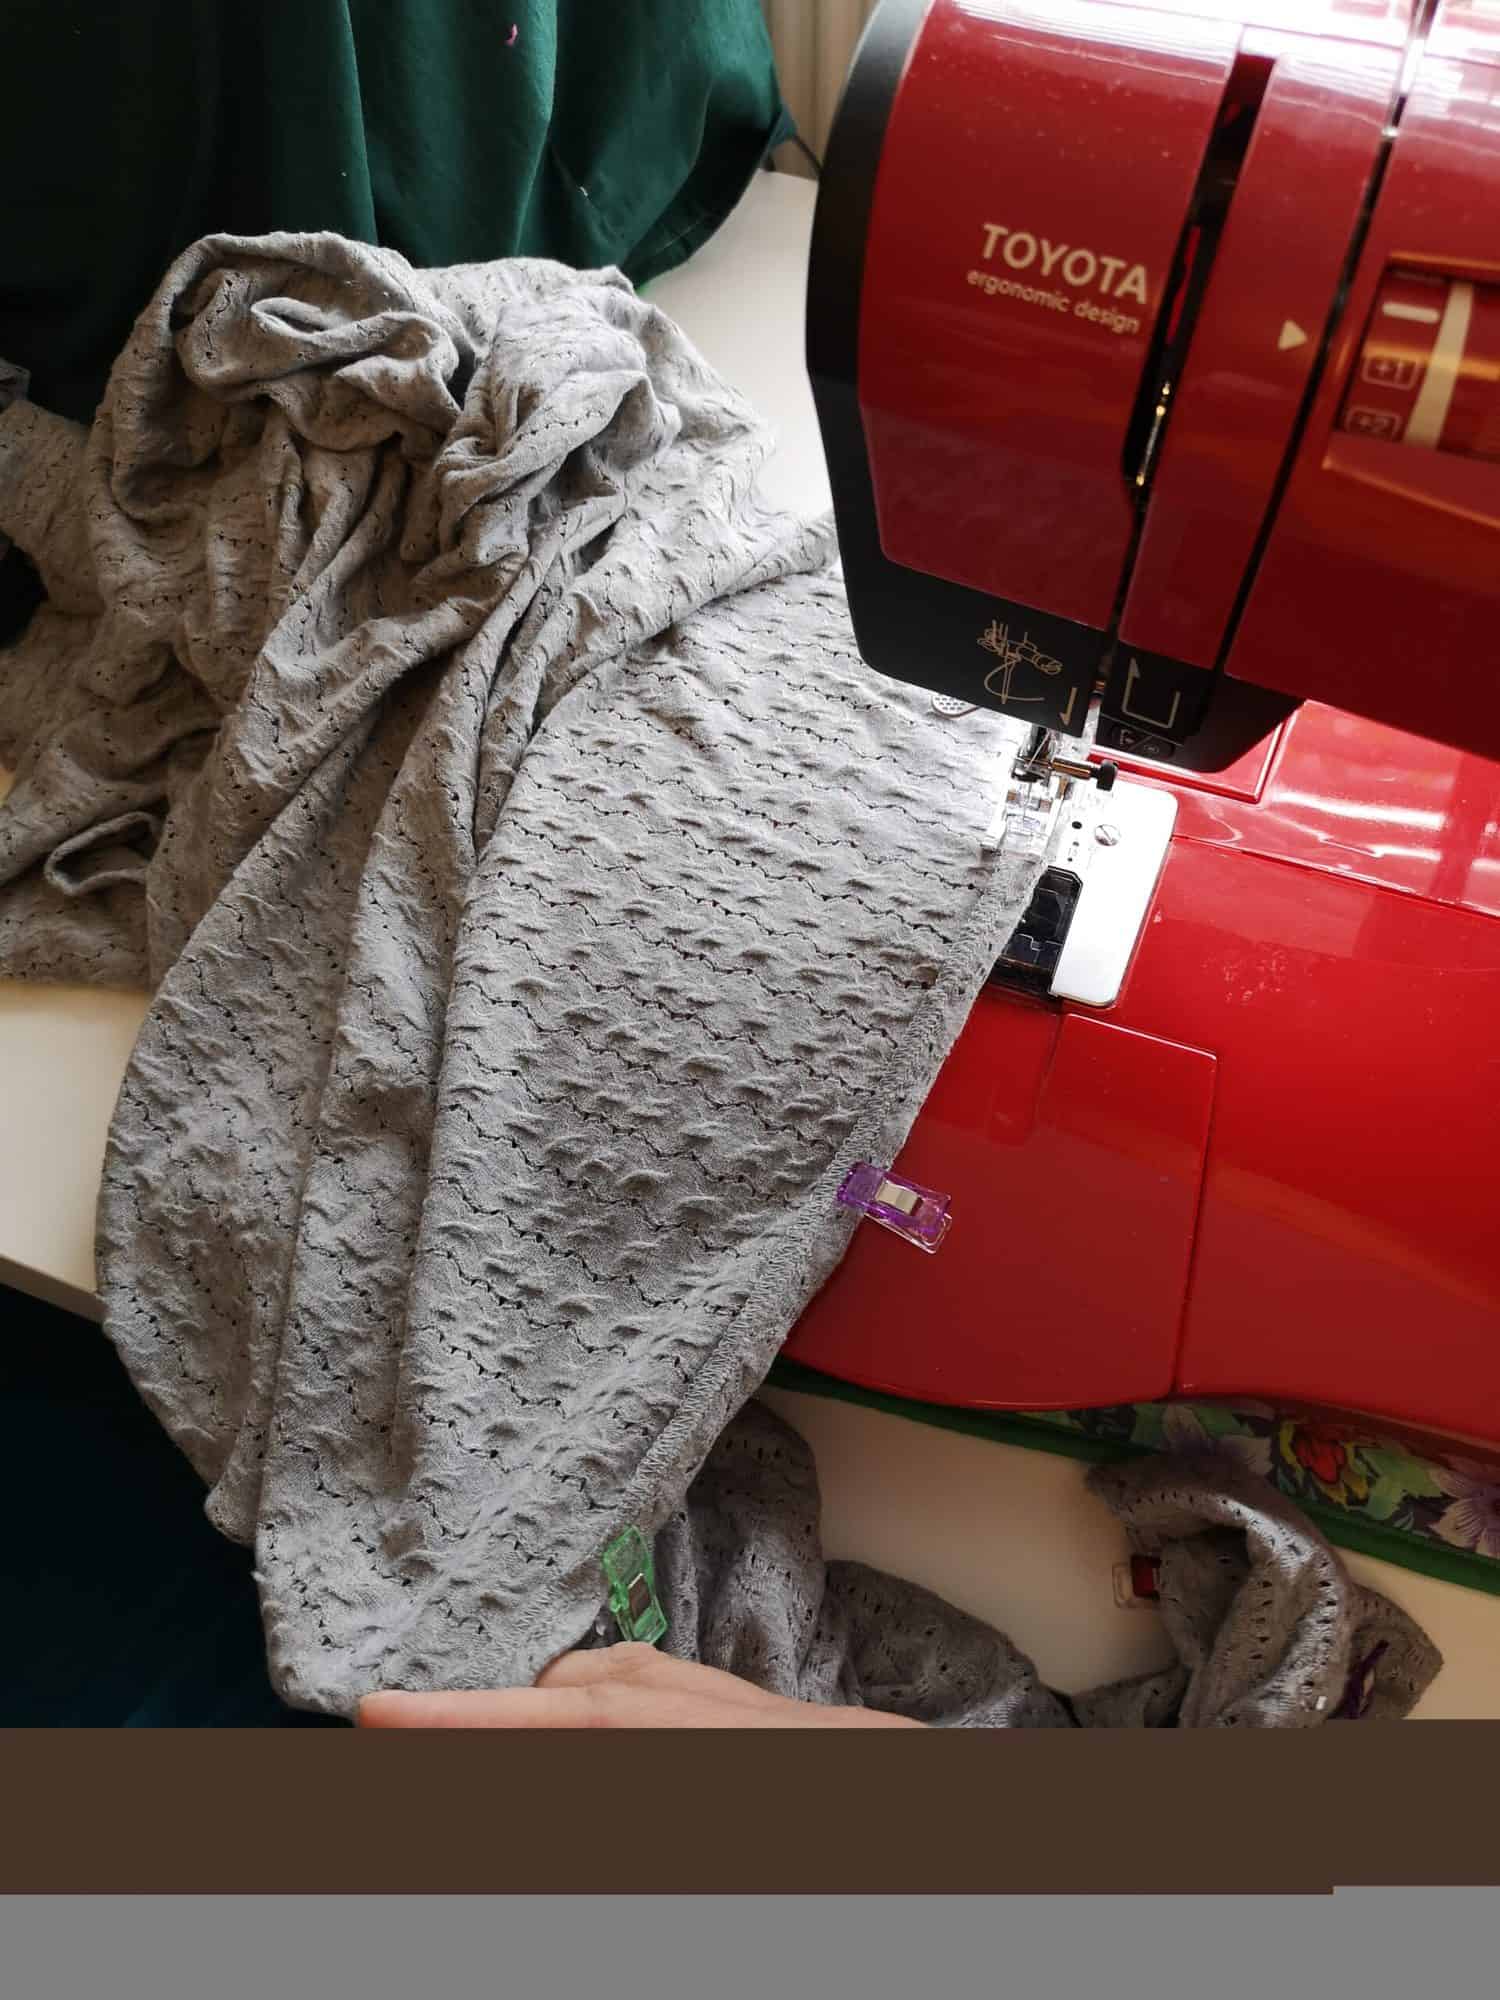
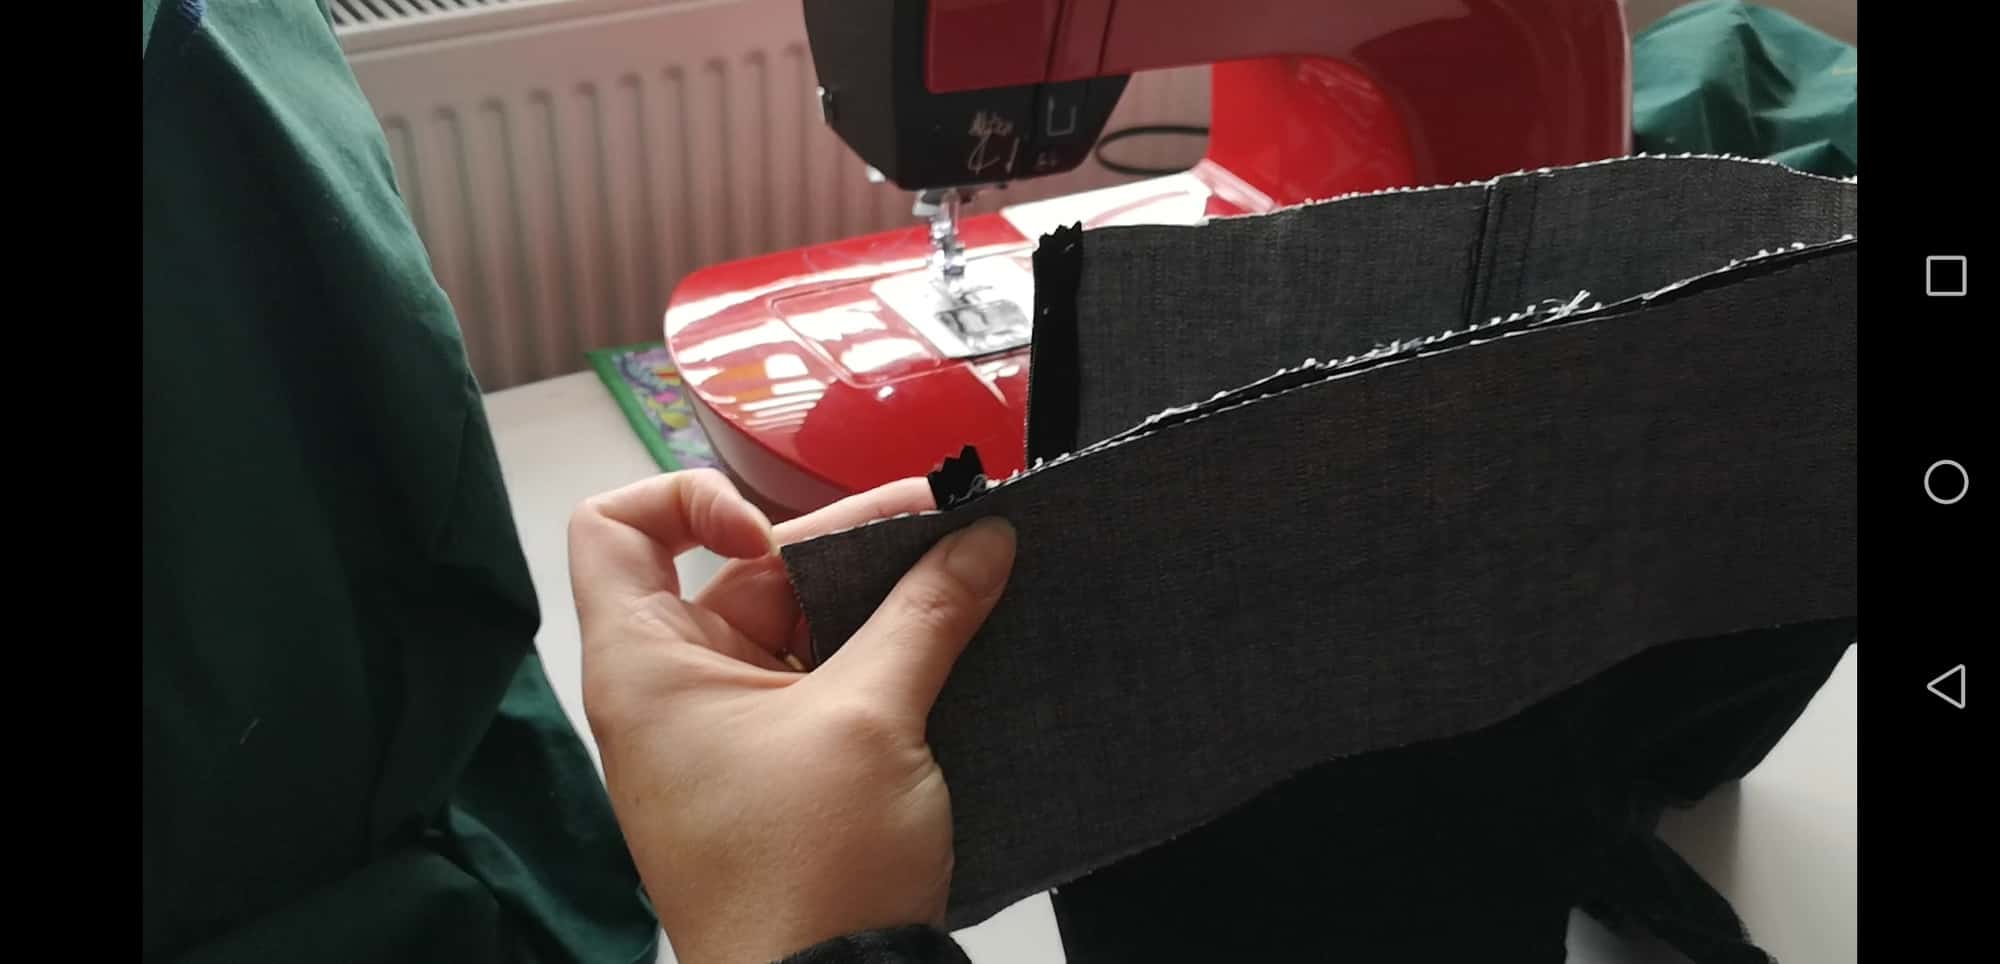
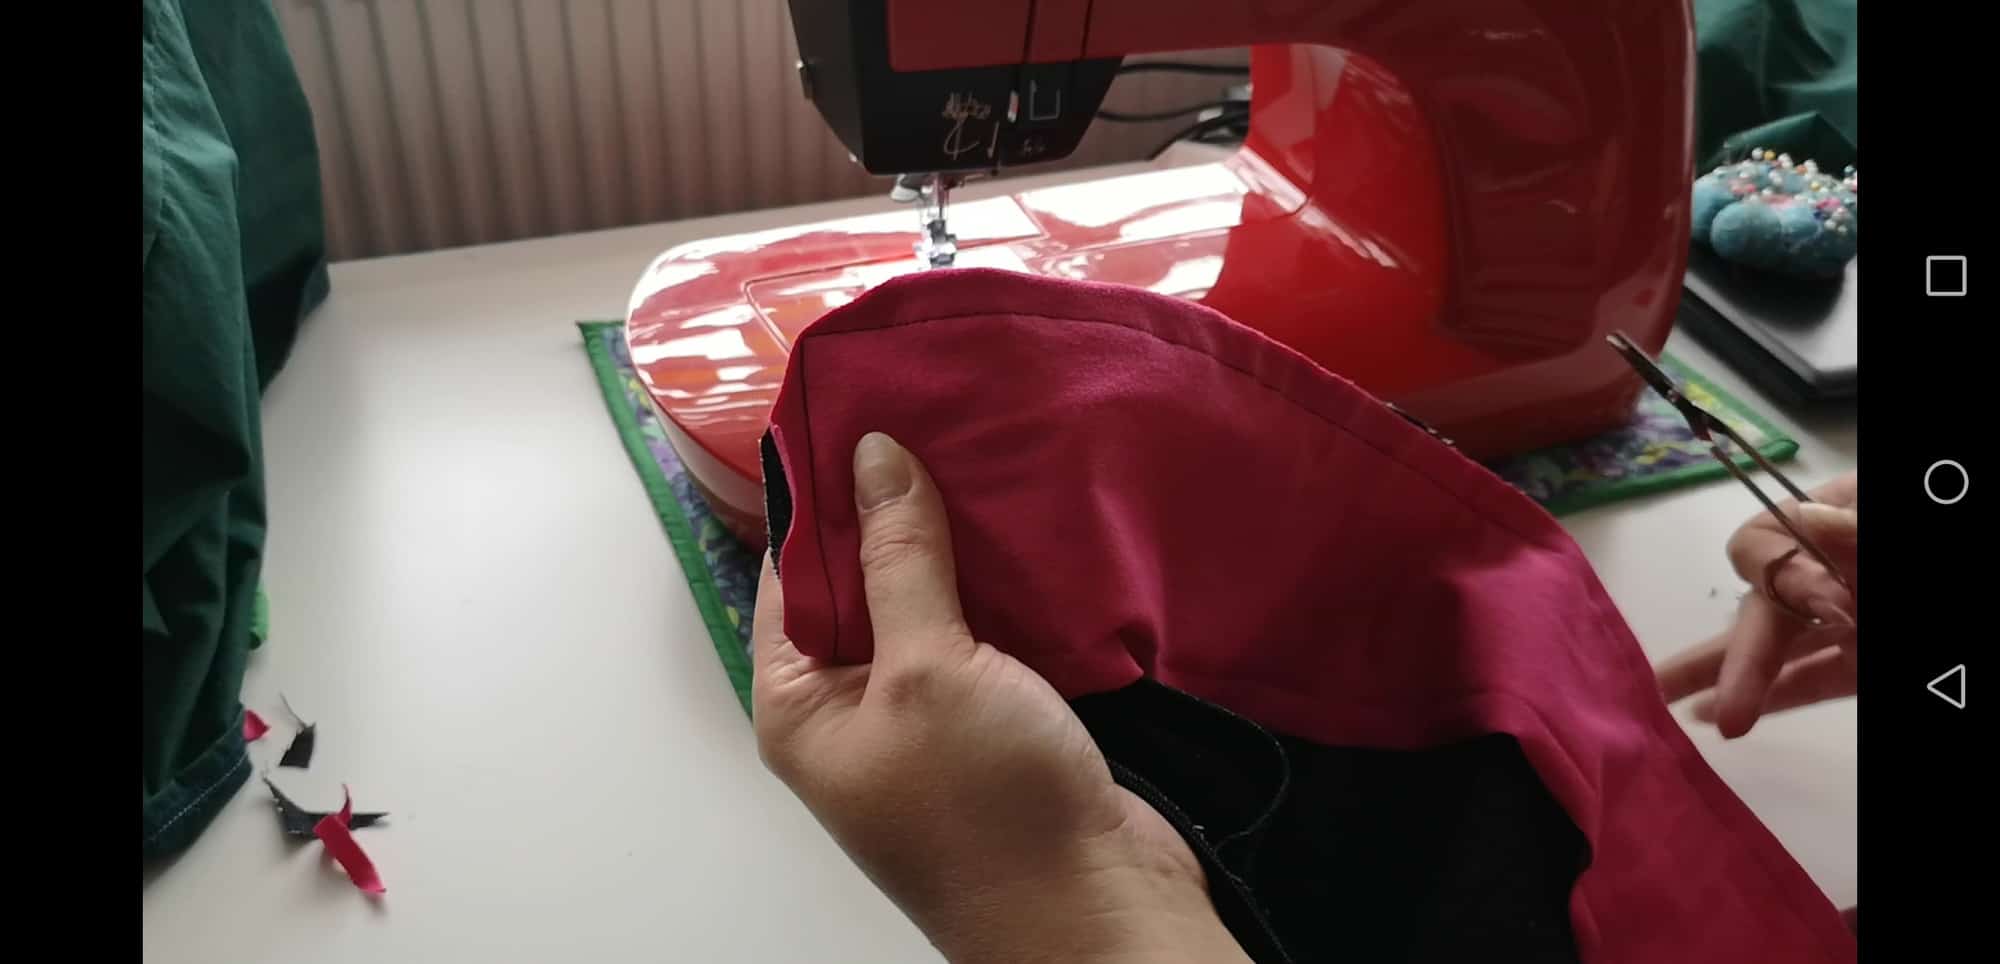
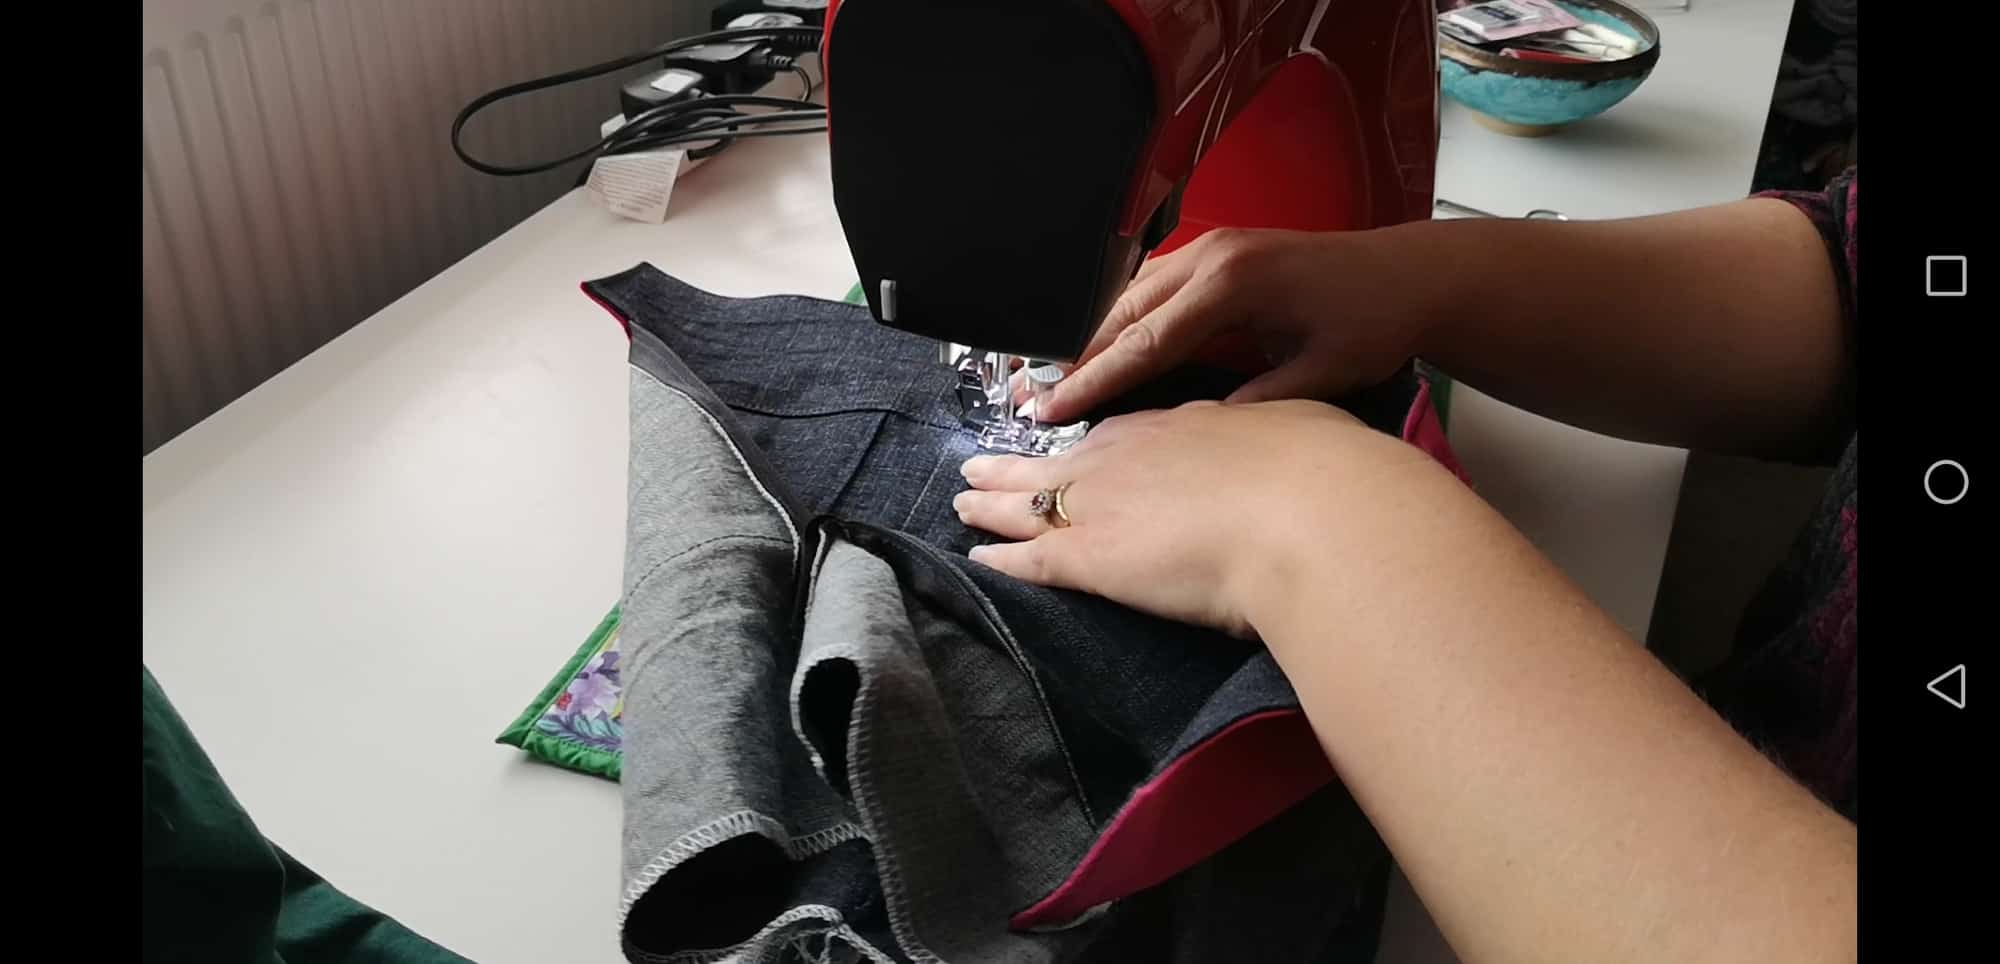
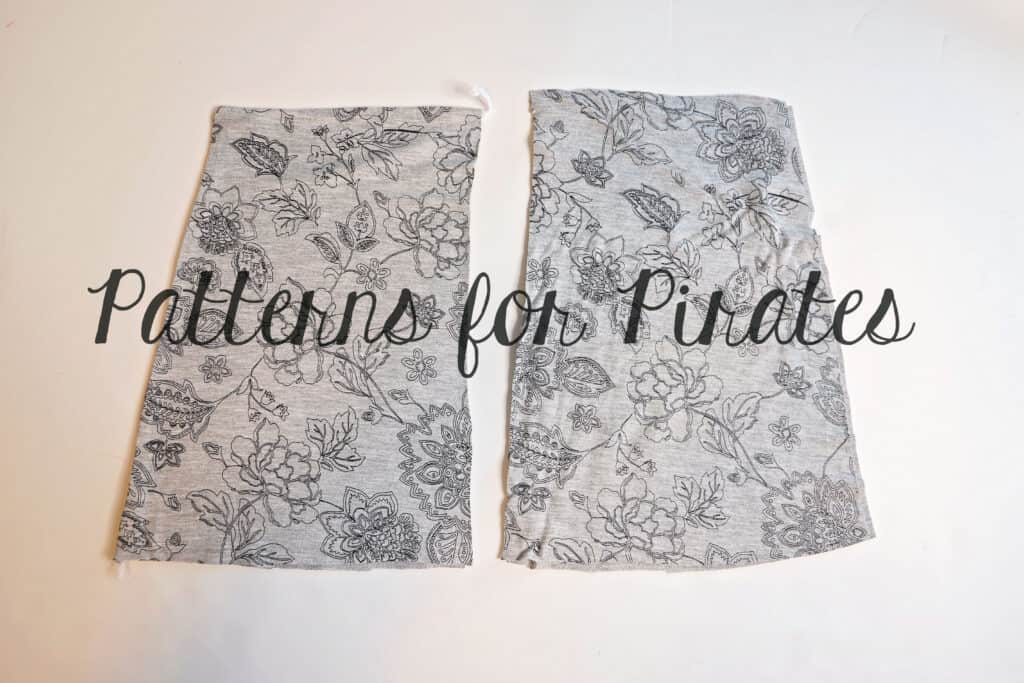
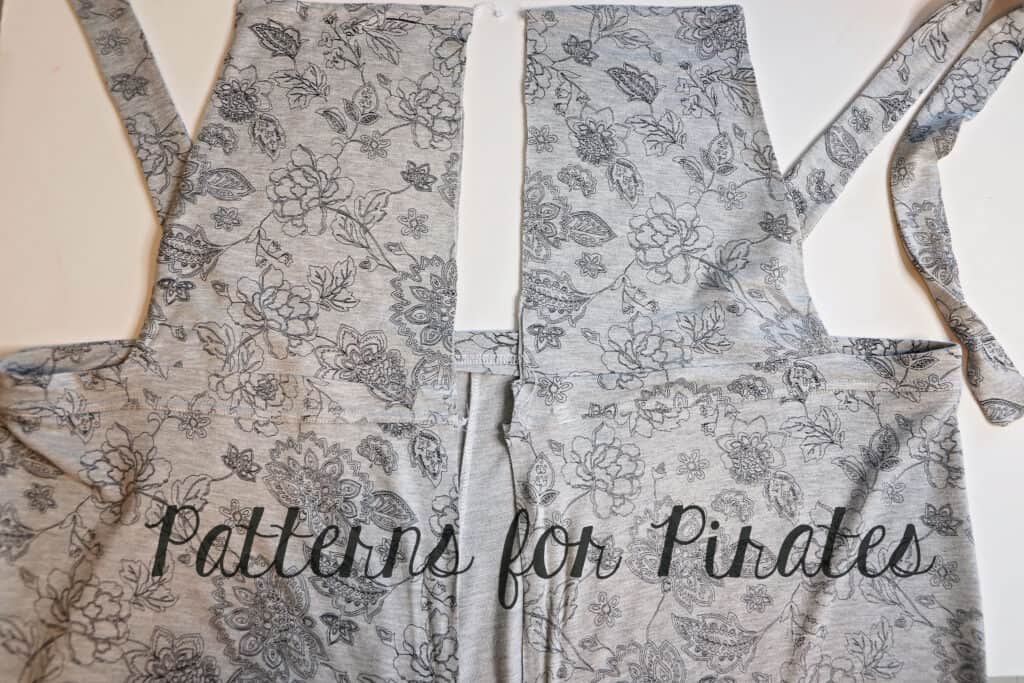
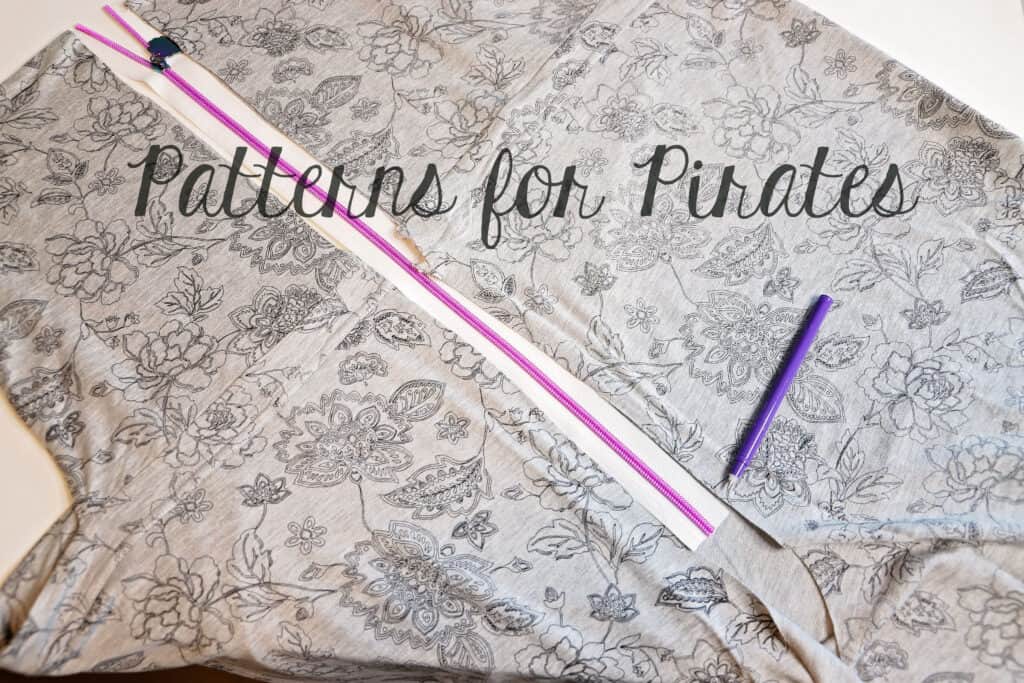
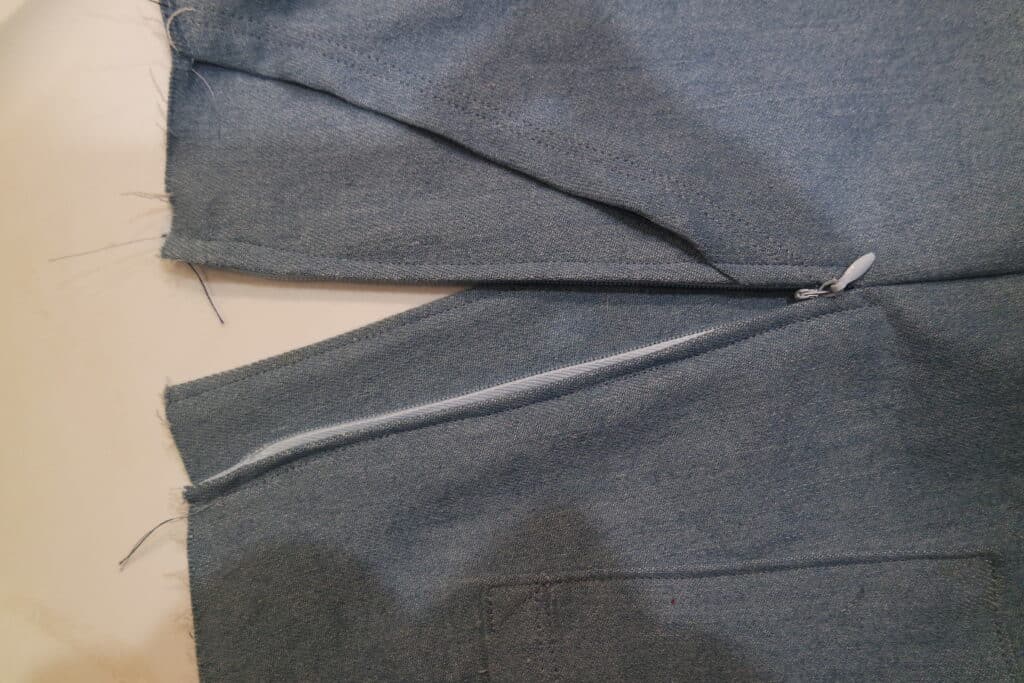
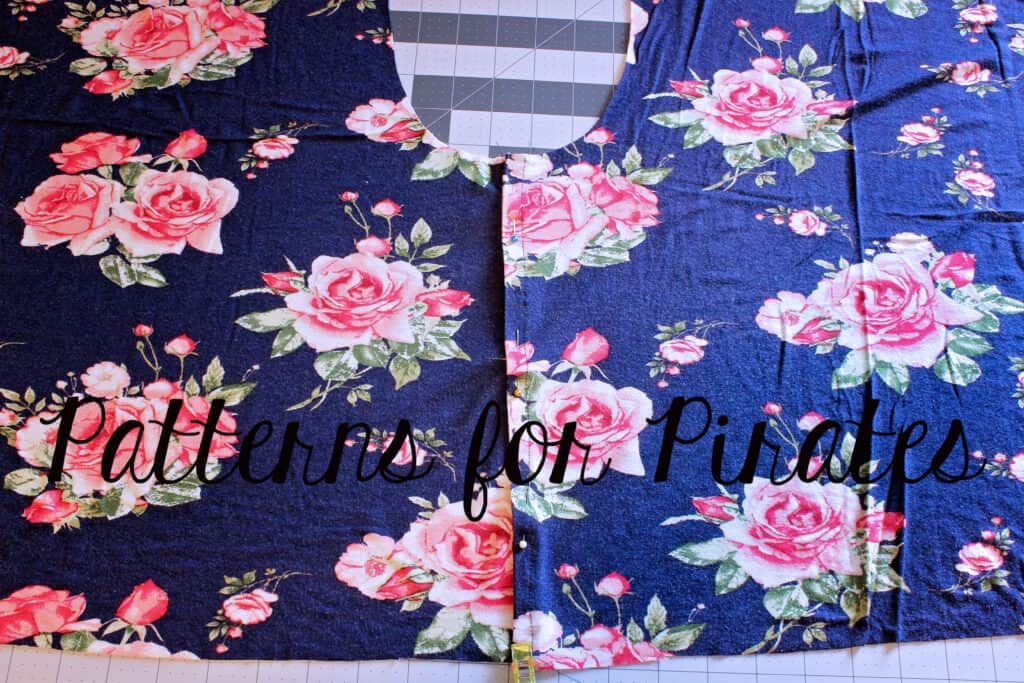
Sew the front of the Janet Jeans as instructed in the tutorial.
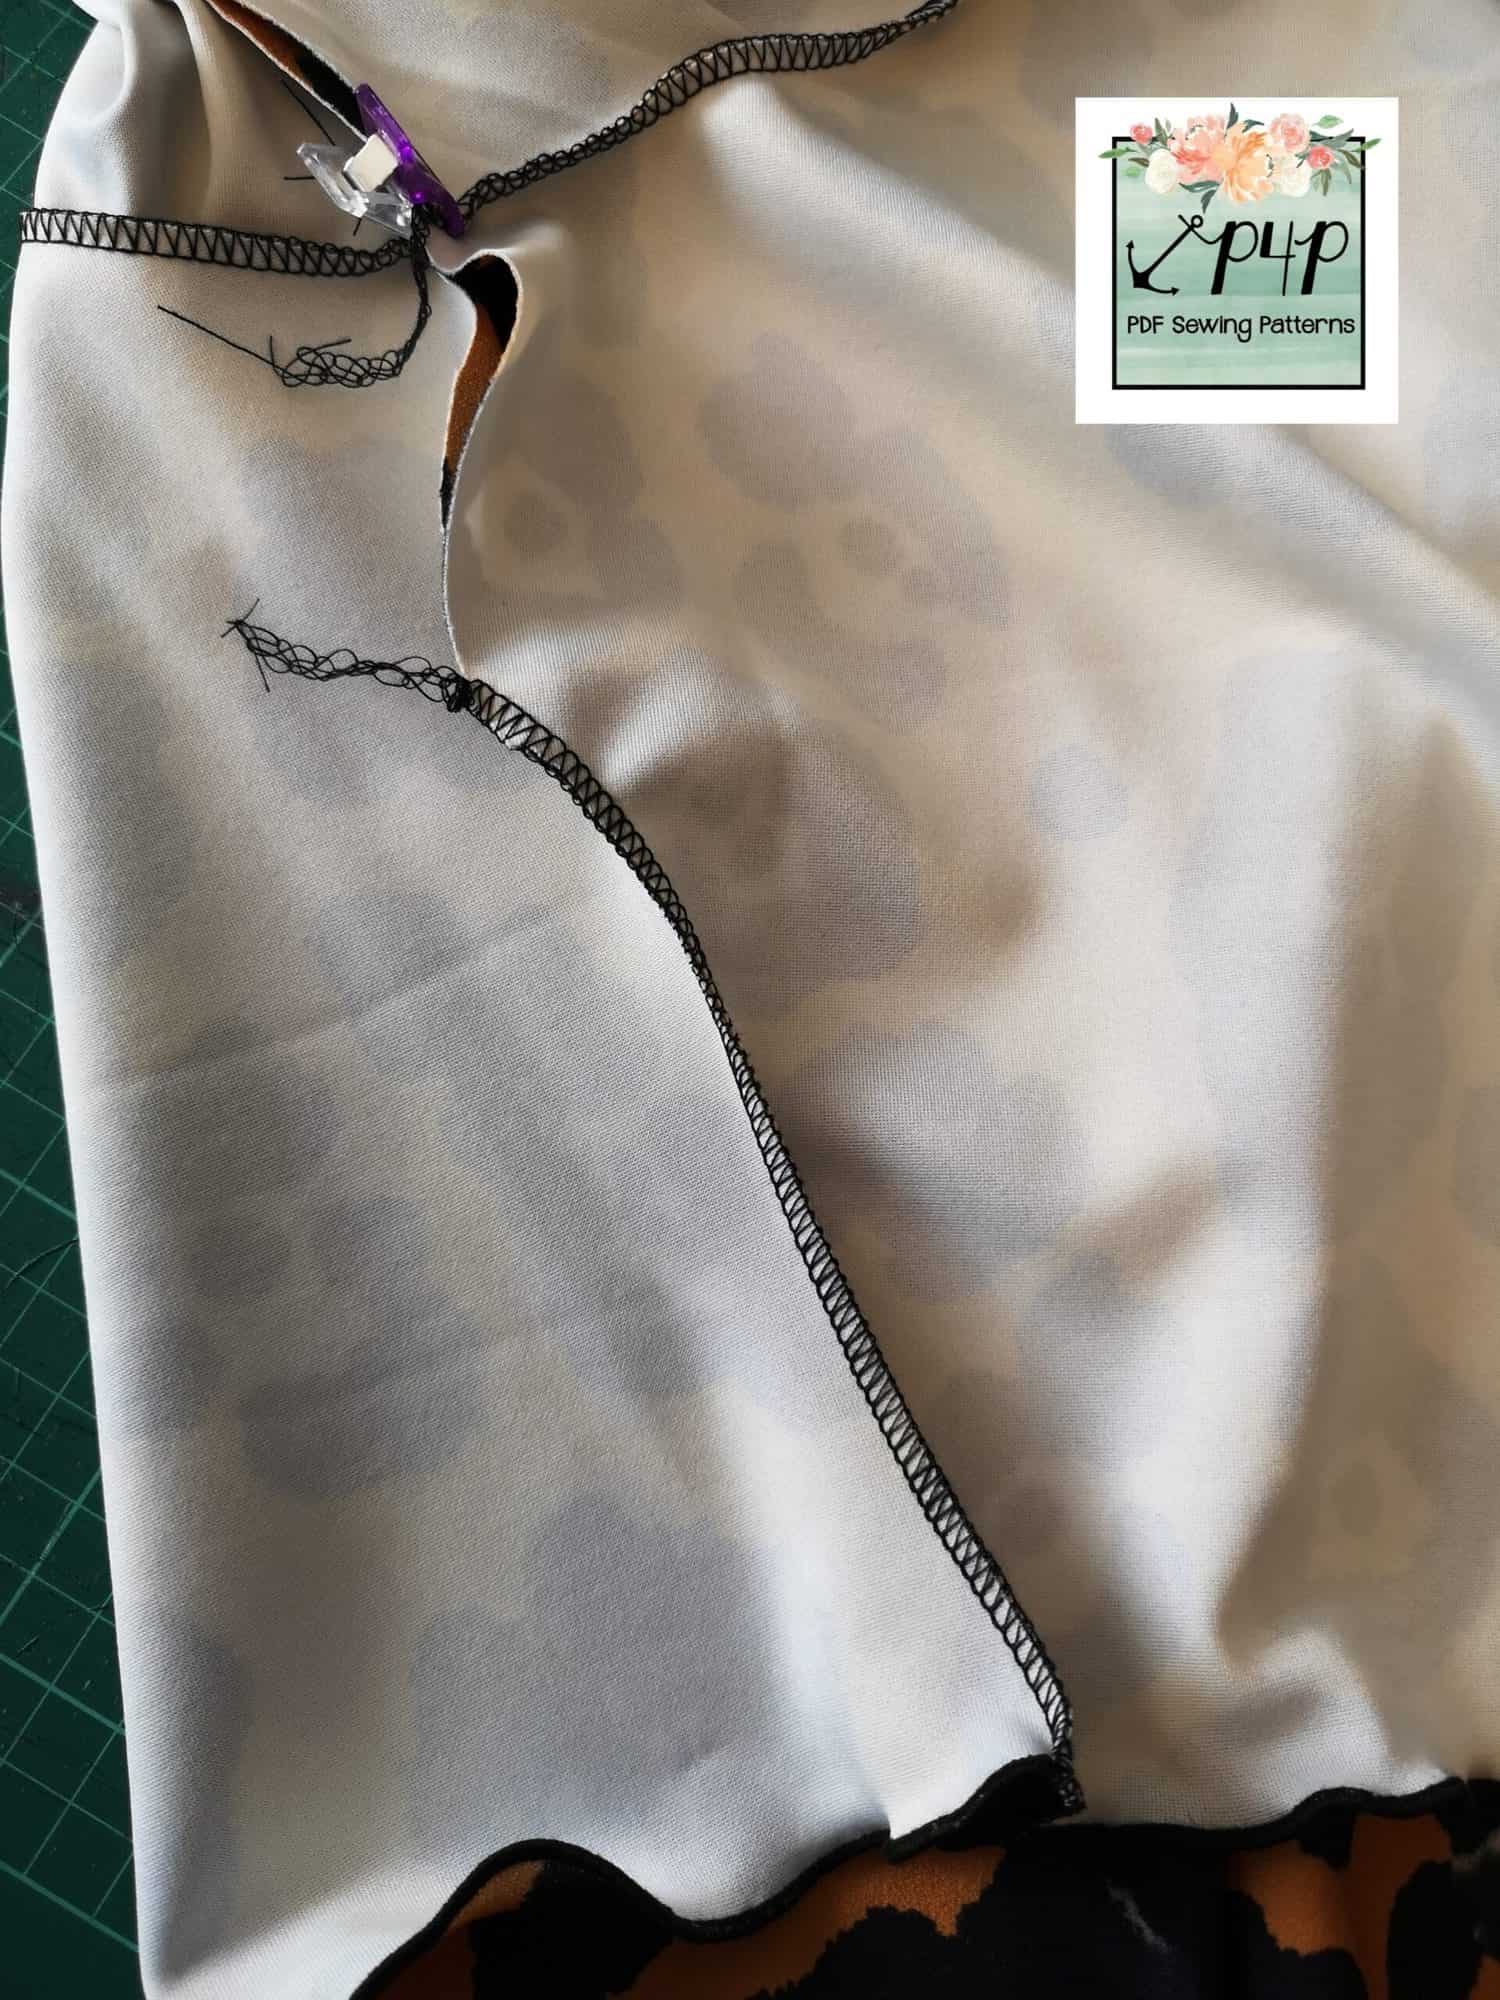
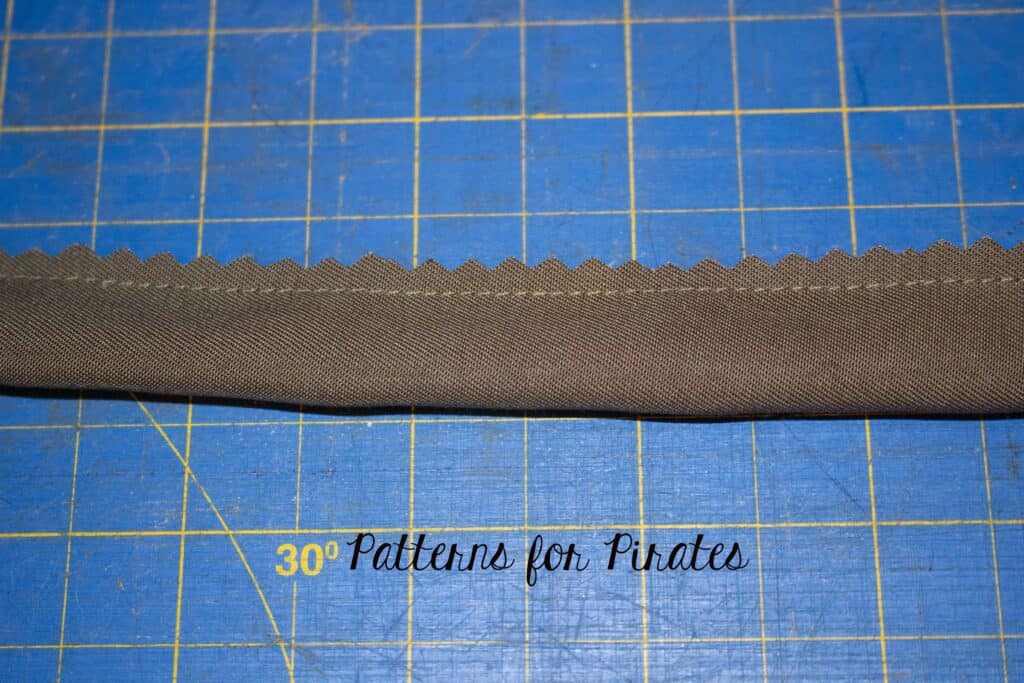
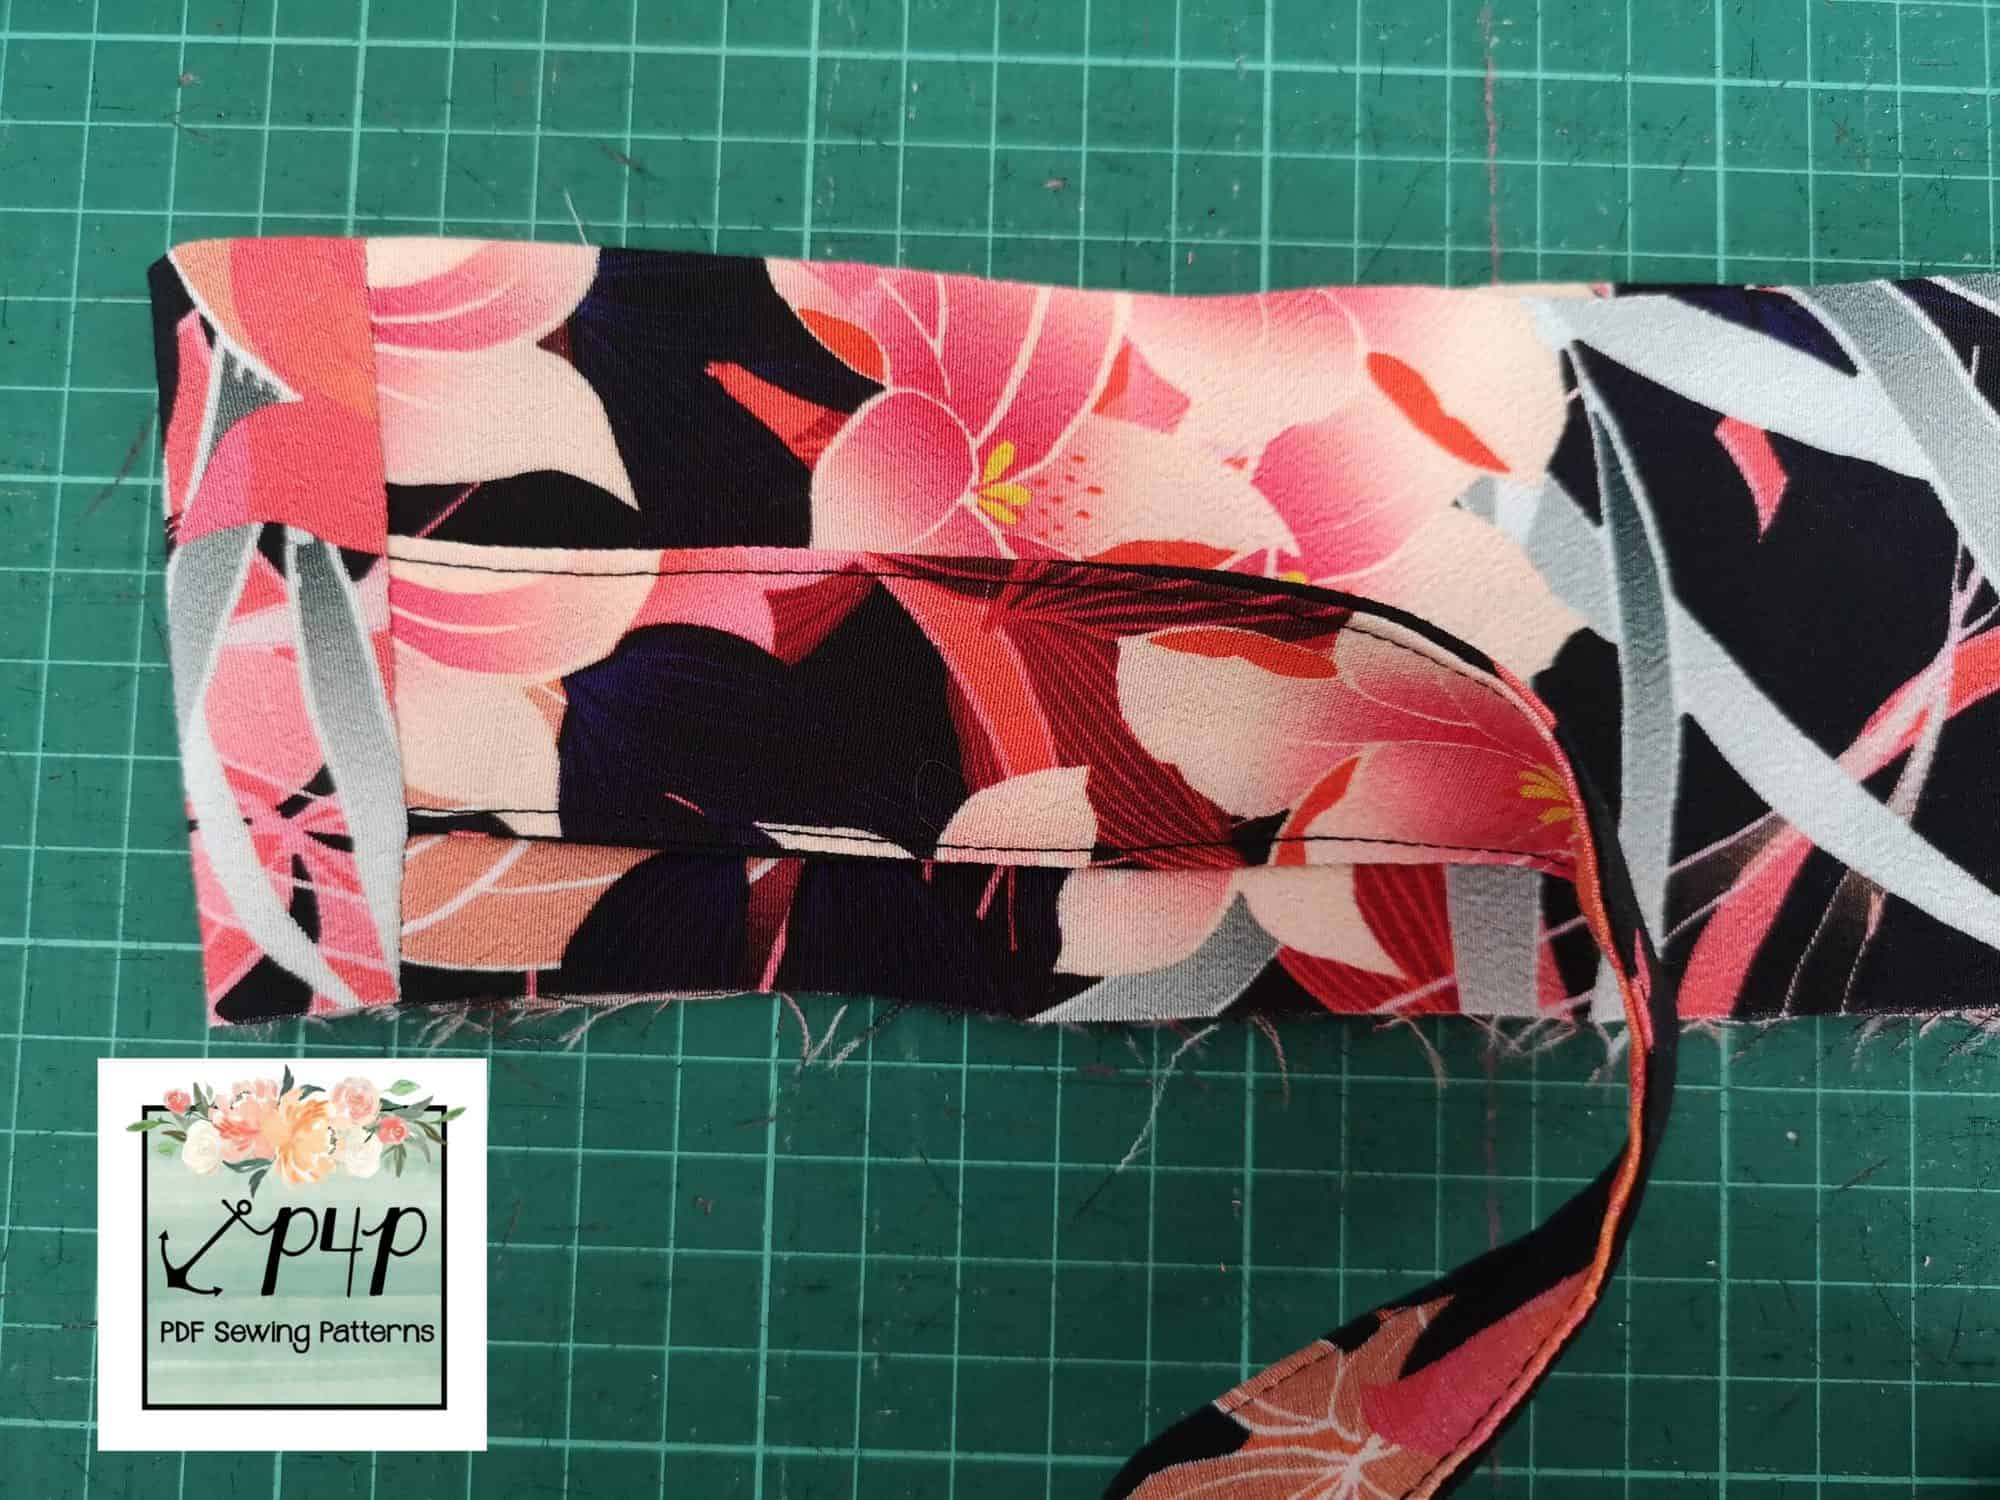
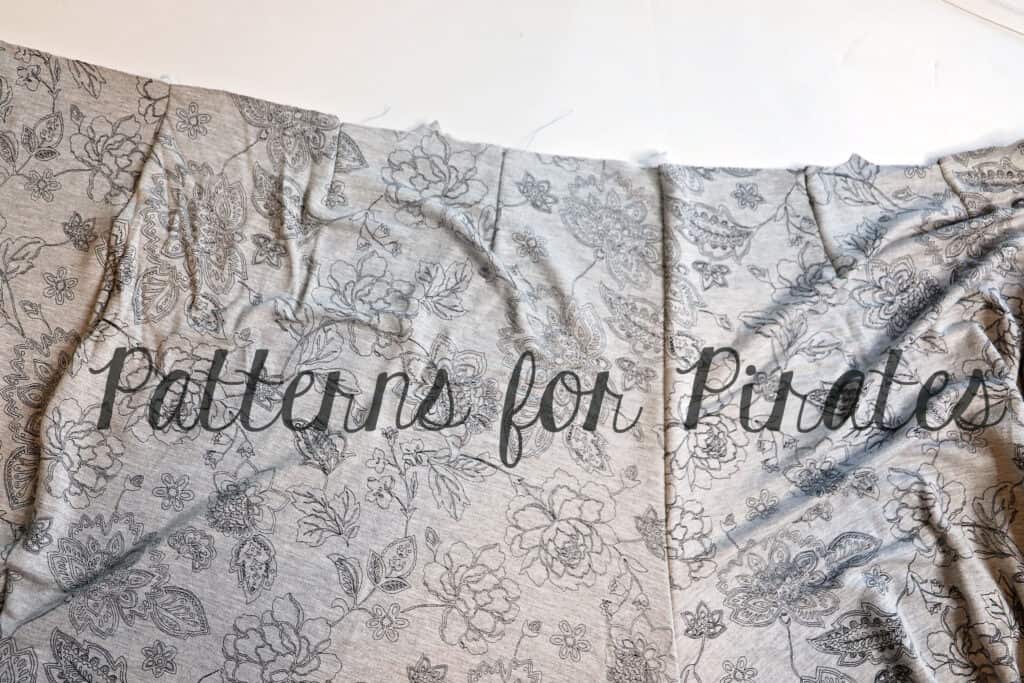
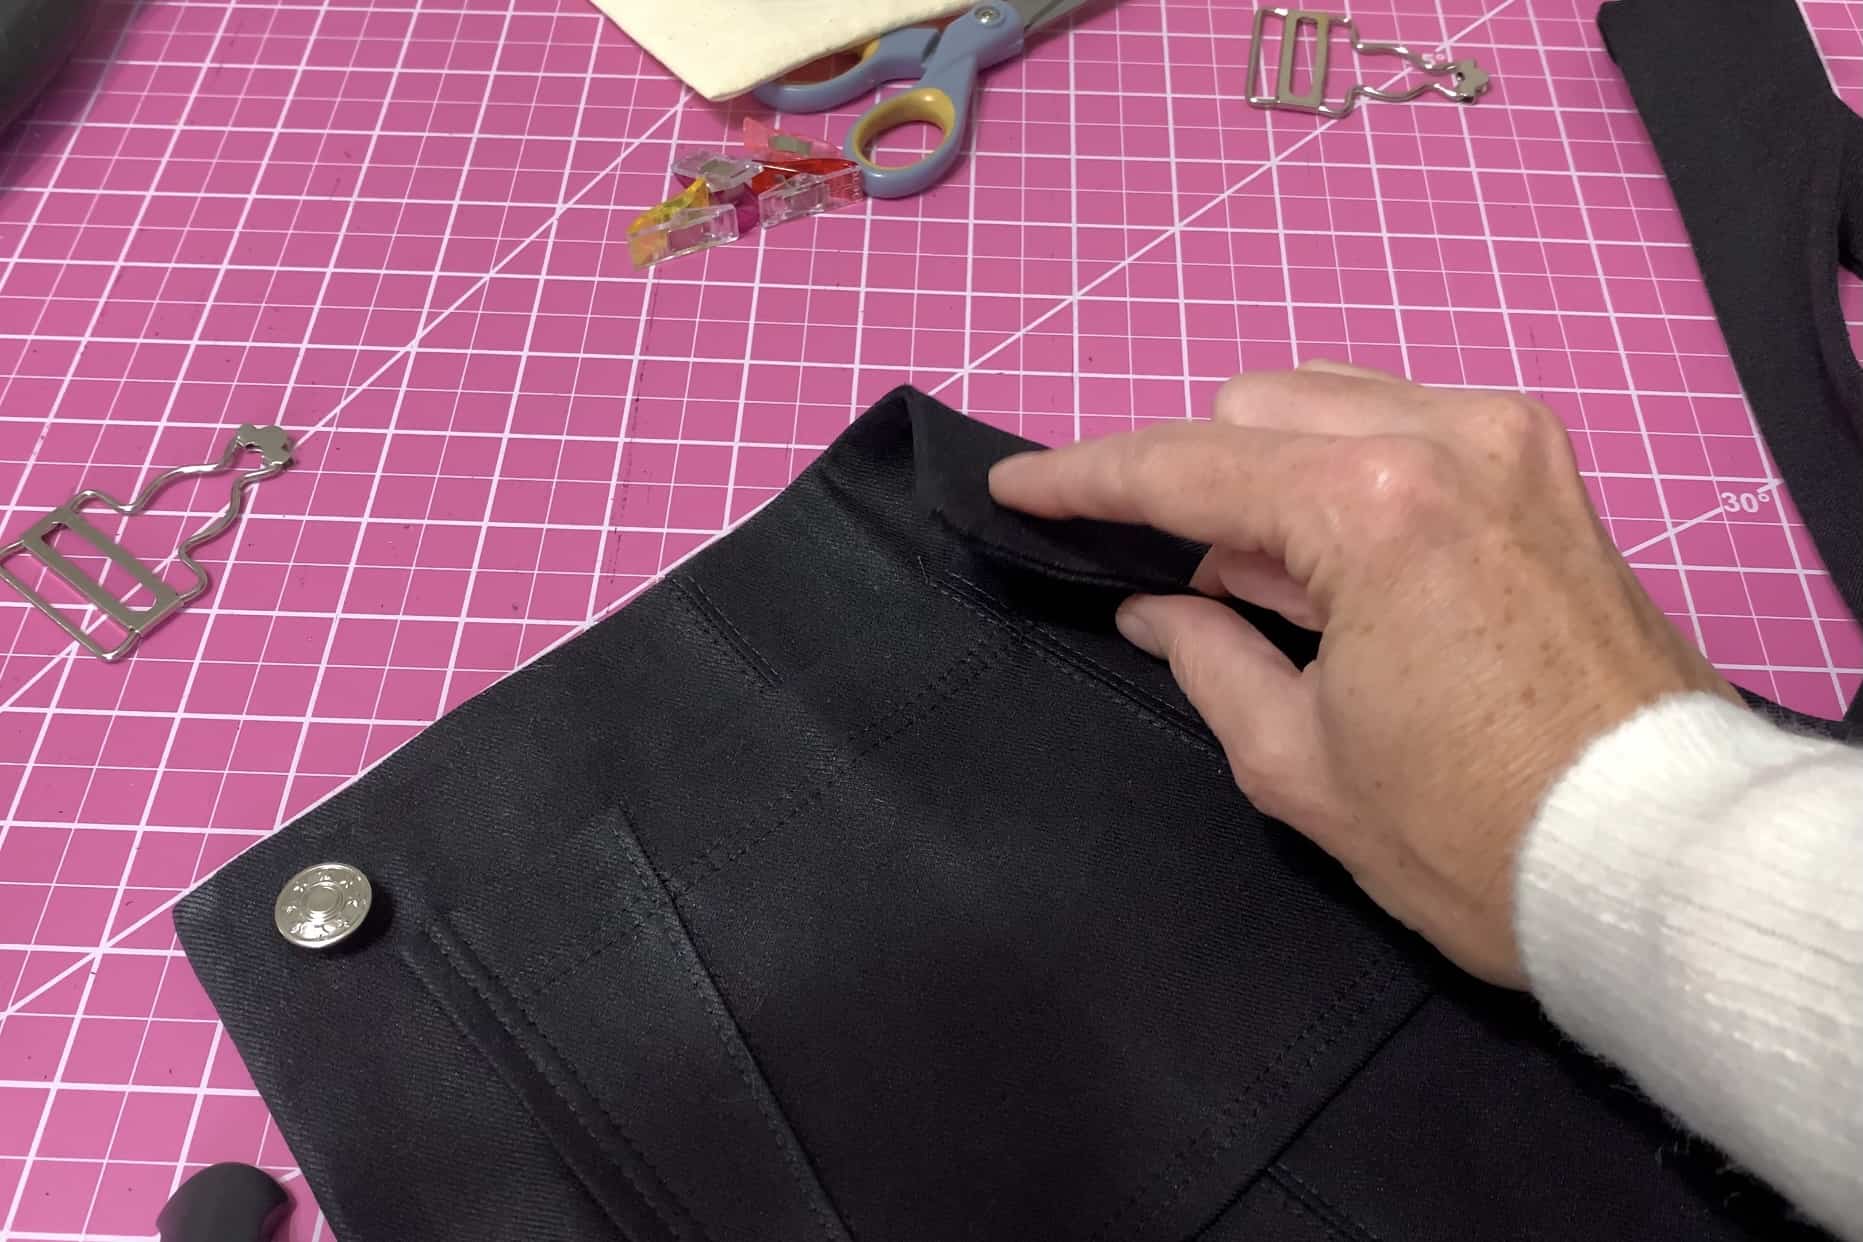
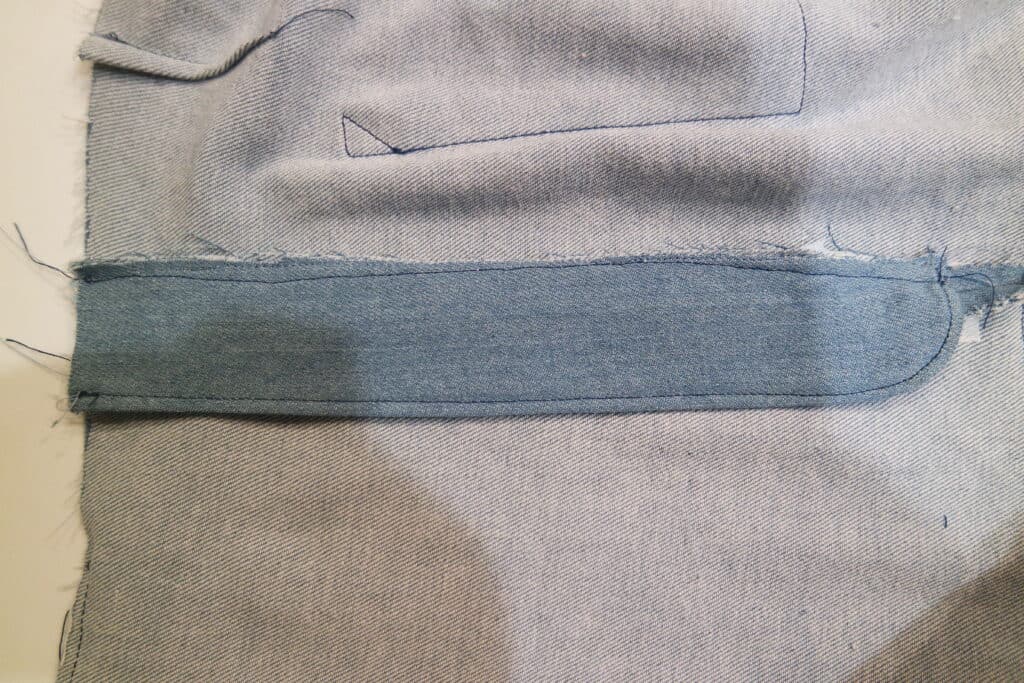
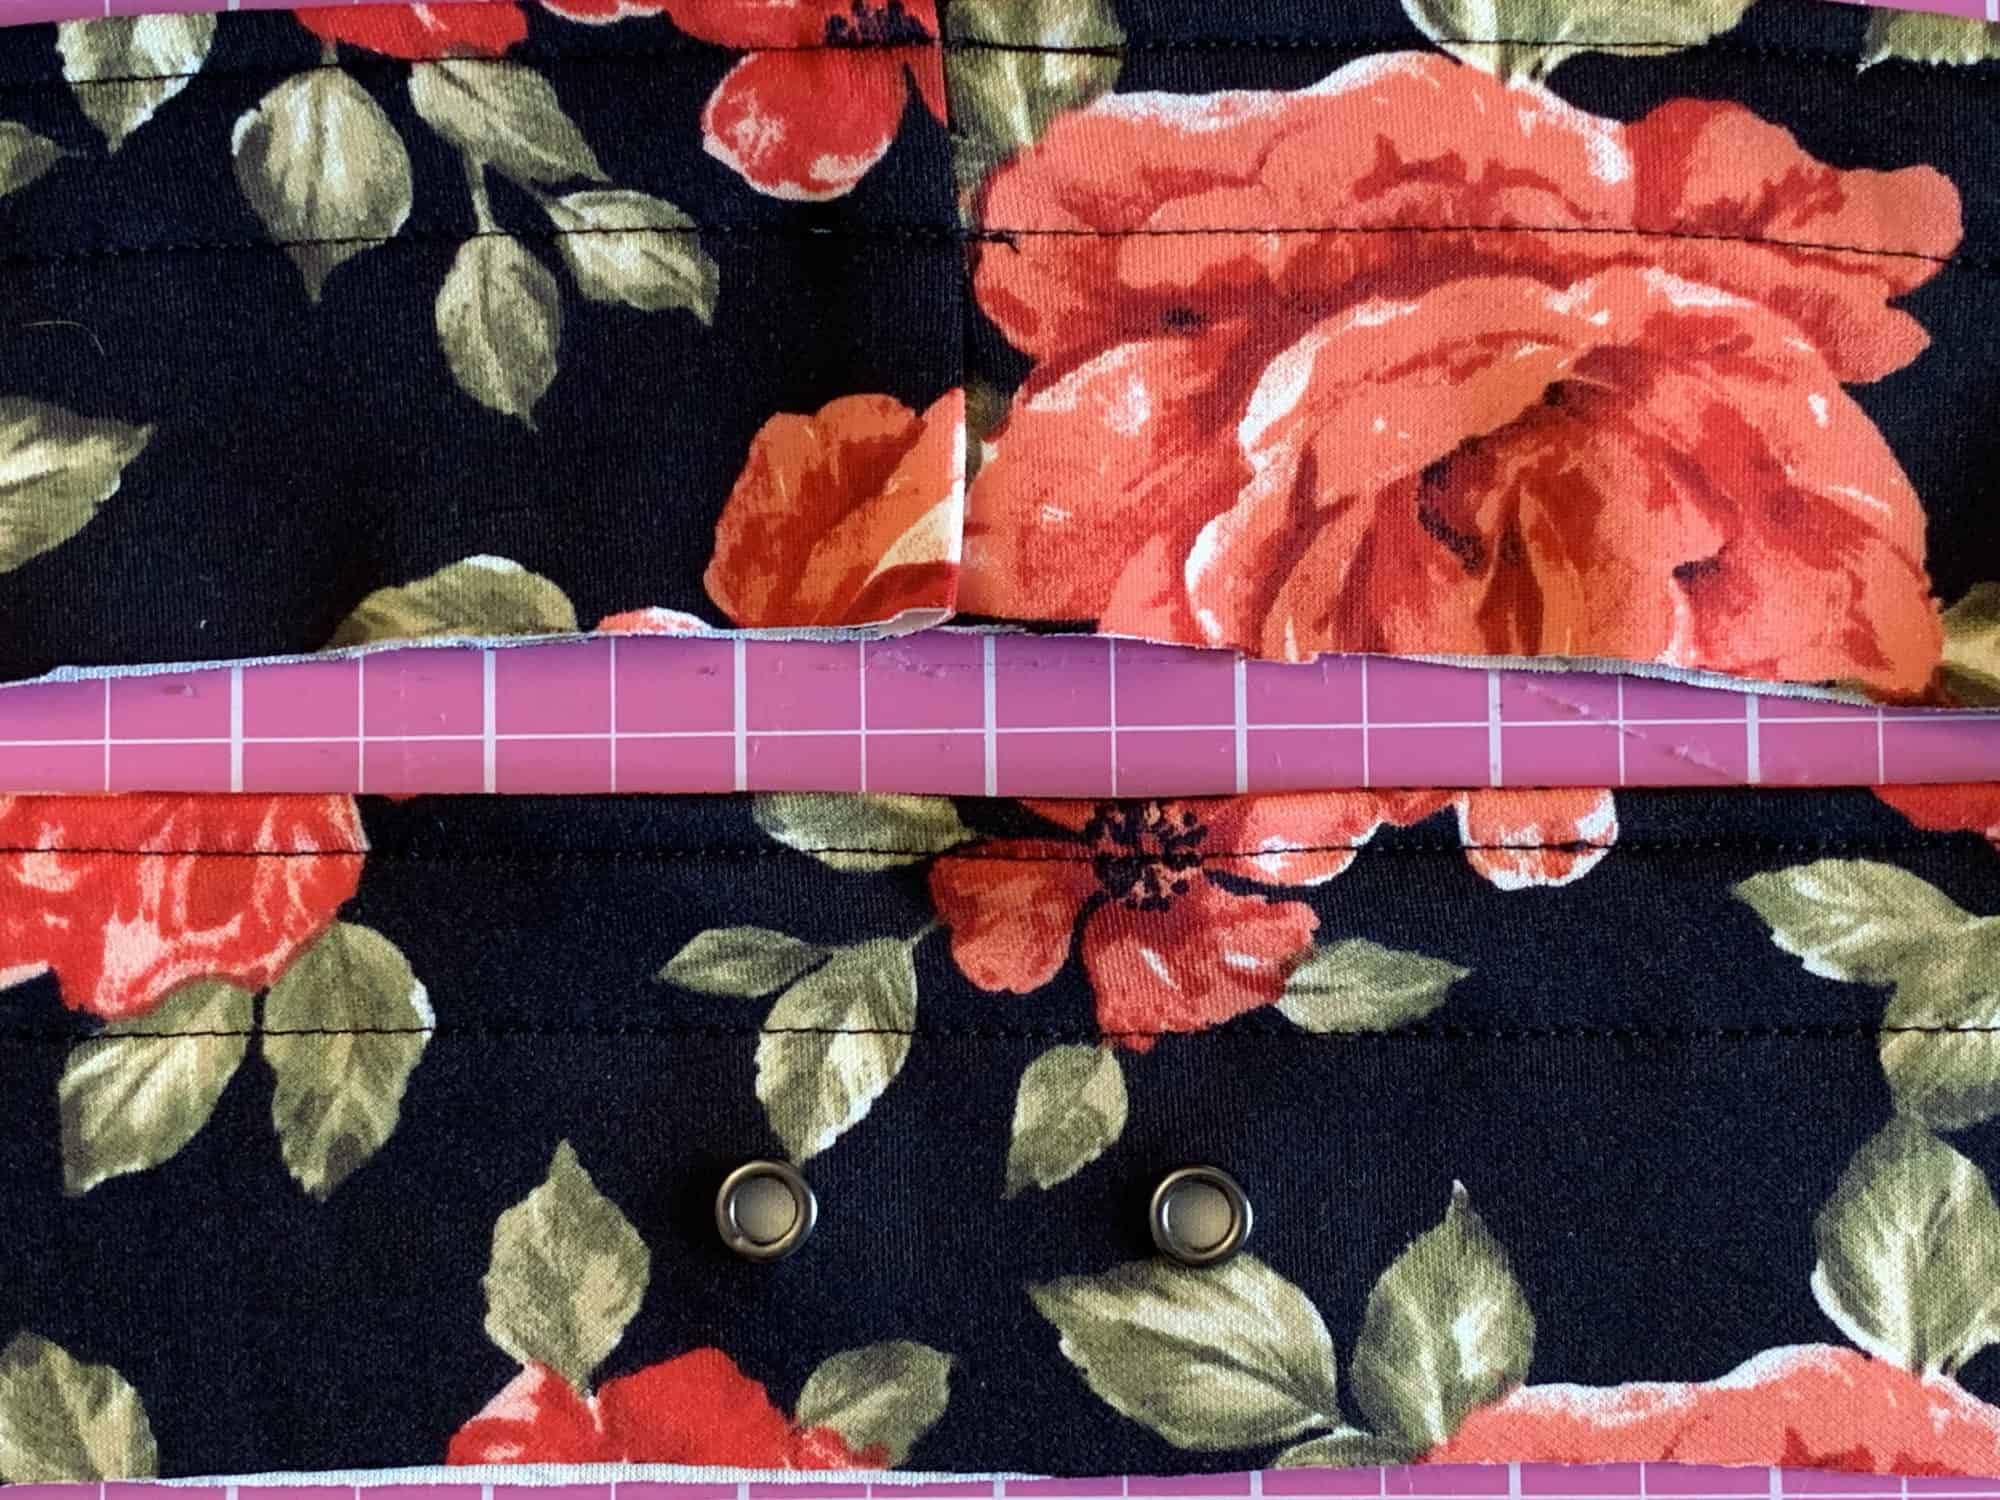
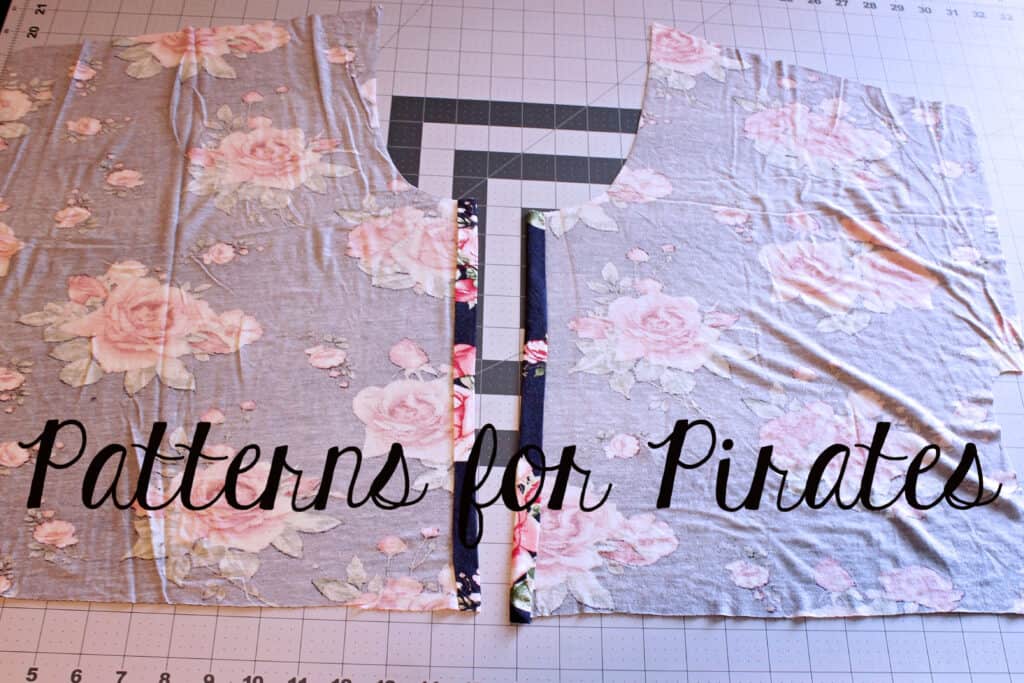
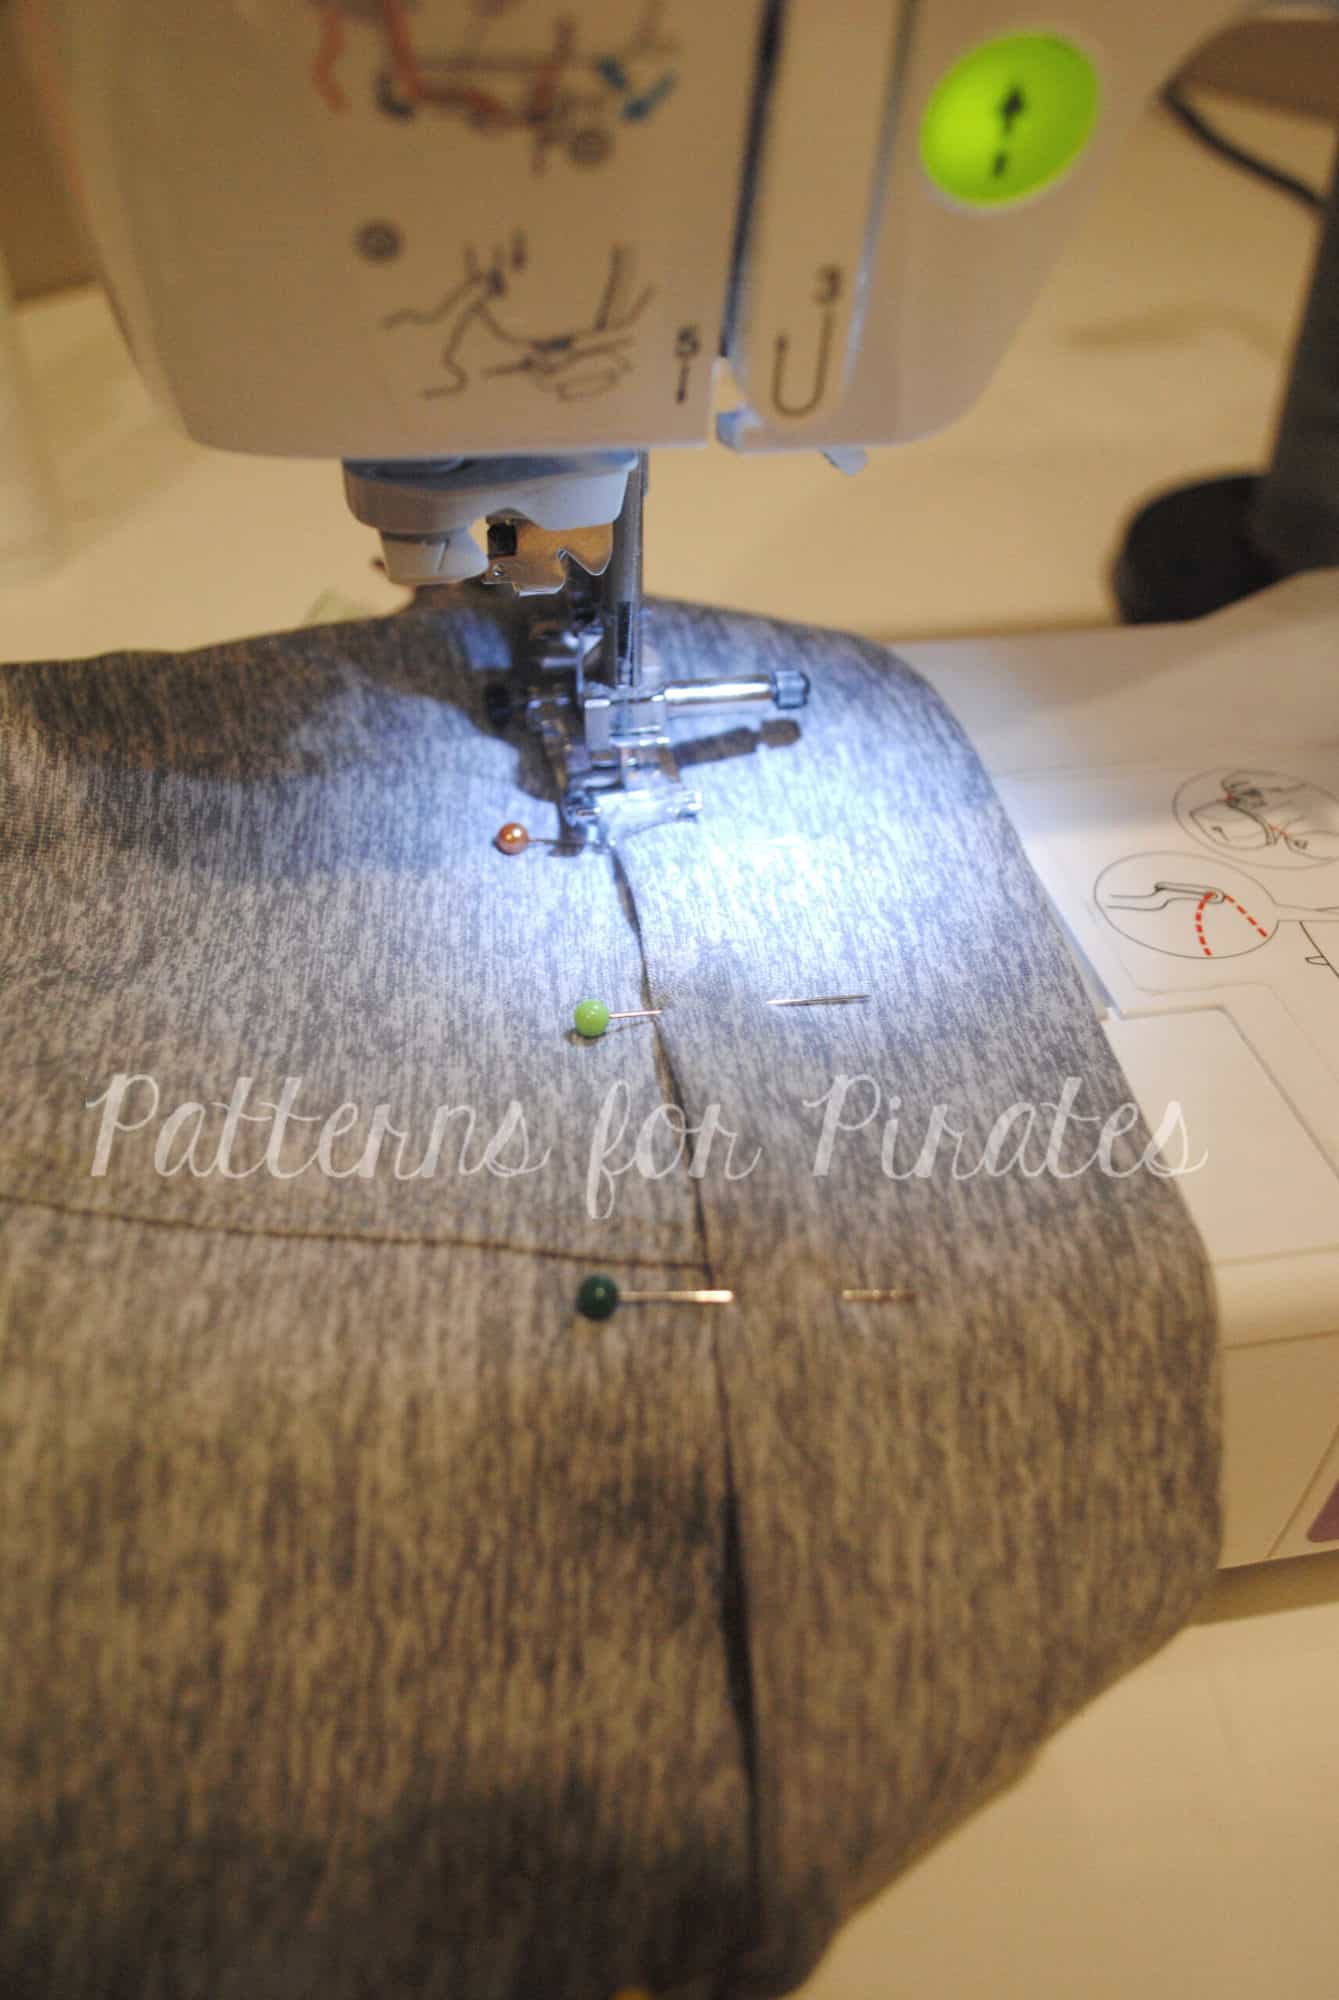
Continue sewing up the jeans as the tutorial instructs. Using a small zig zag stitch, tack the front fly openings together to the left of the bottom buttonhole.
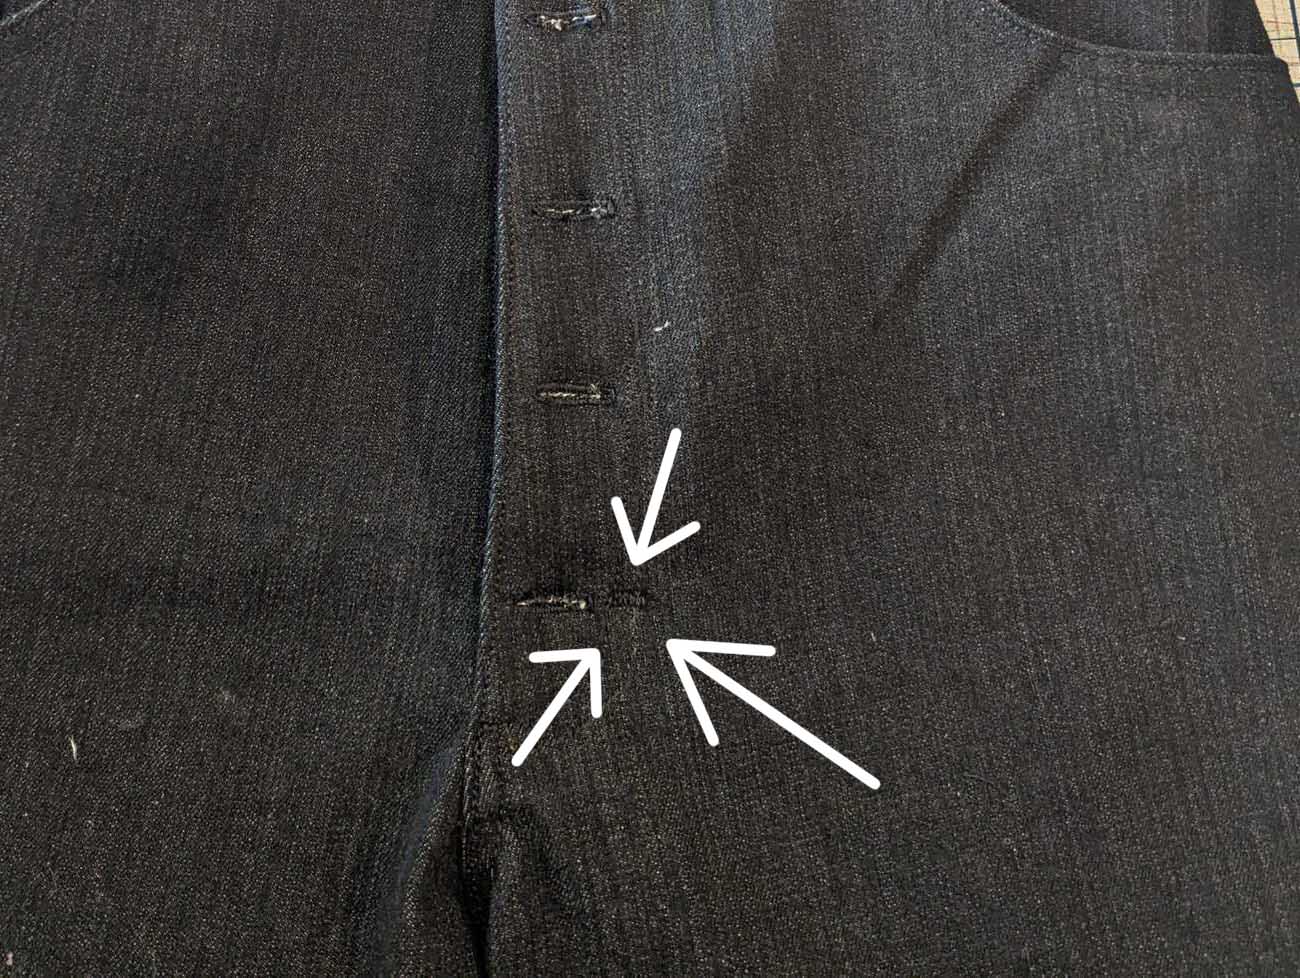
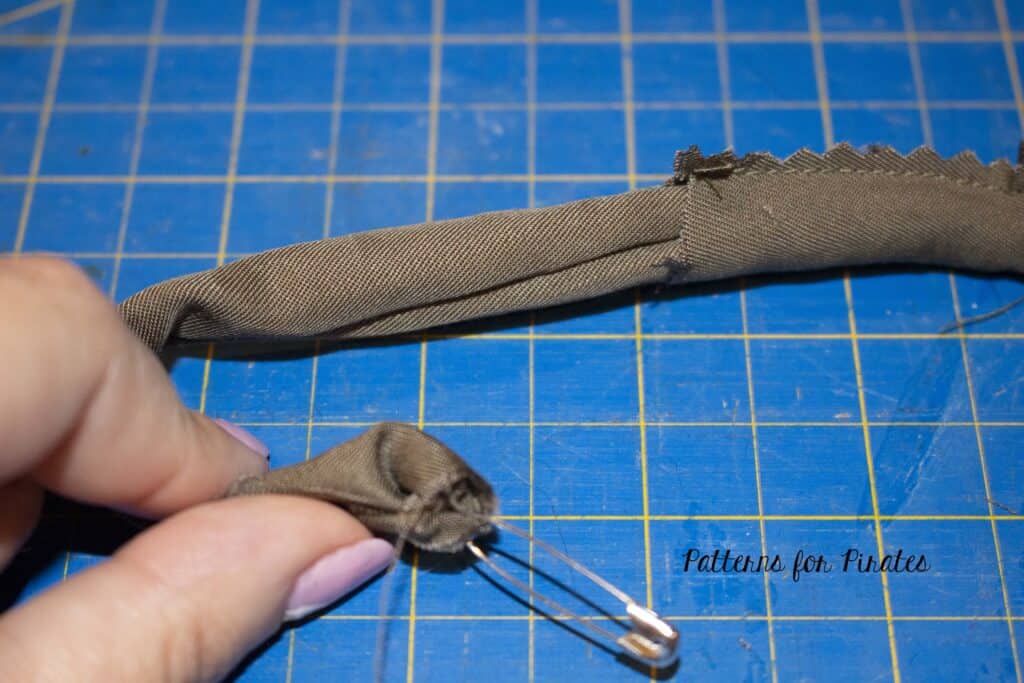
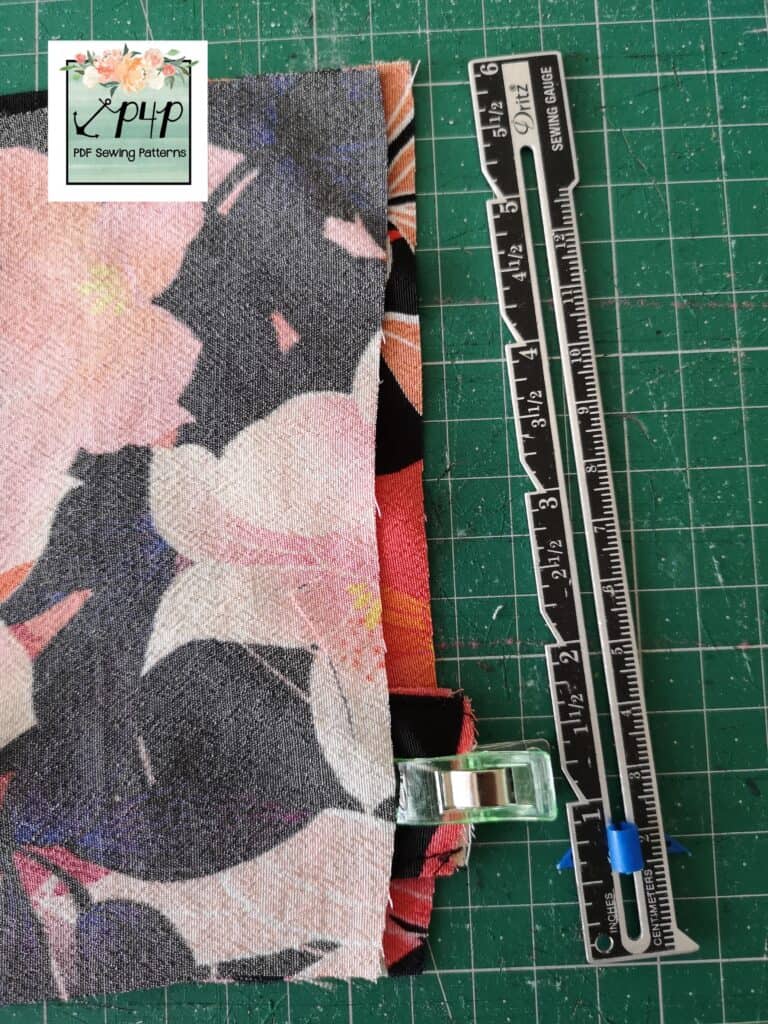
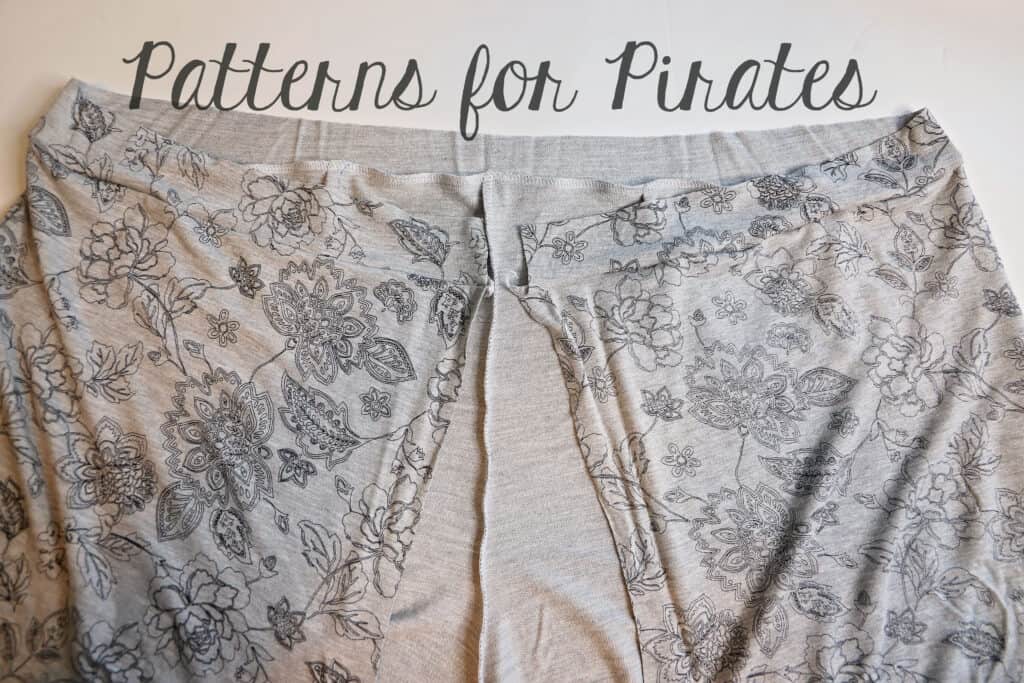
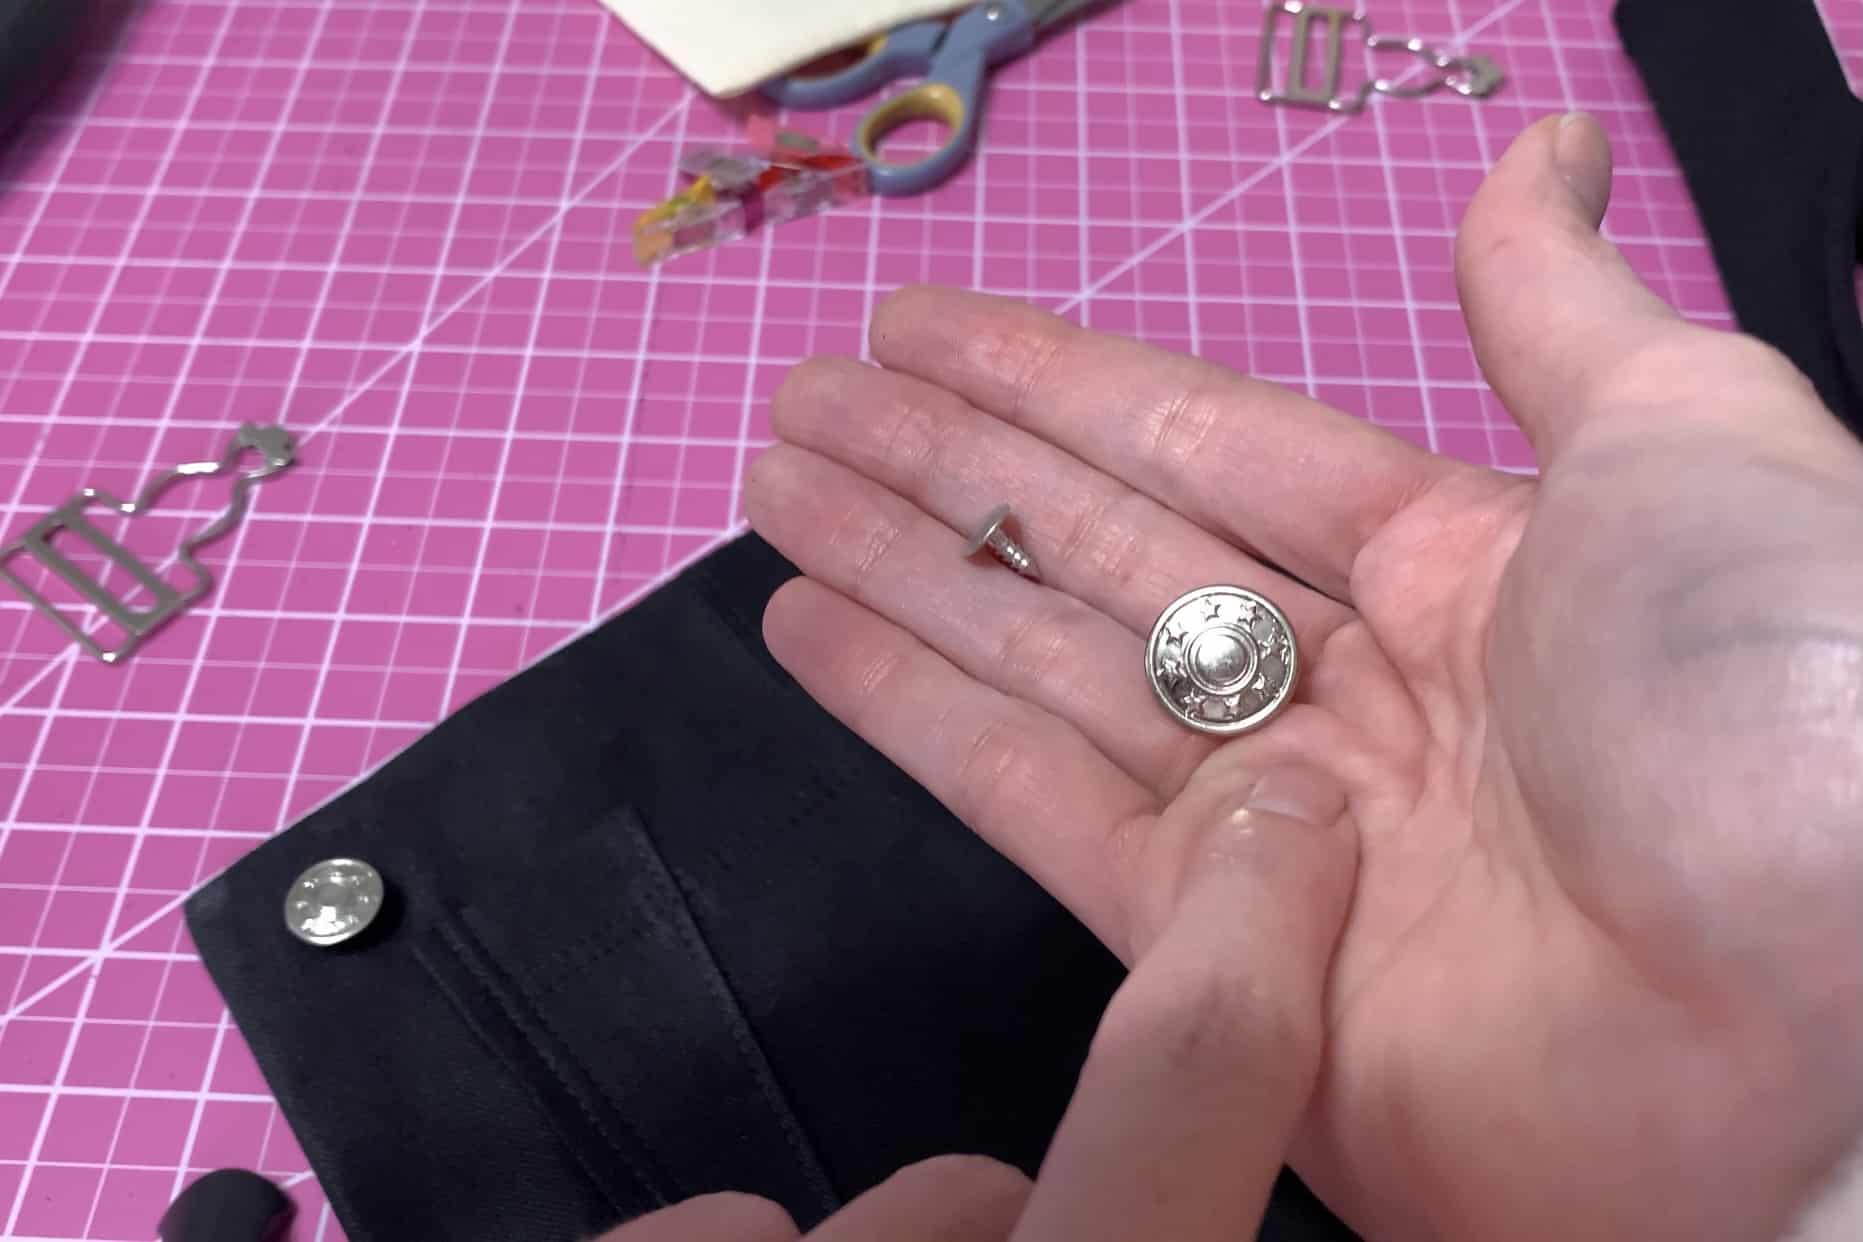
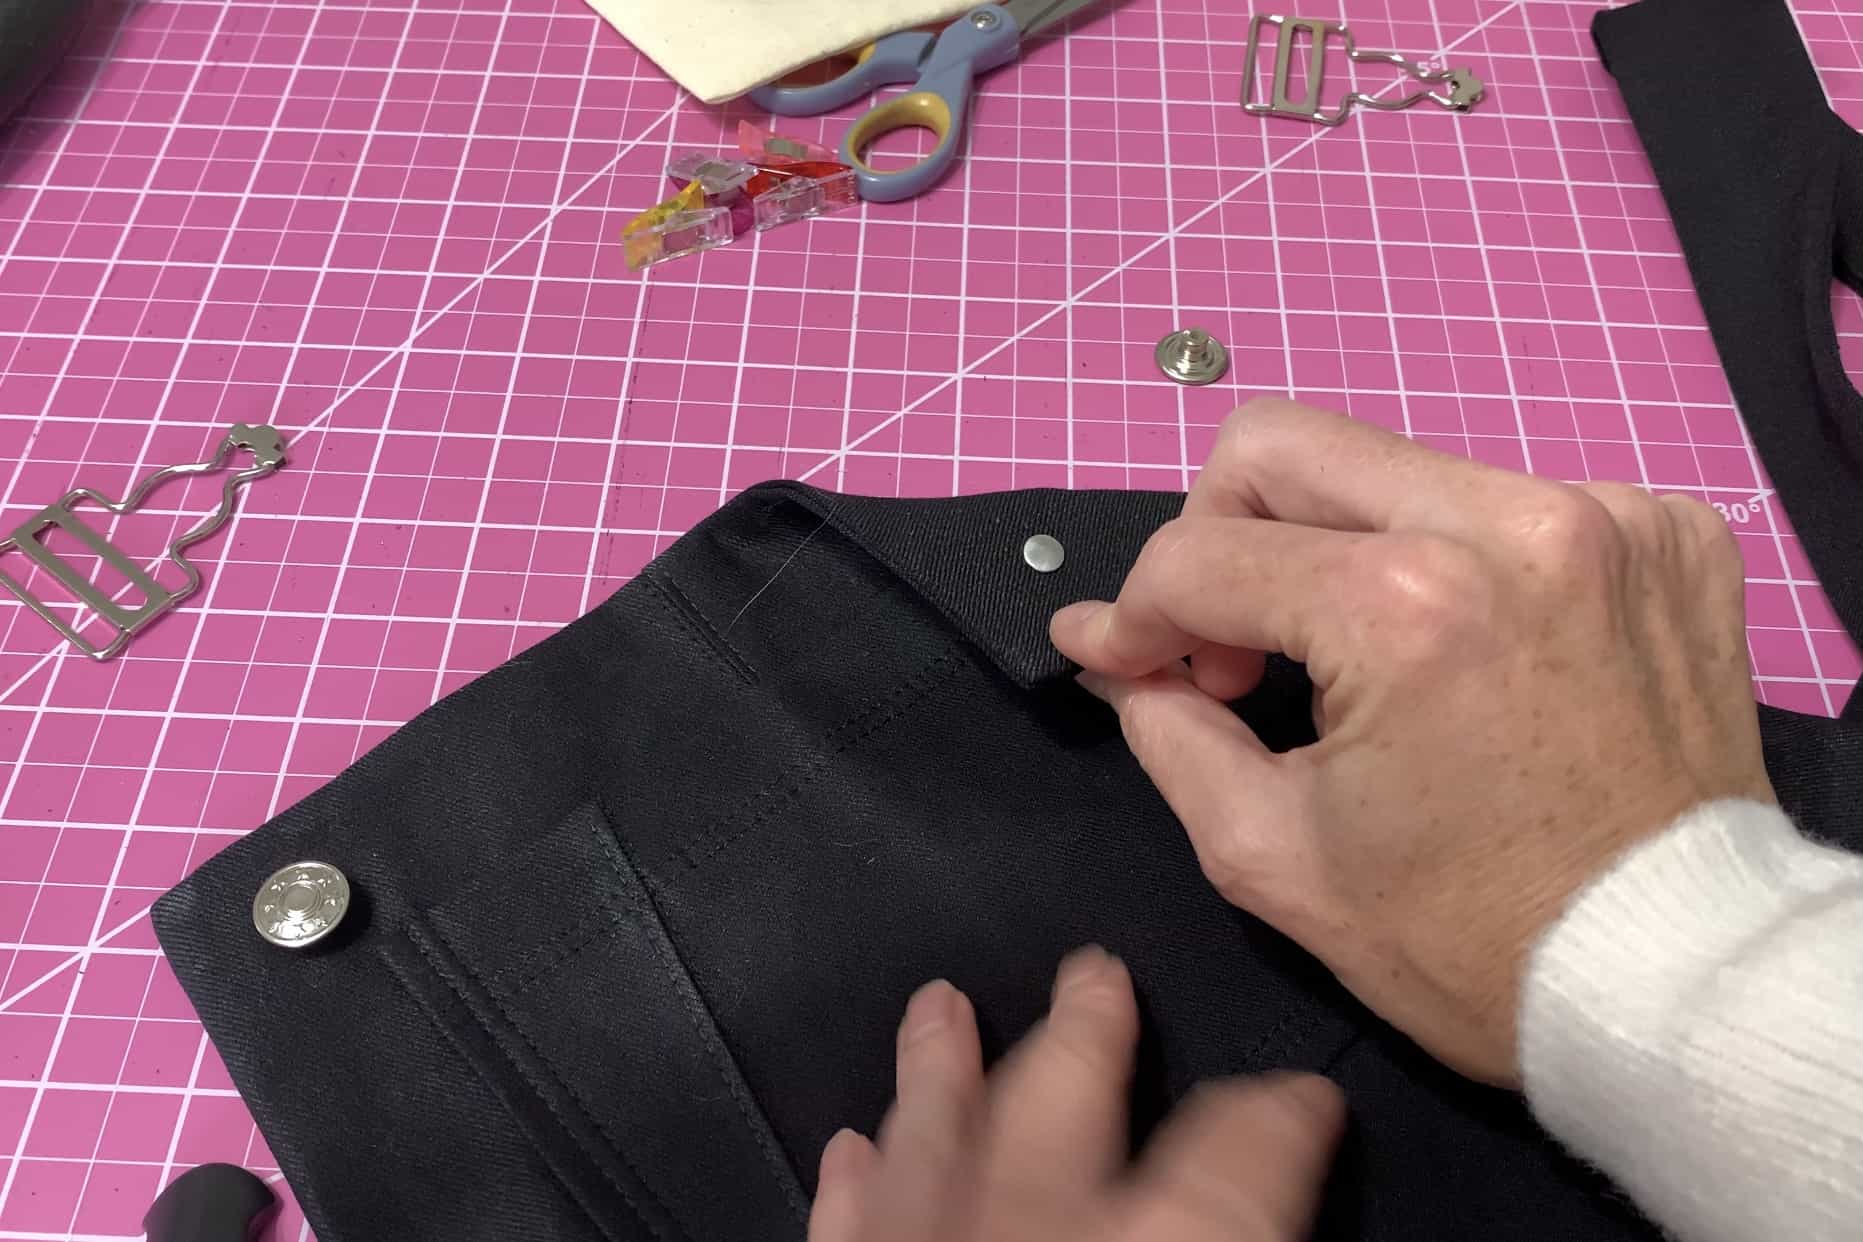
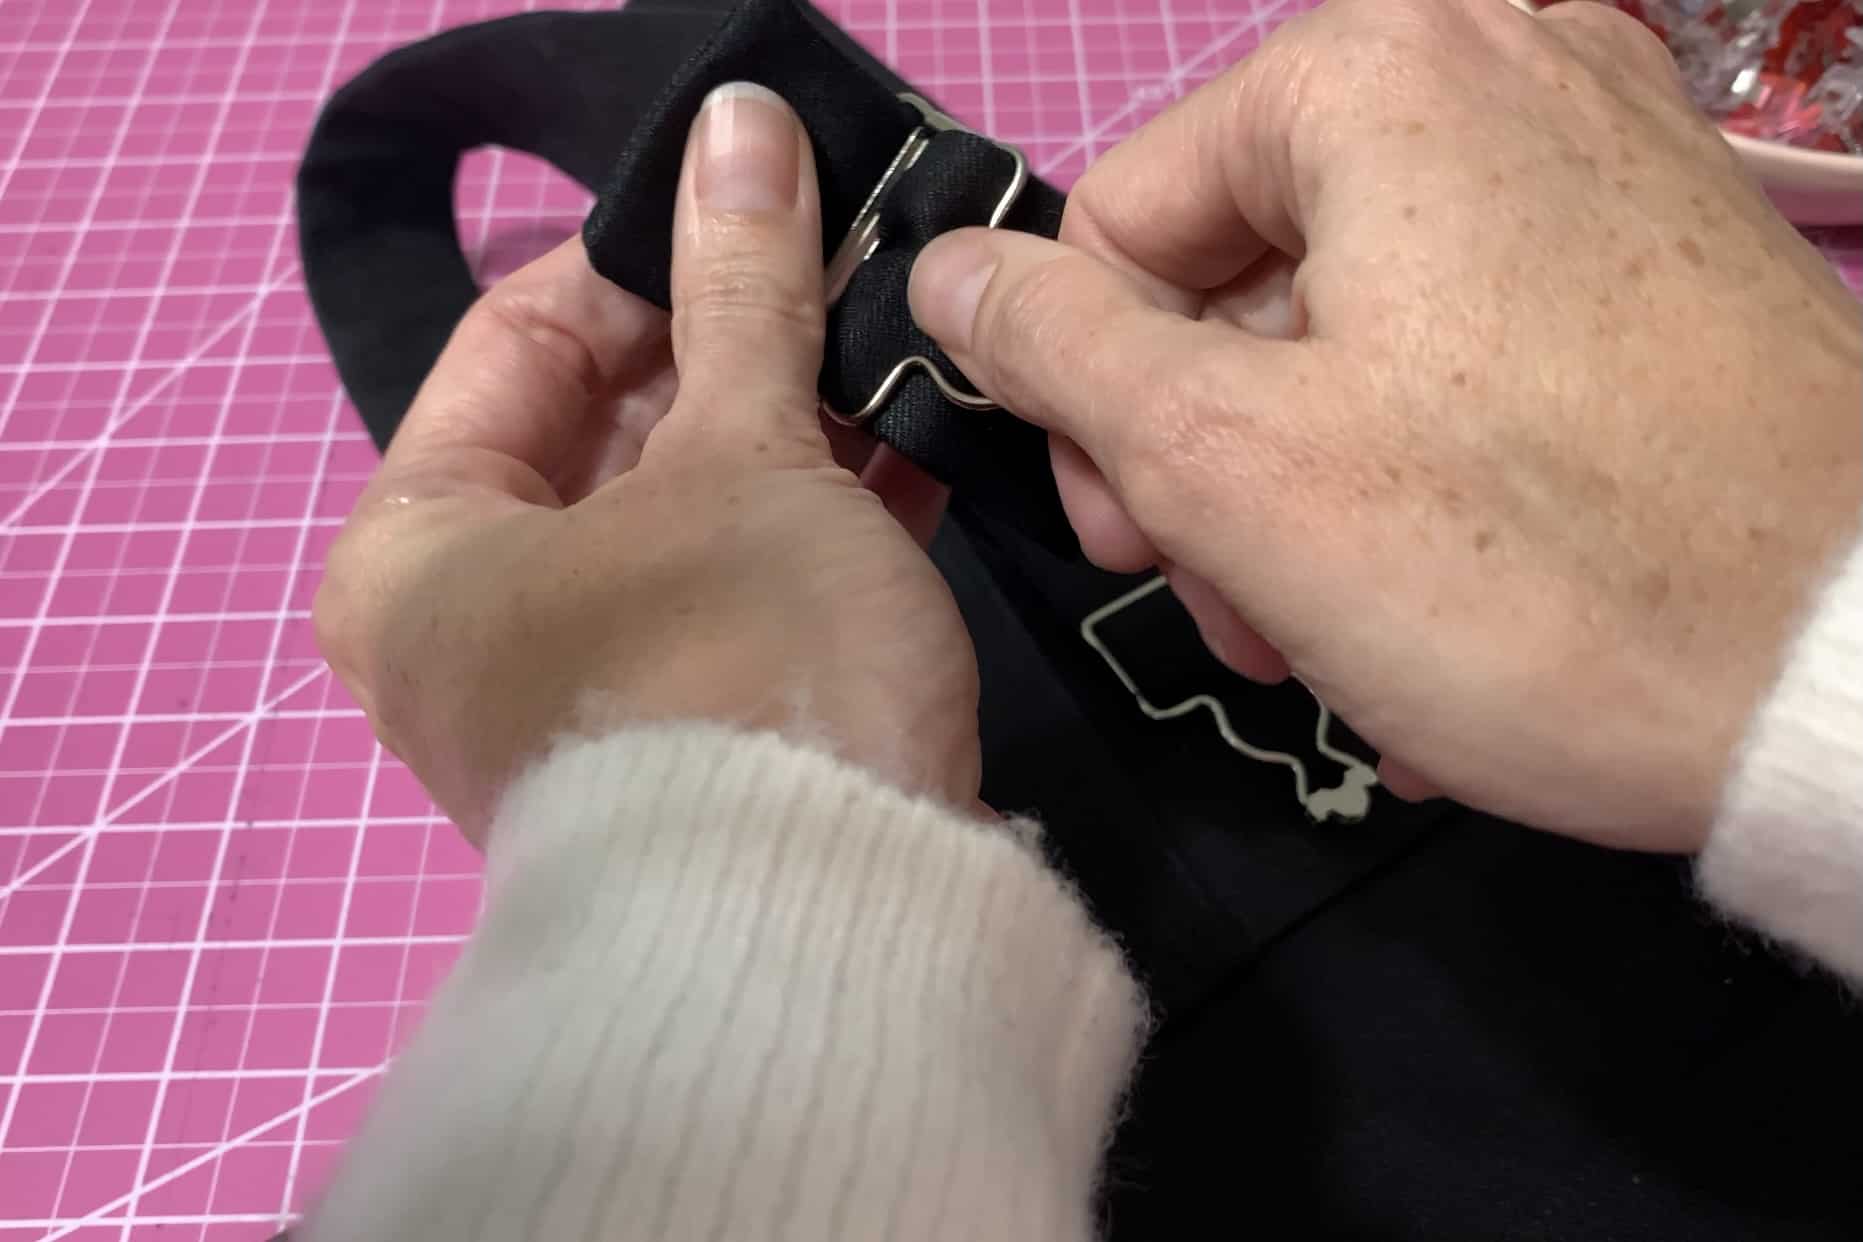
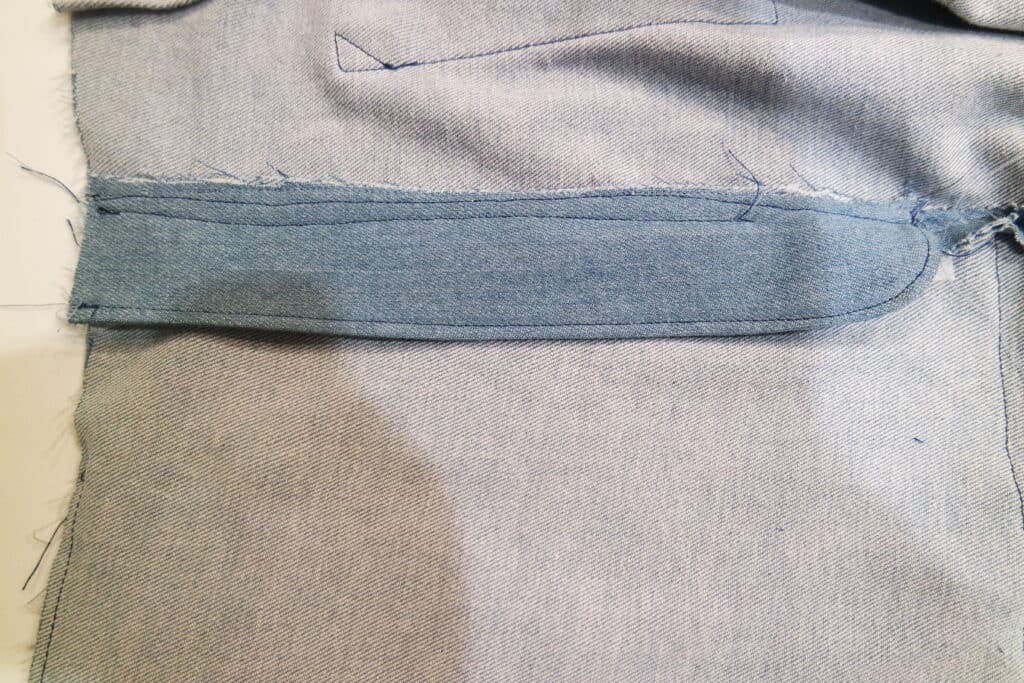
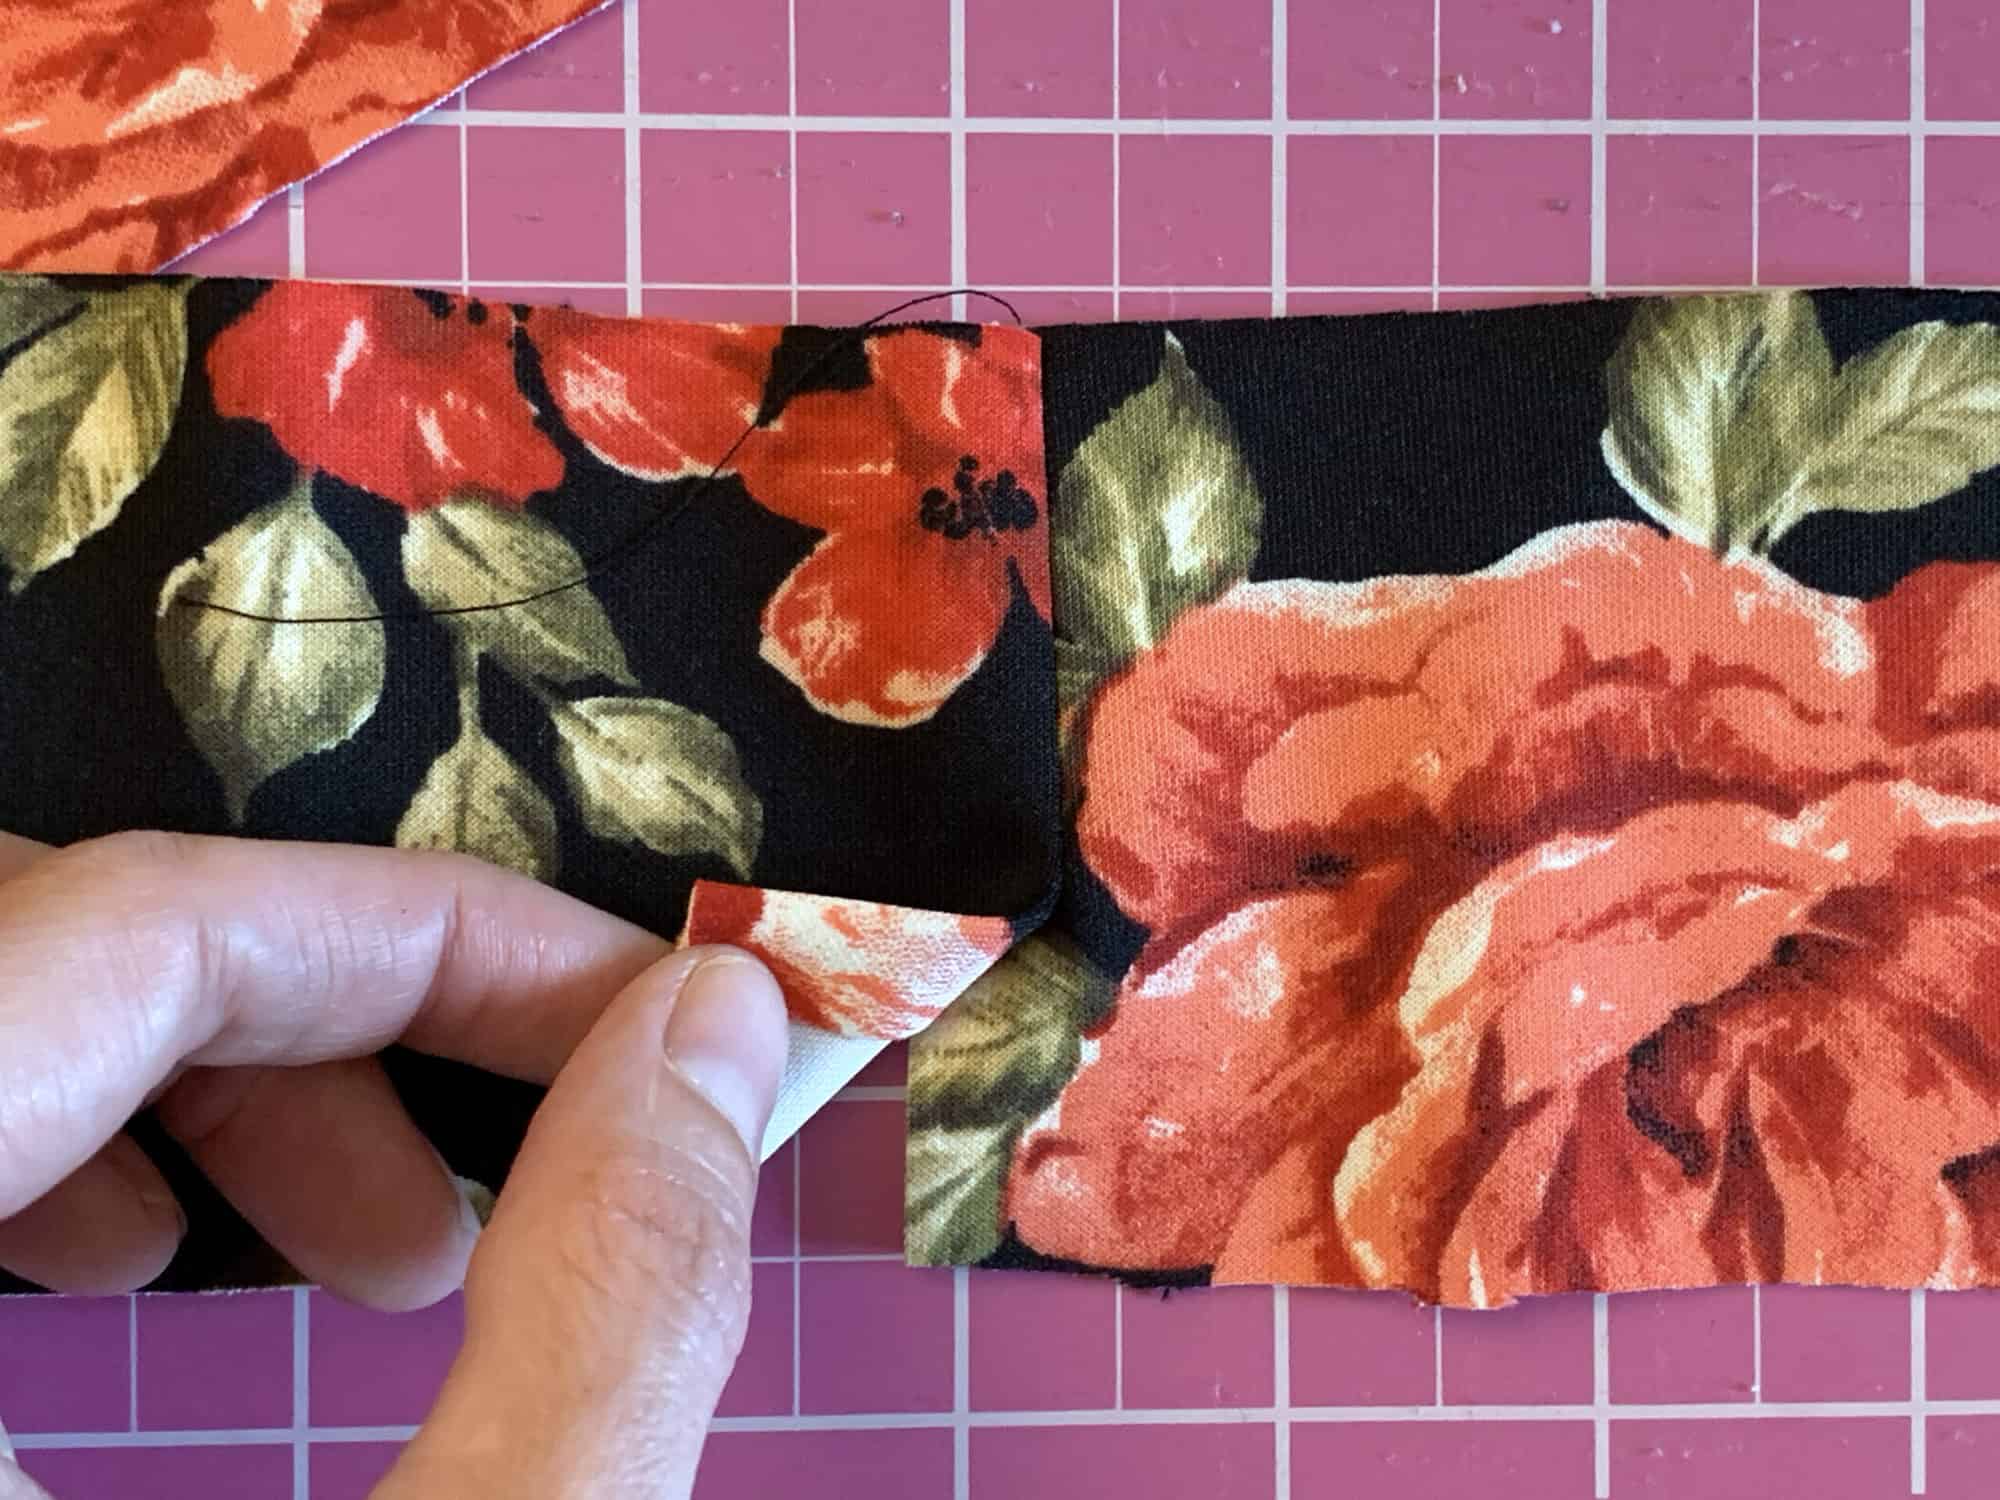
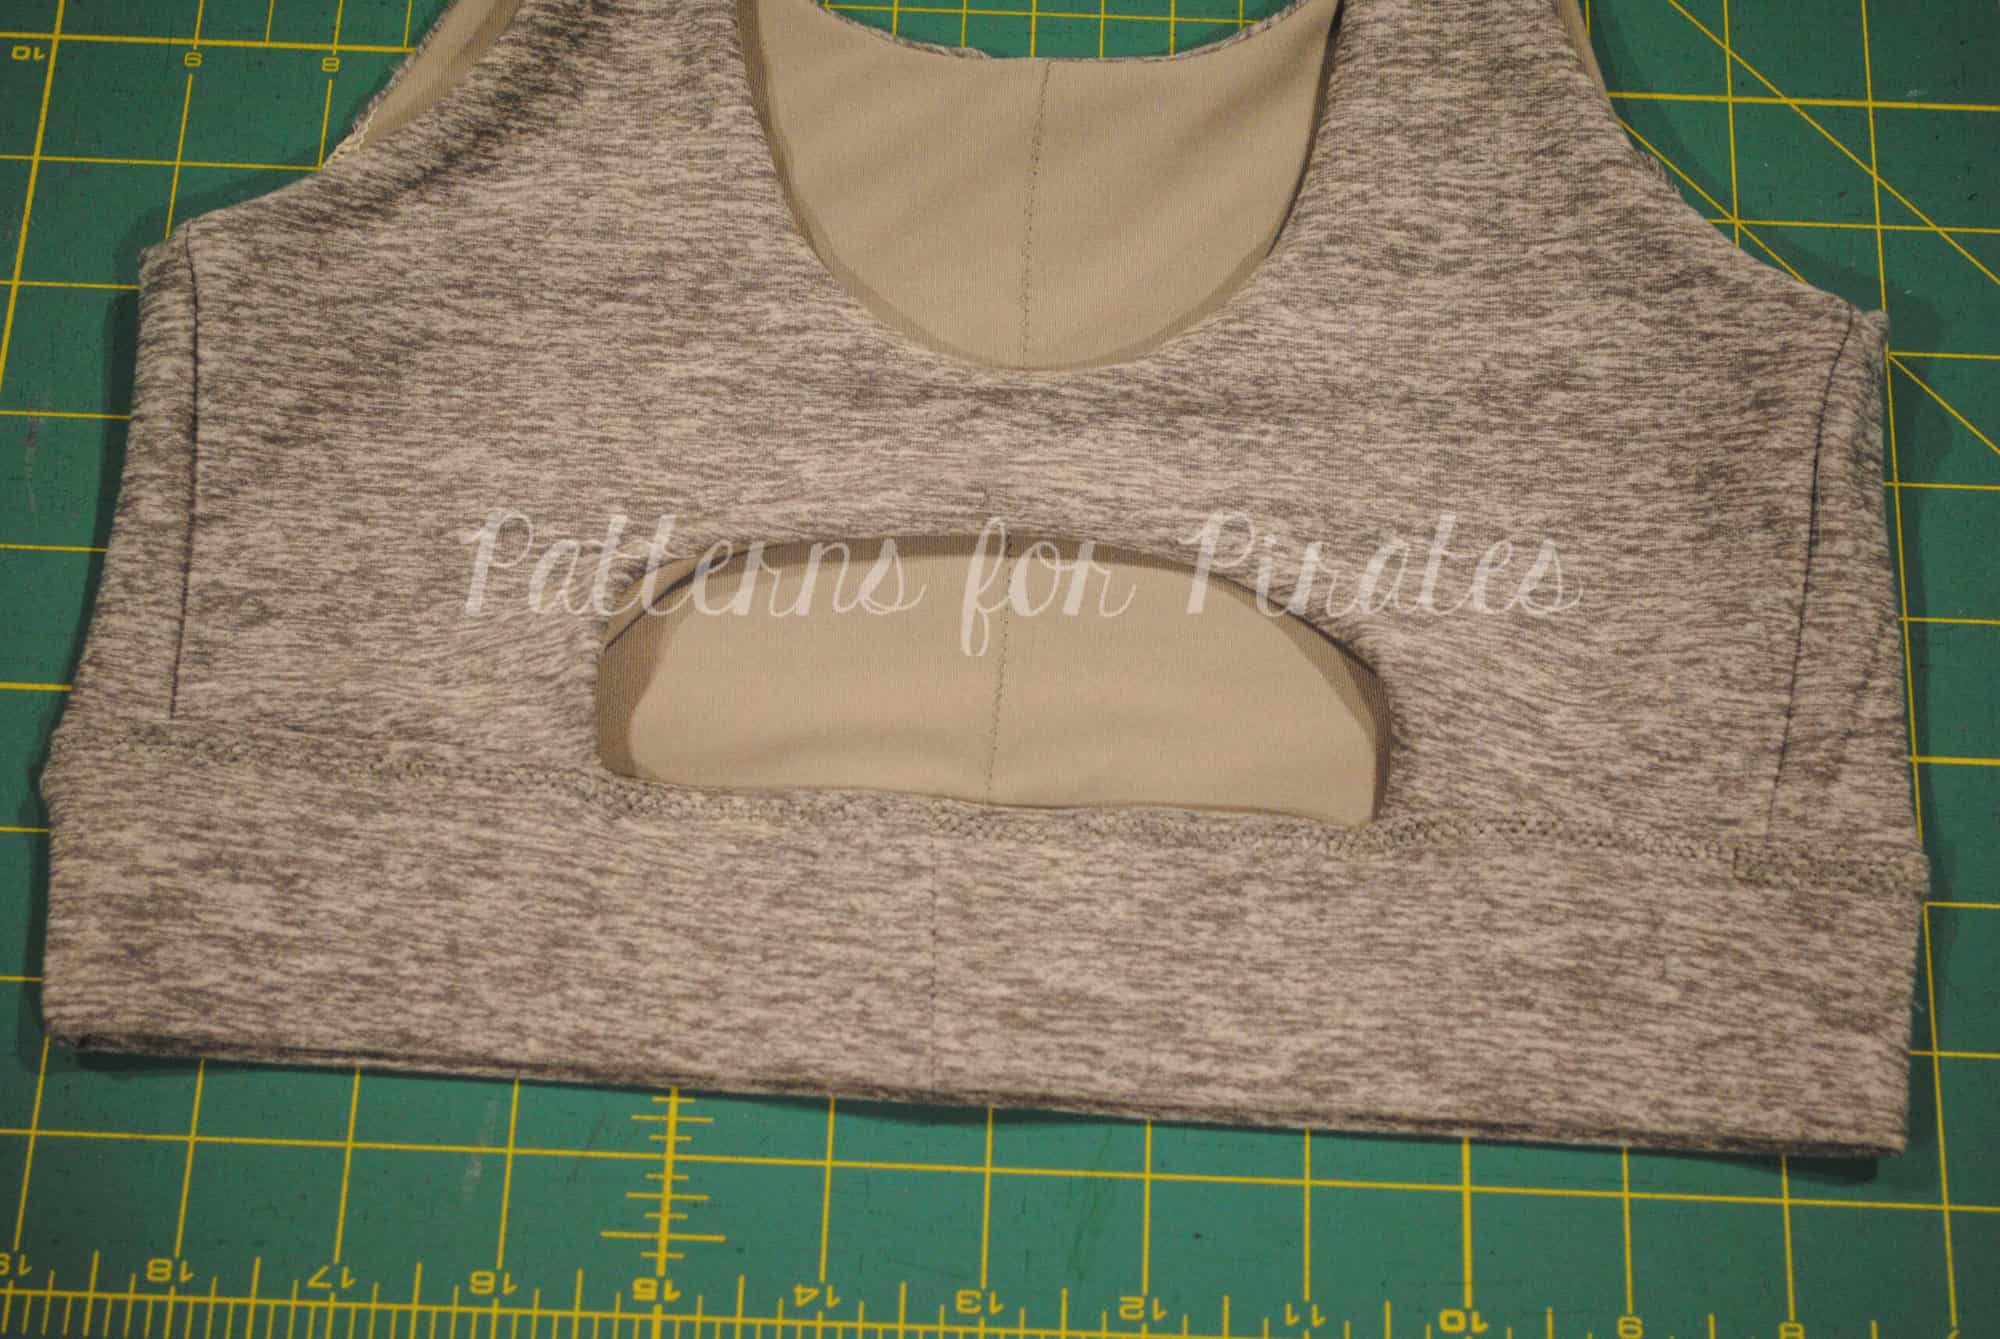
Overlap the fly and pin the waistband closed. Using a disappearing pen* or tailor chalk *, mark your button placements. I like to use the buttonholes we already made as a guide for the button location.
I highly recommend using jeans buttons* for this hack but if you prefer to add regular buttons you can do that as well. Just make sure they are a similar size to jeans ones, approximately 20 mm.
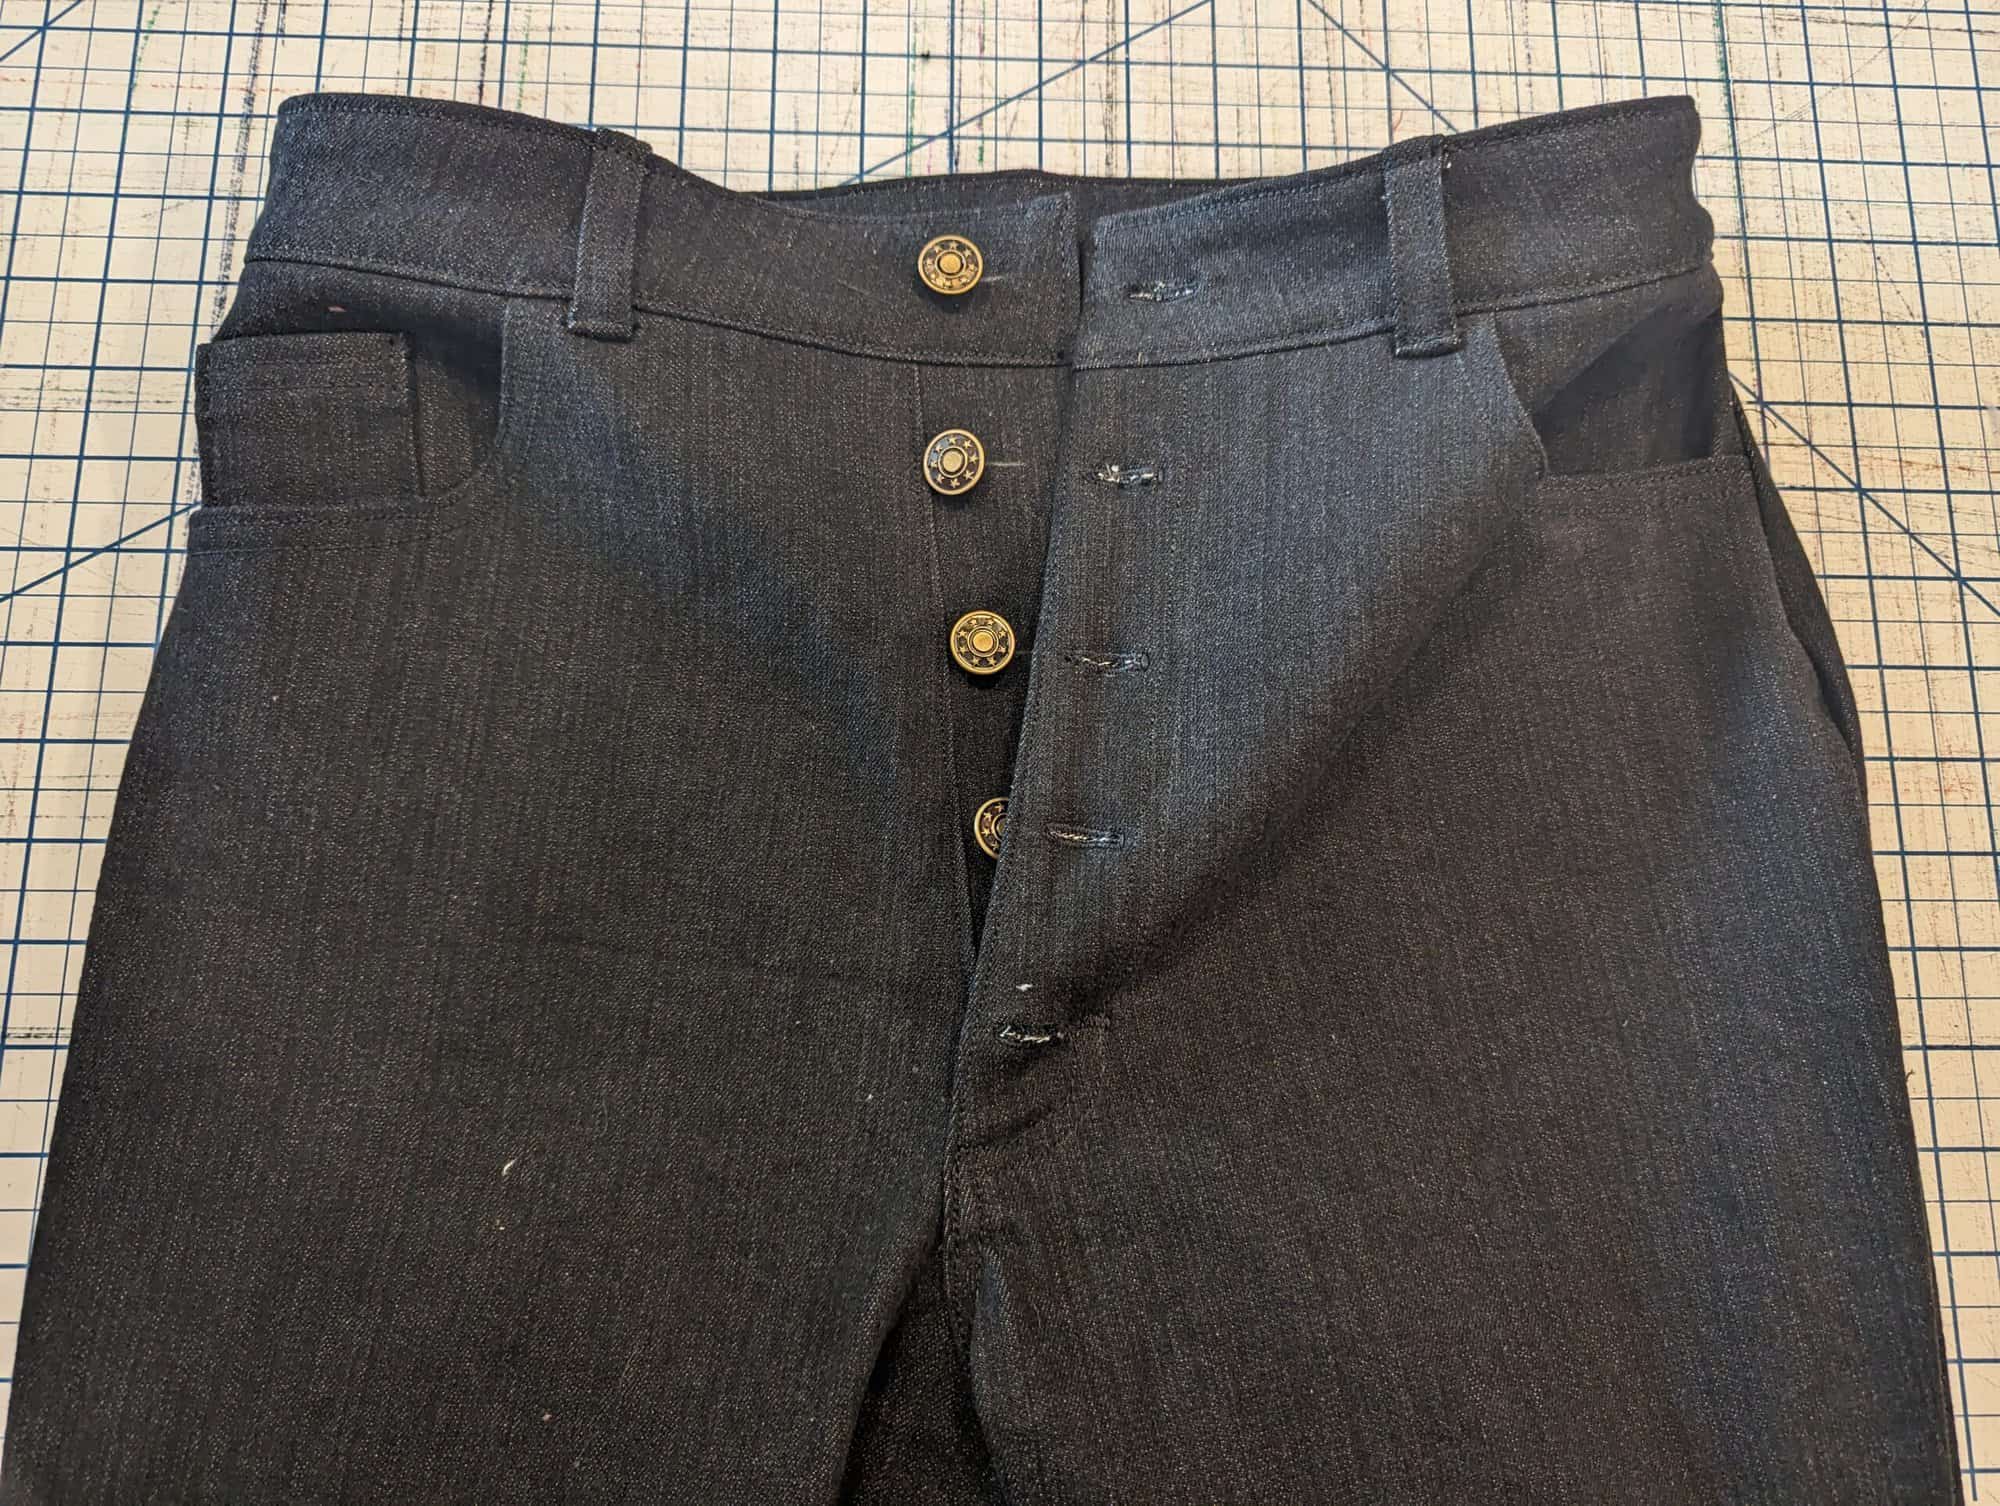
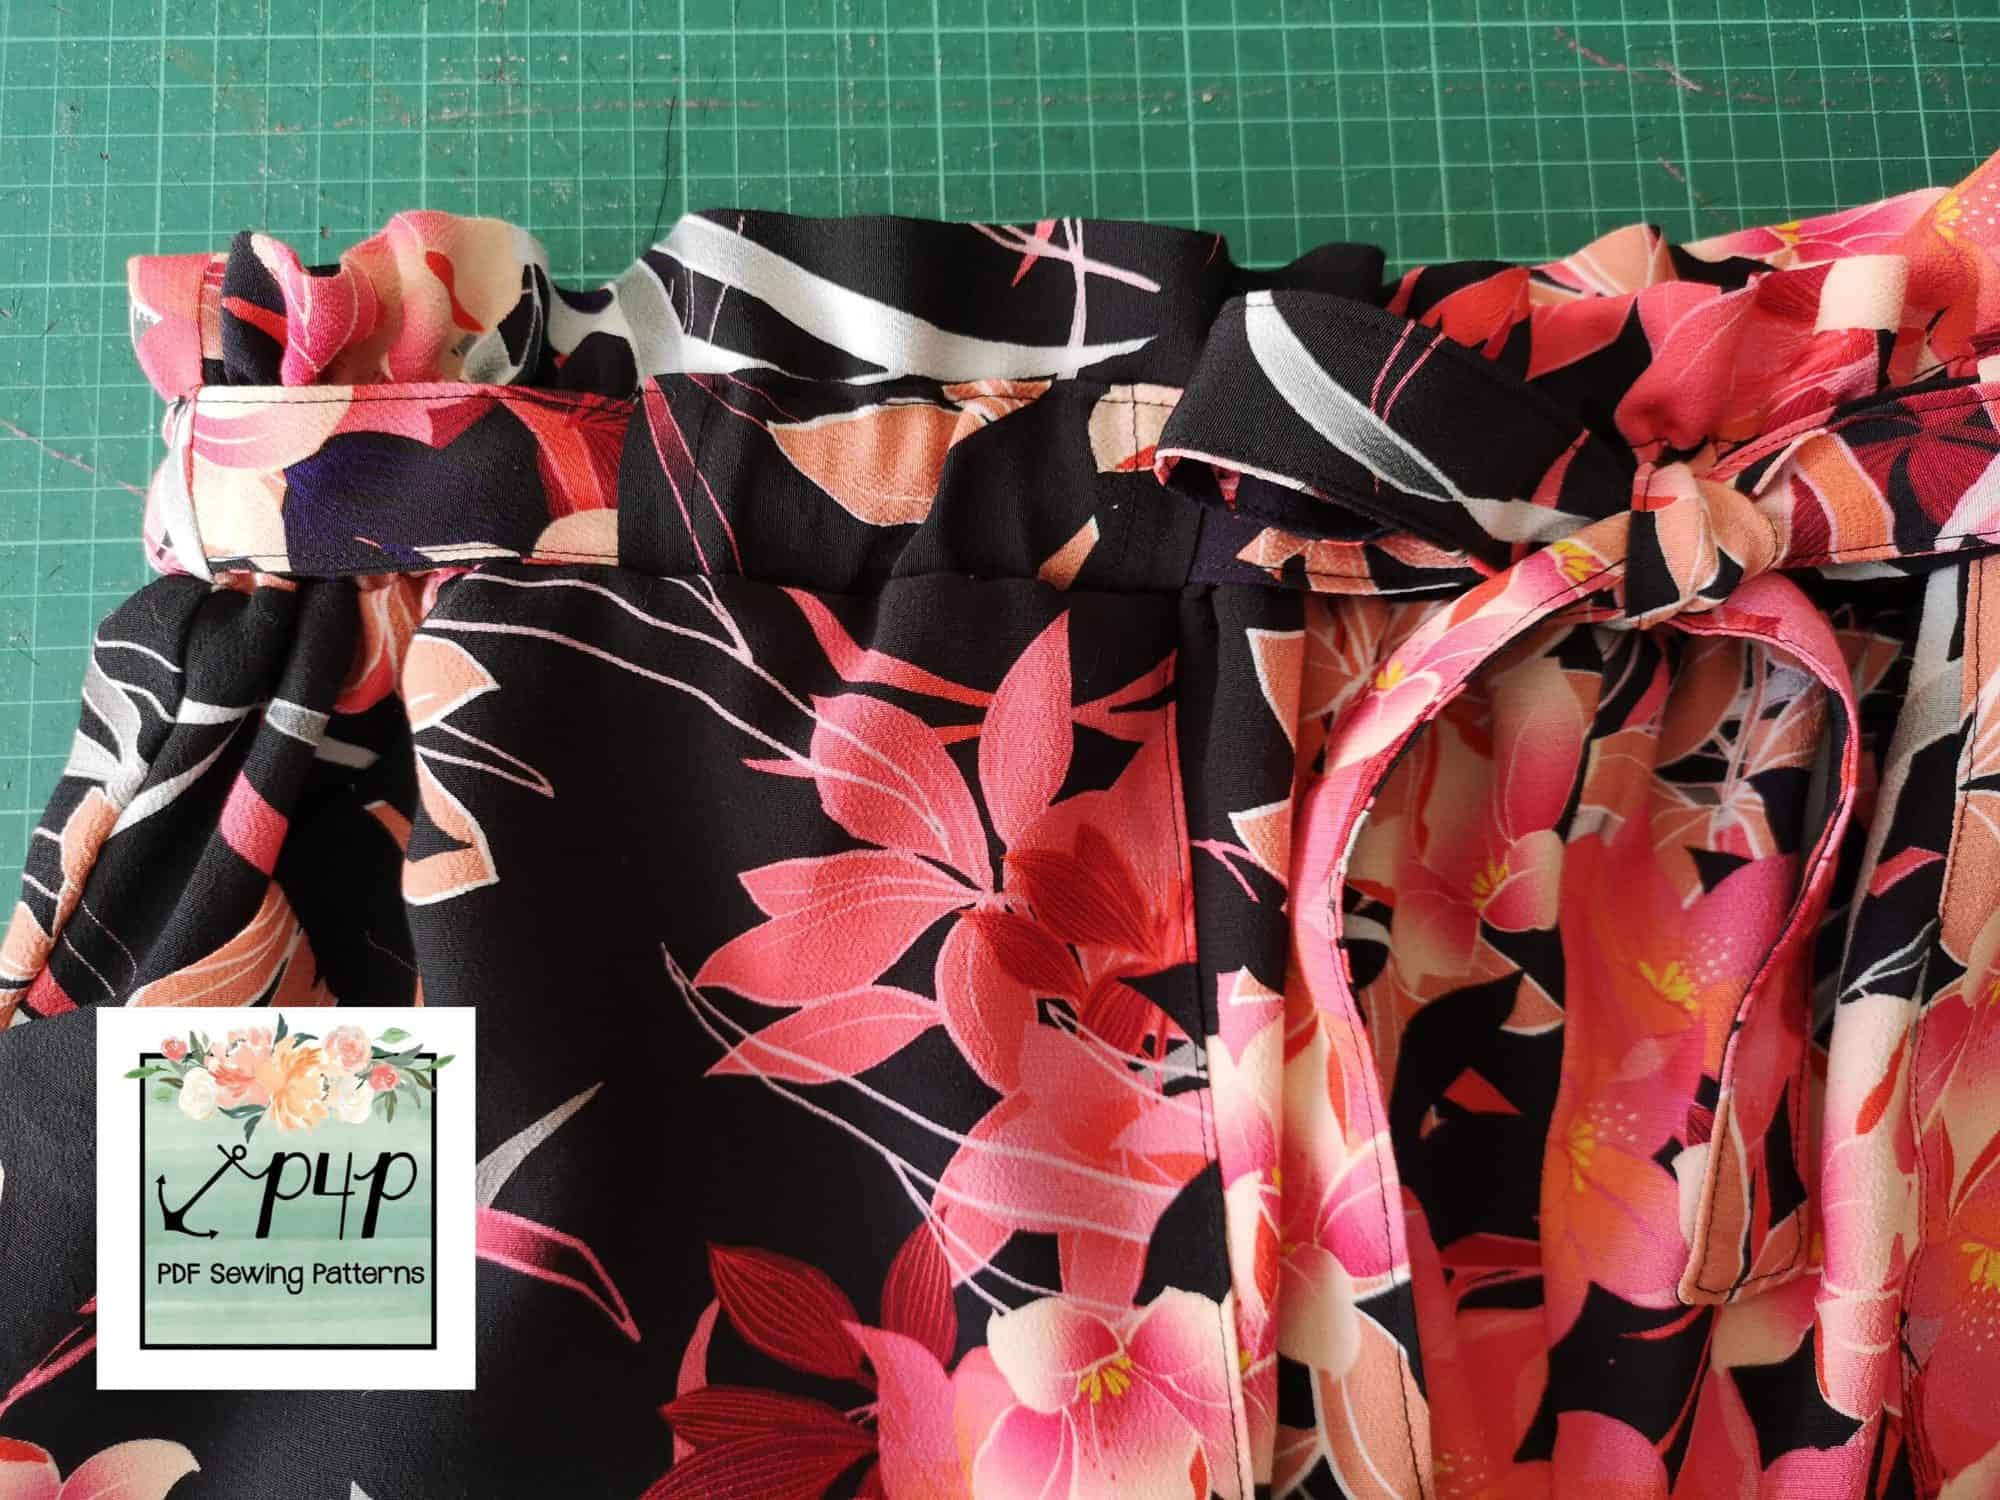
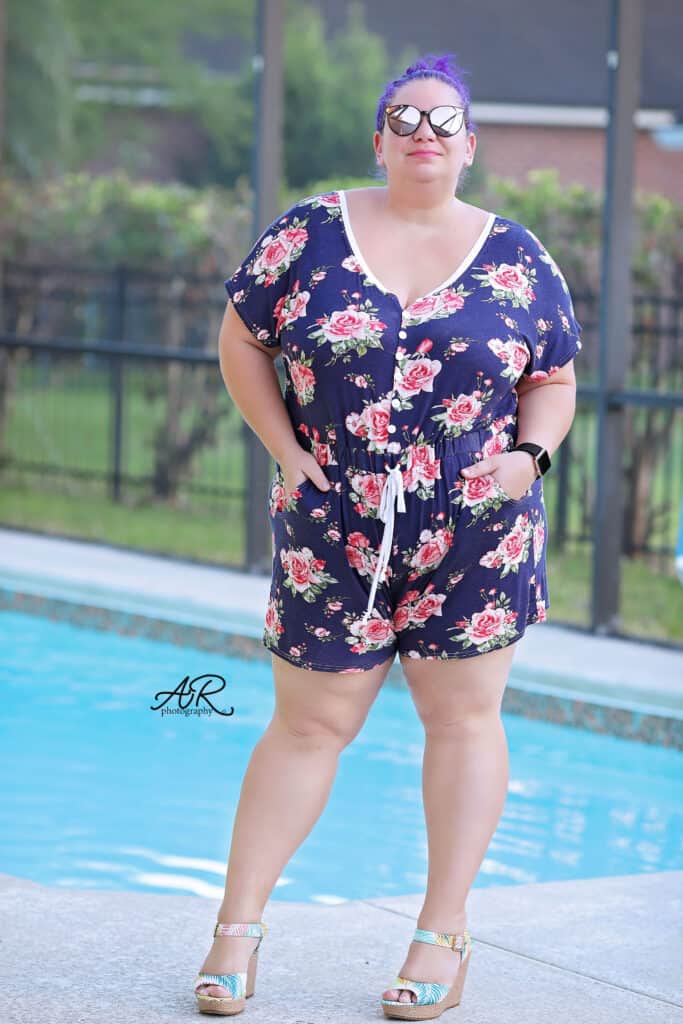
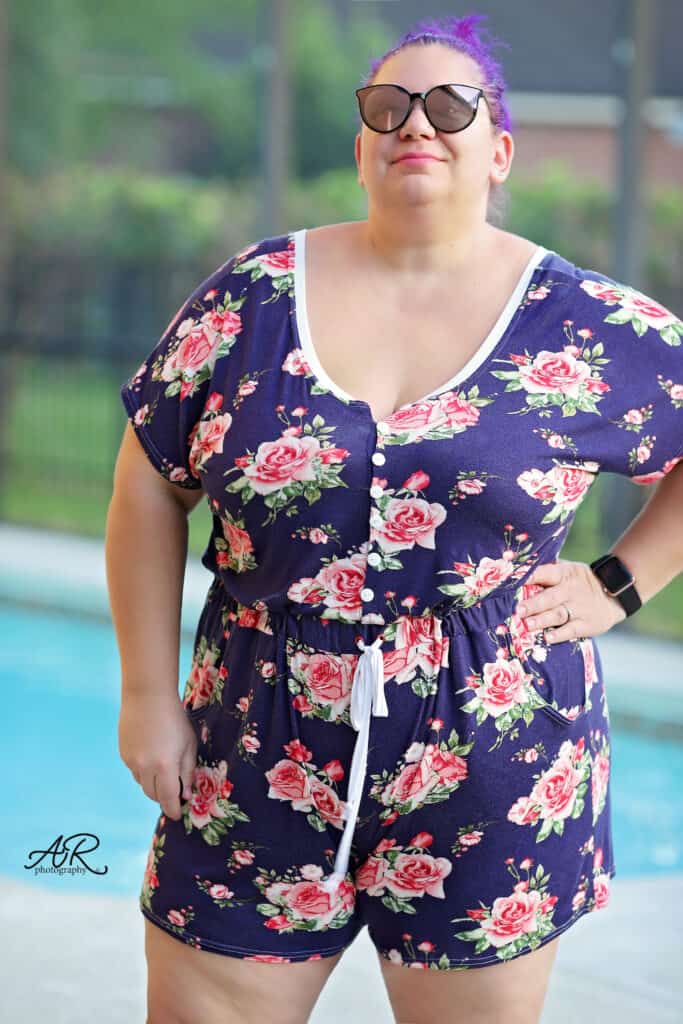
You are all done! 👏 Take a moment to admire your brand new button front custom-made jeans!
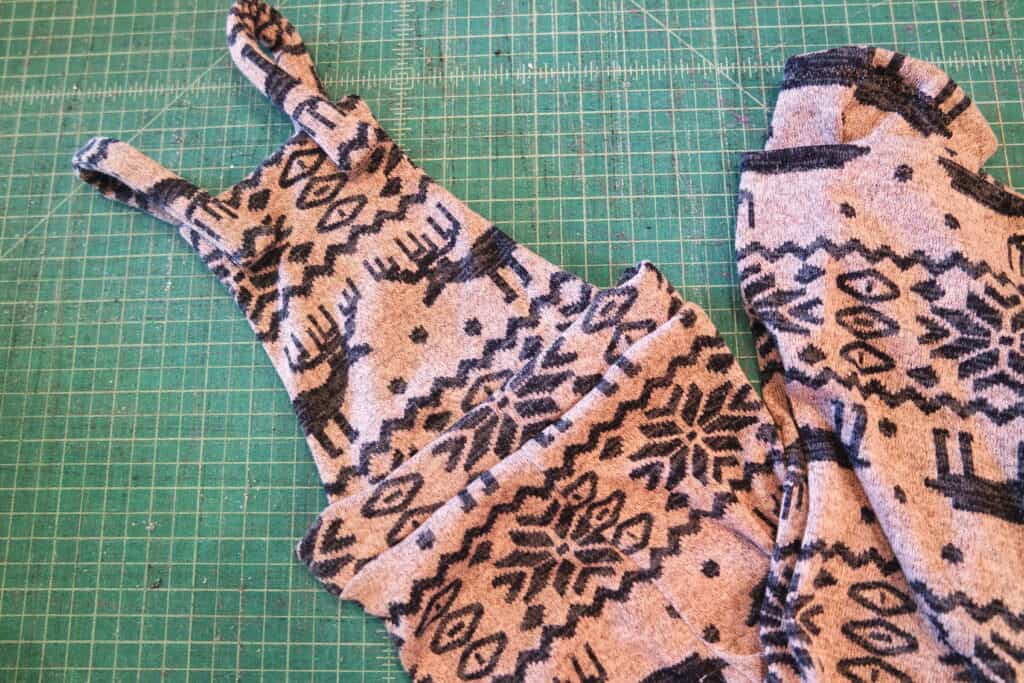
RAW HEM

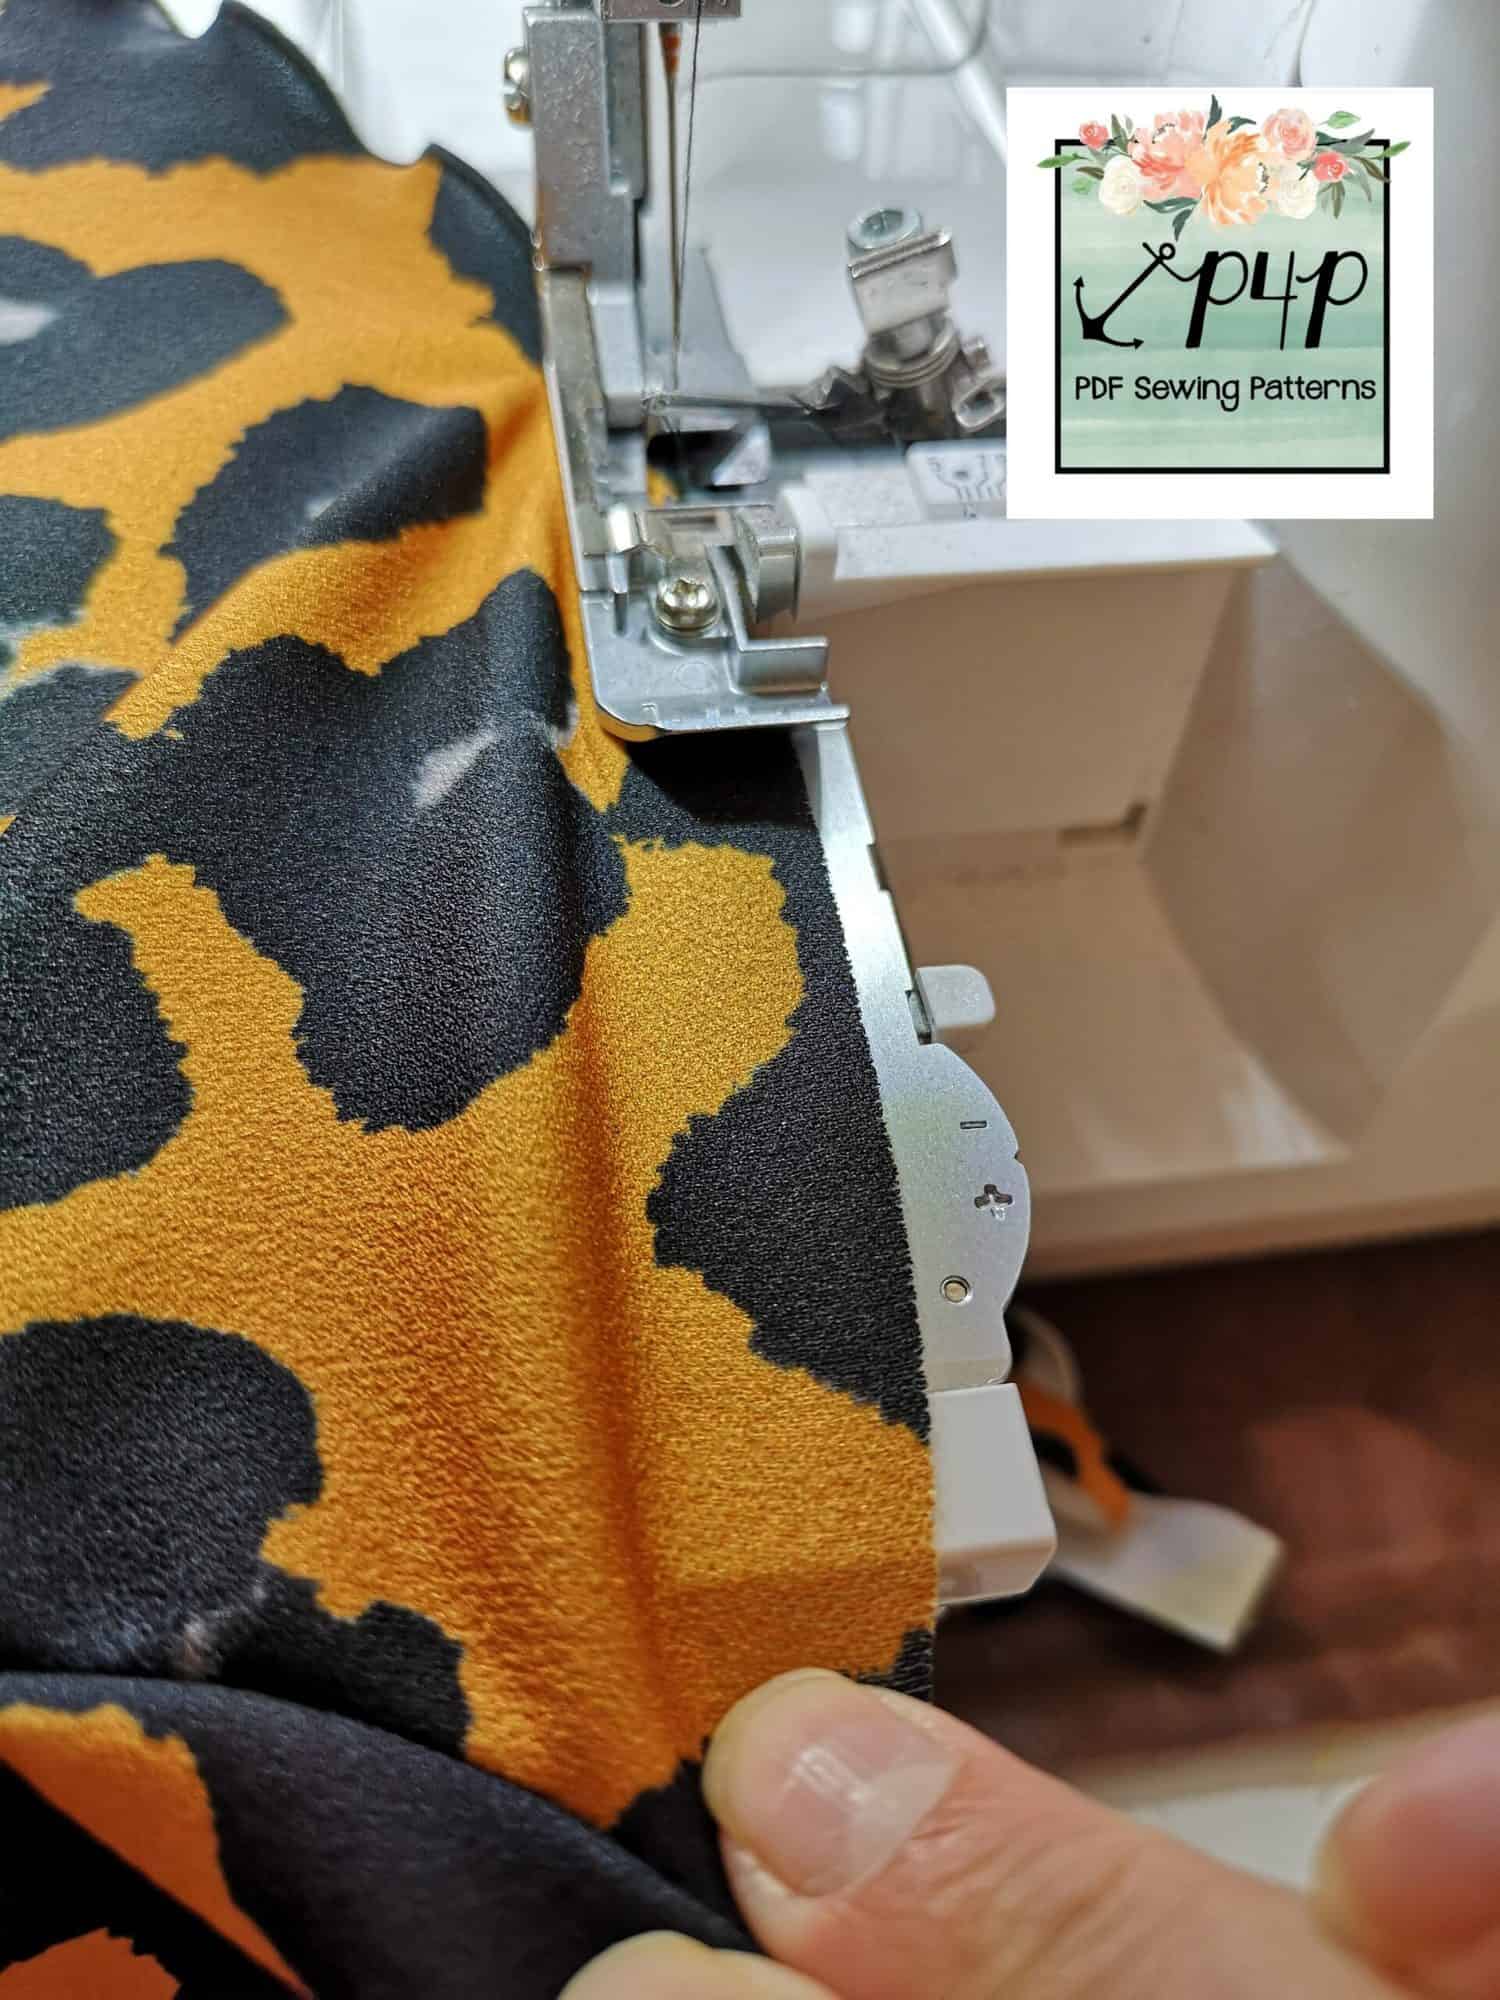
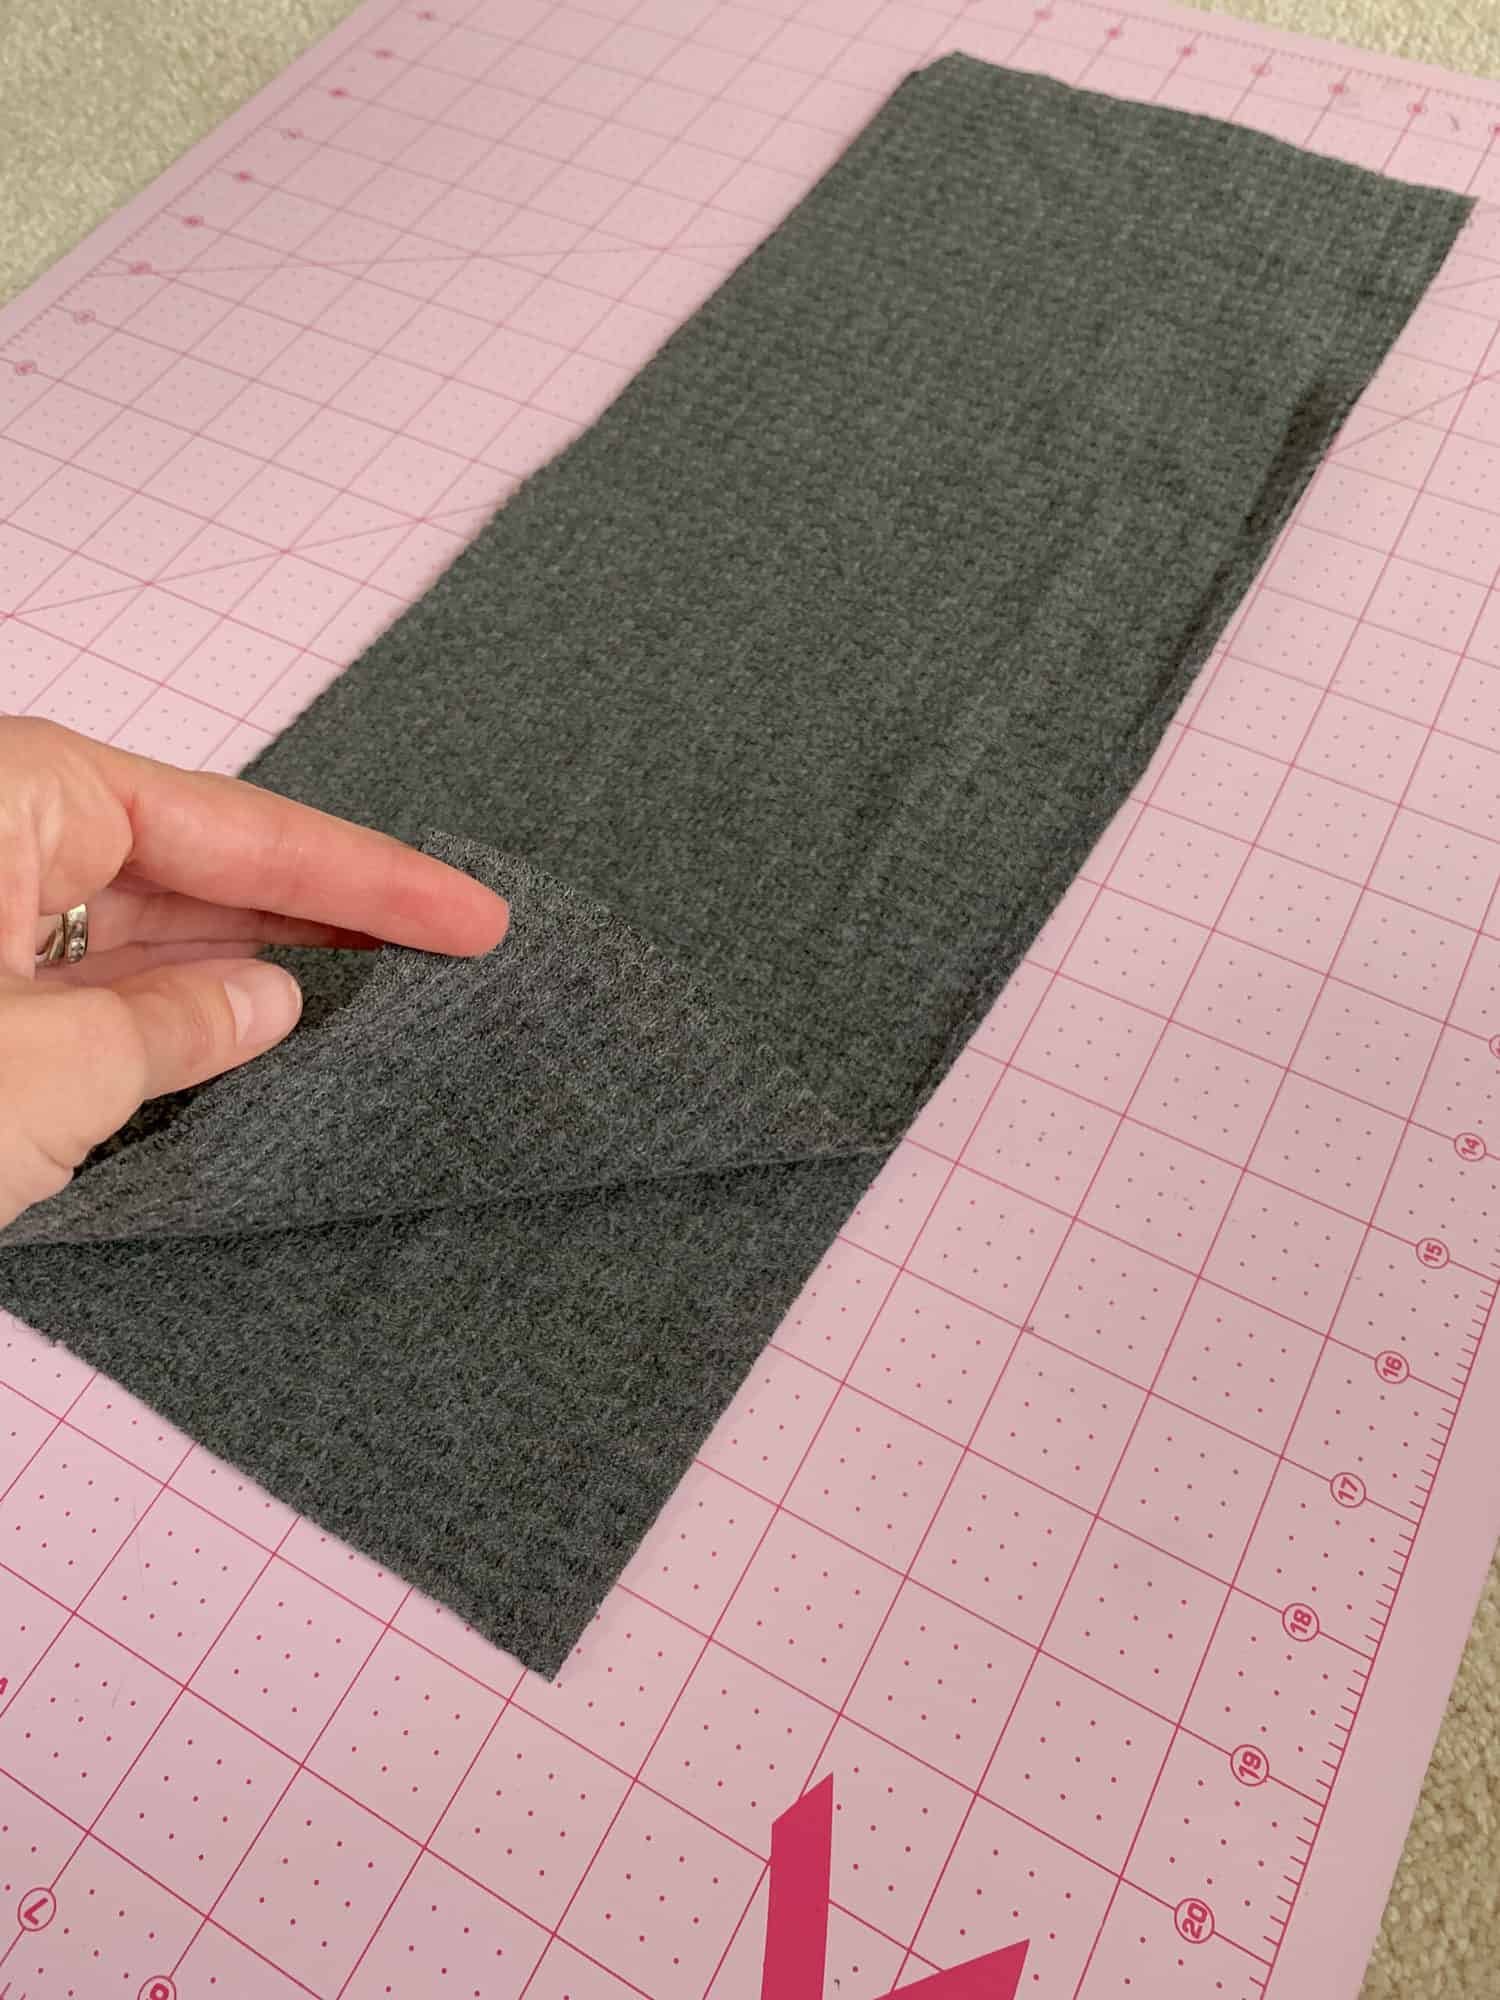
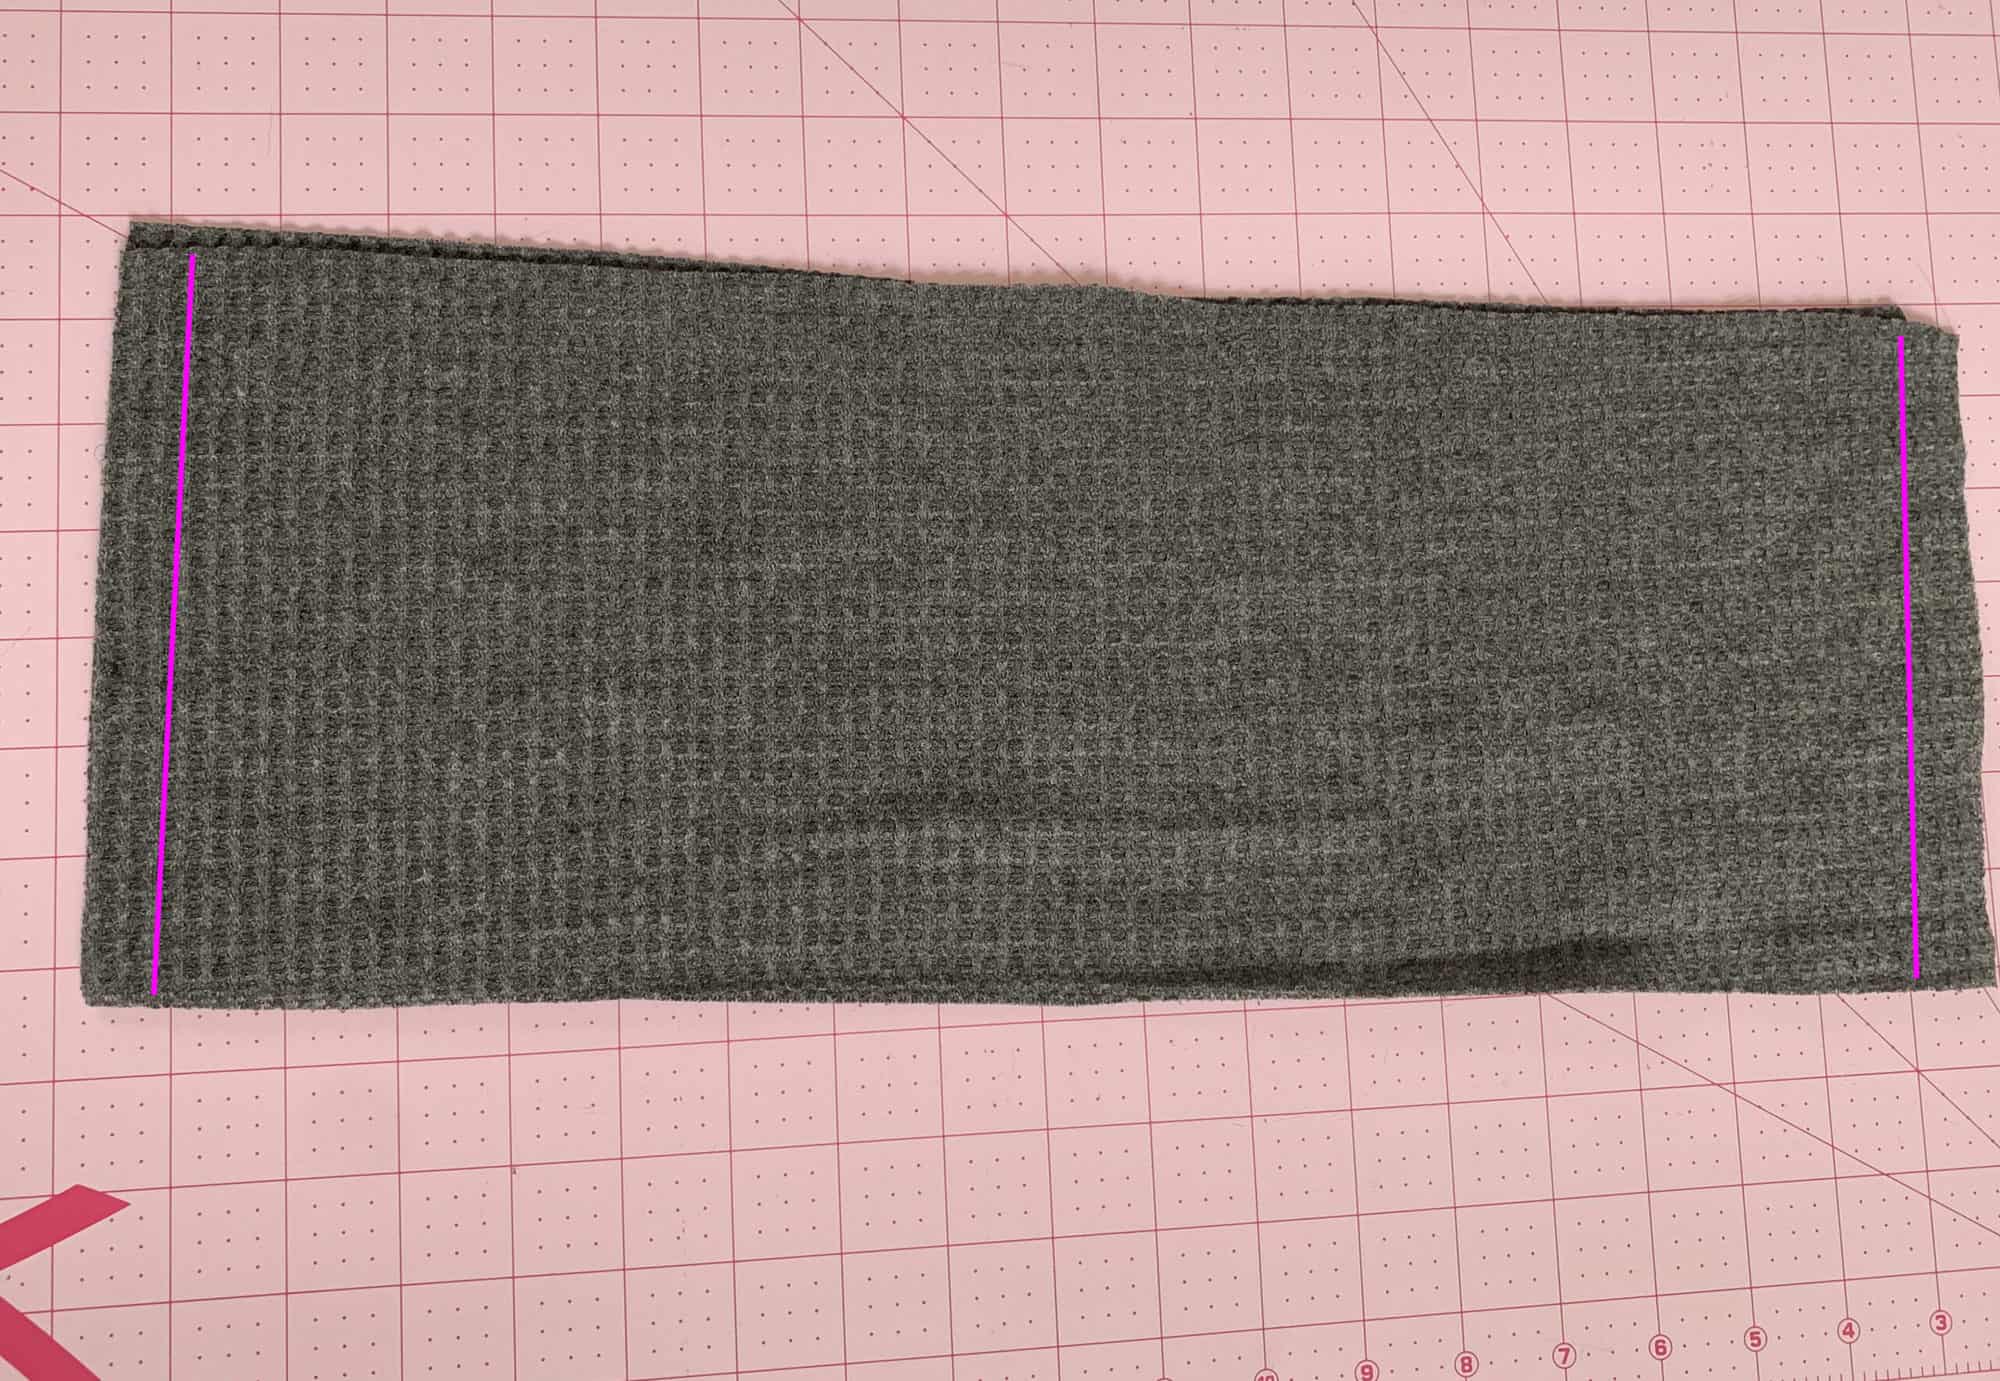
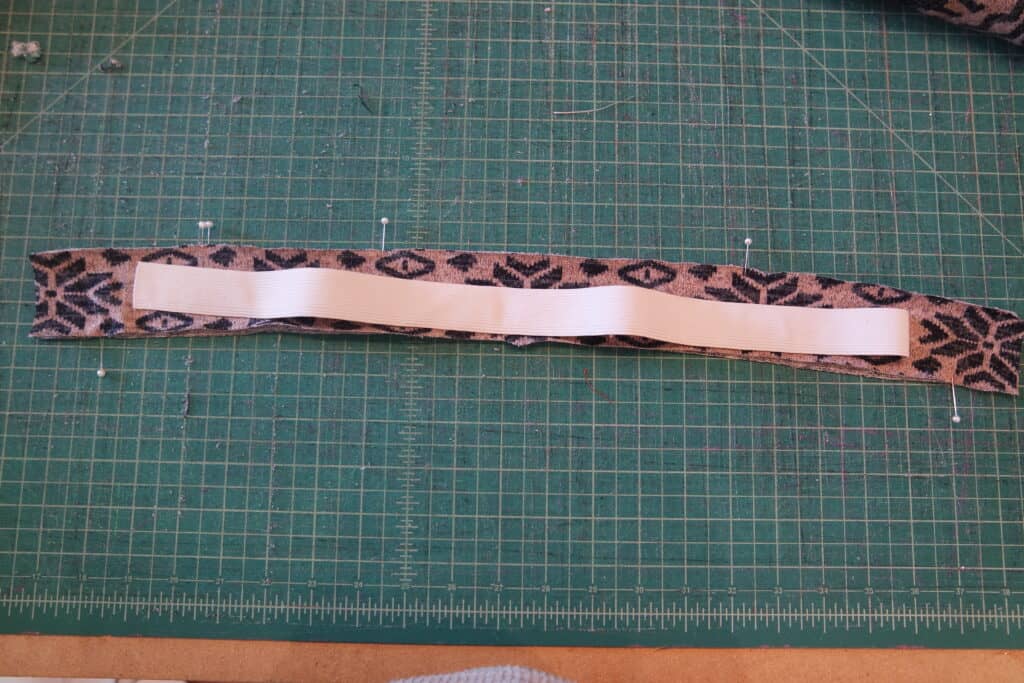
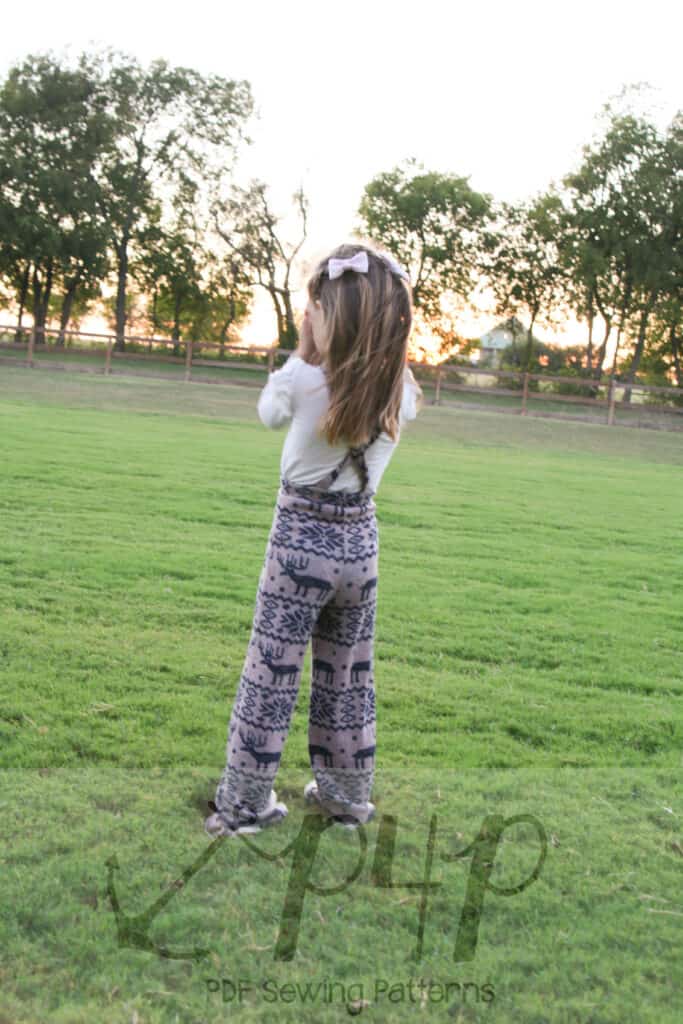
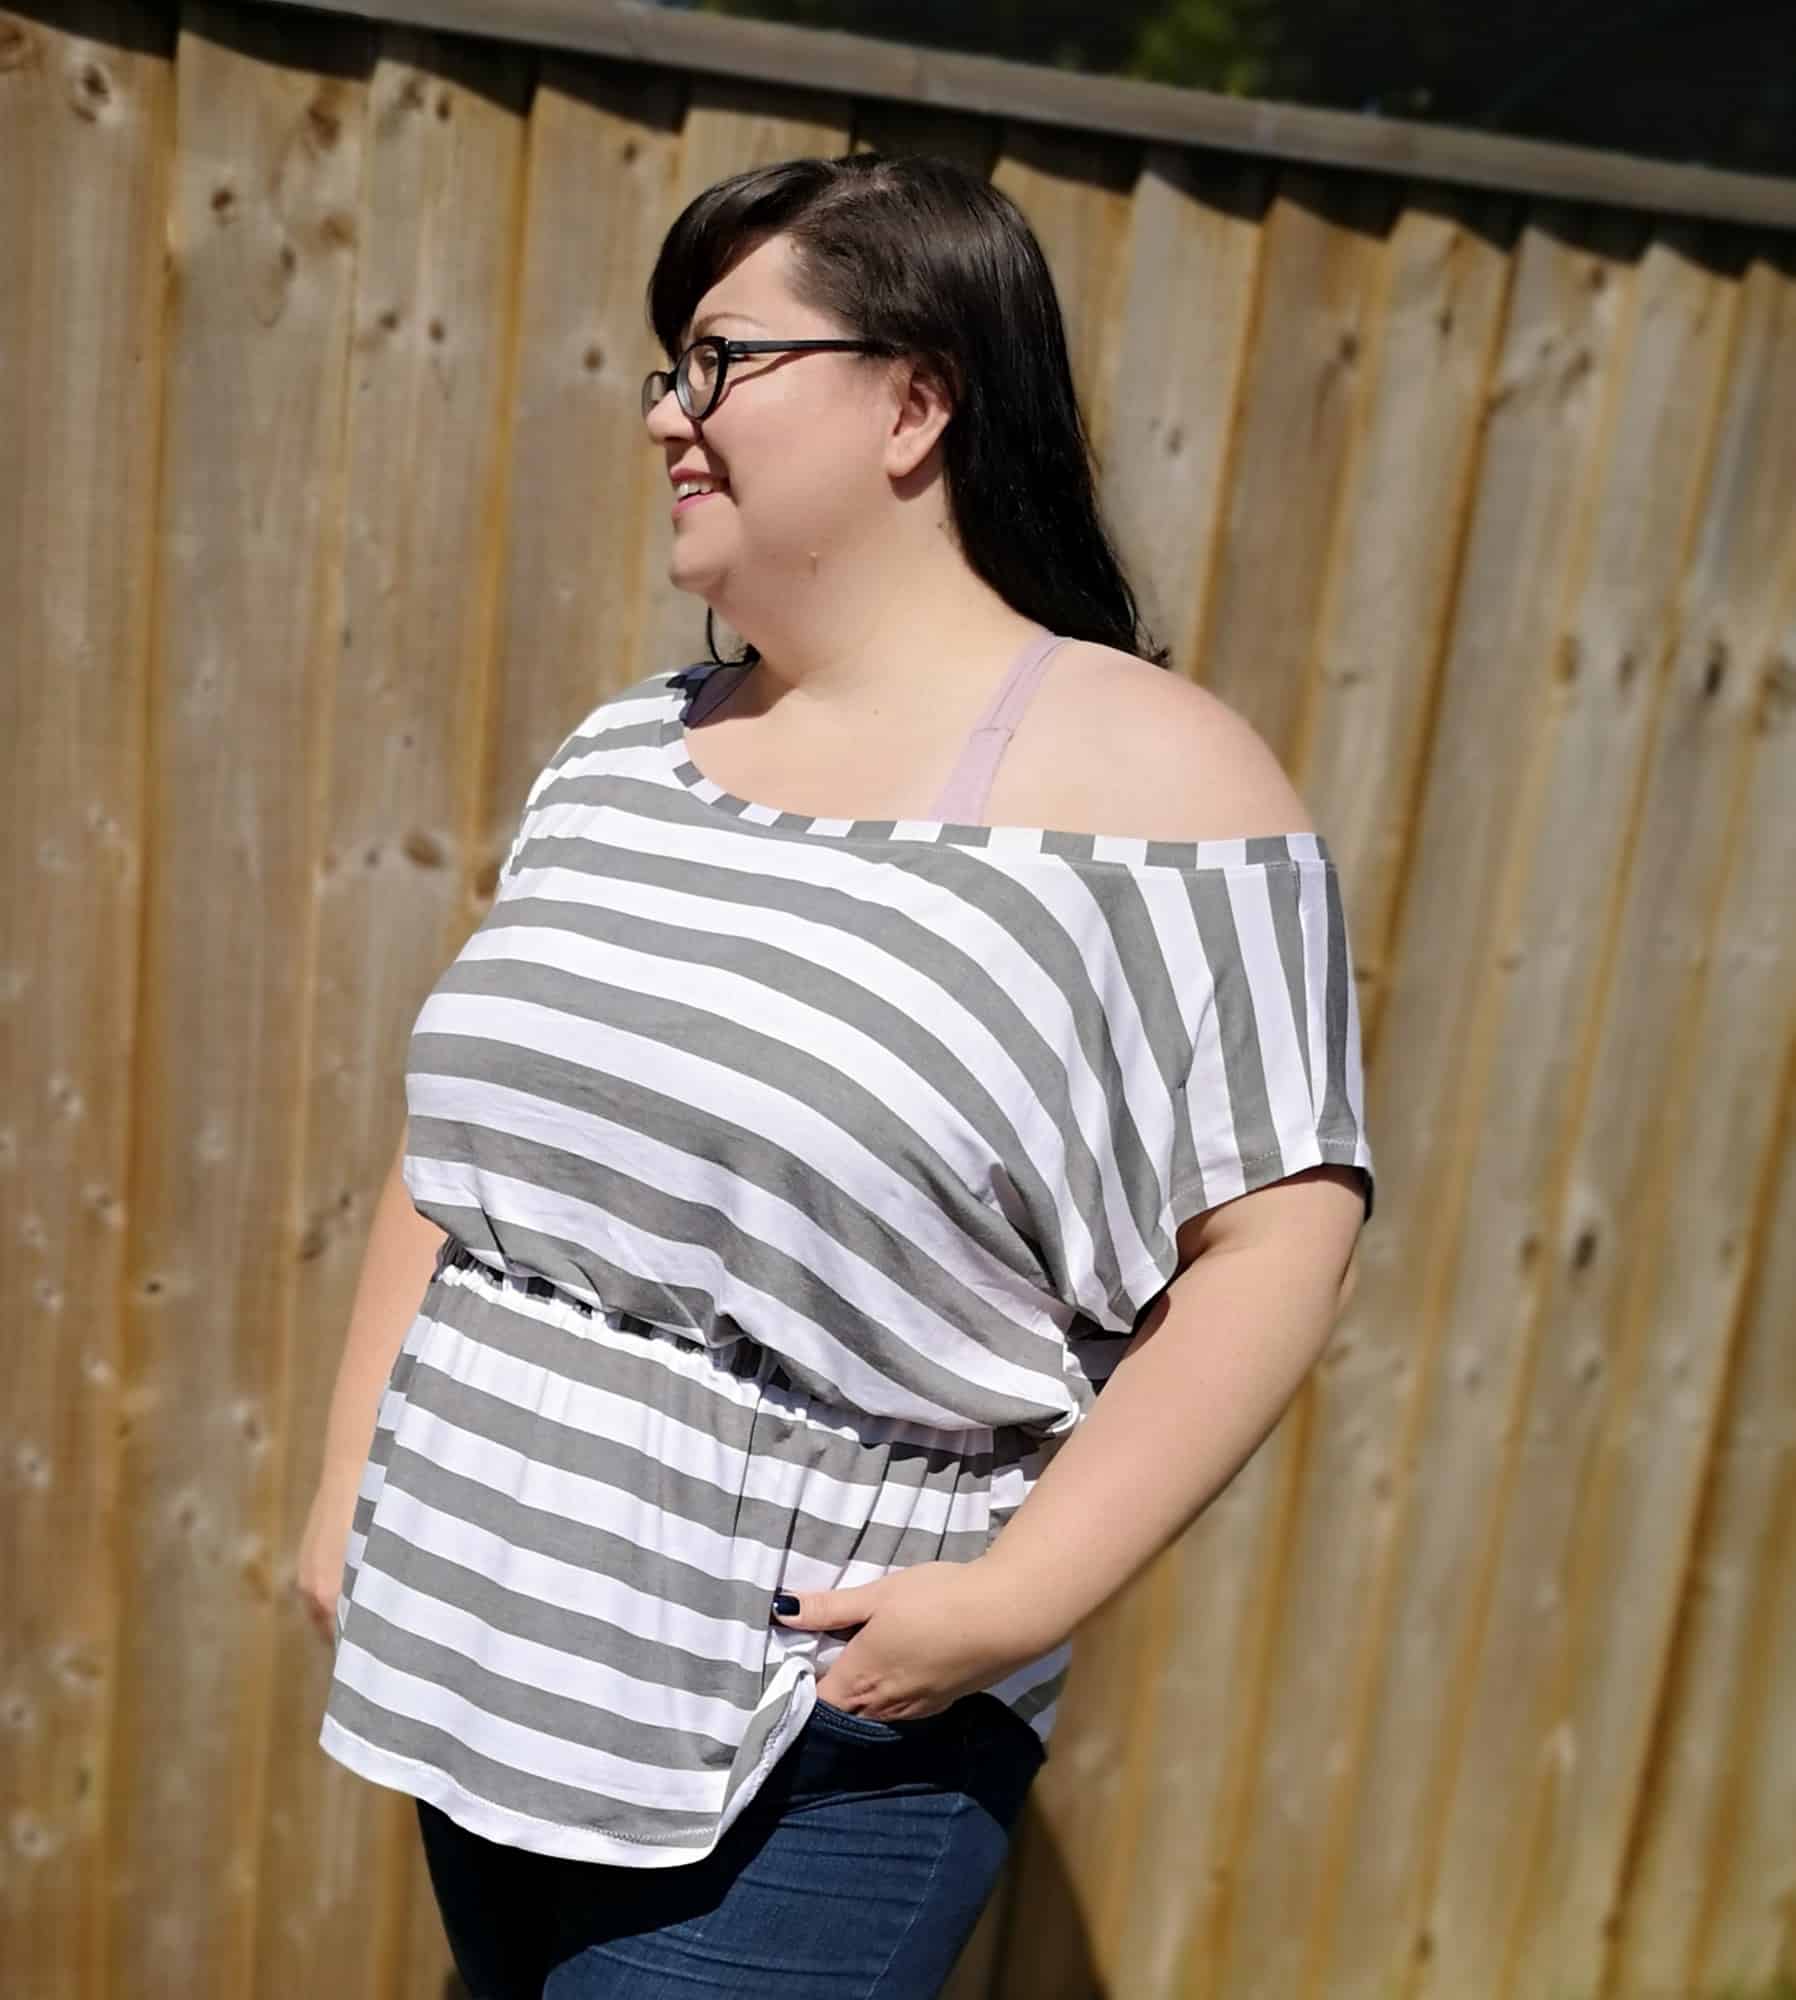
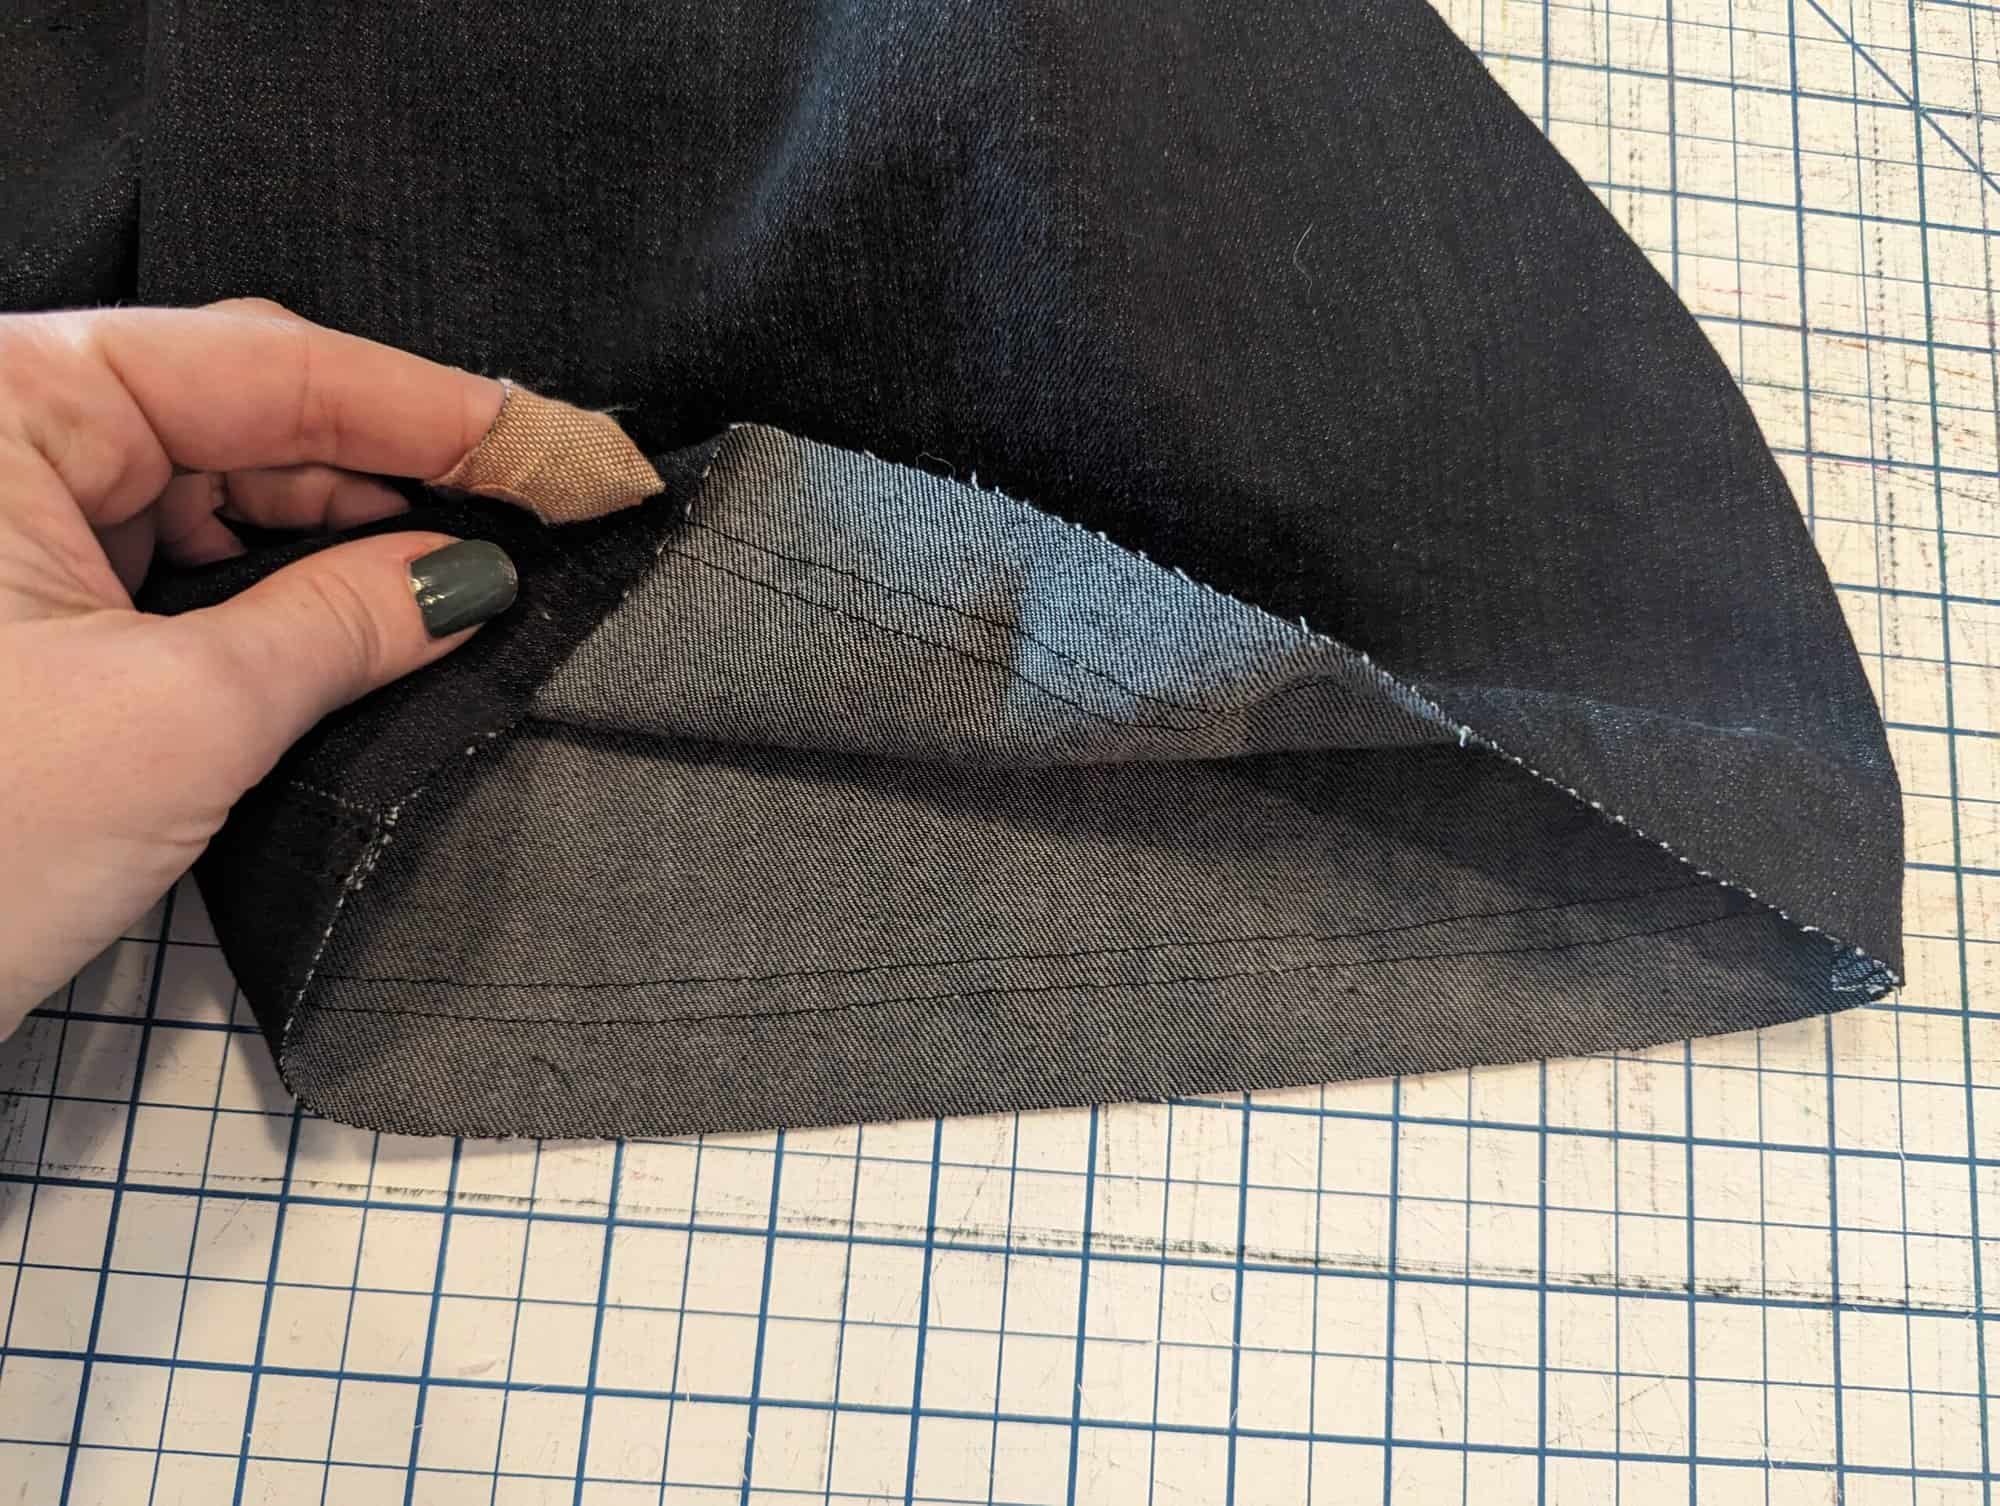
How about a raw hem Janet Jeans? Such a fun look and so easy to accomplish. If you want to keep the length of the inseam as per the pattern then you would have to shorten the bottom hem by 1 inch. I personally don’t mind a longer length so I keep the extra inch. Your call! Run two stay stitches 1 inch away from the raw hem. These stay stitches will prevent the fraying from extending past the stitches over time.
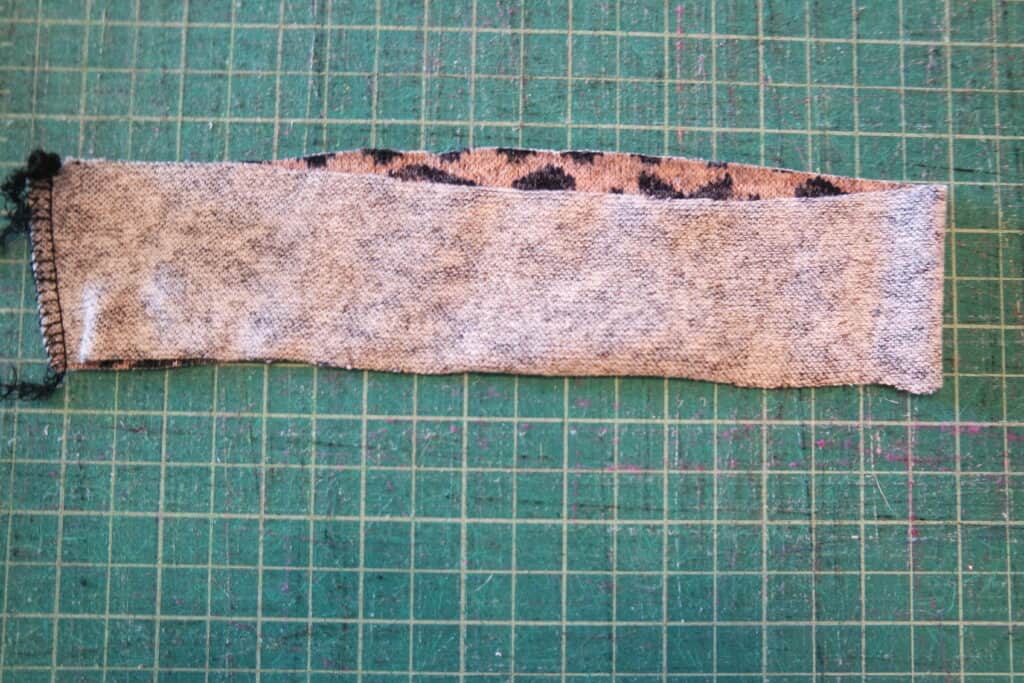
You’ll now need to make big decision 😉 …. how much do you want to fray your hem? I’d recommend starting with a little fraying… time and wear will definitely add to it. However, if you want to start off with a distressed look, go for it! Your jeans, your choice!
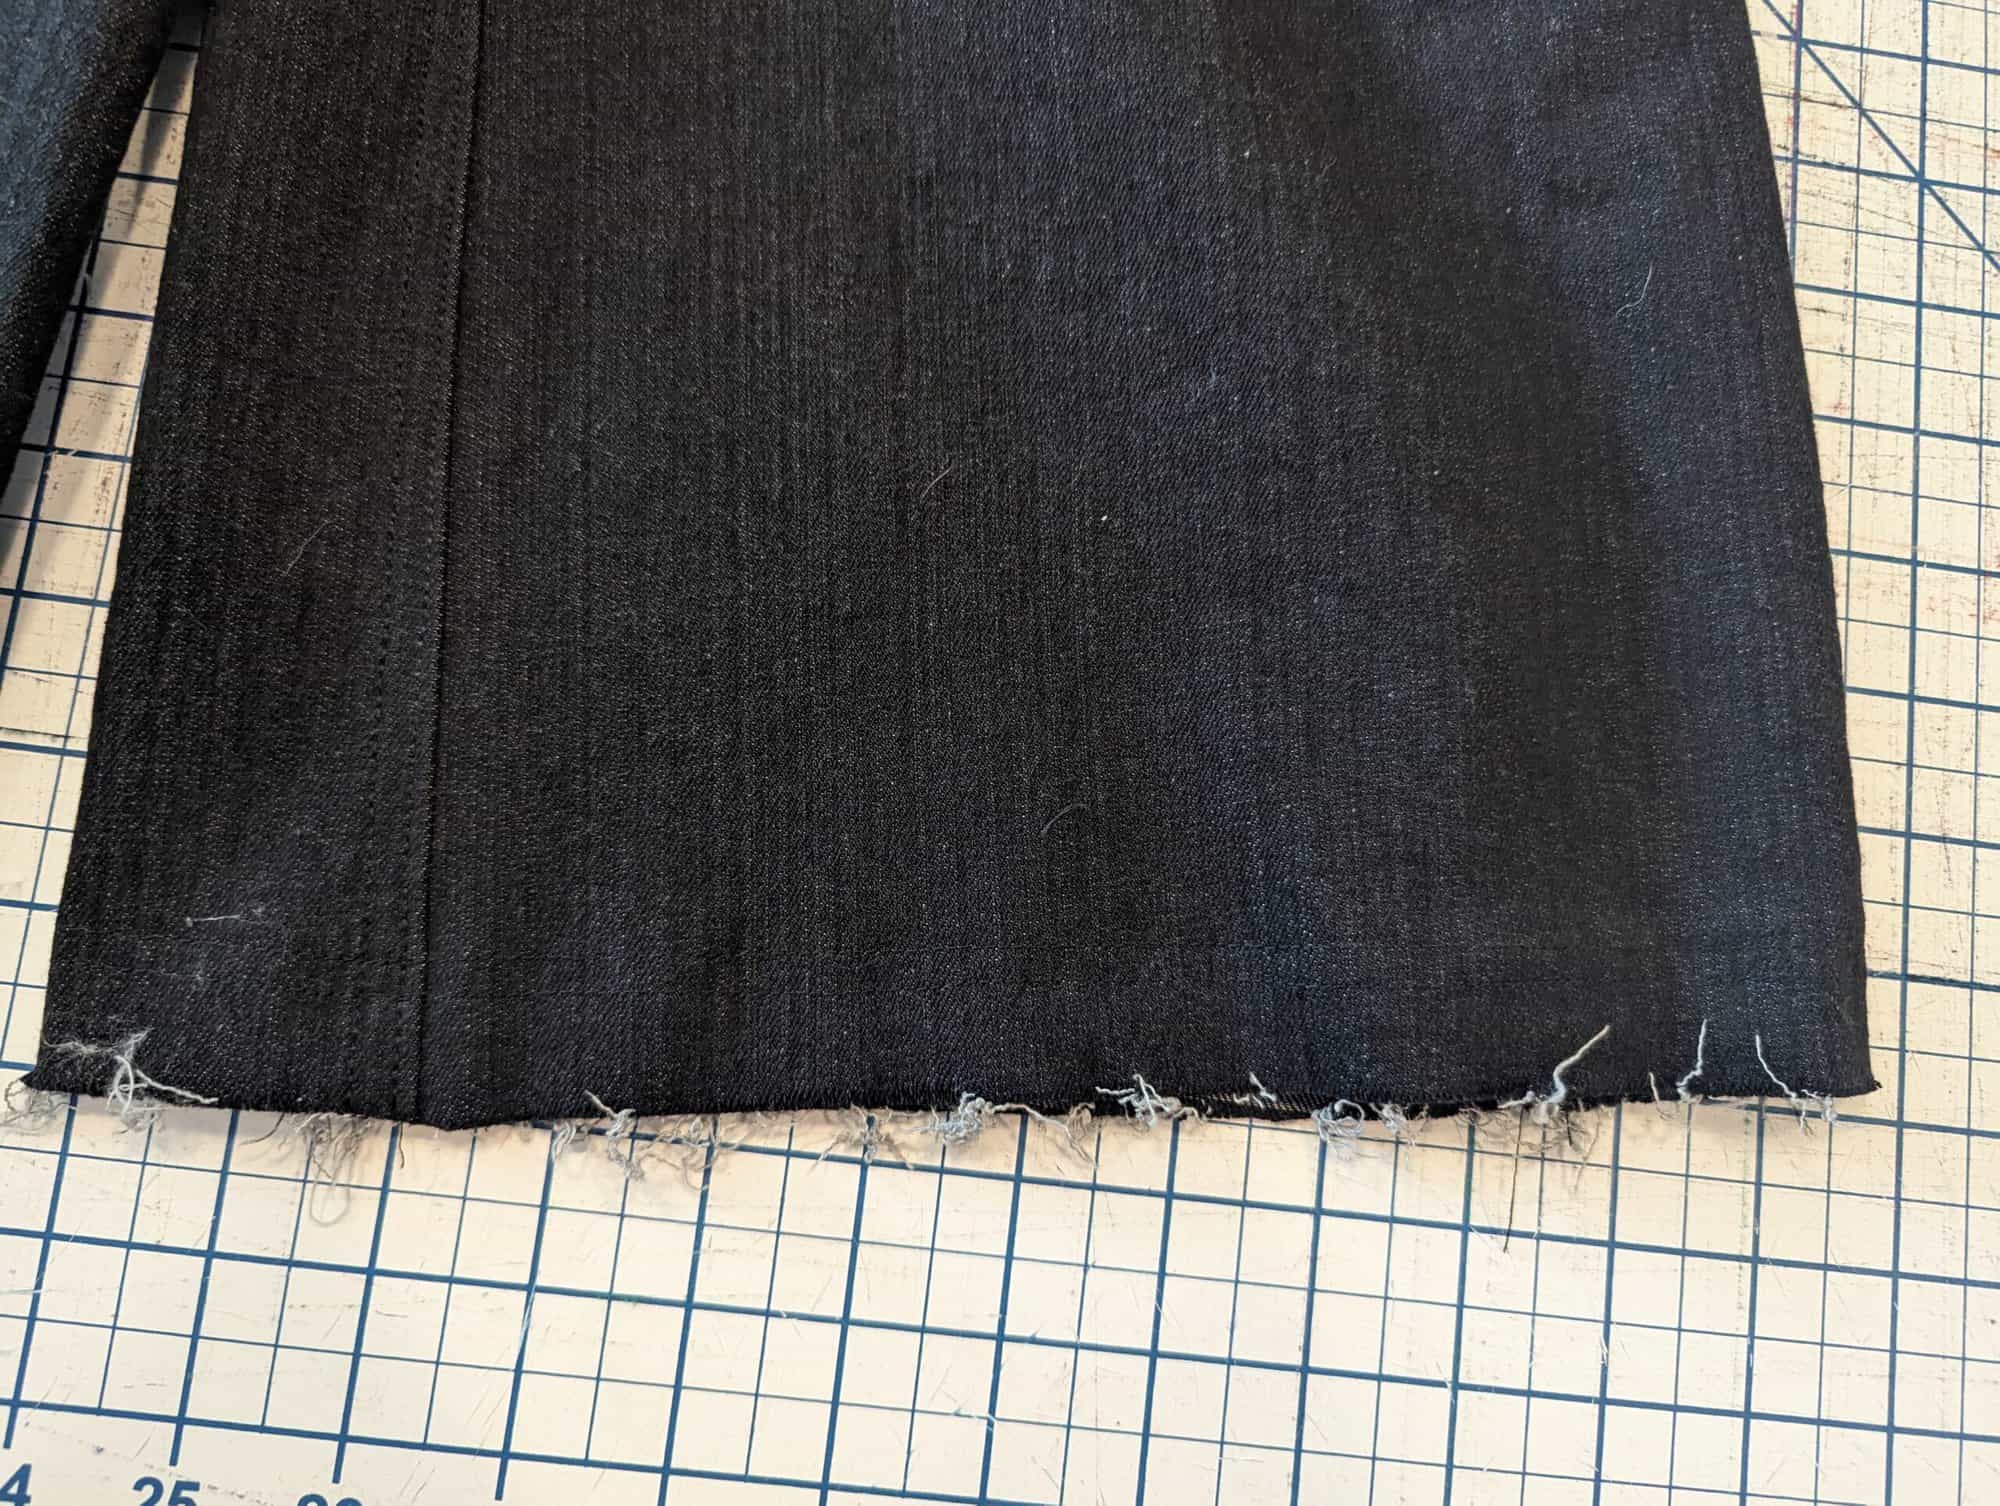
Ta-dah! Easy peasy! Enjoy your new pair of raw hem jeans!
Happy sewing,
Alex
We cannot wait to see what you create with the Janet Jeans pattern!
Here are some links to the patterns (in case you needed them):
We are so excited to see what you sew up for yourself using the Janet Jeans patterns! It is available on sale (no code needed) through 11:59pm CST, February 18, 2024.
Find your copy of the Janet Jeans here: Janet Jeans | Janet Jeans – Youth | Janet Jeans Bundle
As always, we’ve got more photos for you to use as inspiration! Head over to the Facebook group to browse our albums full of gorgeous photos, compliments of our tester team!
*Affiliate links.
Janet Jeans Adult Album | Janet Jeans Youth Album