P4P University – Elastic 101
Hi, I’m Dana one of the P4P team and I’m here today to talk all about elastic with you! We’ll be covering lots of different types of elastic that you may want to use in your sewing and showing your some examples of what they look like sewn up into finished garments, the times you may want to use them and the stitches I like to use to get the best finish.
To go alongside this blog post, I have filmed a video which you can find on the P4P You Tube channel here:
P4P University Elastics 101 Video
So, first things first, before you sew with any elastic there is one thing you will always want to do with it before you begin – exercise it! Give it a good tug several times to make sure if it is going to stretch out it does it now and not after you have finished your garment. There is nothing worse than something which fits great at first and then soon starts to get baggy.
Let’s introduce and cover off some types of elastic you are likely to encounter when home sewing:
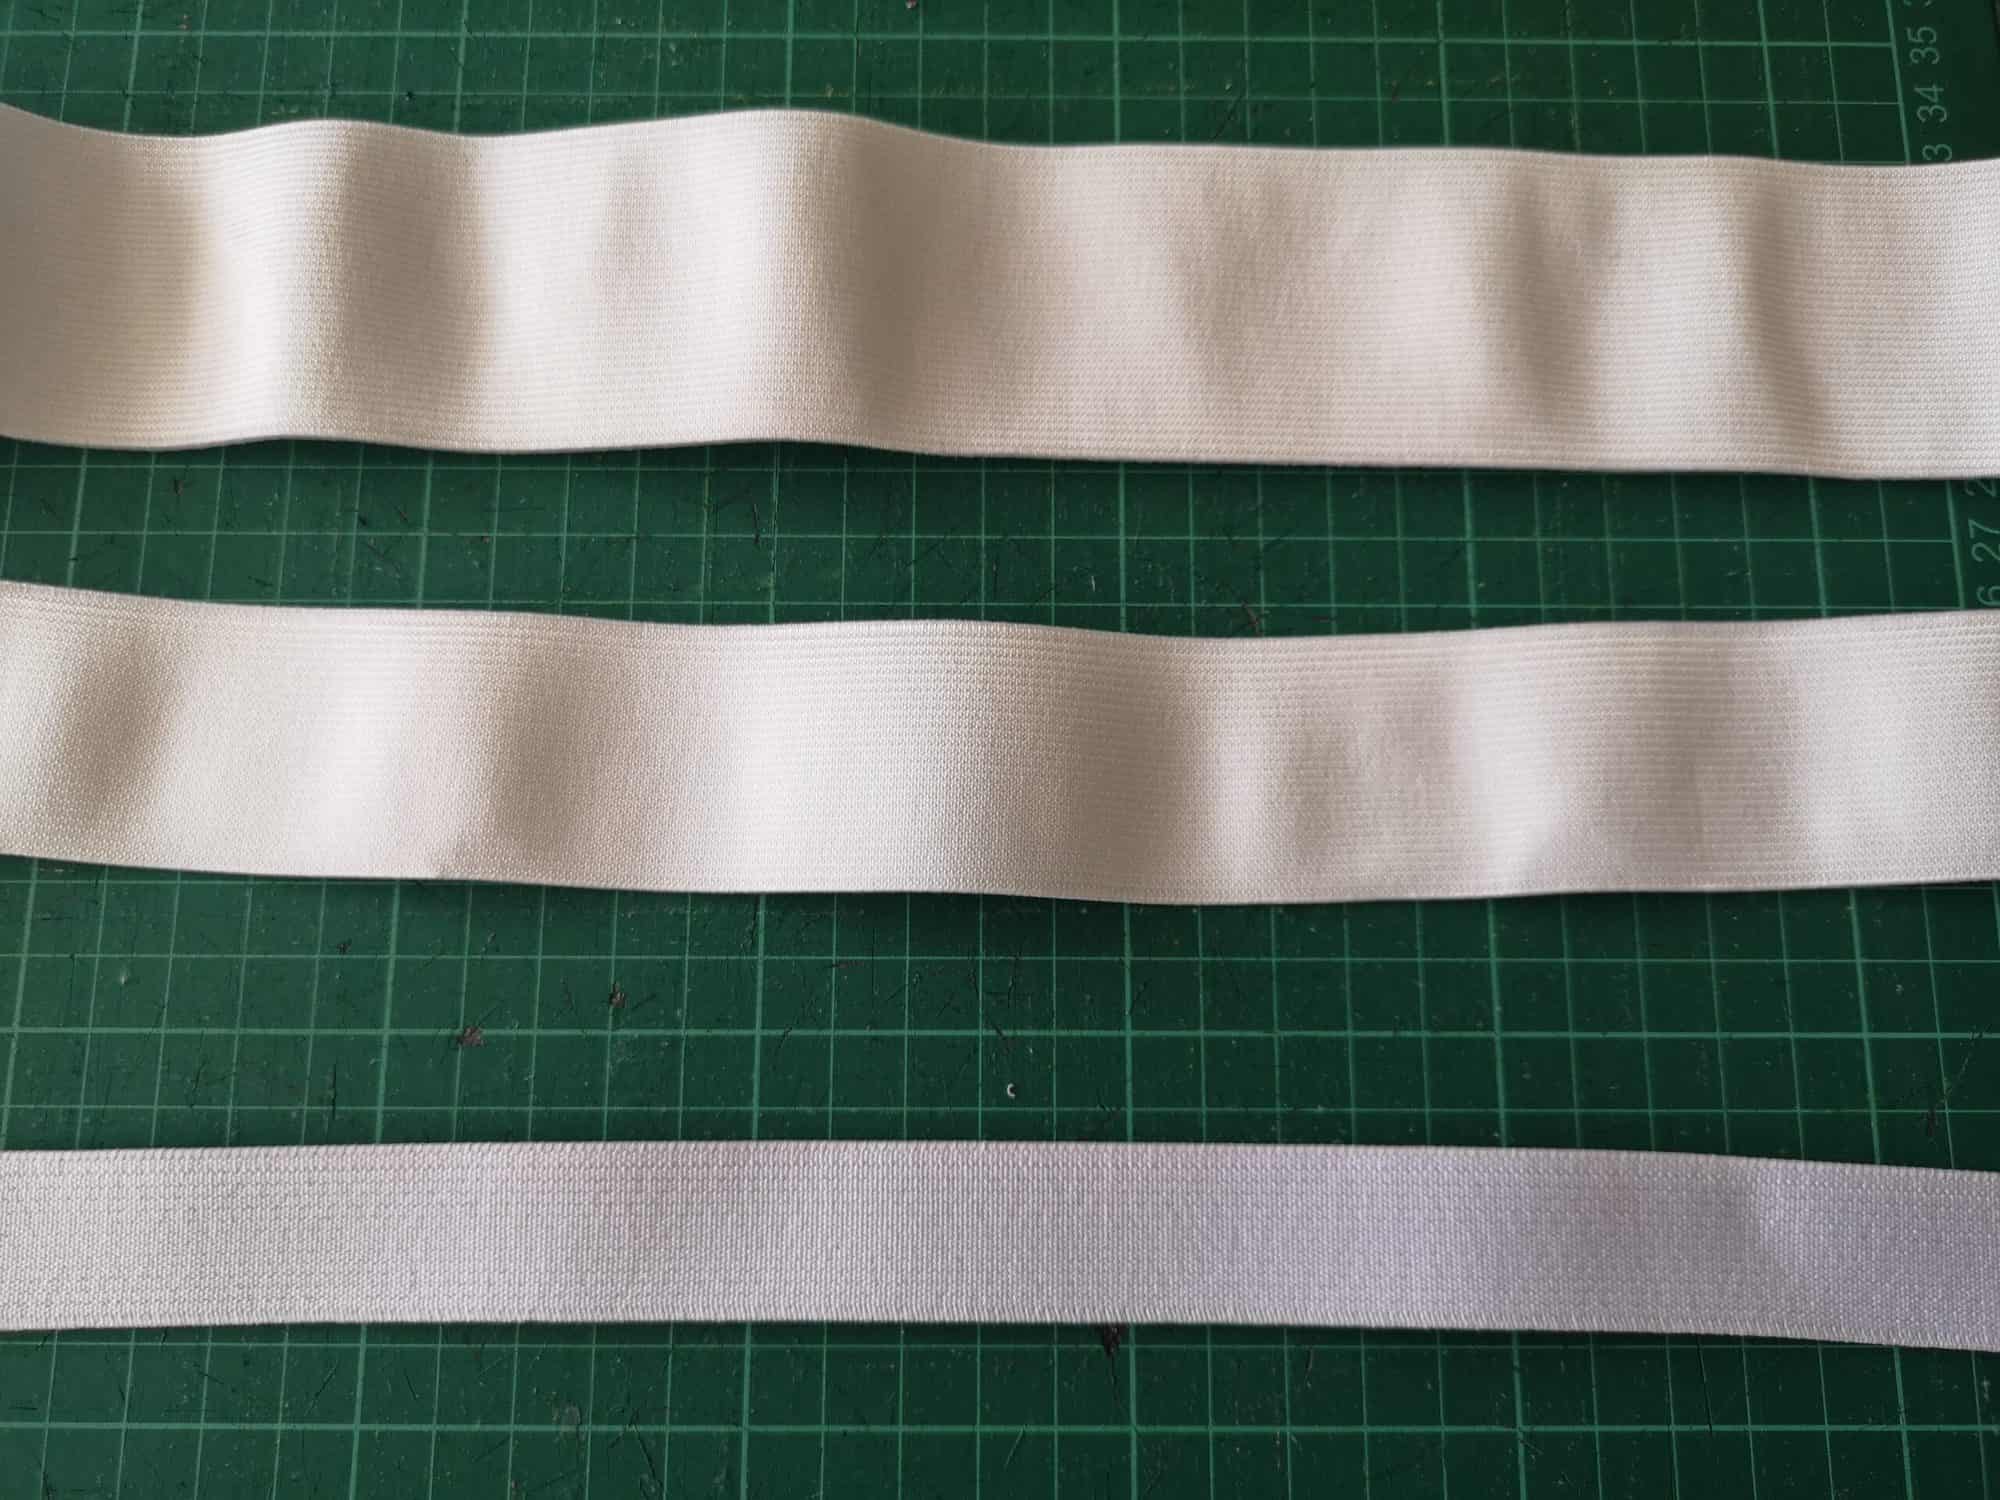
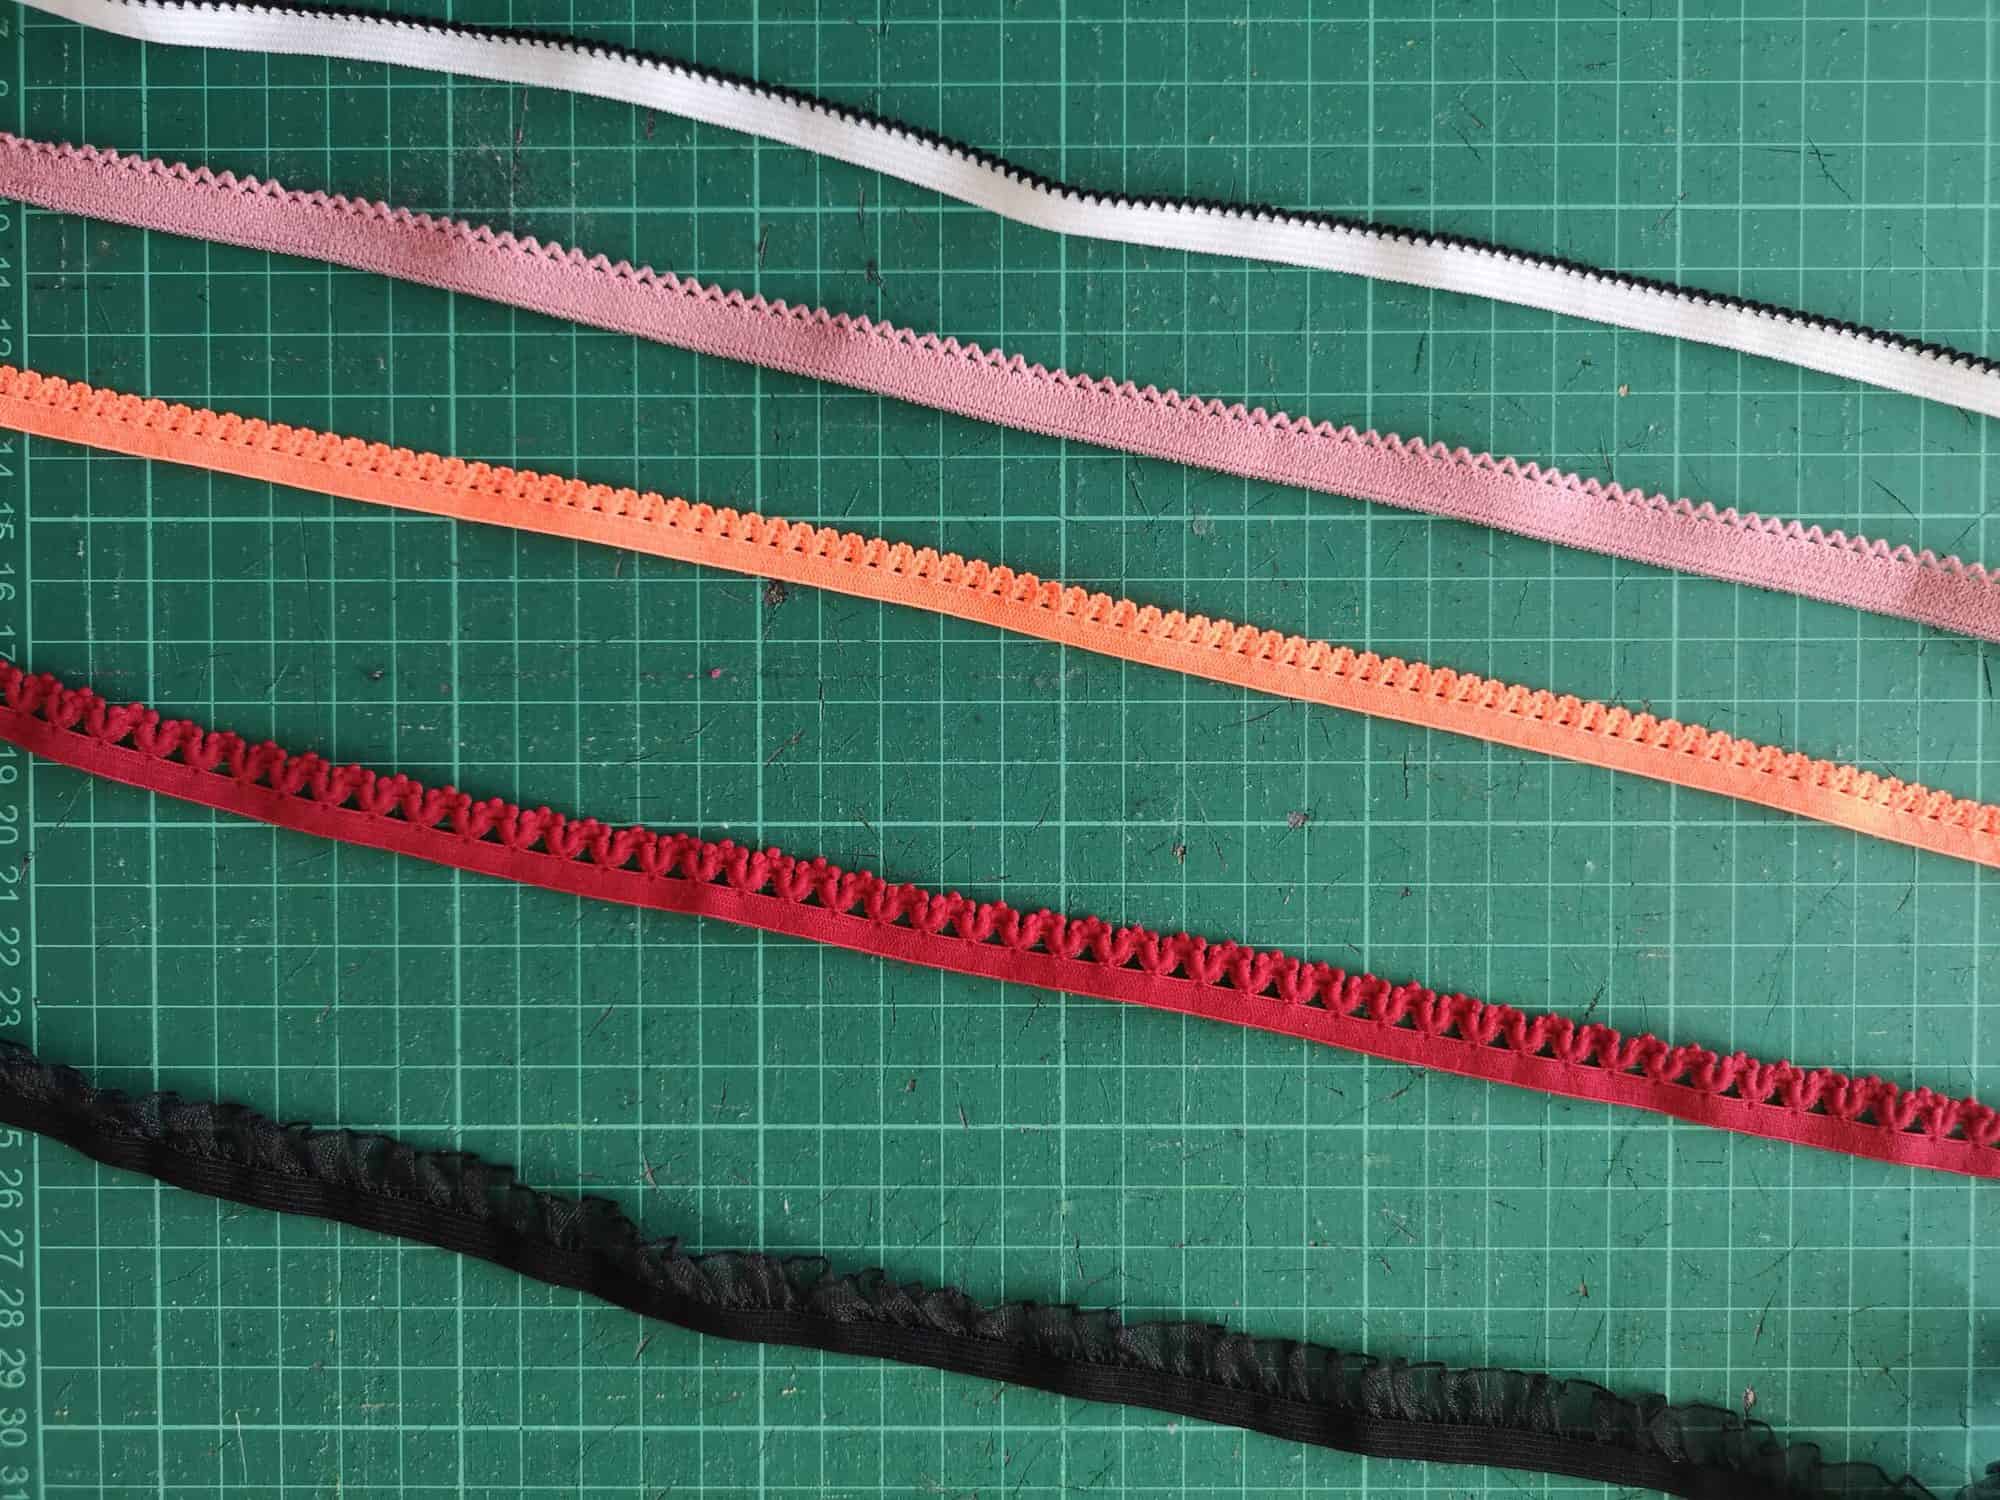
Regular Knit Elastic
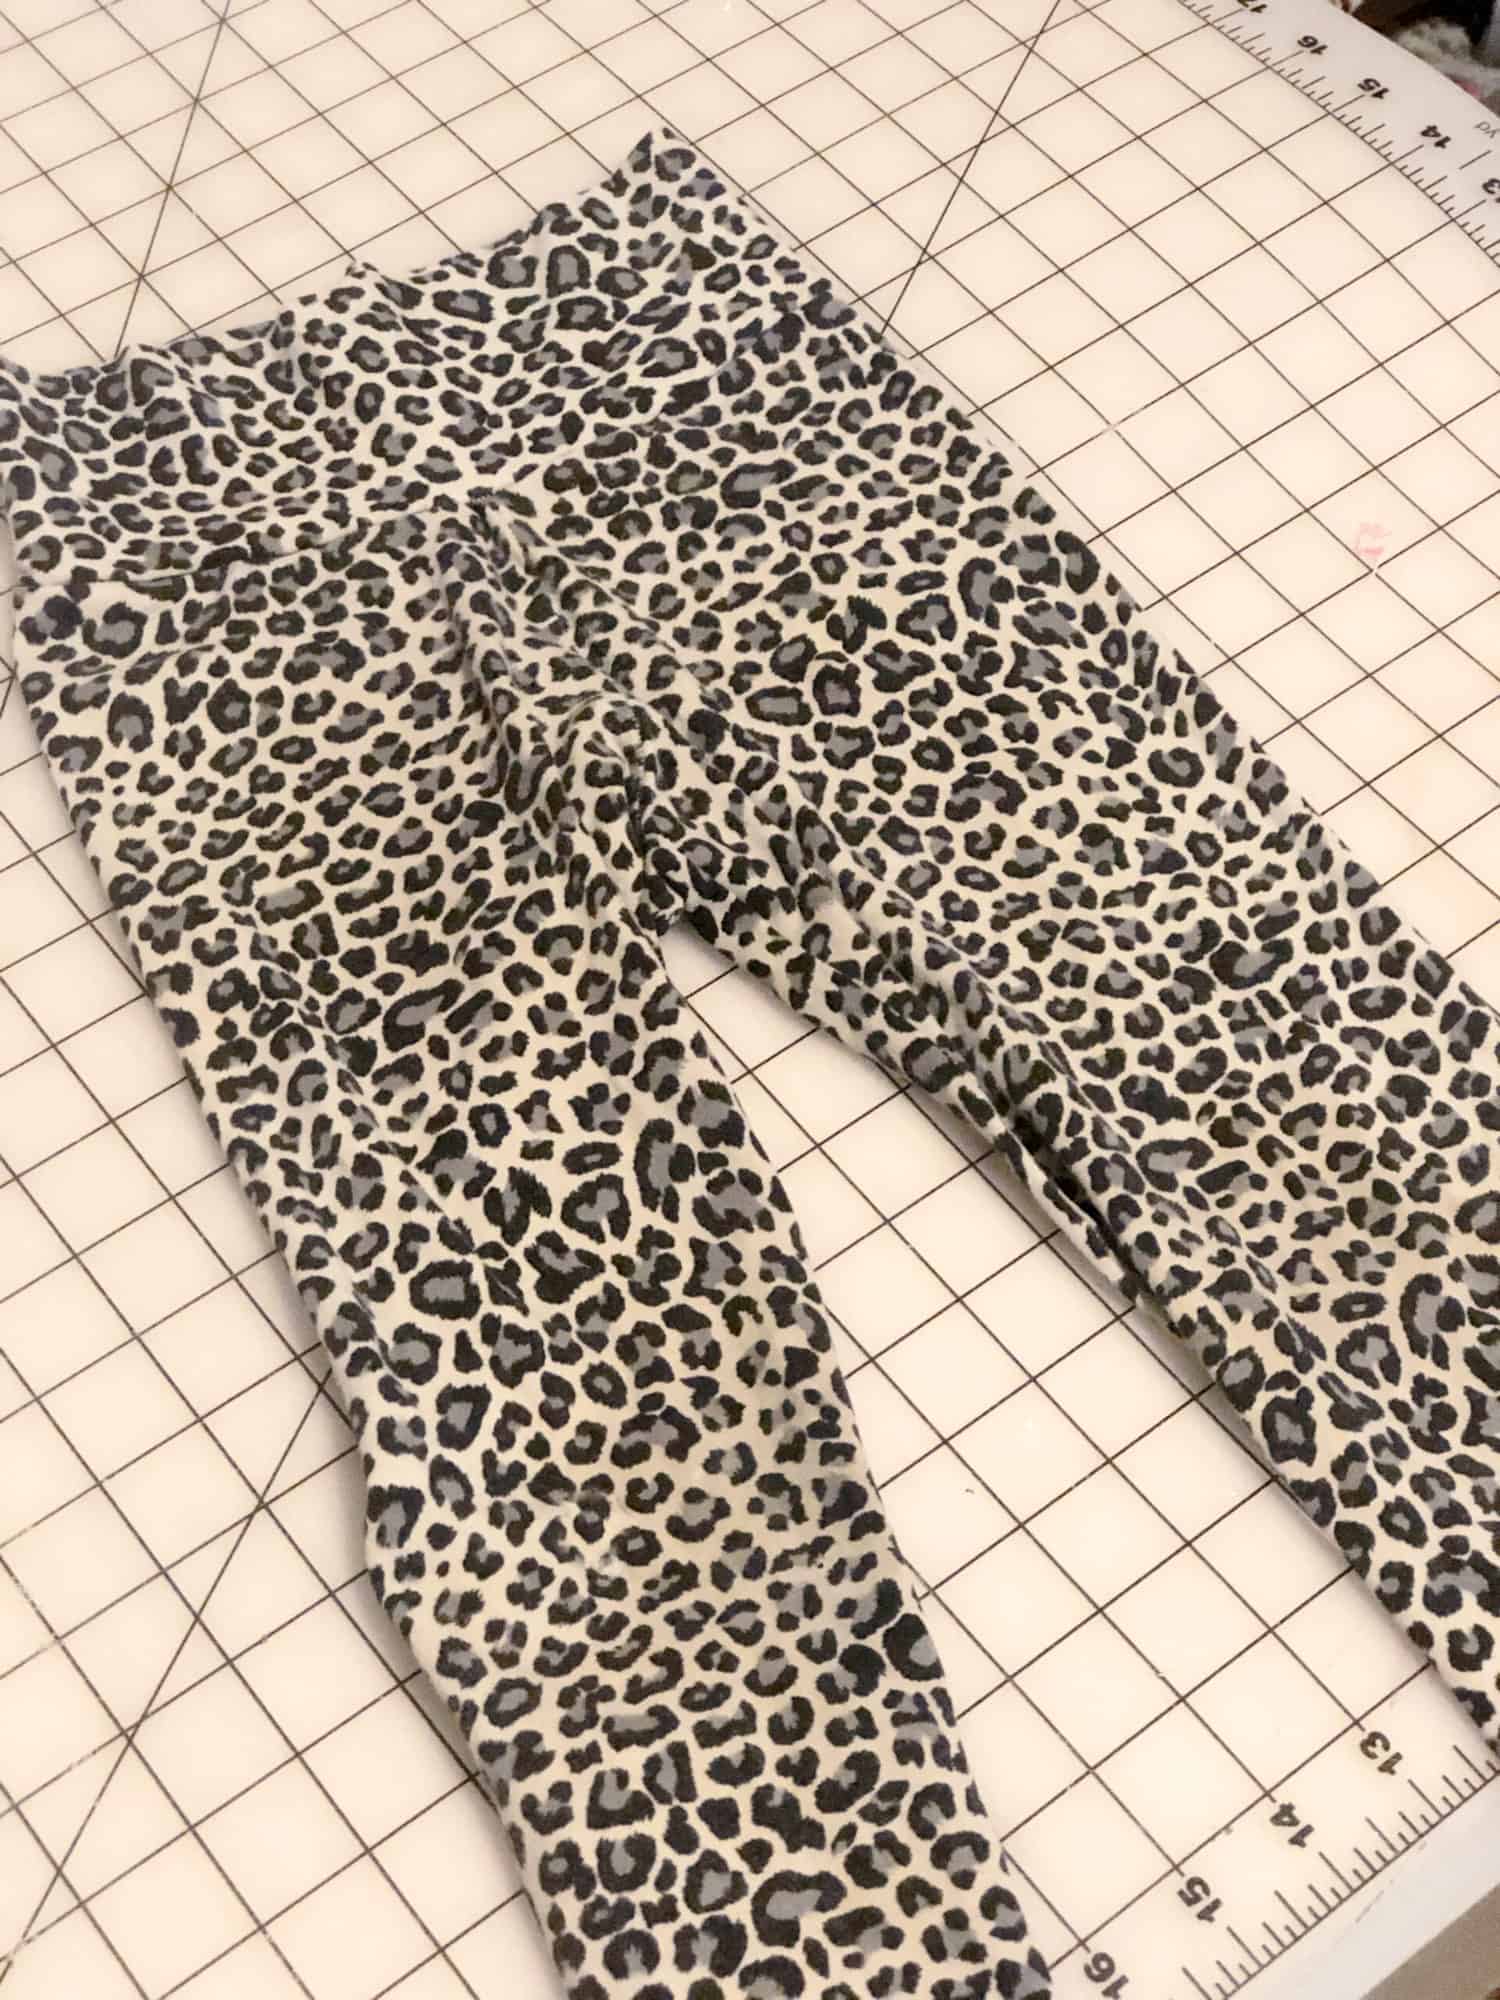
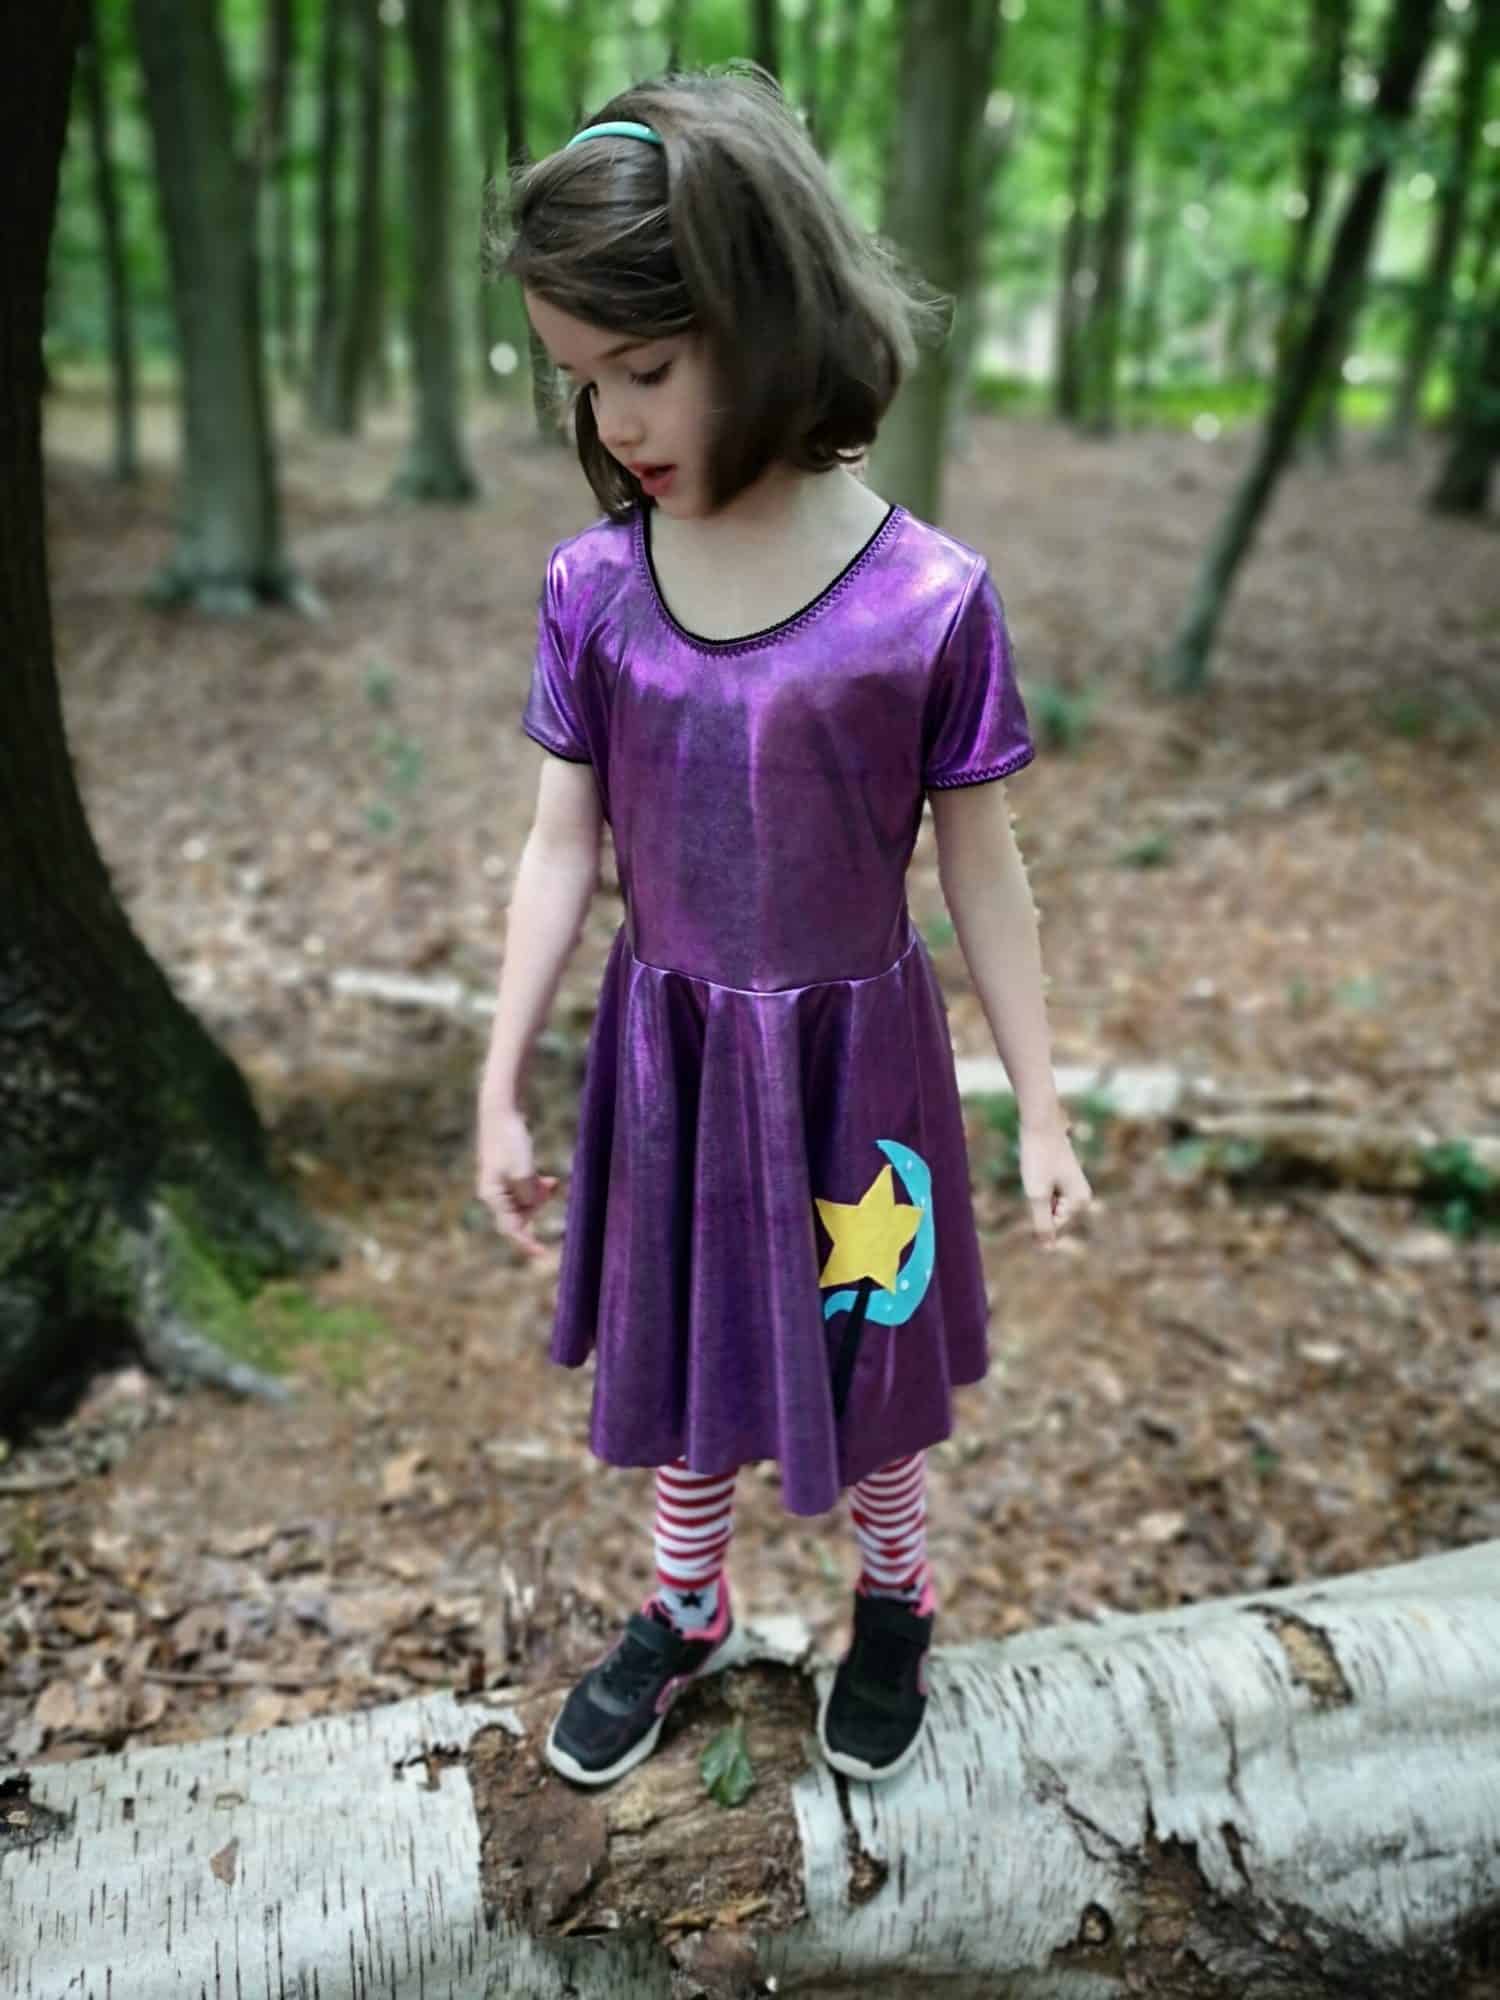
This comes in many different widths, depending on your need. Pictured are 1″, 1.5″ and 2″ elastics. Usually white or black in colour, I generally choose white because you can’t see it under lighter coloured fabrics. This plain version is usually used for something like an enclosed elastic waistband, where the elastic is fed through a casing to form the waistband. These SOS Pants have an enclosed elastic waistband. It makes for a soft and comfortable to wear garment.
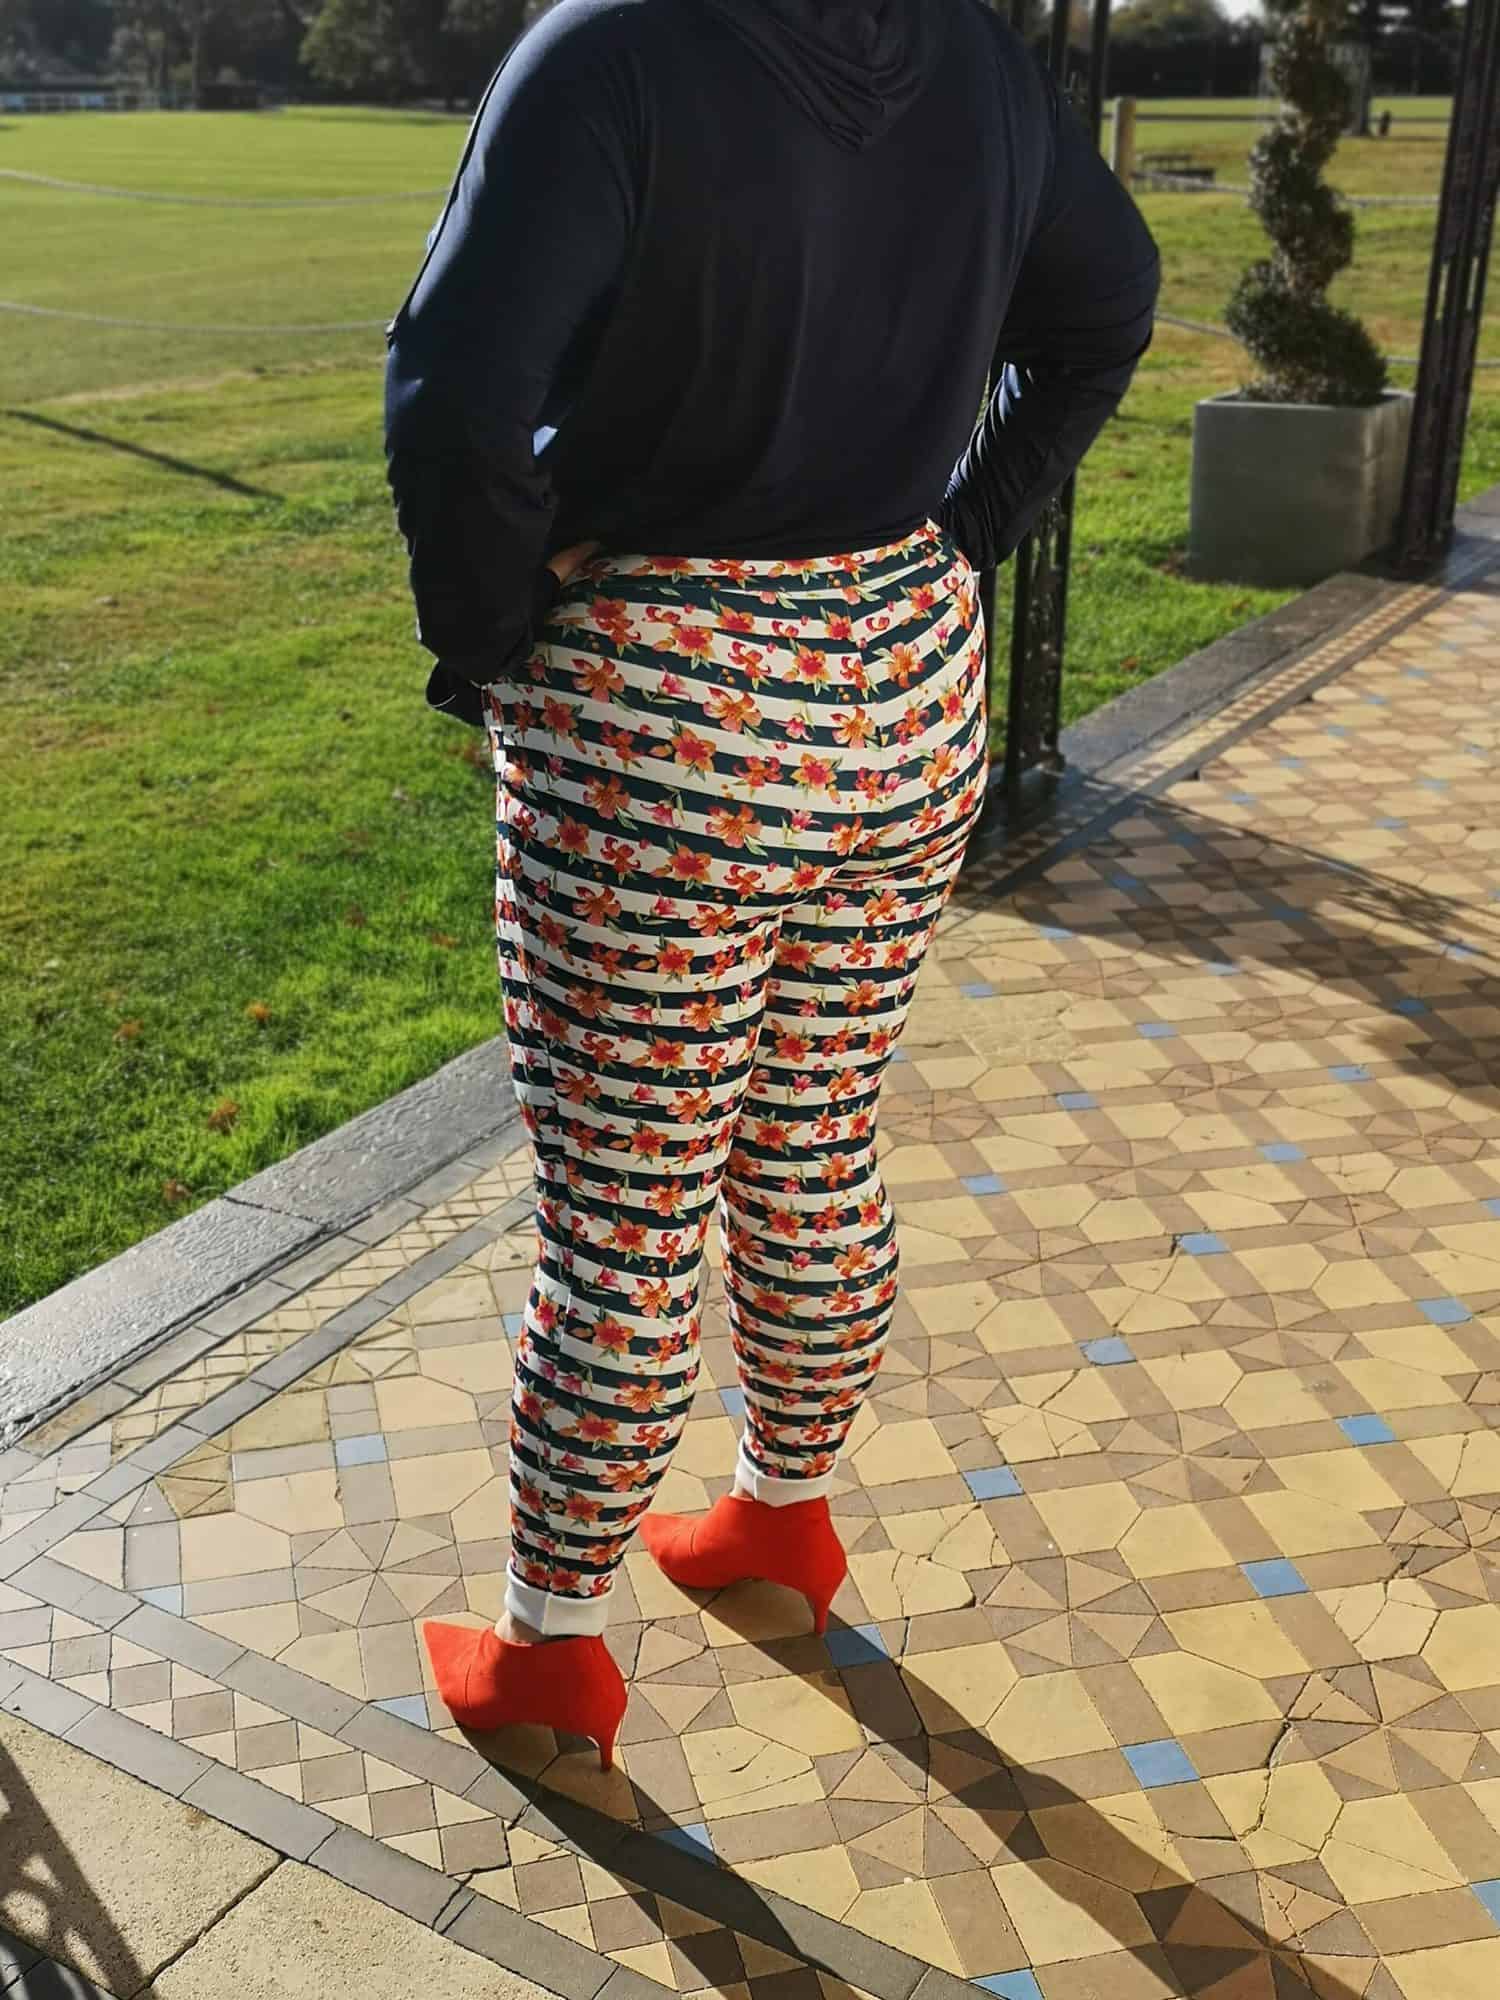
SOS Pants with enclosed elastic waistband
However, you can also find patterned elastics, like this:
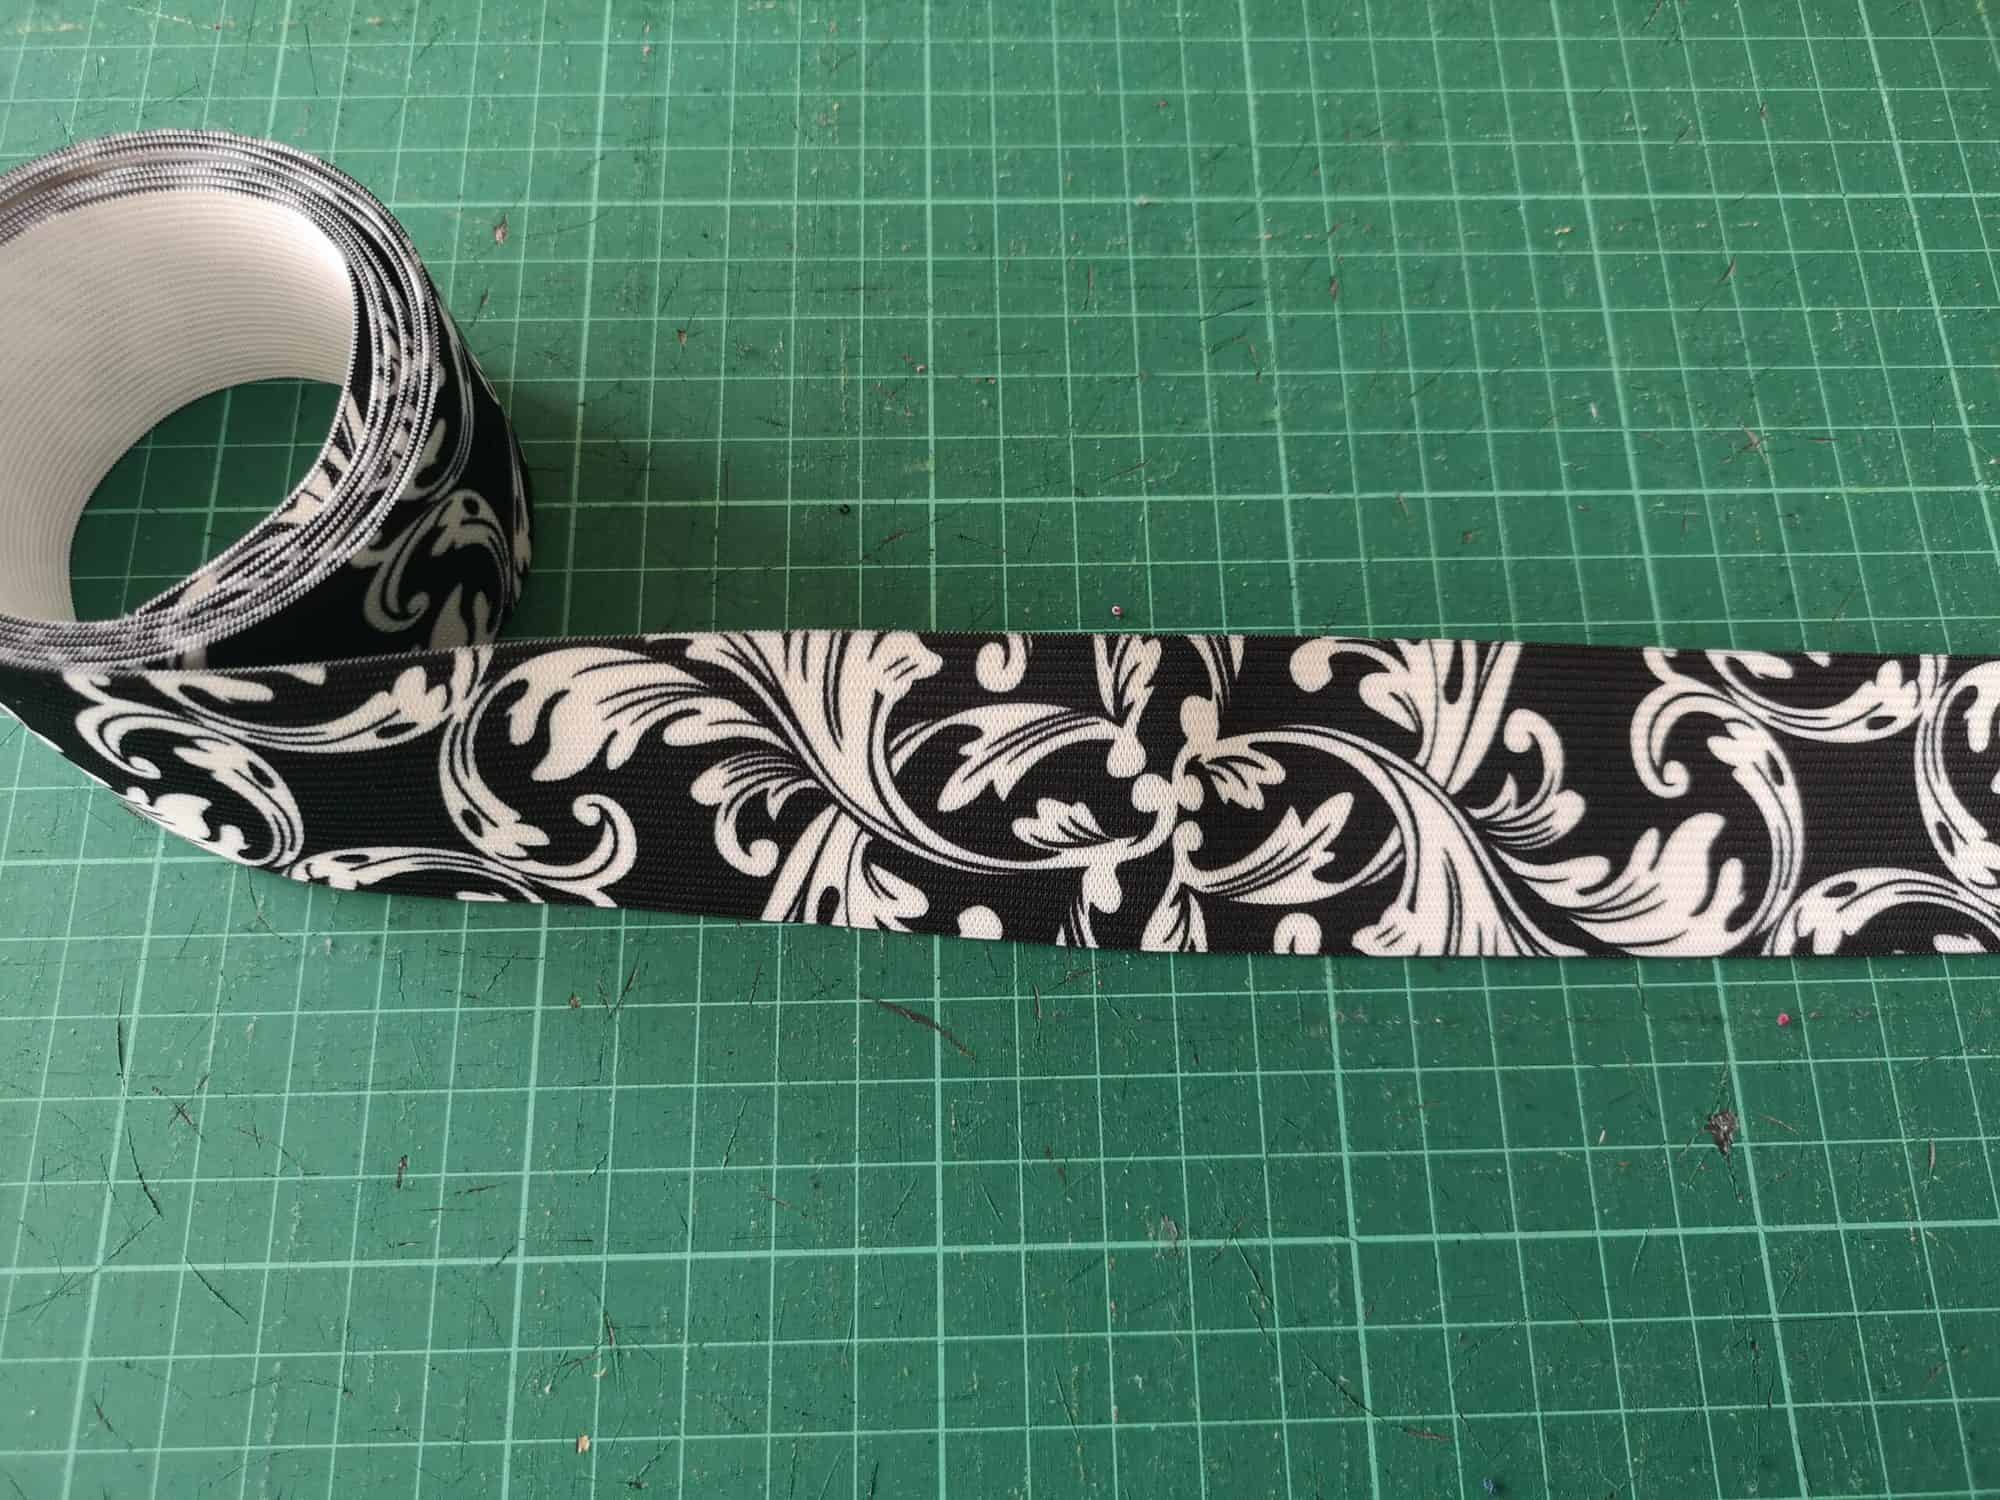
Patterned Knit Elastic
and these can be used as a waistband in their own right, just by top stitching in place of a casing. Super quick and easy way to finish a skirt or pair of shorts! Just wrap around your waist and cut to size, then butt the short ends and zig zag stitch together to form a loop. Quarter the elastic, quarter the top of the garment and sew right on.
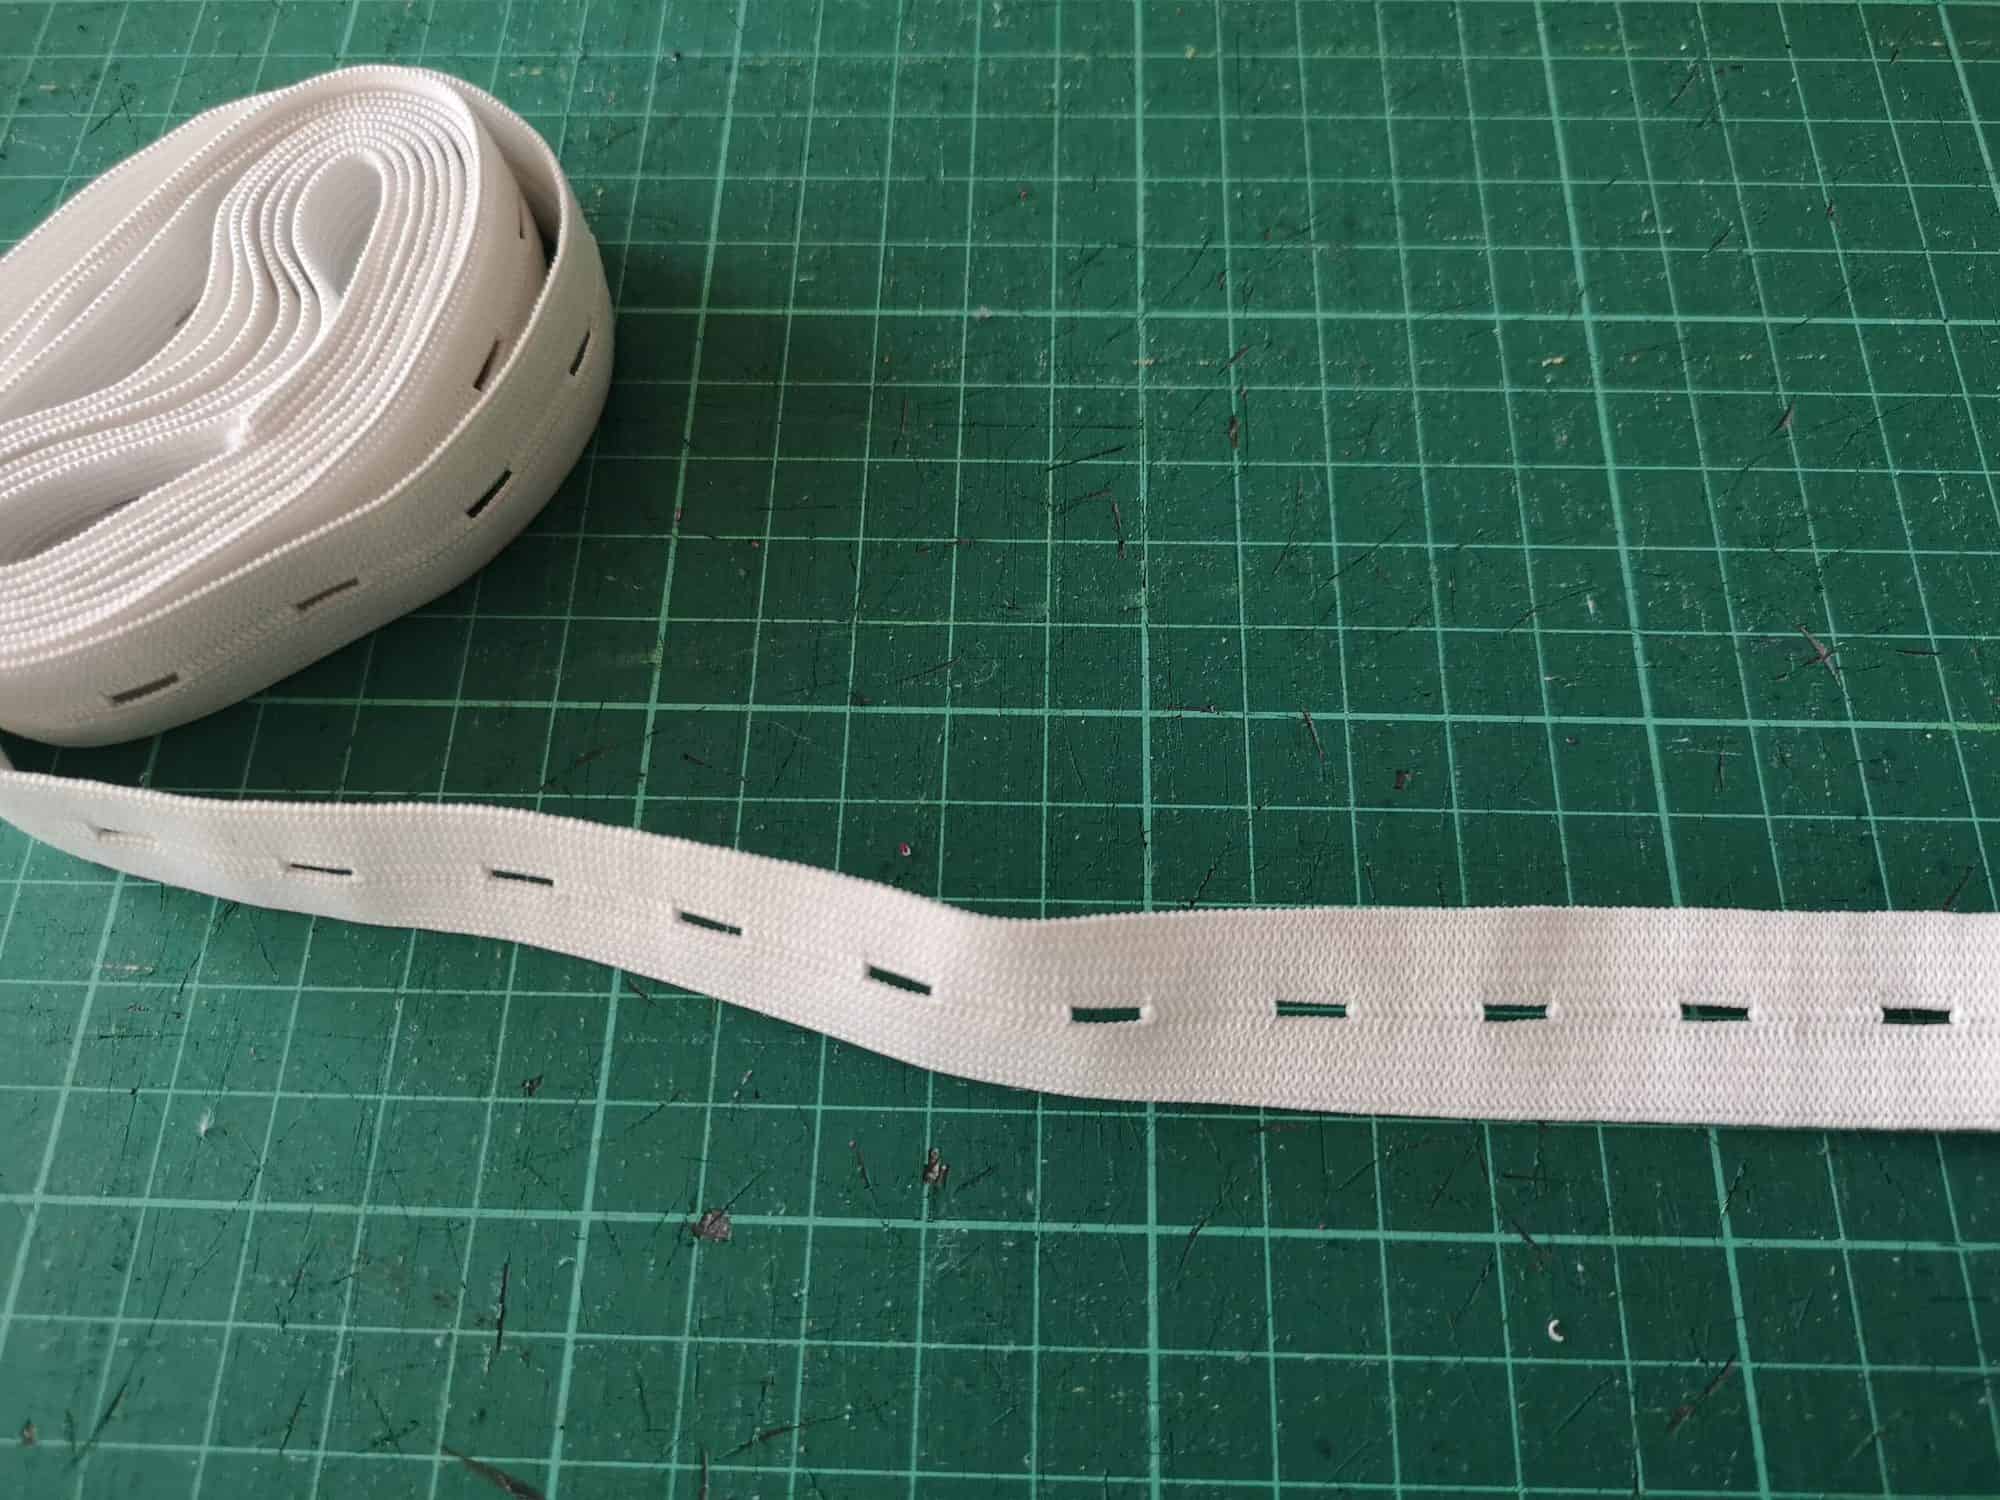
Buttonhole Elastic
This is great if you have small people that keep shooting up overnight, like me! You can use it in a waistband secured with a button, and then unbutton it as they grow. Great for things with lots of ease drafted in, like the Walk The Planks. Just remember to cut it a little longer than needed when you first sew it in so you have room to lengthen it.
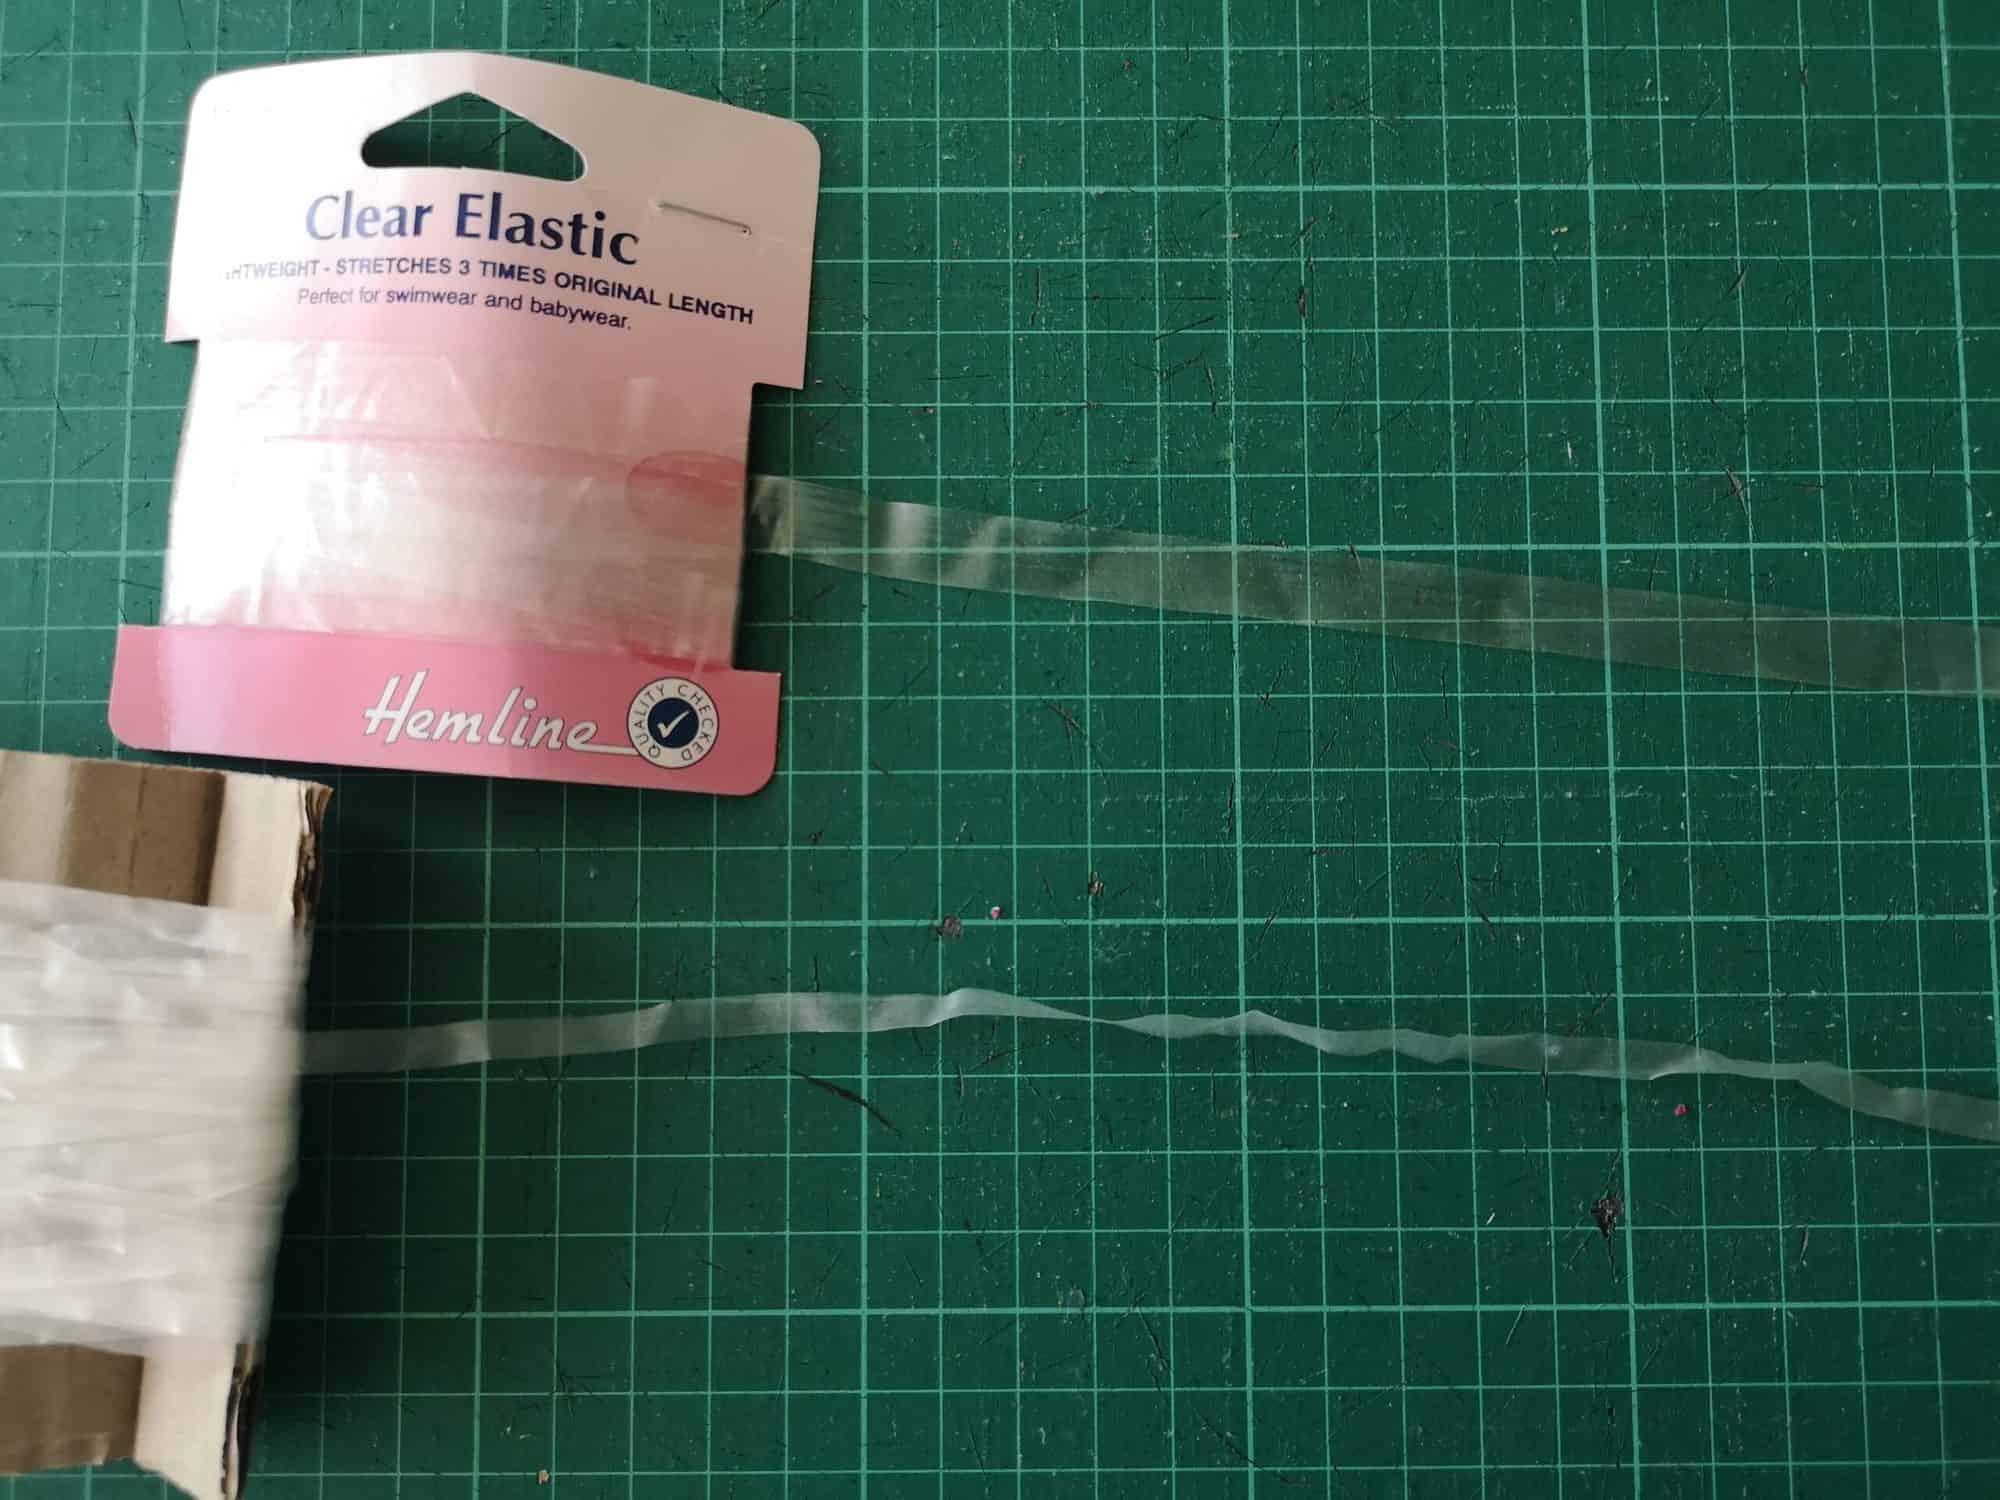
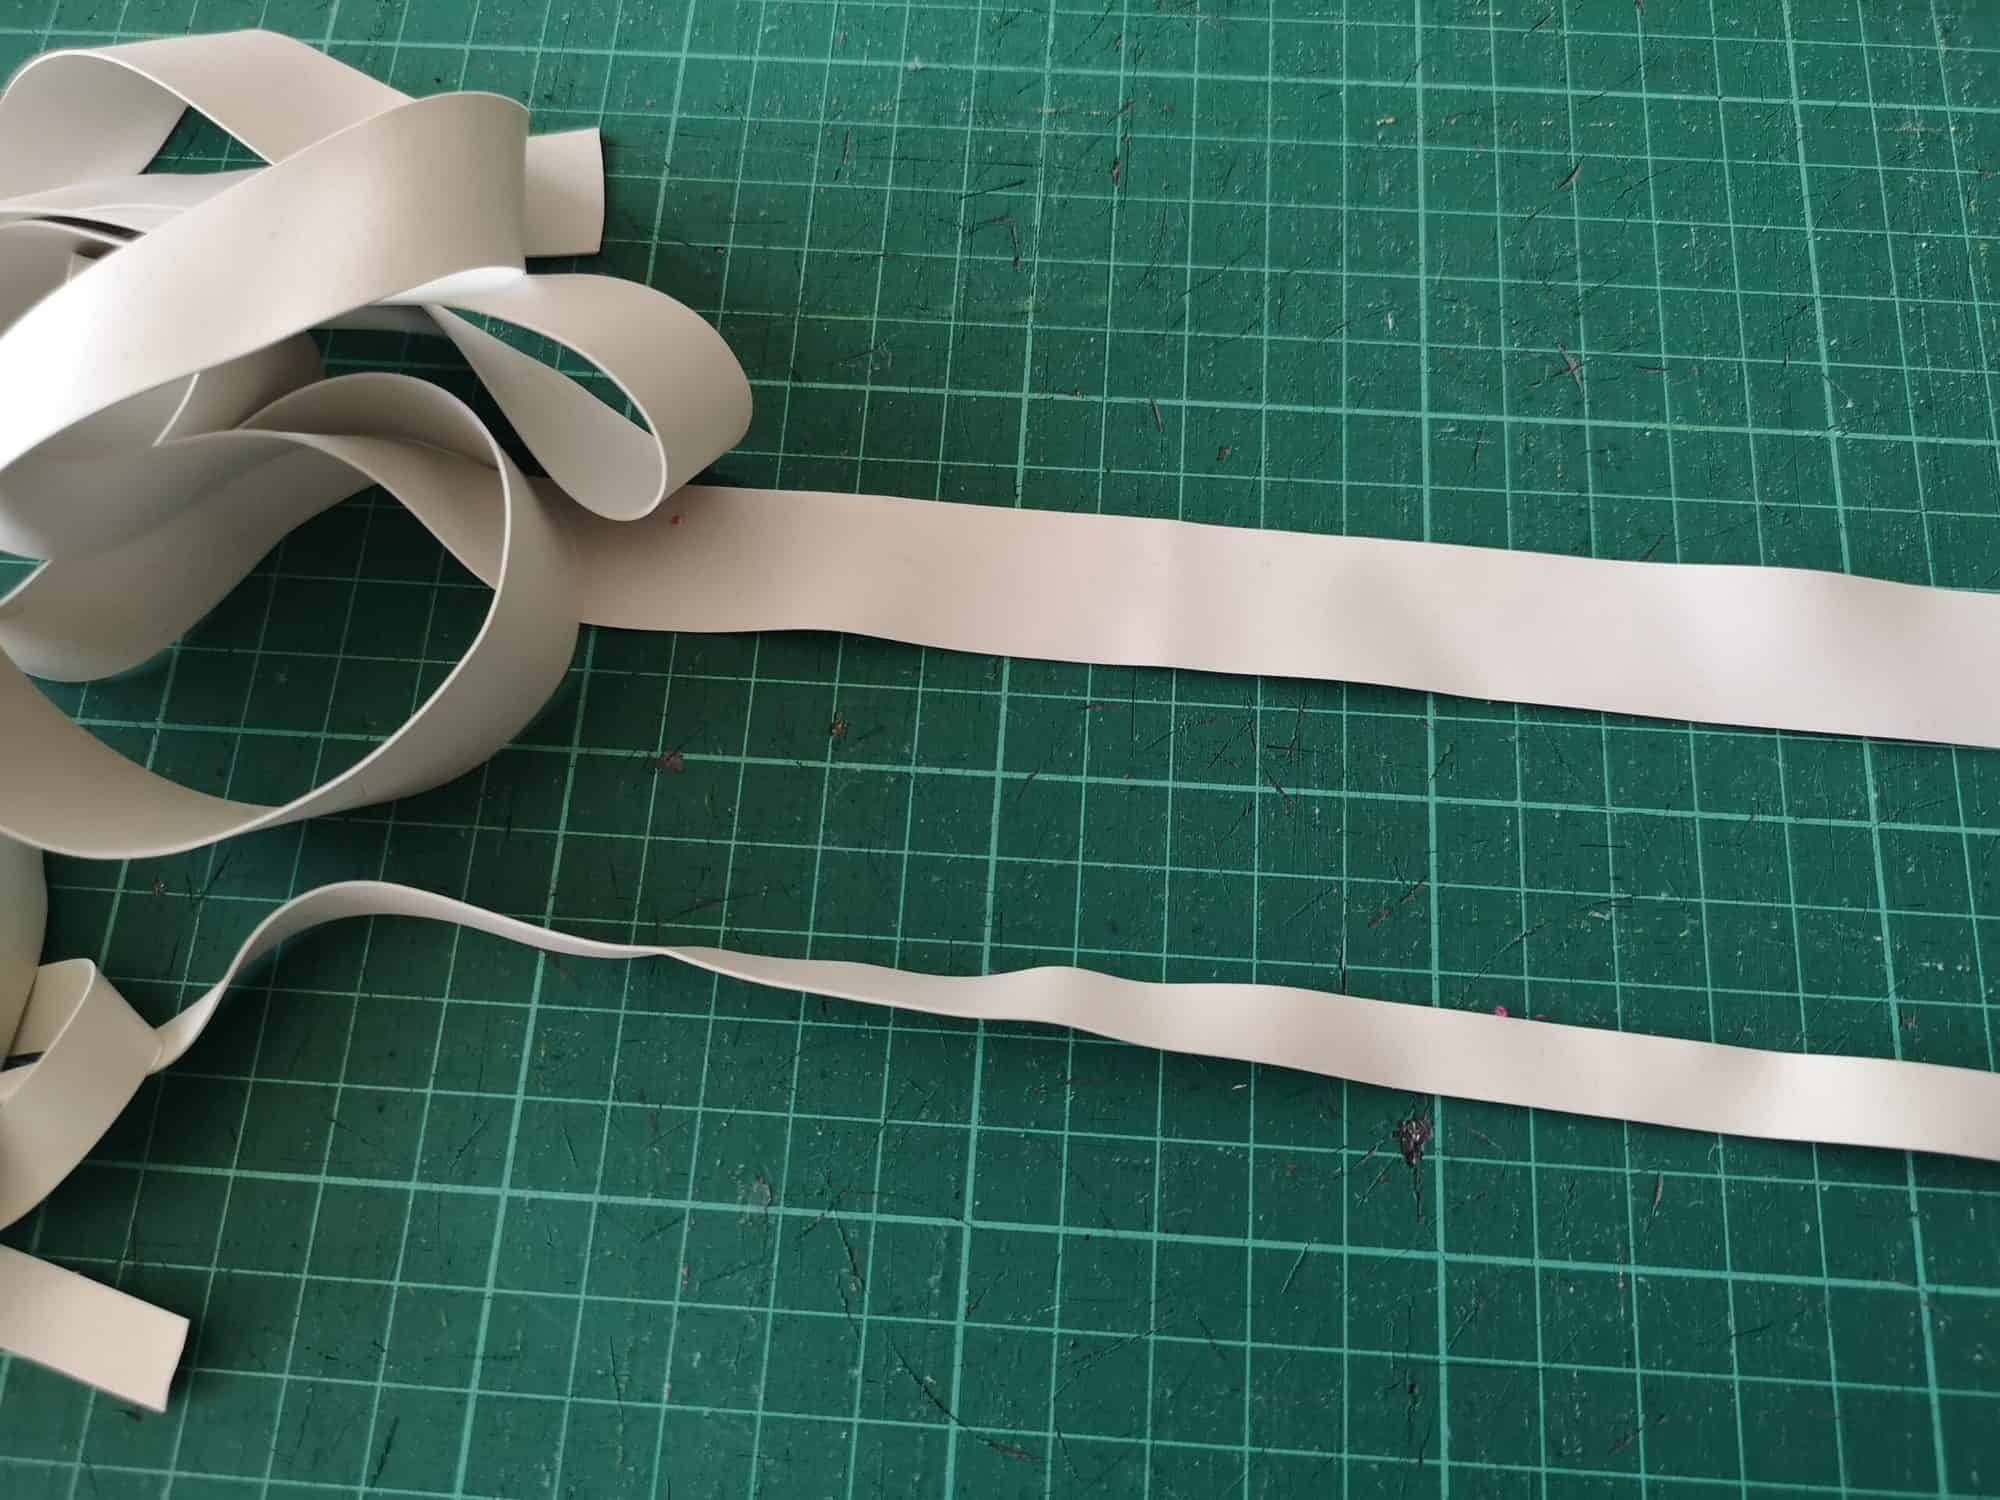
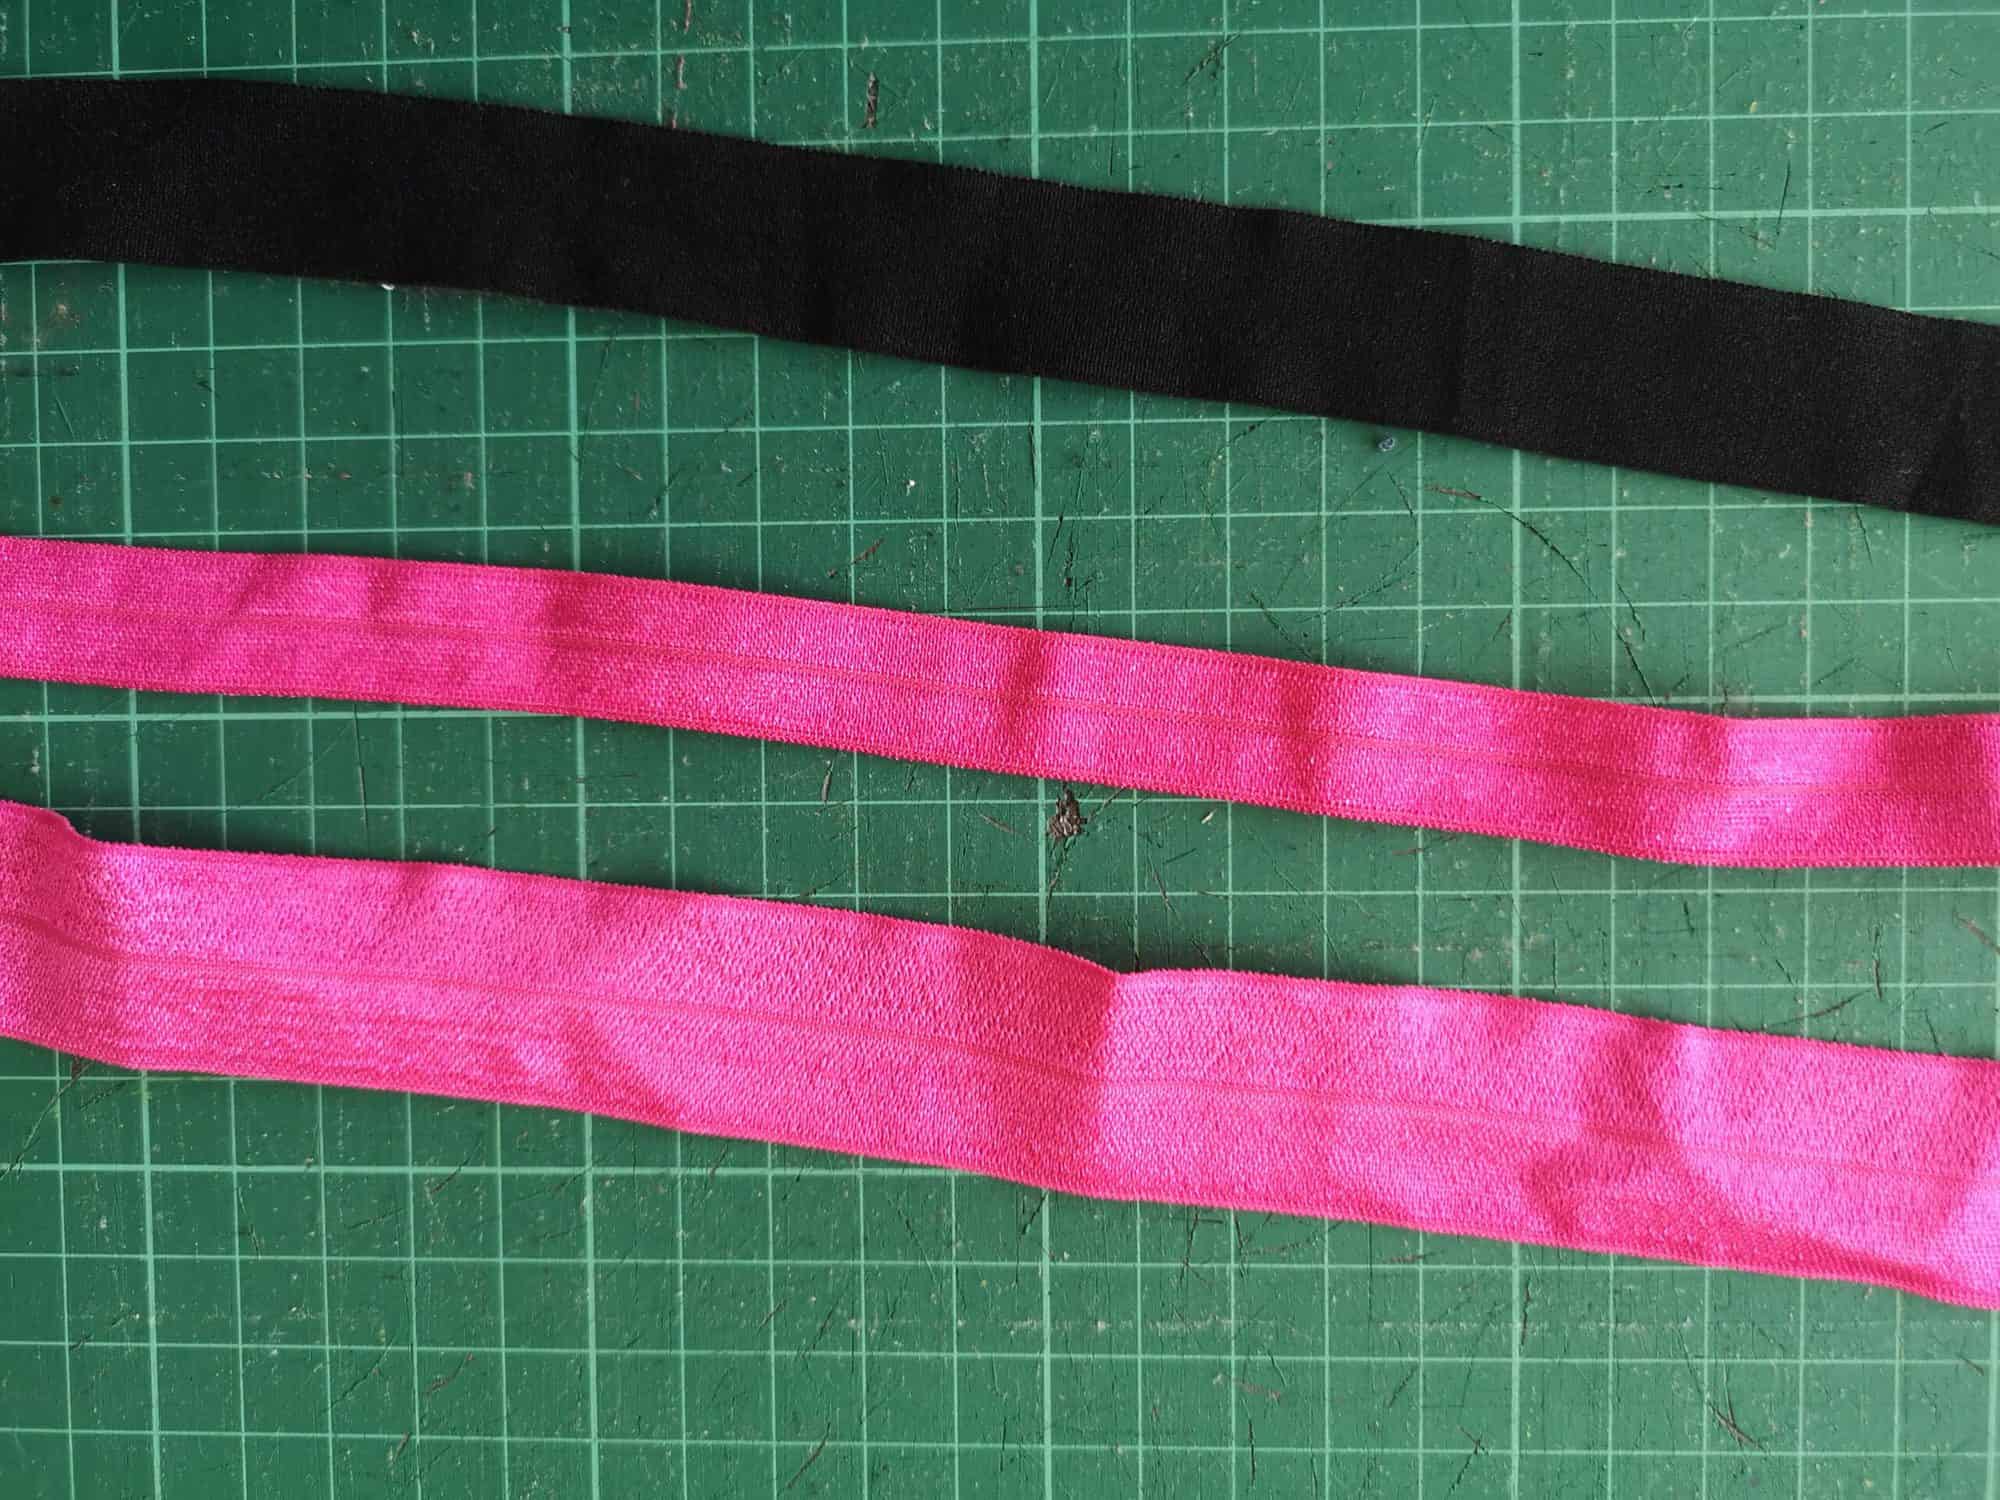
Clear Elastic
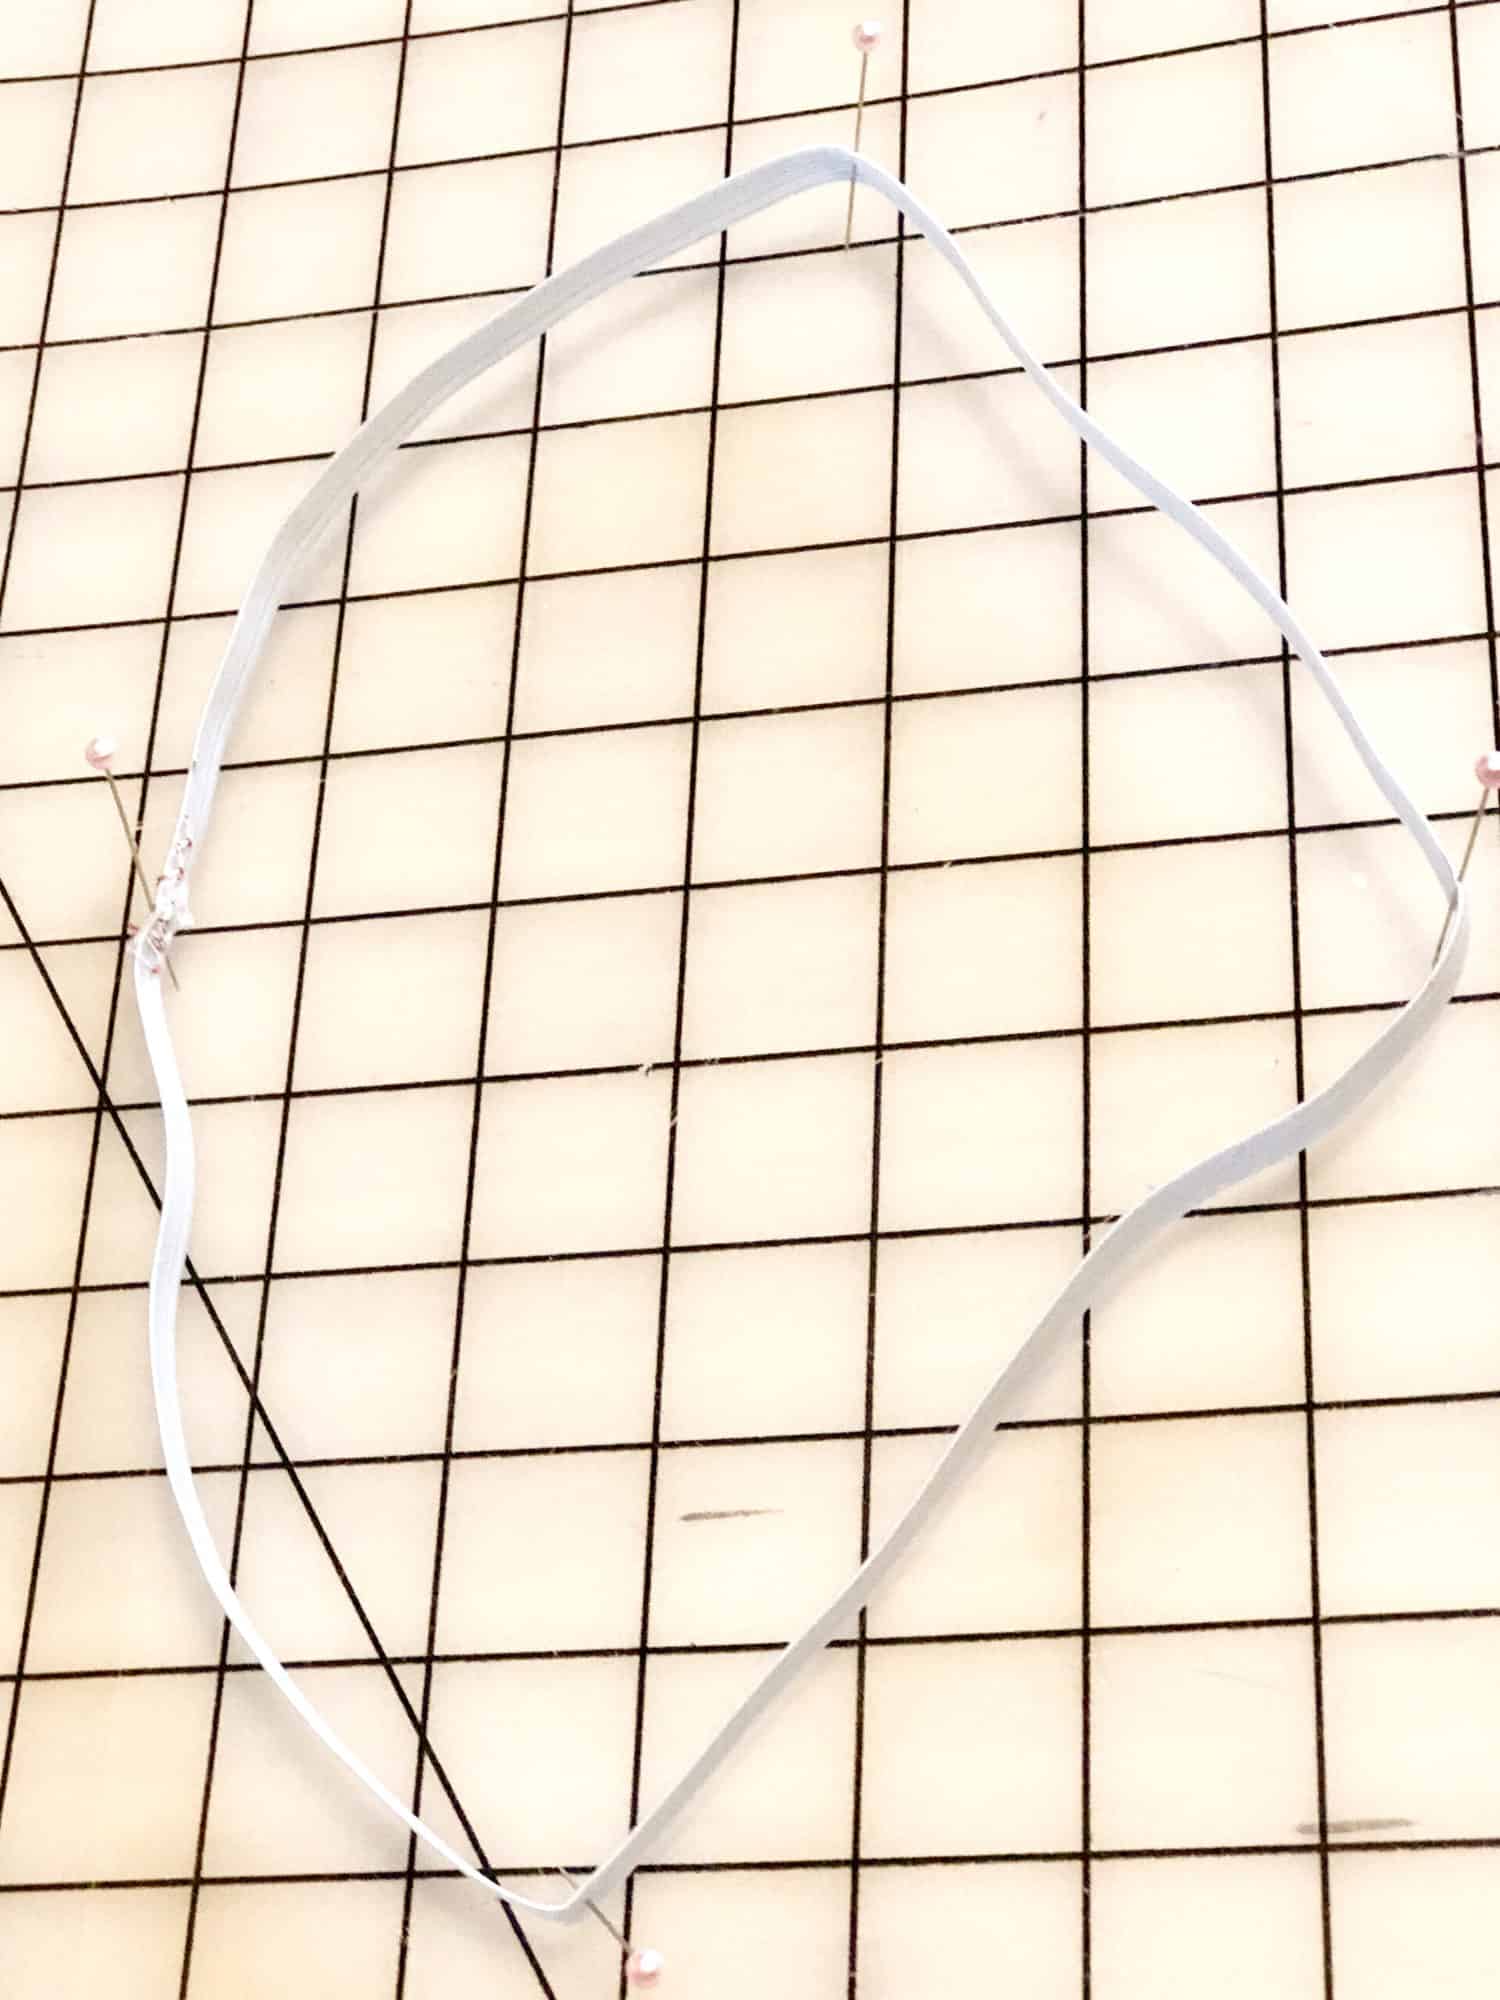
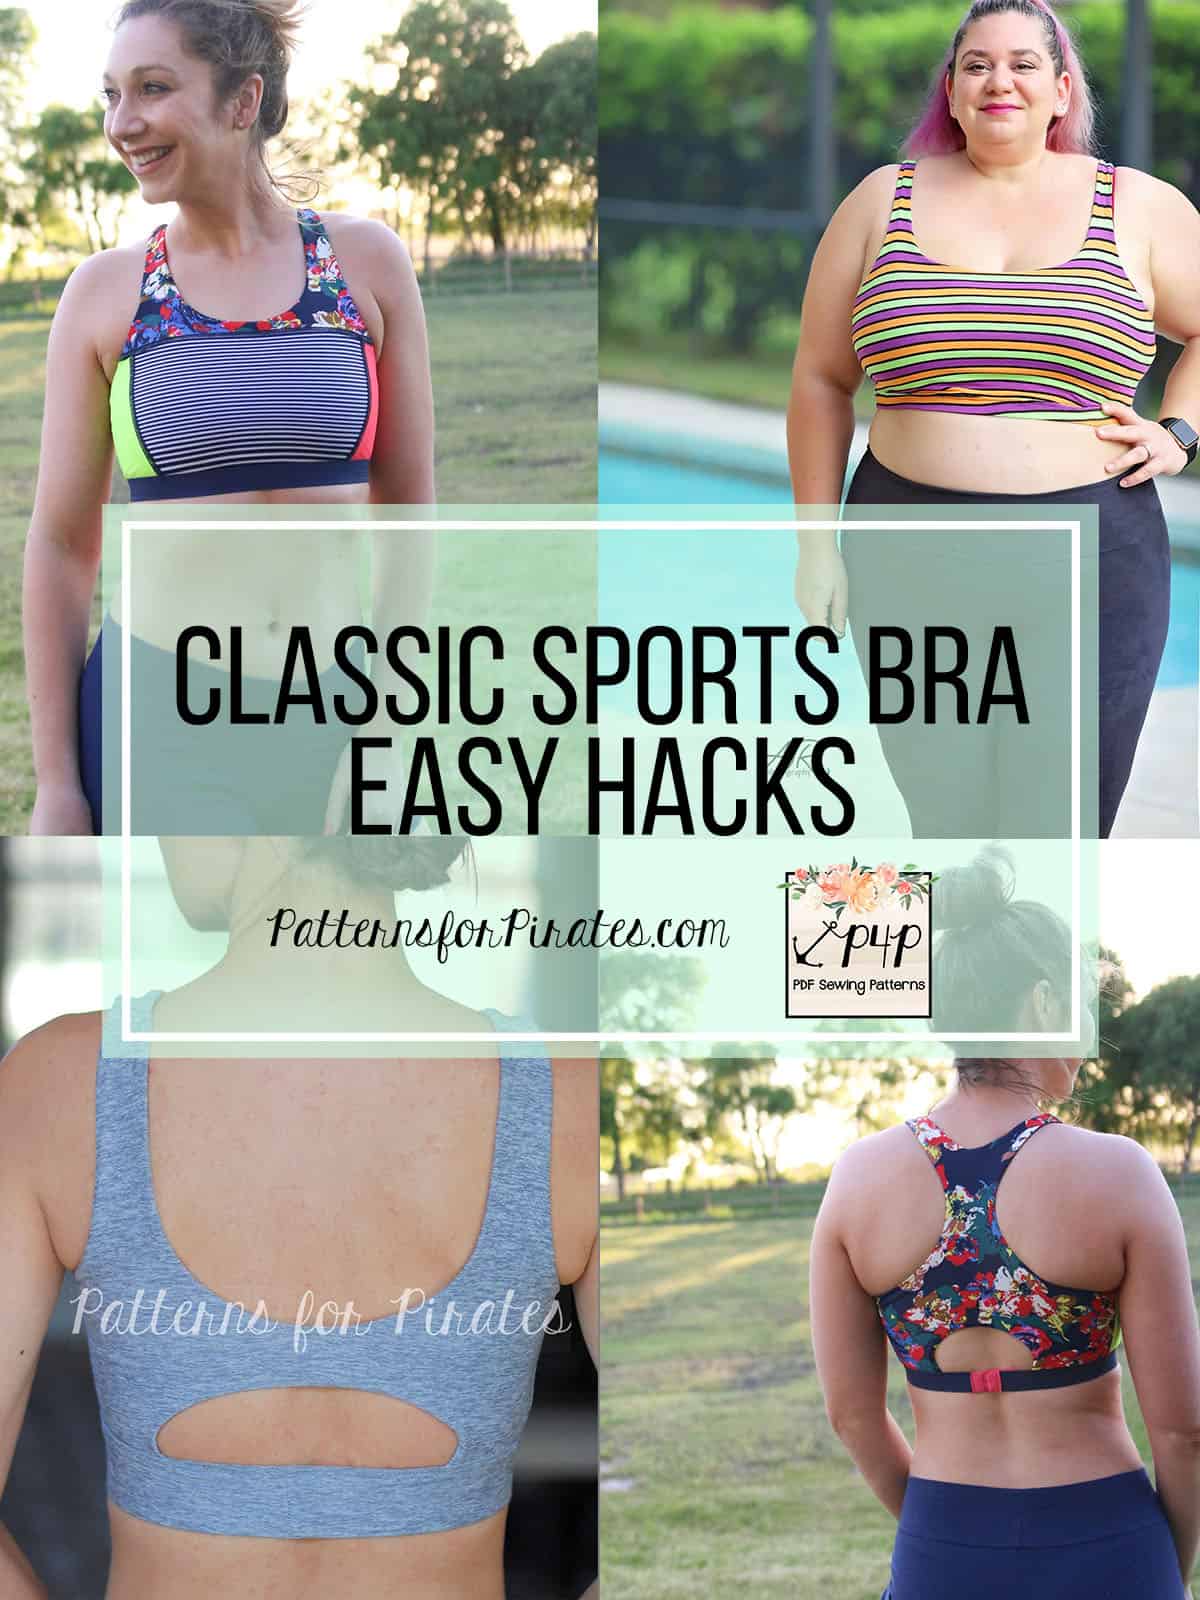
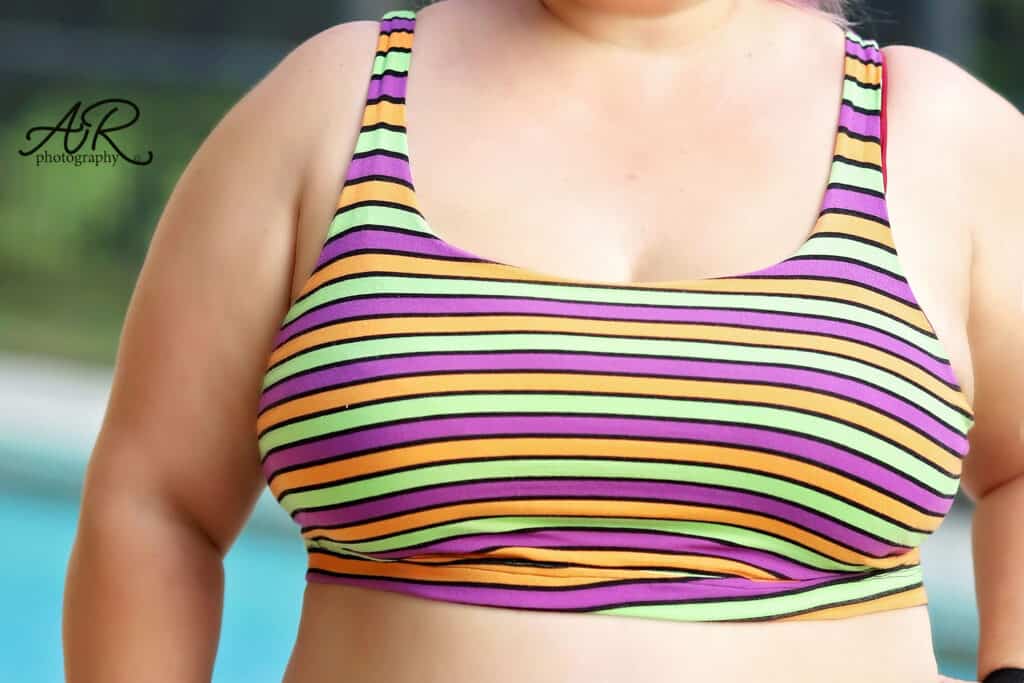
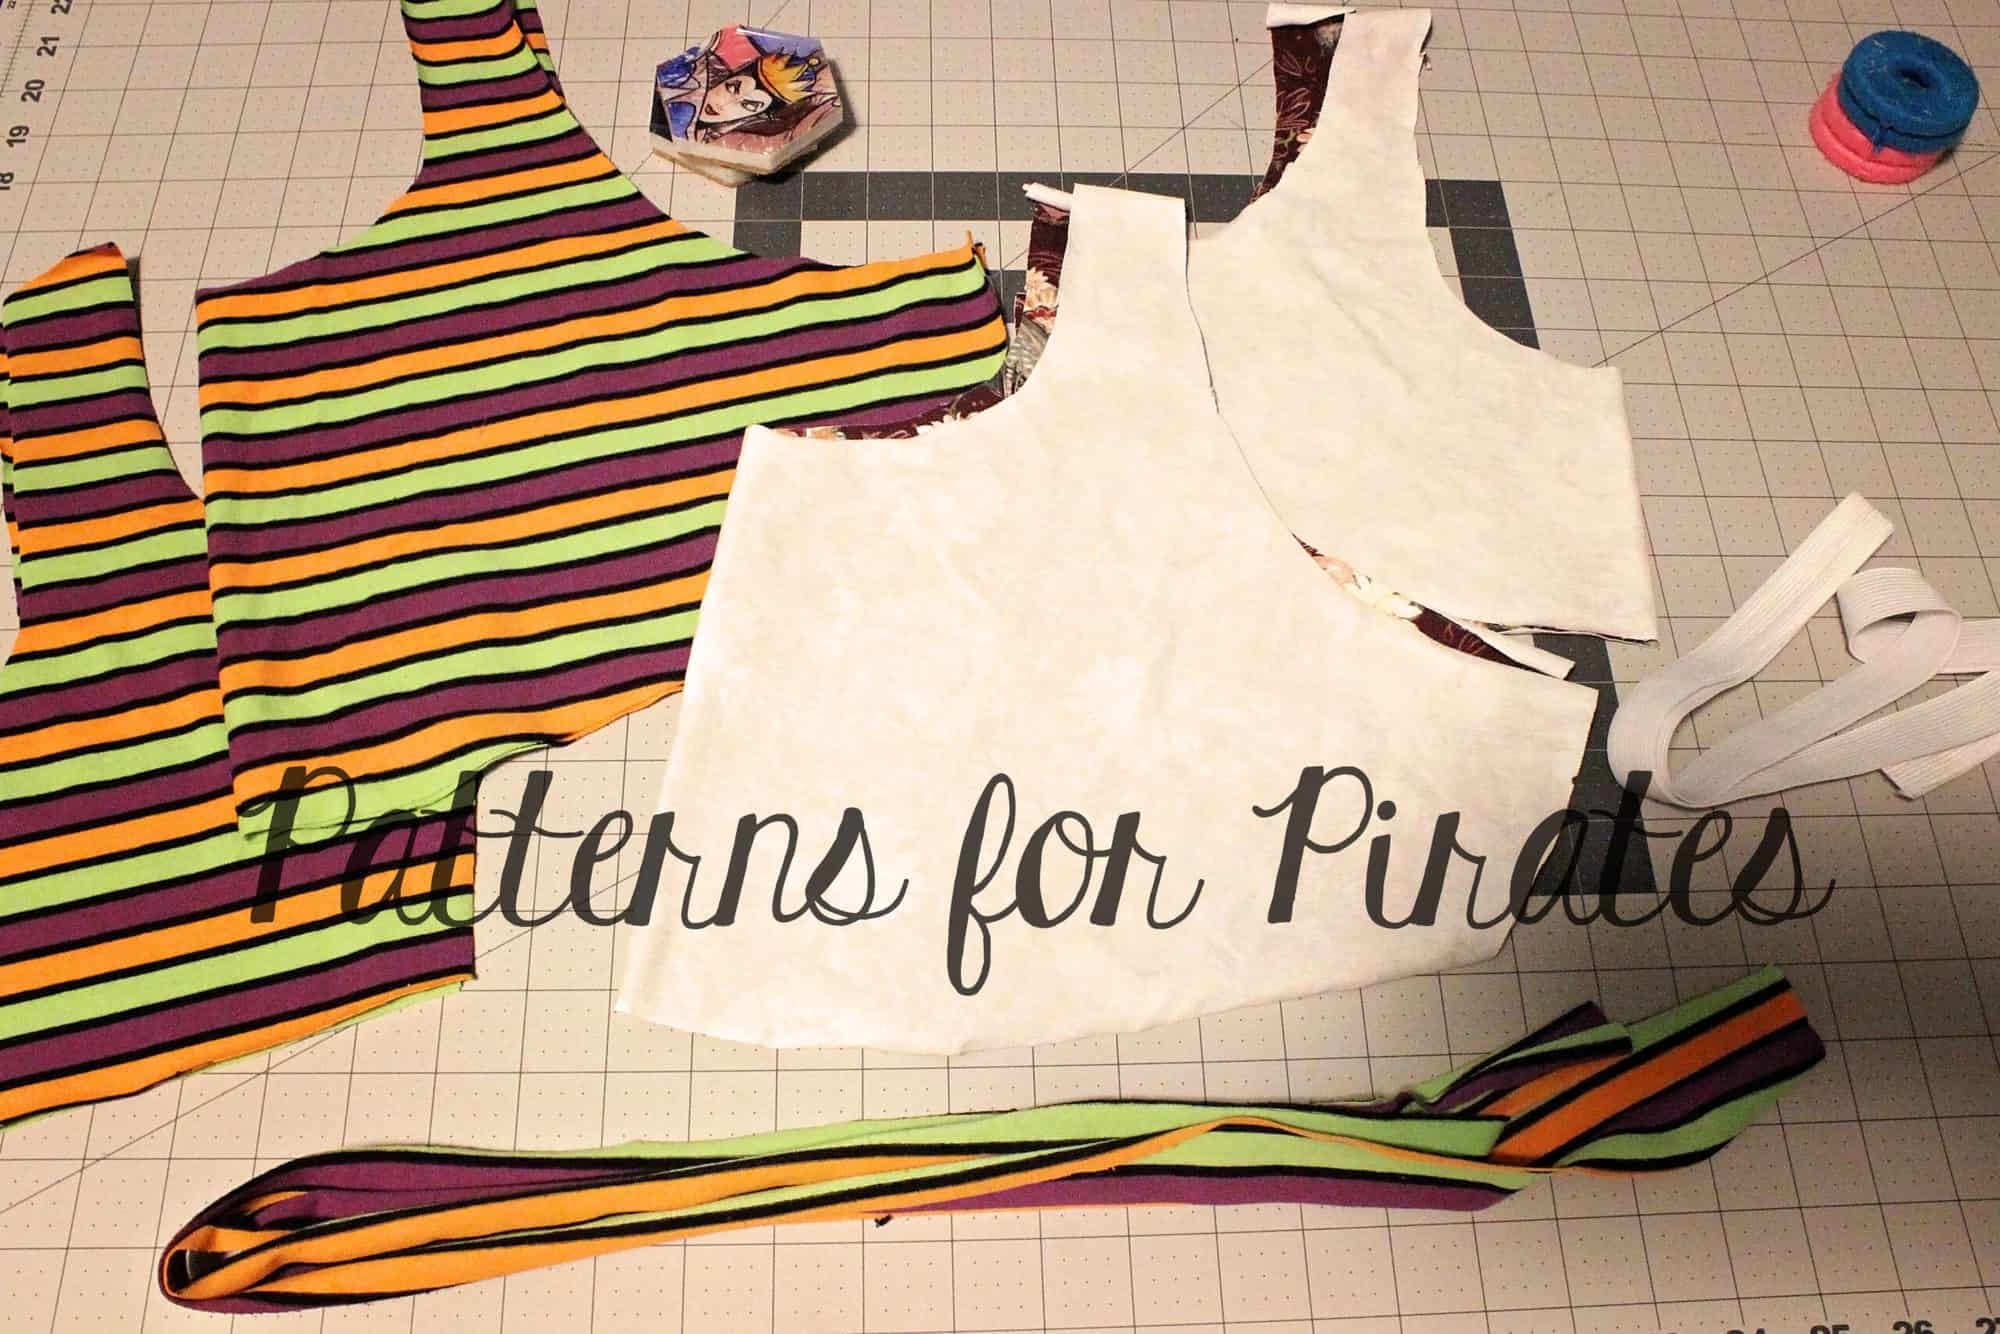
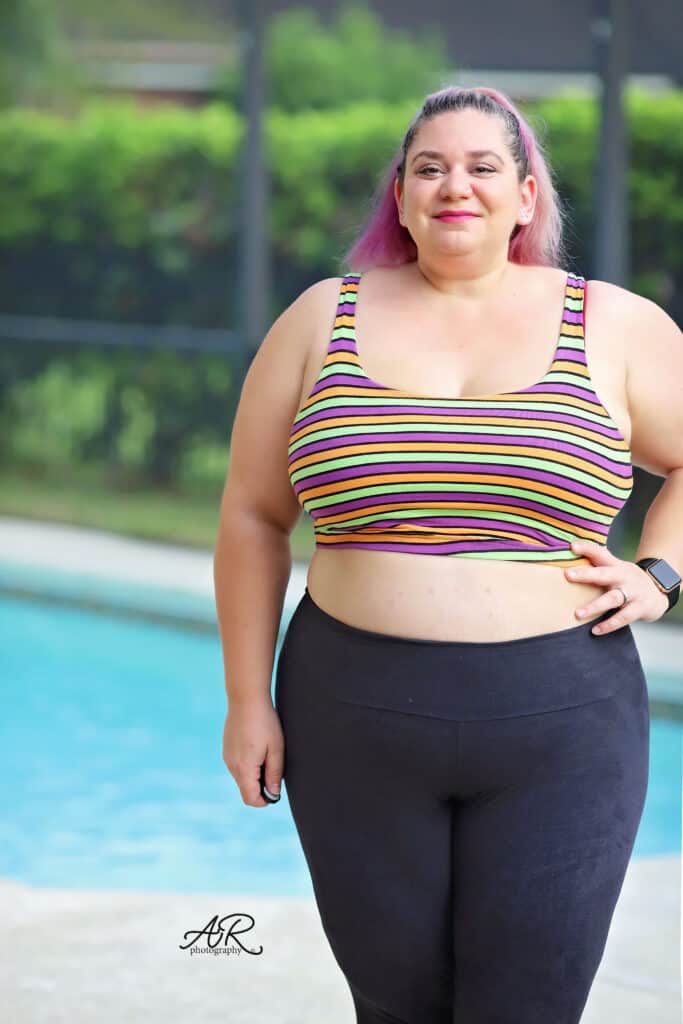
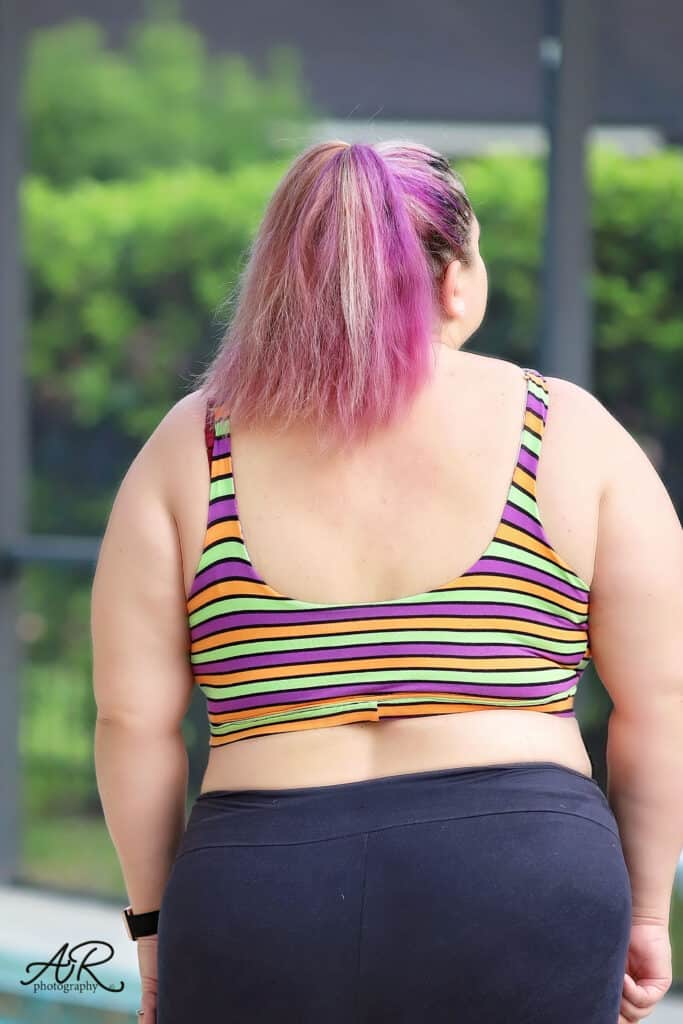
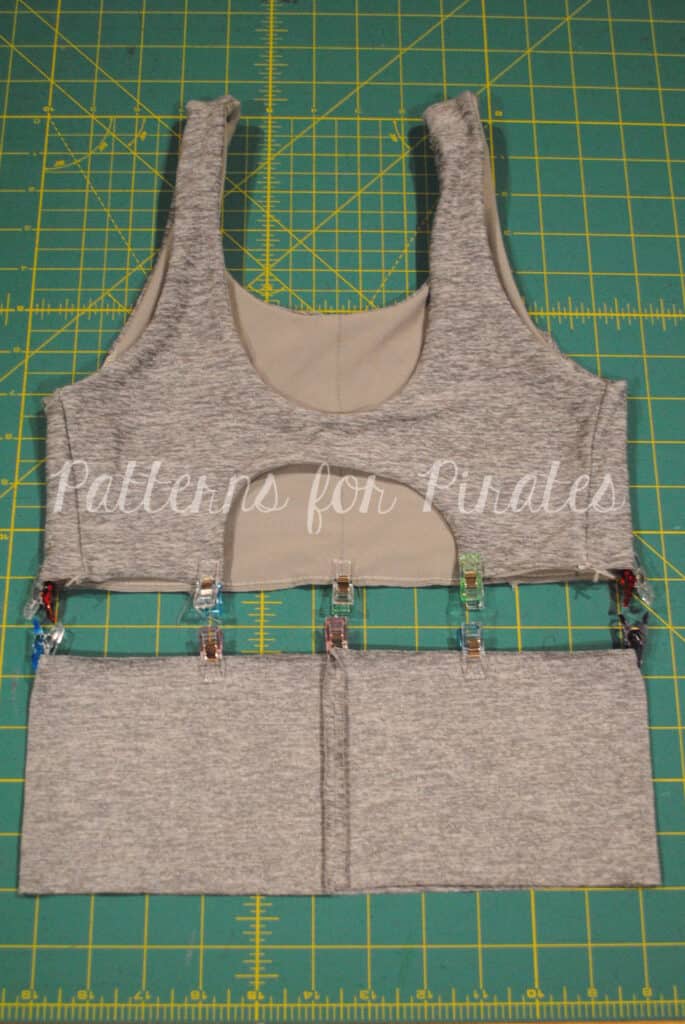
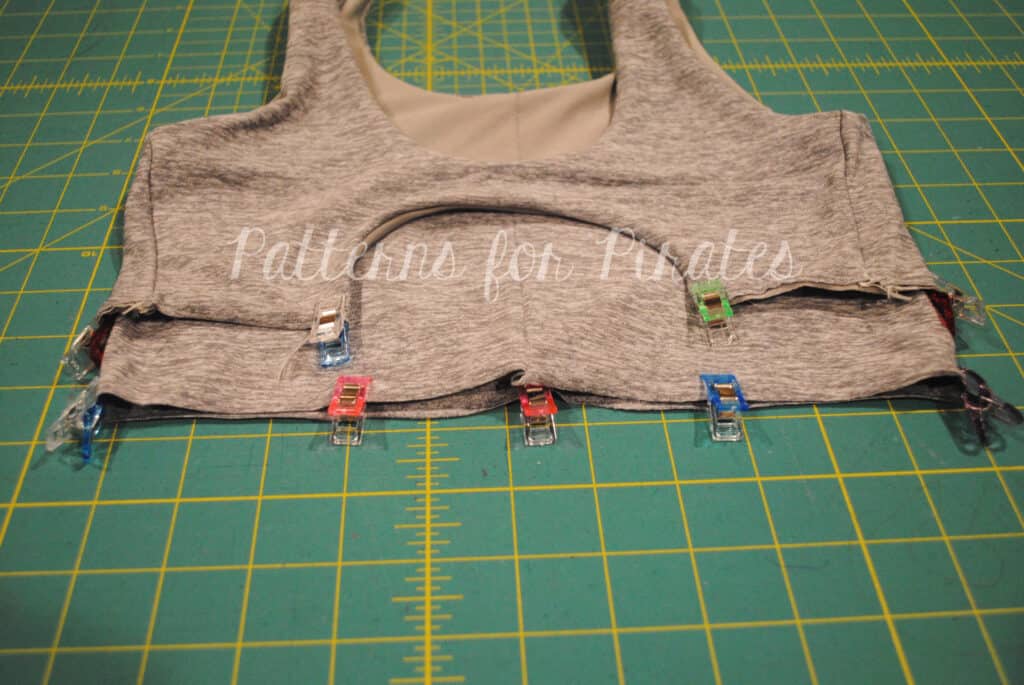
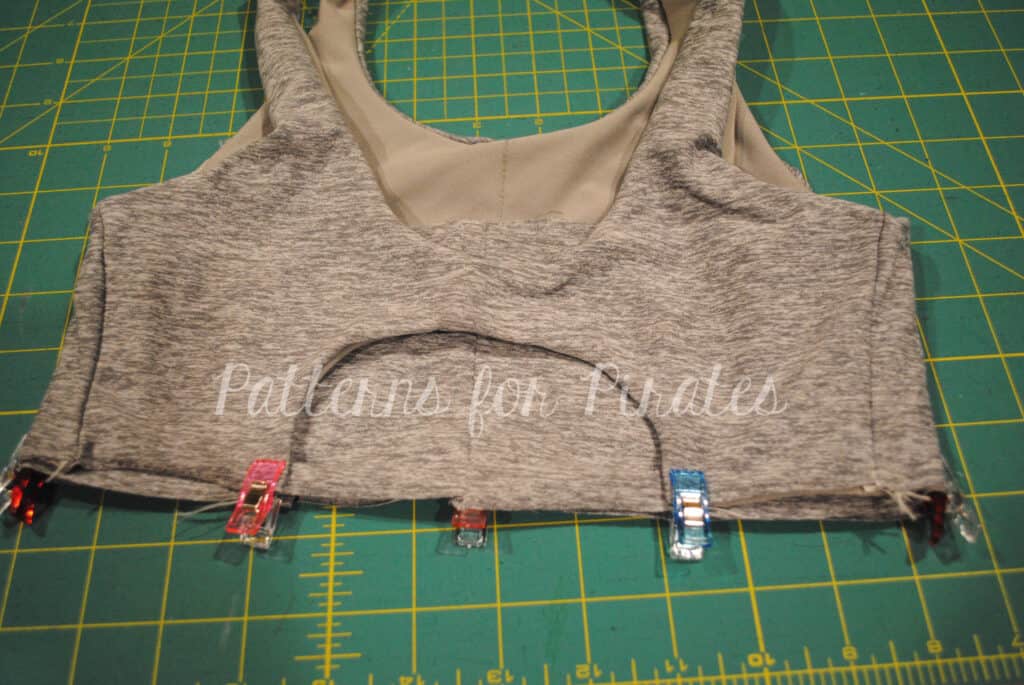
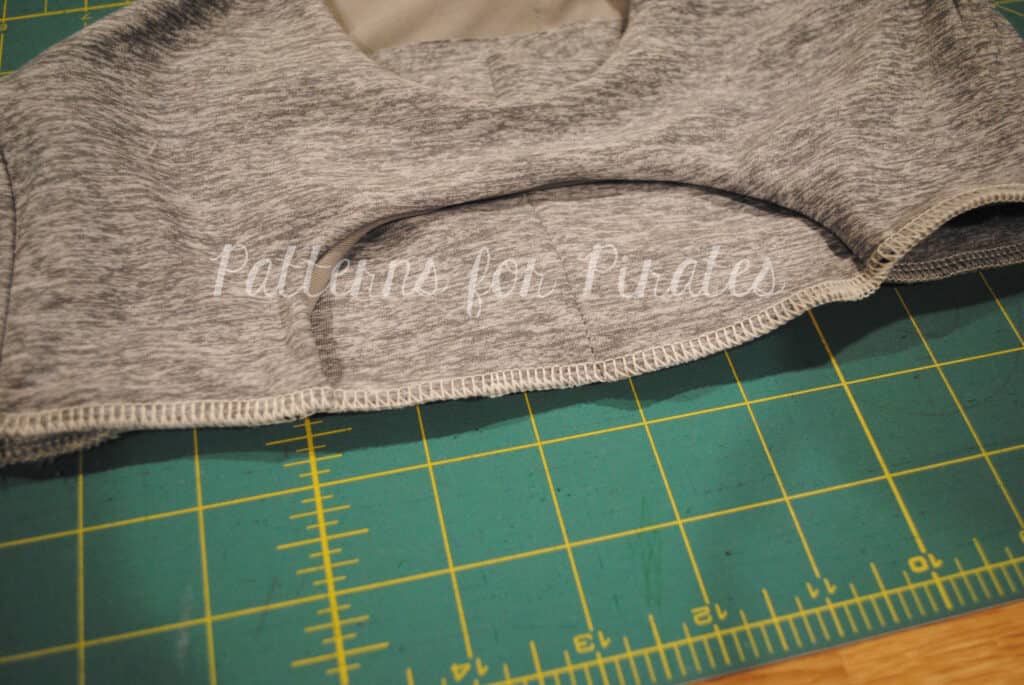
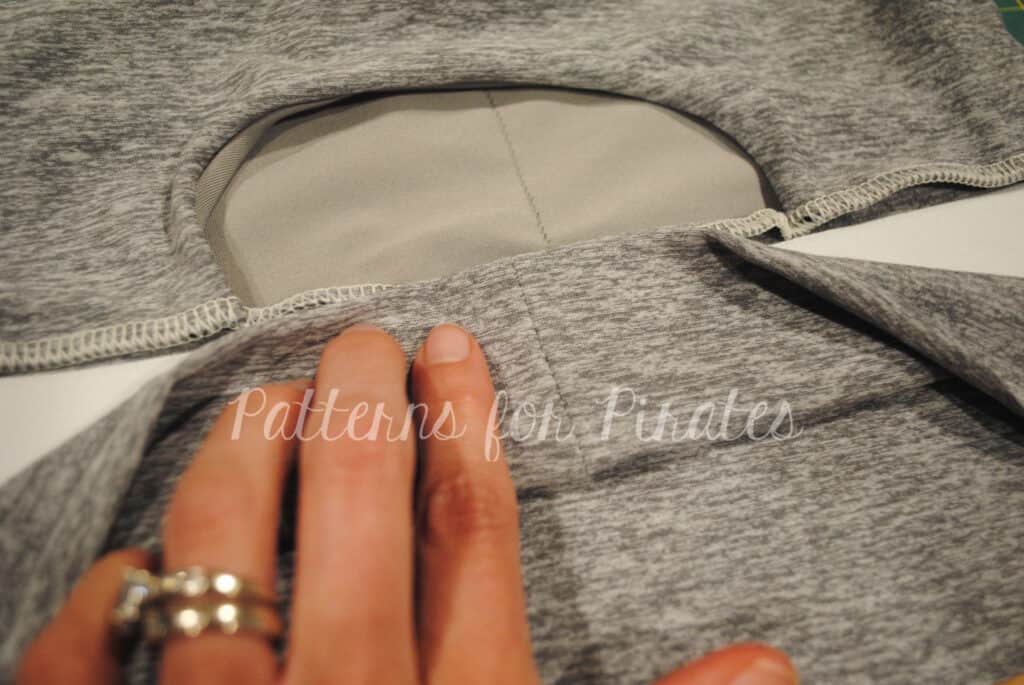
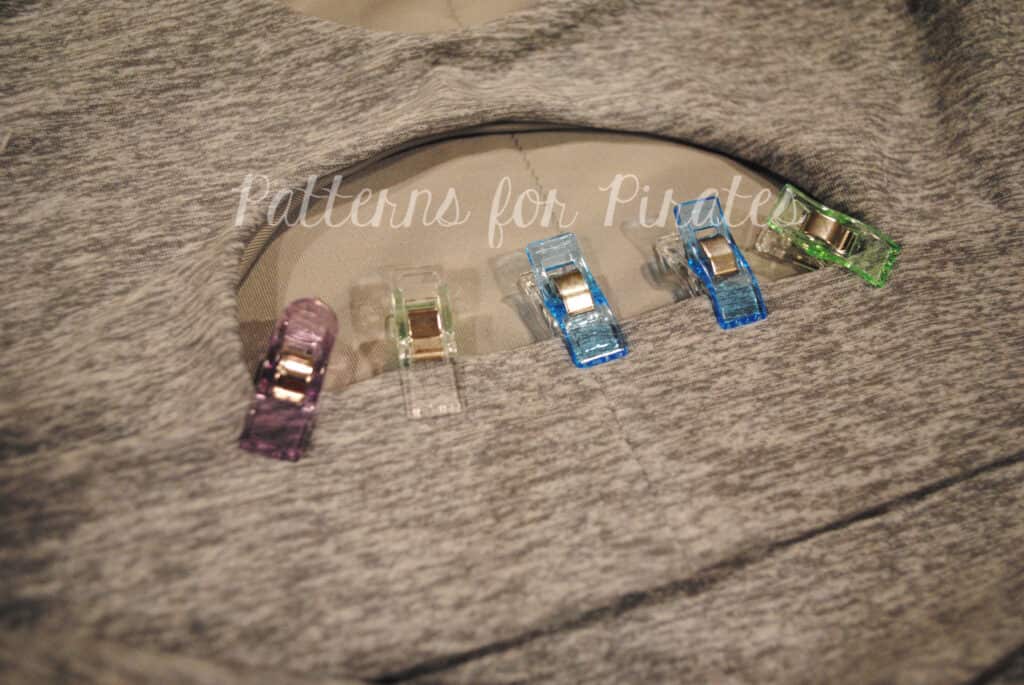
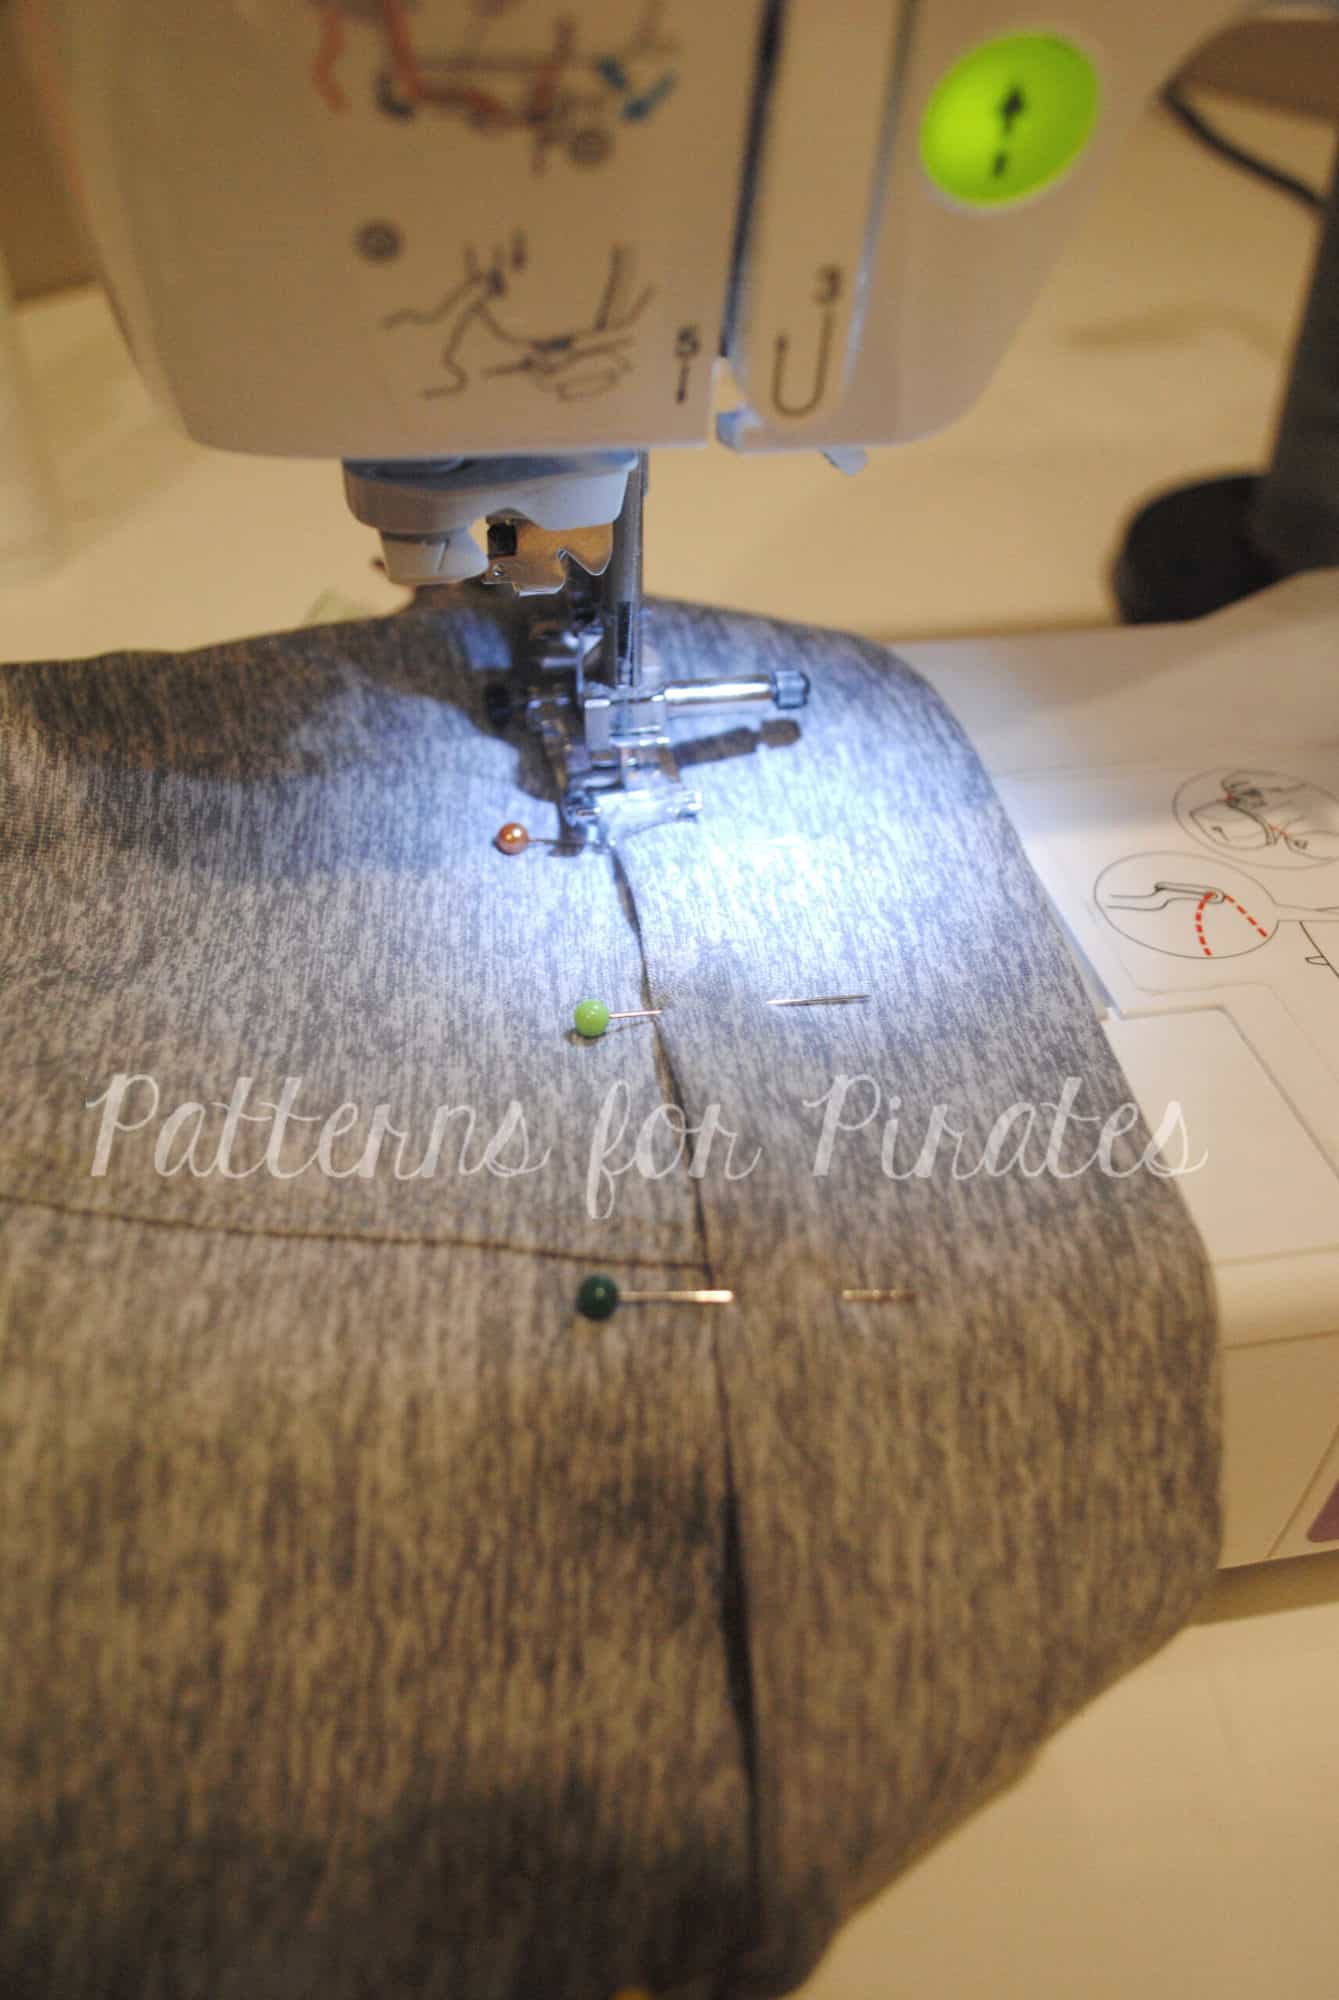
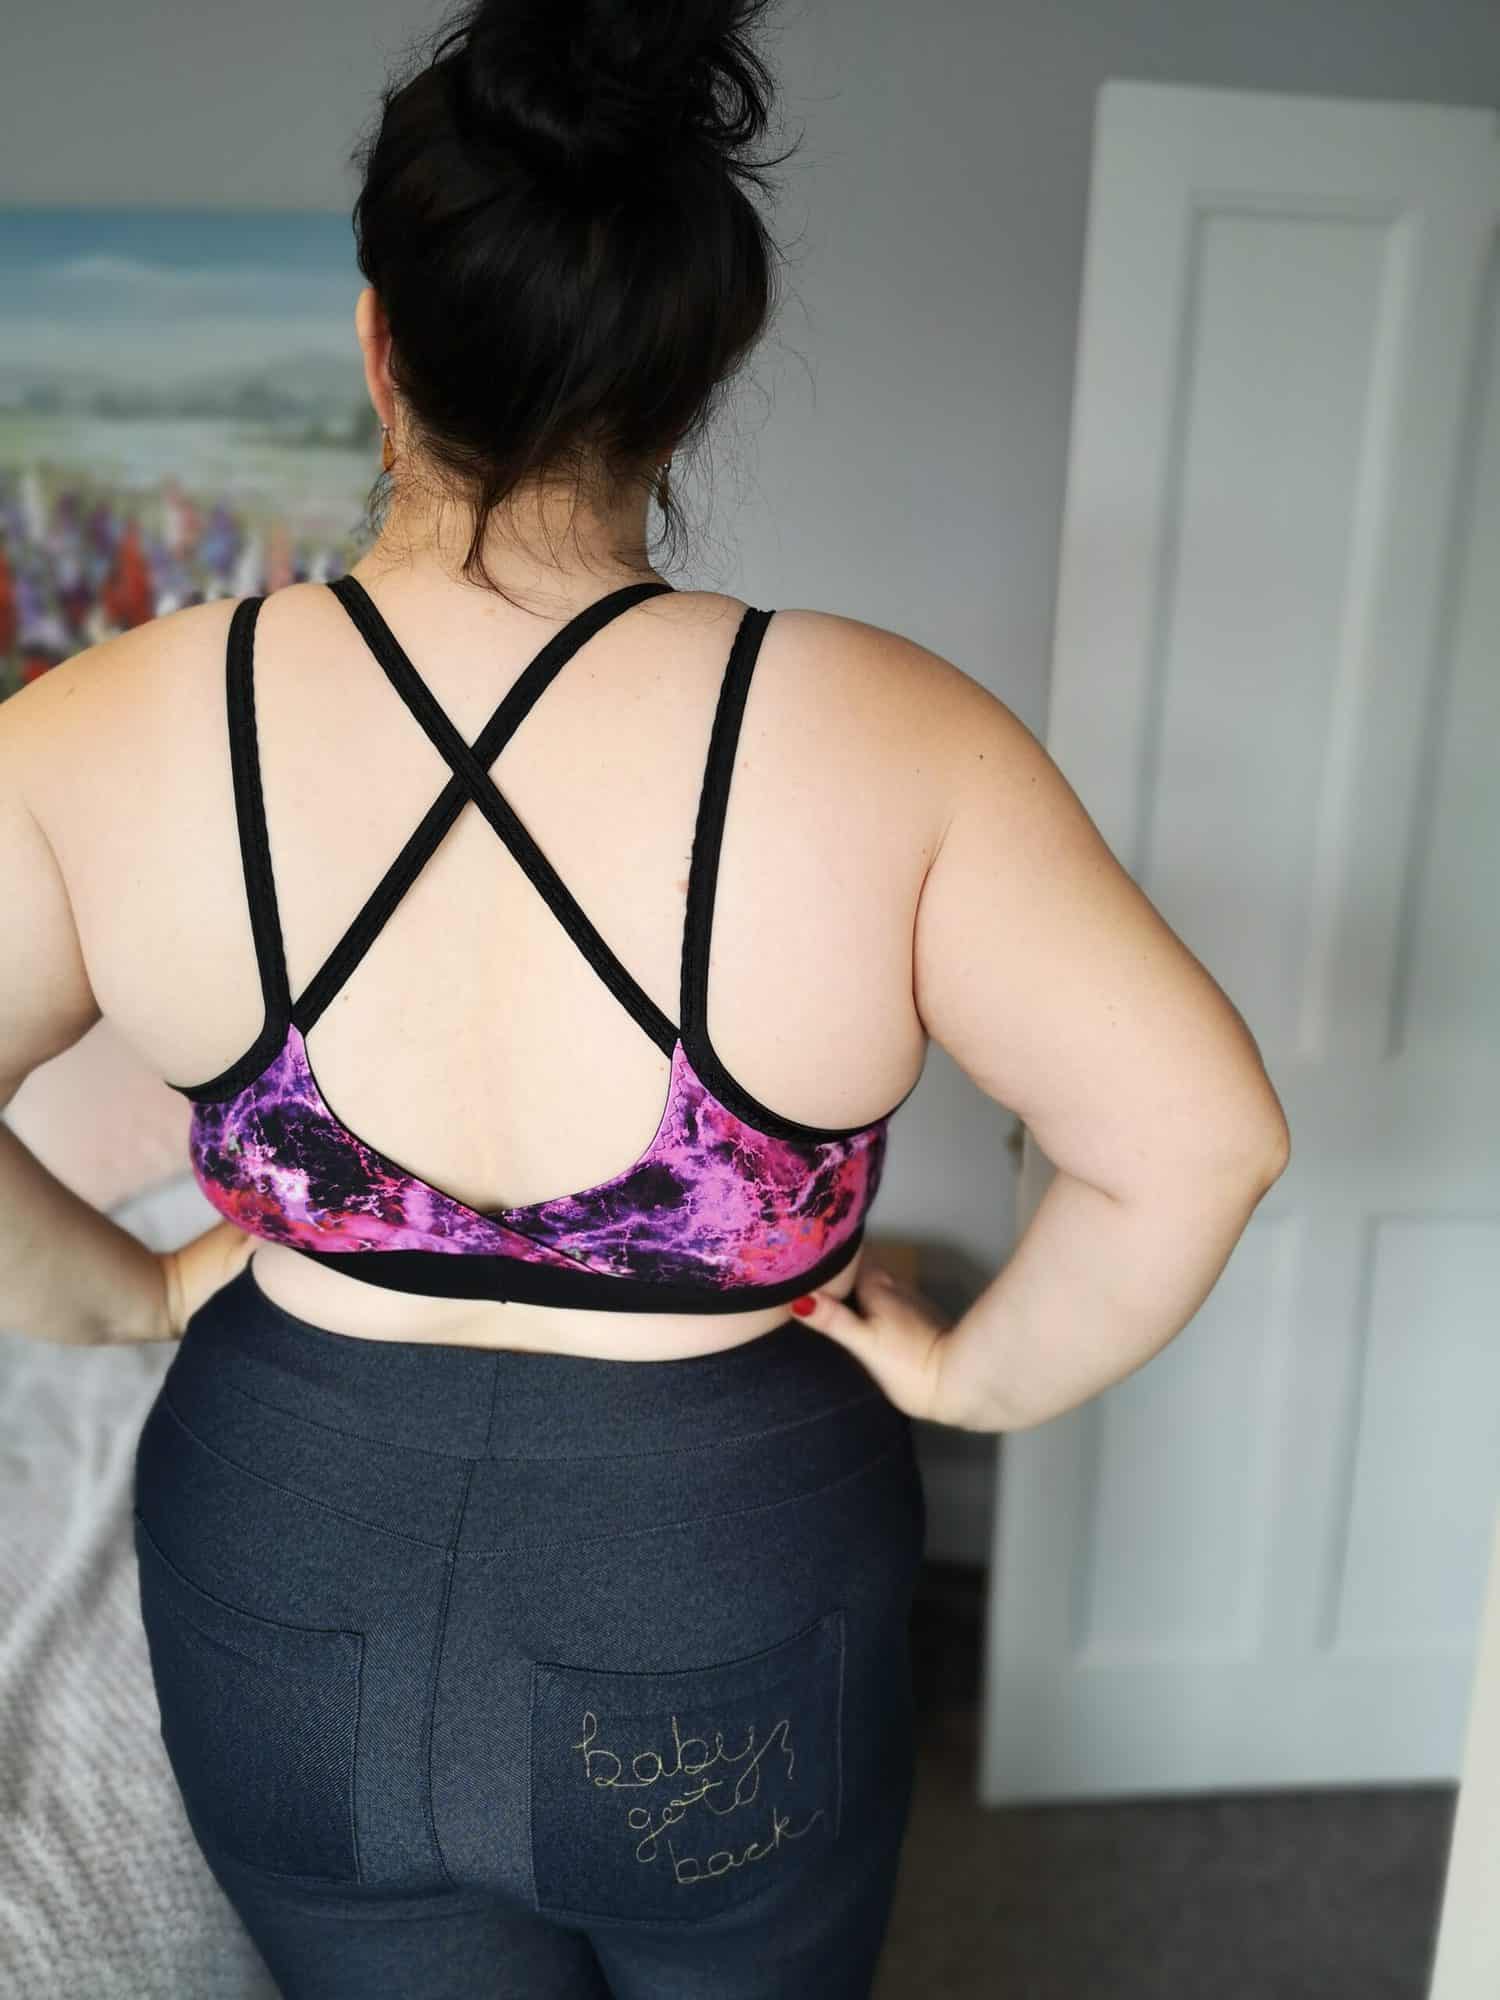
Clear Elastic is one of the things I had never heard of before I started sewing and now it’s the thing I use the most. I use it for gathering skirts to fit bodices, like the Sweetheart Dress; for stabilizing shoulder seams on lightweight stretchy fabrics like rayon spandex, that have a tendency to grow otherwise; for adding ruching; and for adding extra strength to the seams of stretch fabrics under pressure, like in a sports bra, where it just serge it right on when sewing the seam itself. Again this comes in different widths, pictures is 3/8″ and 1/4″.
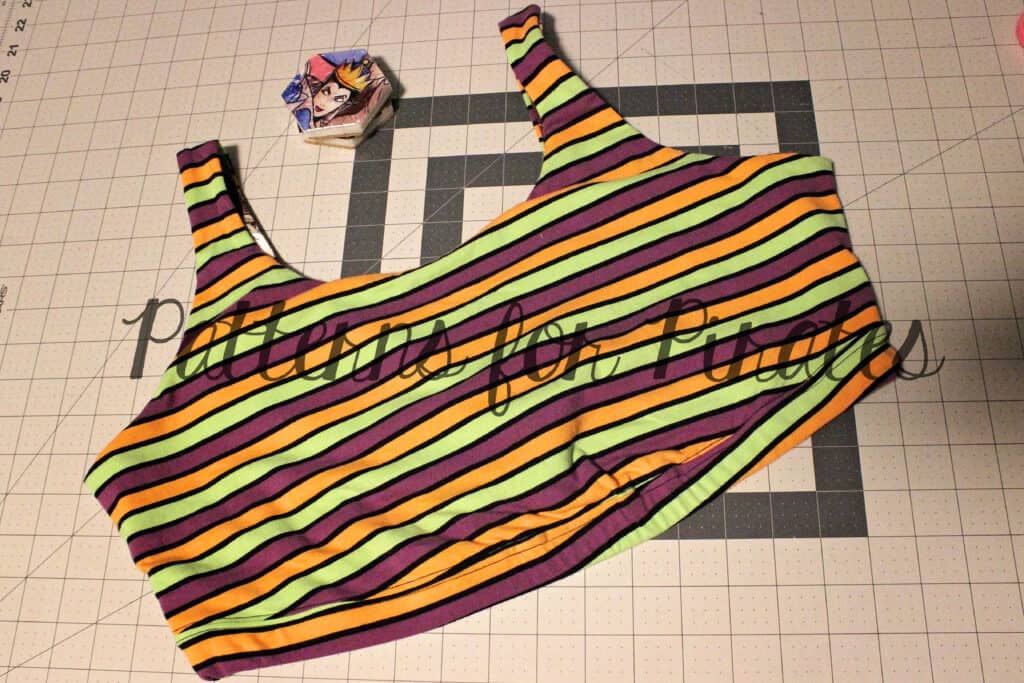
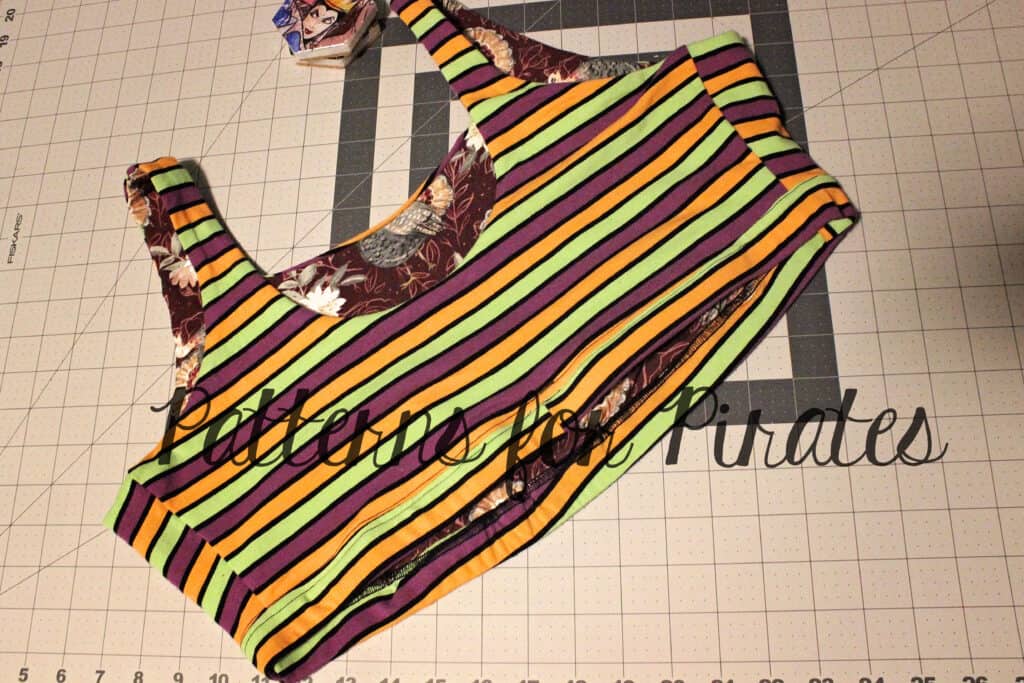
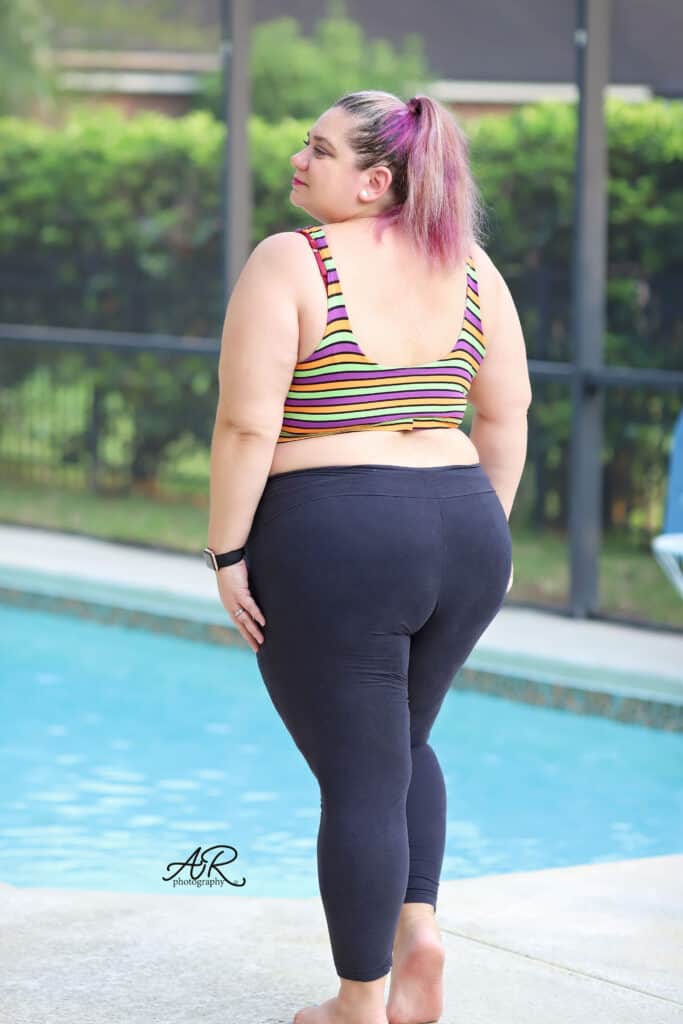
Swim Elastic
As it’s name suggests Swim Elastic is used in swimwear. Regular elastic can perish under the combined attack of both strong sunlight and chlorine, so it is best to use this type of elastic in swimwear to ensure it stands up to the test of time. I often use clear elastic in swimwear too, both work fine, you just don’t want to use a regular knit elastic because when your pull your swimsuit out after a winter in storage you will probably find that the elastic has perished and lost all it stretch. If you’re going to take all that time to make a custom swim suit, you may aswell try and make sure it lasts.
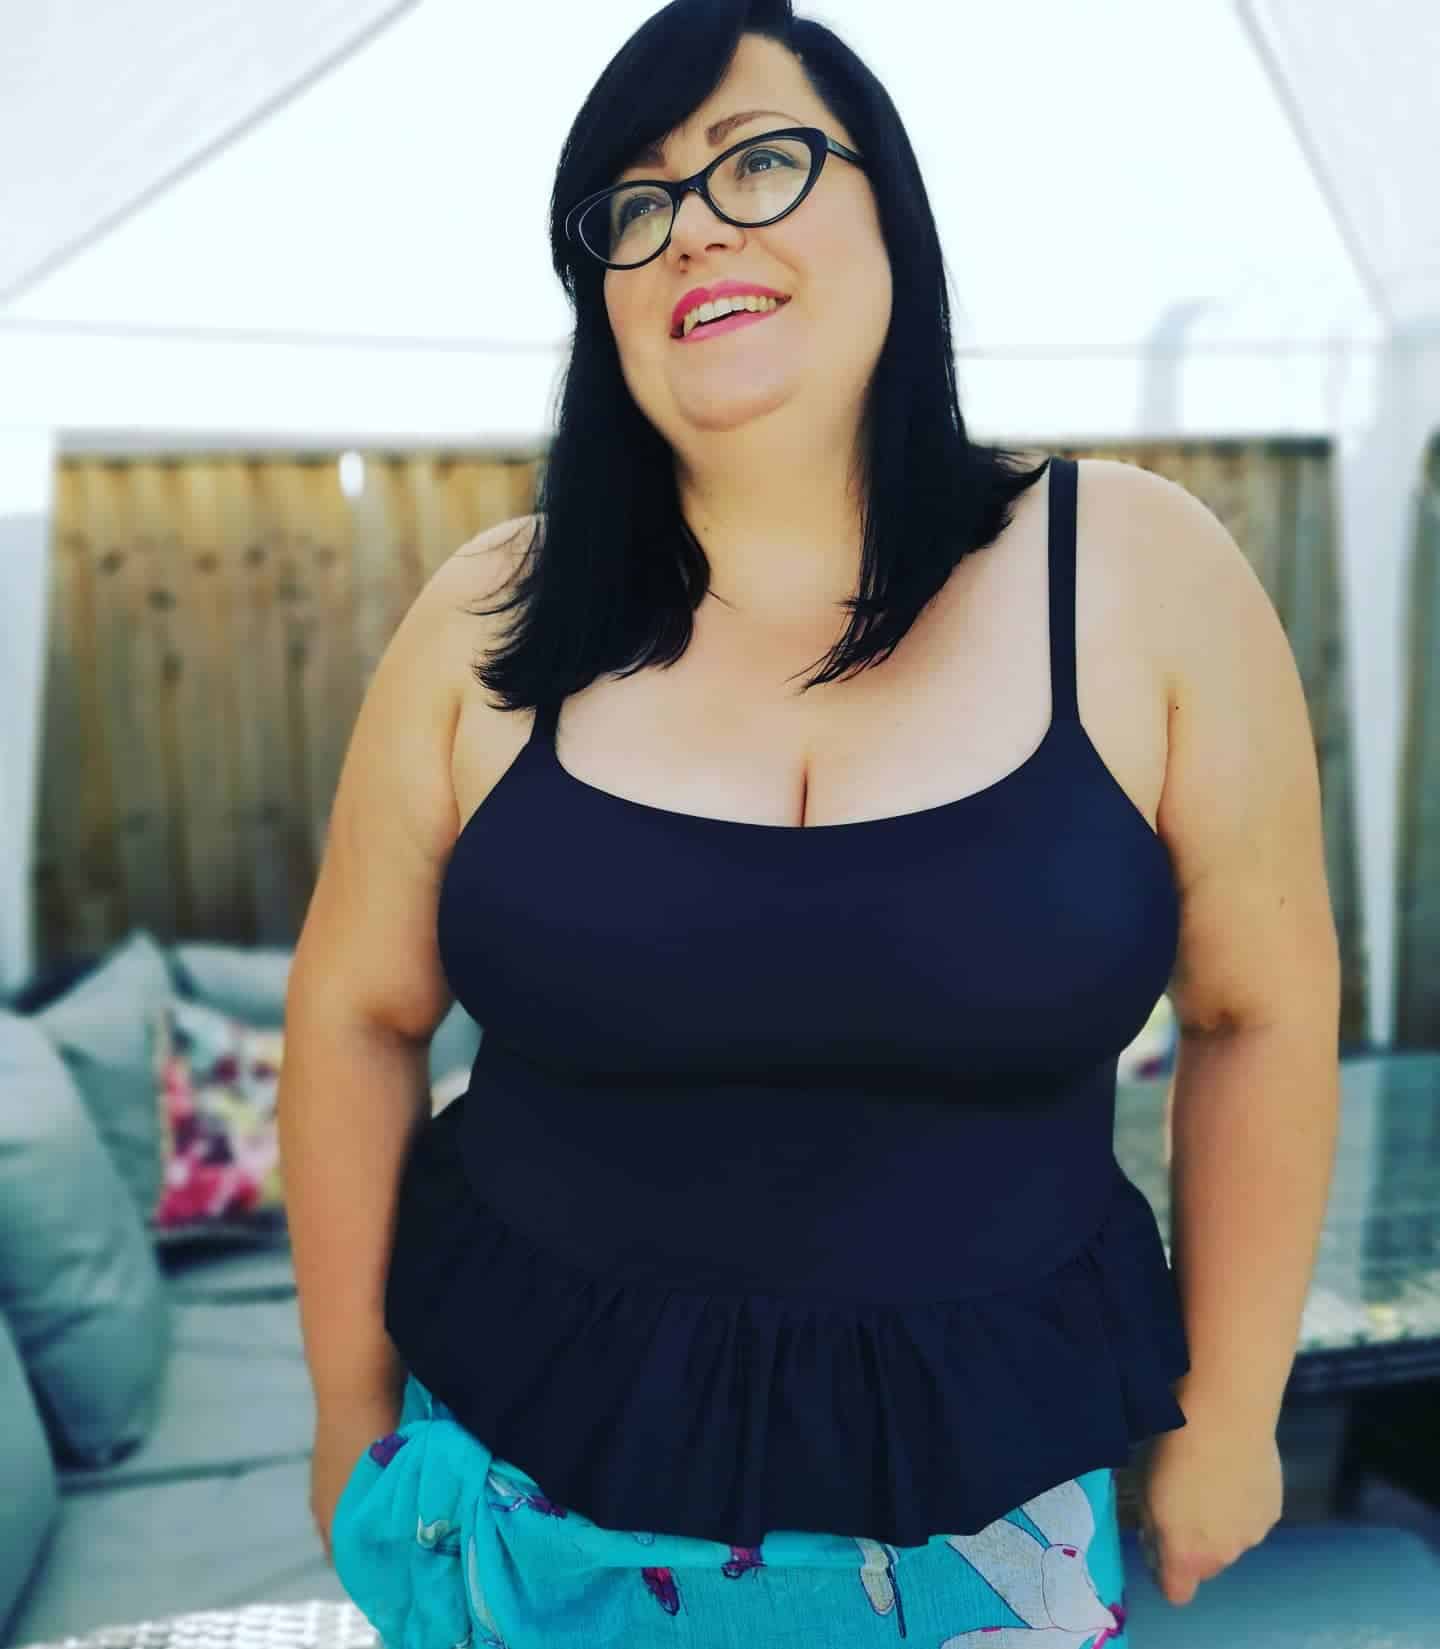
Sunflower Swim Top
I used several different widths of swim elastic in this Sunflower Swim Top to get the best fit for me, including 3/8″, 1/2″ and 1″.
Picot Elastic
Picot Elastic is often thought of as a lingerie elastic, and it’s great for that but I think it’s also really pretty when used to finish the neckline and sleeves of a dress, where you just see the little picots popping out from the inside.
Me Hearties Dress
I used picot to finish the neckline and sleeves of this Trixie Lulamoon dress I made for my daughter’s birthday using the Me Hearties Dress pattern. I just serged it on right sides together, flipped it down to the inside and then top stitched it with a triple zig zag stitch. This is my favourite stitch for top stitching elastic because it is a really great stretchy stitch but it is also quite a wide stitch and that helps stop the elastic from flipping up.
Fold Over Elastic
You will often see Fold Over Elastic being abbreviated to FOE in sewing groups, but as you would imagine from its name you fold it over the raw edge of the fabric and top stitch in place. You can either use your coverstitch if you have one, or just sew with a triple zig zag stitch.
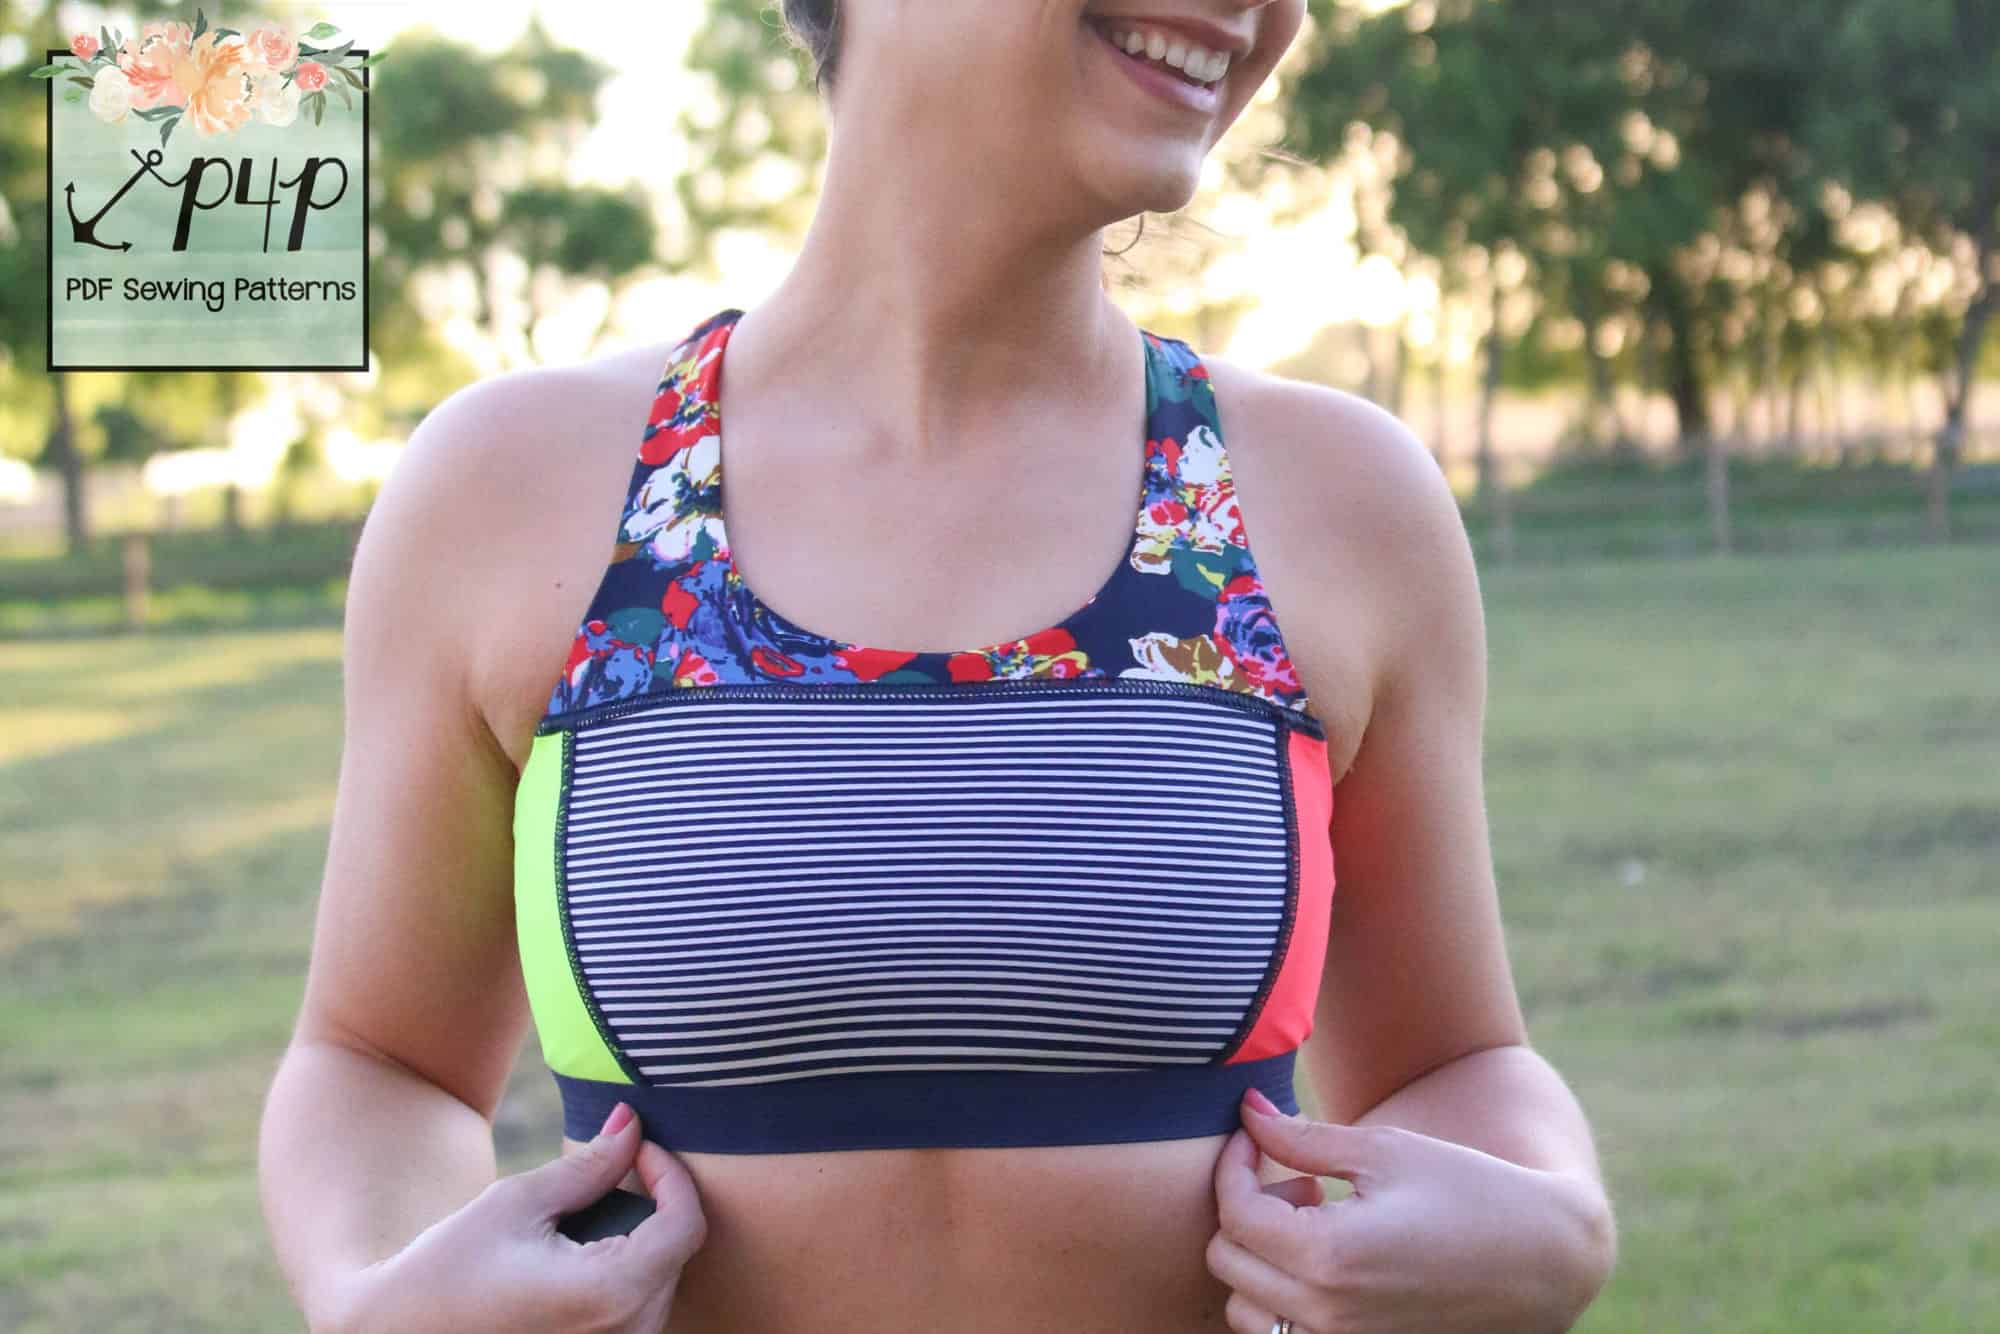
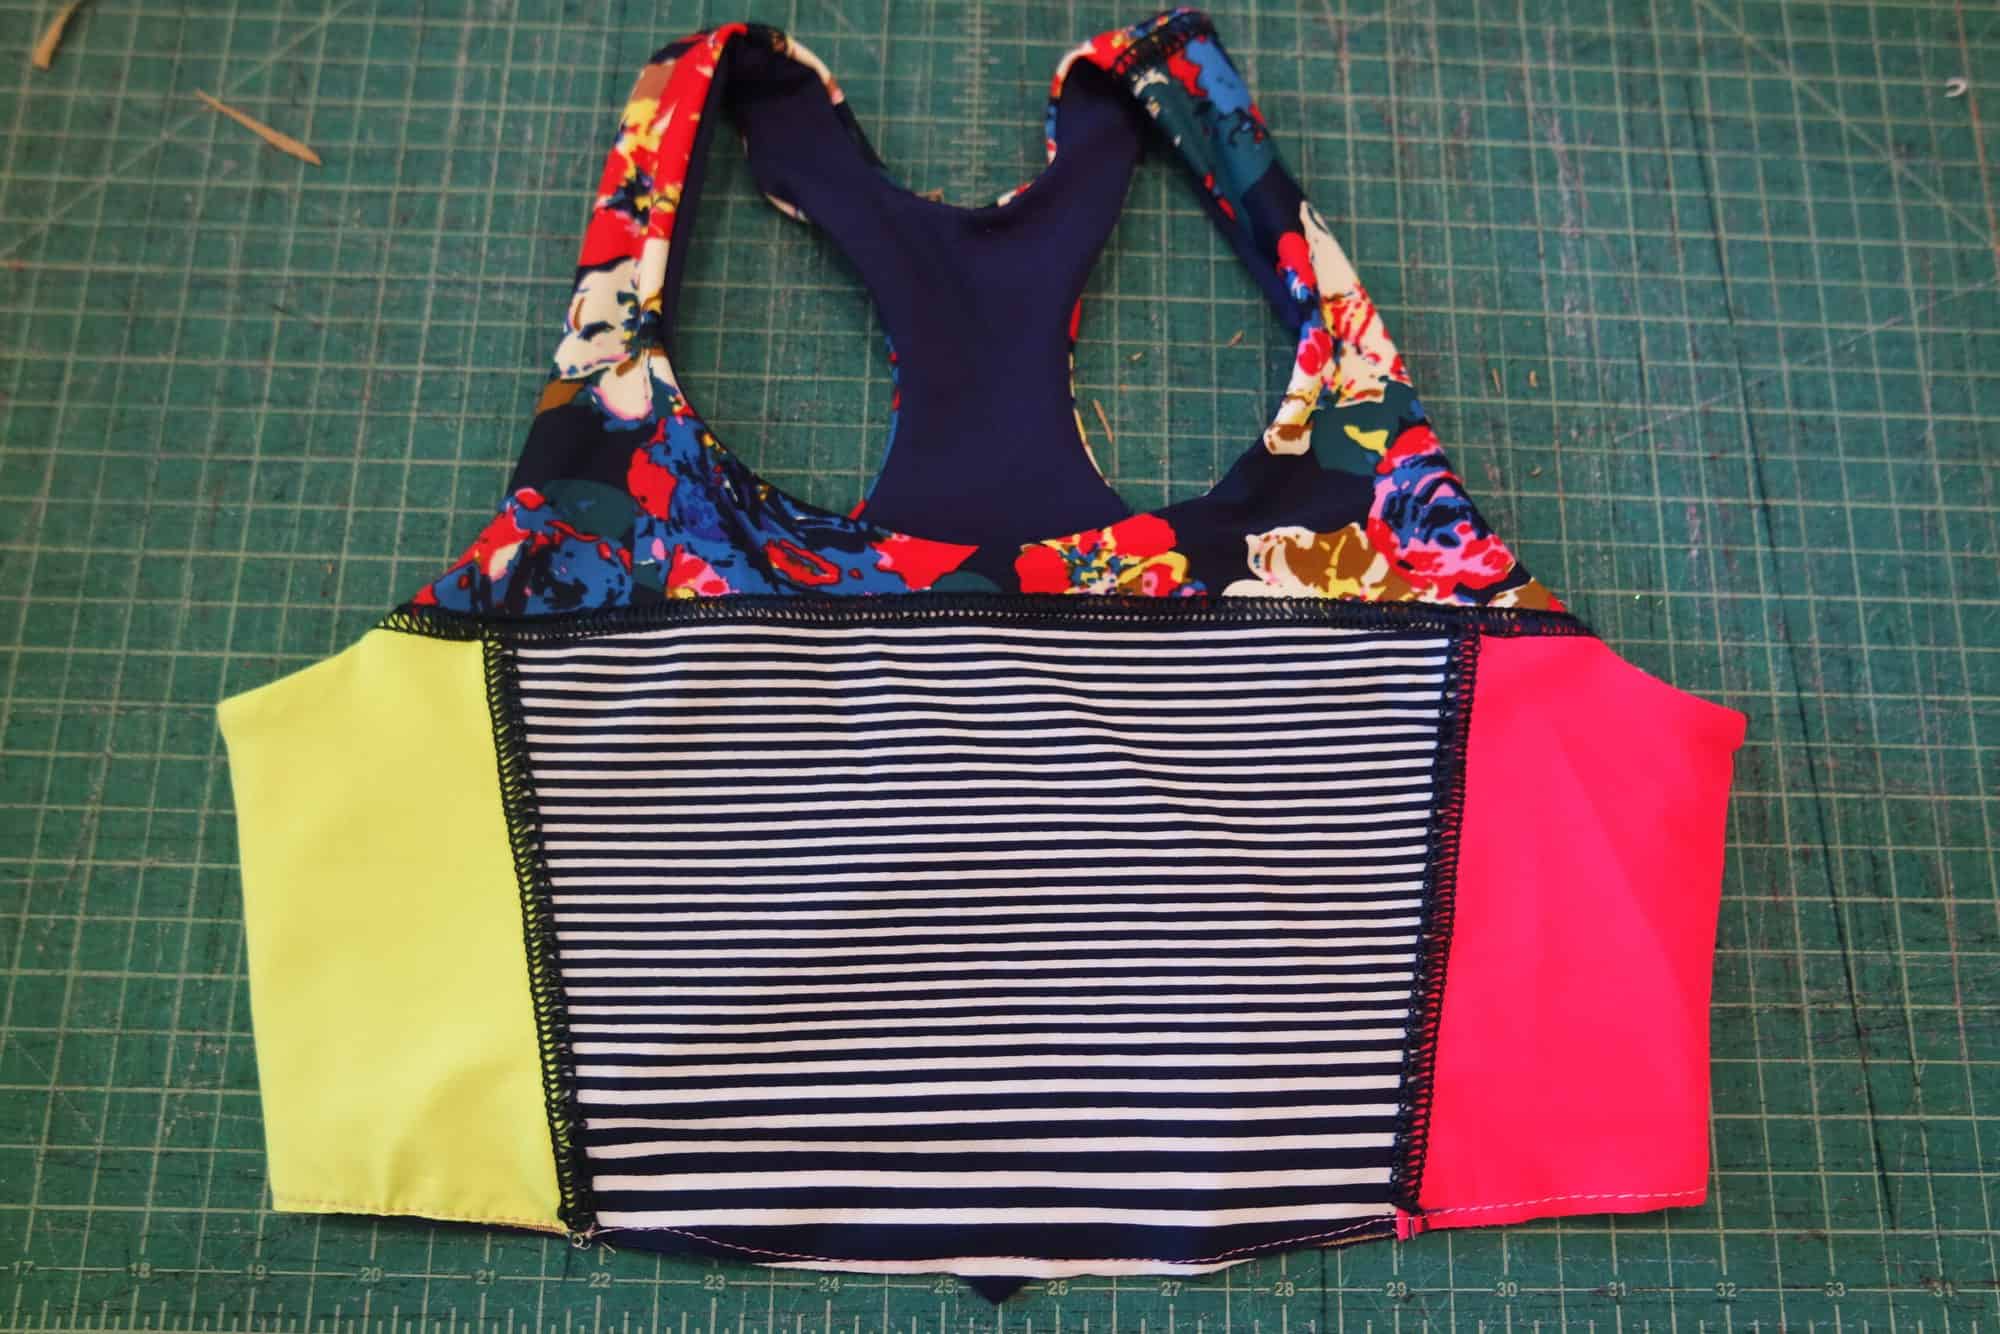
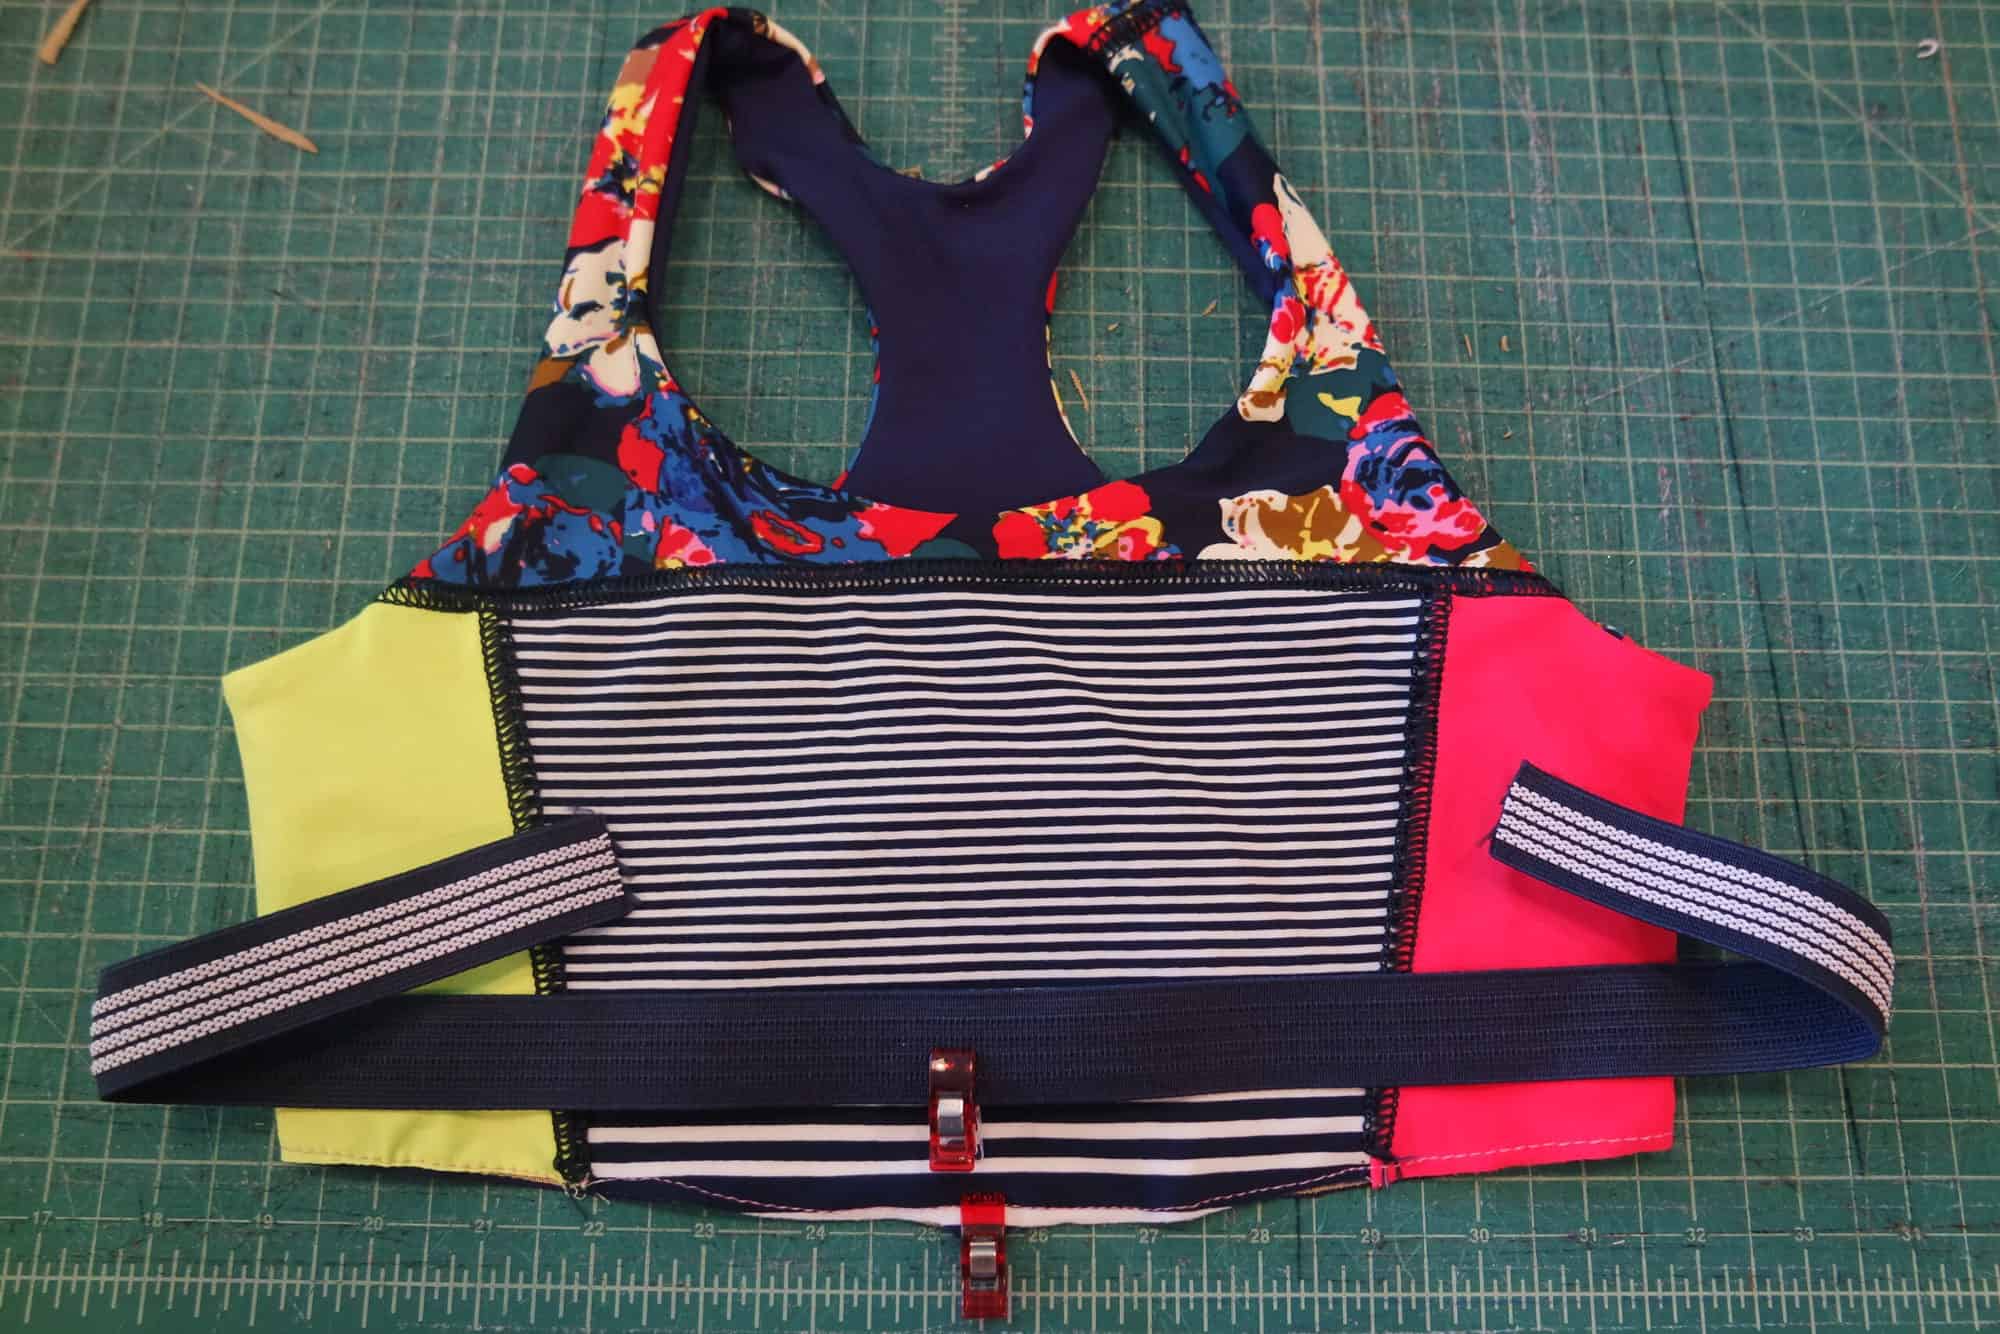
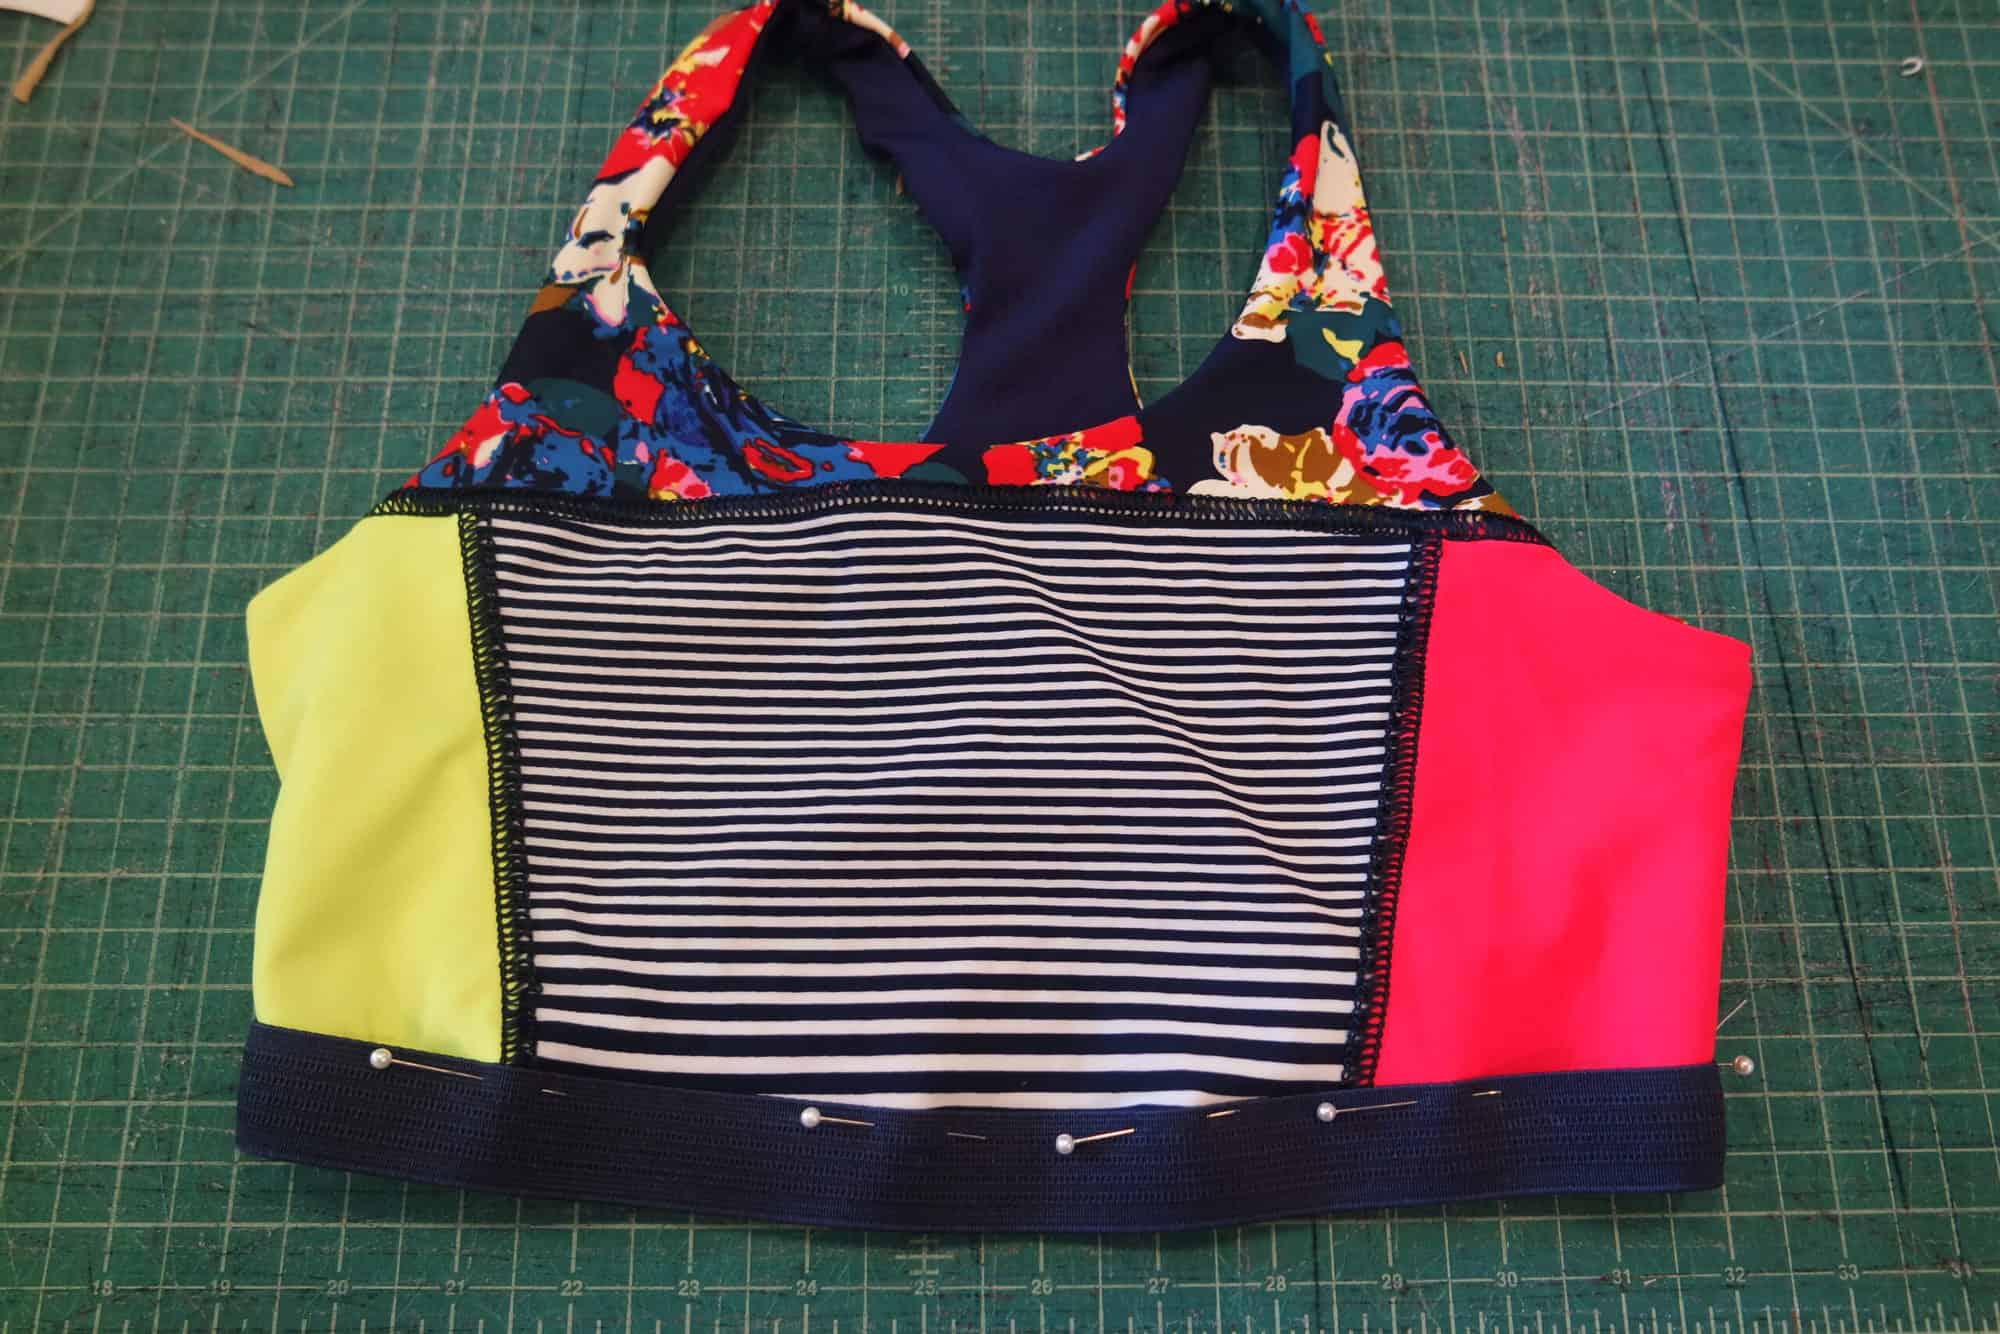
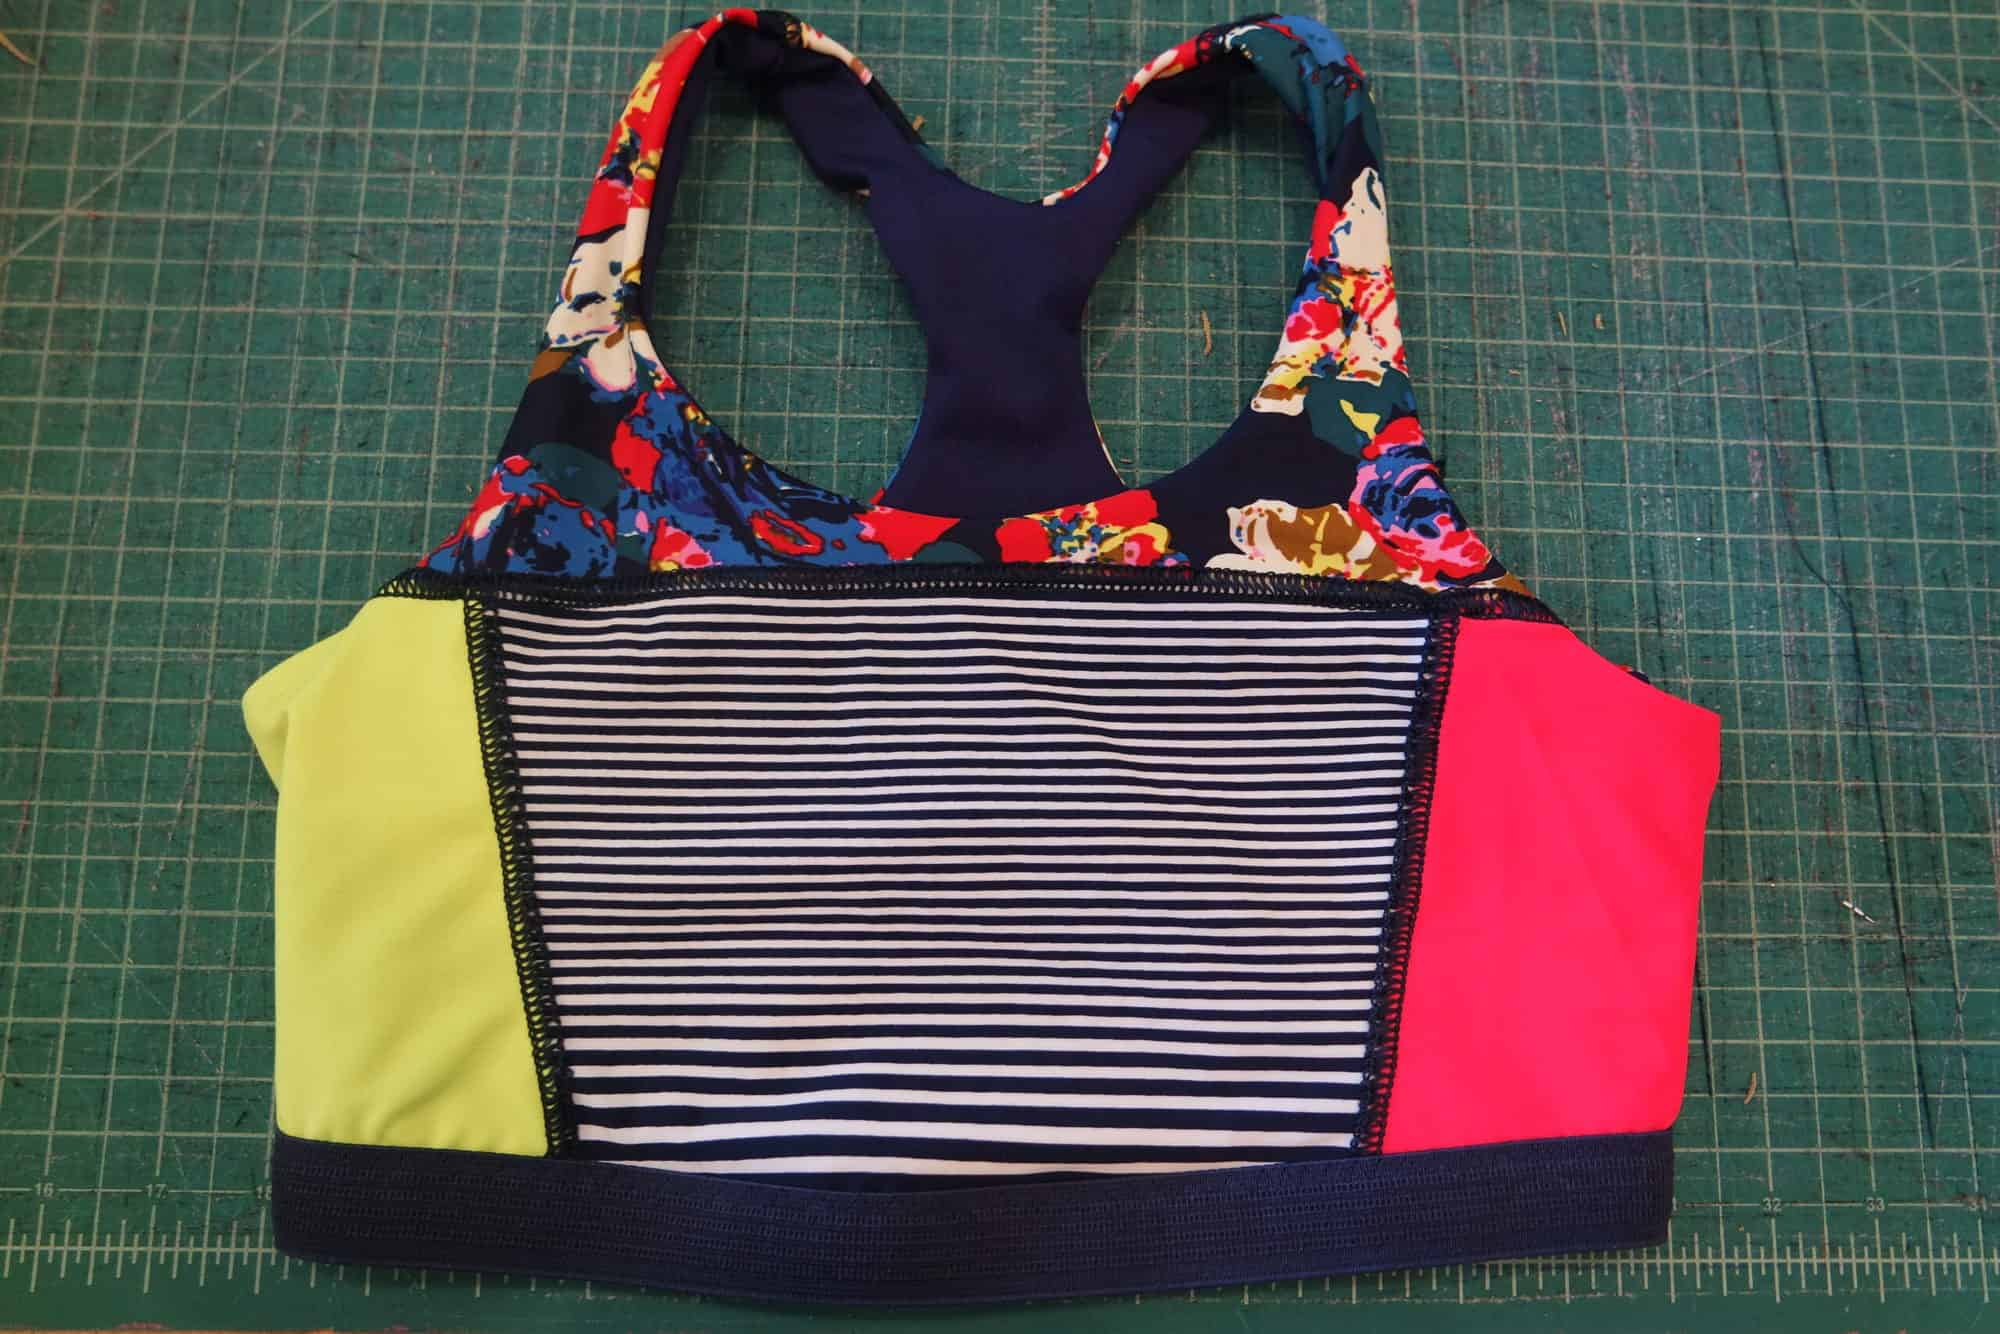
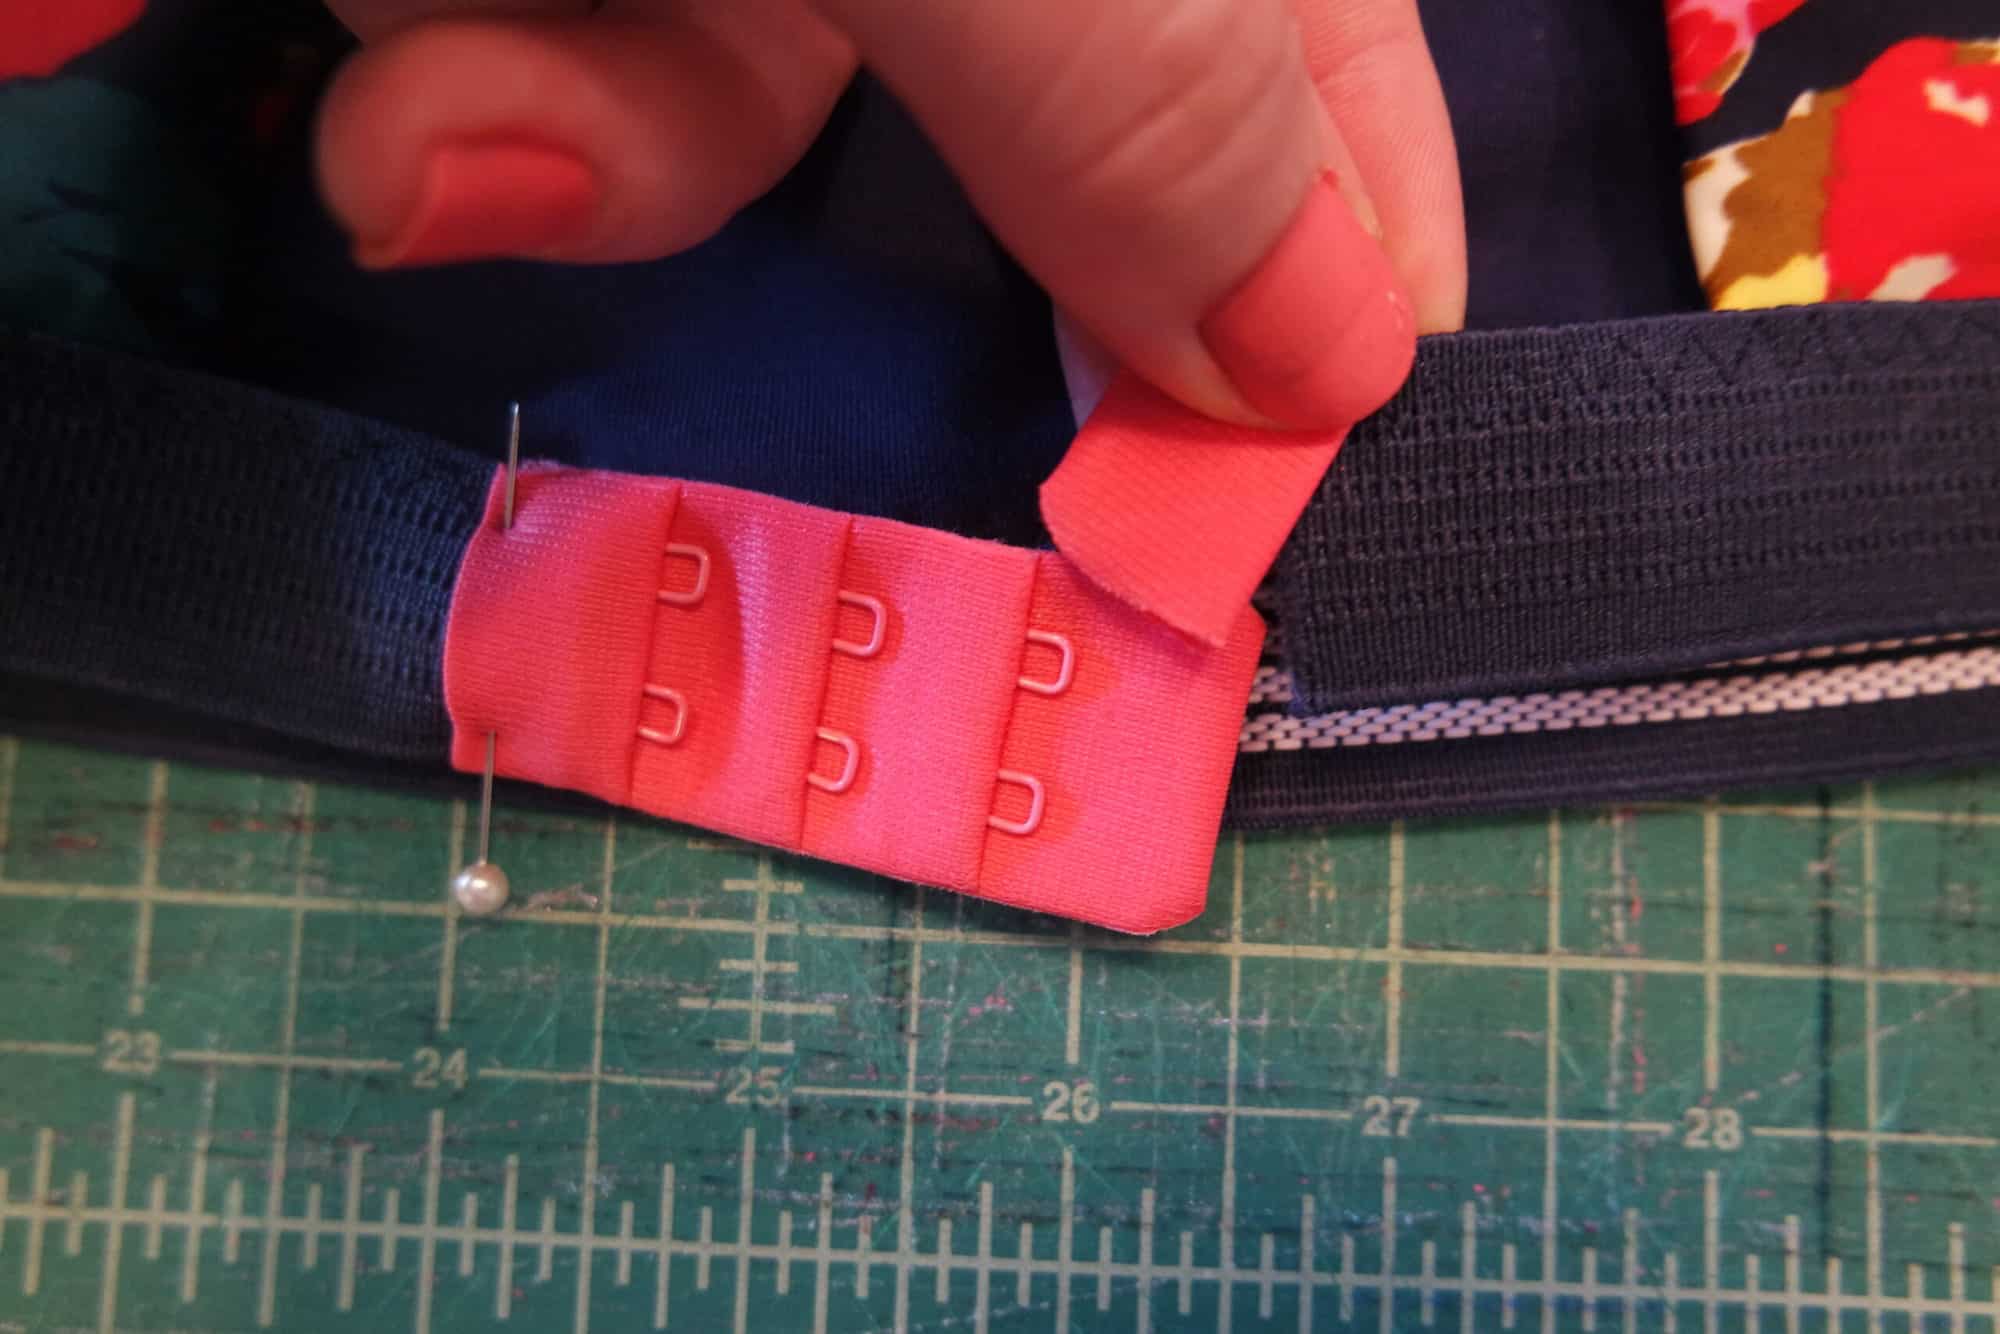
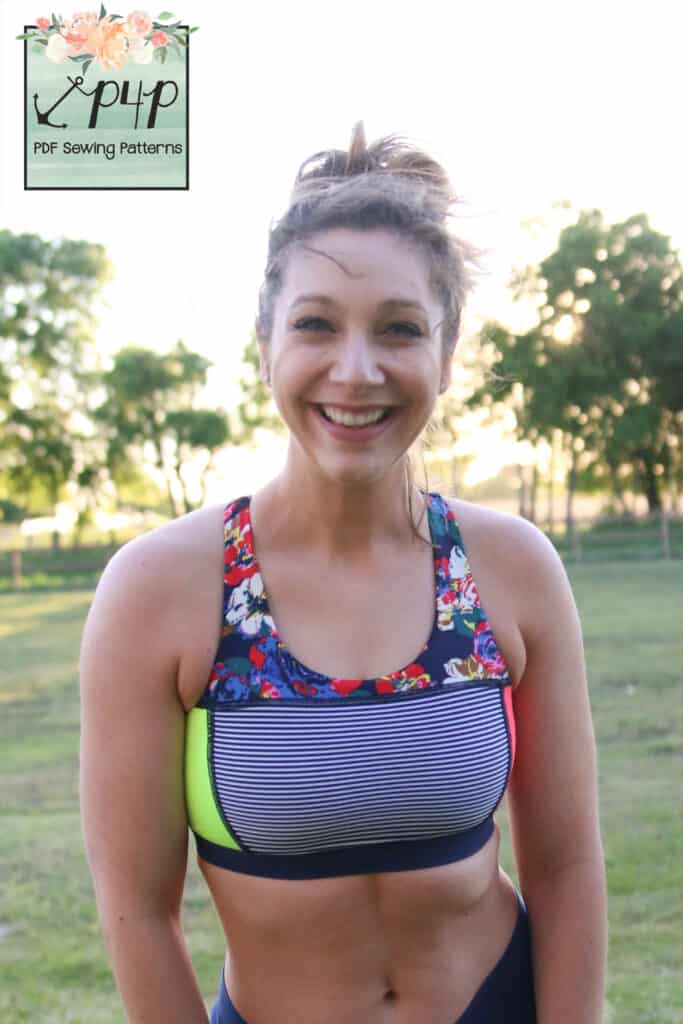
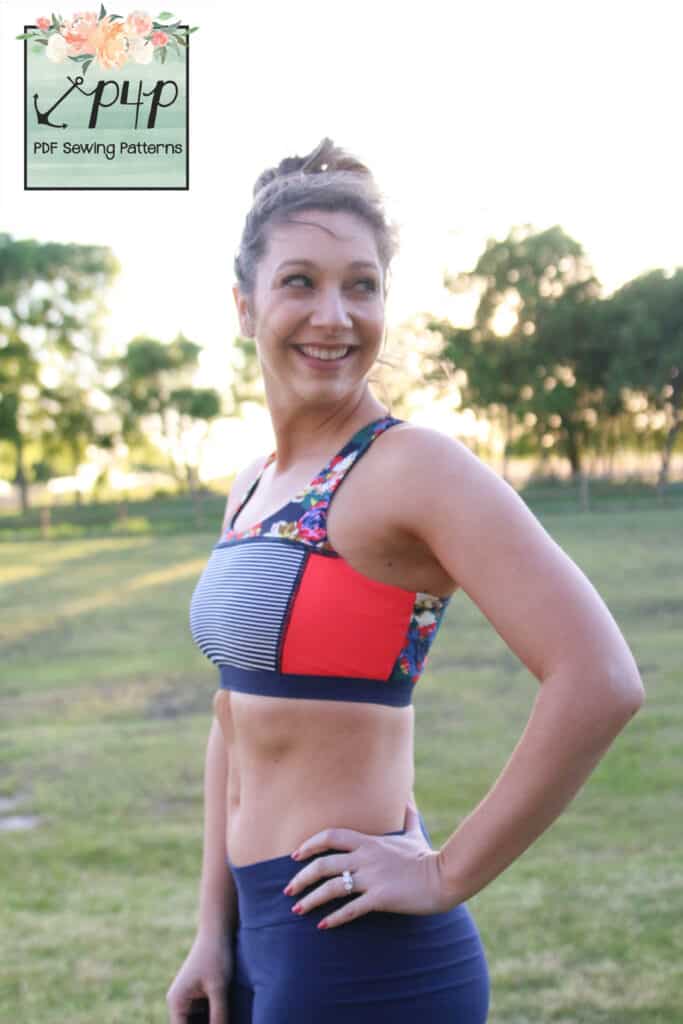
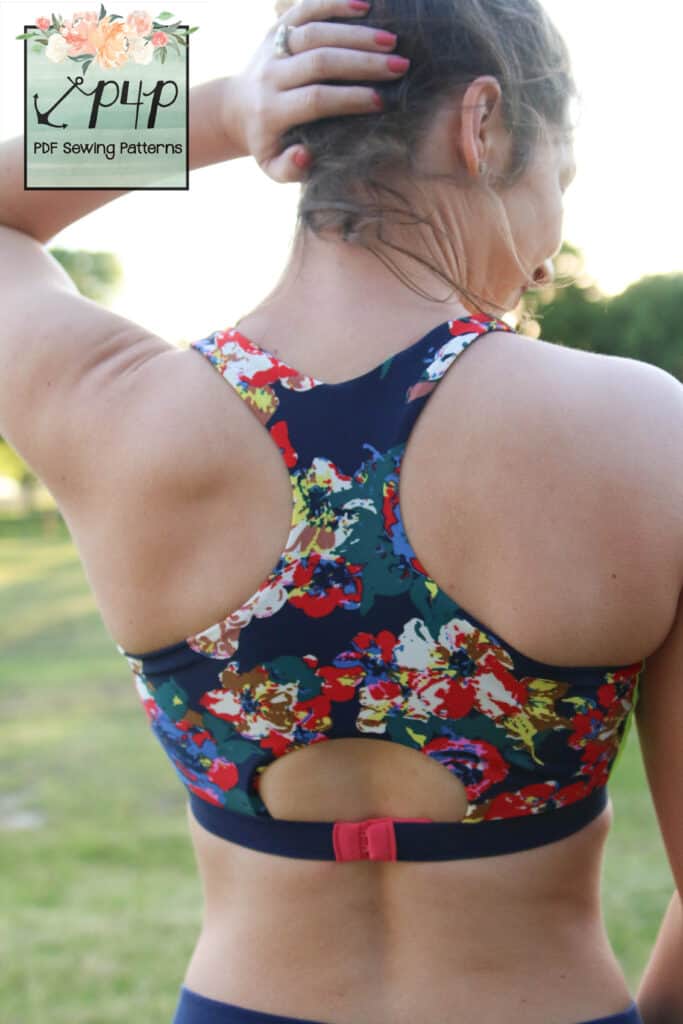
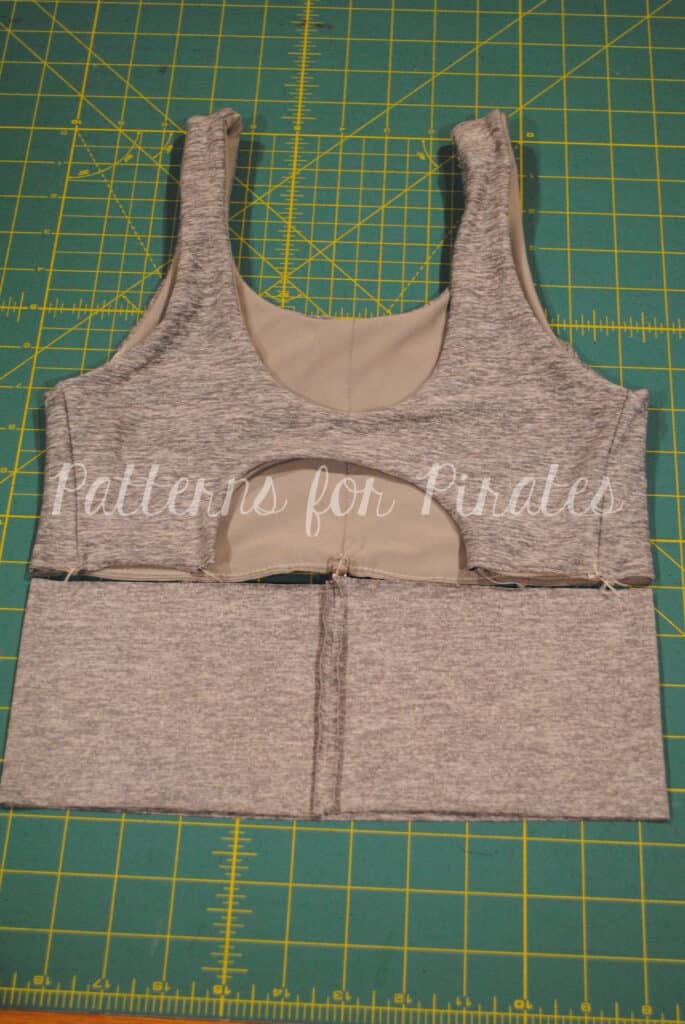
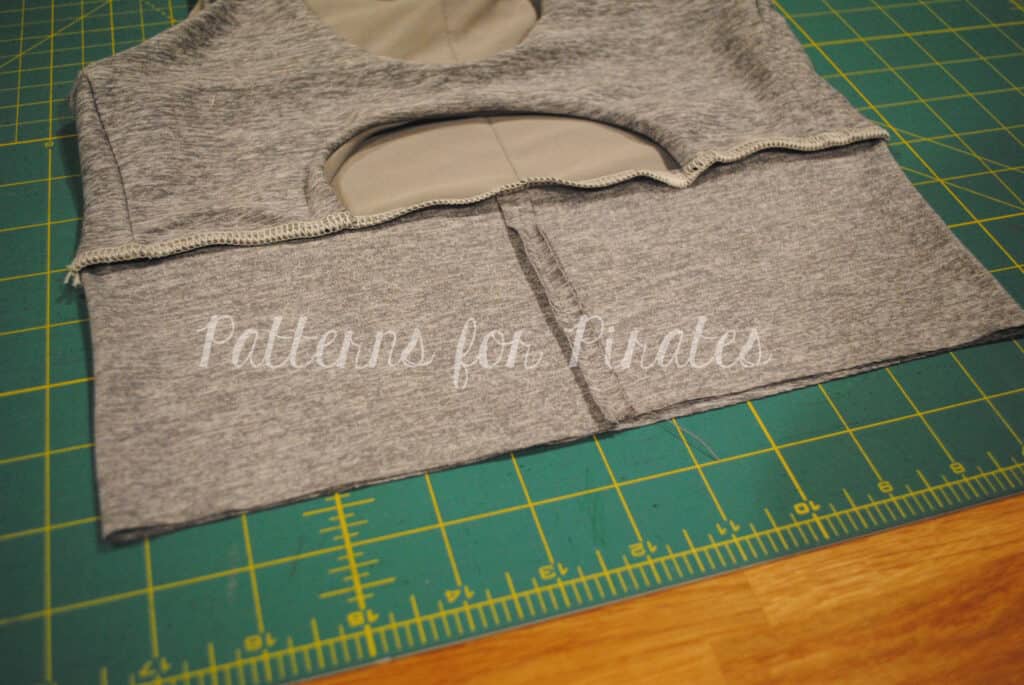
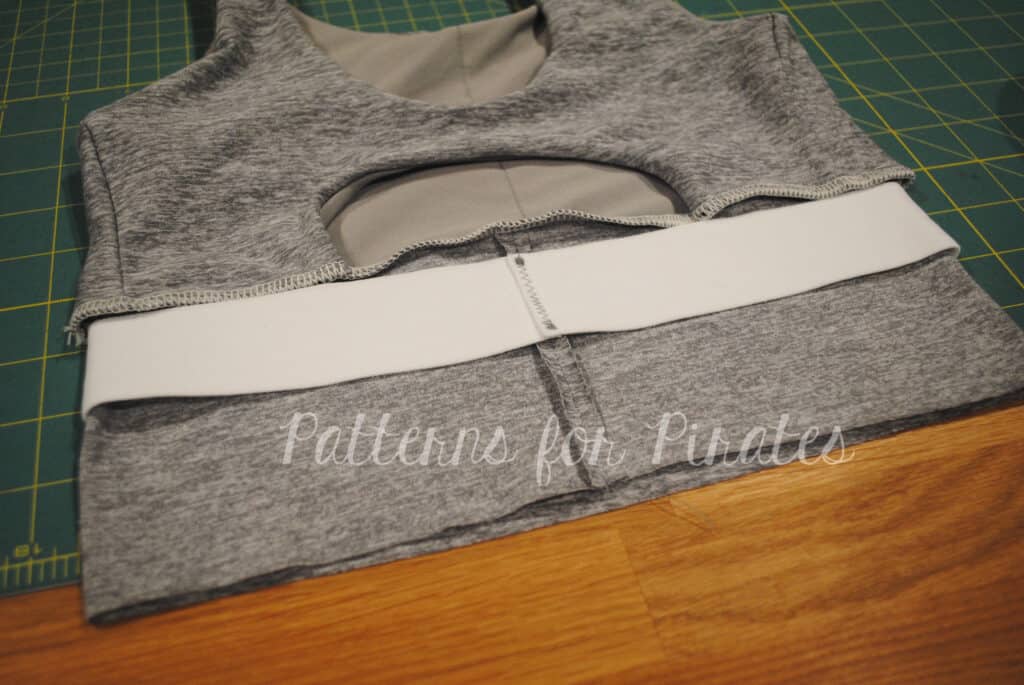
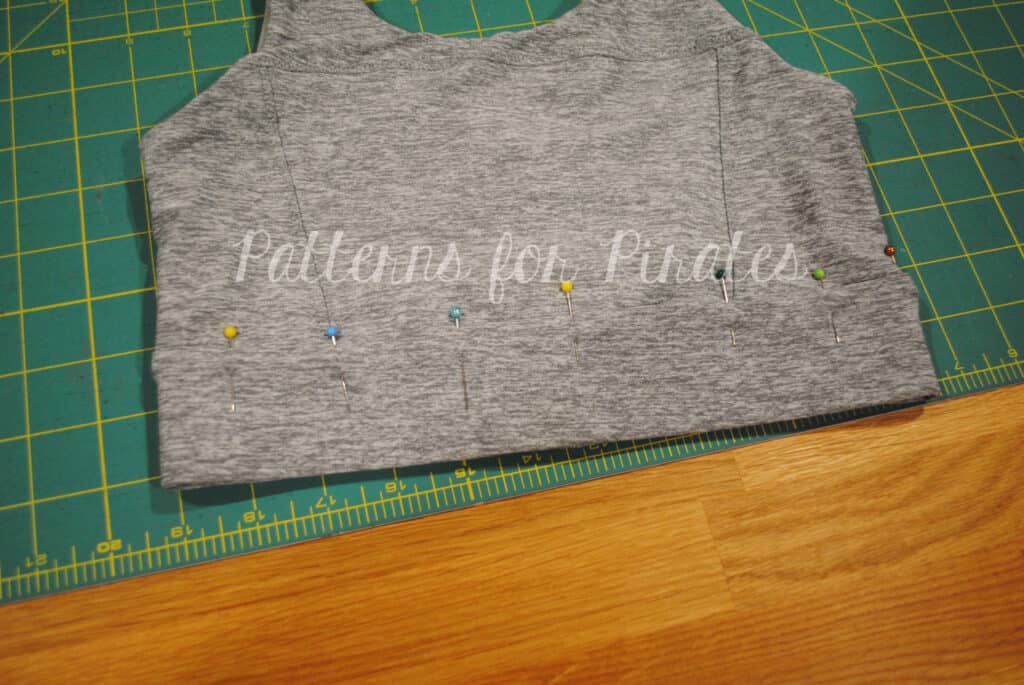
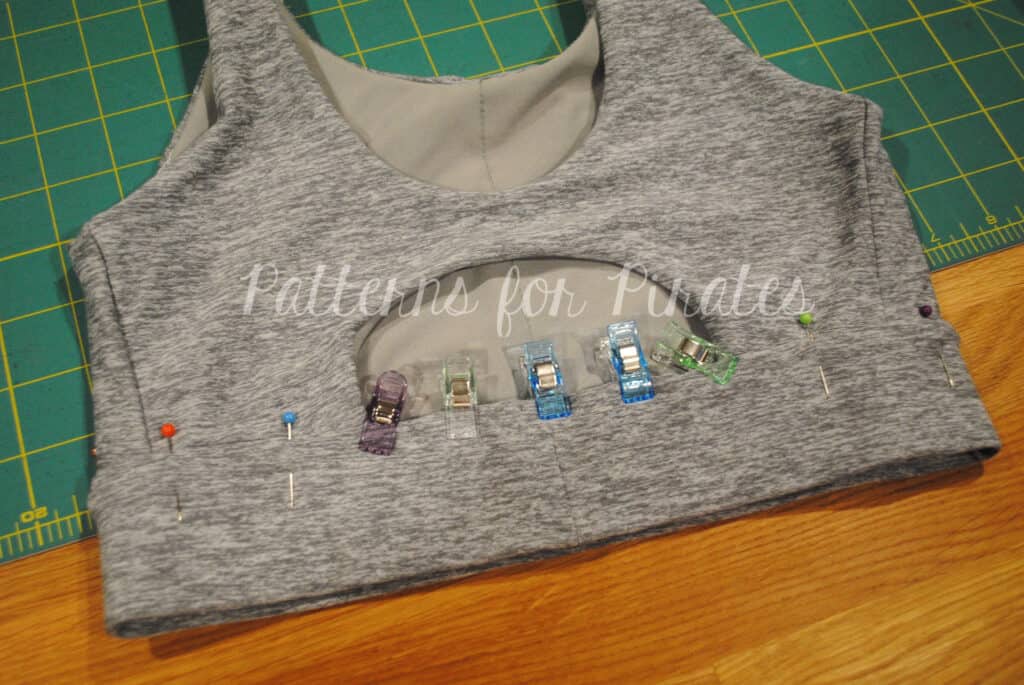
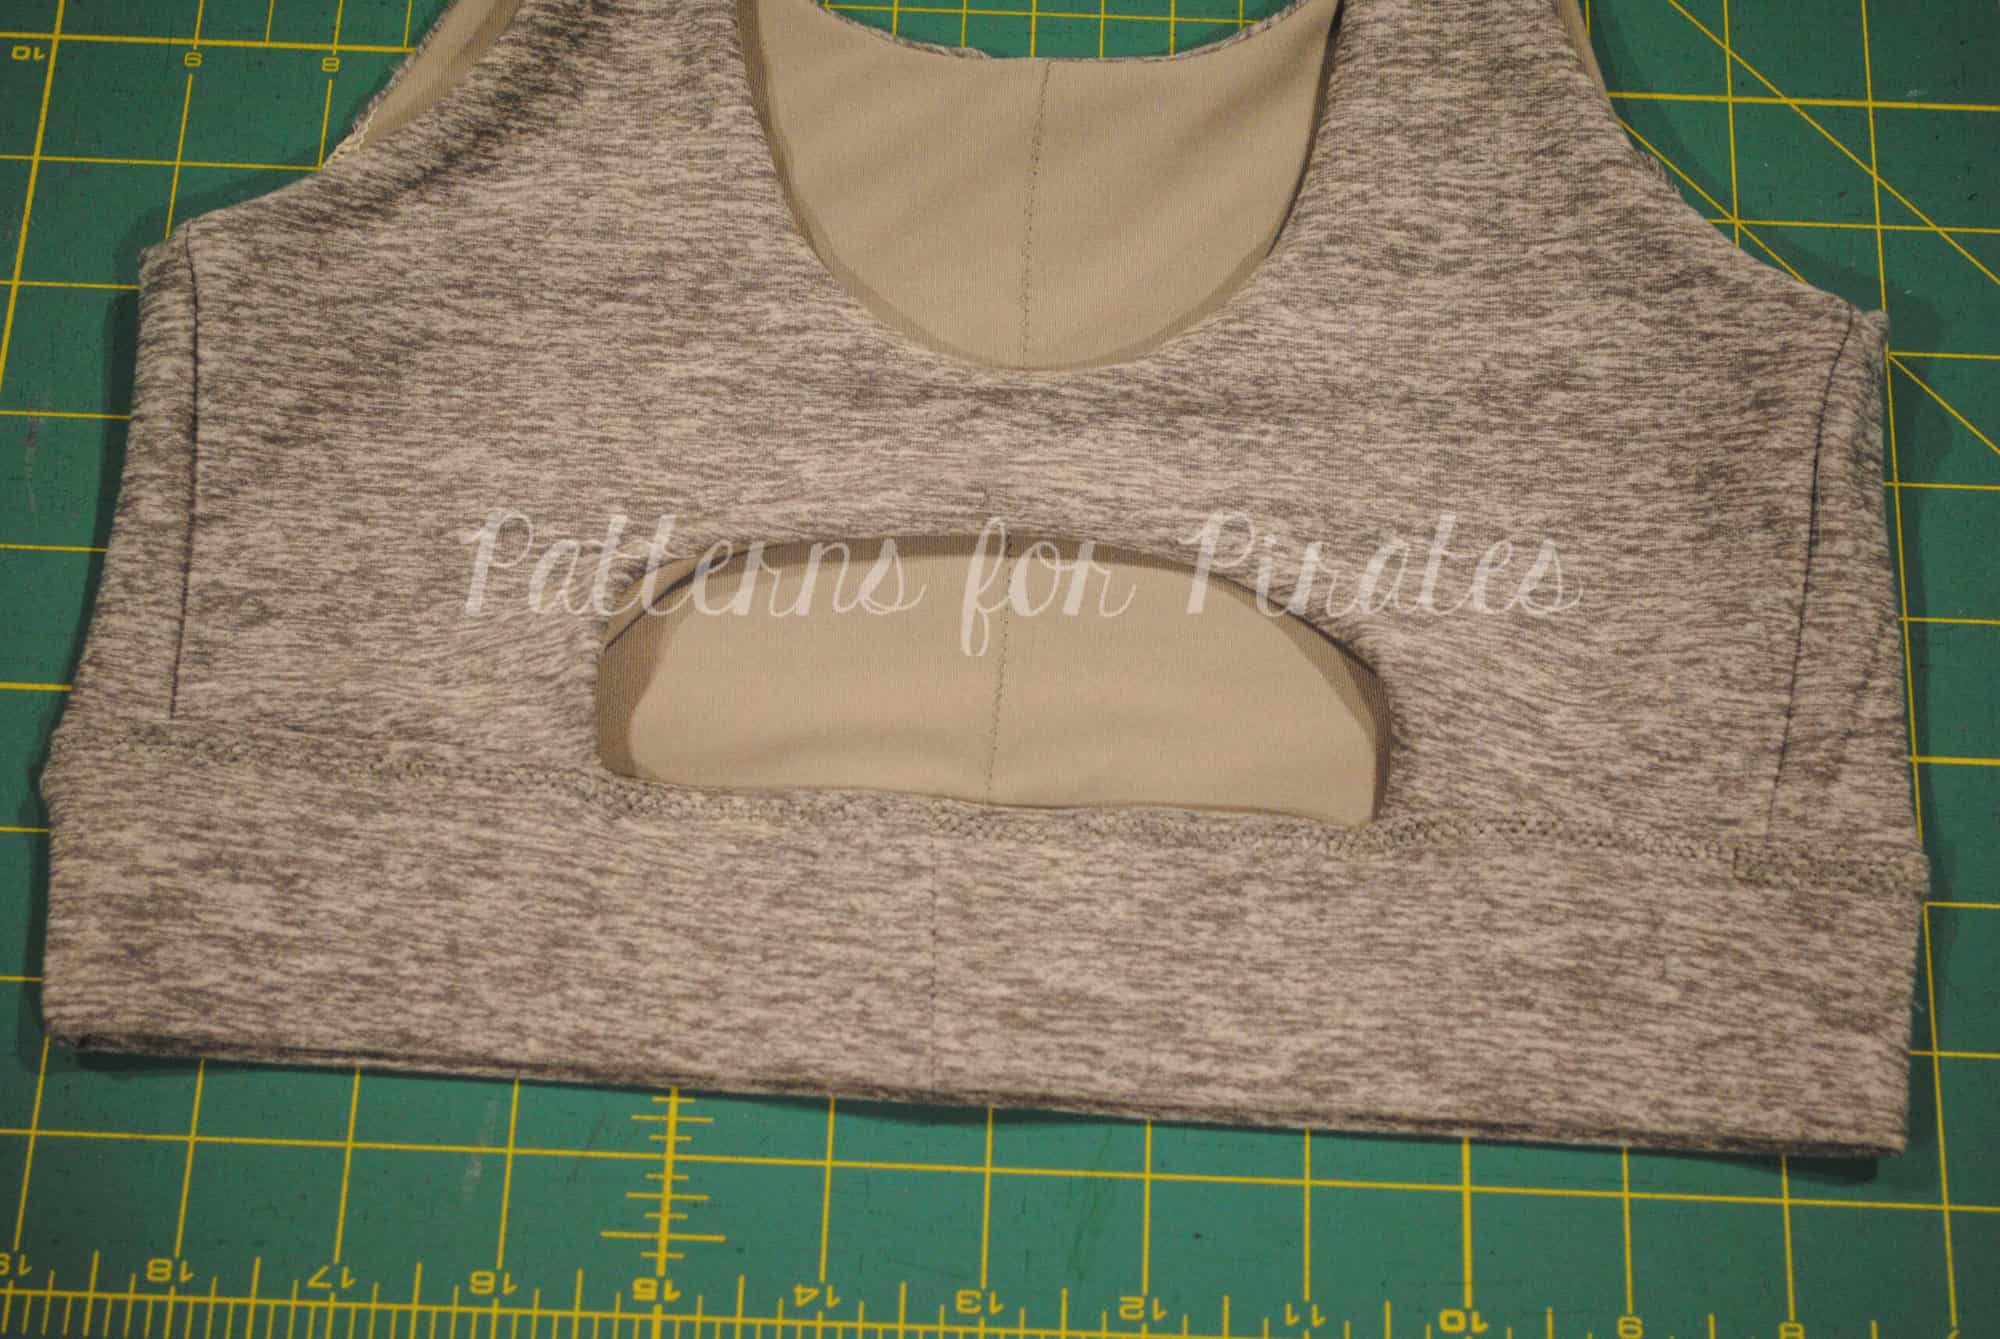
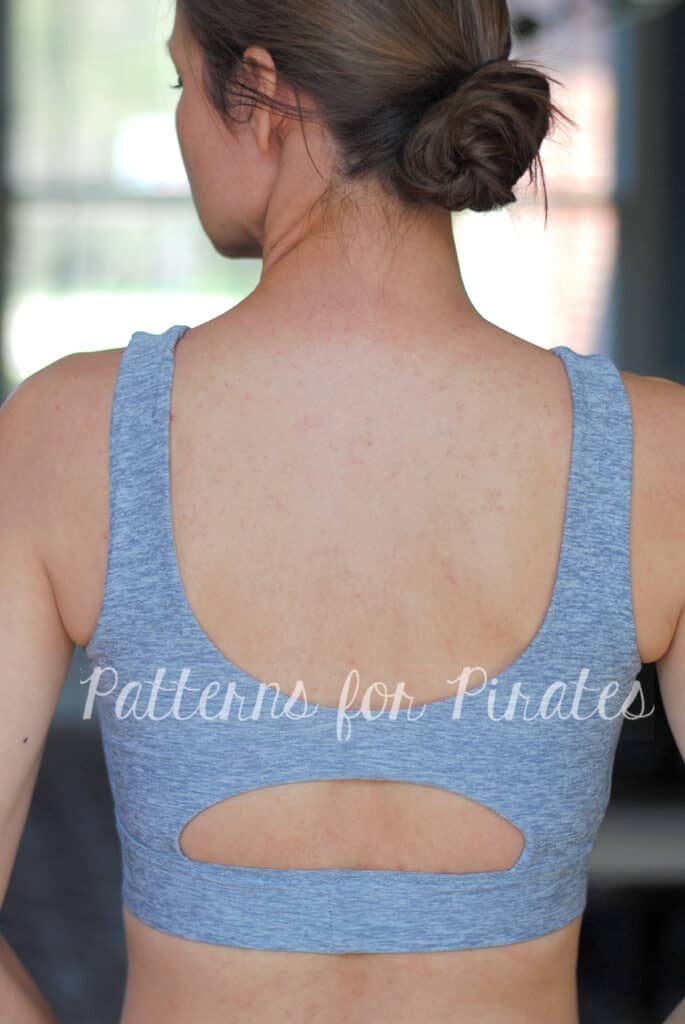
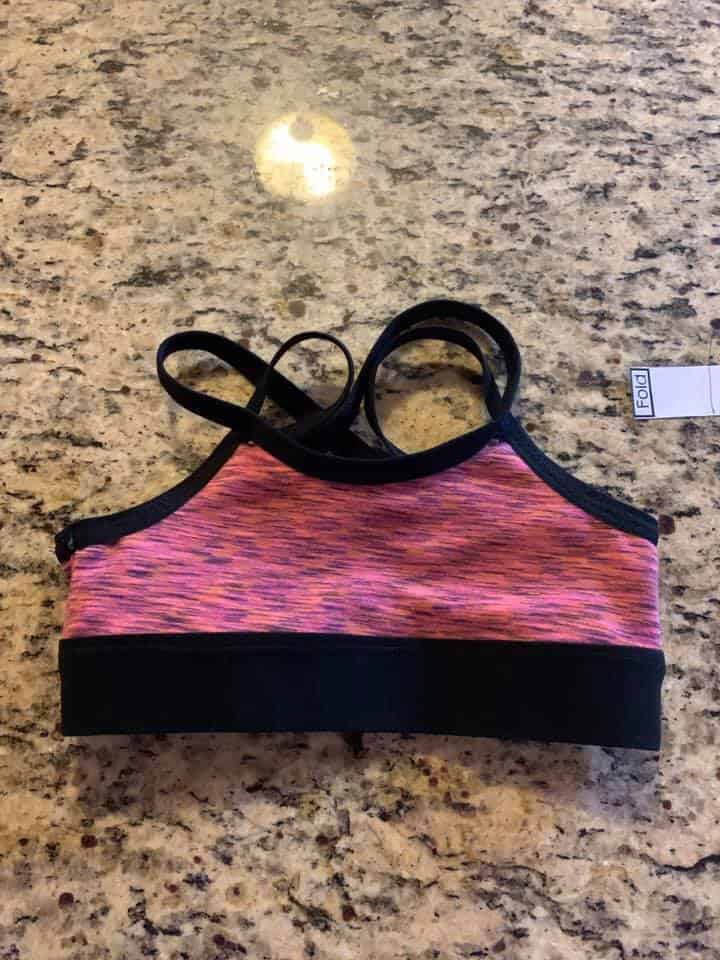
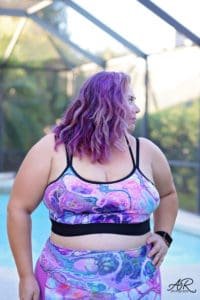
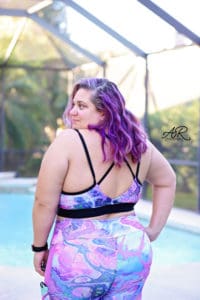
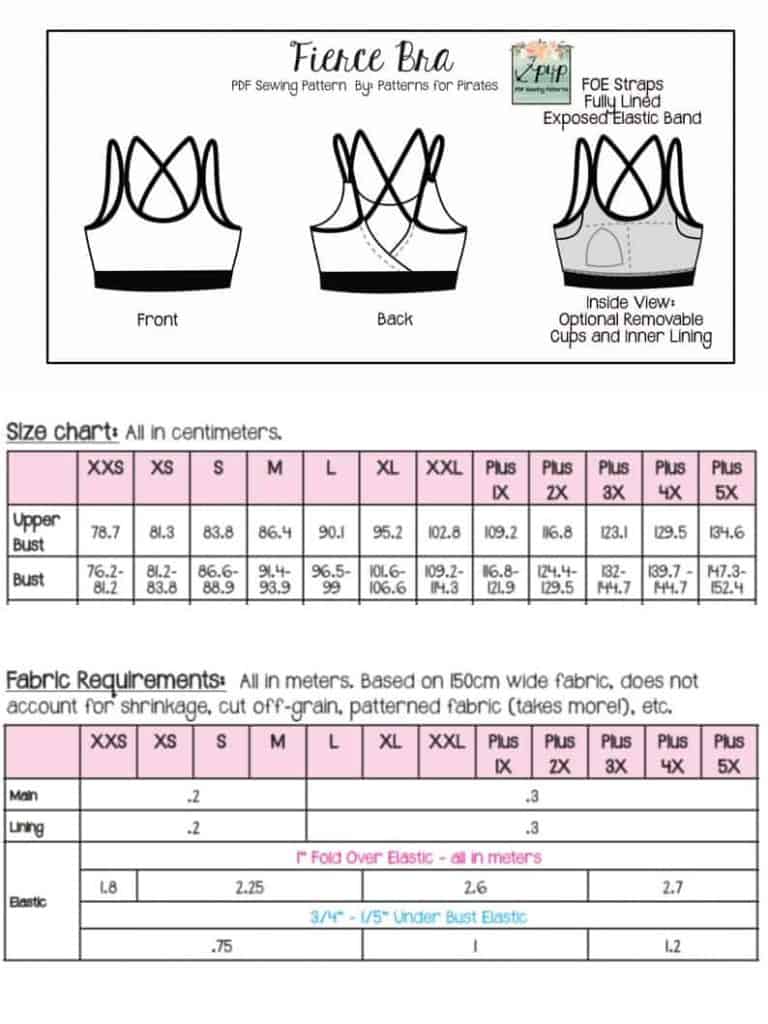
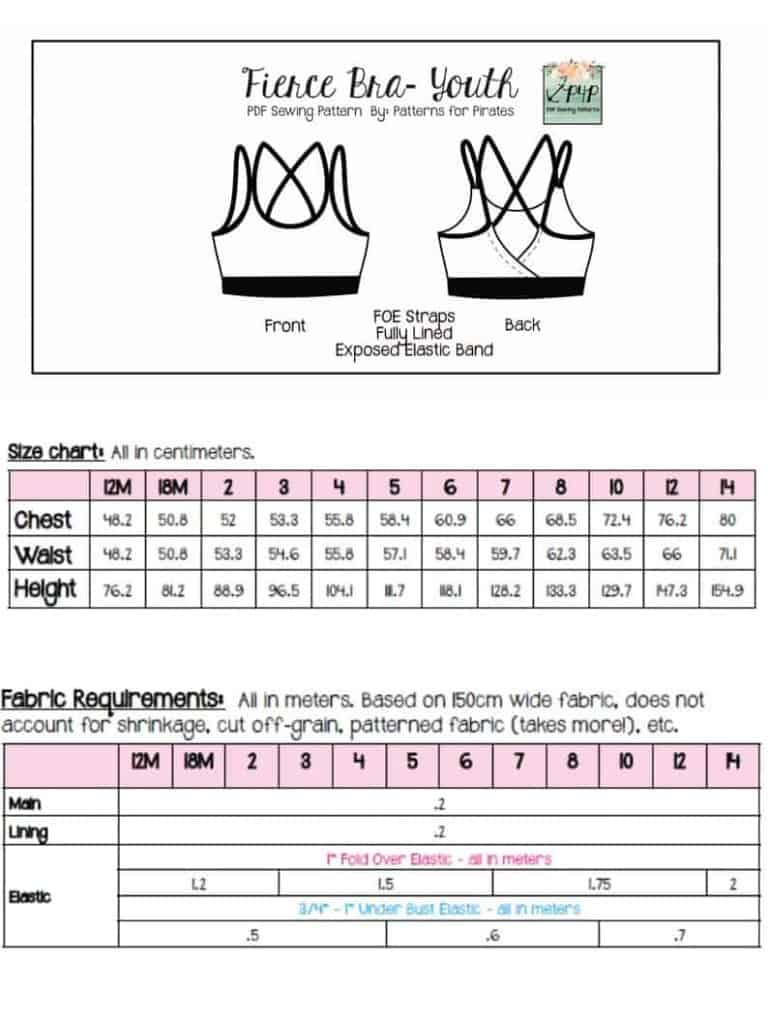
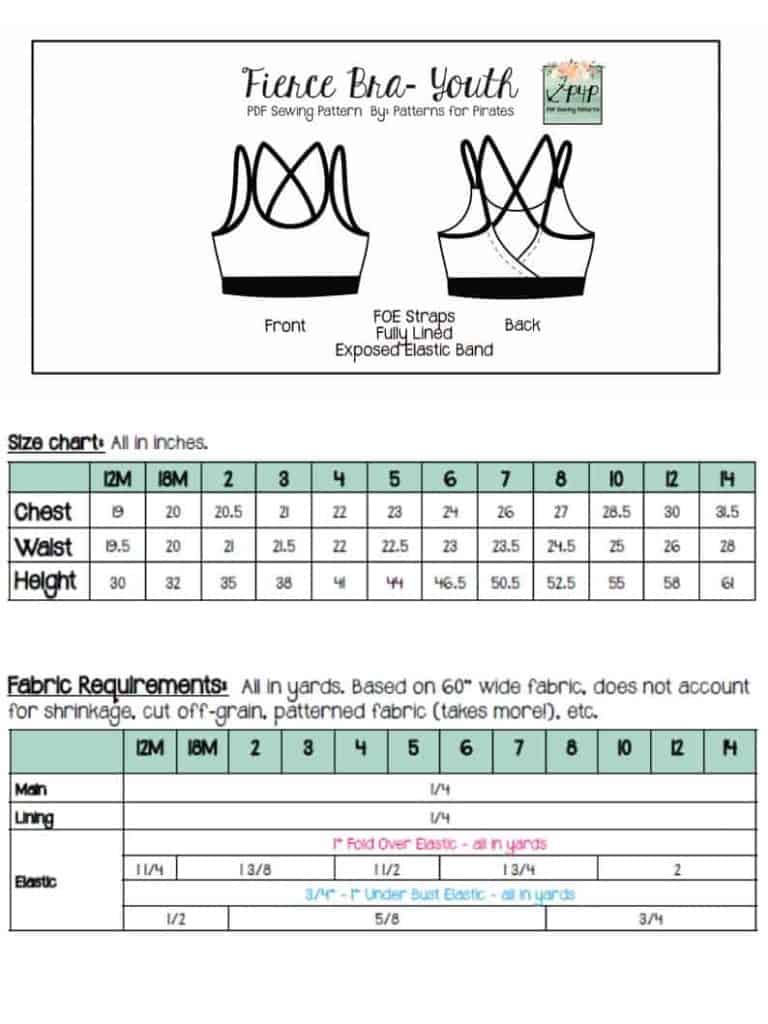
Fierce Bra and SOS Pants
It is used in the Fierce Bra to finish the top raw edge of the bra and also form the straps. It takes a bit of practise to get used to handling it at first but it a very useful tool to have in your arsenal!
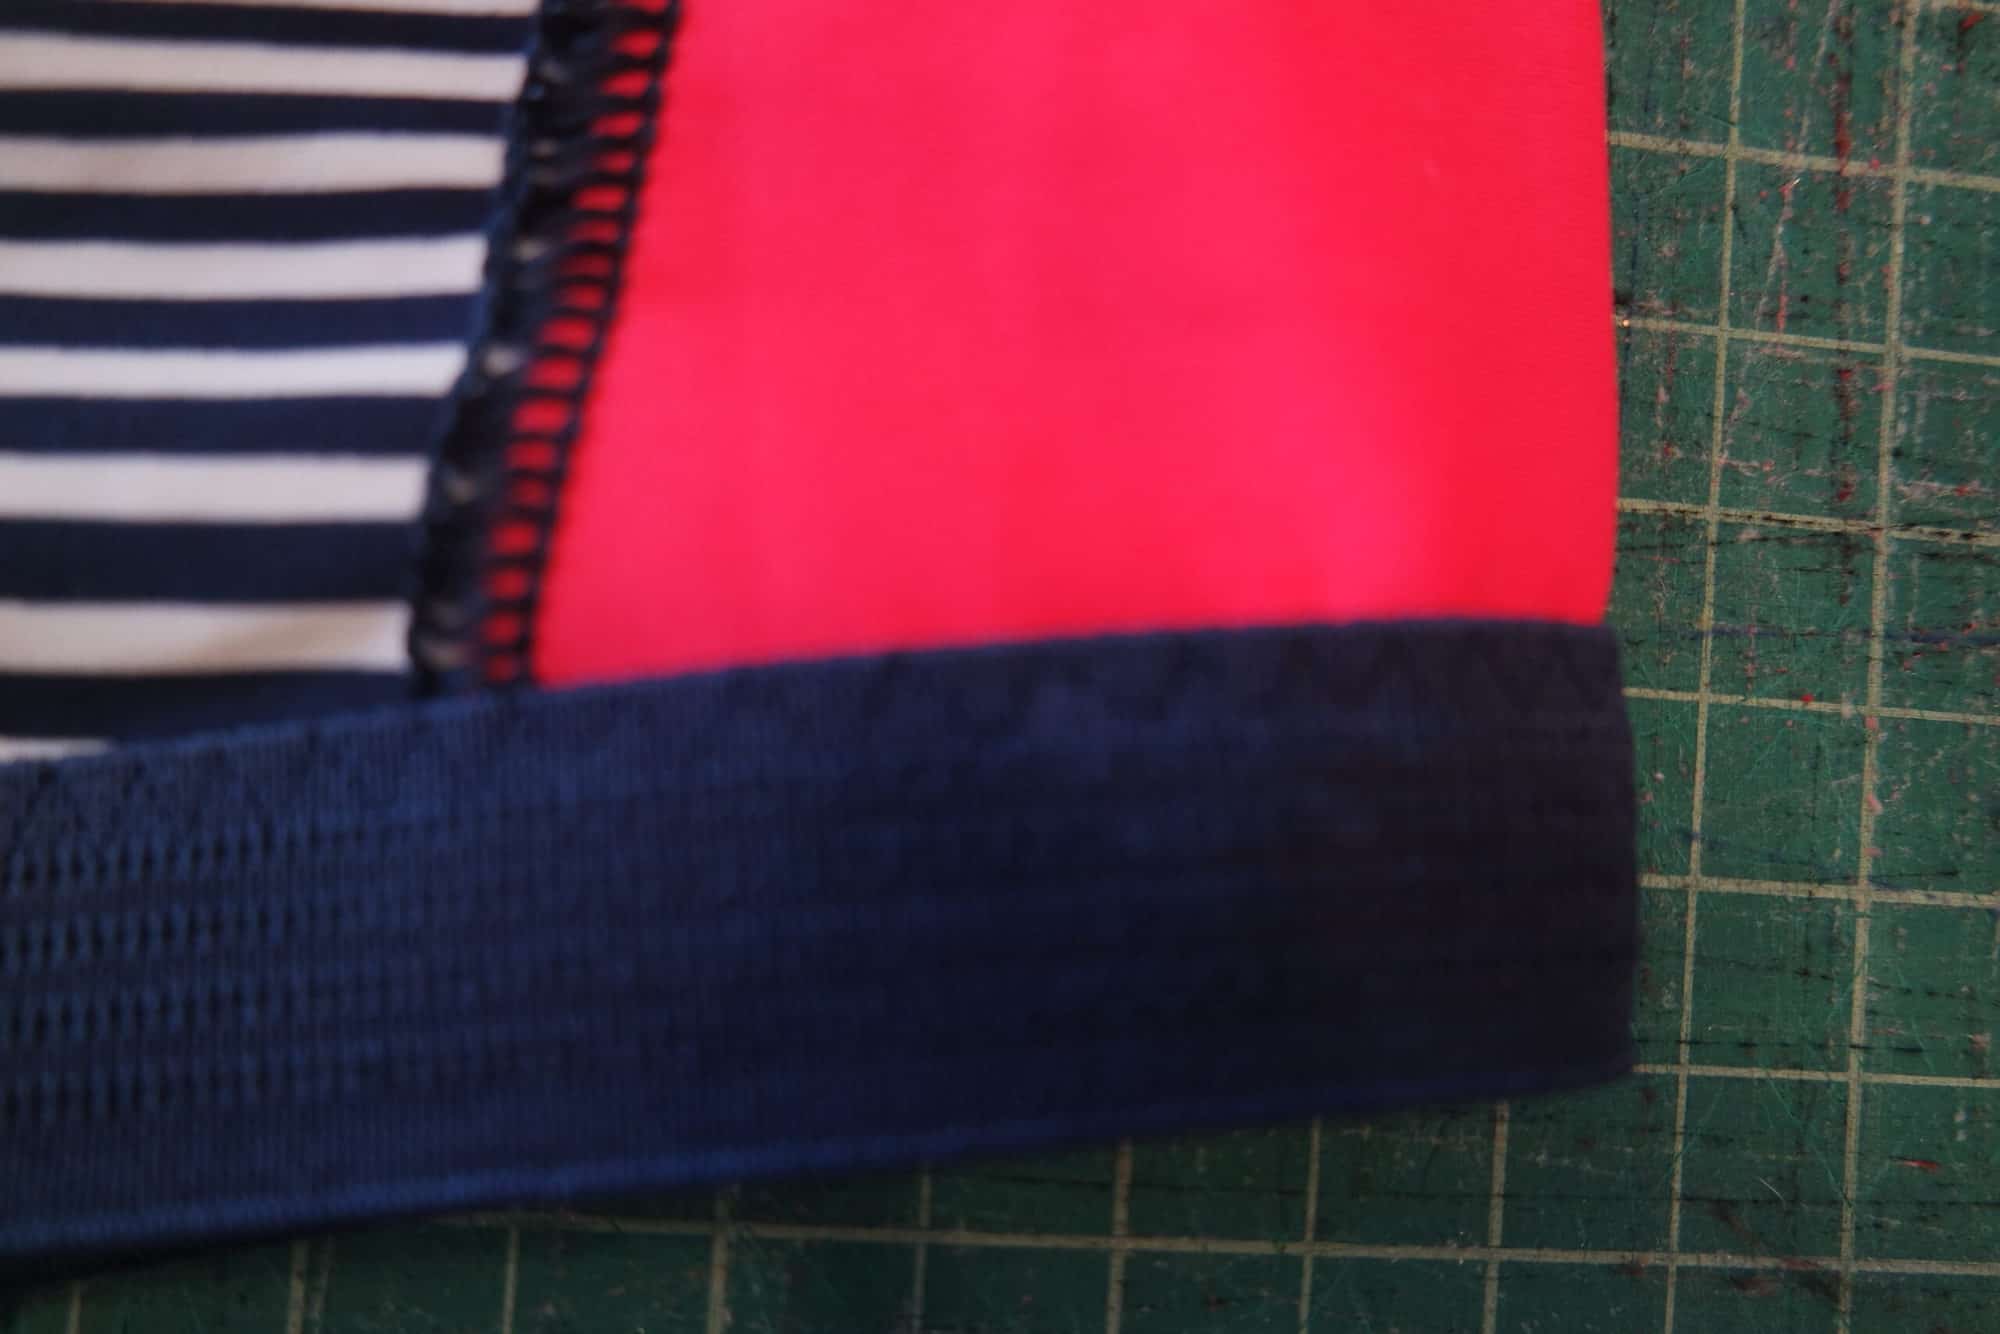
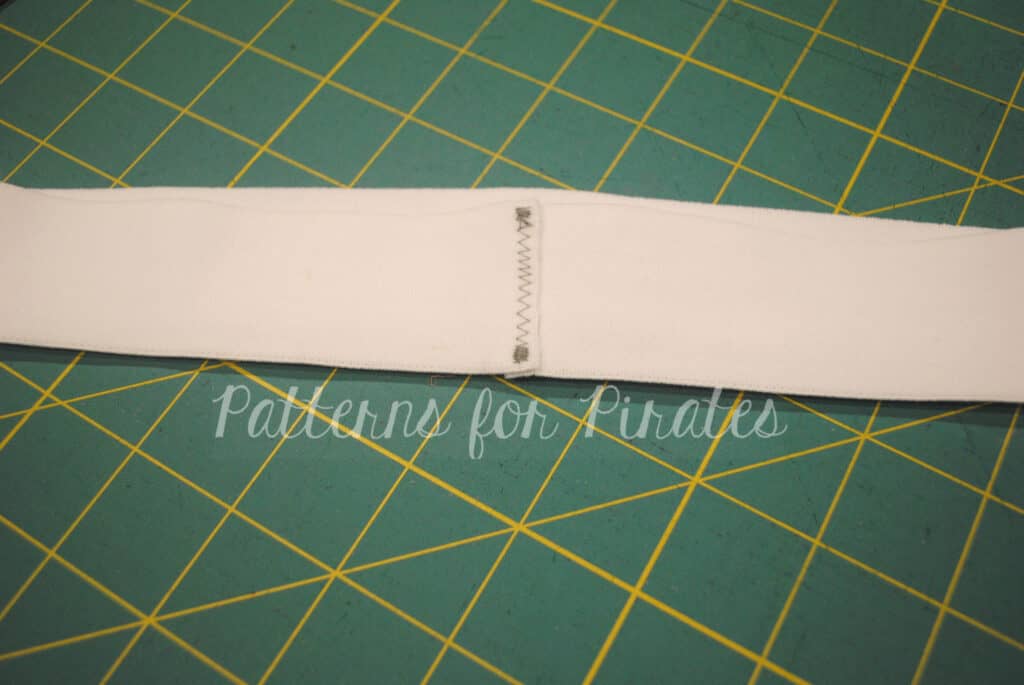
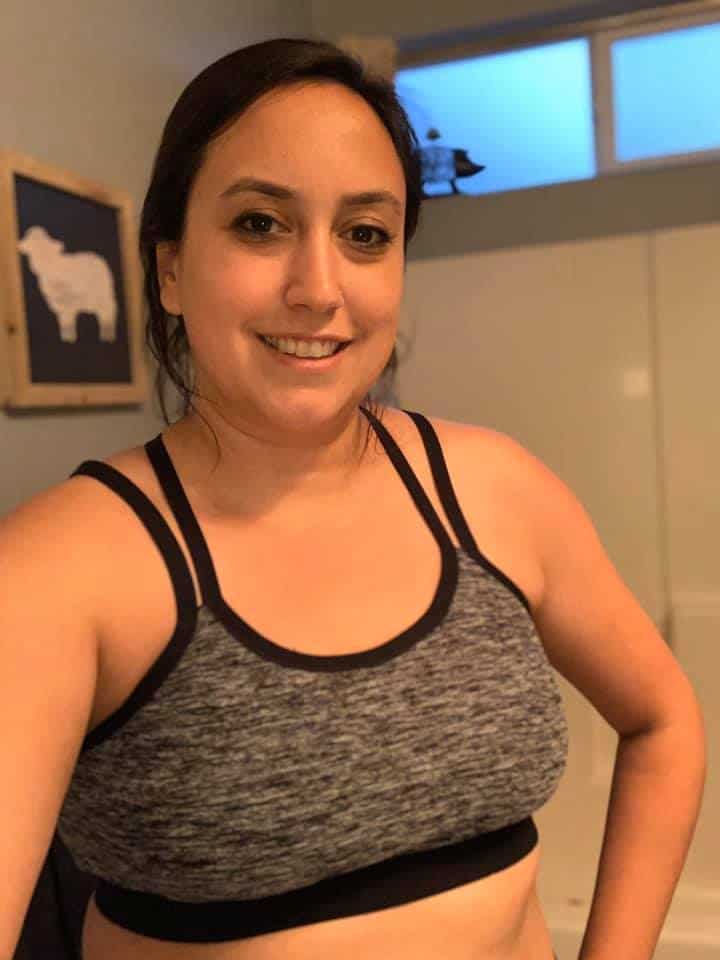
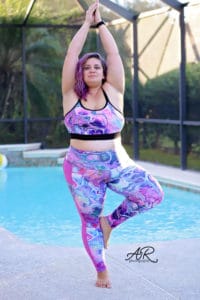
Soft Waistband Elastic
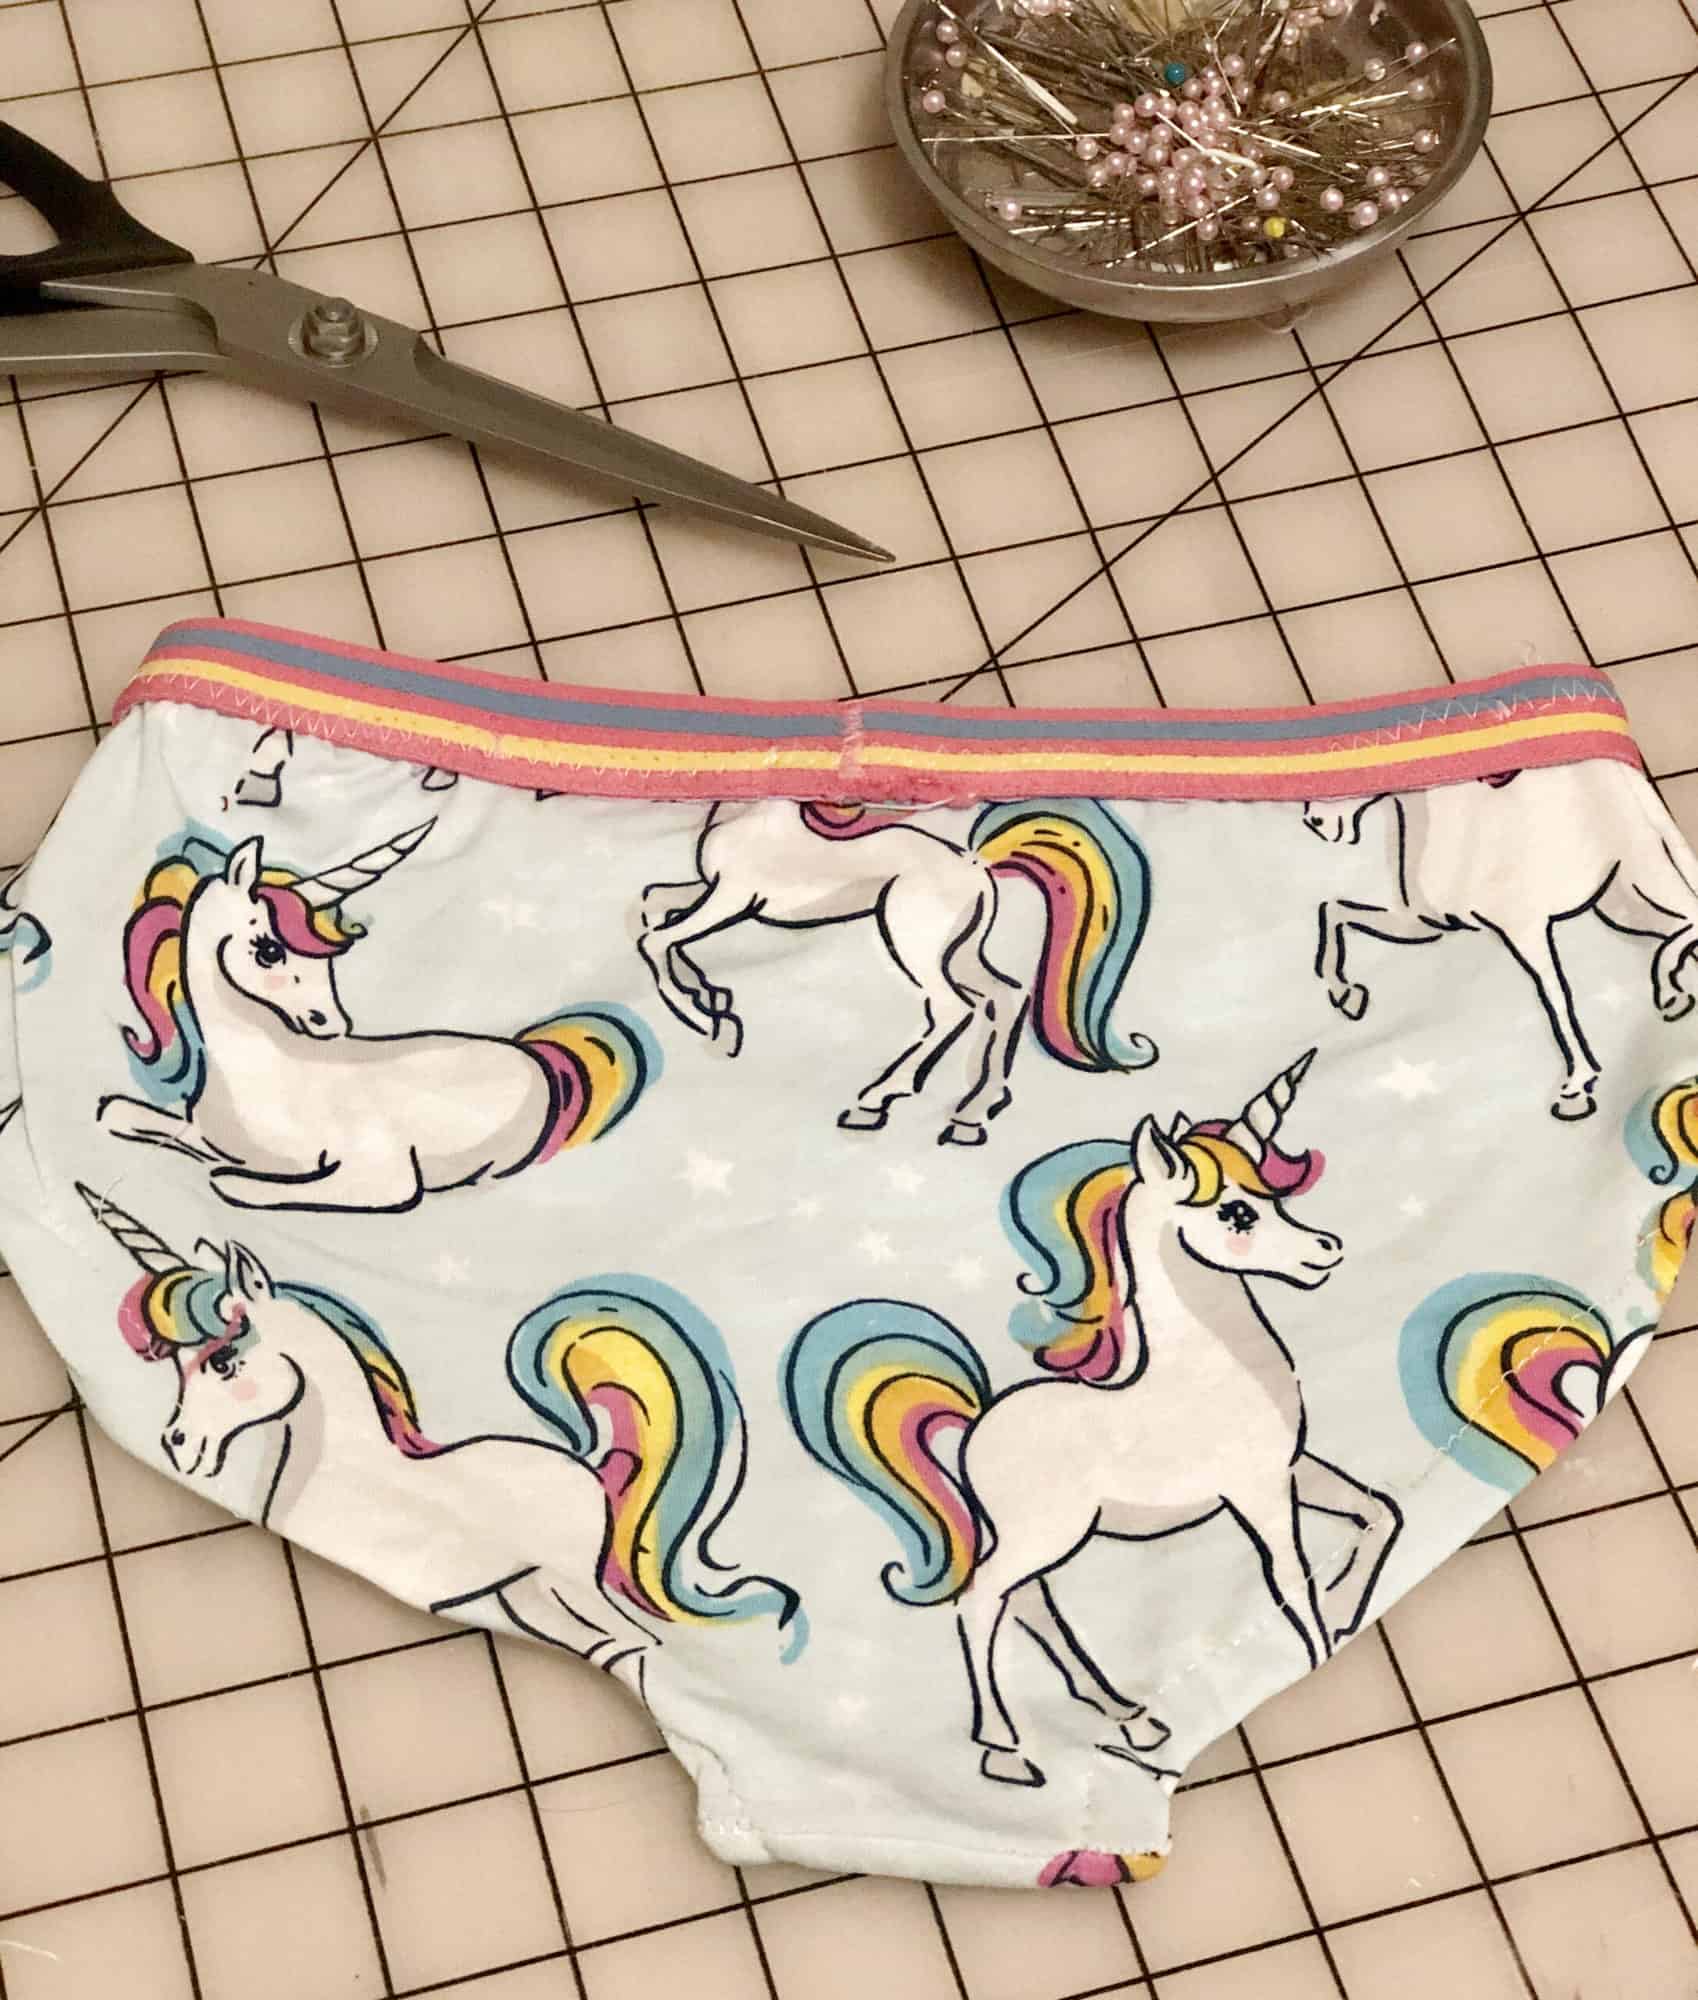
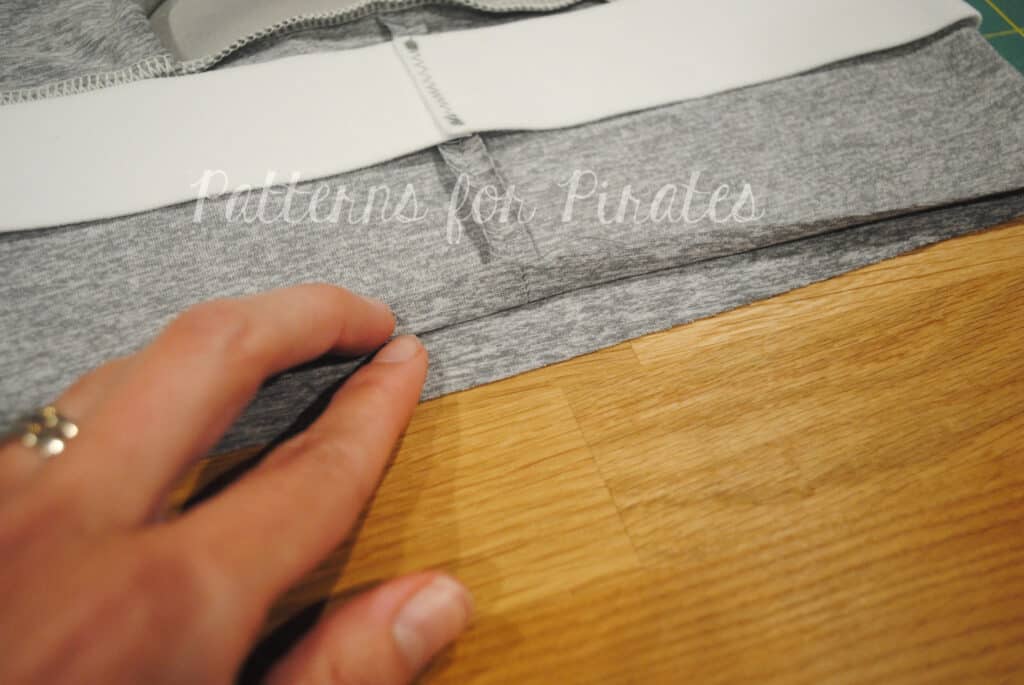
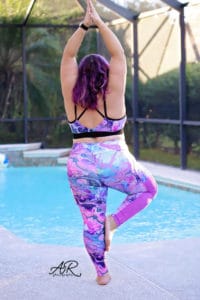
Lastly we’re going to talk about Soft Waistband Elastic. You will probably recognise this as the type of elastic used on men’s boxers. It is thick, soft, super stretchy and has great recovery and we use it both as the underbust band on the Fierce Bra and the waistband on the Fierce Undies.
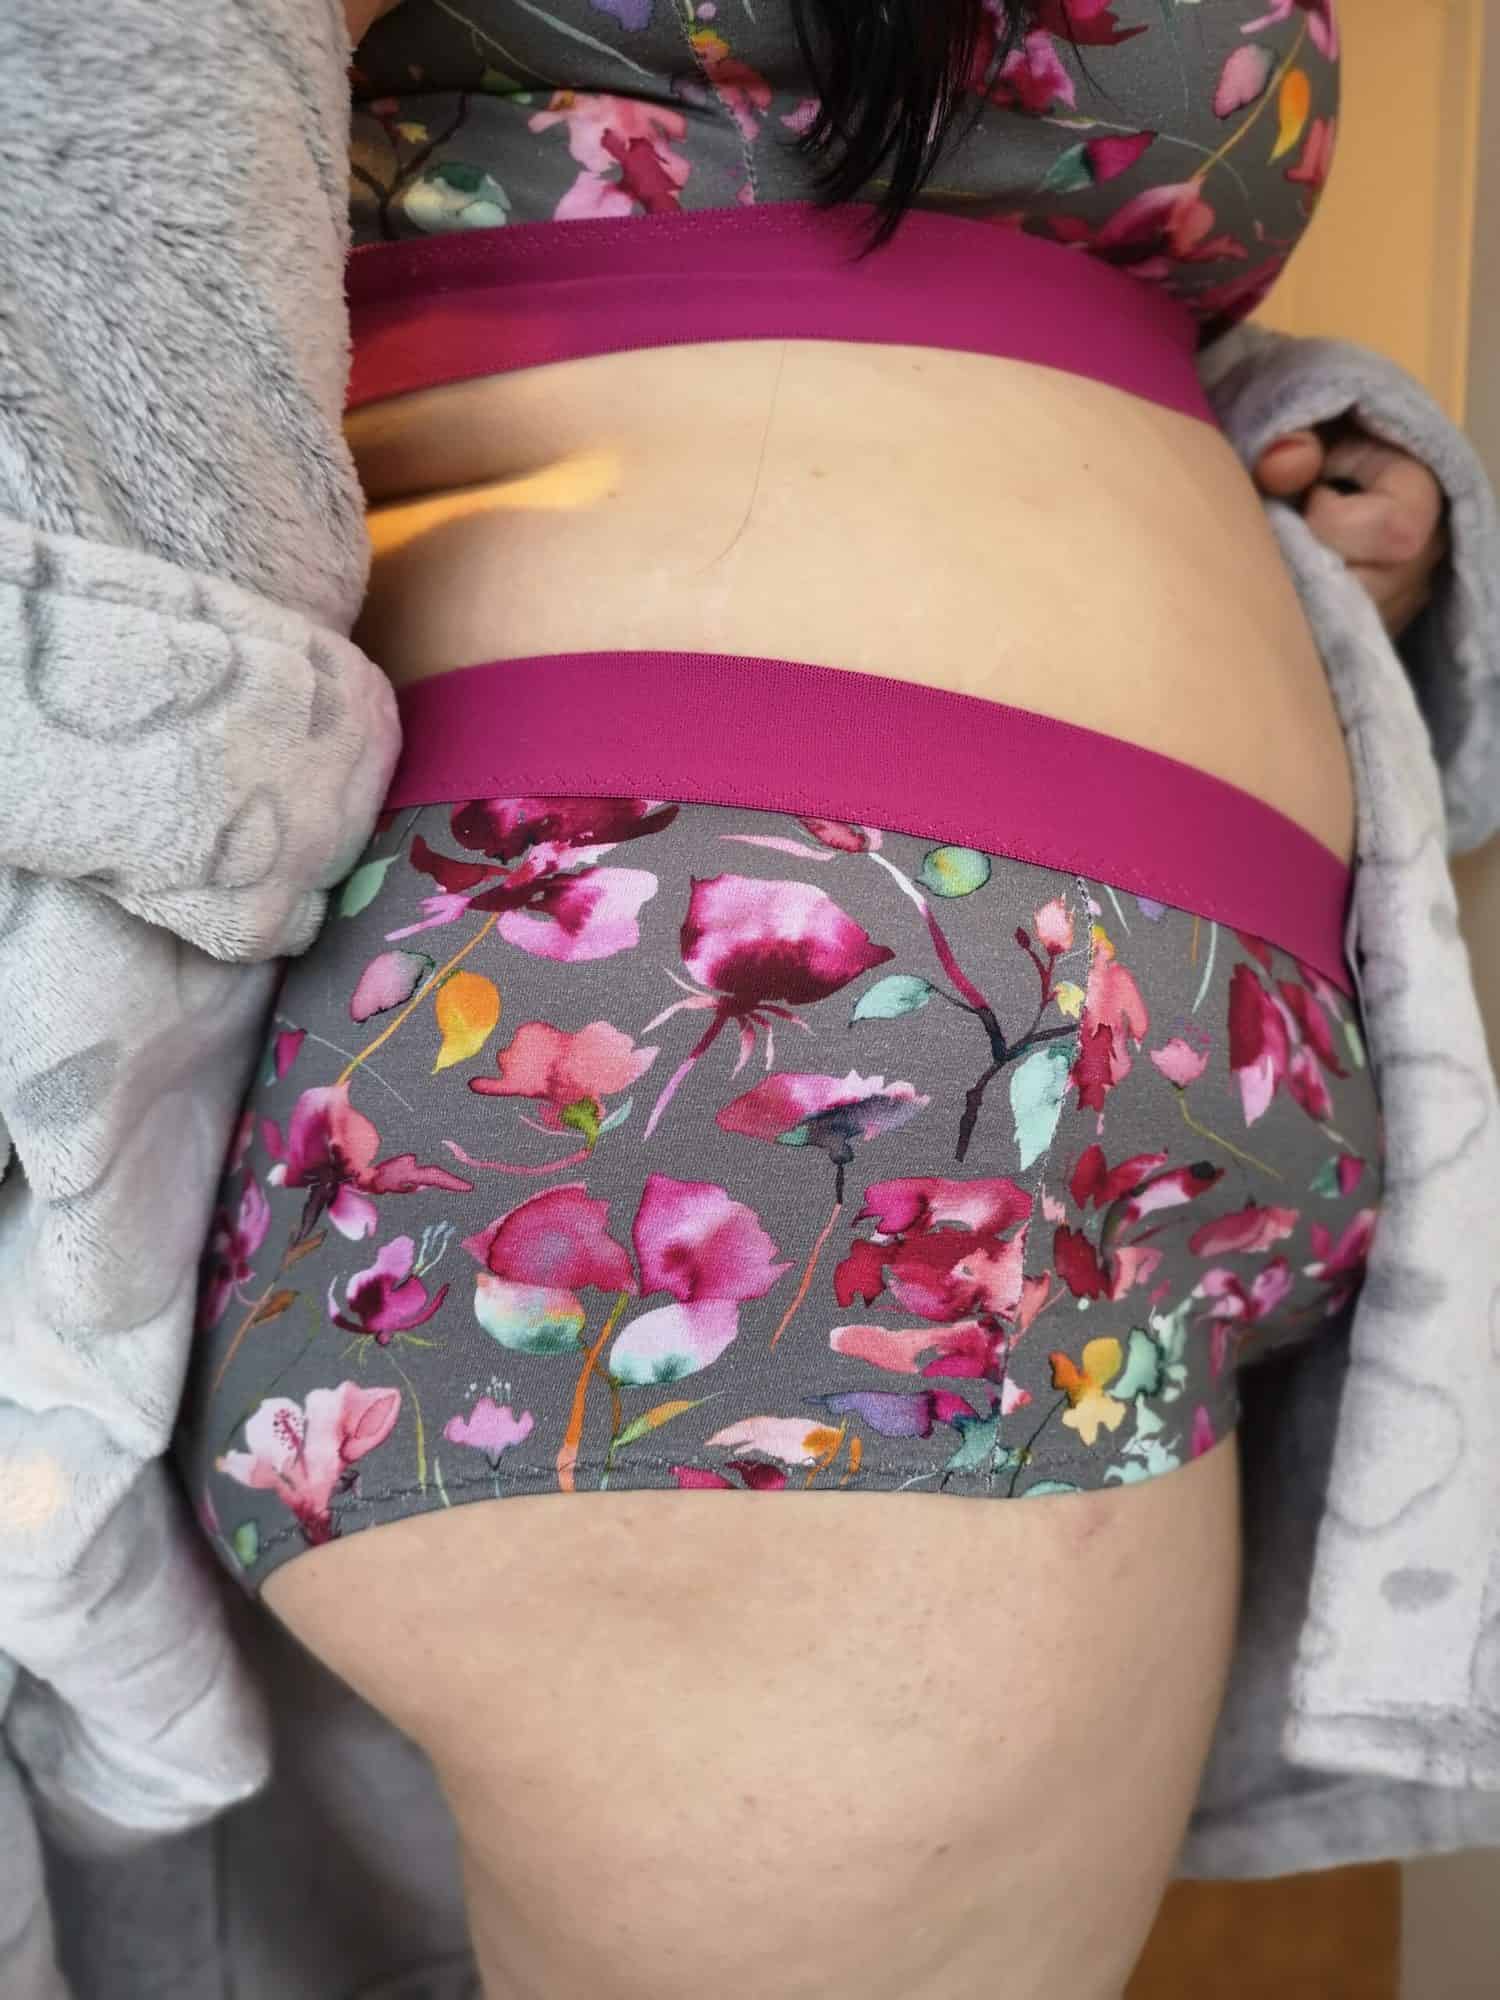
Fierce Bra and Undies
You can either serge or sew the band on like a regular knit band, flip up and top stitch the seam down or you can just sew the band into a loop by butting the short ends together and then topstitch it right onto the top raw edge of the fabric, like in the picture above. It makes sure your undies don’t shift all day whilst still being super comfortable to wear. It comes in lots of different colours and some fun printed designs too and is designed to stay visible and not be sewn inside a casing.
Hopefully that has helped give you an idea of the types of elastic you might encounter whilst sewing and what yu may need them for. Don’t forget to watch the video that accompanies this post for more examples to guide you and…
Happy Sewing!
Dana x